How to Book an Auditorium and Manage Your Profile
Learn how to log in, check availability, book a municipal auditorium, and update your citizen profile details using the booking portal.
By Khushi Uttamani
This guide walks you through the complete process of booking a venue through the Municipal Corporation Auditorium Booking App. You will also learn how to access your bookings and keep your citizen profile up to date.
Login to Municipal Corporation Website
To get started, you must authenticate using your registered mobile number.
1
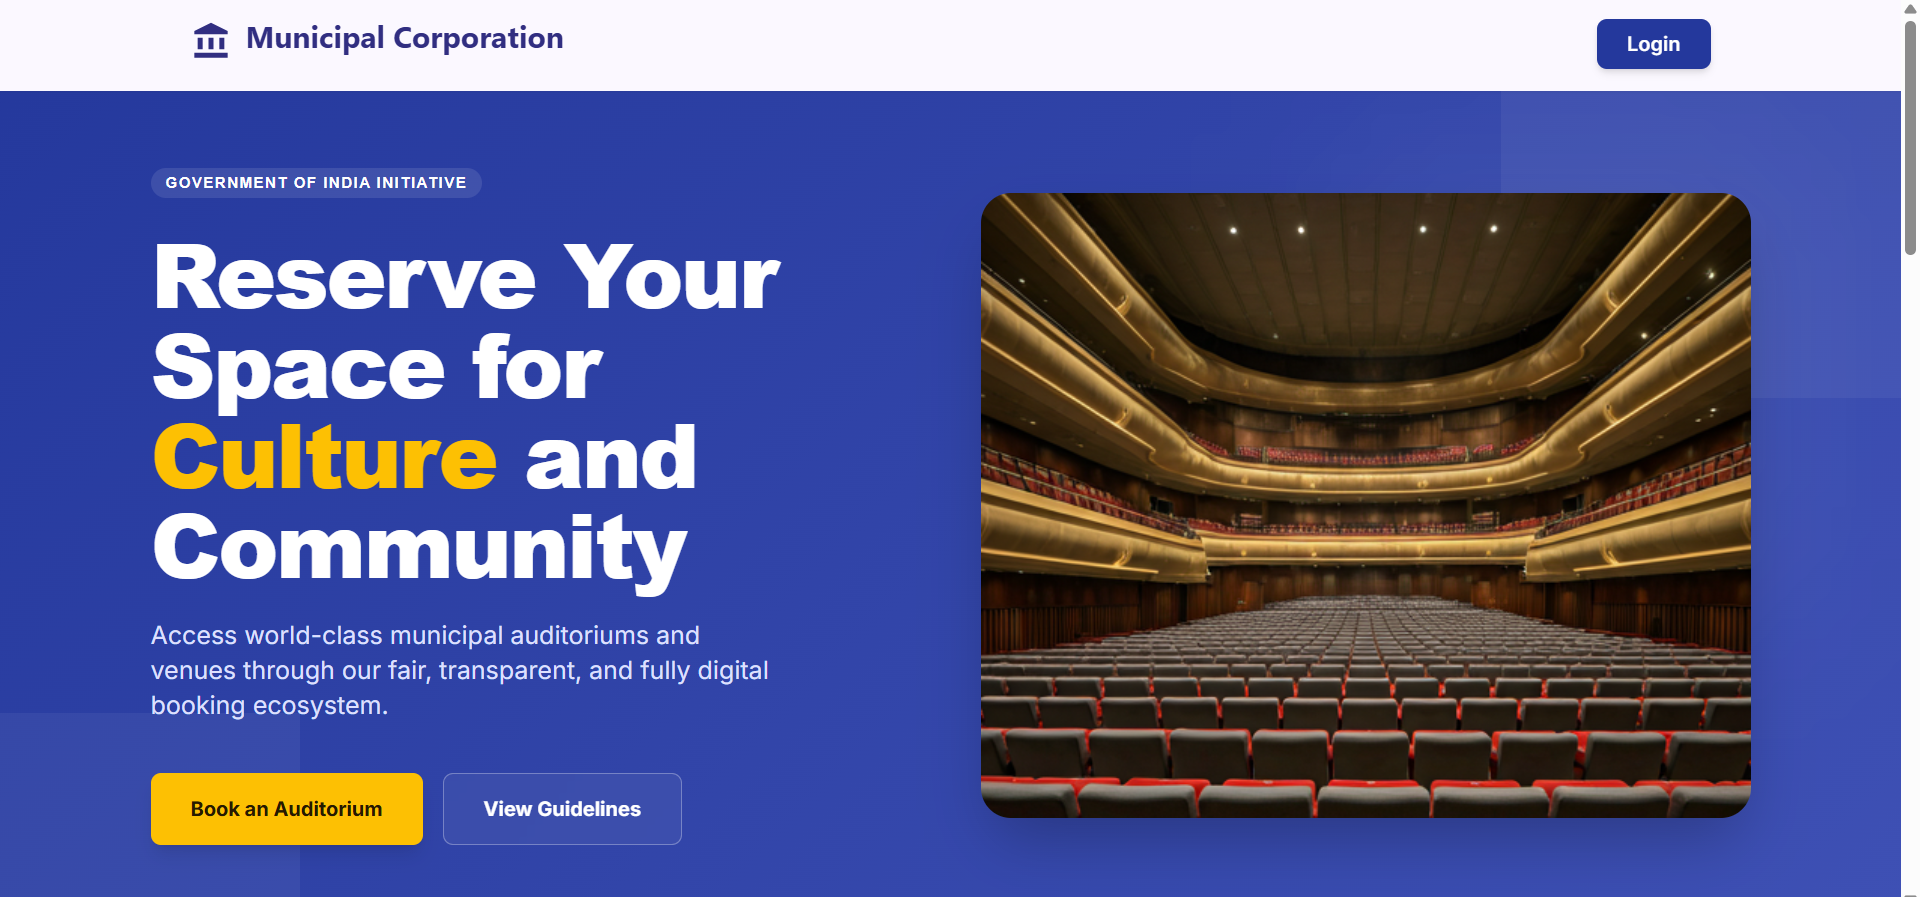
Home page of Municipal Corporation, click on Login/Book an Auditorium to Login in it.
2
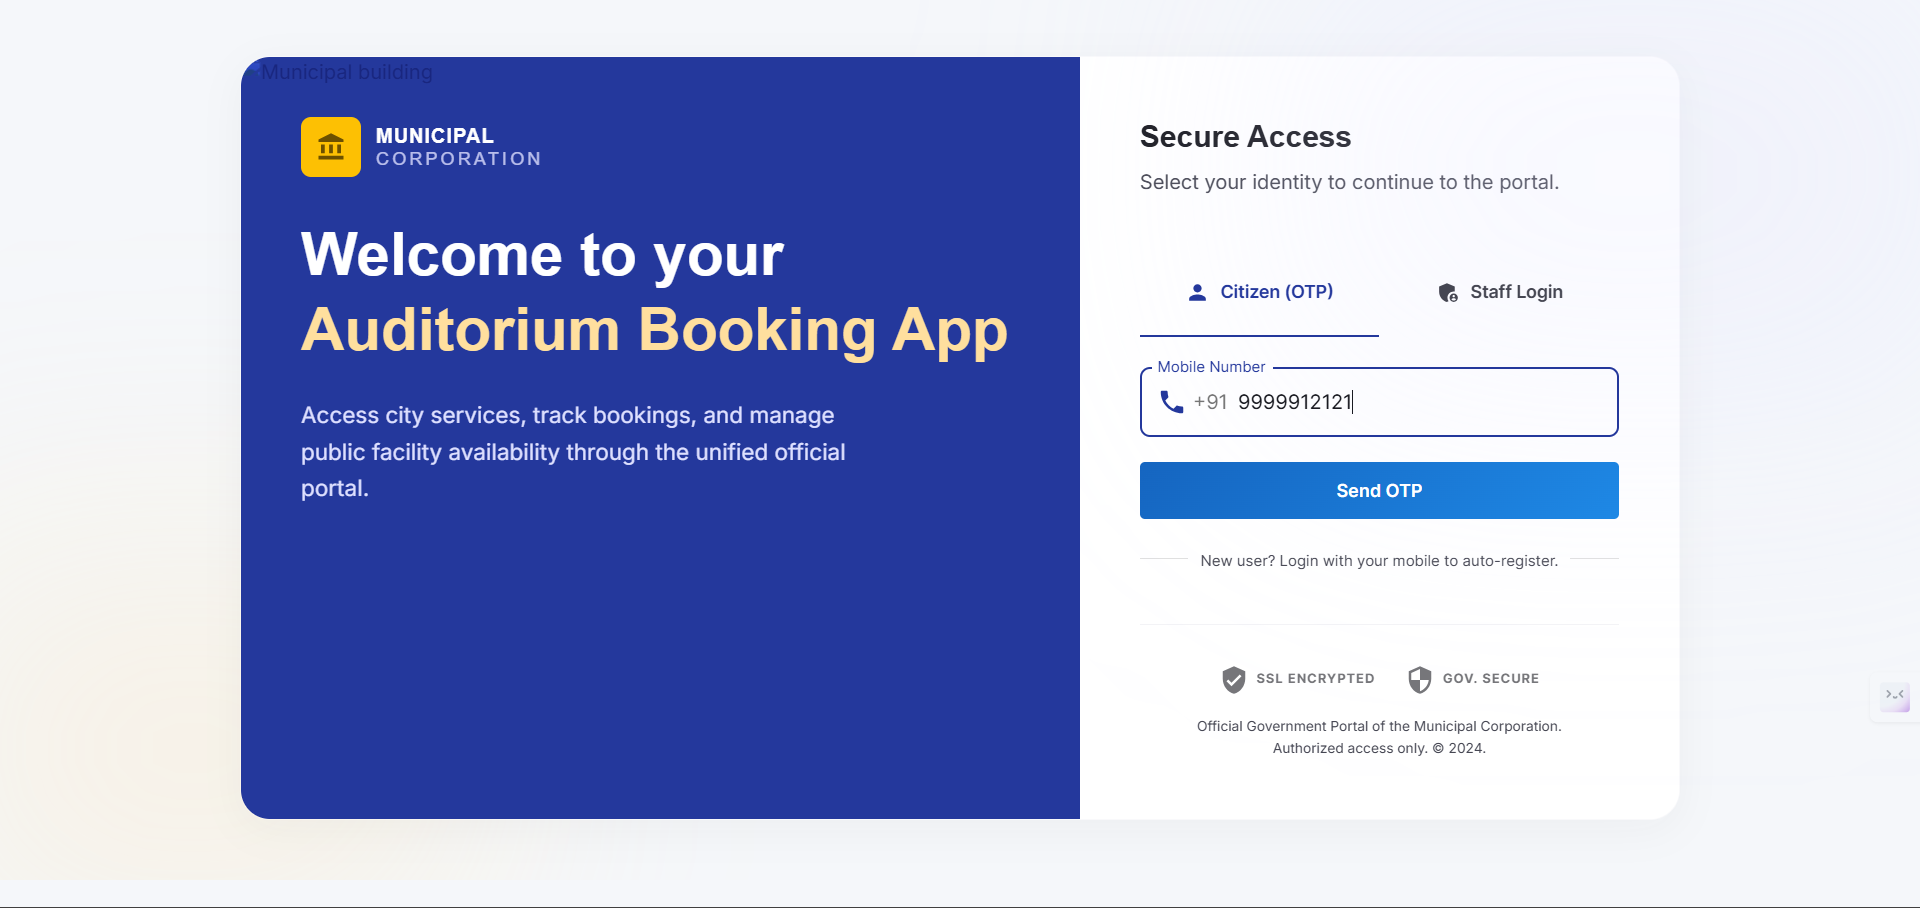
In Citizen Login, provide phone number on which you can get OTP, then click on Send OTP button.
3
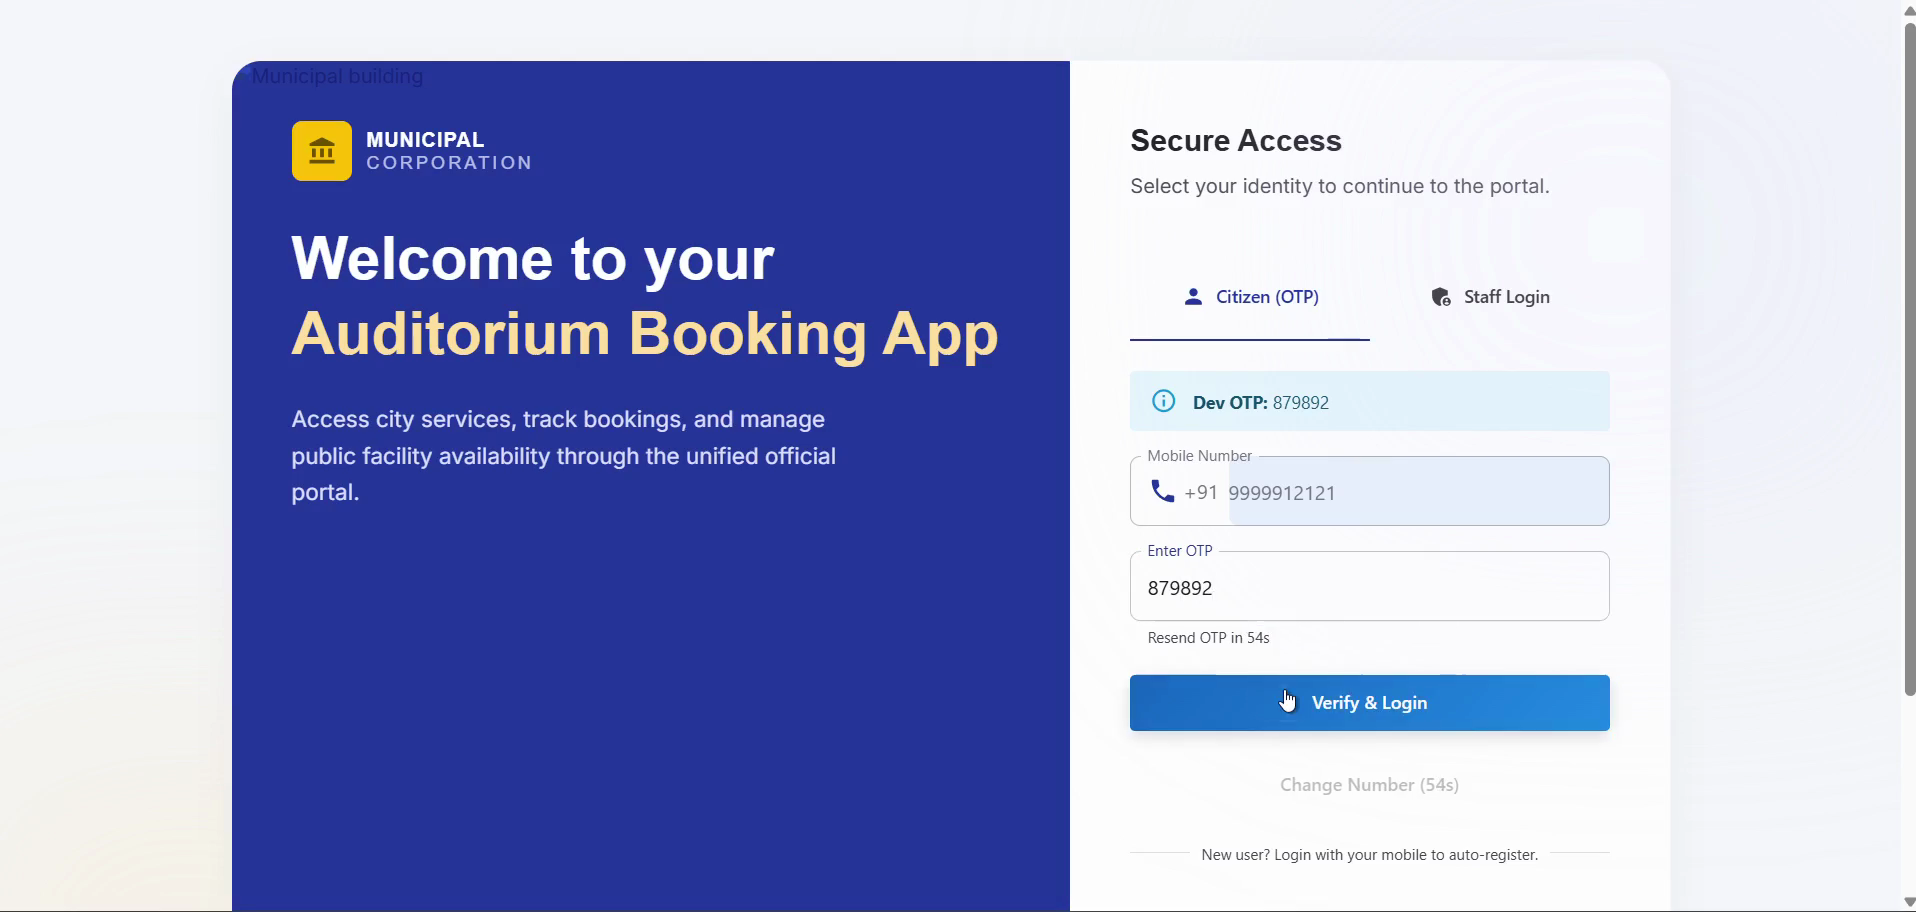
Enter the one-time password (OTP) sent to your device, then click Verify & Login.
Book an Auditorium
Once logged in, you can browse available venues and submit a booking request.
4
After Login, Dashboard tab is the first page. For bookings, go to Book Venue tab
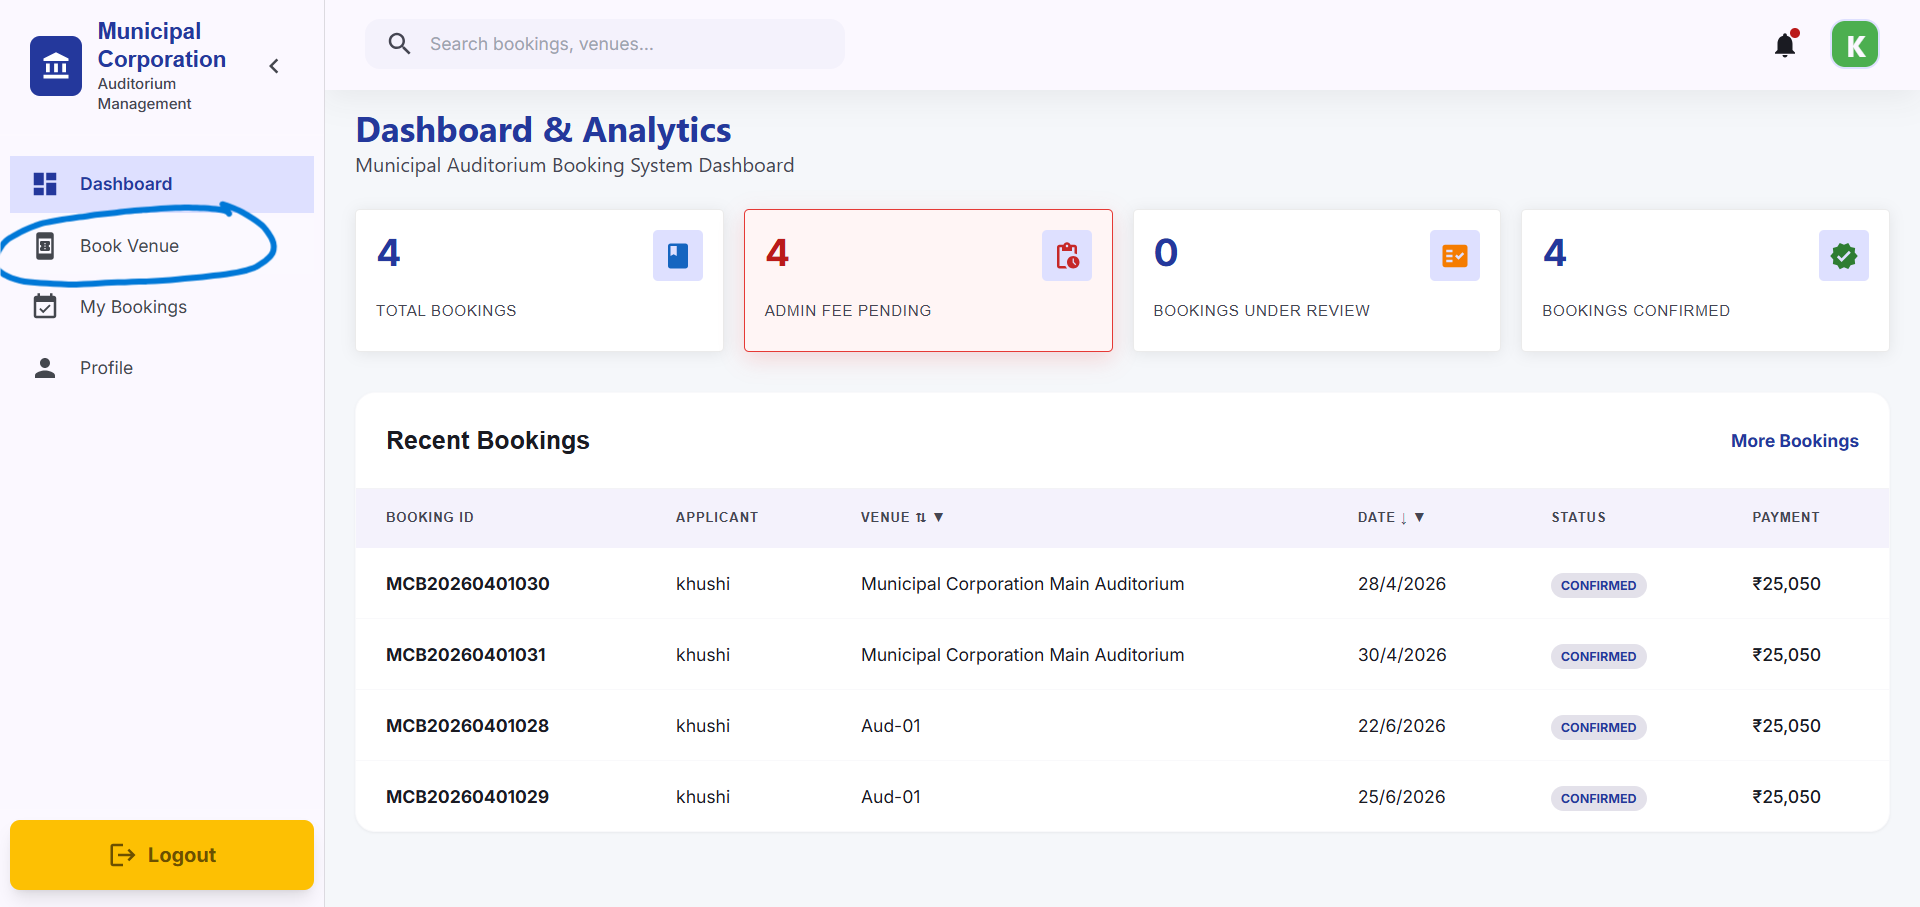
5
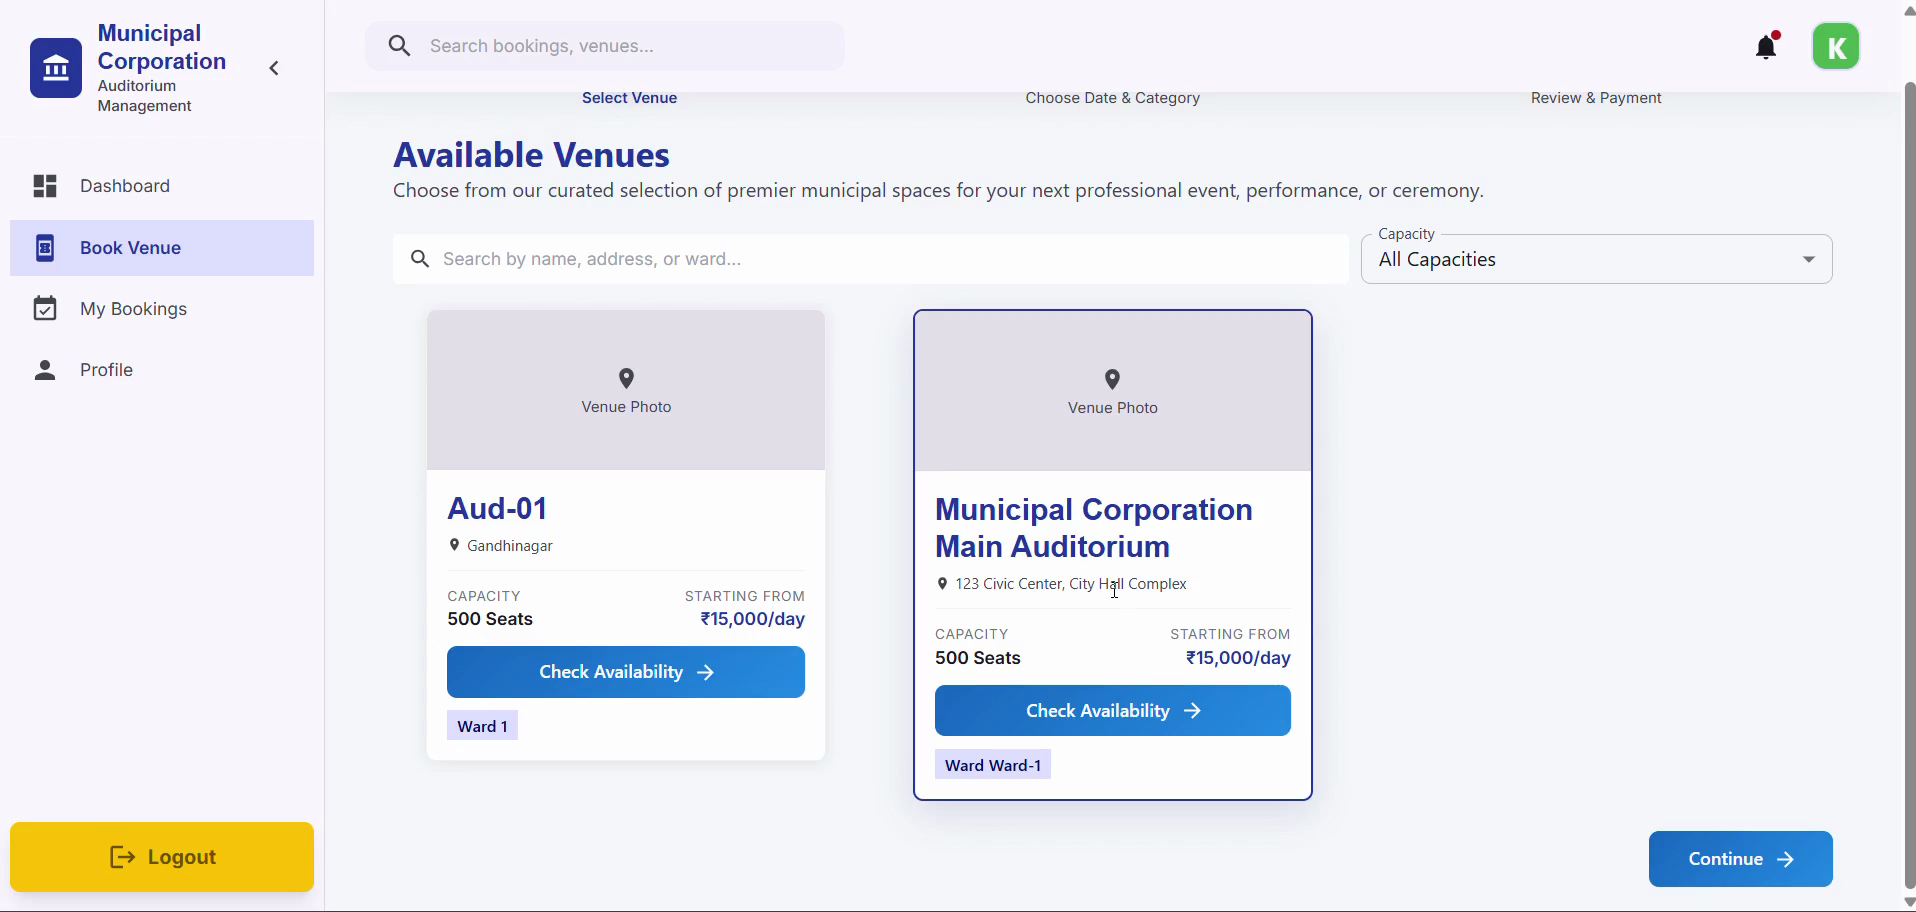
From Book Venue tab,Find the auditorium you want to reserve and click Check Availability →.
6
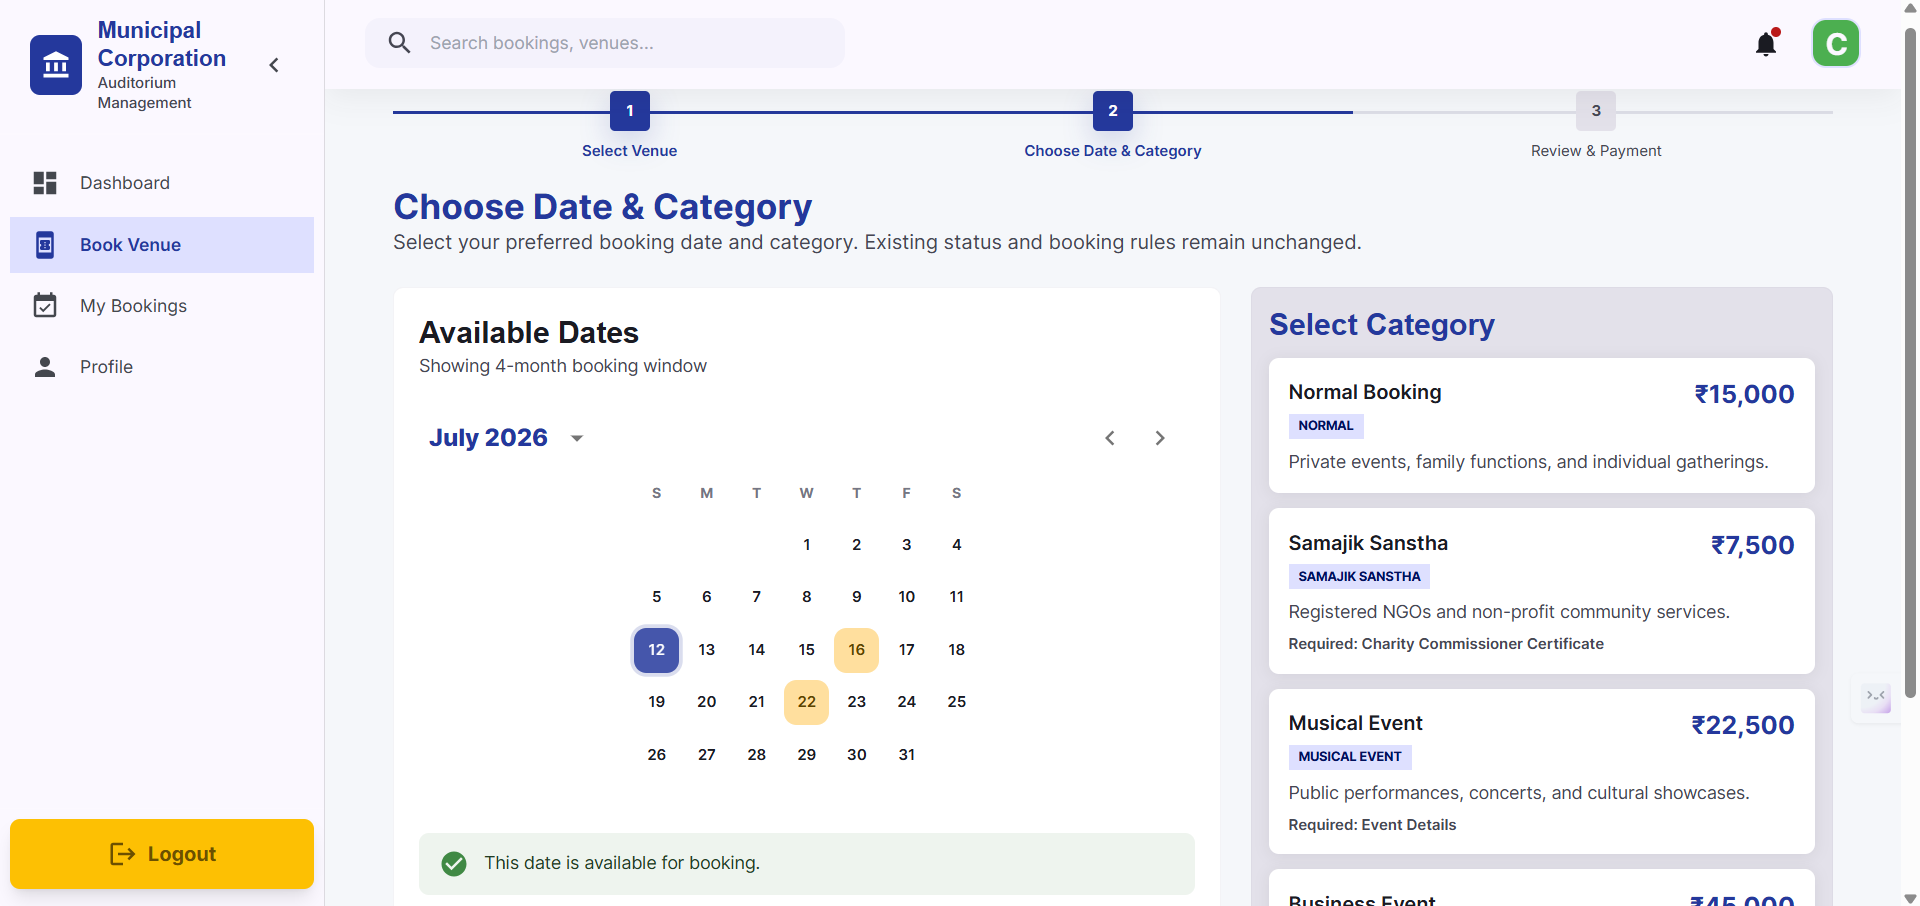
For booking, Dates which are yellow are booked by others as well and will go for a draw. Based on that, they will either be assigned or refunded.
Dates which are grey are already booked by others and cannot be selected.
Dates which are grey are already booked by others and cannot be selected.
7
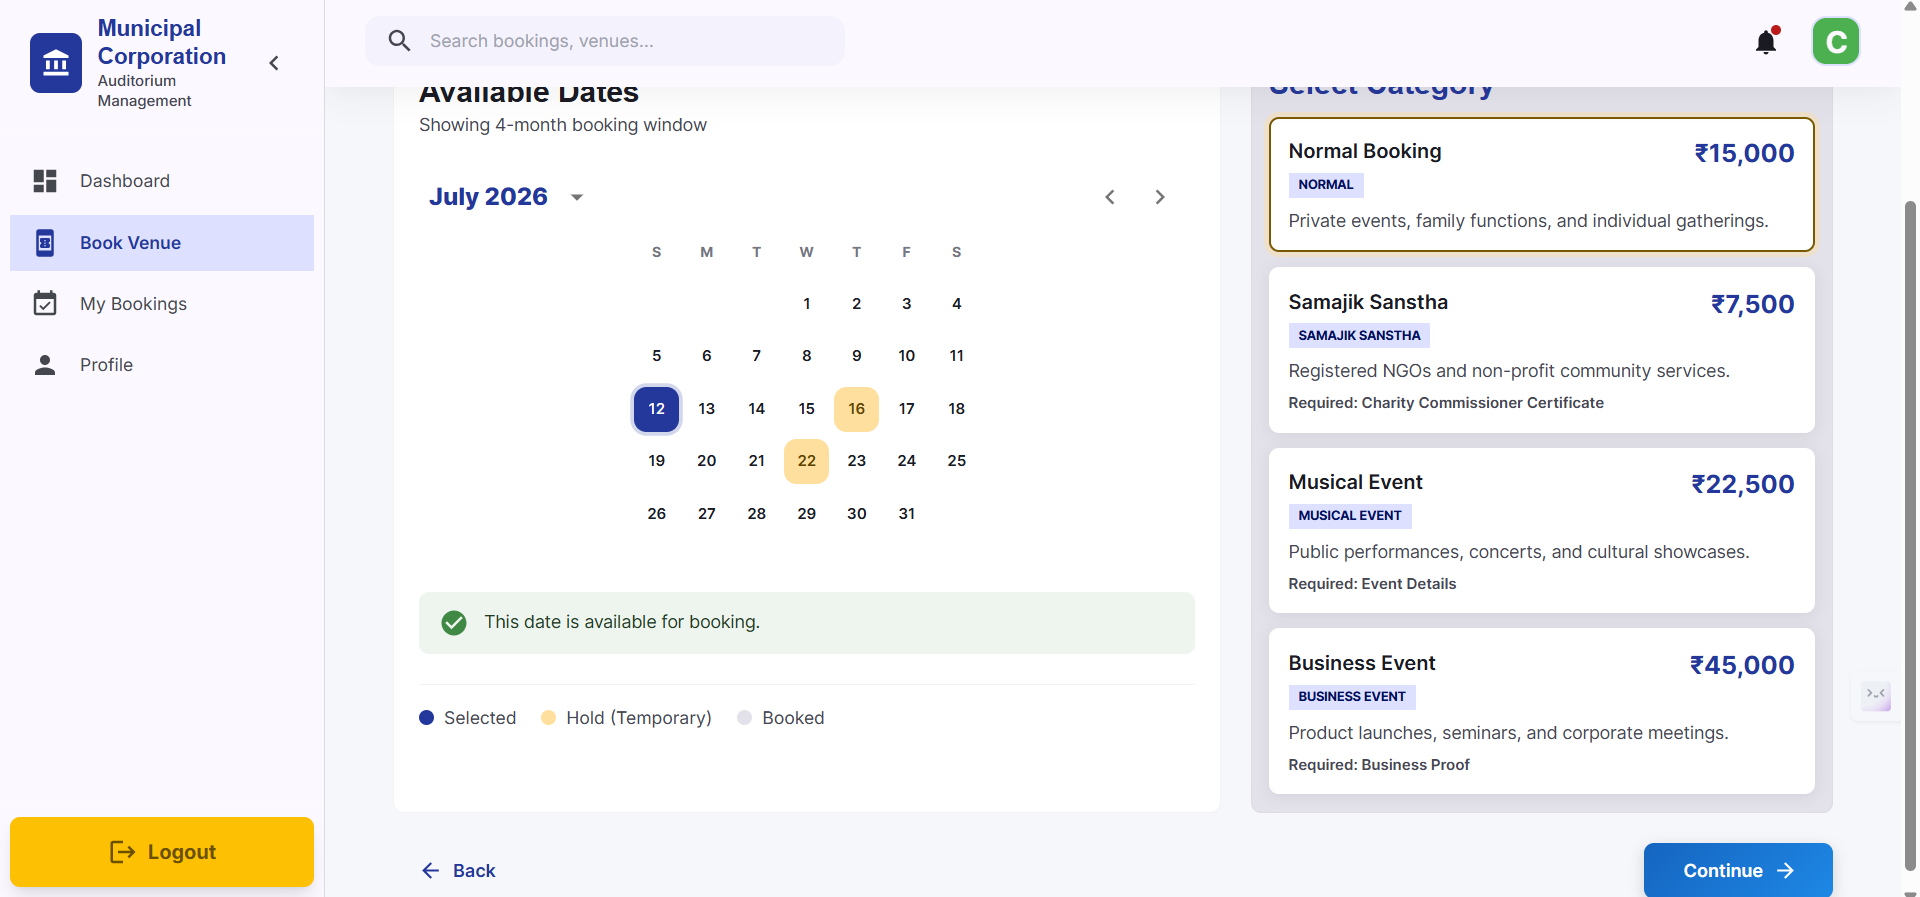
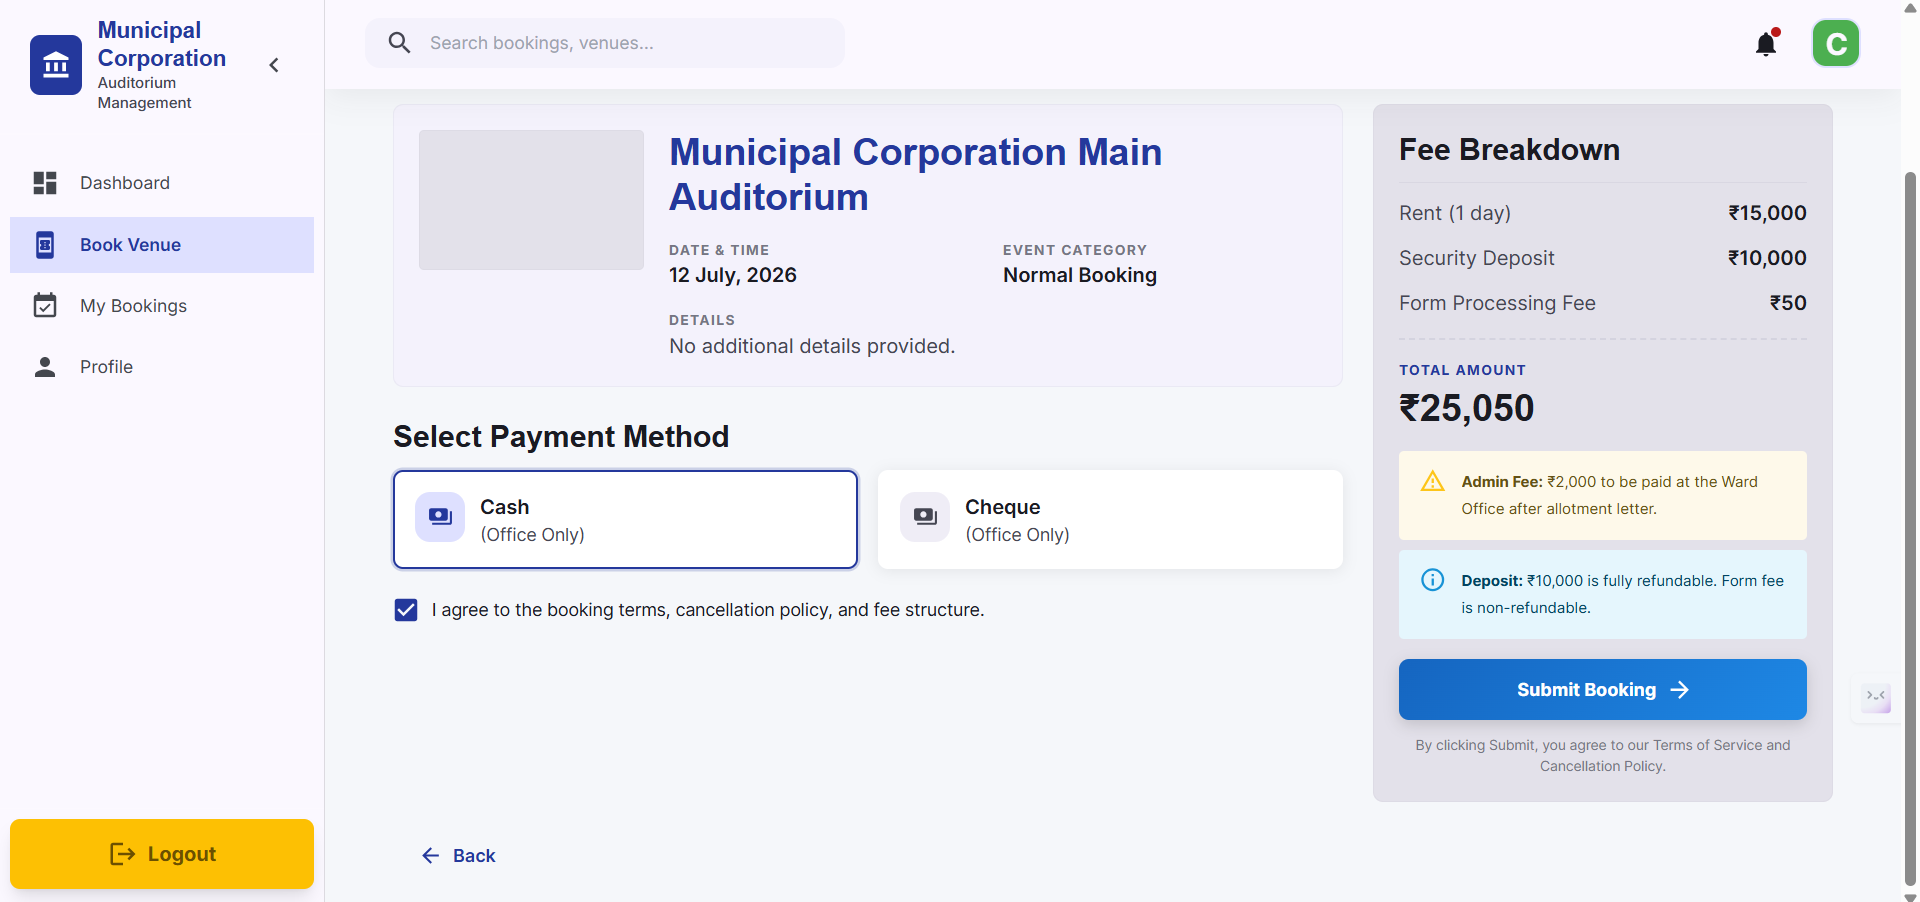
Select your booking category (such as Normal Booking) and click the Continue button.
8
Review the event categories and costs, then click Submit Booking to finalize your request.
9
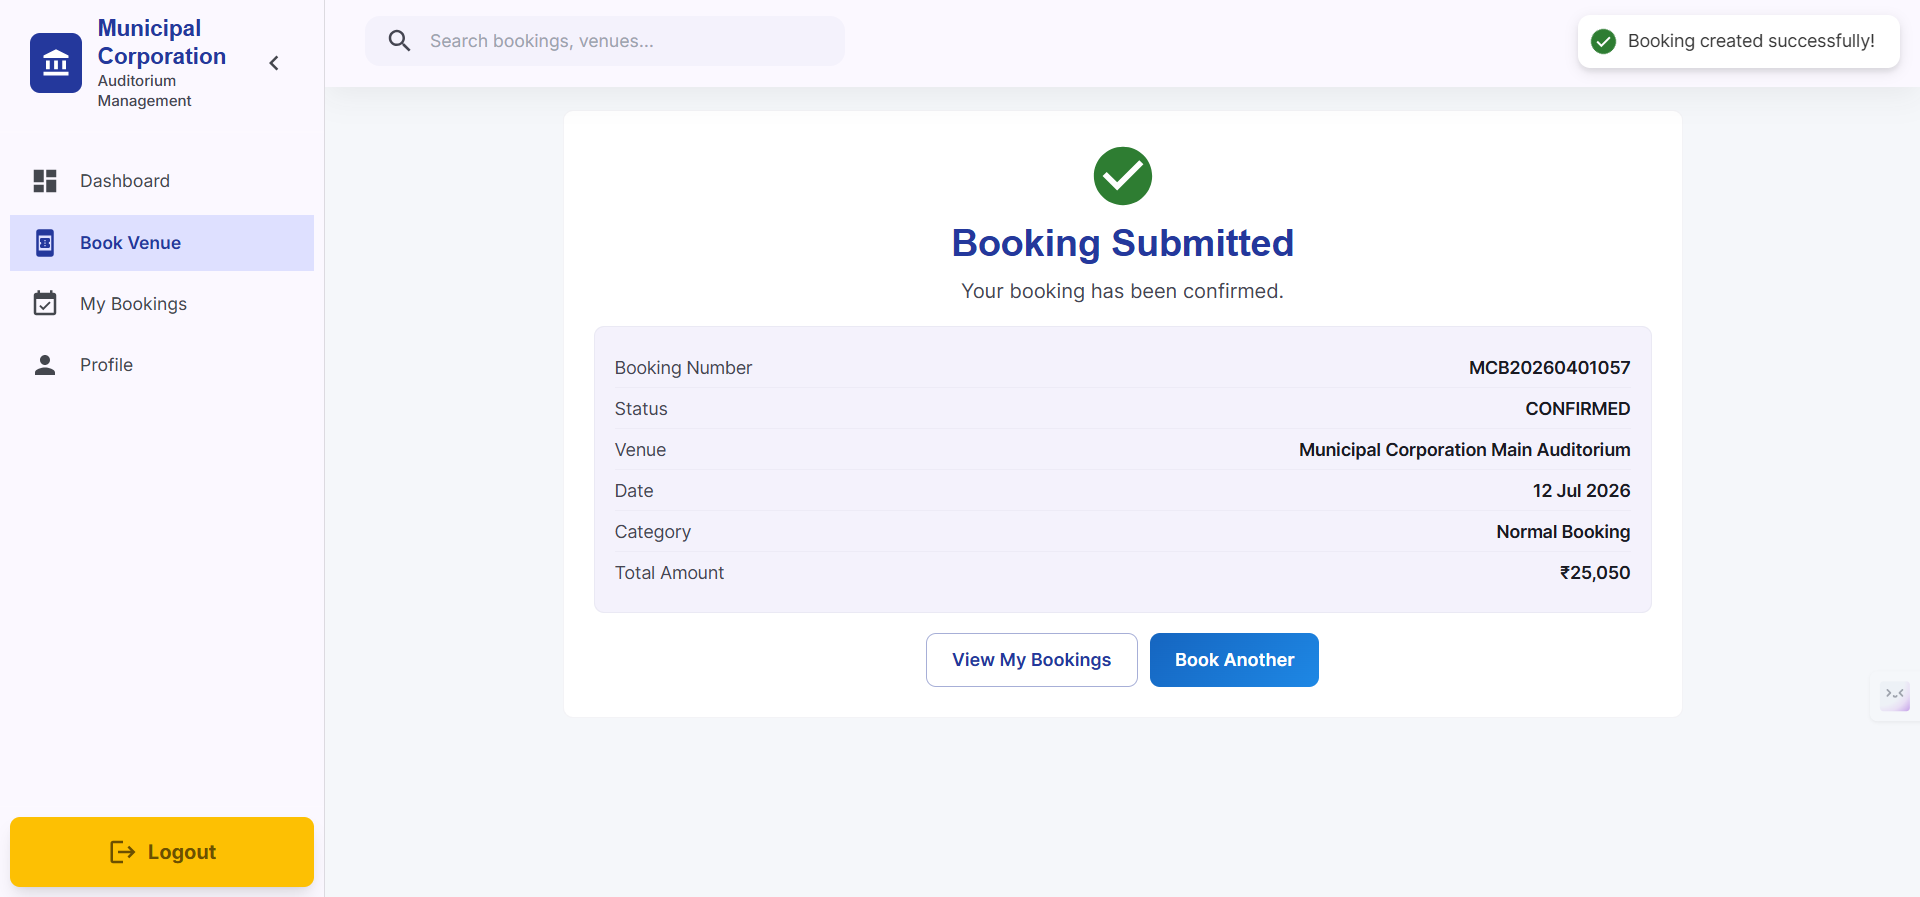
You'll see, booking request has been submitted successfully! You can track its status from your dashboard / My Bookings tab
View your Bookings
10
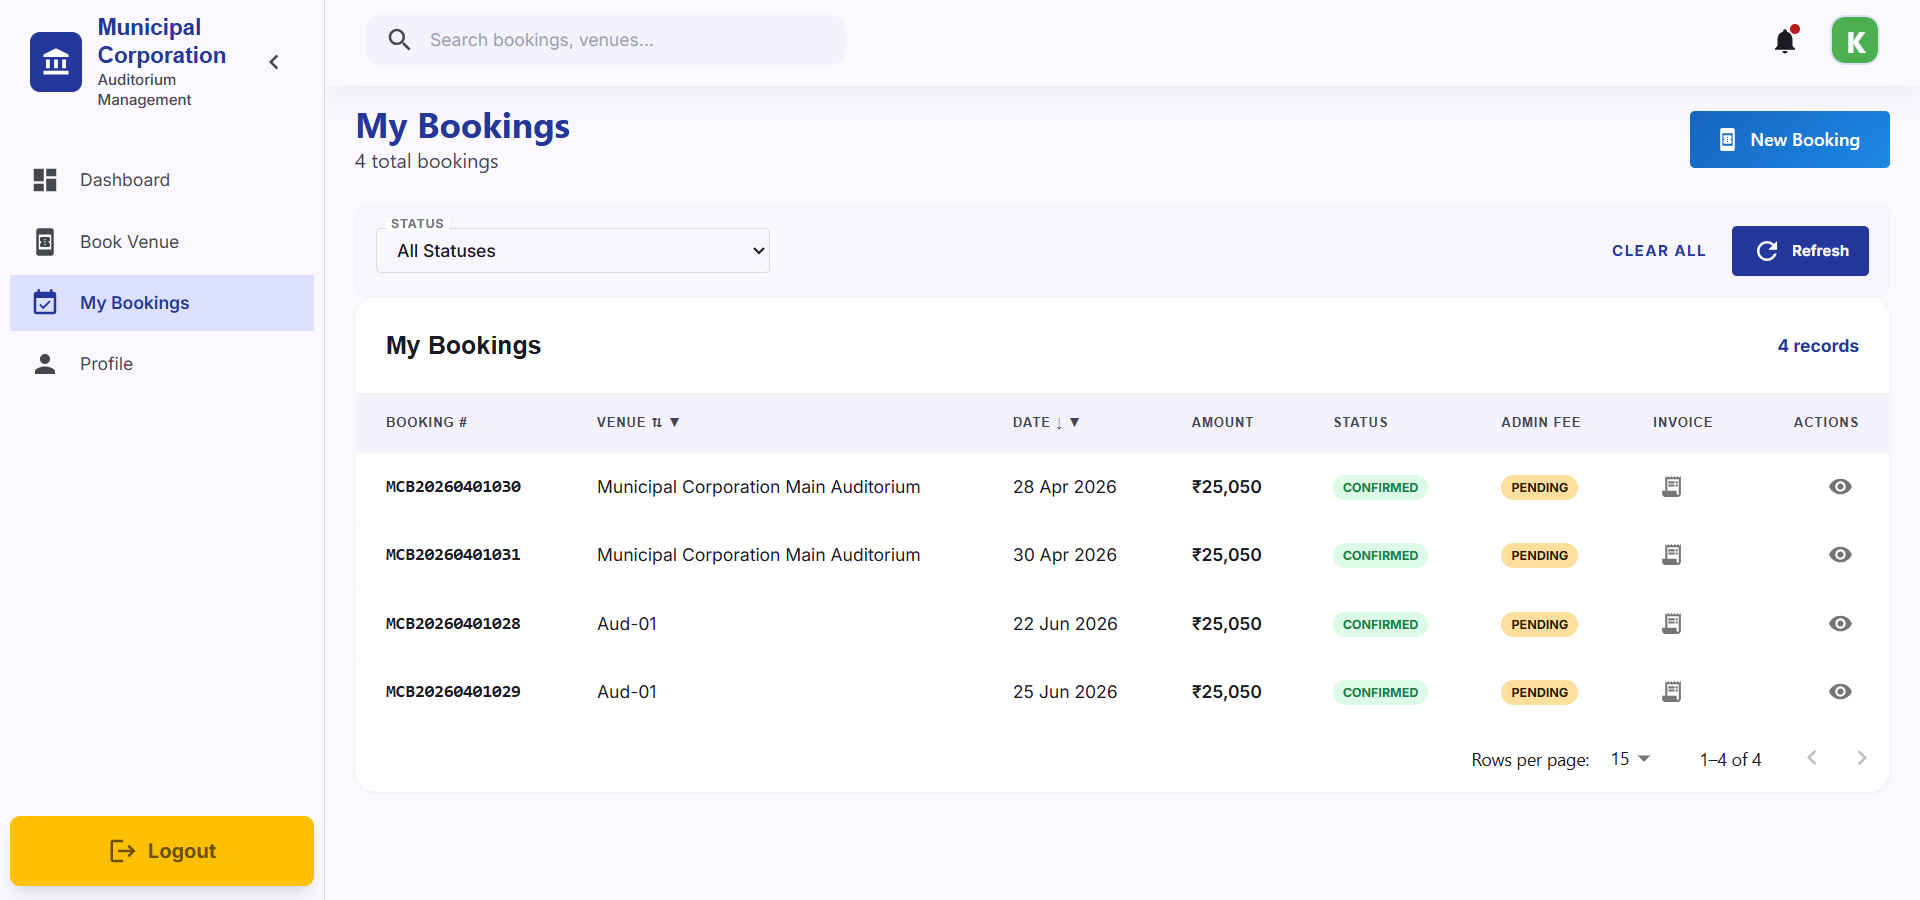
Click View My Bookings to see your current and past reservations.
11
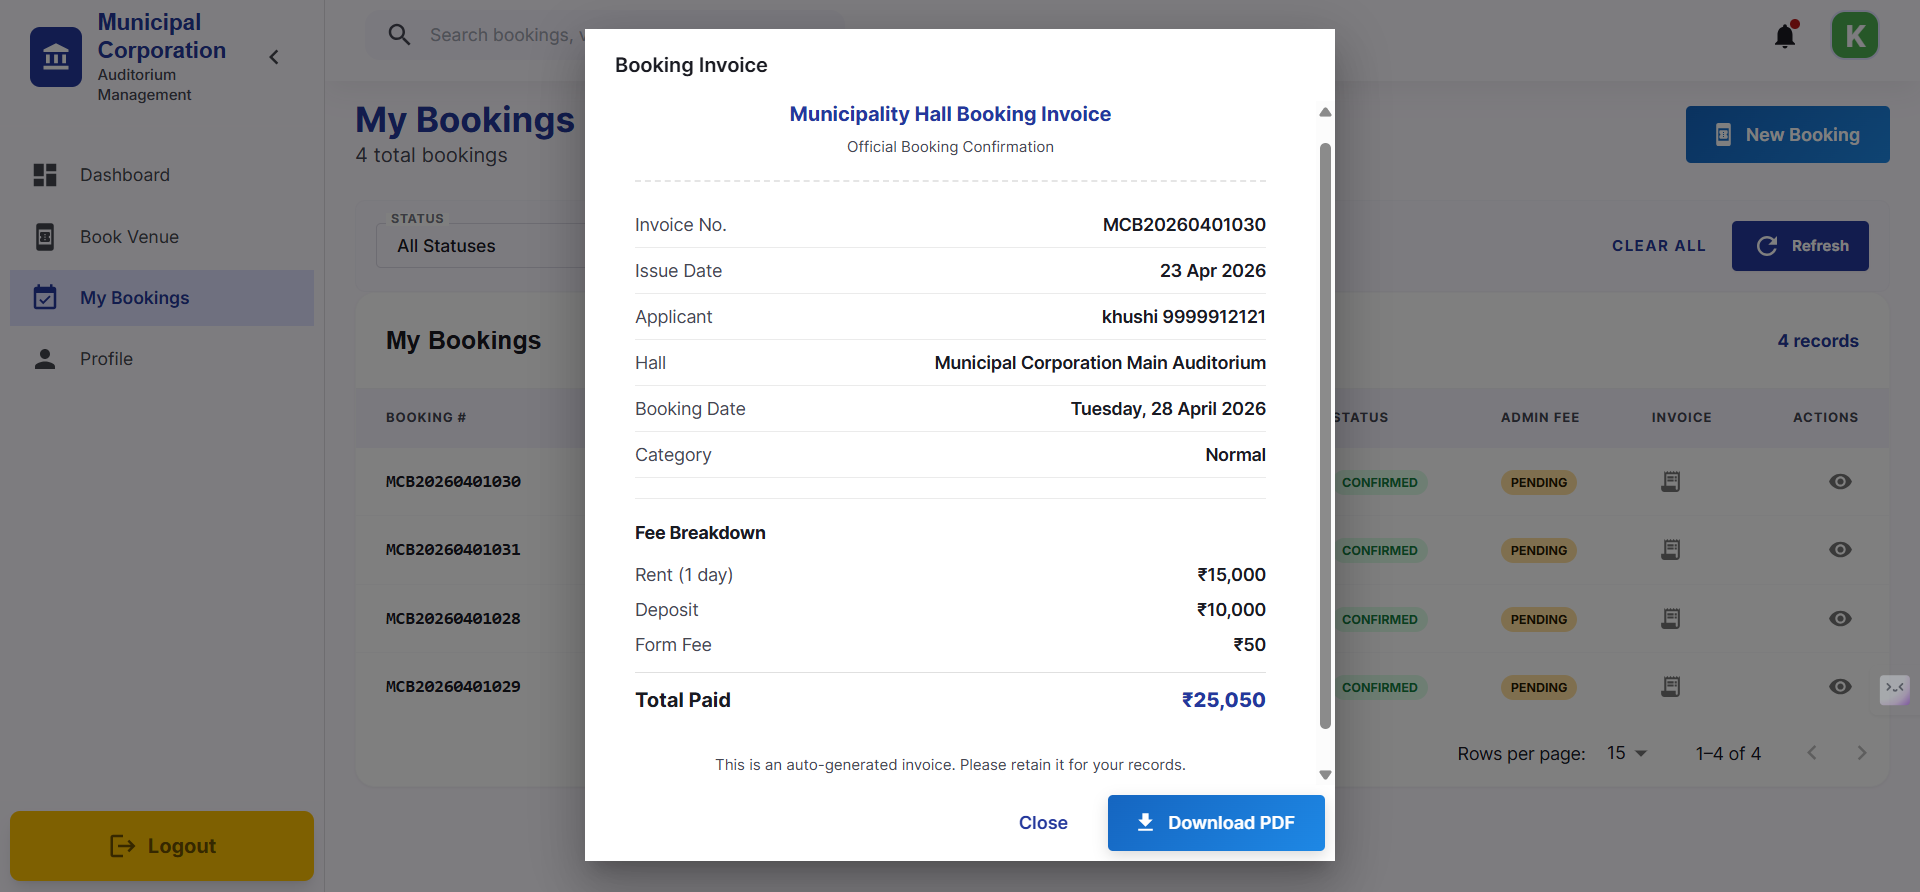
In that, Click on Invoice of required date to have a look on your booking details and download your Invoice
Cancel your Booking
If you want to cancel your booking due to any reason, we have provided steps for it
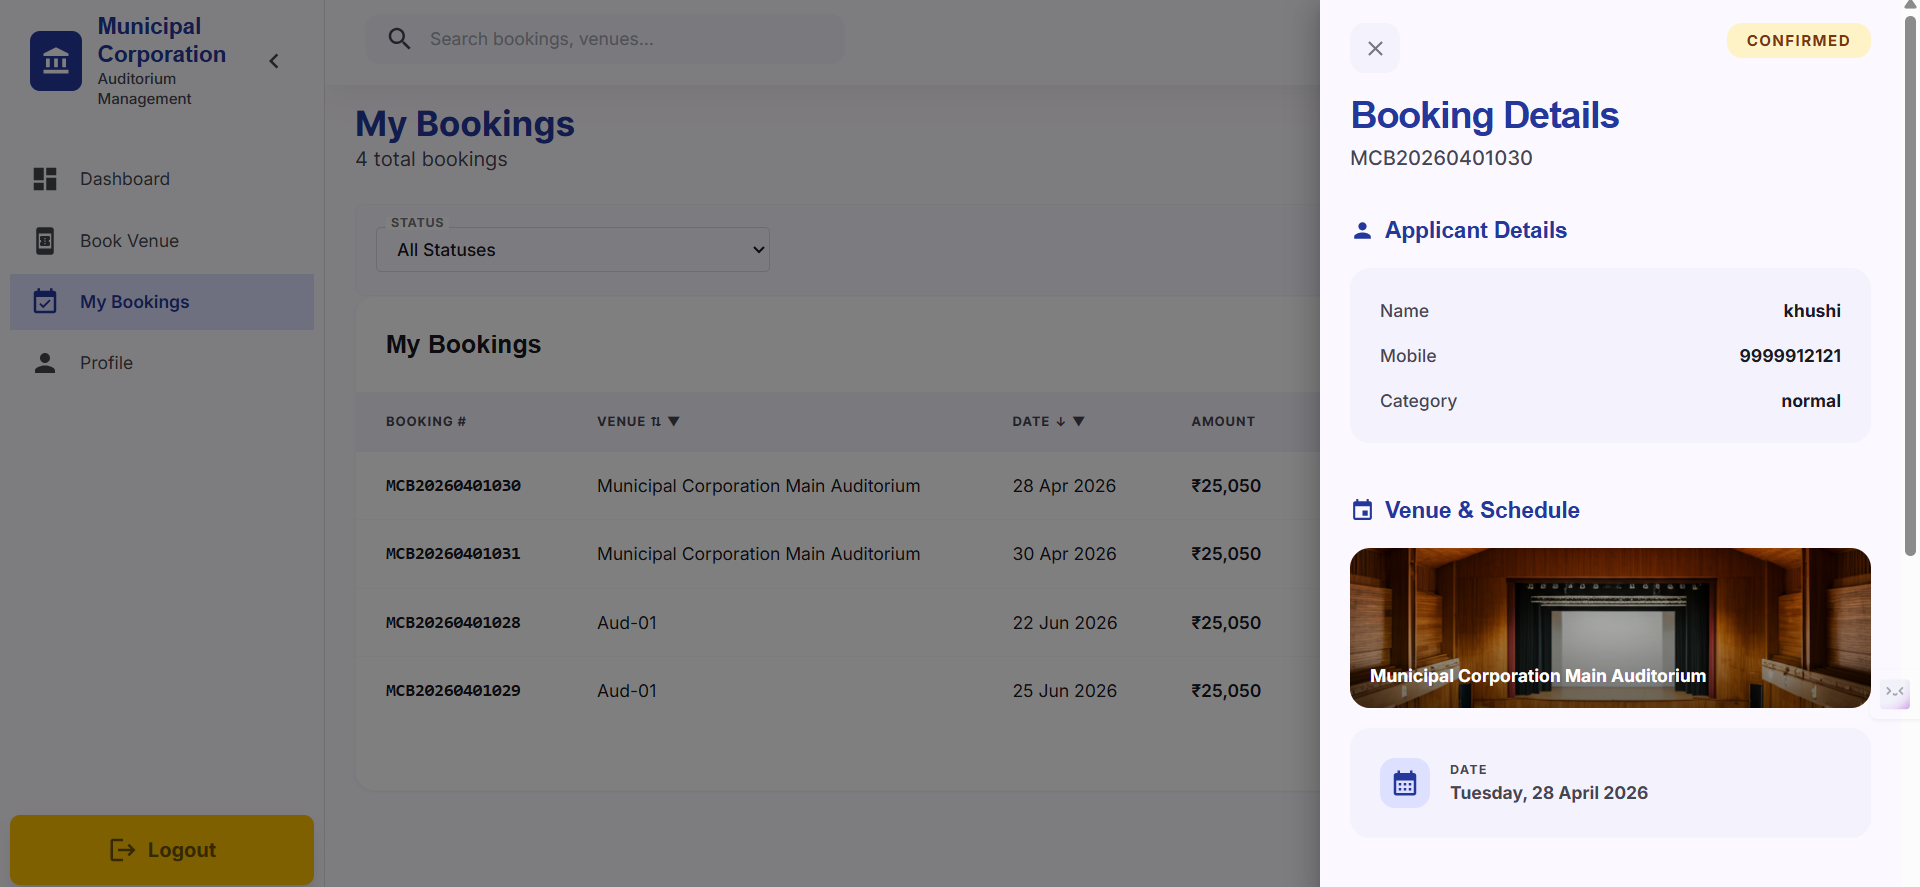
12
By clicking on Actions column, booking details will pop up
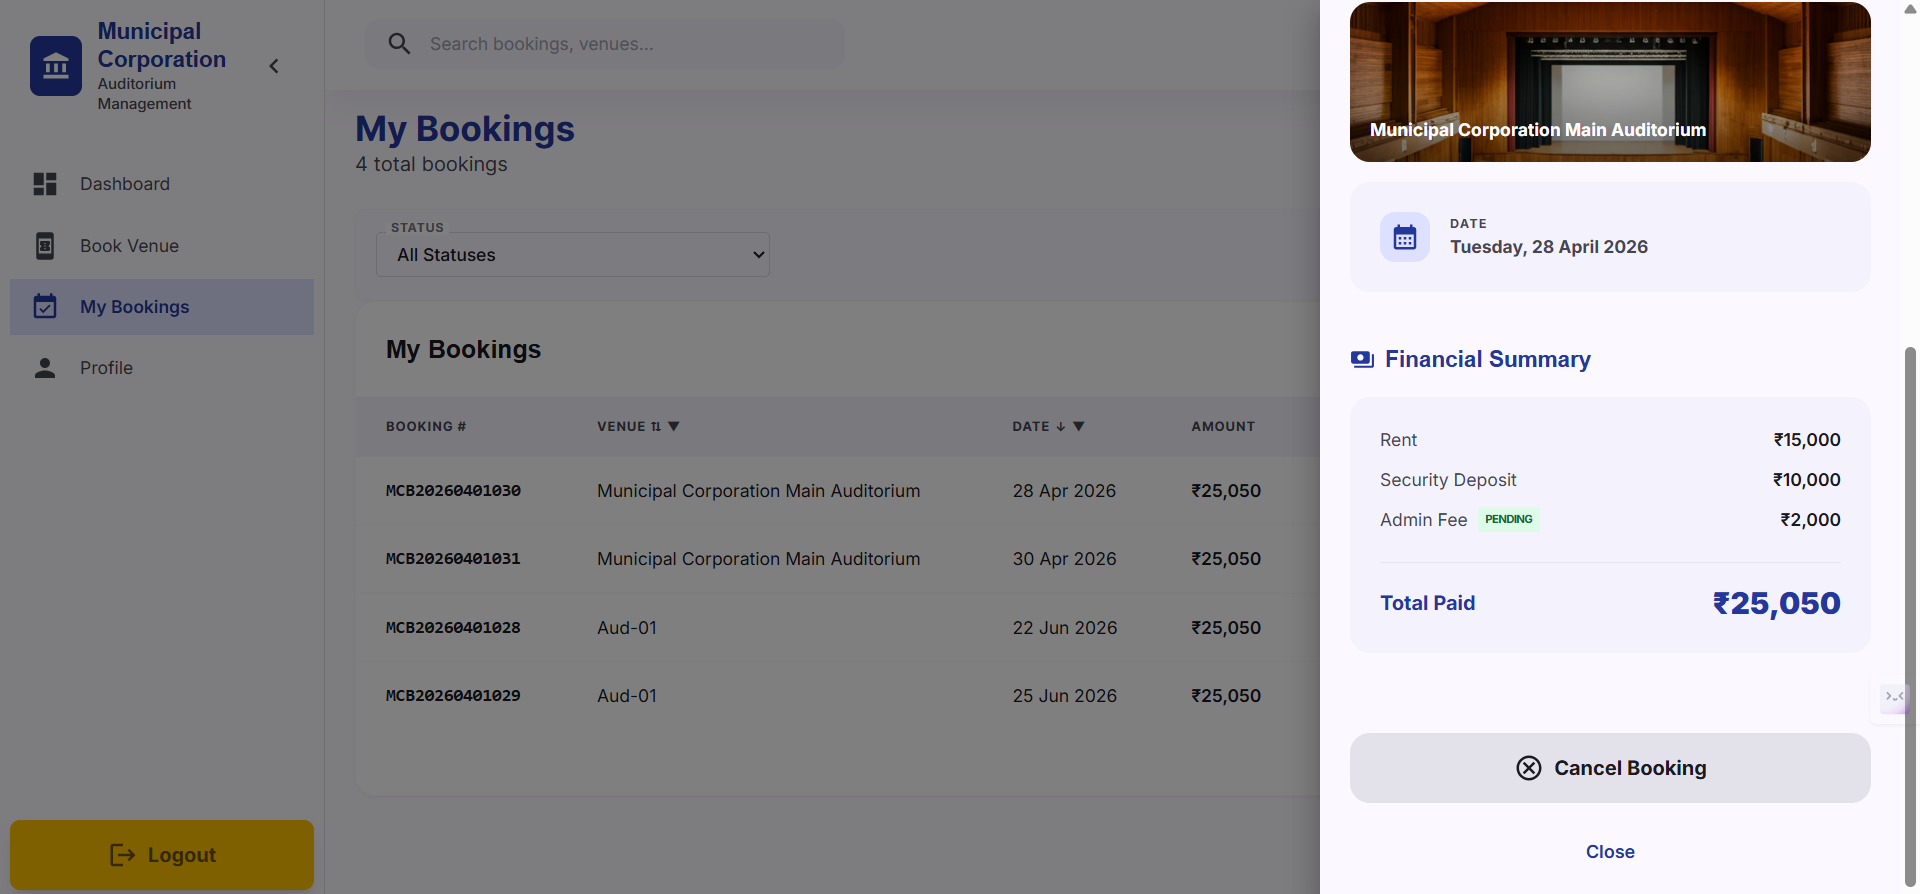
13
Slide down in Booking details pop up, You'll see Cancel Bookings option
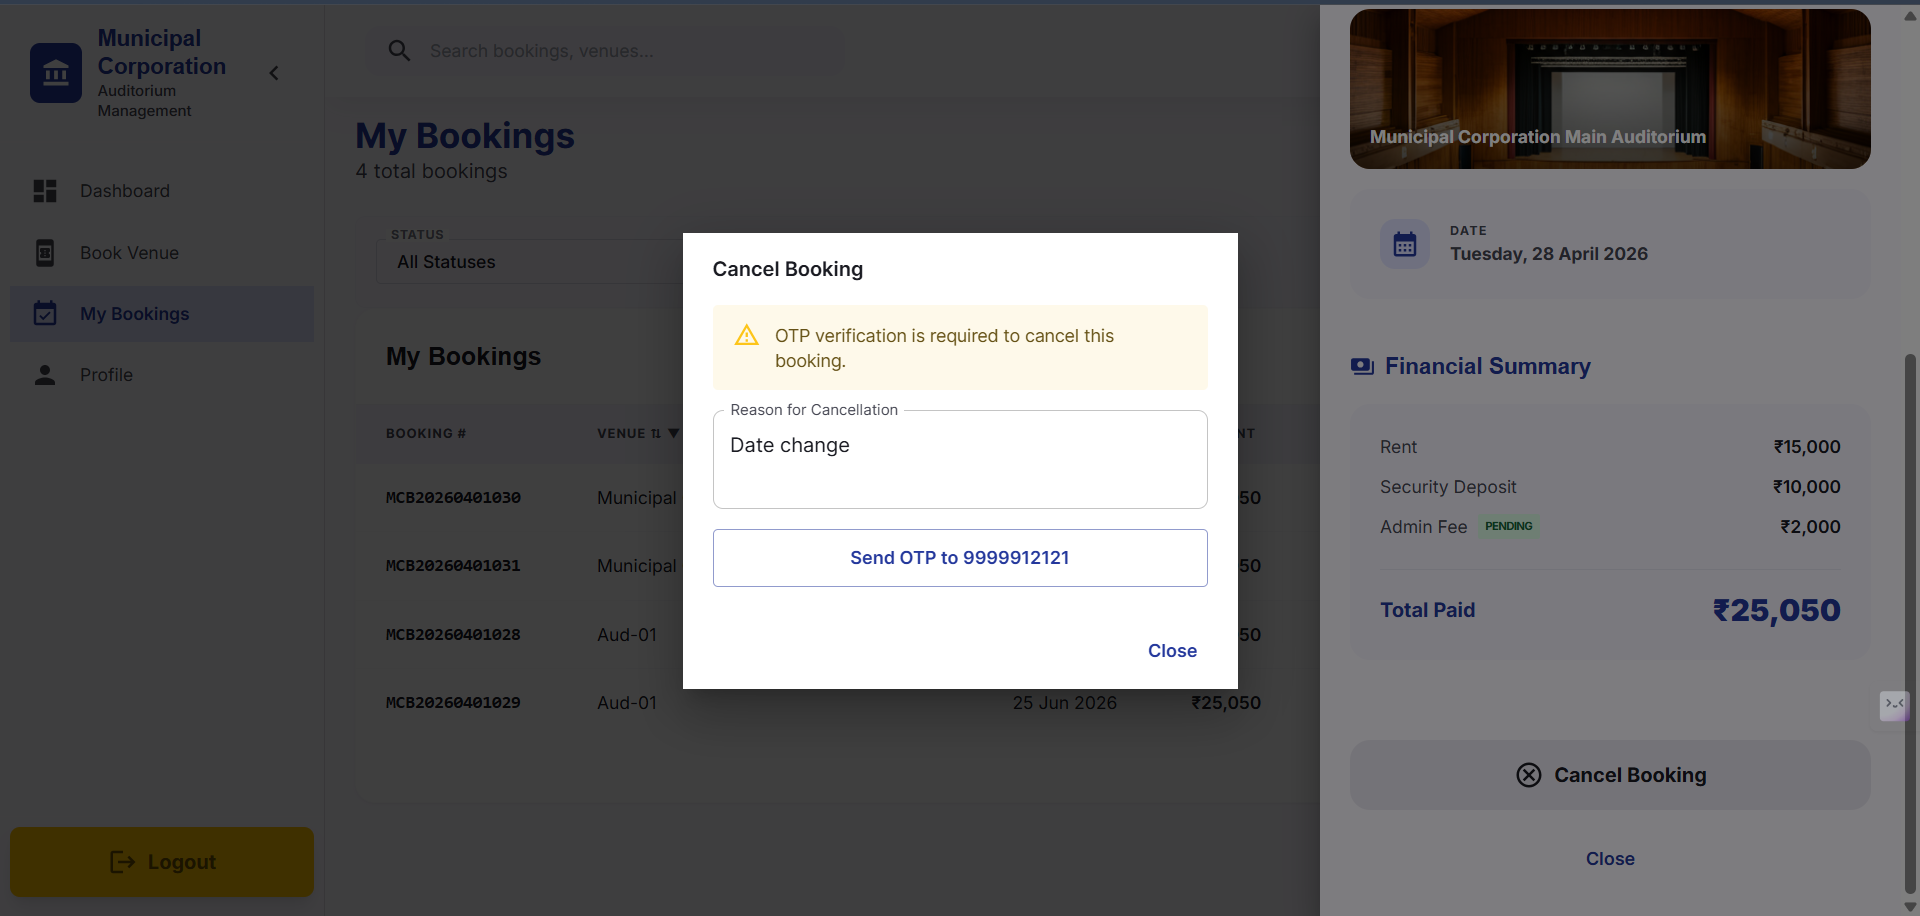
14
After clicking on Cancel Bookings option, Reason for Cancellation will pop up, so provide your reasons accordingly, then click on Send OTP to "your number"
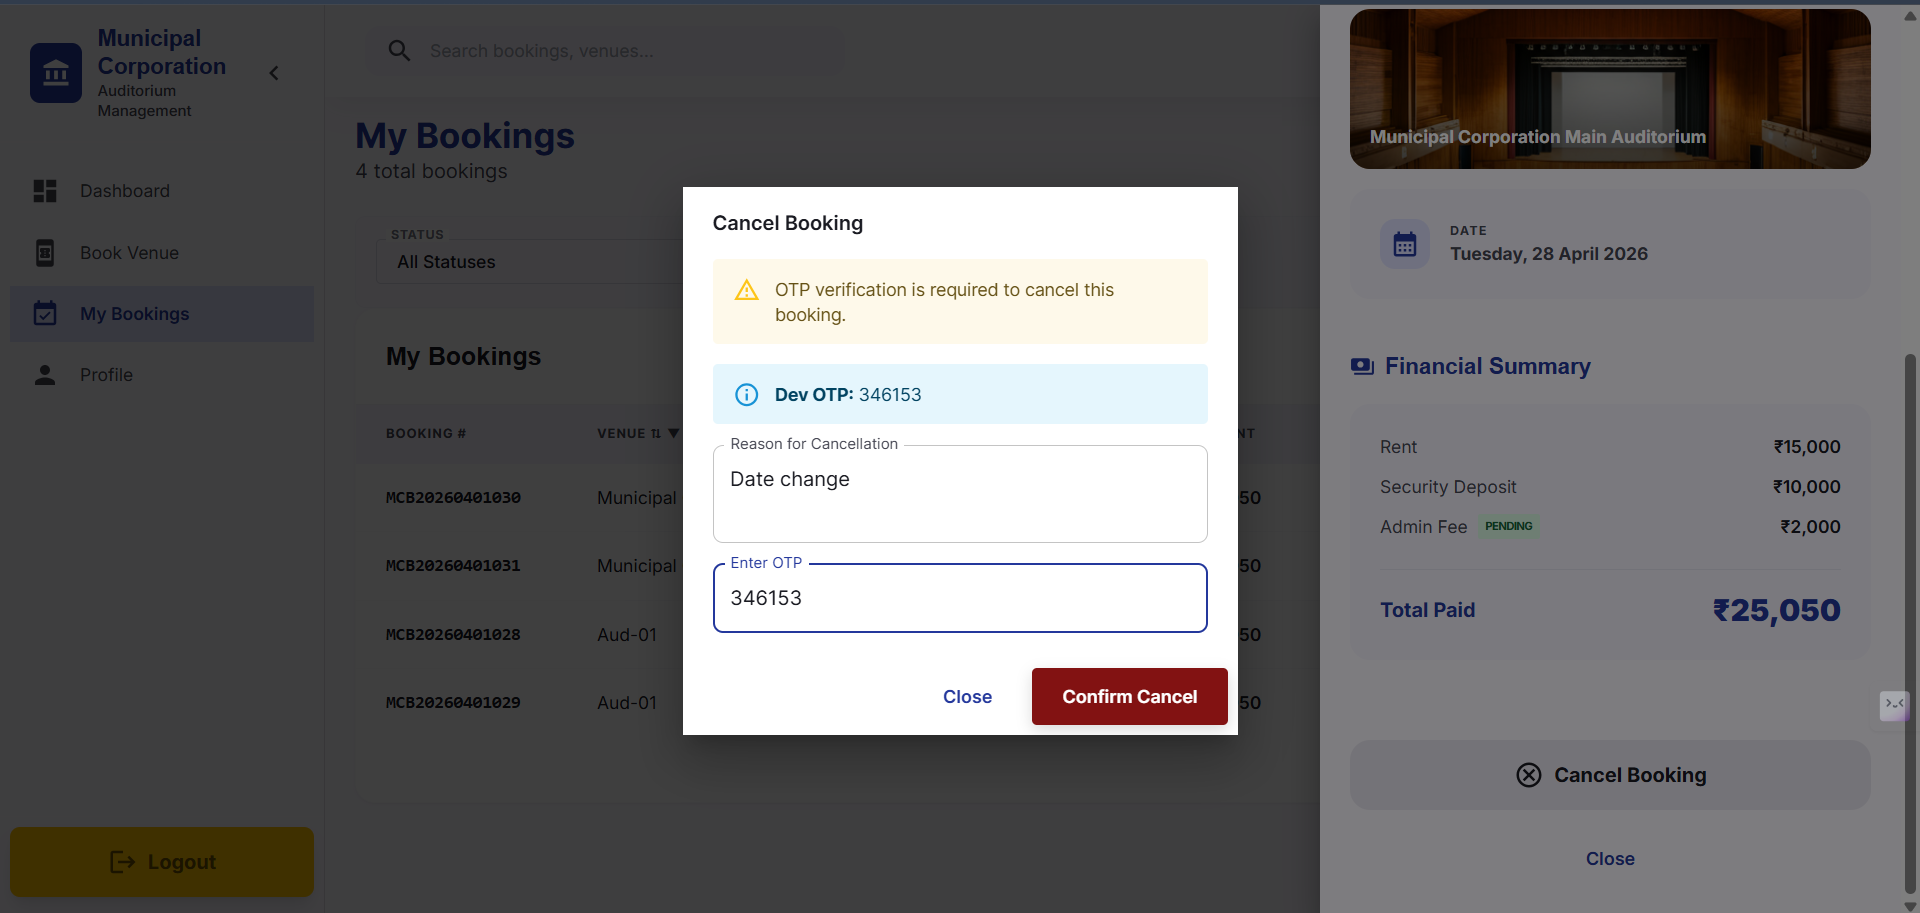
15
After clicking on Send OTP, provide it and then click on Confirm Cancel
16
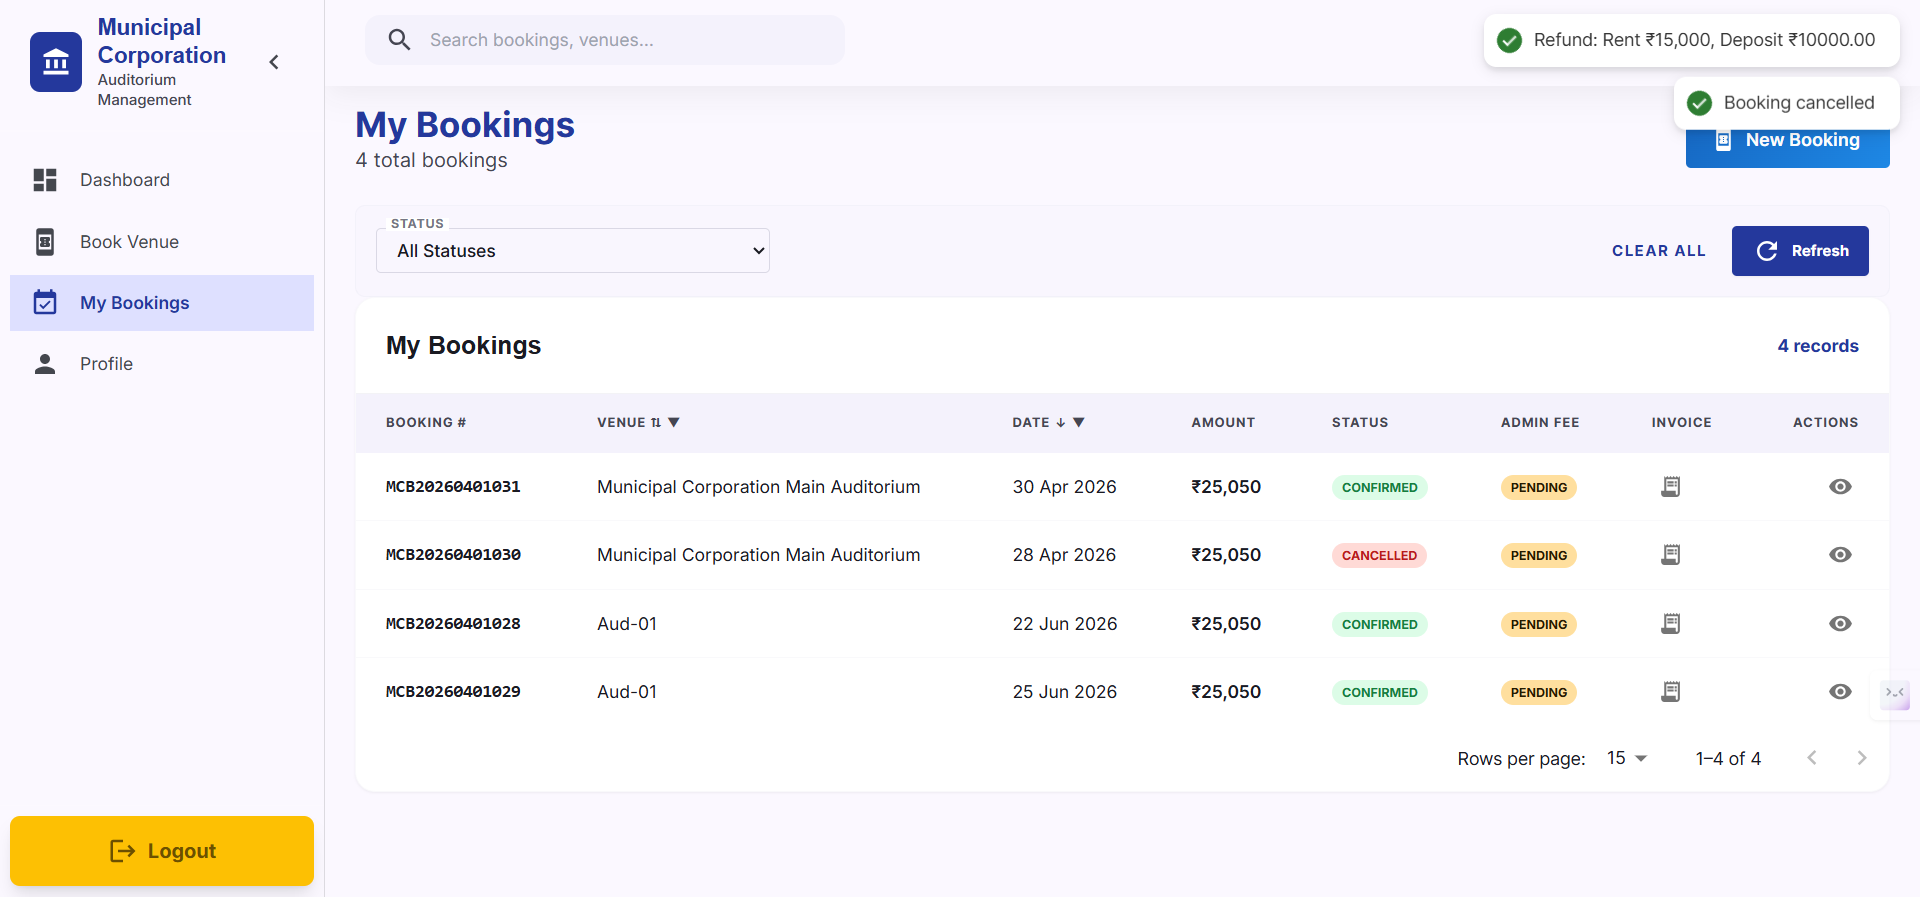
Then Status of your bookings will be changed to "Cancelled" and Refund will be processed. Further no actions on that date will be applicable.
Update Your Profile
Keeping your profile information accurate ensures you receive notifications about your bookings.
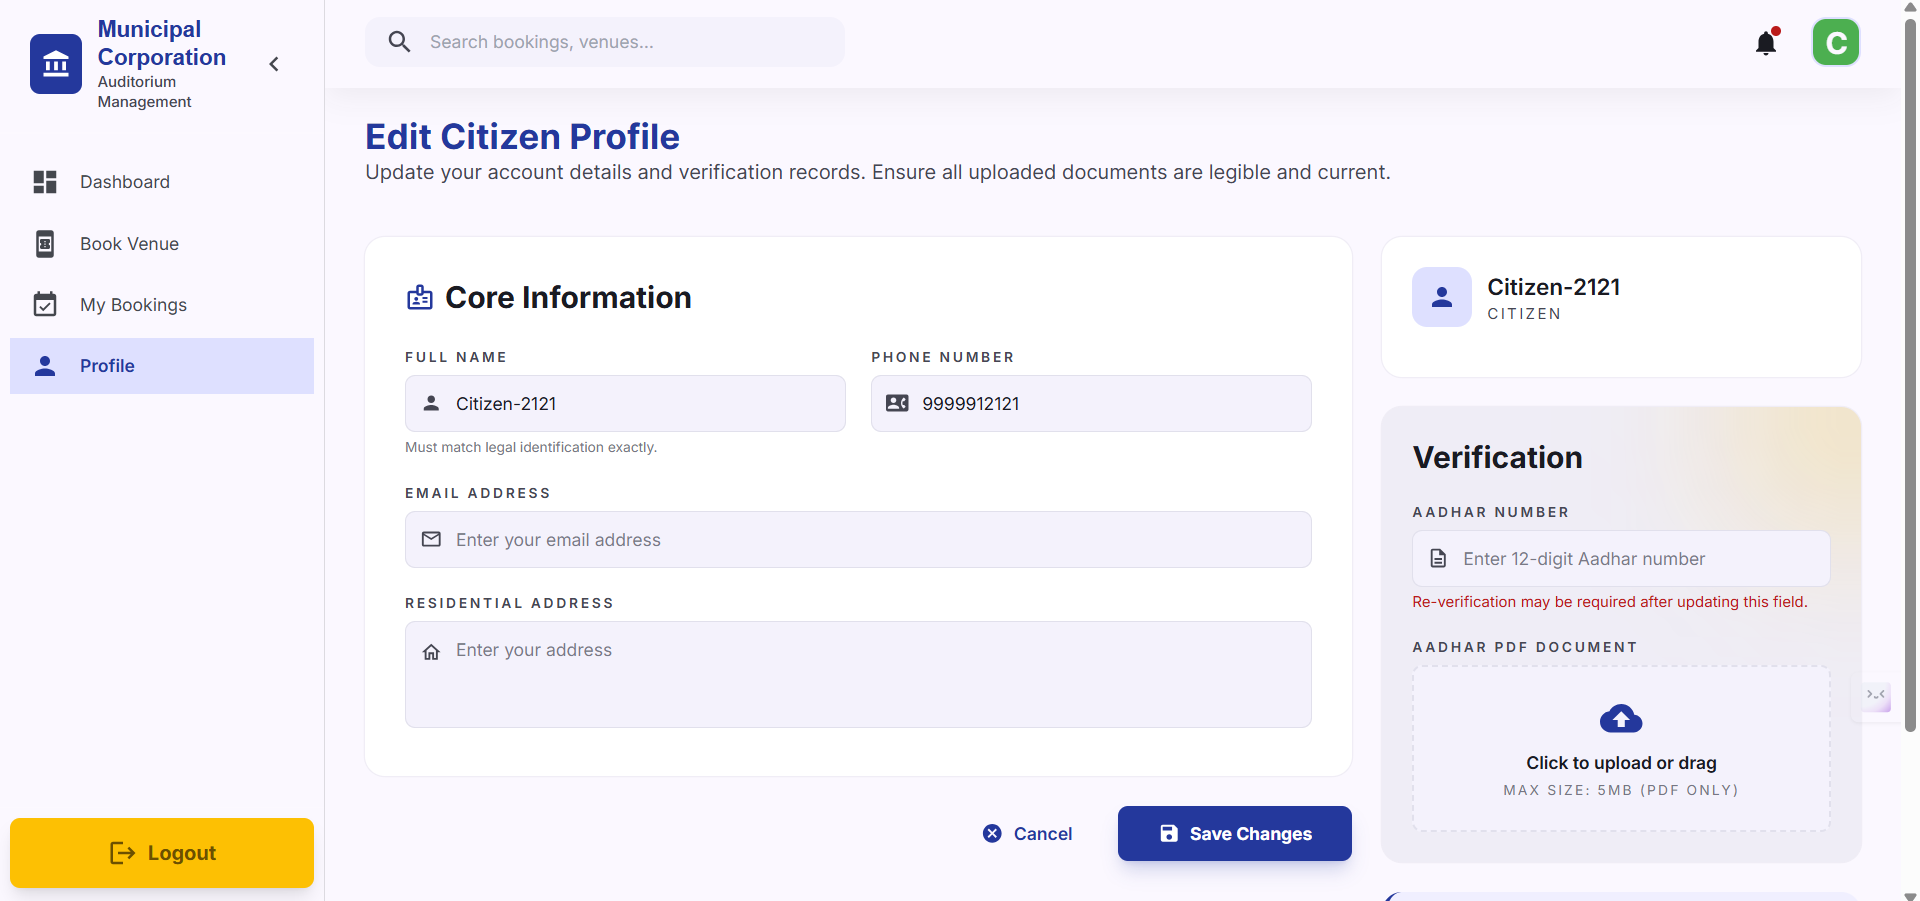
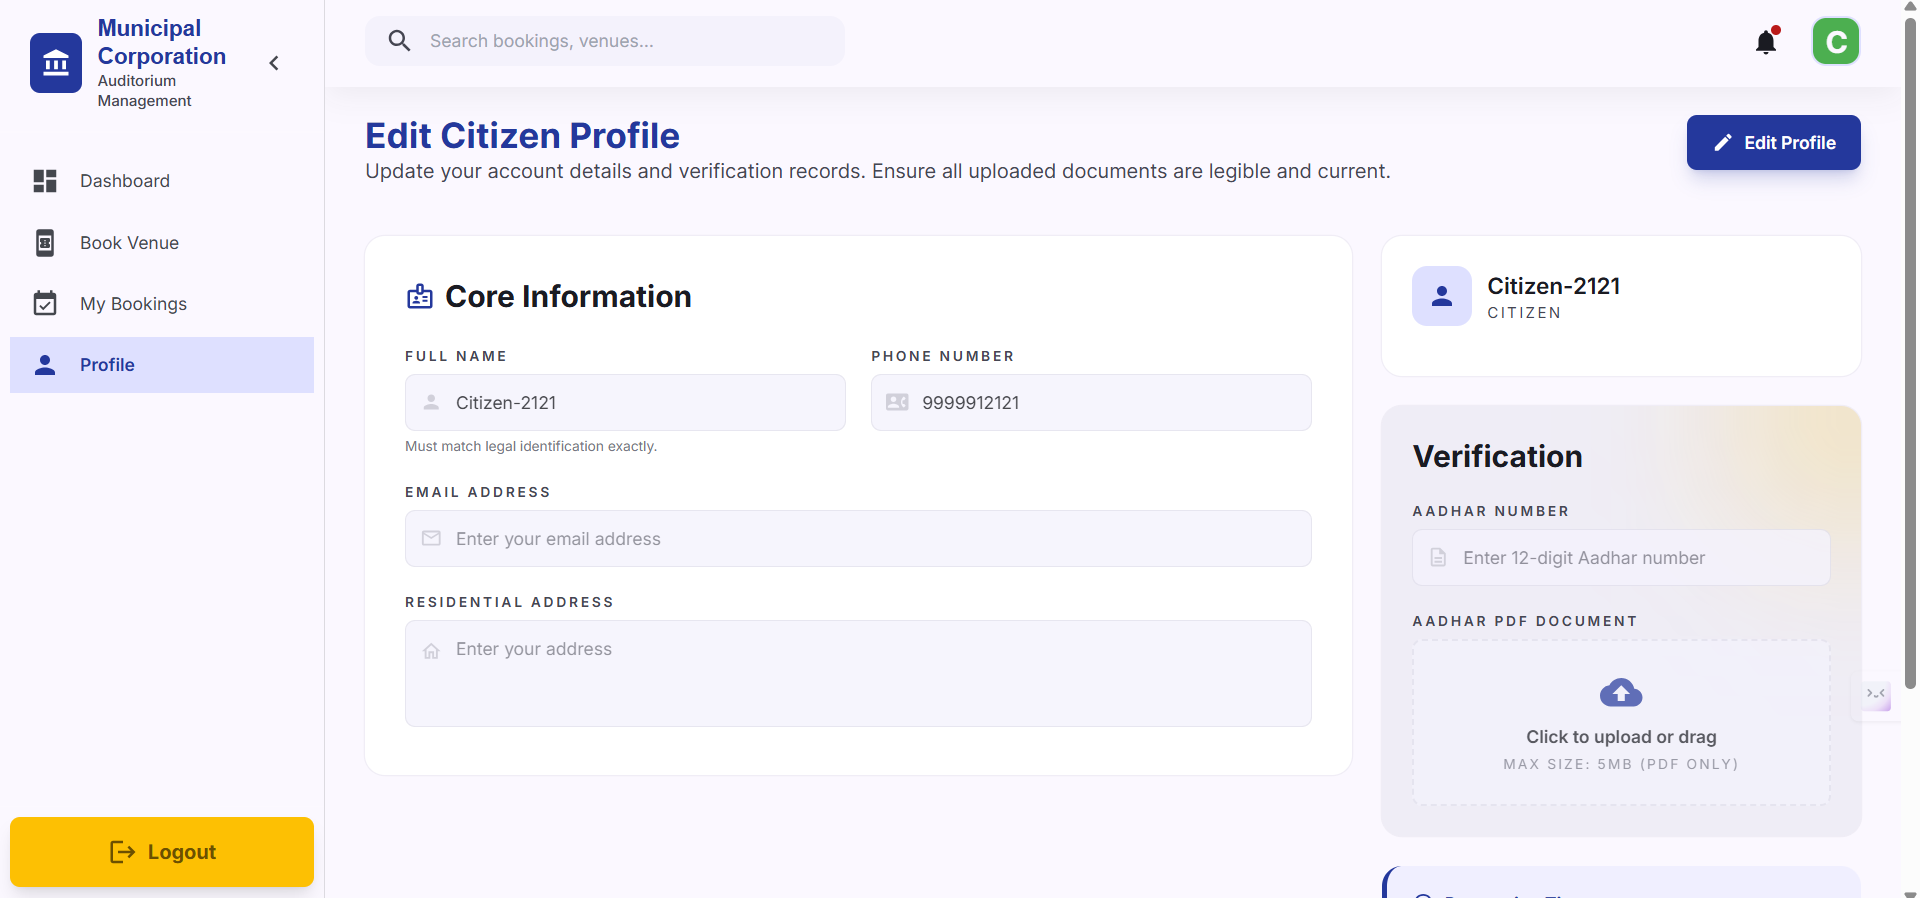
17
Click on your Profile in the bottom left corner of the screen. Click the Edit Profile button located in the top right corner.
18
Click Save Changes to apply your updates.