AppLovin | How to Build a Campaign

Learn how to create a successful marketing campaign in AppLovin, including uploading media, setting up interactives, targeting audiences, and optimizing for ROAS. Follow this detailed walkthrough using Nona's Olive Oil as an example.

By Eric Bork

In this guide, we'll learn how to build a campaign in AppLovin from start to finish. We'll cover how to prepare and upload media, create interactive ads, set campaign goals, and organize creative assets. This process helps ensure your campaign is ready to reach your target audience and track important events.

Let's get started

Alright. In this video, I will show you how to build a campaign in AppLovin.

1
Click the account menu icon.
Step #1: Click the account menu icon.
2
Click in the search field.
Step #2: Click in the search field.

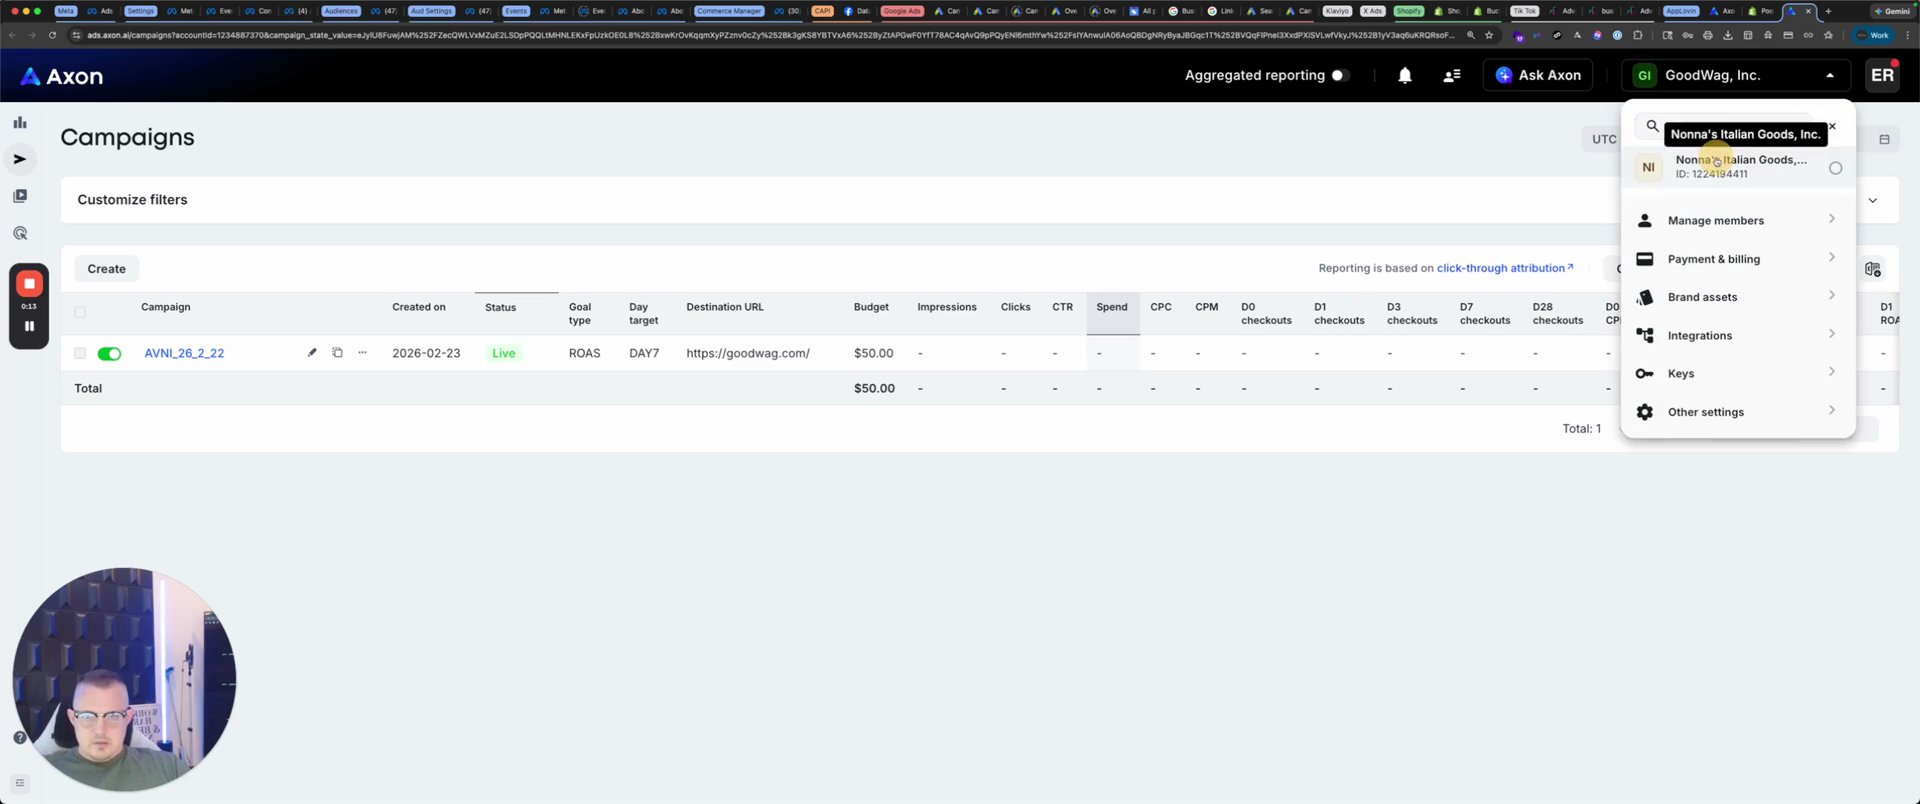
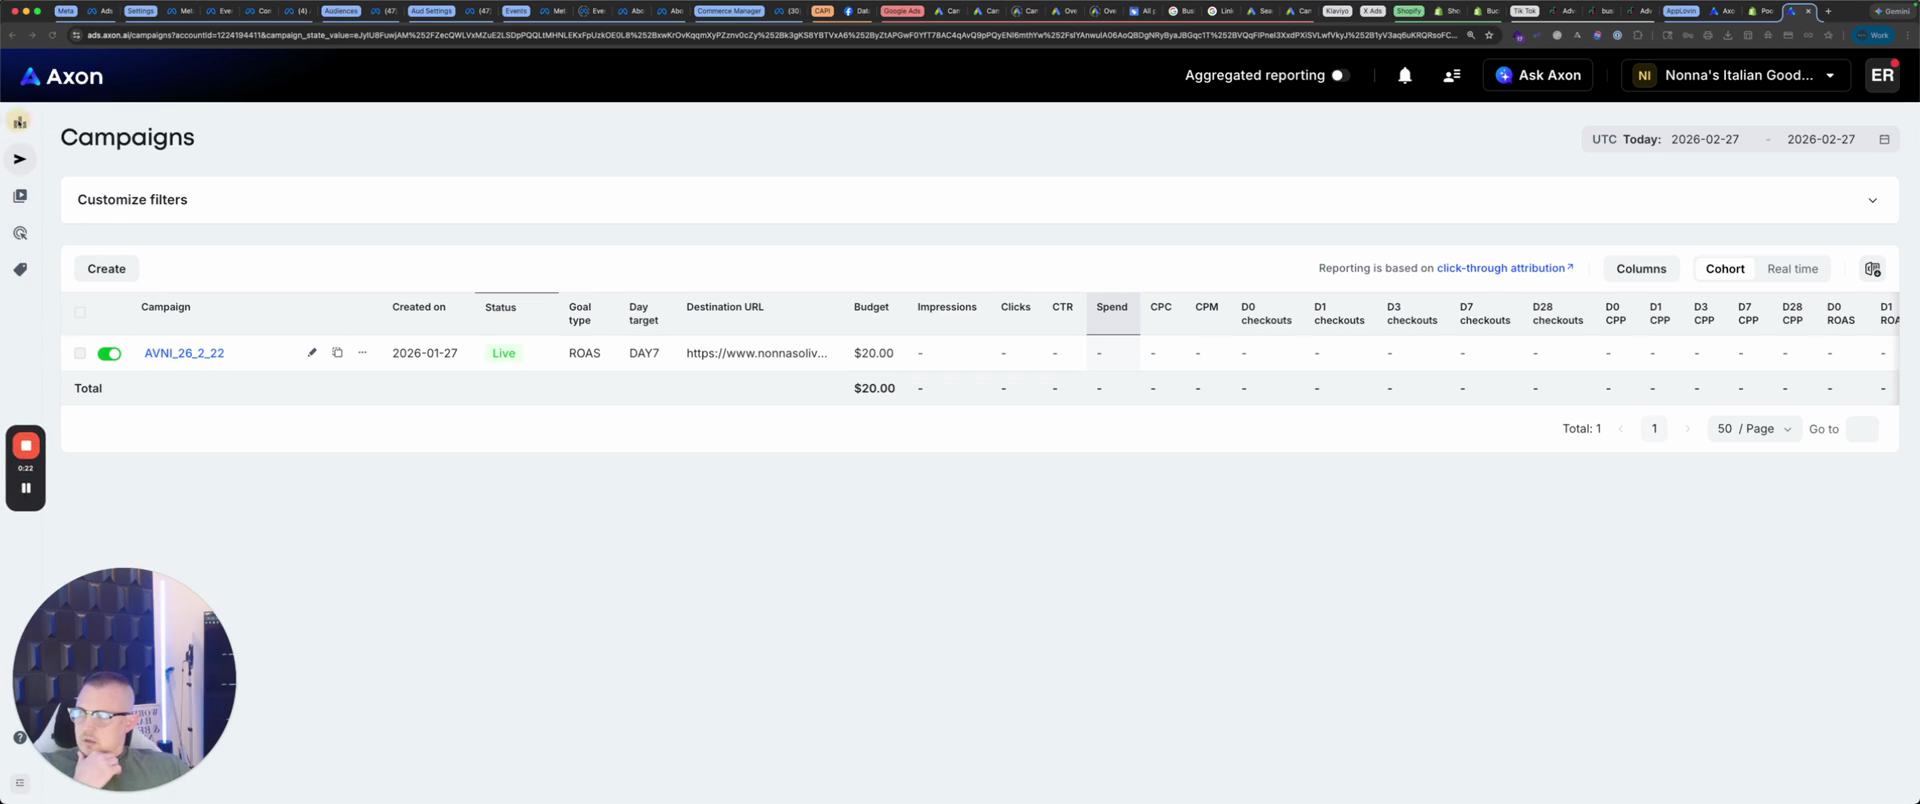
Today, we will build Nona's.

3
Type "nonnas".
4
Click on the "NI Nonnas" account.
Step #4: Click on the "NI Nonnas" account.

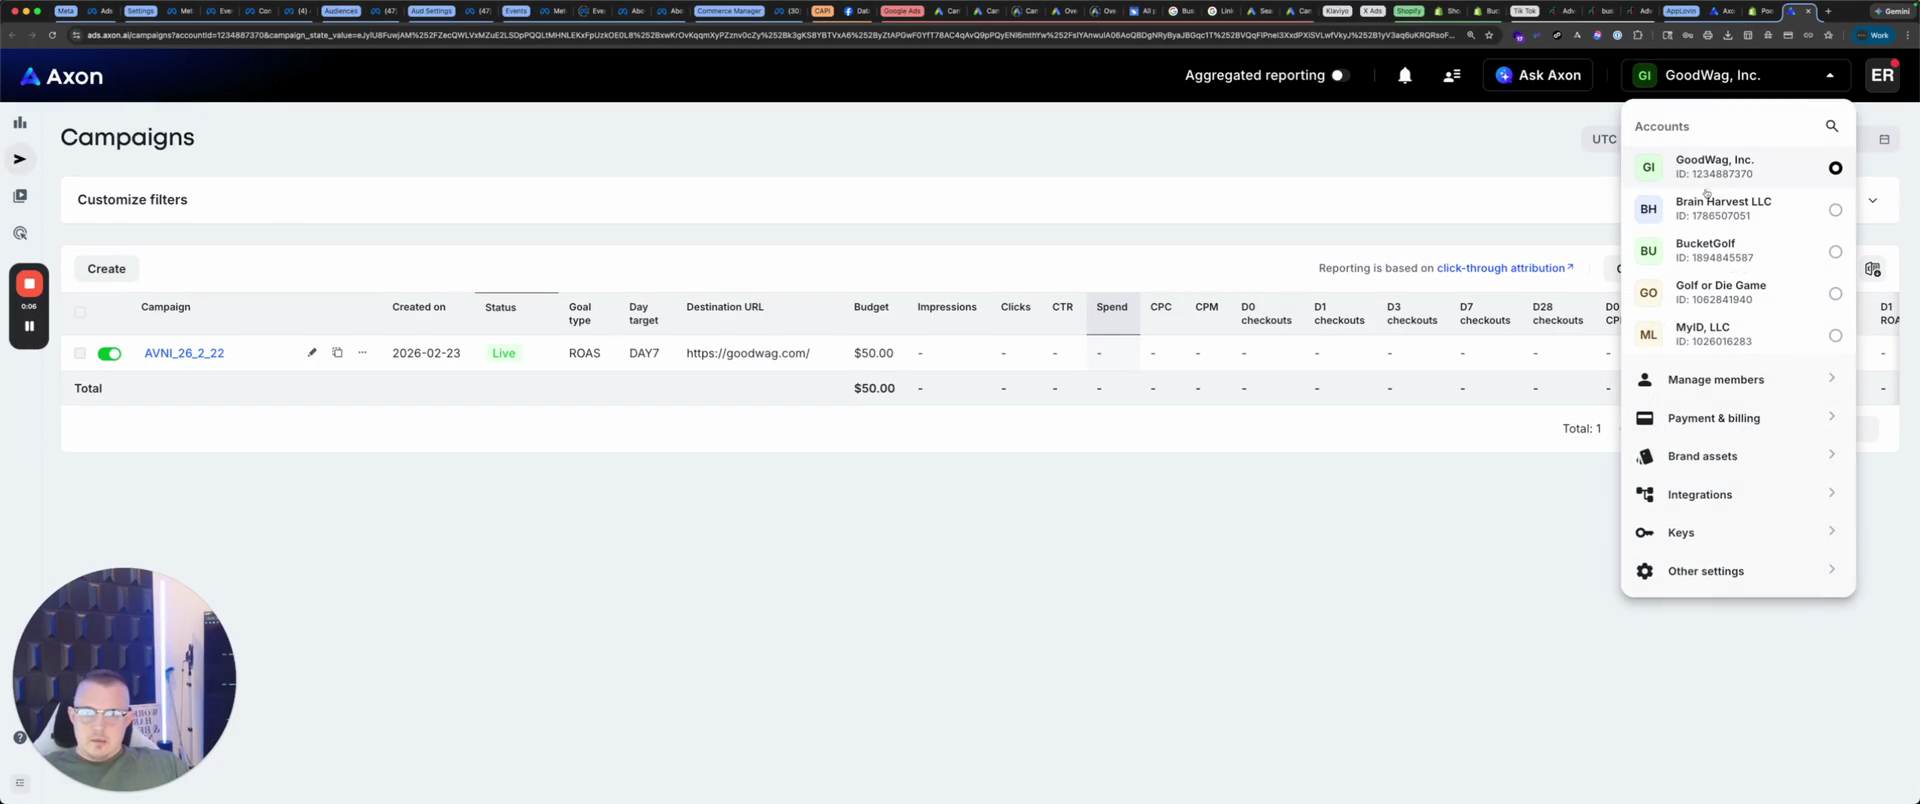
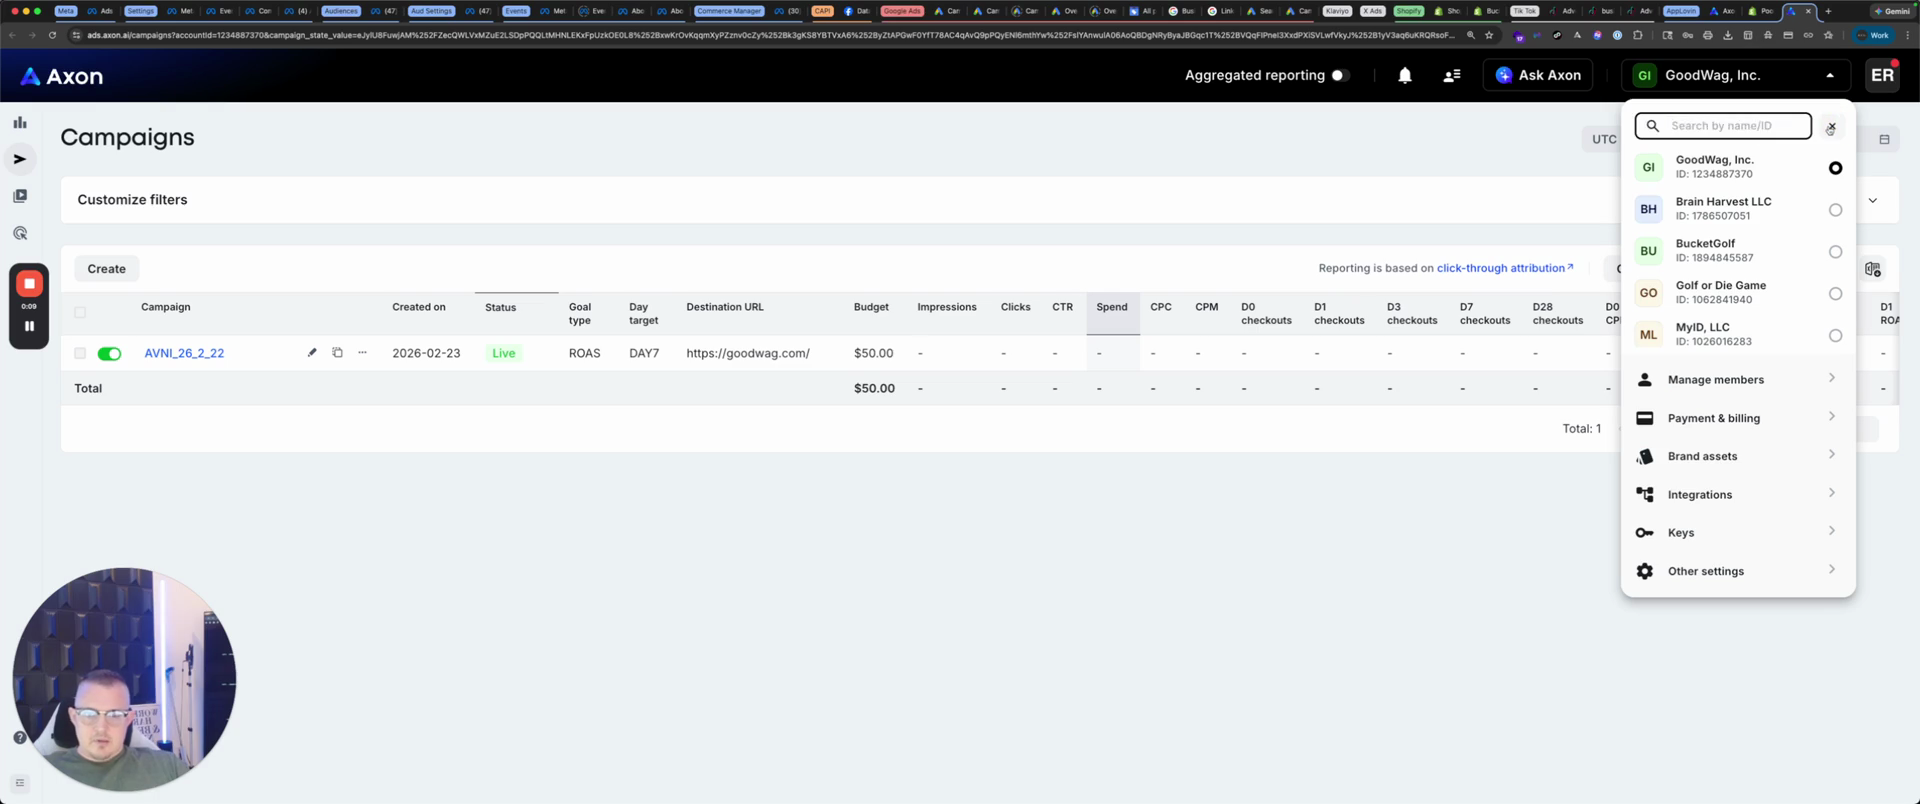
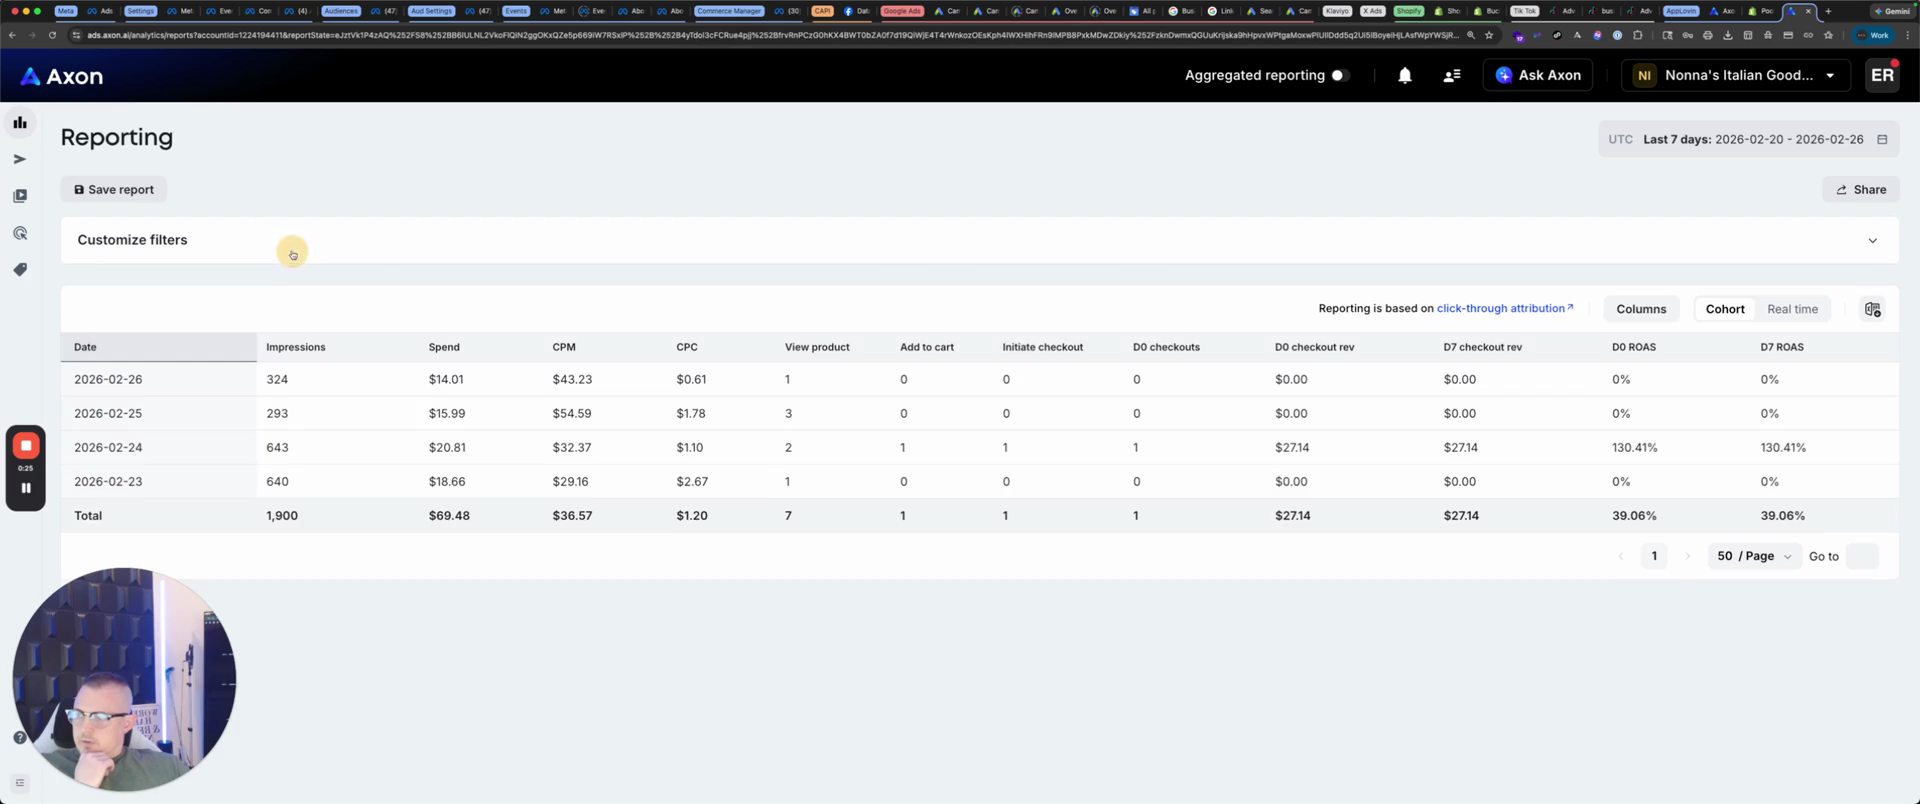
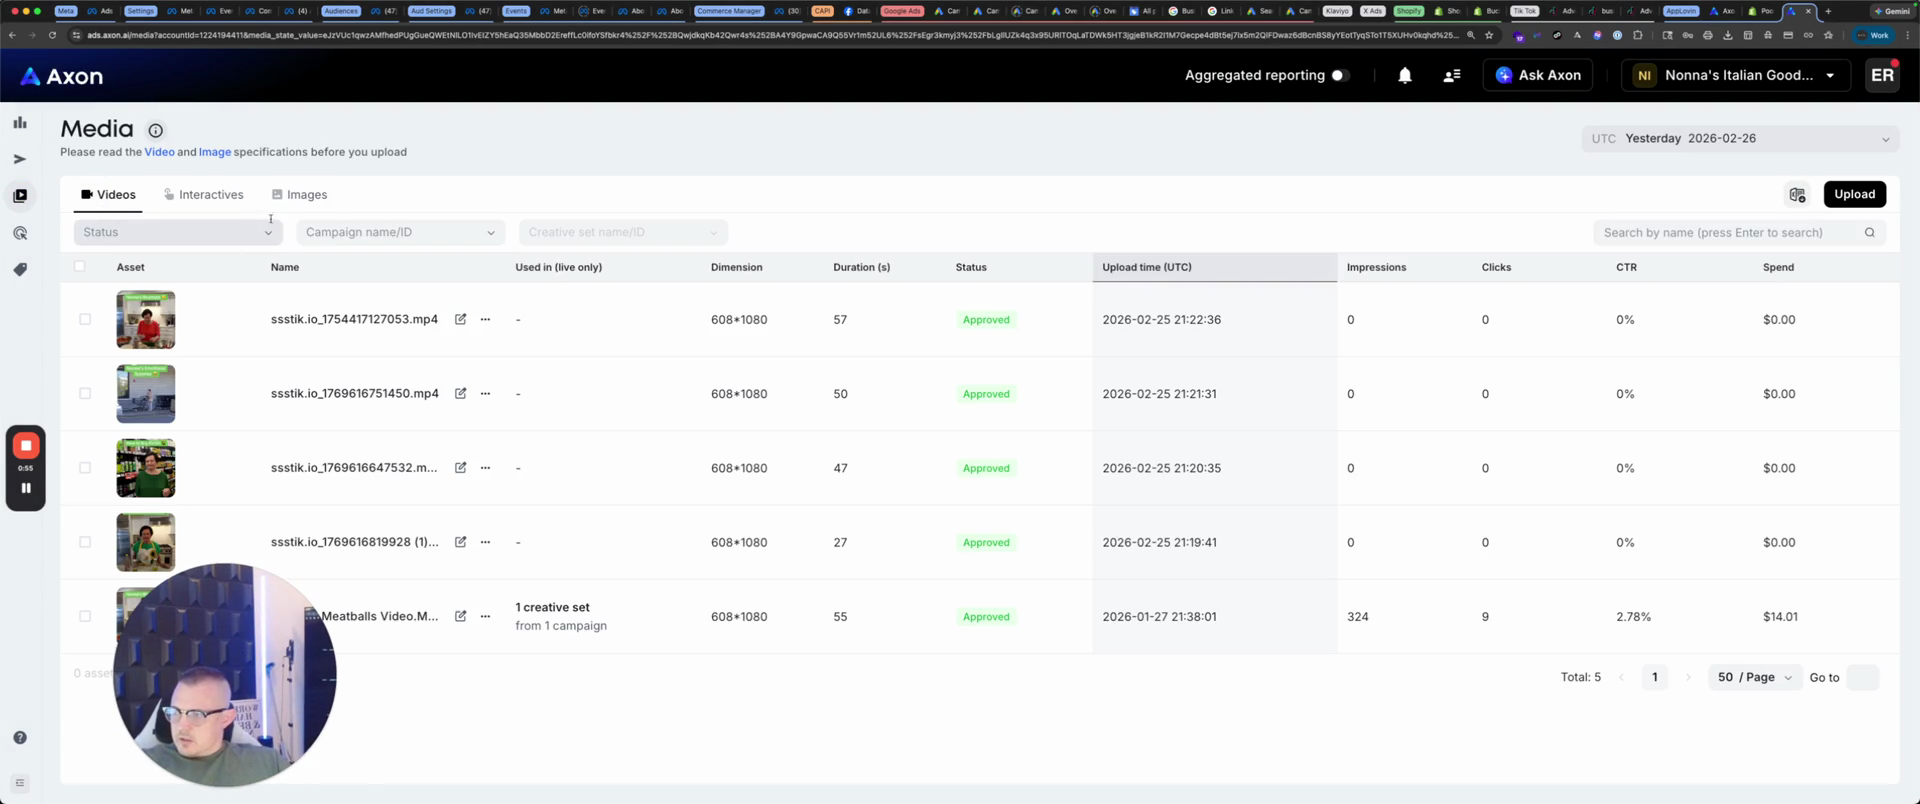
Your main areas to use are analytics, which you can filter at the top, your campaigns, and the media you add to those campaigns.

5
Click the Analytics icon on the left sidebar.
Step #5: Click the Analytics icon on the left sidebar.
6
Click the Filter by dropdown.
Step #6: Click the Filter by dropdown.
7
Click the Campaigns icon on the left sidebar.
Step #7: Click the Campaigns icon on the left sidebar.

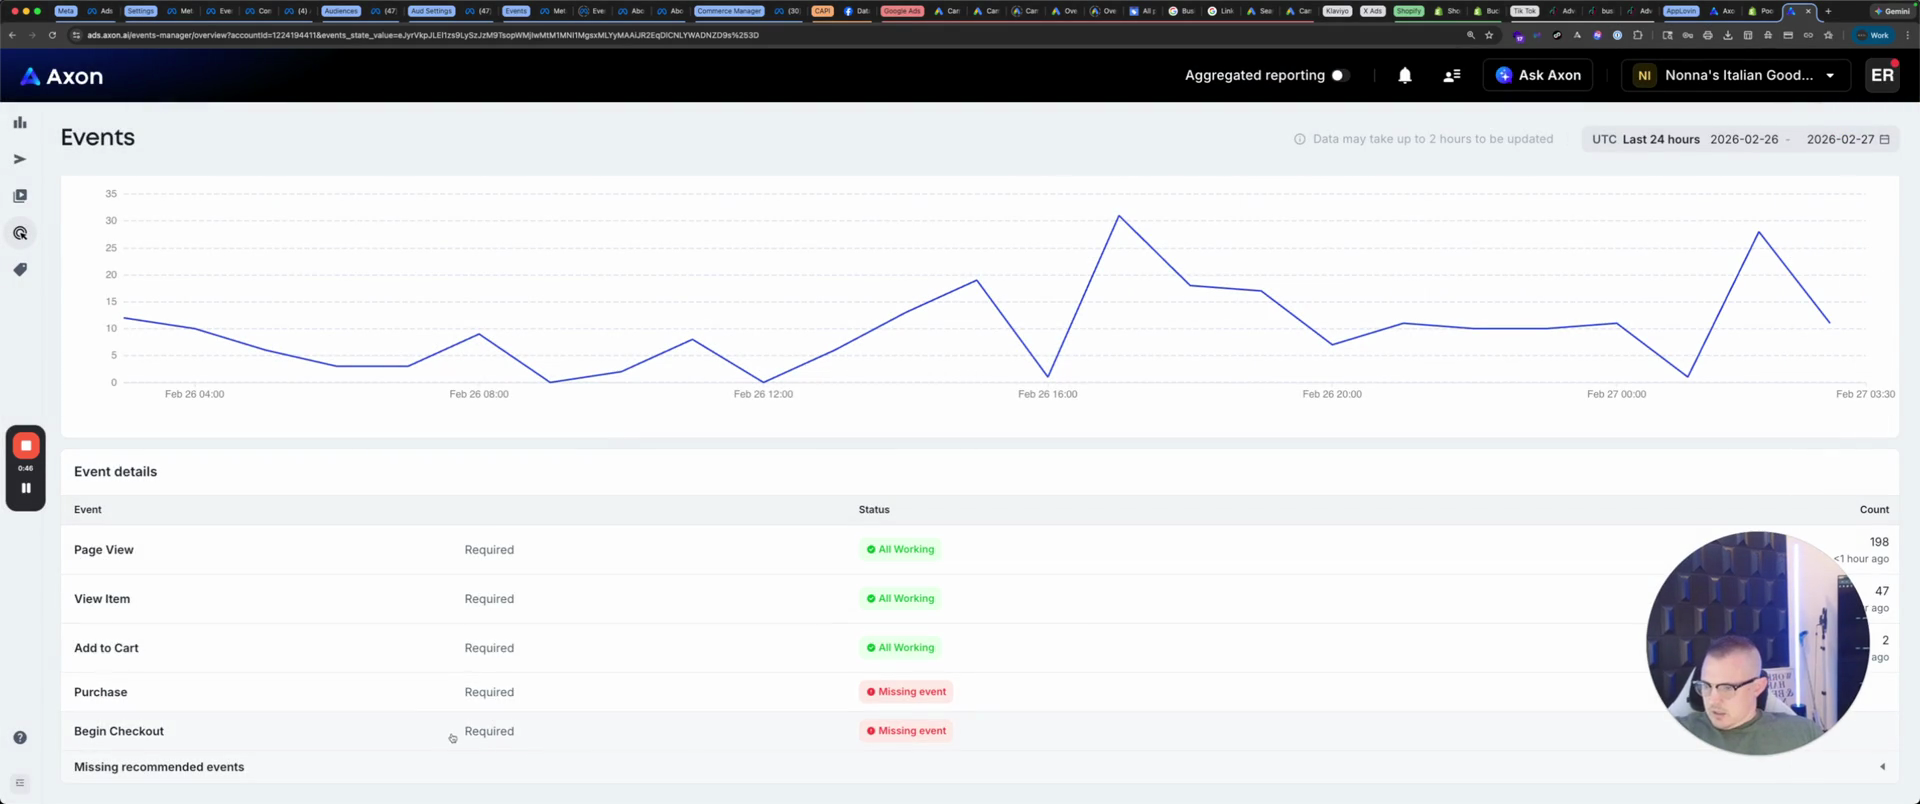
We have events. We're missing events here. We’re missing a purchase, so we need to make sure we’re not.

8
Click the Missing event link.
Step #8: Click the Missing event link.

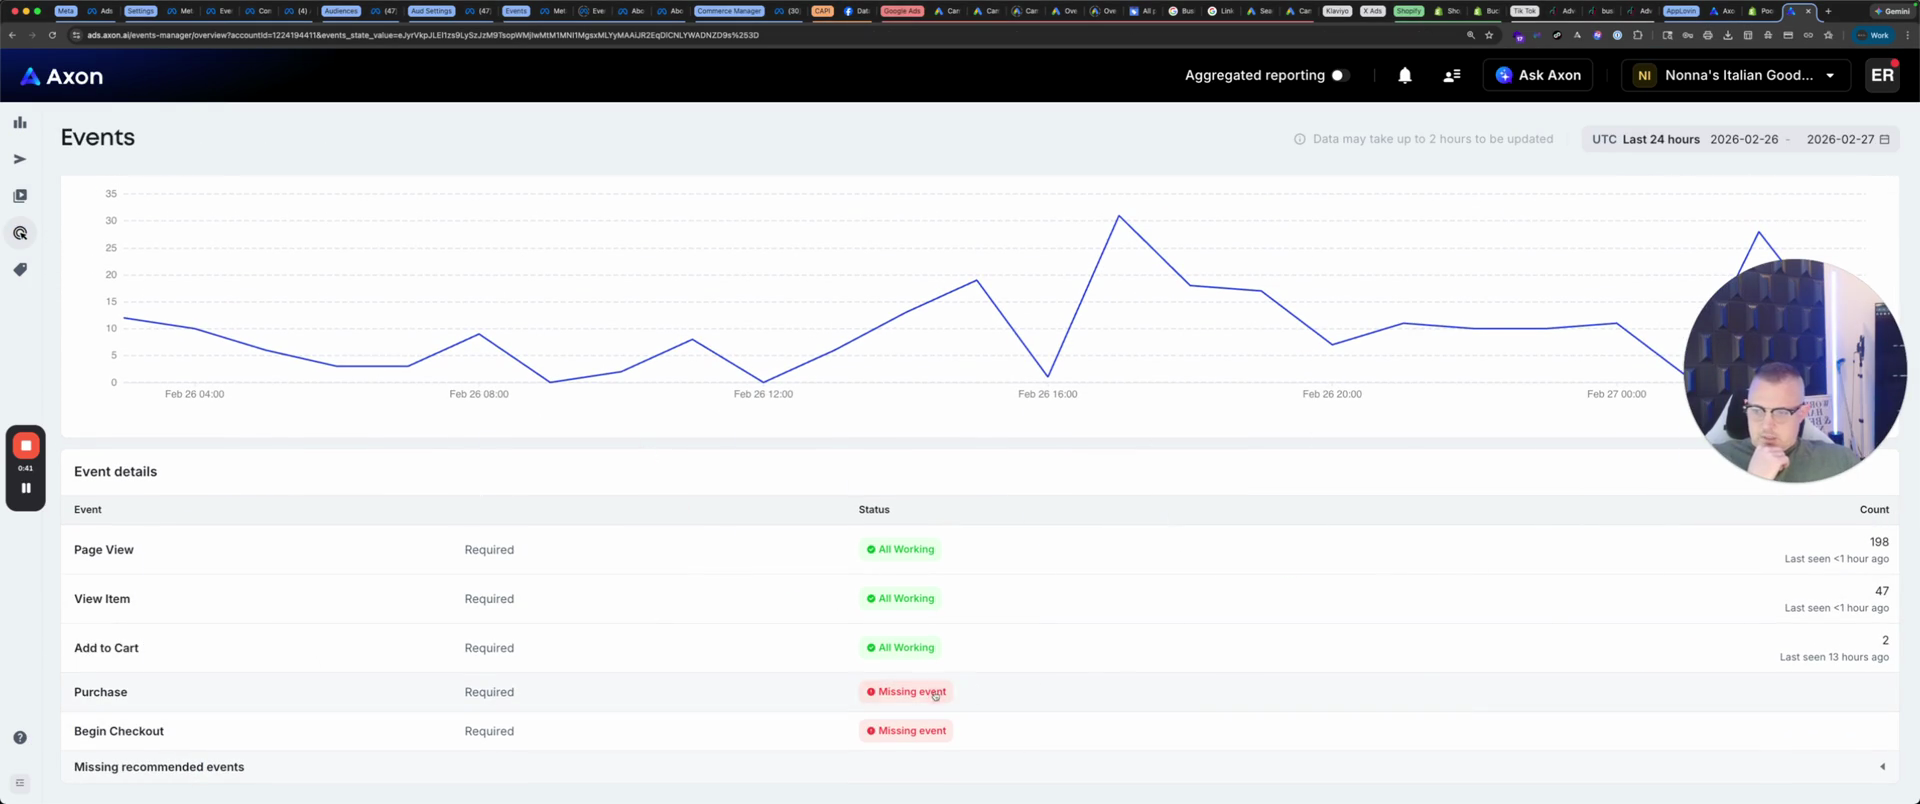
That's because there have been no purchases. Begin checkout when we launch the campaign.

9
Click the Missing event link.
Step #9: Click the Missing event link.

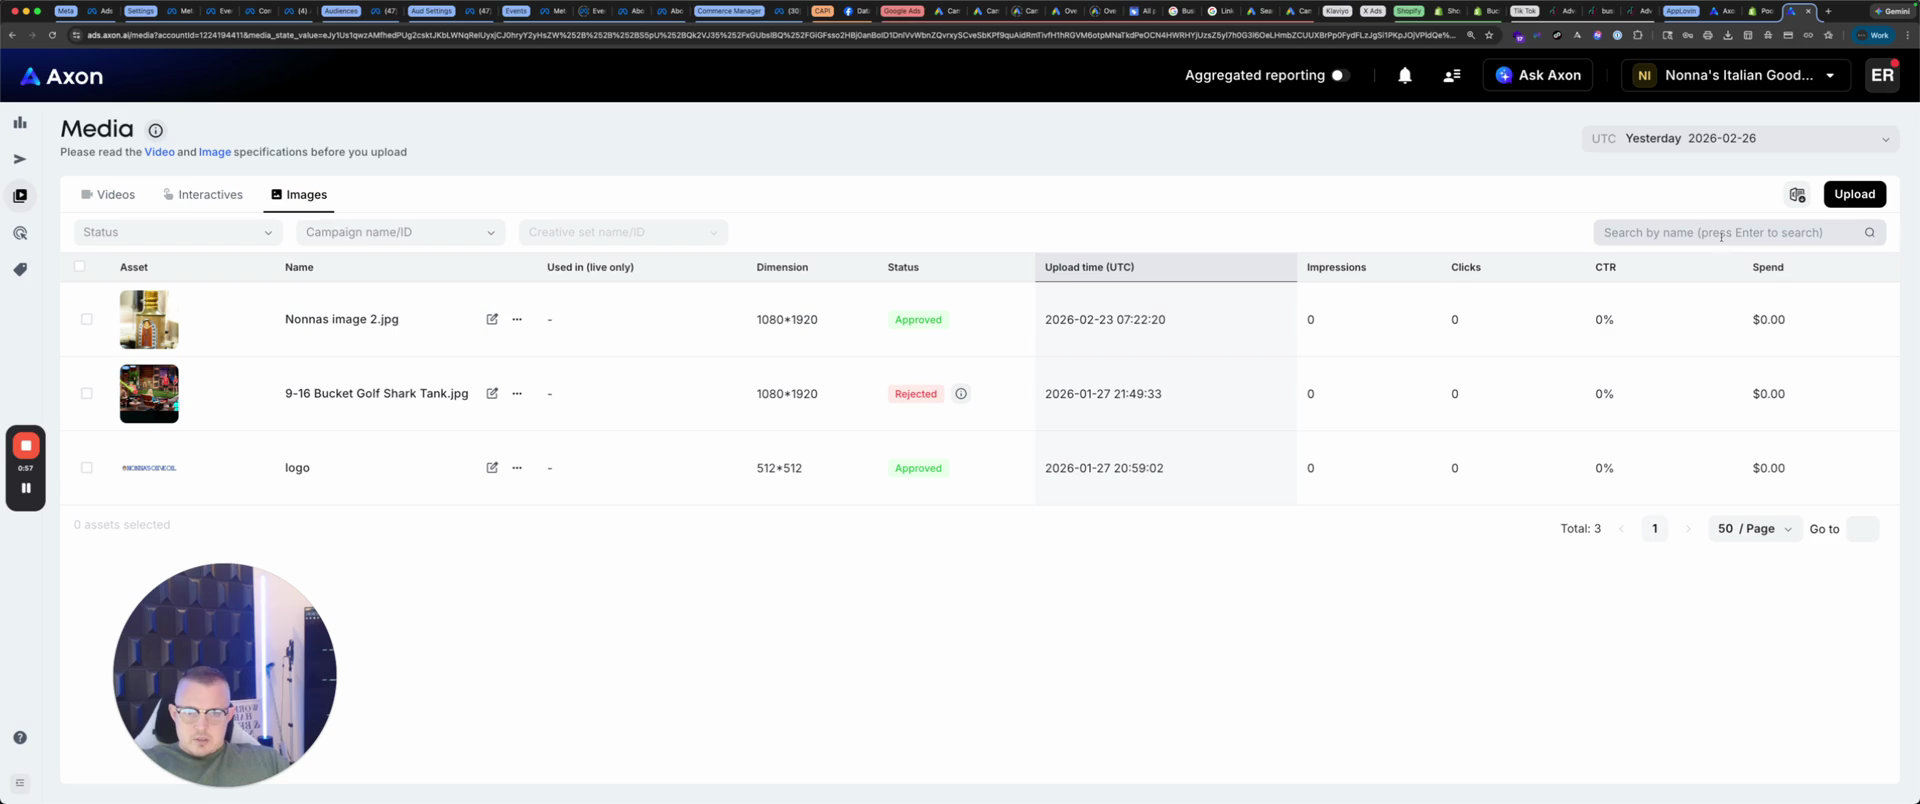
First, we start with media. For images, click upload. They must be reels.

10
Click the Images tab.
Step #10: Click the Images tab.
11
Click the Upload button.
Step #11: Click the Upload button.
12
Ensure your video dimensions are set to 720 wide by 1280 tall or 1080 wide by 1920 tall for Reels.

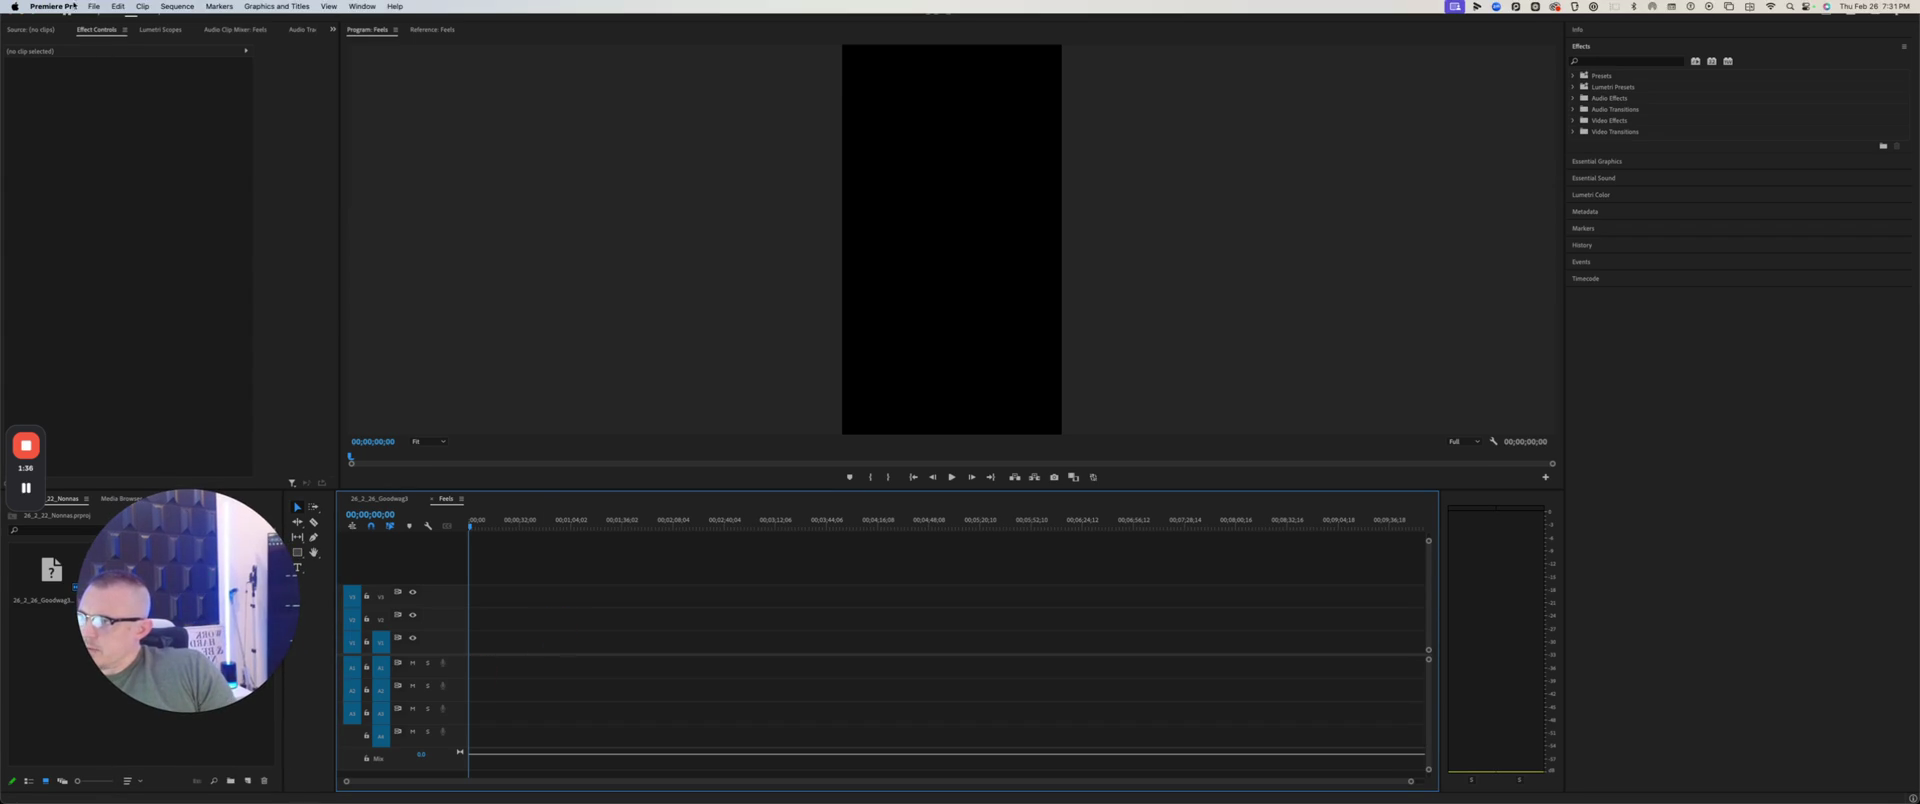
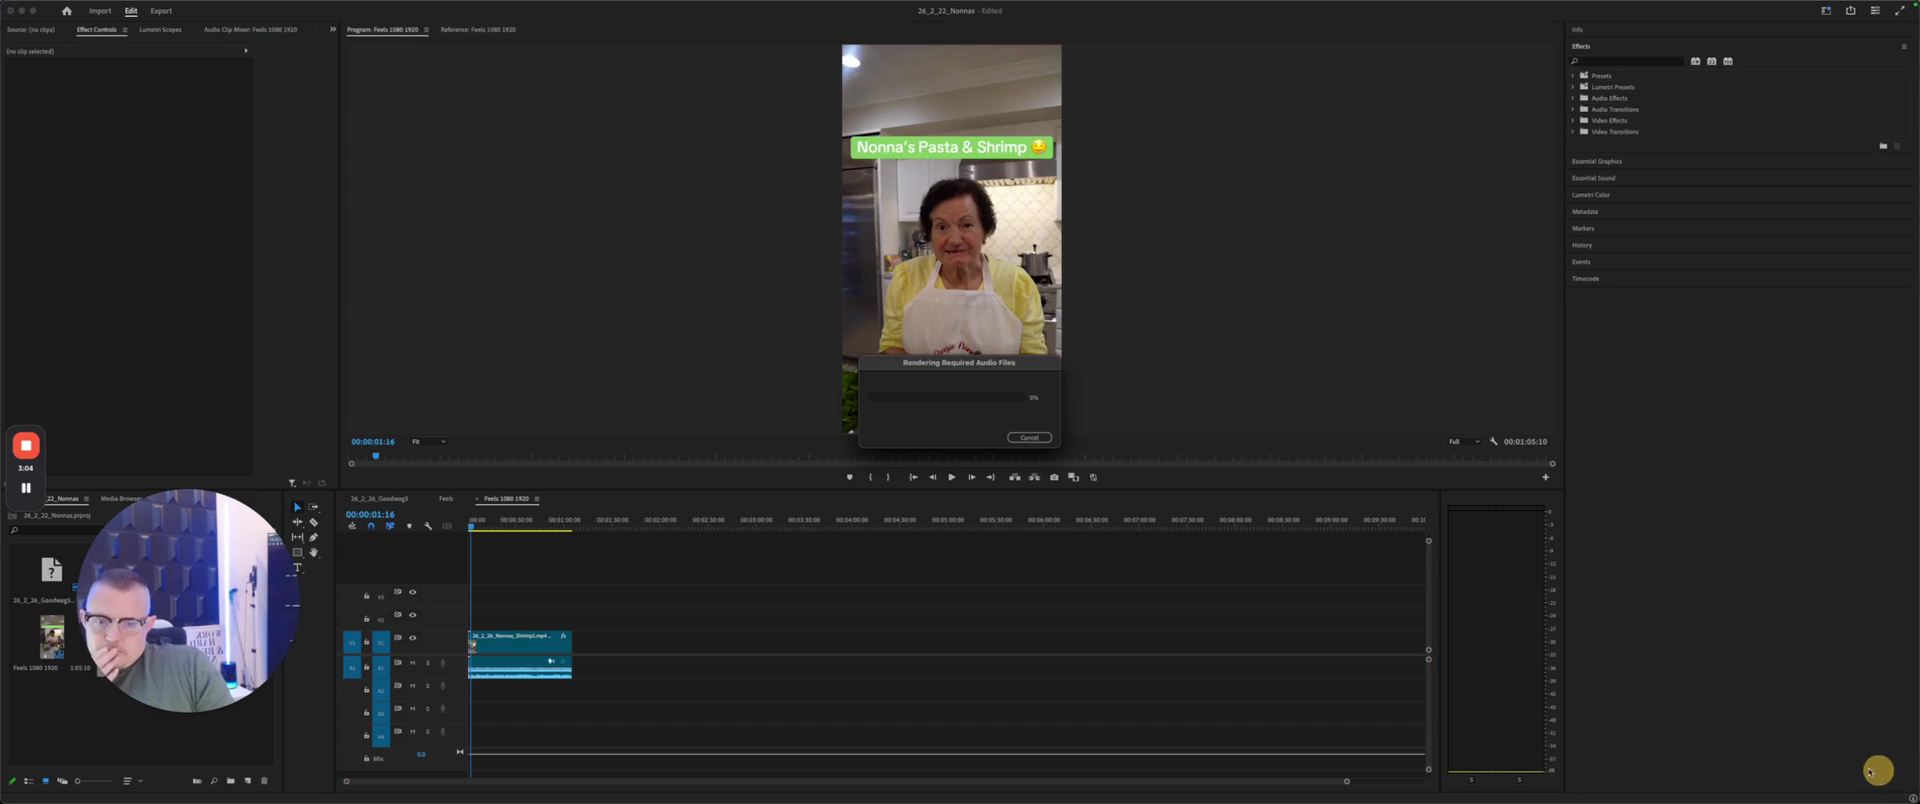
That's 720 wide by 1280 tall, or 1080 wide by 1920 tall. We are going to create a sequence. Sometimes, you receive a video that looks like a reel but isn't. Here, we will make this sequence. You can't actually see. Delete that. This is an old one.

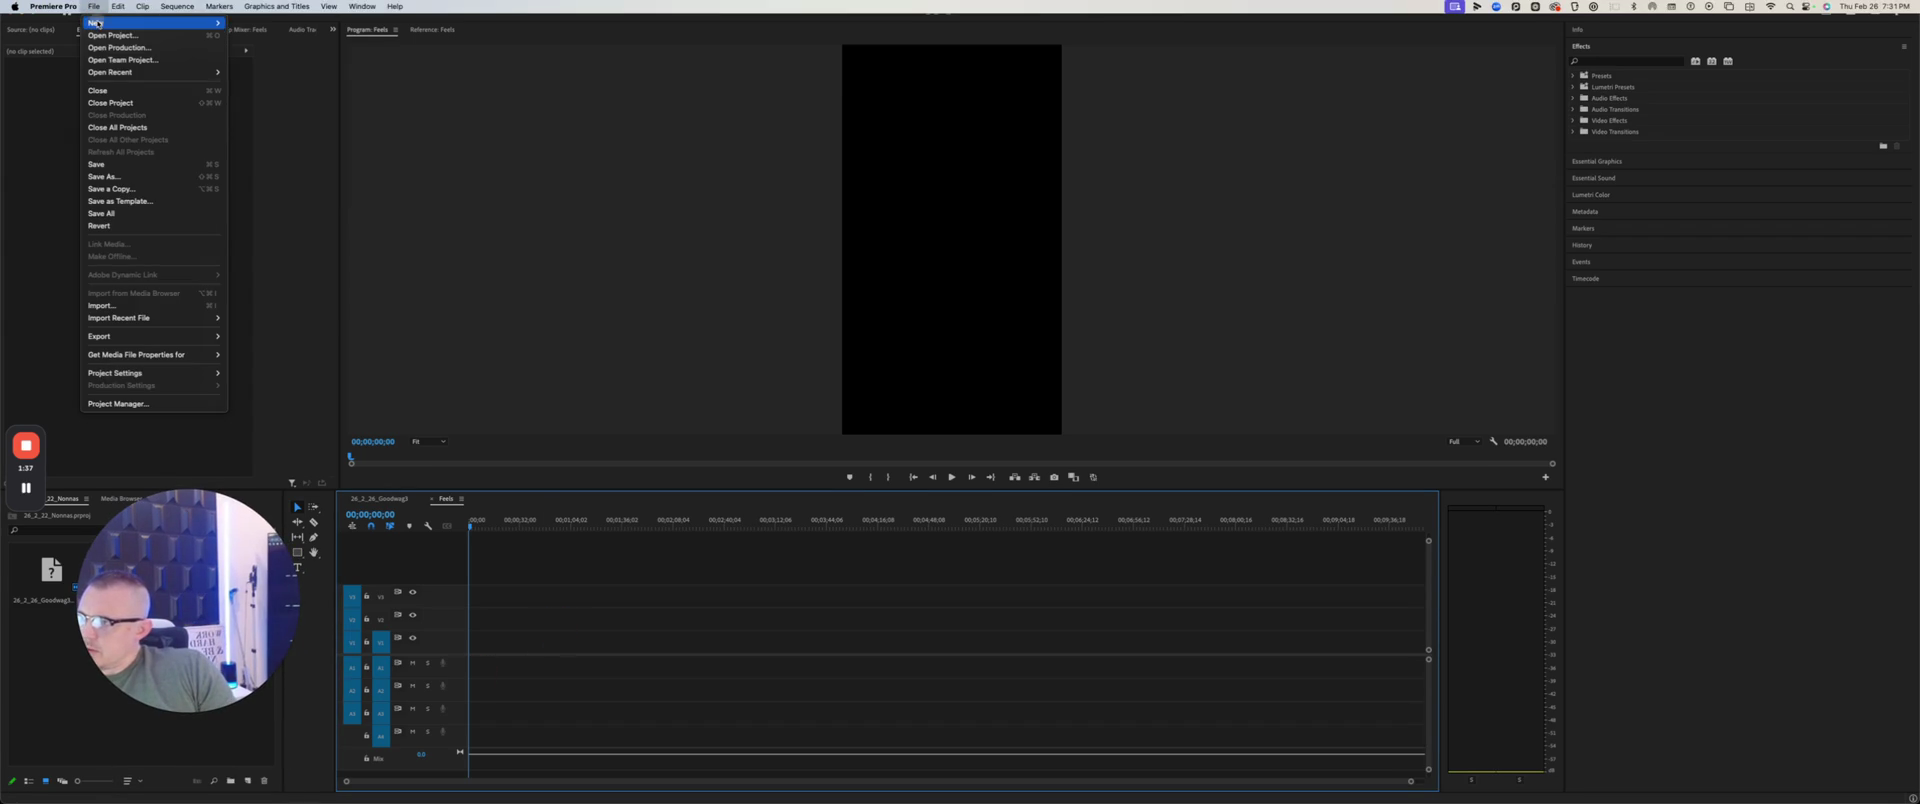
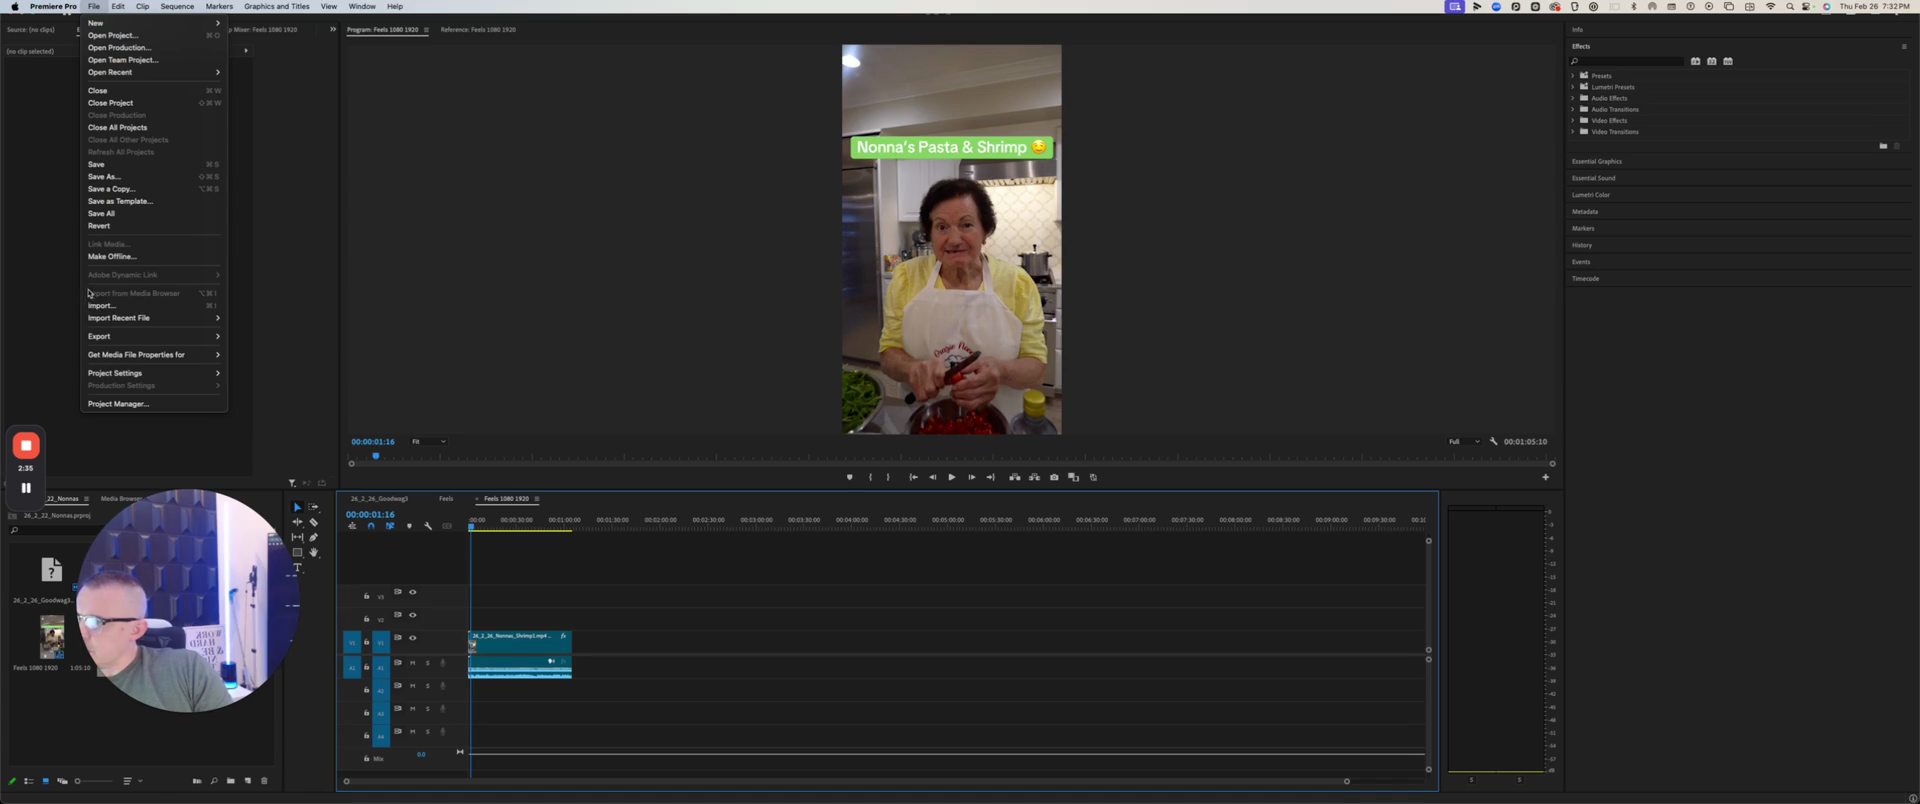
We're going to select File, then New, and choose Sequence.

13
Click File in the top menu bar.
Step #13: Click File in the top menu bar.
14
From the submenu, click on Sequence.
Step #14: From the submenu, click on Sequence.

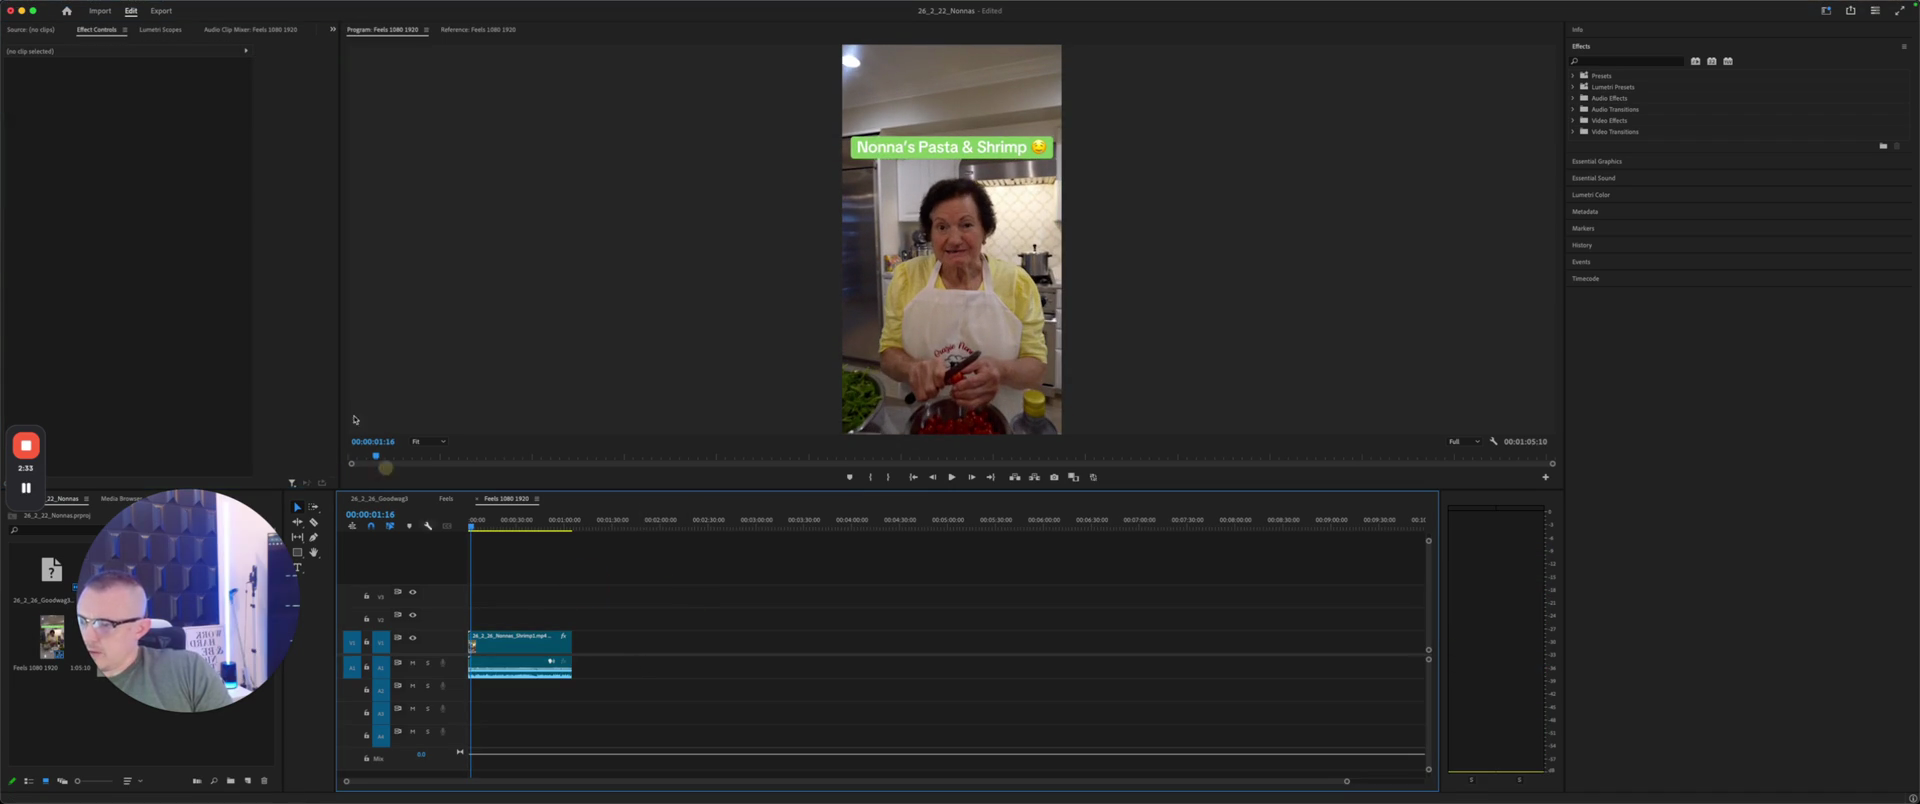
We will go to Social. I have one preset, and as you can see, it says 1080 by 1920.

15
In the New Sequence window, click on the Social folder under Sequence Presets.
Step #15: In the New Sequence window, click on the Social folder under Sequence Presets.
16
Select the 'Social Media Portrait Post 4K' preset.
Step #16: Select the 'Social Media Portrait Post 4K' preset.
17
Click the OK button.
Step #17: Click the OK button.
18
In the dropdown menu, select New.
Step #18: In the dropdown menu, select New.

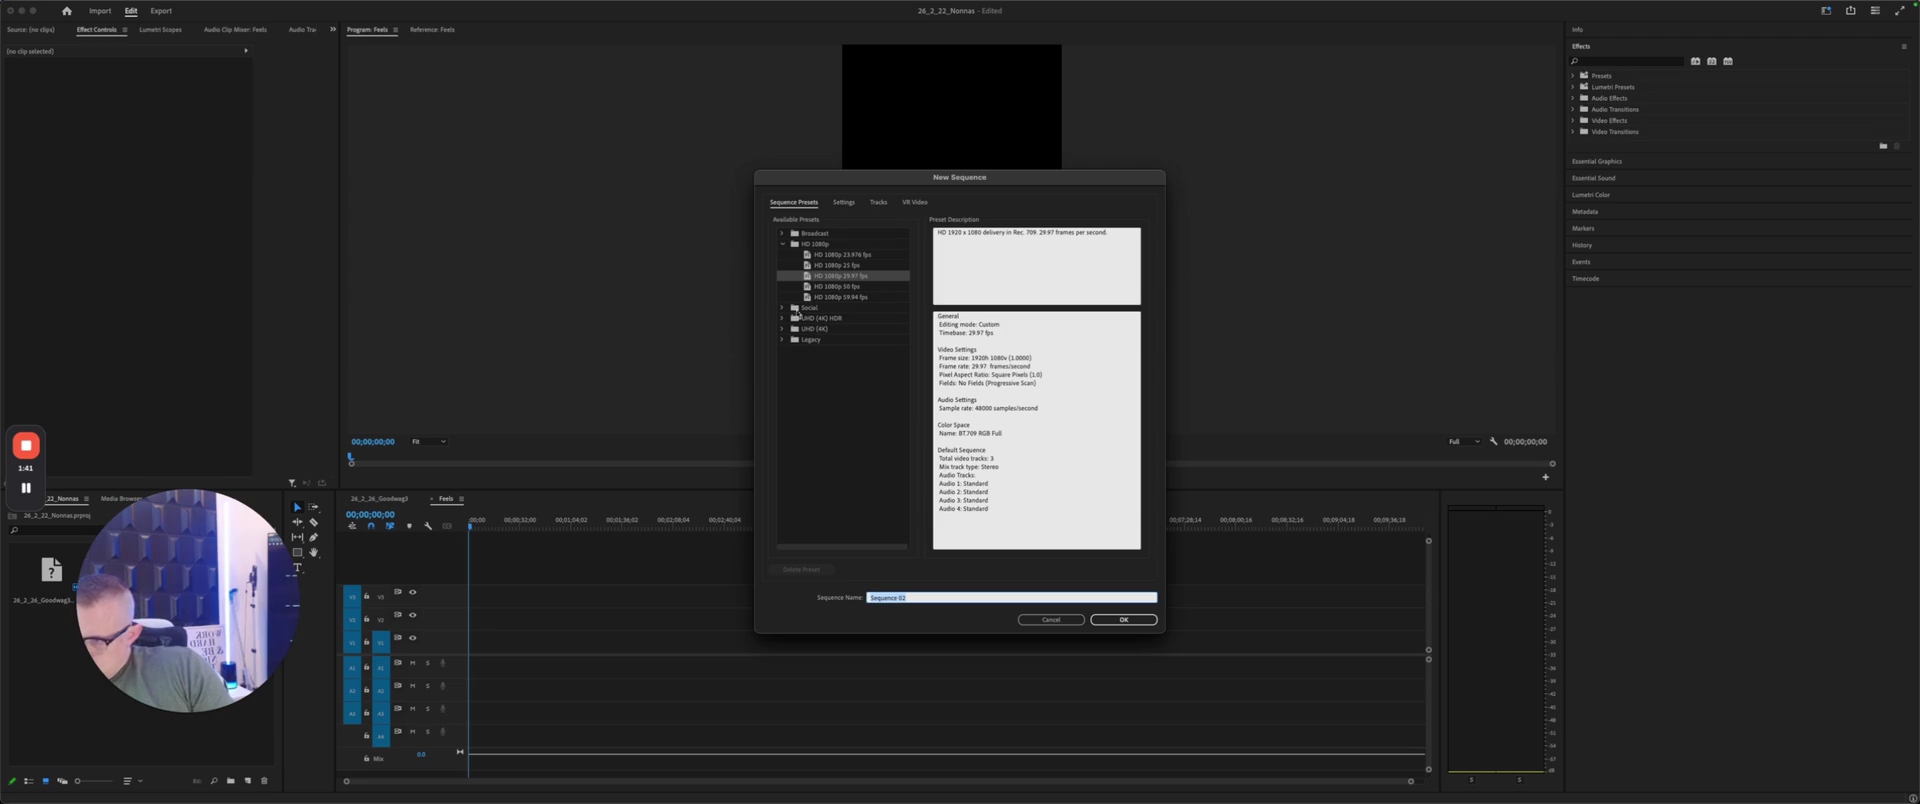
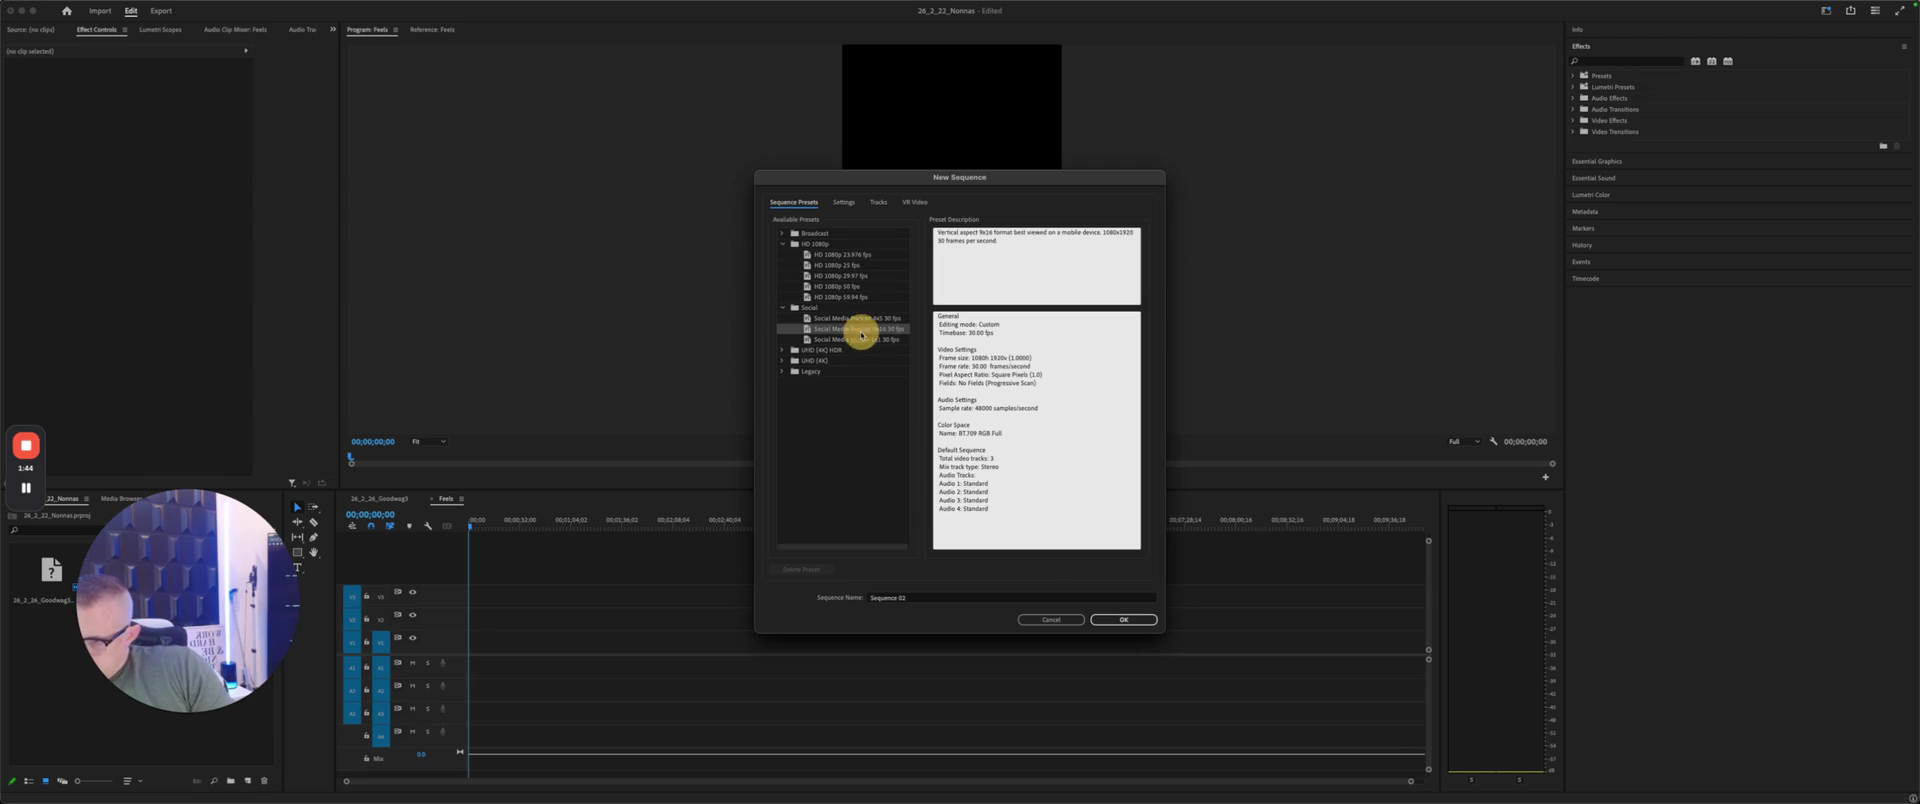
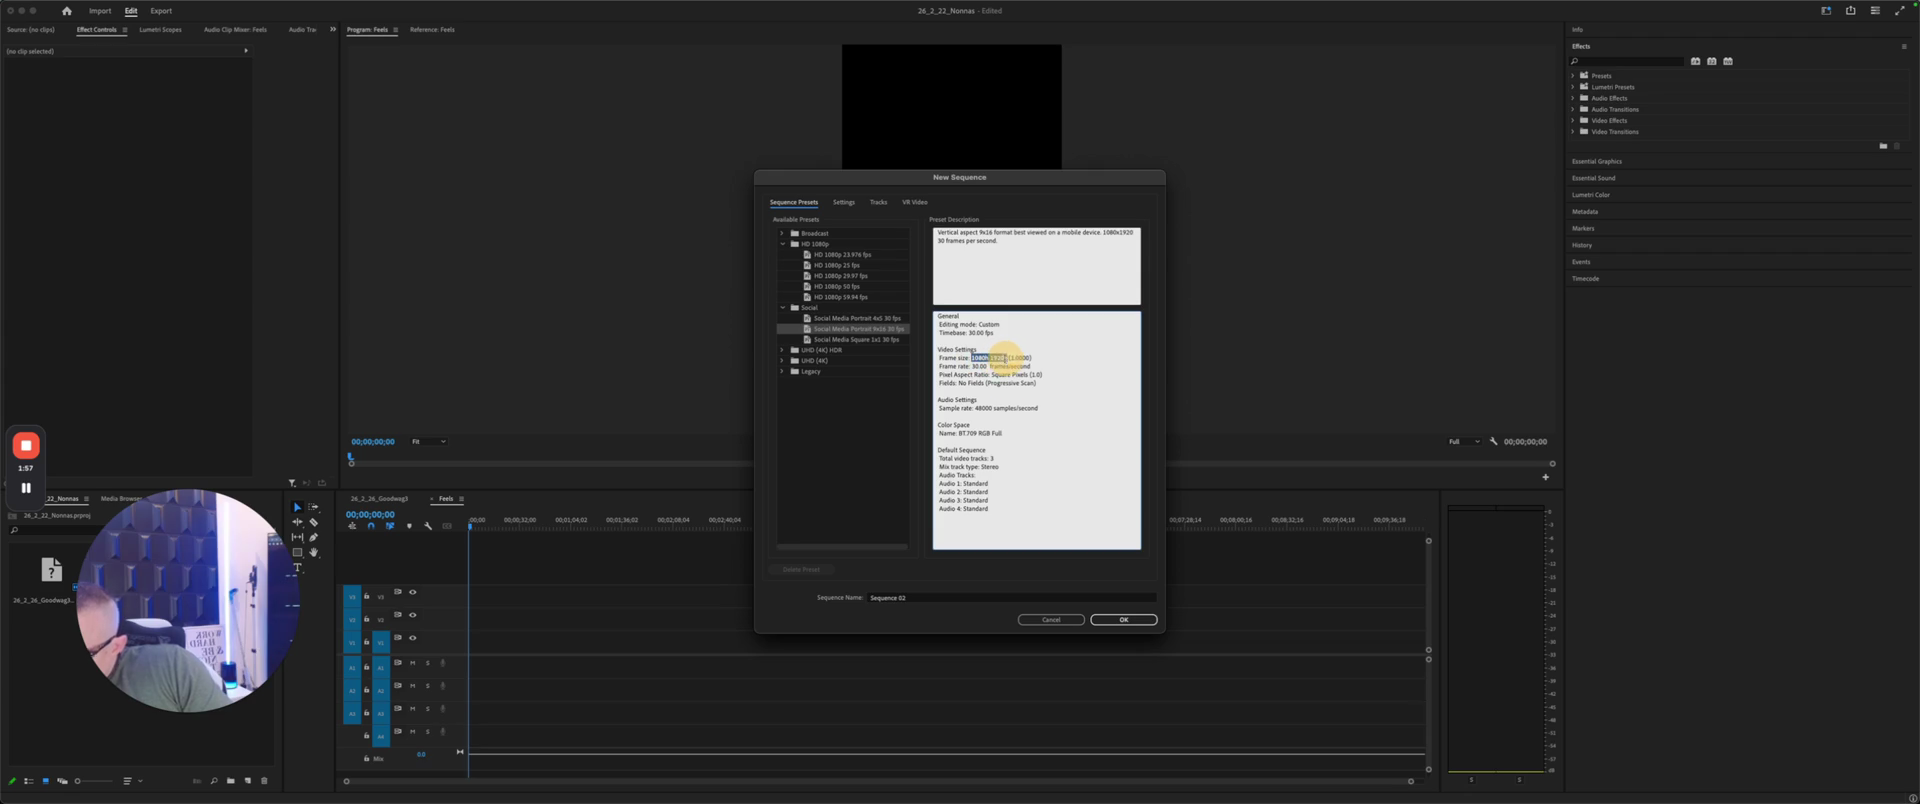
I will set the reels to 1080 by 1920.

19
Type 'Reels 1080 by 1920' into the Sequence Name field.

I will take the video I want to use for Nona's, make sure it is properly organized in the correct files, and then drop it in here.

20
Click the OK button.
Step #20: Click the OK button.
21
Drag and drop the video file from the file explorer onto the timeline.
Step #21: Drag and drop the video file from the file explorer onto the timeline.

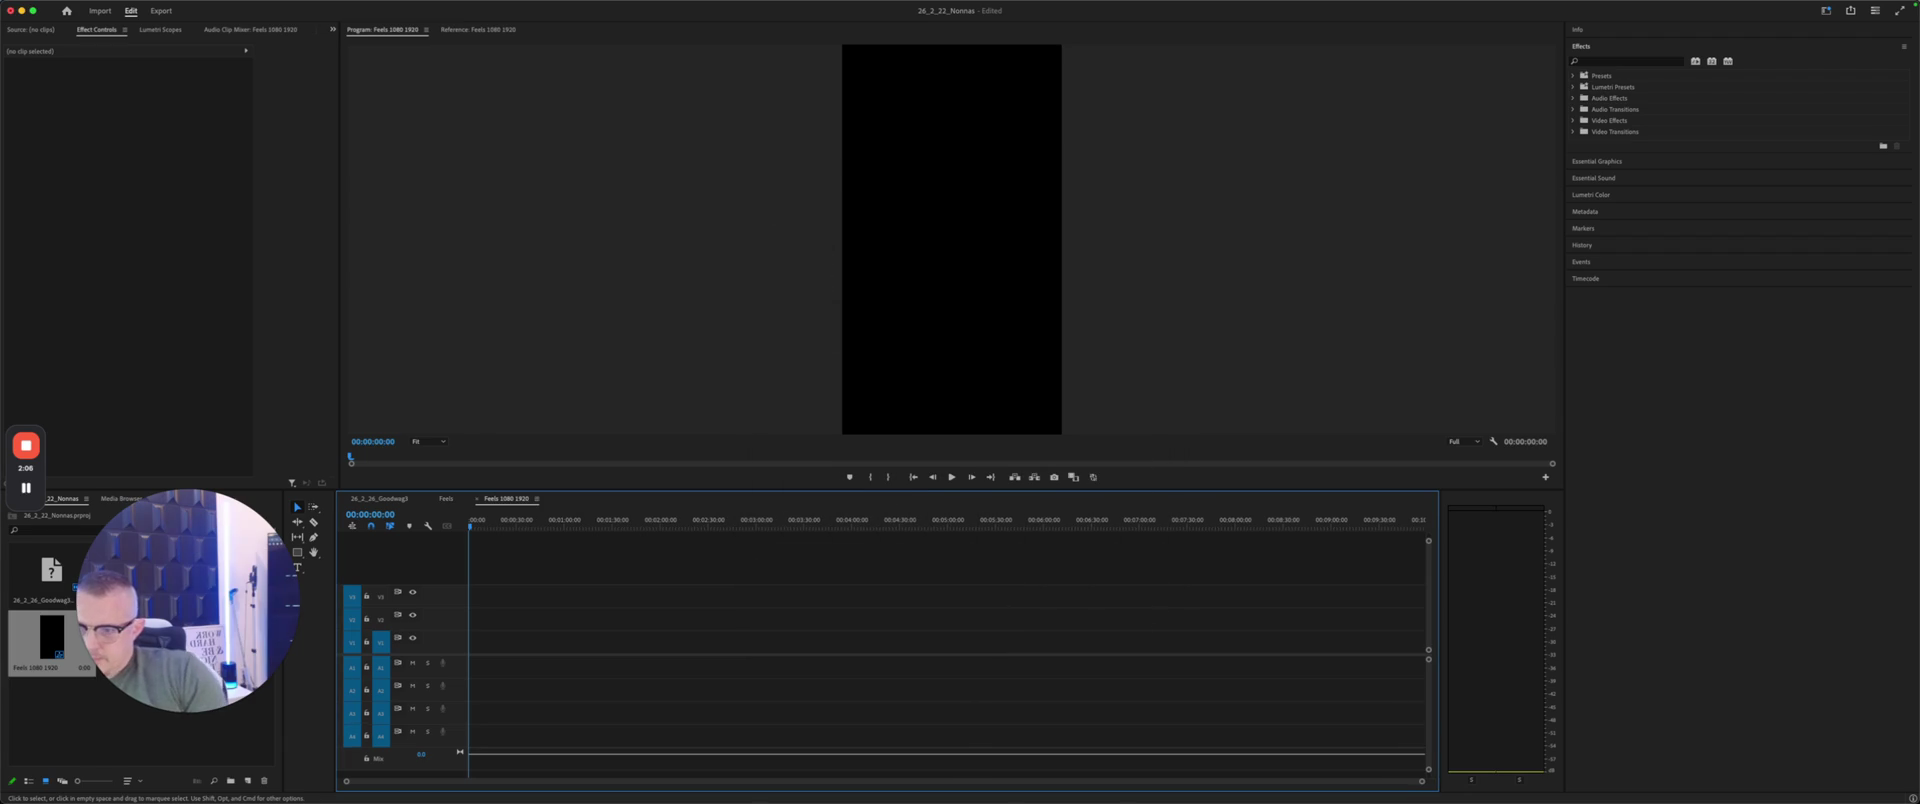
That will ask us to choose between changing or keeping it. We will keep it to ensure it fits within the correct dimensions.

22
Click the 'Keep existing settings' button.
Step #22: Click the 'Keep existing settings' button.

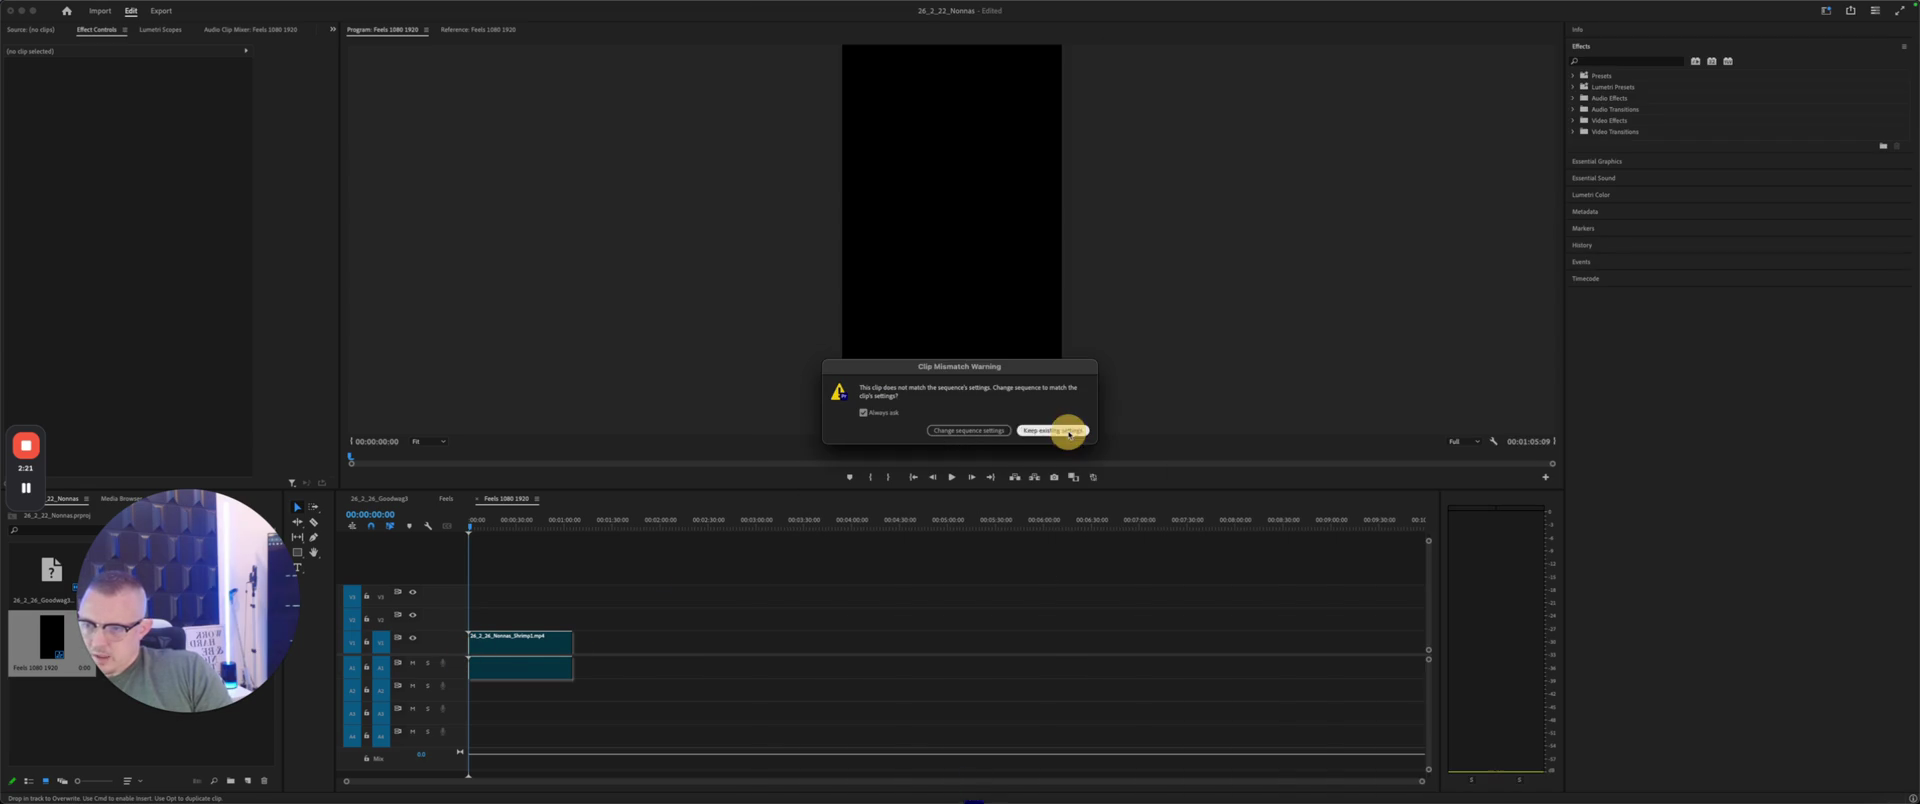
There we go. Nona, what are you doing? Now we will go to File and select Export.

23
Click the File menu option.
Step #23: Click the File menu option.
24
Click the Export menu option.
Step #24: Click the Export menu option.

We will save it in the file called Nona's exports.

25
Click on the file name link to open the save location dialog.
Step #25: Click on the file name link to open the save location dialog.
26
Click on the 'Exports' folder.
Step #26: Click on the 'Exports' folder.

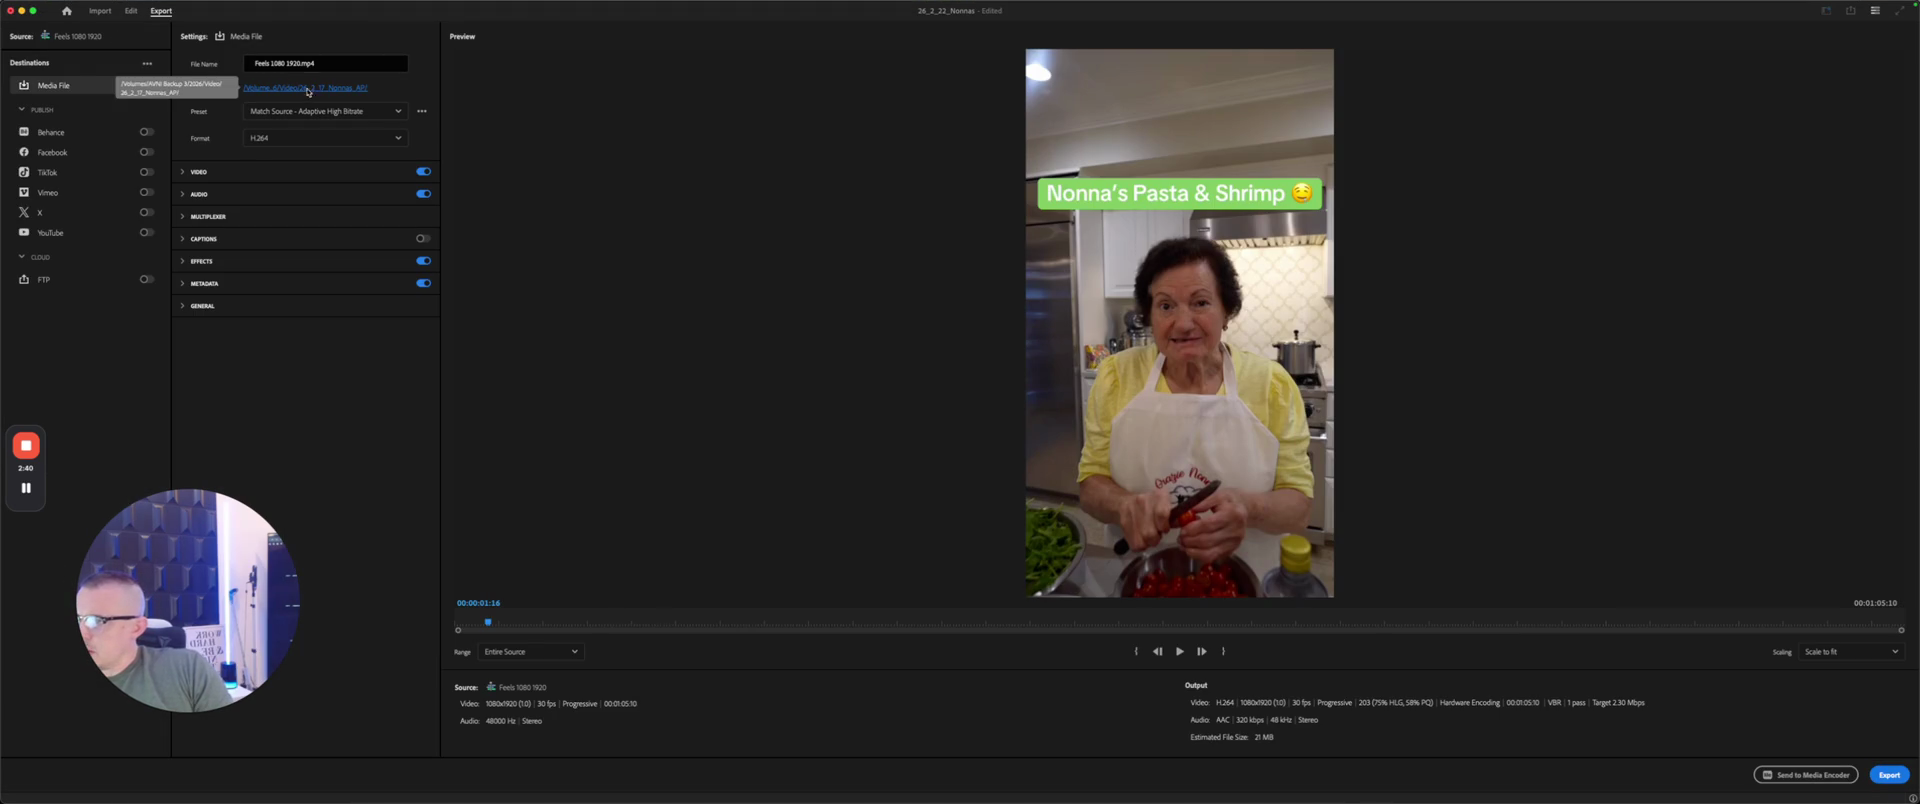
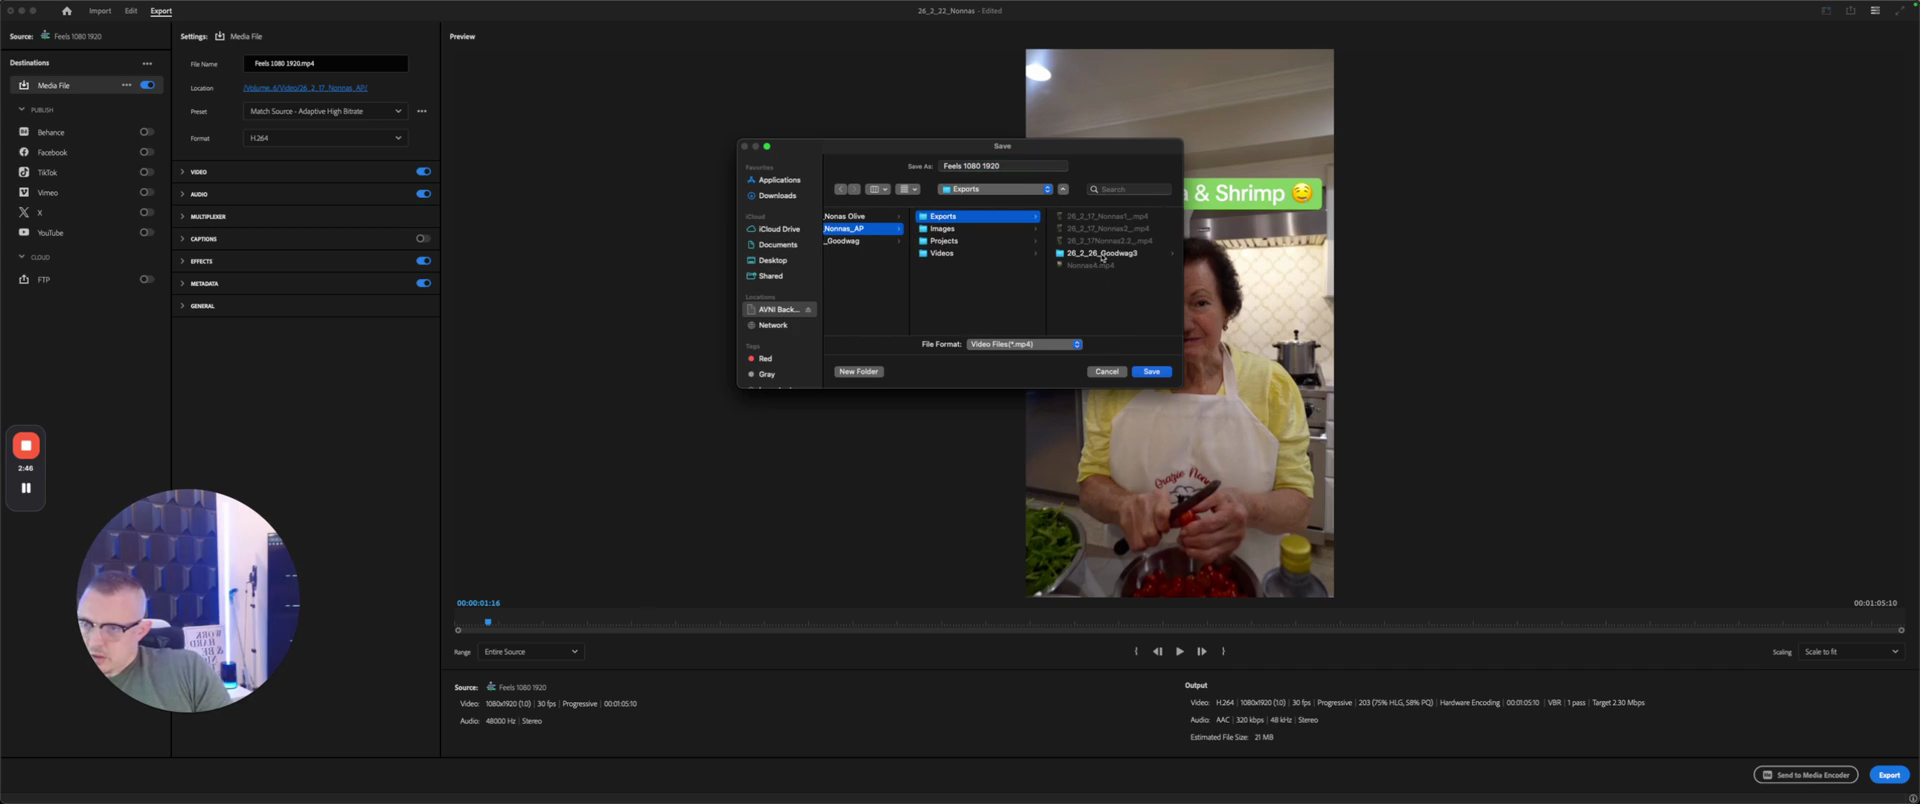
This is Nona's shrimp to save.
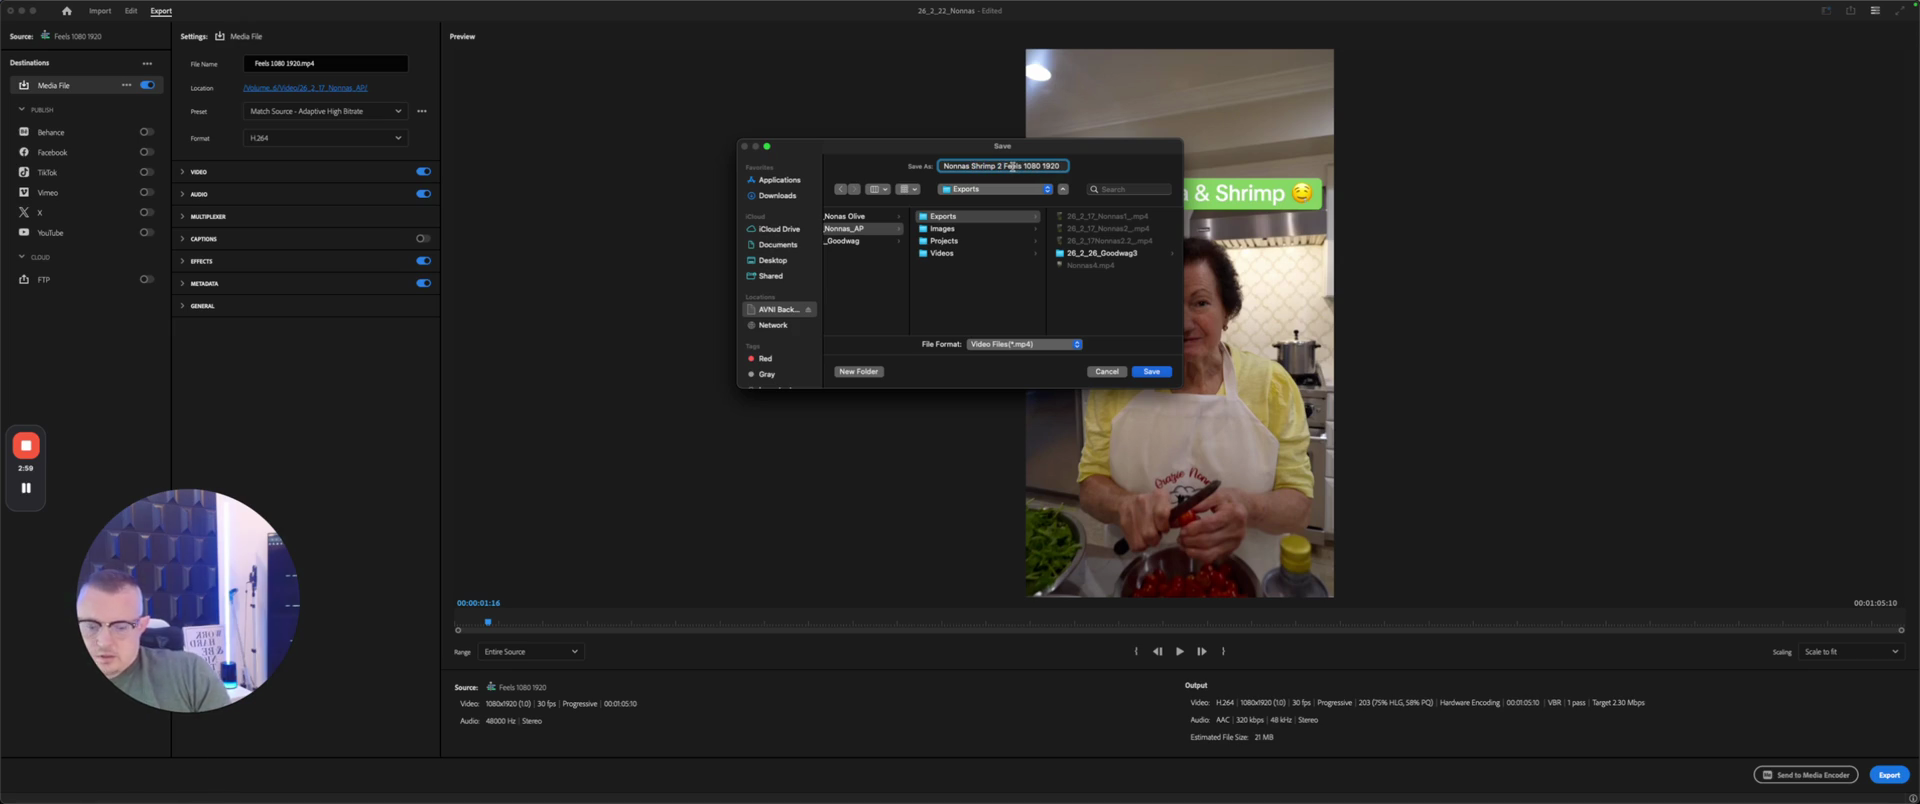
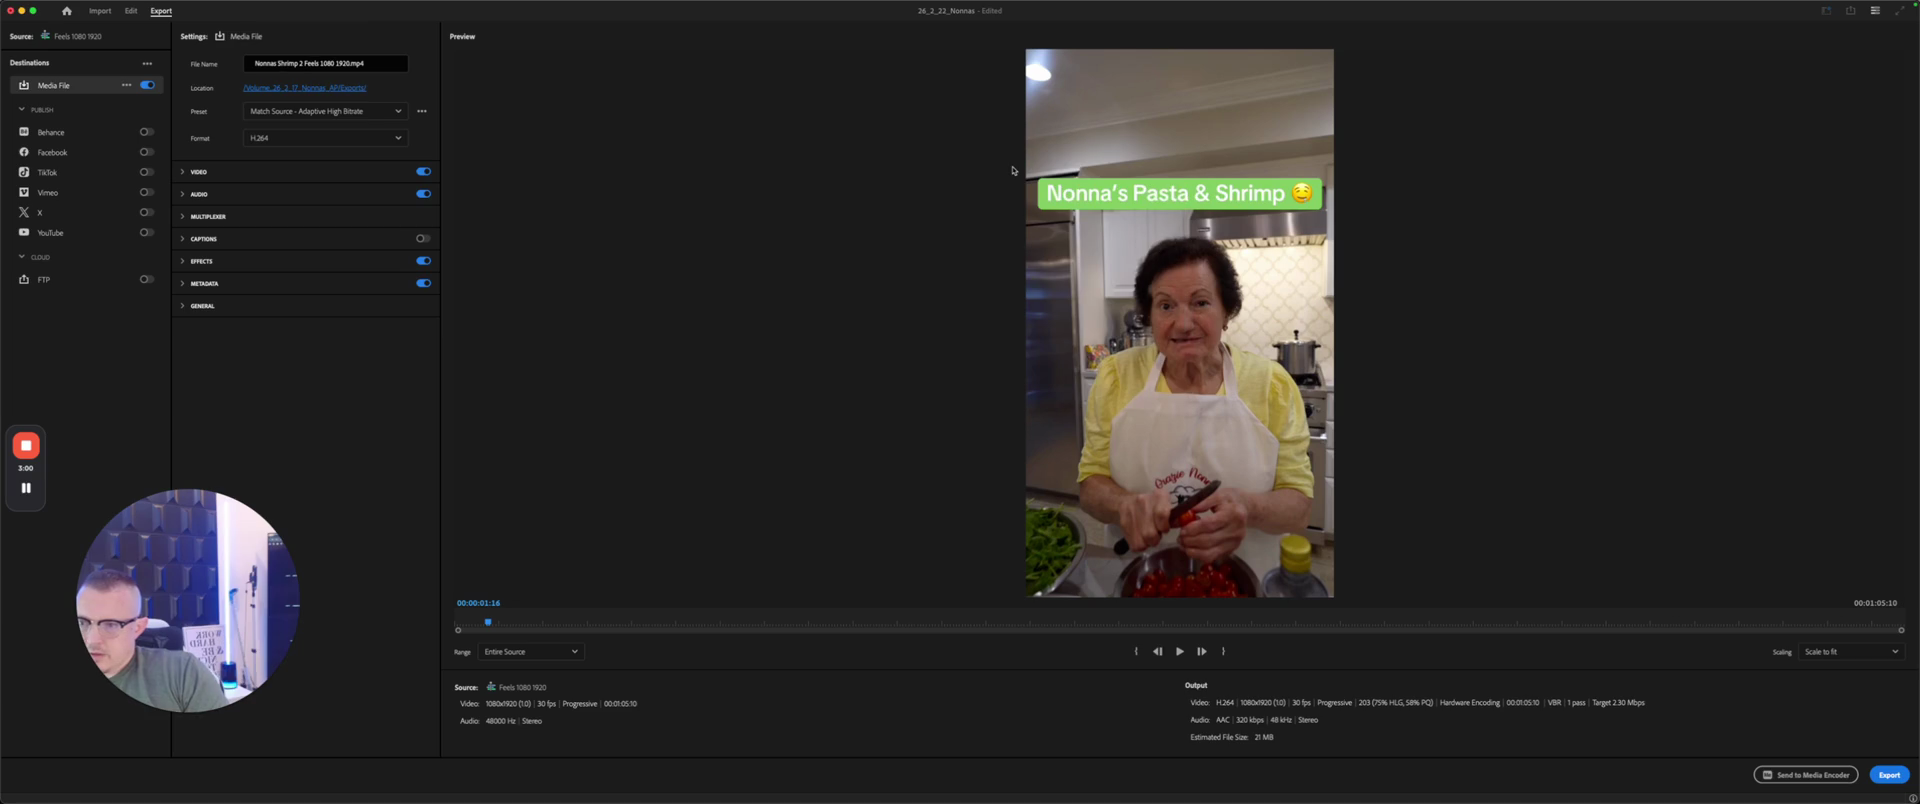
27
In the 'Save As' field, type 'Nonnas Shrimp 1080 1920'.
28
Click the 'Save' button.
Step #28: Click the 'Save' button.
29
Click the Save button.
Step #29: Click the Save button.

Export.

30
Click the Export button.
Step #30: Click the Export button.

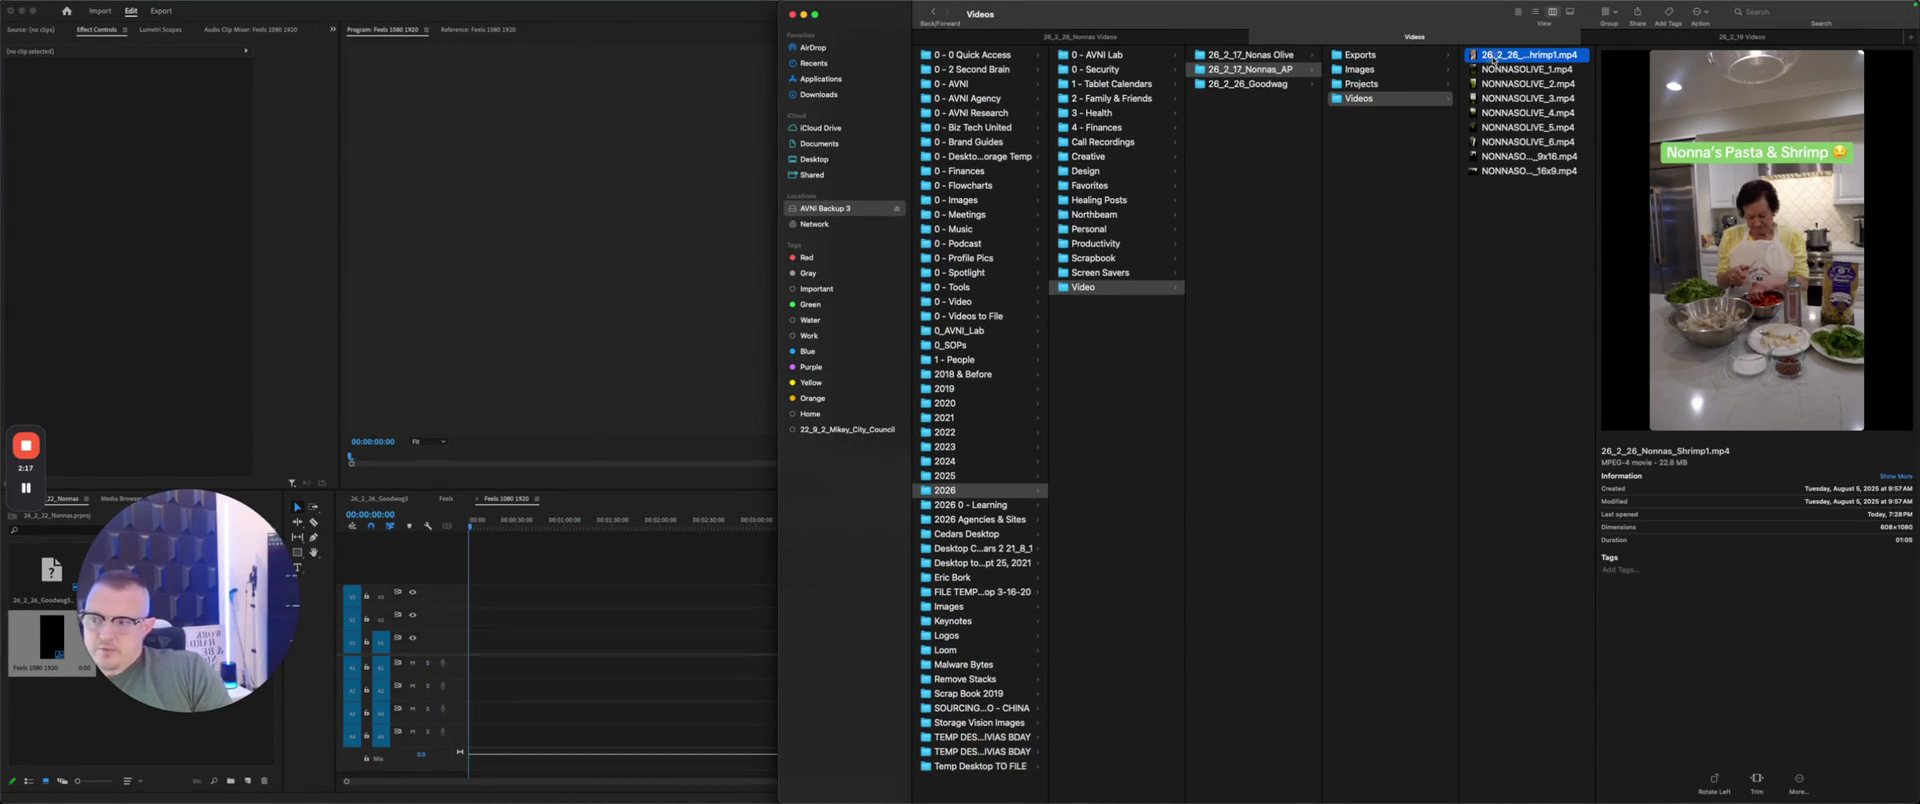
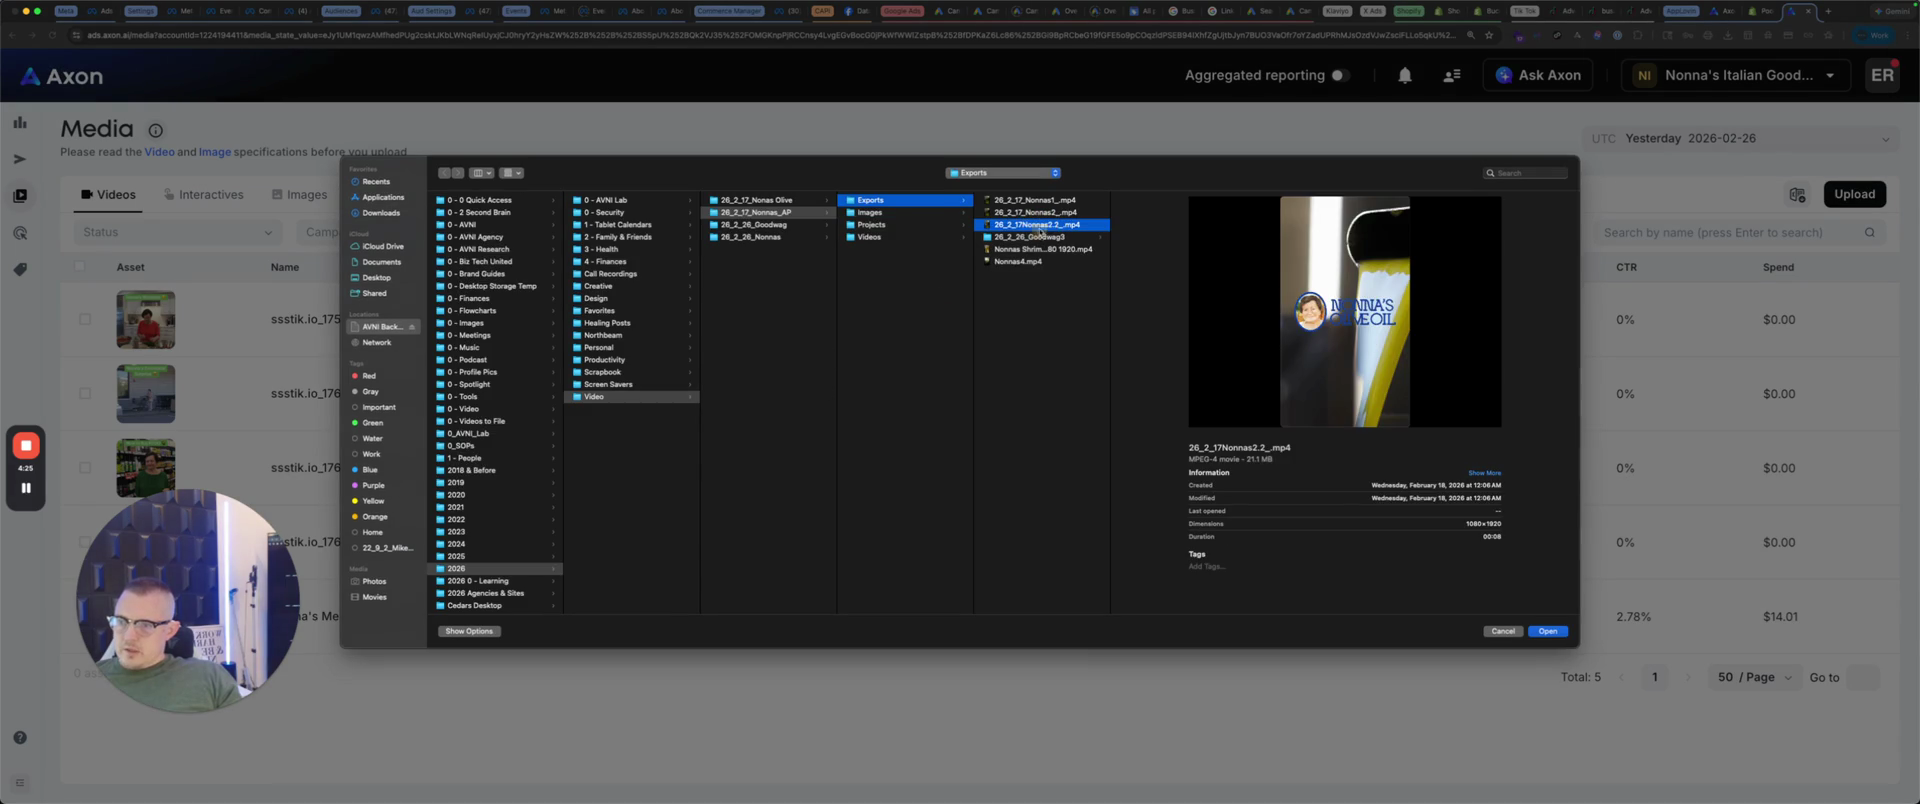
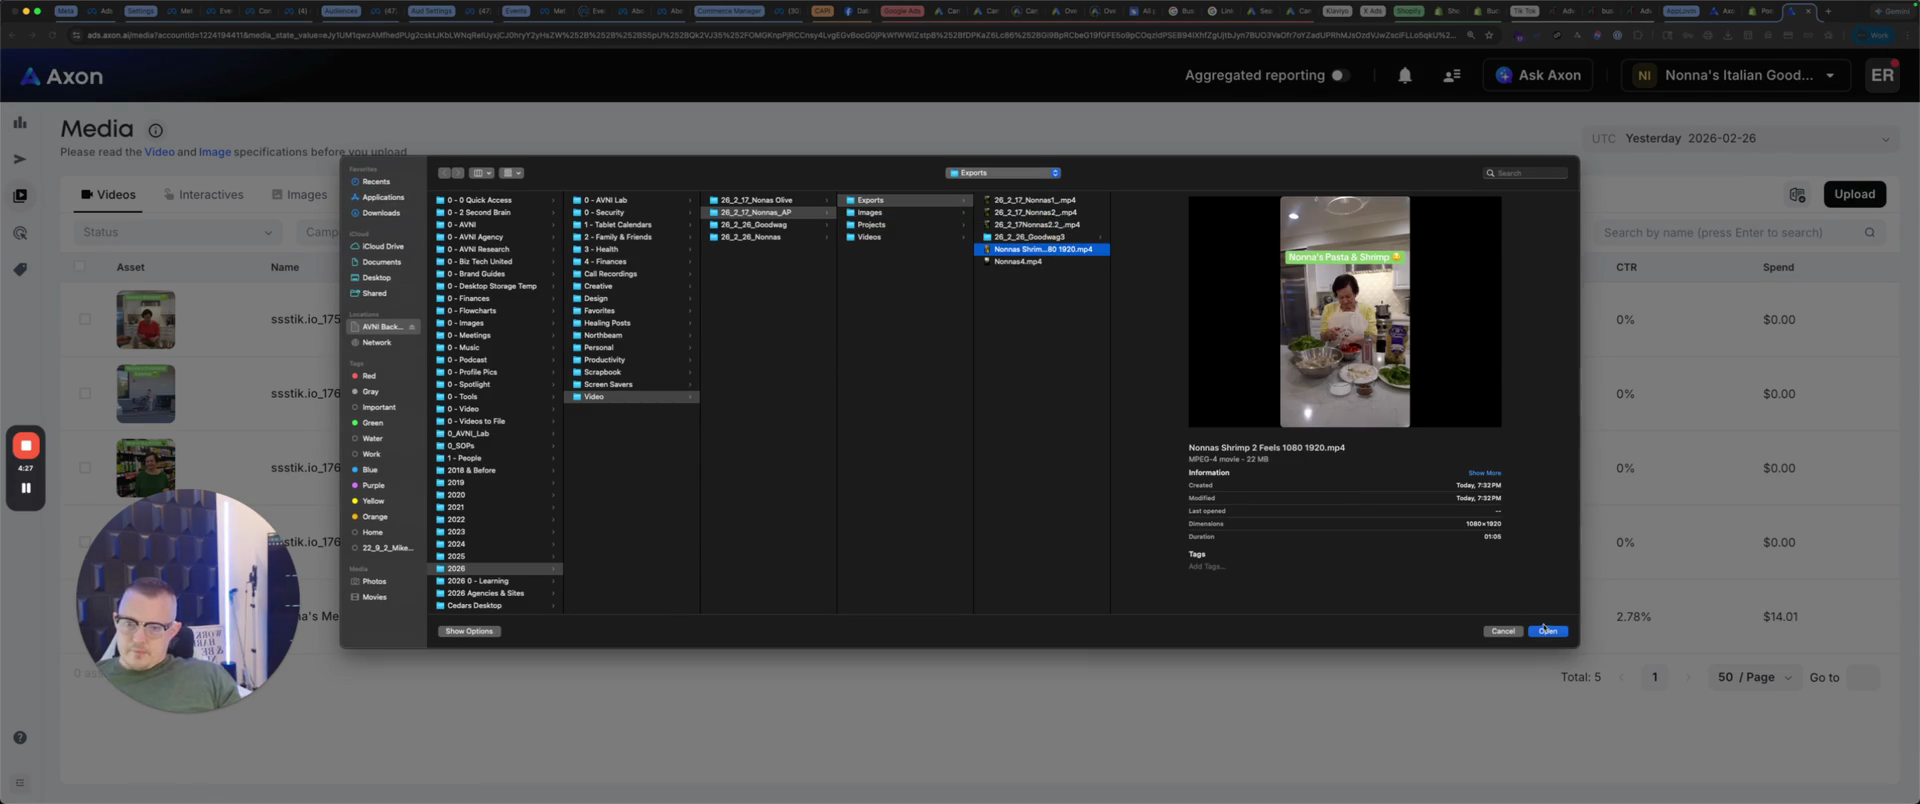
Now, we will grab the video export: 2026, videos, Nona's AP export.

31
Click on the '2026' folder.
Step #31: Click on the '2026' folder.
32
Click on the 'Videos' folder.
Step #32: Click on the 'Videos' folder.
33
Click on the '06_3_17_Nonnas_AP' folder.
Step #33: Click on the '06_3_17_Nonnas_AP' folder.
34
Click on the 'Exports' folder.
Step #34: Click on the 'Exports' folder.

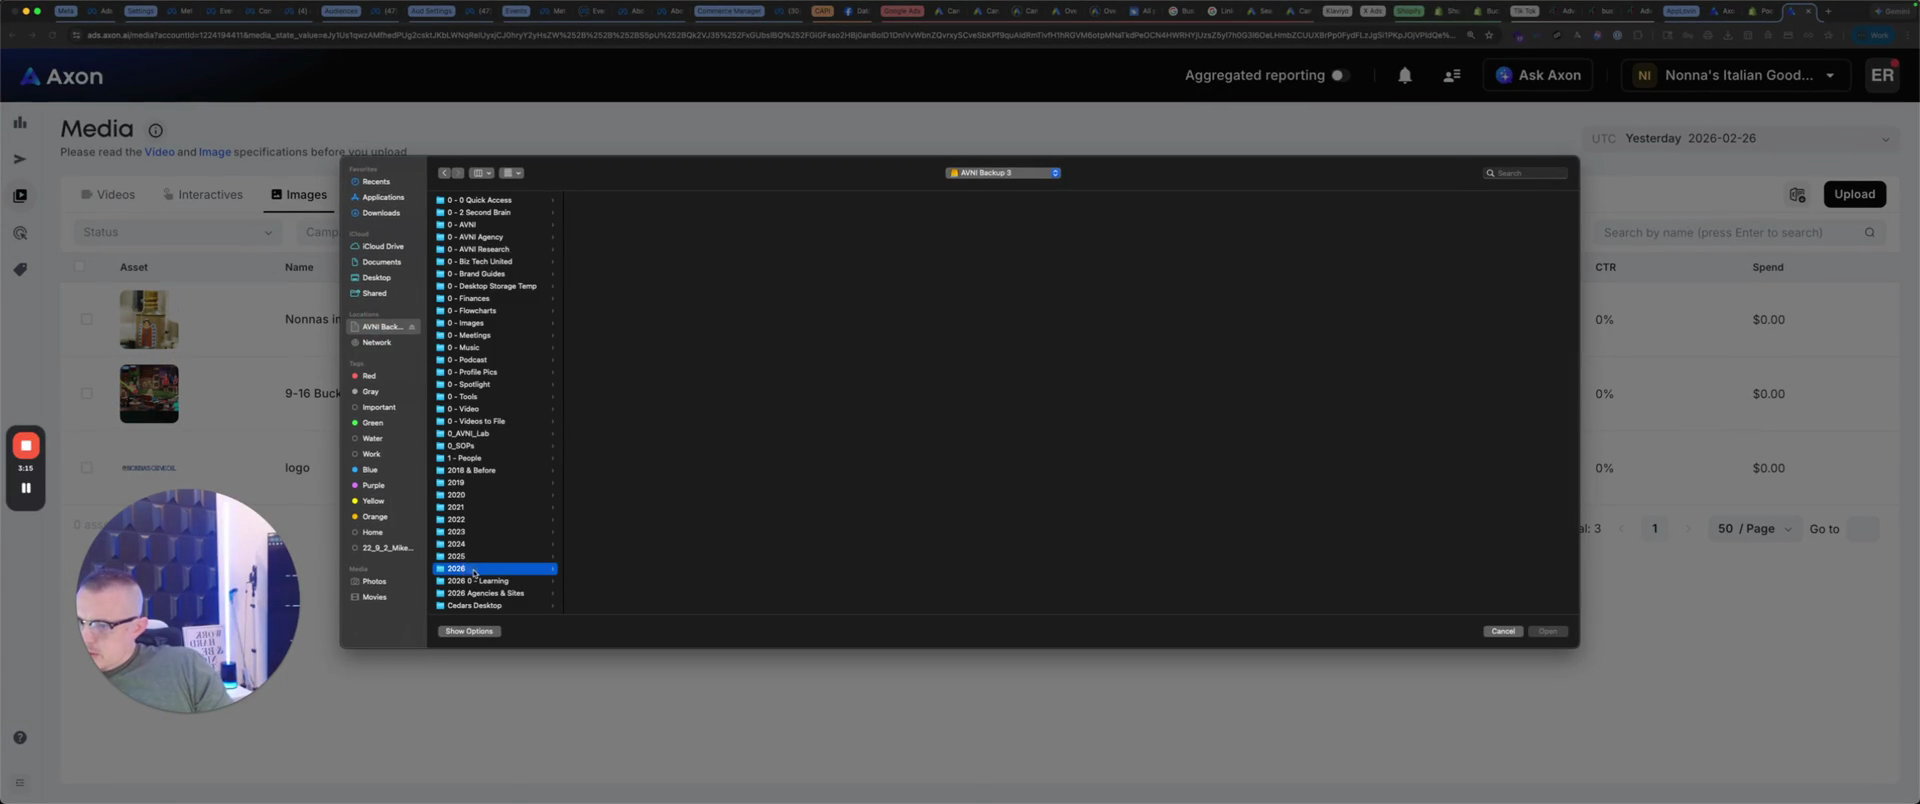
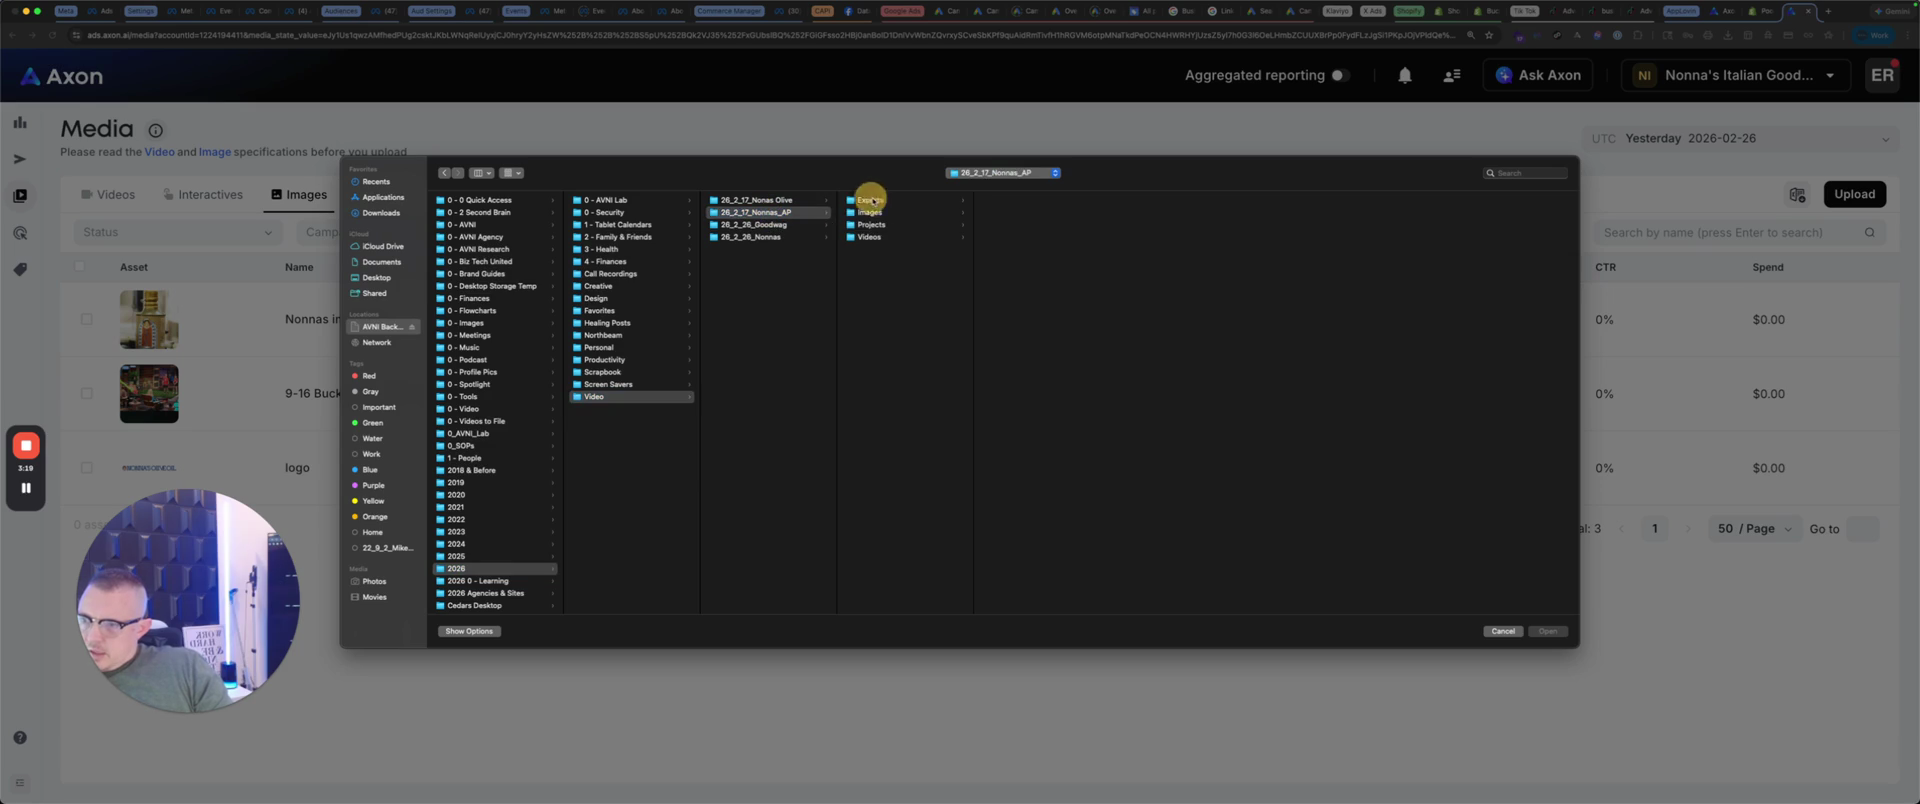
That was this one right here.

35
Select the file 'Nonnas Shrimp 2 Reels 1080 1920.mp4'.
Step #35: Select the file 'Nonnas Shrimp 2 Reels 1080 1920.mp4'.
36
Click the Open button.
Step #36: Click the Open button.

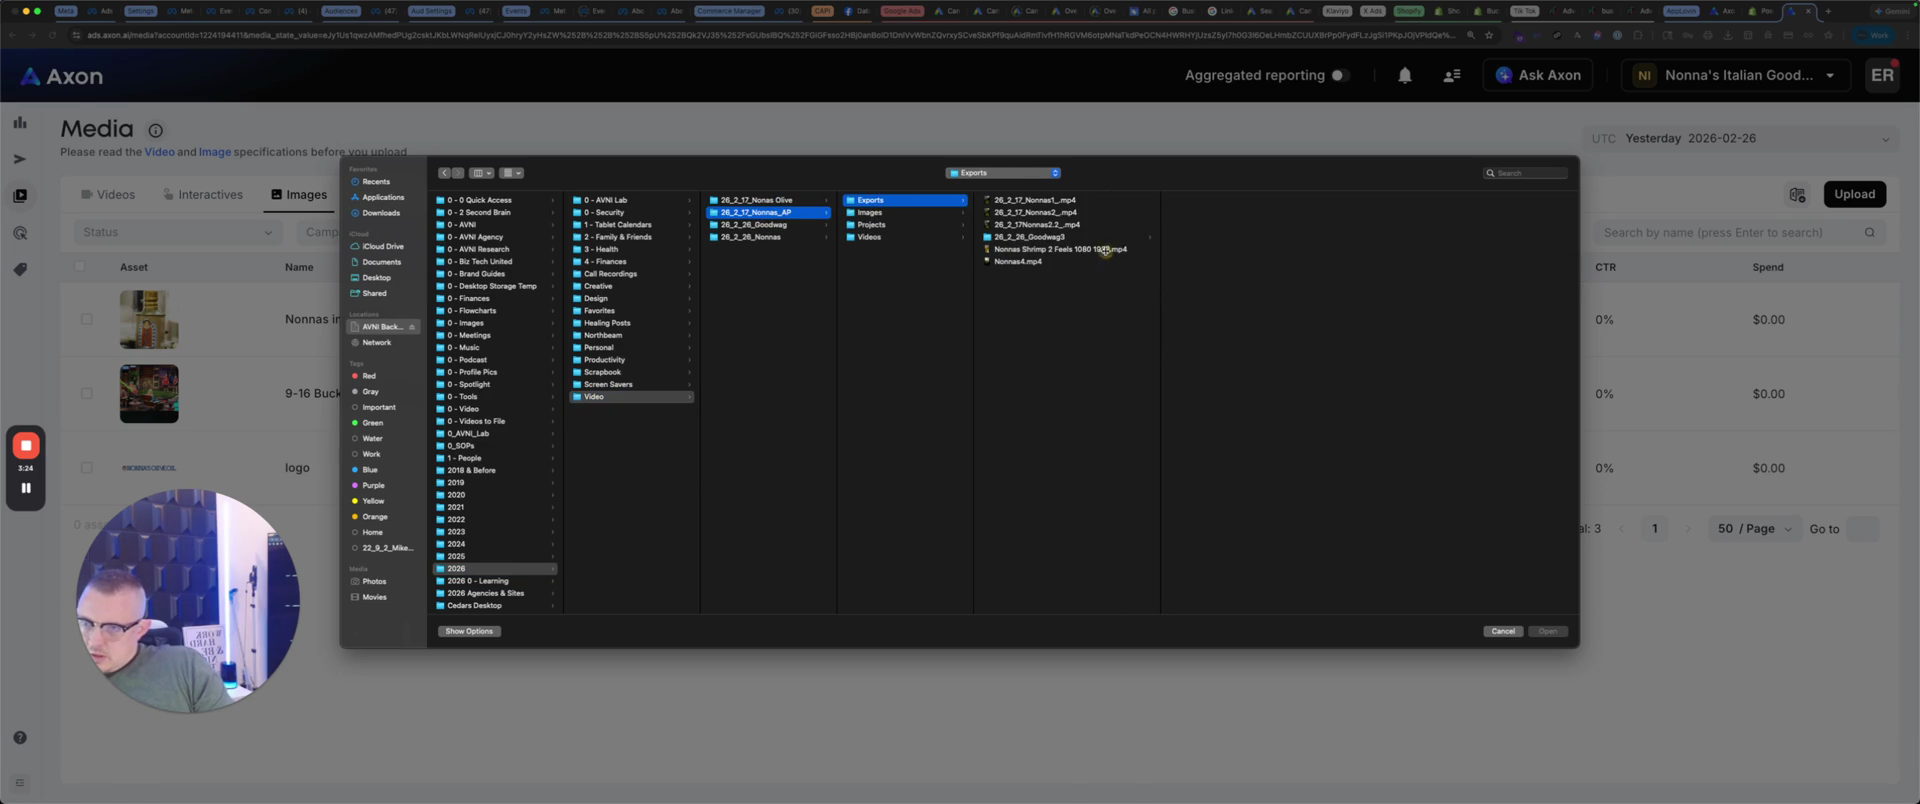
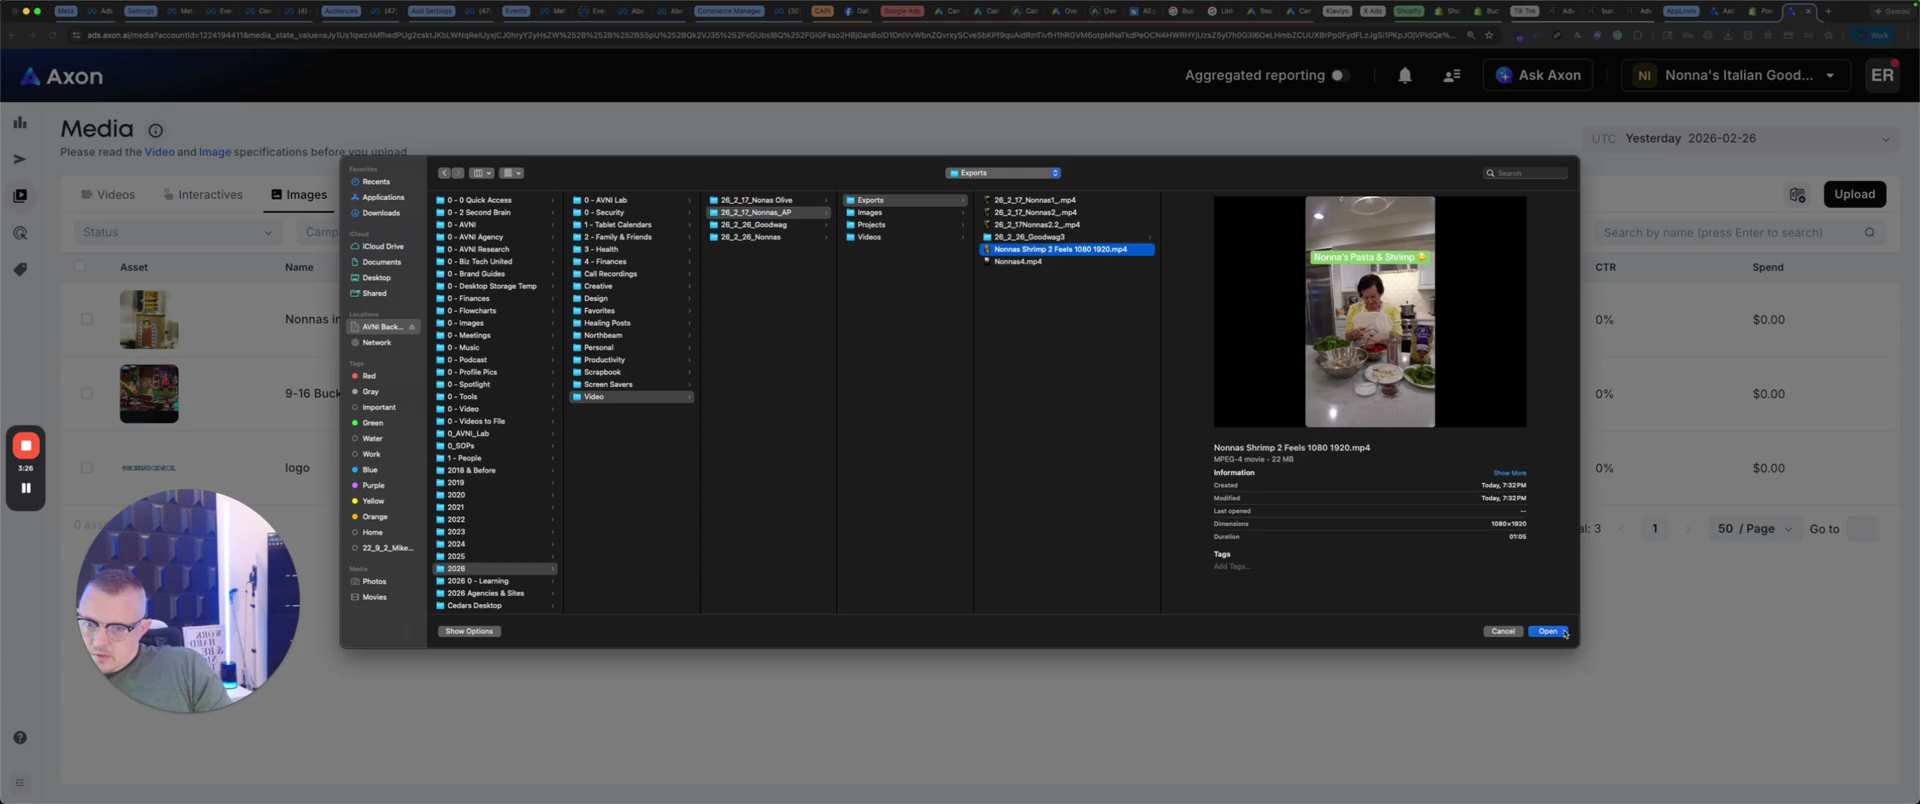
Open. If the size is incorrect, it will show red here.

37
If an uploaded image is the wrong size, its status will show as 'Rejected' in red.
Step #37: If an uploaded image is the wrong size, its status will show as 'Rejected' in red.

That's why we had to resize it. It should turn green because we made it the correct size.

38
If the image is the correct size, the status will show as 'Approved' in green.
Step #38: If the image is the correct size, the status will show as 'Approved' in green.

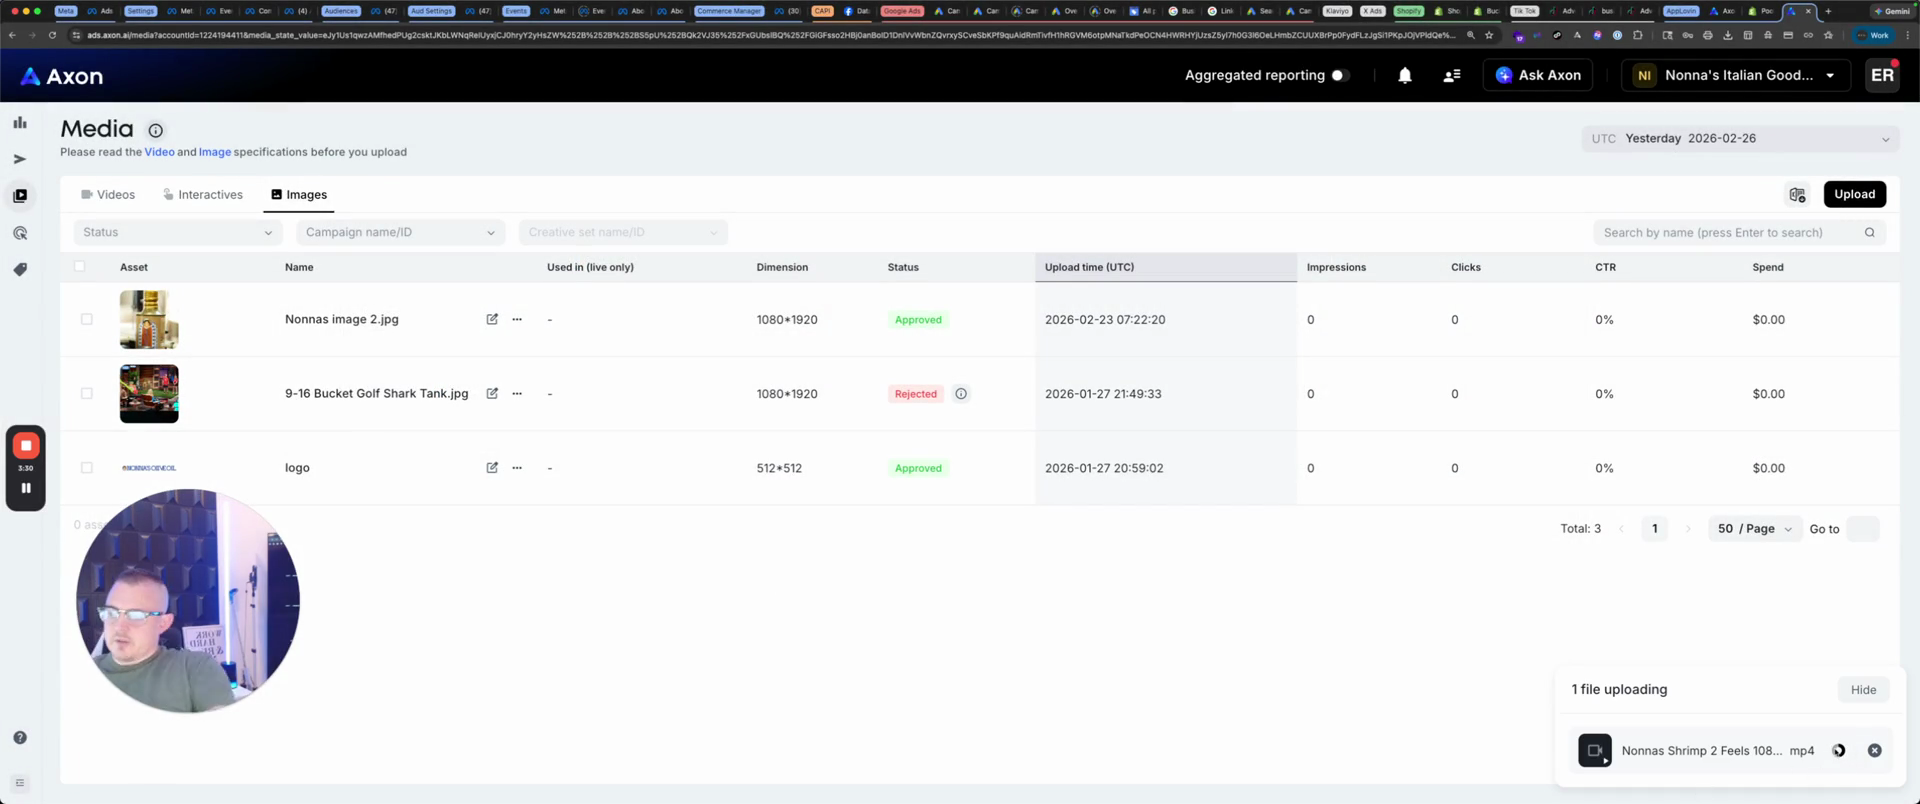
Hopefully it does. And then once it does, it will go into review.

39
After an image is approved, it will go into a 'review' status.
Step #39: After an image is approved, it will go into a 'review' status.

It will go into review. Let's wait for that to happen.

40
Wait for the file upload to complete to see the final status.
Step #40: Wait for the file upload to complete to see the final status.

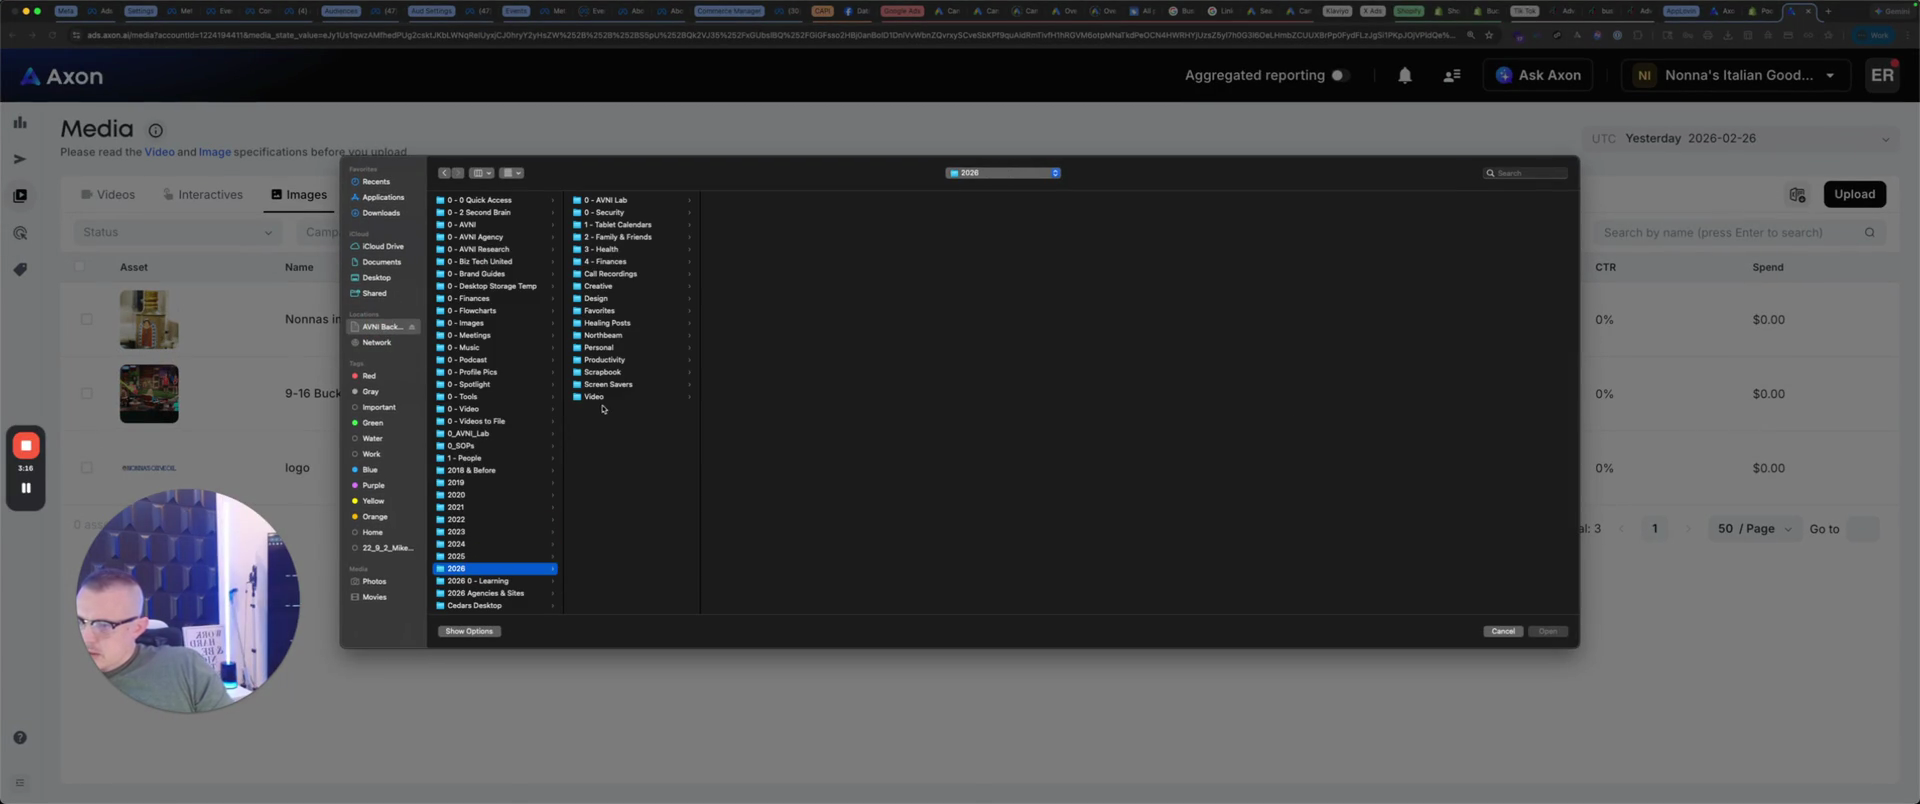
Make sure it finishes this loop because it will tell you if it denies it. If it does, you have to redo it. So ... Oh, you know what? That was a mistake. X, close.

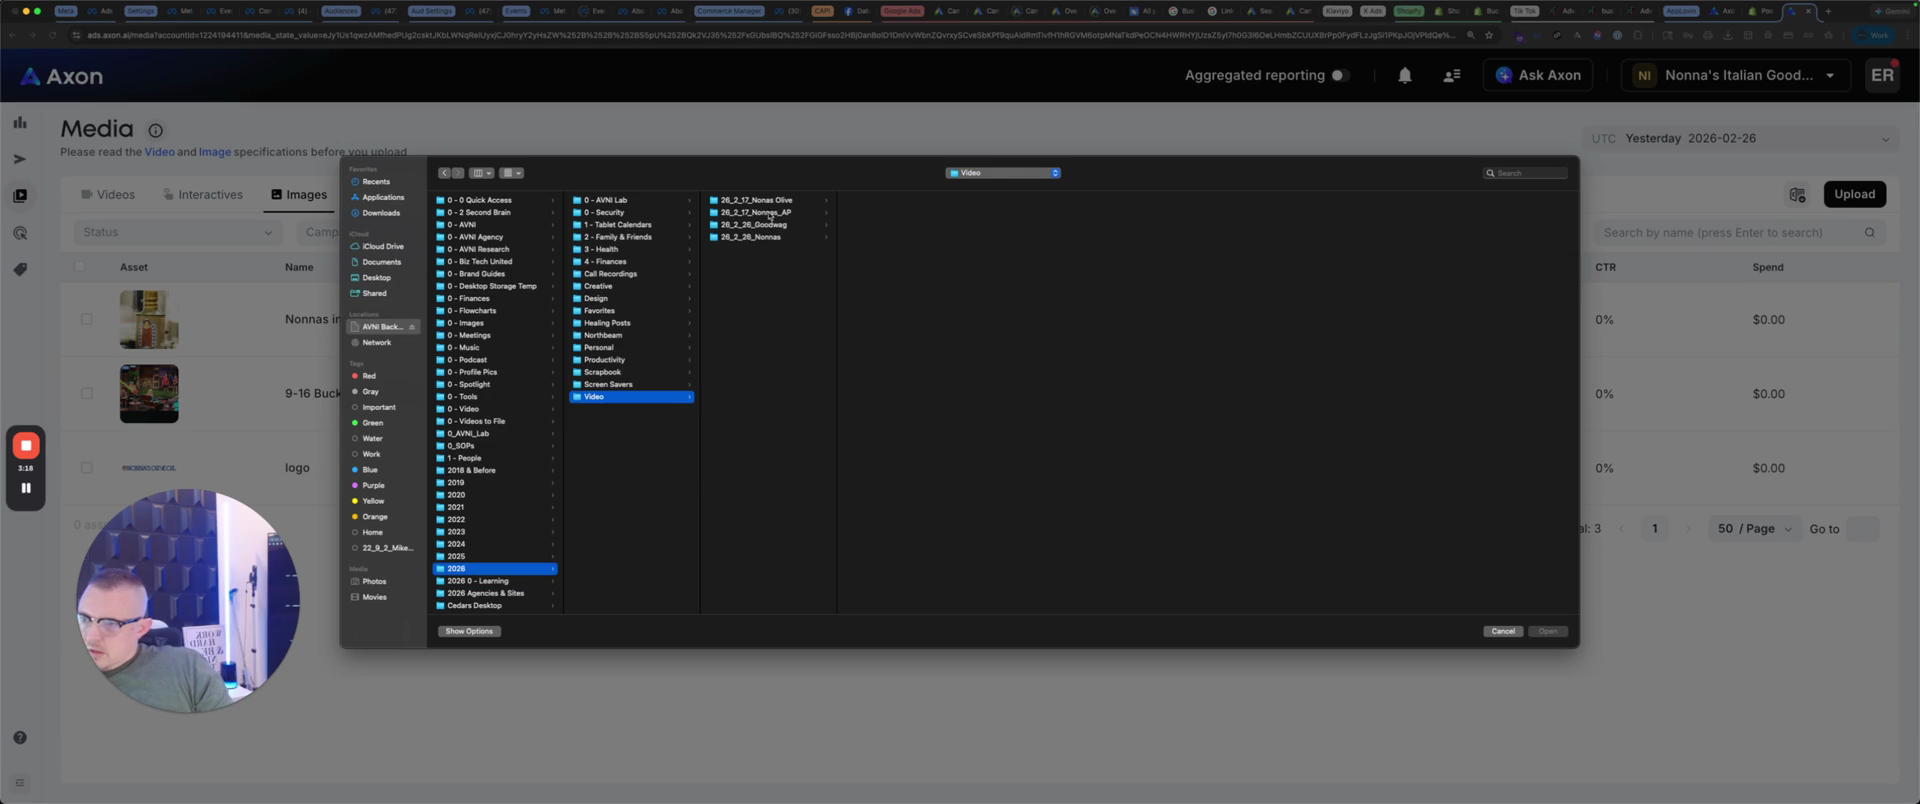
We intended to go to videos.

41
Click the Videos button.
Step #41: Click the Videos button.

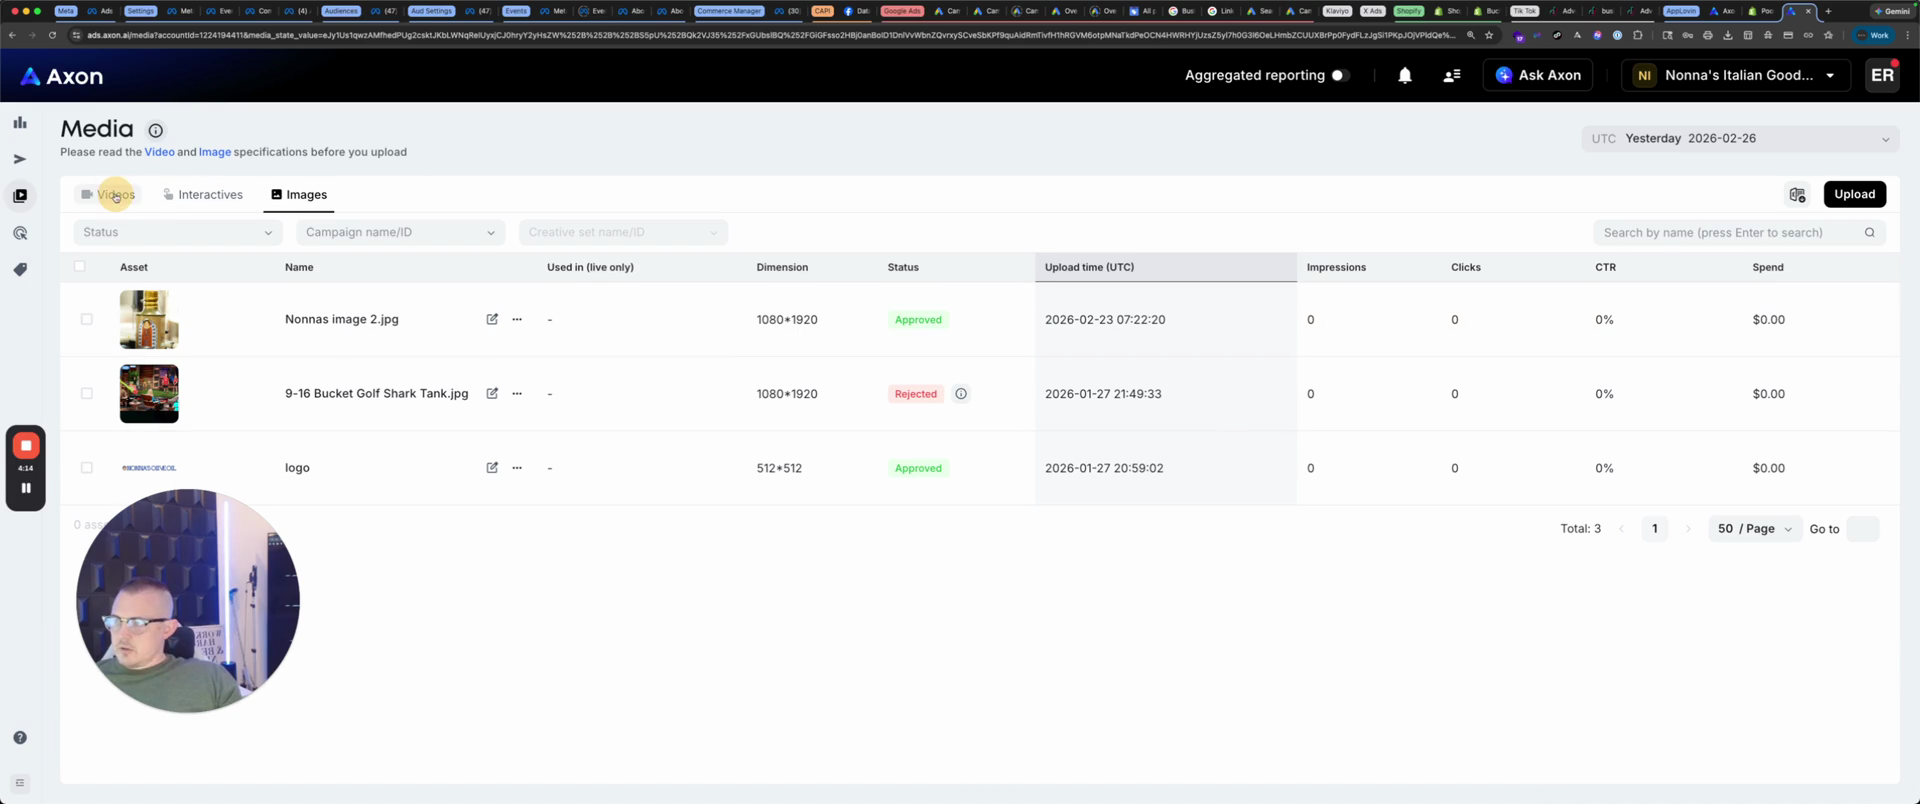
That was my mistake. Upload videos.

42
Click the upload button.
Step #42: Click the upload button.

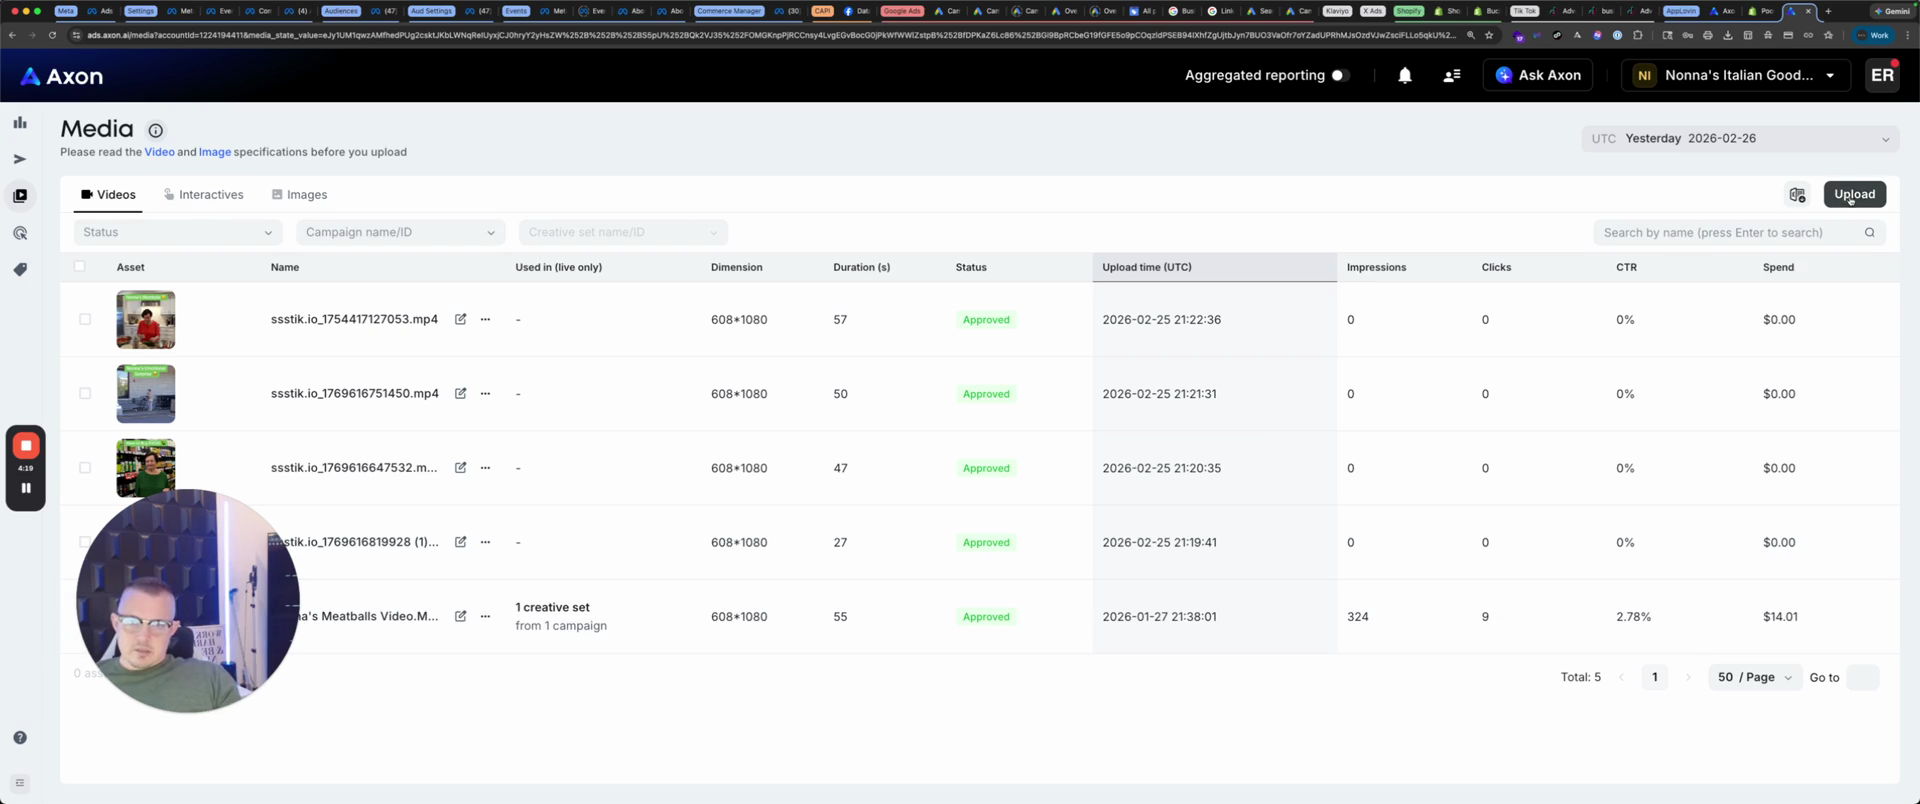
Now we will choose that video.

43
Select the video file named '26_2_17Nonnas2_.mp4'.
Step #43: Select the video file named '26_2_17Nonnas2_.mp4'.
44
Click the Open button in the bottom right corner of the file dialog.
Step #44: Click the Open button in the bottom right corner of the file dialog.

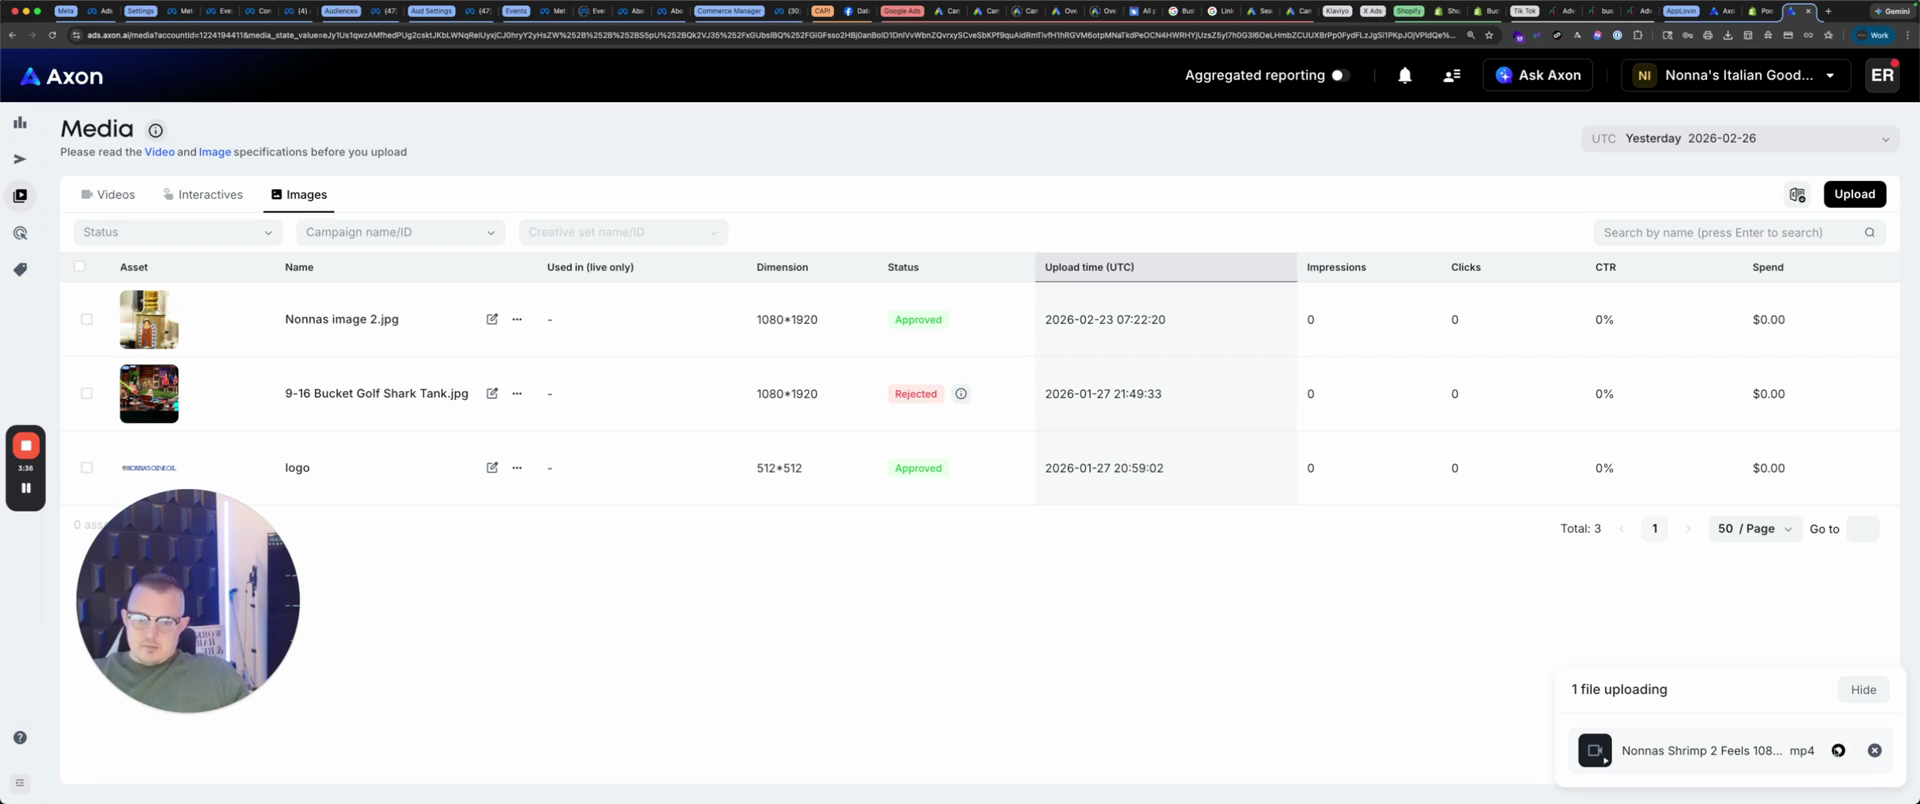
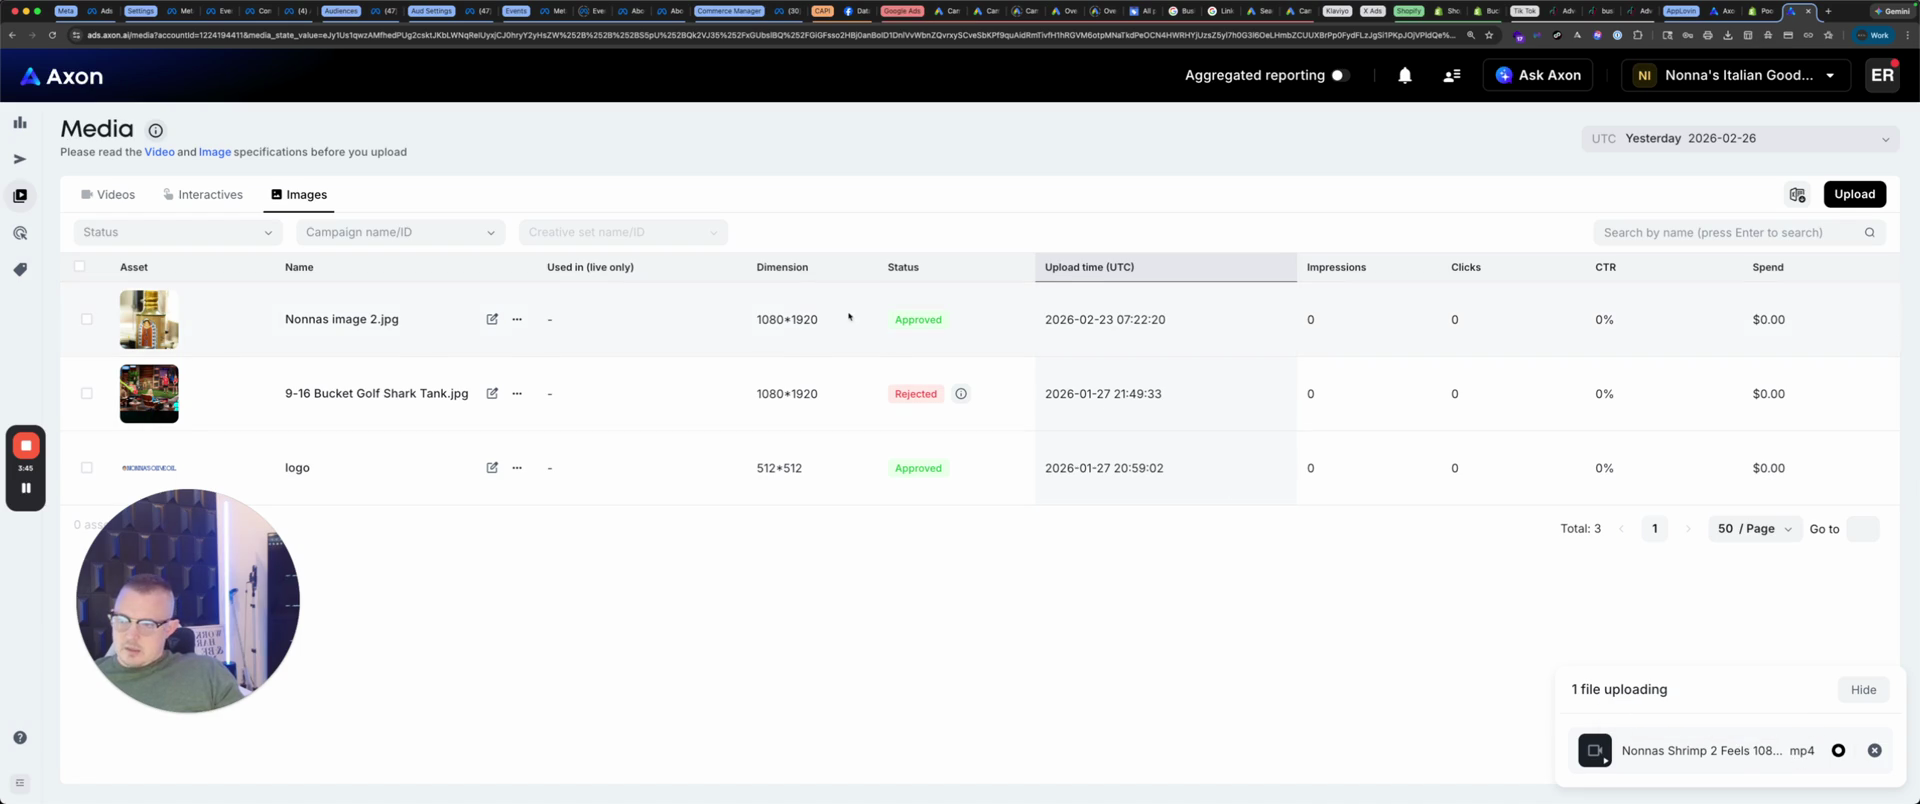
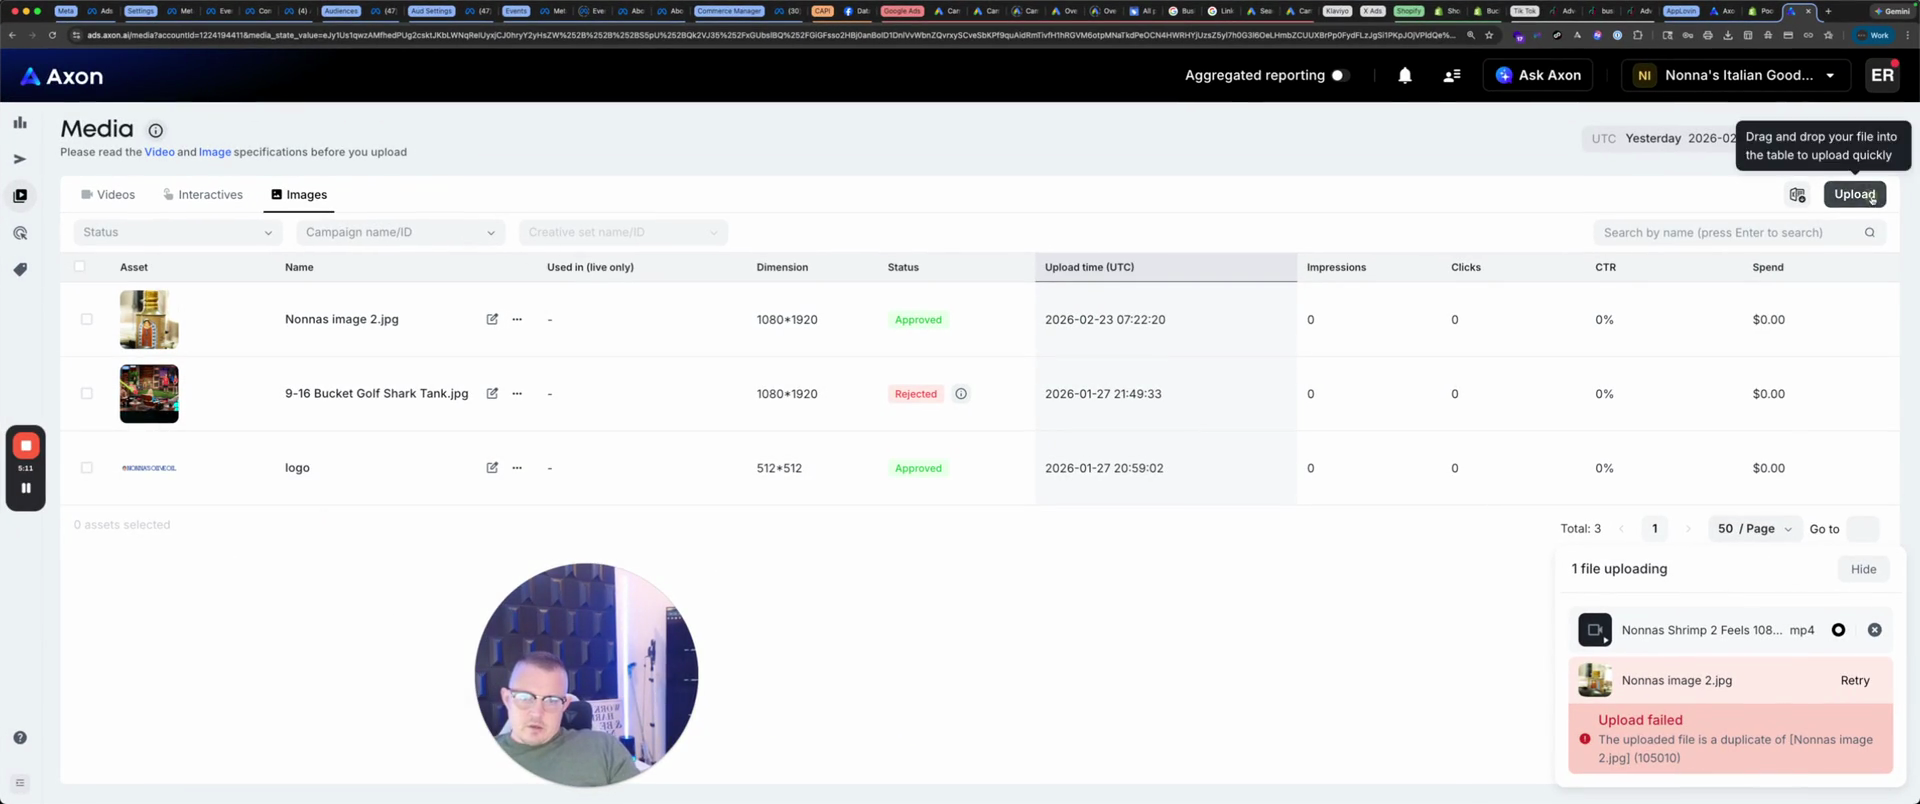
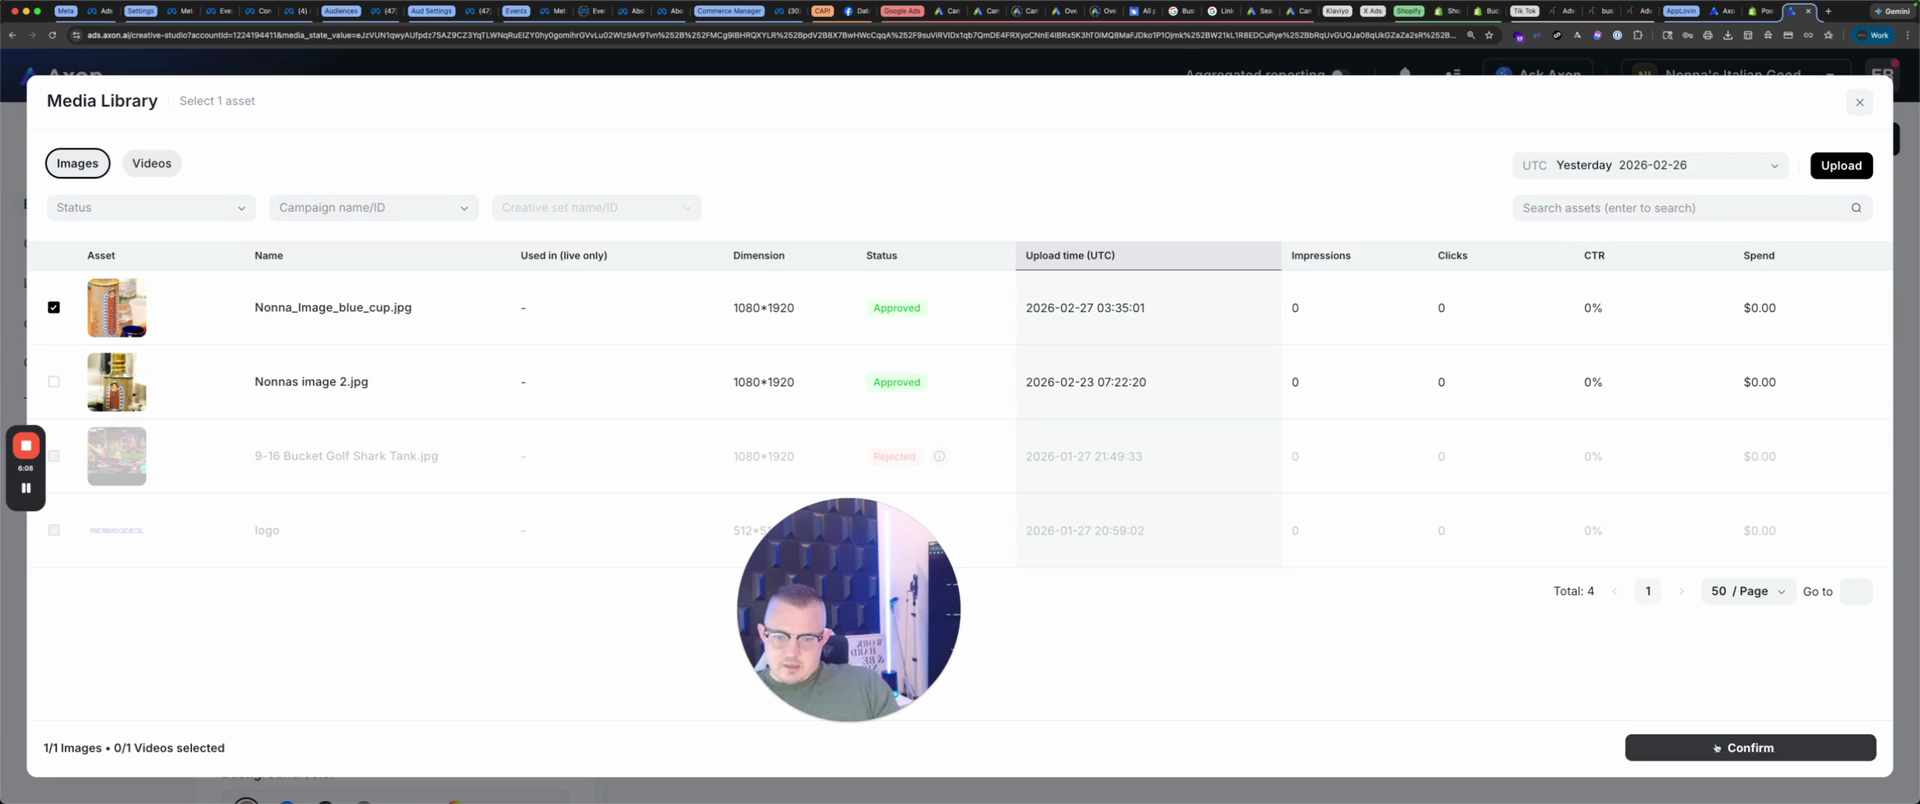
There we go. In the meantime, we will upload an image to use for the interactive.

45
Click the Images tab.
Step #45: Click the Images tab.

I'll show you how to create interactives in a moment. I've already made a couple here. Nona's image two is on the desktop, so we'll take that. Nona's image two, open.

46
In the file dialog, select 'Nonnas Image 2.jpg'.
Step #46: In the file dialog, select 'Nonnas Image 2.jpg'.
47
Click the Open button.
Step #47: Click the Open button.

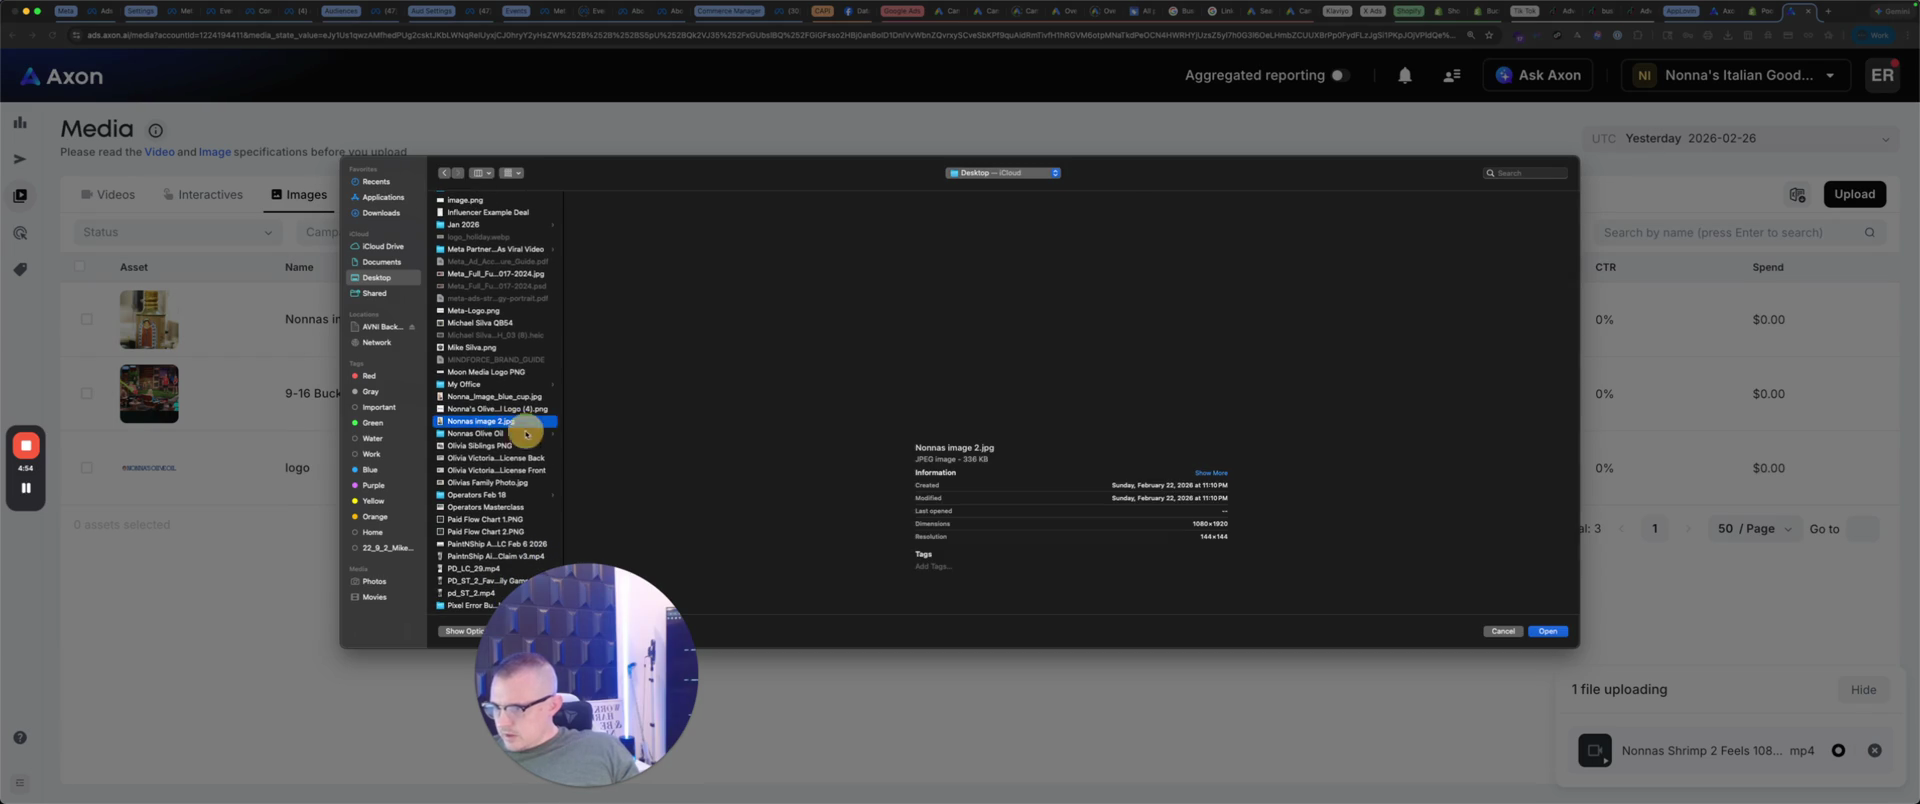
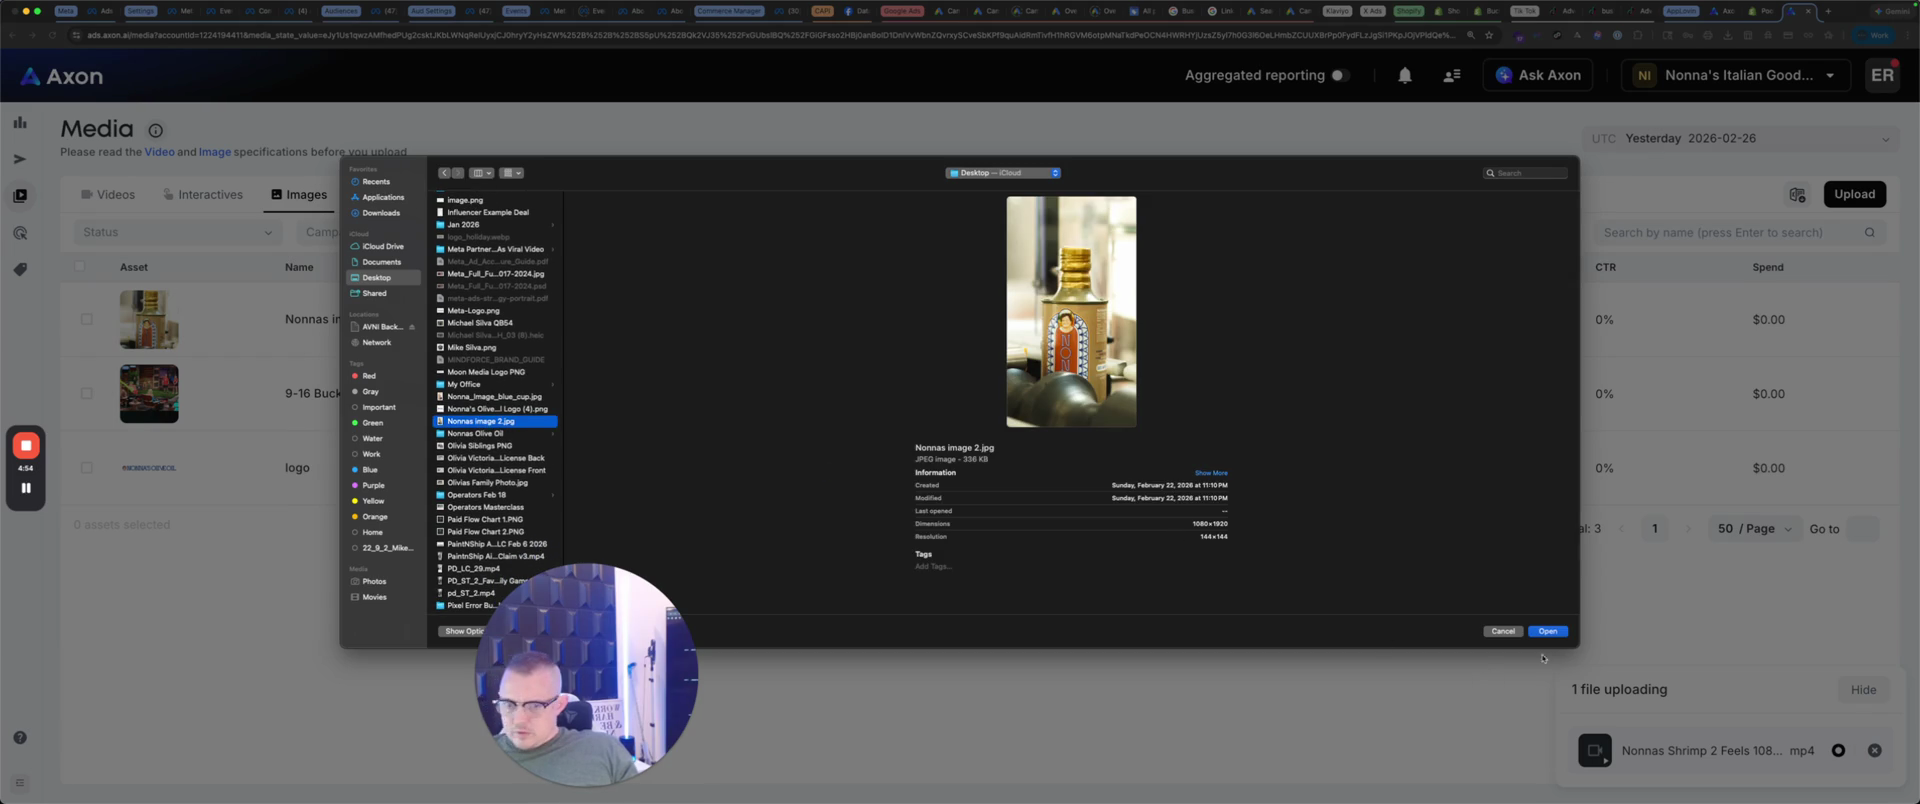
You'll see that the upload fails. It's a duplicate because I've already done it. That one is already here. Let's see if I have another one. Nona image blue cup. Let's check if I uploaded that.

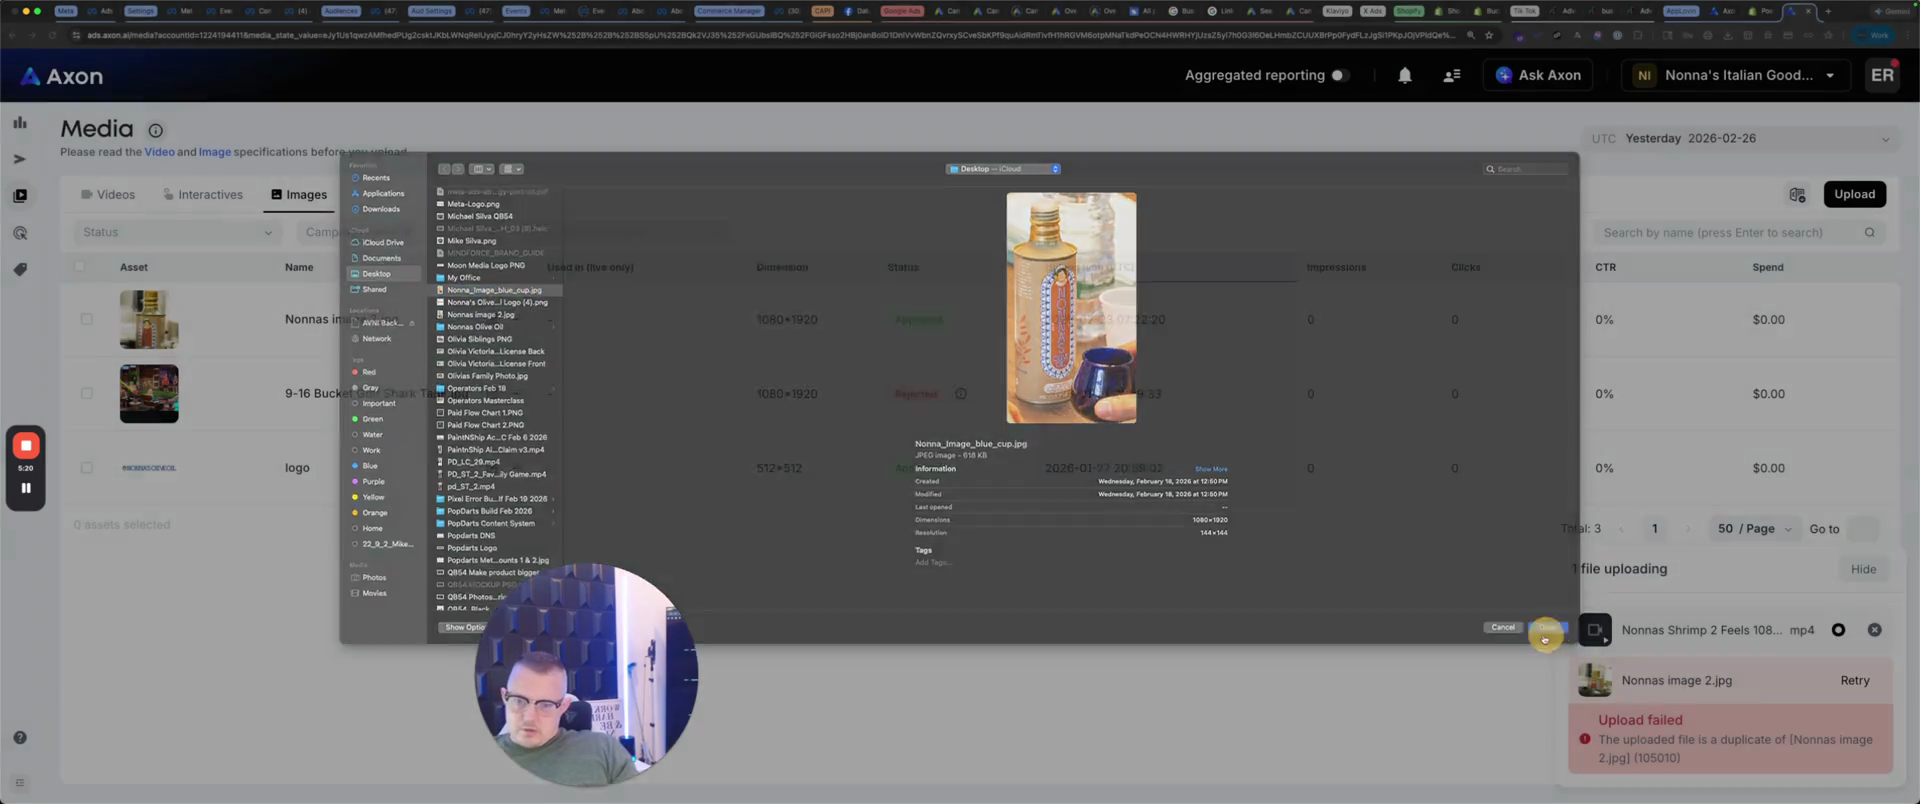
I haven't, so we'll do that one. We'll upload Nona's image of the two blue cups.

48
Go upload
Step #48: Go upload
49
Nonna_image_blue_cup.jpg
Step #49: Nonna_image_blue_cup.jpg

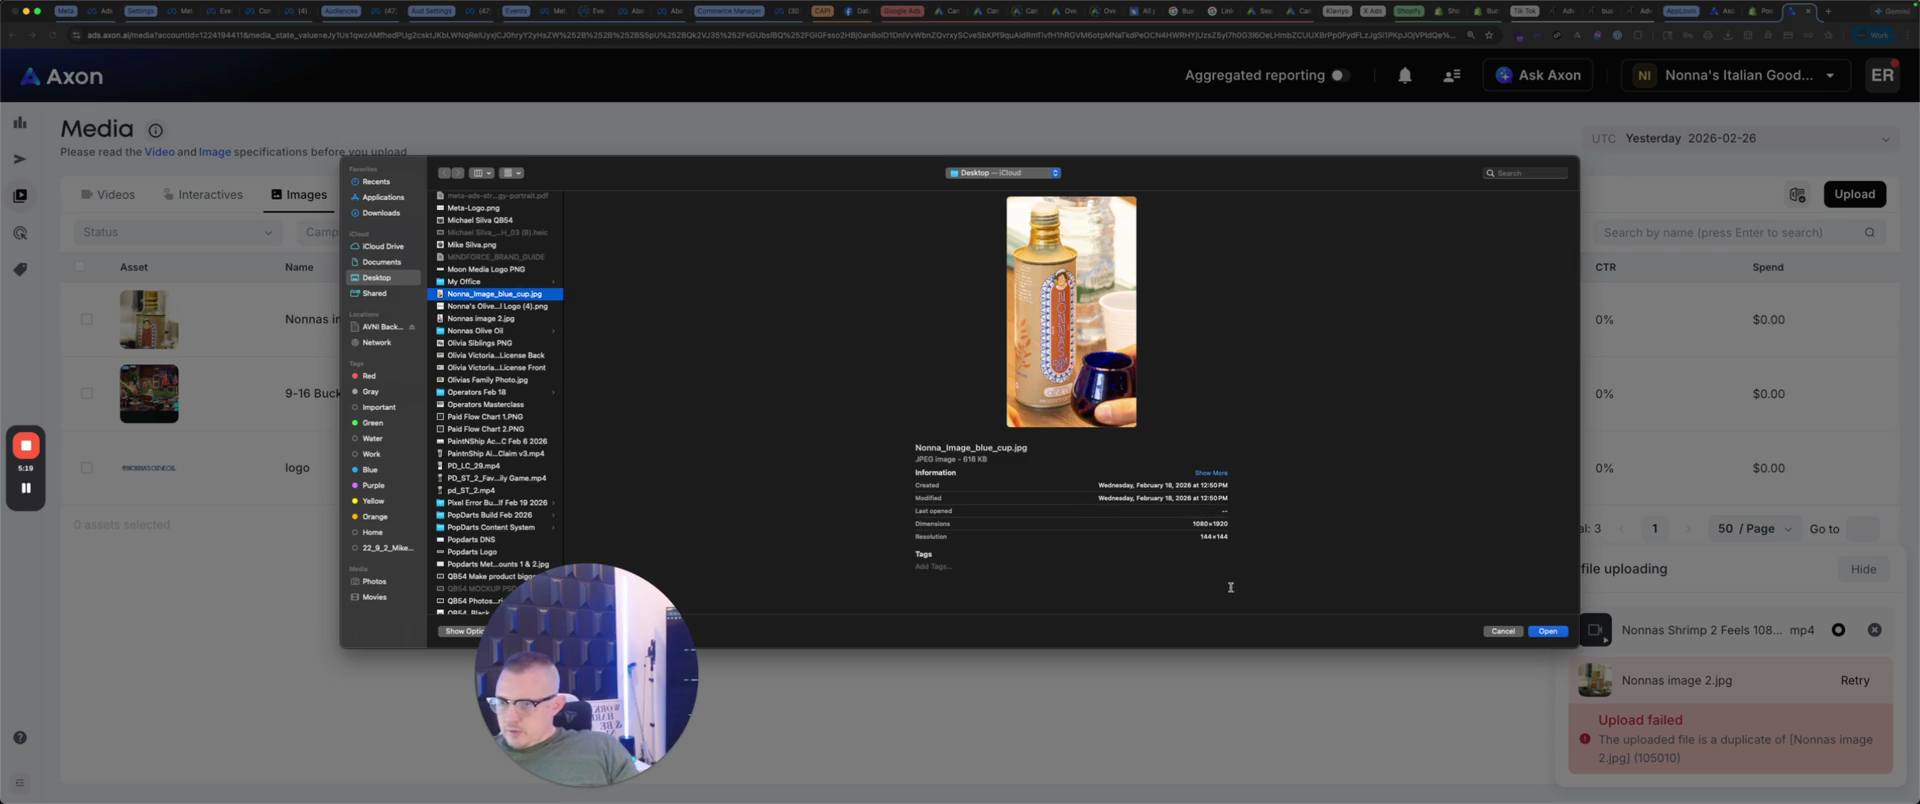
We will open that file. It will load and then move into review.

50
Open
Step #50: Open

To make an interactive video, let's return to the topic of videos.

51
to make an interactive
Step #51: to make an interactive

It's been approved. What are you doing, Nona? ... Thank you for letting me bowl for my grandchildren on TikTok. ...

It says it has been approved. Please stop by Neiman's. "" We are going to create an interactive. To create an interactive, there are four templates. I will show you how to use the first one.

52
Click the first template labeled 'Immersive visuals'.
Step #52: Click the first template labeled 'Immersive visuals'.
53
Click the 'Confirm' button.
Step #53: Click the 'Confirm' button.

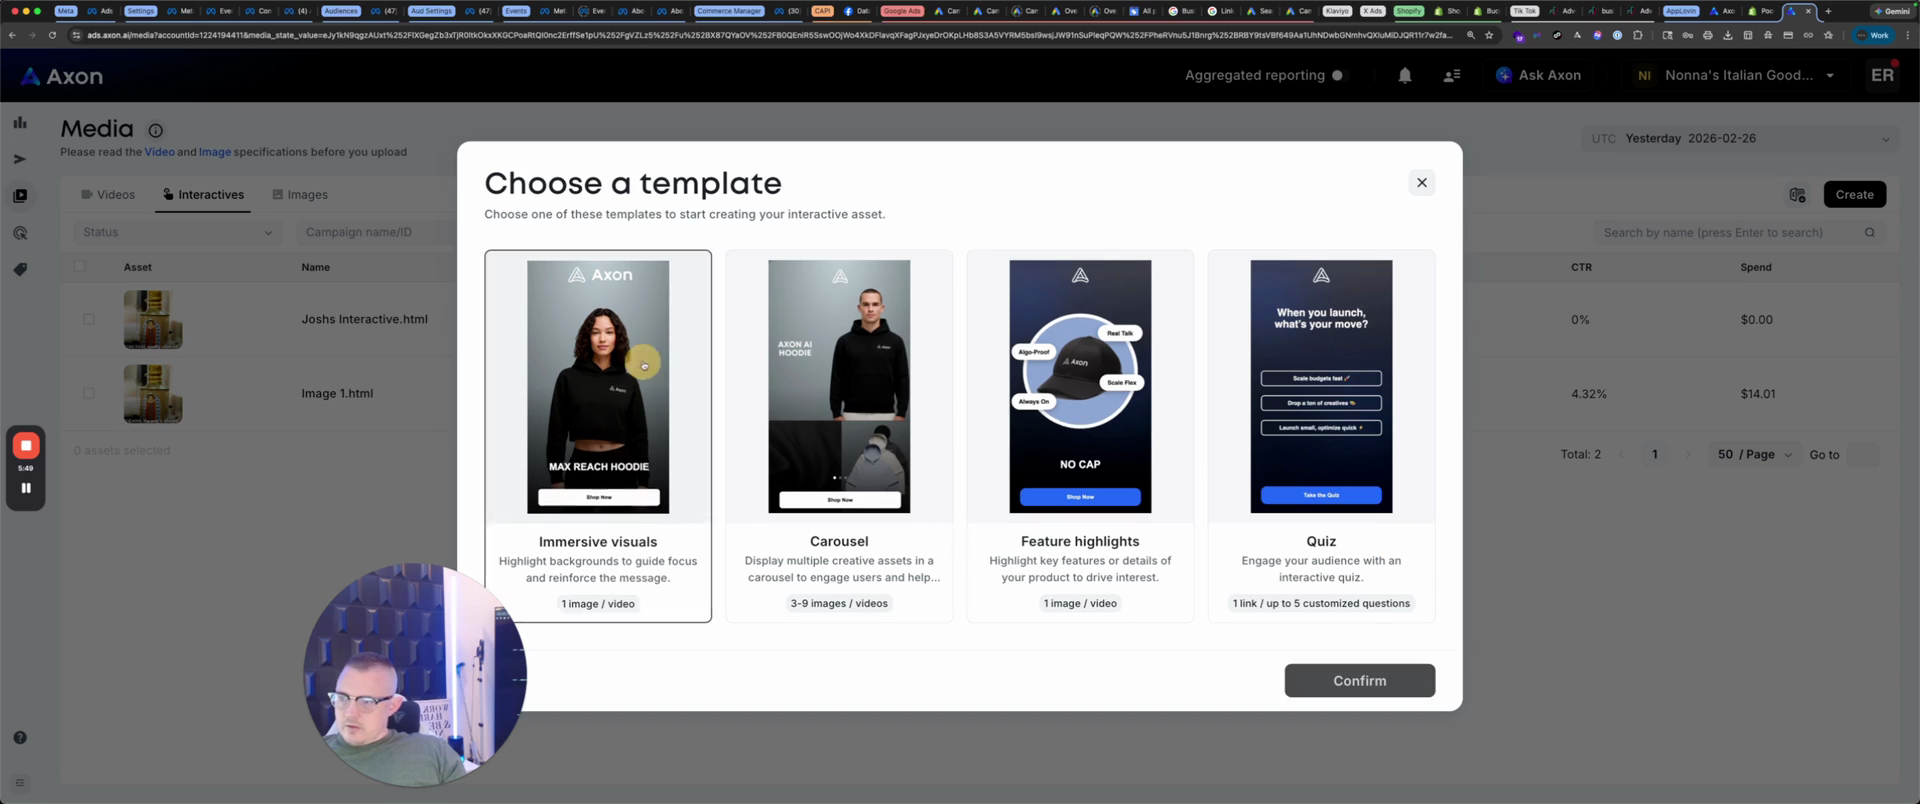
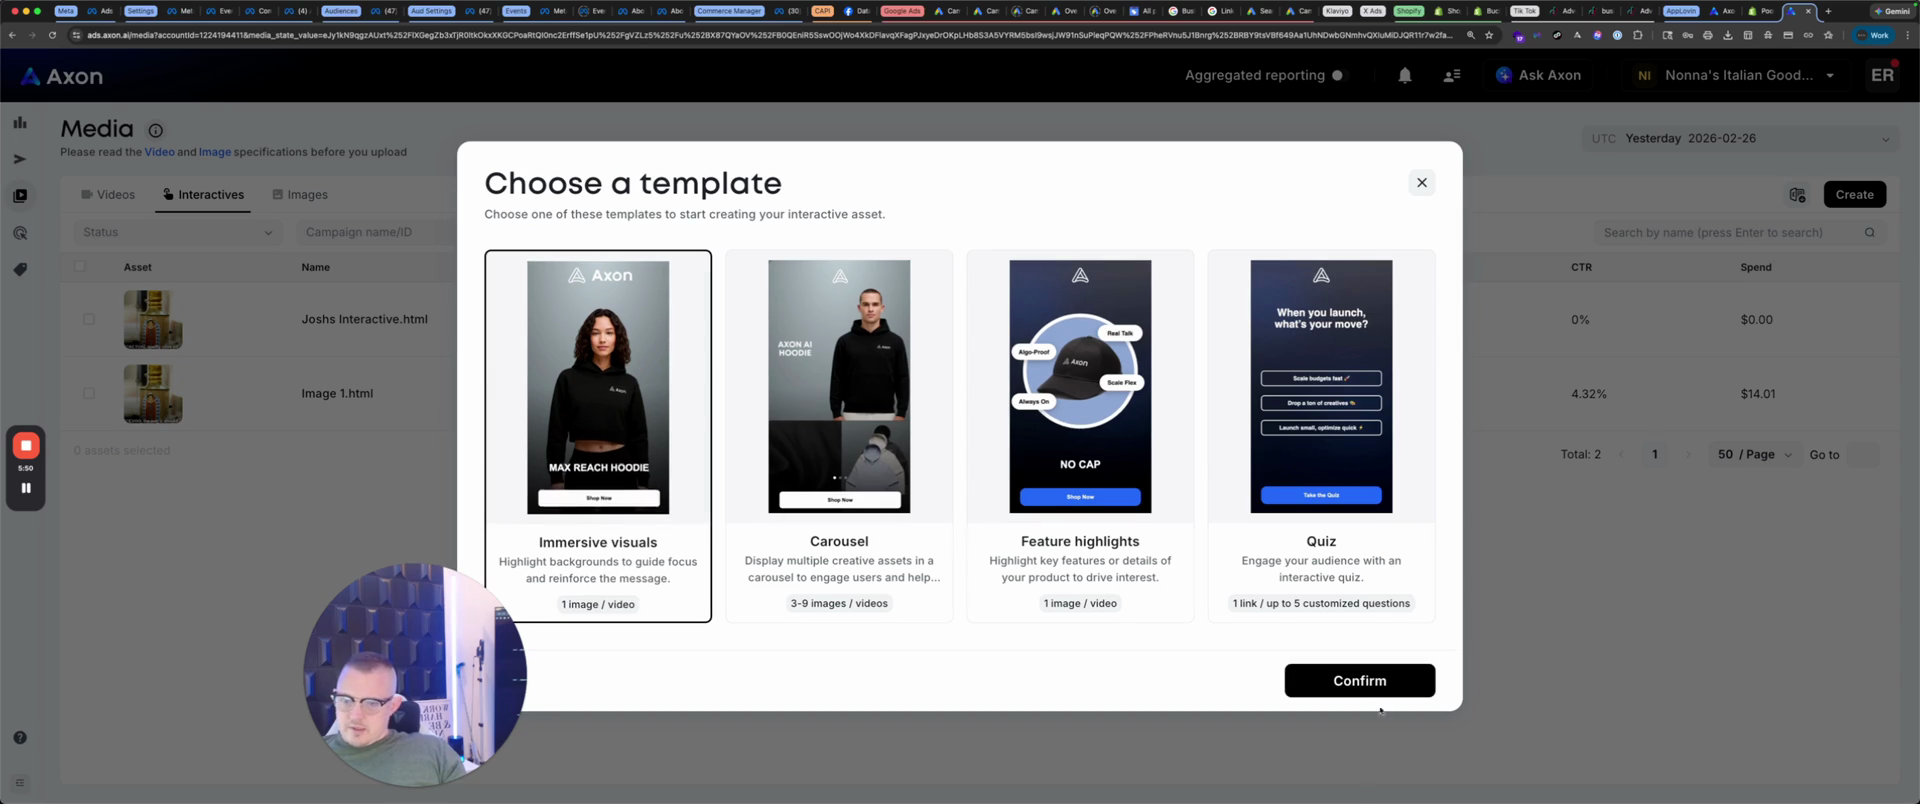
You confirm and name it.

54
In the Name field, type 'nonnas2'.

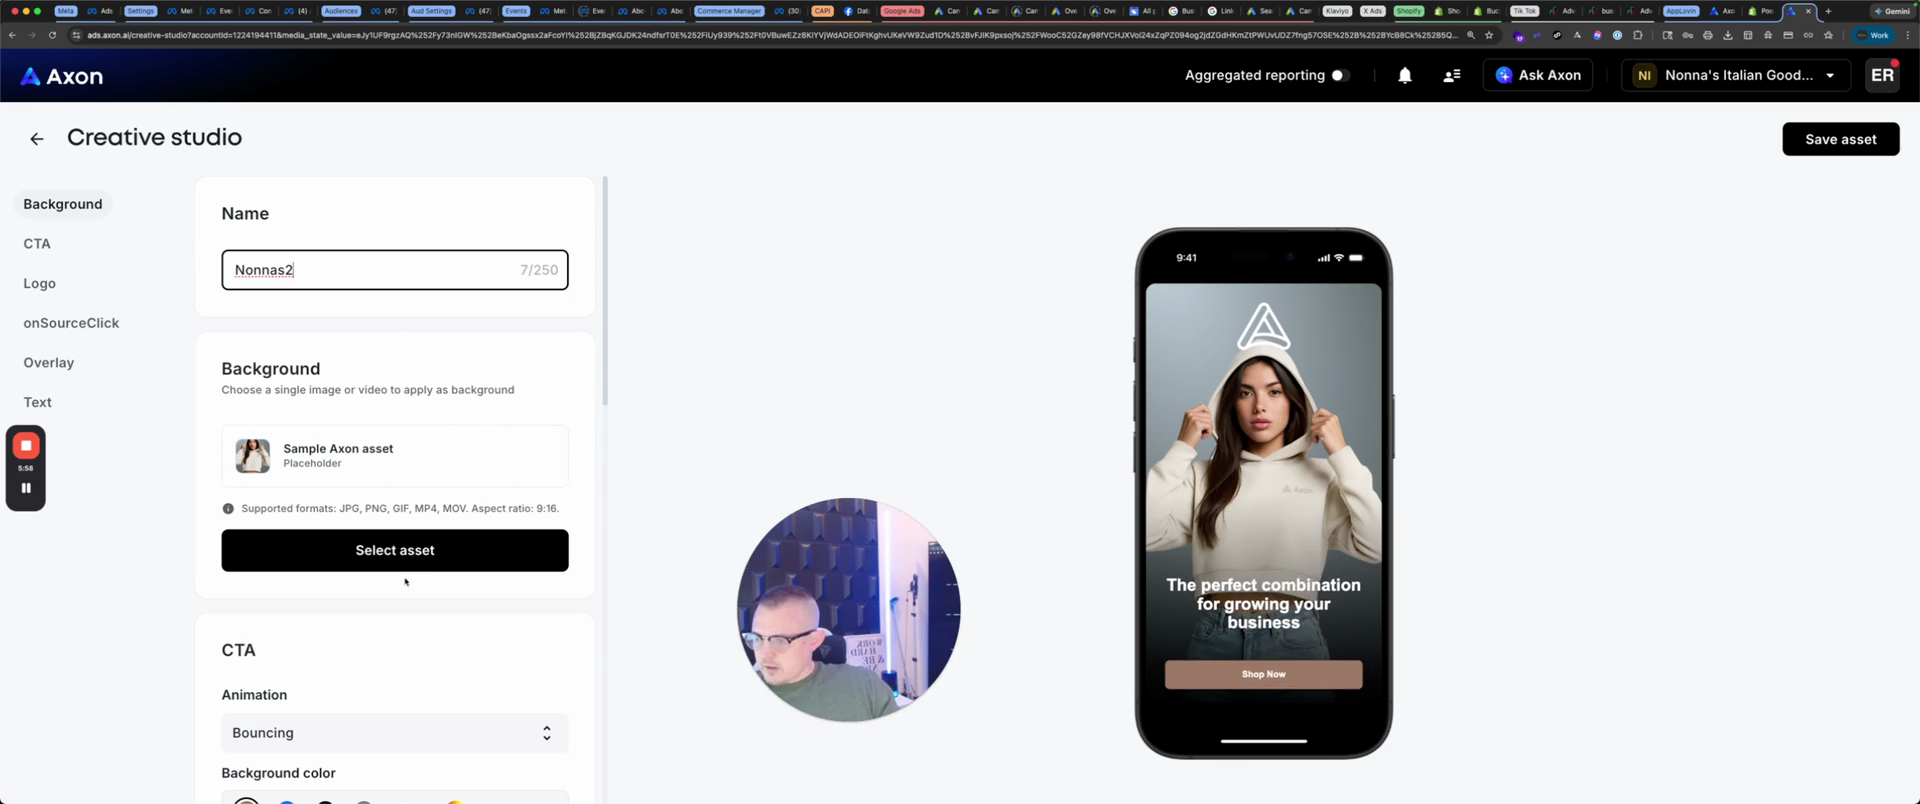
We're going to put Nona's two. We will select an image for the background.

55
Click the 'Select asset' button.
Step #55: Click the 'Select asset' button.

You can make a video. It’s already approved, so we’ll select that.
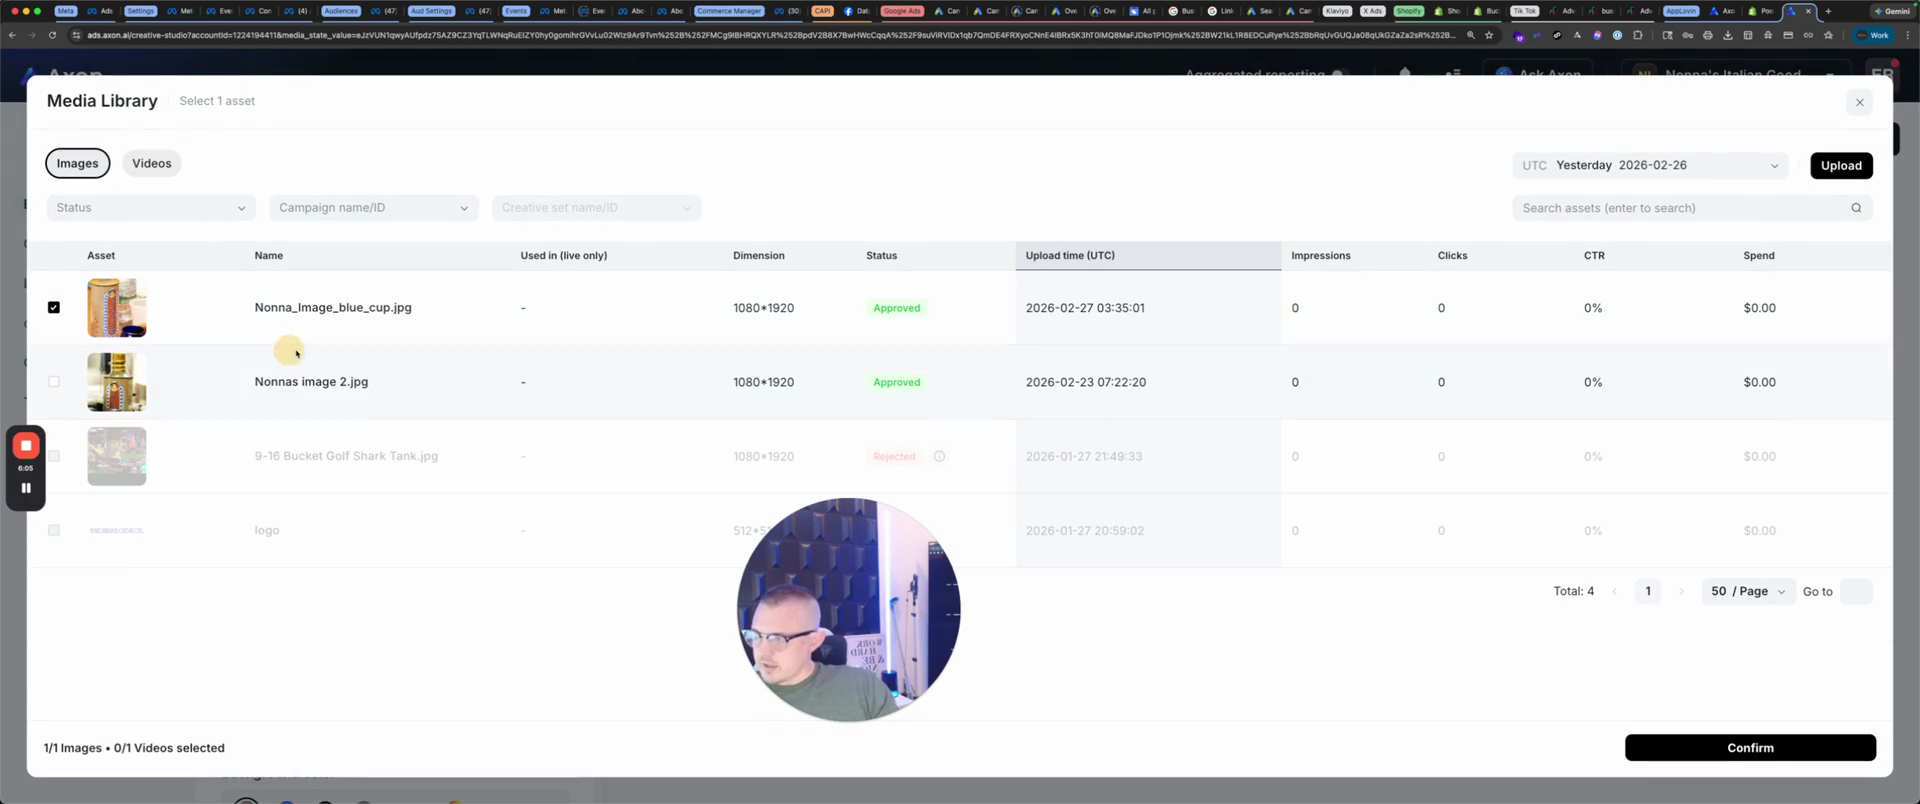
56
Select the 'Nonna_image_blue_cup.jpg' asset from the list.
Step #56: Select the 'Nonna_image_blue_cup.jpg' asset from the list.

Confirm.

57
Click the Confirm button.
Step #57: Click the Confirm button.

That will be the background. For the logo, we'll say...

58
Highlight the text in the text field.
Step #58: Highlight the text in the text field.

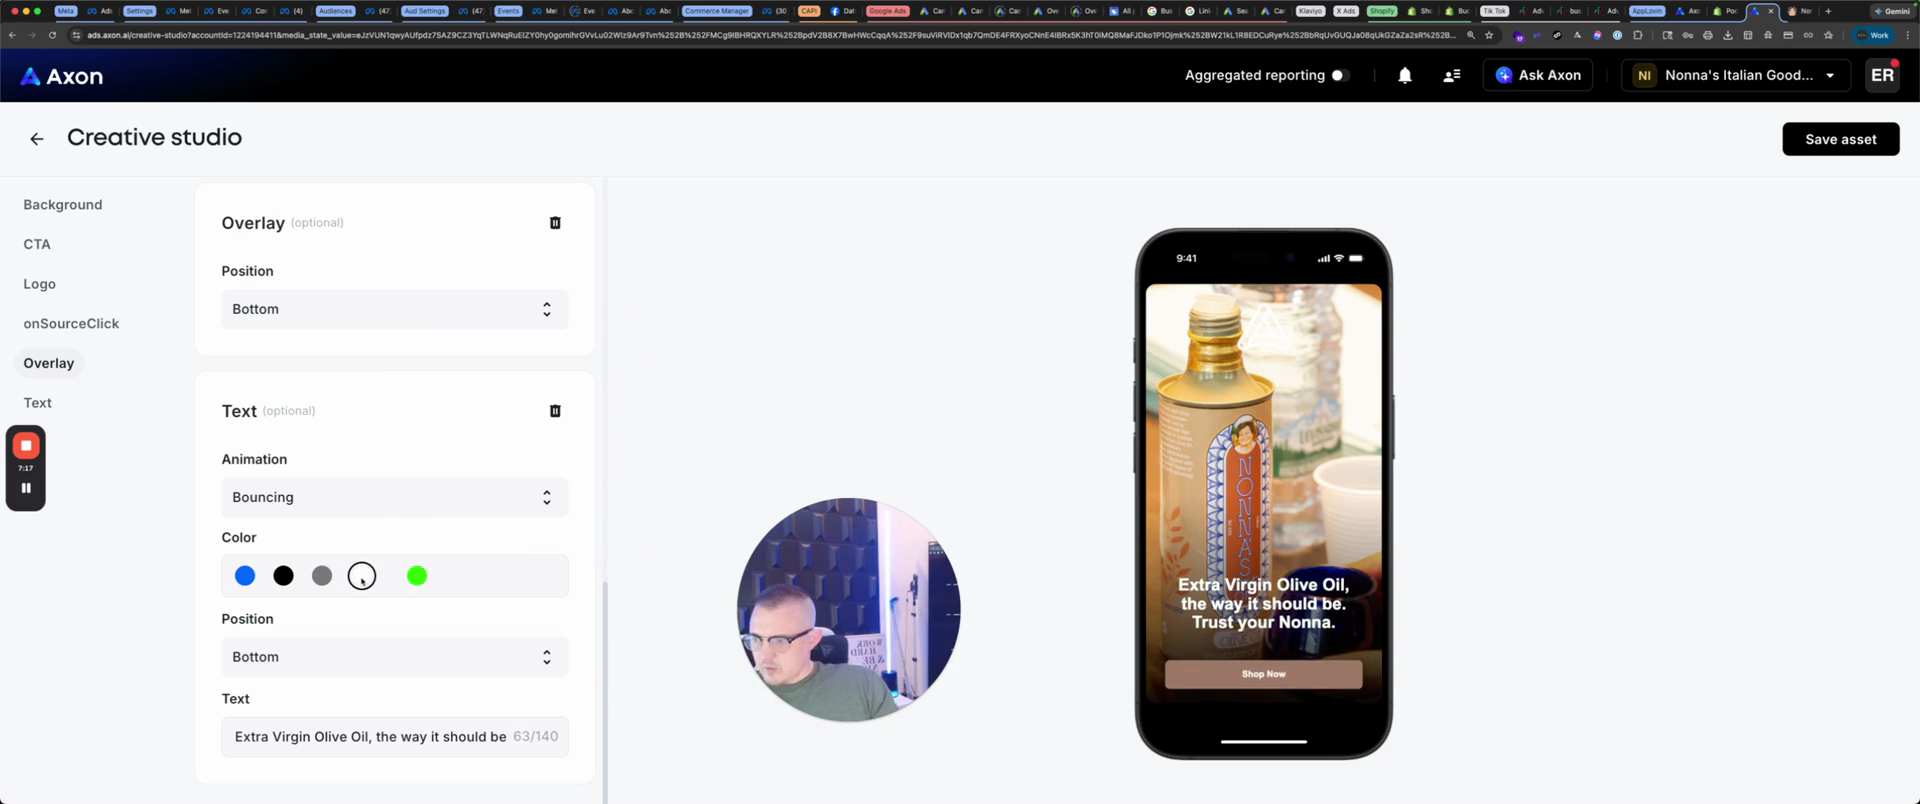
For the tagline, use "Nonna's Olive Oil" instead of "The perfect combination".

59
Go to Link

It says, "Extra virgin olive oil, the way it should be."
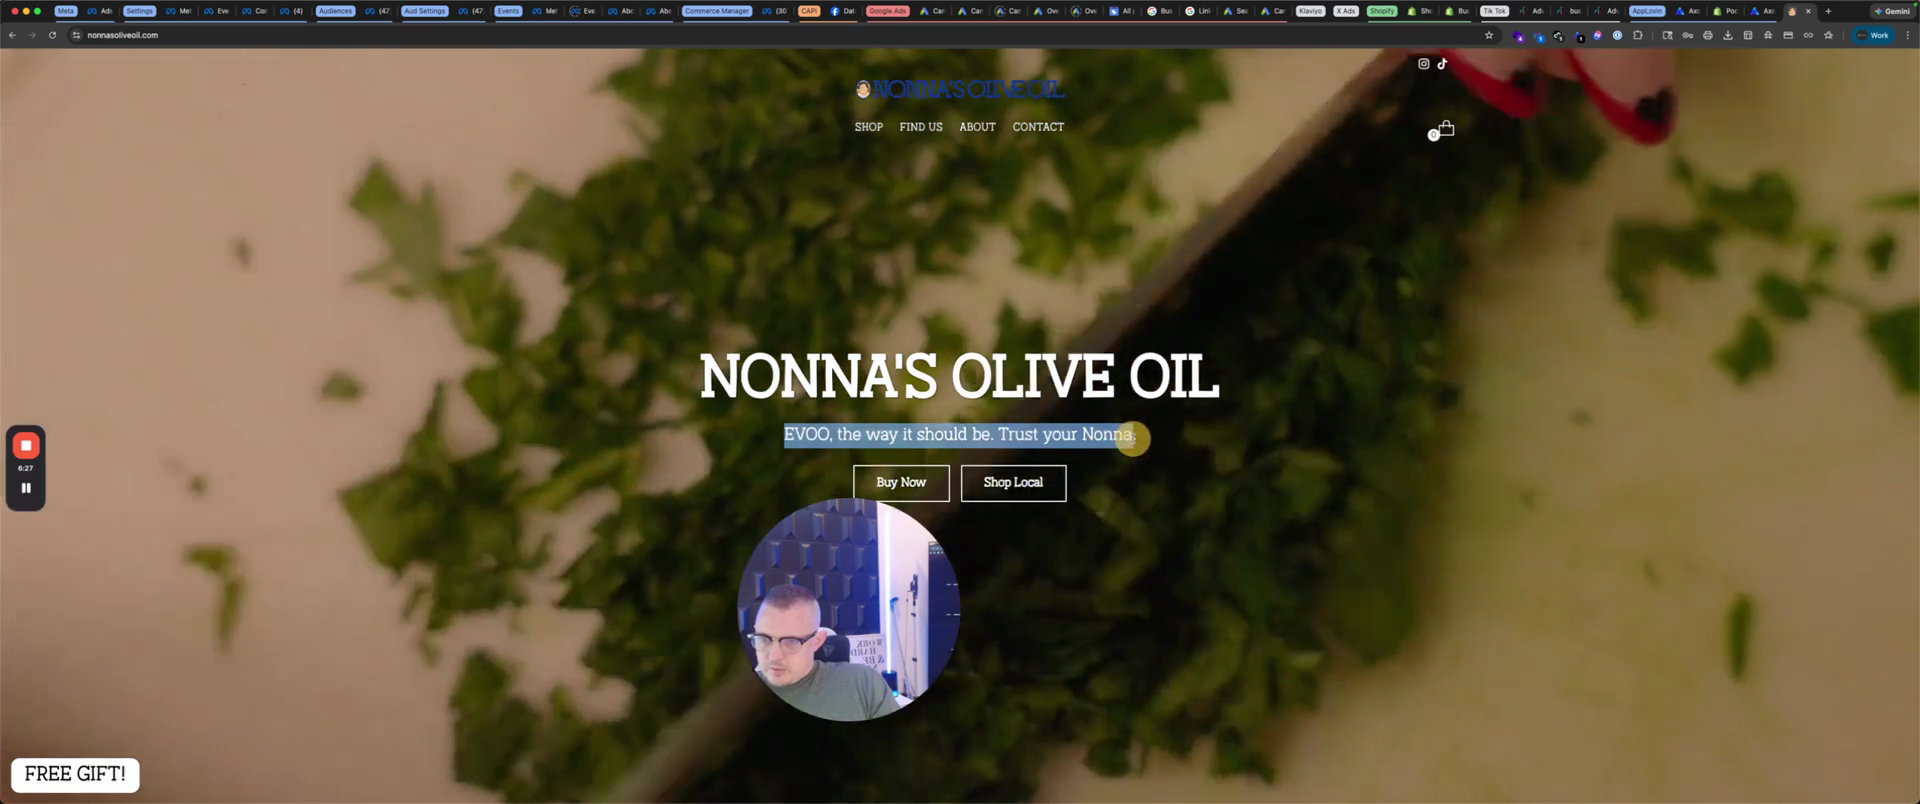
60
Highlight the text 'EVOO, the way it should be. Trust your Nonna.'
Step #60: Highlight the text 'EVOO, the way it should be. Trust your Nonna.'

Trust your Nonna.

61
Right-click on the highlighted text.
Step #61: Right-click on the highlighted text.

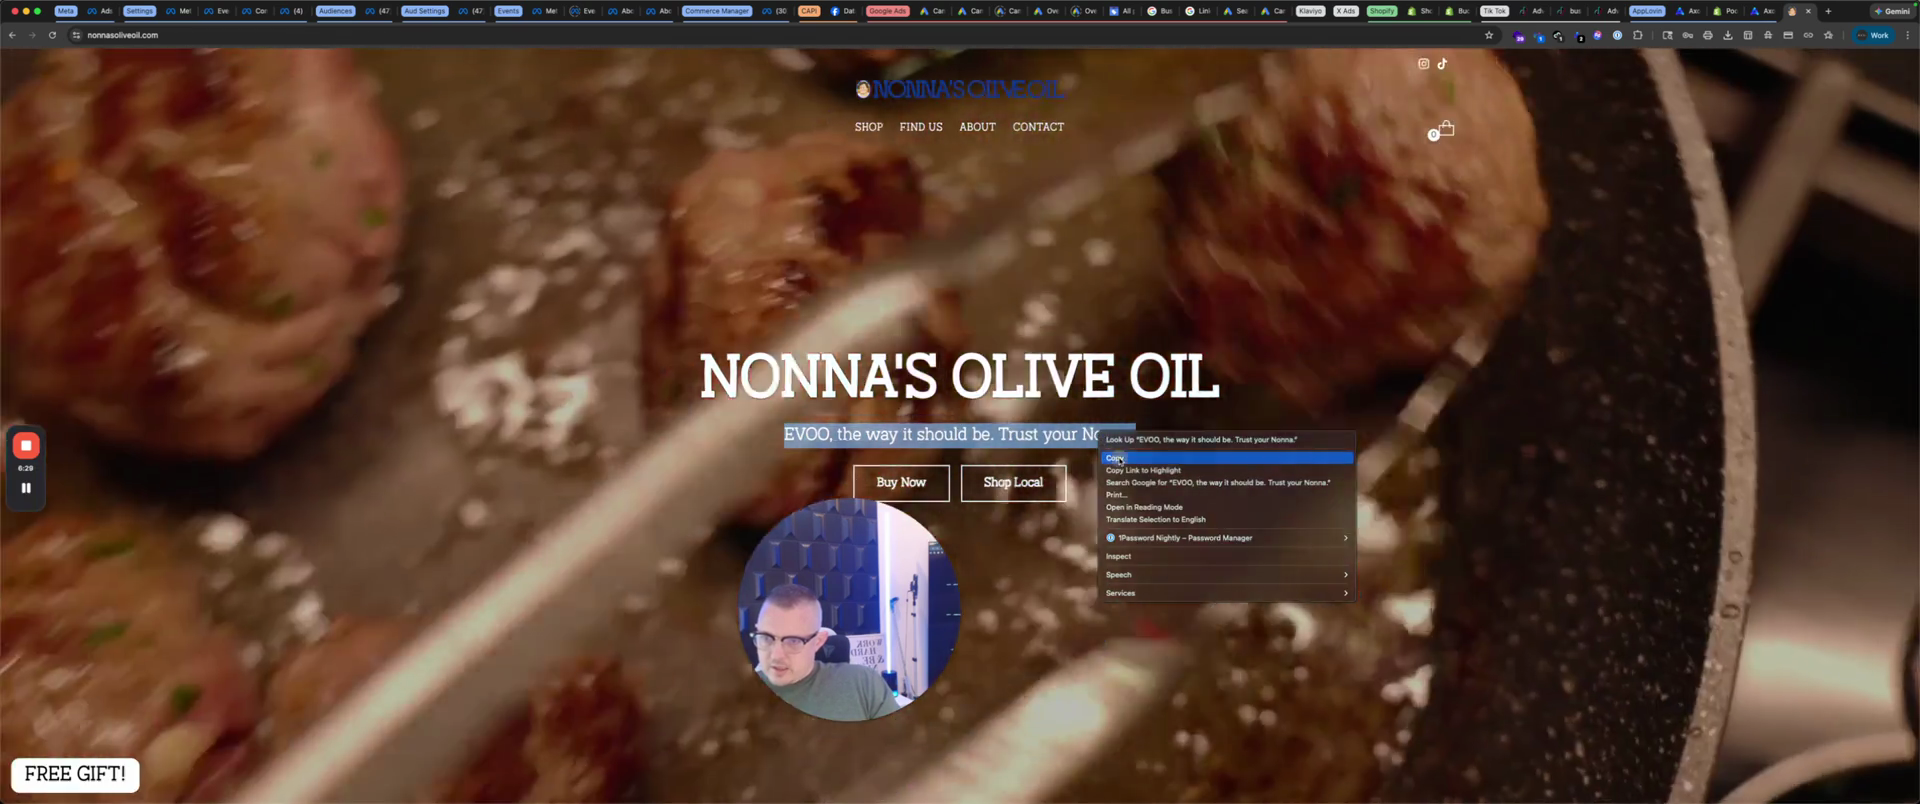
That is what we will put in this one. Go back the other way. It should be.

62
Paste 'EVOO, the way it should be. Trust your Nonna.' into the text field.

Trust Your Nonna. Just because some people may not know, we will type it out. Extra virgin olive oil, the way it should be.

63
Type 'Extra Virgin Olive' in place of 'EVOO'.
64
Type 'Oil, the way it should be. Trust your Nonna.' into the text field

Trust your Nonna. And then we're going... You can change... If it's bouncing, you can change the color. I prefer a brighter color so it stands out more.

65
Click the multi-color swatch under the 'Color' section for the text
Step #65: Click the multi-color swatch under the 'Color' section for the text

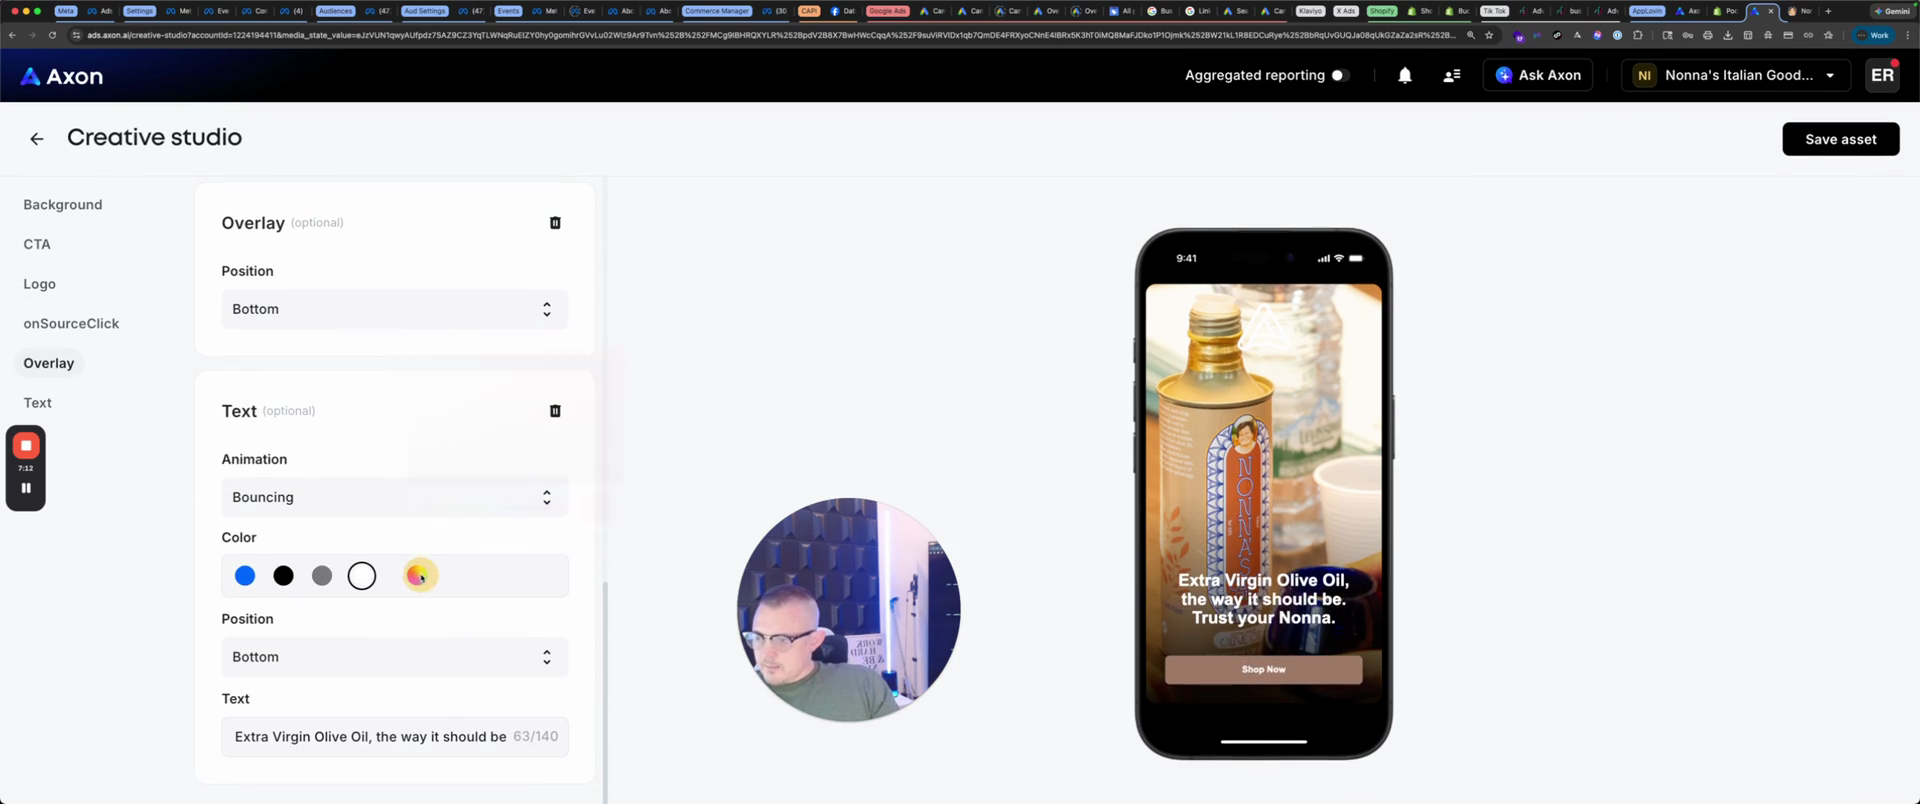
Sorry, not on the text. I like the text in white.

66
Click the white color swatch for the text
Step #66: Click the white color swatch for the text

The button matched the color, but I would prefer a red button because it stands out more.

67
Click the multi-color swatch under the 'Background color' section for the CTA
Step #67: Click the multi-color swatch under the 'Background color' section for the CTA
68
Click the red color swatch for the background color
Step #68: Click the red color swatch for the background color

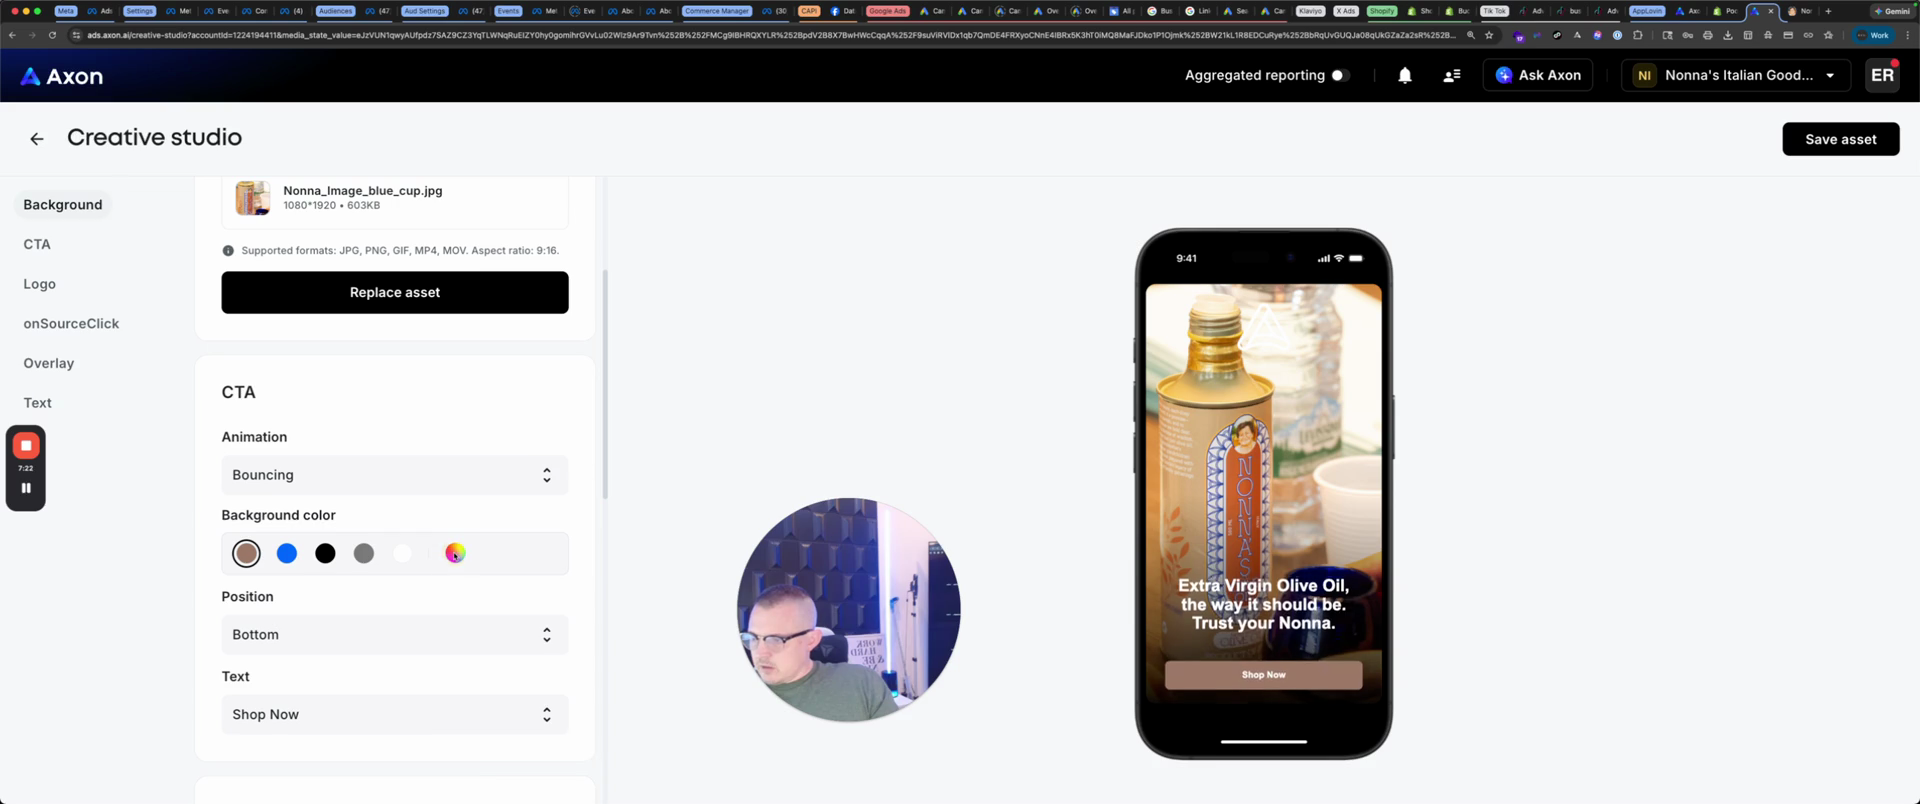
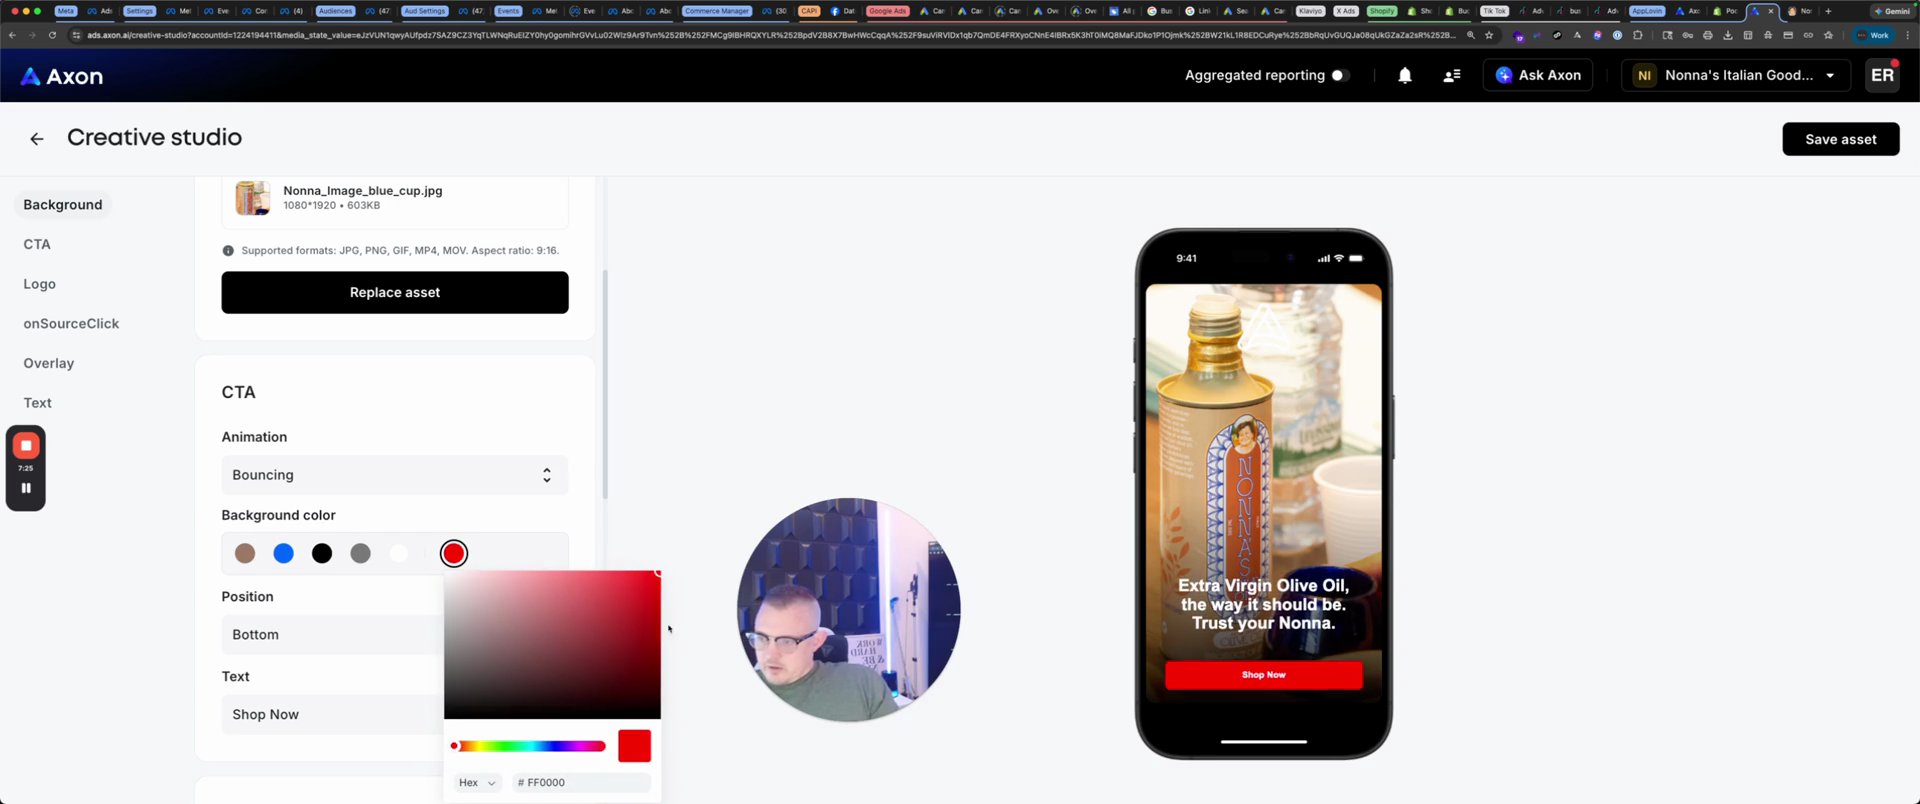
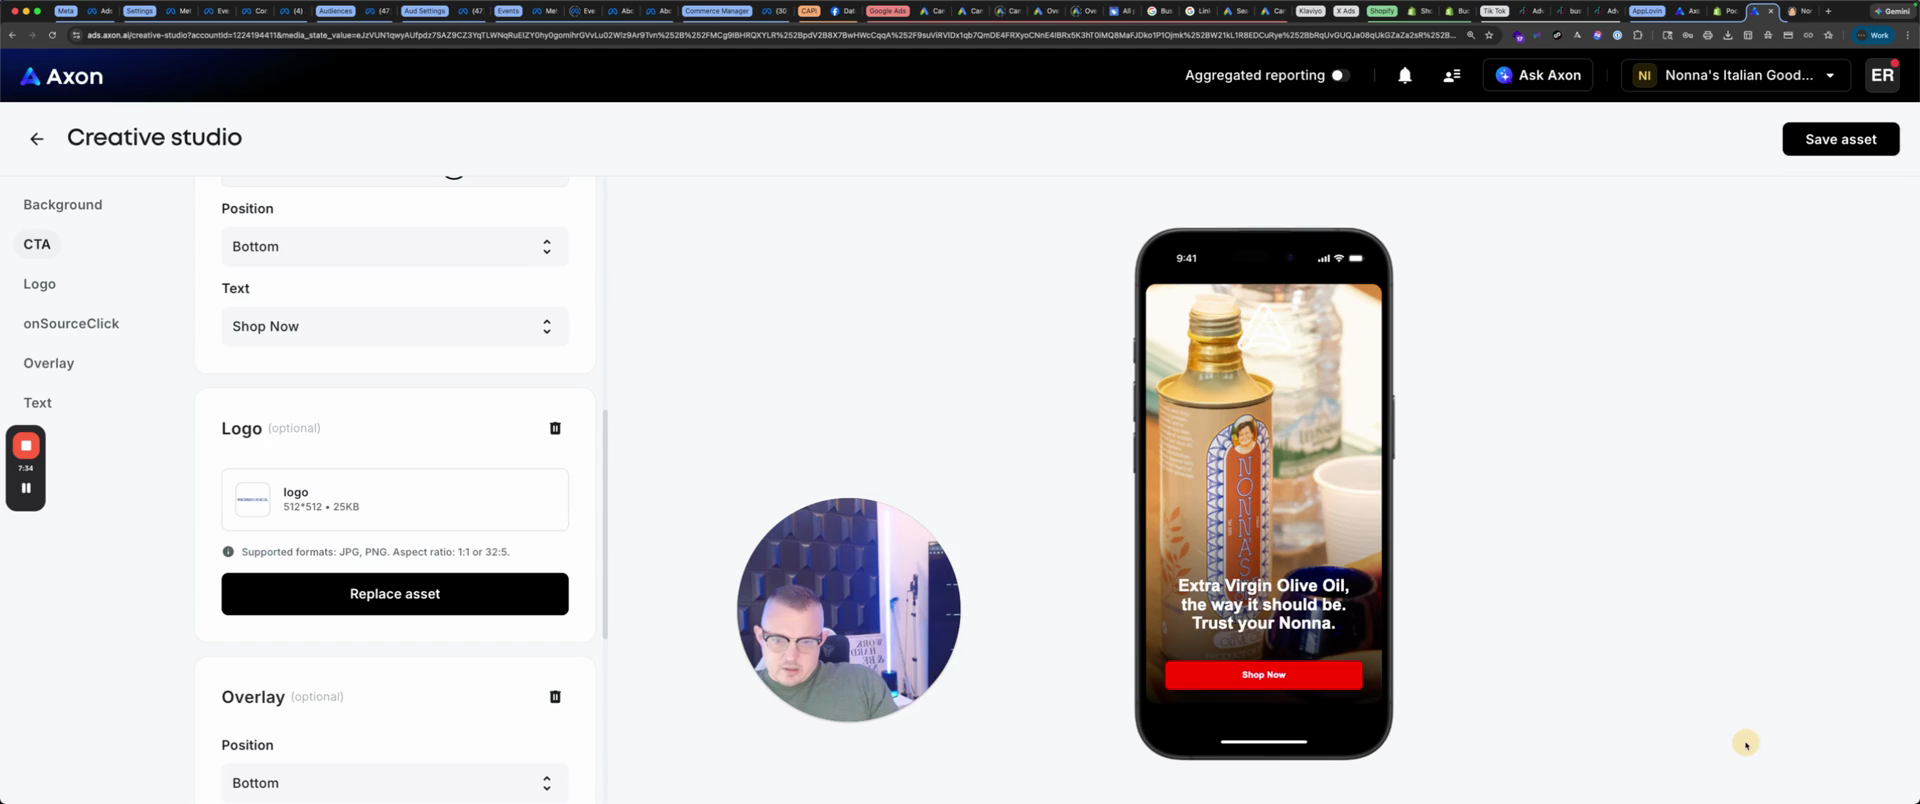
You can change the text that says "Shop now." Lastly, the logo.

69
Click the Select asset button.
Step #69: Click the Select asset button.

Insert the logo, confirm, and save the asset.

70
Click on the asset named "logo".
Step #70: Click on the asset named "logo".
71
Click the Confirm button.
Step #71: Click the Confirm button.
72
Click the Save asset button.
Step #72: Click the Save asset button.

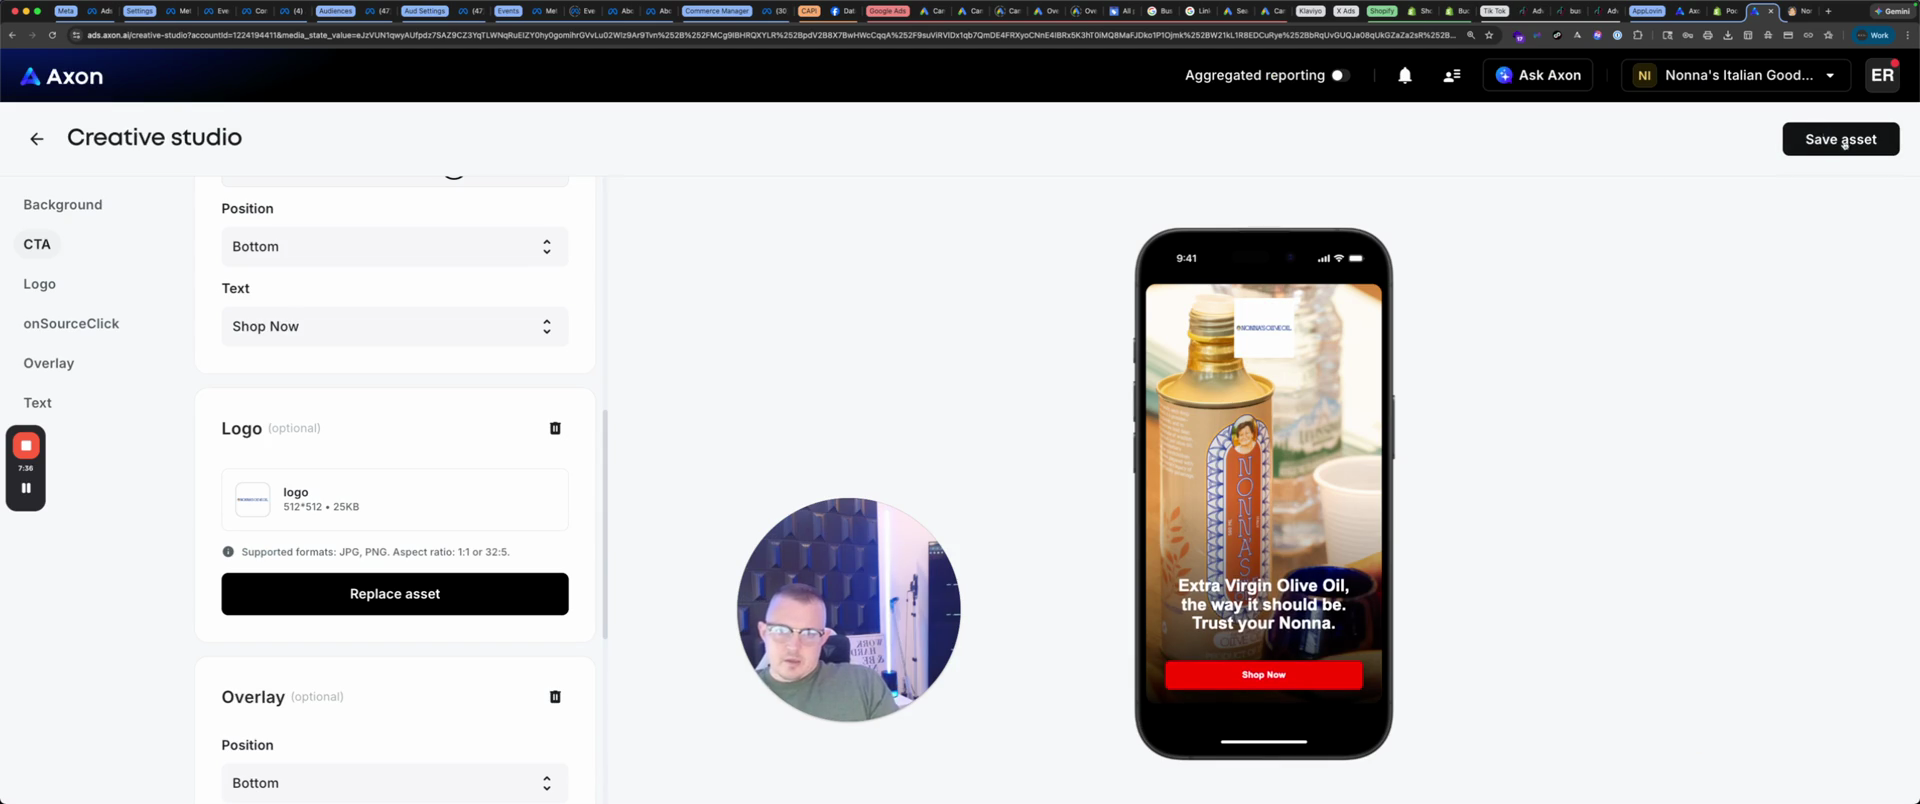
That's how you make an interactive. So, now that you've made...

Each campaign must include at least one video and one interactive element. We're going to create.

73
Click the create button.
Step #73: Click the create button.

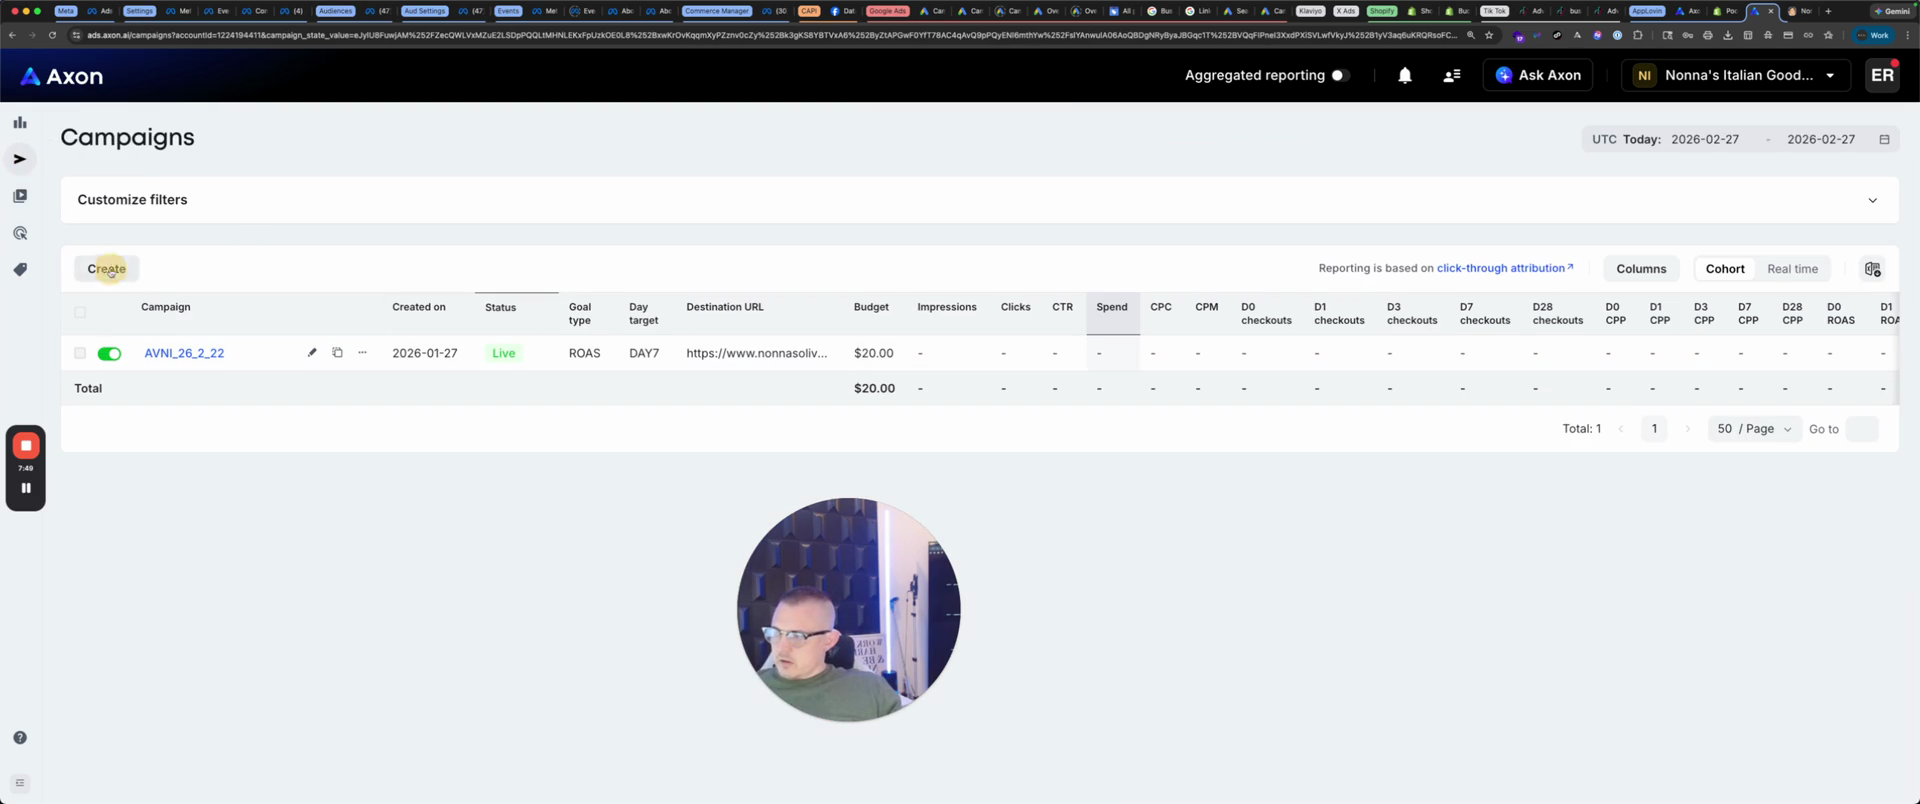
R nomenclature is OVNI_26/02/26, Nonna 2.

74
In the Campaign name field, type "AVNI_26_2_26".
75
Type 'AVNI_26_2_26_Nonnas2' into the Campaign name field.

We will use the Shopify catalog.

76
Click the Catalog dropdown menu.
Step #76: Click the Catalog dropdown menu.
77
Click the Shopify Catalog option.
Step #77: Click the Shopify Catalog option.

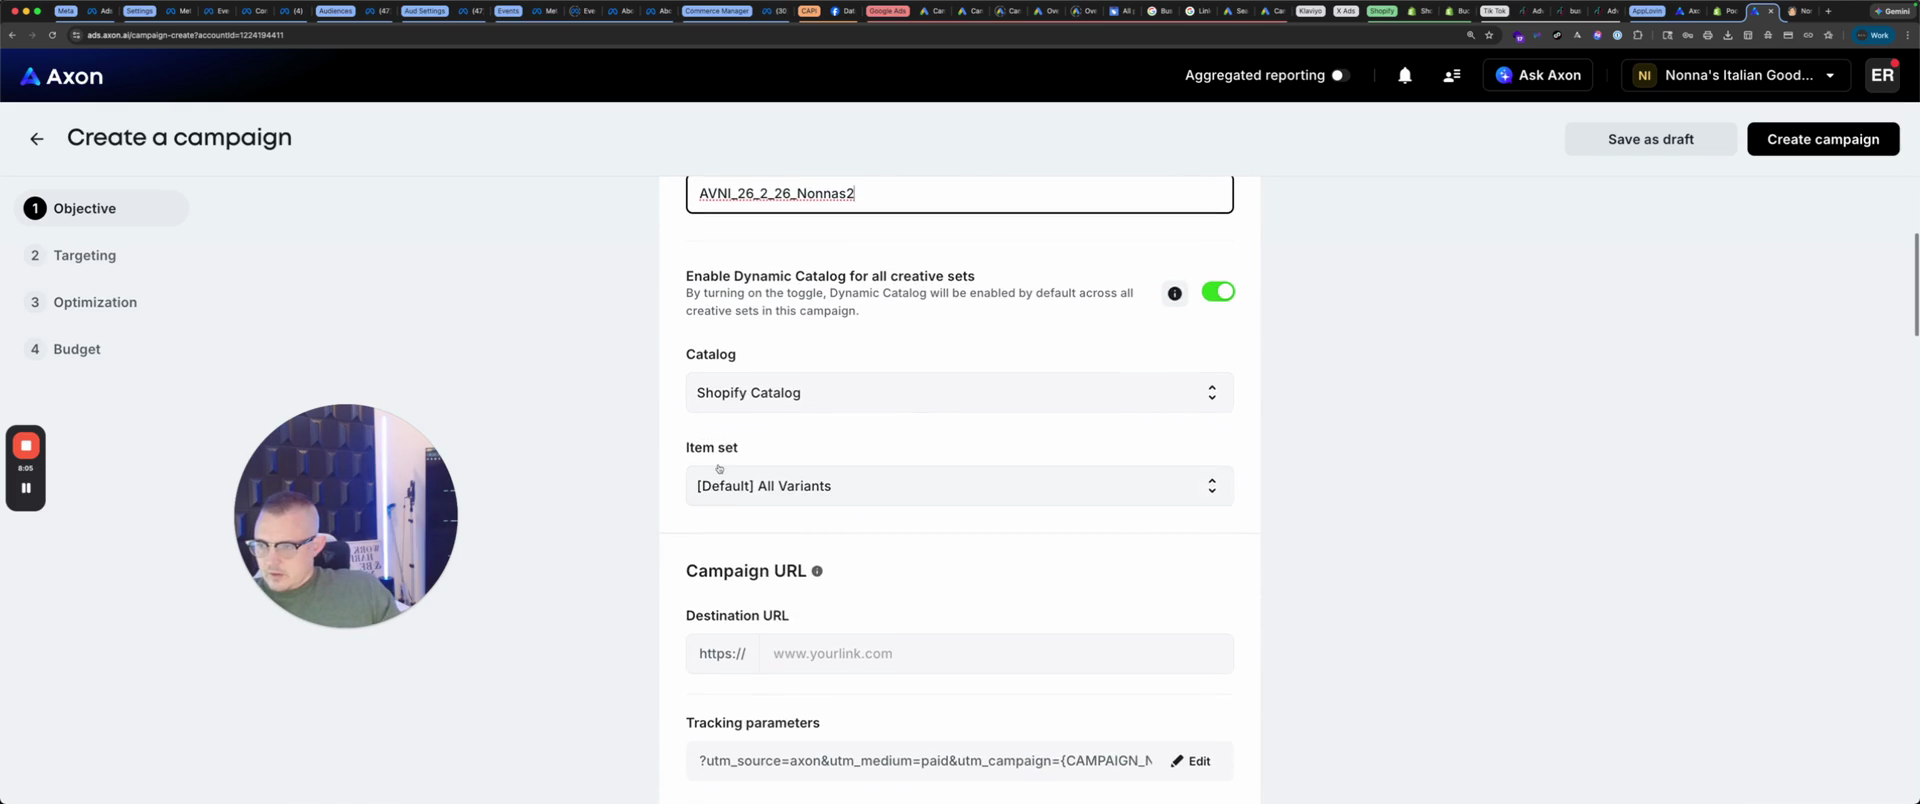
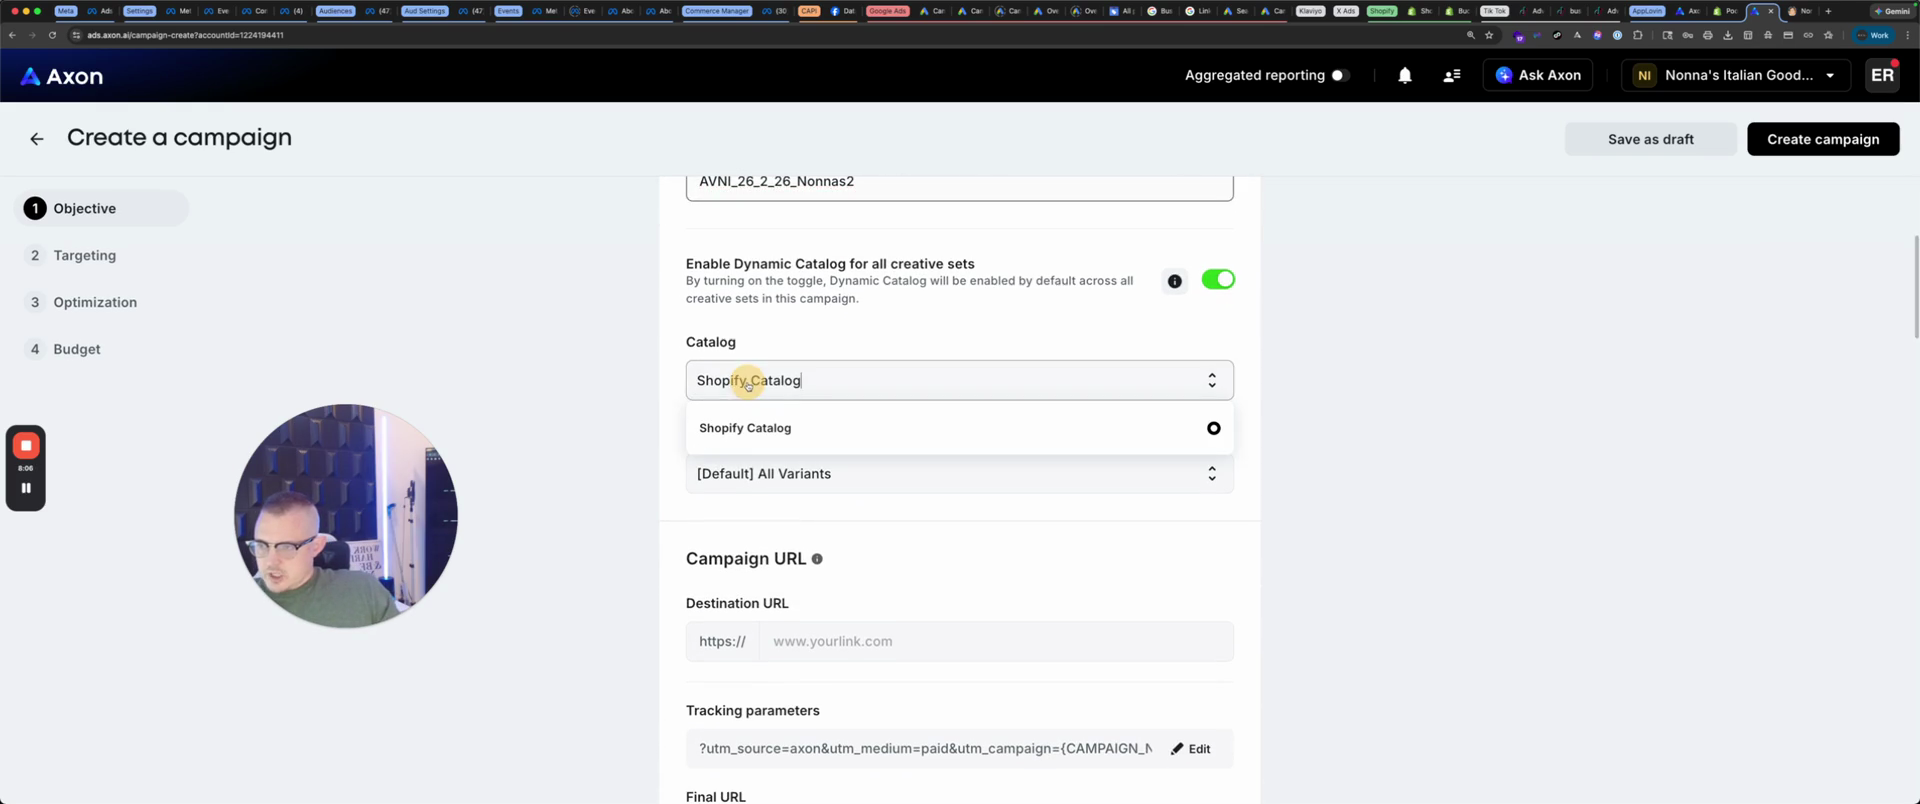
You can create a specific product set if you wish.

We will take the website. I'm gonna paste it. Now here... Oh, sorry, I meant to paste it there.

78
In the Destination URL field, enter your website's URL.

You don't need HTTPS.

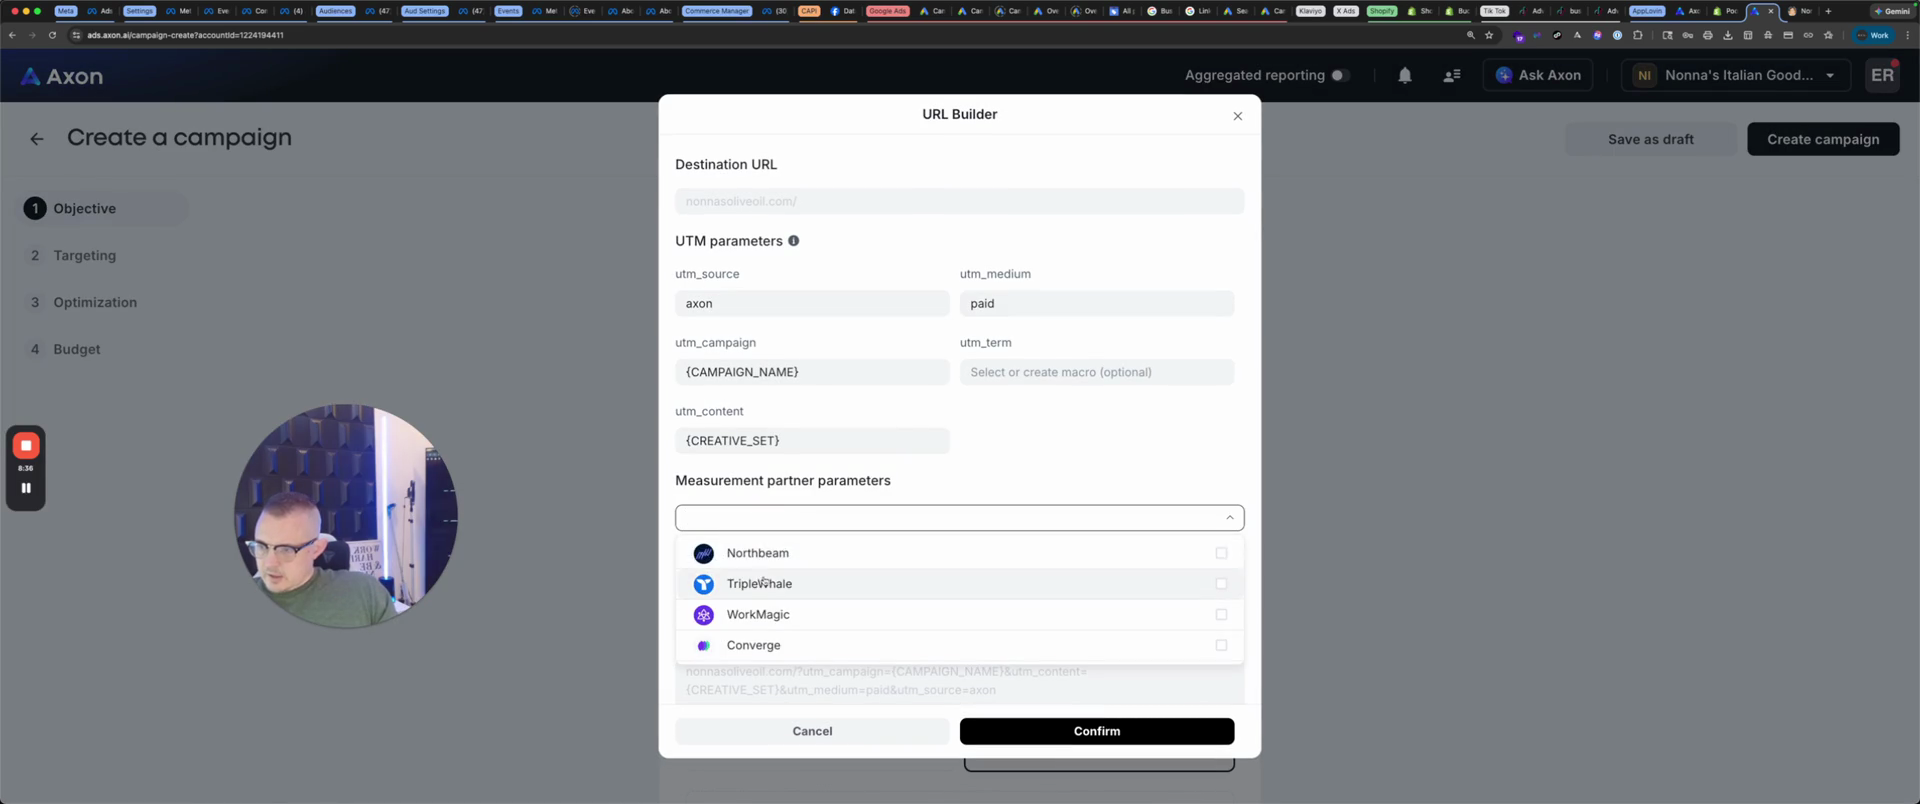
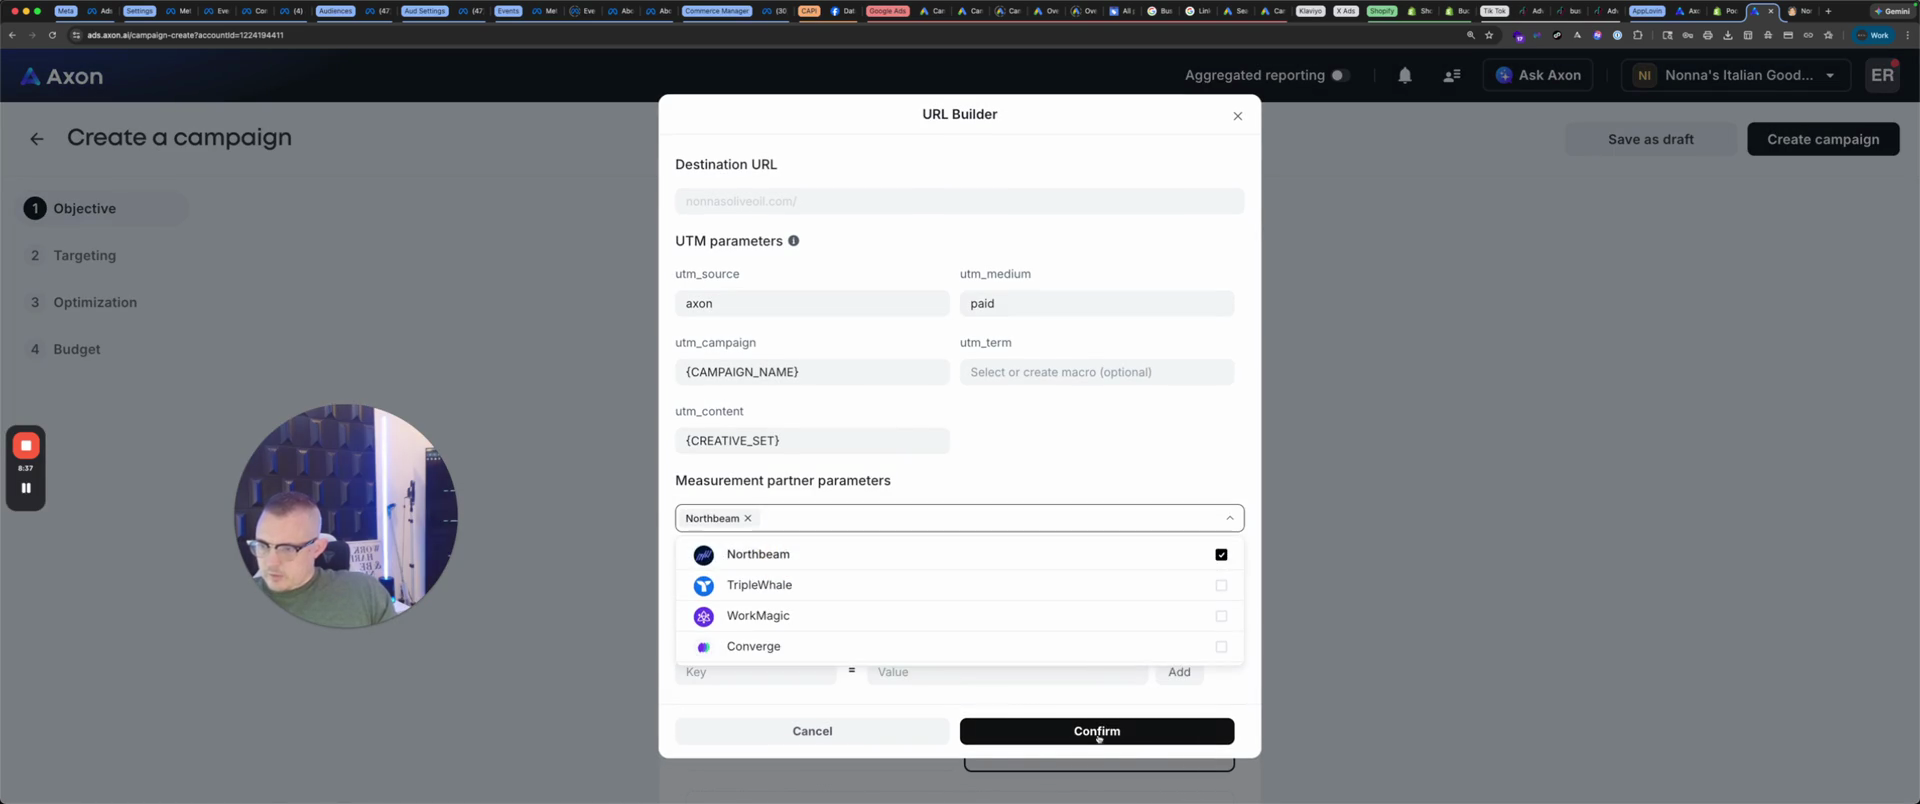
Here, since we're using Northbeam, it automatically connects with Northbeam, which is great.

79
Click the Edit button for Tracking parameters.
Step #79: Click the Edit button for Tracking parameters.
80
Click the Measurement partner parameters dropdown.
Step #80: Click the Measurement partner parameters dropdown.
81
Select Northbeam.
Step #81: Select Northbeam.
82
Click Confirm.
Step #82: Click Confirm.

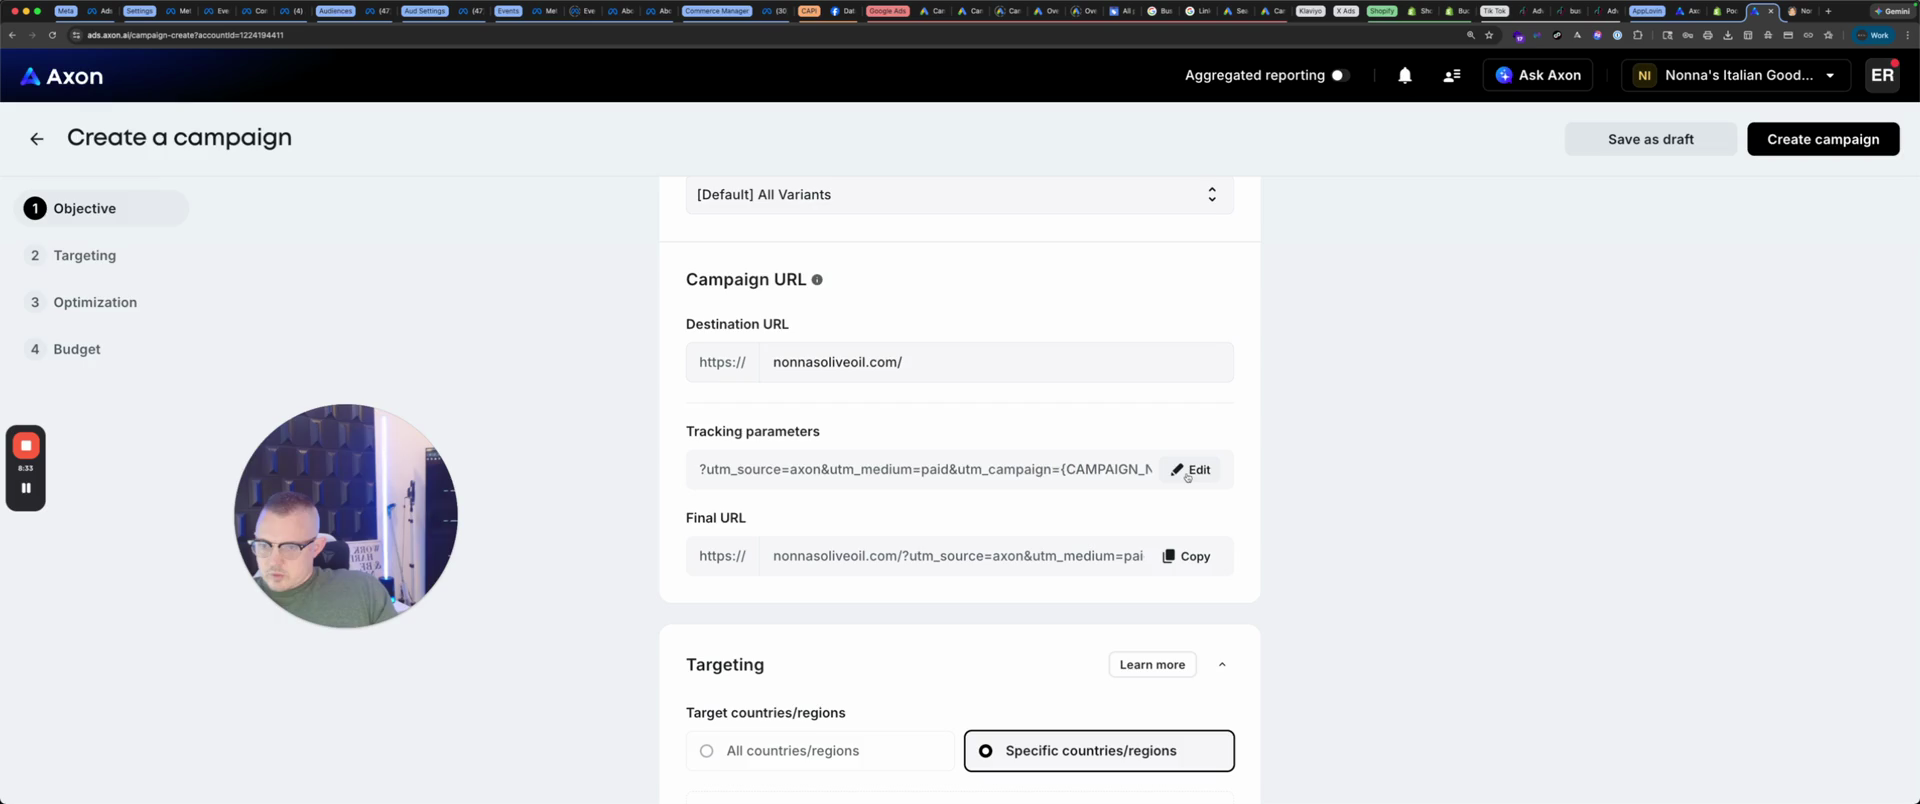
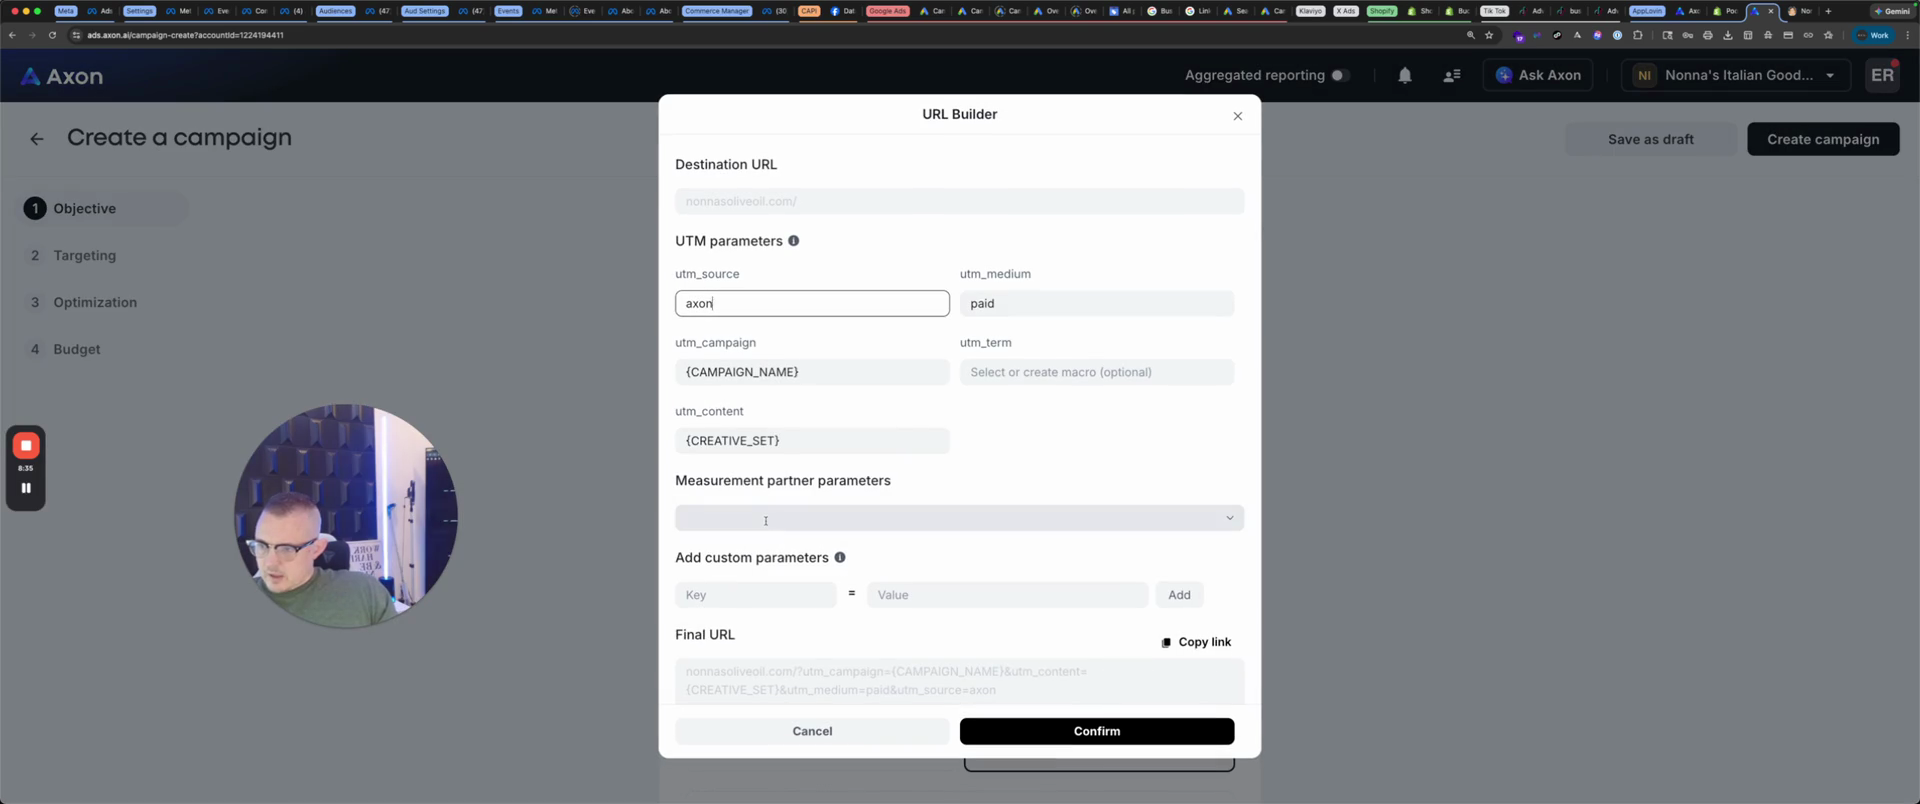
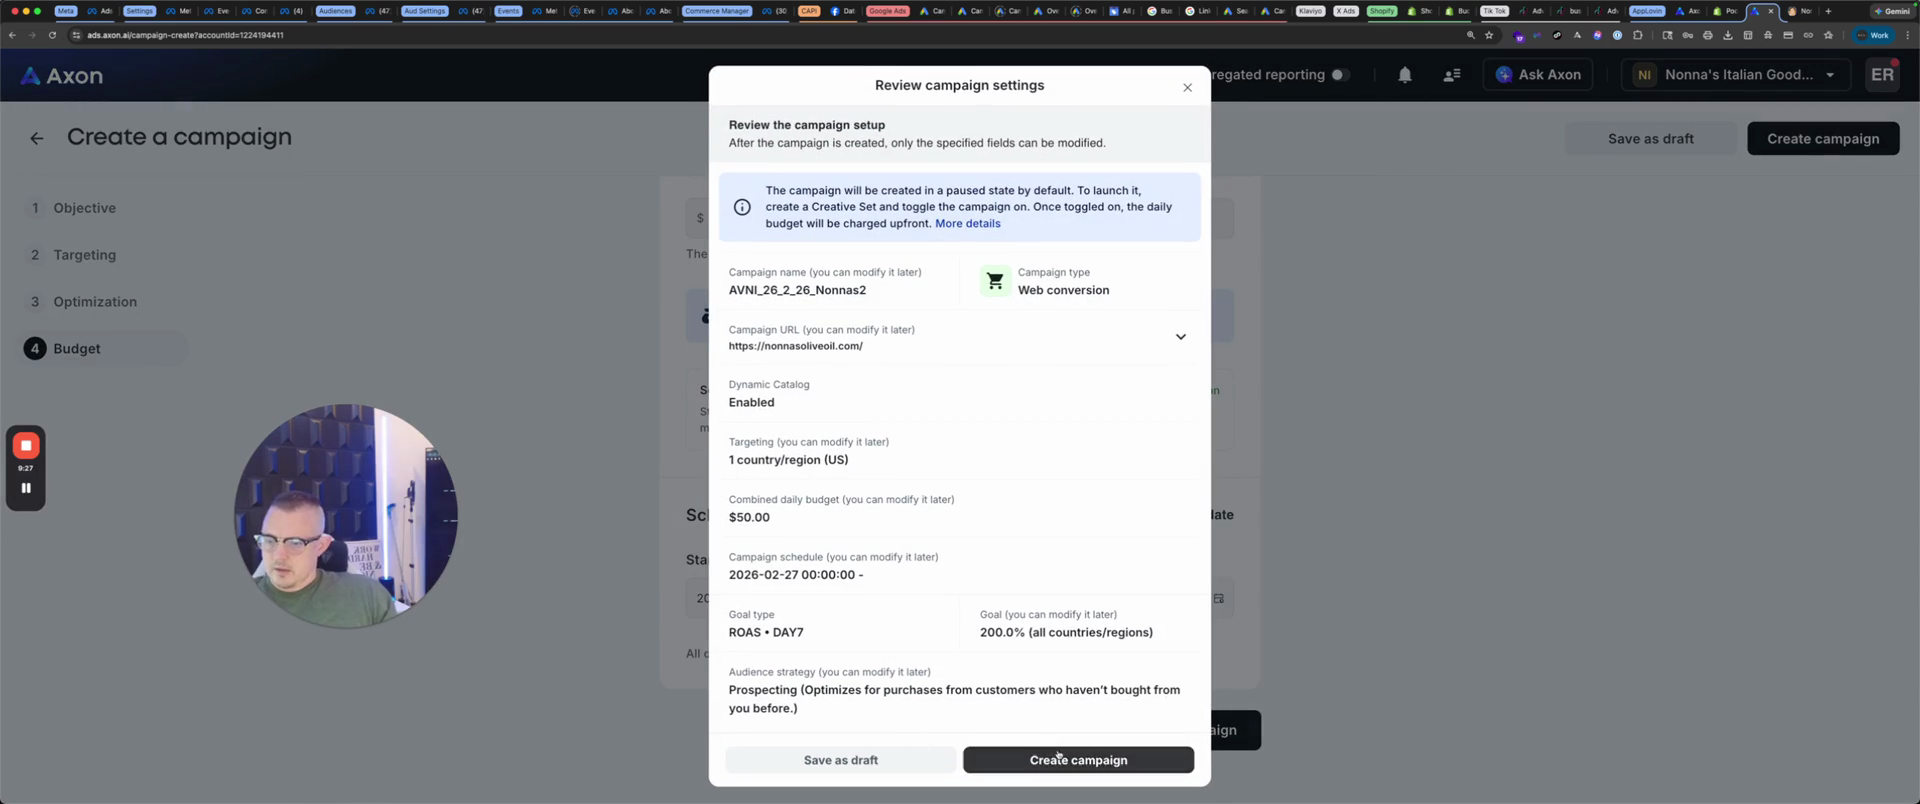
That's the final URL. You can specify countries.

83
Under Targeting, select the Specific countries/regions radio button.
Step #83: Under Targeting, select the Specific countries/regions radio button.

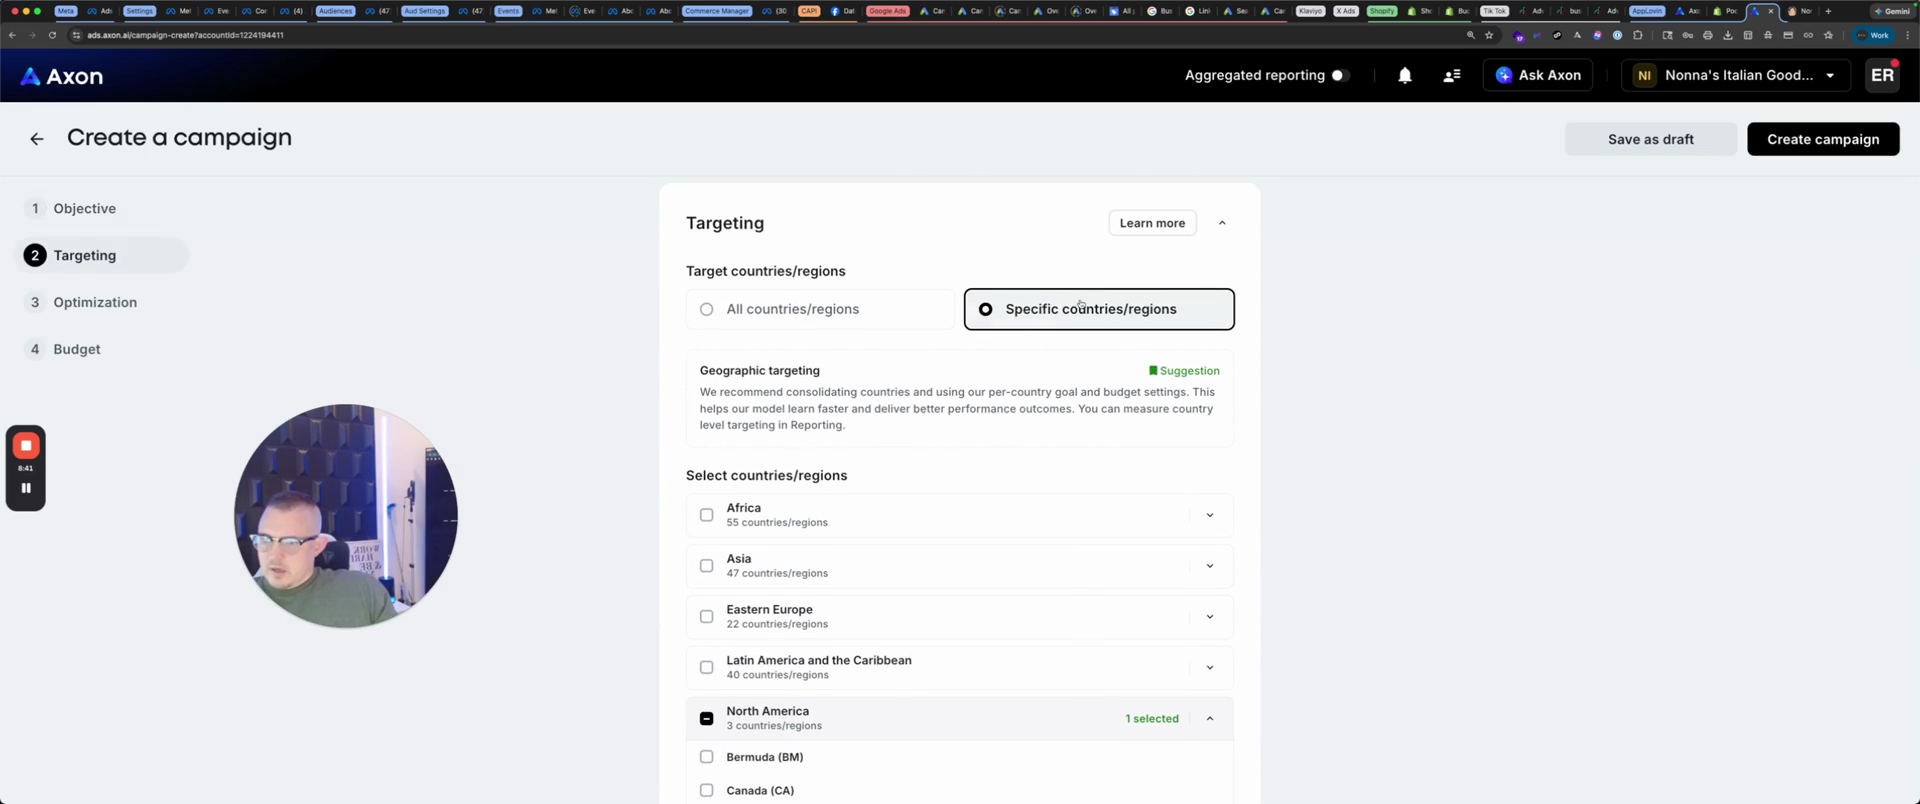
We are selecting the United States, but you can choose a different country.

84
Select the checkbox for United States (US).
Step #84: Select the checkbox for United States (US).

Two types of goals.

I like ROAS, and you target your ROAS.

85
Under Goal type, select ROAS.
Step #85: Under Goal type, select ROAS.
86
Under Audience strategy, select Universal.
Step #86: Under Audience strategy, select Universal.

ROAS or cost per purchase. Next, for audience strategy, we will focus on prospecting to reach new people on day seven.

87
Click the "Prospecting" radio button under Audience strategy.
Step #87: Click the "Prospecting" radio button under Audience strategy.
88
Click the "Day 7" radio button under Day target.
Step #88: Click the "Day 7" radio button under Day target.

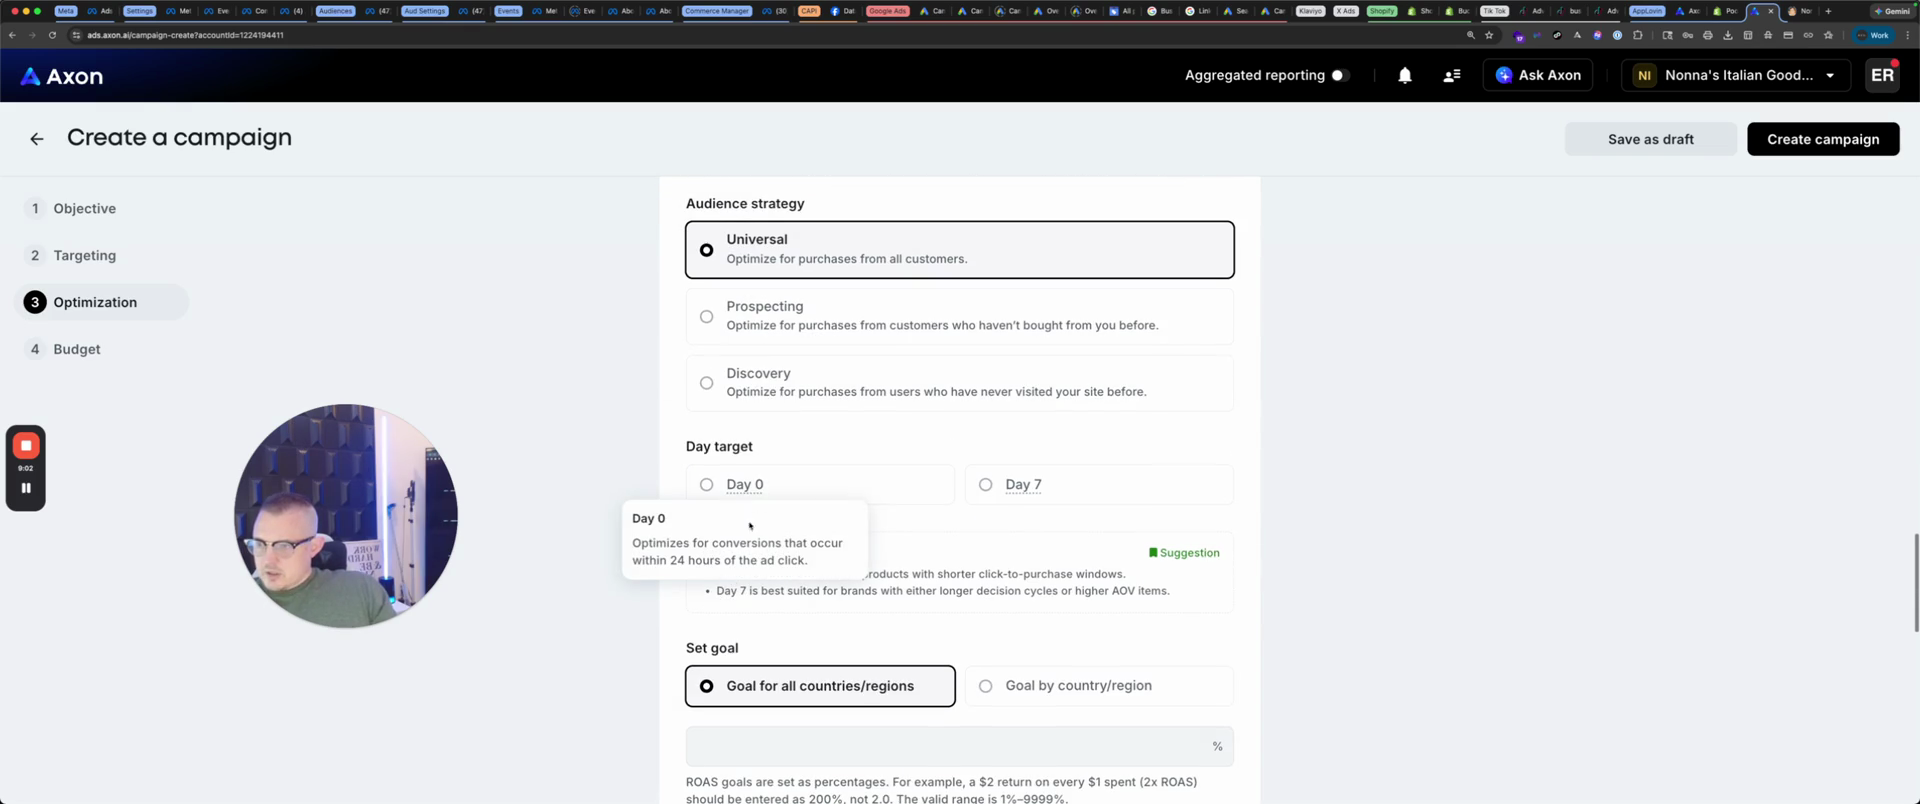
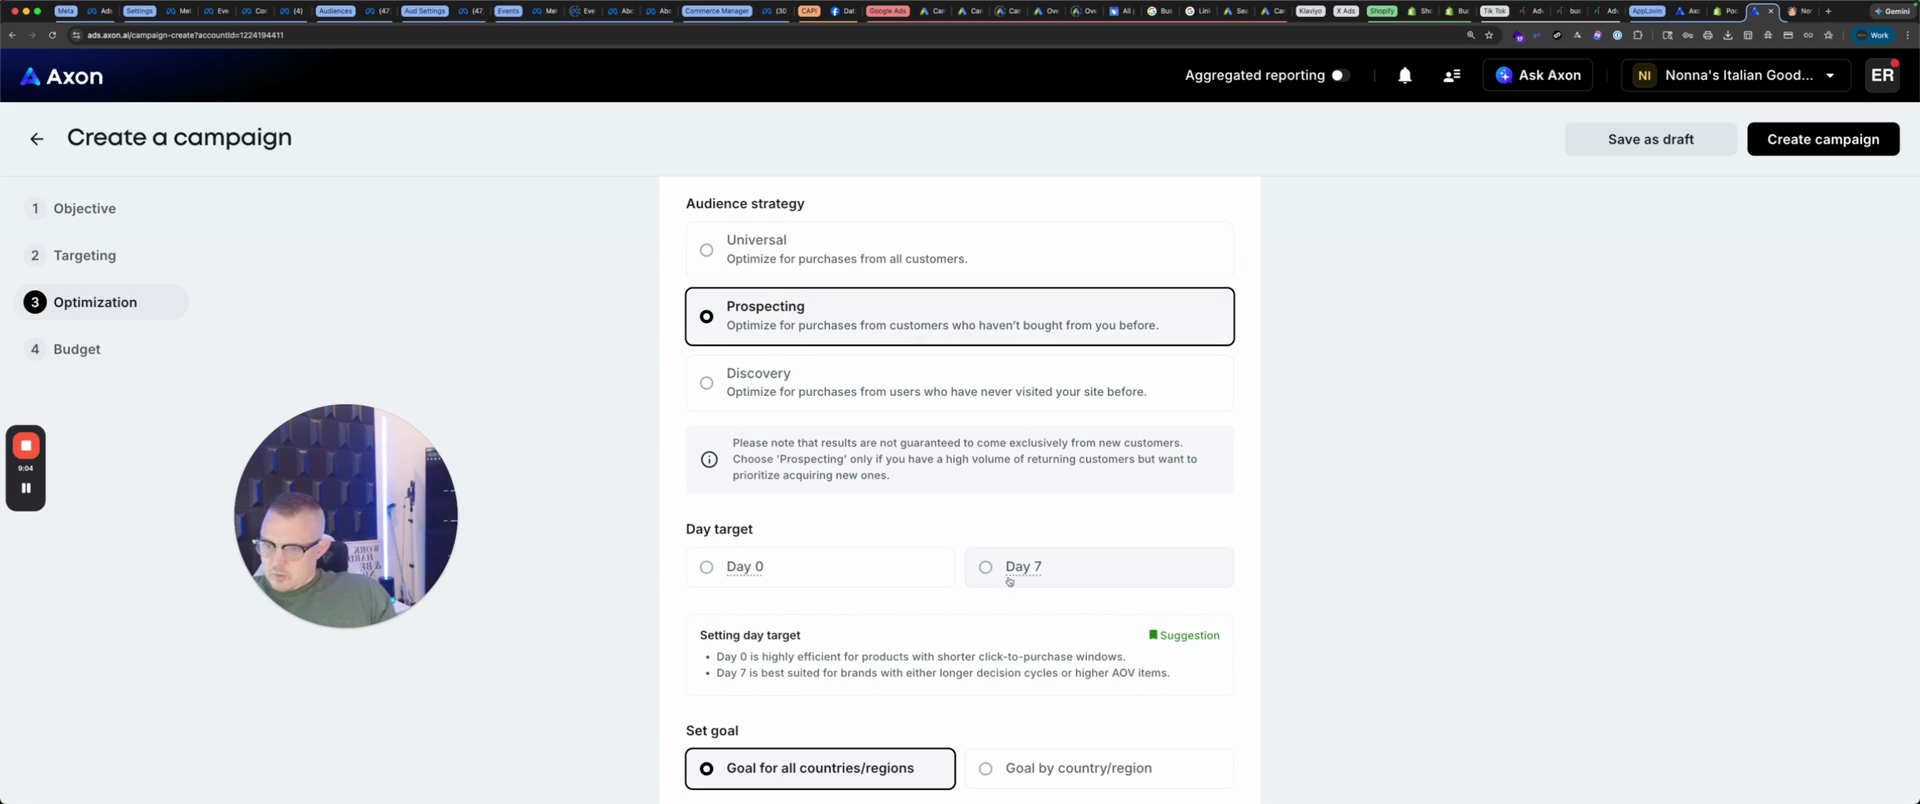
Next, set the goal. We will set it to 200%, which equals a 2 ROAS.

89
Type "200" into the goal percentage field.

That's reasonable. Budget $50 a day to start on this one.

90
Type "50.00" into the budget field.

Schedule the date for today and create the campaign.

91
Click the "Create campaign" button.
Step #91: Click the "Create campaign" button.

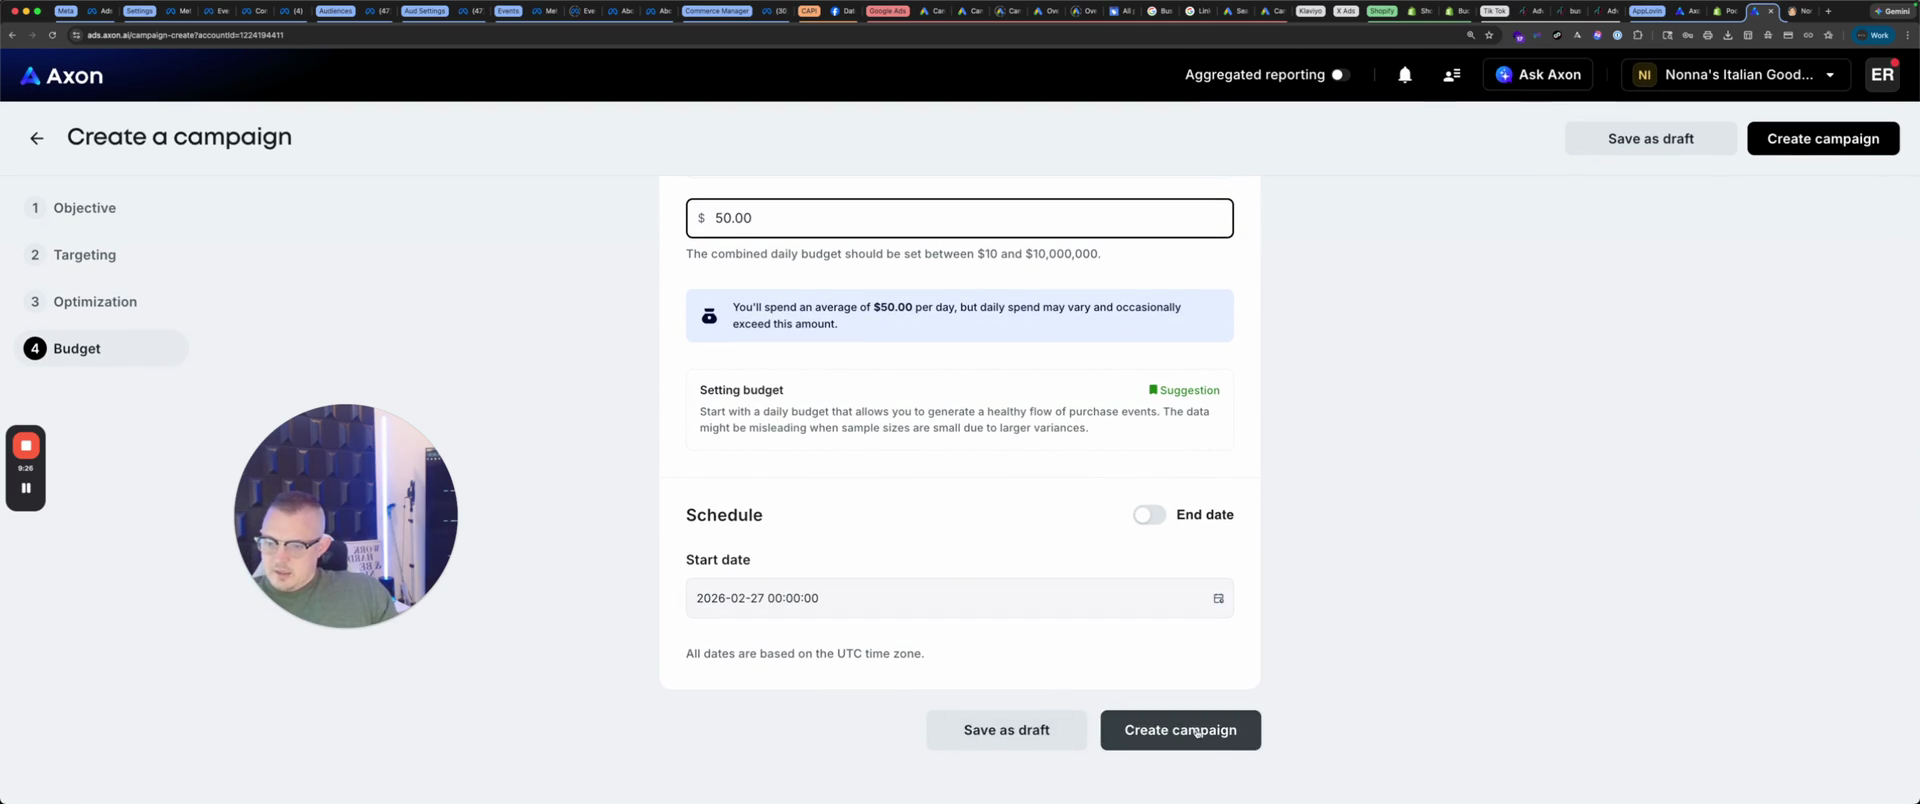
We have just created the campaign.

92
Click the "Create campaign" button in the confirmation modal.
Step #92: Click the "Create campaign" button in the confirmation modal.
93
Select the 'Create a new Creative Set' radio button.
Step #93: Select the 'Create a new Creative Set' radio button.

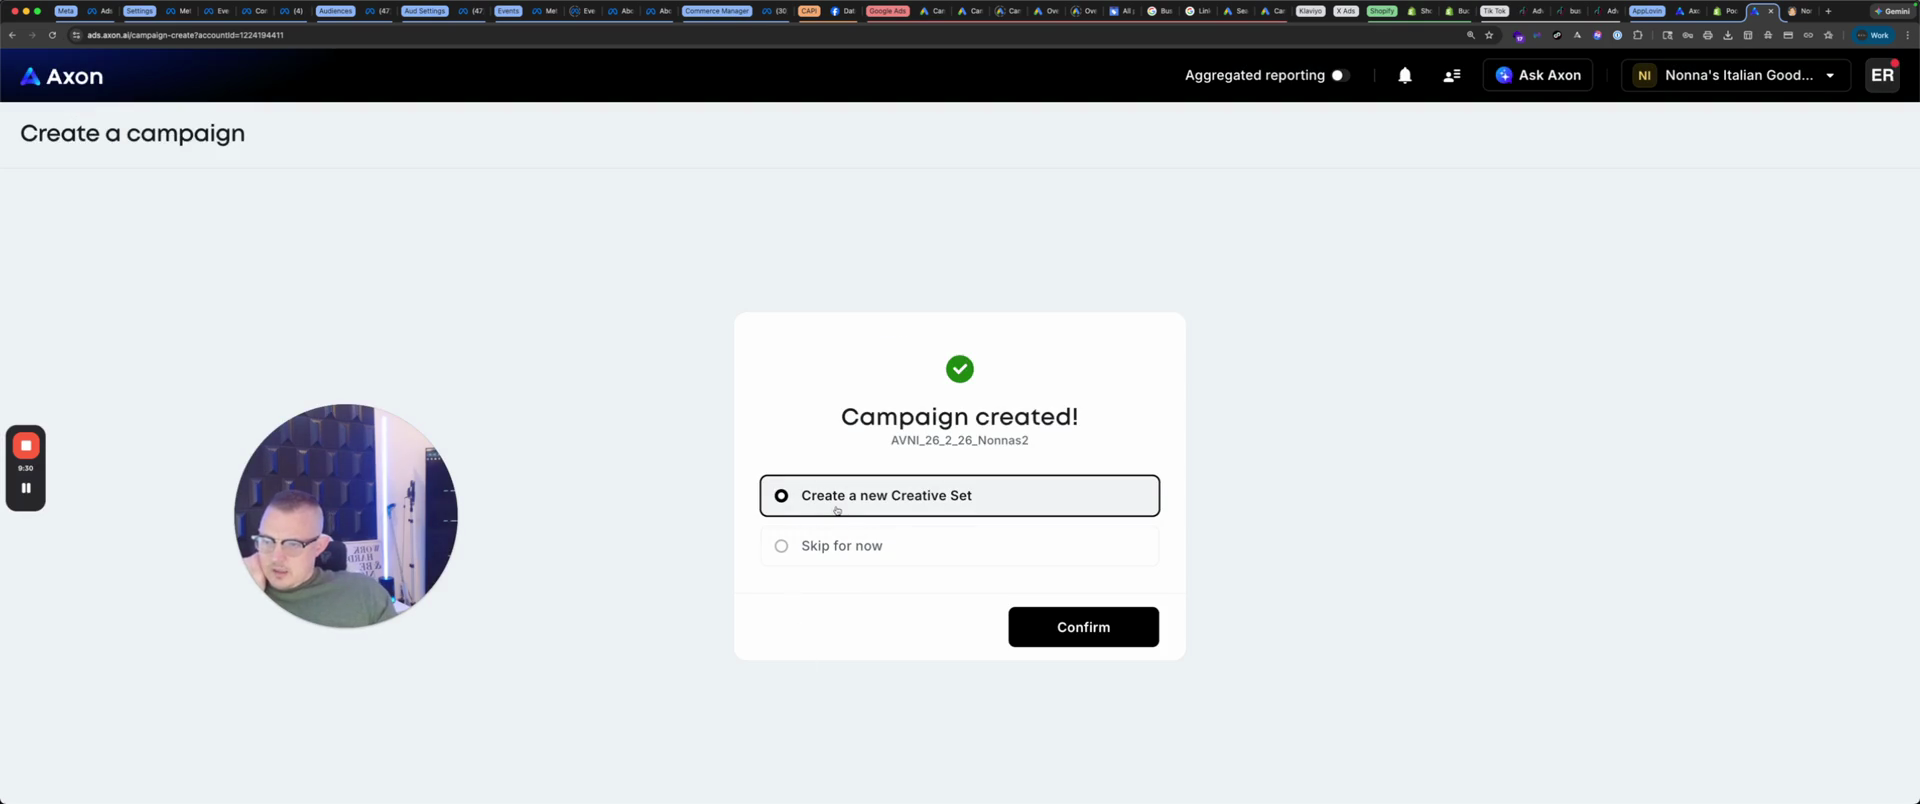
Create a new creative set.

94
Click the 'Confirm' button.
Step #94: Click the 'Confirm' button.

Here, you can have up to 30 in this section. We’re going to Nonna’s and naming it Olive Oil 2.

95
Type 'Nonnas Olive Oil 2' into the creative set name field.
96
Click the 'Add assets' button.
Step #96: Click the 'Add assets' button.

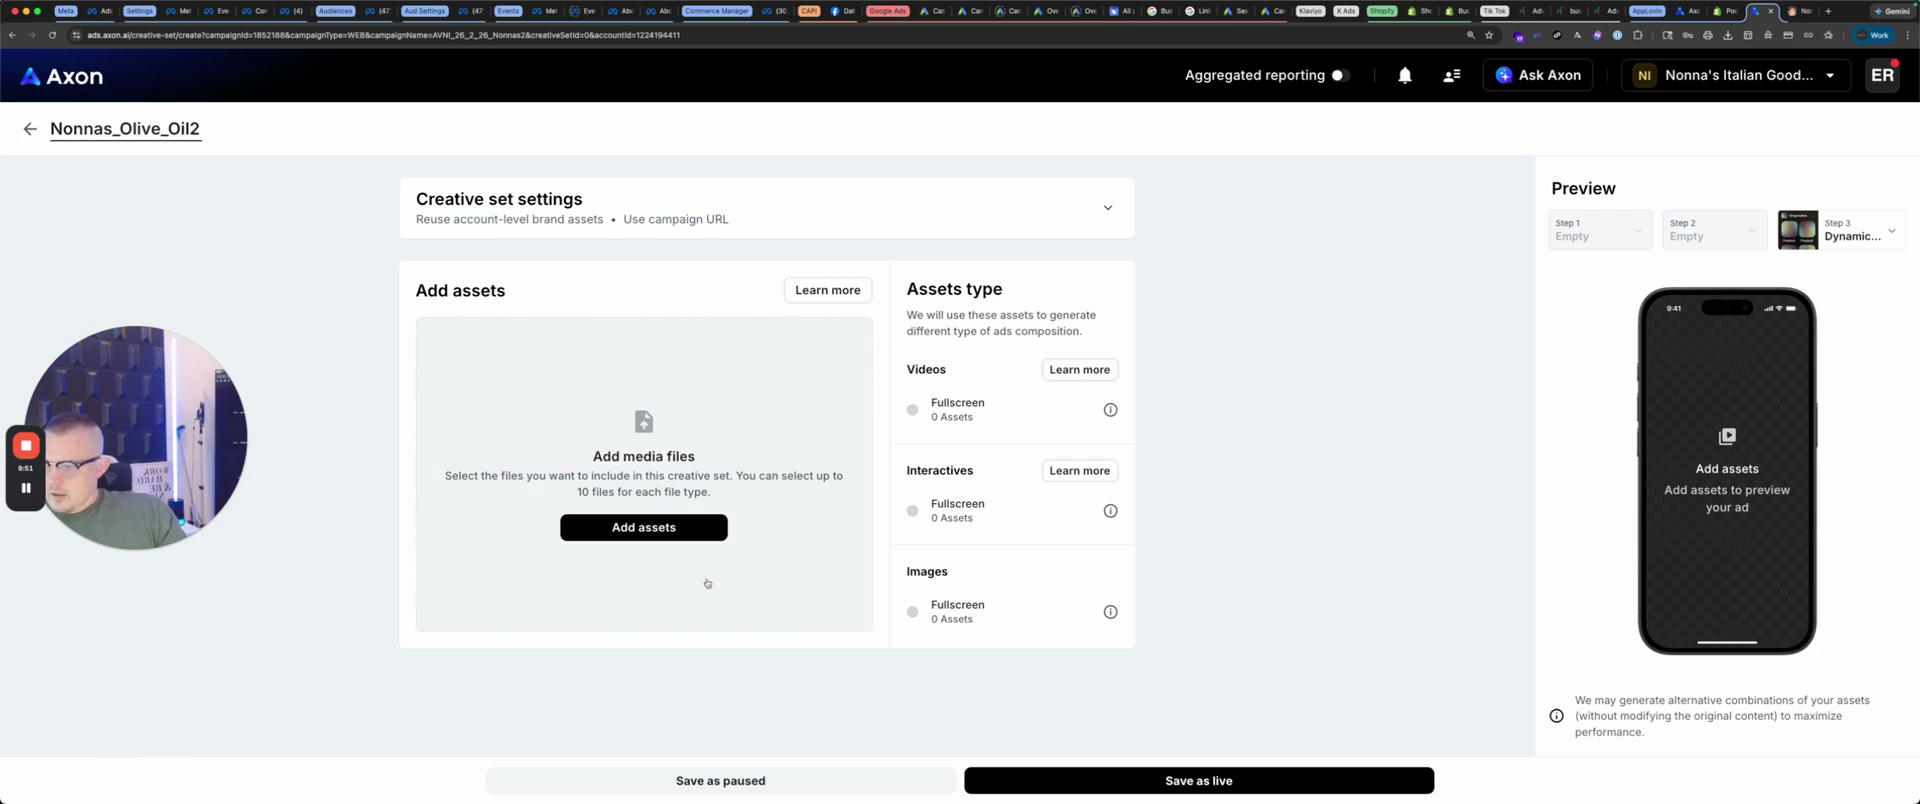
Add assets. We need one video, so we will use this new video.

97
Select a video from the asset list.
Step #97: Select a video from the asset list.

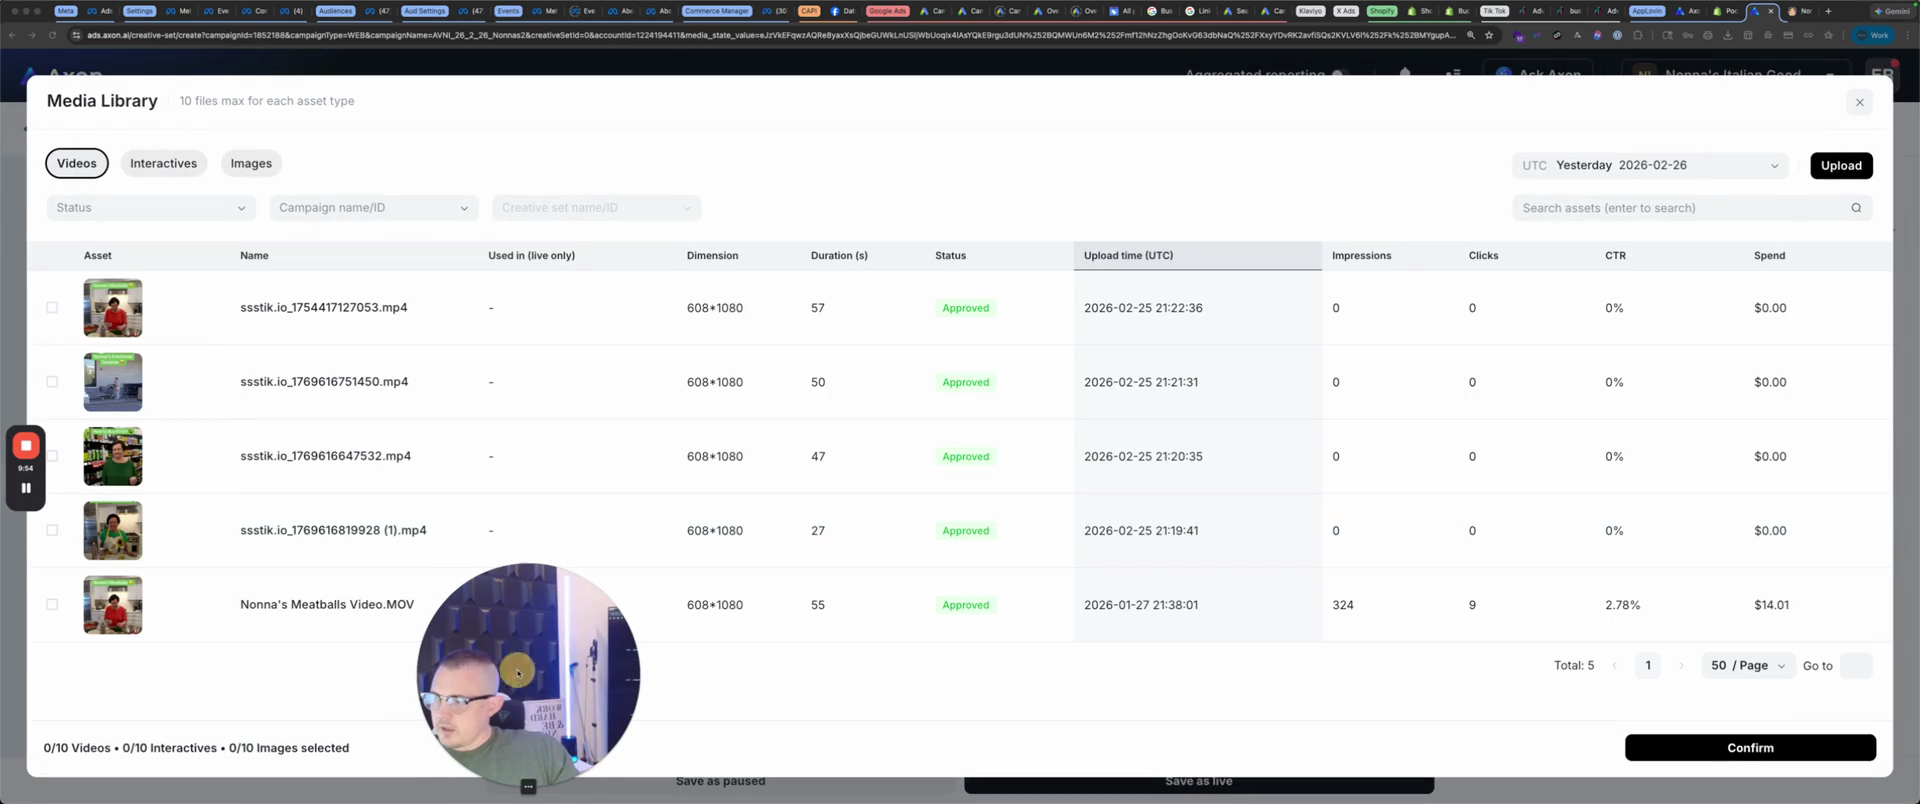
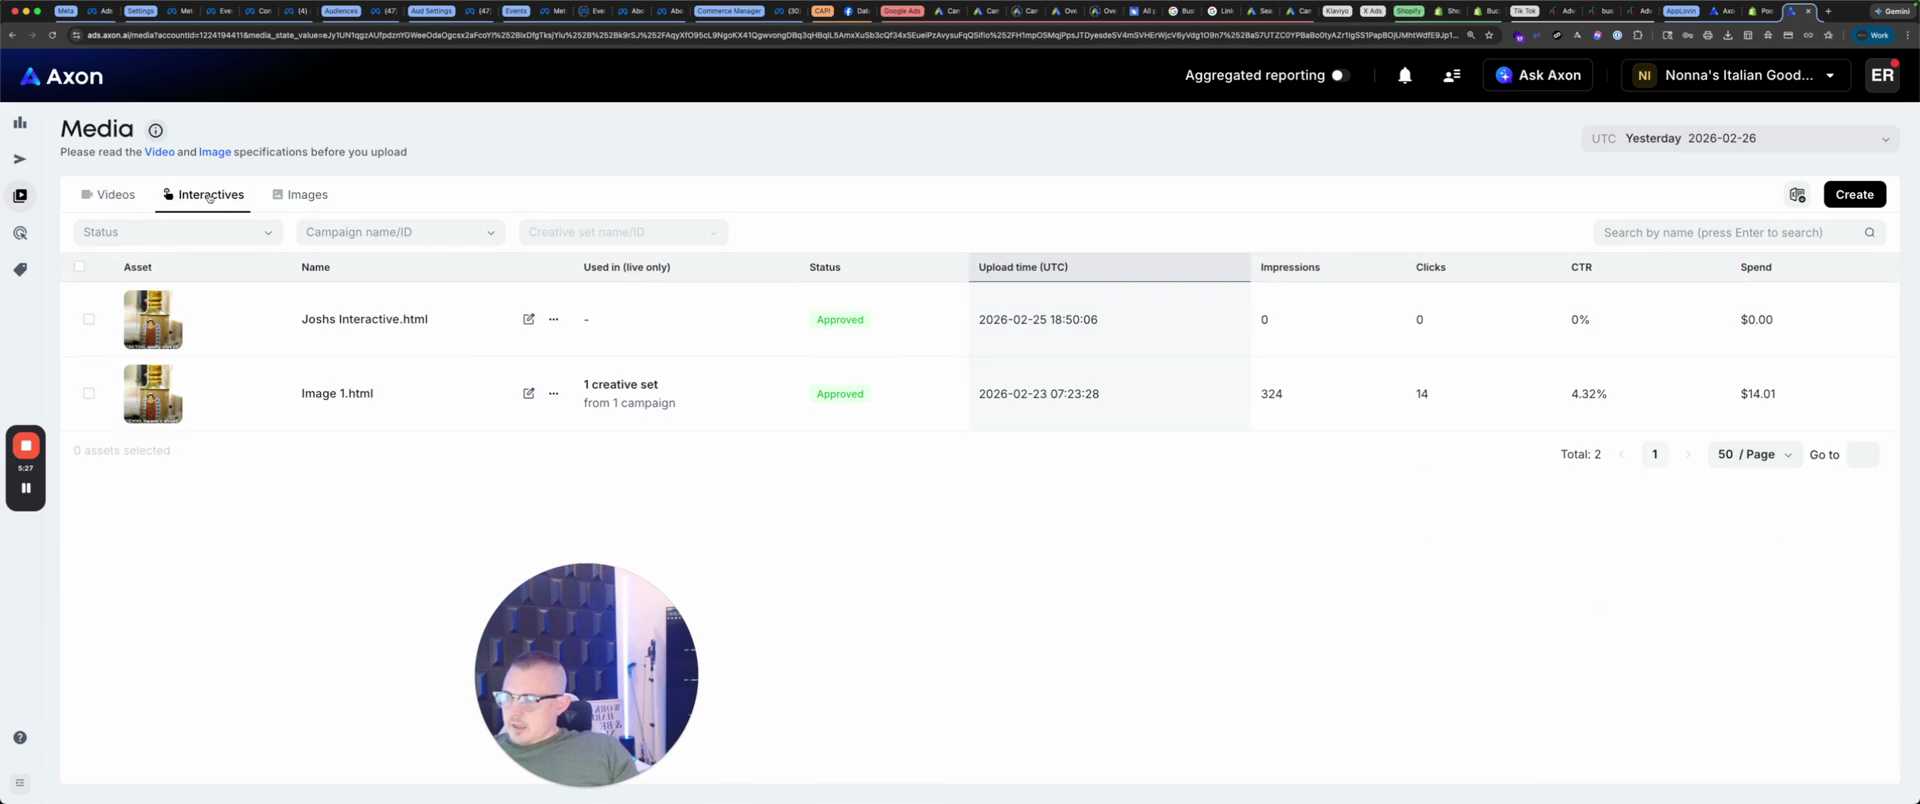
Technically, you want to put 10. The only problem is that when you do that, it doesn't tell you which combination worked. It will tell you if one worked and one did not. Next, we will use the interactive we created. The one we made is still under review.

I made the same one yesterday. It looks like Josh made one today.

98
Observe that one full-screen video asset is required.
Step #98: Observe that one full-screen video asset is required.

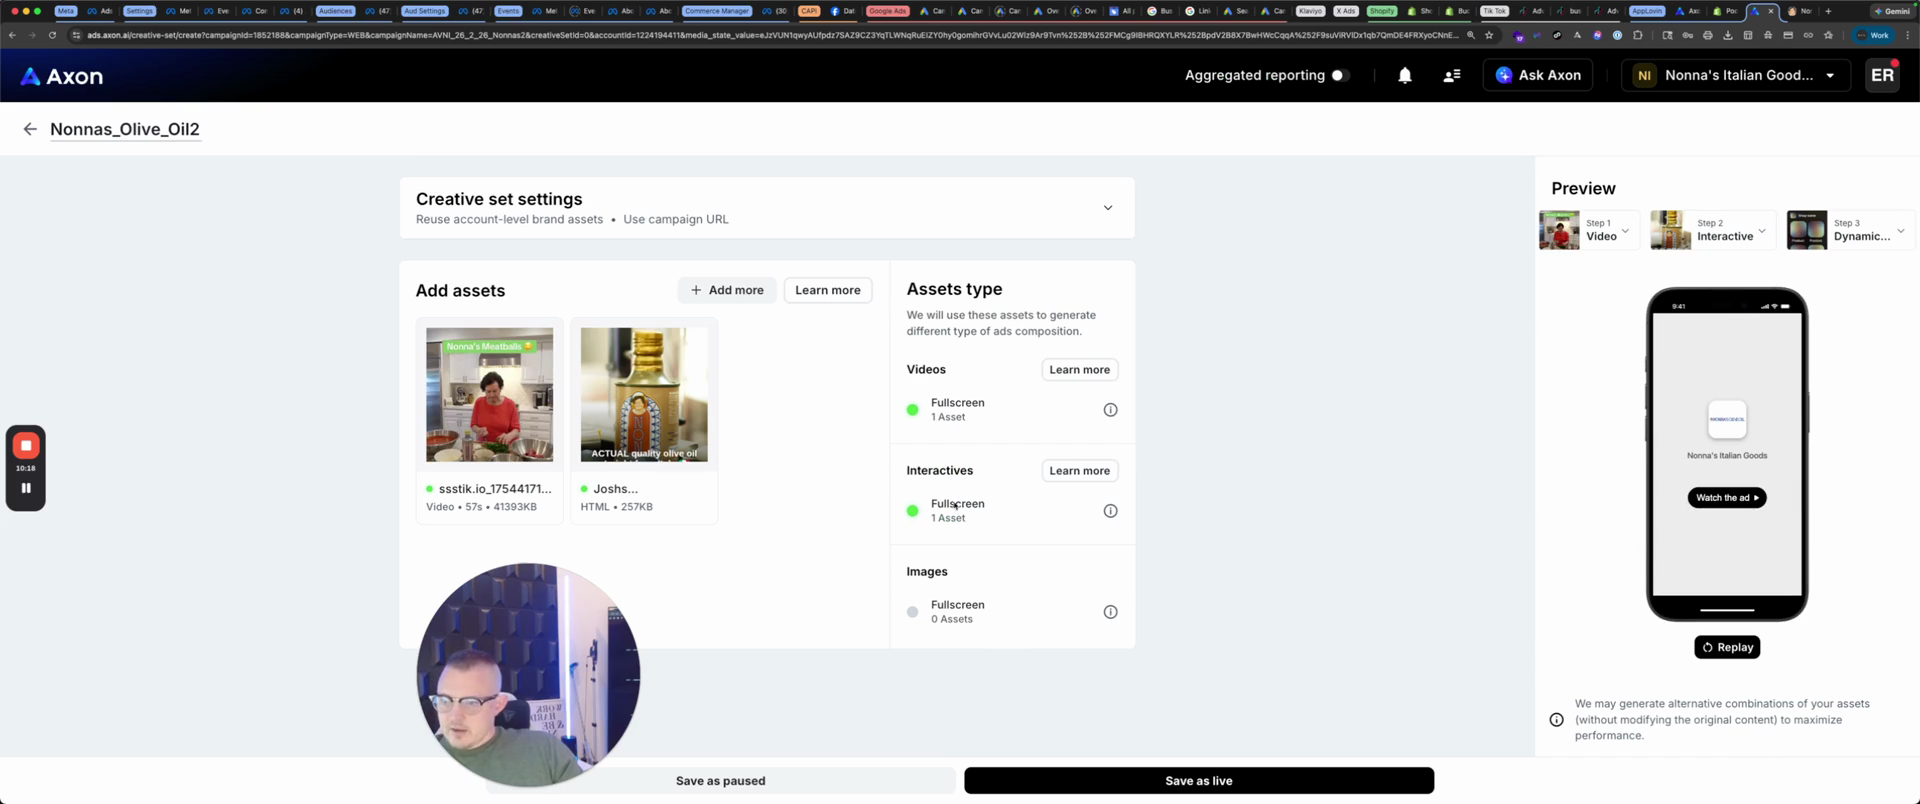
That's the minimum we can have.

99
Observe that one full-screen interactive asset is required.
Step #99: Observe that one full-screen interactive asset is required.

You can watch the ad.

100
View the ad preview on the right side of the screen.
Step #100: View the ad preview on the right side of the screen.

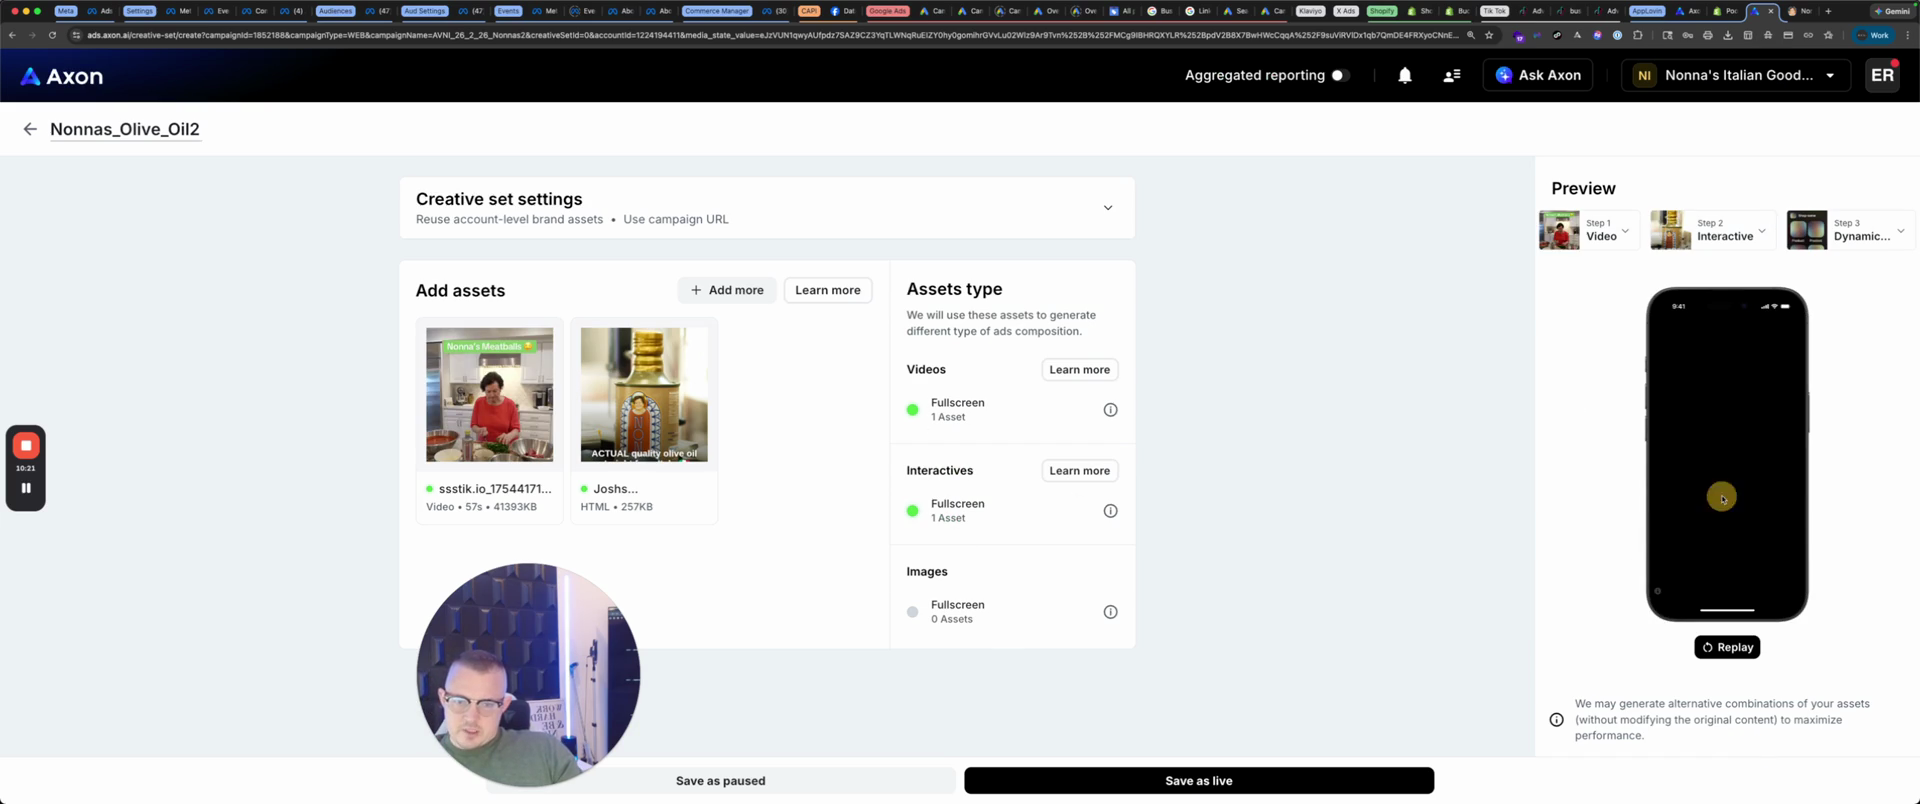
Nonna, what are you doing? Today, I am going to make a meatloaf for my grandchildren. Once the video is finished, it will display, "Actual quality olive oil straight from Italy," and we will save it as Live.

101
Click the Save as live button.
Step #101: Click the Save as live button.

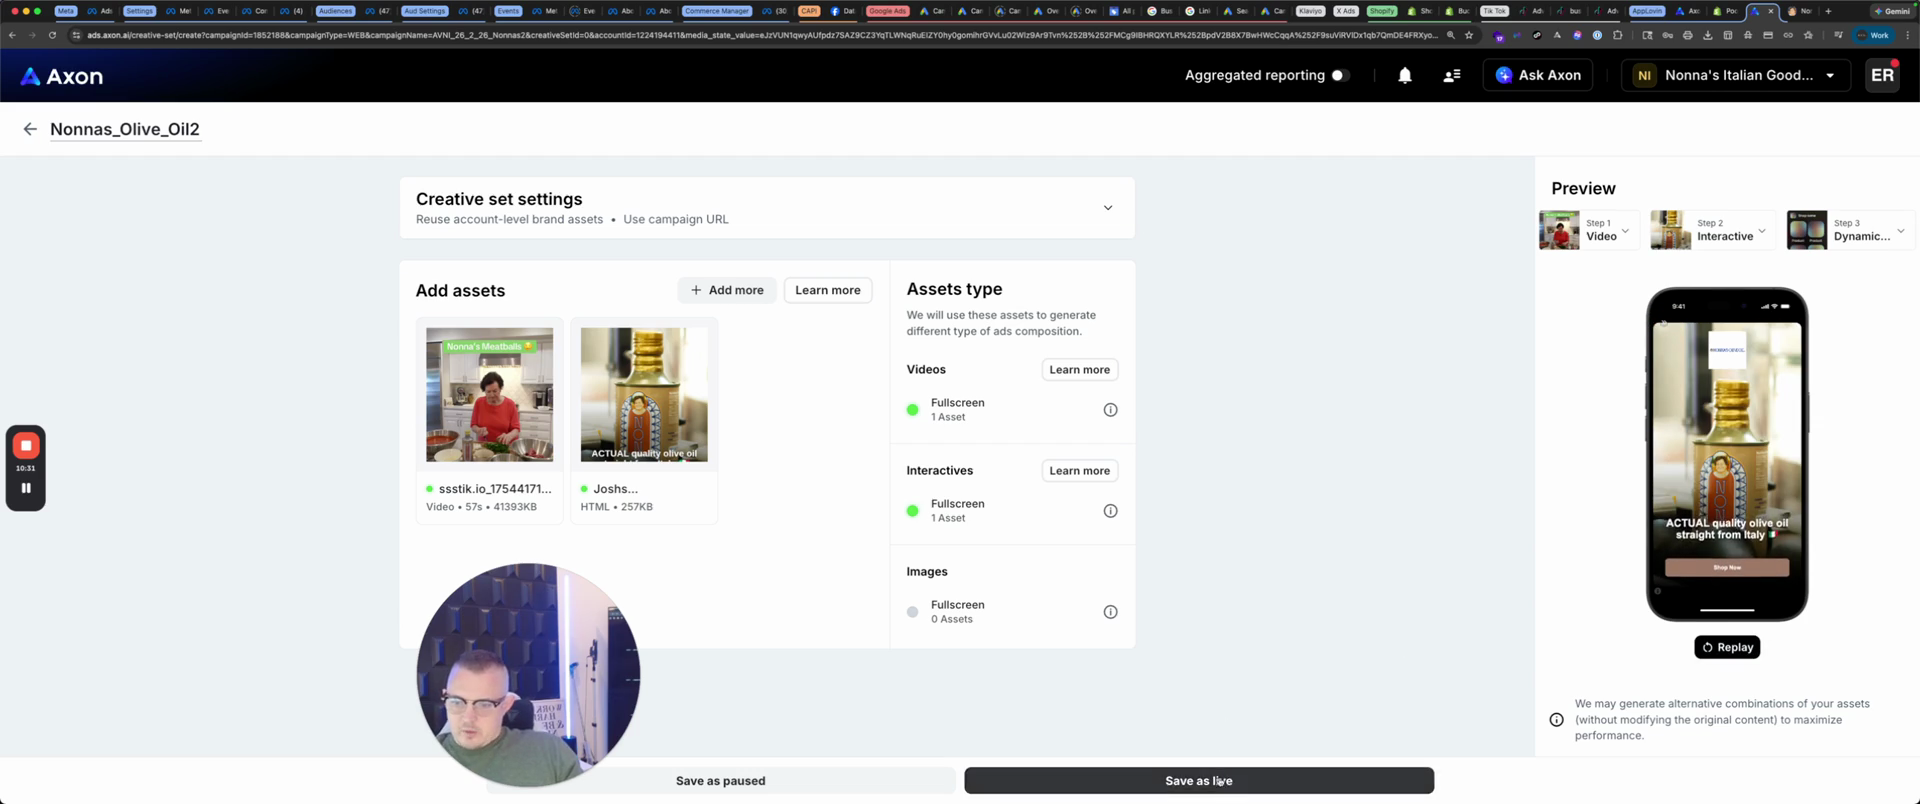
And there's Olive Oil 2. Then we'll go back.

102
Click on the "nonnas2" breadcrumb to go back.
Step #102: Click on the "nonnas2" breadcrumb to go back.

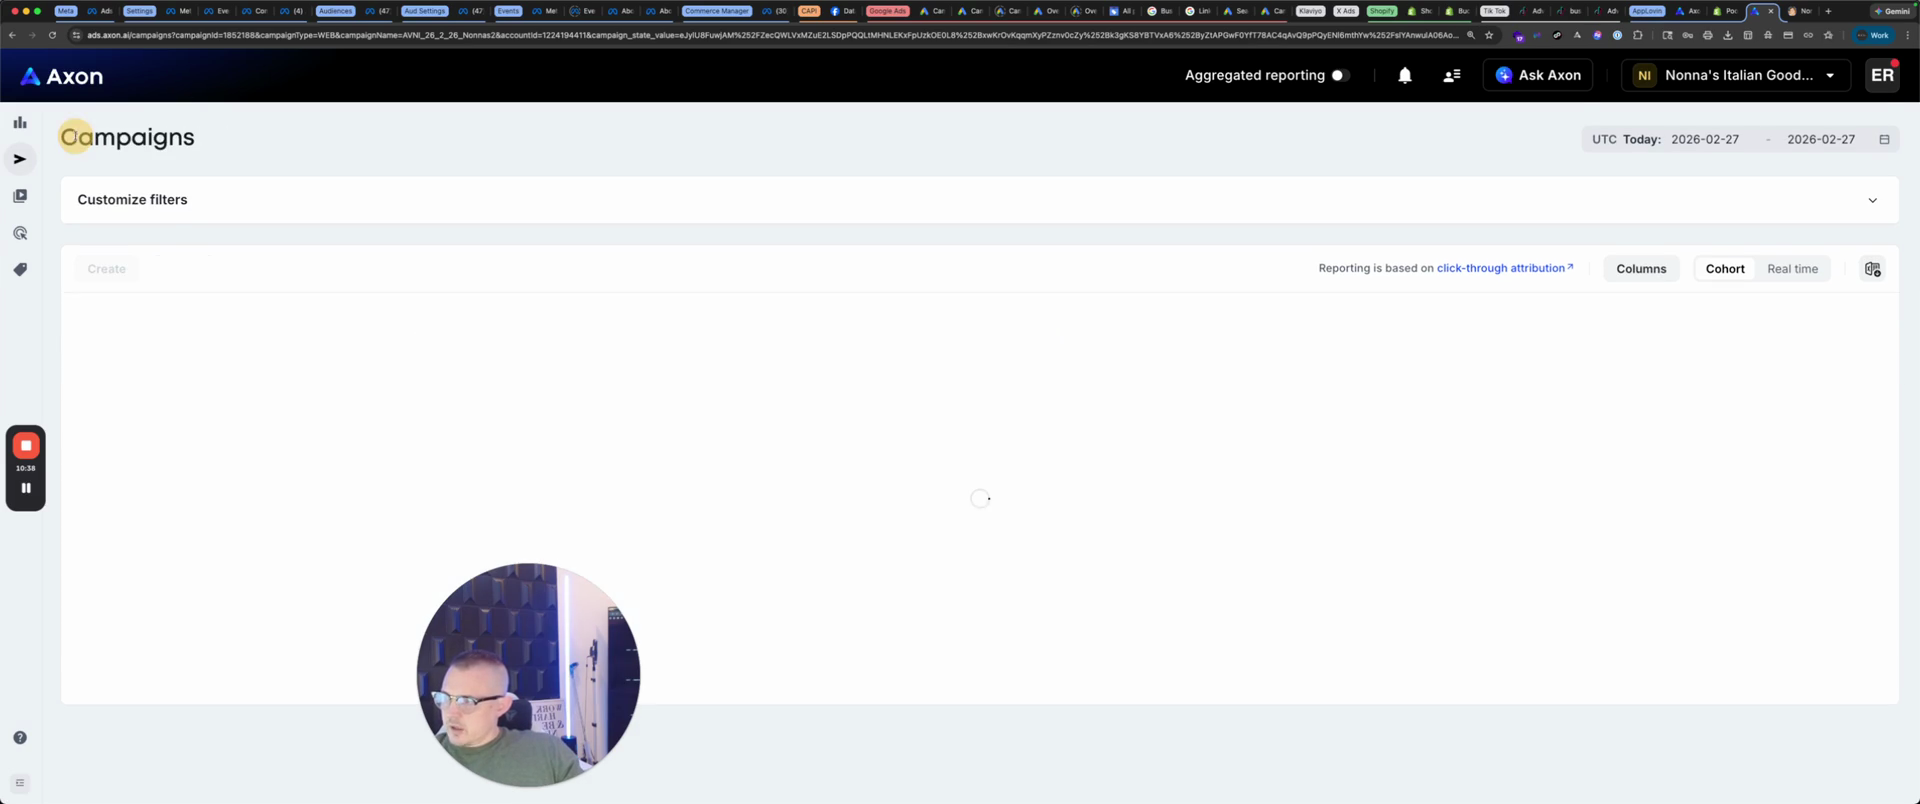
That's our campaign.
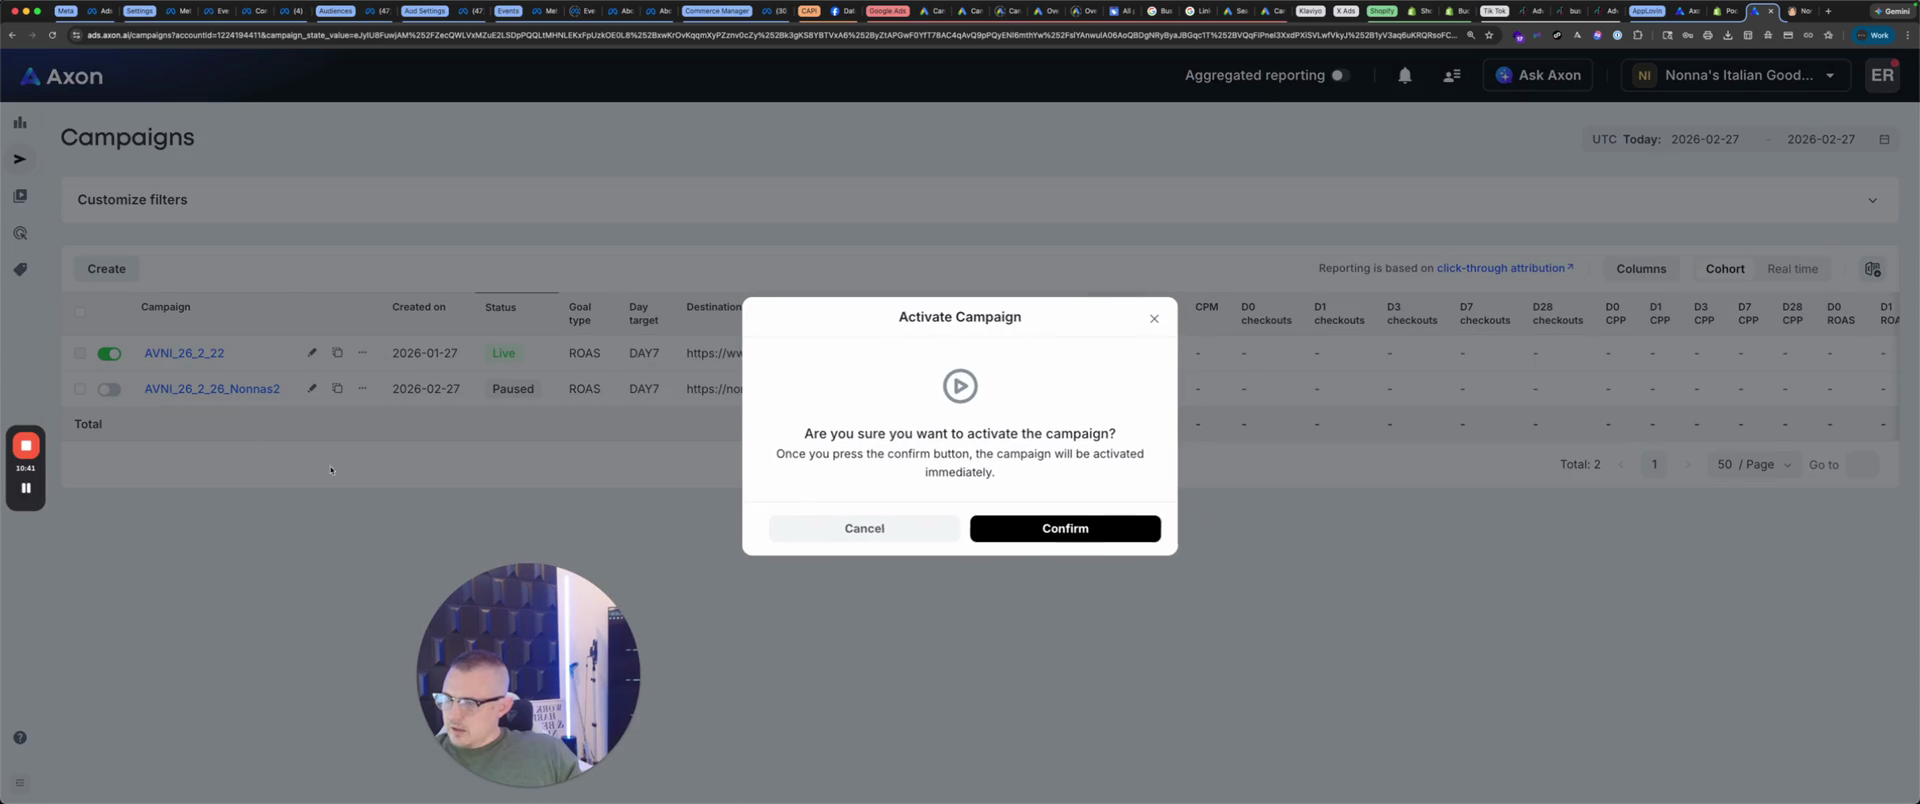
103
Click the toggle switch to activate the paused campaign.
Step #103: Click the toggle switch to activate the paused campaign.

Just turn it on.

104
Click the Confirm button.
Step #104: Click the Confirm button.

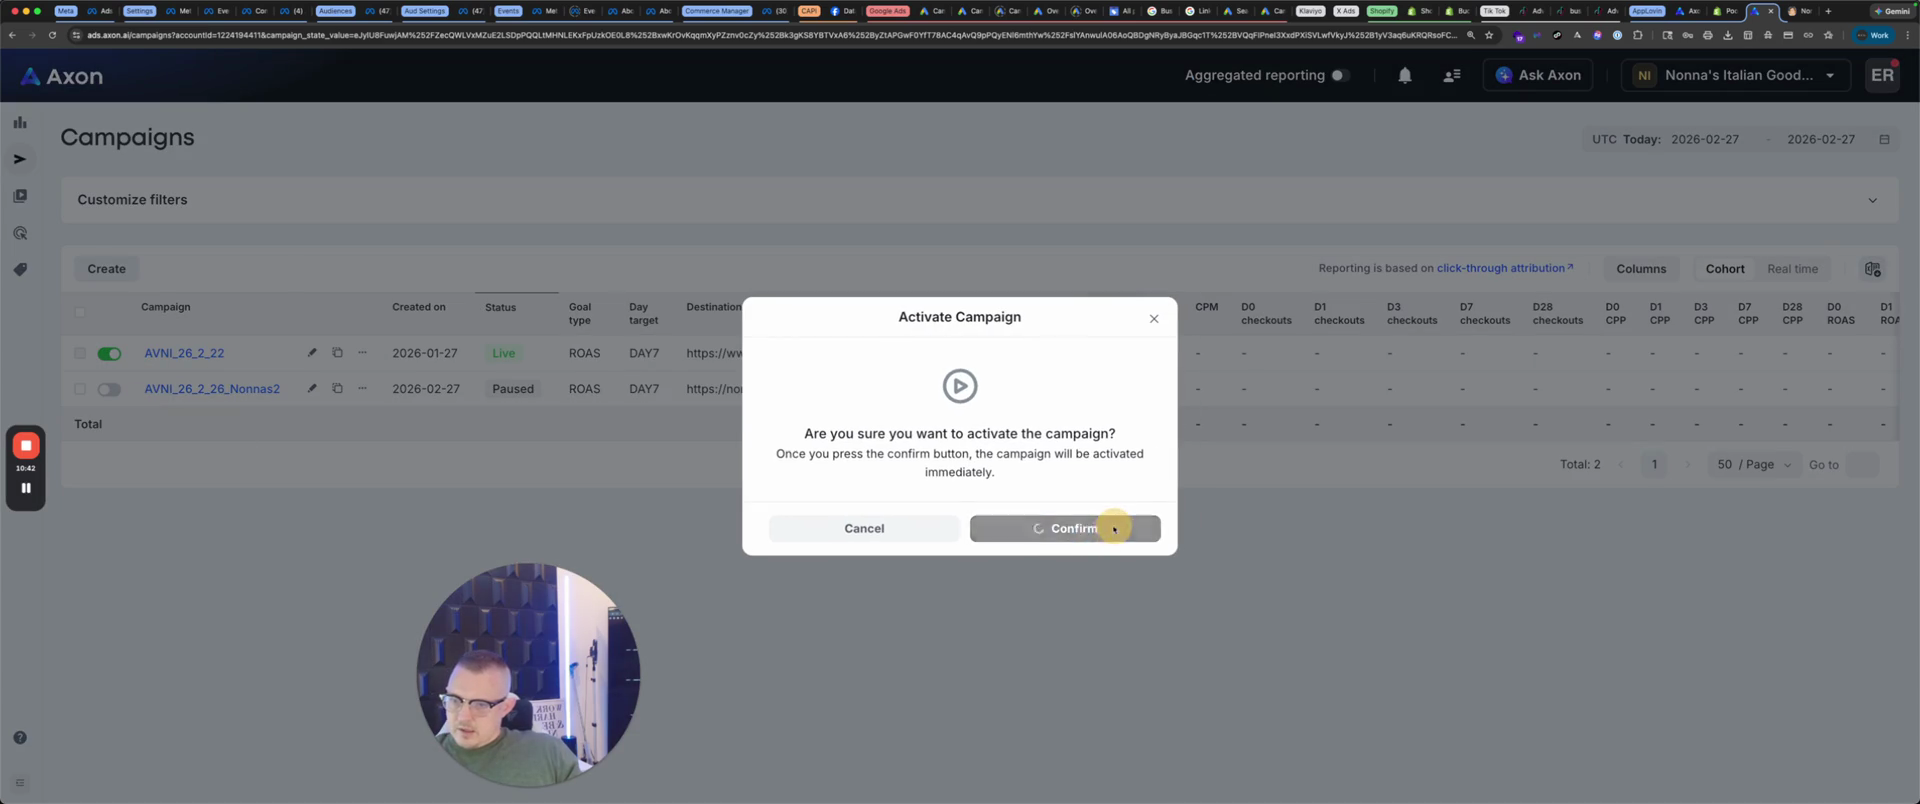
That's how you build a campaign in AppLovin.