
How to Build a PK-Sim Model with Explicit Albumin-Binding Ligand and Turnover
Learn step-by-step how to create a pharmacokinetic (PK) simulation model with an albumin-binding ligand, including explicit albumin turnover and binding, using PK-Sim and MOBI. This guide covers molecule setup, clearance processes, module integration, and parameter adjustments for accurate albumin-ligand complex modeling.
In this guide, we'll learn how to build a pharmacokinetic model with an albumin-binding ligand, including explicit albumin turnover and binding. We will start with a basic PK-Sim model for large molecules, add necessary clearance processes, and set up simulations with both the ligand and its complex. The guide will also cover how to integrate modules for FcRn recycling and albumin, rename molecules for consistency, and adjust parameters for different scenarios.
Let's get started
In this manual, I will demonstrate how to build a model with an albumin-binding ligand, including explicit albumin turnover and binding. We start with a PK sim model that is standard for any large molecule model. We have two molecules here.
A complex, which is the albumin-ligand complex, but you can give it any name. Then there's the ligand.
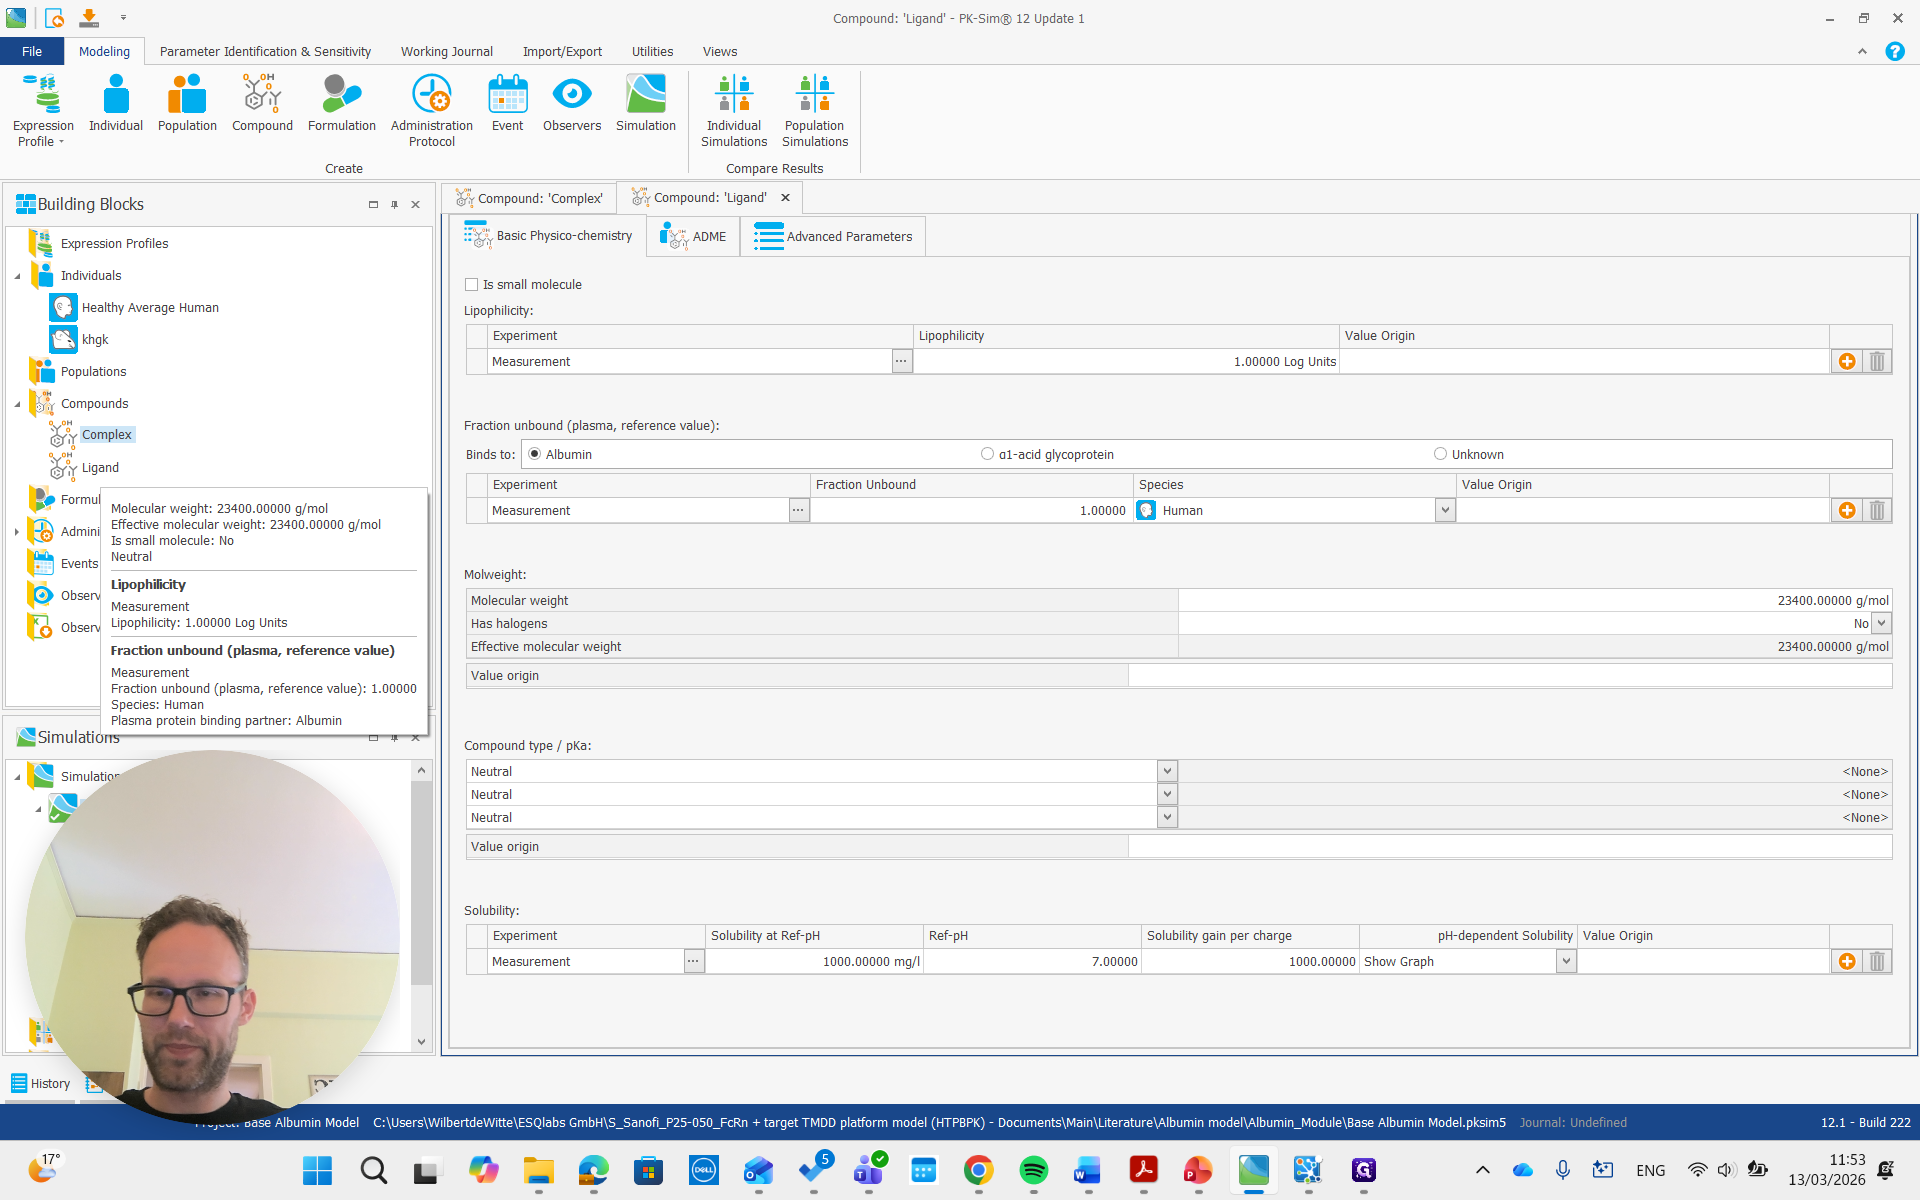
Both of these are large molecules, so it's important to make sure the "is small molecule" box is unchecked.

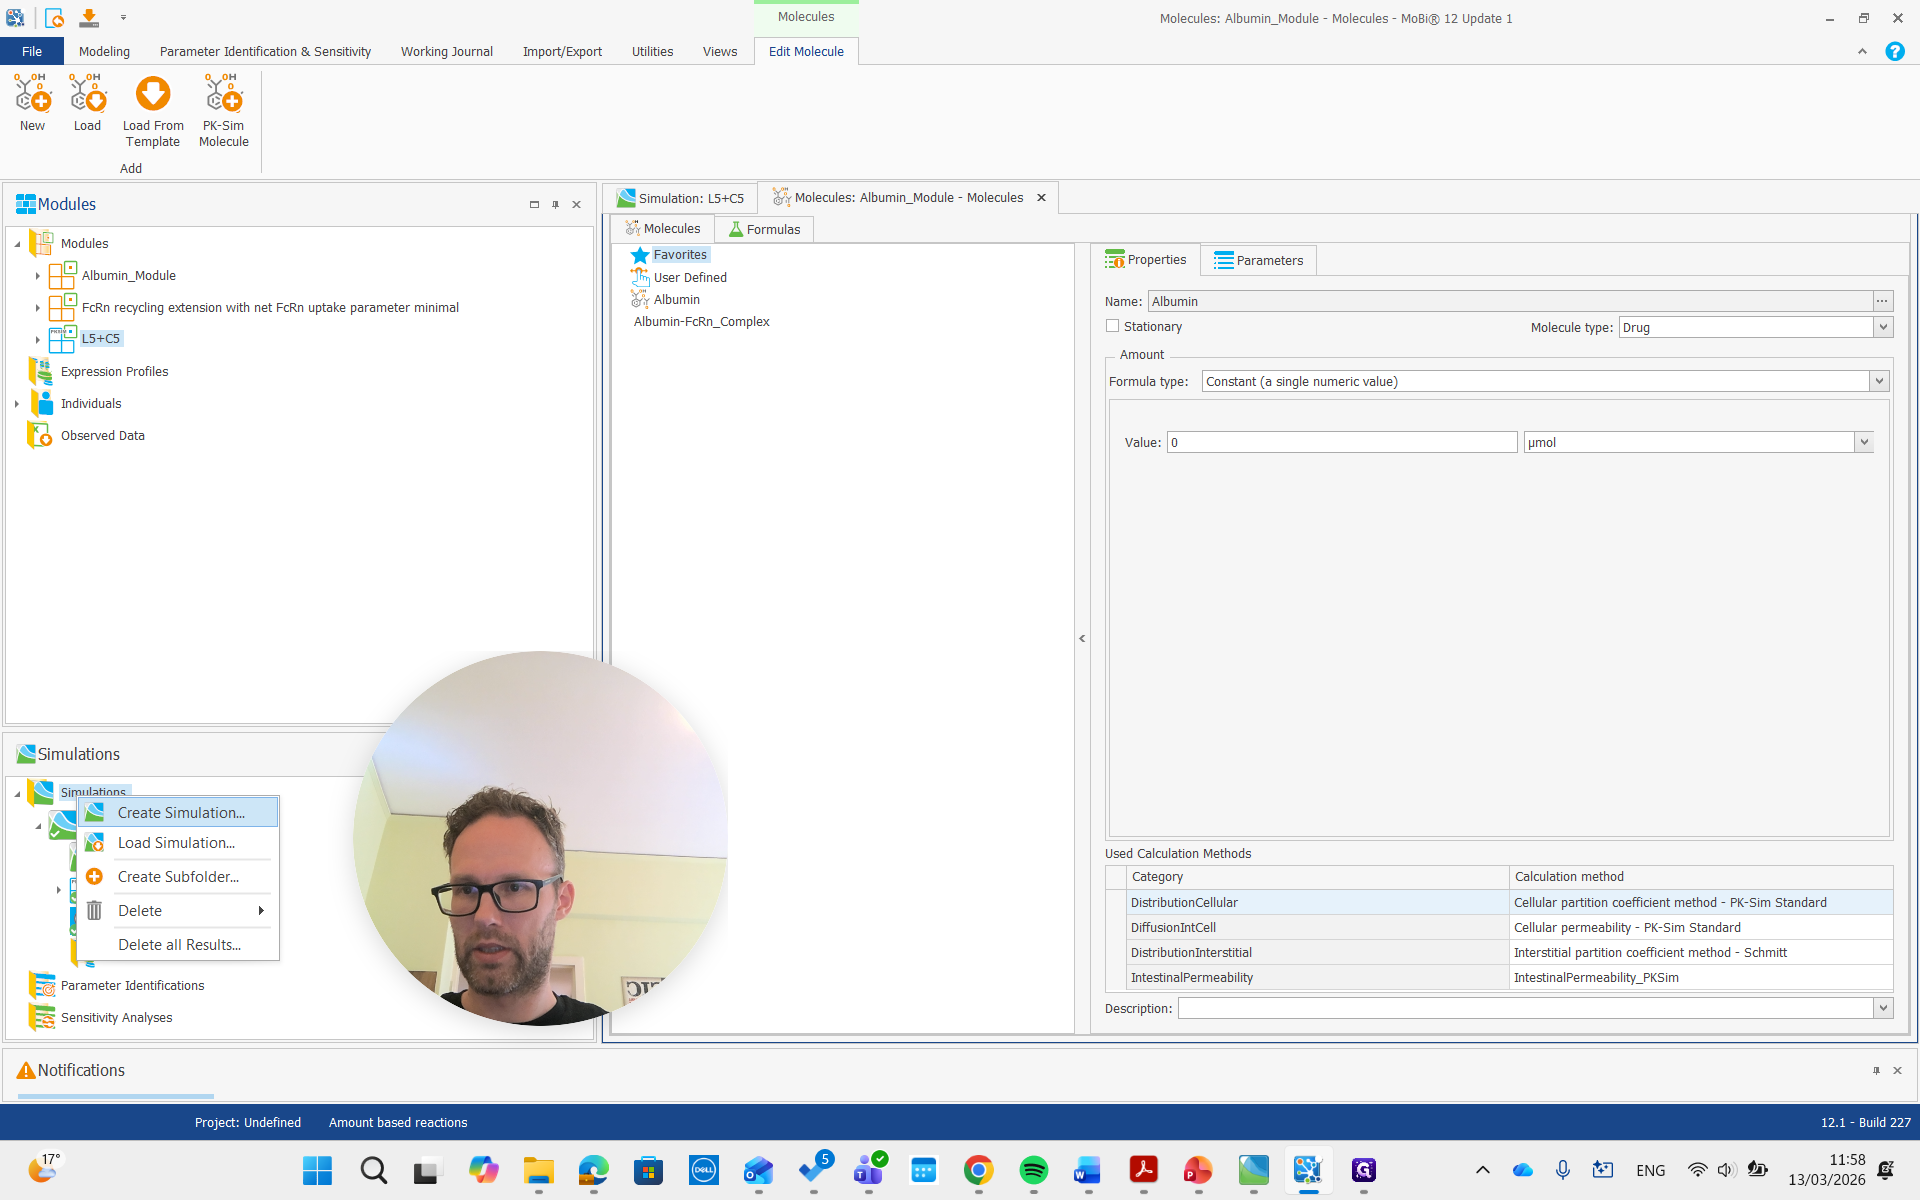
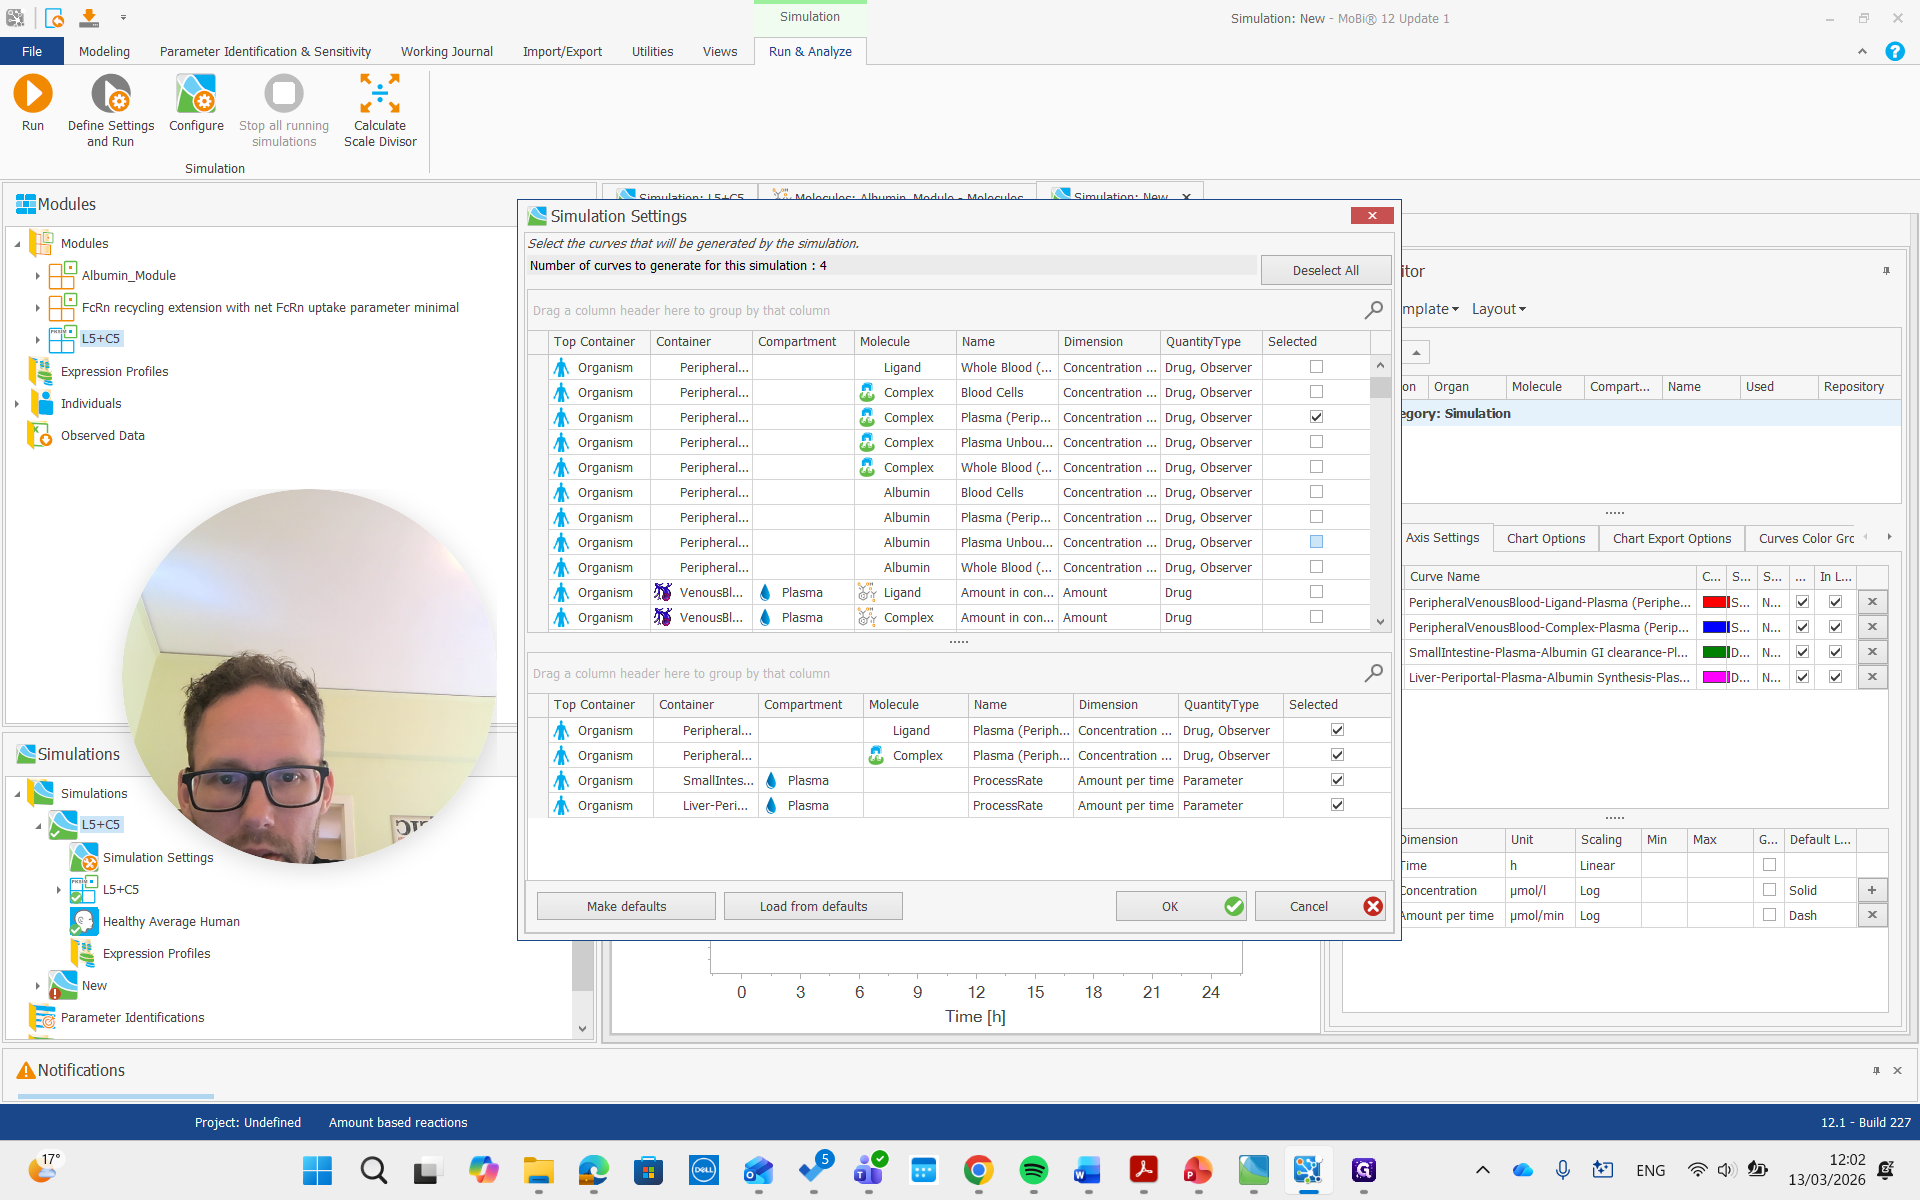
Both of these molecules also have a renal clearance process. It's important that the renal clearance process is present. The parameters are not very important. Those can be changed easily later, but adding a renal clearance process is more complicated if done afterward. Next, we add a simulation that includes both molecules and an administration protocol for each.
The dose can be zero, as we don't need it in the simulation. We can change this later as well. Most importantly, both have an administration protocol. The albumin ligand should not have a zero dose. The albumin-ligand complex is typically not dosed. That can be zero. Then we send this simulation to MOBI by right-clicking and selecting Send to MOBI. Next, we switch to the simulation open in MOBI.
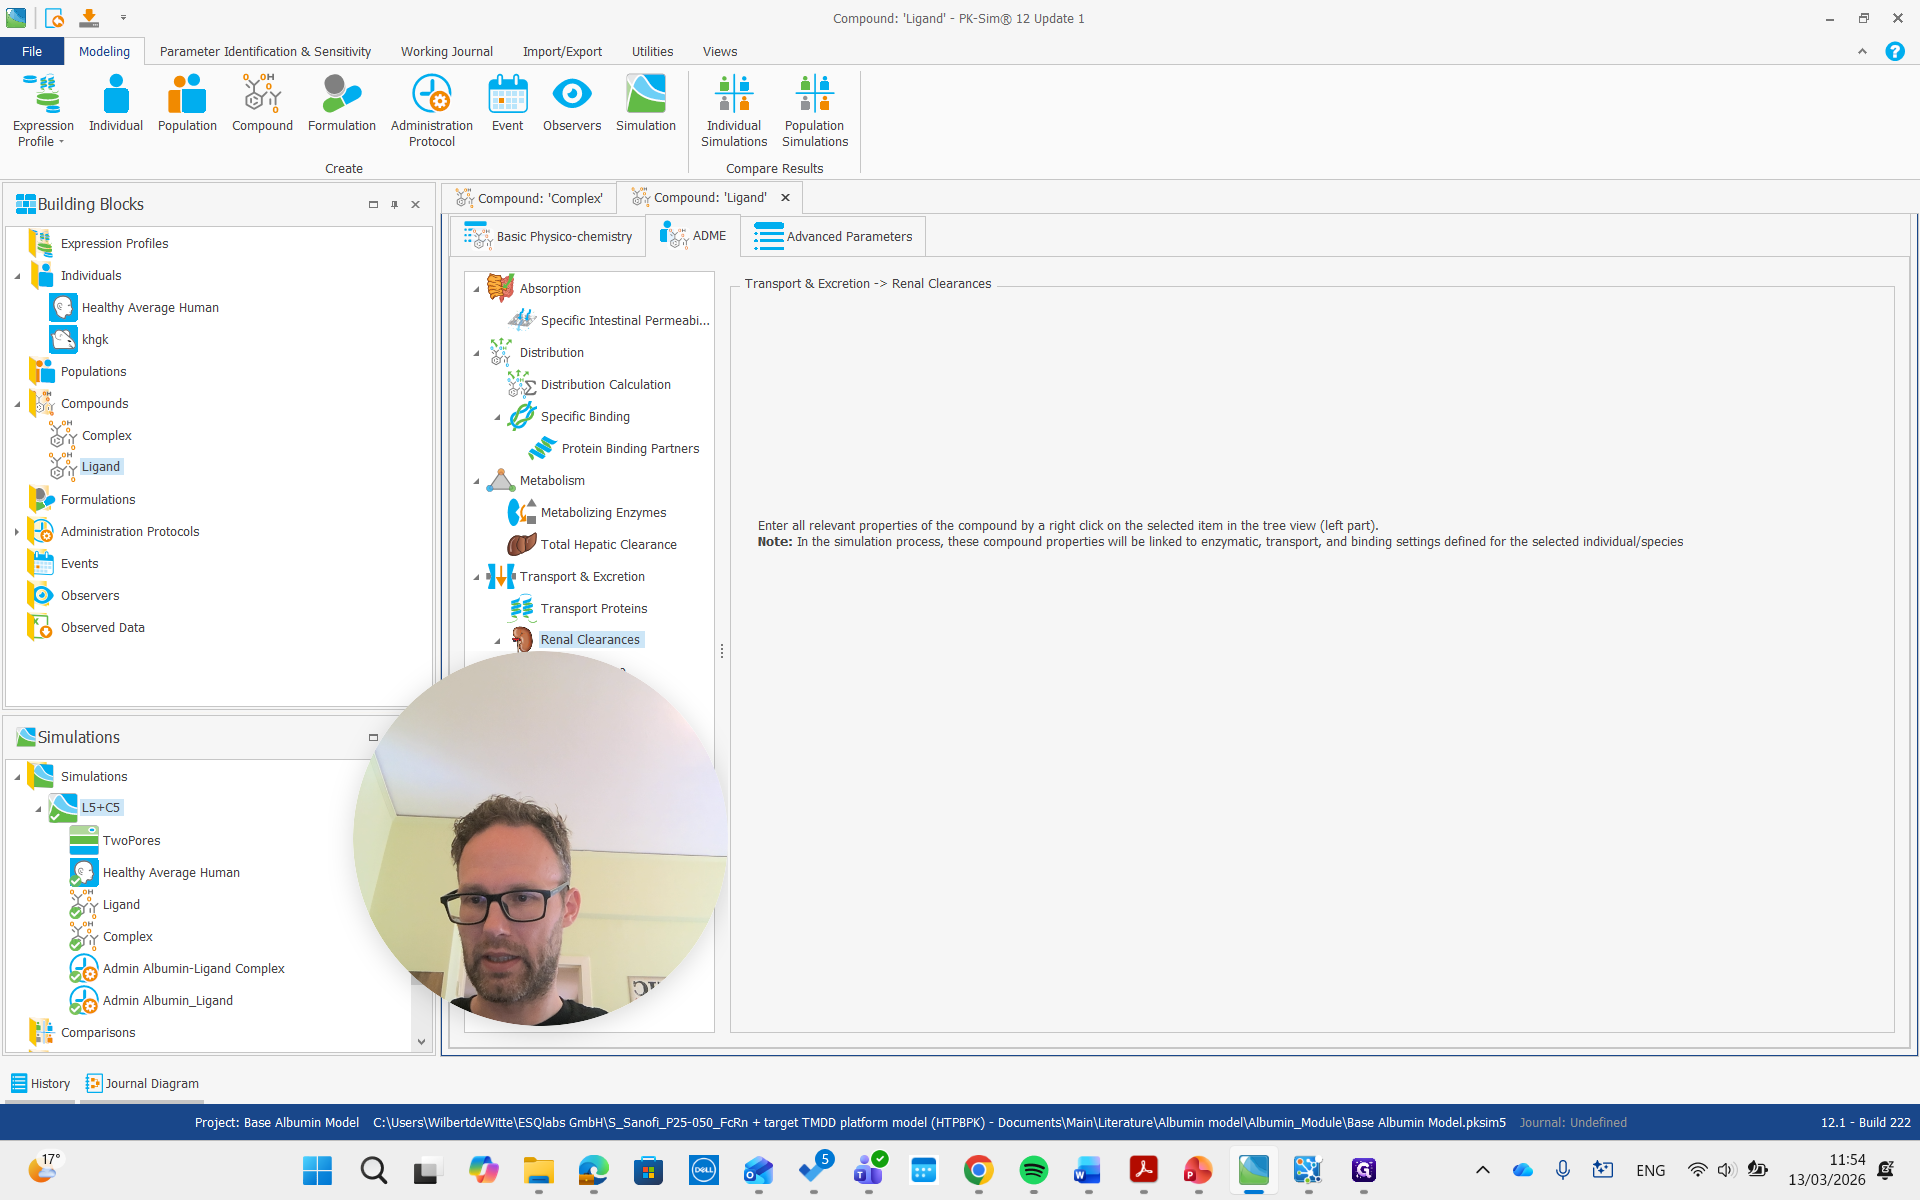
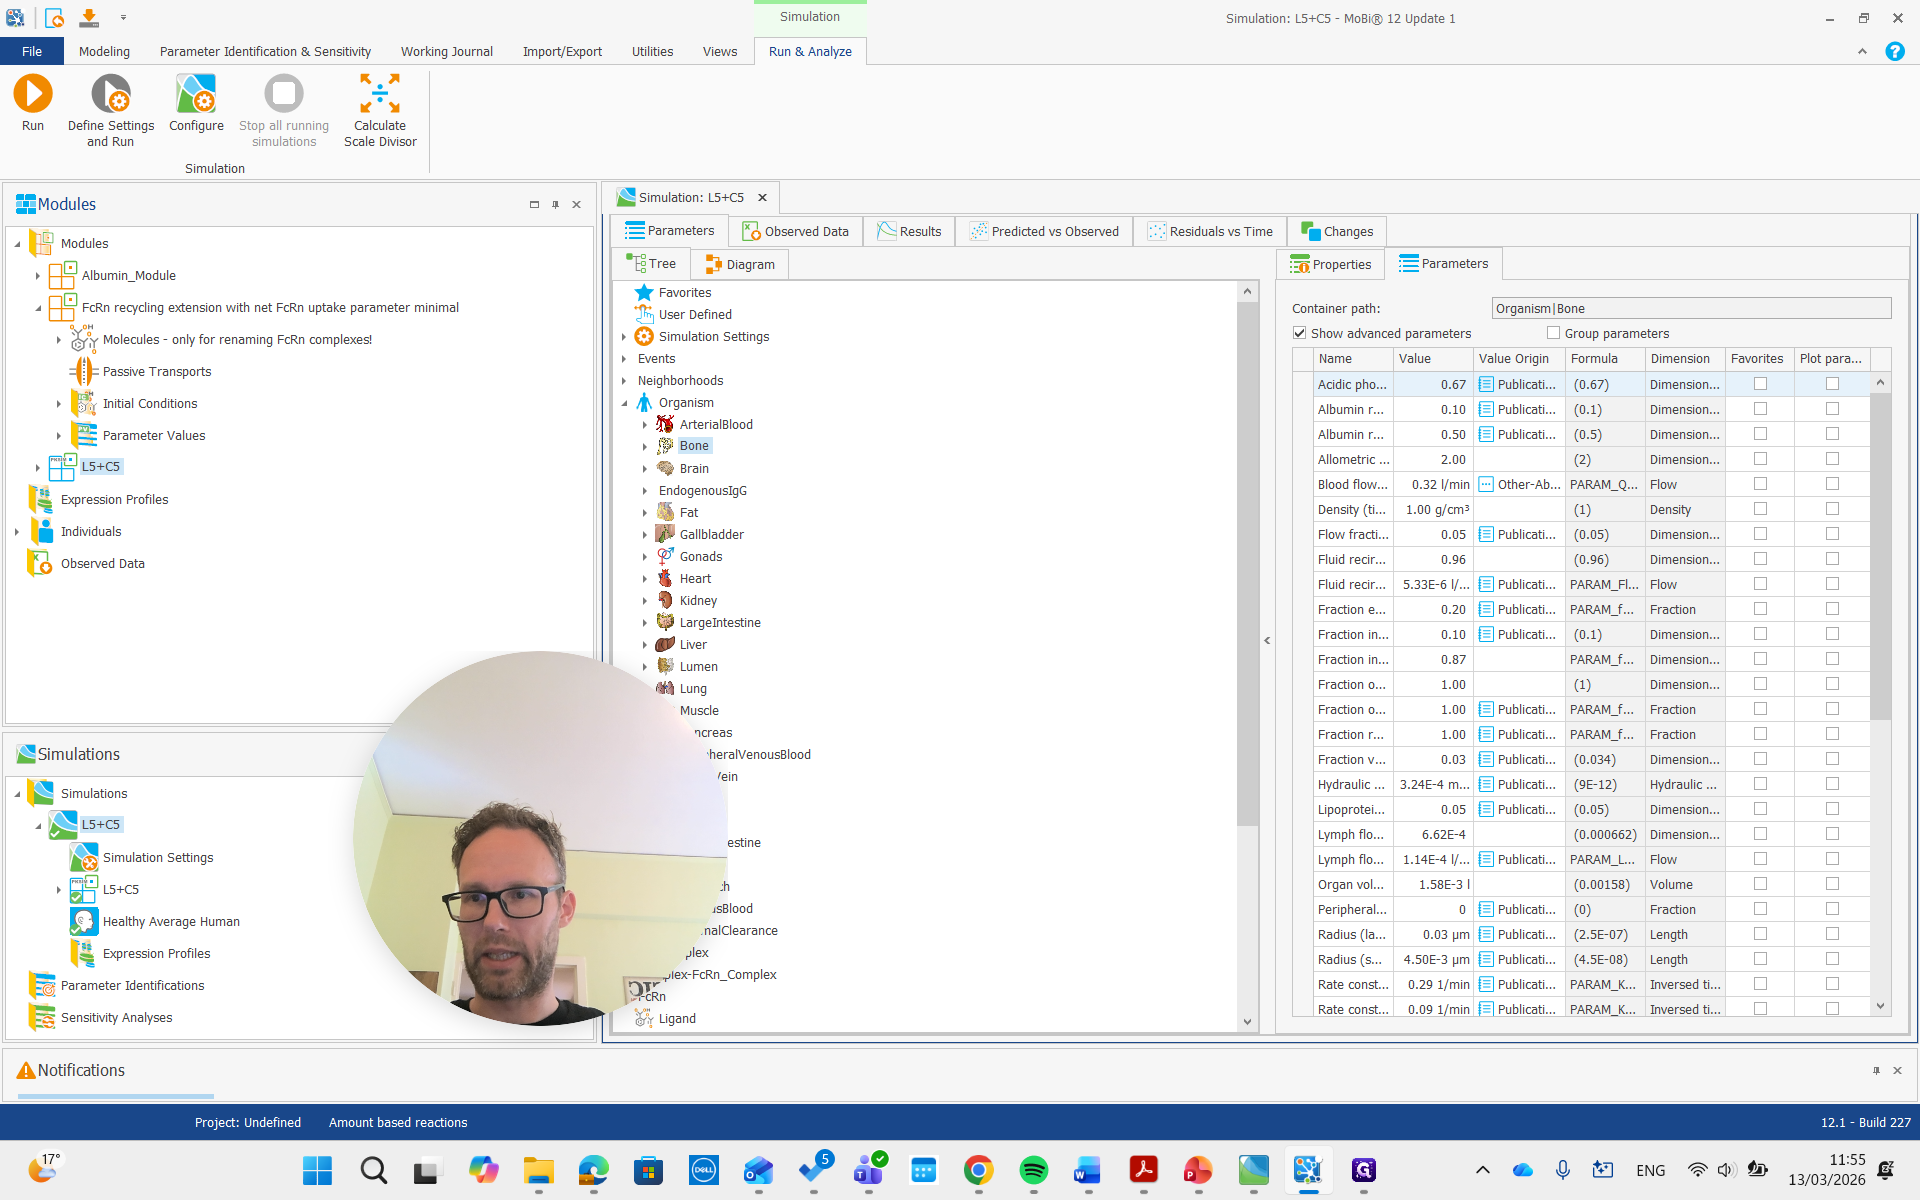
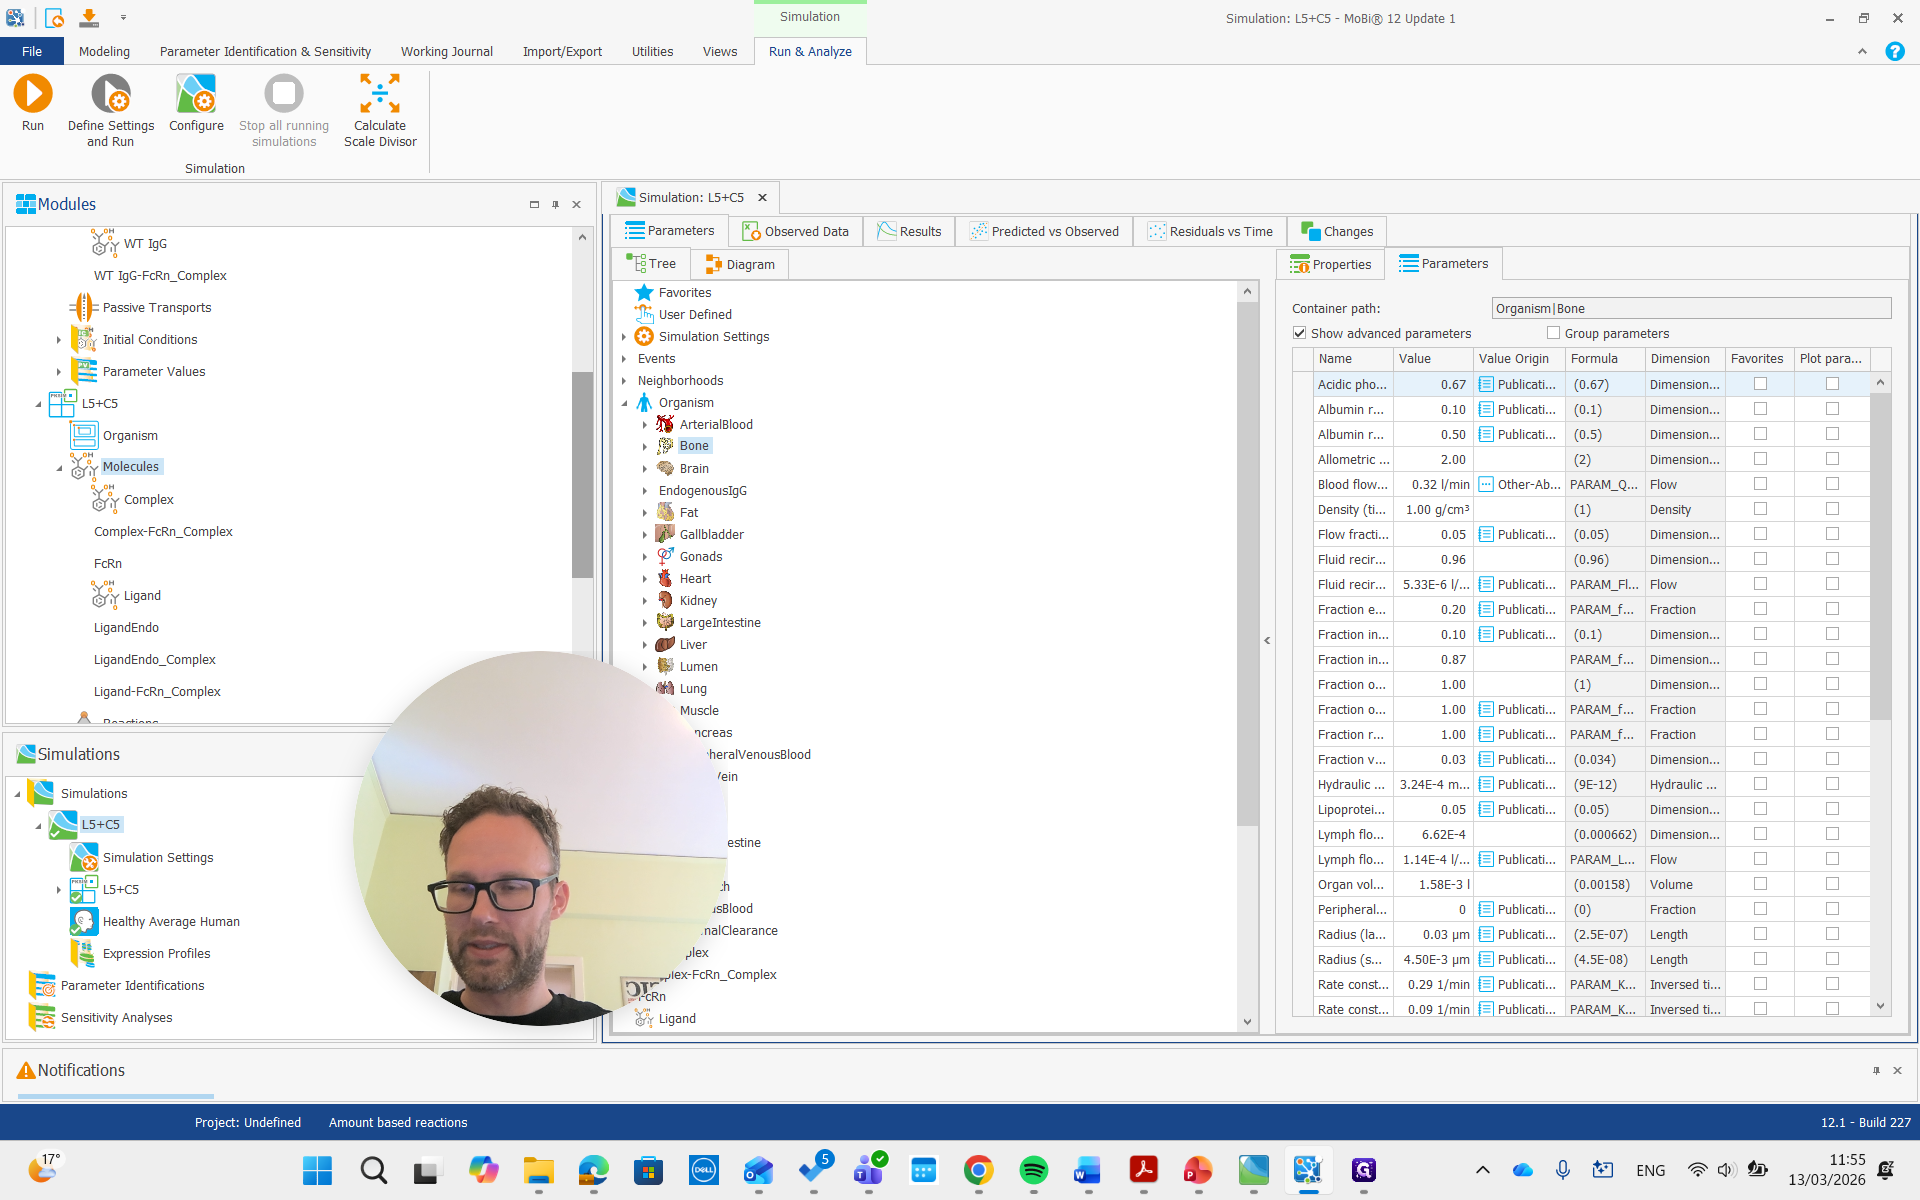
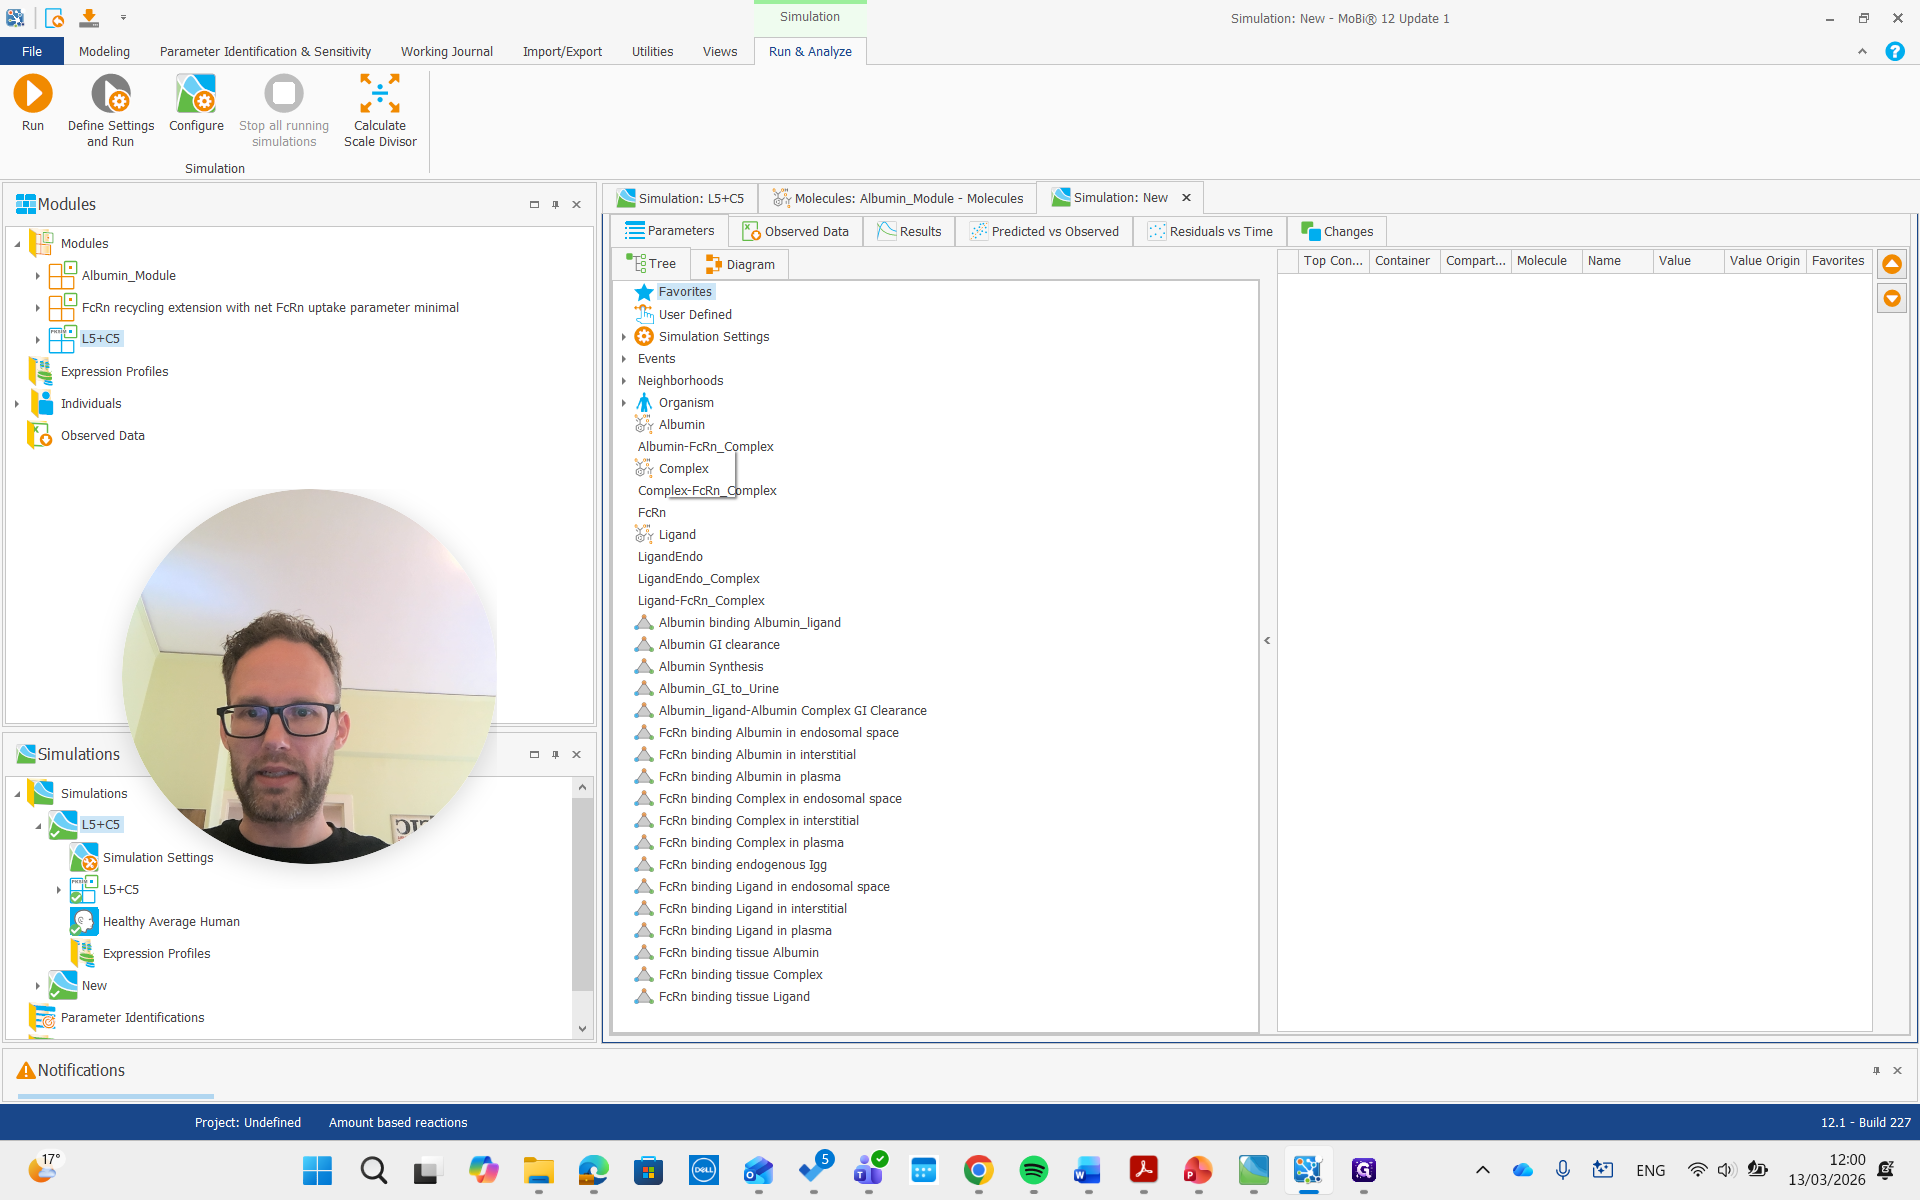
That is the simulation here, which contains all the building blocks. You can also see the molecules and their FcRn complexes.

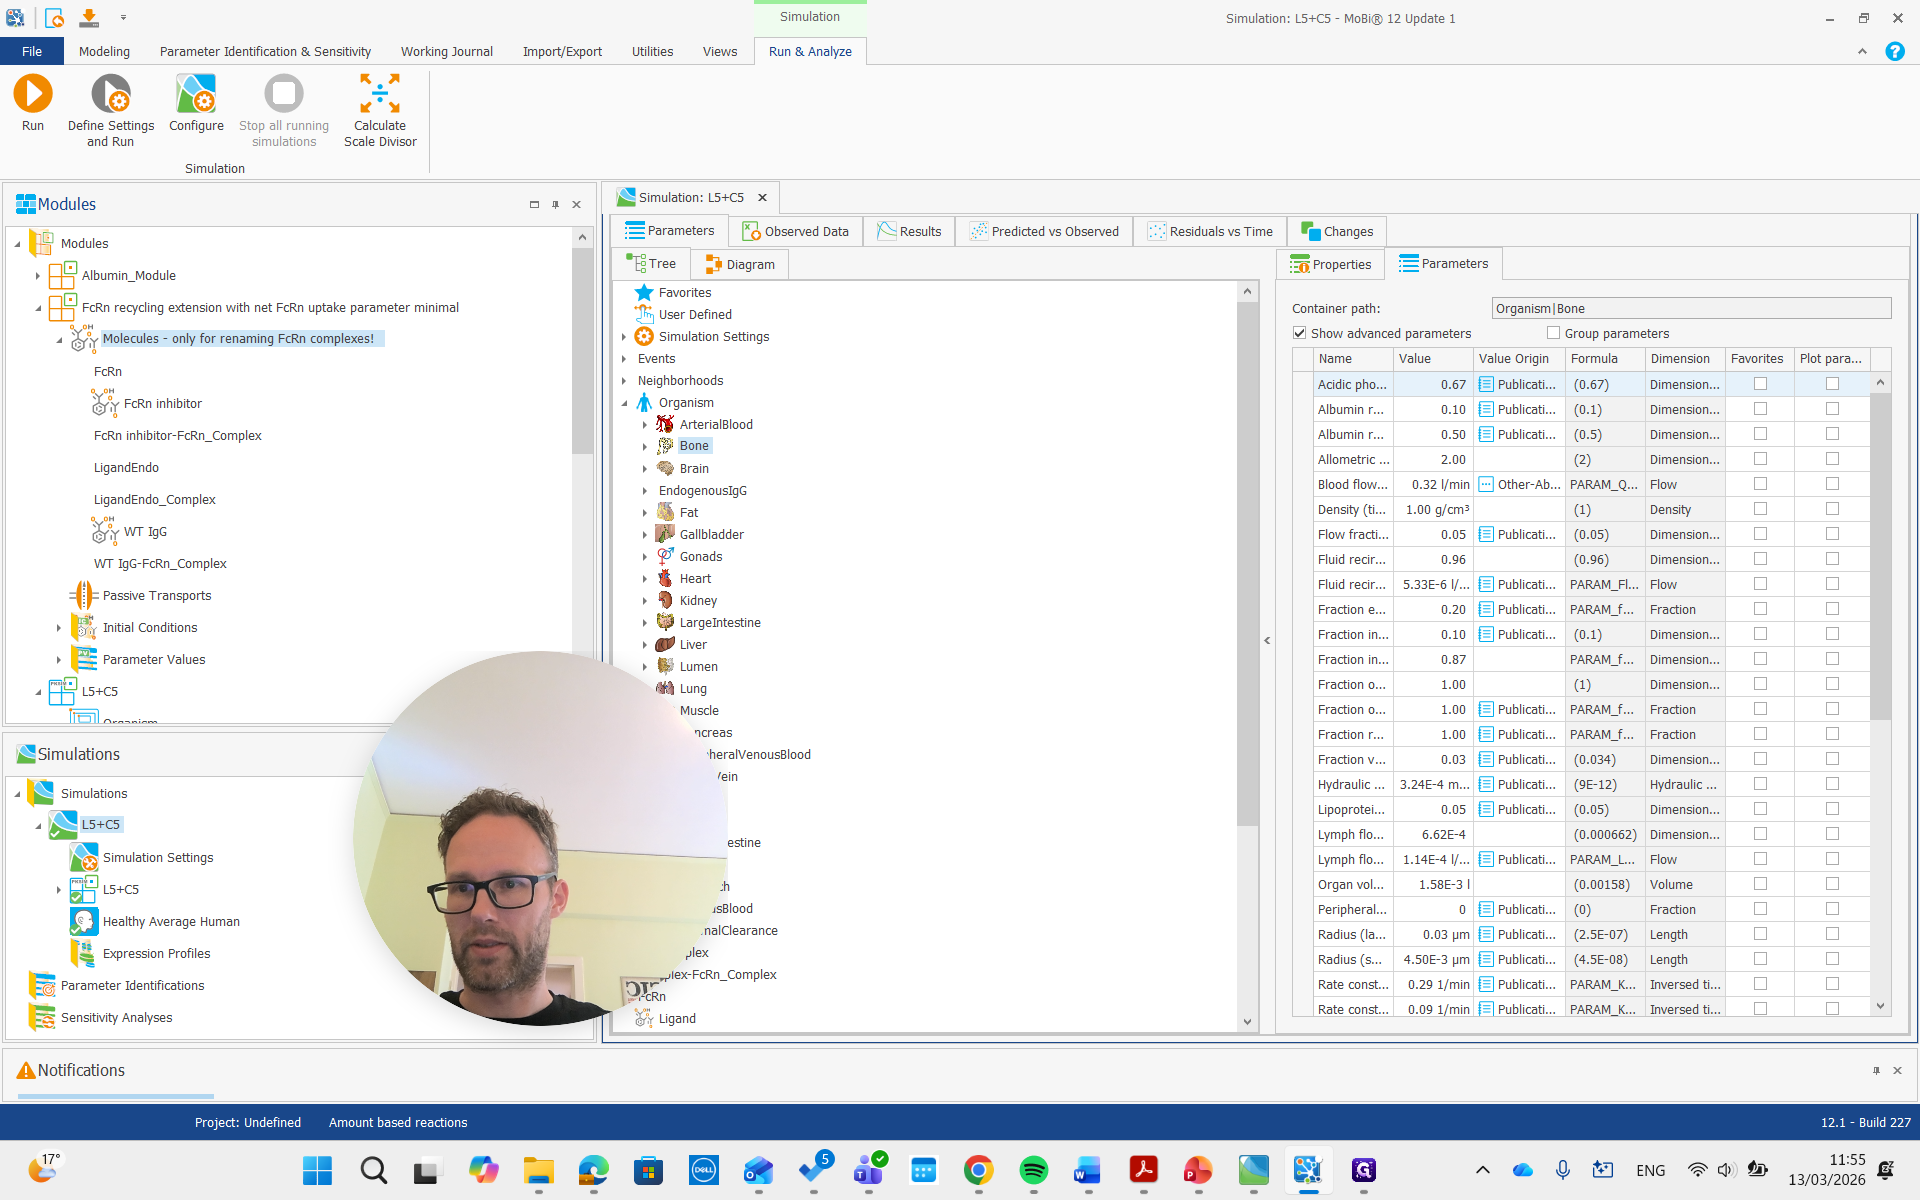
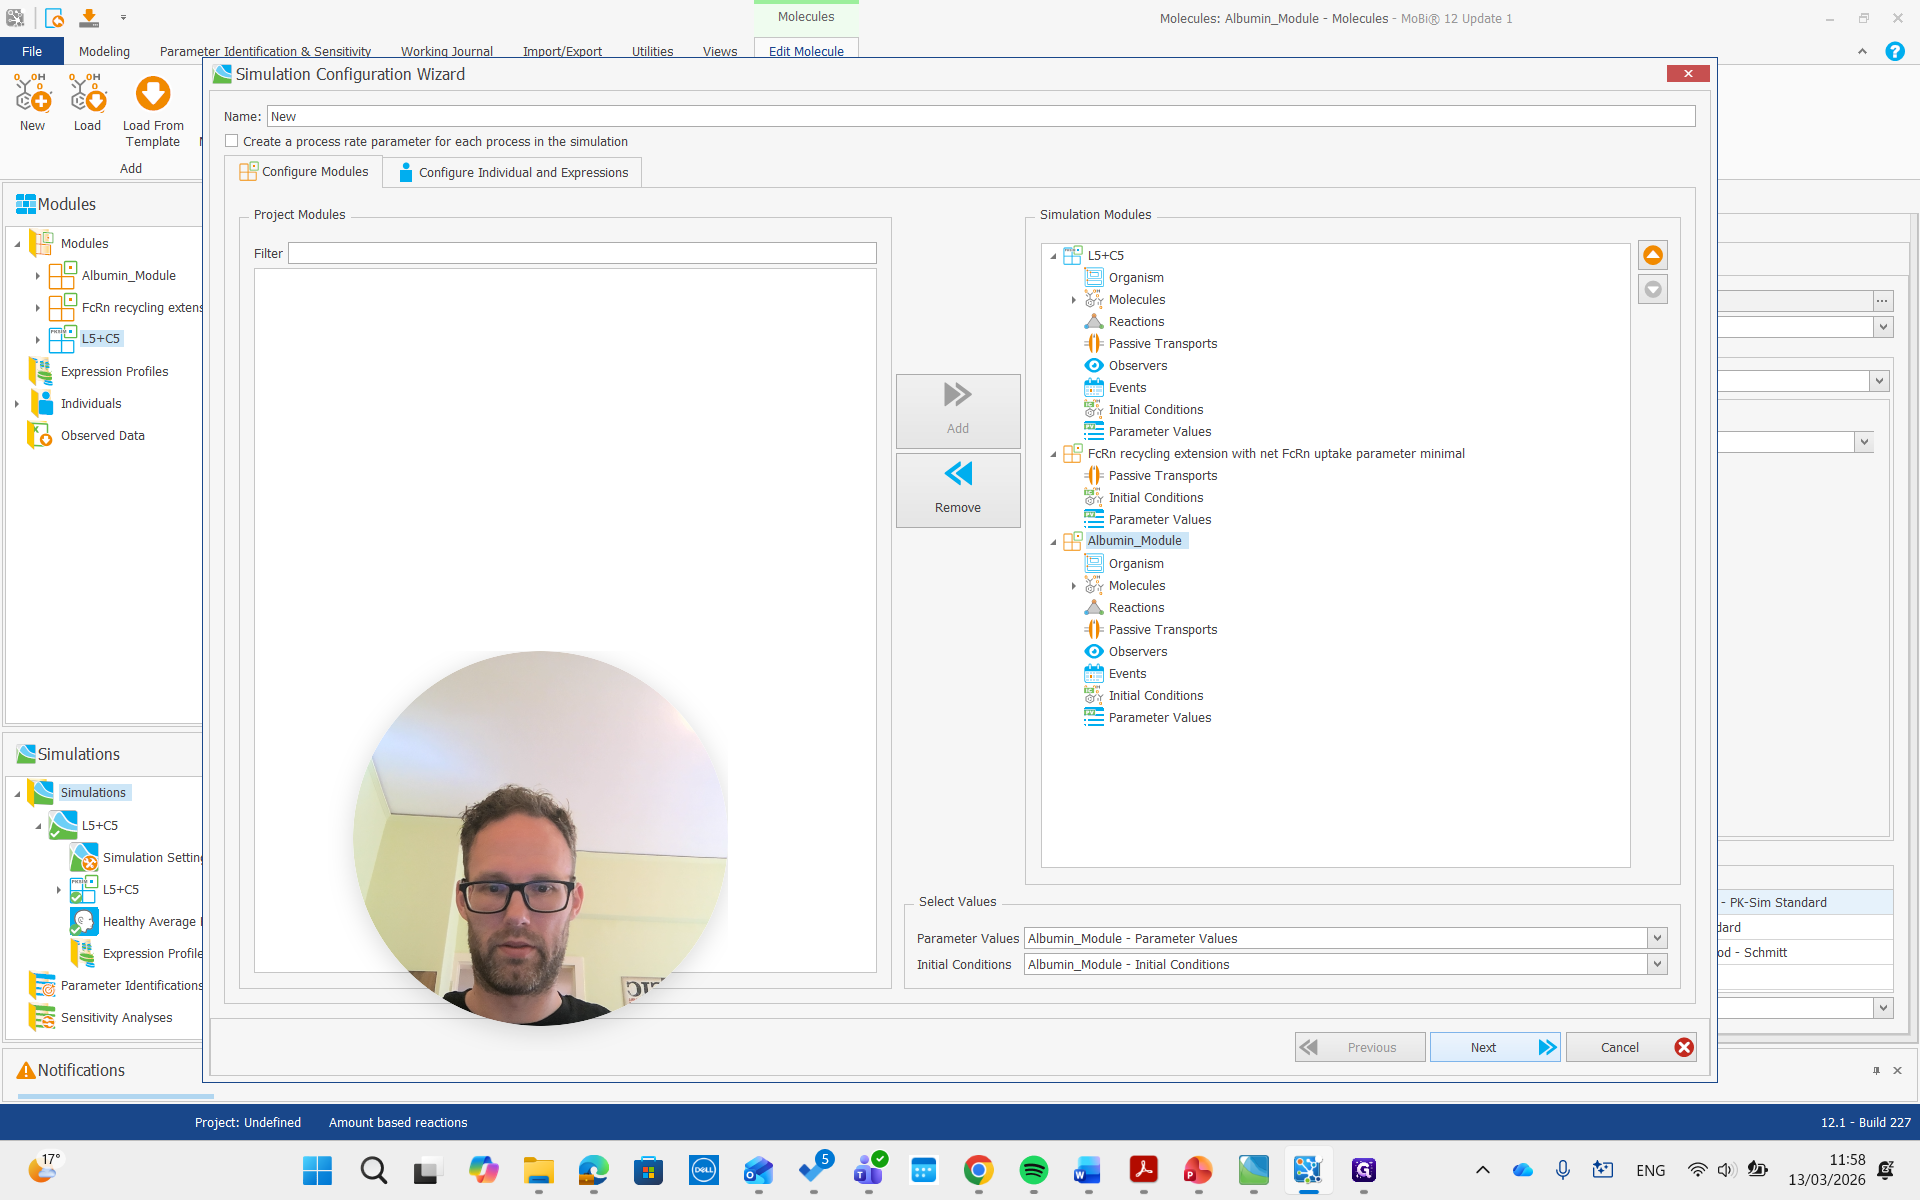
We don't need to change anything there, but we add two new modules: the FcRn recycling module we developed before, and now the new albumin module.
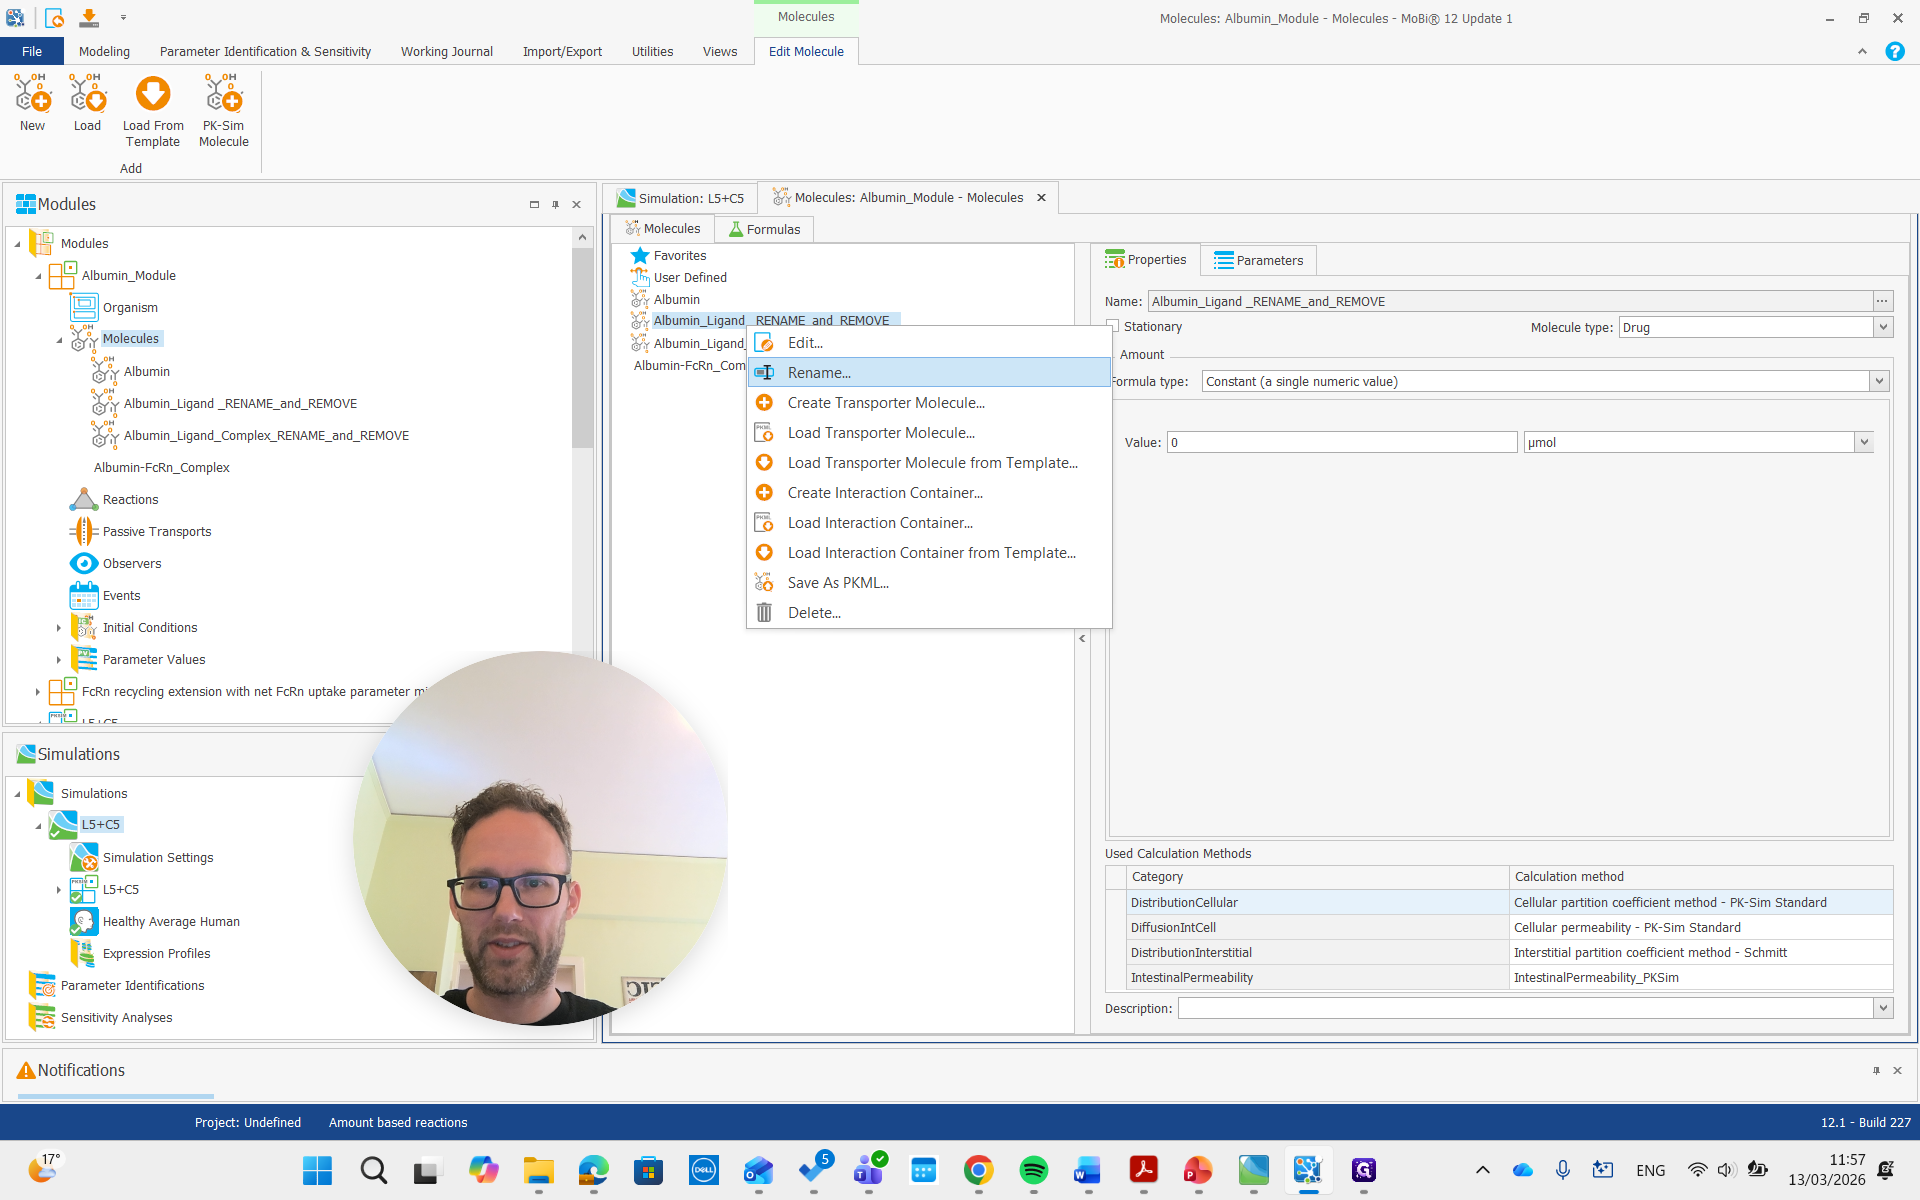
We need to have both and then build a new simulation that includes both. Before we proceed, we need to do some renaming.
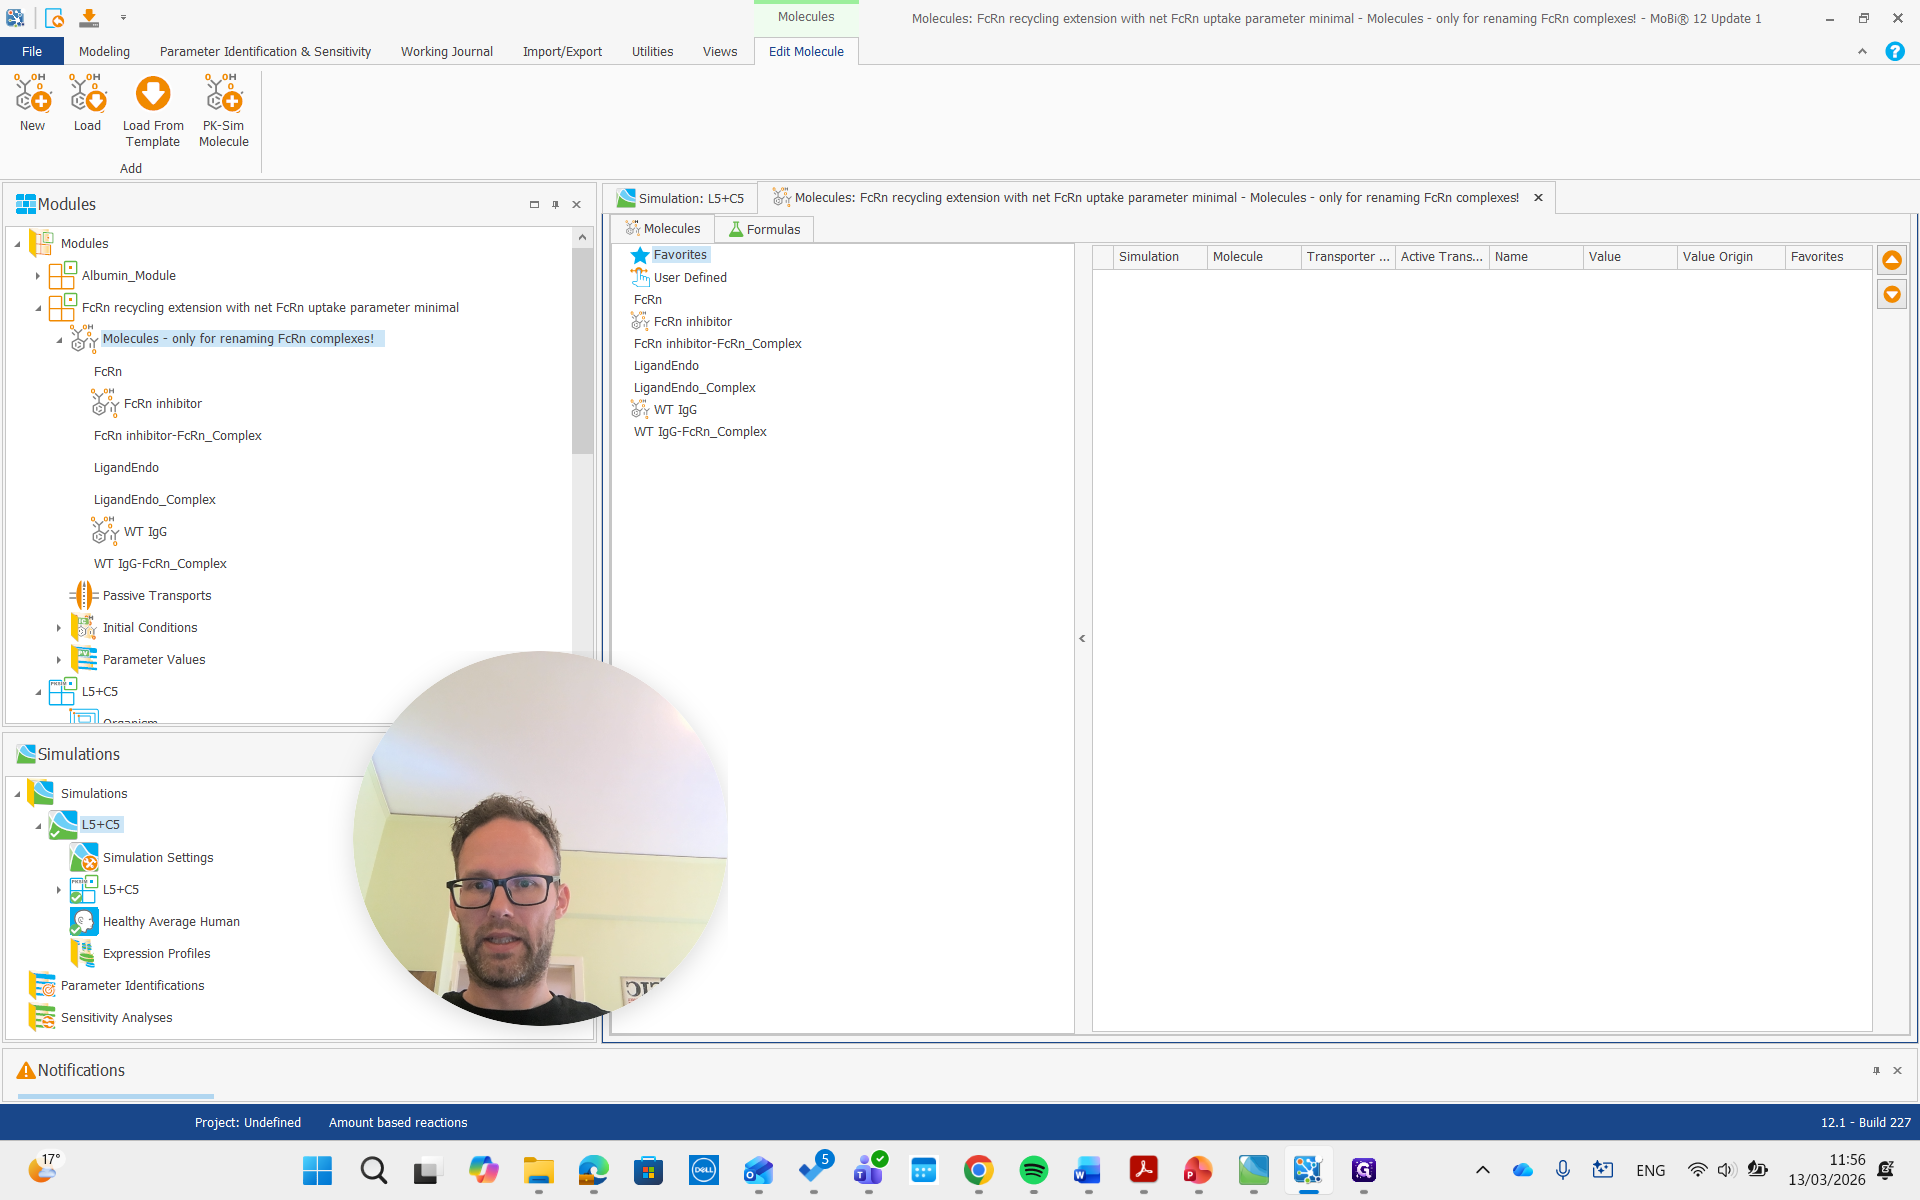
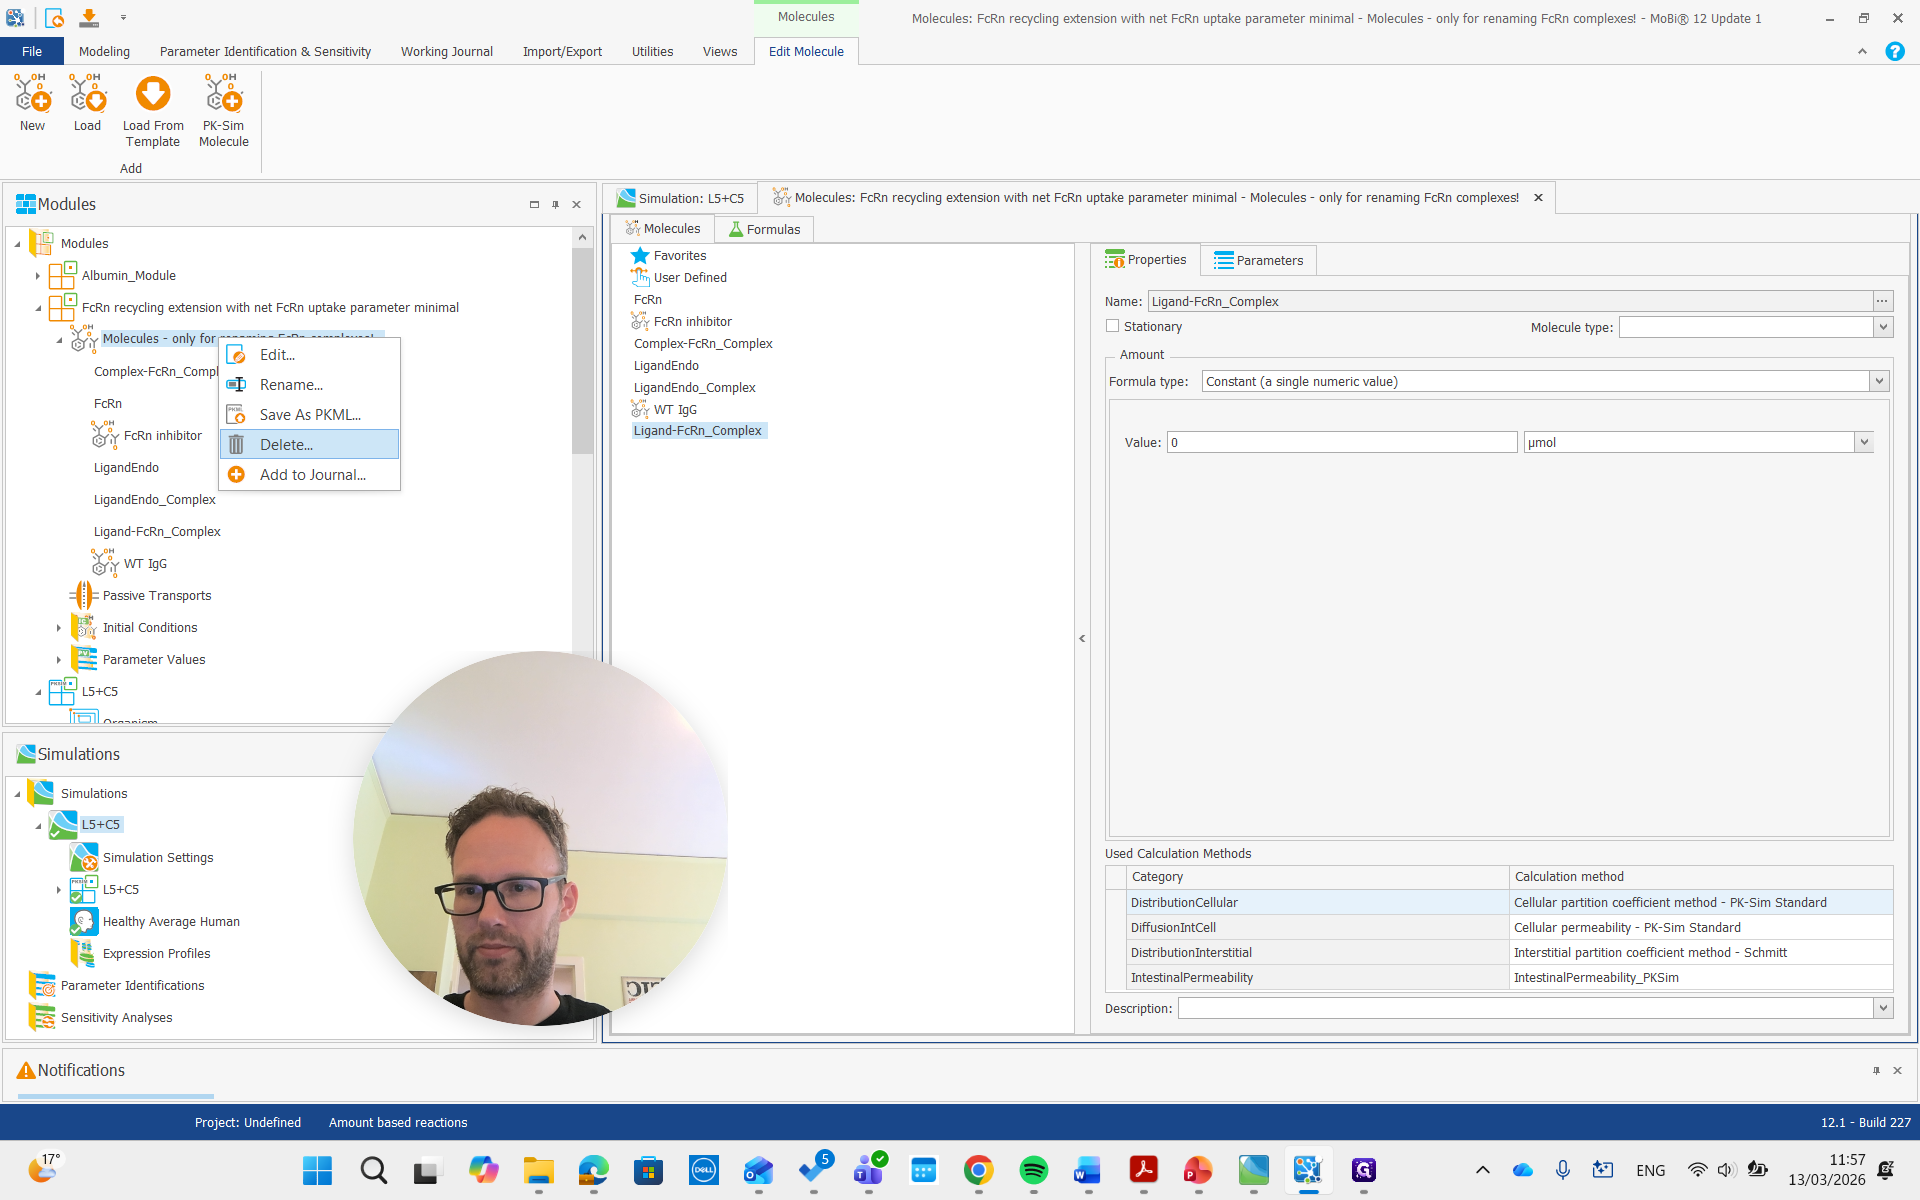
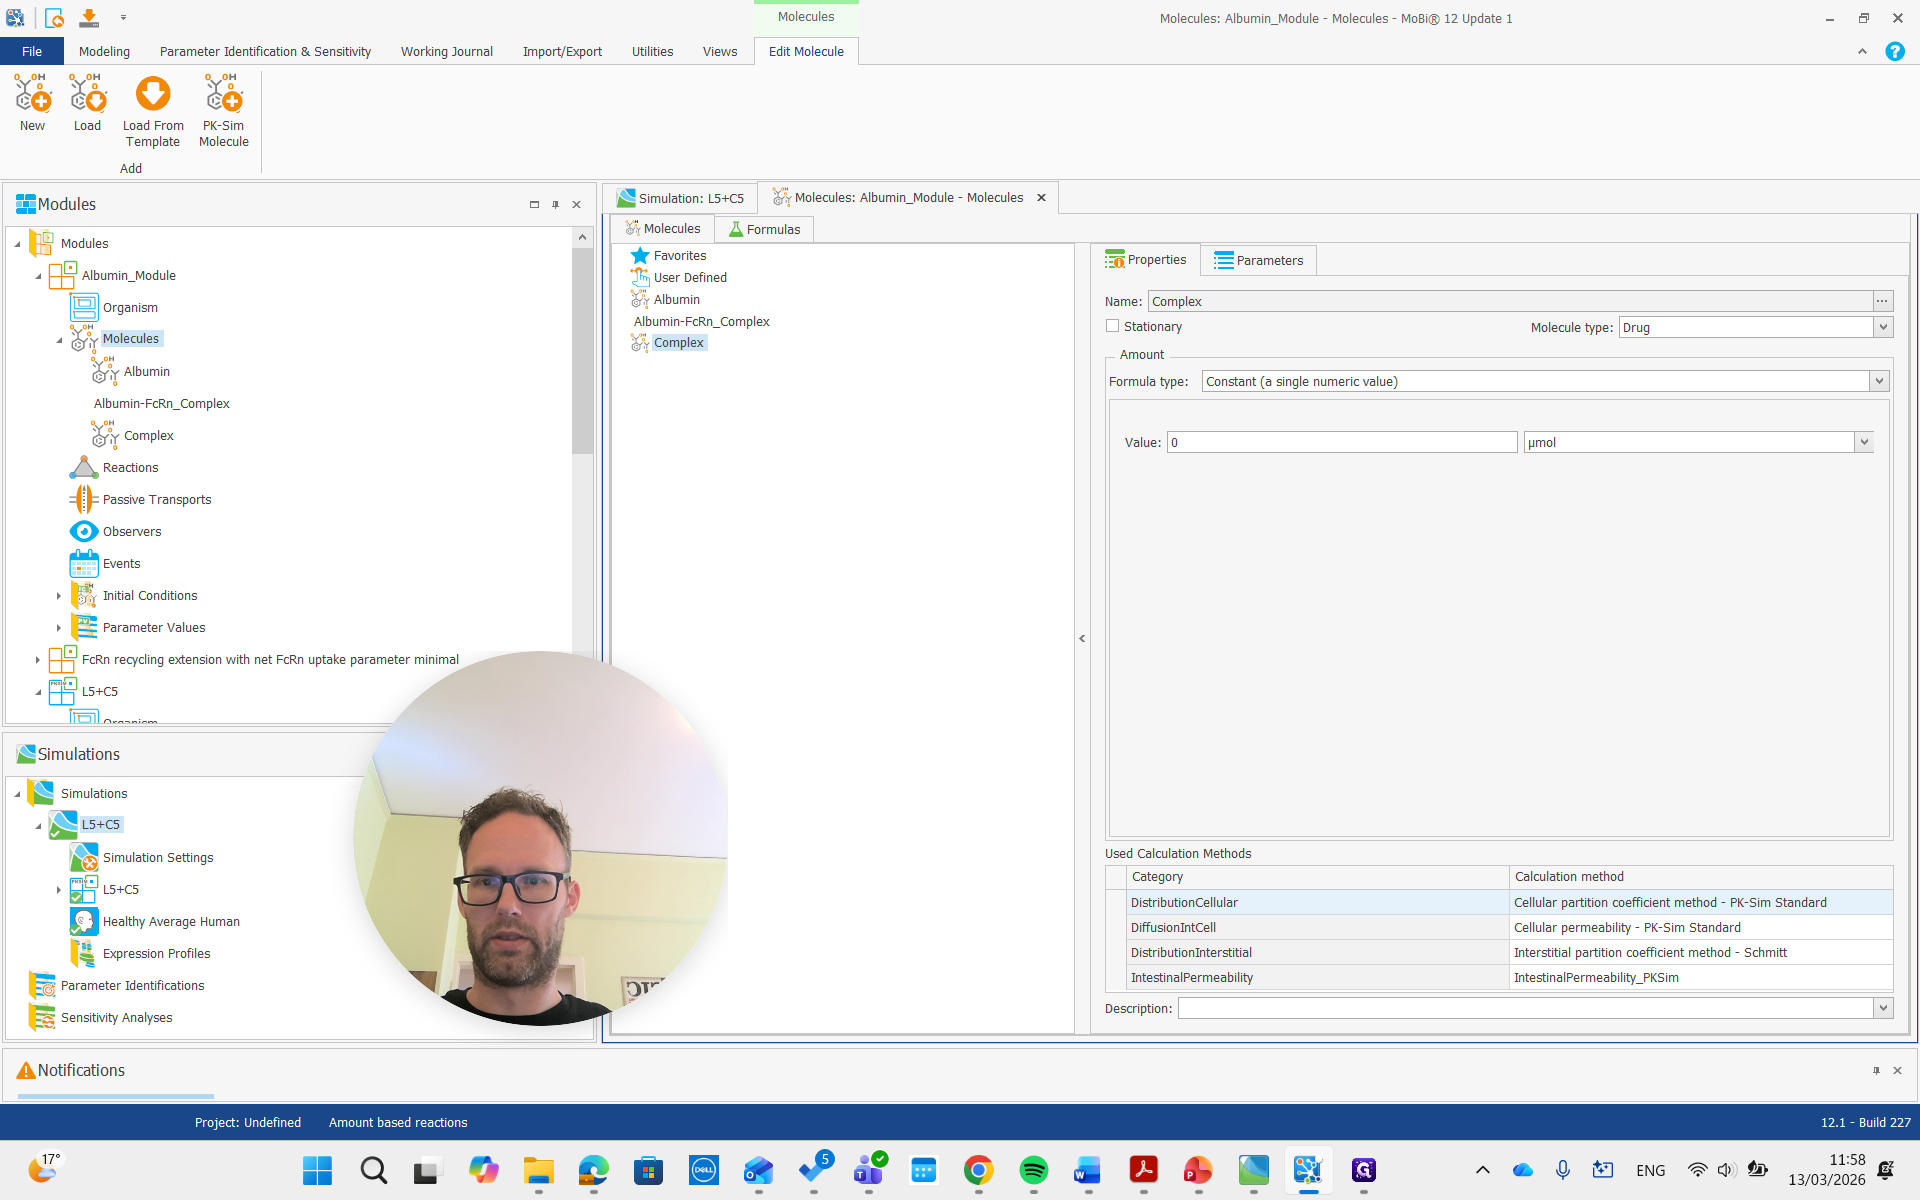
We look at the molecule building block for the FcRn module and see some molecules with different names. It also states that this molecule building block is only for renaming FcRn complexes.

Let's look at the molecules in our actual PK Sim building block.
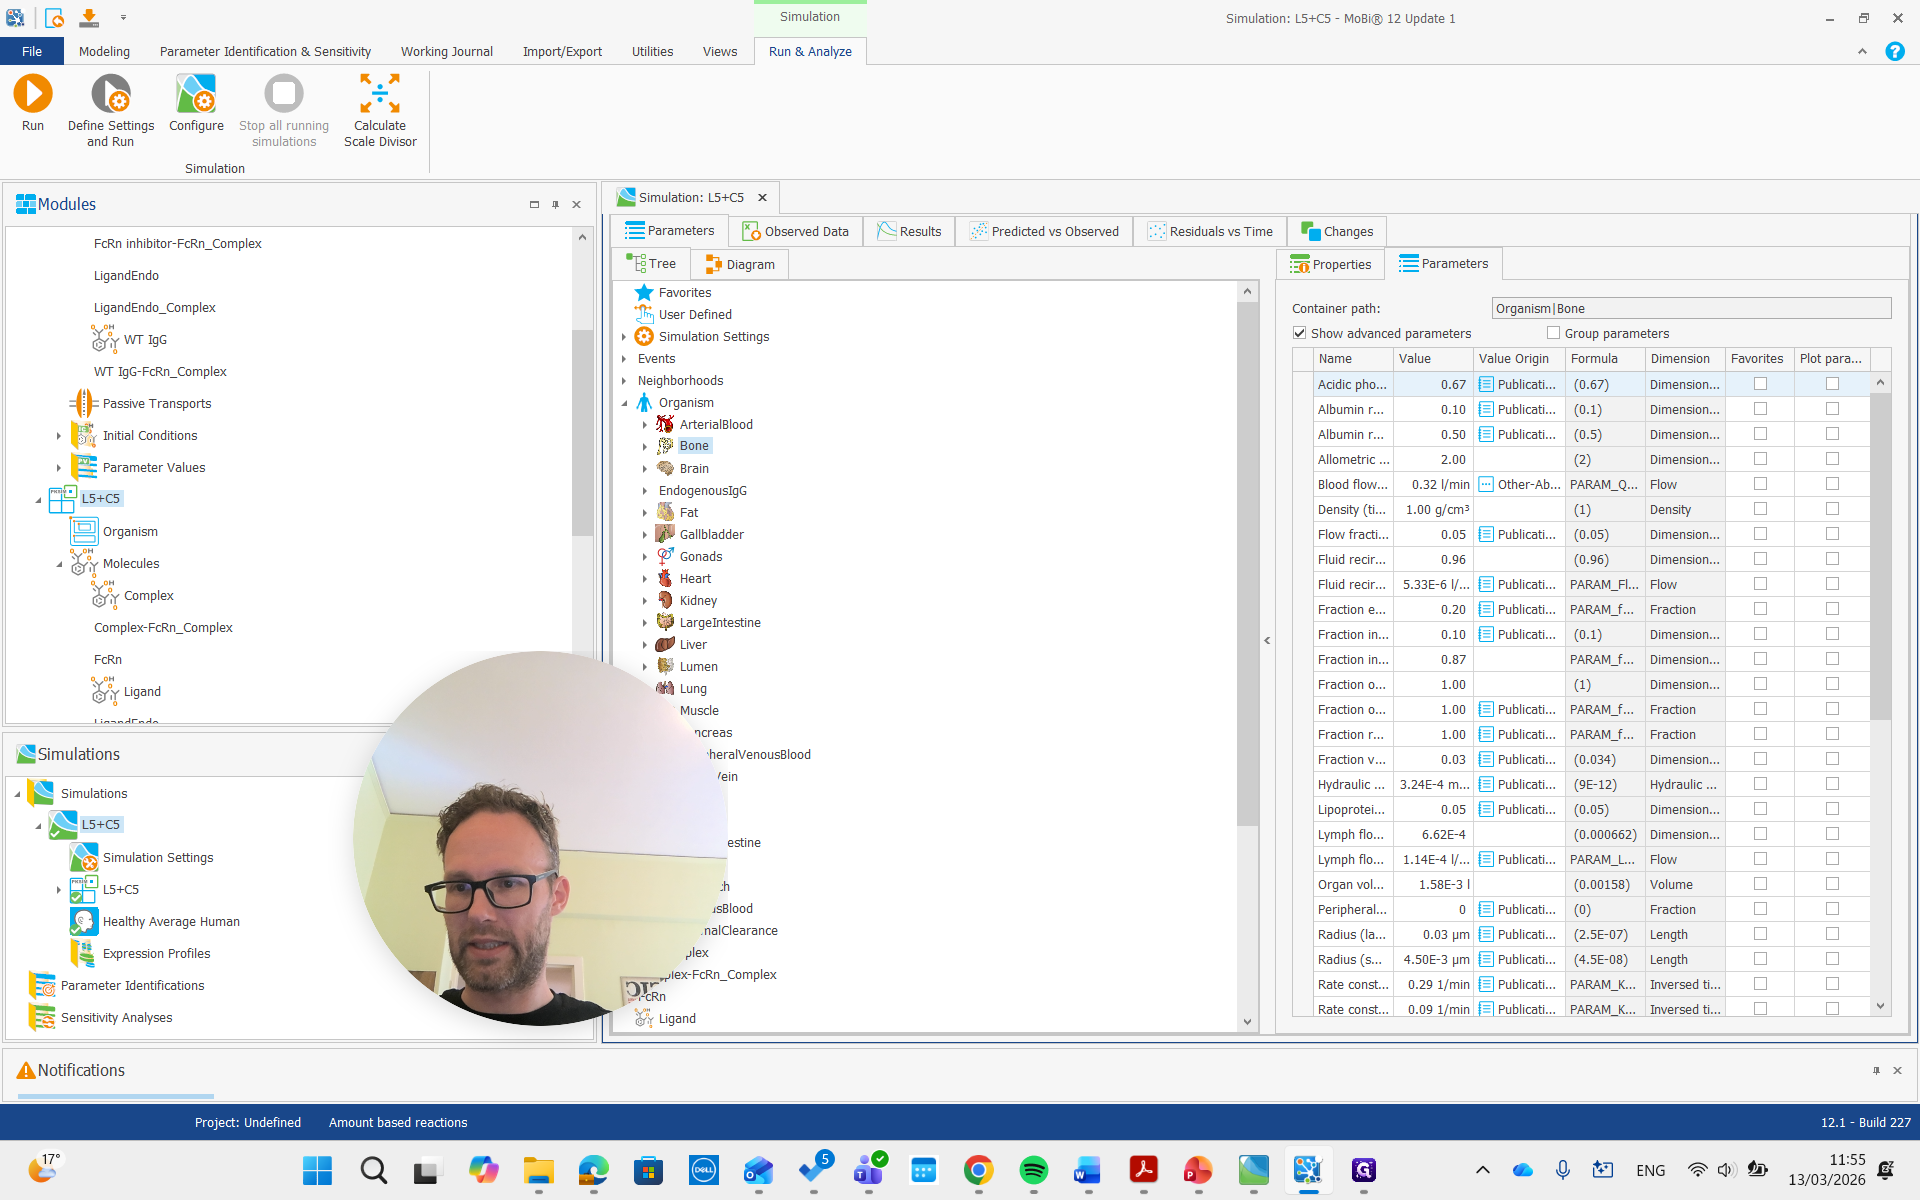
It’s the FcRn complex that we want to make sure is in our FcRn module, and the same applies to the ligand FcRn complex.
We can either copy these names or retype them.
First, open the molecule building block by double-clicking it. Then, rename the FcRn complex to either "ligand" or "complex."

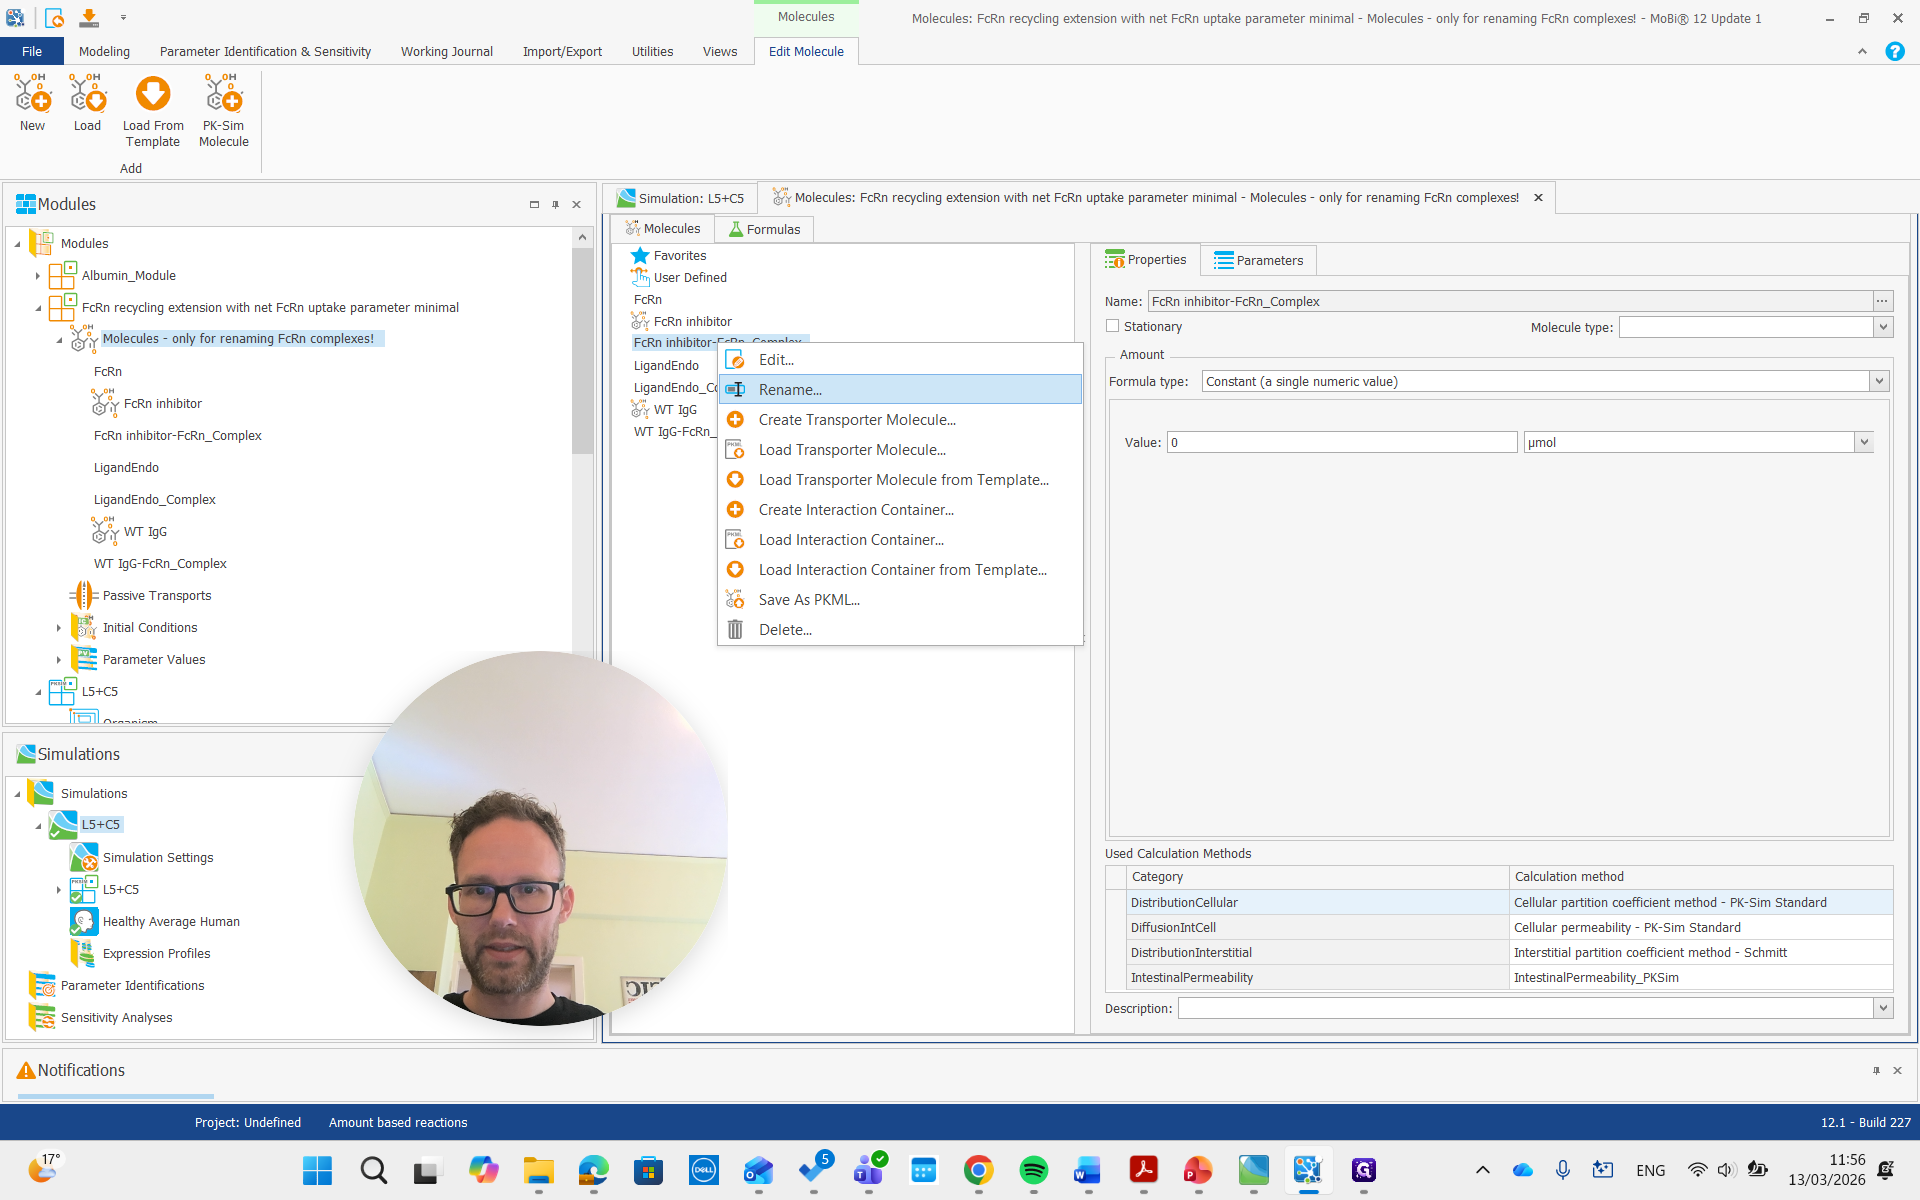
Let's call this one the FcRn complex.
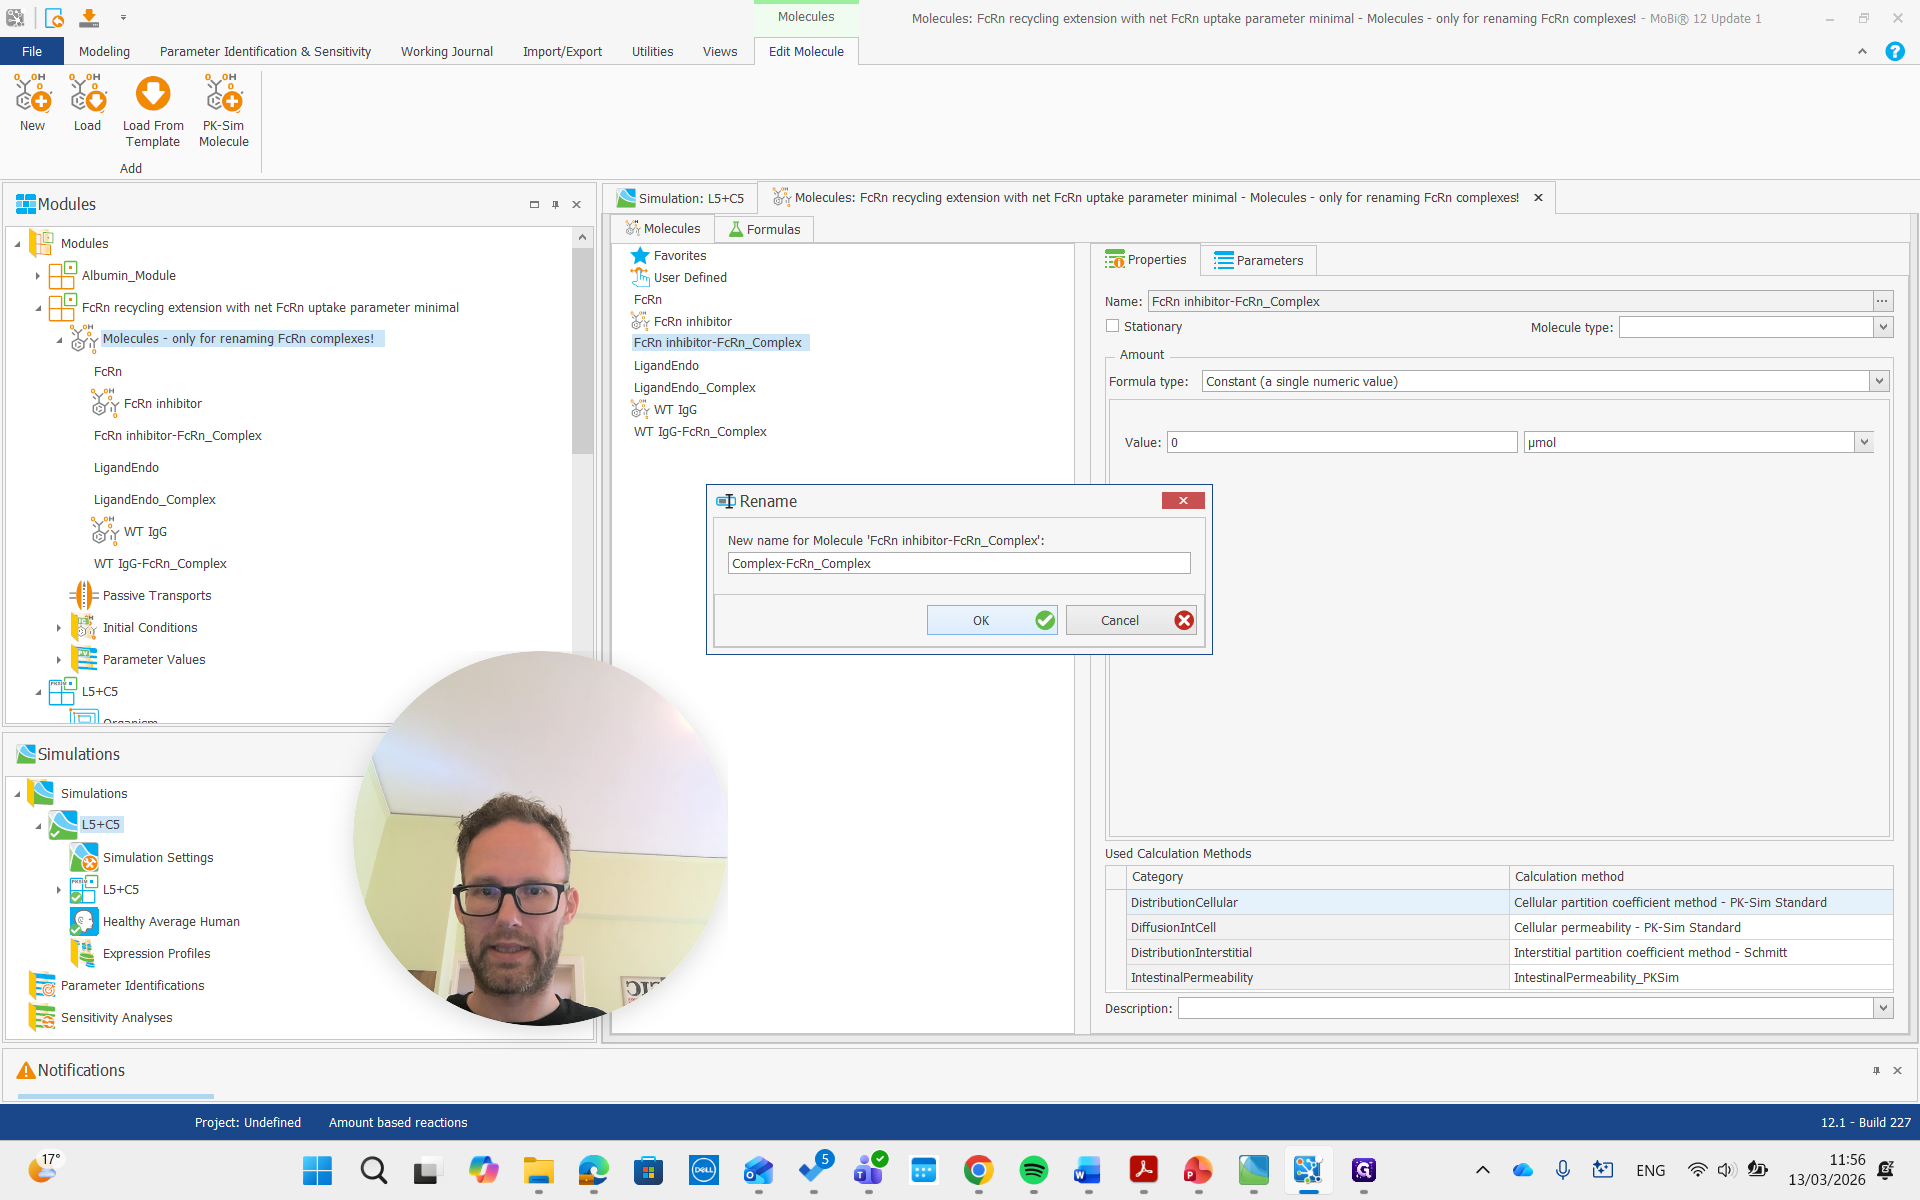
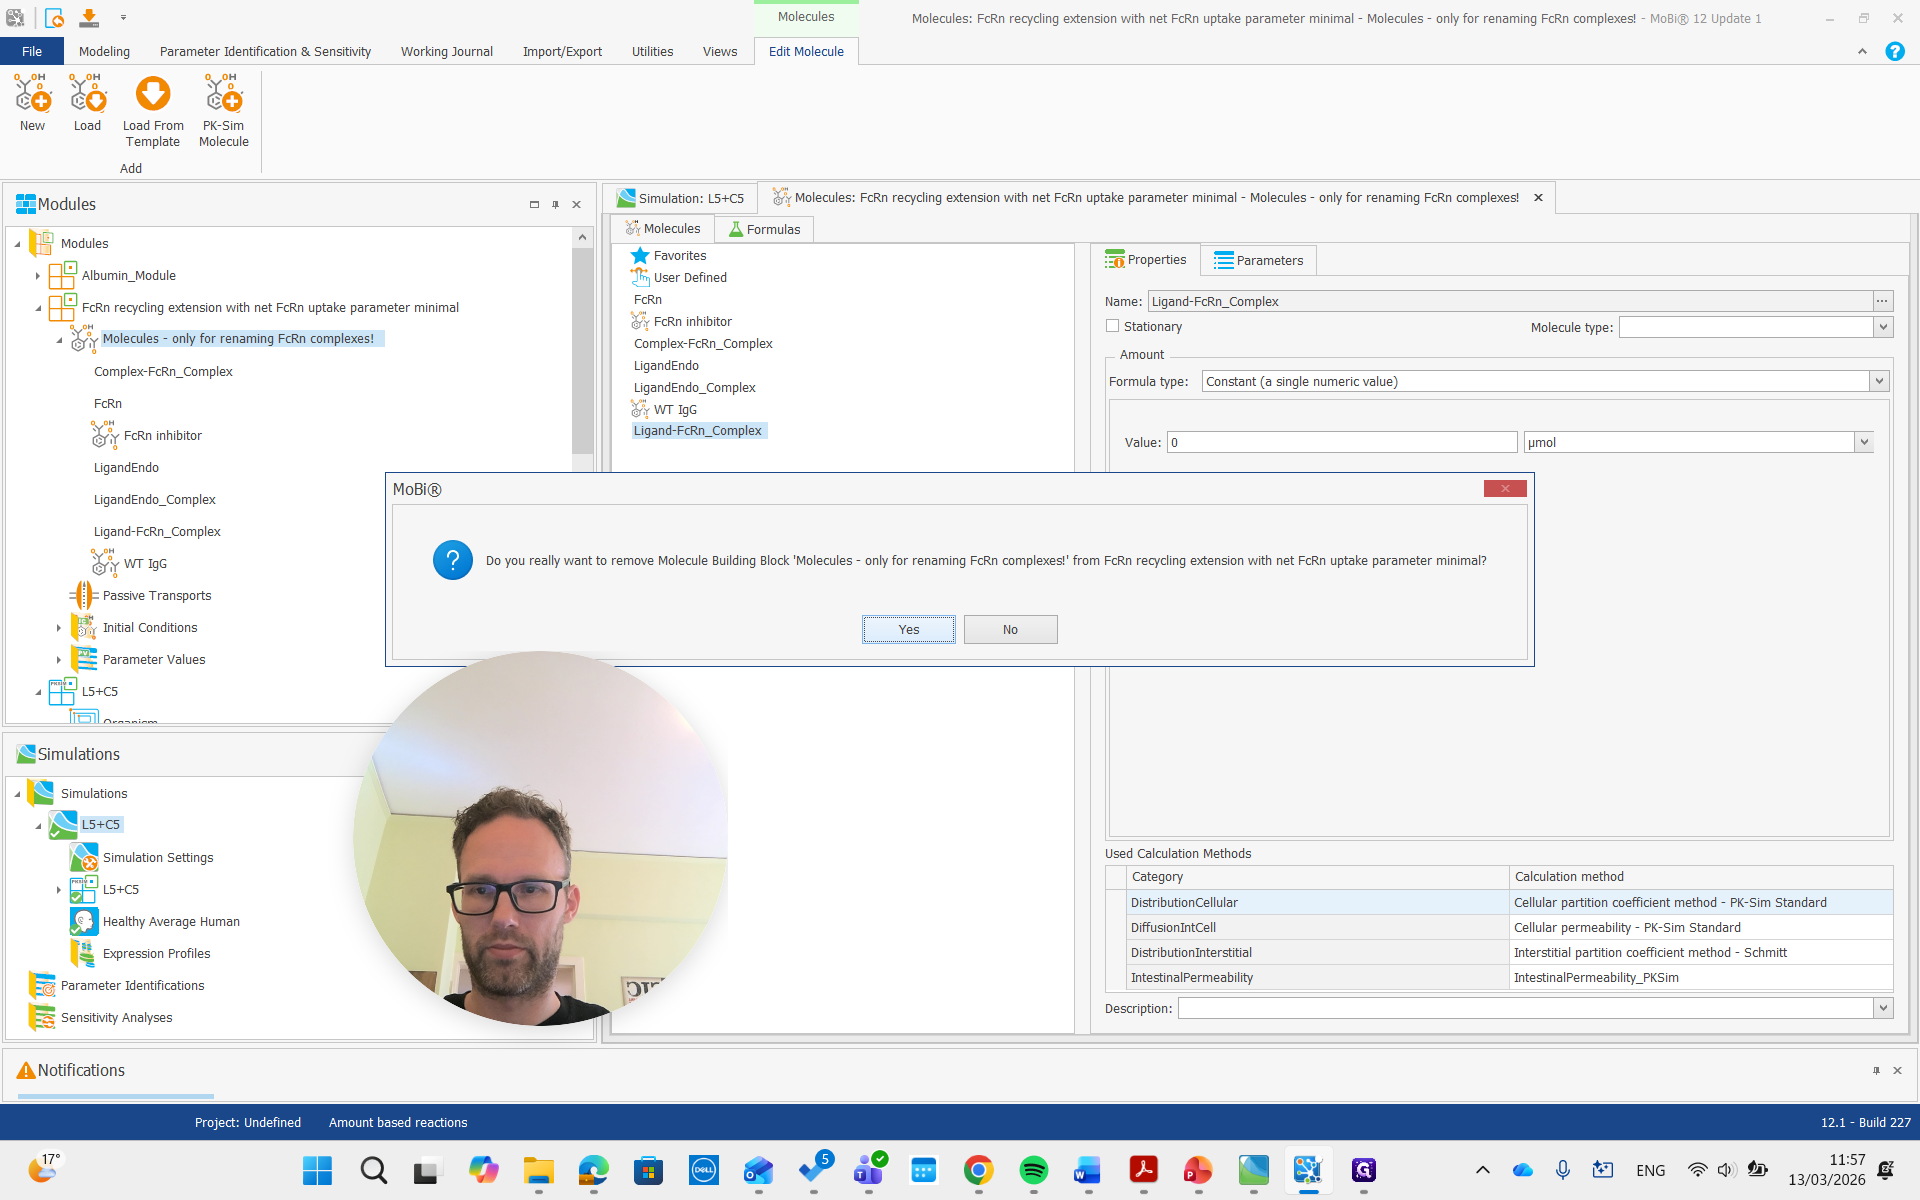
Okay. If you get this pop-up, you have typed the name correctly. If you don't get it, you are probably making some spelling mistakes. That's a good quality check.

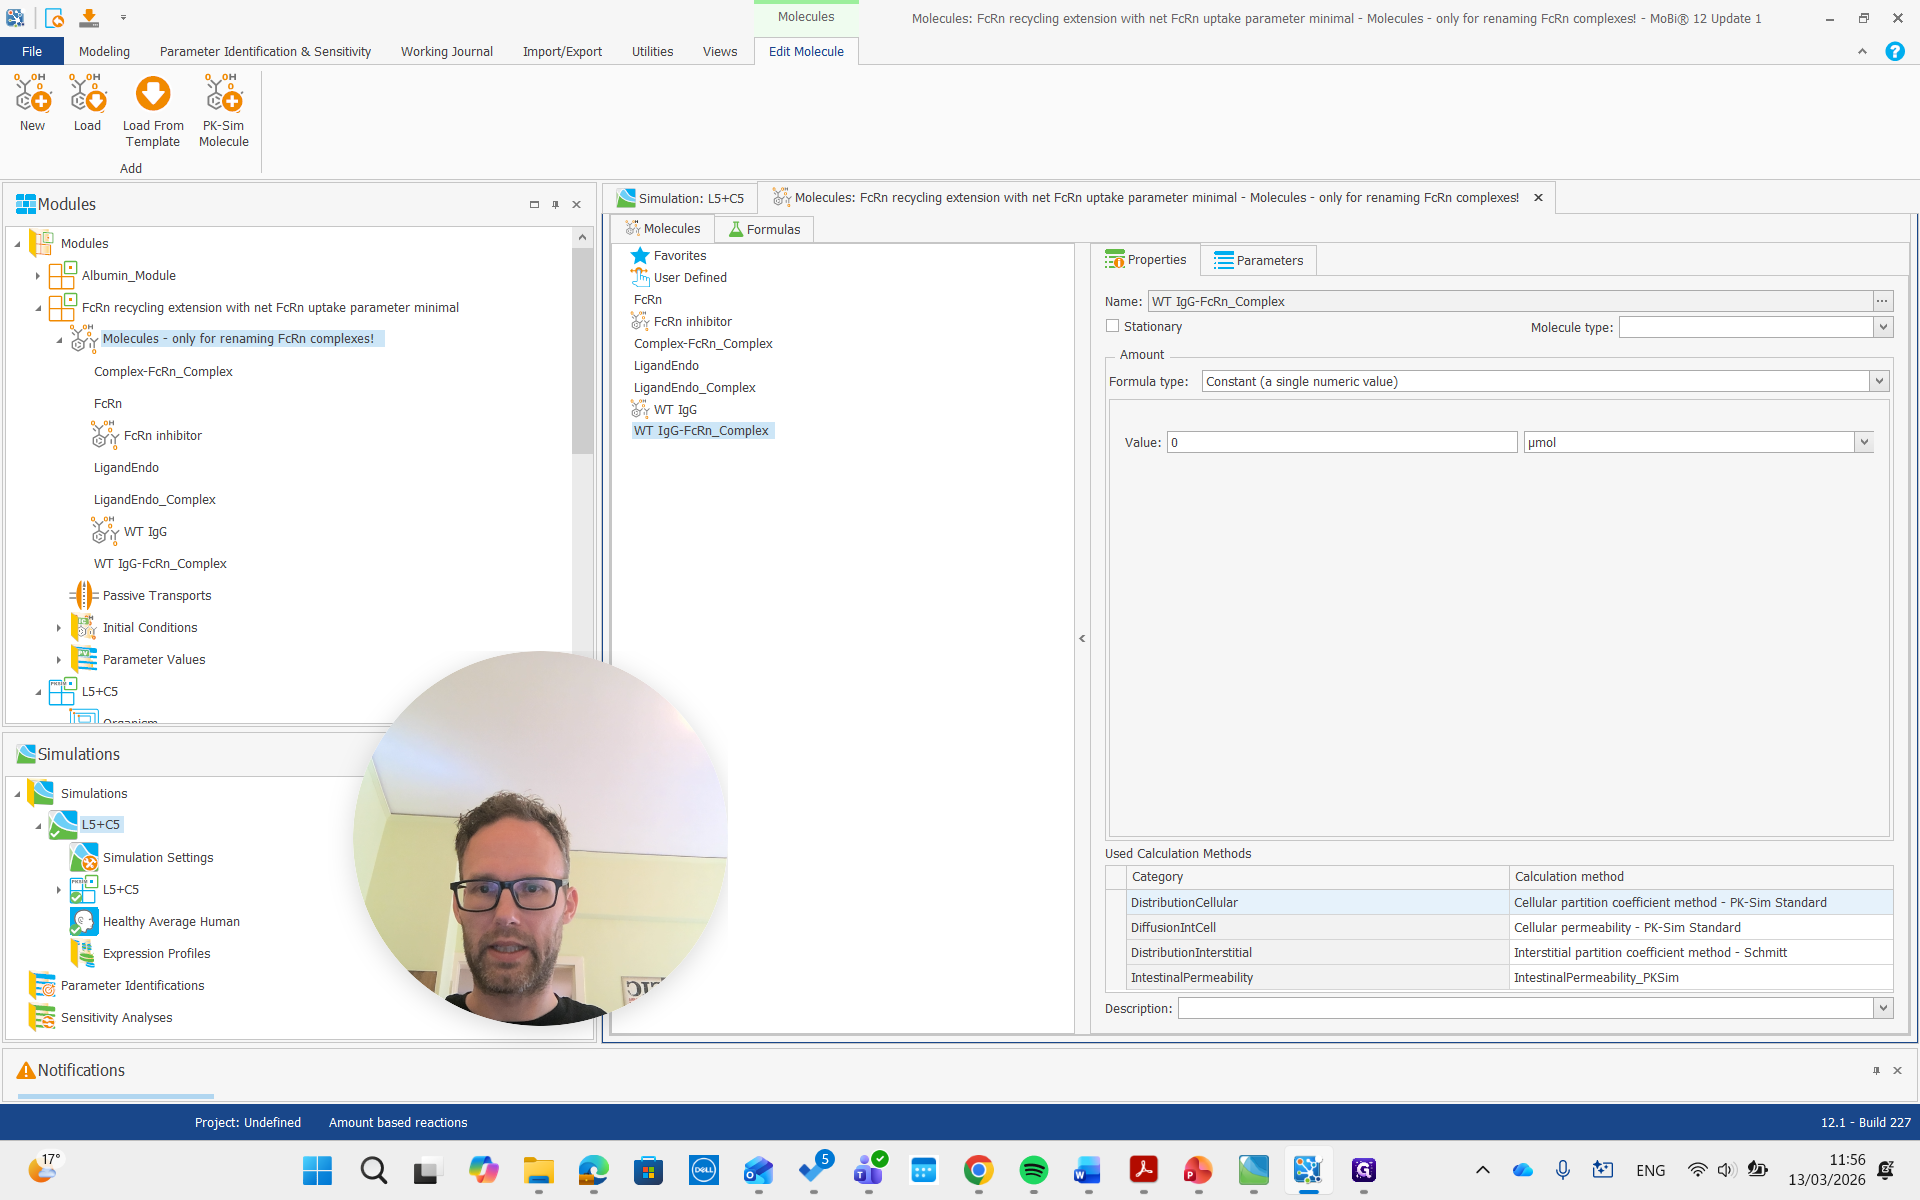
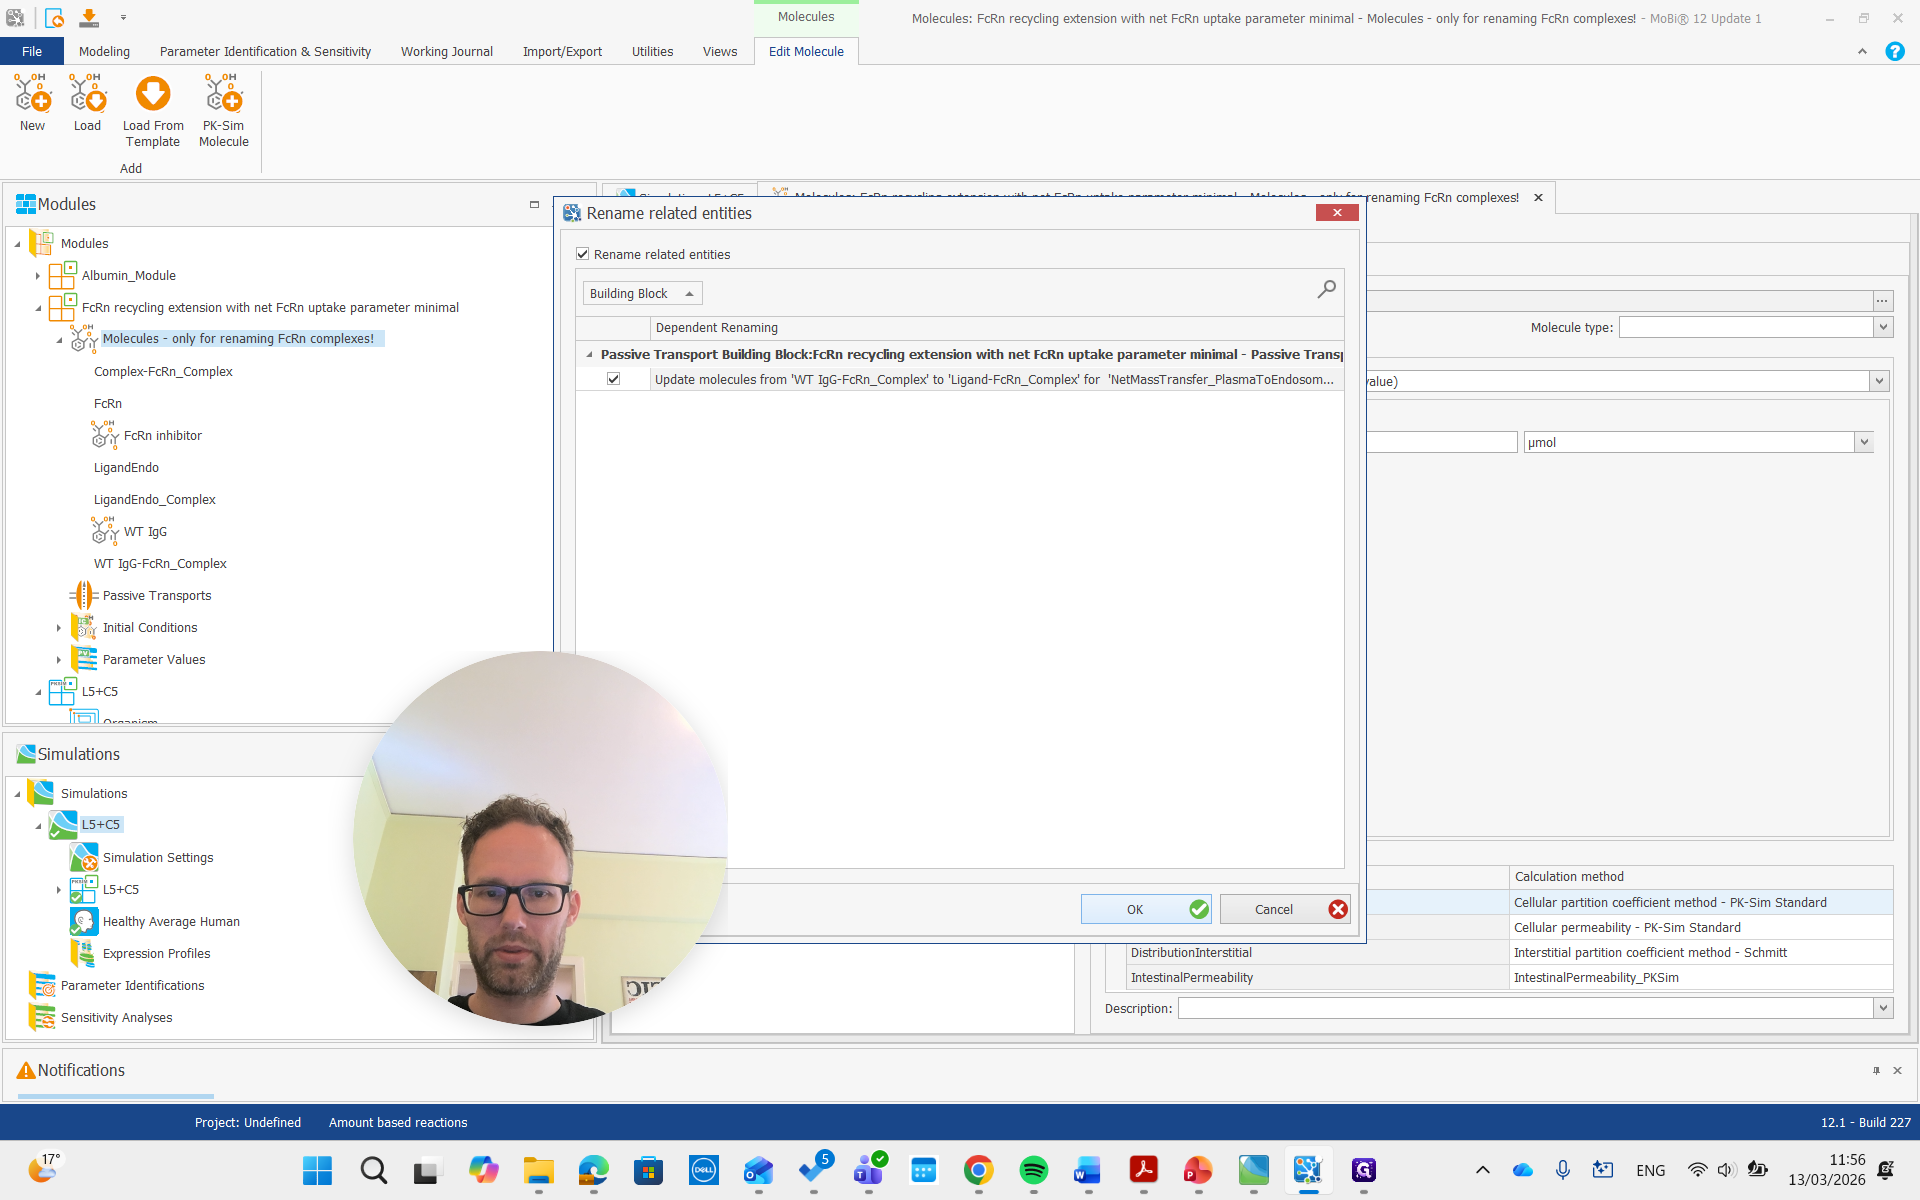
The other FcRn complex will now be renamed to ligand FcRn complex.
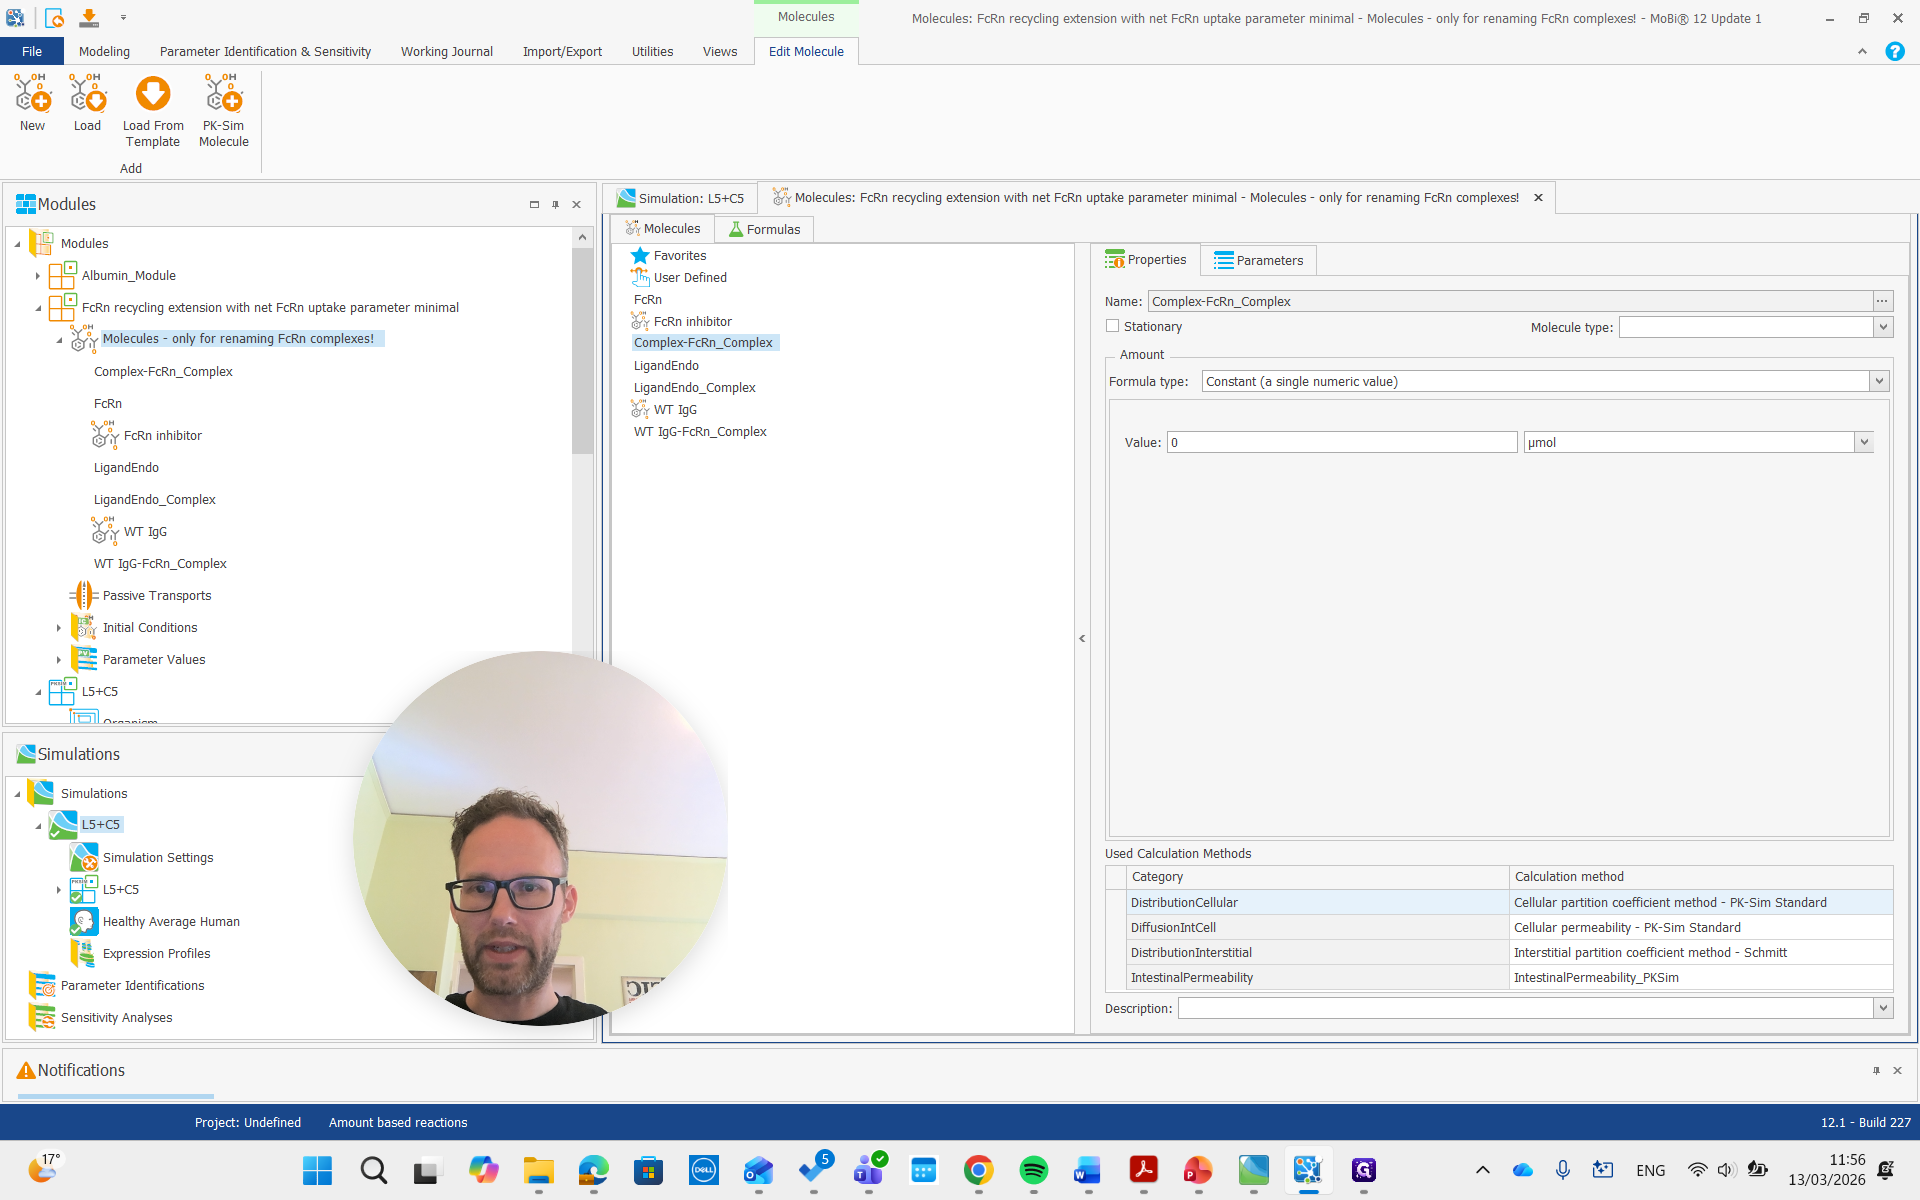

We will get the pop-up again and confirm that it is okay.

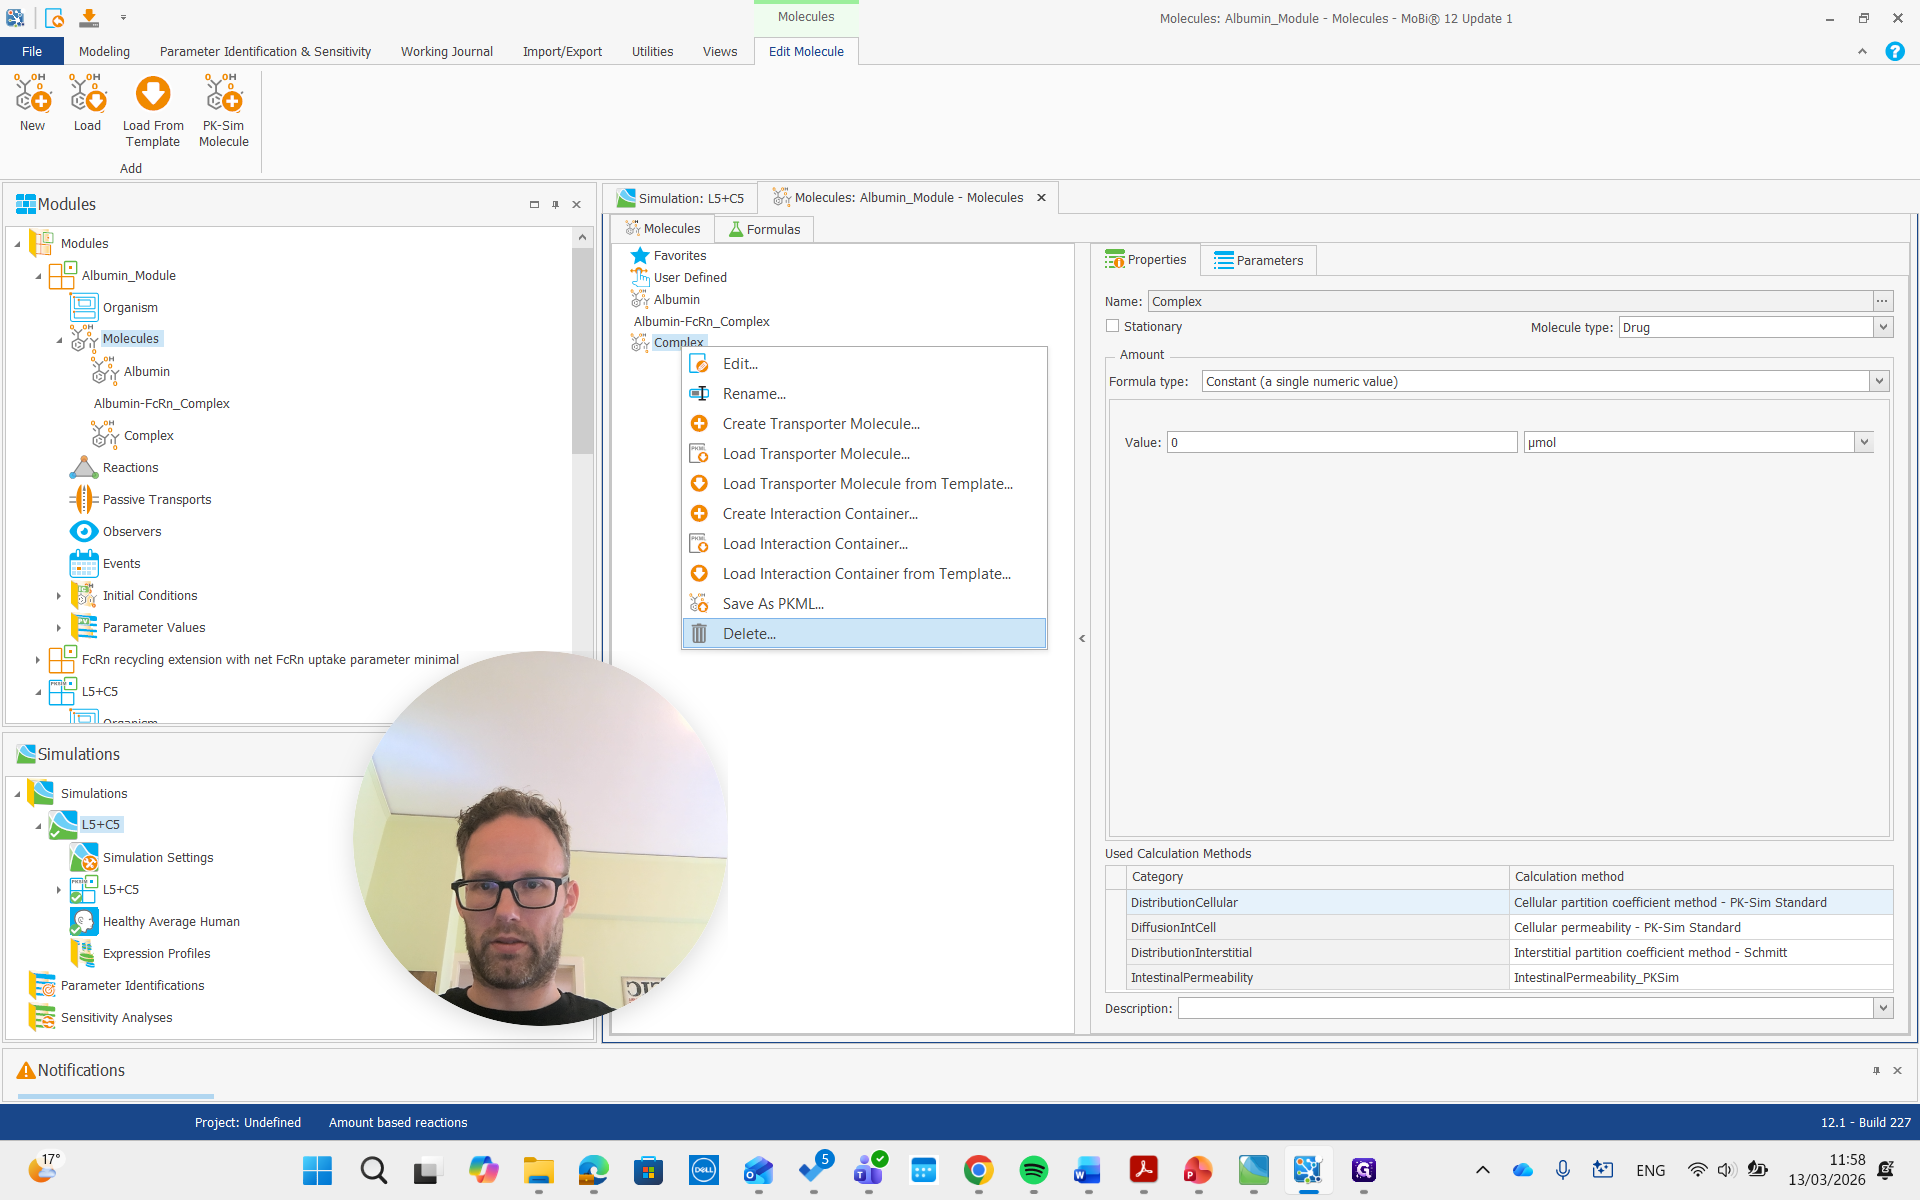
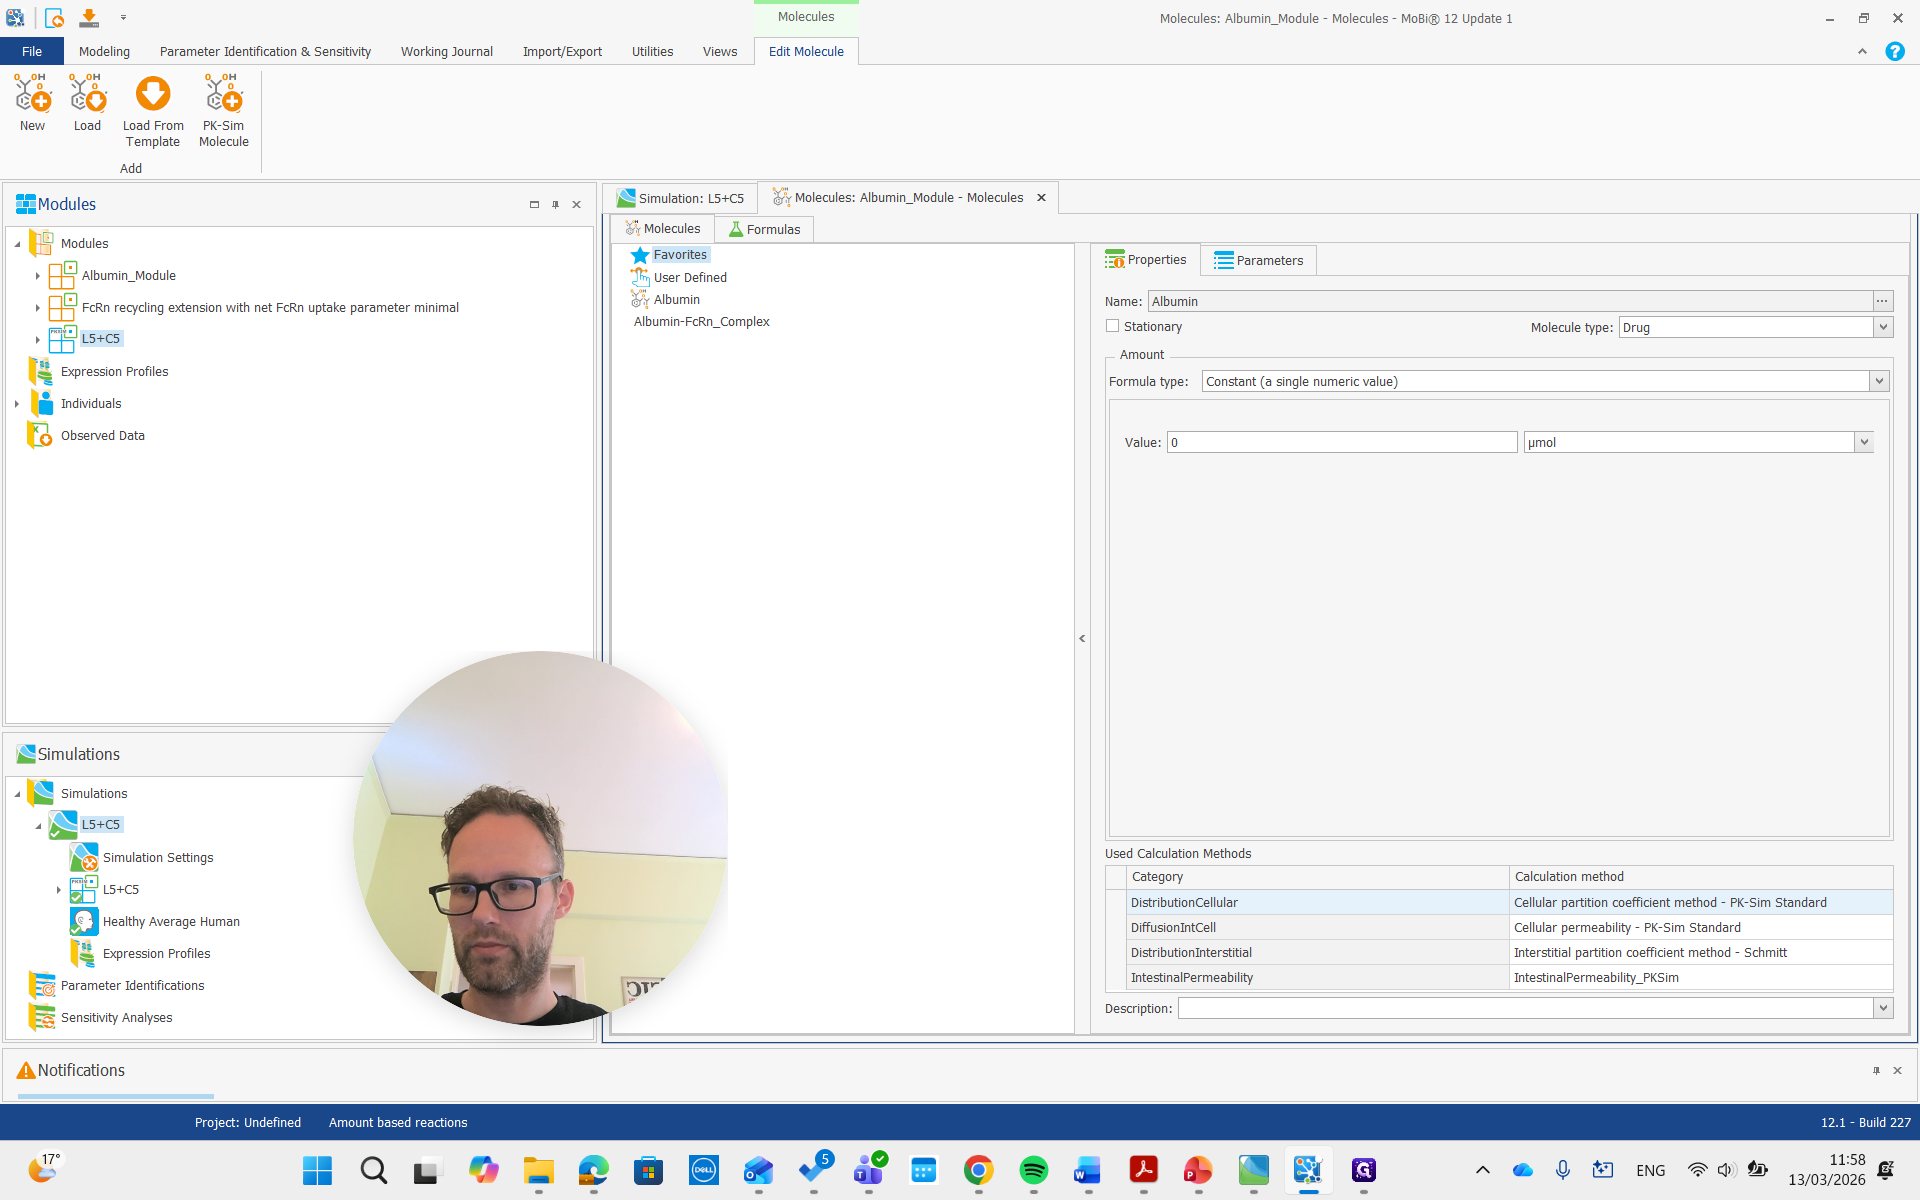
As you see here, the molecules building block is only for renaming the FcRn complexes. We don't need to worry about the other molecules, and we can now remove the entire building block.

It's done. Now we do a similar process for the albumin module.

Here, if we look at the molecules and open the molecules building book, we see the albumin, which can and should stay the same name.


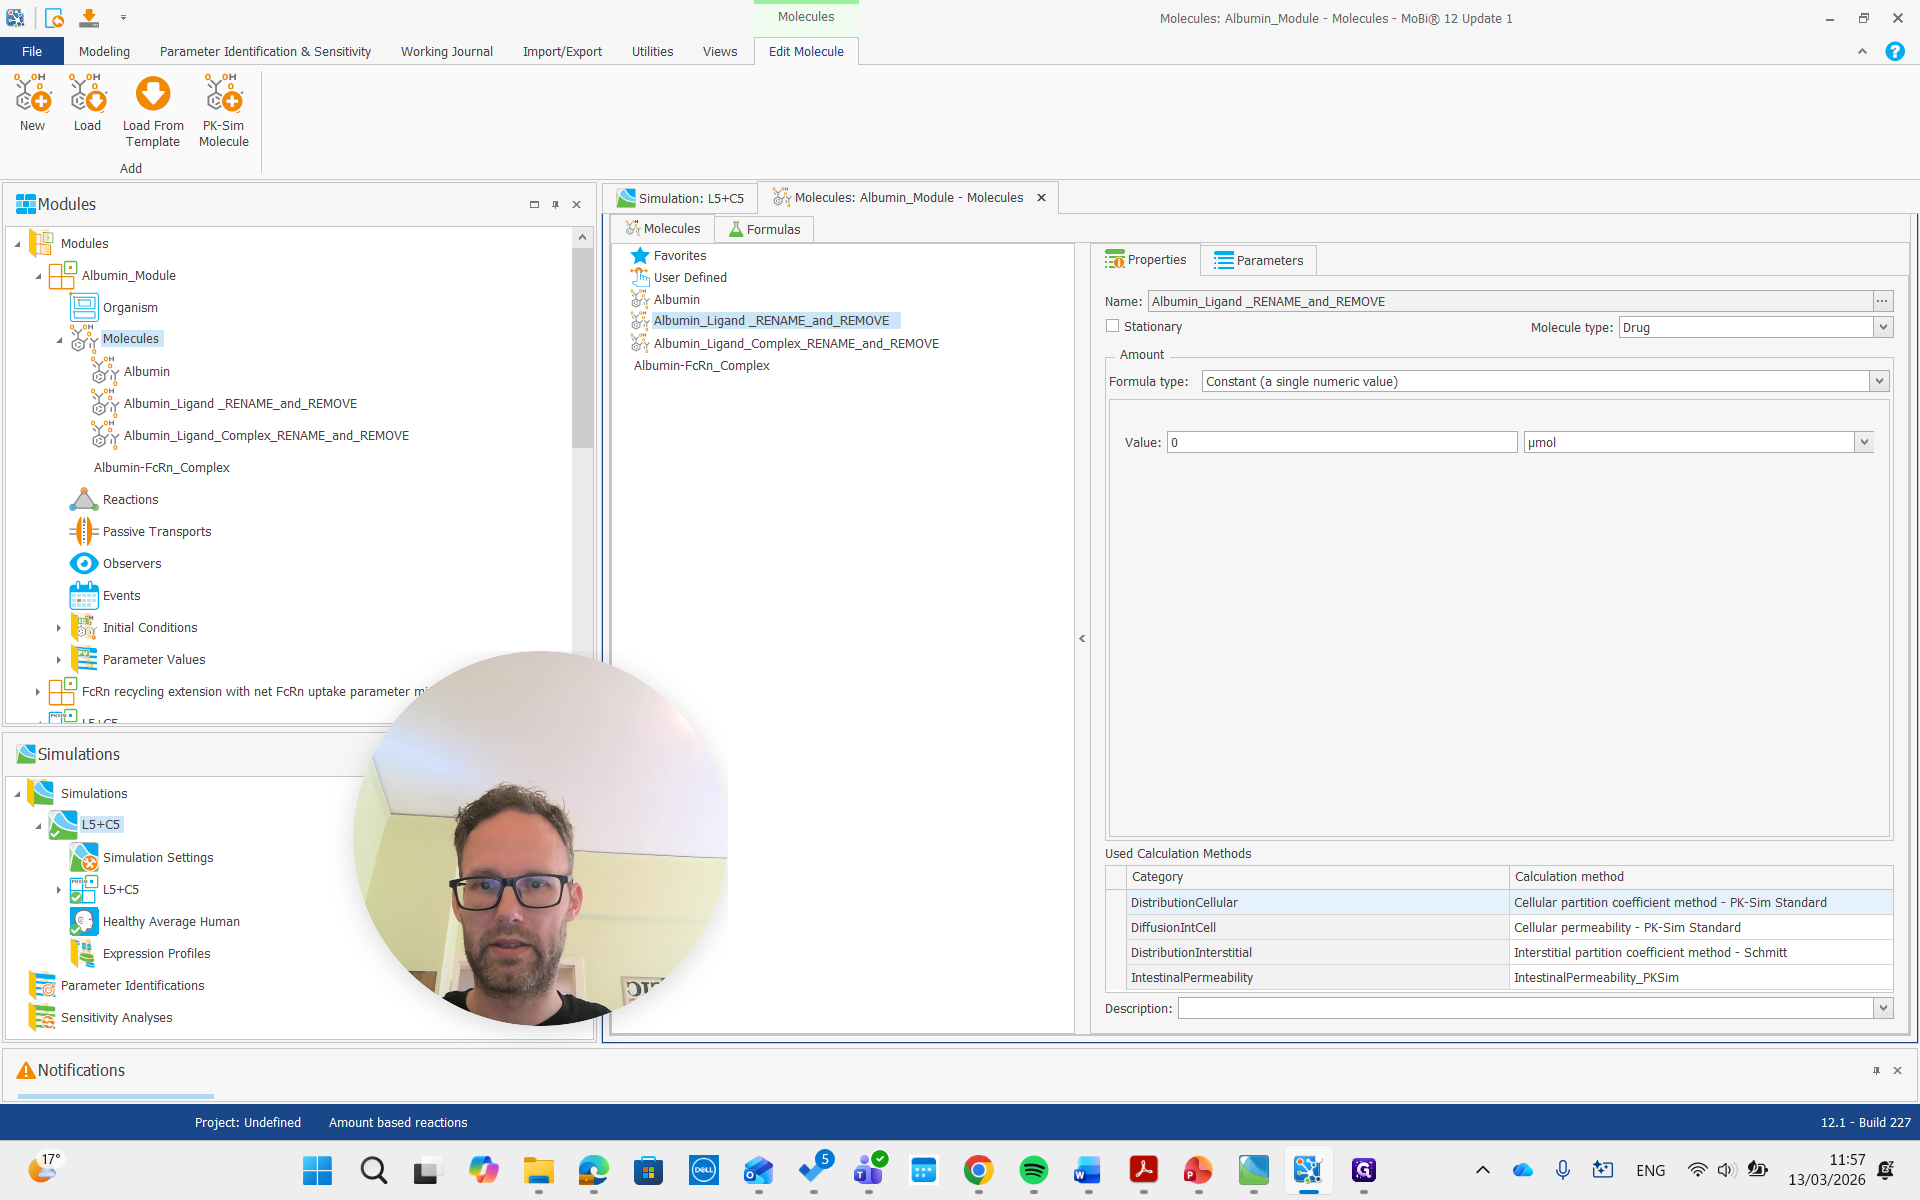
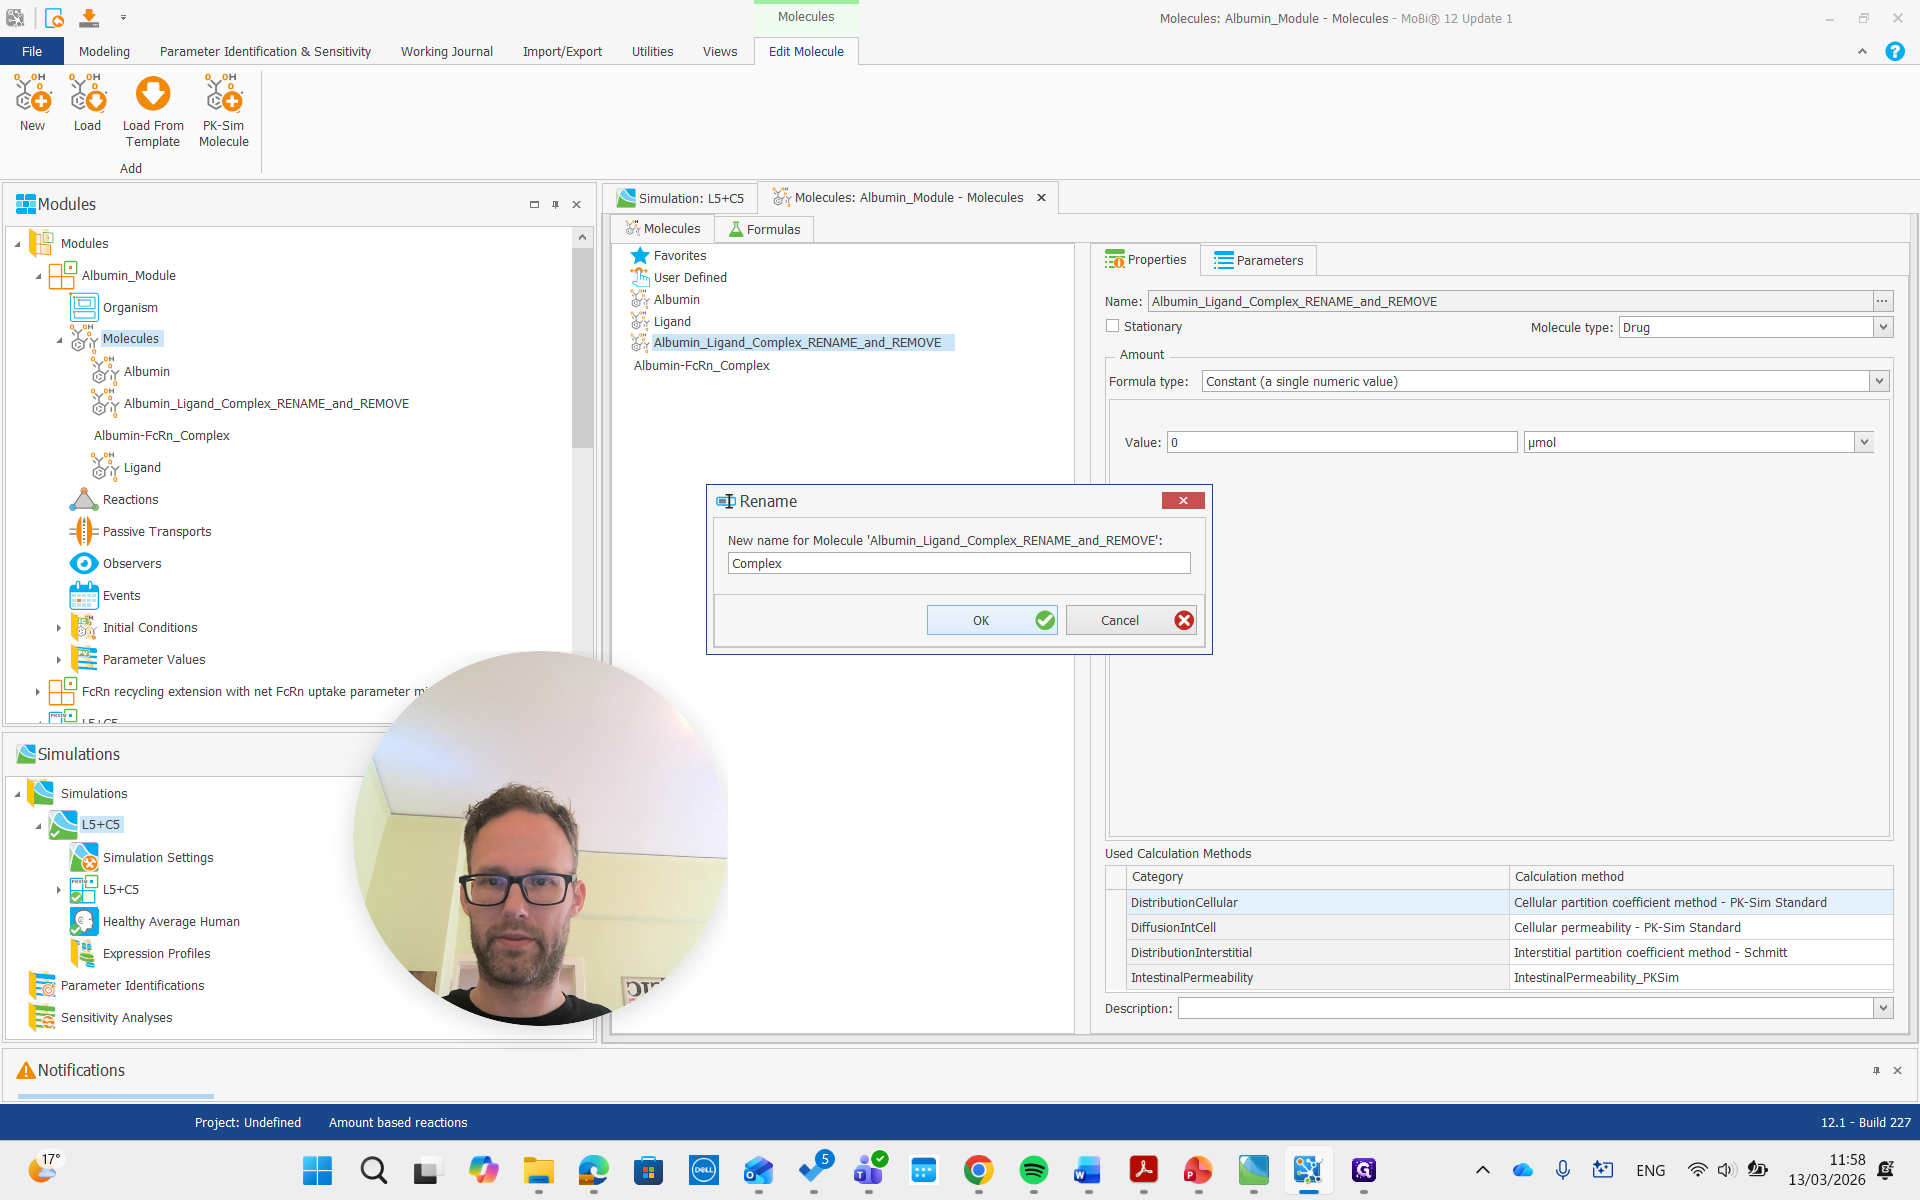
We can rename it, but it's not necessary. Albumin ligand says to rename and remove, so we will do that. Name it the same as our ligand molecule in PK-Sim, which is just "ligand" in this example.
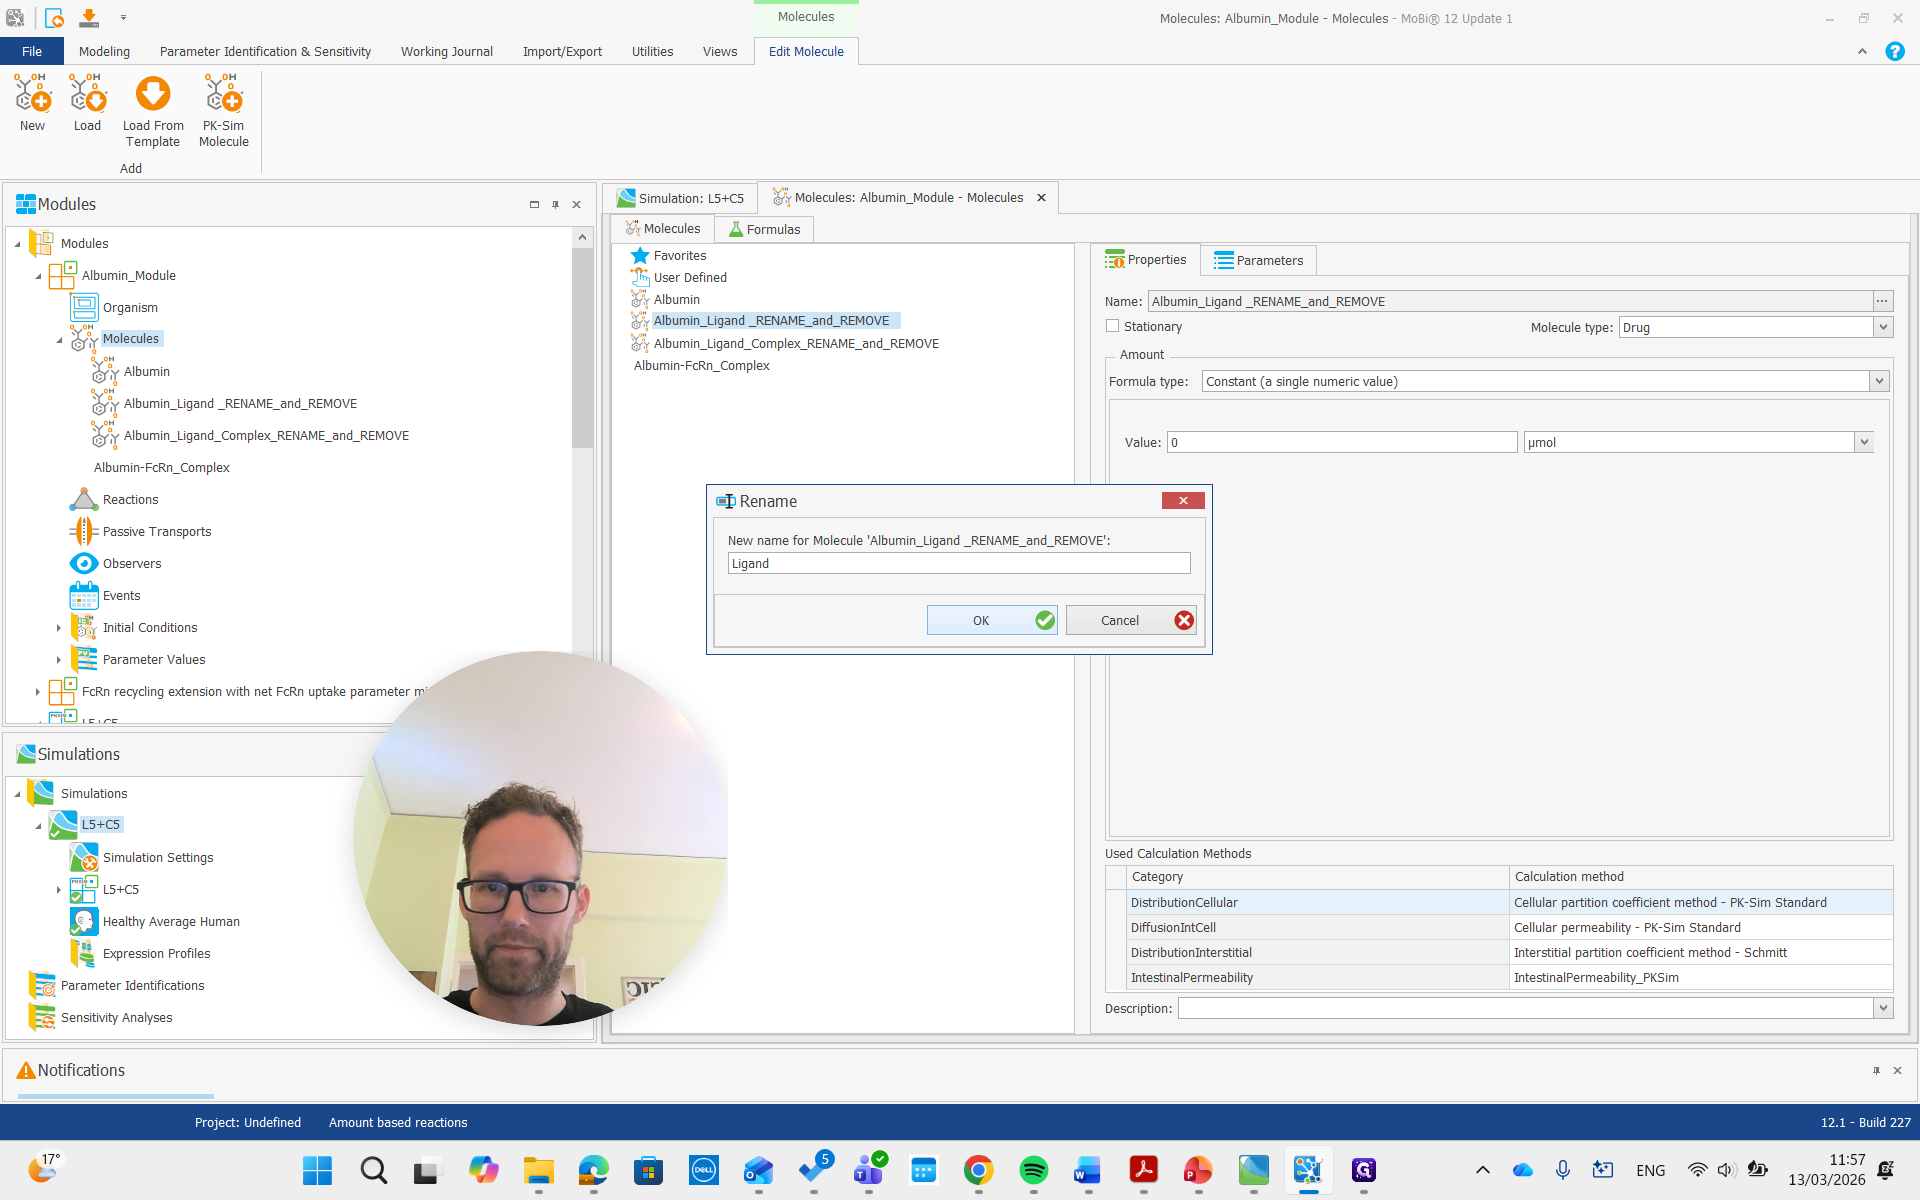
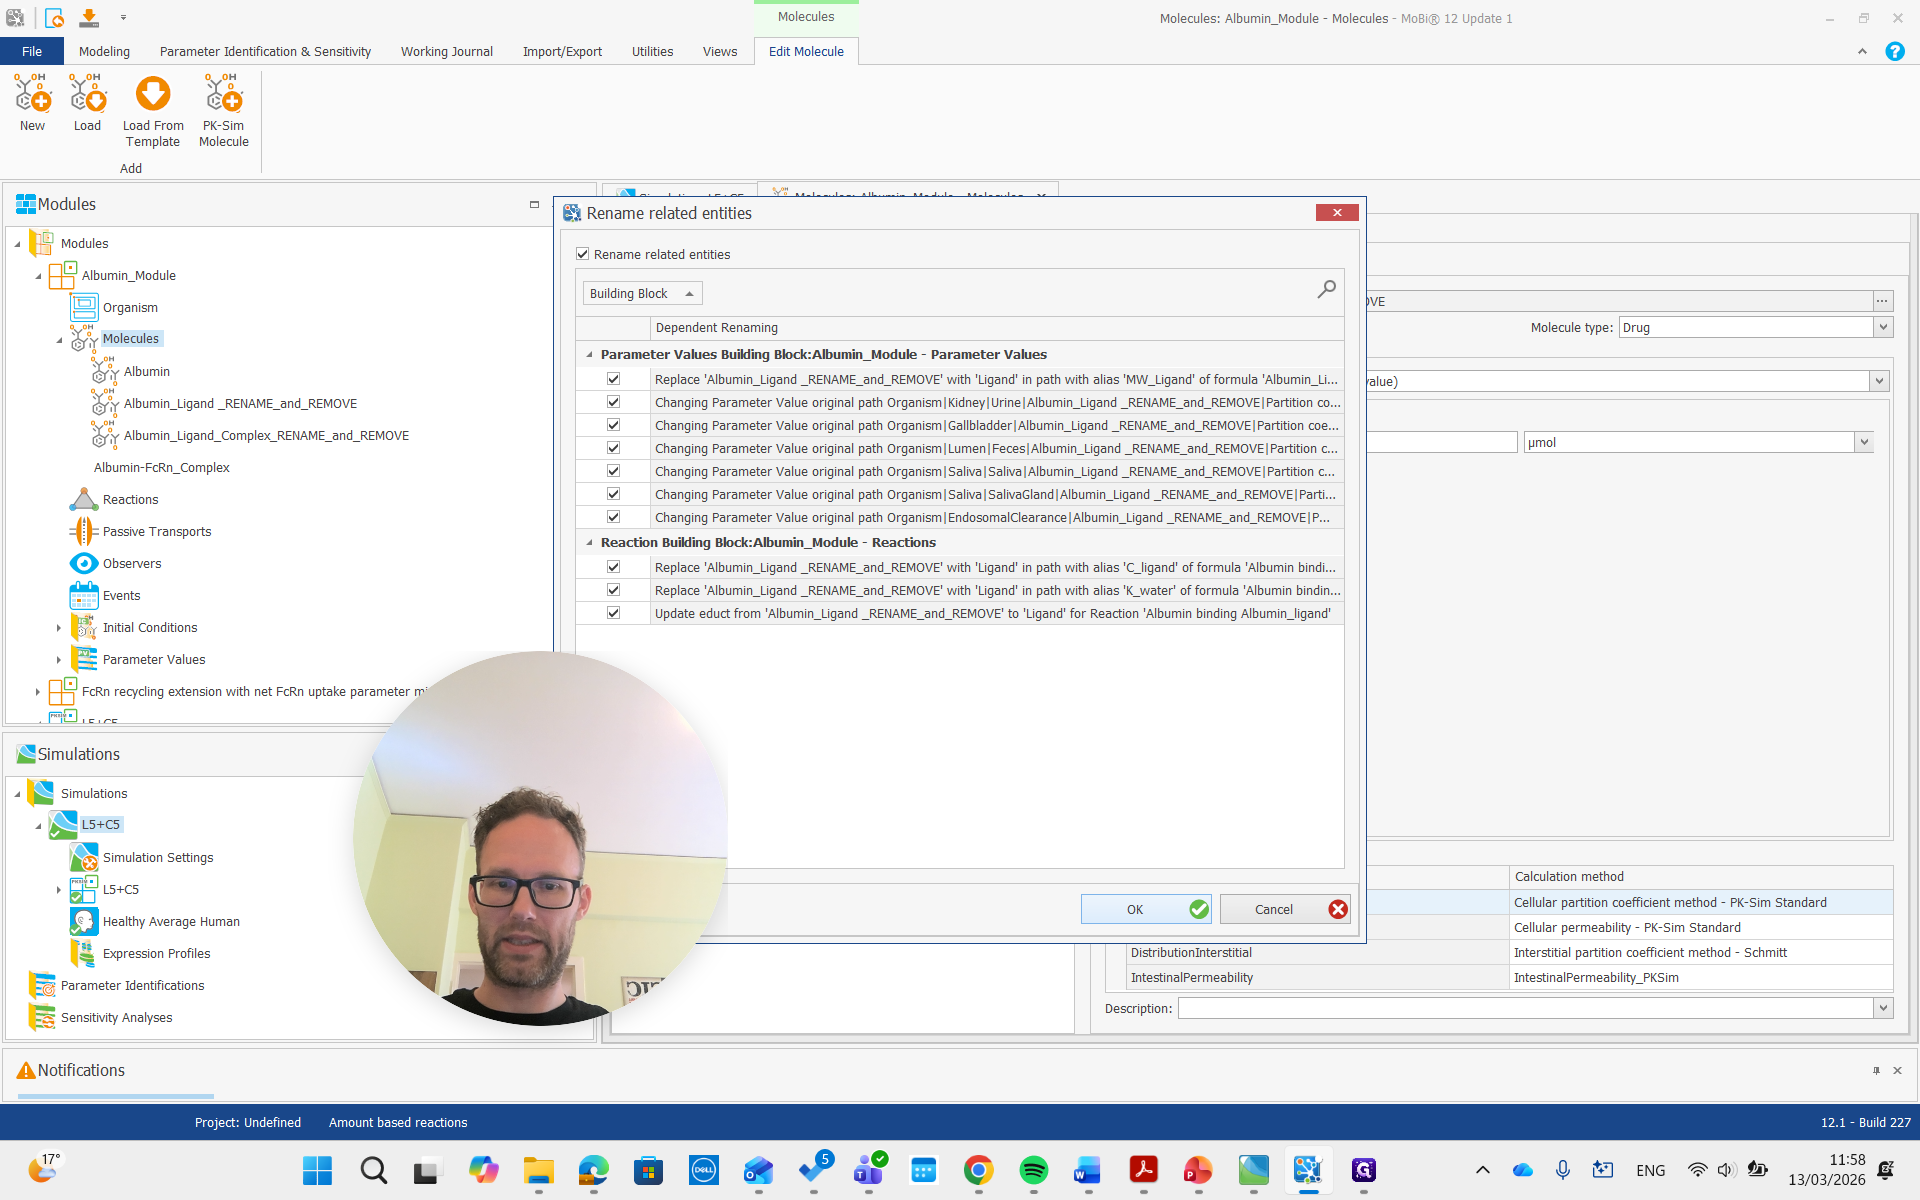
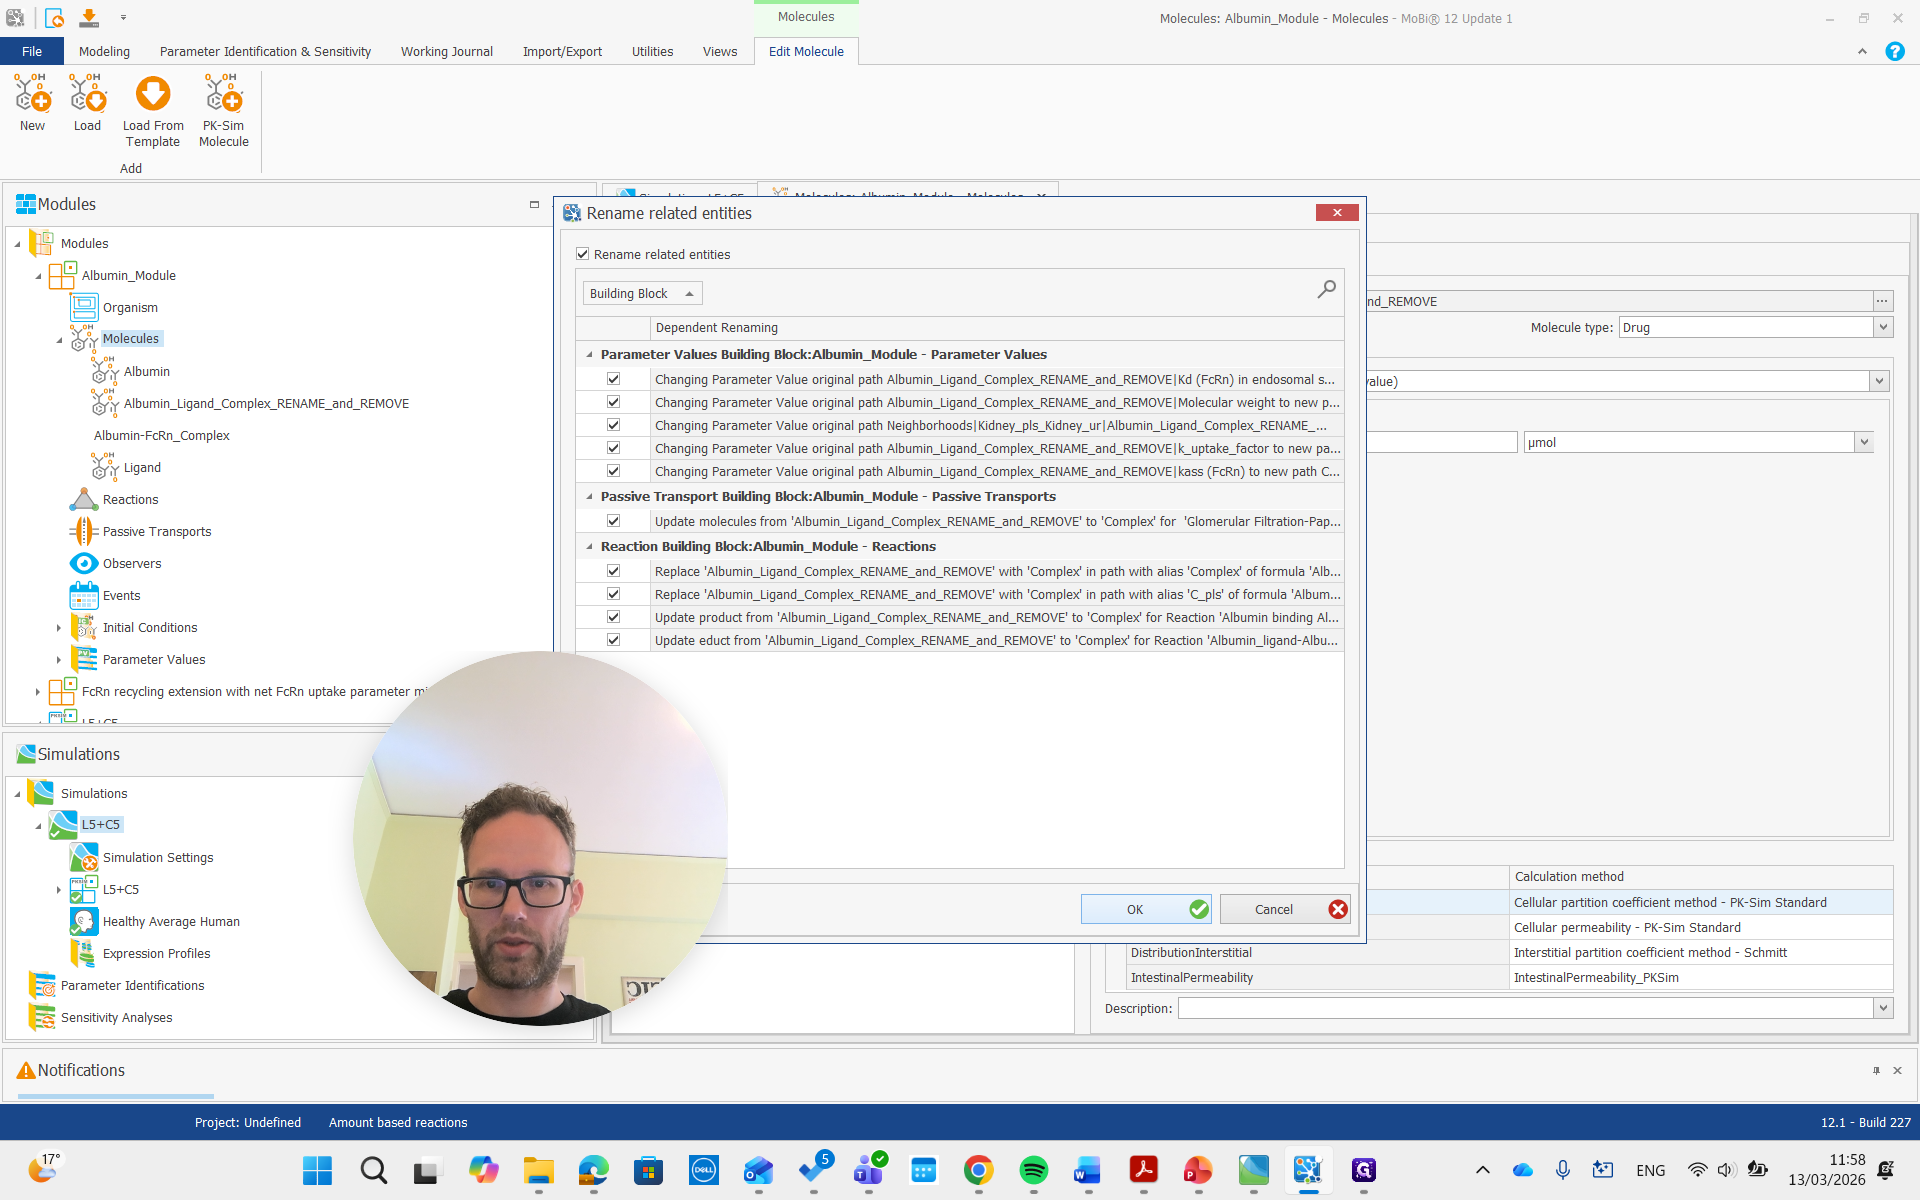
Again, we get all the renaming that results from this and prove it. Then, there is the complex, which we will also rename to "complex."

Okay.
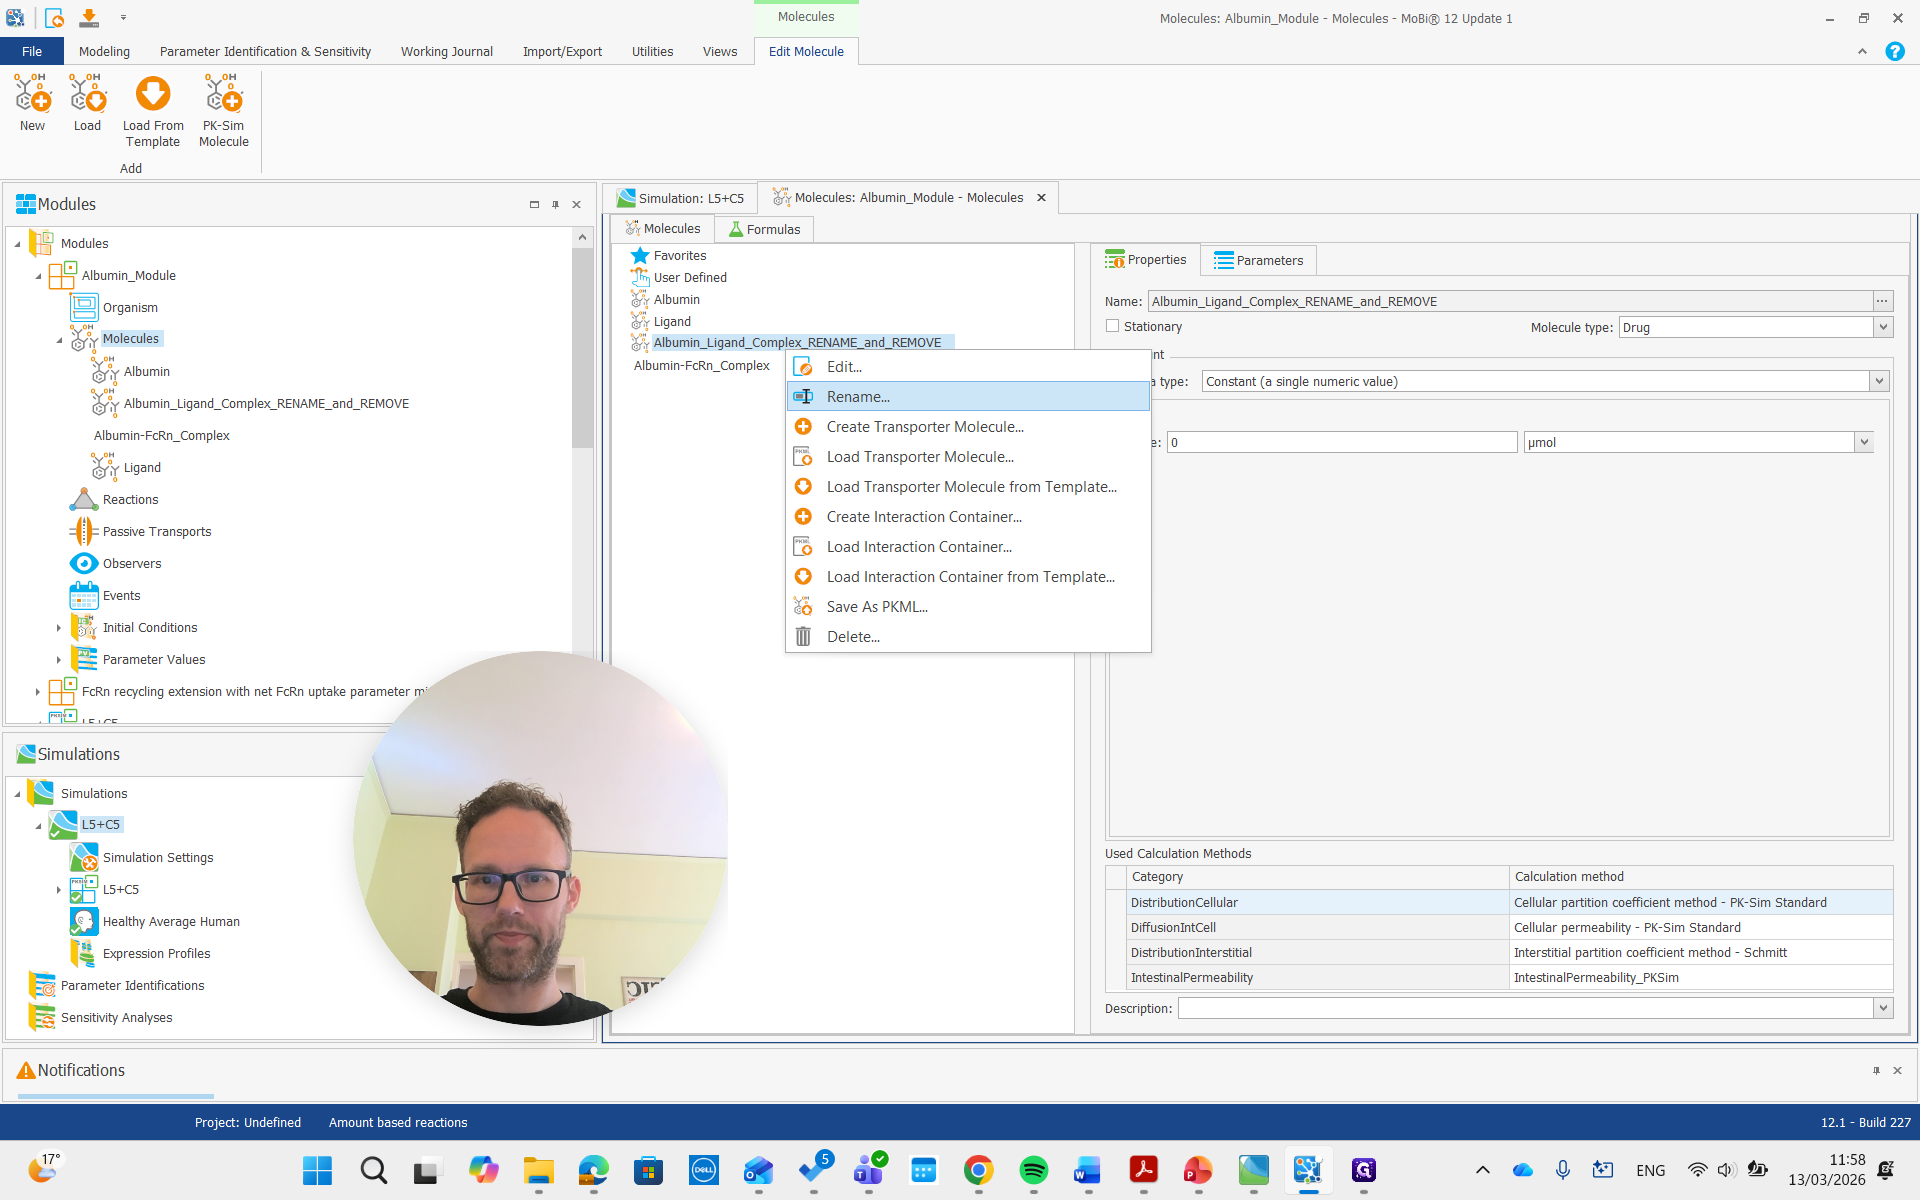
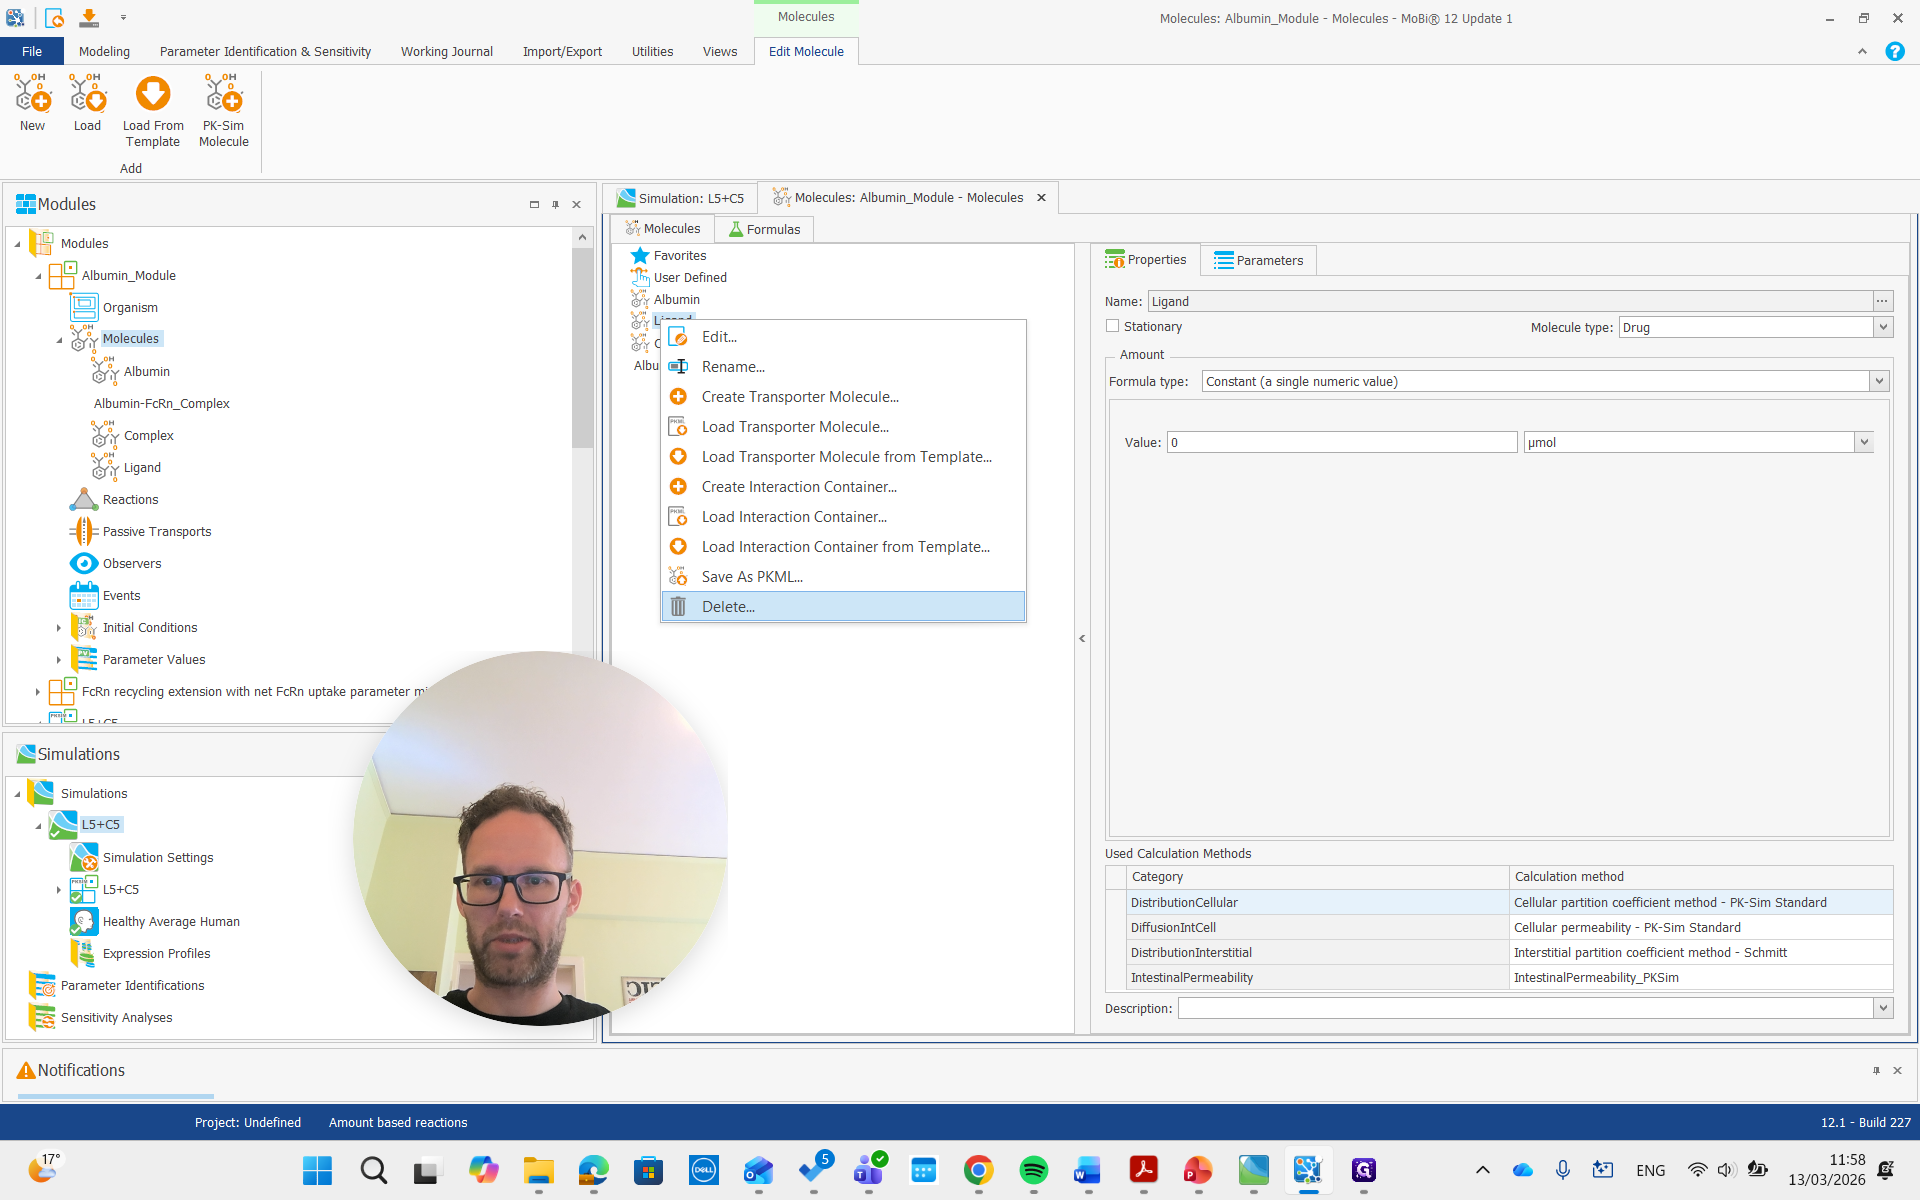
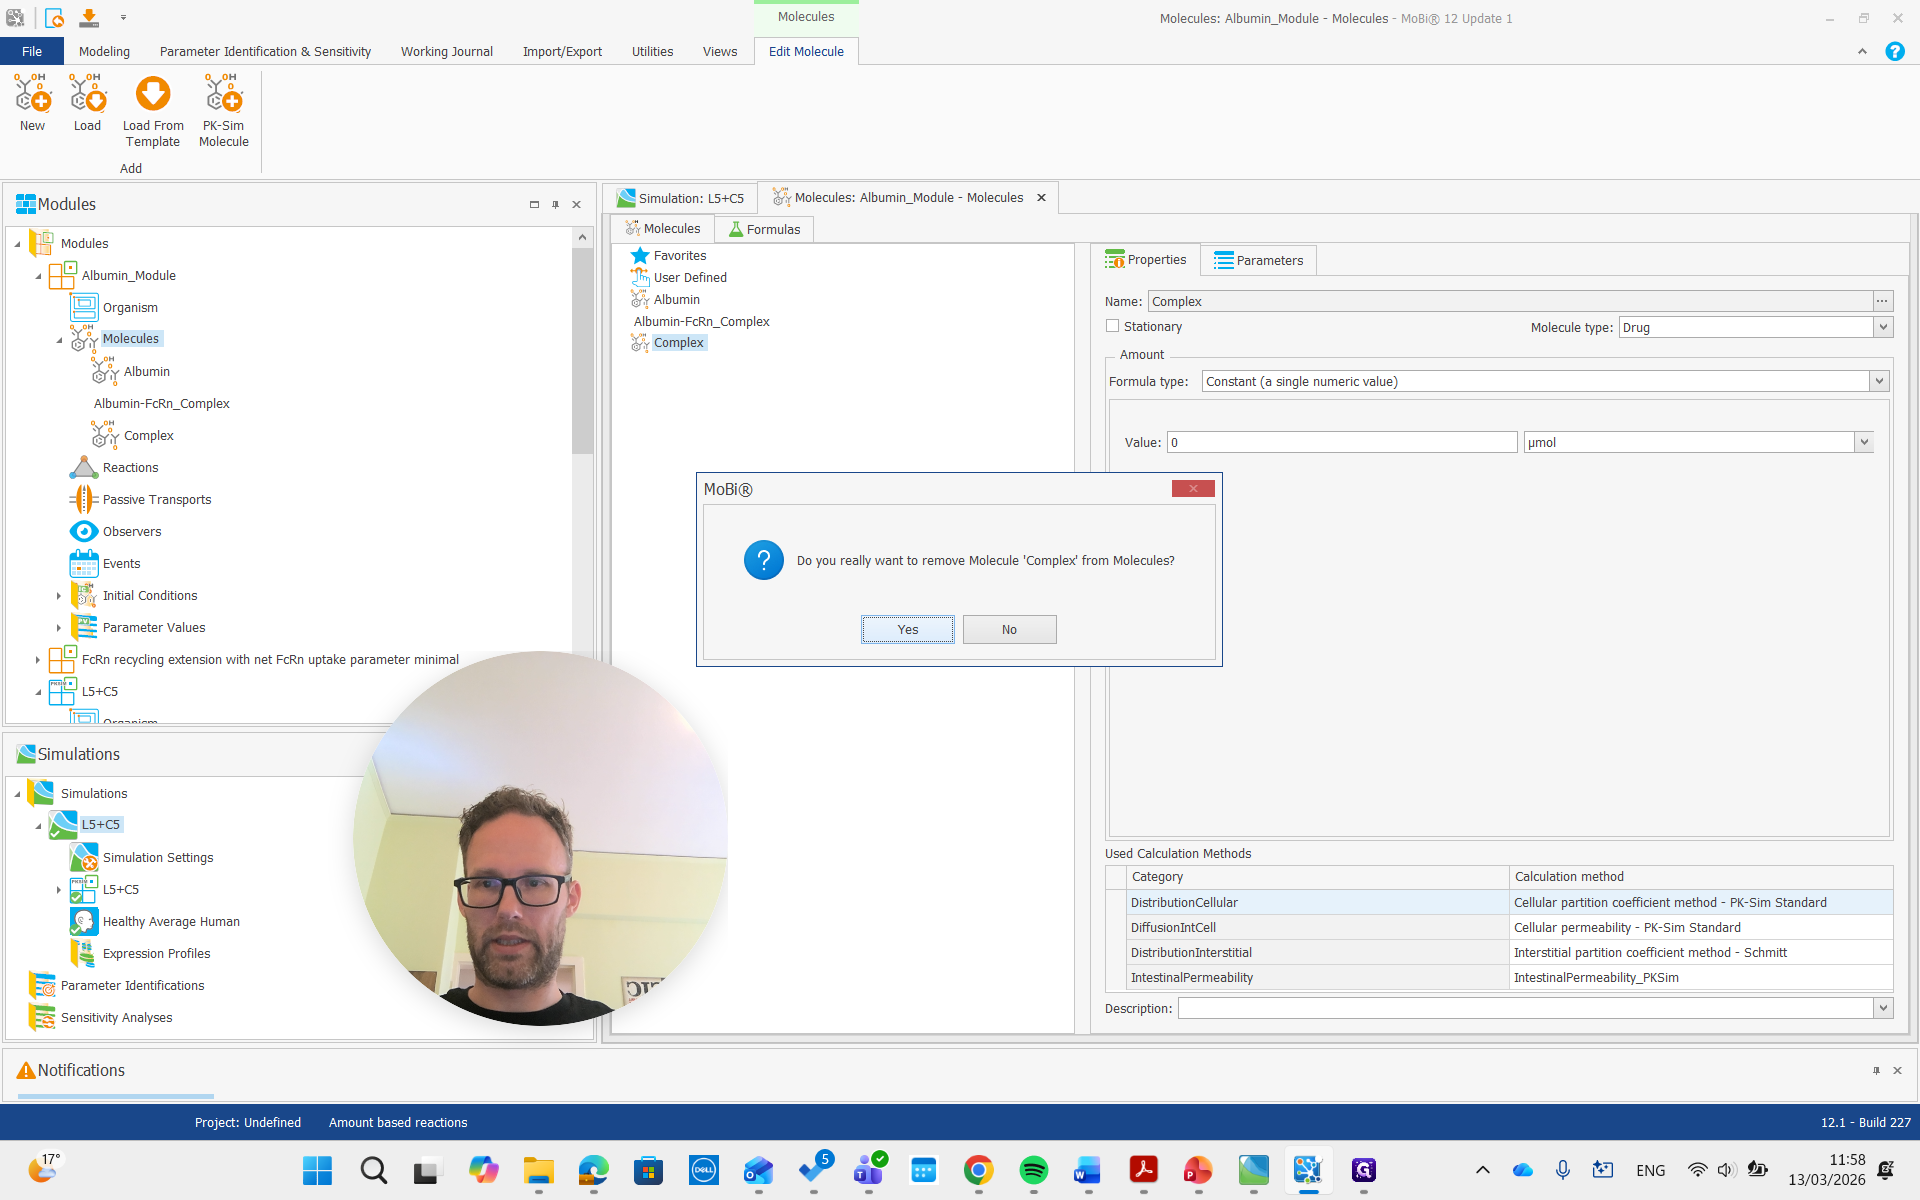
Both of these molecules had "rename" and "remove" in their names, so we are also going to remove them.

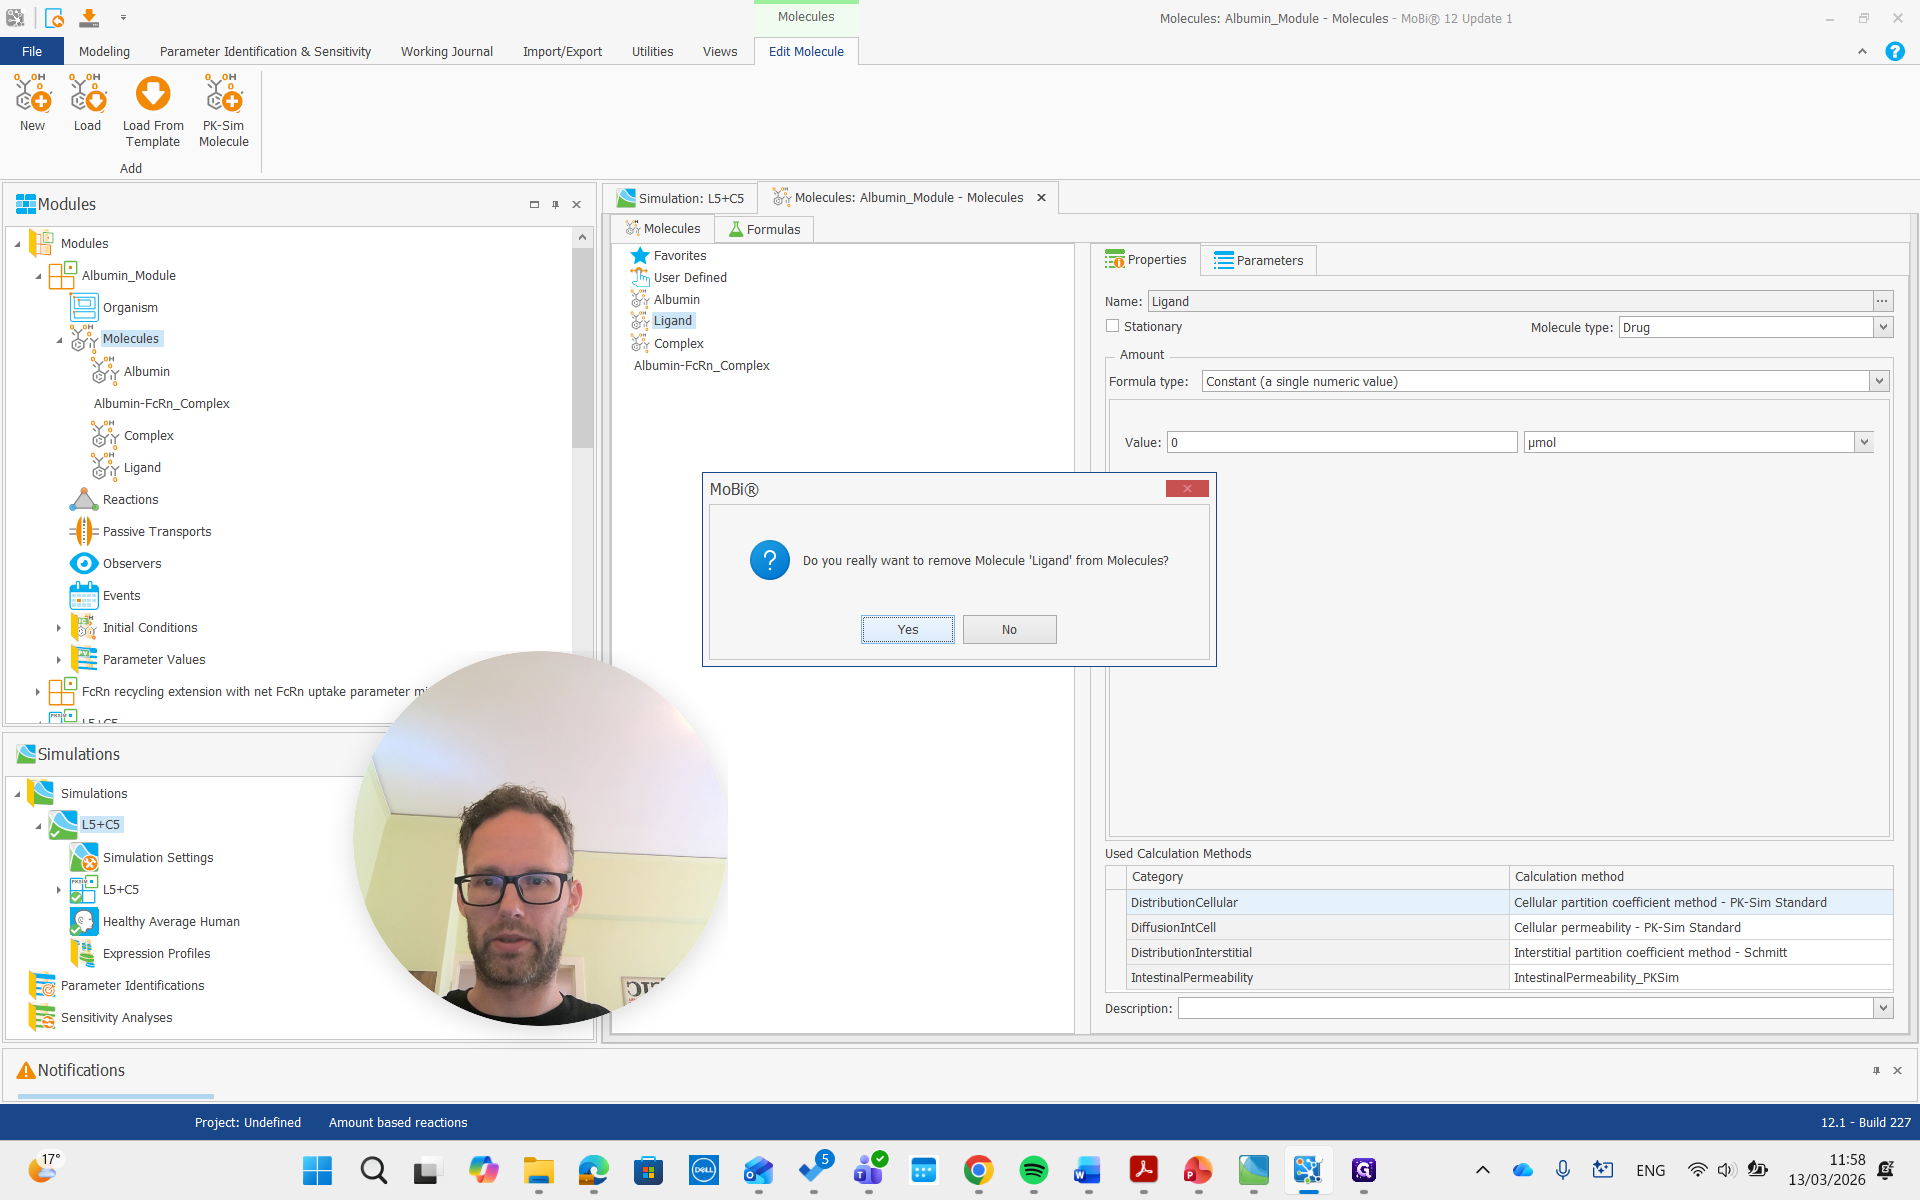
Now they are gone.
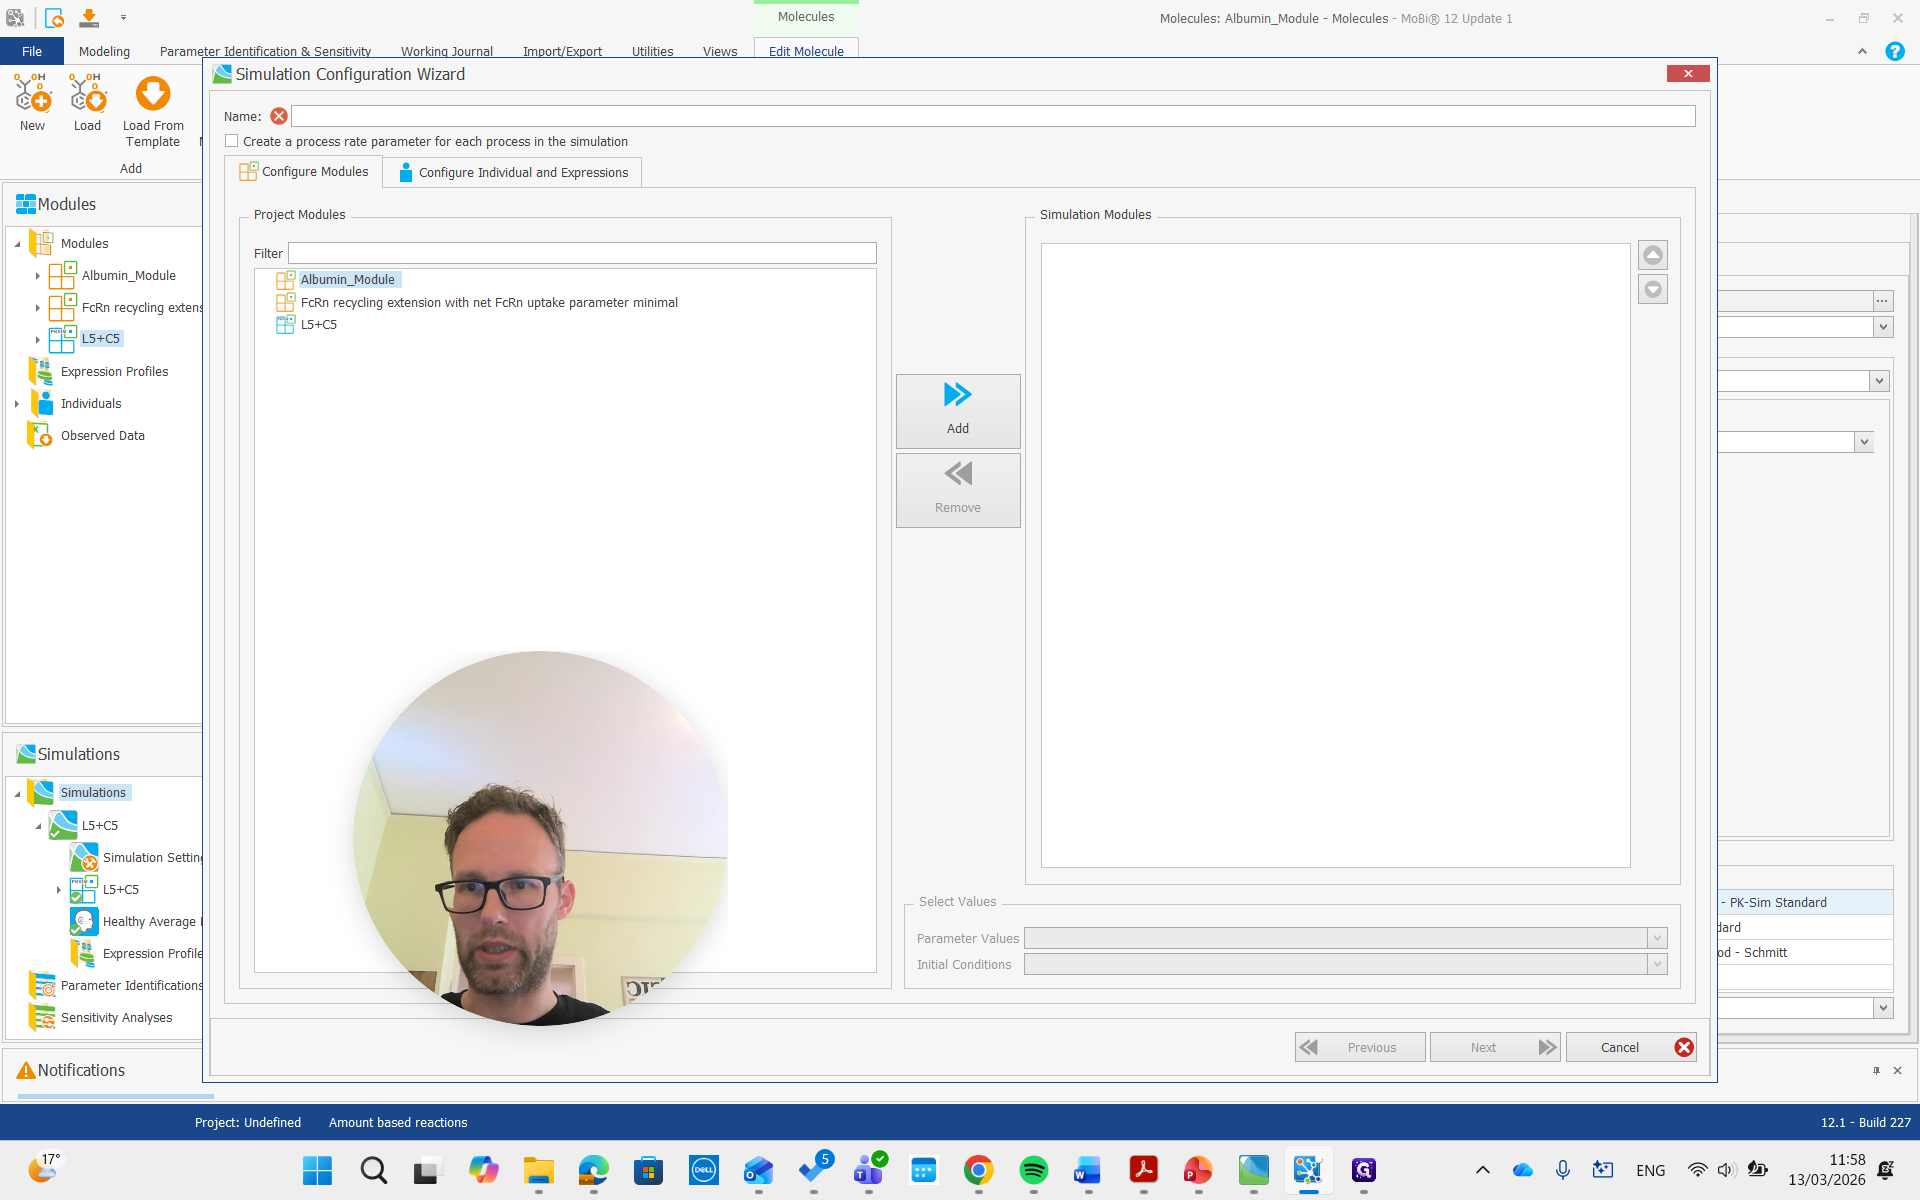
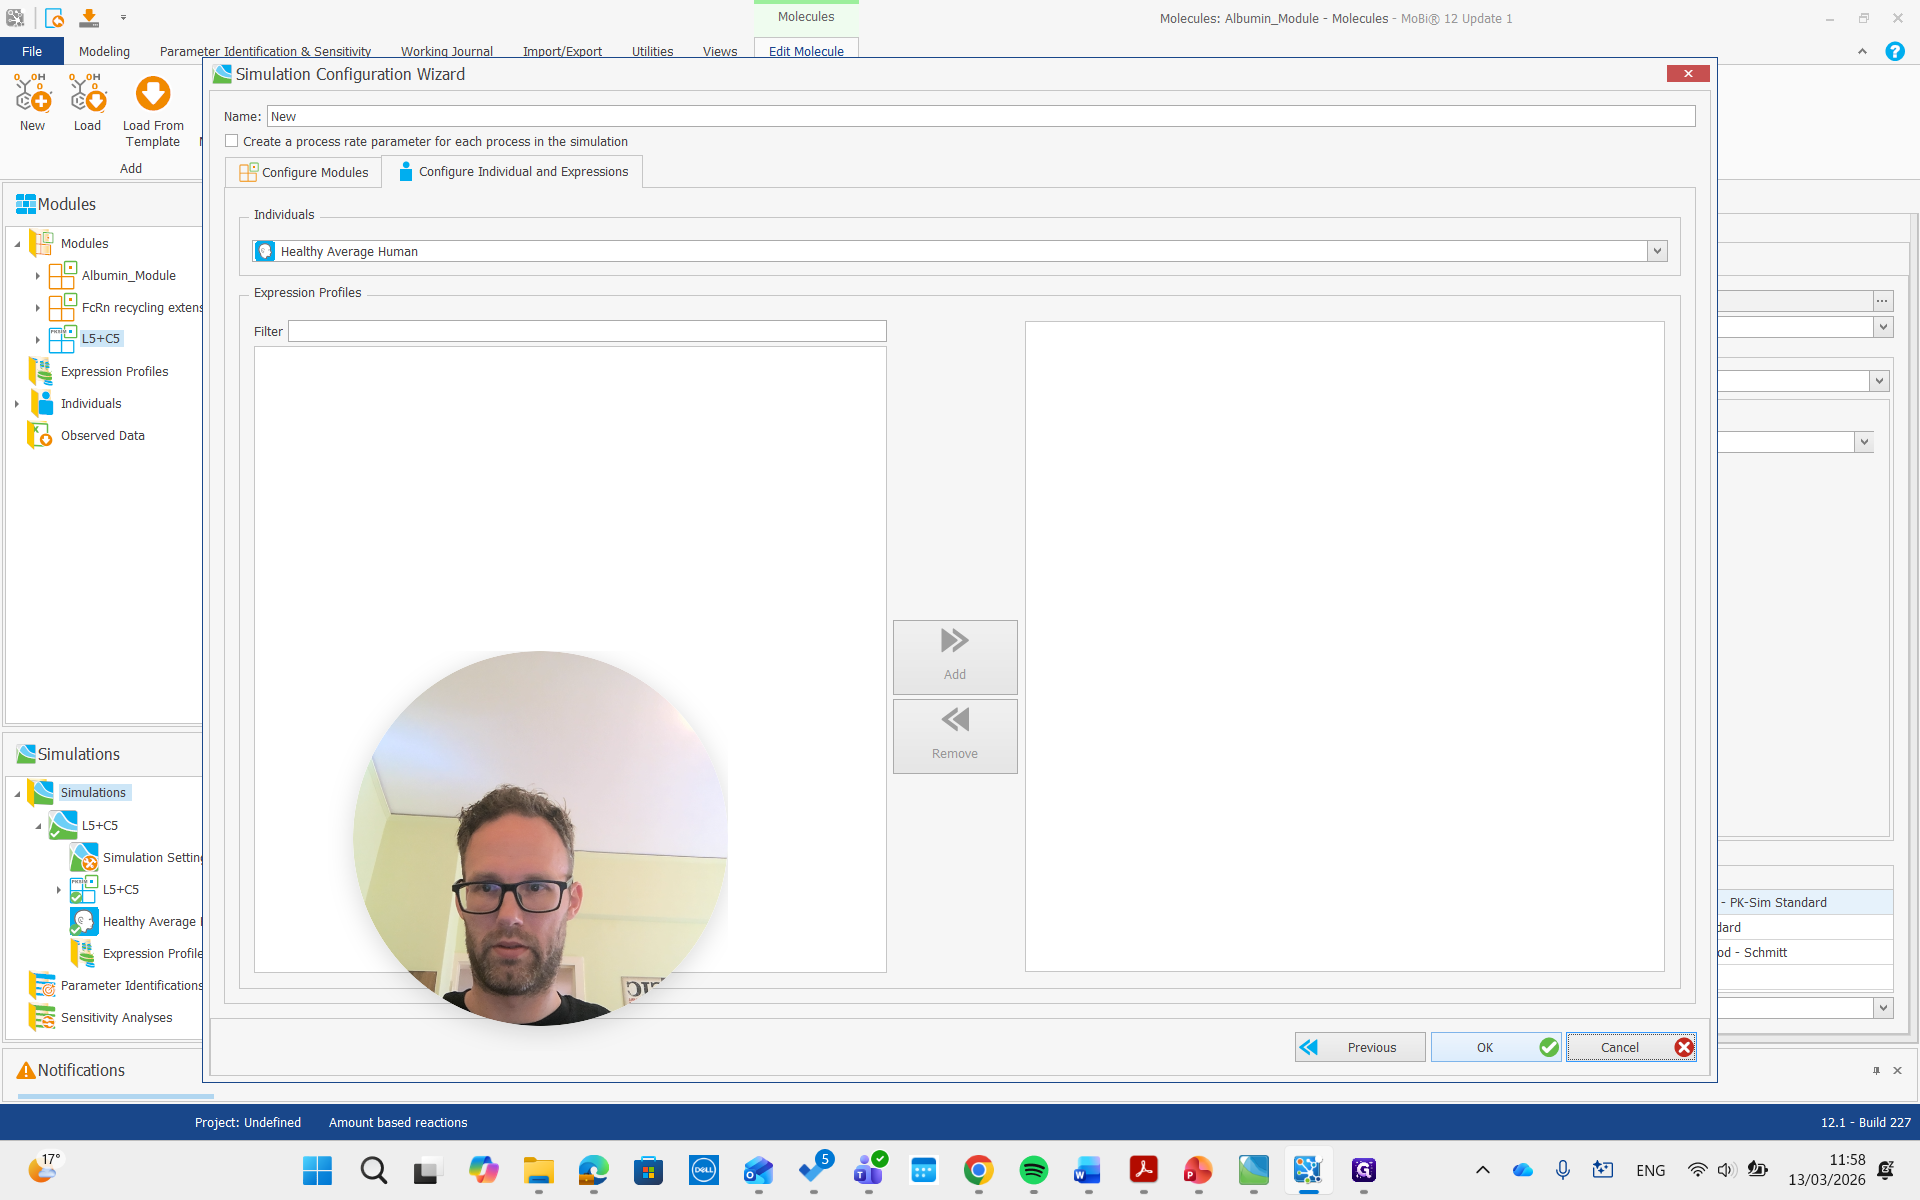
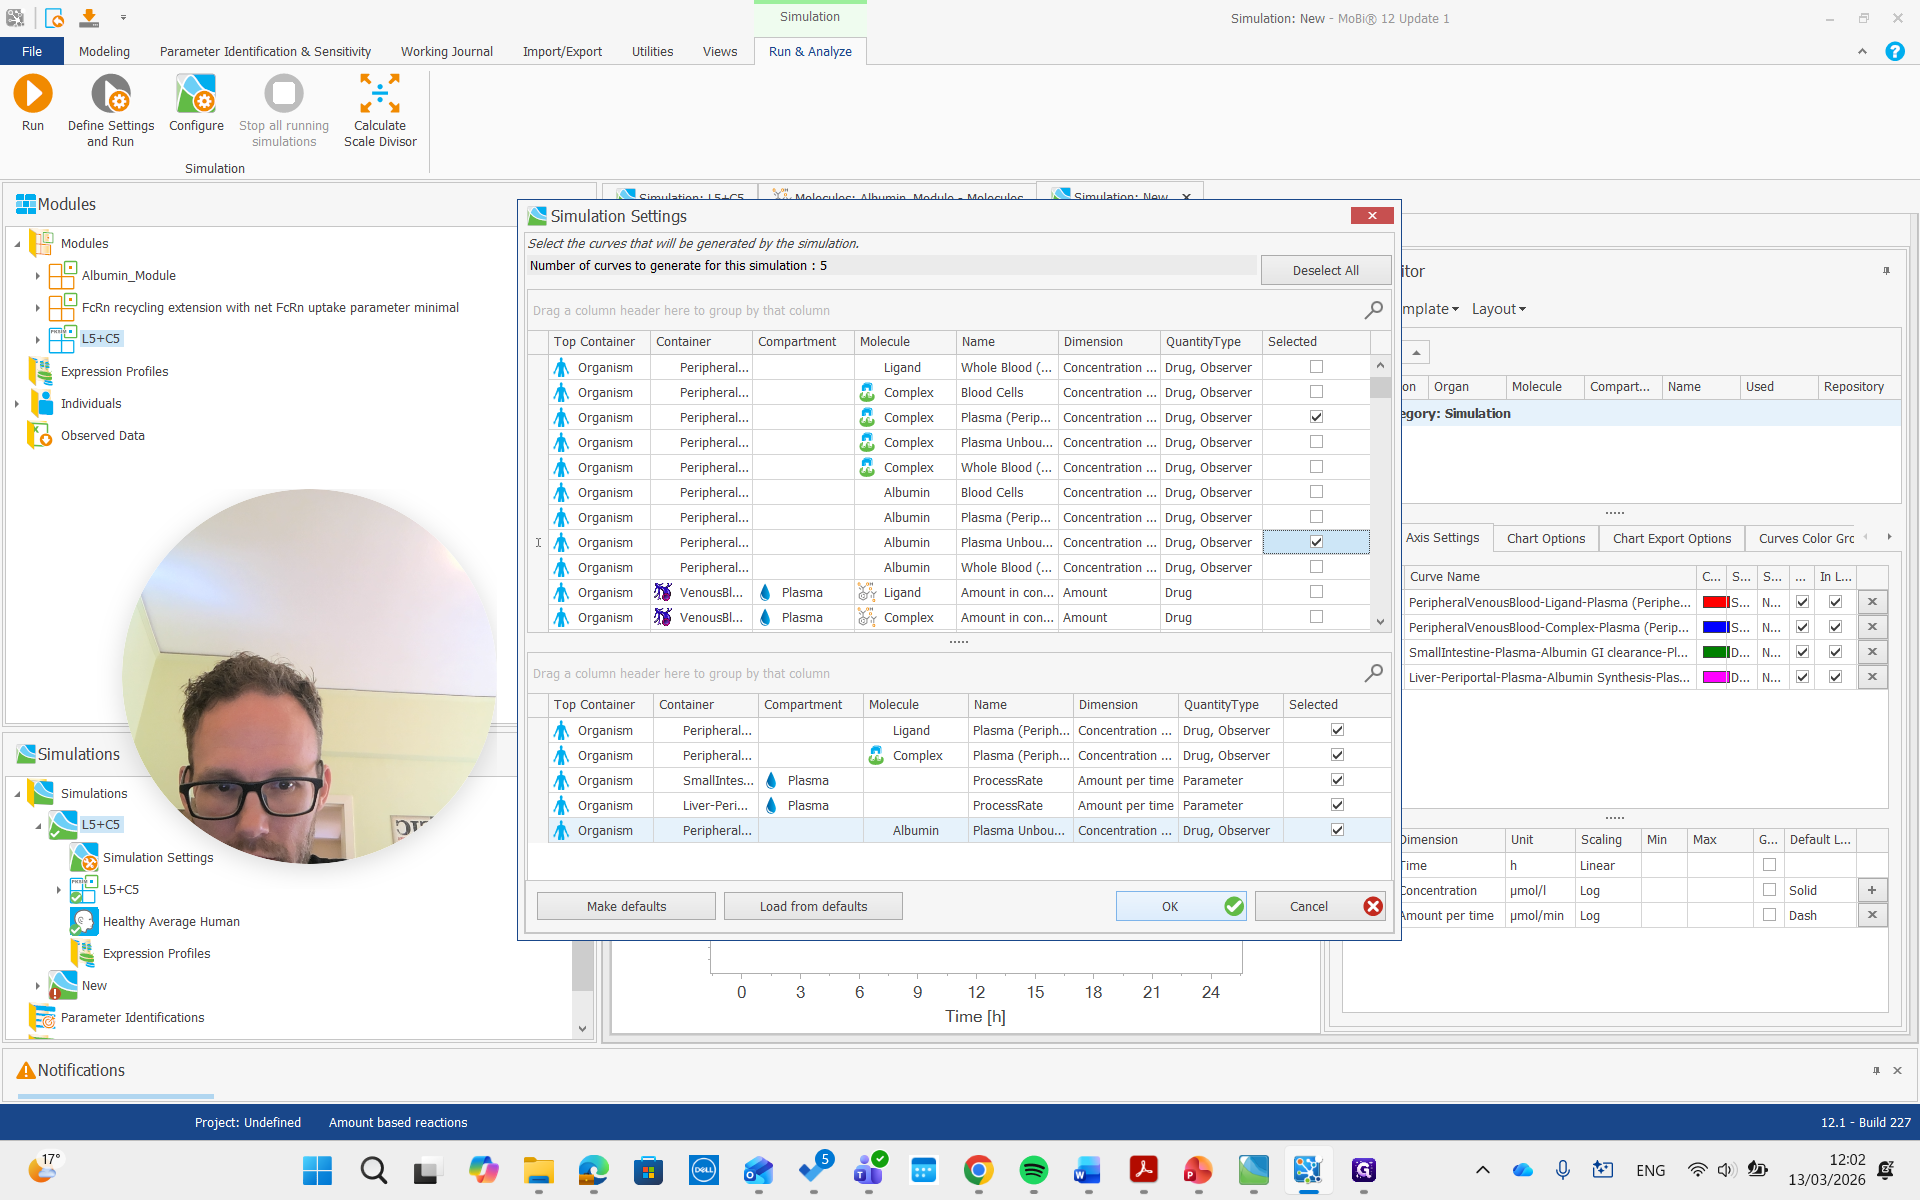
Now we are ready to build our new simulation.
Create a simulation, add both modules, and run it.
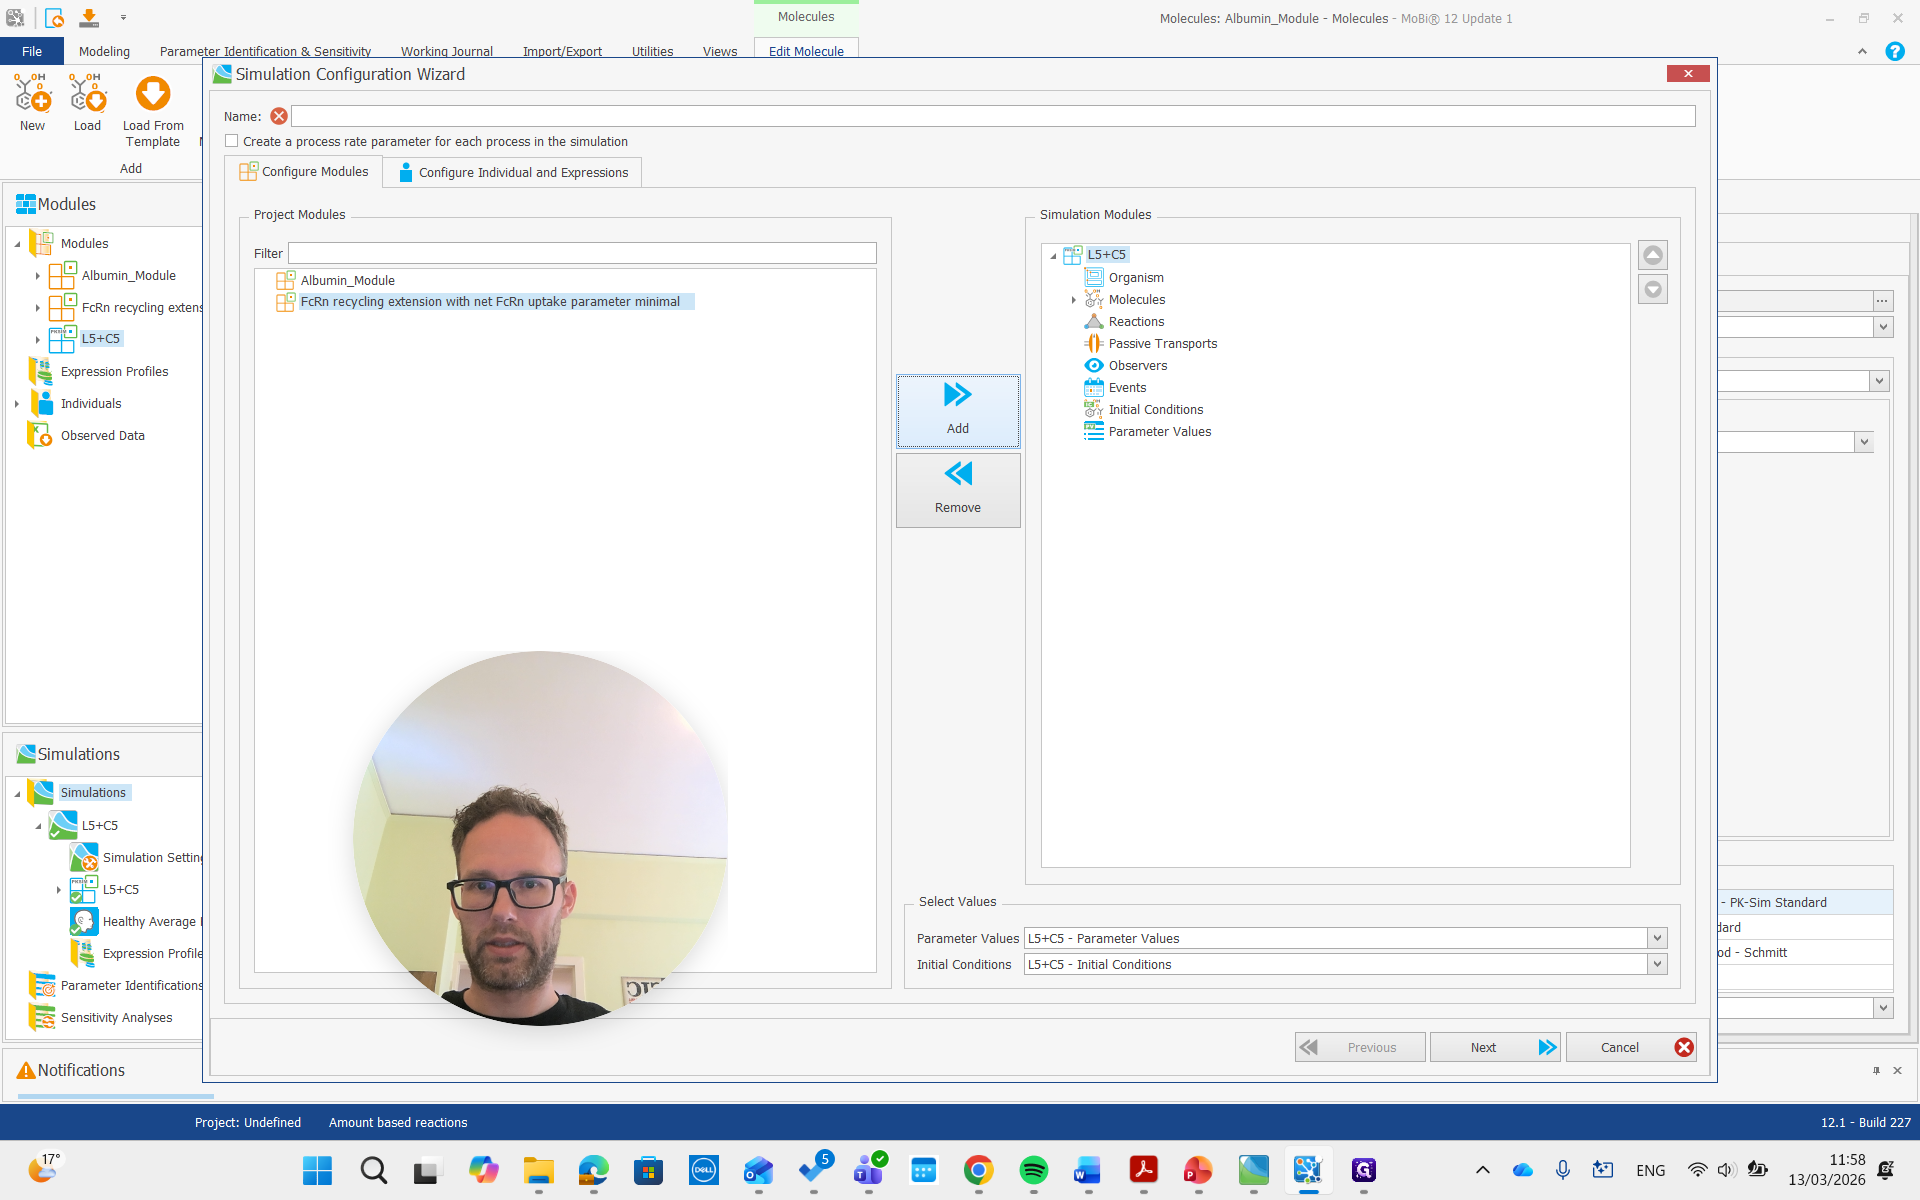
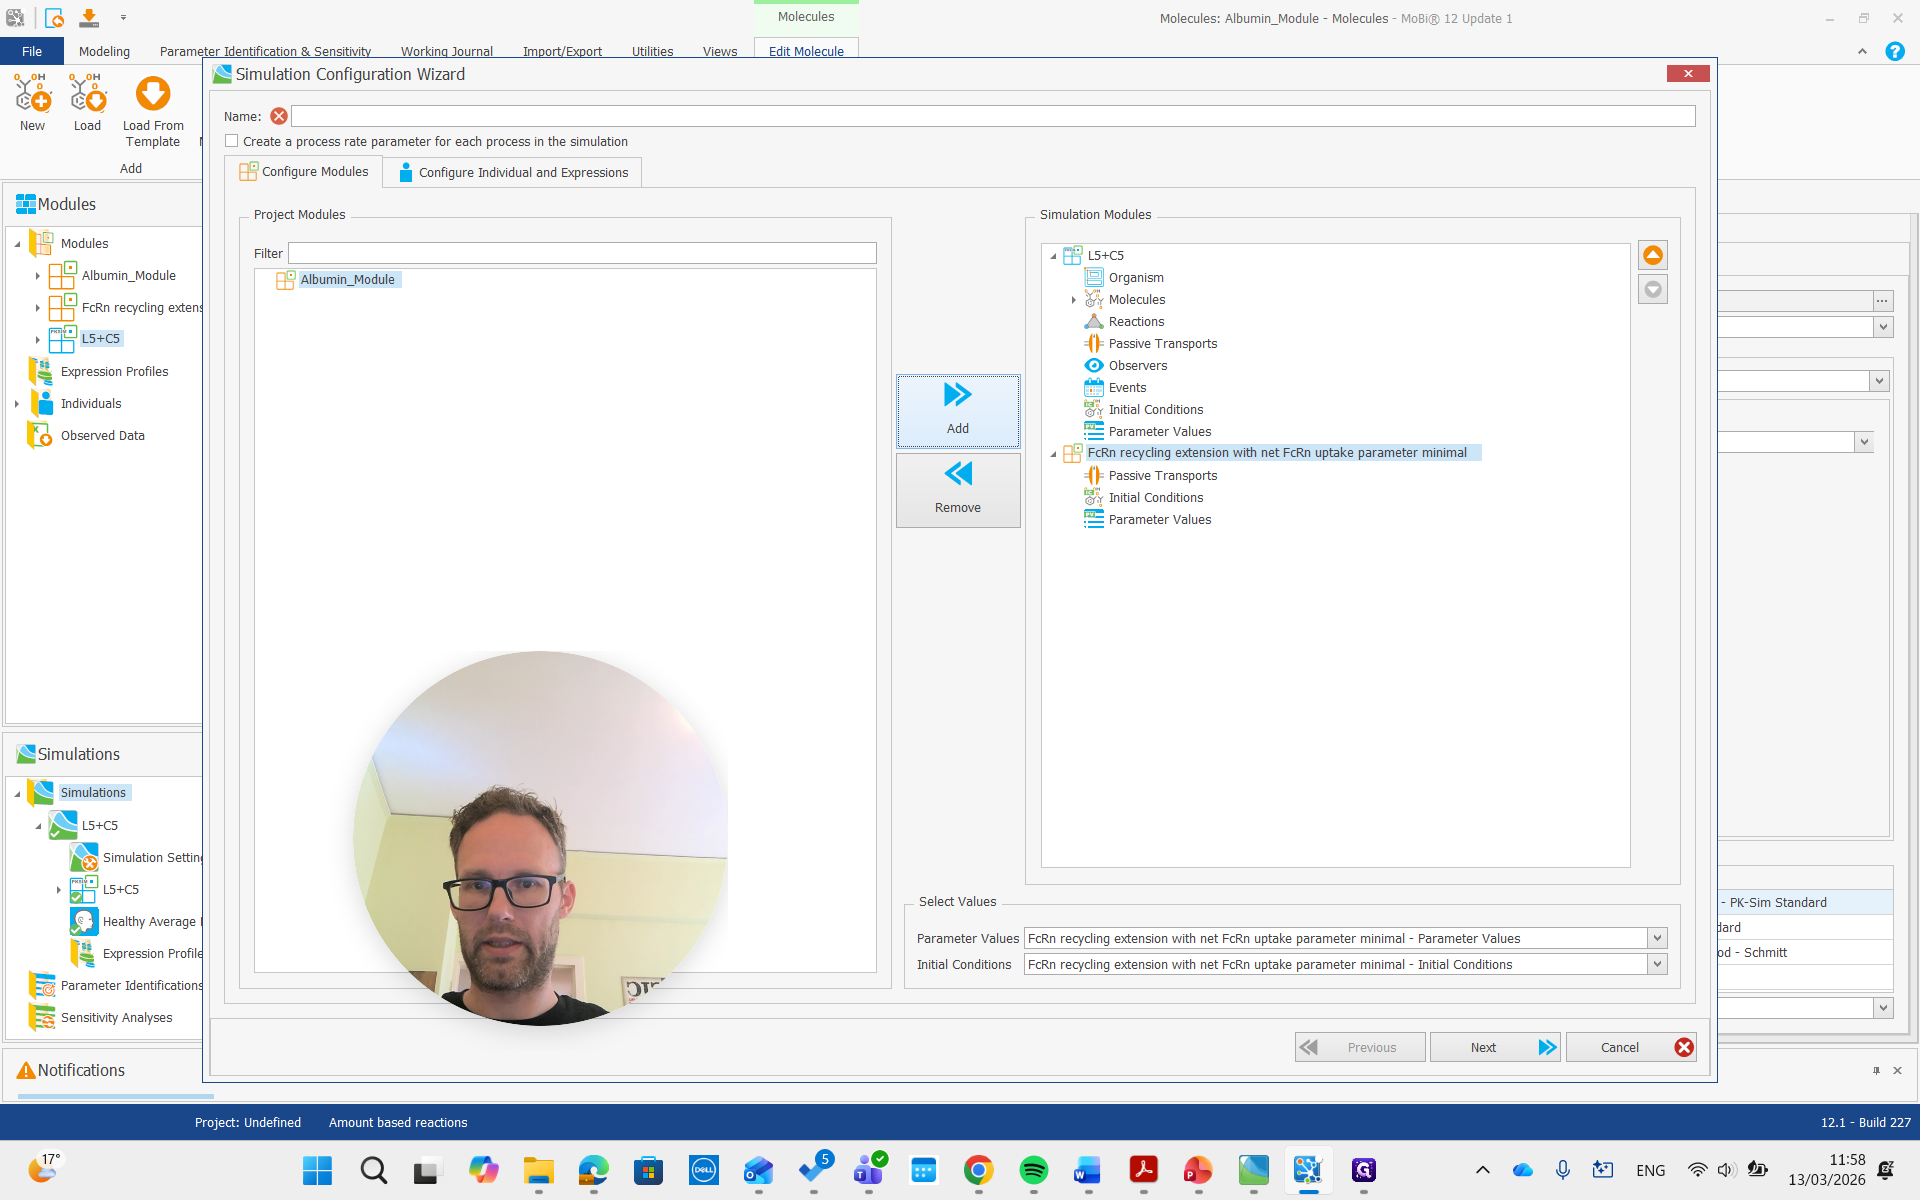

Now, we are building the simulation with all the required molecules, reactions, and processes needed.
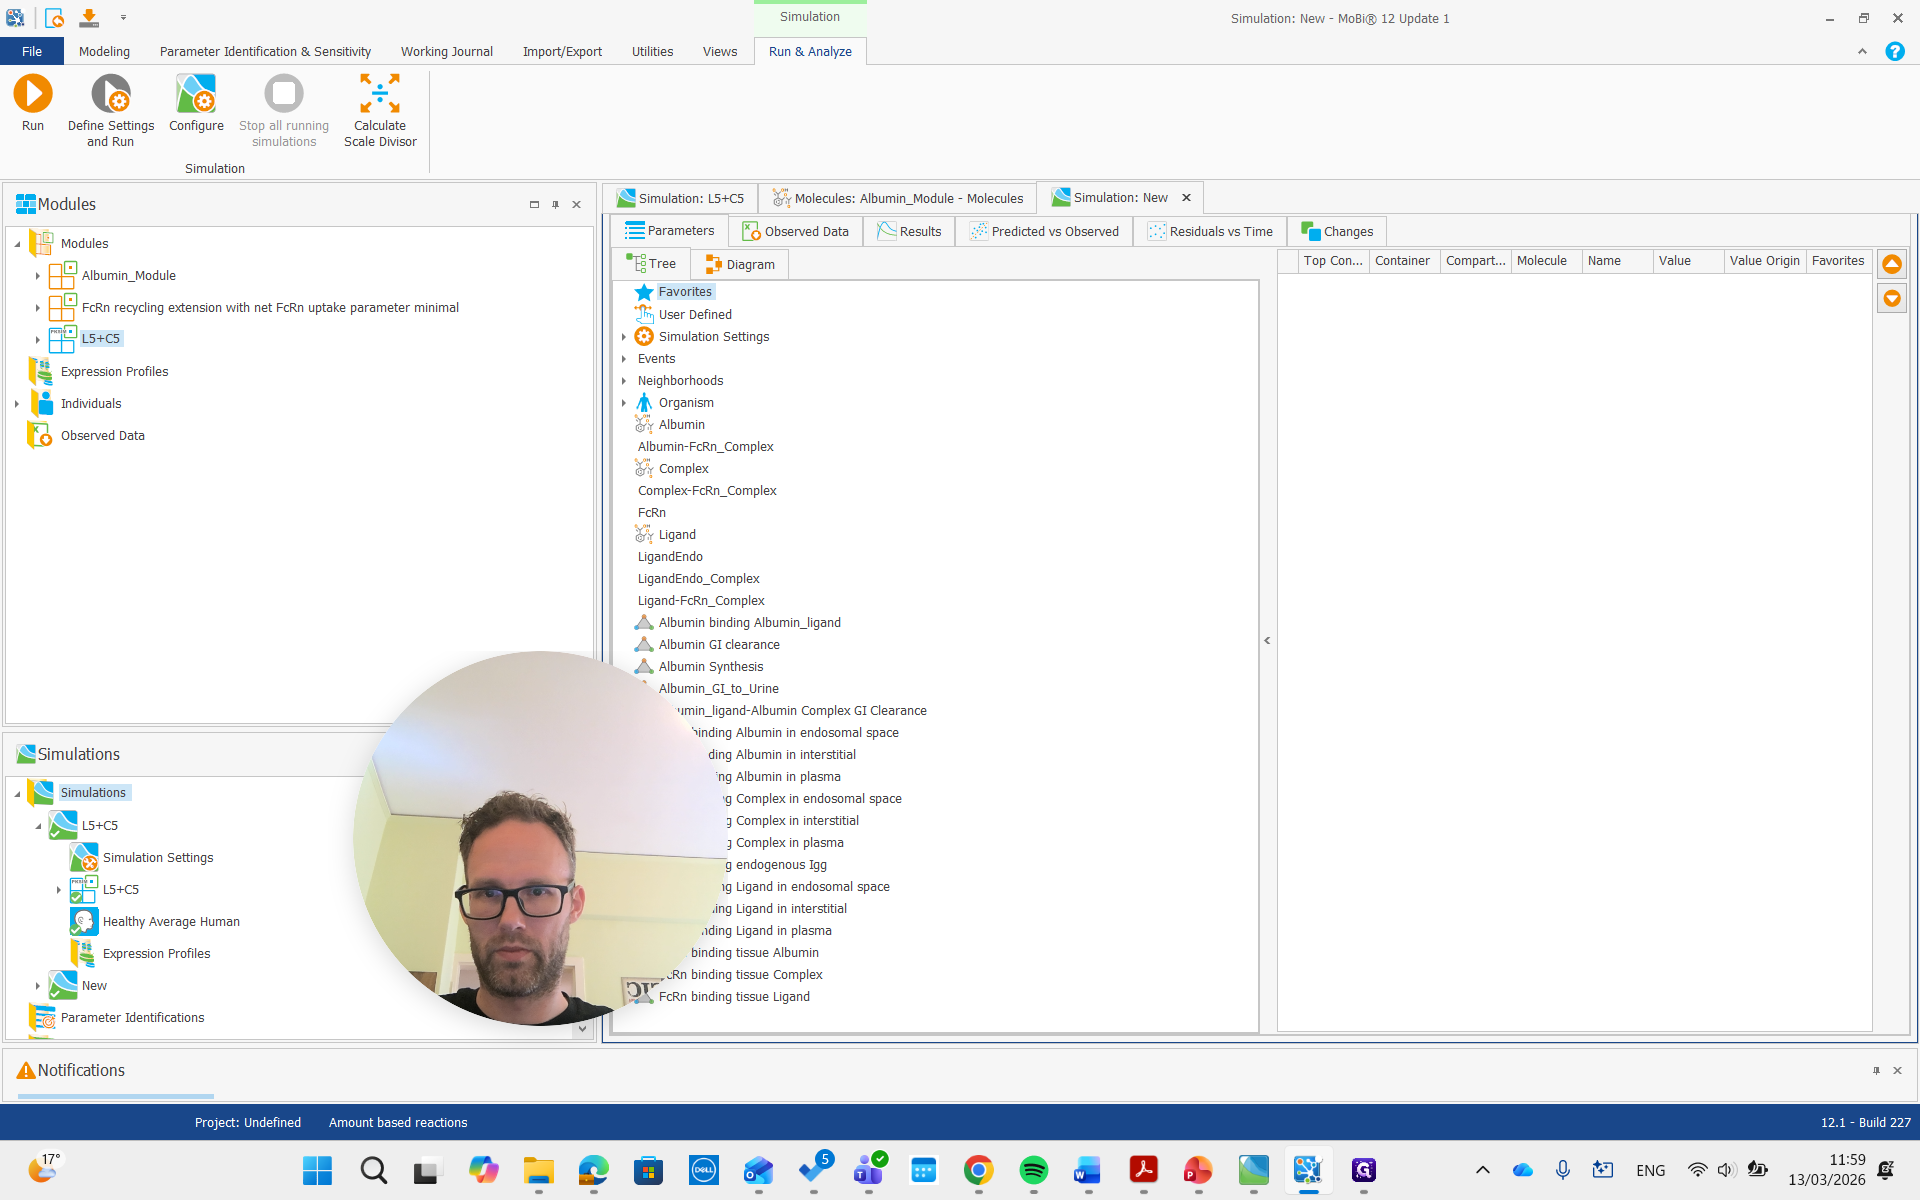
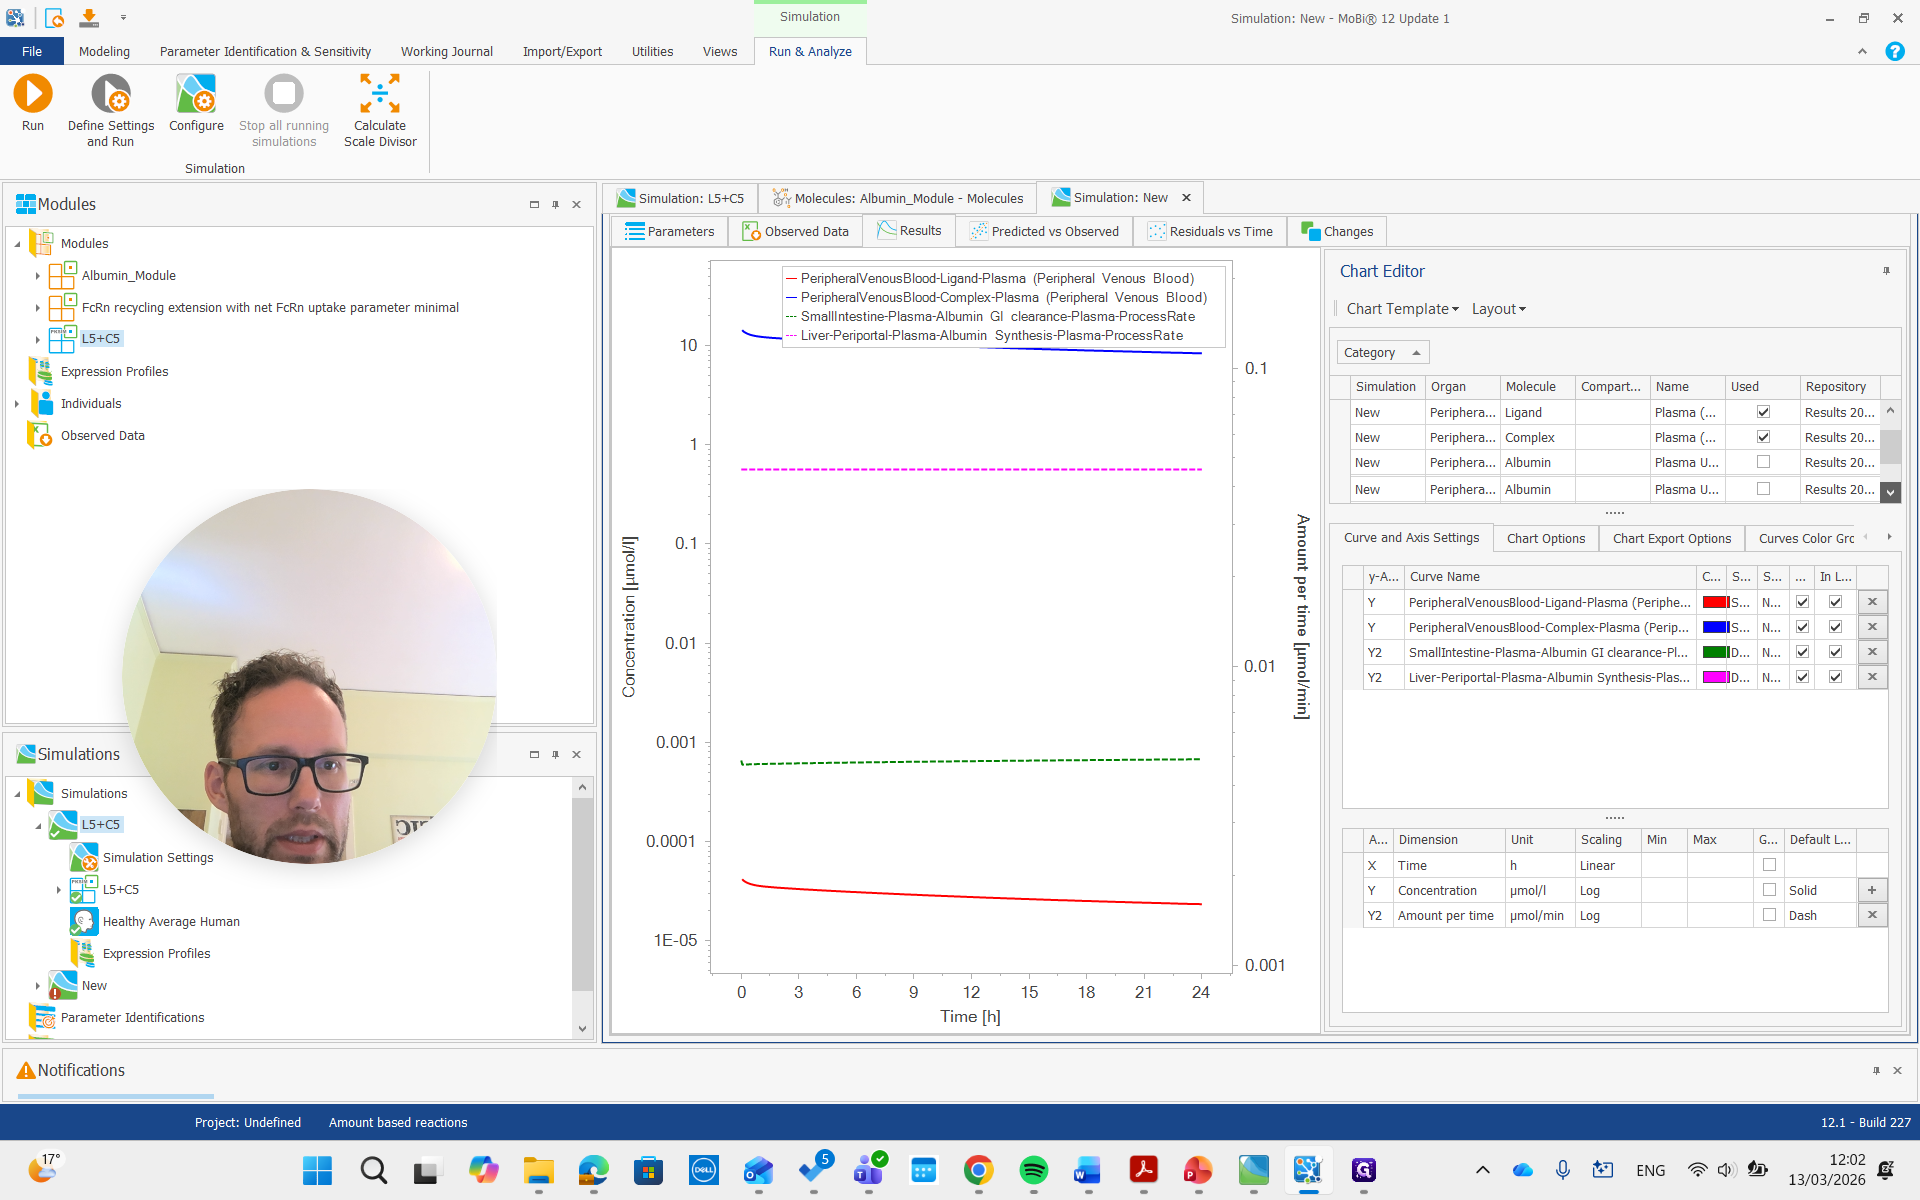
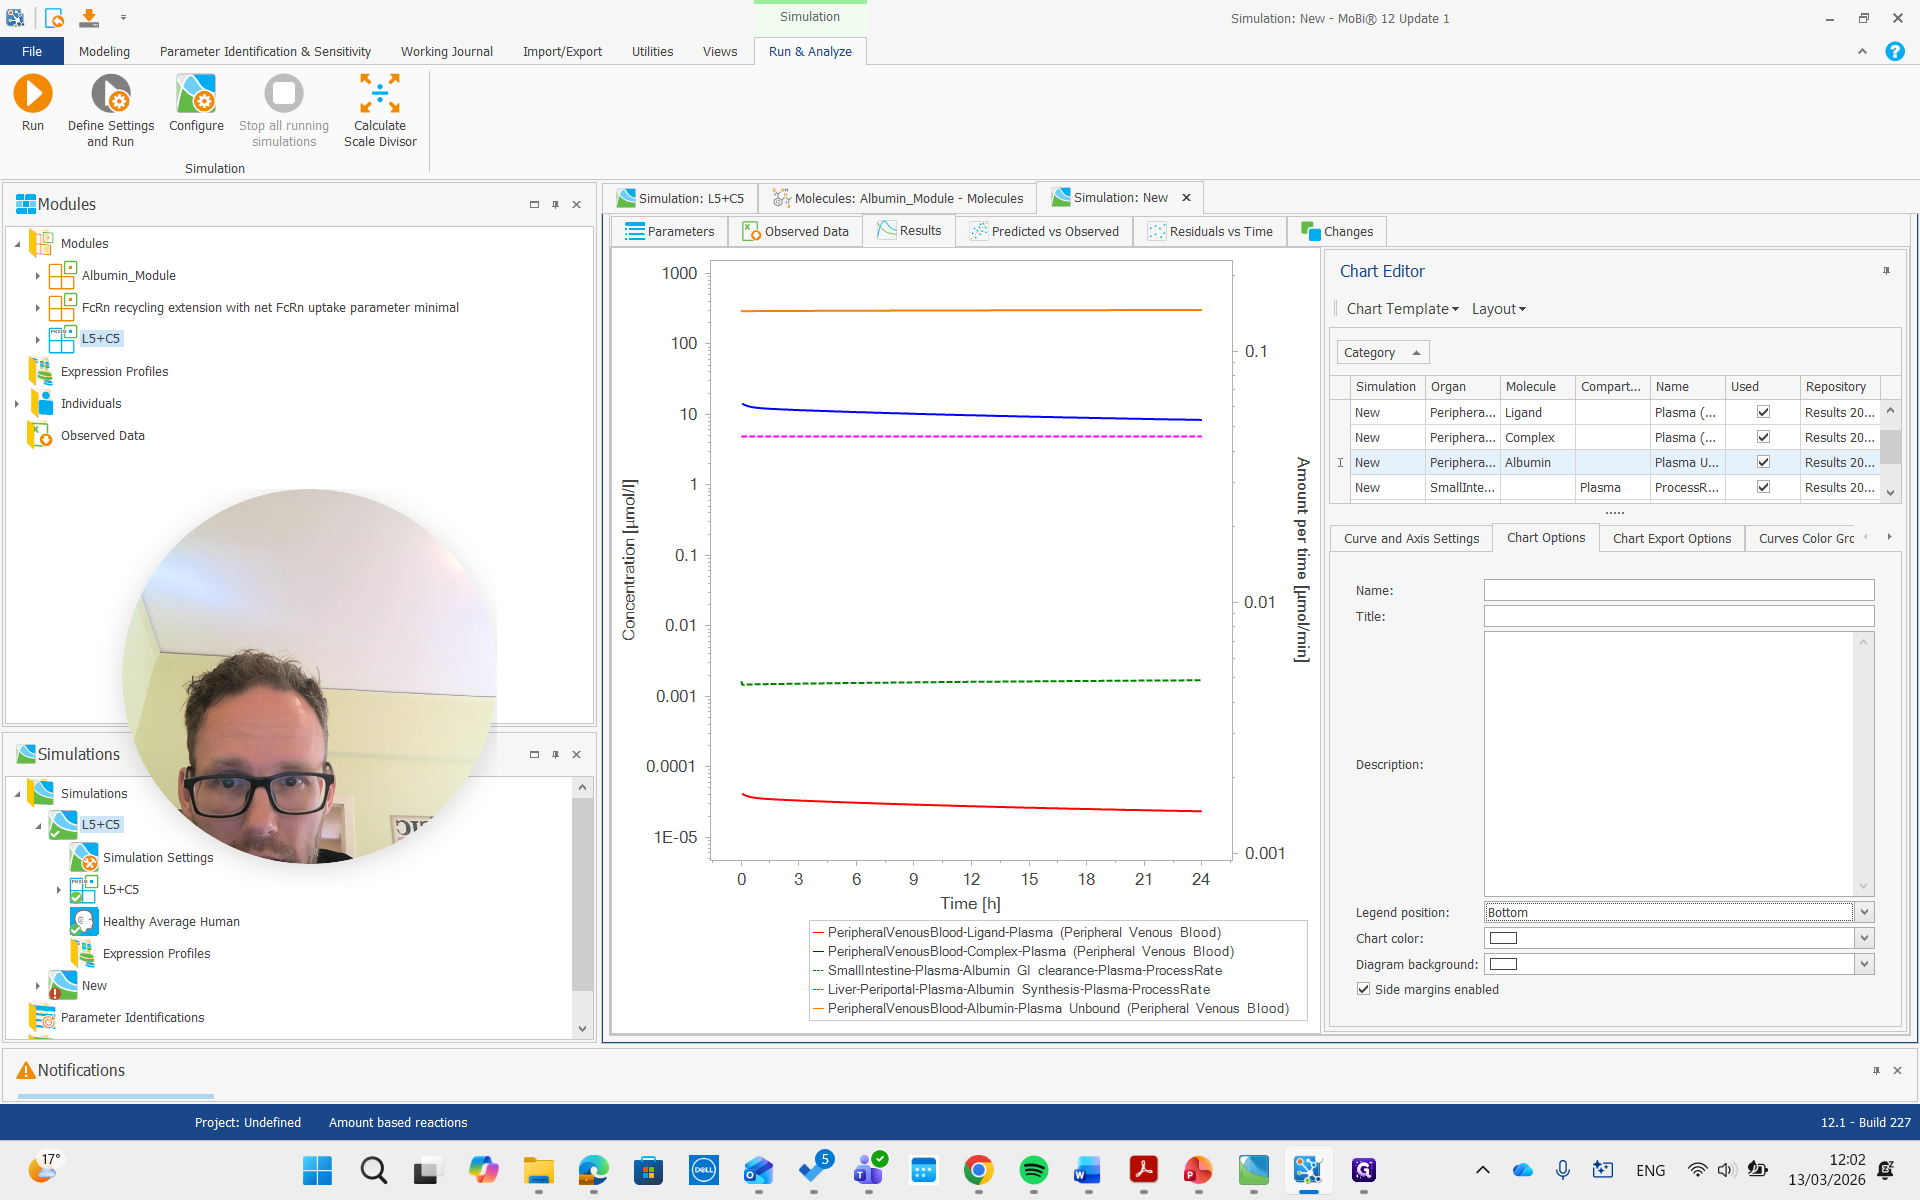
We get the new simulation.
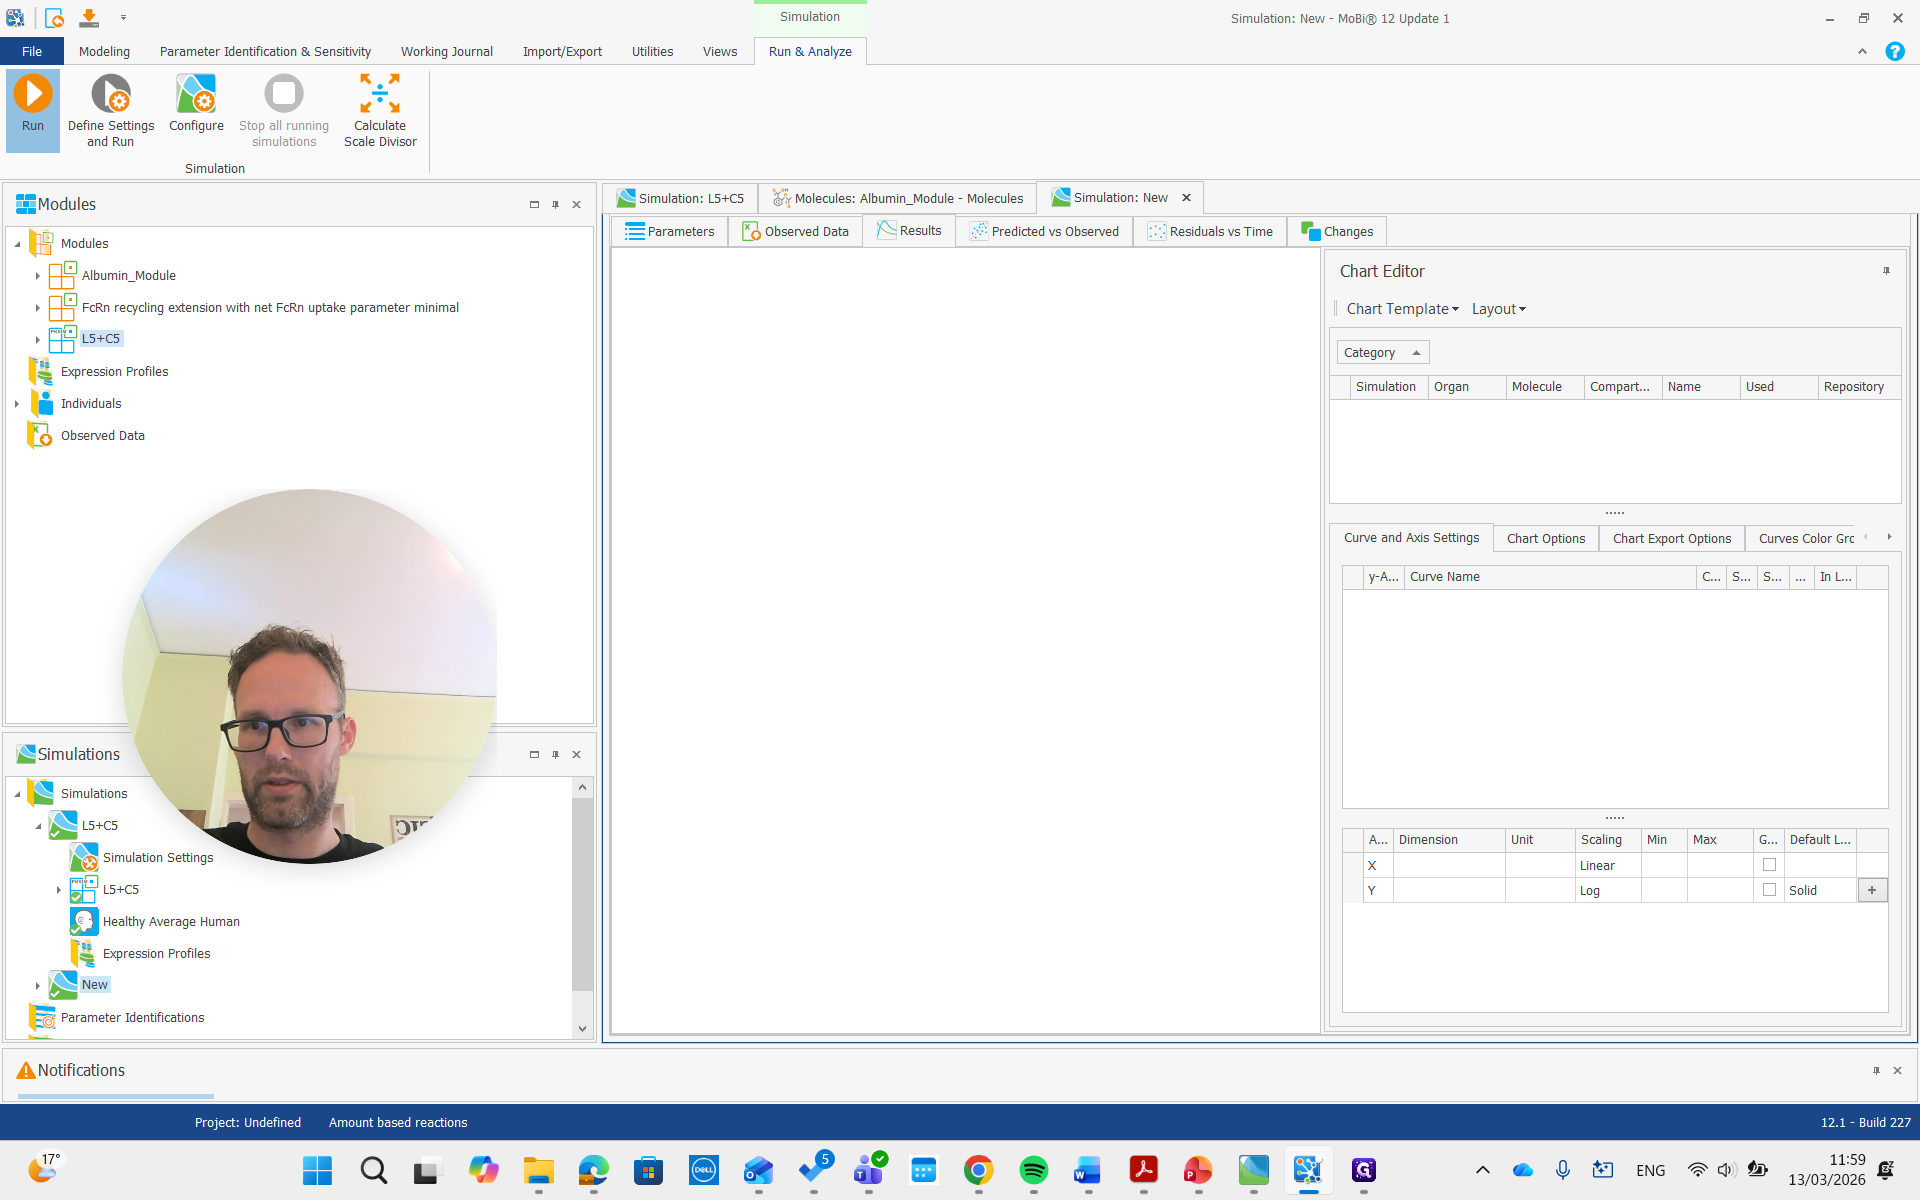
Run it.
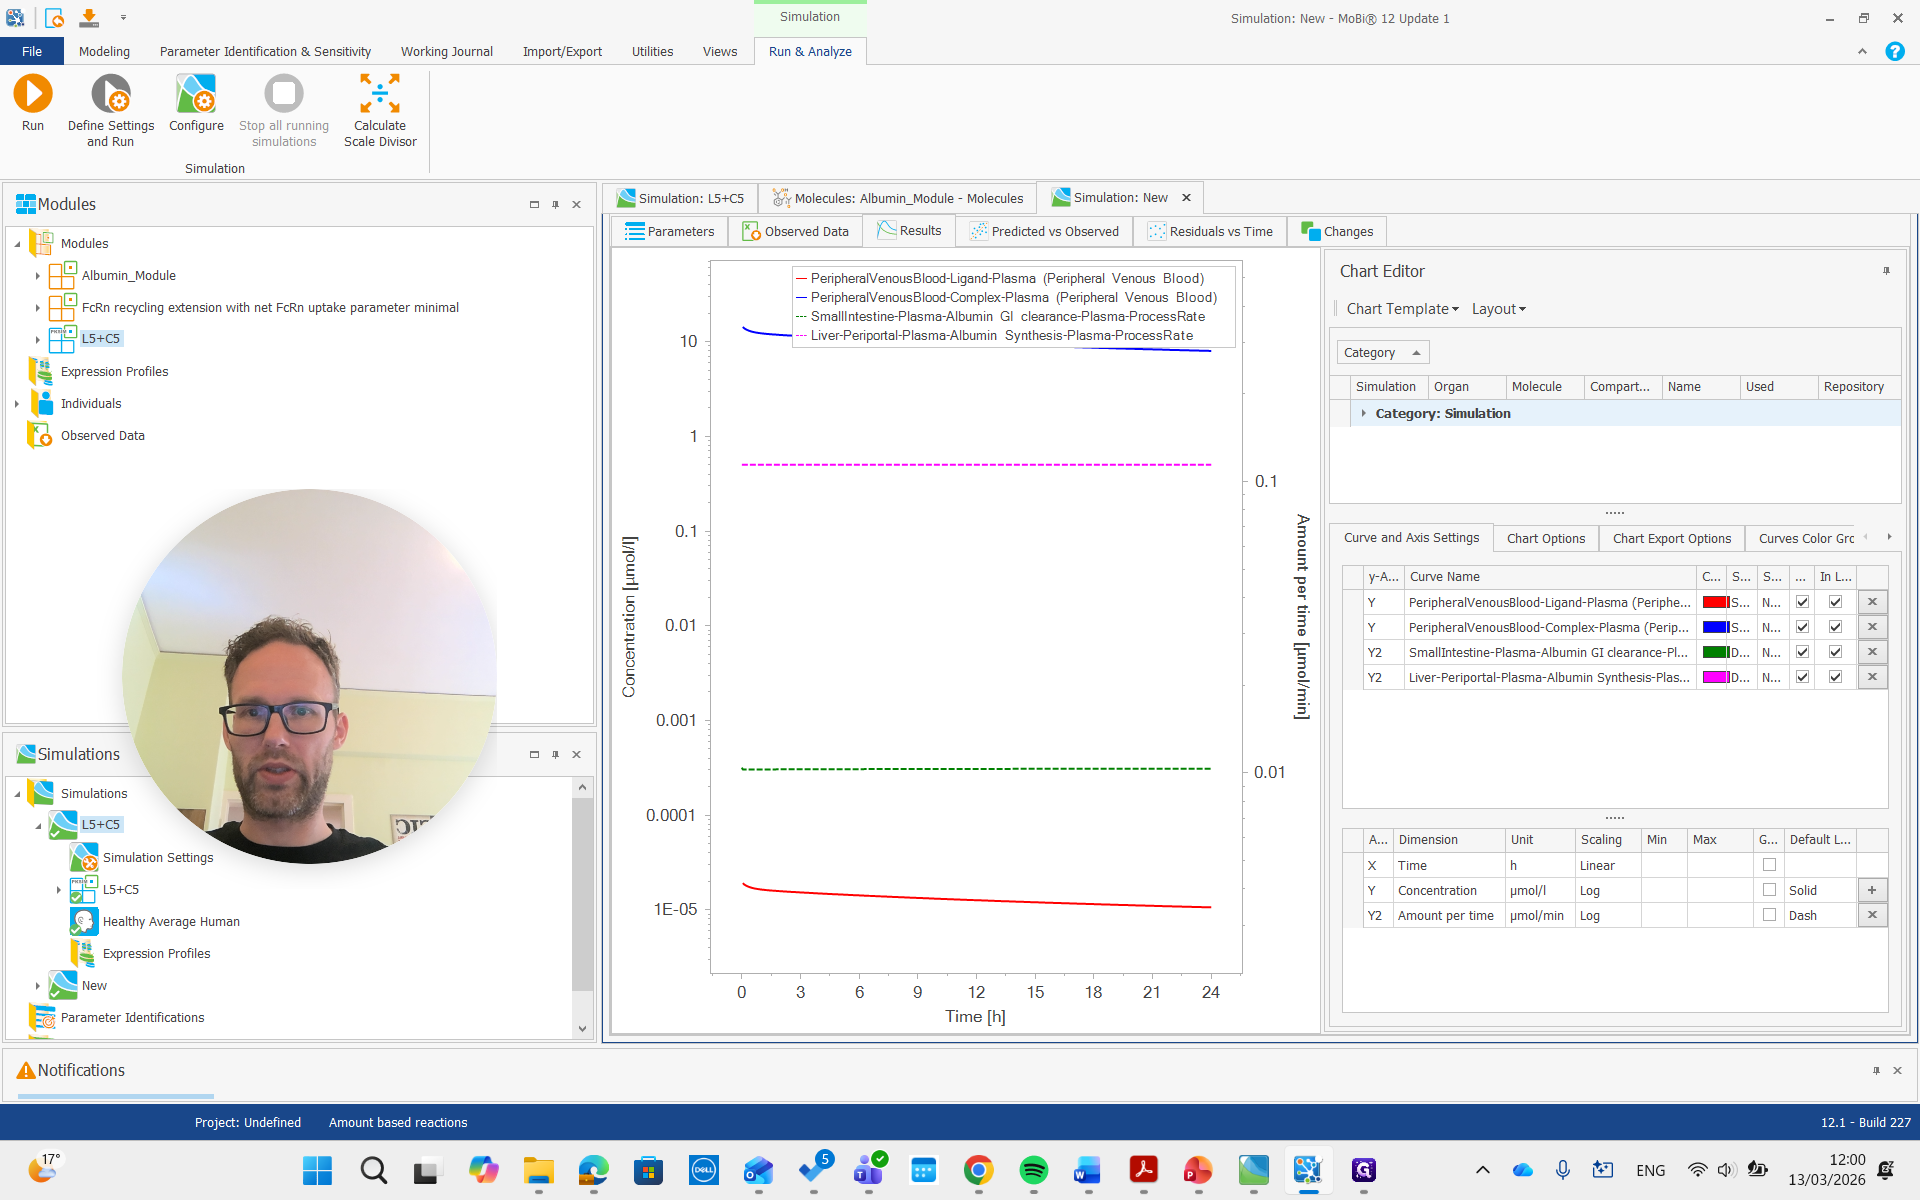
As you can see, we have a molecule with some clearance and normal pharmacokinetics. We see that there are some processes involved that we can examine. Plasma albumin synthesis and gastrointestinal tract clearance of albumin.

There is free ligand in plasma at very low concentrations, and the complex in plasma is present at much higher concentrations. This is due to the affinity and albumin concentrations, which cause a significant difference between the concentrations of these molecules.
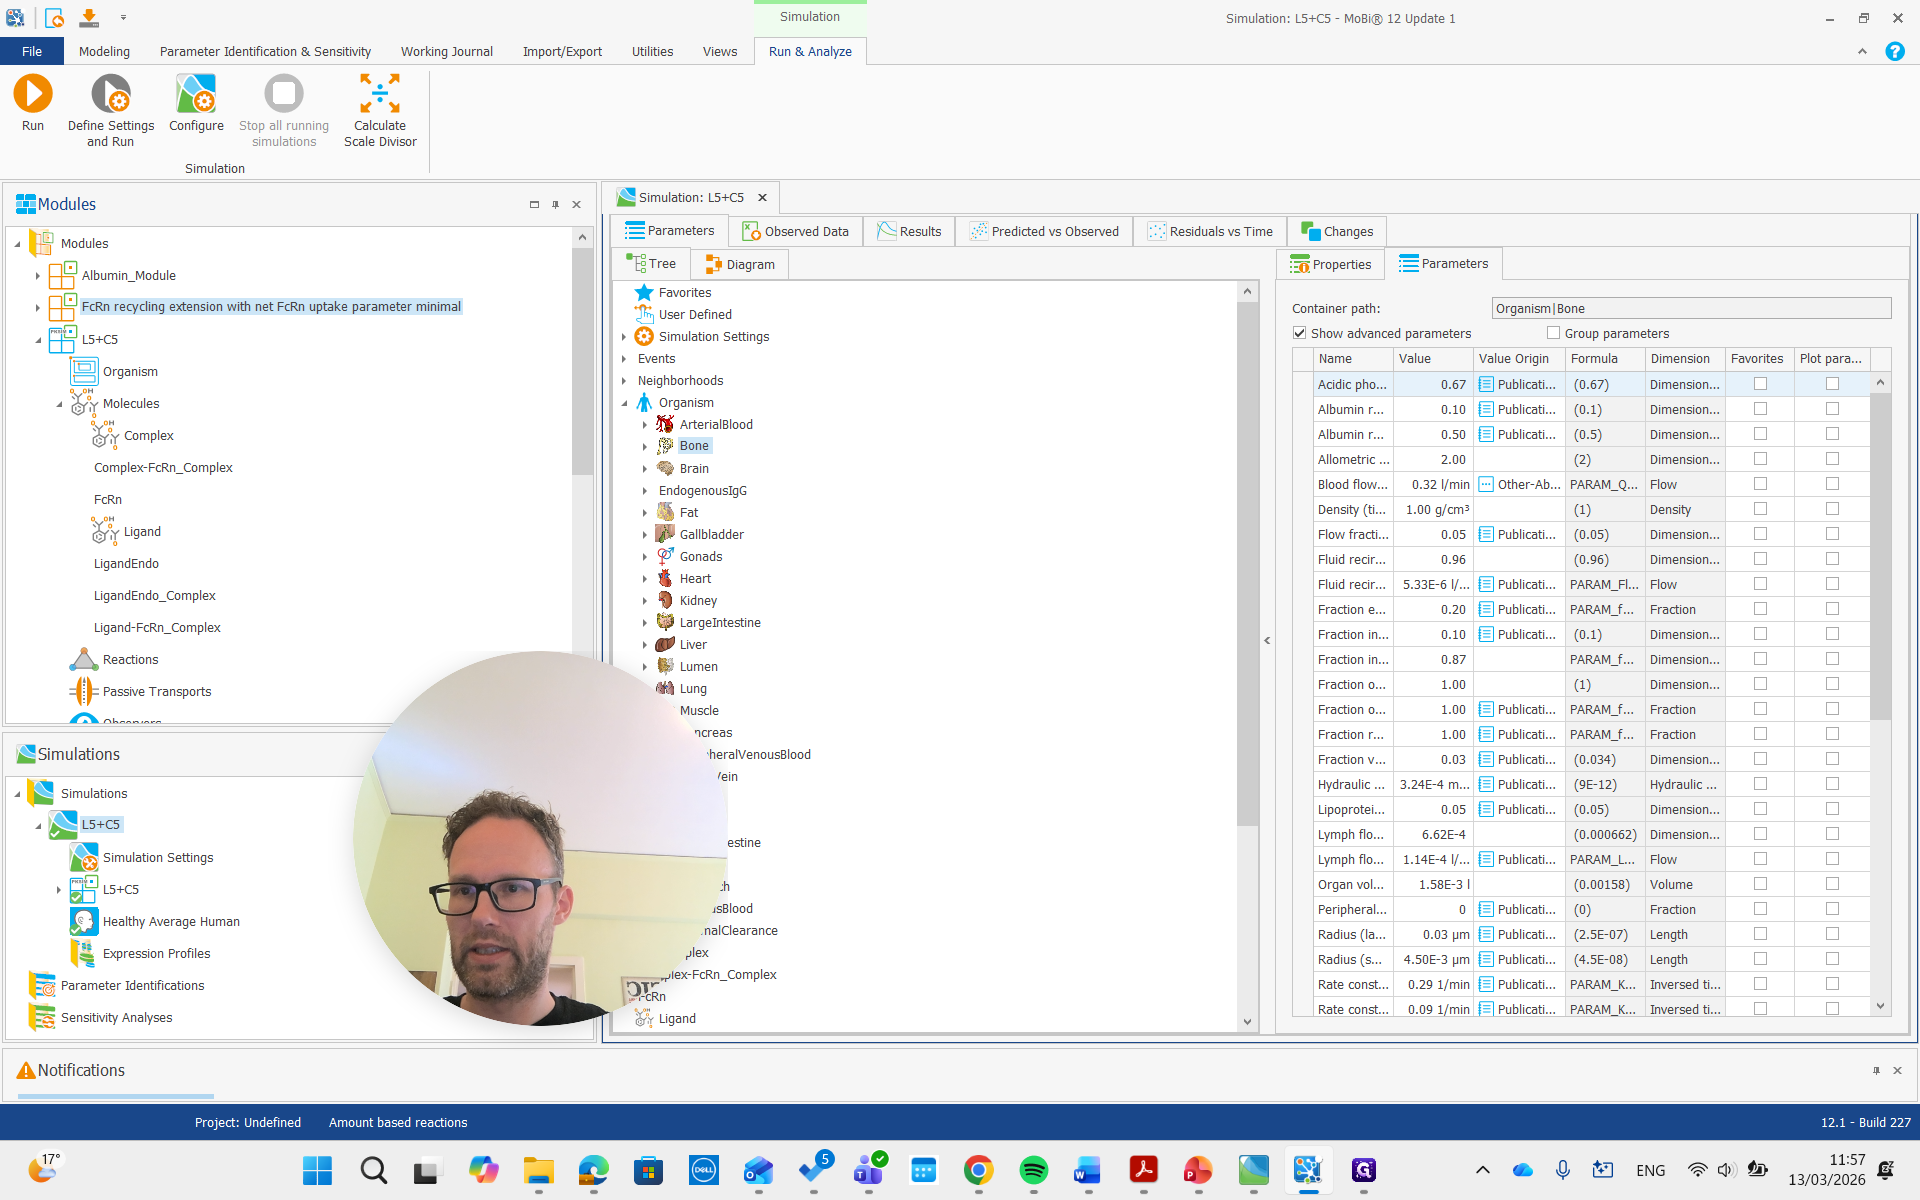
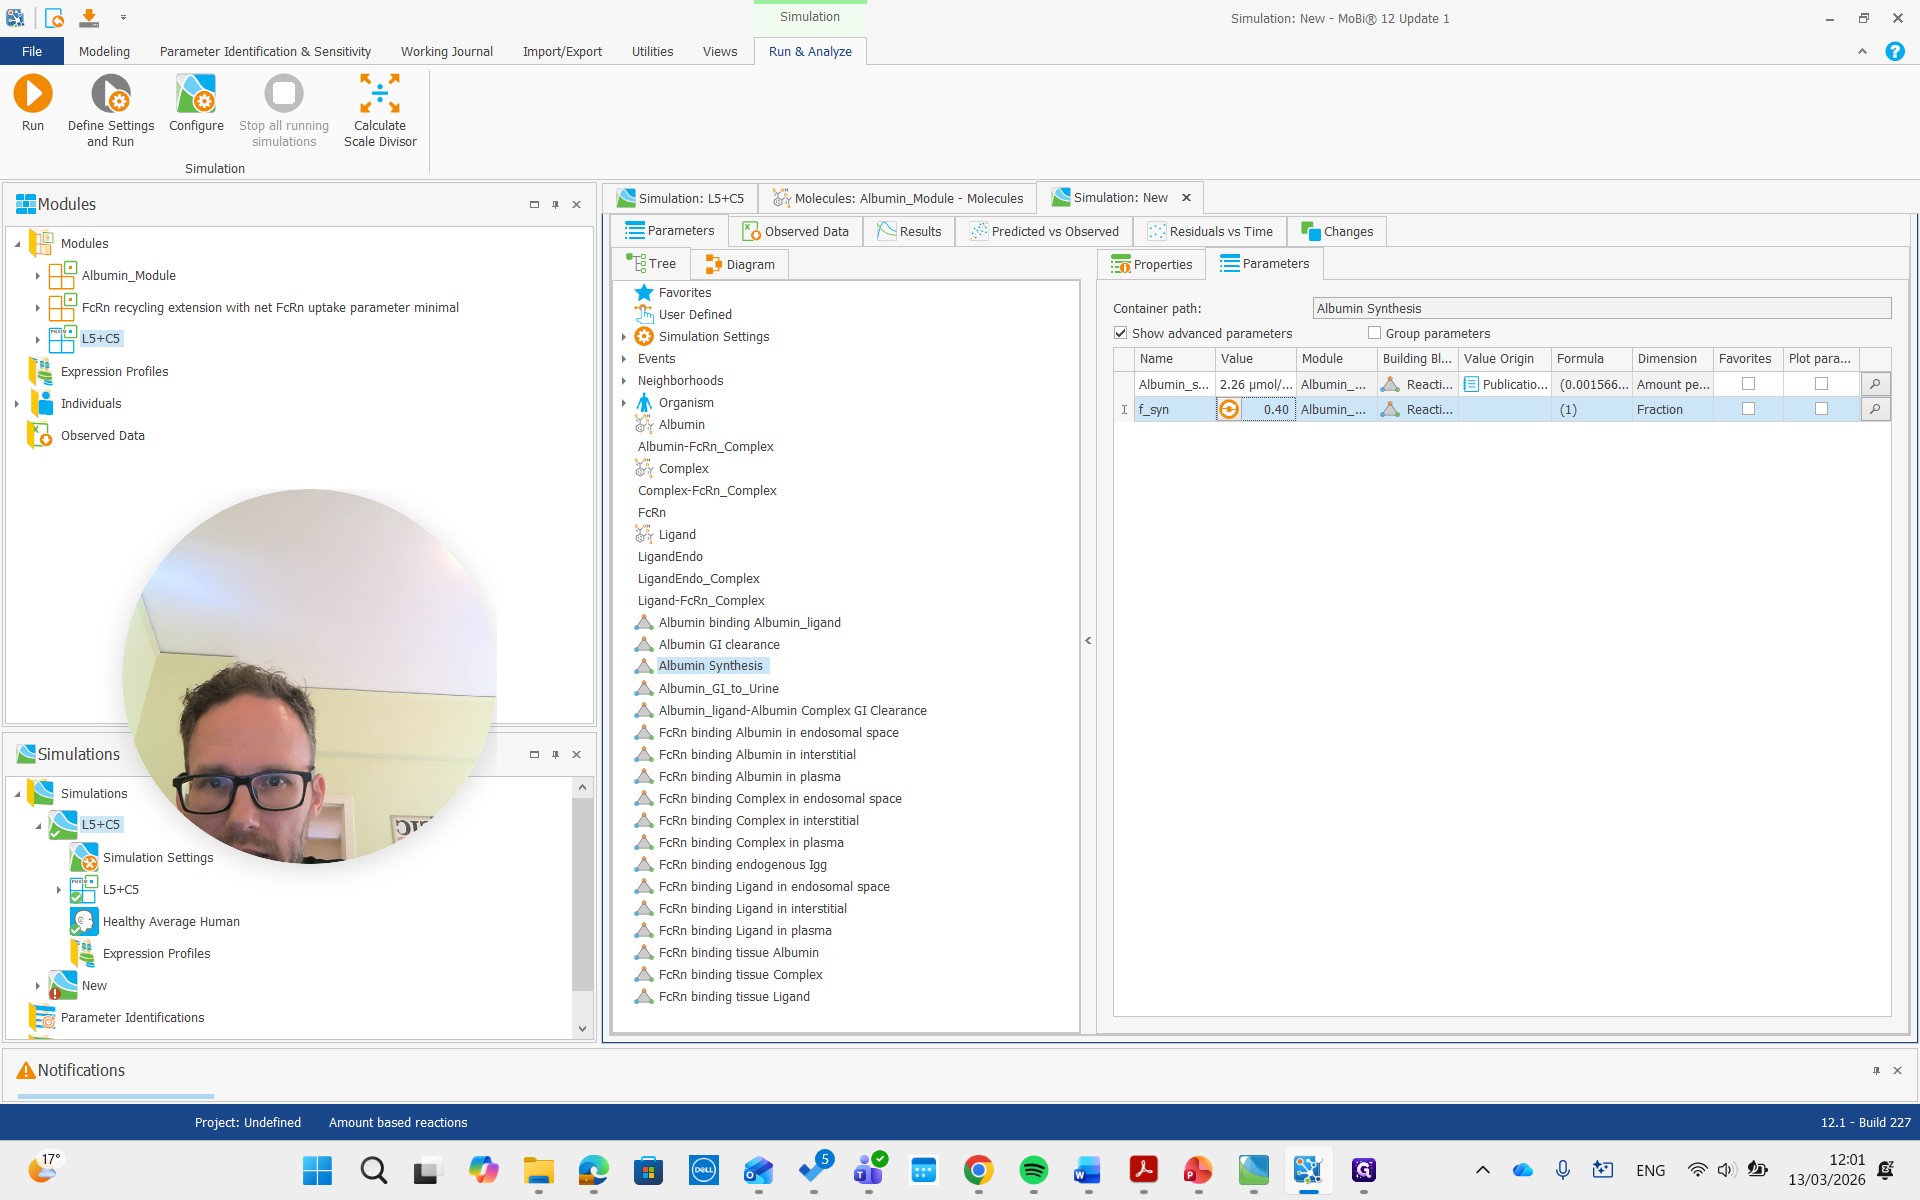
Now we can also look at the parameters.
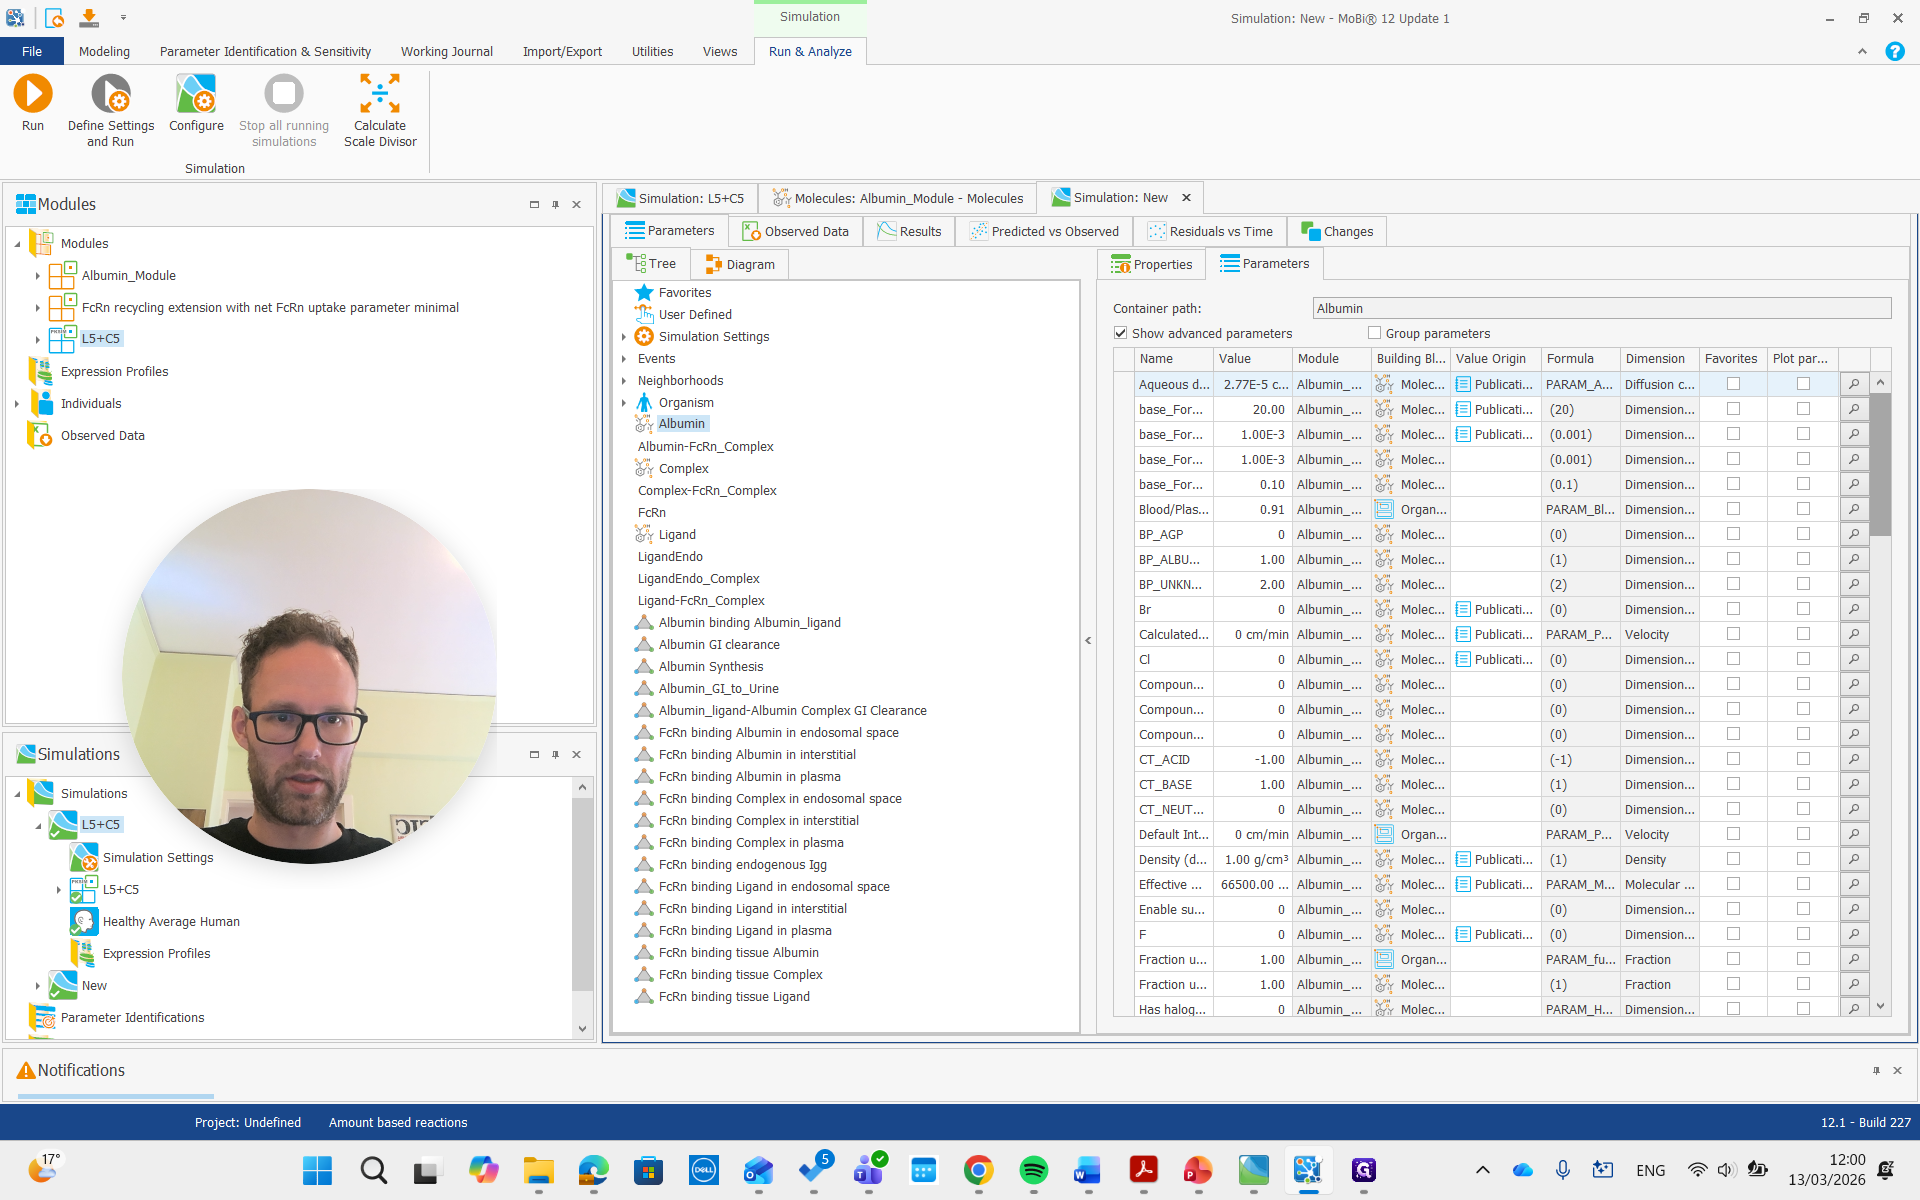
For albumin, the list of parameters for the molecule includes the reference plasma concentration. This value can be adjusted for a diseased individual or a different species.
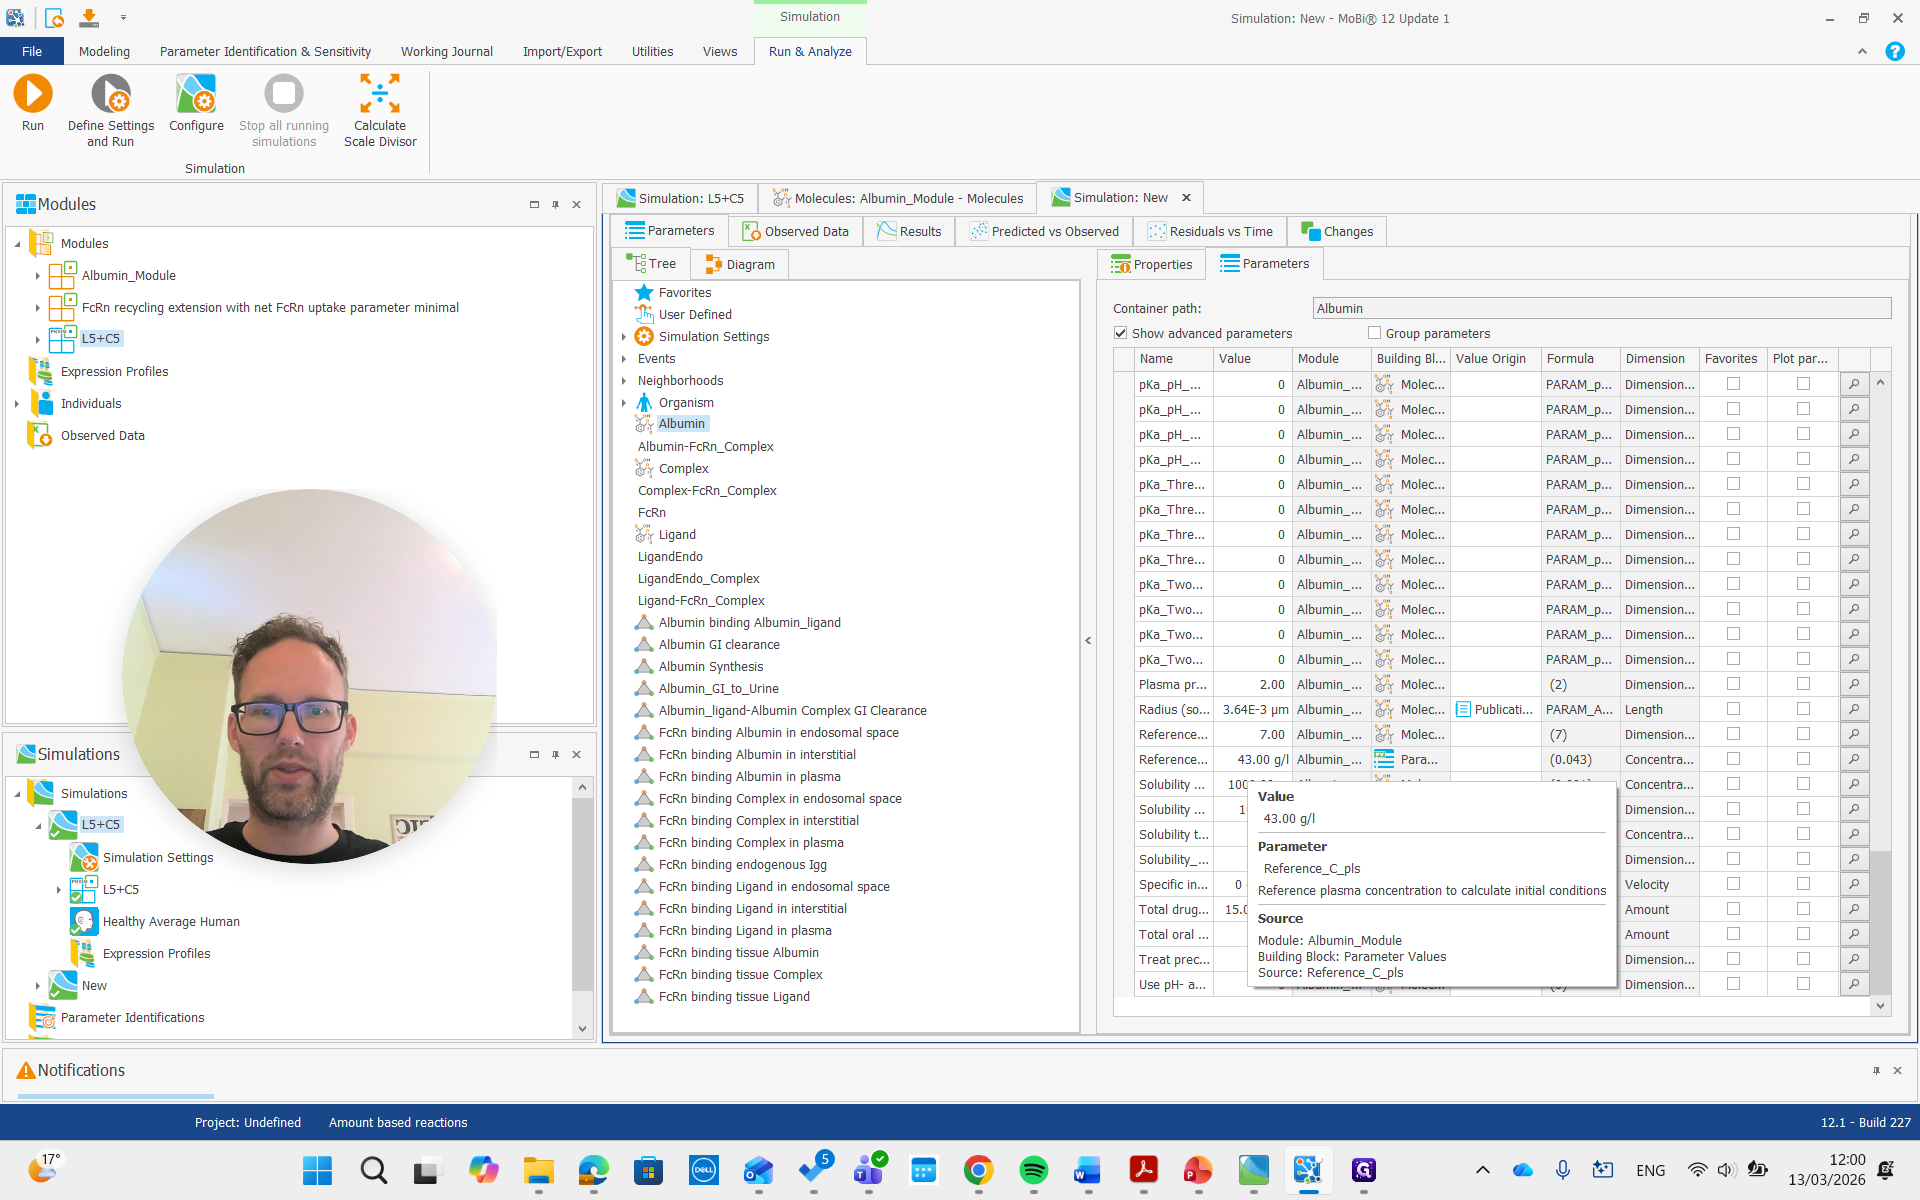
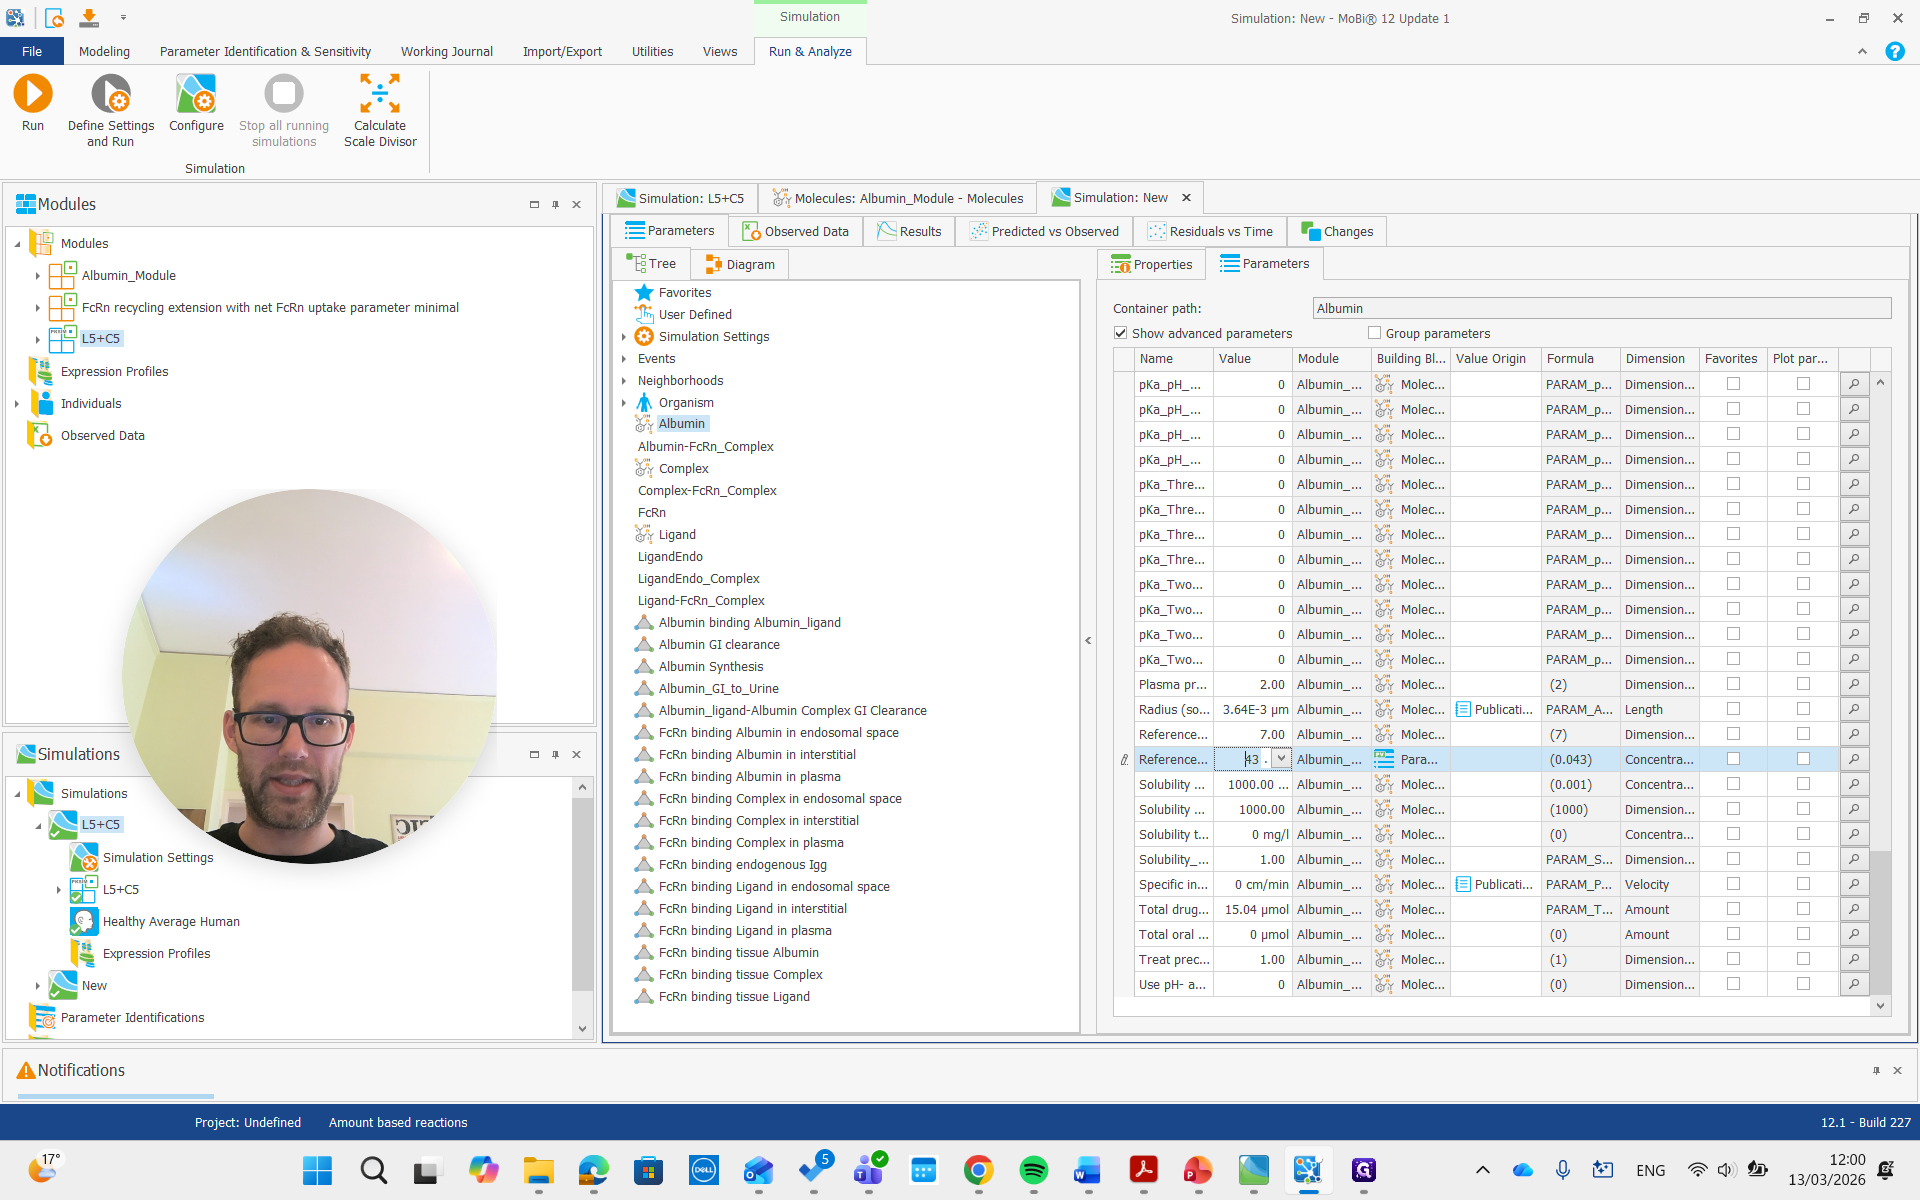
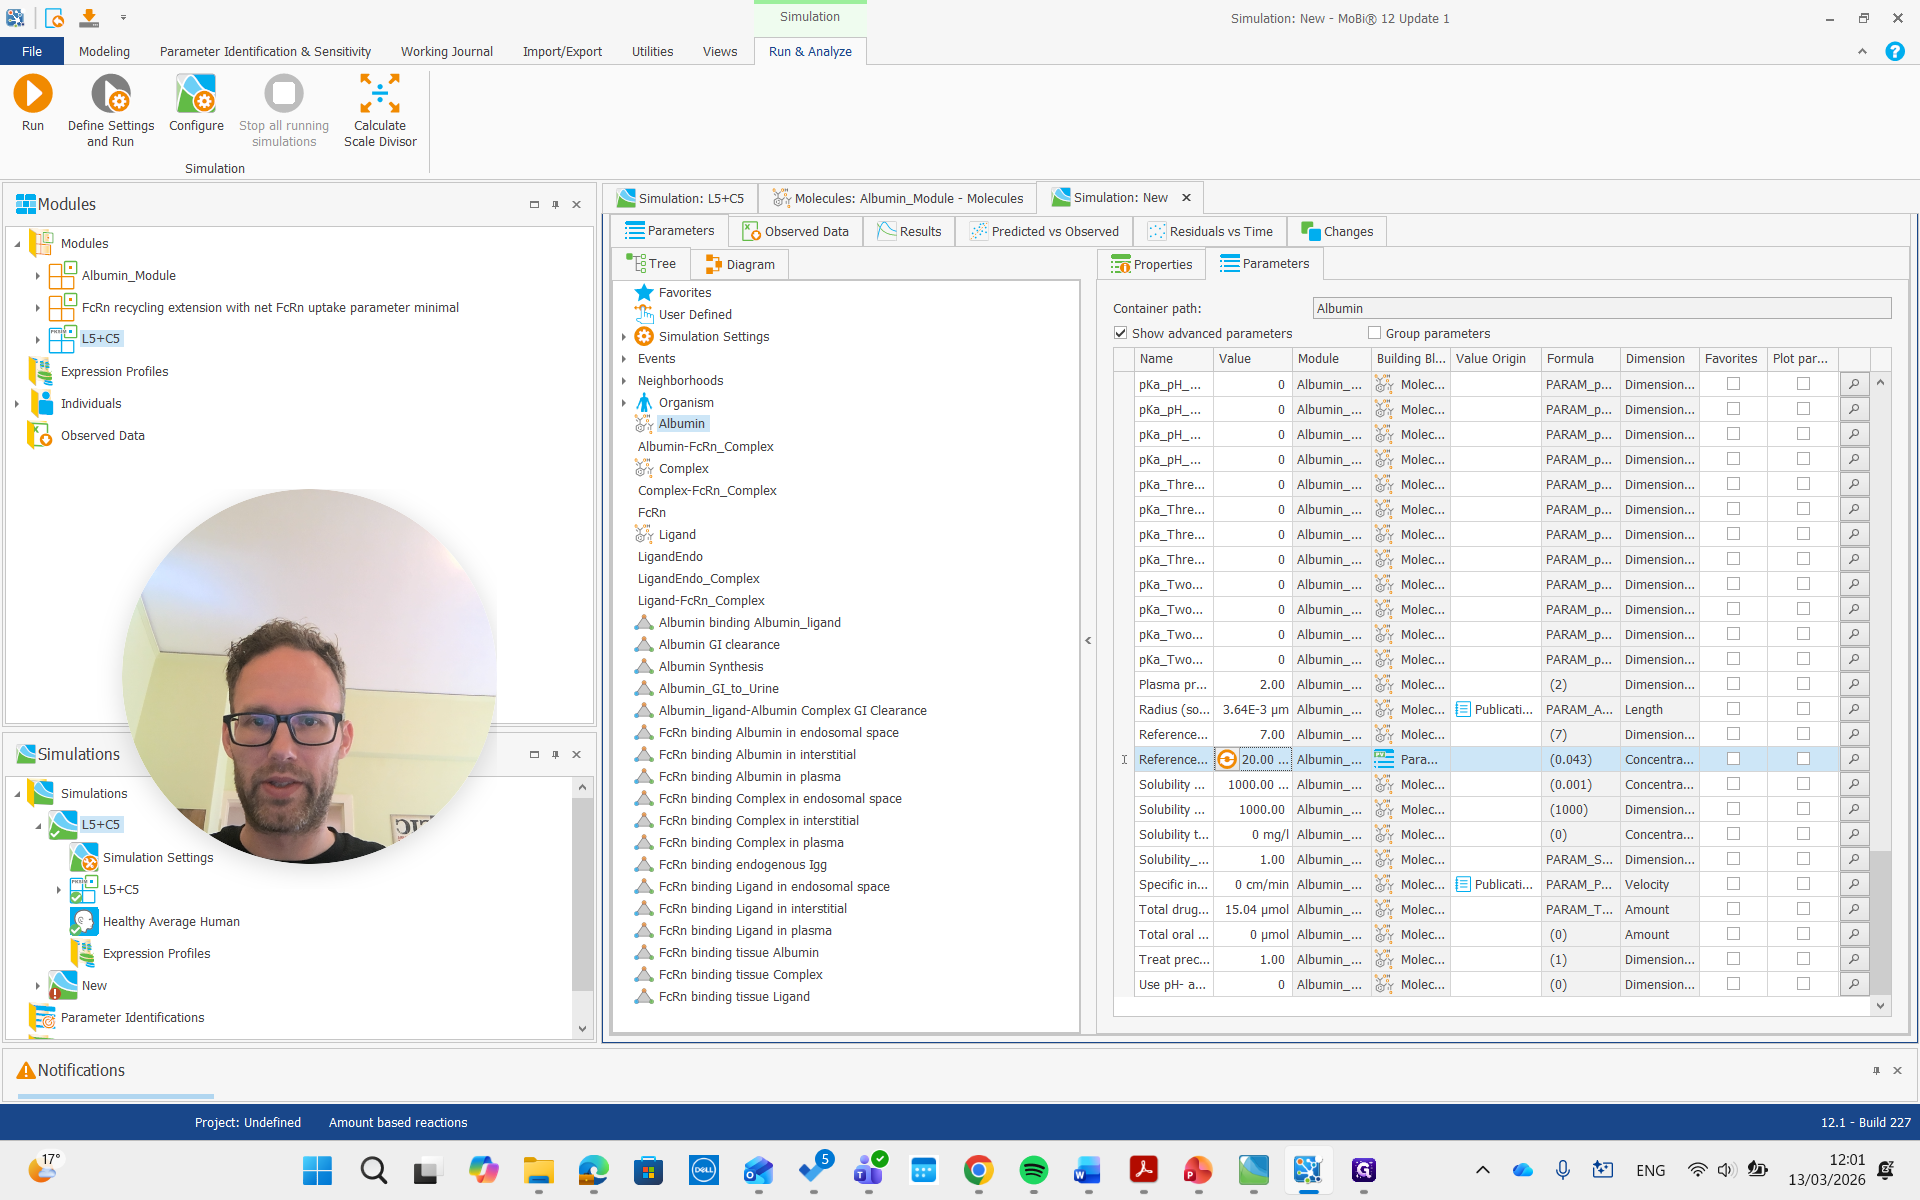
It is important that this is used only for the initial condition. It doesn't change the actual steady-state concentration, but we can adjust it to a lower value if we have that reference value. For example, we can set it to 20, and it will not update the initial concentration.
I won't rerun the simulation. Instead, I'll show you right away how it should be done if you want to adjust the concentration. We need to find the albumin synthesis rate constant.

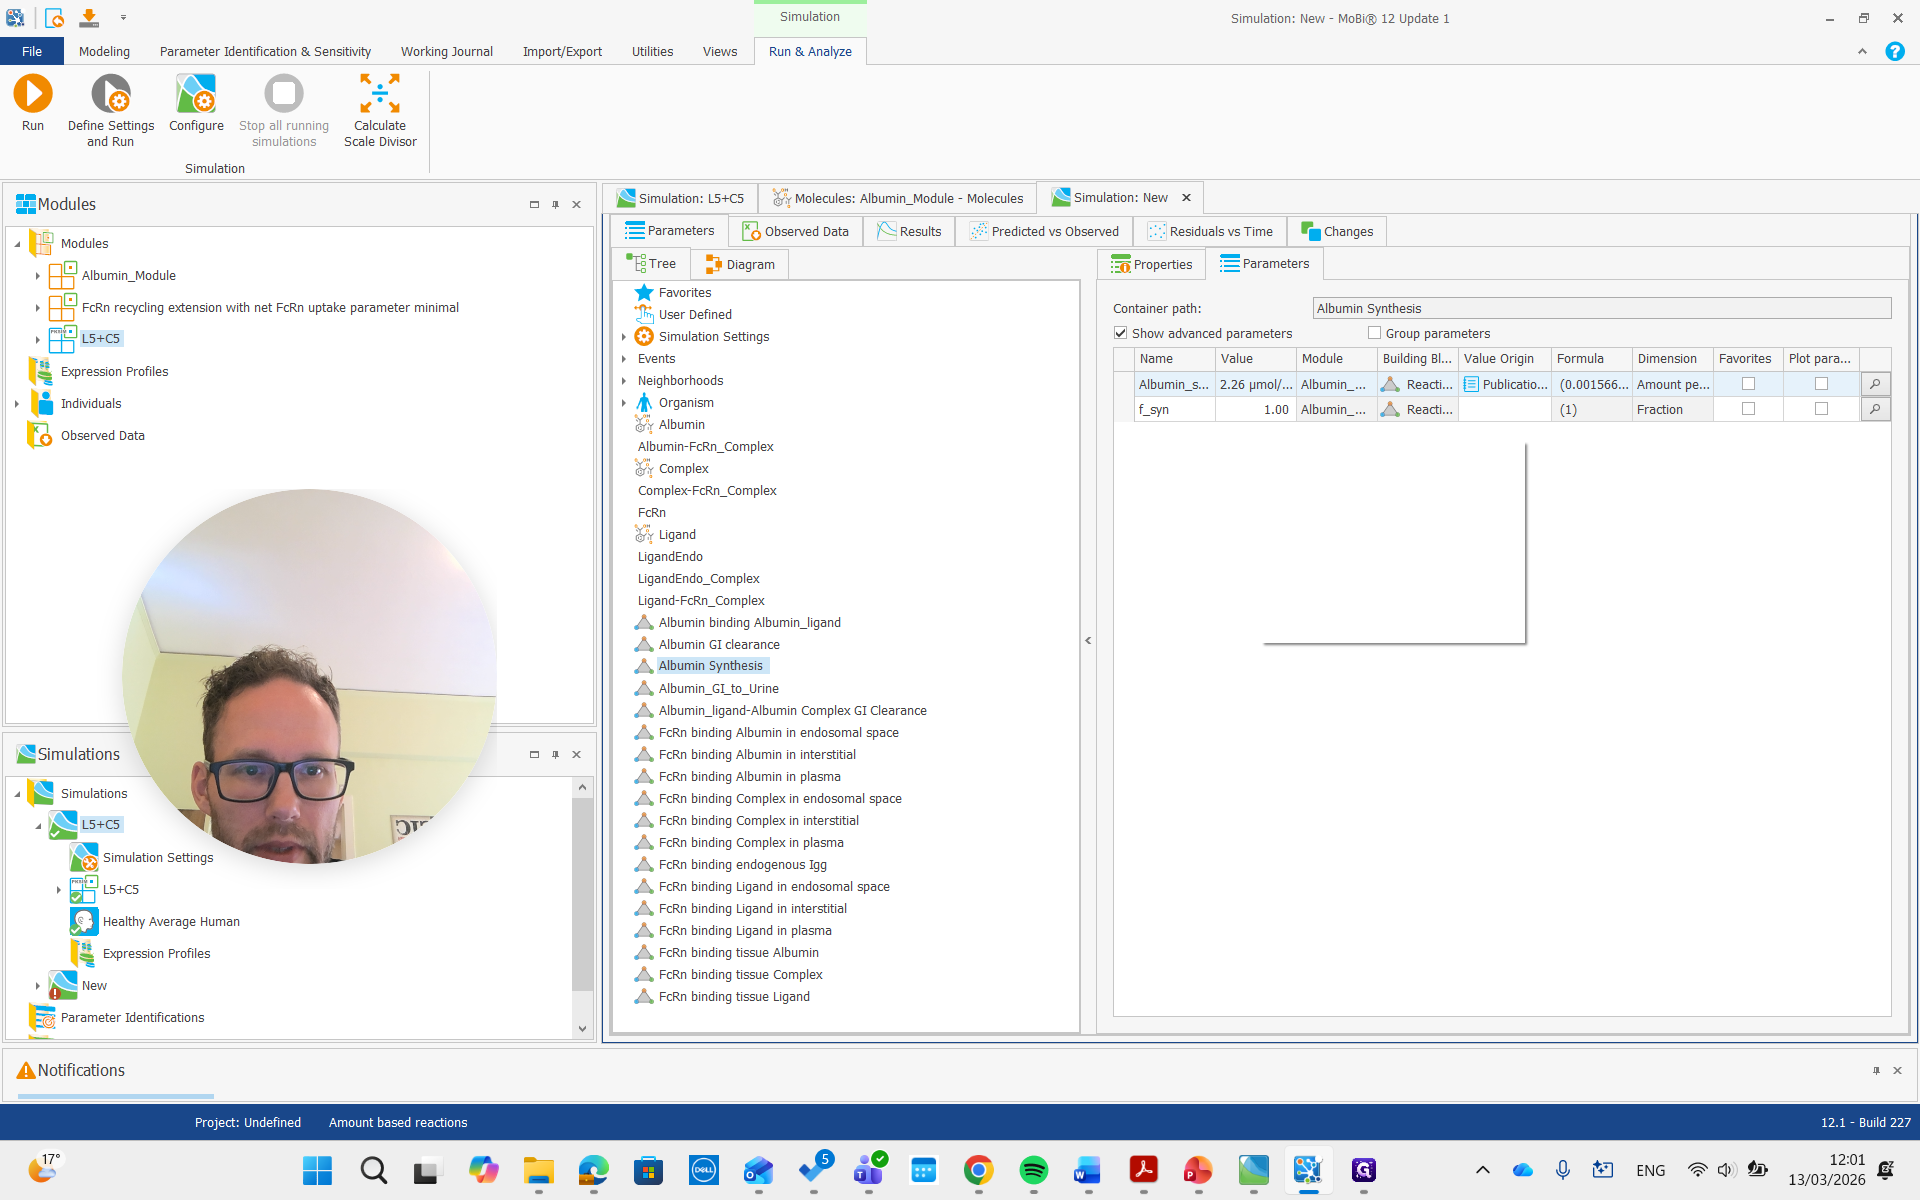
That one has a factor where we can say we want approximately half of that, or maybe 40%, which is more similar to what I did.
Now we can rerun the concentration. We should also look at the albumin concentration.
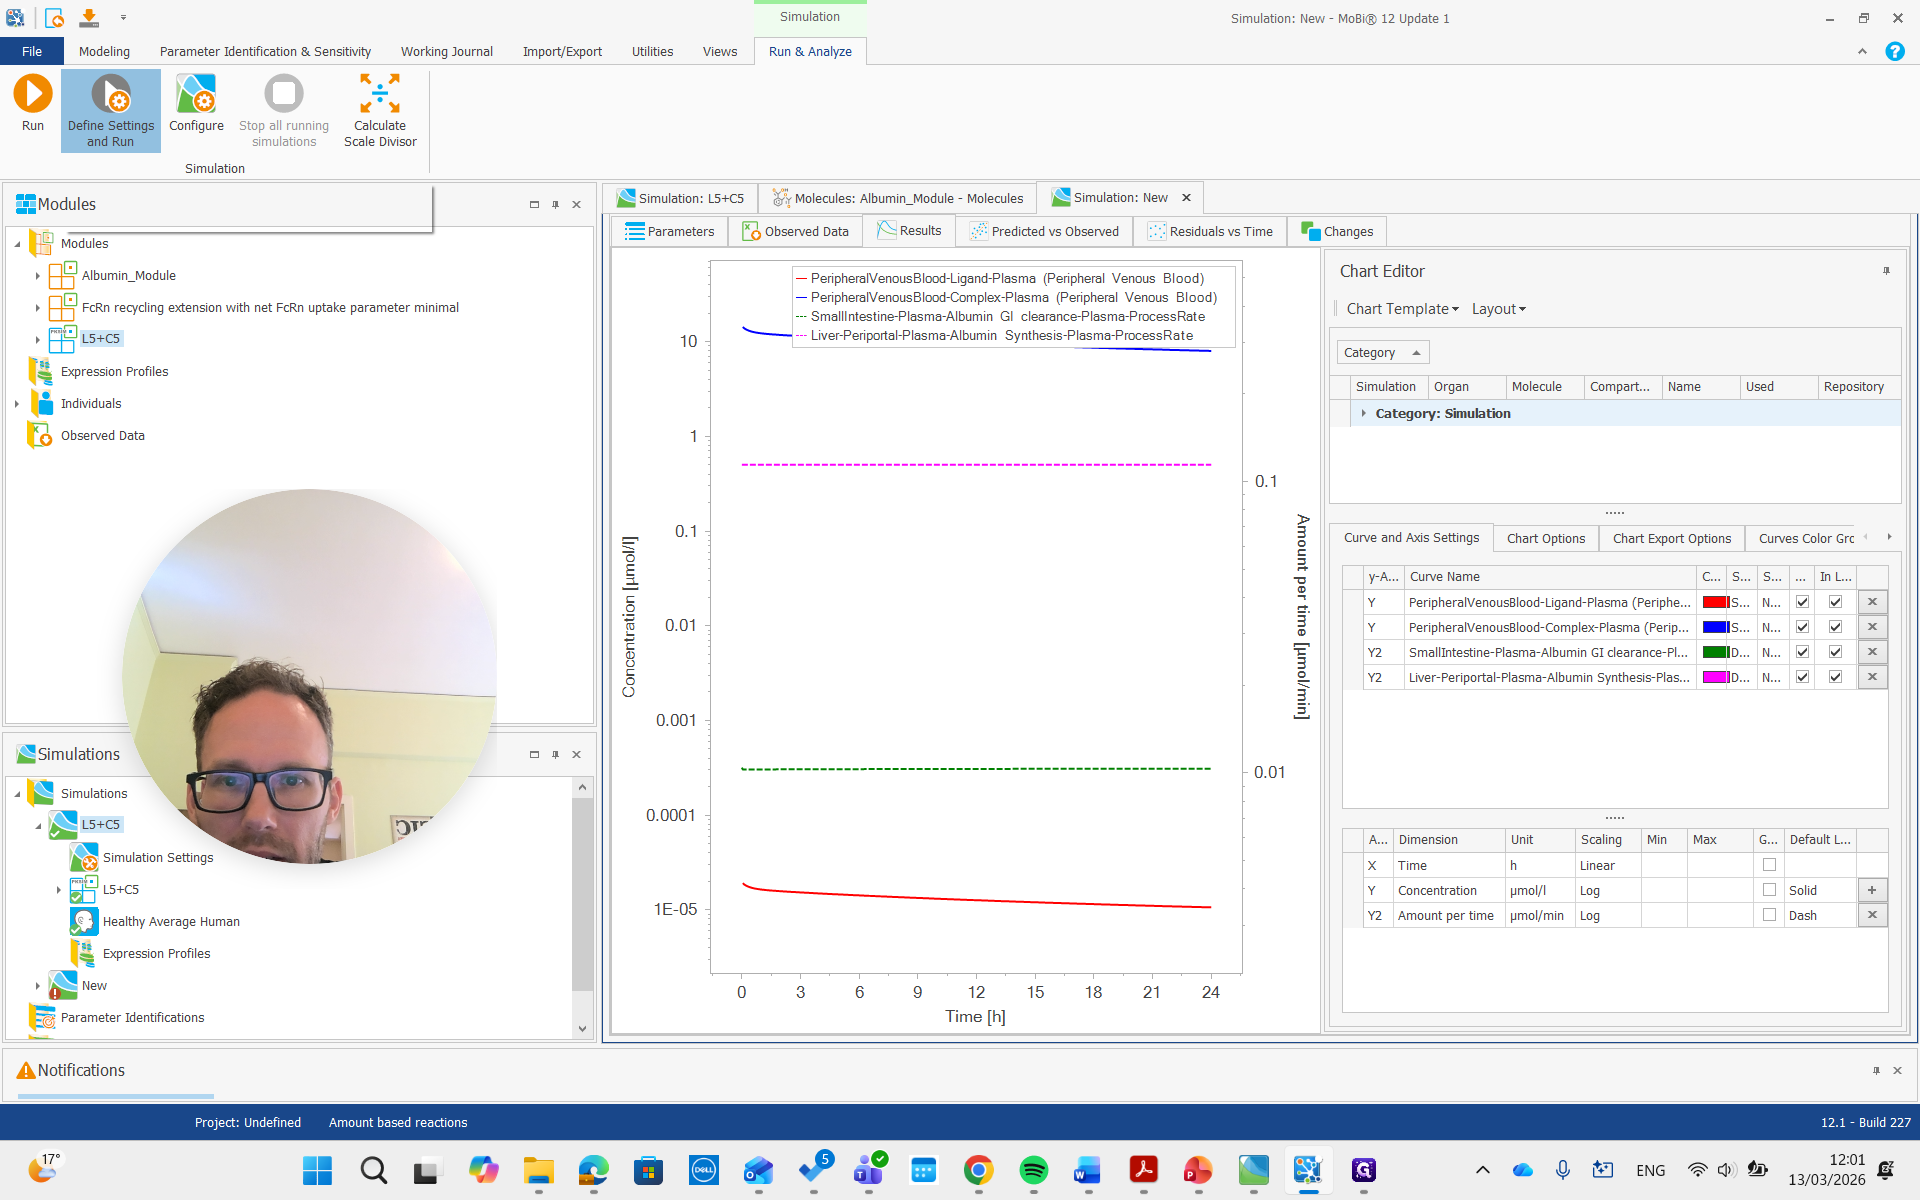
I will add that here.
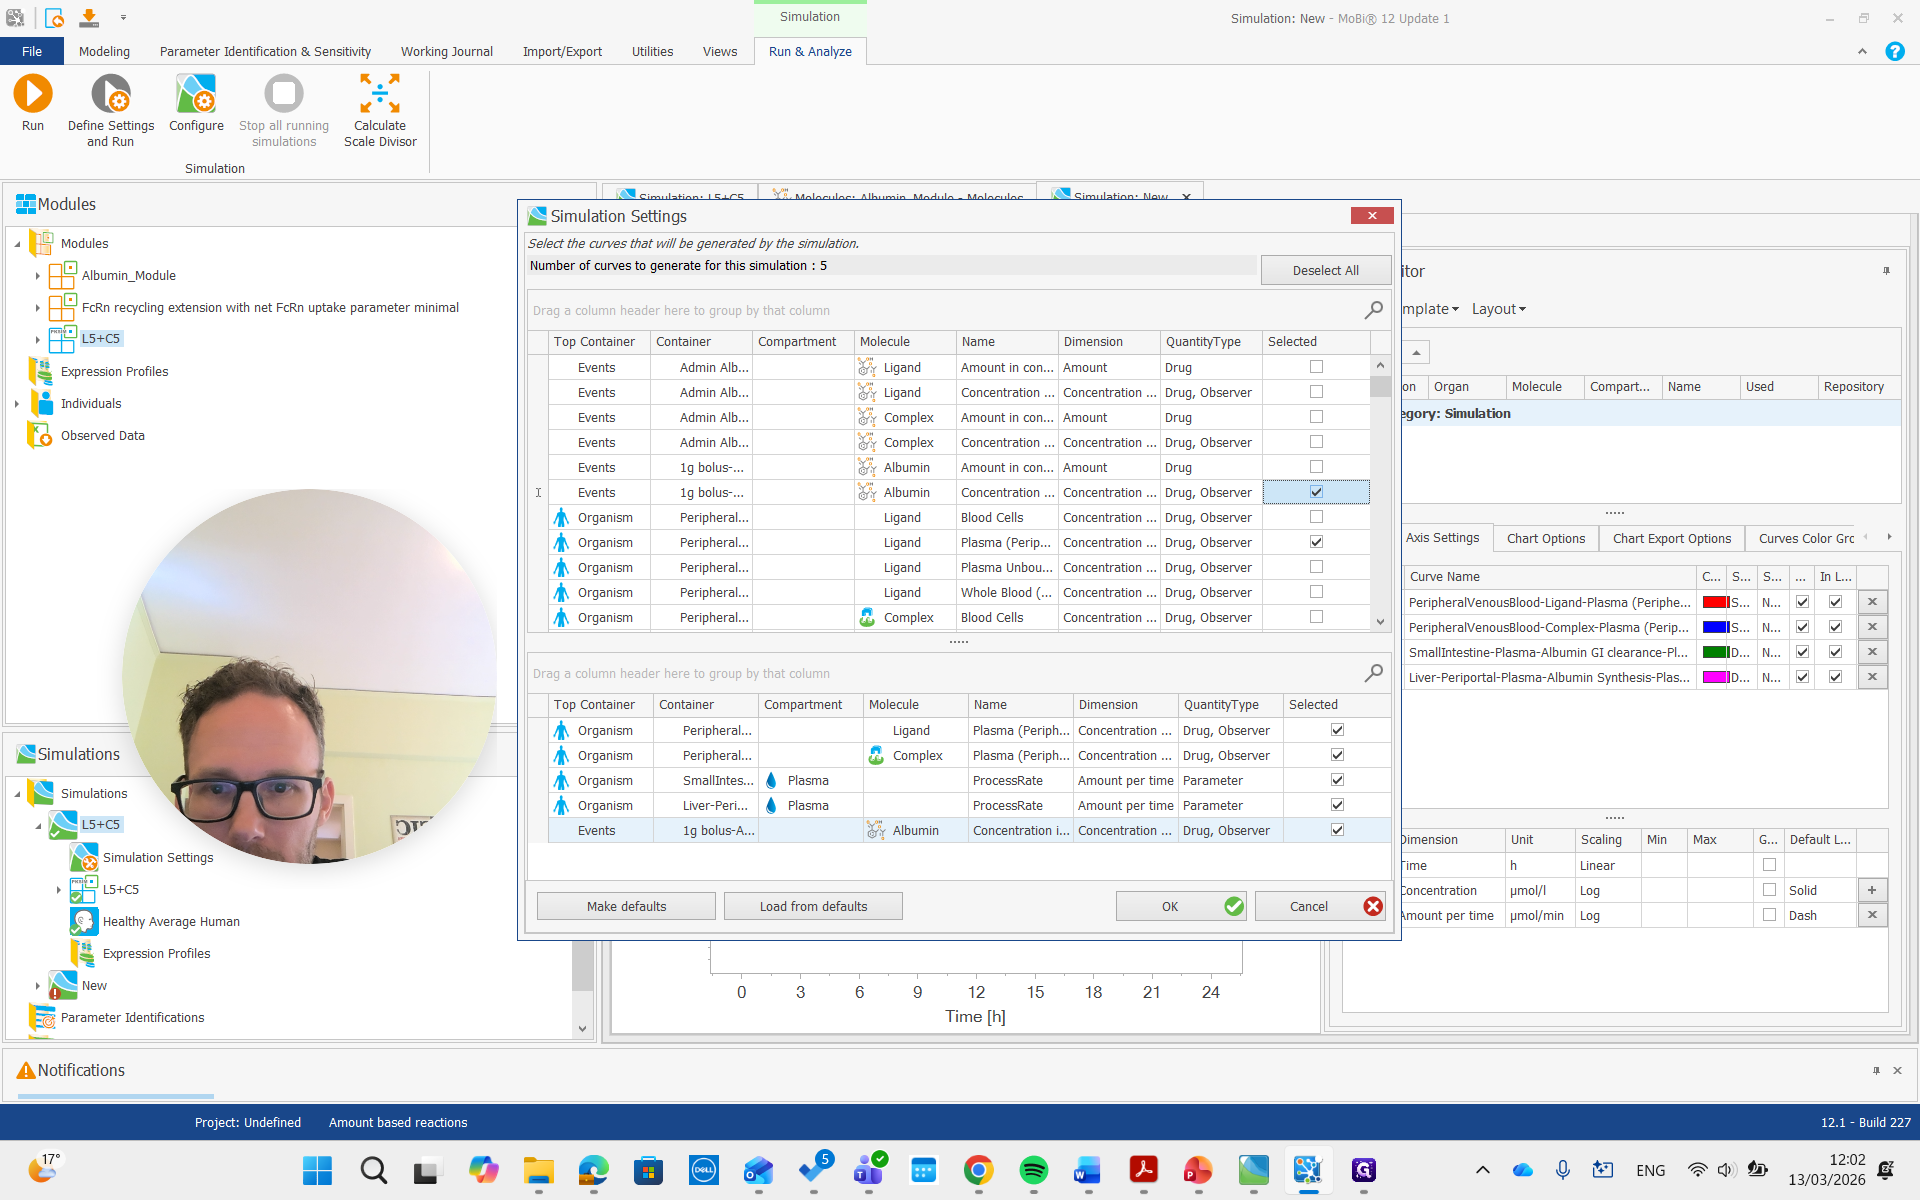
I want the plasma concentration of peripheral venous blood.
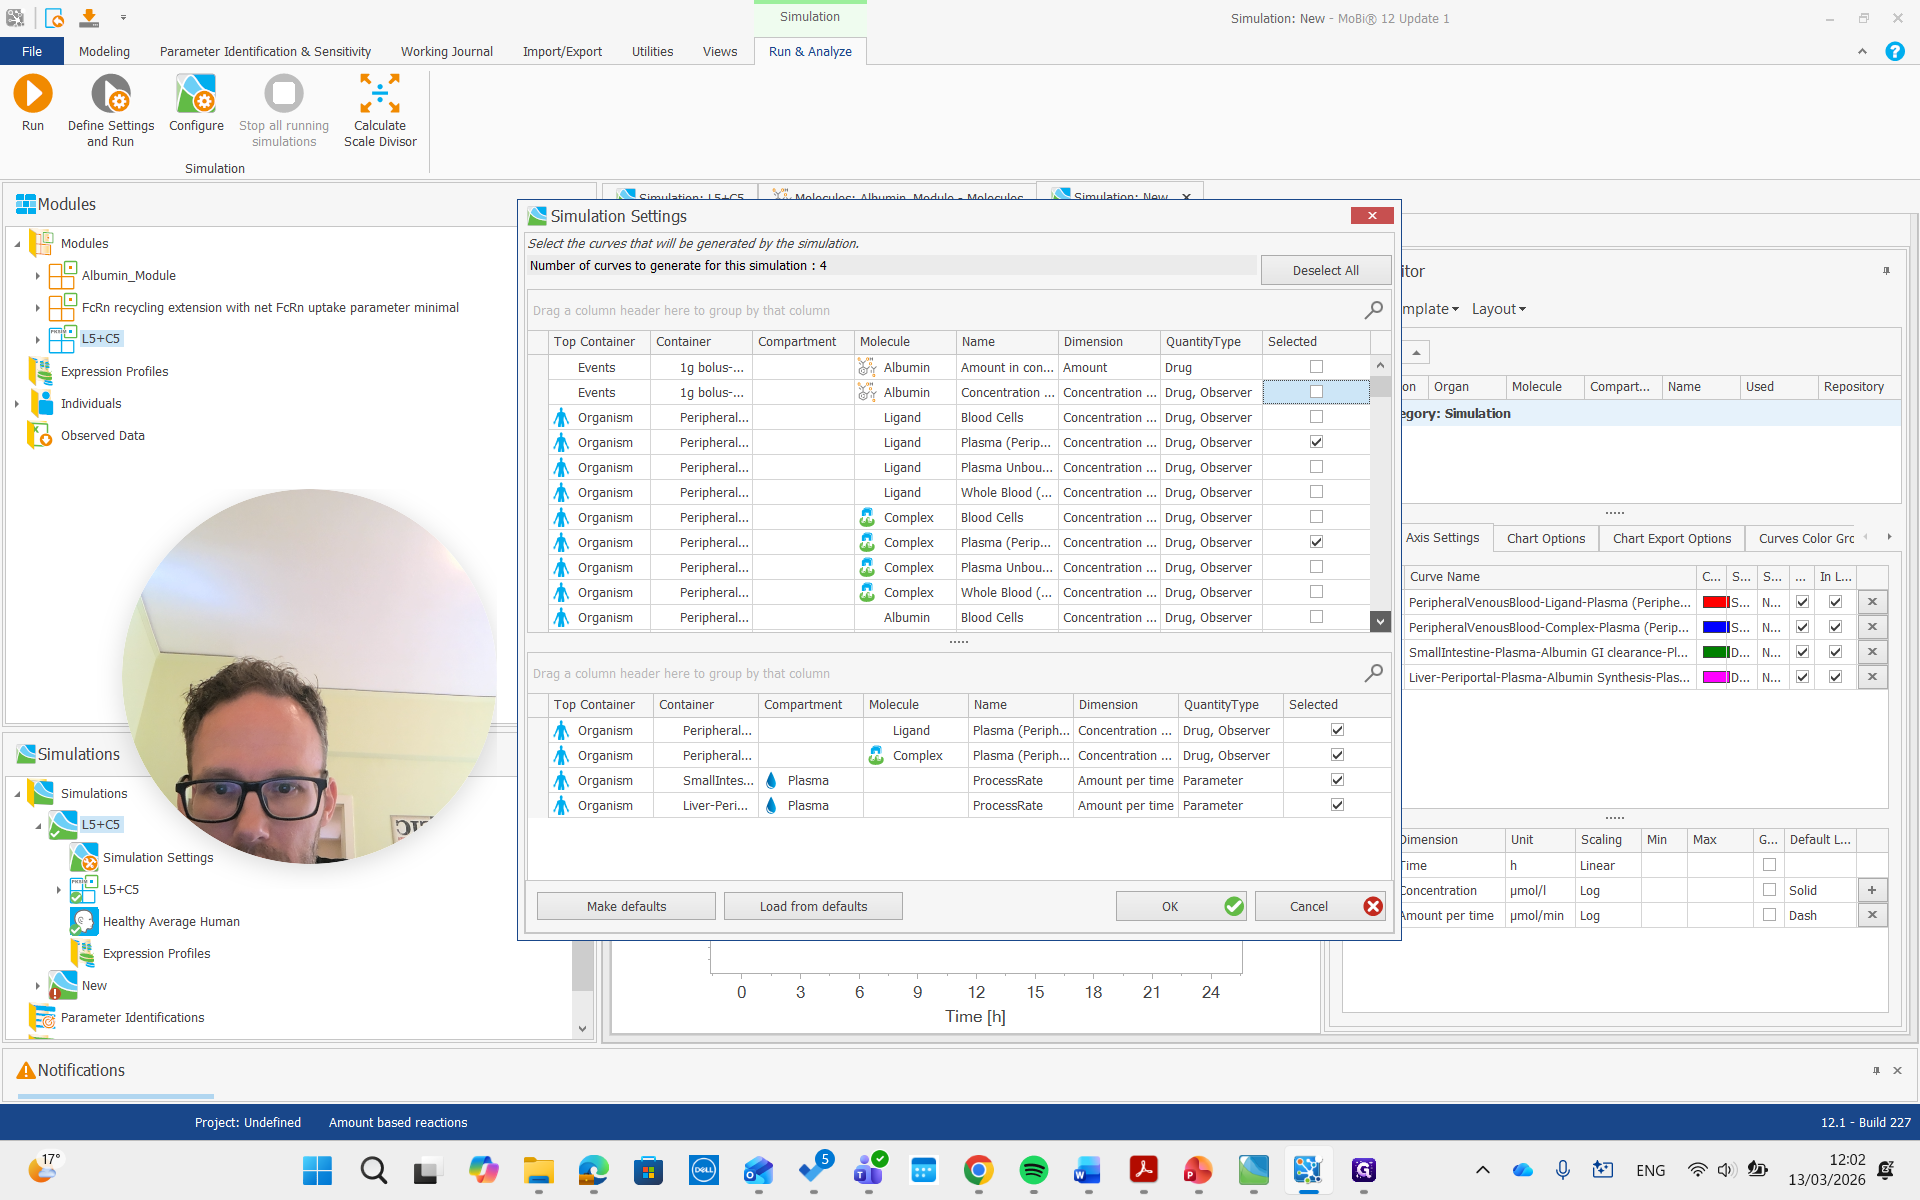
There we go. We run the simulation and examine the albumin concentration, which is not immediately visible here.


There it is, all the way on top.
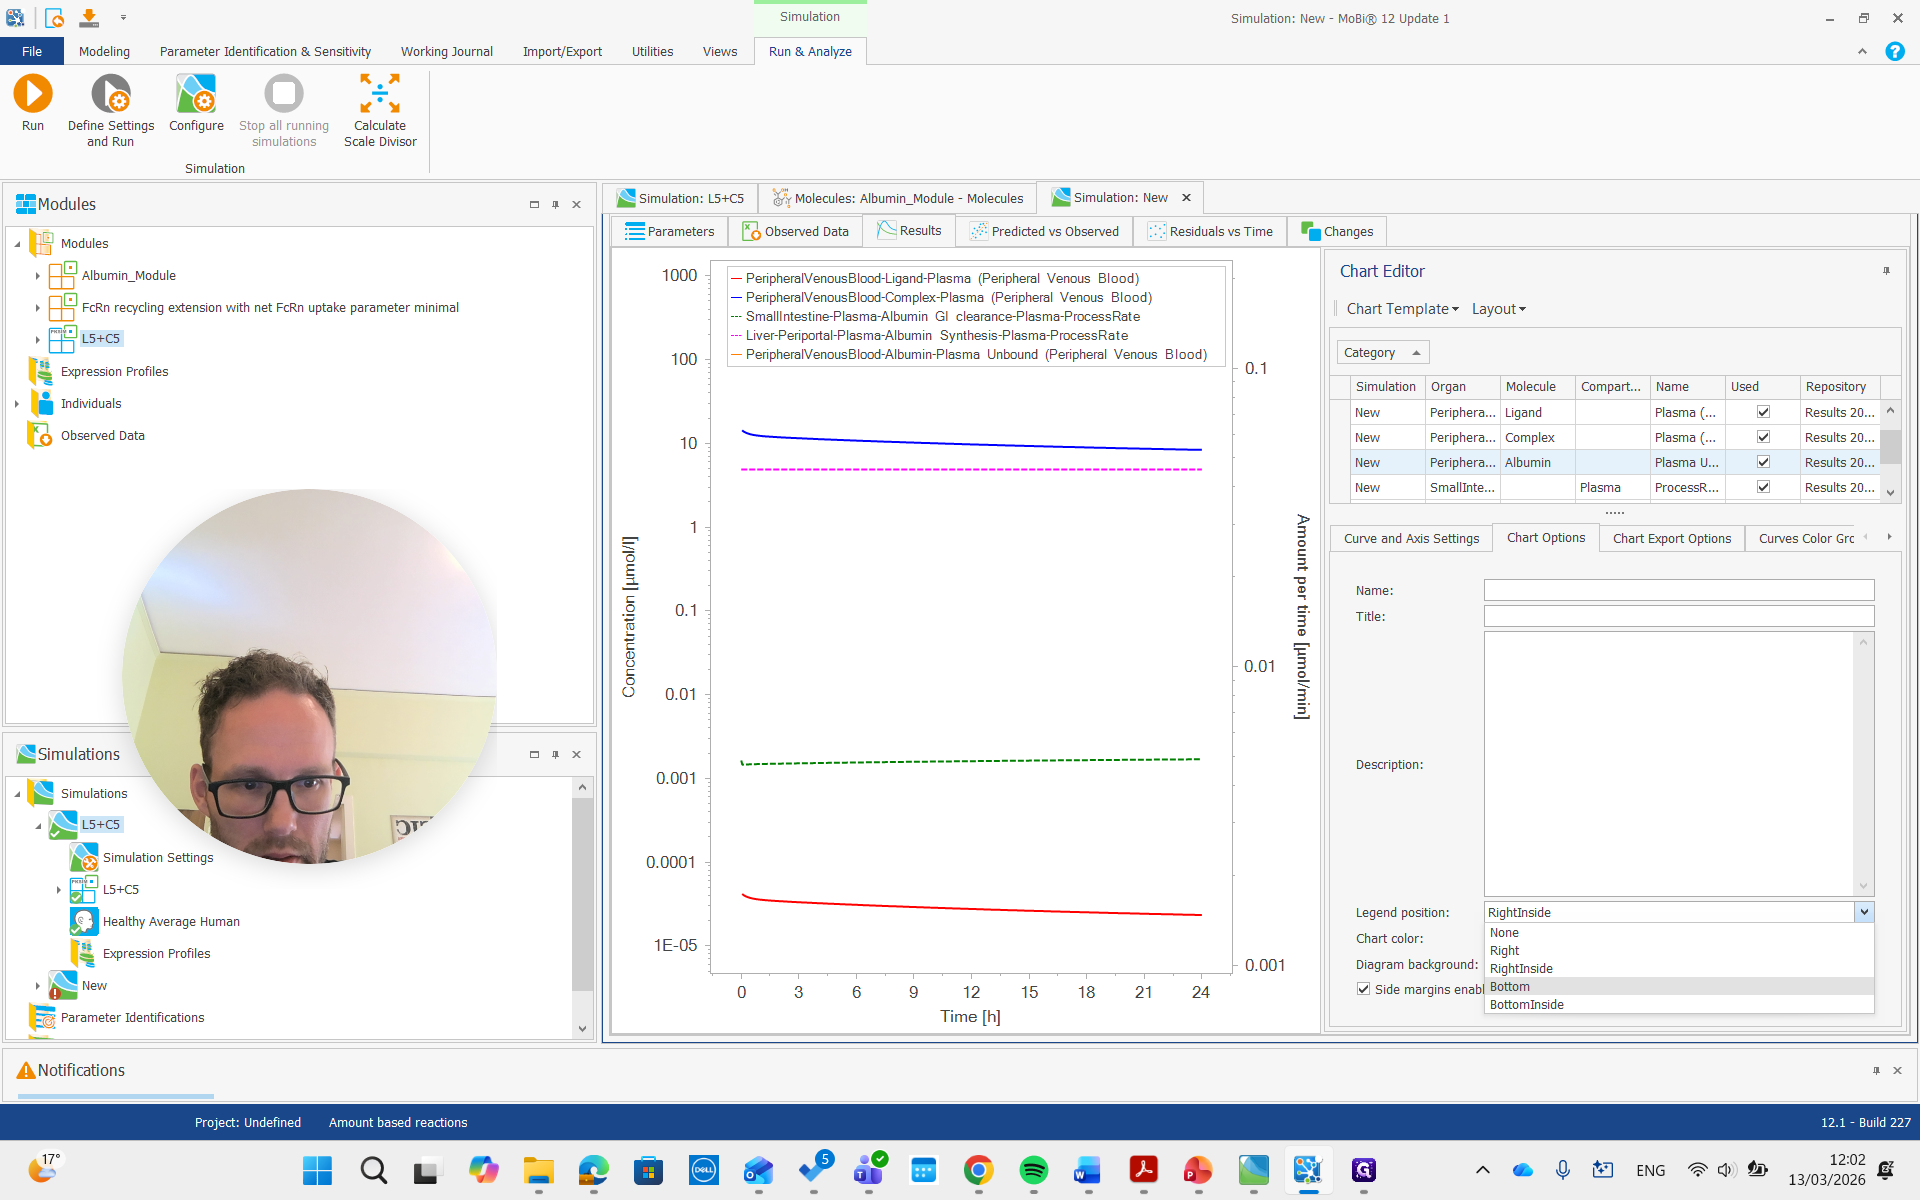
You can see it is now in a different unit, allowing us to compare it with the reference value we set.
So it's about 20...
I think it was gram per liter, so I will change it here.
It's about 20 grams per liter, which we set by reducing the census rate by approximately 60%.

That's how simulations can be built, used, and optimized. These two parameters that we changed can also be fitted. With that, all the information is in place to redo this for your own project and set up any explicit albumin binding simulations.