How to cancel an order that has already been packed and processed by the Warehouse Team.
Learn how to return orders from the "Delivery History" screen to the "Orders Requiring Picking" screen and on how to cancel them.
By Lee Higgins
In this Guide you will learn on how to cancel an order that has already been packed and processed by our Warehouse Team.
After this guide you should be able to:
Confidently reverse delivery methods from the "Delivery History" screen.
Confidently edit the sales order allocation to ensure the stock gets returned to it's correct bin location.
Confidently cancel an order.
Step 1: Reversing the Delivery
Before canceling an order you must ensure that the delivery method has been reversed on OrderWise. Otherwise the order will not appear on the "Orders Requiring Picking" screen preventing you from editing the sales order and canceling it.
1
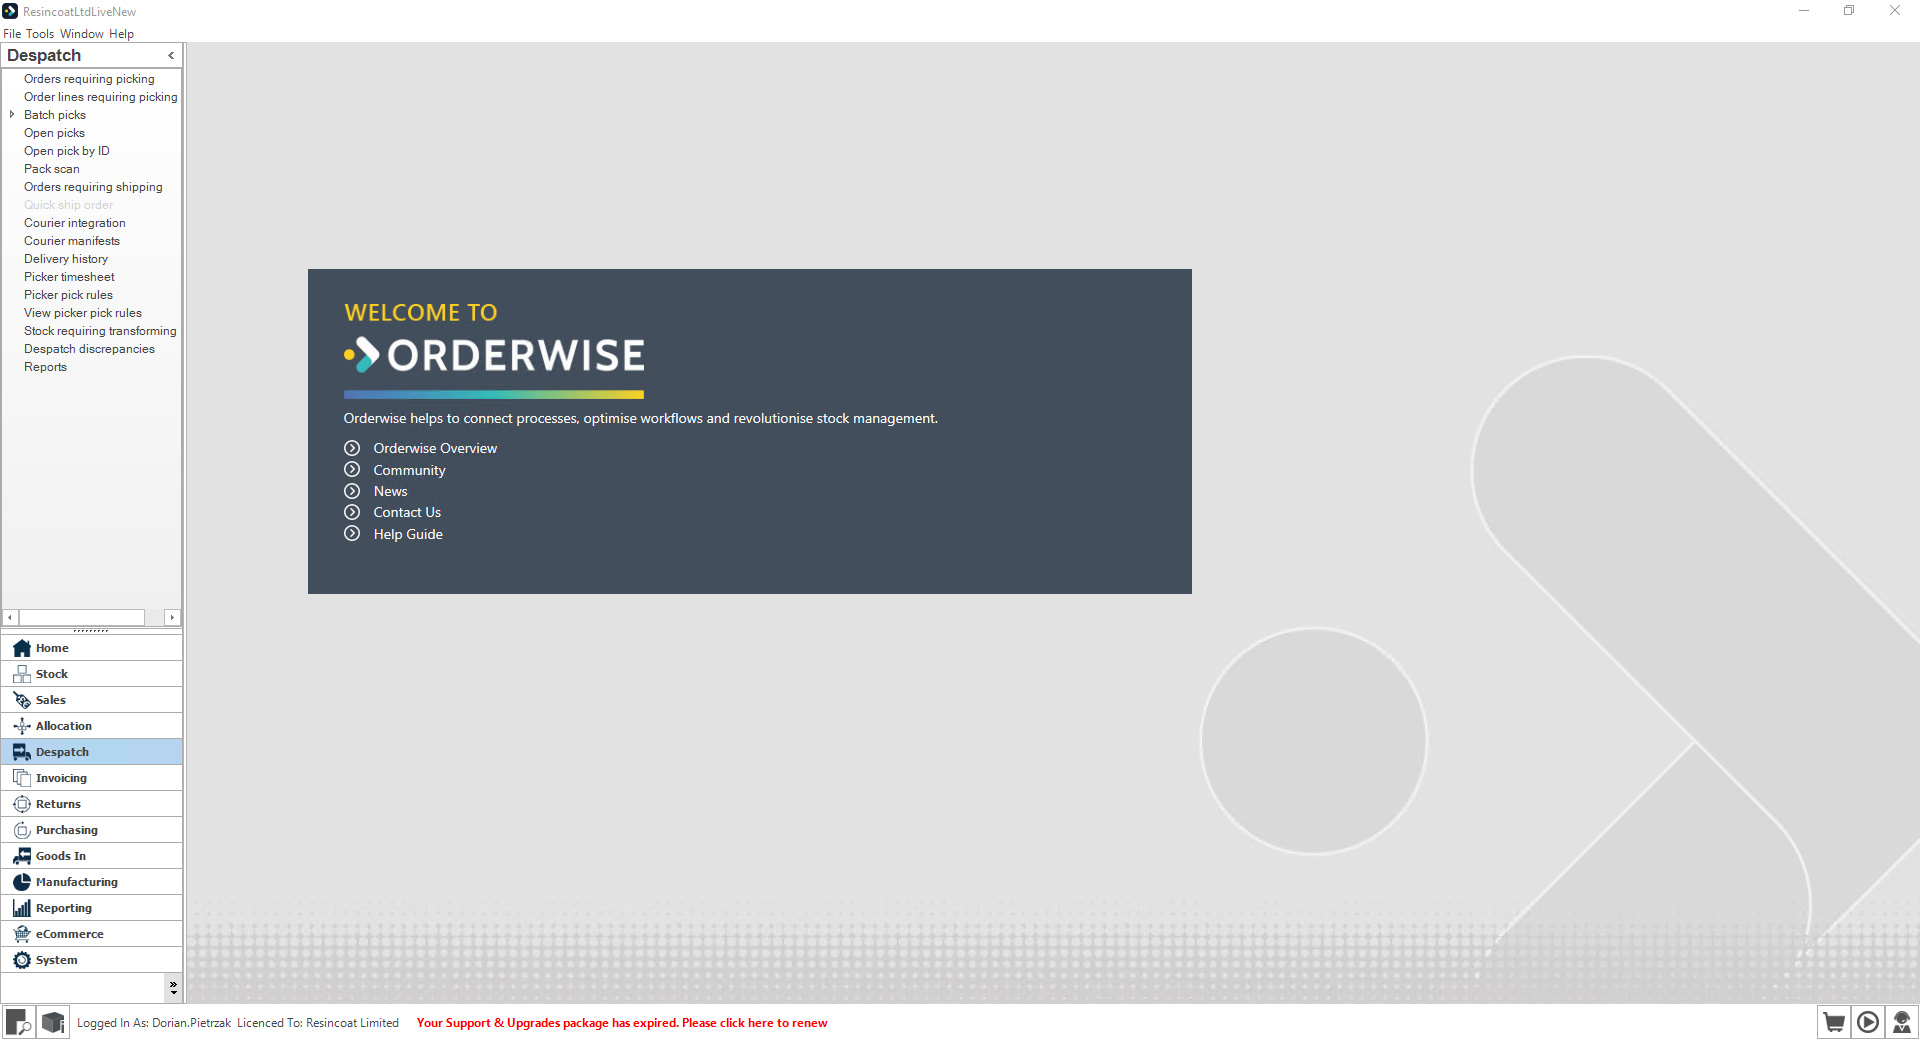
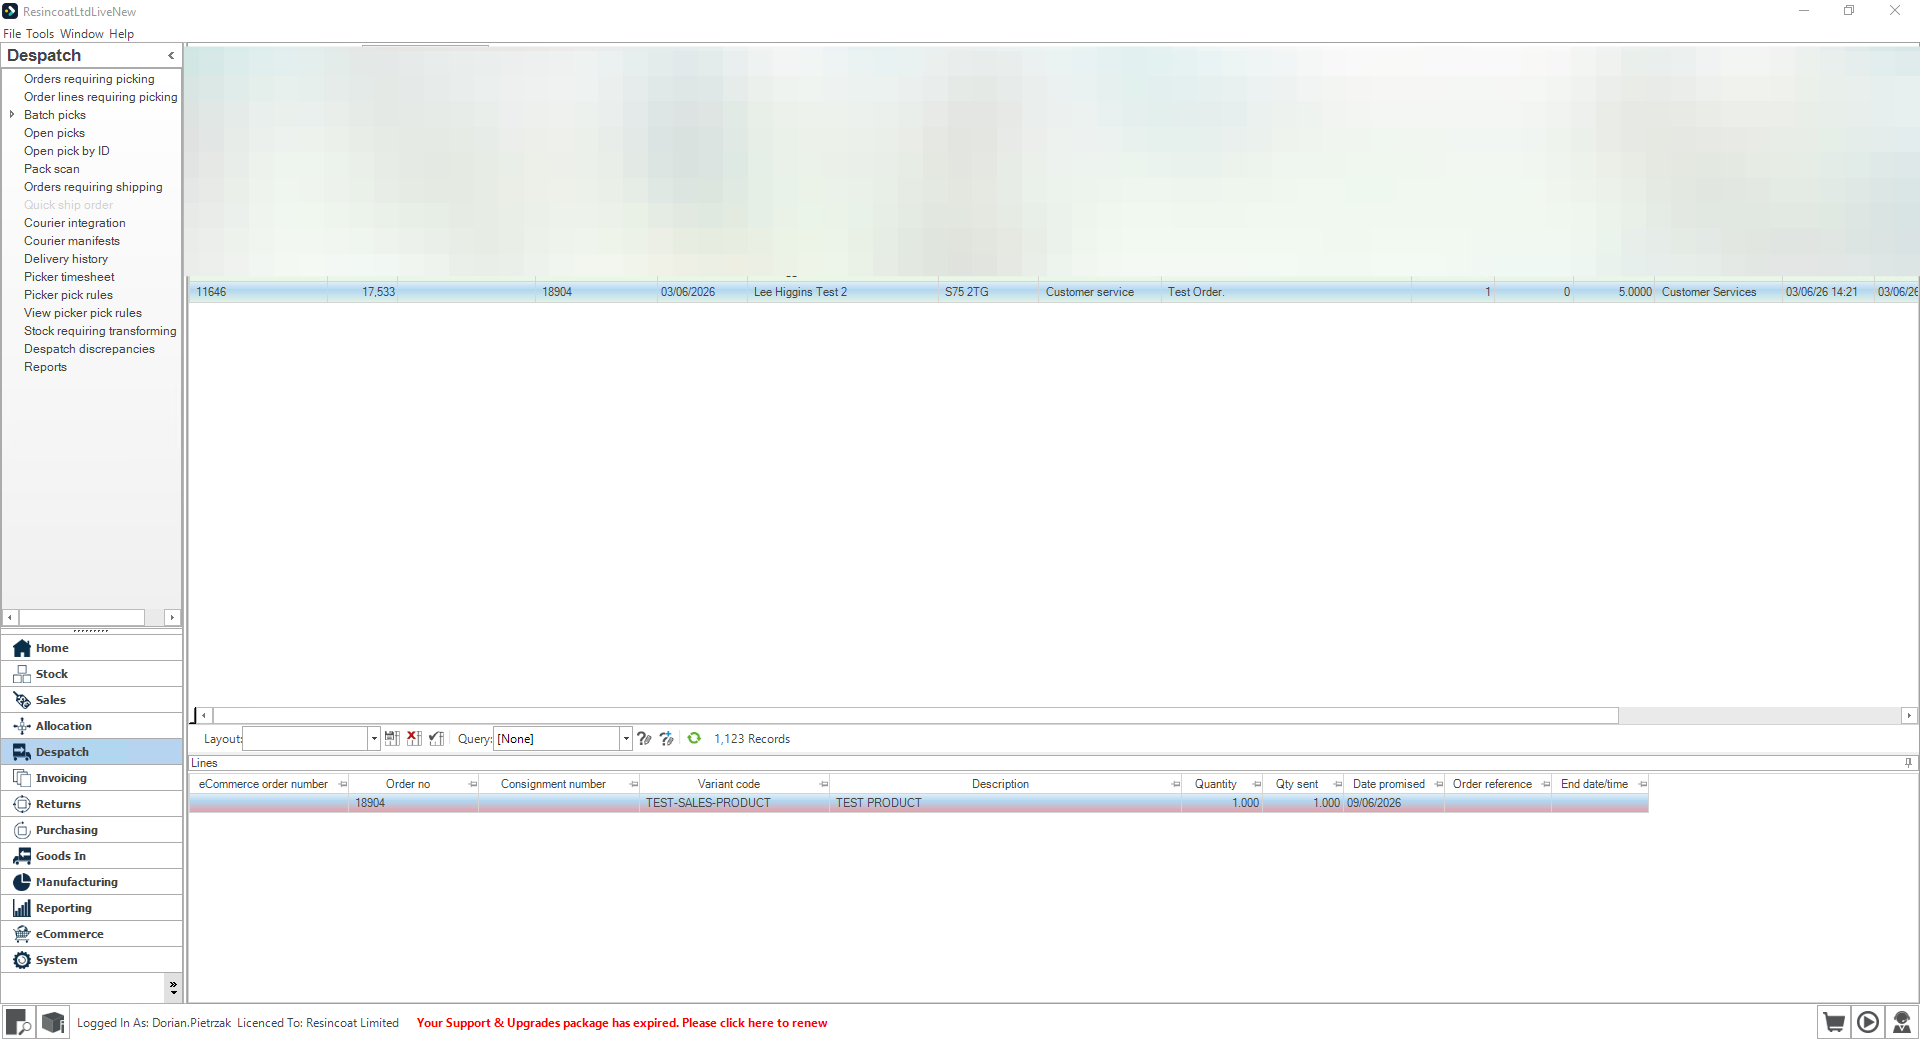
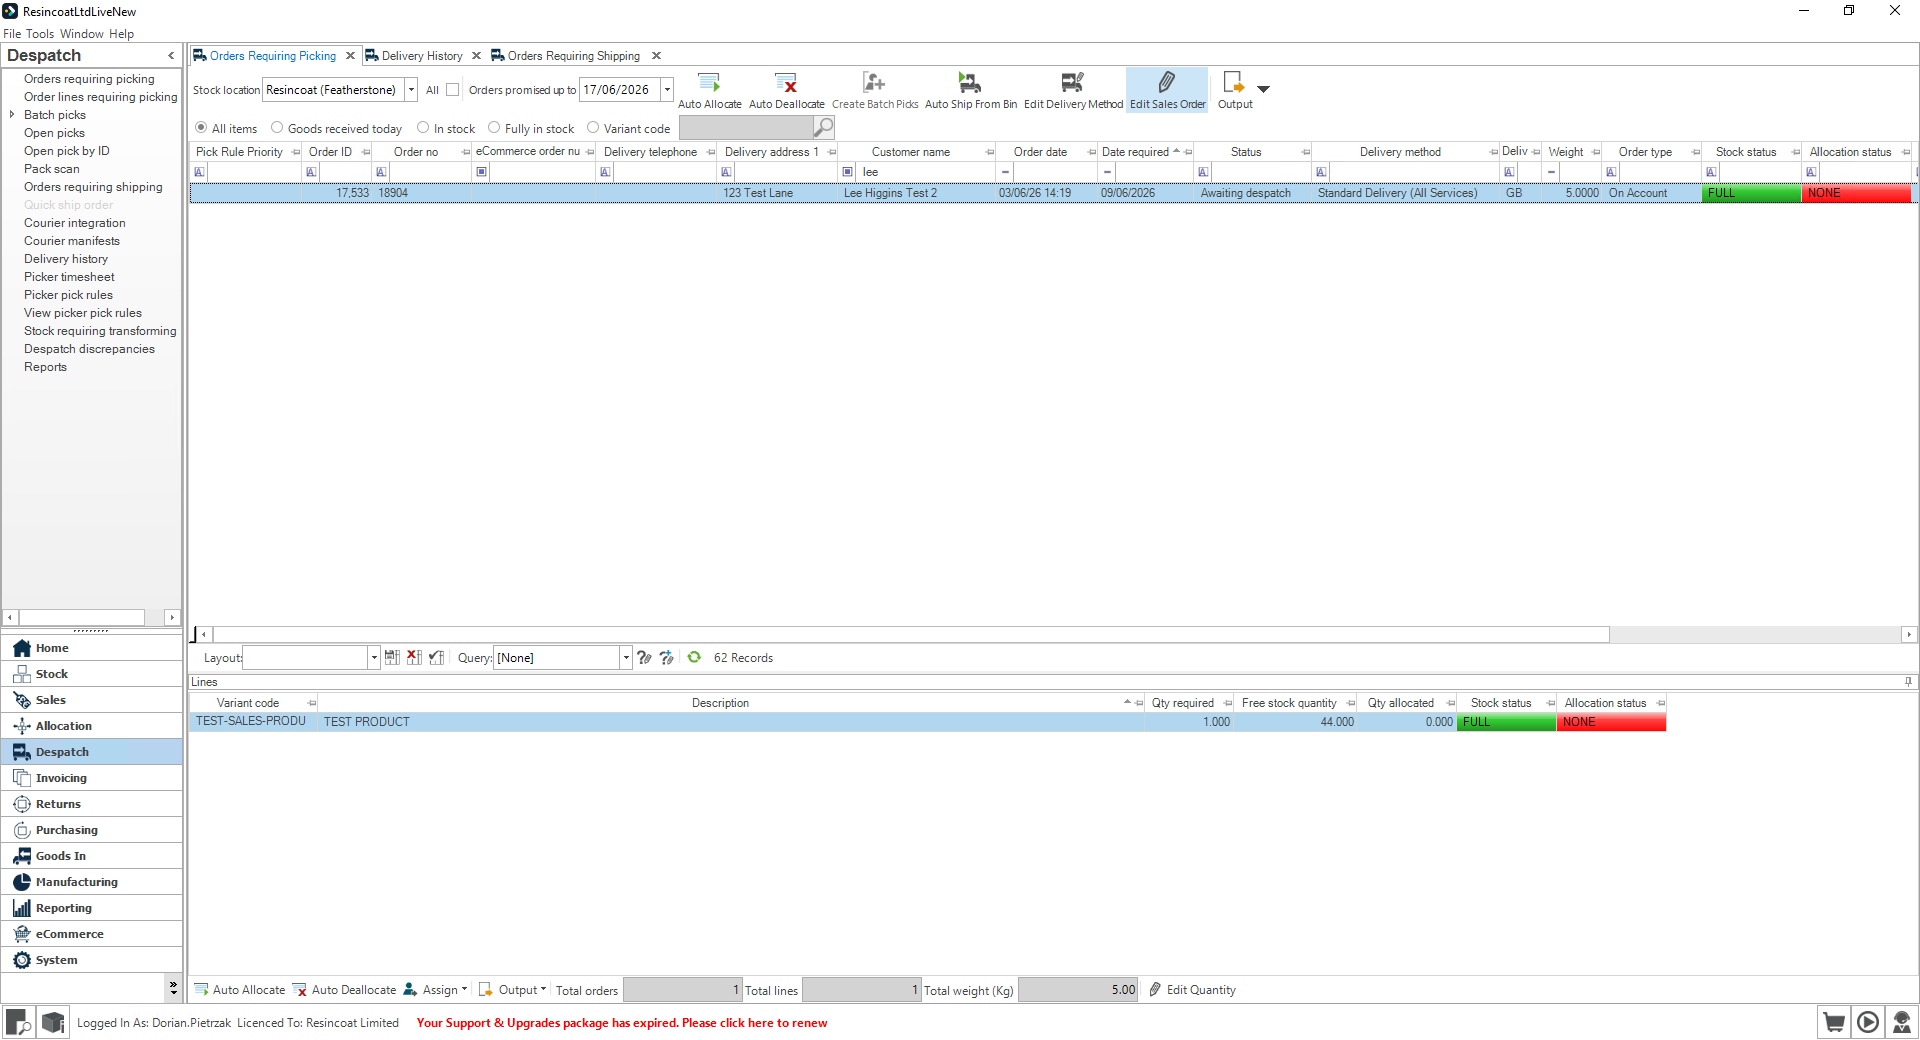
Click onto the "Despatch" module in the main navigation sidebar, this should bring you to the "Orders Requiring Picking".
2
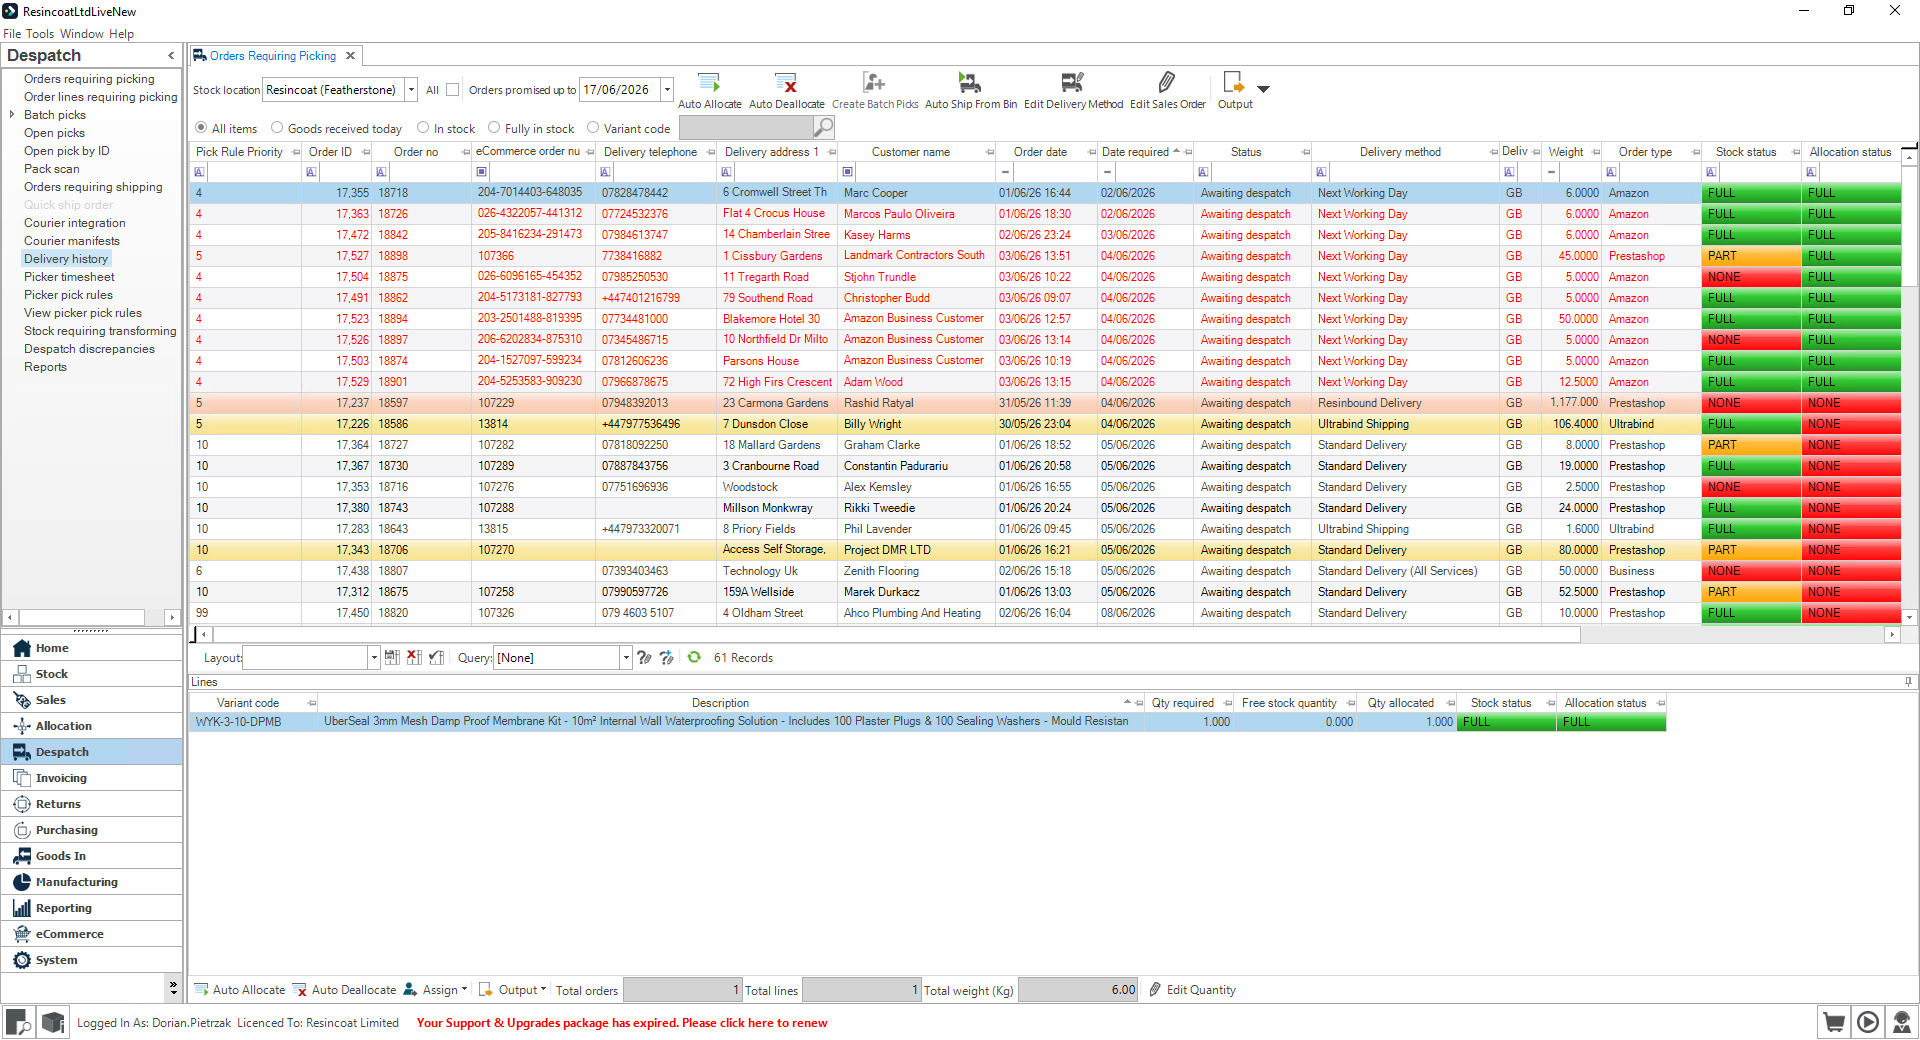
Click the "Delivery History" tab to view orders that have already been packed and processed by the Warehouse team.
3
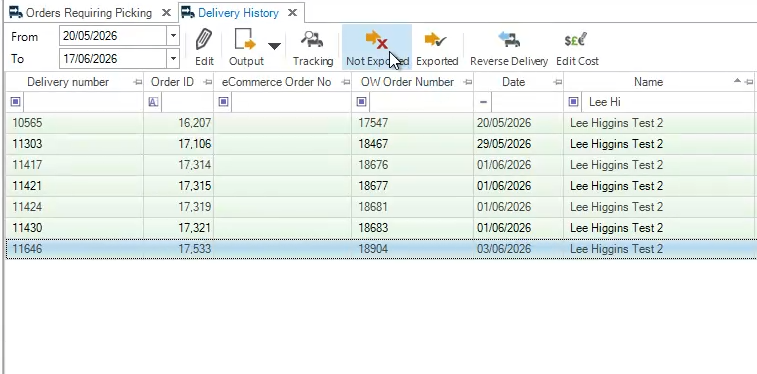
Once on the "Delivery History" type in the order number you are trying to find in the "OW Order Number" field.
4
Locate your order and select it. You will need to reverse the delivery before cancelling the order.
5
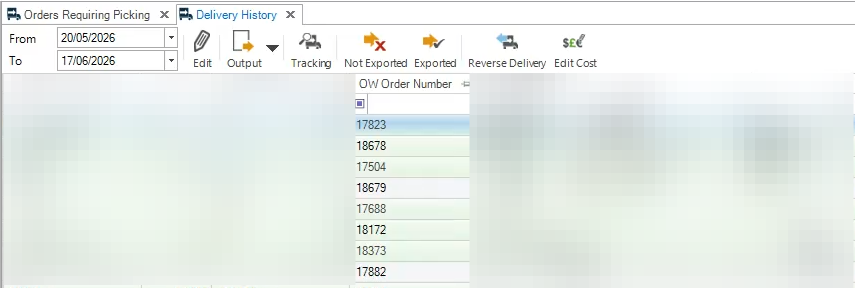
Once the delivery record you are trying to reverse is selected you need to press the "Not Exported" button on the top of the screen.
6
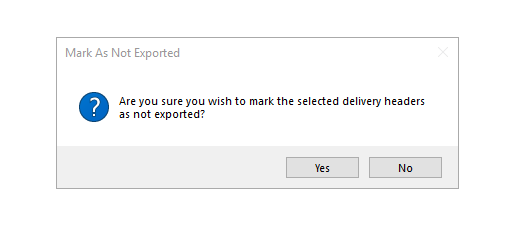
Upon the press of the "Not Exported" button this pop up should appear, press the "Yes".
7
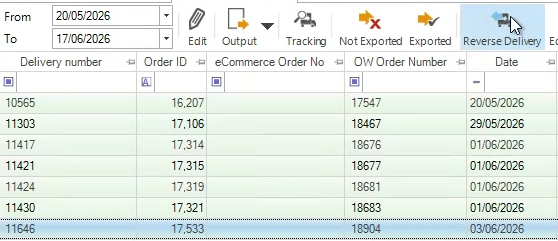
After the order has been marked as not exported, now you can reverse the delivery by pressing on the "Reverse Delivery" button which is located to the right of the "Not Export" button.
8
After the "Reverse Delivery" button has been pressed, a pop up (similar to the one on slide 6) should appear, press "Yes" on the pop up.
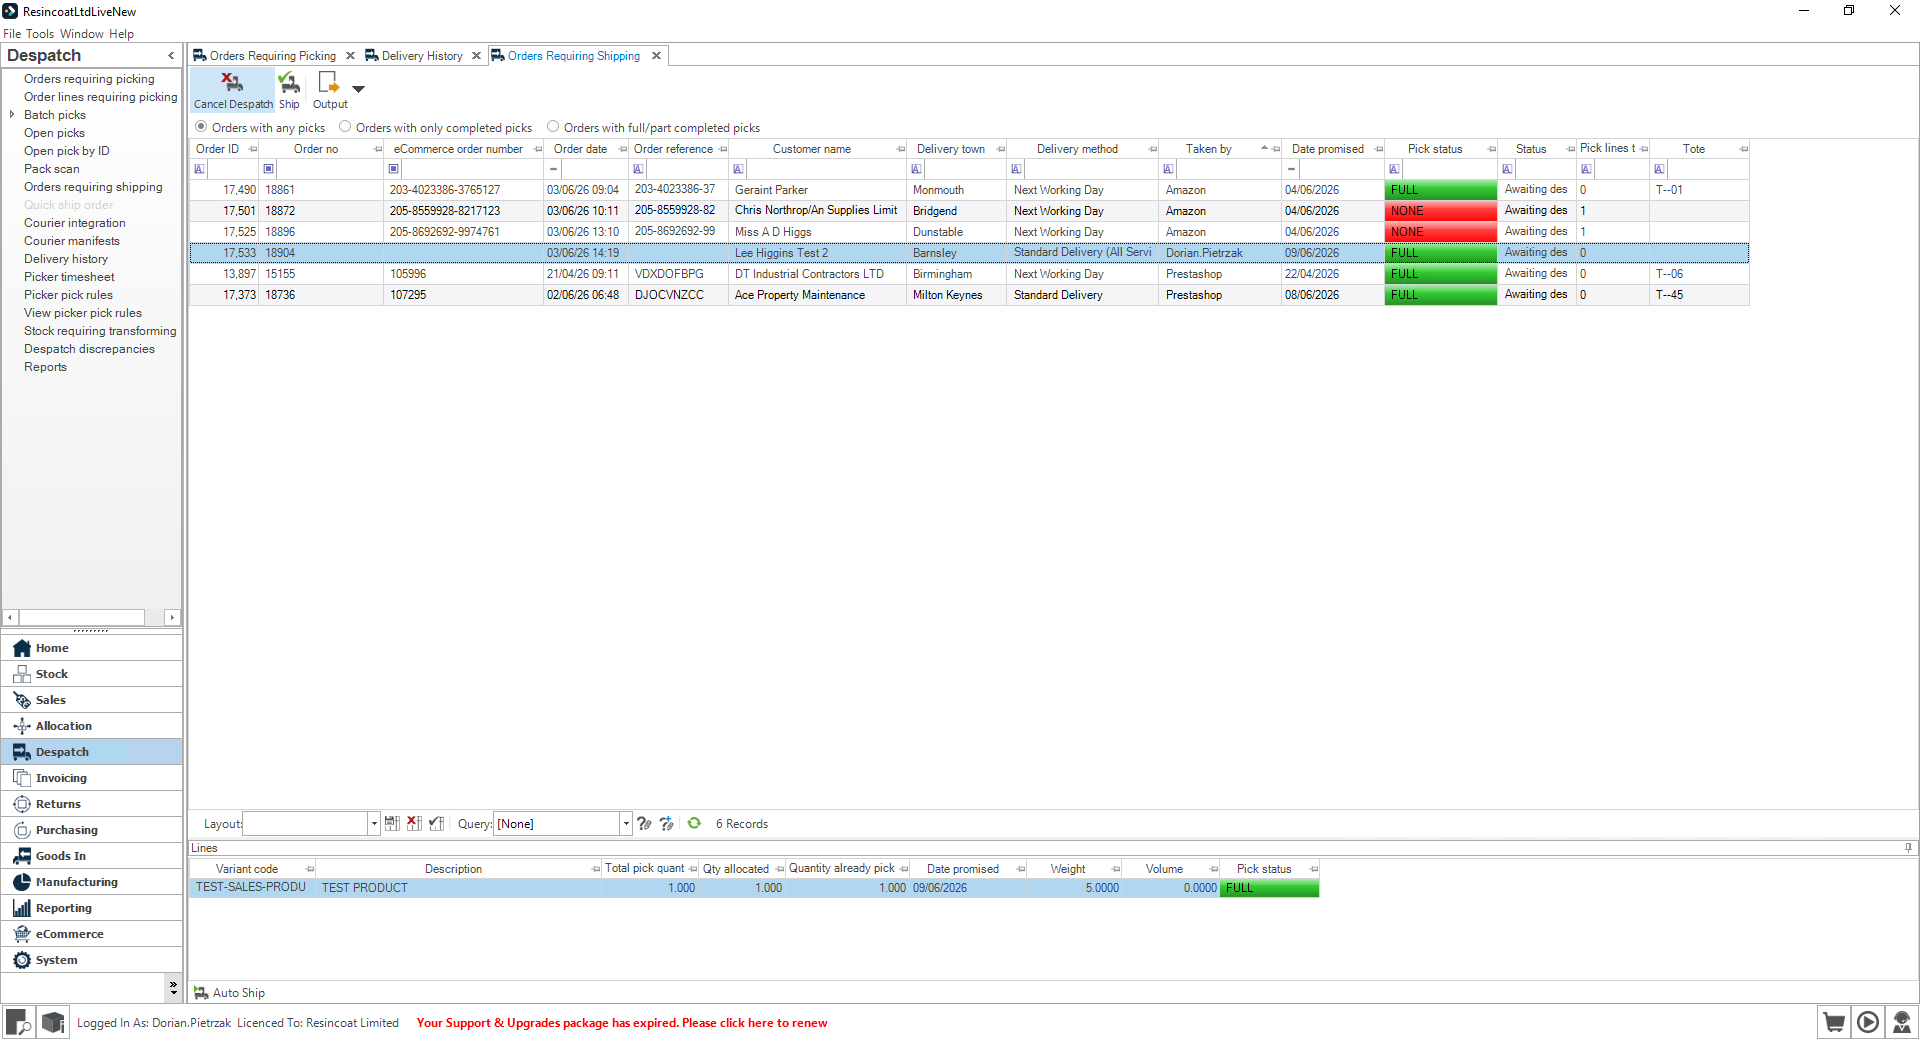
9
After the delivery has been reversed, the order will end up in the "Orders Requiring Shipping" tab. this tab can be found on the Despatches module's side bar
10
Once on the "Orders Requiring Shipping" screen locate your order and select it . After that press the "Cancel Despatch" button which is found on the top left corner of the screen.
Step 2: Canceling the Order
11
Click the "Orders requiring picking" tab to view all the live orders and the order that you have just cancelled the despatch on.
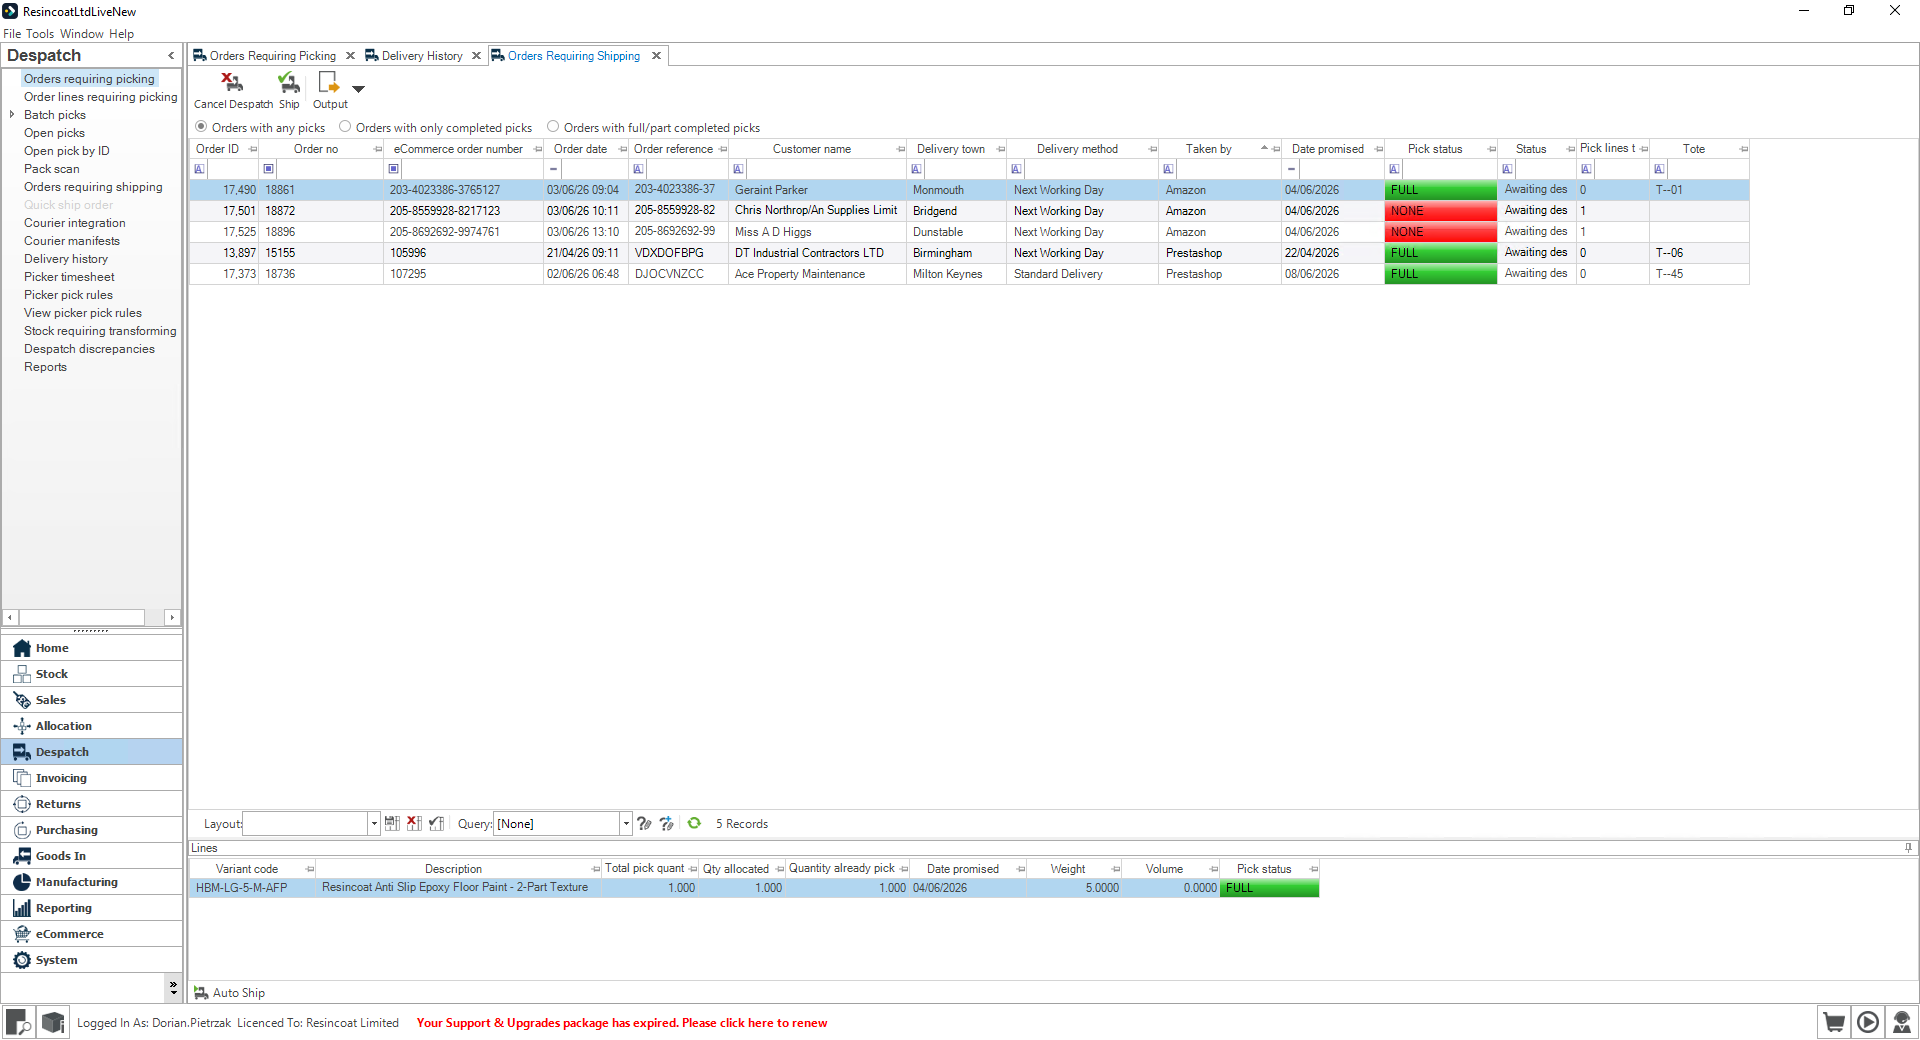
12
Search for you order by using "Order number" "Customer name" or "Delivery address"
13
Once the order has been selected, you can now edit the sales order by pressing the "Edit Sales Order" button
14
A new screen like this should appear, as you can see the cancel order button is greyed out, this is due to stock still being allocated to the order.
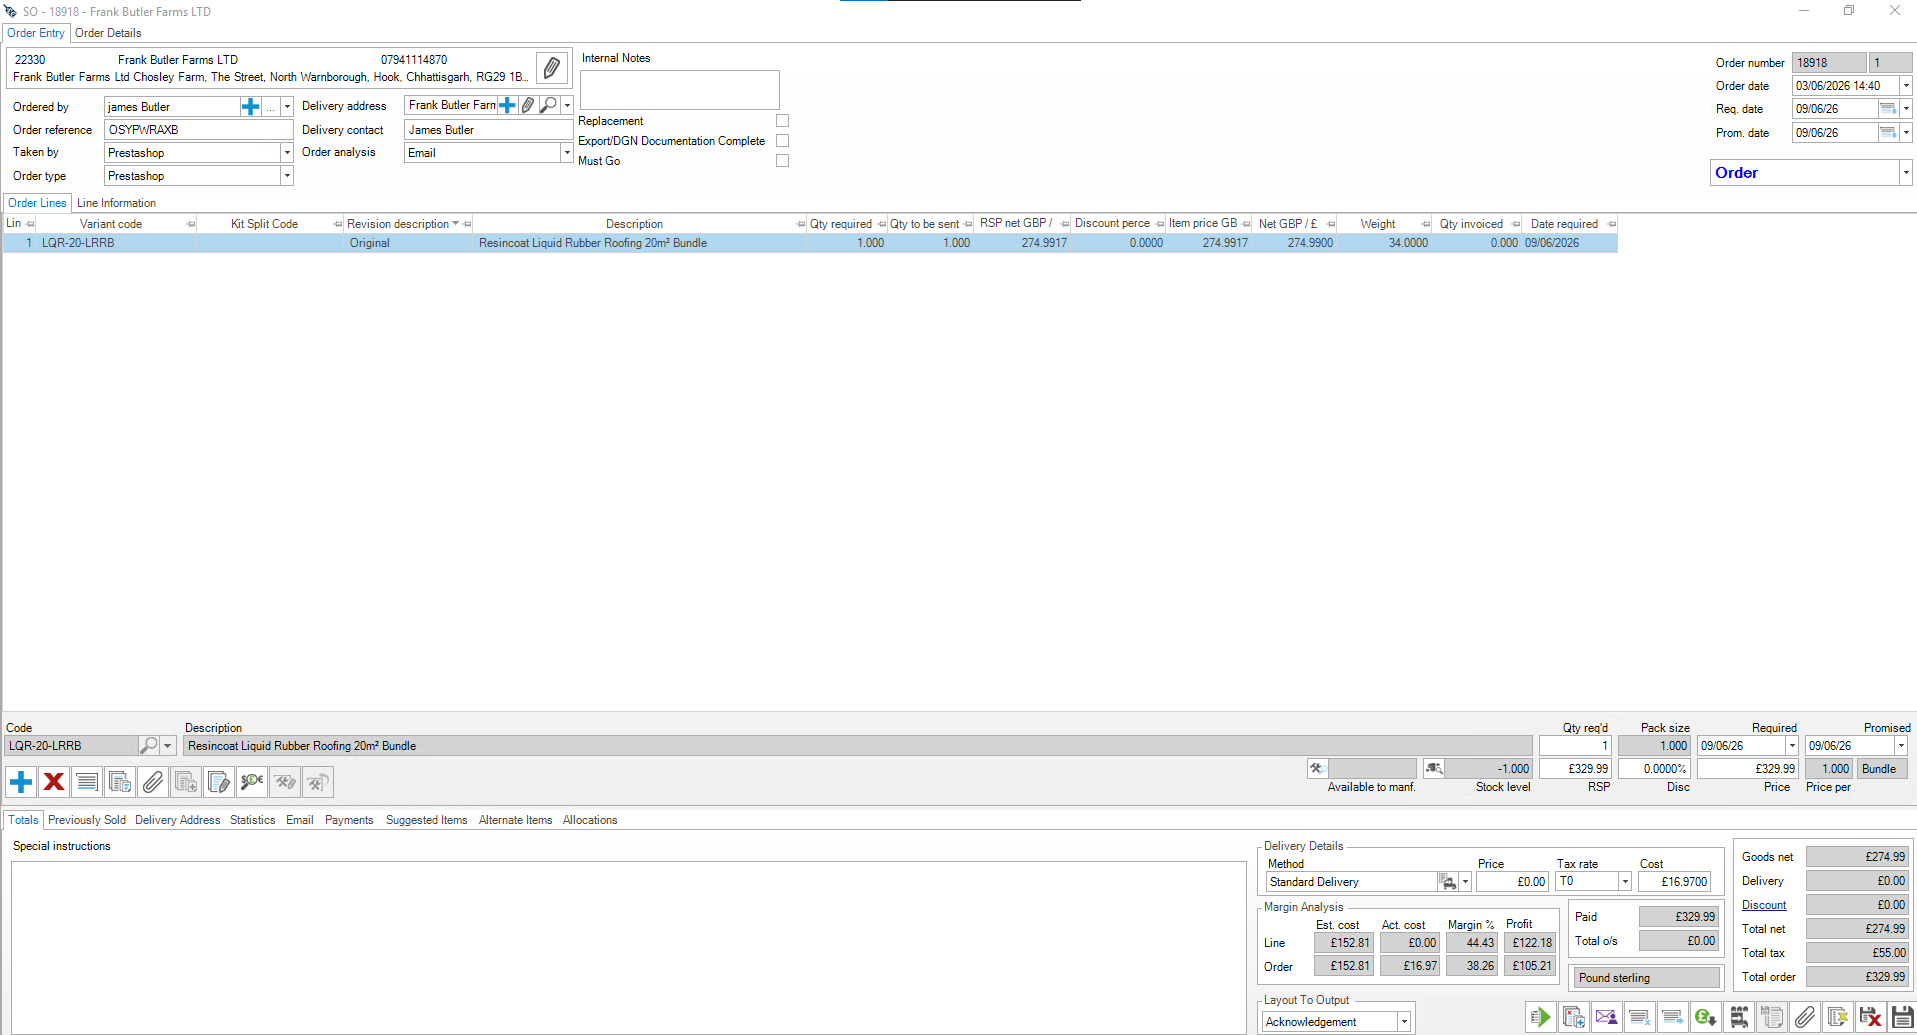
15
To deallocate stock from a sales order press "Allocation"
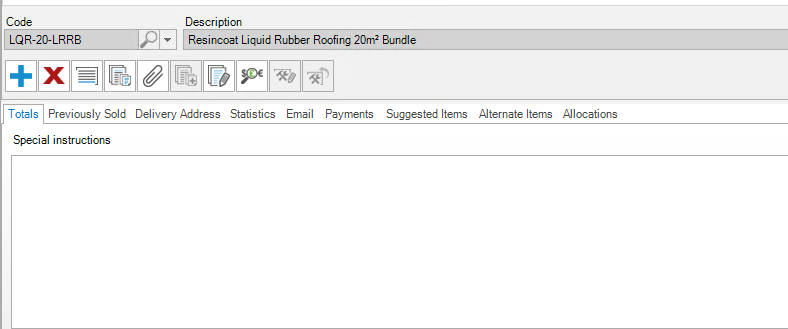
16
These 3 buttons should now appear on the bottom left of the screen, press the middle one.

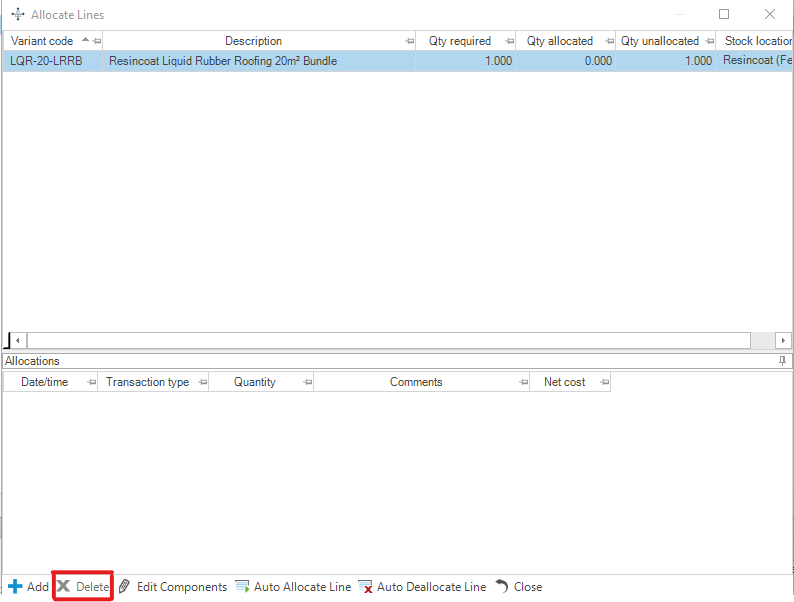
17
A new screen should now appear, to delete the allocation from a product line you want to press the "Delete" button located at the bottom left of the screen. make sure that you do this for every line otherwise you will not be able to cancel the order.
18
After closing out of the the "Allocation lines" tab the"Mark order as cancelled" will now be available, press the button to cancel the order.