How to Change Card Information: Columns, Colors, Icons, and Comments
Learn step-by-step how to update your card information, including changing columns, colors, icons, and adding comments in Workflow & Delivery. Improve your workflow board with these easy instructions.
By Emilie Peloquin
In this guide, we'll learn how to update card informations in your workflow system. You will see how to change columns, colors, icons, and add comments or dates to your cards. Let's get started
1
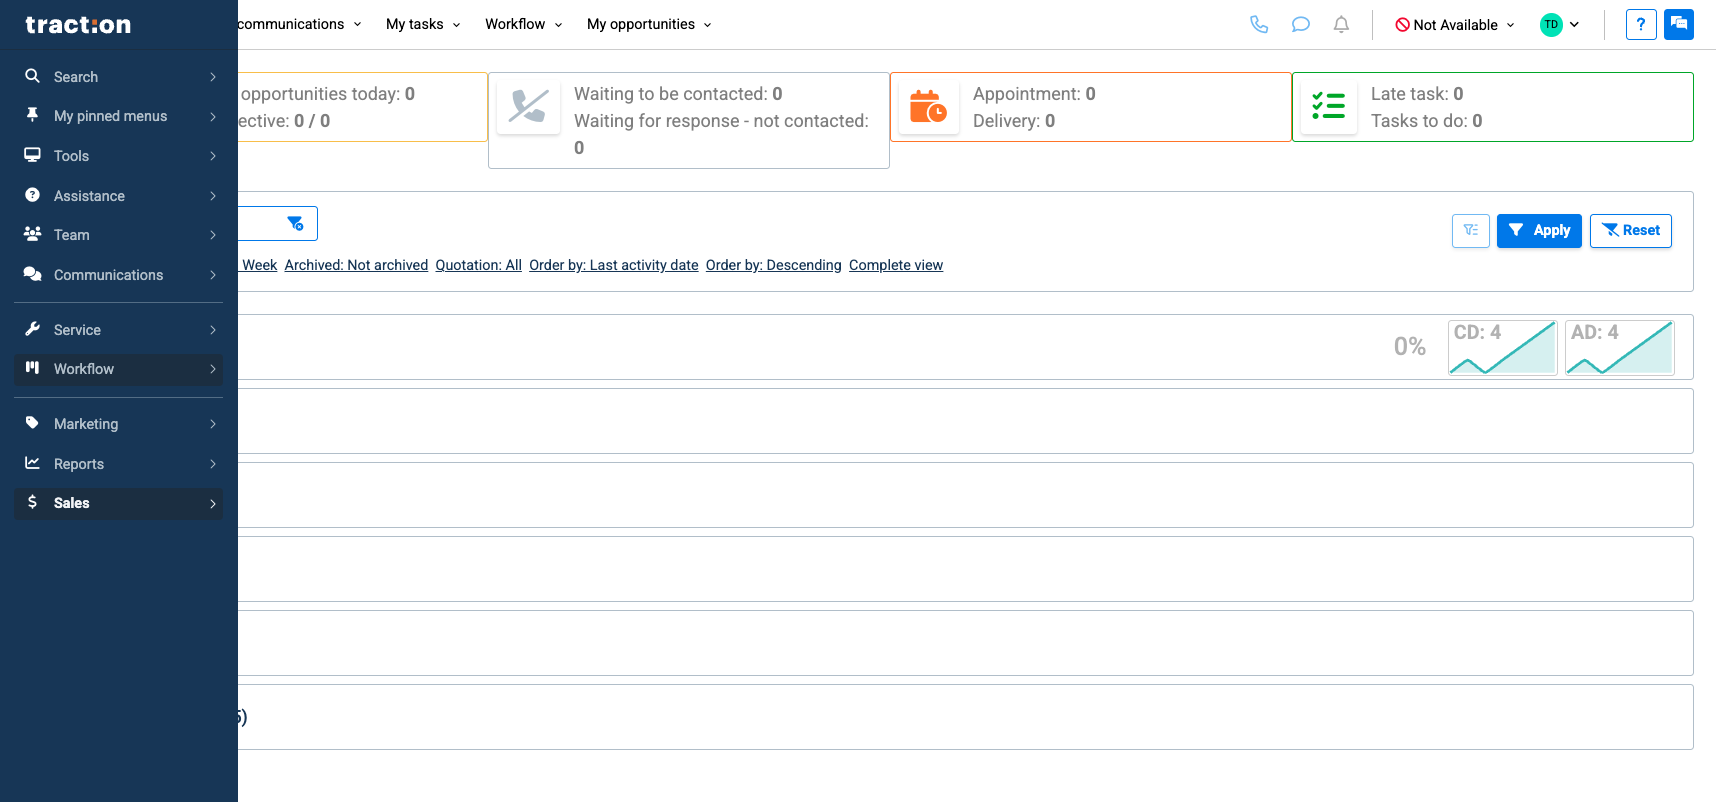
First, access your workflow
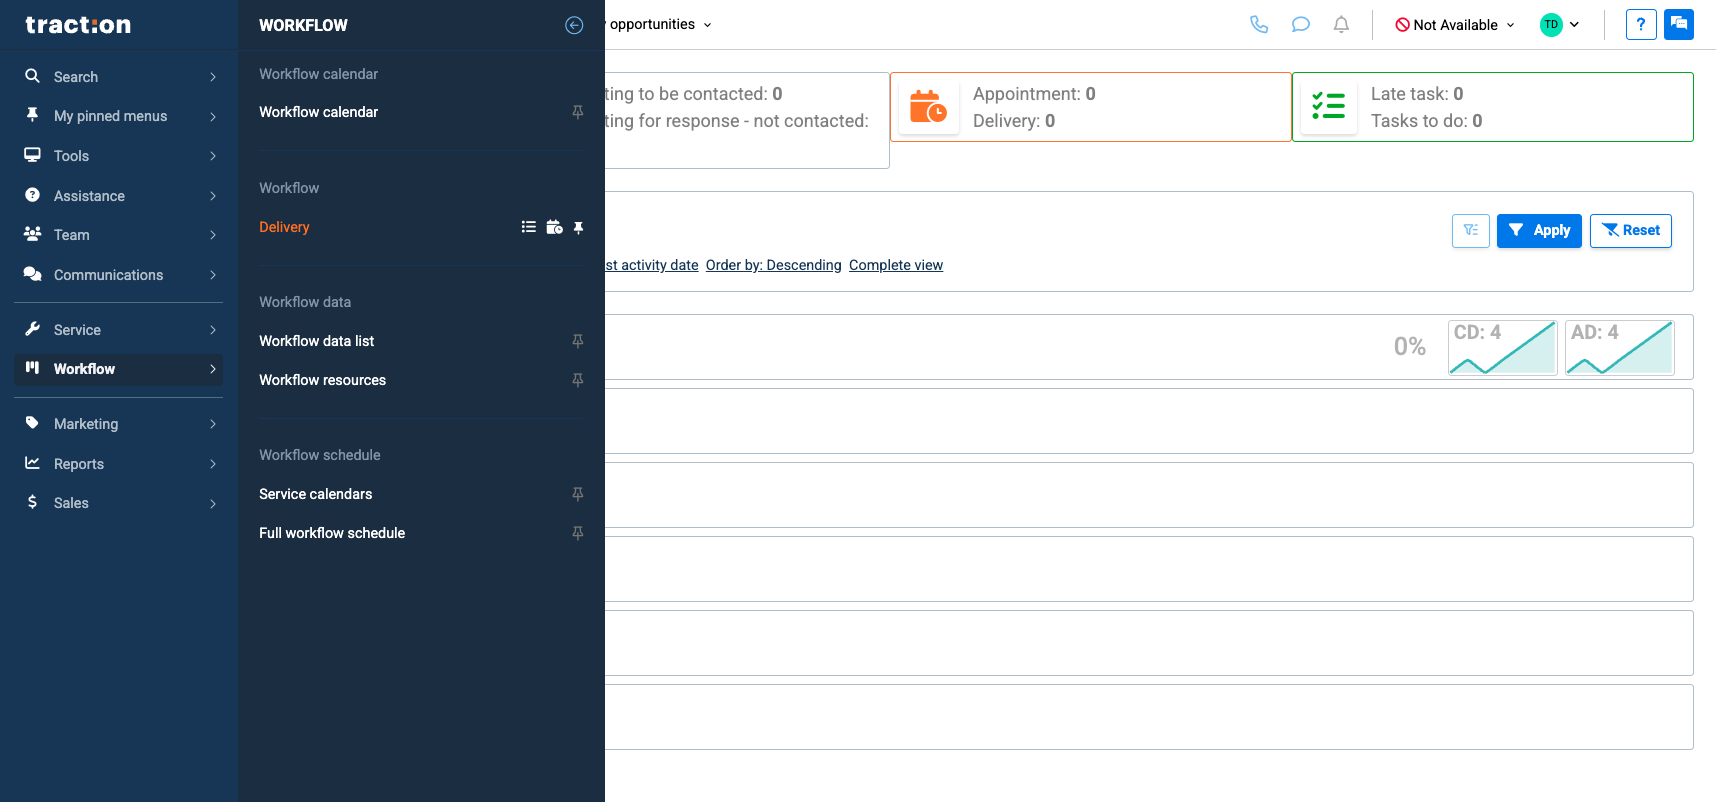
2
Click here
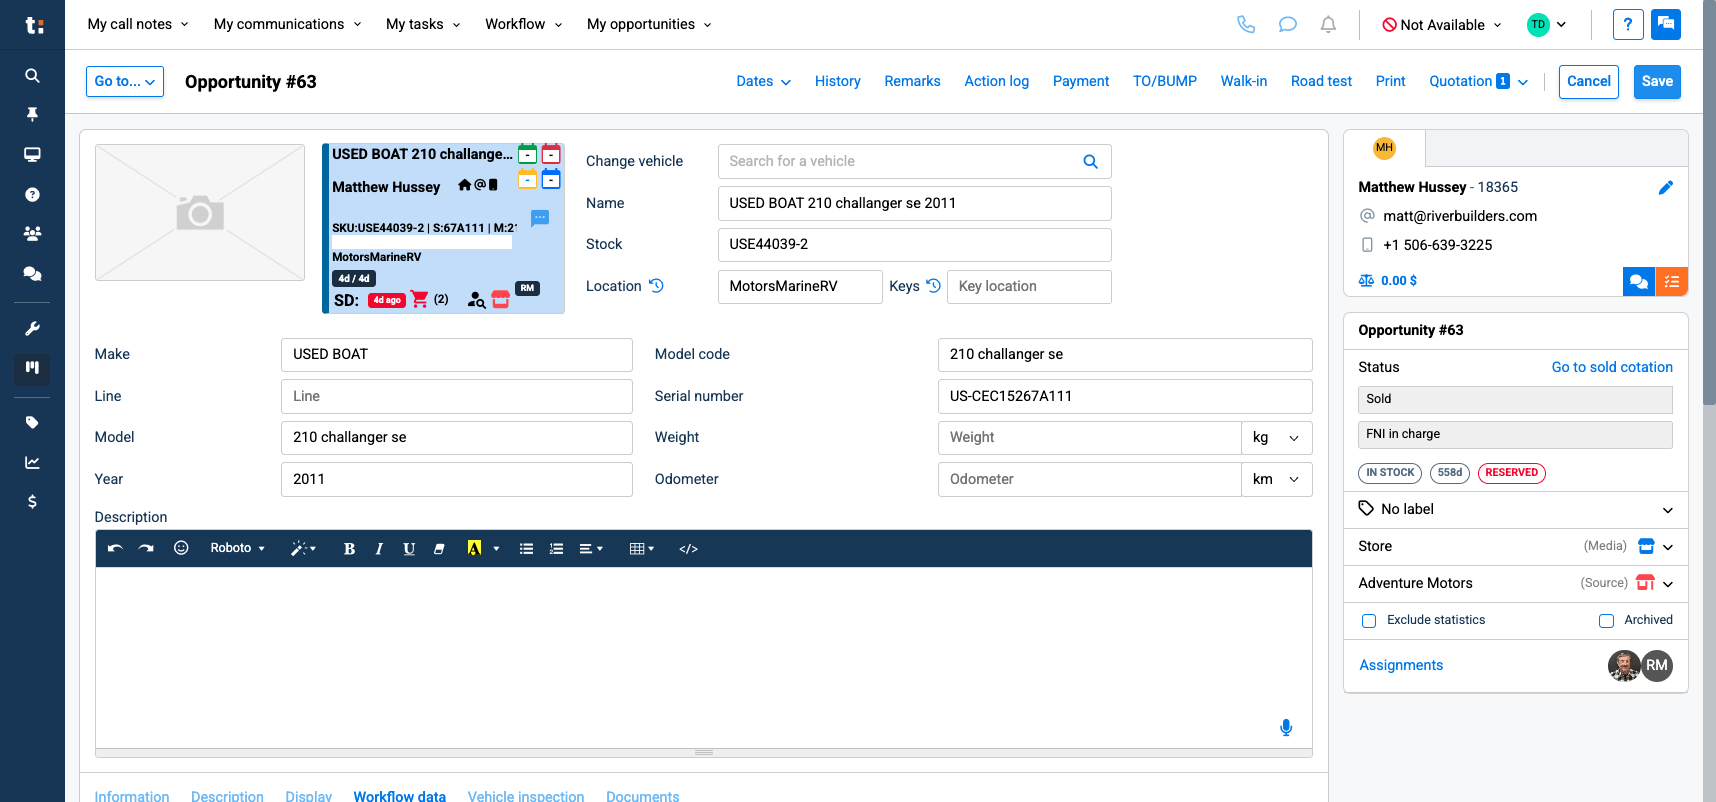
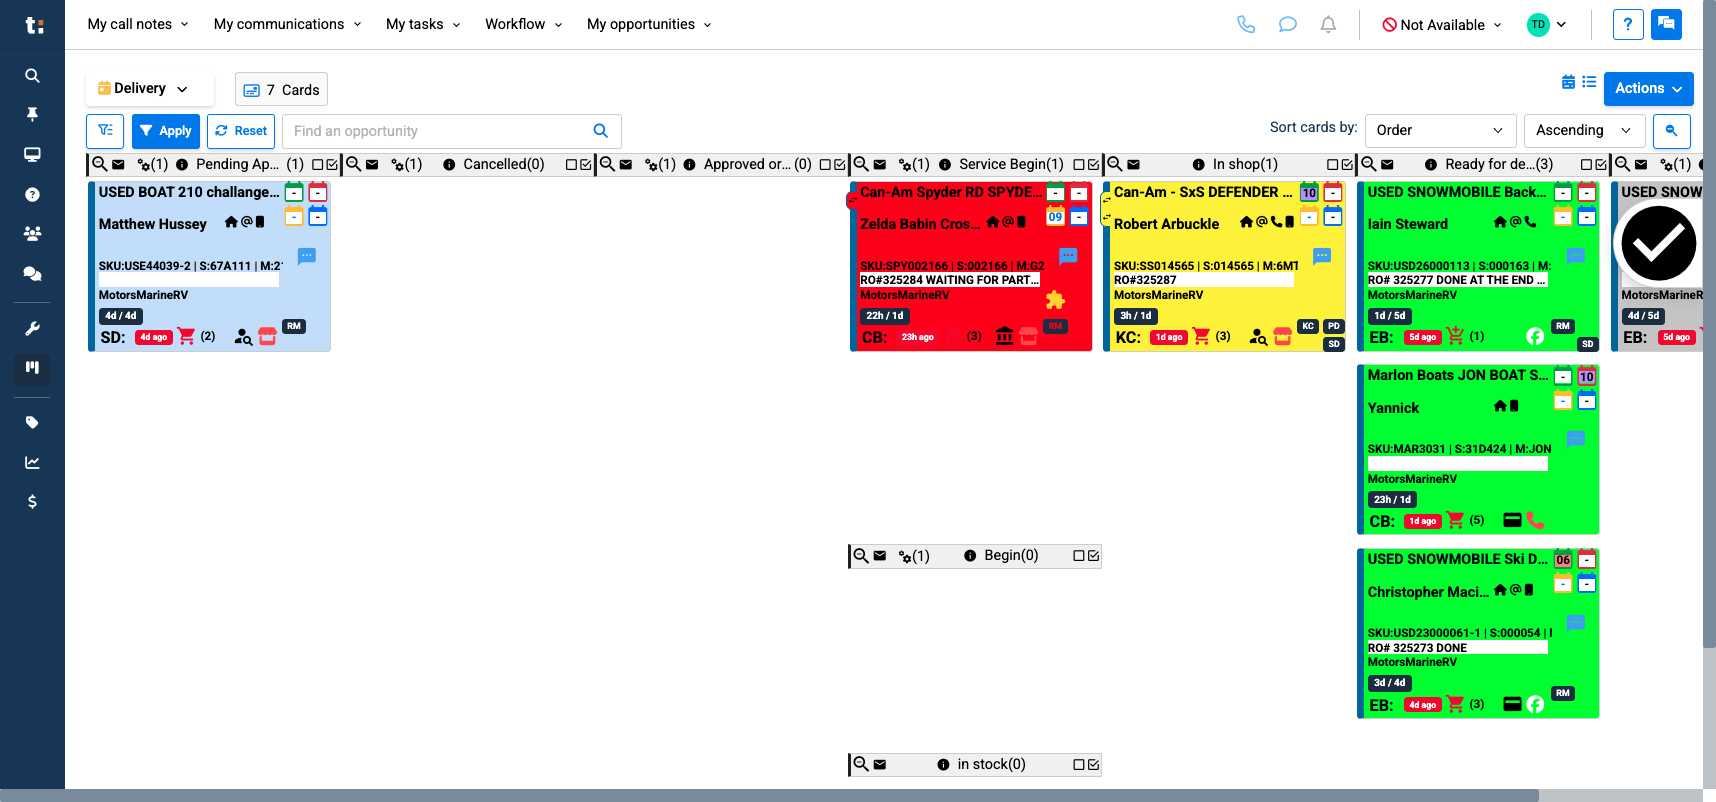
3
Click on the card you want to access.
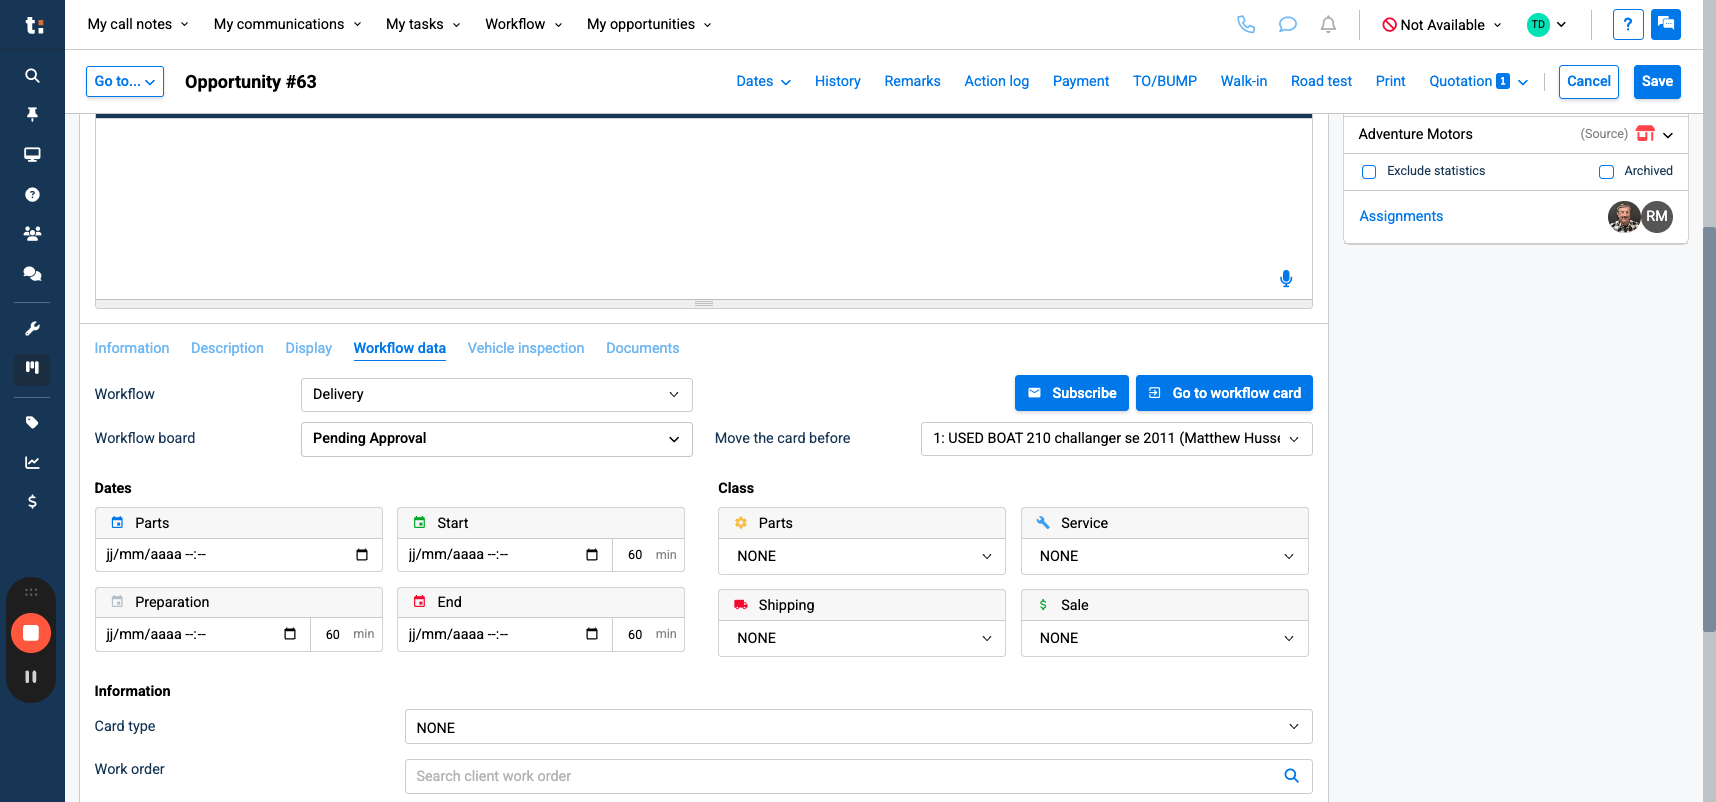
4
Scroll down until you find Workflow Data.
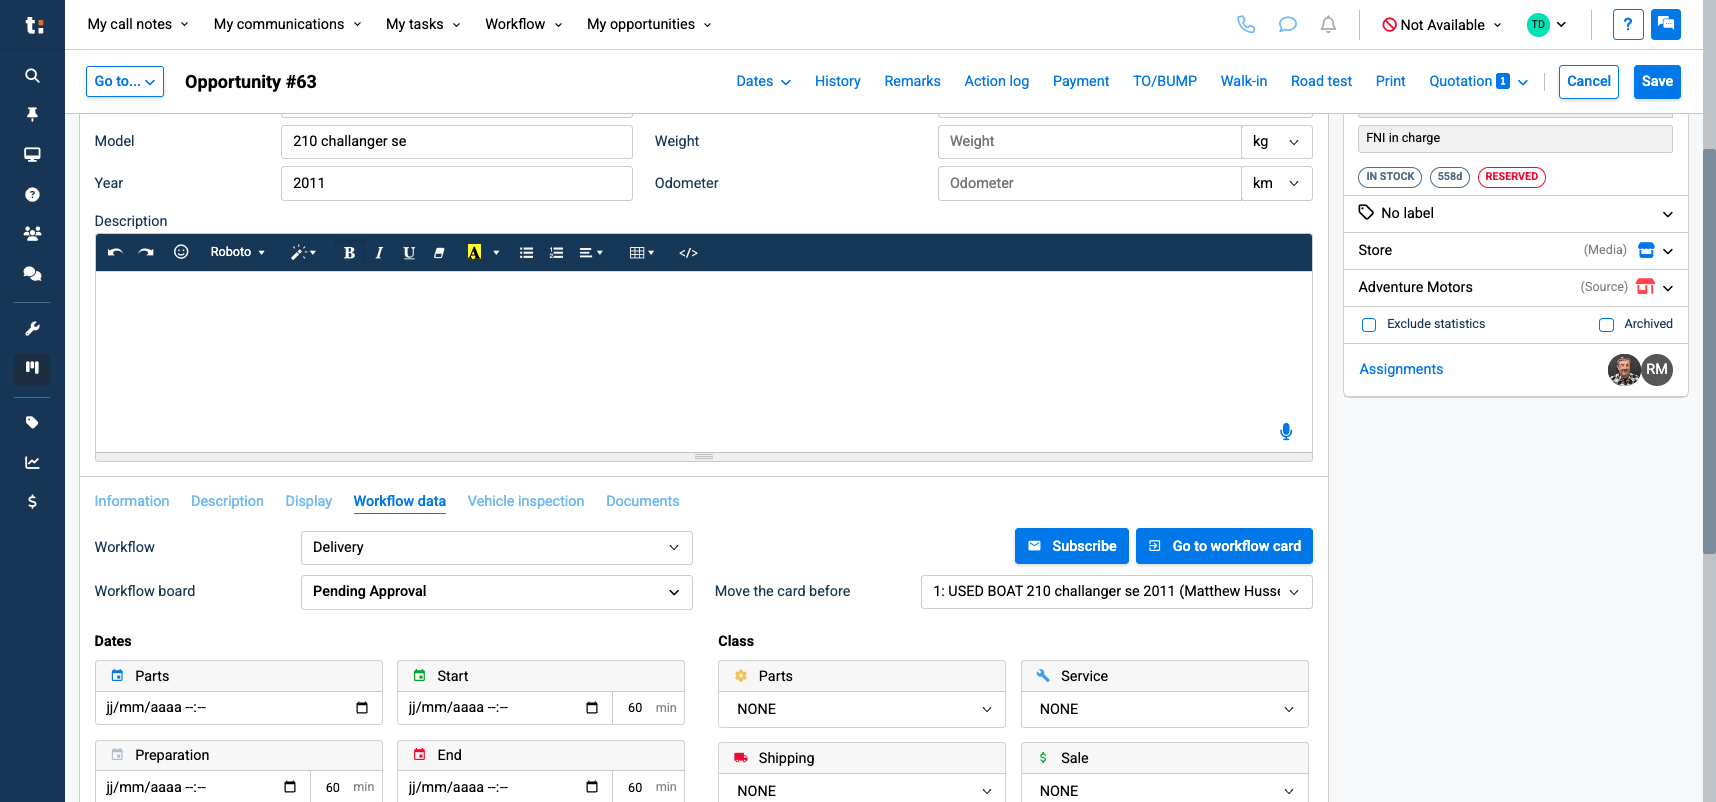
5
Here, you can change your workflow board, which is your column.
6

7
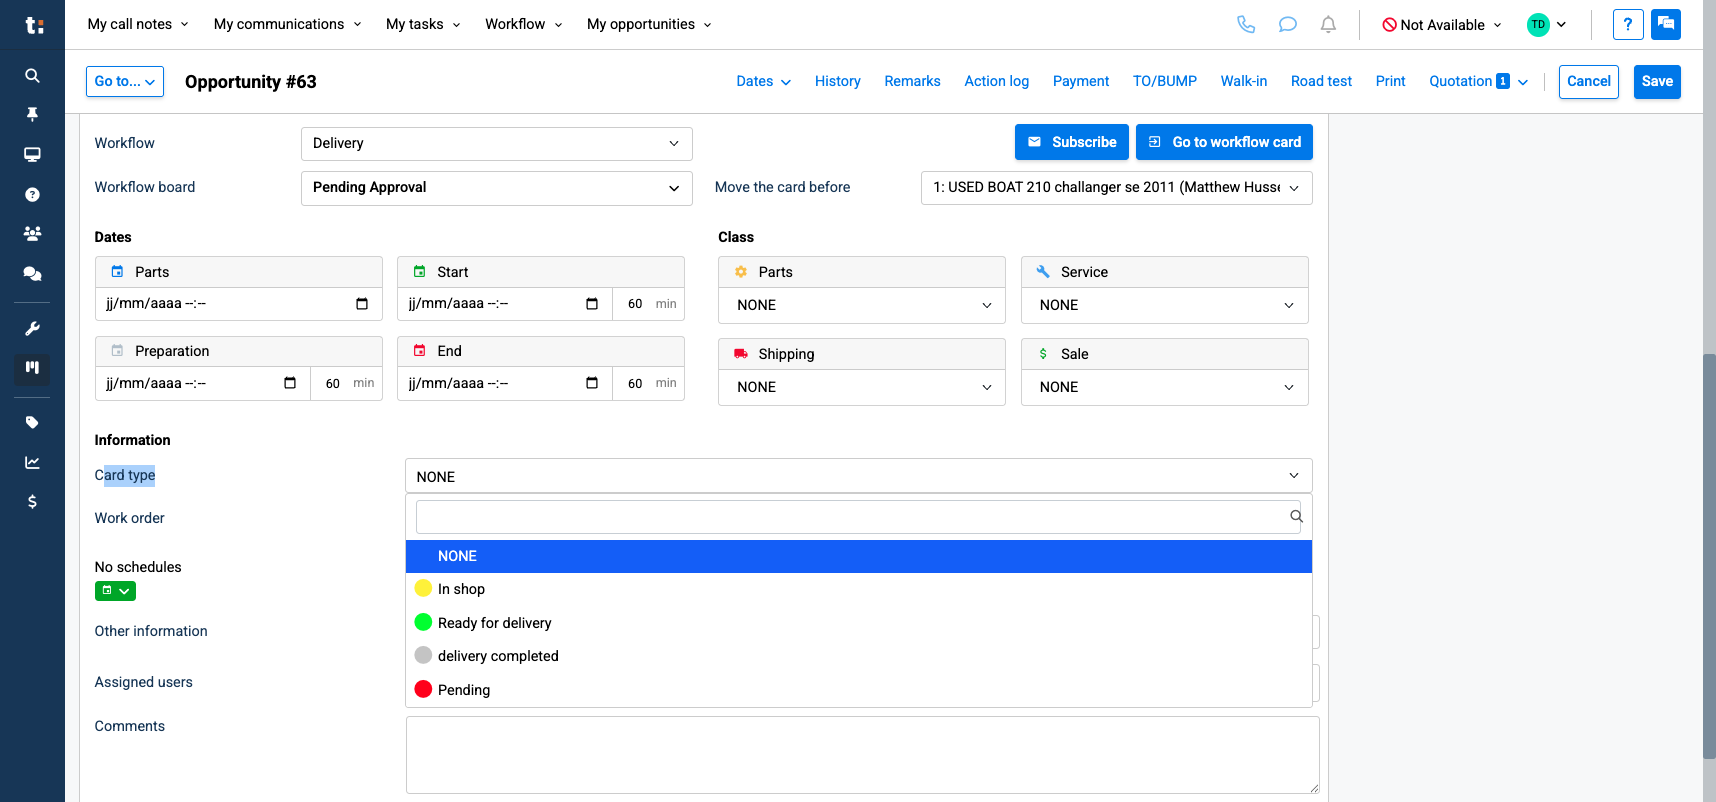
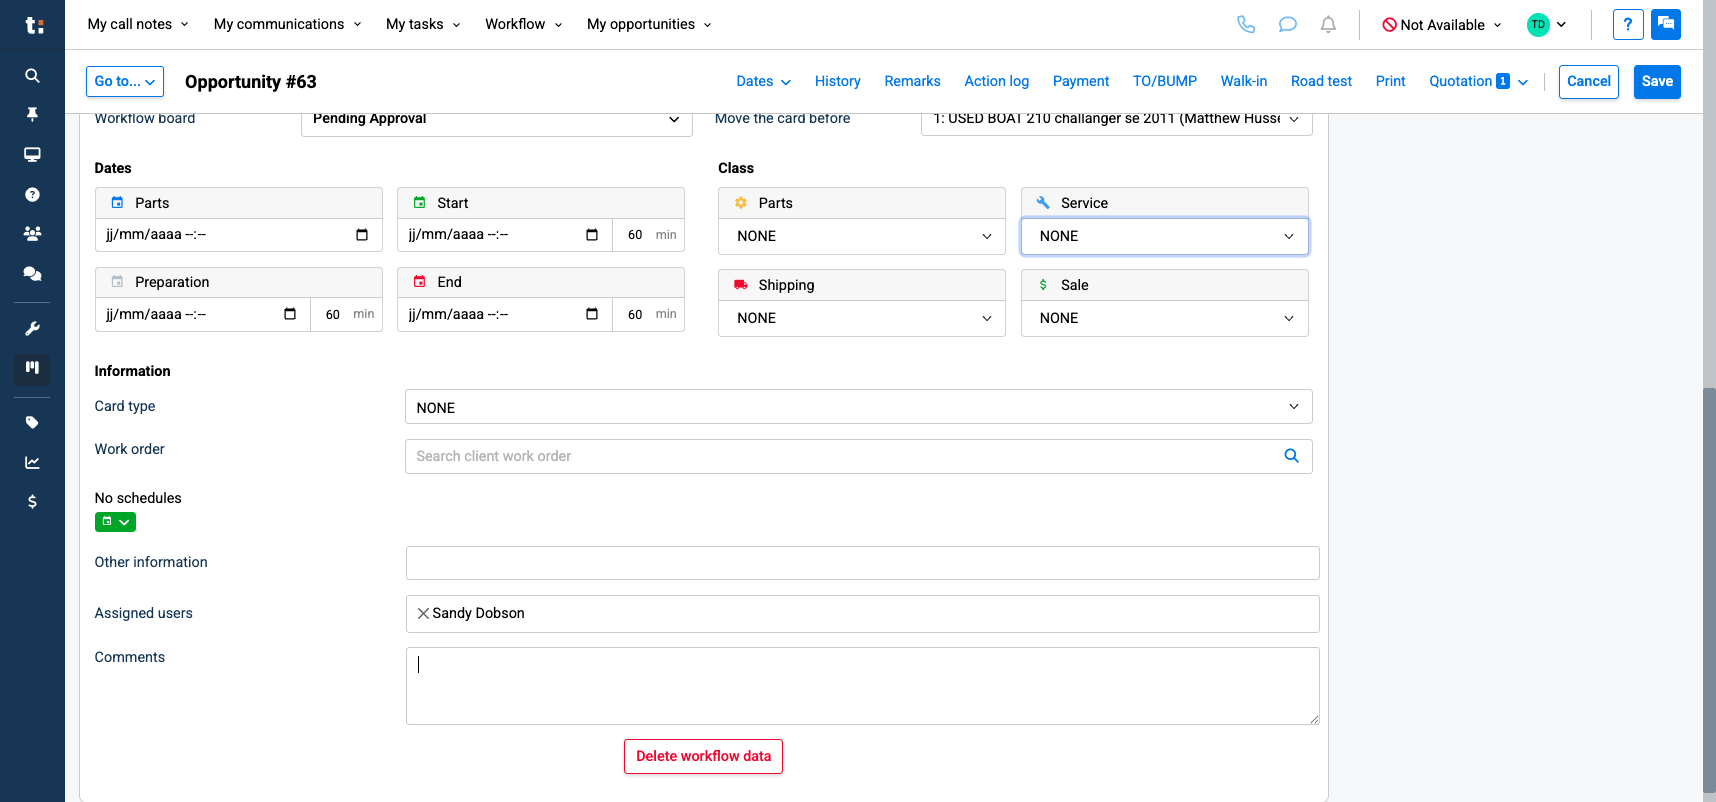
You can also change the color using the card type.
8
Click here
9
It's also here that you'll be able to add dates. Your end date will always be your delivery date.

10
In Class, you can add icons, such as parts icons.

11
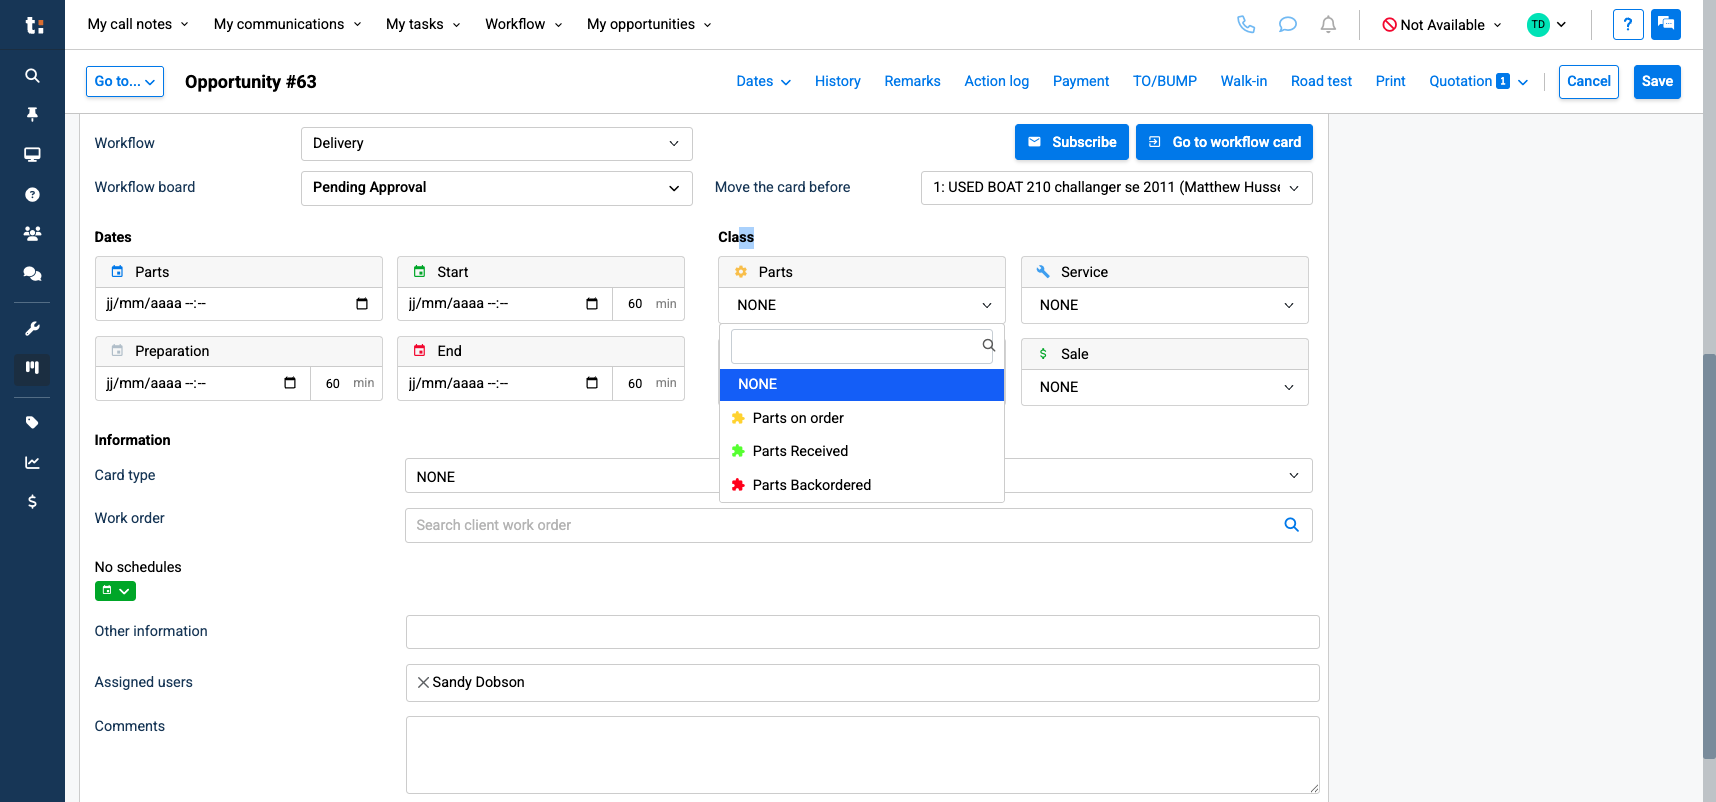
12
Click here
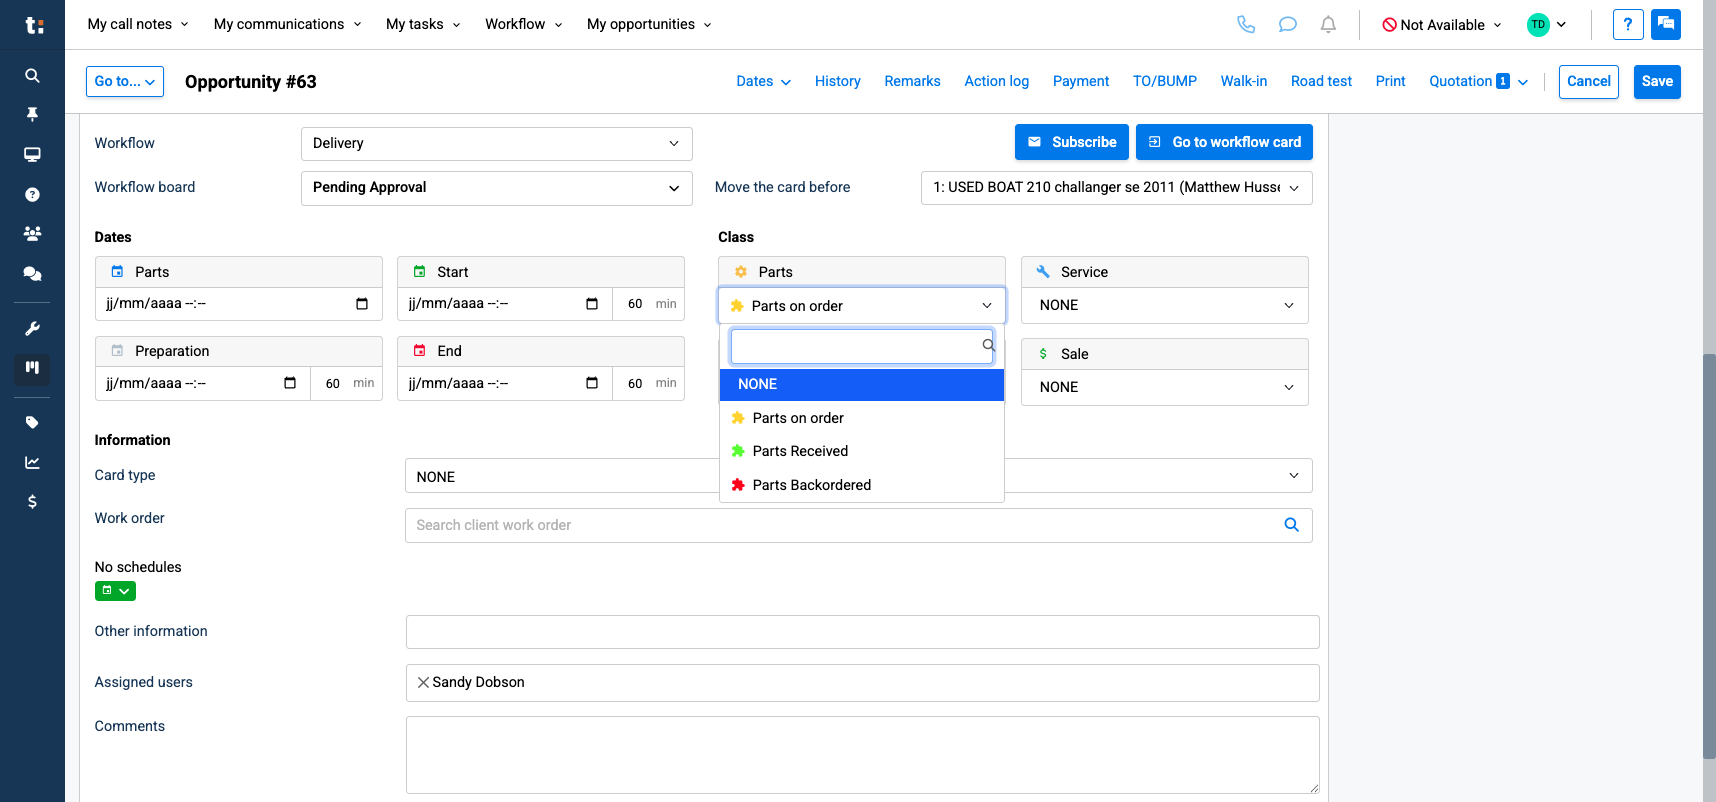
Any Icons that you need can be created in configuration
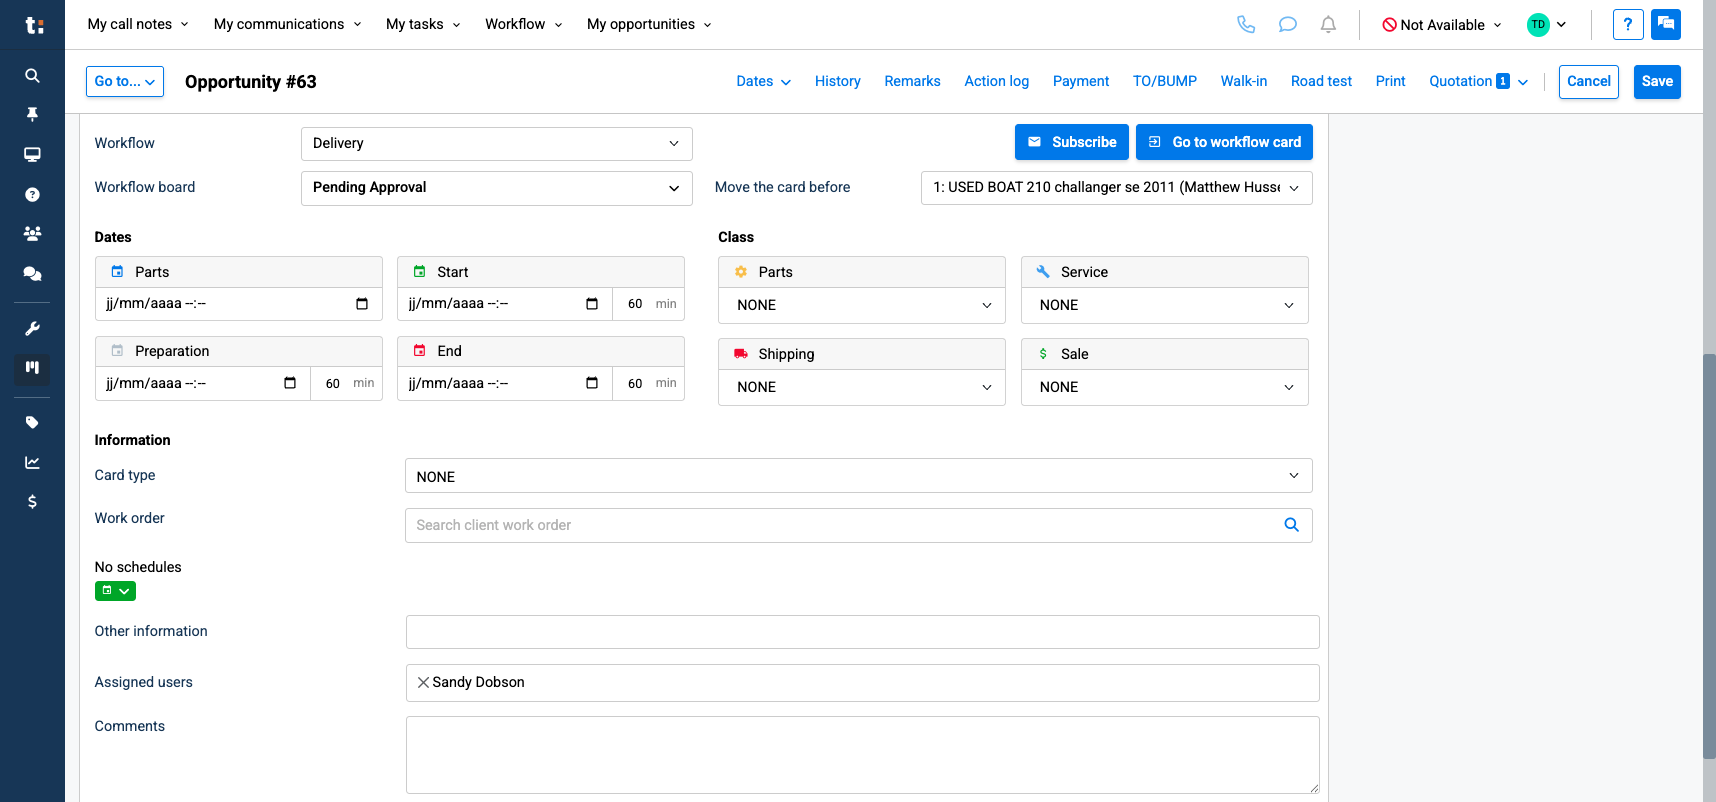
13
You can add comments here. Use this space for your PDI request.
14
Once you're done, click Save.