
How to Change the Download in Kit: Step-by-Step Guide for the Guide to a Better Night's Sleep
Learn how to update and manage your download in Kit, specifically for the Guide to a Better Night's Sleep. Follow this step-by-step tutorial to ensure your landing page, incentive email, and downloadable content are set up correctly.
By Robin Dickinson
In this guide, we'll learn how to update a downloadable file in Kit for a landing page, using the example of the Guide To a Better Night's Sleep.
We'll cover how to locate the correct landing page, upload the new file, check the incentive email, and make sure all messages and settings are accurate.
You'll also see how to save your changes and test the process to confirm everything works as expected.
Let's get started
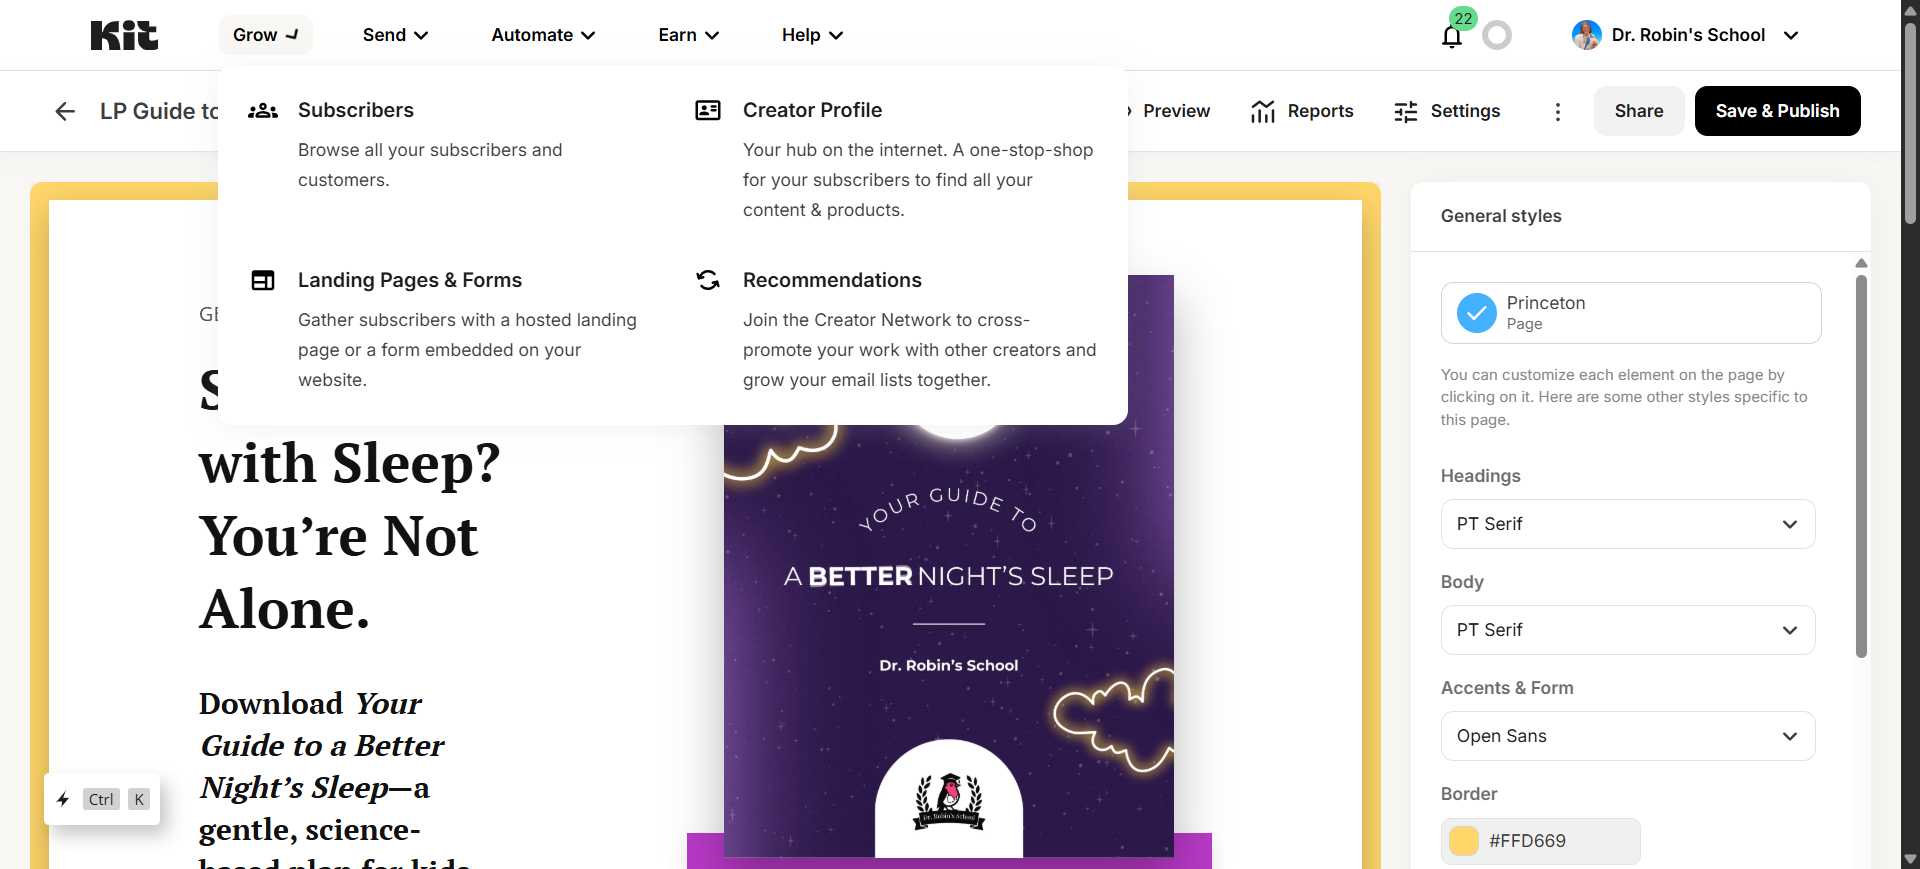
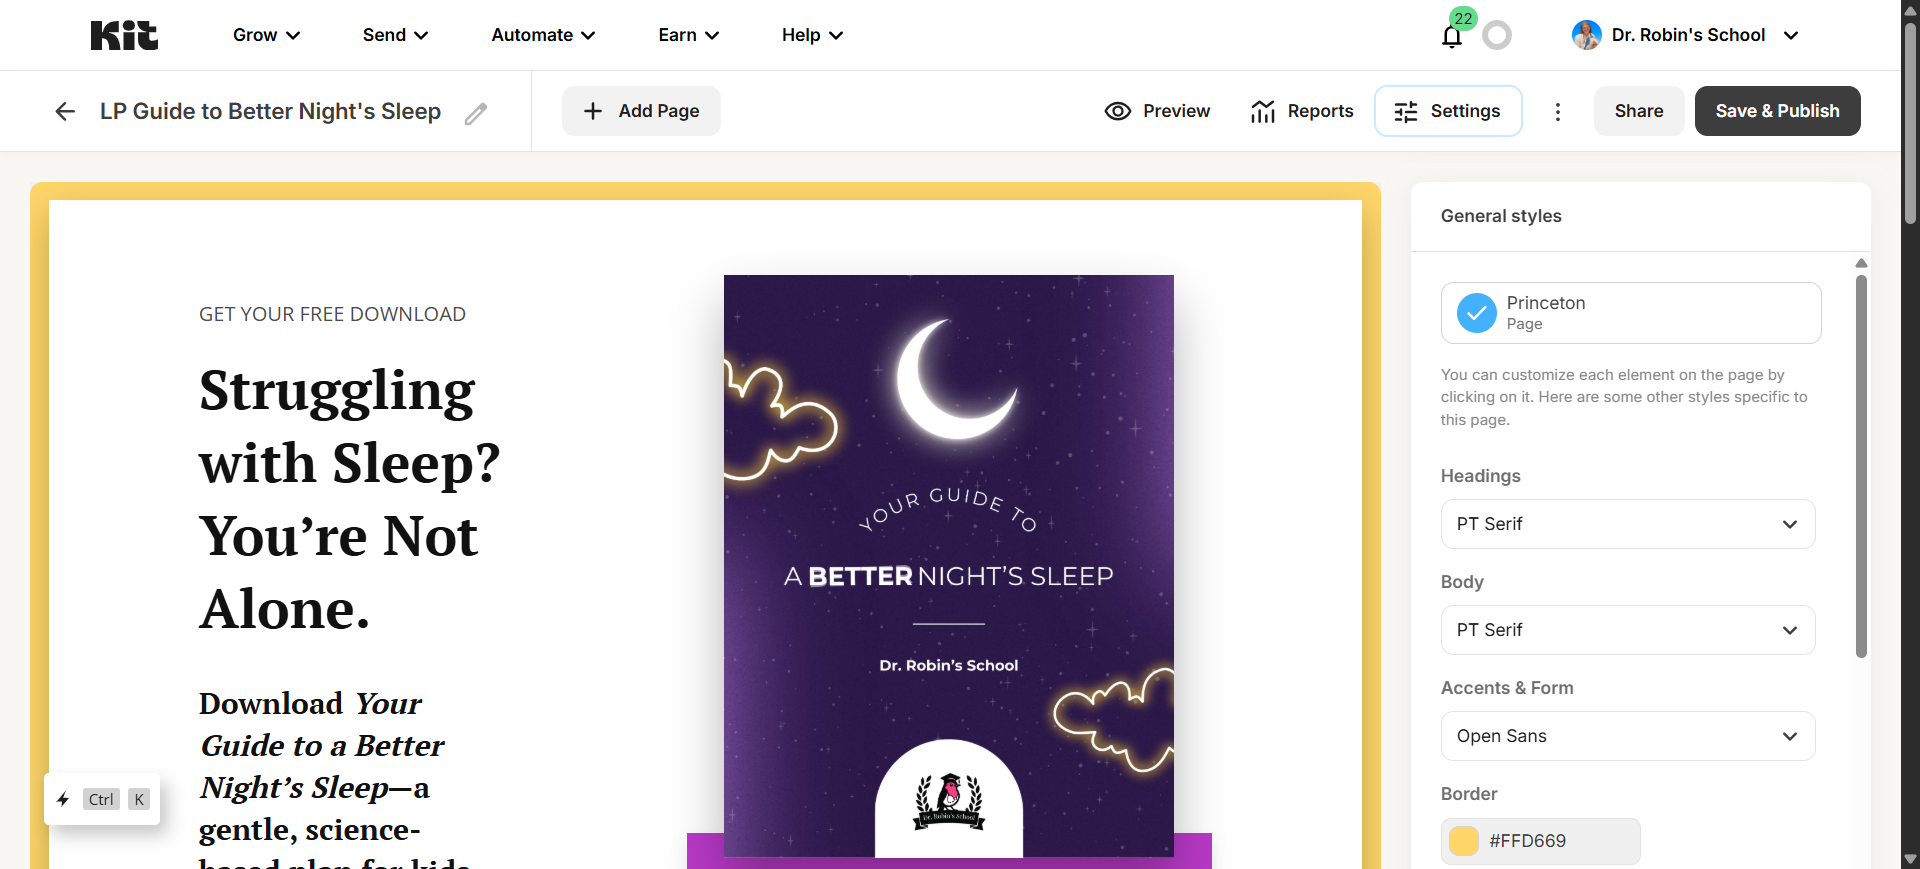
Here’s how to change the download in Kit. This is the one we will be doing: the Guide to a Better Night's Sleep. I will show you how to get started. Click on Grow, then Landing Pages and Forms. Next, select the one you want.
1
Go to Kit
2
Click on "Grow-"
3
Click on Landing Pages and Forms

4
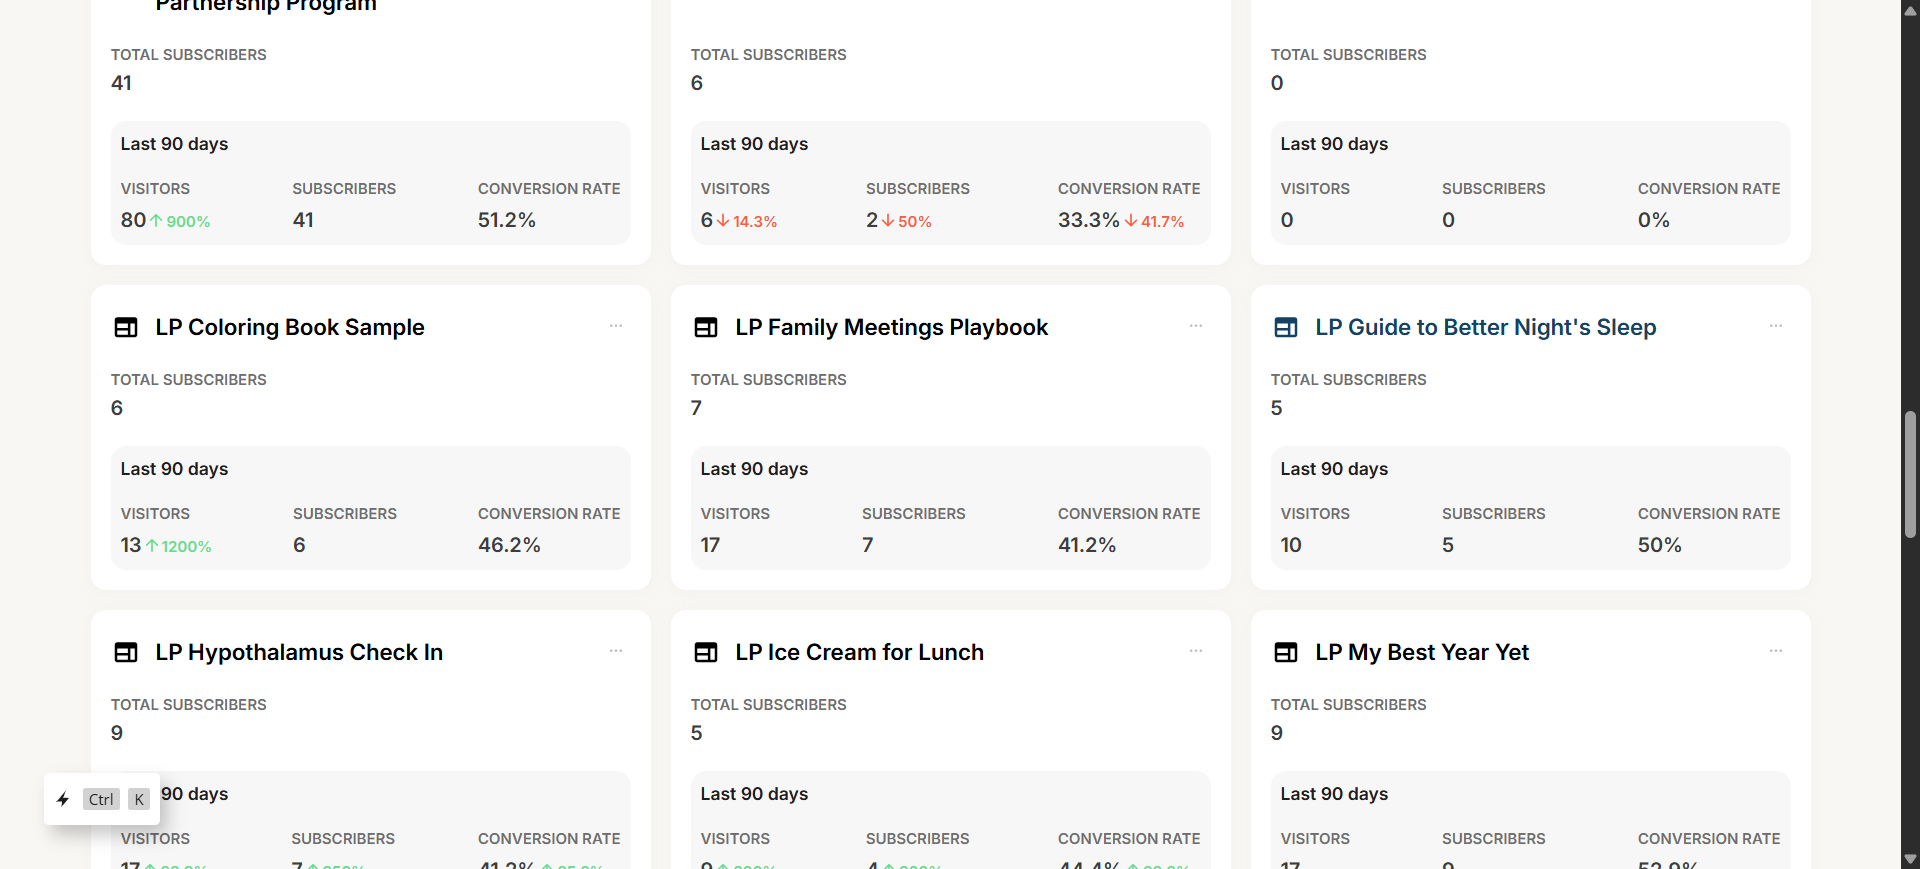
Click on the correct landing page you are looking for. For landing pages with downloads, I'll usually call them "LP" at the beginning.
5
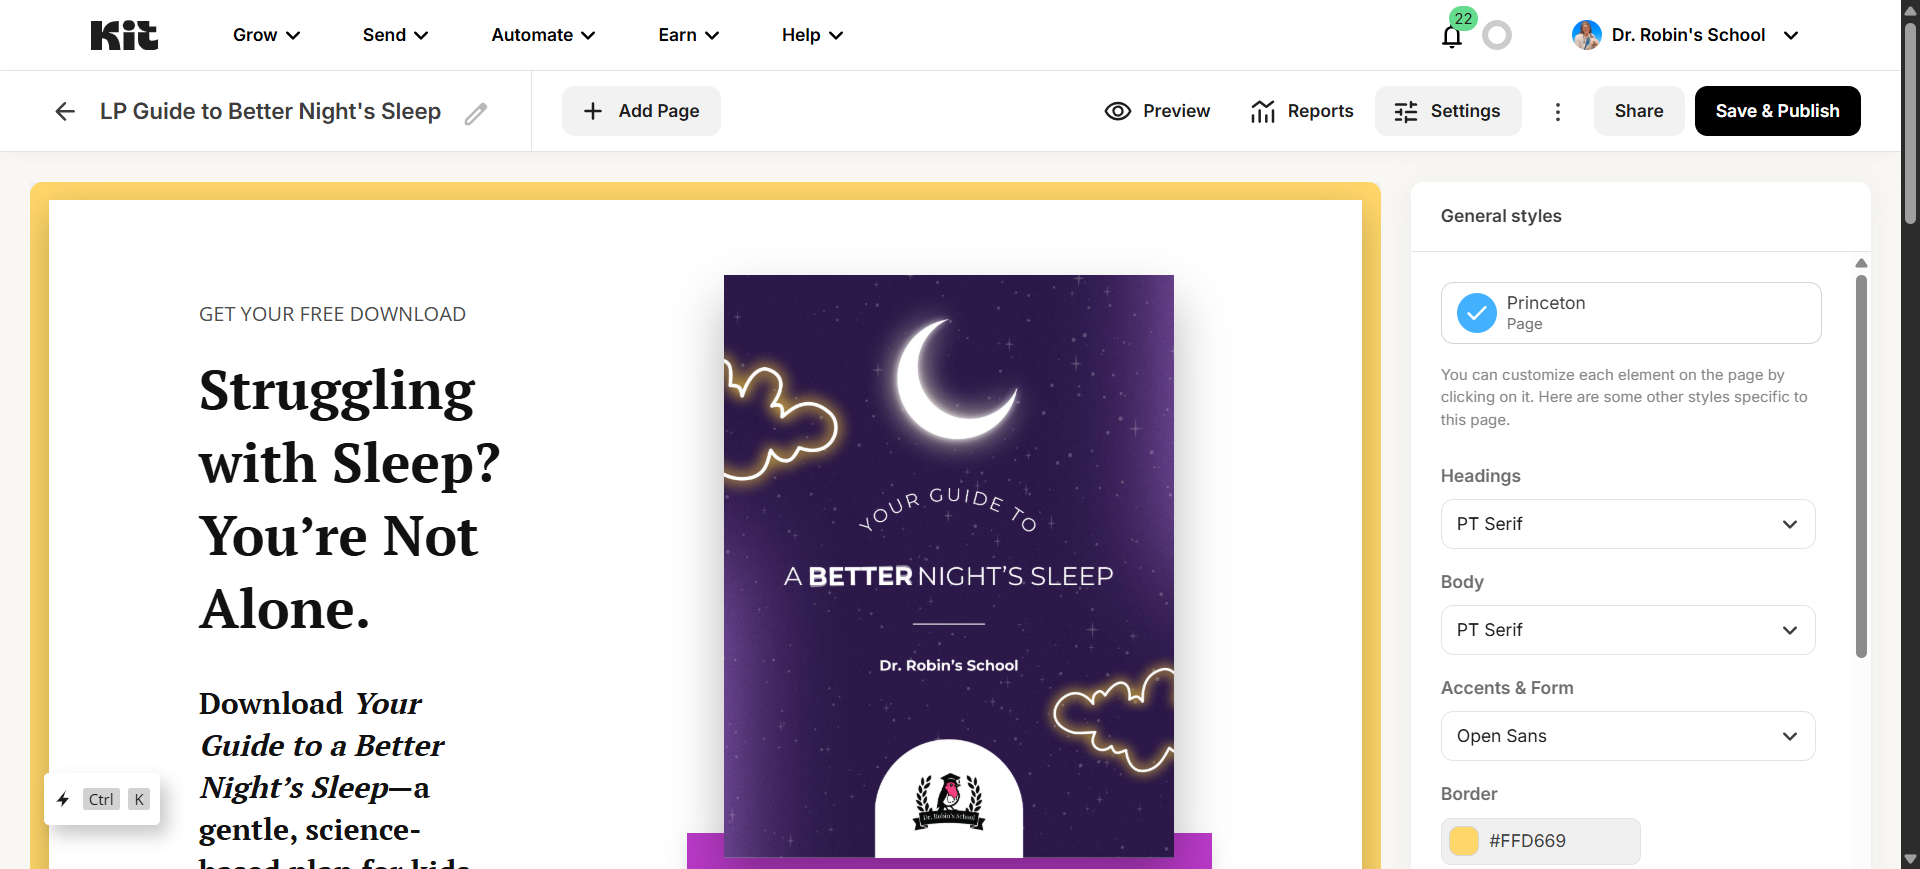
To change the download or email a customer receives, click on Settings.
6
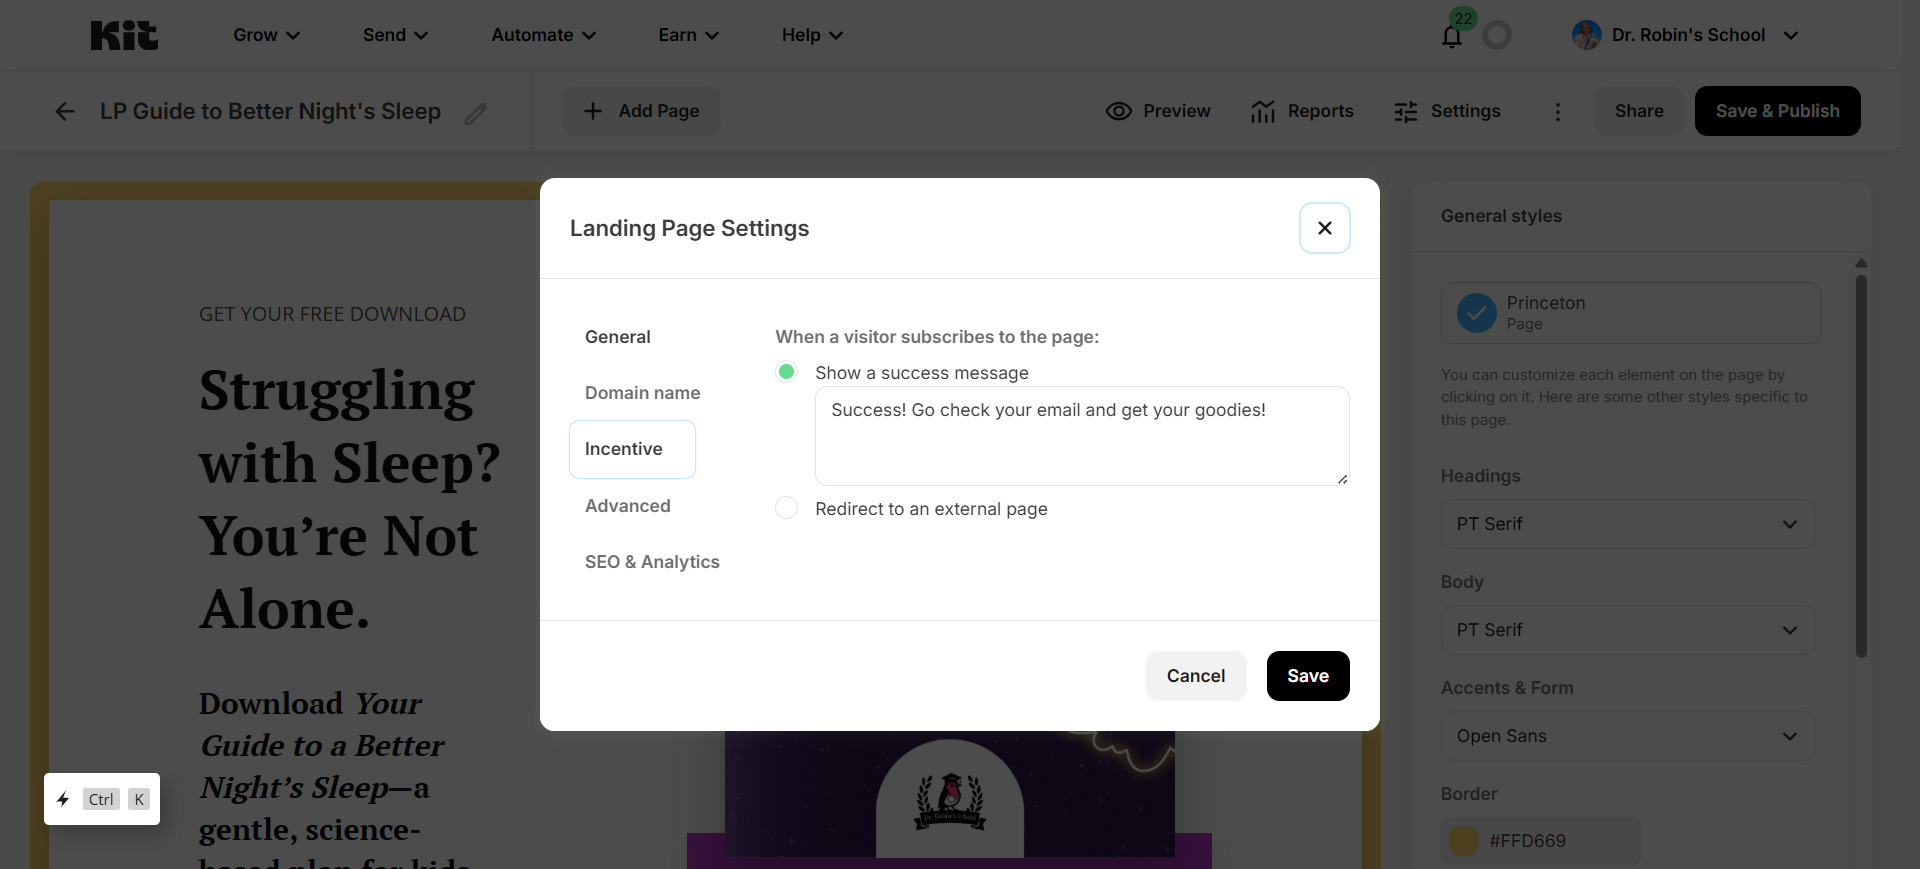
Click Incentive to get to the email and download. (I usually check the success message as I go past to make sure it's okay.)
7
Under "Incentive" there are two different areas we need to check. First is to switch out the download if that's the issue. You can see the download right here. Just click on the wrong one and choose the right one!

8
Notice that the green arrows are checked on both Send Incentive Email and Auto Confirm New Subscribers. That's how it's supposed to be.

9
This should be clicked green!

10
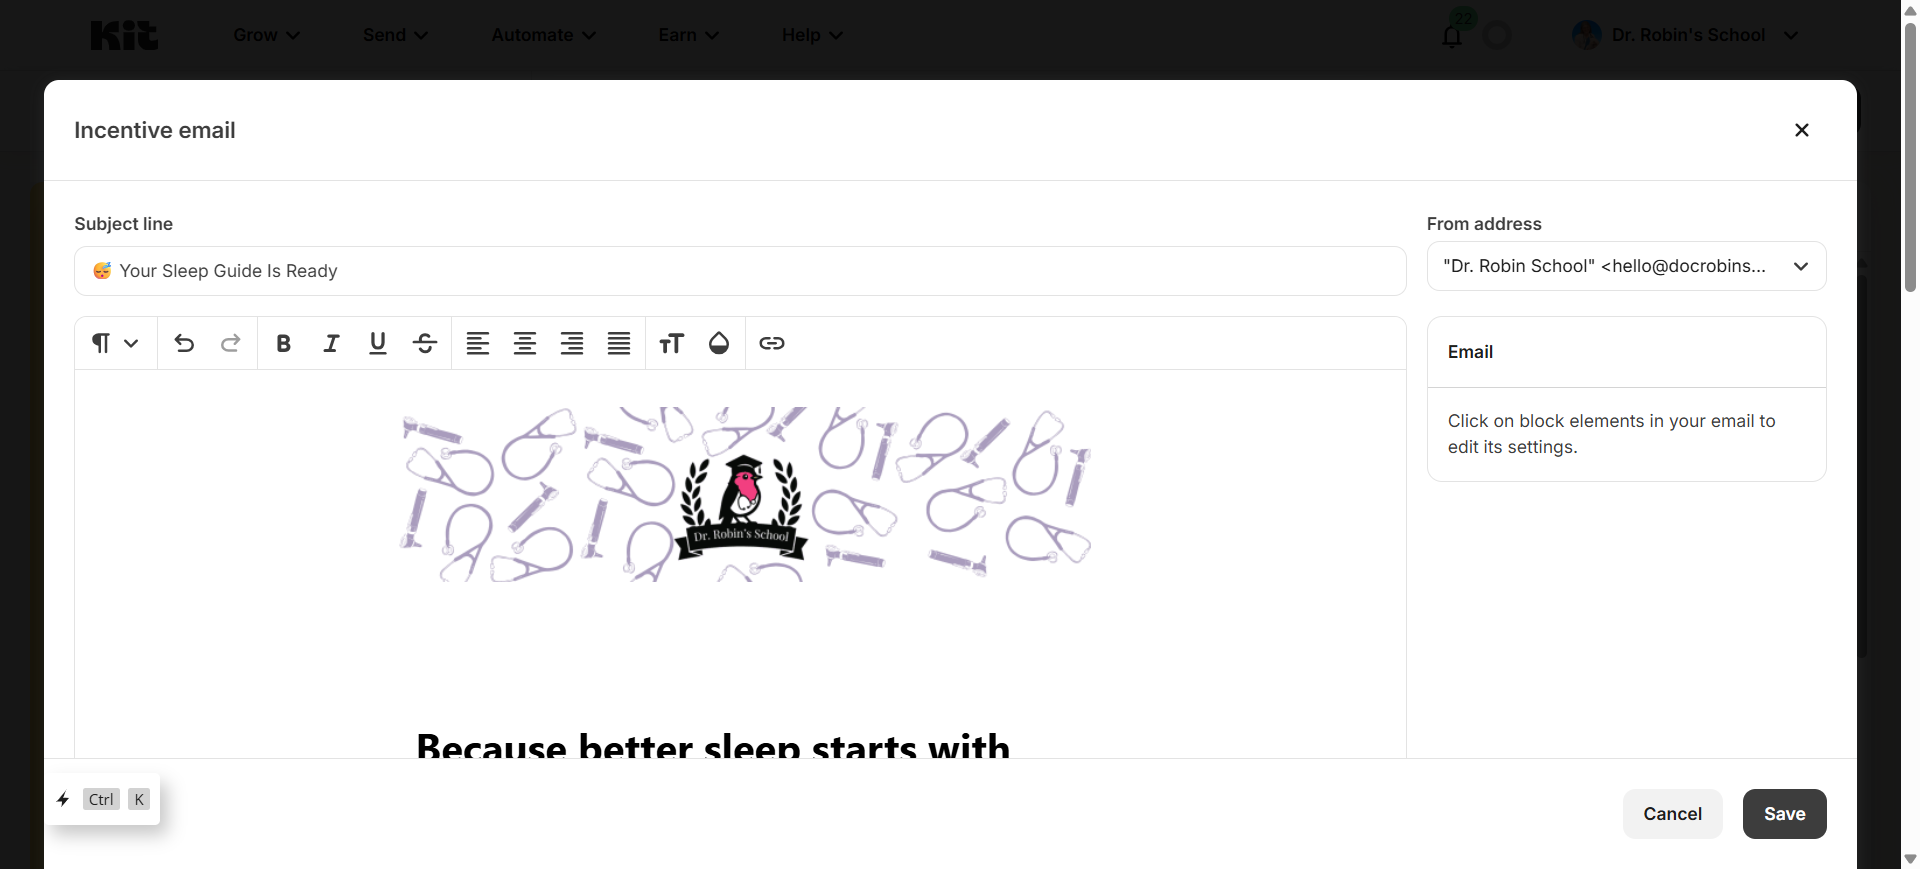
To edit the email contents click on the button that says "Edit Email Contents"
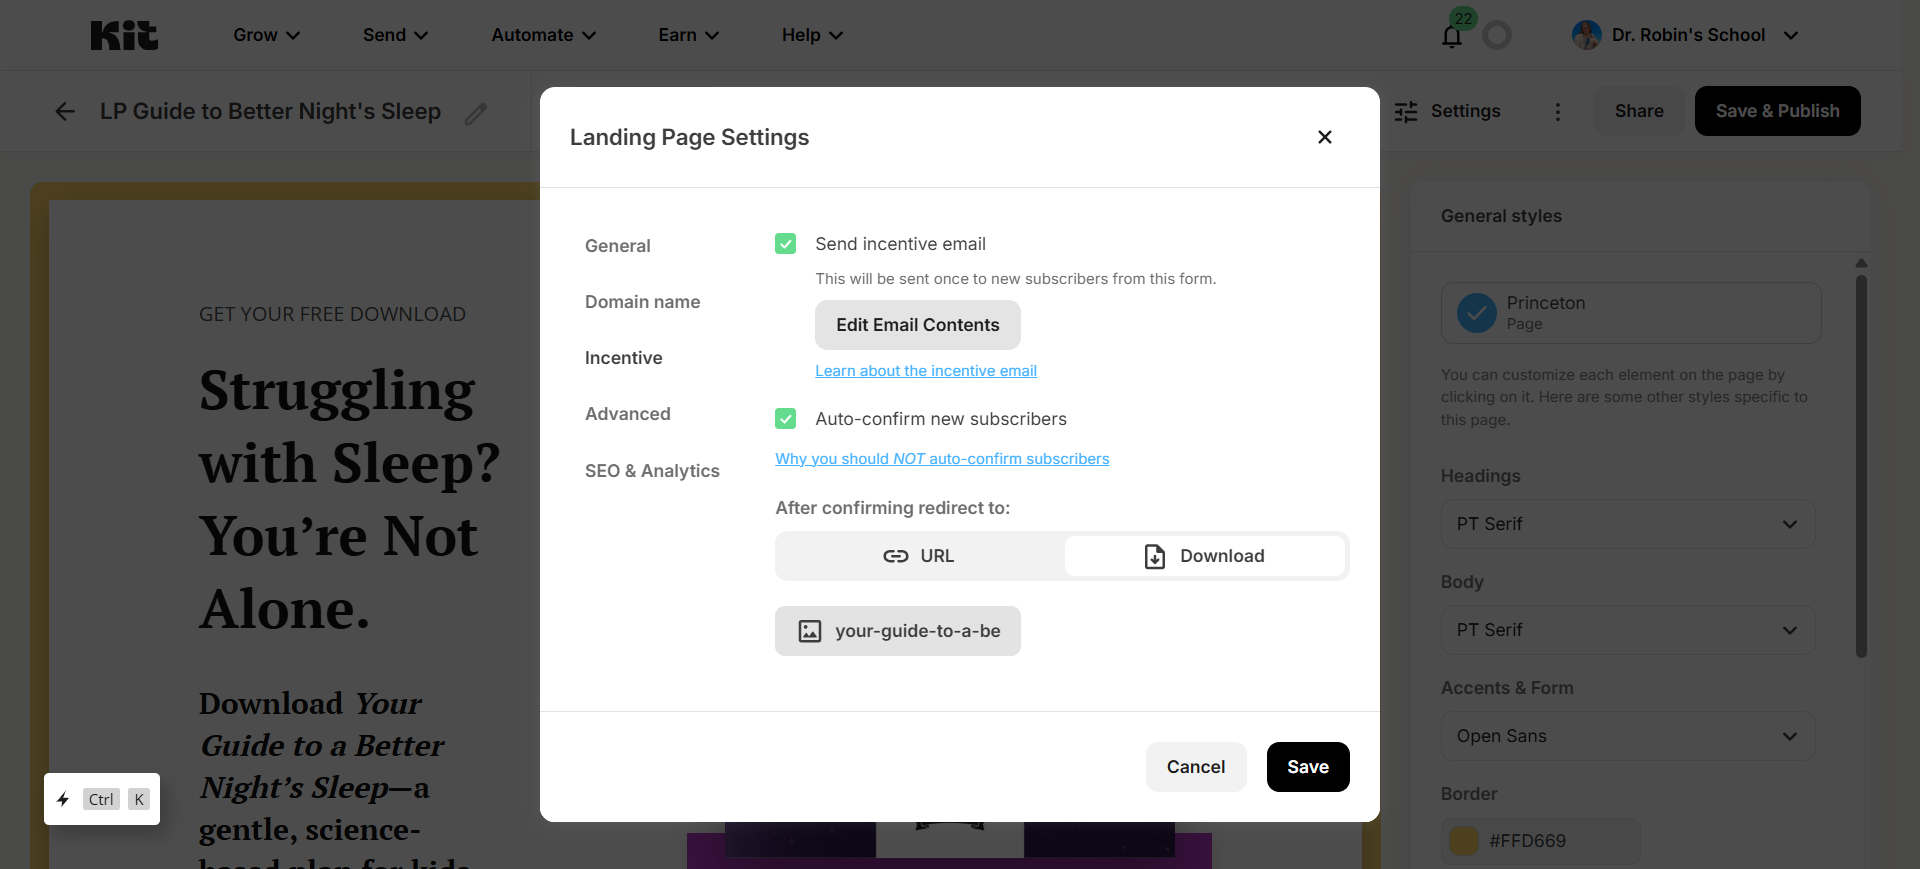
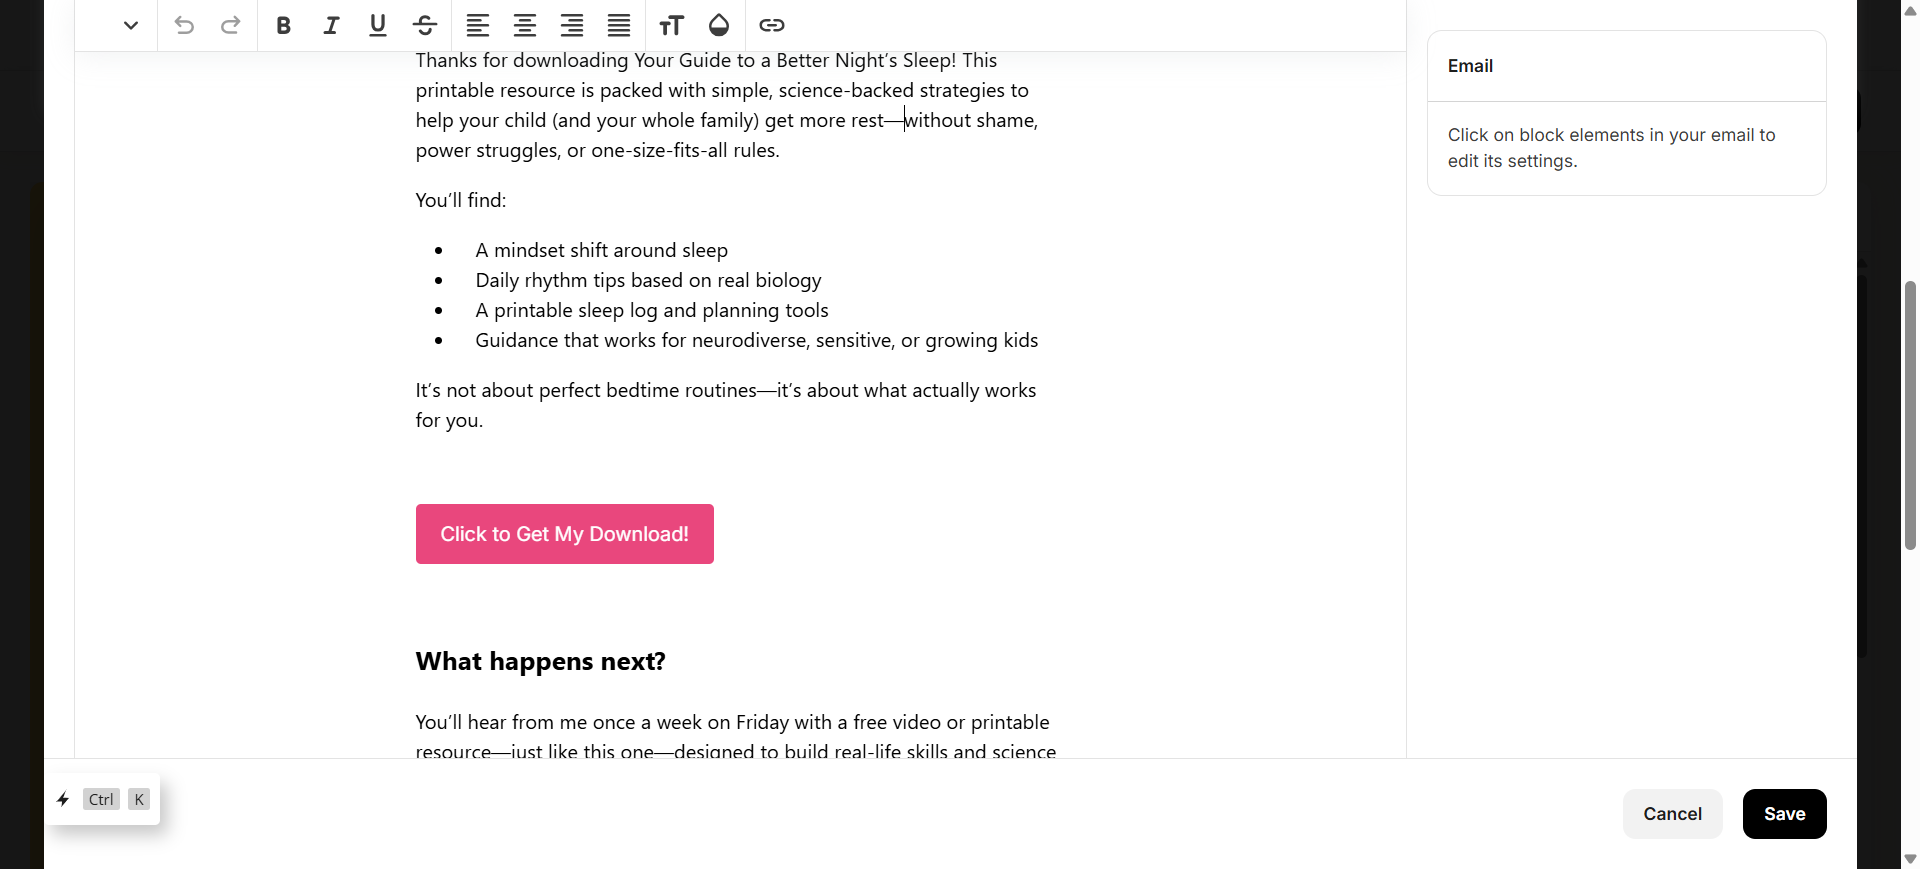
11
I've been trying to change these long dashes to commas or dots, because that's a big sign this was made by AI. I personally love dashes, but we need to make it look like we don't use AI here. I'm generally replacing them with a comma unless an ellipsis is better. Or a colon.
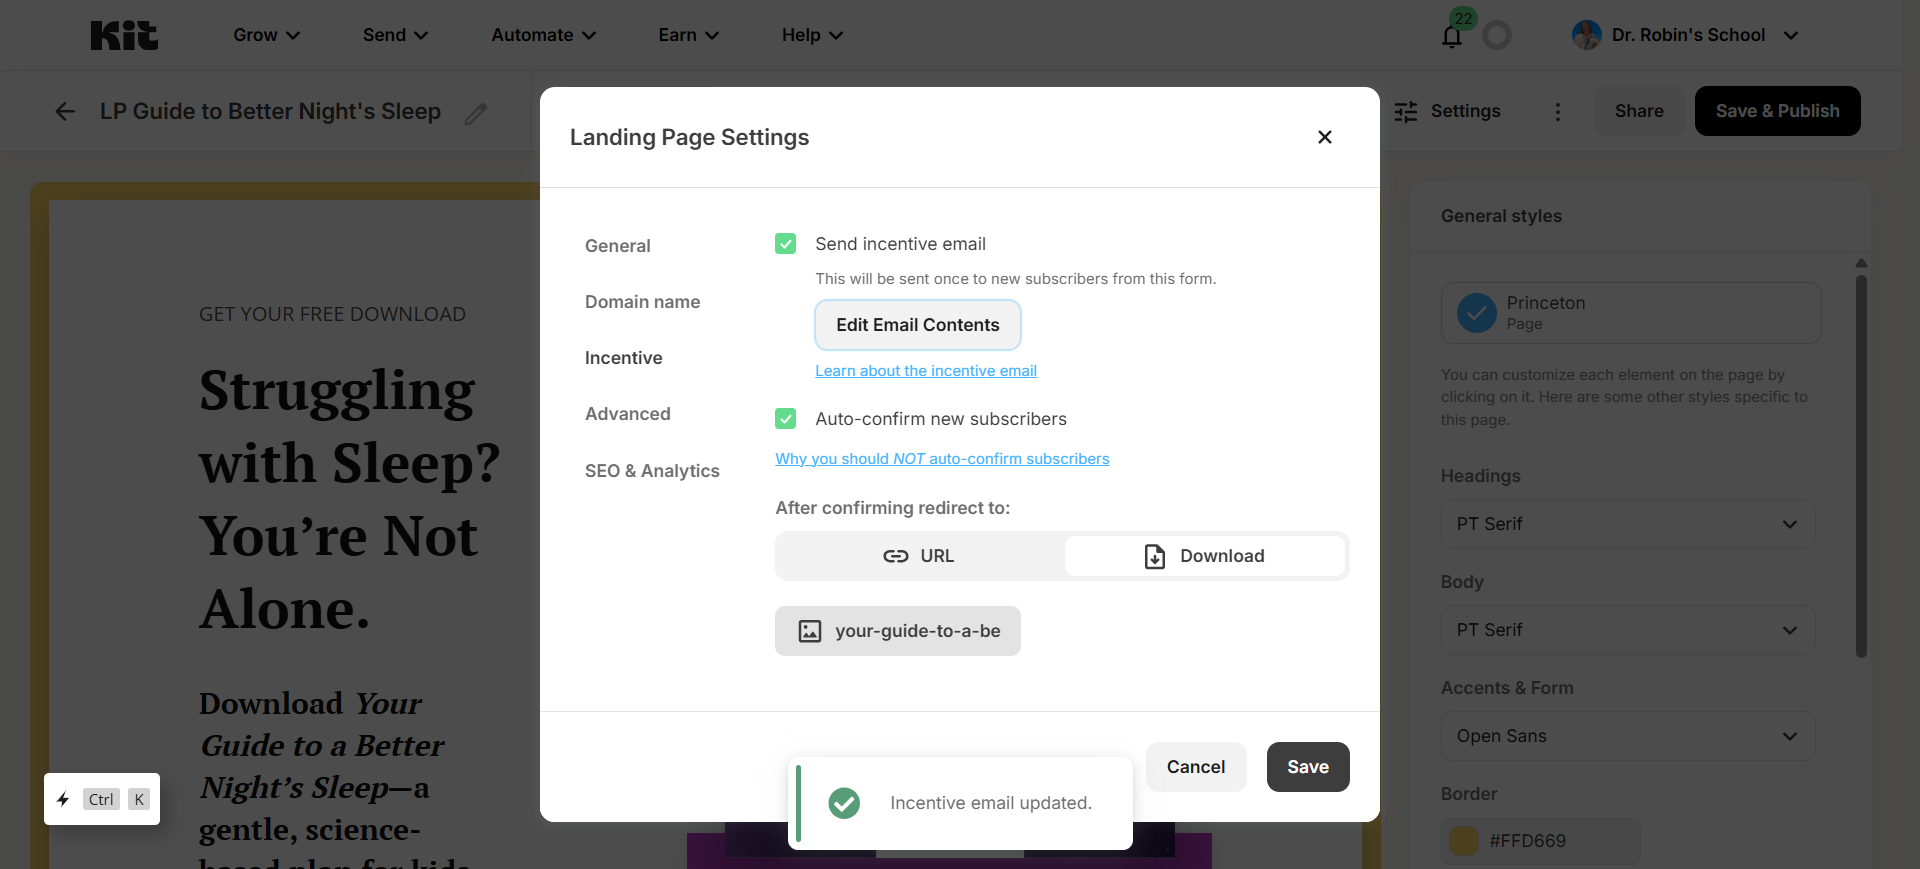
12
Then we have to click "Save" over and over. Click save on the email
13
Click save on the settings
14
Click "Save and Publish" at the end.
15
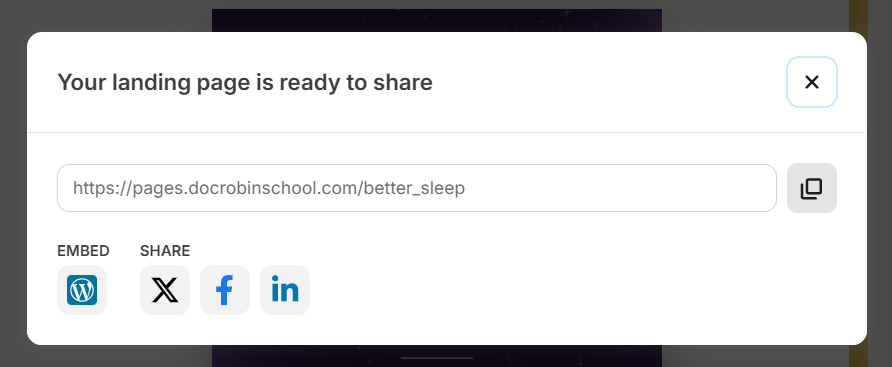
Click on "Share" to get the link to the landing page.

16
Then you can copy that link and use it.
And you're done!