
How to Check if a Live Stream is Active and Run a Photosphere On Demand
Learn step-by-step how to verify if a live stream is active and how to run a photo sphere scan on demand. This guide covers PTZ camera checks, using the API admin, and ensuring your photo sphere is working properly.
In this guide, we'll learn how to check if a live stream is active and then run a photo sphere on demand to verify its functionality. This process helps ensure that both the camera and the photo sphere feature are working as expected.
We'll also discuss the best times to perform these tests to avoid disrupting regular video feeds.
Let's get started
Hello, everyone. This instructional video explains how to check if a live stream is active. It also covers how to run a photo sphere on demand to verify that it is working properly.
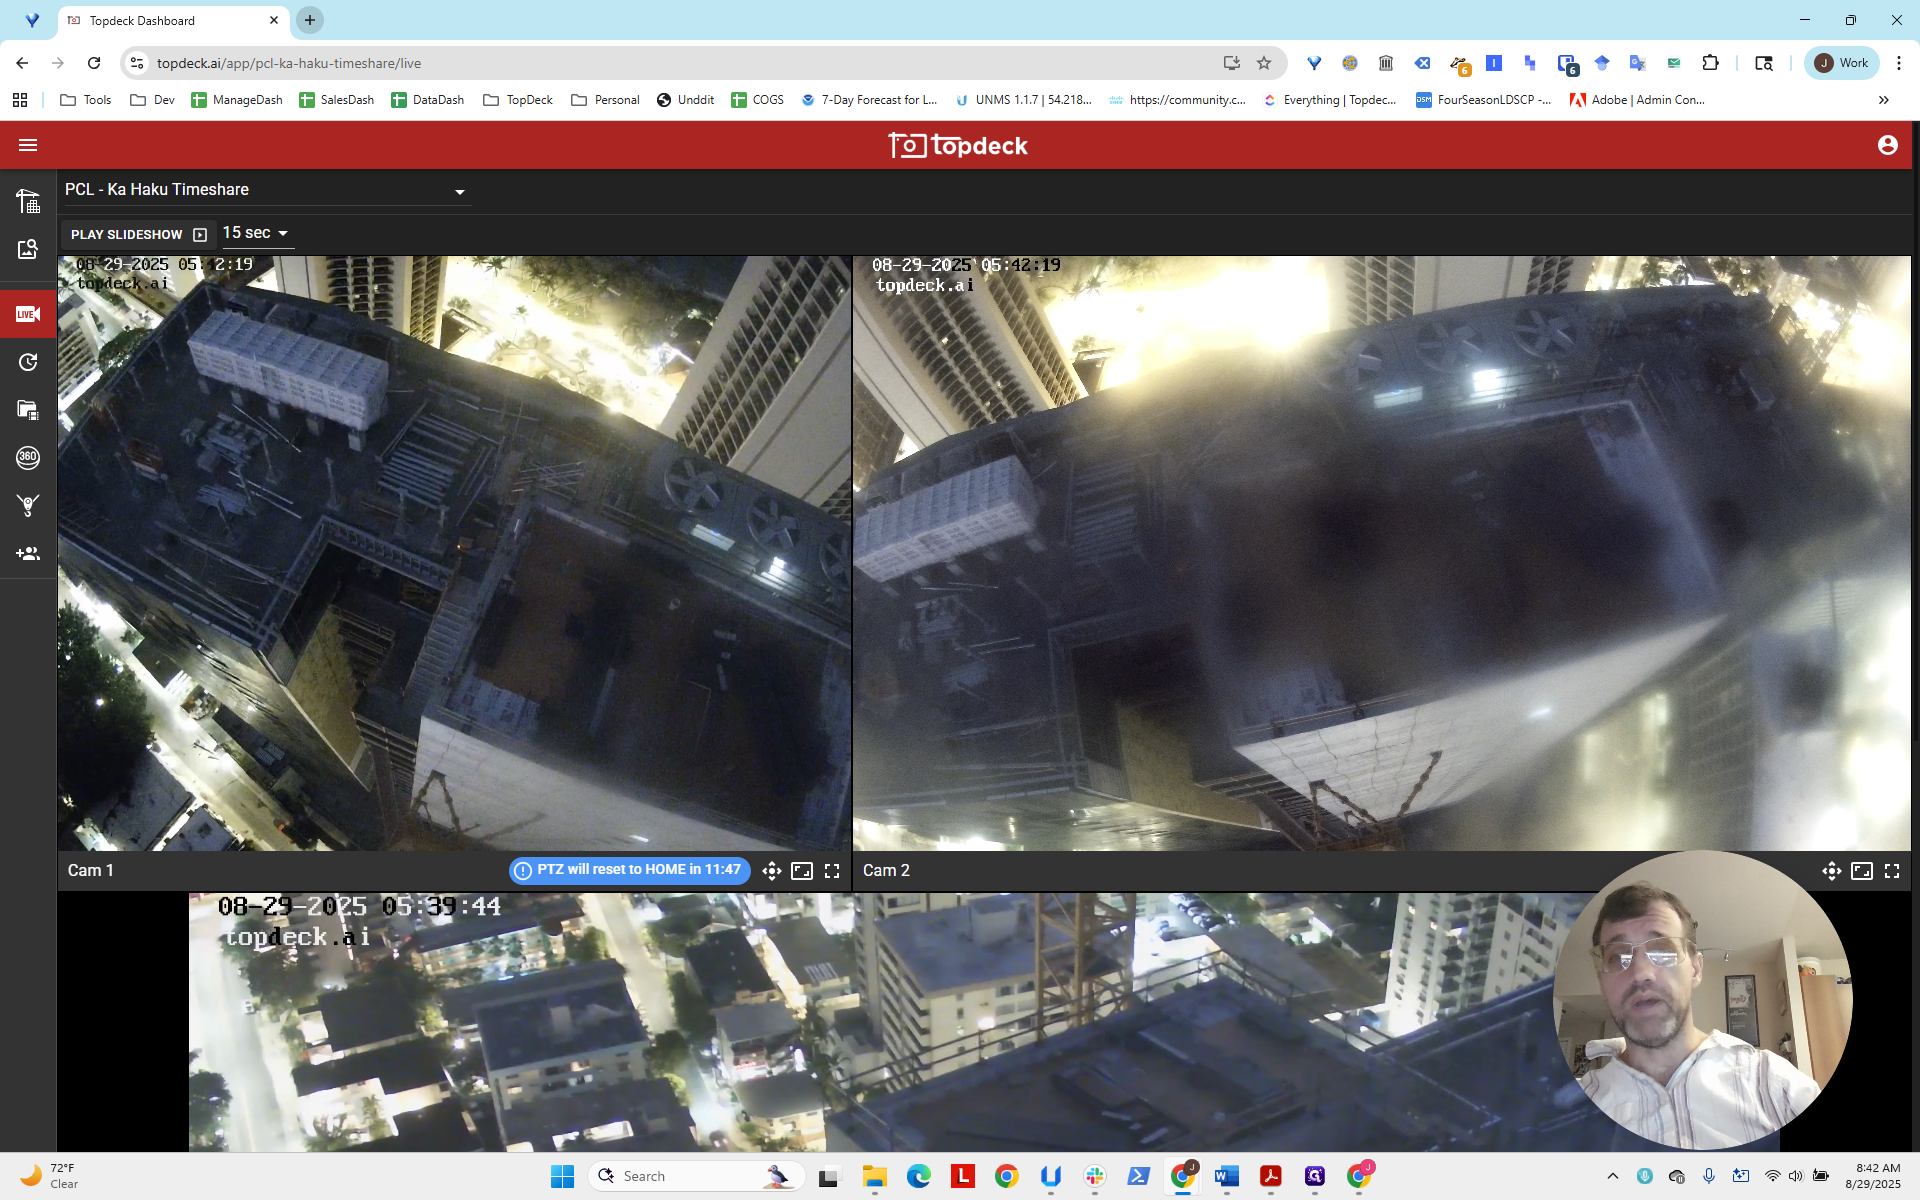
I opened a page. It's early morning in Hawaii, so we have some time to relax before the workday begins. If you are performing this test during the day, please be mindful not to impact the customer's video feeds. Ideally, do this during a low-activity period or when you won't be causing unnecessary delays.
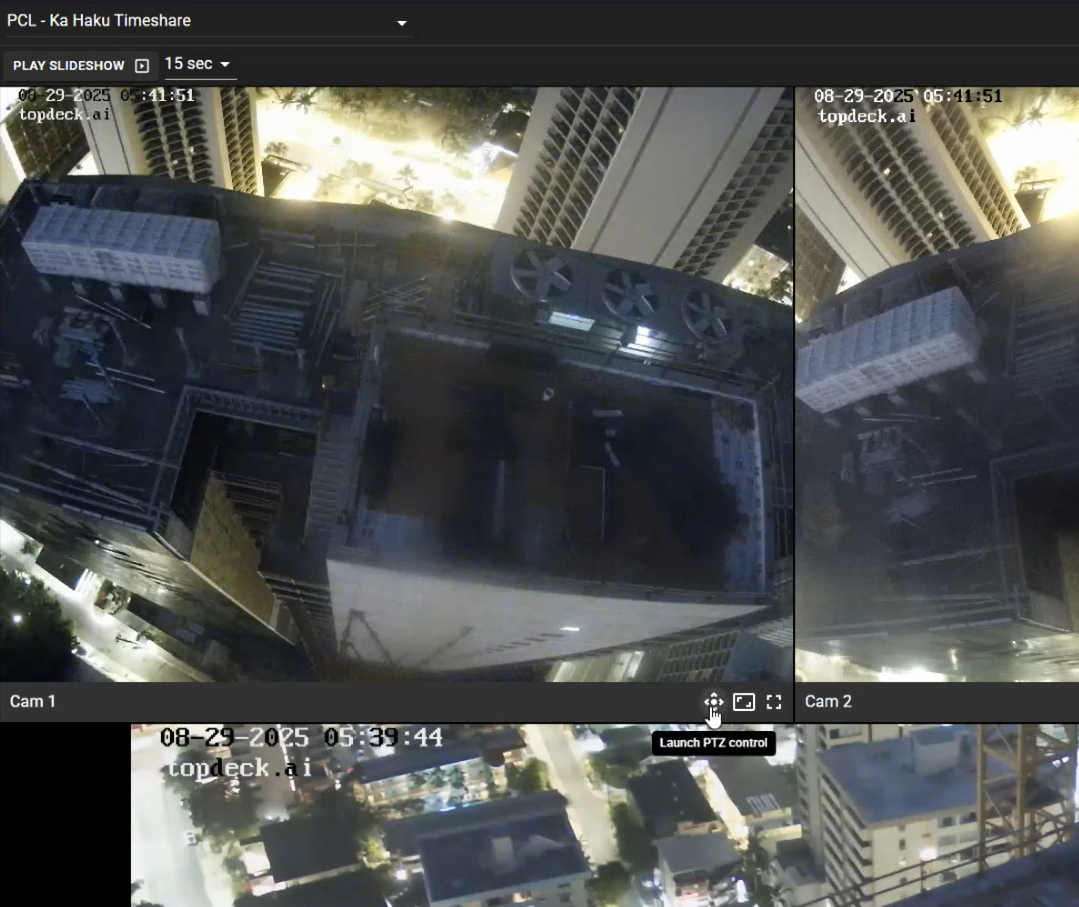
First, click on the PTZ control to verify that the camera is working. We can move it slightly. The camera is live, streaming, and responsive to input.
Then, knowing that, we close that window.
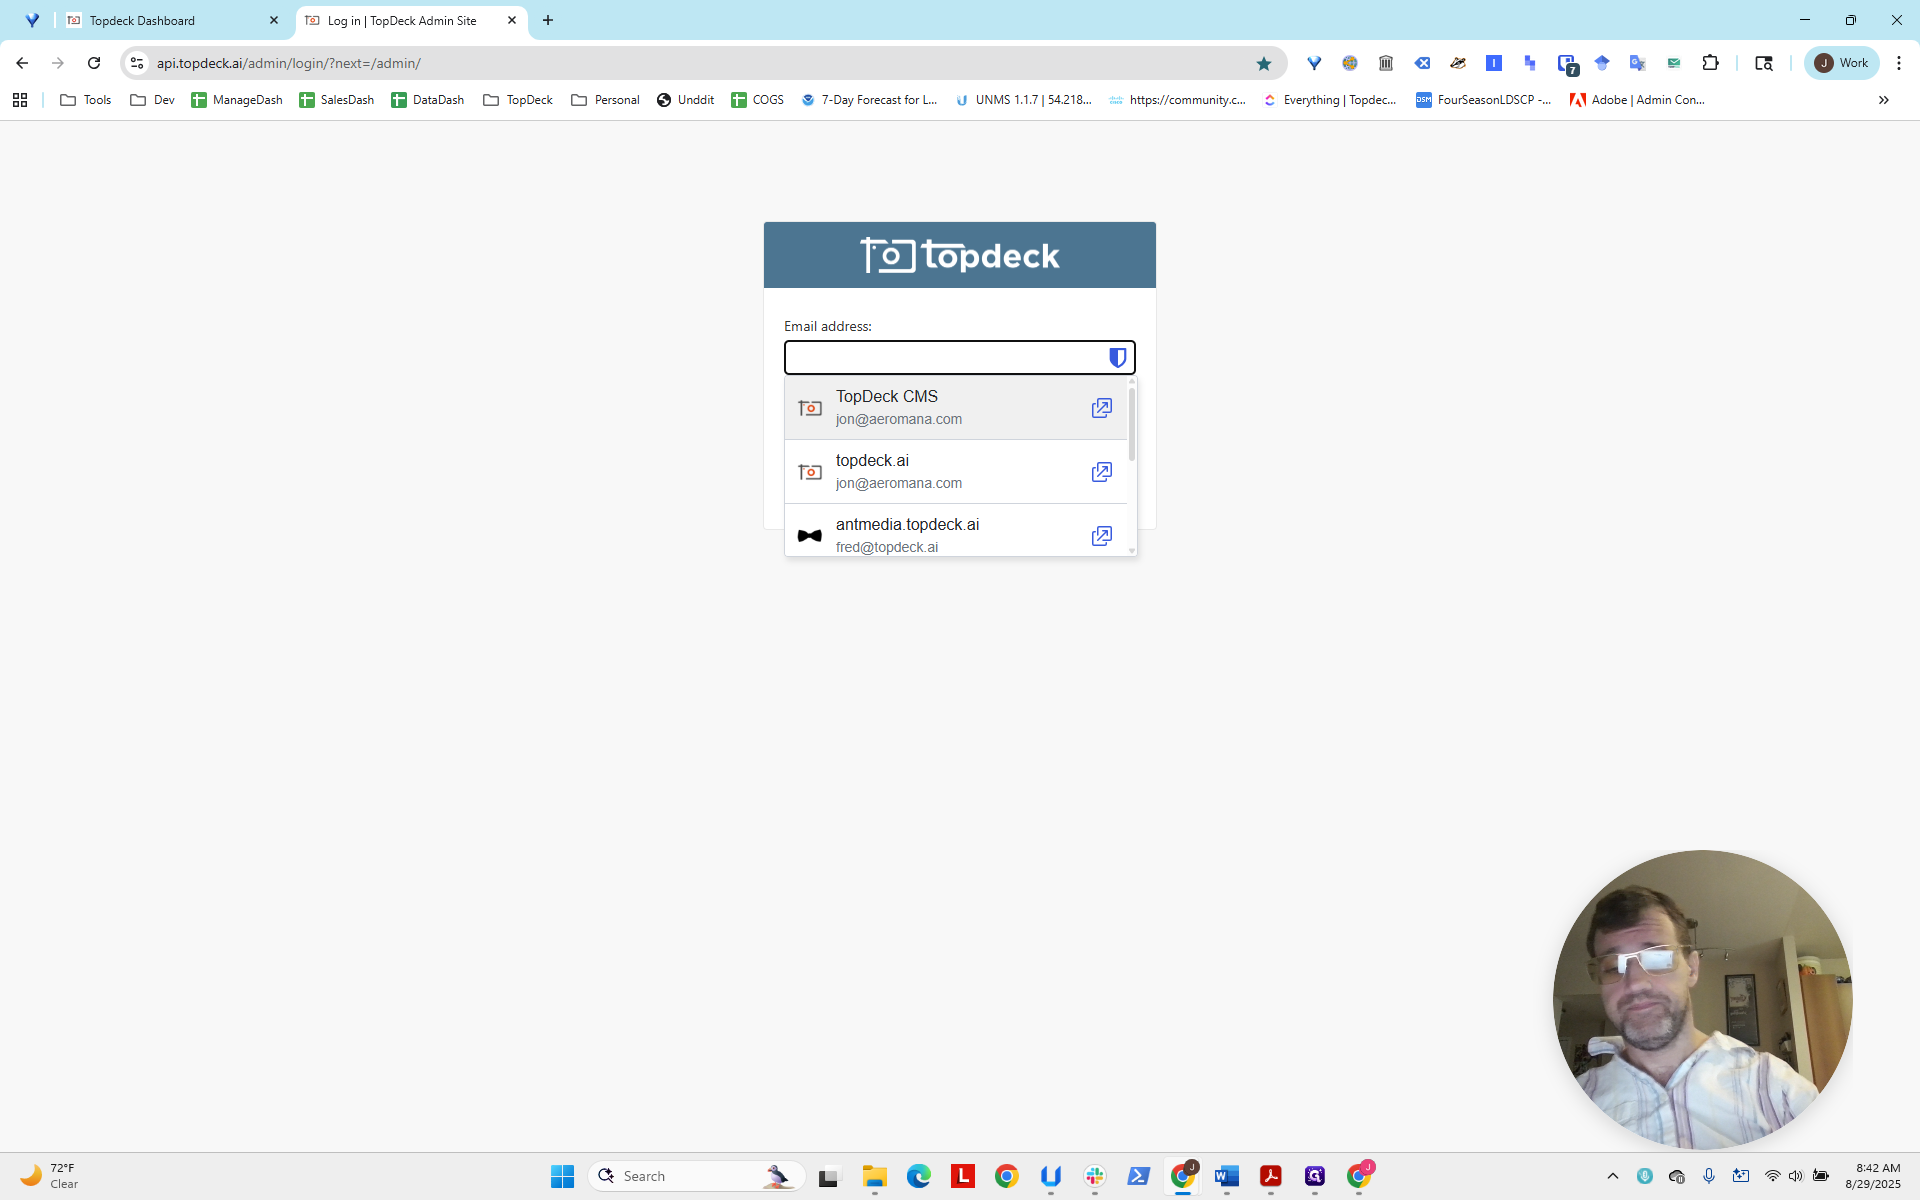
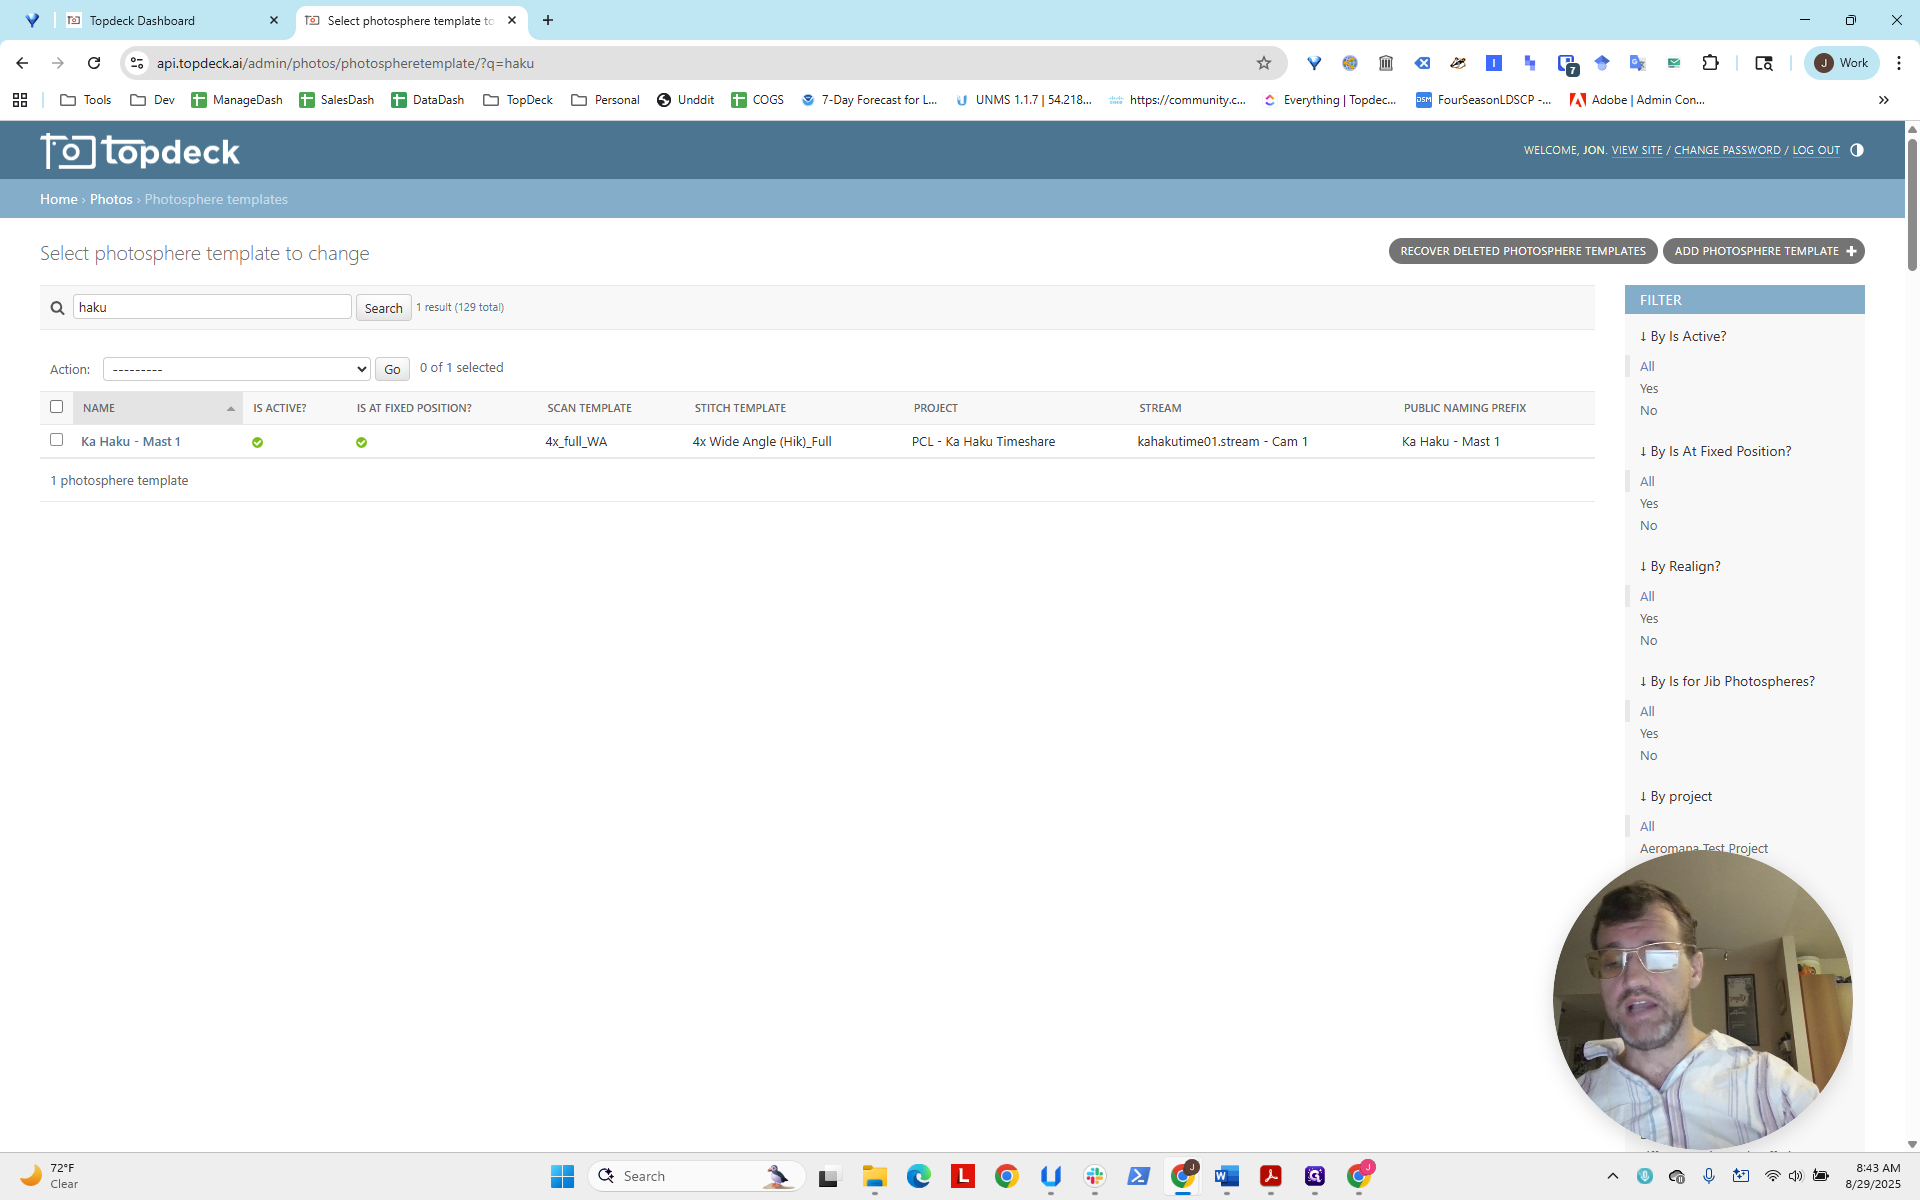
Open a new tab and go to the API admin. Log in, then navigate to the photo sphere templates.
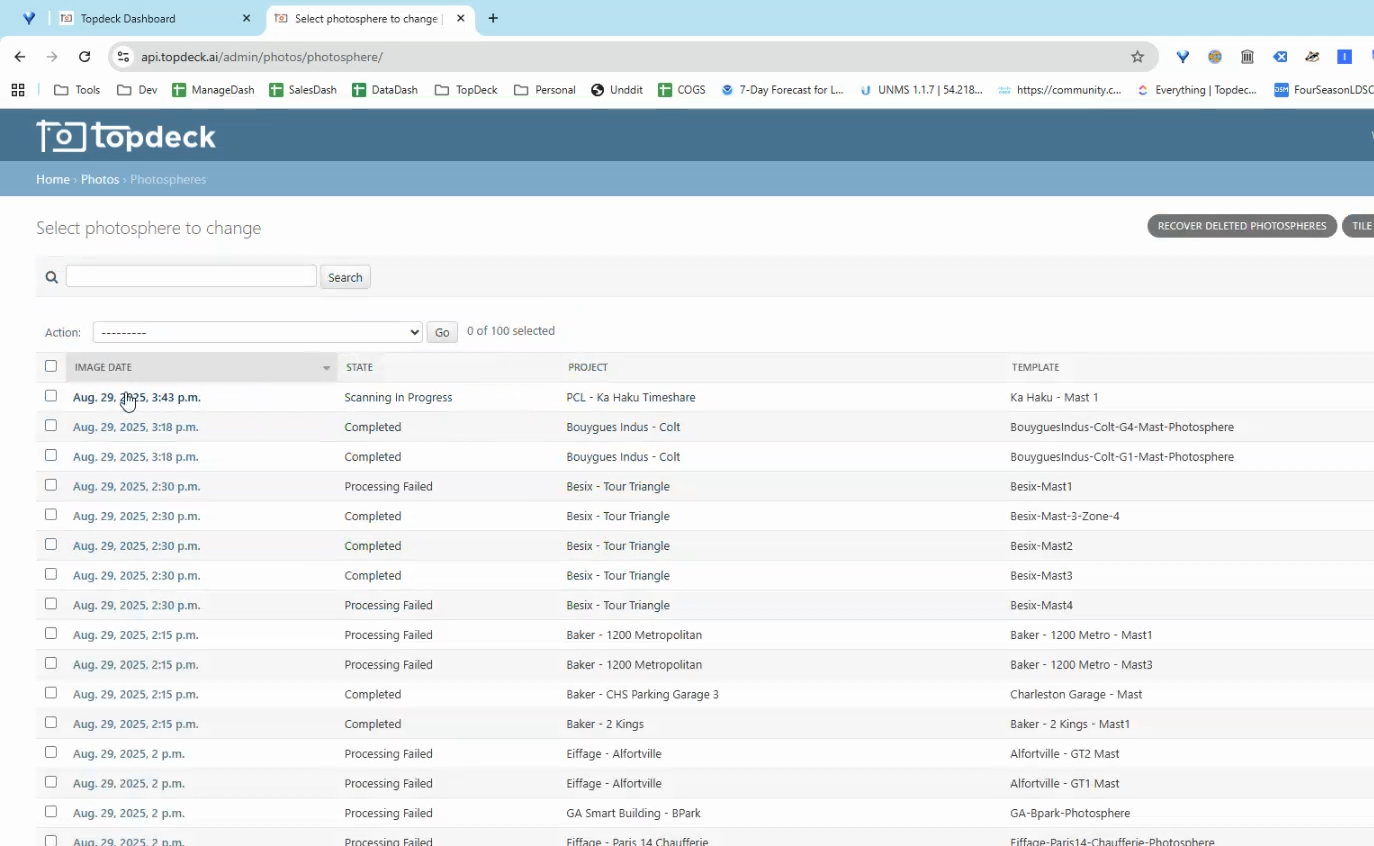
This was the Ka Haku project. I will search for "Haku".
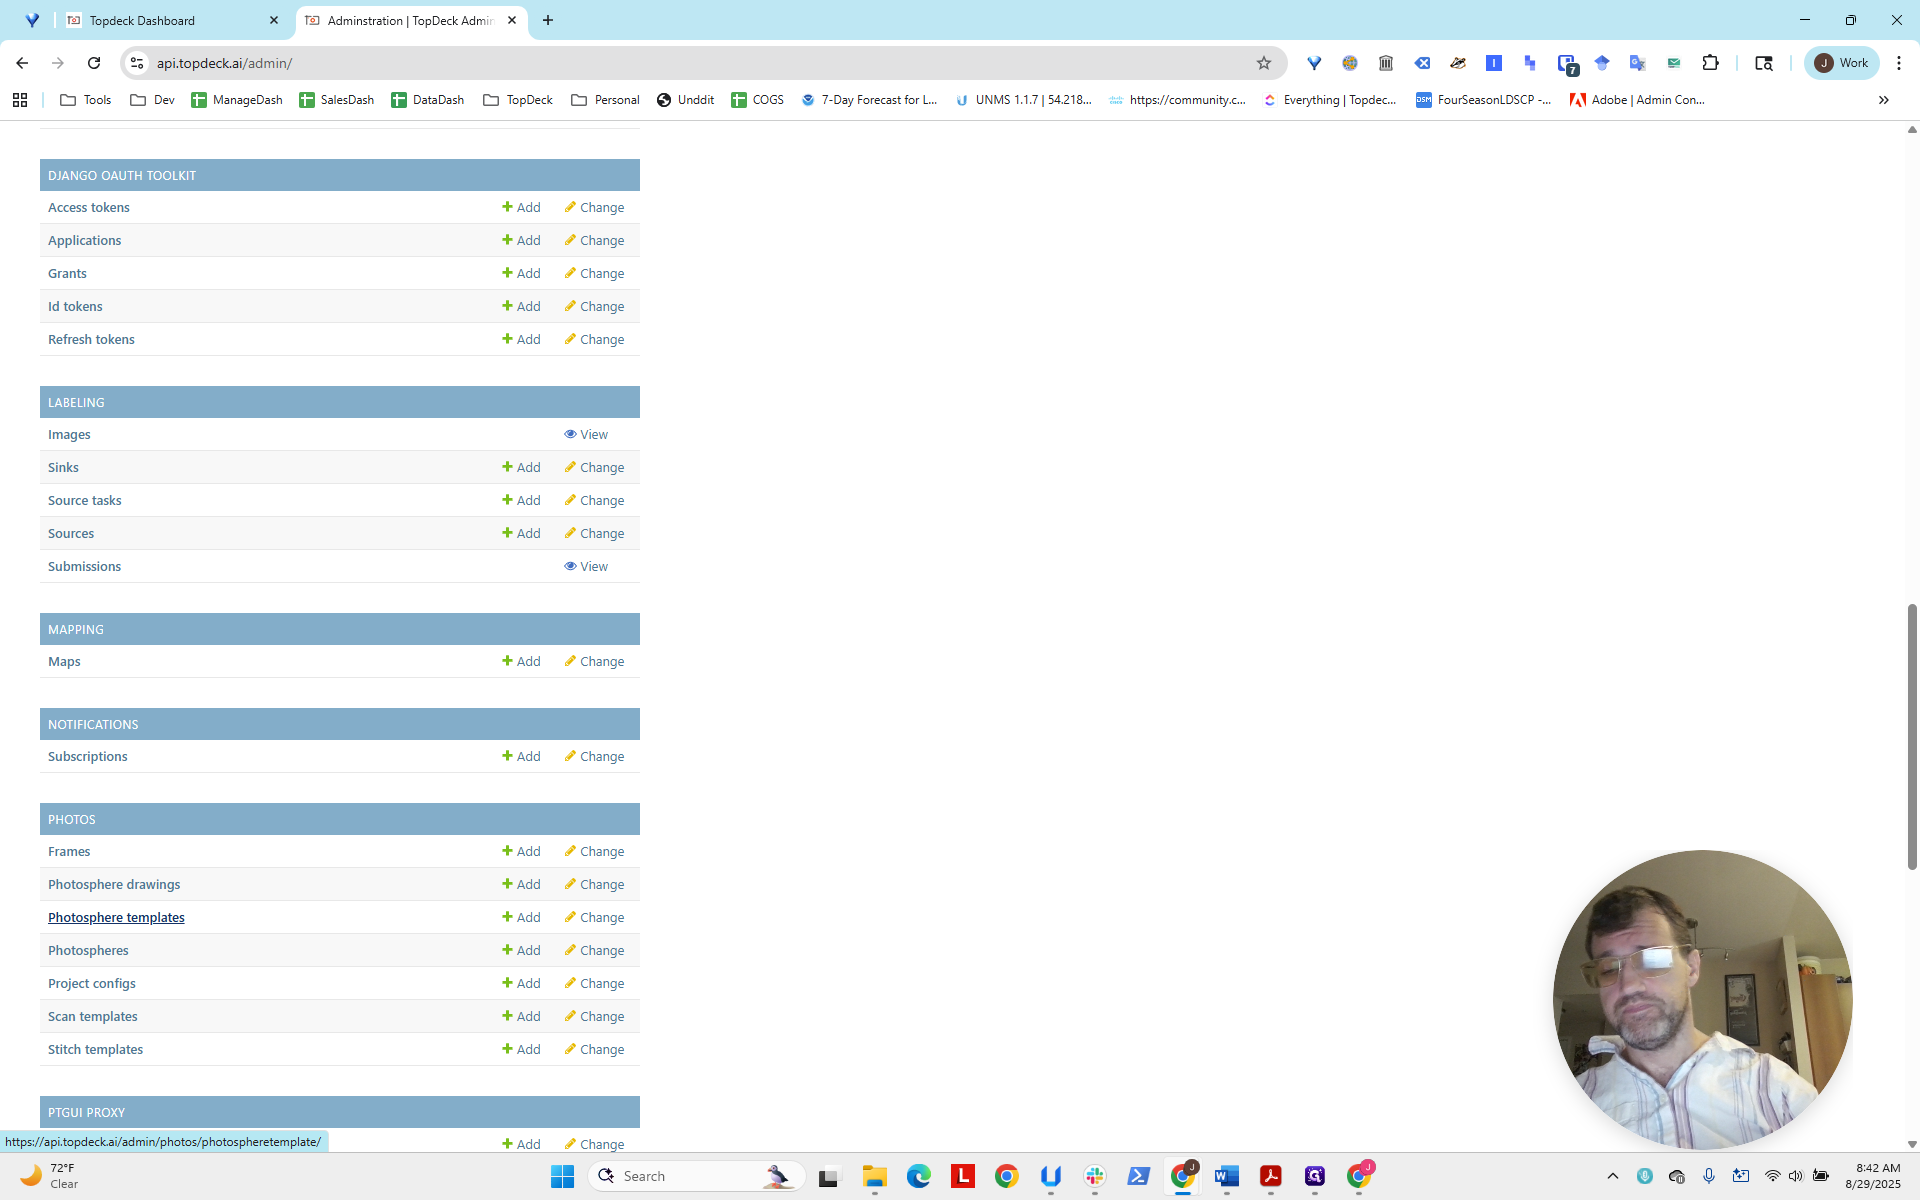

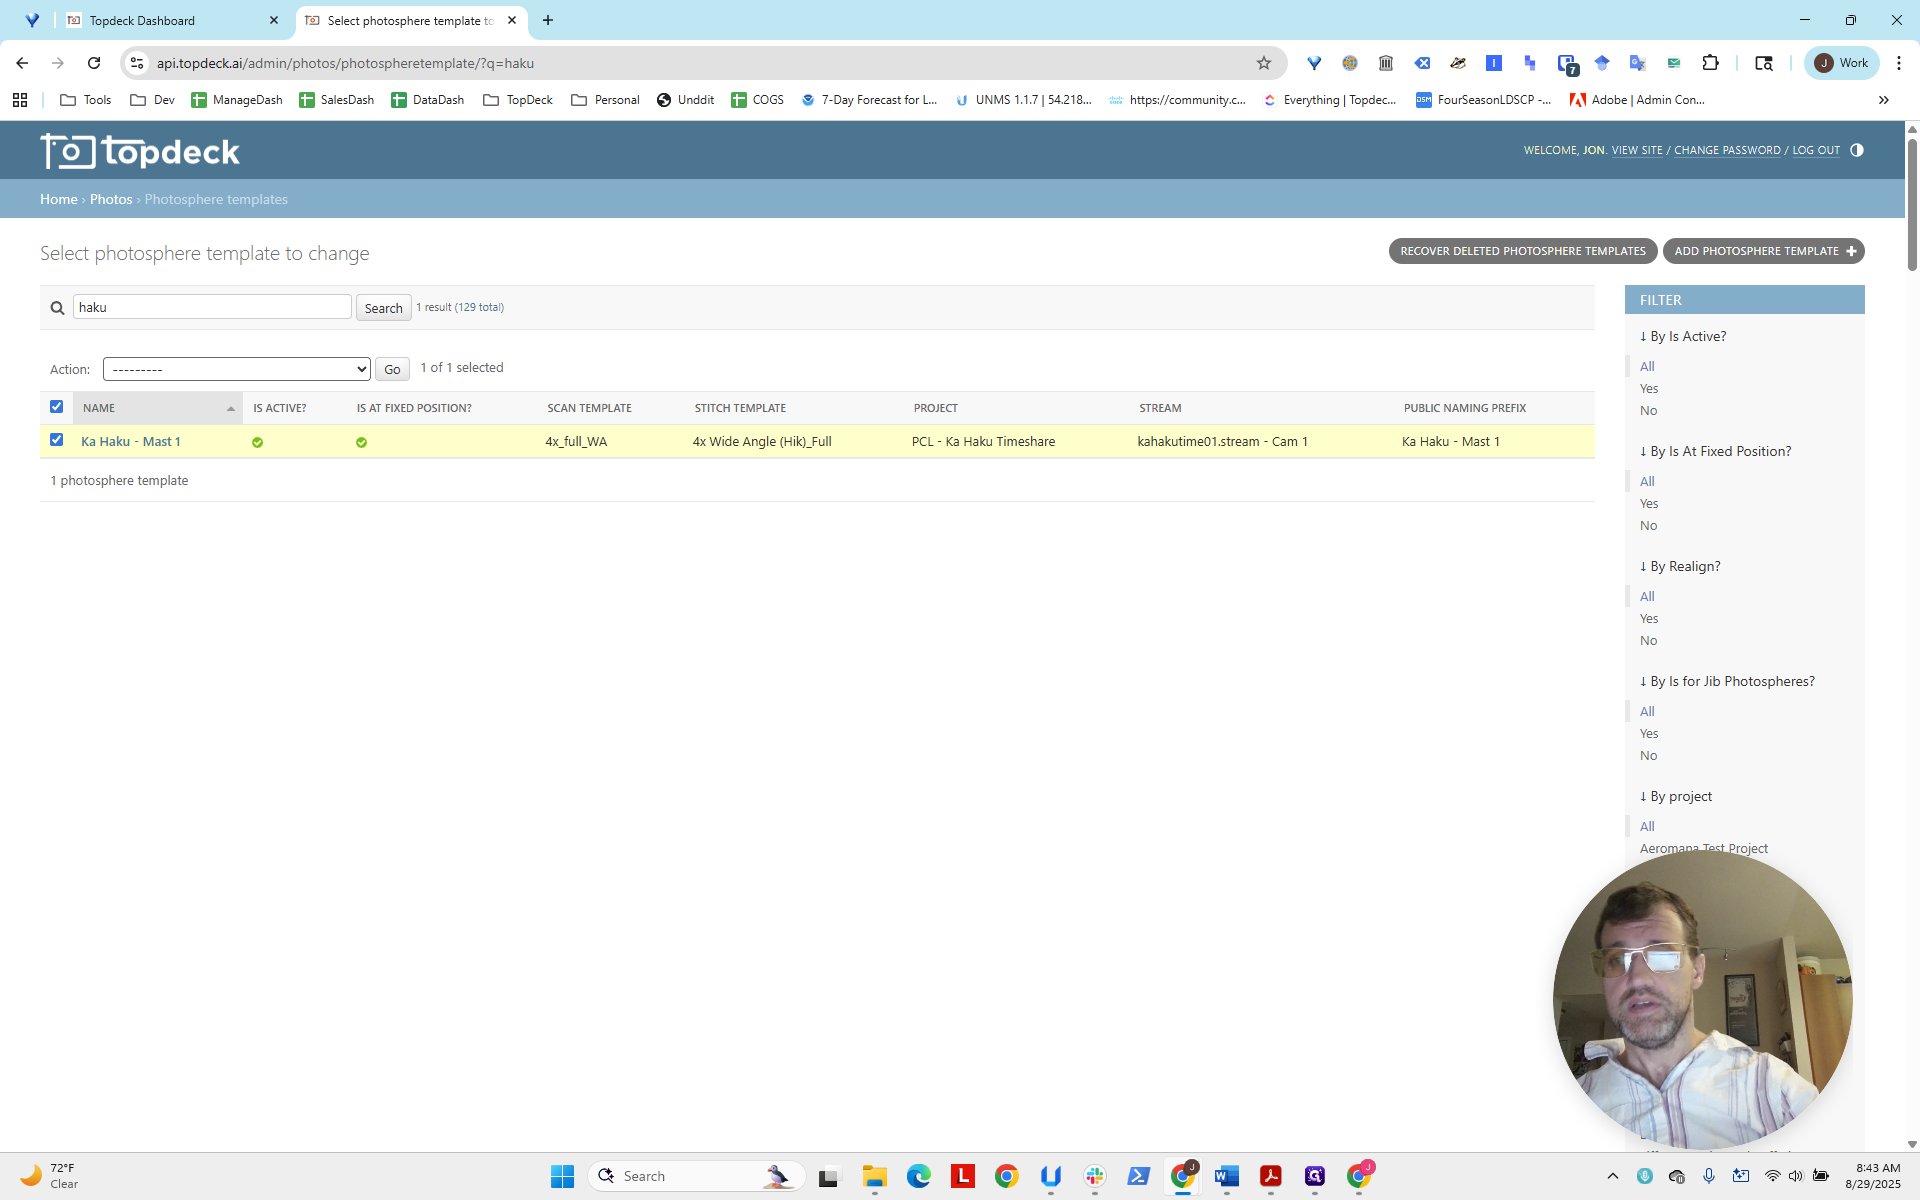
There’s the mast, and we see it here. Everything is set and active. Now, we will select this mast.
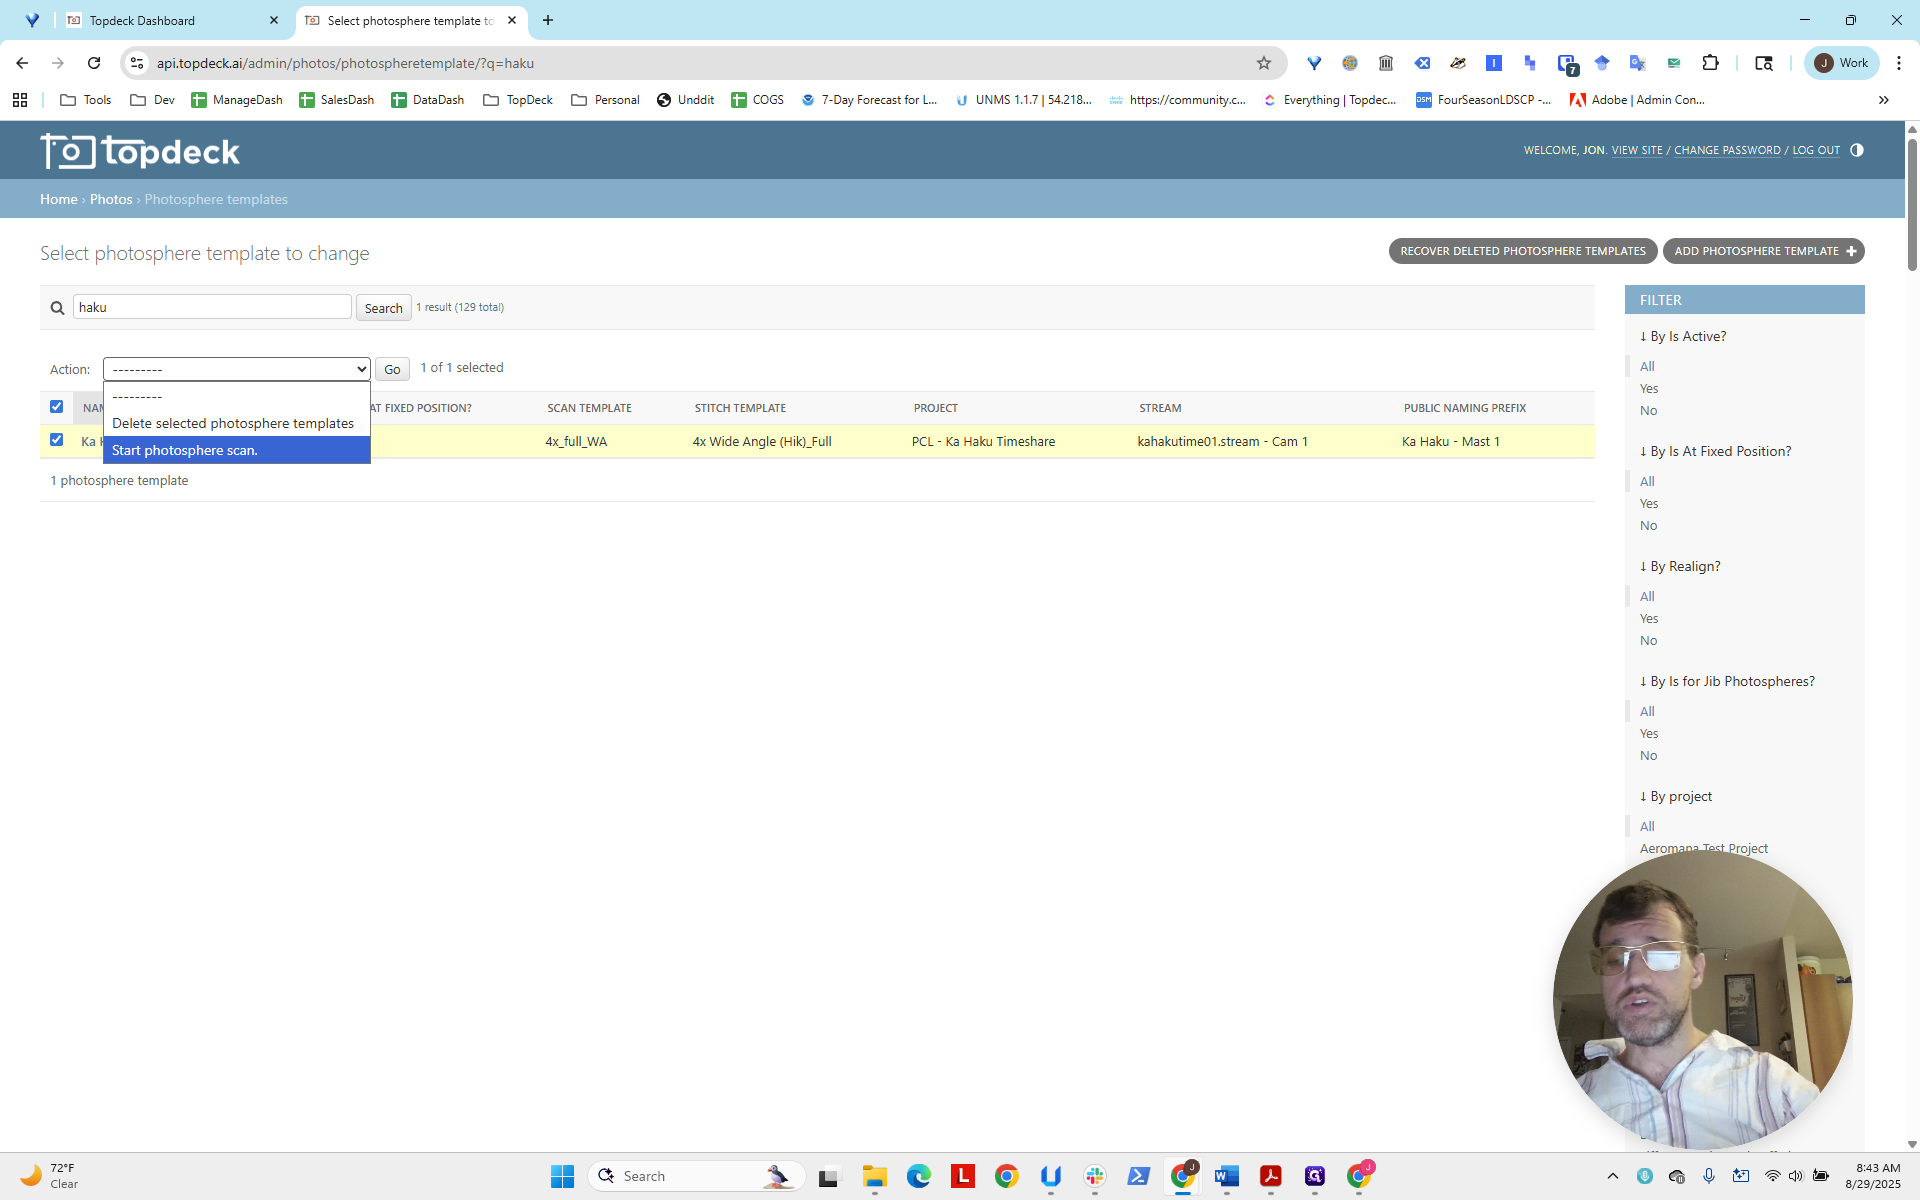
Under the action menu, select "Start photosphere scan" to begin the scan.

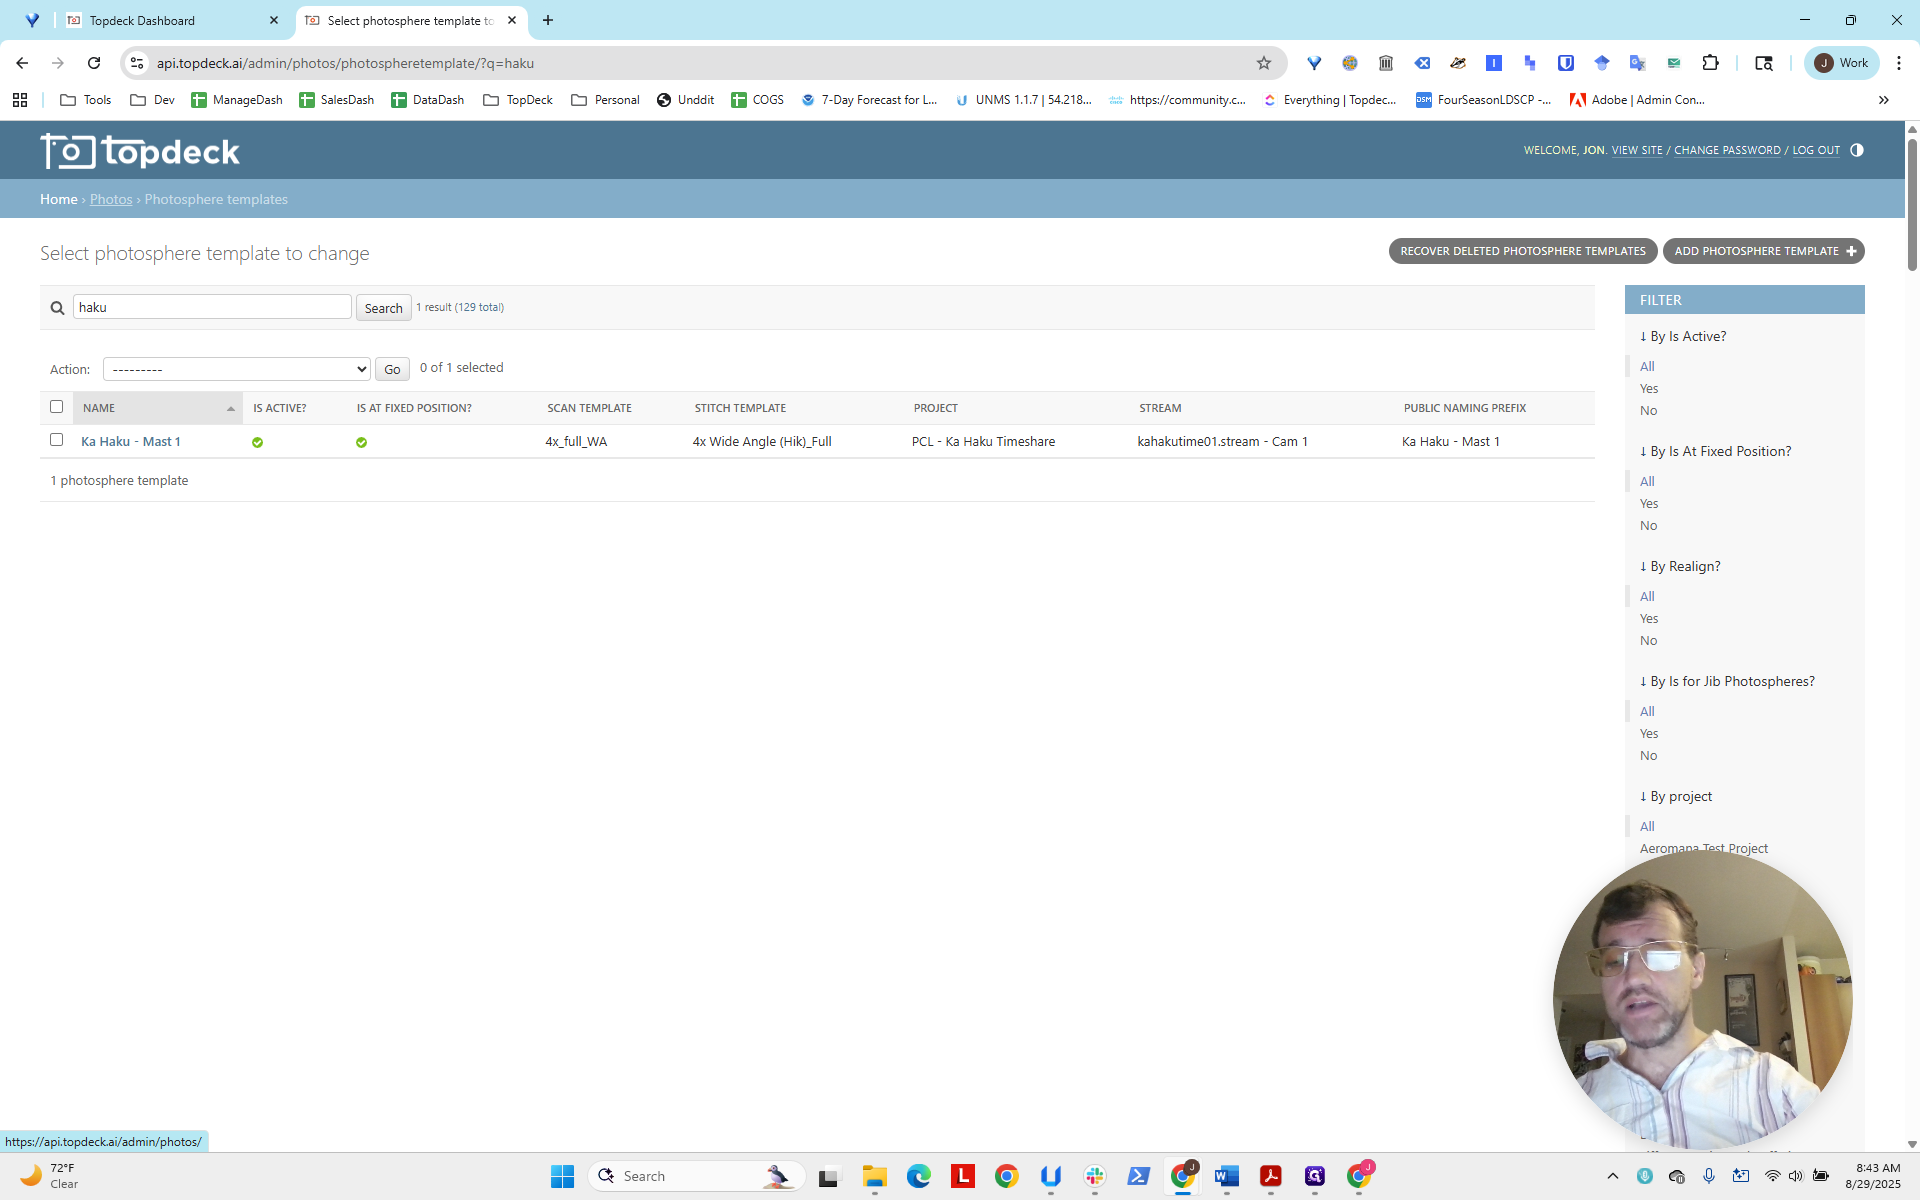
There’s no visible text indicating it’s running. However, you can return to Photos and open the photo spheres.
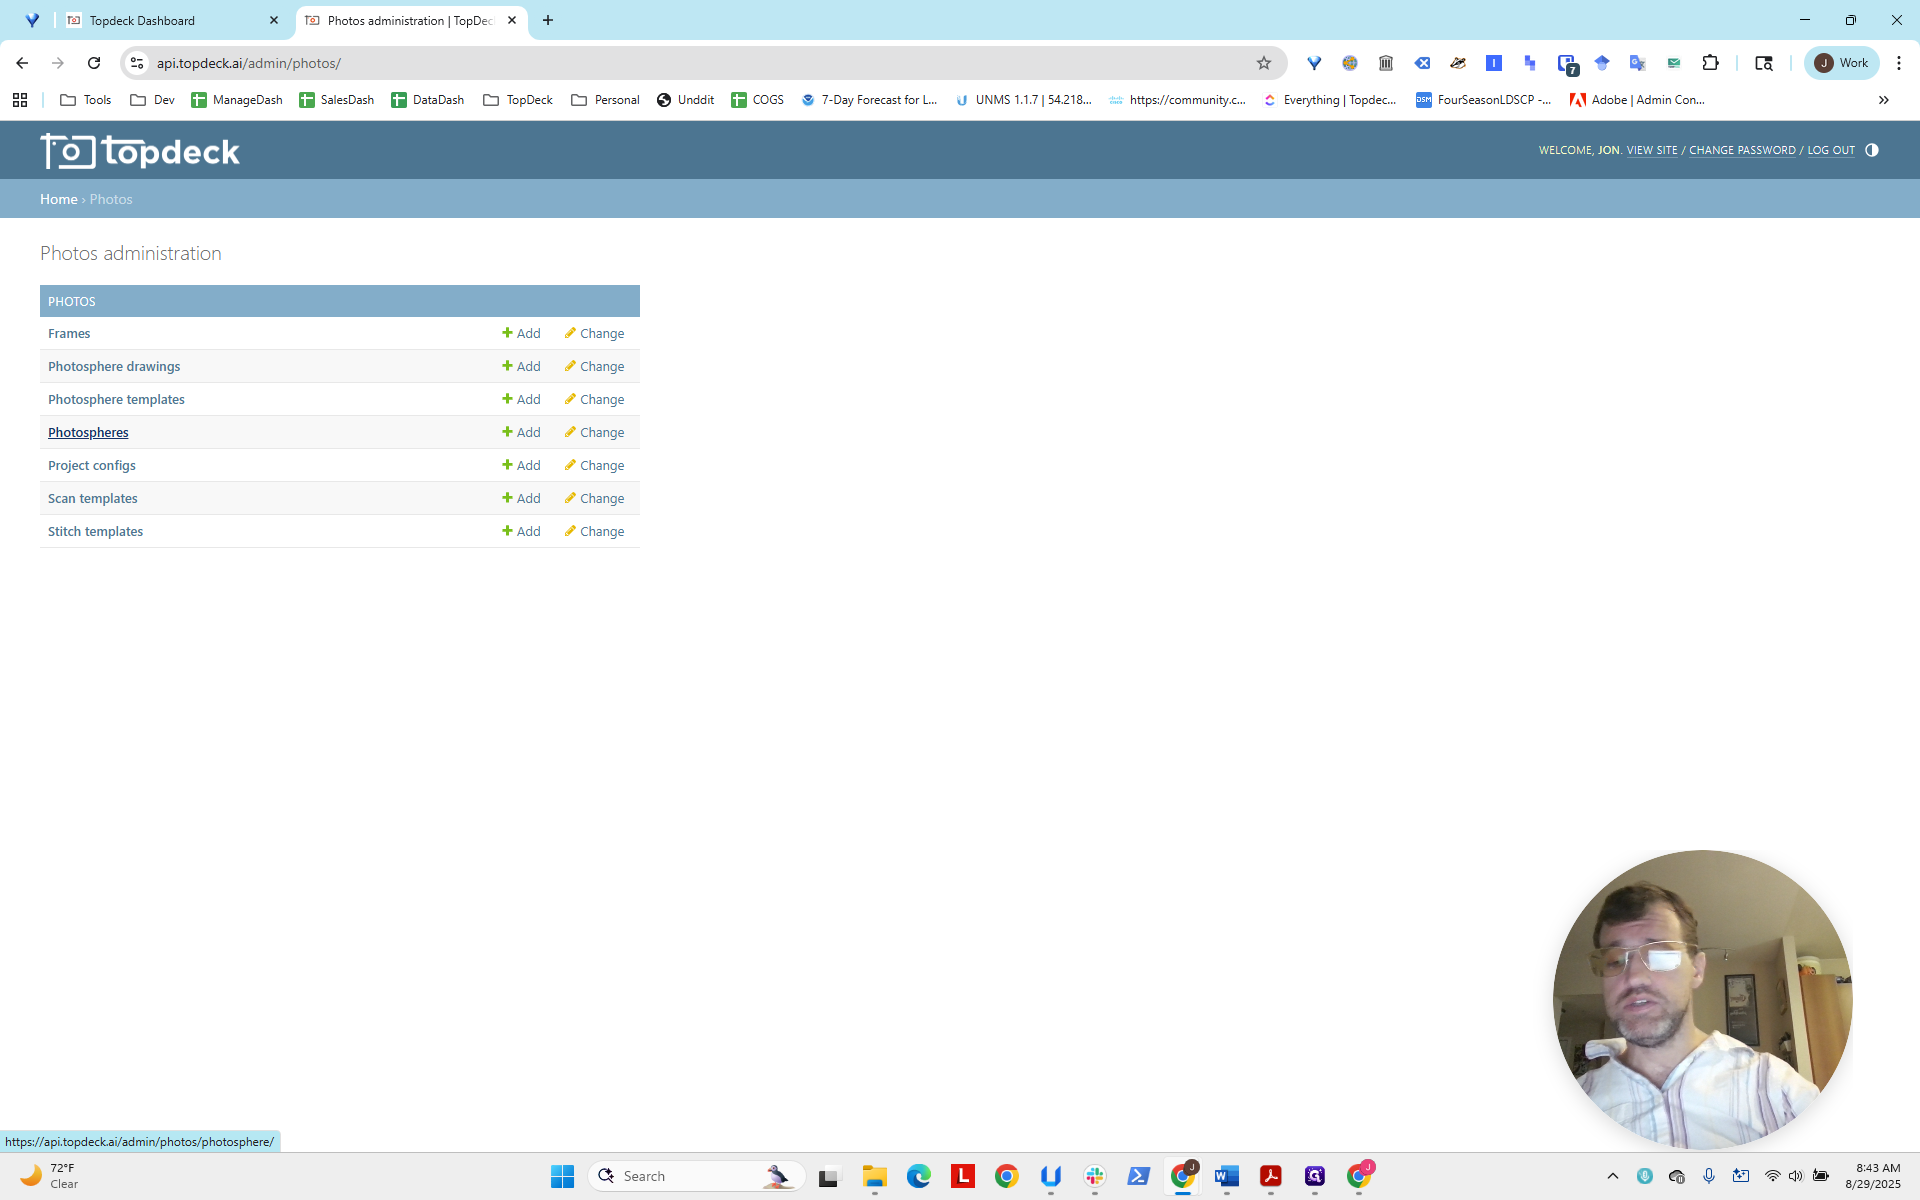
You can see here that it says scanning is in progress.
It usually takes about four to nine minutes for a scan to complete. After that, it should be viewable in the portal. You can review the scan to ensure it worked correctly.