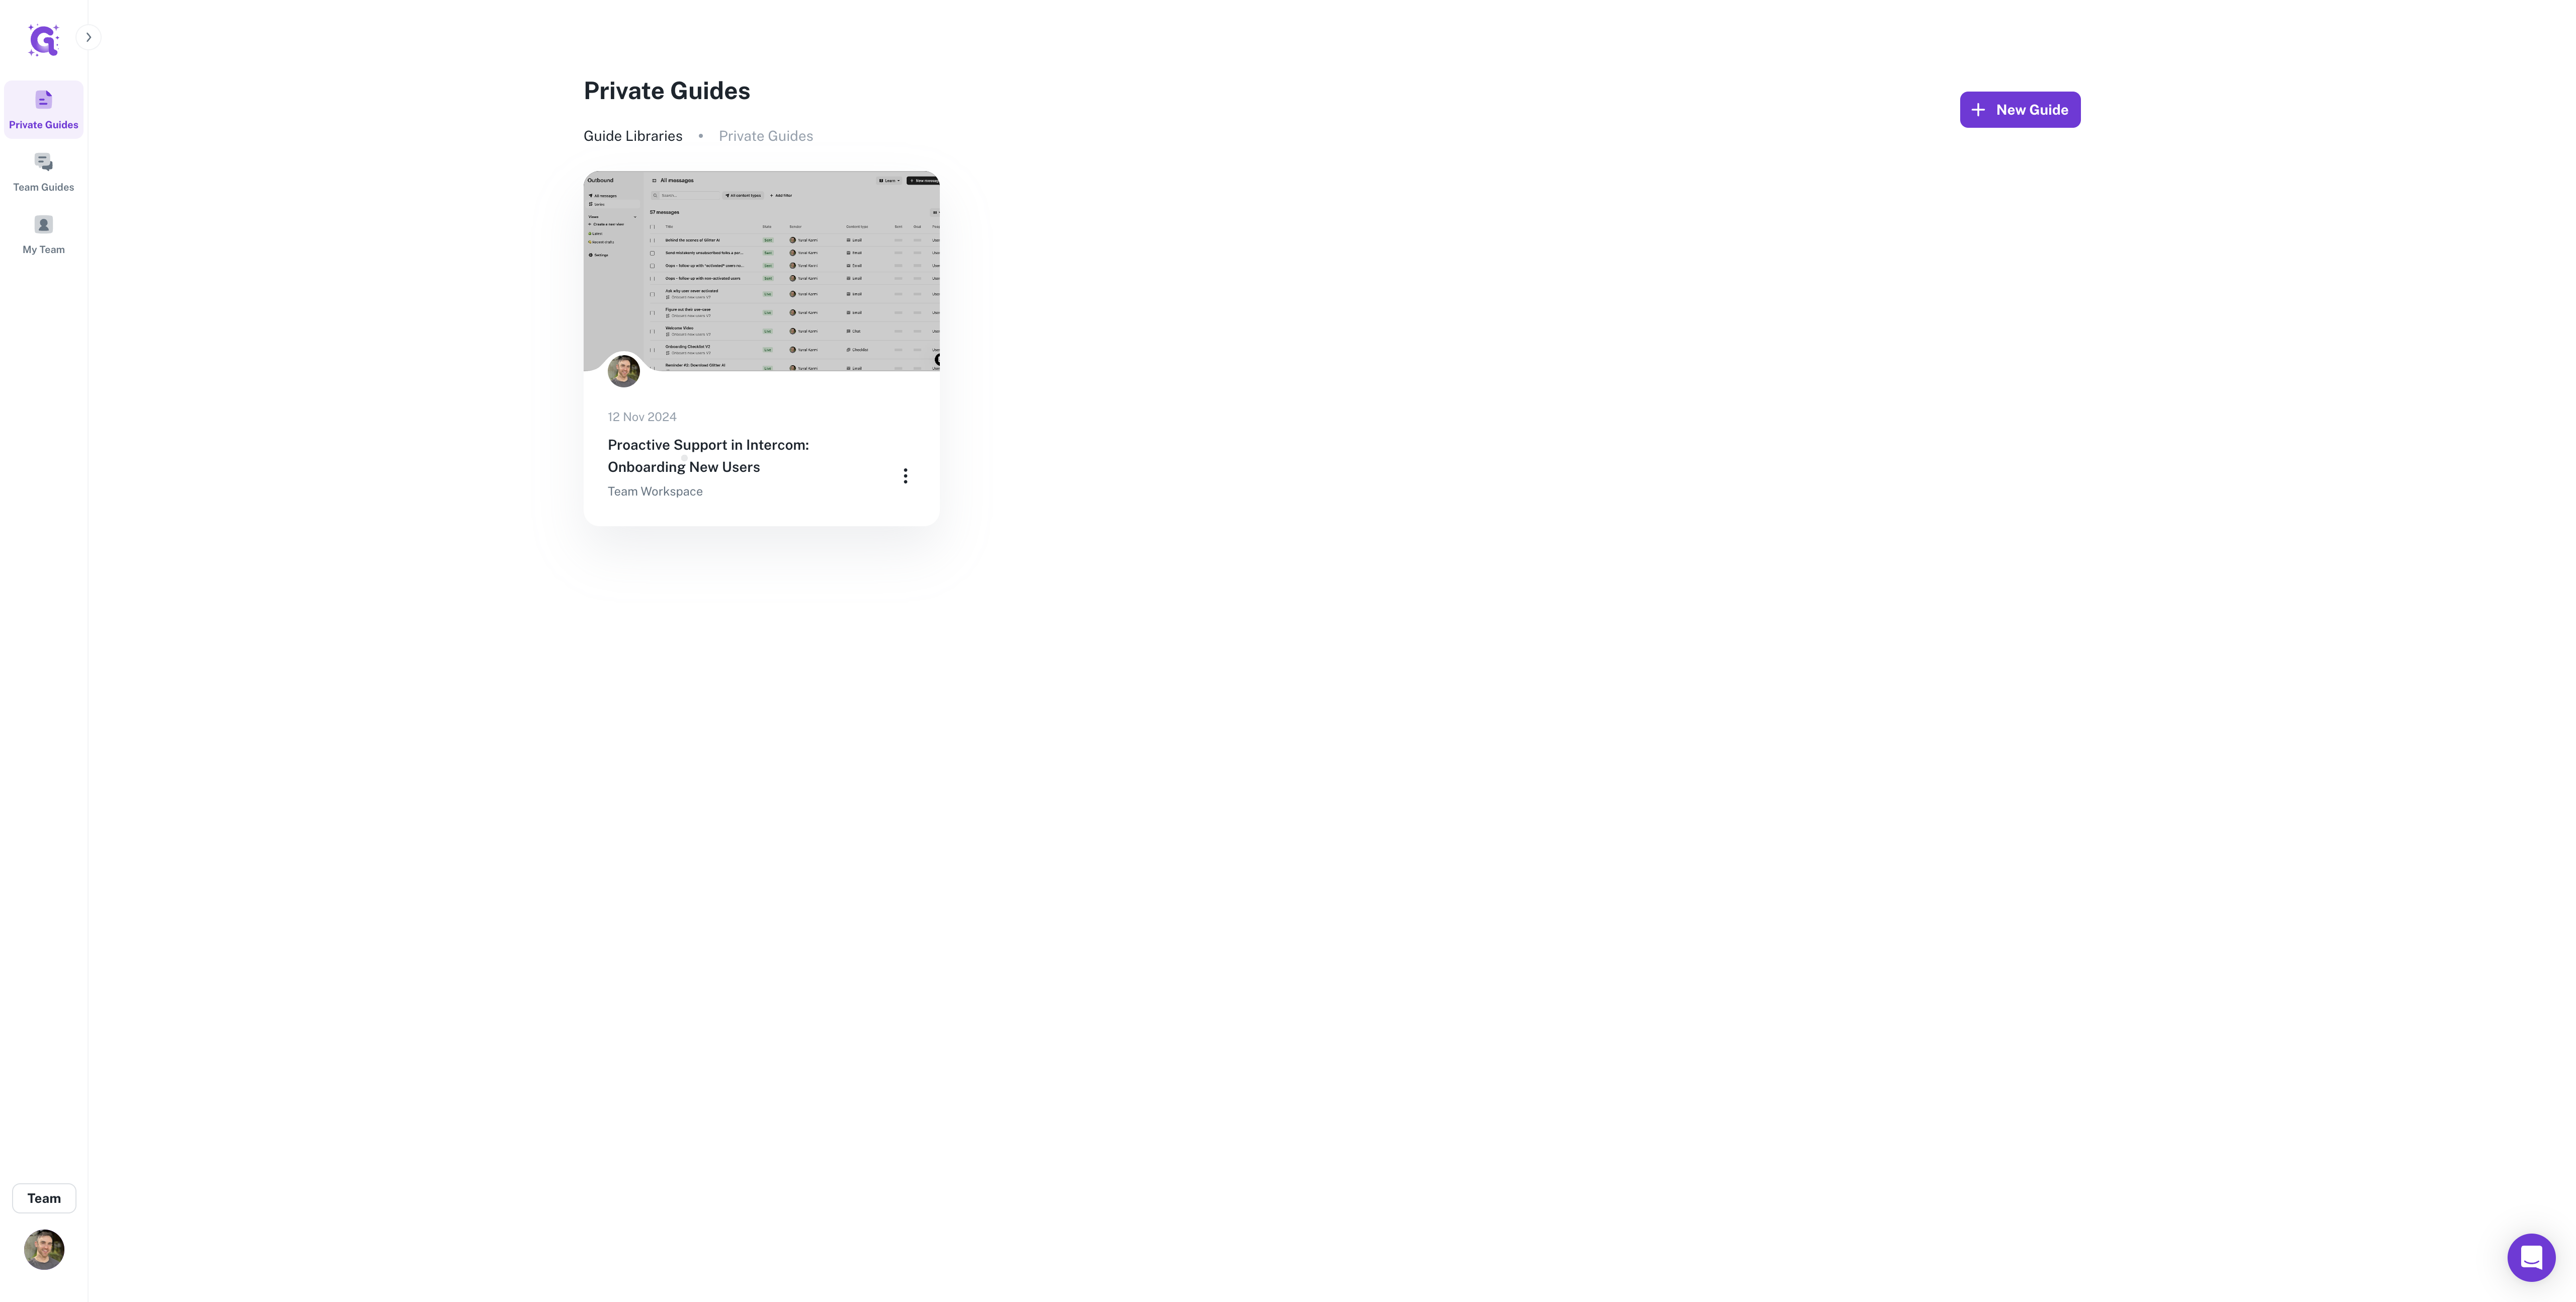
How to Check if Your Glitter AI Guide is Public
Learn how to determine if your guide is public or private and how to manage access settings effectively.
In this guide, we'll learn how to determine if your guide is public or private. Understanding the visibility of your guide is important for controlling who can access your content. We'll explore how to check the sharing settings and adjust them to either restrict access or make your guide available to anyone with a link. Additionally, we'll cover how to add specific people to your guide and set their access level.
Let's get started
Here's a guide on how to check if your guide is public.
Click on the guide in question, then click on the share menu. Under sharing the link, you'll see a dropdown.
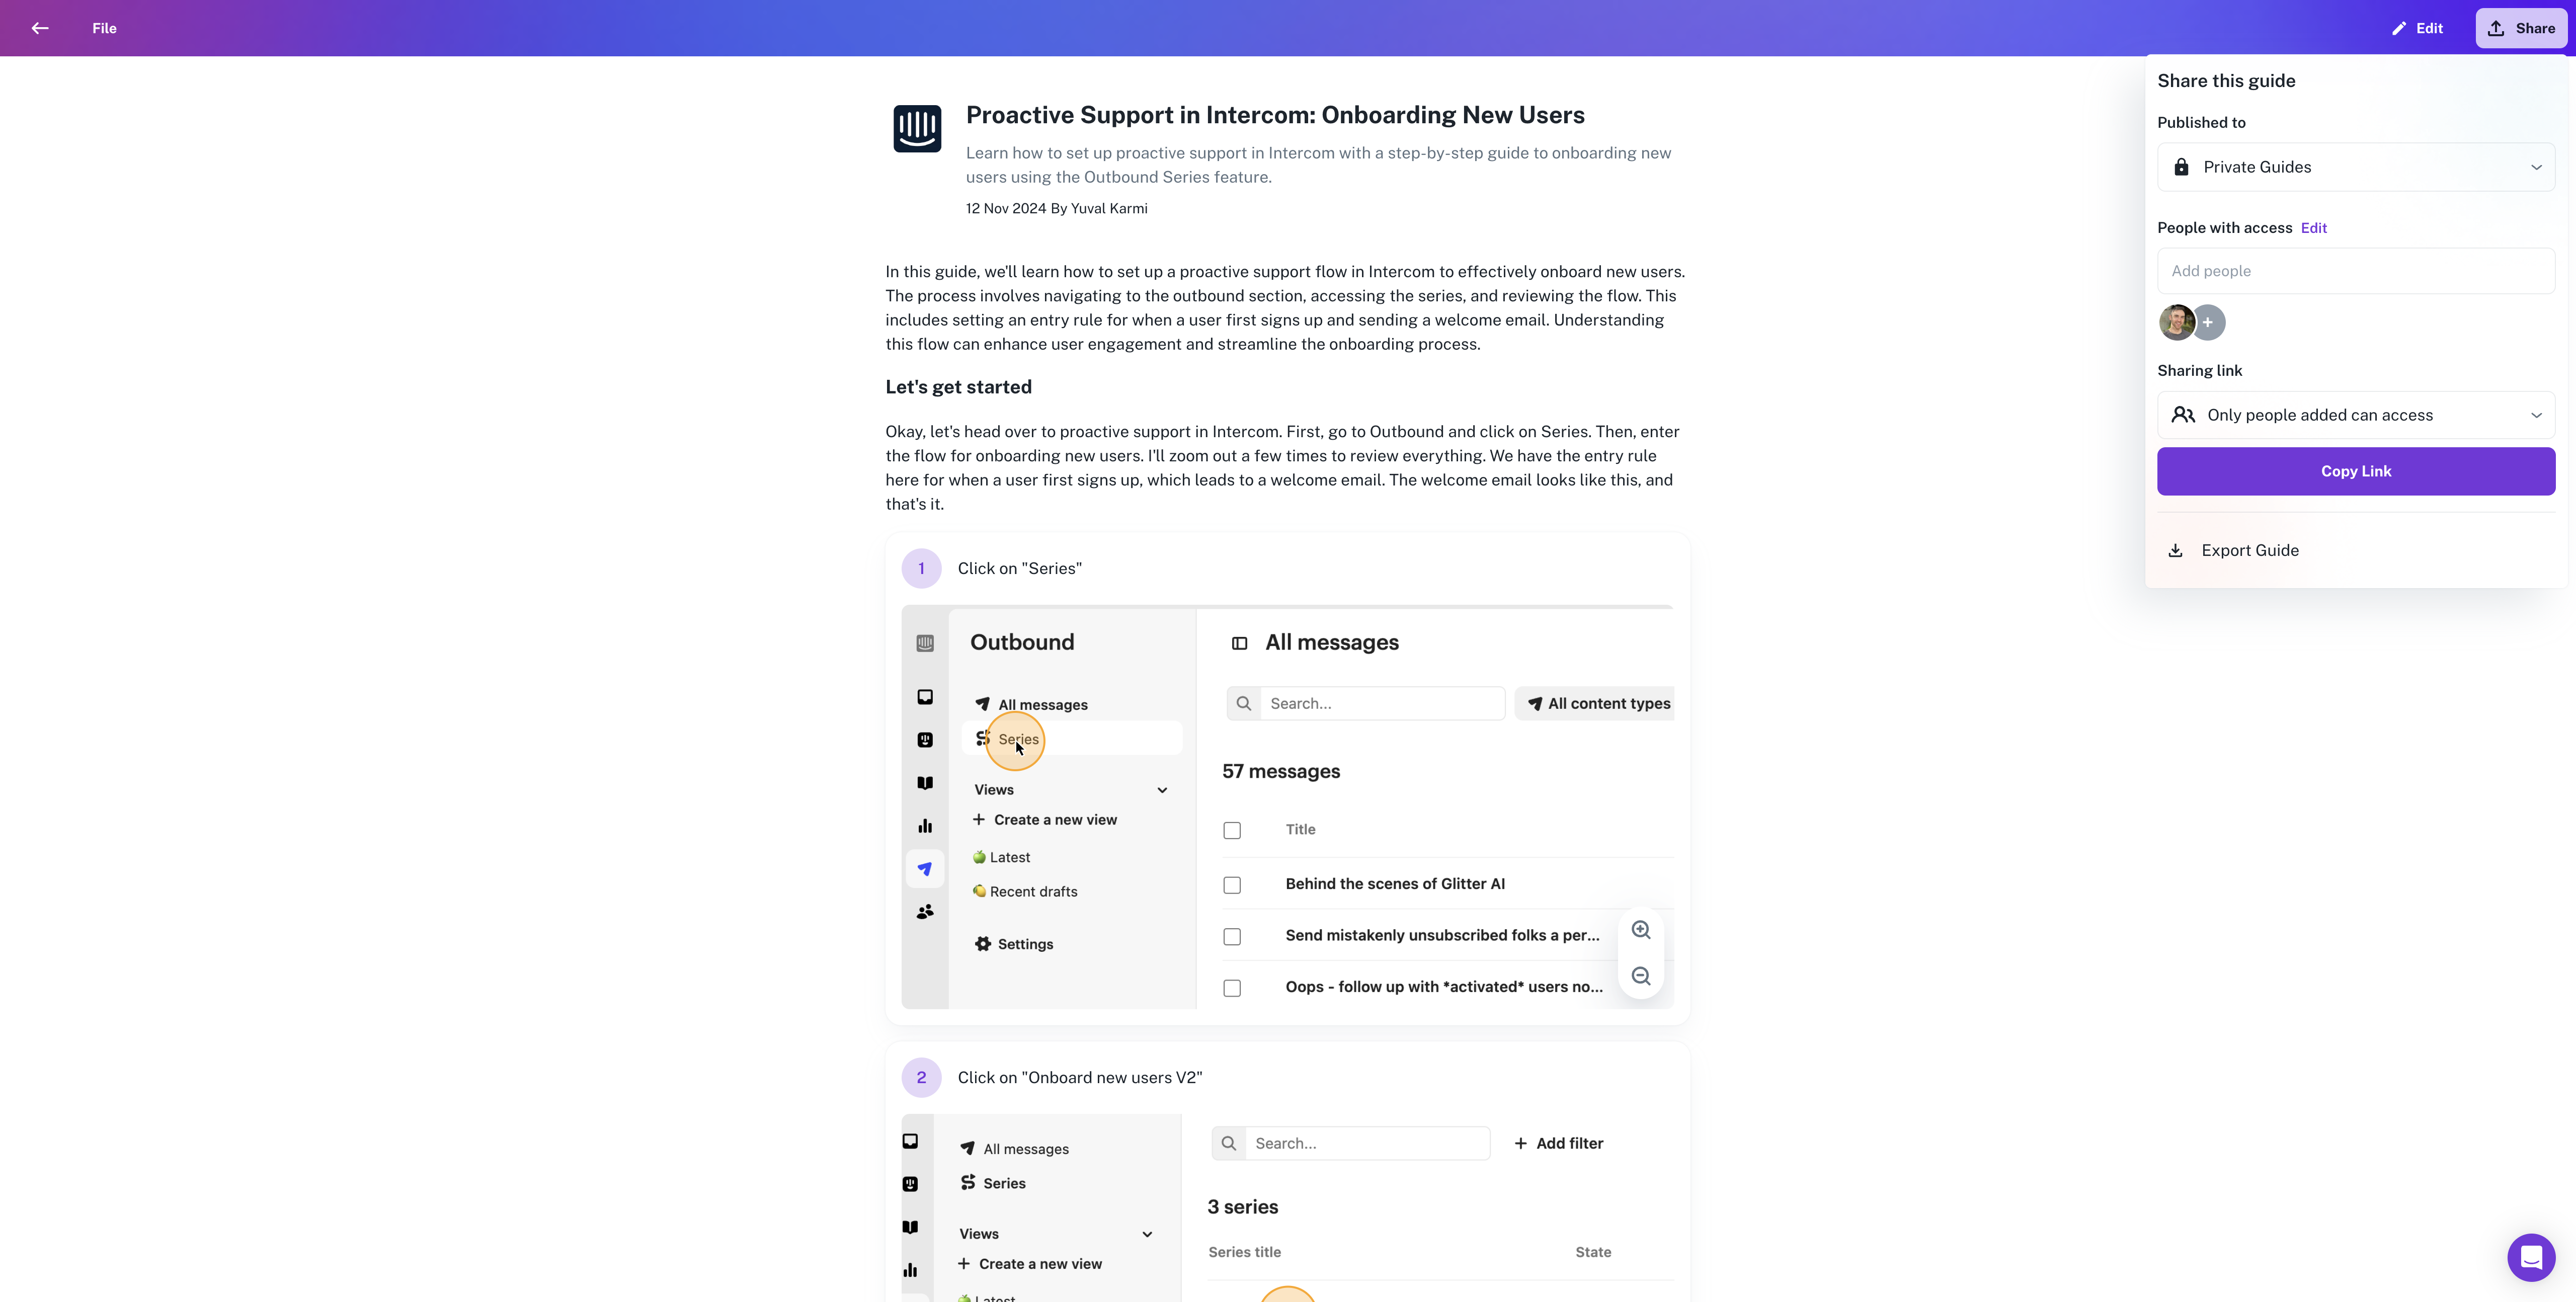
One option states that only added people can access. The other option allows anyone with a link to access. If the link option is selected, the guide becomes public and can be found through a Google search.
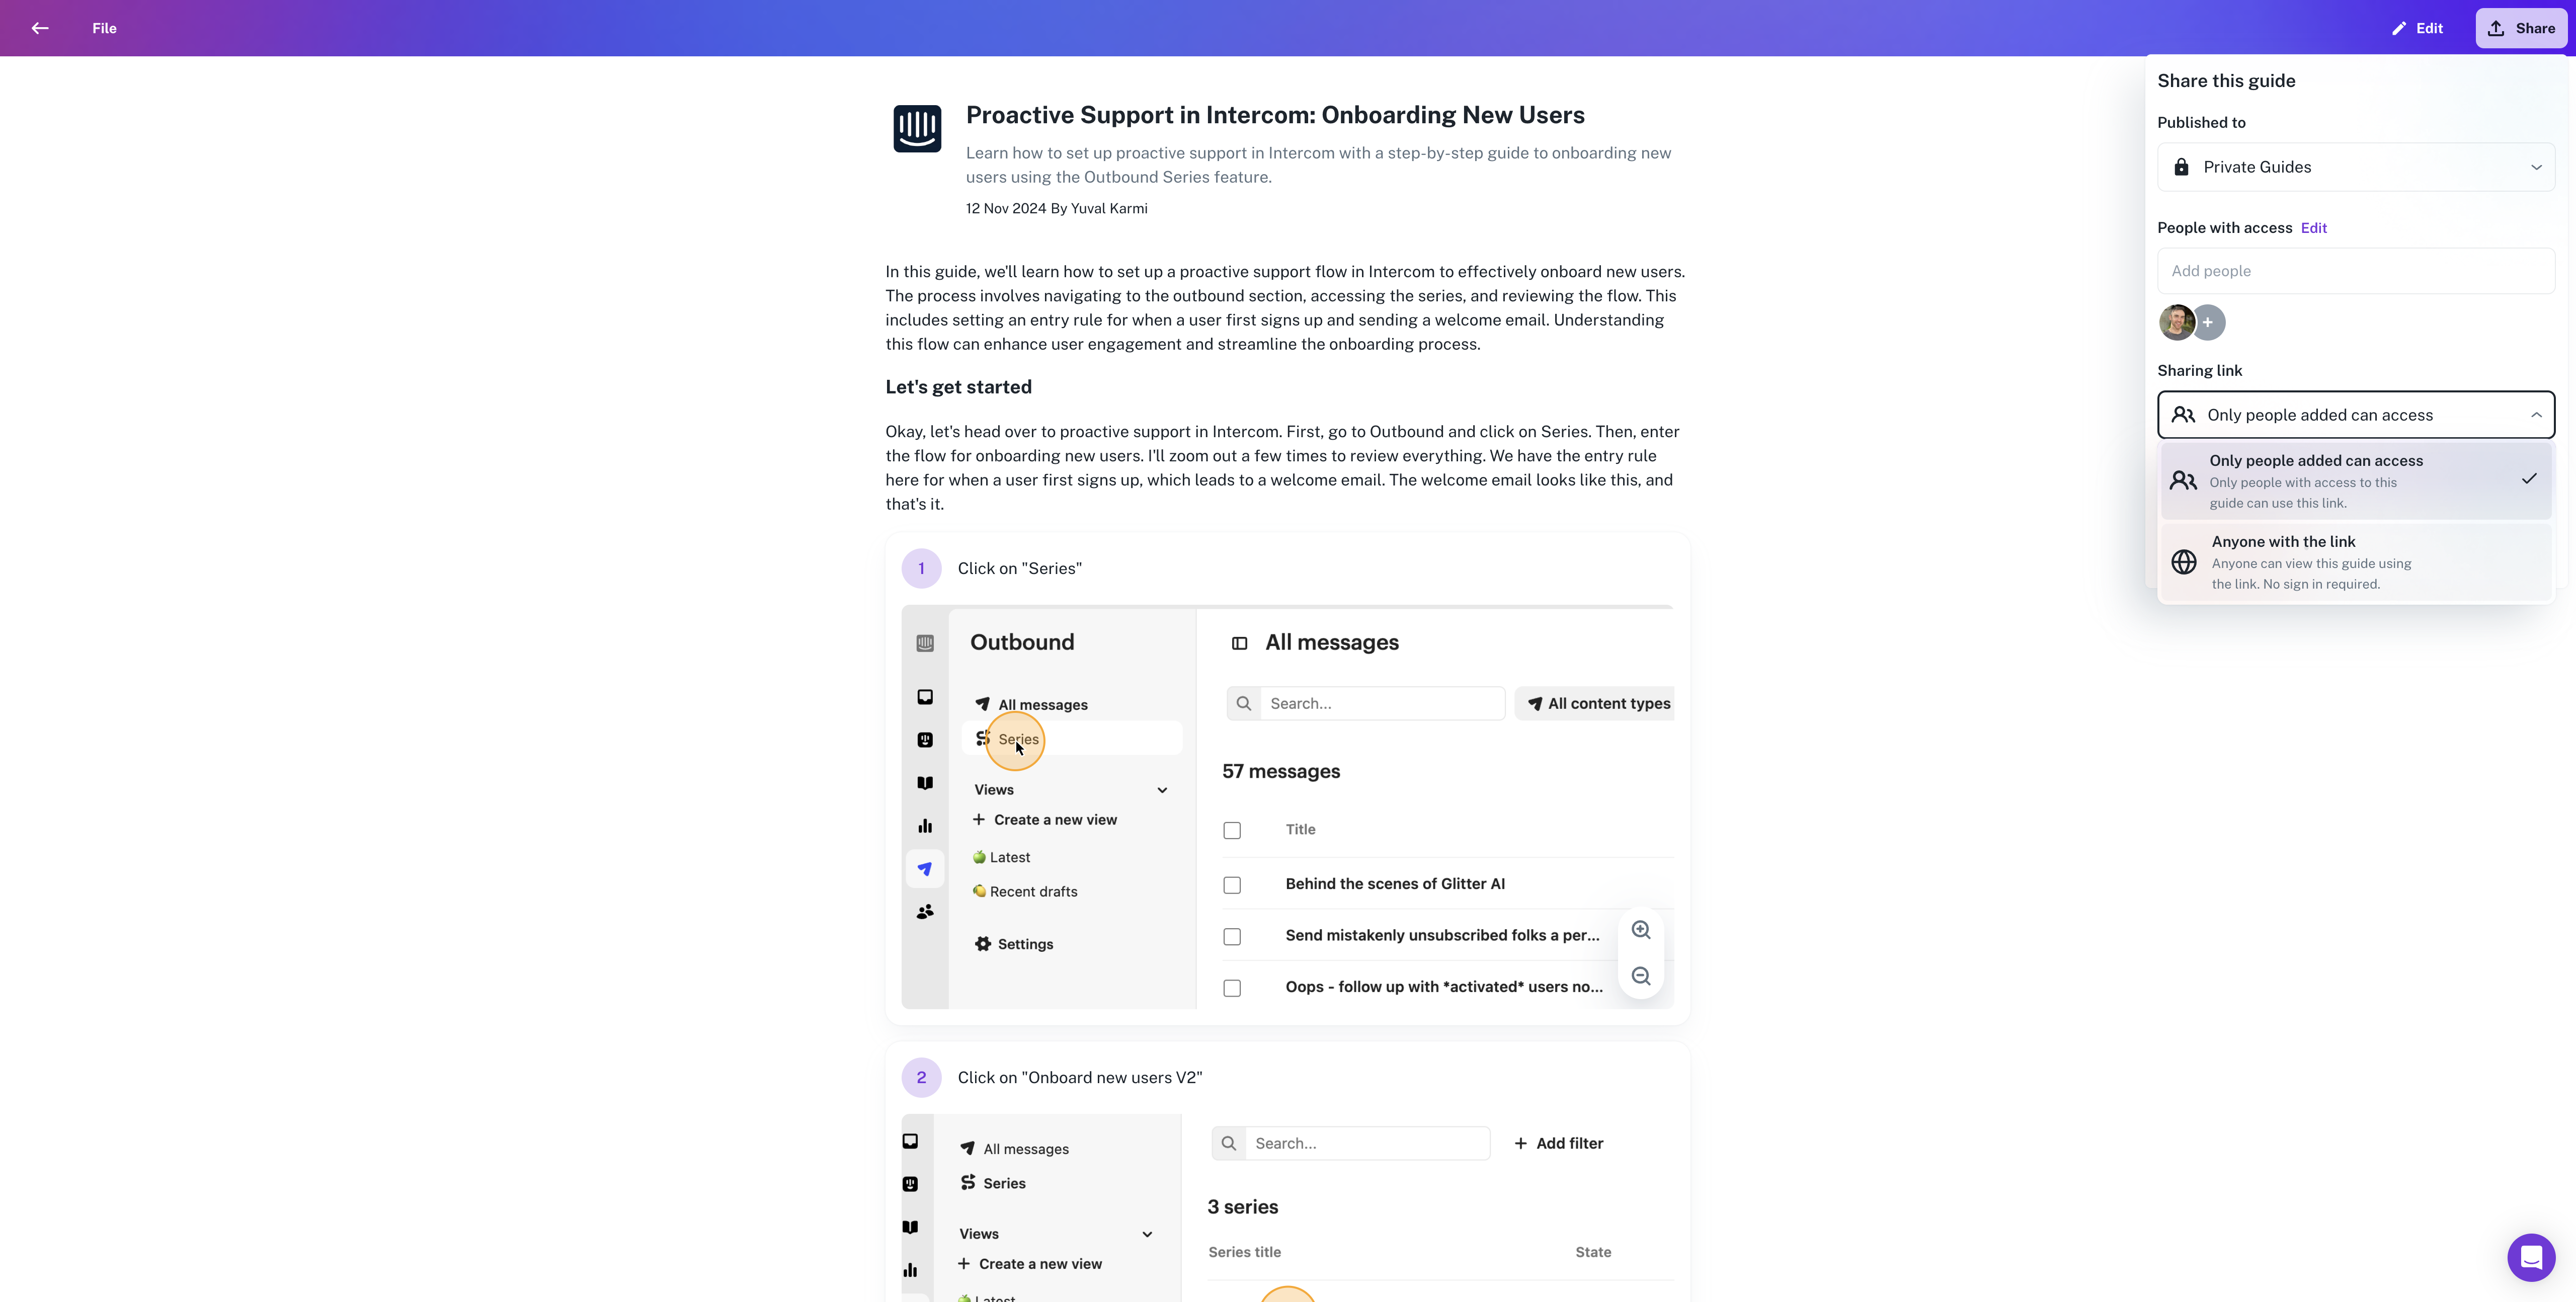
If "Only people can access" is selected, then your guide is private.

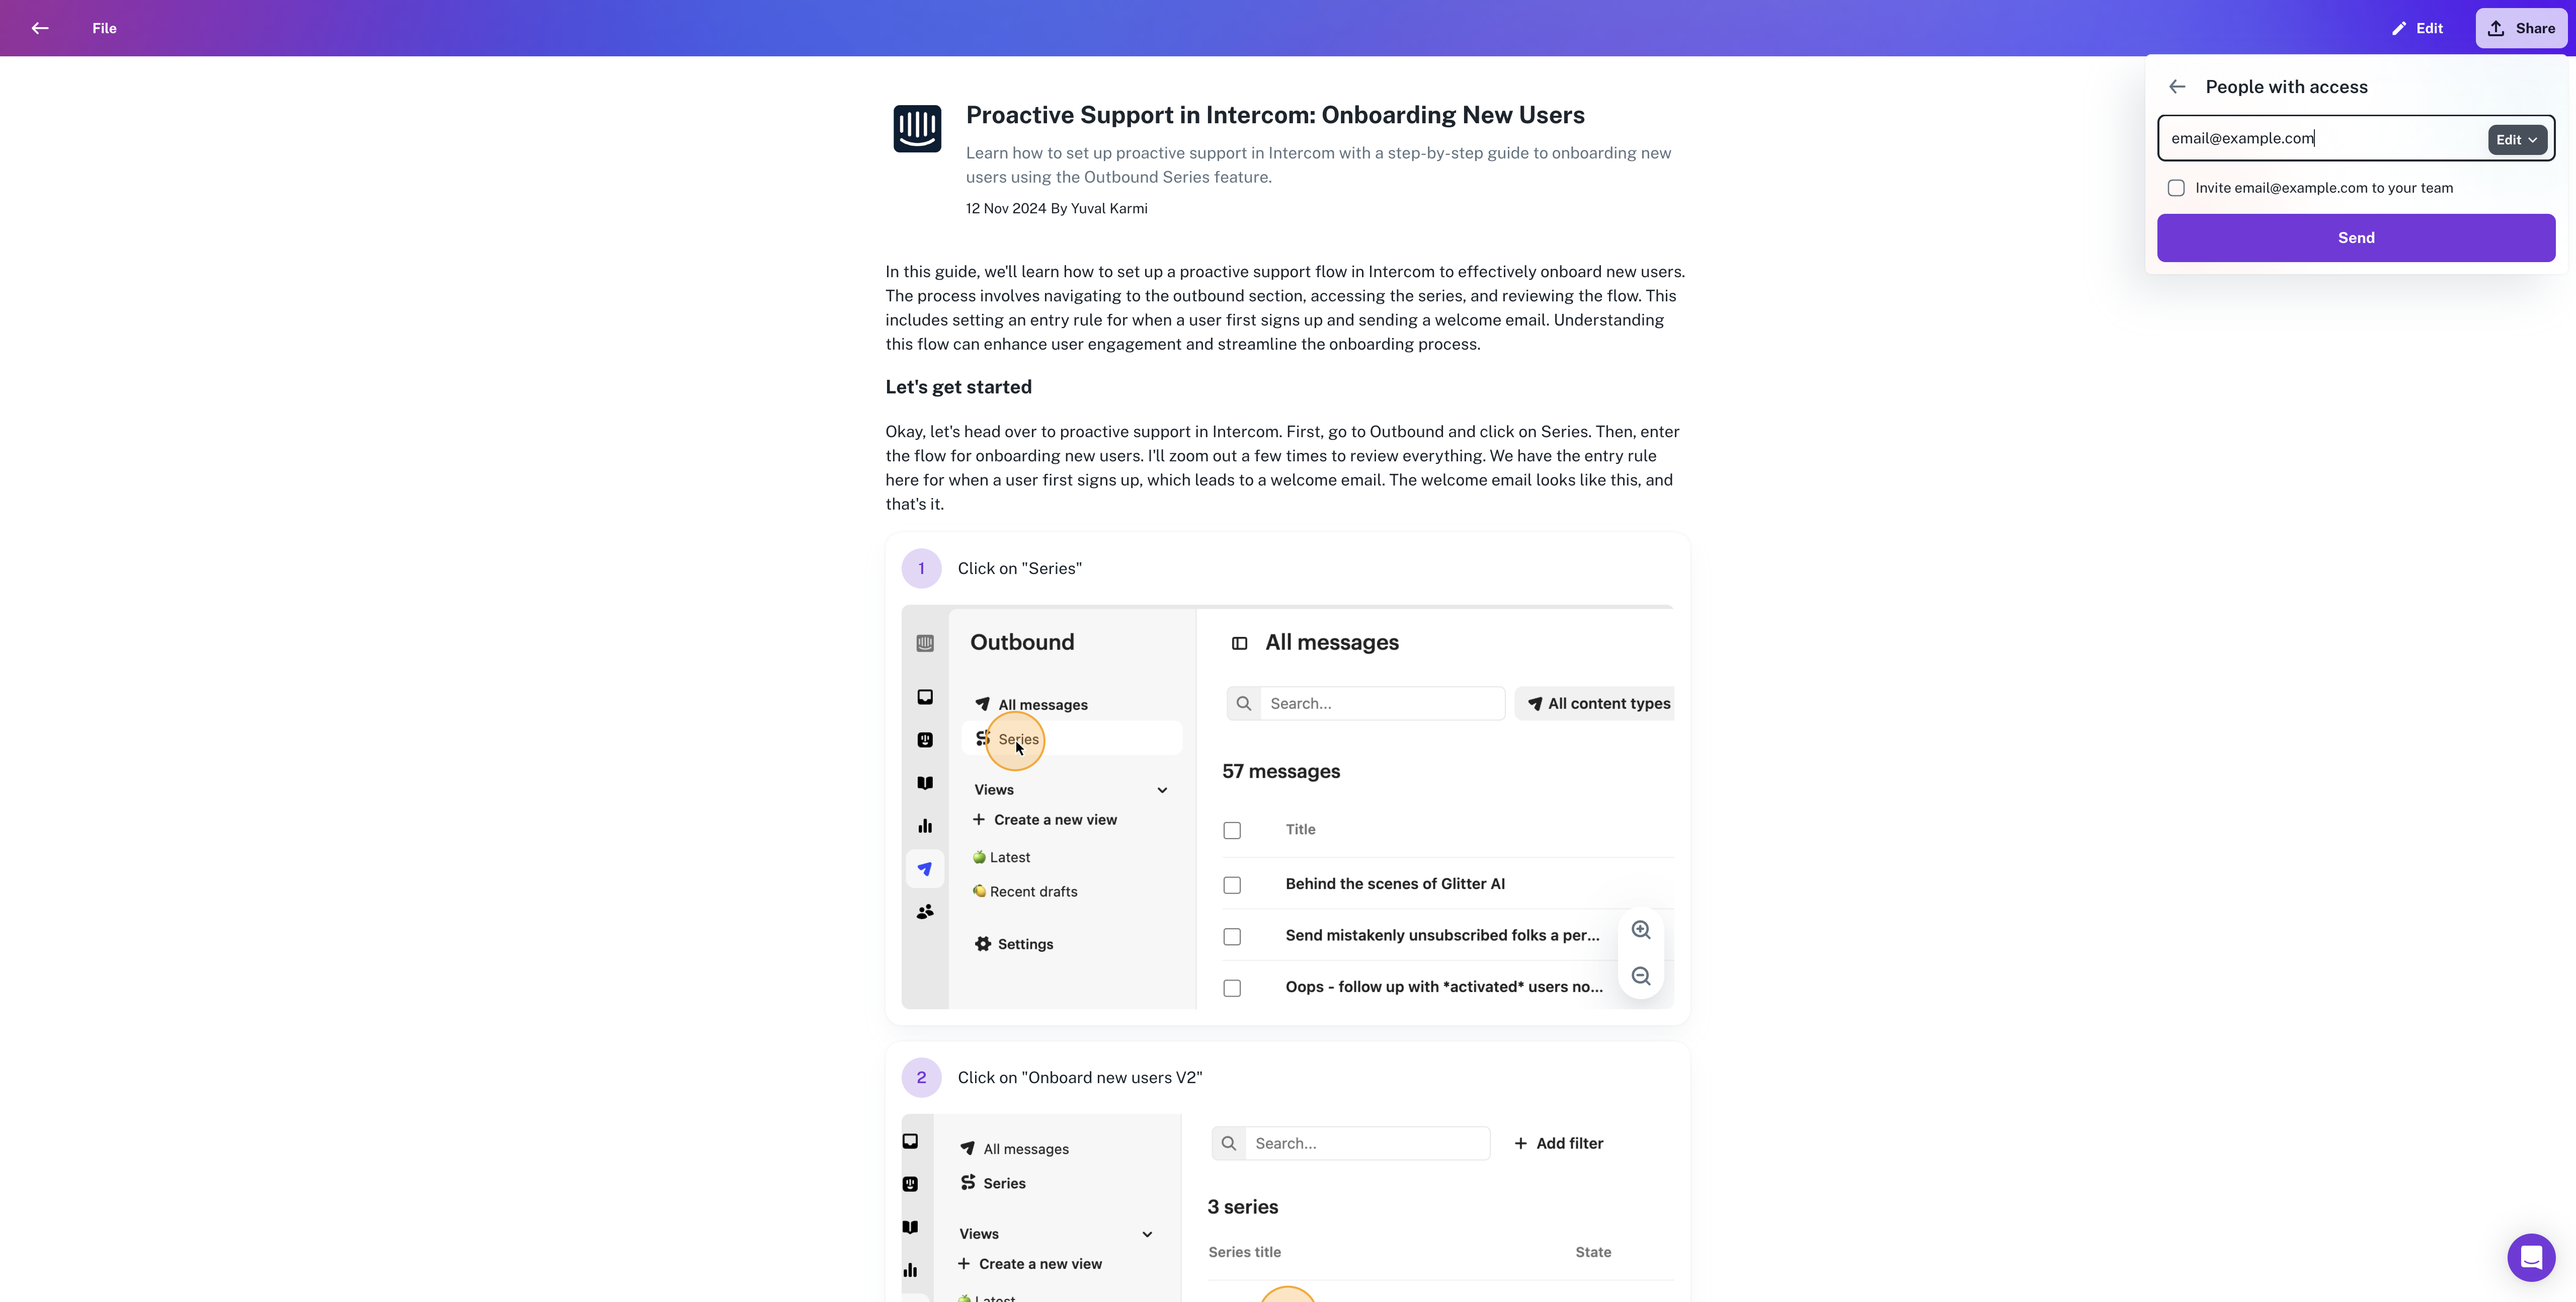
How to add specific people to your guide when it's private (not publicly accessible)
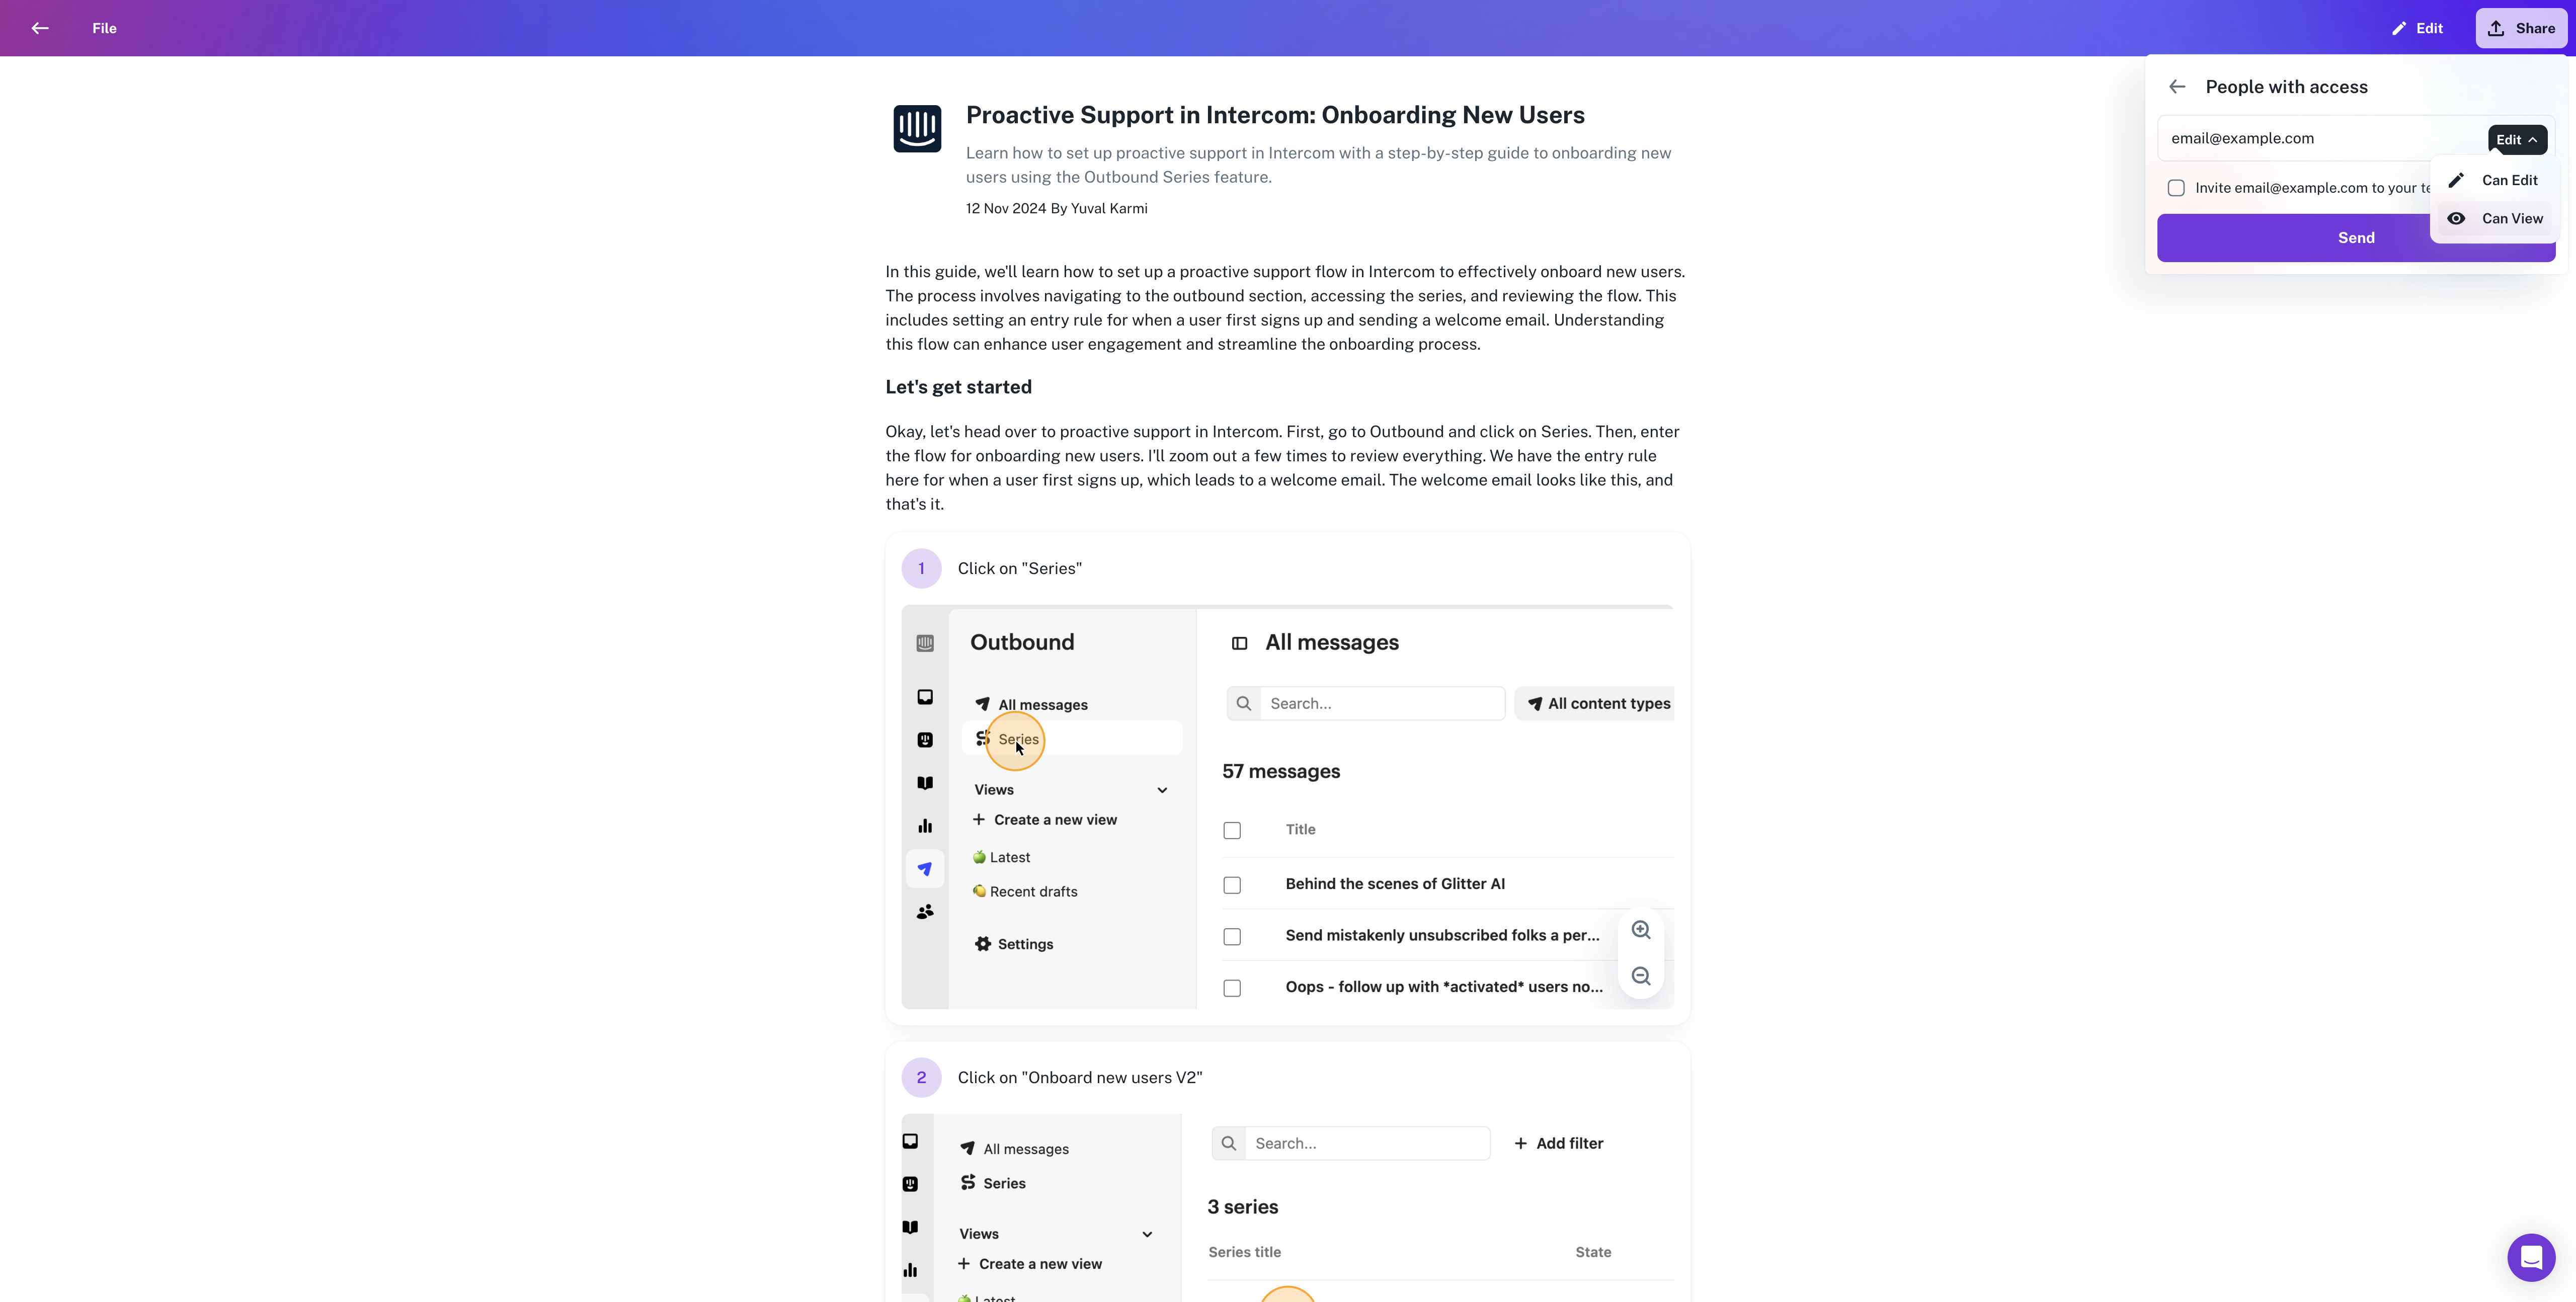
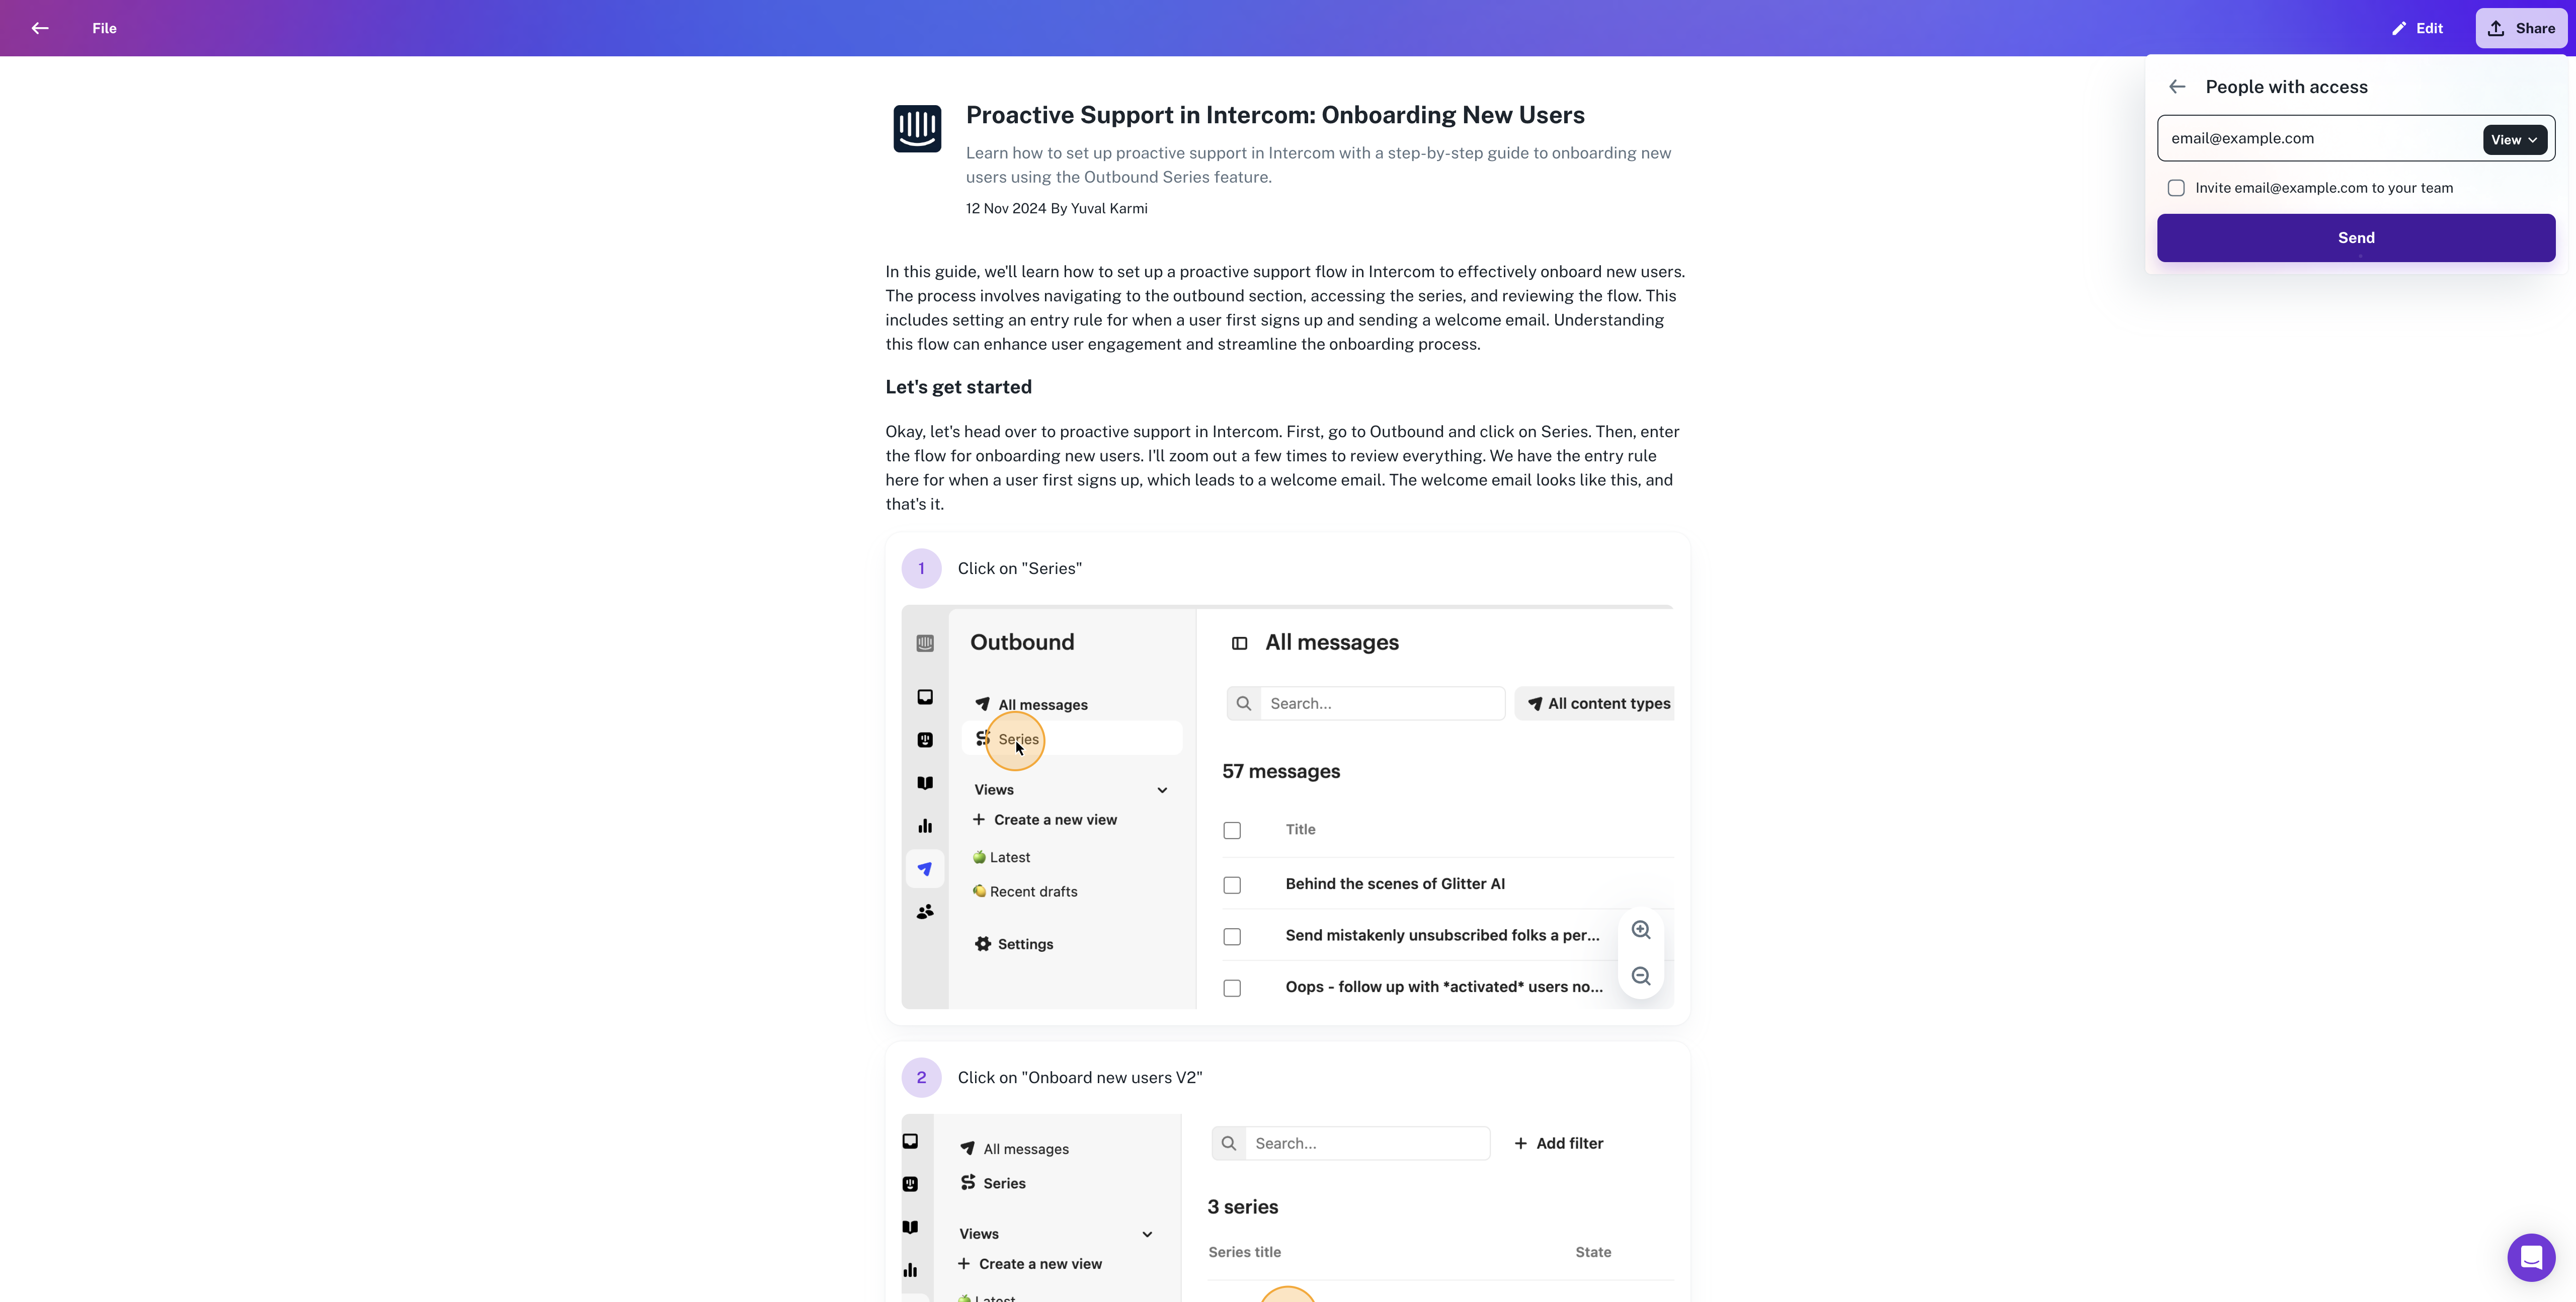
To share your guide with specific people, click on "Add People" and enter the email of the person you want to add.