
How to Check In a Patient with Multiple Insurances
Learn the step-by-step process for checking in patients with multiple insurances, including Medicare and Blue Cross Blue Shield, without requiring a sign-in sheet. Discover best practices for insurance verification, deductible collection, and billing.
In this guide, we'll learn how to check in a patient at a medical office when they arrive, especially if they have more than one insurance. We will cover how to collect the right information, verify insurance details, and handle billing steps, including what to collect and when.
We will also look at how to use tools like P-Verify to check benefits and eligibility for both primary and secondary insurances. This process helps ensure accurate billing and a smooth check-in experience.
Let's get started
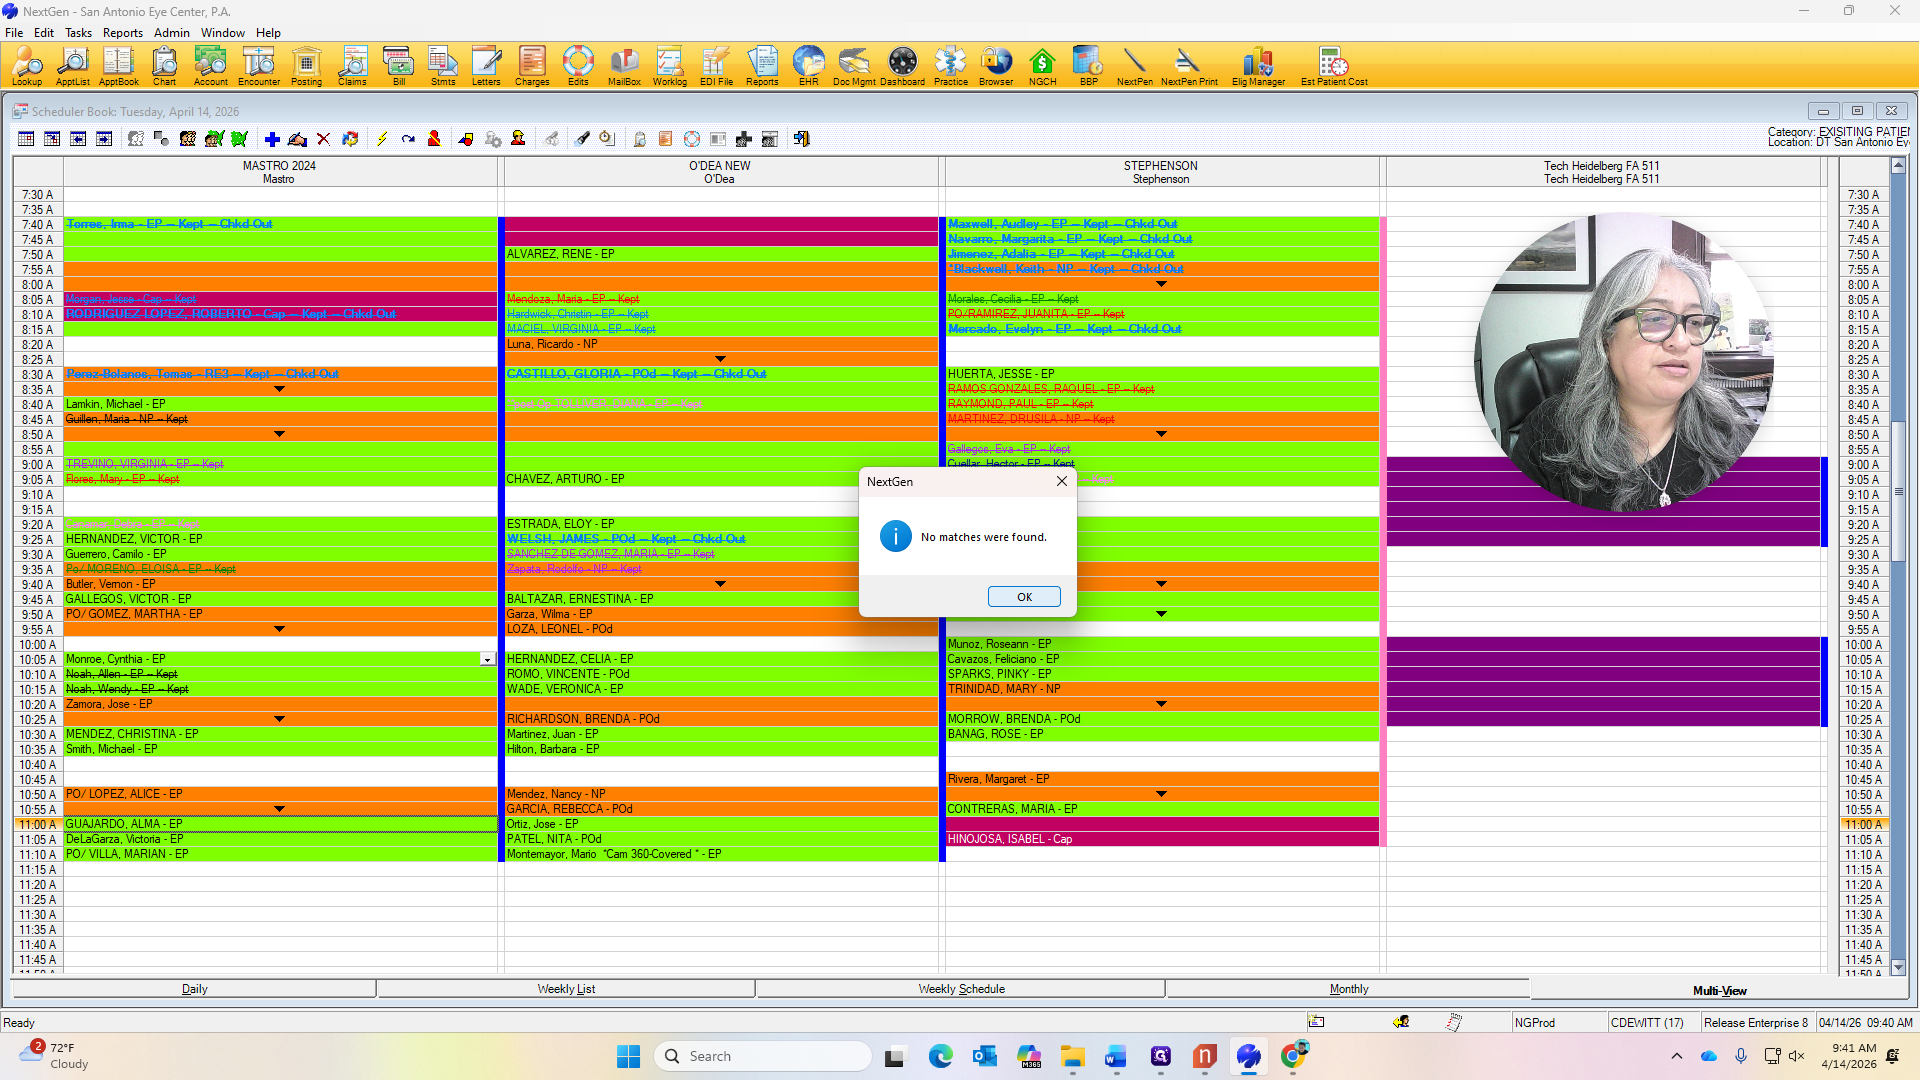
Good morning. I will show you how to check in a patient when they first walk into the office without having them sign in. I picked a patient with two insurances to show the process of what we should collect and when not to collect. This patient, Ms.

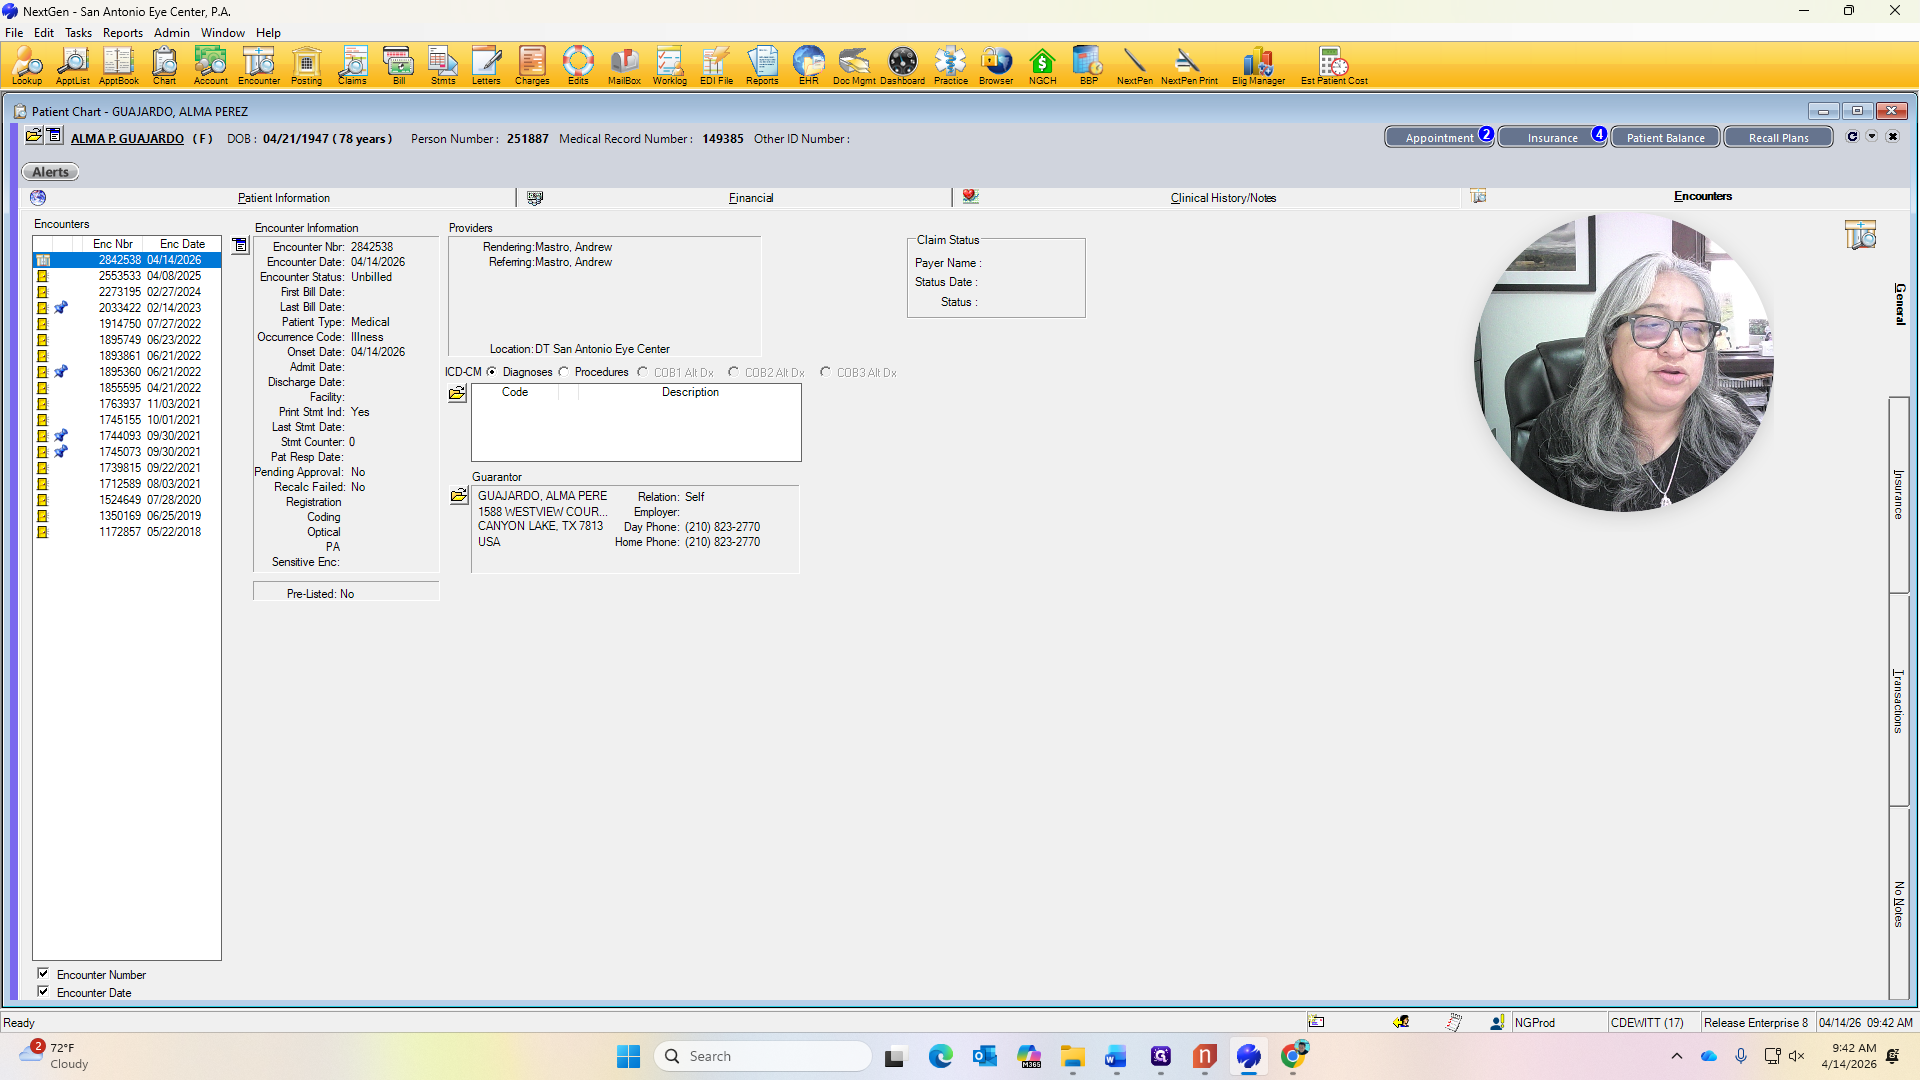
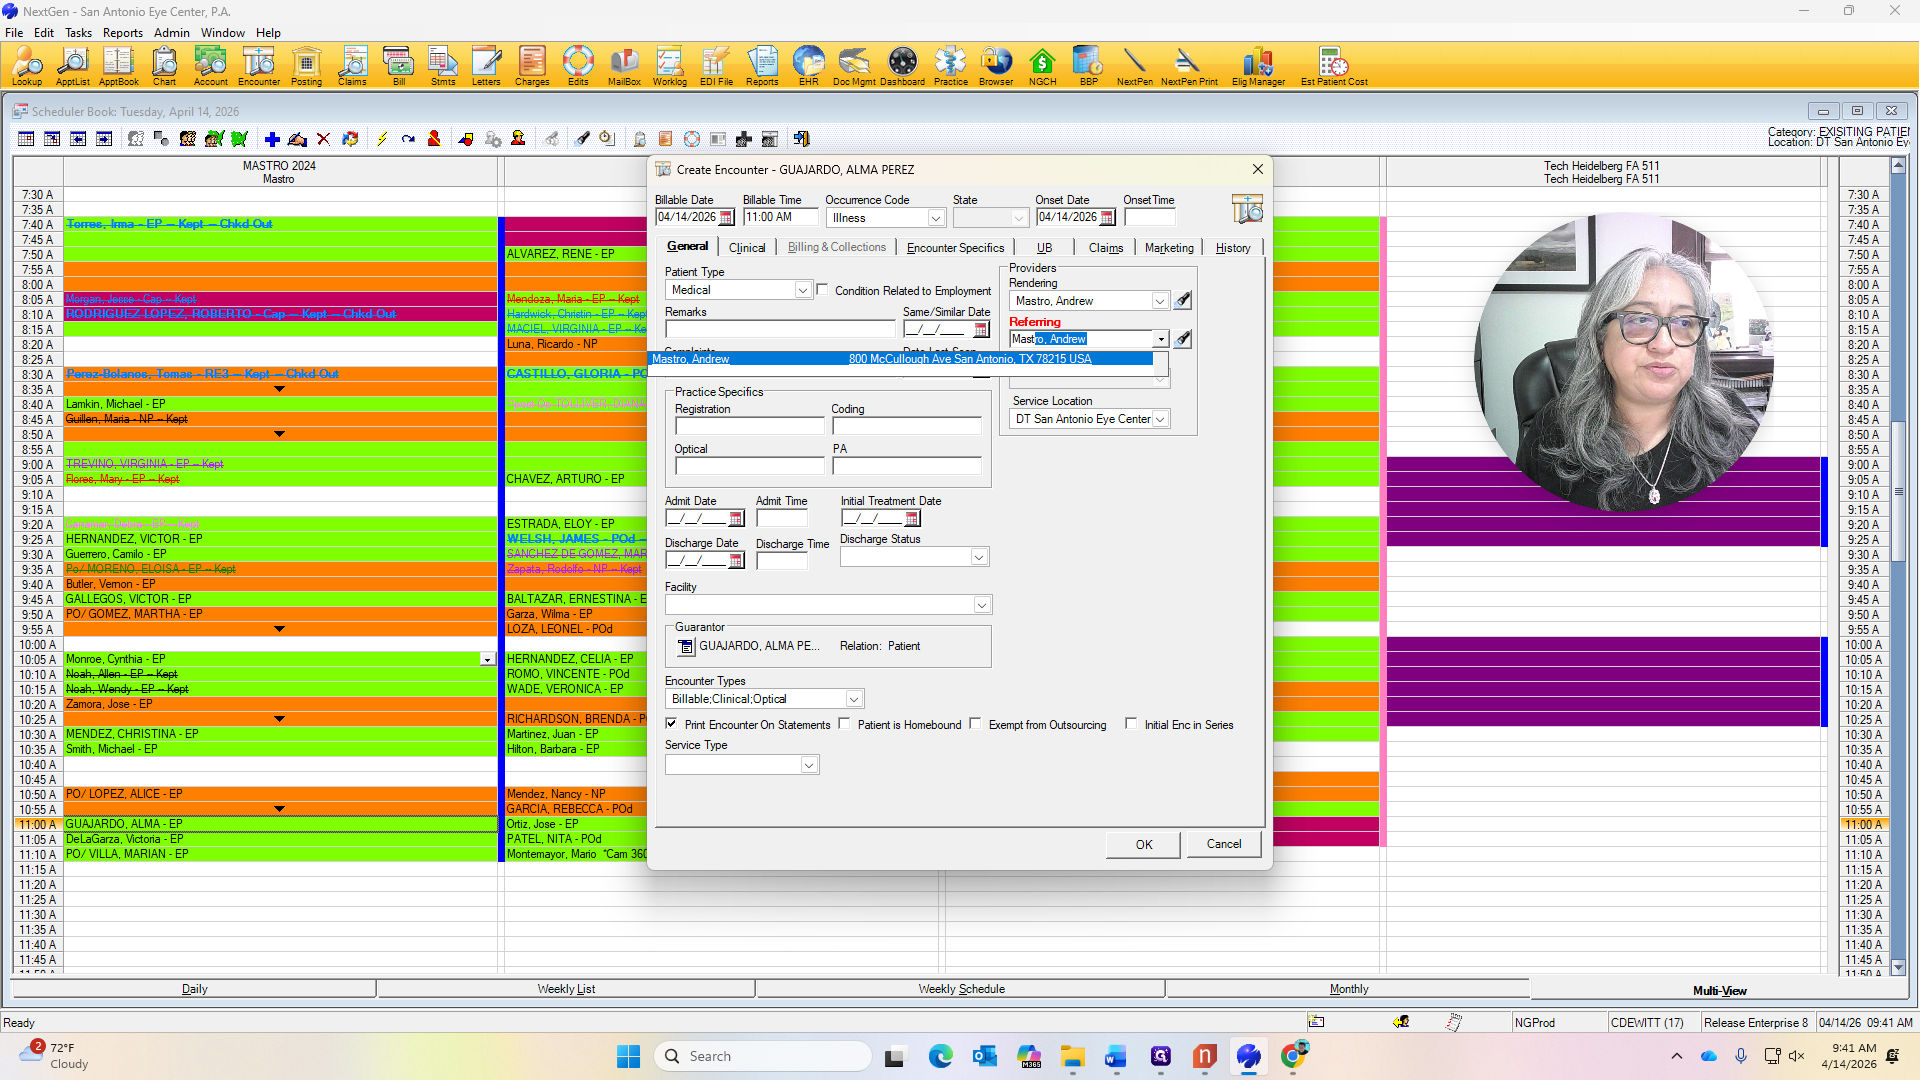
Alma Guajardo is here. I will check her in while she is at my desk. We go to Check In.

We always include the onset date.

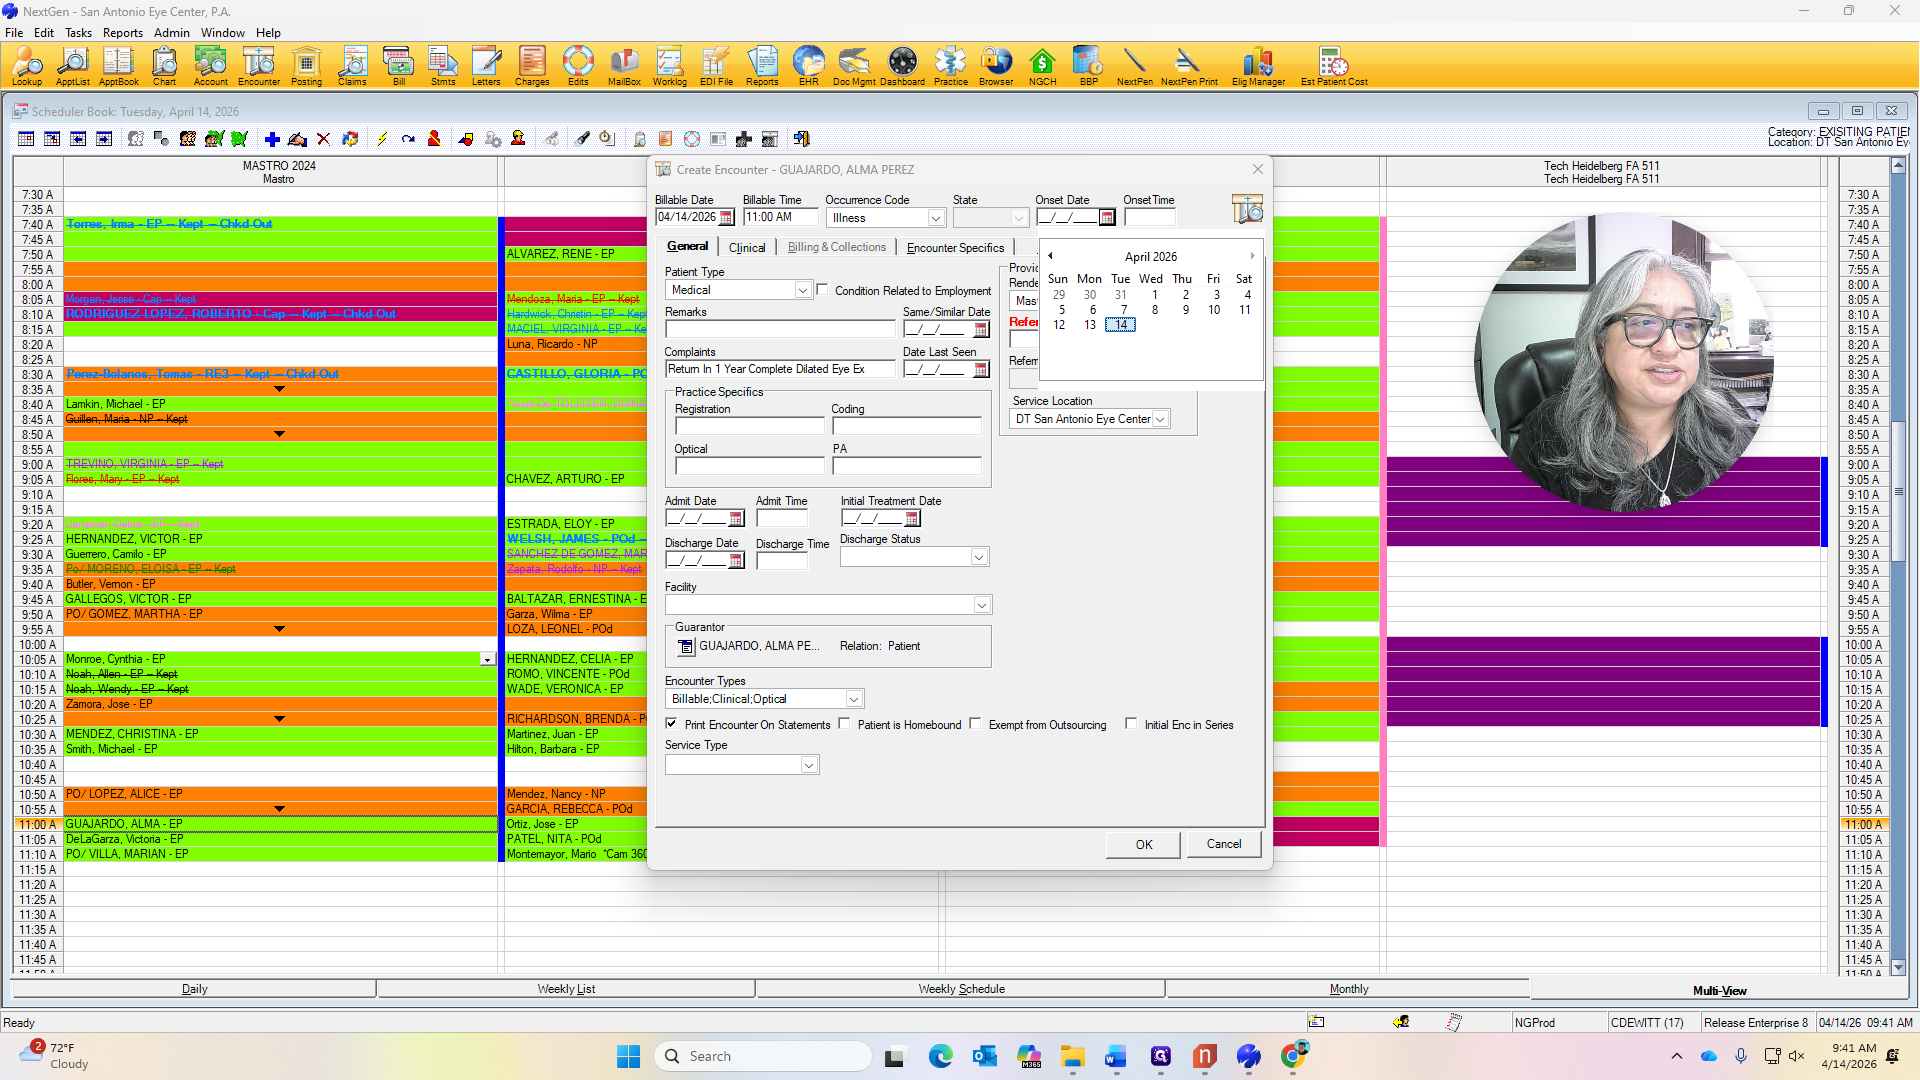
When Medicare is primary, we never list a primary care doctor as the referring doctor.


This is also for billing purposes.
We always see the same screen here, so just use auto flow.

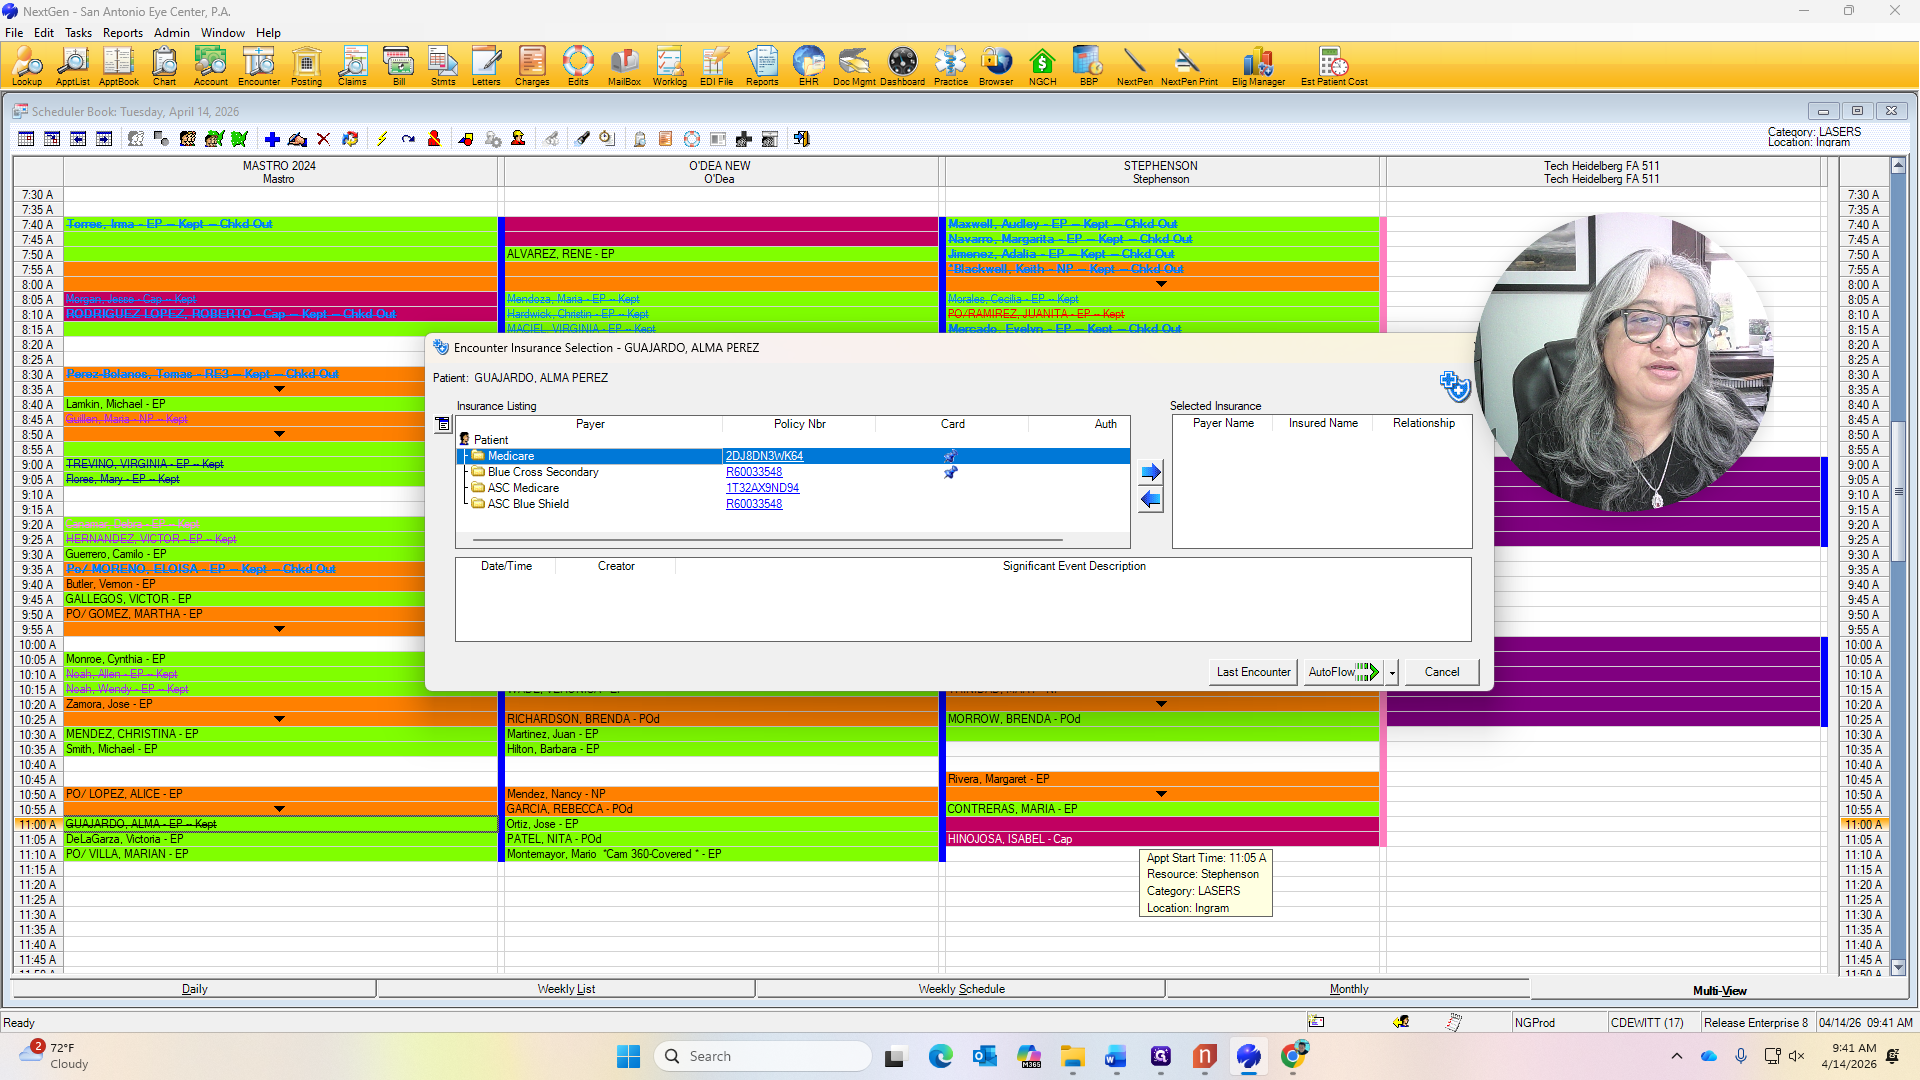
We always need to ensure that Medicare is the primary insurance, along with Blue Cross Blue Shield.
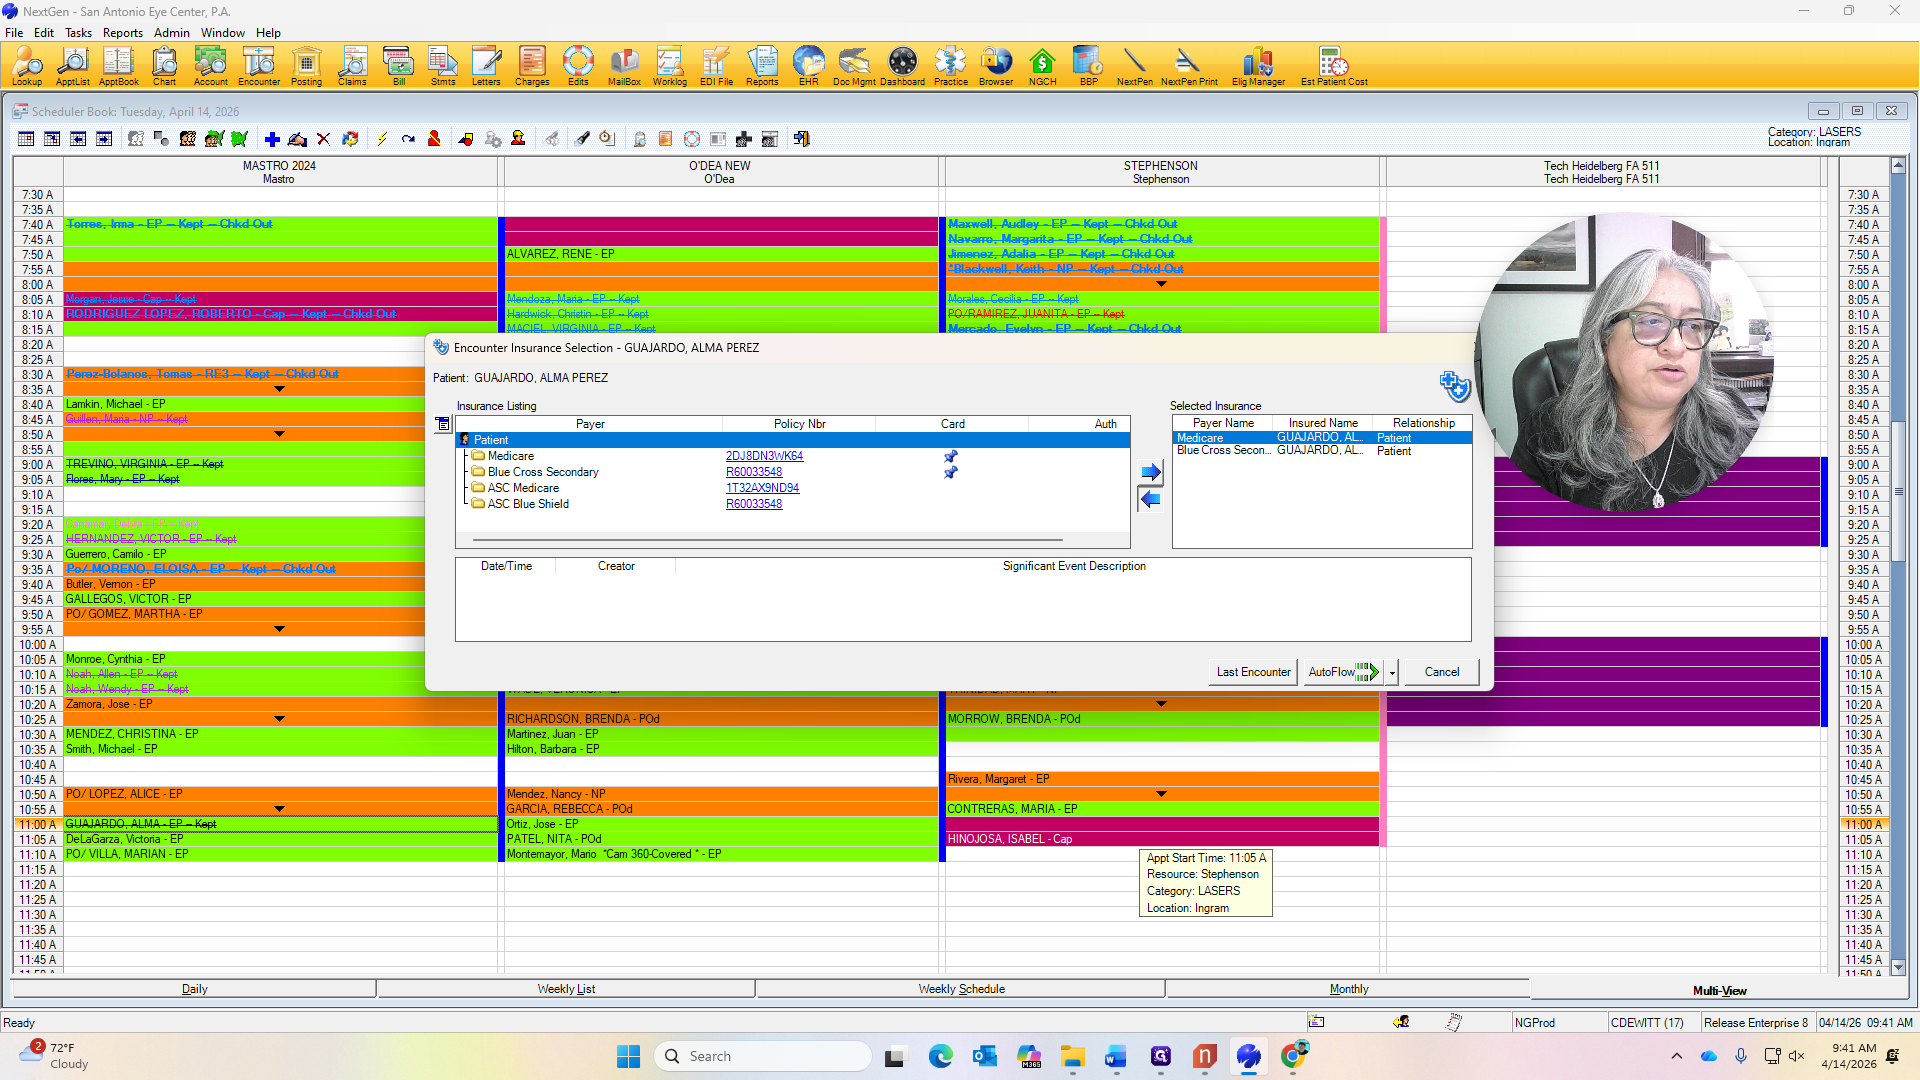

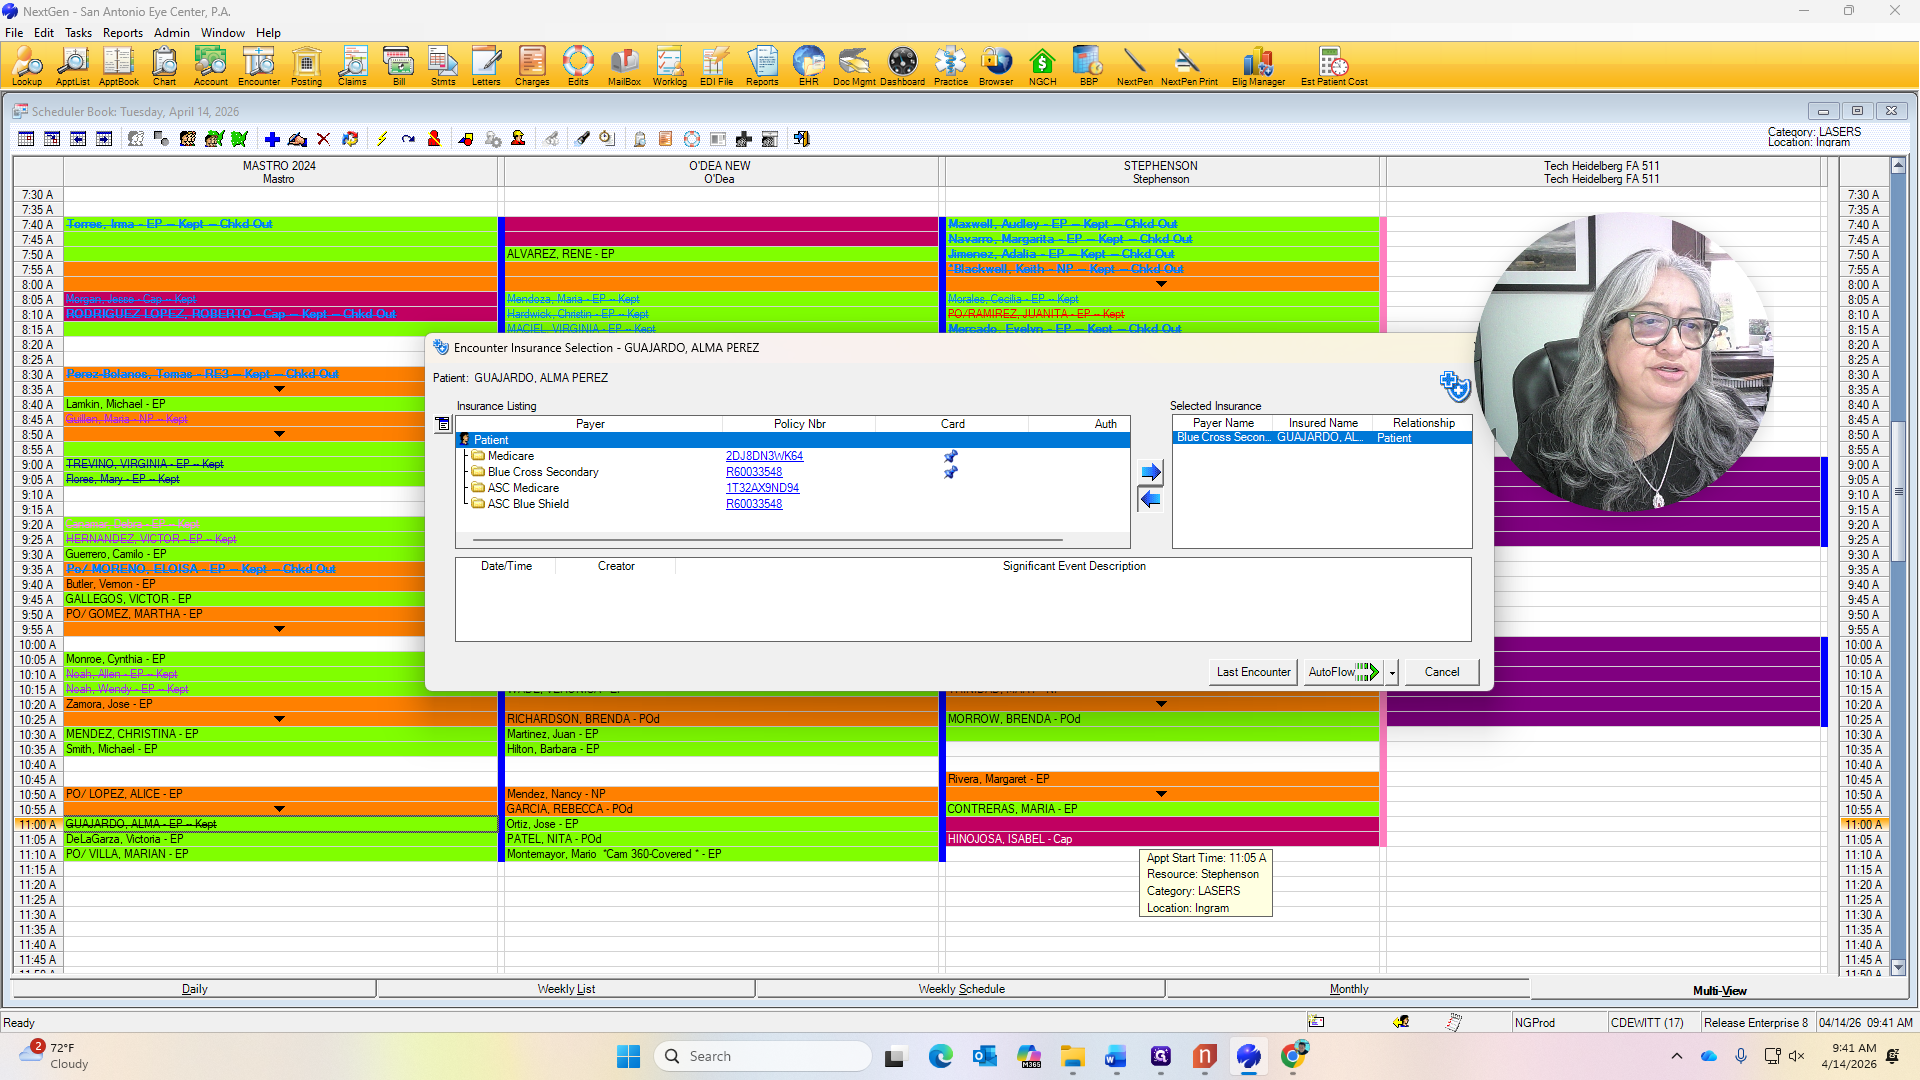


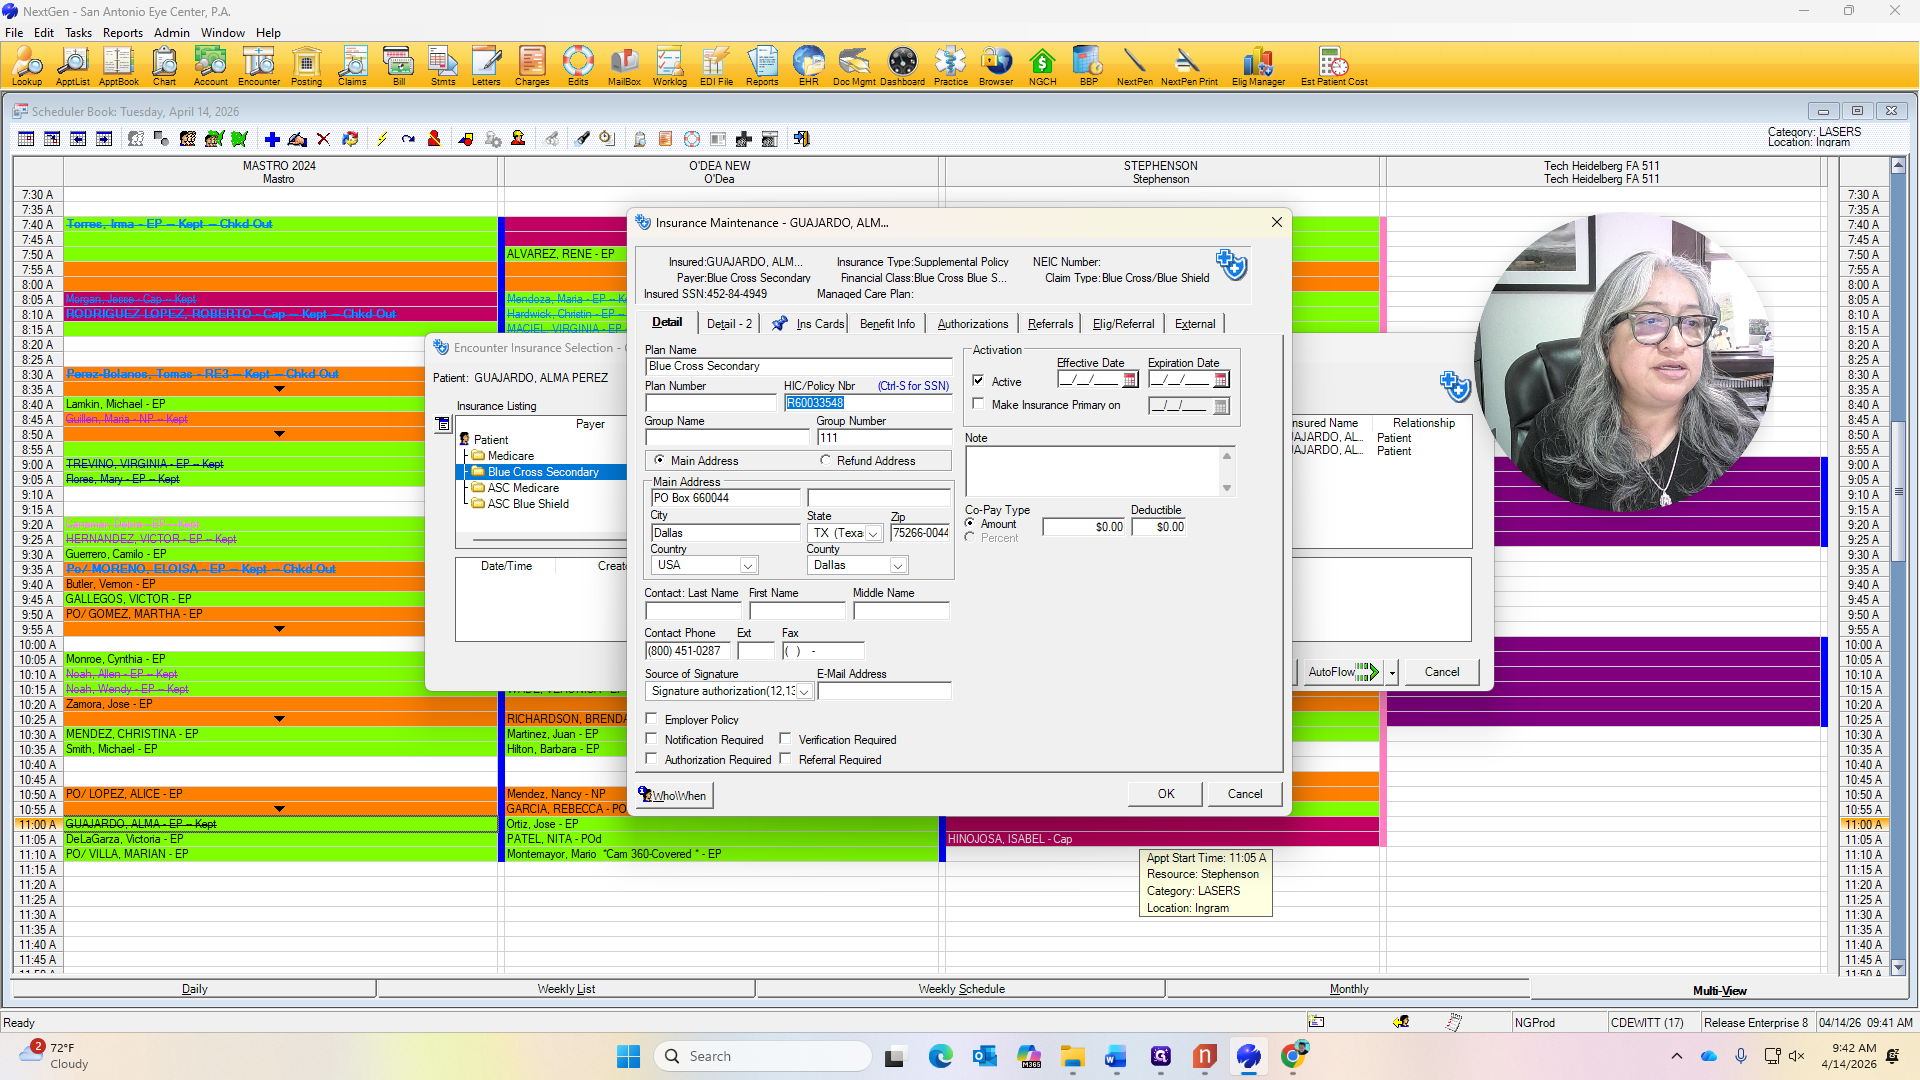
While on this screen, click the policy number to check if you need the insurance card.


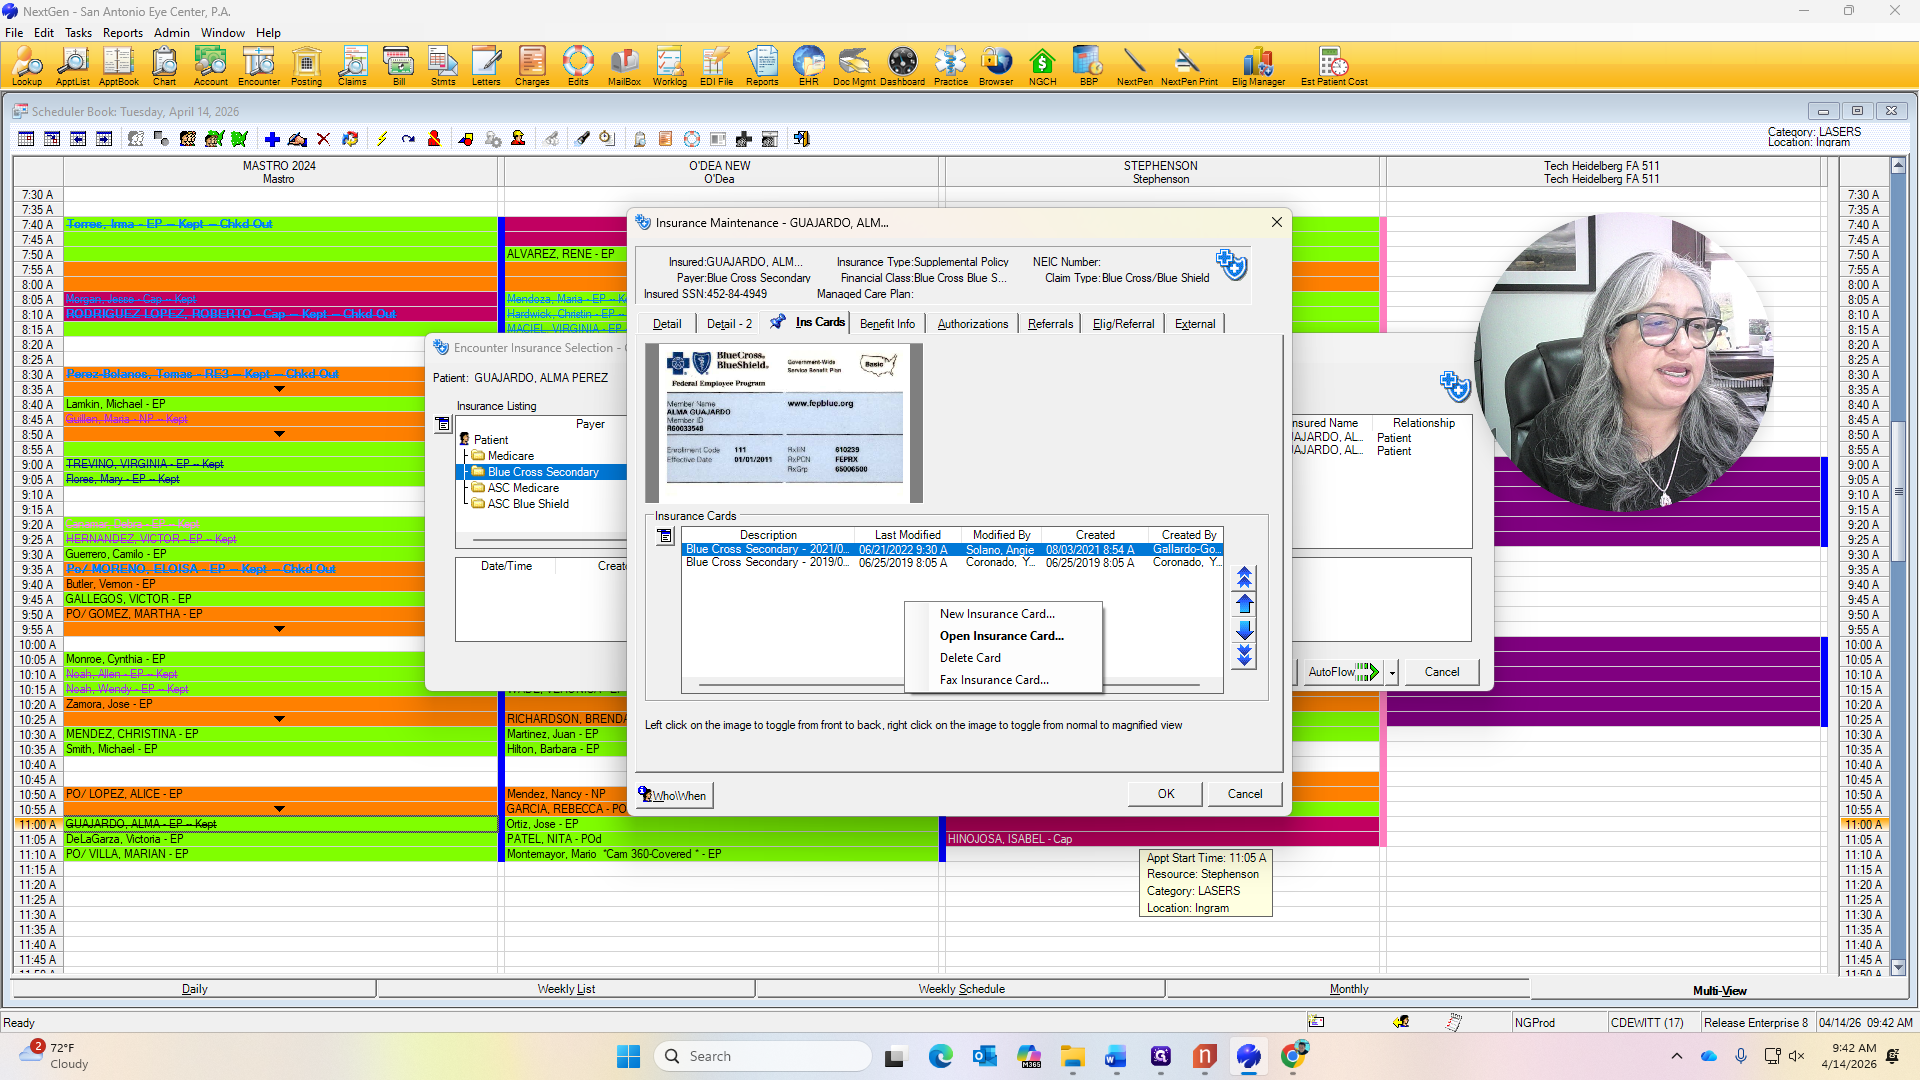
We will ask for the insurance card when the patient arrives. You can now scan the insurance card at this stage instead of waiting until the end.


Here, you can right-click and scan, then select autoflow.


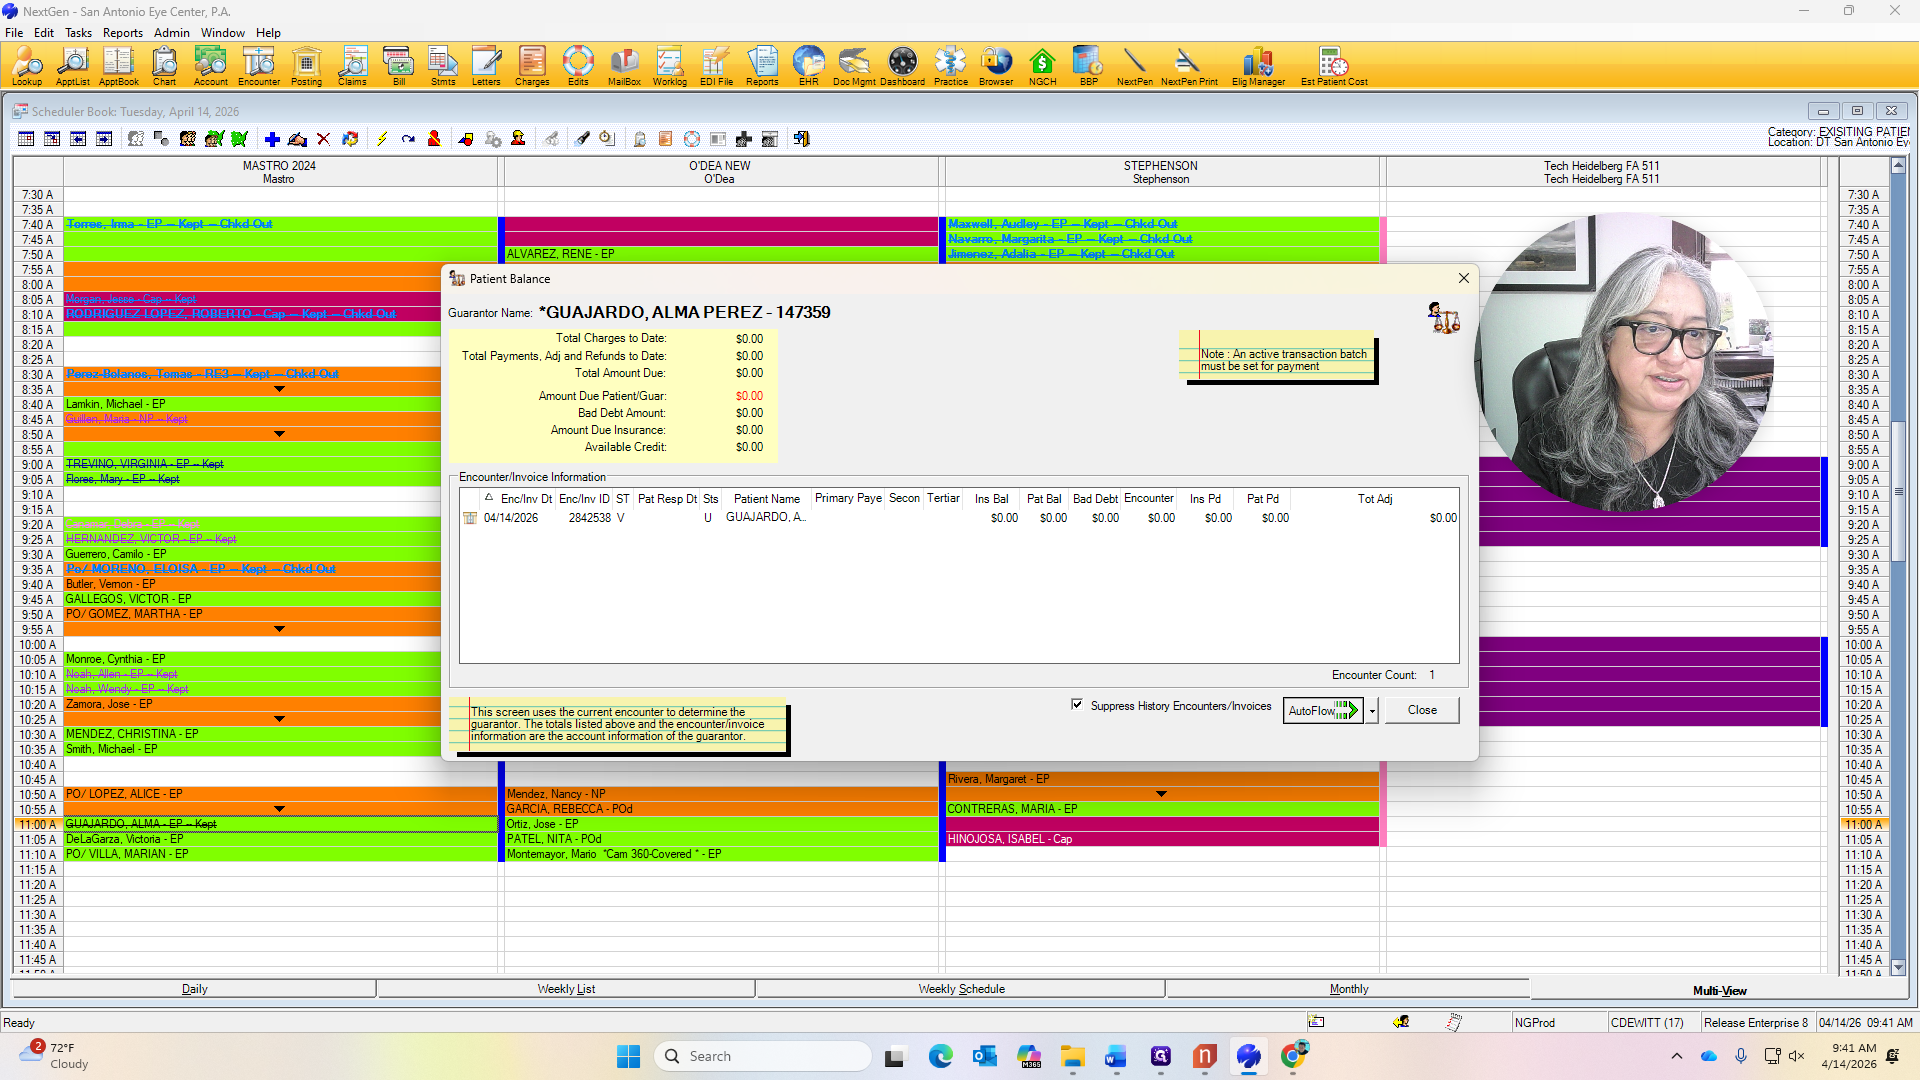
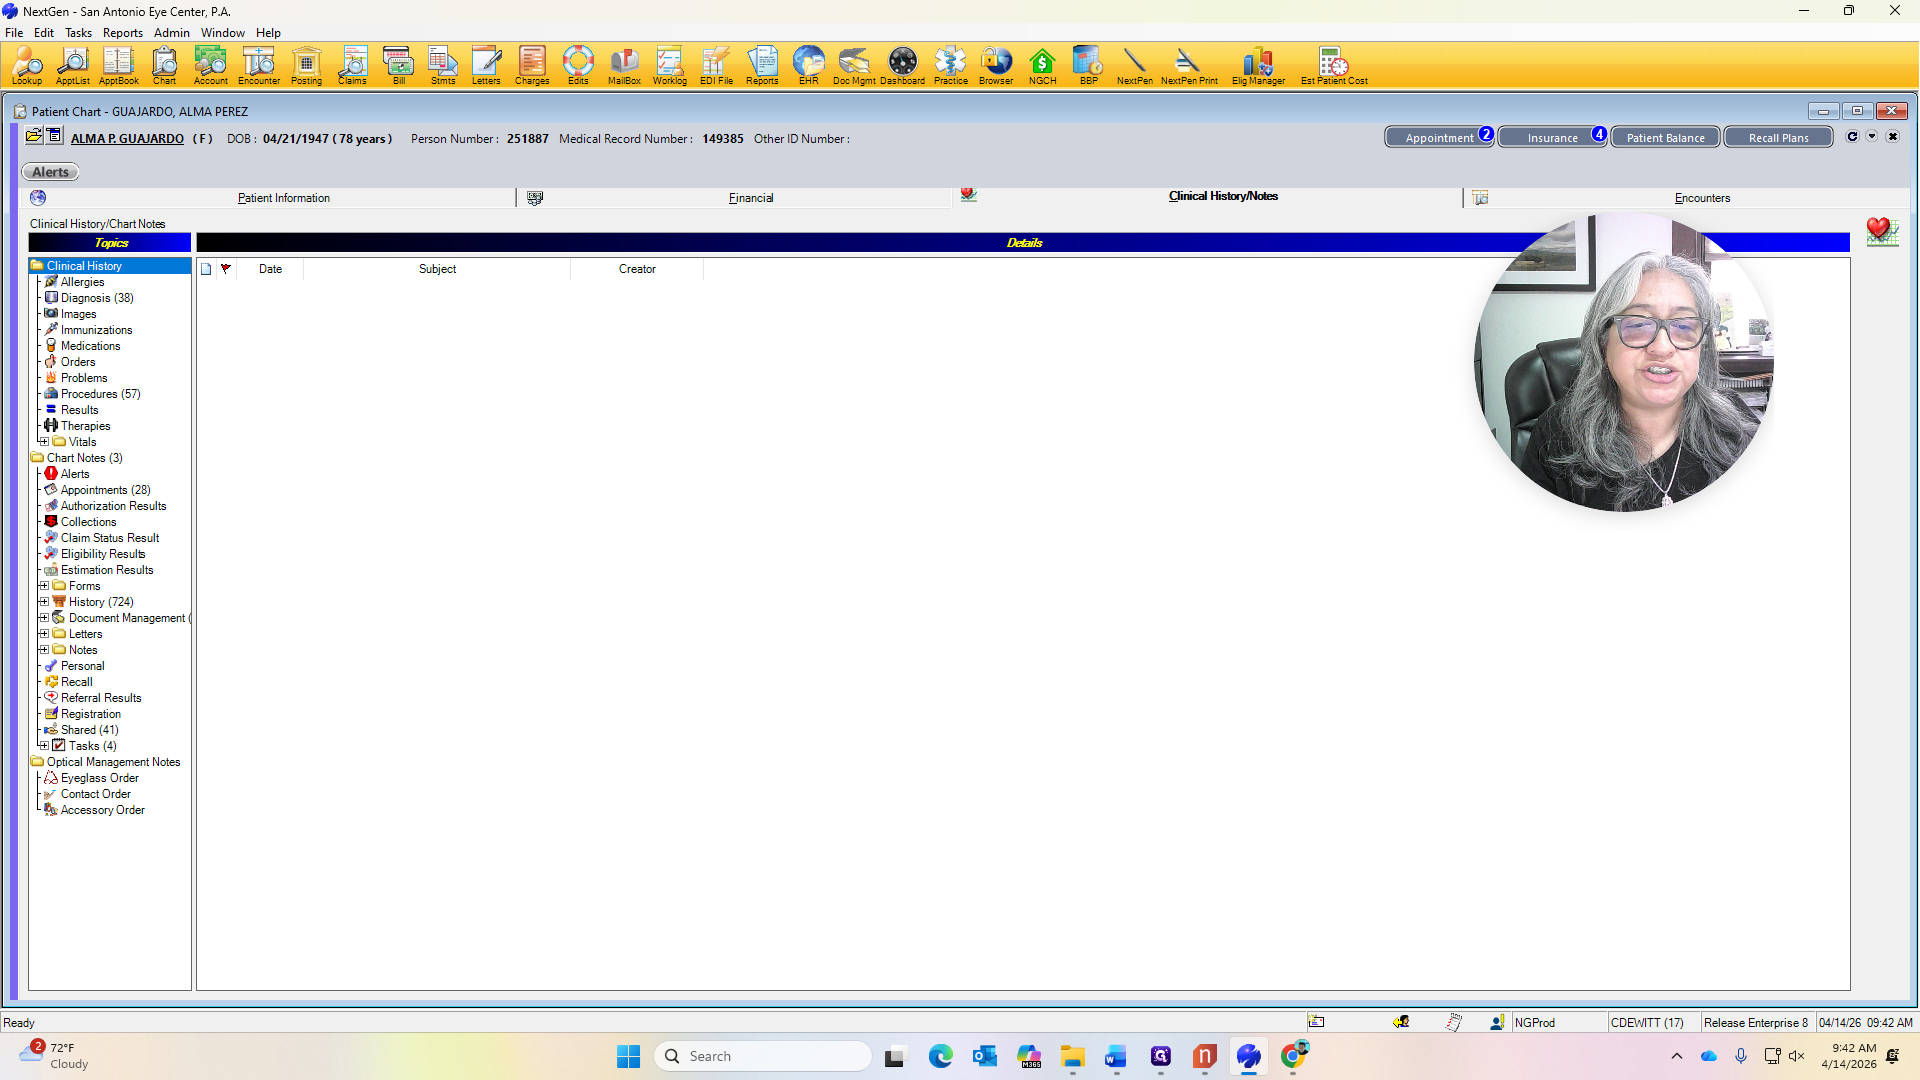
It will print the fee ticket. Now, I will go back to her name and view the chart.


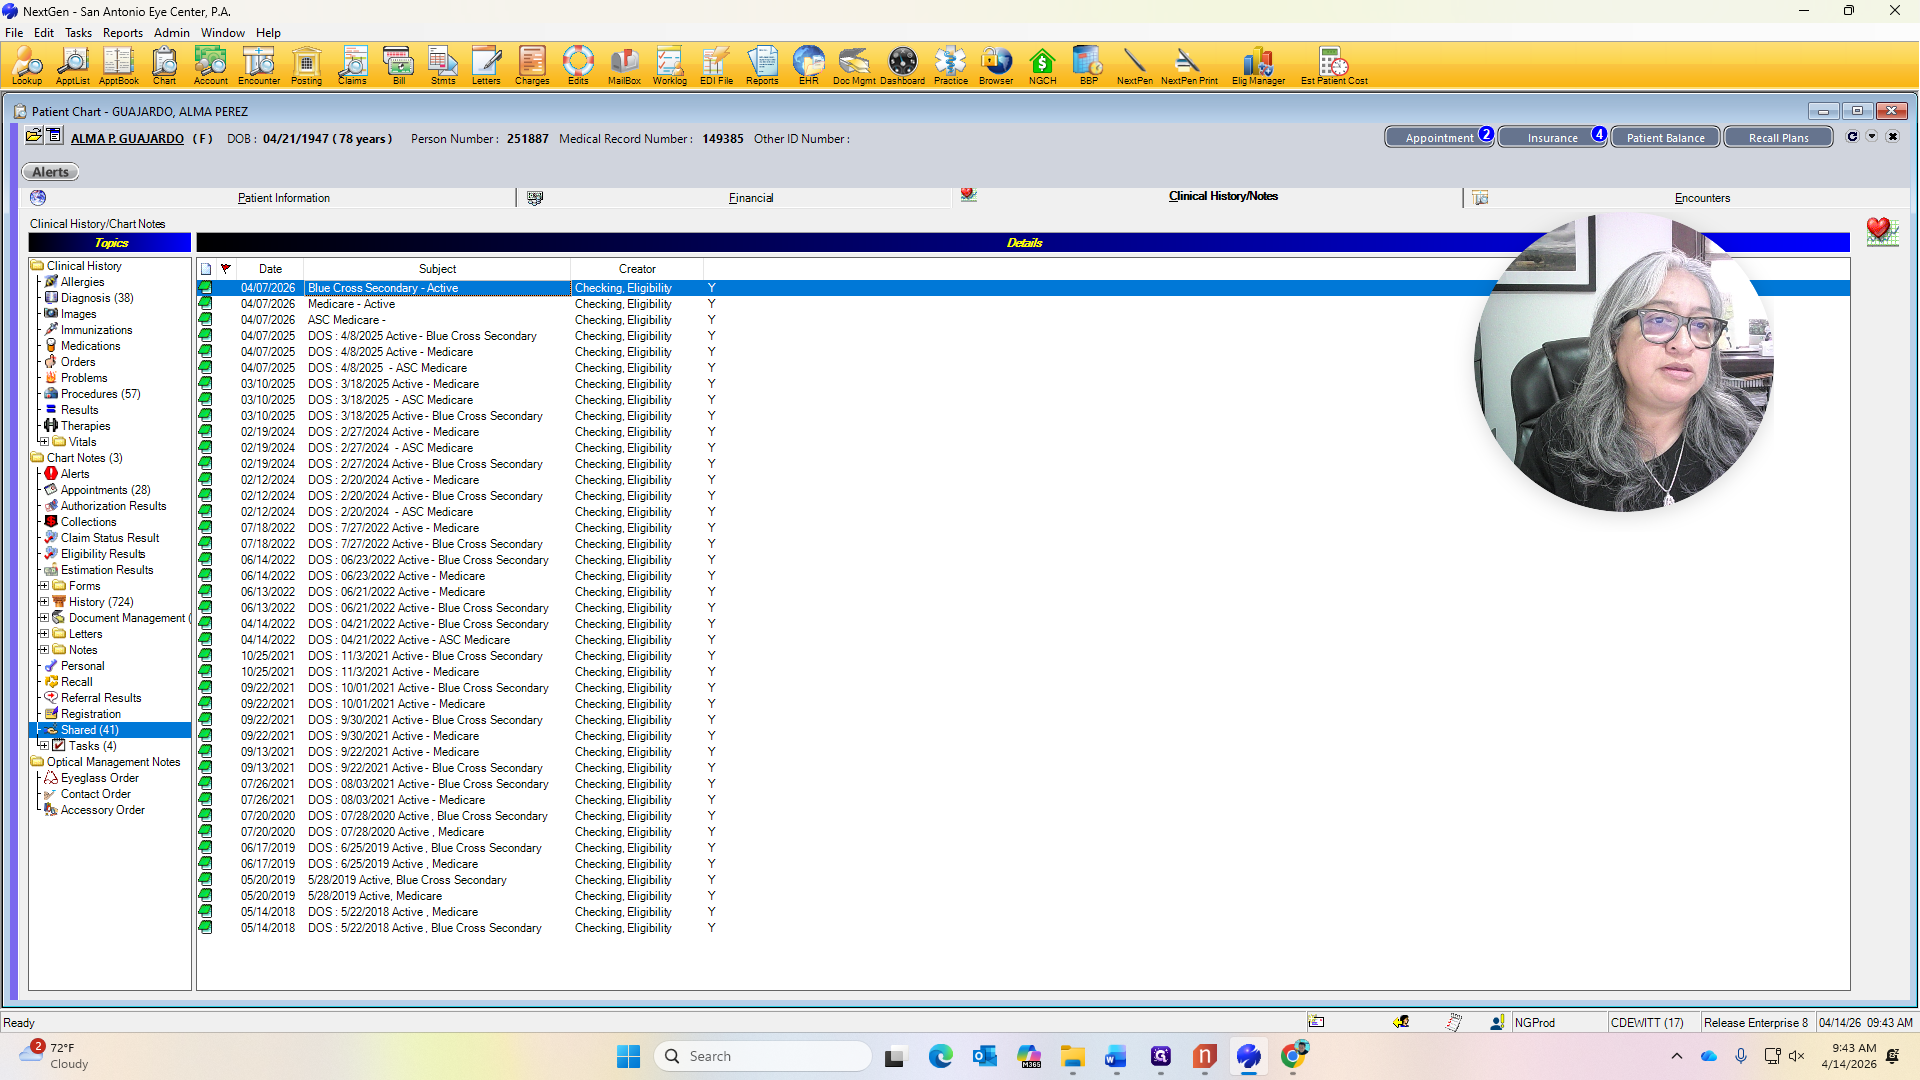
This is where I will review her benefits under Clinical History & Shared Notes.
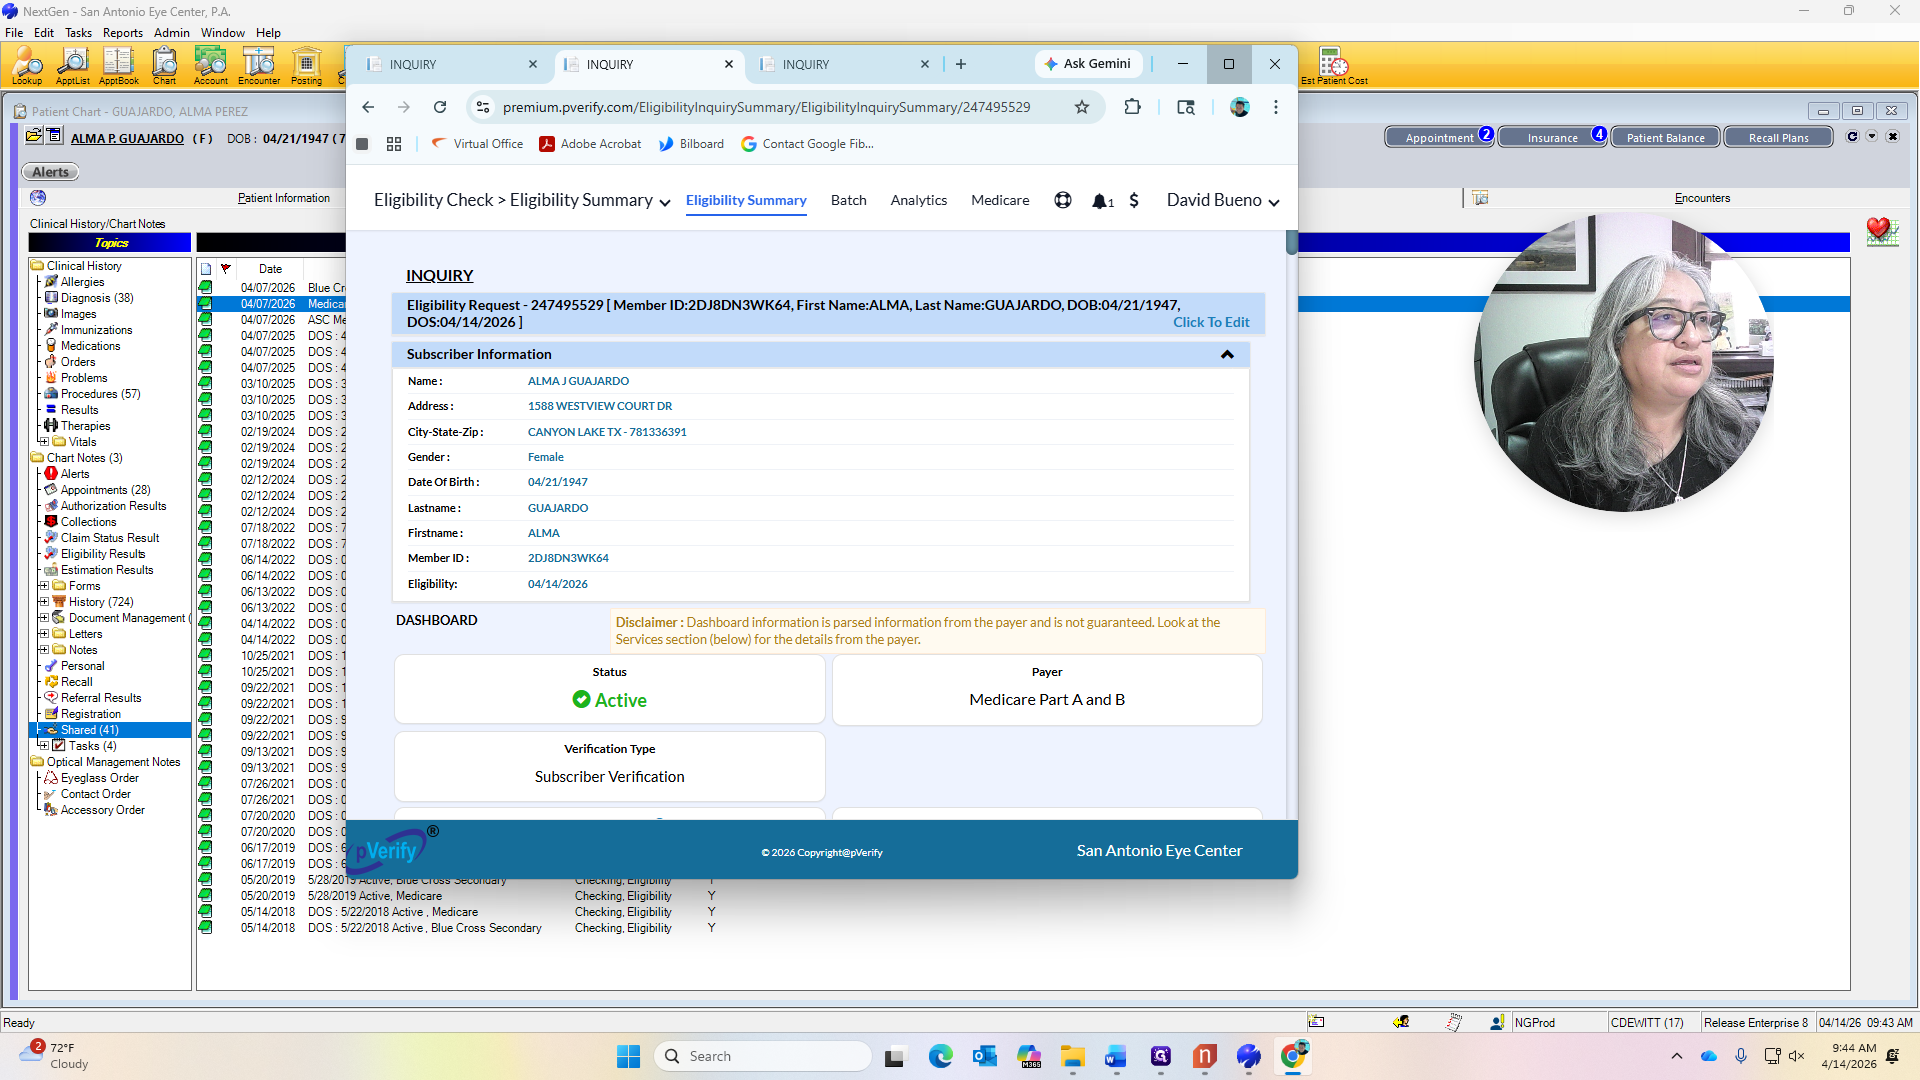
P-Verify will display the benefits for both Medicare and Blue Cross Blue Shield.

First is Medicare.

Medicare Part B deductible is $283. A deductible of $39.26 remains. It doesn't show a Medicare Advantage Plan, so always check for that. If changes are needed, you can make them at that time. But there is no Medicare Advantage Plan.

Blue Cross Blue Shield is a secondary insurance.
It shows a $50 copay on the secondary insurance. At this time, because Medicare shows a remaining deductible of $39.26, we will collect $39.26 from the patient. This amount must be paid before Blue Cross Blue Shield covers the 20% coinsurance.
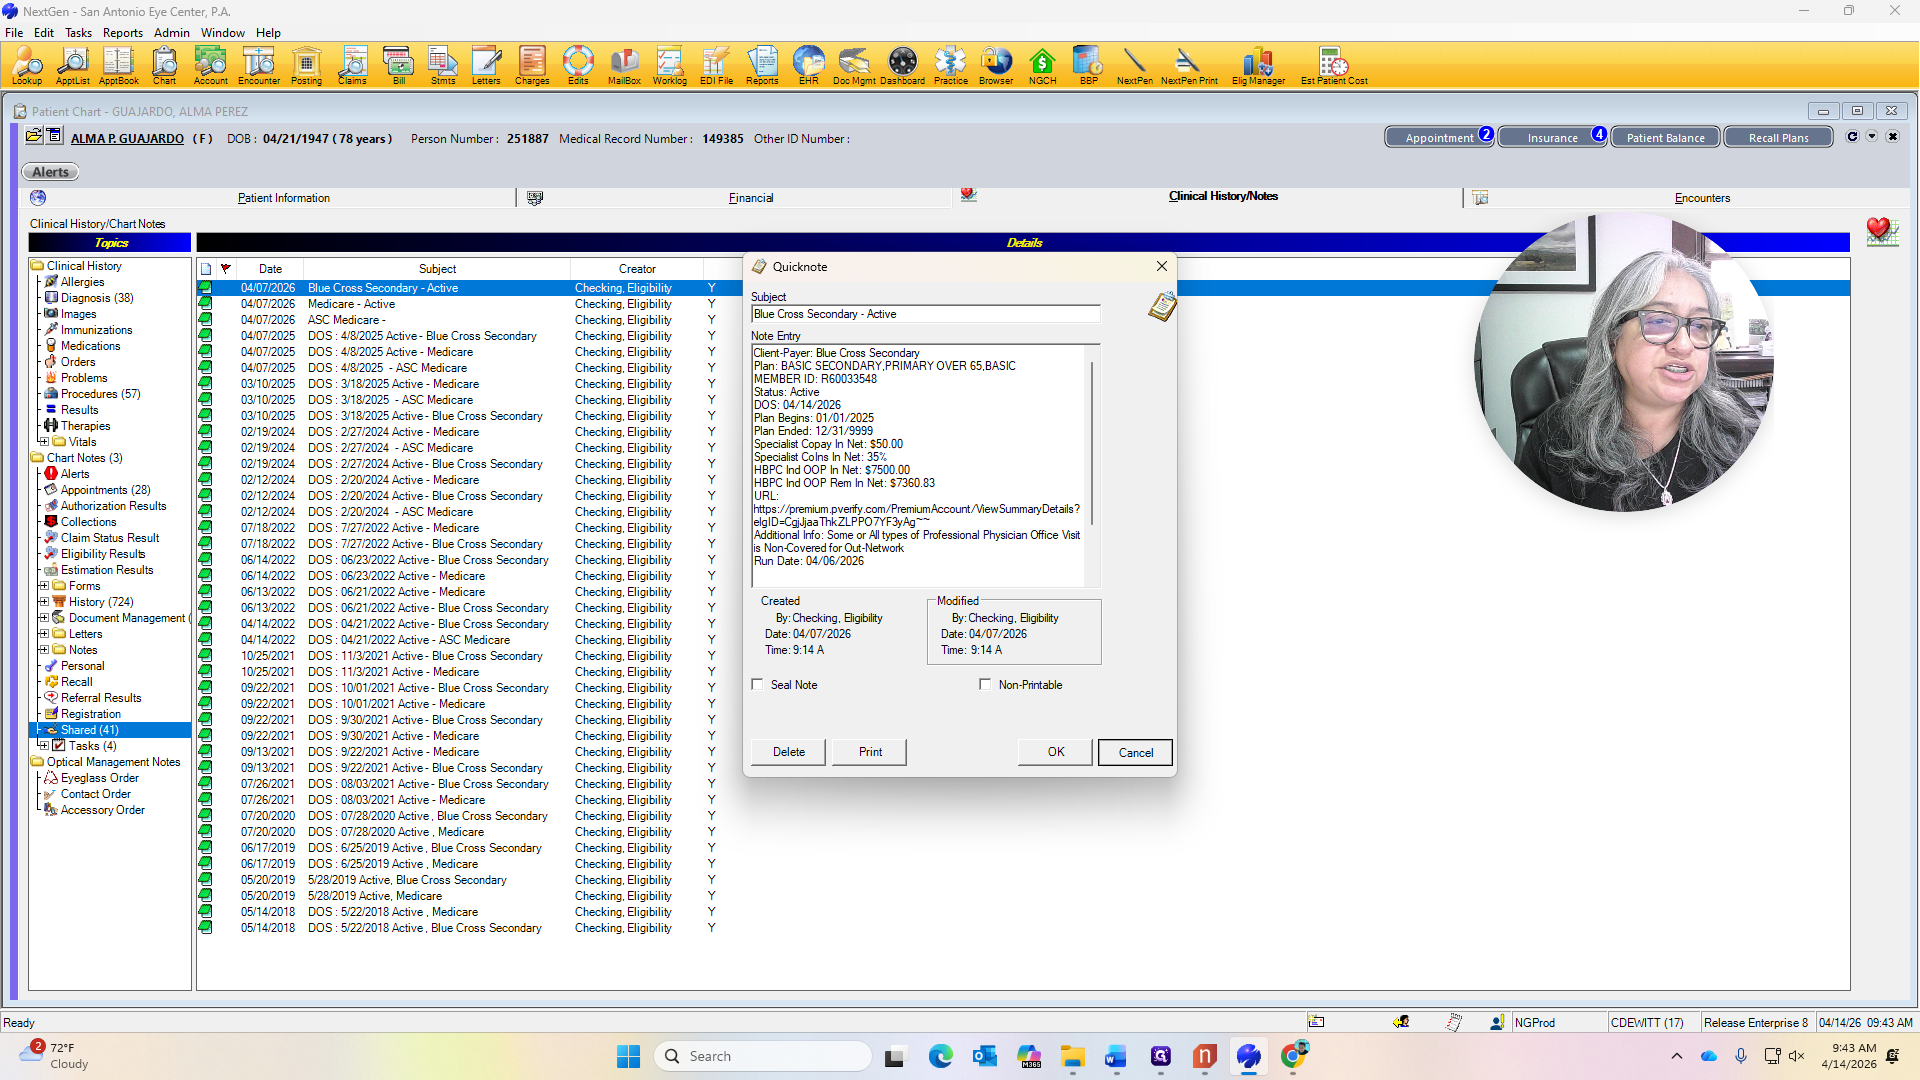


Refraction is not covered. On the fee ticket, always indicate that refraction is not covered and that it will cost $45.

On the URL for all the insurances that the patients have, P-Verify will enter this URL.

Um, web... They can copy and paste it. Oh. Copy this URL, then paste it where your cursor is.

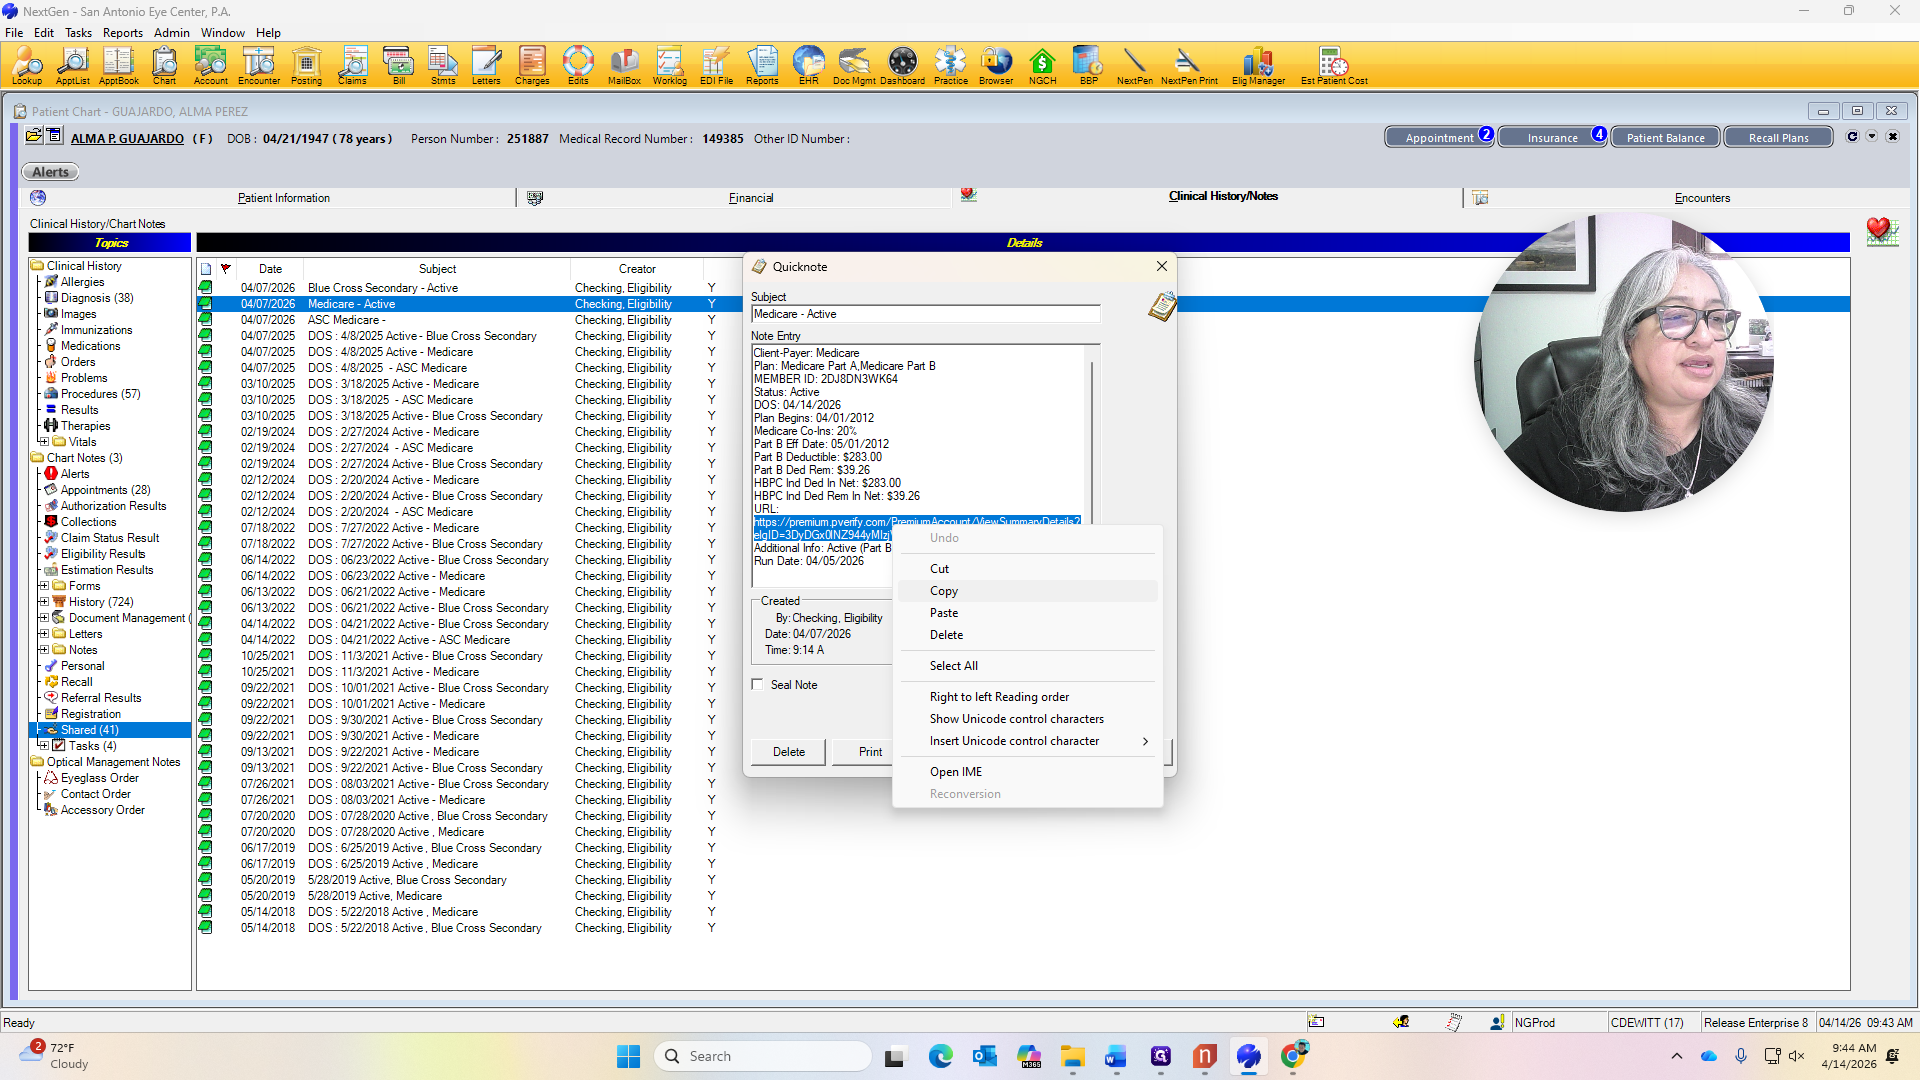
The cursor. Just enter, and it will take you directly to the patient's eligibility.
It will also show you where the deductible has not been met.
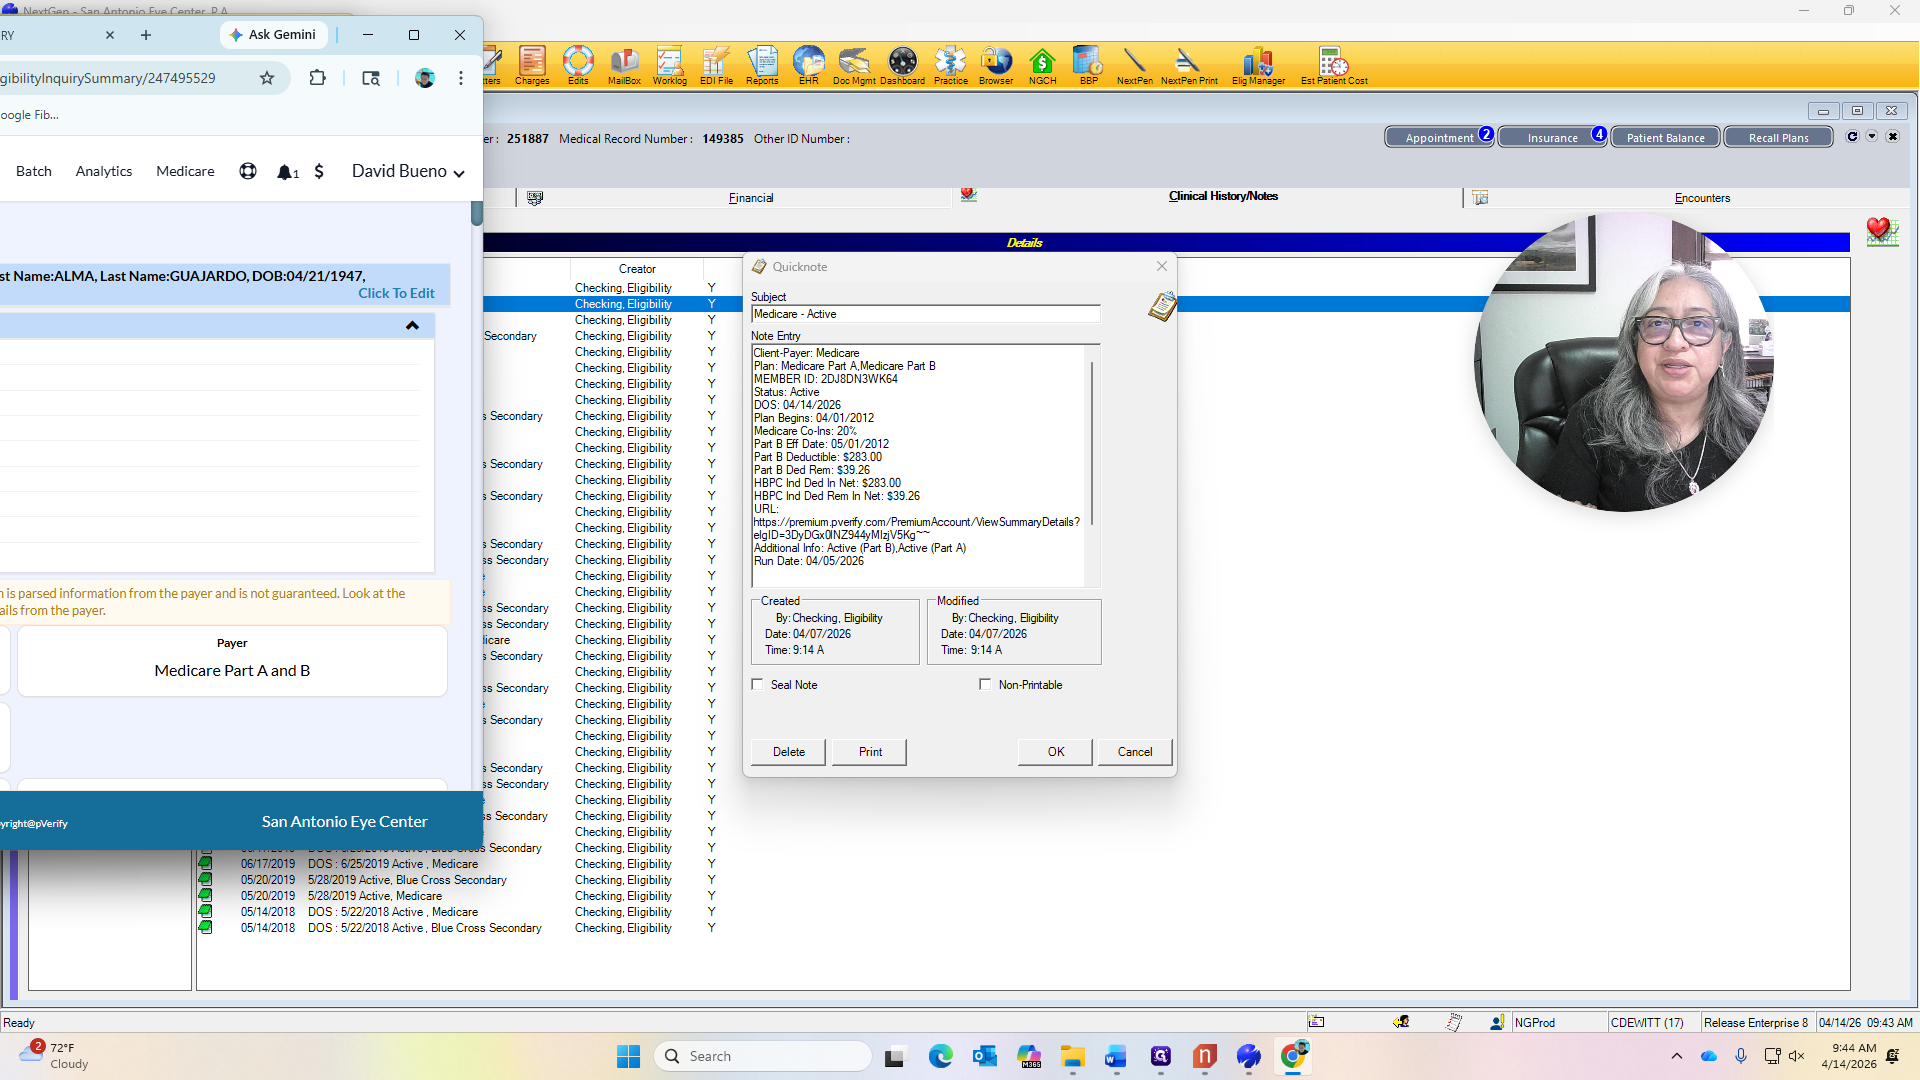
The 39.26 is still remaining.
We're going to use Dr. Mastro as the rendering doctor, as the referring doctor.
When the patient is in front of you, collect the 39.26 fee. Note on the fee ticket that refraction is not covered. Go to patient tracking, mark it ready for tech, and you’re done.