How to check in a patient with pending deductible
Learn the complete process for checking in a patient with Blue Cross Blue Shield insurance, including deductible handling, insurance card verification, fee collection, and documentation updates in a medical office setting.
In this guide, we'll learn how to check in a patient with Blue Cross Blue Shield insurance, review their deductible and coinsurance status, and determine the correct amount to collect at the time of visit. We will also cover how to verify and update primary care information, insurance cards, registration forms, and ID. This process helps ensure accurate billing and proper documentation for each patient visit.
Let's get started
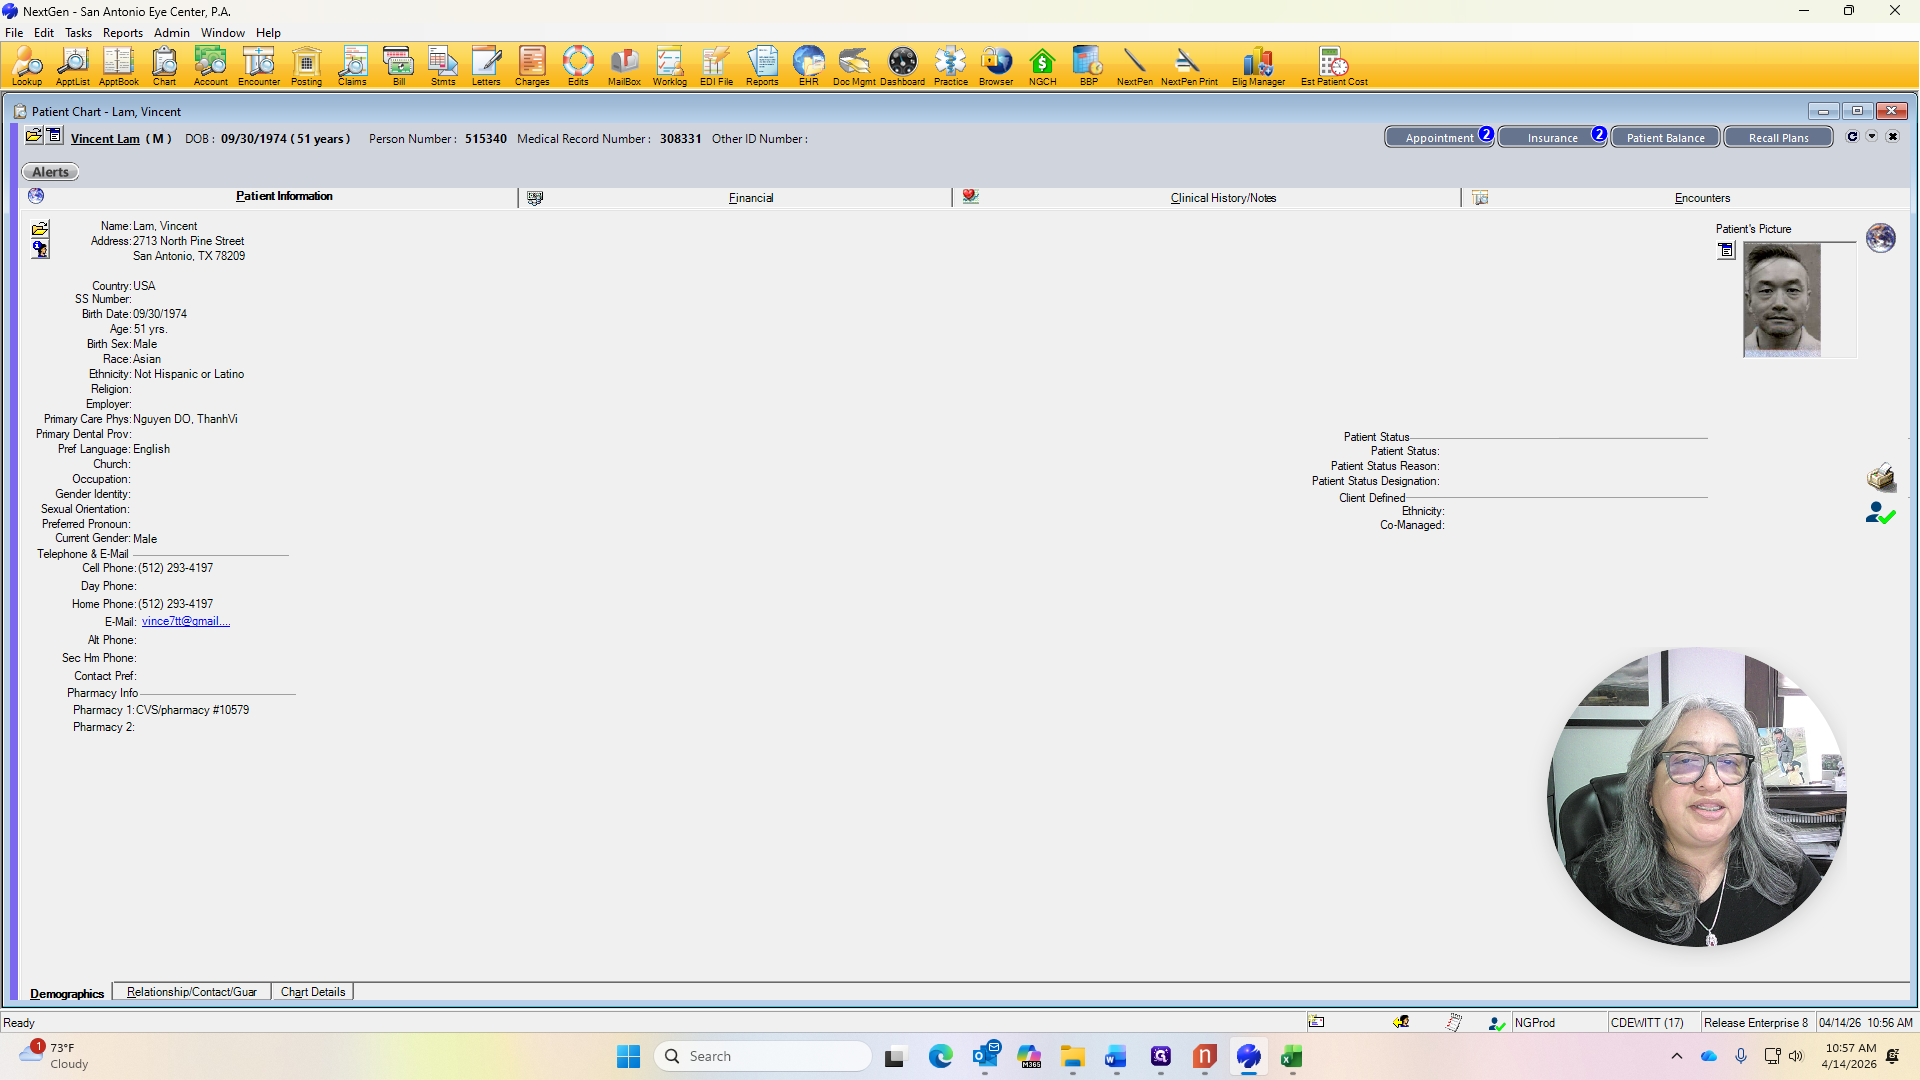
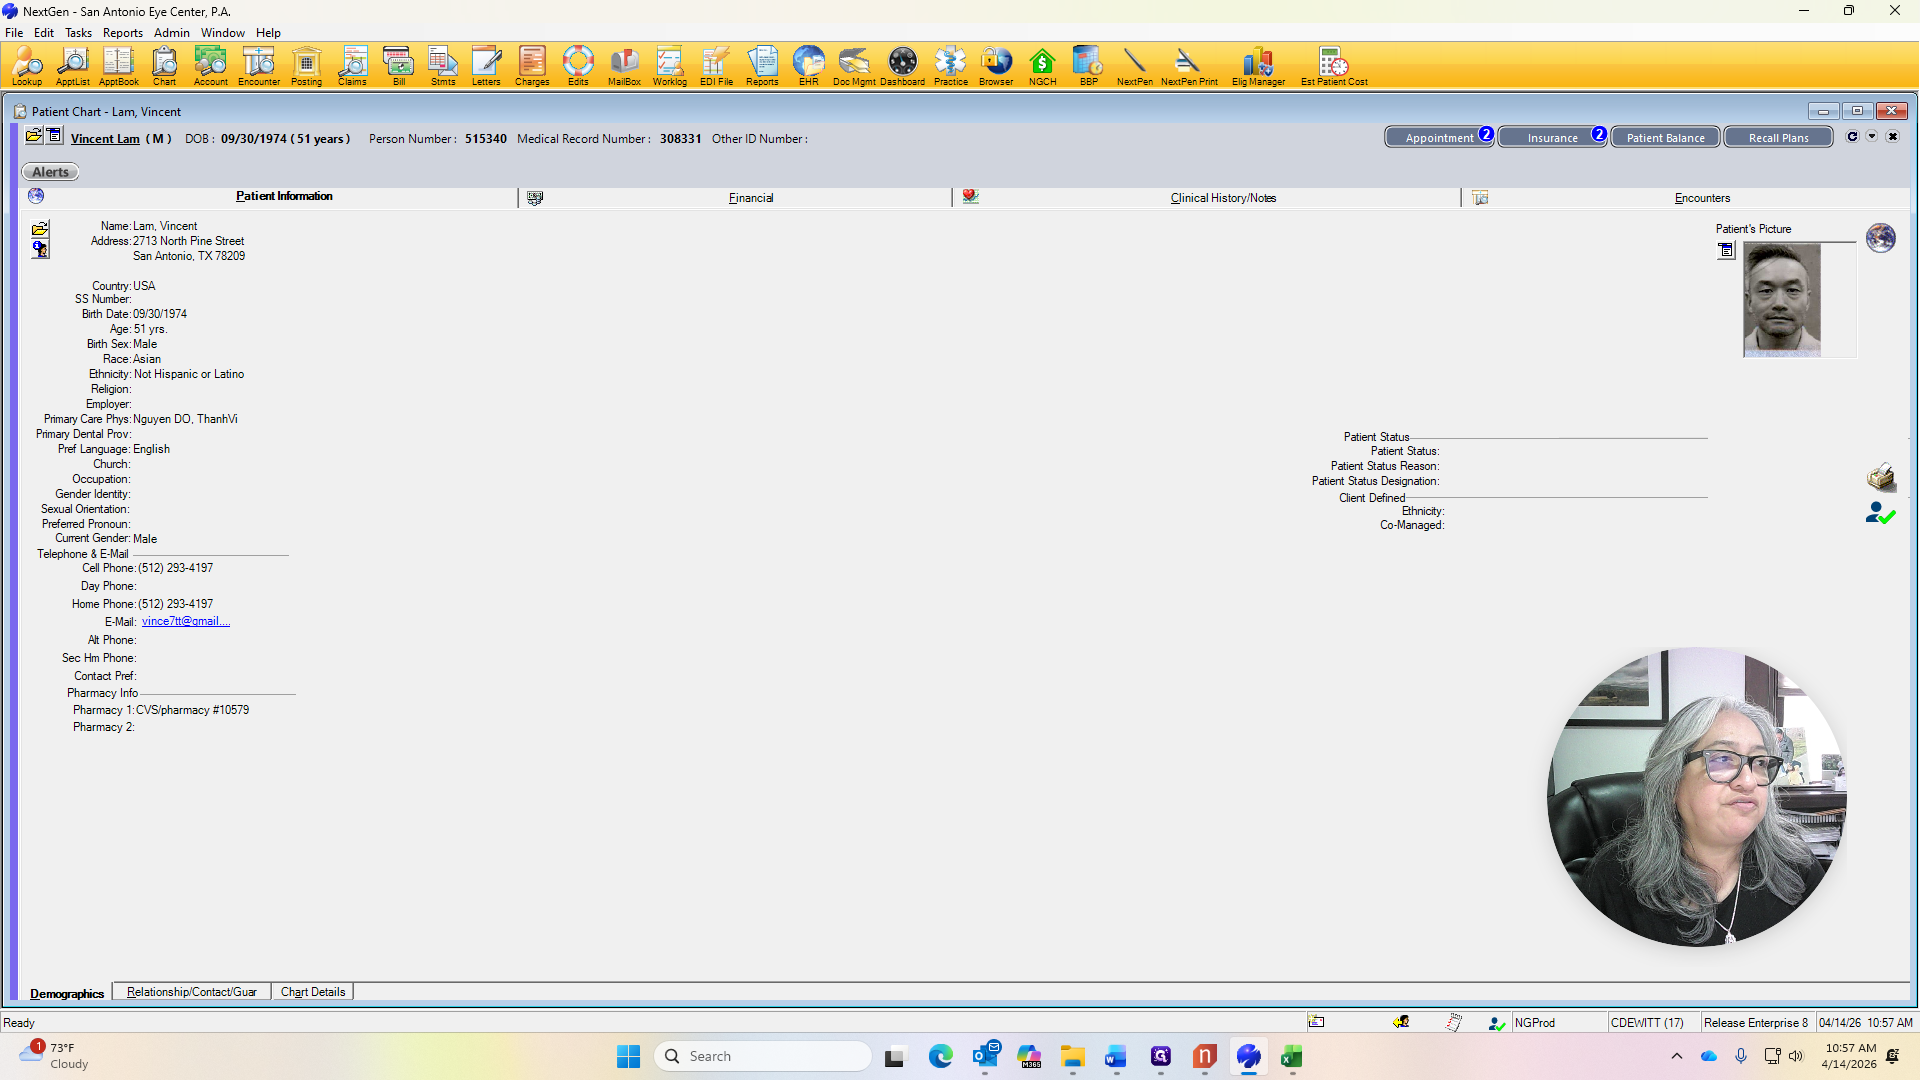
Good morning. I have another example of a patient I will check in now. This patient has Blue Cross Blue Shield and a deductible that has not been met. I will repeat the entire process of checking in the patient.

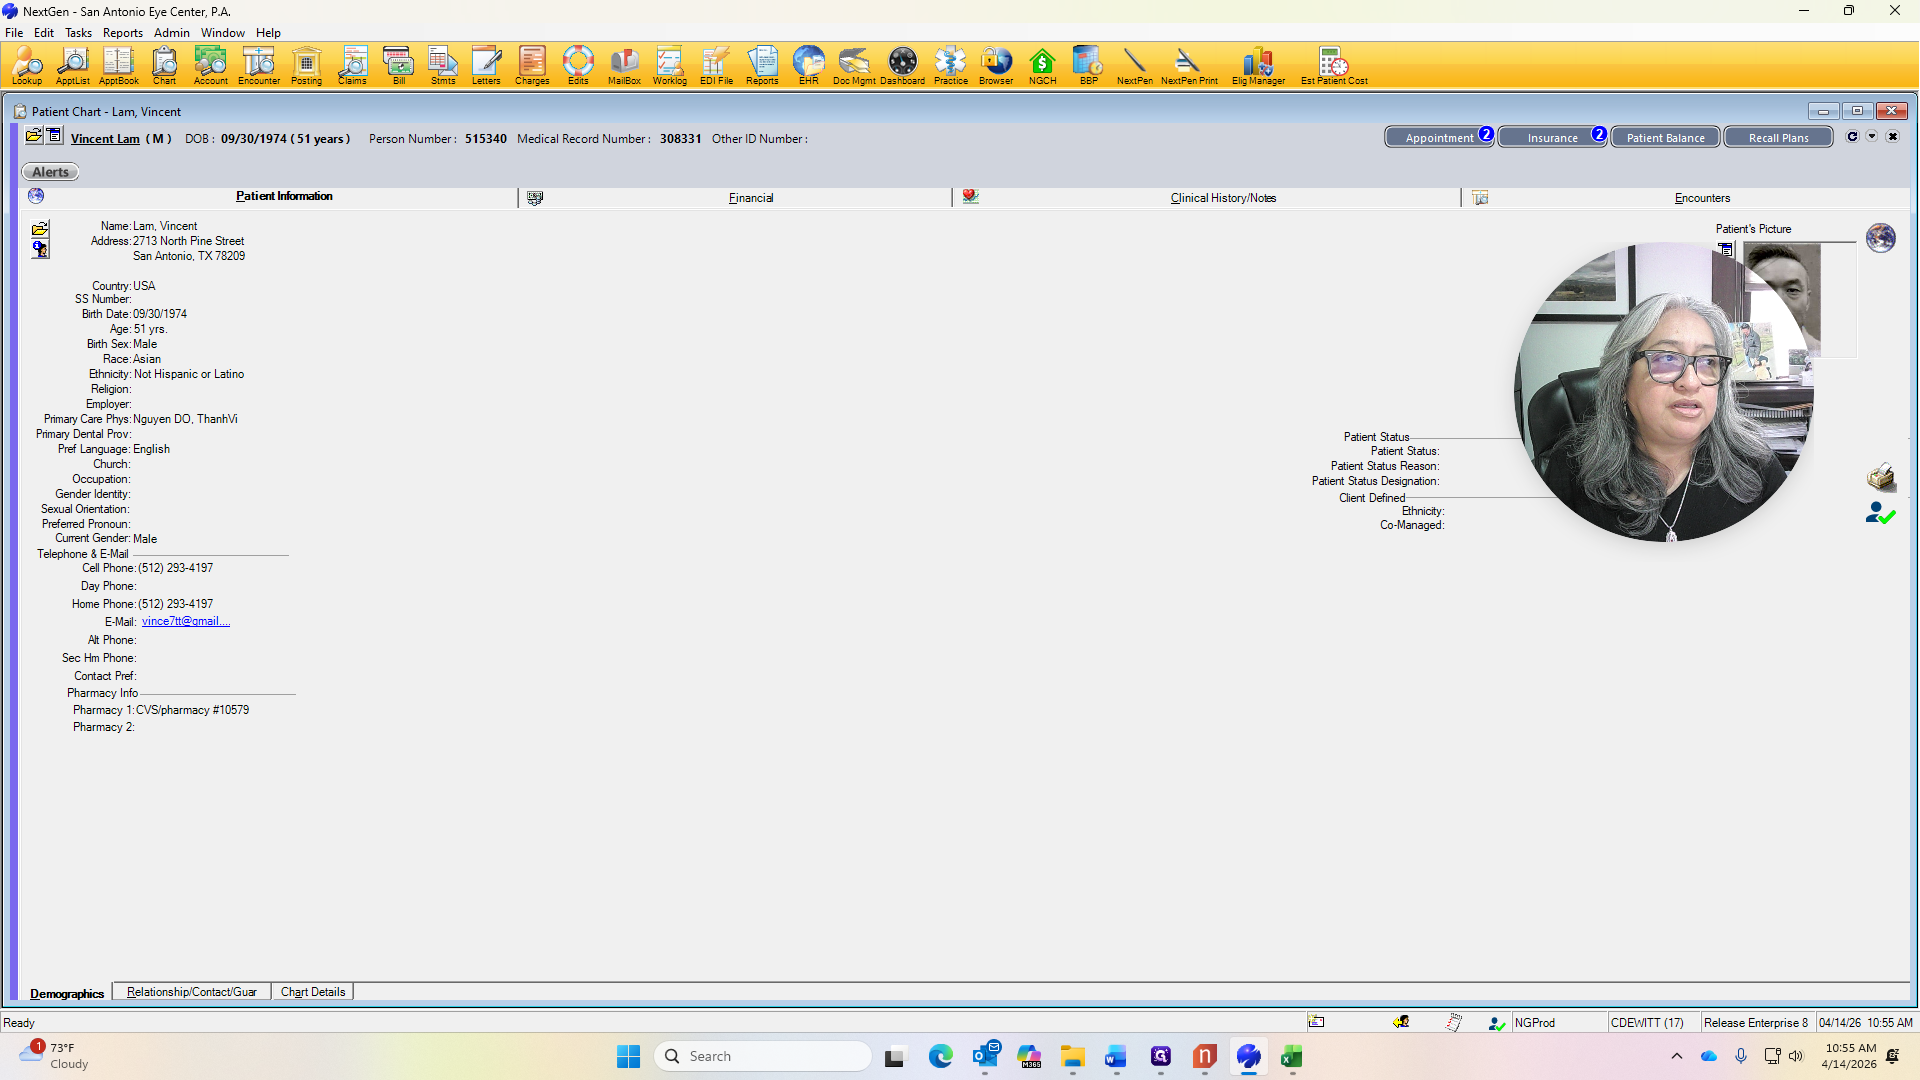
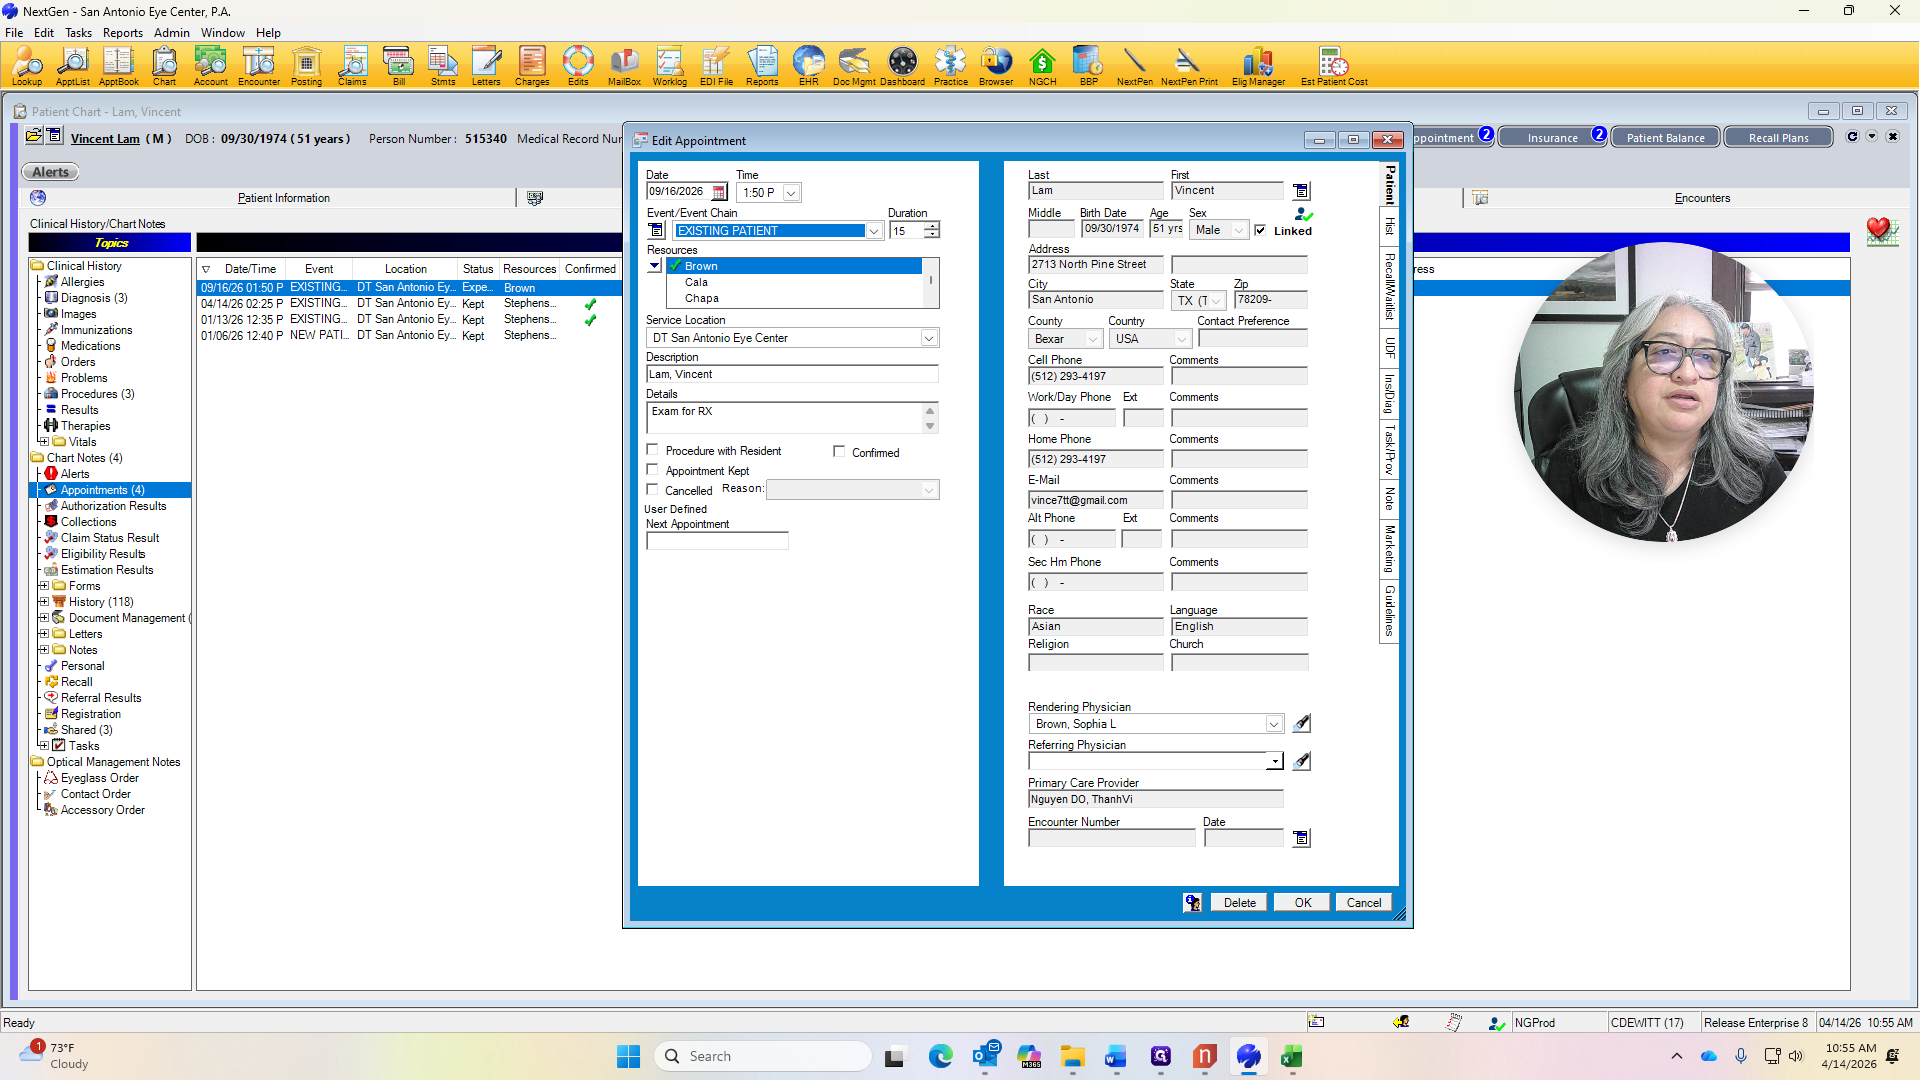
Since I have the patient in front of me, I will ask who their primary care doctor is.
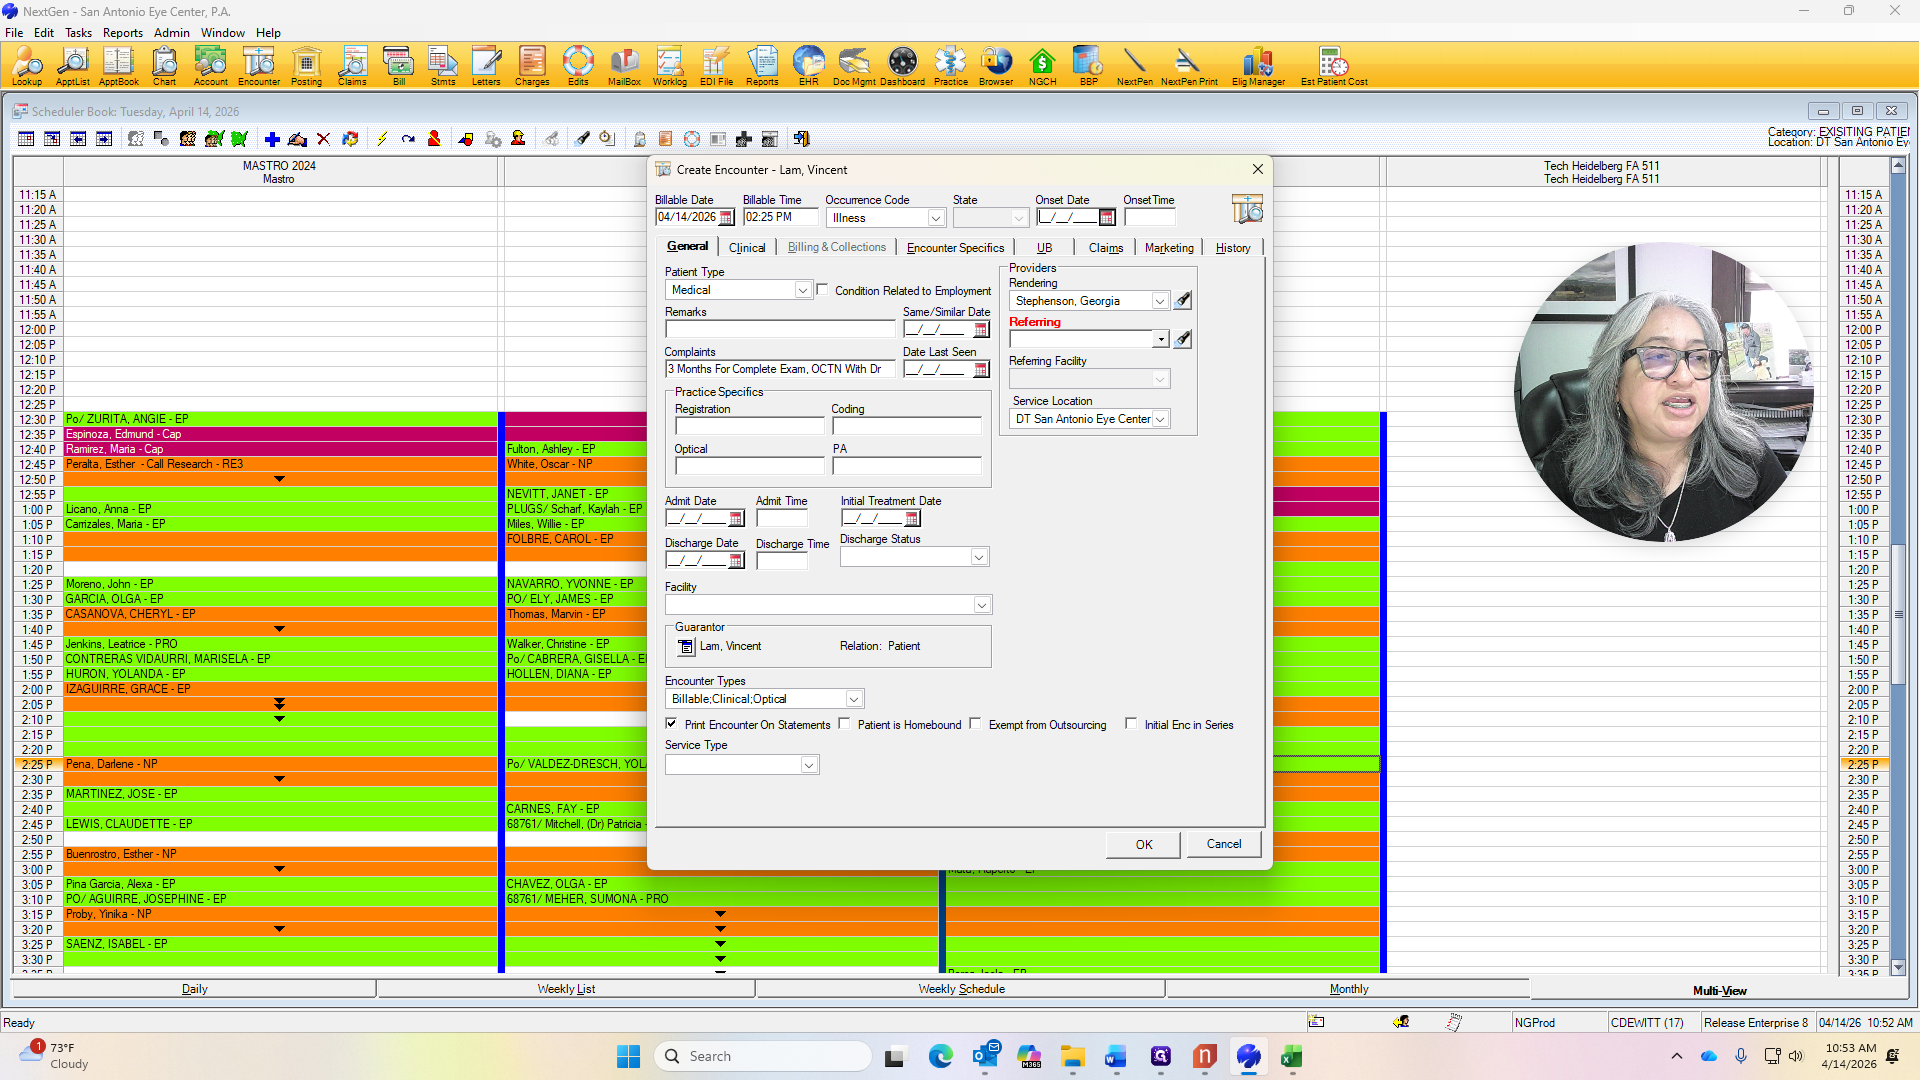
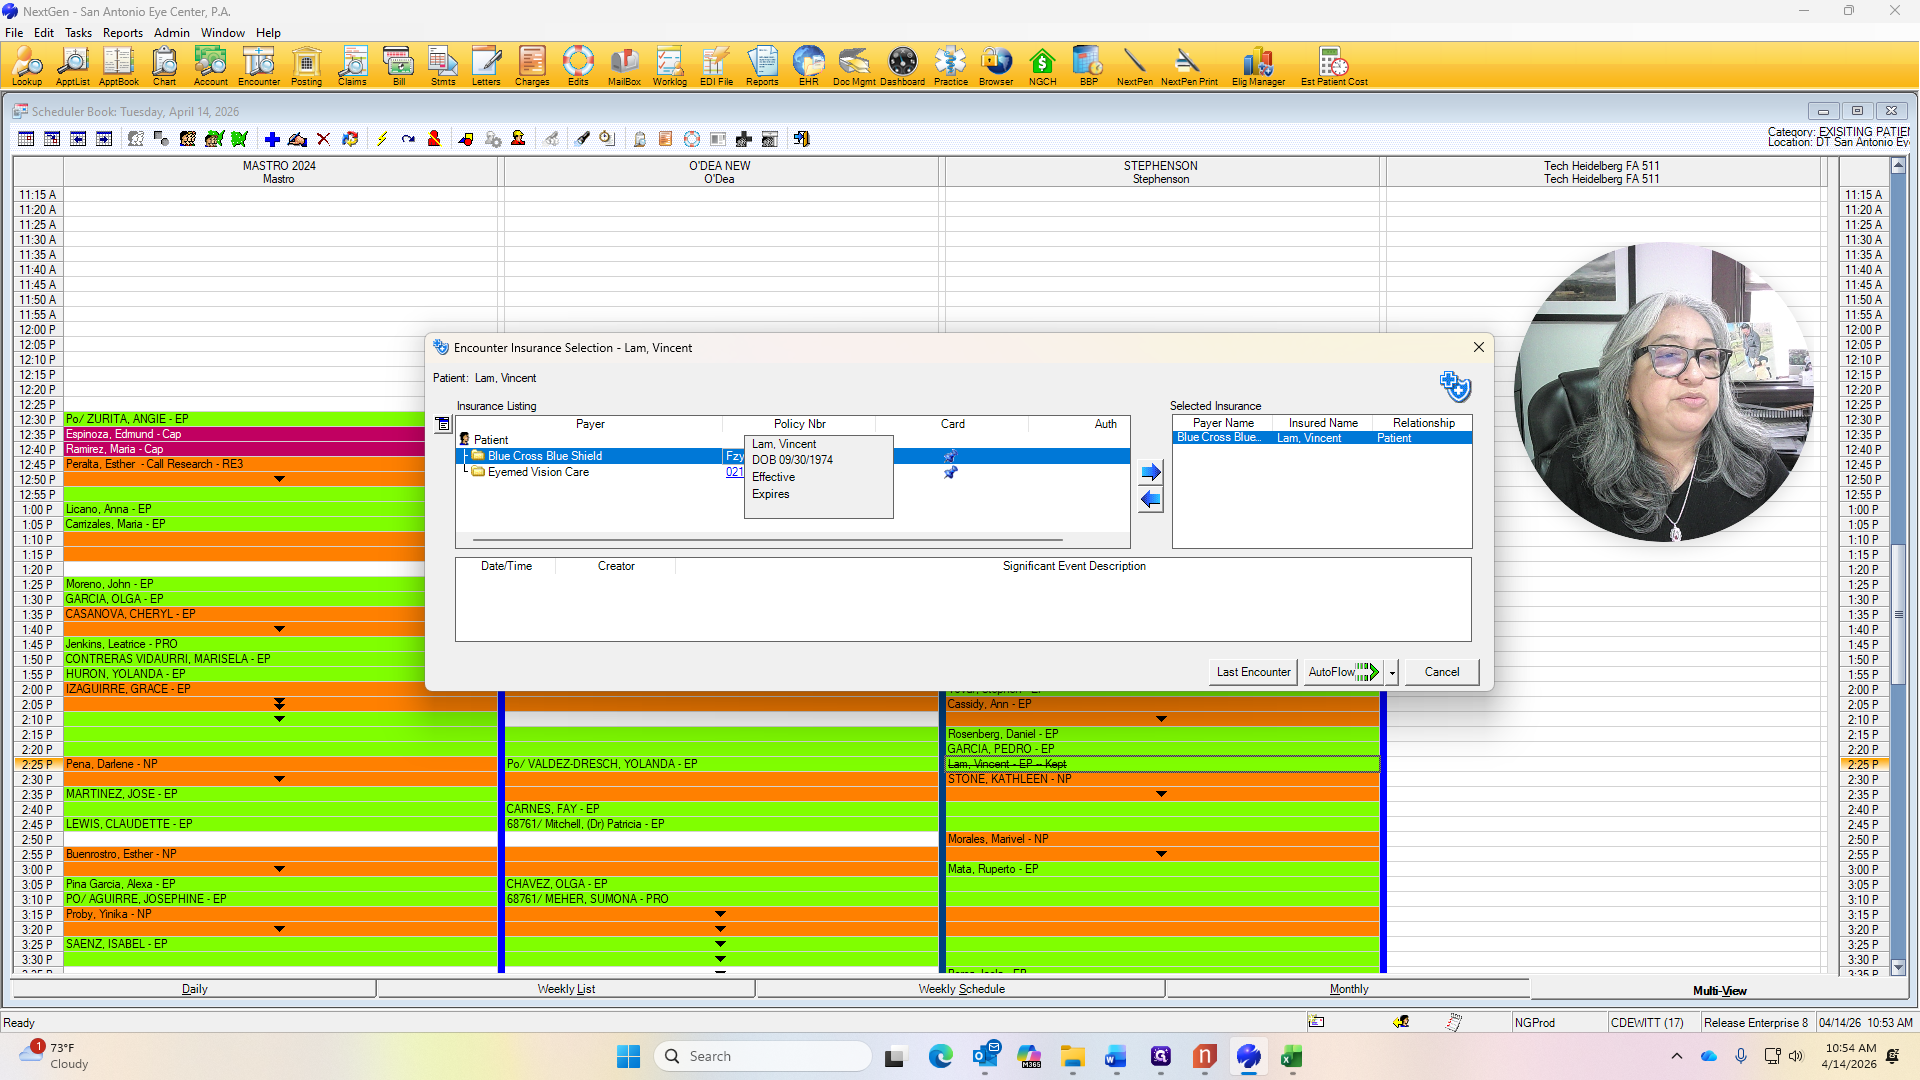
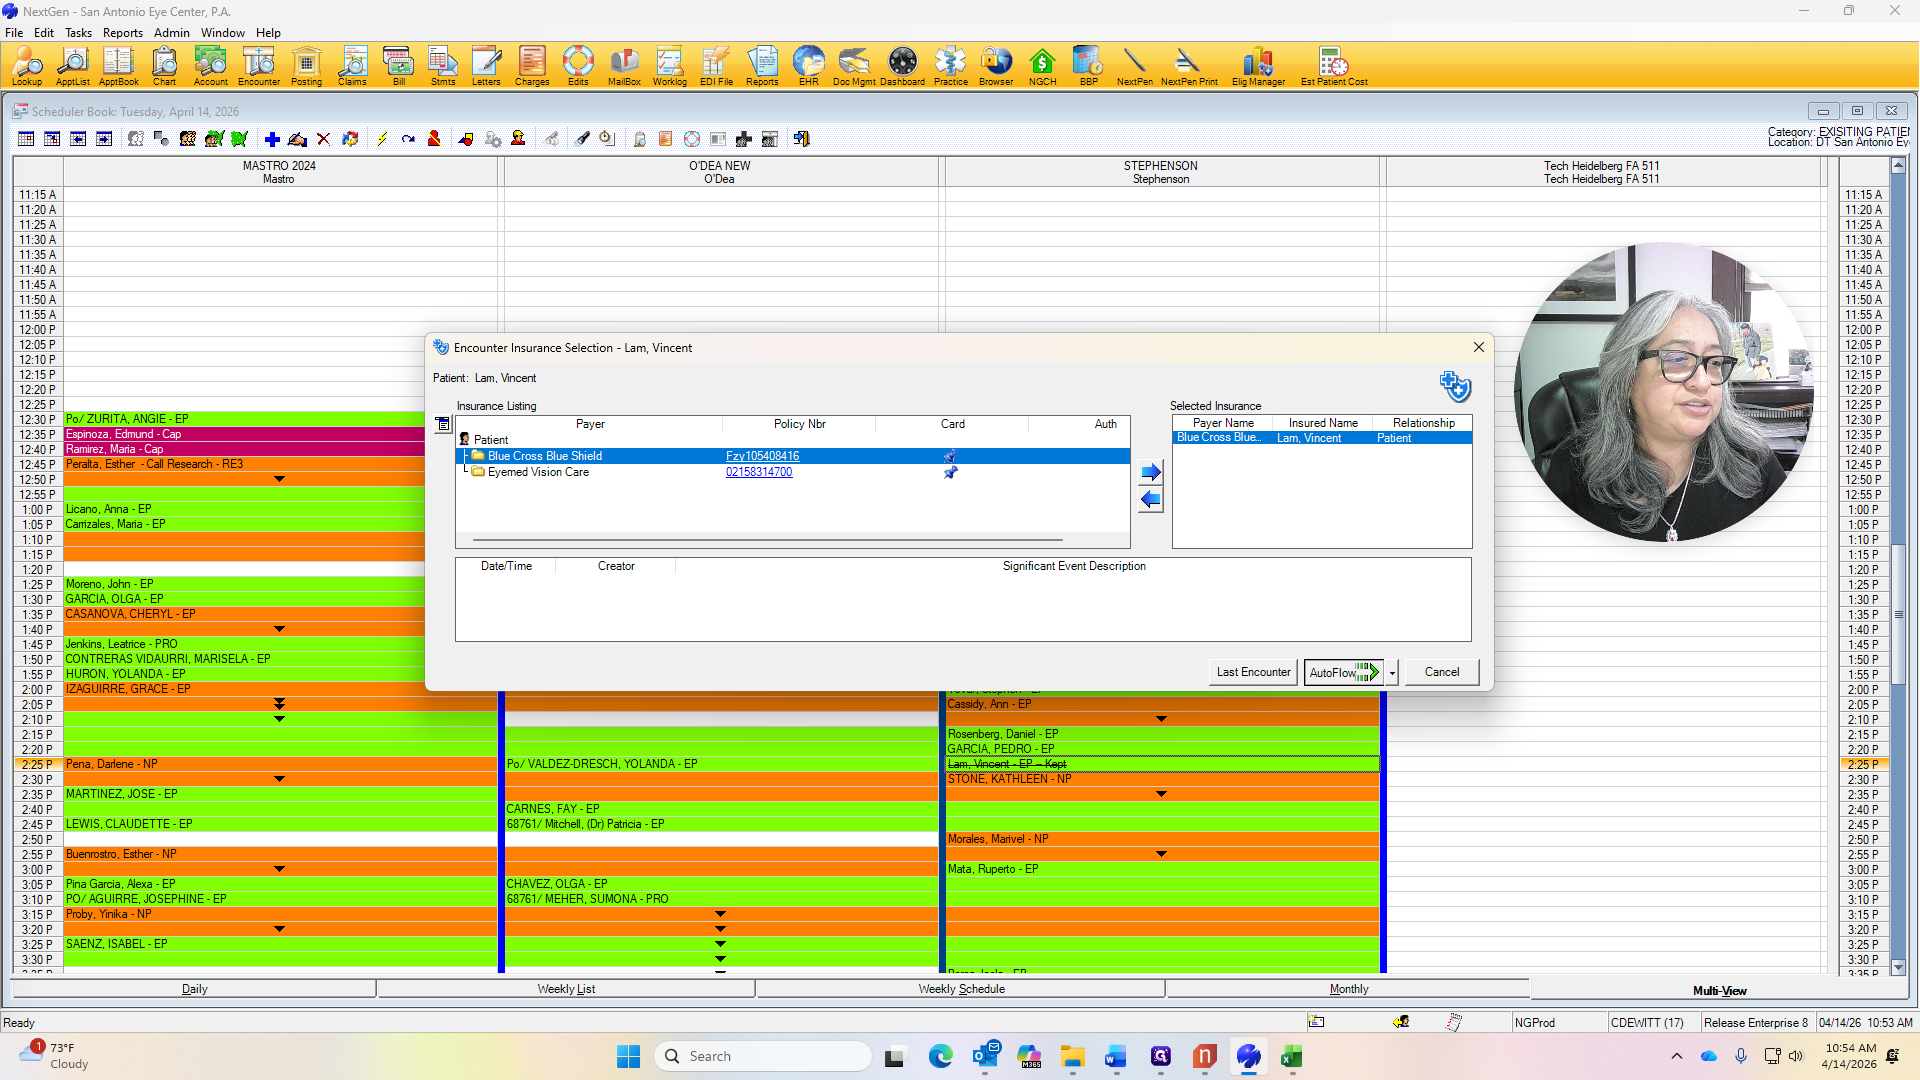
If the manager is responsible, they should ensure that the primary care doctor is entered into our system. Right now, I will enter that it is Dr. David Gerero. Insurance is linked to the visit.
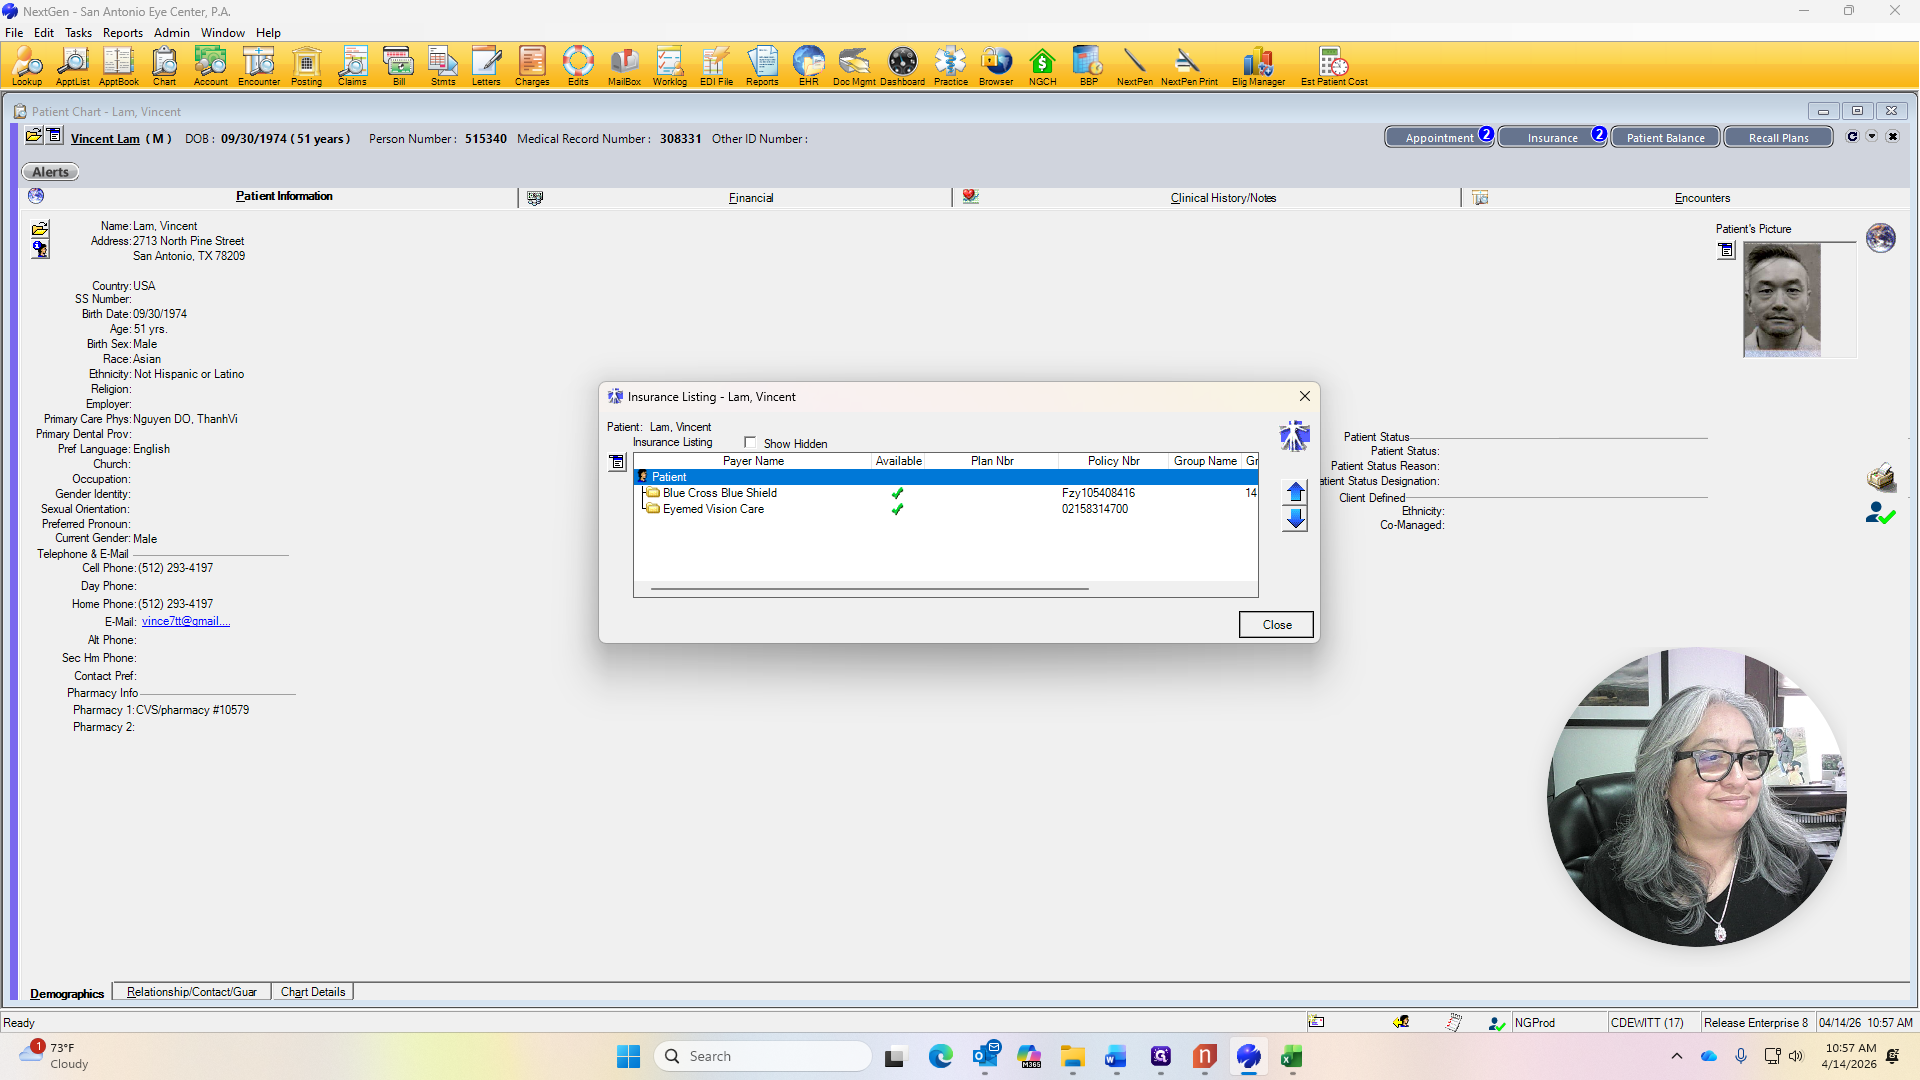
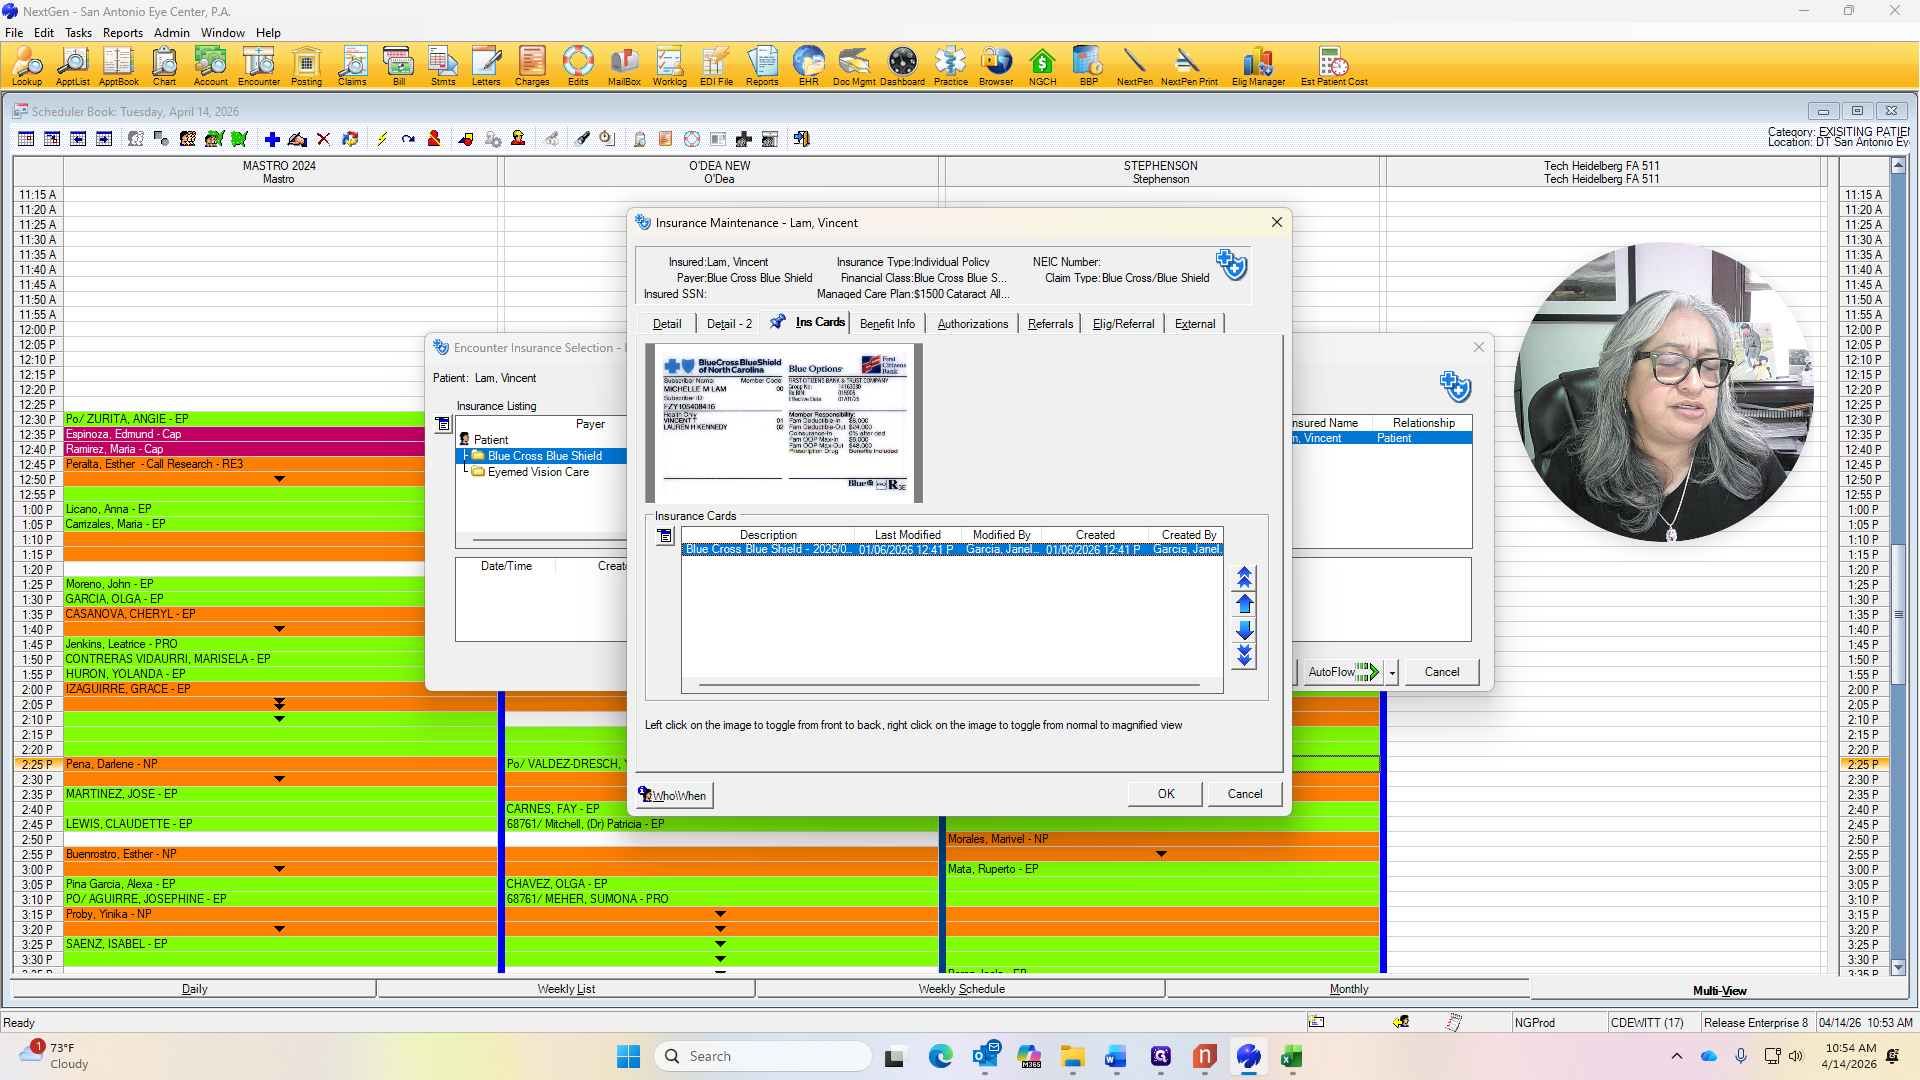
I'm going to click on the policy number to check if the insurance card has been updated.
The last time it was done was January 6, 2026, so I won't need it again. You still need to ask for the insurance card. Make sure to scan it in at that time if needed.
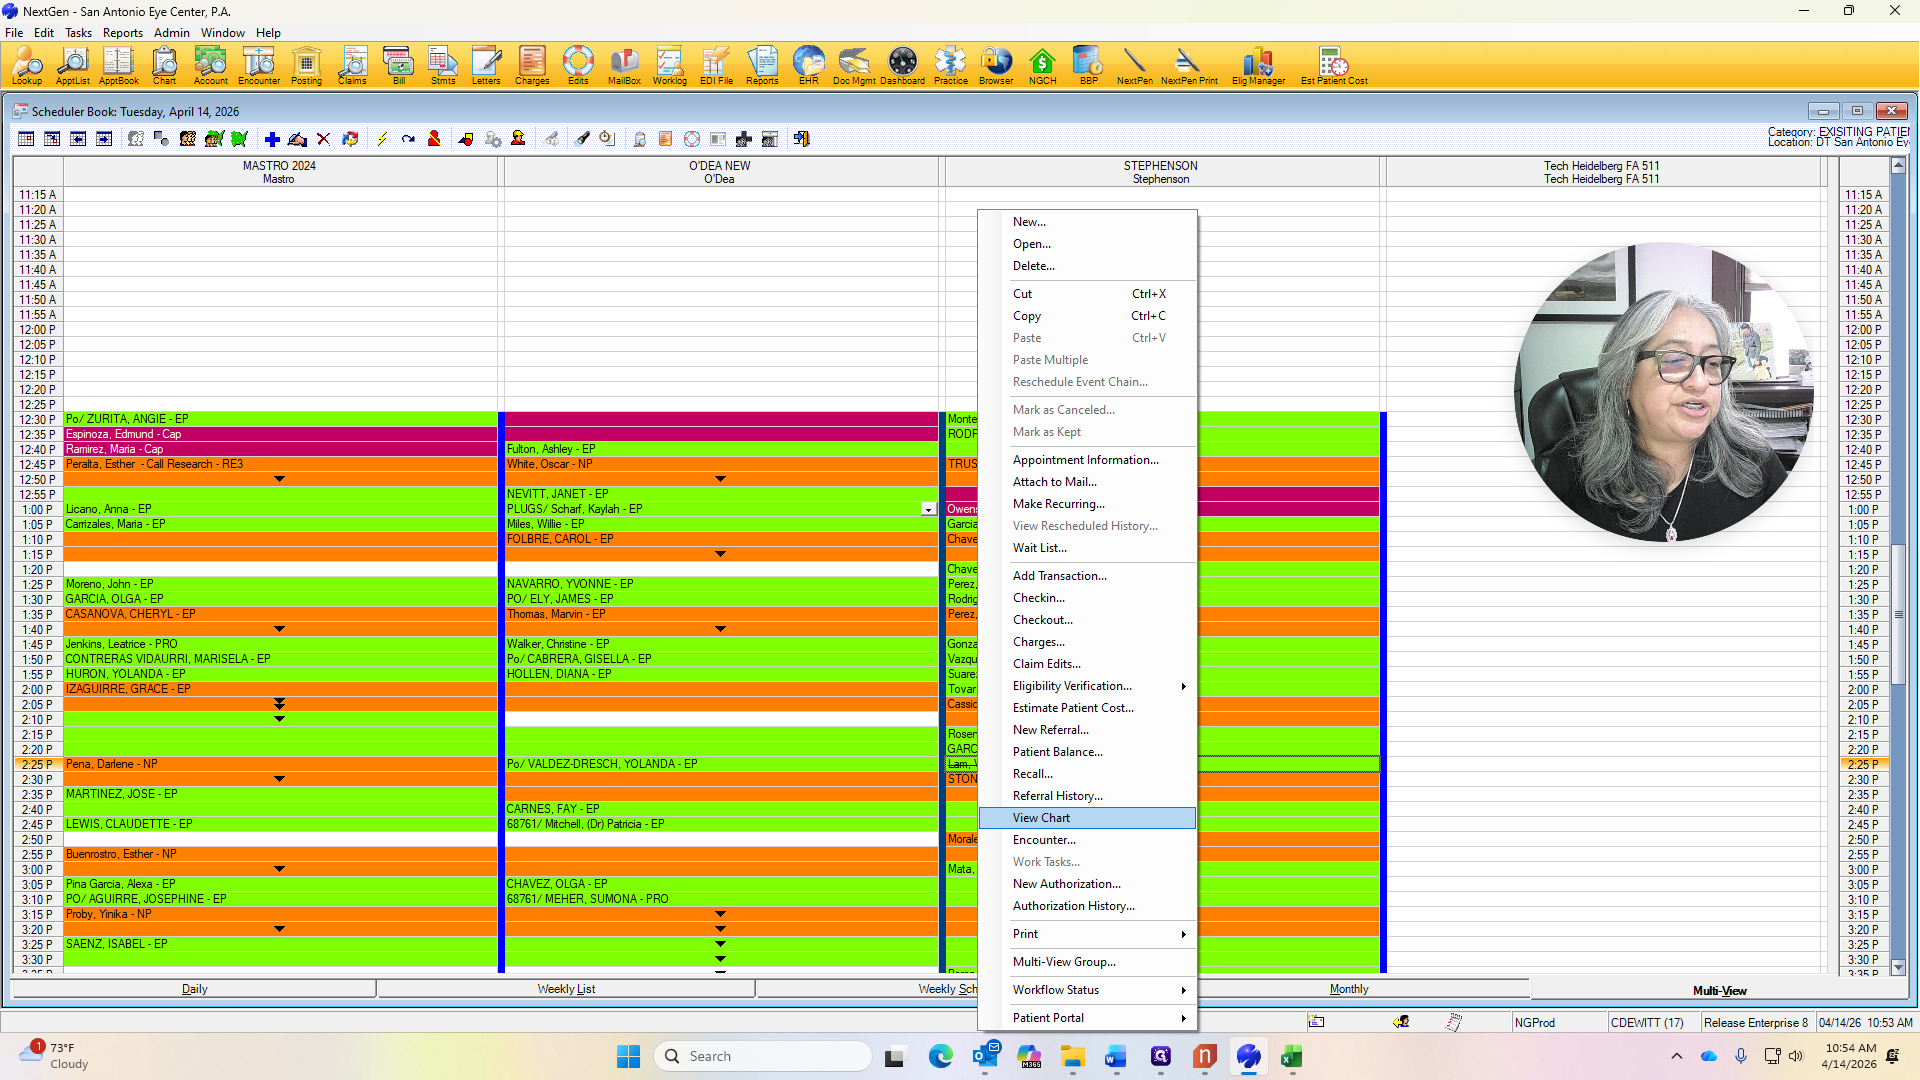
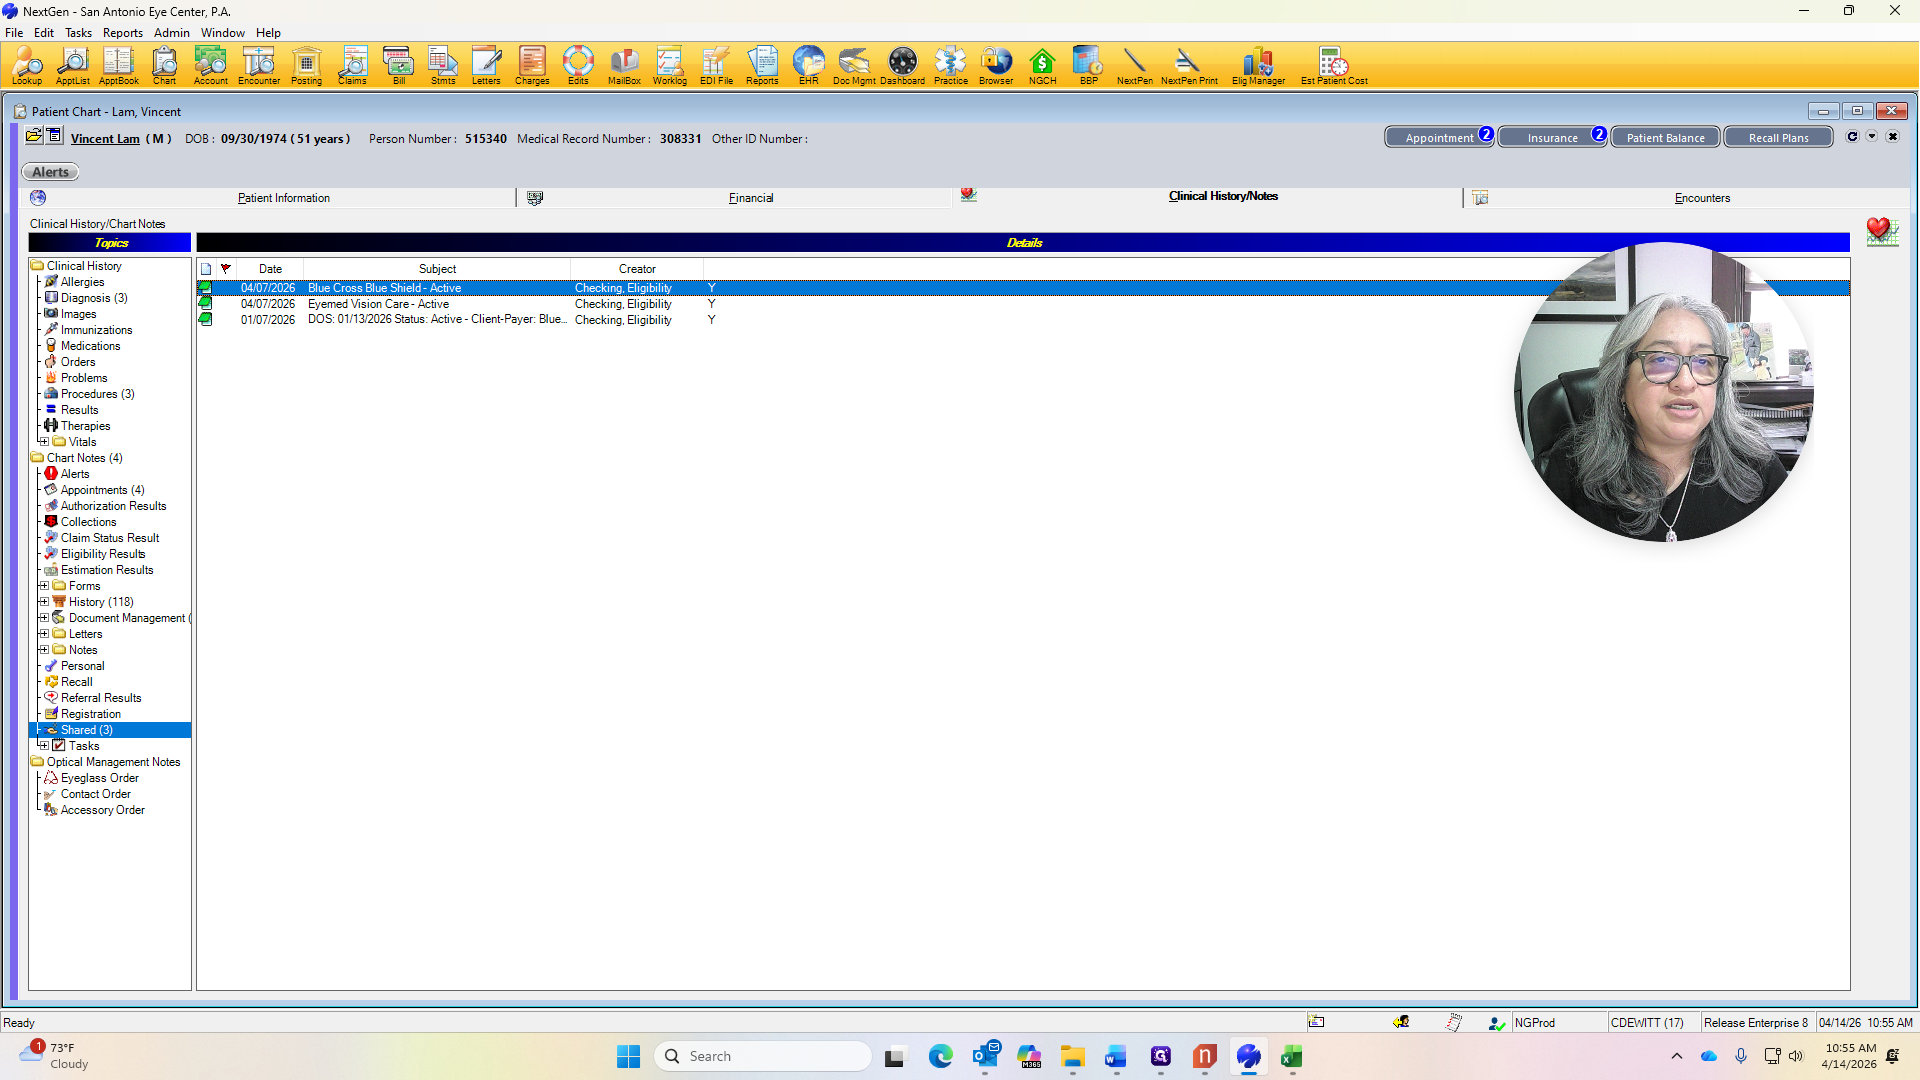
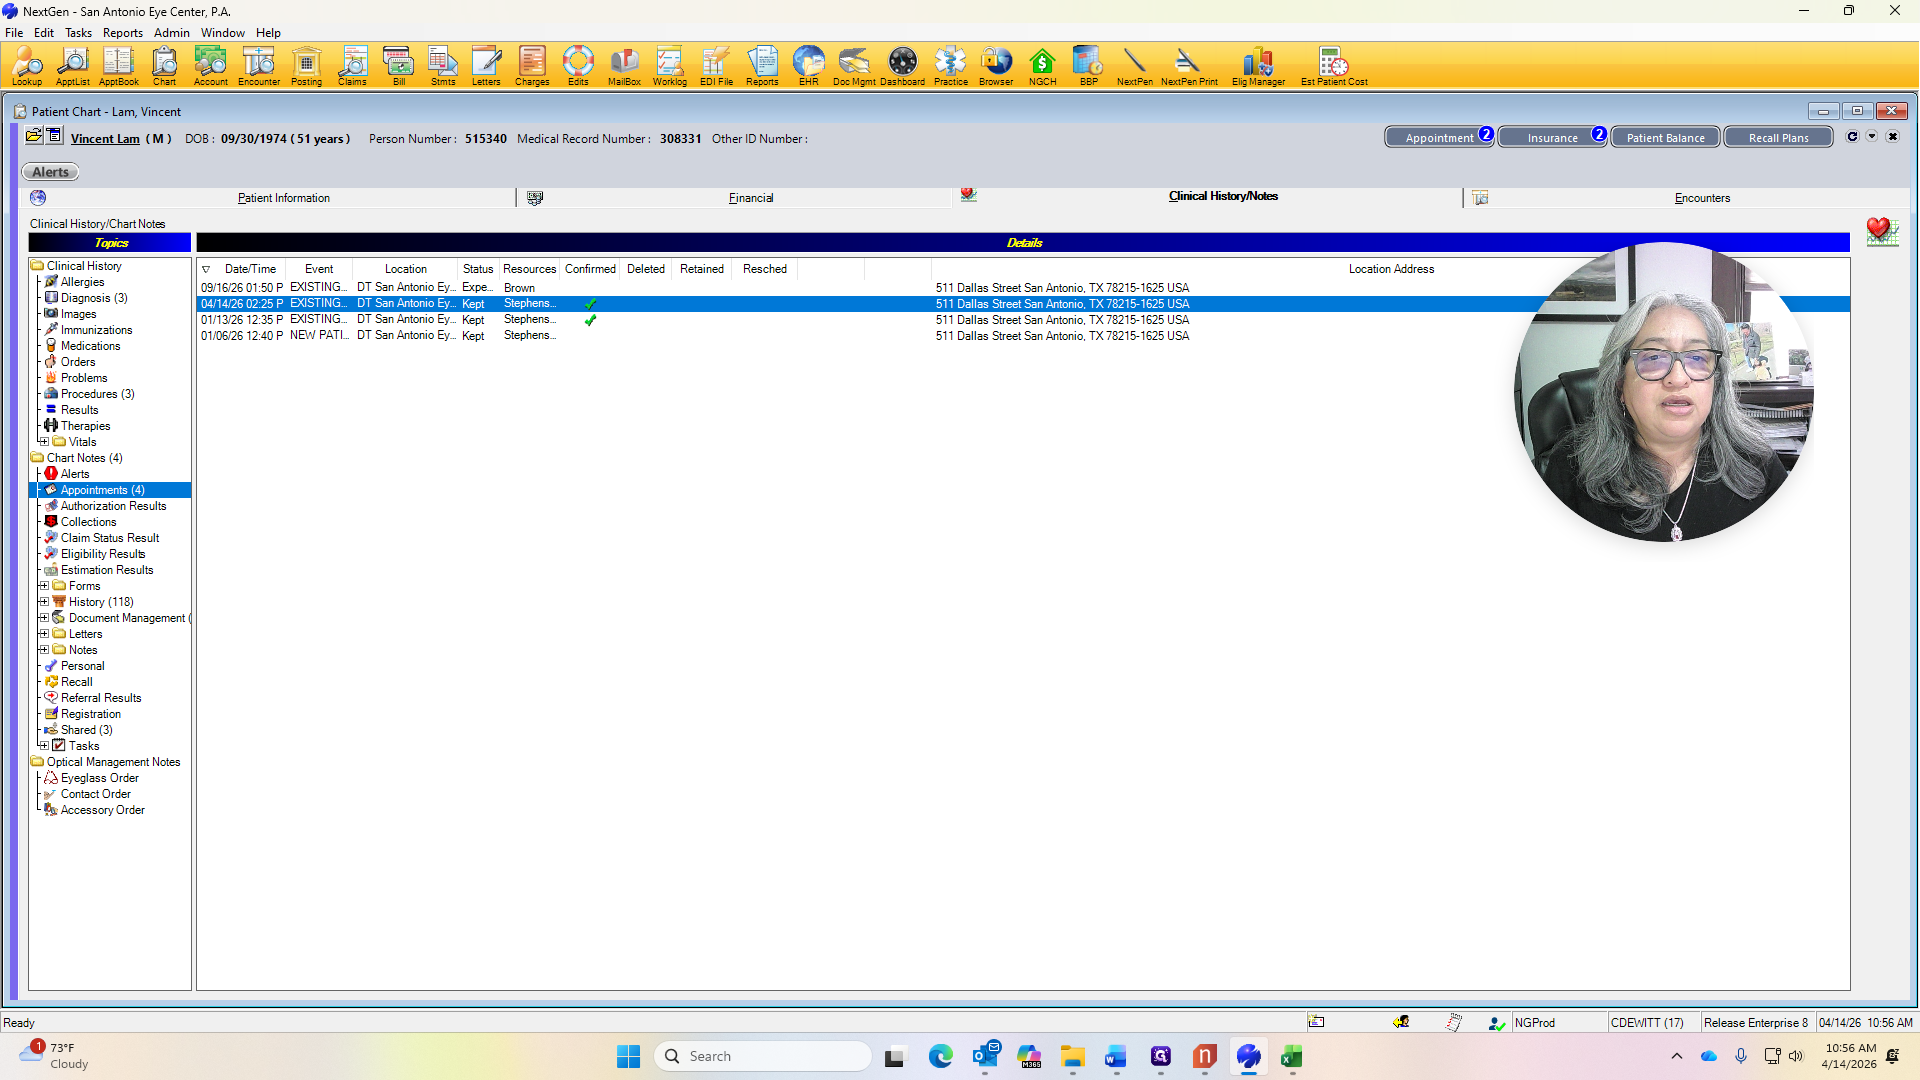
If not, just leave it alone, and we will hand the card back to the patient. After this, the fee ticket will print. I will view the chart again.
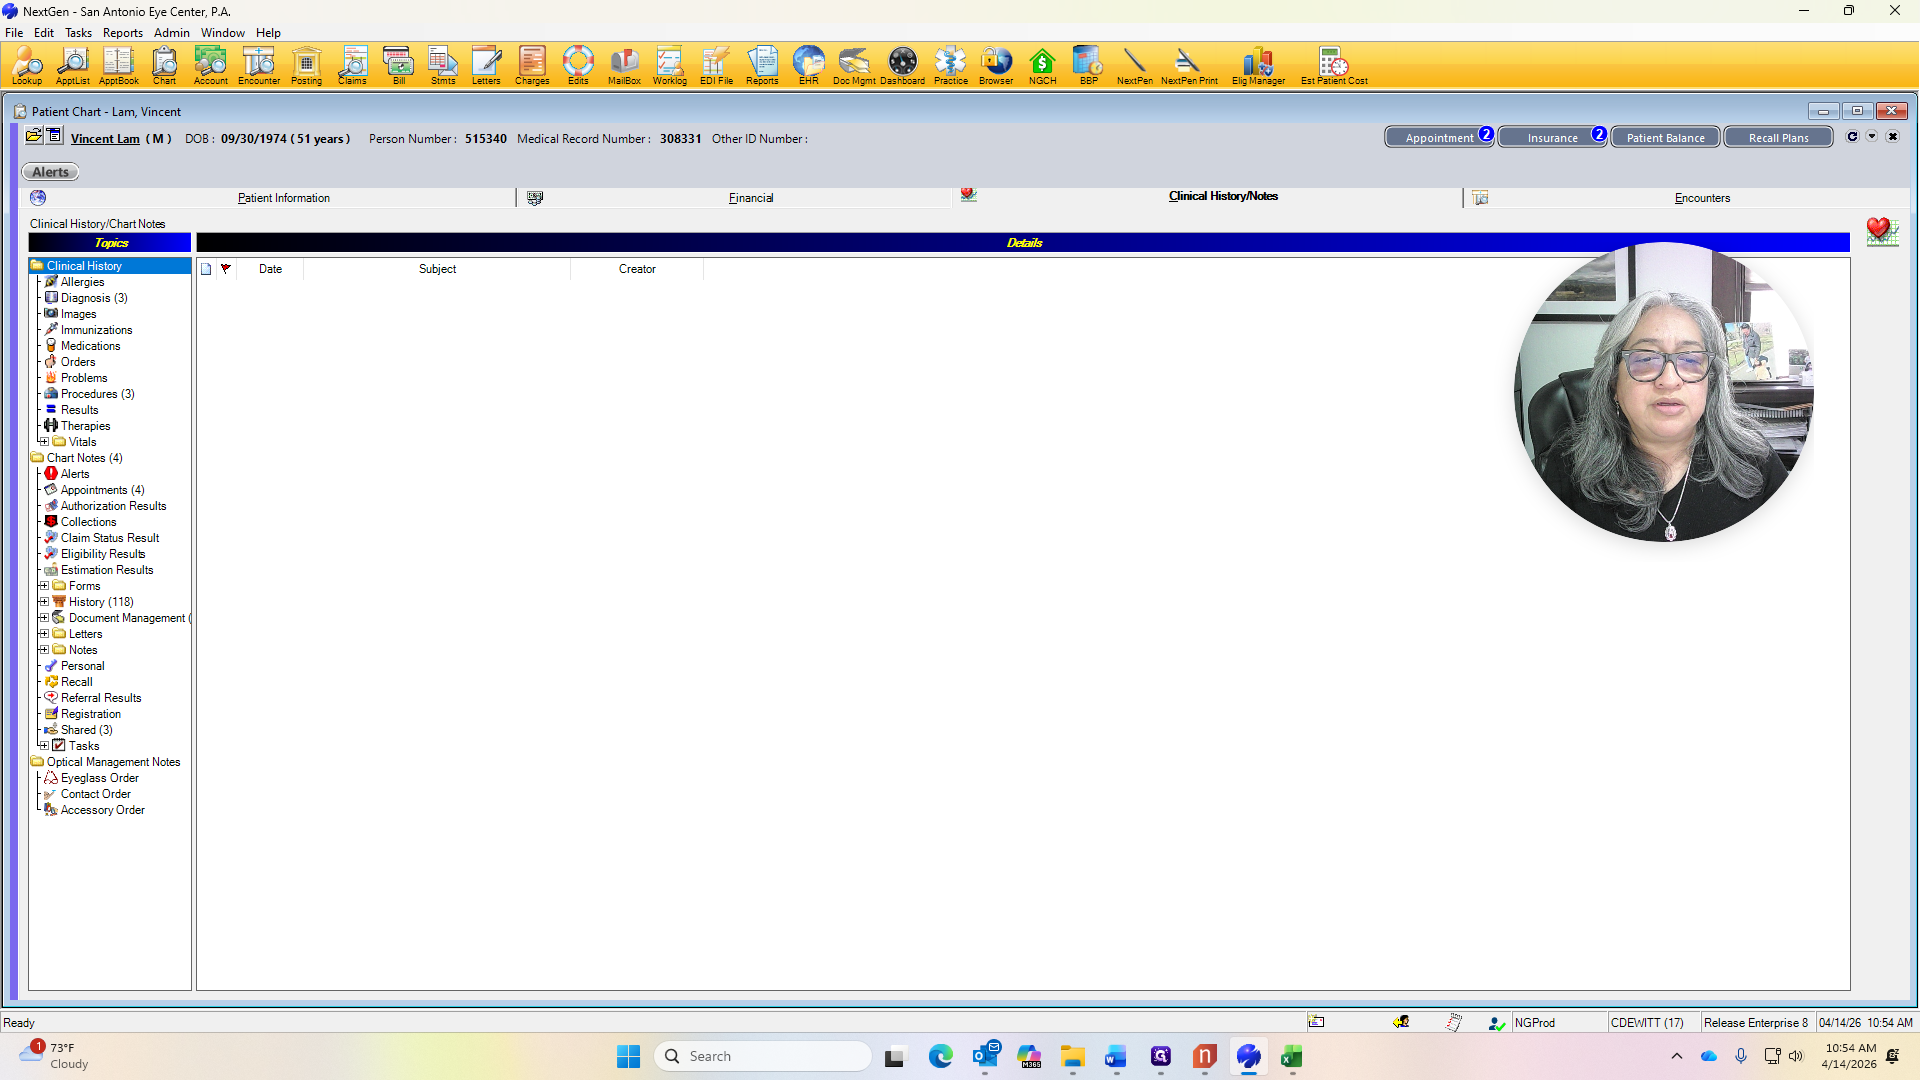
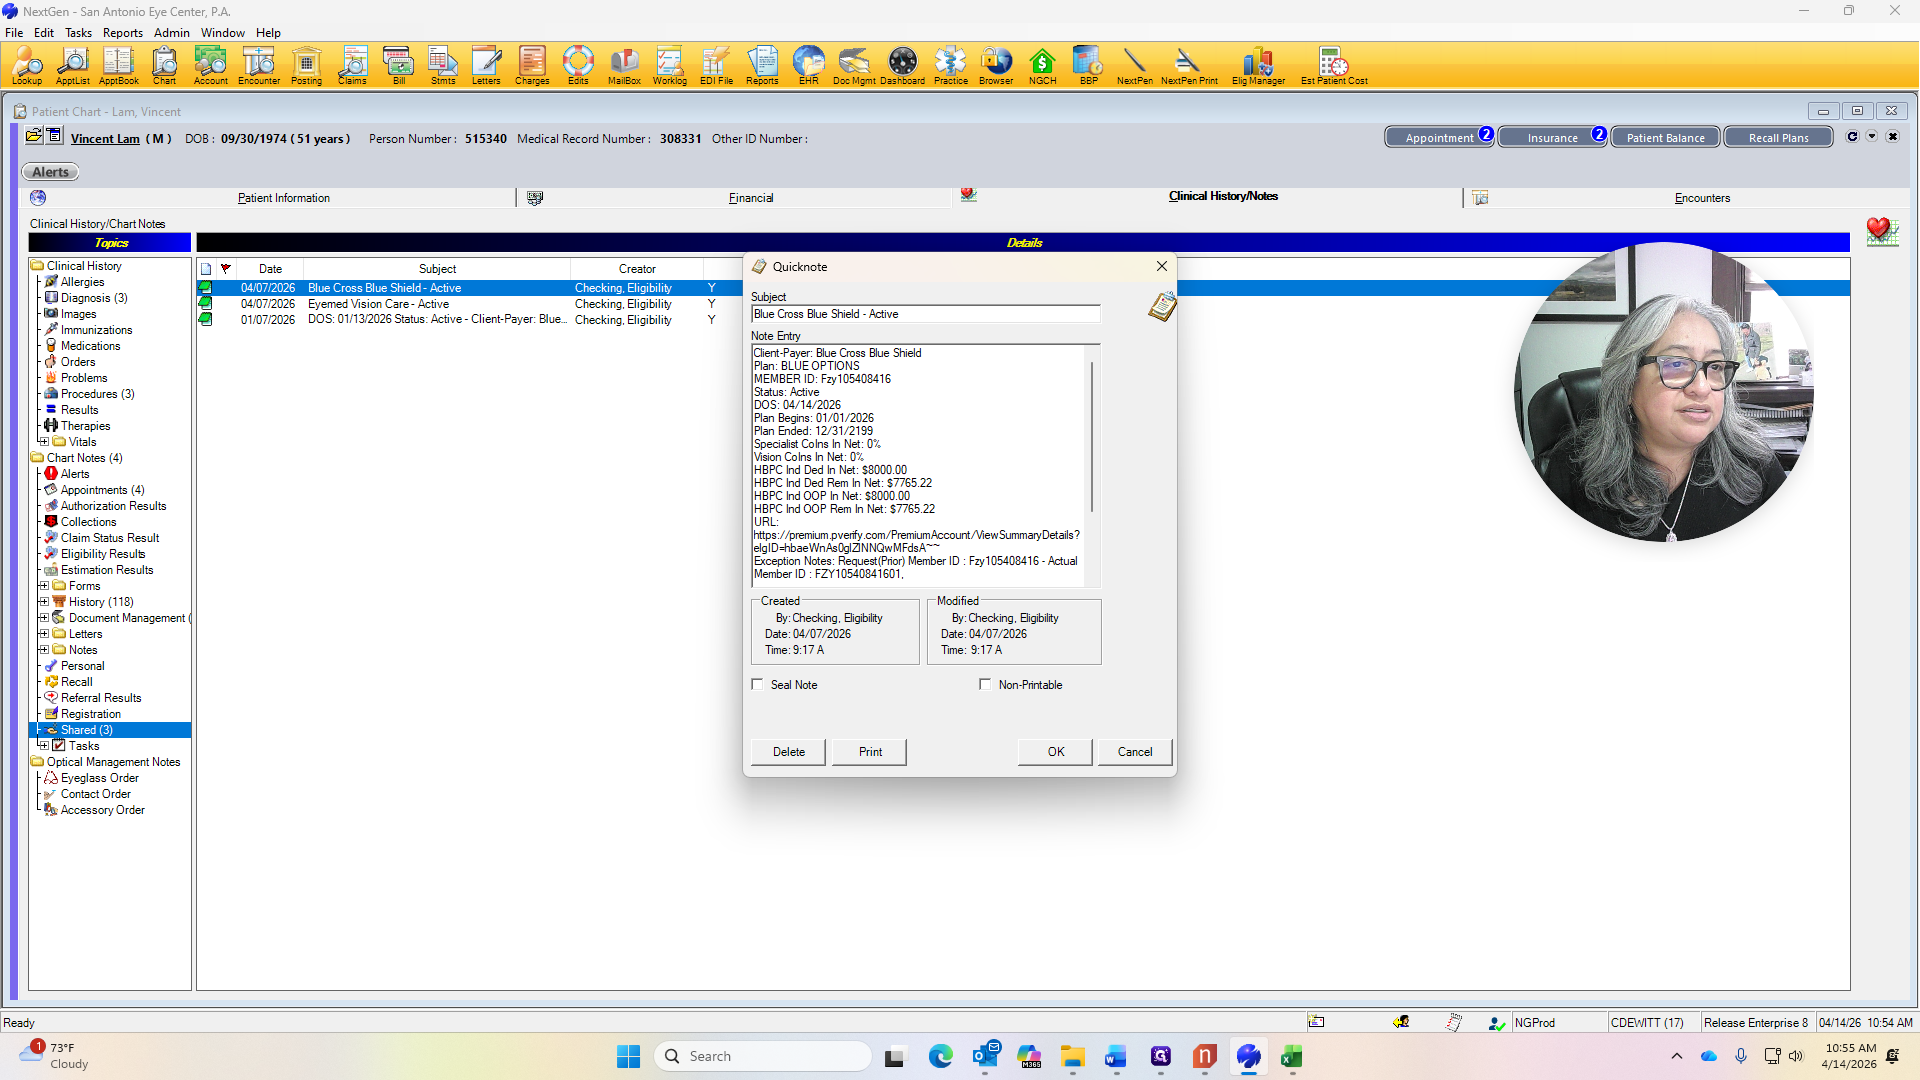
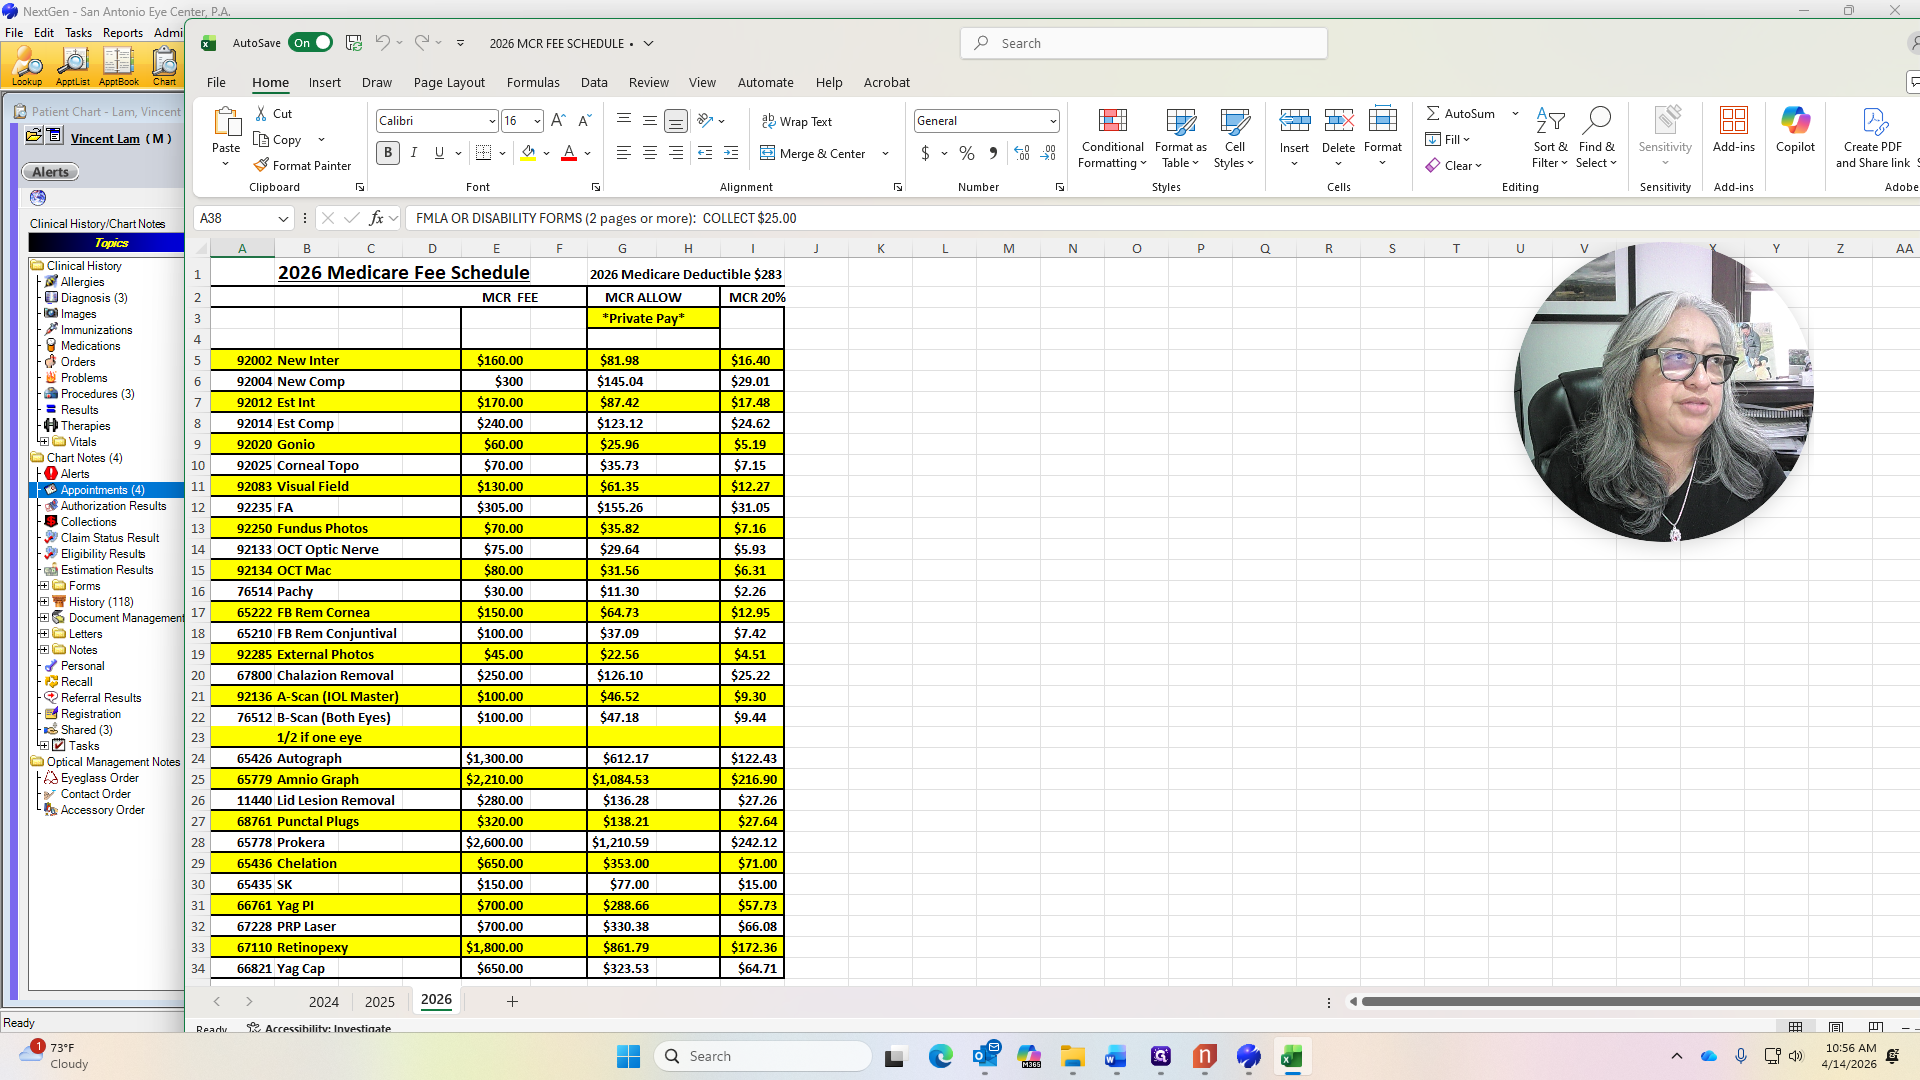
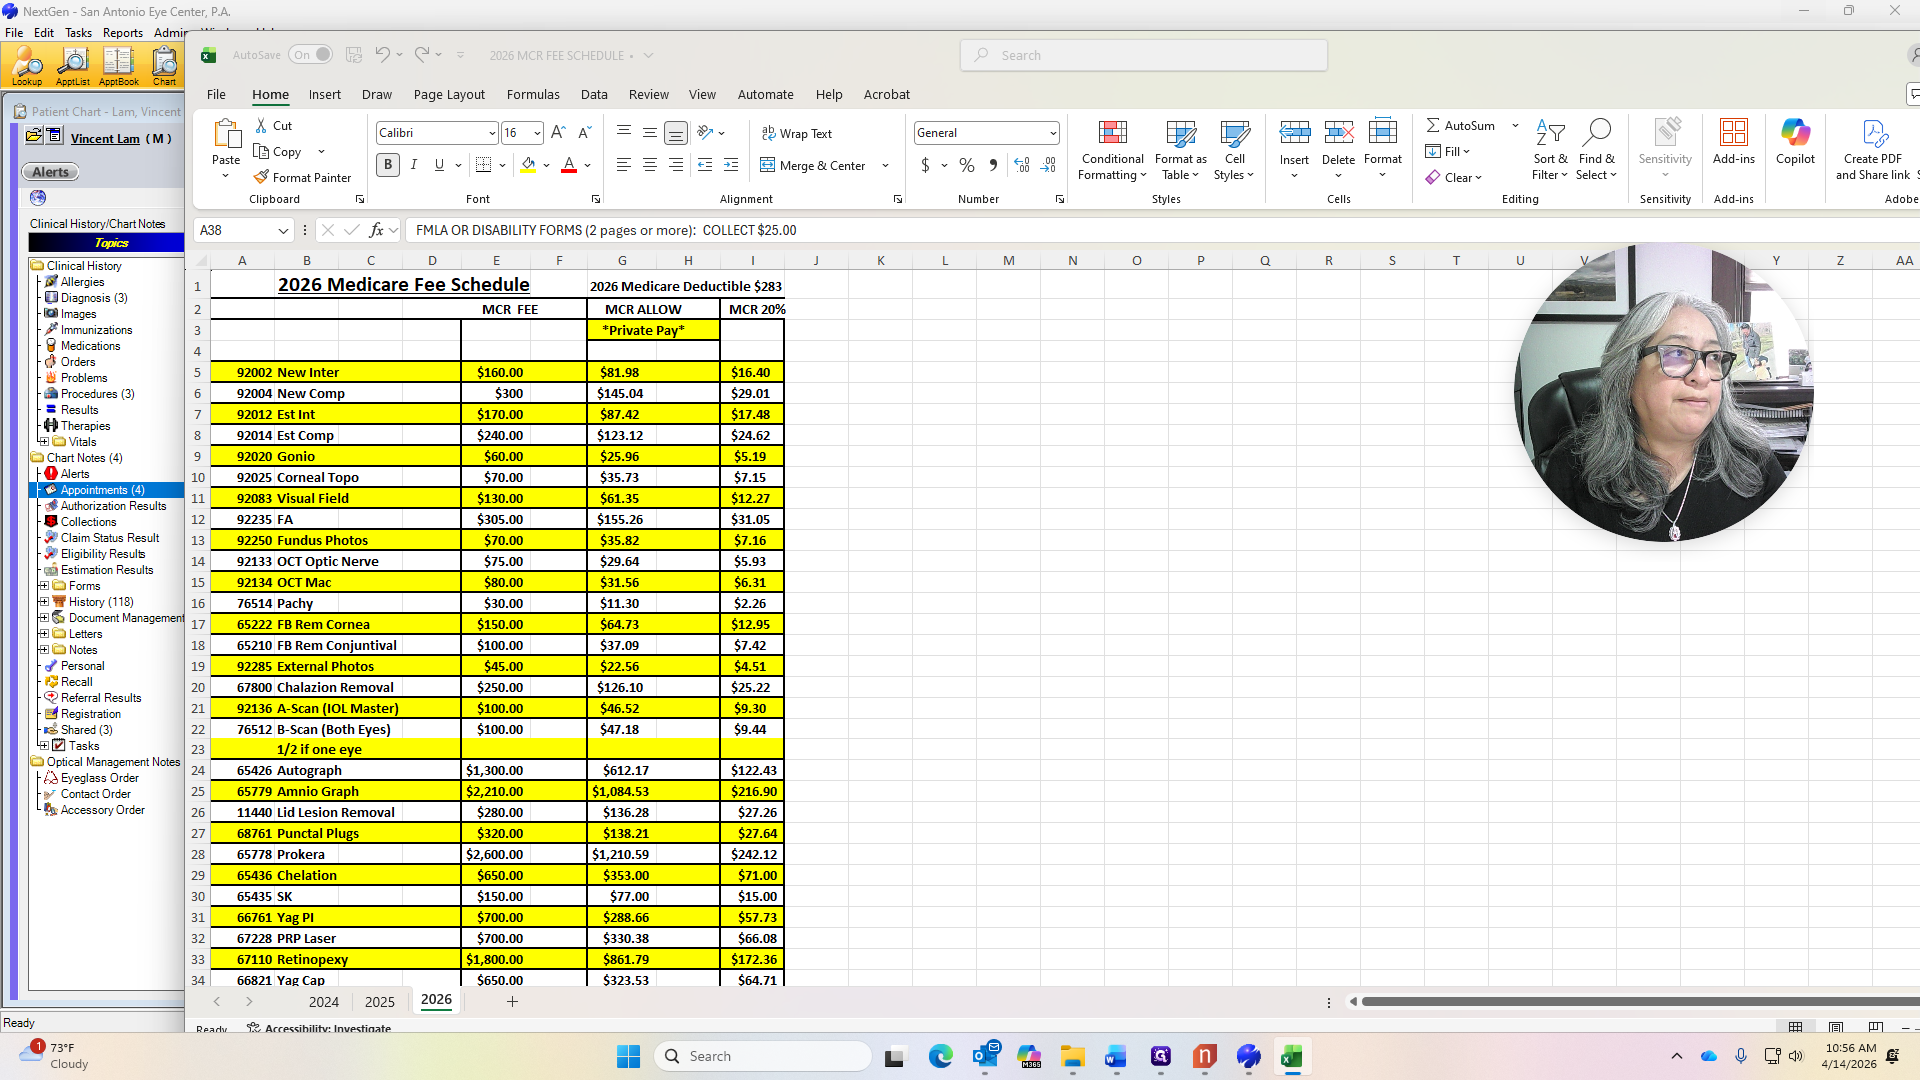
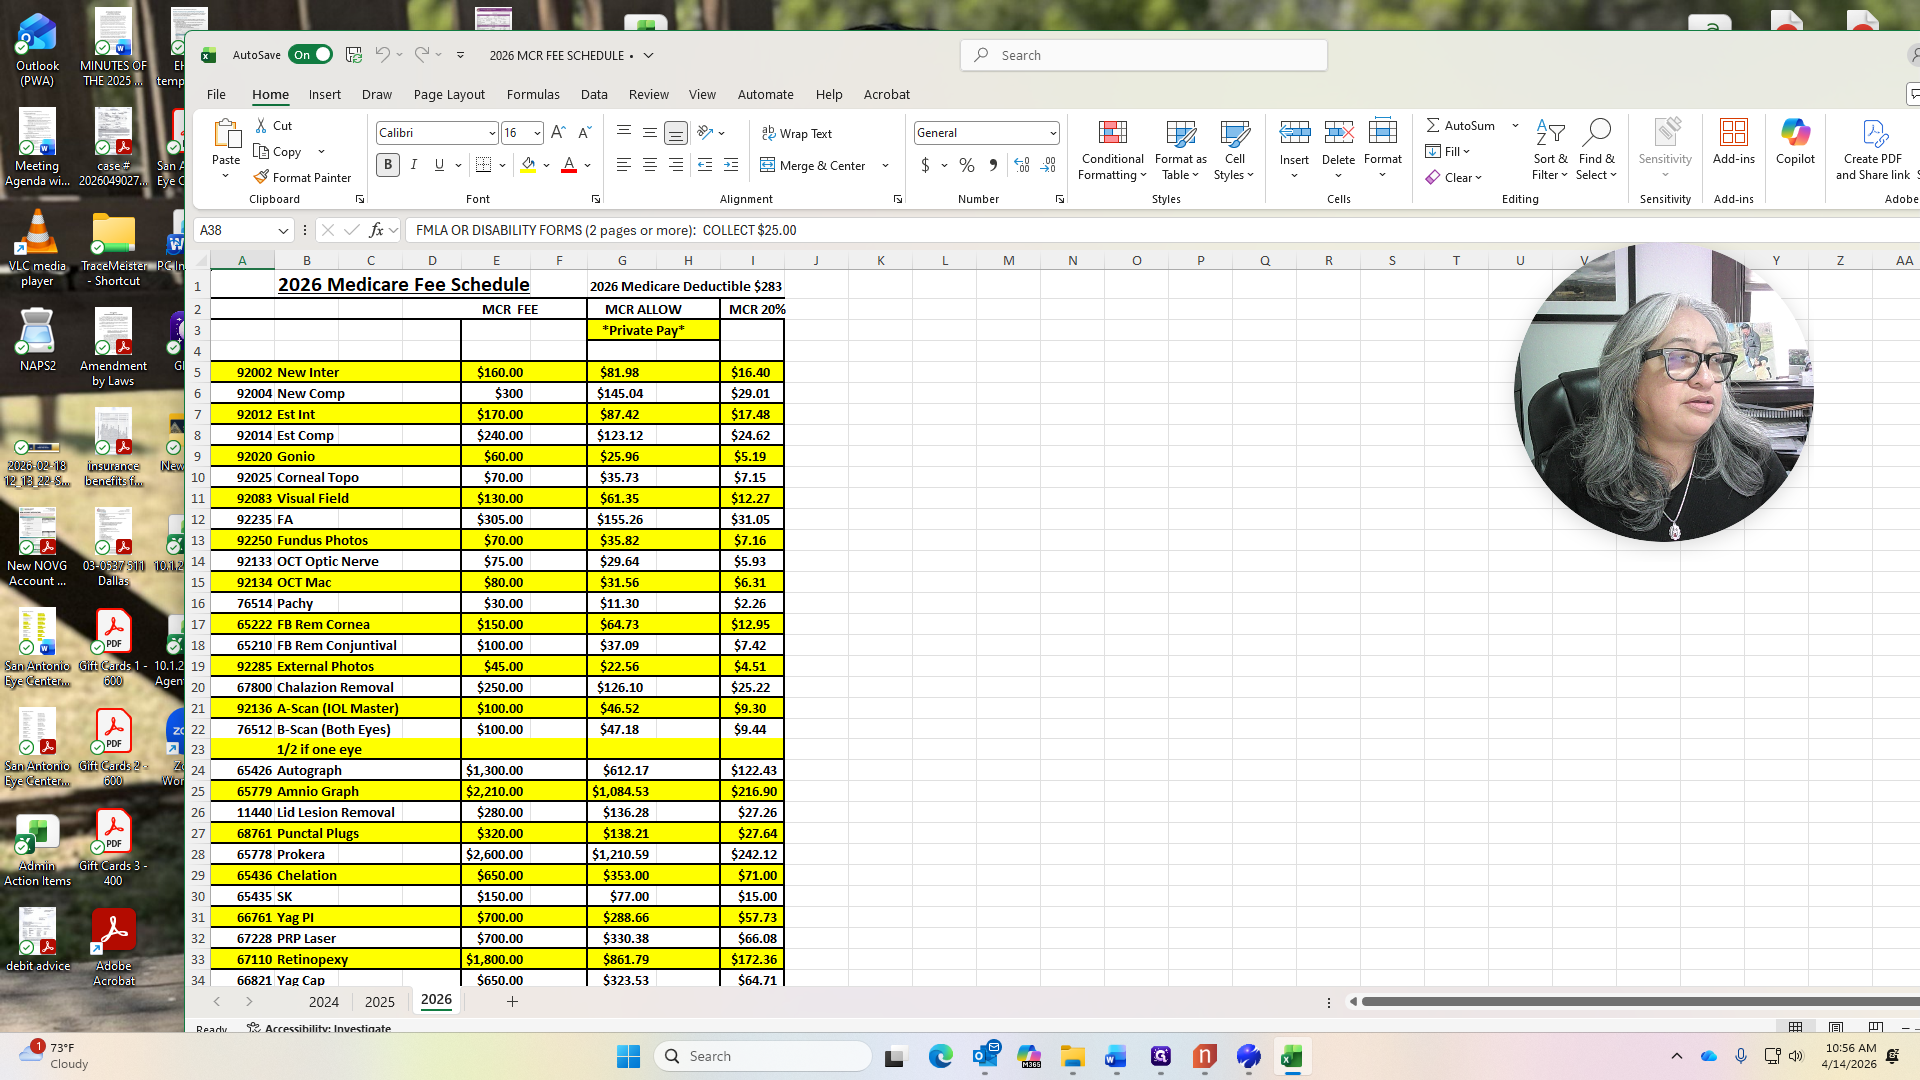
Go to Clinical History. We will look at the shared notes. A large amount is still remaining, which is 7,765.22. Once the deductible has been met, the coinsurance is 0%. After meeting the deductible, there is nothing remaining, and we will not collect anything from the patient.

If it shows a 20% or 30% coinsurance, we will collect that percentage of the Medicare allowed amount.

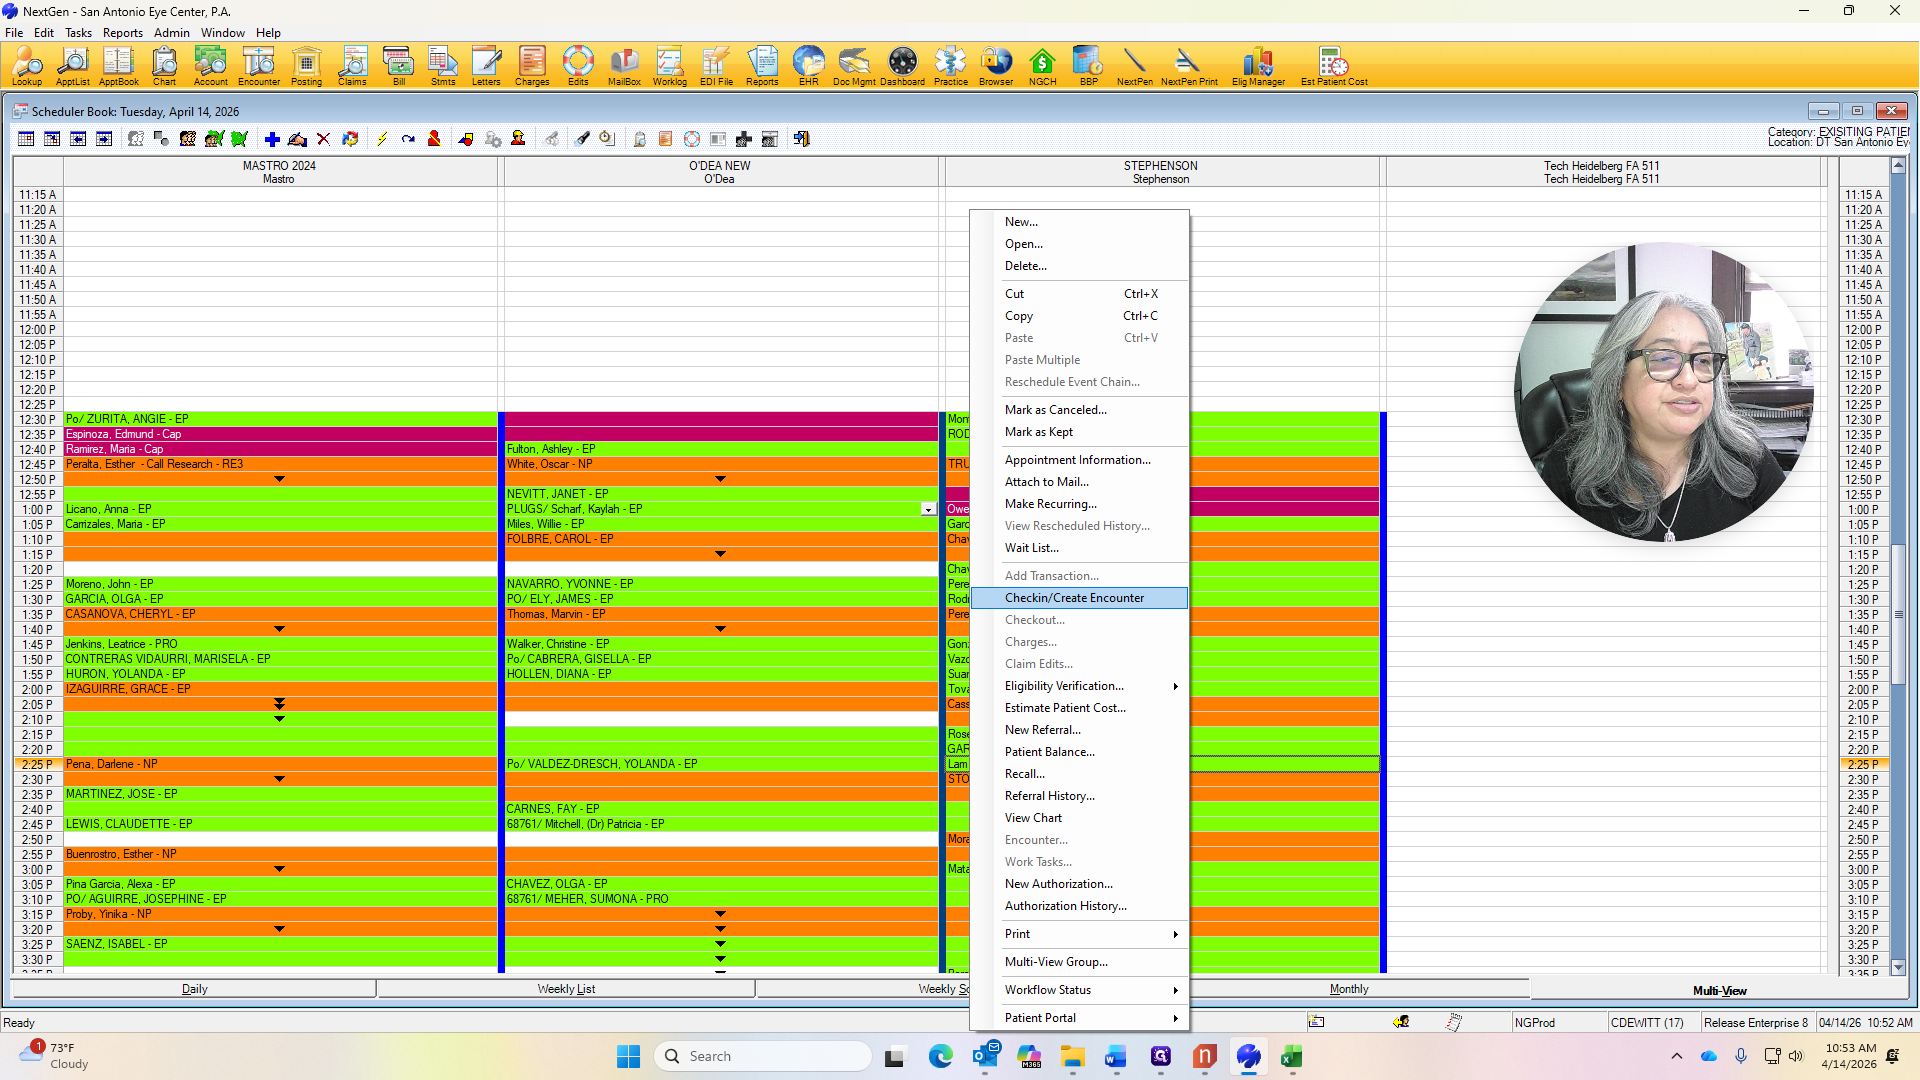
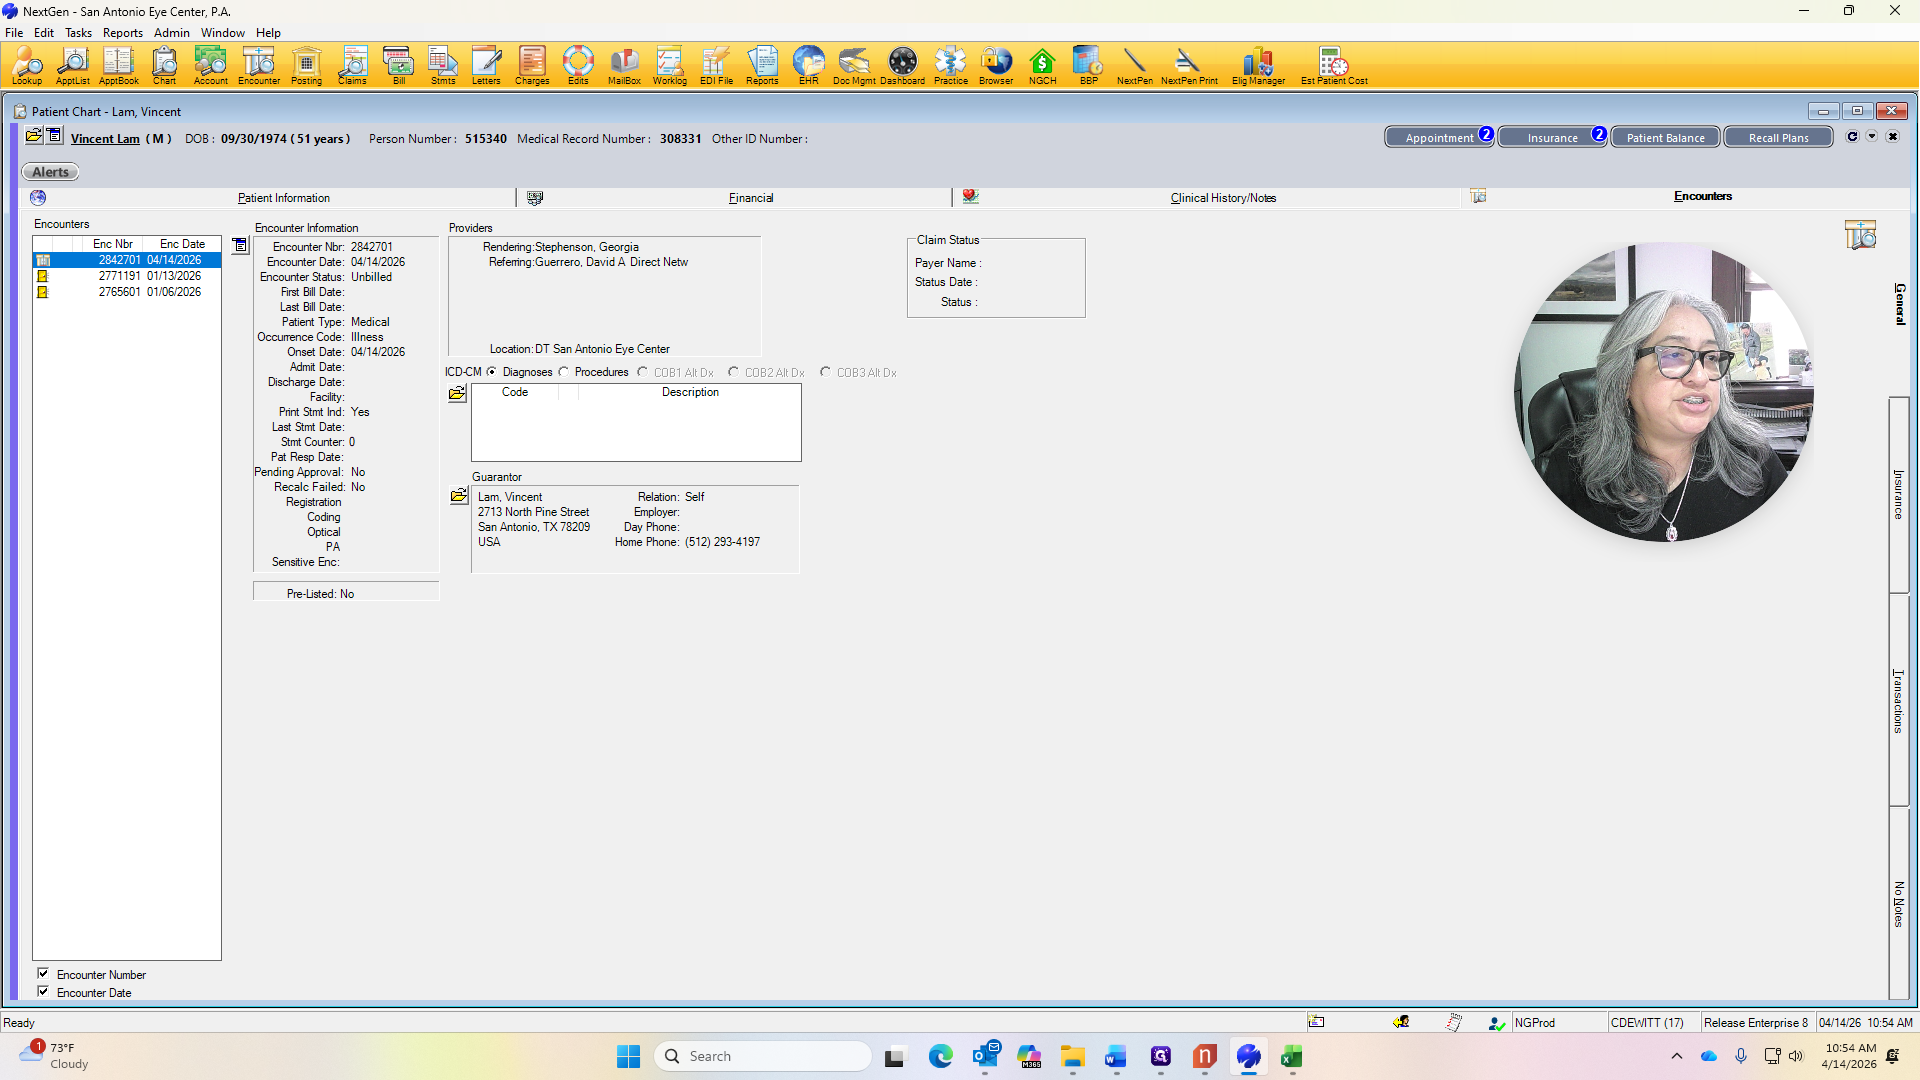
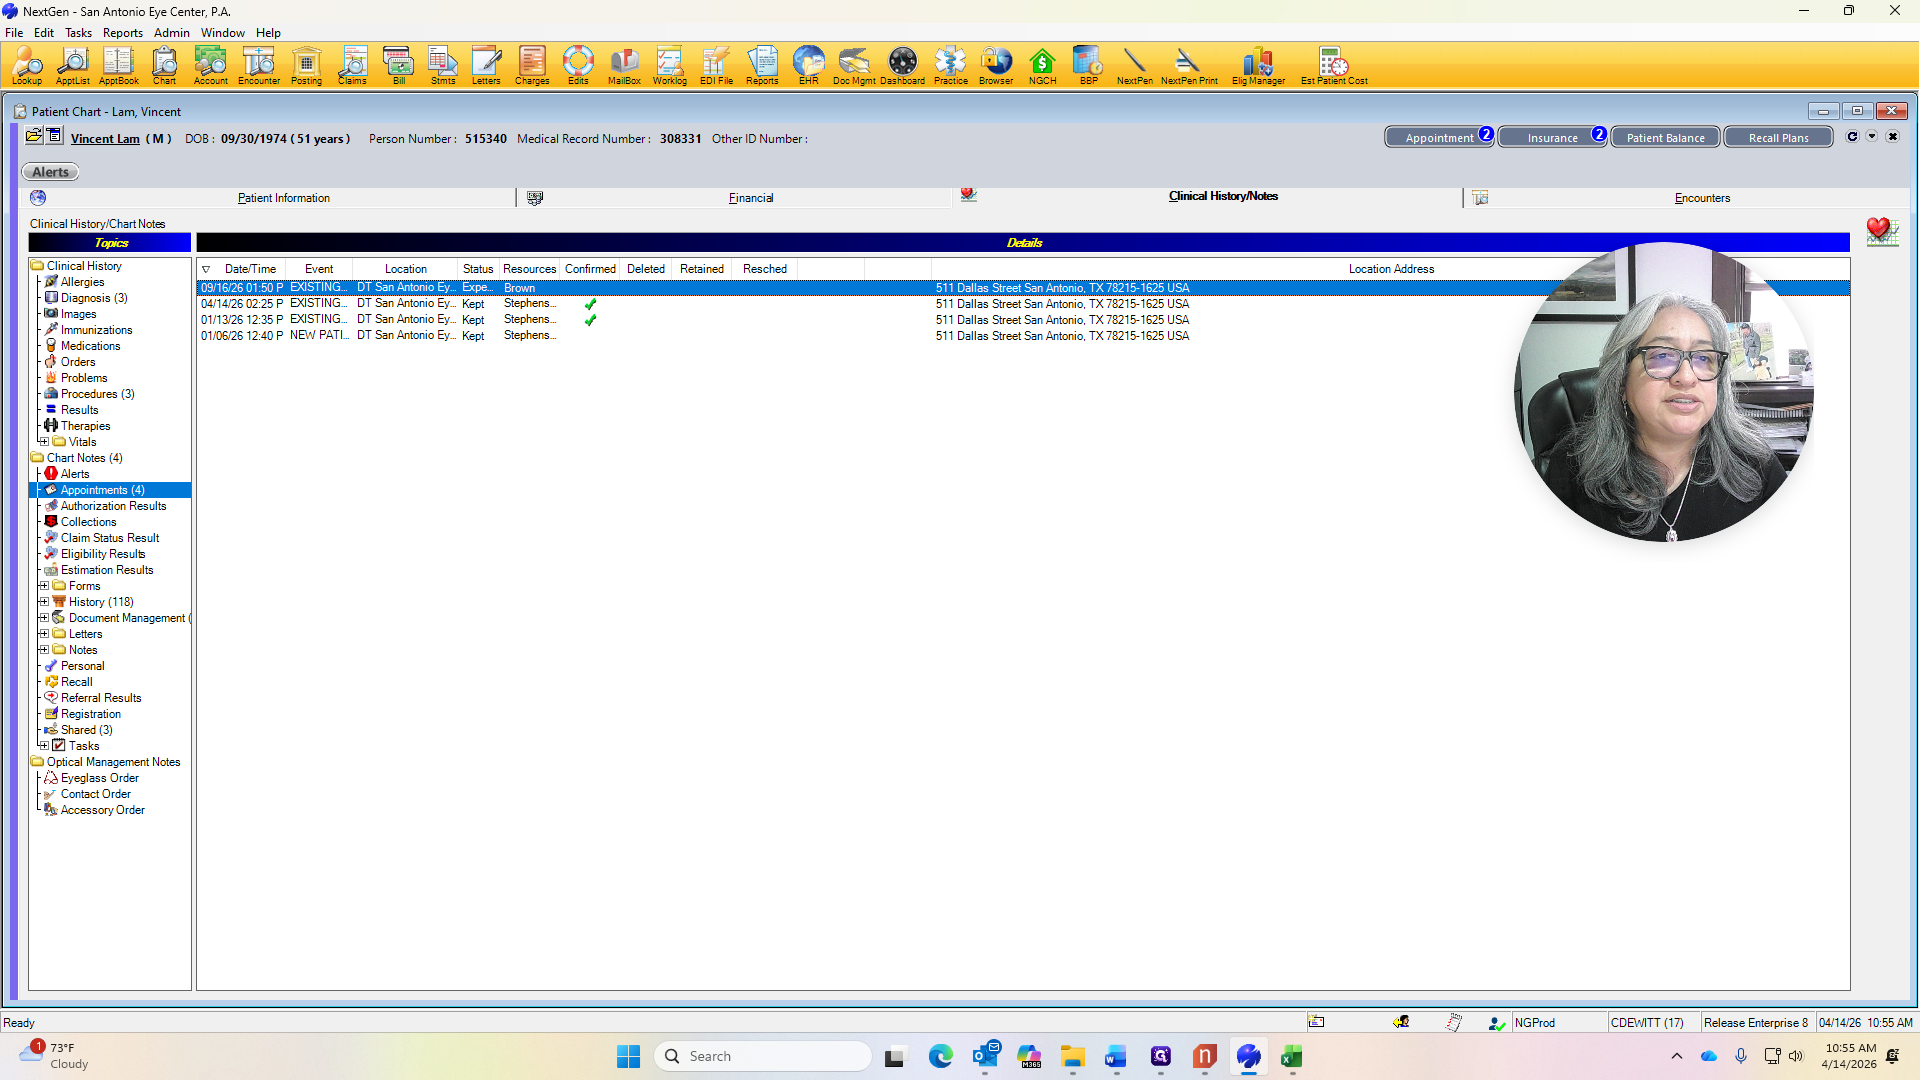
At this time, this patient will be seen for... Looking at the appointments, I can see that this patient is coming in for three month complete exam and perform an OCT. This is the established complete exam since the patient has been here before. The code will be 92014, and we will collect $123.12.

He is having an OCT optic nerve test, code 92133, and we will collect $29.64.


We add those two amounts together, and that is what we will collect from the patient.

If the deductible has been met for this patient, we would not collect any payment. However, if the patient is responsible for 20%, we would collect 20% of the total exam cost, which is $24.62.


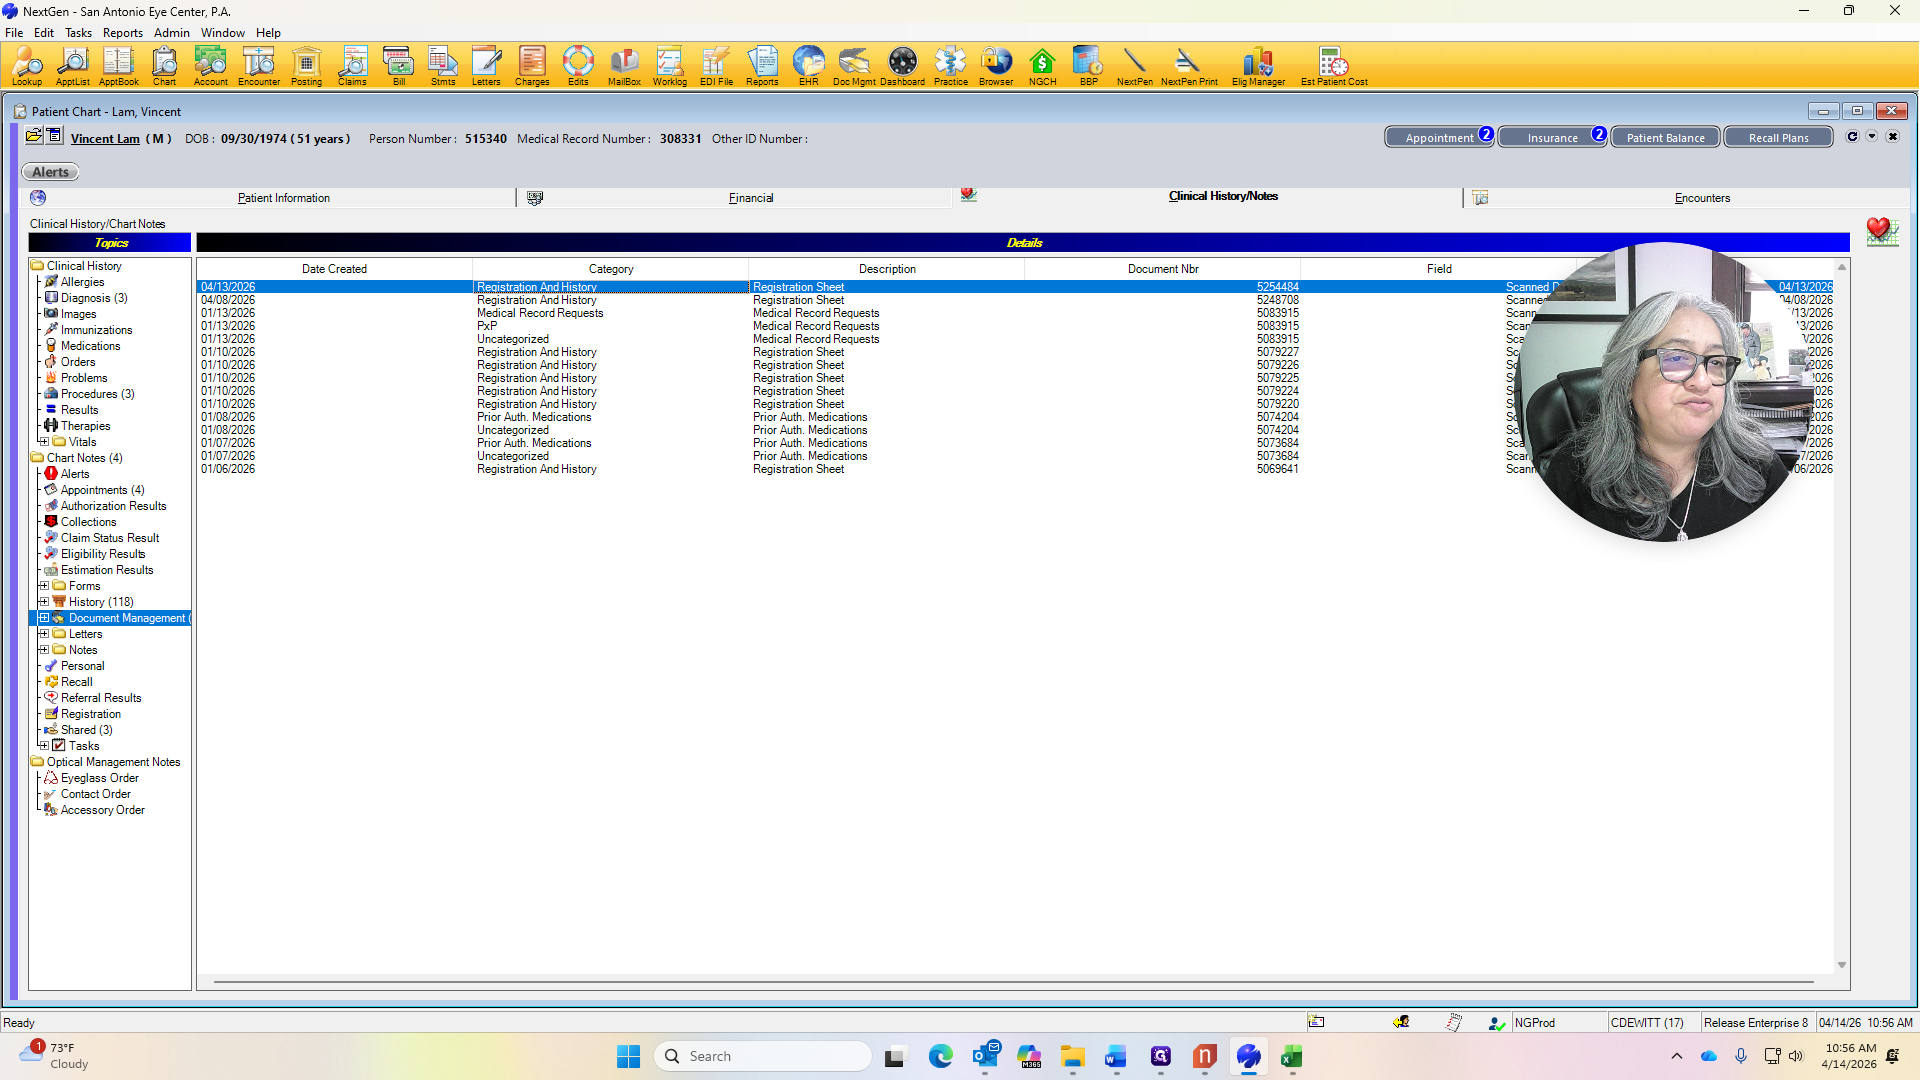
That's the 20%. The OCT is 5.93. We add those two amounts together, and that is what we collect from the patient. Let me move it over. We also need to ensure that registration forms have been updated.
The registration form was last completed for 2026, so we do not need anything from the patient. The ID has also been updated. We can do that at the end, making sure everything is updated and that we don't need to scan any insurance cards, registration forms, or IDs.

Refraction is not covered because Blue Cross Blue Shield has its own vision plan, EyeMed.
That can be done with the optometrist.
Yep. And that will be it.