
How to Clone a React Project from Azure DevOps
Learn step-by-step how to clone a React project from Azure DevOps and open it in Visual Studio Code. Follow best practices for setting up your development environment and managing repositories.
By William Carinci
In this guide, we'll learn how to clone a React project from Azure DevOps using Google Chrome and Visual Studio Code. This process helps you set up a local copy of the Lumarix React repository so you can work on it in your own environment.
We'll cover how to select the right project, clone it, and organize your files in a new directory. This ensures your workspace is clean and ready for development.
Let's get started
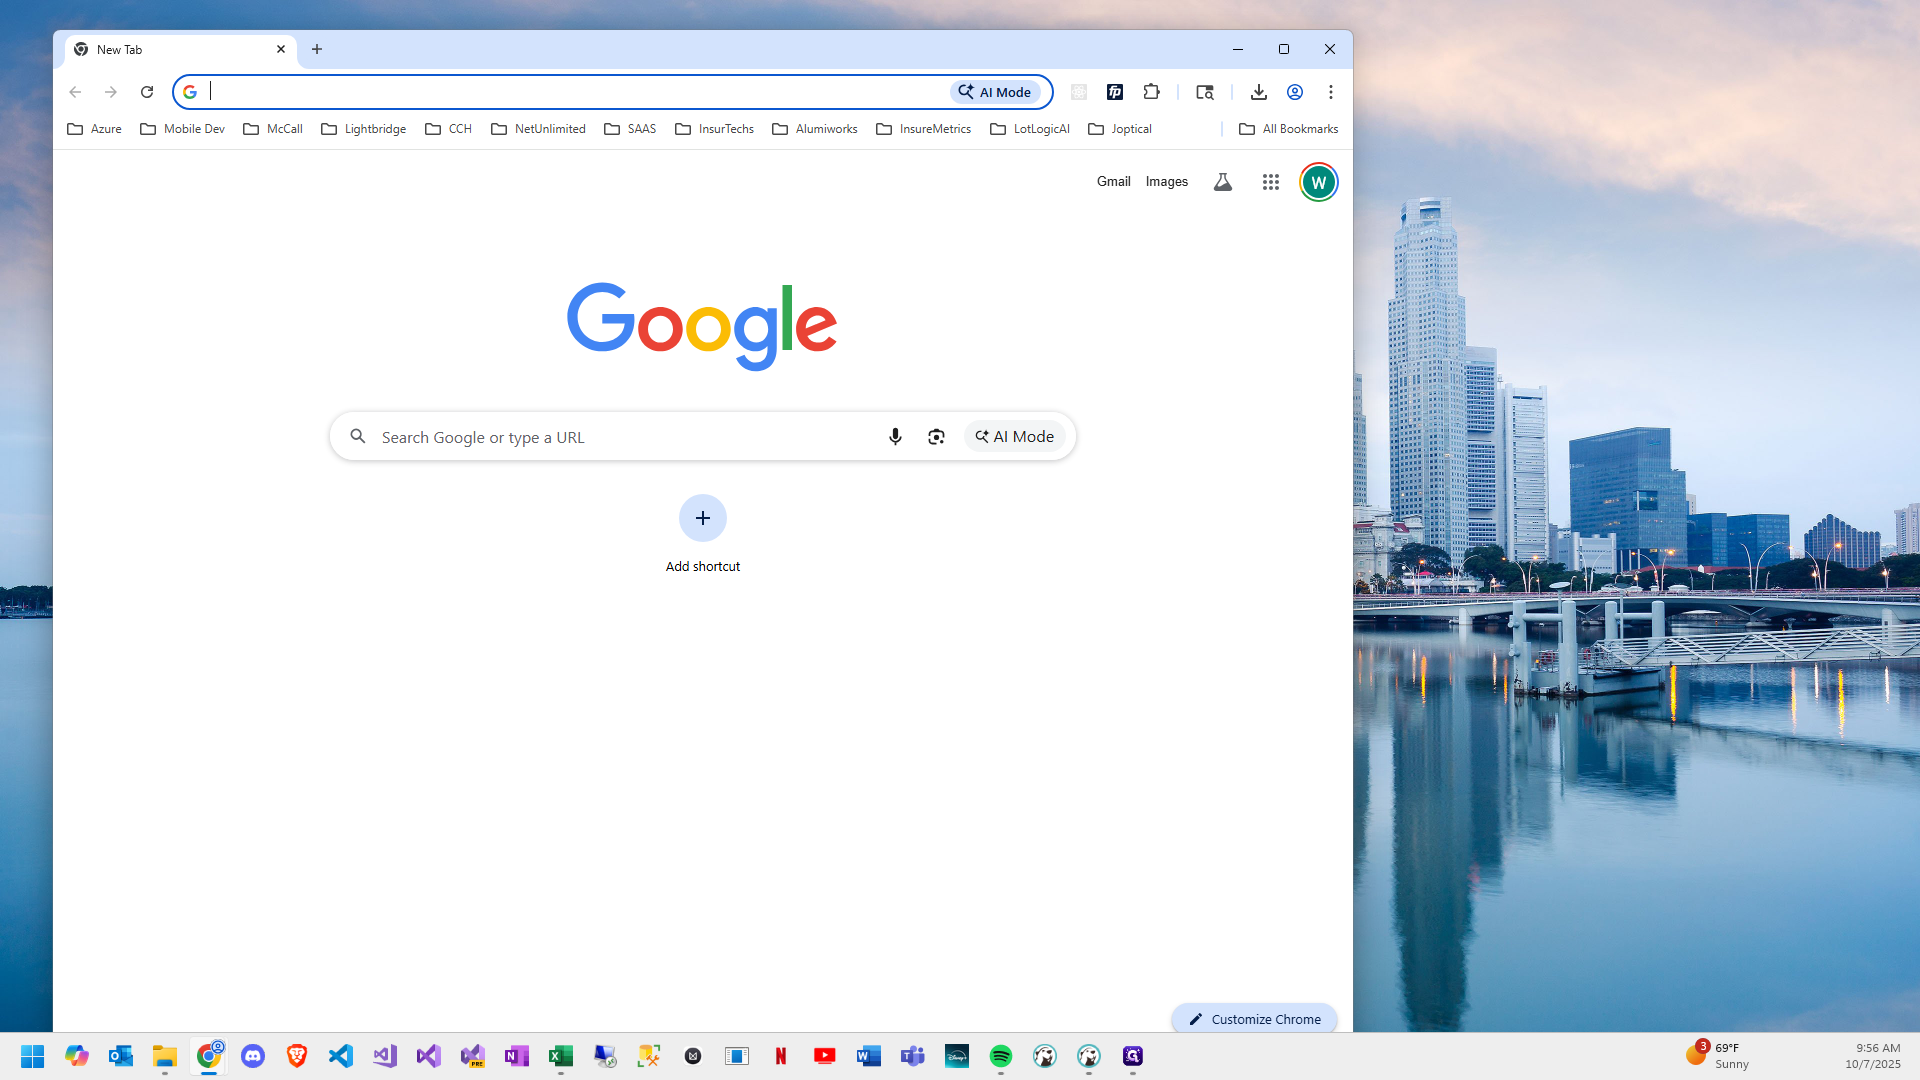
Let's clone a React project. Open a new Google Chrome window and go to dev.azure.com/actsolutions.
1
Click on "Google Chrome"
2
Click here
3
Type "dev.azure.com/actssolutions + Enter"
4
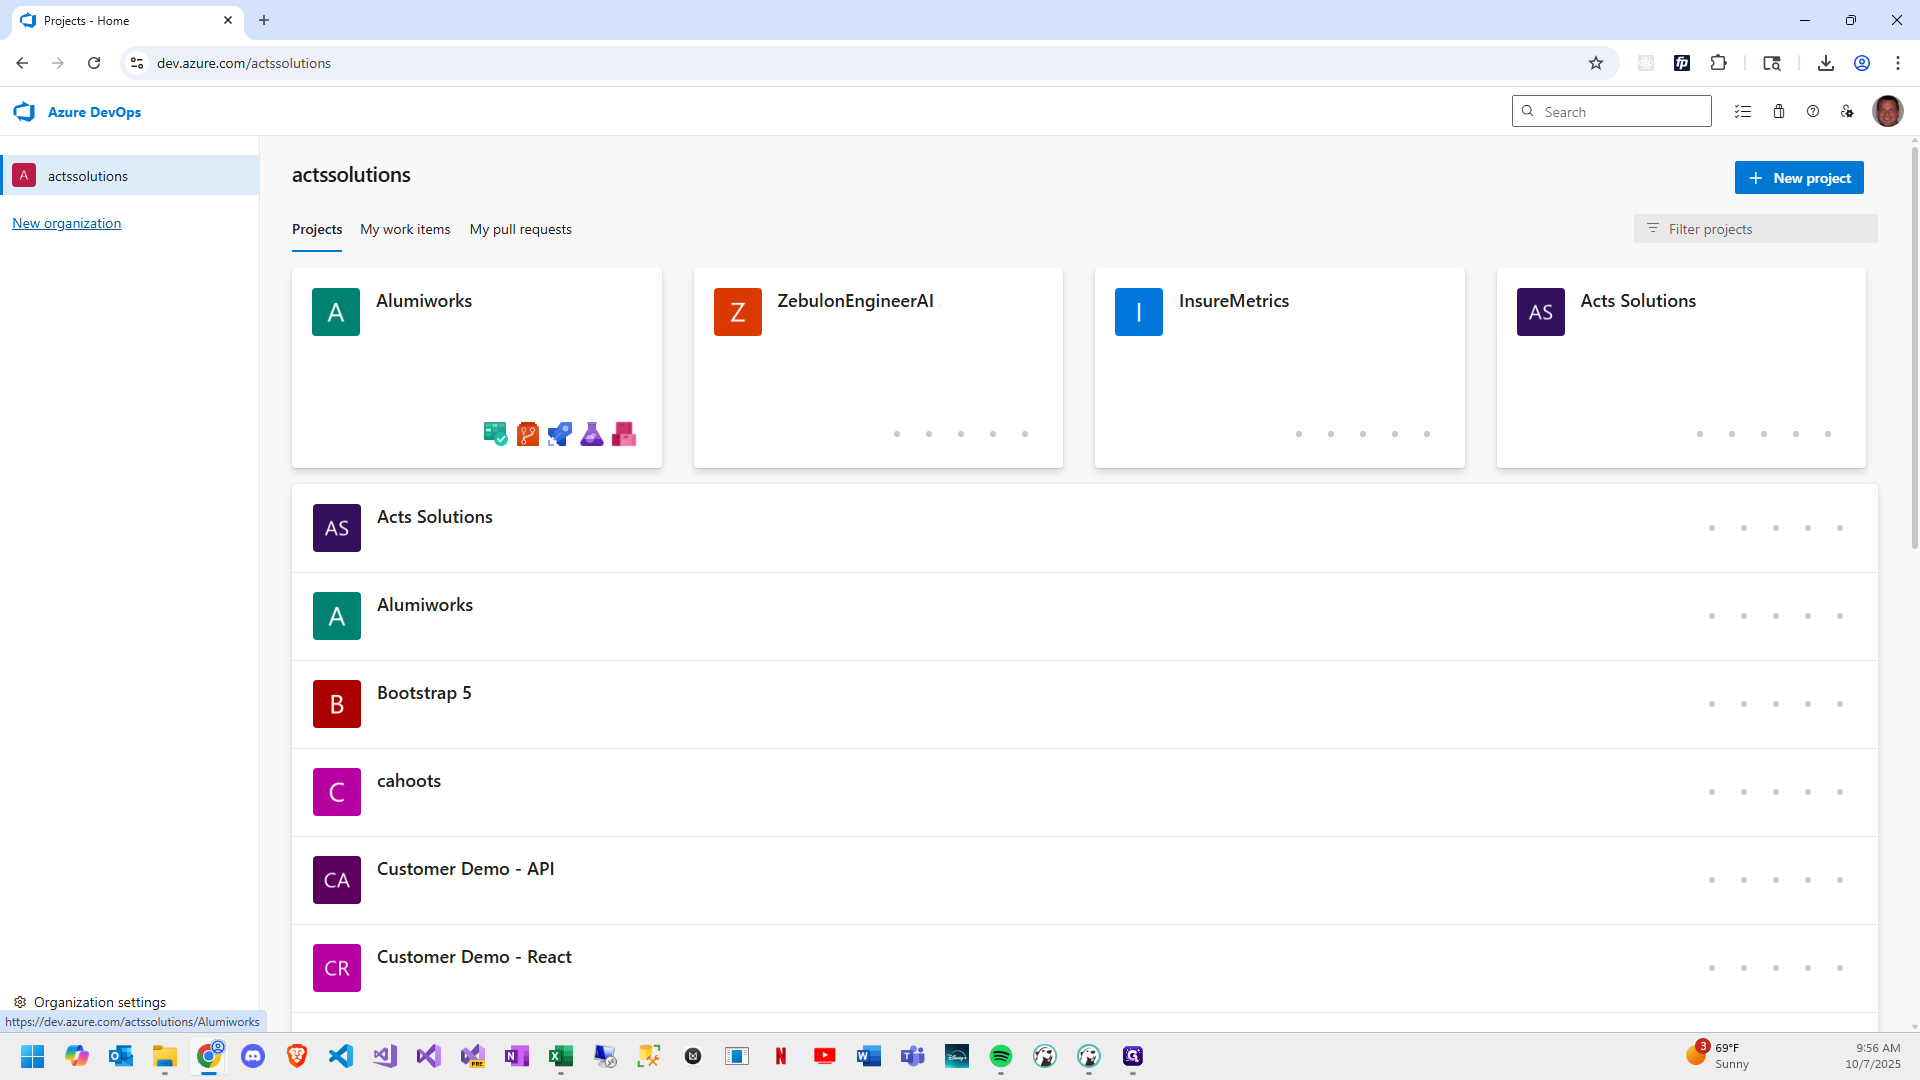
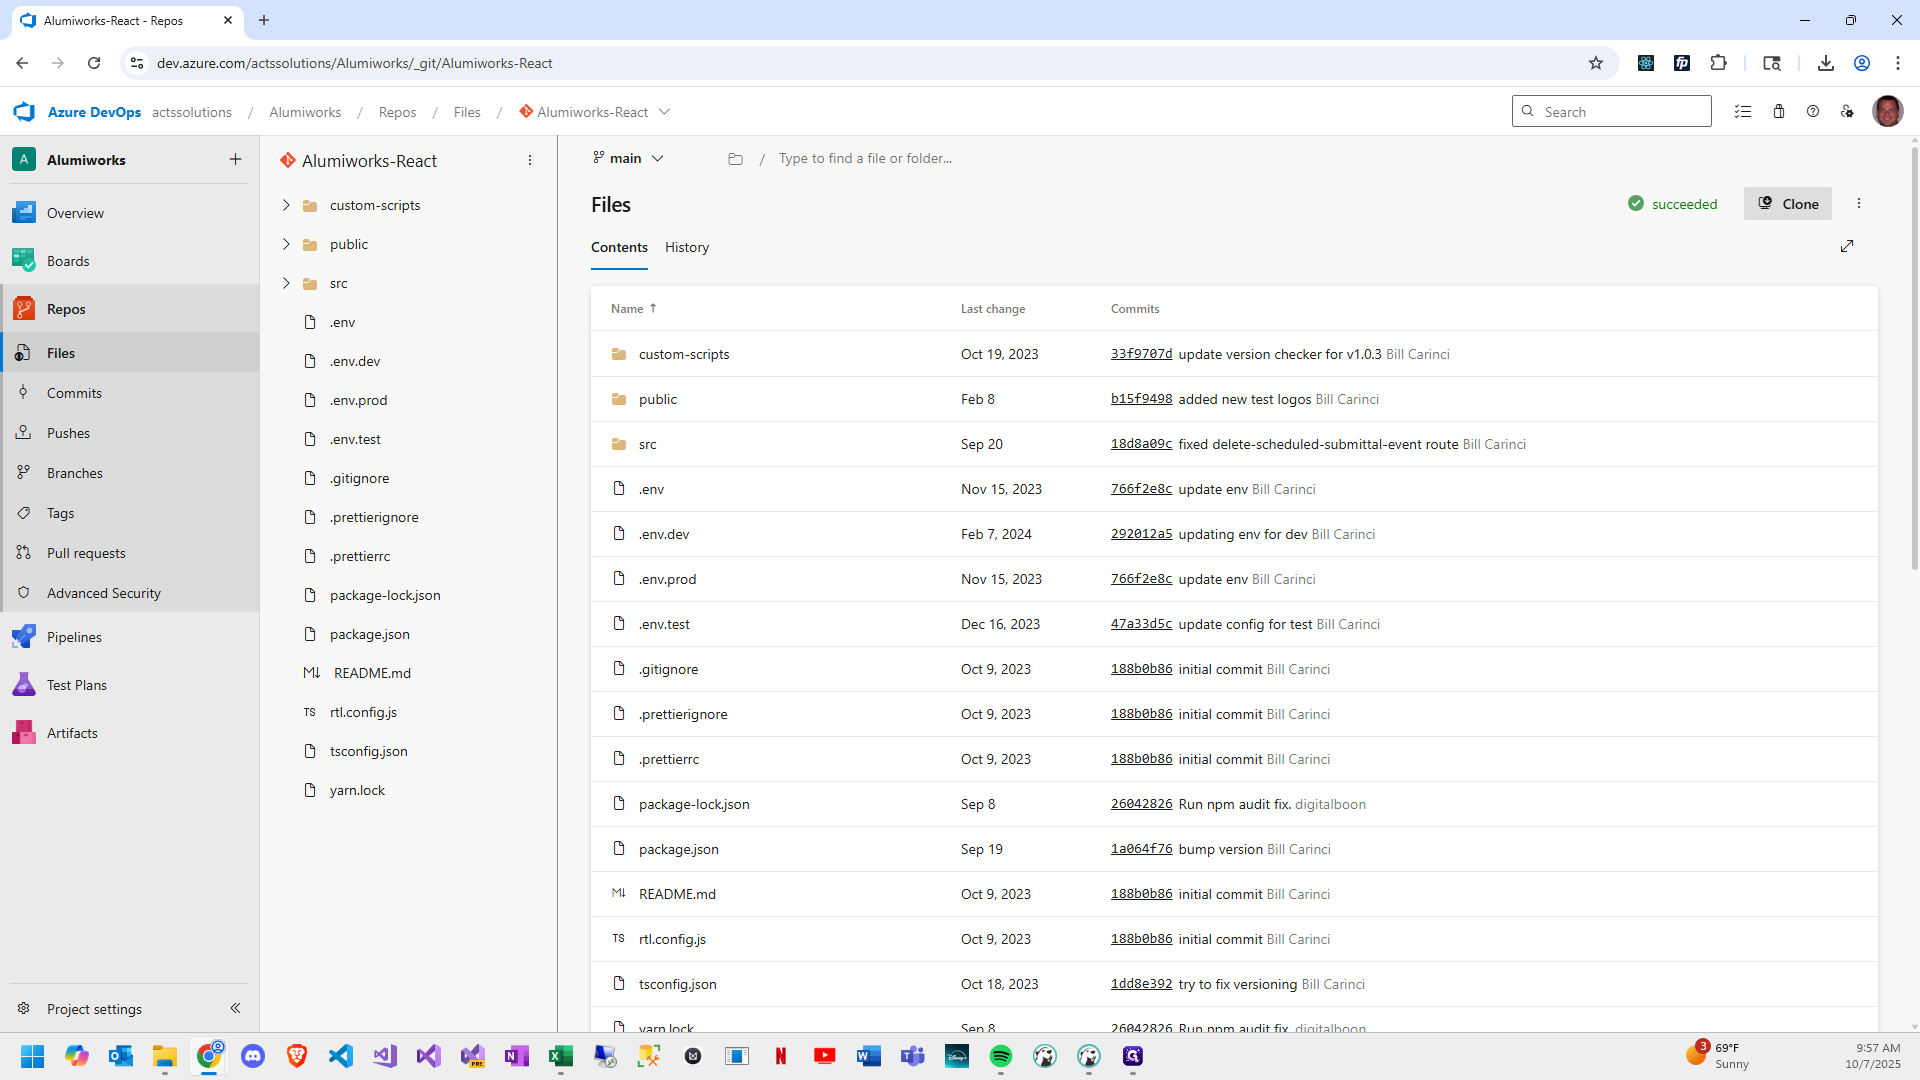
We will select the project we want to clone and create a repository for.
5
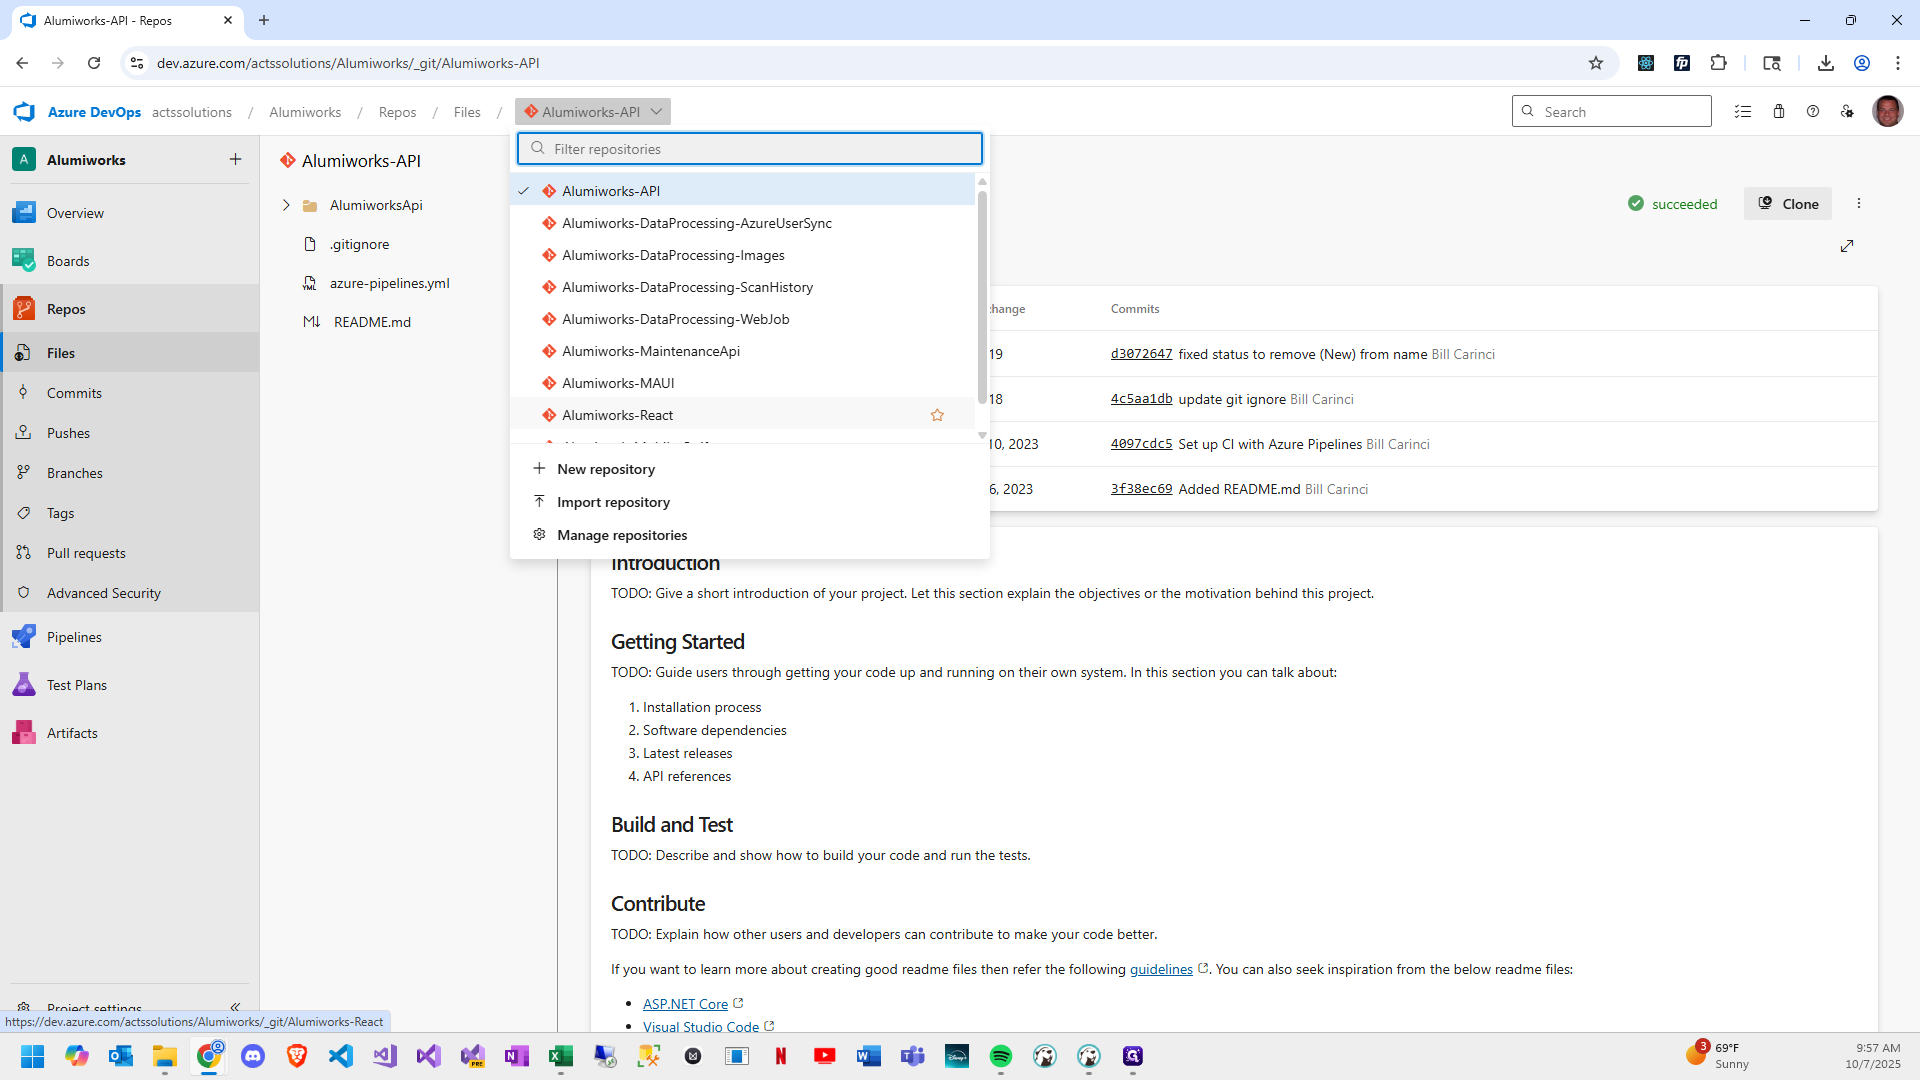
Navigate to Repos

6
Select "Alumiworks-React"
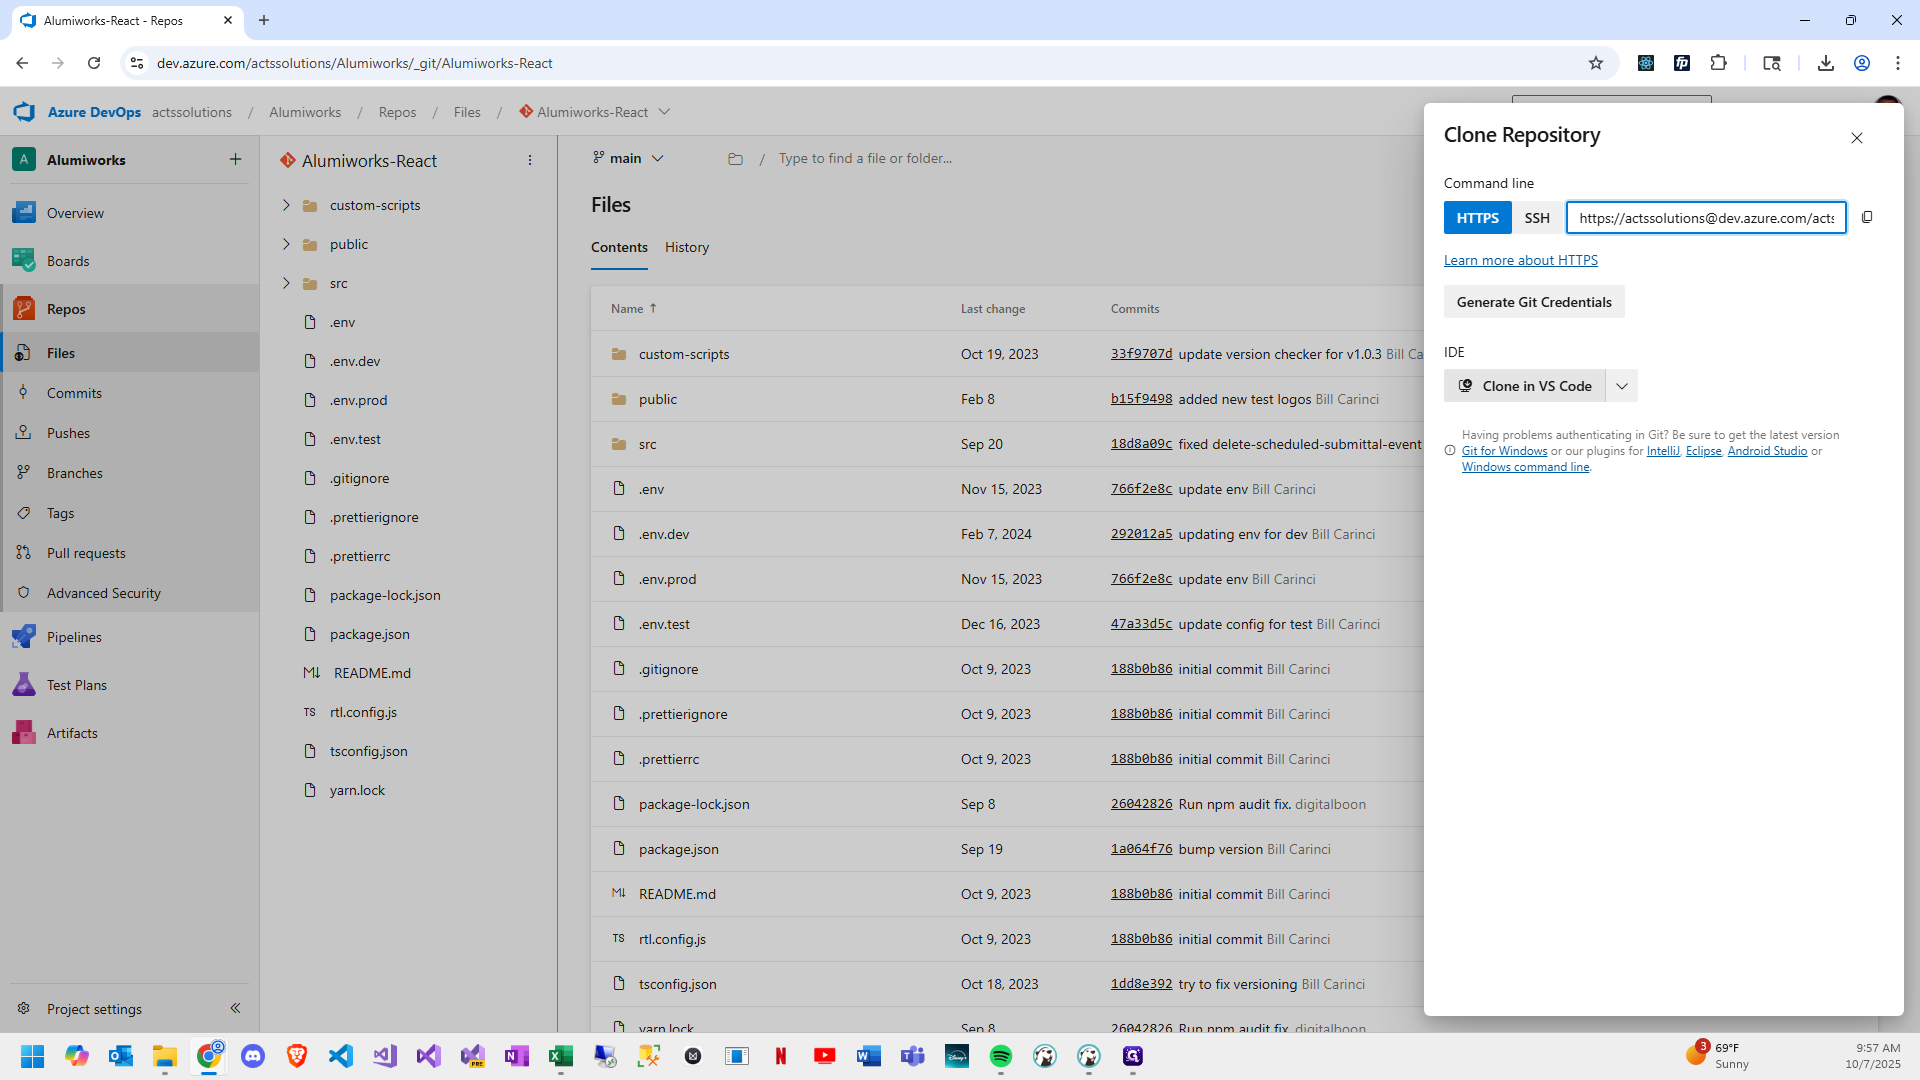
7
Click on "Clone"
8
Click on "Clone in VS Code"
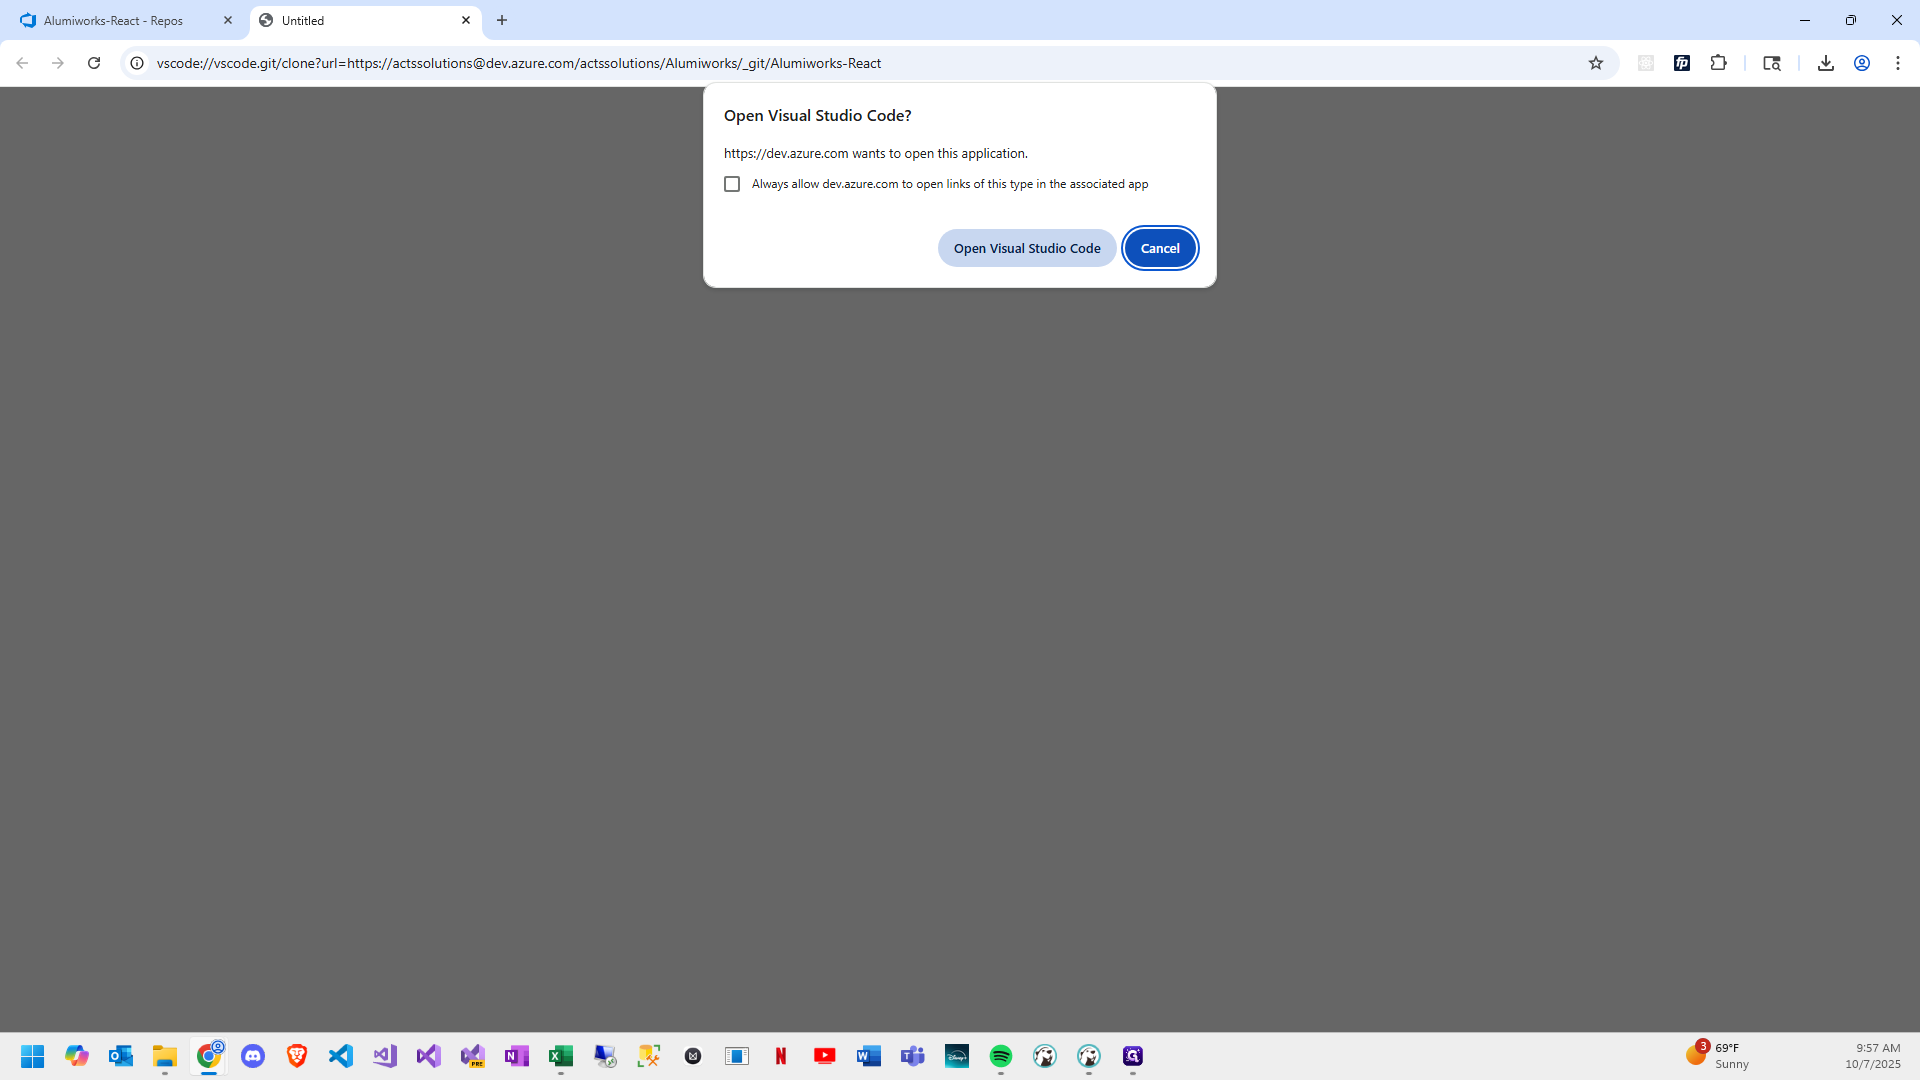
9
Click on "Open Visual Studio Code"
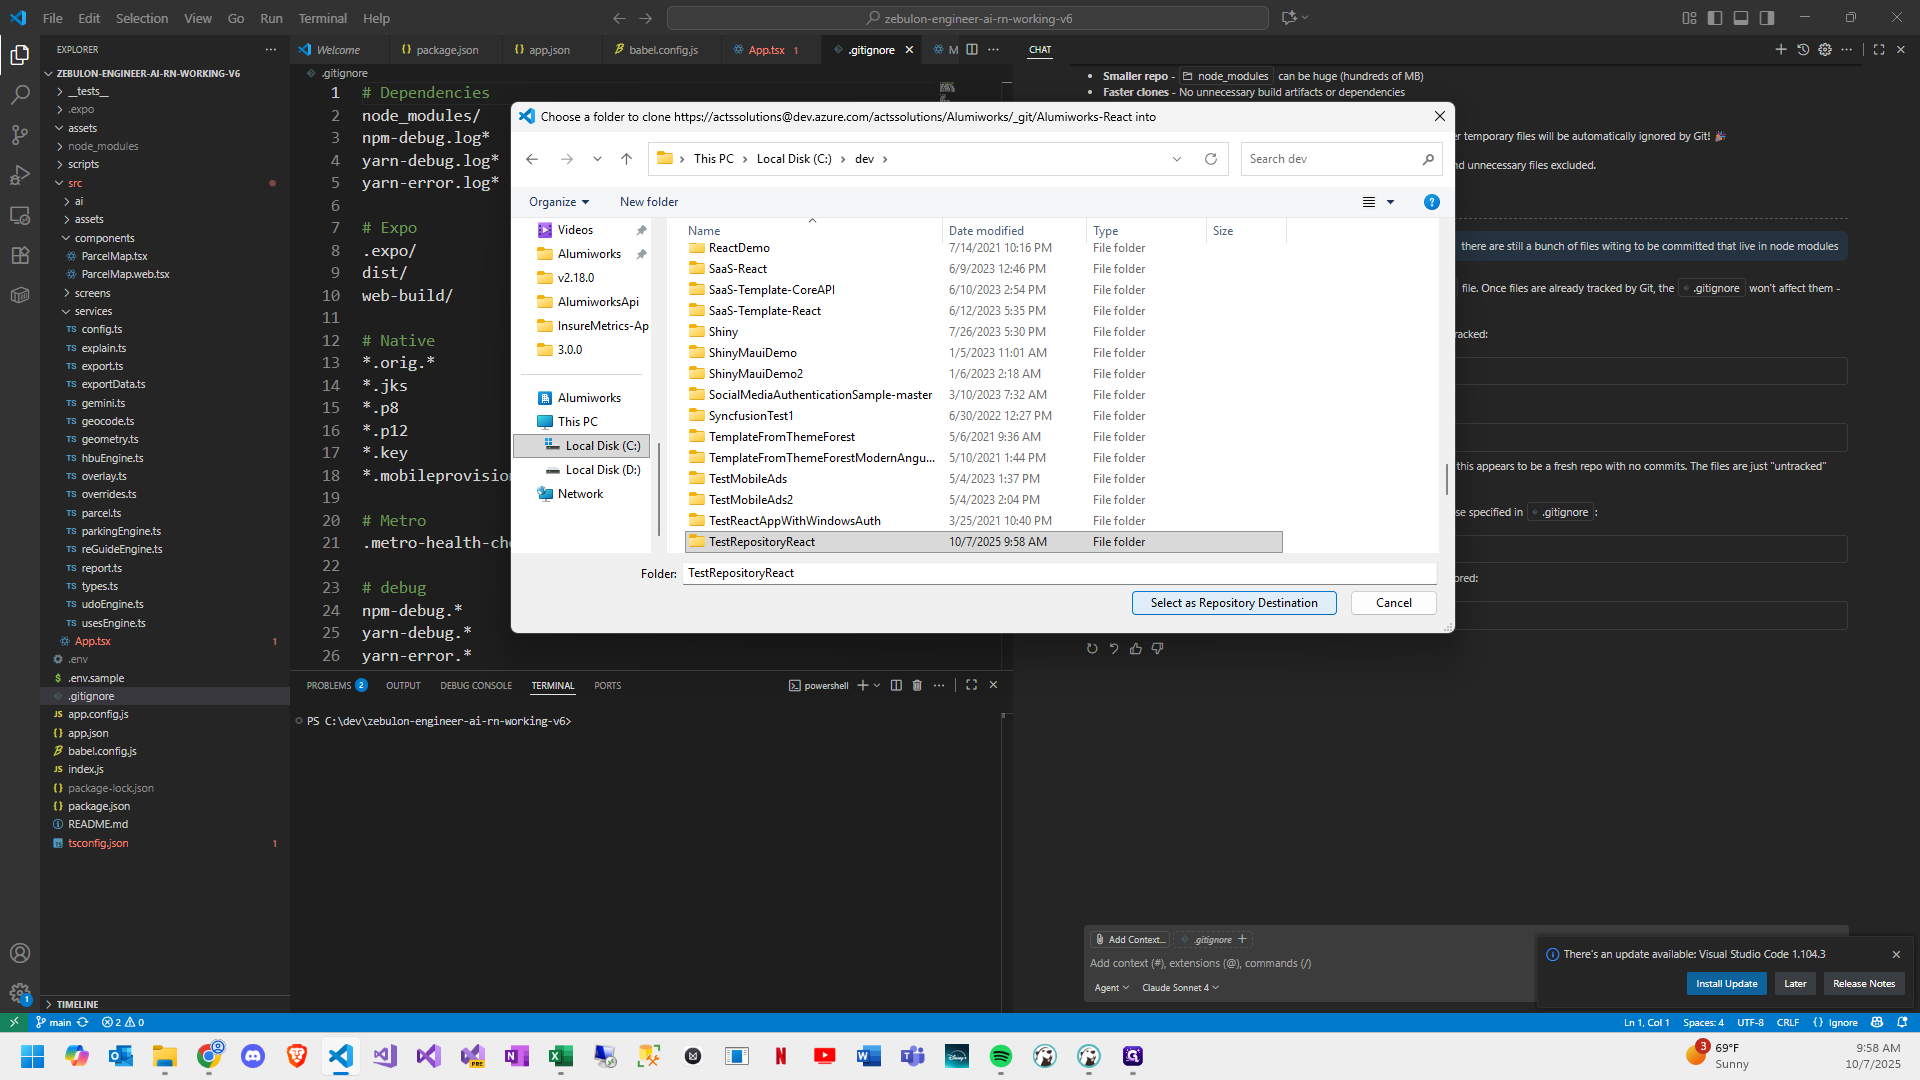
10
A window will open to set as the destination for the project. If you select "C:\dev" as the destination it will auto create a folder named "Alumiworks-React" for the project within it.
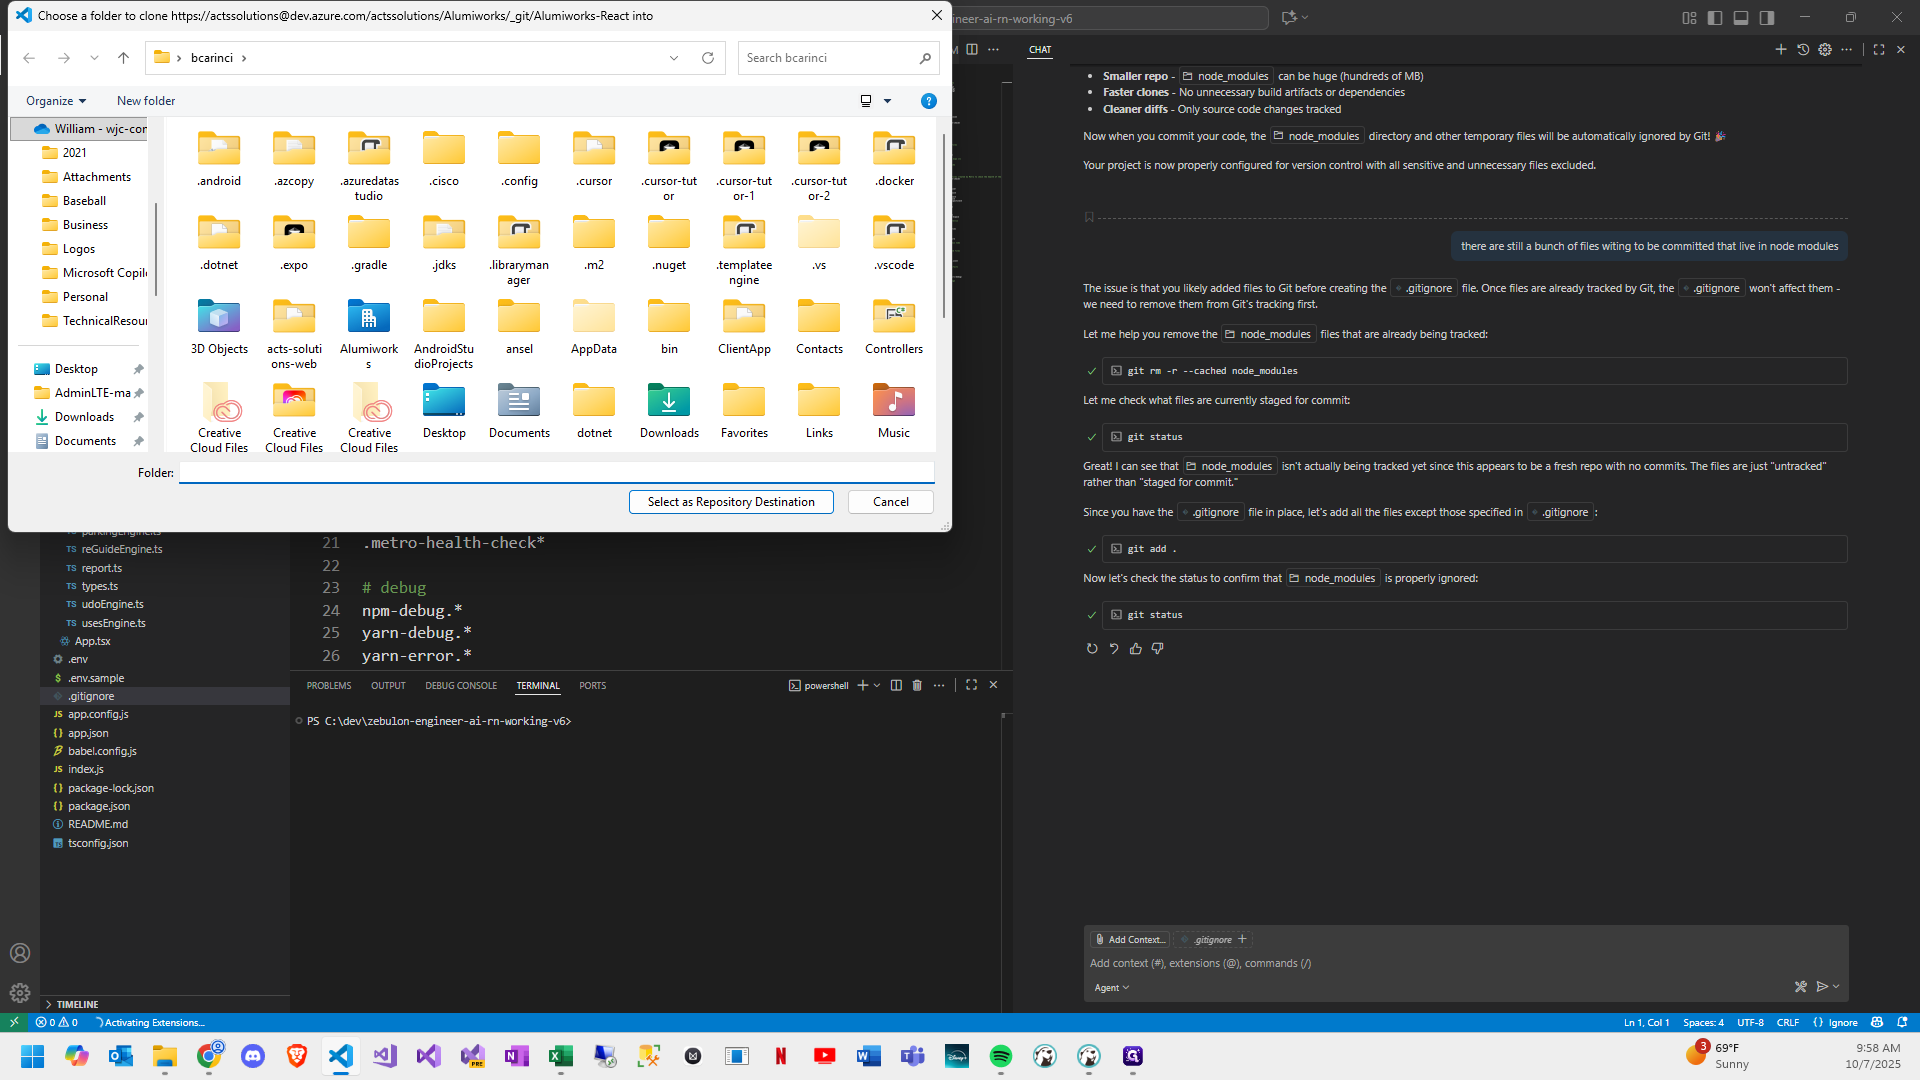
11
Click on "Select as Repository Destination"
12
Close the welcome window, and you're all set.
