How to Colorize a Point Cloud Using an Ortho Image in Global Mapper
Learn step-by-step how to colorize a point cloud using an ortho image in Global Mapper. Ensure your ortho and point cloud are aligned, apply RGB color, and export your colorized point clouds easily.
In this guide, we'll learn how to colorize a point cloud using an ortho image. This process helps match the visual appearance of the point cloud to the ortho image, making it easier to analyze and interpret. Before starting, it is important to make sure both datasets are aligned in the same location to ensure accurate results.
Let's get started
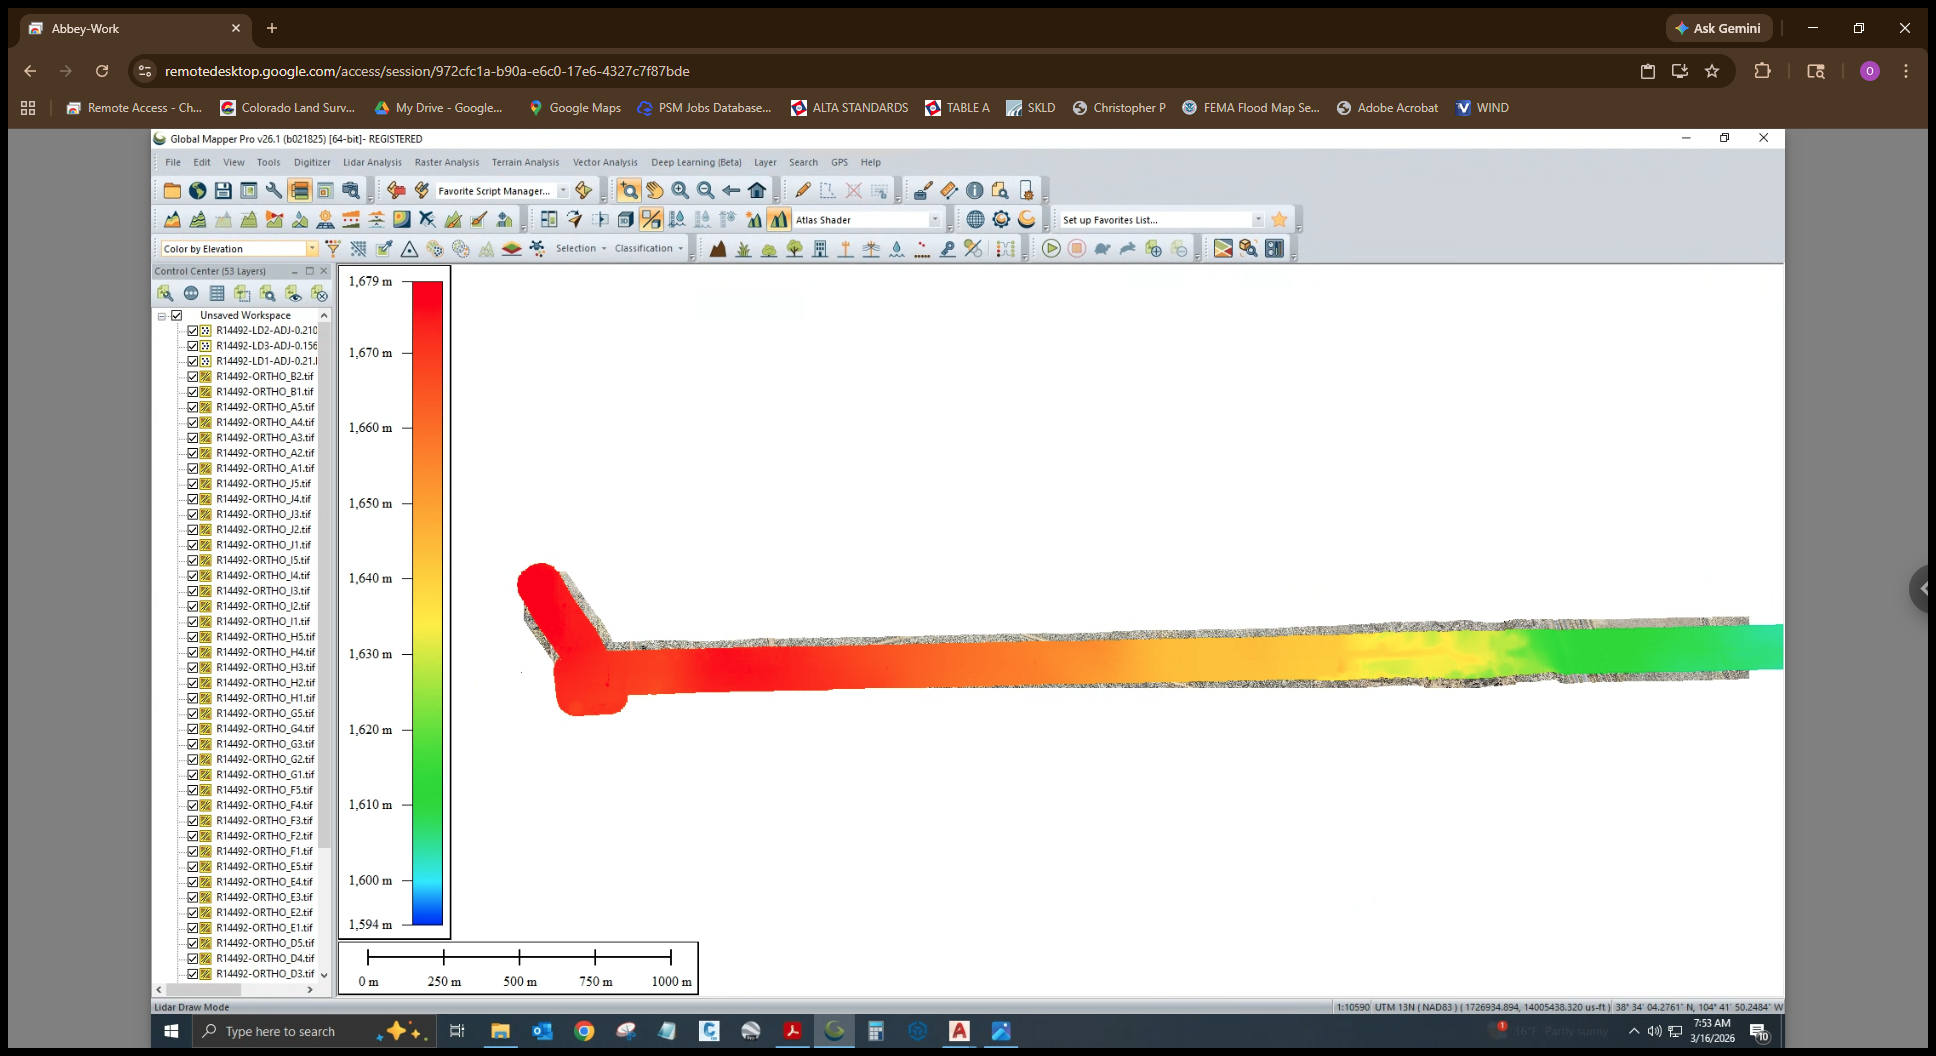
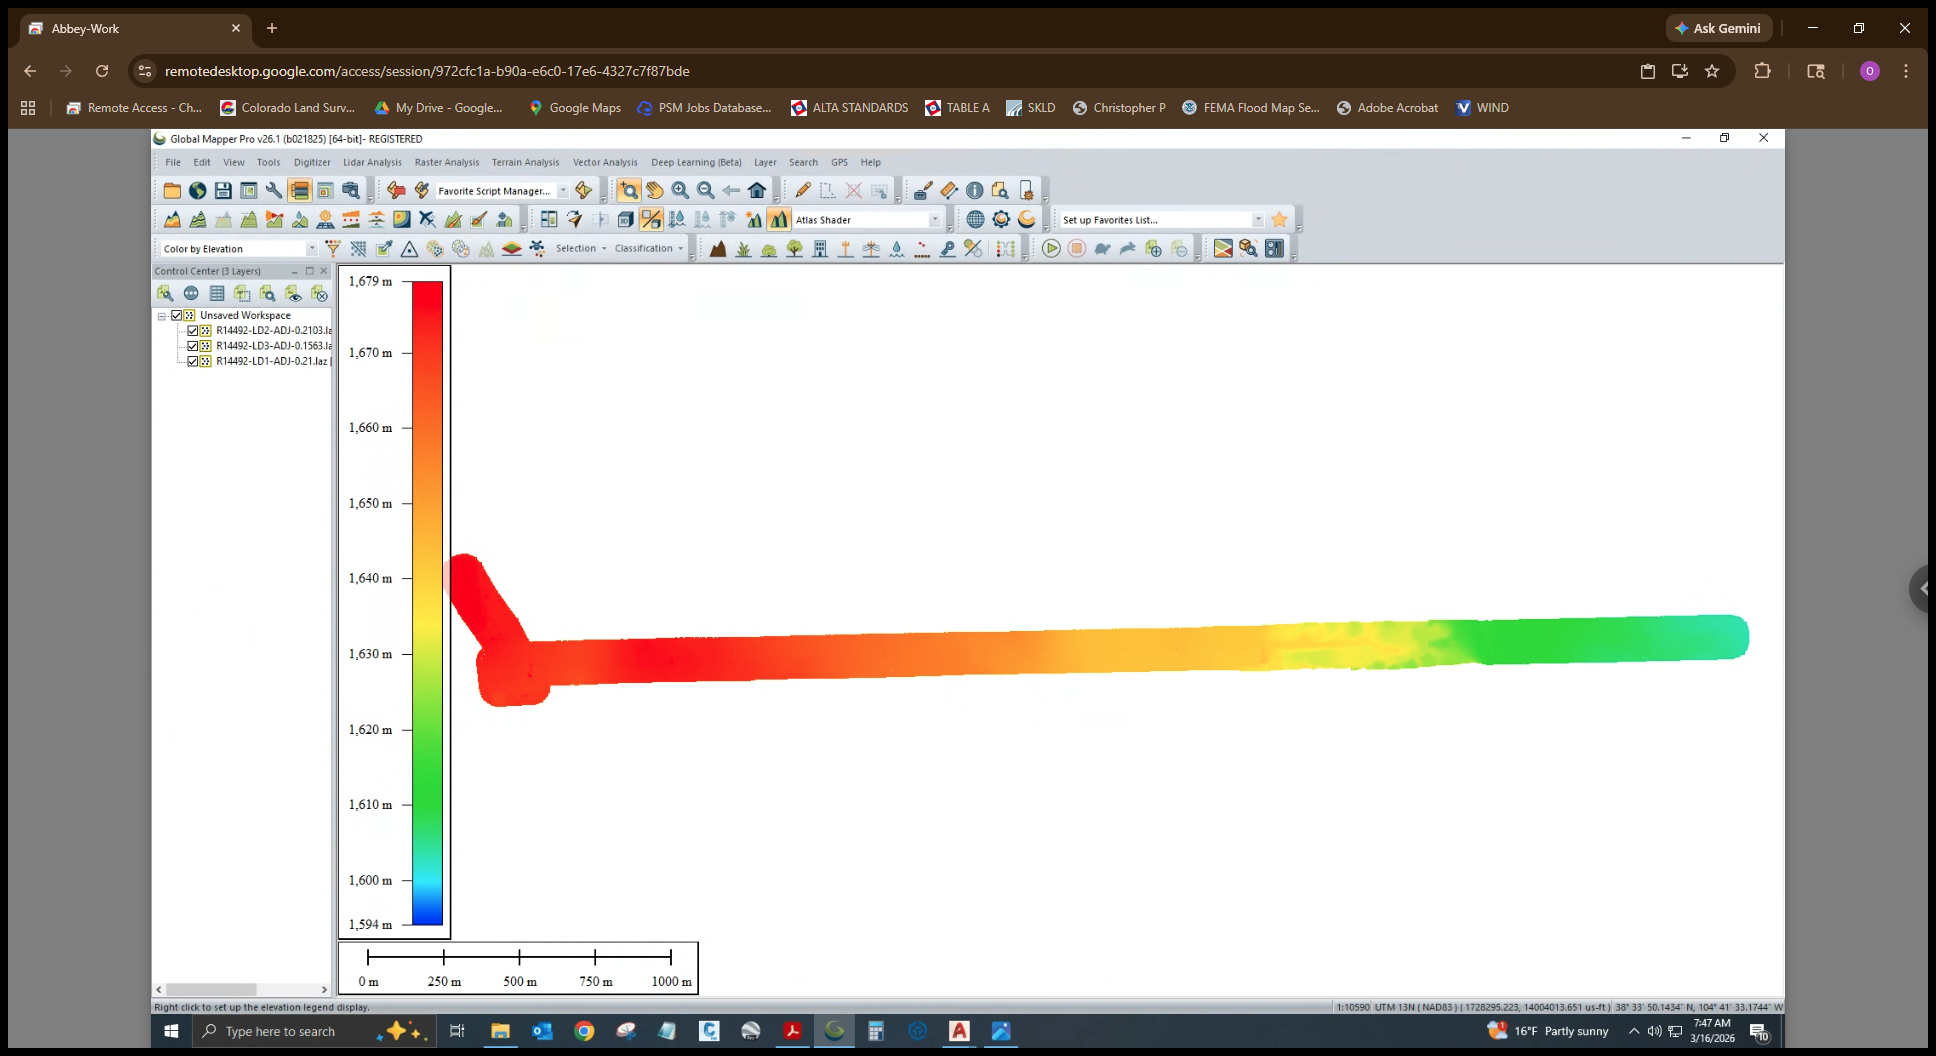
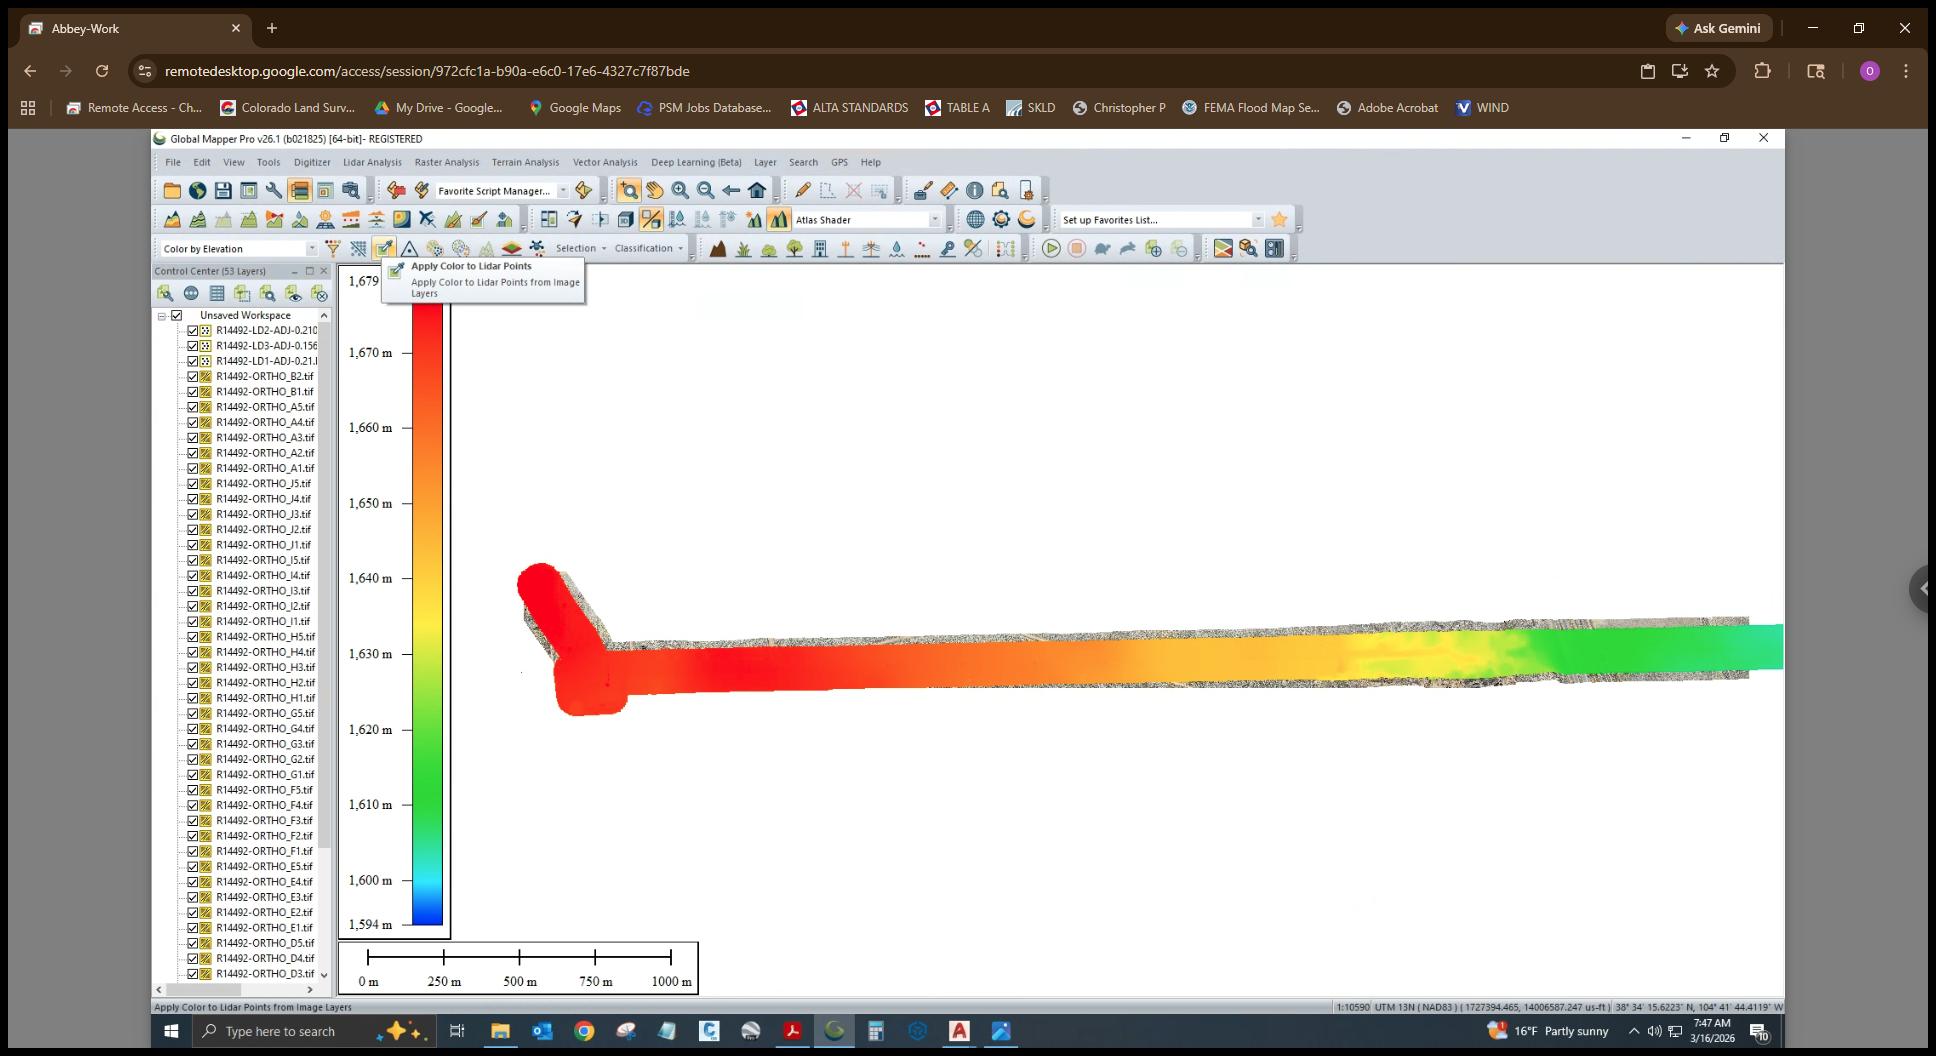
Today, we will colorize a point cloud using an ortho image. Only colorize a point cloud after confirming that both the ortho and the point cloud are in the exact same location. Otherwise, the colors from the ortho will not align with the features in the point cloud. I have already checked the point cloud and ortho, and imported the point clouds into Global Mapper.
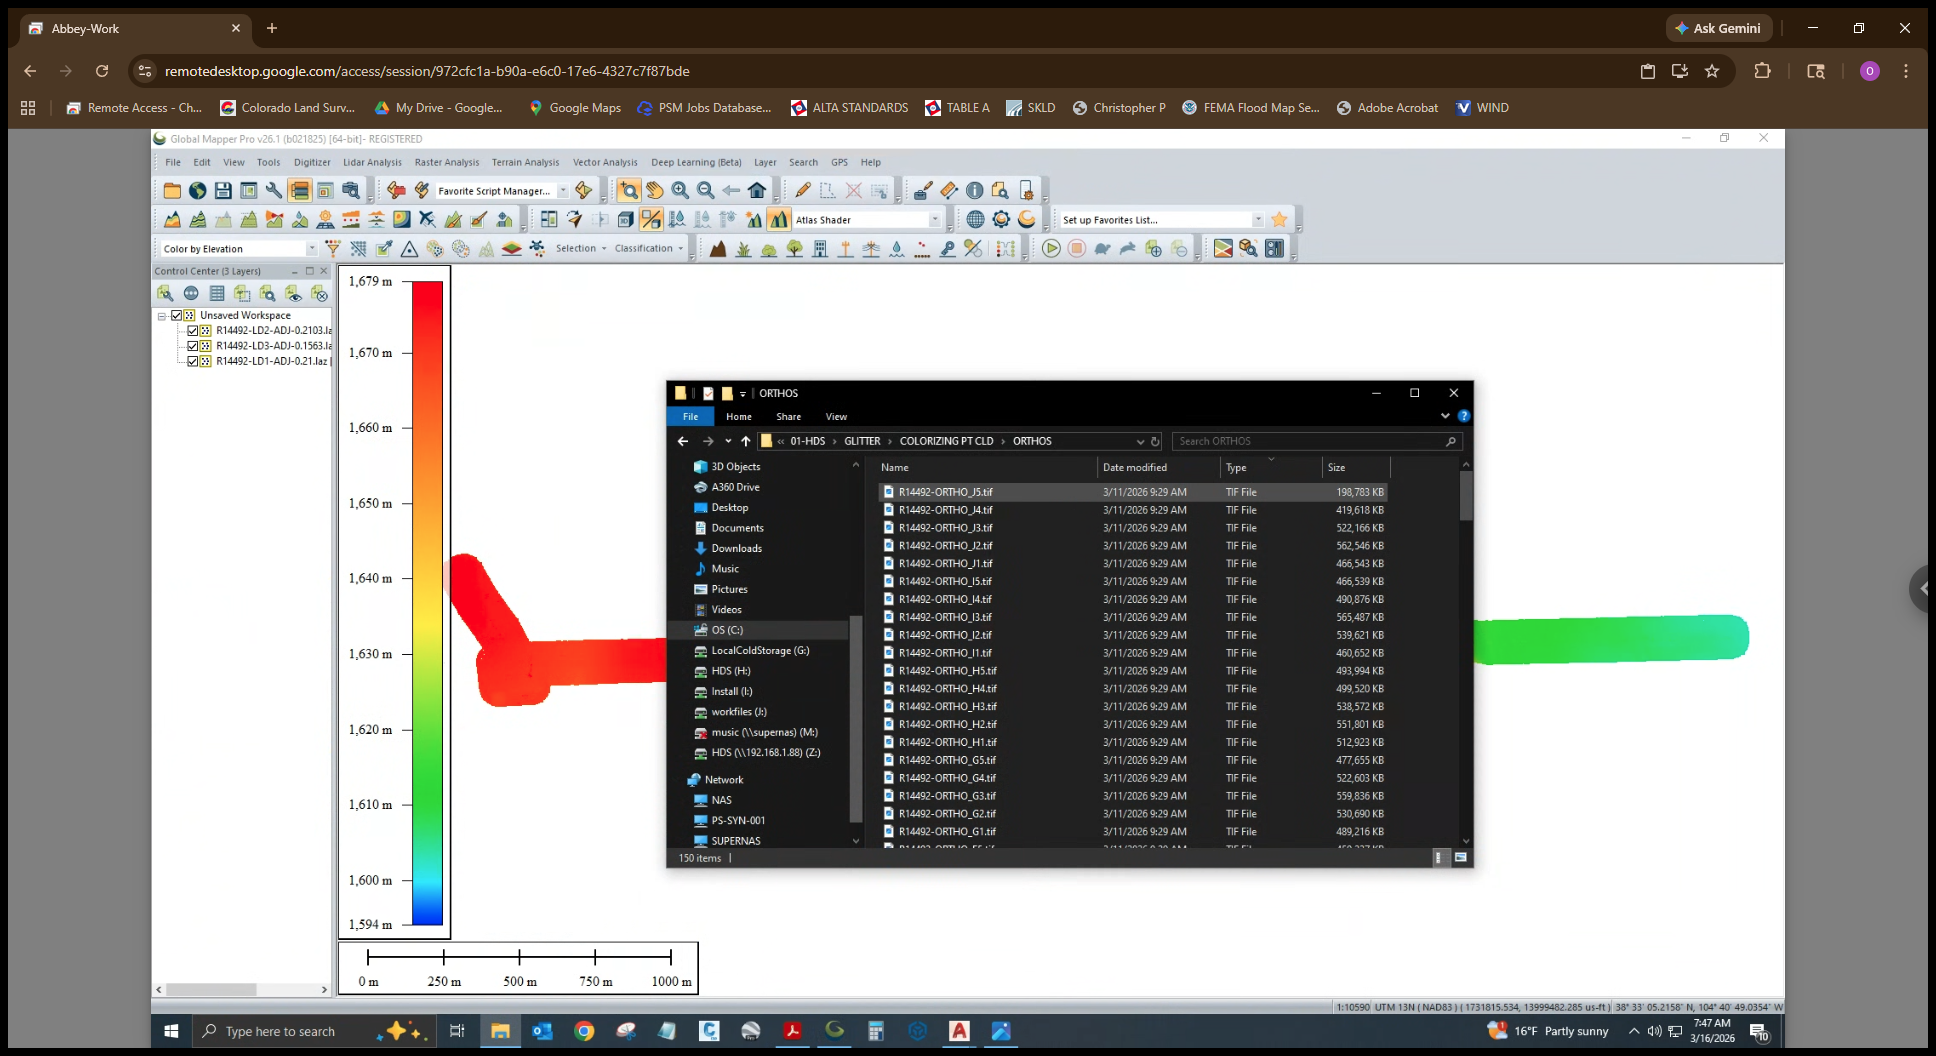
Now I will drag in the orthos.
All right.
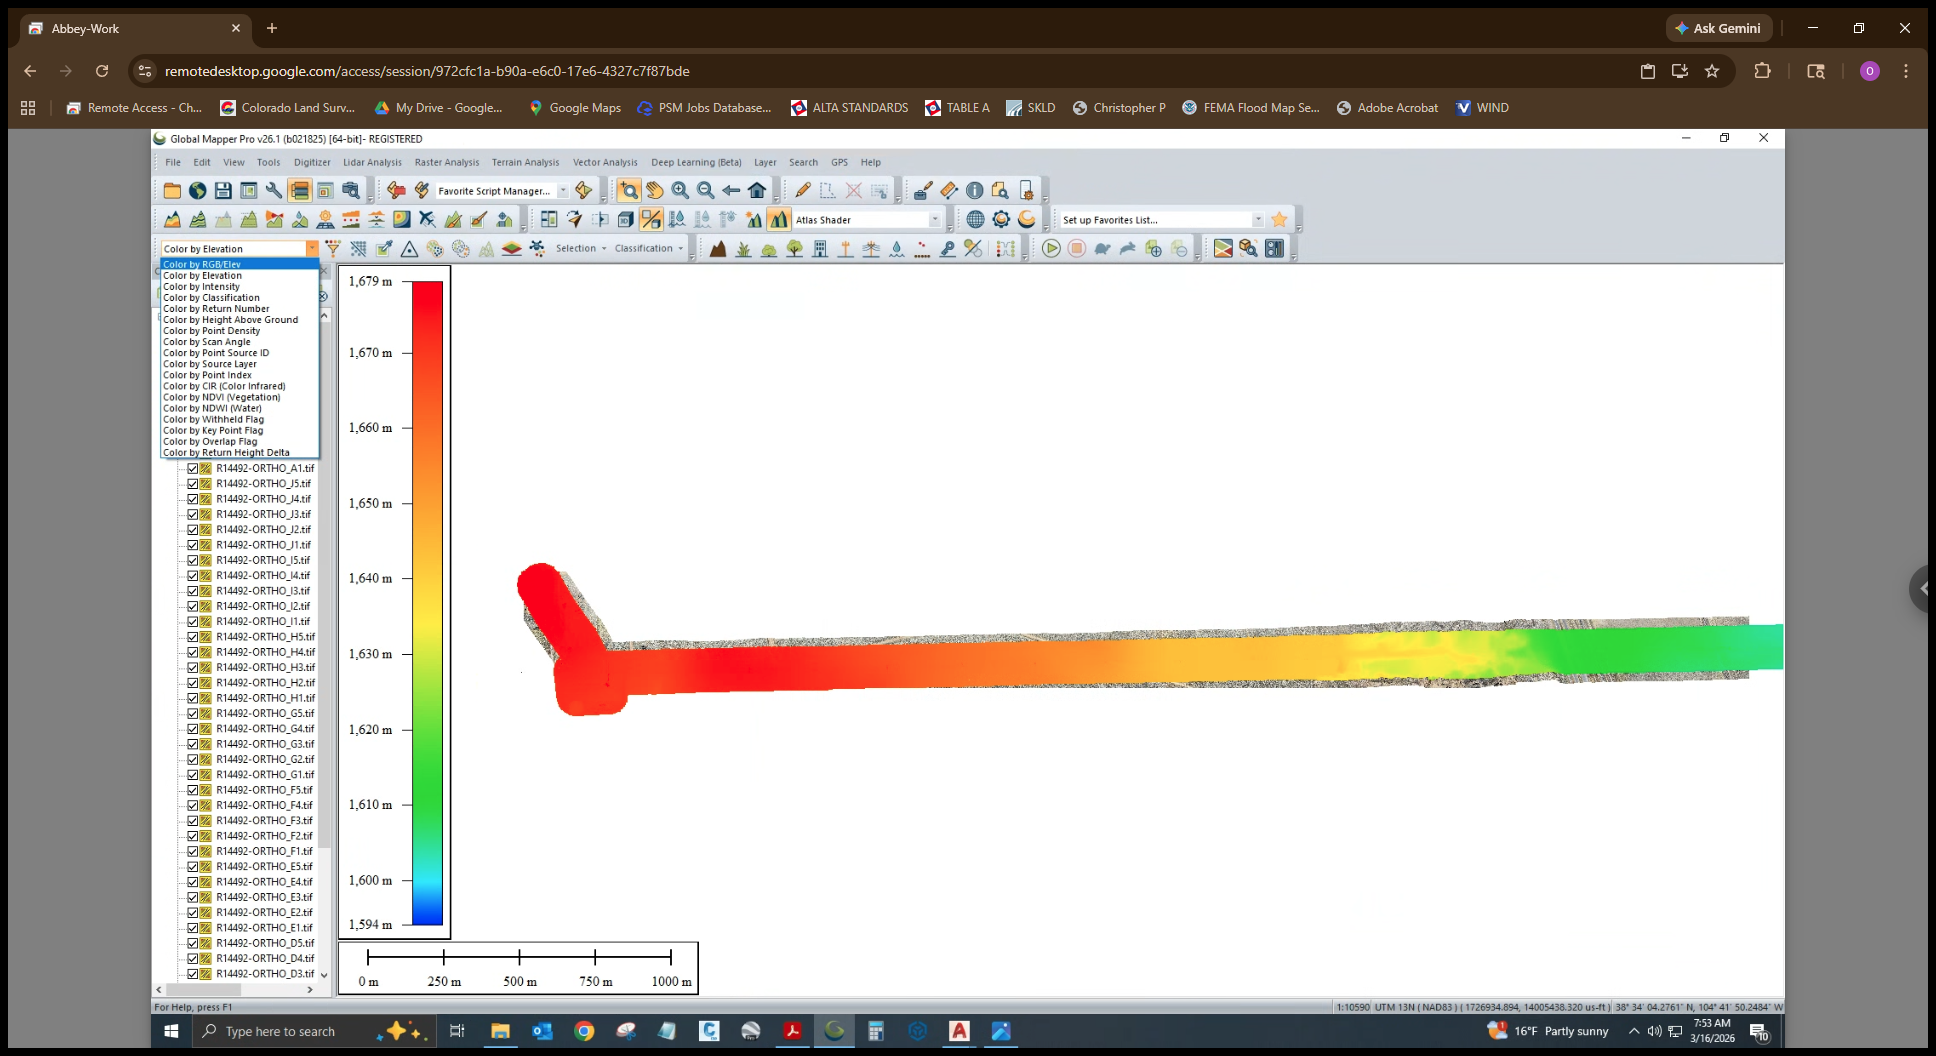
Next, select Apply Color to Lidar Points.
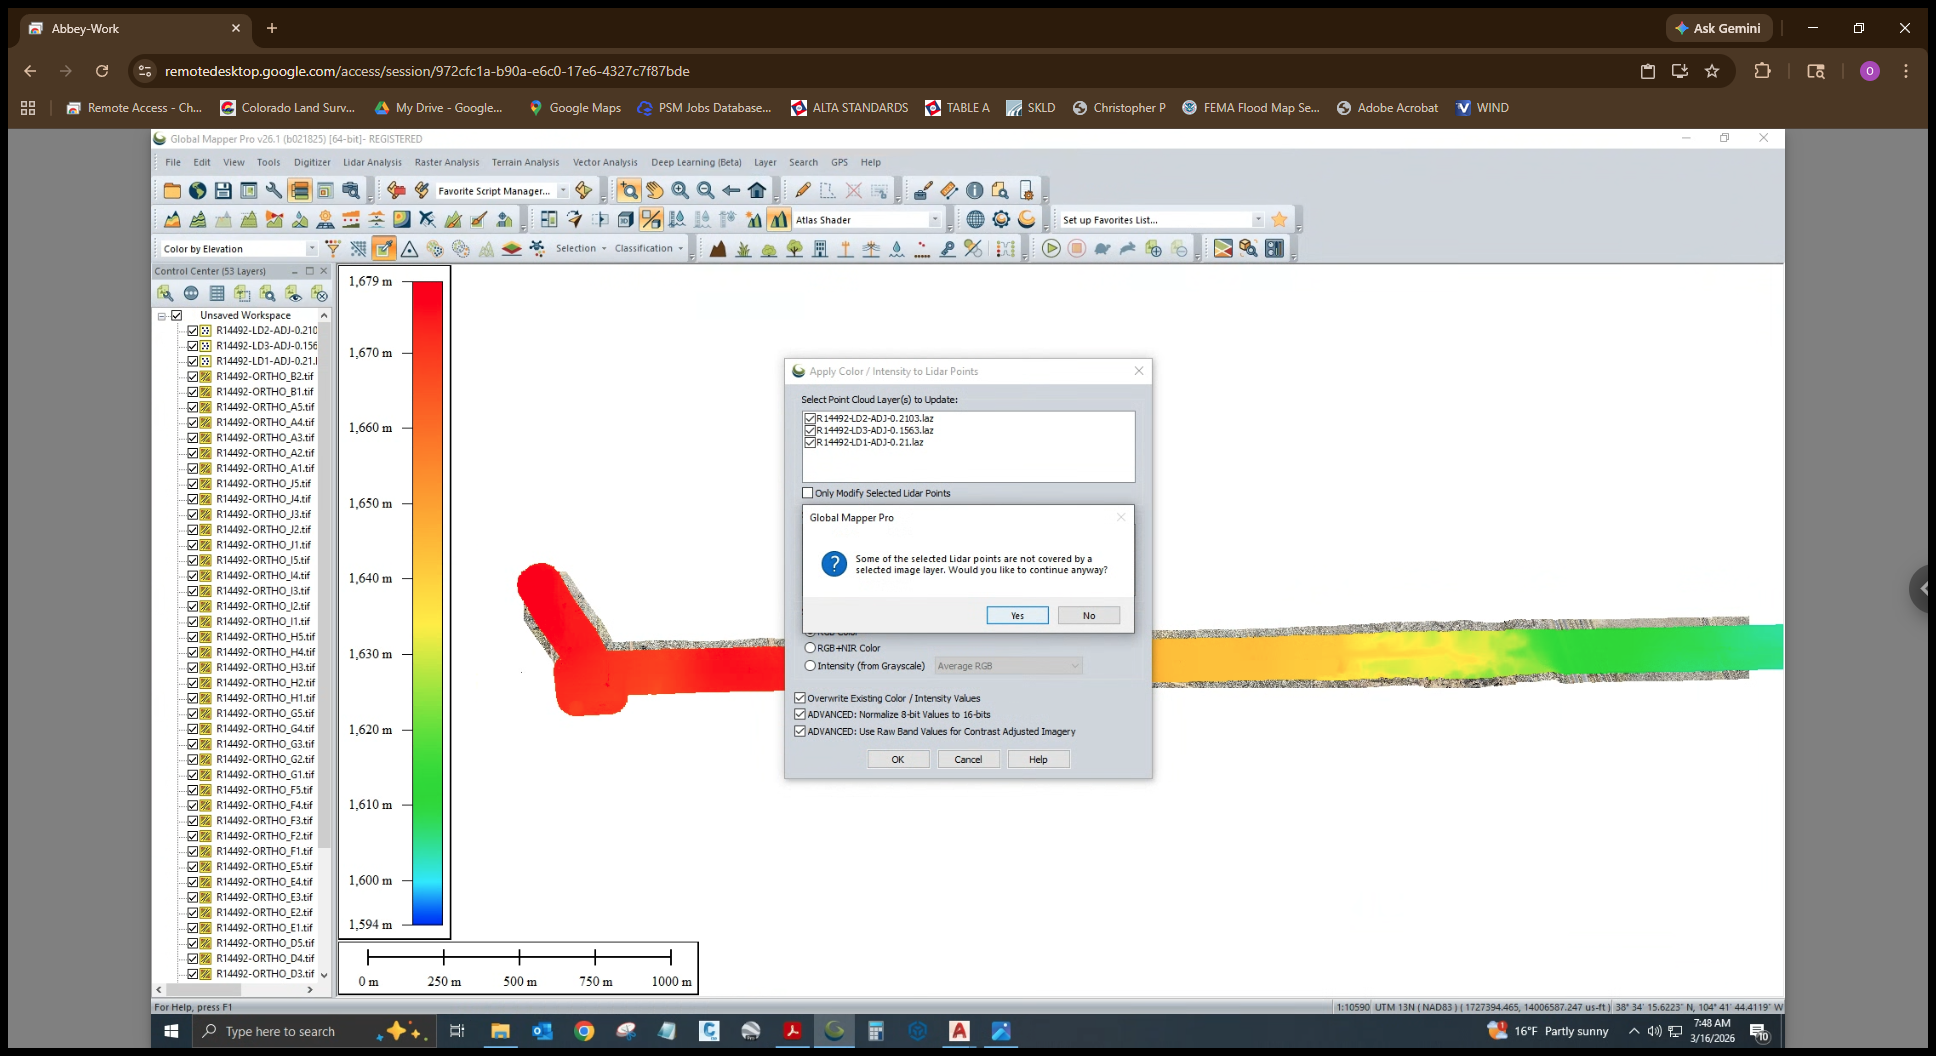
Now, select the point clouds you want colorized and the orthos you plan to use. We have the three point clouds selected. I'm not sure if it only selects orthos with overlapping points, but I'll select all of them just in case.

All right, then select RGB color, and click OK.

This will take a little while. Once this process is complete, the point cloud will match the color of the orthos. You can then export the newly colorized point clouds back to your C, H, or Z drive, or wherever you need.