
How to Combine Customer Accounts in OrderWise: Step-by-Step Guide
Learn how to merge customer accounts in OrderWise without losing data. Follow this step-by-step guide to ensure GDPR compliance and keep your customer records organized.
In this guide, we'll learn how to merge duplicate customer accounts in your system. This process helps keep your customer records organized and ensures that all related data, such as invoices and contact details, are combined into a single account. We will also cover important steps to review and tidy up the merged account to maintain accurate information.
Let's get started
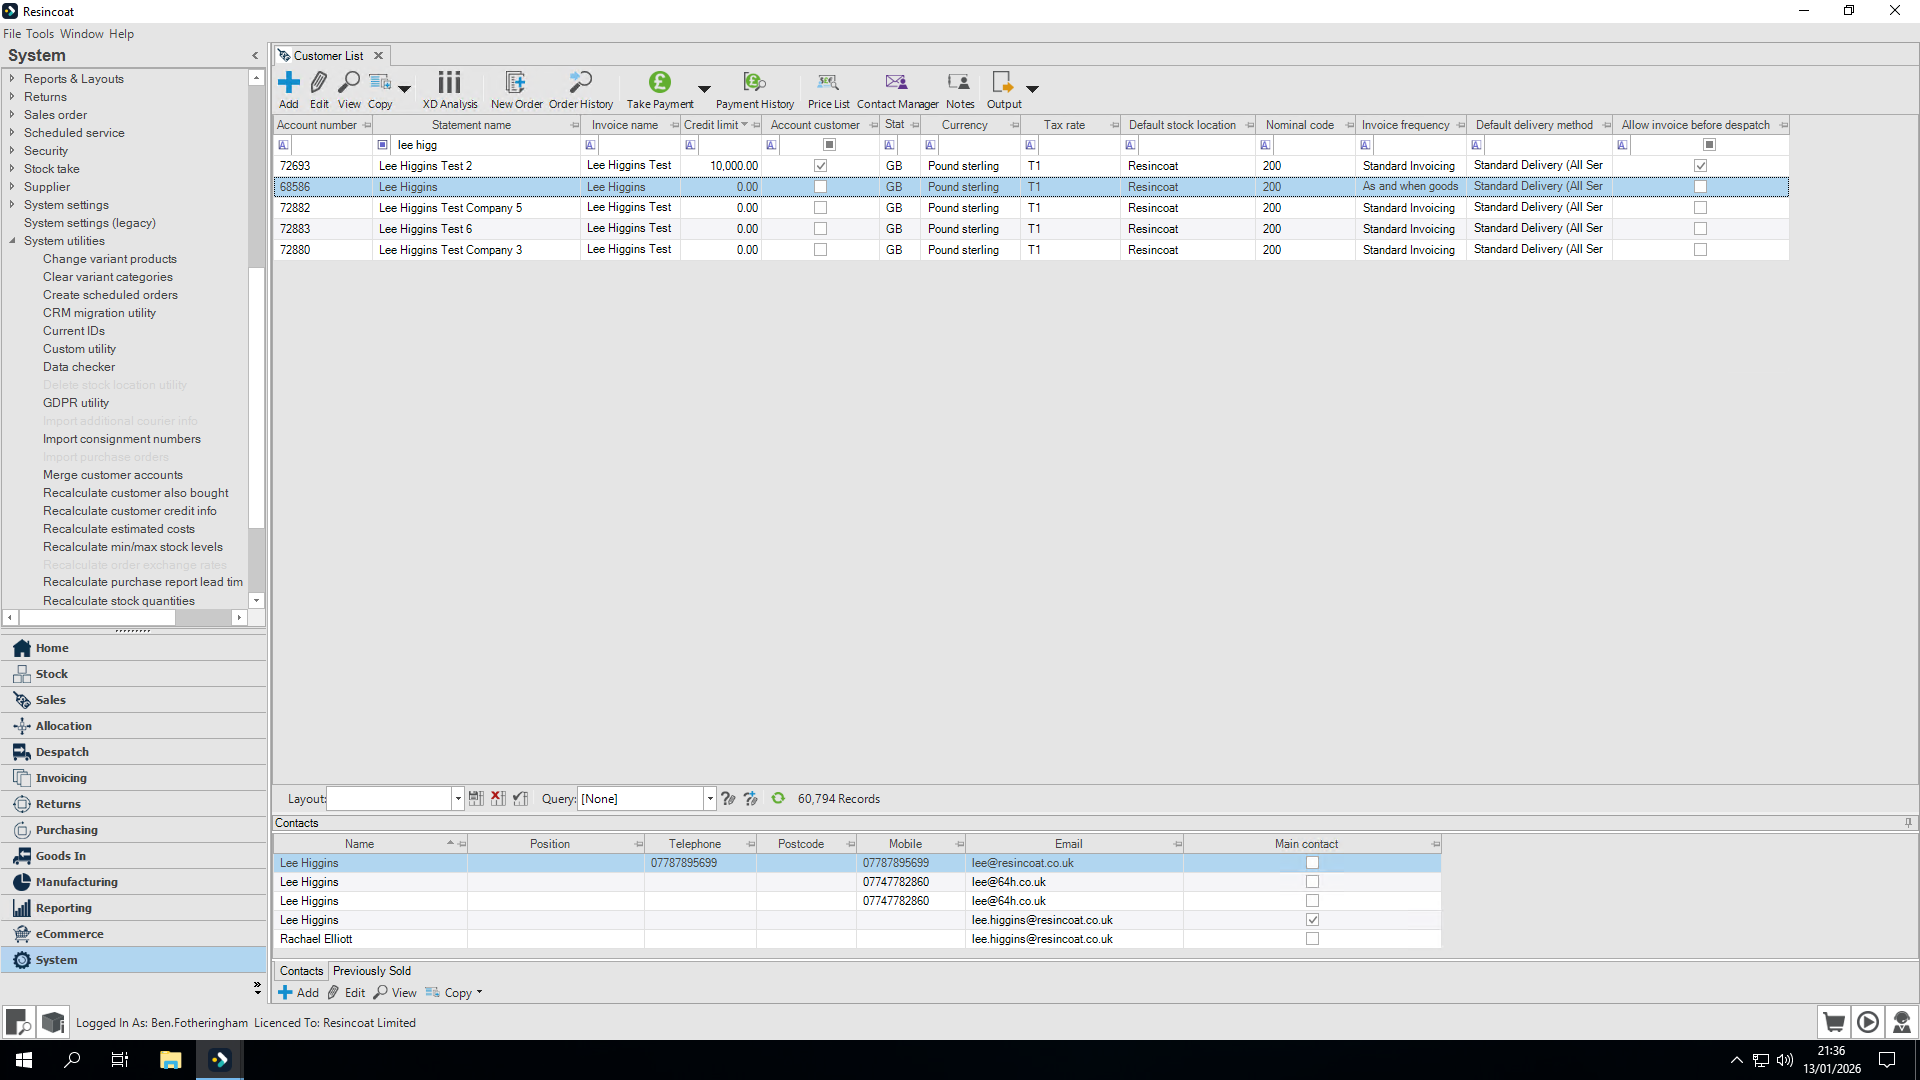
I will show you how to combine customer accounts found in your Customer List. As you can see, there are multiple accounts set up for Lee Higgins (I have already used the filter box at the top). Next, go to System and select Systems Utility. Scroll down until you find Merge Customer Accounts.


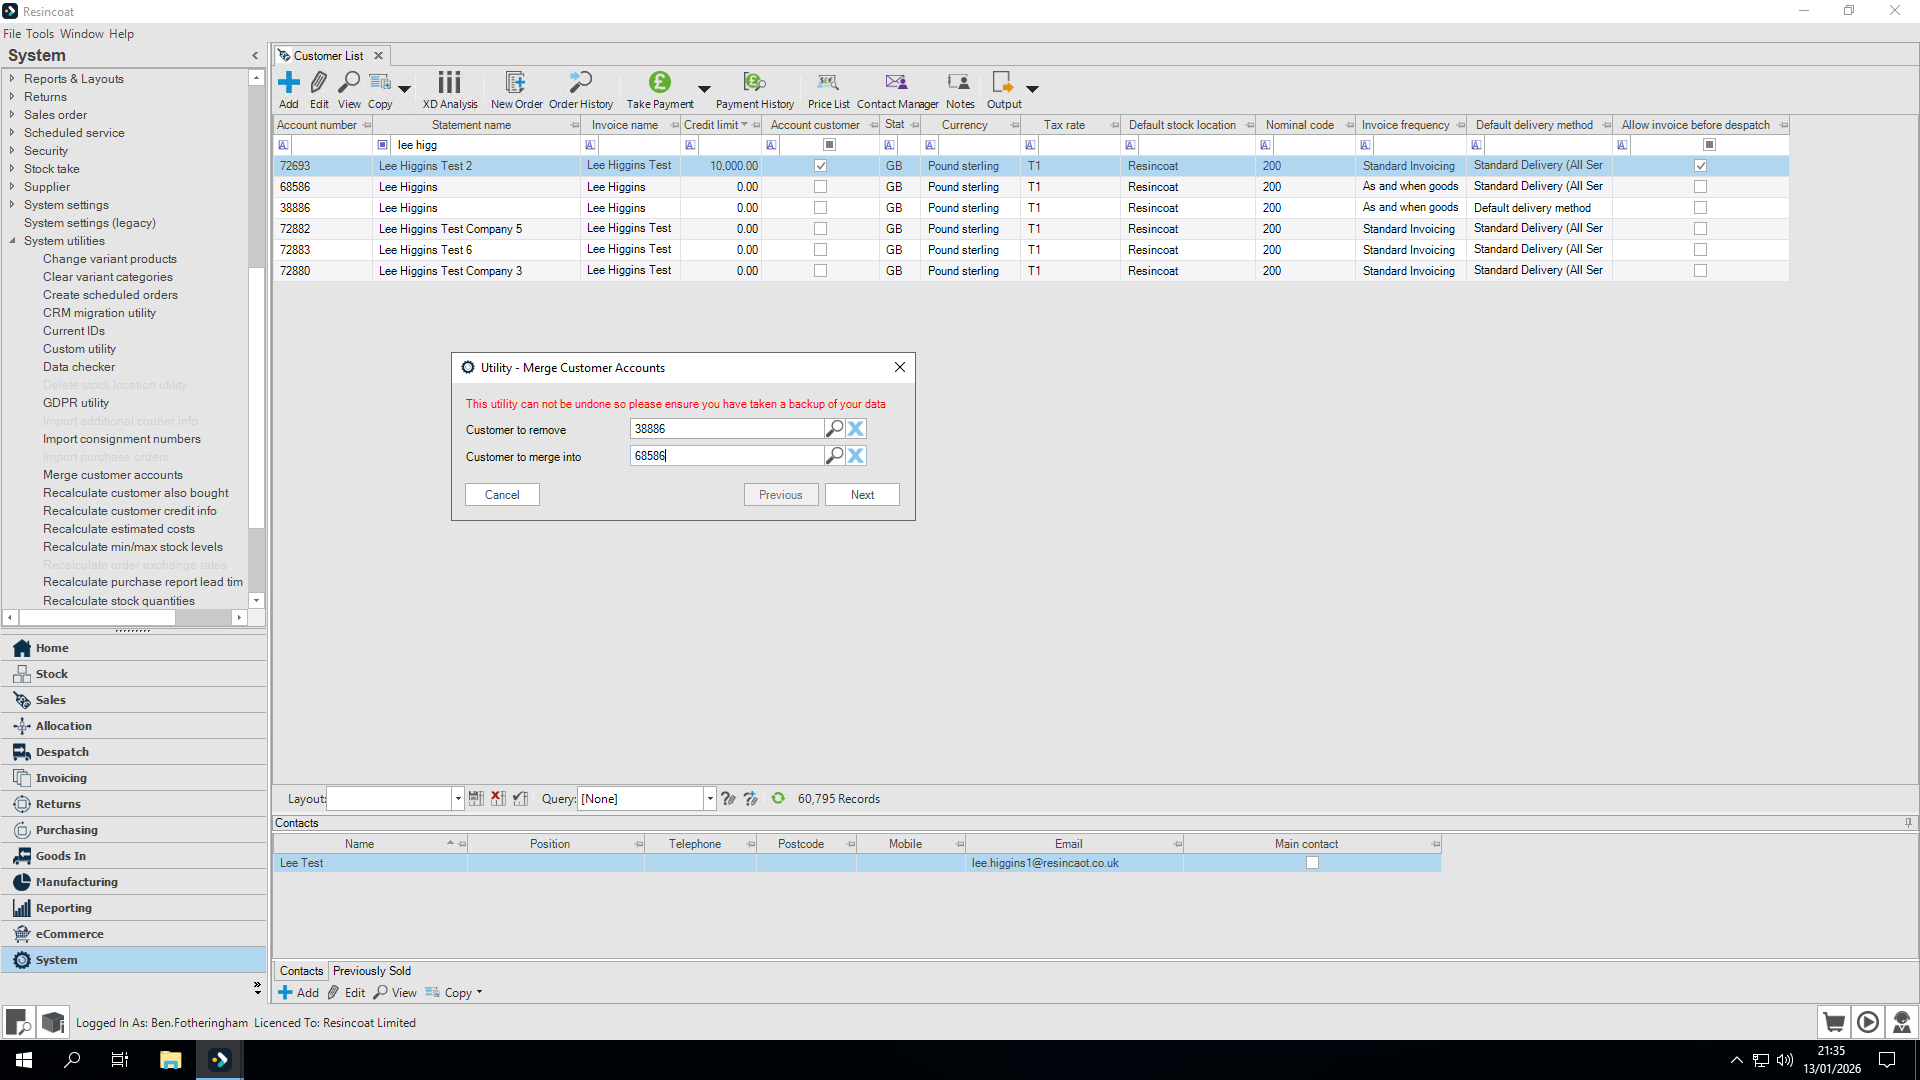
This lets me remove a customer from the list and merge it with another. All previous invoices, sales, and contact details are transferred to the customer I am merging into.
We are not actually losing any data. We are simply combining them. (all data within Customer to remove is placed within Customer to merge into)

I will enter 38886, since it is the older one. I want to remove it and combine it with the newer one, 68586.
Be extremely careful. Once you click the Next button, you cannot undo your action. Please double-check.
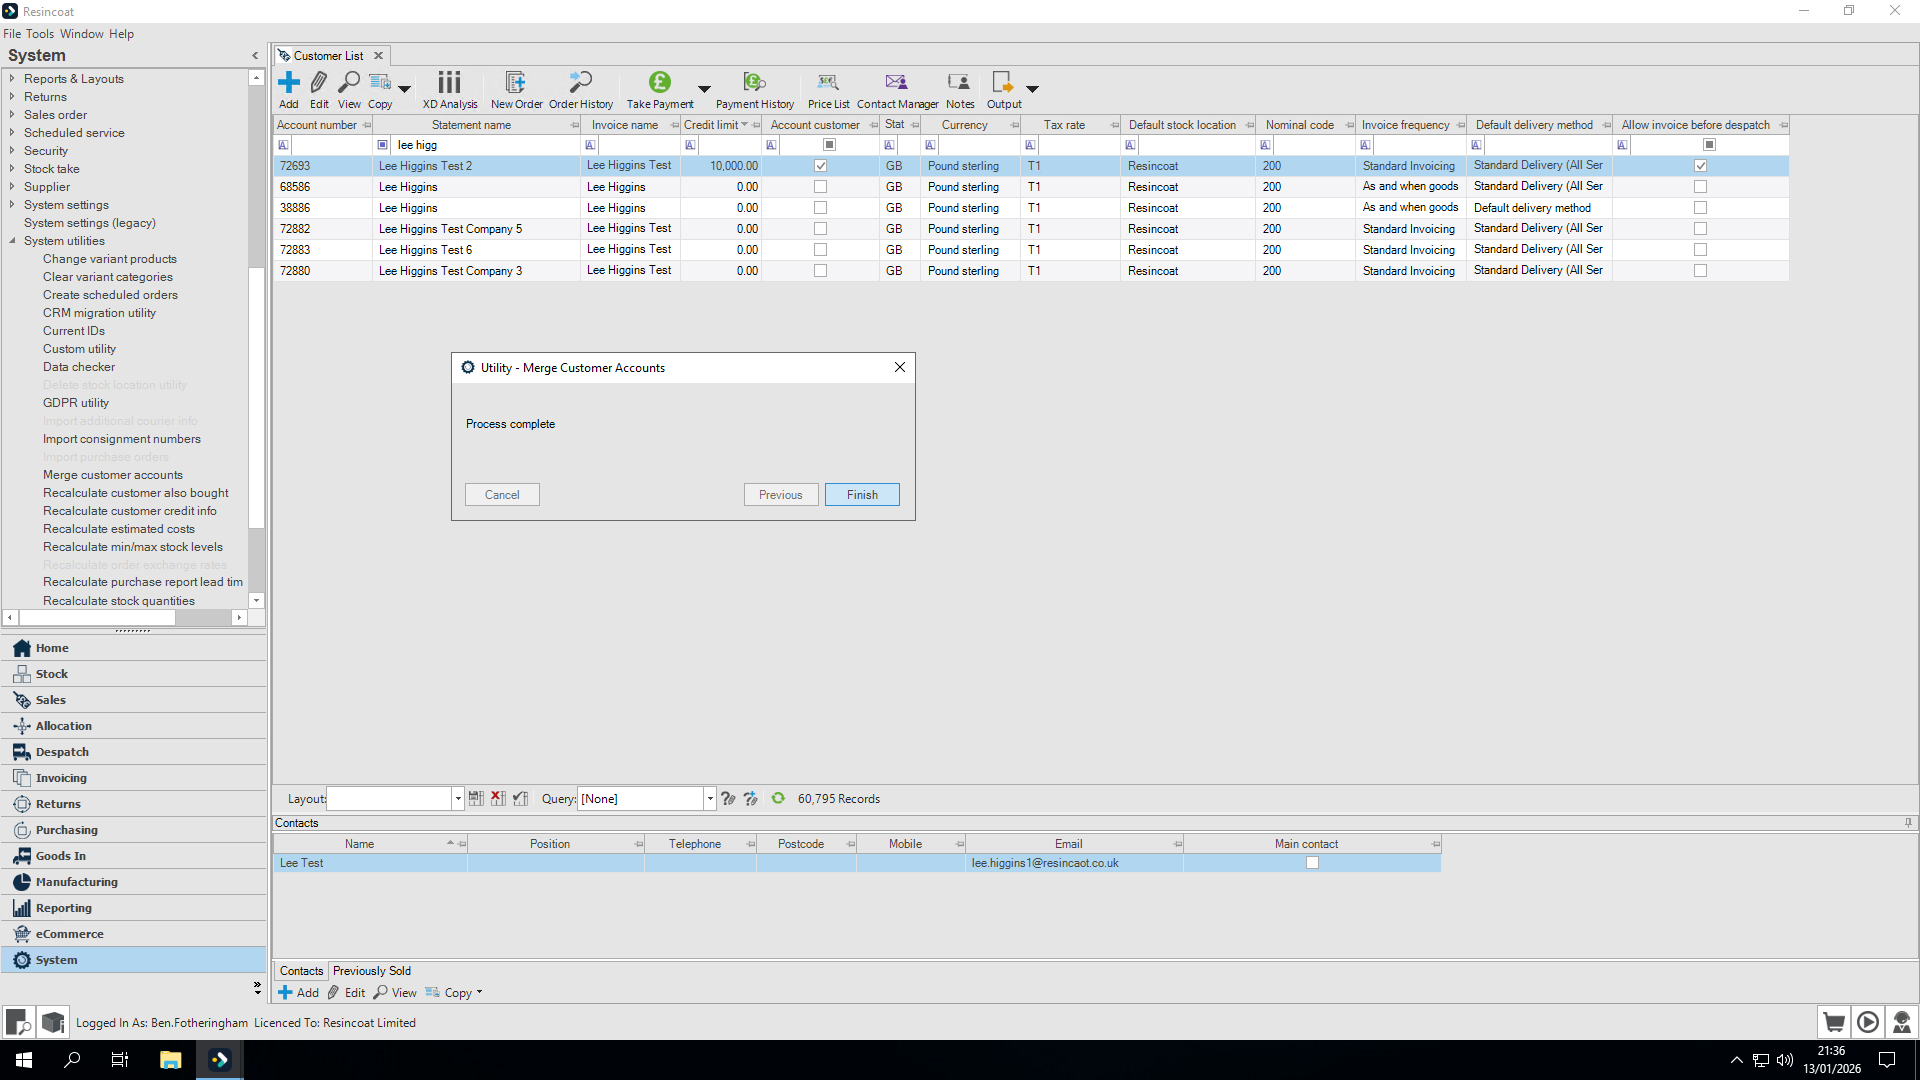
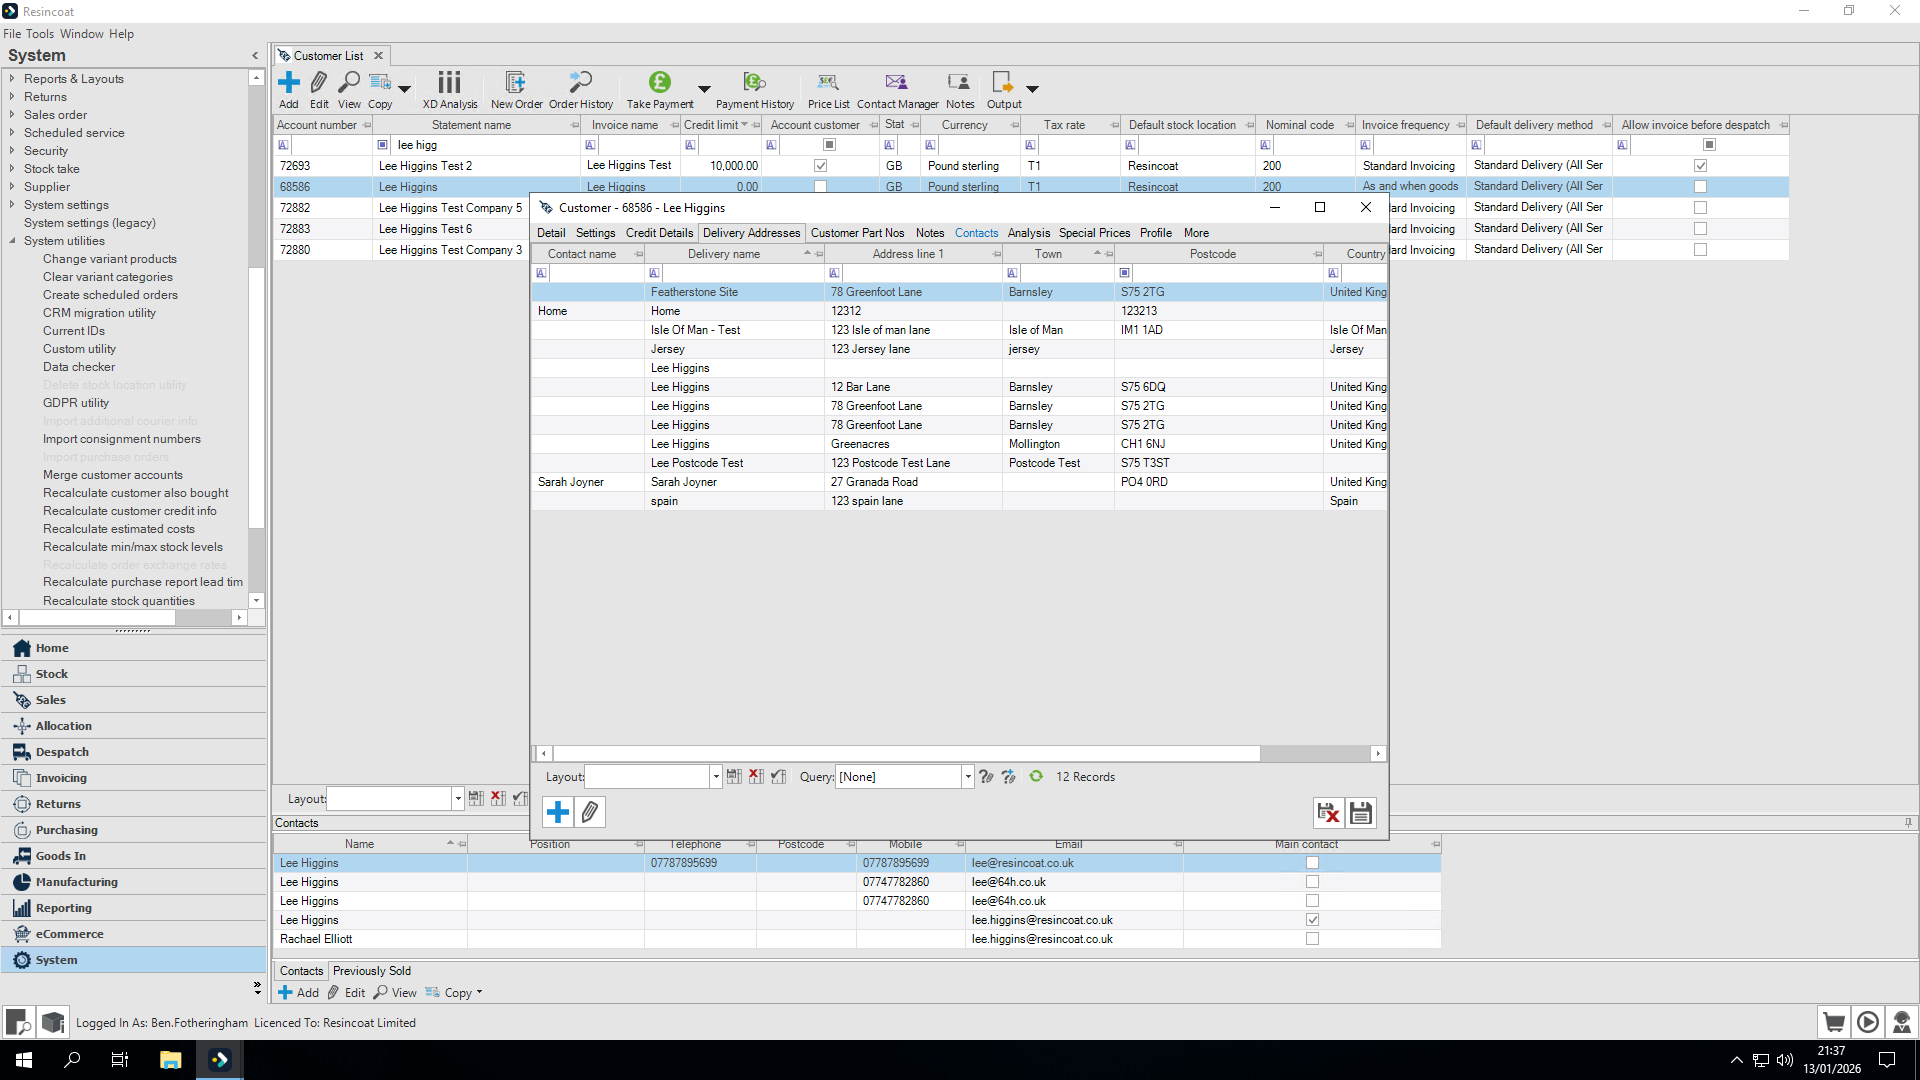
You can see that 38886 has disappeared and has been merged into 68586.
At this point, I recommend editing the customer we just merged into and making any necessary updates or clean-ups.
Double-check the statement information and invoice details.

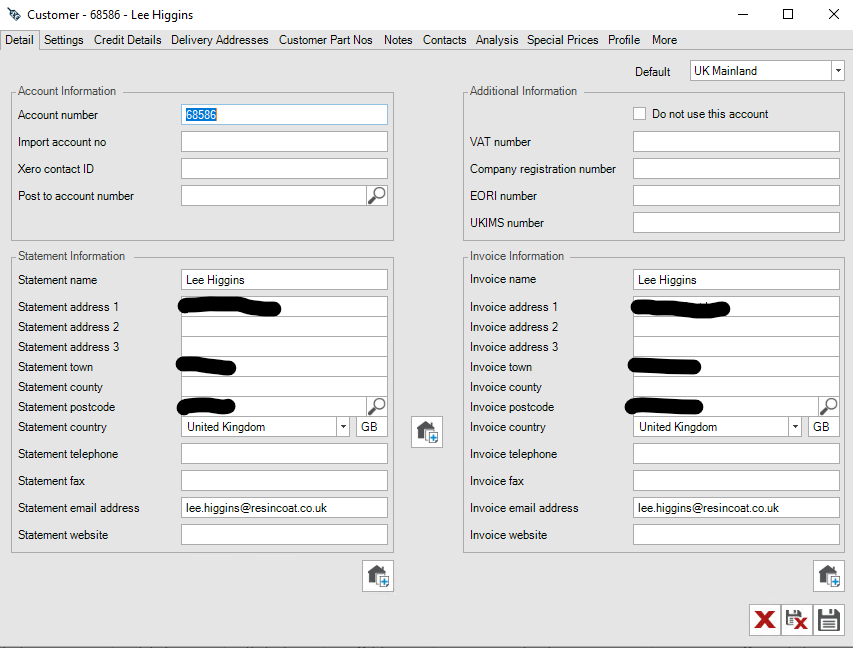
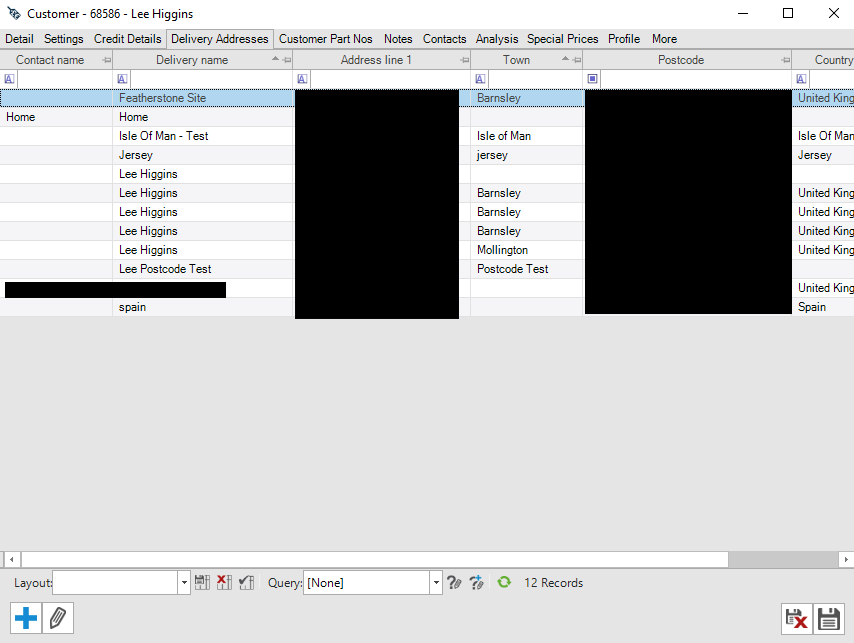
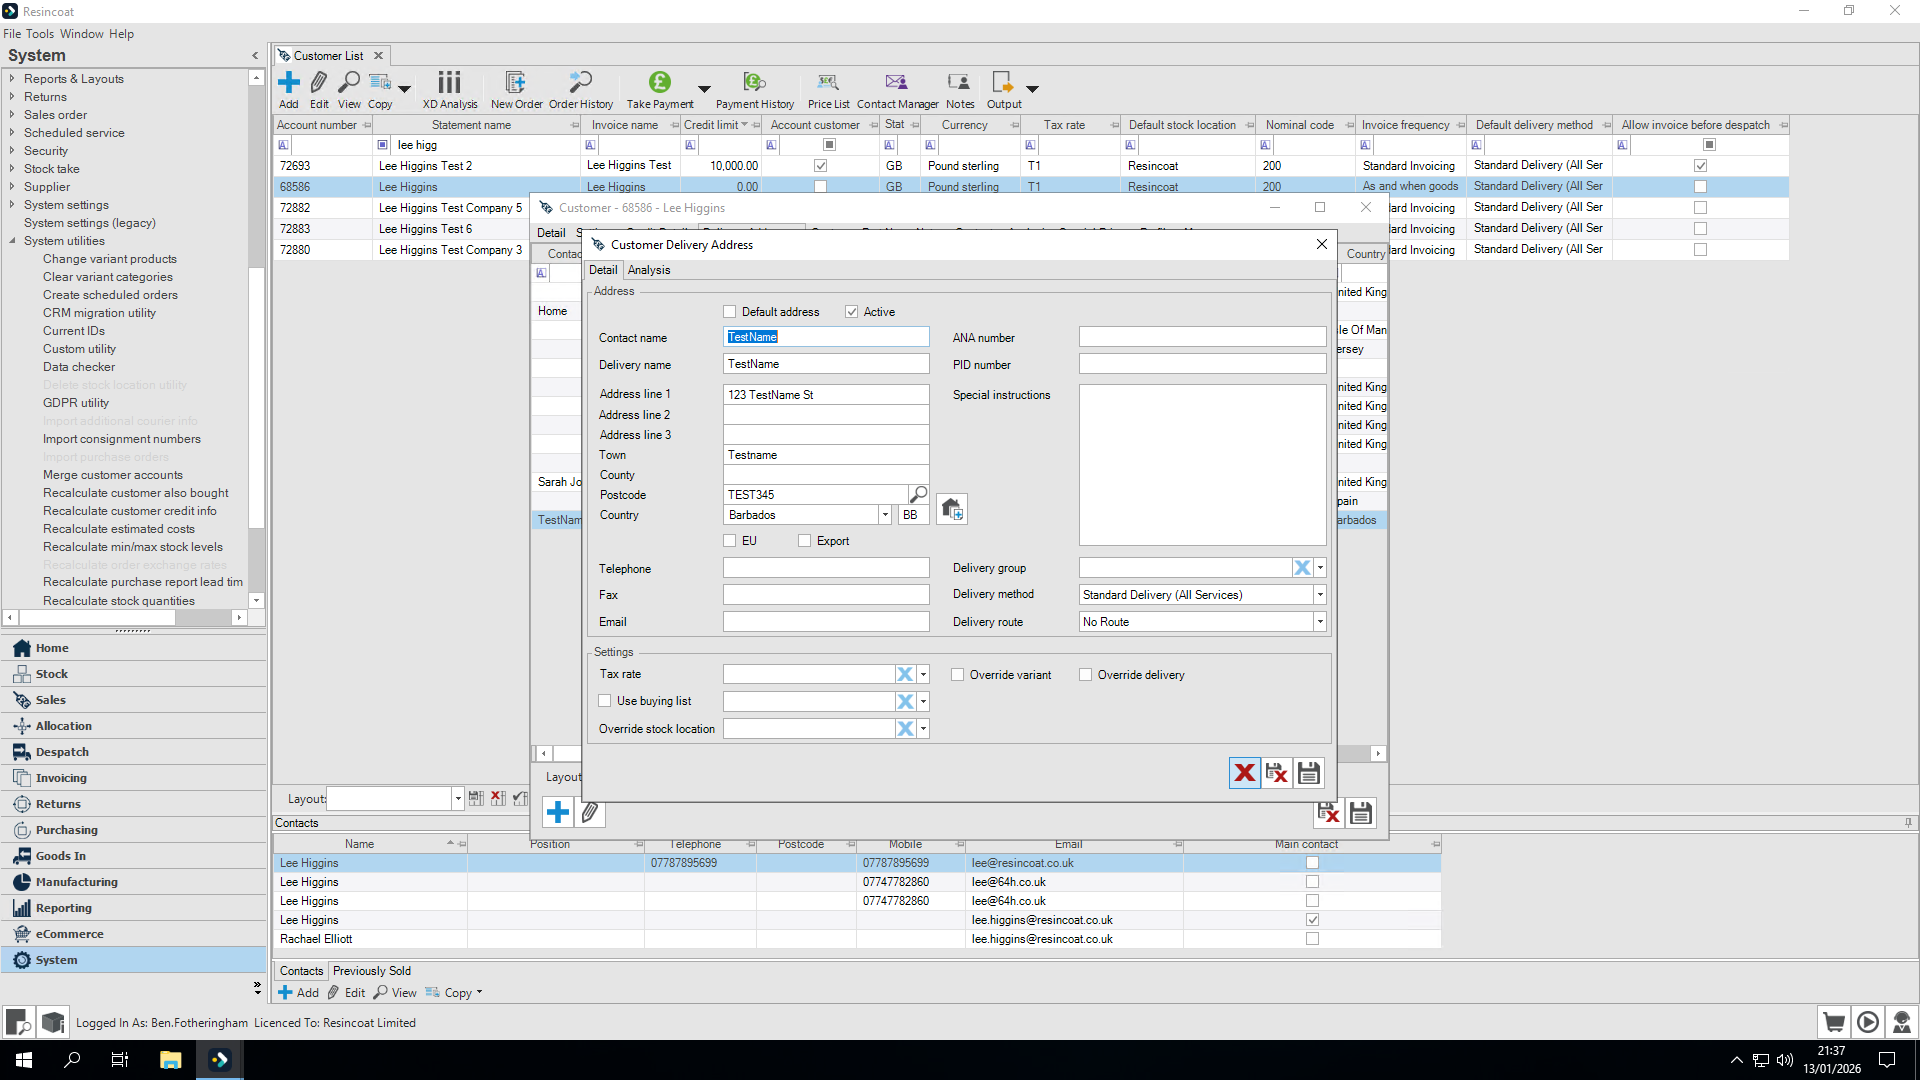
After making changes, click Save.