
How to Combine Multiple Images into a Single PDF: Step-by-Step Guide
Learn how to easily combine multiple images, such as receipts, into a single PDF file. This step-by-step guide covers capturing images, arranging them in a document, and saving as a PDF for easy submission.
In this guide, we'll learn how to combine several images, such as receipts, into a single PDF document. This process helps organize and submit information in a clear format. You will see how to capture images, arrange them in a document, and save the file as a PDF for easy sharing or record-keeping.
Let's get started
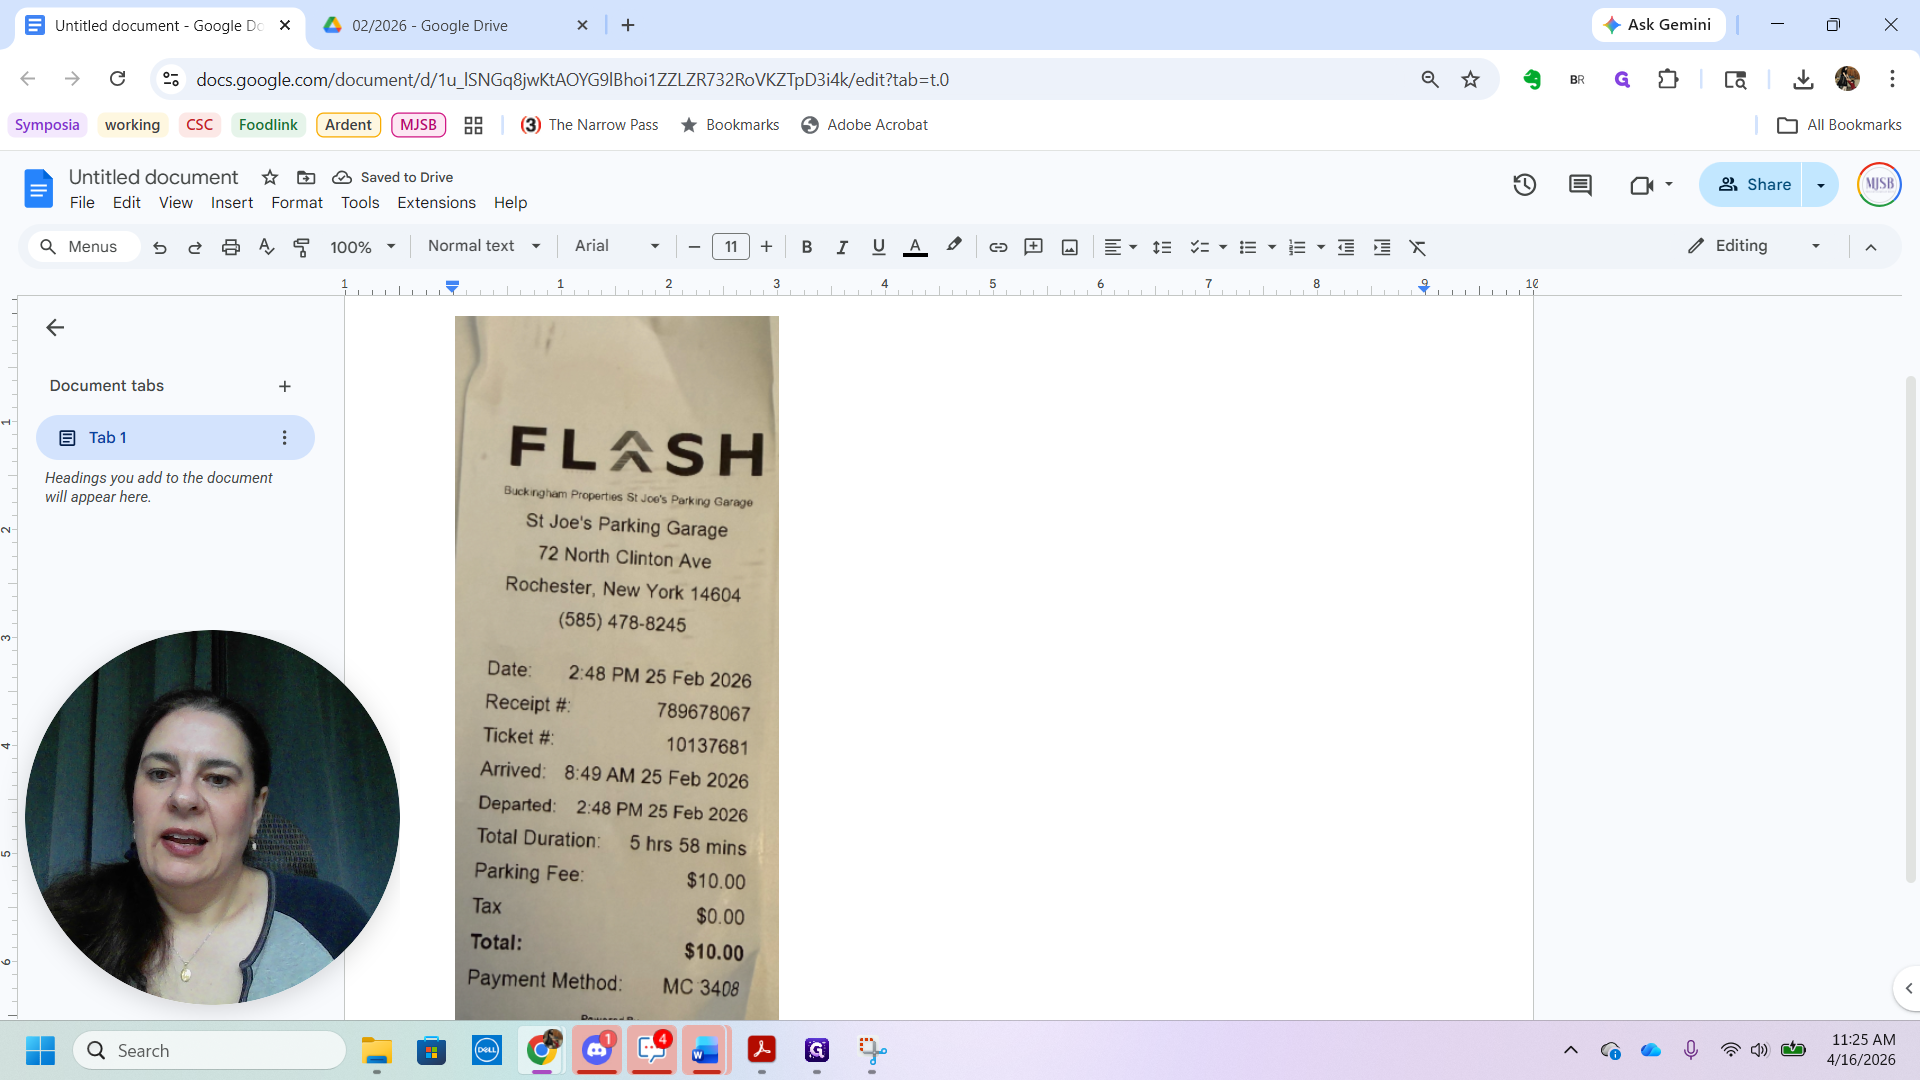
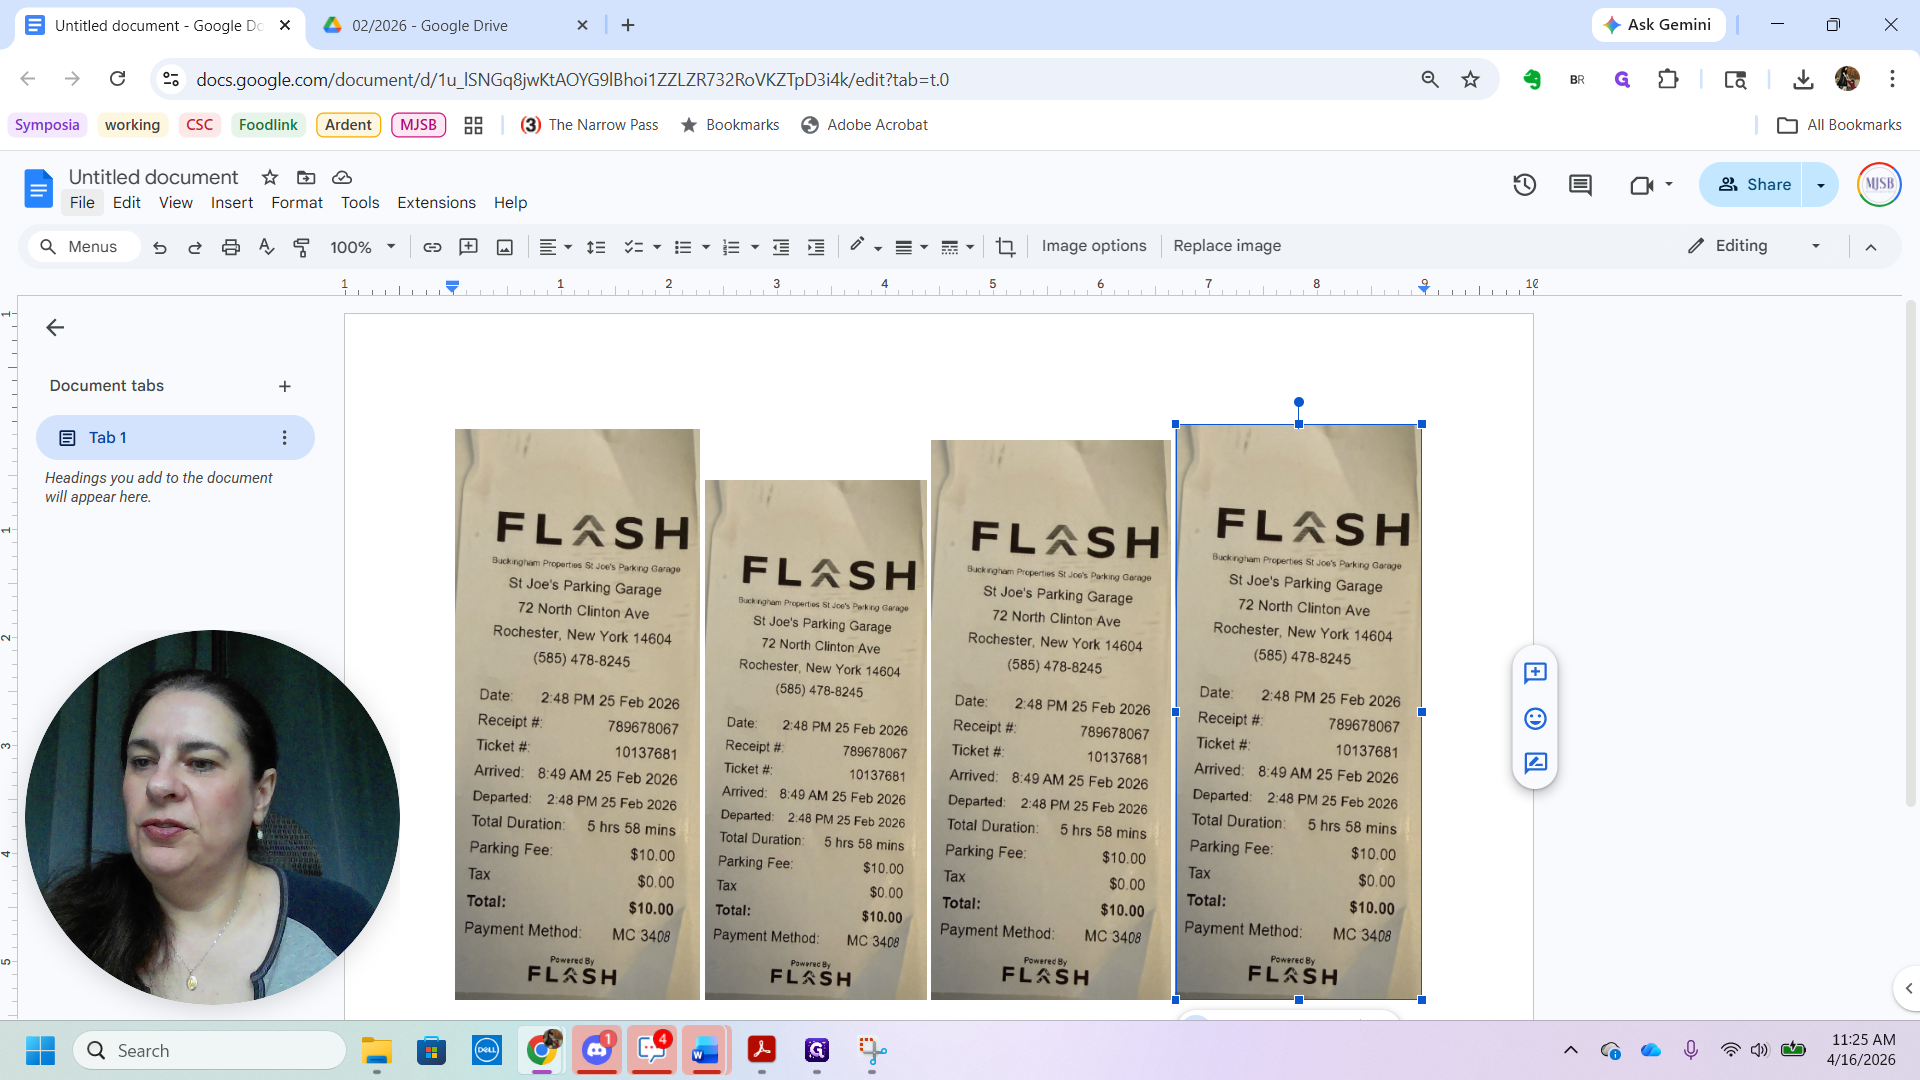
This guide will show you how to combine multiple images into a single PDF. We will start with an image. Here is an image of a receipt. First, I will zoom out so the entire receipt fits on one screen. Then, I will use the snipping tool to capture it.
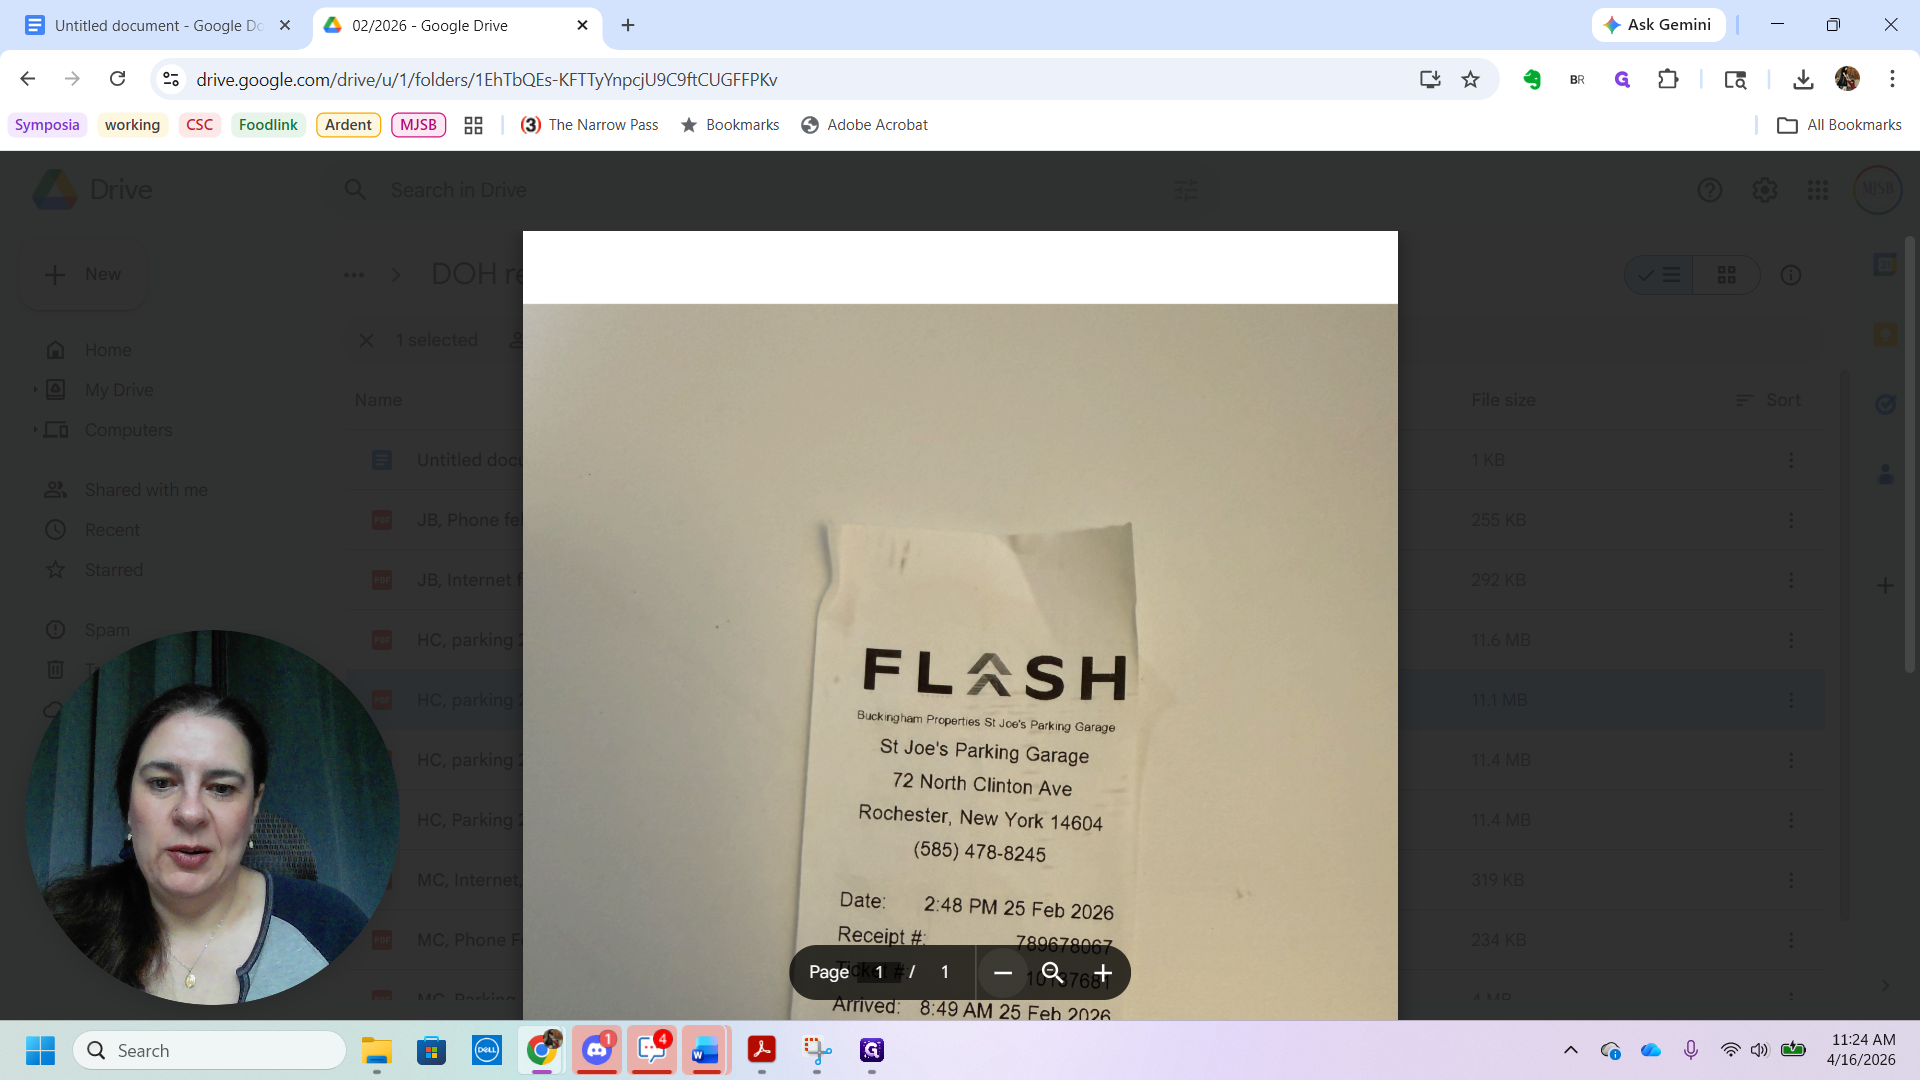
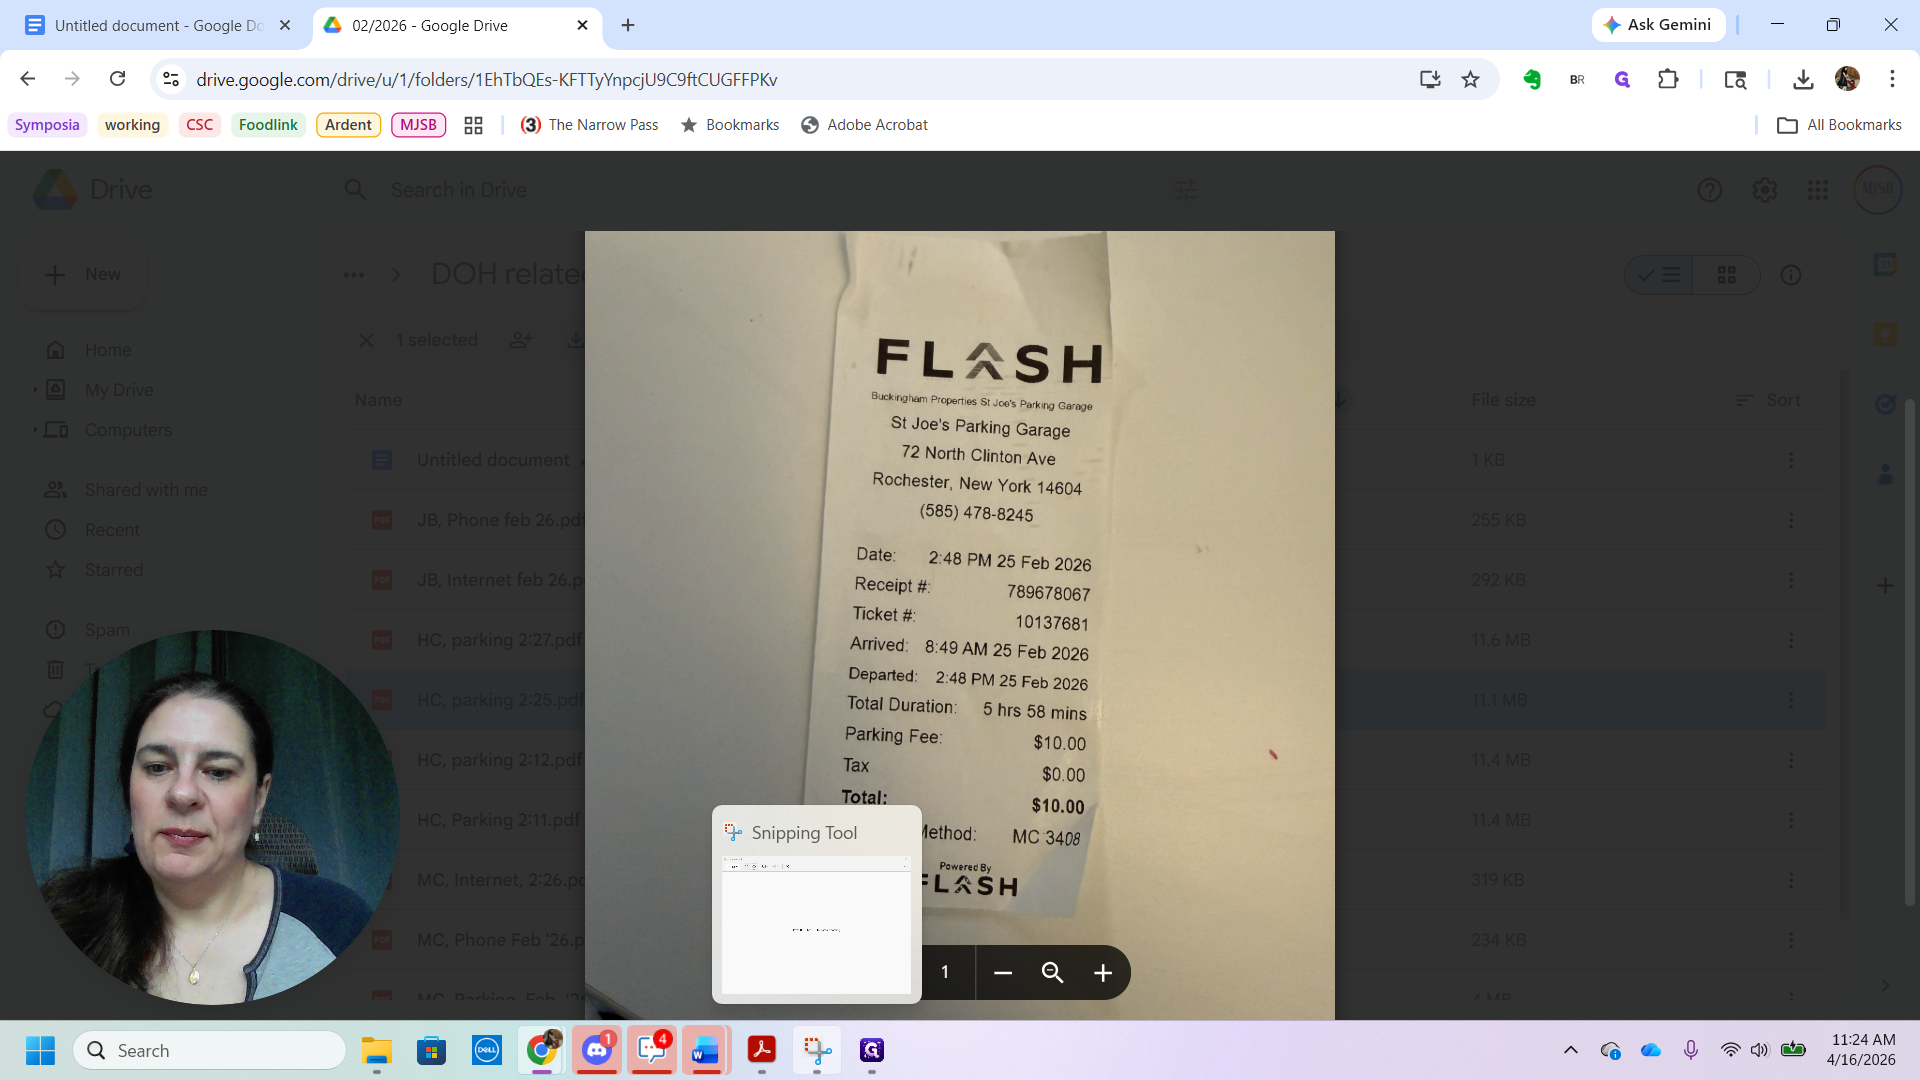


I will select to ensure I include all the information.

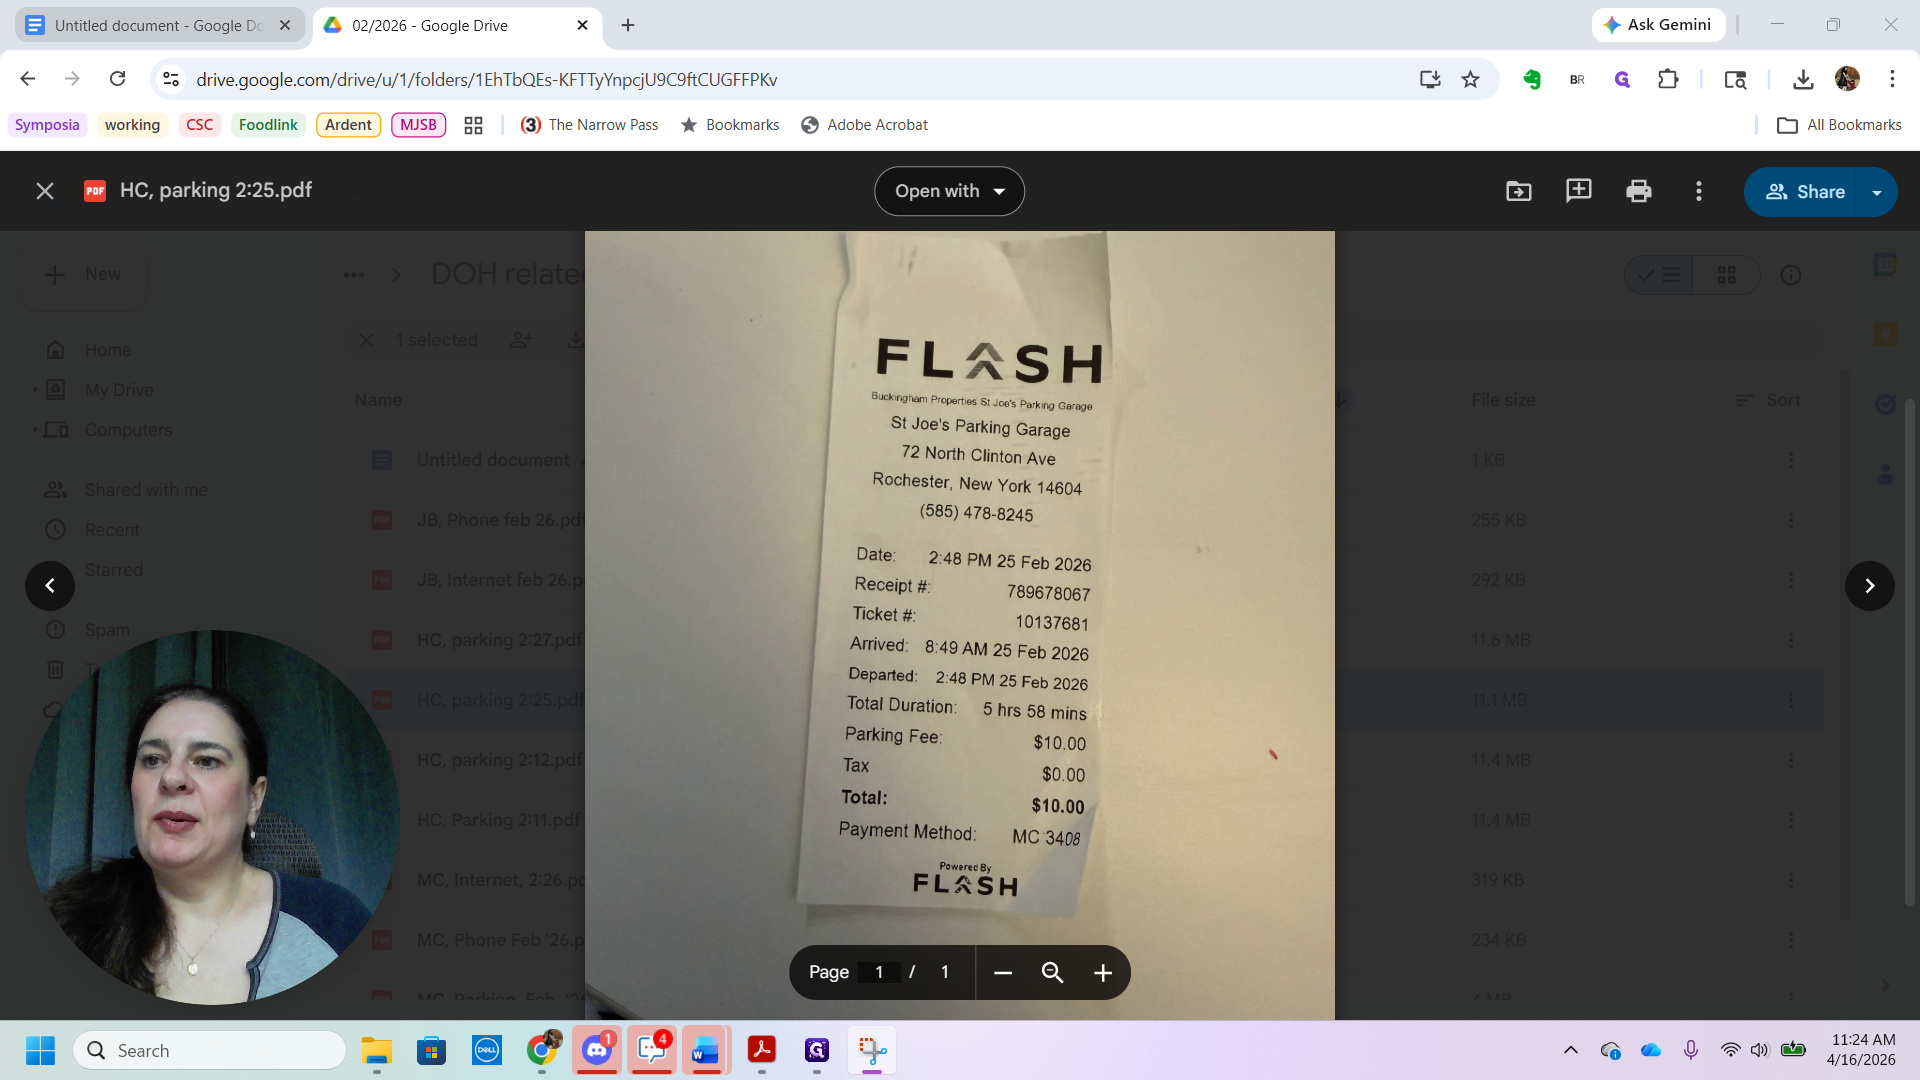
Each receipt you submit must display a few key details. First, it should clearly display its purpose, the date, and the amount. I will use Control C to copy the image, then go to a blank document.
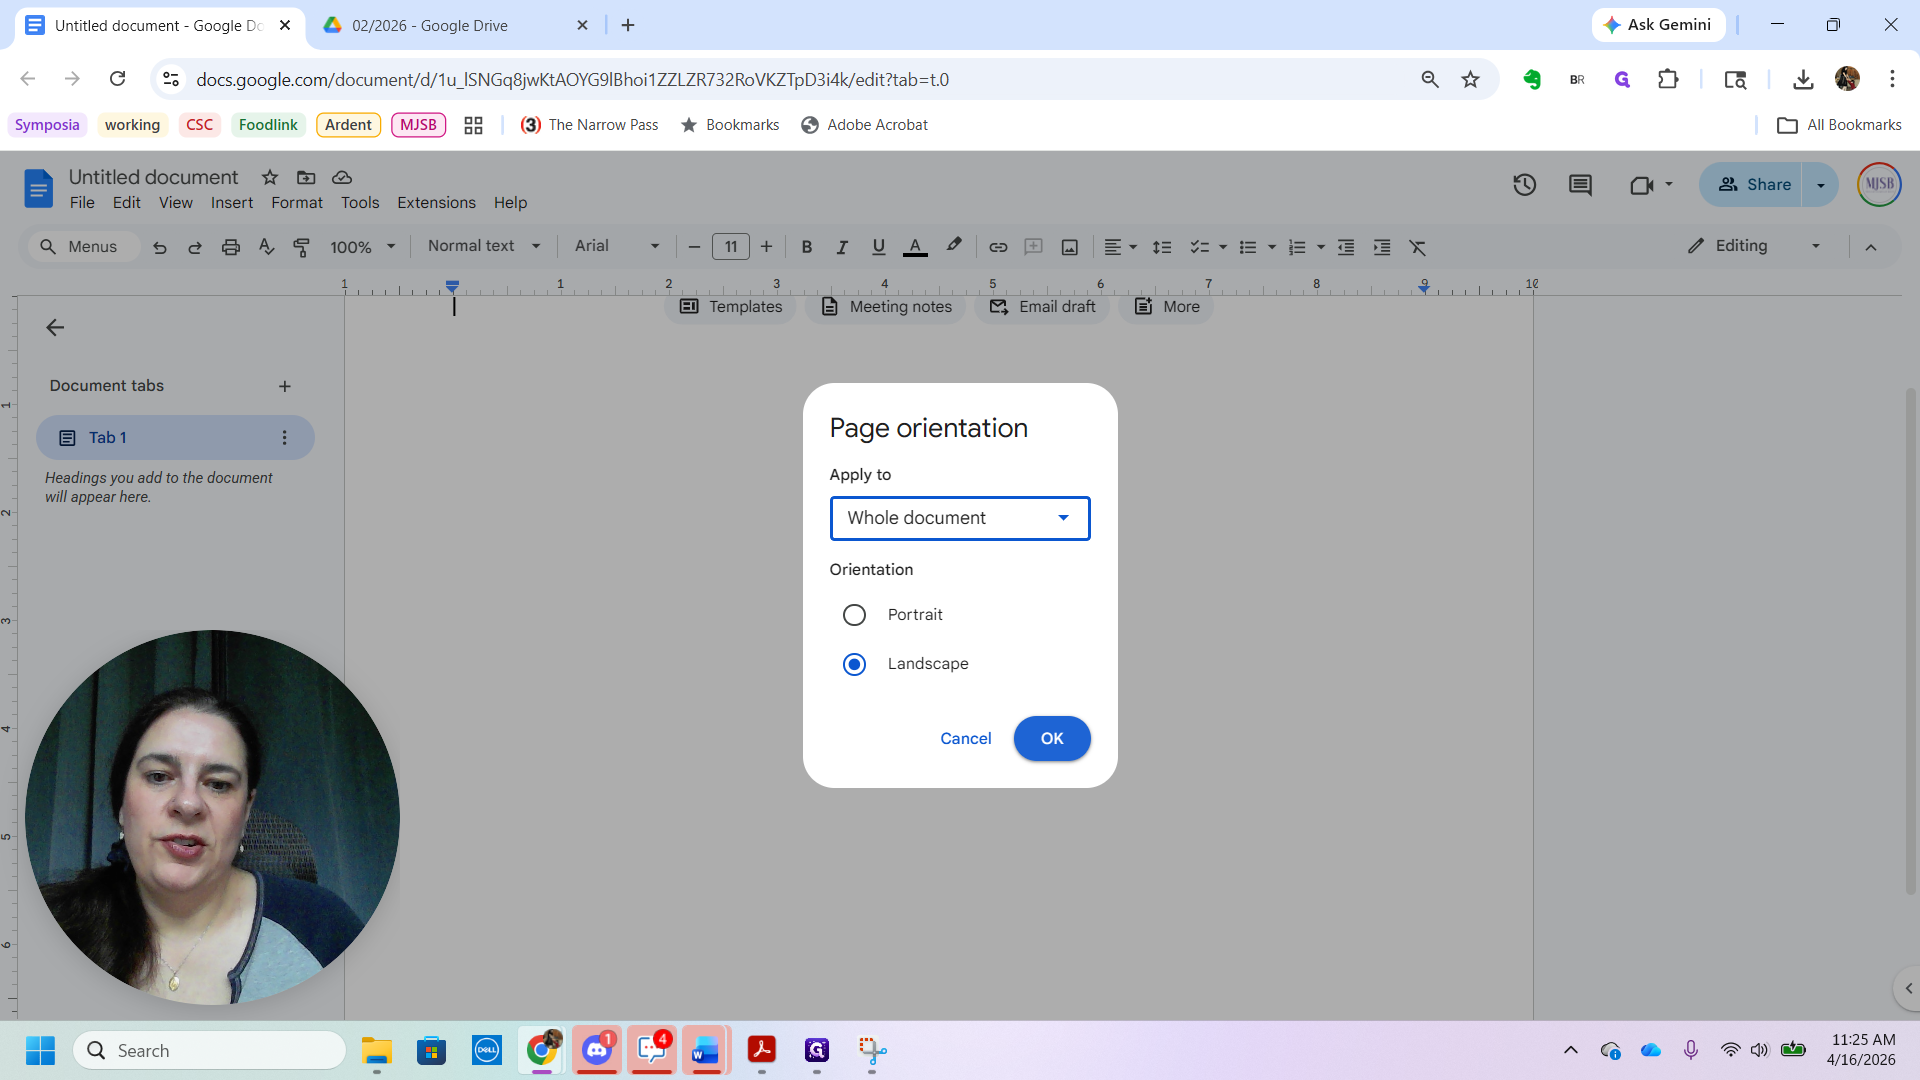
Depending on what you're adding to a document, it may be helpful to set the page in landscape mode instead of portrait.

Now, in my blank document, I will use Control V to paste the image.
You can repeat this process if you have multiple receipts. For demonstration, I'll pretend these are different receipts and paste several of them.
So long as the images are readable, you can resize them to fit more on a page.
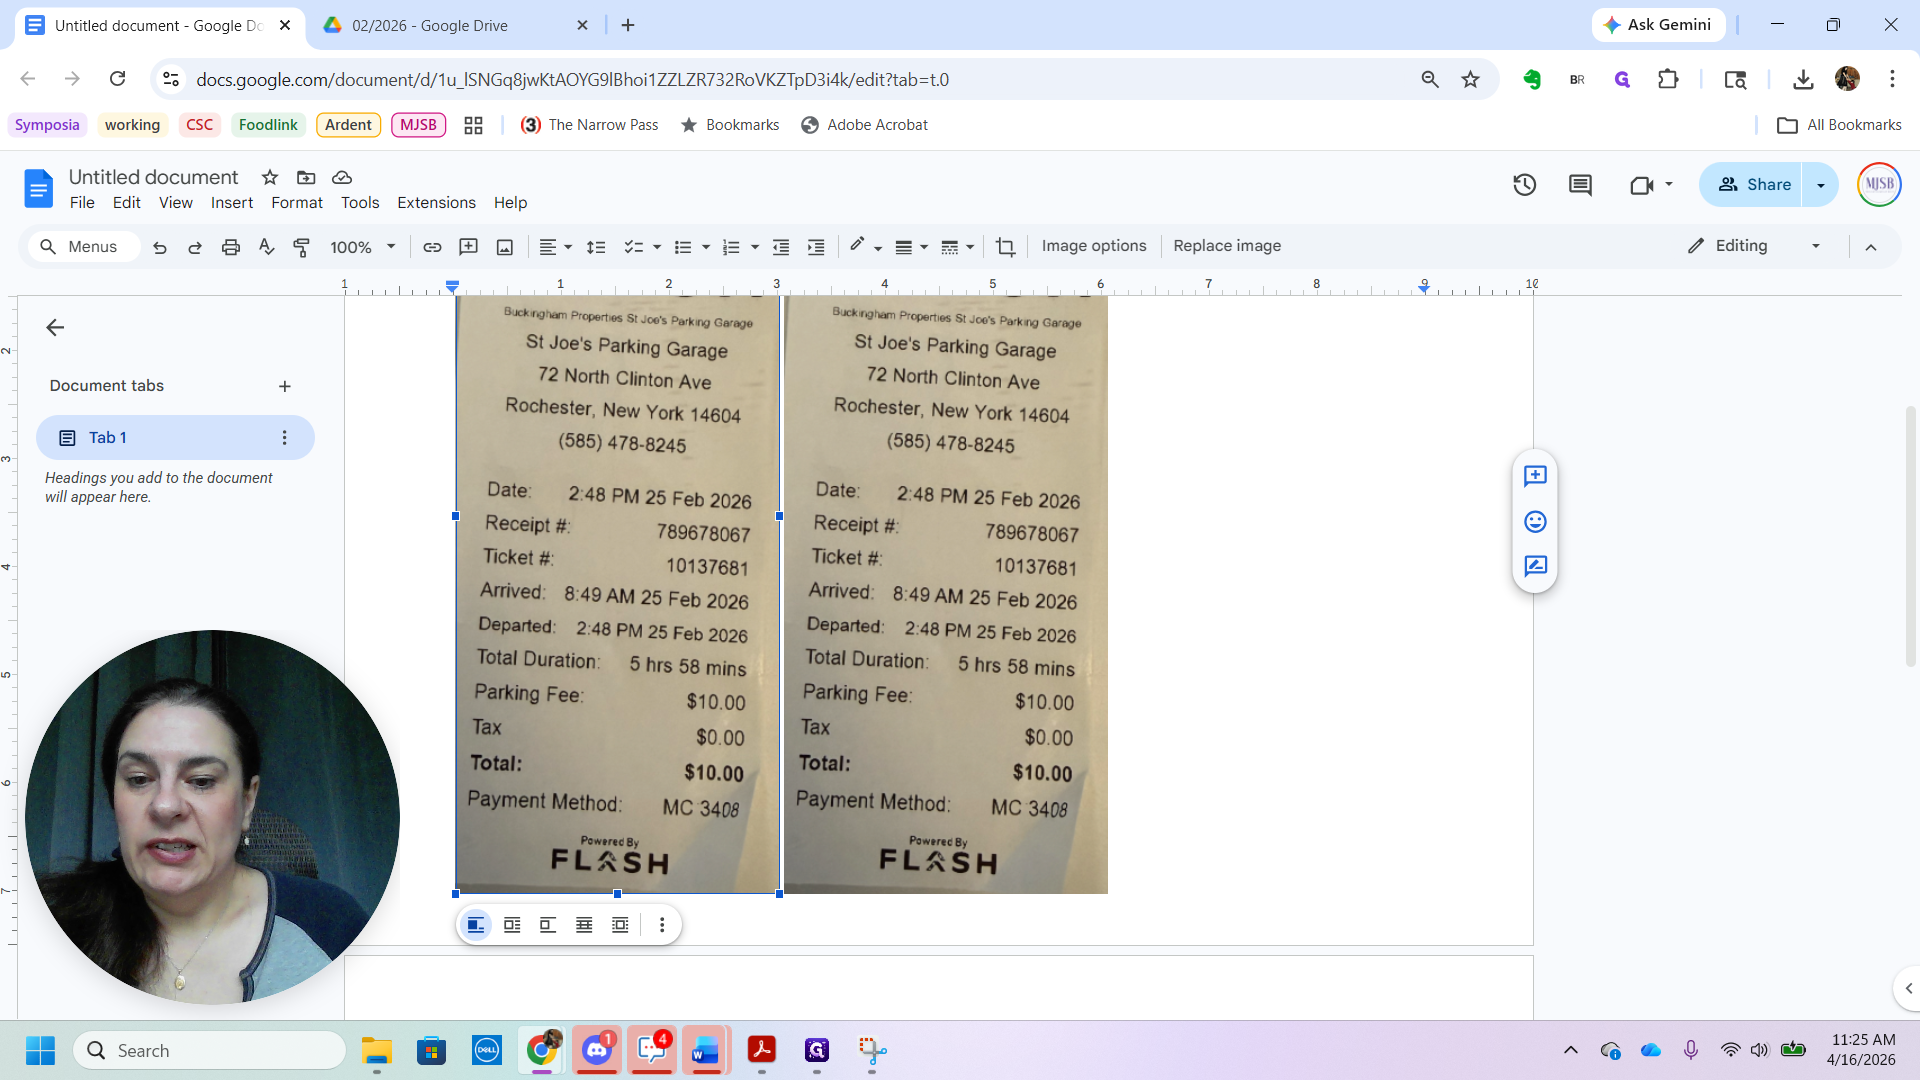
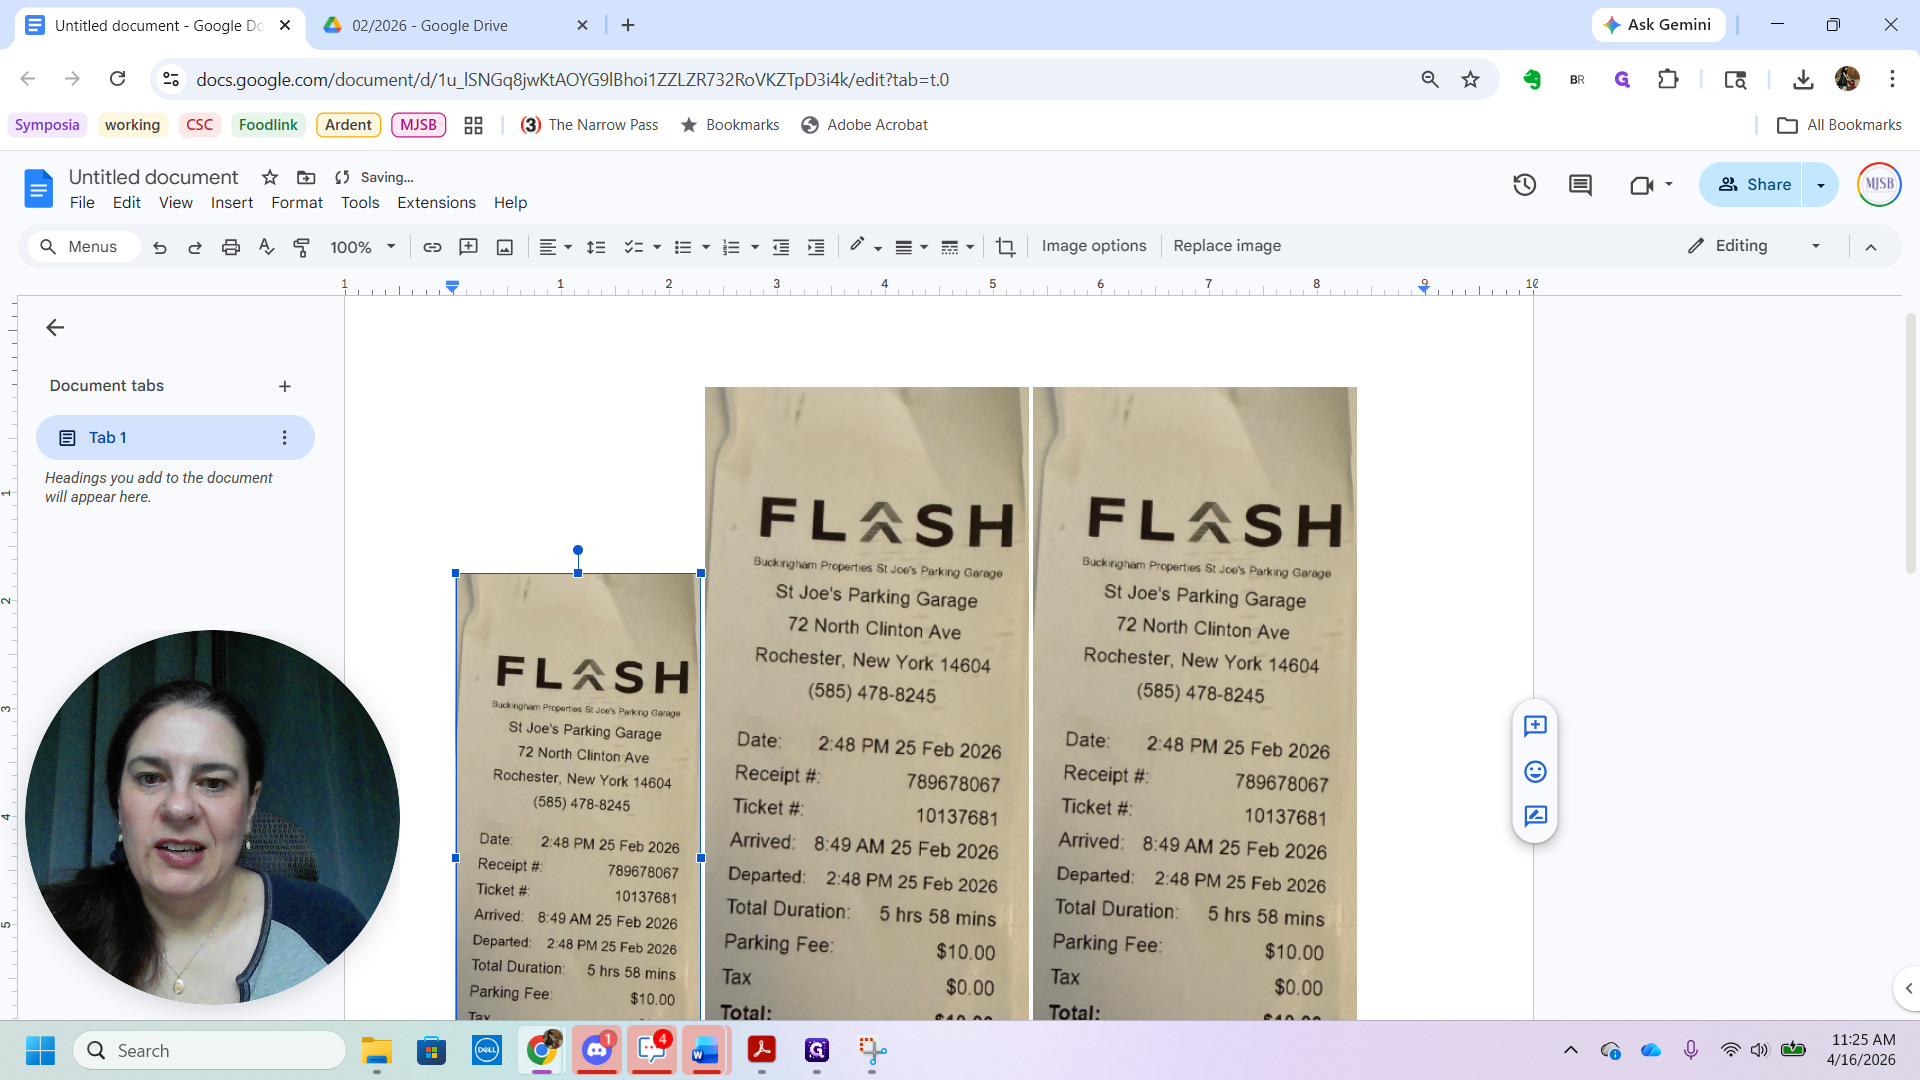
They don't all need to be the same size, but they all need to be readable. You can use a multi-page PDF. That is fine too.
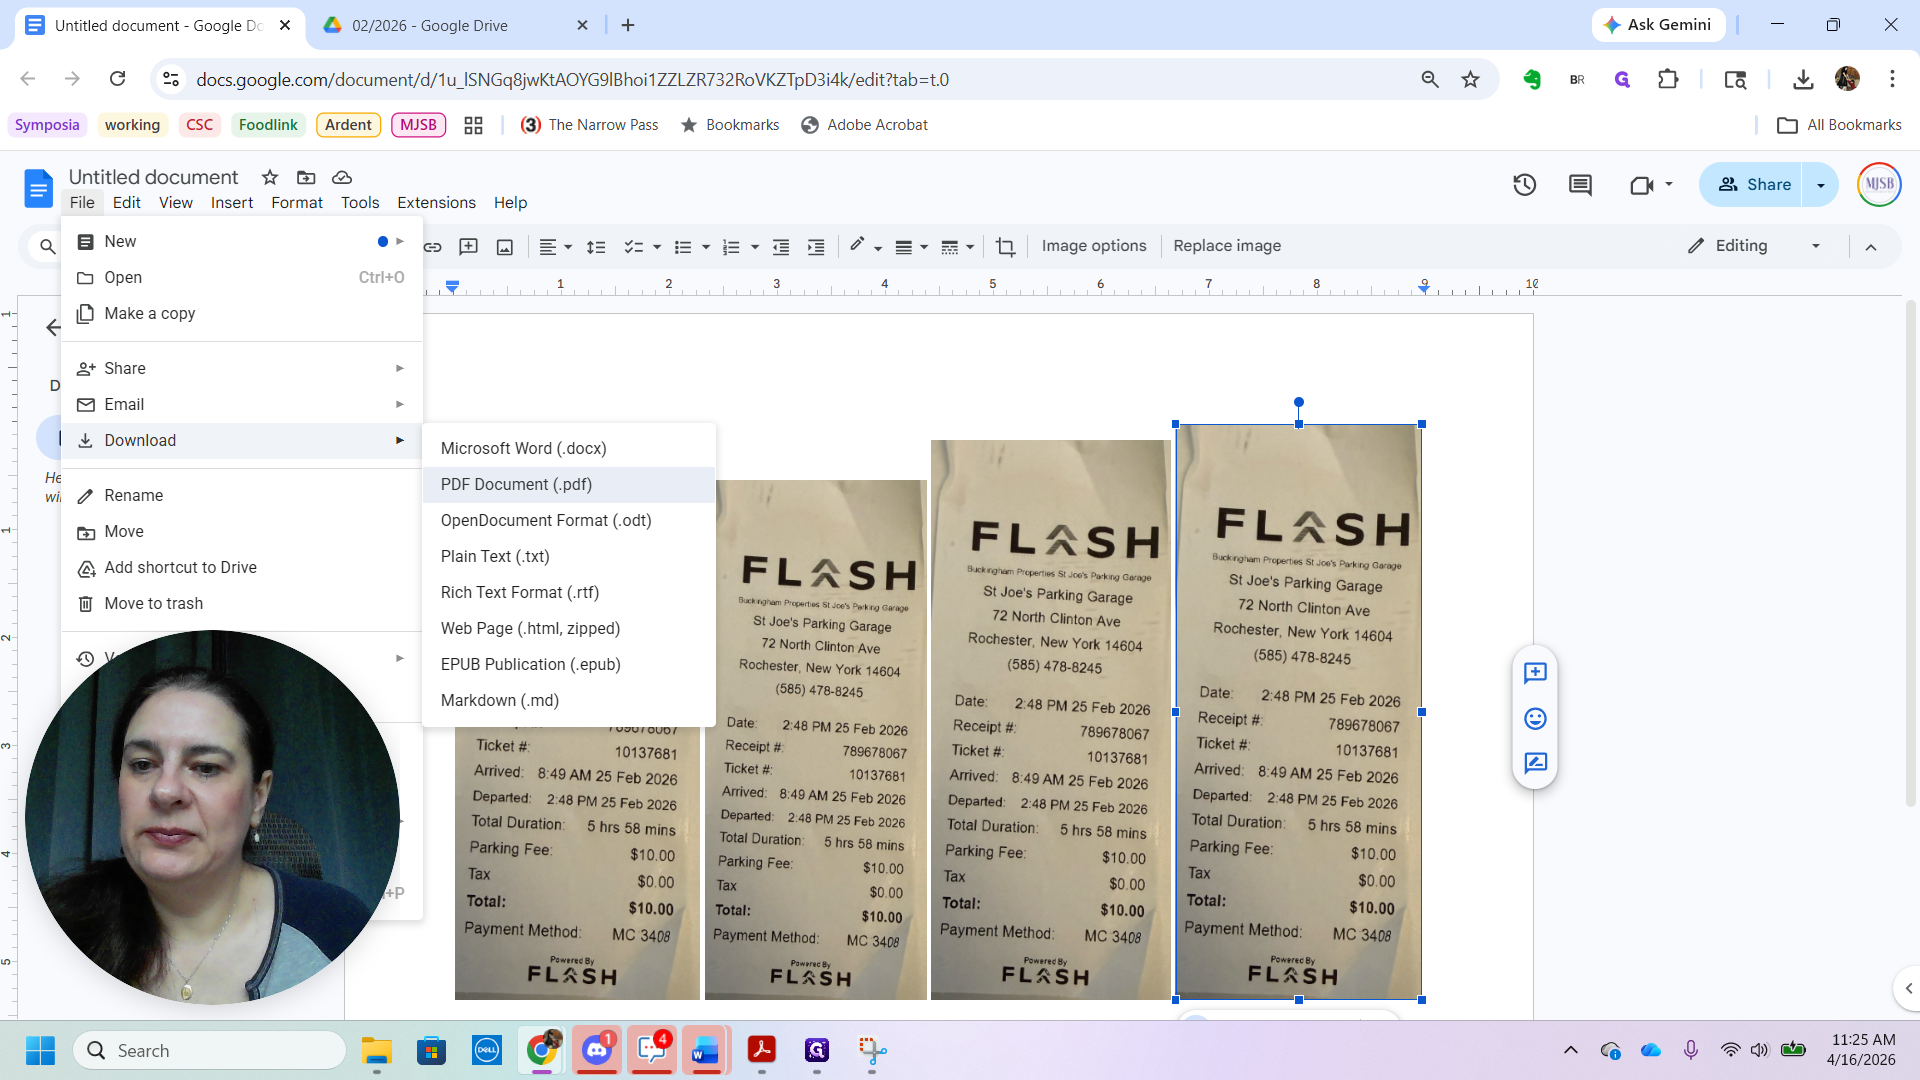
Once I'm happy with the layout and have all the information included, I go to File and download it as a PDF.
That saves the document as a PDF.
I can then upload that to the appropriate folder for vouchering, which makes it much easier for us to submit our vouchers. Thank you very much.