
How to Complete a Tool Shipping Form: Step-by-Step Guide
Learn how to accurately fill out a tool shipping form, including entering material lead information, BOL details, shipping locations, contact info, and required documentation for a smooth transfer process.
In this guide, we'll learn how to fill out a tool shipping form to document and track the transfer of tools between sites. This process includes entering details such as the material lead, shipping and receiving locations, shipment date, and contact information for project managers. We'll also cover how to upload supporting files and ensure all necessary information is included for a smooth shipment.
Let's get started
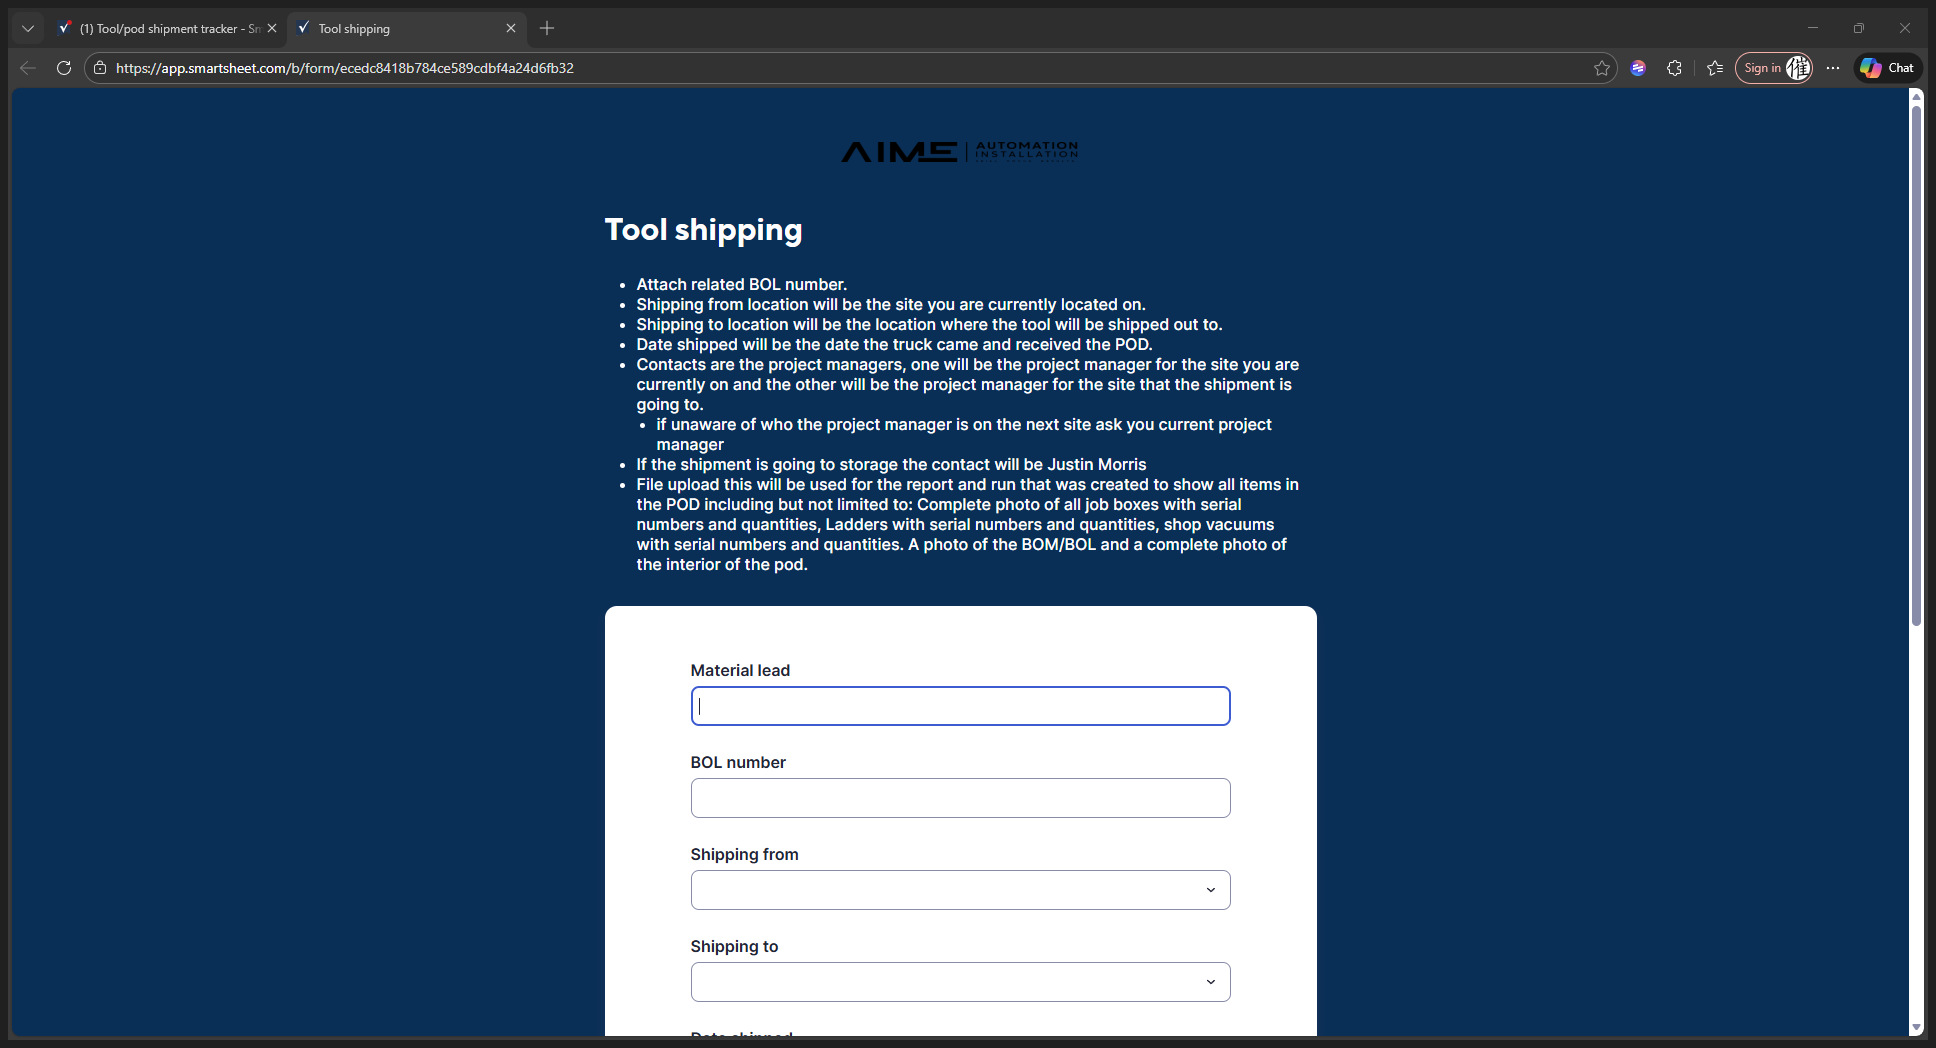
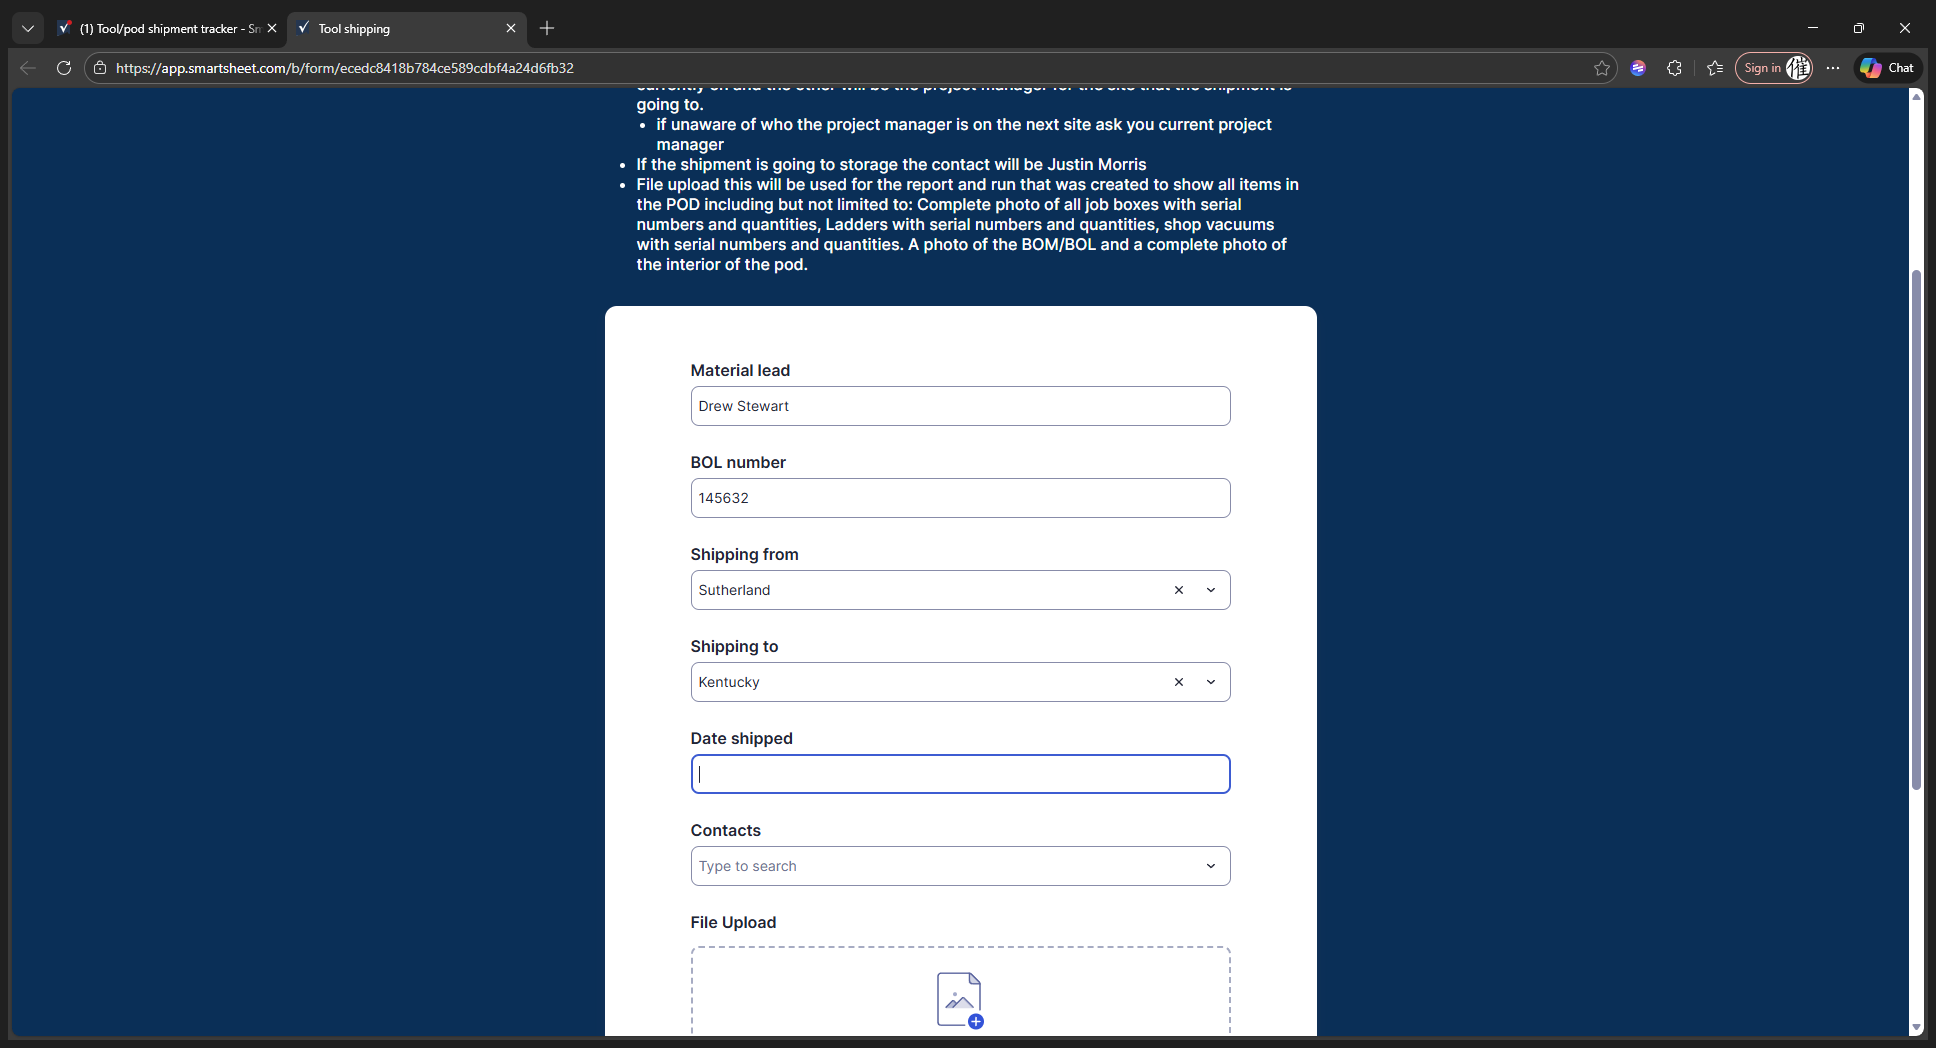
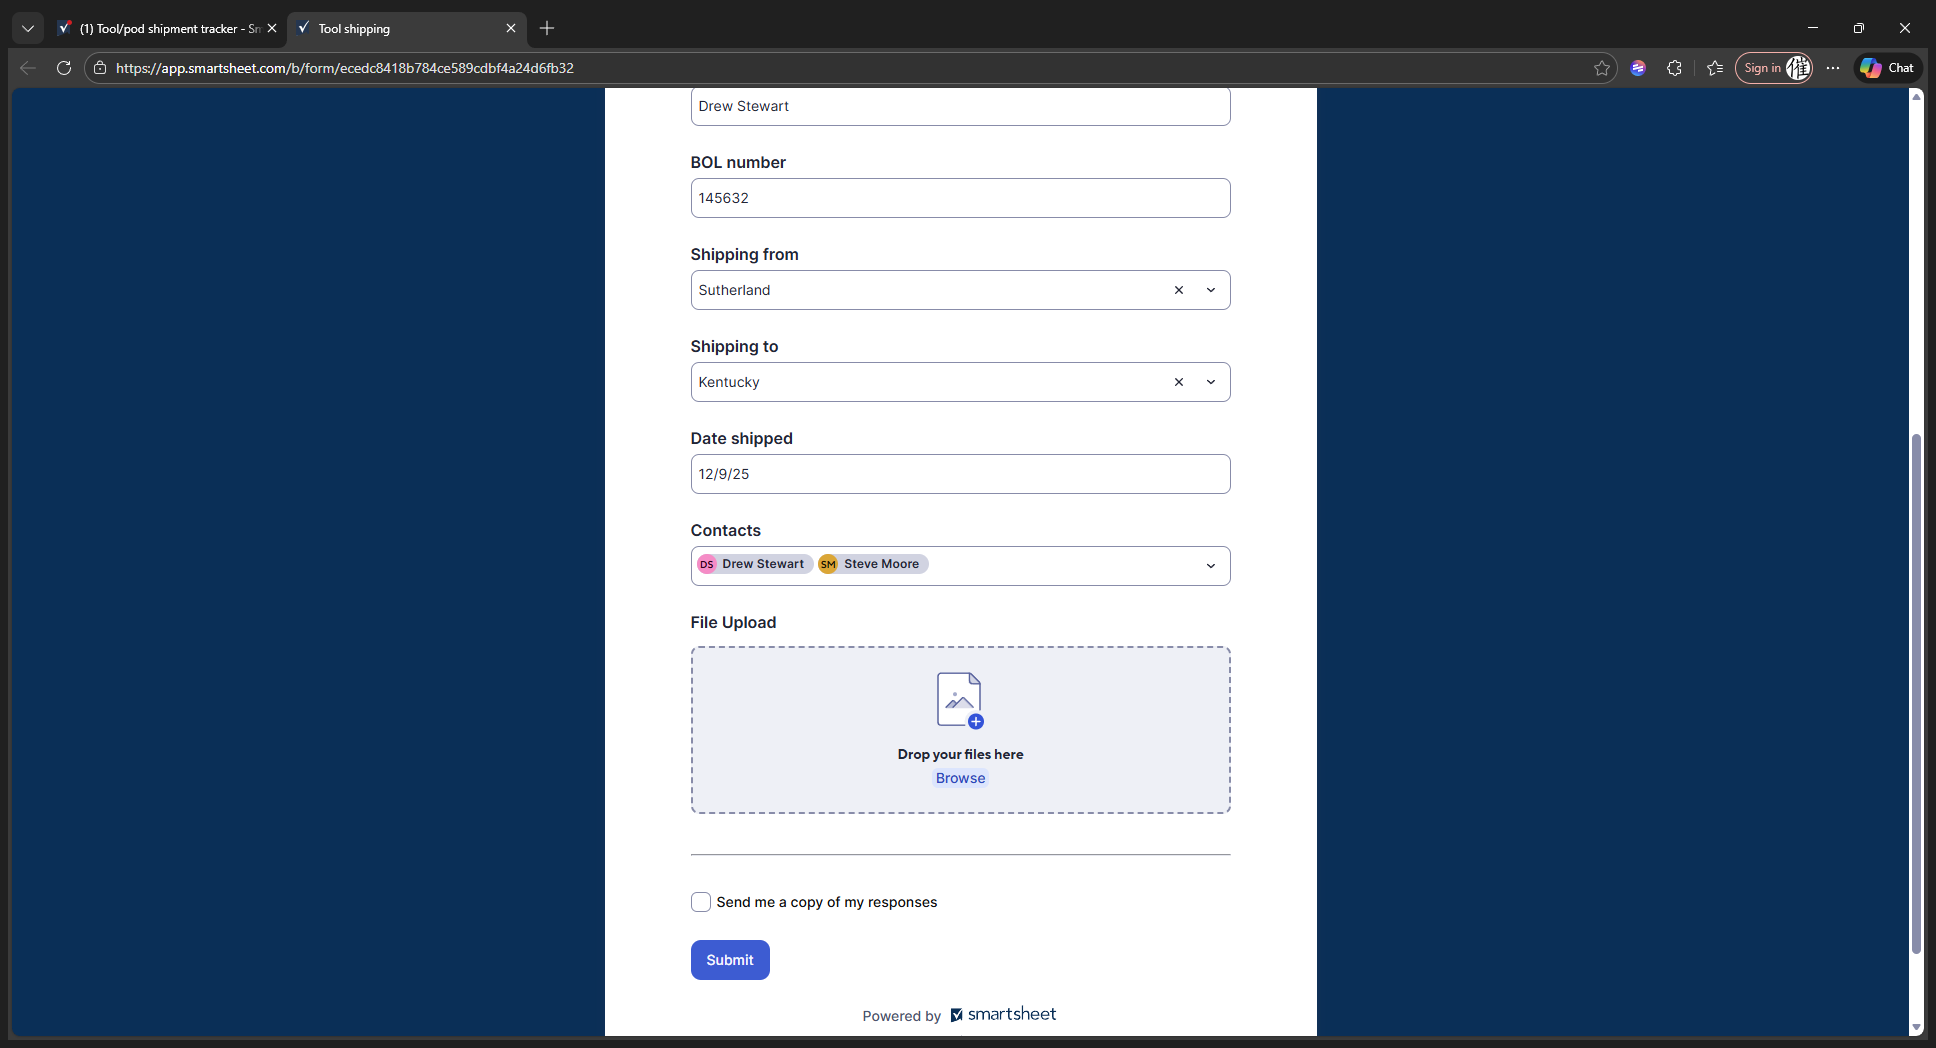
For the tool shipping form, start by typing "Material Lead."
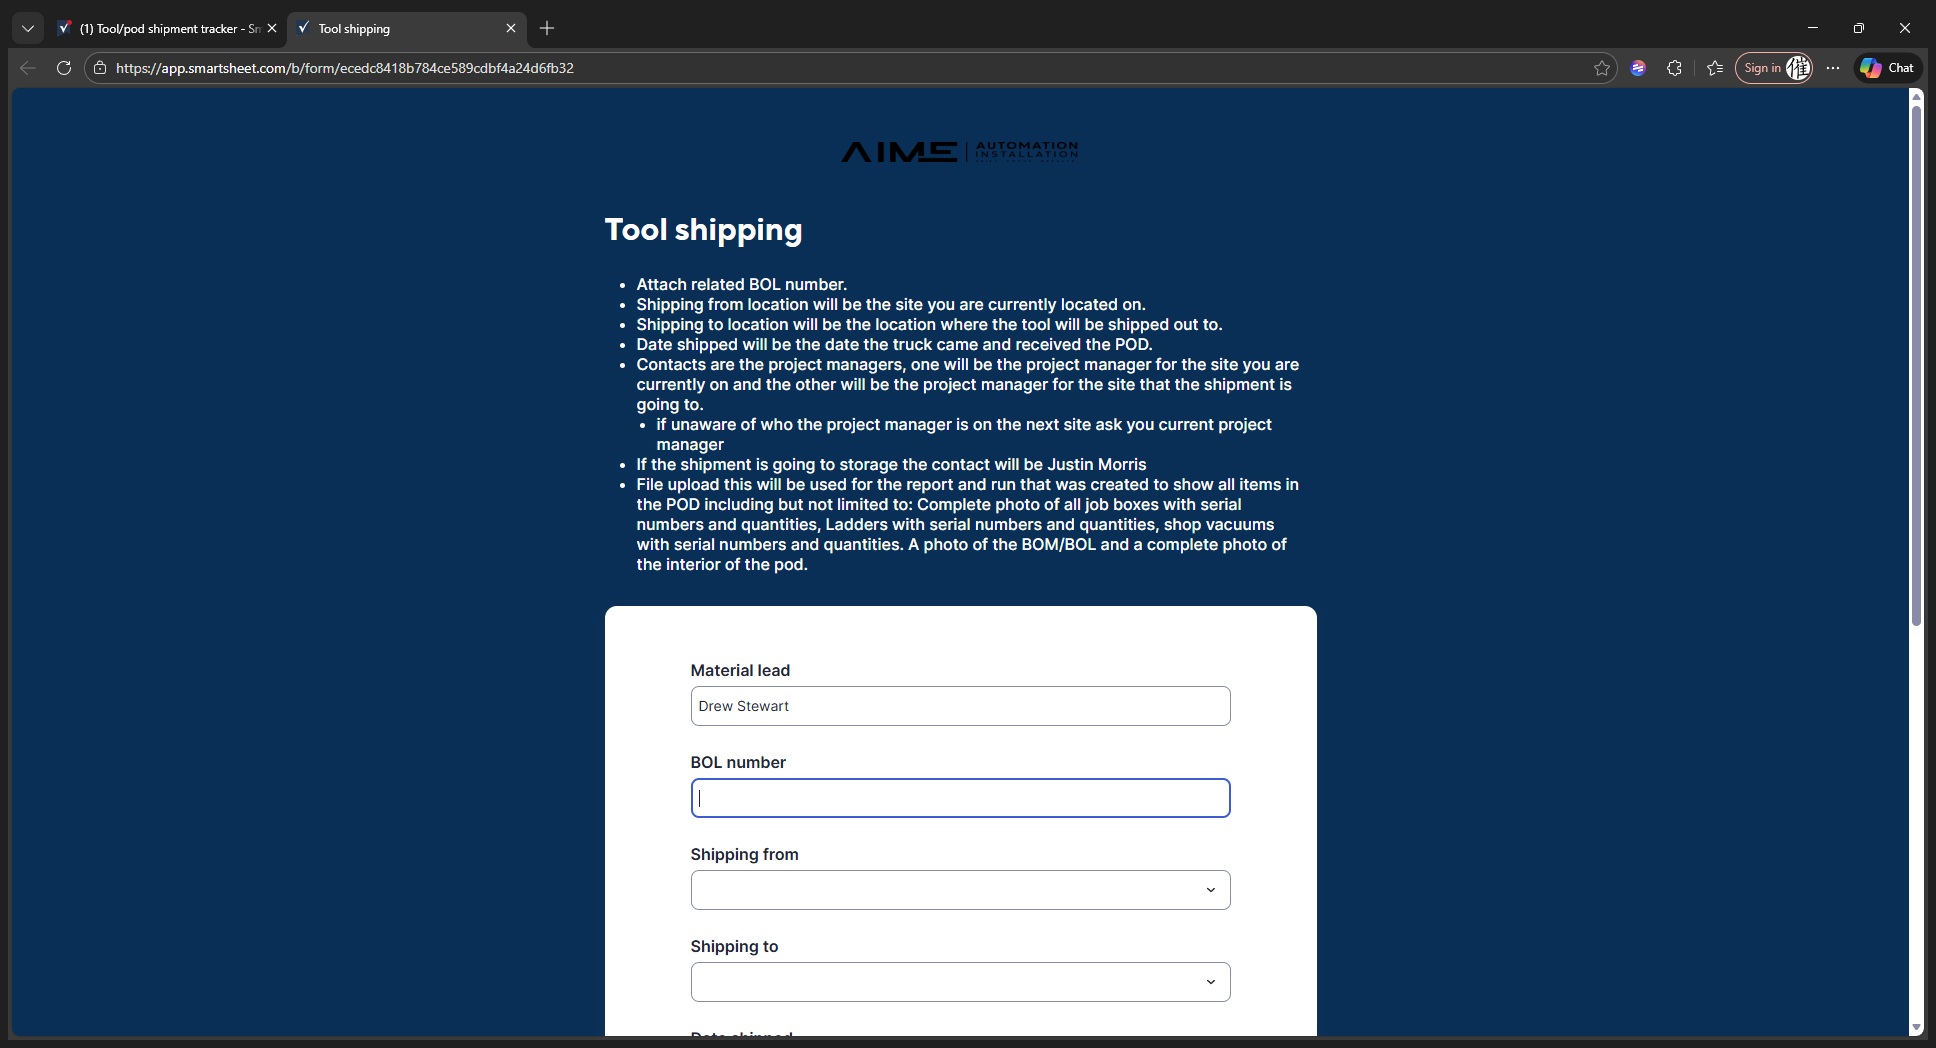
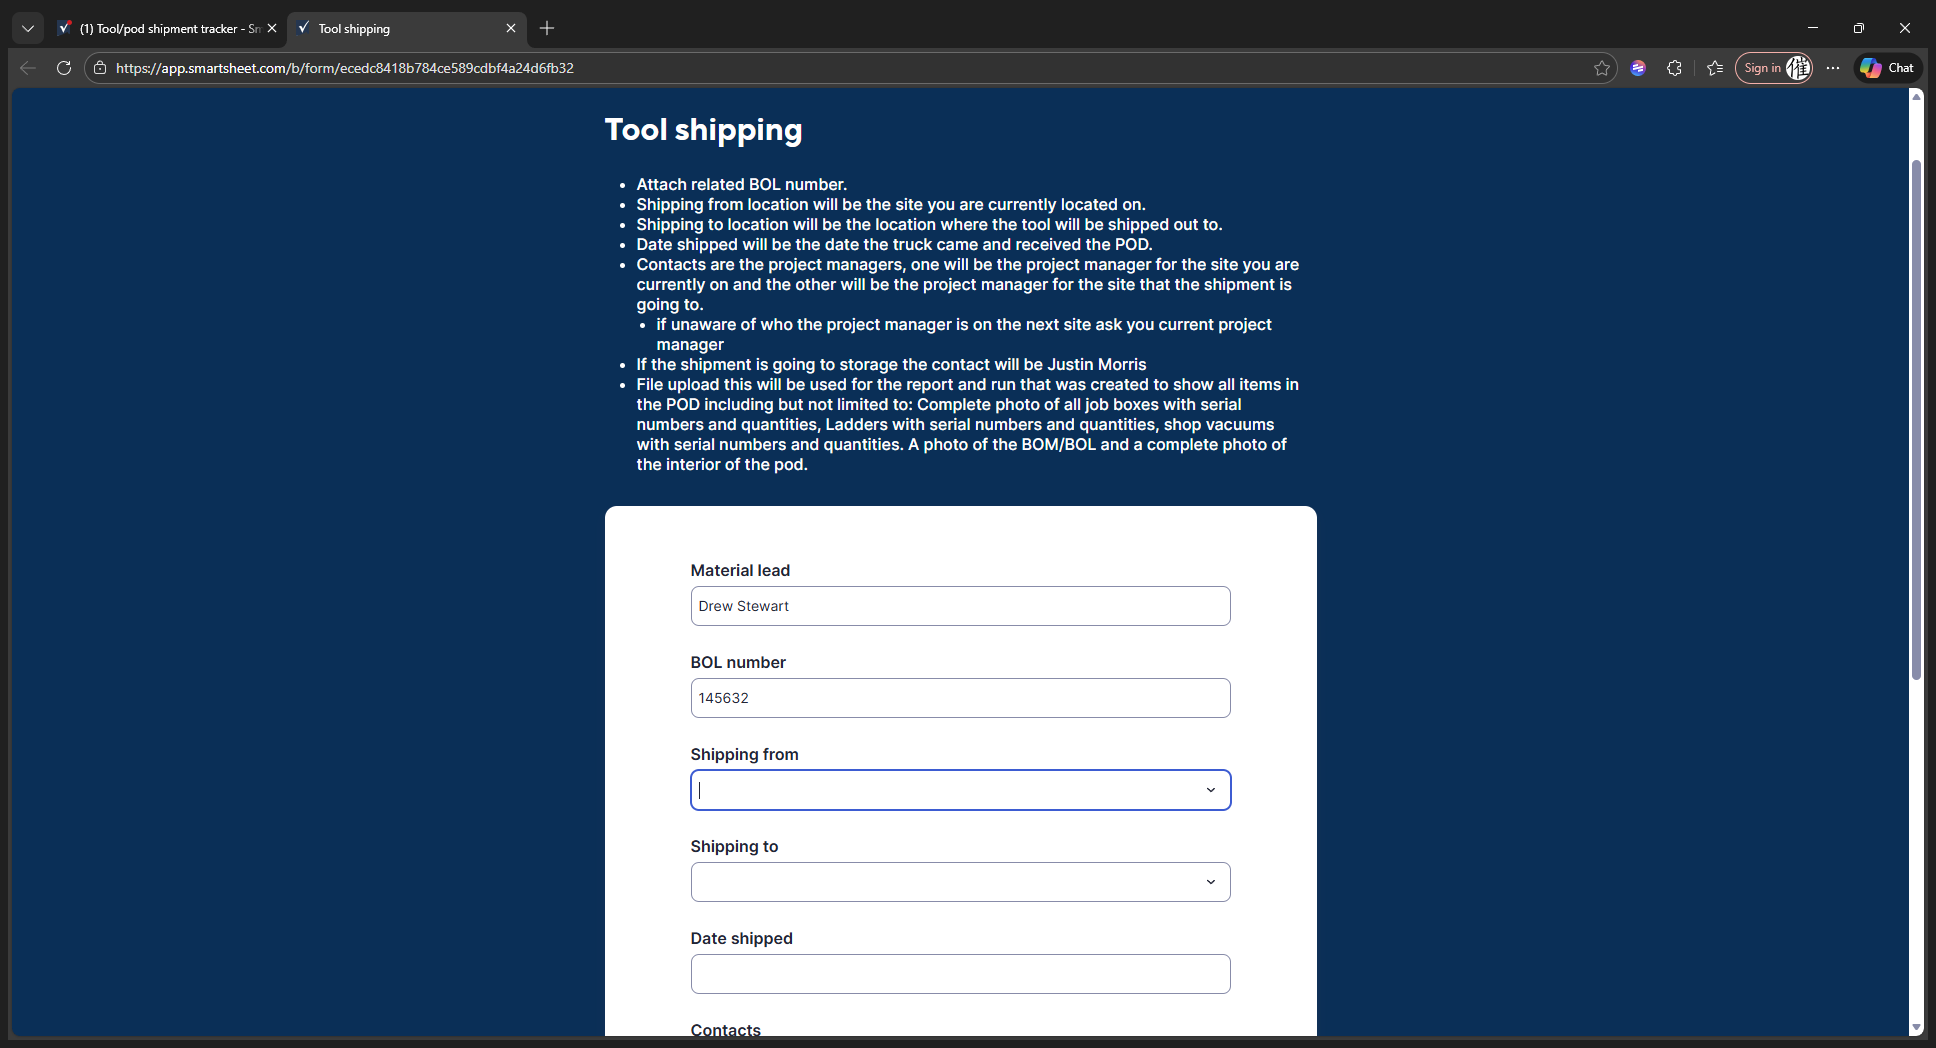
I am Drew Stewart, so I will enter the material lead's name. For the BOL, use any receipt number or tracking information available.
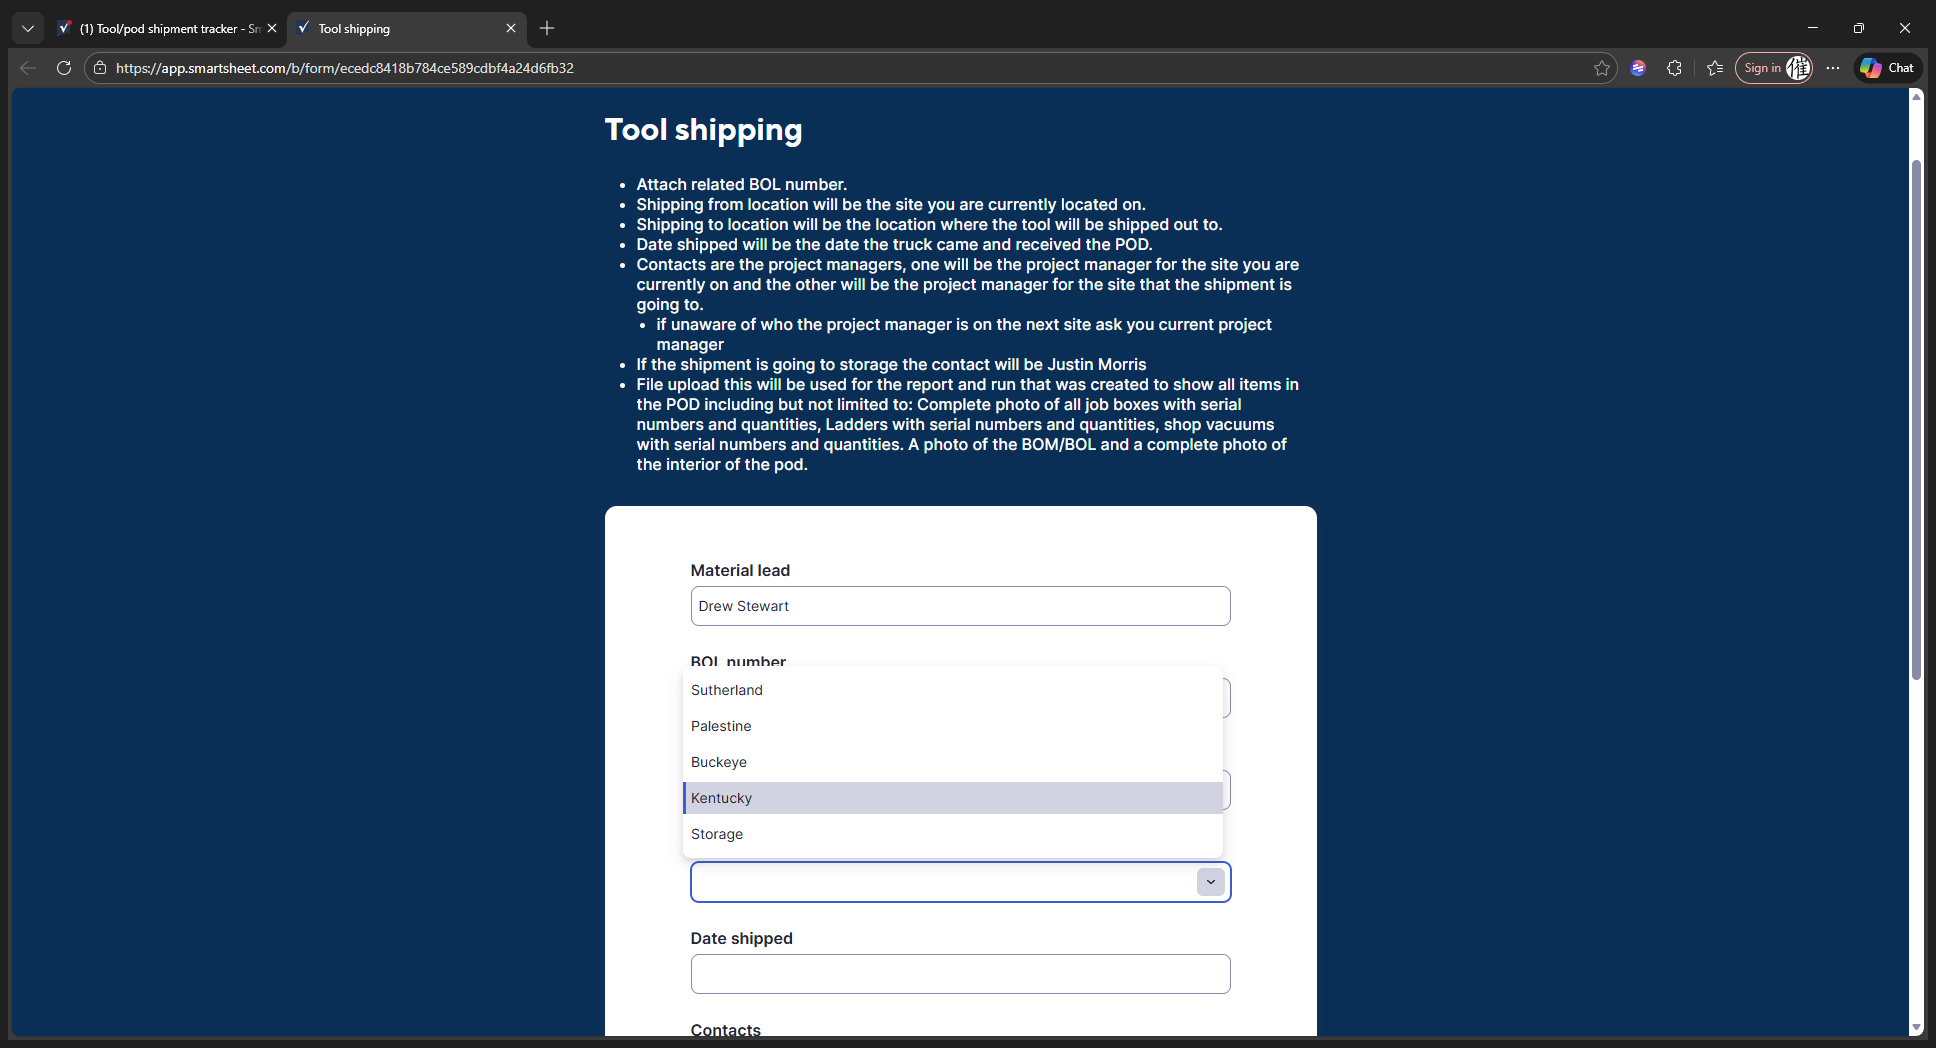
For this example, we will use 145632. Shipping will be from your current site location, and I am in Sutherland.

Shipping to the location refers to where these tools will be sent.
We will send them to Kentucky.
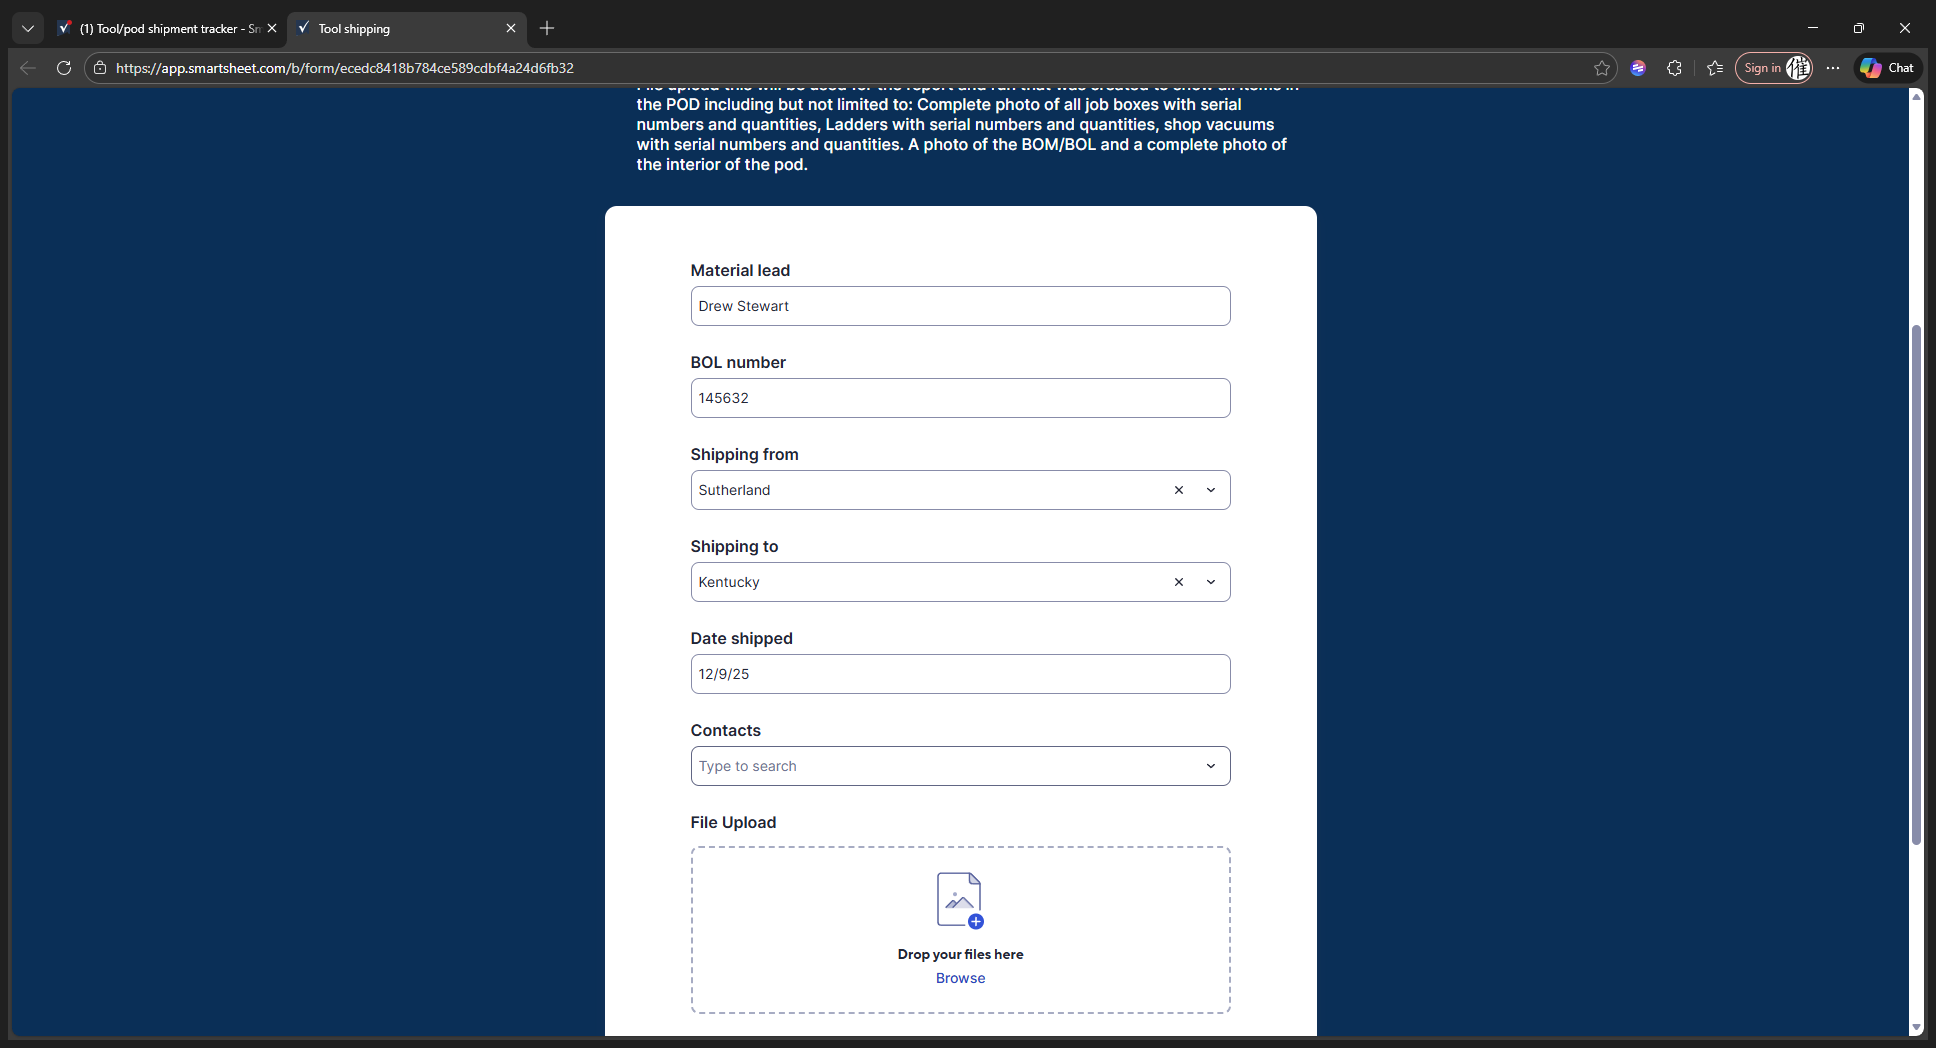
The date shipped should be the date you create this report. However, it could also be the next day or a later date.
We will update the date from 12/8 to 12/9/25.
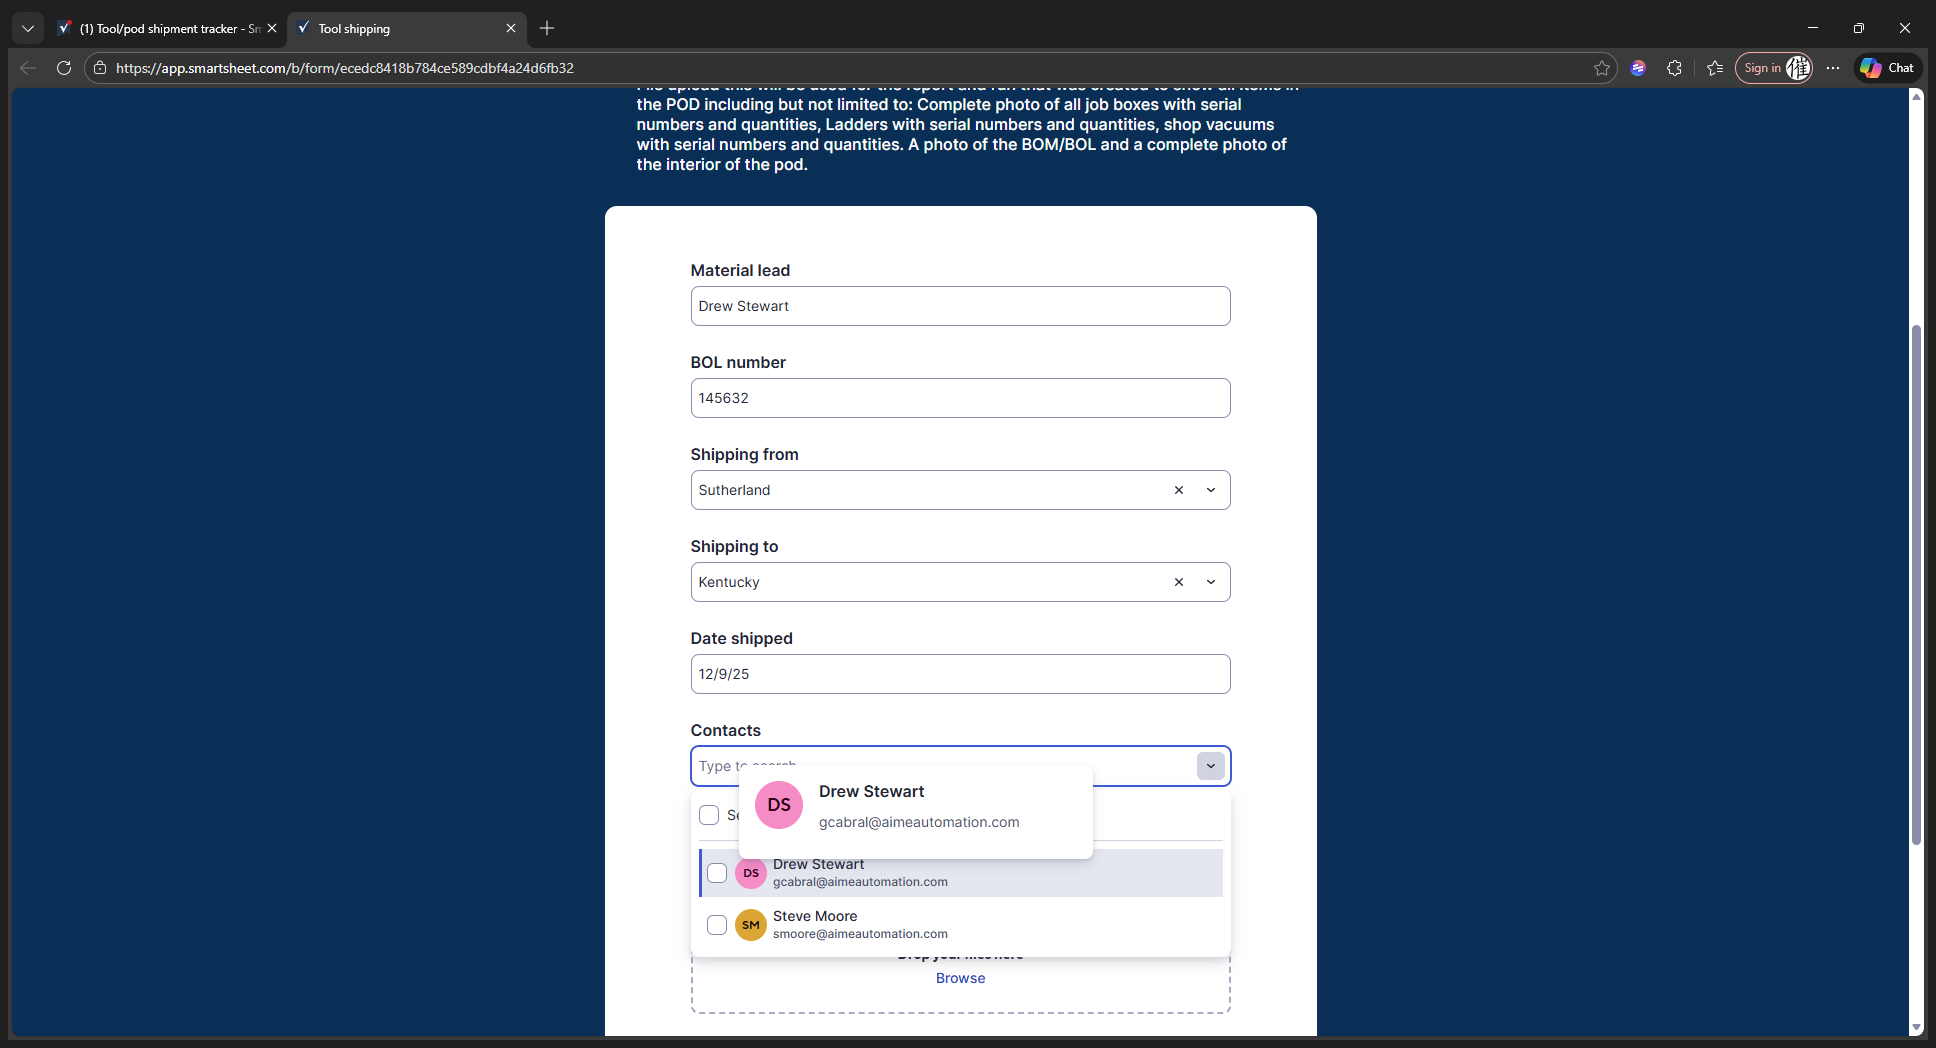
It will ship out tomorrow. The contacts for this are the PM for your current site and the PM for the site you are shipping to.
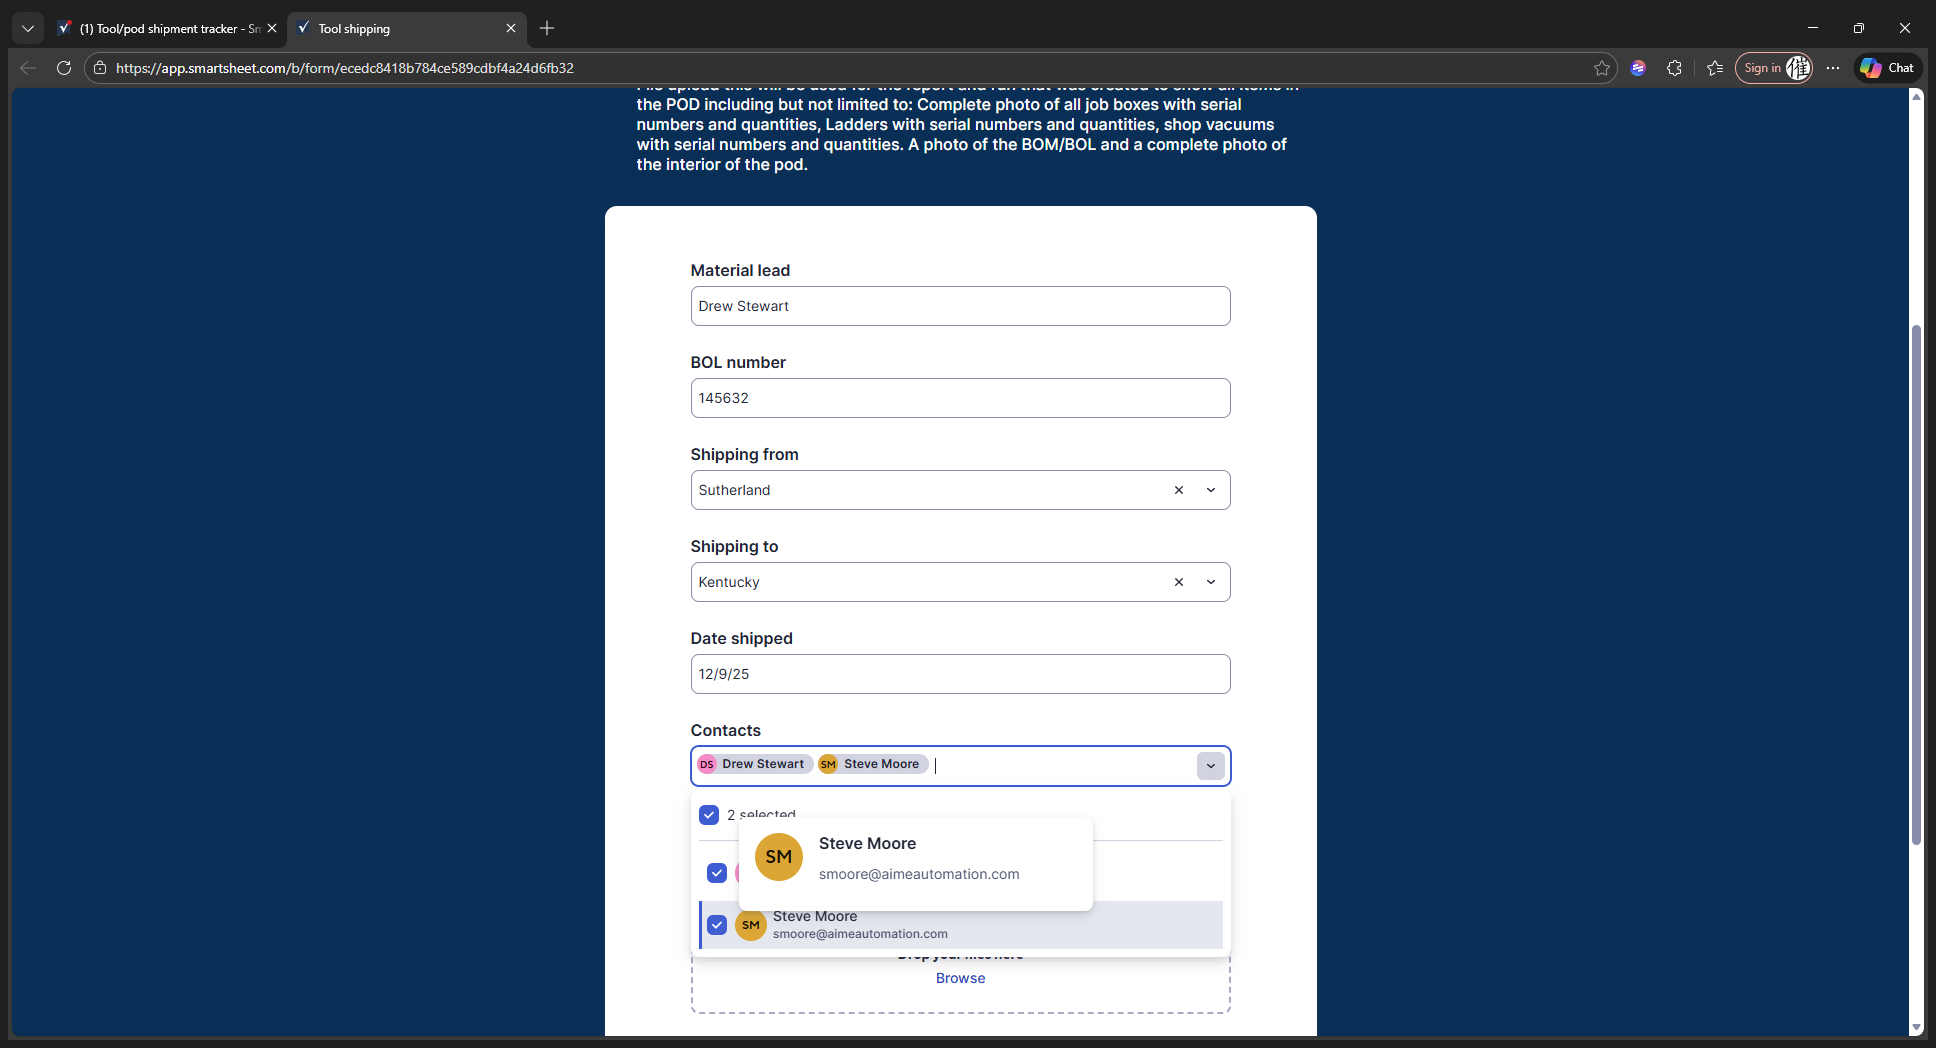
If you don't know the project manager for the site you're shipping to, ask your current project manager. They should be able to provide that information. For this example, we'll ship from Sutherland using myself as the sender, and ship to Kentucky with Steve Moore as the recipient.
Next, upload your file for the report and run the app.
Once we have this, it should include a complete photo of all job boxes, serial numbers, quantities, ladders with their quantities and end numbers, and a picture of the bill of lading or receipt from the POD.
When we submit this form, it will alert both project managers. First, it notifies them that a job box is leaving the site. Second, it reminds them to expect a shipment arriving at their site. We'll just submit it. That's all we need to do.
