Icon

How to Configure a Non-Gallery Application in Azure with Scale Kit

Learn step-by-step how to create and configure a non-gallery application in Azure using Scale Kit. This guide covers provisioning, user sync groups, and real-time updates.

By Jitender Singh Rana

In this guide, we'll learn how to create and configure a non-gallery application in Microsoft Azure. This process is essential for setting up custom applications that are not available in the Azure gallery. By following these steps, you will be able to provision and manage users and groups efficiently, ensuring that your application integrates seamlessly with your existing systems.

Let's get started

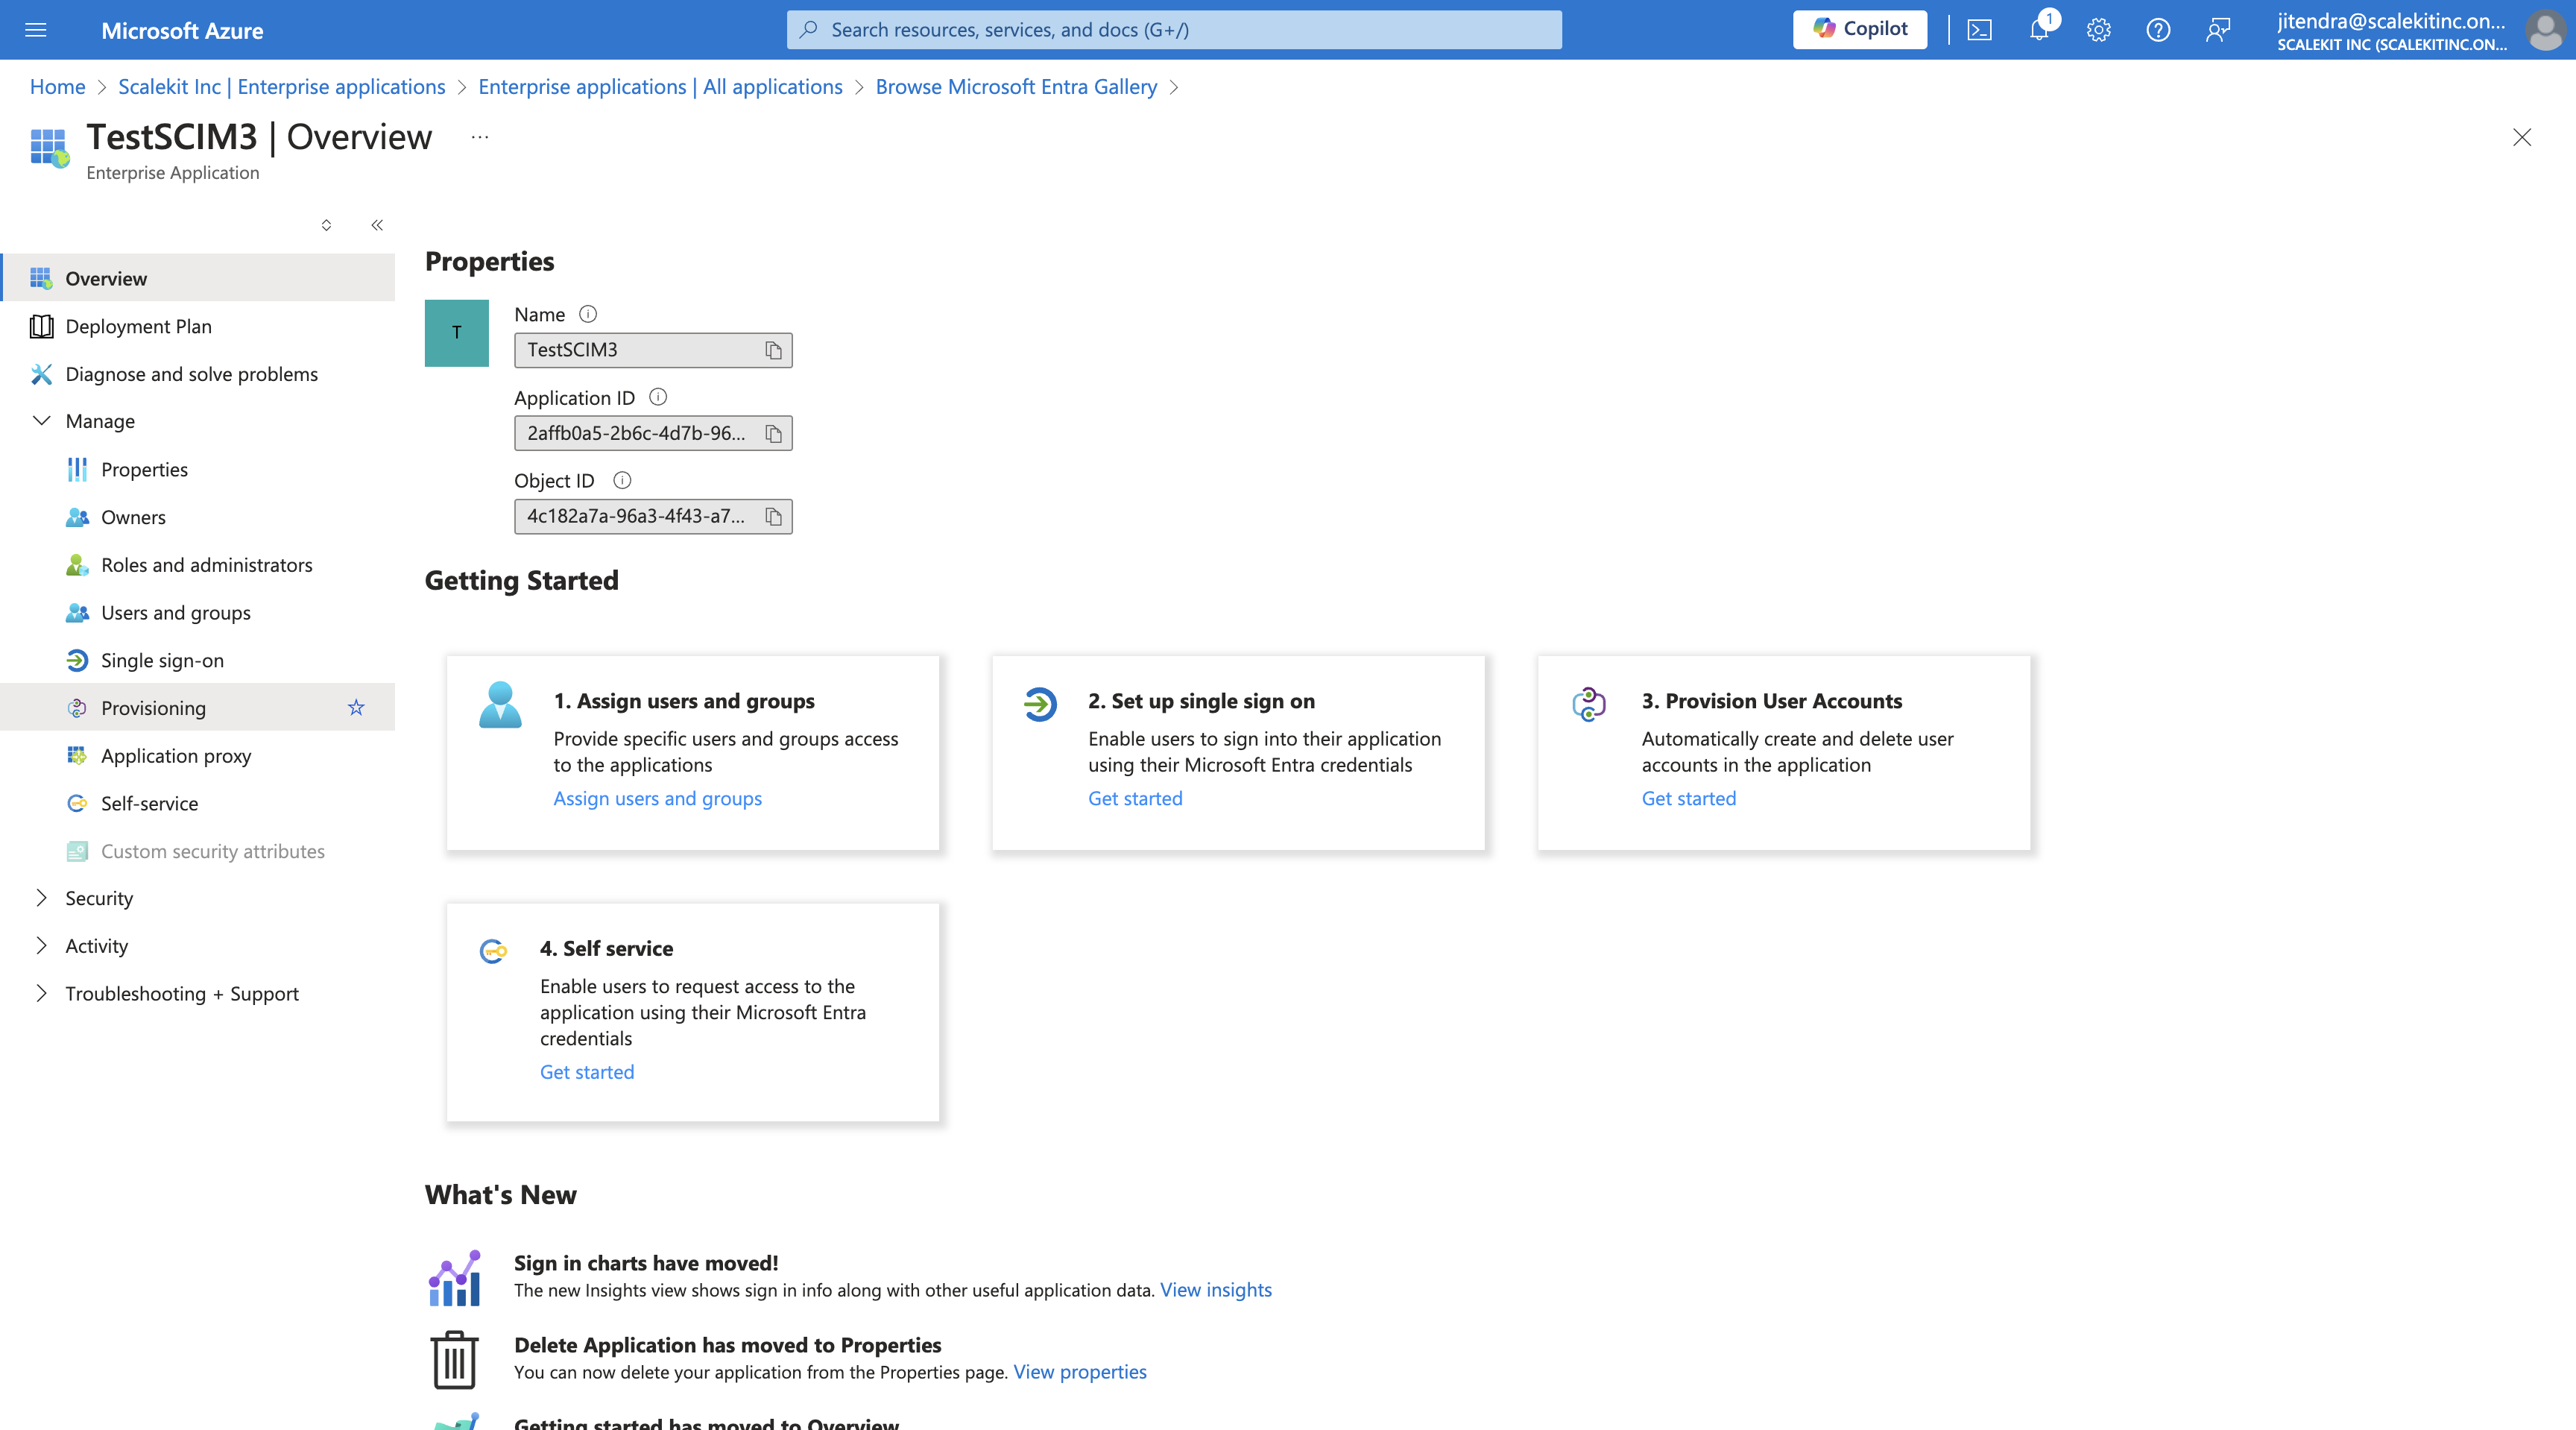
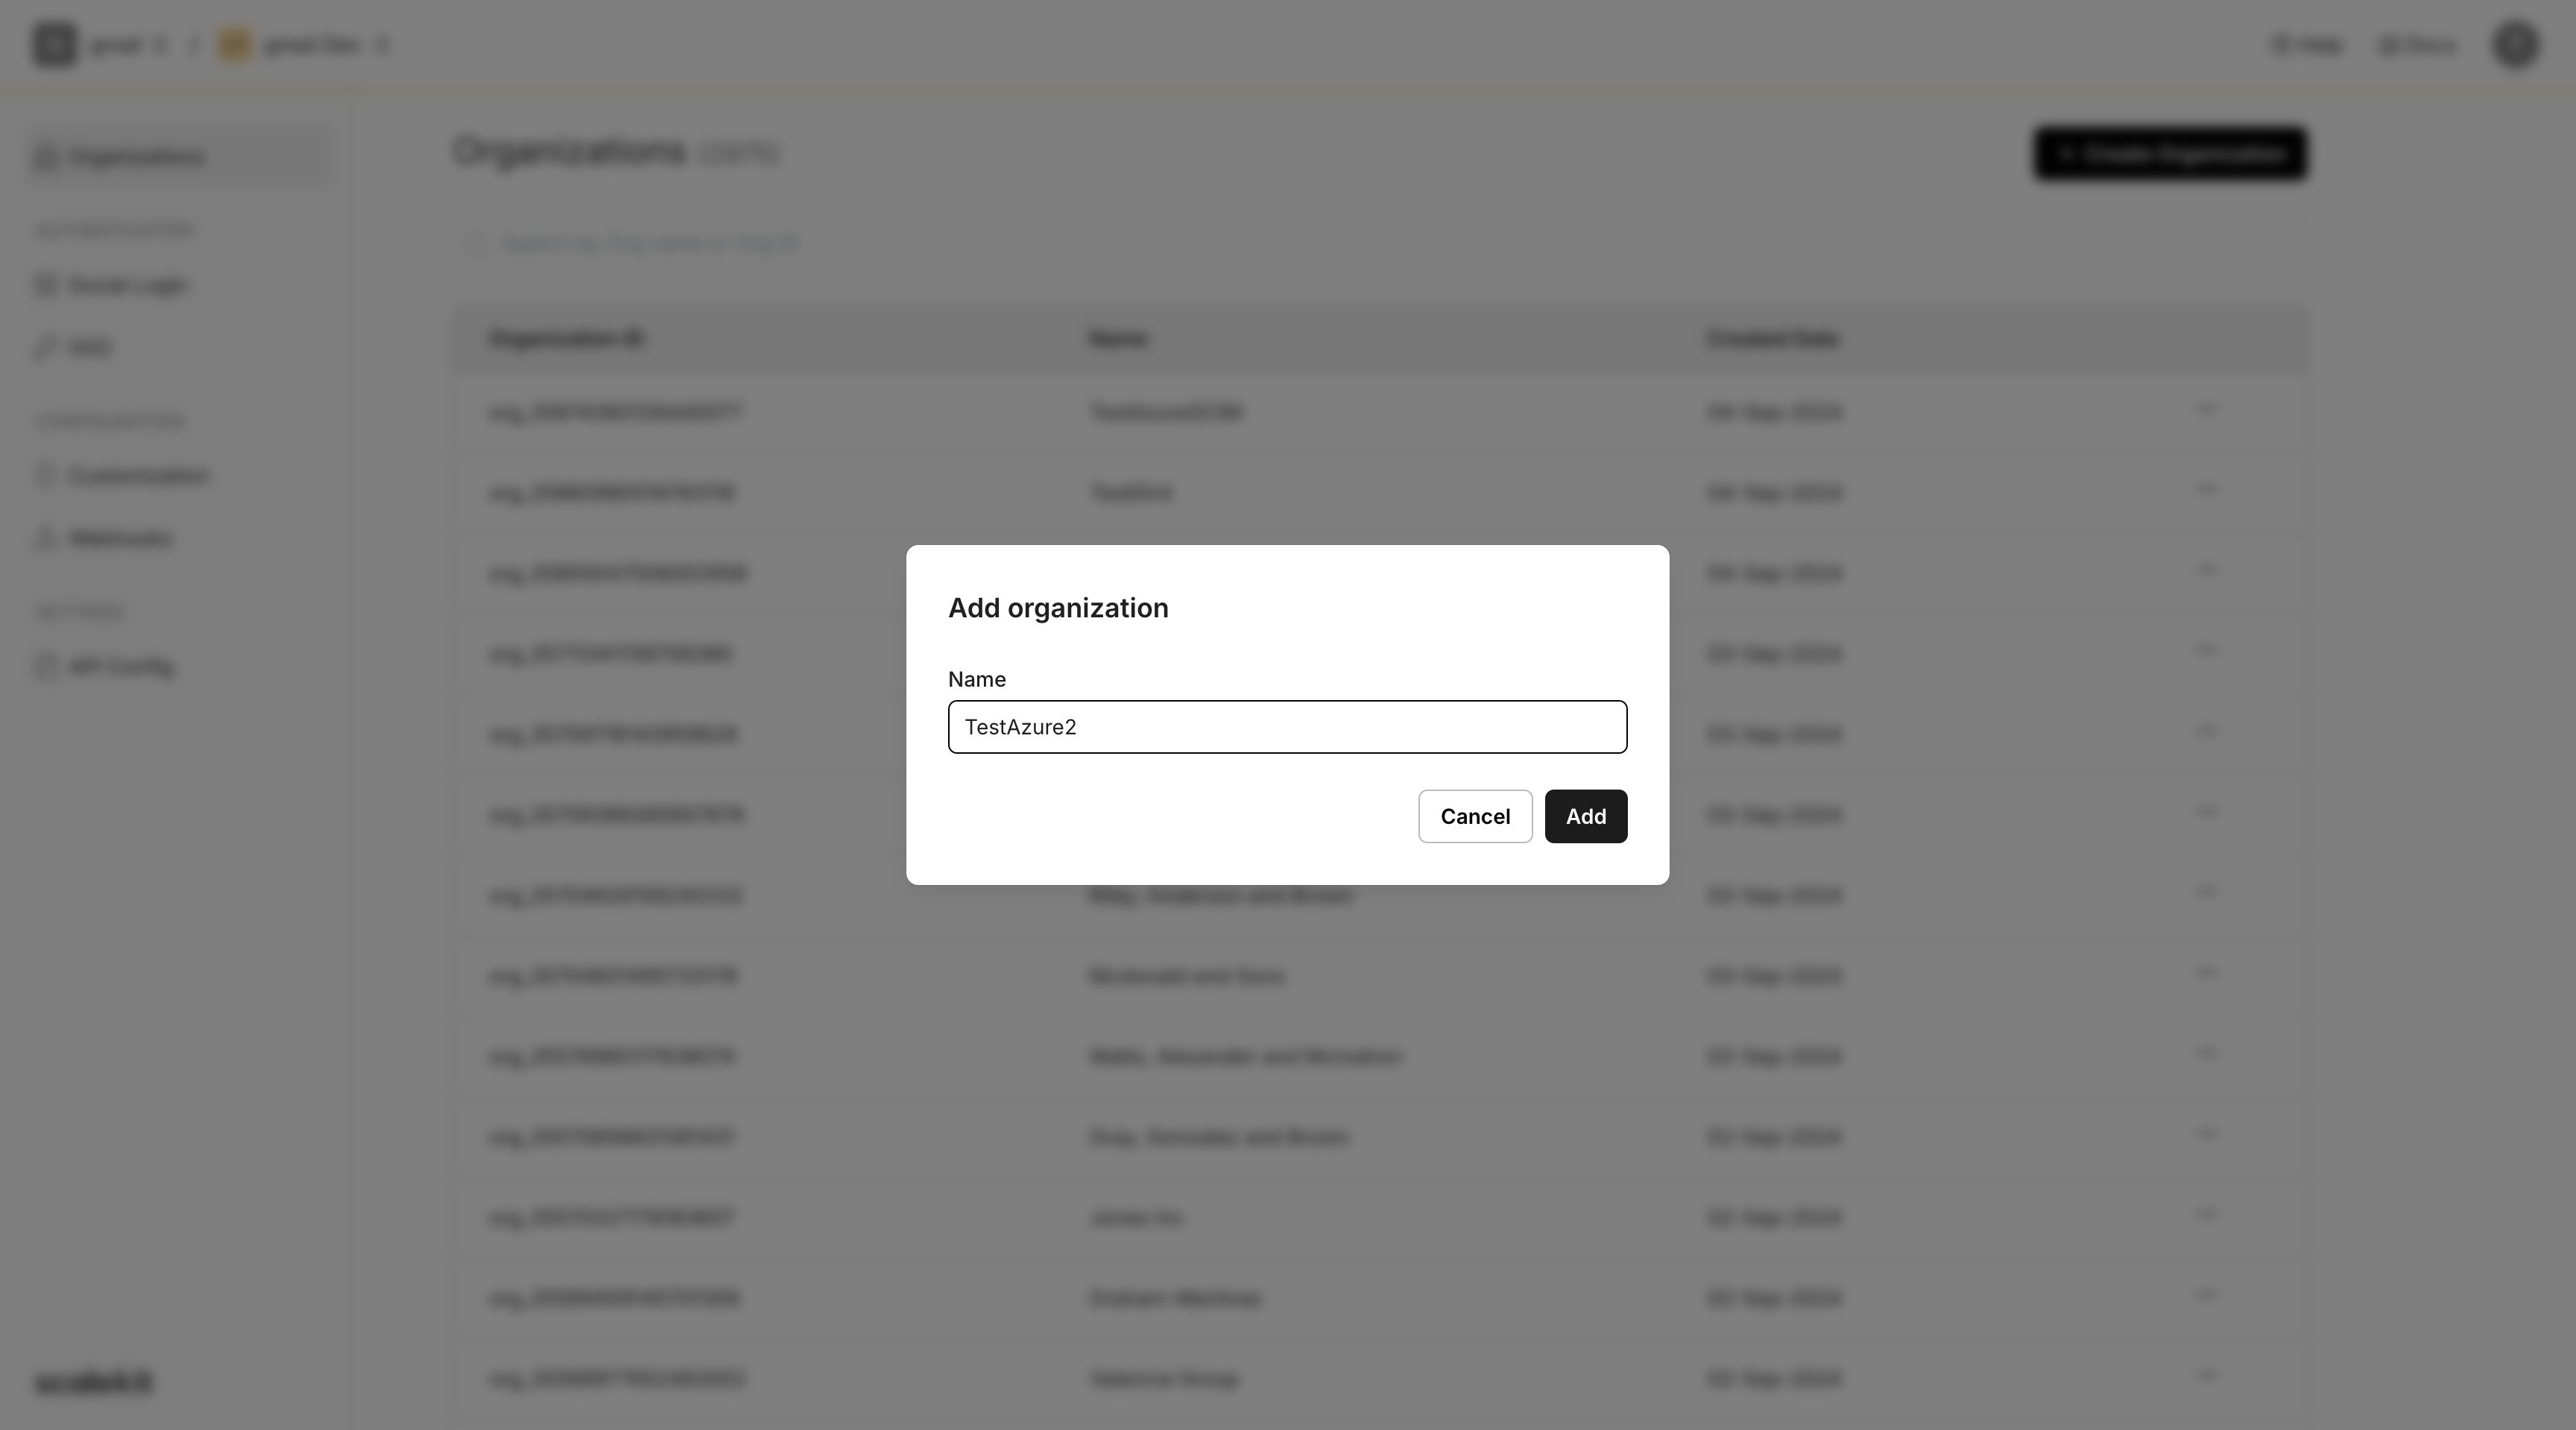
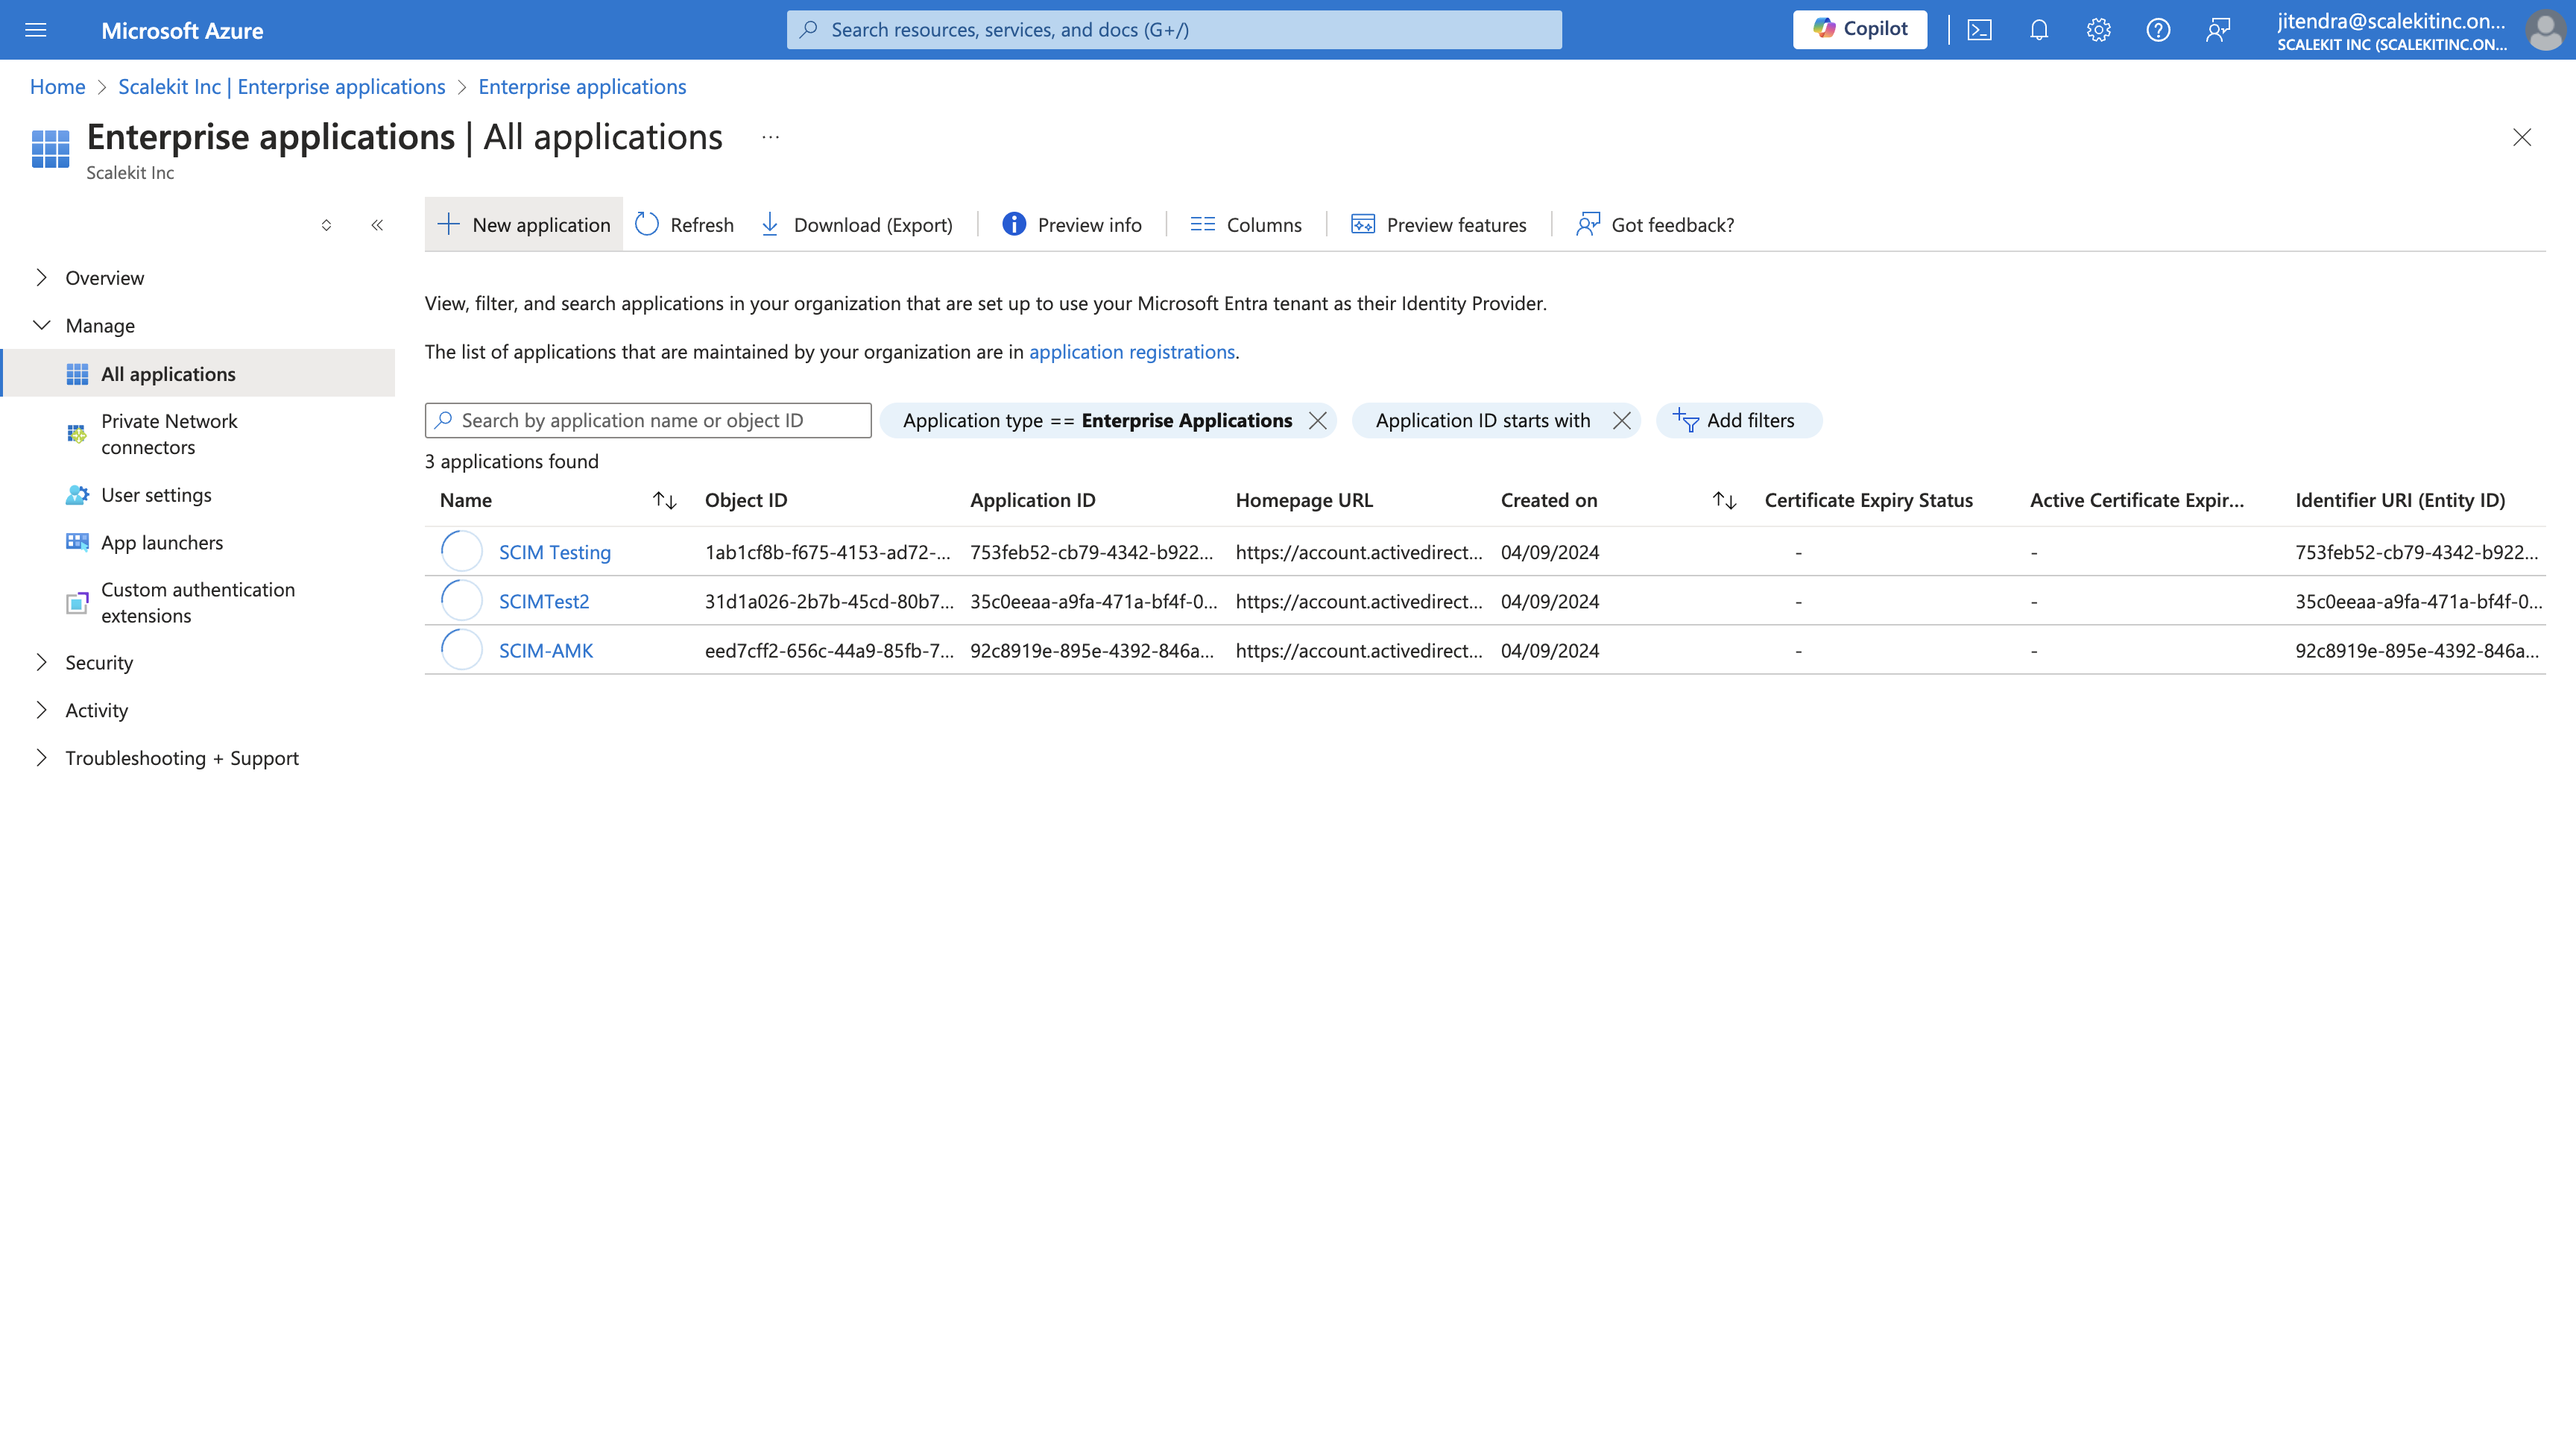
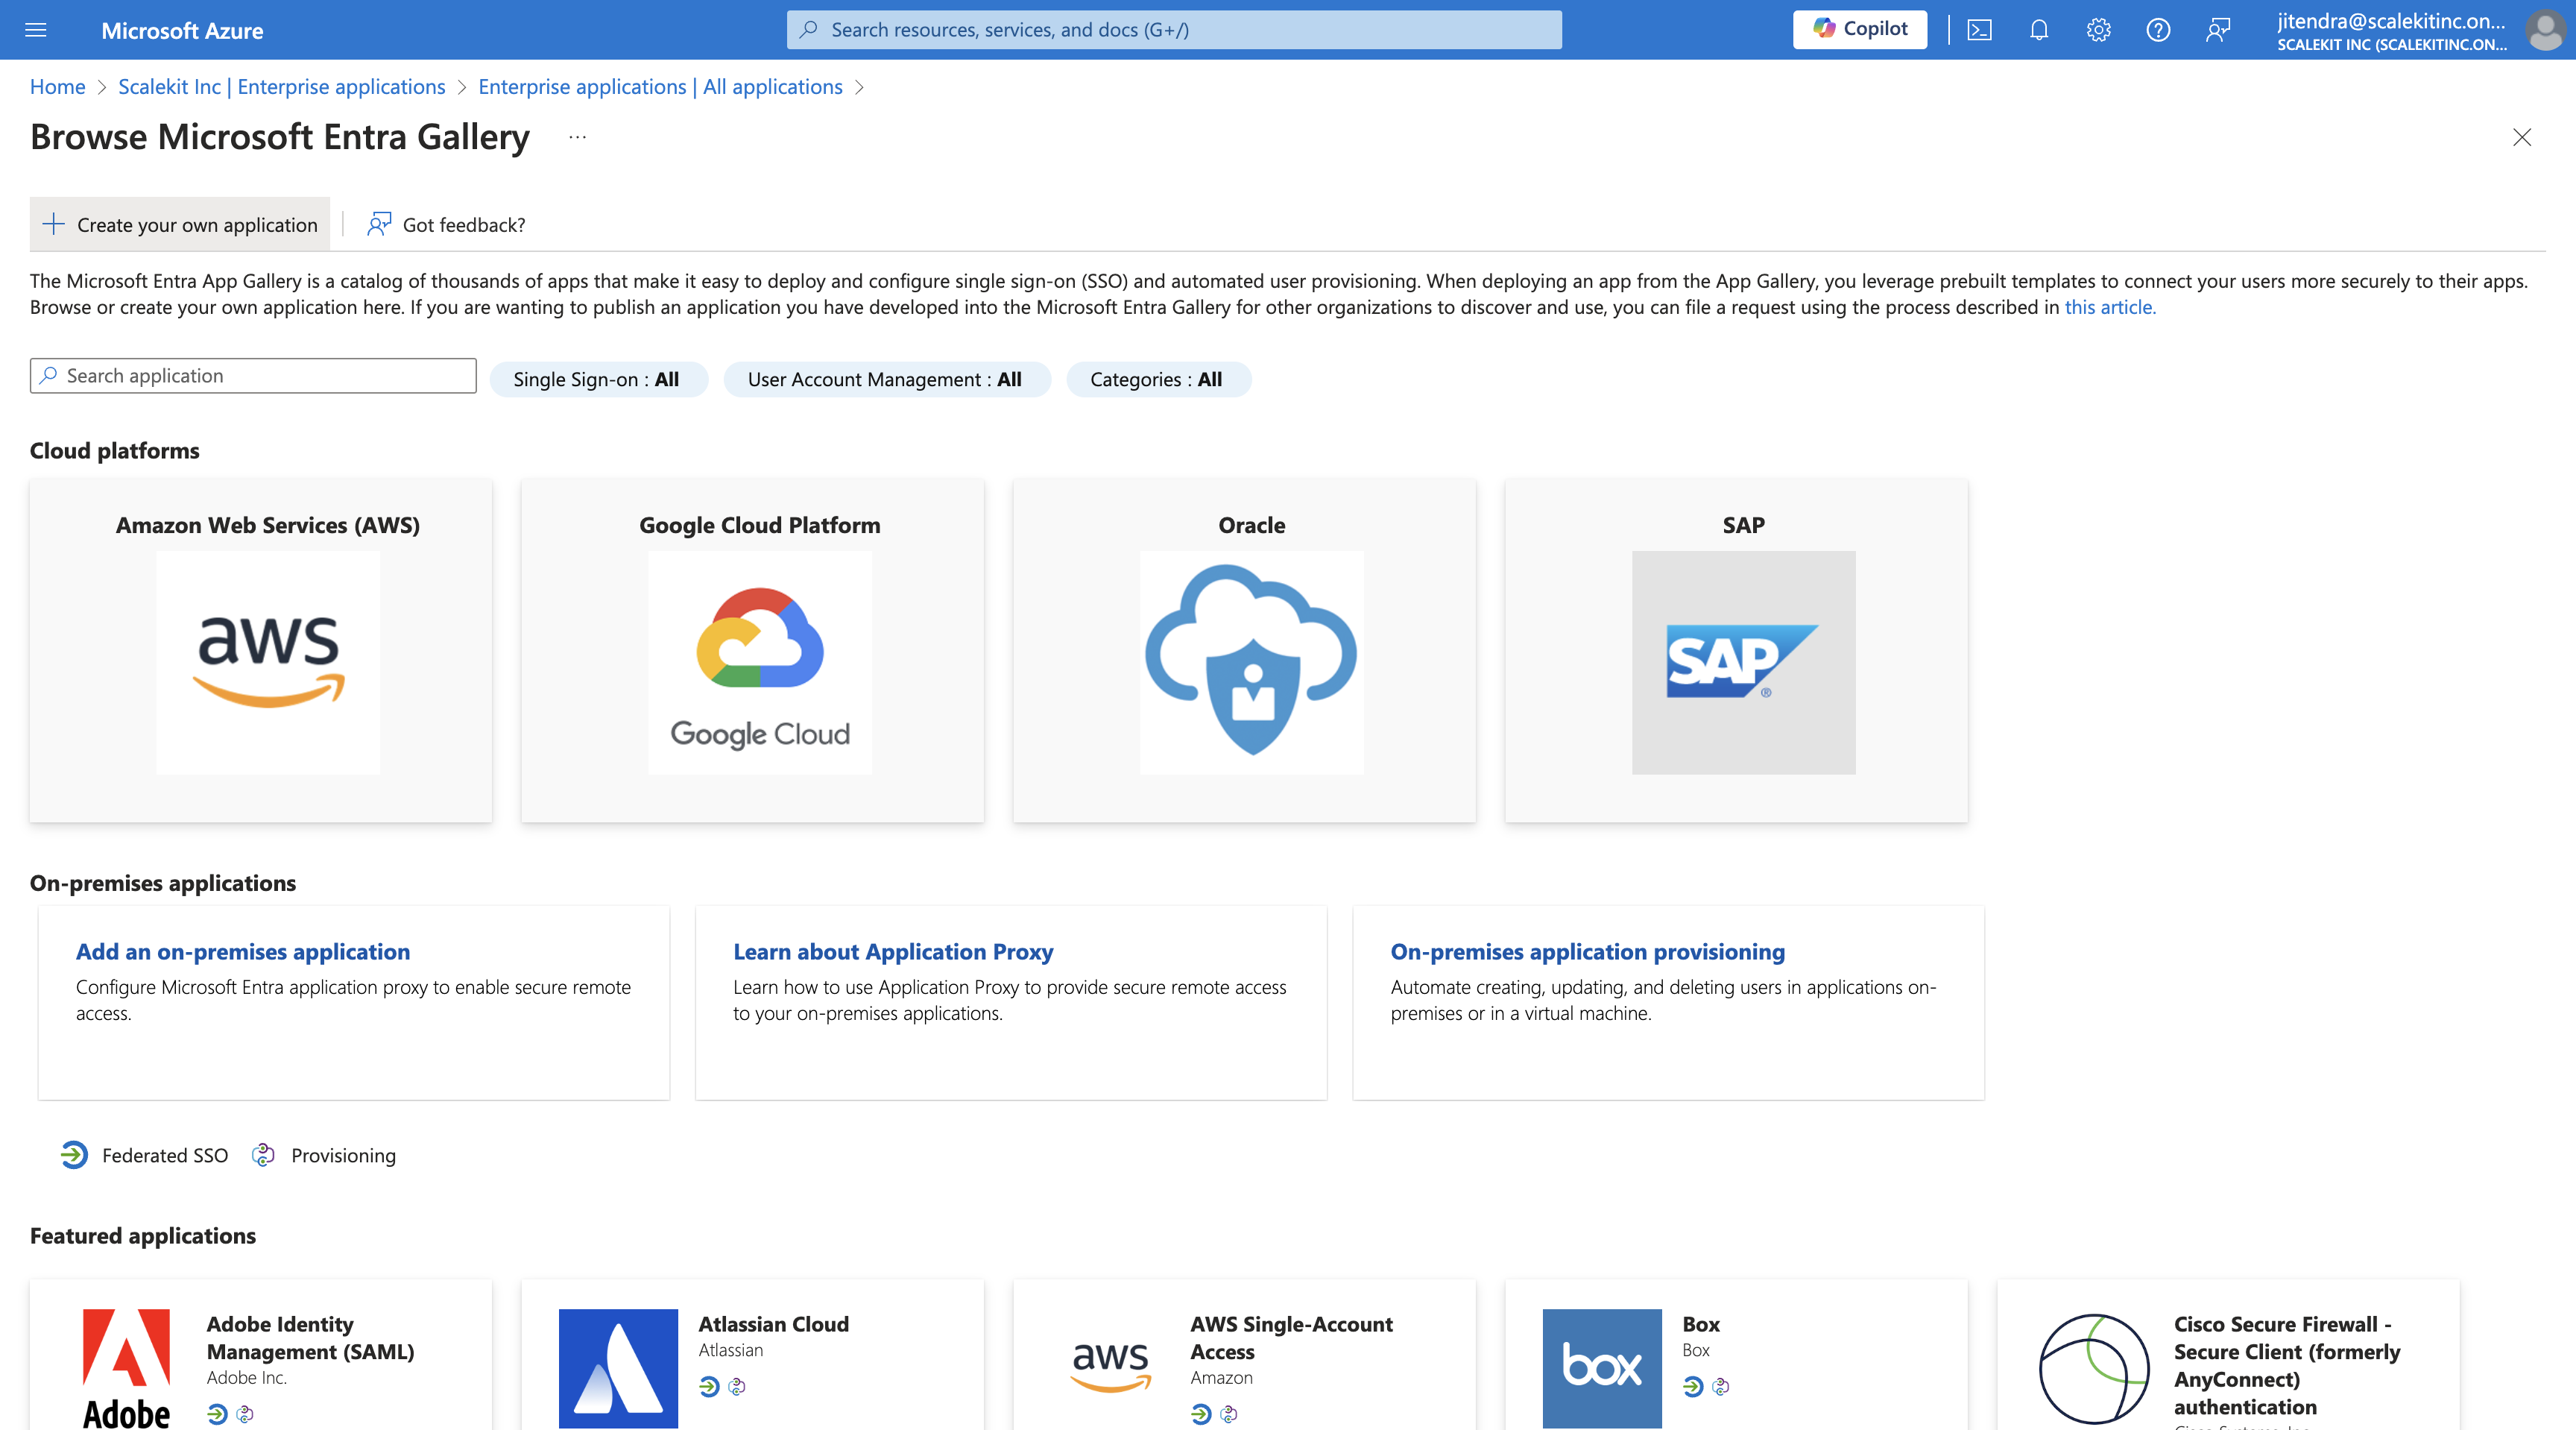
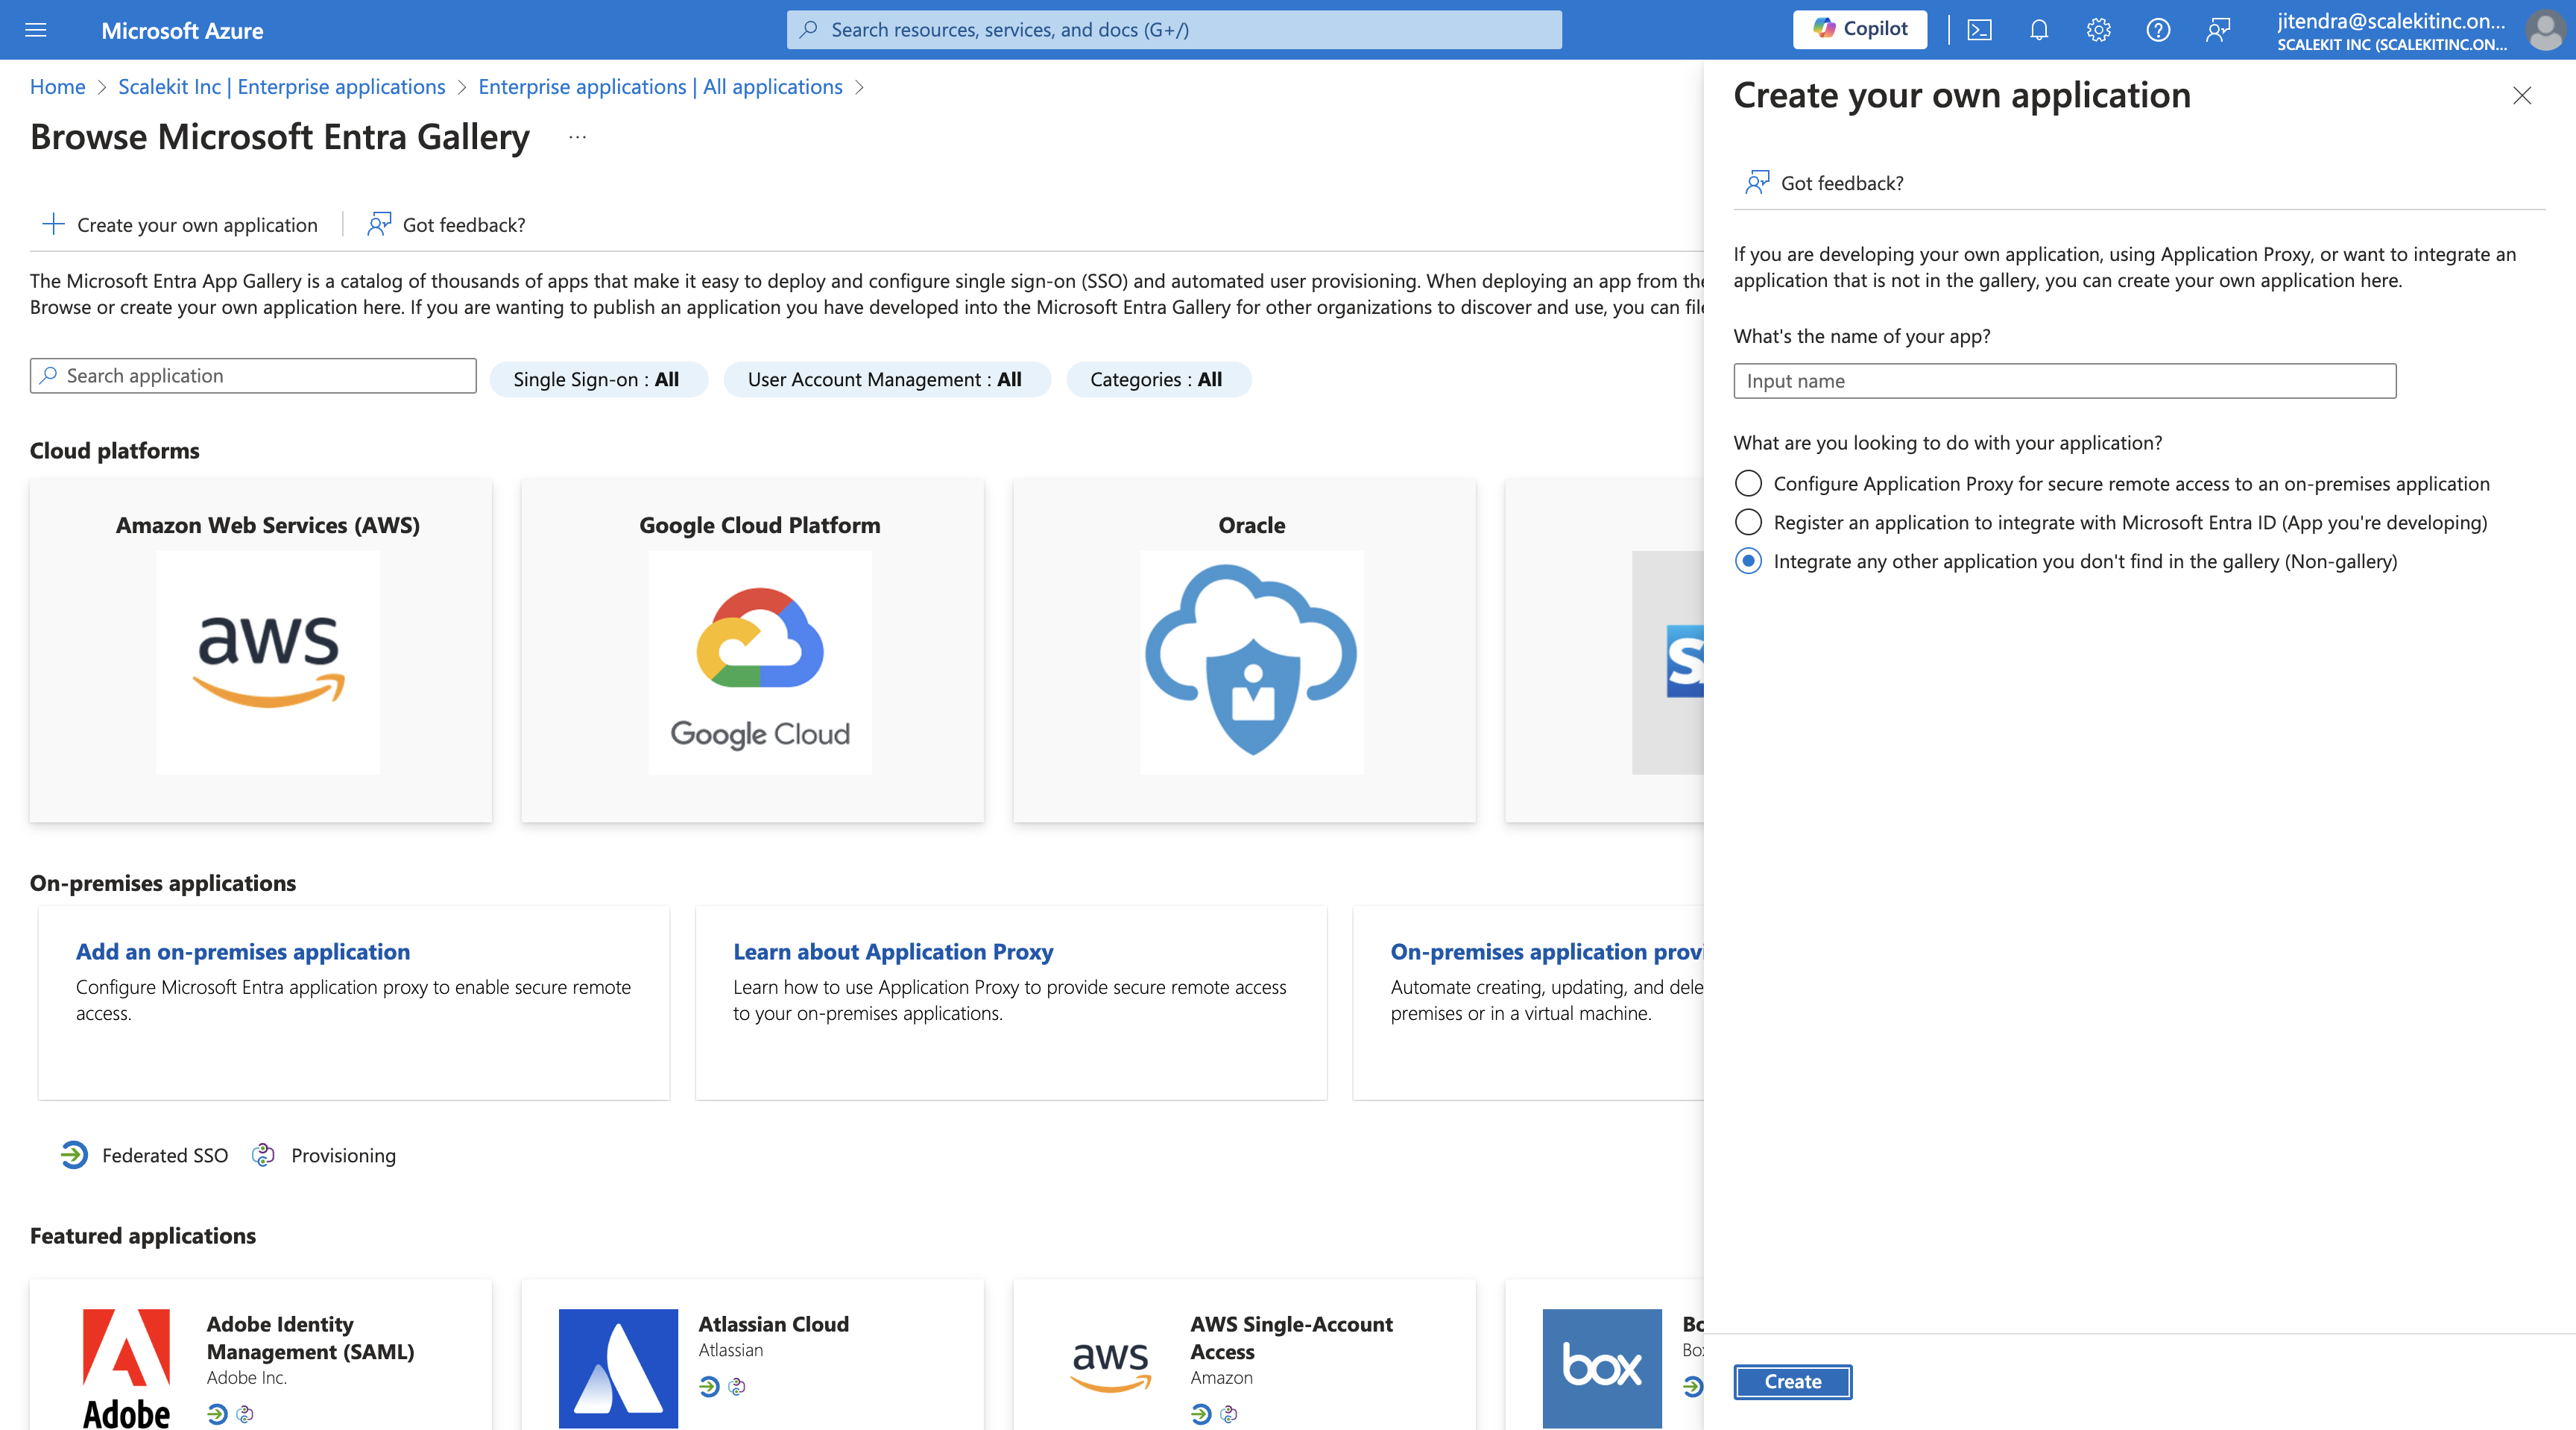
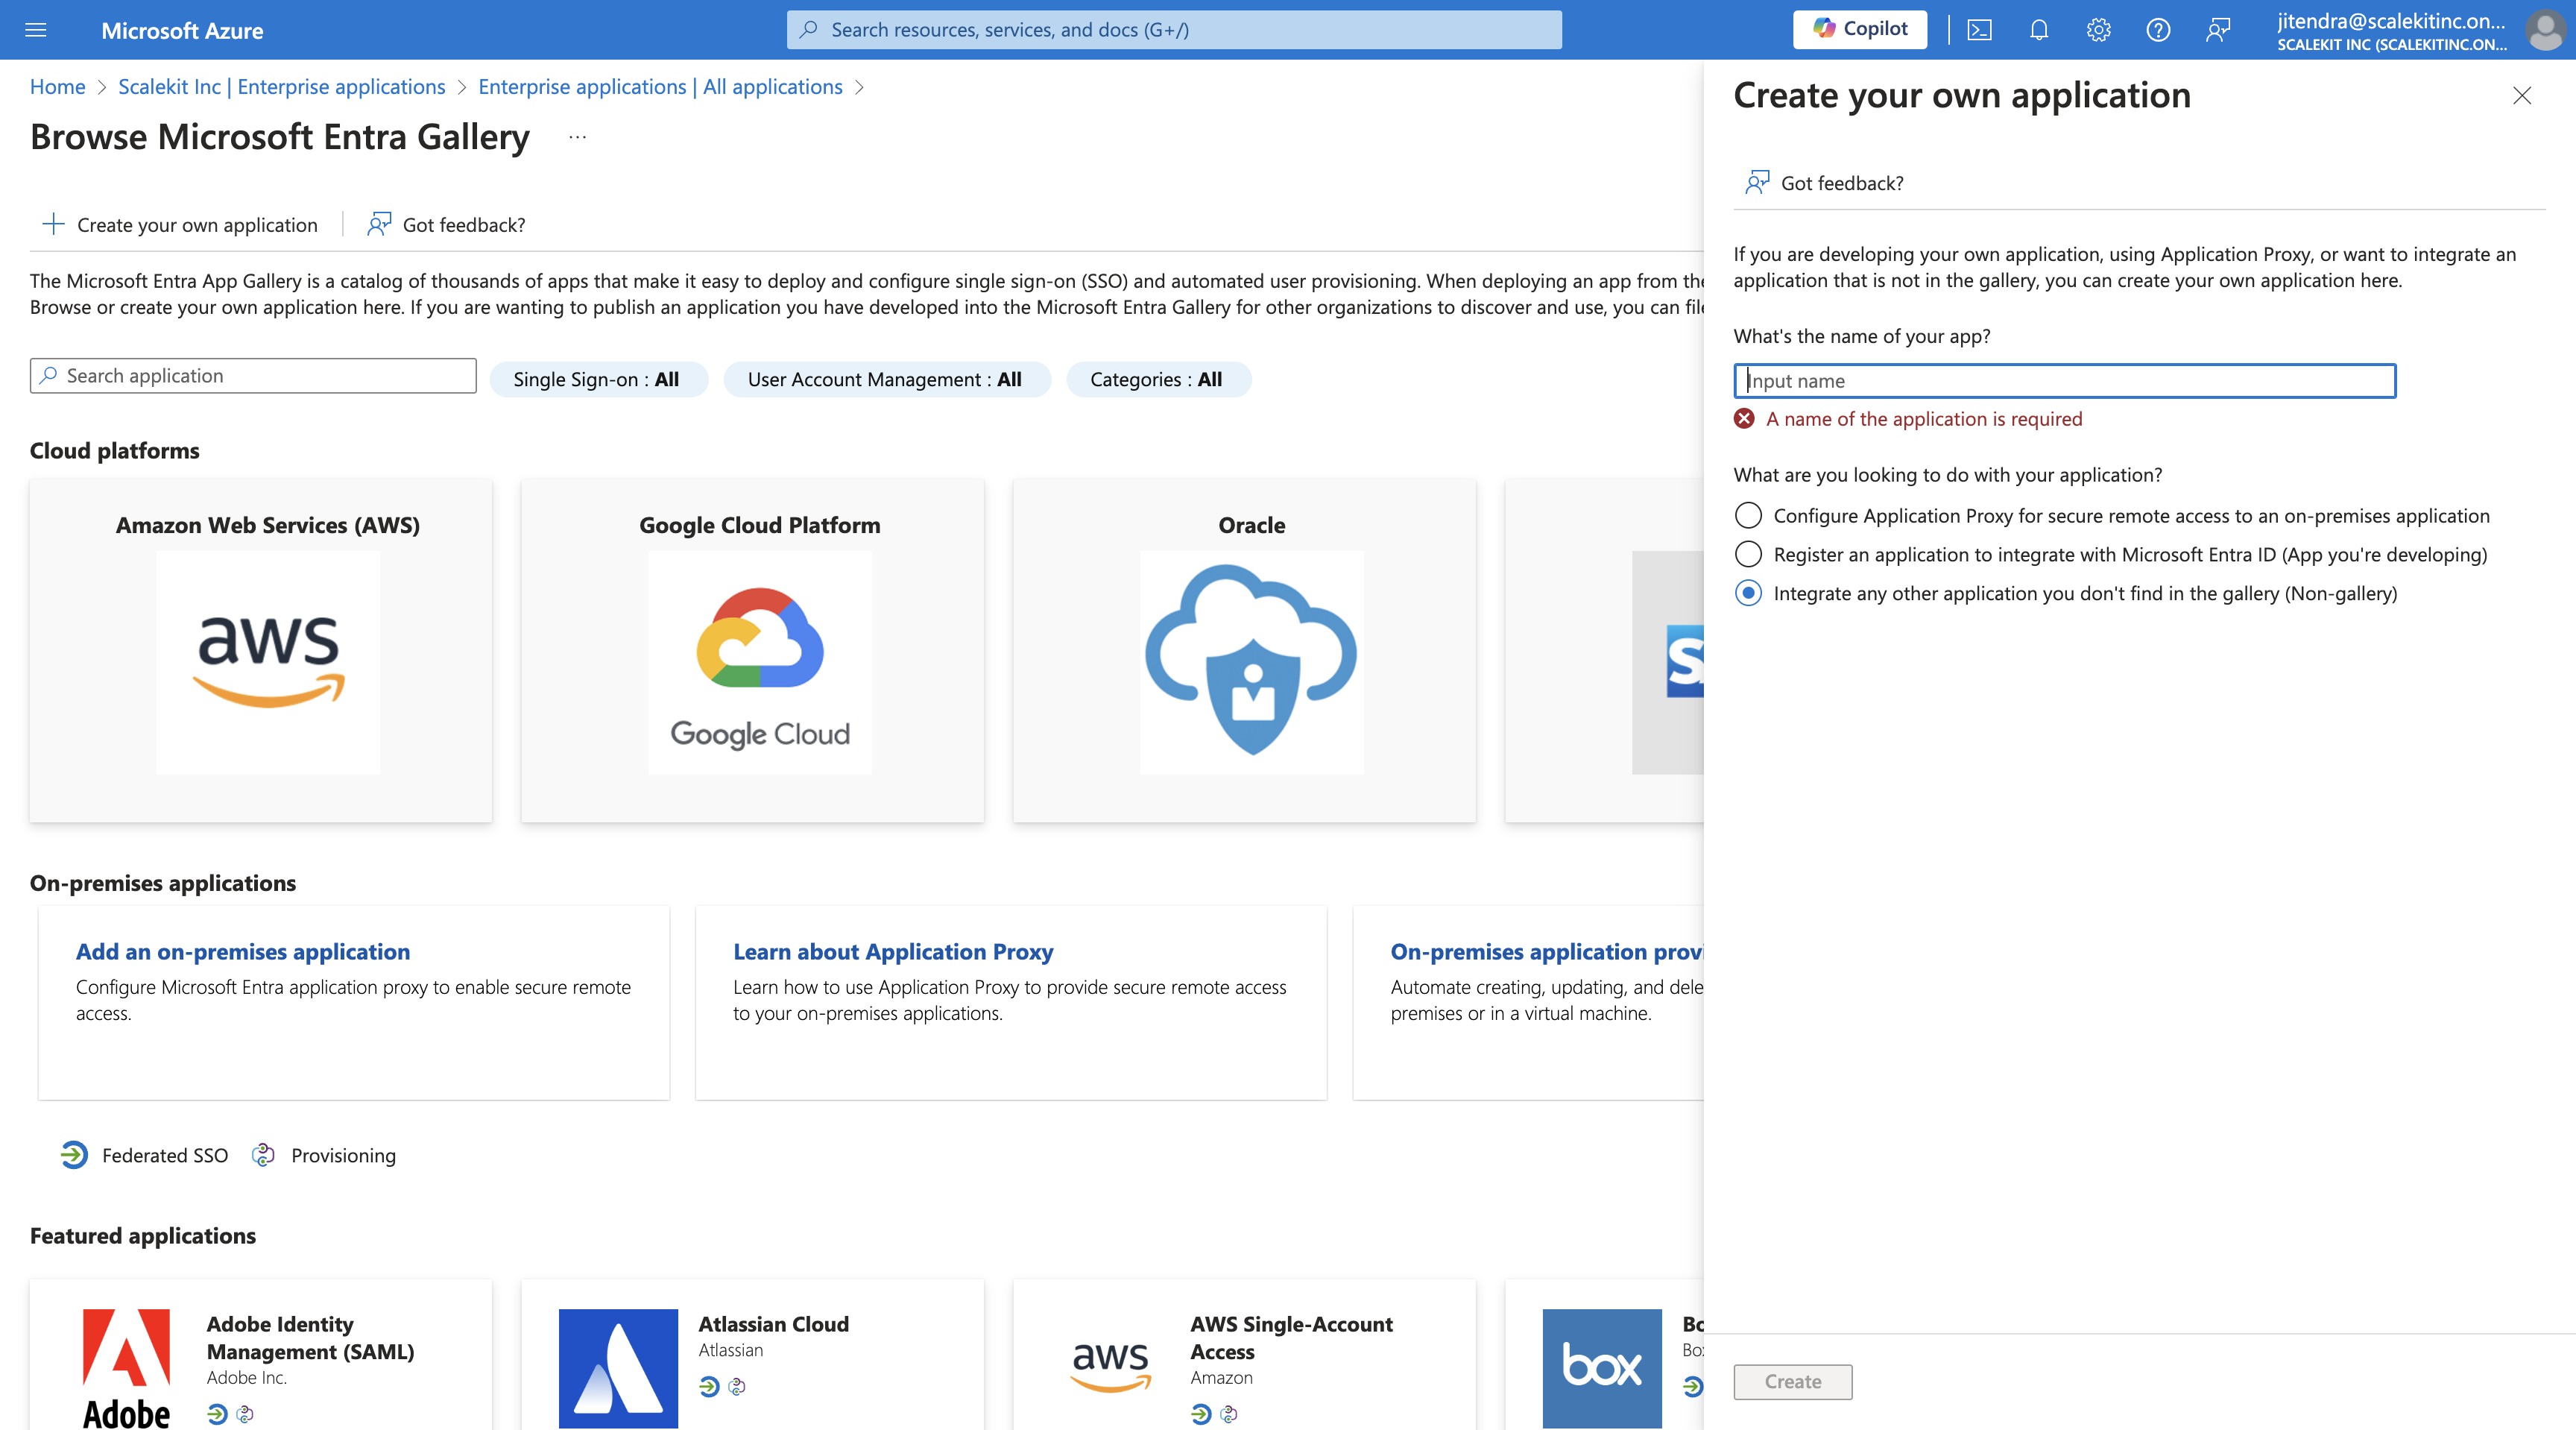
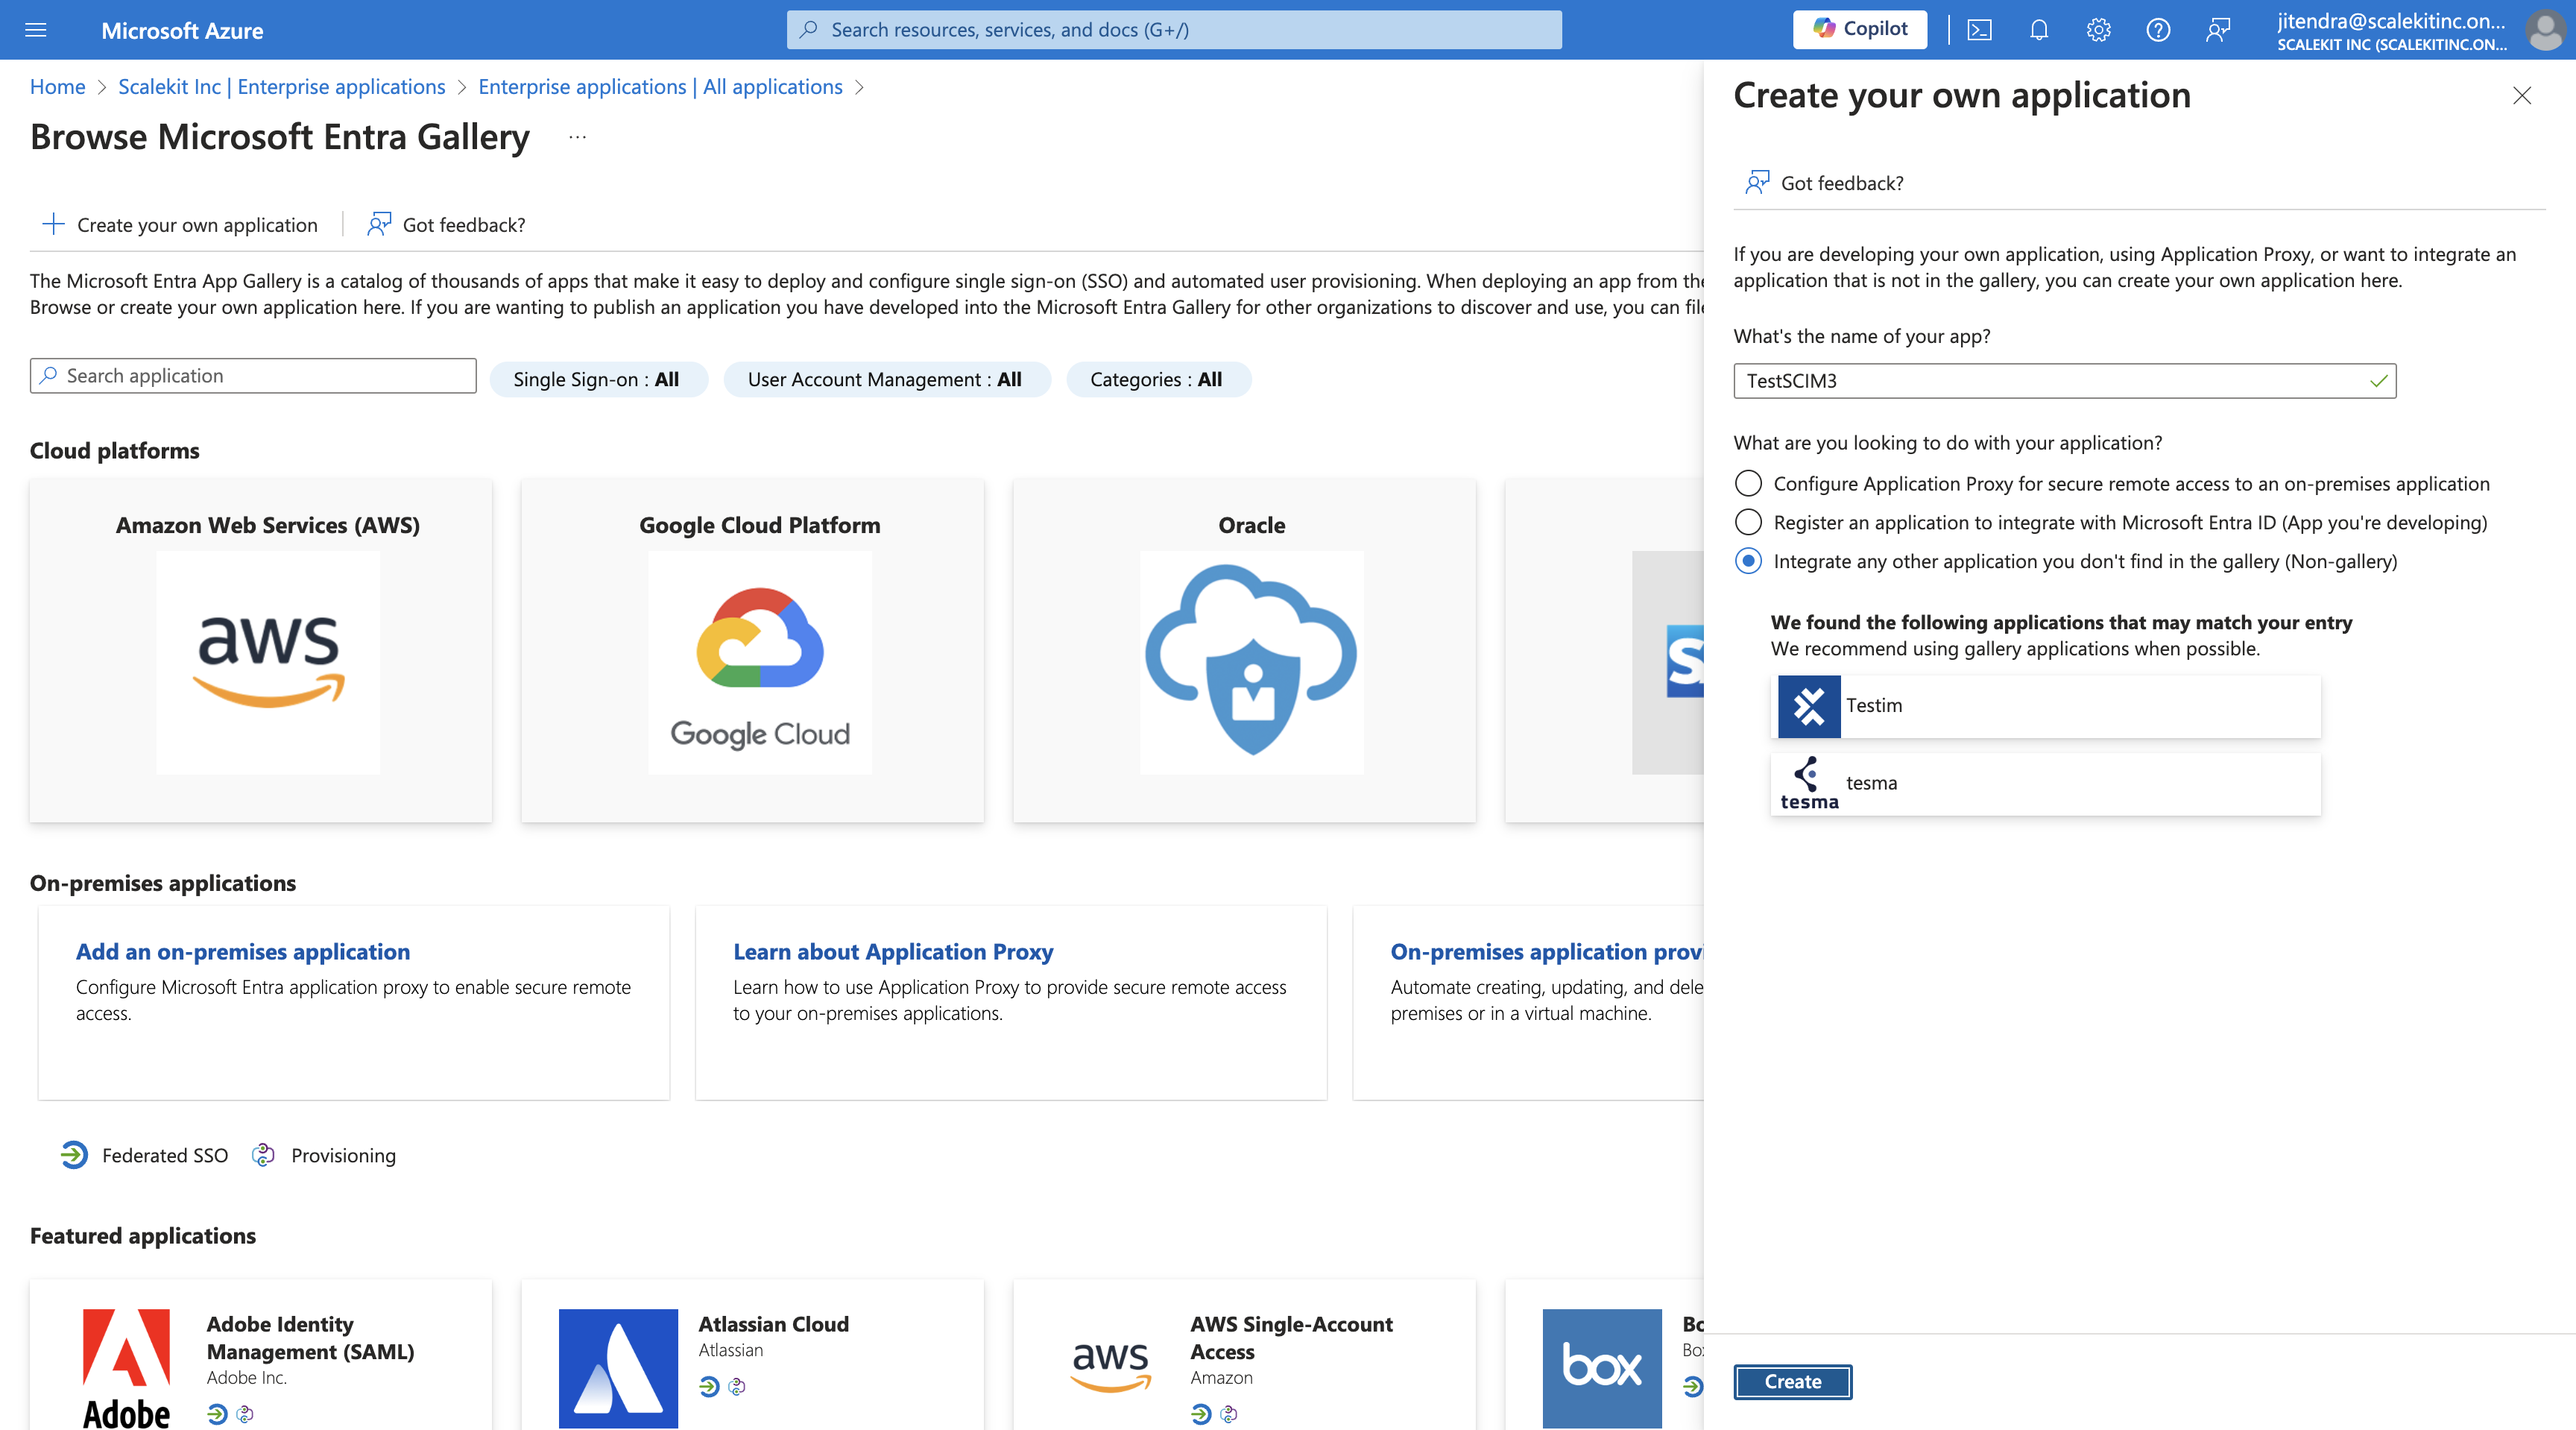
To get here from the home page, go to Microsoft Enter ID. Enter ID is Azure's equivalent of Okta. Once there, go to Enterprise Applications. Select "New App." After clicking on it, you will land on a new page where you can create your own application. None of the existing options can be used to configure our scheme because they are specific to the vendors. We will create a non-gallery application. Select the non-gallery option and click on "Create." Name the application "Scale Kit." For Microsoft, it will be "Scale Kit Scheme." This will make sense if someone is reading the guide and needs to create an app via Scale Kit, as it connects to their application through Scale Kit.

2
Click on "Home"
Step #2: Click on "Home"
3
Click on "Microsoft Entra ID"
Step #3: Click on "Microsoft Entra ID"
4
Click on "Enterprise applications"
Step #4: Click on "Enterprise applications"
5
Click on "New application"
Step #5: Click on "New application"
6
Click on "+ Create"
Step #6: Click on "+ Create"
7
Click on "Create"
Step #7: Click on "Create"
8
Click here
Step #8: Click here
9
Click on "Create"
Step #9: Click on "Create"
10
Type "TestSCIM3"

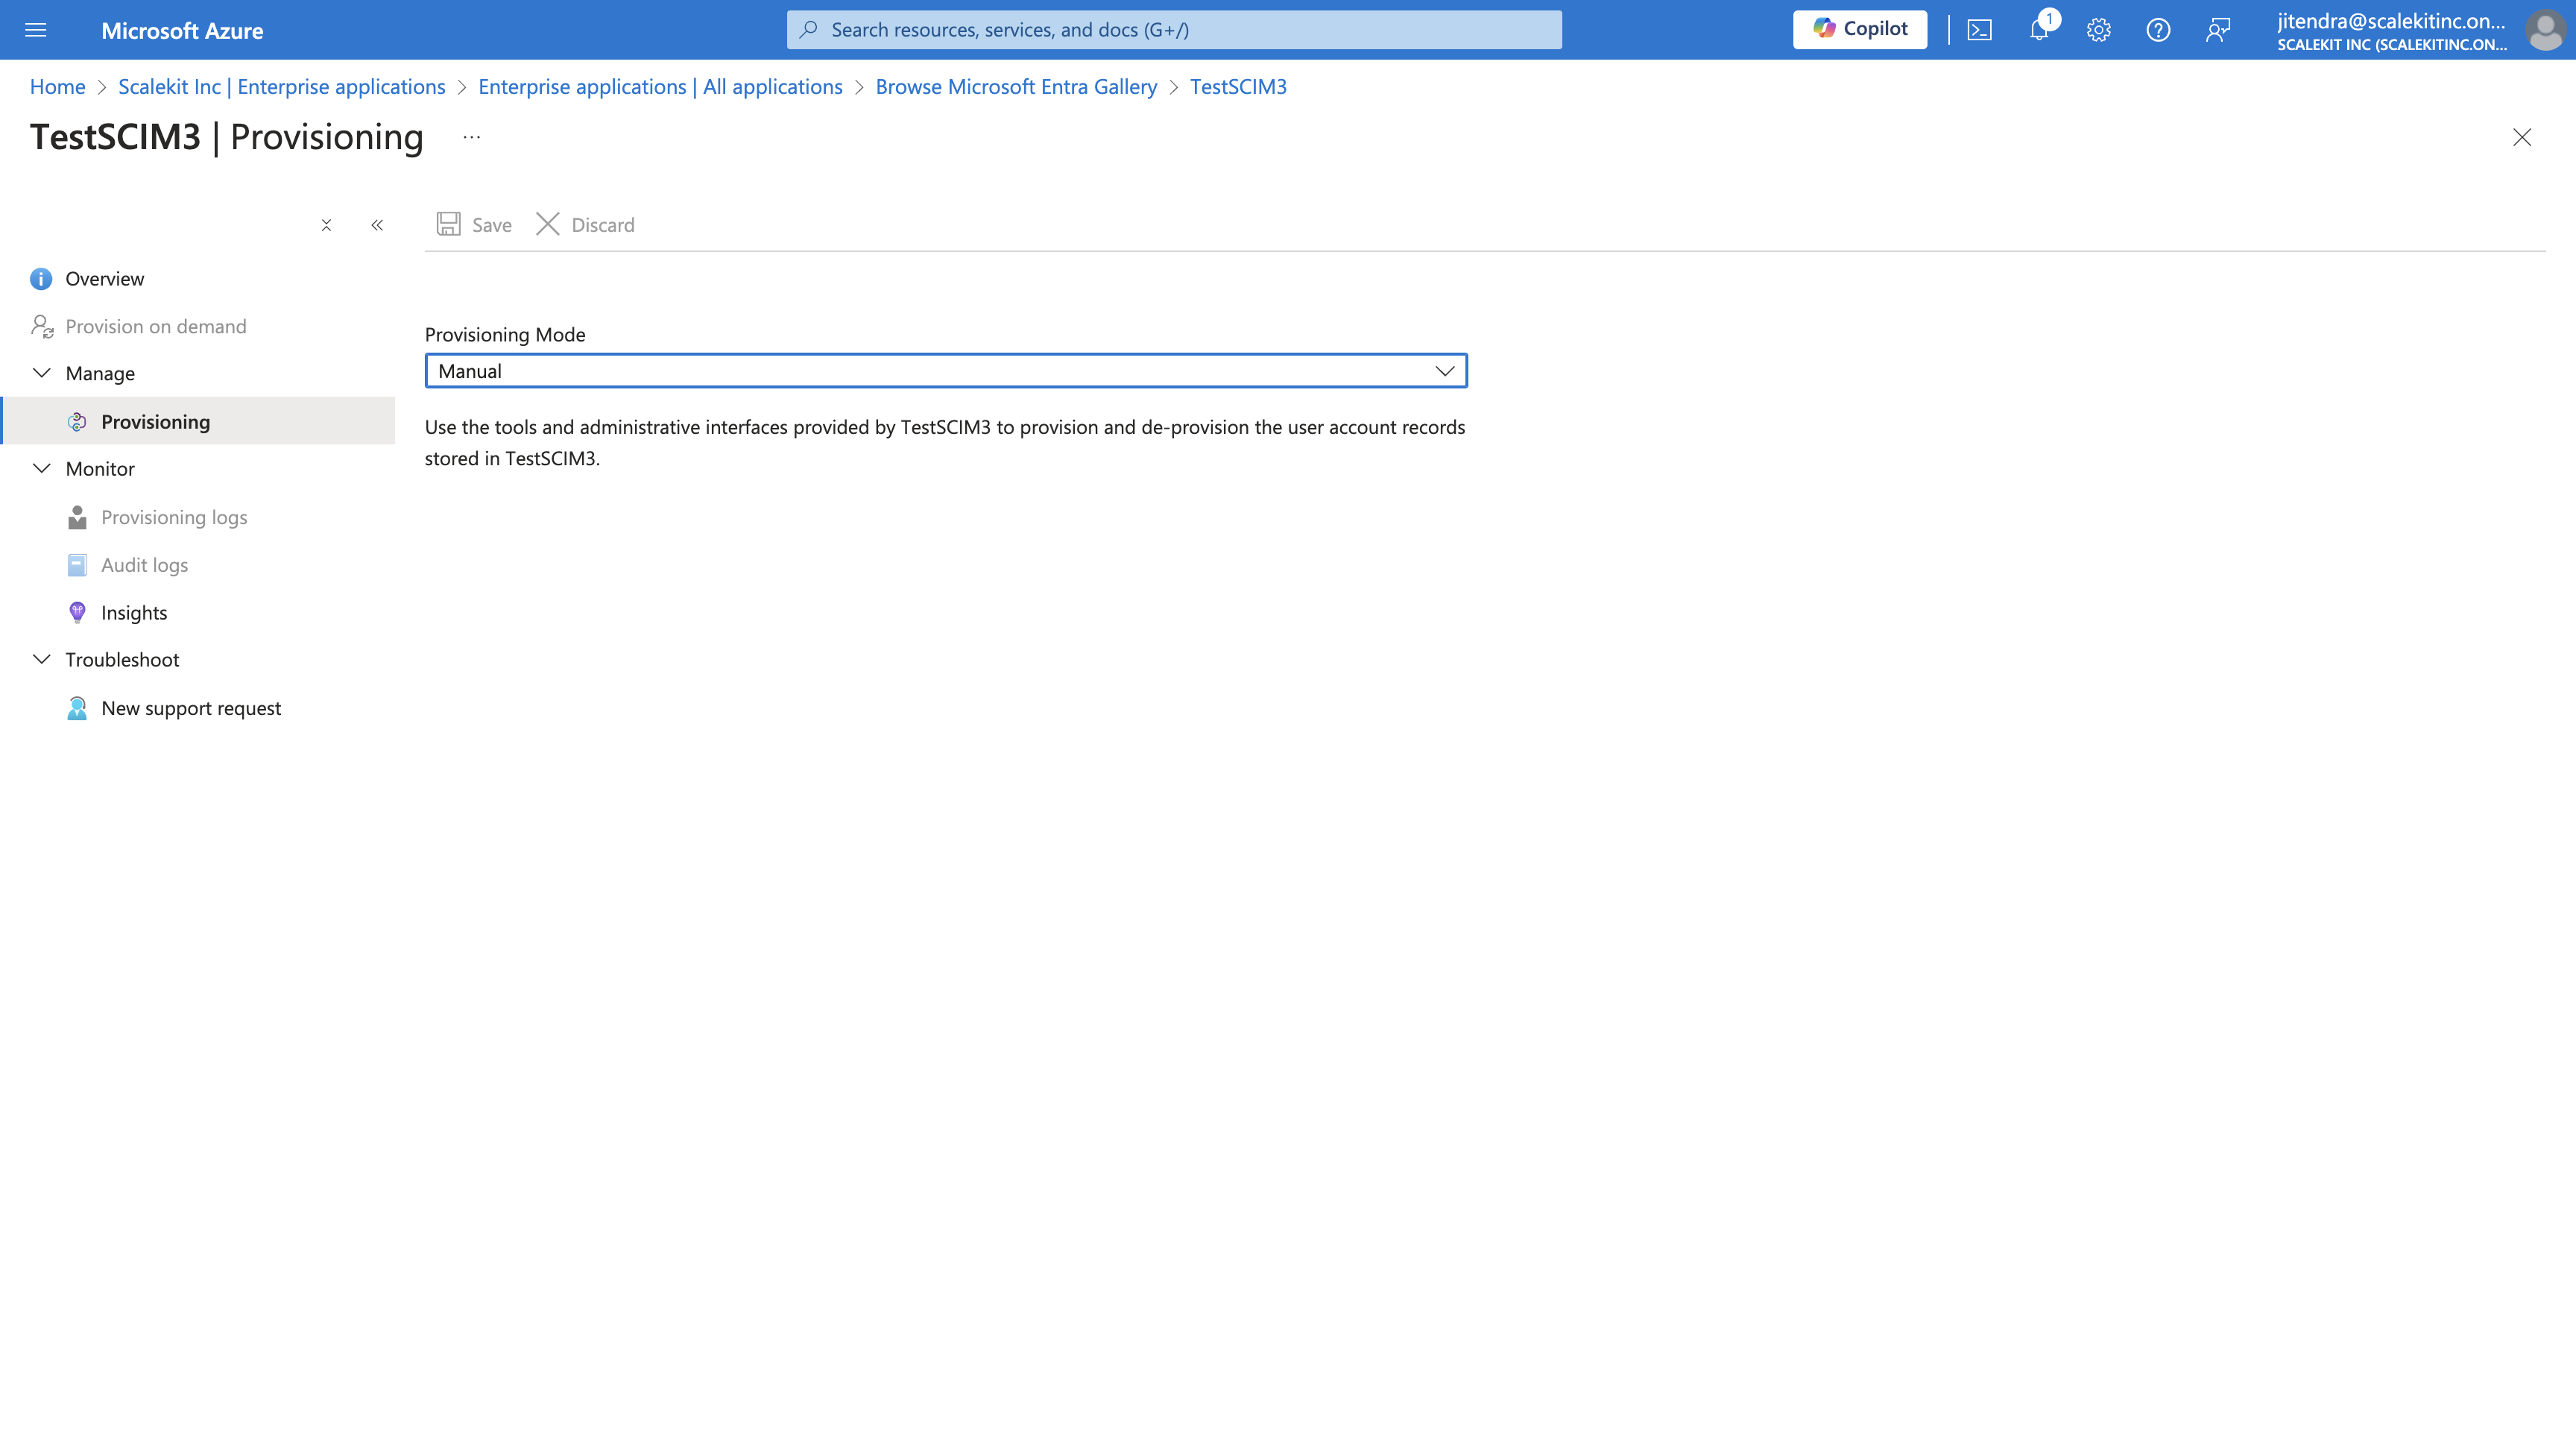
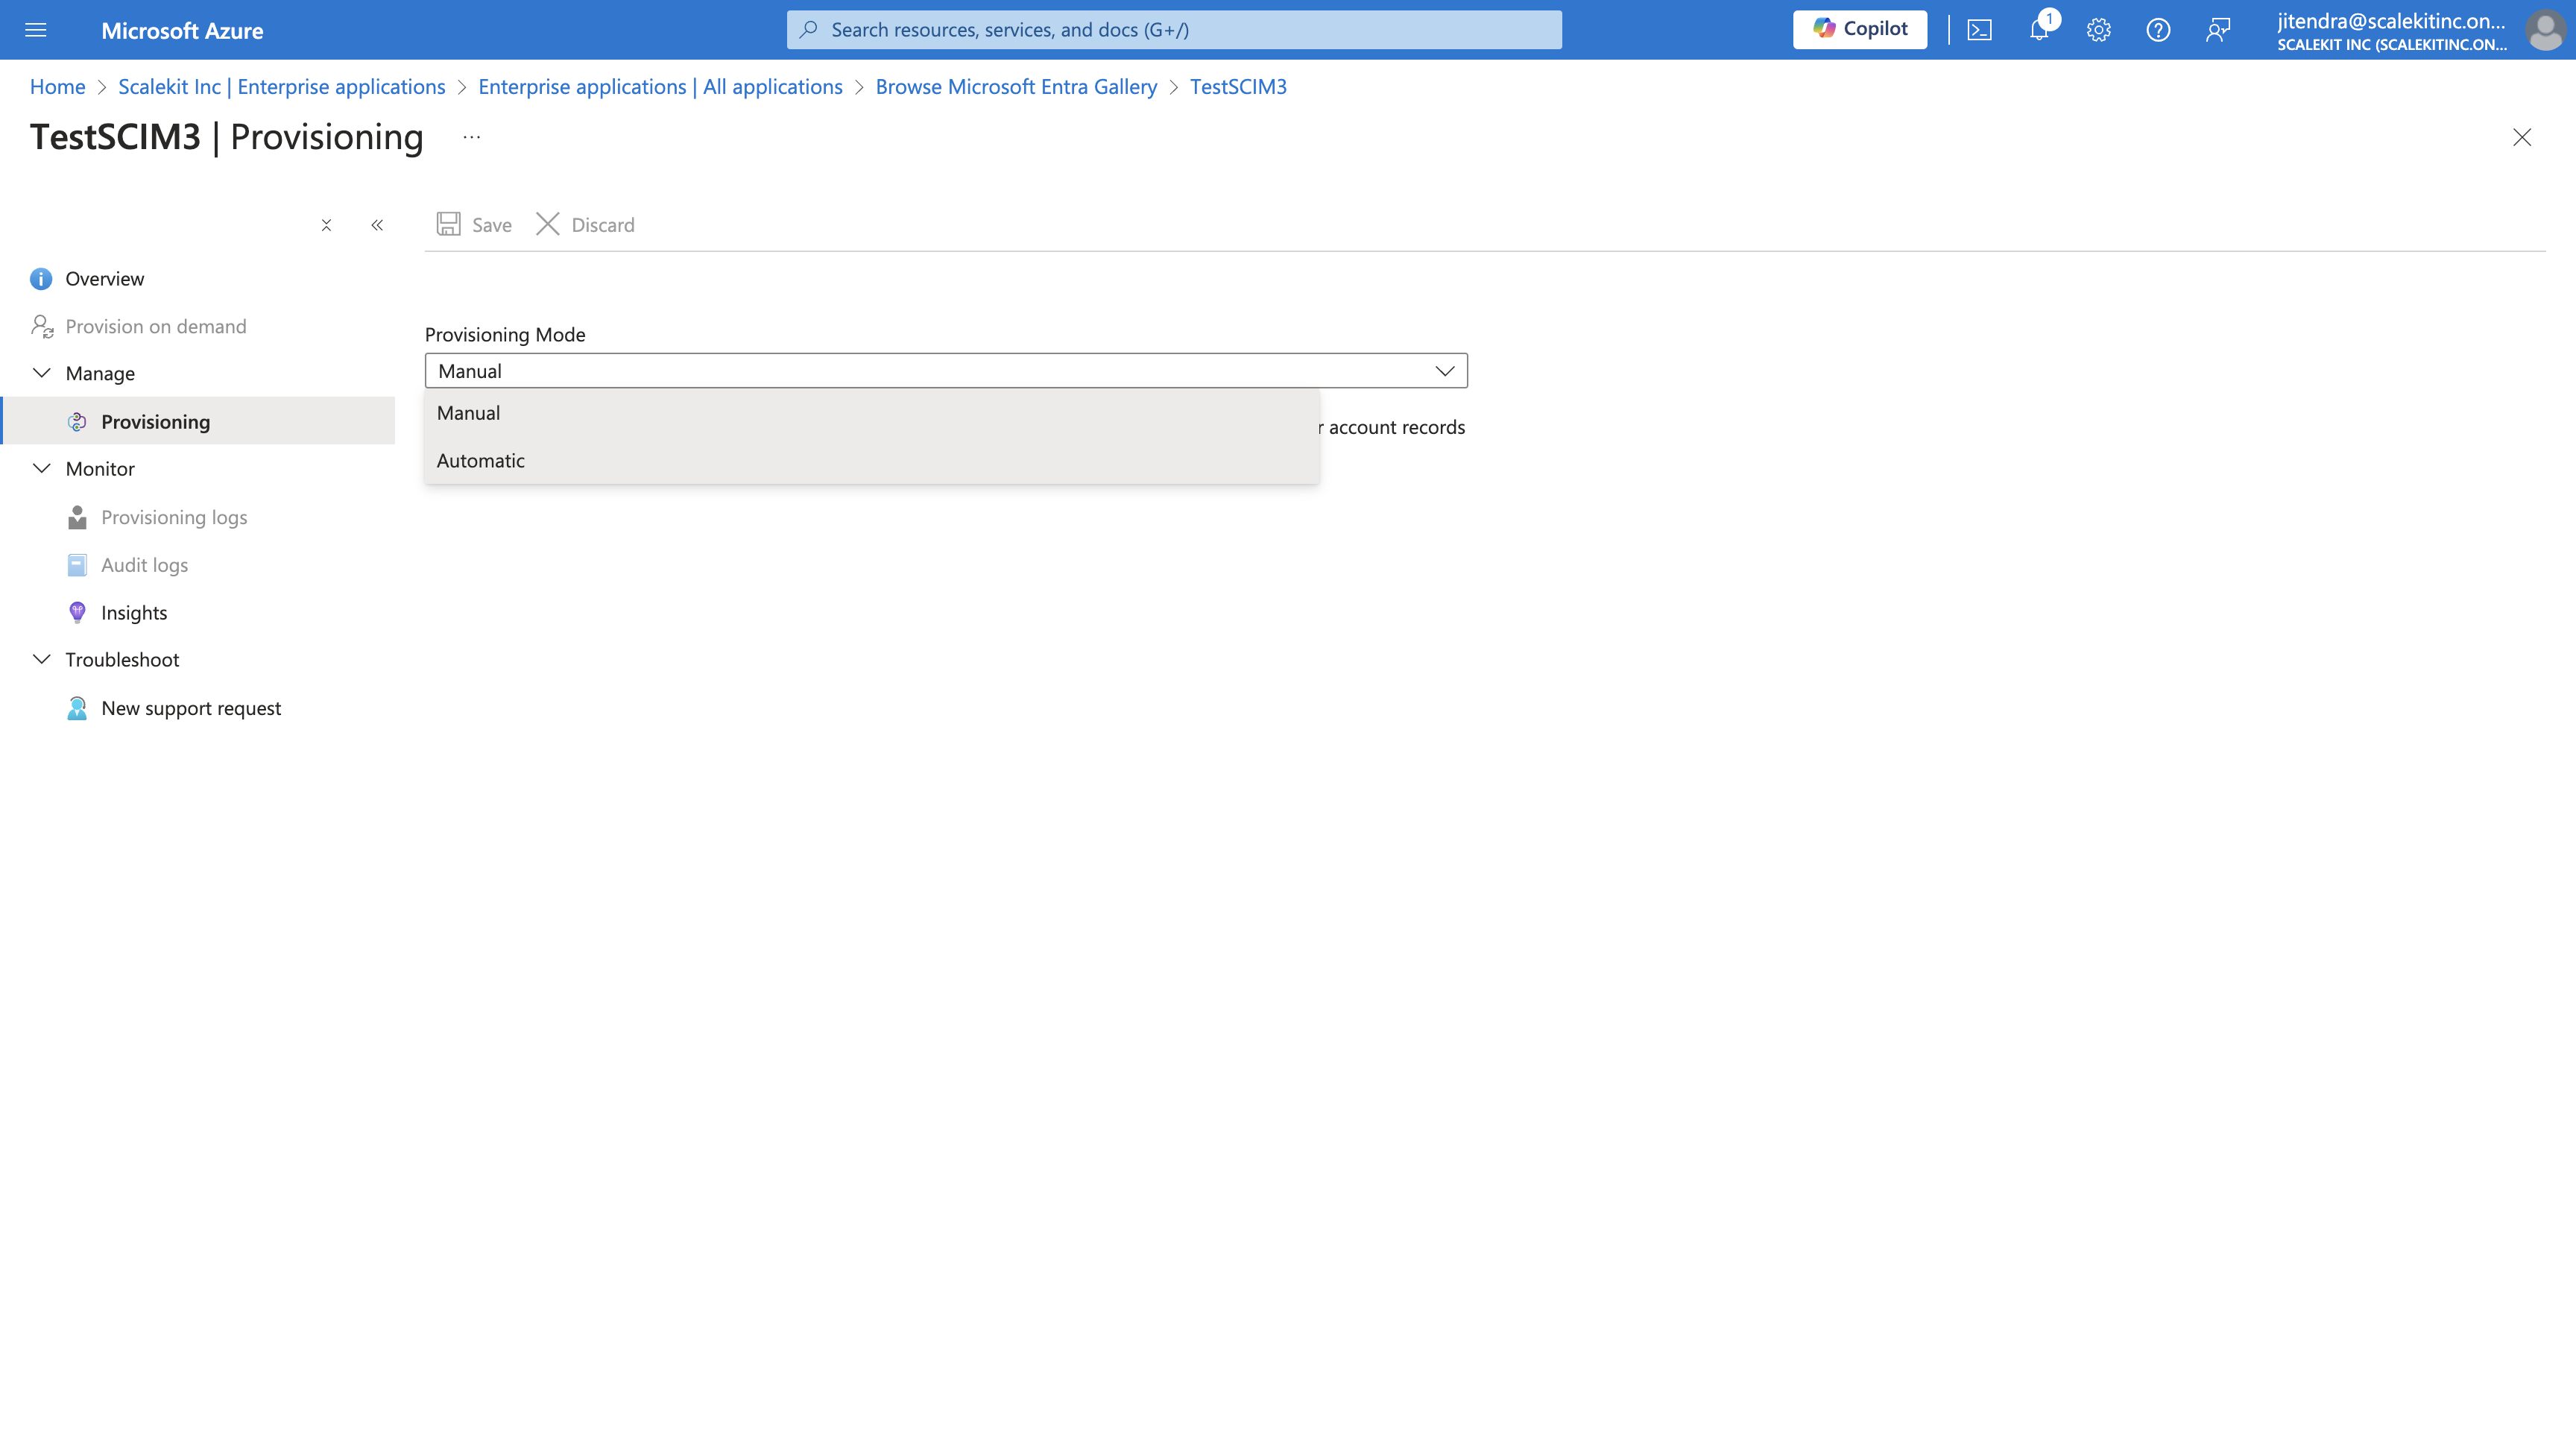
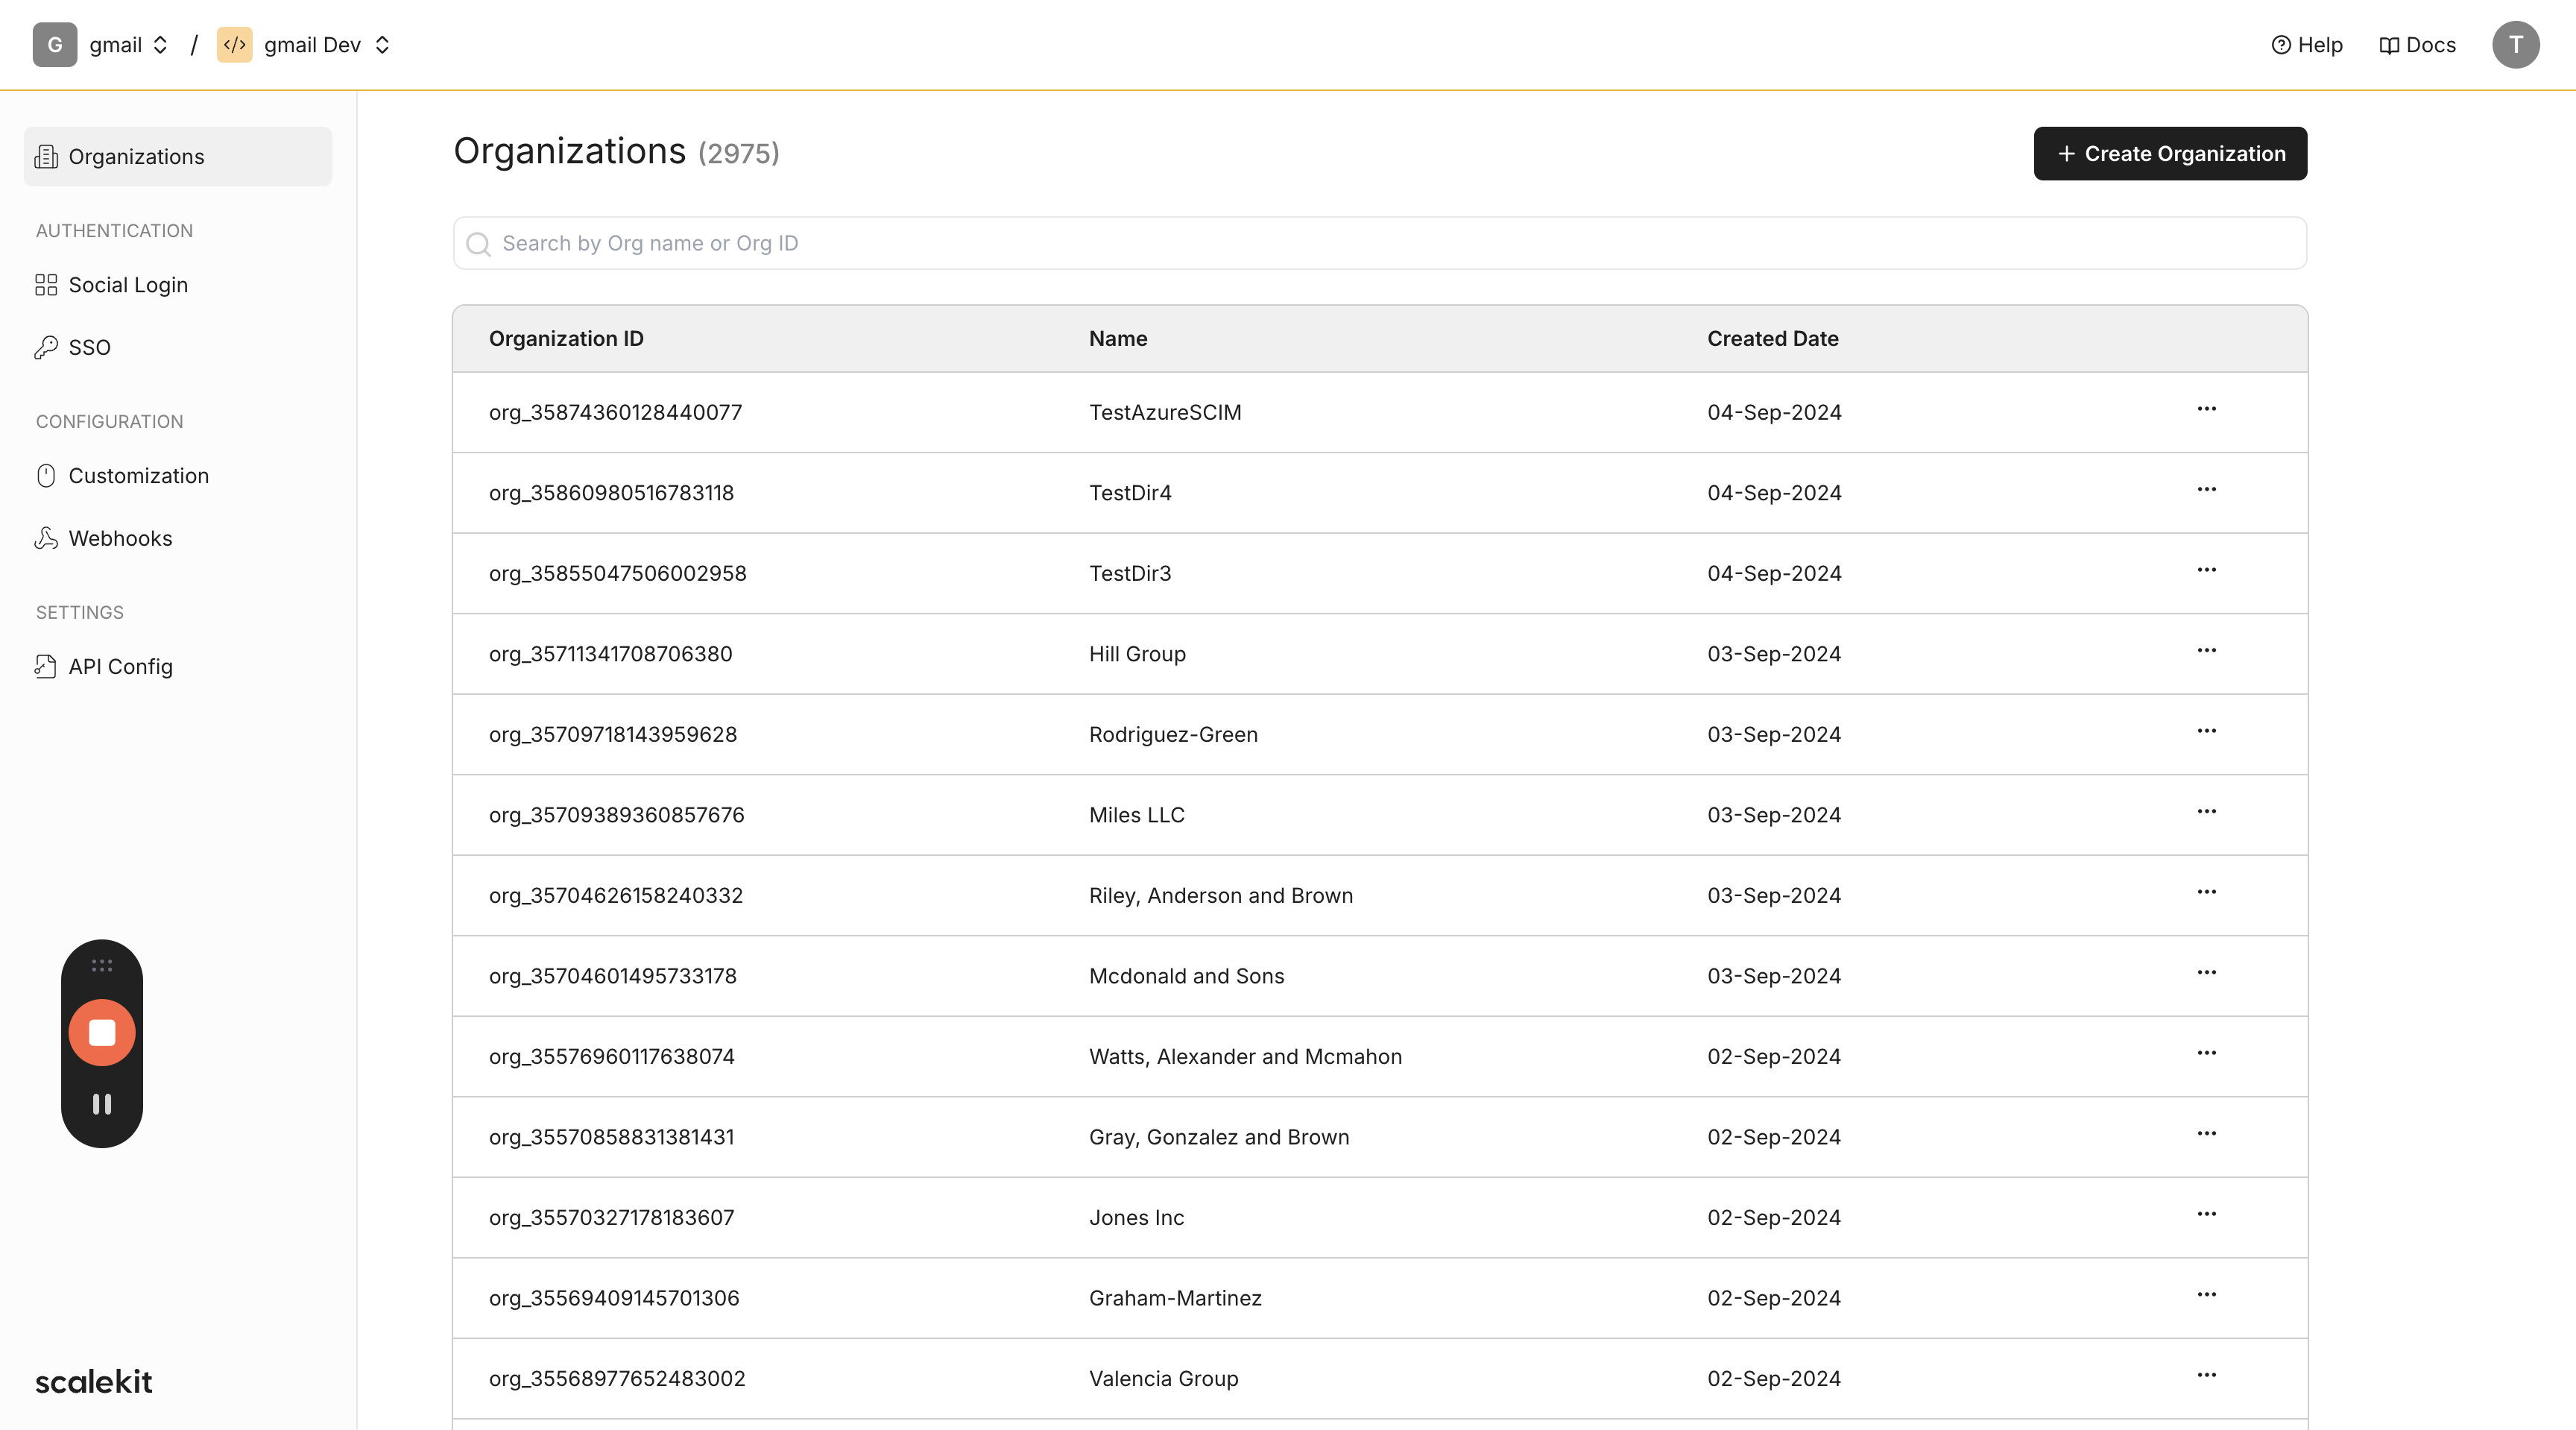
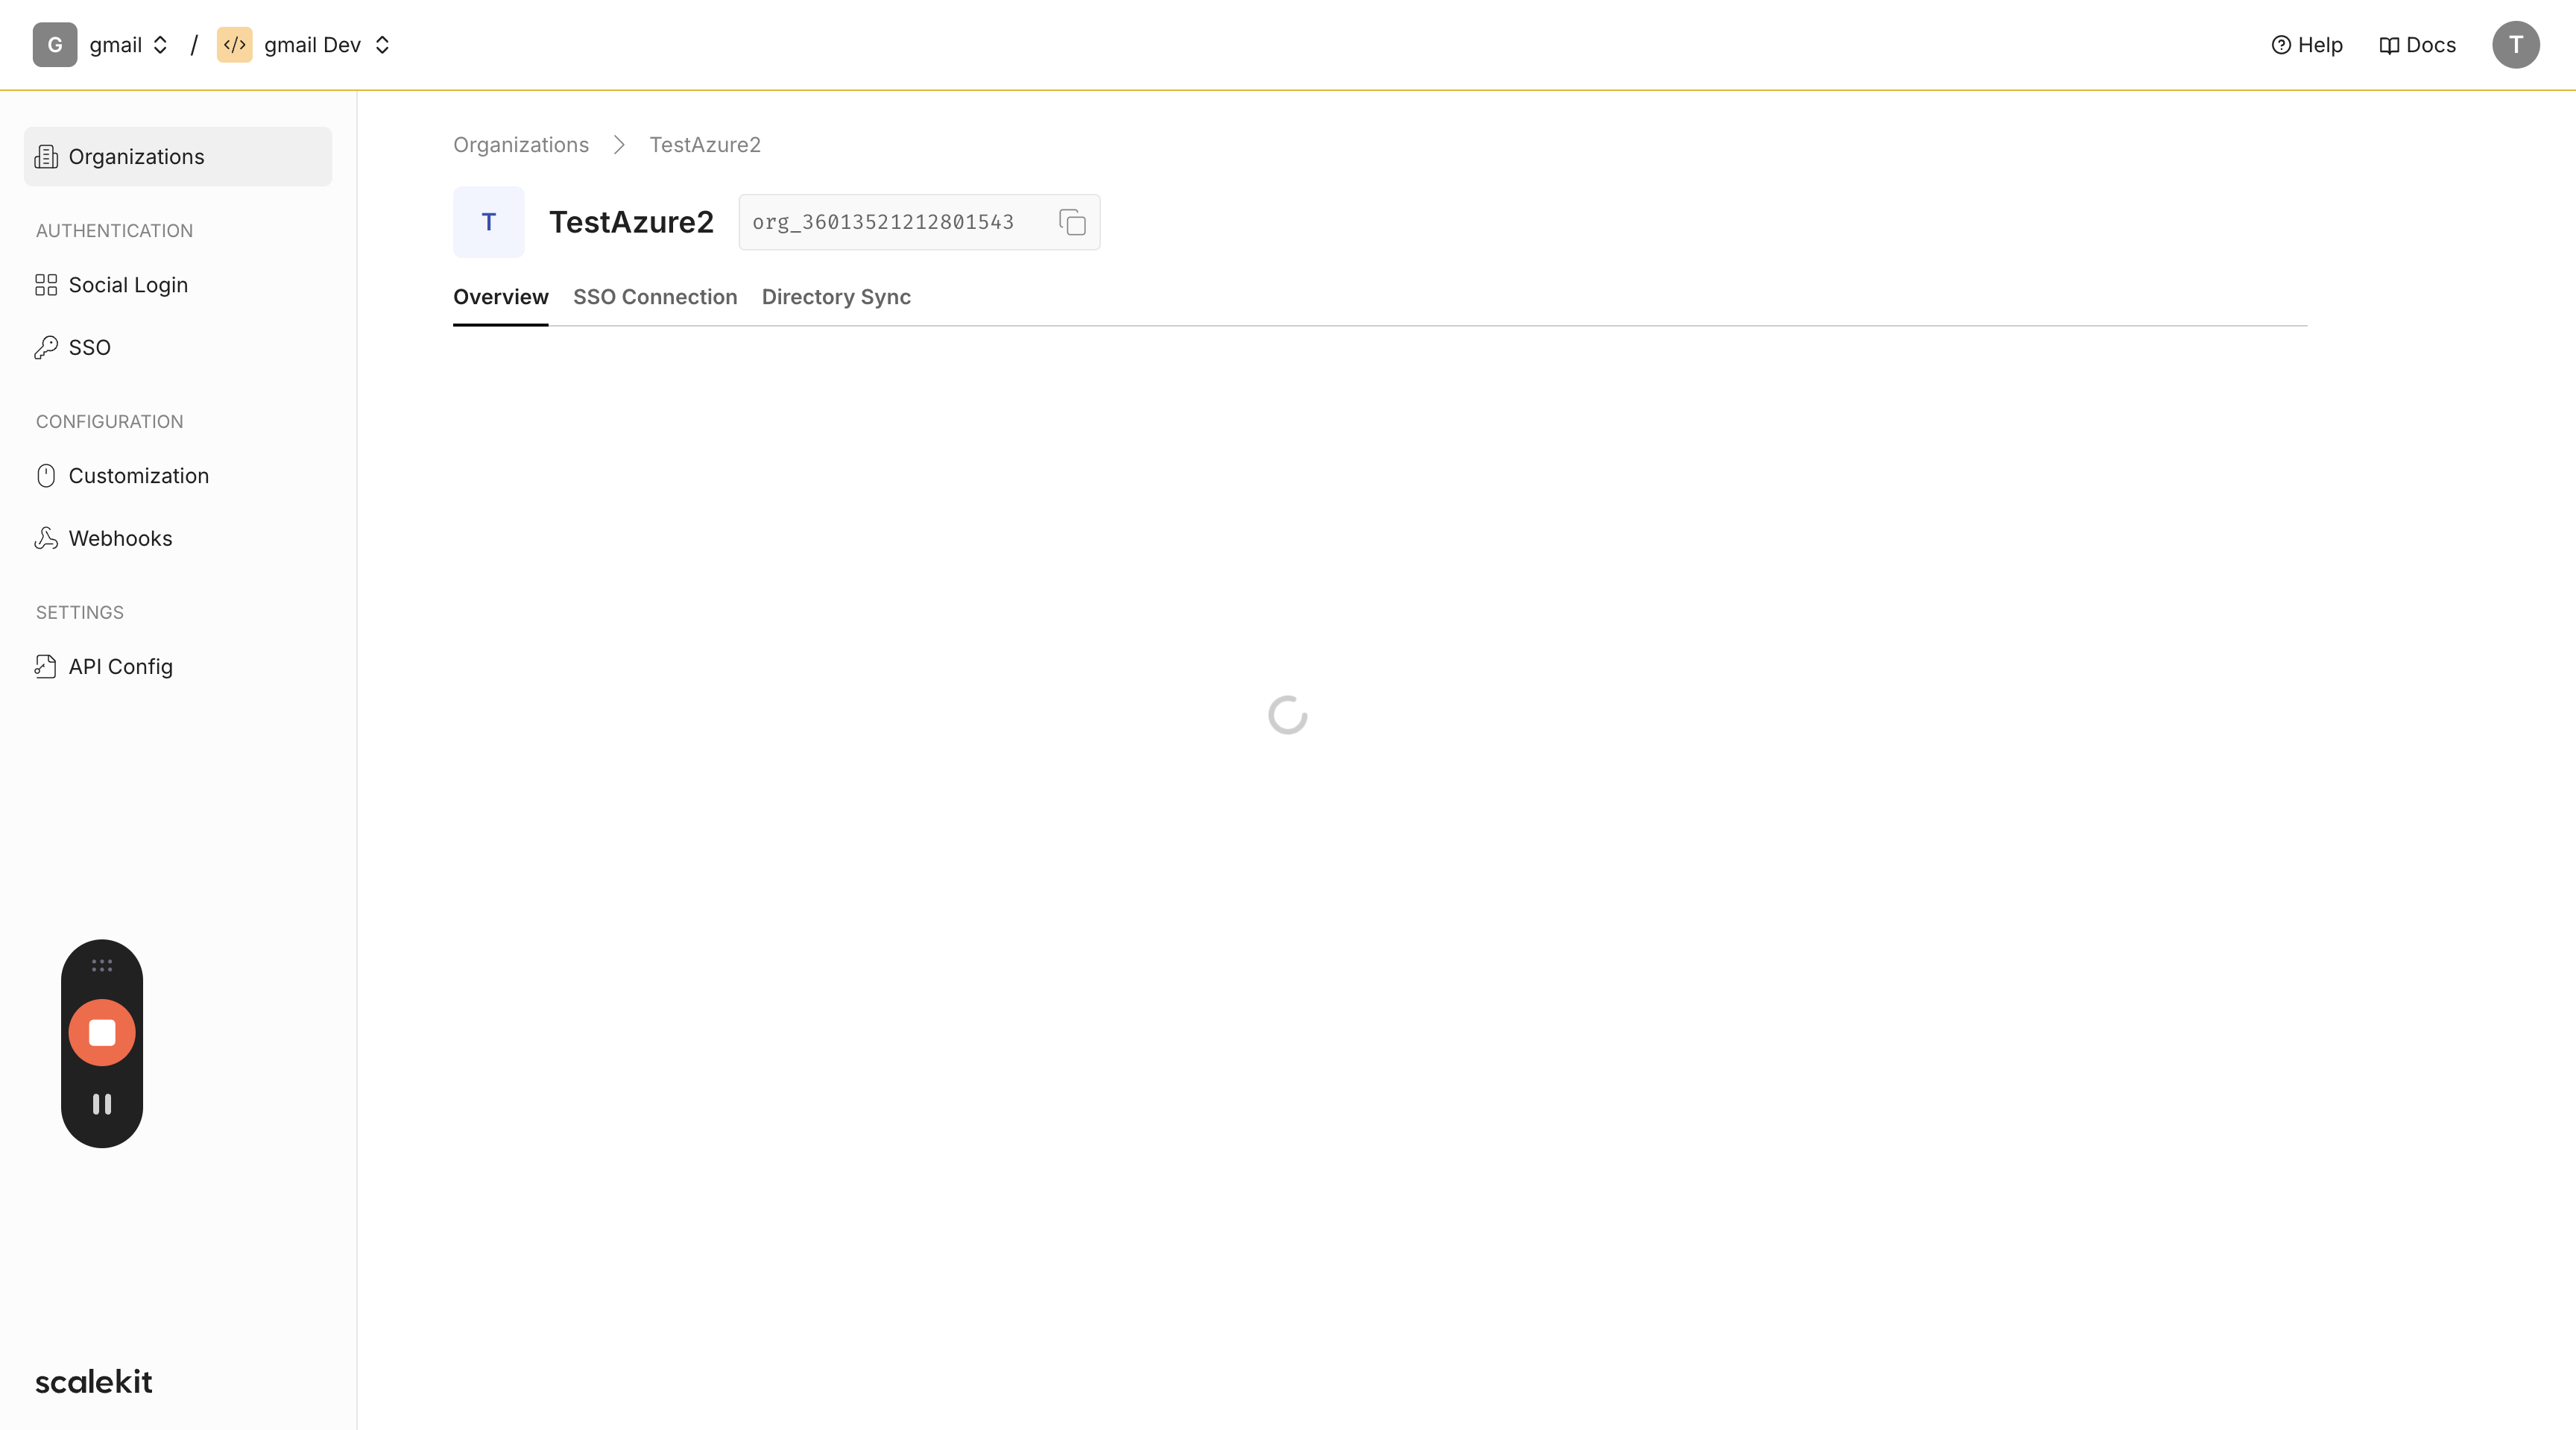
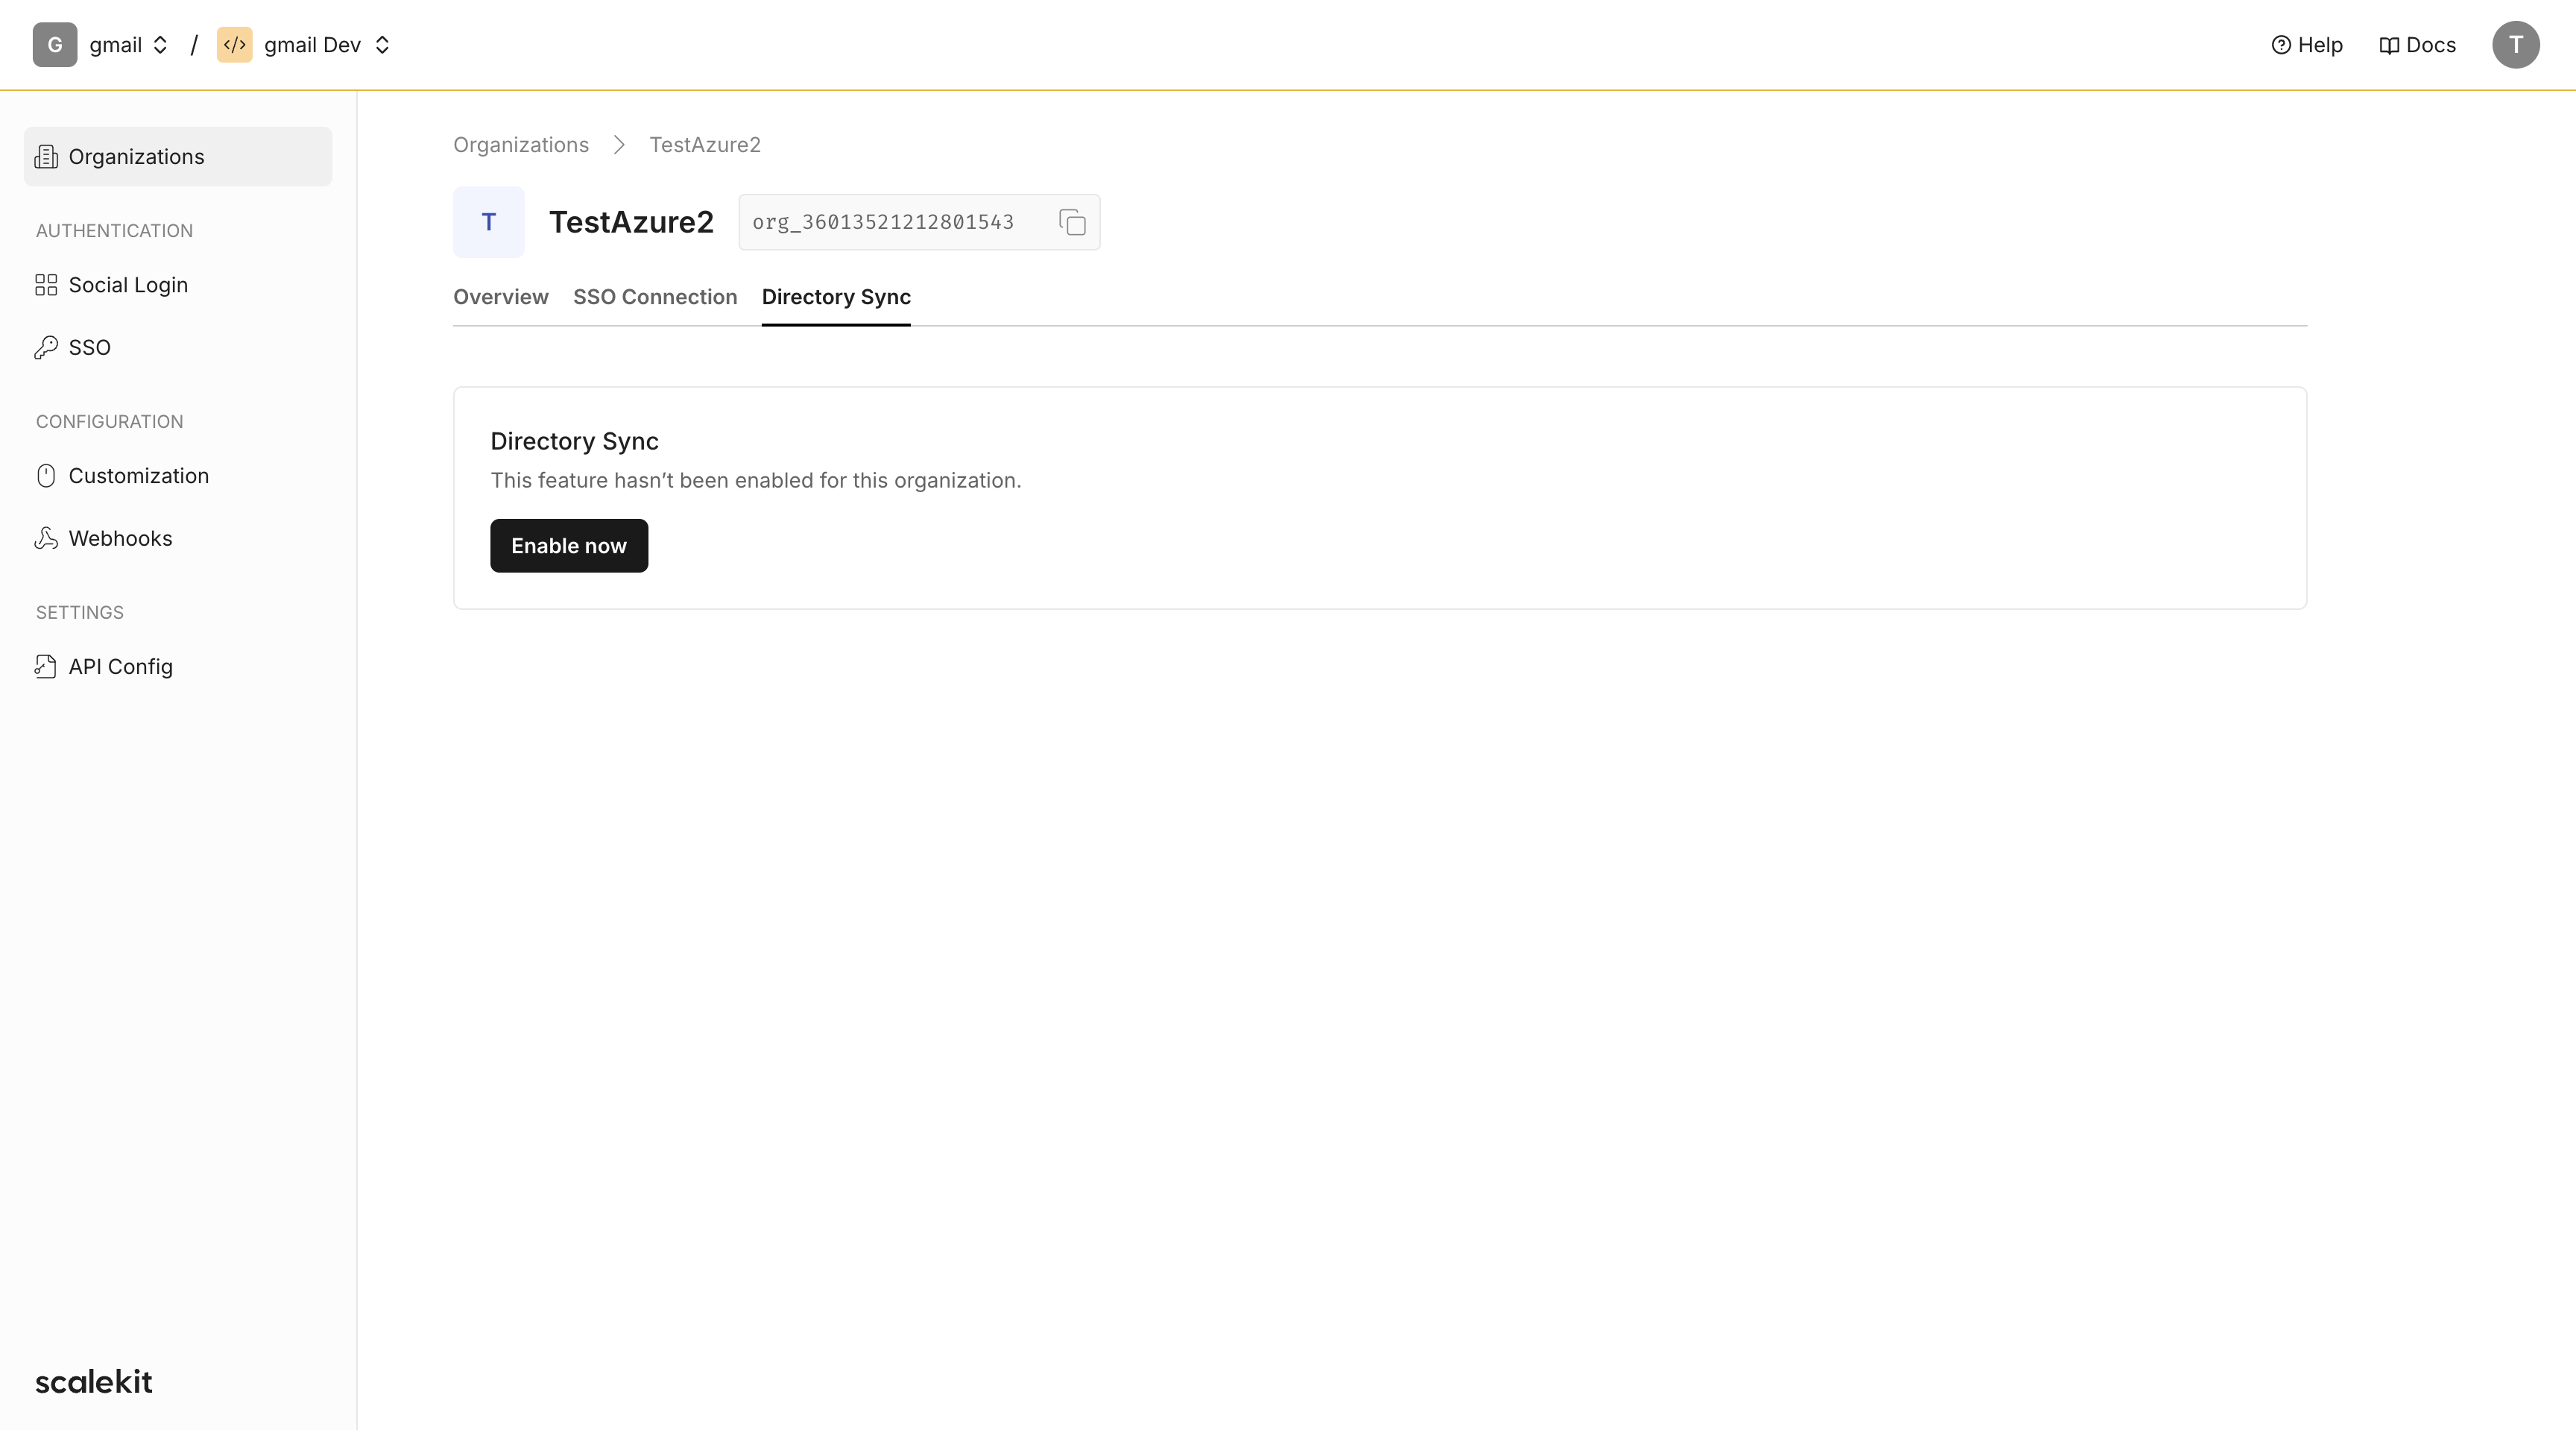
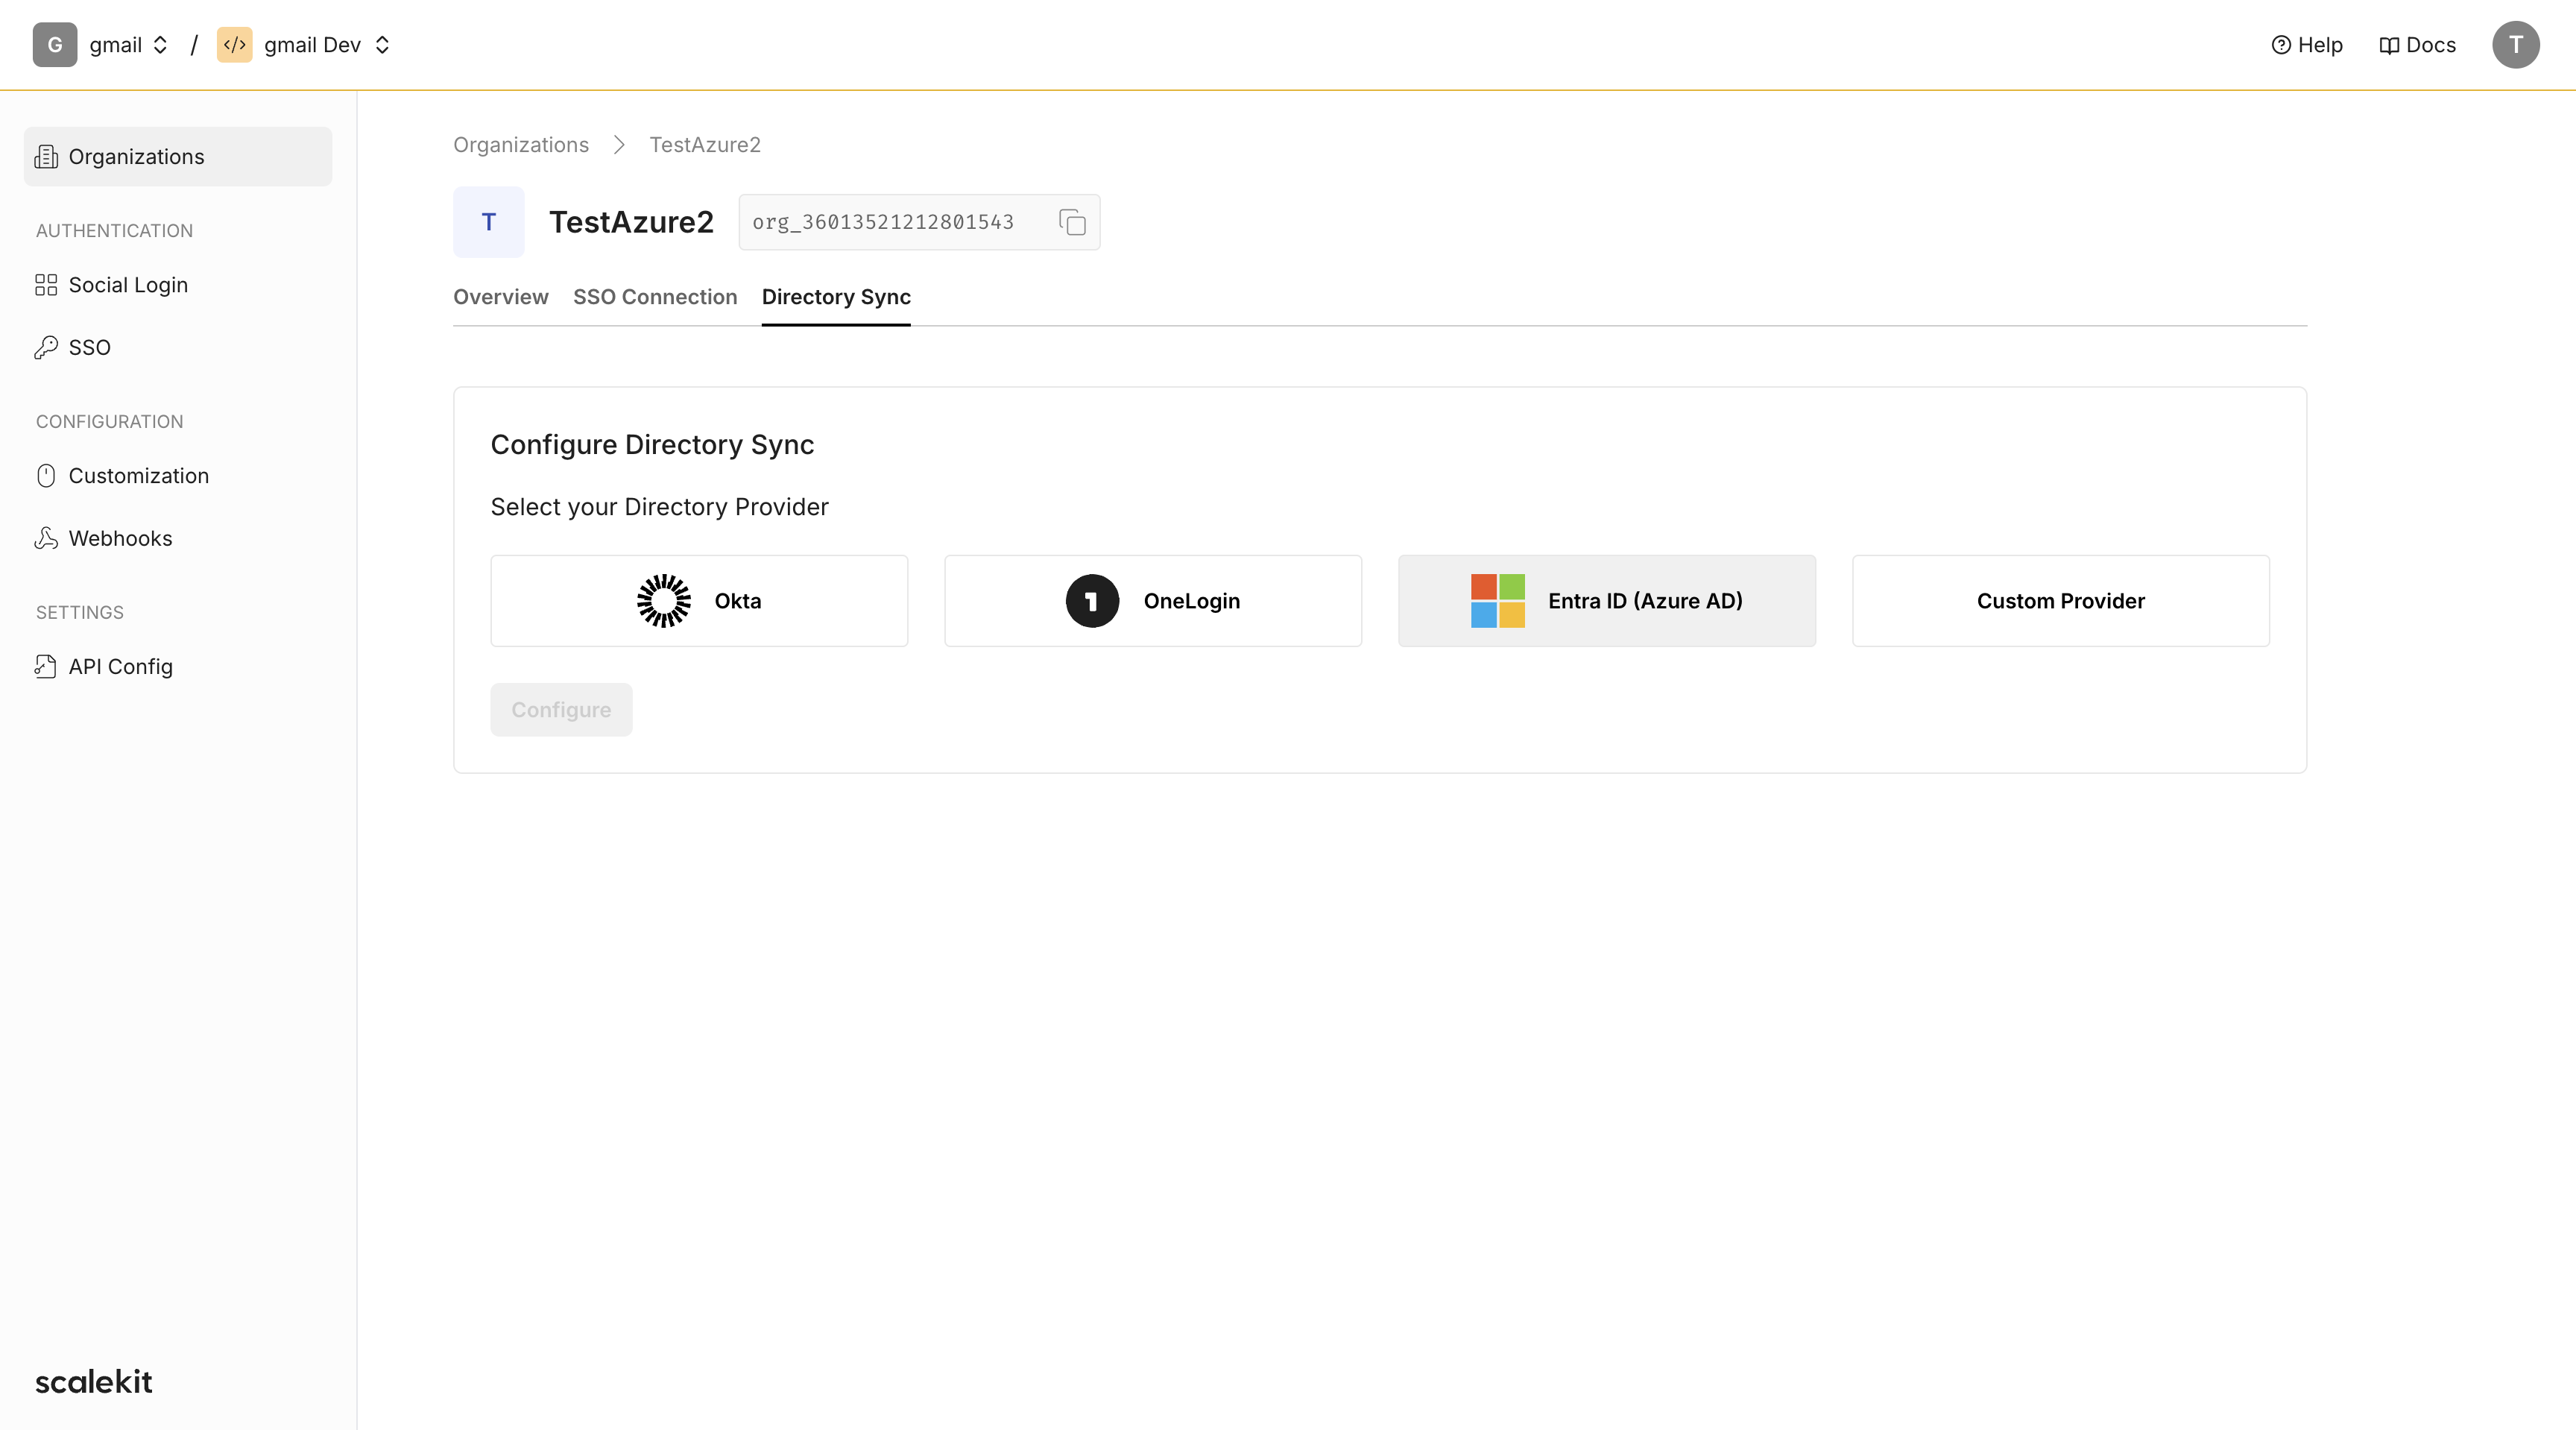
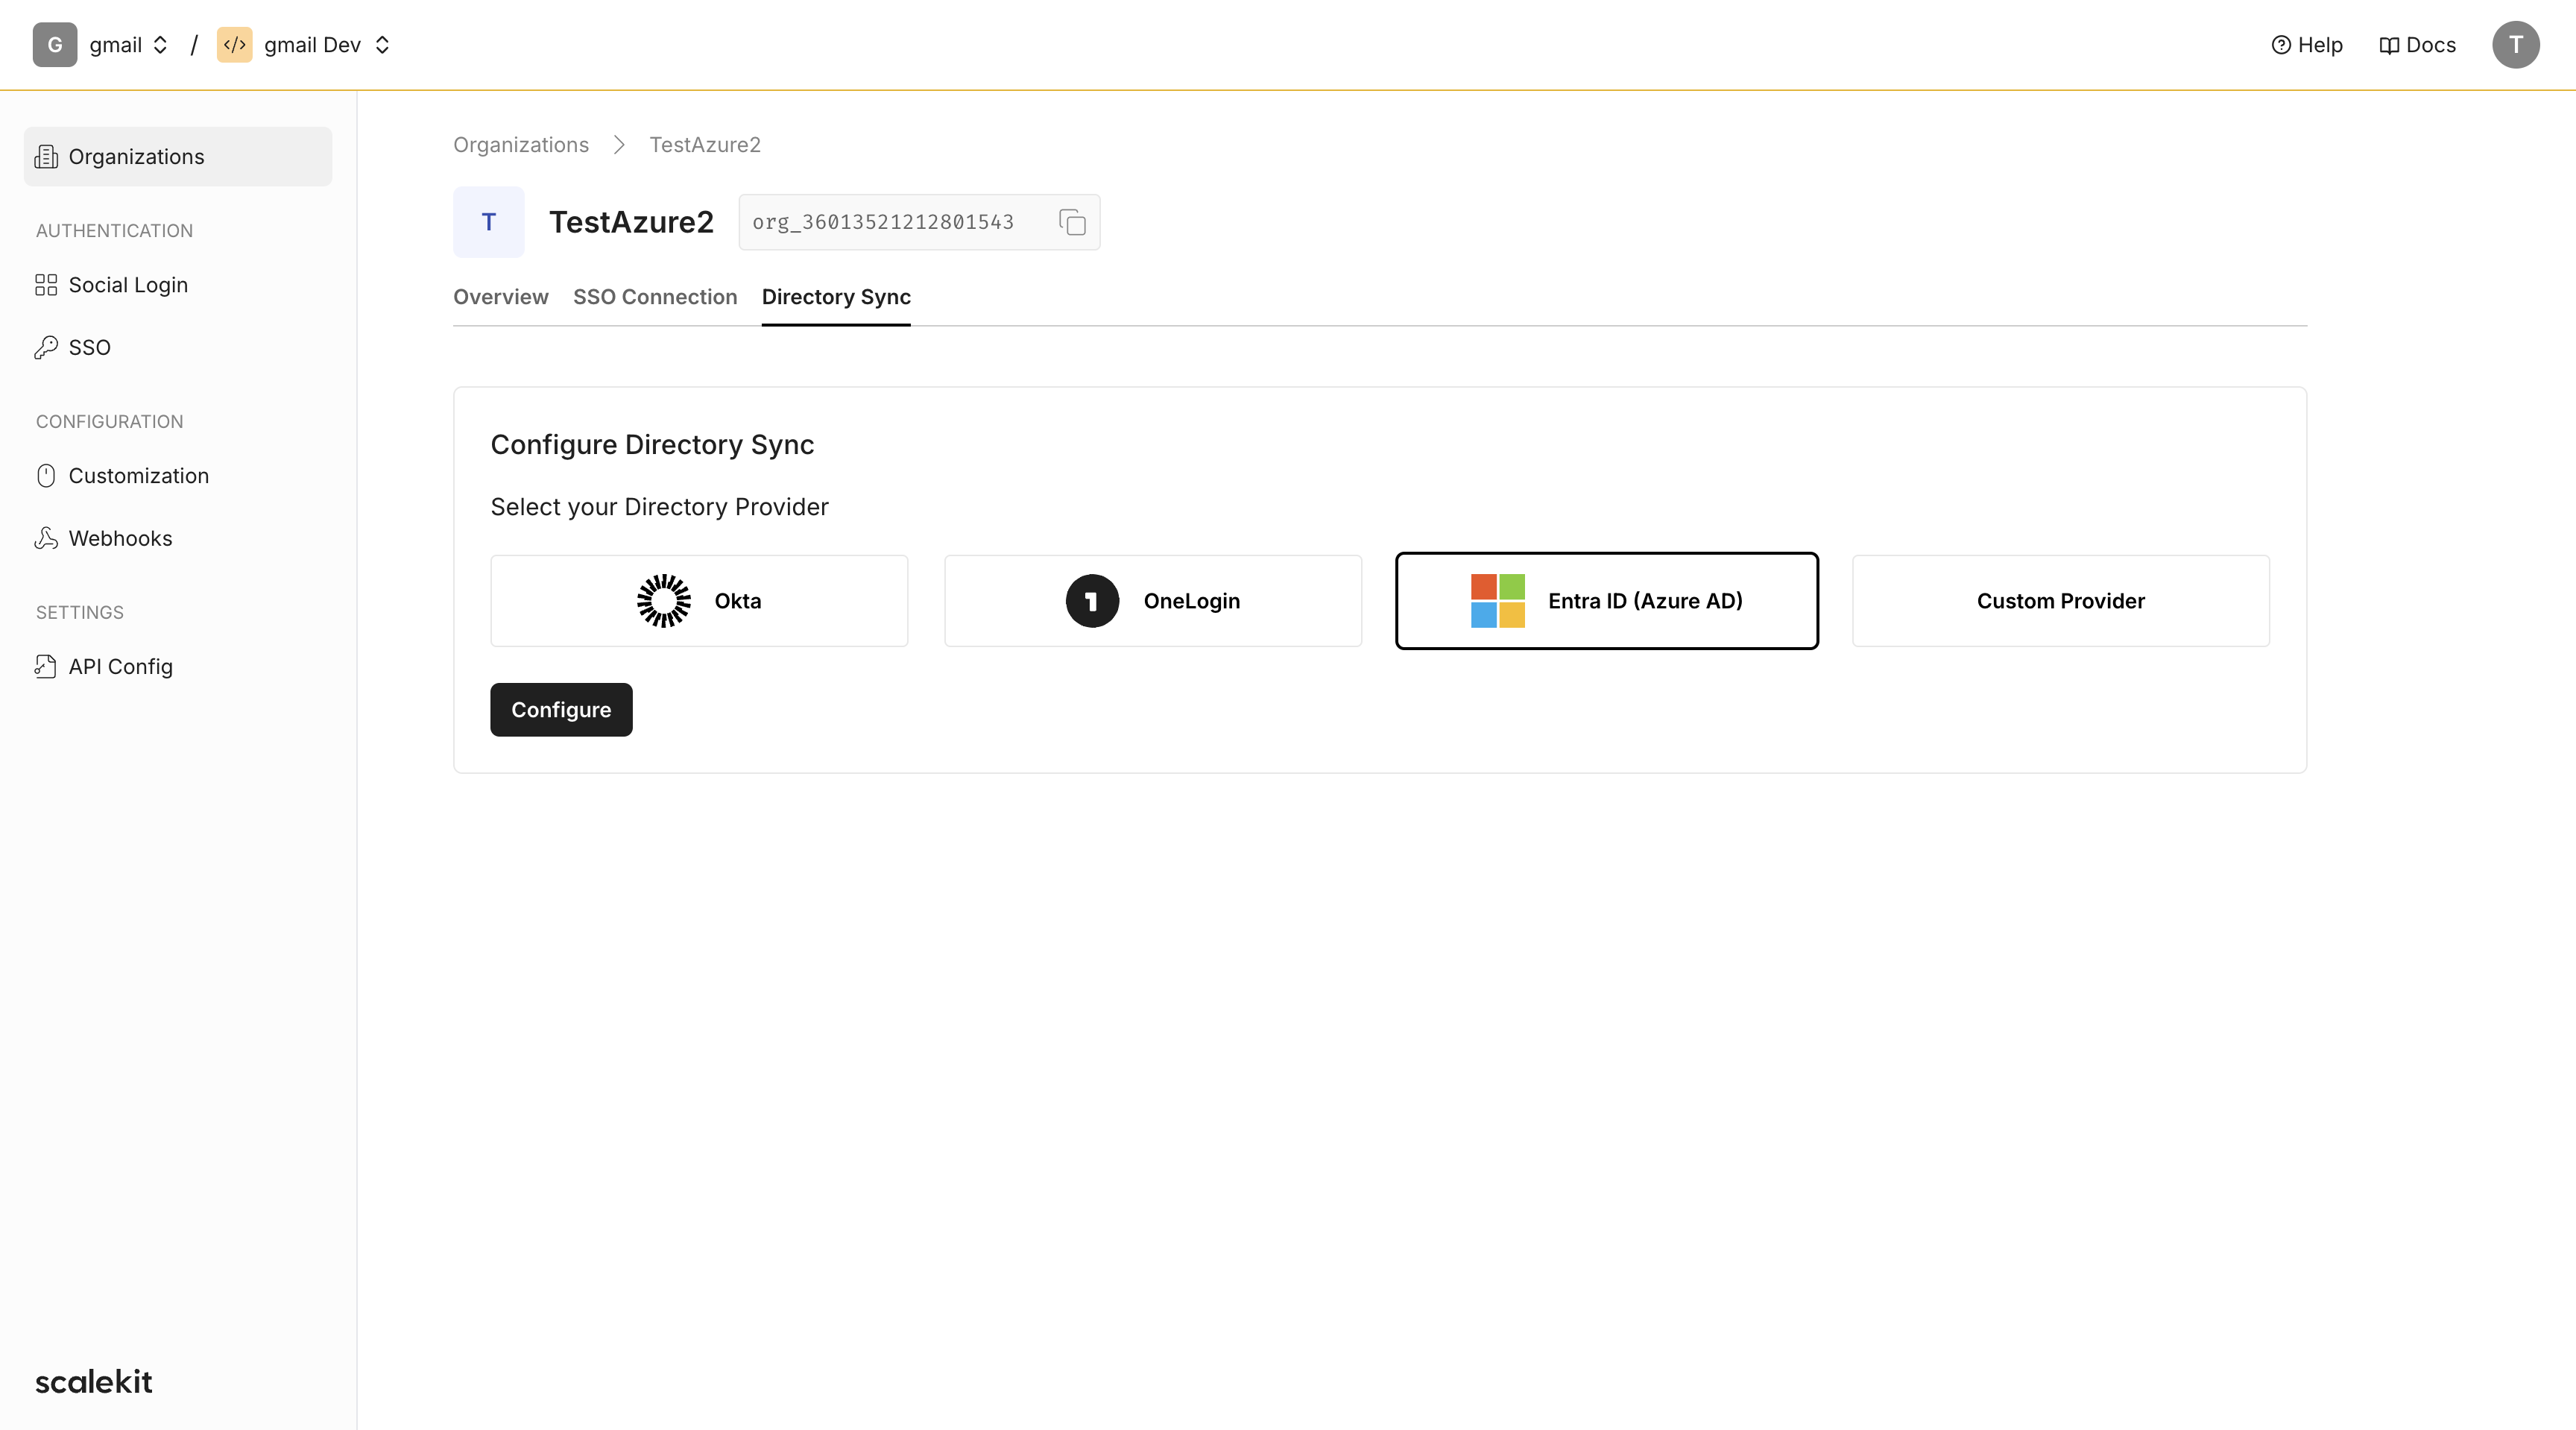
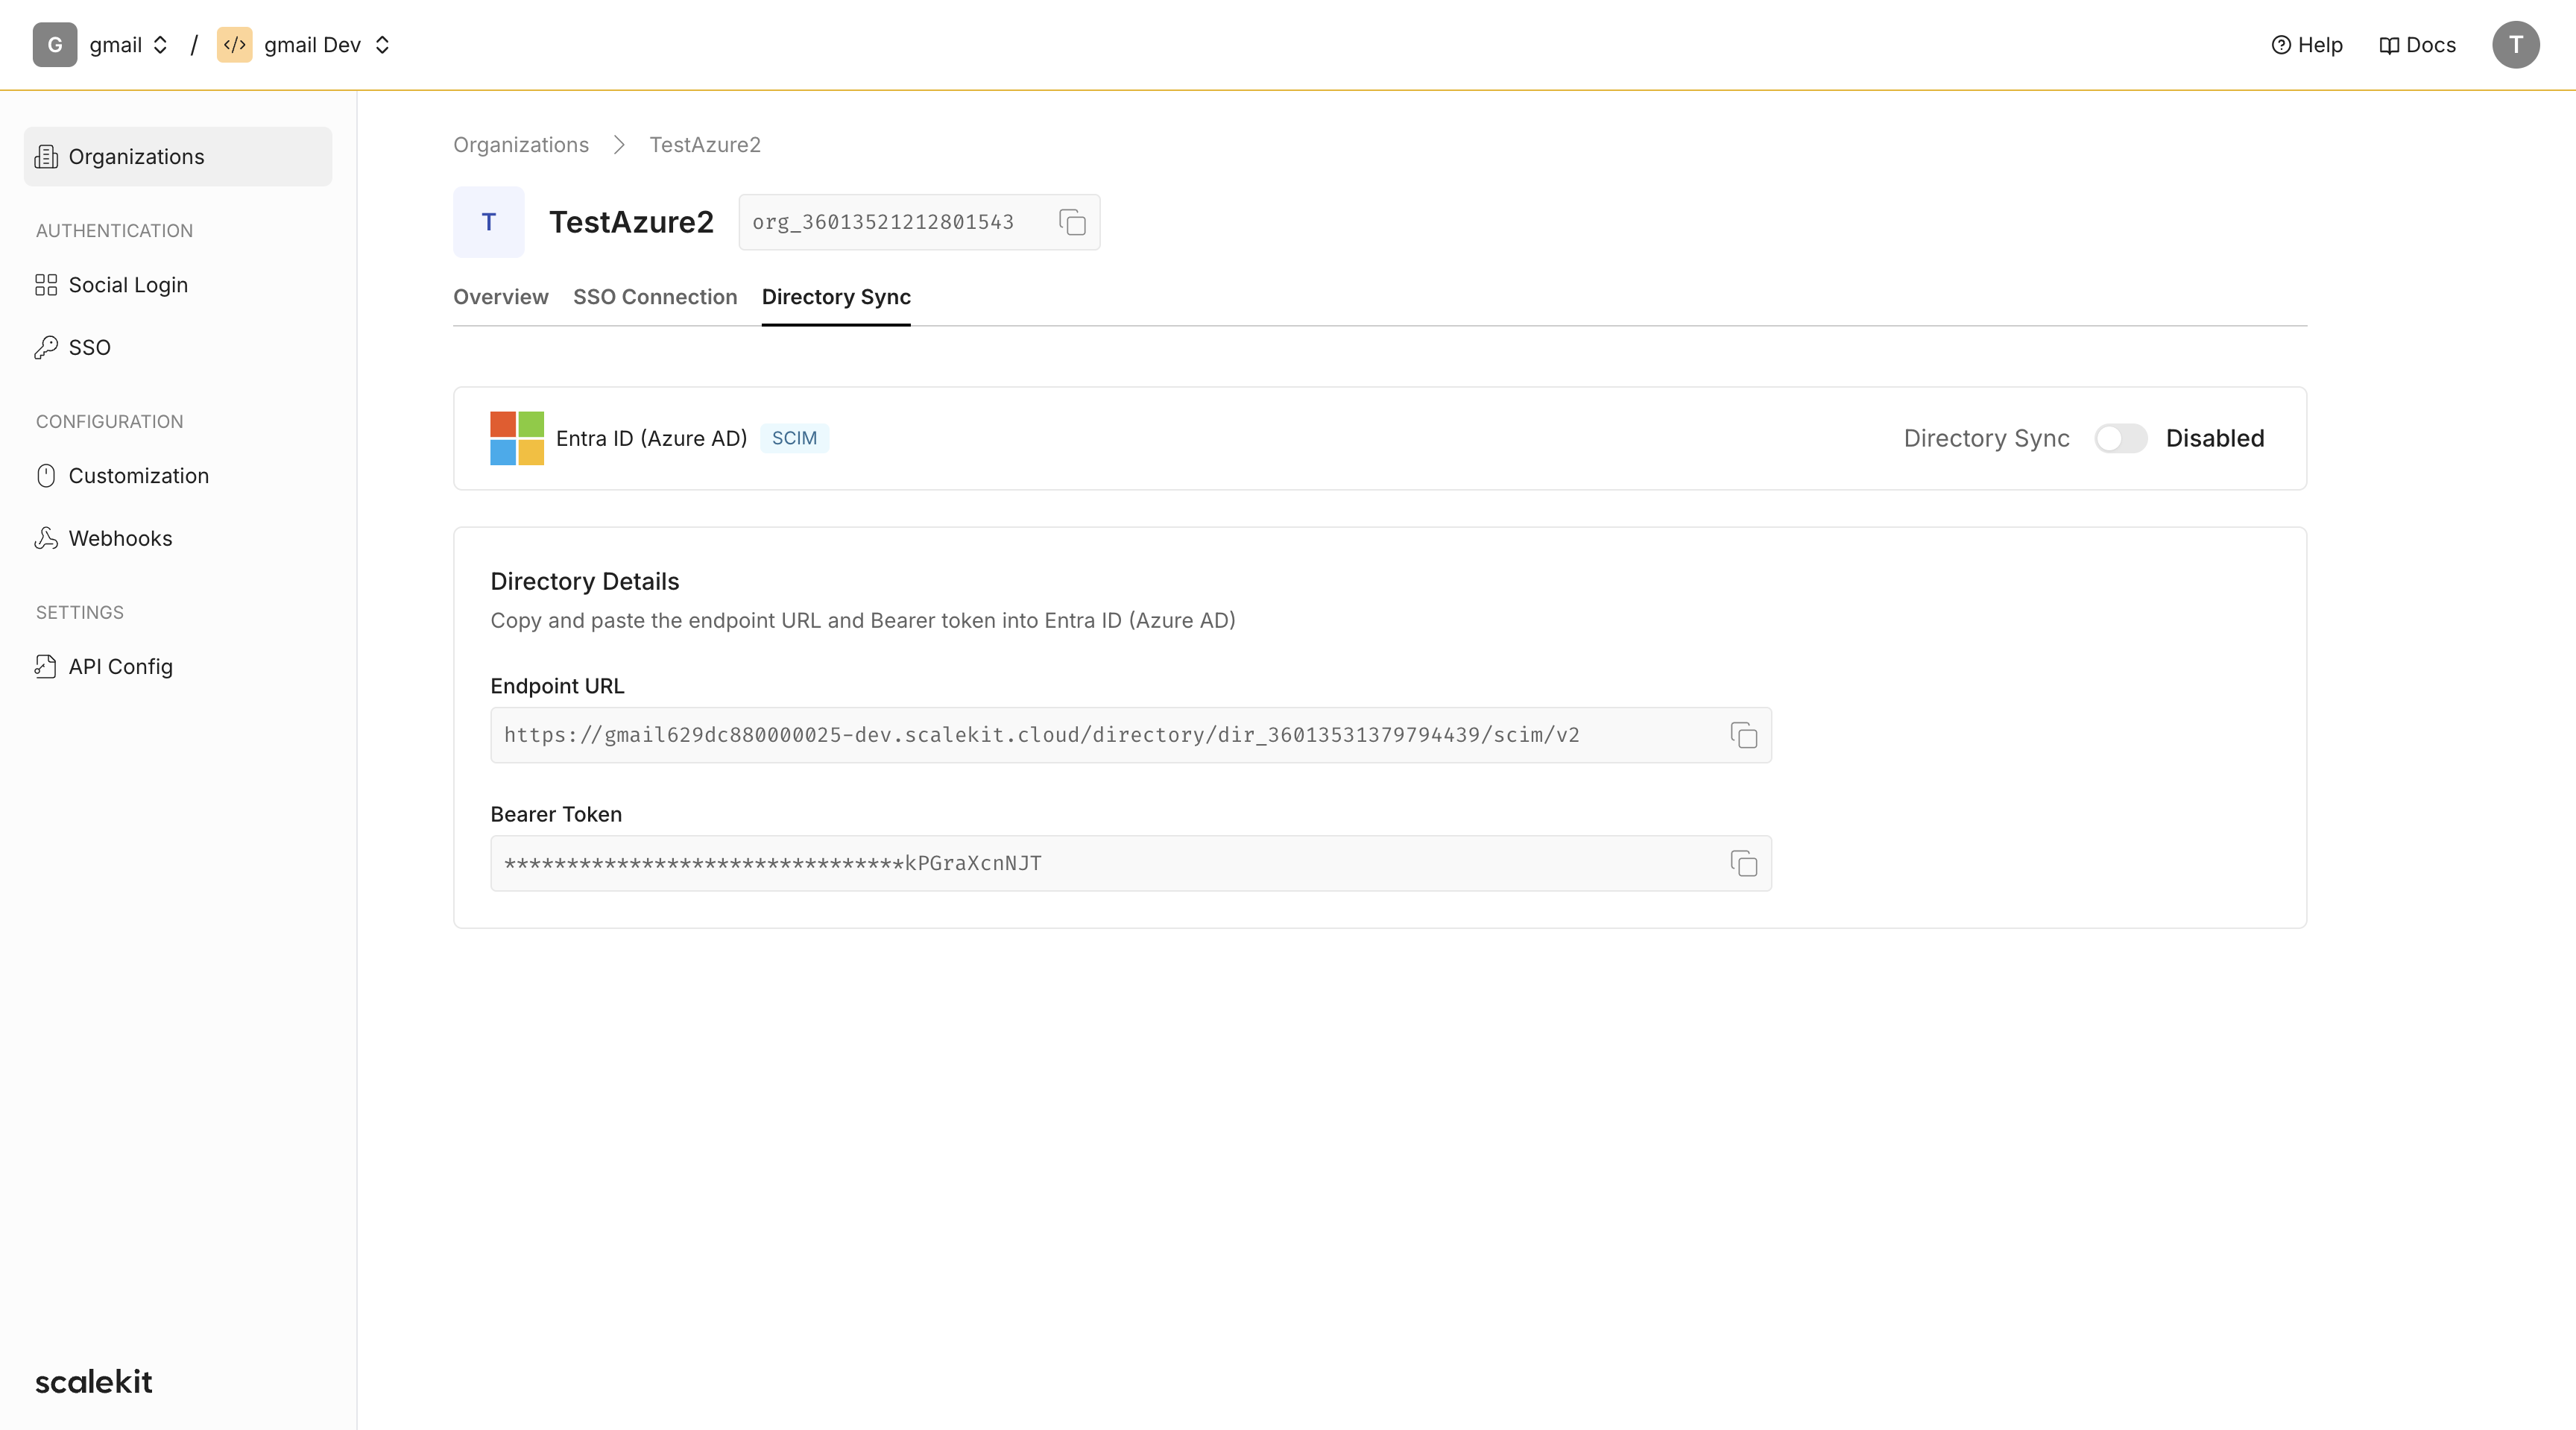
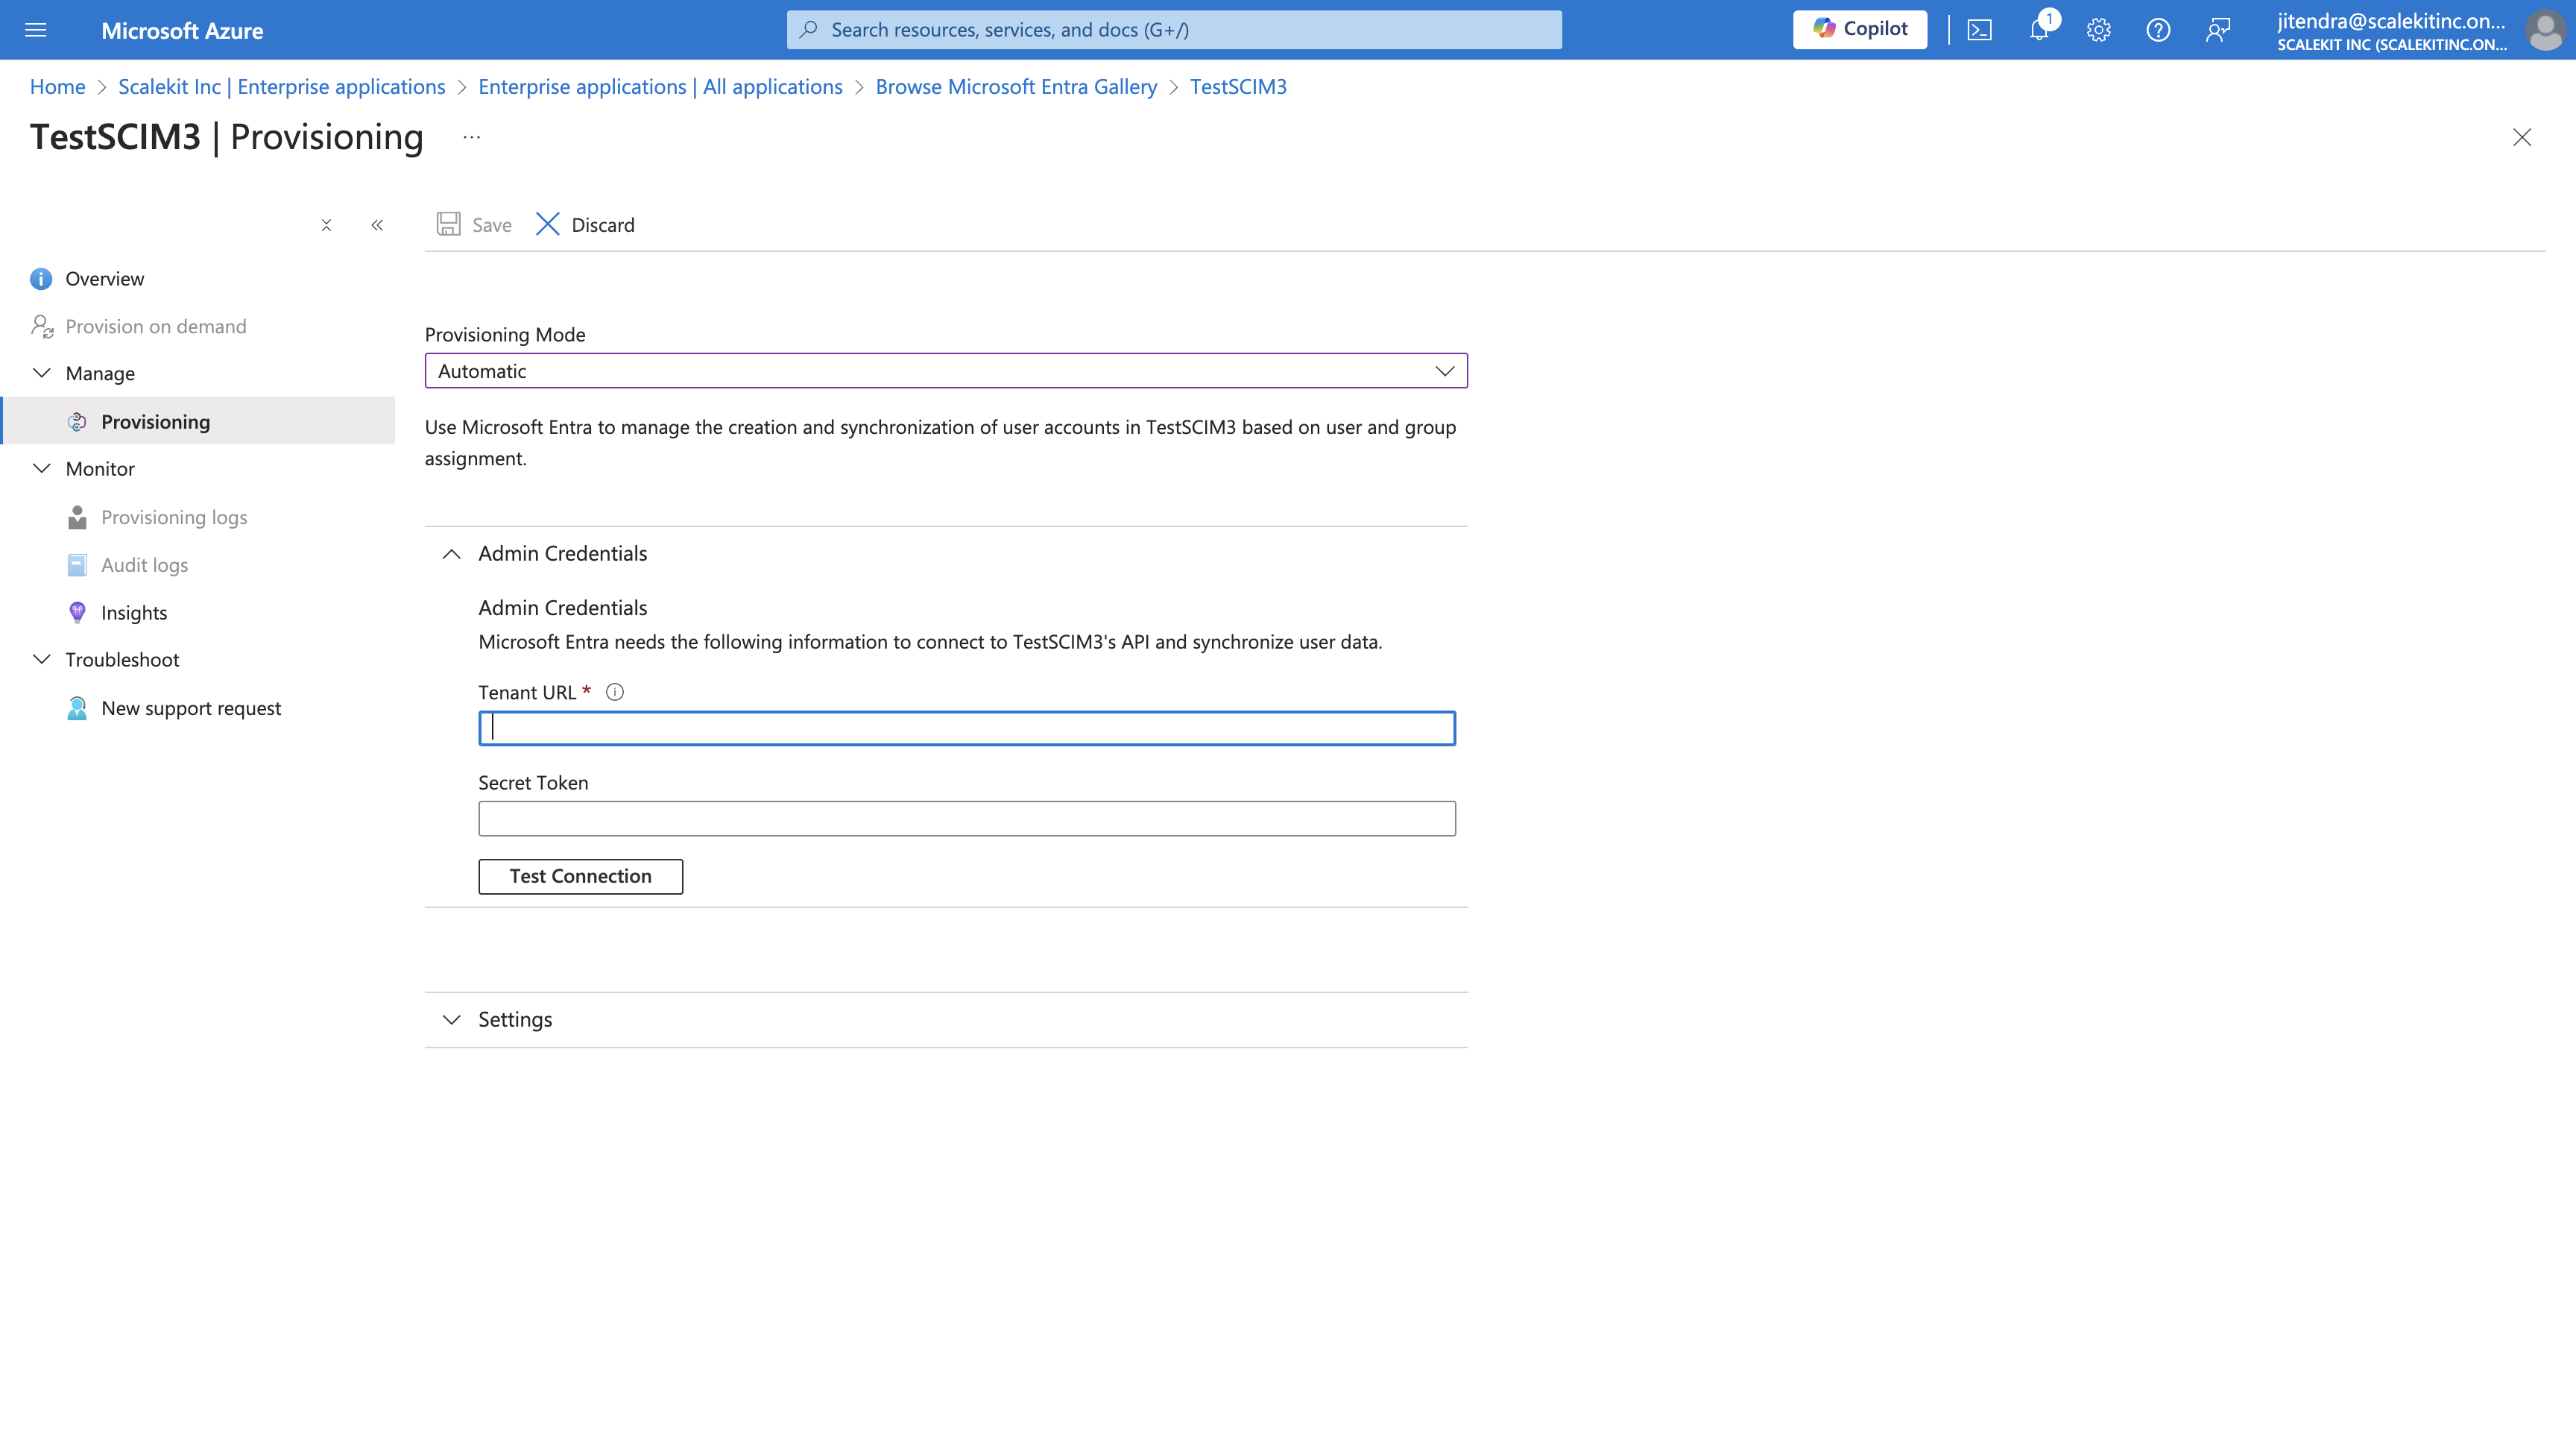
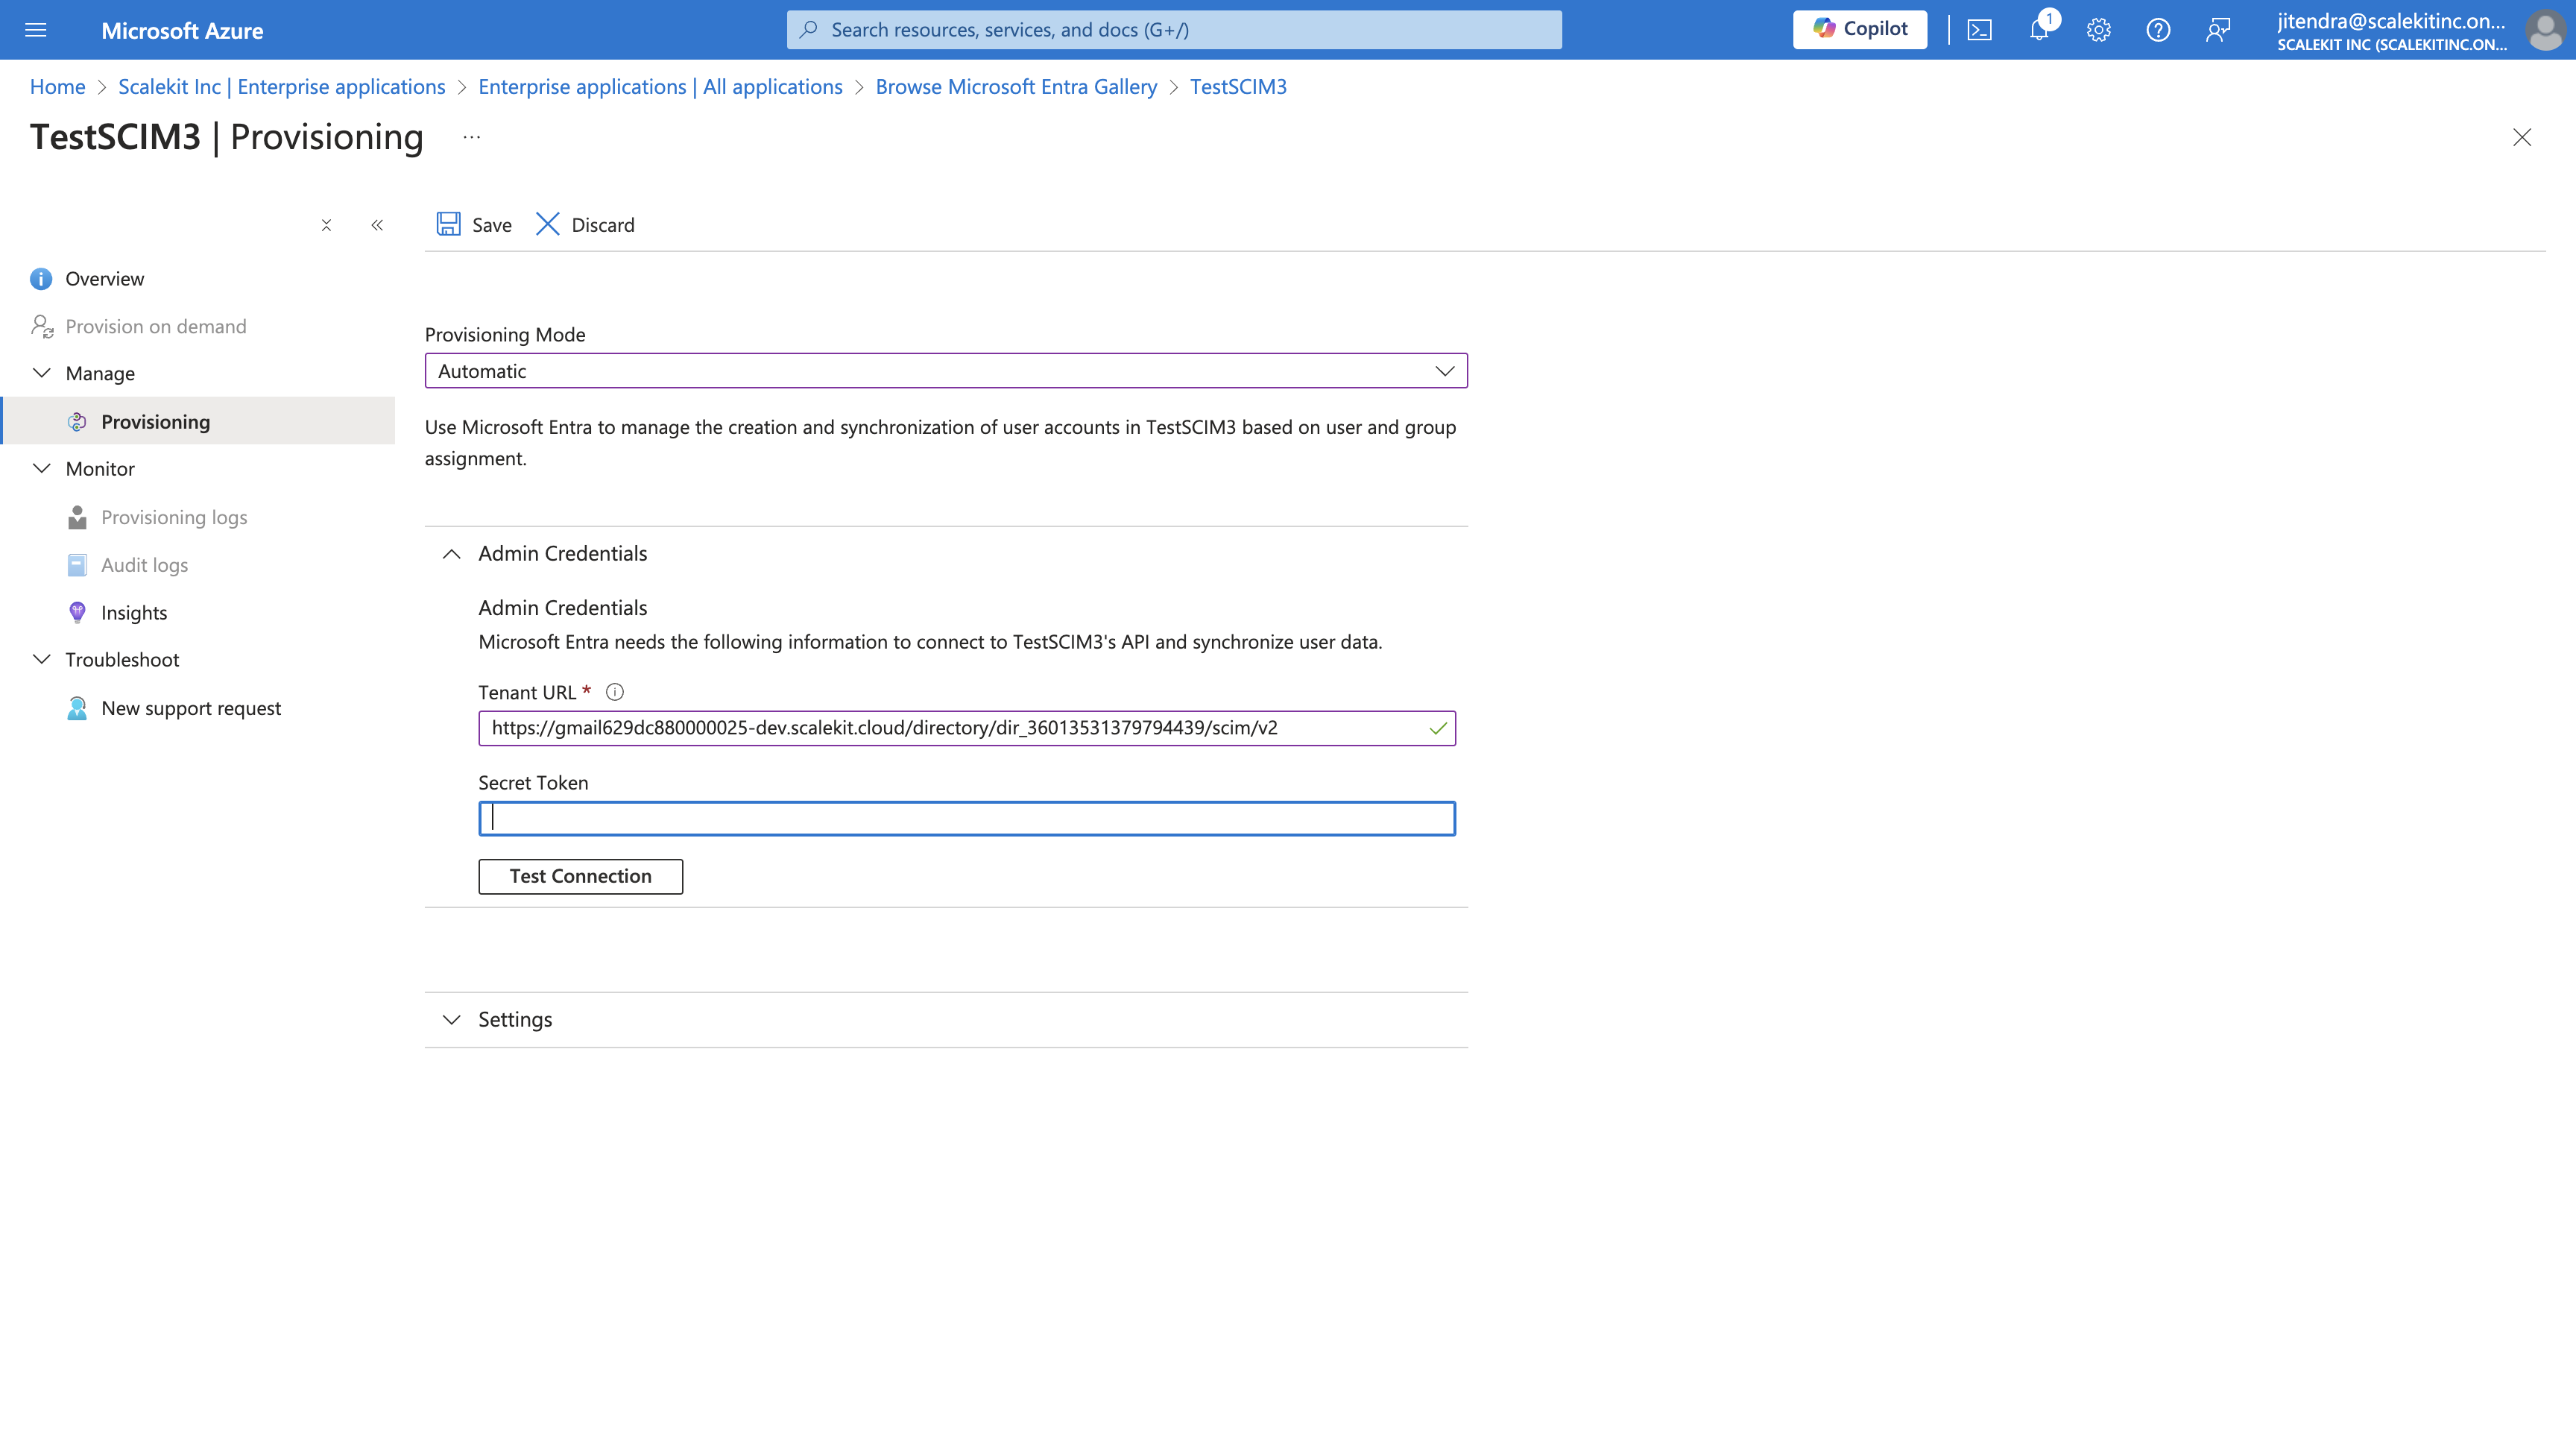
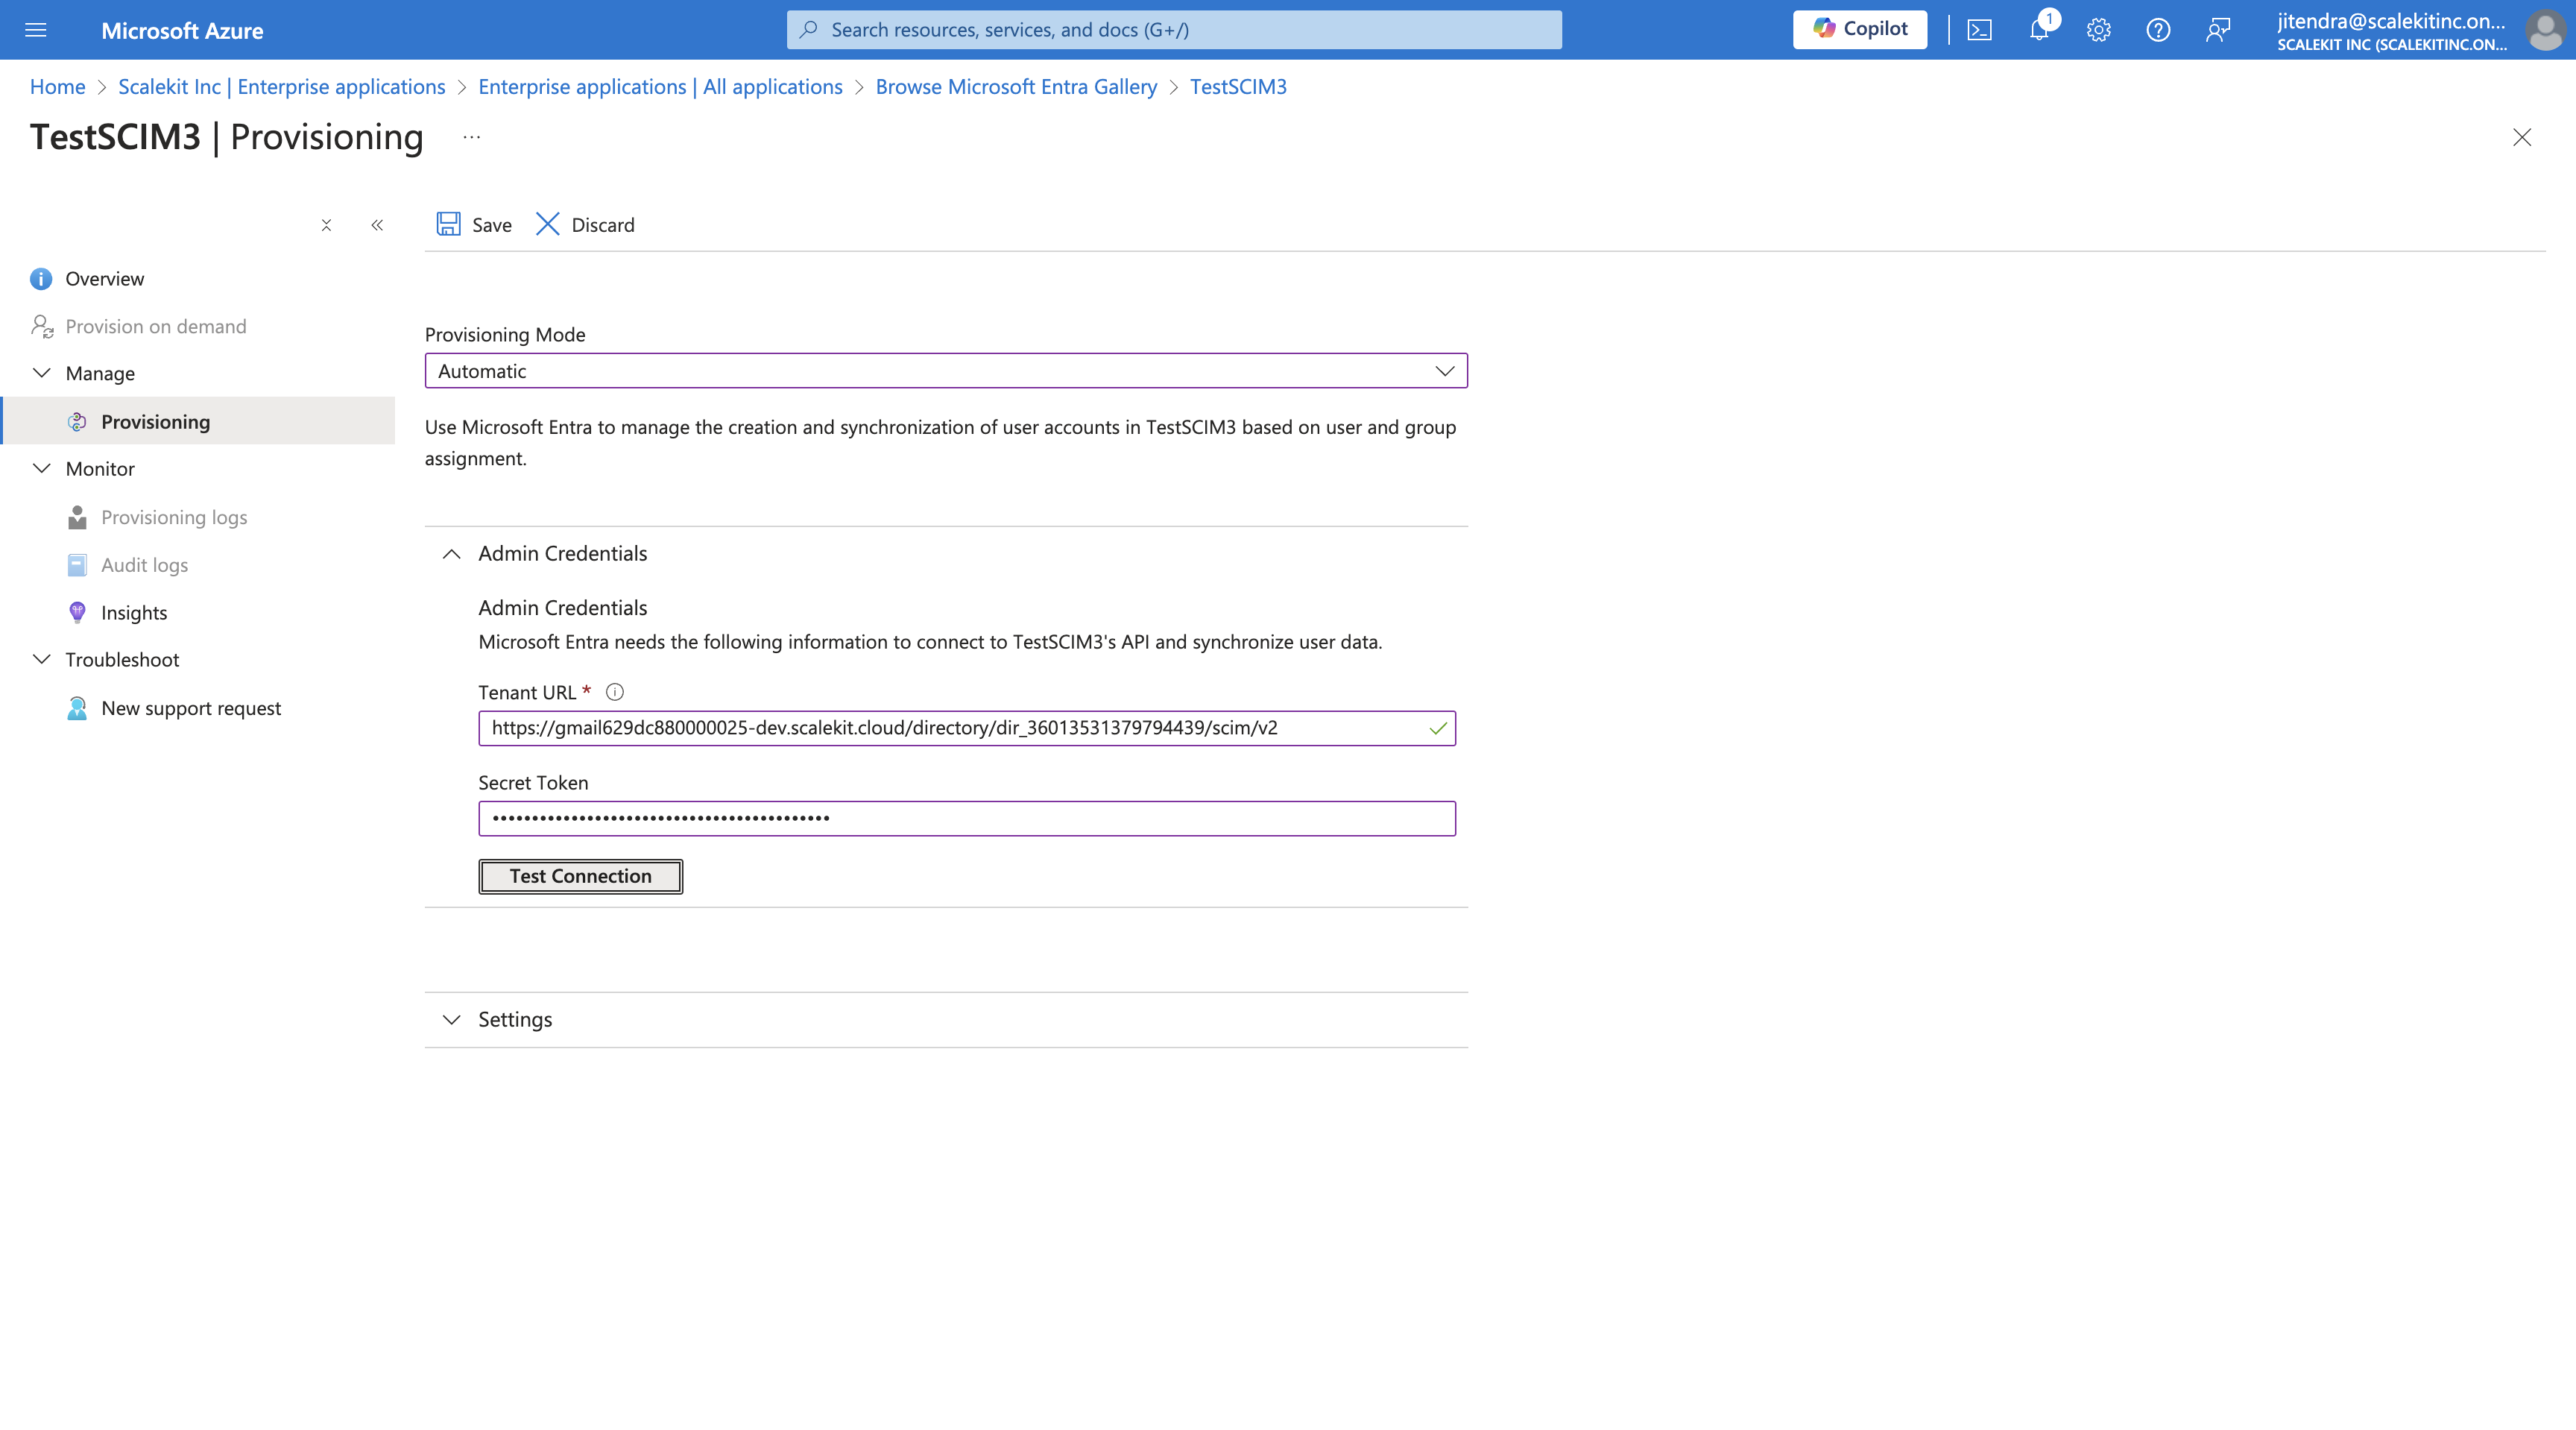
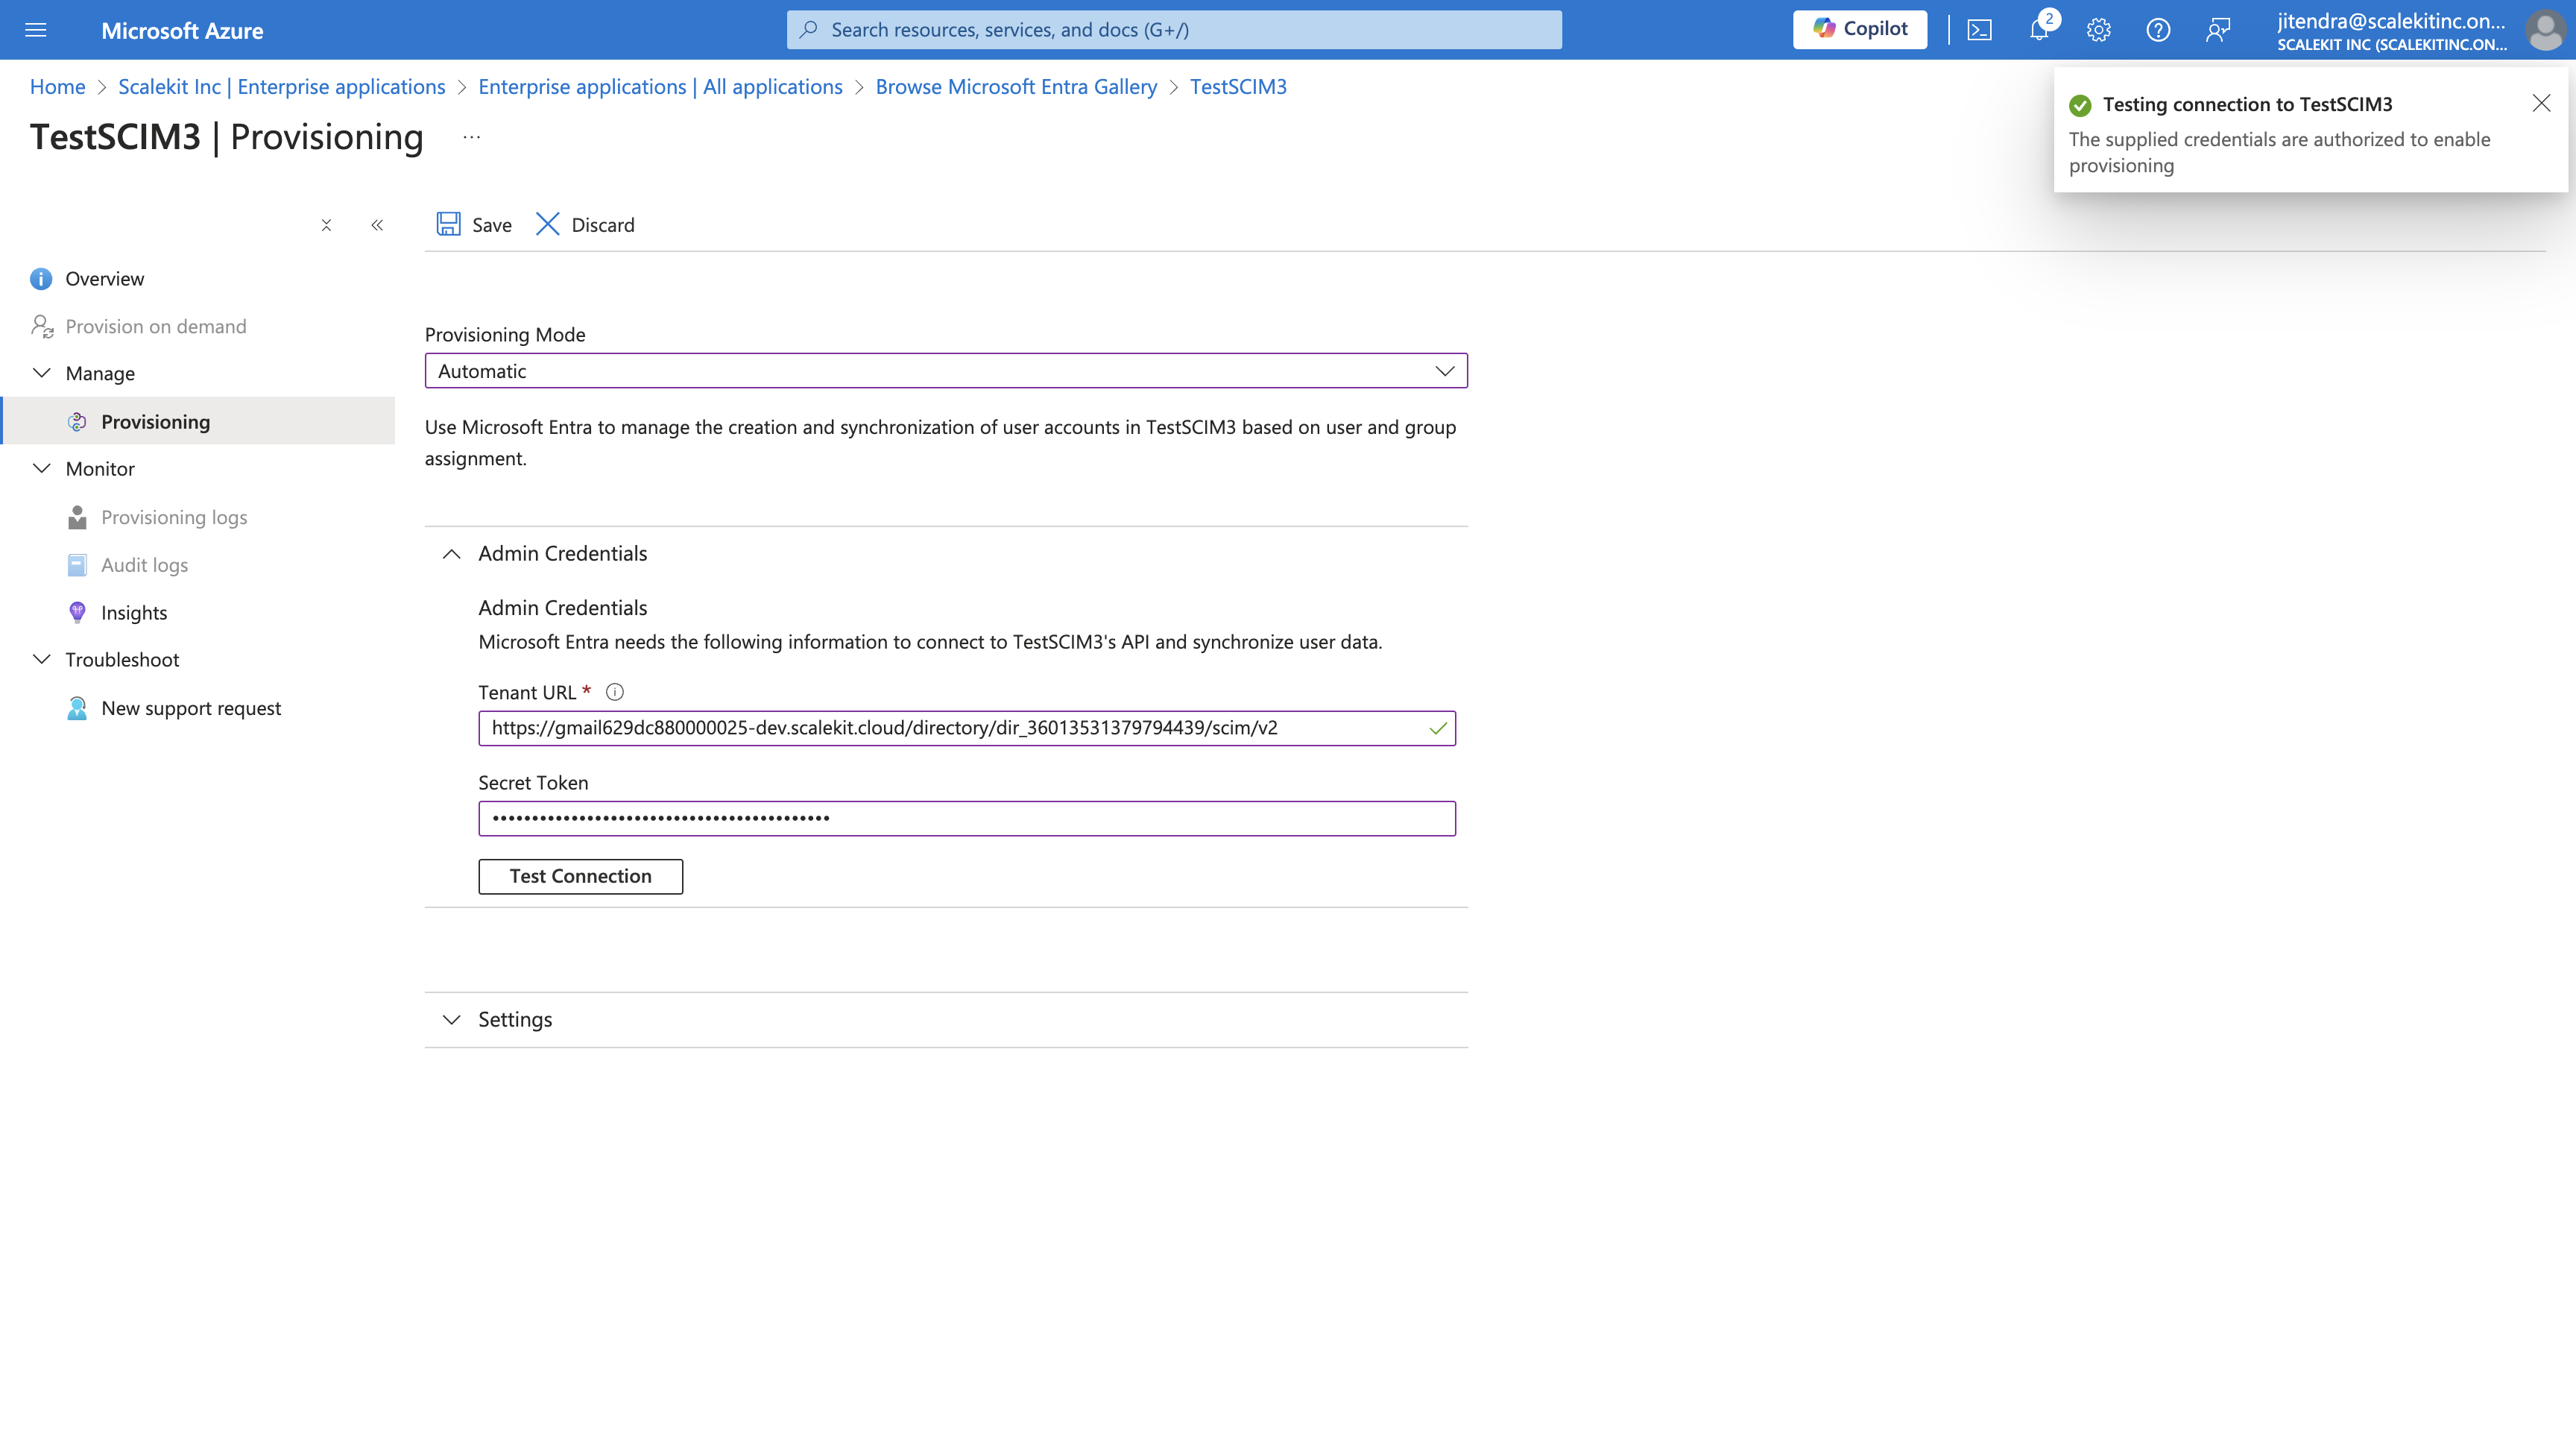
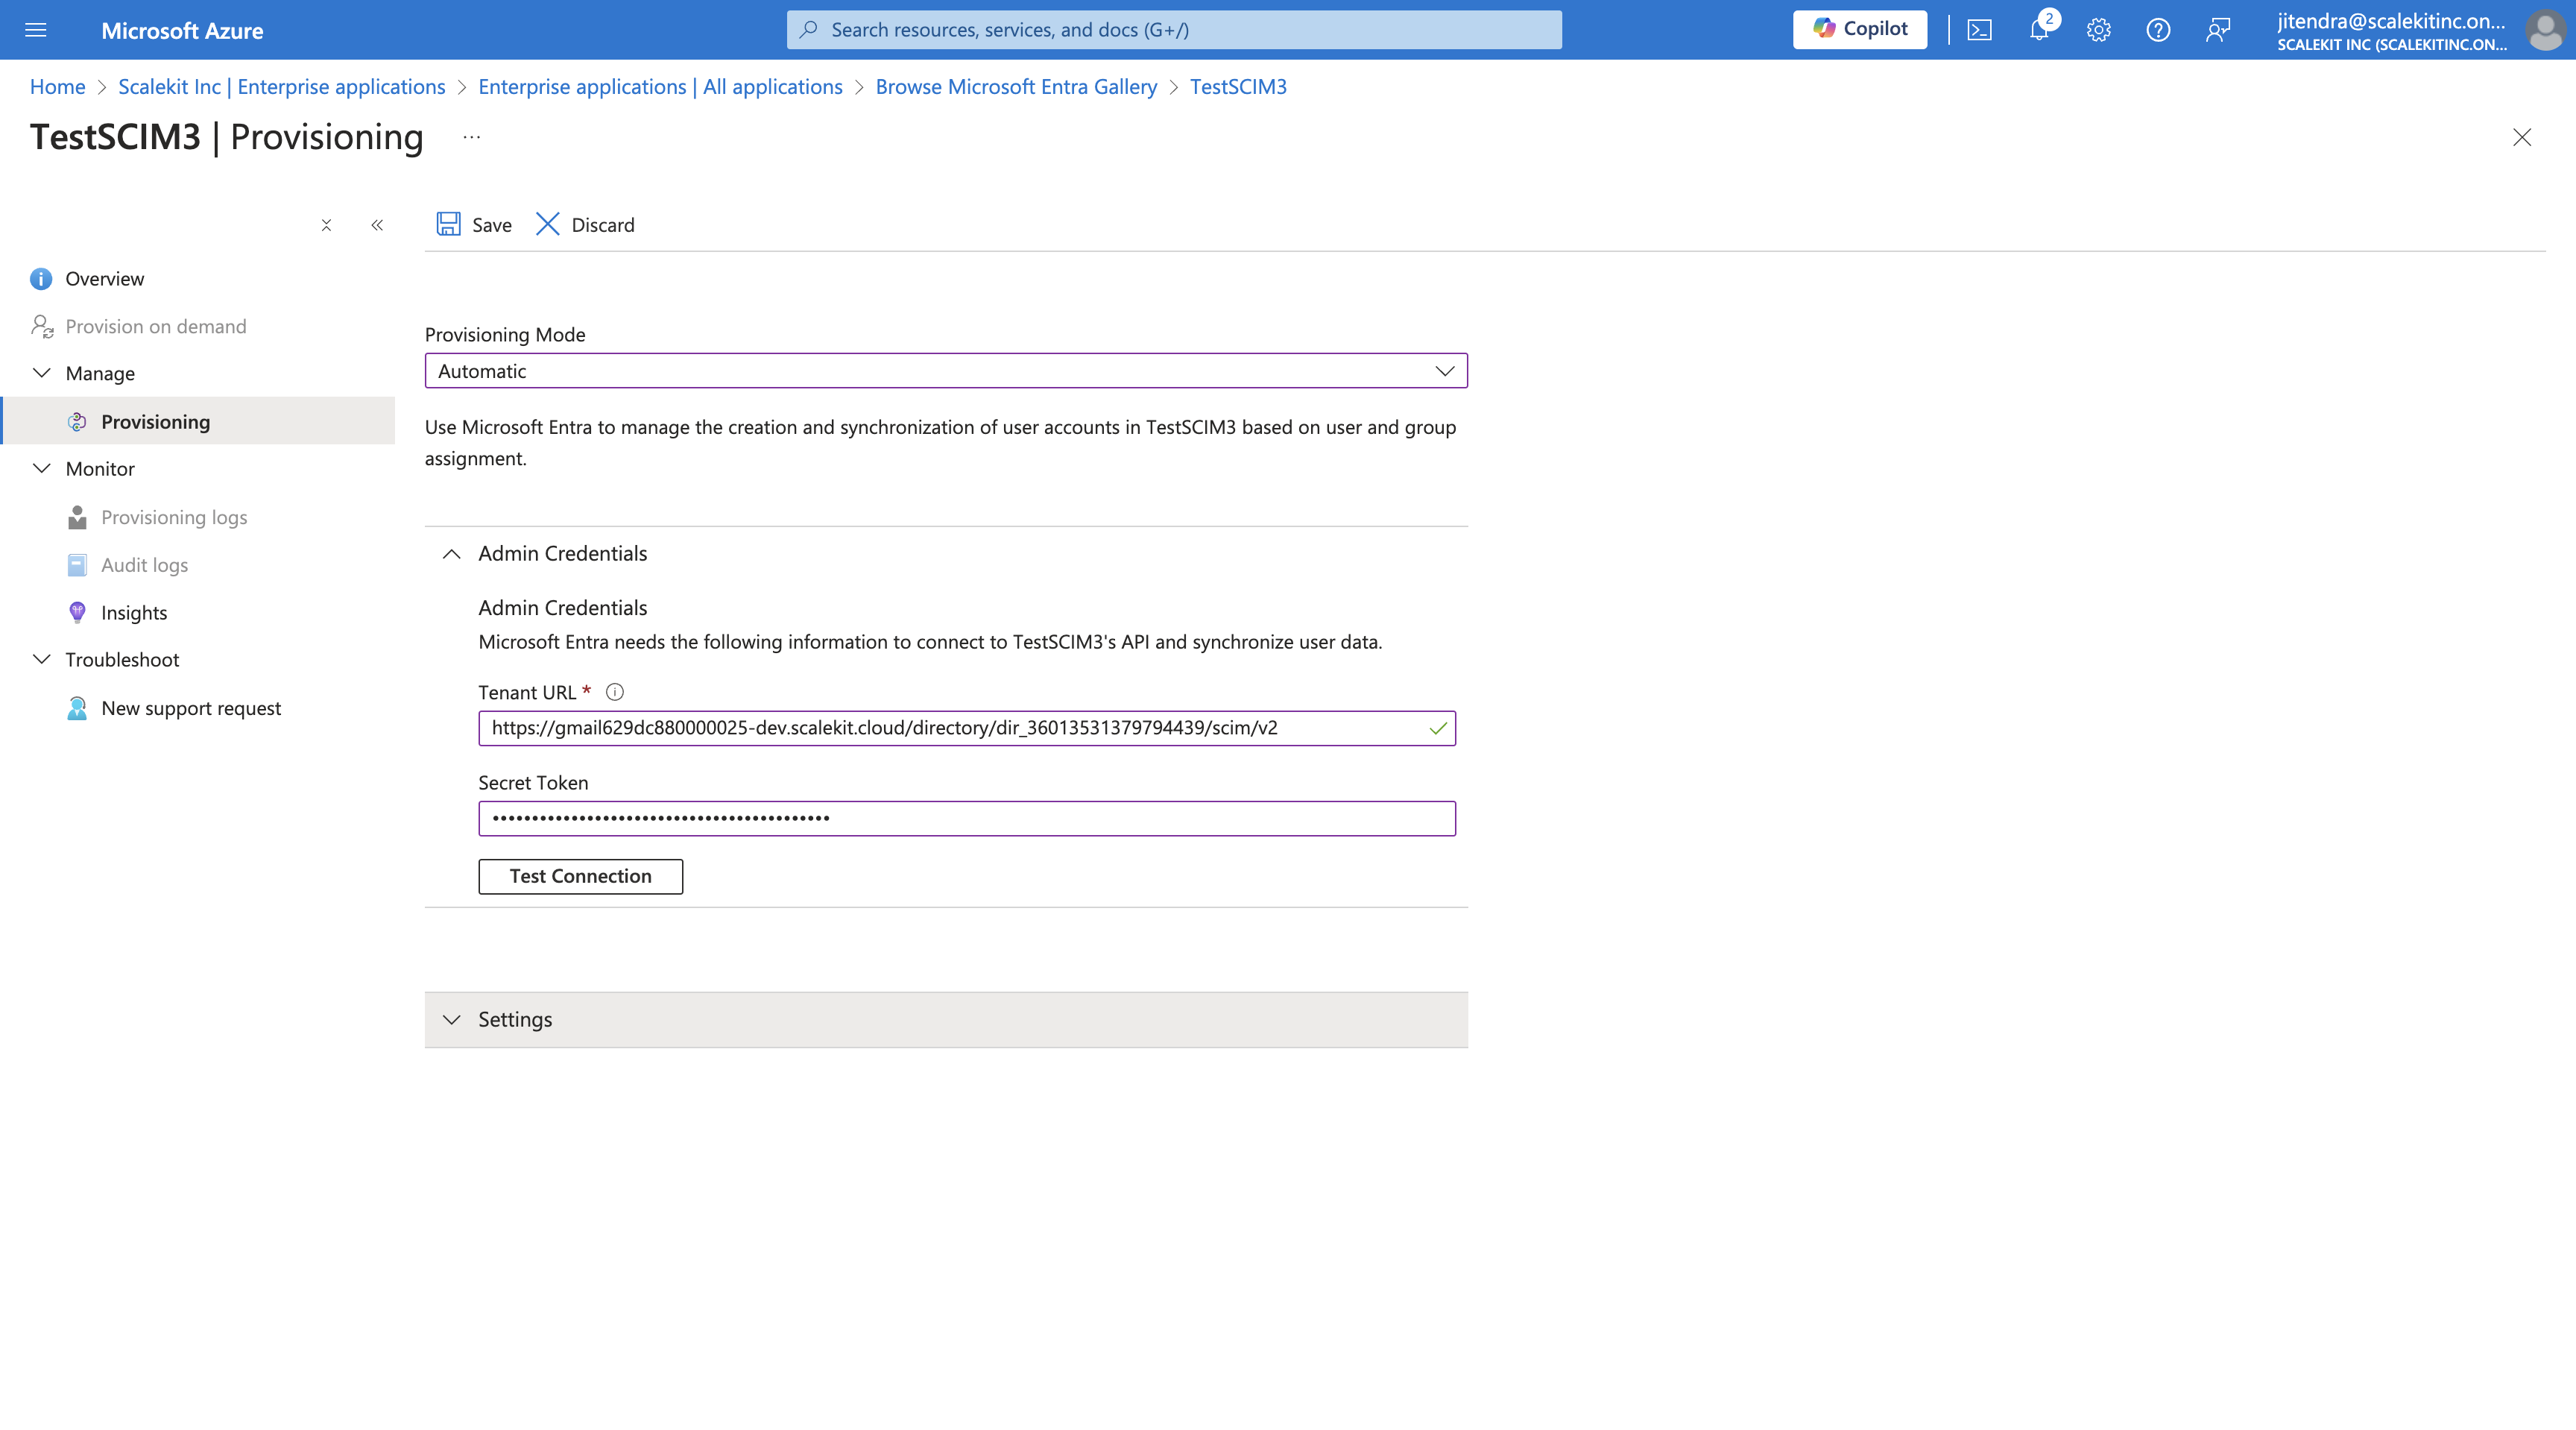
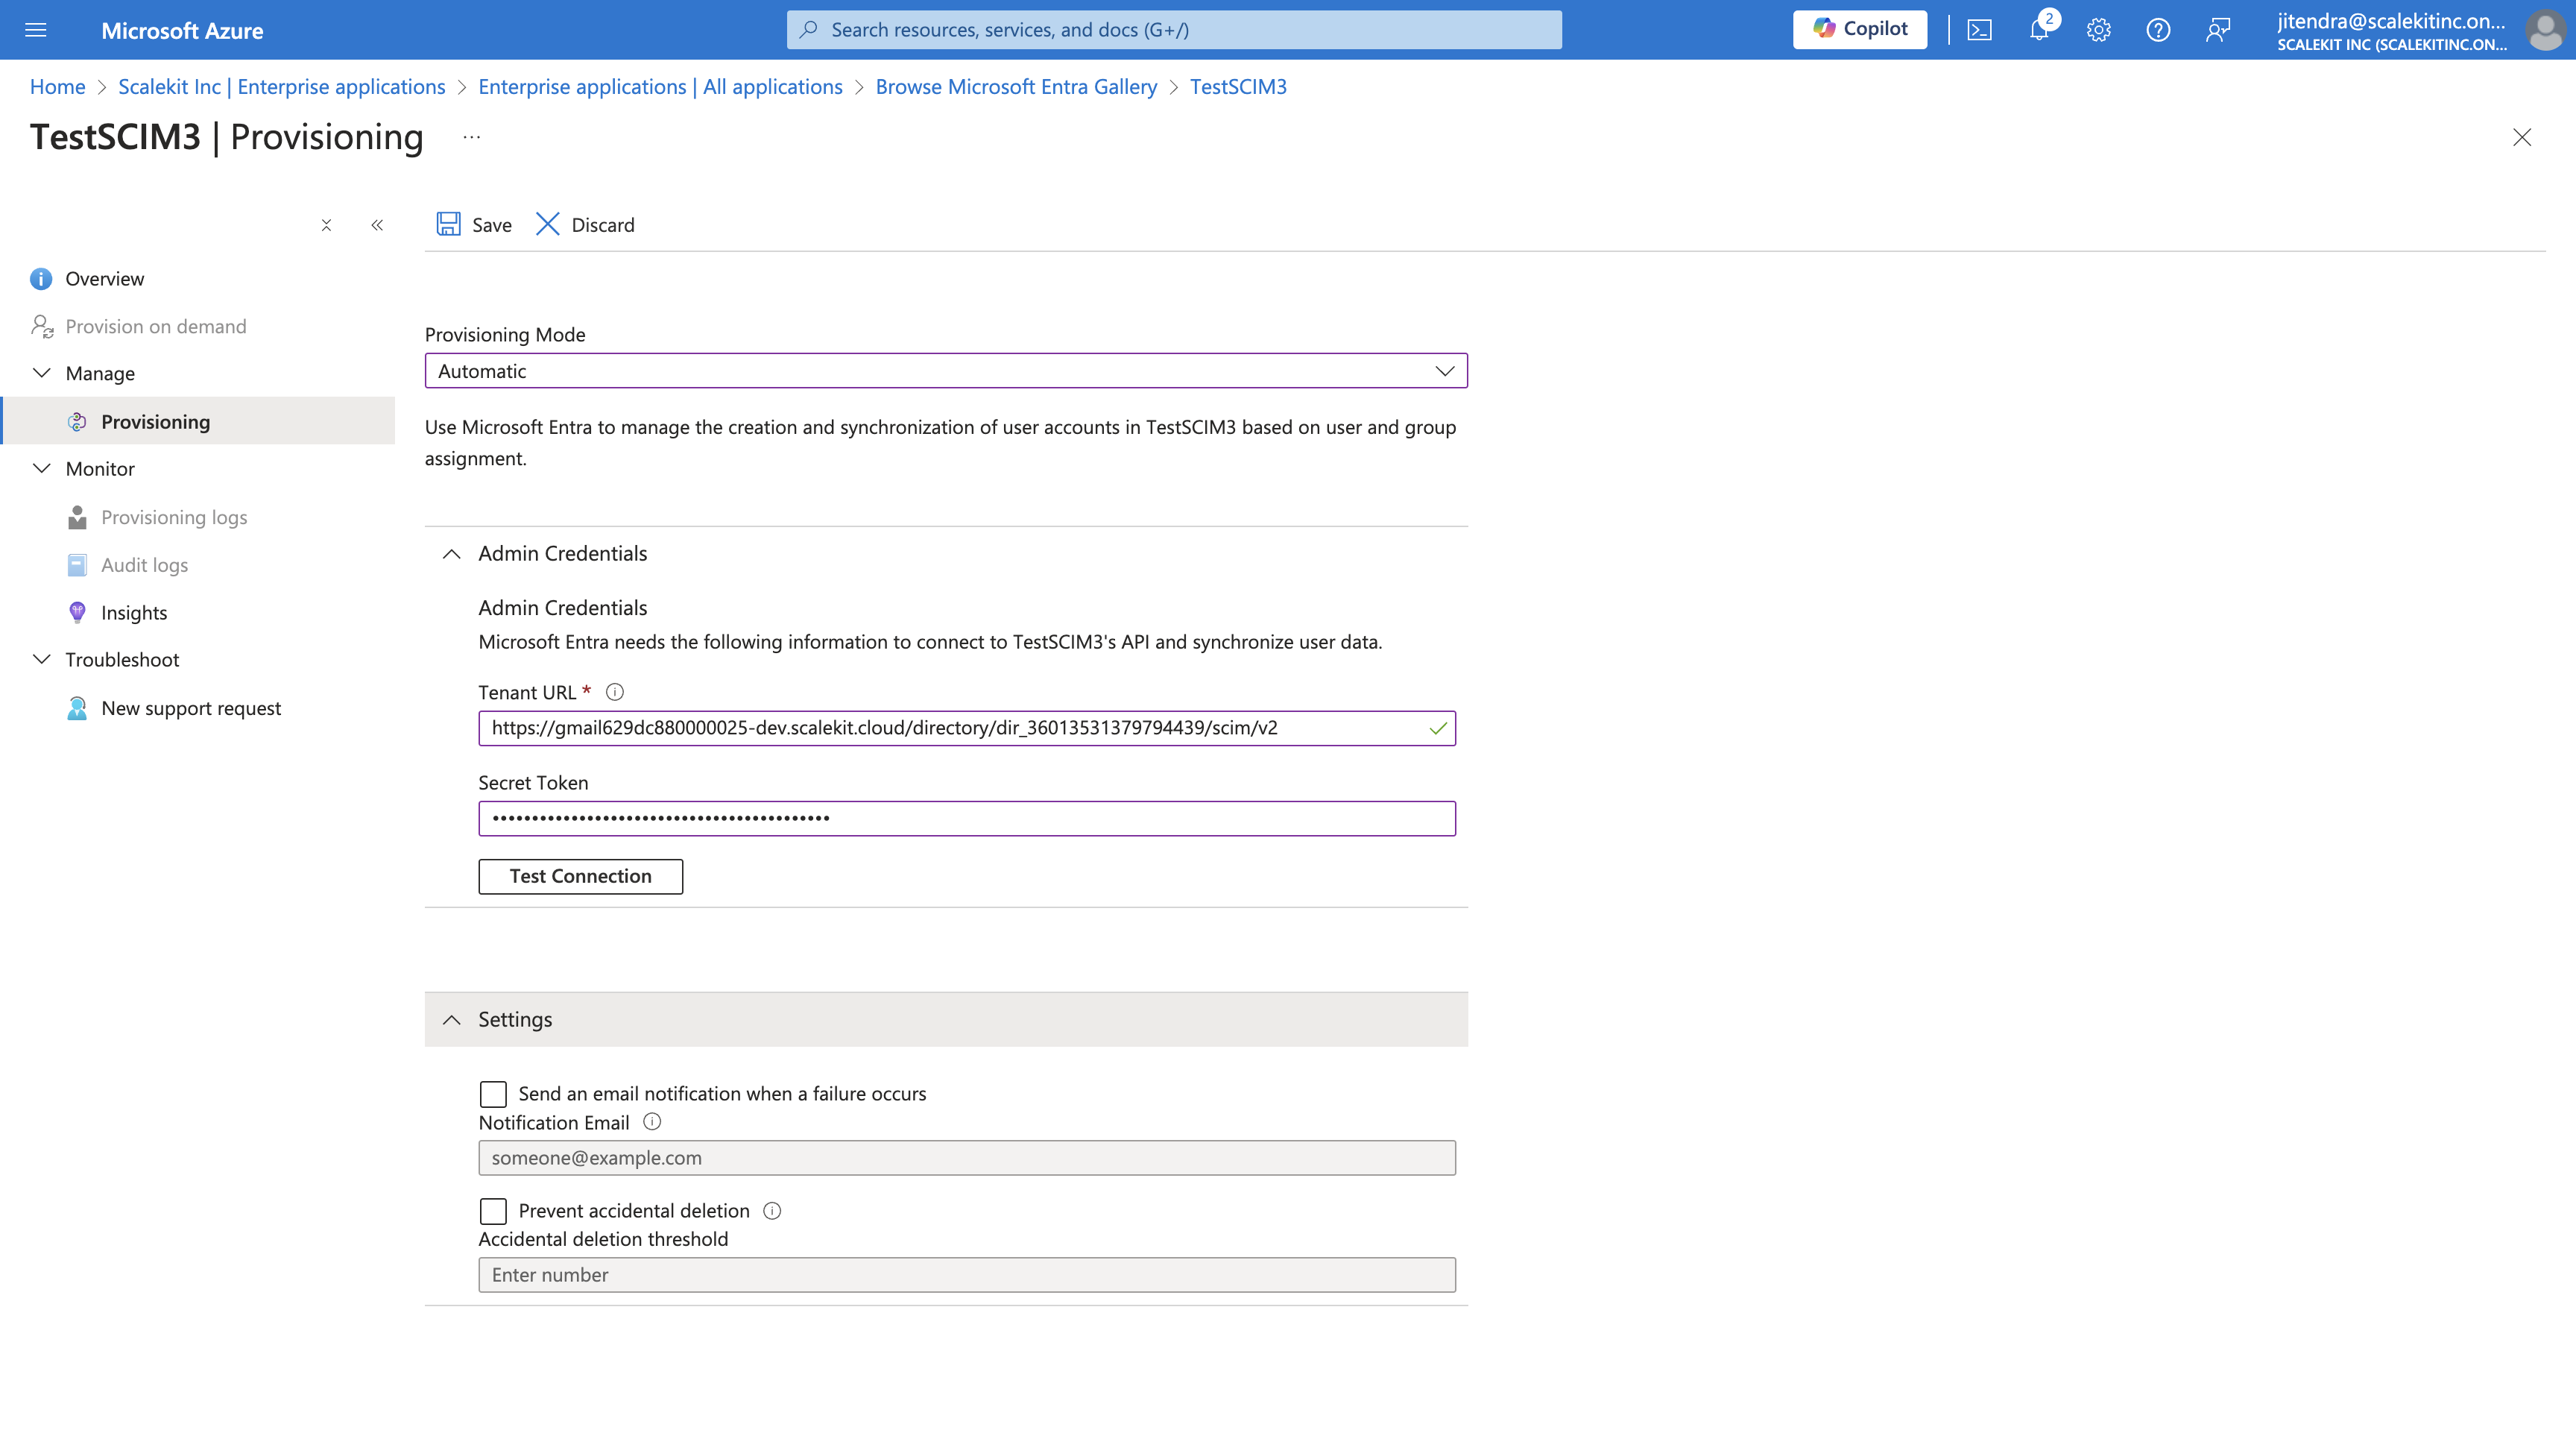
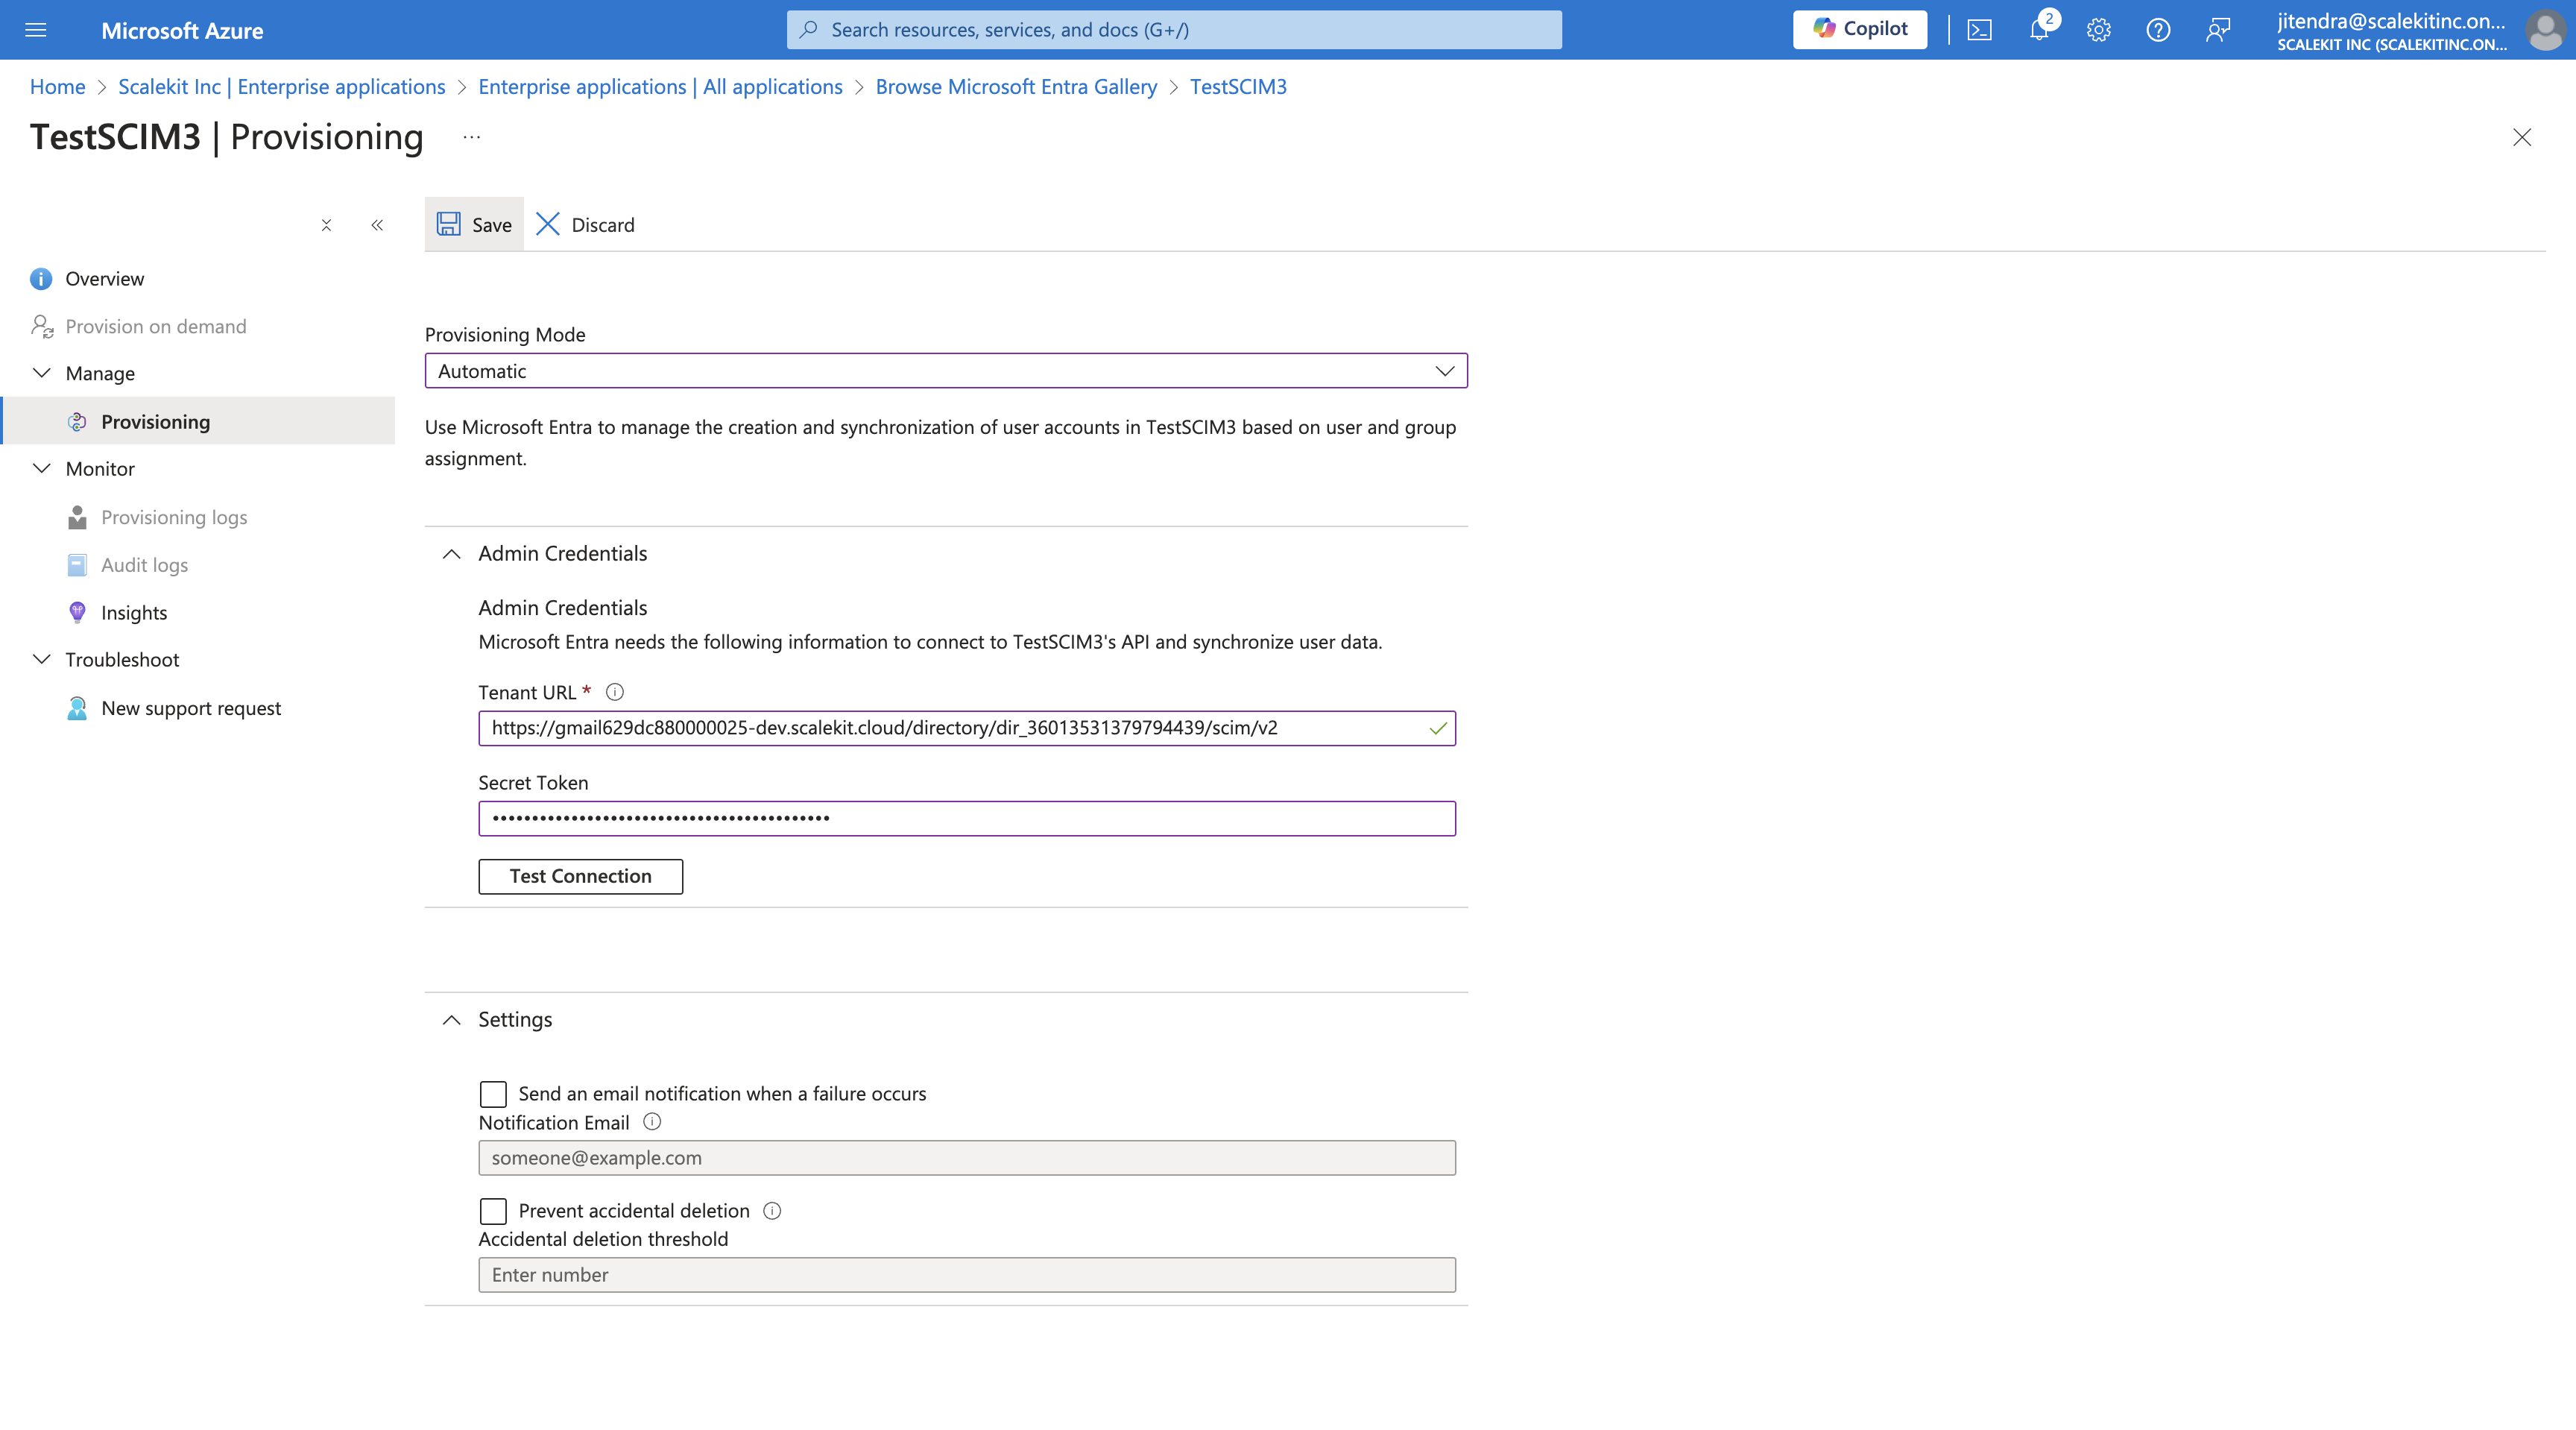
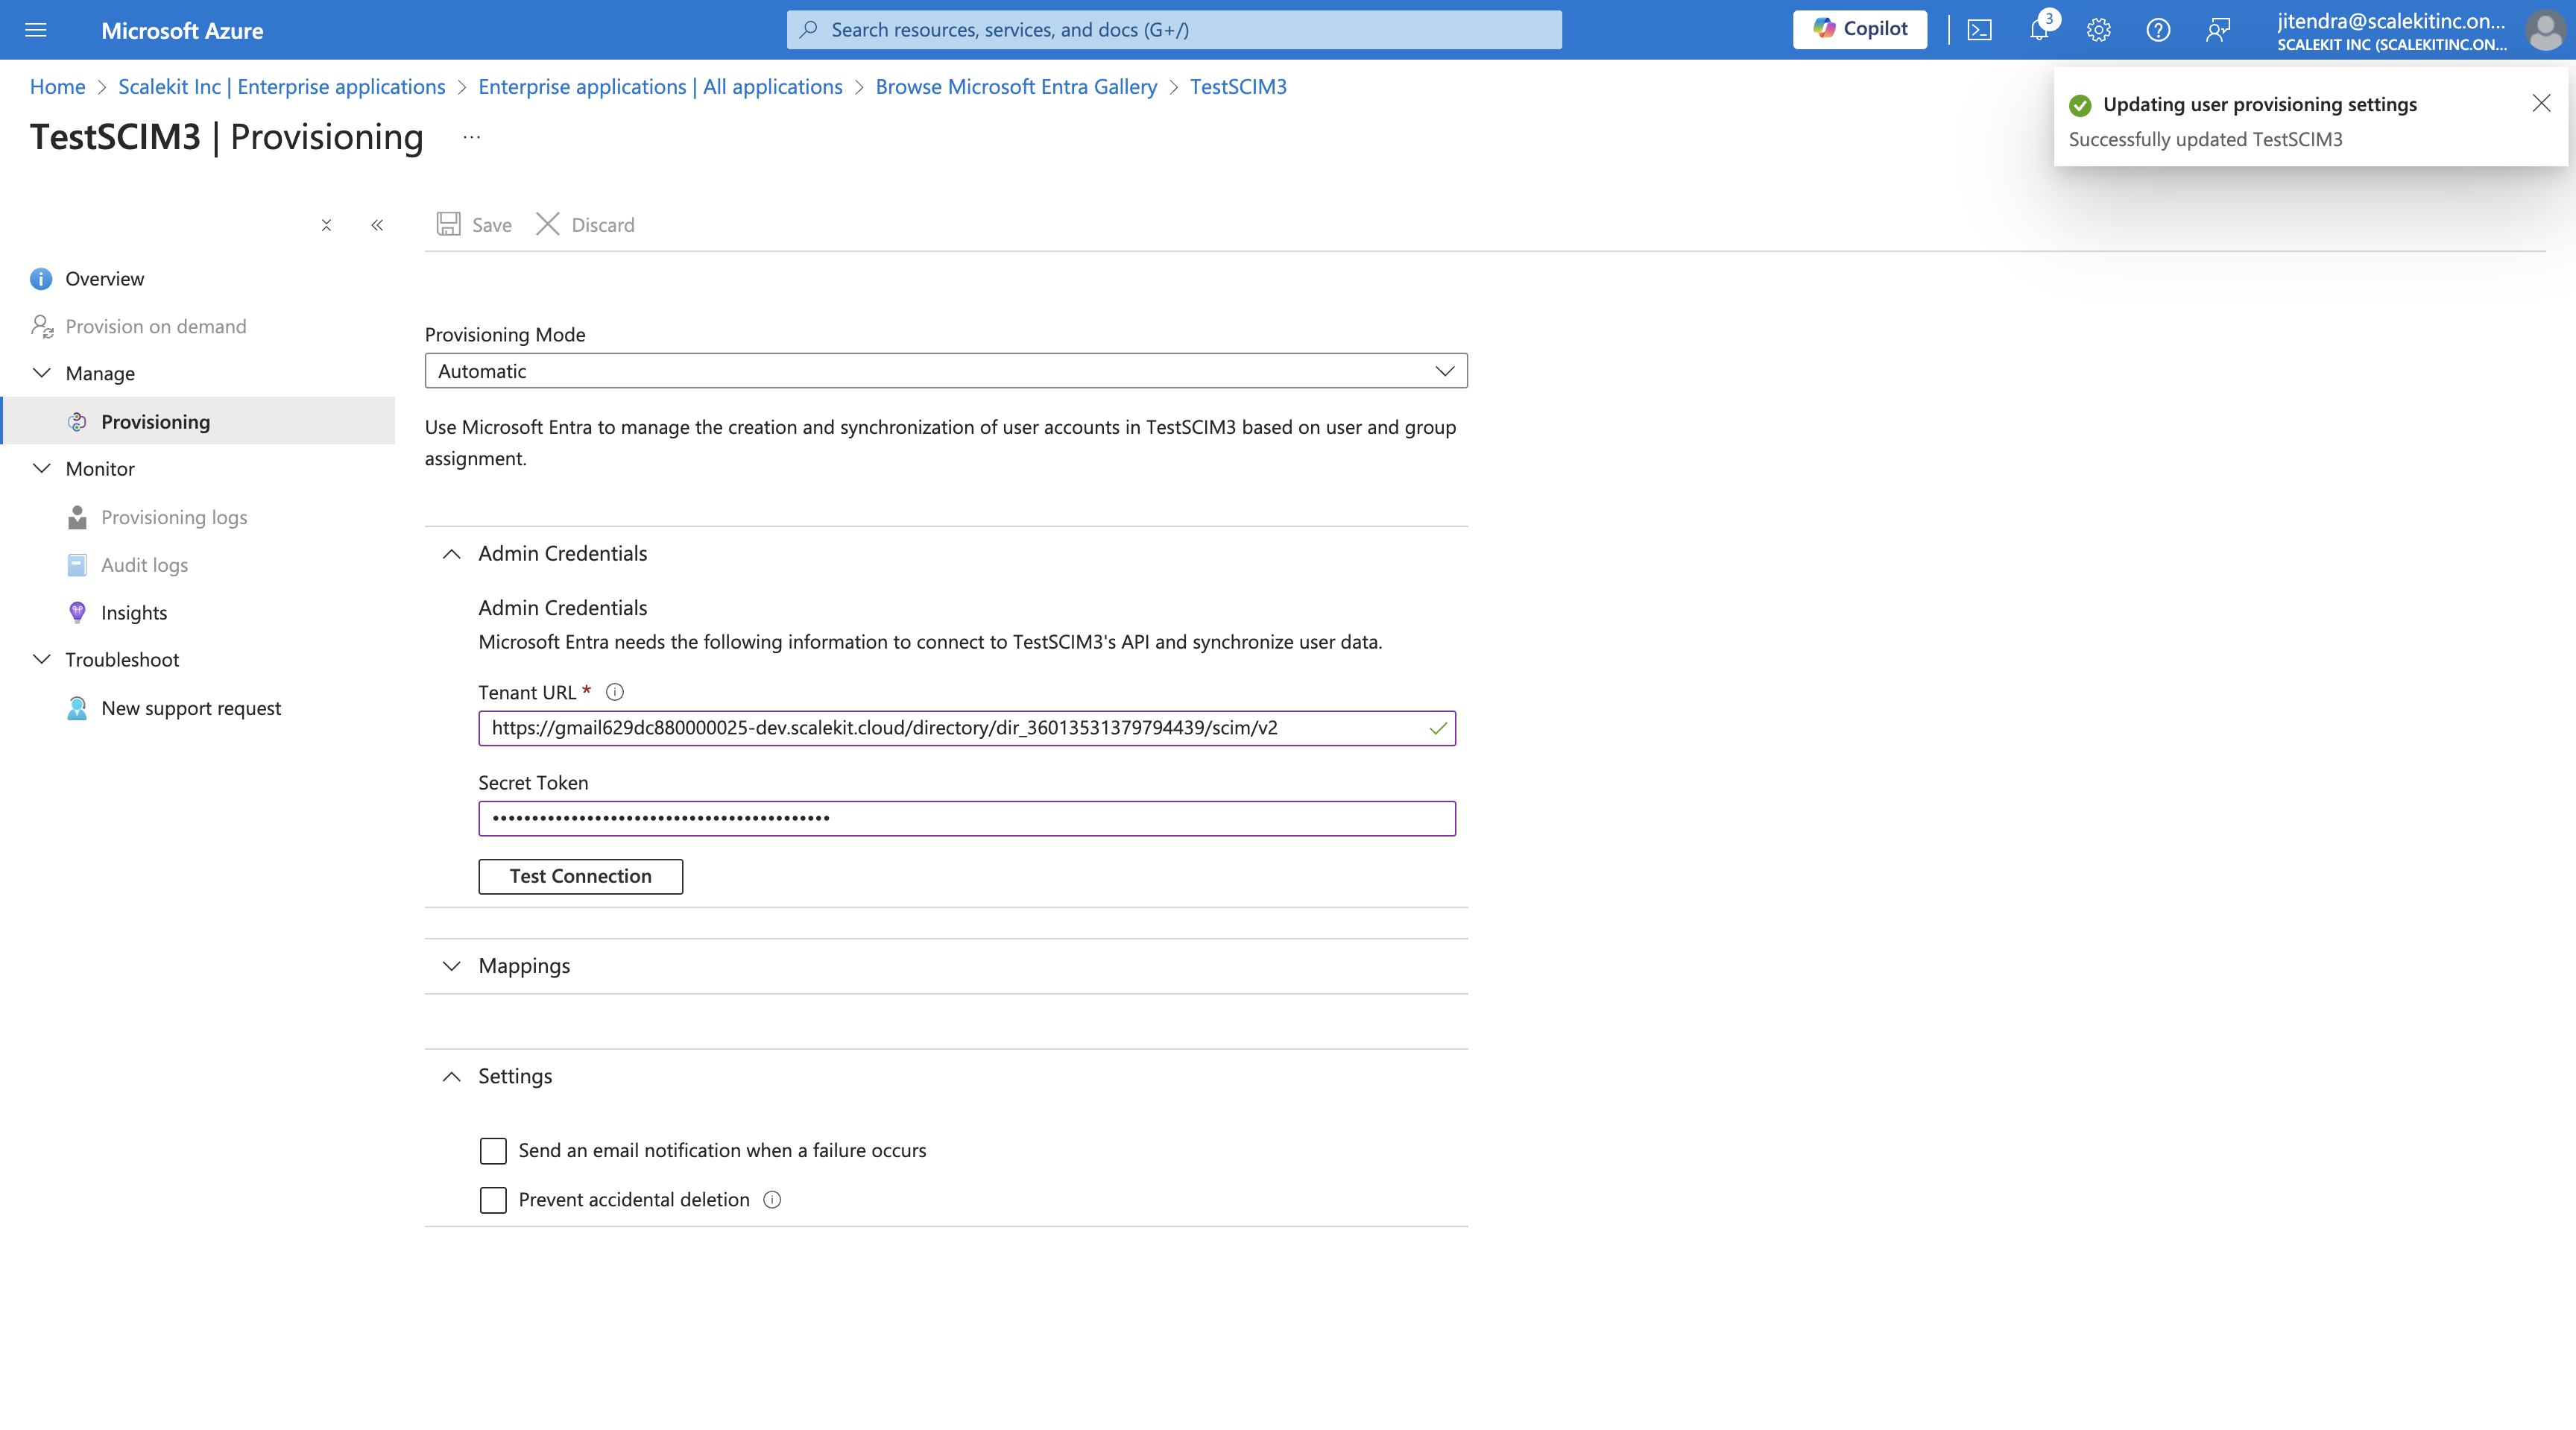
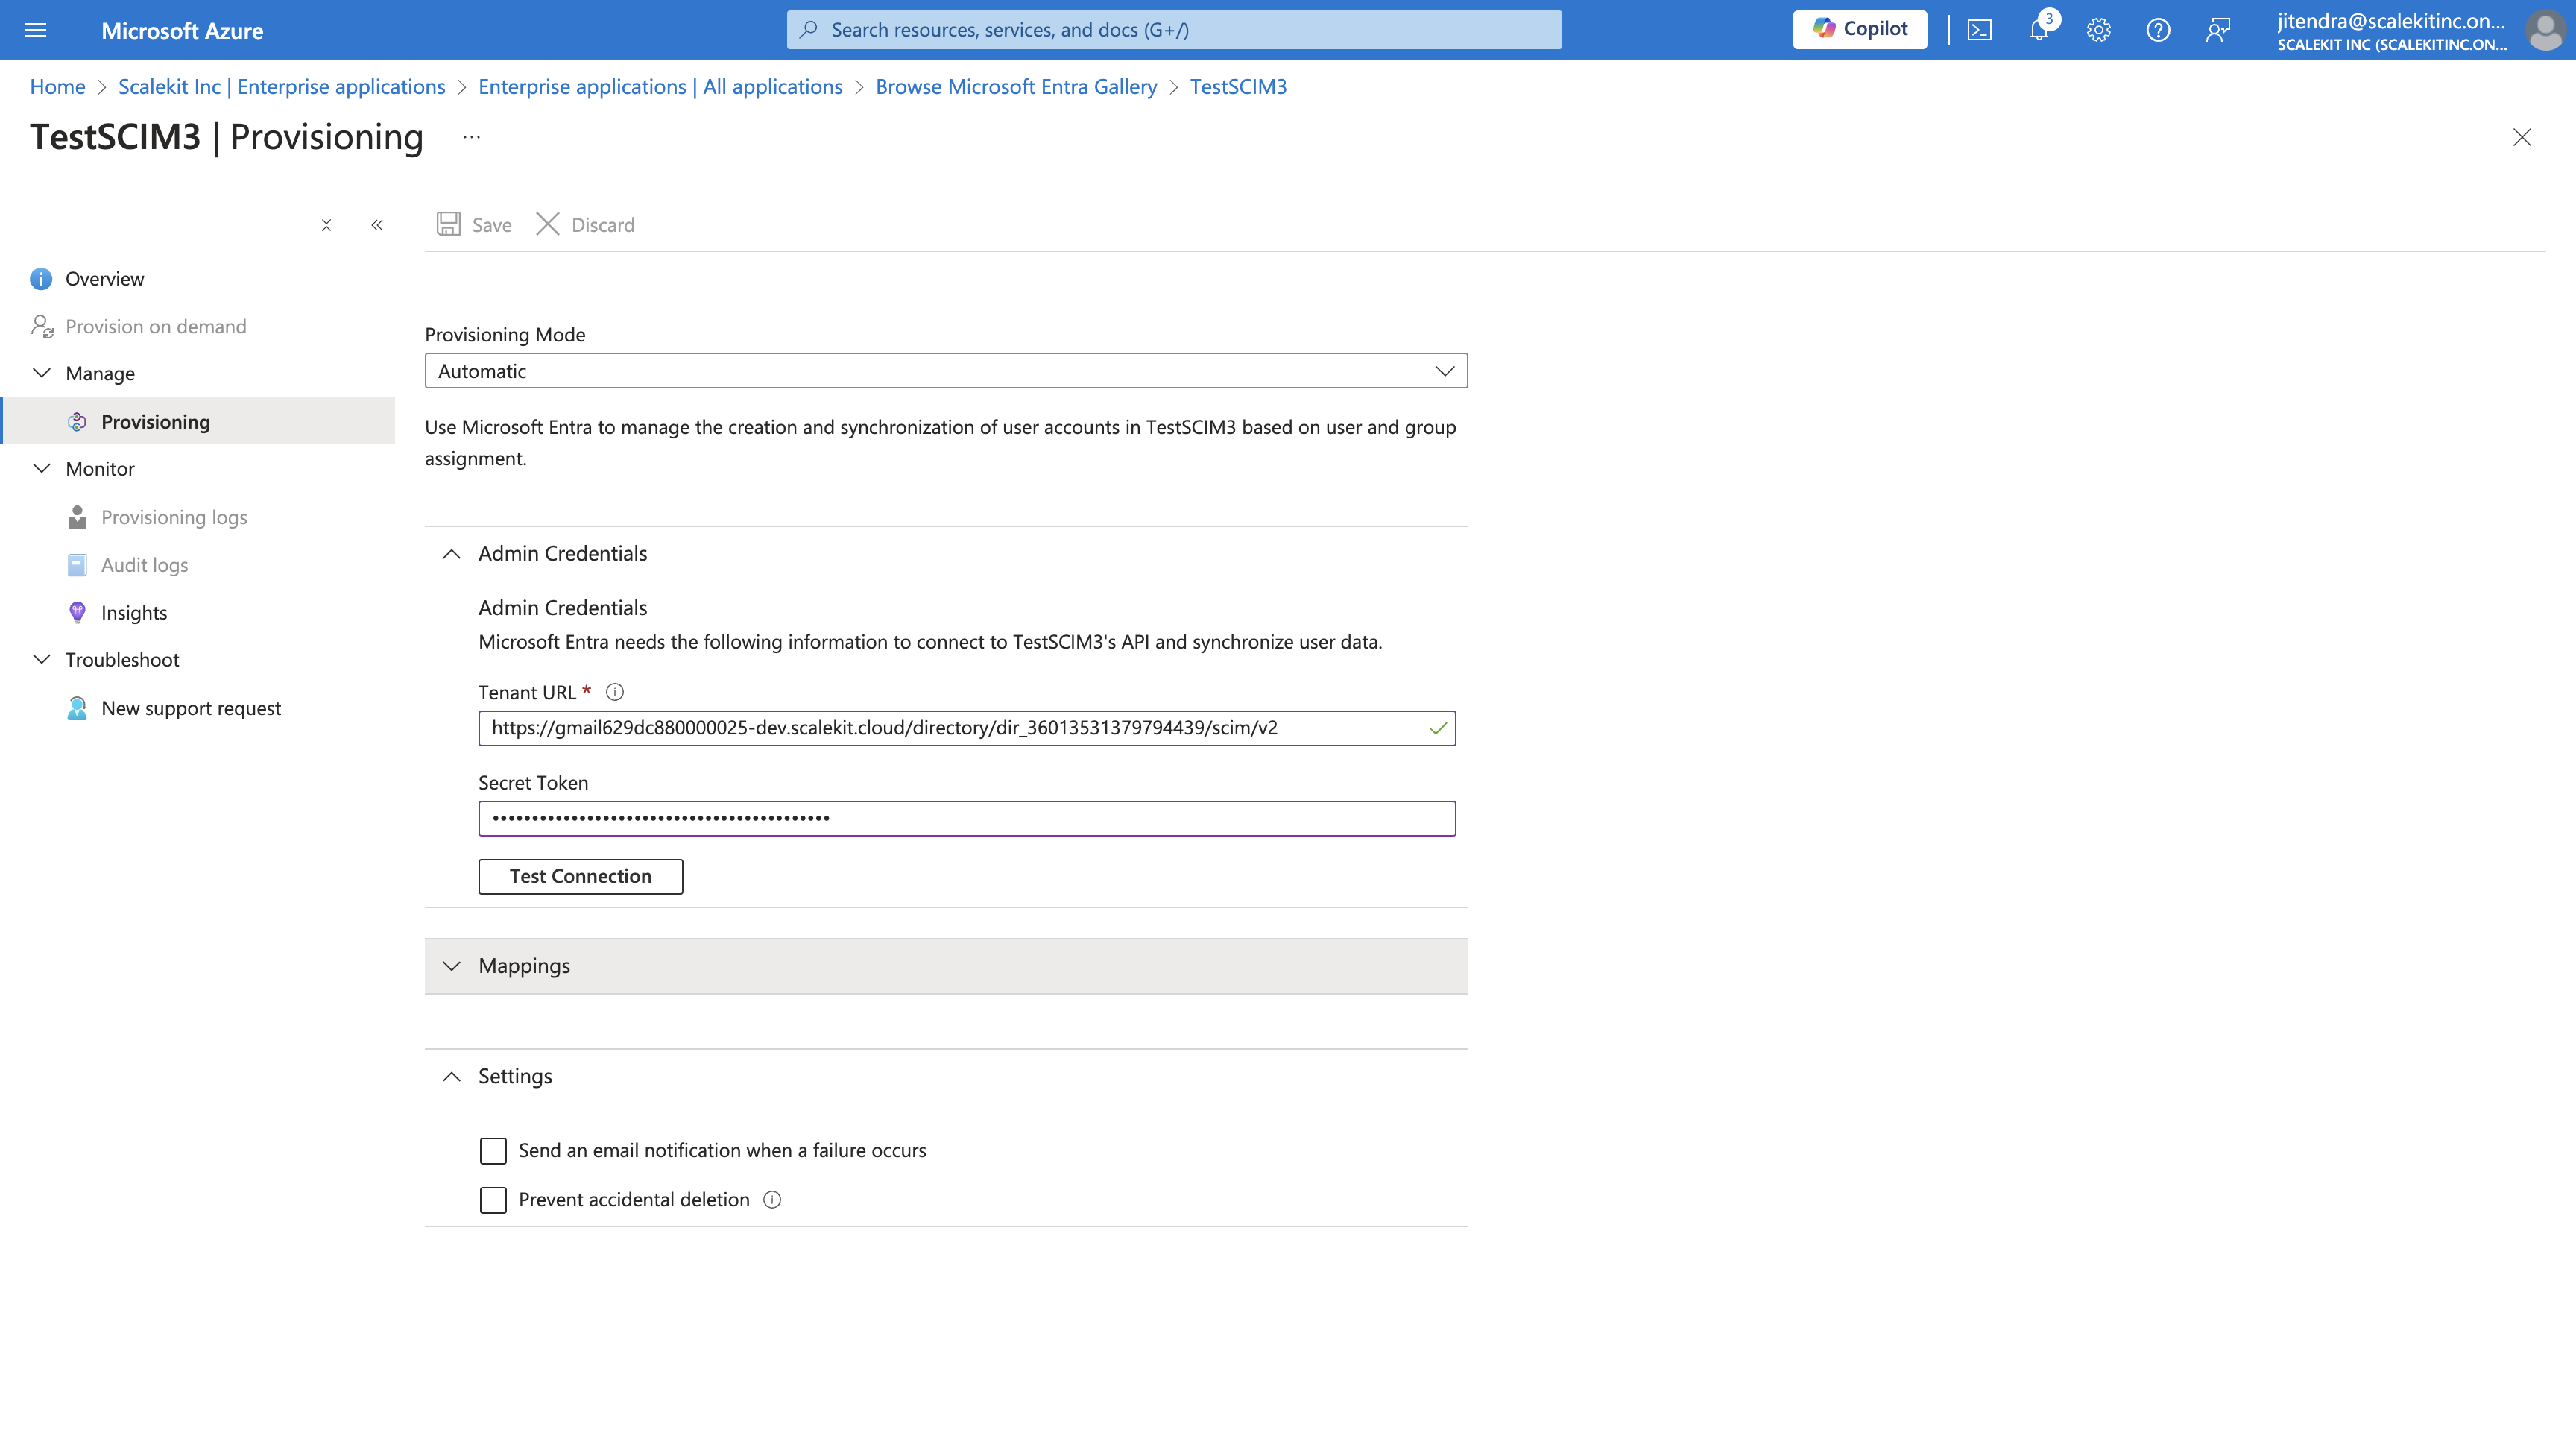
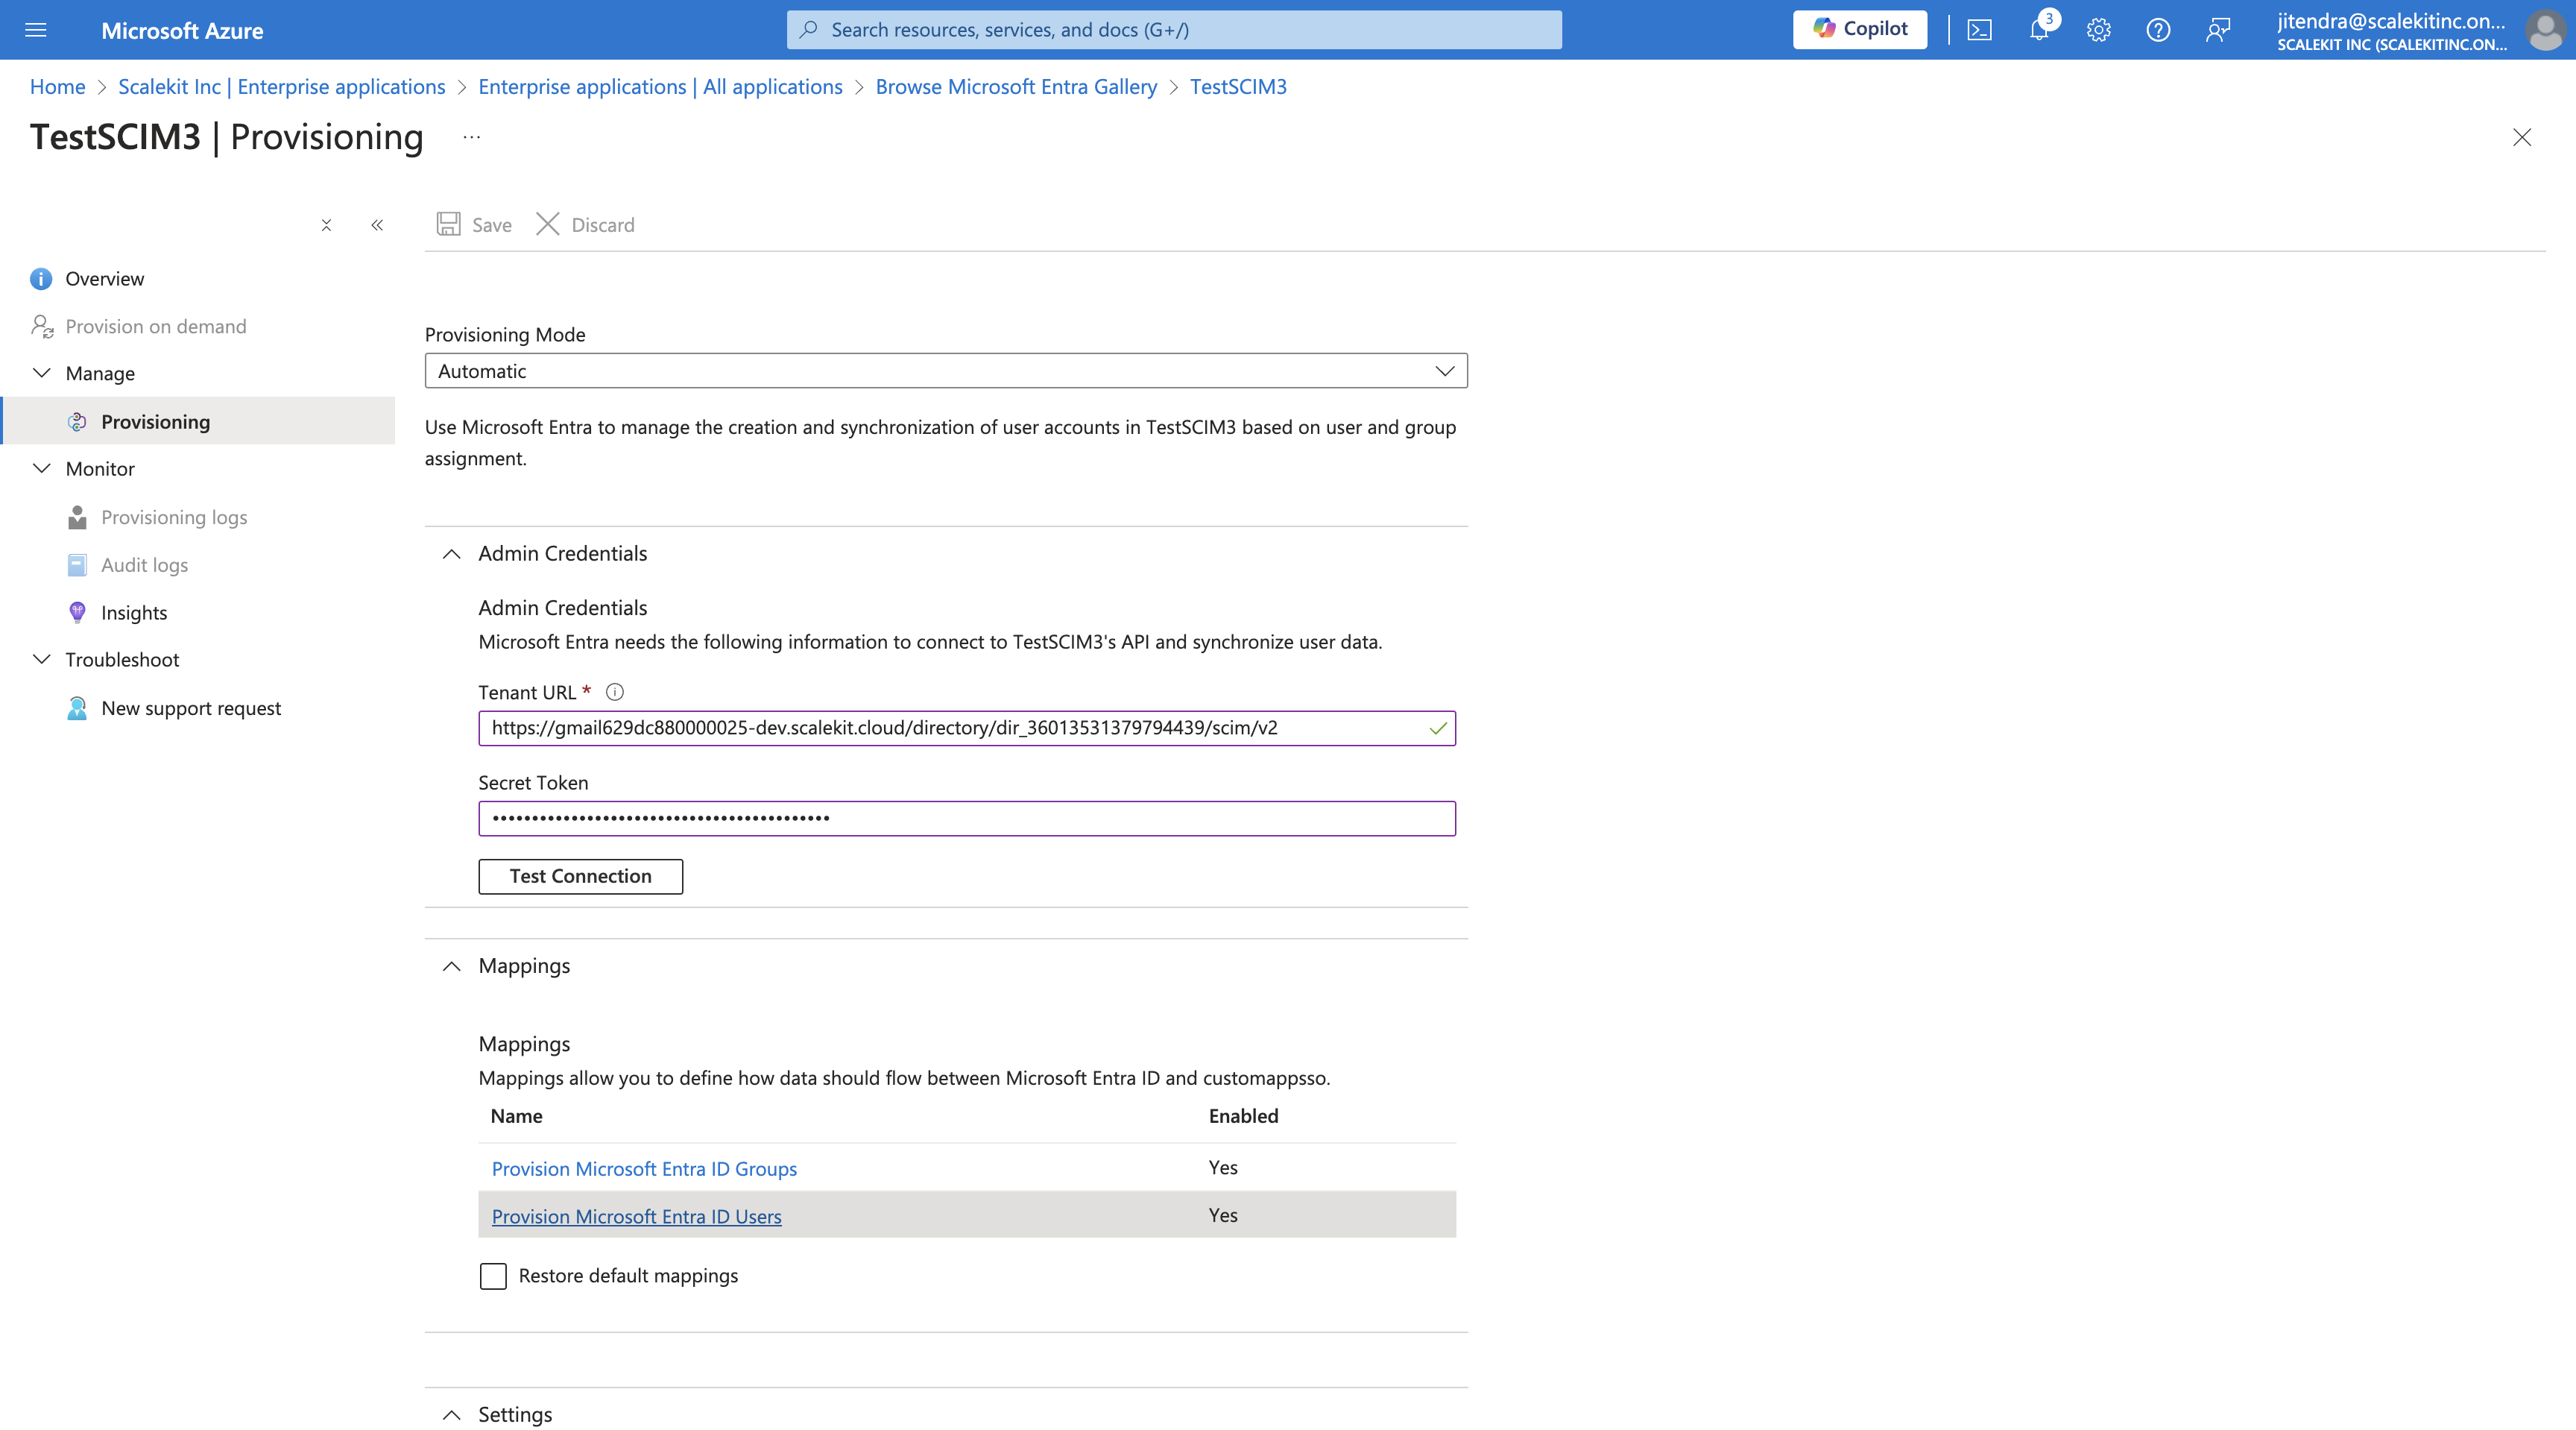
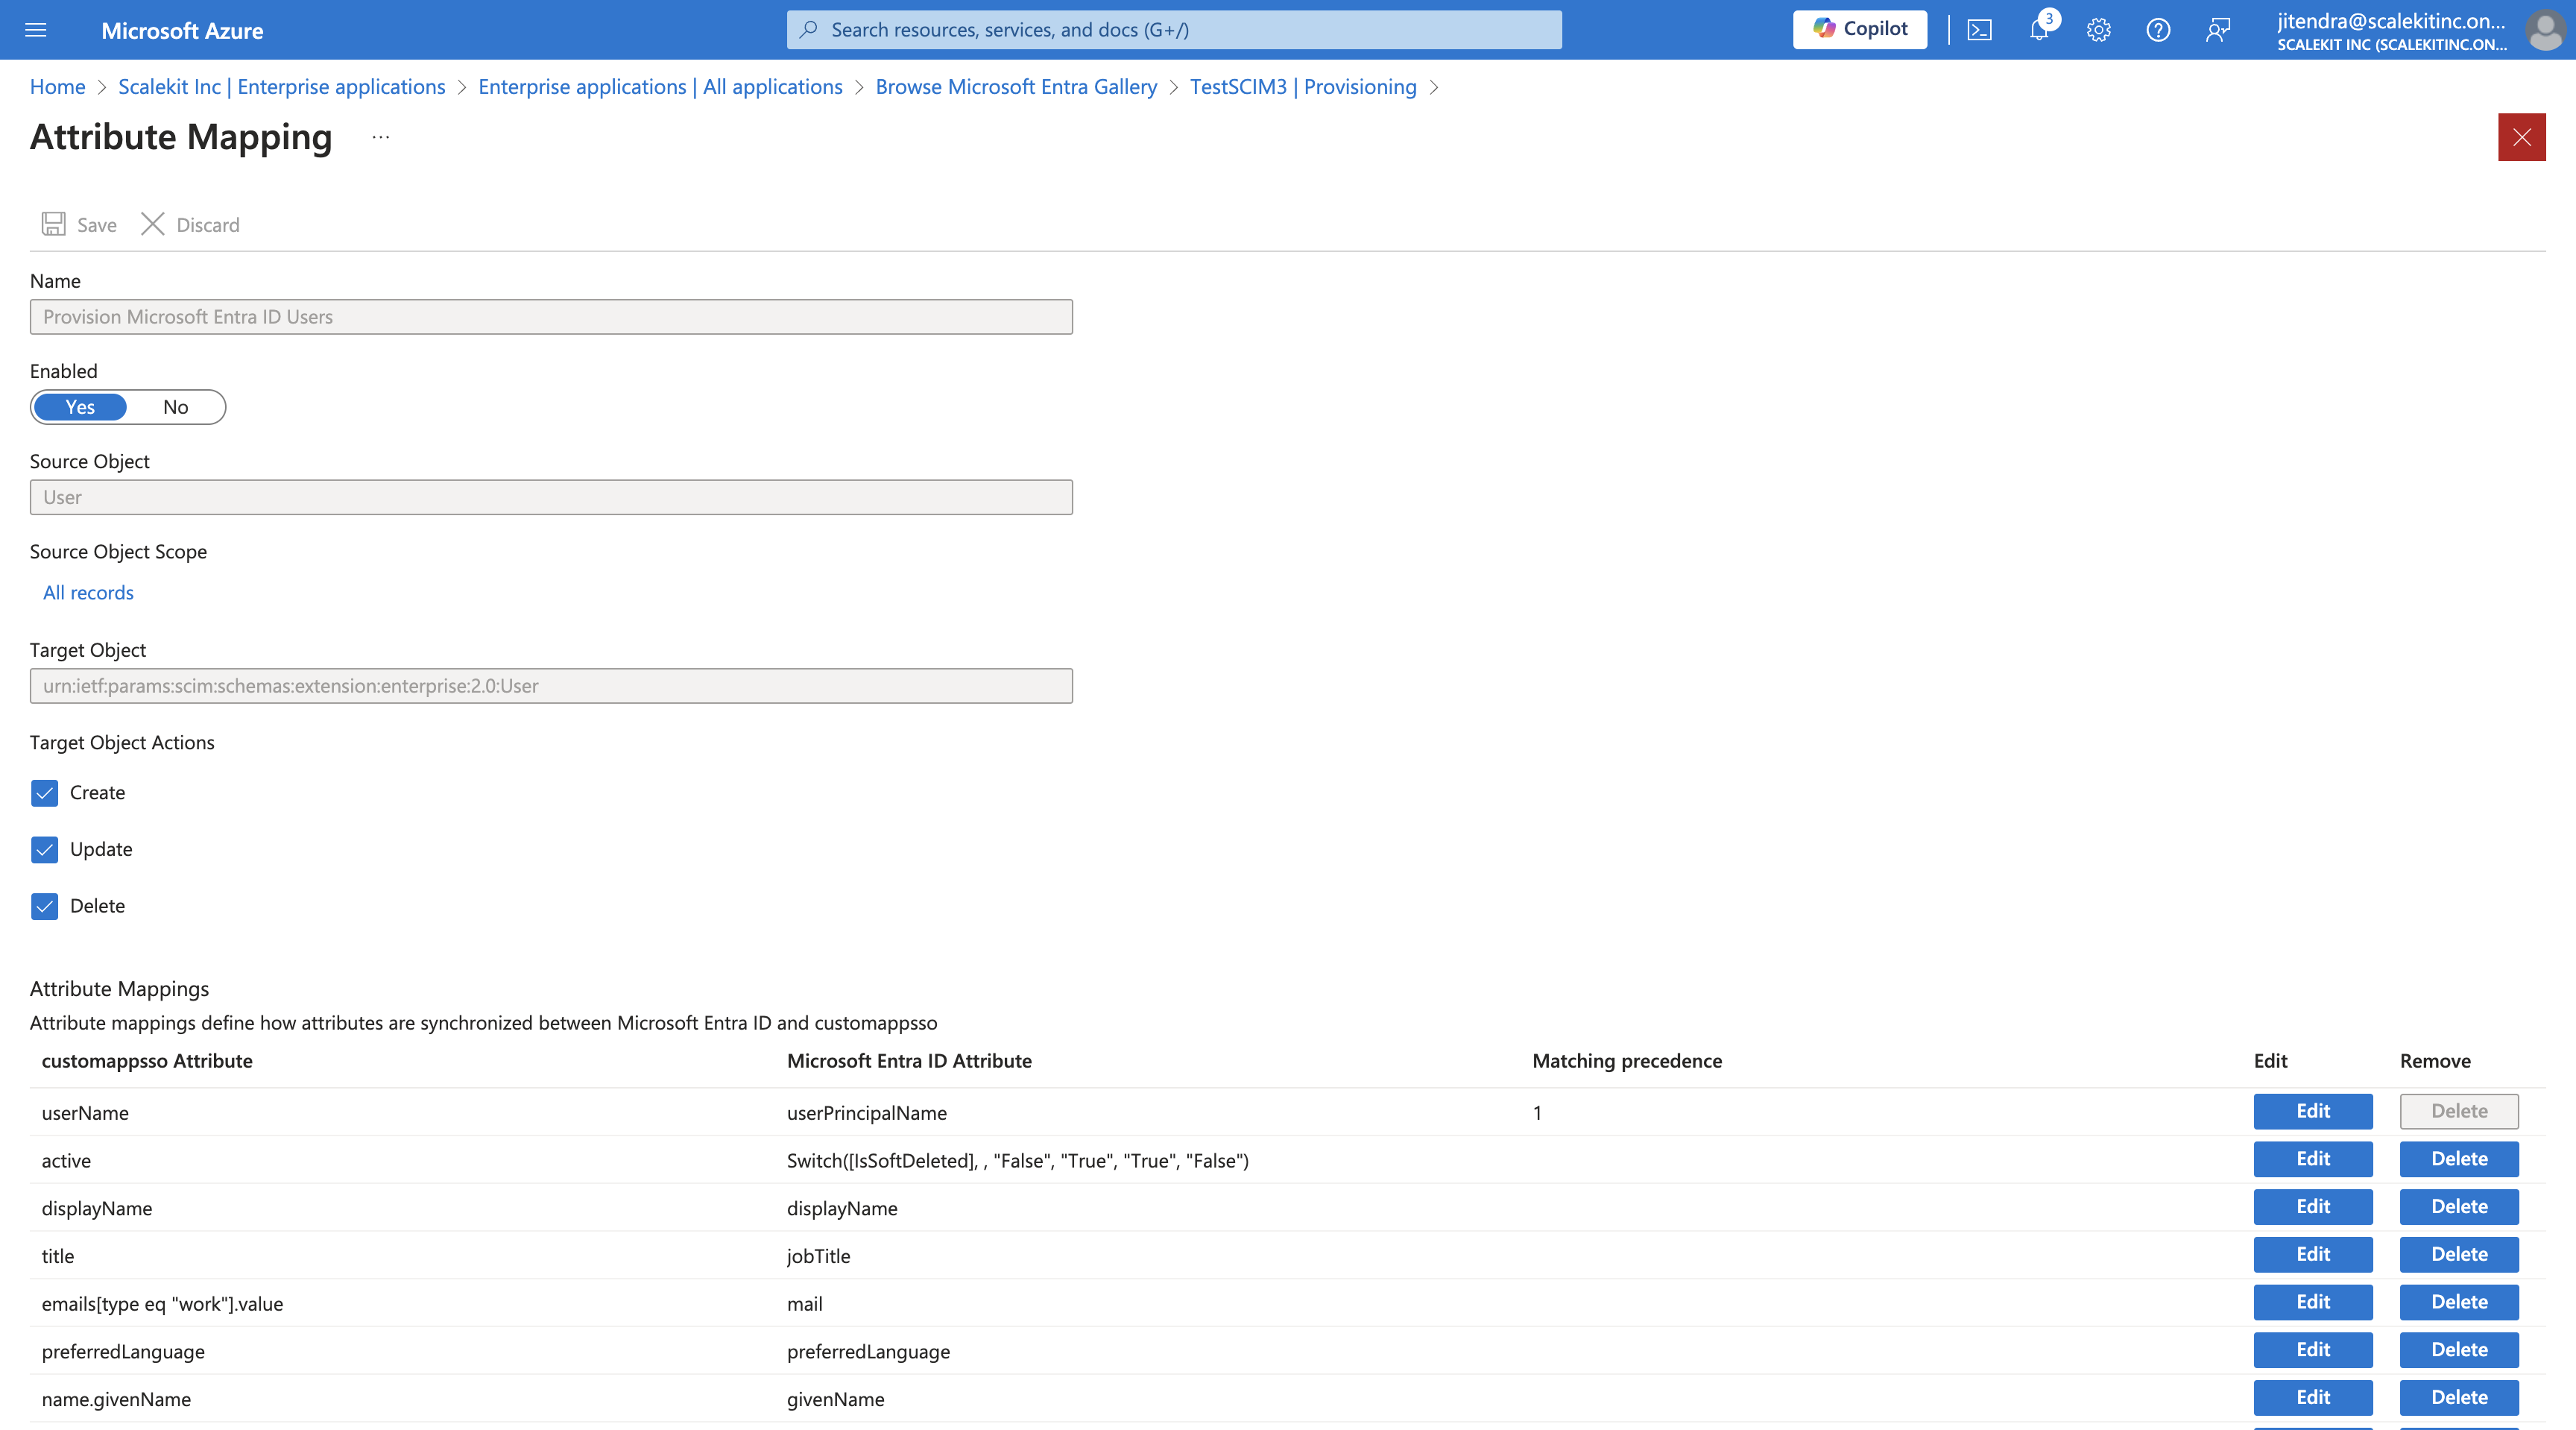
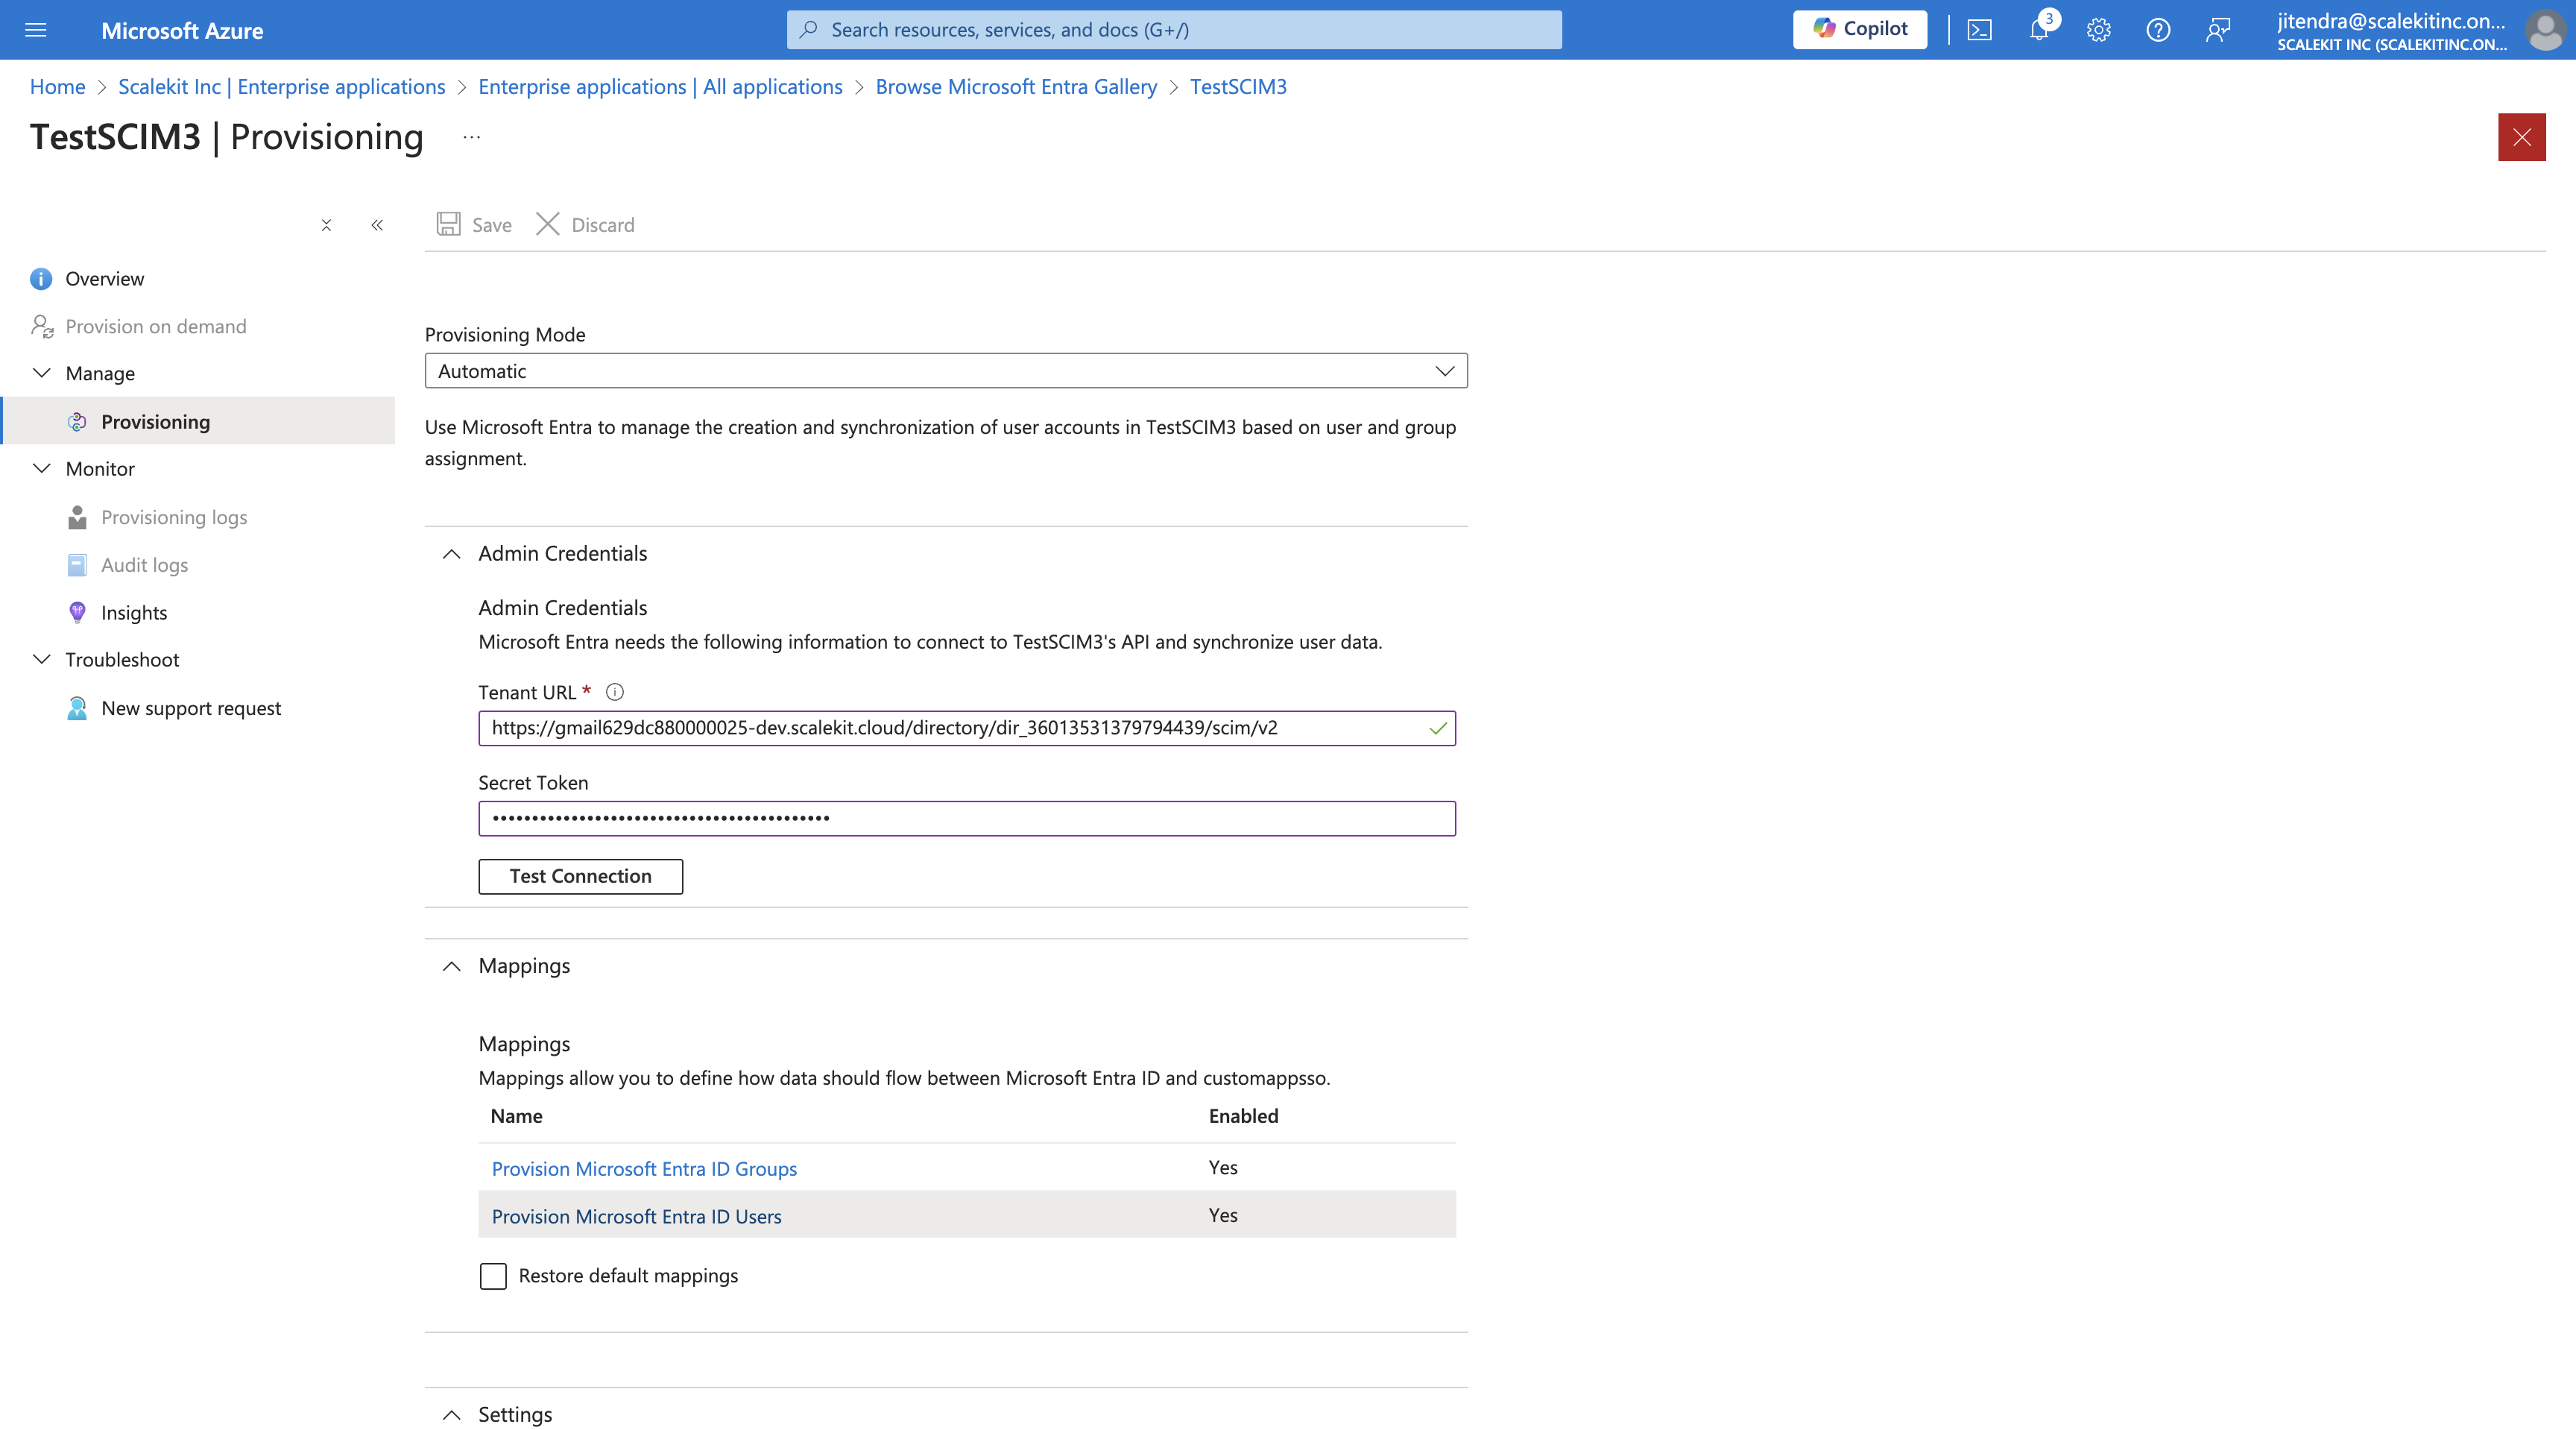
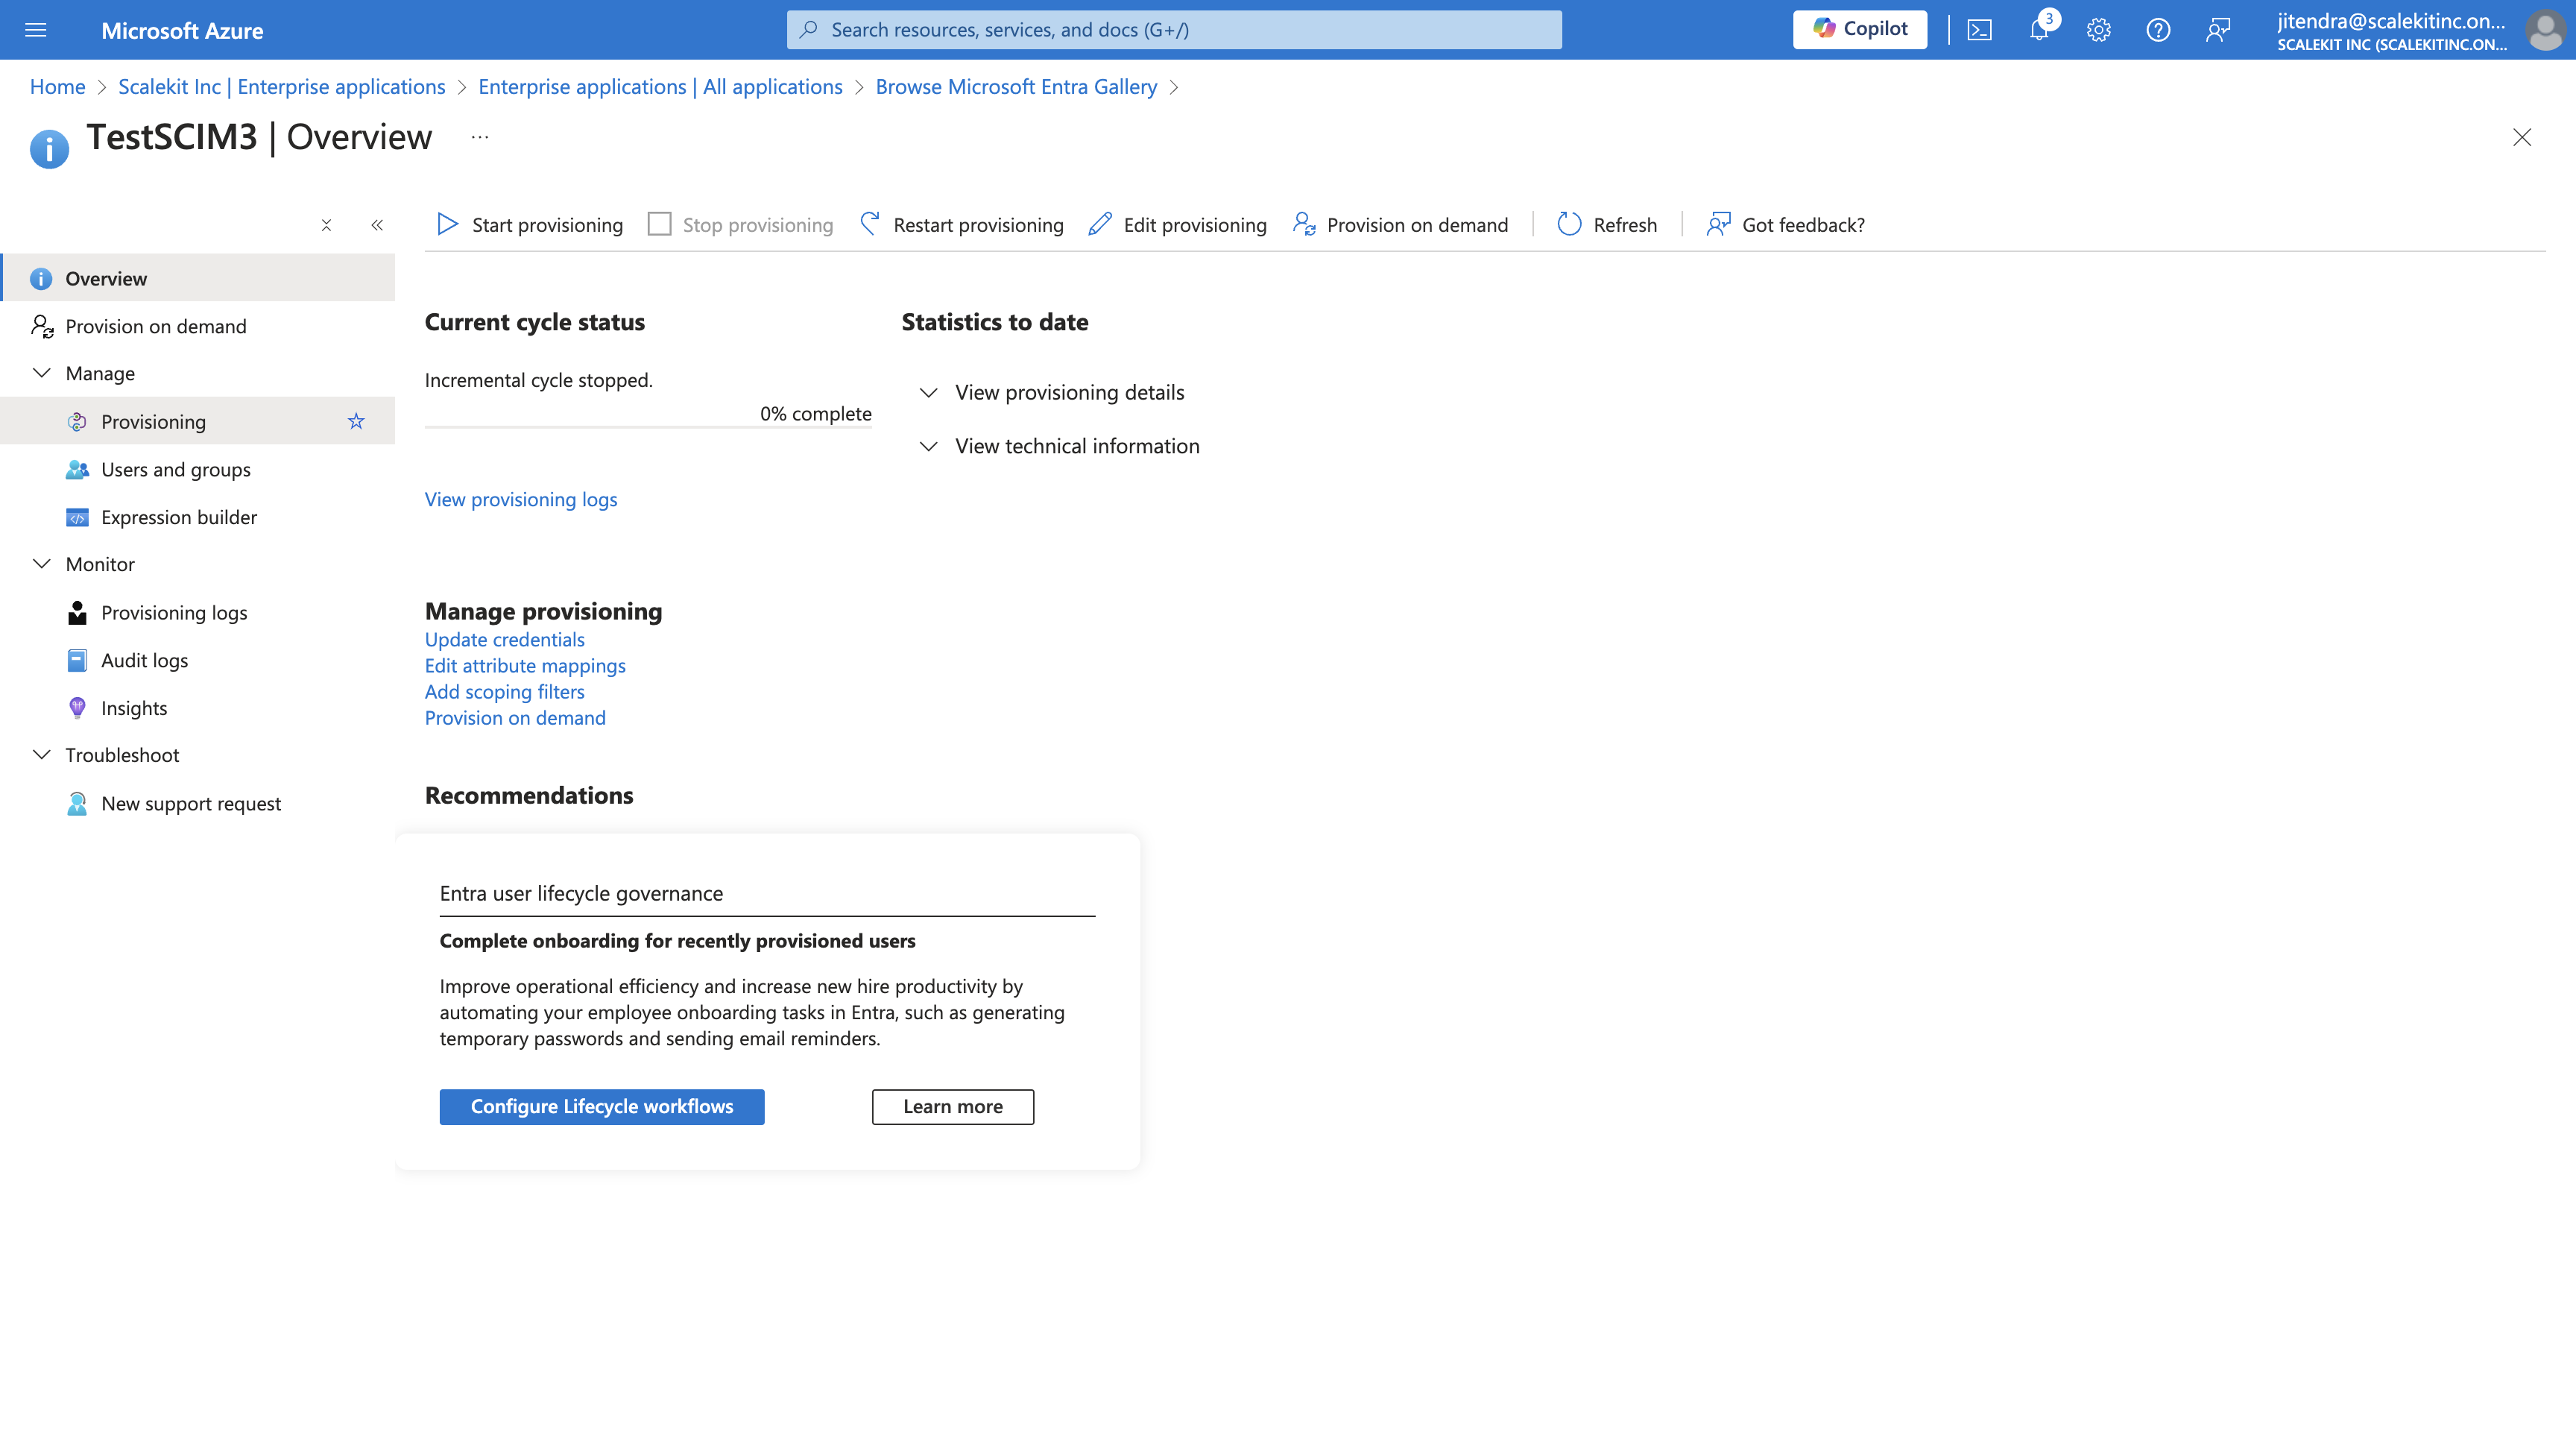
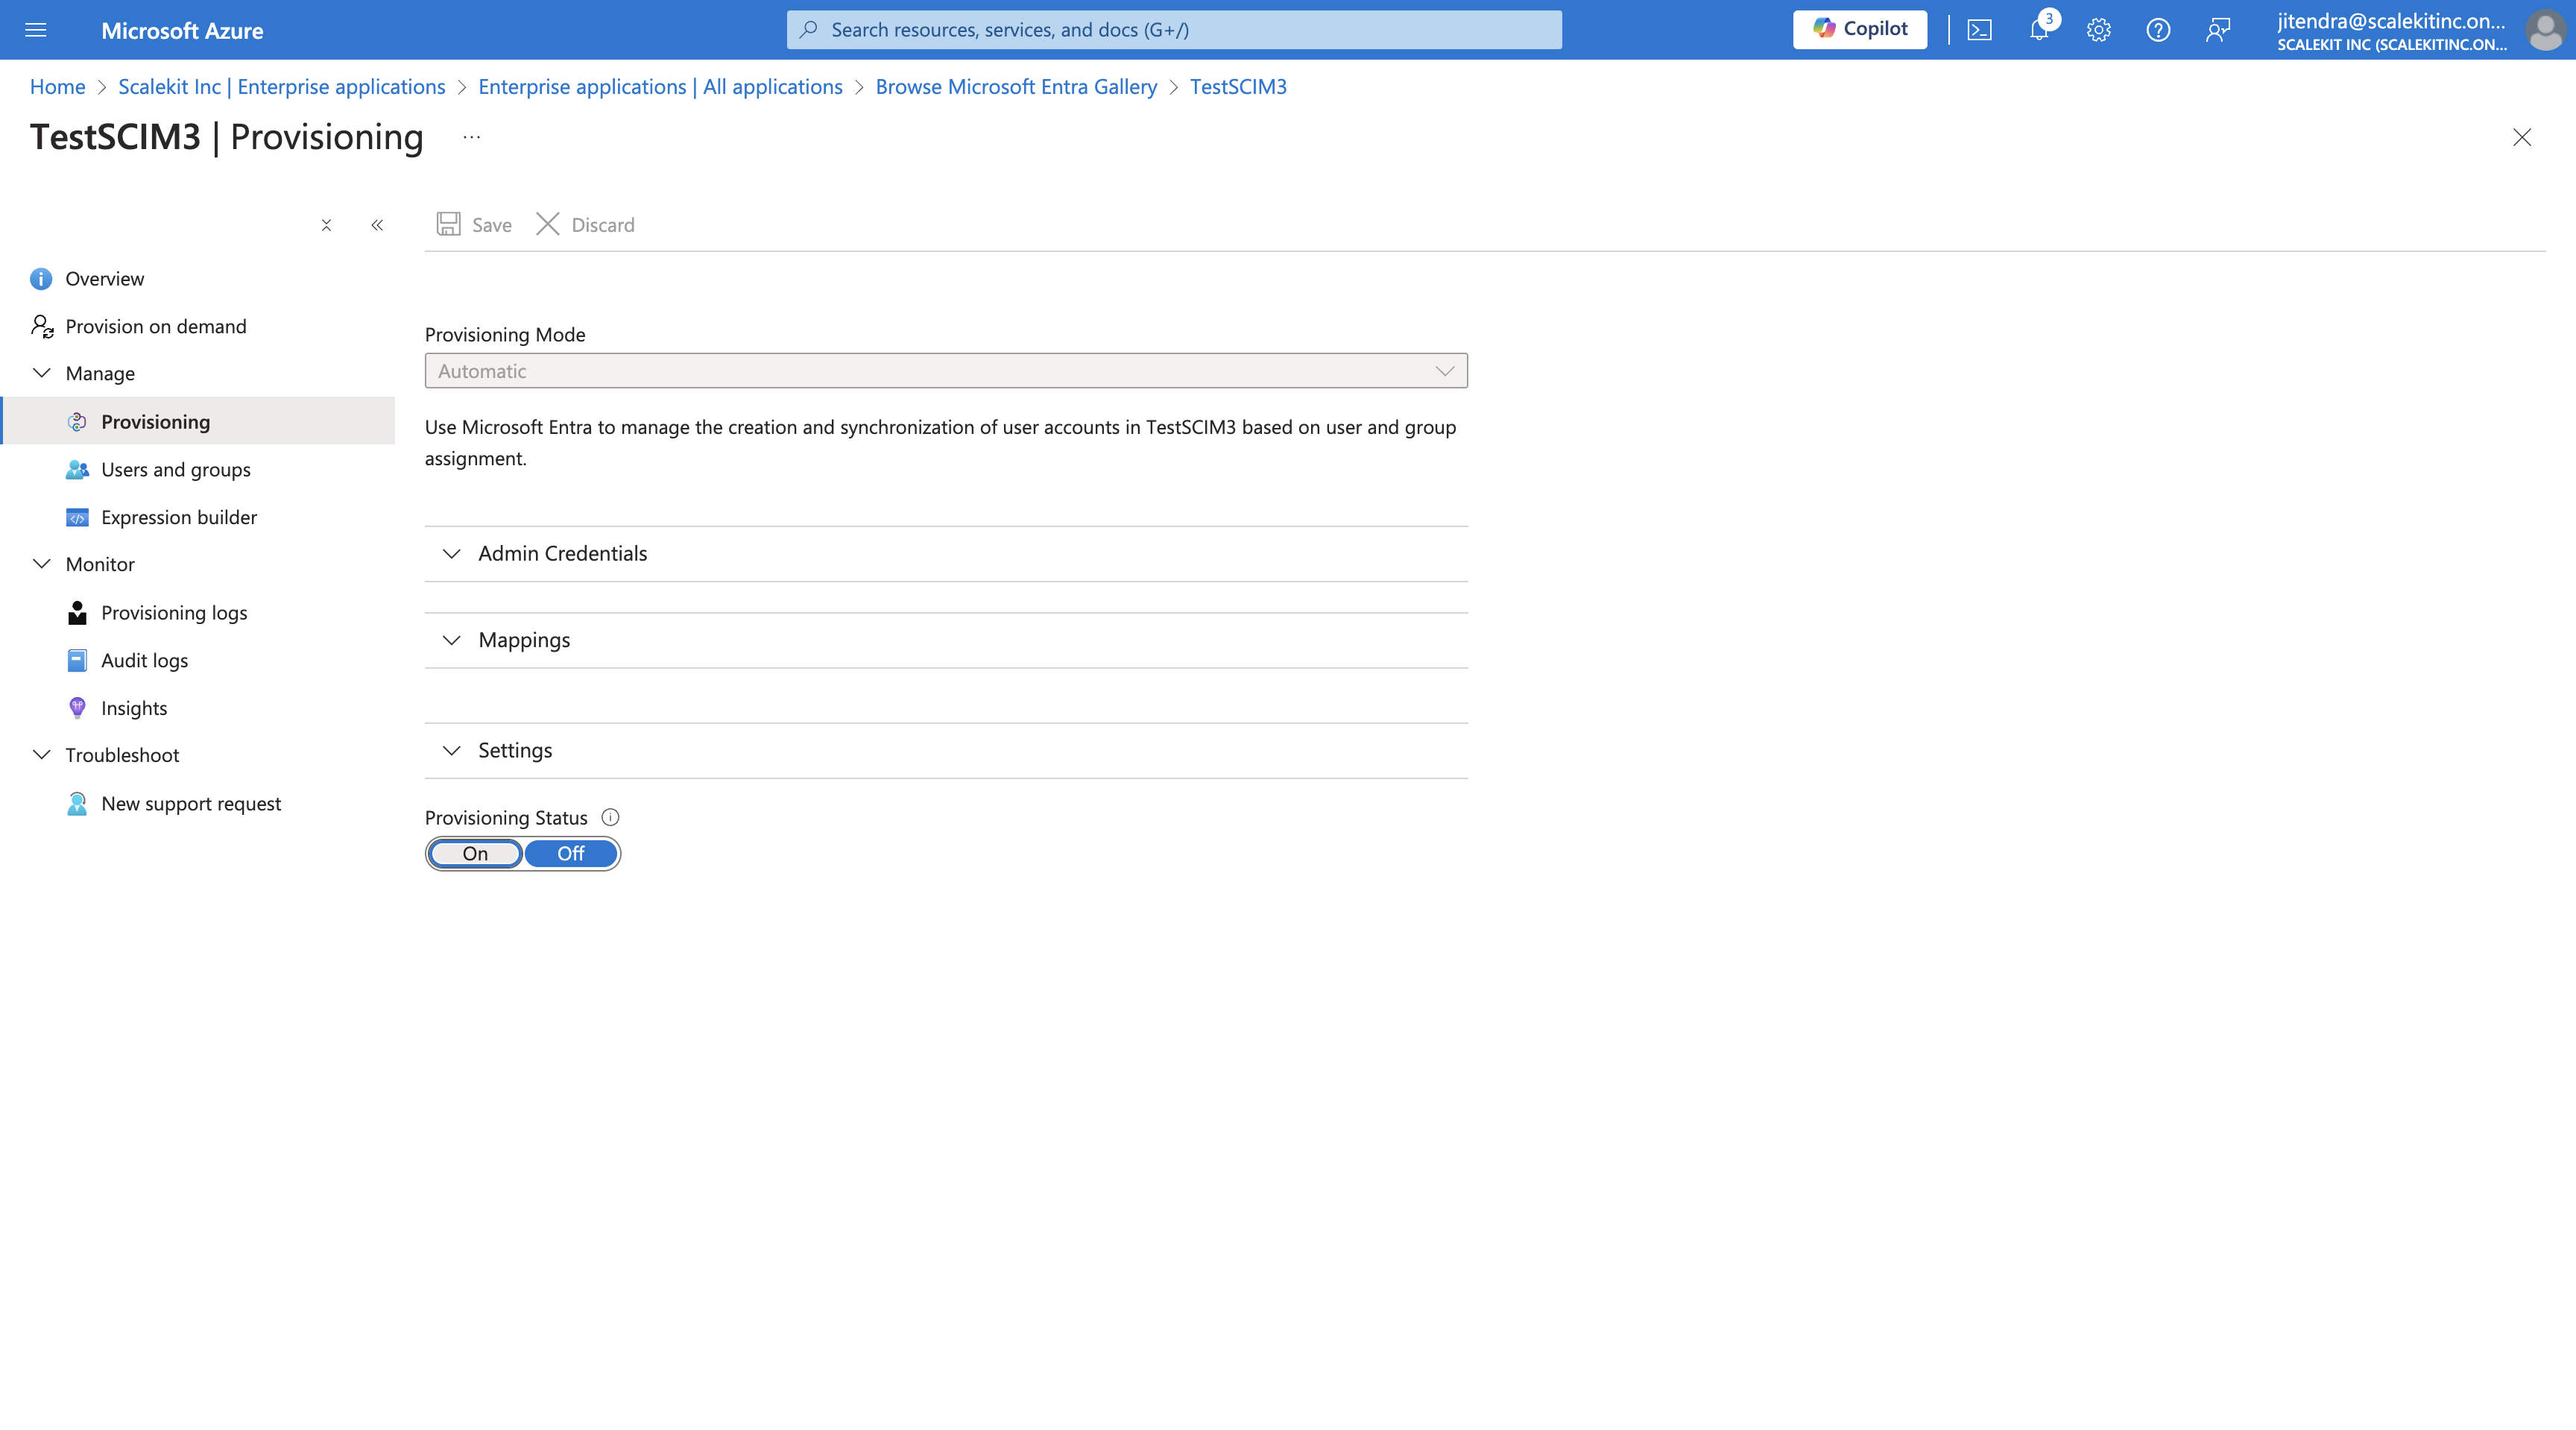
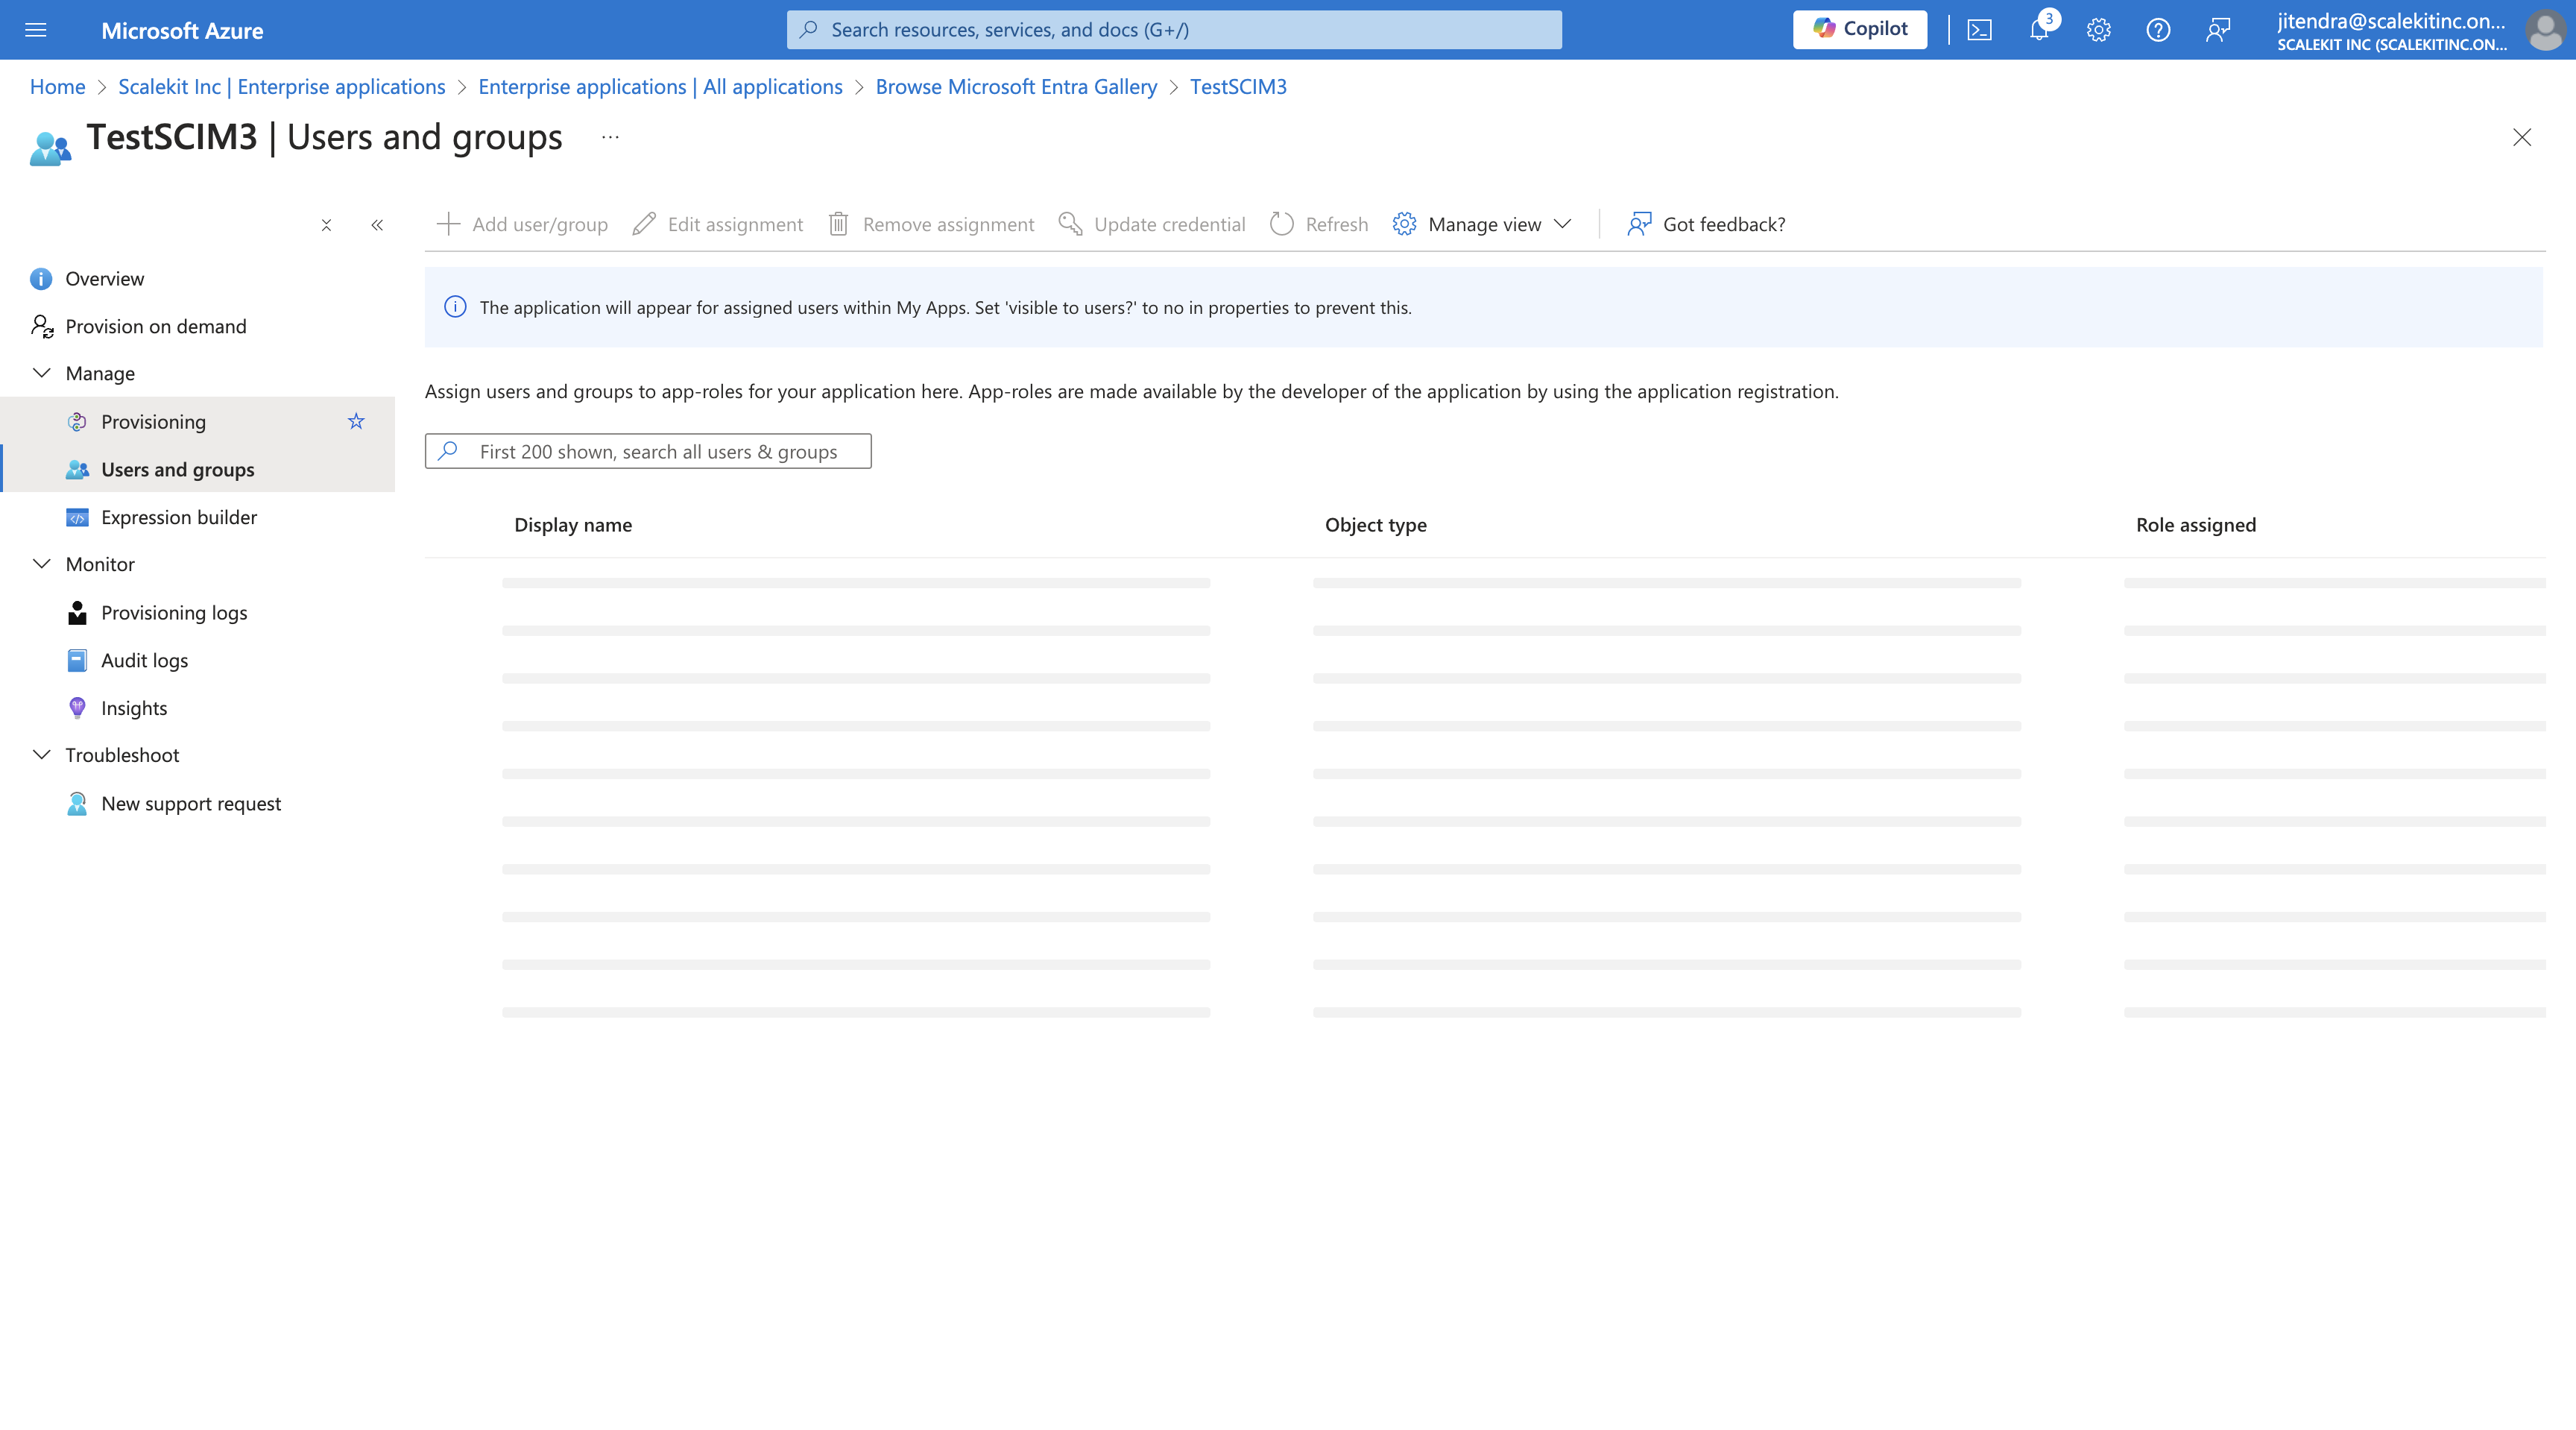
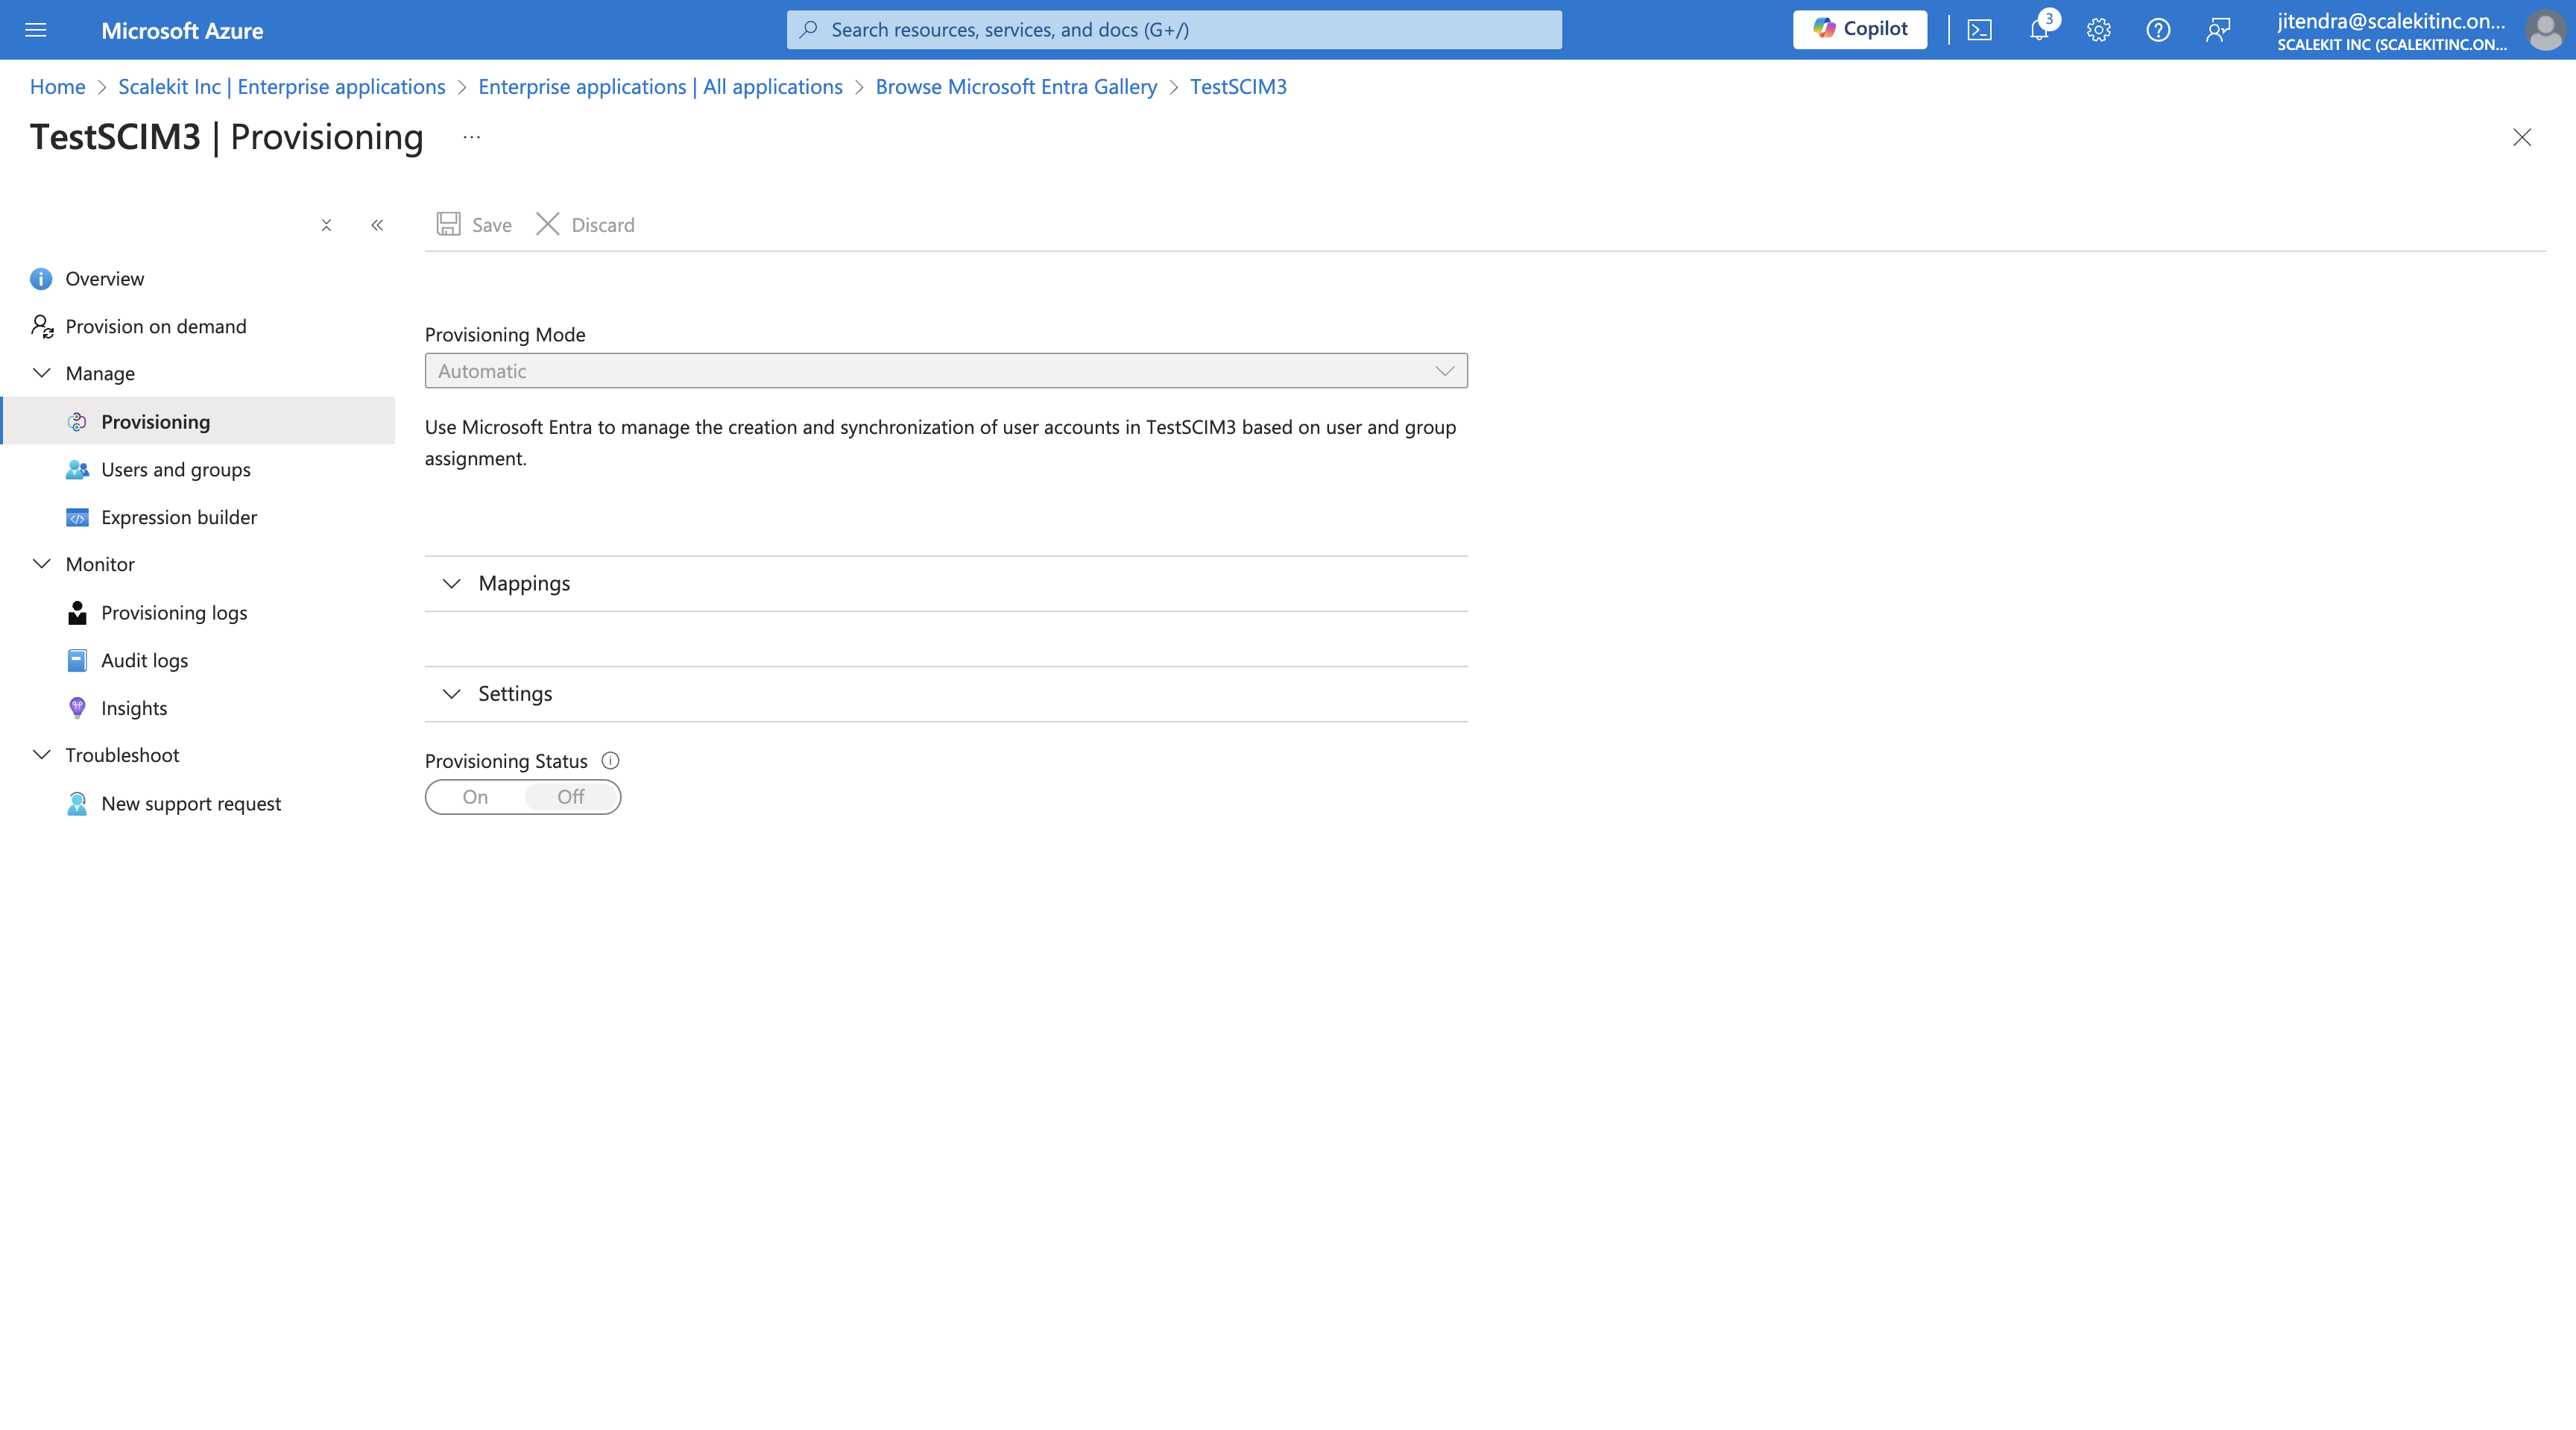
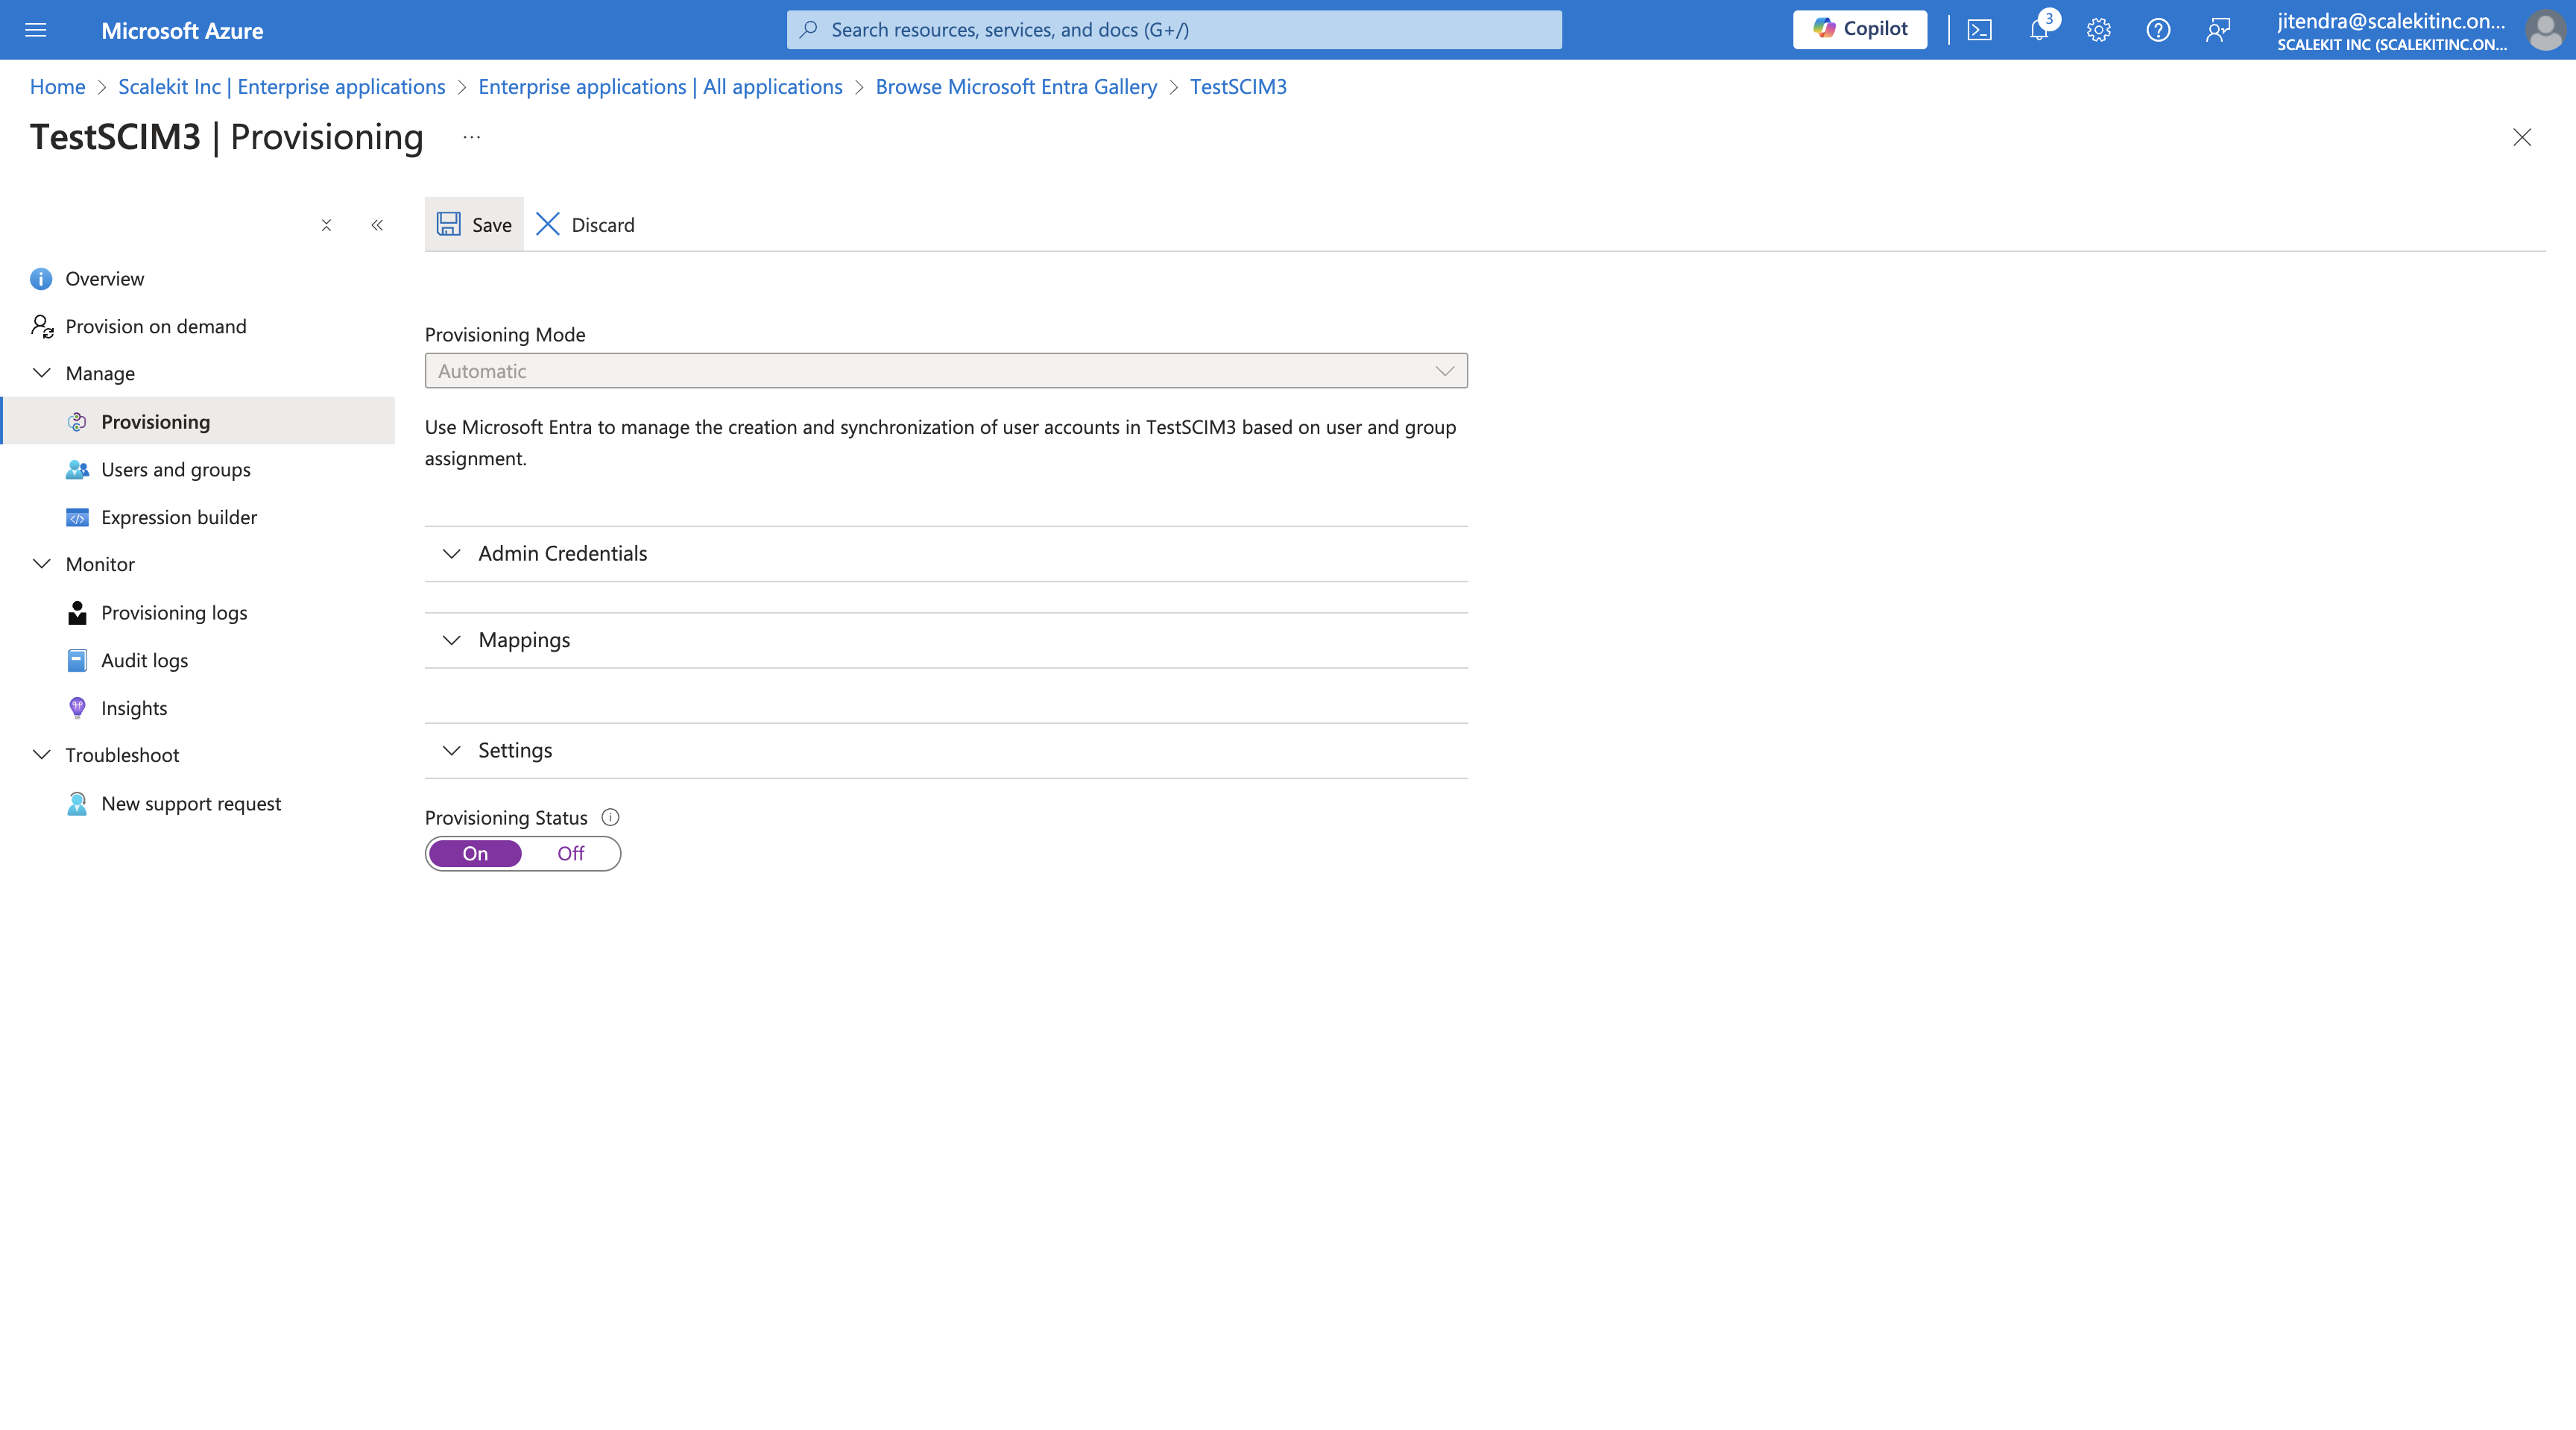
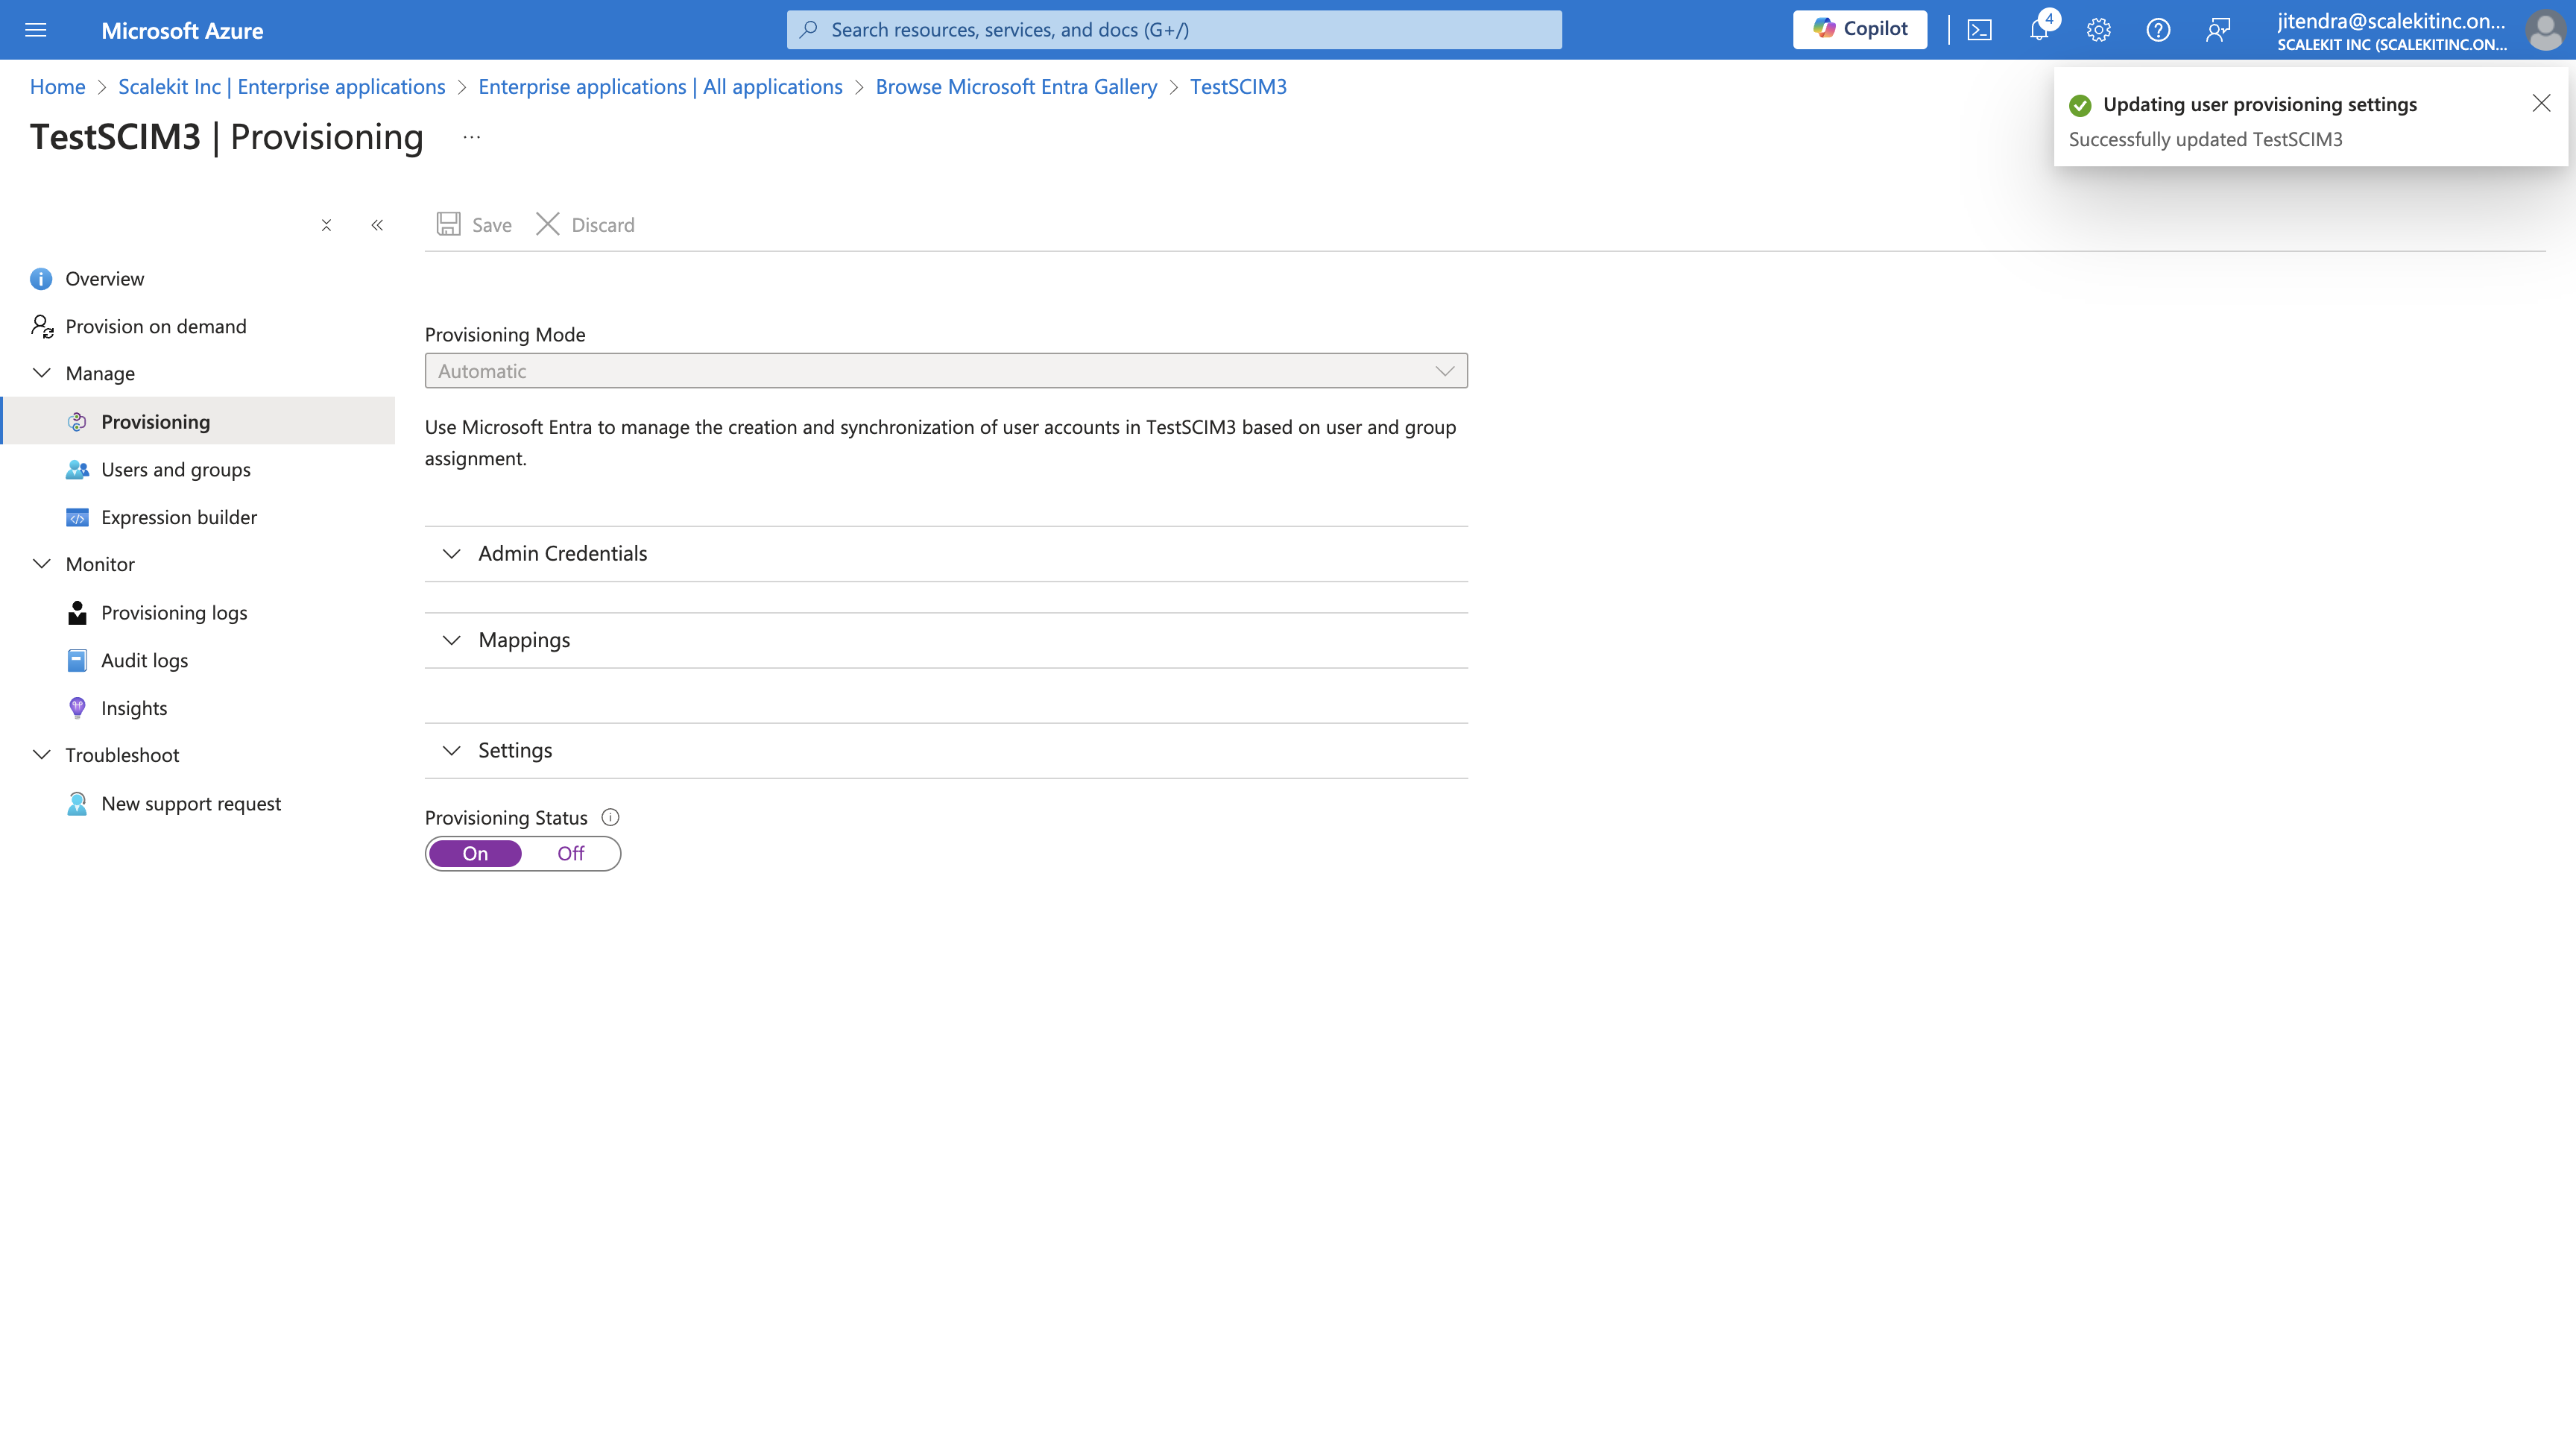
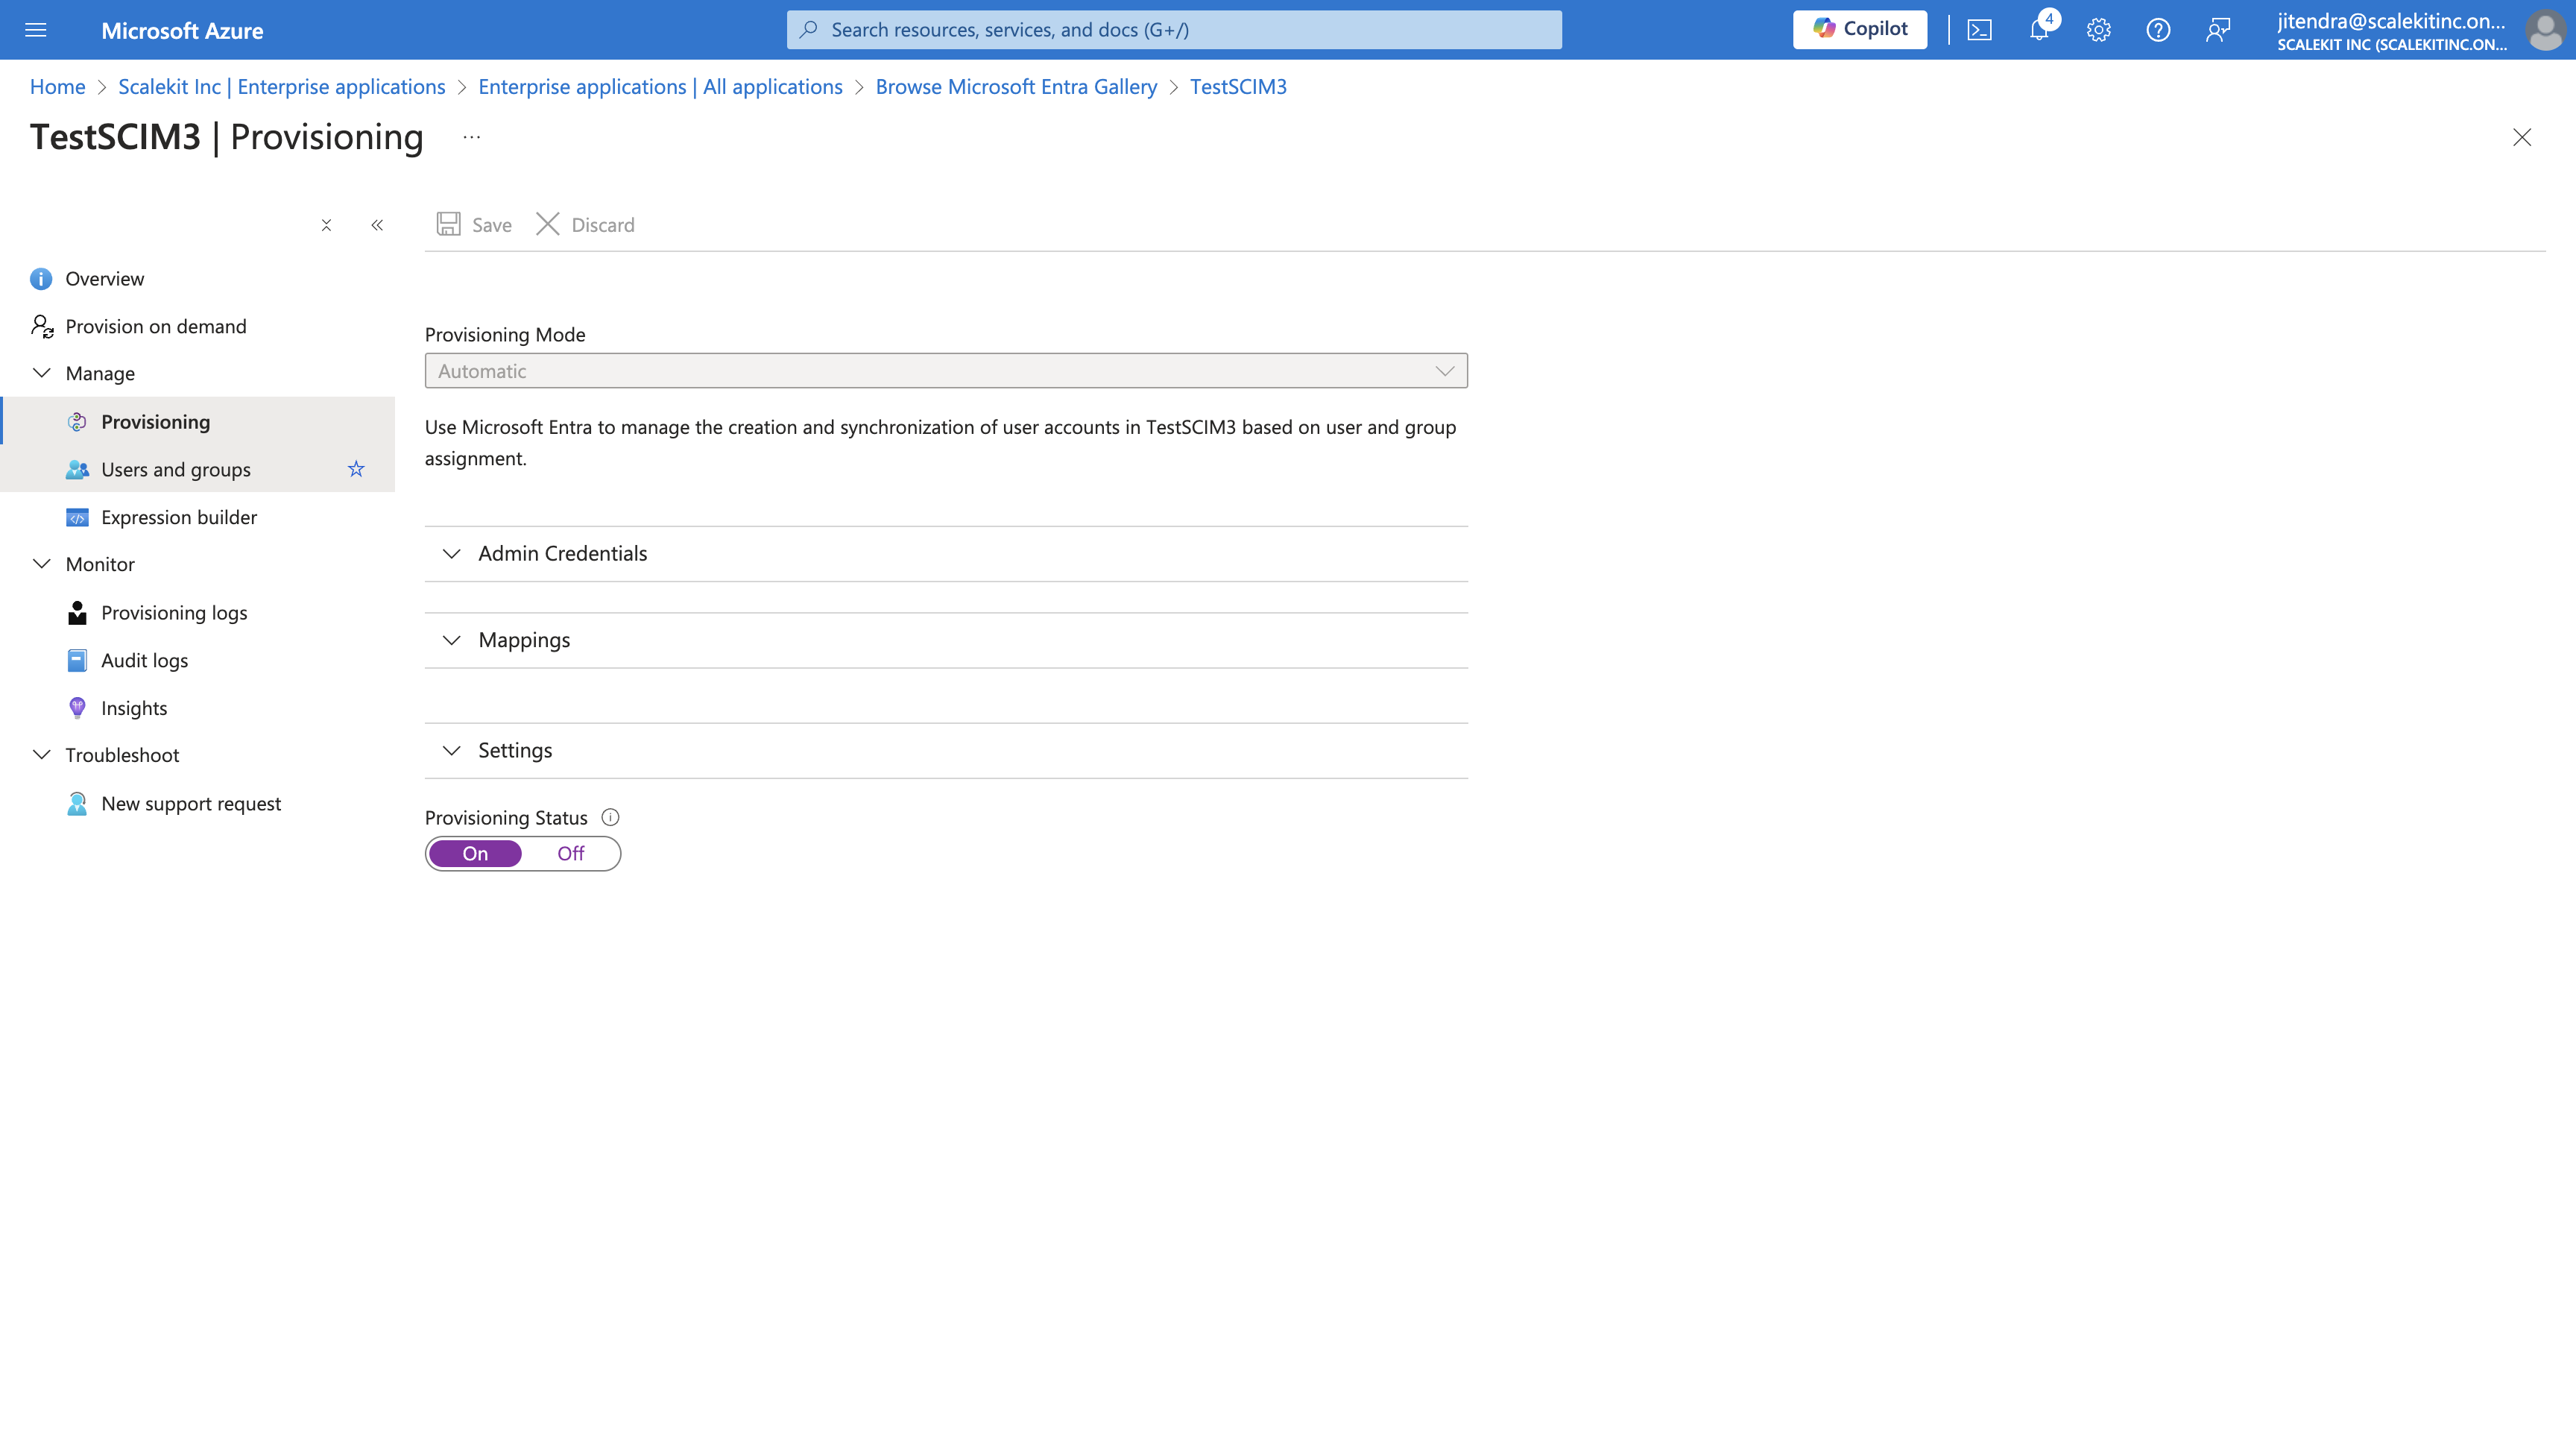
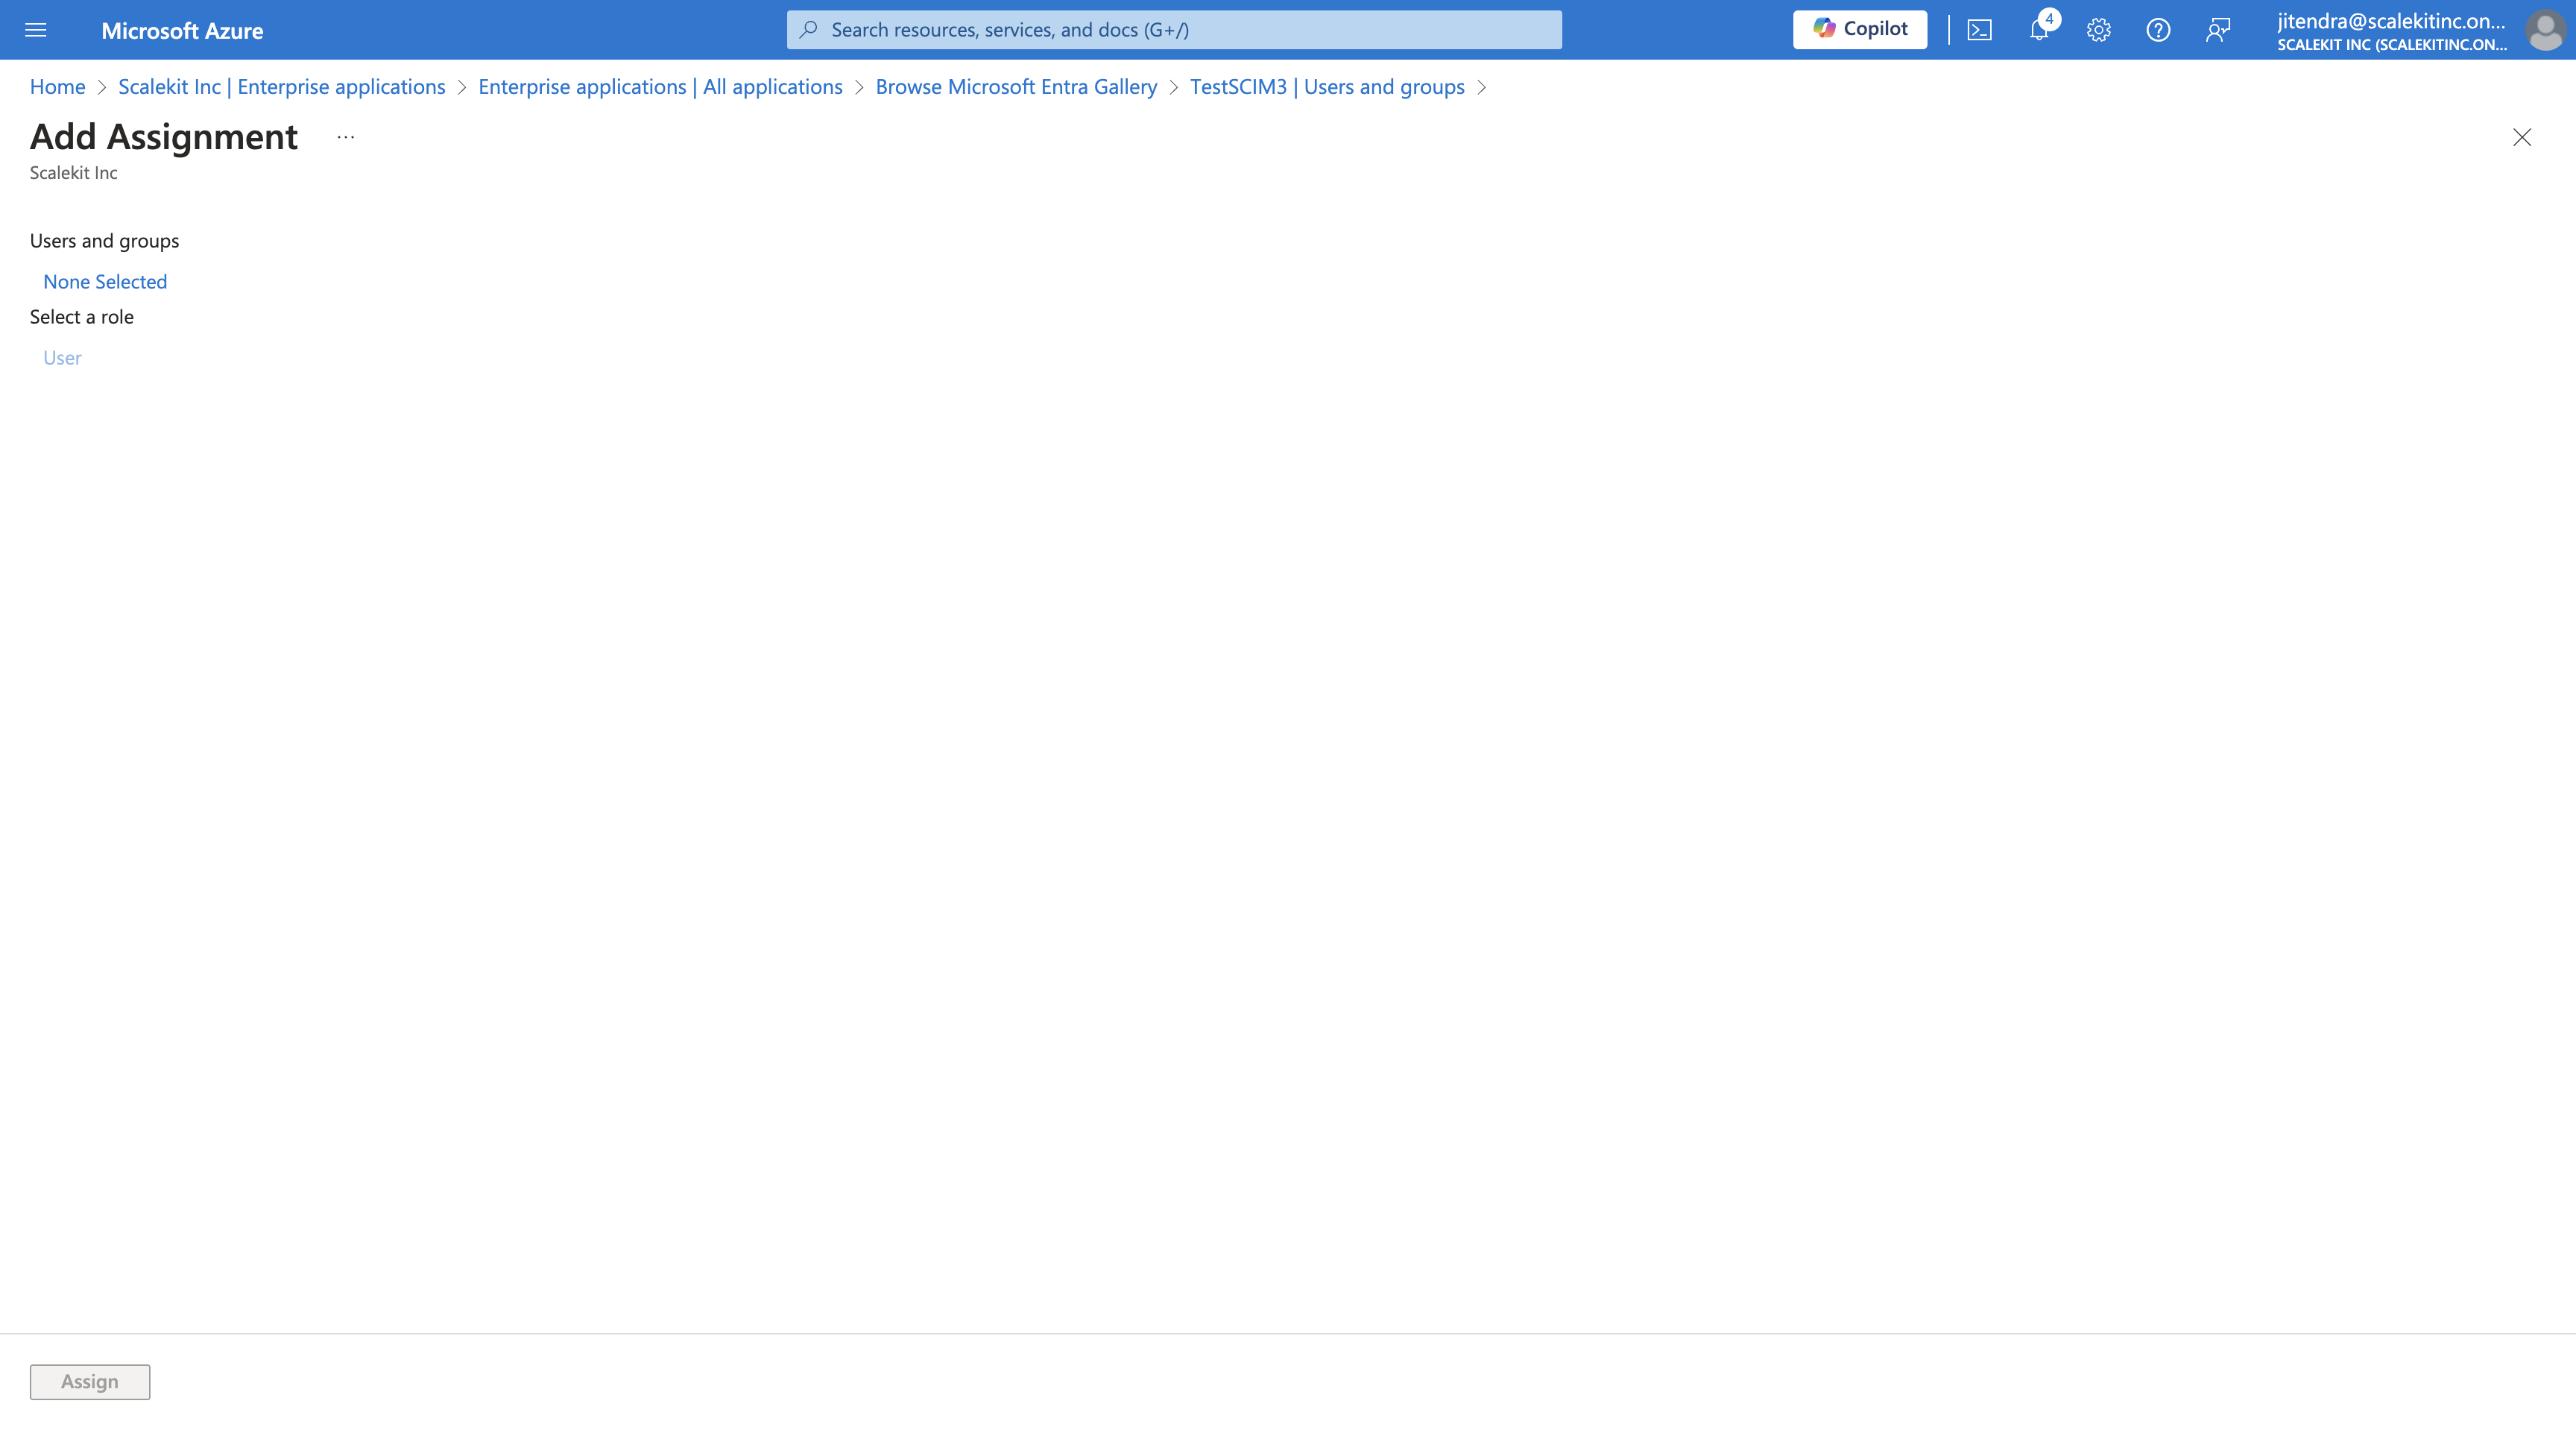
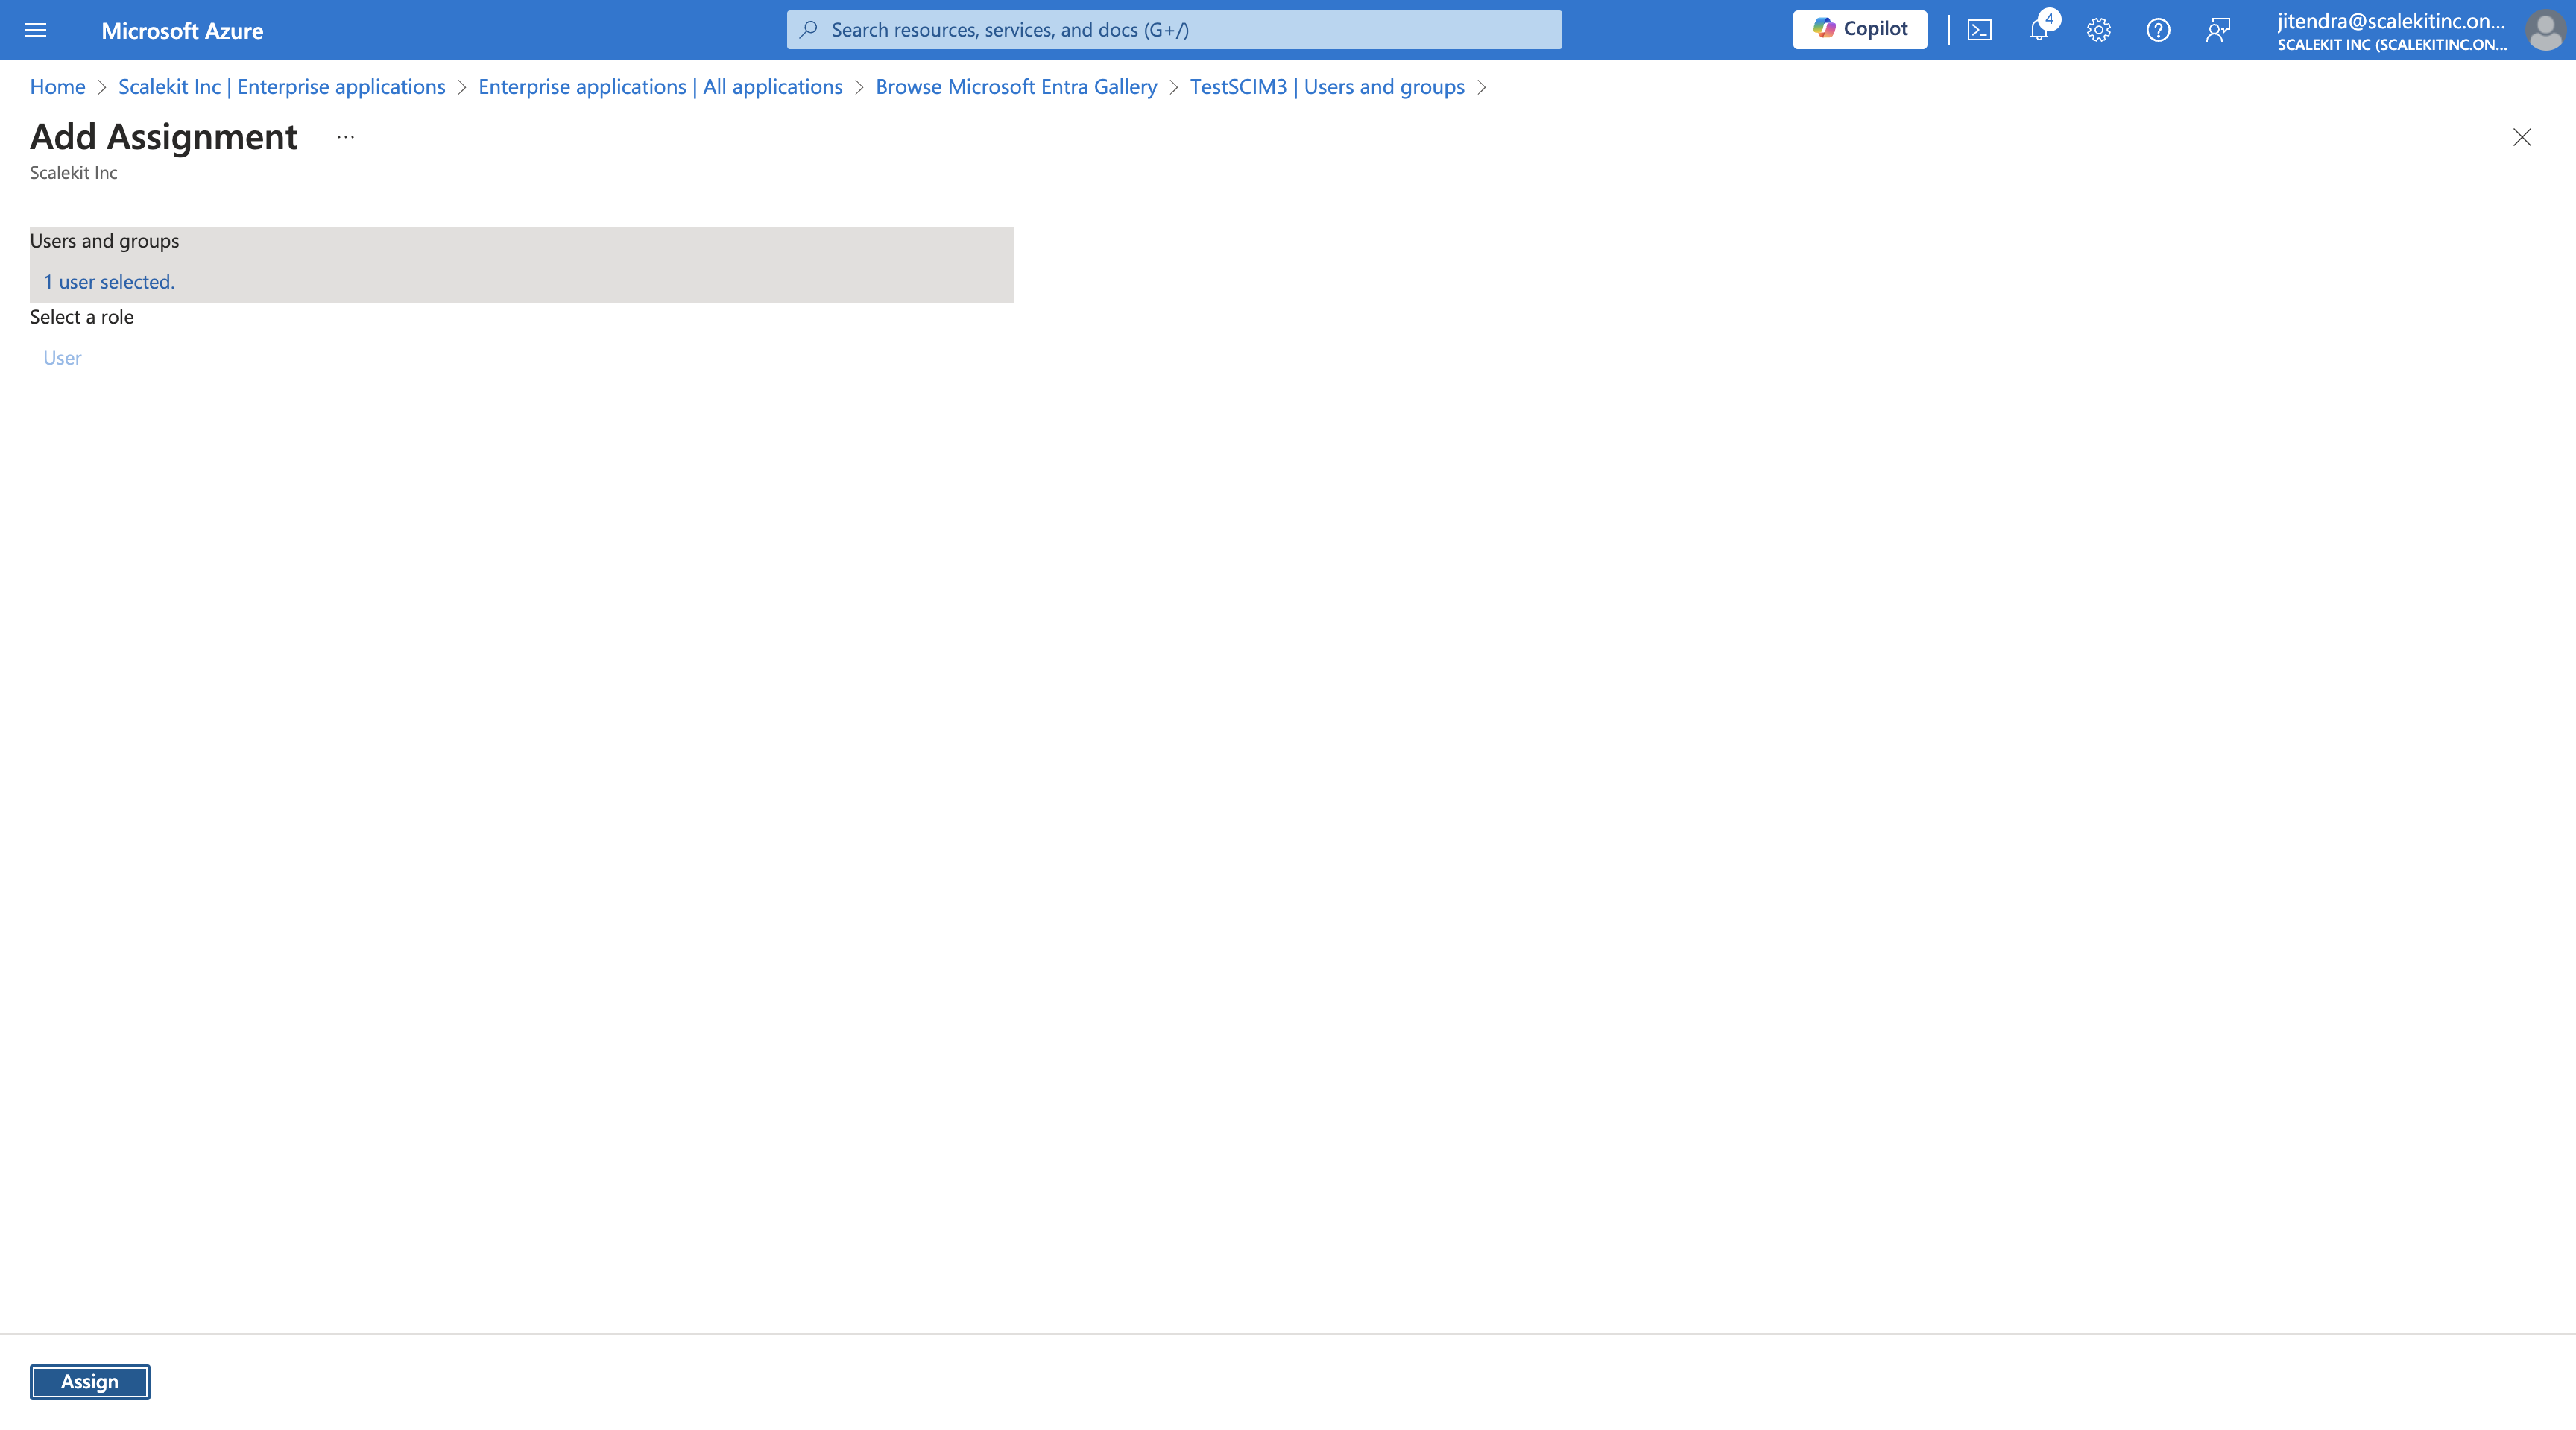
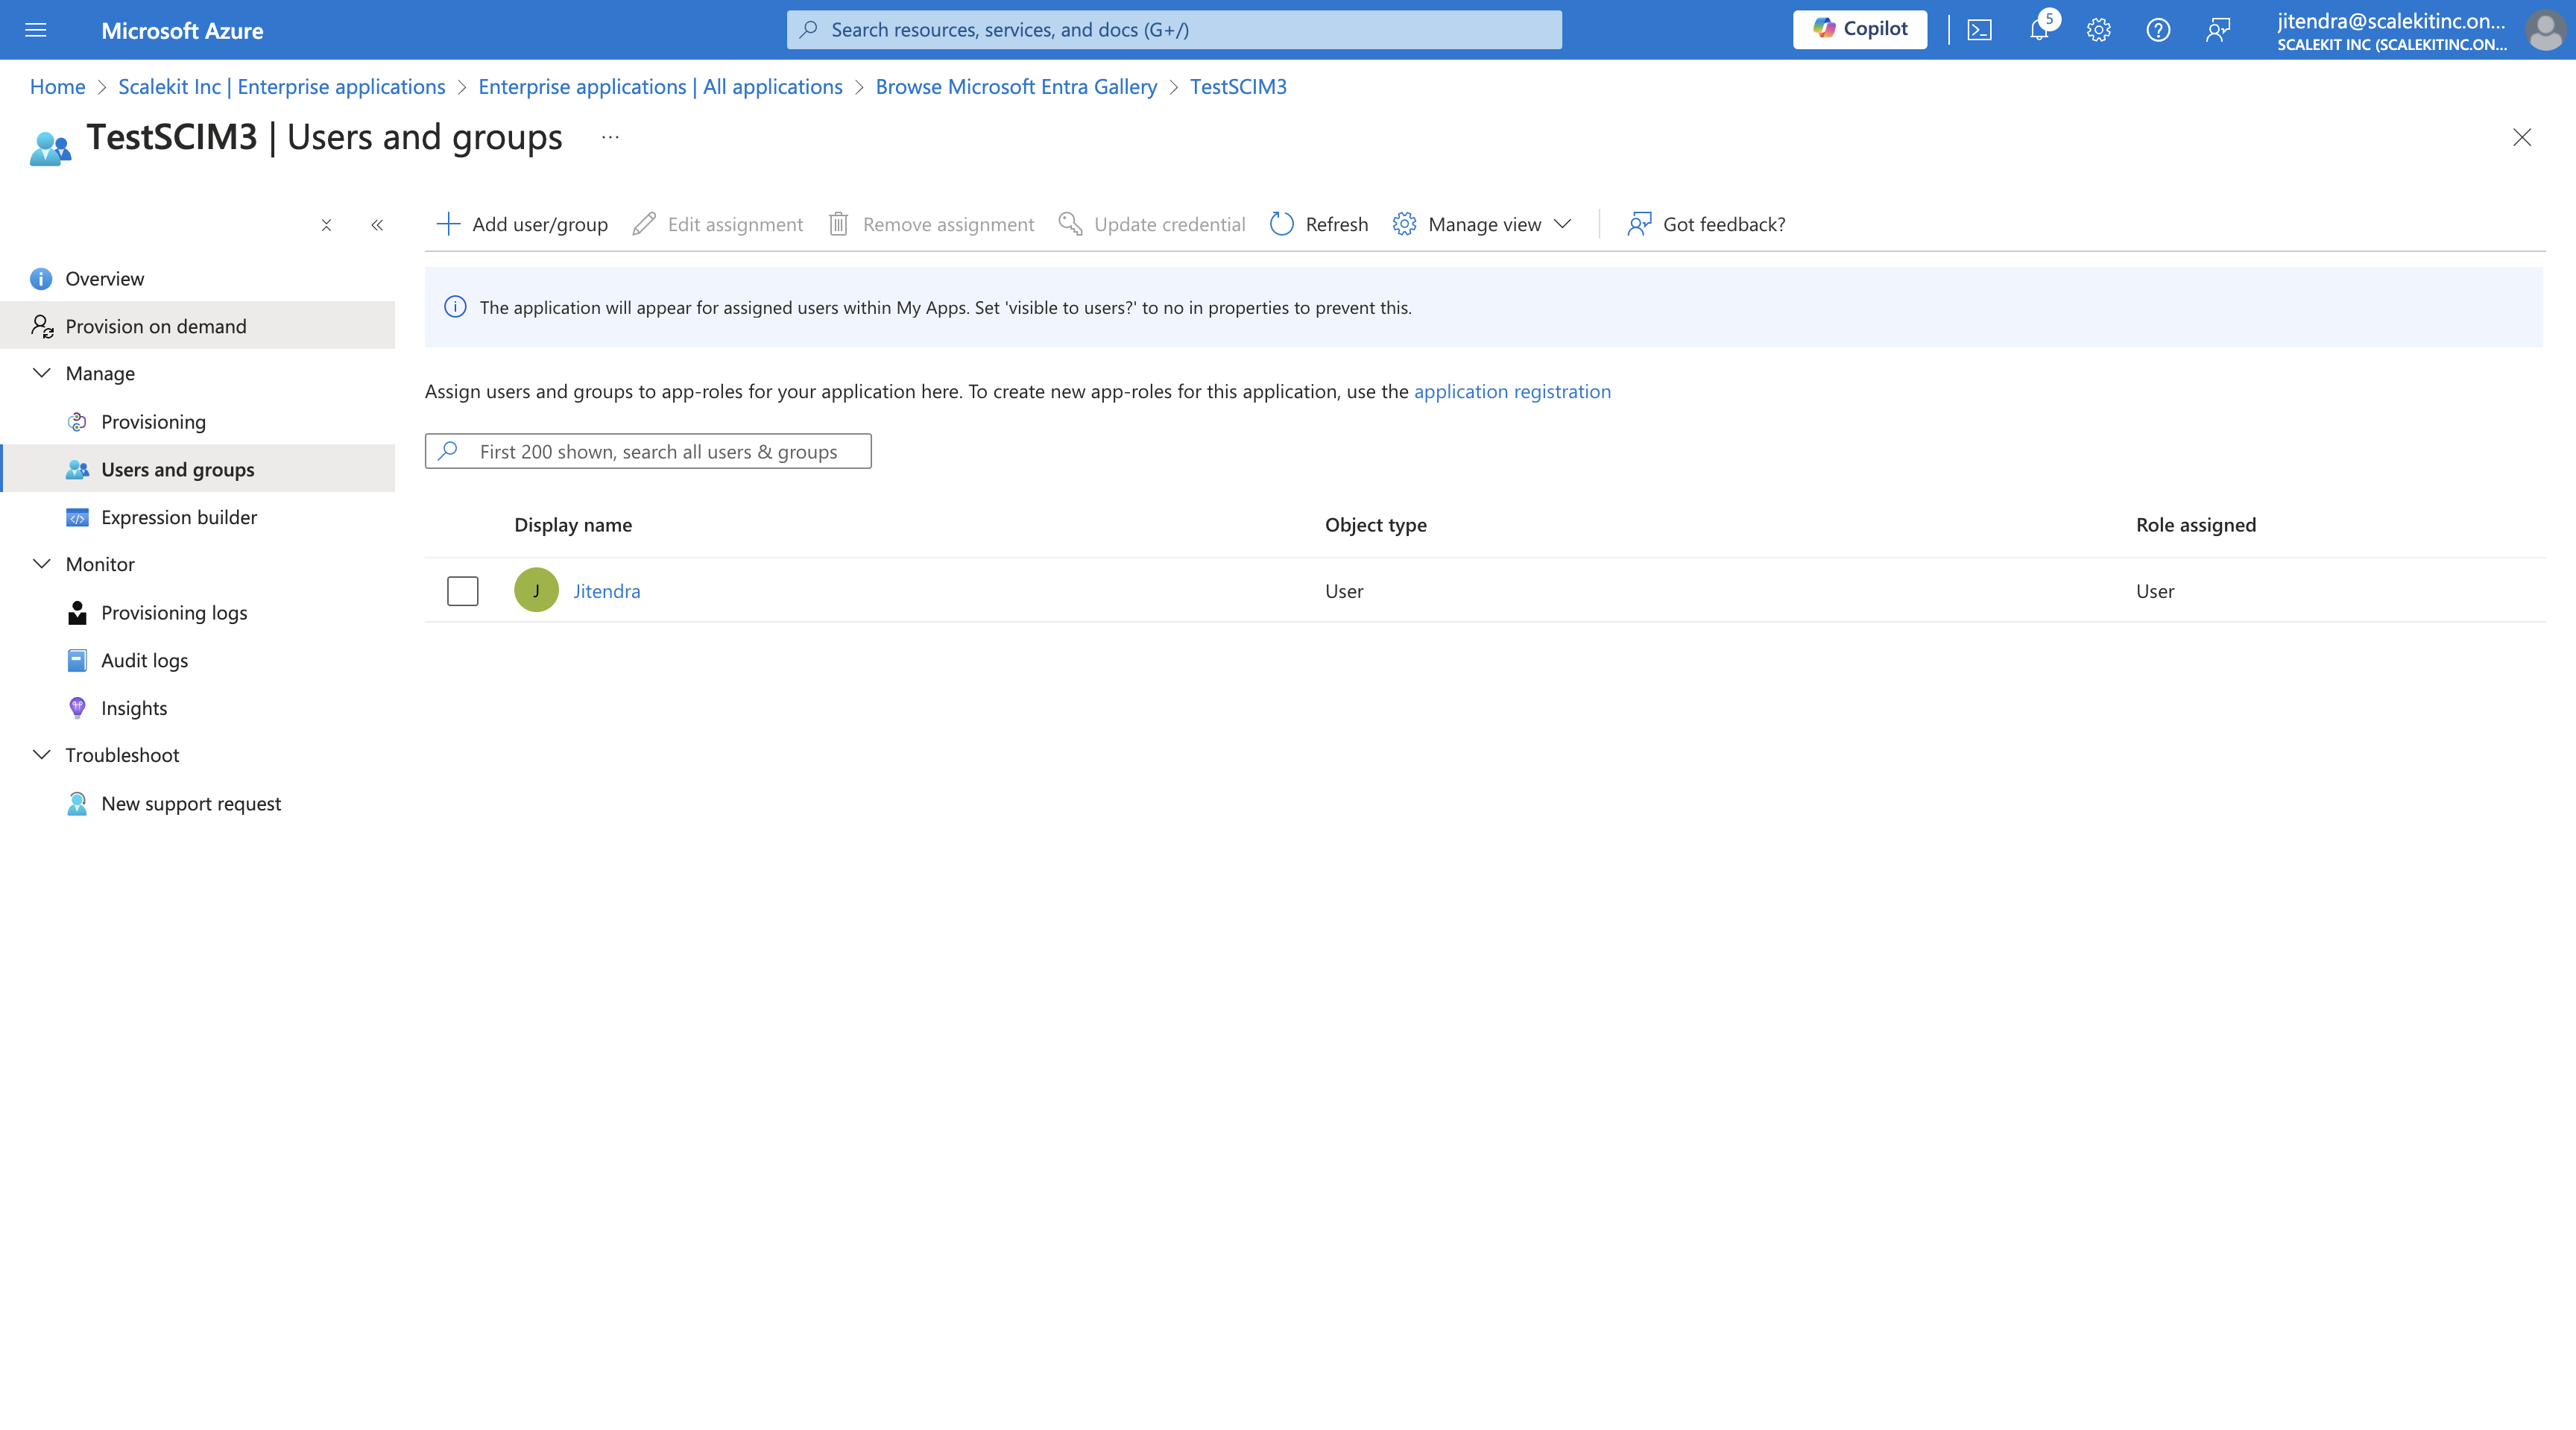
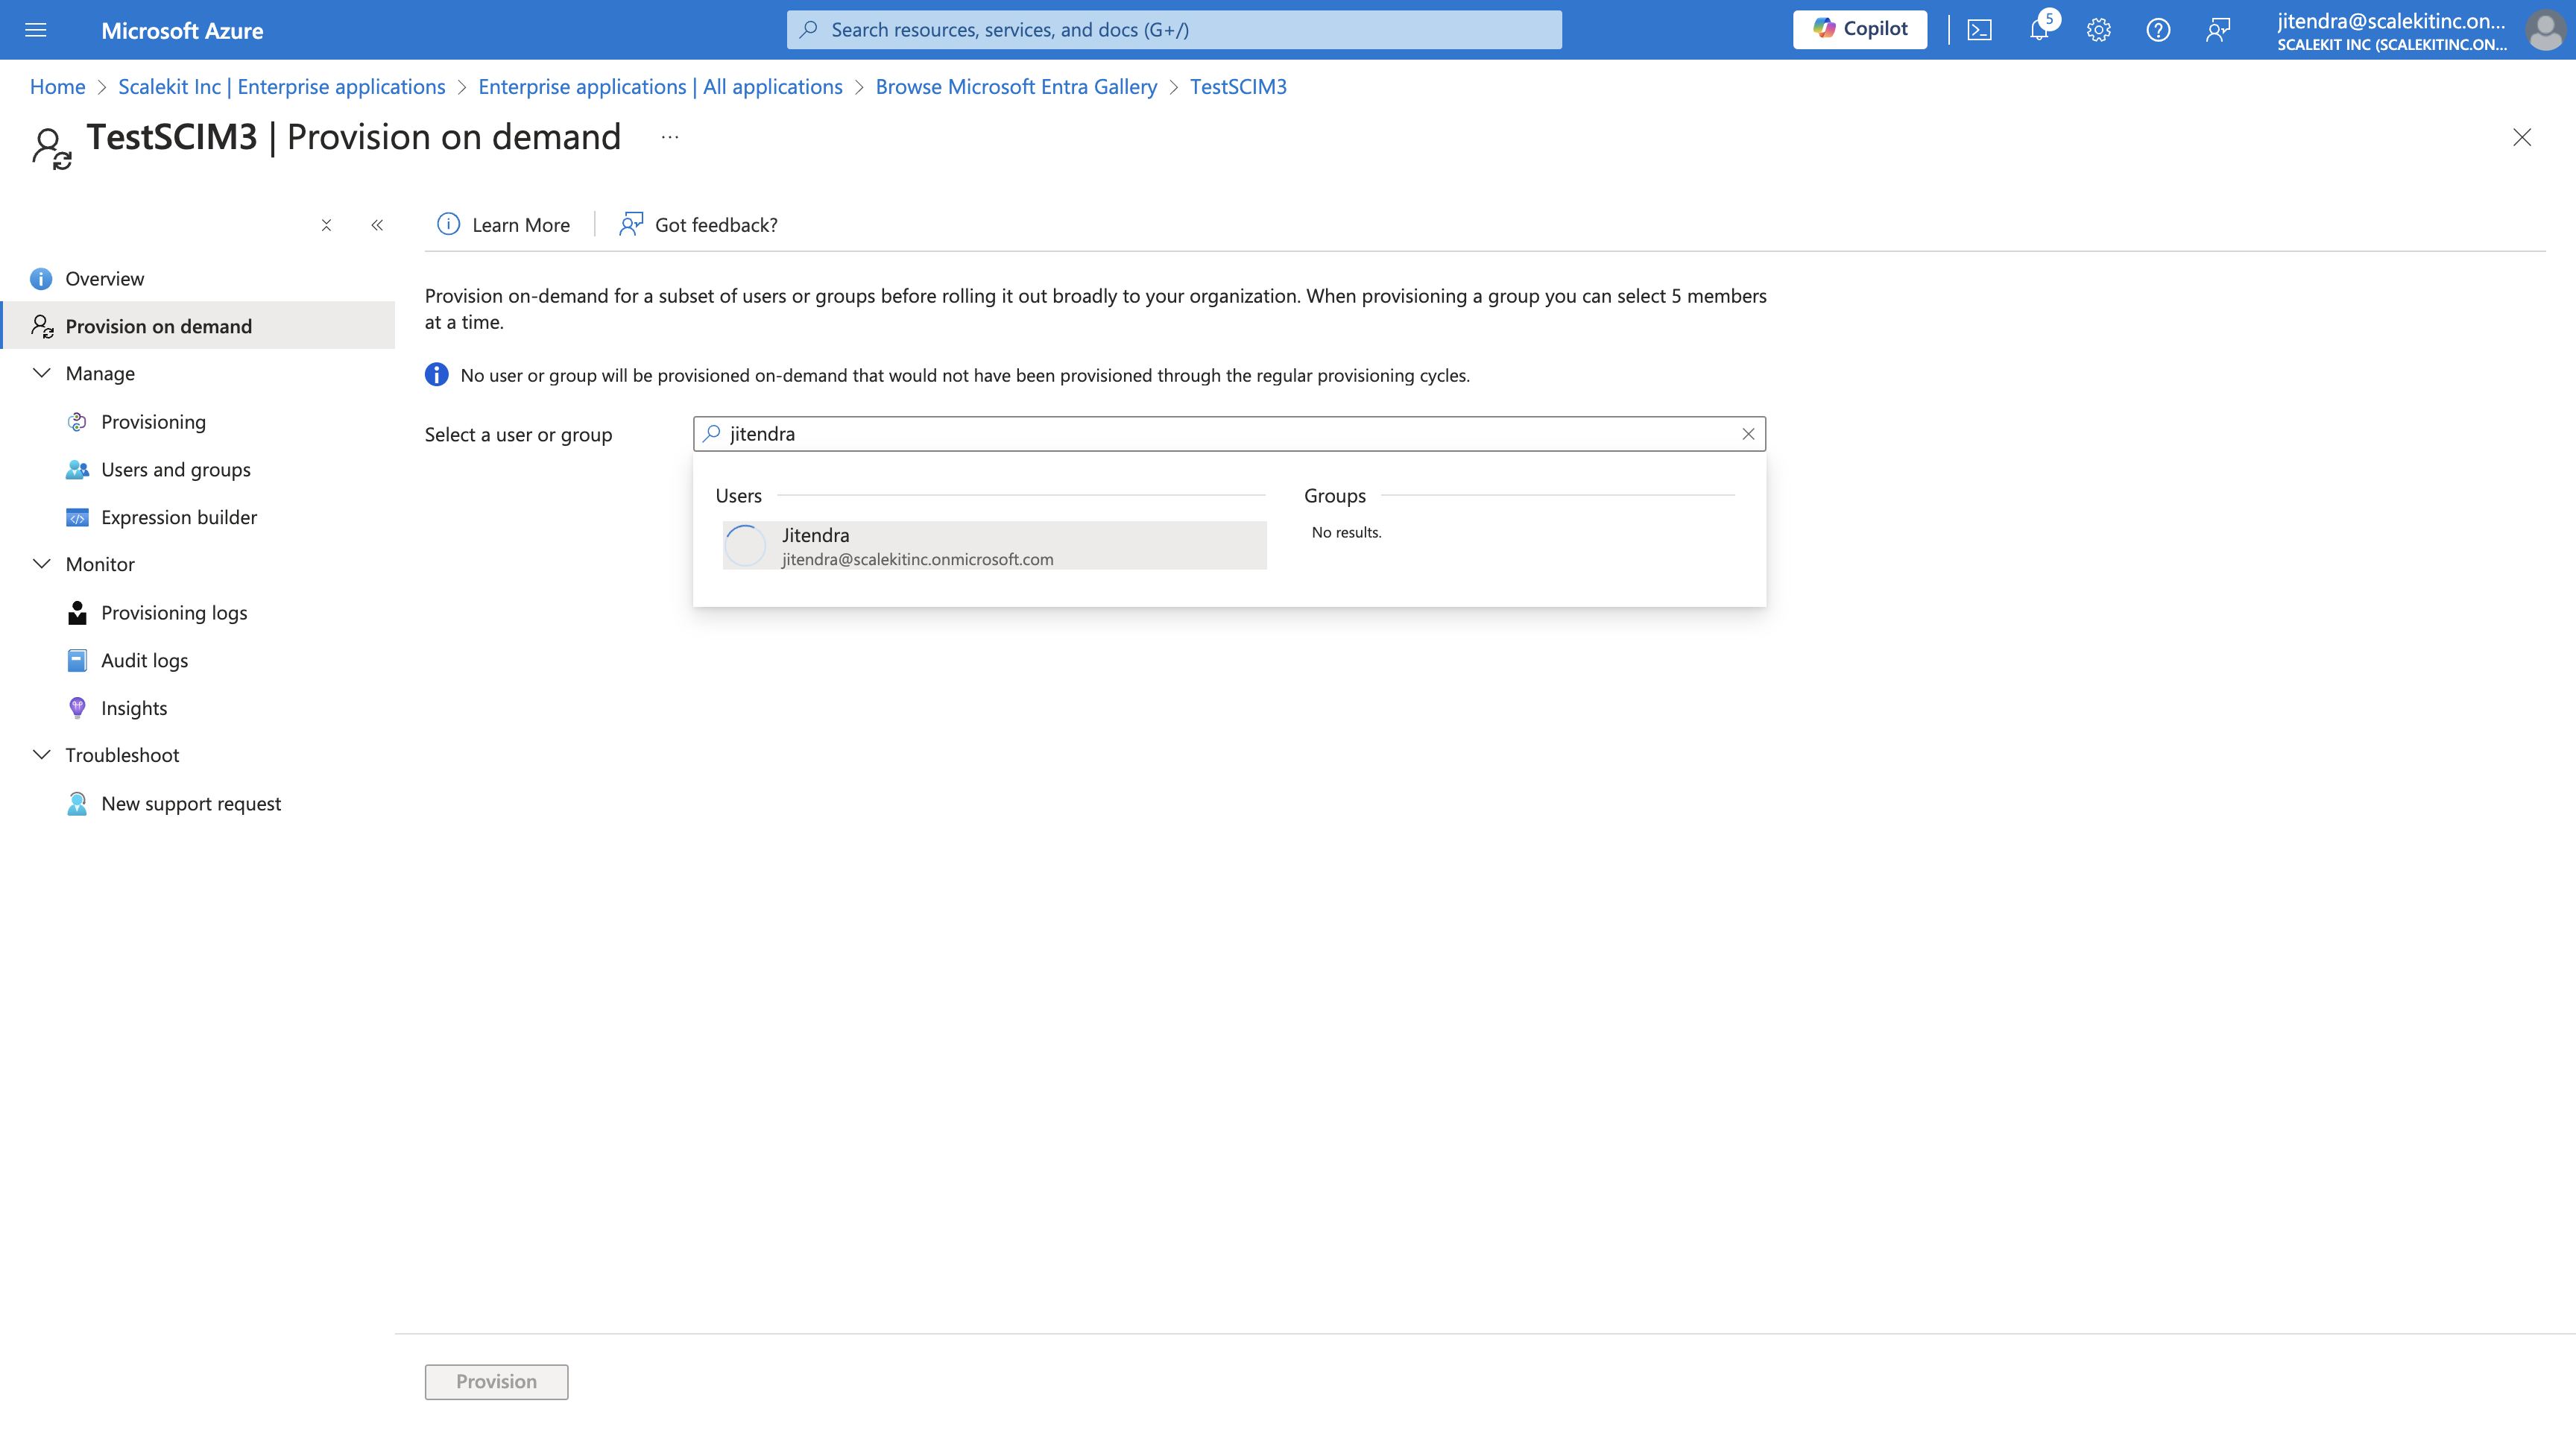
They are connecting to their application via Scale Kit. Here, you will see a tab labeled "via Scale Kit." Once you have done that, you are inside the app. Now, go to provisioning. First, the app is created. Now, we have to configure it. Last month, it was not done yet; it just created a draft. Now, you have to configure everything. Go to provisioning and select automatic. Provide the tenant URL here. Once this is done, you can save it. After saving, you have another section called mappings enabled. Enable both group and tag. By default, they are enabled, but you can disable them if needed. Specify the operations you want to allow: create, update, delete, or all. I have checked all of them. There is a map created for the username with the user principal name, given name, etc. This is equivalent to the OIDC mapping for SSO. We do not need to change it; we can use it as is. For custom attributes for data sync, we can add new maps later. For groups, it is similar. For now, it is enabled, so we leave it as it is. Close it. Now, since we have done provisioning, we need to enable the provisioning status and turn it on. Save it. Go to user sync groups. Select any existing user or group. Assign the user to this group. Once added, verify in the app, like in Skill Kit DB. When the B2B app is integrated with Skill Kit DB, it sends an event to Skill Kit for provisioning. However, Azure sends updates every 40 minutes, not in real-time. If you want real-time updates, use the provision on demand option. This is not default; by default, it is 40 minutes. Provision on demand allows you to provision whenever you want by clicking on it and specifying which groups or users. This is done manually every time. Normally, when a new employee is added, 40 minutes is acceptable. But if the employee is already in the office and needs immediate access, use provision on demand.

11
Click on "Provisioning"
Step #11: Click on "Provisioning"
12
Click on "Provisioning"
Step #12: Click on "Provisioning"
13
Click here
Step #13: Click here
14
Click here
Step #14: Click here
15
Click here
Step #15: Click here
16
Click on "+ Create Organization"
Step #16: Click on "+ Create Organization"
17
Click on "Add"
Step #17: Click on "Add"
18
Type "TestAzure2"
19
Click on "Directory Sync"
Step #19: Click on "Directory Sync"
20
Click on "Enable now"
Step #20: Click on "Enable now"
21
Click on "( Azure AD )"
Step #21: Click on "( Azure AD )"
22
Click on "Configure"
Step #22: Click on "Configure"
23
Click here
Step #23: Click here
24
Click here
Step #24: Click here
25
Type "Cmd + V"
26
Click here
Step #26: Click here
27
Click here
Step #27: Click here
28
Type "Cmd + V"
29
Click on "Test Connection"
Step #29: Click on "Test Connection"
30
Click on "Х"
Step #30: Click on "Х"
31
Click on "Settings"
Step #31: Click on "Settings"
32
Click on "^ Settings"
Step #32: Click on "^ Settings"
33
Click on "Settings"
Step #33: Click on "Settings"
34
Click on "Save"
Step #34: Click on "Save"
35
Click on "Х"
Step #35: Click on "Х"
36
Click here
Step #36: Click here
37
Click on "Mappings"
Step #37: Click on "Mappings"
38
Click on "Provision Microsoft Entra ID Users"
Step #38: Click on "Provision Microsoft Entra ID Users"
39
Click on "Х"
Step #39: Click on "Х"
40
Click on "☑"
Step #40: Click on "☑"
41
Click on "Provisioning"
Step #41: Click on "Provisioning"
42
Click on "Provisioning"
Step #42: Click on "Provisioning"
43
Click here
Step #43: Click here
44
Click on "Users and groups"
Step #44: Click on "Users and groups"
45
Click on "Provisioning"
Step #45: Click on "Provisioning"
46
Click on "On"
Step #46: Click on "On"
47
Click on "On"
Step #47: Click on "On"
48
Click on "Save"
Step #48: Click on "Save"
49
Click on "Х"
Step #49: Click on "Х"
50
Click on "Users and groups"
Step #50: Click on "Users and groups"
51
Click on "User"
Step #51: Click on "User"
52
Click on "None Selected"
Step #52: Click on "None Selected"
53
Click on "Assign"
Step #53: Click on "Assign"
54
Click on "Provision on demand"
Step #54: Click on "Provision on demand"
55
Click on "Search for user or group by name"
Step #55: Click on "Search for user or group by name"
56
Click on "○ Search for user or group by name"
Step #56: Click on "○ Search for user or group by name"
57
Click on "jitendra@scalekitinc.onmicrosoft.com"
Step #57: Click on "jitendra@scalekitinc.onmicrosoft.com"
58
Type "jitendra"
59
Click here
Step #59: Click here
60
Click here
Step #60: Click here
61
Type "Backspace"
62
Click here
Step #62: Click here
63
Type "Jitendra"
64
Type "Backspace"
65
Type "Backspace"
66
Type "Backspace"
67
Type "Backspace"
68
Type "Backspace"
69
Type "Backspace"
70
Type "Backspace"
71
Type "Backspace"
72
Type "Backspace"
73
Type "Backspace"
74
Type "Backspace"
75
Type "Backspace"
76
Type "Backspace"
77
Type "Backspace"
78
Type "Backspace"
79
Type "Backspace"
80
Type "Backspace"

How to Configure a Non-Gallery Application in Azure with Scale Kit