How to: Configure Power Filters
Learn how to create, configure, and apply Power Filters in Toucan Sales Analytics to segment your customers and organise your data views.
Introduction
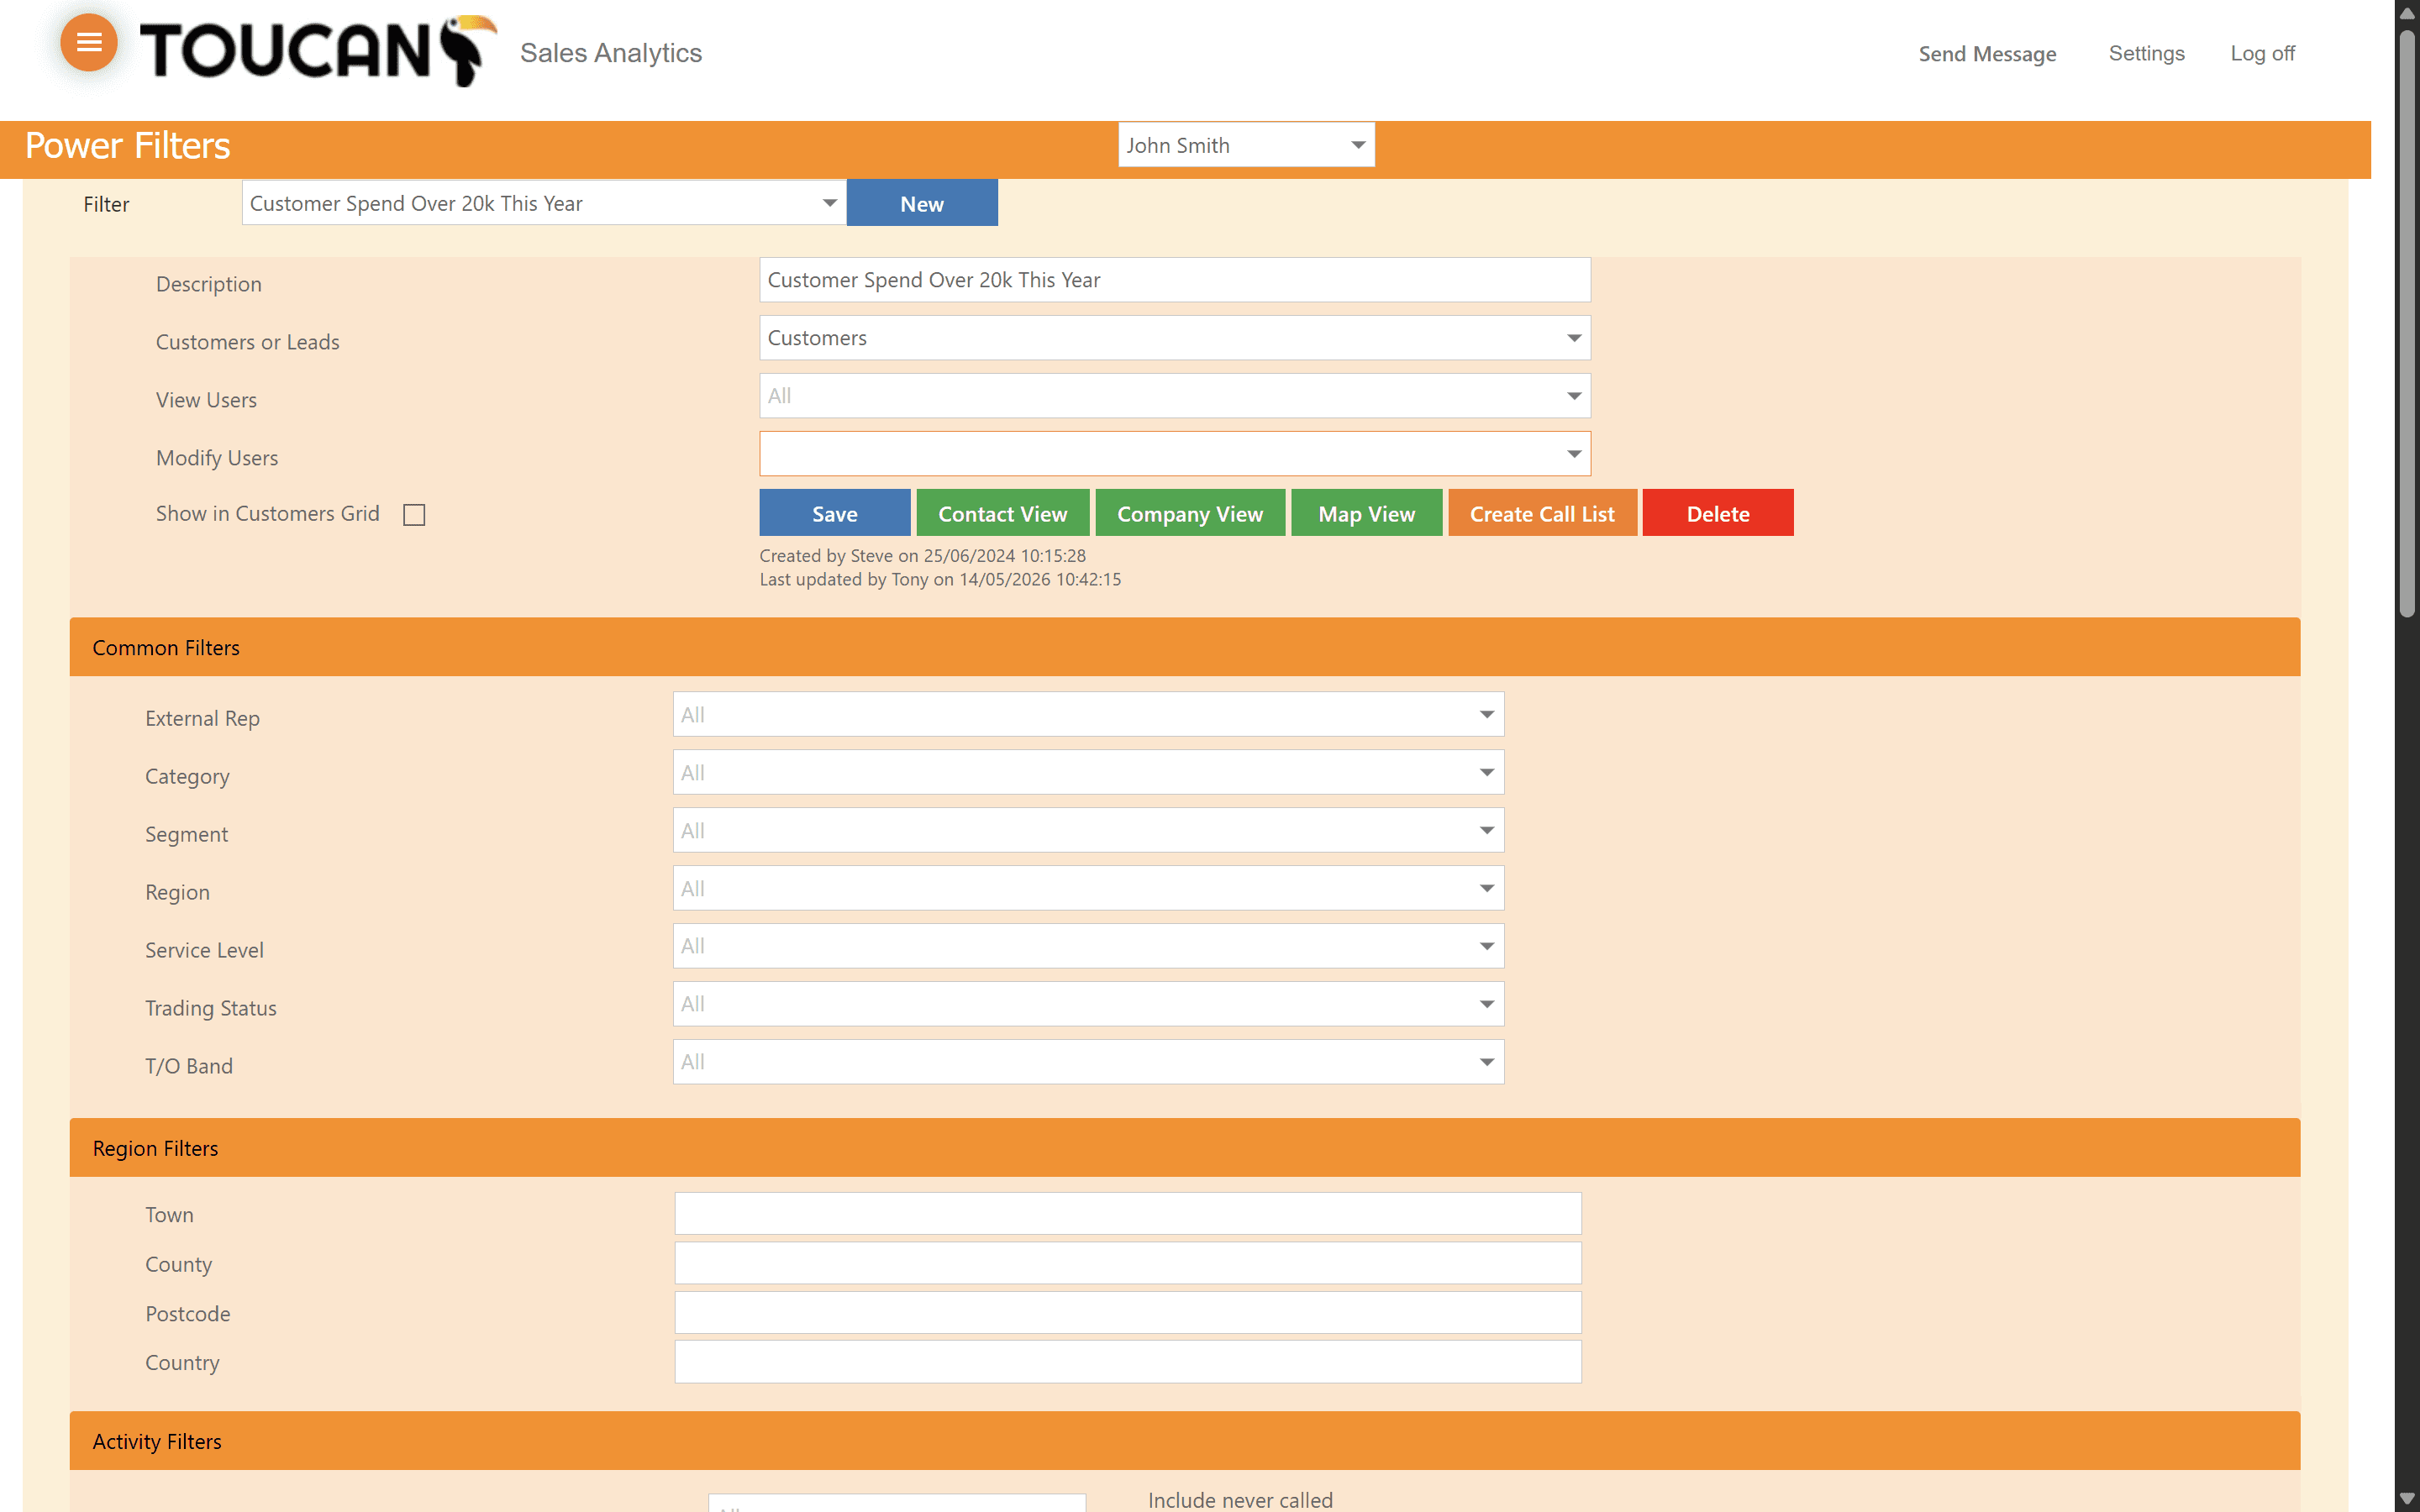
The Power Filters portal is primarily used by senior leadership and sales leadership due to its ability to segment, filter, and access return any results contained within your company data housed in Toucan. For most users they will not have the requirements to segment data so heavily.
As the Power Filters form is one single page with many input fields, we will detail the goal of each field separately.
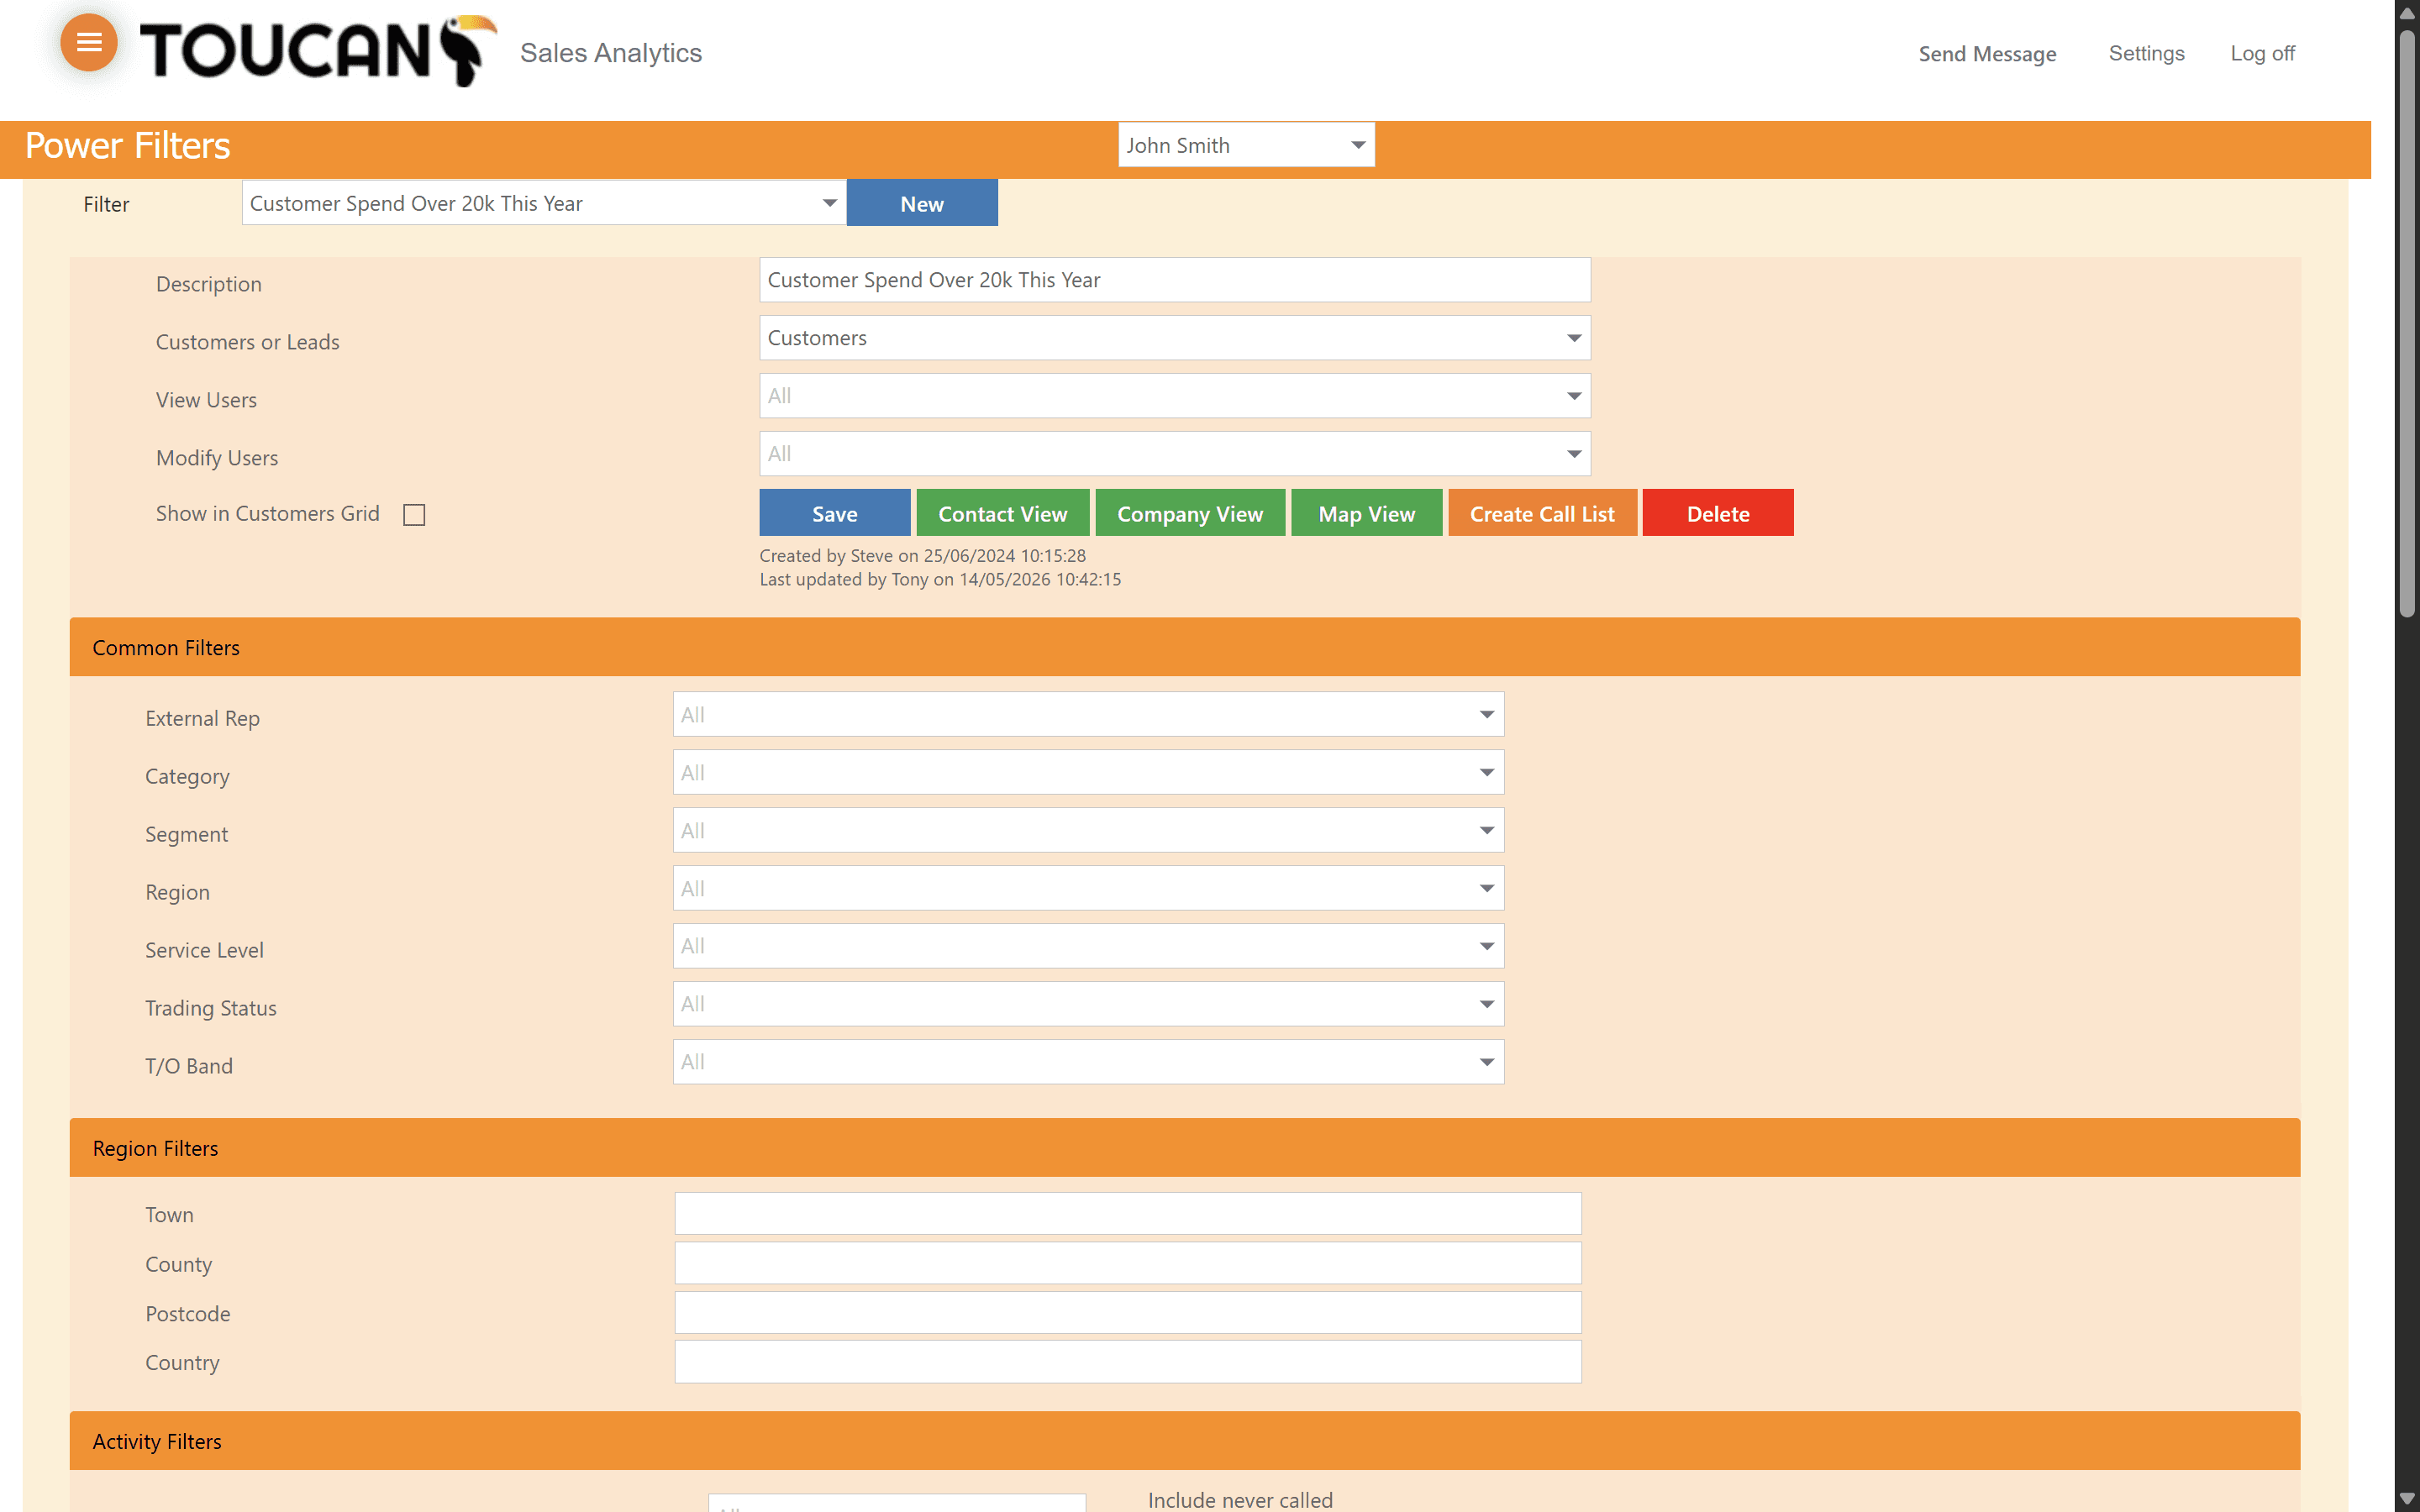
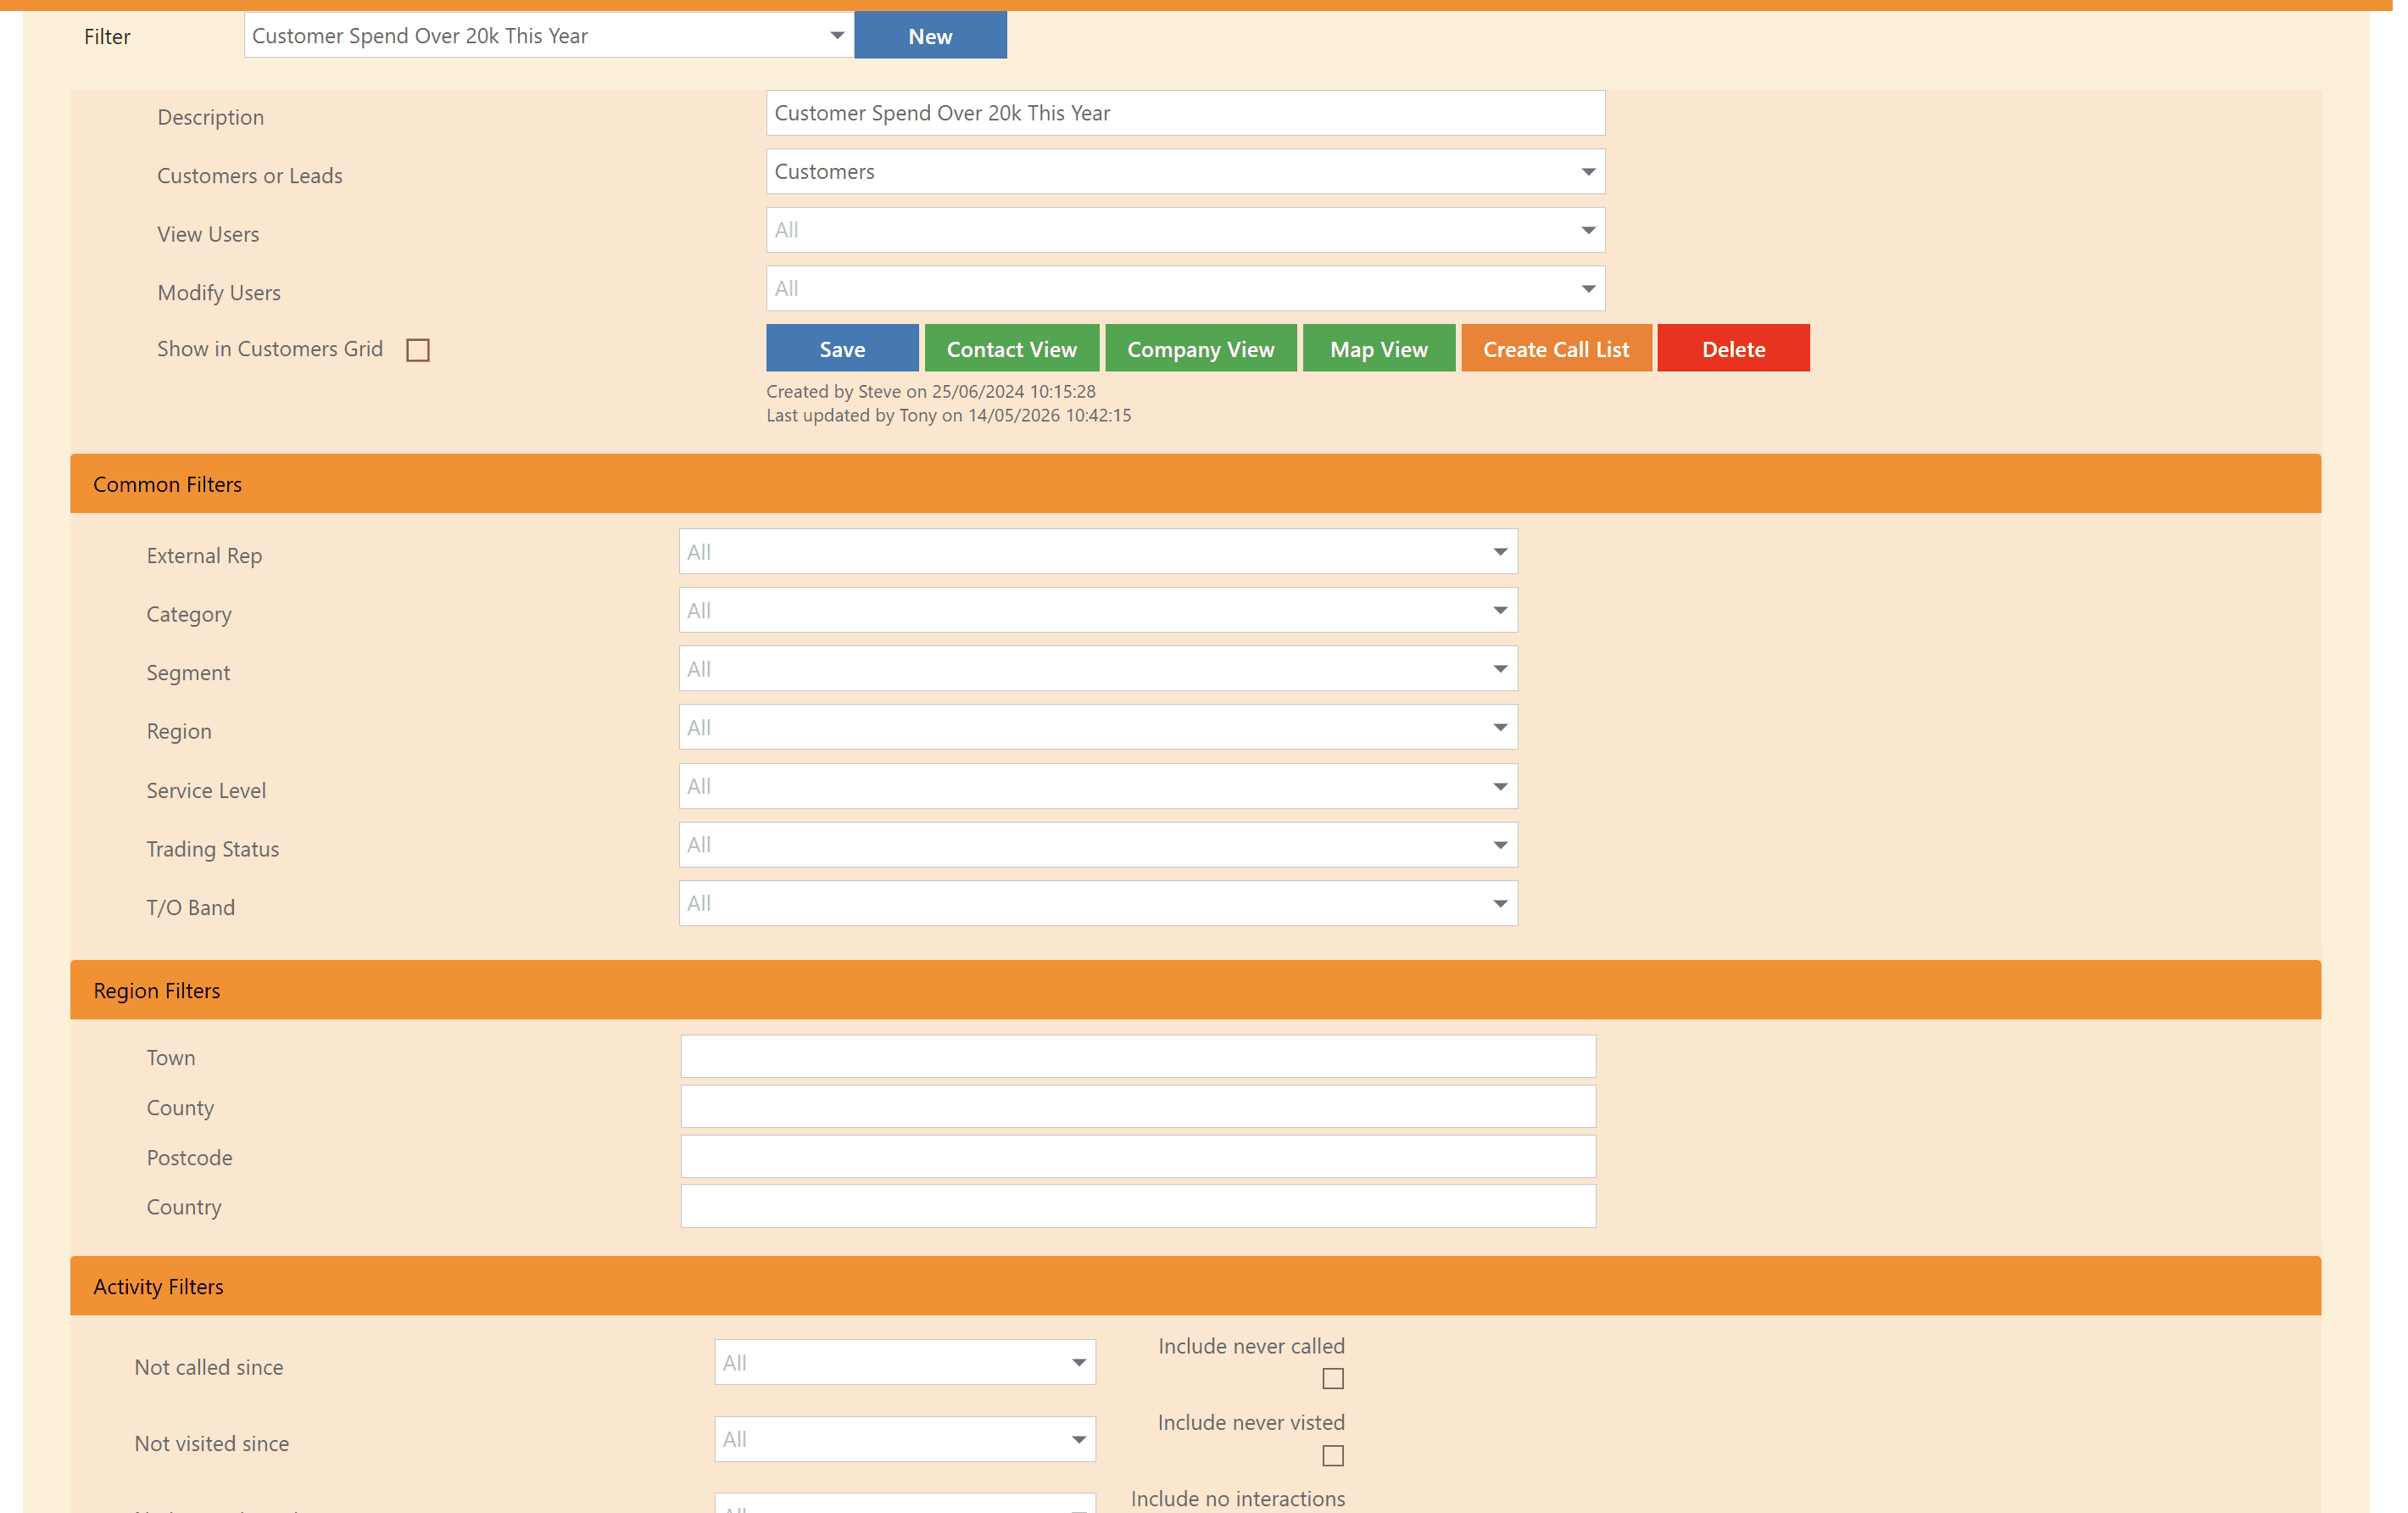
Creating your Power Filter
Field Name | Purpose |
|---|---|
Description | Title for your filter. |
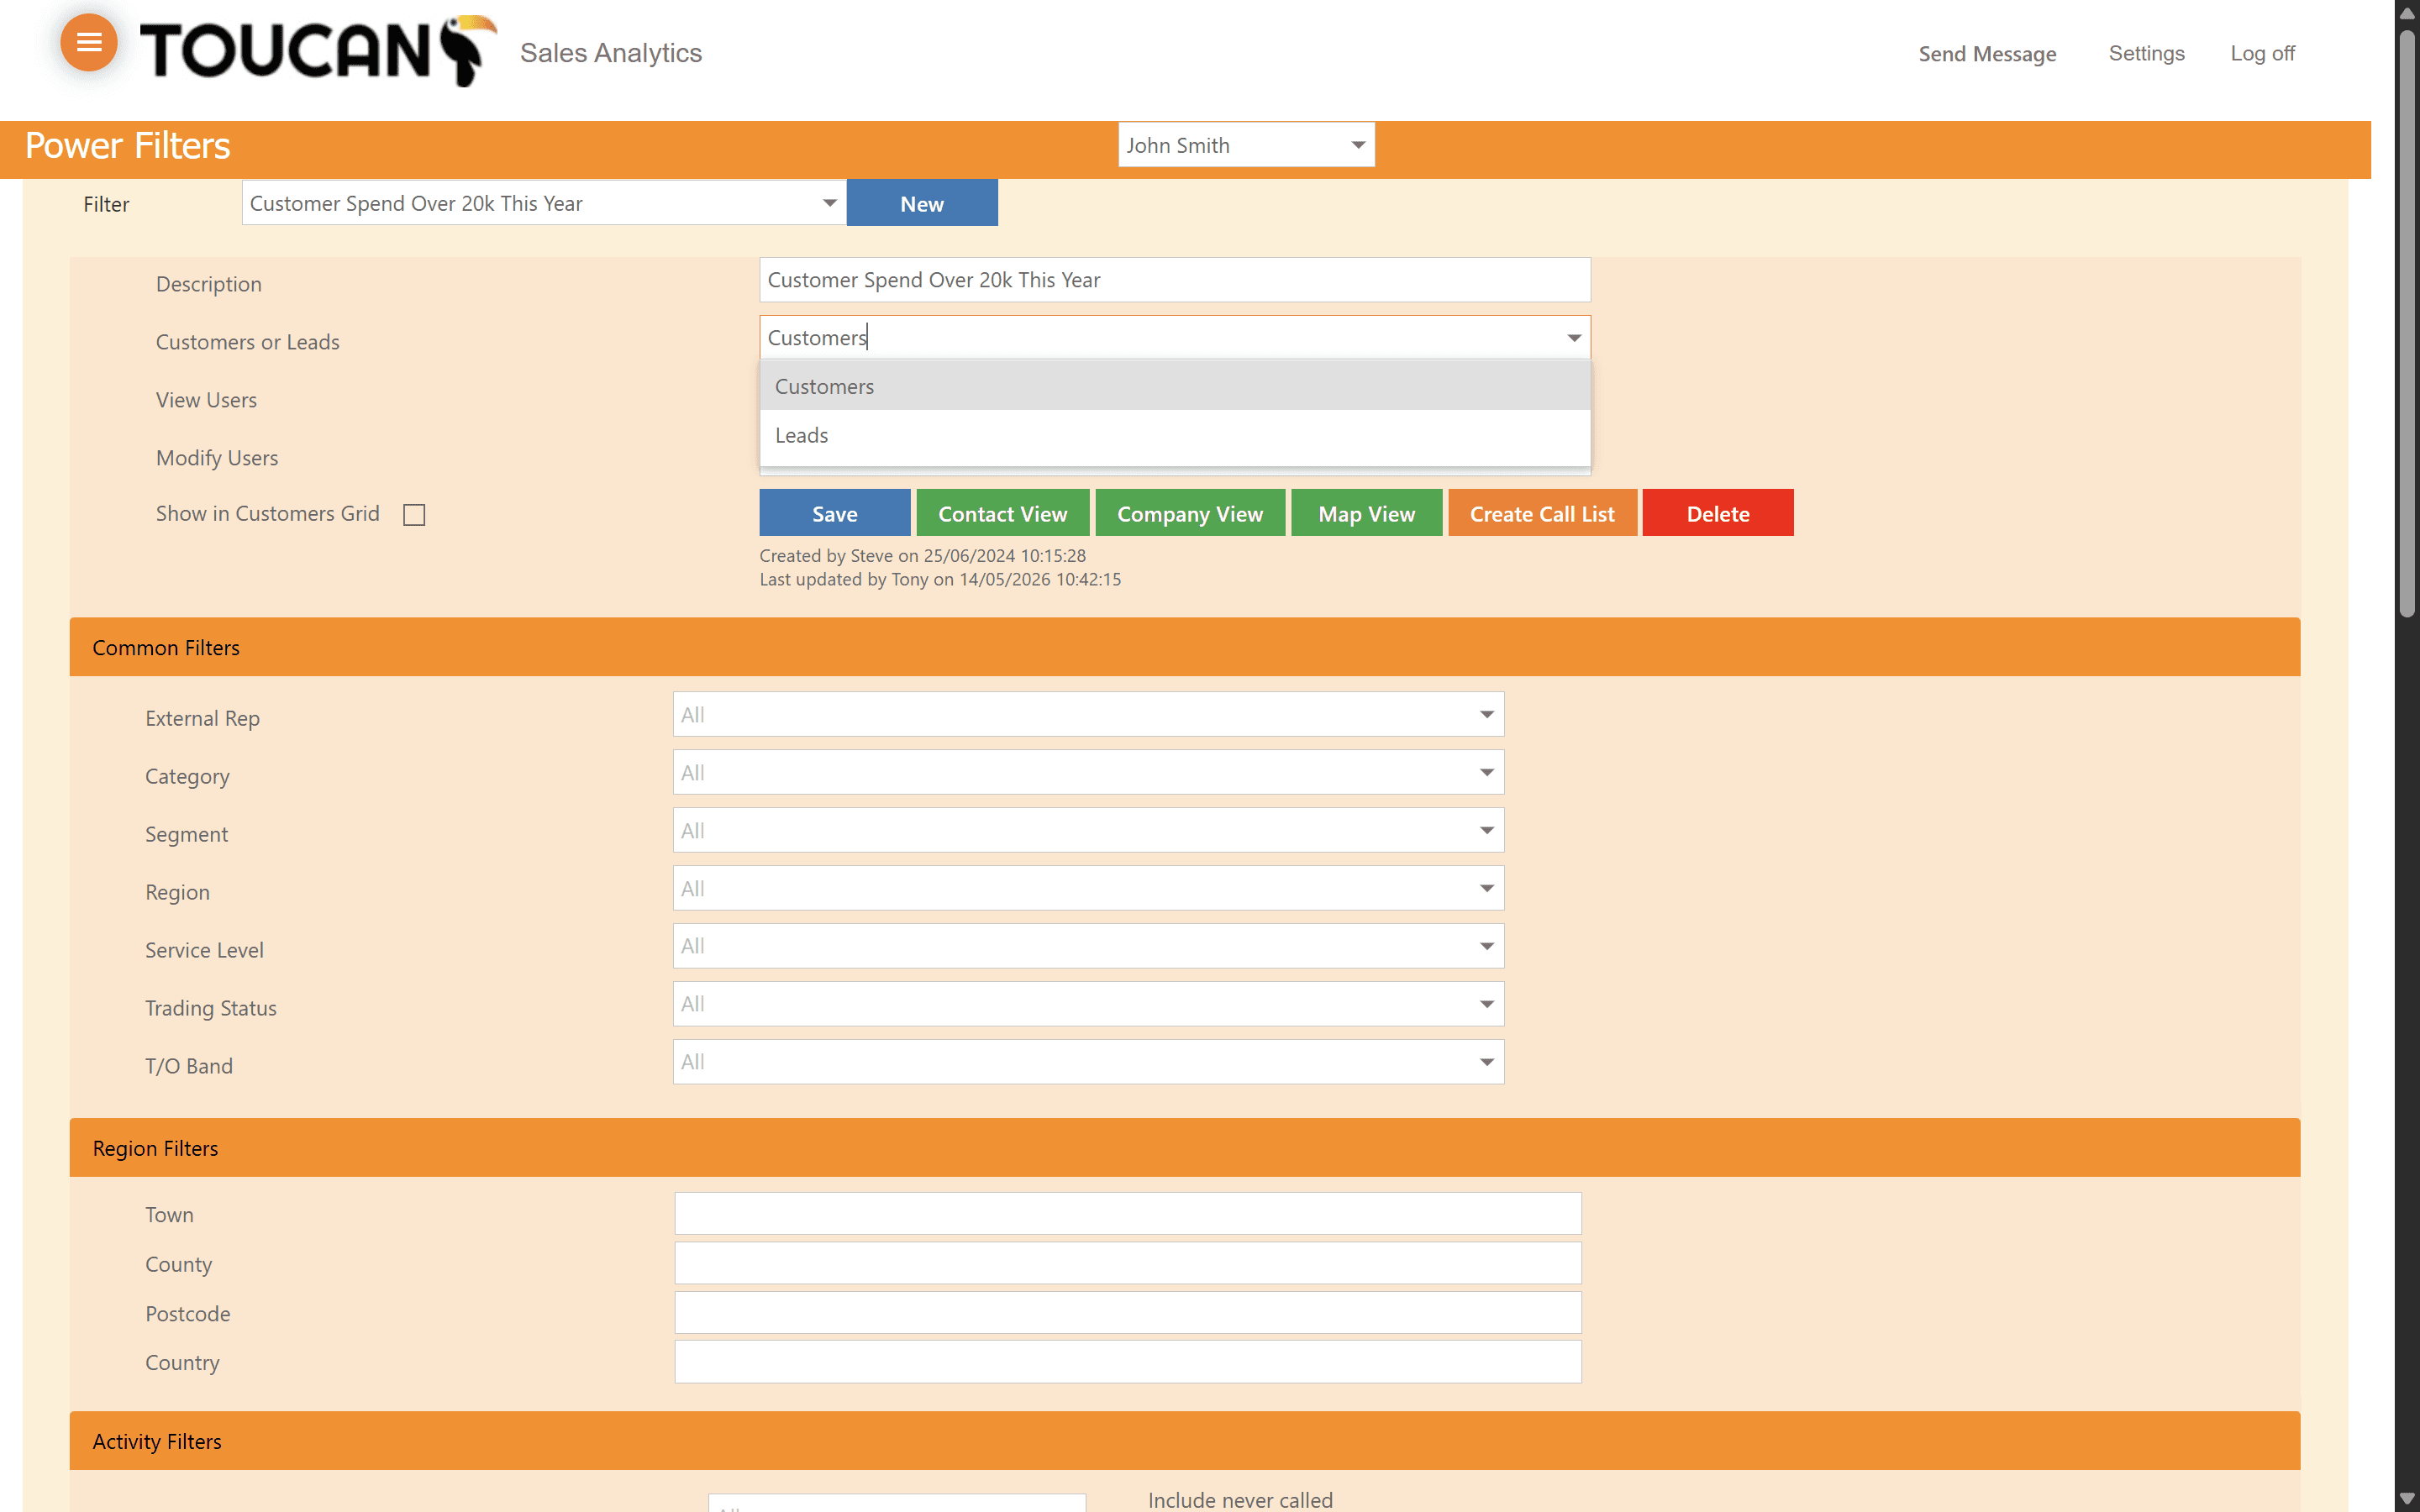
Customers or Leads | Whether this filter contains customer data or lead data. |
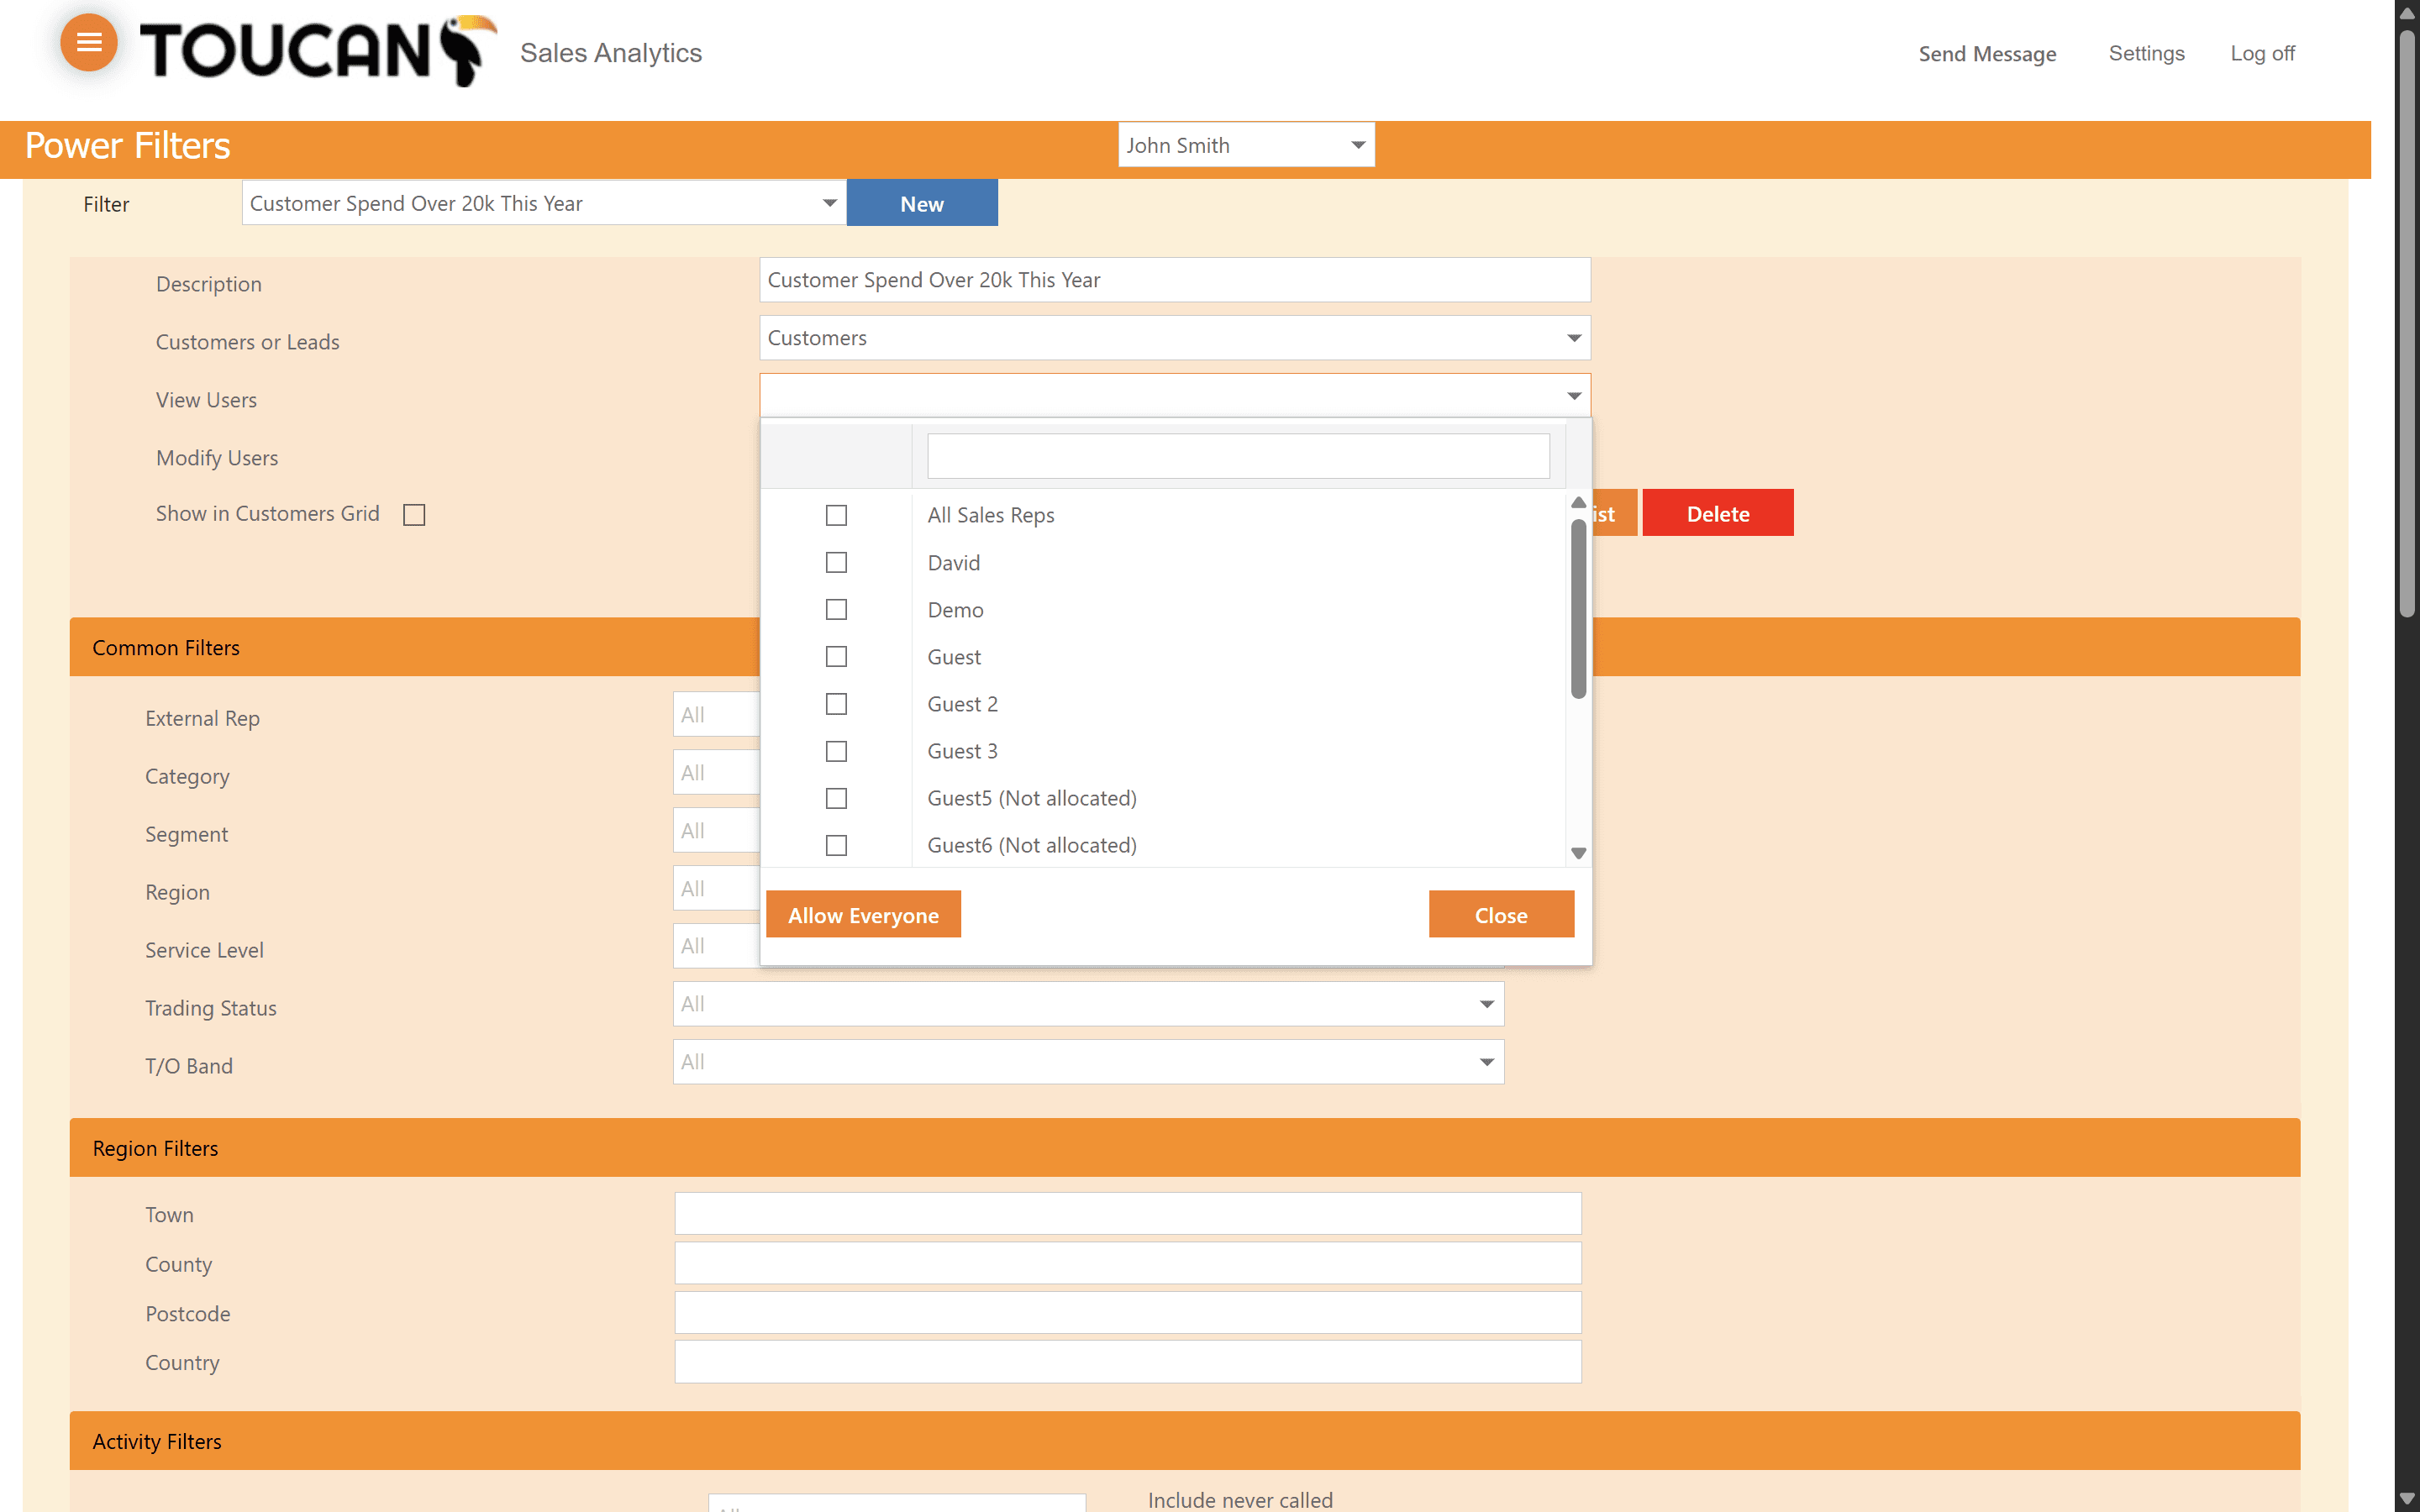
View Users | Who within your team is able to view your filter. |
Modify Users | Who within your team is able to configure your filter. |
Show in Customers Grid | If your filter will show within your Customer table. |
First, we need to set naming conventions and permissions.
Configure Filter Criteria
Once the basic details are set, refine your search criteria across several different modules.
Common Filters
Field Name | Purpose |
|---|---|
External Rep | Filter by any sales executive within your company or contracted sales agent. |
Category | Filter by your defined product categories. |
Segment | Filter by your defined lead segments. |
Region | Filter by your logged customer regions. |
Service Level | Filter by your service offerings if applicable. |
Trading Status | Filter by the trading status of the customer/leads you need to return. |
T/O Band | Filter by the Turnover Band of the customers you need to return. |
Region Filters
Field Name | Purpose |
|---|---|
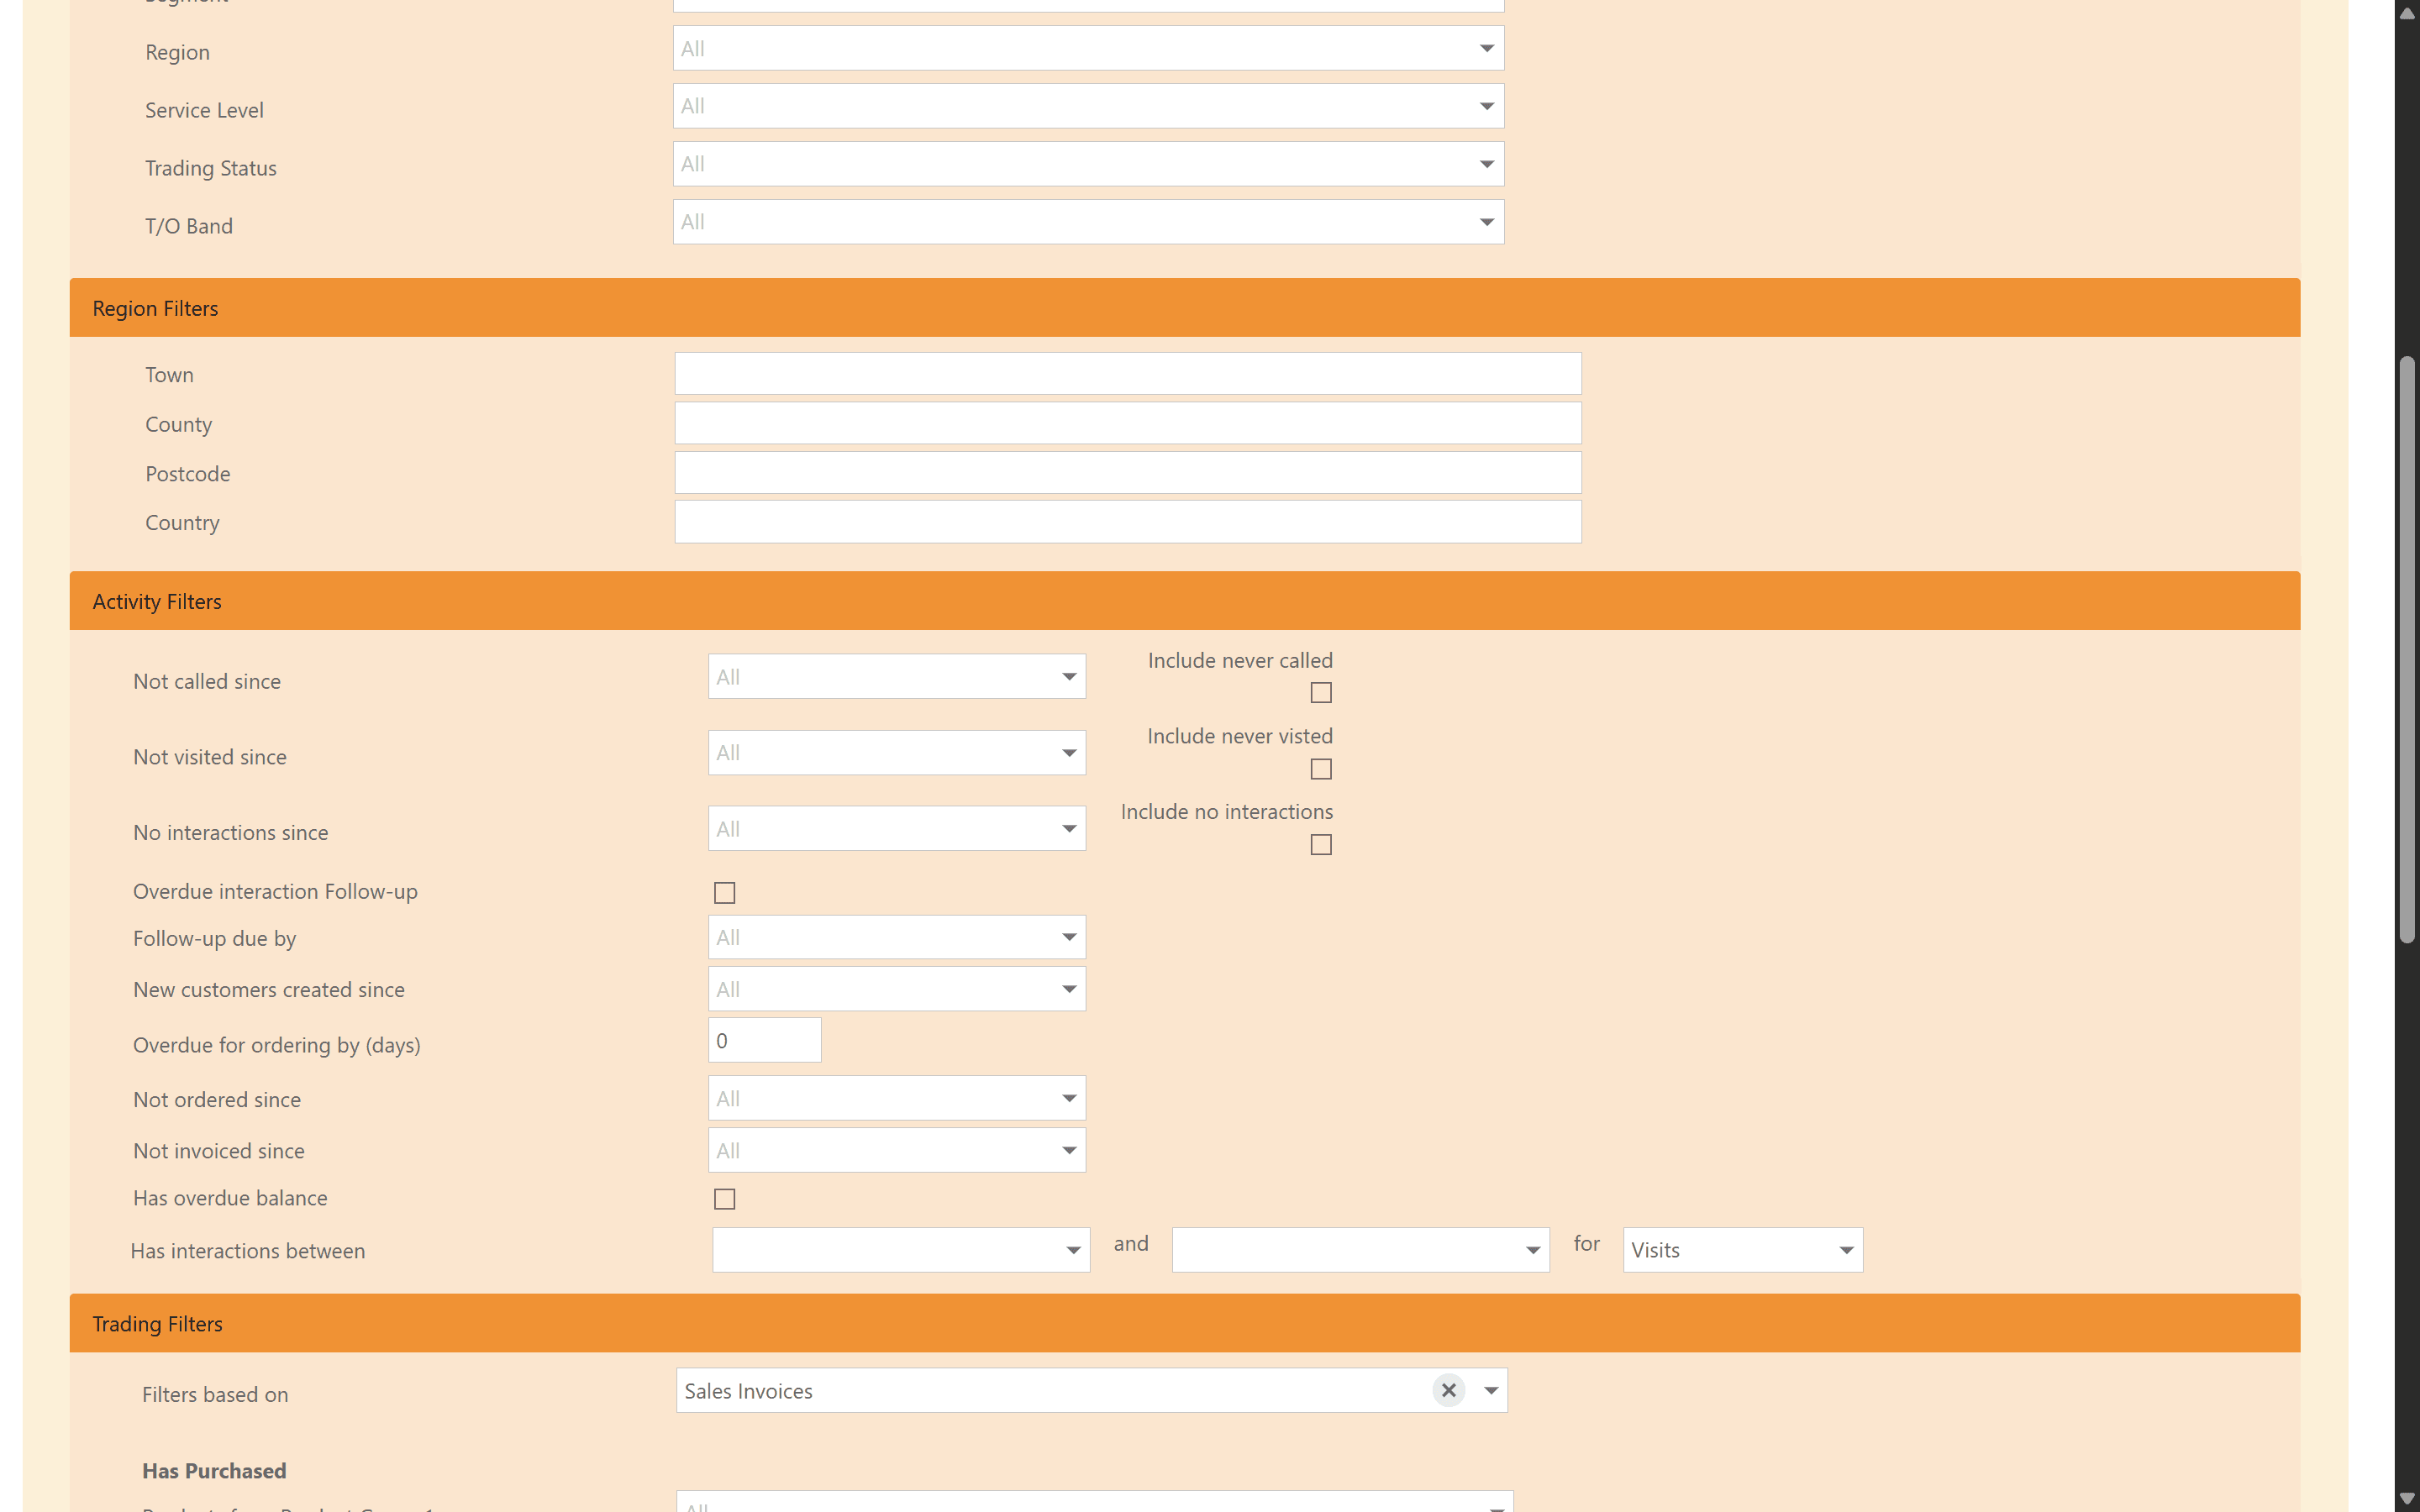
Town | Filter by the town you require your results to be from. |
County | Filter by the county you require your results to be from. |
Postcode | Filter by the postcode you require your results to be from. |
Country | Filter by the country you require your results to be from. |
Activity Filters
Field Name | Purpose |
|---|---|
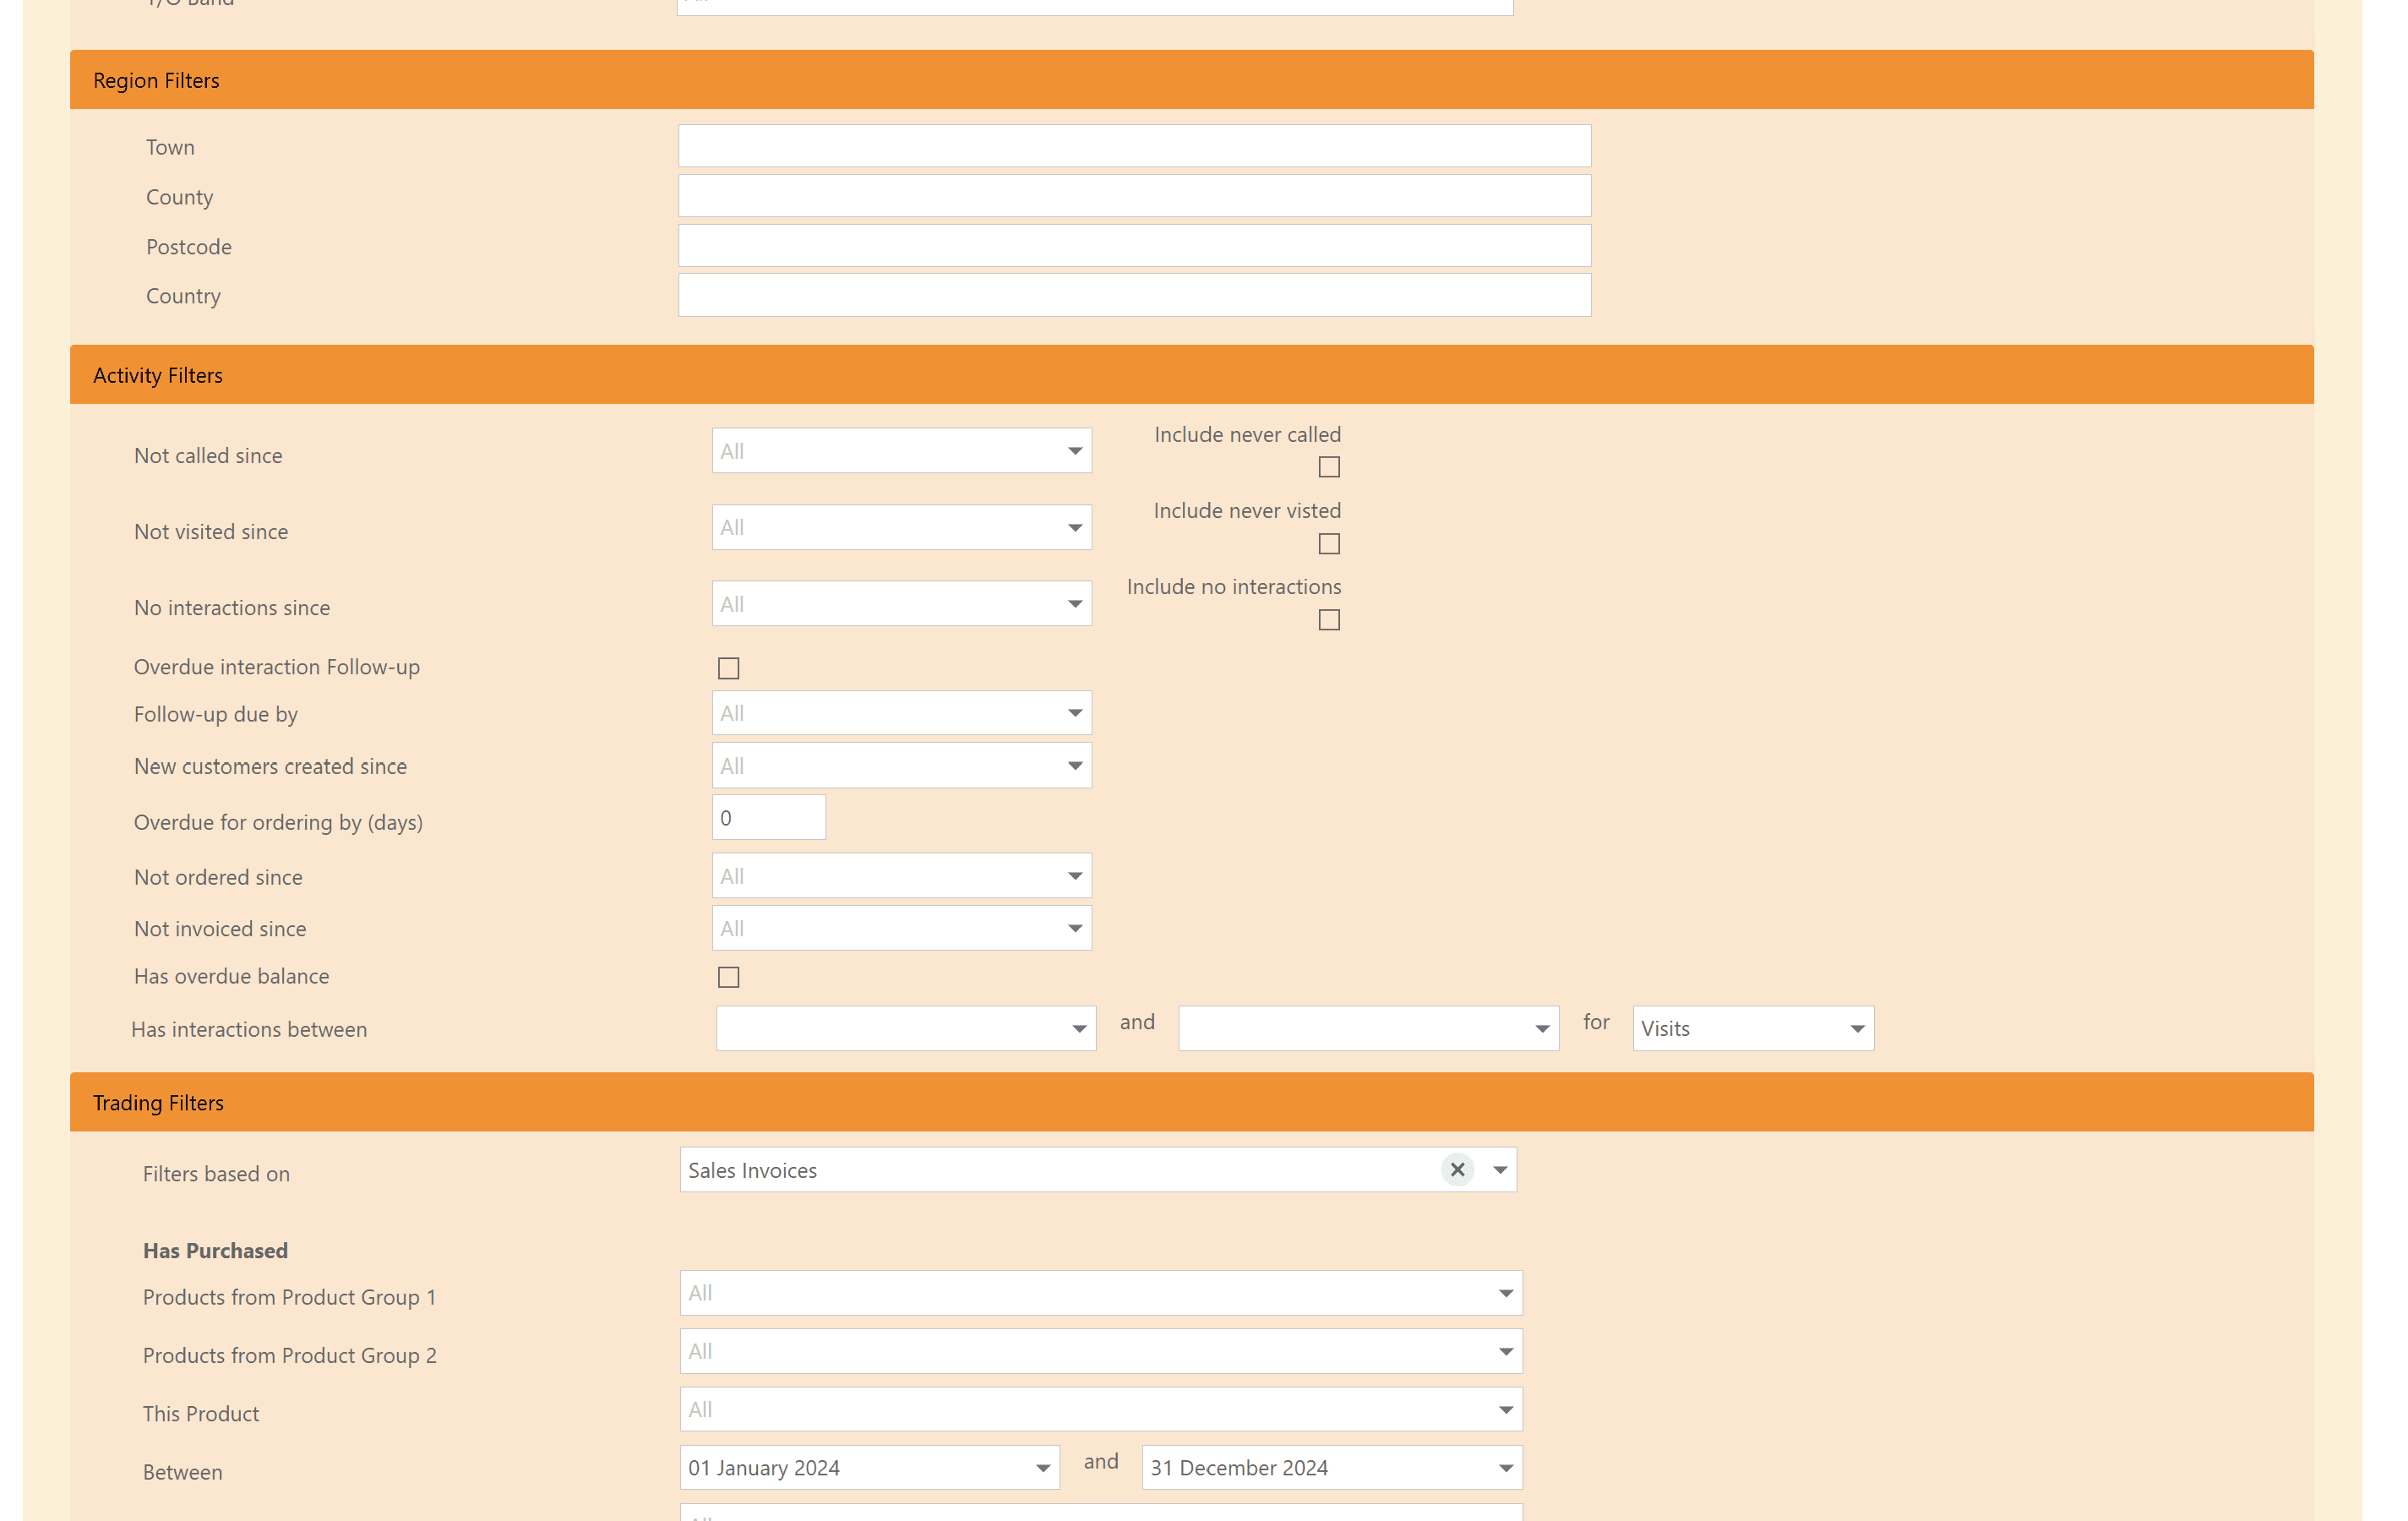
Not called since | Filter for customers who have no logged phone calls since {date}. |
Not visited since | Filter for customers who have no logged visits since {date}. |
No interactions since | Filter for customers who have no logged interactions since {date}. |
Overdue interaction follow-up | Filter by customers who currently have overdue interactions. |
New customers created since | Filter for customers who have been created since {date}. |
Overdue for ordering by (days) | Filter for customers who are past due on their ordering cycles since {date}. |
Not ordered since | Filter for customers who have not ordered since {date}. |
Not invoiced since | Filter for customers who have not been invoiced since {date}. |
Has overdue balance | Filter for customers who are past due on their invoice balances since {date}. |
Has interactions between | Filter for customers who have interactions set between two dates for a specific mode (email, visit, phone call). |
Trading Filters
Field Name | Purpose |
|---|---|
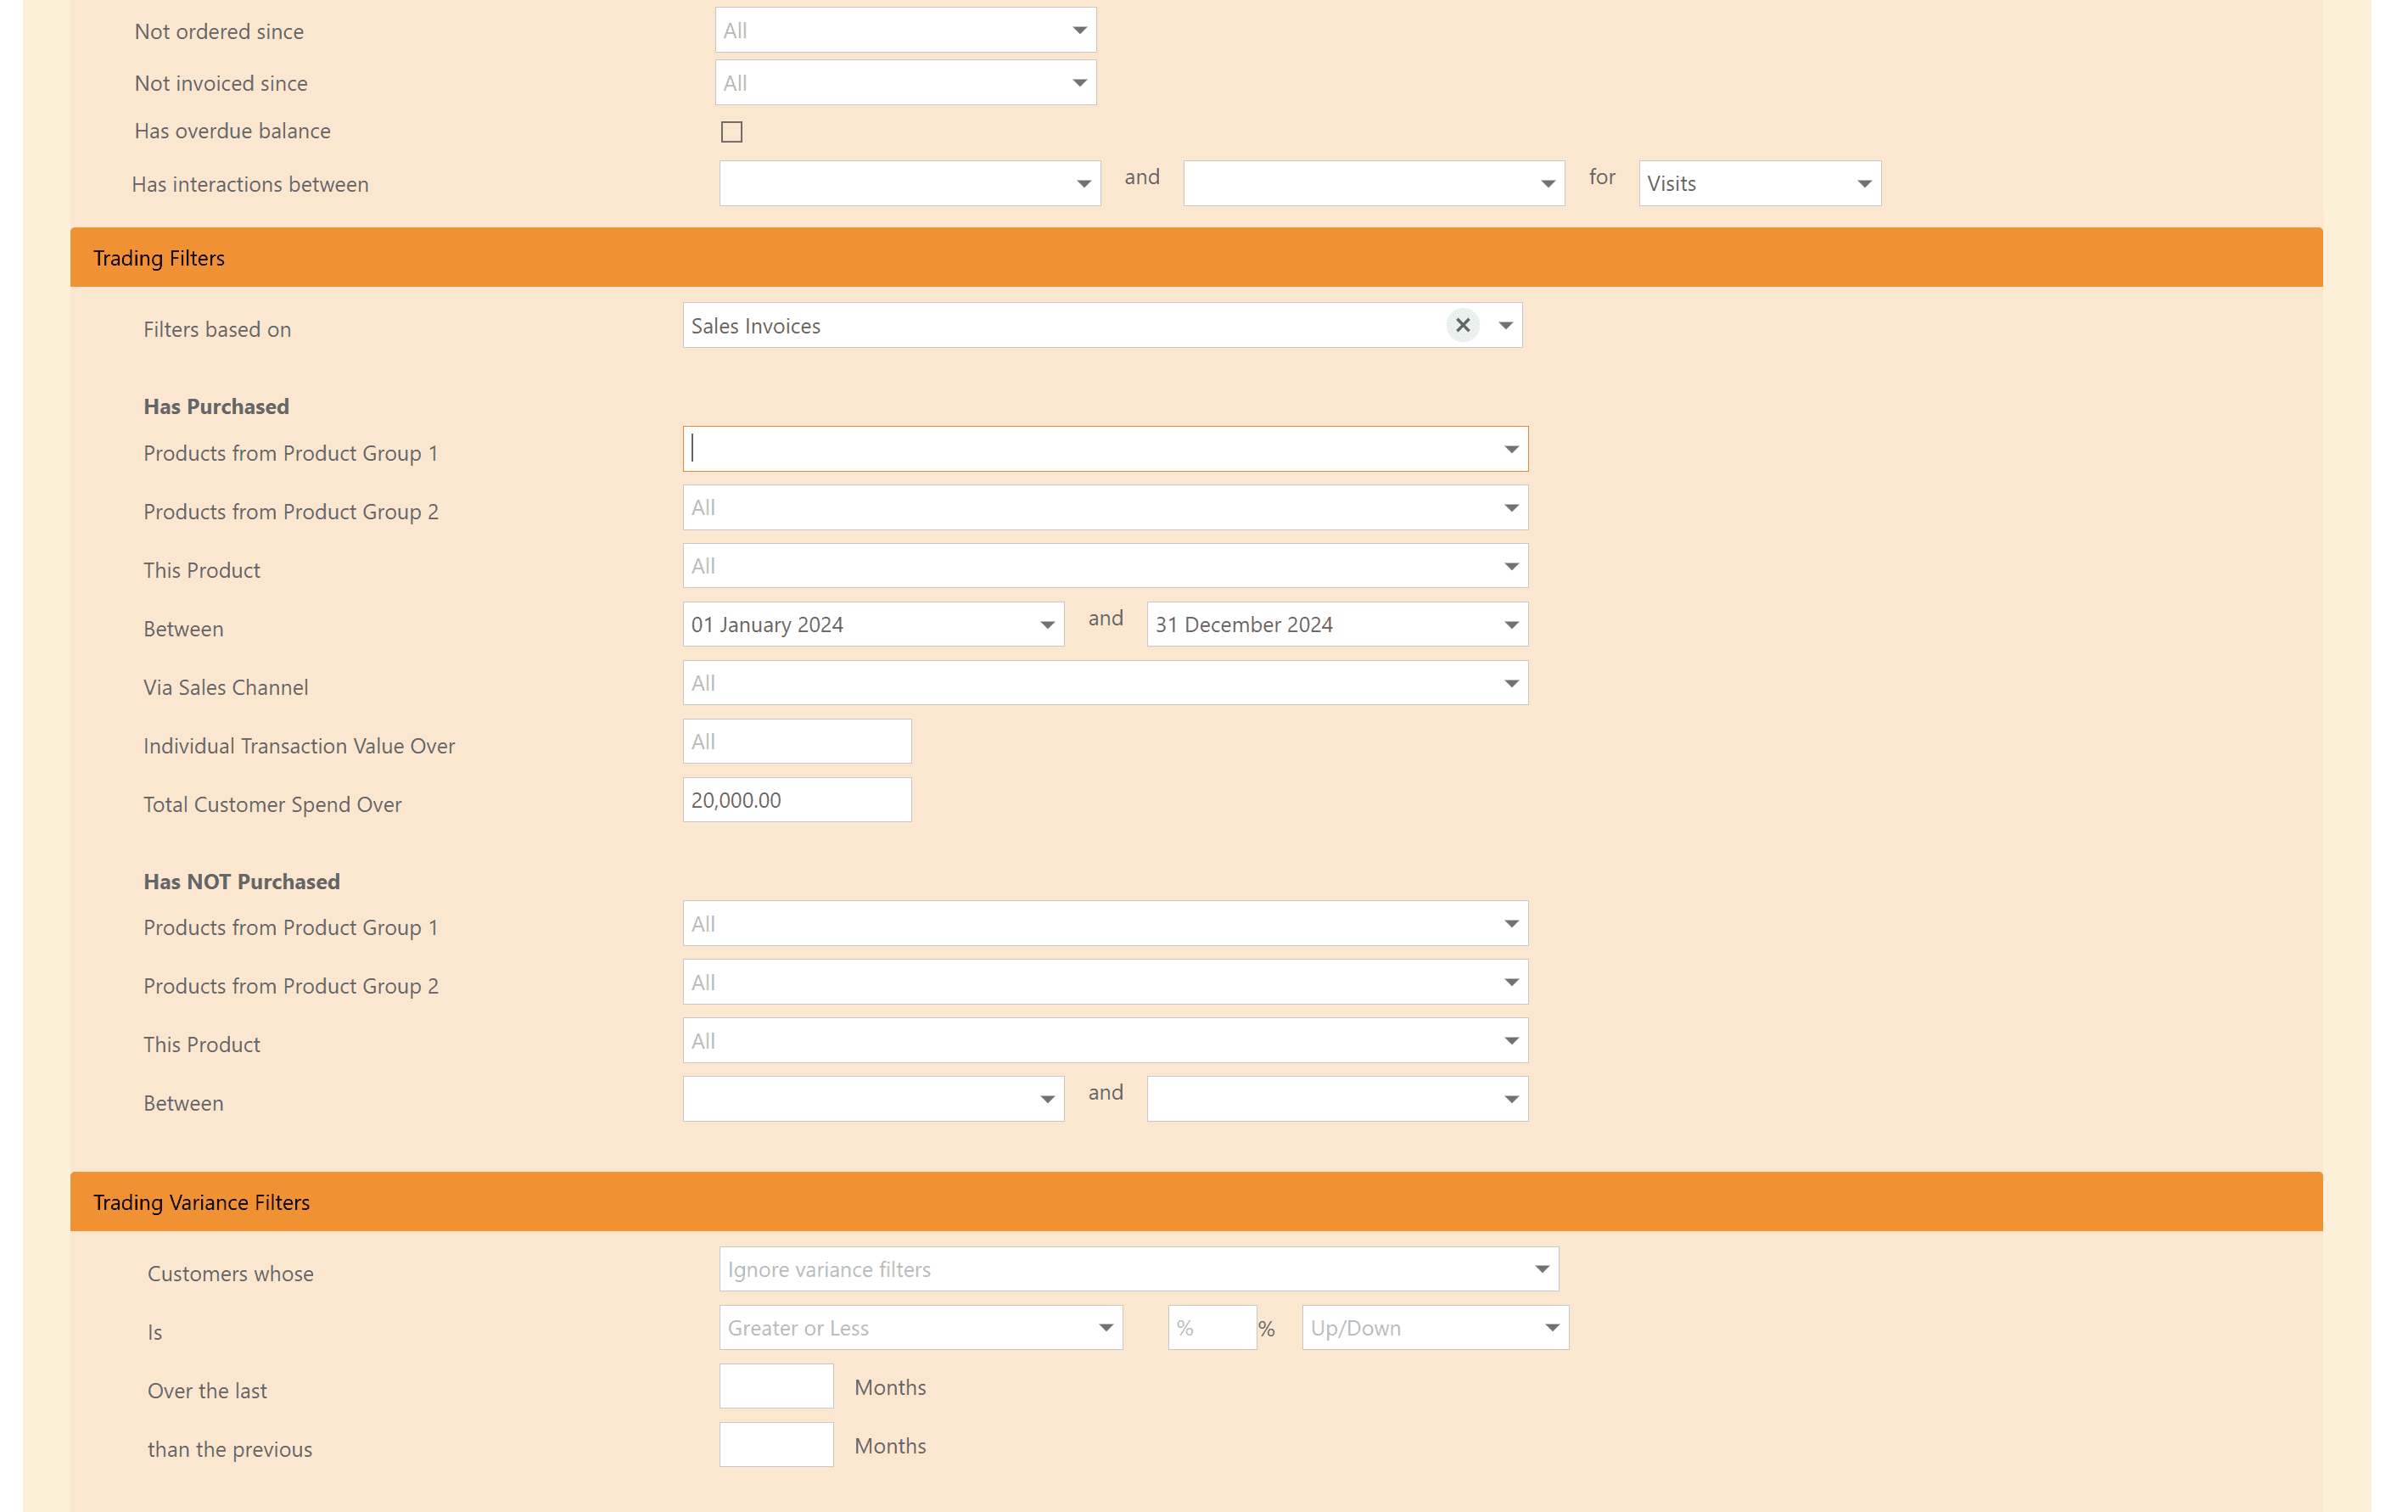
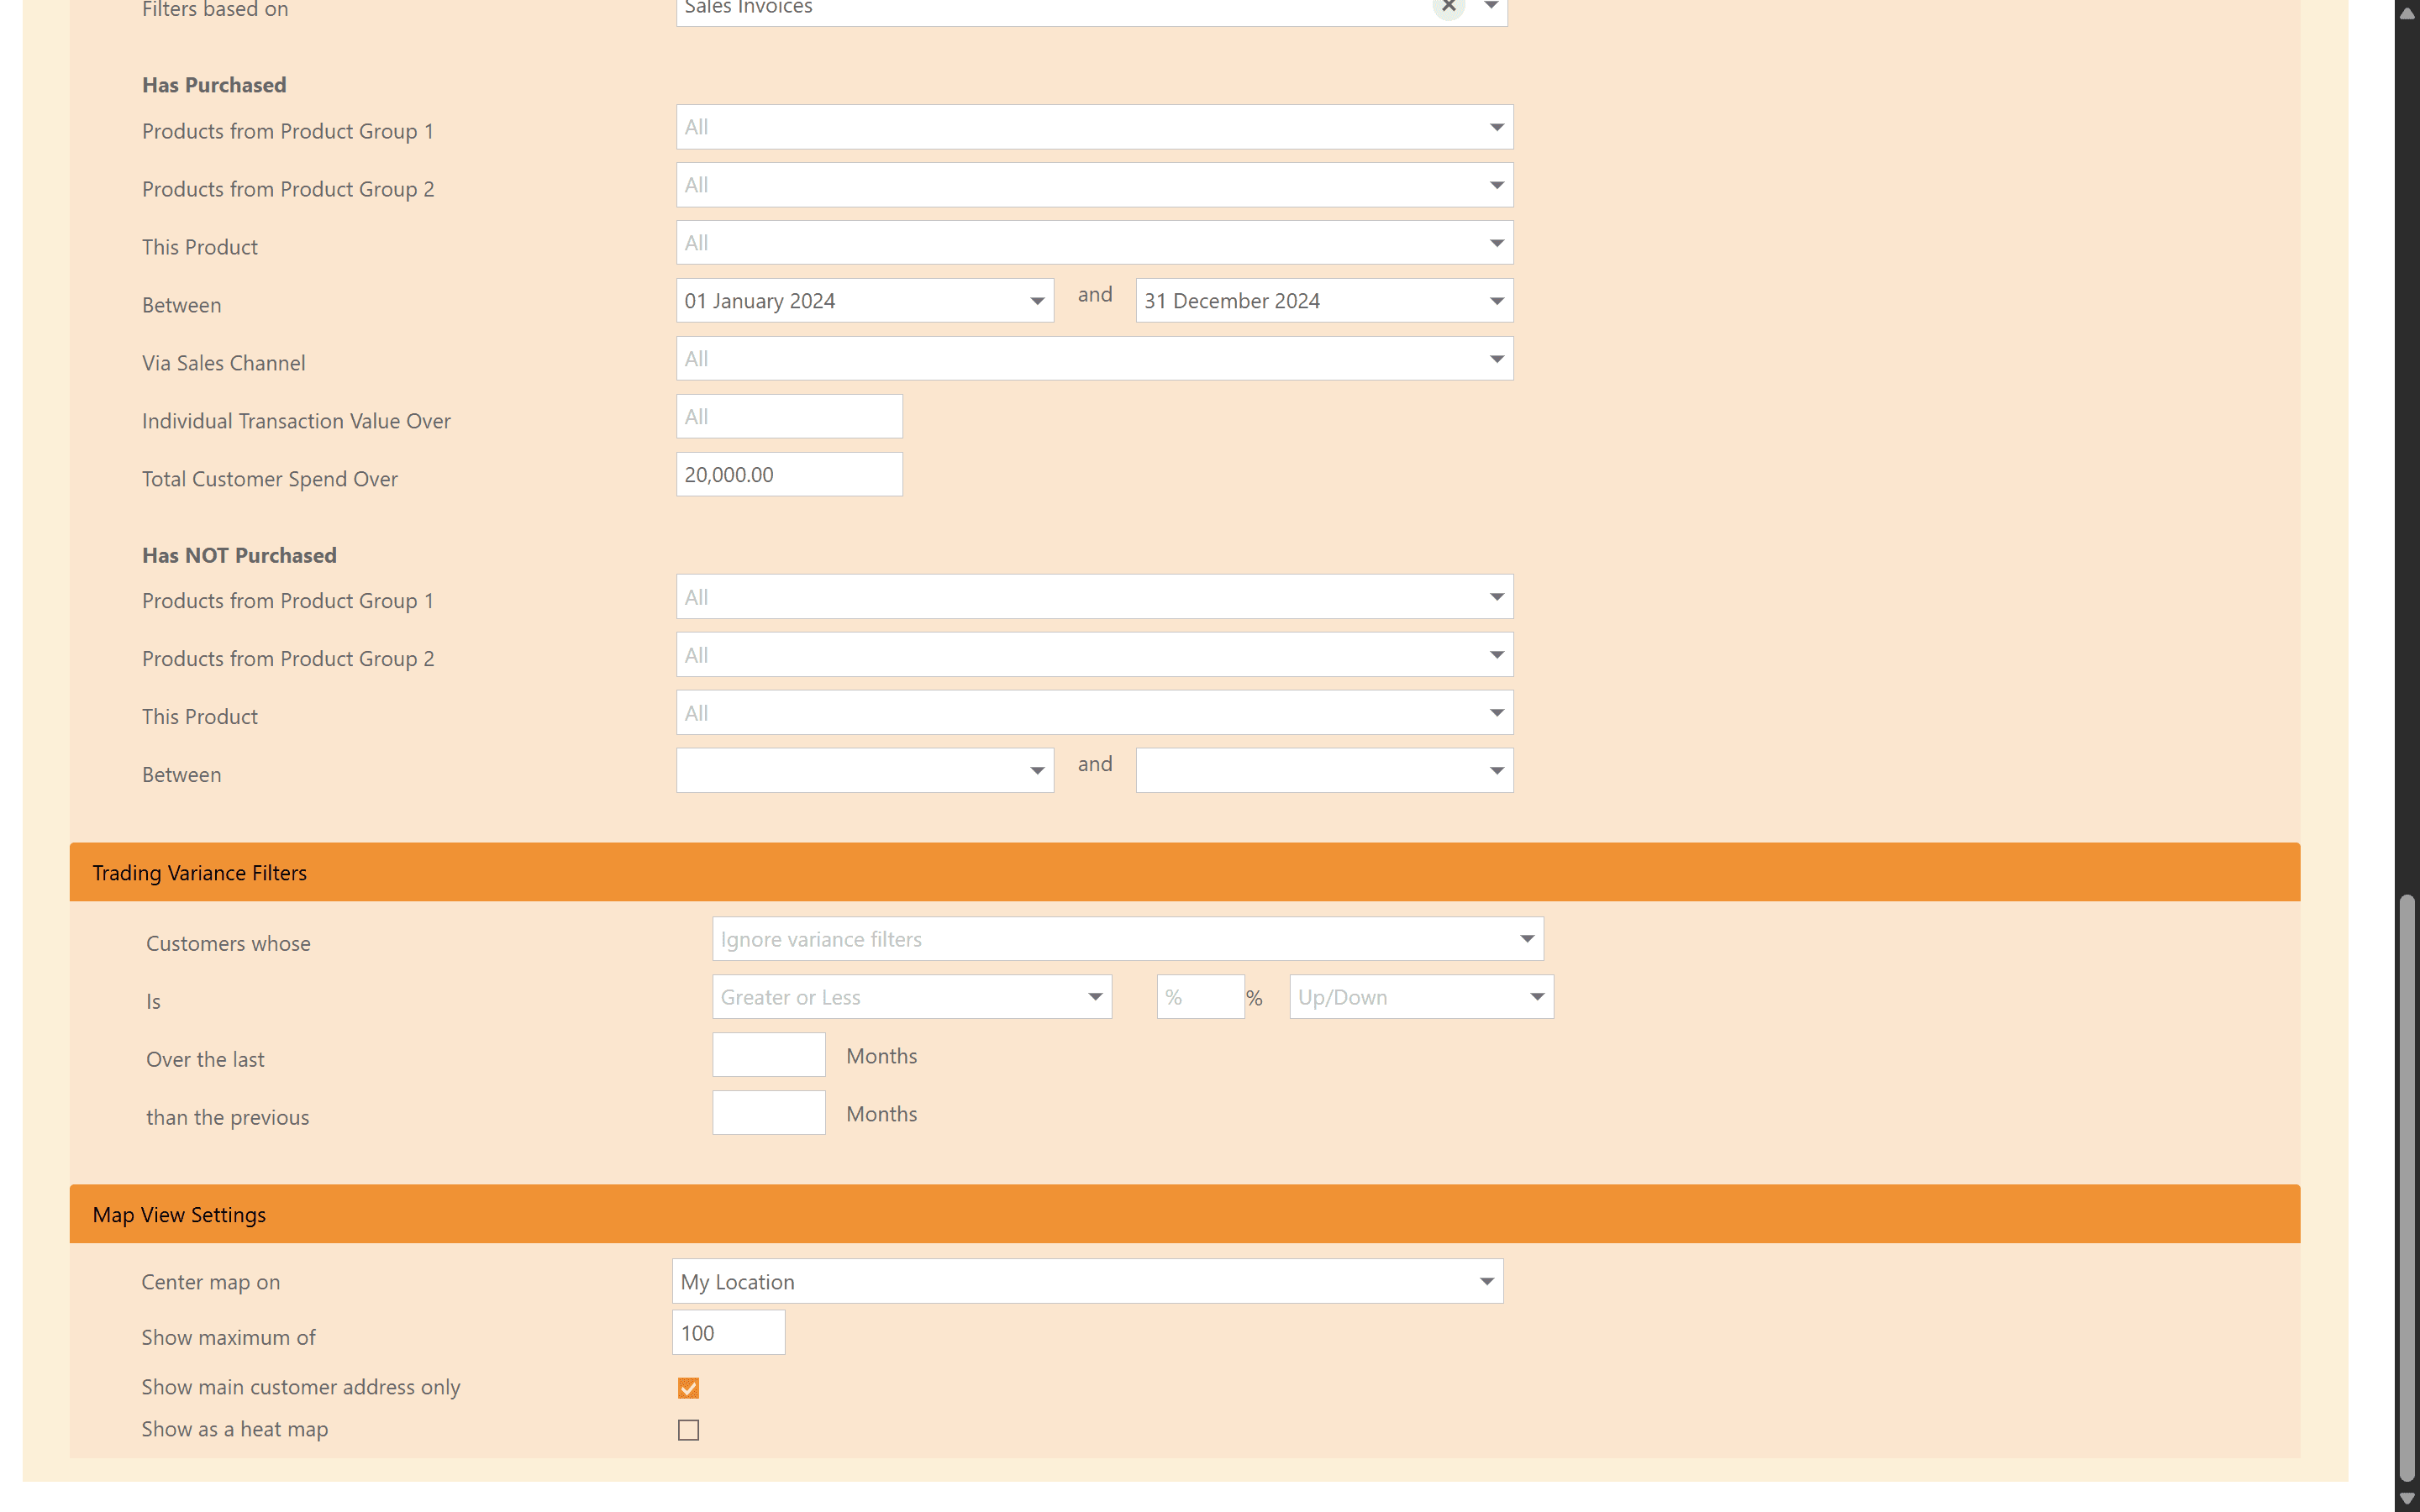
Filters based on | Filter whether results are based on sales invoices or sales orders. |
Has Purchased | Section to filter if the customer has purchased. |
Products from Product Group 1 | Filter which products the customer has purchased from your first product group. |
Products from Product Group 2 | Filter which products the customer has purchased from your second product group. |
This product | Filter by a specific product if required. |
Between | Filter between the dates the products were purchased. |
Via sales channel | Filter which sales channel the products were purchased. |
Individual transaction value over | Filter only customers who have an individual transaction purchase of over {X}. |
Total customer spend over | Filter only customers who have a total customer spend over {X}. |
Has not Purchased | Section to filter if the customer has not purchased. |
Products from Product Group 1 | Filter which products the customer has not purchased from your first product group. |
Products from Product Group 2 | Filter which products the customer has not purchased from your second product group. |
This product | Filter by a specific product if required. |
Between | Filter between the dates the products were not purchased. |
Trading Variance Filters
The Trading Variance Filters are configurable based on set trading metrics such as Total Invoice Value and Total Sales Value, greater or less than a certain percentage over a certain period.
Apply and Save Actions