
How to Configure the Store Page on Your Larabag Cashback System
Step-by-step guide on how to configure the store page on your Larabag cashback system, including setting up the store name, logo, landing page, domain name, categories, affiliate link, cashback percentage, tracking speed, and more.
In this guide, we'll learn how to configure the store page on your Larabag cashback system. By following these steps, you can effectively manage store details, cashback rates, and user interactions. Let's dive into the key aspects of setting up your store page efficiently.
Managing Store Details
To begin, log in to the admin panel and navigate to the store section from the sidebar menu. Here, you can access and edit various store attributes such as name, slug, logo, landing page, domain name, categories, and affiliate links.
Setting Cashback Parameters
Ensure proper cashback tracking by defining the cashback percentage, choosing between cashback or rewards, setting tracking speed, confirmation duration, and enabling claimable and shareable options for users. Additionally, mark stores as featured for special promotions.
Optimizing SEO and Settings
Explore additional SEO-related settings to enhance visibility and user experience. Customize store cashback rates based on specific categories, enter commission details, and consider API integration for automated data fetching.
Conclusion
By following these guidelines, you can streamline the store page configuration process on your Larabag cashback system, providing users with a seamless cashback experience. Let's get started.
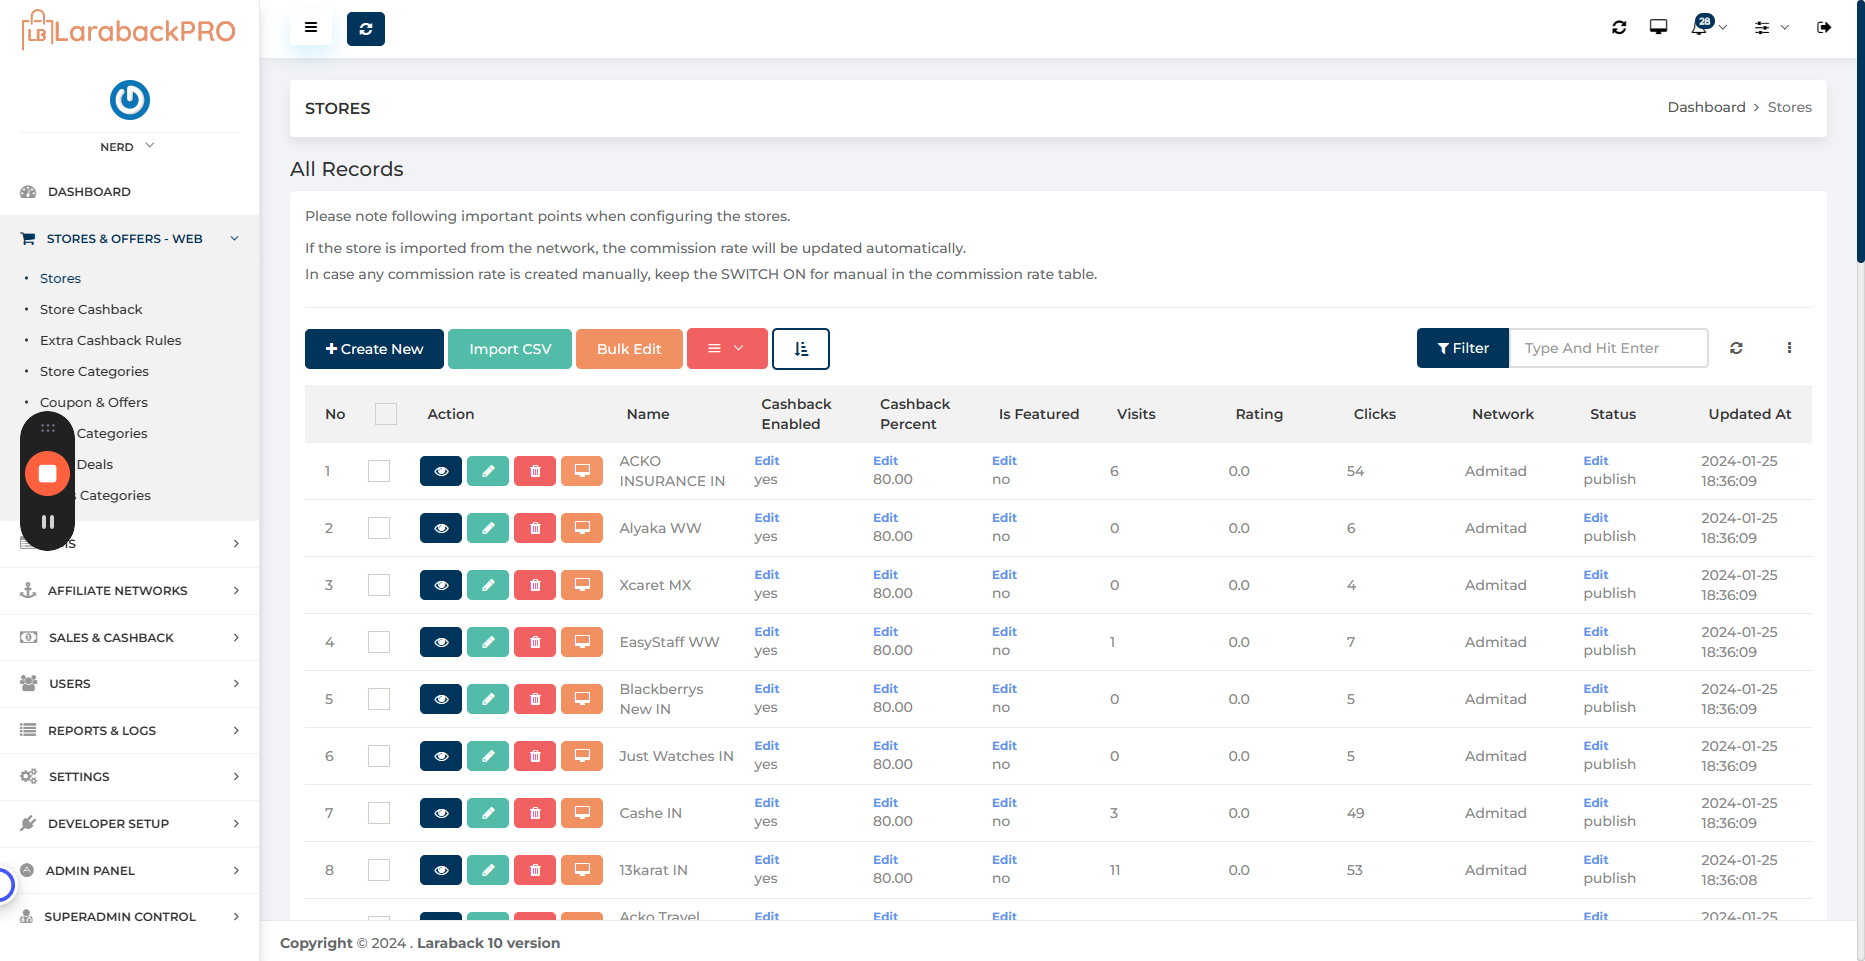
To configure the store page on your Larabag cashback system, follow these steps: 1. Log in to the admin panel. 2. Go to the store section in the sidebar menu. 3. You will find a list of all available stores.
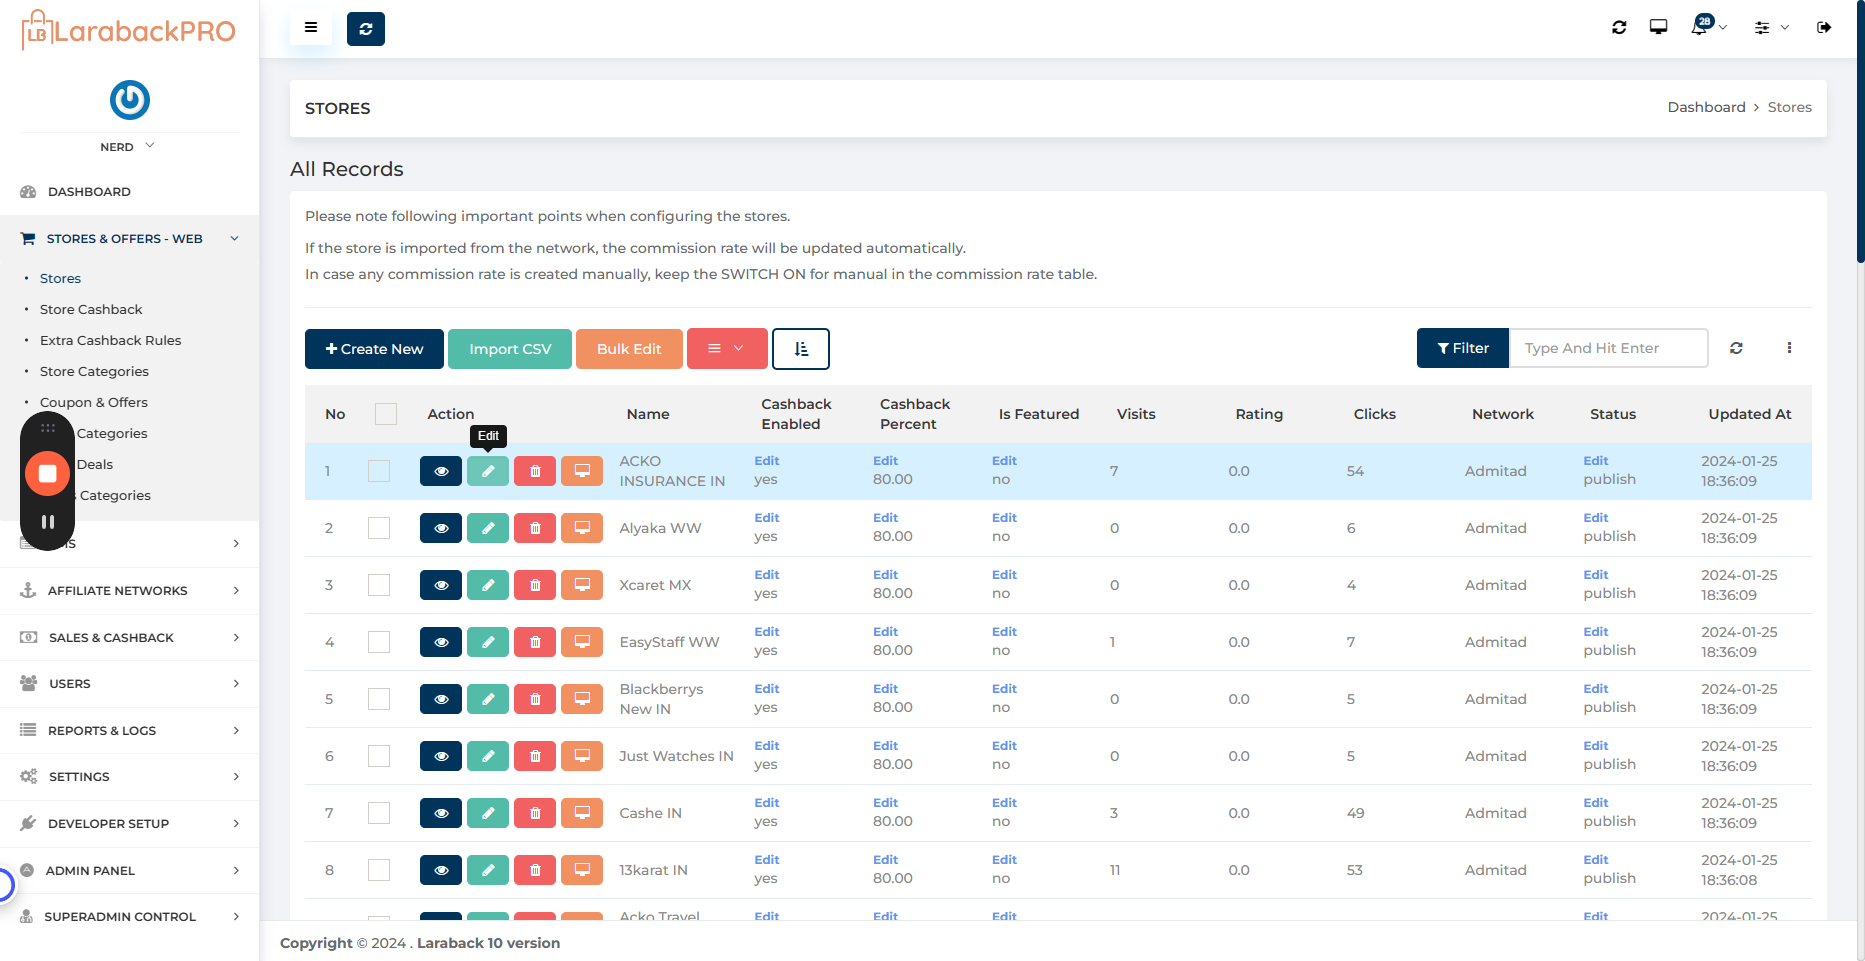
For this example, I will open any of the stores already created. You will find the store name that you can mention. If your system supports multiple languages, you will have a switch option to change languages and enter the name.


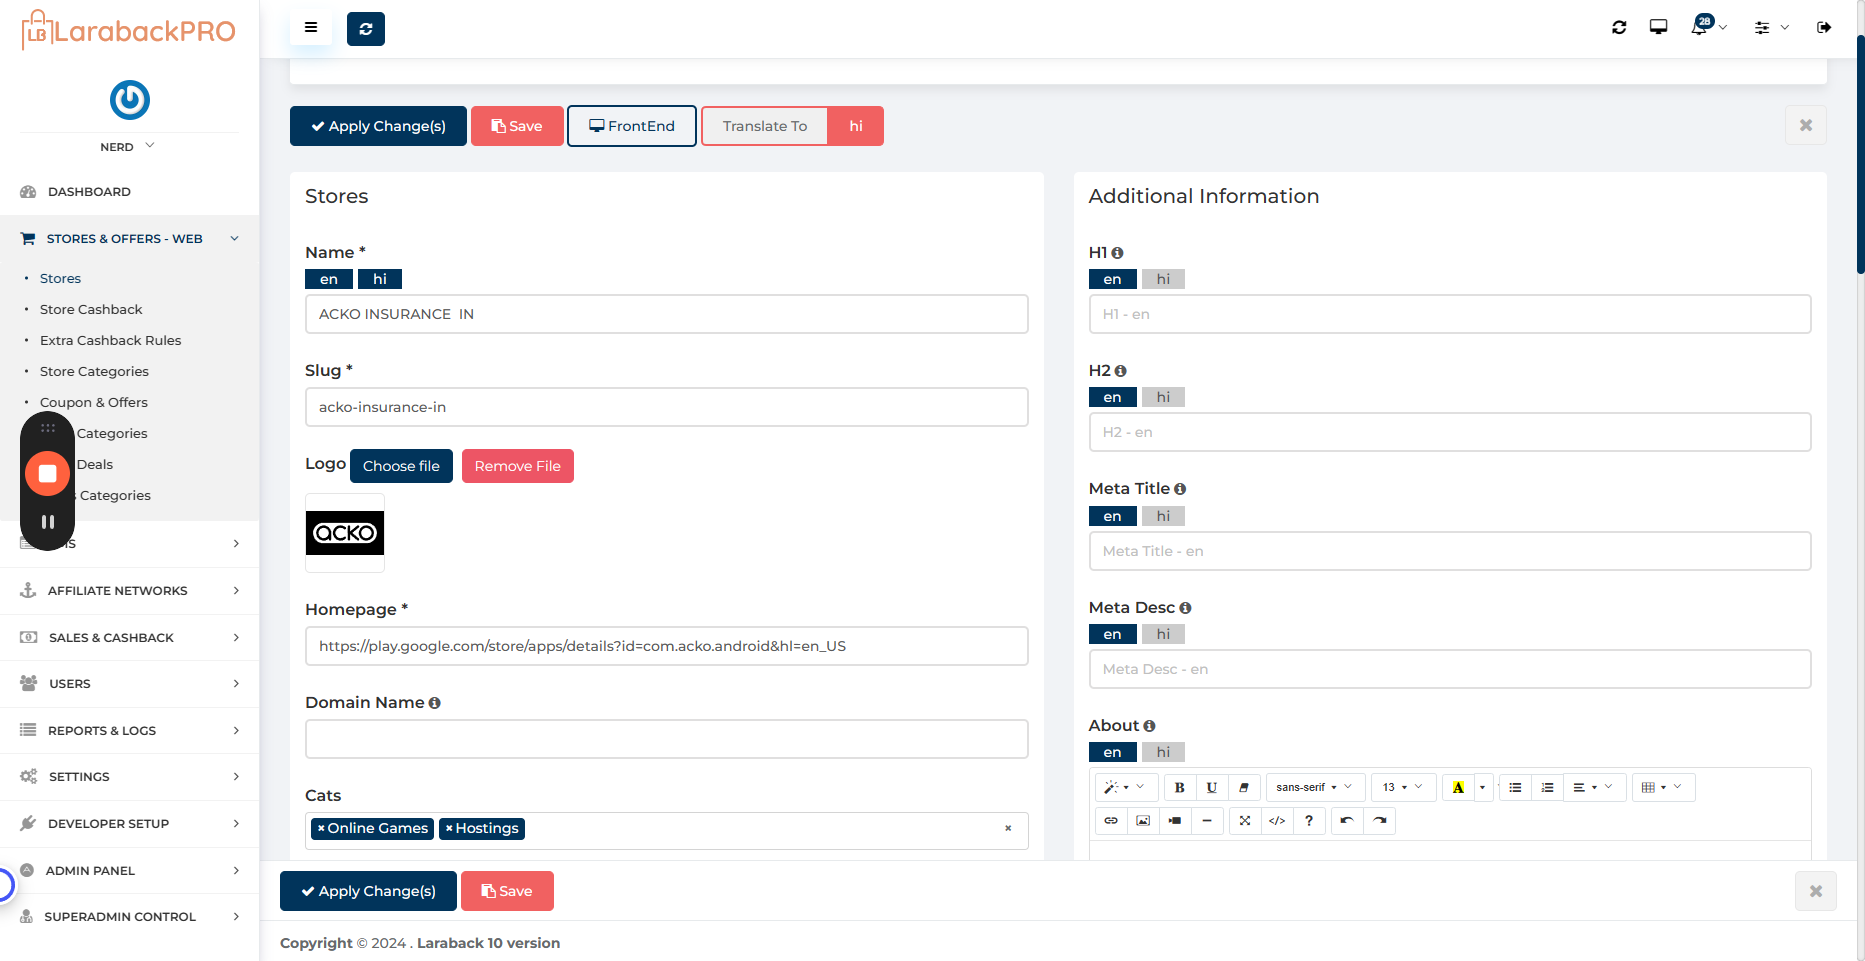
Then there is a slug, which is essentially what appears in the URL. Next, there is a logo. Any logo you upload will be displayed here. Make sure it has the correct aspect ratio to fit the available space and display properly on all pages.
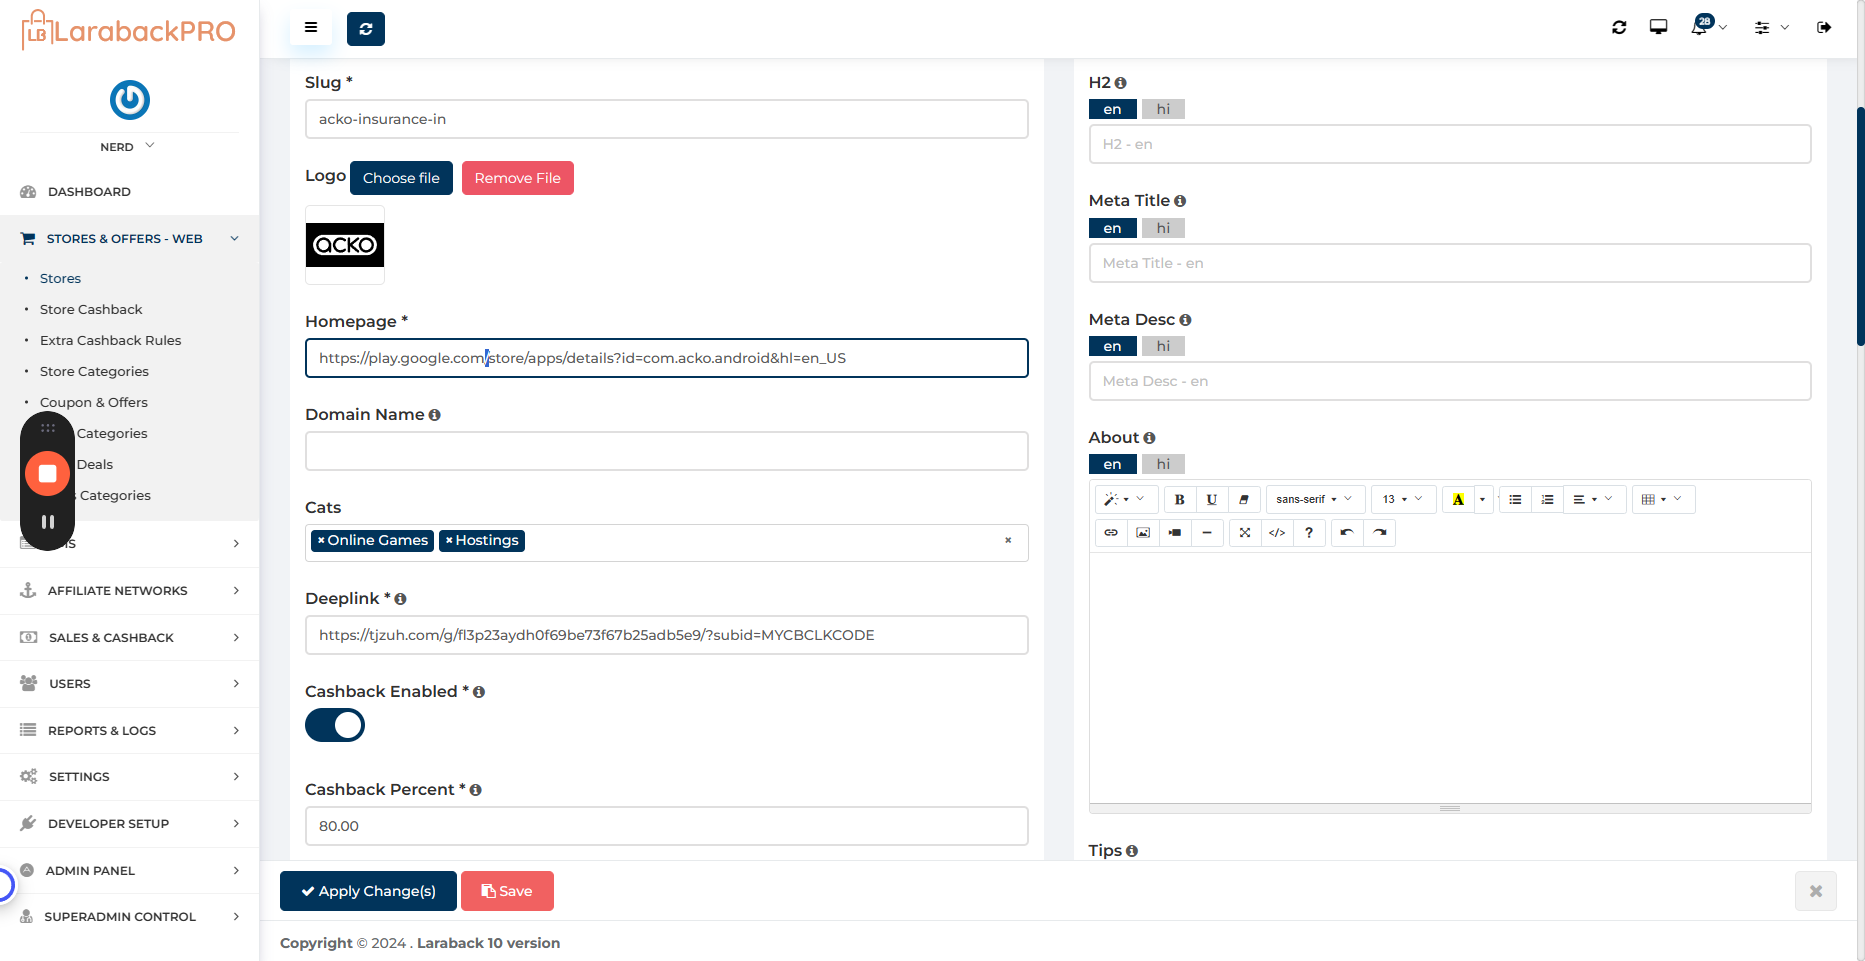
Then there is a landing page. When a user clicks on the shop with cashback, the page to which they should be redirected is defined here.

The domain name is used to compare if a specific homepage is from the same domain. It will technically contain only this much.
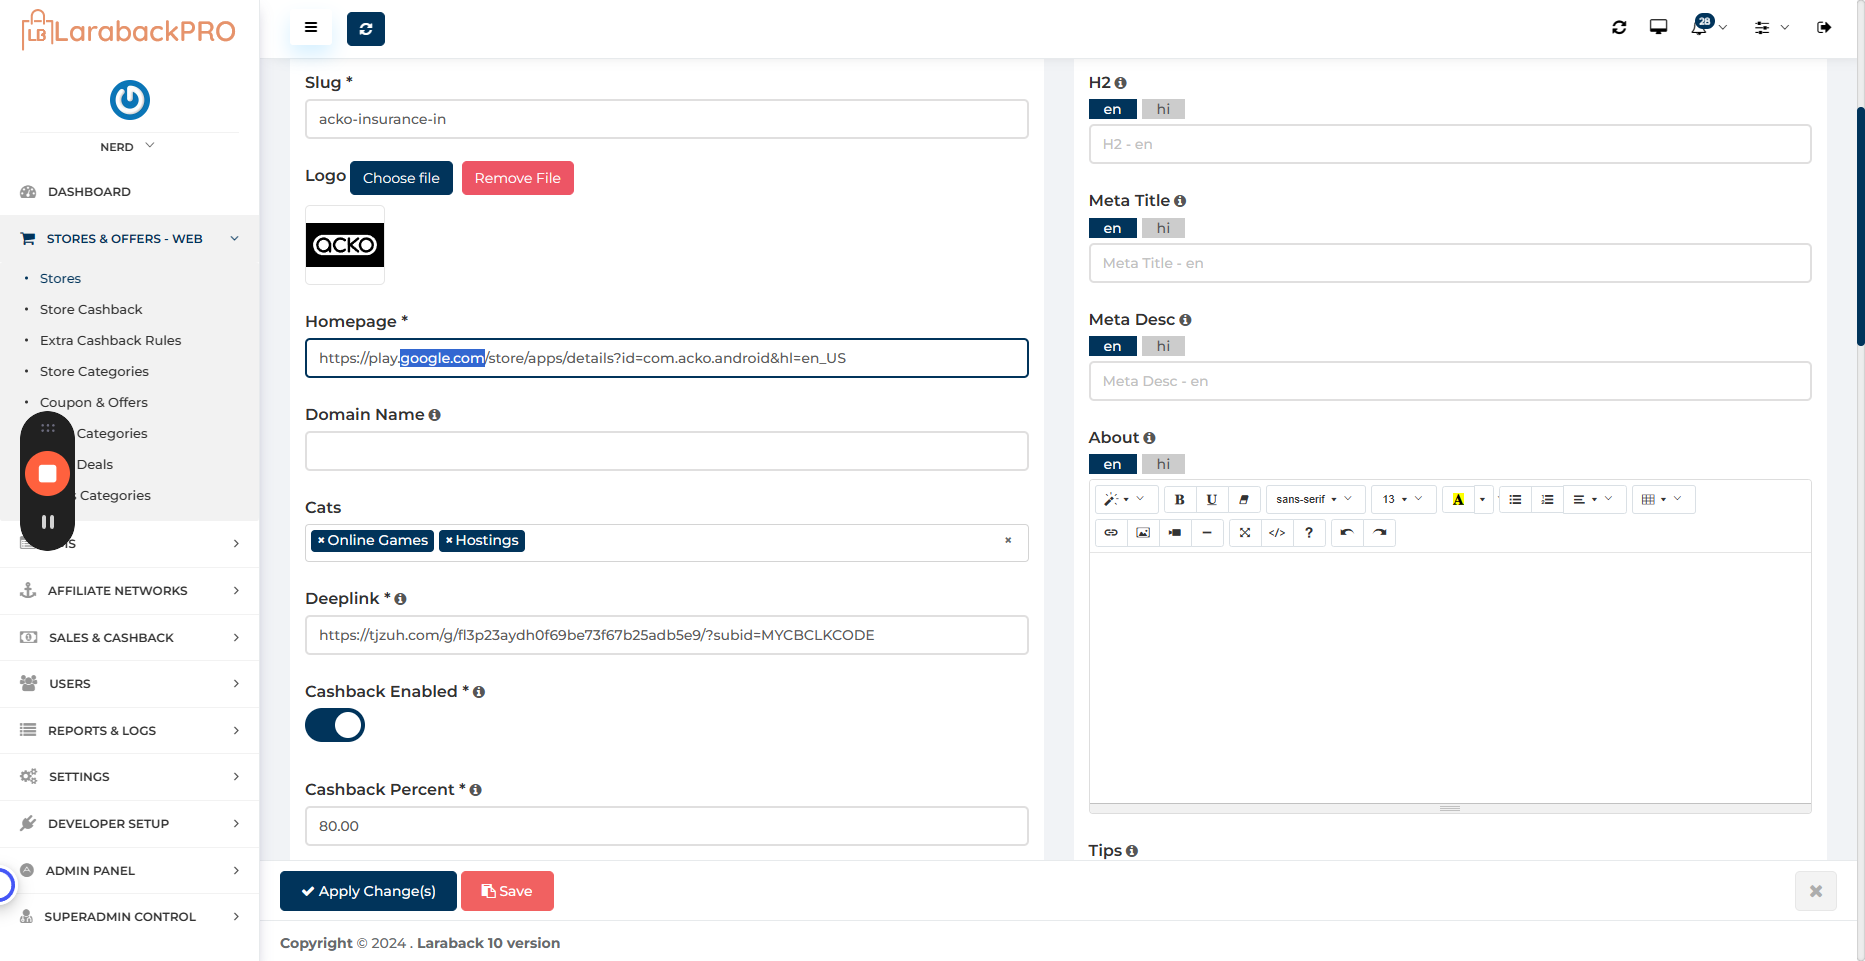
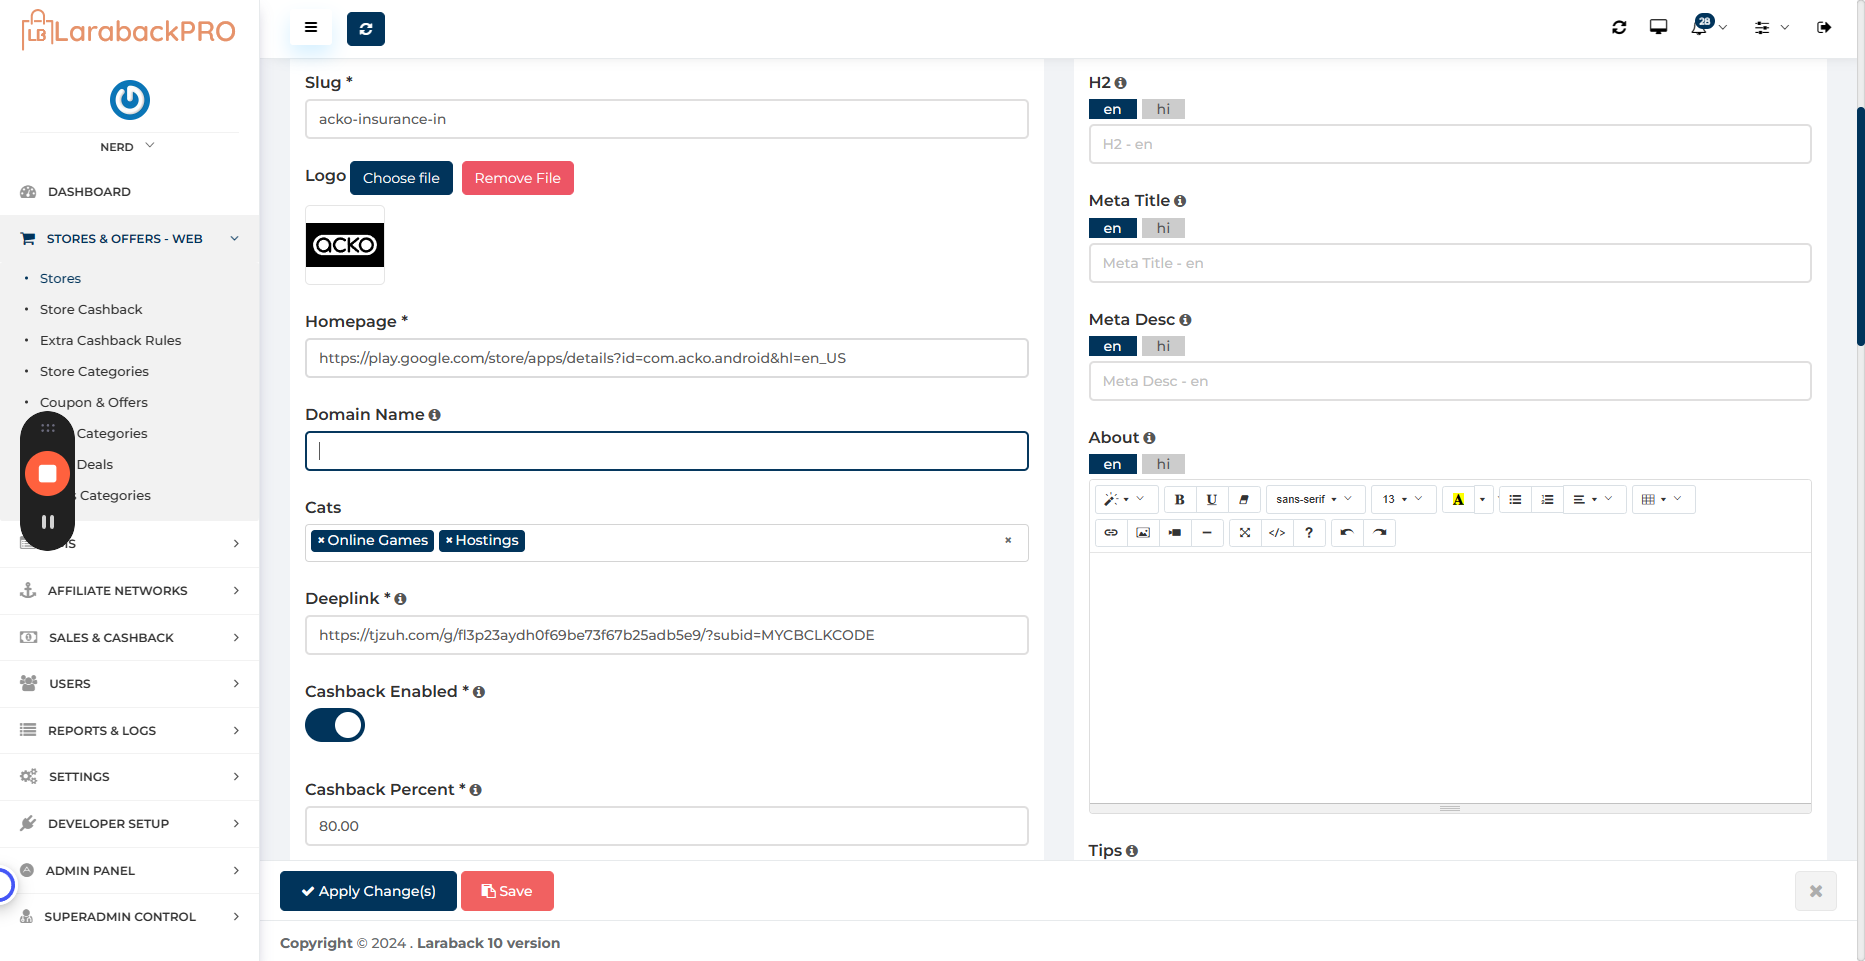
For app campaigns, it's like this. For websites, it's just the domain name.
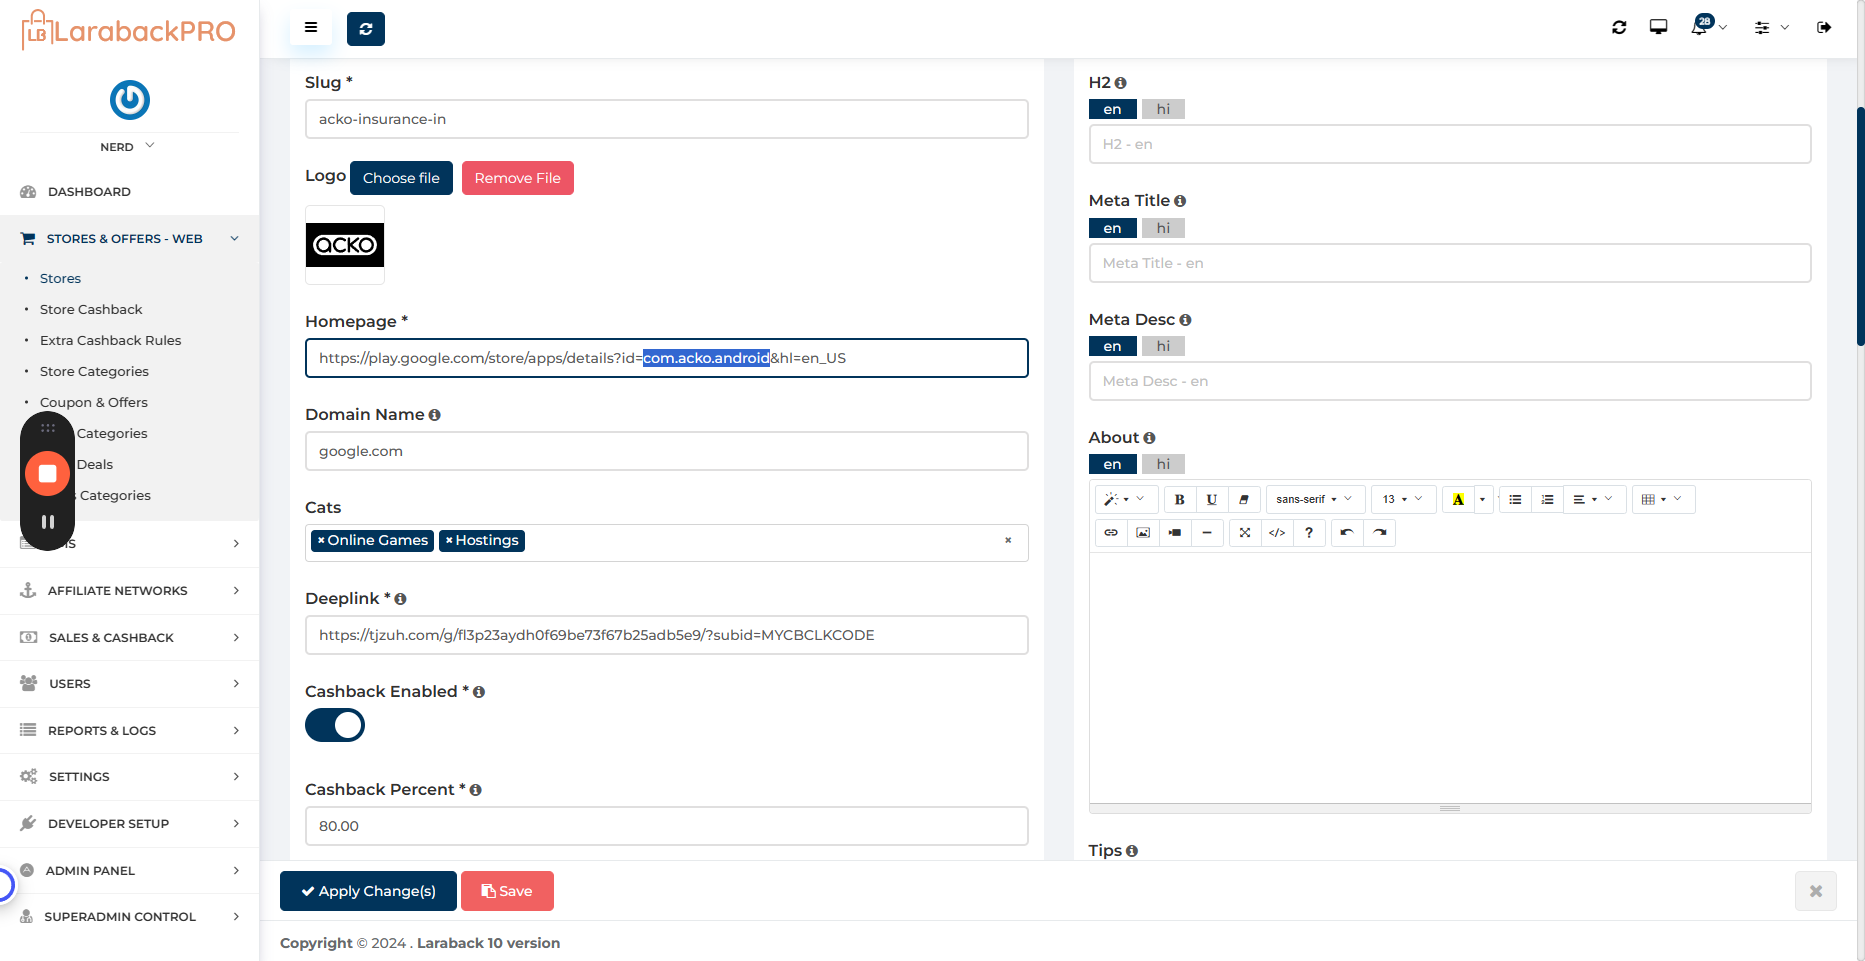
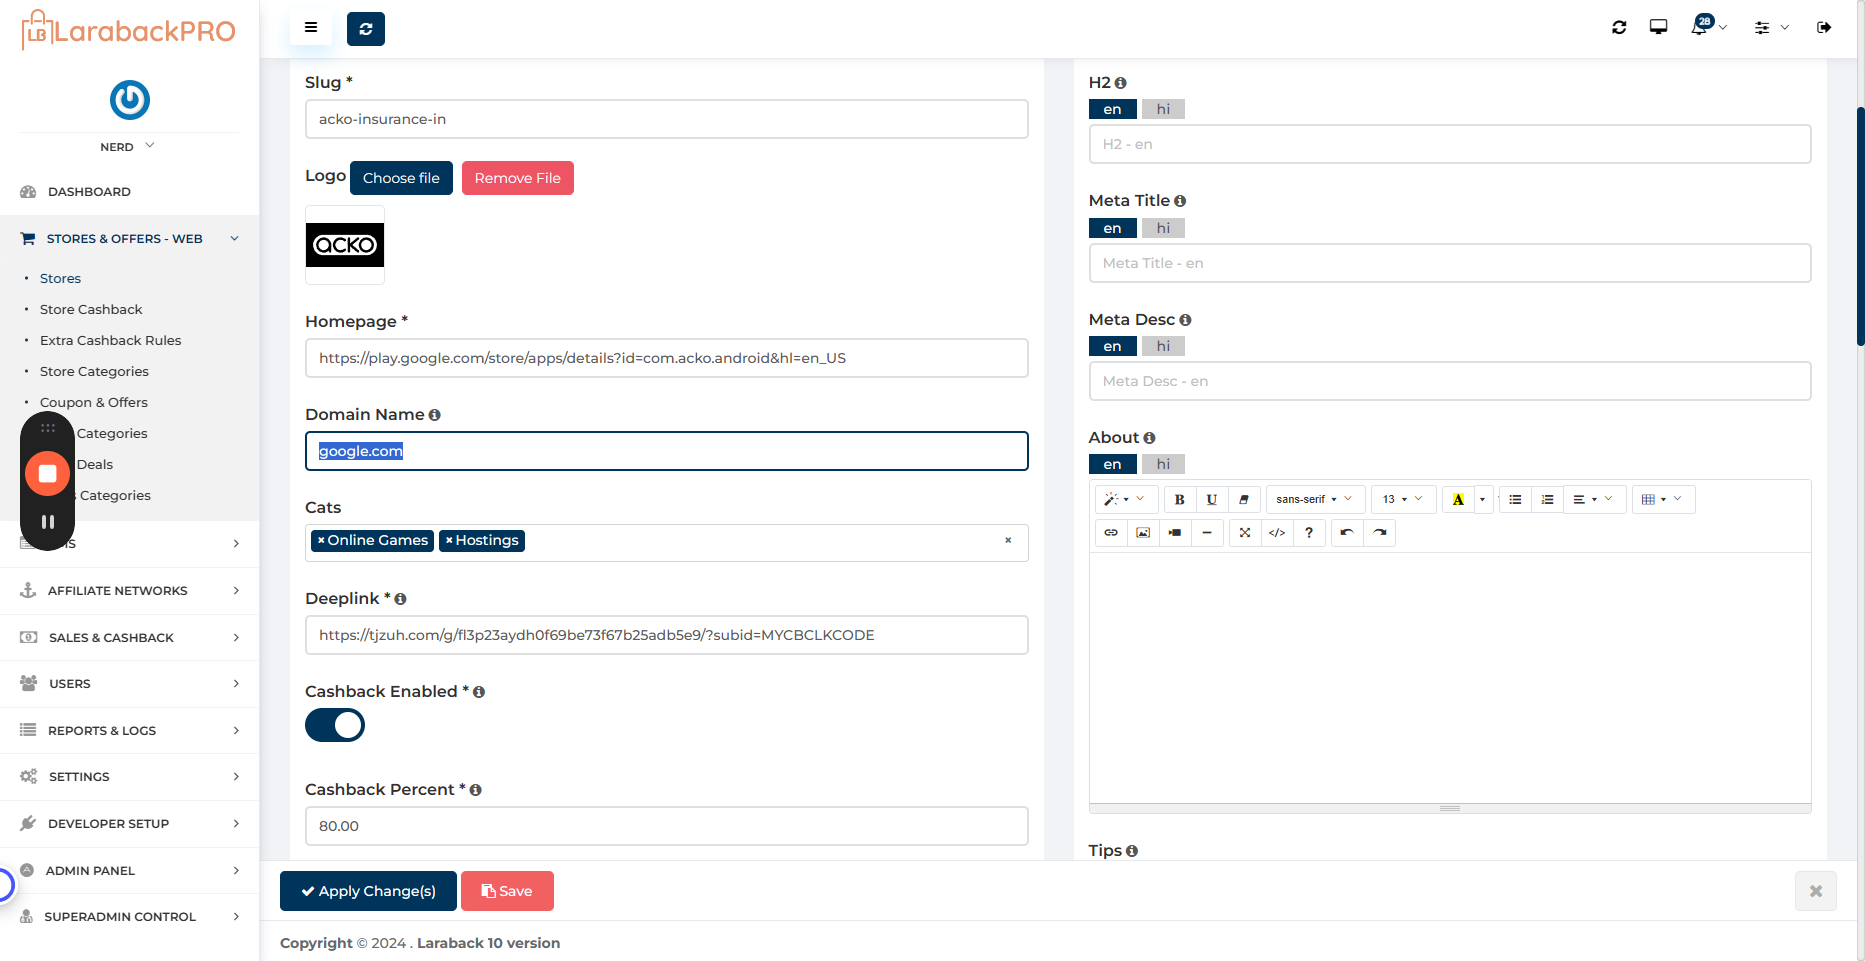
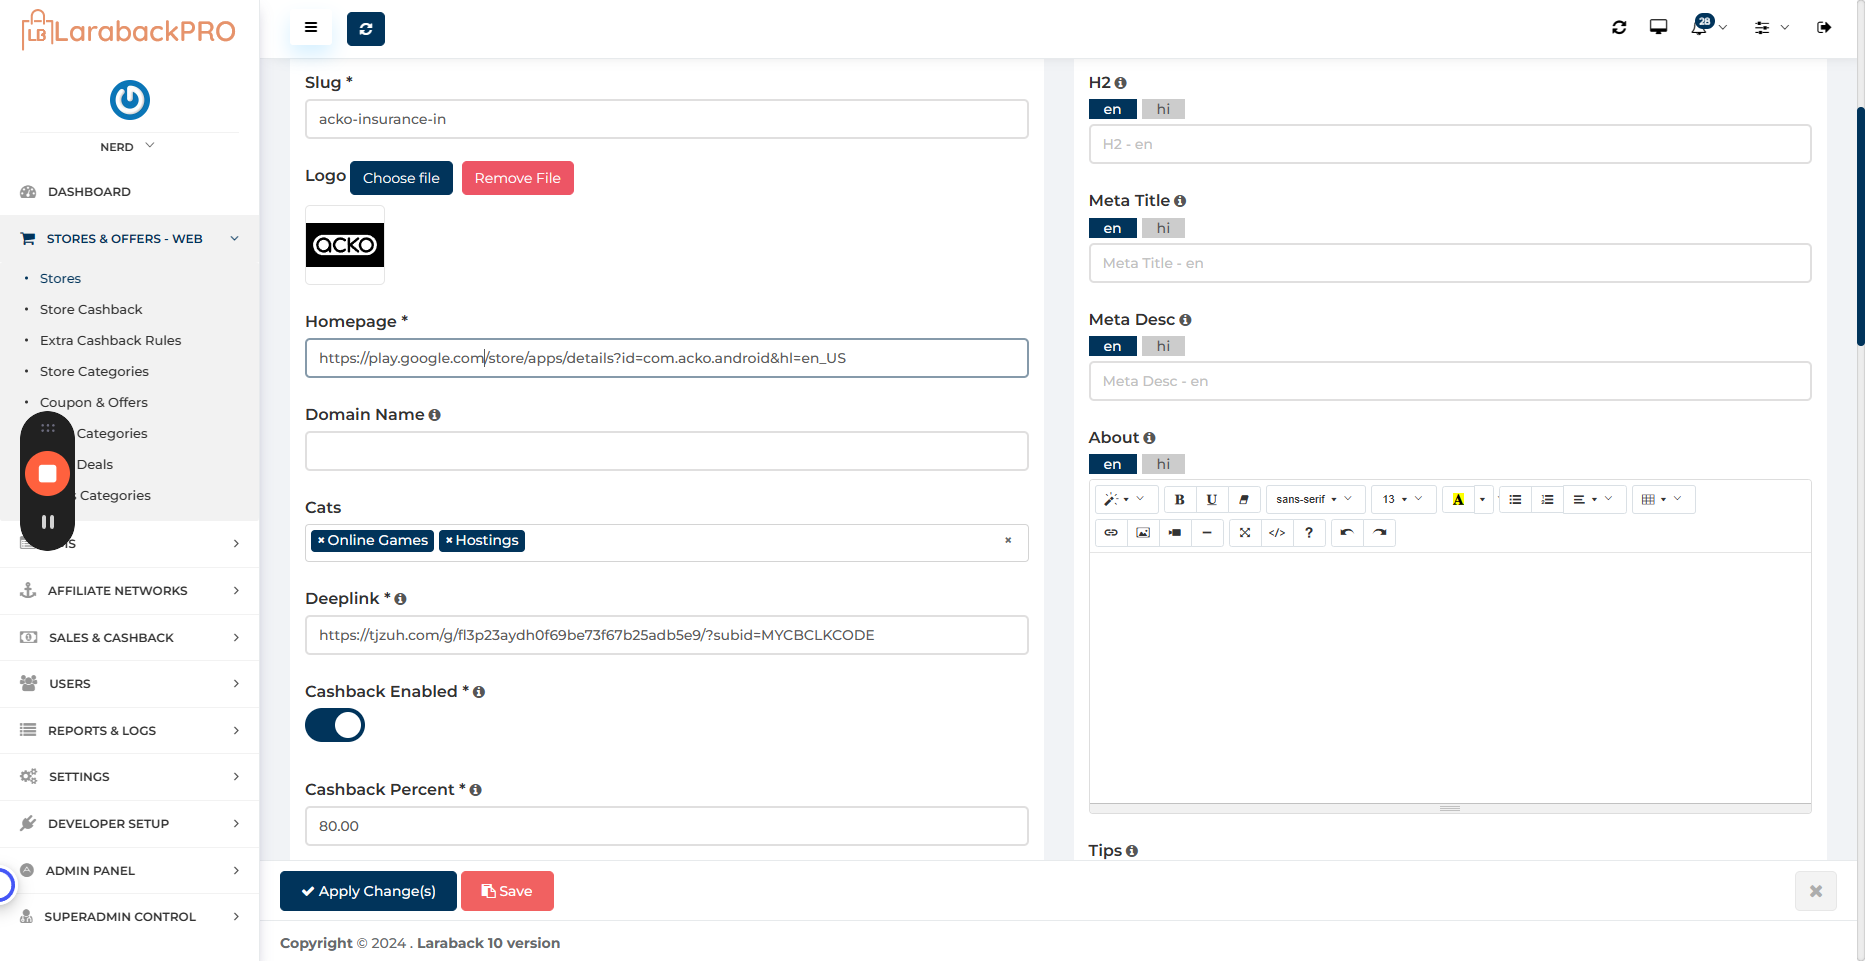
These are categories. You can define suitable categories based on the brand, and they will appear on different category pages in the stores. They will be displayed under various store categories. This is the affiliate link obtained from the affiliate network.
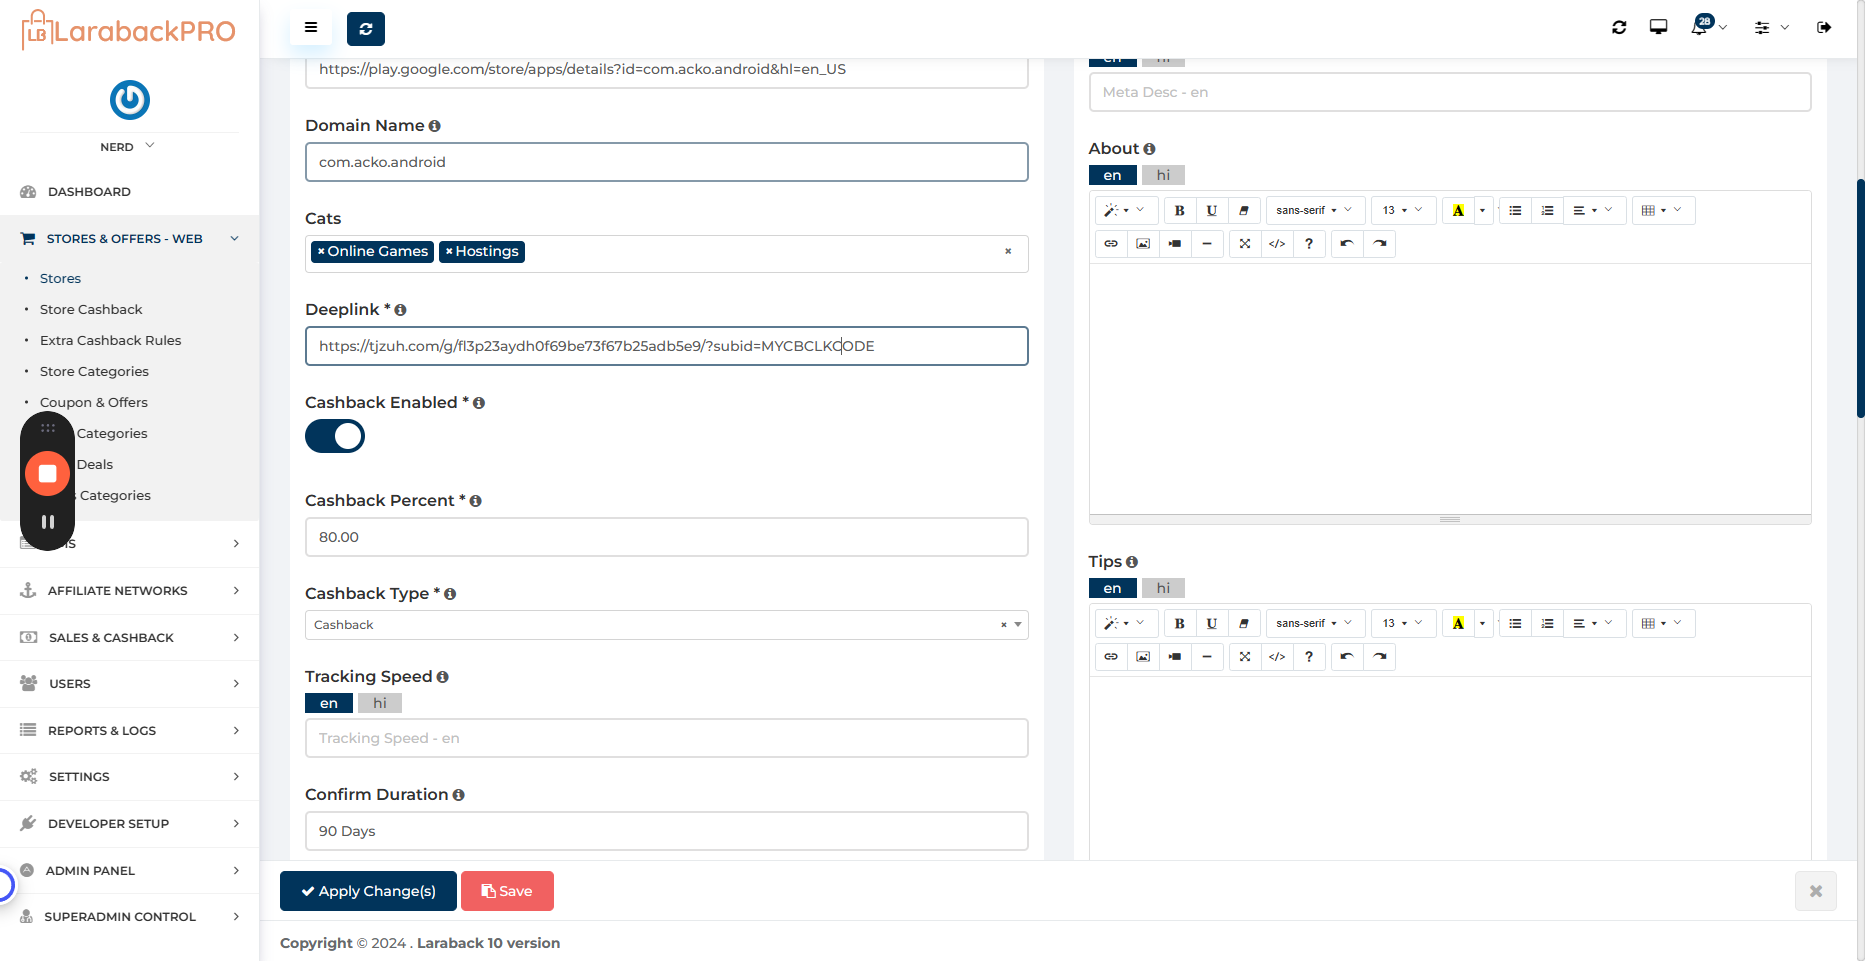
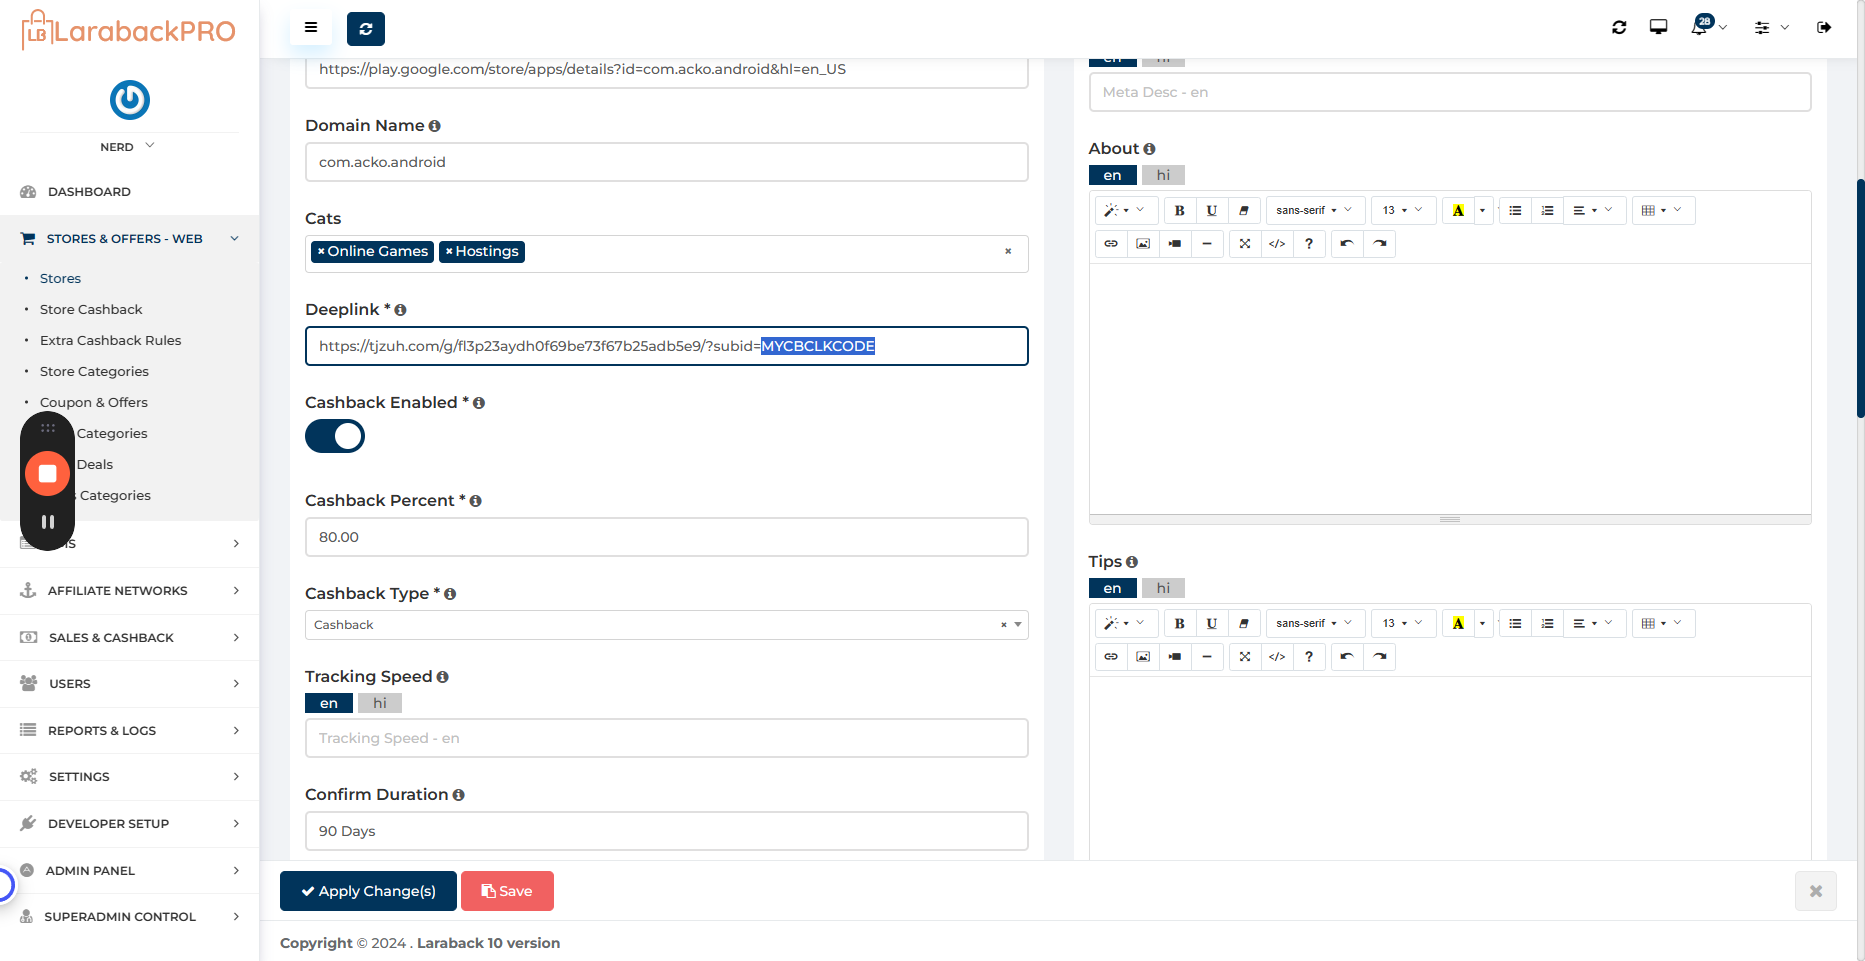
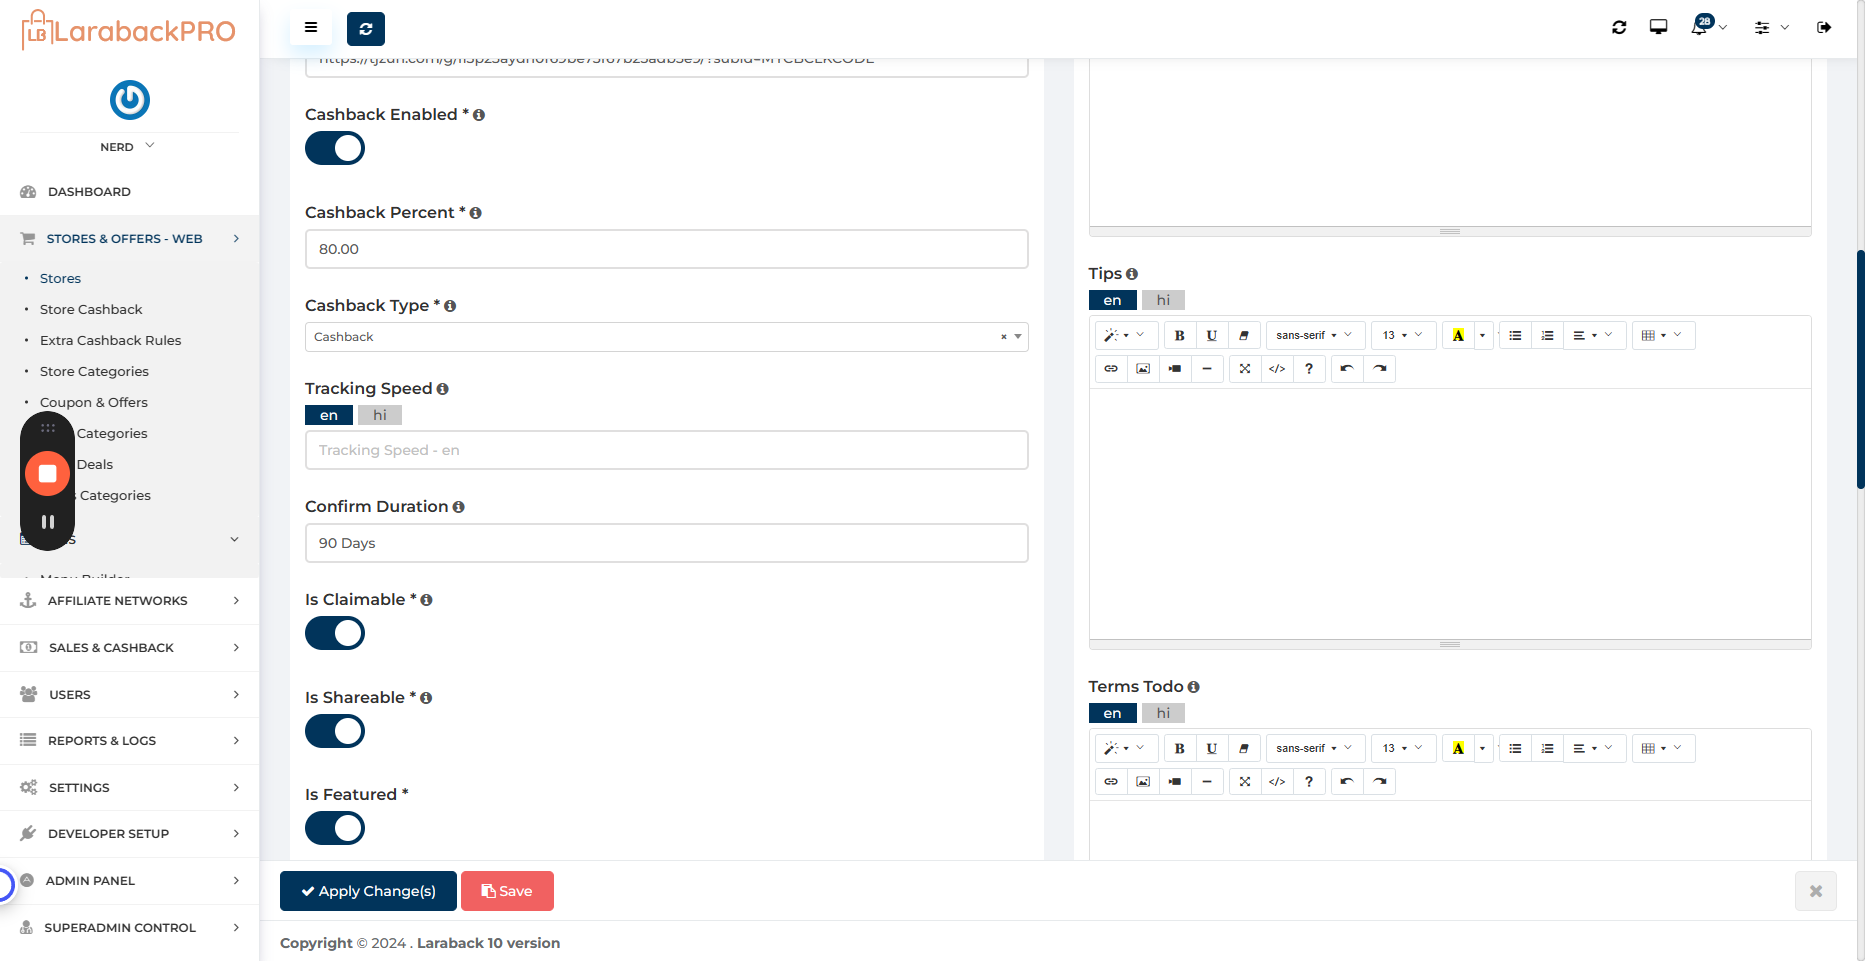
It must have a sub-ID parameter. Without the sub-ID parameter, cashback will not be tracked and assigned to the user. If you want to pass on the cashback, you can keep this switch on or disable it.

If the switch is on, you need to set the cashback percentage.
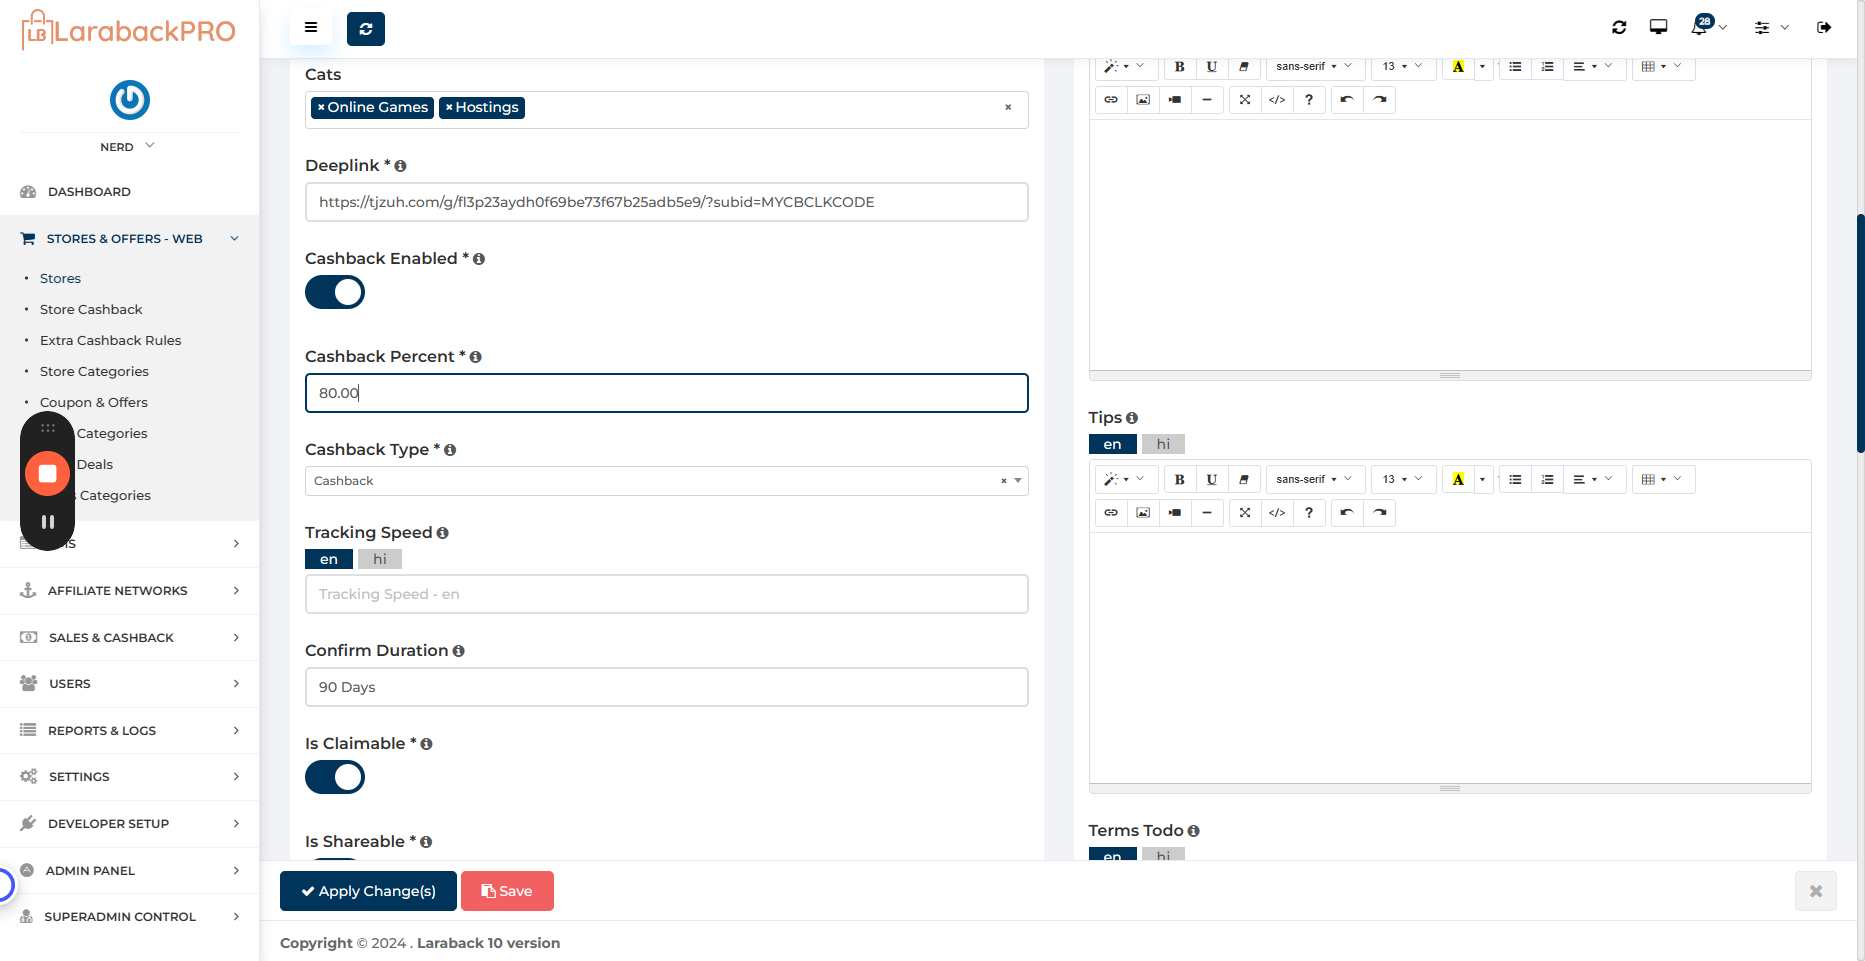
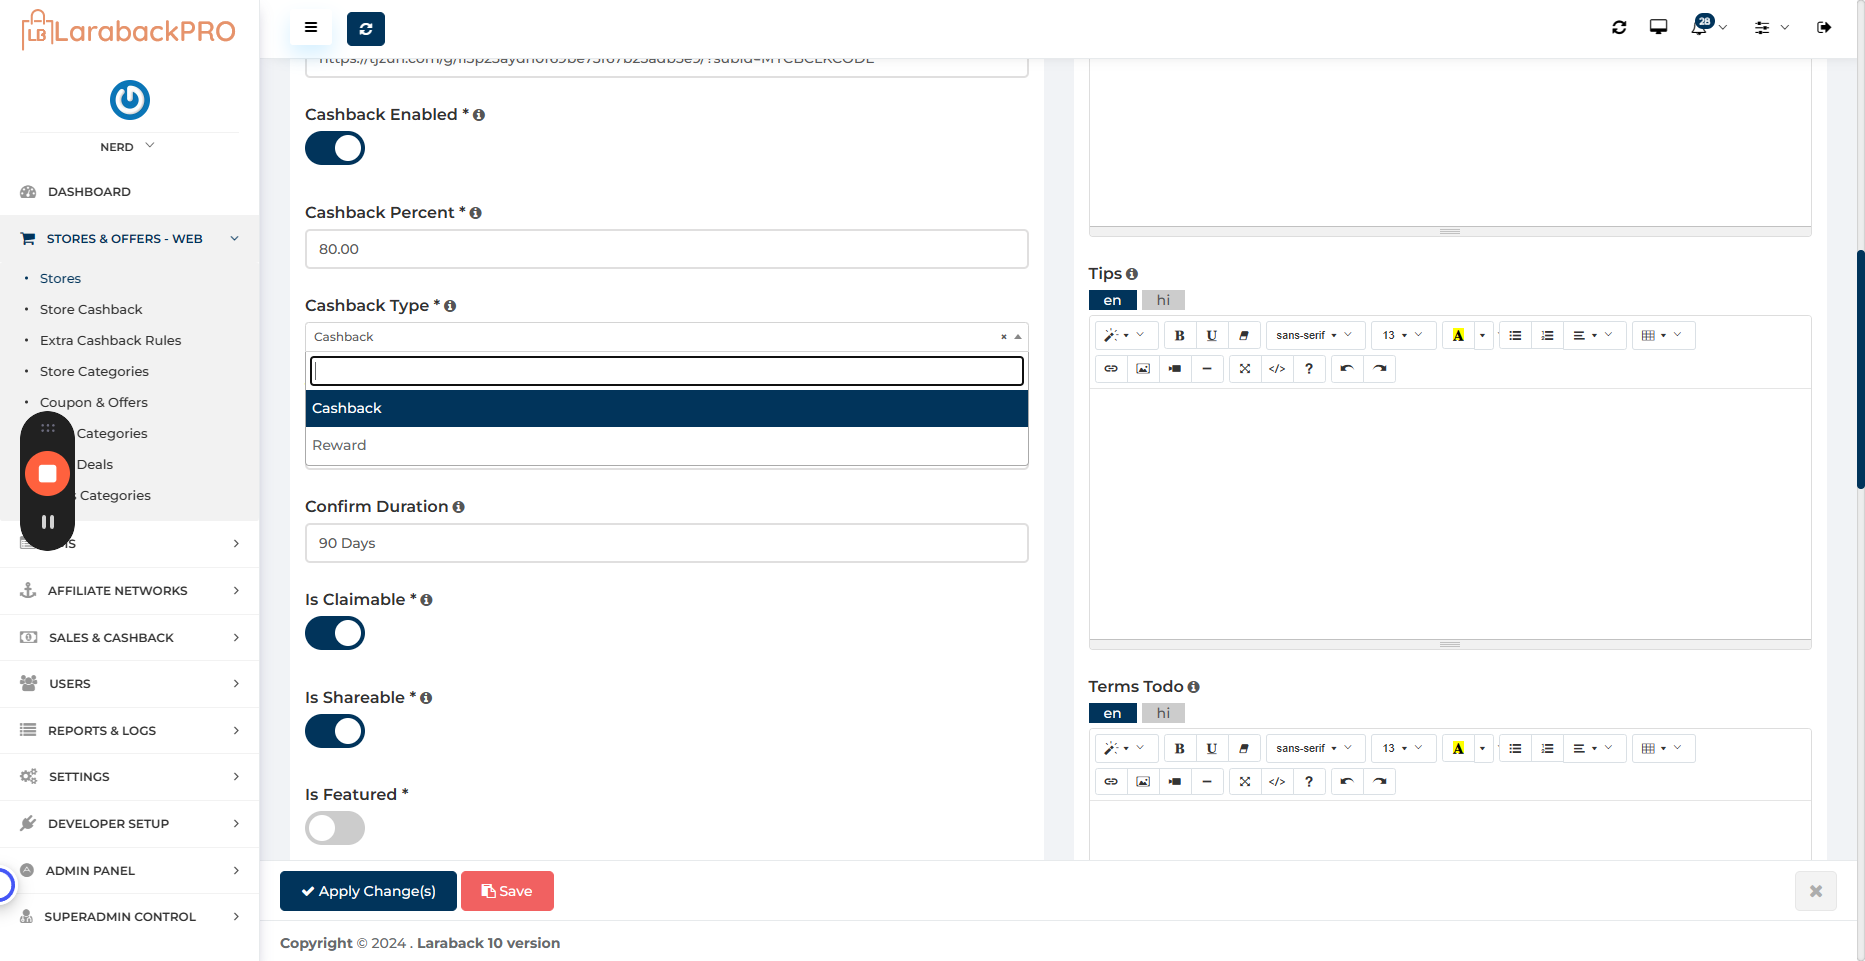
Your cashback percentage is the percentage of your earnings that you choose to give back to the user. For example, if you earn 10% and decide to pass on 80% of that, you would enter 80%. The system will then display 8% on the front end, equivalent to $8. You can choose to provide this as cashback or a reward, with cashback being the more common option.

In limited cases, you may use this as a reward. Otherwise, cashback is very popular.
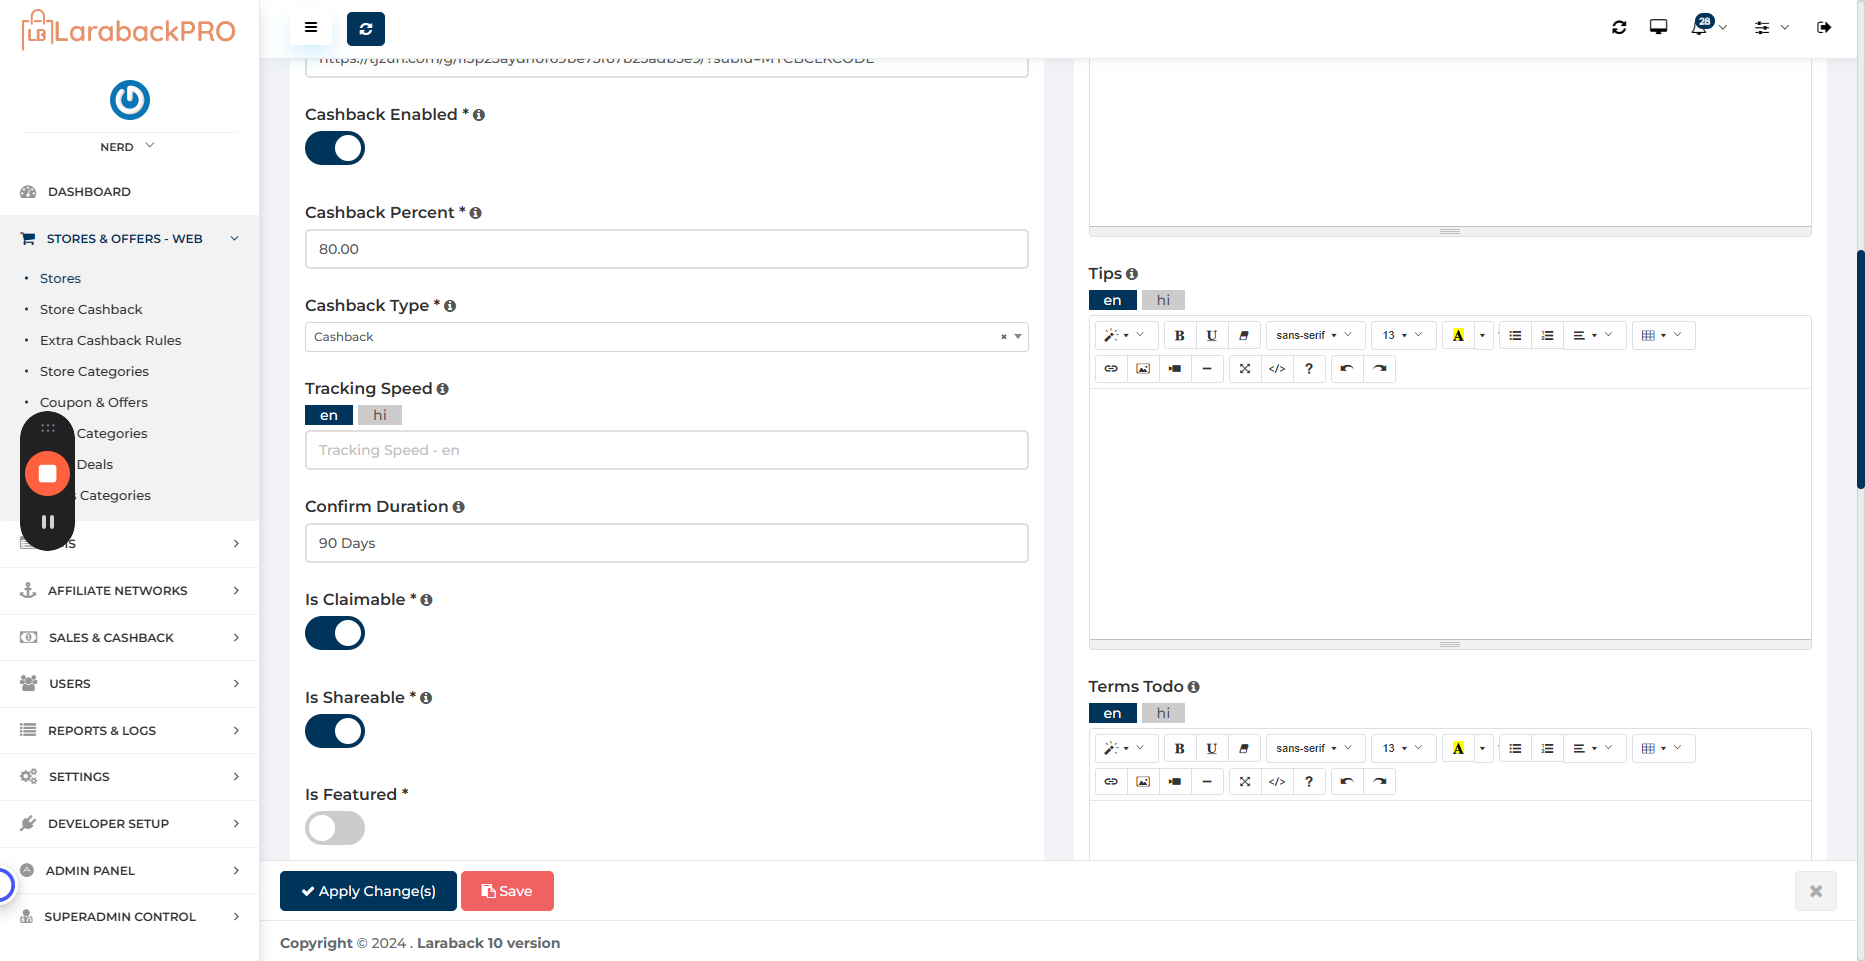
Then this tracking speed is for informative purposes only.
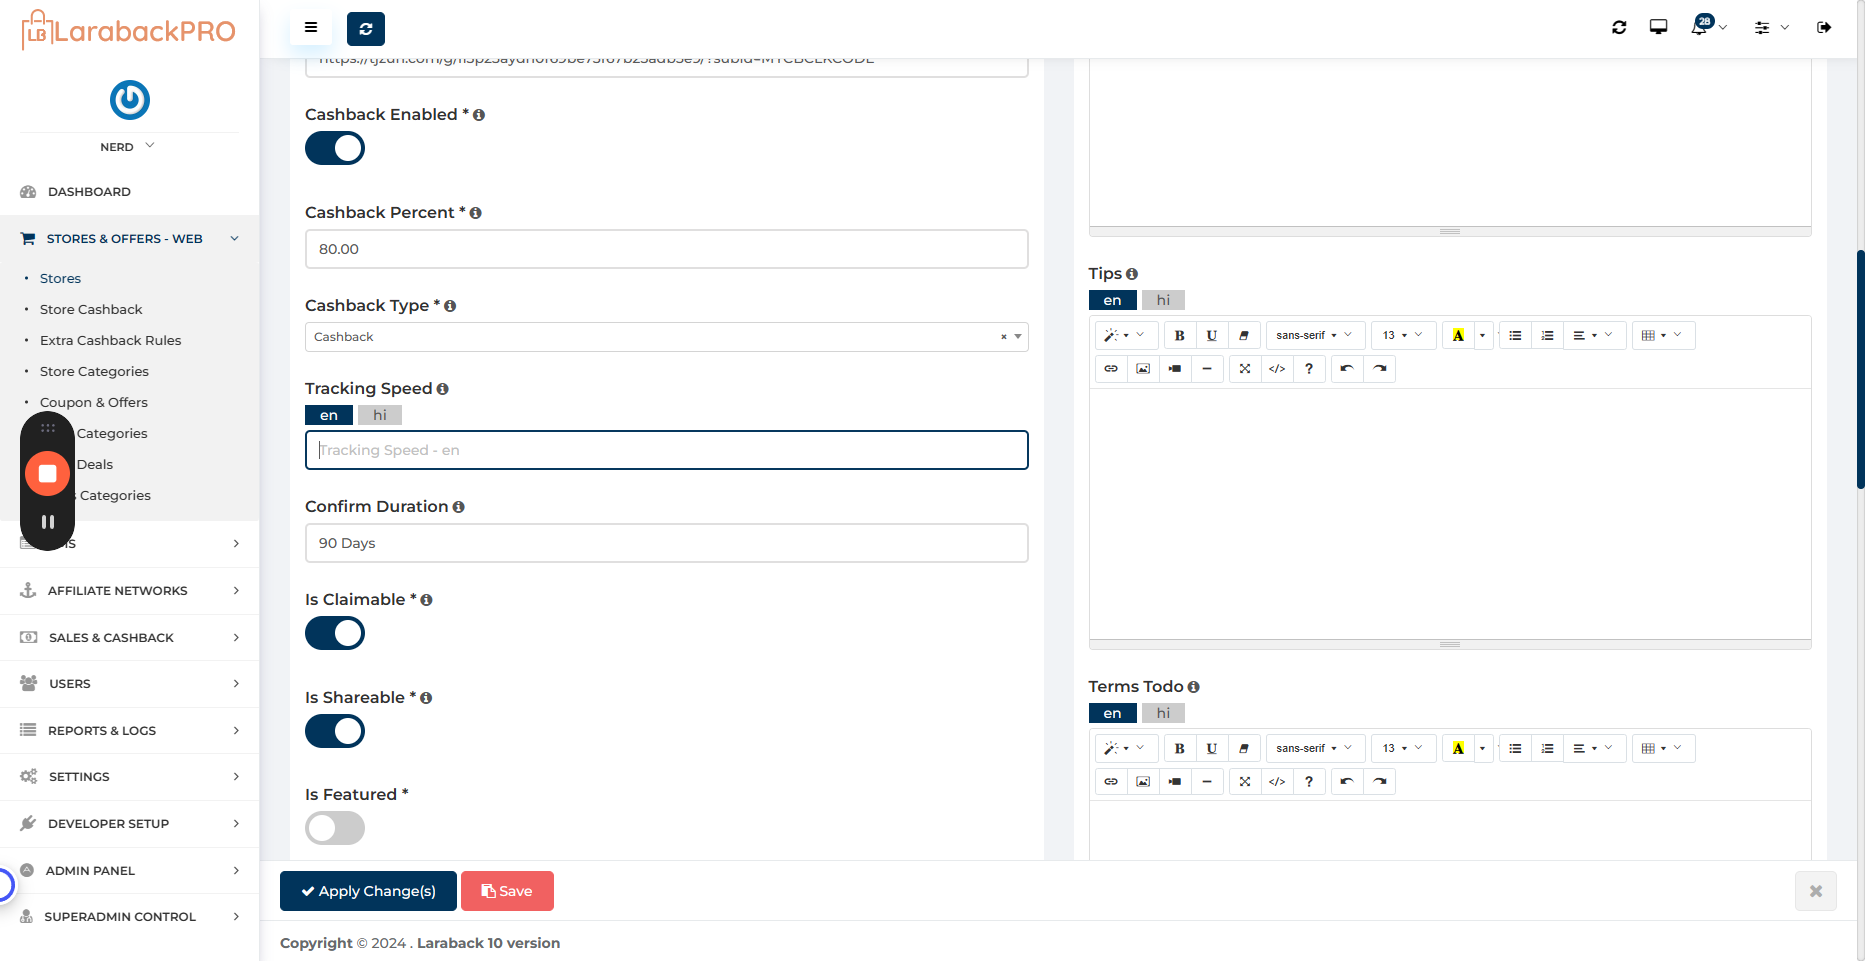
You can mention 1 hour, 2 hours, 1 day, or 72 hours, and so on. It will show up here, track, and confirm accordingly.

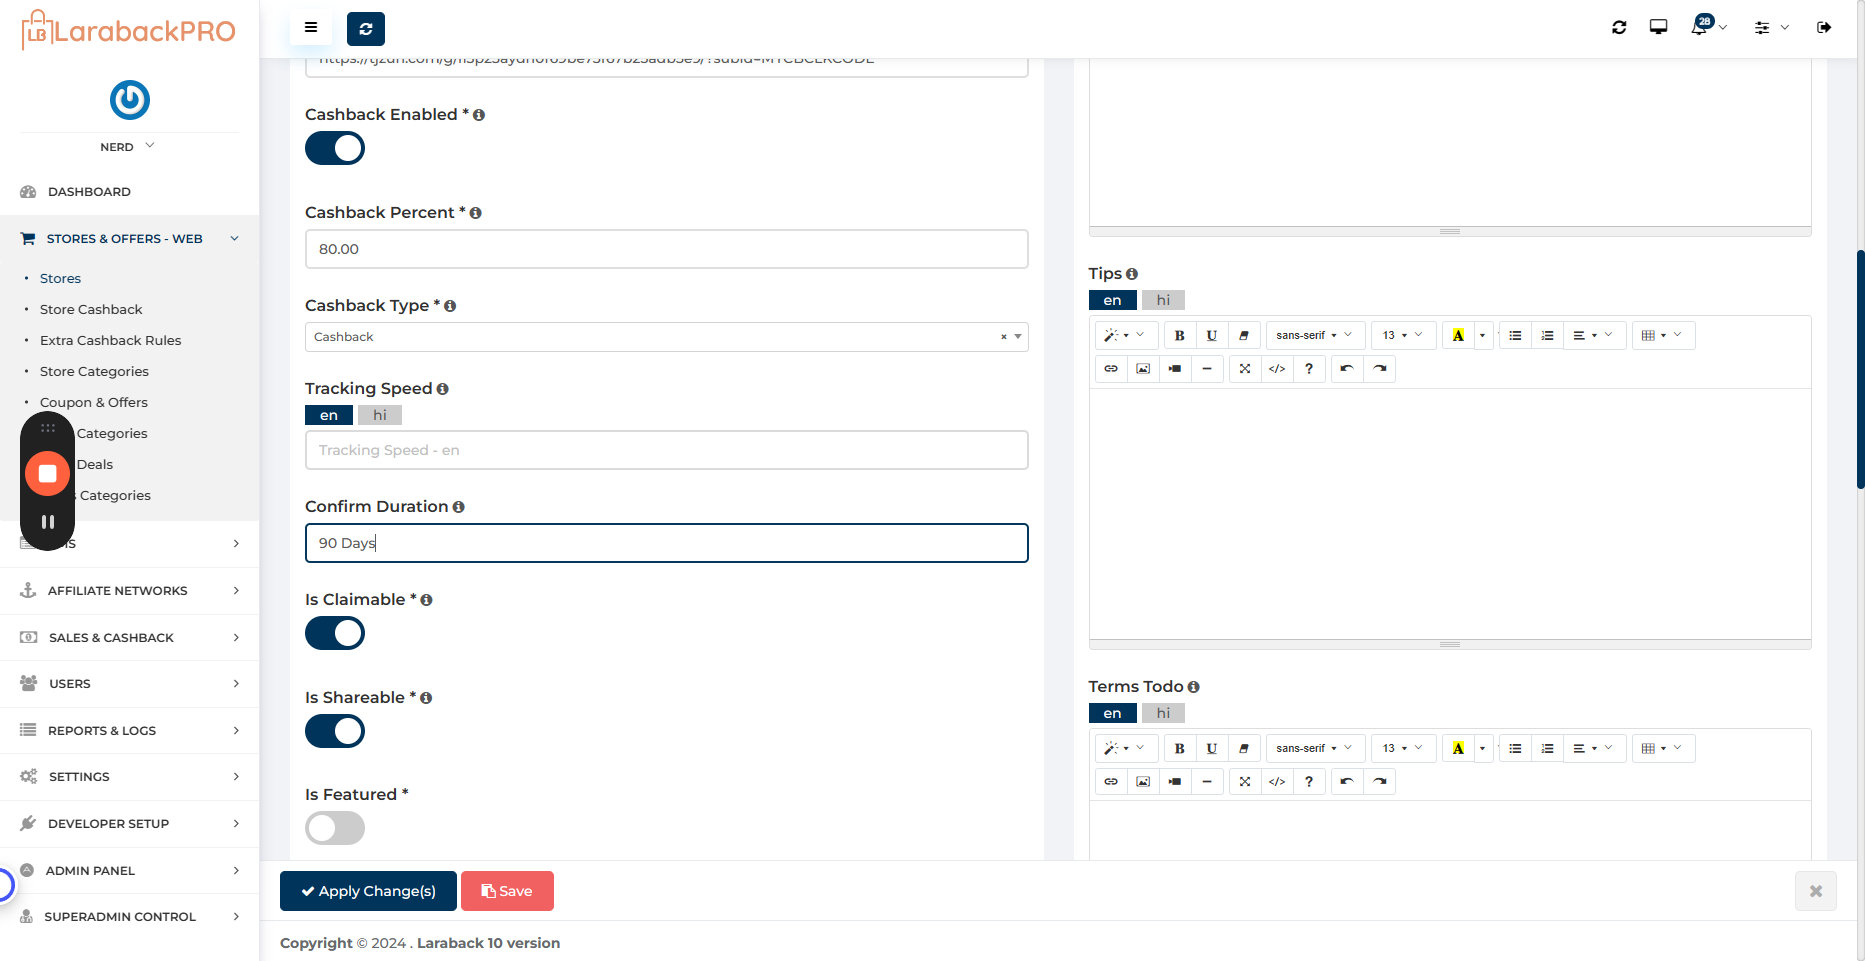
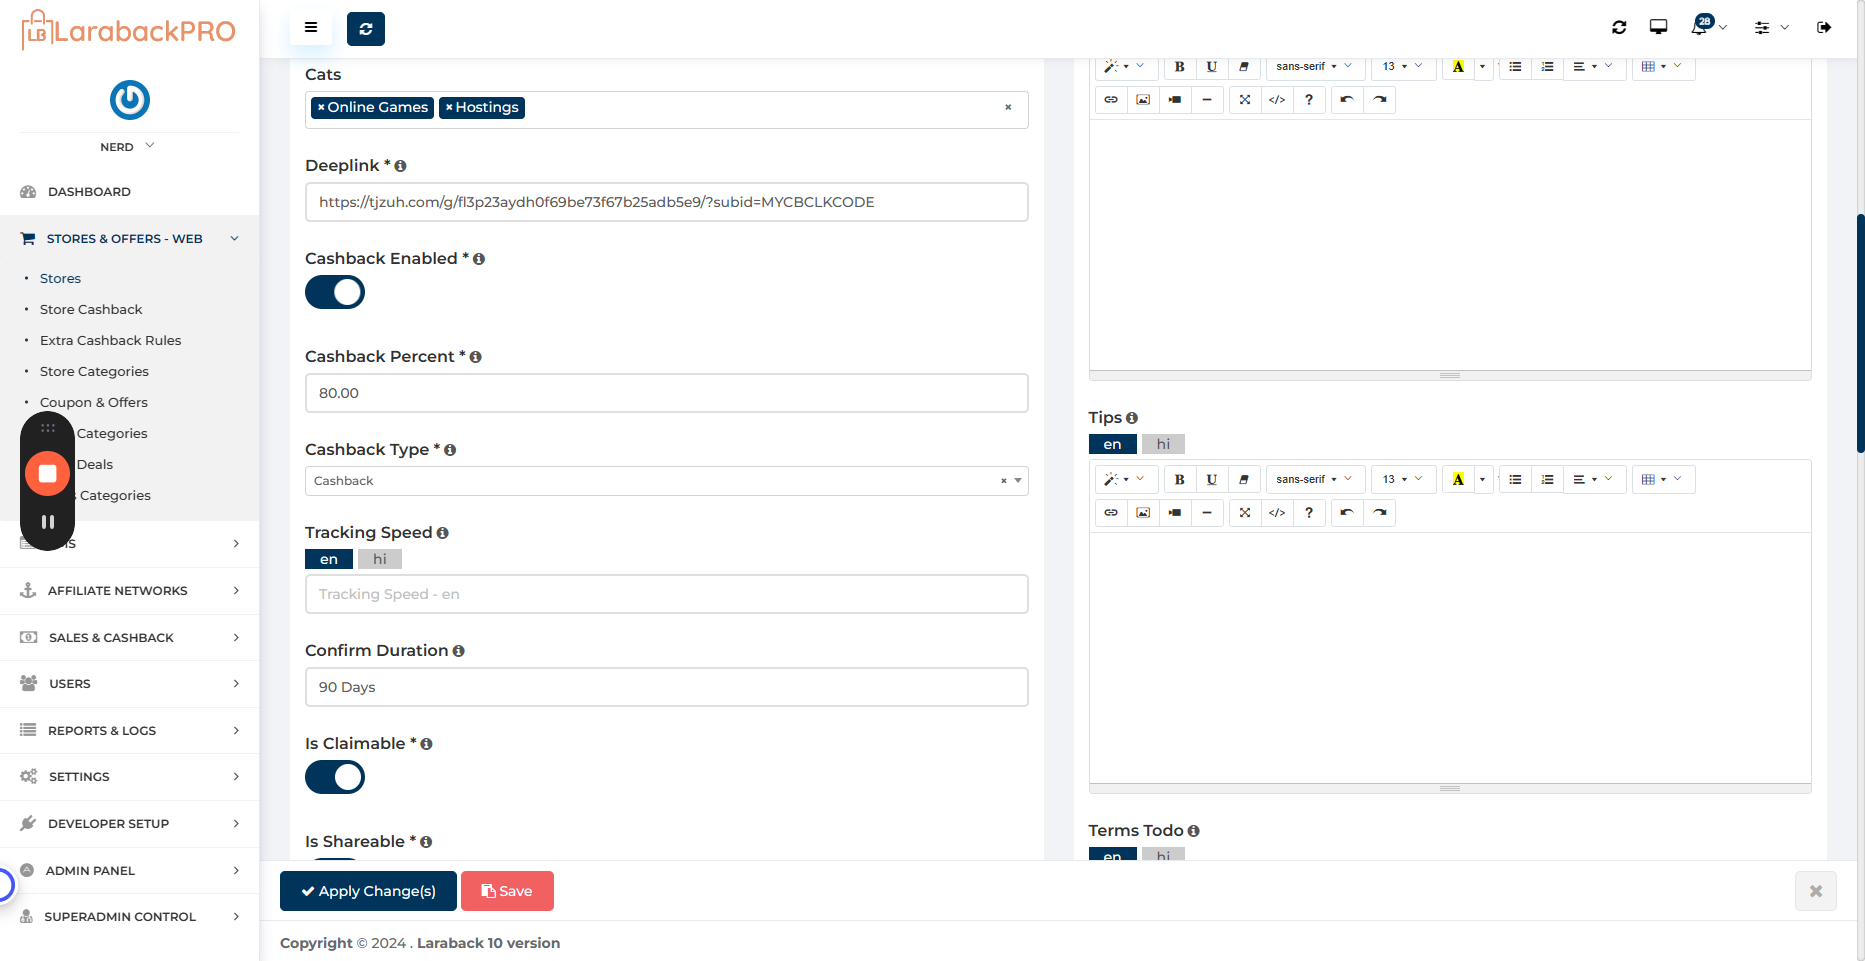
Then confirm the day duration, which means how many days it will take to confirm from today. You can specify 90 days, and the system will calculate and display the date dynamically based on today's date.


If you enter 90 days, today's date plus 90 days will be displayed to the user for clear visibility.

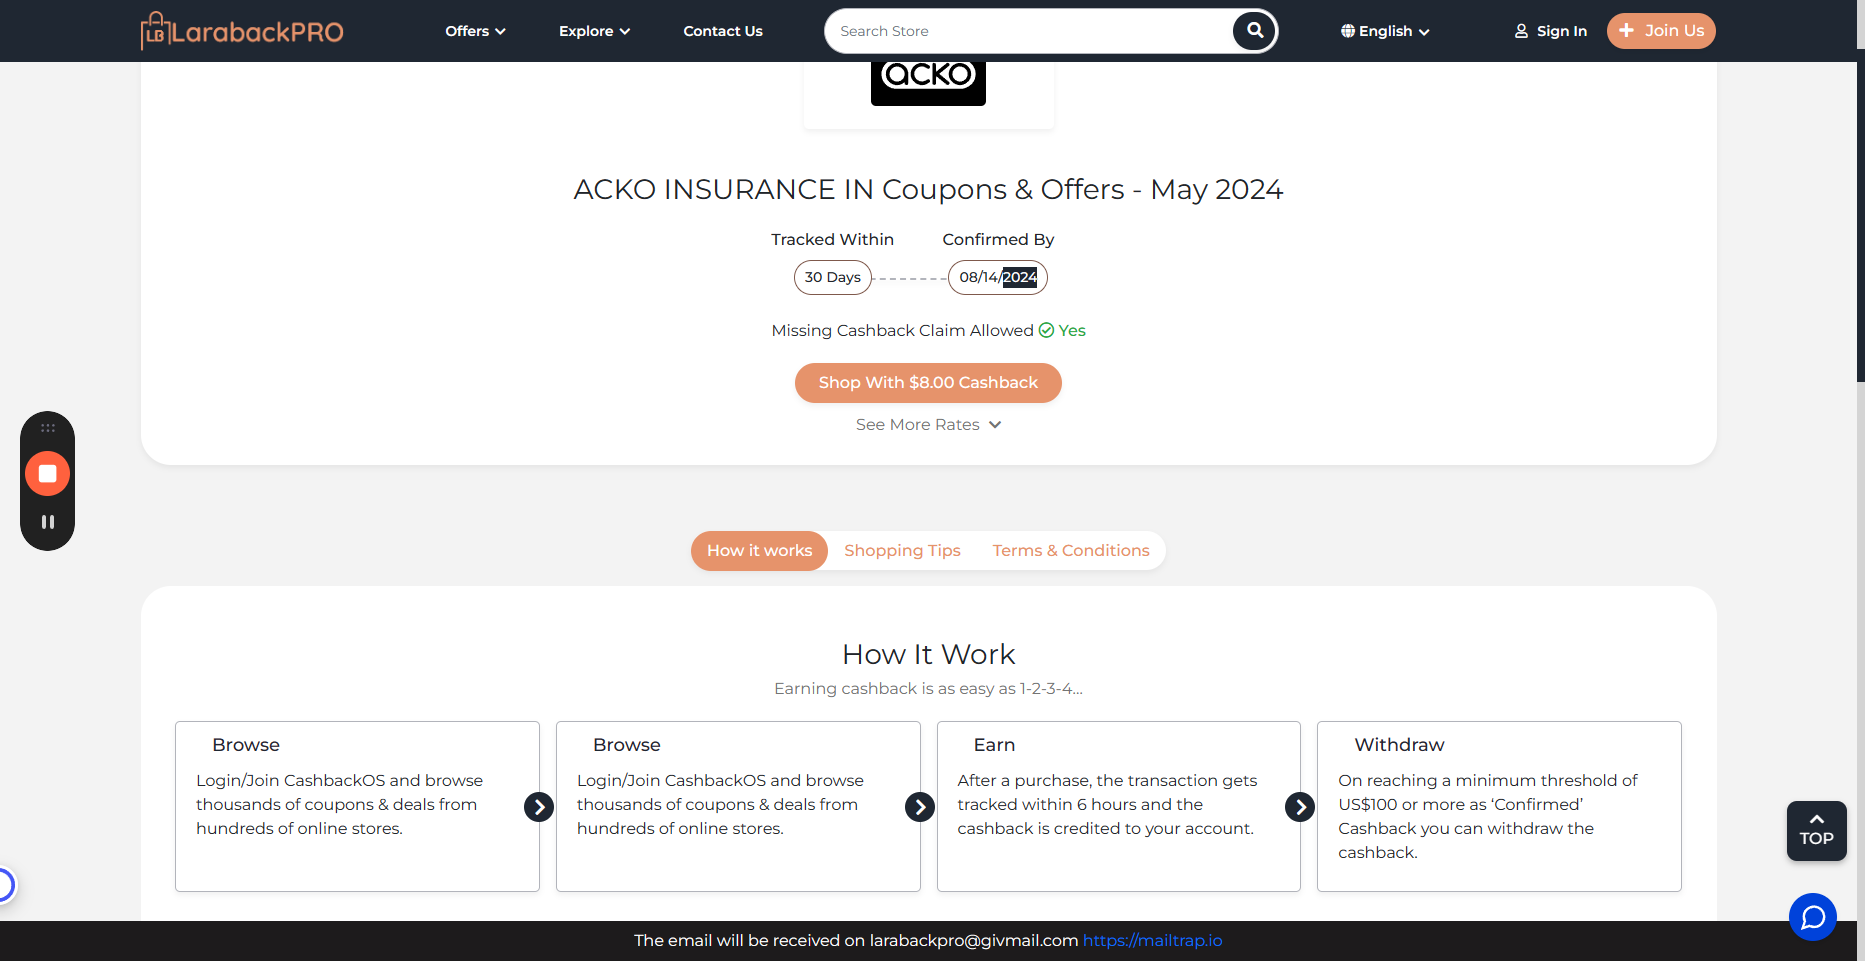

Can users claim cashback for purchases made at this store if it didn't track automatically? Some grants may have restrictions preventing users from creating a claim, so this switch is available for that purpose.
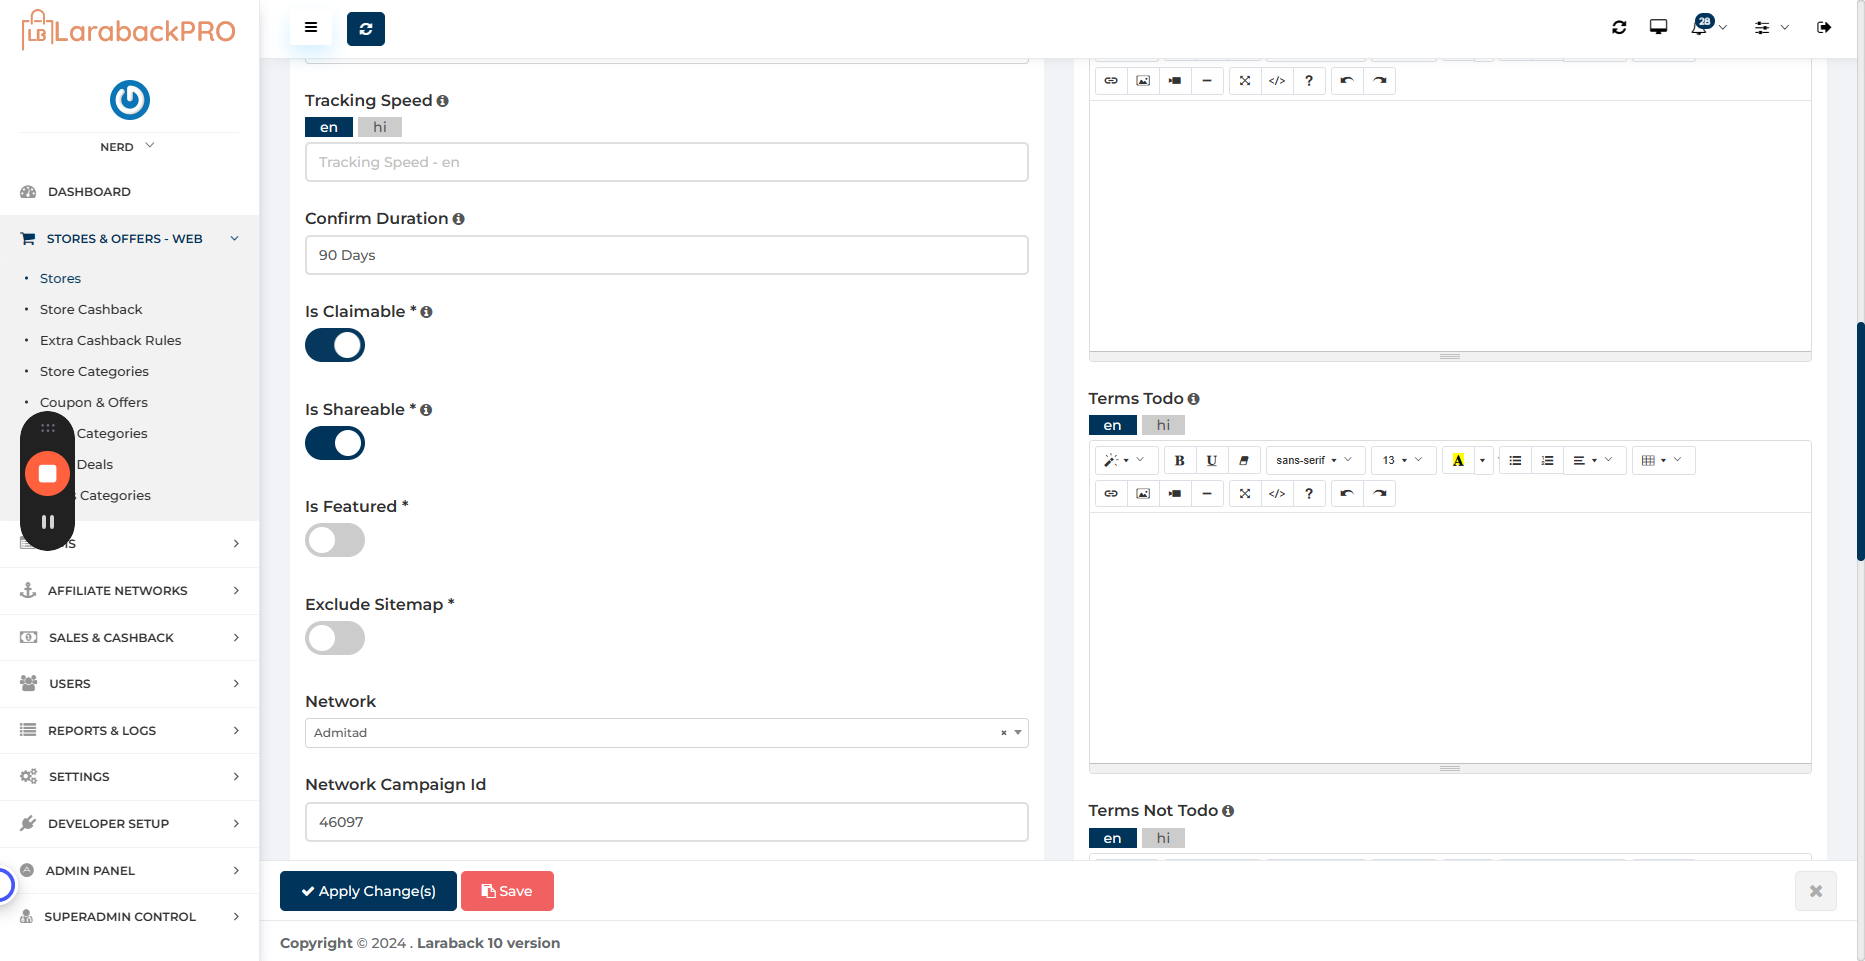

This store offers a share and earn feature. Users can share the store's links to earn cashback. This switch is used for this purpose.
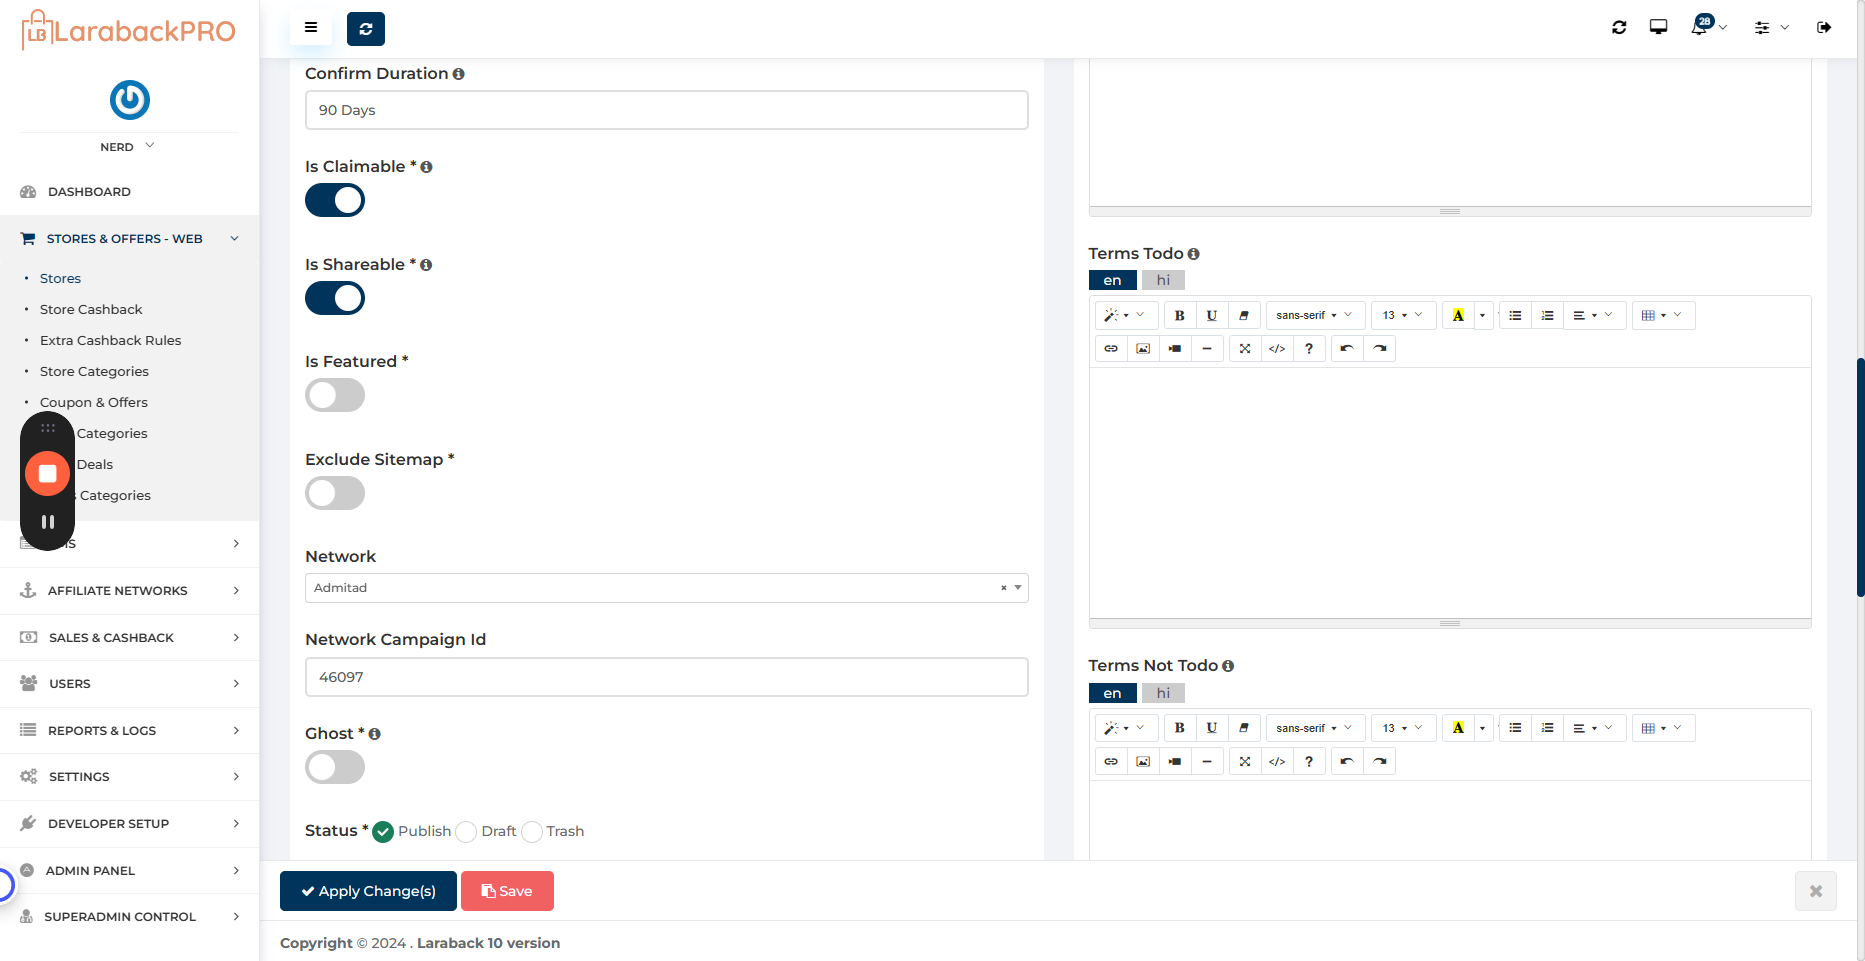

If this is marked as featured, you can display these stores on the homepage as featured. If you enable this option, you will need to navigate to the CMS and pages. Link them so that when customers make a purchase through this specific store, you can offer them exclusive cashback visible only when they access the store through this direct link.

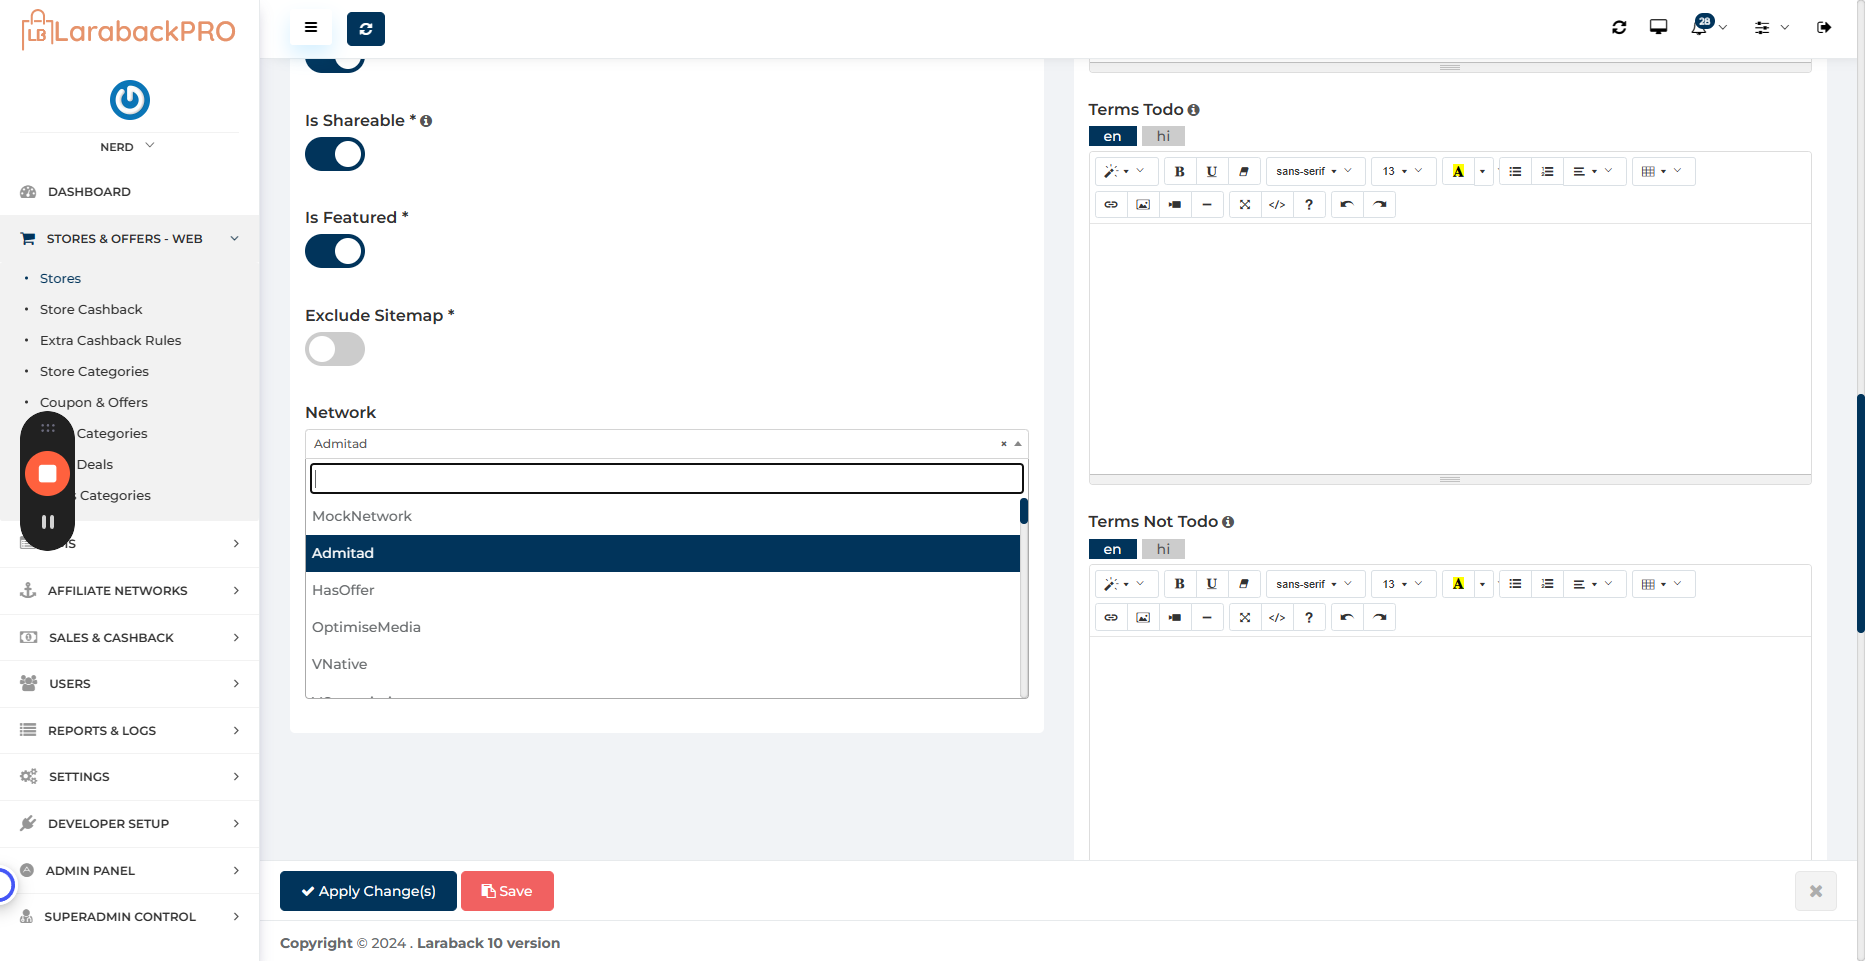
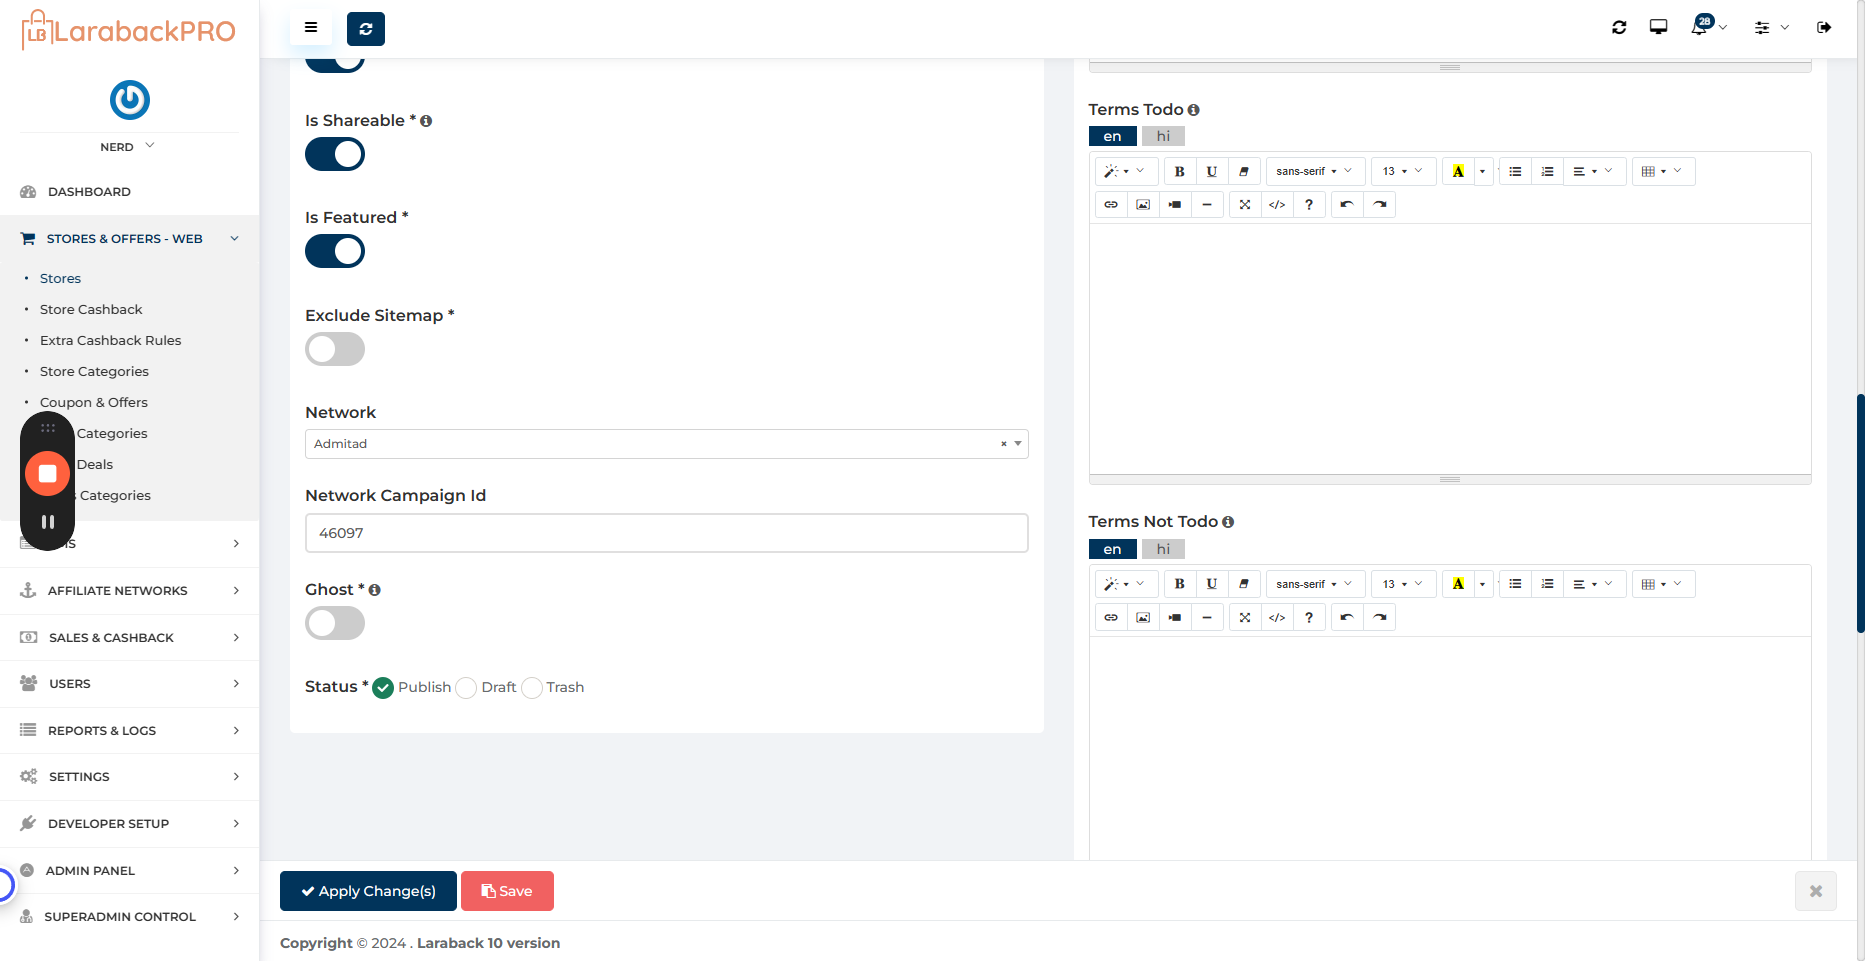
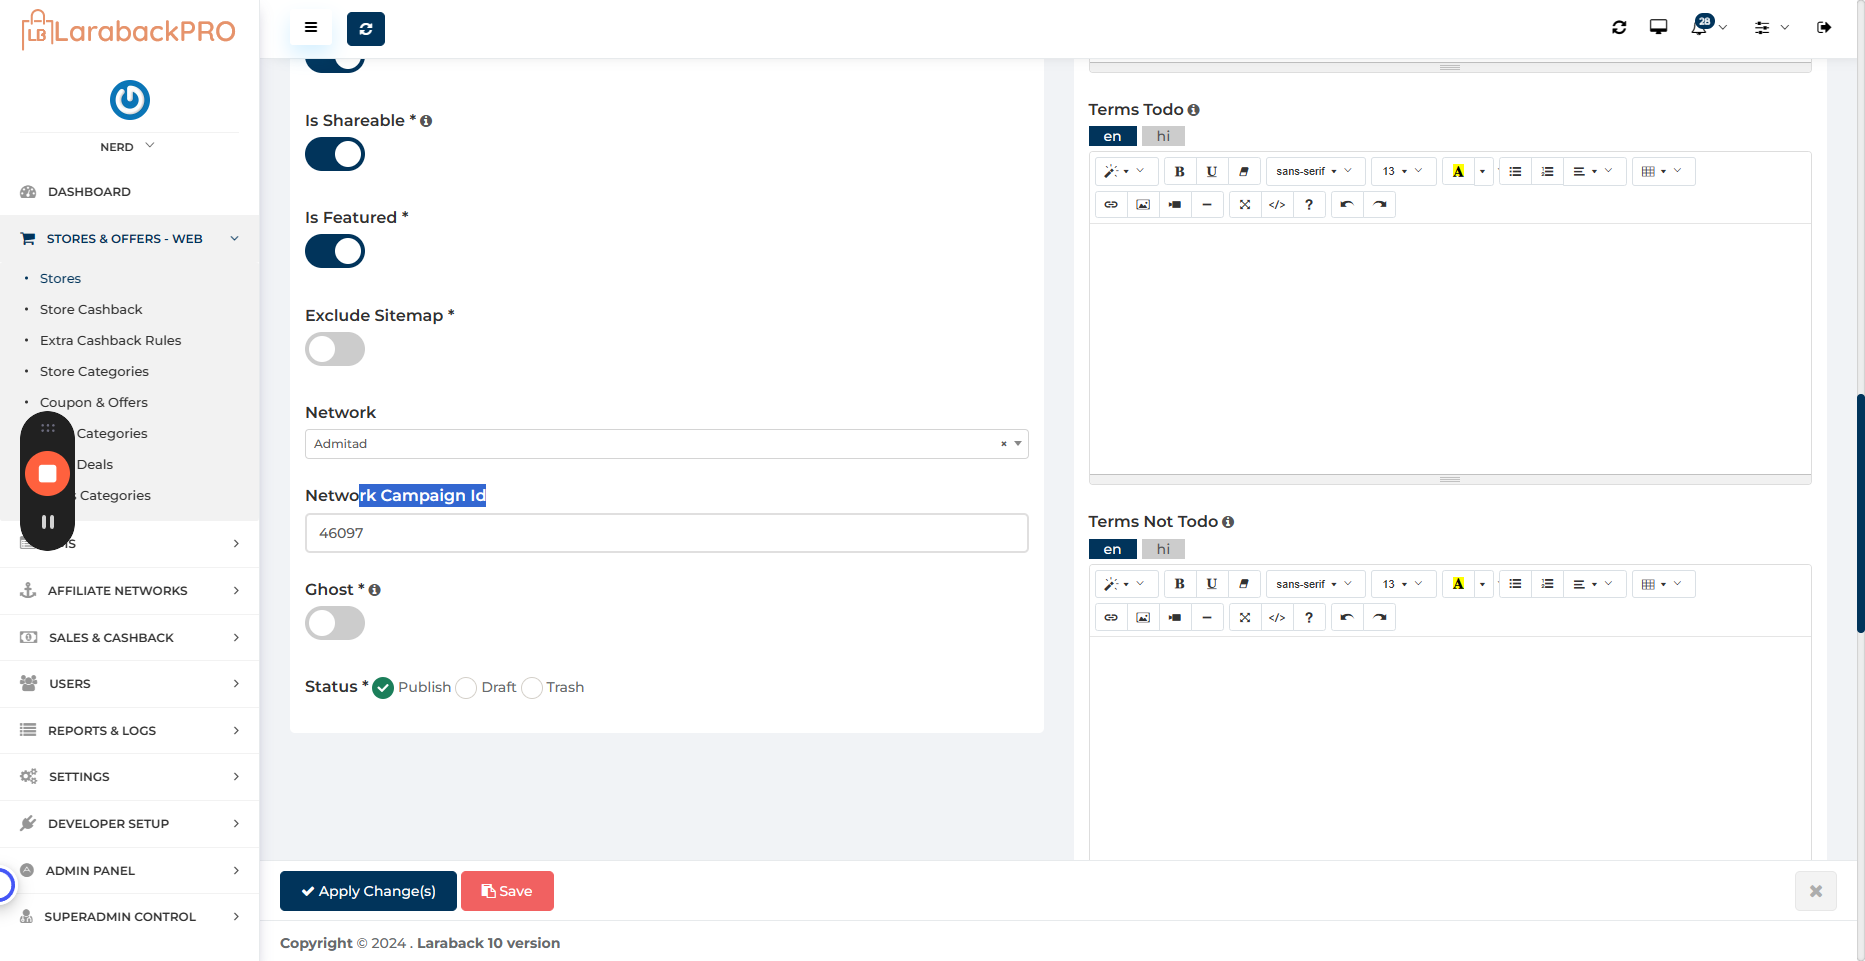

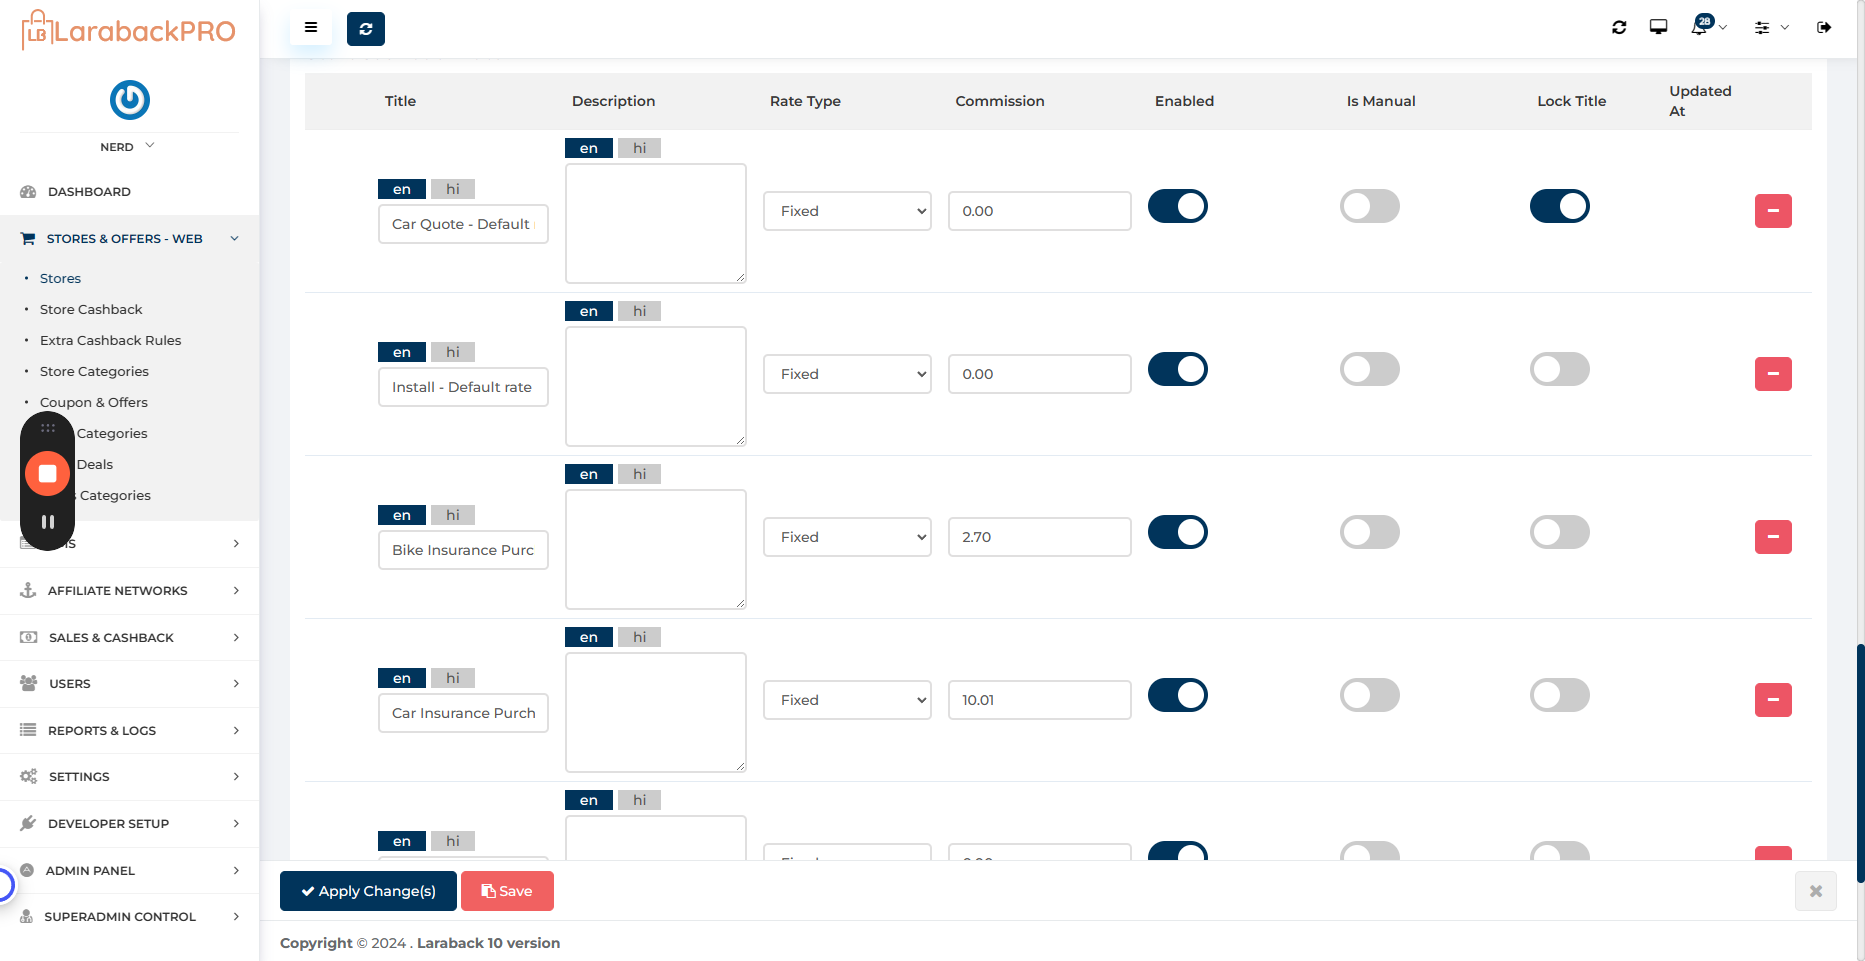
And the status reflects the current state, displaying as published to users. Draft and trash statuses are not visible to users. These details are pertinent to SEO and settings. Next is the crucial store cashback rate.
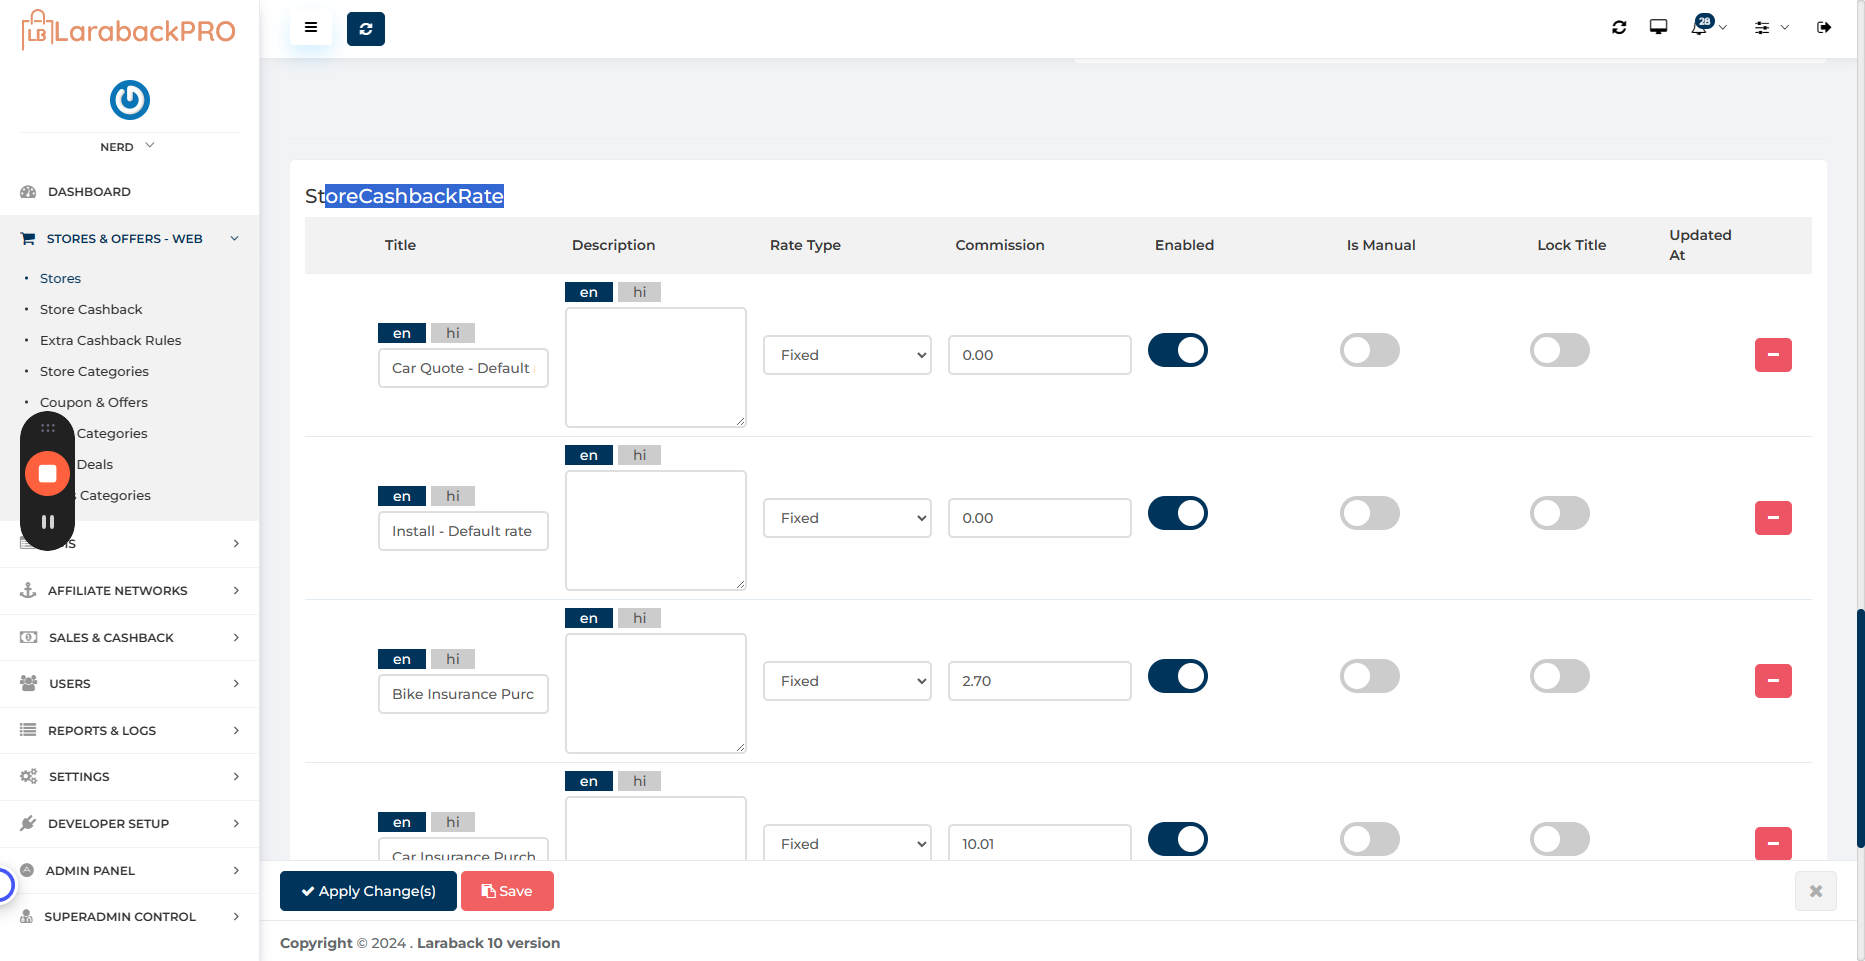
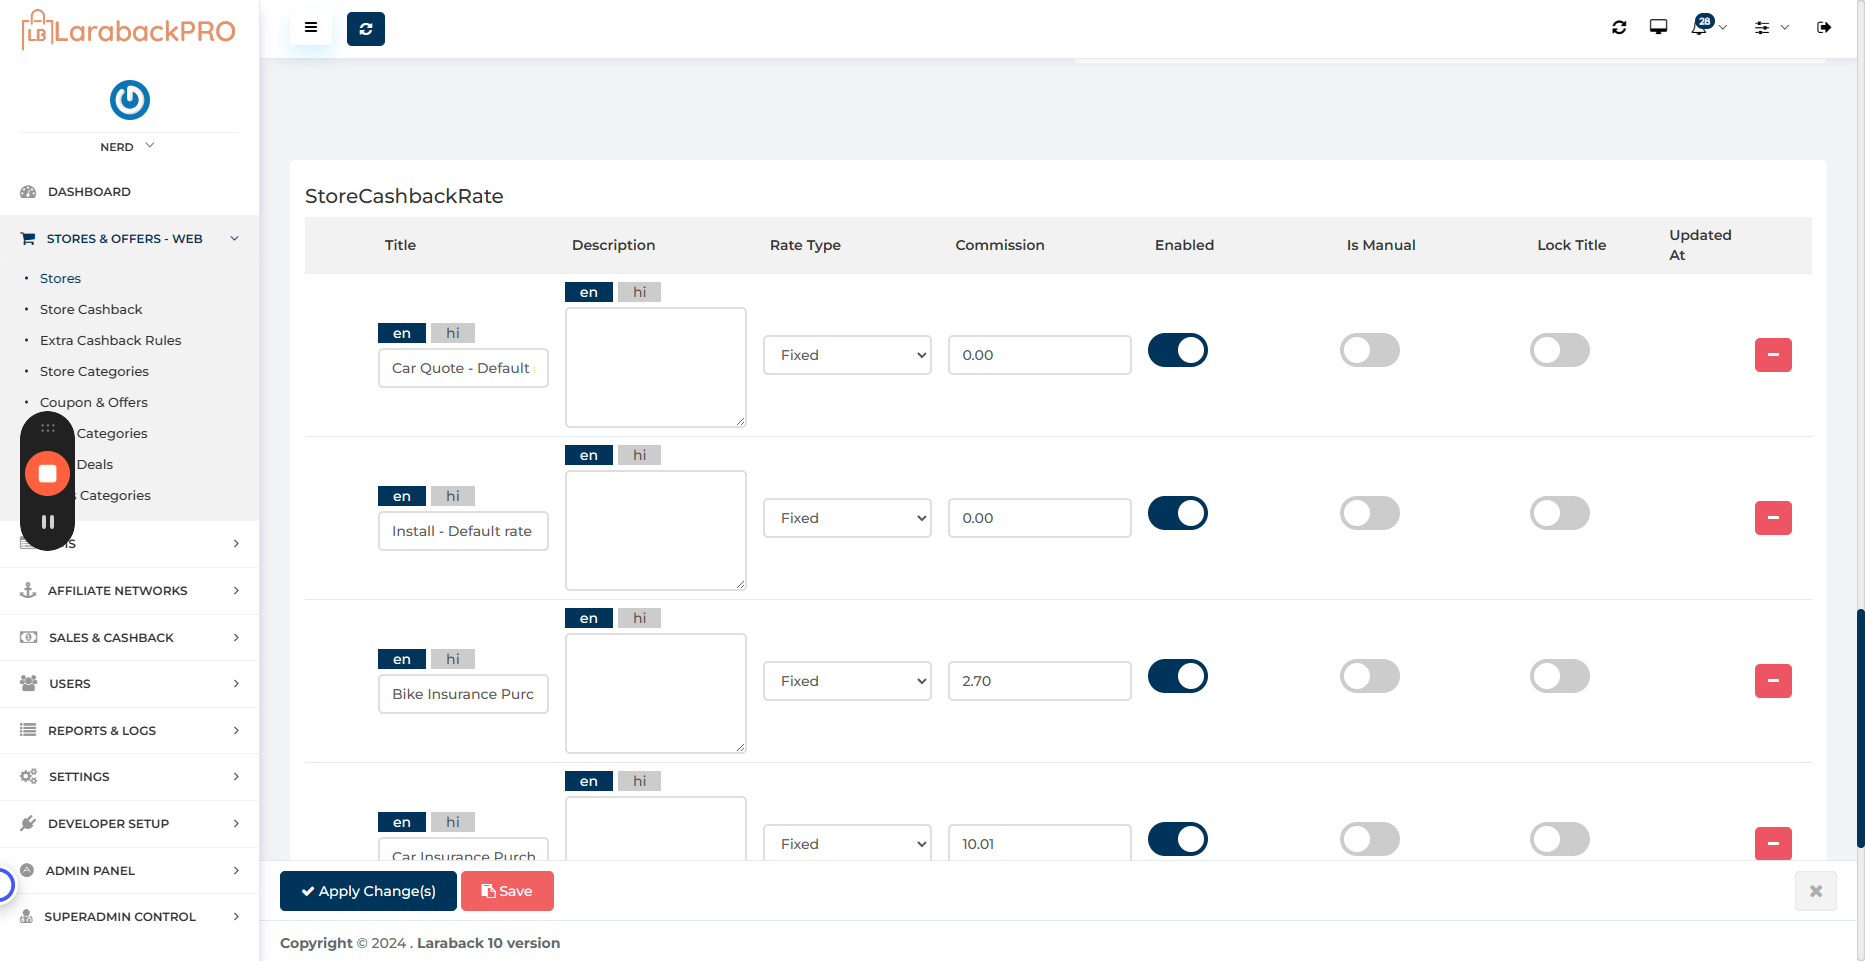
Here, you can define the different categories for specific store cashback. Enter the description and set the commission you earn.
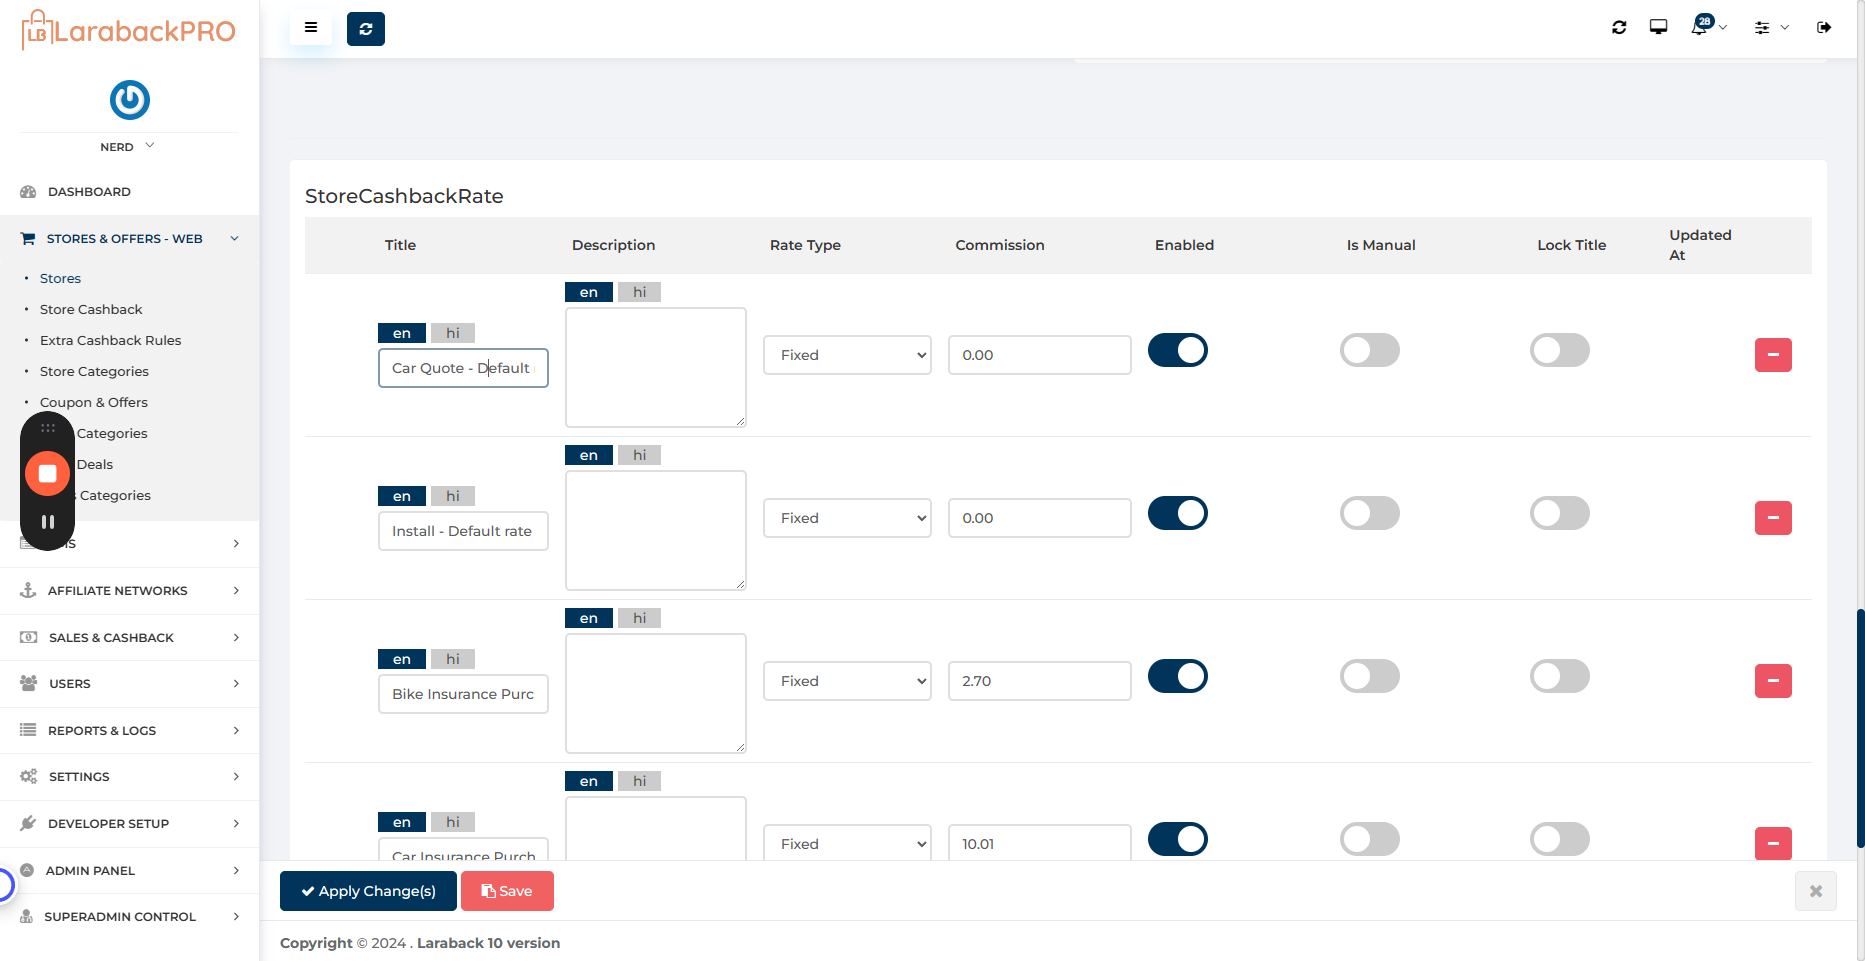
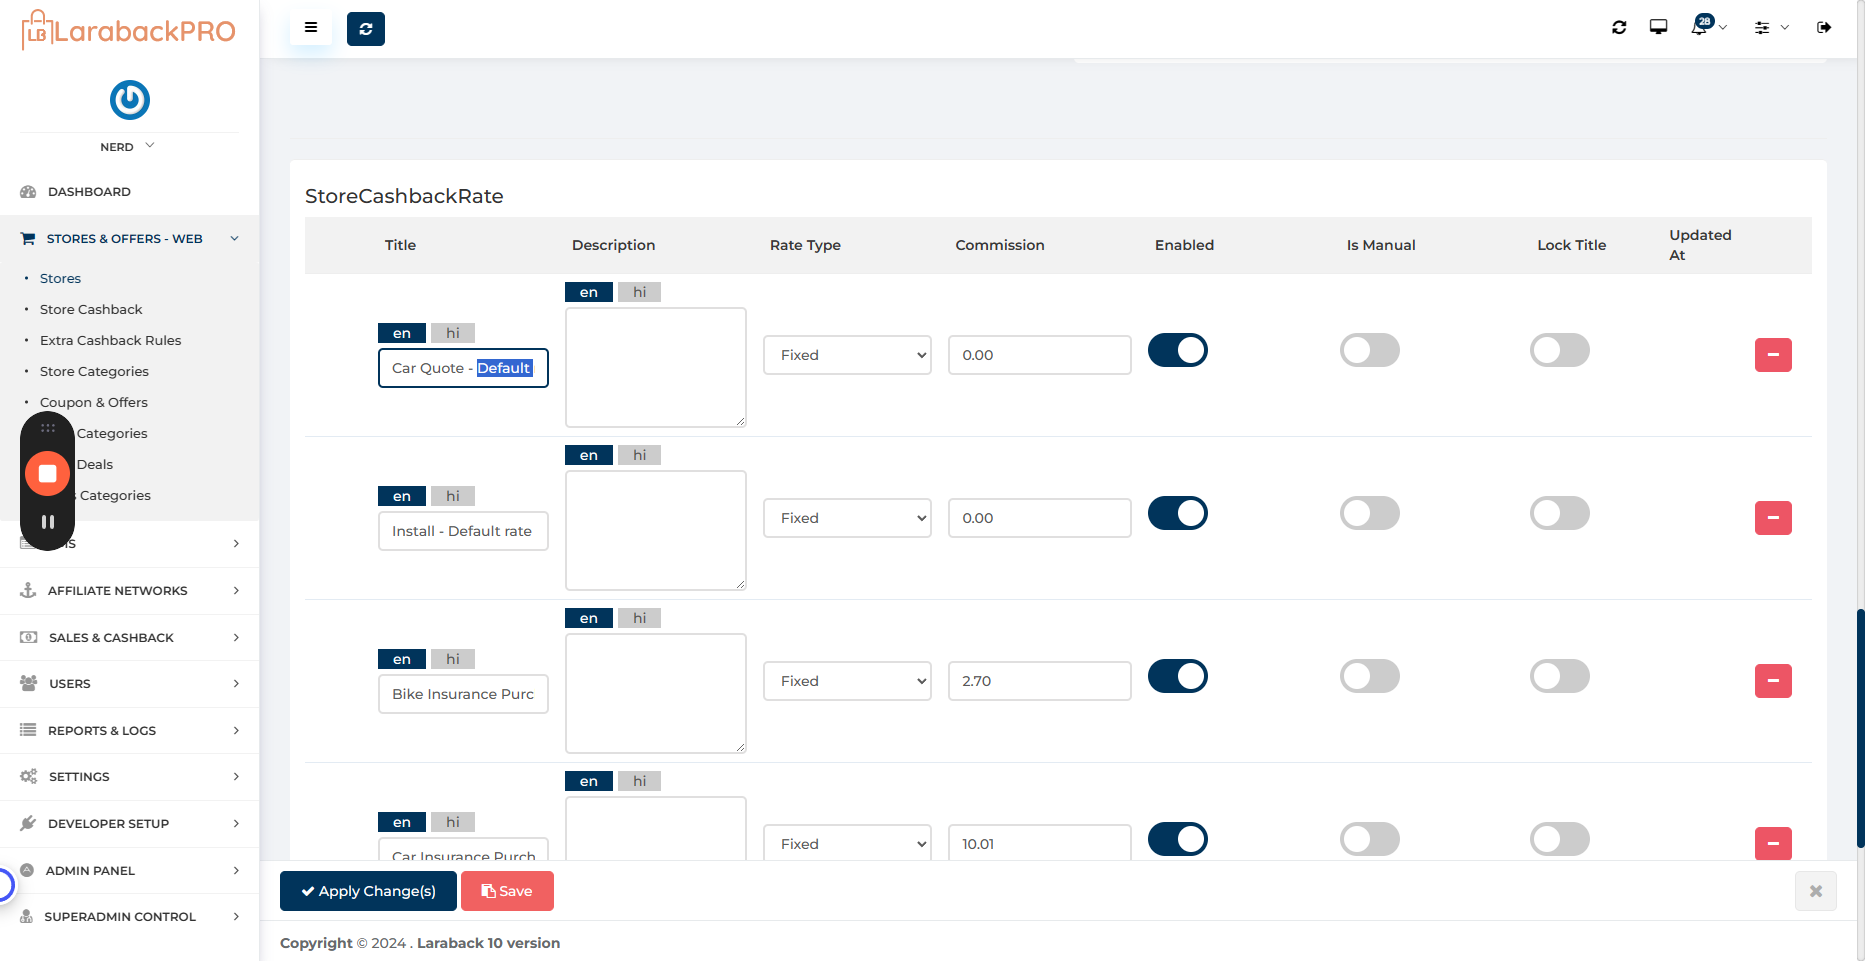
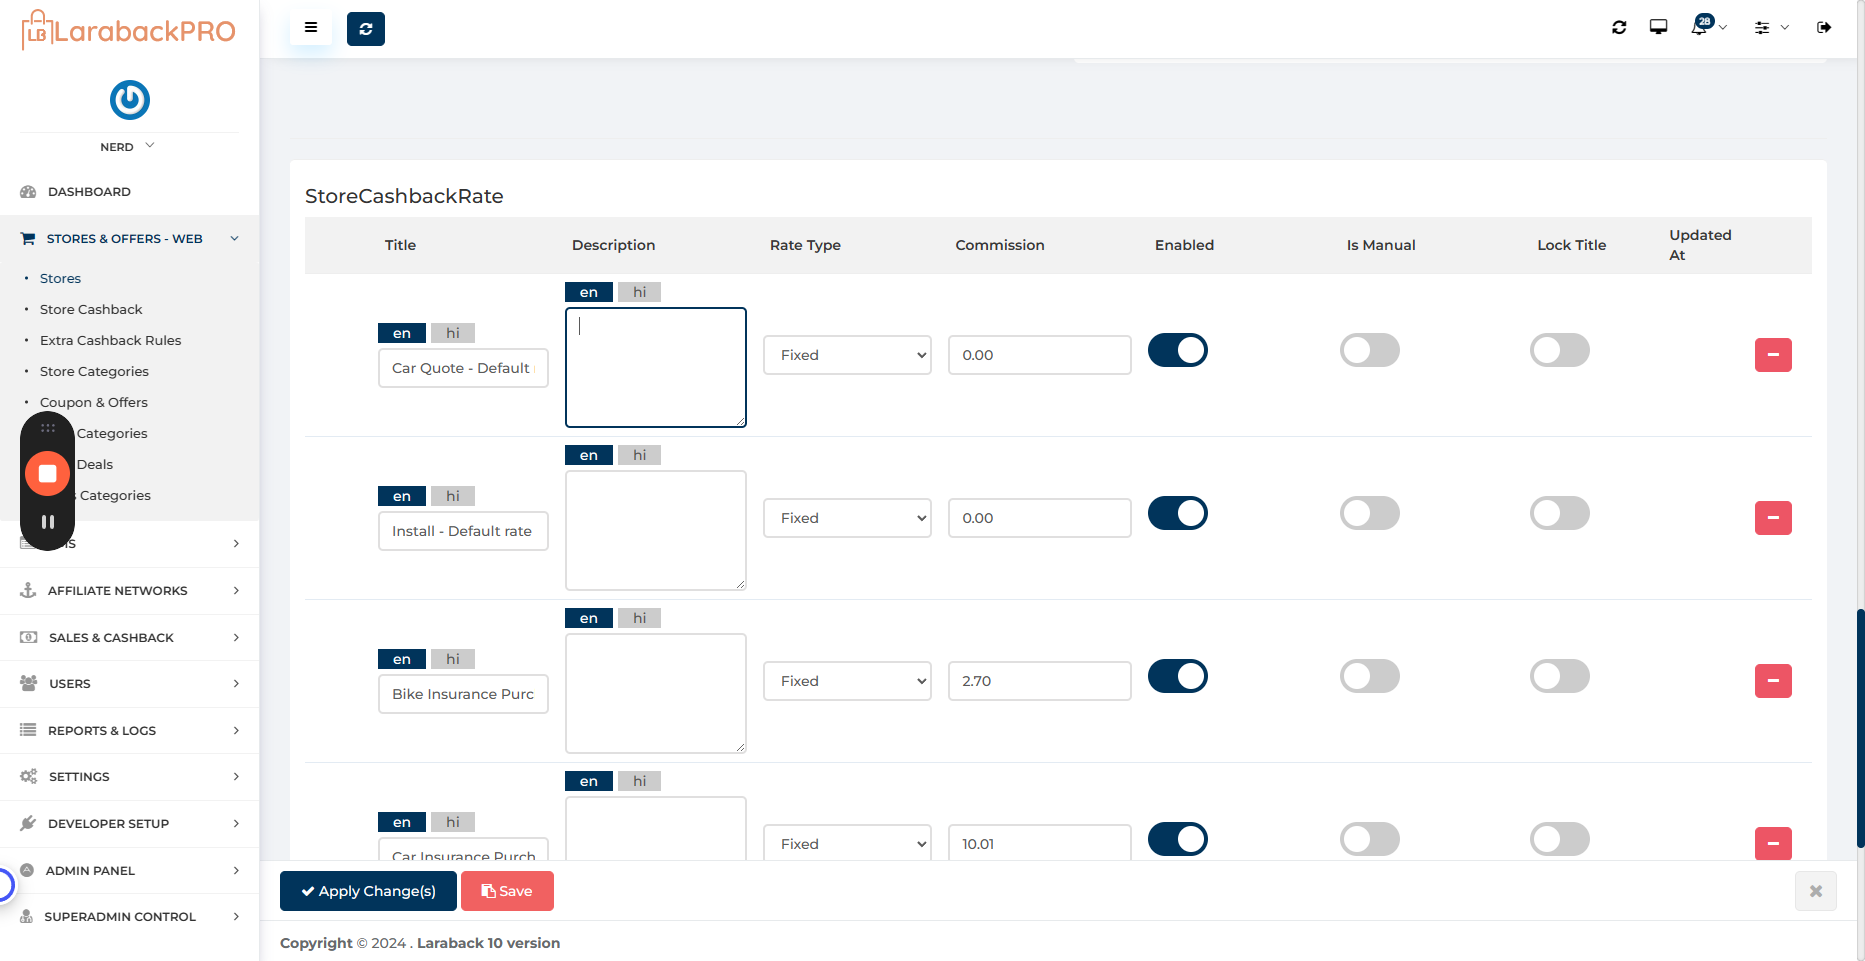
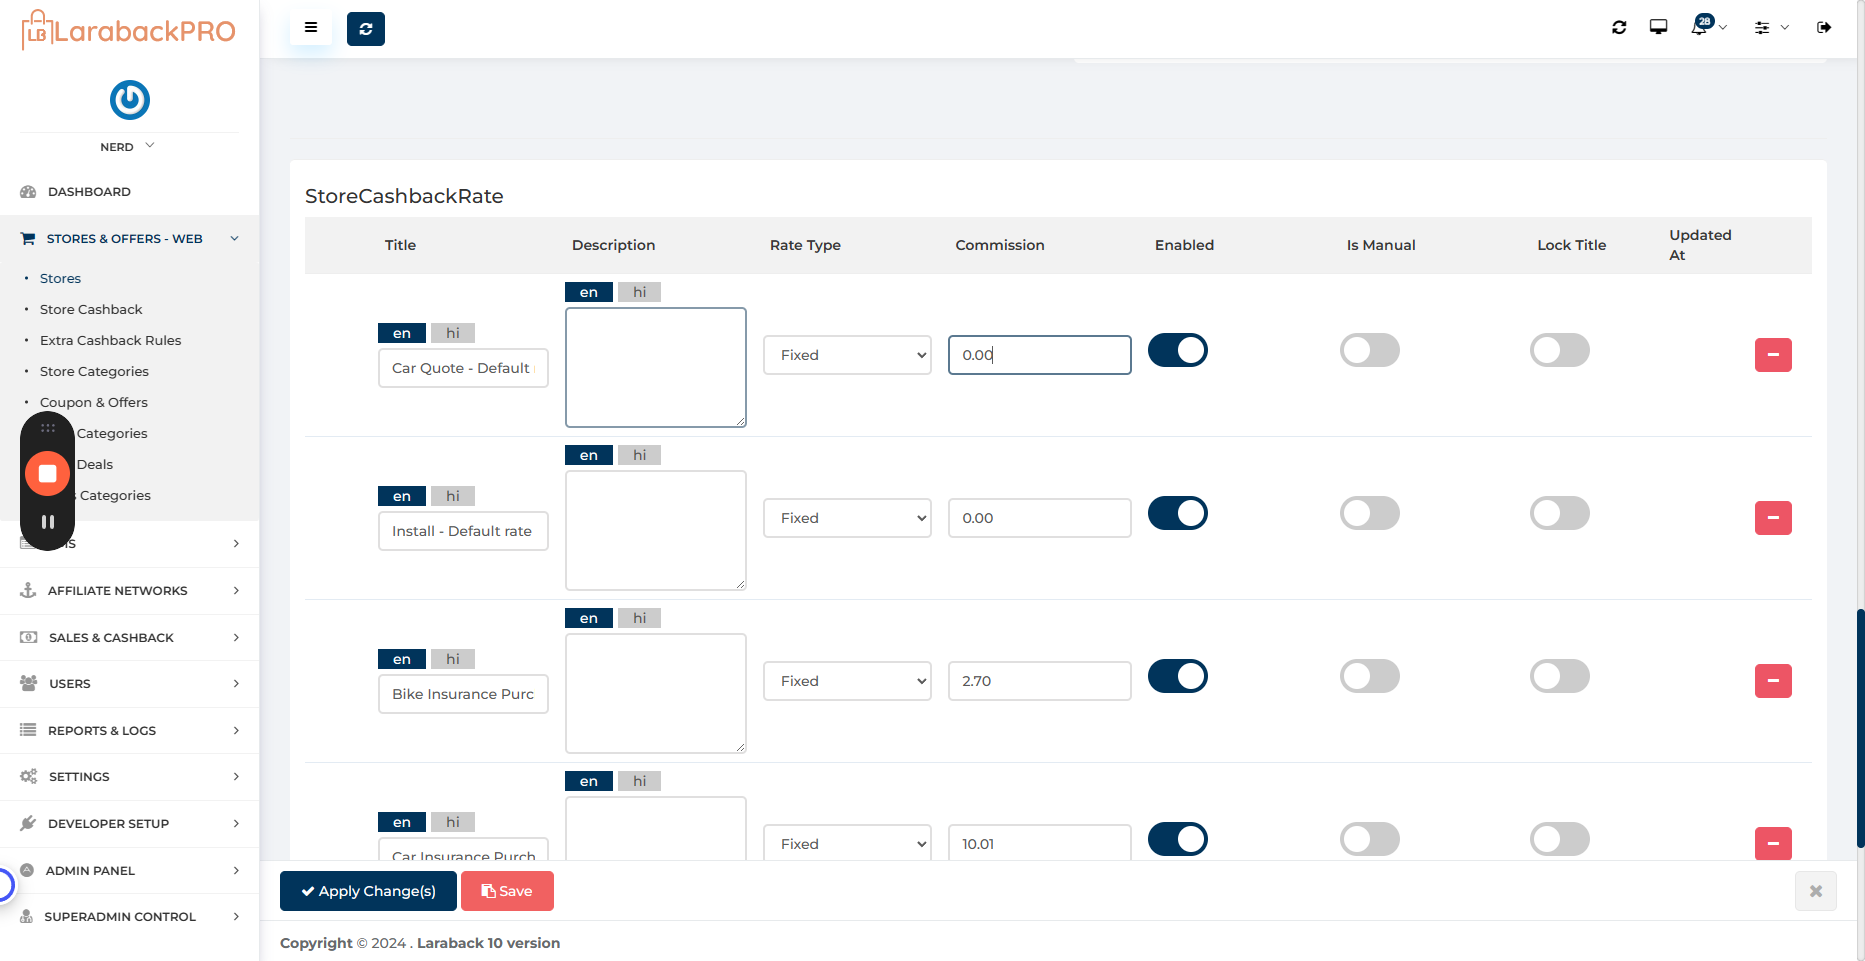

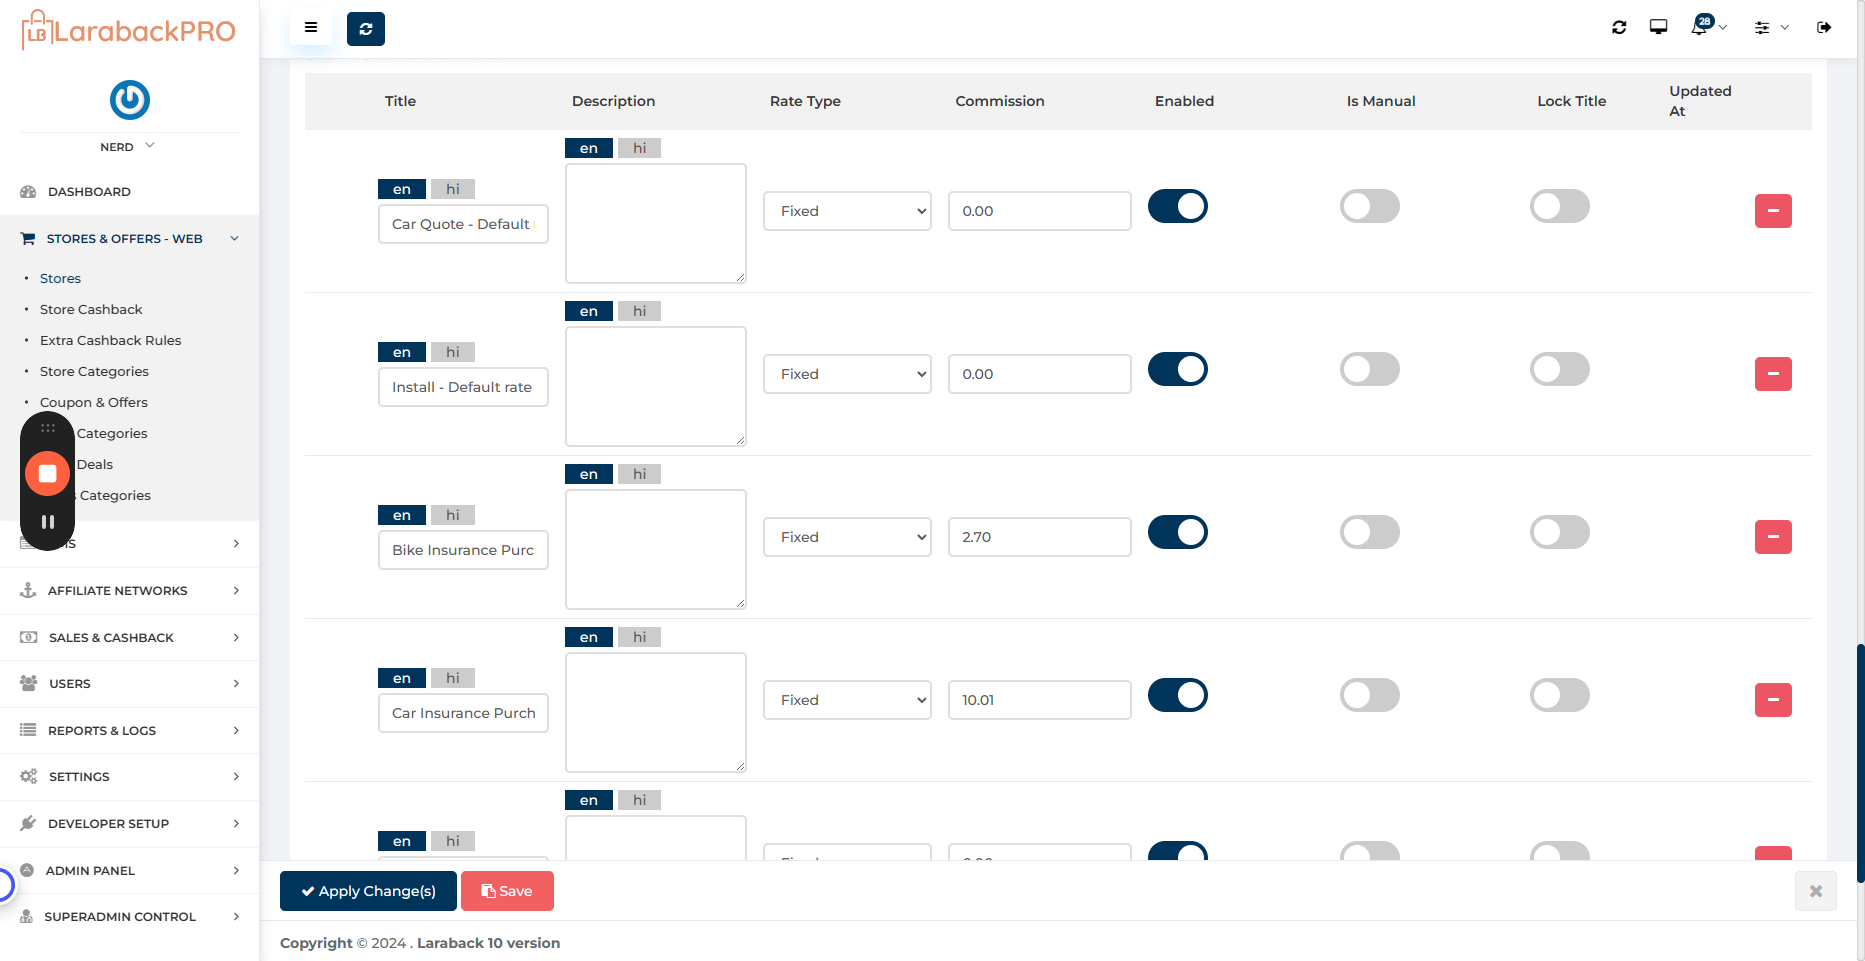
You don't need to calculate the cashback; you can directly enter the commission that you earn. If we had integrated an API with the network, this data would be automatically fetched. When data is fetched directly from the network, customization in the content is required as the network tailors the content for the affiliate market.
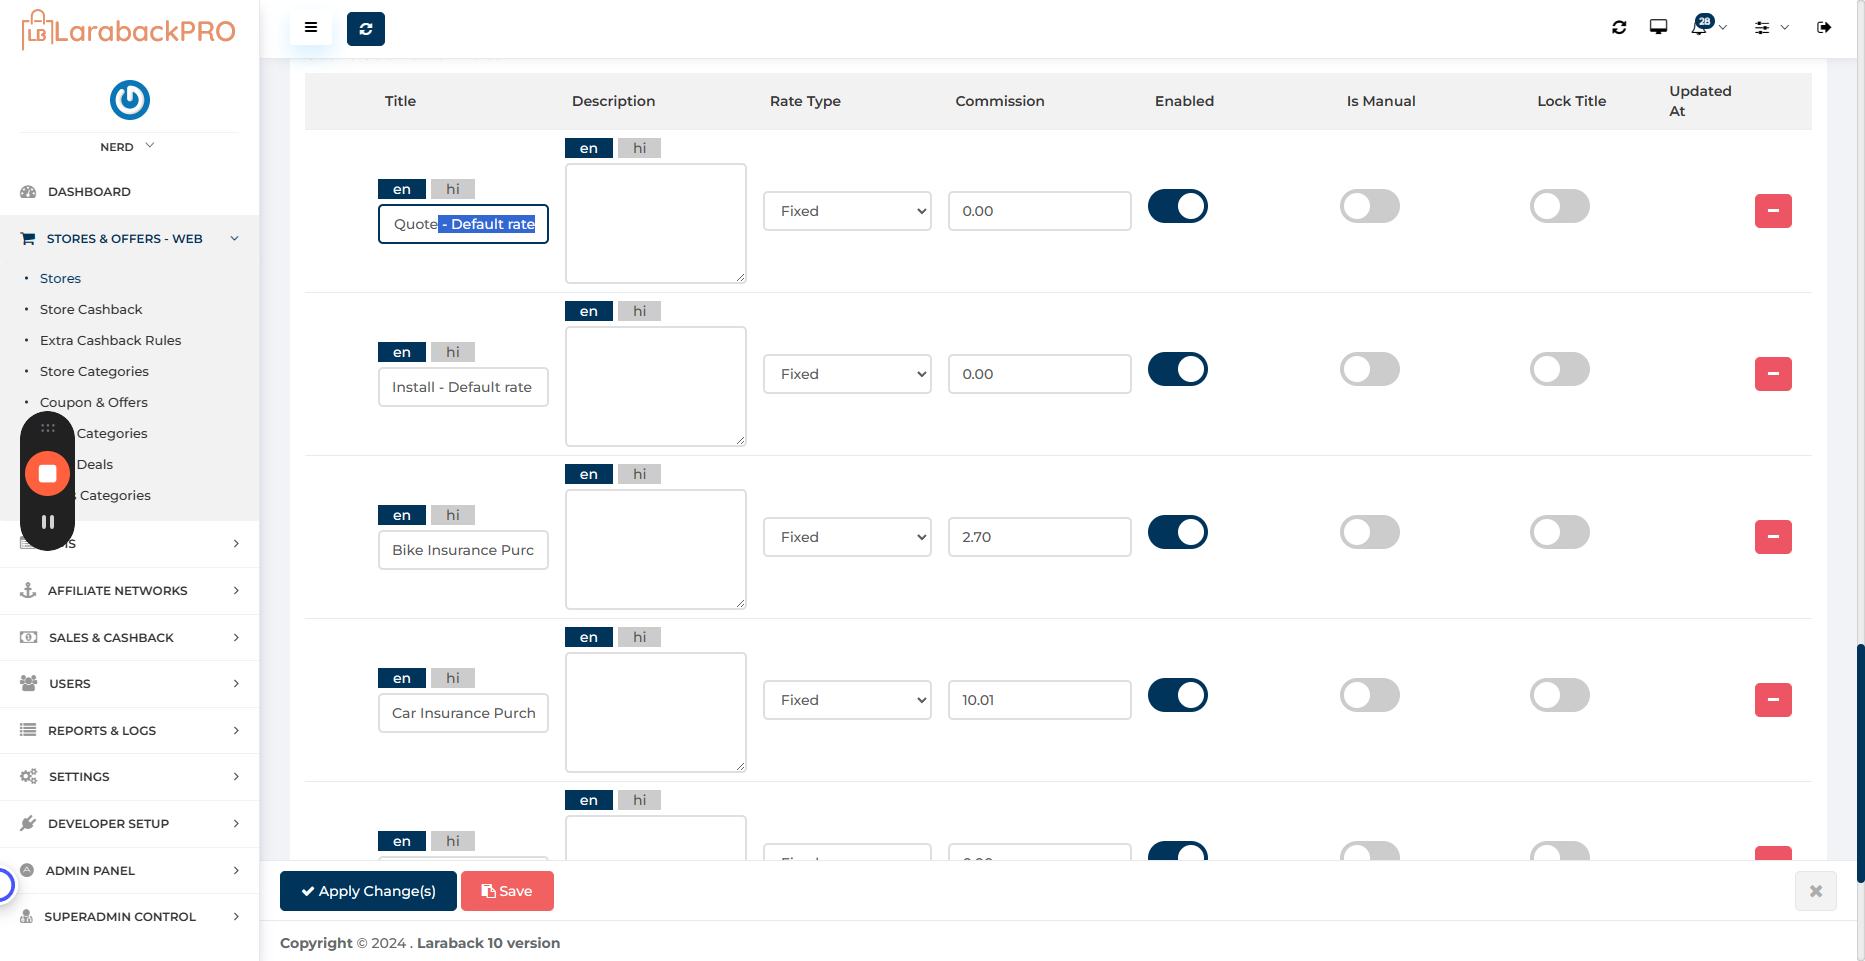


Yes, there is an audience. If you intend to present this to your end users who will be making the purchase, it's advisable to ensure clarity. Please review this specific content and consider enabling the locked item to prevent overwriting during the next API sync.

Hope this guide is helpful. Thank you.