
How to Connect a Data Set to Your Project: Step-by-Step Guide
Learn how to navigate your project dashboard and connect a data set, including selecting data sources like DICOM or Heidelberg Heyex 1, applying filters, and linking your OCT images efficiently.
By Yasmin McQuinlan
In this guide, we'll learn how to navigate to your project and connect a data set. You will see how to select your project, choose or create a data set, and link it to your image files. We will also cover how to apply filters to your data set if needed.
You will know how to confirm that your data set is connected and ready to use.
Let's get started
I will show you how to navigate to your project and connect a data set.
1
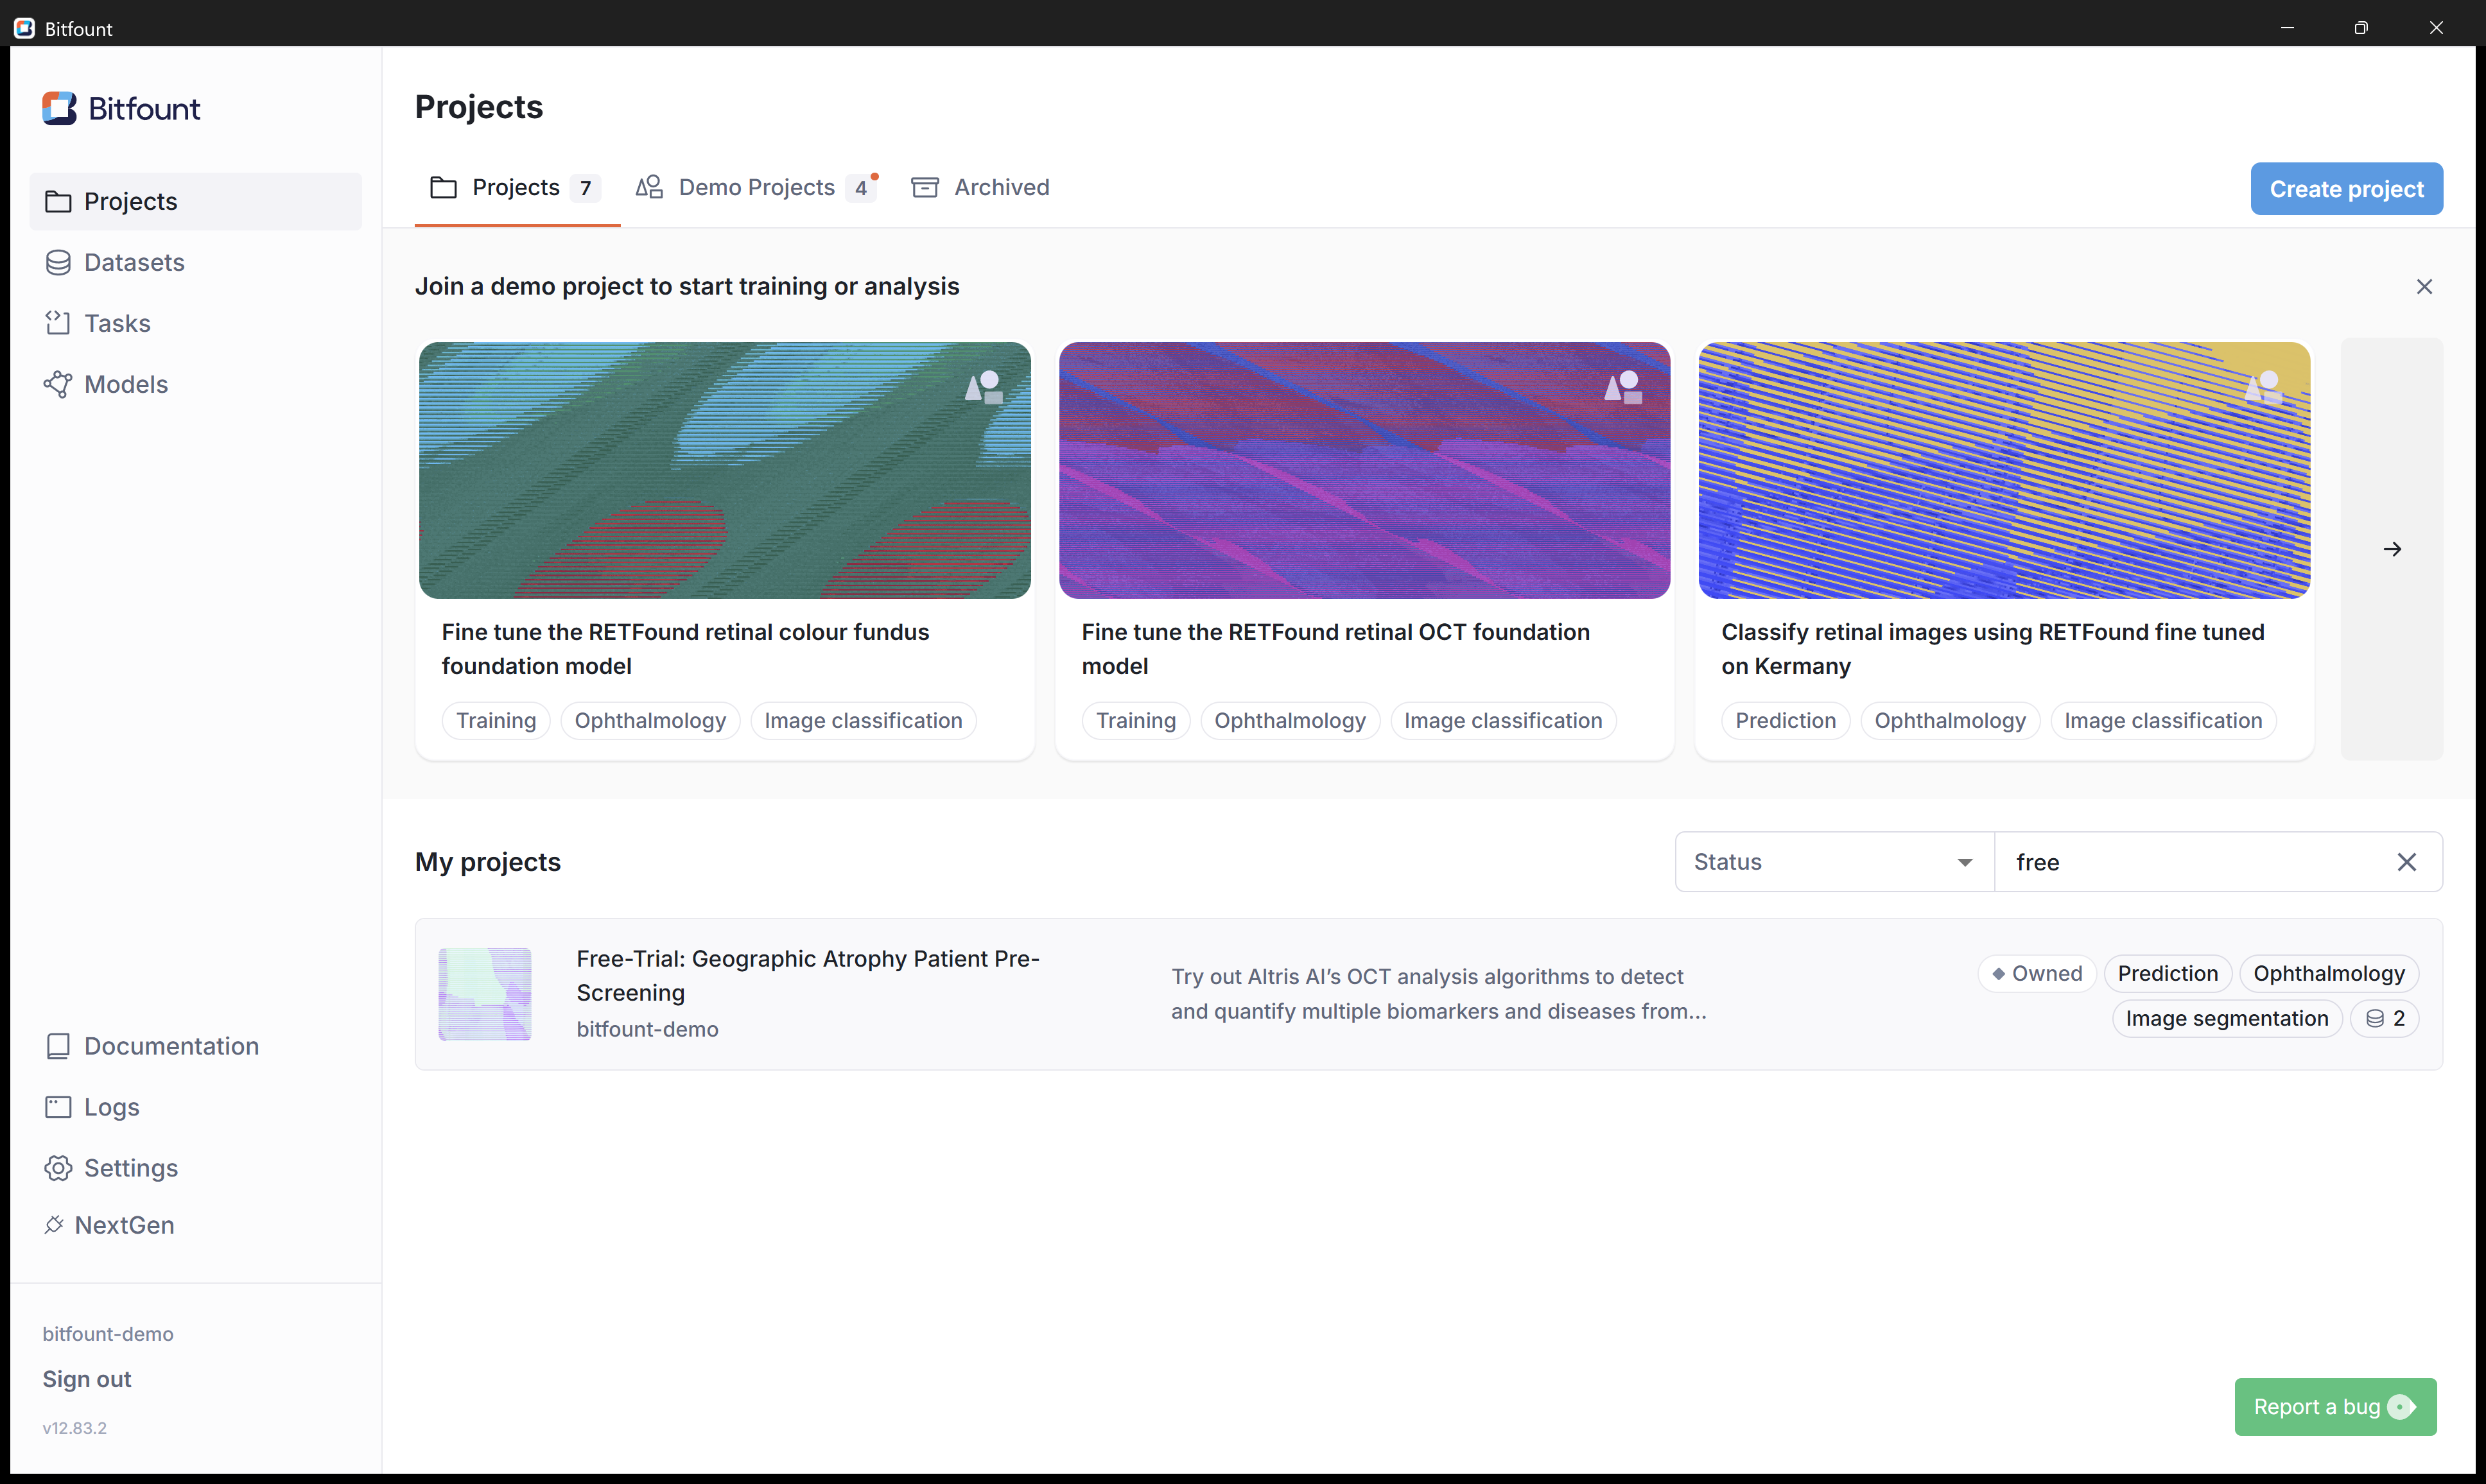
Click on your project under "My projects".
2
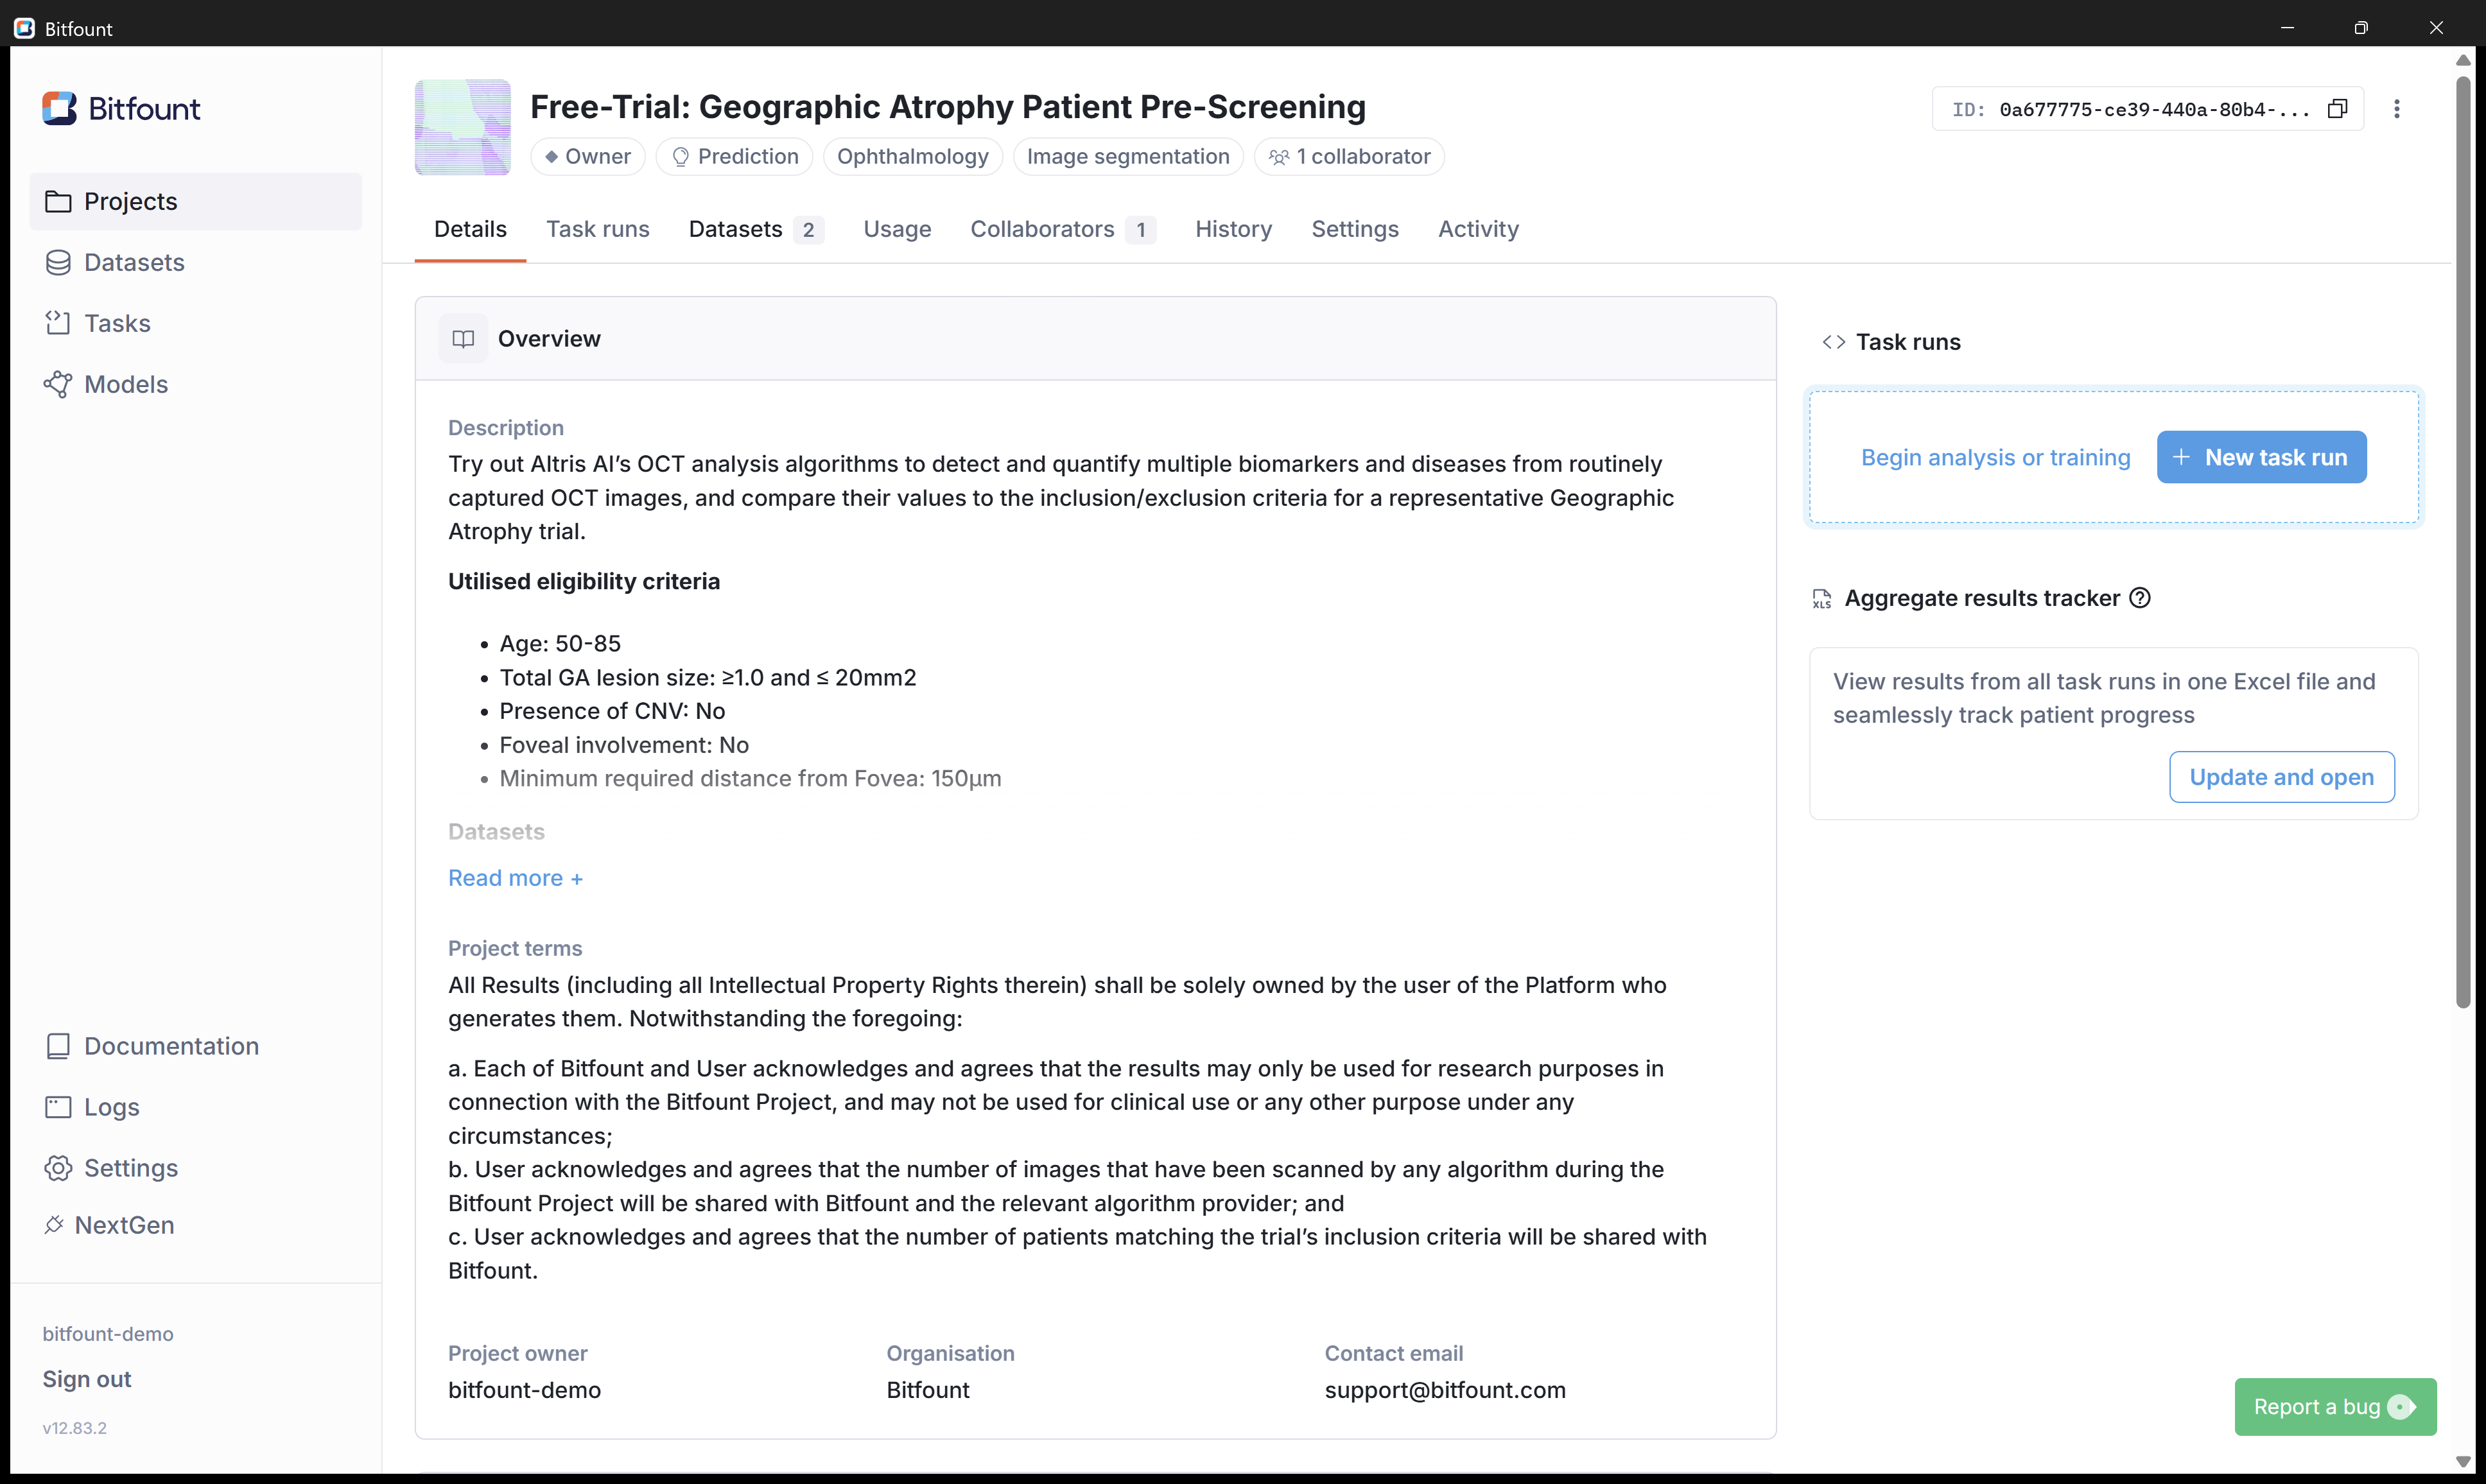
Click on the "Datasets" tab.
3
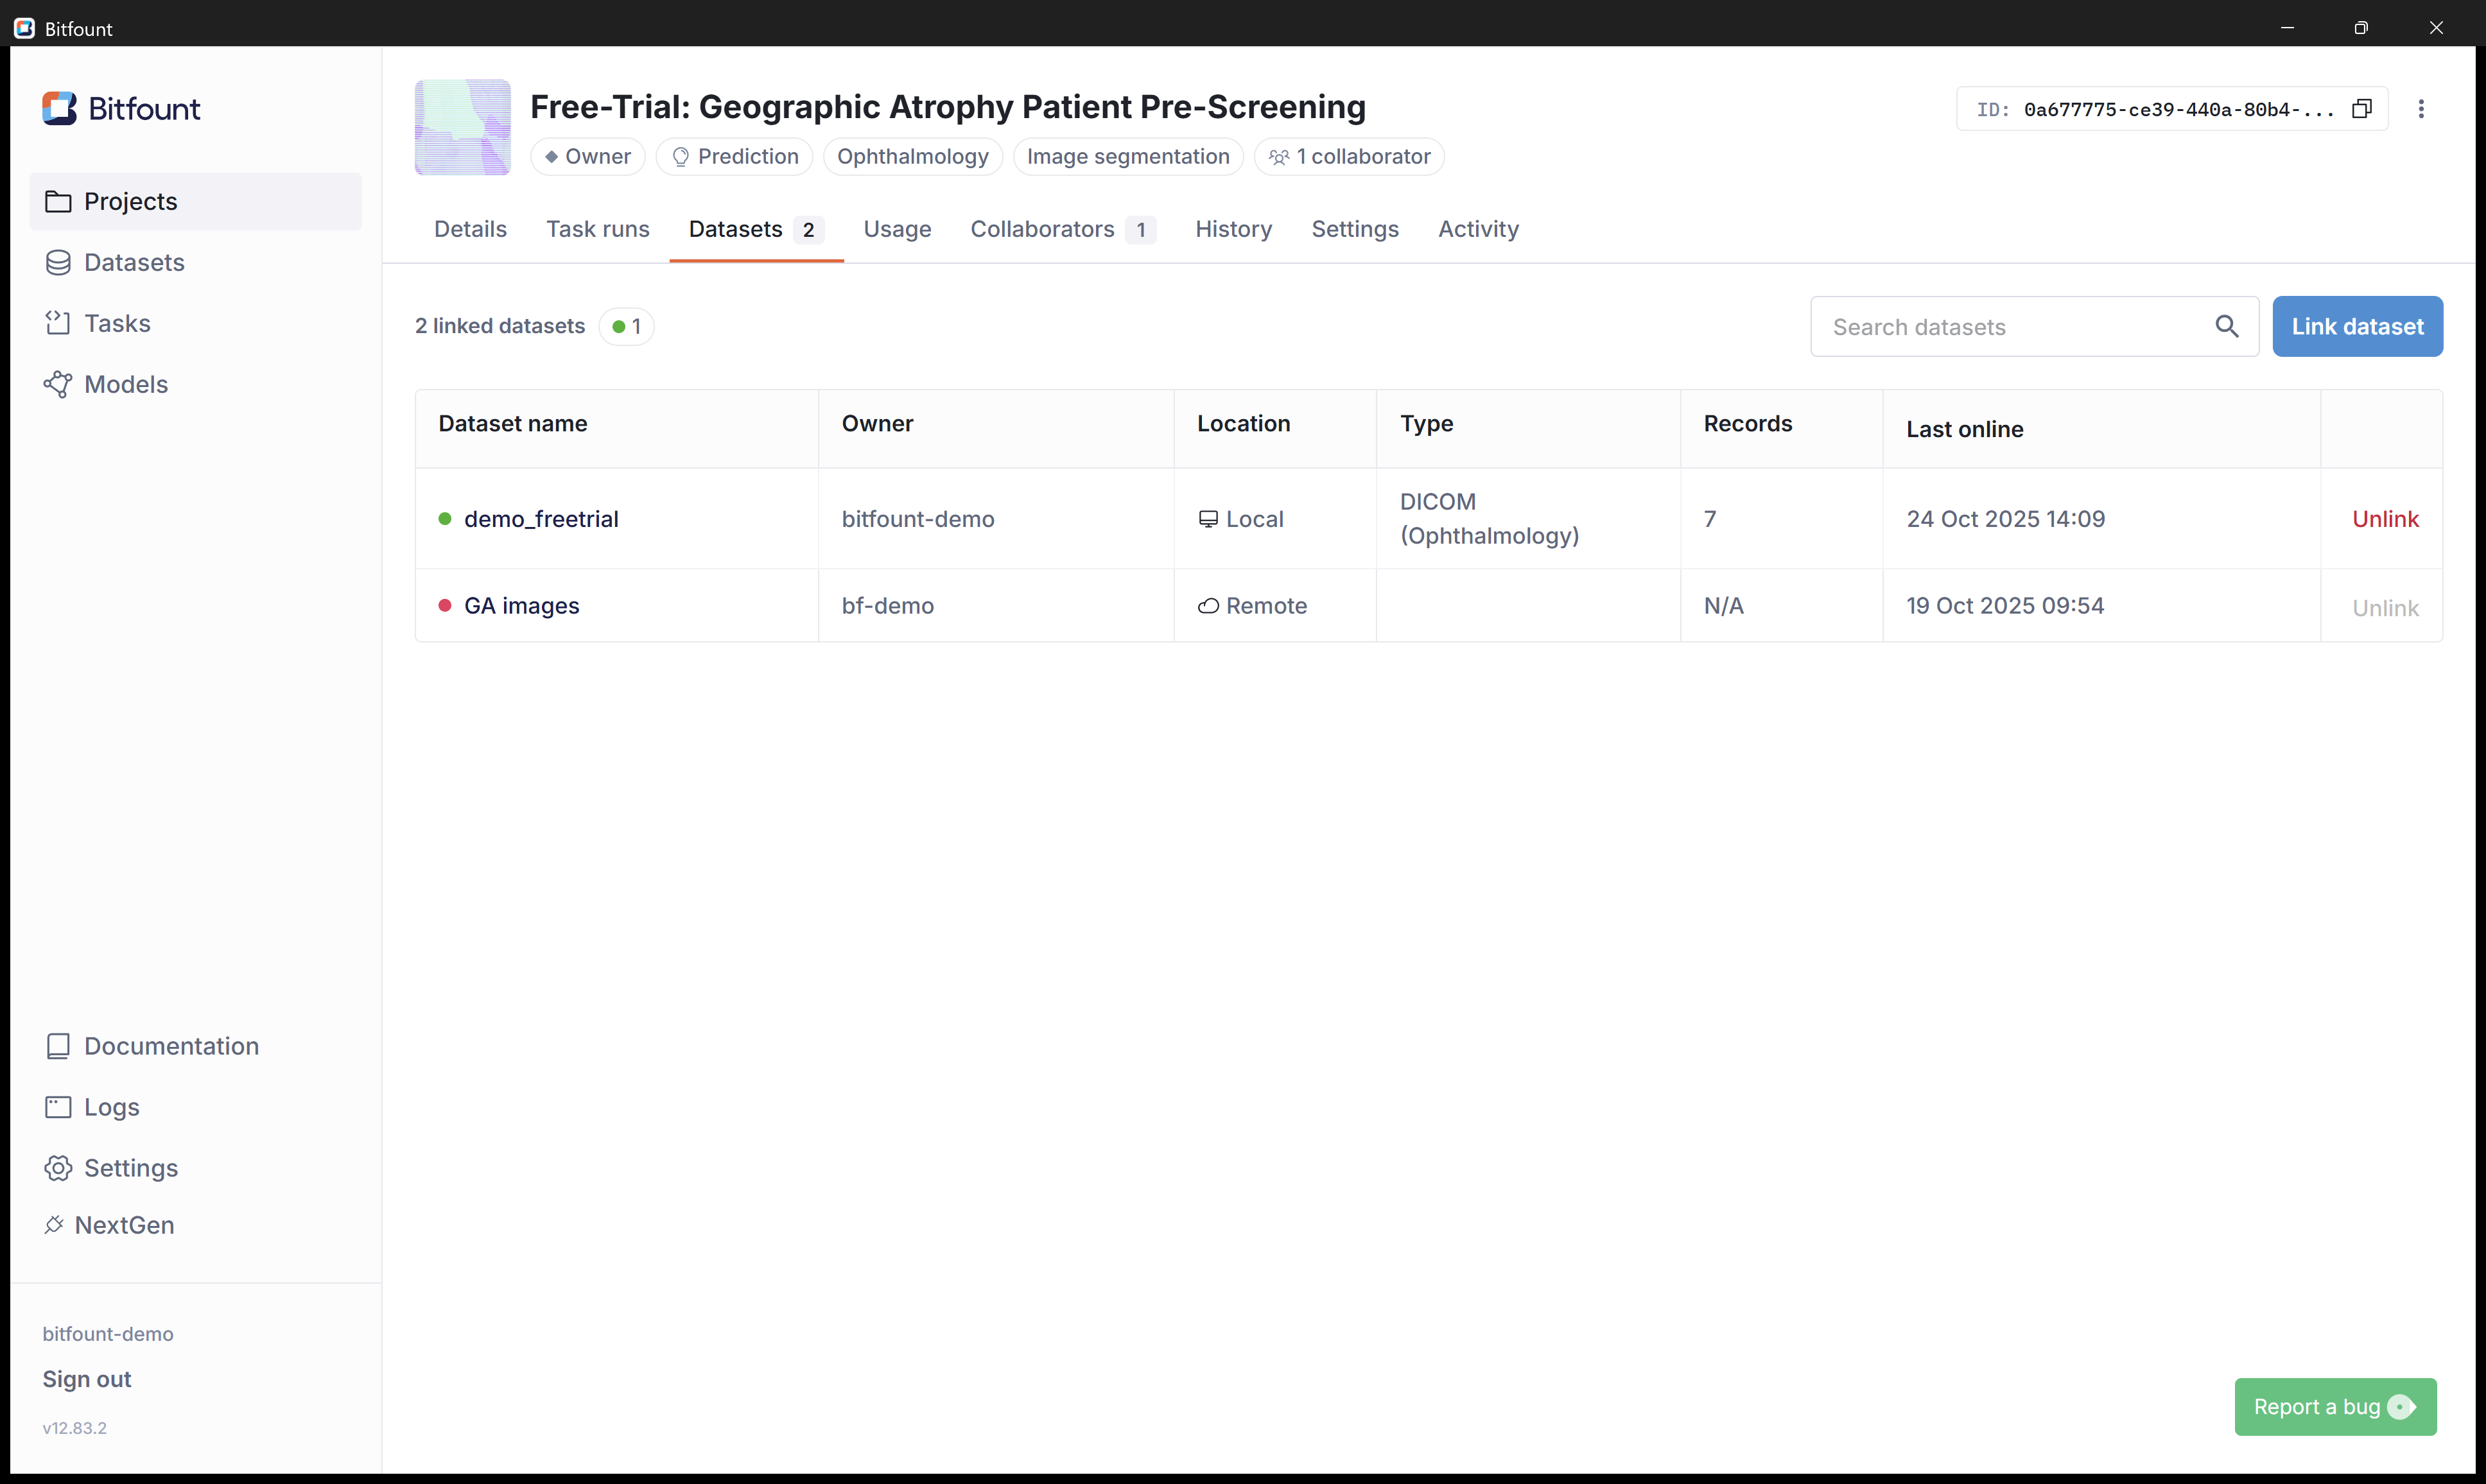
Click on "Link dataset"
4
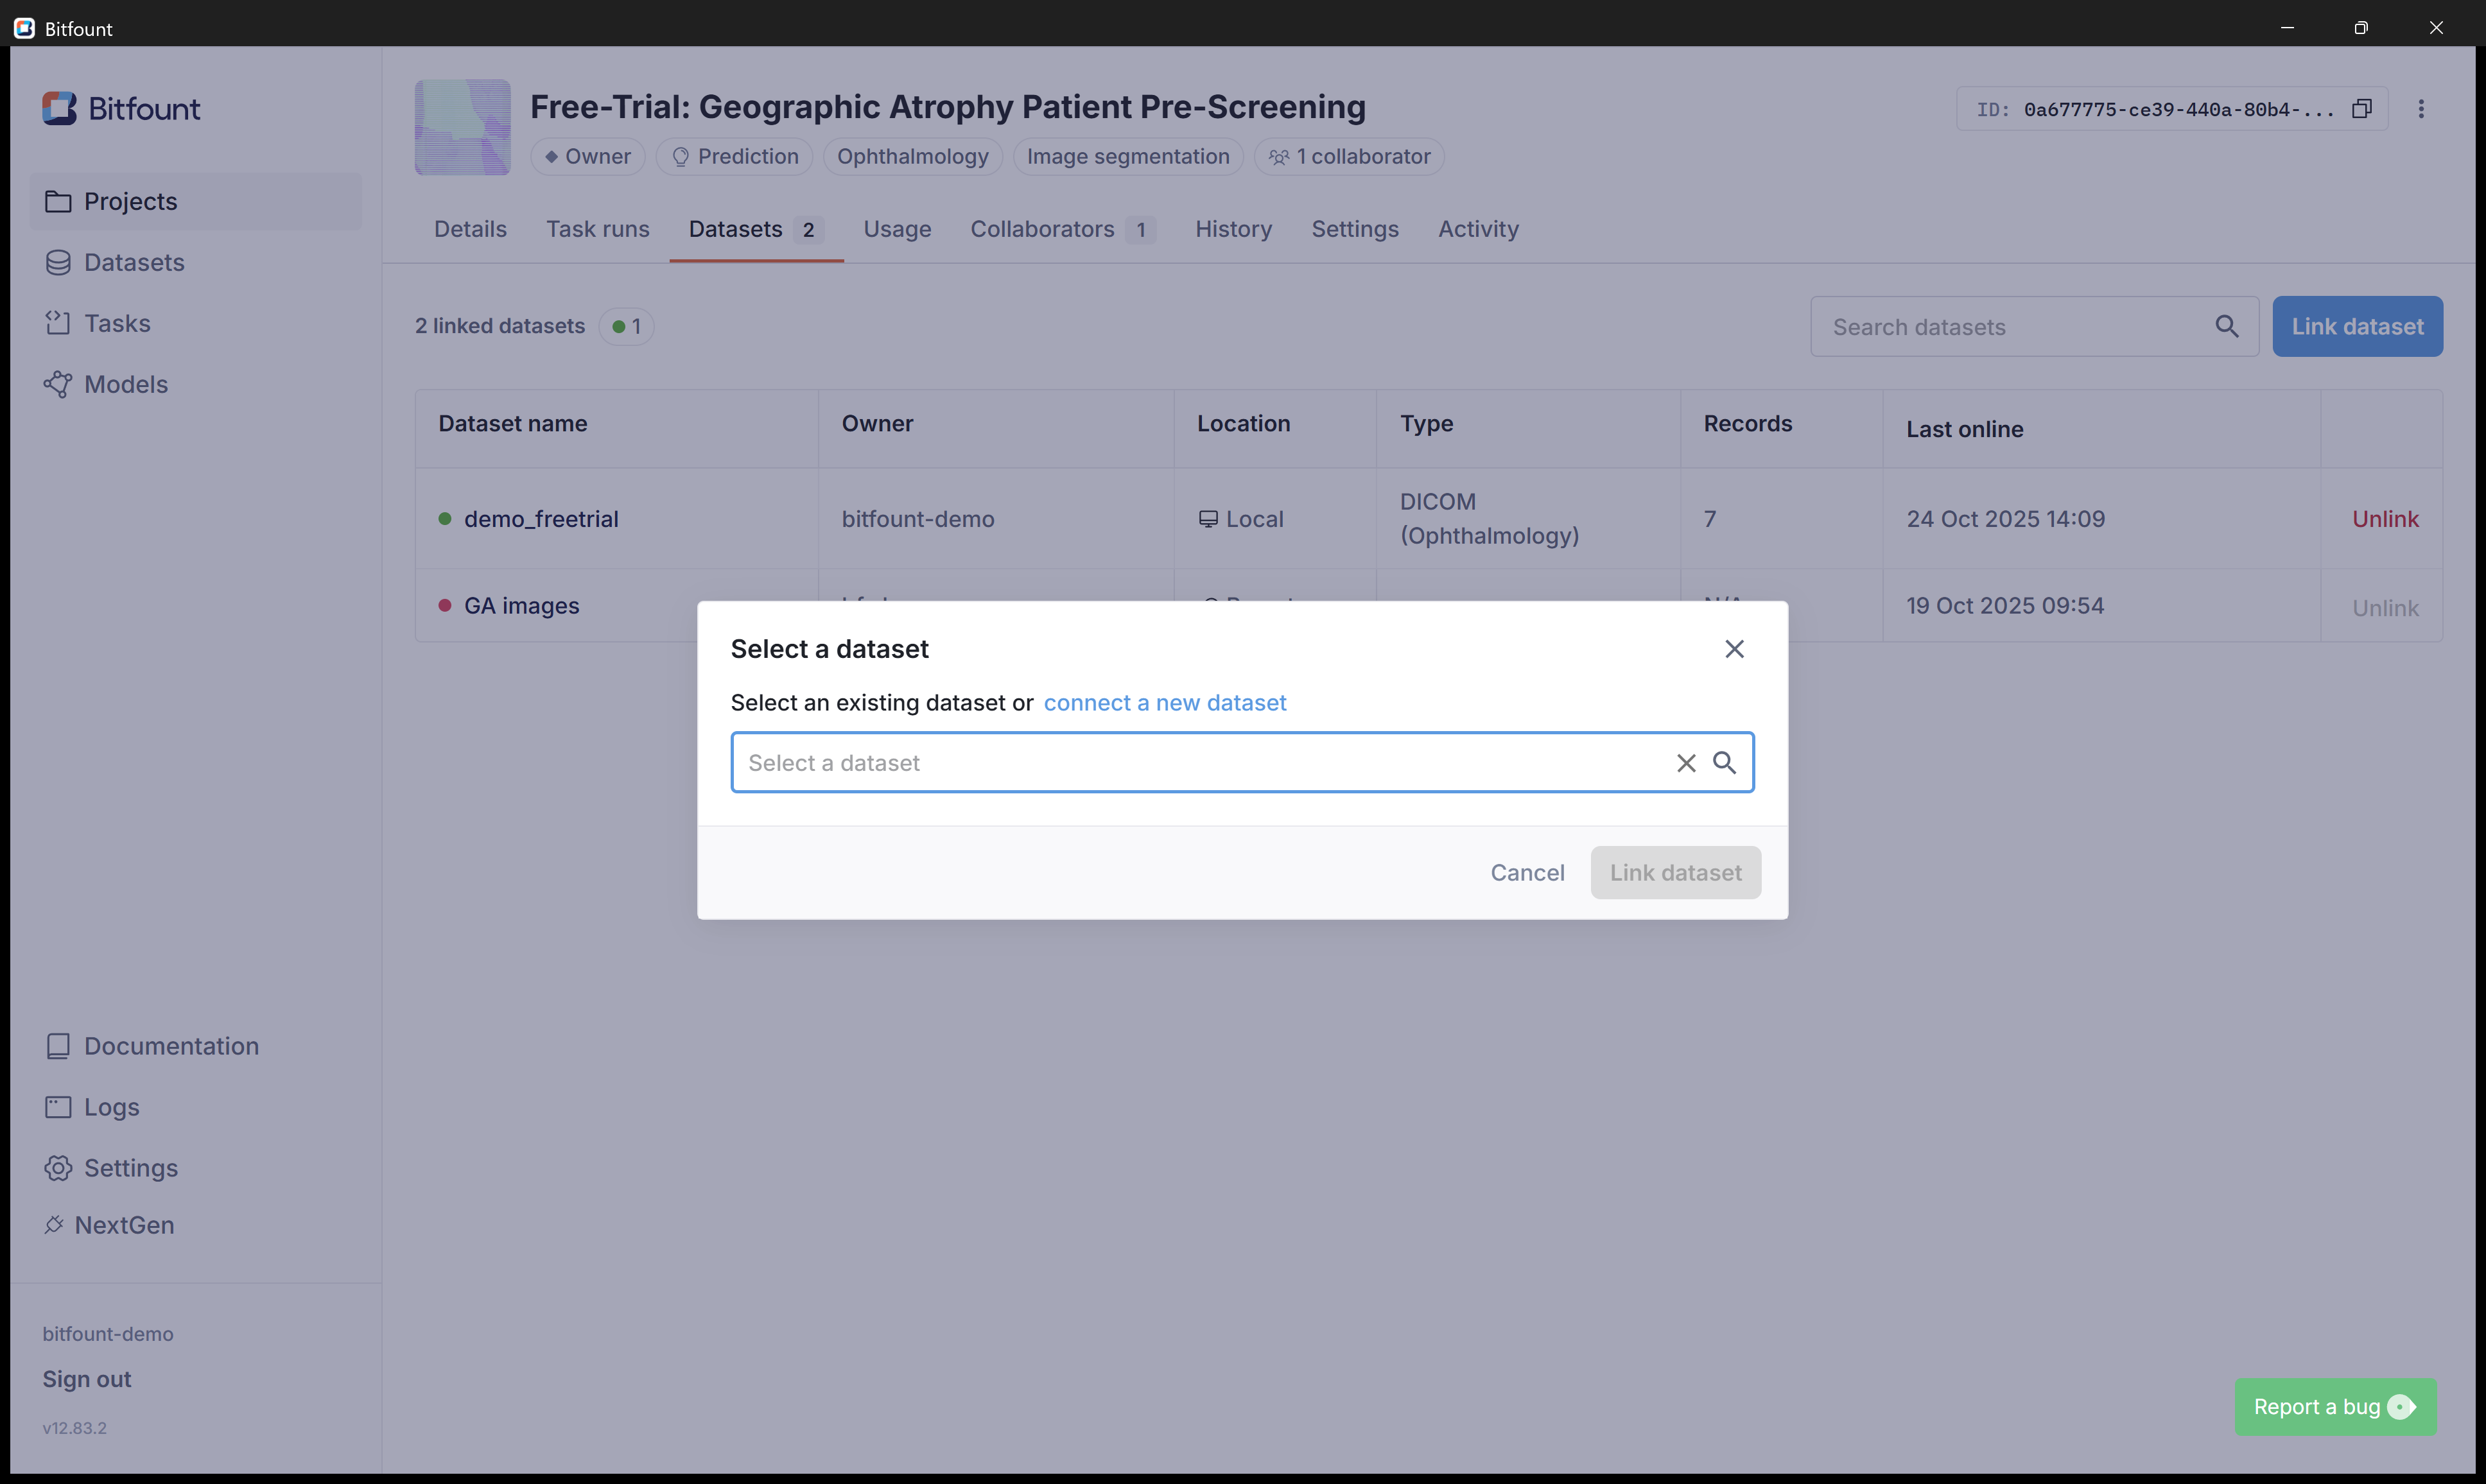
You can select an existing dataset from the dropdown, or connect a new dataset by clicking on "Connect a new dataset"
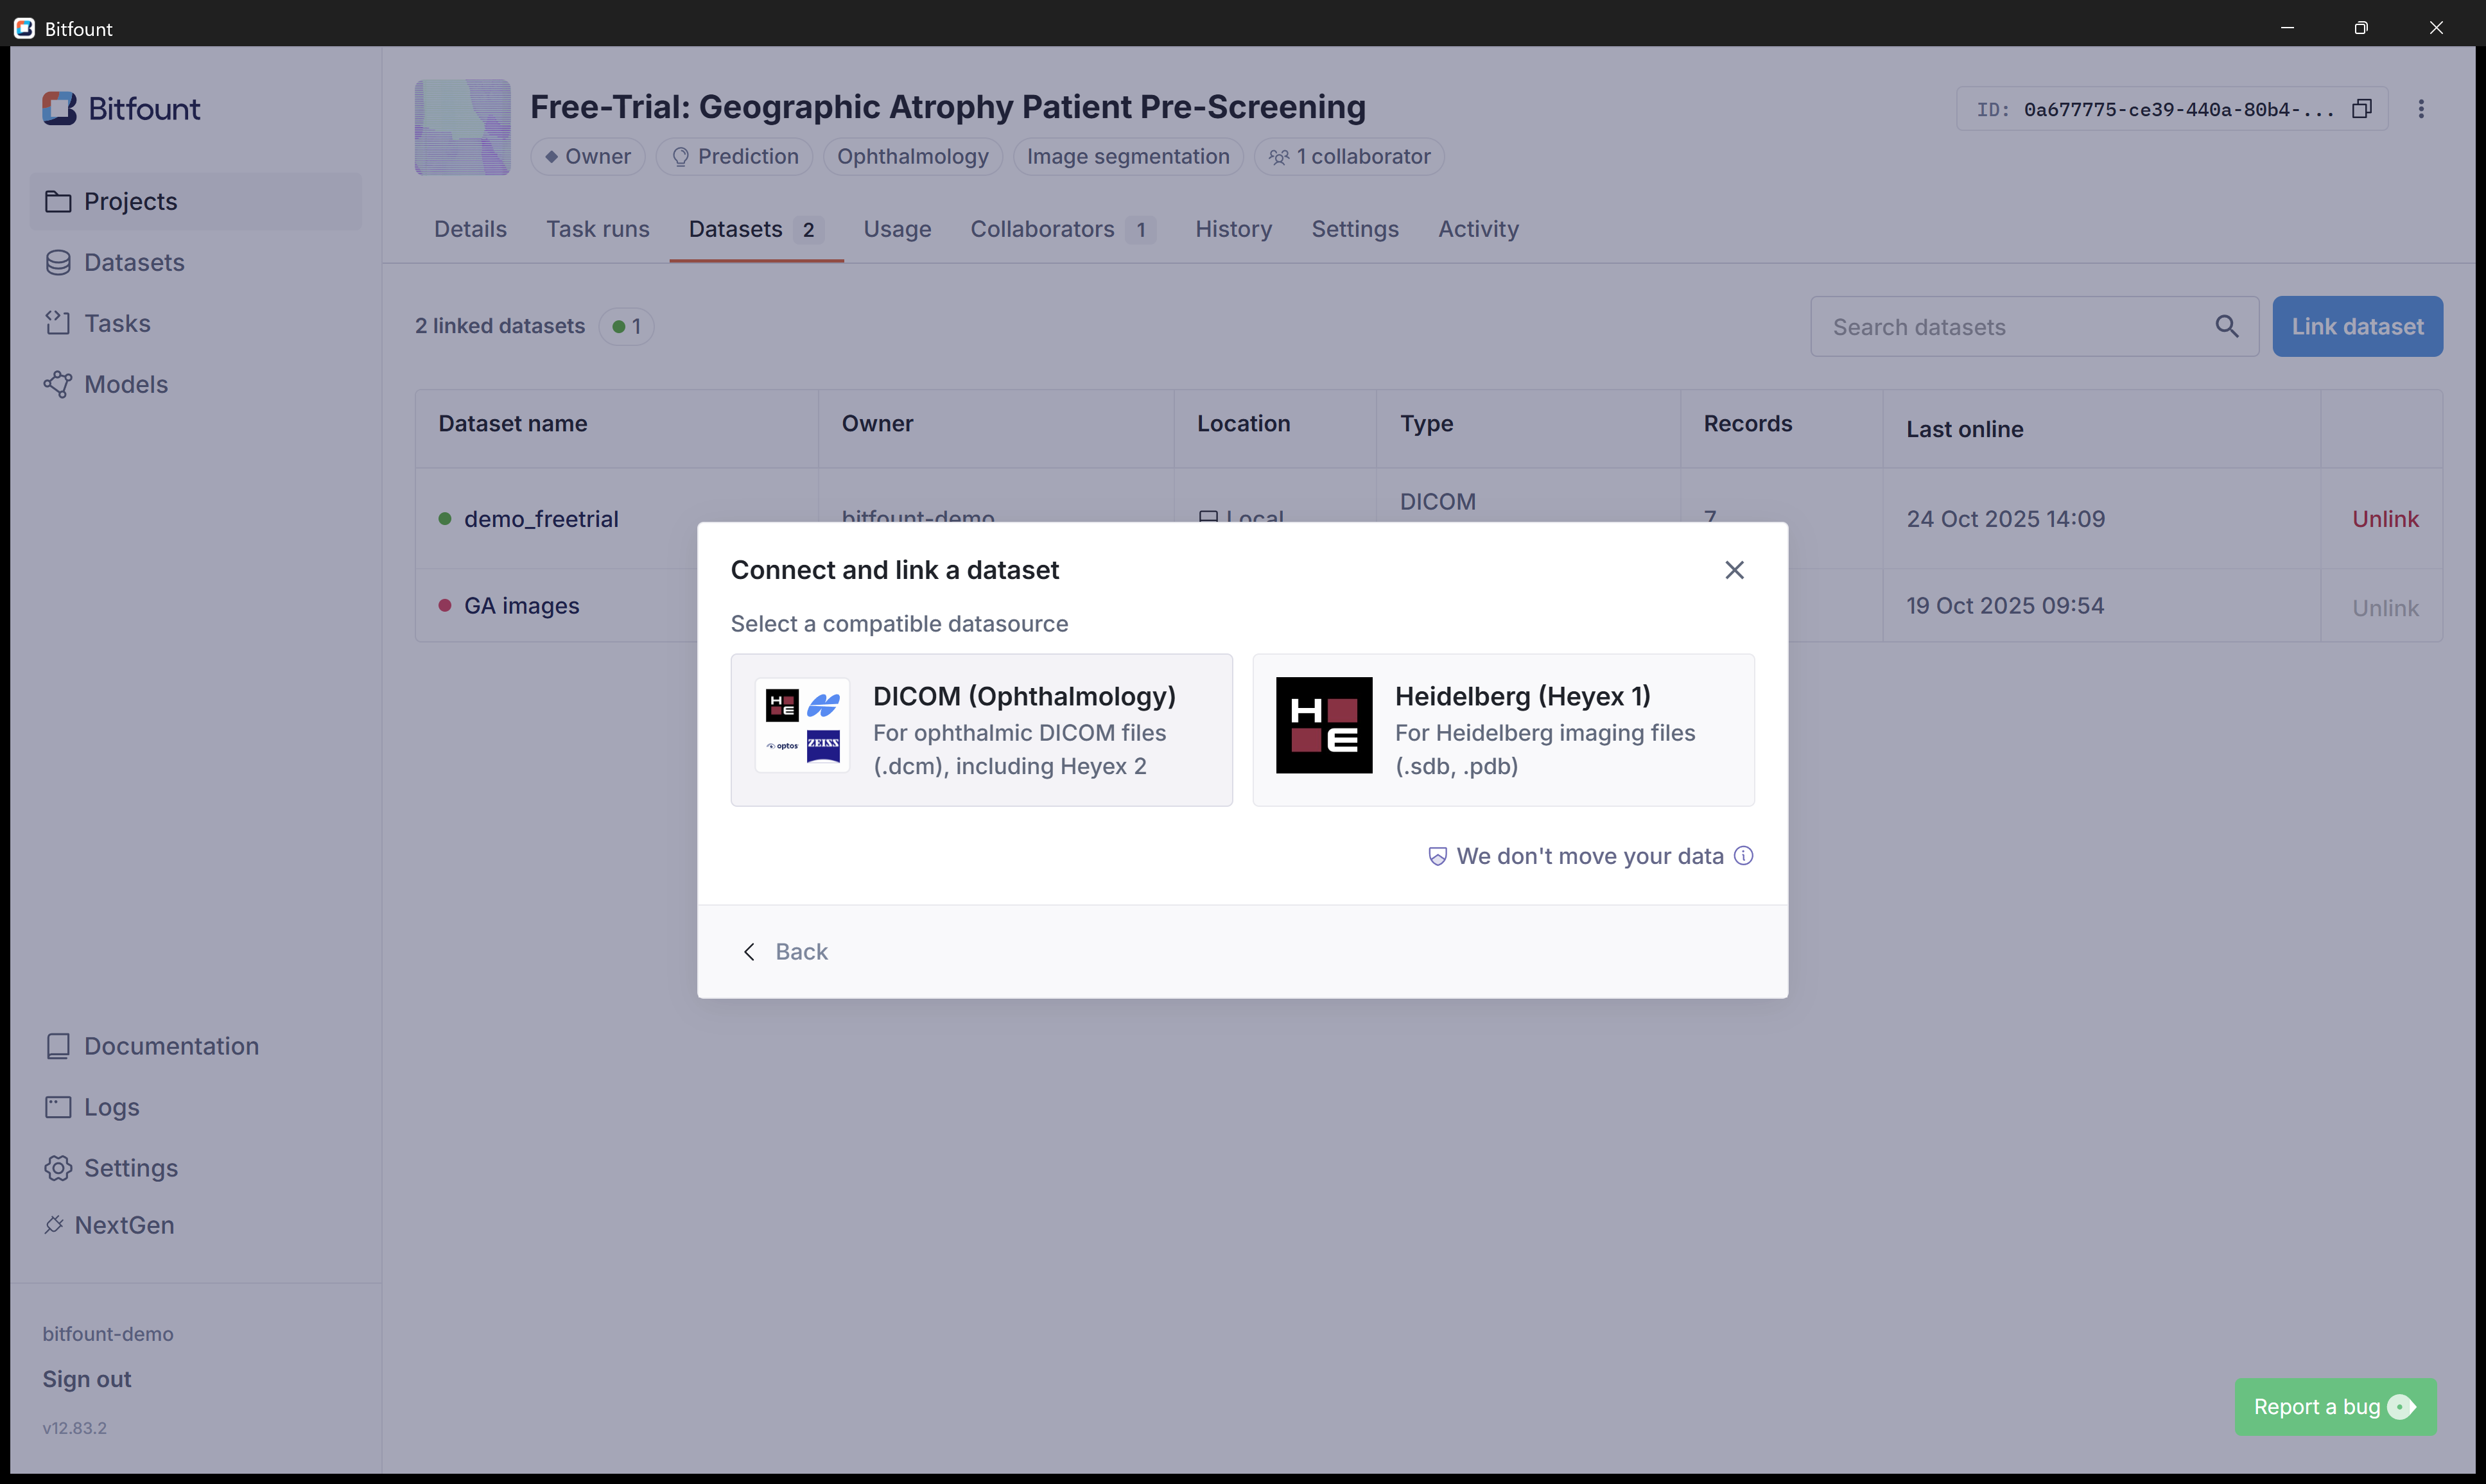
5
Here you can select the appropriate datasource either "DICOM (Ophthalmology)" for image files with the extension .dcm or select "Heidelberg Heyex 1" for cameras with image file extensions of .sdb or .pdb.
6
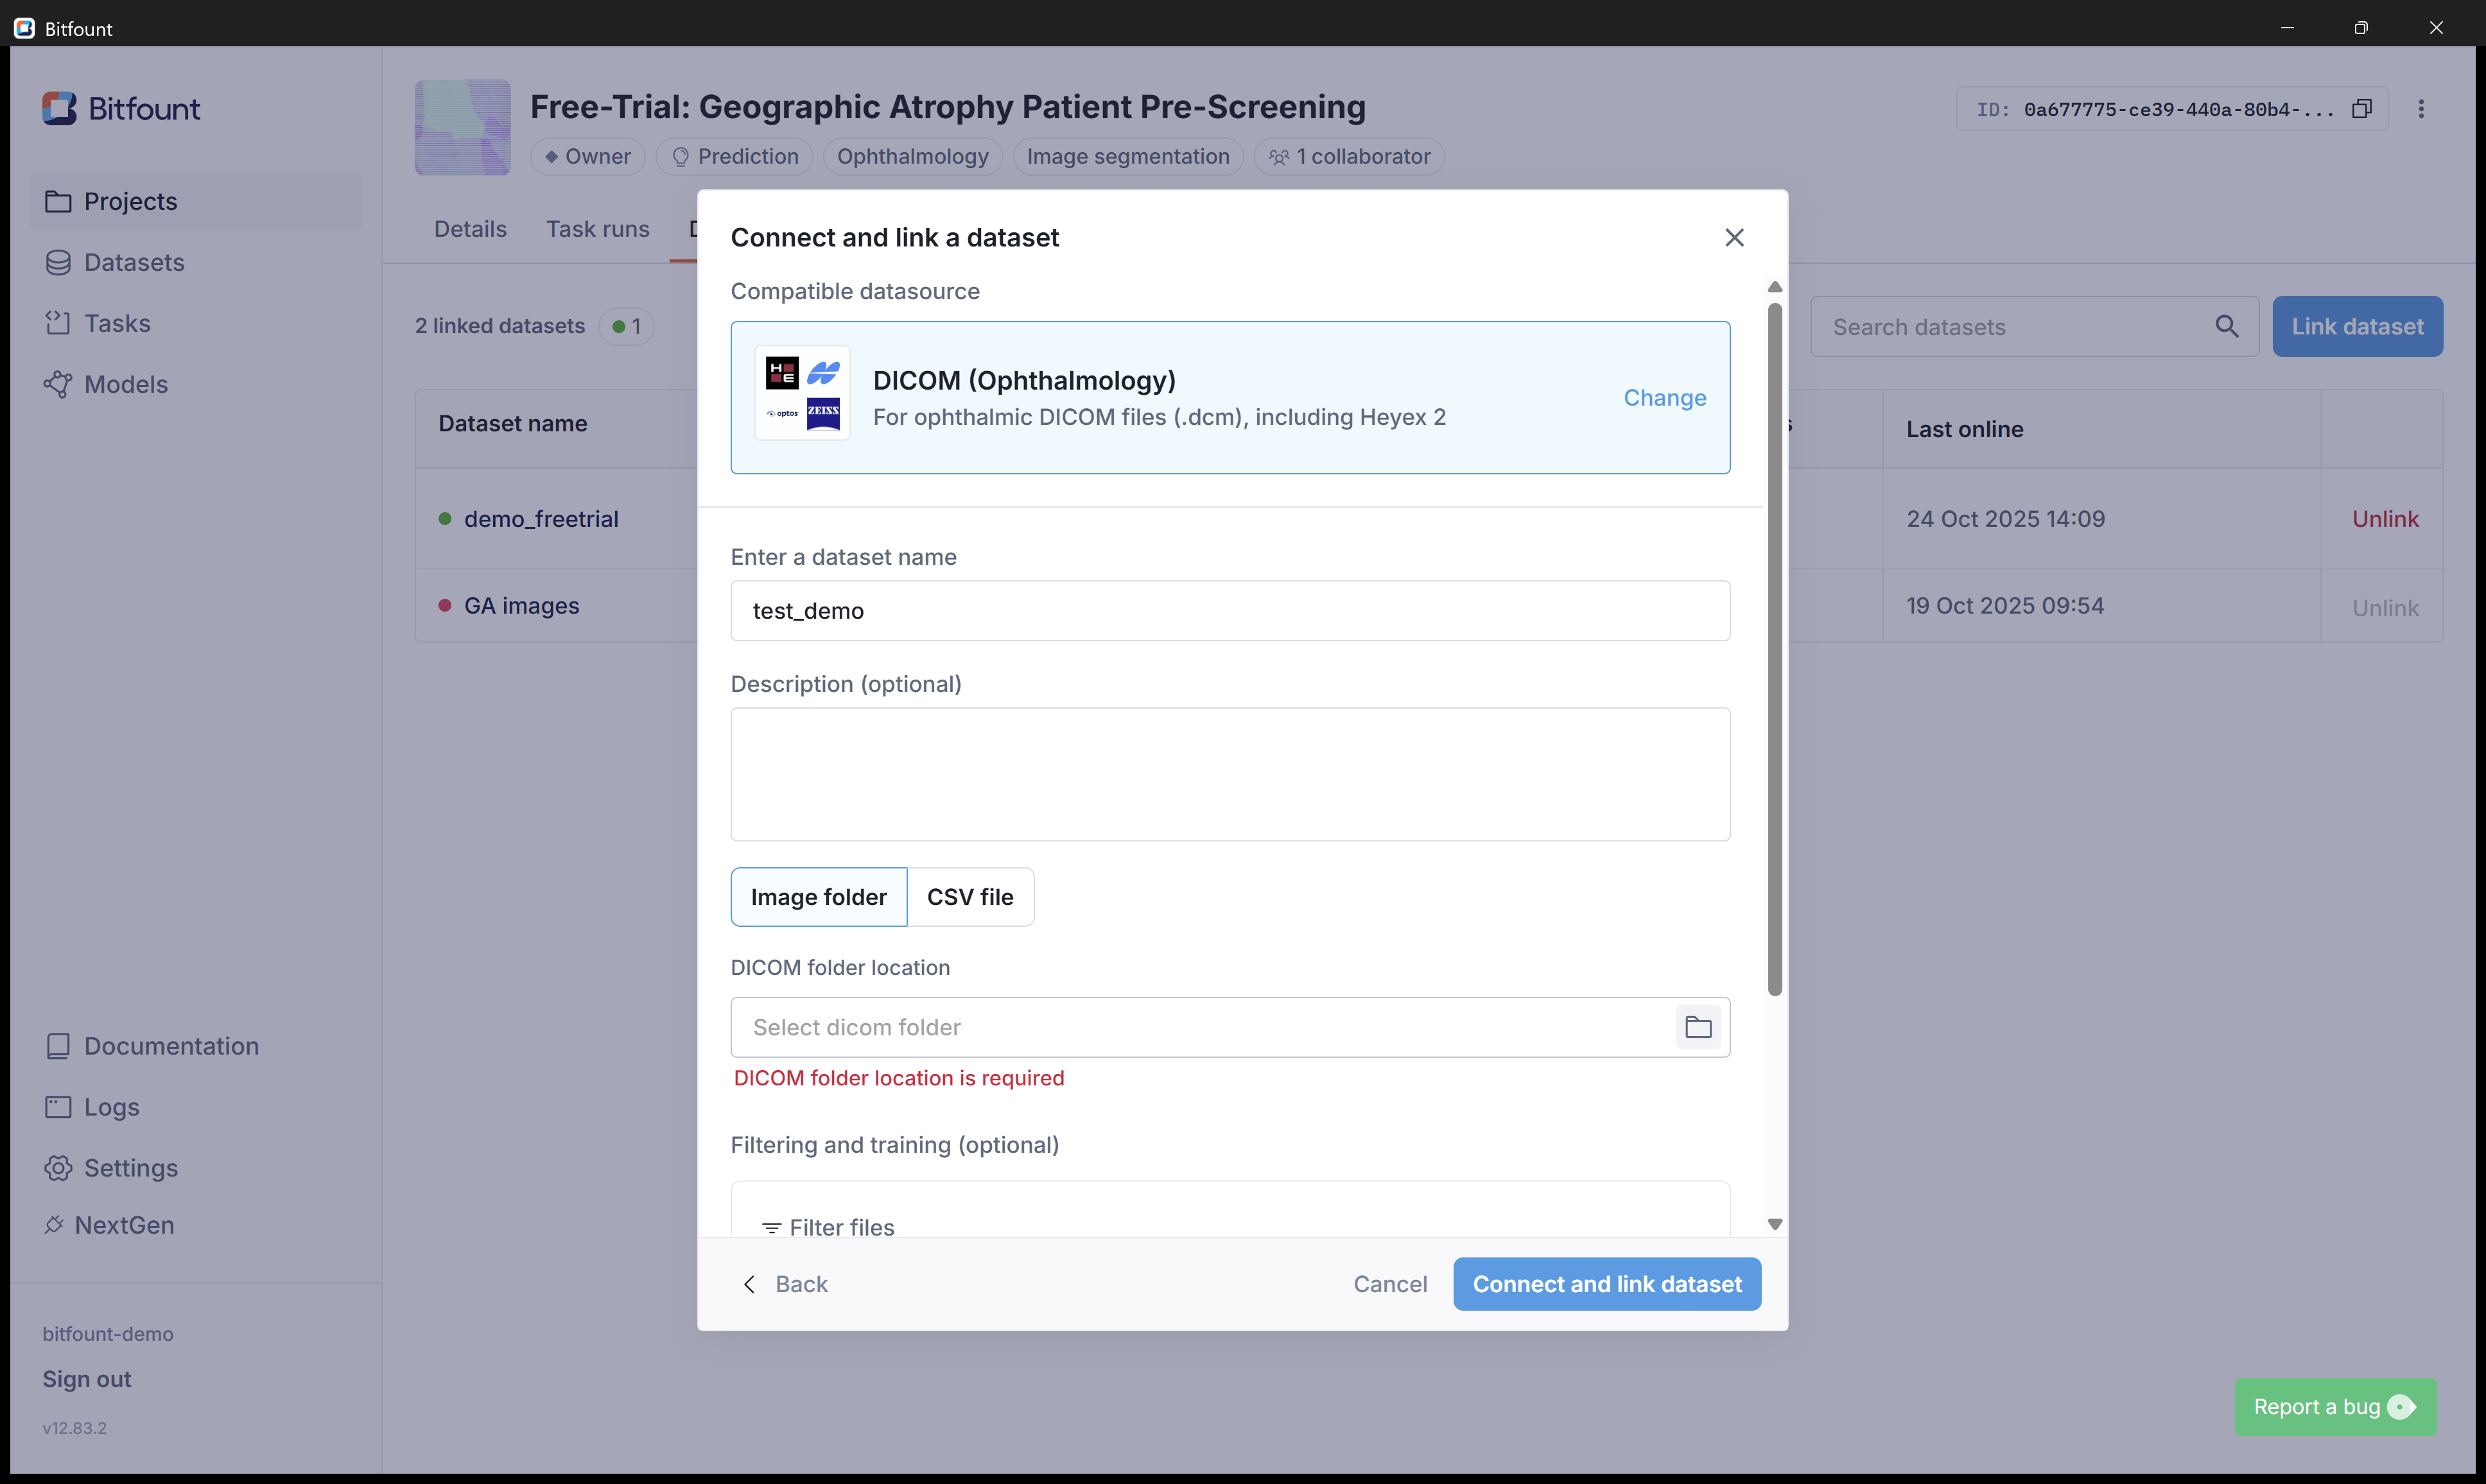
Give your dataset a memorable name. You could use the naming convention: [Camera - Start date range - End date range - Trial Name]. eg. spectralis-01Jan2025 - 31Dec2025 - RAIDER.
![Step #6: Give your dataset a memorable name. You could use the naming convention: [Camera - Start date range - End date range - Trial Name]. eg. spectralis-01Jan2025 - 31Dec2025 - RAIDER.](https://di8mn0rali2ic.cloudfront.net/uploads/263936f4-6890-4b26-8067-7055ce894b0d/39bc204e-6cee-443a-bfd2-adb05600a04a.png)
7
Next, you will identify the location where your images are stored. Click the folder icon 📂 to nominate the file path address for your images.
8
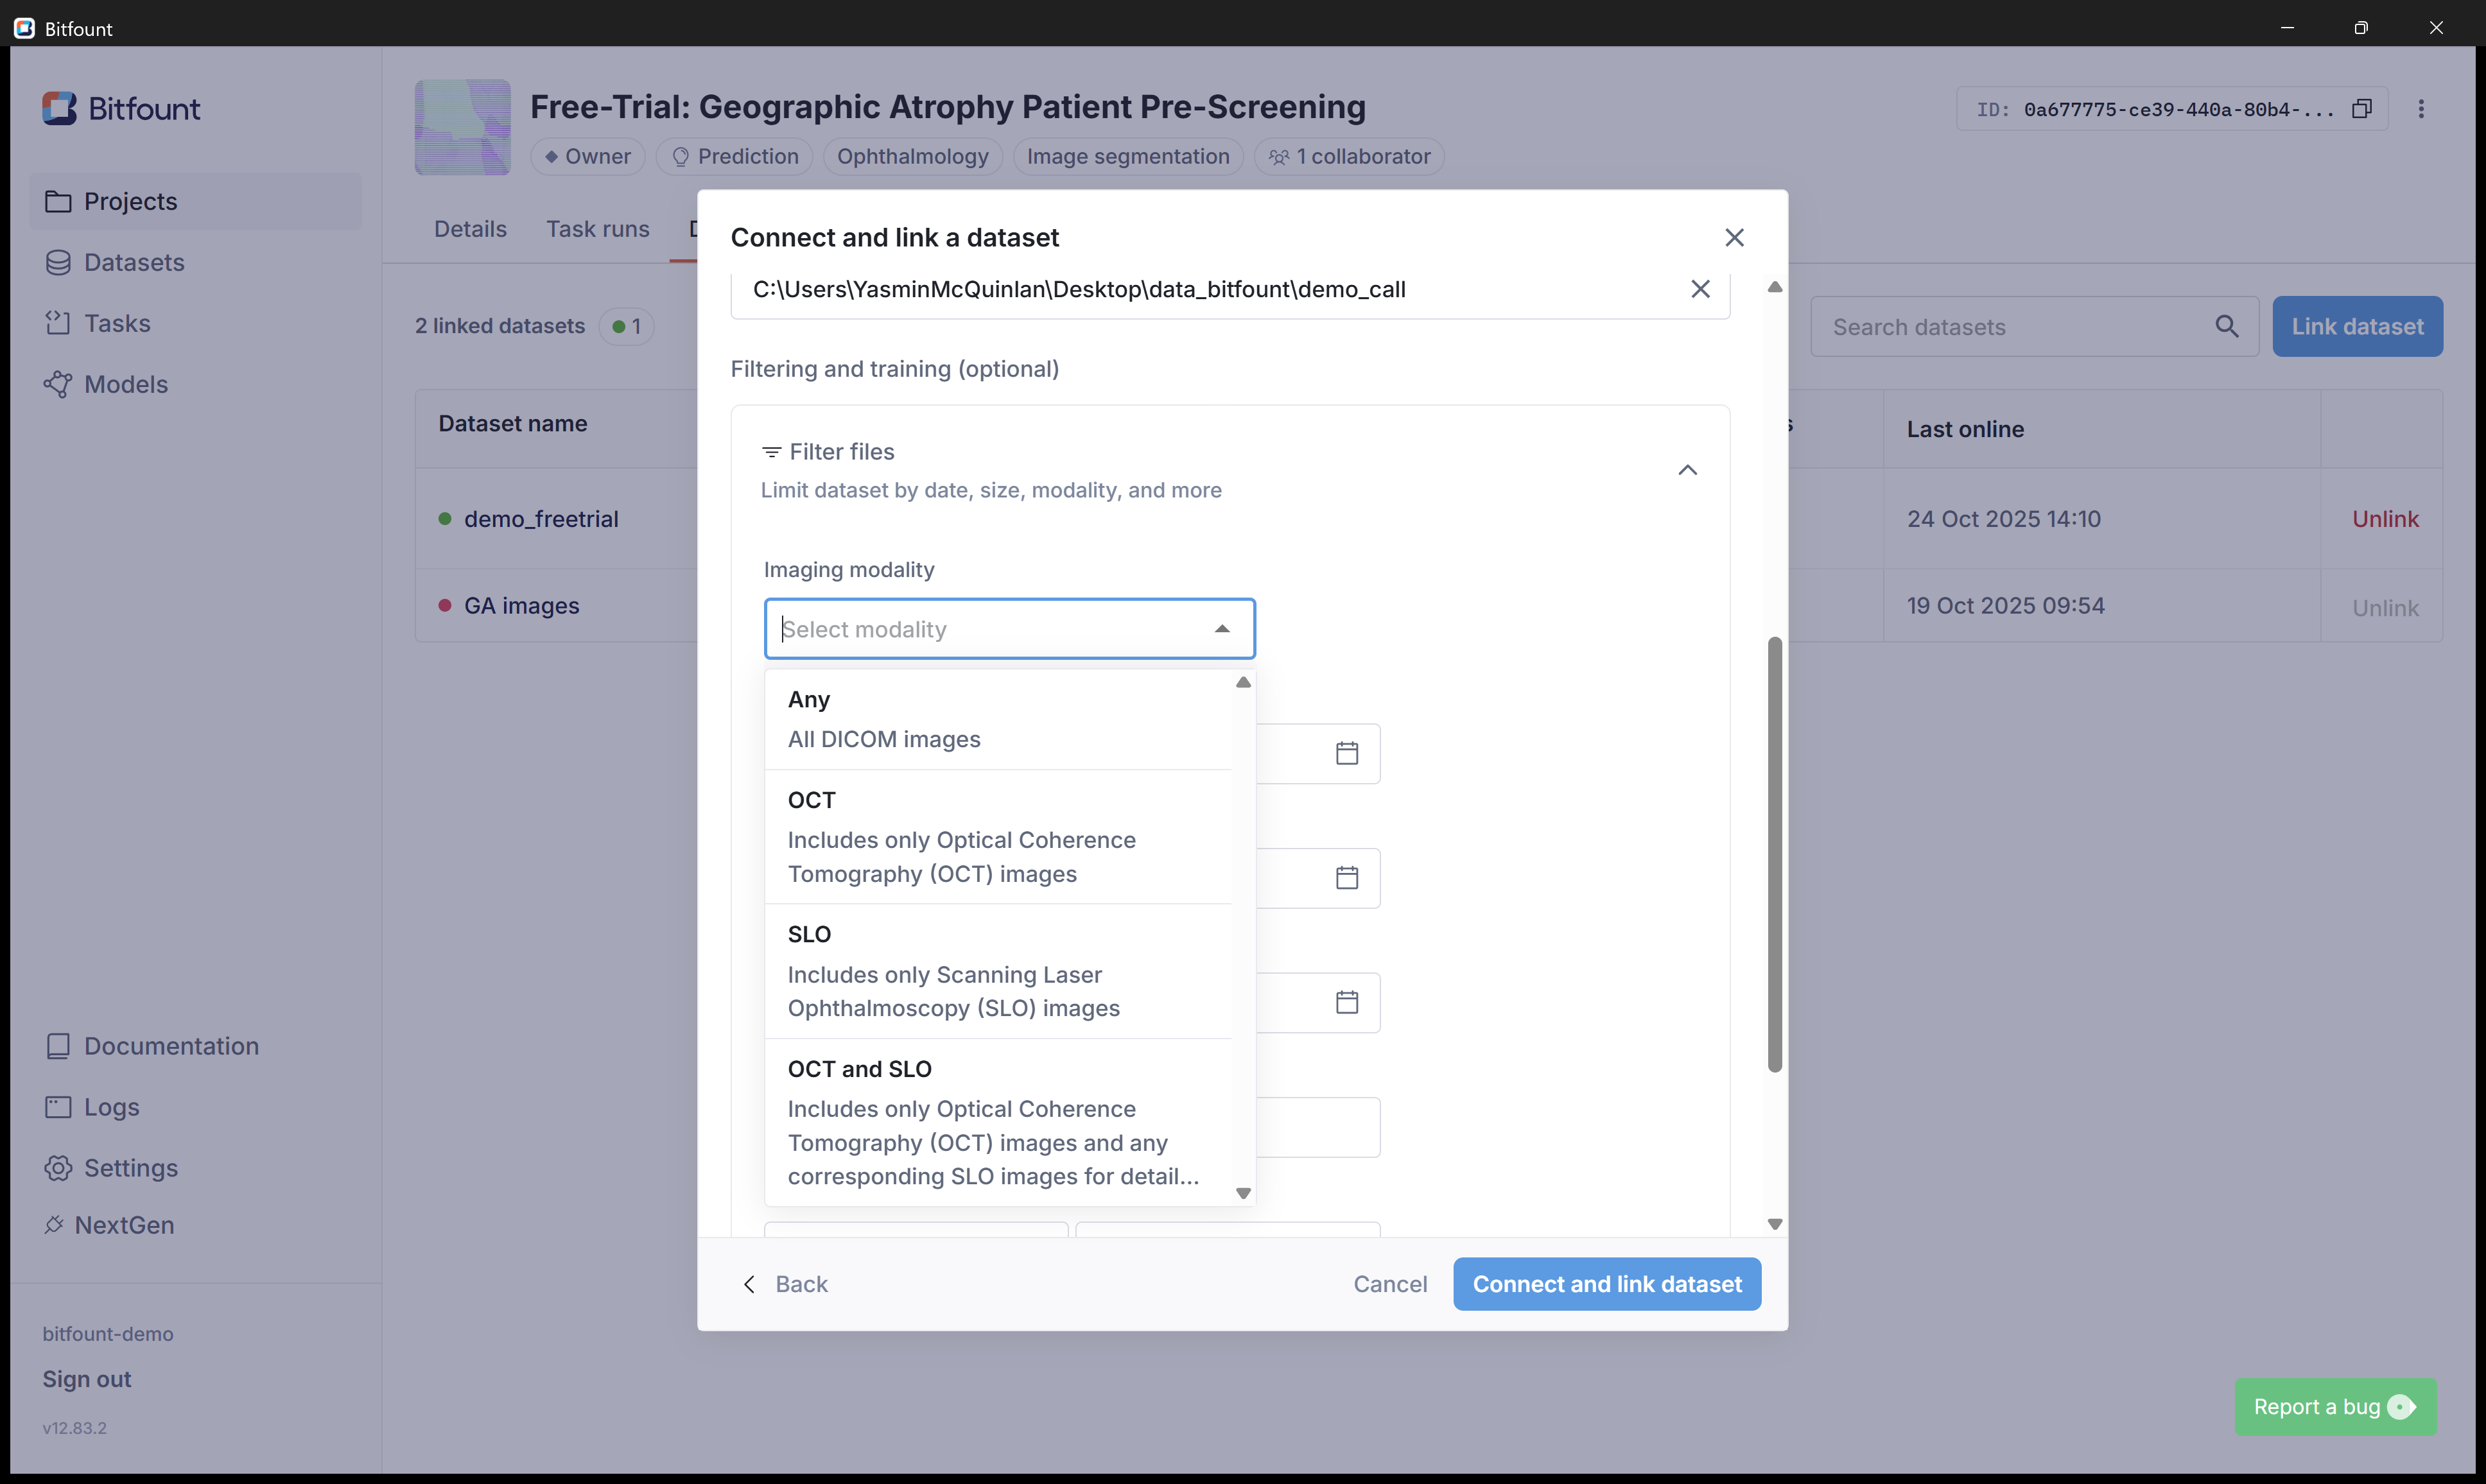
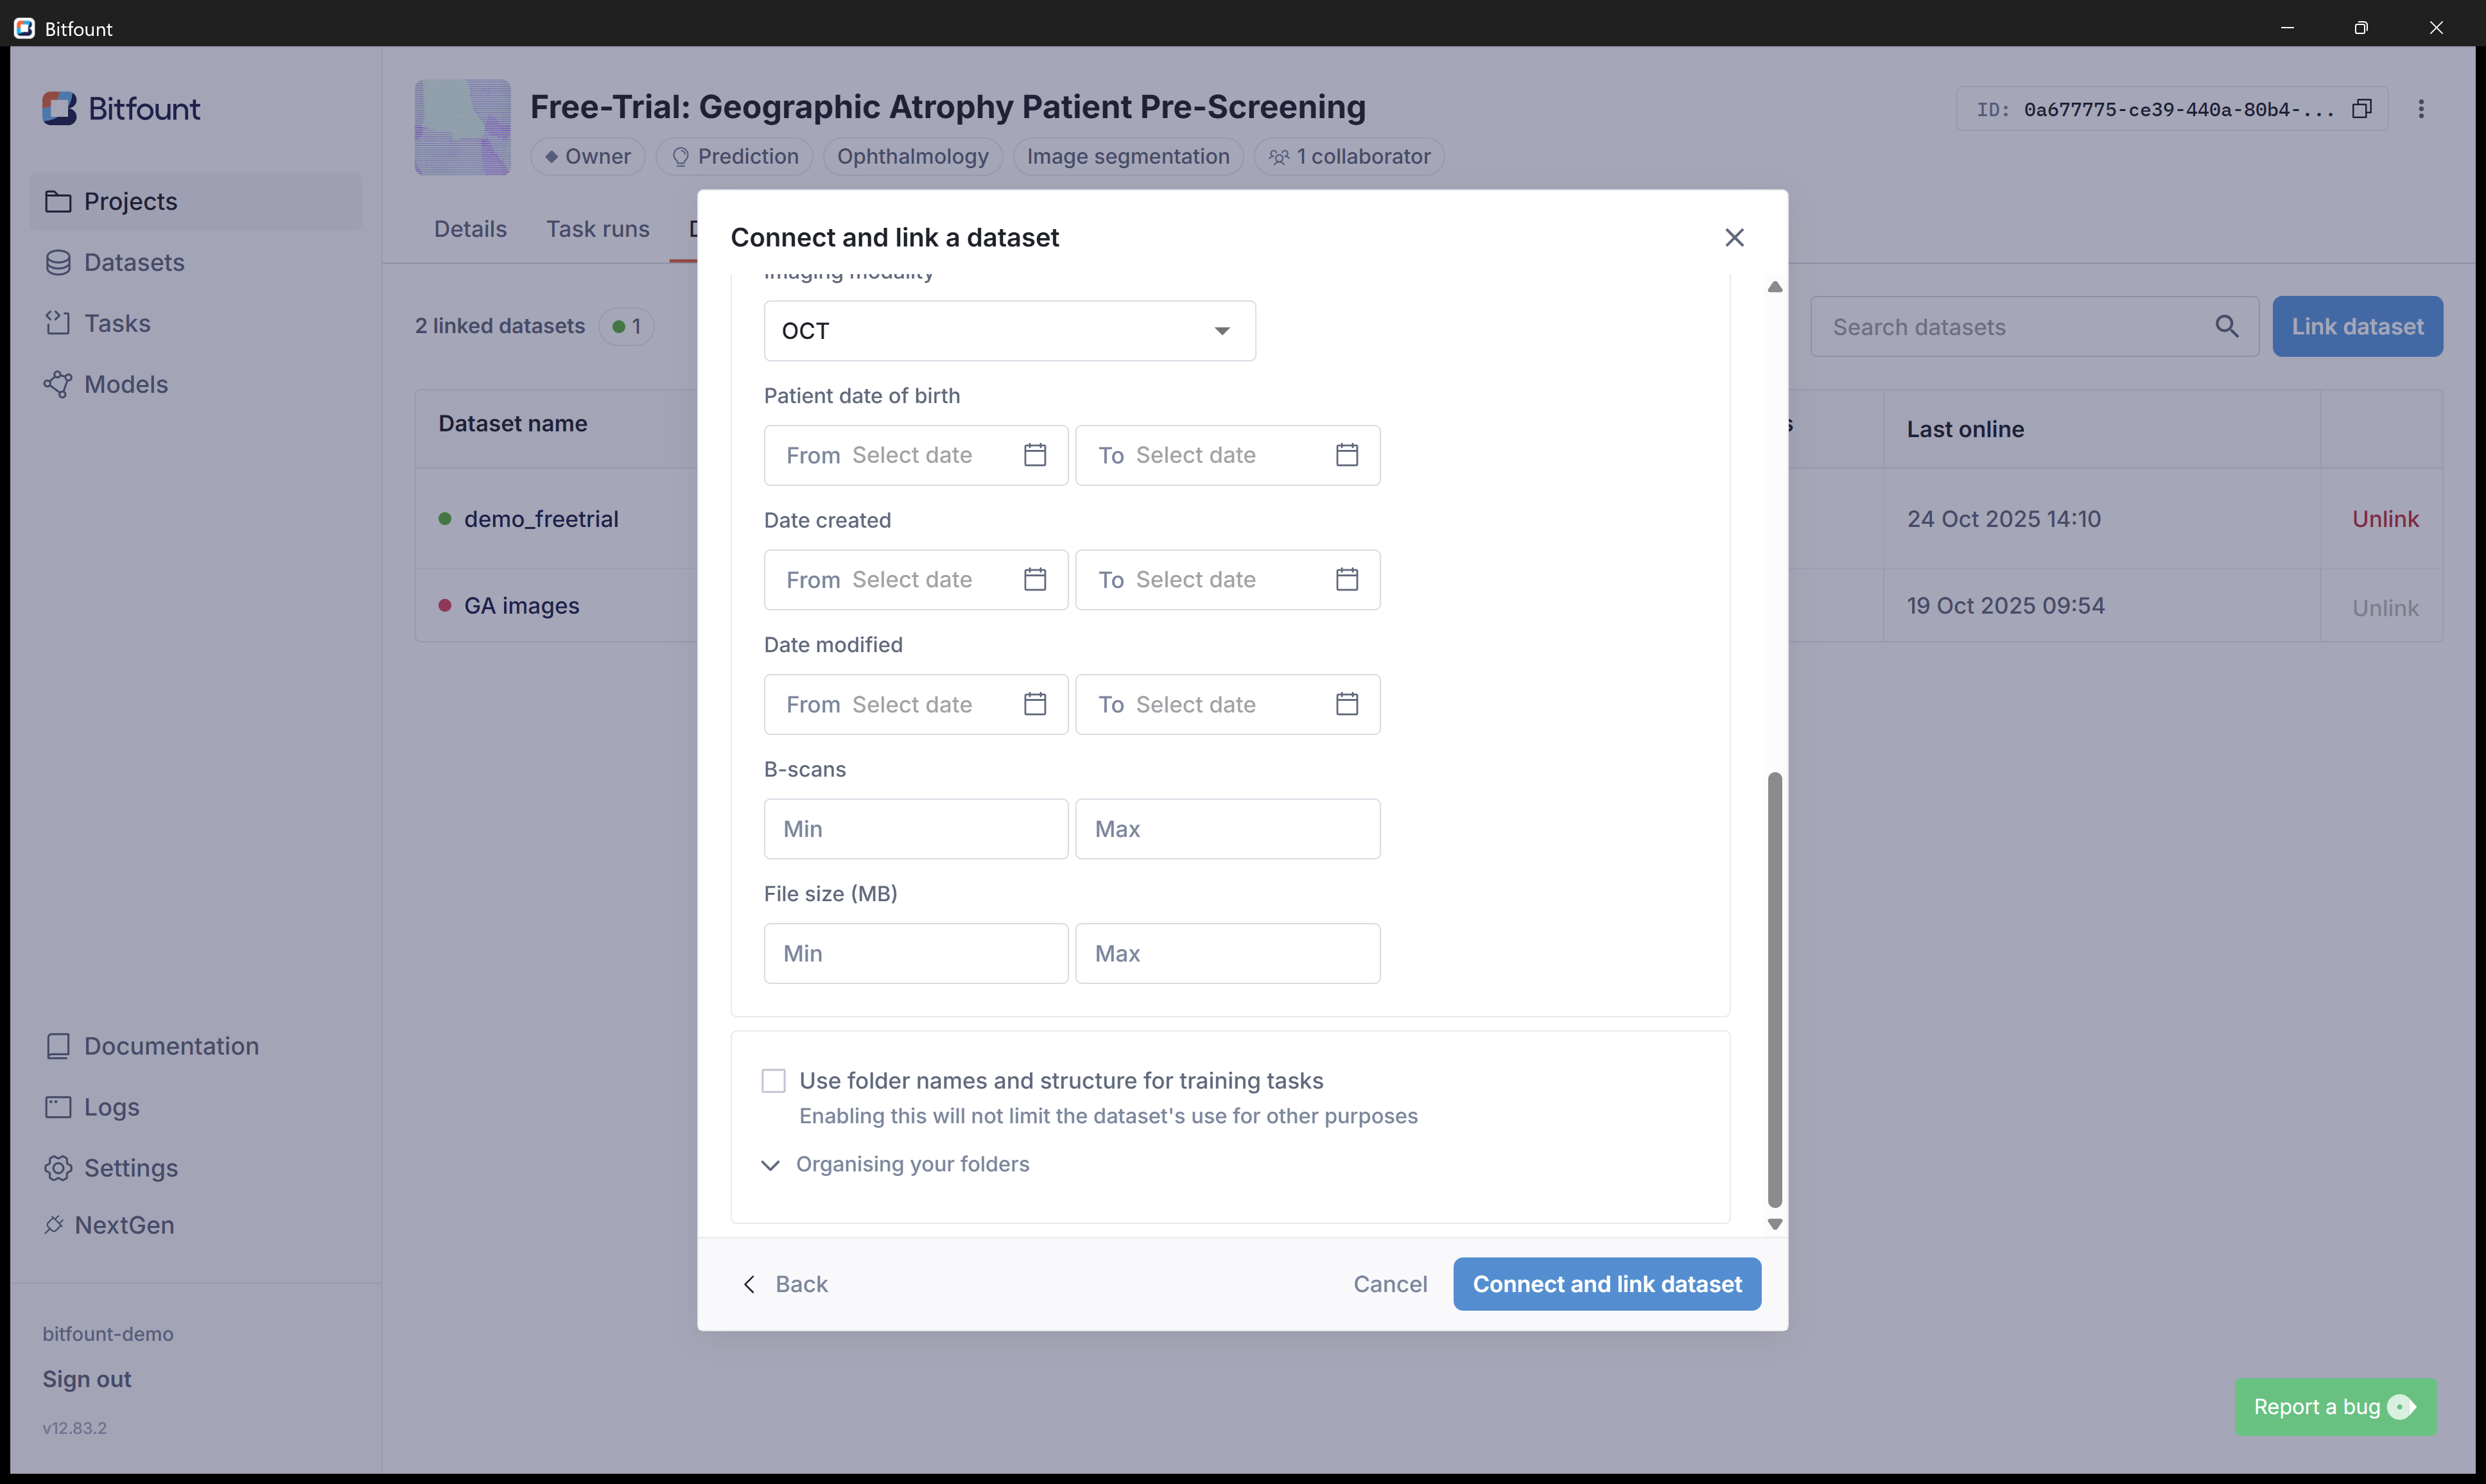
There is also an option to apply filters to your dataset. Select the appropriate "Imaging modality" from the dropdown list of options.
9
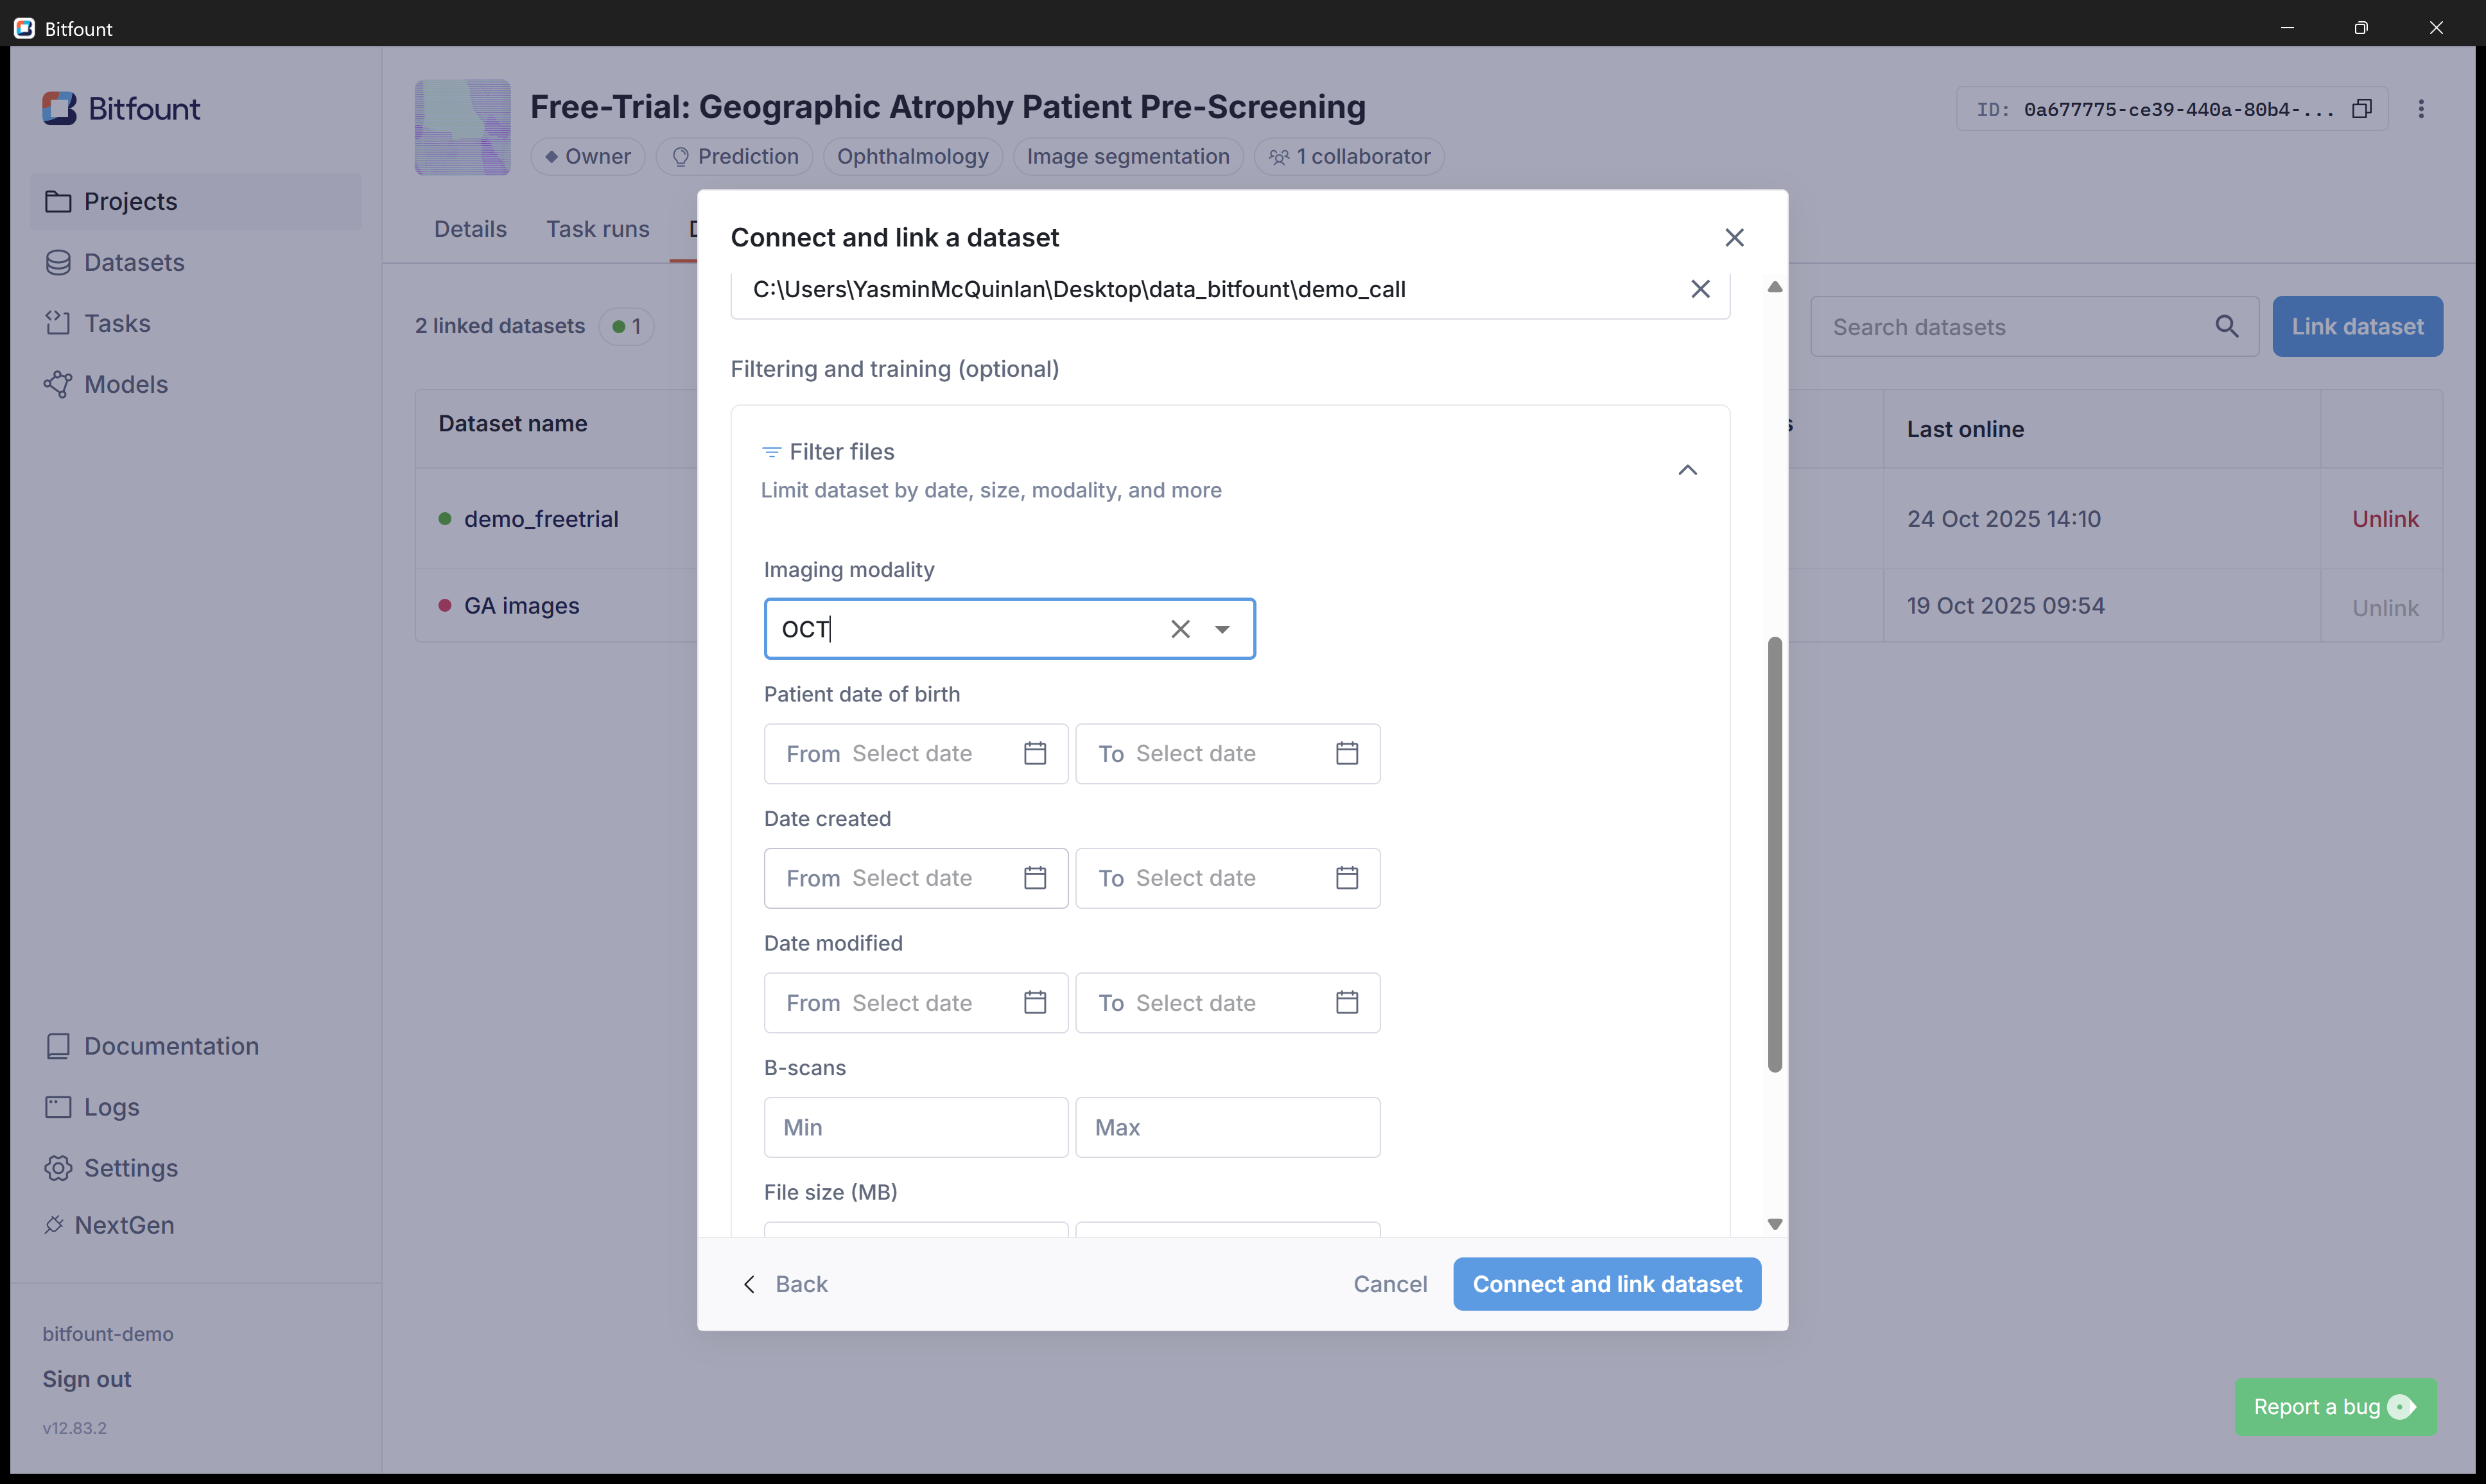
You can filter by Date of birth, Date created, Date modified. A minimum and maximum number of B-scans or File size (MB) can be applied also.
10
Click on "Connect and link dataset". The app will begin building the schema for this dataset.
If you need any assistance with the steps above, please email support@bitfount.com and our team would be happy to assist.