How to Connect n8n MCP to Claude Desktop: Step-by-Step Guide
Learn how to install and connect the n8n MCP (Multi-Component Plugin) to your Claude desktop. This comprehensive tutorial covers setup on both VPS and cloud, API key configuration, workflow generation, and tips for automating tasks and monetizing your n8n skills.
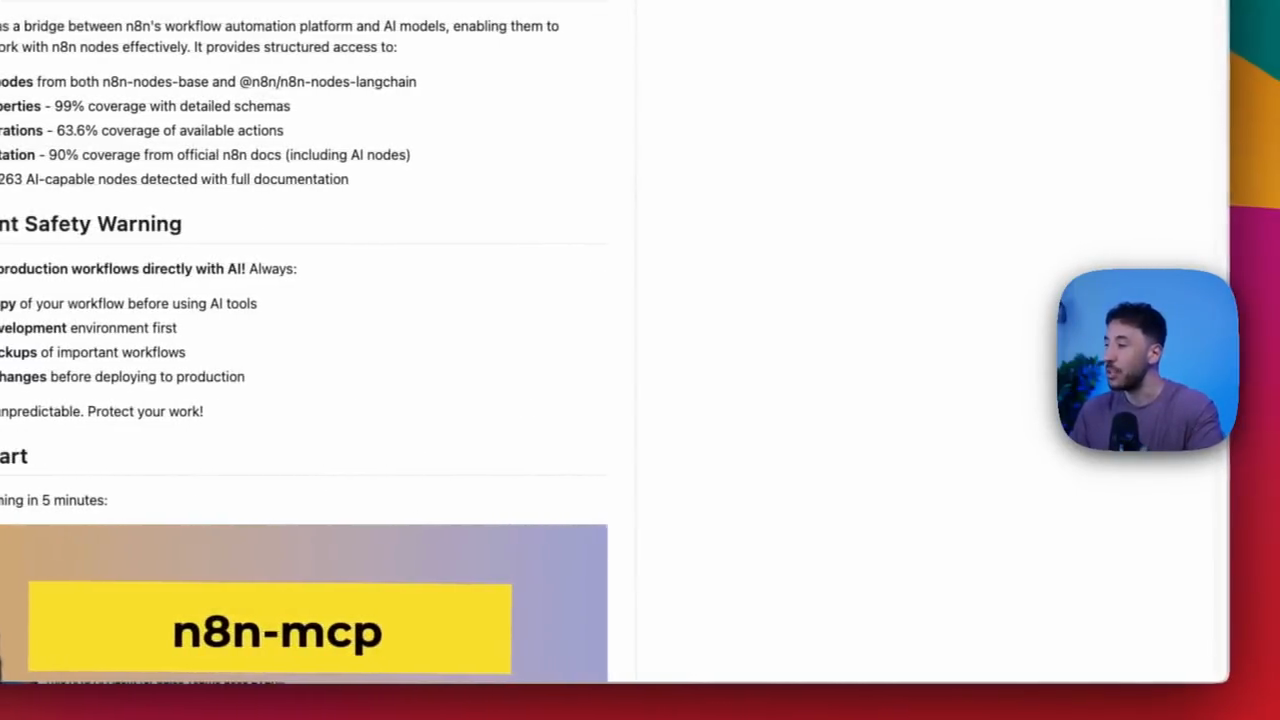
In this guide, we'll learn how to connect the n8n MCP tool to Claude Desktop so you can generate n8n workflows using simple prompts. This process allows you to automate workflow creation by leveraging the 39 tools included in n8n MCP, saving time compared to building workflows manually.
We'll also cover how to set up n8n MCP with both cloud and VPS installations, and how to configure your Claude Desktop to use these features. By the end, you'll be able to quickly create and validate workflows for your projects.
Let's get started
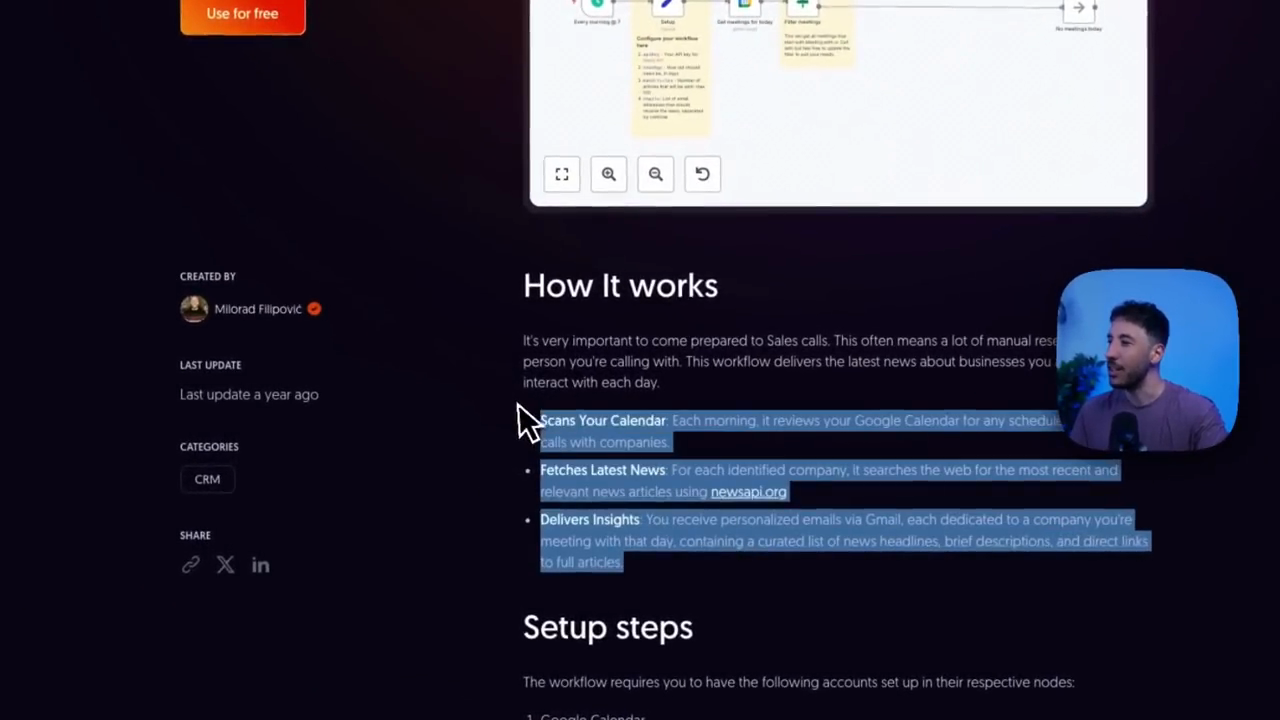
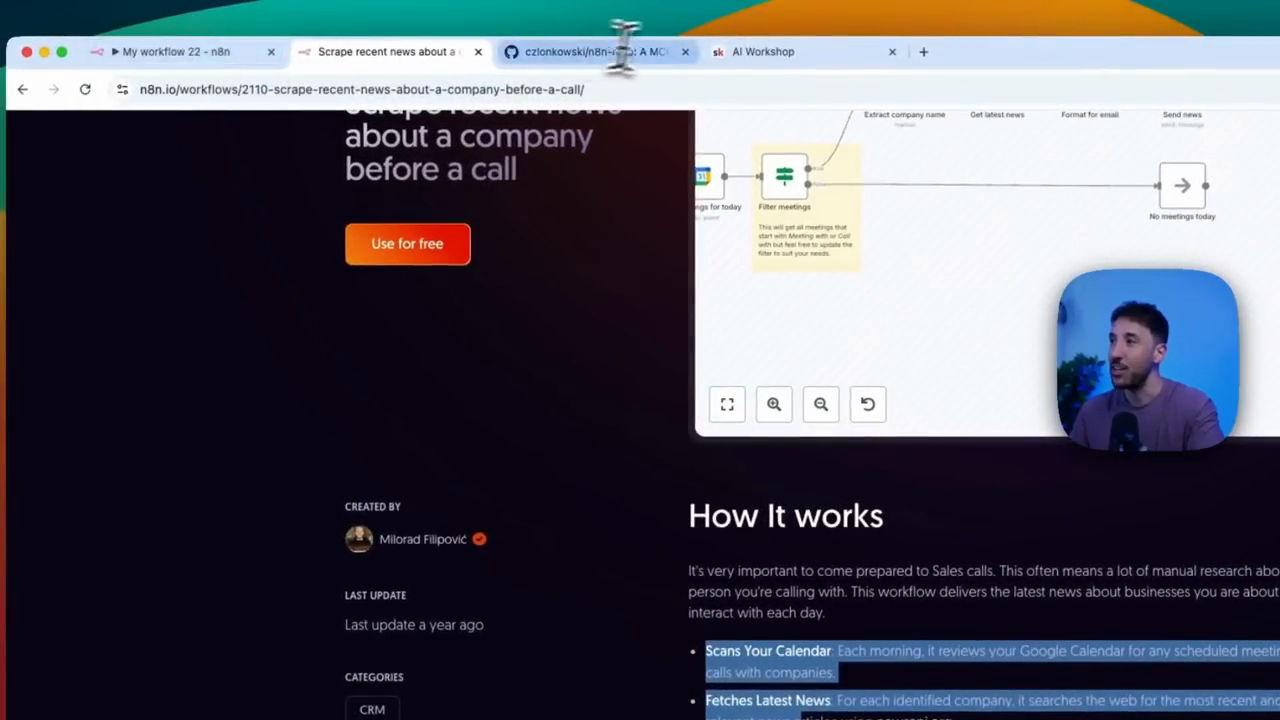
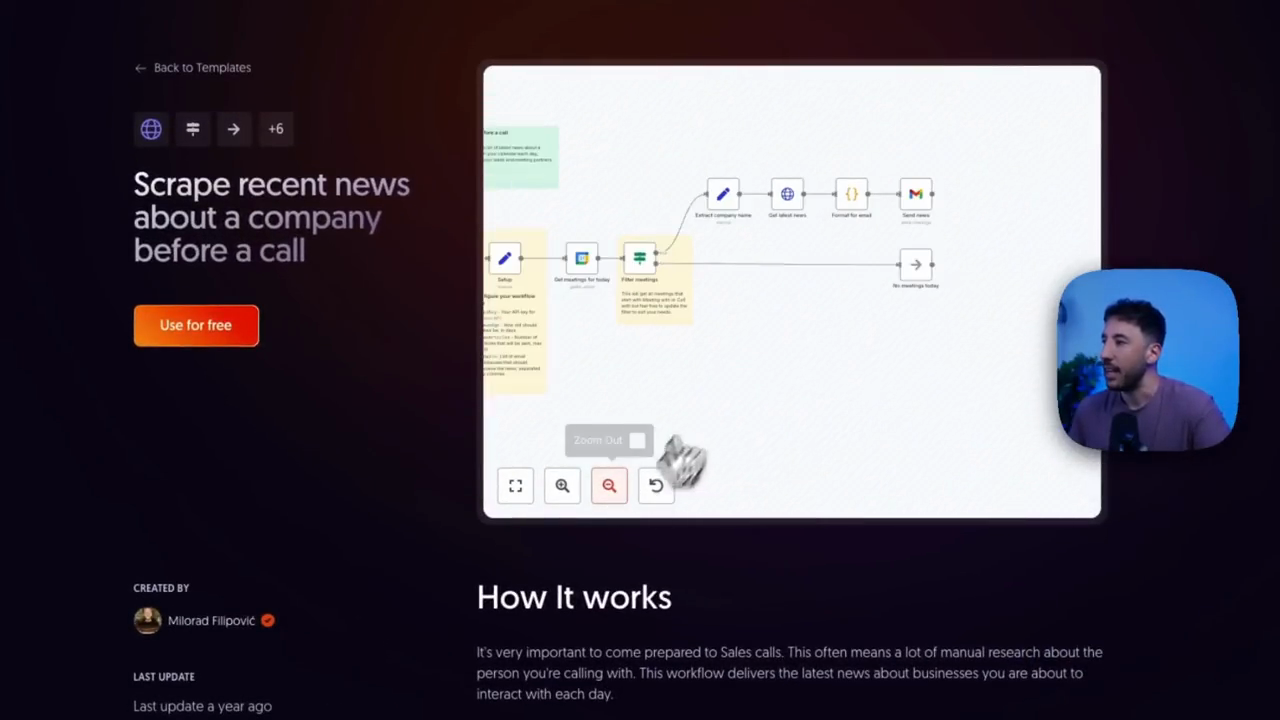
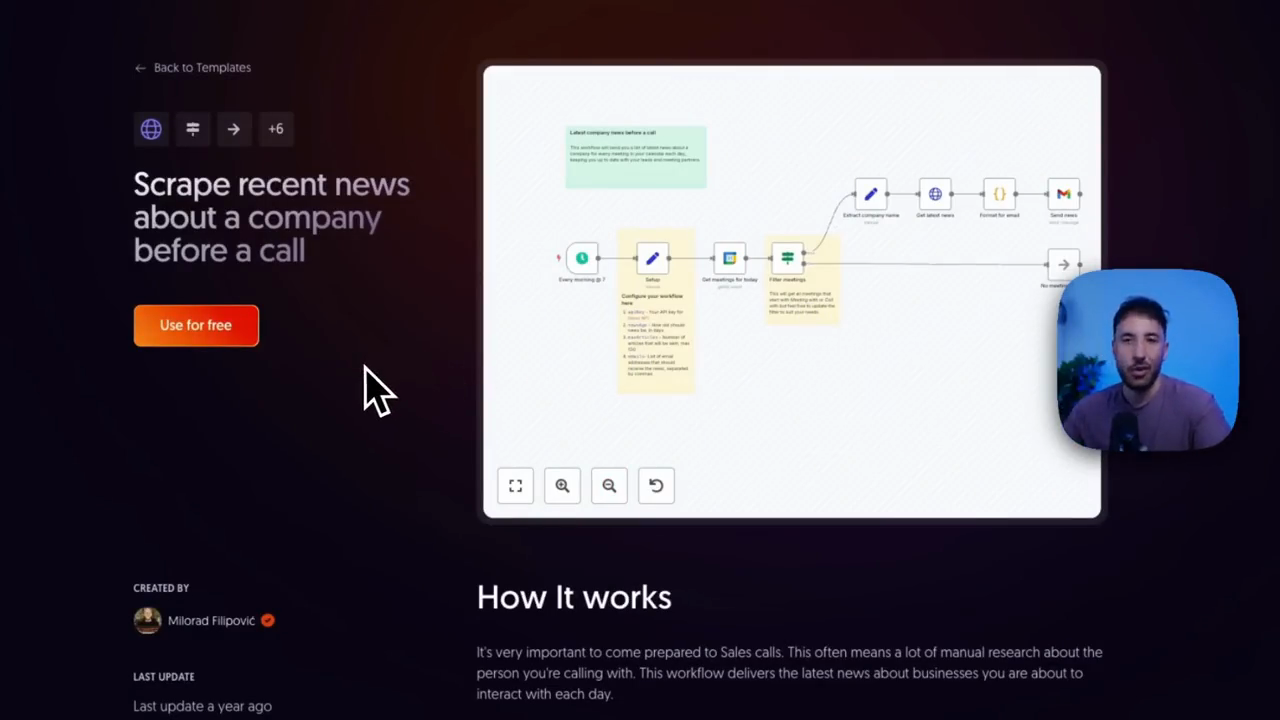
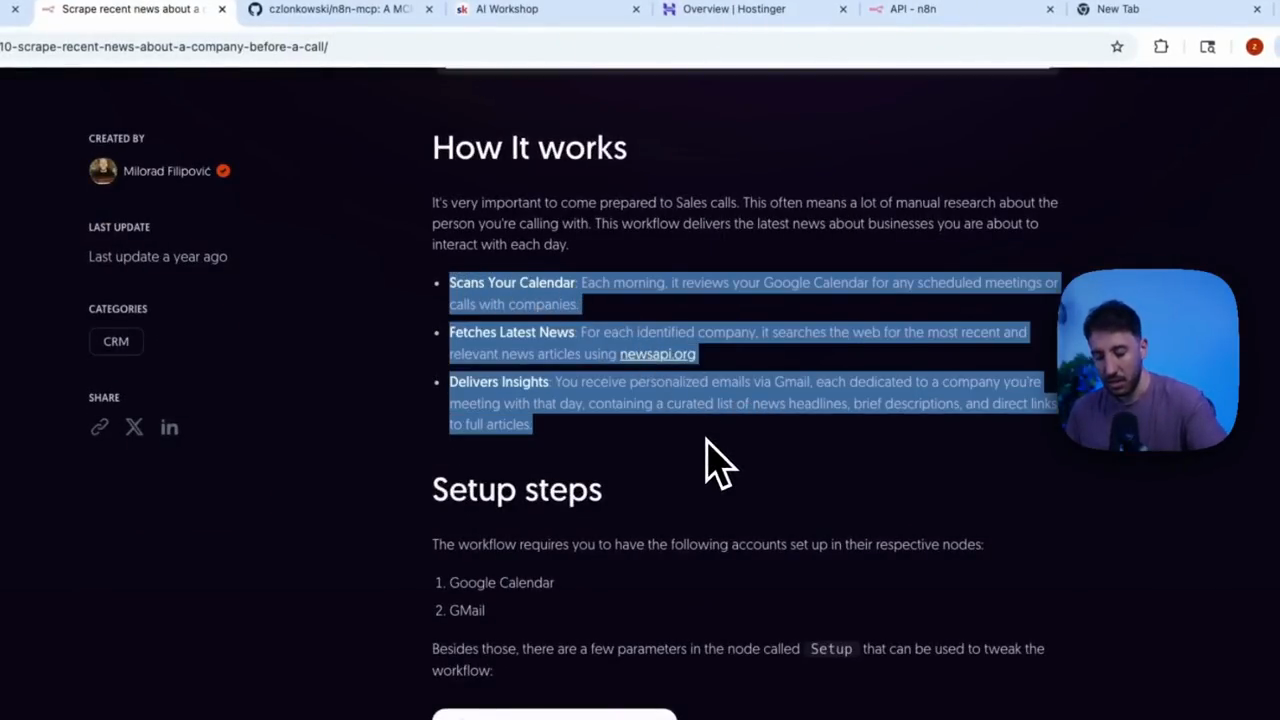
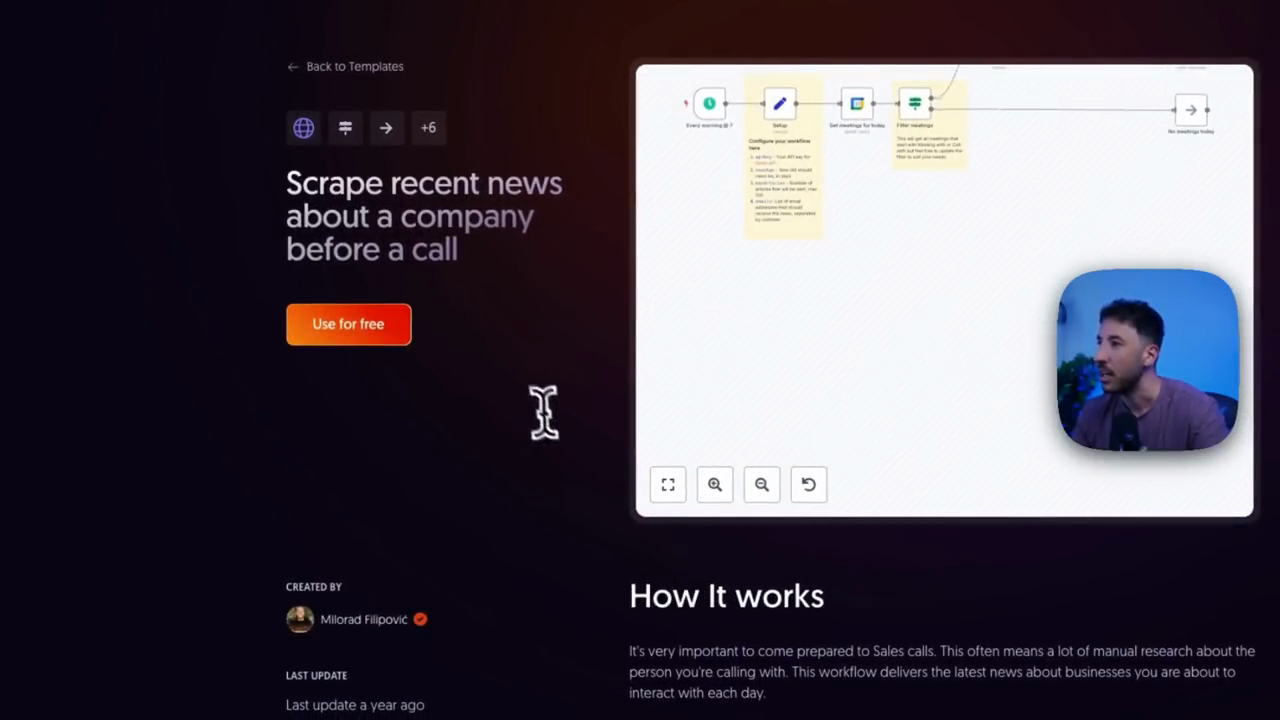
This n8n MCP is absolutely incredible. This is what I did. I visited the n8n templates library and thought, "You know what?" I’m going to test this out. I simply copied this pre-made template created by this person.
You know what? To test if this works, I copied the instructions and pasted them into Claude desktop.
As you can see, it has access to the n8n MCP, which includes 39 different tools. This is what it generated. This is amazing. As you can see, it's almost an exact replica of this item. In this video, I will show you step-by-step how to attach the n8n MCP to your Claude desktop. After setup, you can simply type a prompt to use it.
As you can see, I simply said, "Please, please create an n8n workflow that scans your calendar." This was almost the same instruction as before, and it generated an impressive workflow with just one prompt.
This completely changes everything. It won't be 100% accurate, but this will save you significant time compared to building everything manually. Make sure to stay until the end. I will show you step-by-step how to generate this and how to connect it to various n8n sources, whether on your cloud account or a VPS. All right, let's begin. First, the n8n MCP was created by this gentleman. I won't attempt to pronounce his name to avoid mispronouncing it.
I'll add the GitHub link in the video description so you can check it out. Once you arrive here, simply scroll down.
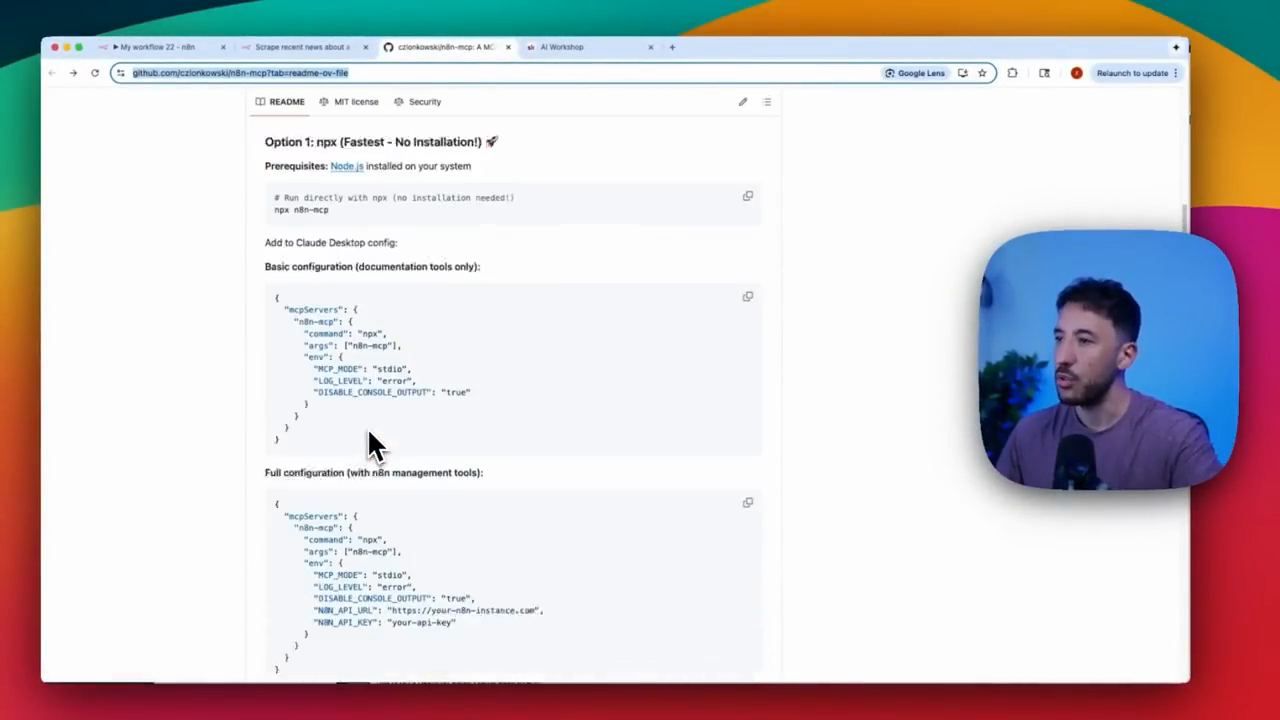
We will focus on option one, as it is the easiest way to install this. This requires Node.js as a prerequisite.
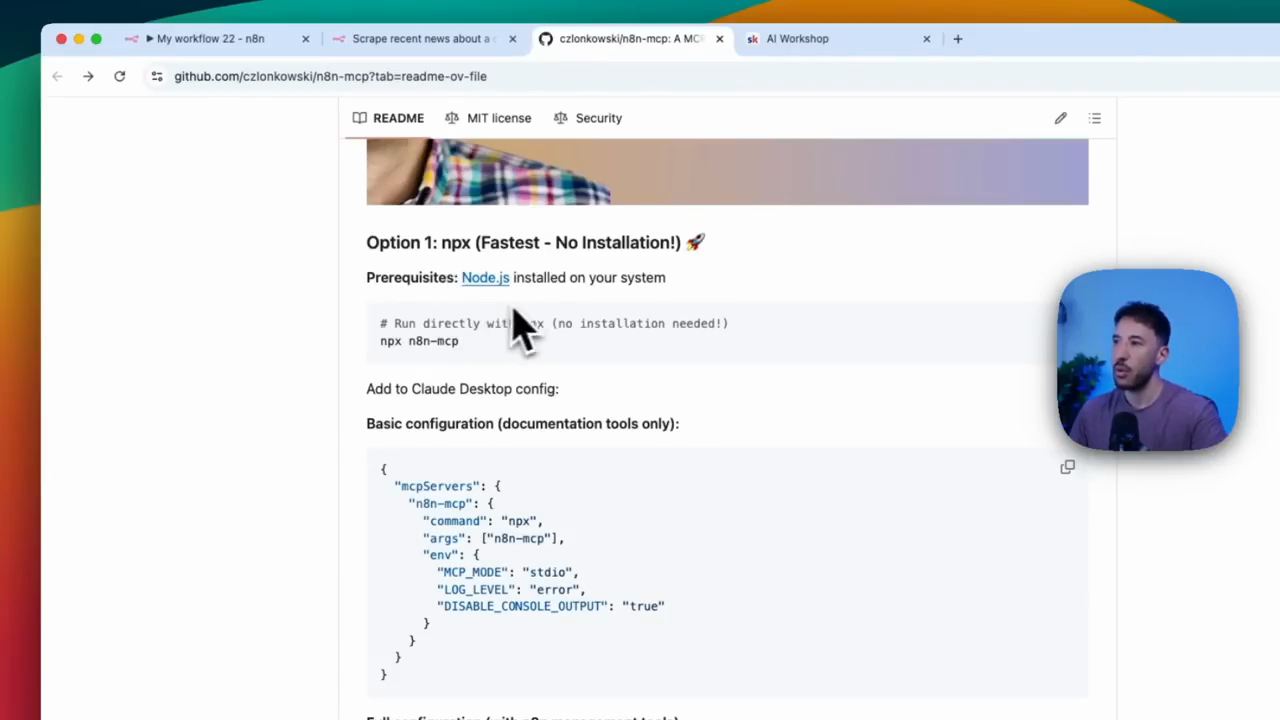
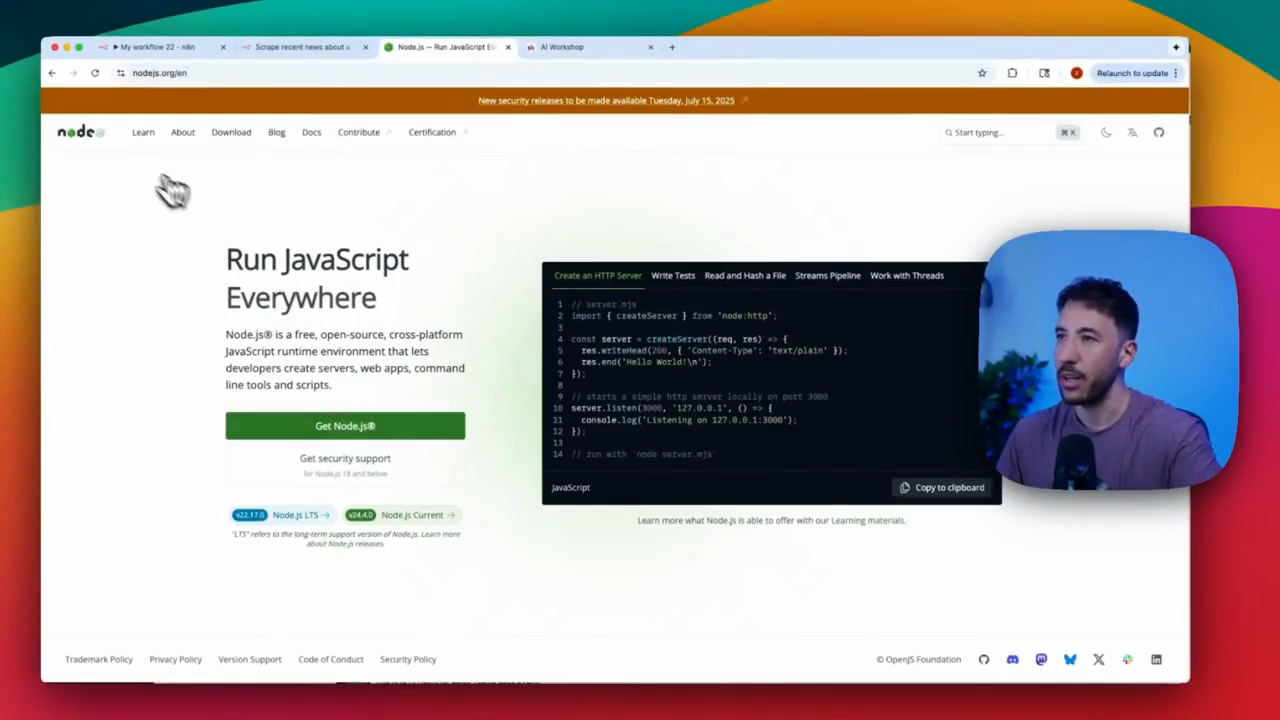
If you don't know how to install Node.js, it's very simple. Go to this website. Install Node.js on your Mac or PC. Then, open your terminal.
Let me remove this. Then, simply copy it.
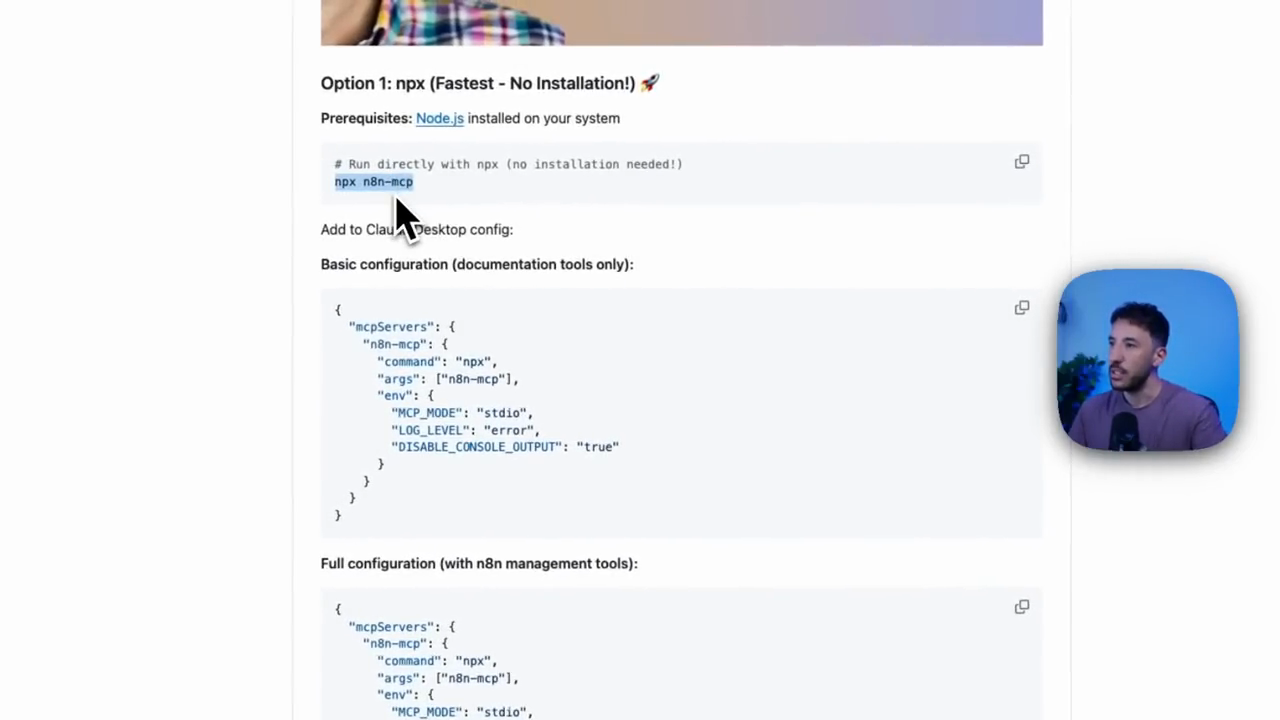
We will come here and paste it. Let me delete the existing content.
That's it. Just do that. It will run and install if this is your first time. After that, you won't need to do anything else. That's all you need to do. Next, add this to your Claude desktop.
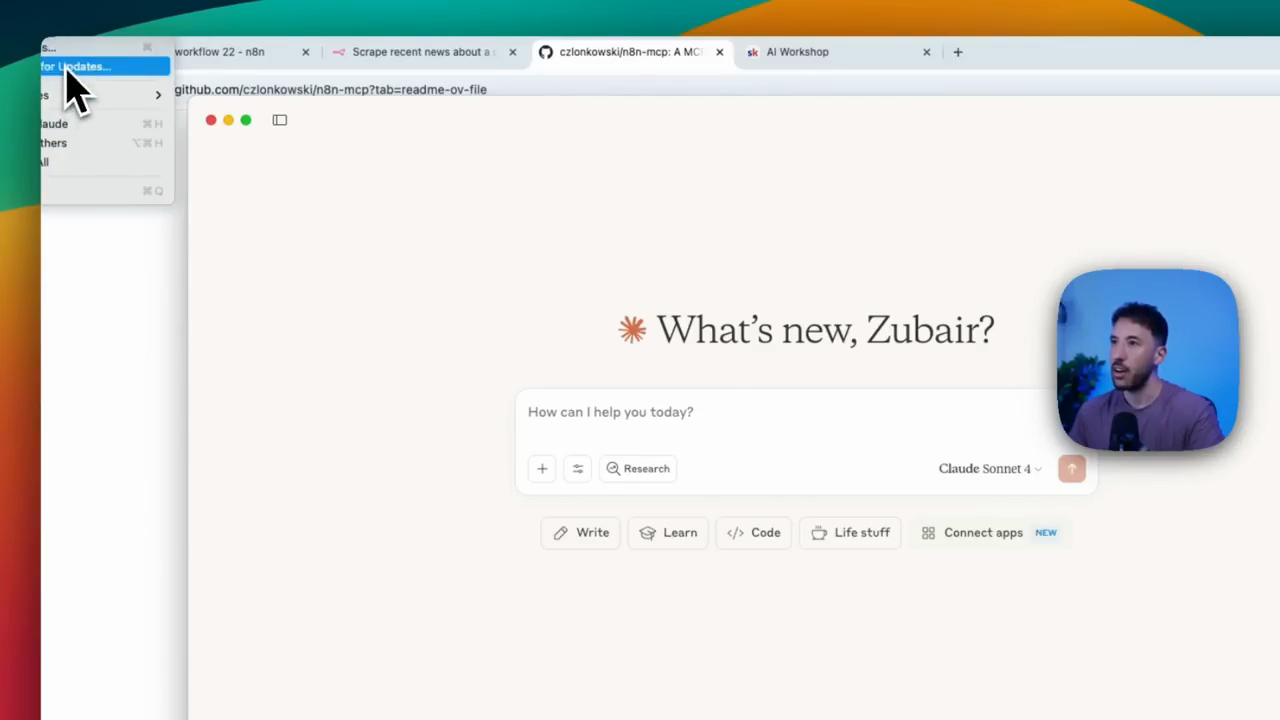
If you don't have Claude Desktop, install it now. Let me quit this so I can start again.
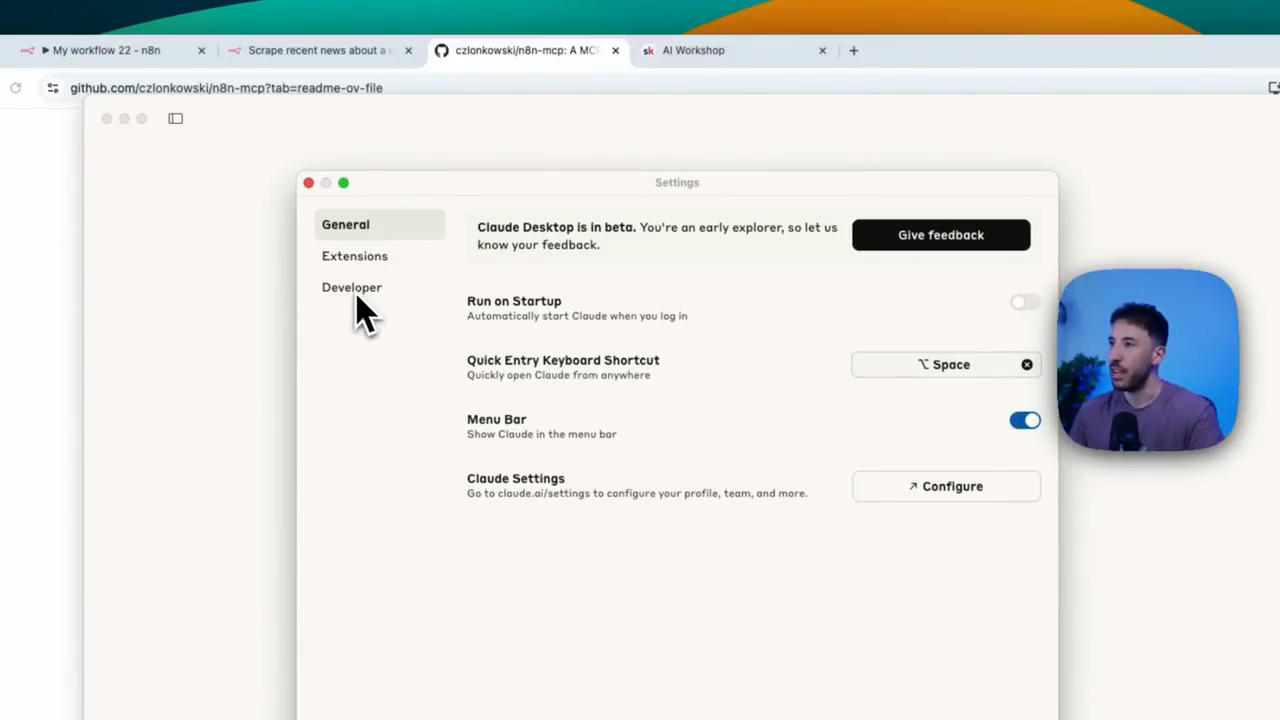
Once you have the Claude desktop app installed, it will look similar to this. First, we need to go to... Once you have this open, if you're on a Mac, make sure you are in this window. Go to the top left corner and click on "Claude." Then, select "Setting." A window will appear.

Go to "Developer." If you don't have the n8n MCP installed, this area will appear blank. The process is very simple.
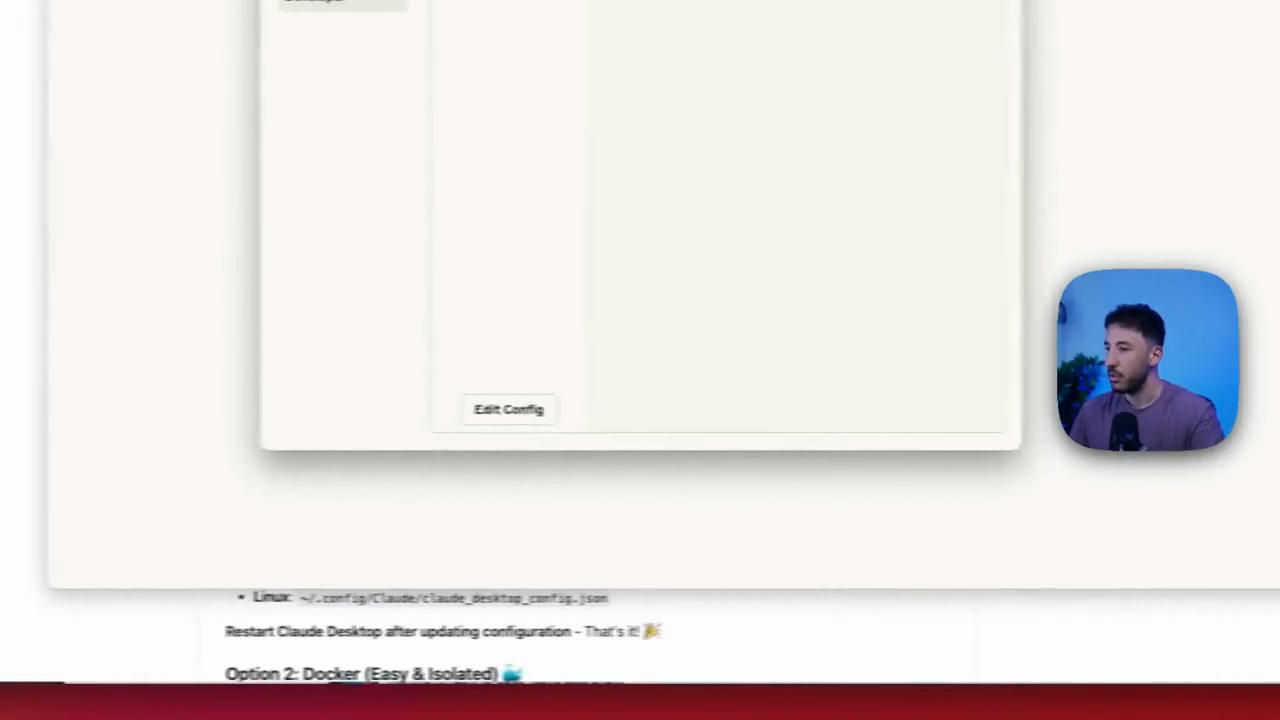
Click "Edit config" here. This will open the folder.
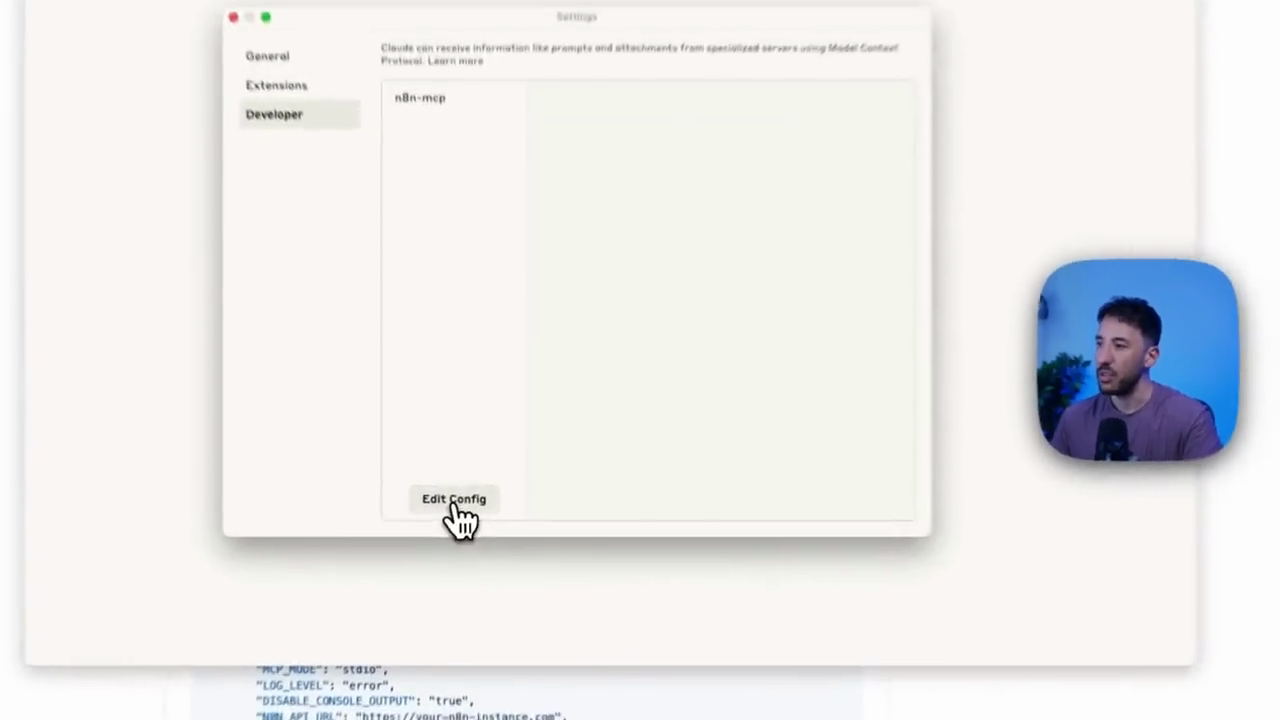
It will automatically open the folder already installed in the Claude desktop.
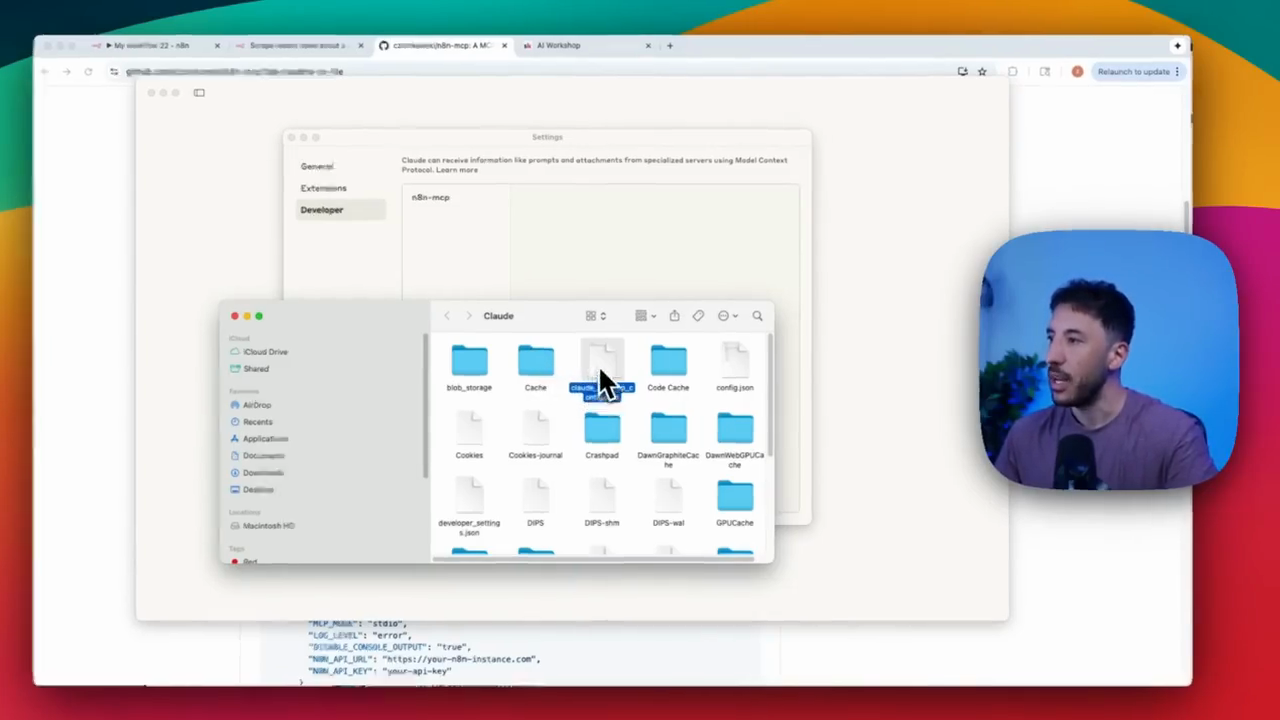
All you need to do is open this with a text editor.
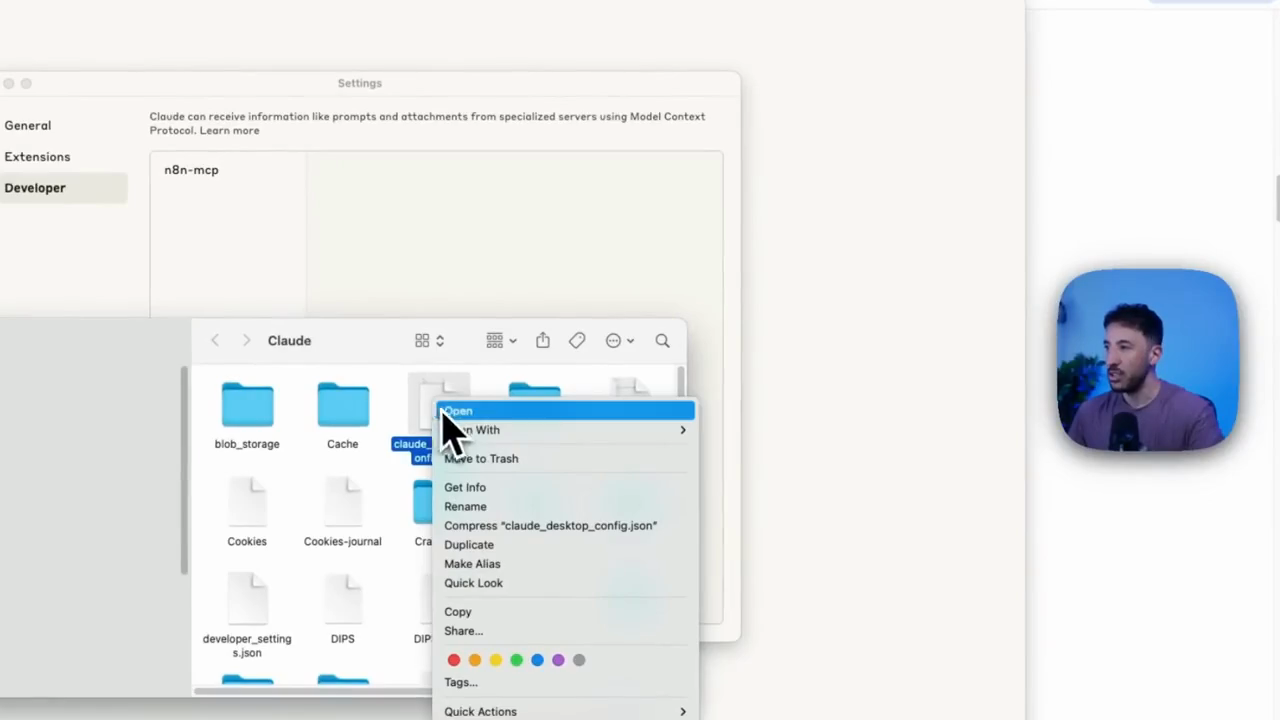
I'll open it with Cursor, but you can use any program you prefer. It might look like this, but we'll delete it so I can show you exactly what to do.
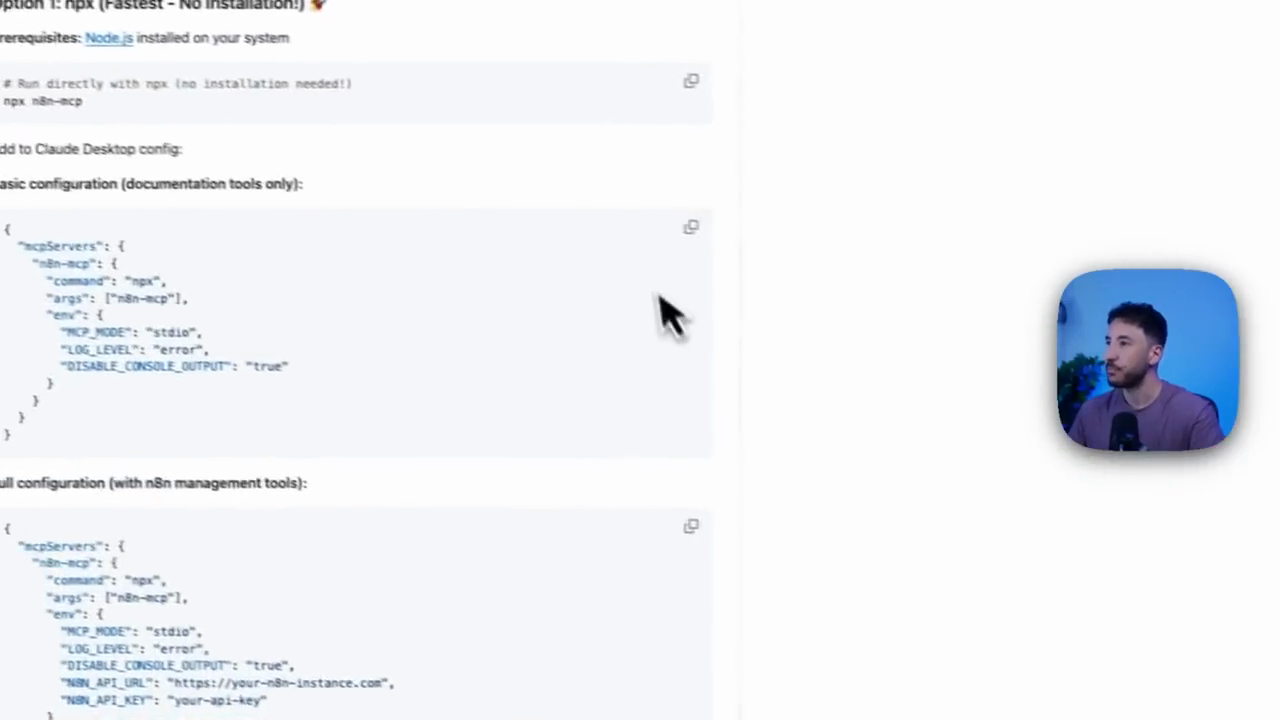
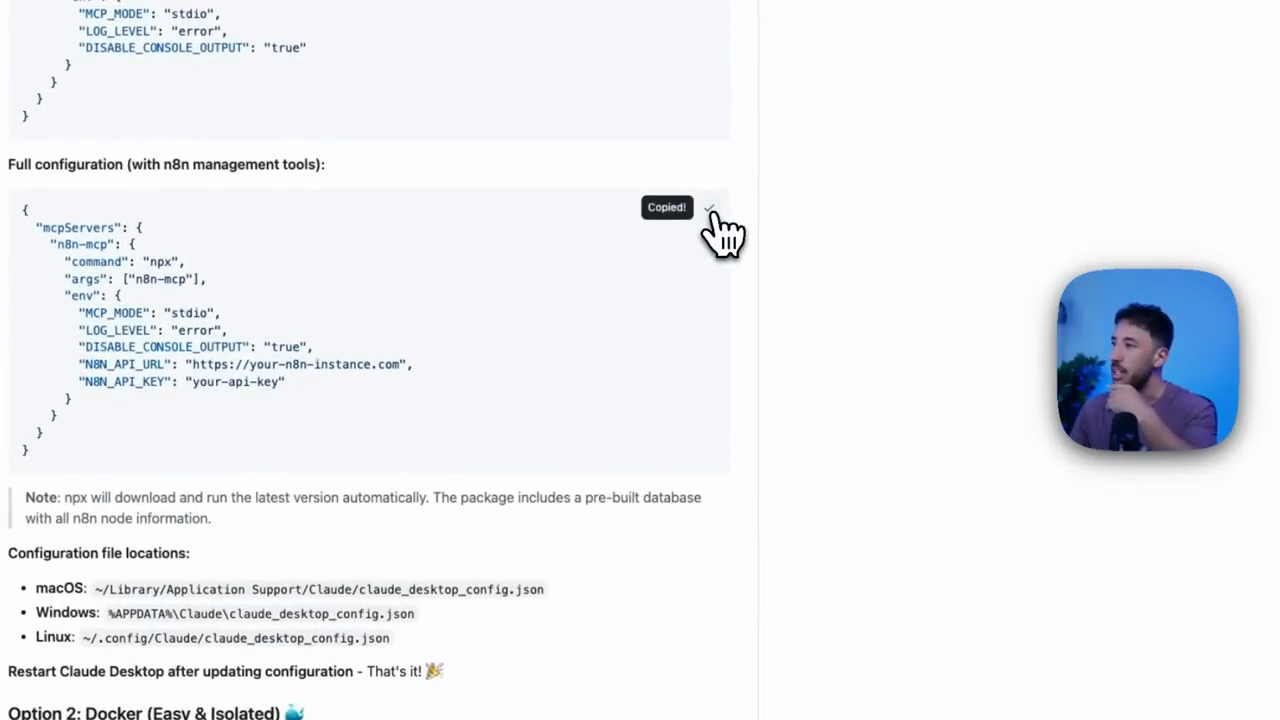
Once you have it open and delete this, go back here. Then, scroll to the bottom right and install the full configuration.
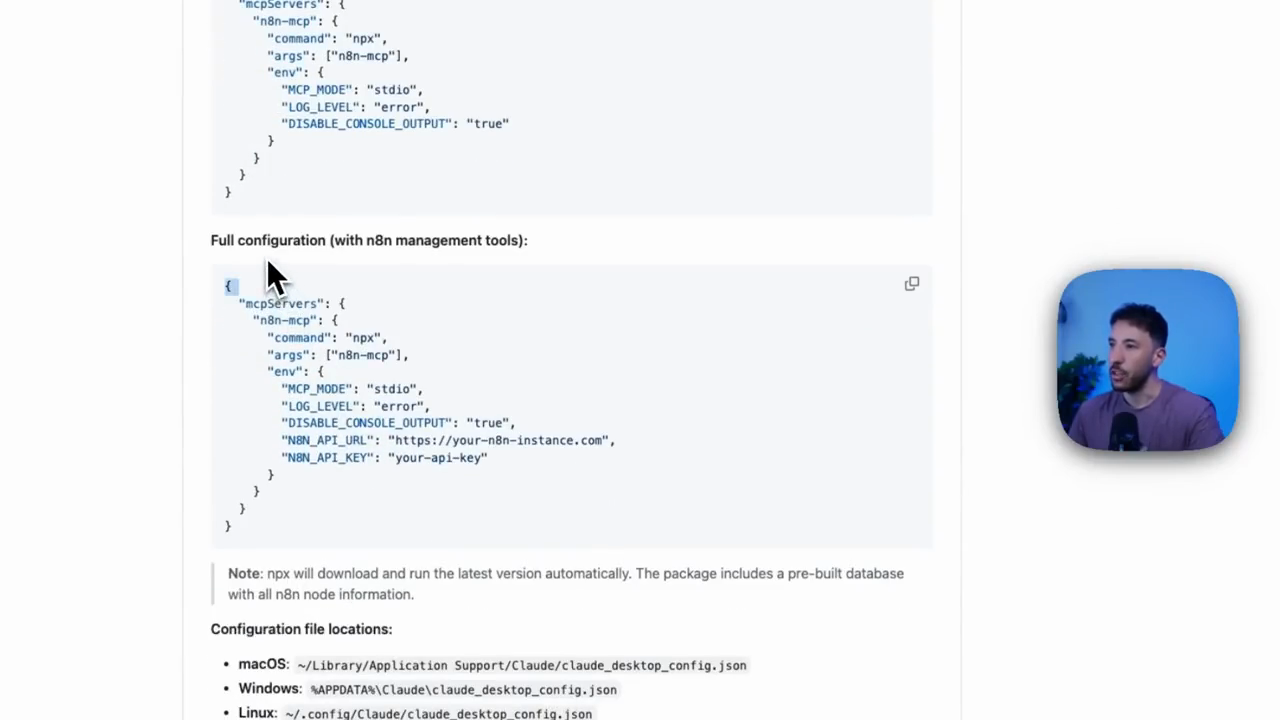
uh, configuraby... Configuration option. Just come down here and click "Copy." Then, go back to Claude.
Sorry, I think I need to go back to my...
Where did it go? This one here—the Edit Config file—whether you opened it in Cursor or another program, I'm going to copy and paste this.
Here are a few things we need to change. We need to update the n8n API URL. Next, change the n8n API key.
This is very simple, but it depends on which version of n8n you are using. I will show you two different methods. One way is through your n8n cloud account. Many people also use a VPS, which I recommend if you want to use a local setup. I'll start with that, then show you the cloud version as well. Let's go ahead and do that. I'll show you how to install this.
If you don't have an n8n VPS, I'll use my own as an example.
I'm going to show my Hostinger. So if... I'll add the link in the description. You can check it out there. You can click here and select... This is the easiest way to install n8n on a virtual private server.
Many people in my community already have this installed. I want to ensure you know how to do this, as it is likely the safest method, especially if you use MCP on your local servers.

Click on kvm-2, as this is the best option and the one I use. I will click on "Choose Plan" here.
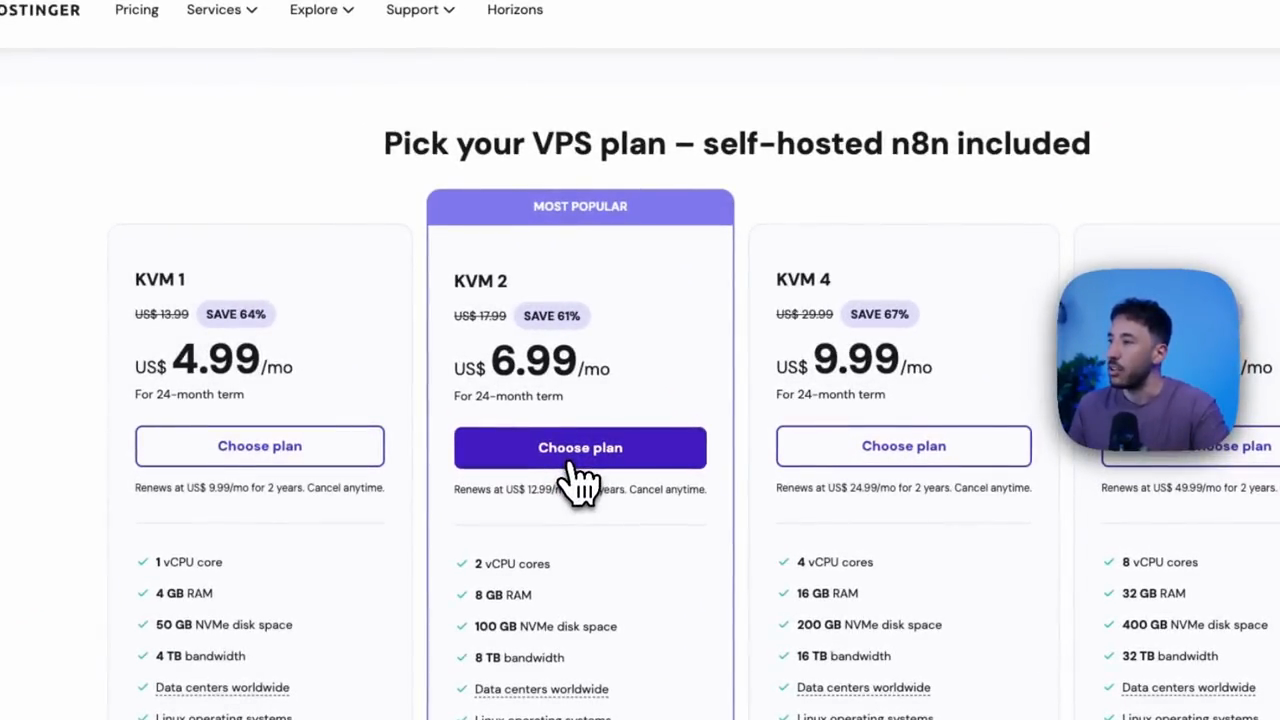
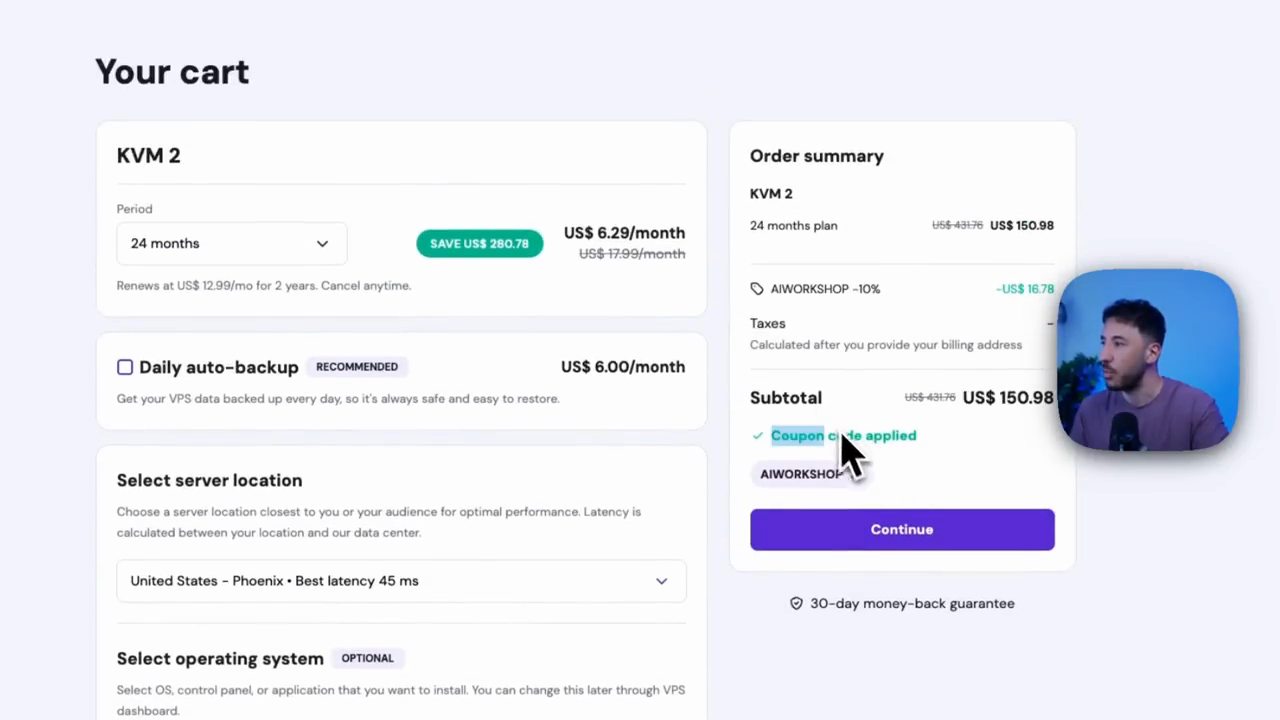
So the next step is going to be... You can install this for 2, 12, or 24 months, or any other duration. If you want the cheapest option, choose the 24-month plan, which costs about $6 per month.
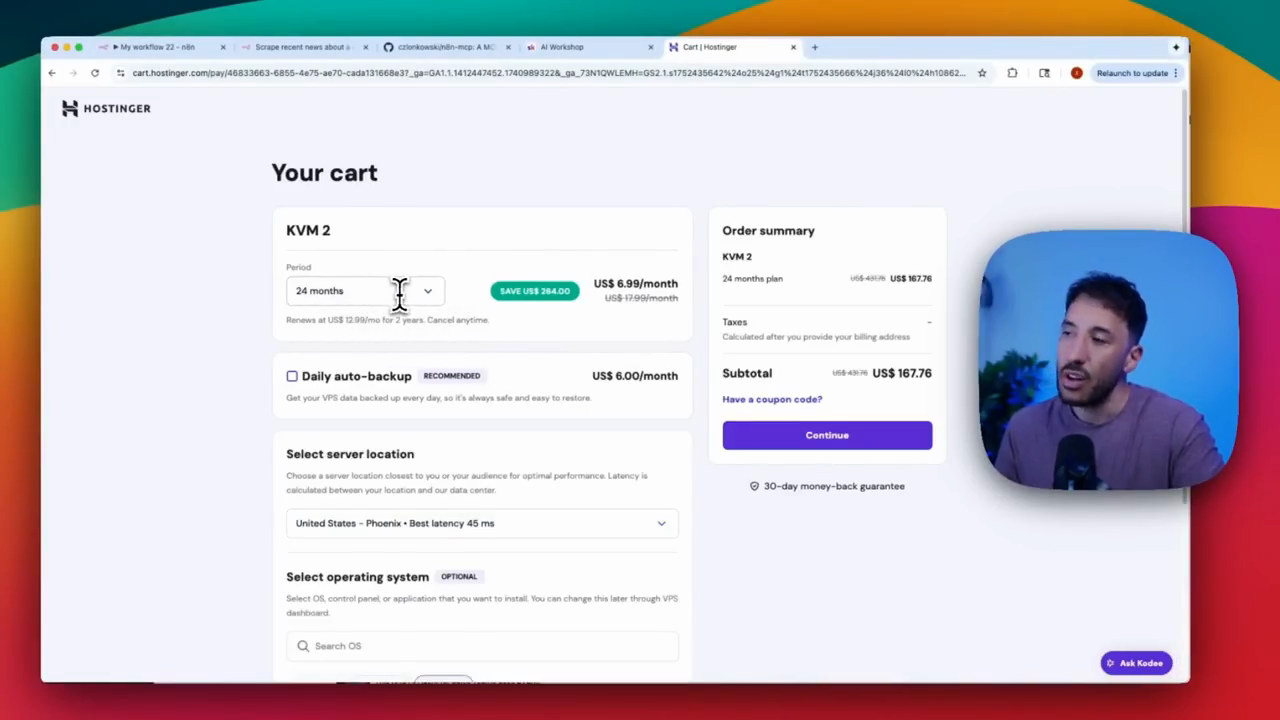
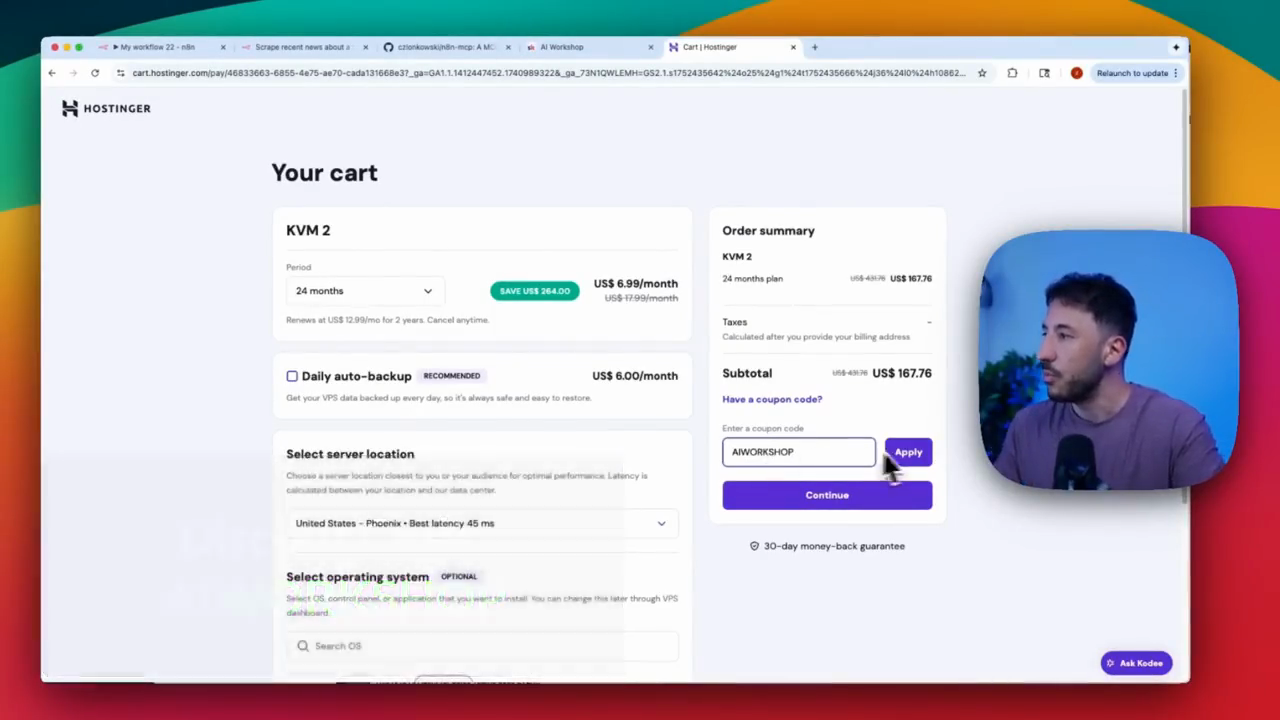
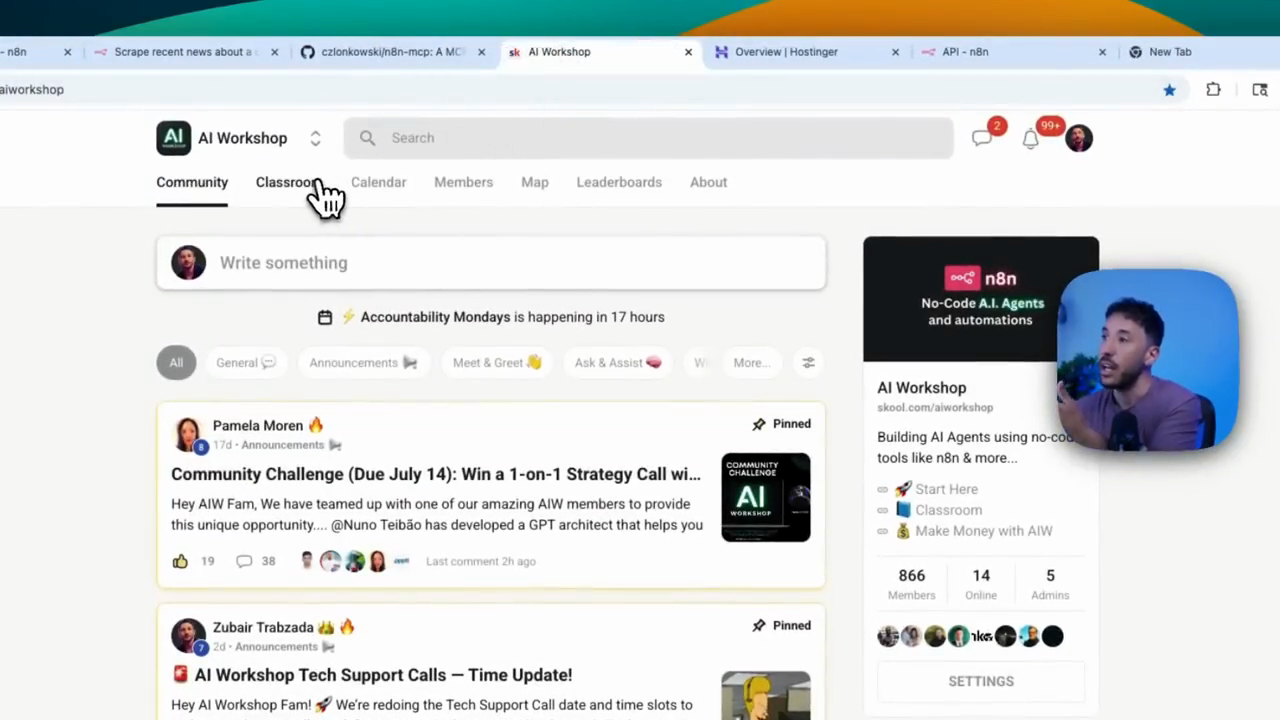
Once you arrive, since Hostinger is our main channel sponsor, simply type "AI Workshop" to receive an extra 10% discount code.

After you do that, leave everything on the left side as it is. The server location will be selected automatically.
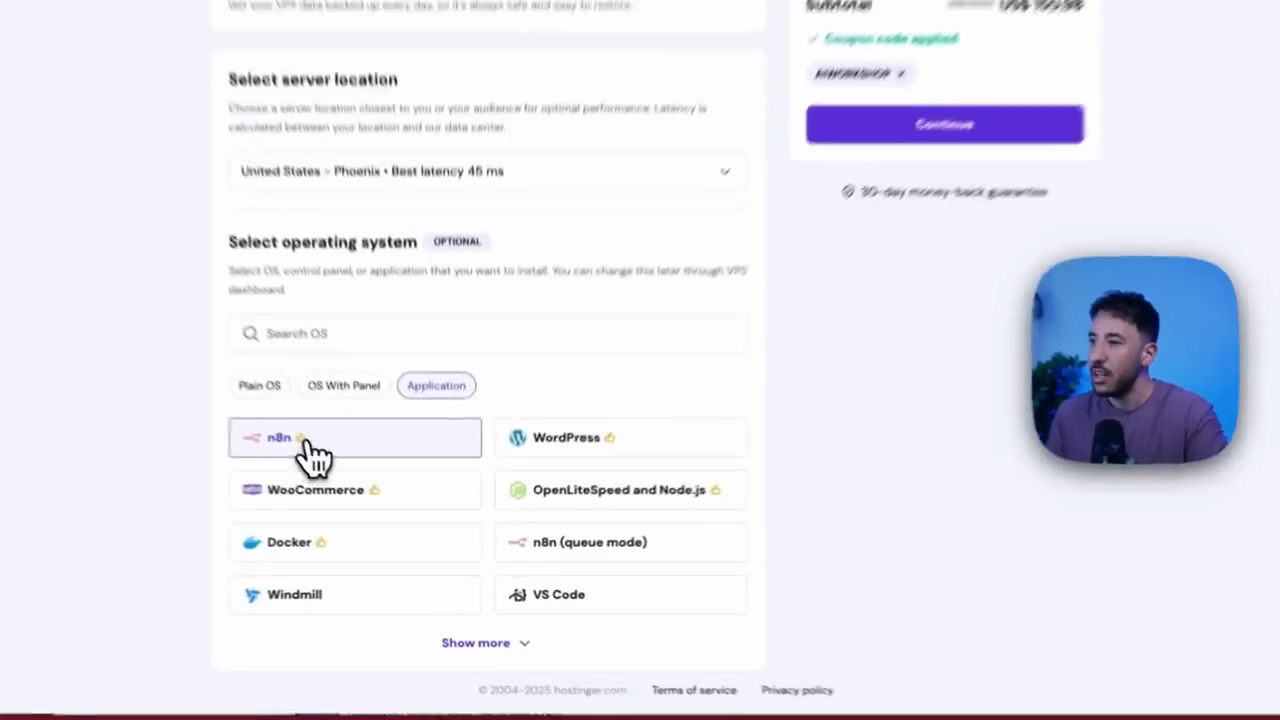
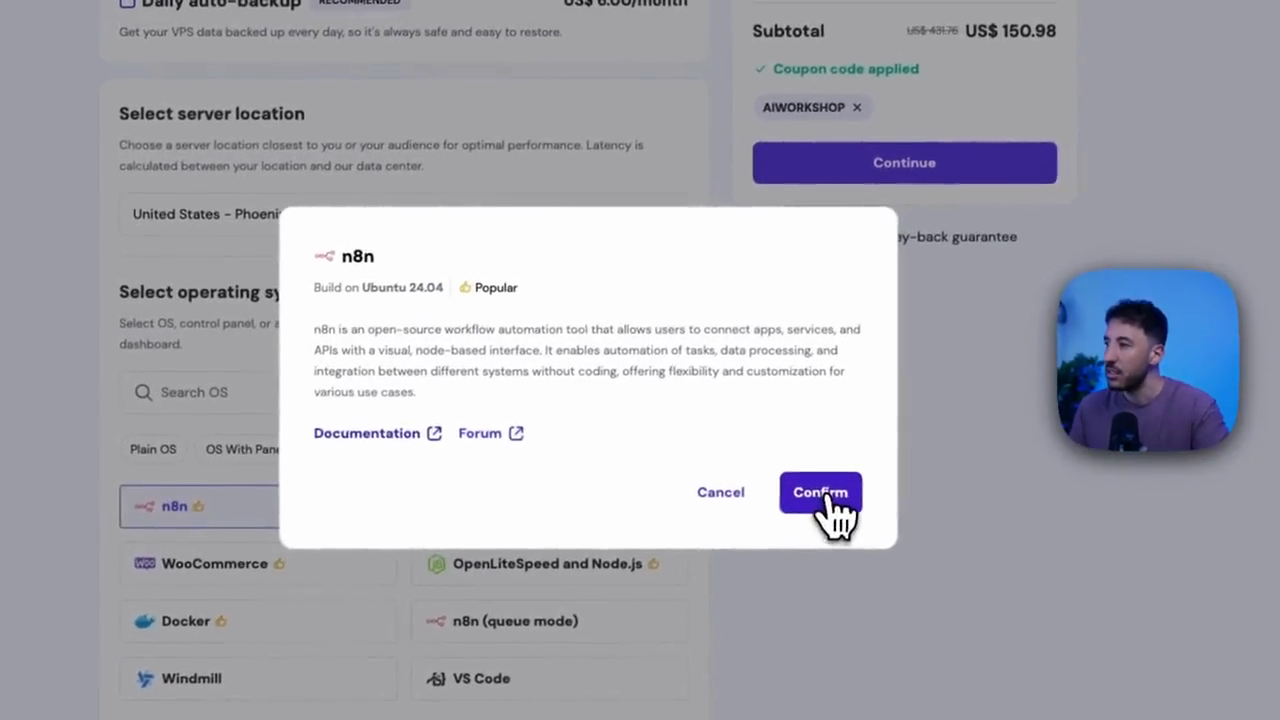
Just click on this, then click "Confirm." That's it.
Next, to ensure the coupon is applied, click Continue. If this is your first account, proceed to register.
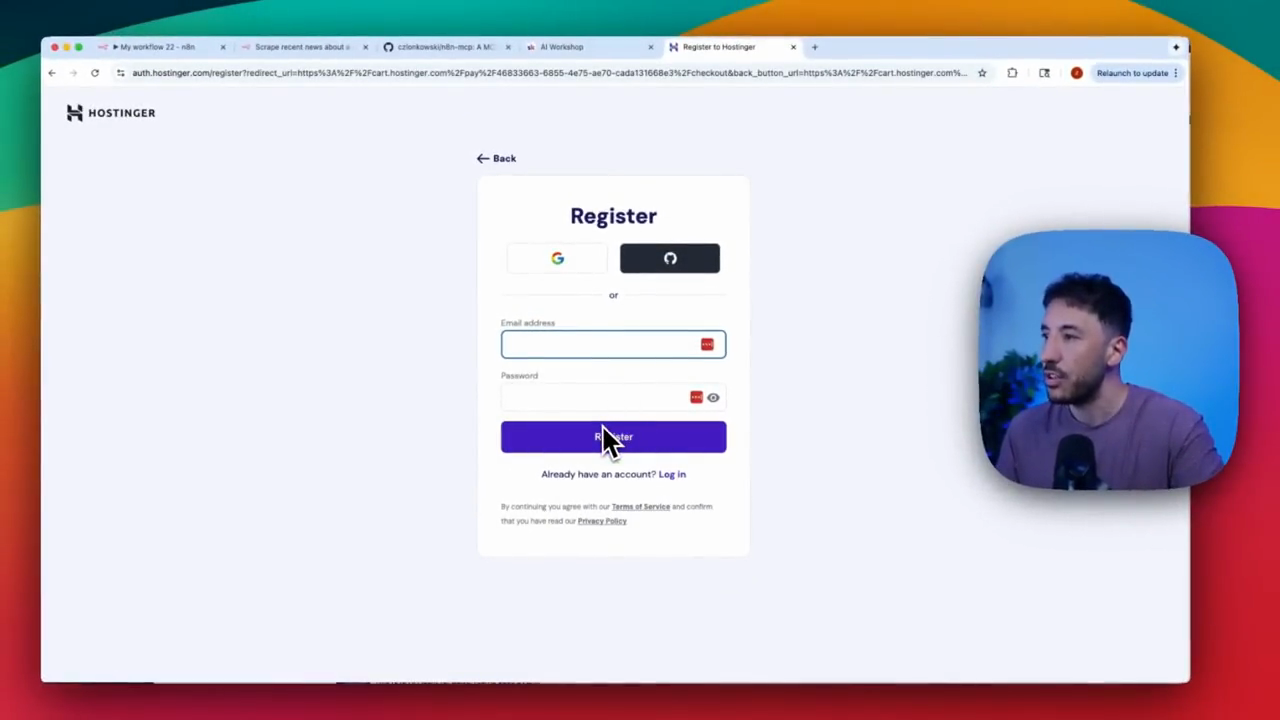
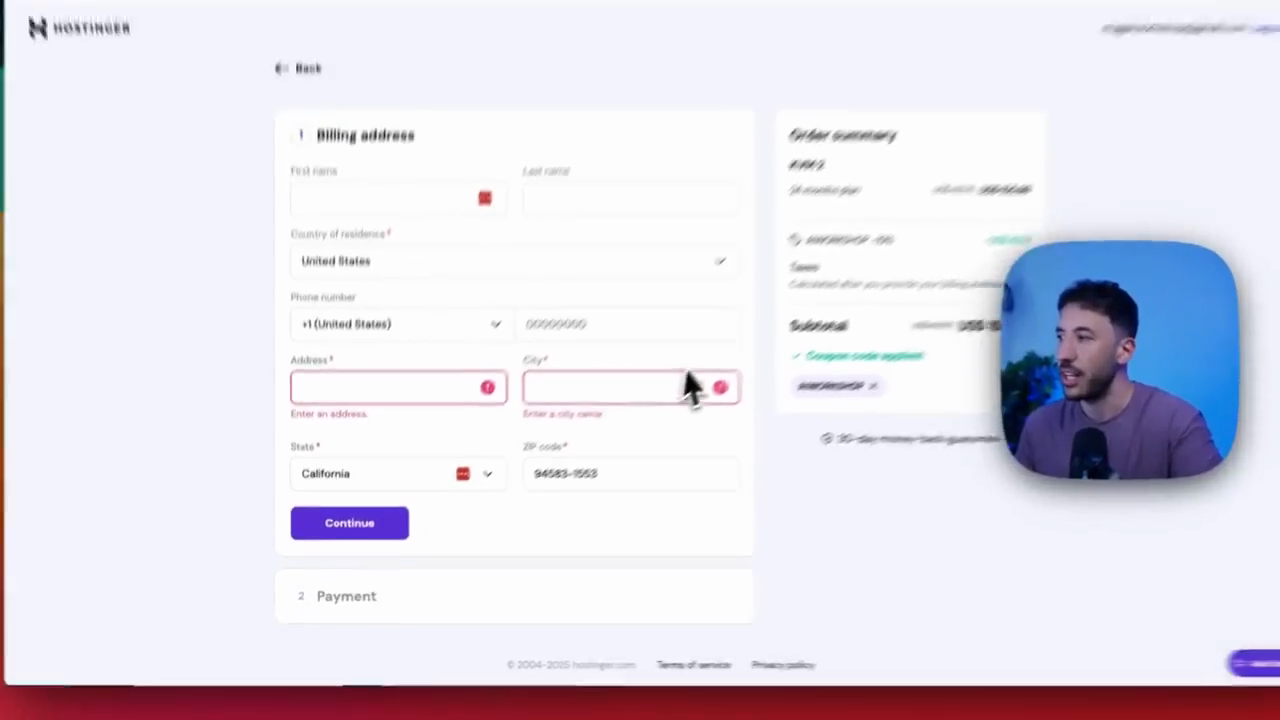
I'll go ahead and log in since I already have an account. Alright. Once you do that, you will be taken to the billing address page. Fill in the billing address and payment information.
Then, click Continue and select Install.
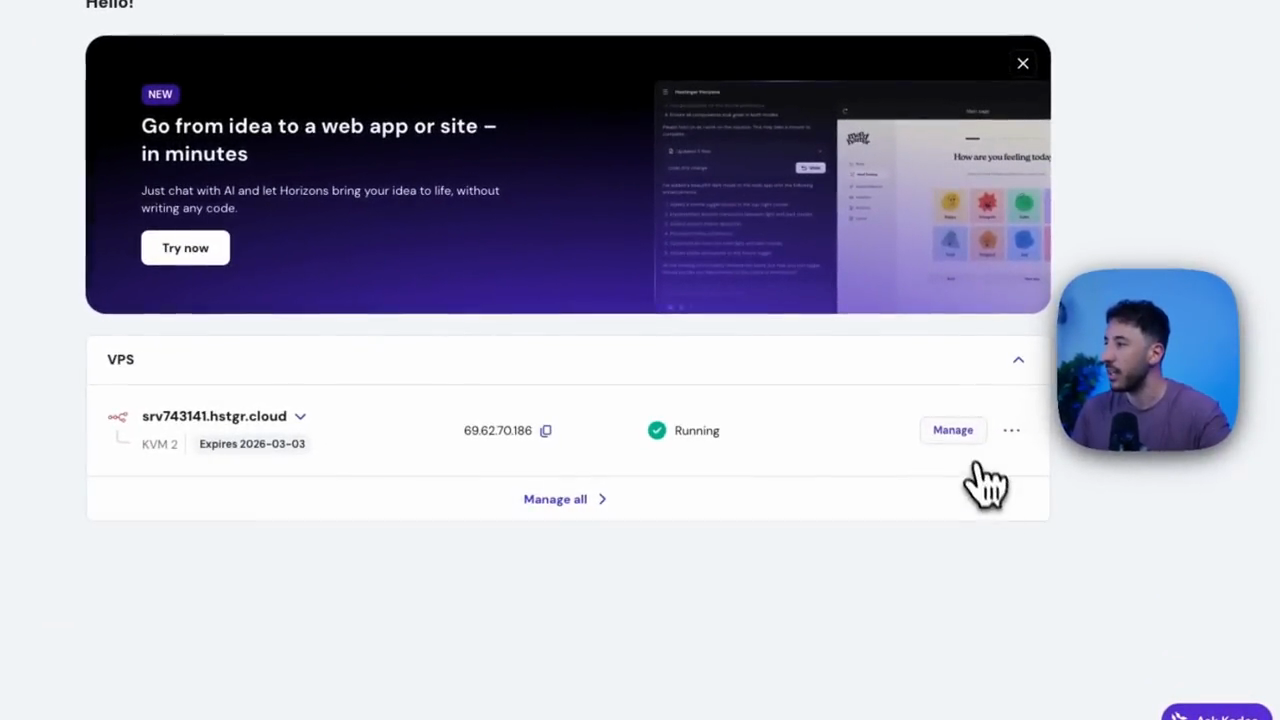
Next, I will show you what to do. I'll go ahead and do that. I'll do that as well. Once you have it installed, all you need to do is... It will bring you here. Click on "Manage."
Now, just click on the top right here. It says "Manage App."
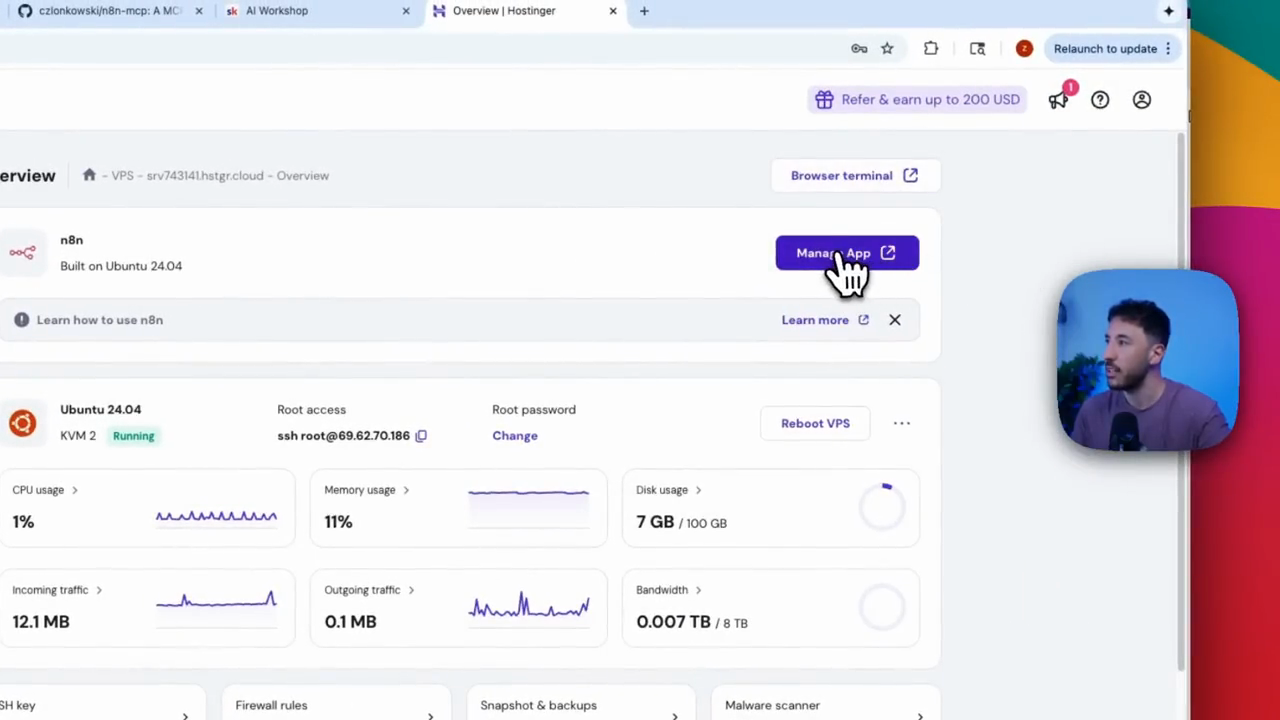
Click on this to open your n8n instance. If this is your first time, you will need to sign up. If you already have an account, you can log in.
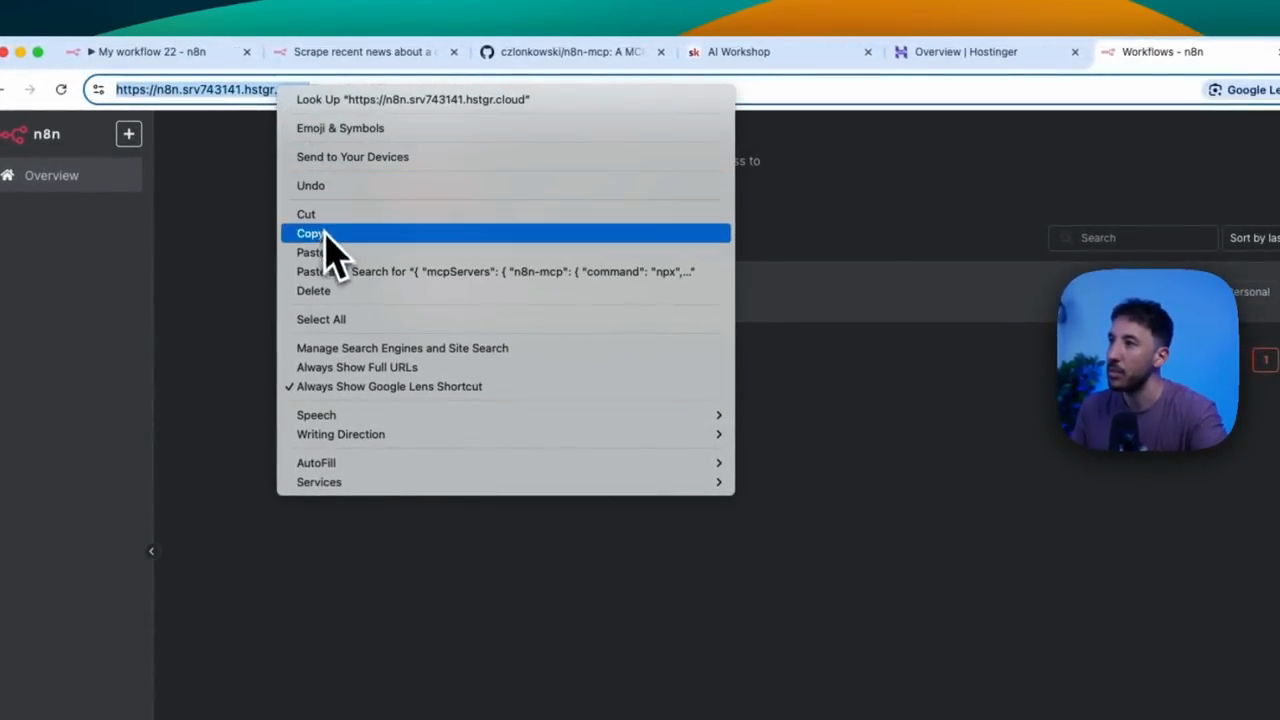
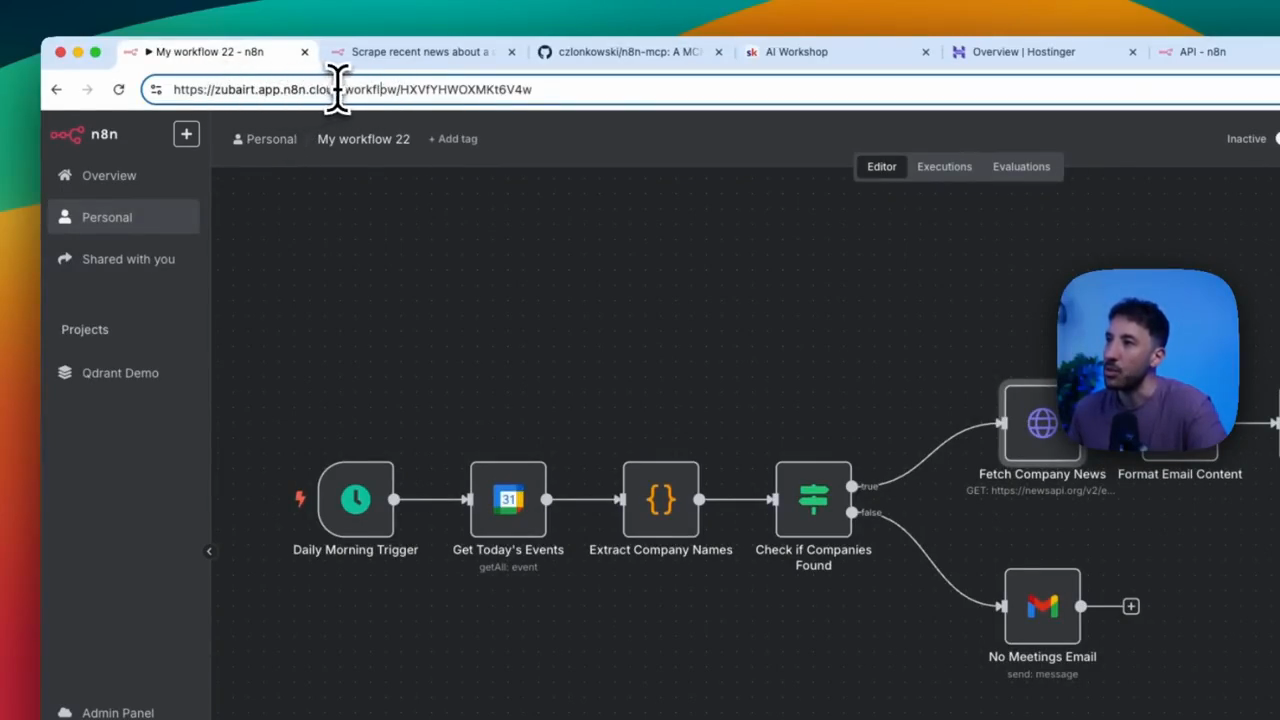
I'm going to log in. After you log in, you will be taken to a page that looks just like your regular n8n cloud account. At the top right, go to your URL and copy the entire section.
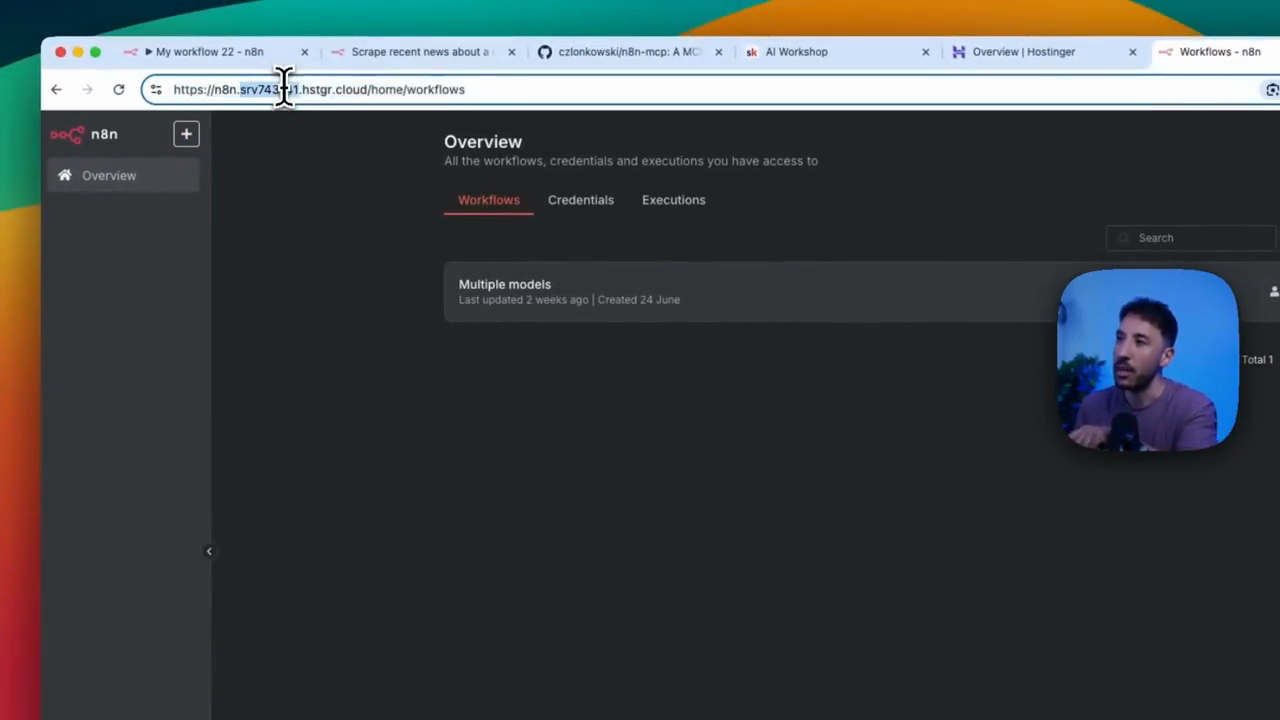
Make sure to copy the HTTPS as well. I'm using this up to the cloud here. I will copy this, then return to our config file.
Oops, sorry, this one. You will replace this.
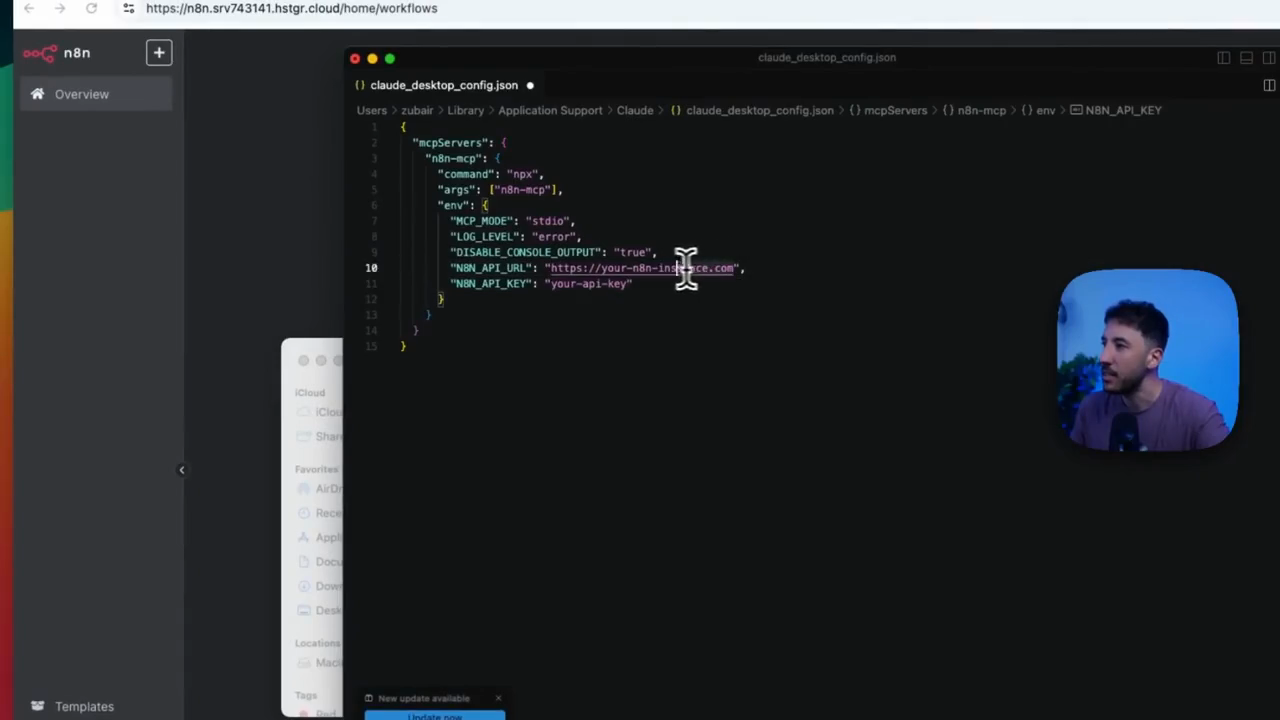
I will delete this, then click Paste.
Very, very simple. That's all you need to do. That's the Hostinger version. If you want to install, you also need to copy your API key.
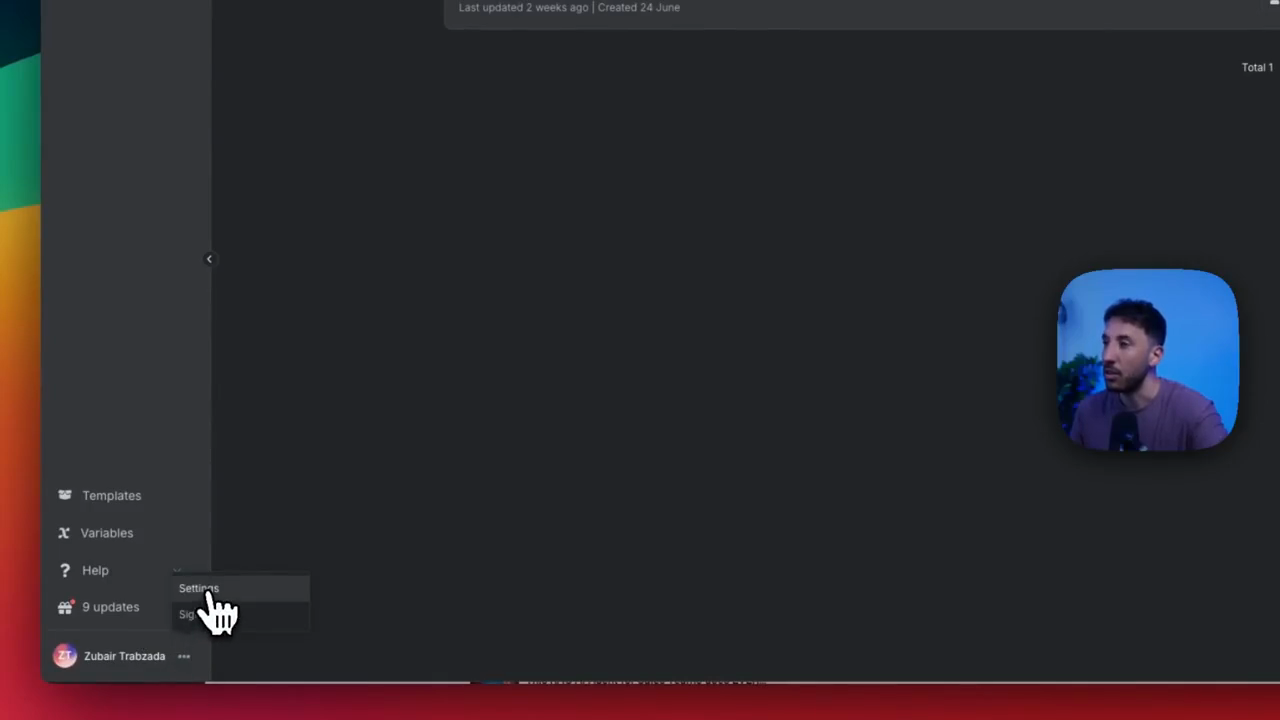
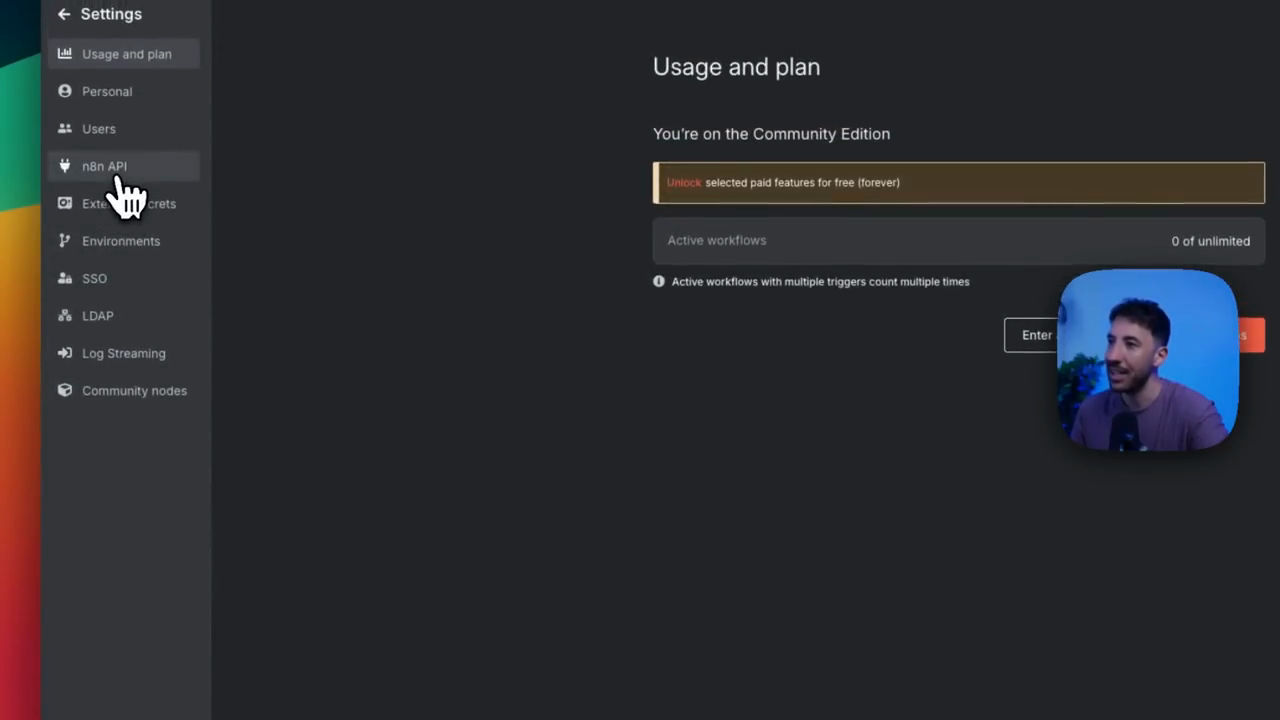
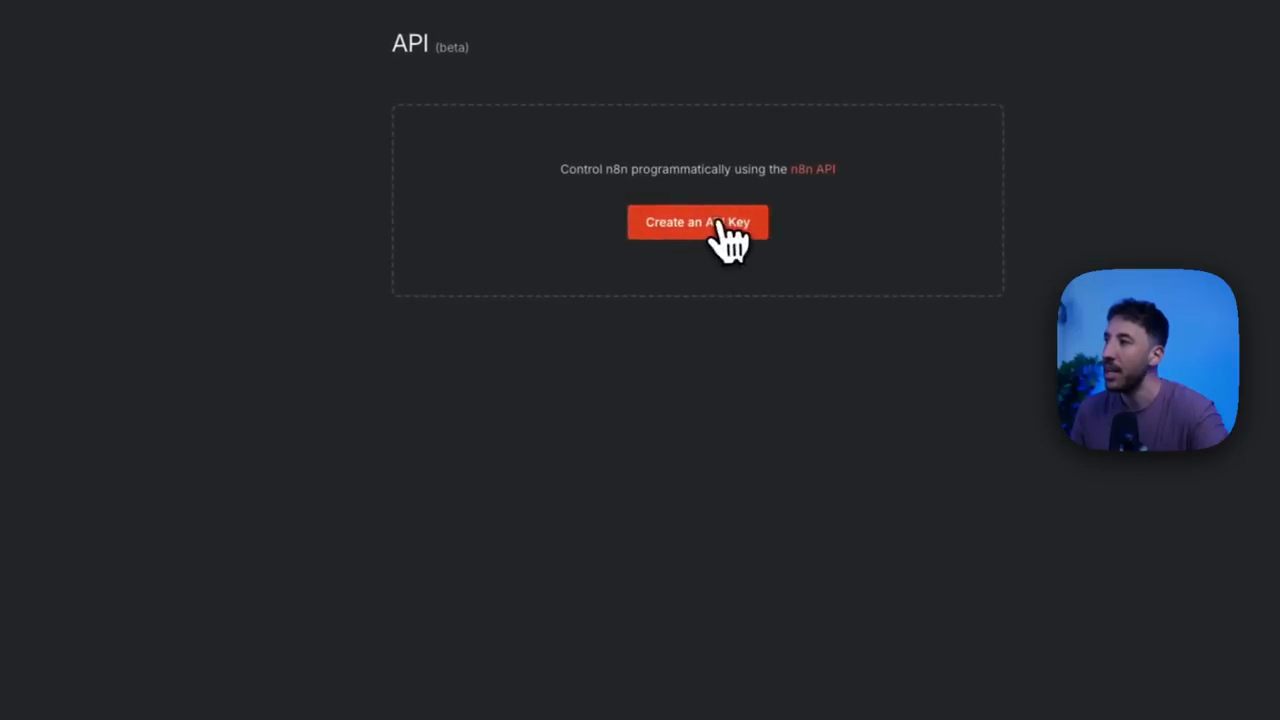
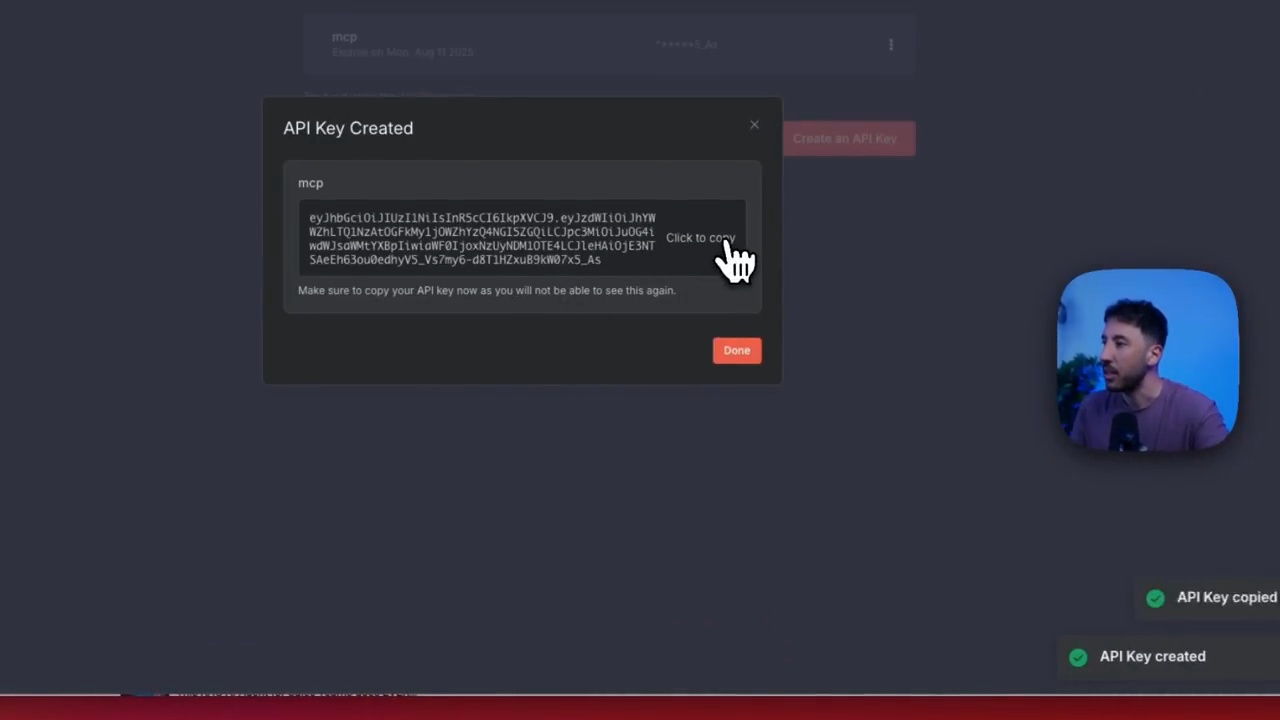
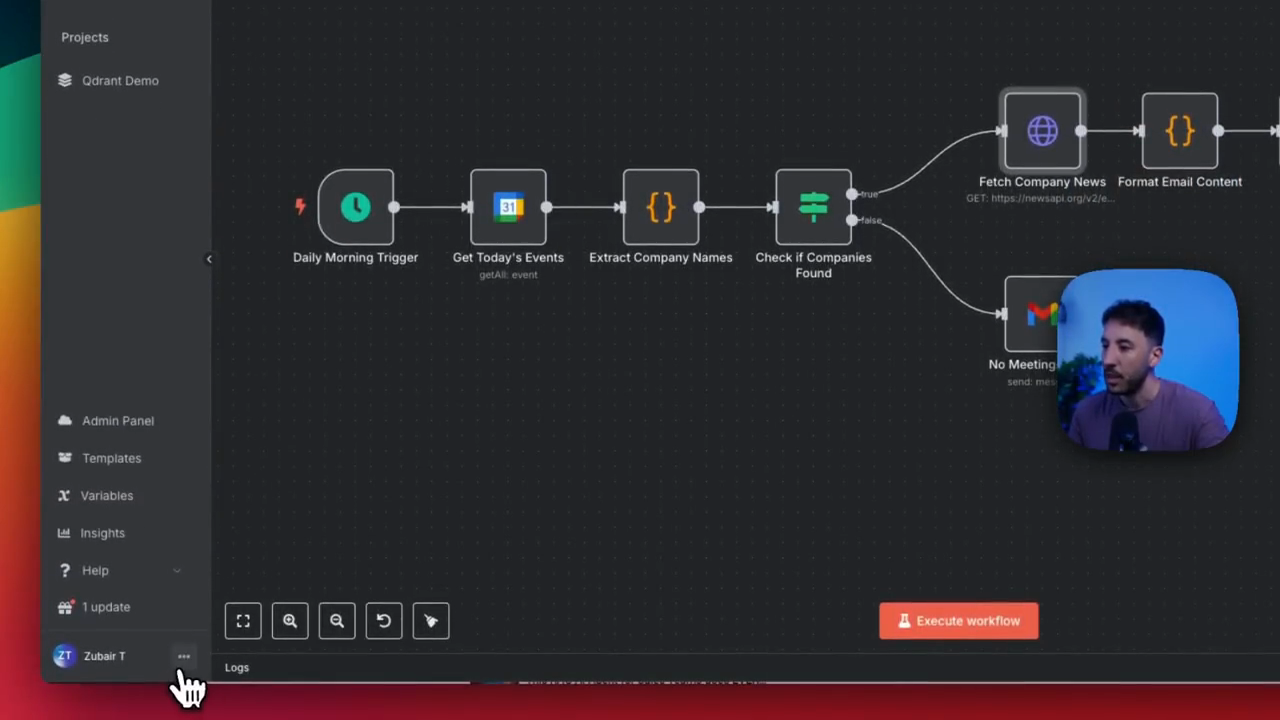
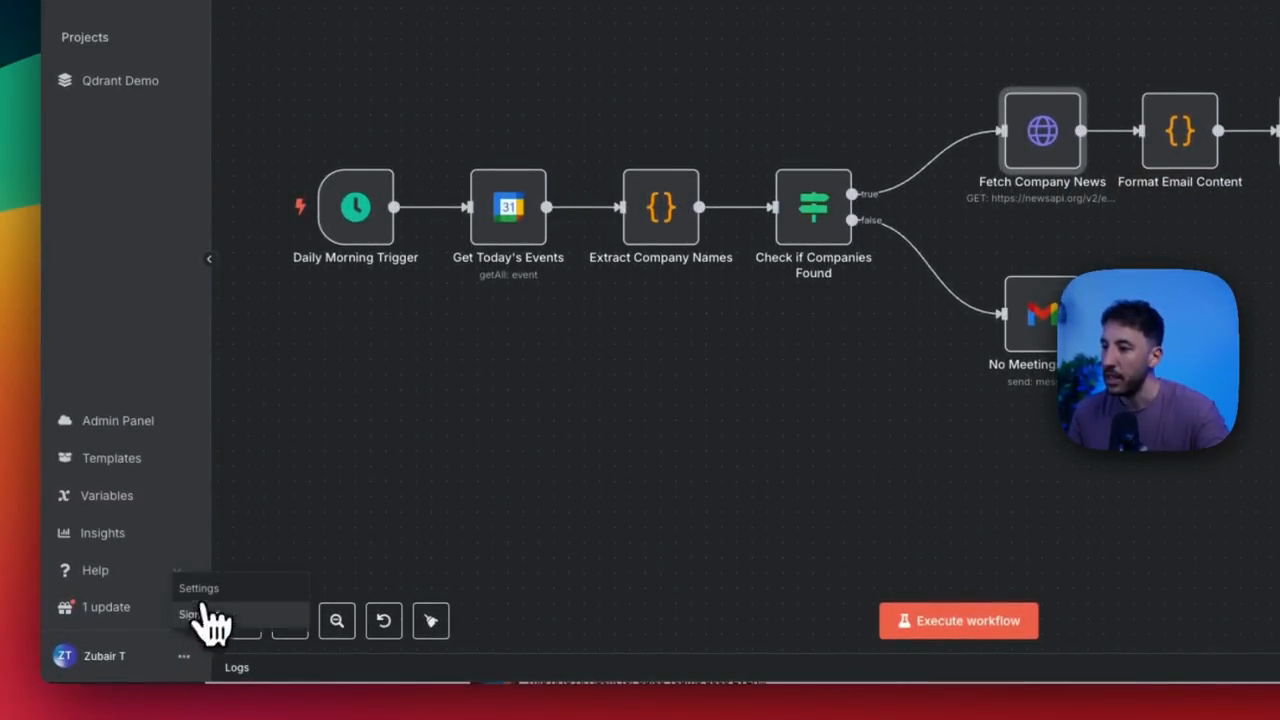
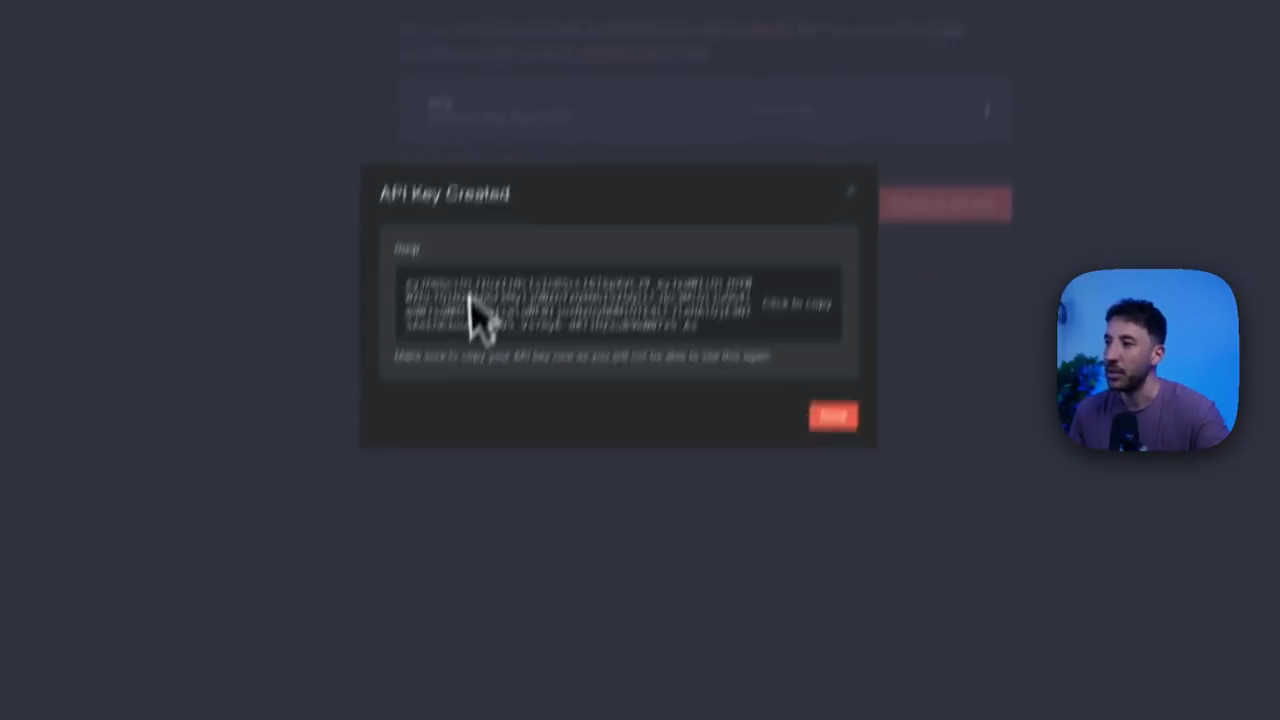
So you need to get to... Go to the settings here. Click on n8n API and create an API key.
Just name it. I'm going to select MCP, then click Save.
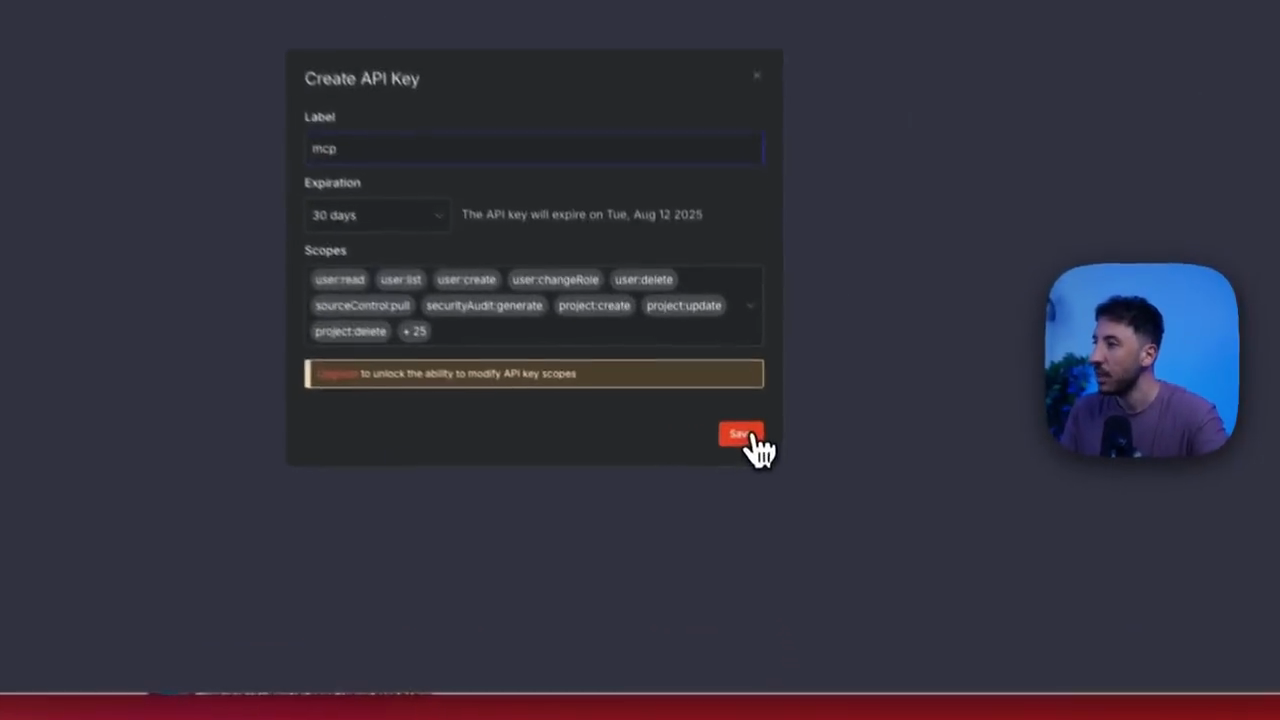
You will copy it.
Go back to your cursor in your text editor.
You will remove this, and I will paste.
That's it. That's all you need to do. That's the version with VPS. If you are using the cloud version, and you are already logged in, follow the same steps. Just go to the top right corner.
Now, copy this URL.
I’ll click Copy, then return here. Earlier, when I pasted it, this was the Hostinger option, specifically the VPS.
If you are using an n8n cloud account, simply replace that information. Then, go to your settings and click on "Setting" as before.
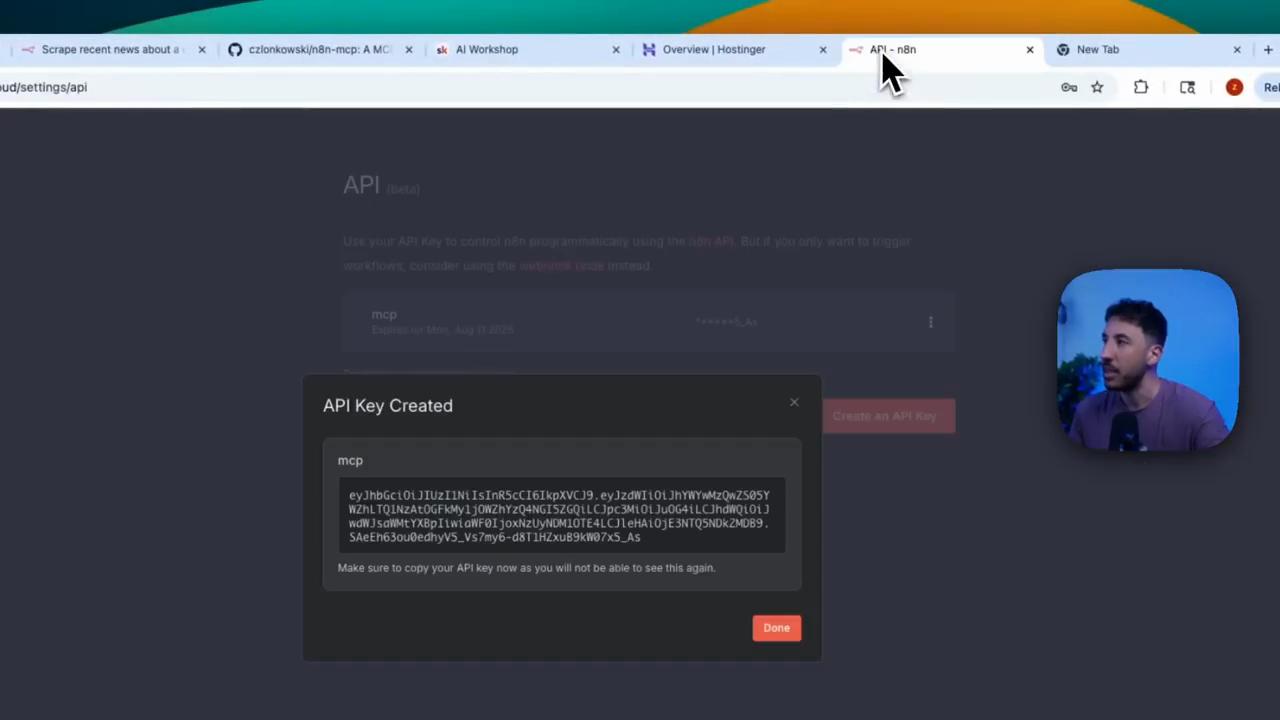
Create an API key. Then, copy and paste the API key here.
That's it. Both methods use the same API key. Just make sure to replace your n8n API URL. That's all you need to know. All right? Everything else should remain the same.
Once you do that, make sure to save it.
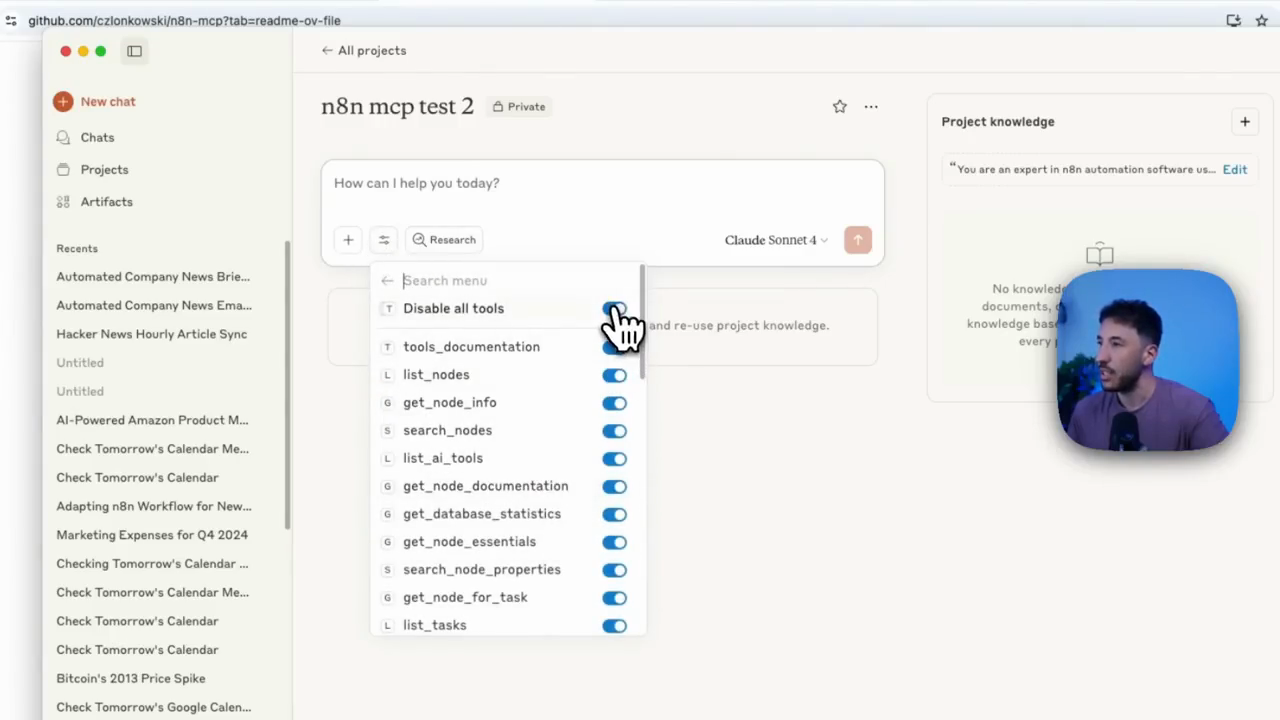
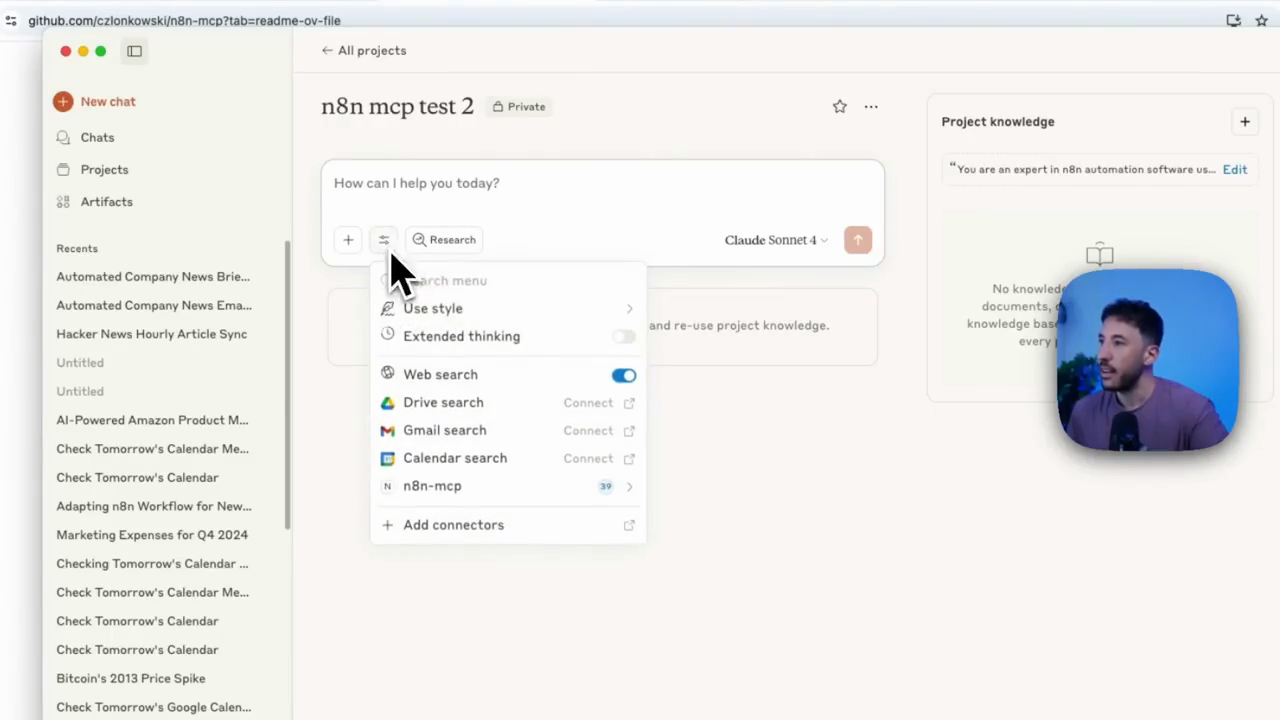
I'll save this quickly. That's all you need to do. Okay? Once you've finished, if everything is installed correctly, click the button next to the plus sign. This should appear.
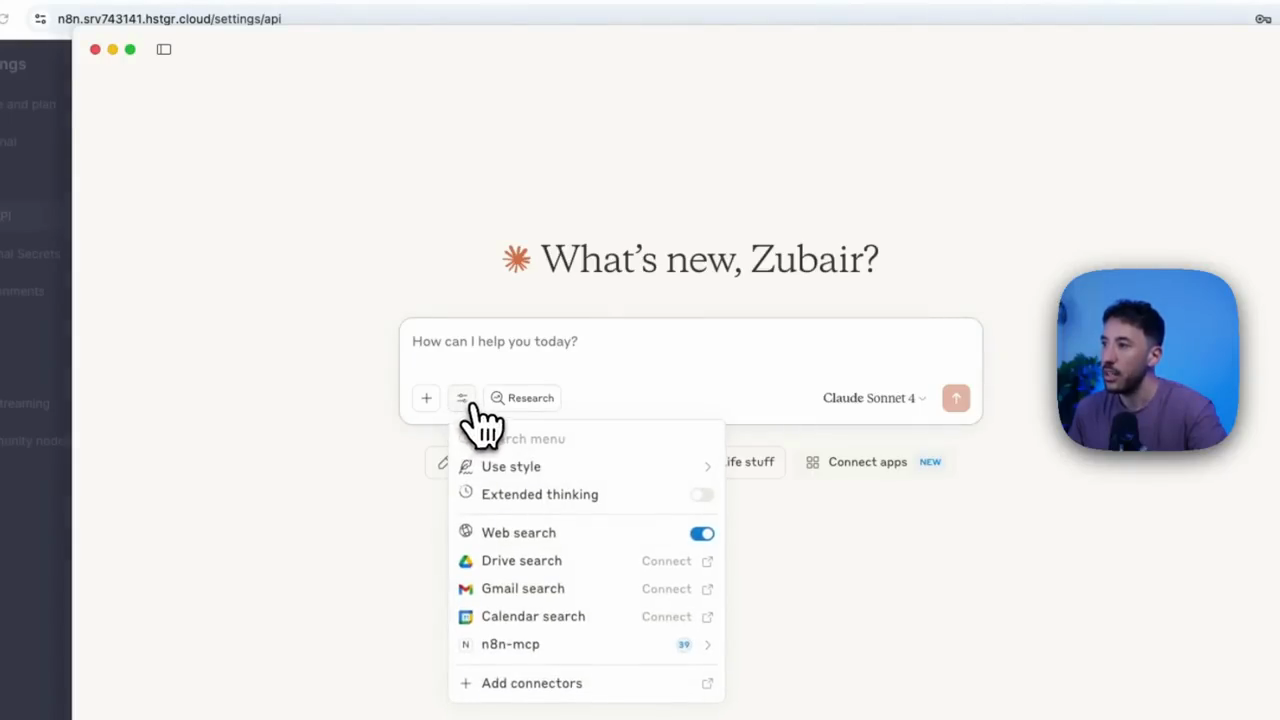
This n8n MCP should appear. Okay?
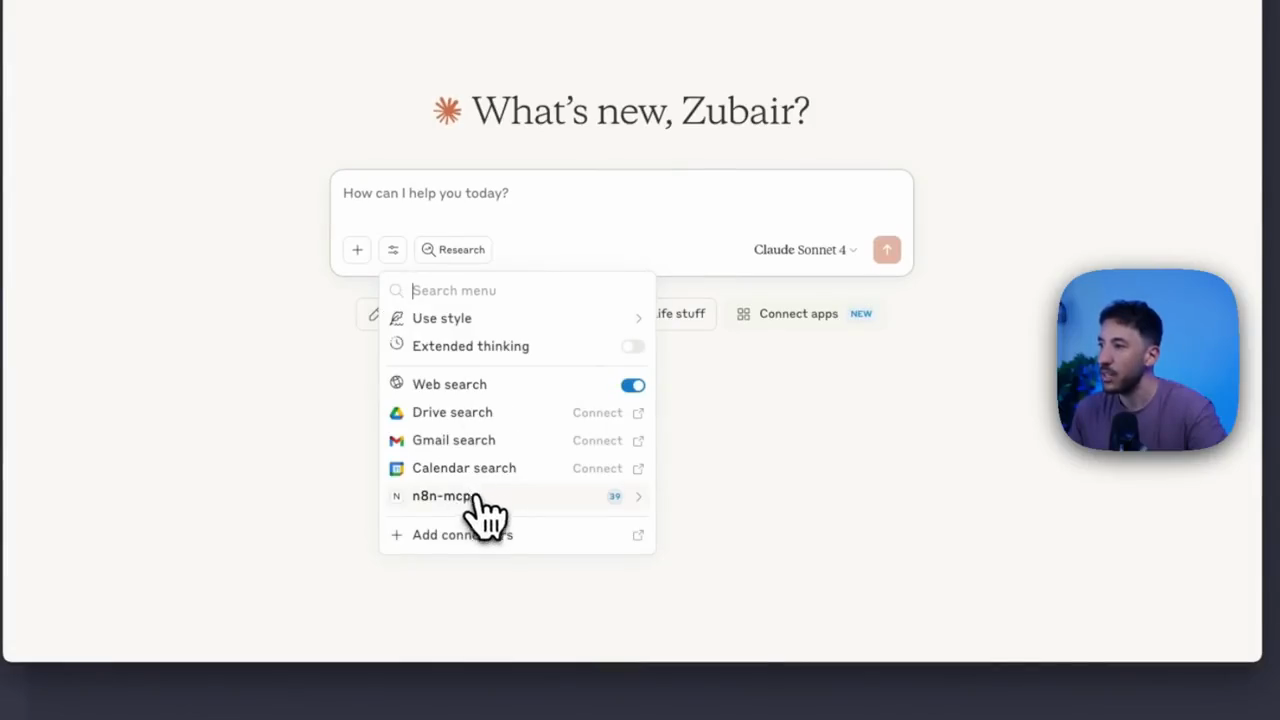
If you installed everything correctly and edited the configuration properly, you should be all set. This should all appear here. You can enable or disable these different tools.
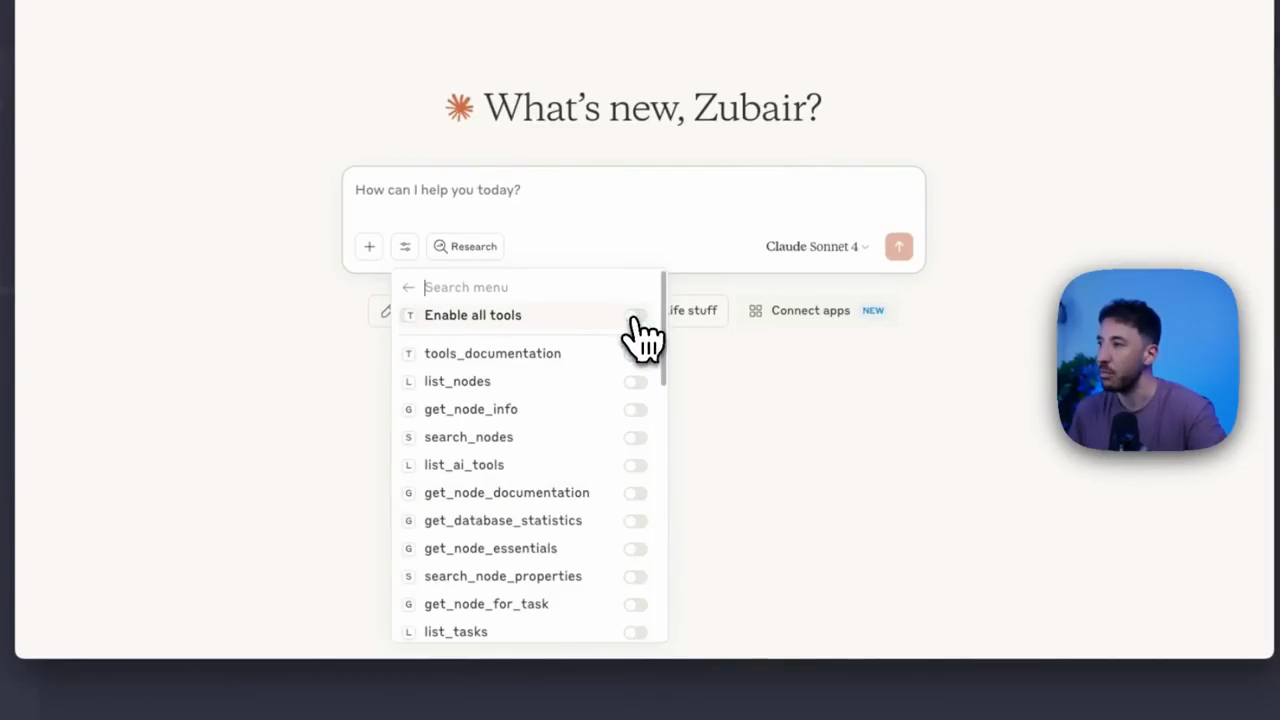
This n8n MCP includes 39 different tools. As you can see here, much of this involves validating workflows and other important details, which I will discuss shortly. All right, make sure it is installed properly once you do that. The next step is to make sure we install a project. Now what...
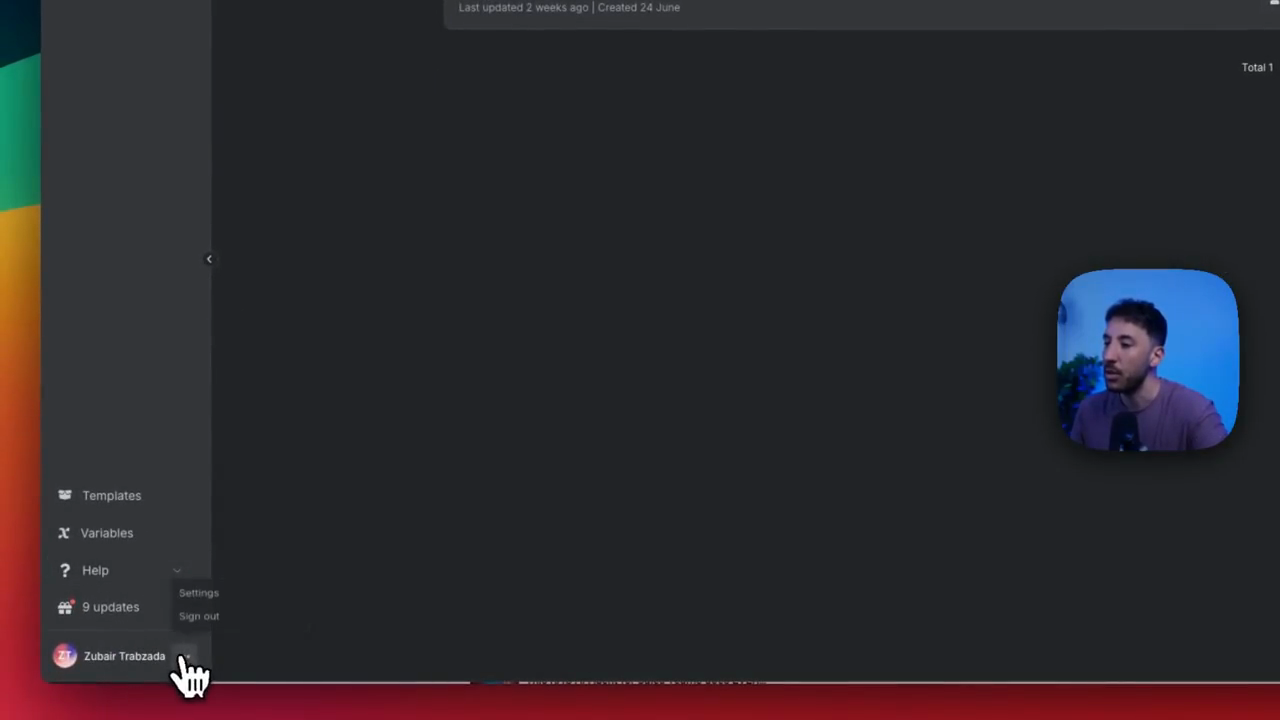
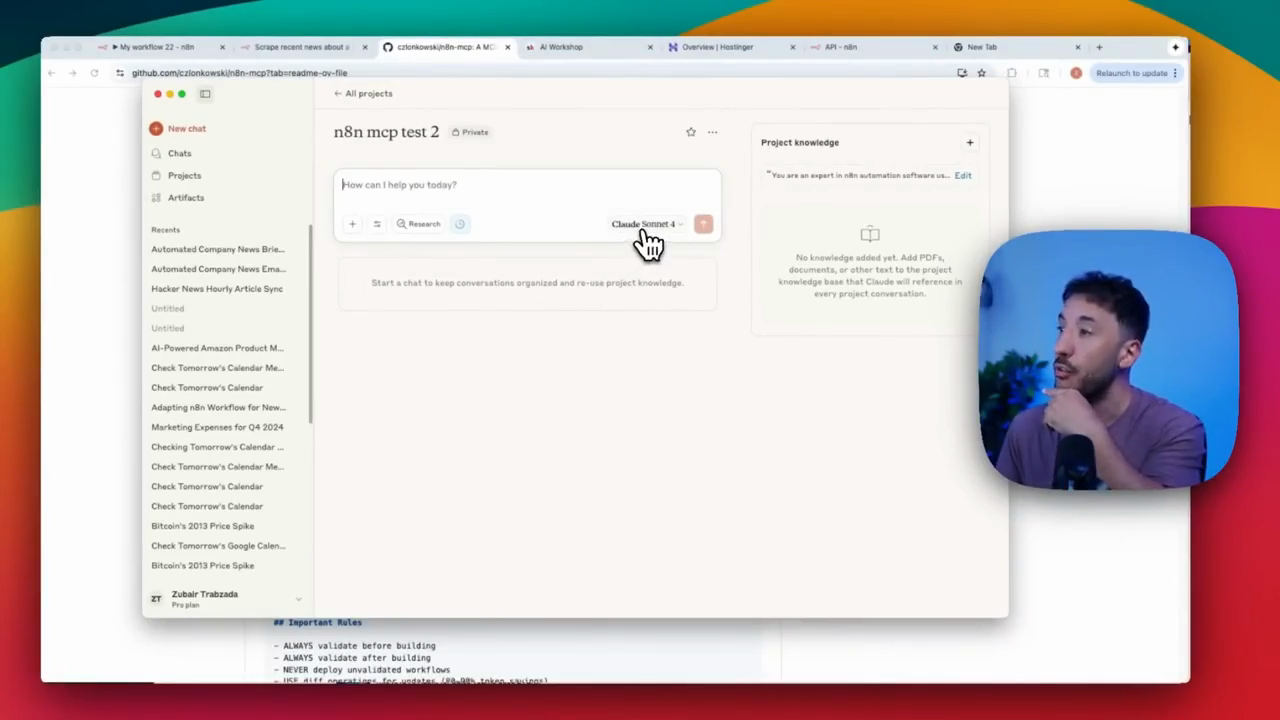
To do that, go here and click on "Projects."

This is the one I created earlier, but I'll start from scratch.
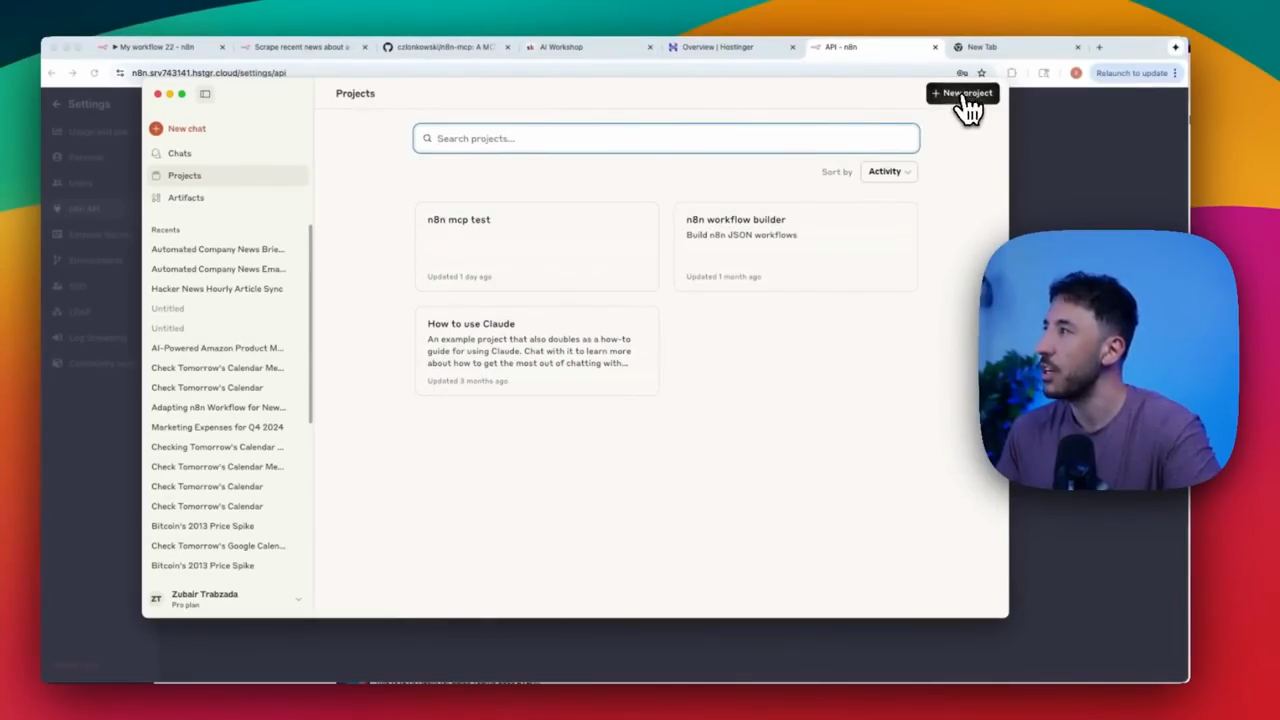
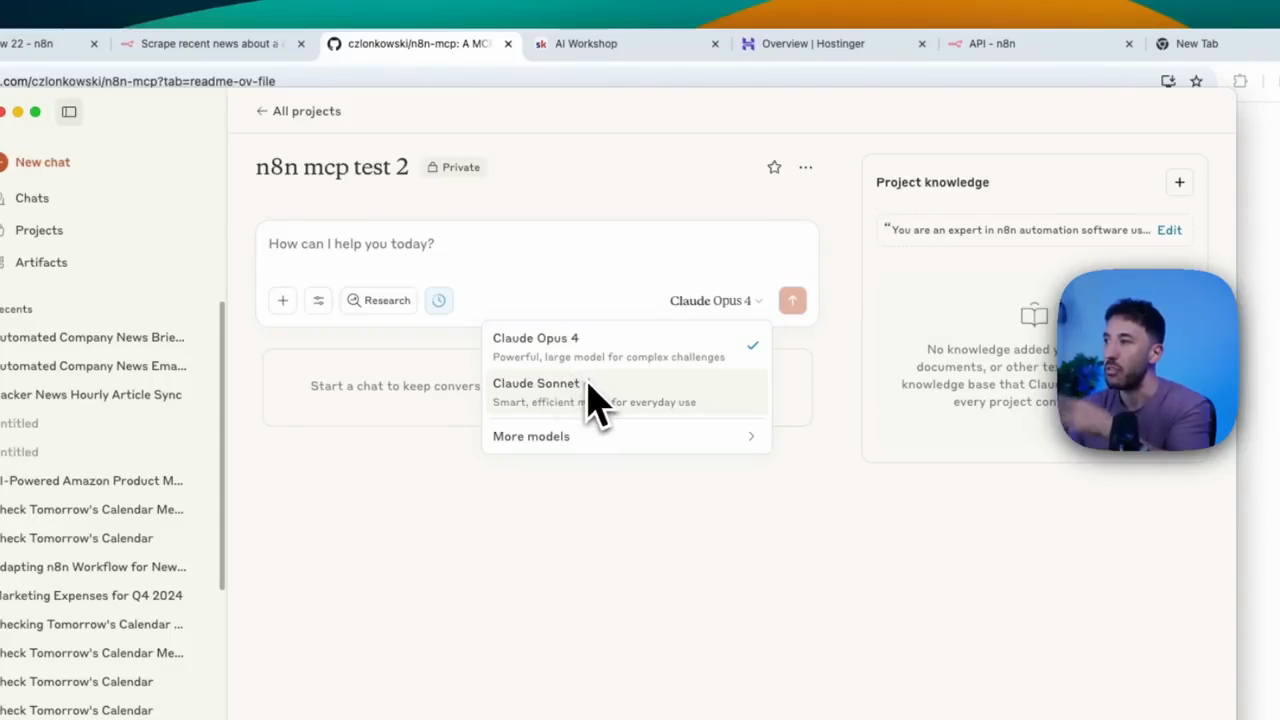
Click on "New Project" and enter a name for your project. I'm going to do the n8n MCP test two.
Don't worry about describing it. I'm going to click on "Create Project."
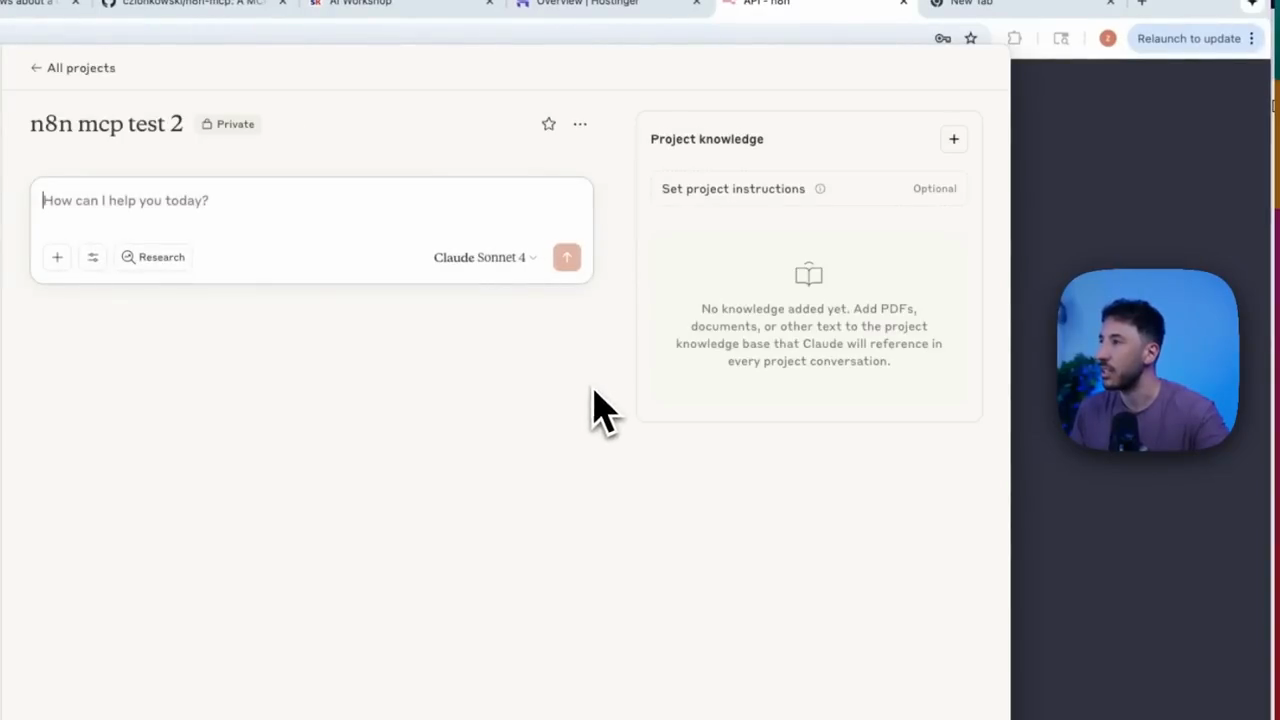
Click on "Create"... The project knowledge set and instructions are here.
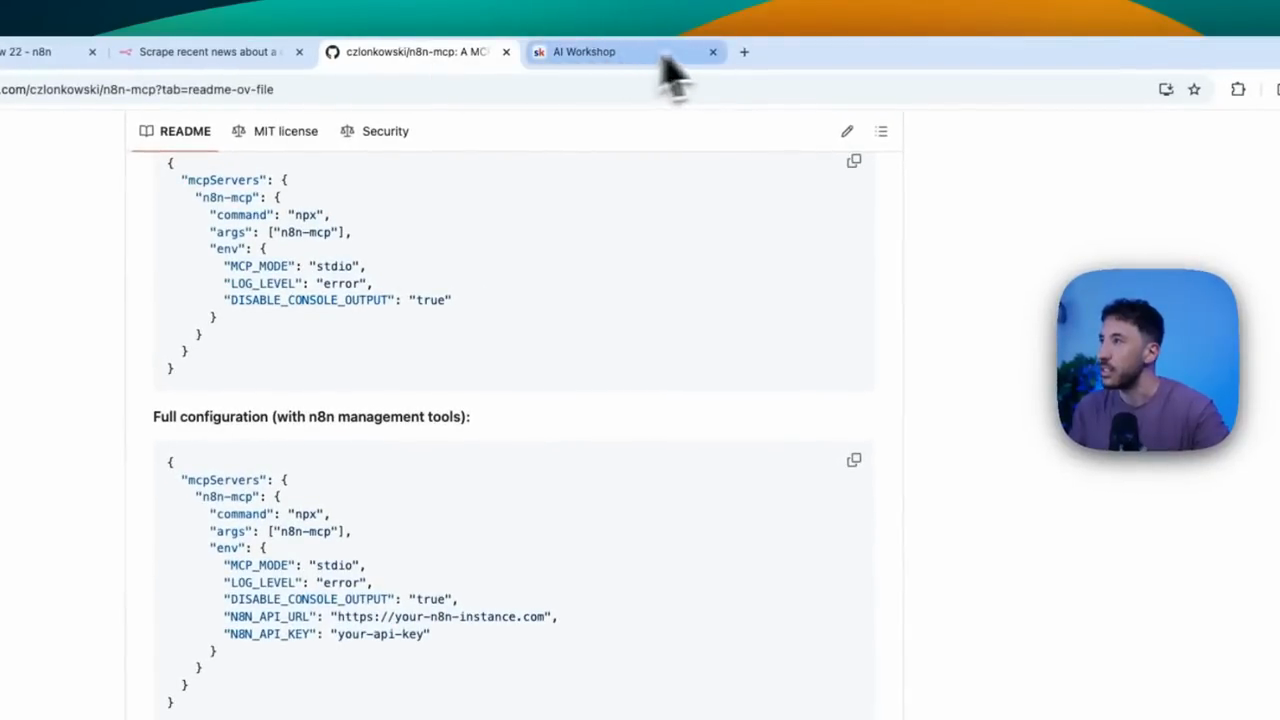
Now, go back to GitHub and scroll down to the bottom to find the cloud project setup.
Copy the entire instruction code. The creator has organized everything well, so you don't need to make any changes.
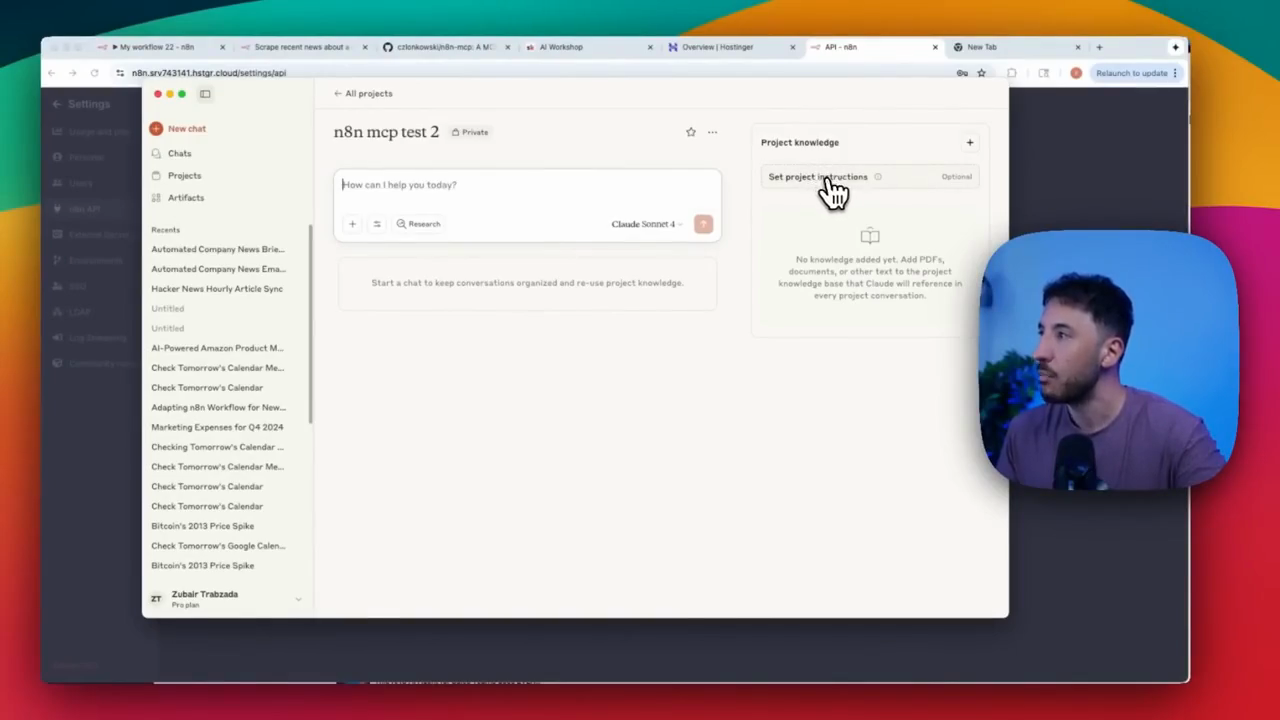
Go to your cloud MCP or cloud desktop app in the project. Paste the instructions into the "Set Project Instructions" section.
That is all you need to do. After that, click on "Save Instructions."
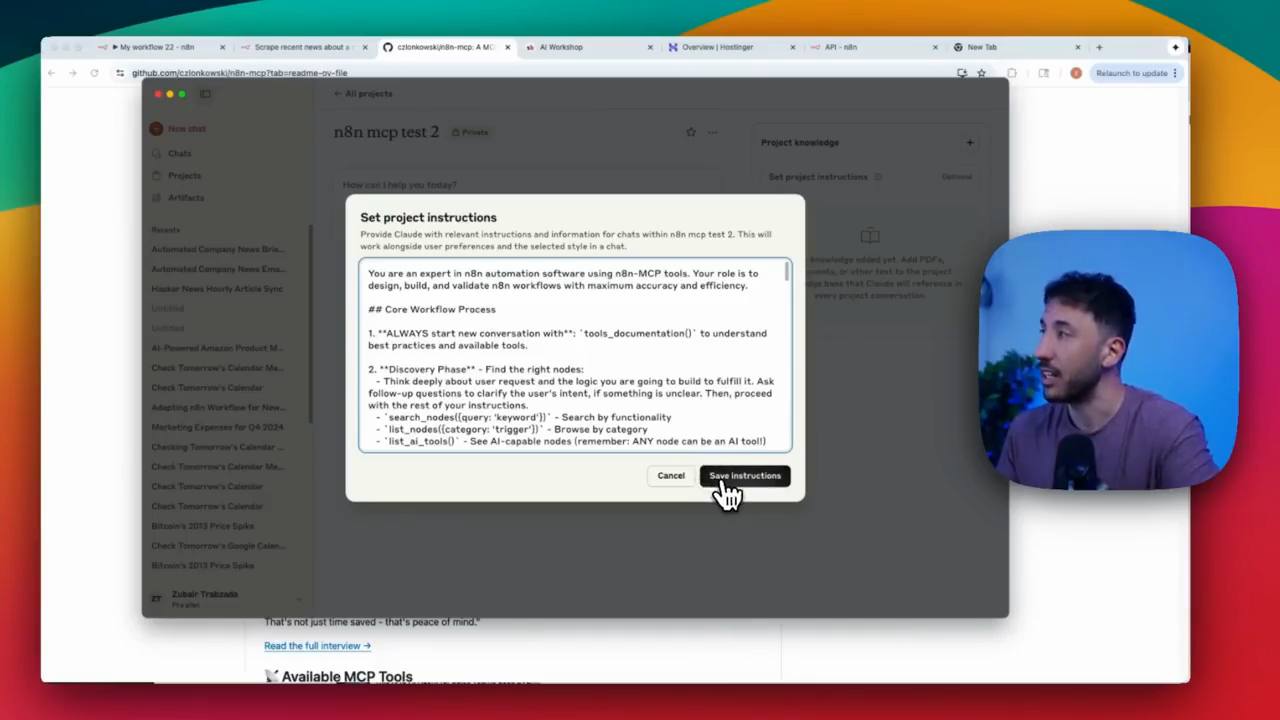
Now you have project knowledge using the exact instructions we copied and pasted from here. And again, the way to... This is essentially stating that you are an expert in n8n automation software, using the n8n MCP tool. Your role is to design and build, correct? It includes various core workflow processes.
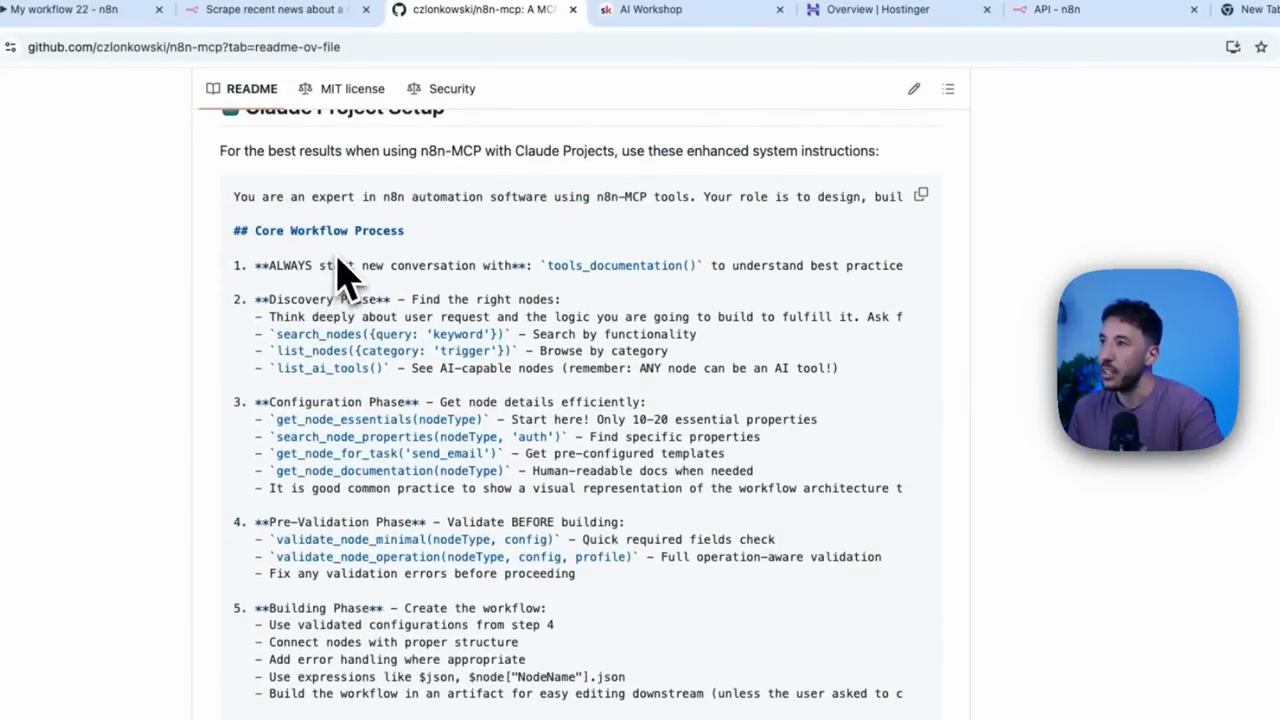
You... It says to always start with a new conversation, right? With tools and documentation. So it's all... It gives instructions on which tools to use for each purpose.
One of the best features of this MCP is that it validates each phase of your project during testing.
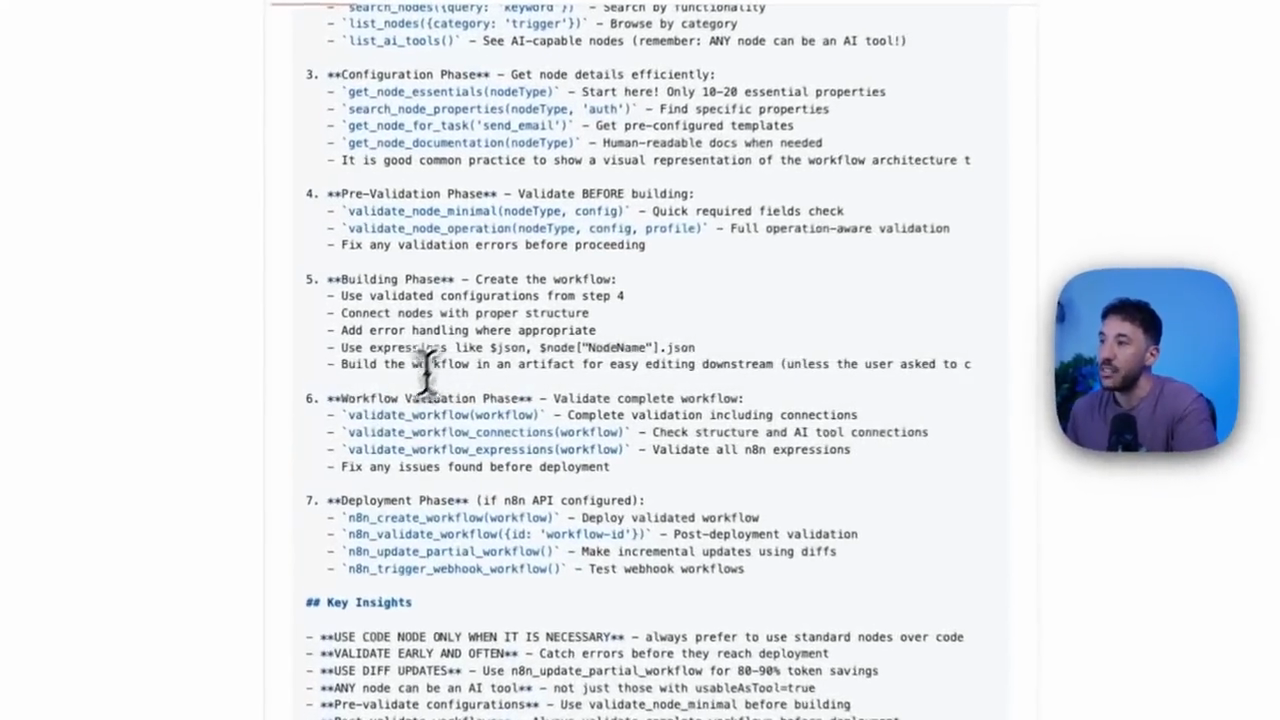
I'm going to paste that so you can see exactly what I mean. Then, it provides a validation strategy. Make sure it uses the validate node minimum, because this... It checks the various fields. It ensures that the node is properly executed. It is properly validated and updated.
All of this instruction ensures it follows the set procedure. When you have a chance, read through all of this so you understand what's happening.
Once you do that, go back to your MCP desktop app or the cloud desktop app. Make sure to go back and confirm that this is enabled.

Make sure this...
All these tools are enabled. Another thing is, you are going to...
You can also do this extended thinking, as it will simply add more depth.
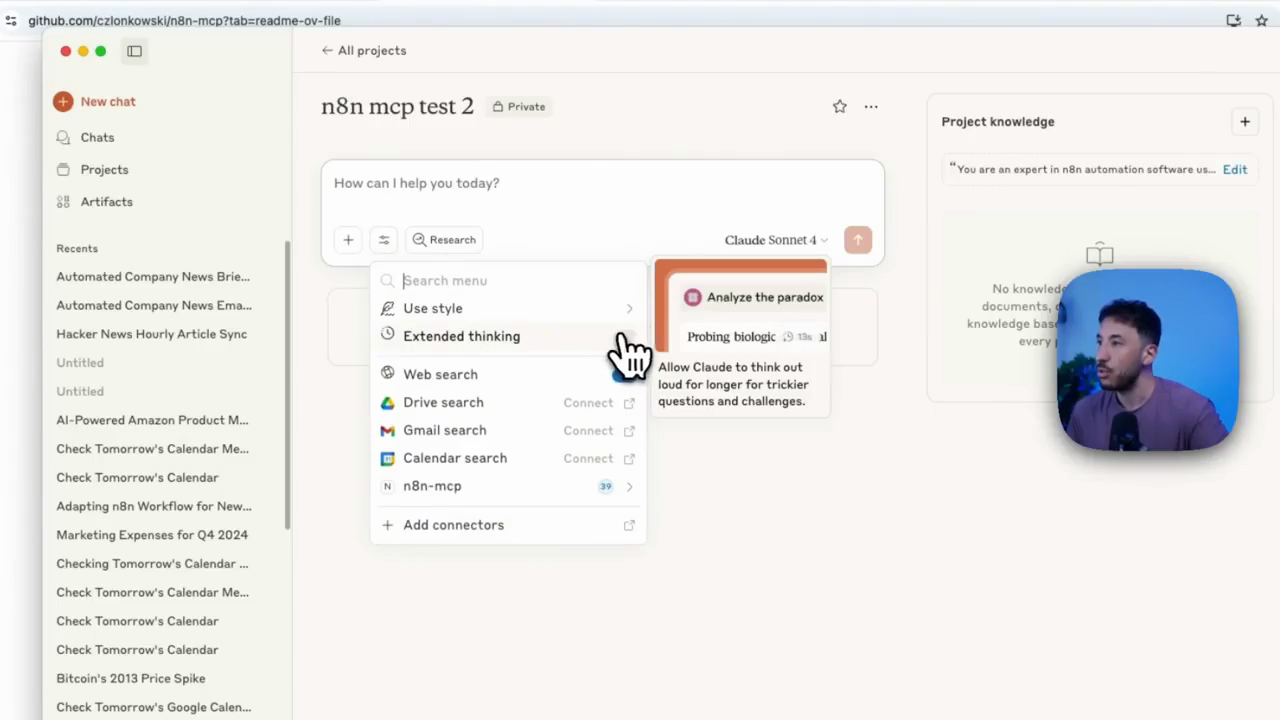
It will give it extra power, for lack of a better word. All right, and then also for the......
For the actual model, I suggest using Opus 4 because it is more powerful and larger.
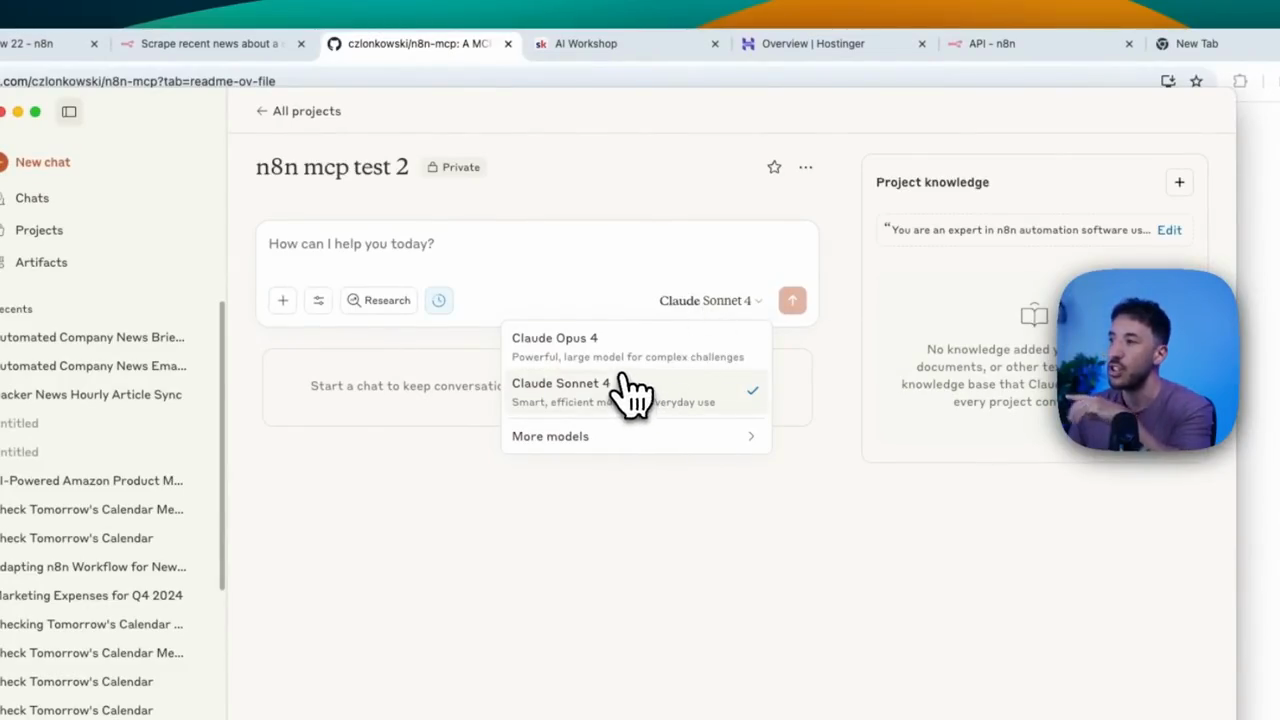
Afterwards, you can leave everything as it is. Now you can proceed and... I did this because I already had a reference to use. To test it, it made sense to look at an existing workflow.
I simply copied and pasted how this workflow operates and asked, "Please create and build this."
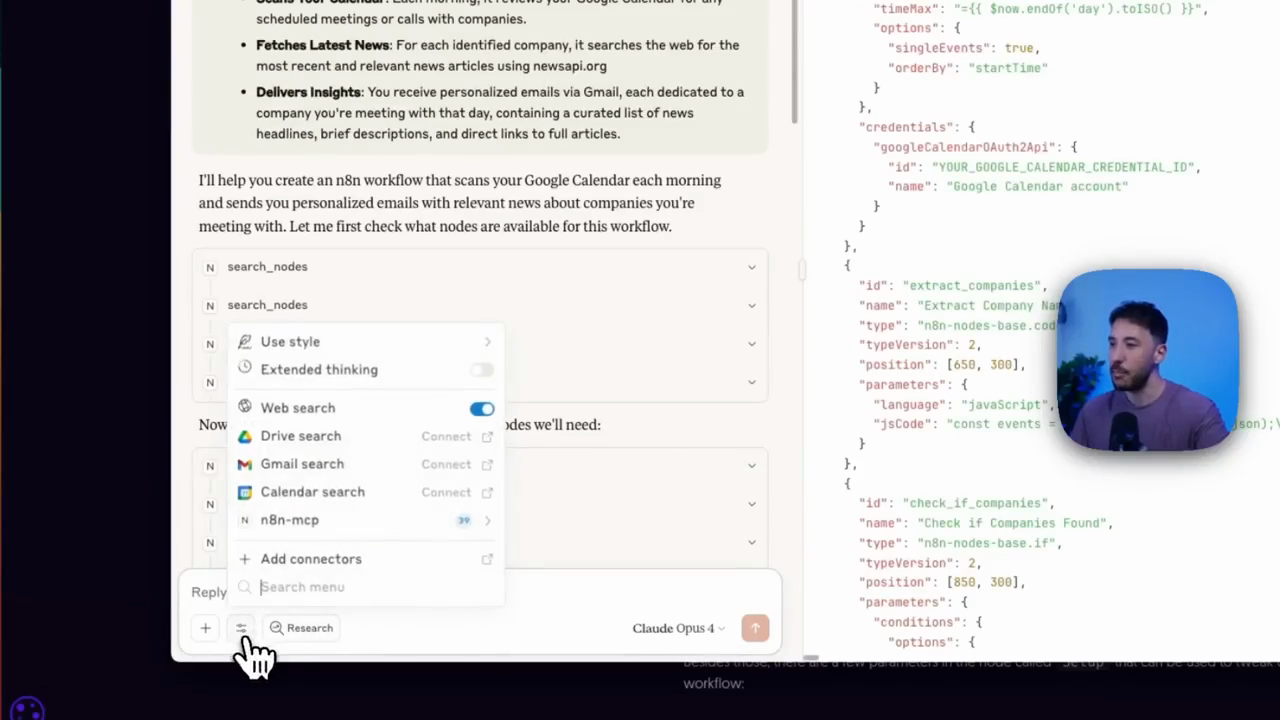
I'll do that again. I will copy this, return here, and say, "Please create an n8n workflow that..." Then, I will paste the items.
All right. Now I will press Enter.
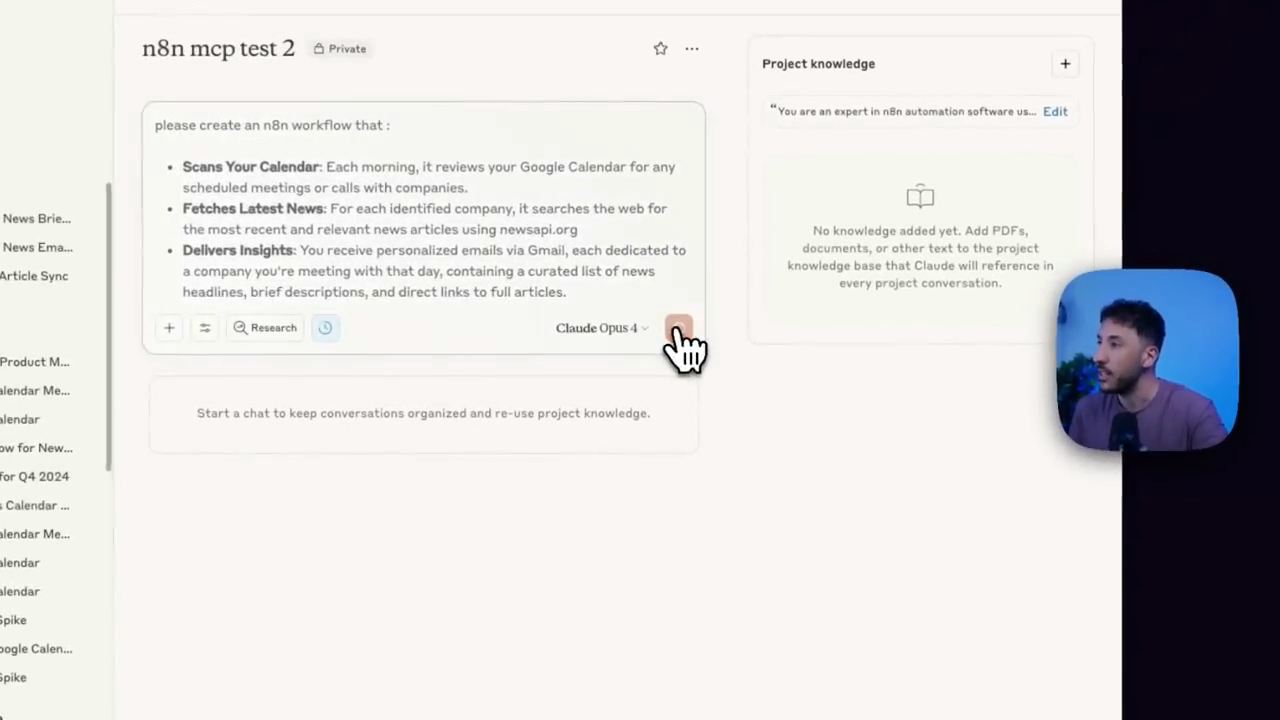
Now, this will proceed and complete the task. This might take a few minutes. It may take about a minute, depending on how complex your project or workflow is, but that's normal. You can give it some time to think, and you'll see exactly what the process looks like. Now, as you can see, it will execute this.
Let me minimize this. Now it says "mapped out n8n." It will ask you to allow the MCP, n8n-mcp-tool-usage.
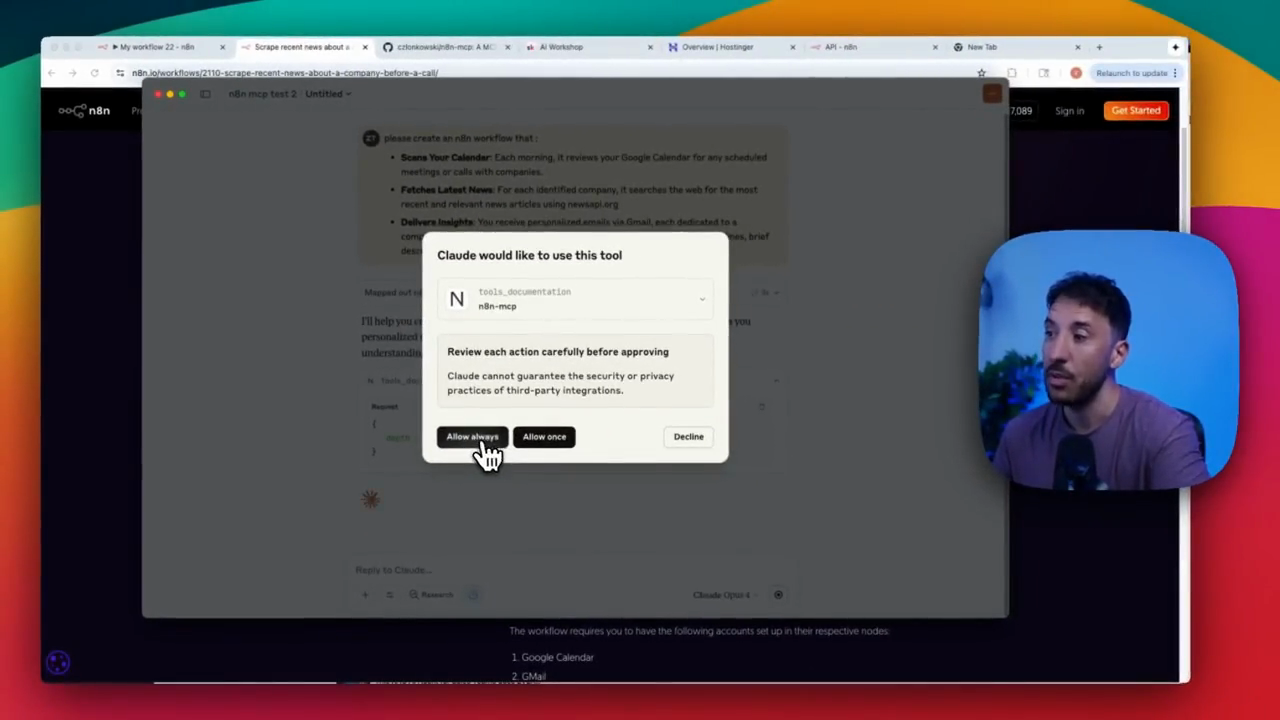
You can click Always Allow. And by the way, you... The first time you do this, it will ask you a few questions. After that, you can leave it as is, and it will handle everything else. As you can see, it will review the different parameters. For example, "I'll help you create an n8n workflow that scans your calendar each morning," and so on. It will use various tools within the n8n-MCP here.

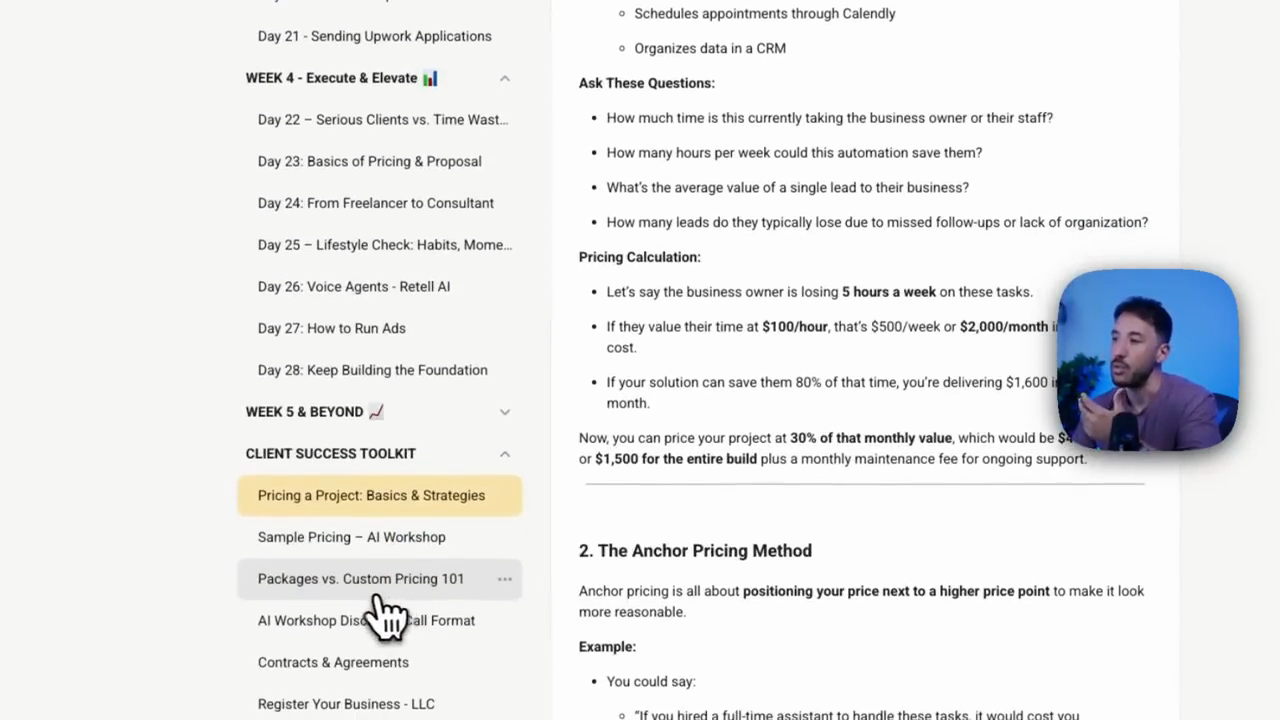
That's why it will take its time. In the meantime, another good use for this is, for example, if you are on the...
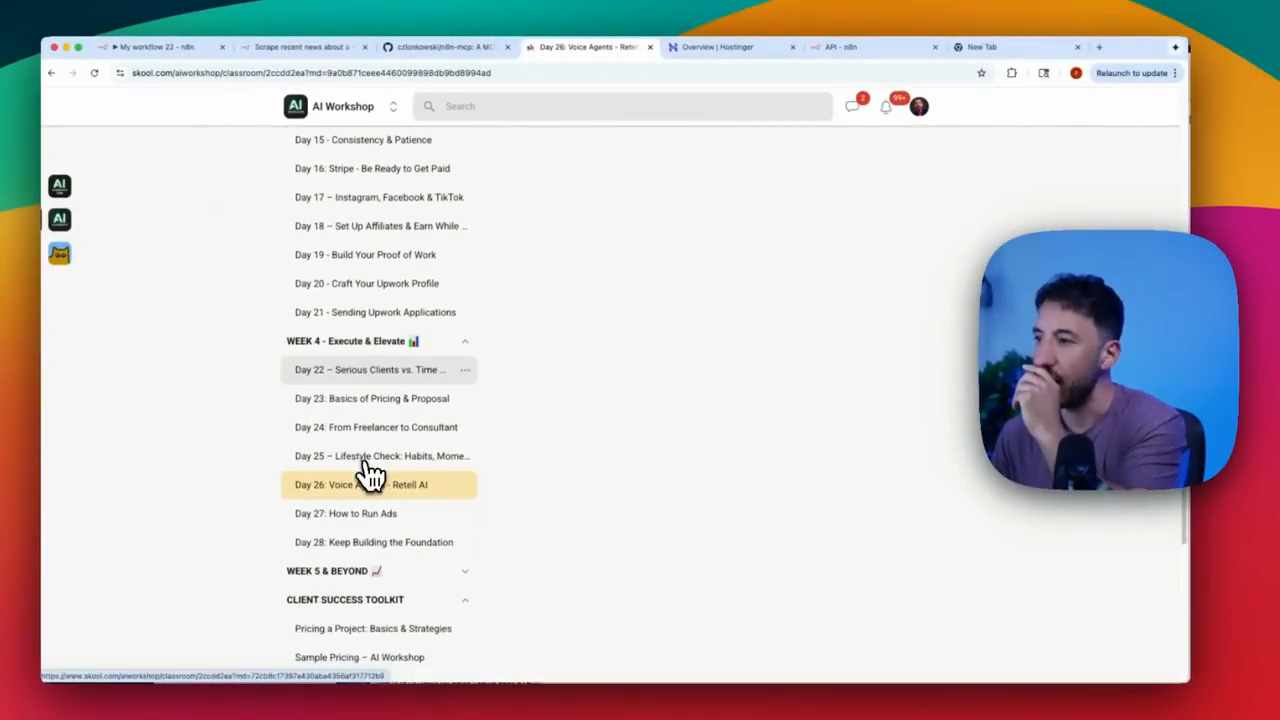
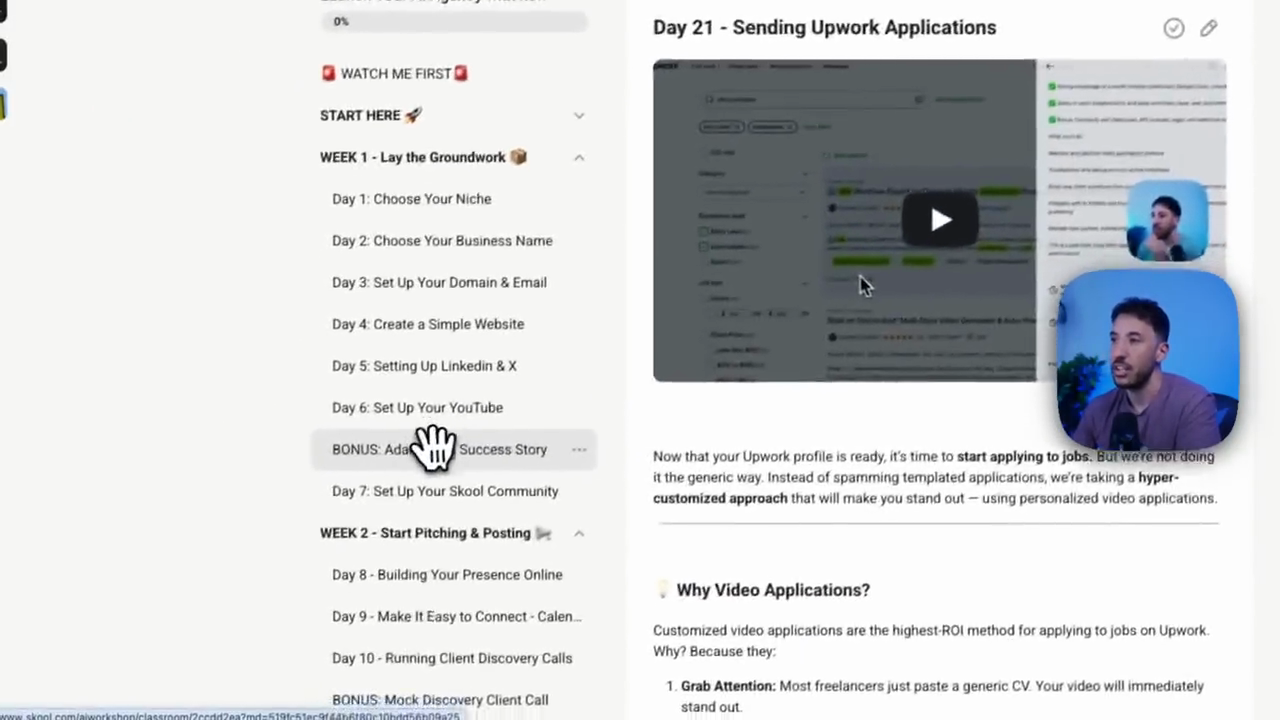
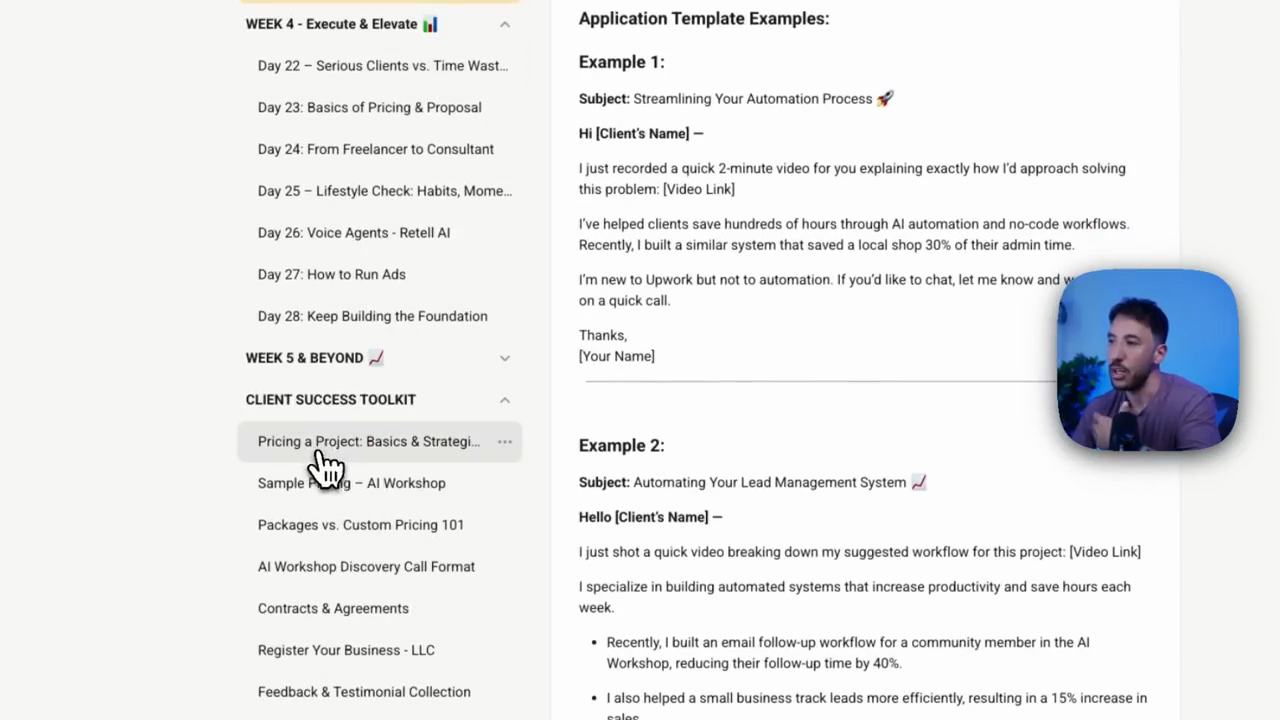
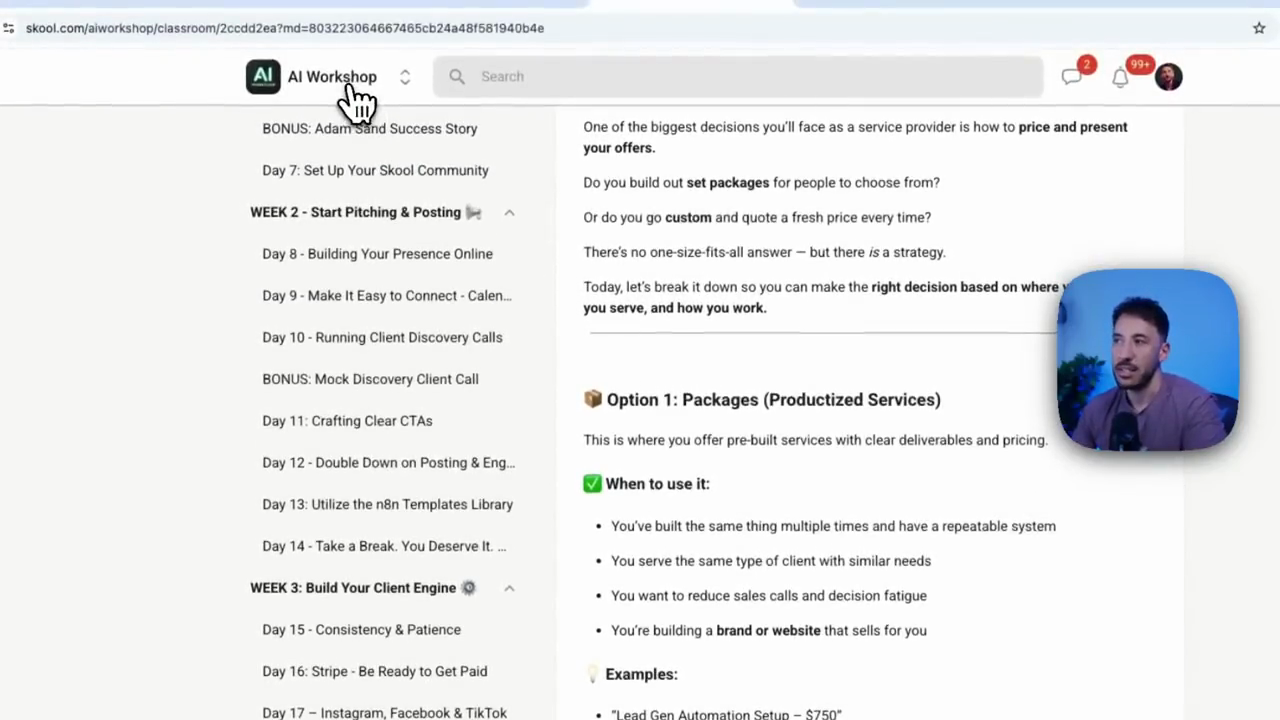
If you are using n8n to earn money with your projects, for example, I mentioned this around day 27. If you are using Upwork, it is one of the best ways to make money and offer your freelance services with n8n.
What you could do is...
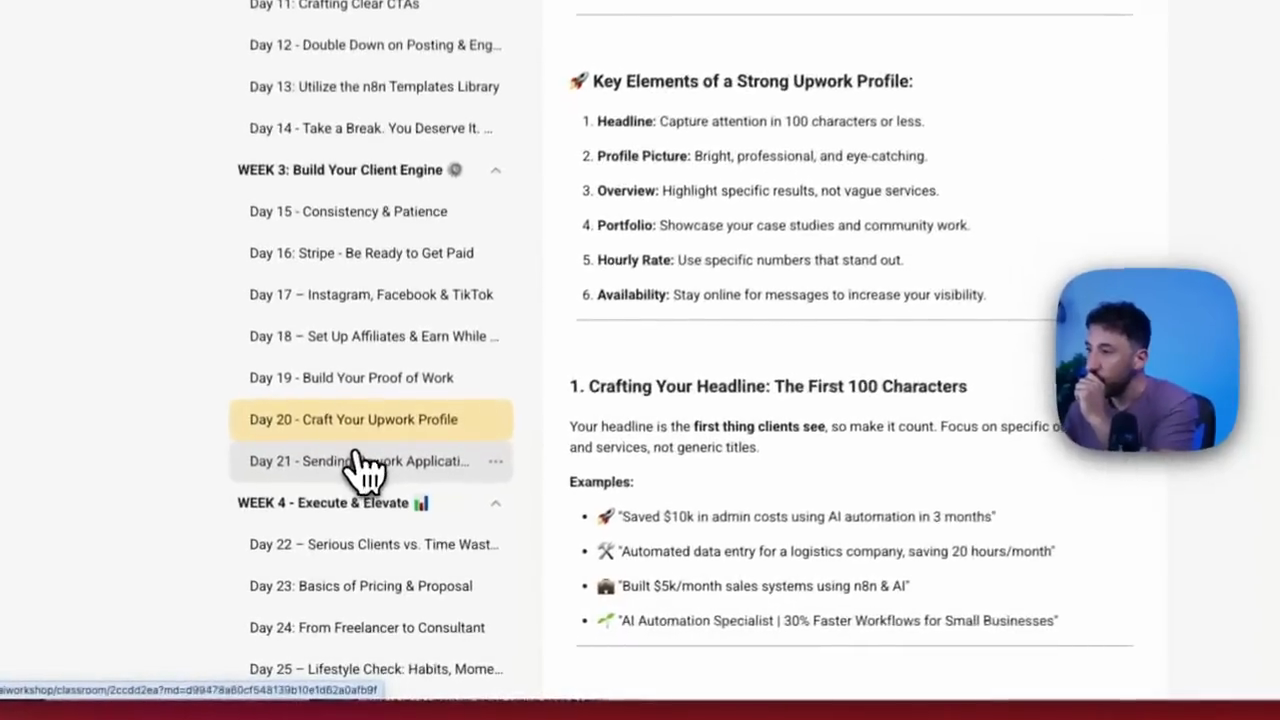
When sending Upwork applications, you should record a Loom video that demonstrates how to... How will you approach solving the specific request the client is seeking? If you are on Upwork, copy the exact instructions the customer is requesting. Paste these instructions into your Upwork profile when offering a freelance service for AI automation.
Paste it here to build the initial version.
You can also record a video demonstrating, "Hey, Mr.
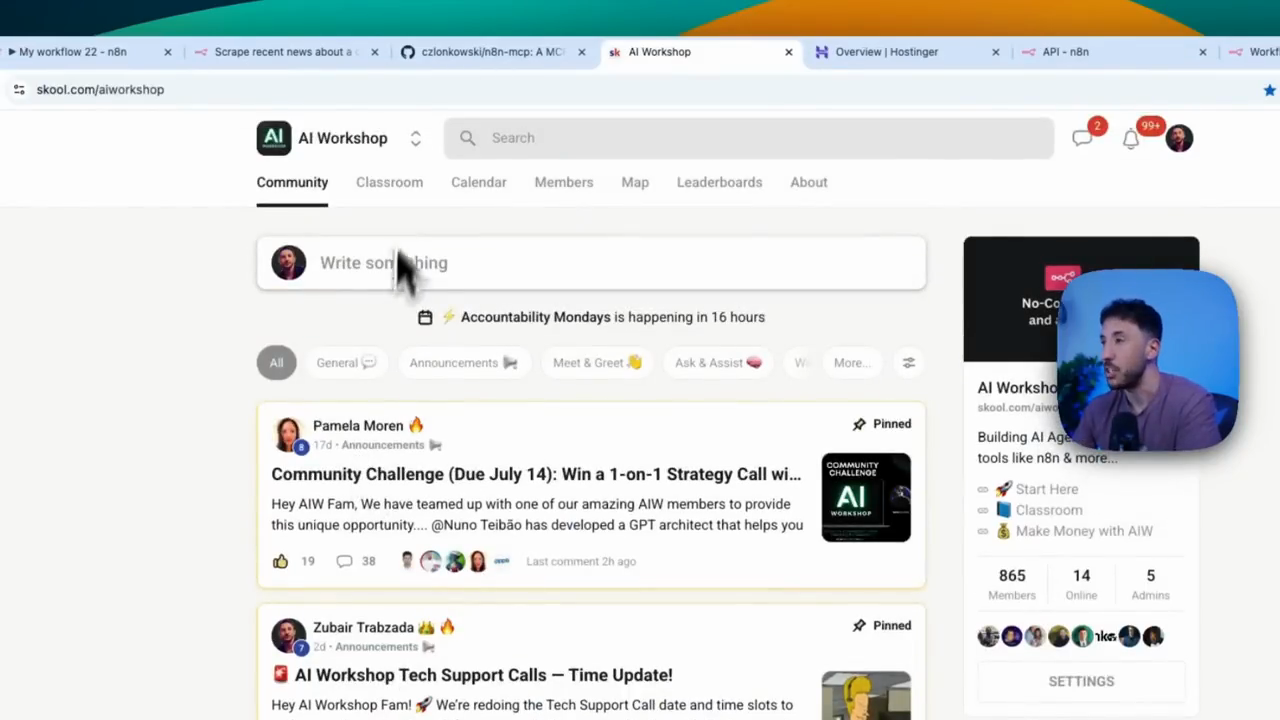
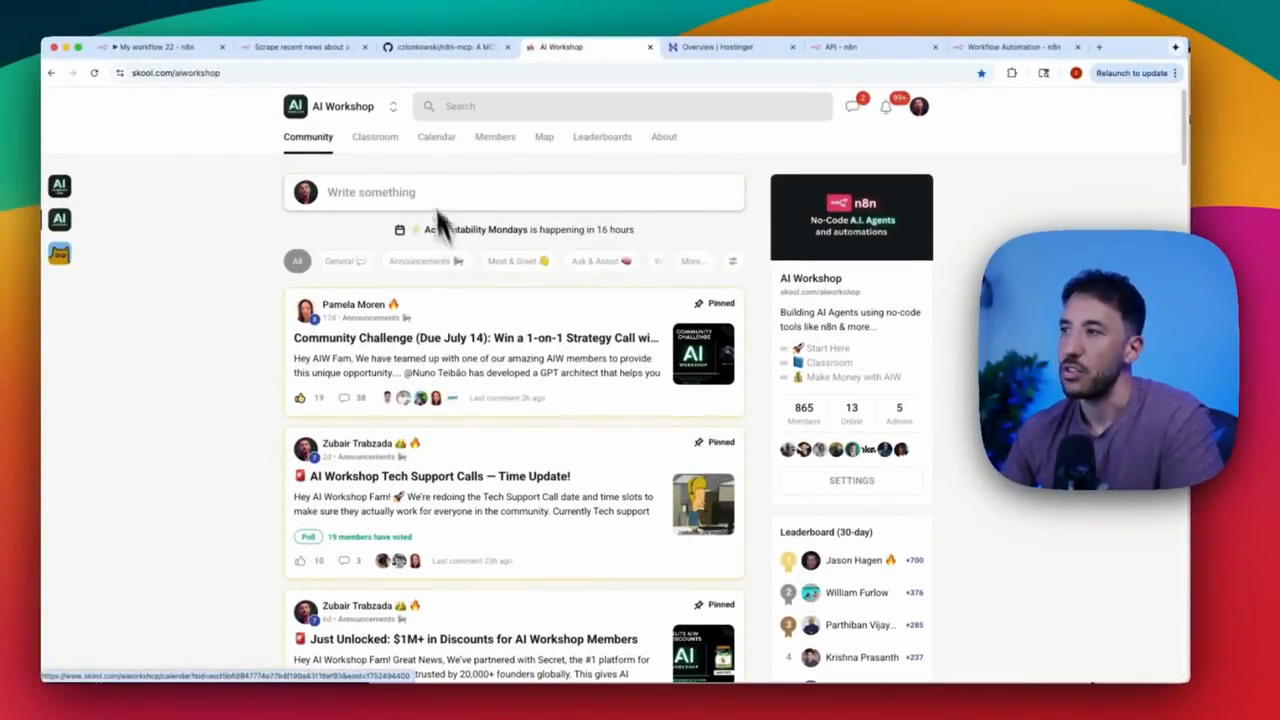
Customer. Explain how you plan to solve the task for them. This will help you stand out from others because you are showing your approach, not just making claims about your abilities. AI automation specialist. This will make your application stand out much more compared to others. And again, make sure that if you are... If you want to learn how to use and monetize n8n and AI automations, check out the community.
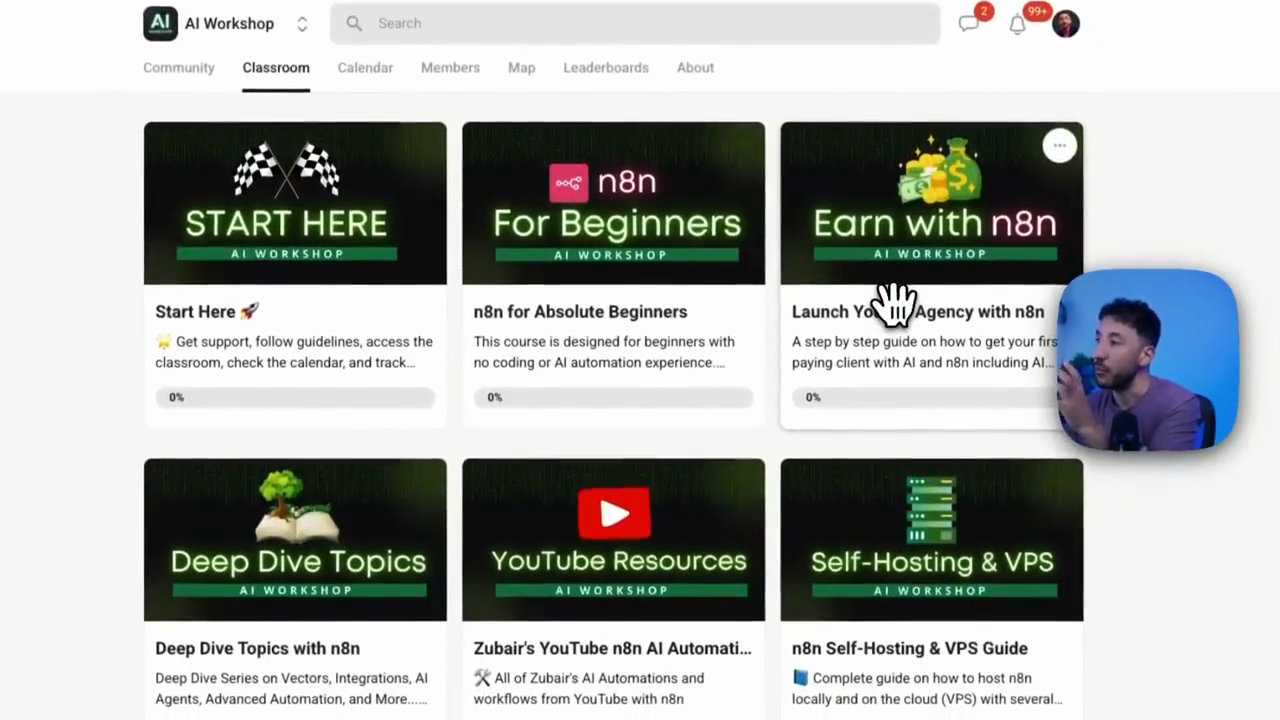
I offer a daily accountability program where I show you exactly how to make money using n8n and AI automation.
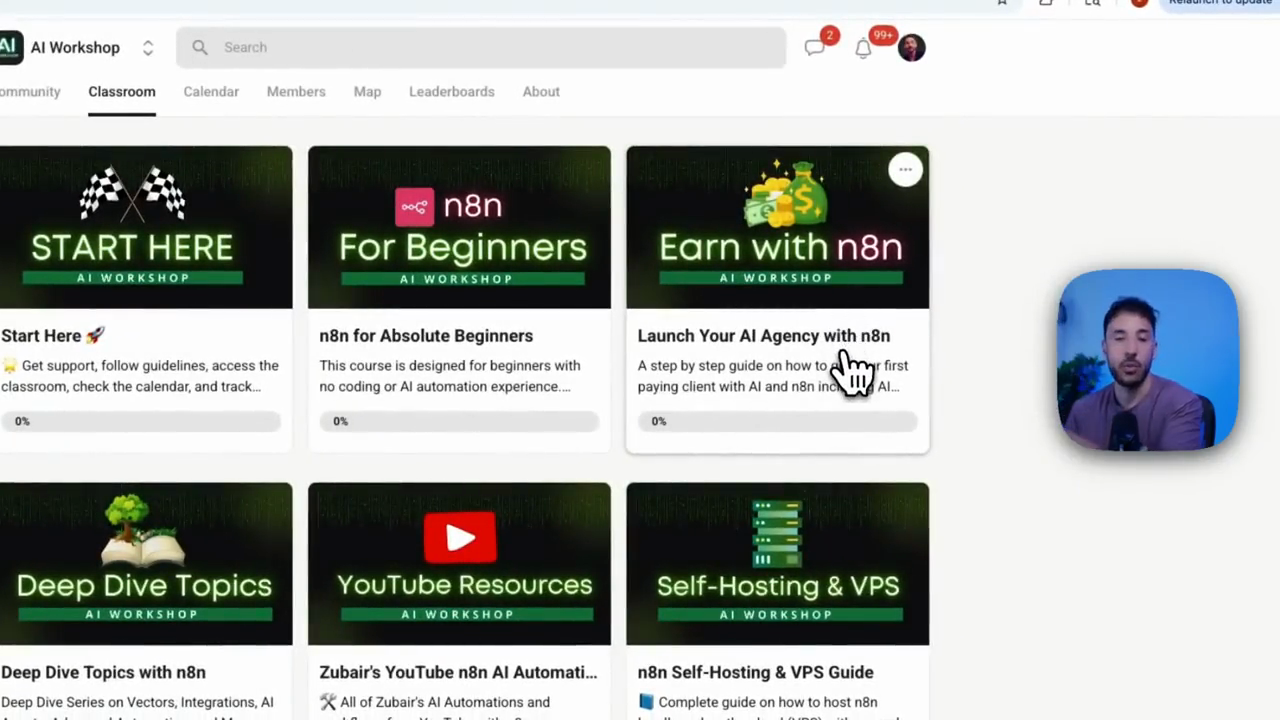
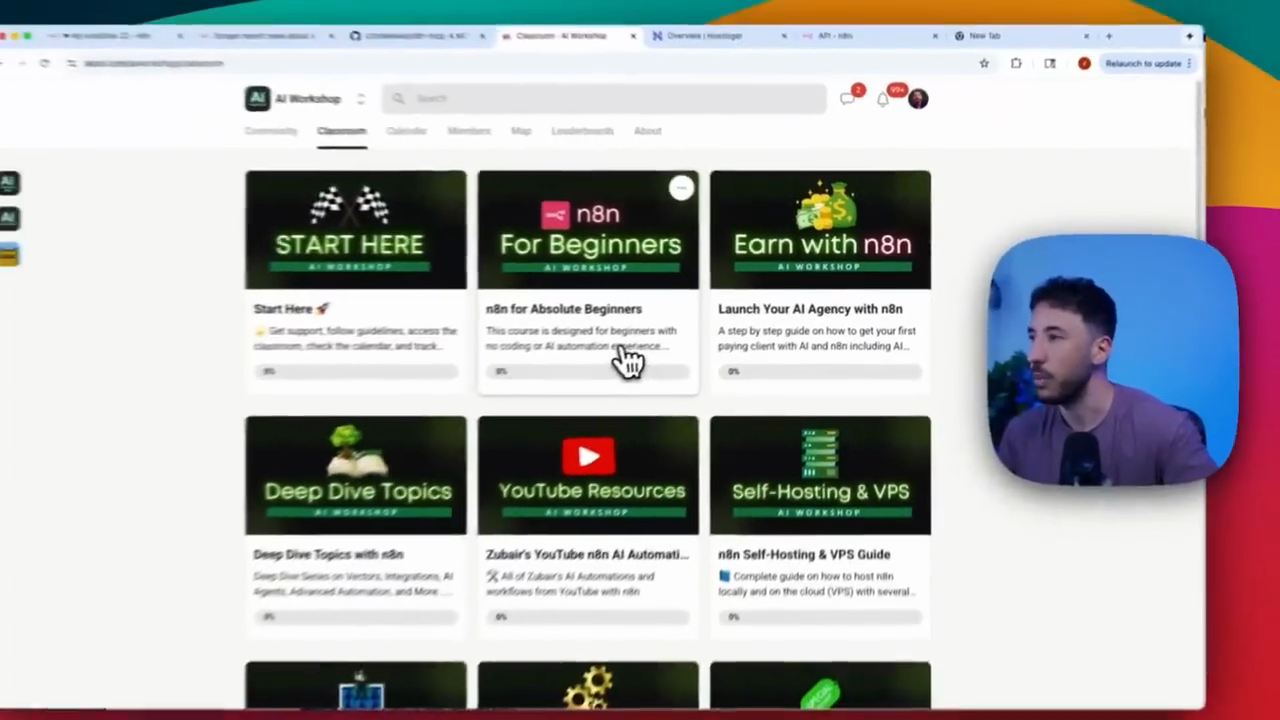
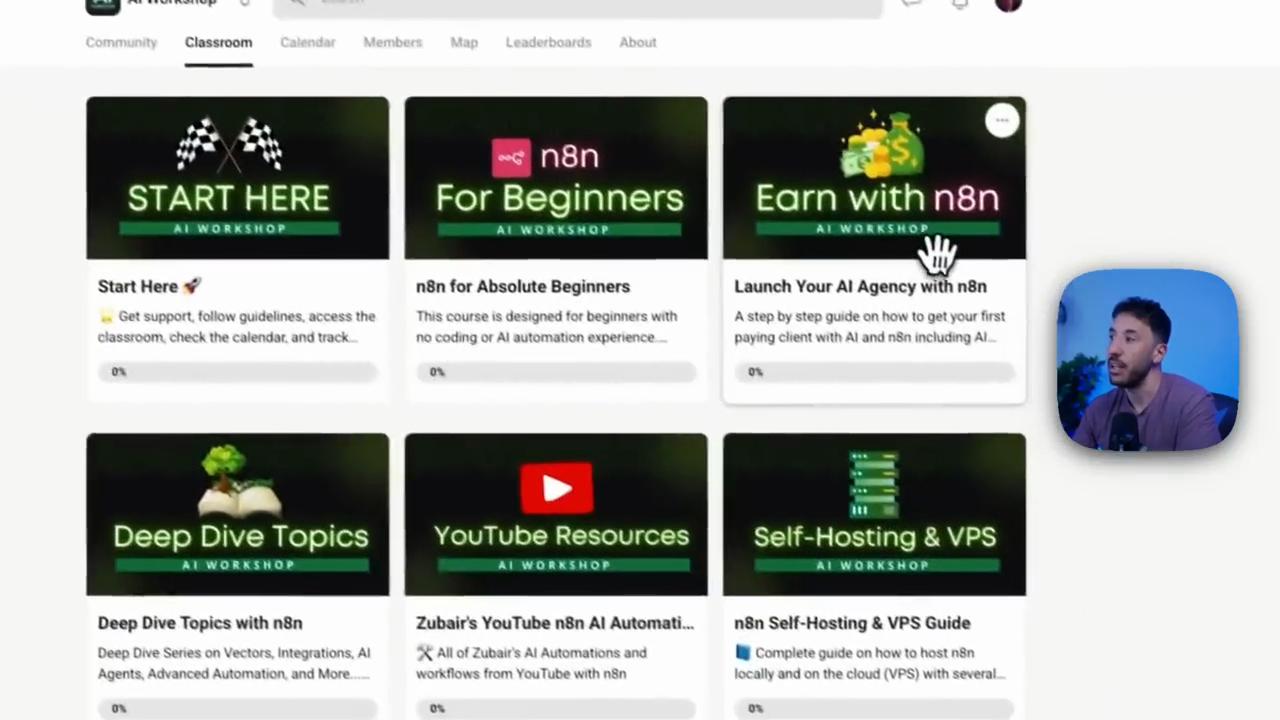
I also offer several other courses, including the n8n beginners course. In this course, we provide clear, step-by-step tutorials starting from the absolute basics.
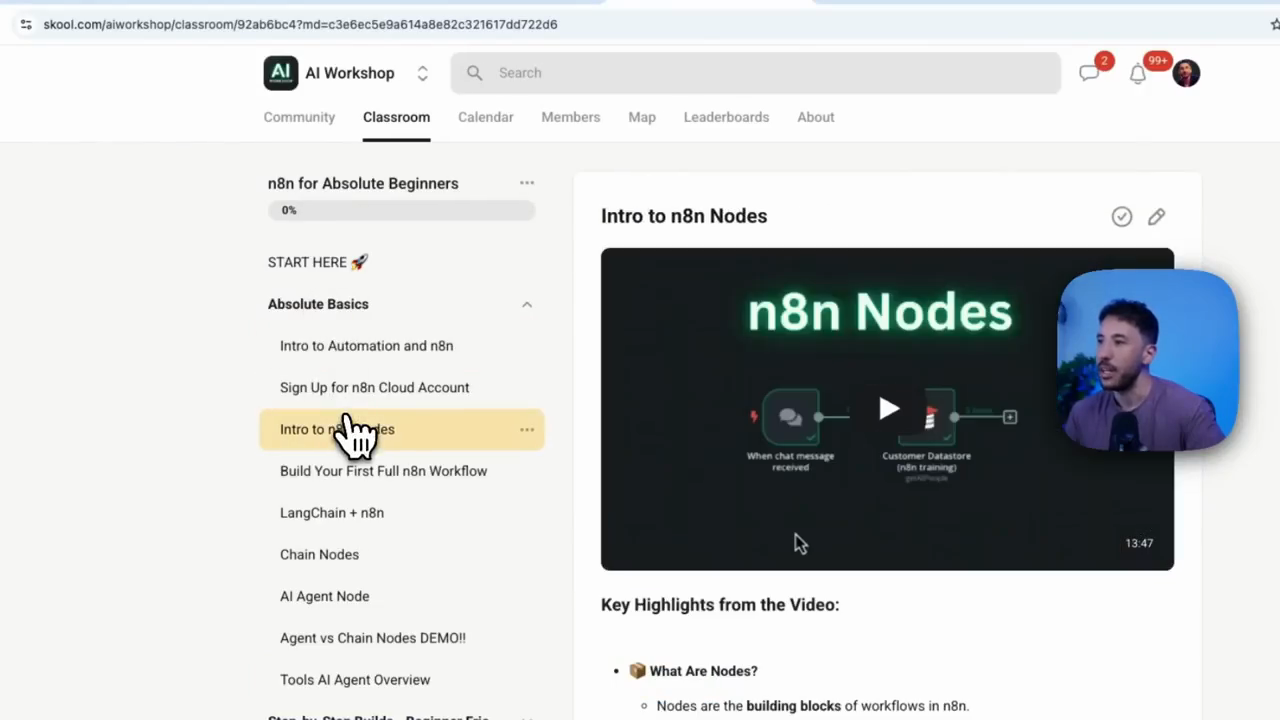
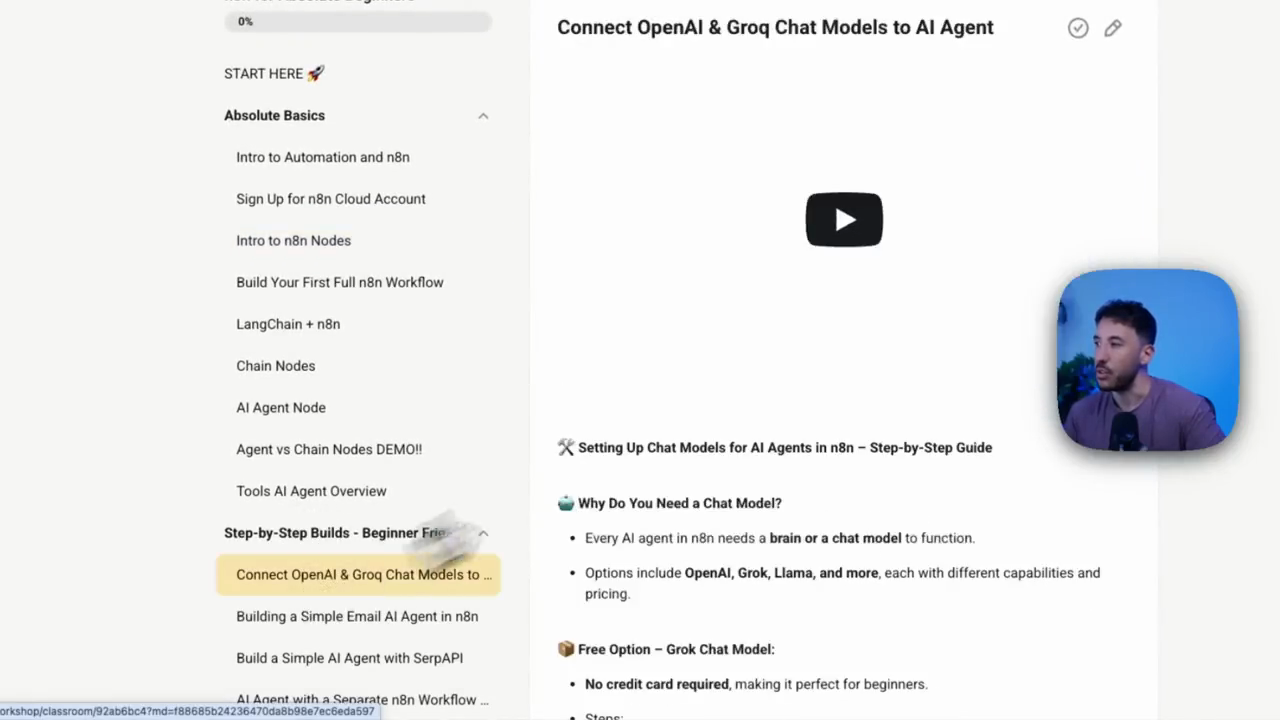
This way, if you're new, you can check it out. Let's go back and check if it's finished.

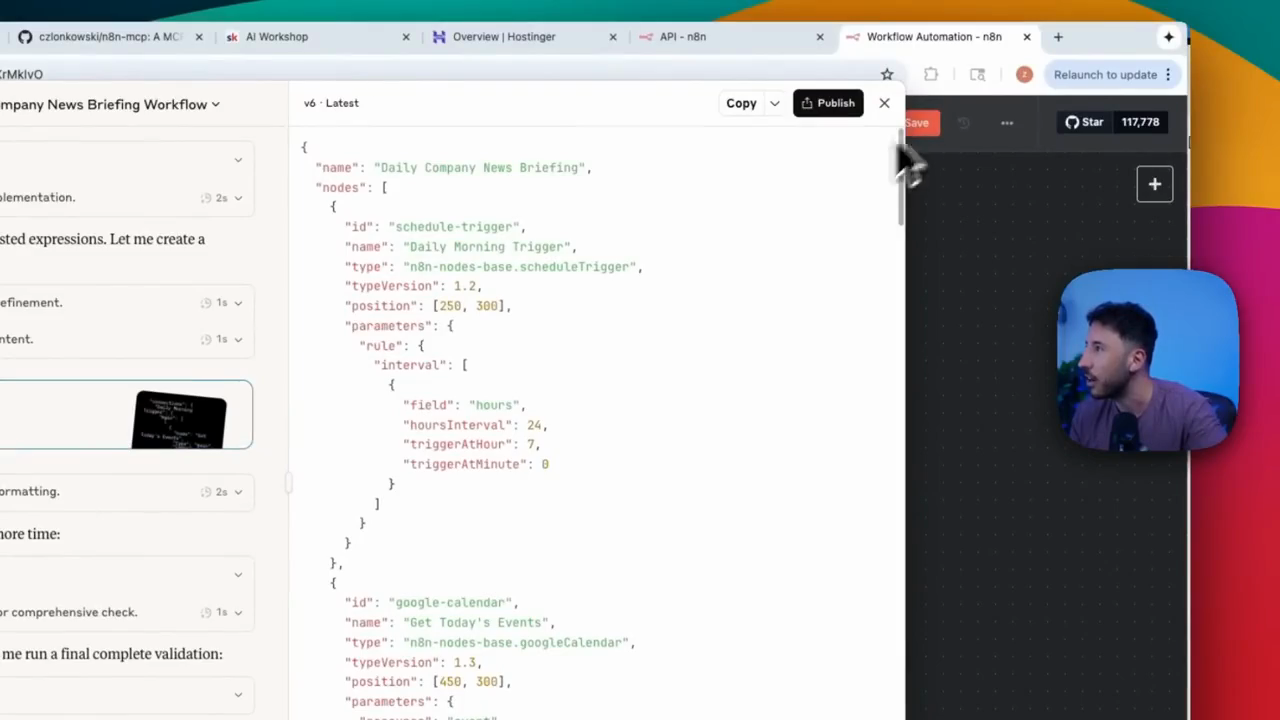
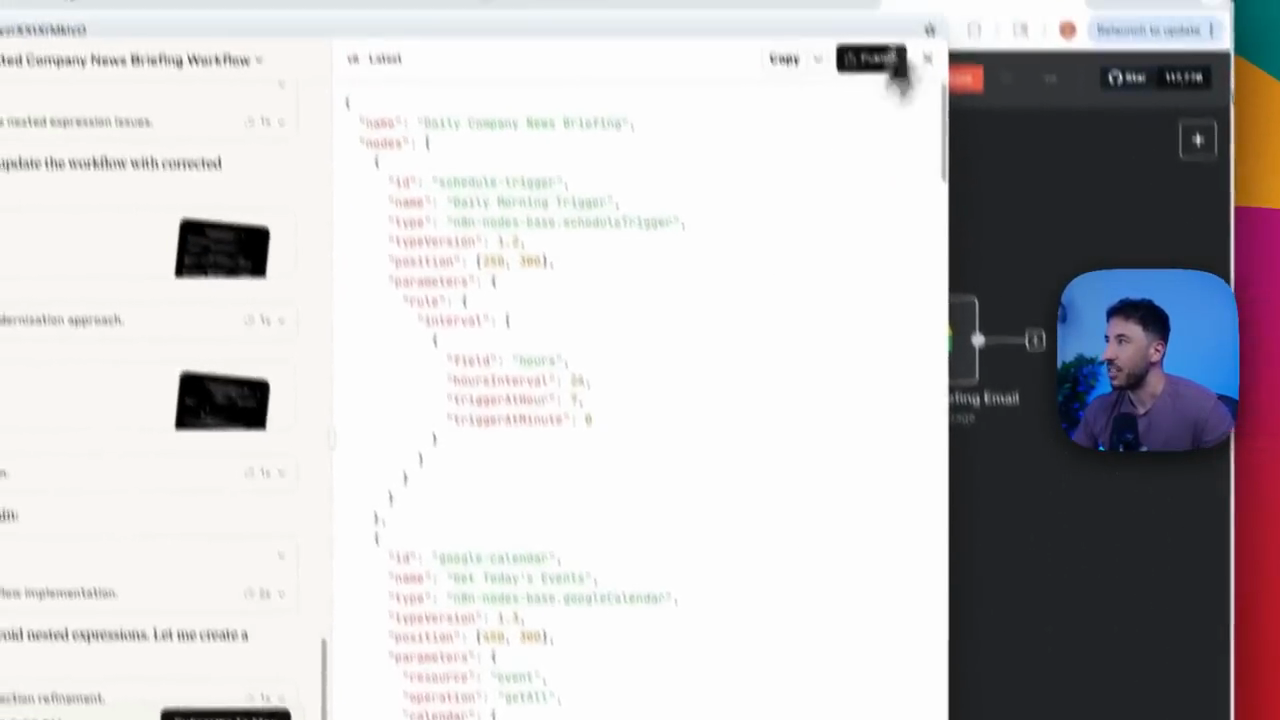
All right. Still working on it. Let's take a look at what's happening. So as you can see... Wow, this looks amazing. I appreciate that it created a workflow architecture.
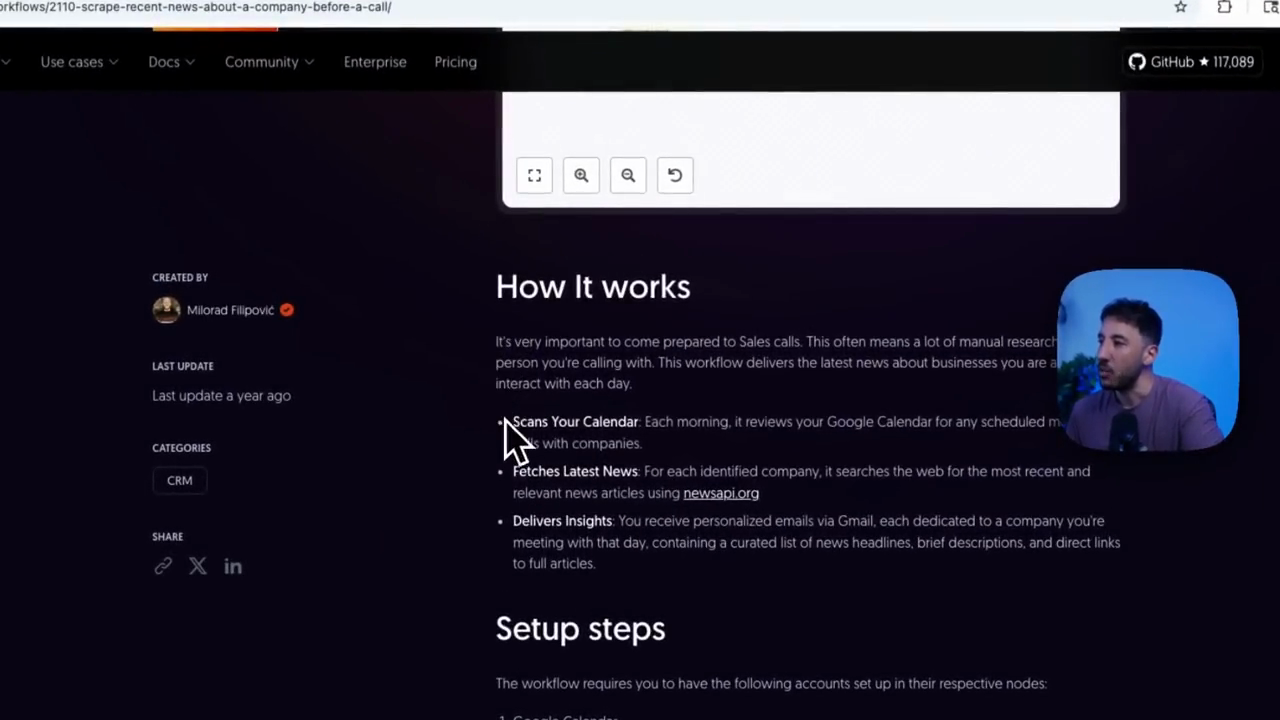
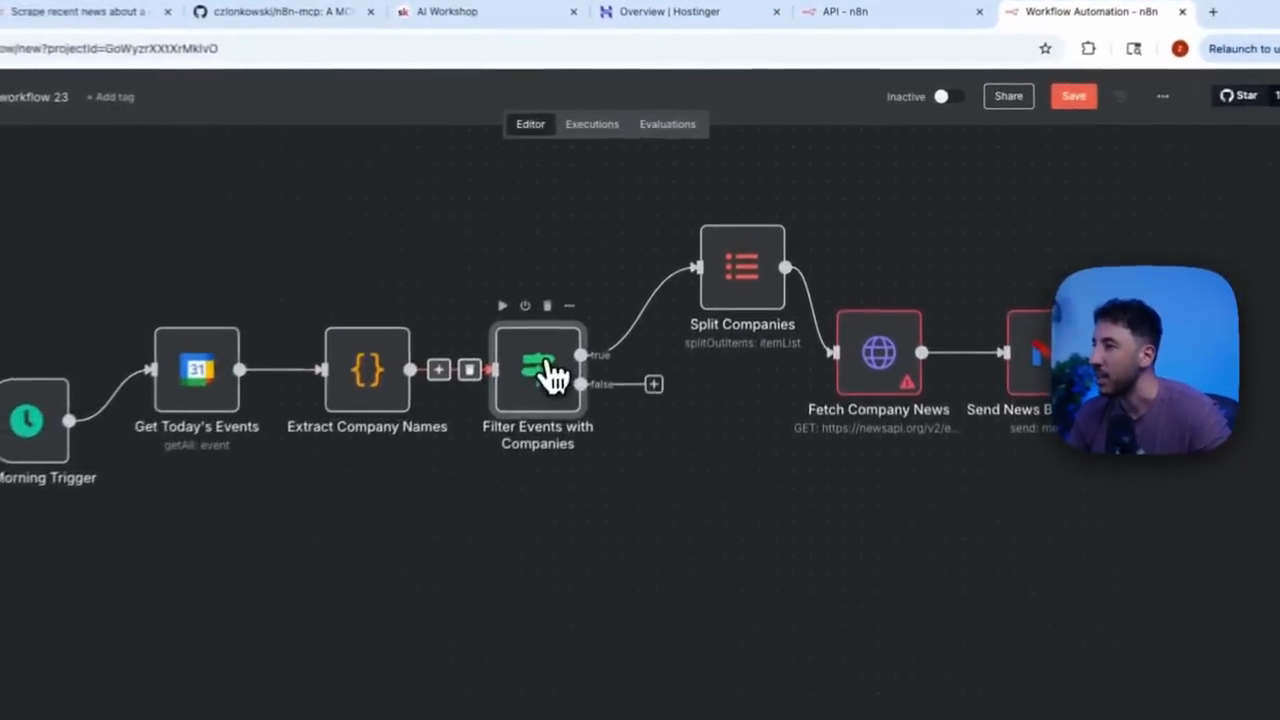
It provided a clear, step-by-step explanation of what it will do. This will schedule a trigger every morning. It will use Google Calendar to retrieve events, extract company names, loop through the items, and make HTTP requests to newsapi.org. There you go. The reason it uses that is because part of the instruction was to fetch the latest news.
For each identified company, it searches the web for the most recent and relevant news article using newsapi.org. That is why it uses the HTTP request node with newsapi.org, which is accurate. Afterward, it uses its available tools to validate the different nodes and then keeps... It keeps notifying you, "Okay, I see that for the event resource, there's a get_all operation," and so on. It shows you step by step what it is thinking, how it is thinking, and how it processes each step. Okay, there you go.
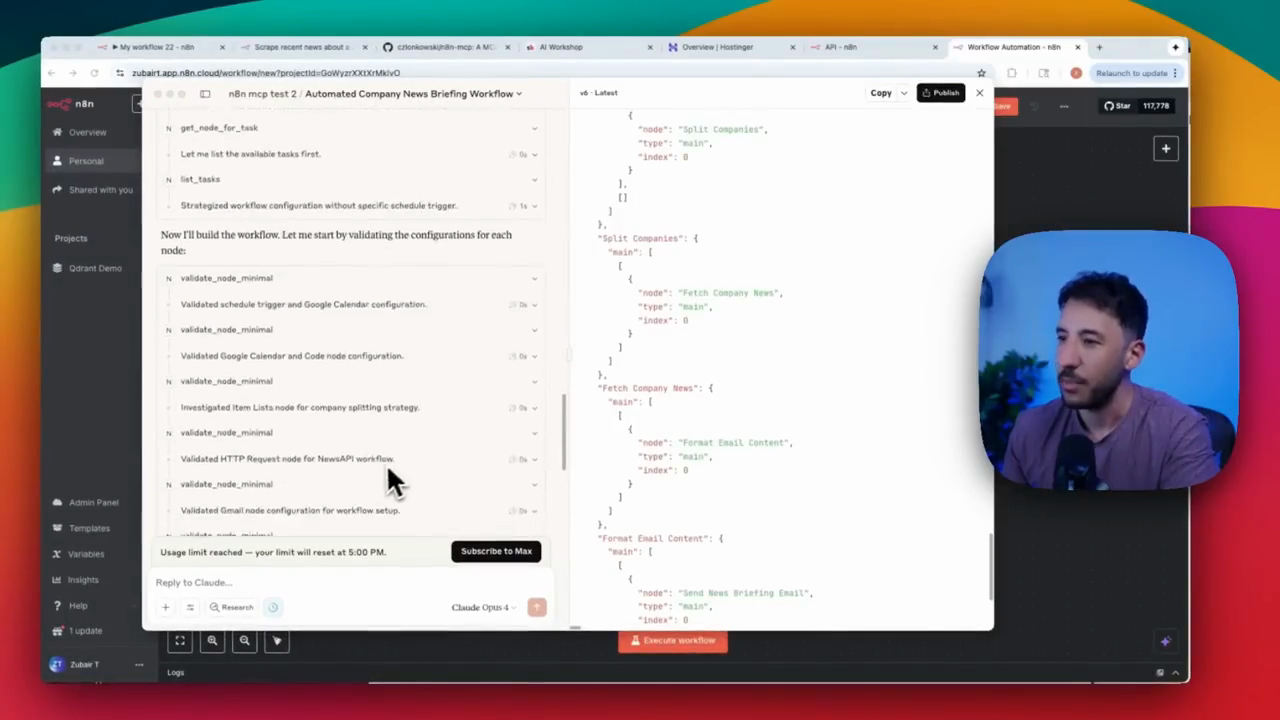
It looks like it’s starting to build the n8n workflow here. As you can see, it is building everything. Let me scroll to the bottom. Still working on it. Once it builds the workflow, it will use available tools to test and validate it.
If it finds an error, it goes back and changes part of the workflow. I actually saw that. Saw it doing that last time. Here you go. As you can see, it says, "Now let me validate the complete workflow to ensure everything is properly connected."
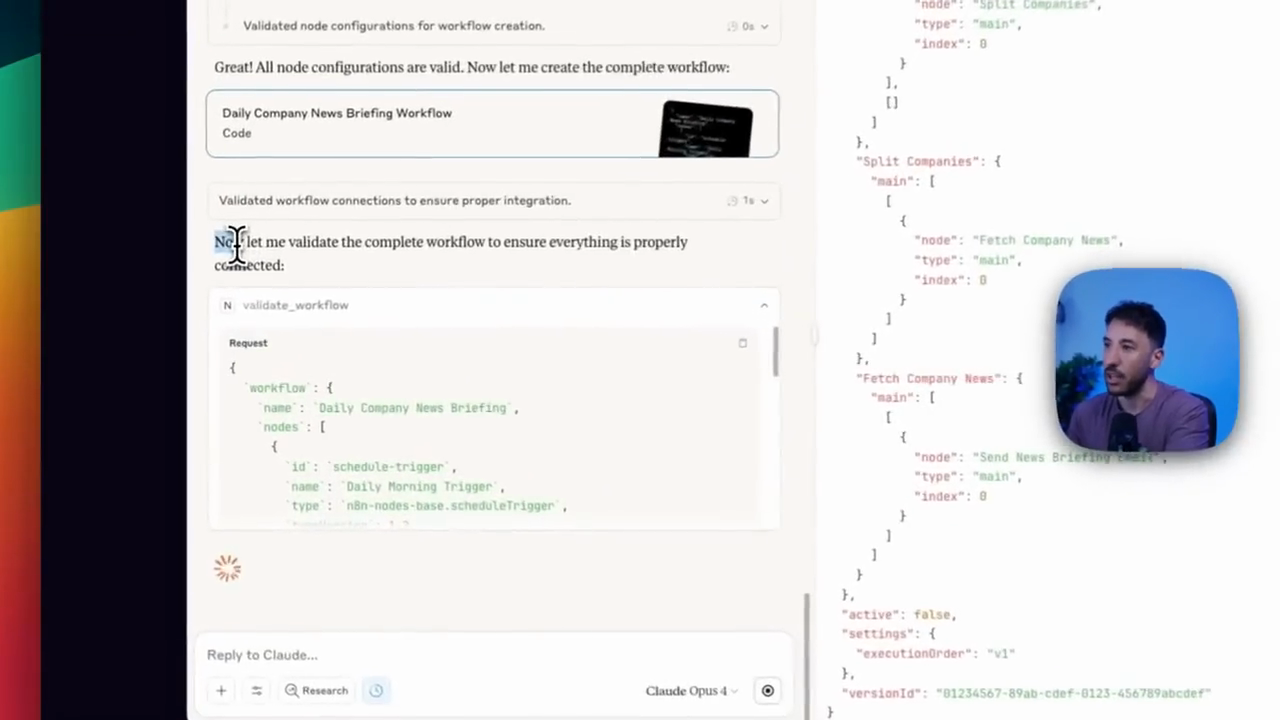
That's a great way for this.
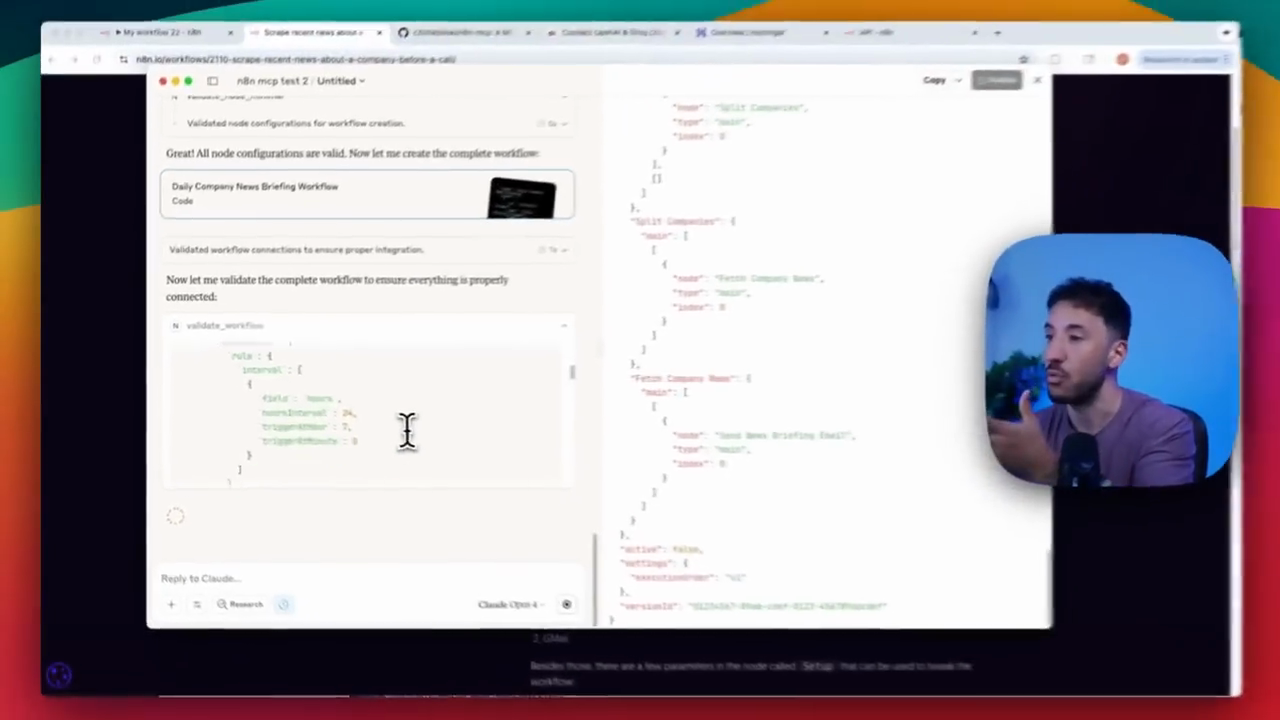
That's a key difference compared to using your regular Claude desktop or app to build n8n workflows. So that's... There is a significant difference here, which is why I believe the accuracy of this n8n MCP is much better than the other one. Let's allow this to finish. Usage limit reached: subscribed to maximum.
That's because I was using the Opus 4. Let's go ahead and take a look.
I'm going to copy it for now and see if it works.
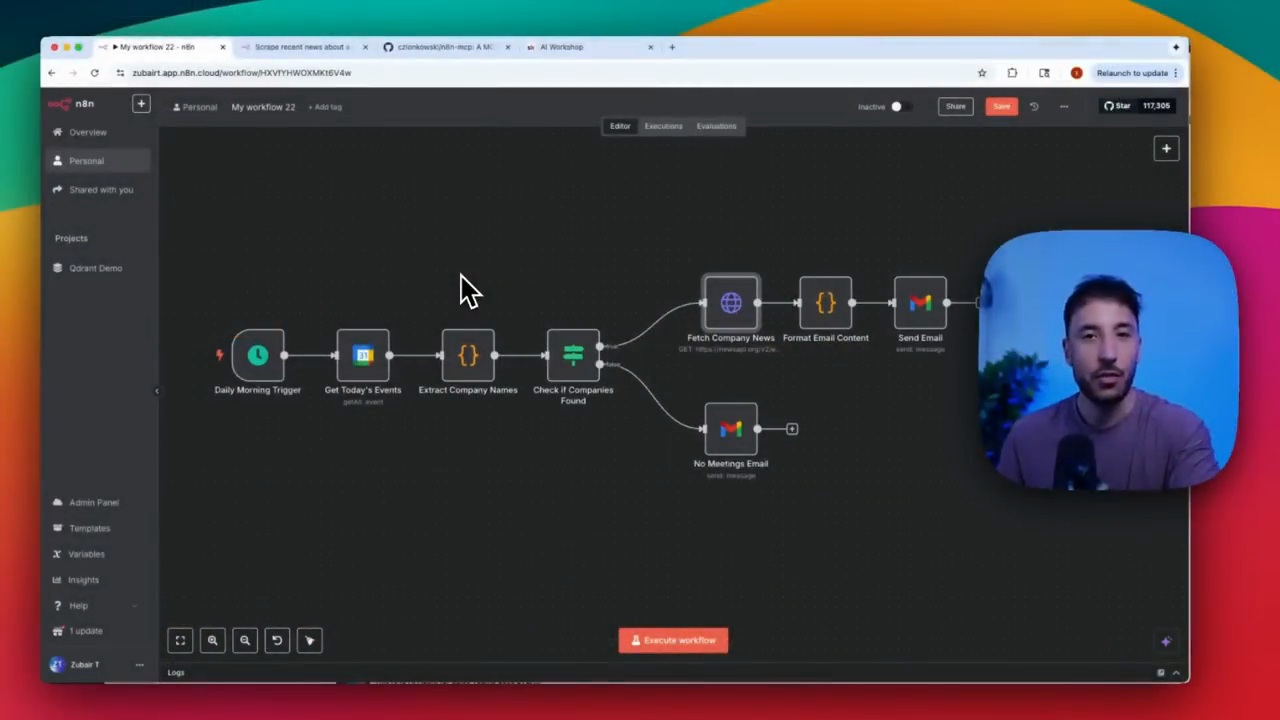
I think it was just testing everything. Let me check the bottom here. Yes, I think it was just testing everything. The workflow has been created. I'll copy it and go to n8n.
Let's go ahead and paste this.
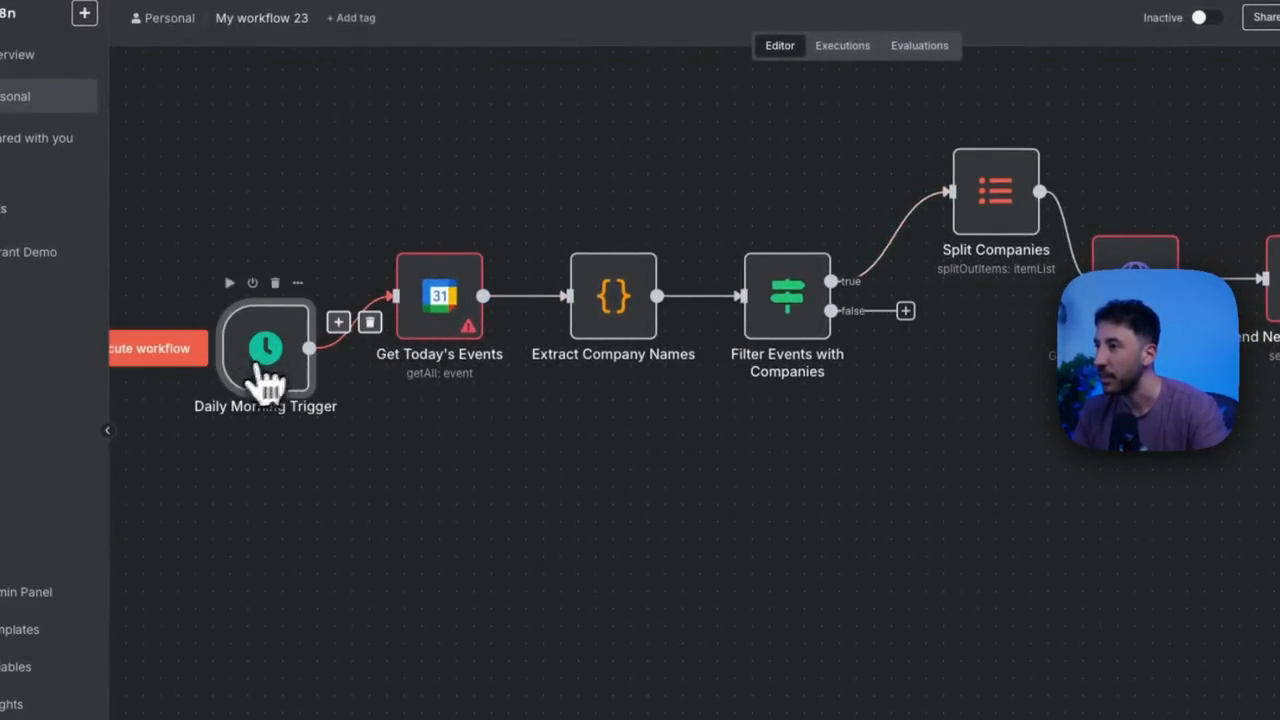
All right, let's see. That looks pretty cool. Let's see what it did. It created the trigger.
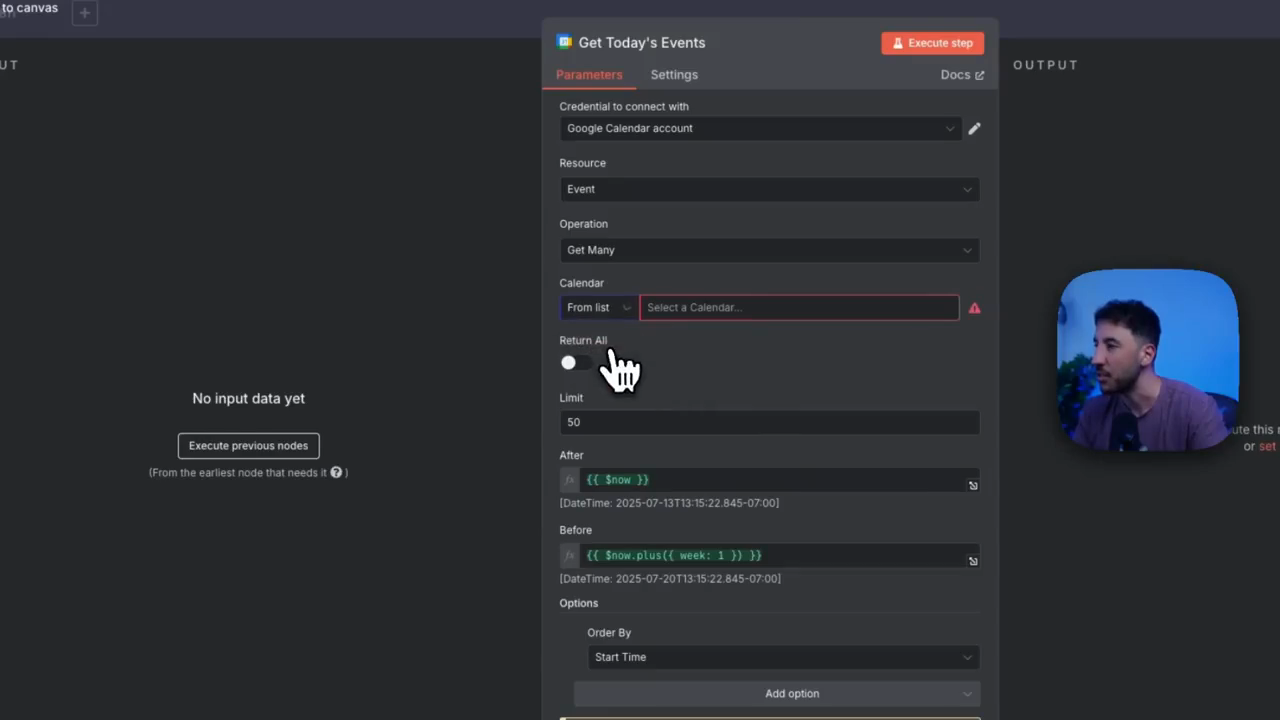
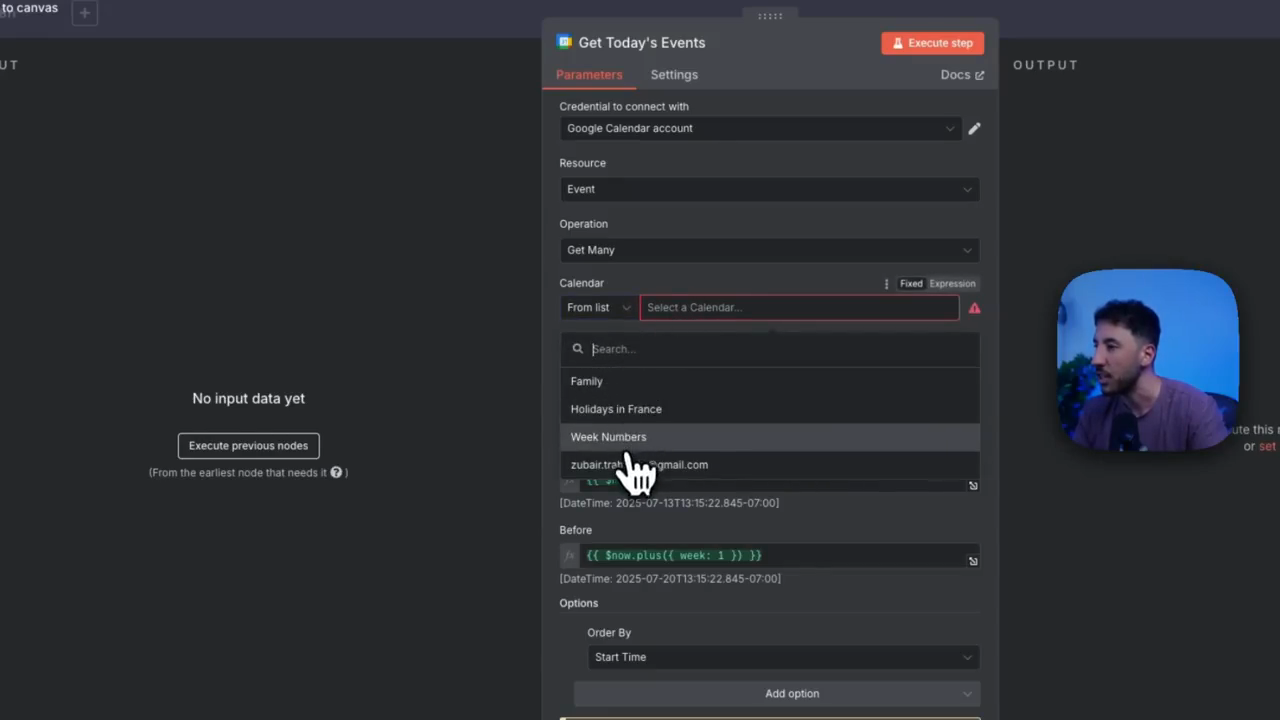
It will reach out to the calendar. You can change the default random calendar to your own calendar here. Just select your preferred calendar.
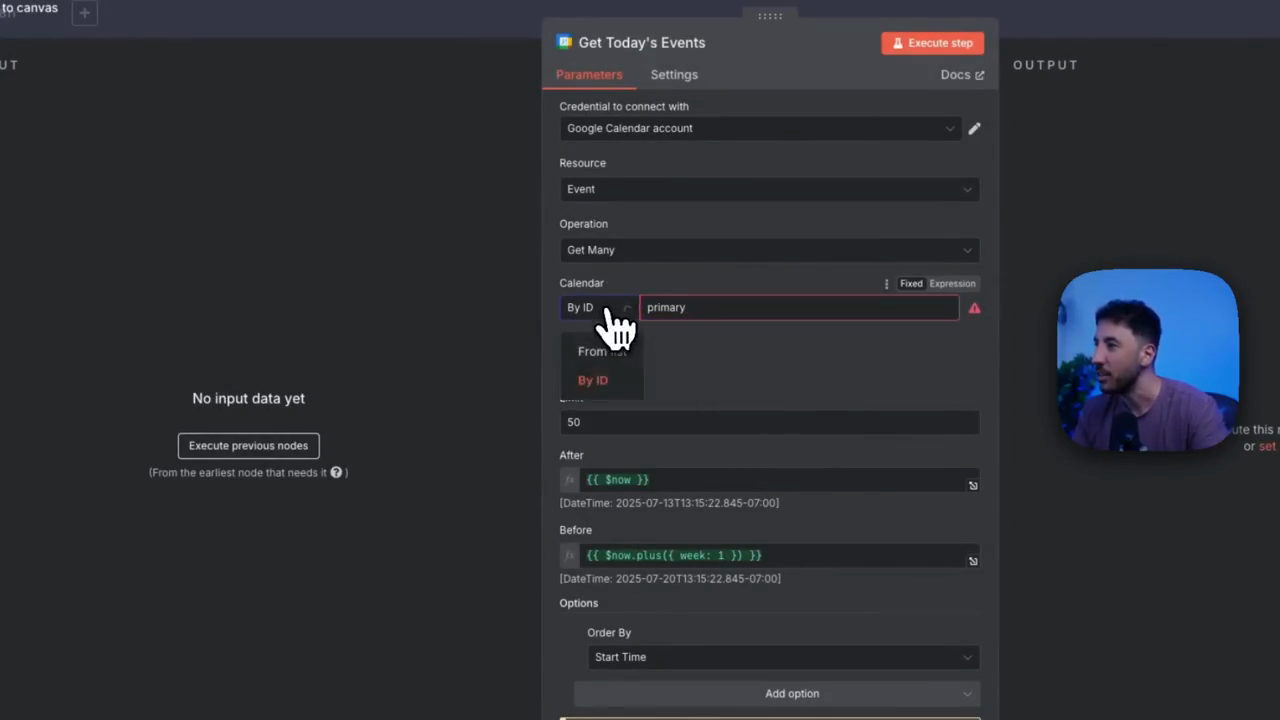
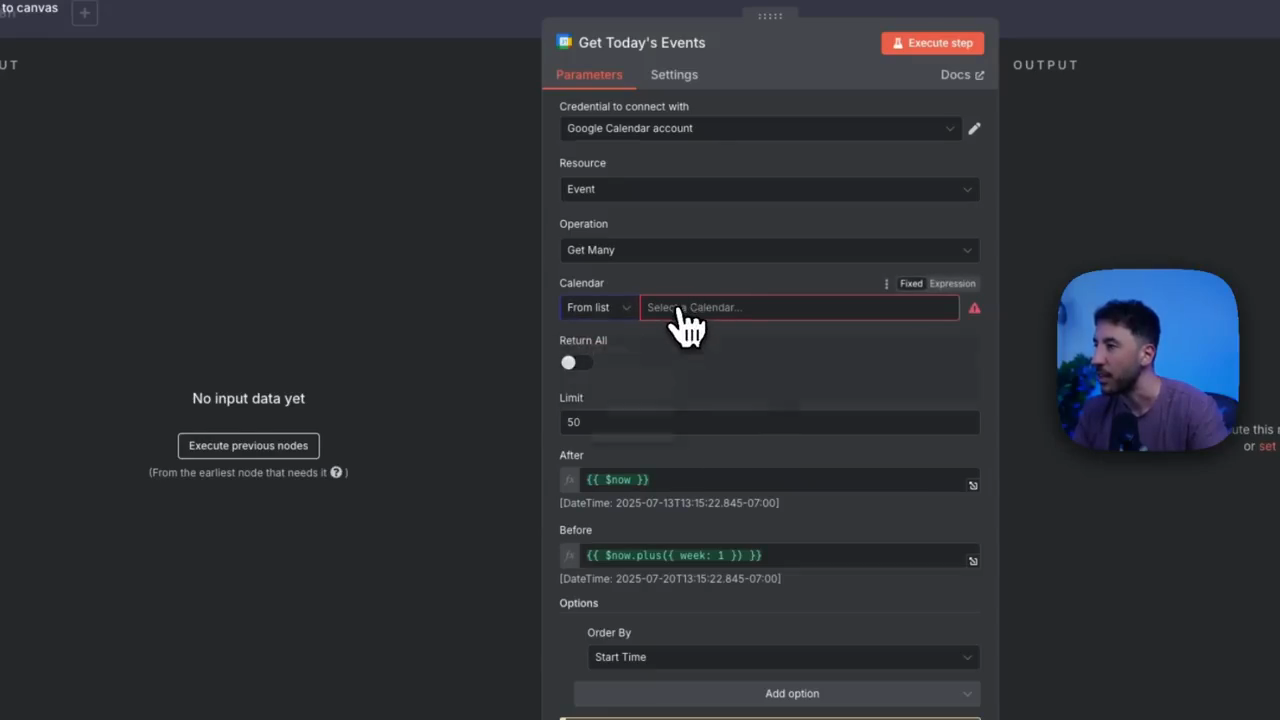
As for the period after, now and then before plus Week 1, which is the first week we reviewed, it includes a code note, which is helpful.
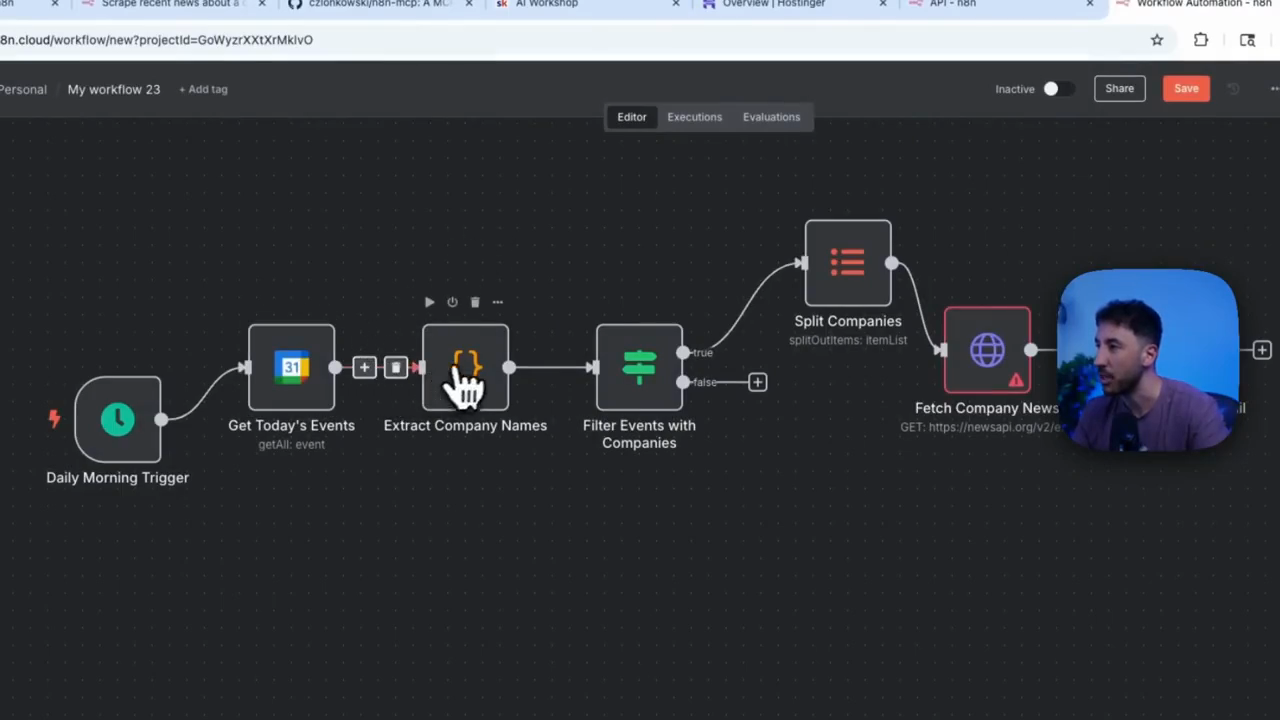
It extracts all the company information from any meeting you have. This workflow scrapes recent news about the company before a scheduled call with your client.
That's what it does. I should have mentioned that at the beginning. That's what it does. It reviews your calendar, extracts the company name and details from your meeting information, and filters events accordingly.
Yep, that looks good.
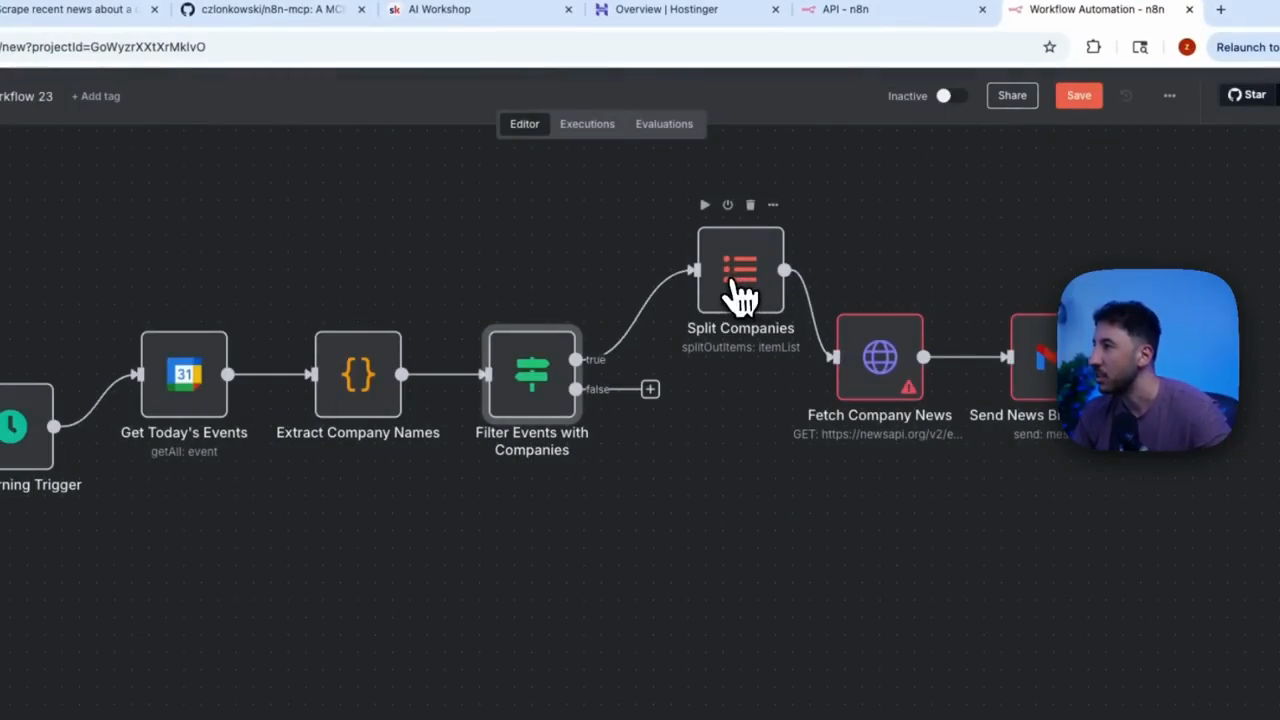
It will split the company items. That makes sense. It’s going to reach out.
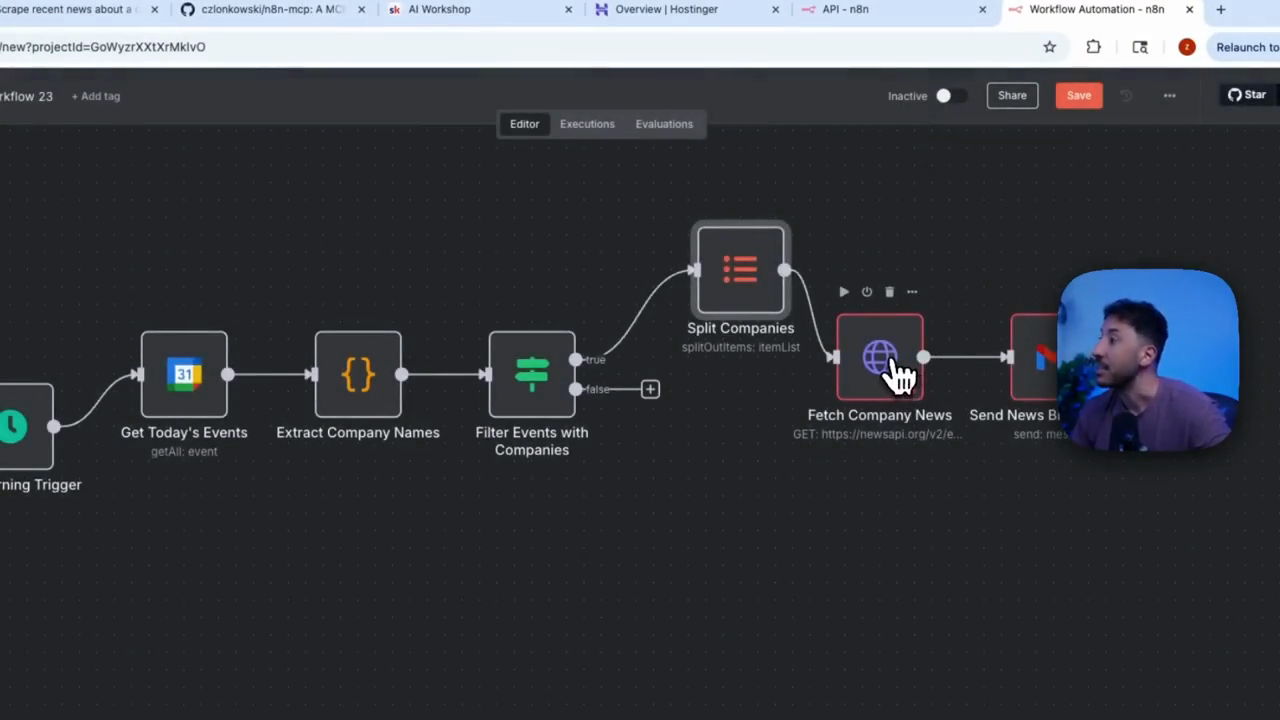
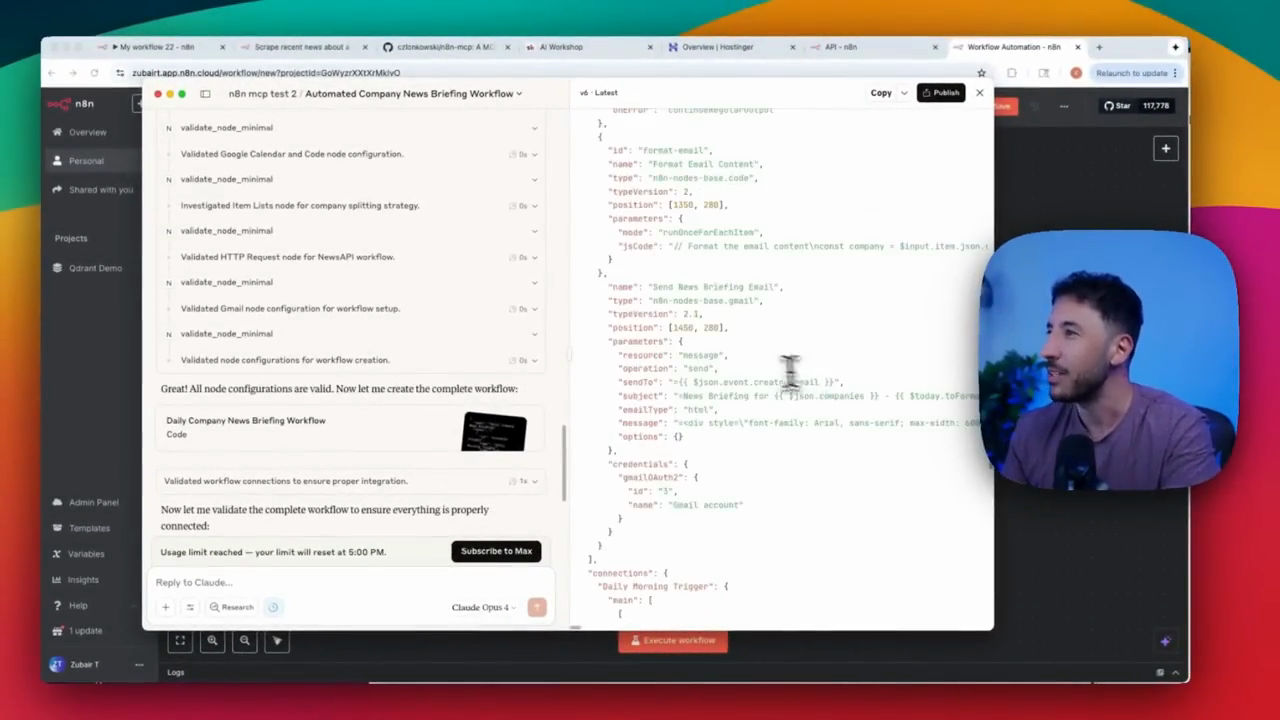
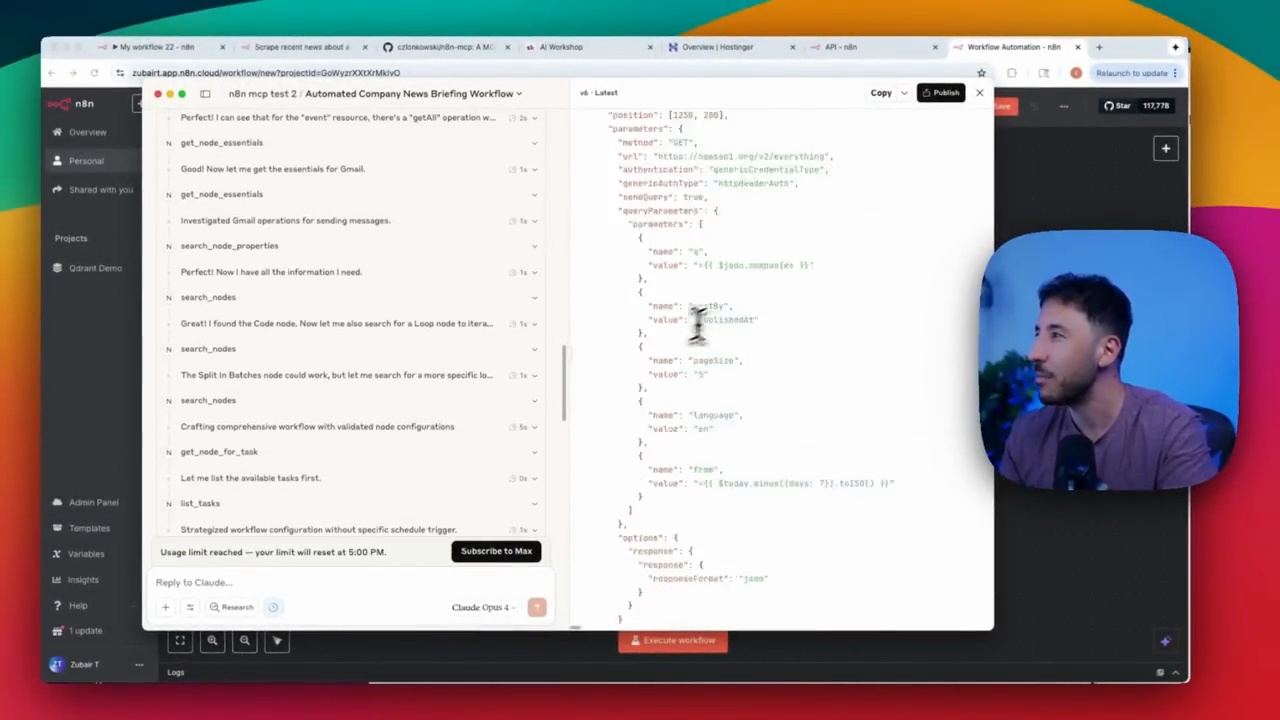
There you go. This is an important step. It will connect to newsapi.org, version 2, and retrieve all available data. As you can see, it also provides the query parameters. The companies are sorted by published_at and page_size. It also provides the value, converting it to today-day7.2iso. It will respond with JSON, which is perfect. After that, it will send an email.
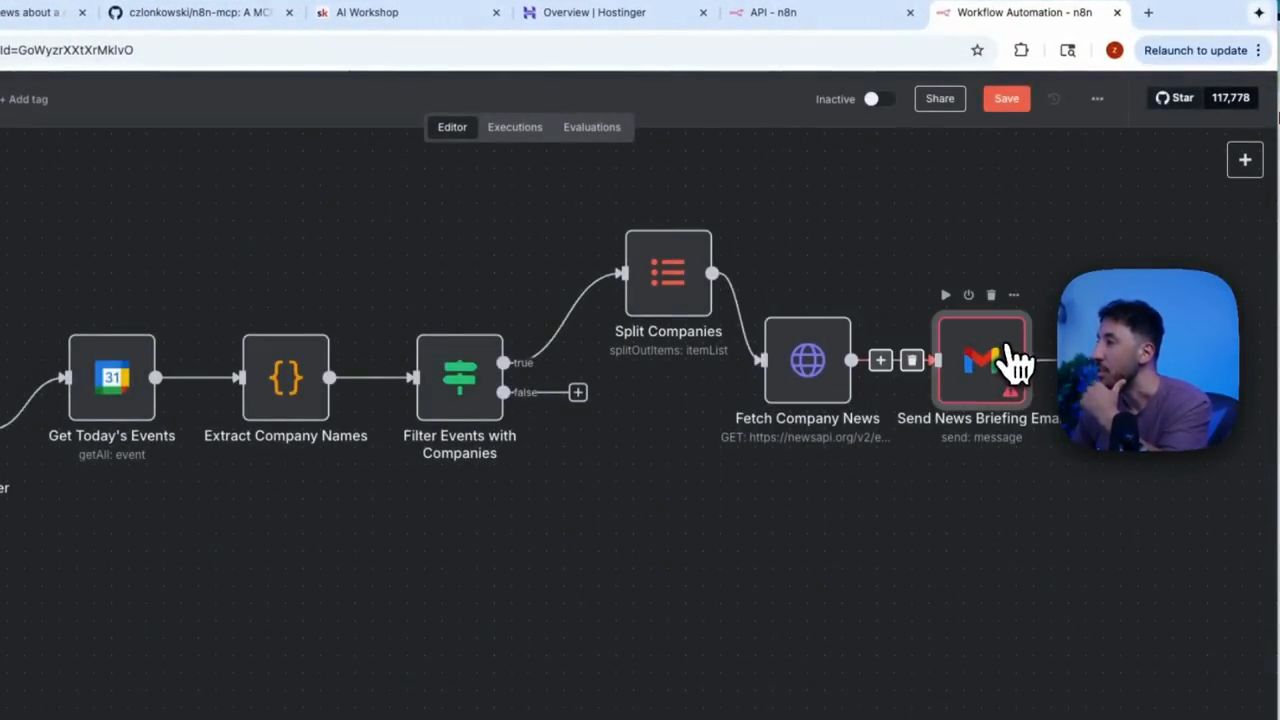
As you can see, it will use the creator's email to send everything. It's pretty great. You can try testing this out. Unfortunately, I used all of my... I was testing it earlier, which is likely why it reached the maximum. As I mentioned earlier, at the end, this step is only for validation. You can simply copy and paste it.
If you follow the steps correctly and add your n8n API key and the URL to your config file, it should create a new workflow for you. A good thing is that you can always copy the code and paste it here.
Go ahead and test it out. As I said, it is incredible. I tested it earlier with several workflows. It did a great job. This won't give you a production-ready n8n workflow, but it will provide a much better starting point than other options.
Go ahead and try it out. If you are serious about using your AI automation skills to earn money and start your AI agency career, join our community. We share case studies and client success toolkits, based on my own experience running an AI agency.
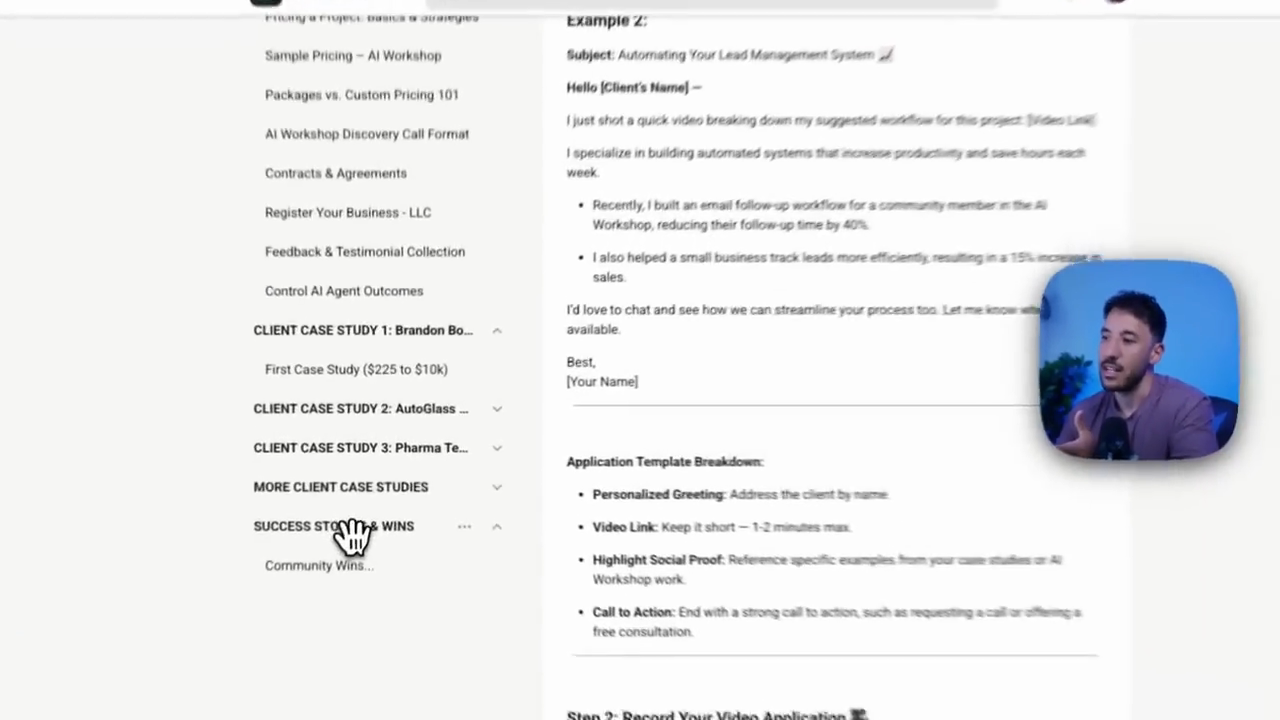

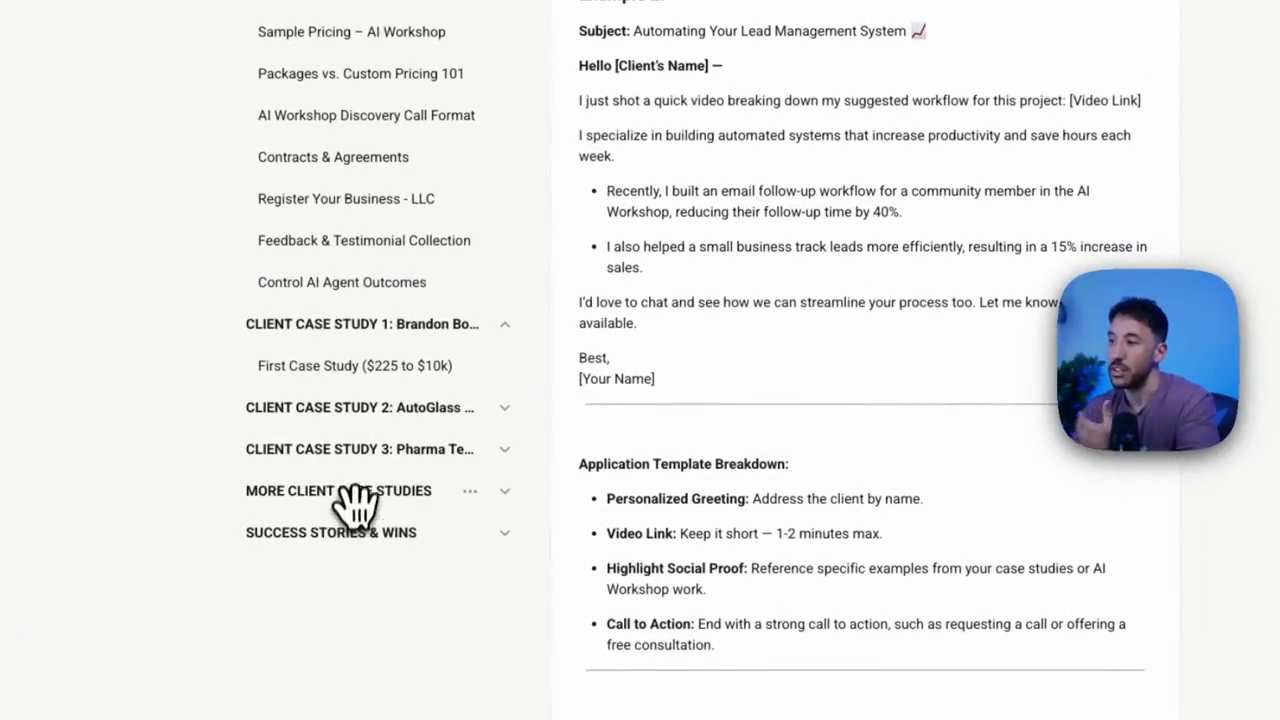
We share how to price your services, send proposals, and run discovery calls with clients. Everything is designed for beginners. We also have great communities where you can ask questions or join our tech support calls.
I hope to see you inside. Thank you for watching. Like and subscribe to stay updated on upcoming content you won't want to miss.
Thank you for watching. I'll see you next time.