How to Create a Call Note: Step-by-Step Guide

Learn how to create call notes using the Call Manager or directly from a customer's profile. Step-by-step instructions for assigning, sending, and managing call notes efficiently.

By Dominik Black

In this guide, we'll learn how to create a call note from scratch in Traction. Call notes help you keep track of important details from customer calls and can be created either through the Call Manager or directly from a customer's profile.

We will cover how to add, assign, and manage call notes, as well as the differences between the two methods. This process helps ensure that all team members have access to call information and follow up as needed.

Let's get started

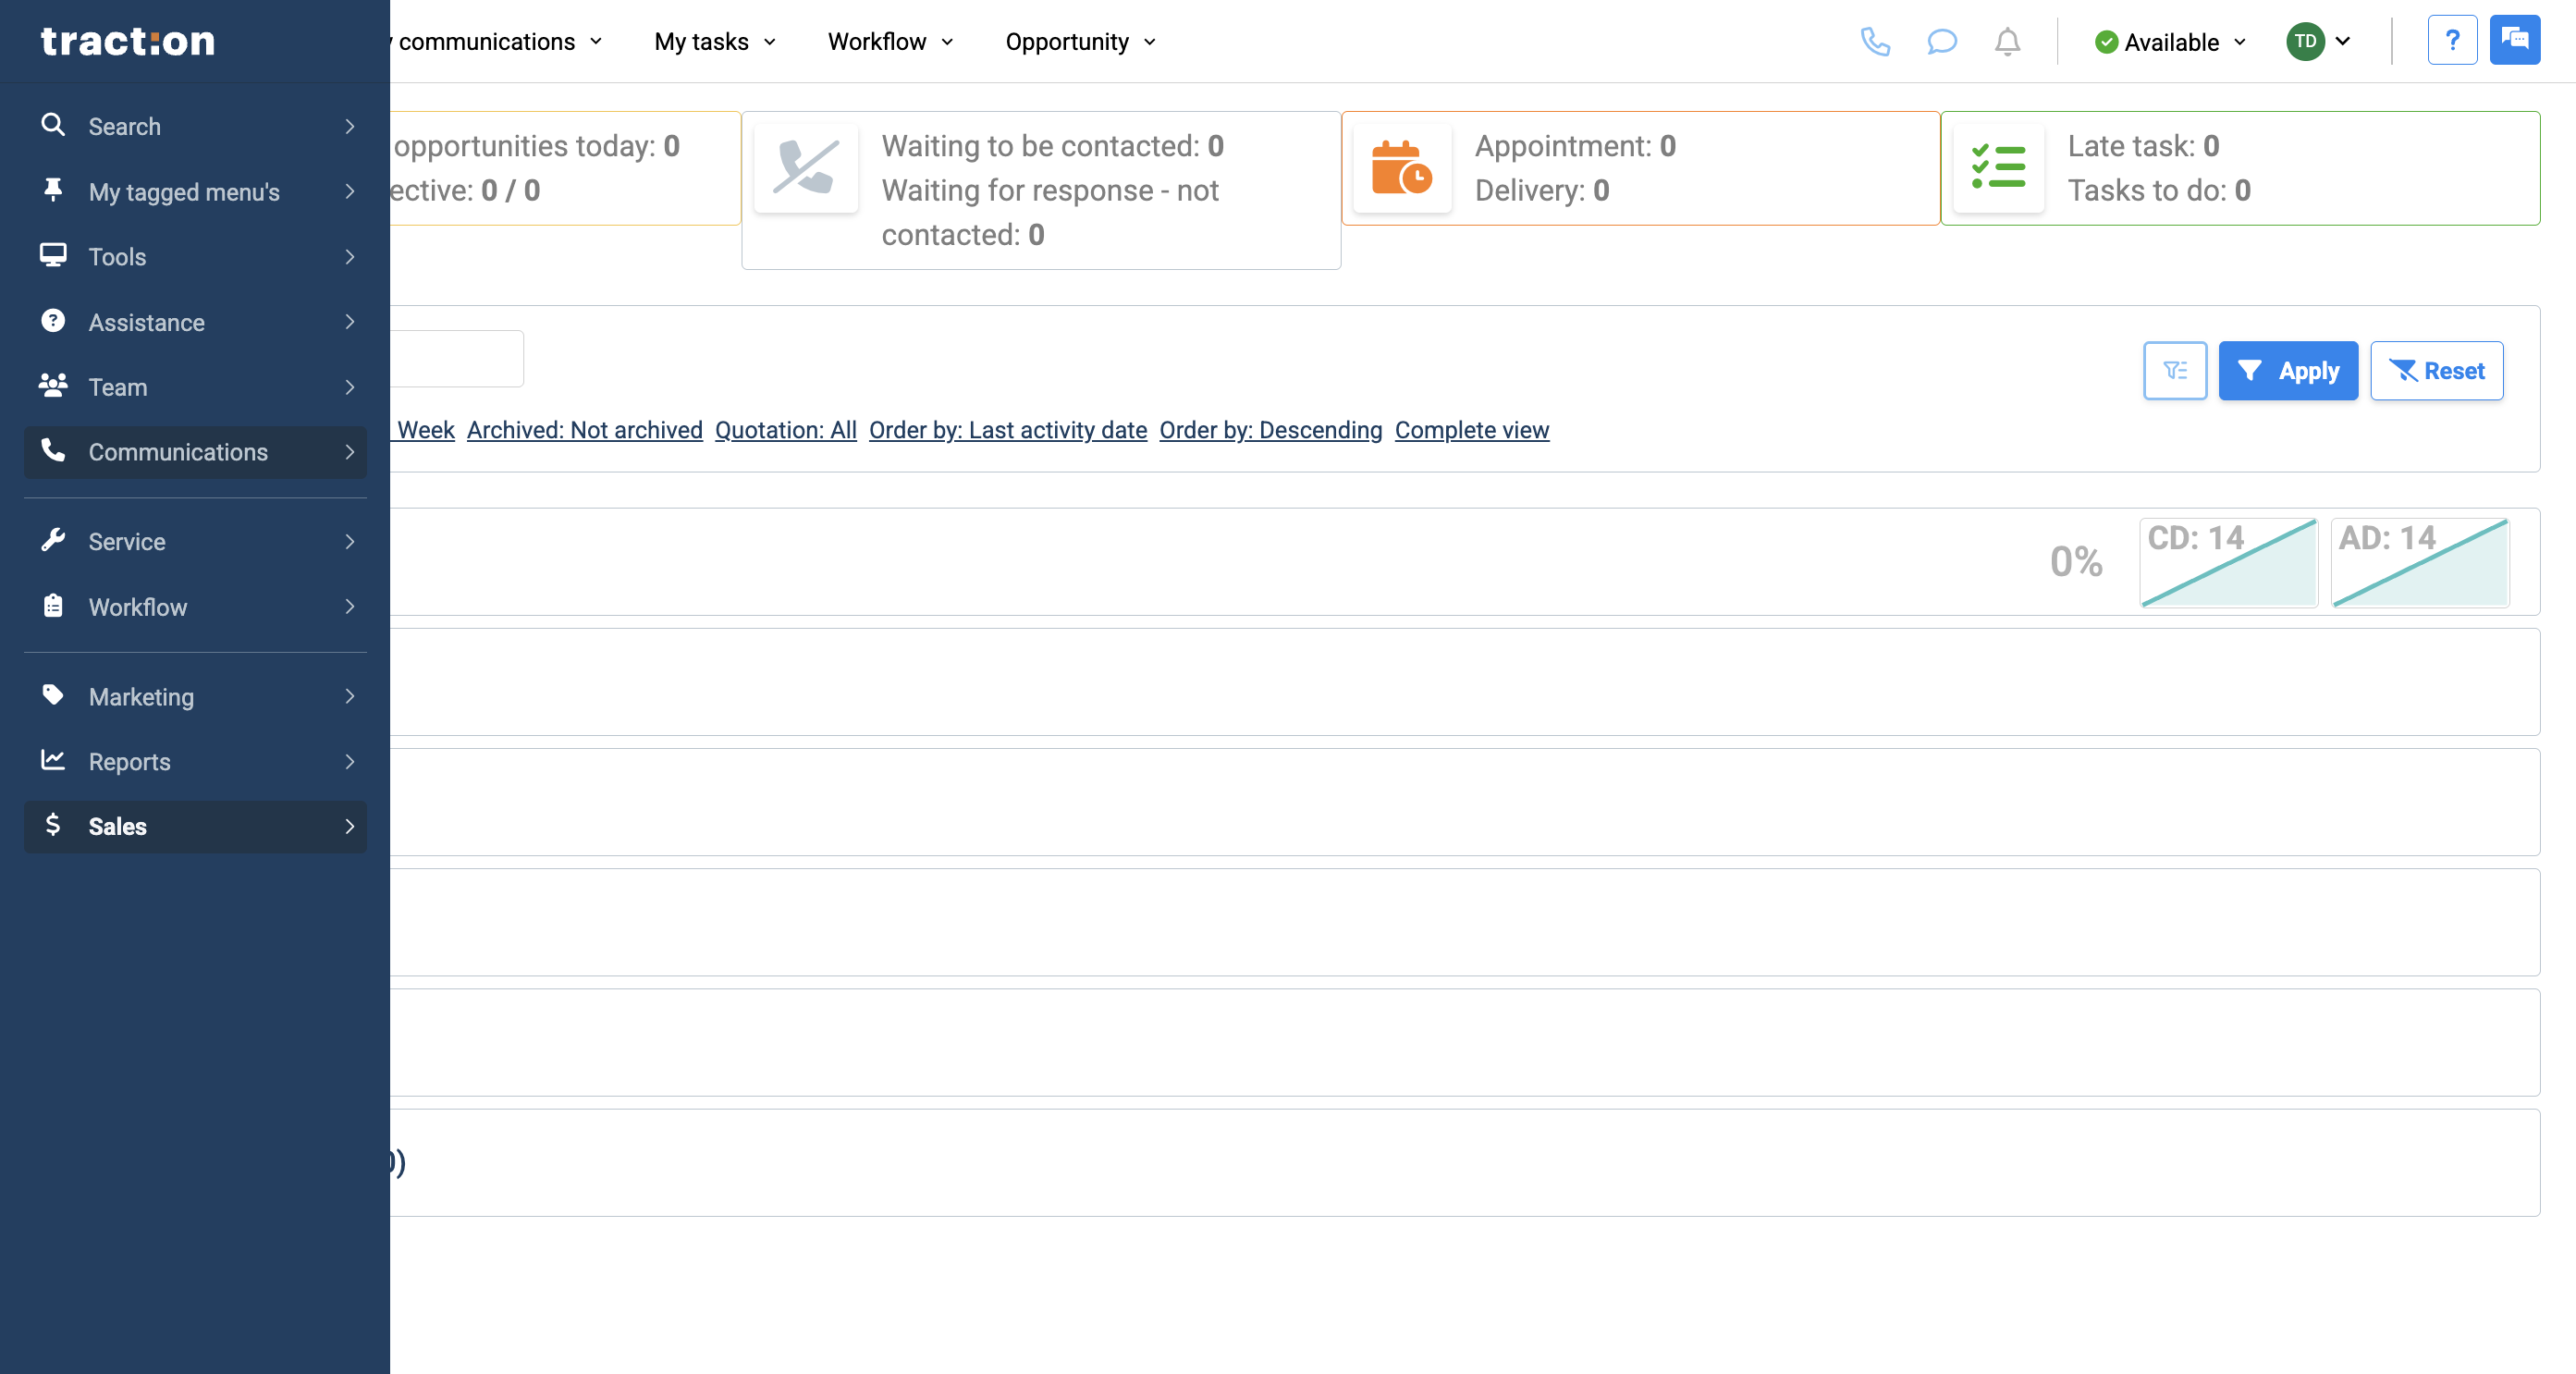
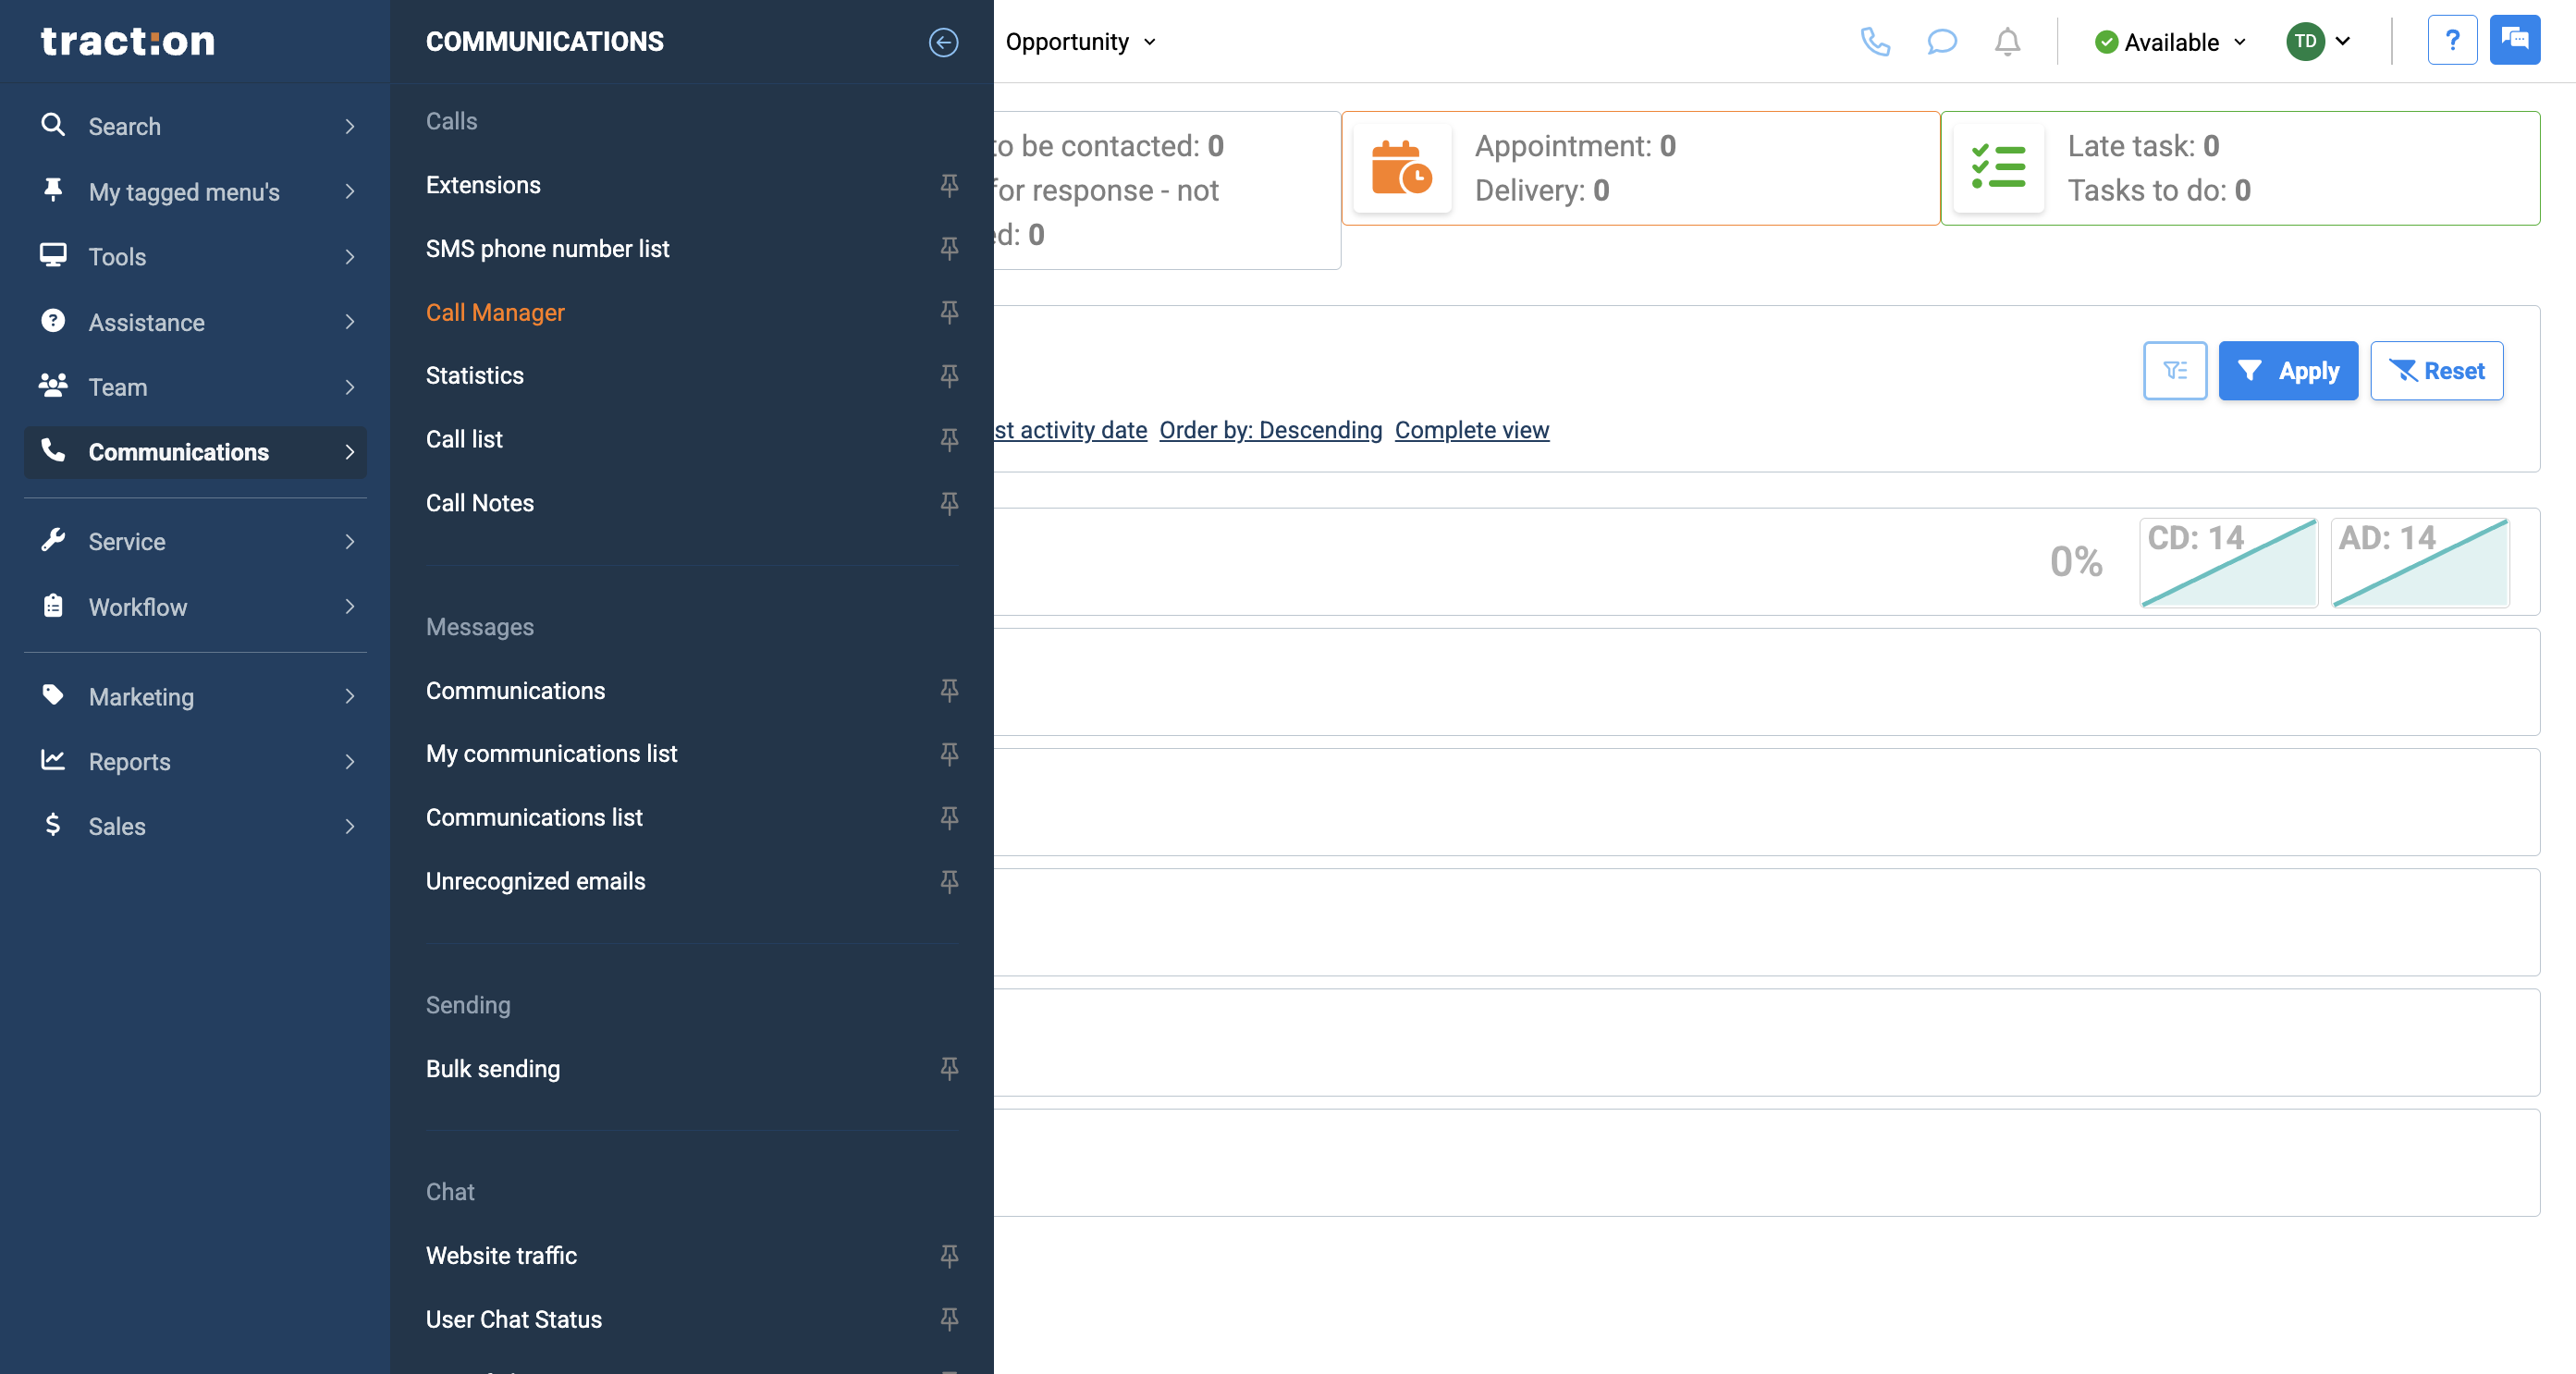
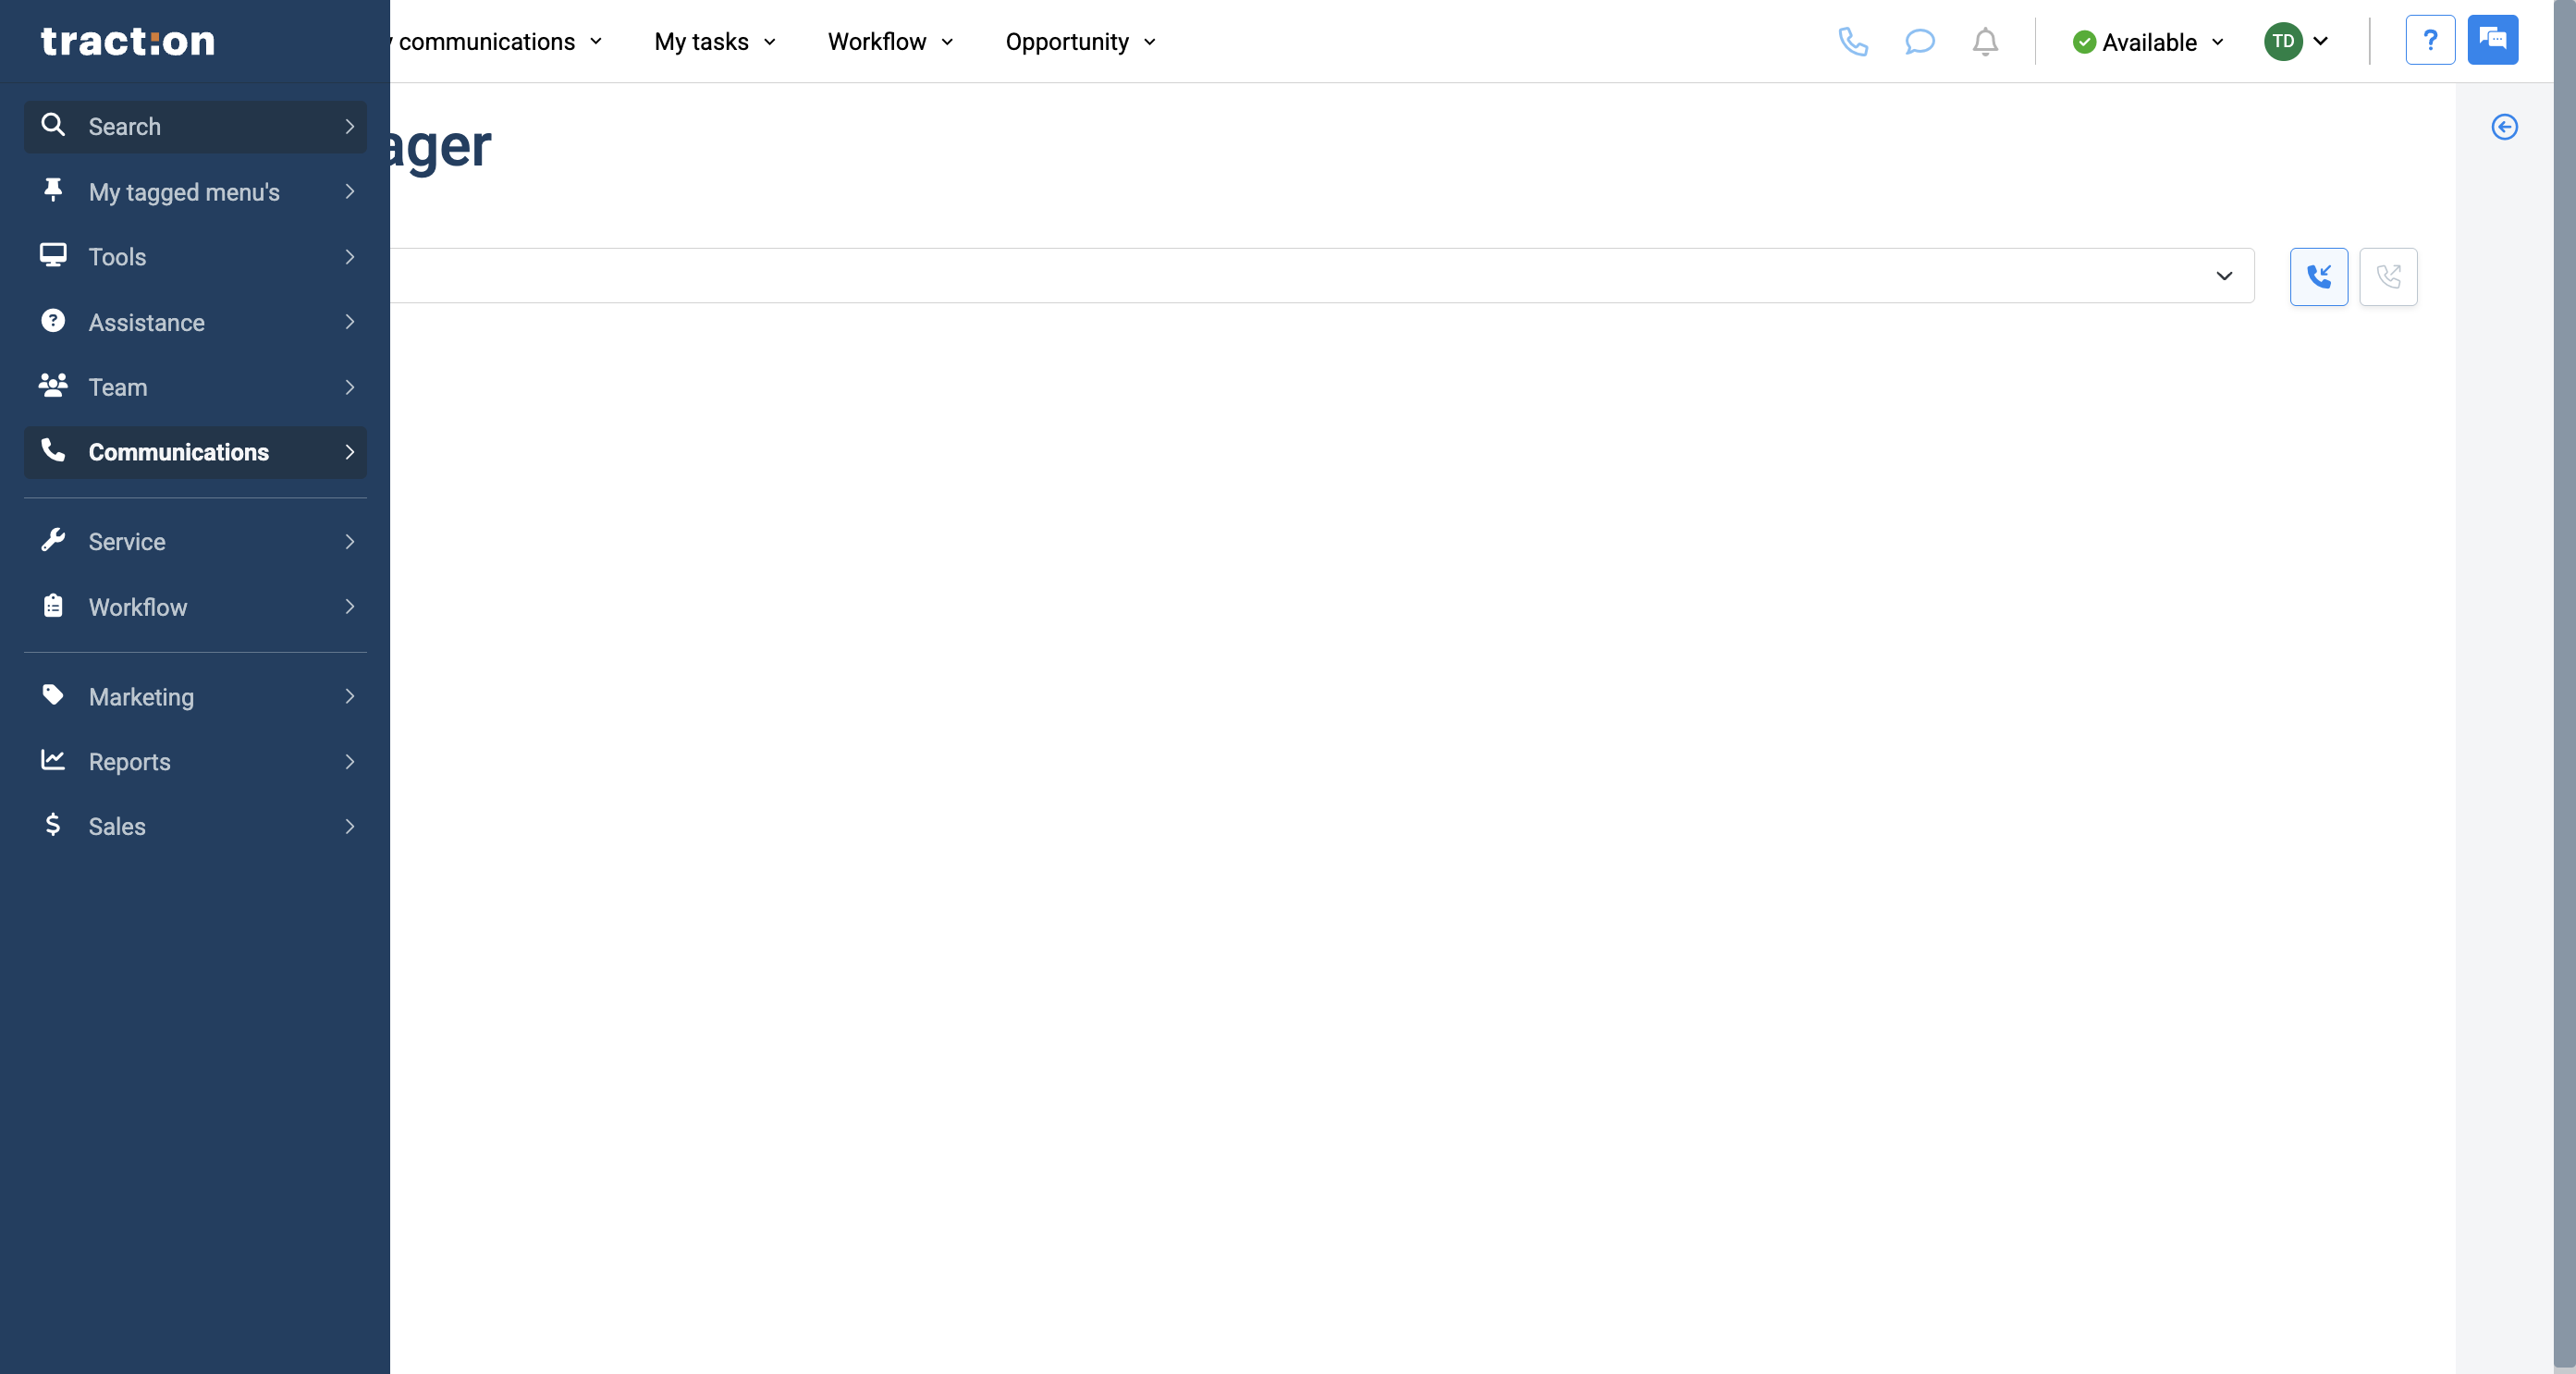
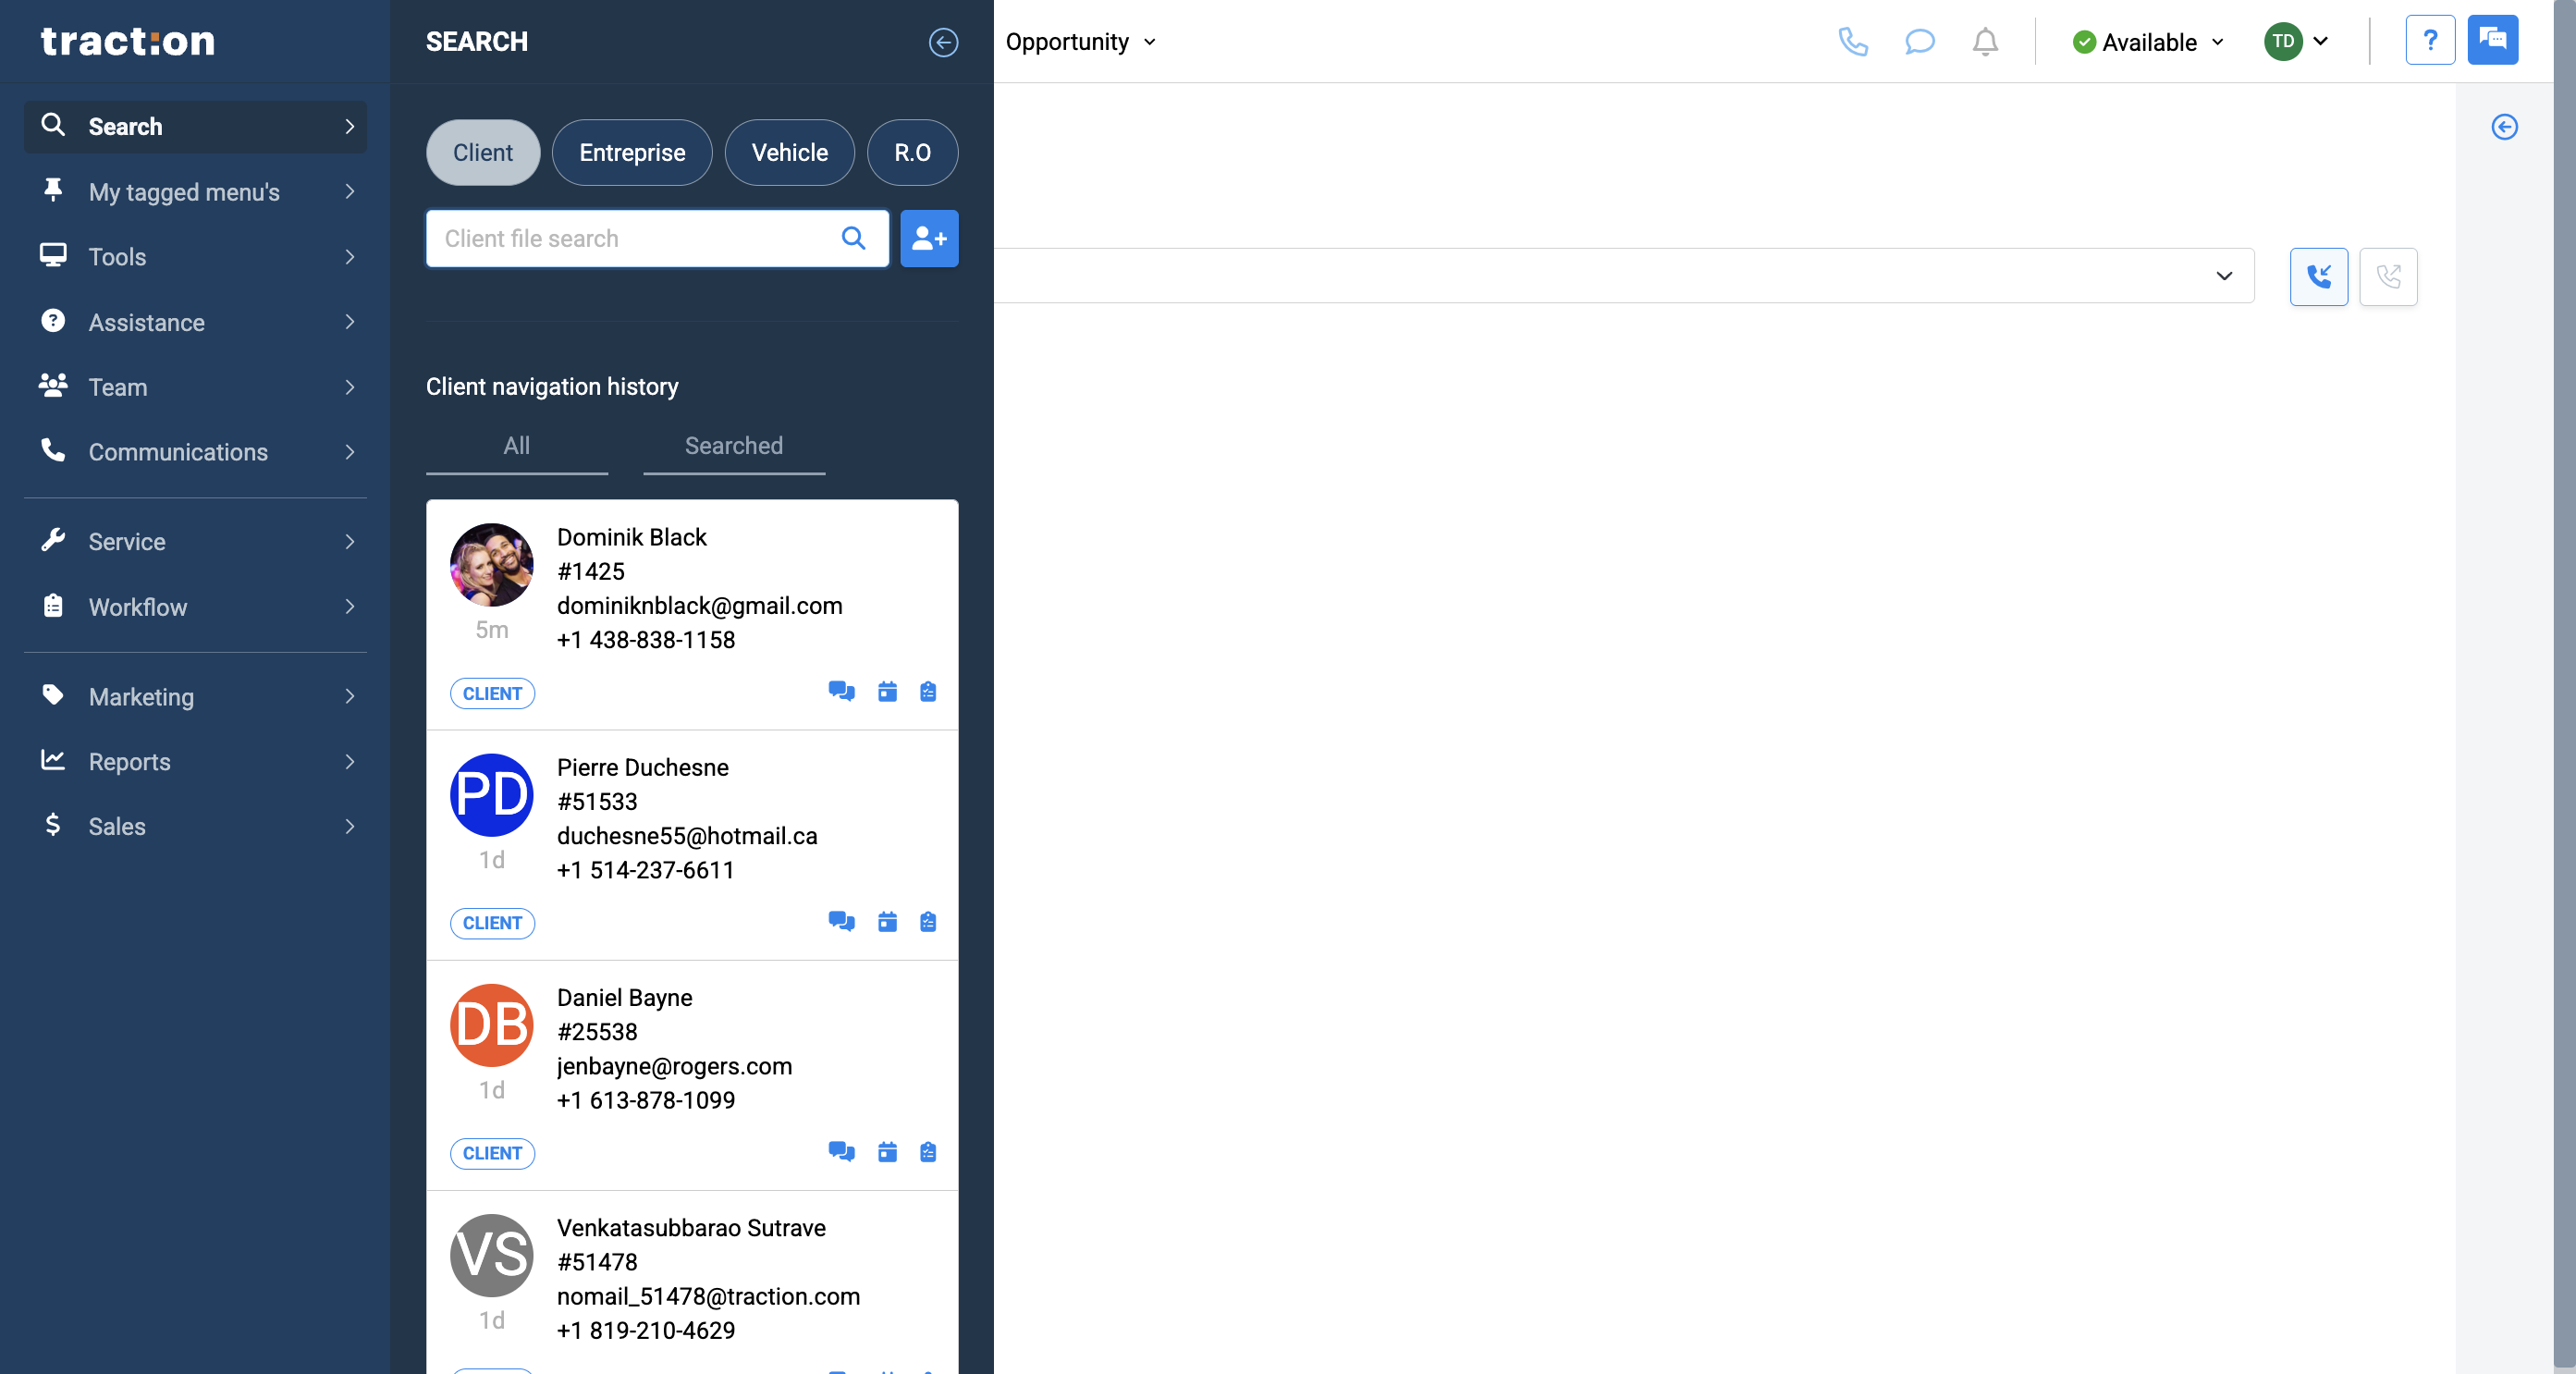
This article explains how to create a call note from scratch. Anyone at your dealership can create call notes. There are two areas where you can create them. The first is within your Communications. Go to your menu, select Communications, then click on Call Manager.

1
Click on communications
Step #1: Click on communications
2
Click Call Manager
Step #2: Click Call Manager

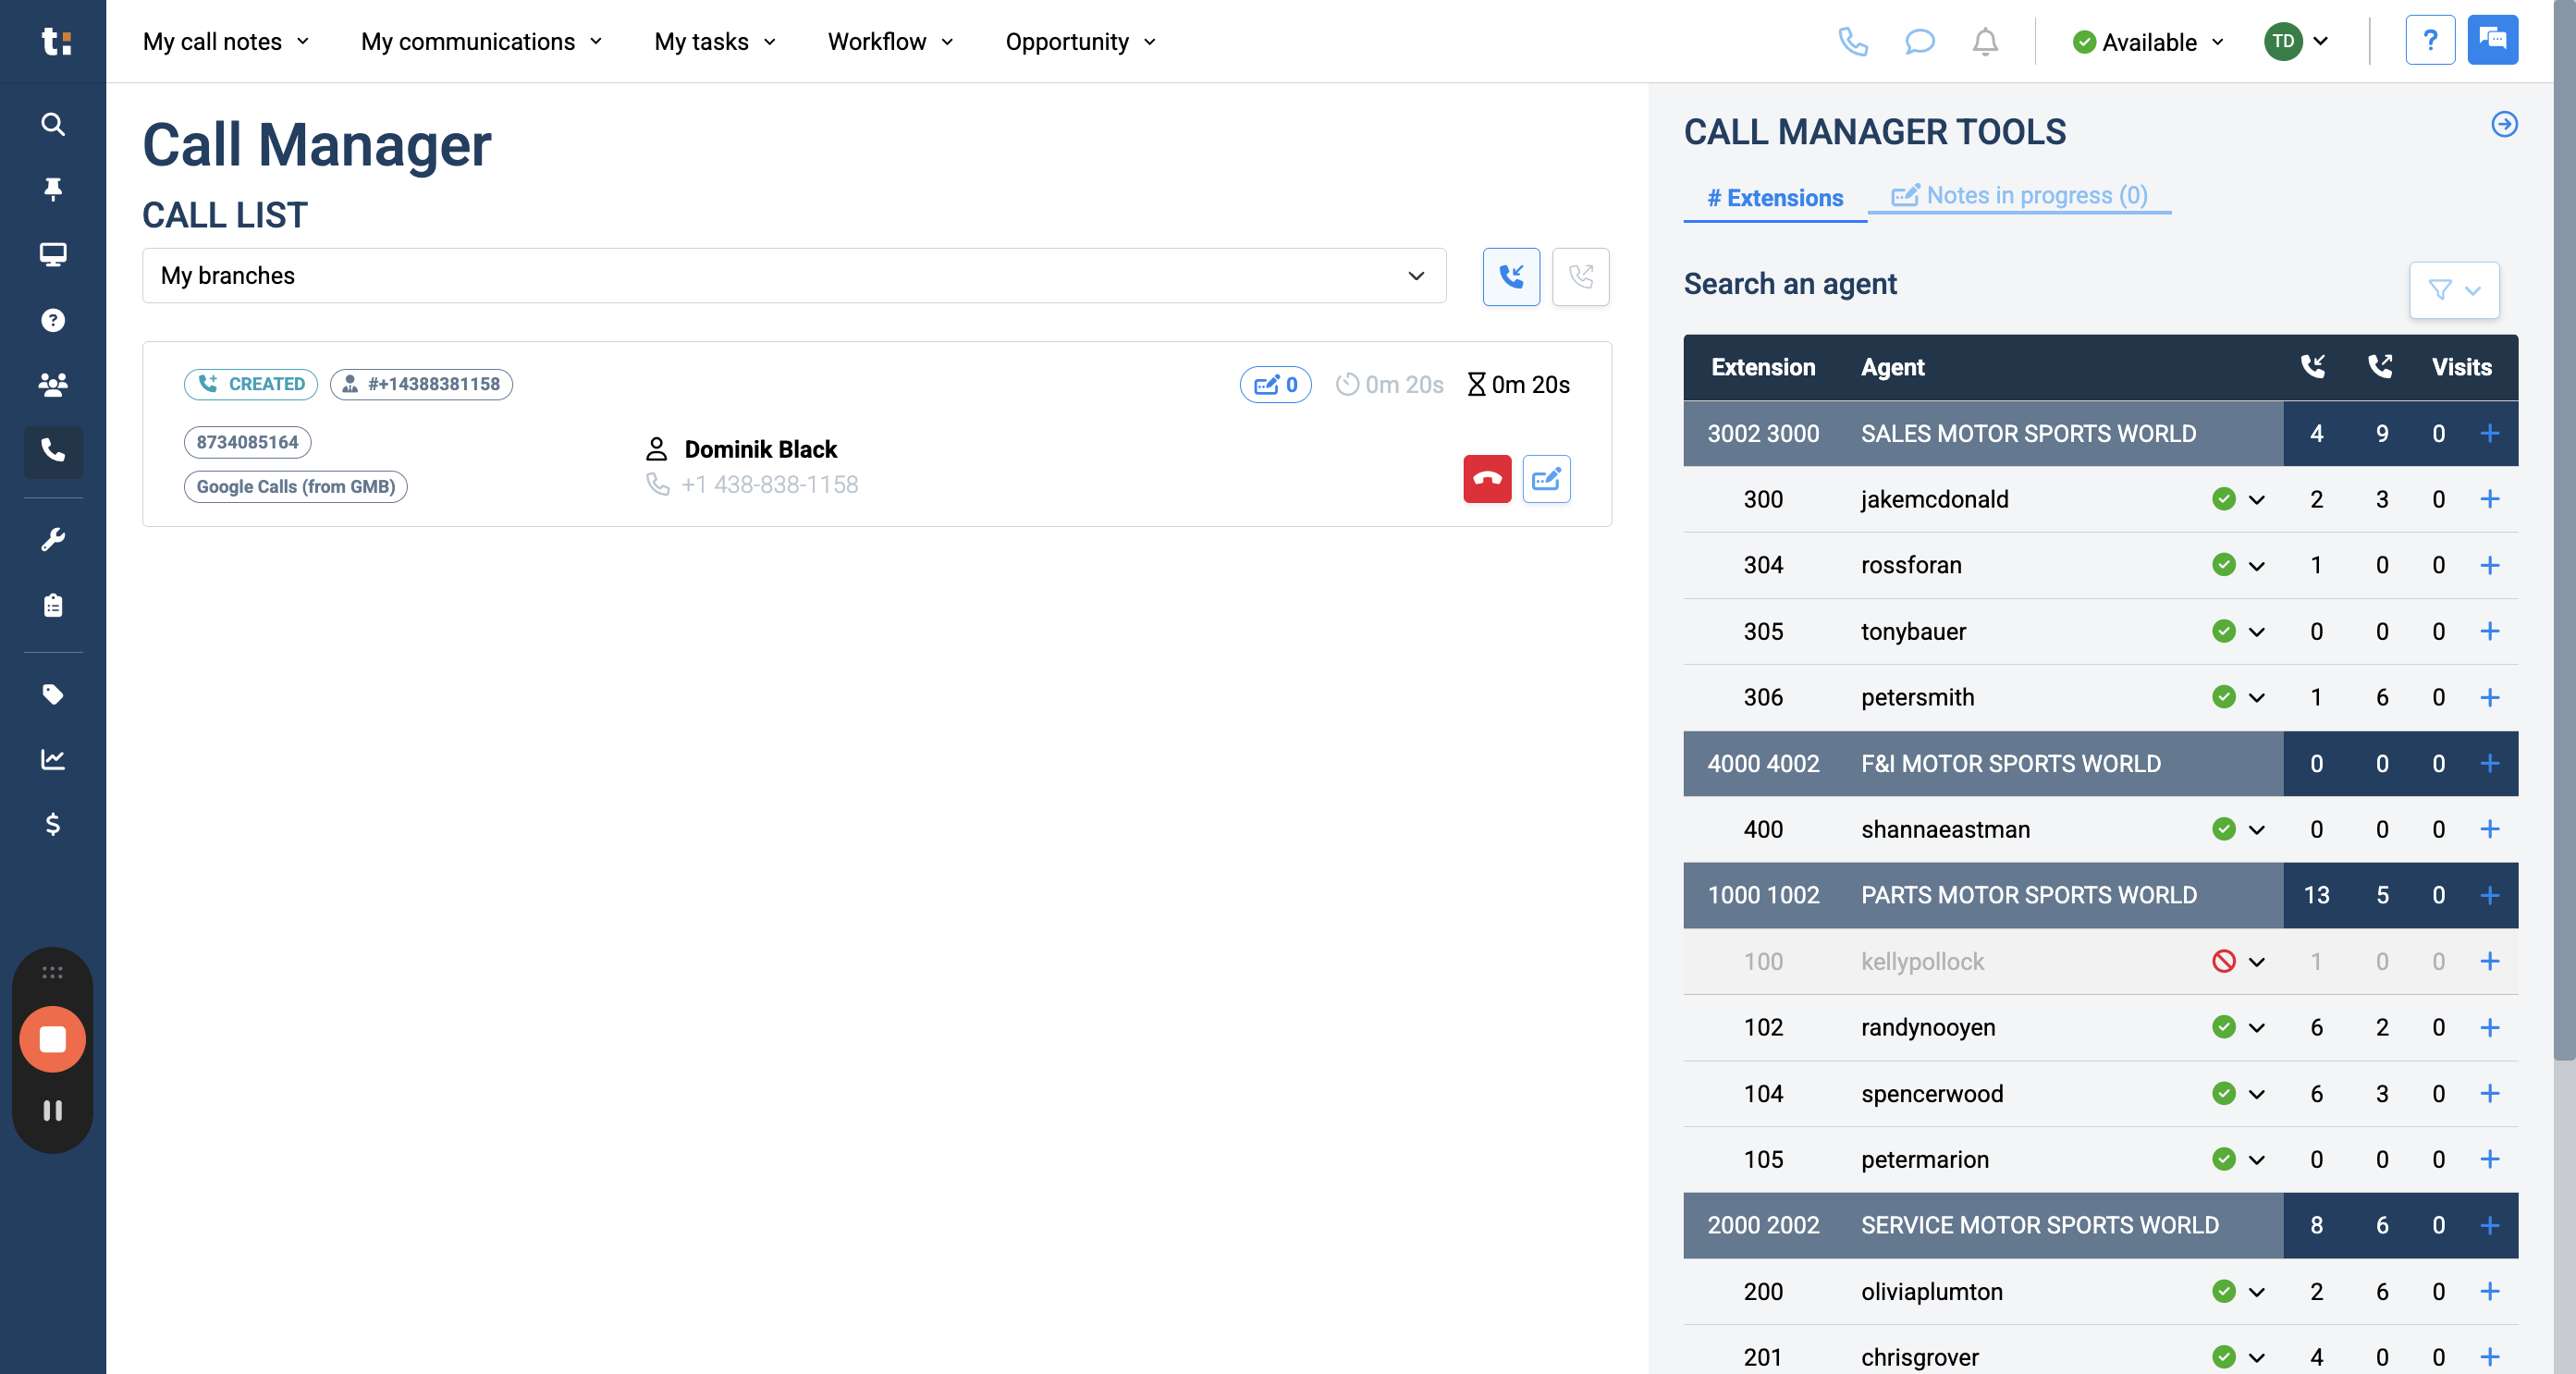
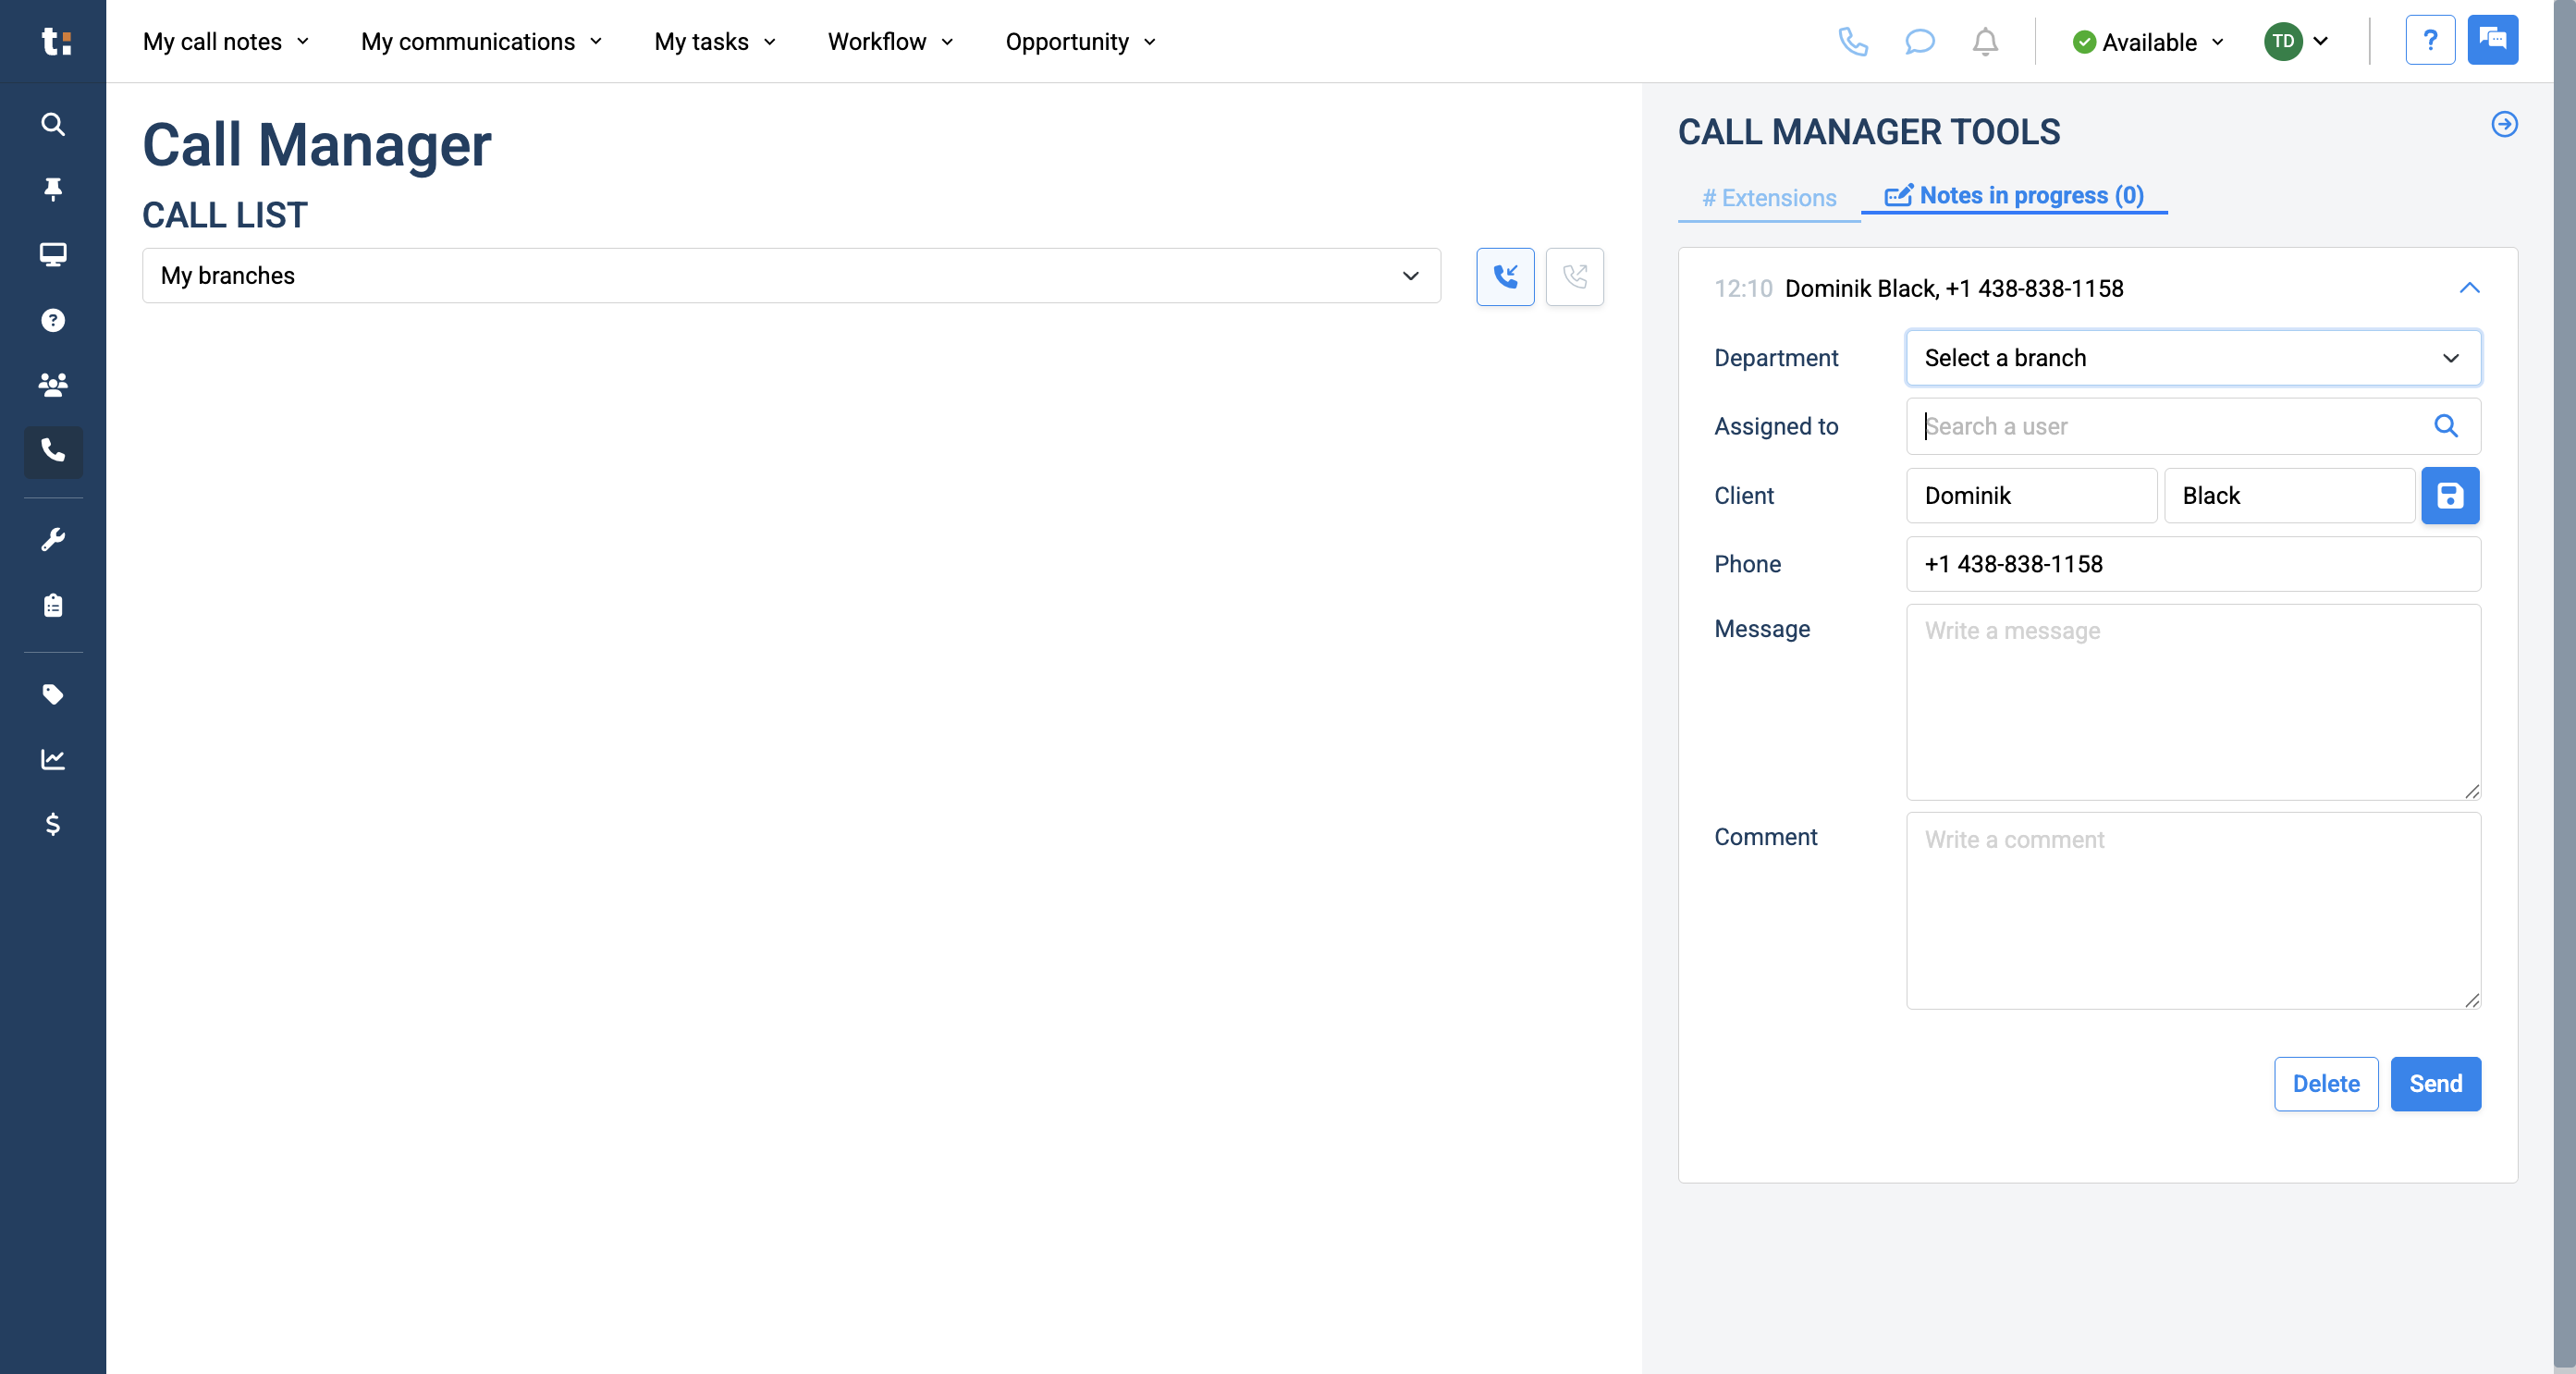
Your Call Manager will display live incoming calls to your store. To create a call note, click the blue button with the crayon labeled "Add a Call Note."

3
Click here
Step #3: Click here

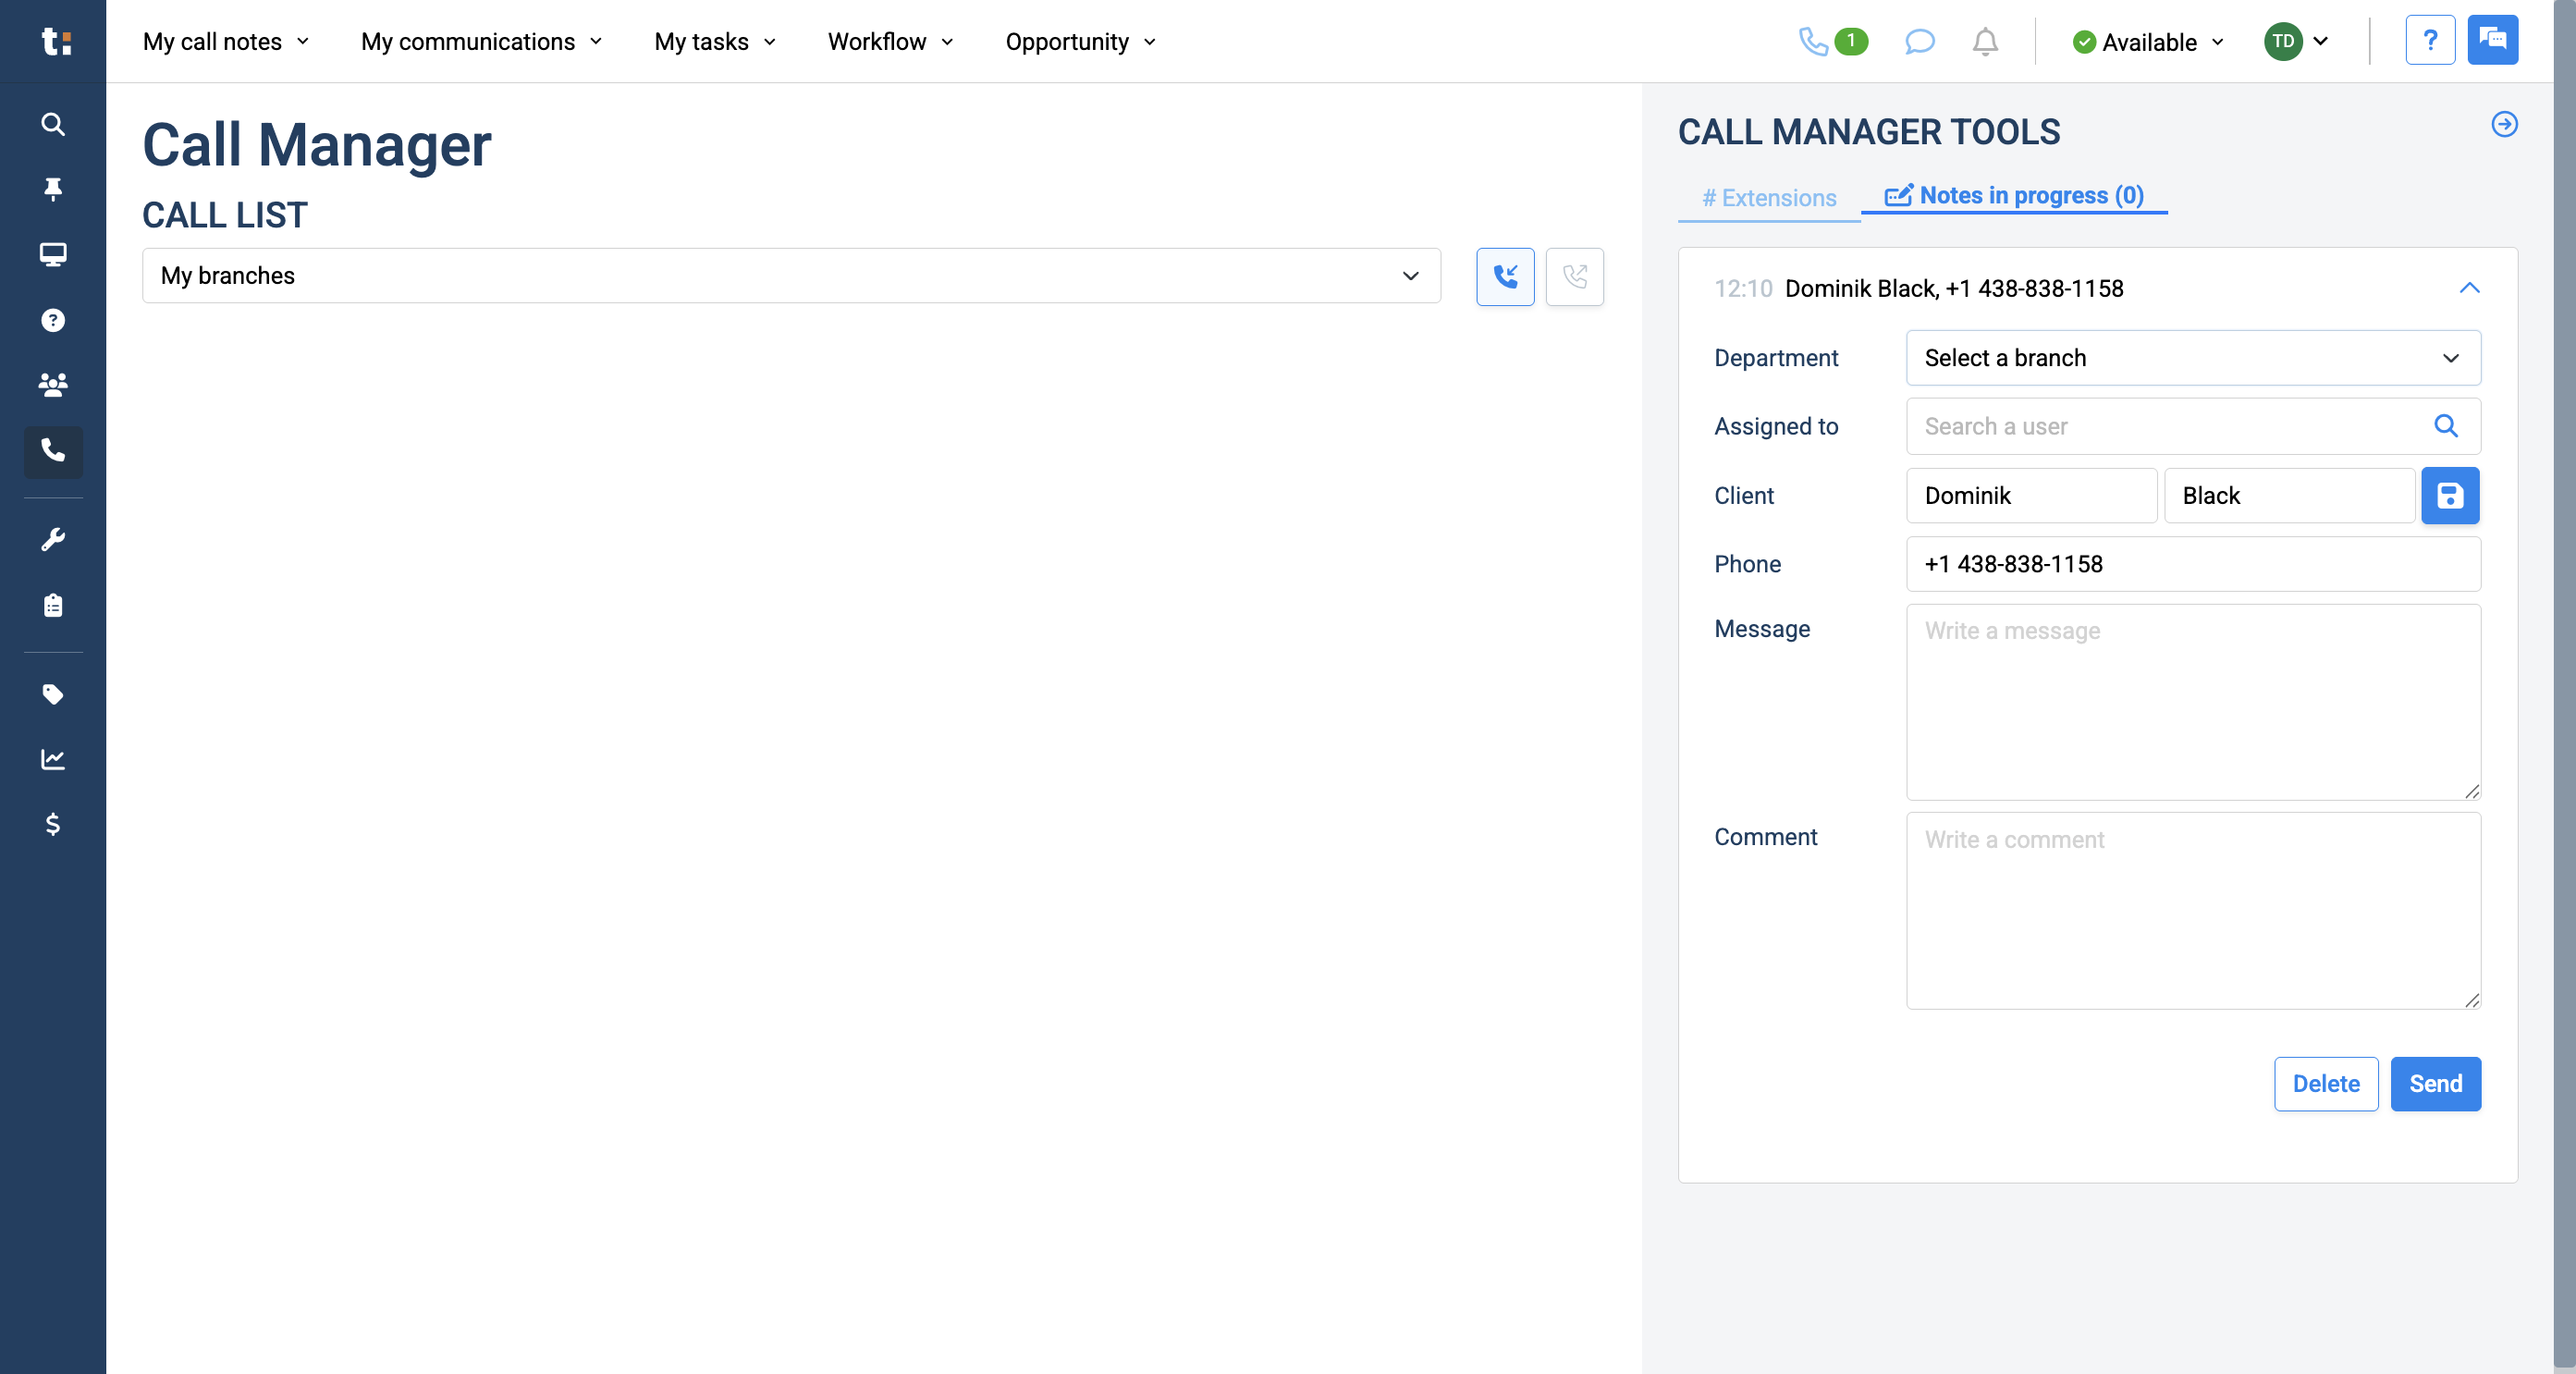
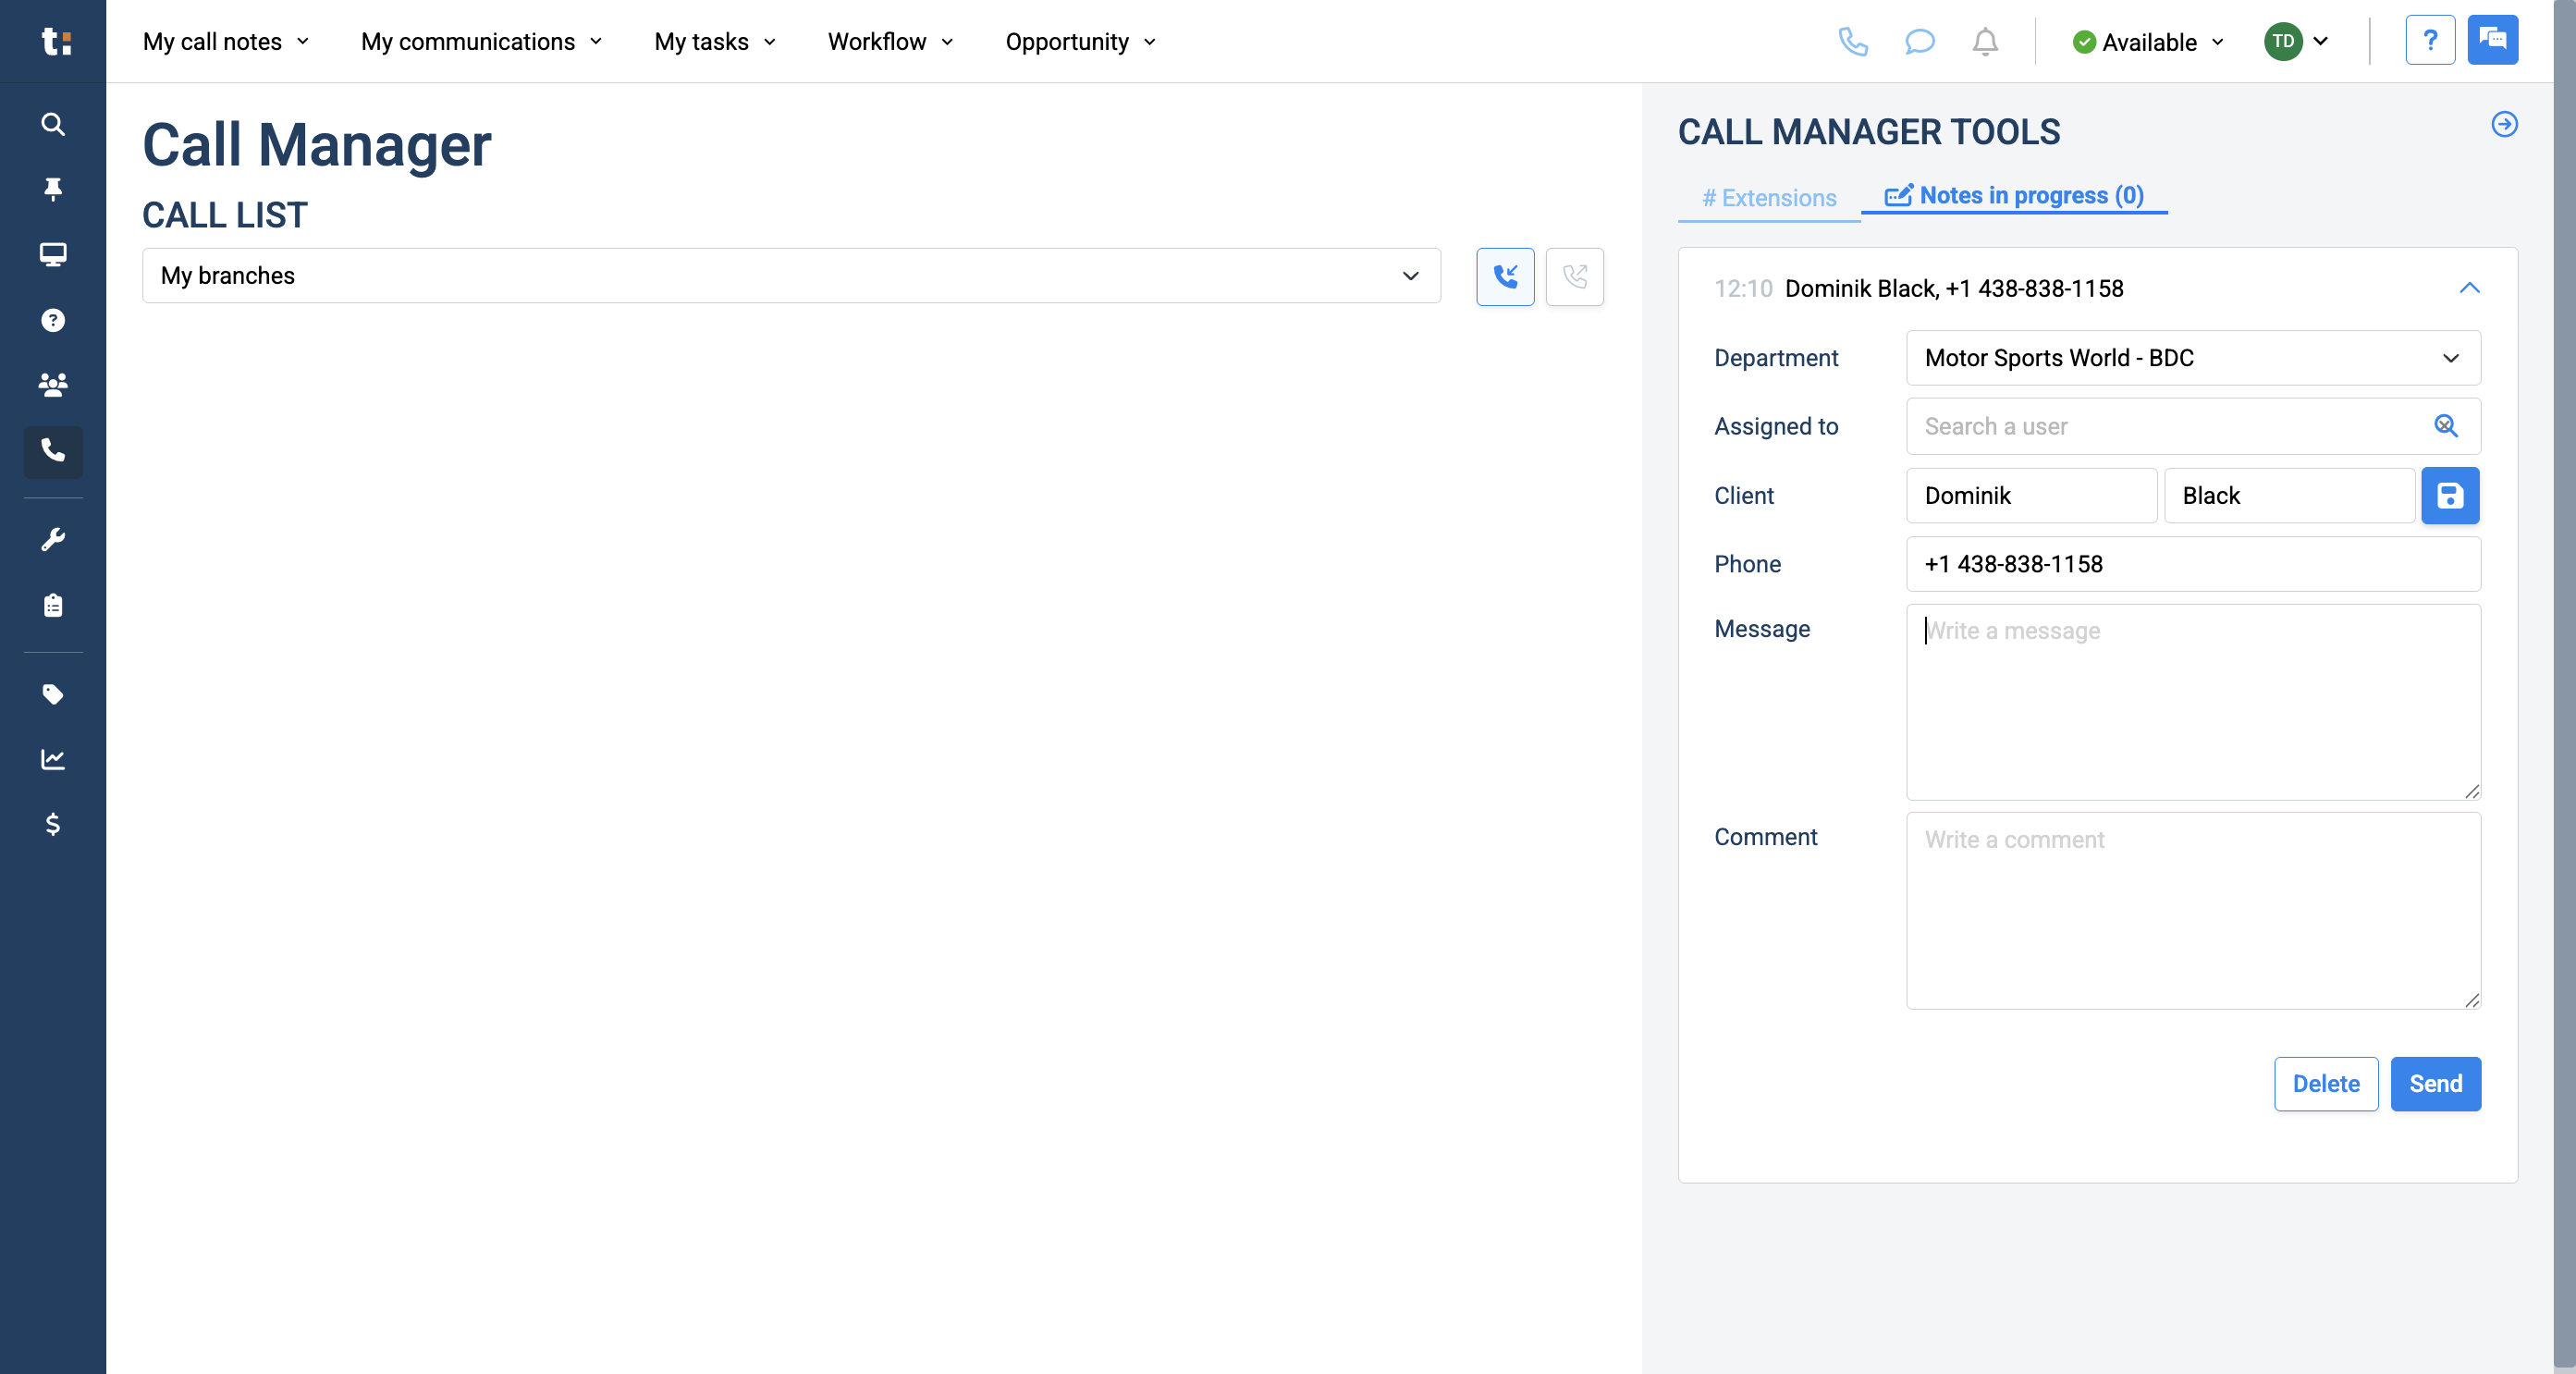
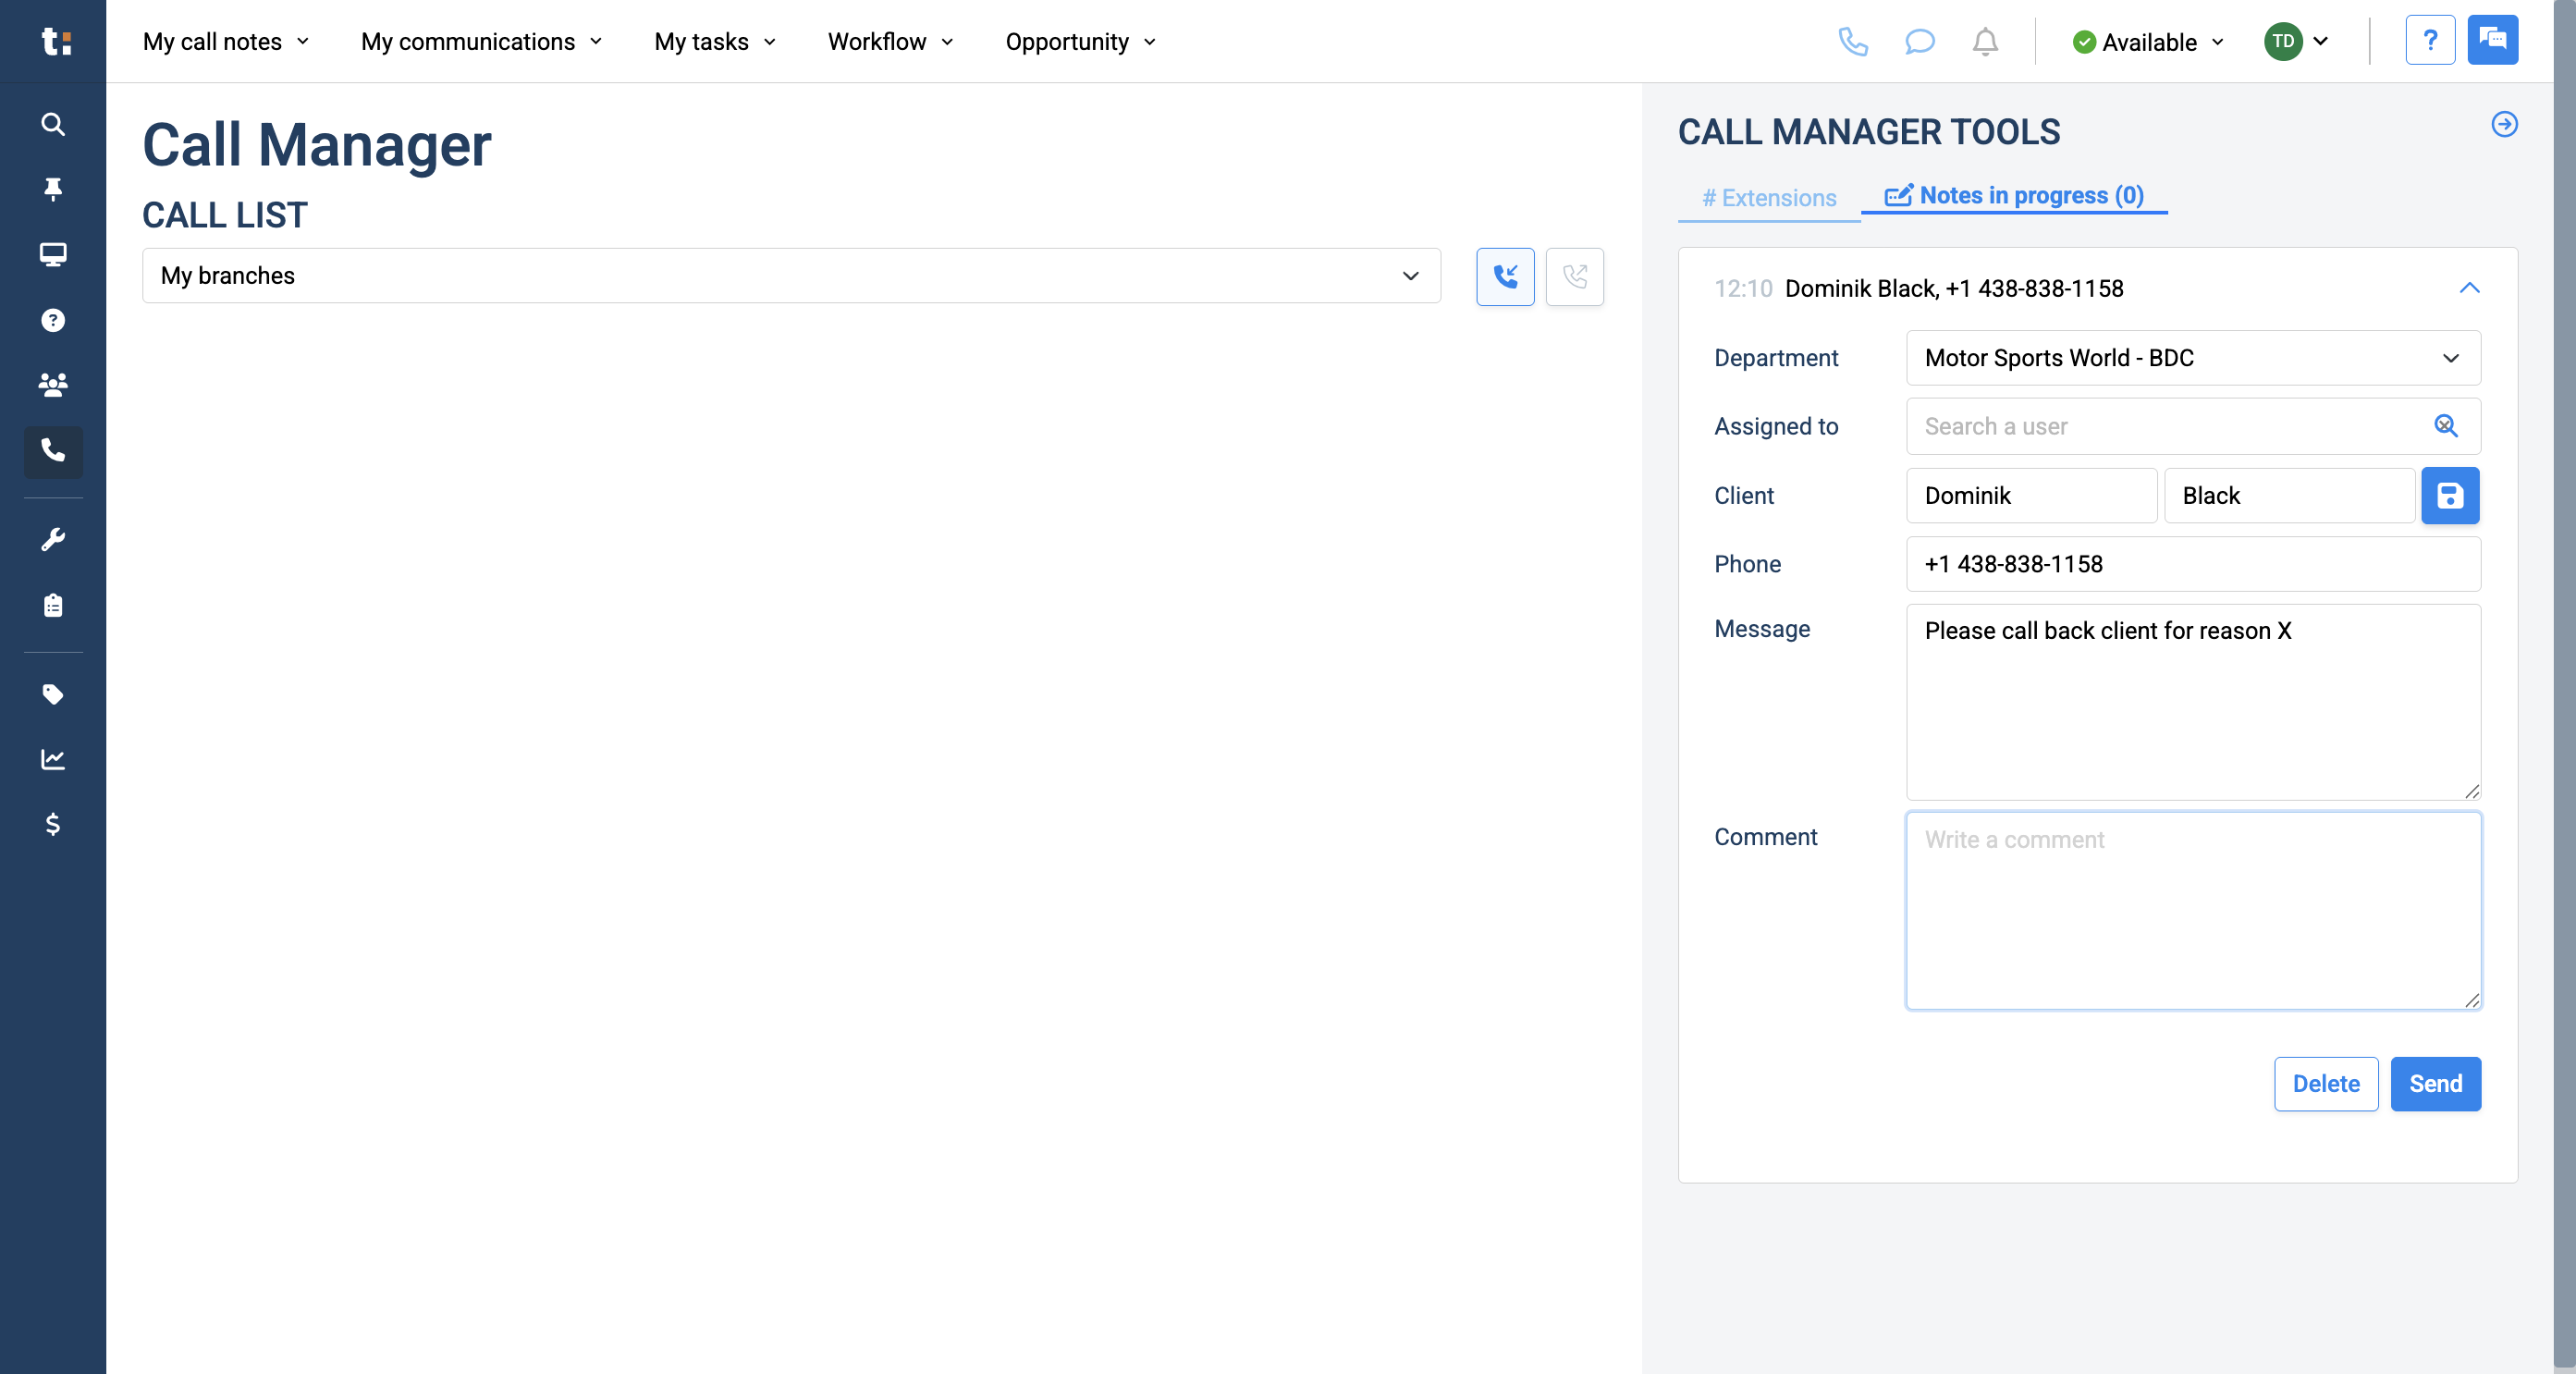
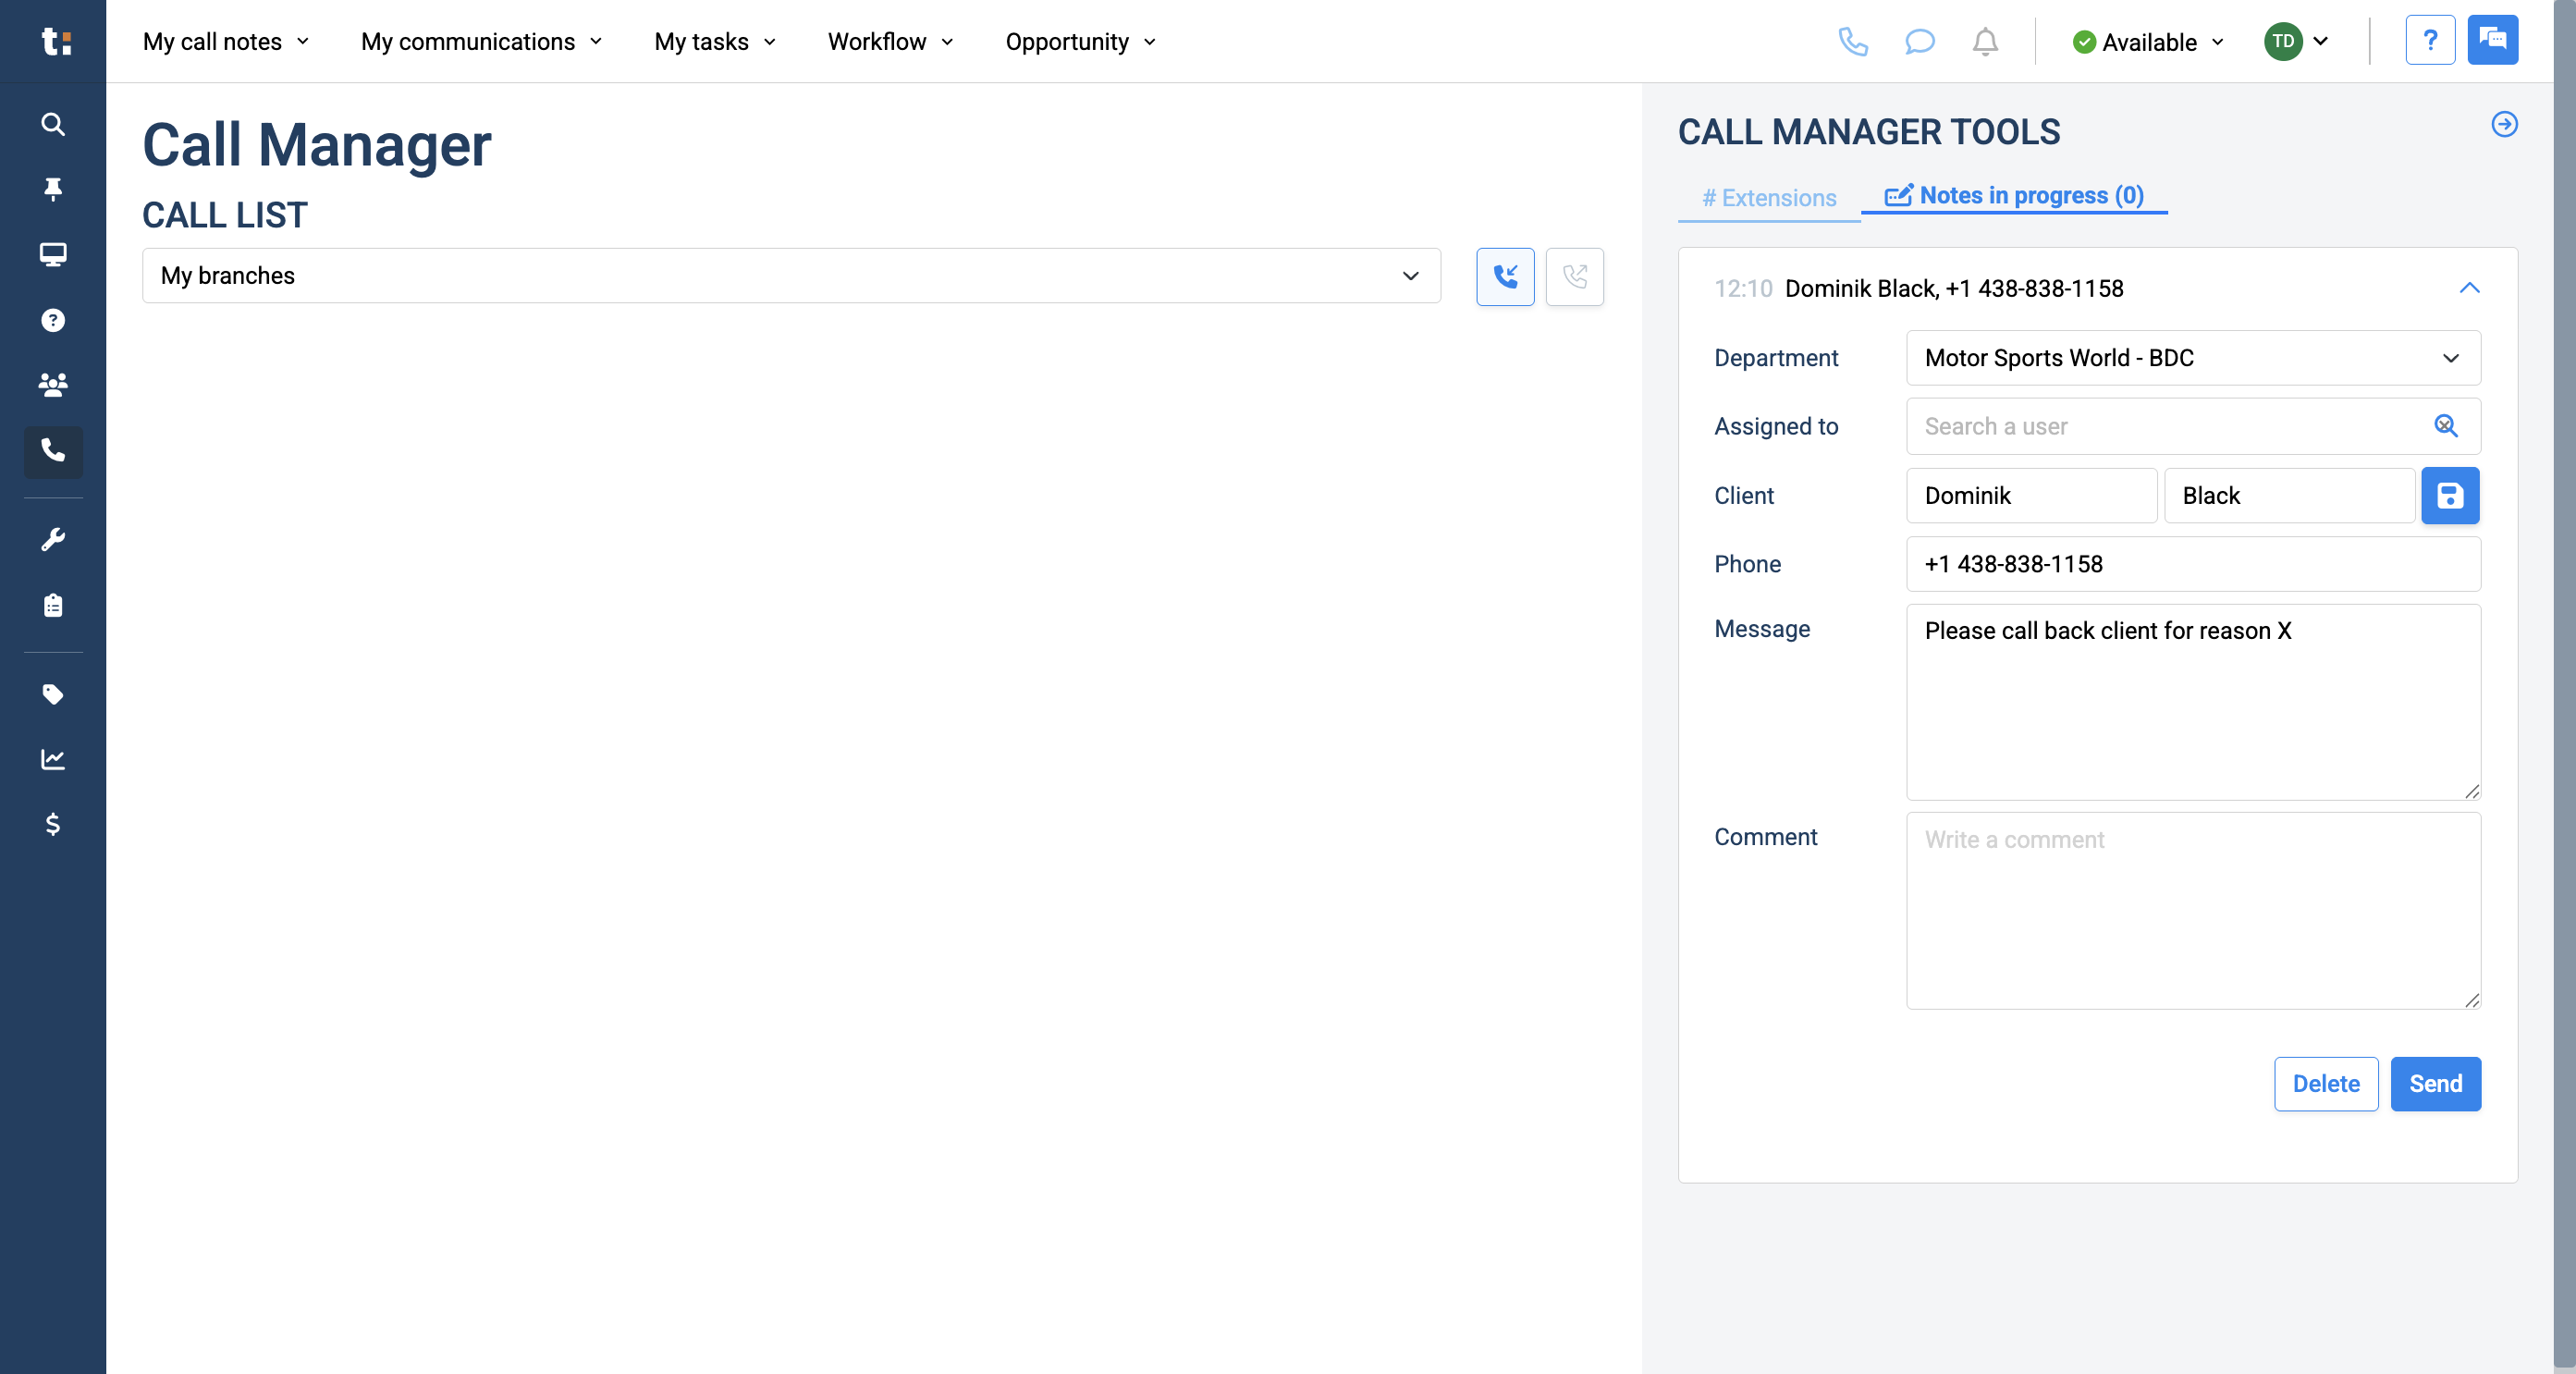
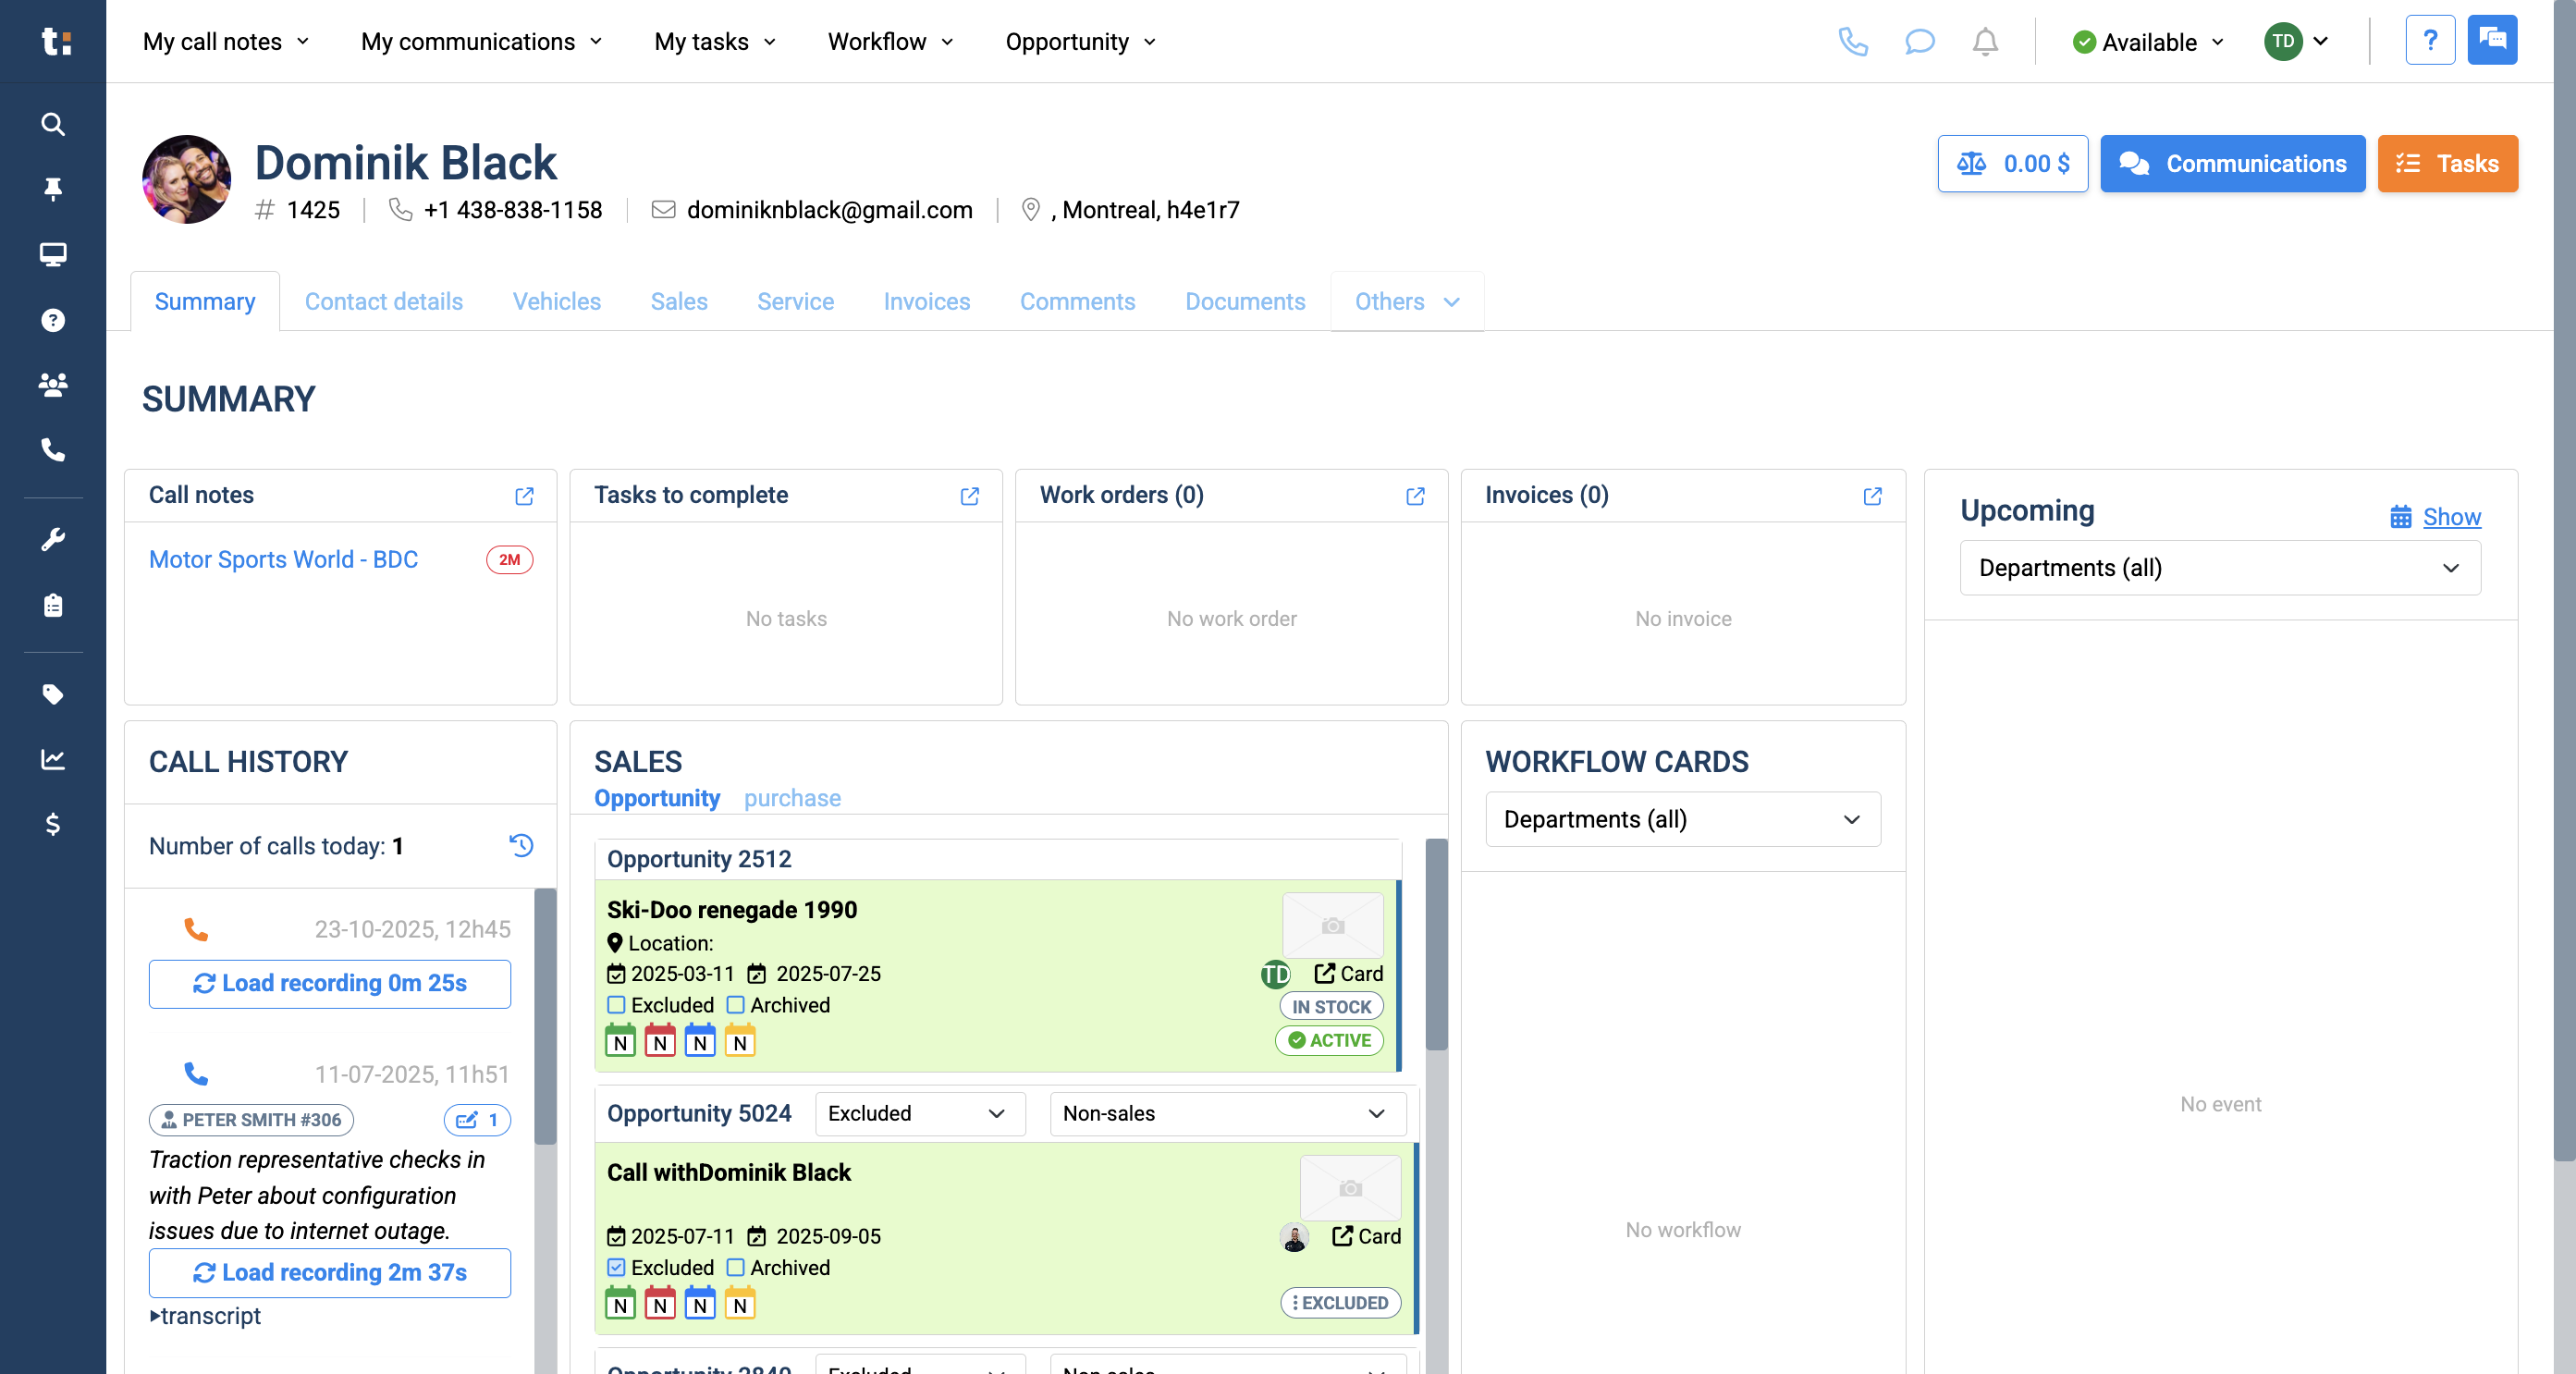
After you click on the button, your call note is saved in the Notes In Progress tab on the right side of your screen, even if the customer hangs up.

4
Step #4:

If you want to return to your Extension page, you can. Your call note will remain saved in the Notes in progress tab.

5
Click here
Step #5: Click here

6
Enter the details for the call note. You can assign it to a department.
Step #6: Enter the details for the call note. You can assign it to a department.

7
You can assign it to a specific user by typing their name and selecting them.
Step #7: You can assign it to a specific user by typing their name and selecting them.

8
You can write a message to the designated user. There is also a section to add comments.
Step #8: You can write a message to the designated user.   There is also a section to add comments.

9
Once you're finished, click the Send button to send the call note. If you want to delete it, click the Delete button.
Step #9: Once you're finished, click the Send button to send the call note. If you want to delete it, click the Delete button.

10
After you send the call note, the designated user will get a notification in the "My Call Notes" tab at the top. They can see who called for them and view the client's information. They will also have access to the phone recording. This is the first method to create a call note.
Step #10: After you send the call note, the designated user will get a notification in the "My Call Notes" tab at the top. They can see who called for them and view the client's information. They will also have access to the phone recording. This is the first method to create a call note.

11
The second way to create a call note is by doing it directly from a customer's profile.
Step #11: The second way to create a call note is by doing it directly from a customer's profile.

12
Start by searching for your customer and entering their information in the search bar.
Step #12: Start by searching for your customer and entering their information in the search bar.

13
Click the "Others" tab at the top.
Step #13: Click the "Others" tab at the top.

14
In the Others tab, you will find Call Notes.
Step #14: In the Others tab, you will find Call Notes.

15
There is a blue button labeled "Add a New Call Note."
Step #15: There is a blue button labeled "Add a New Call Note."

16
In this area, you have the same access as in the previous module. You can select the department. You can assign it to a specific user. You can leave a message or a comment.
Step #16: In this area, you have the same access as in the previous module. You can select the department. You can assign it to a specific user. You can leave a message or a comment.

17
The only difference is that if you create a call note manually from a customer's profile instead of within the Call Manager, there will be no phone recording attached to the call note.
Step #17: The only difference is that if you create a call note manually from a customer's profile instead of within the Call Manager, there will be no phone recording attached to the call note.

18
To delete your manual call note, tap the three dots and select Delete.
Step #18: To delete your manual call note, tap the three dots and select Delete.

If you still have questions after consulting this article, please feel free to contact our support team at: support@tractiondk.zohodesk.com