How to Create a Contact List in Outlook: A Step-by-Step Guide
Learn how to efficiently create and manage contact lists in Outlook with this easy-to-follow tutorial.
By Faith Wershba
Let's get started
Here's a quick tutorial on creating a contact list in Outlook. Currently, I'm in my inbox. To make a contact list, navigate to the "People" tab and click.
1
Click here
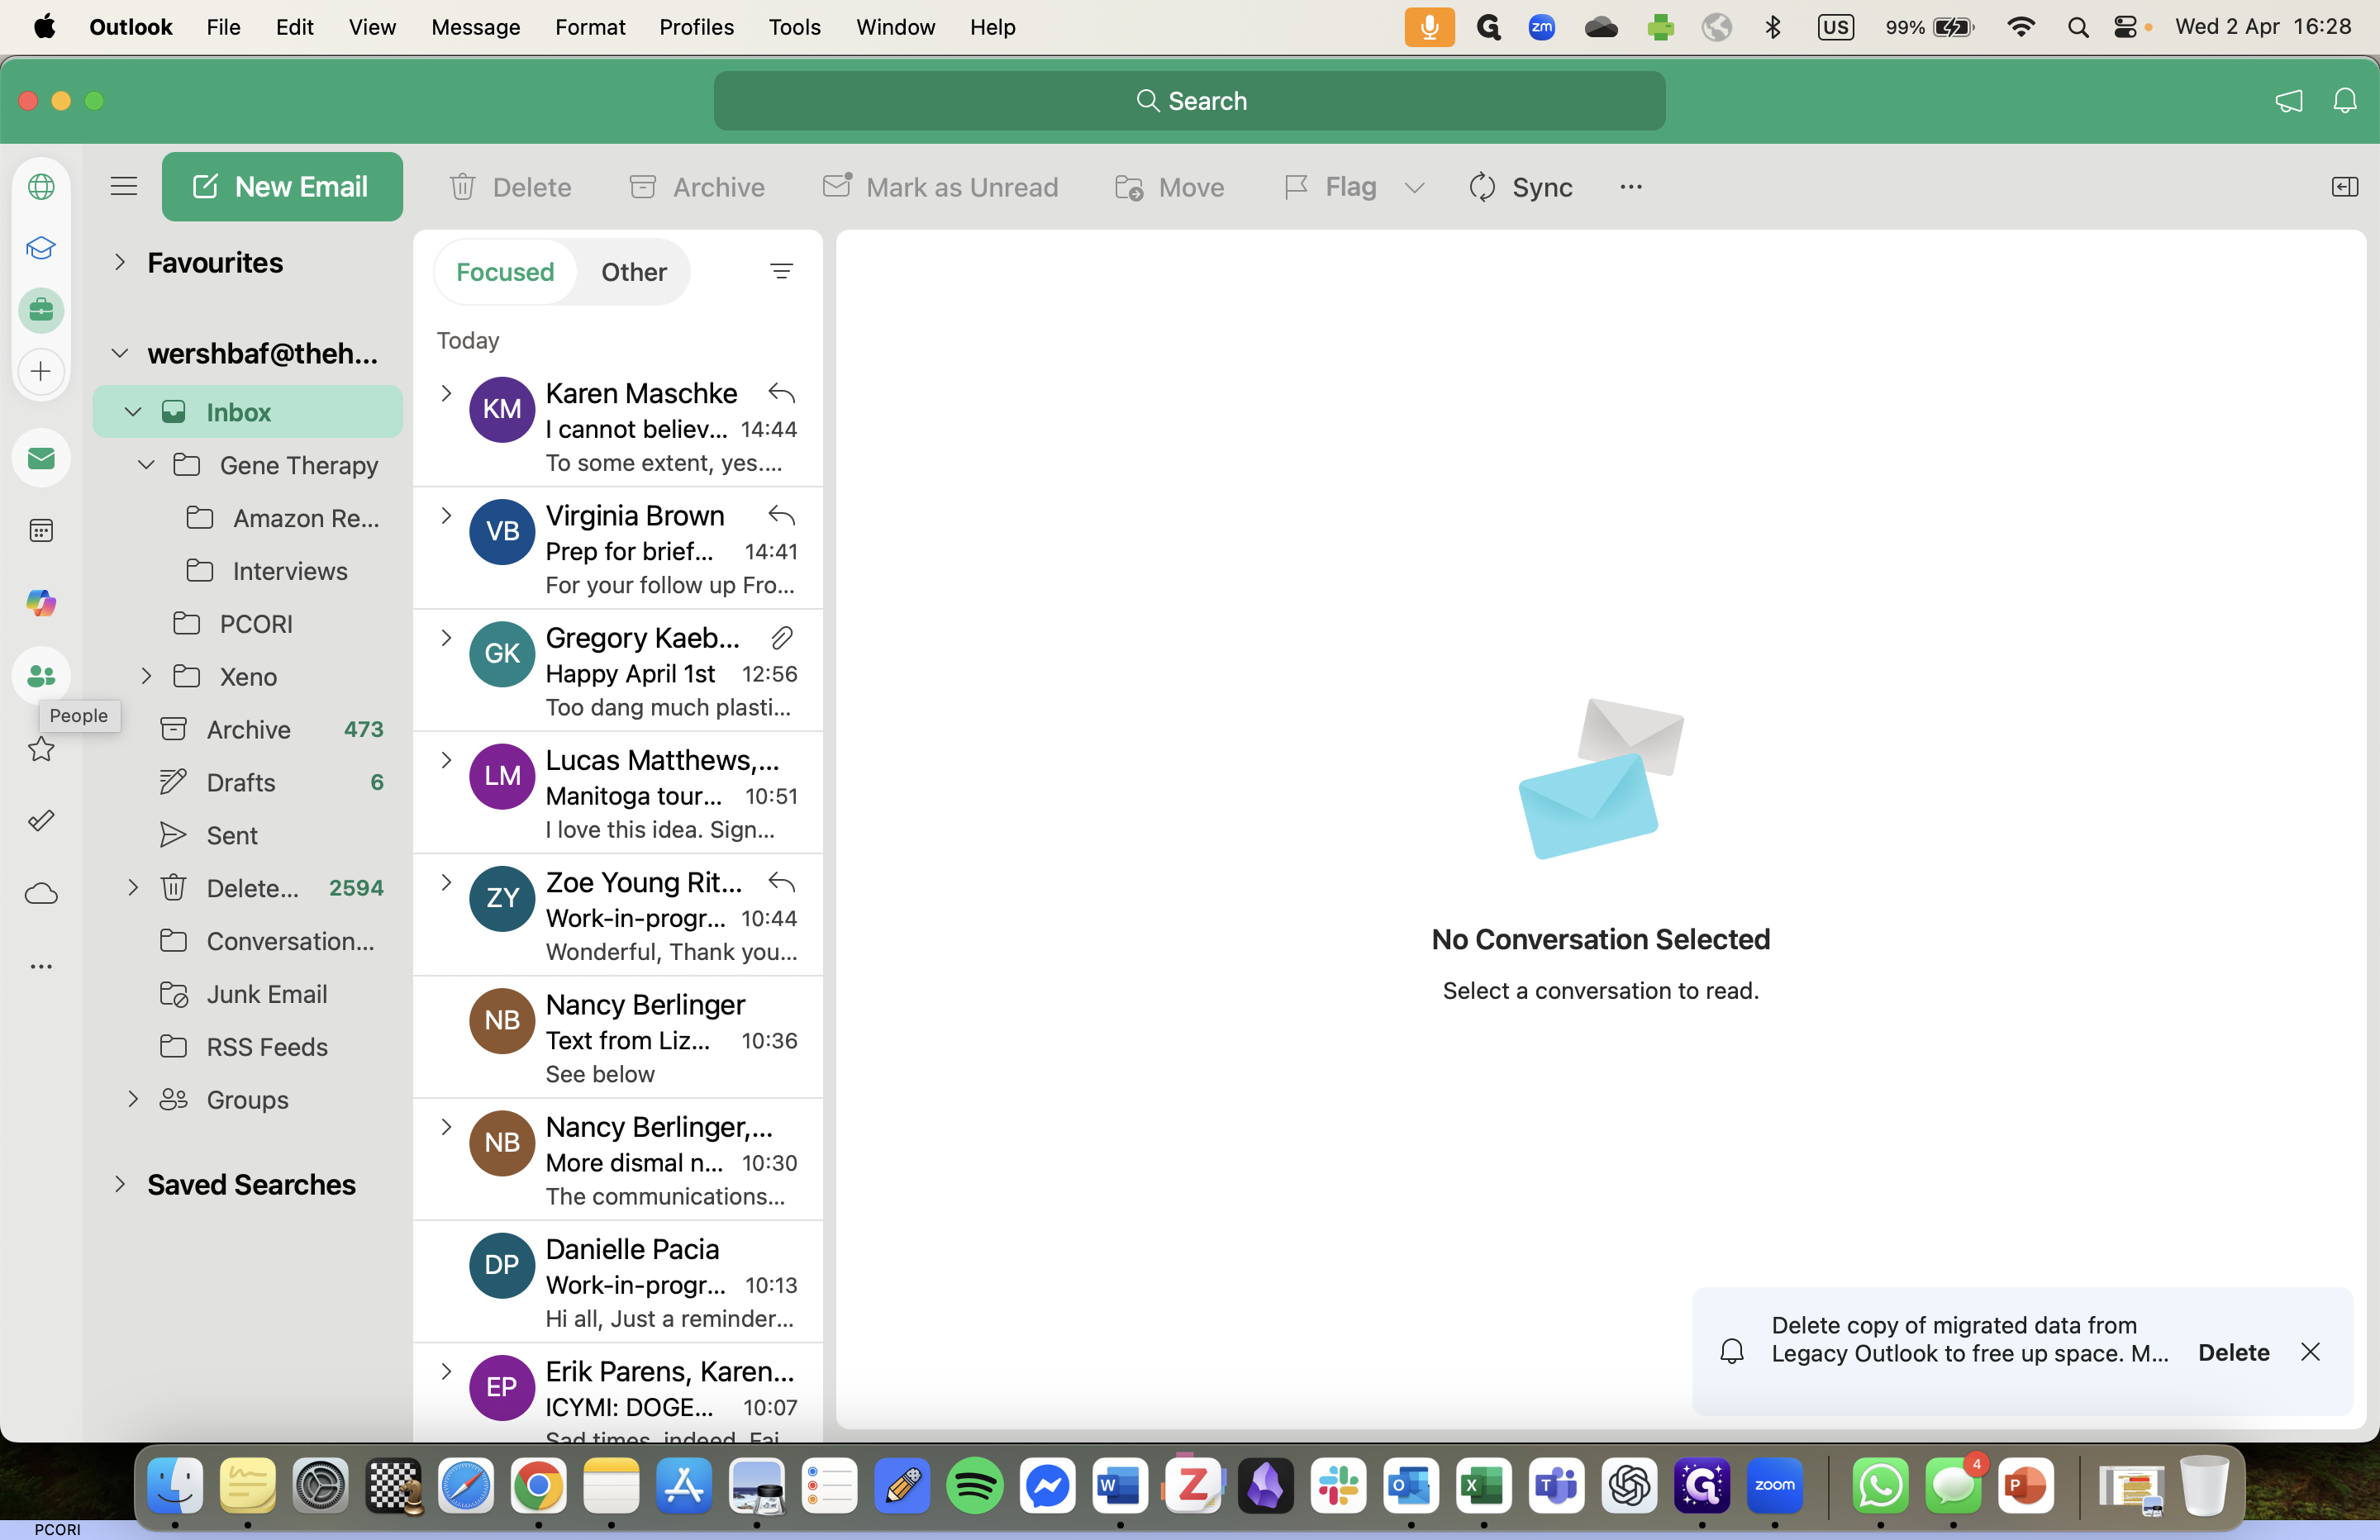
2
Click on "Contact Lists"
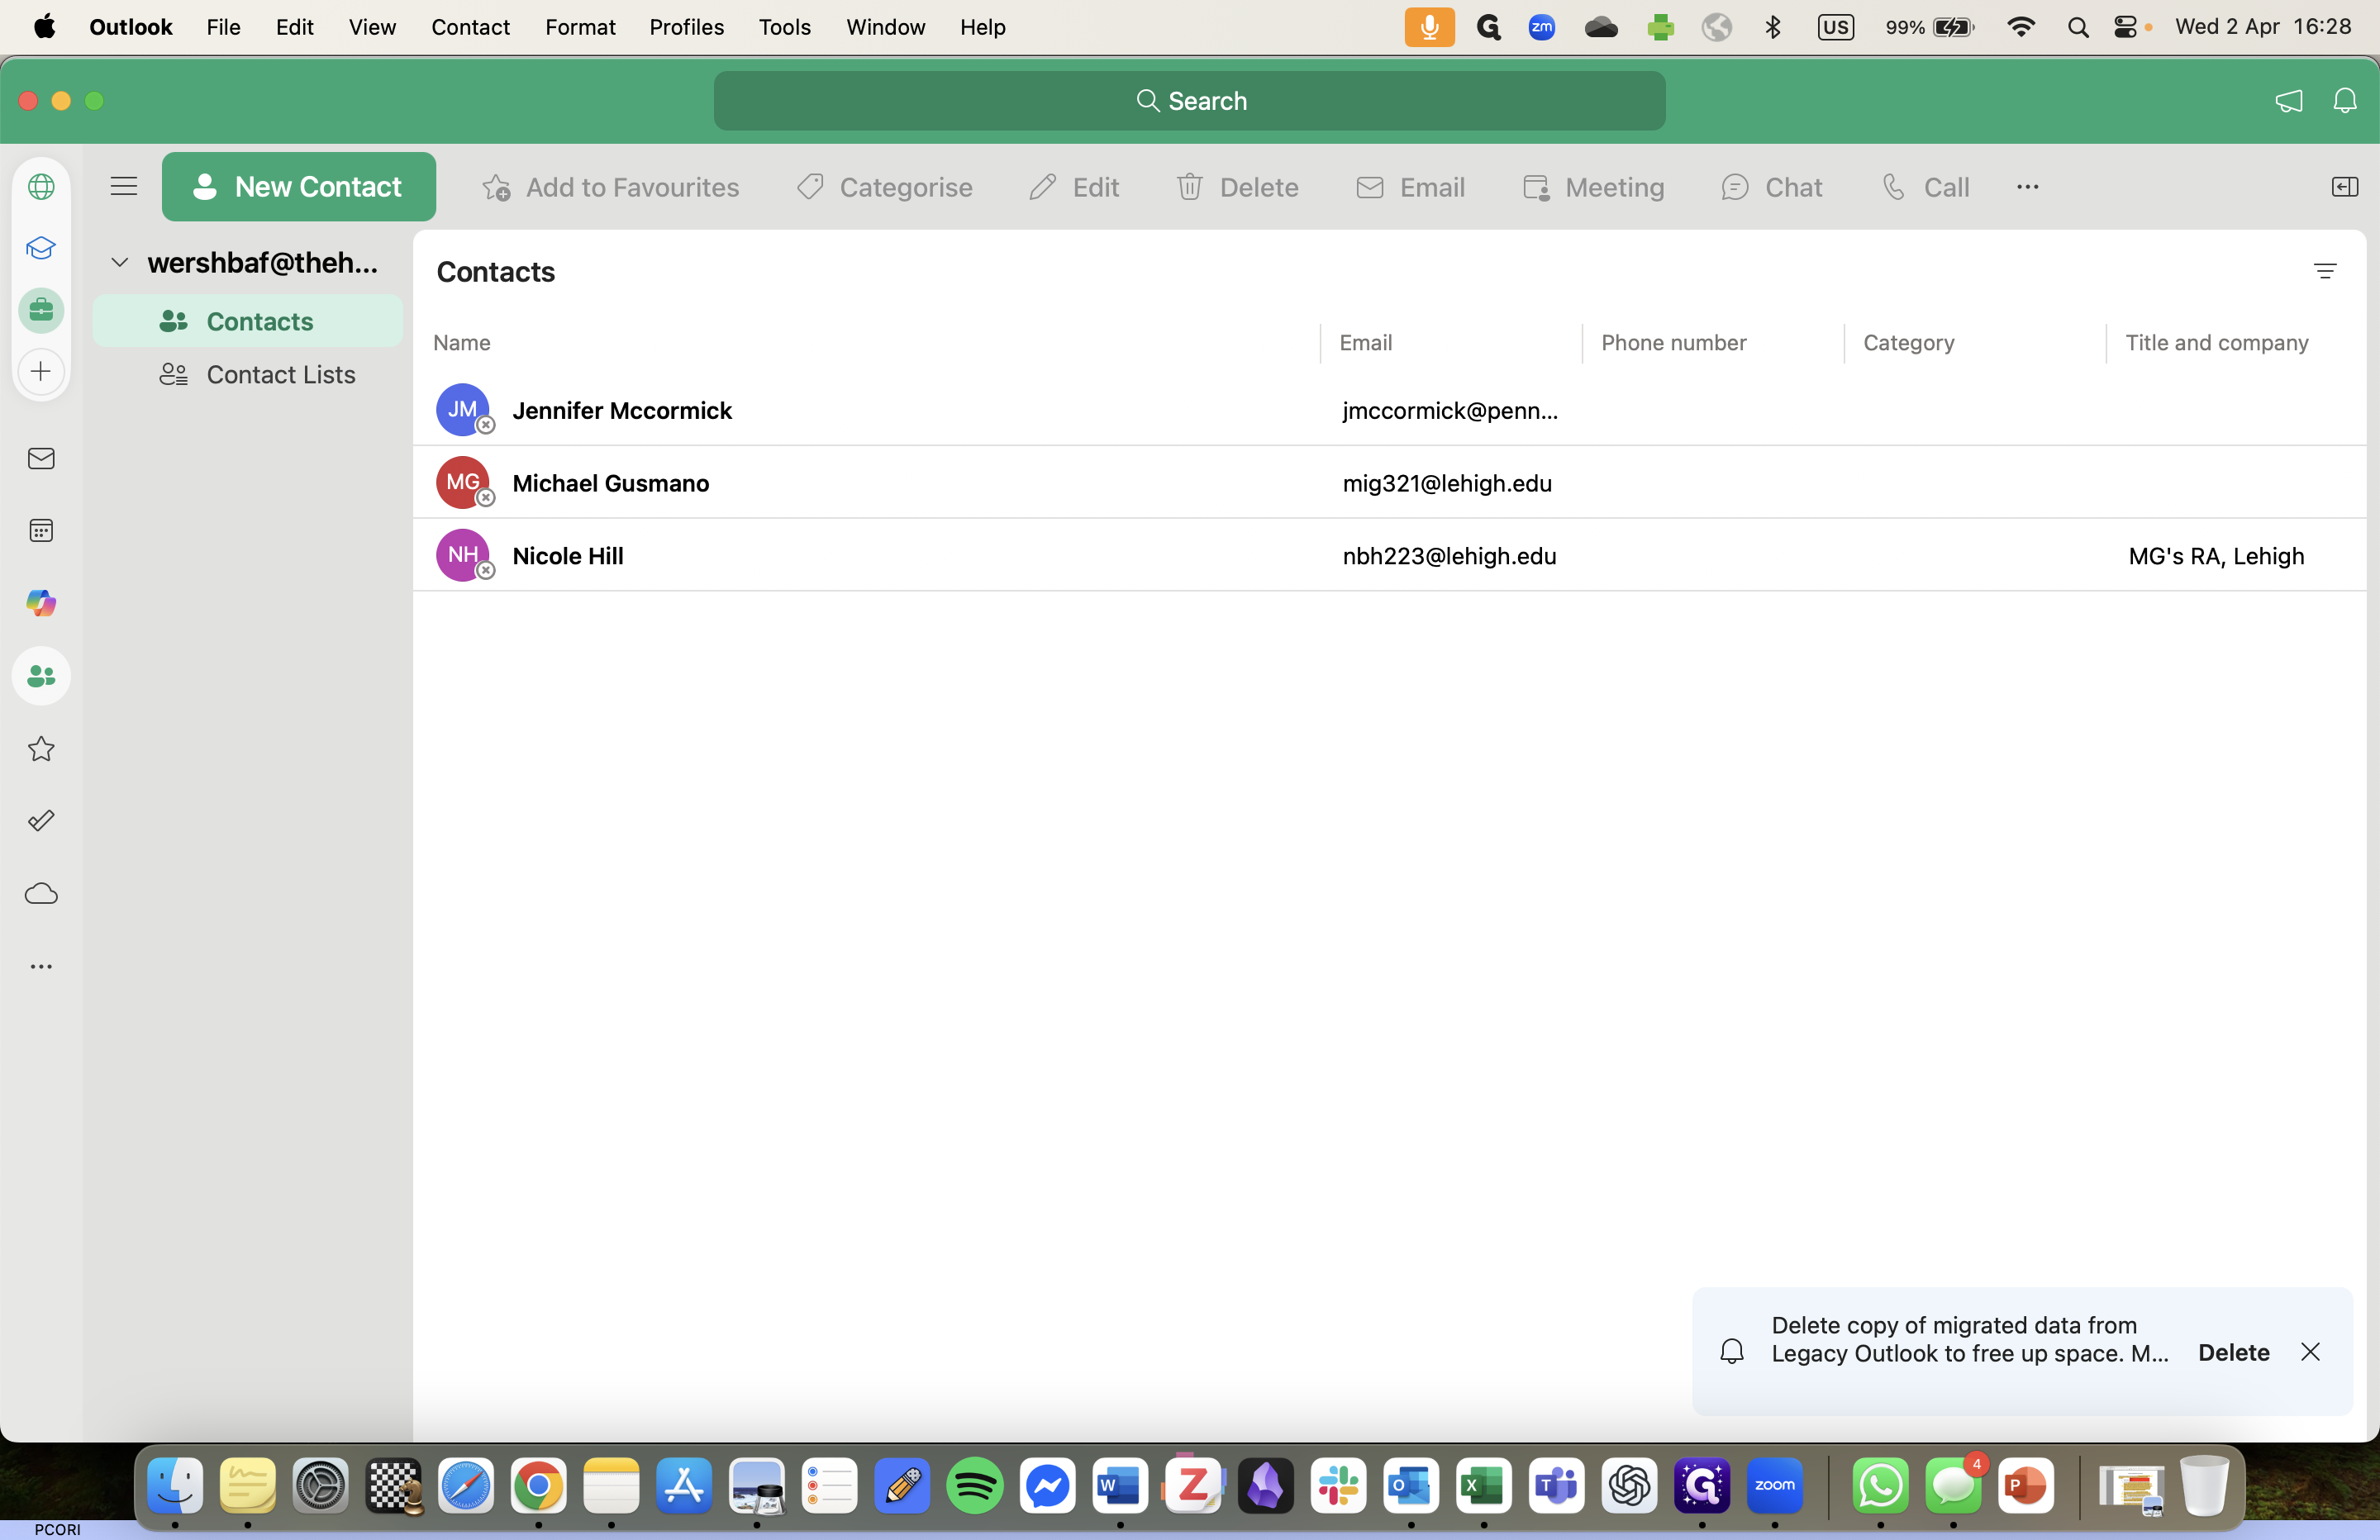
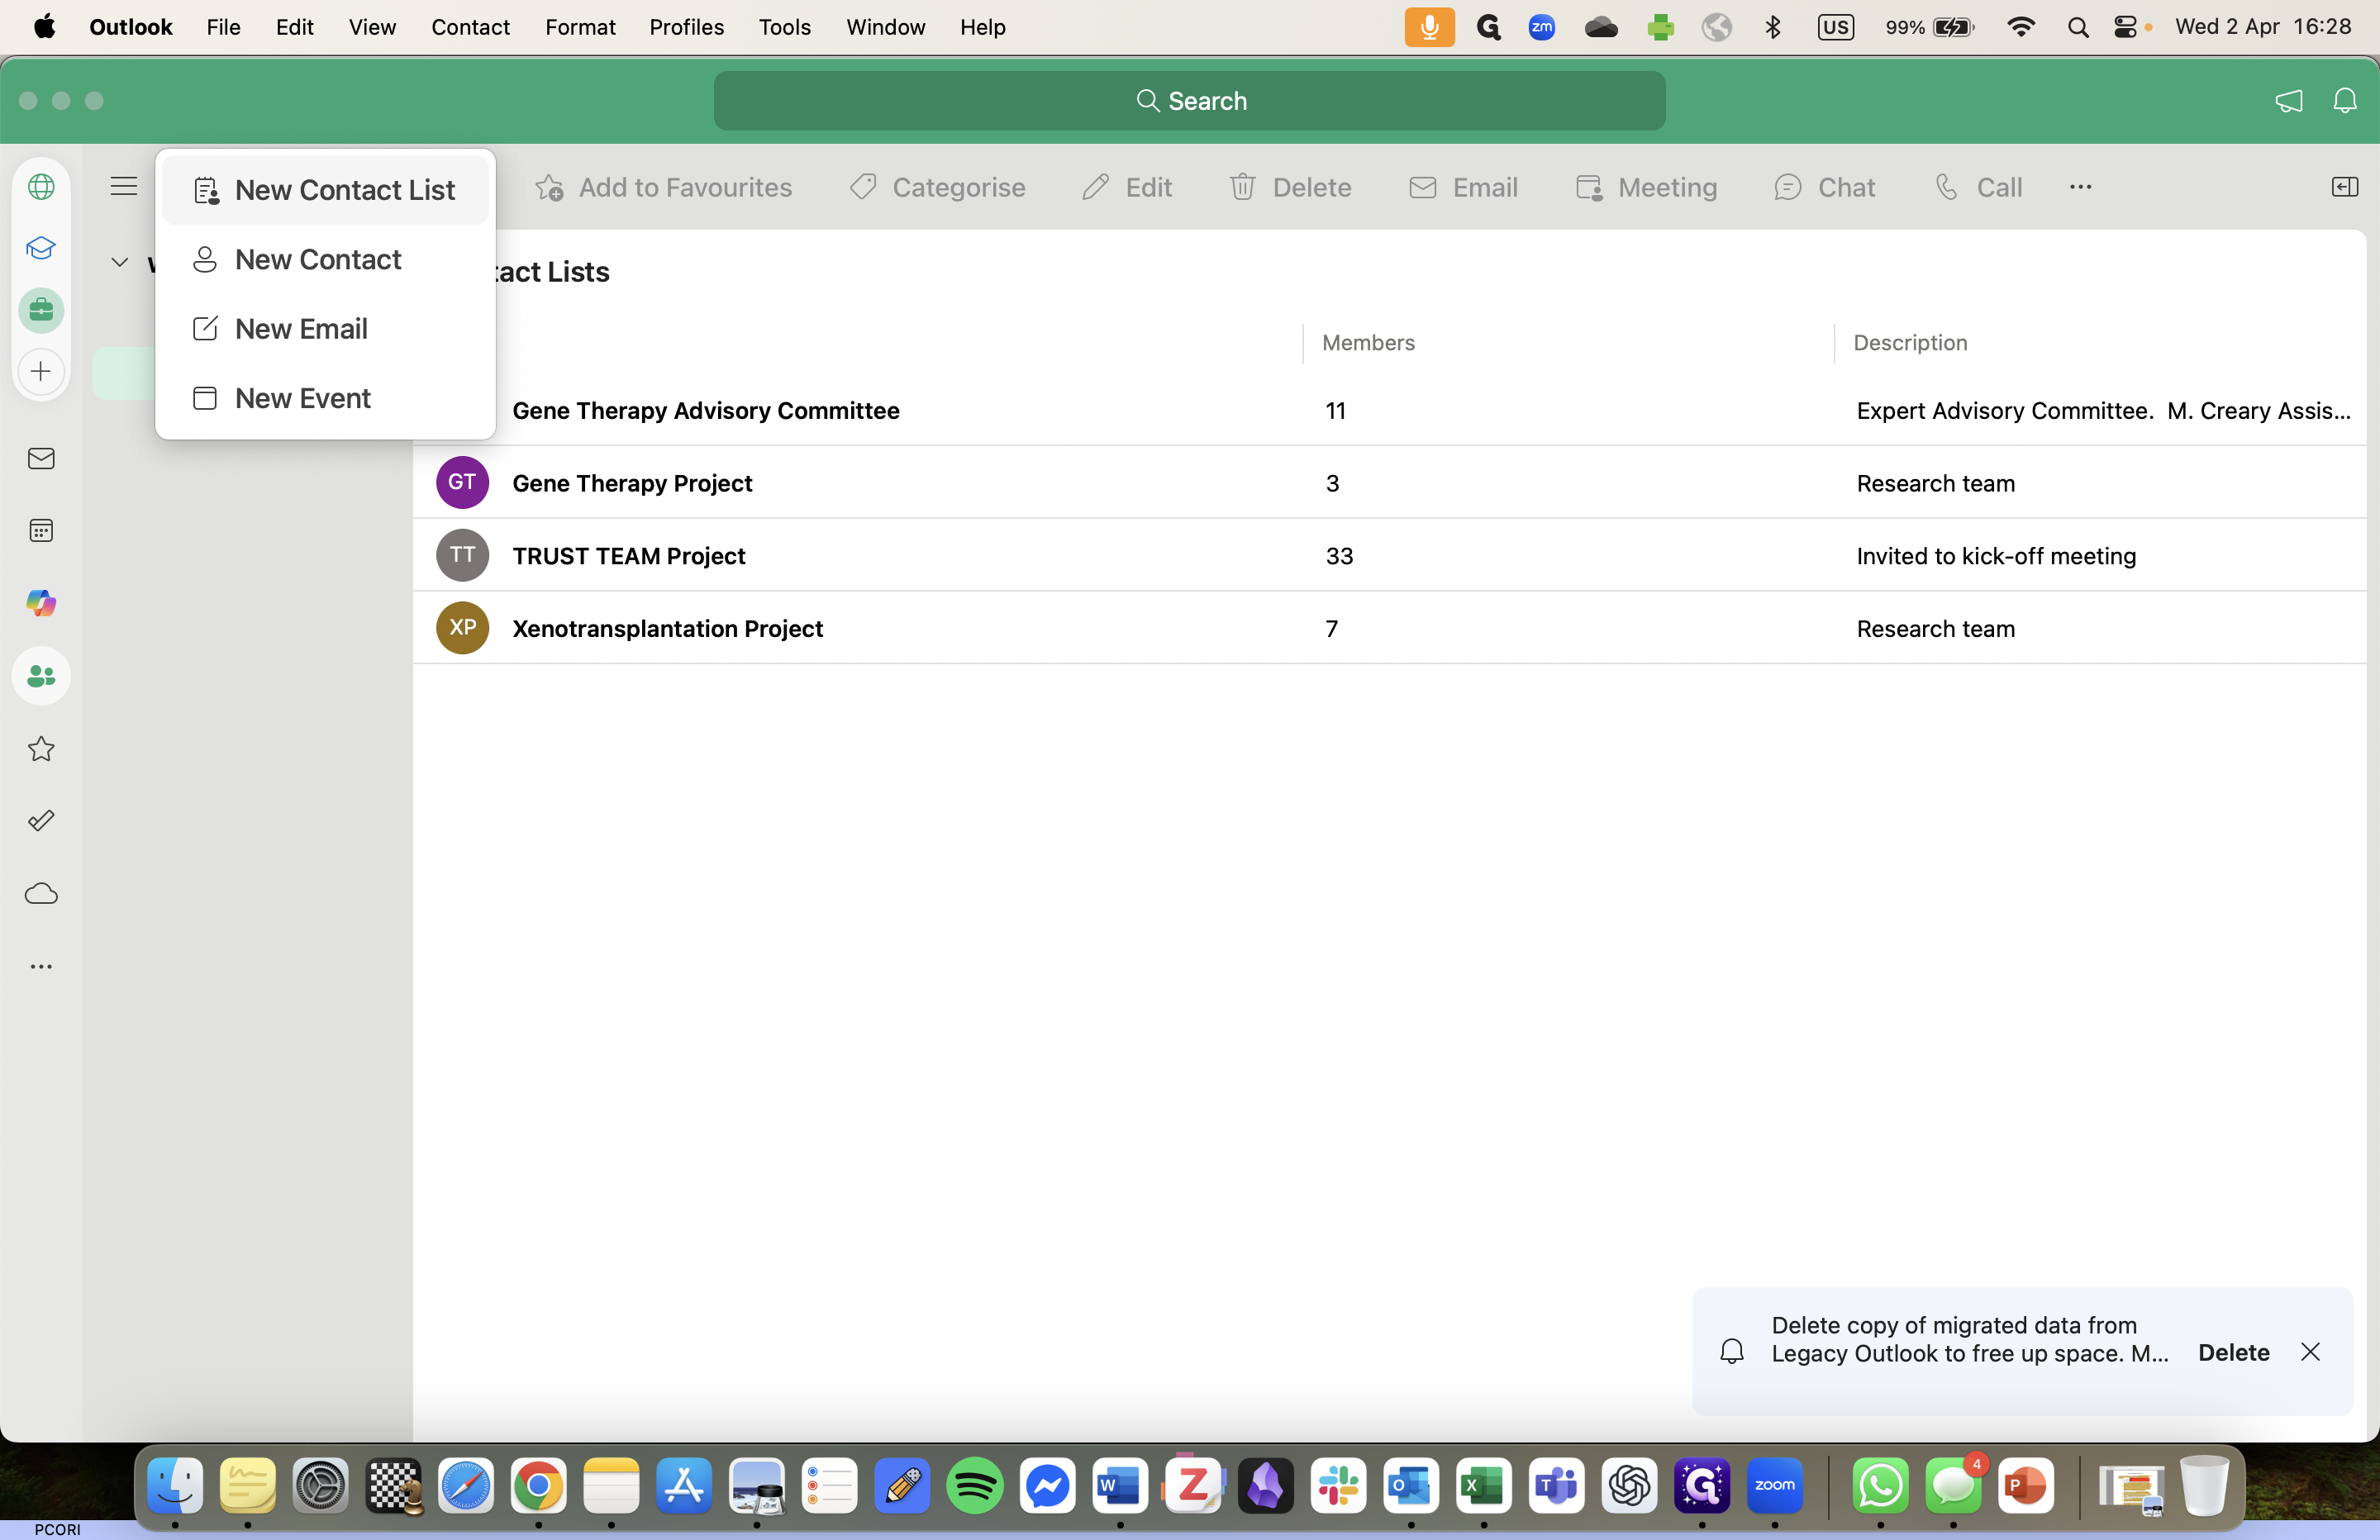
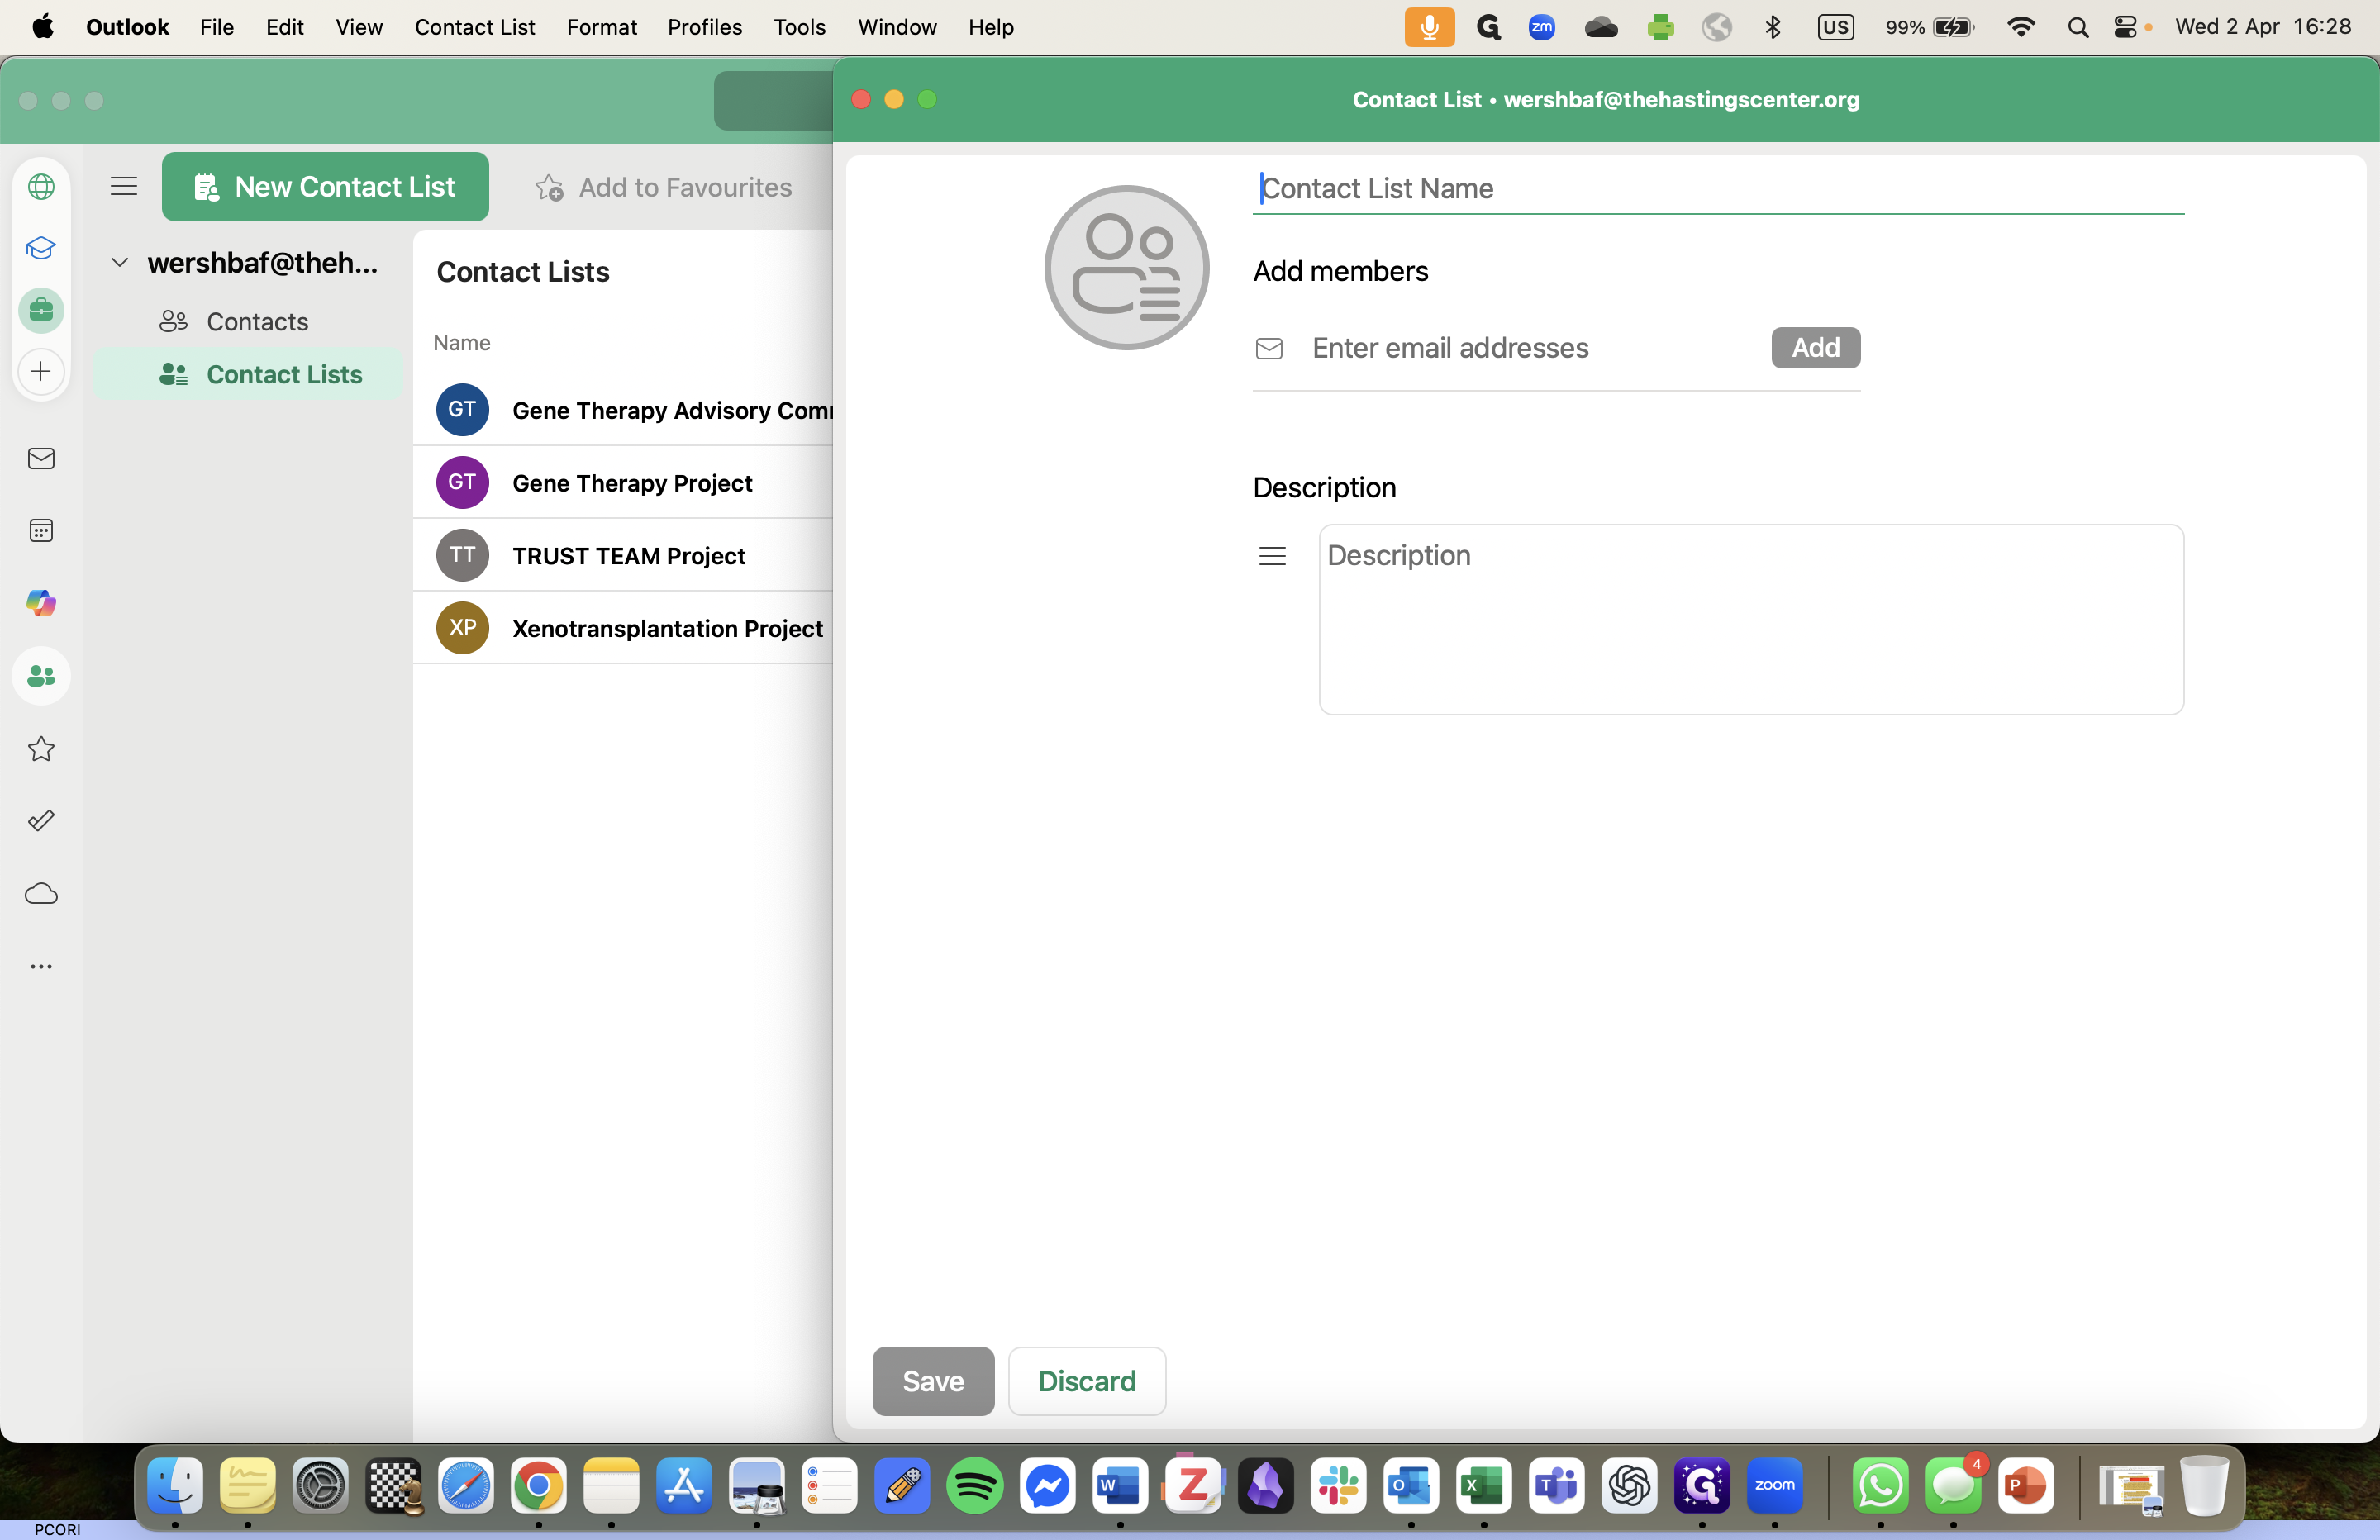
To create a new contact list, I press "New Contact List." As you can see, I already have some contact lists, but for this example, I'll make a new one.
3
Click on "New Contact List"
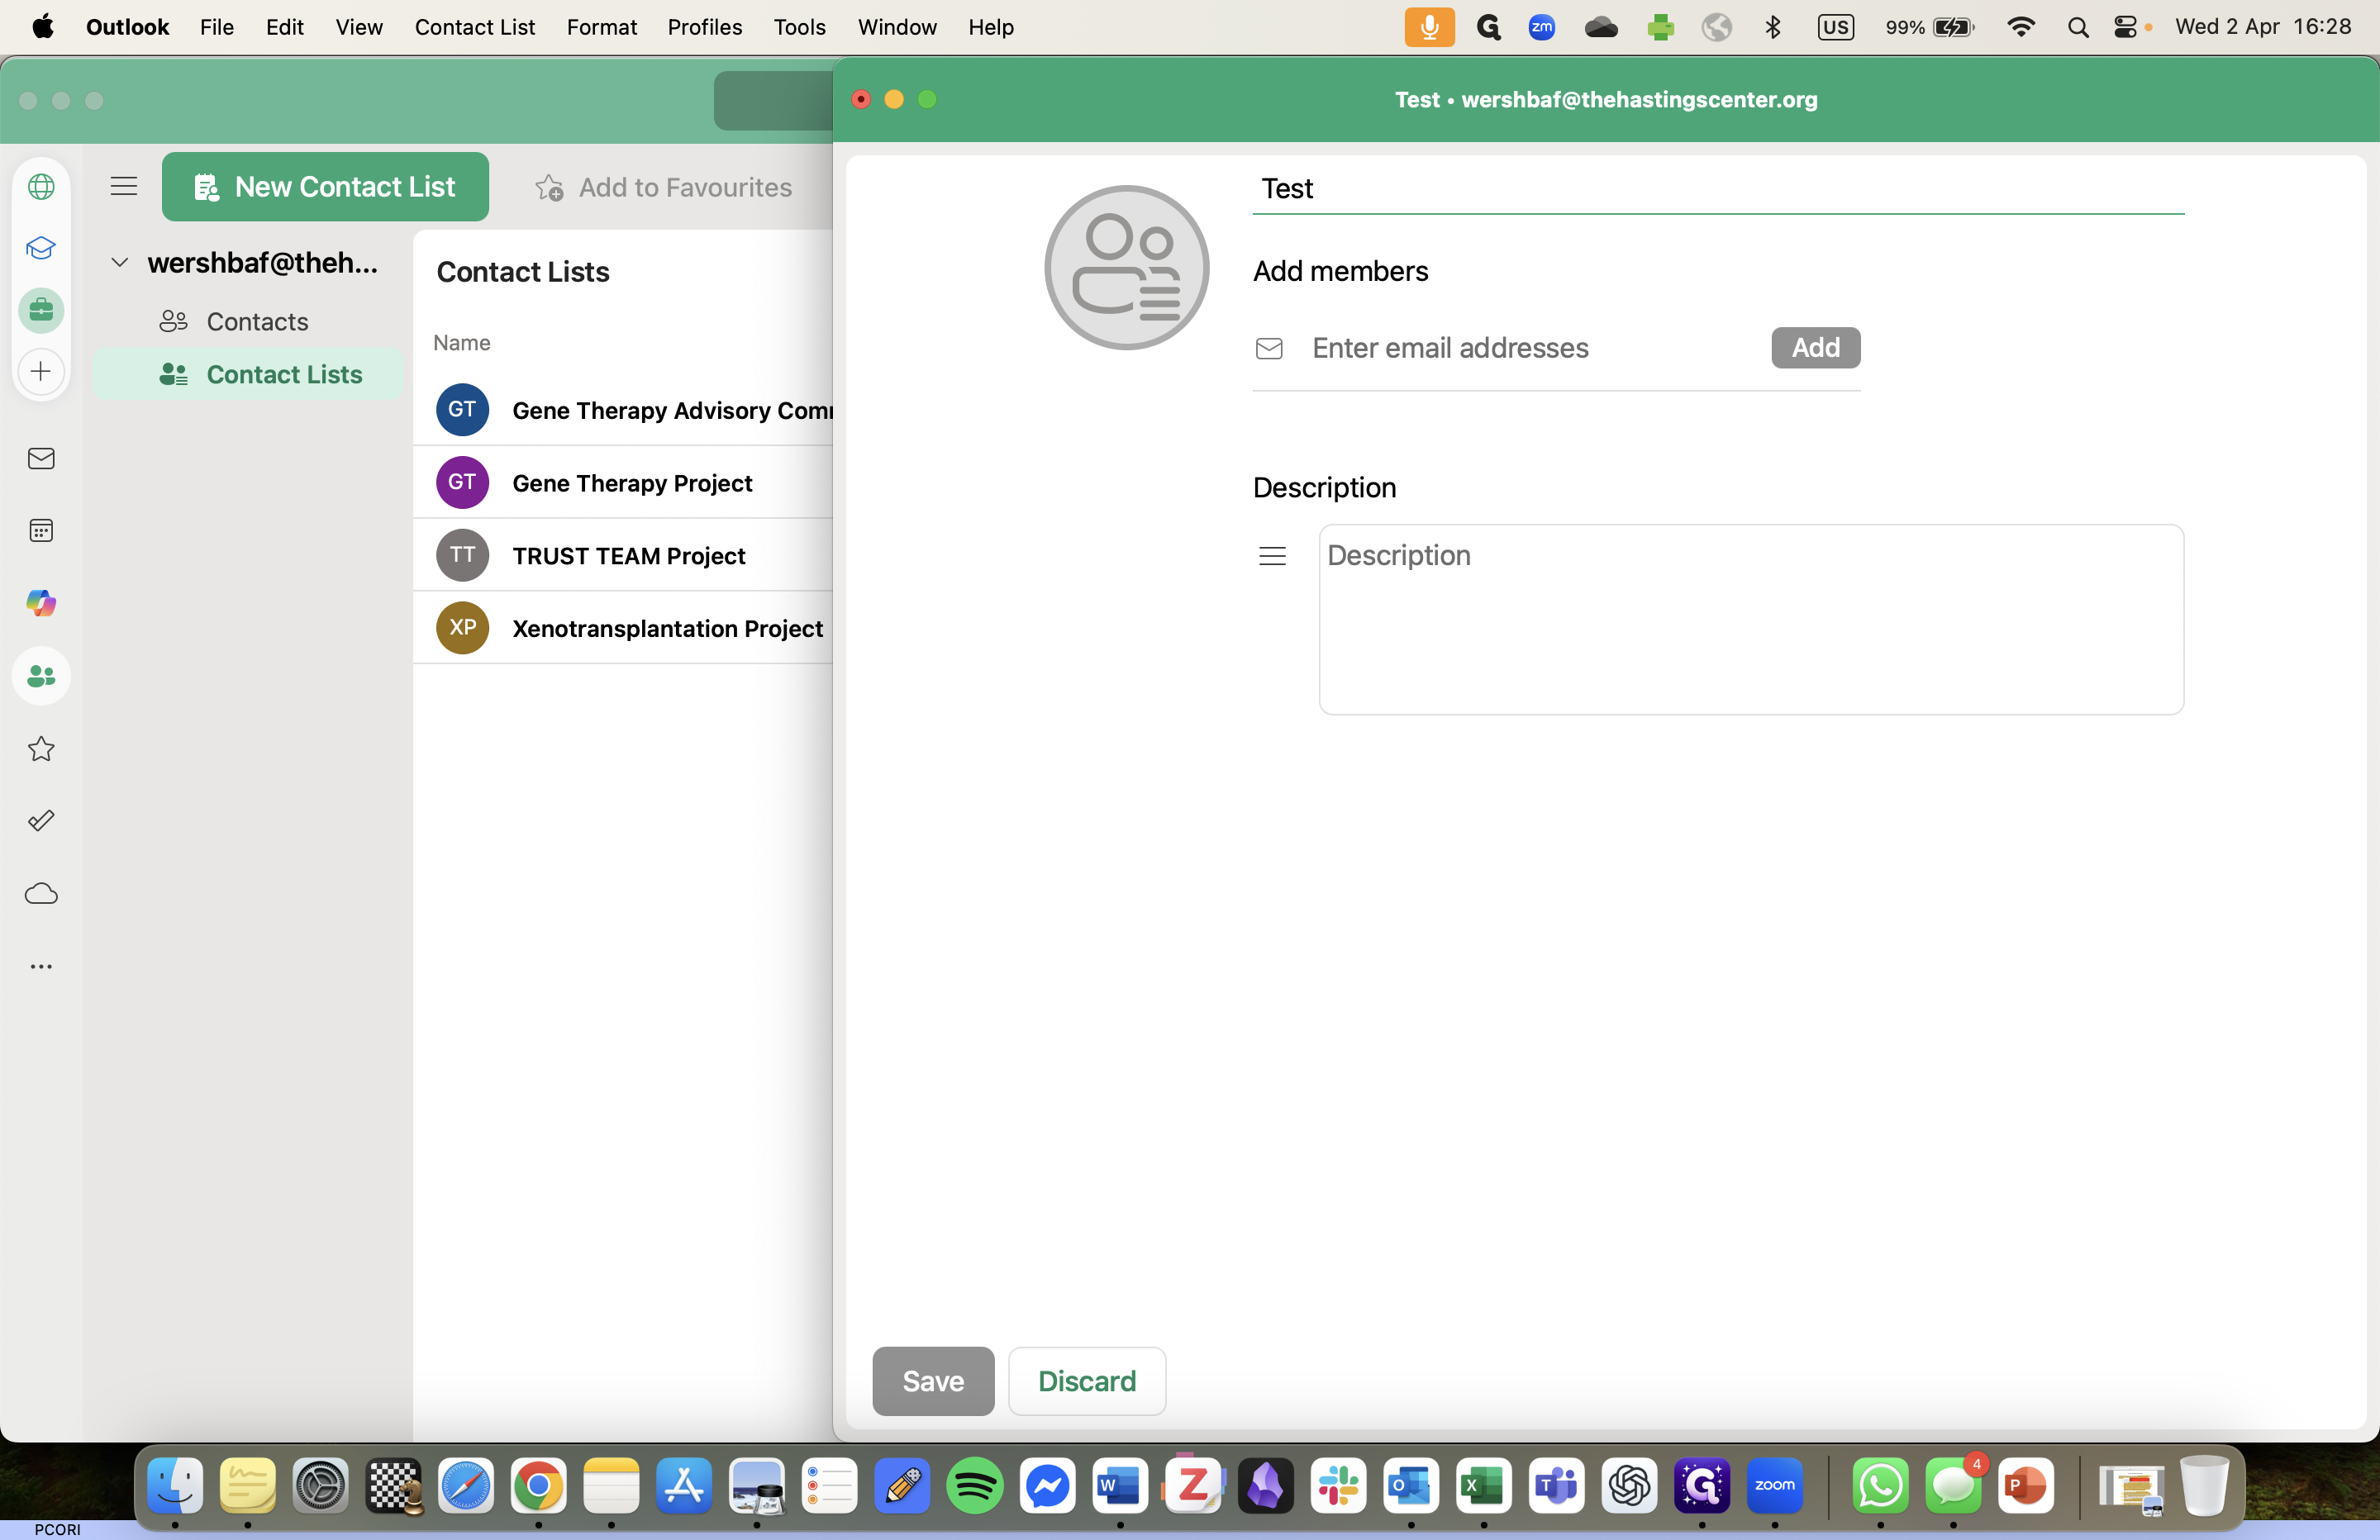
I'll use "Test" as the list title.
4
Click on "Contact List Name"
5
Click on "Enter email addresses"
6
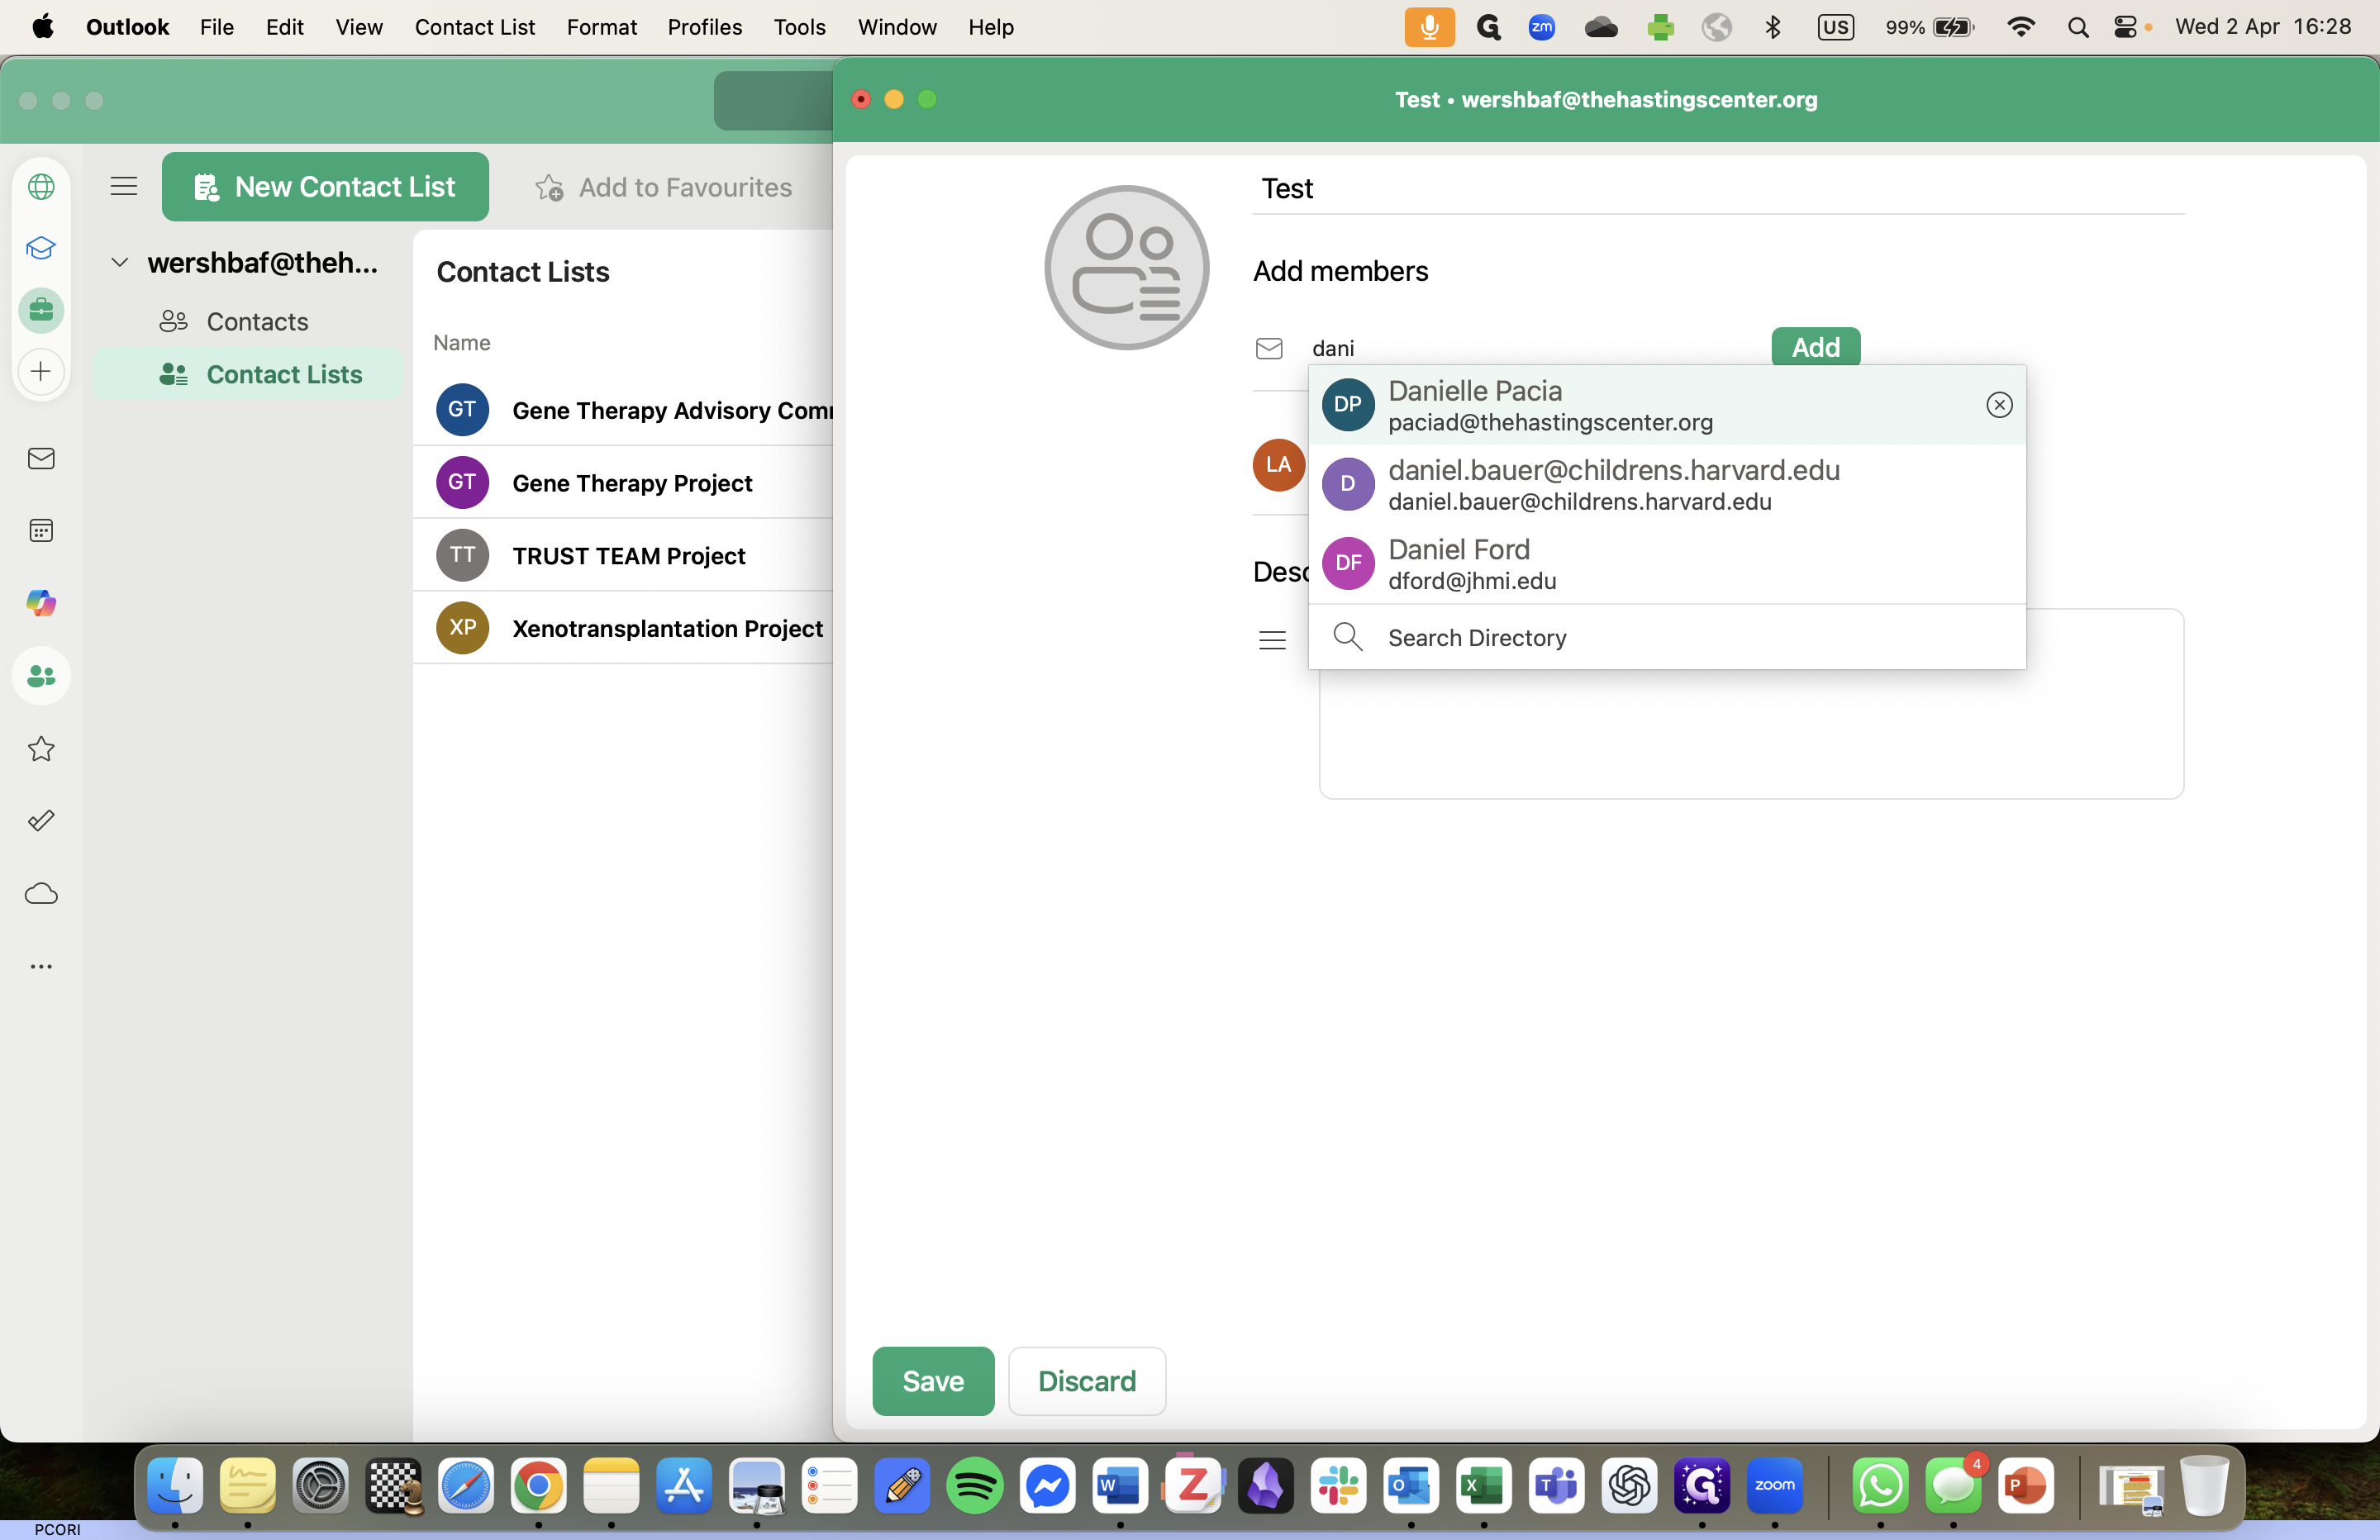
Add the email addresses you want on the list.
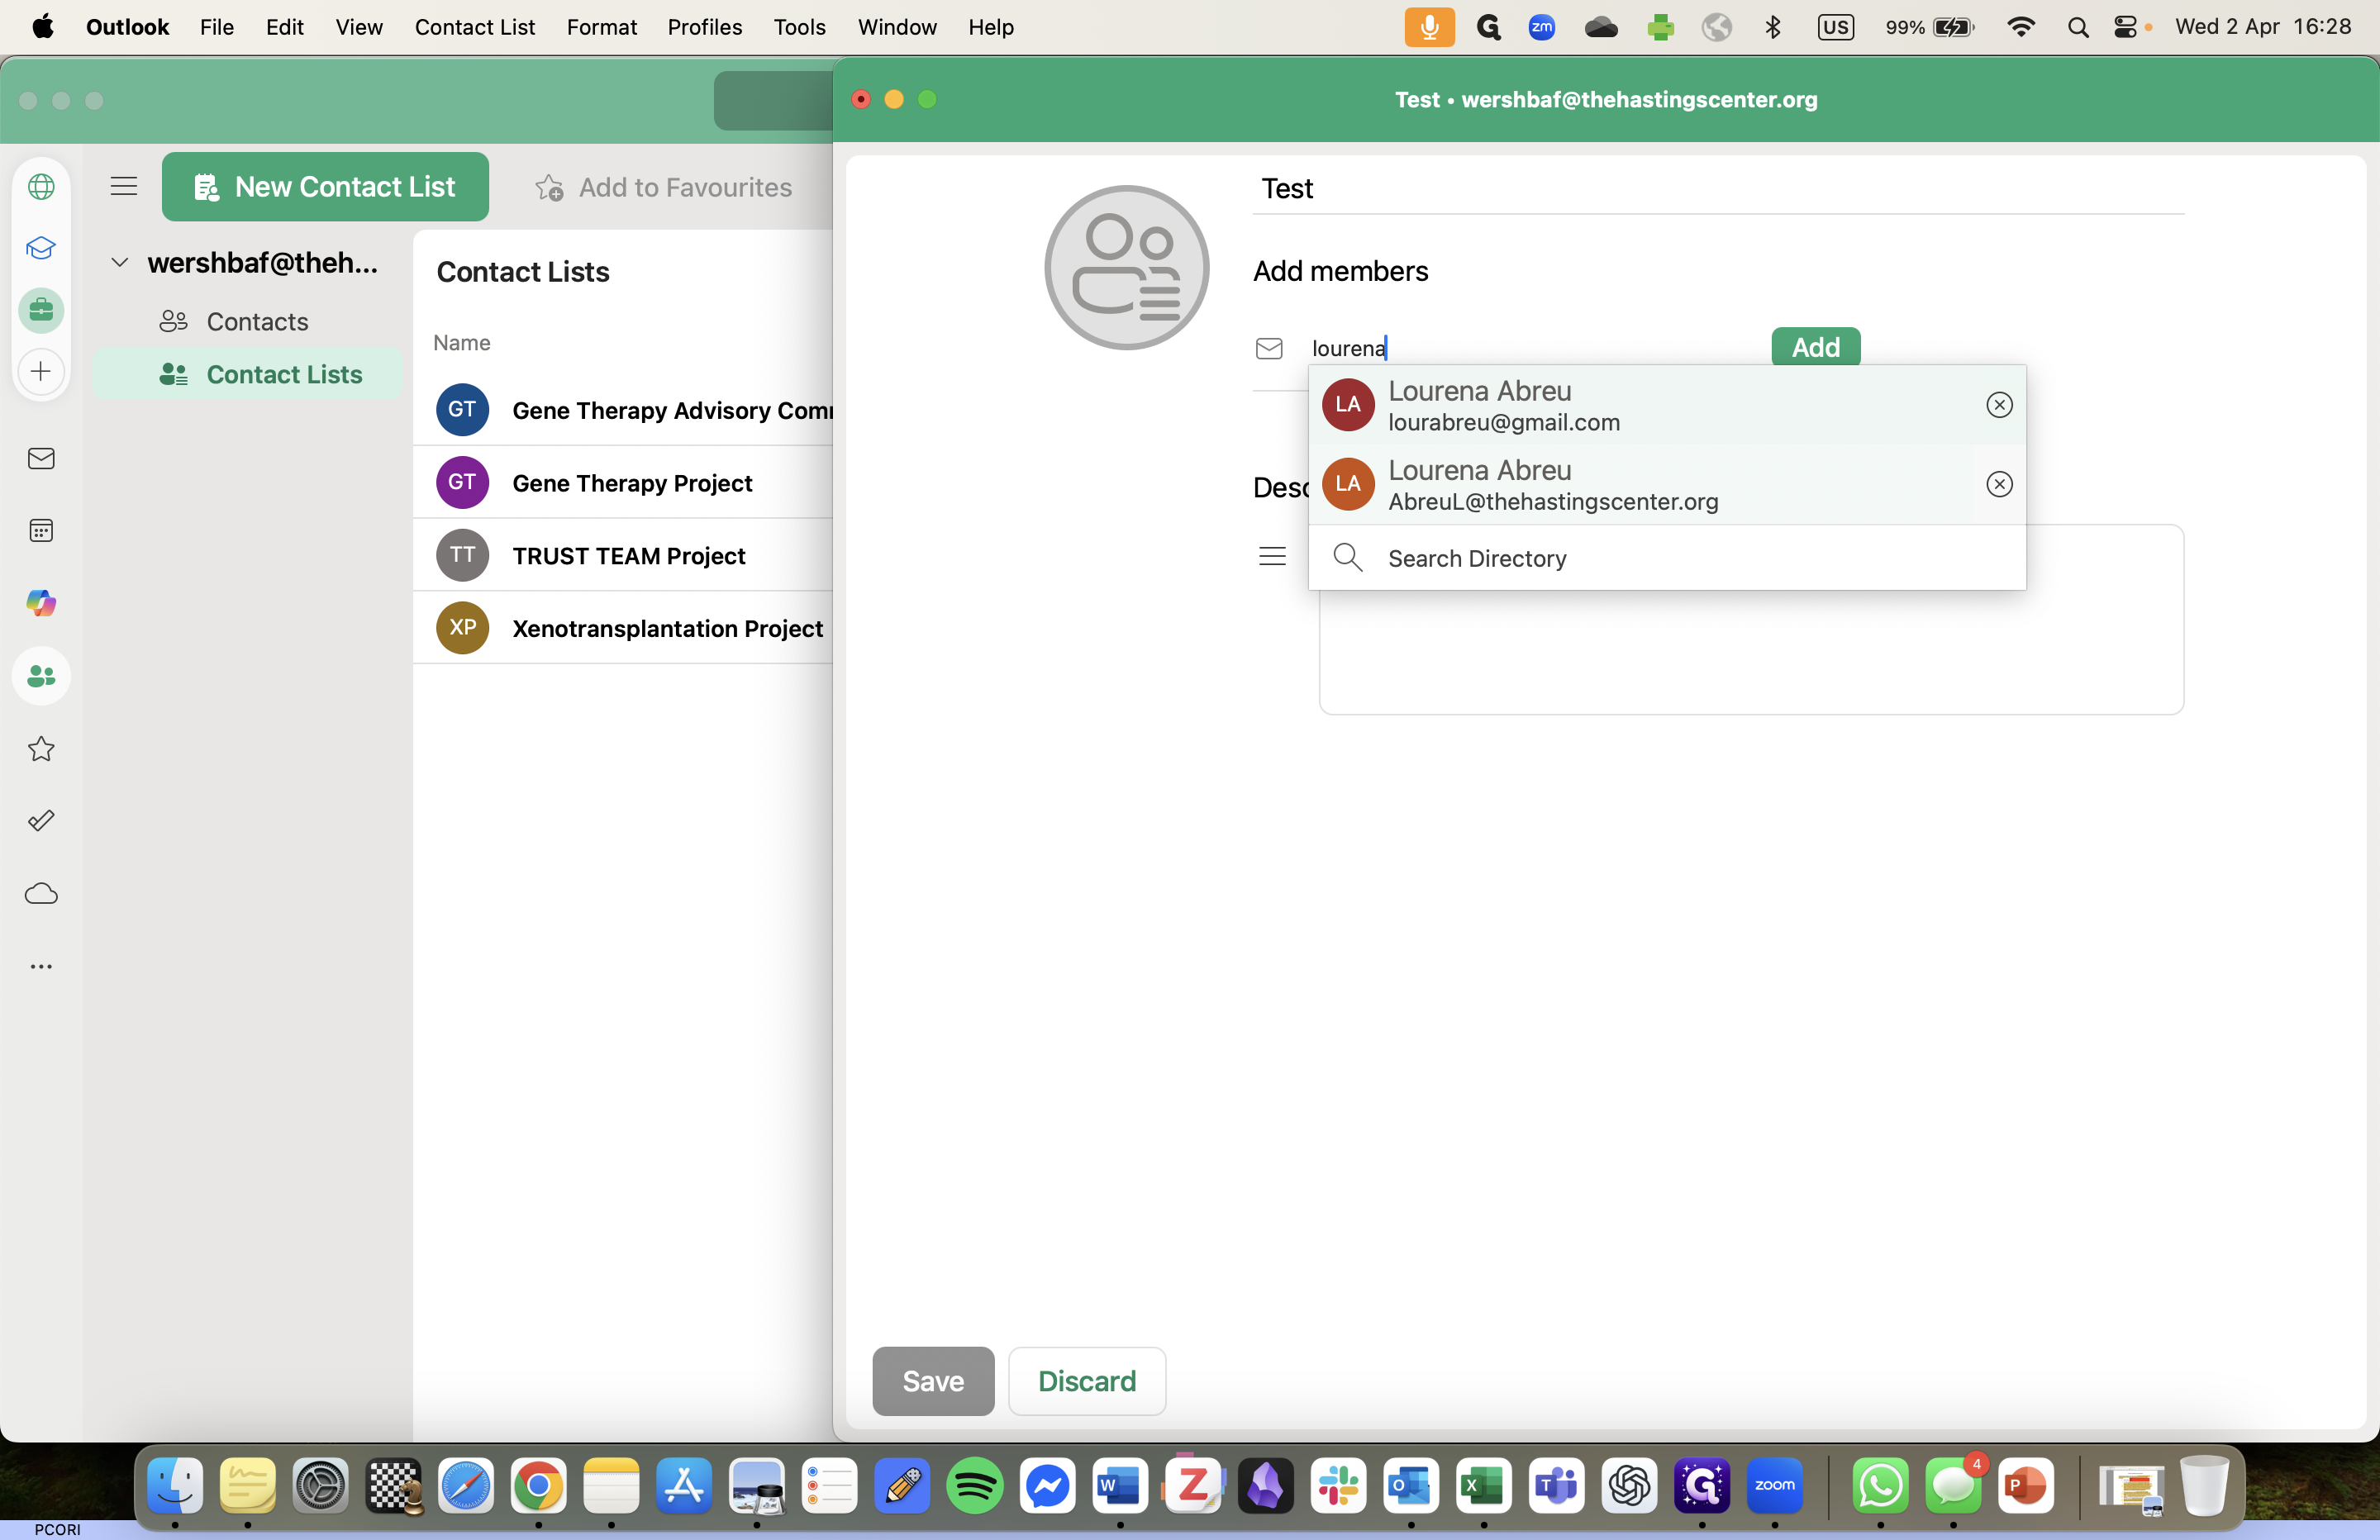
Let's add Dani to the test contact list for the tutorial.
7
Now that I have that set up, I'll press save.
8
Click on "Save"

I have my test list. If I want to email this contact list, I can press this envelope icon.
9
Click envelope icon
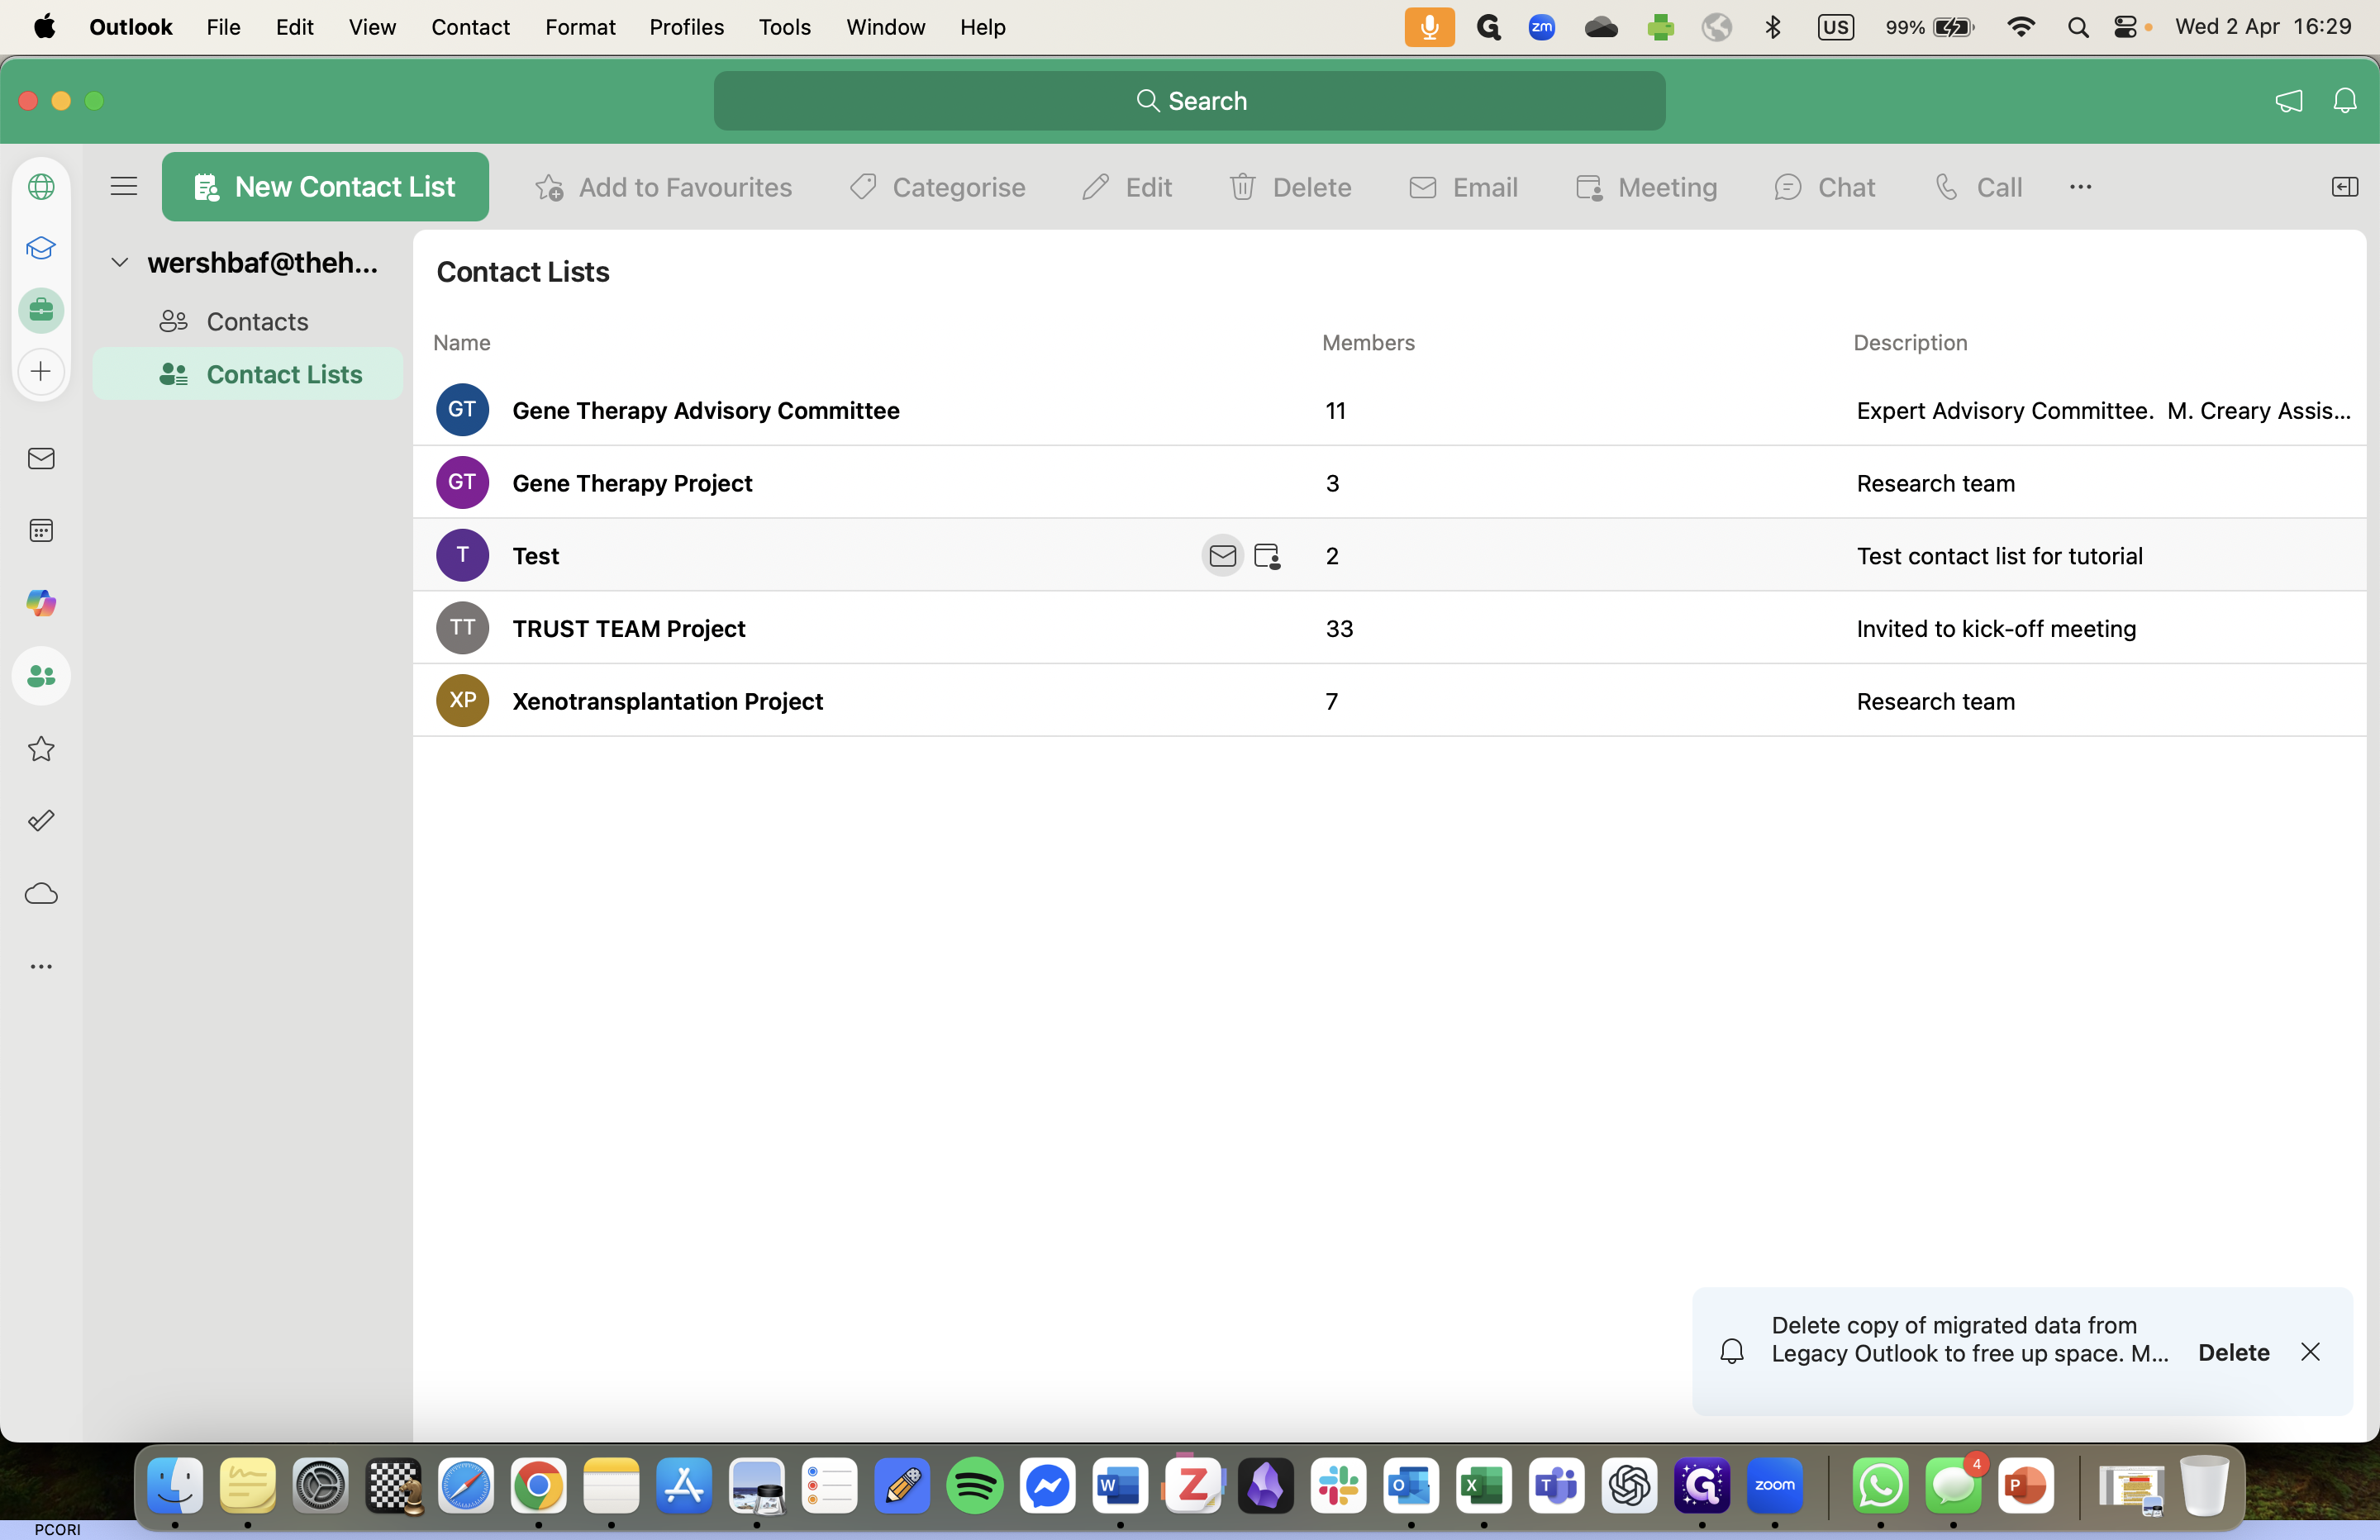
10
Click on "+ Test" to see the emails included.
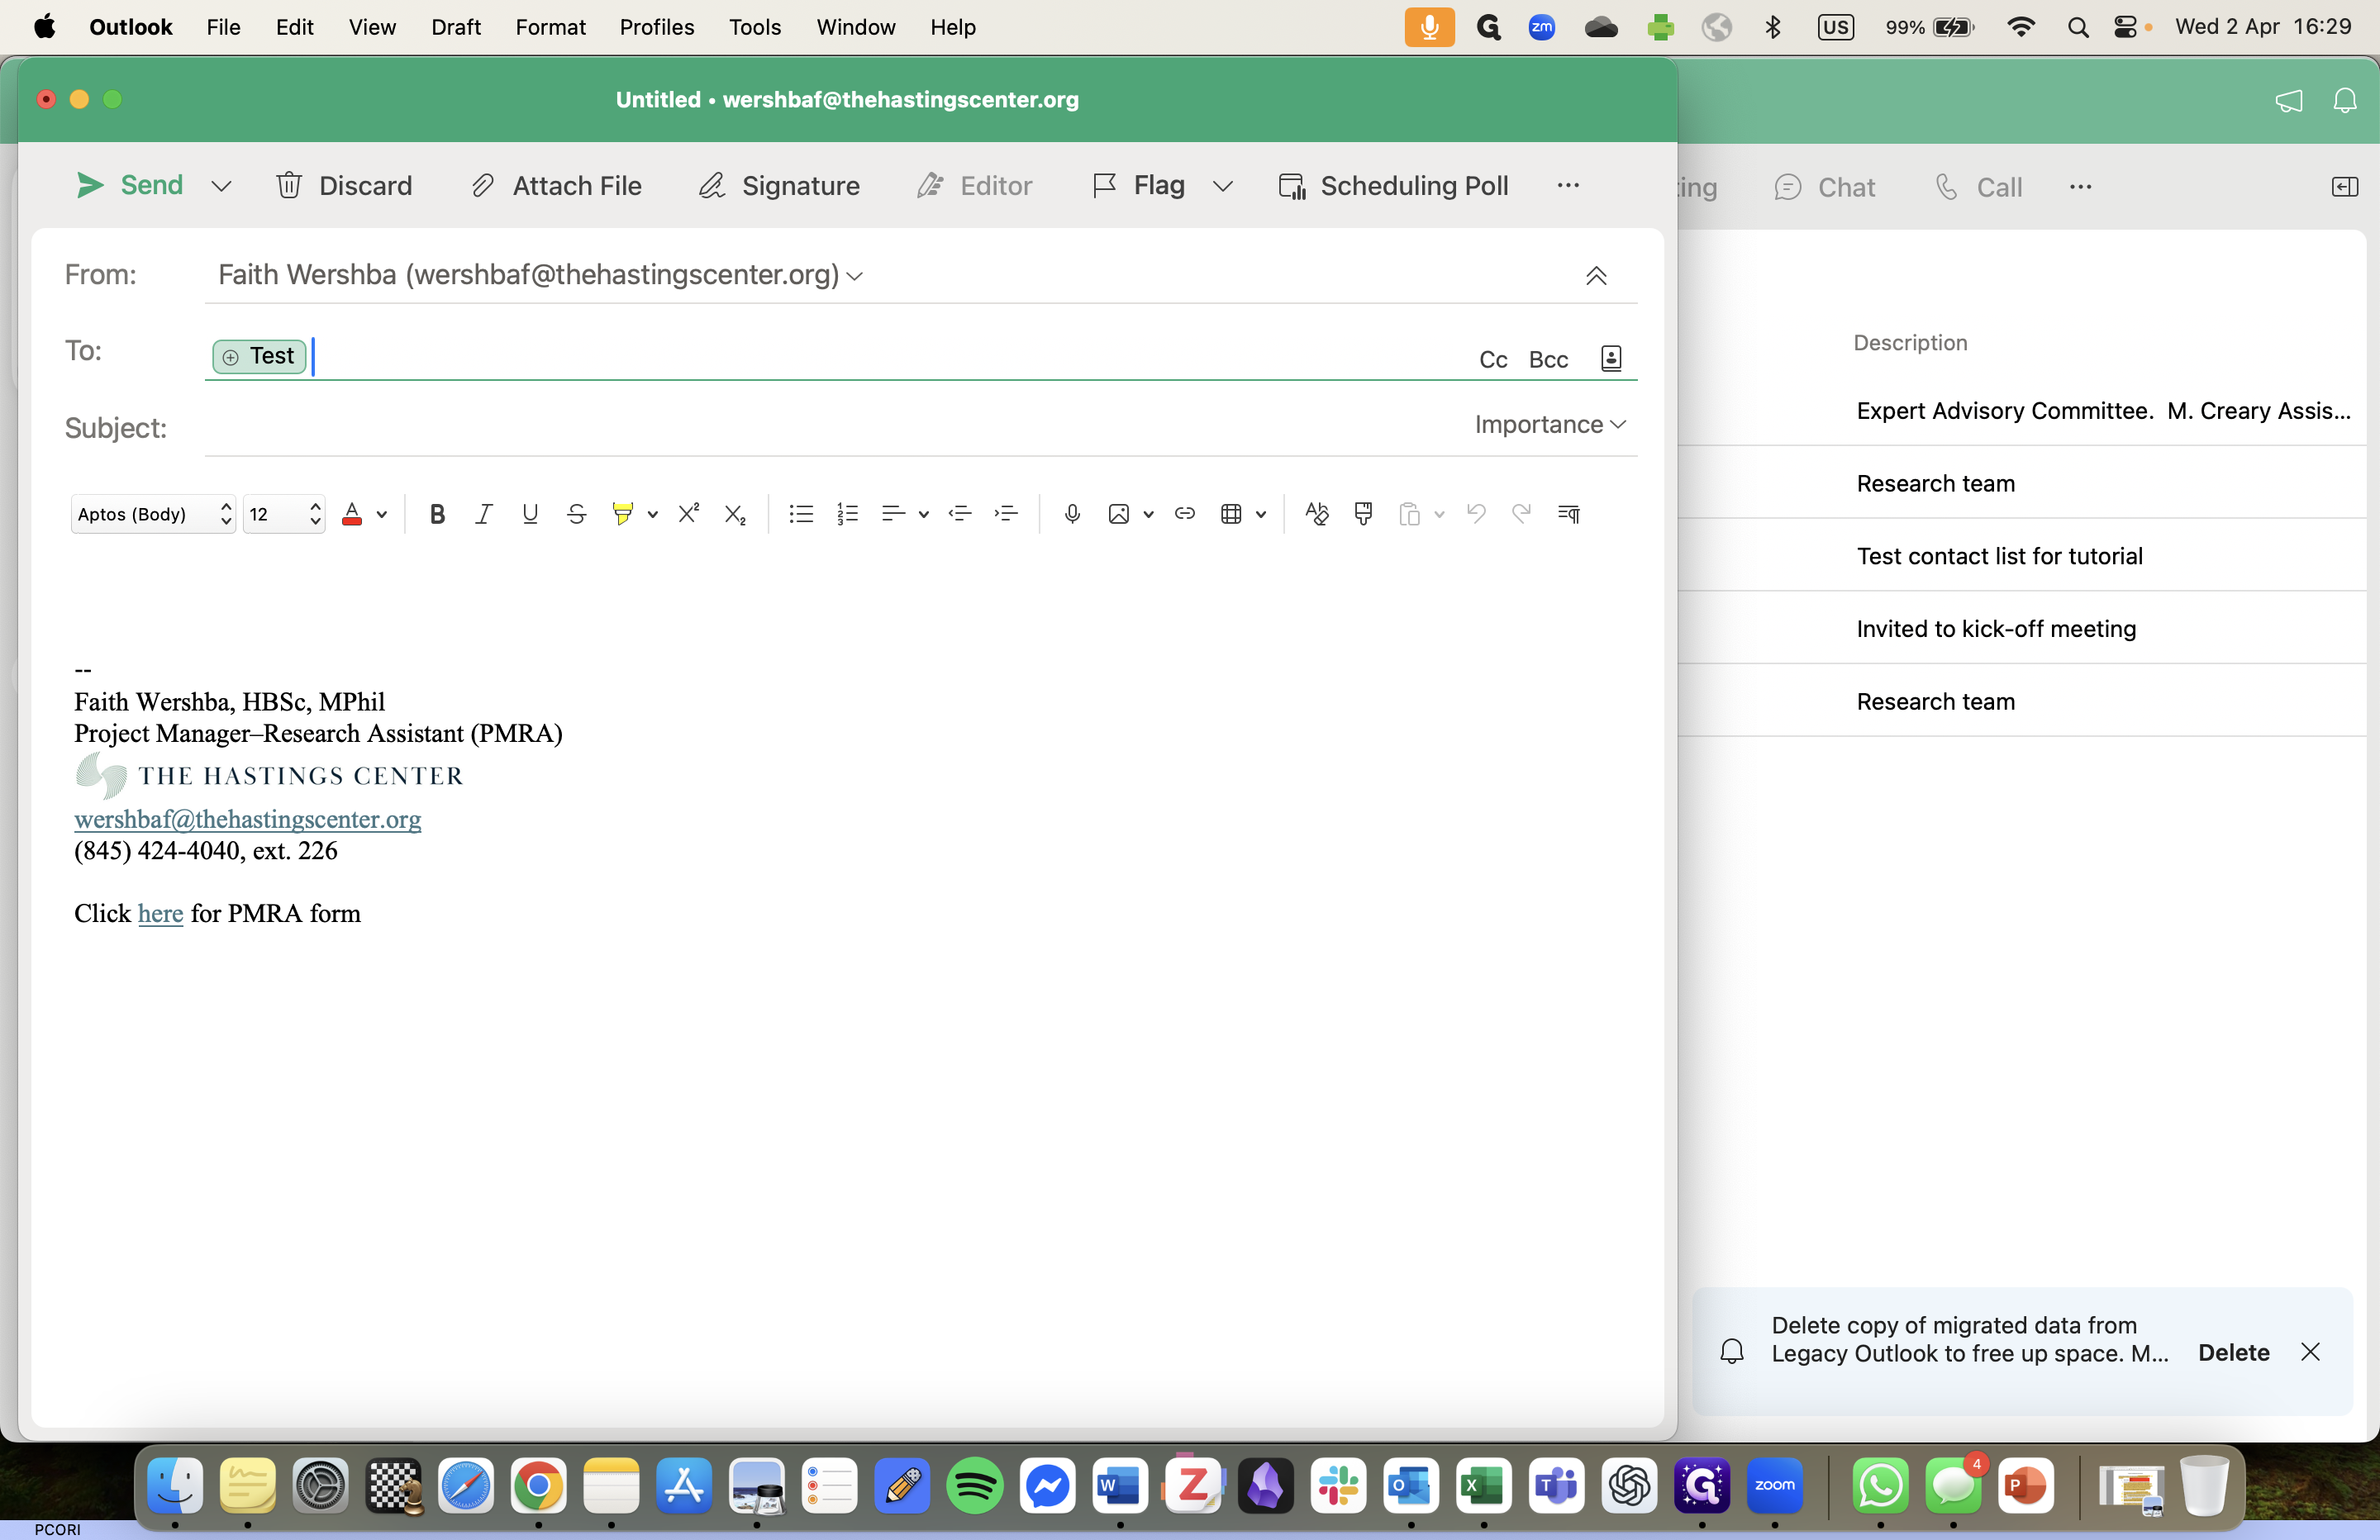
11
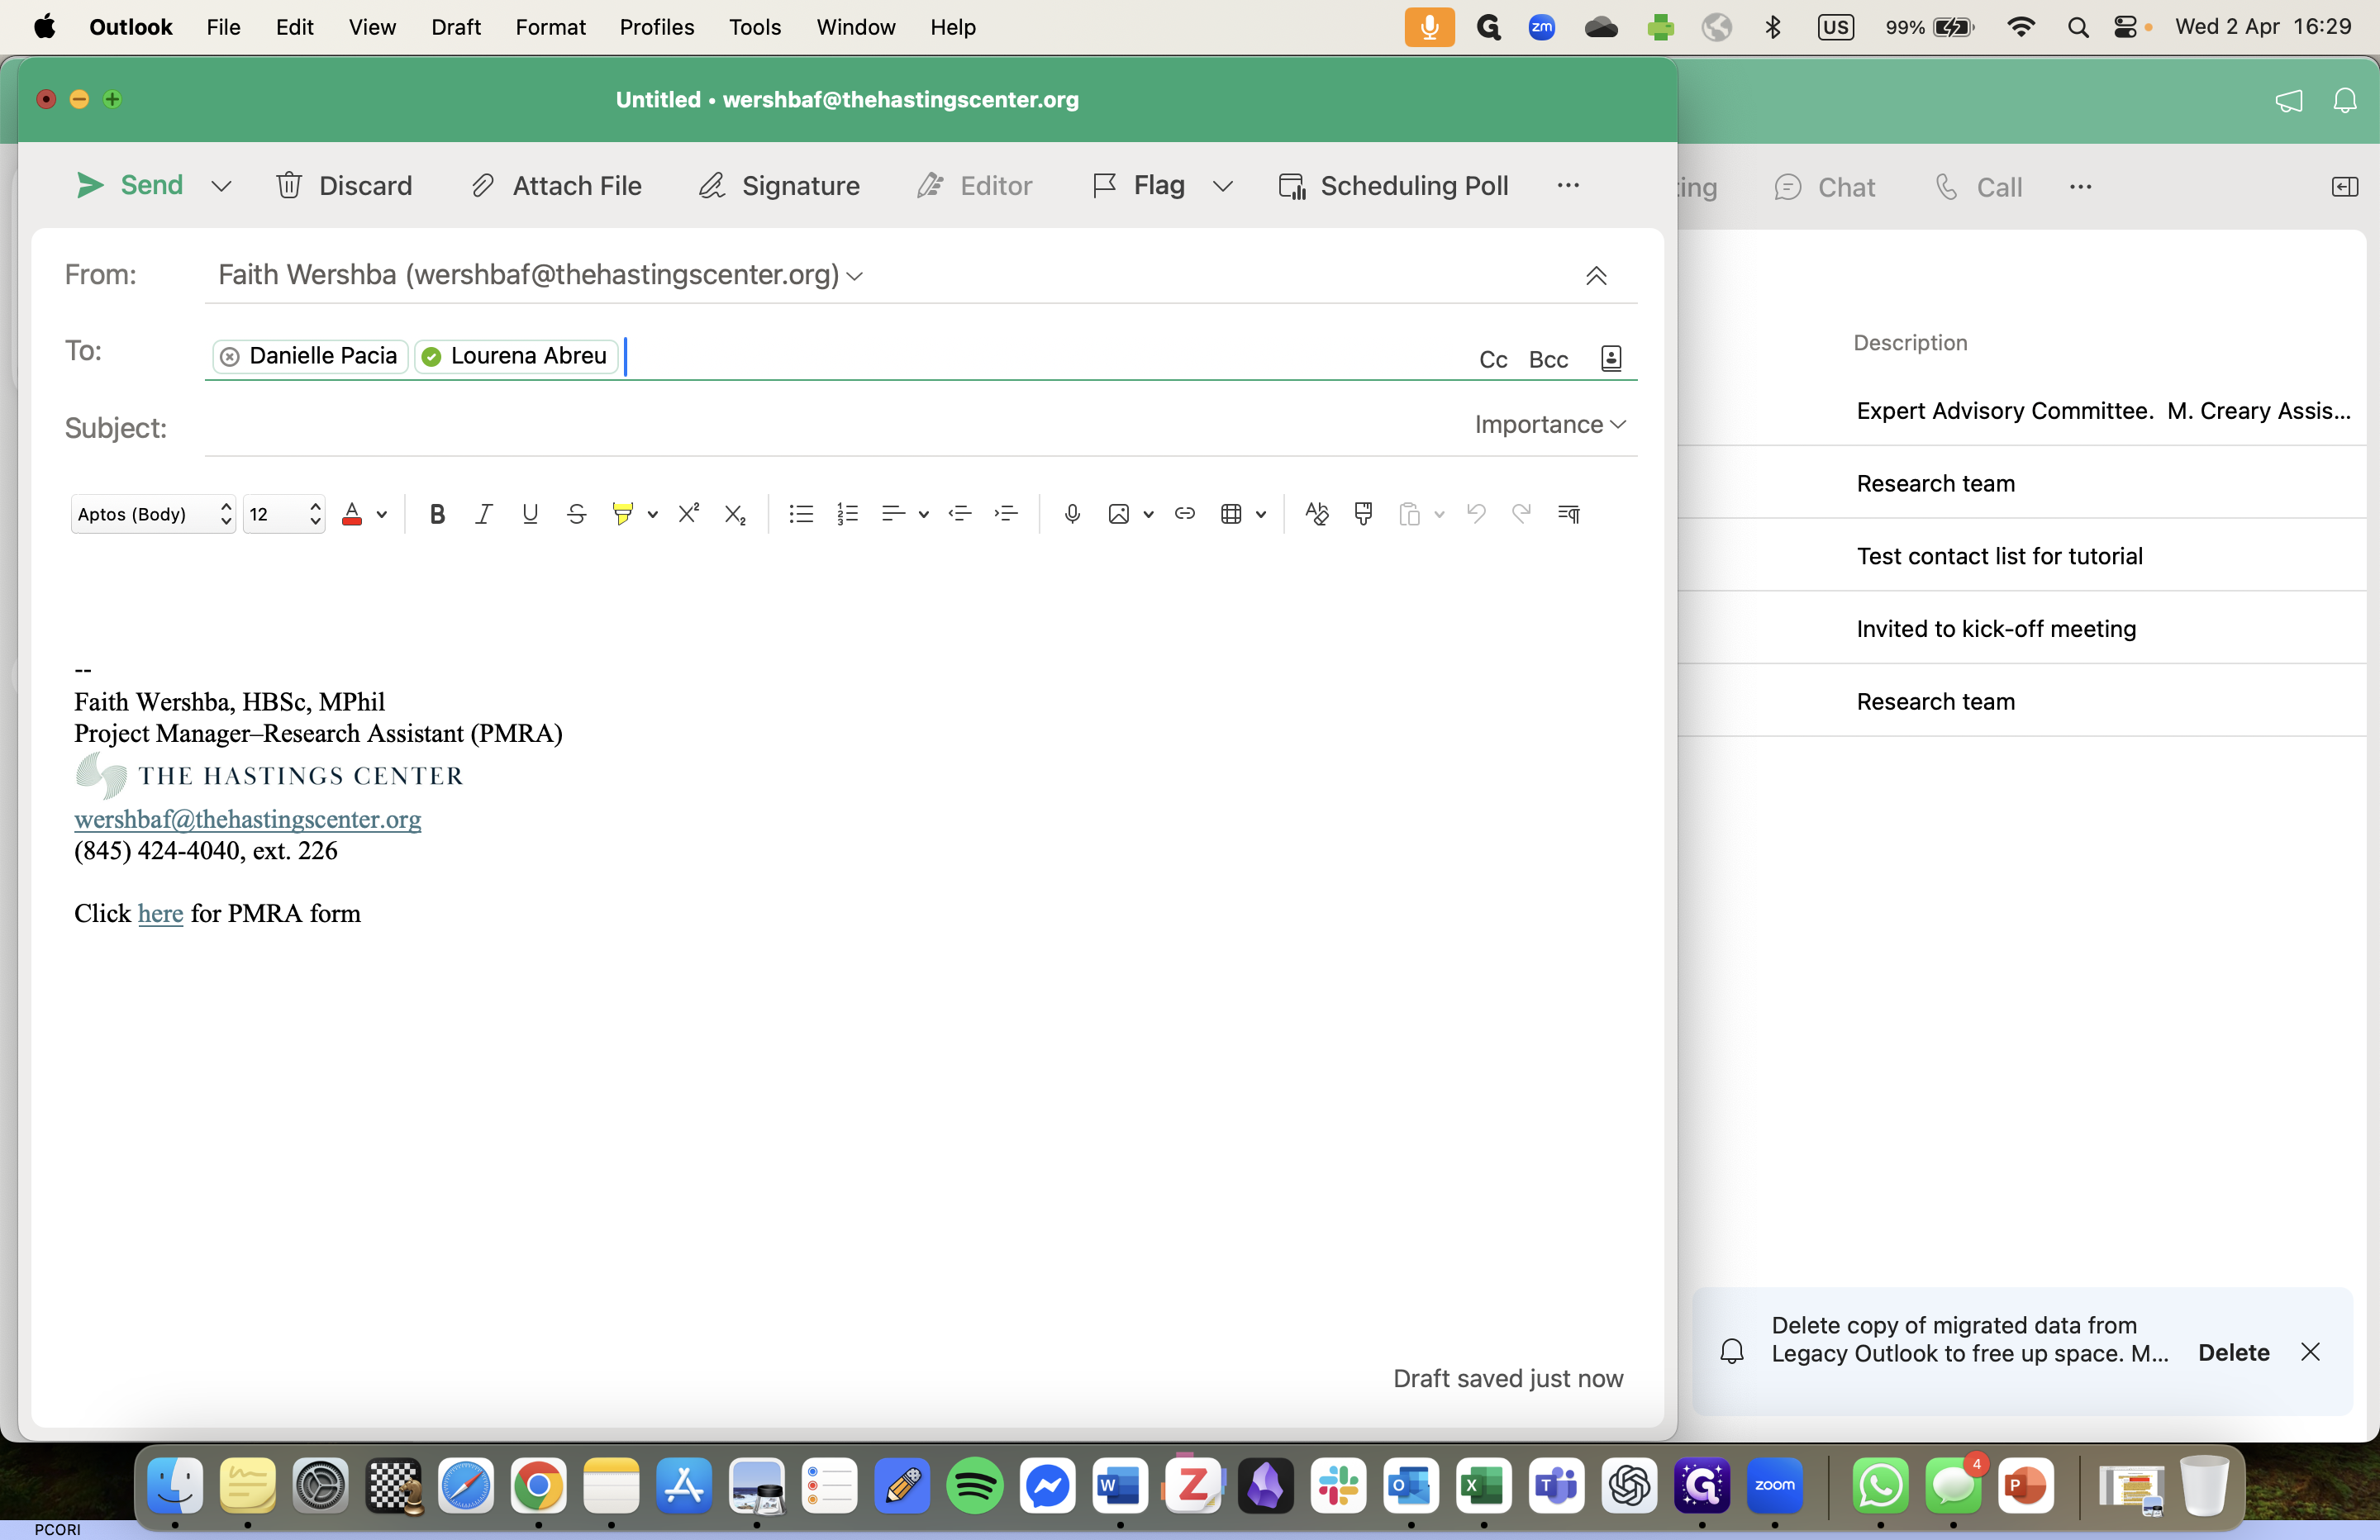
You can also draft an email directly in your inbox and type in the name of the contact list in the "to" field. It should appear automatically.