How to Create a Crate: Step-by-Step Guide
In this guide, we'll learn how to create a crate in a transaction system by entering the required transaction code and adjusting default settings like date, plant, and location. We will cover how to input crate dimensions, select allowed material codes using the search help, and set the maximum quantity per crate. Finally, we will see how to complete the process and find the crate number in the dialog box.
Let's get started
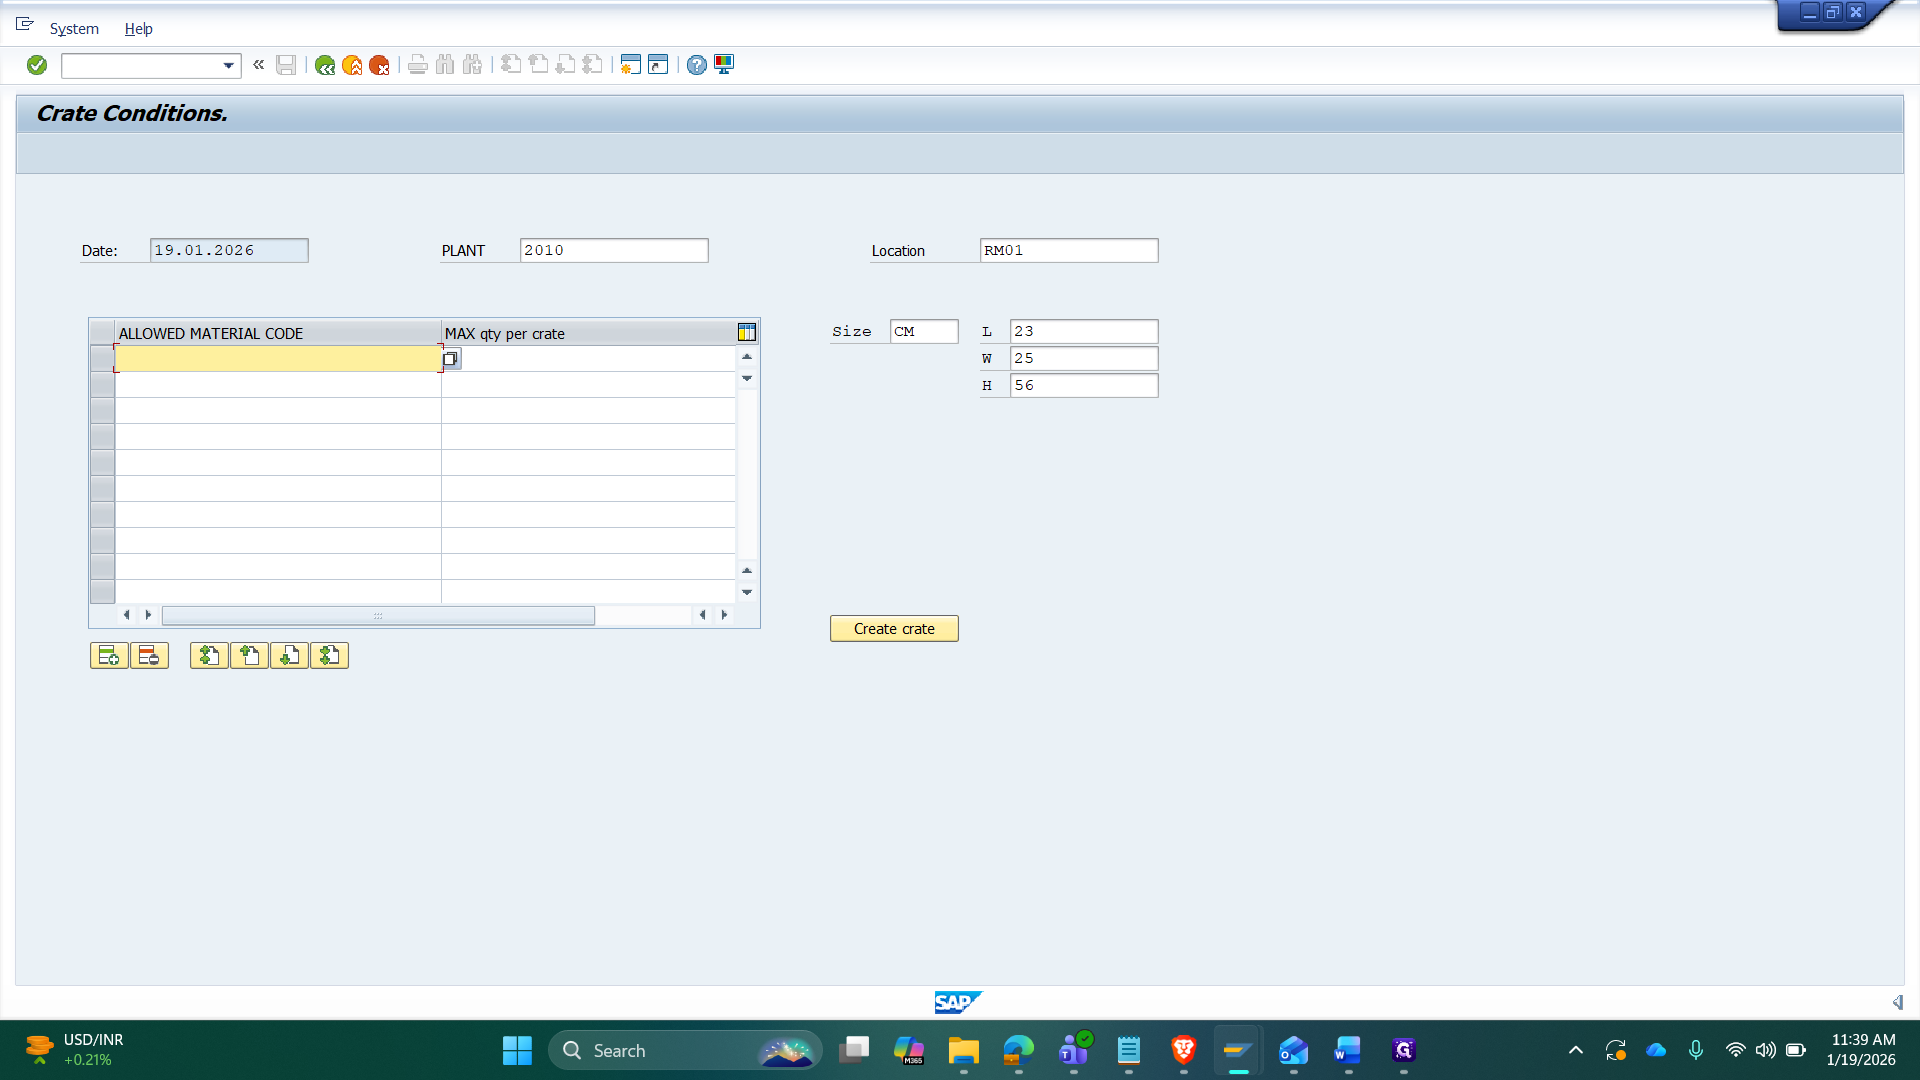
First, enter the transaction code in the transaction code menu.
Then click Enter.
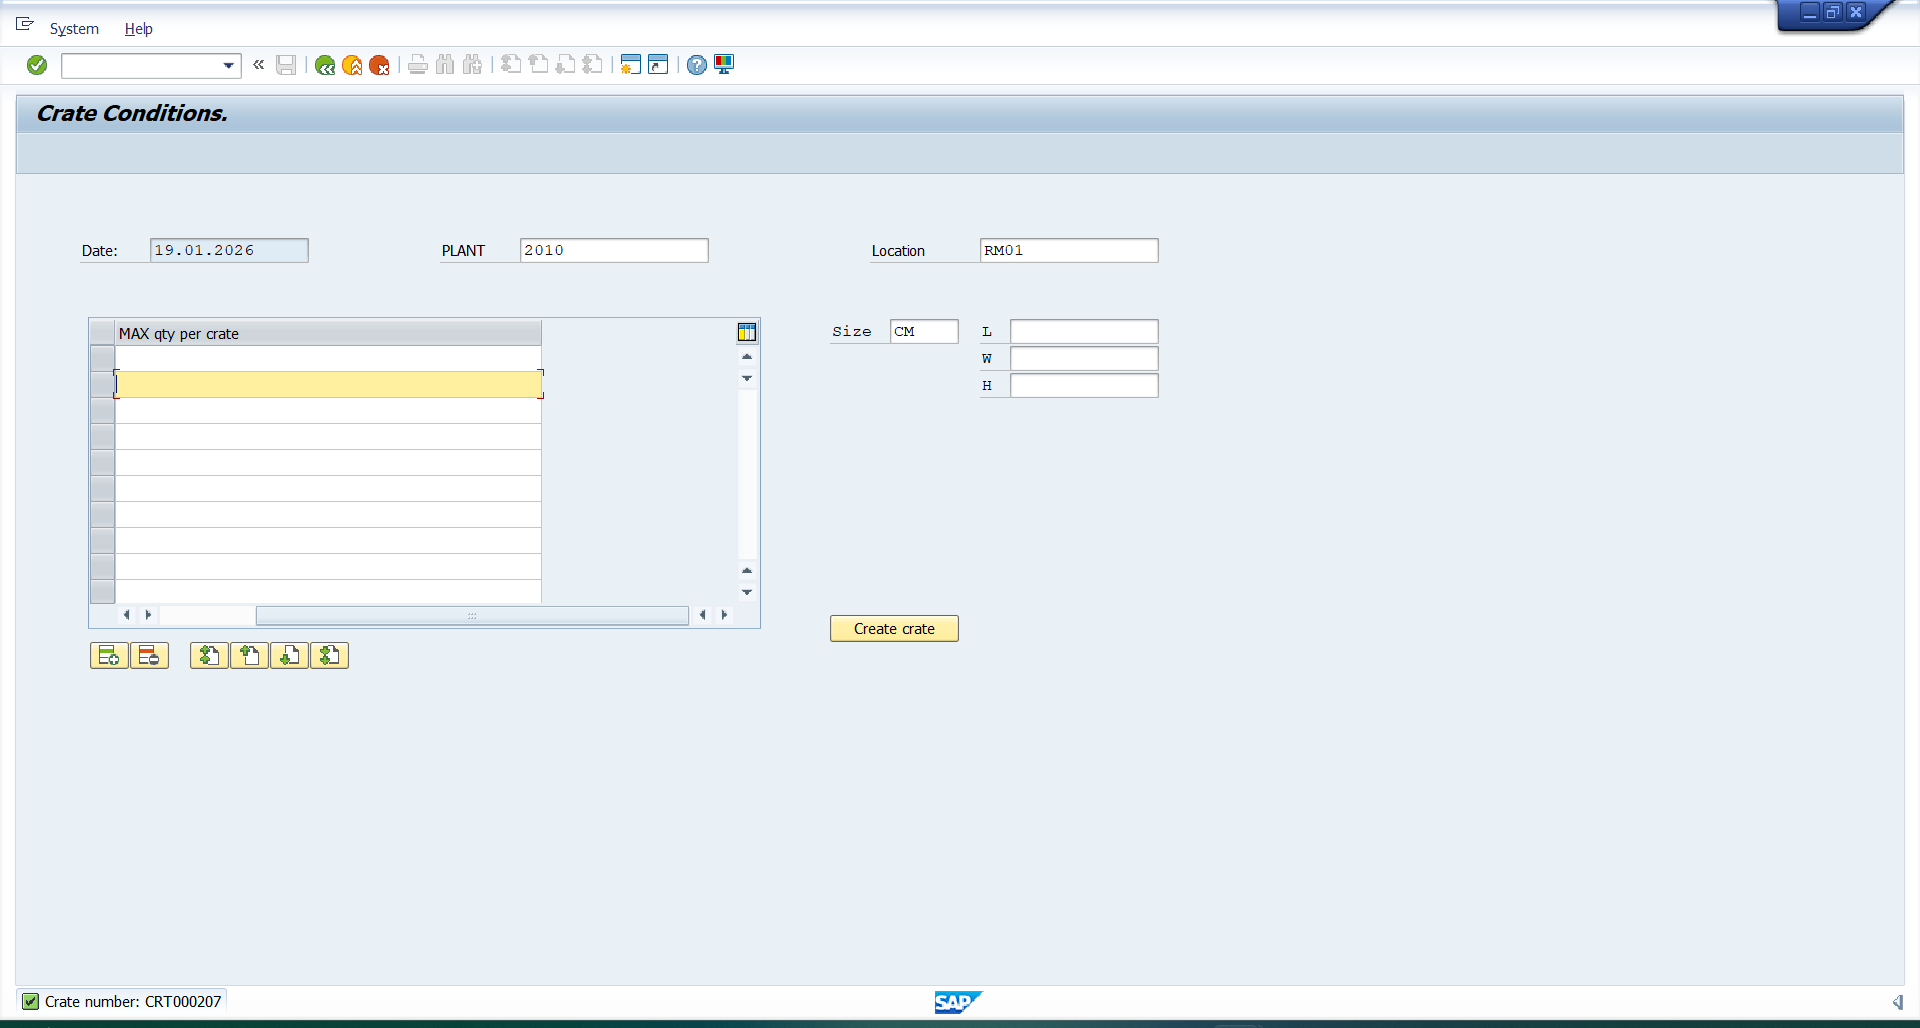
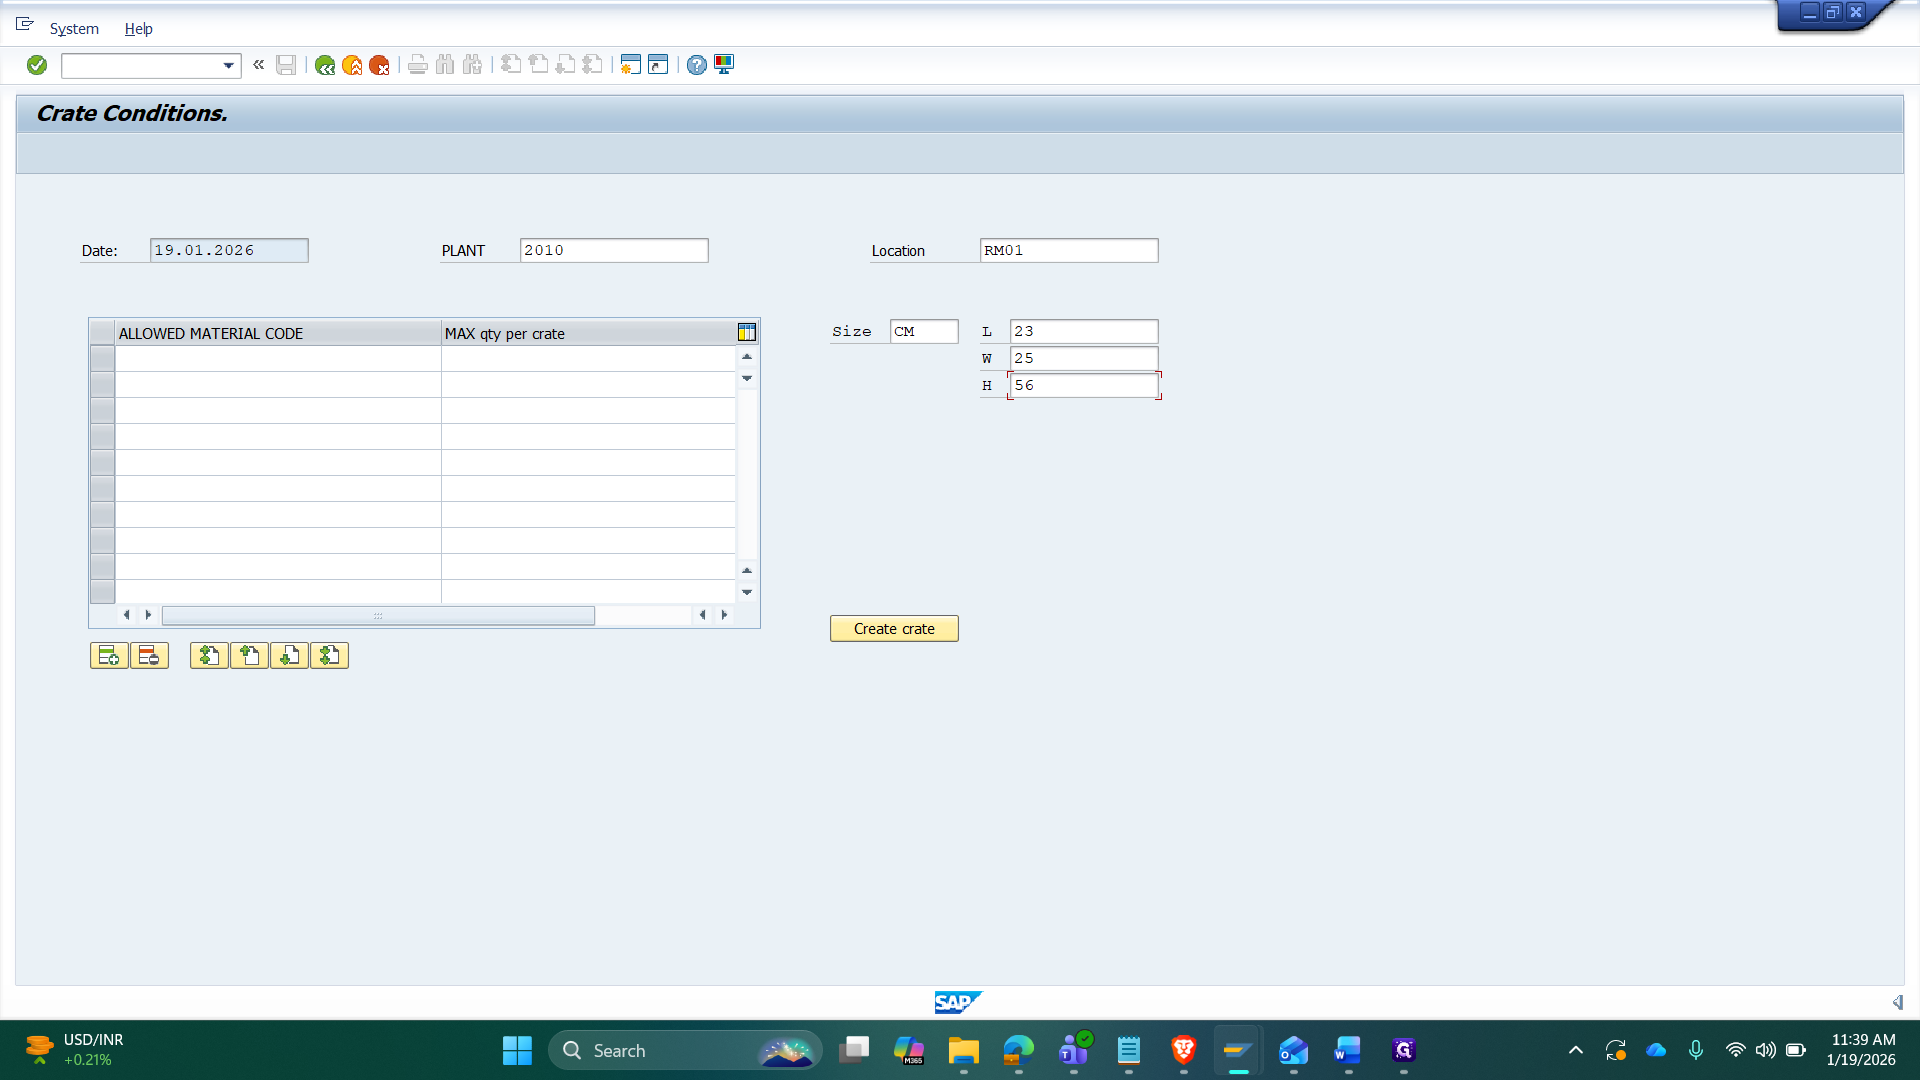
By default, the date is set to the current date, the plant is set to 2010, and the location is set to RM 01. We can change the plant and location as needed. Next, enter the crate dimensions. First, set the size and leave the units as CM.
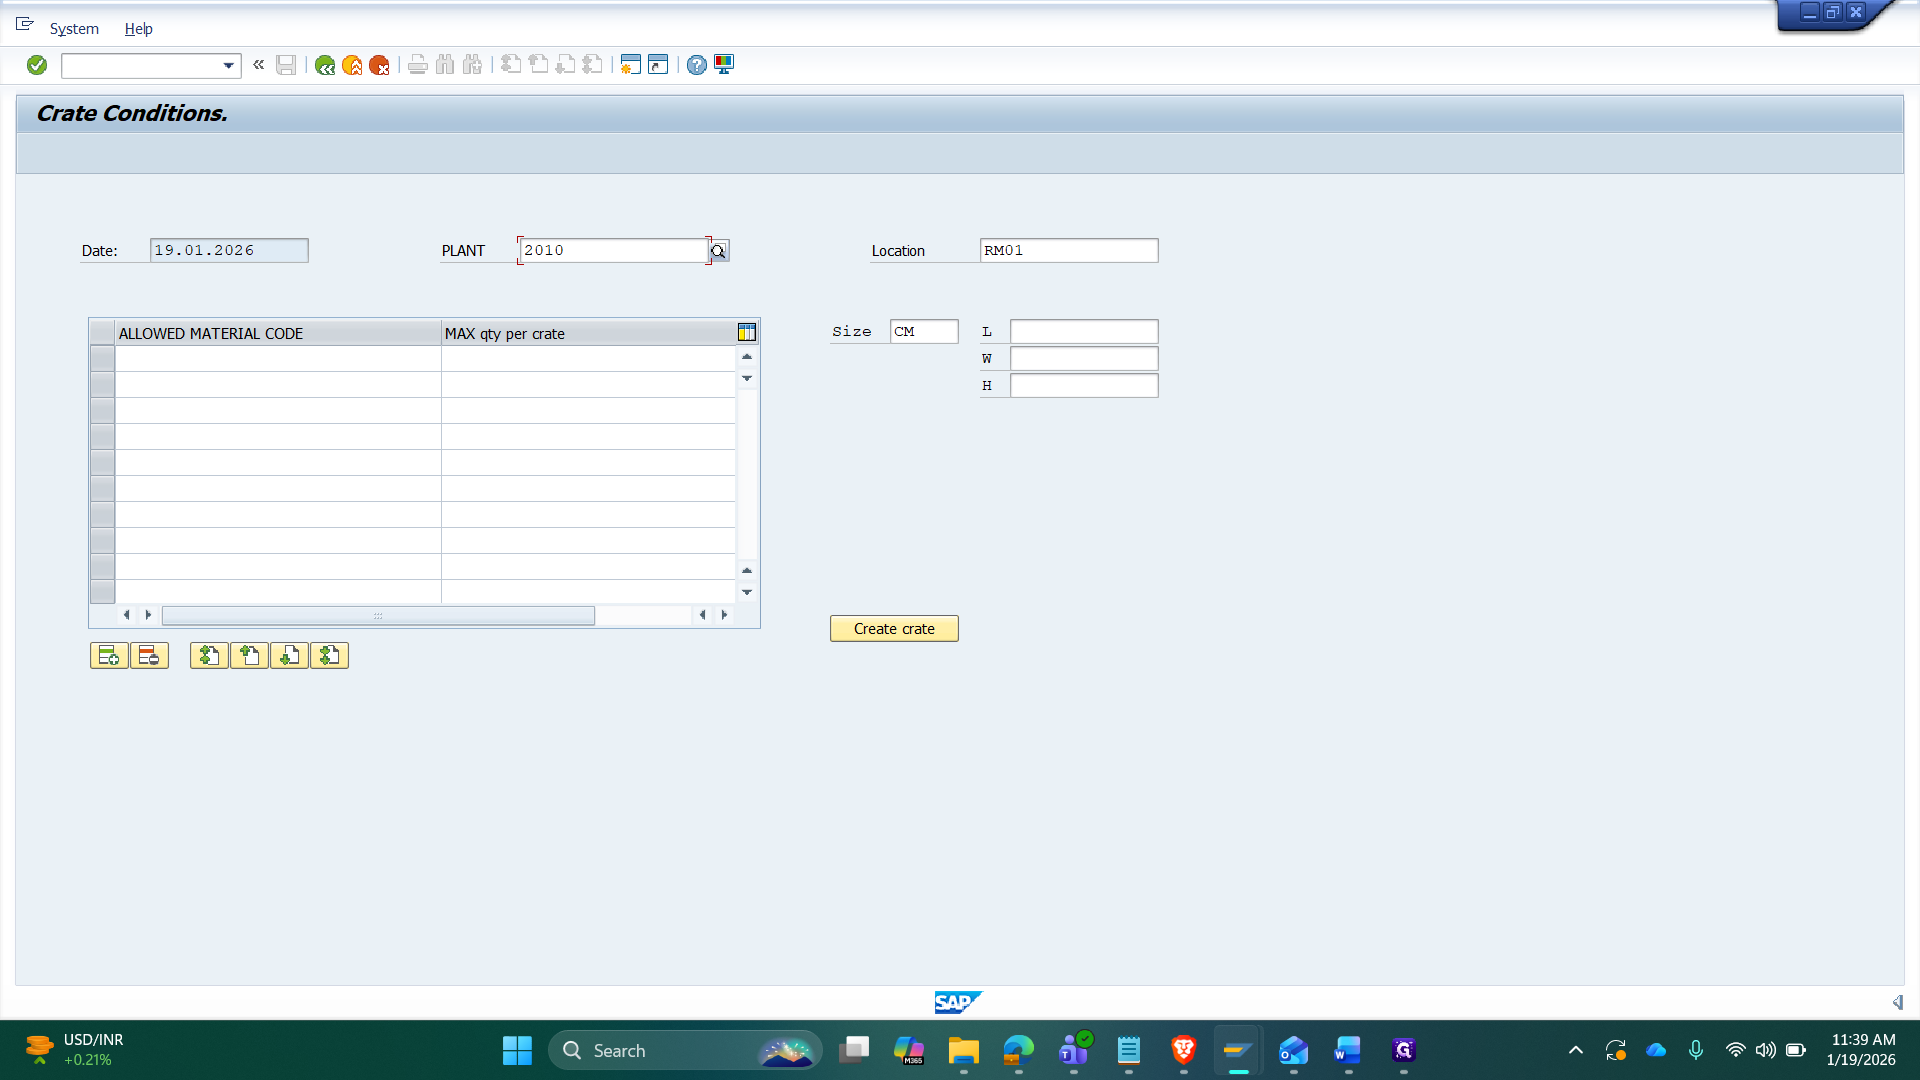
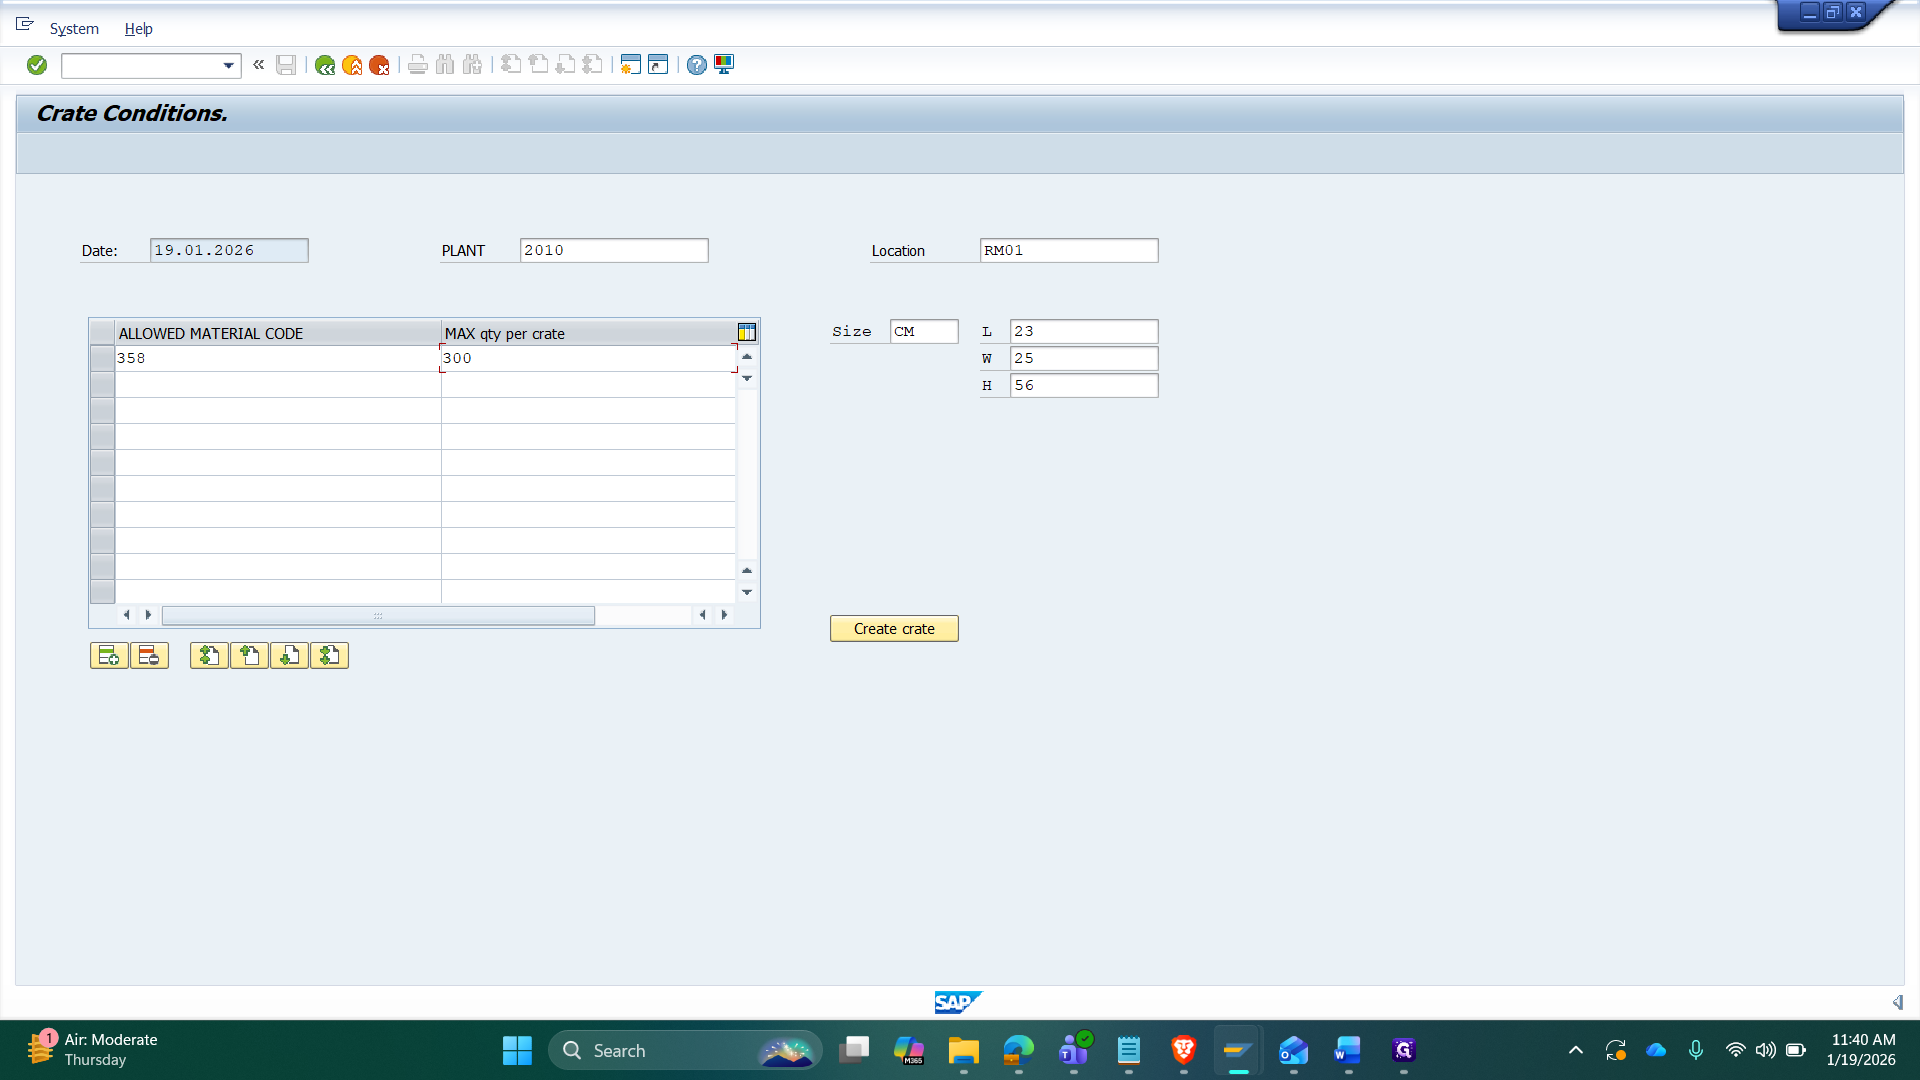
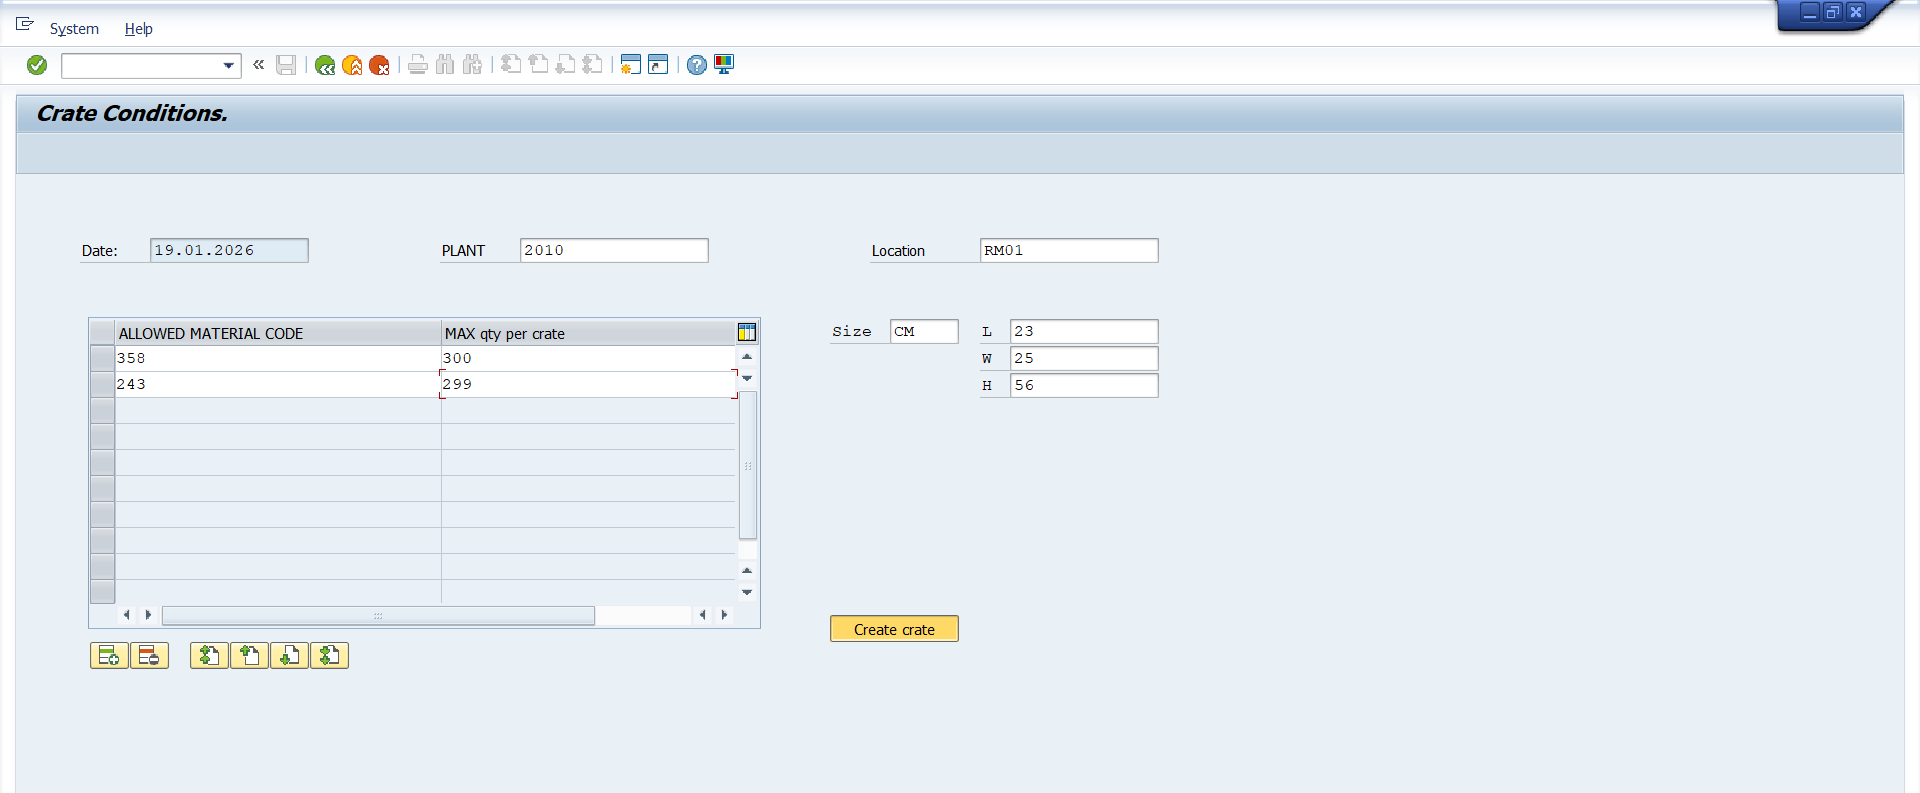
Next, enter the approved material codes.
We can use the search help for that.
With the search help, select a value and press Enter.

Then it appears in the table.
Next, set the maximum quantity per crate for that material. This way we can add materials and max qty per crate.
After entering the values, click the Create Crate button. This will create a crate.
Here, we can find the crate number in the opened dialog box.