
How to Create a Credit Memo for a Customer in SAP
Learn the step-by-step process of creating a credit memo for a customer using SAP, including handling short shipments and ensuring accurate documentation.
In this guide, we'll learn how to create a credit memo for a customer using SAP Business One. A credit memo is essential for adjusting invoices due to issues like short shipments, short date and damages. We'll explore how to input necessary details such as invoice numbers, item codes, and quantities, ensuring the credit note does not affect inventory. Additionally, we'll cover how to attach relevant documents using Microsoft Outlook to provide a complete record of the transaction.
Let's get started
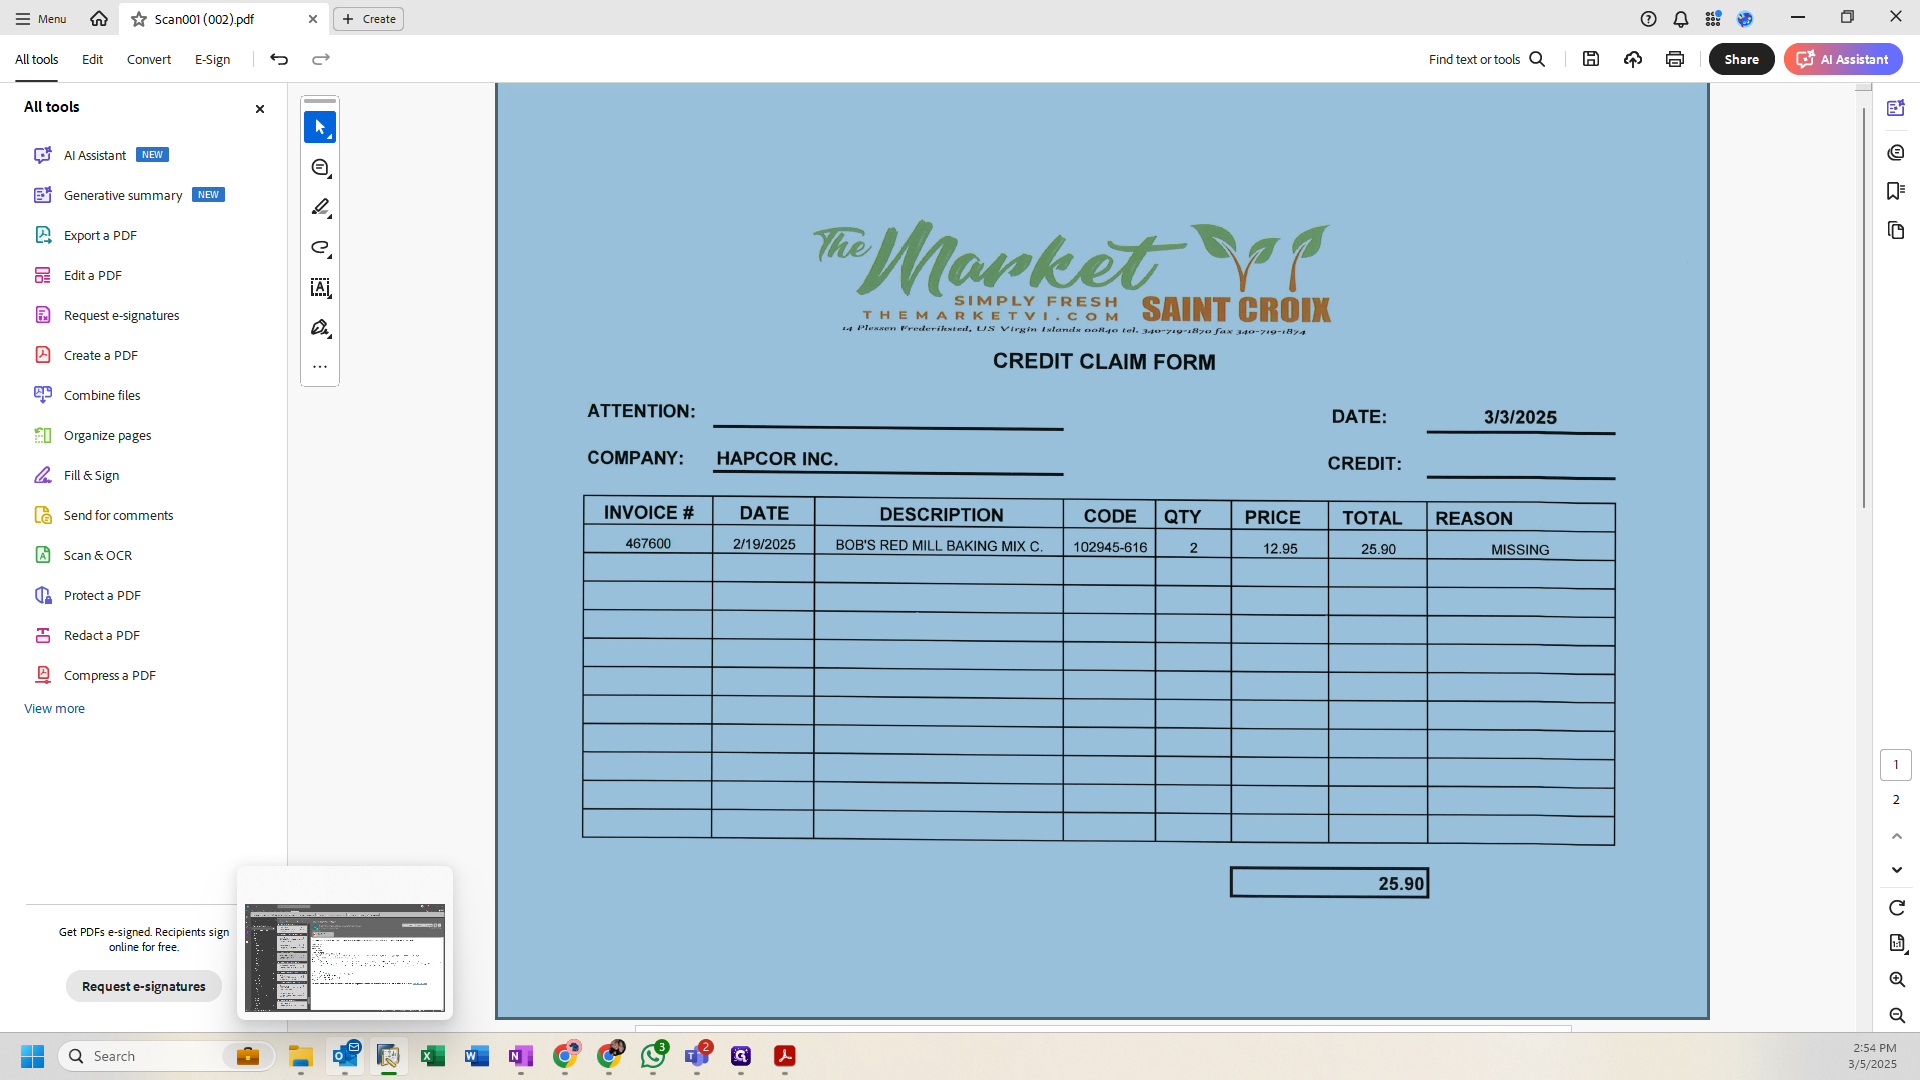
Today, we will learn how to create a credit memo for a customer. We have a completed credit claim from our customer.
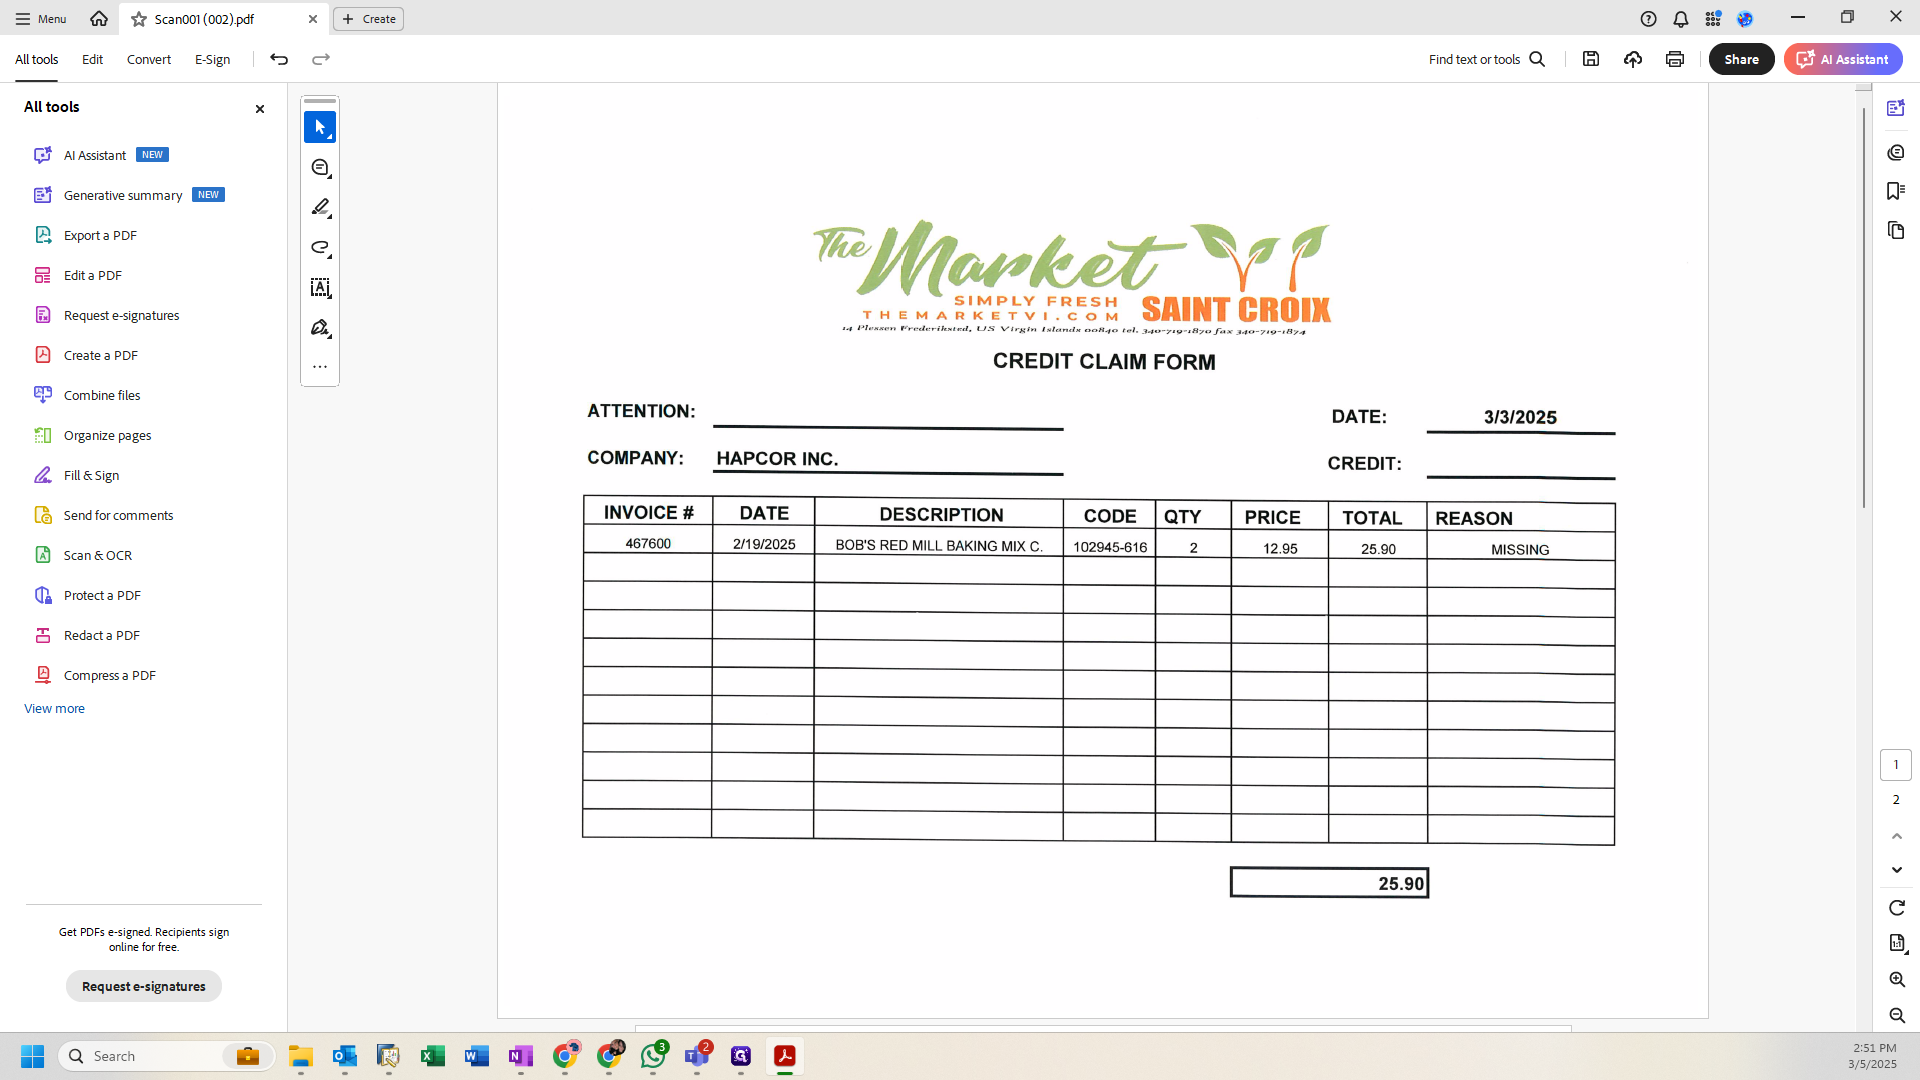
Here, you can see the claim date, invoice date, number, product, and reasoning.


At the bottom, you will find your total.

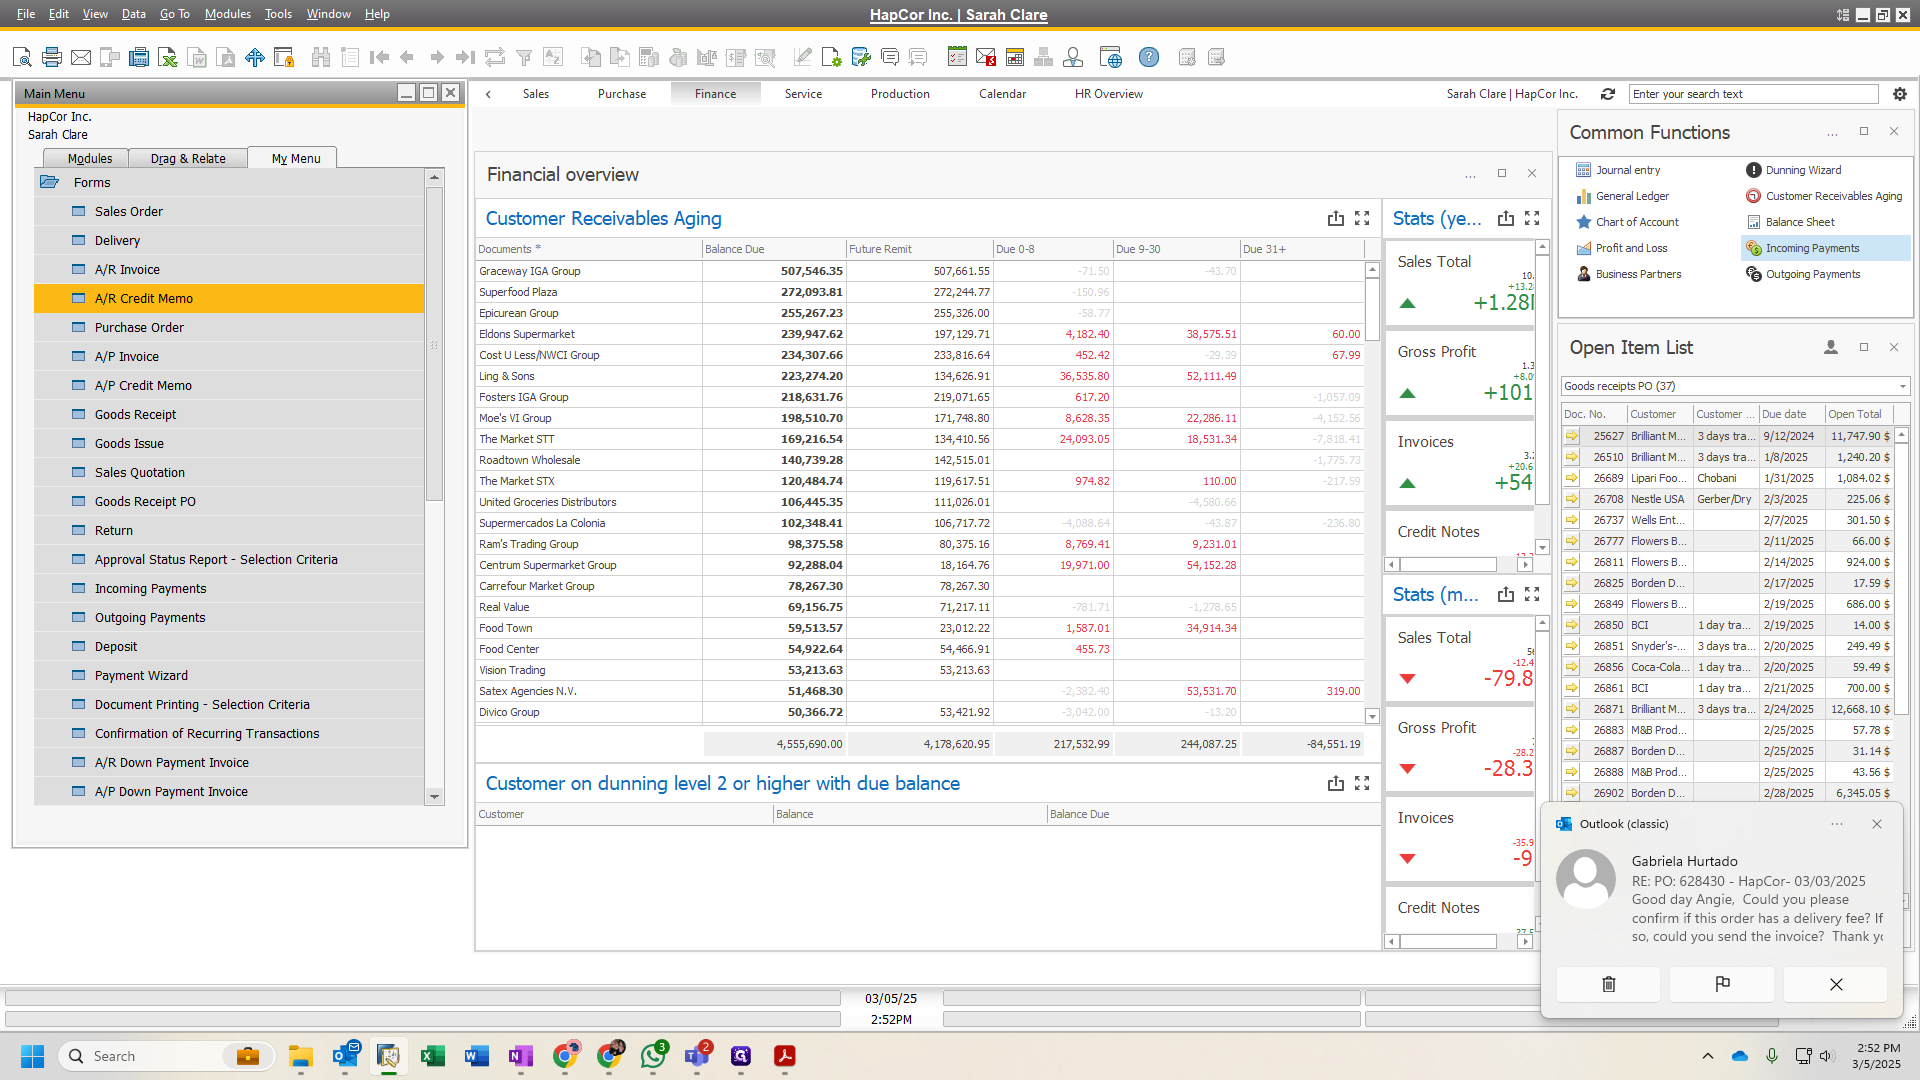
You will enter SAP.

You will find our credit memo.
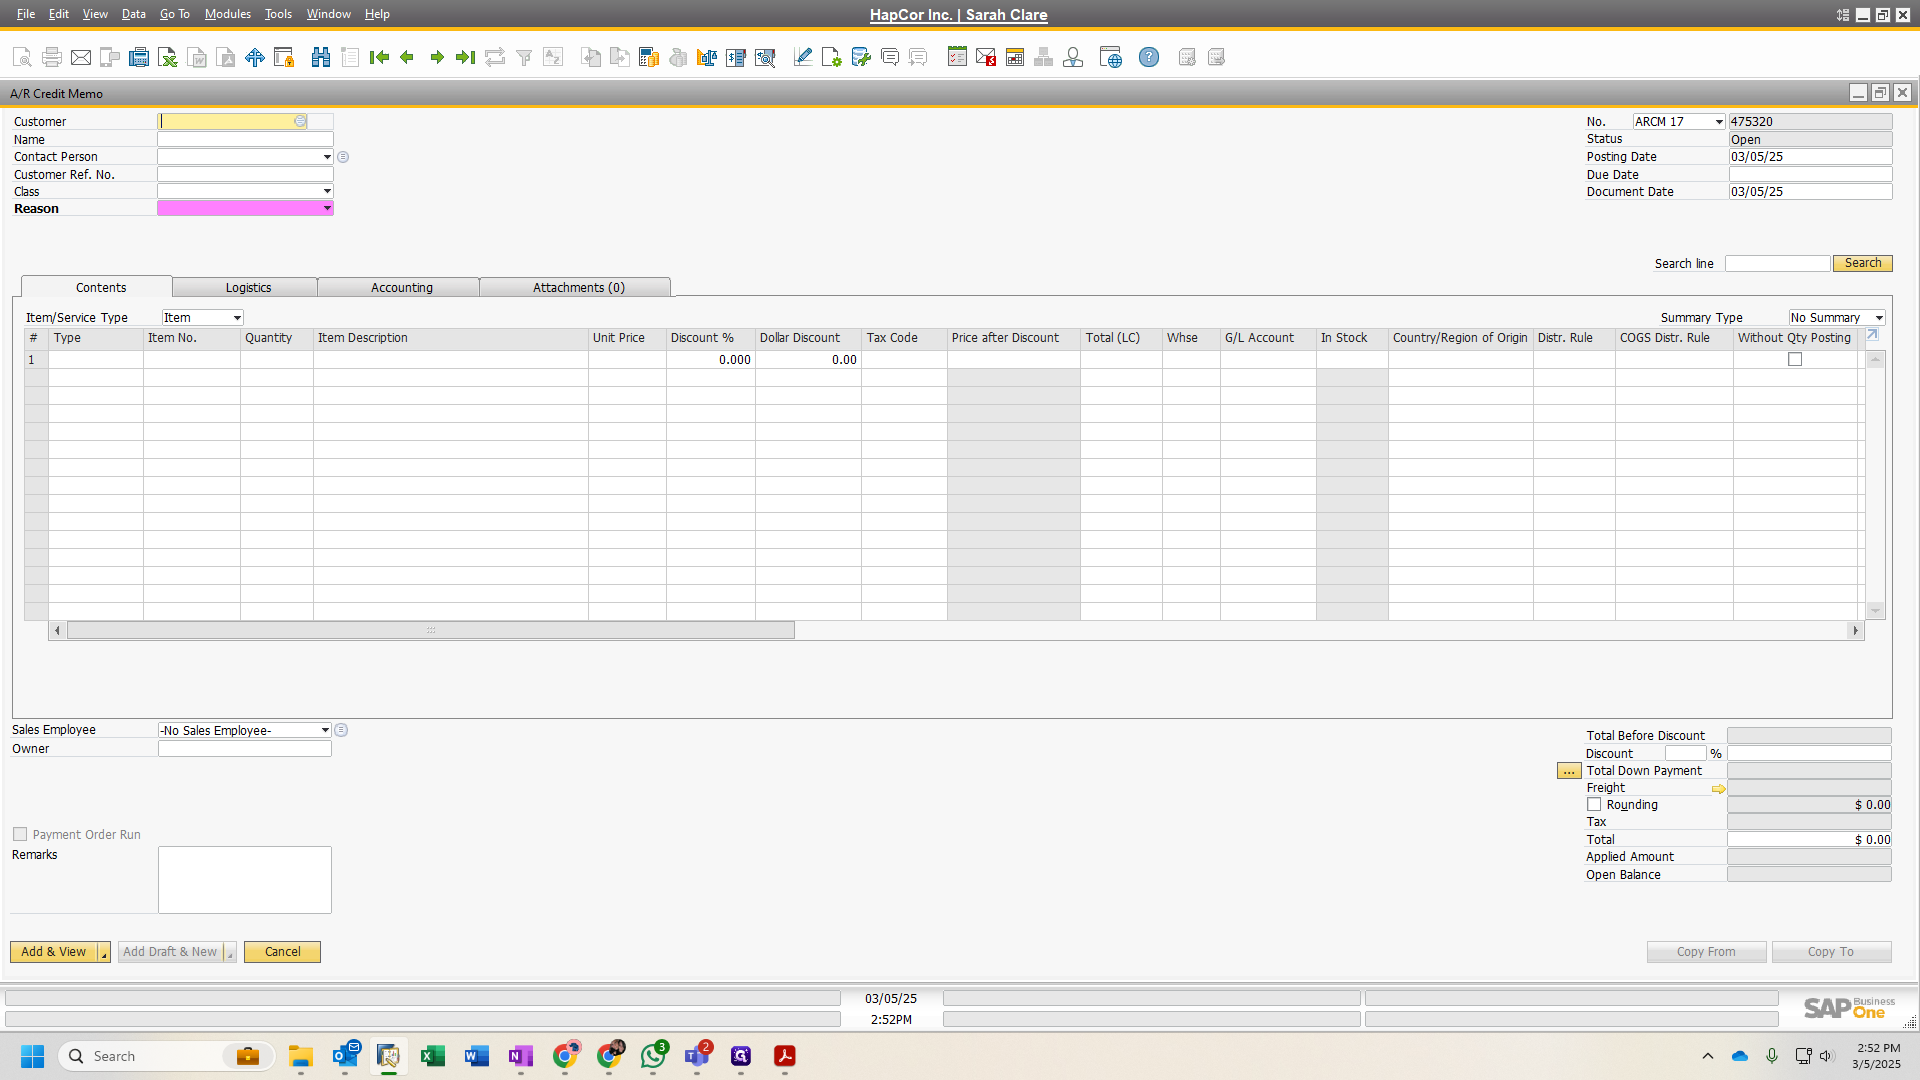
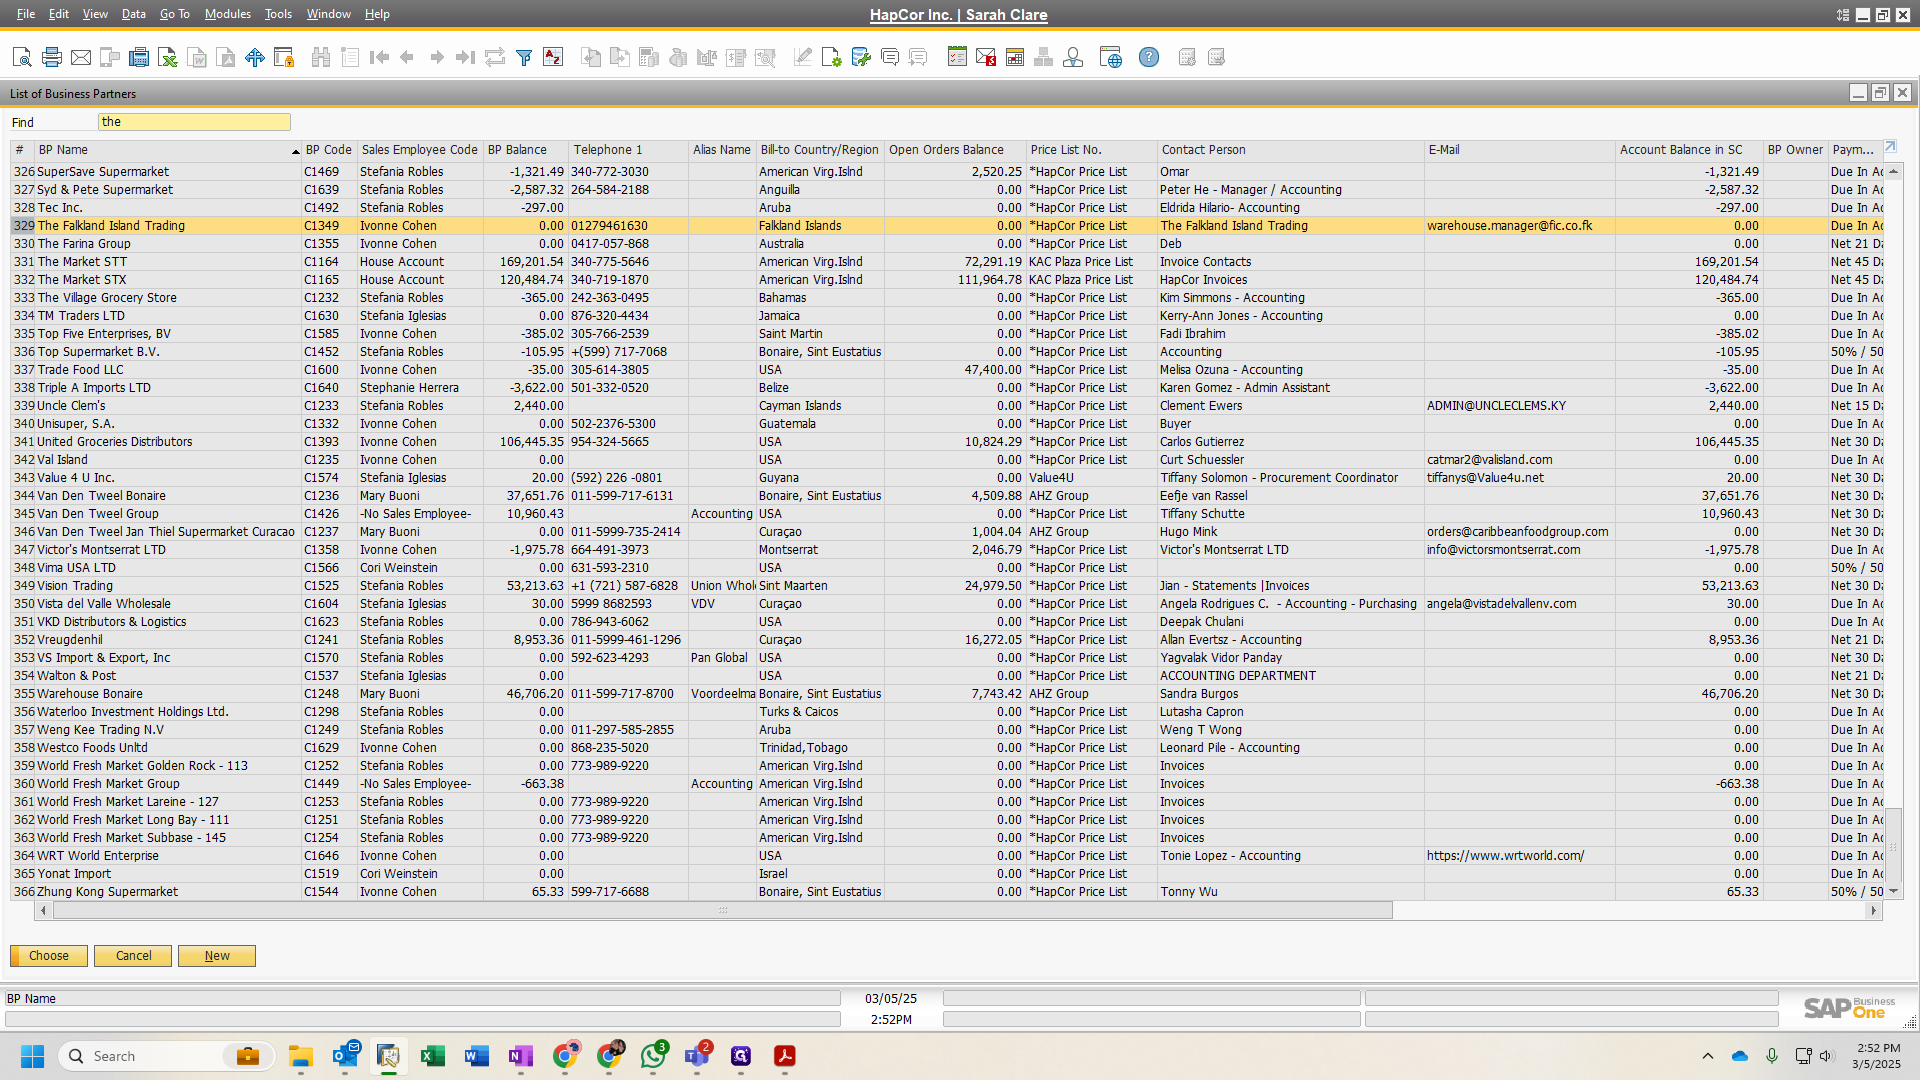
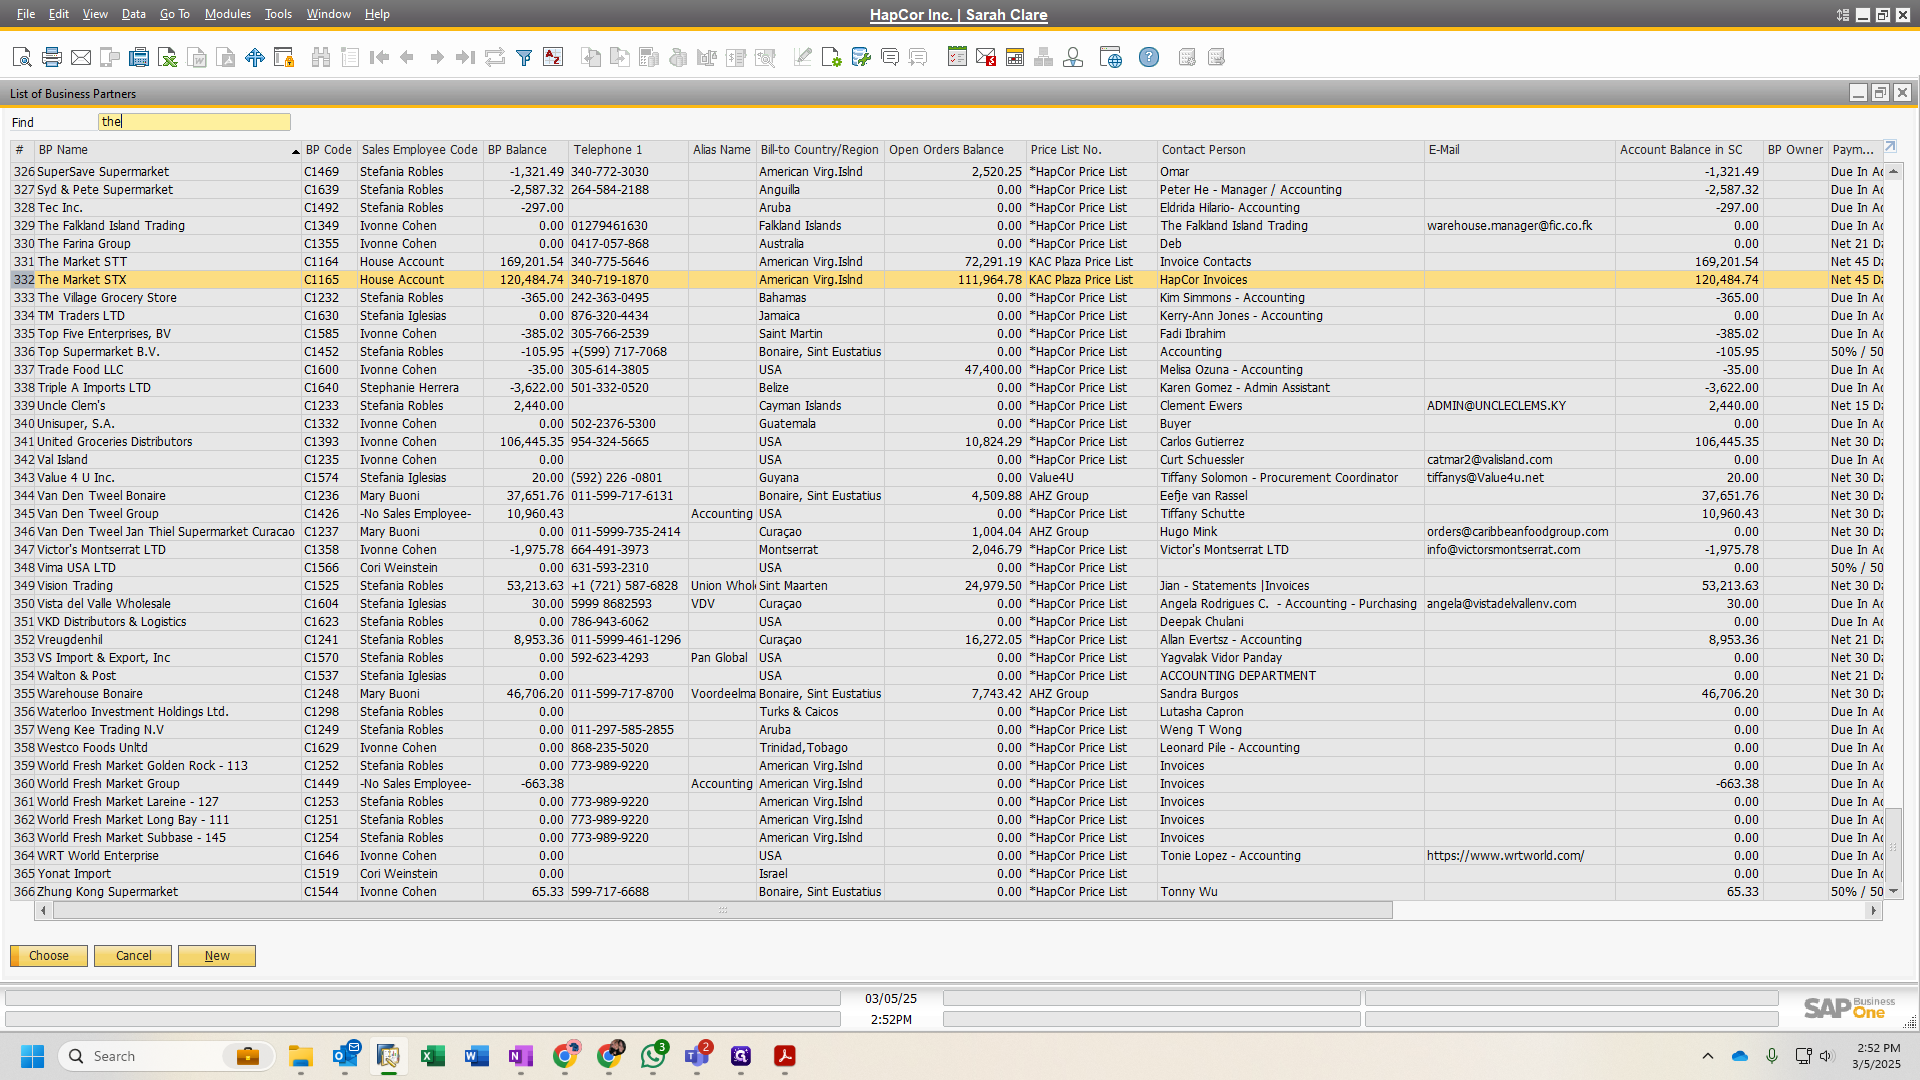
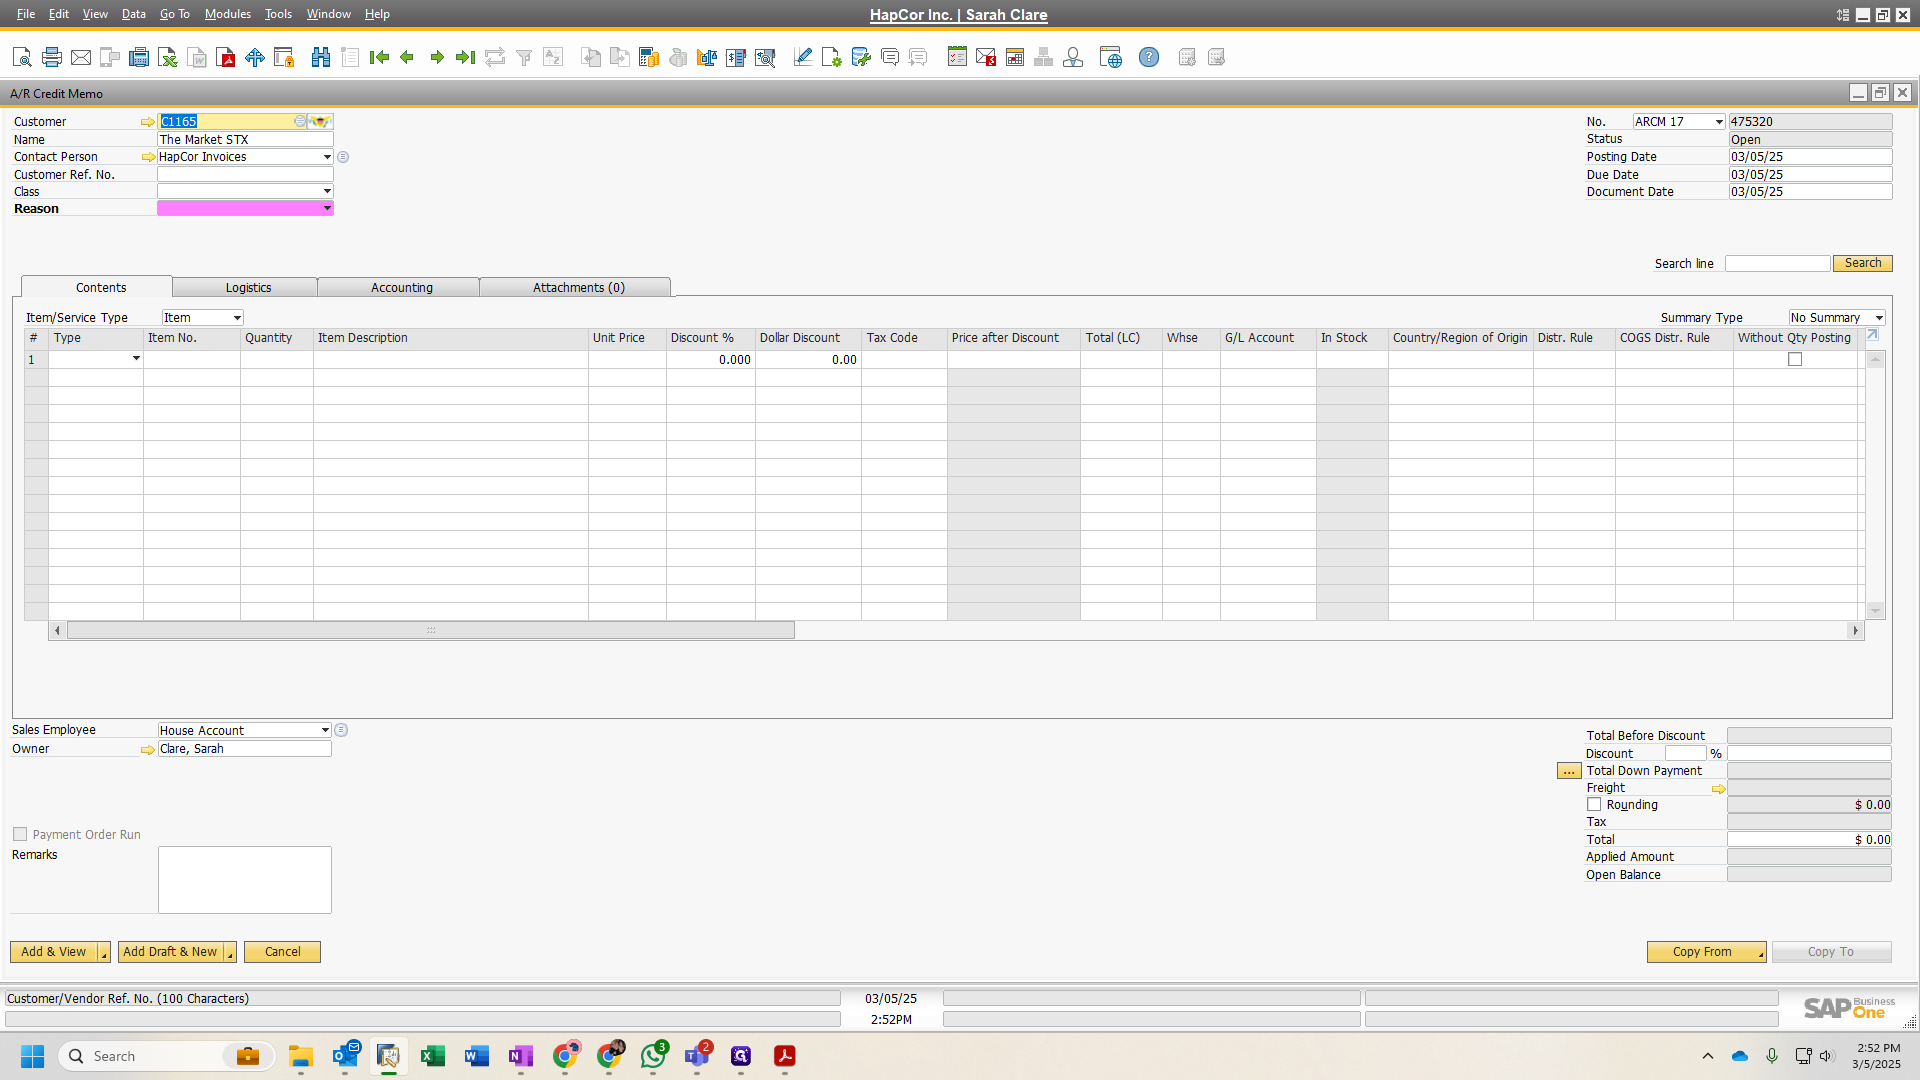
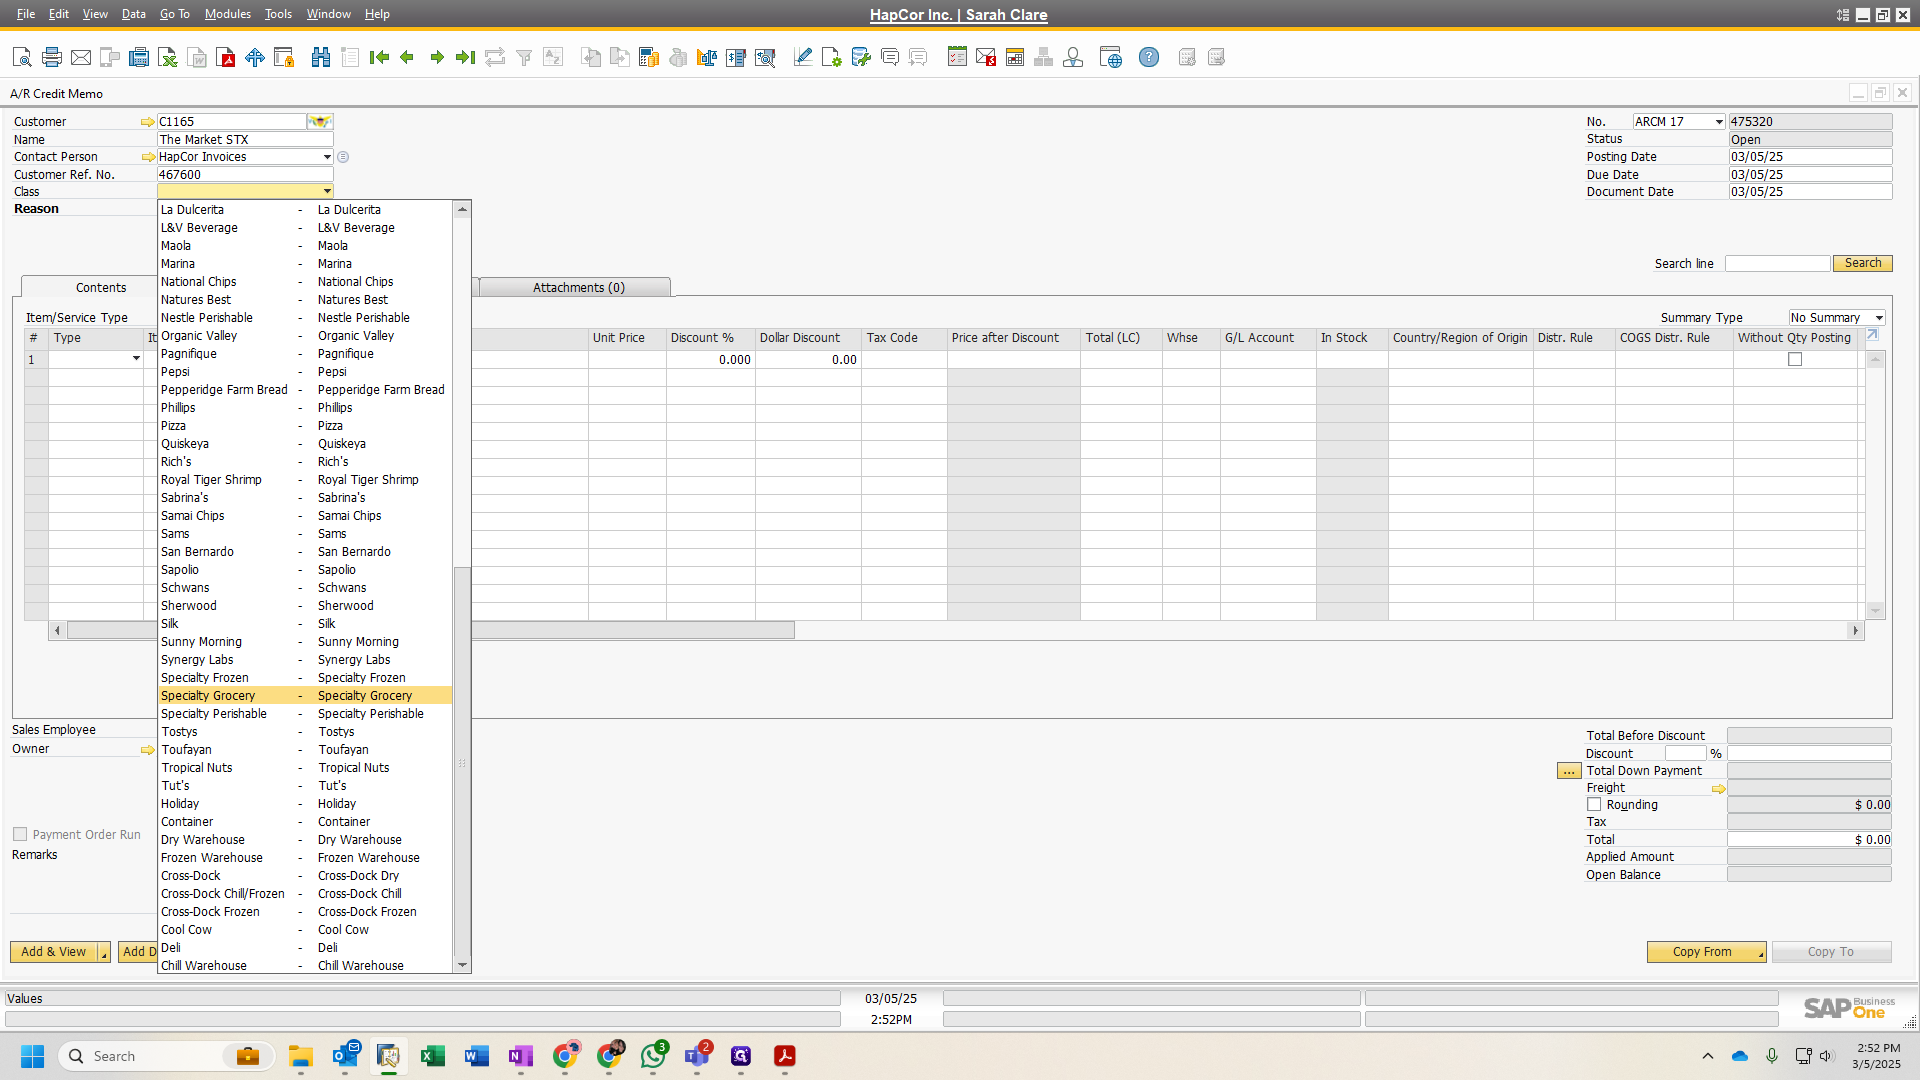
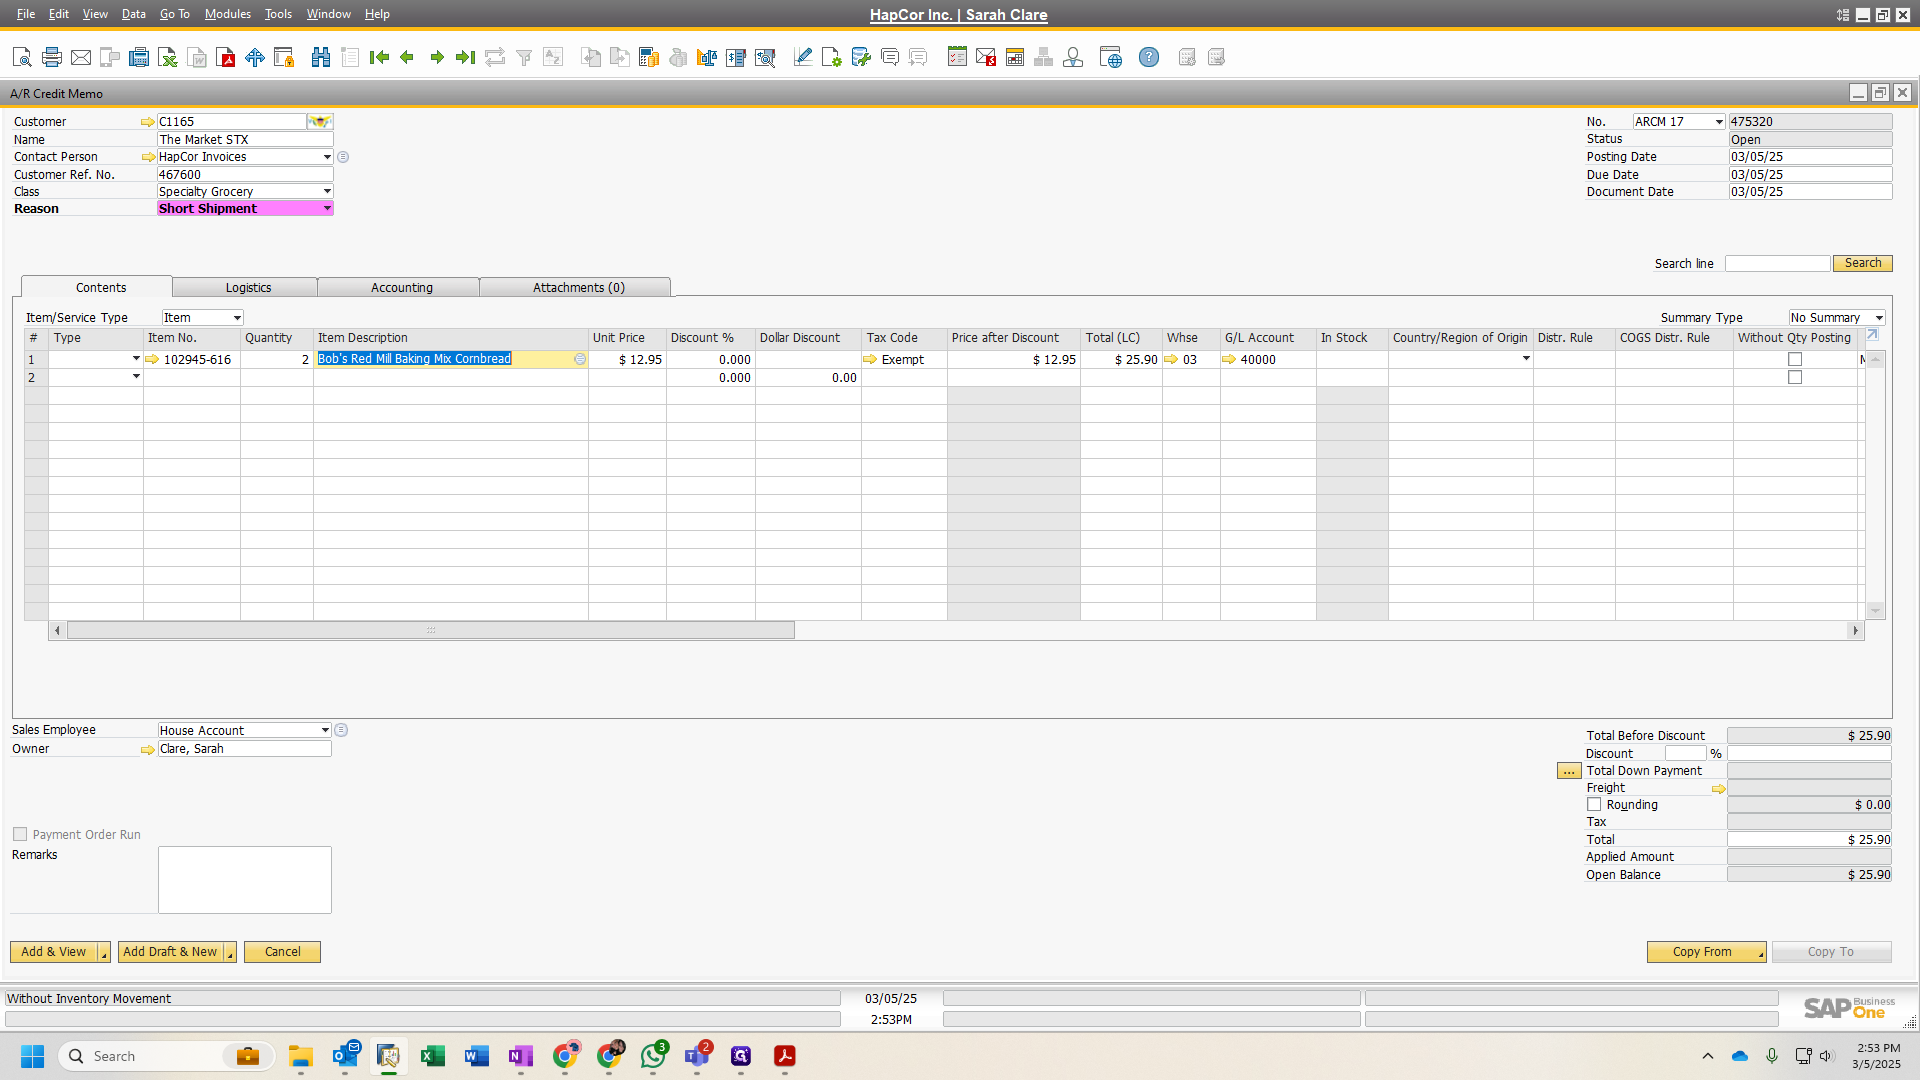
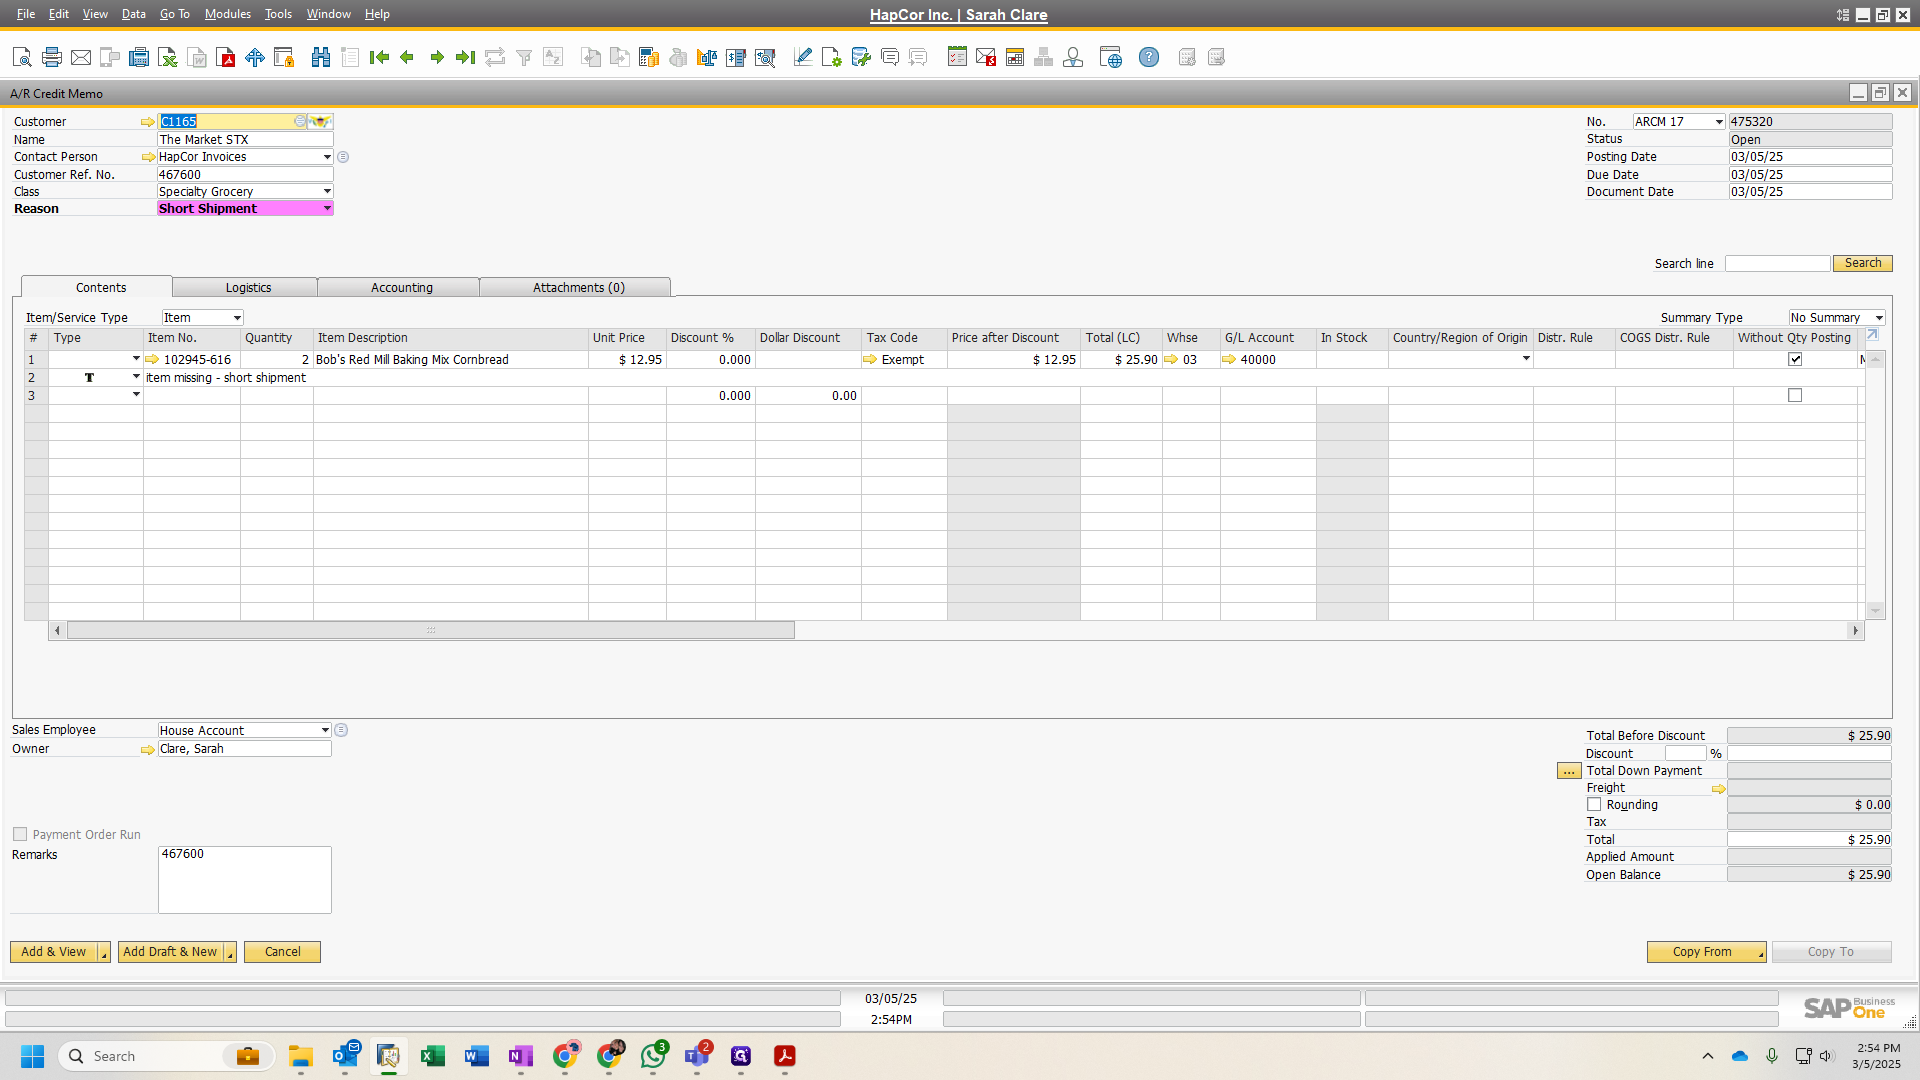
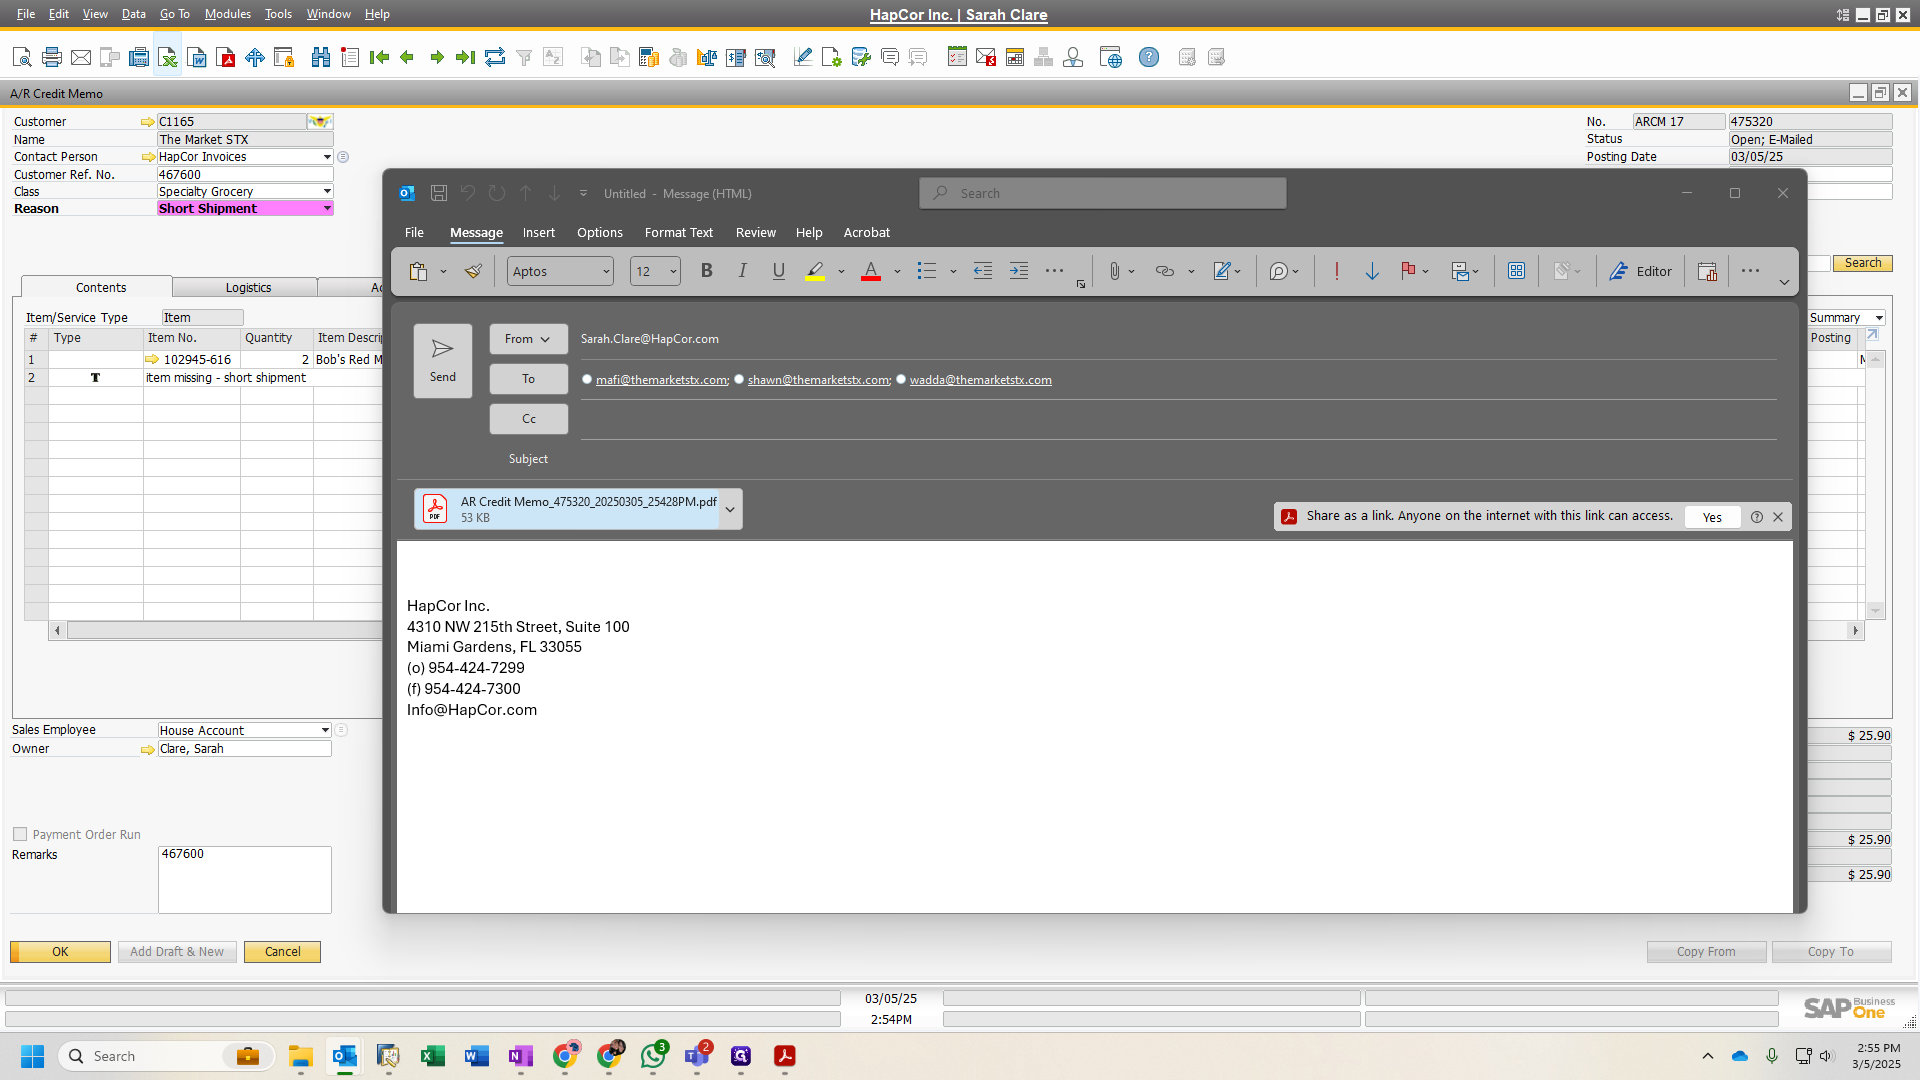
This is what a credit memo looks like. At the top, search for your customer.
Go to The Market St. Croix and make your selection at the bottom.
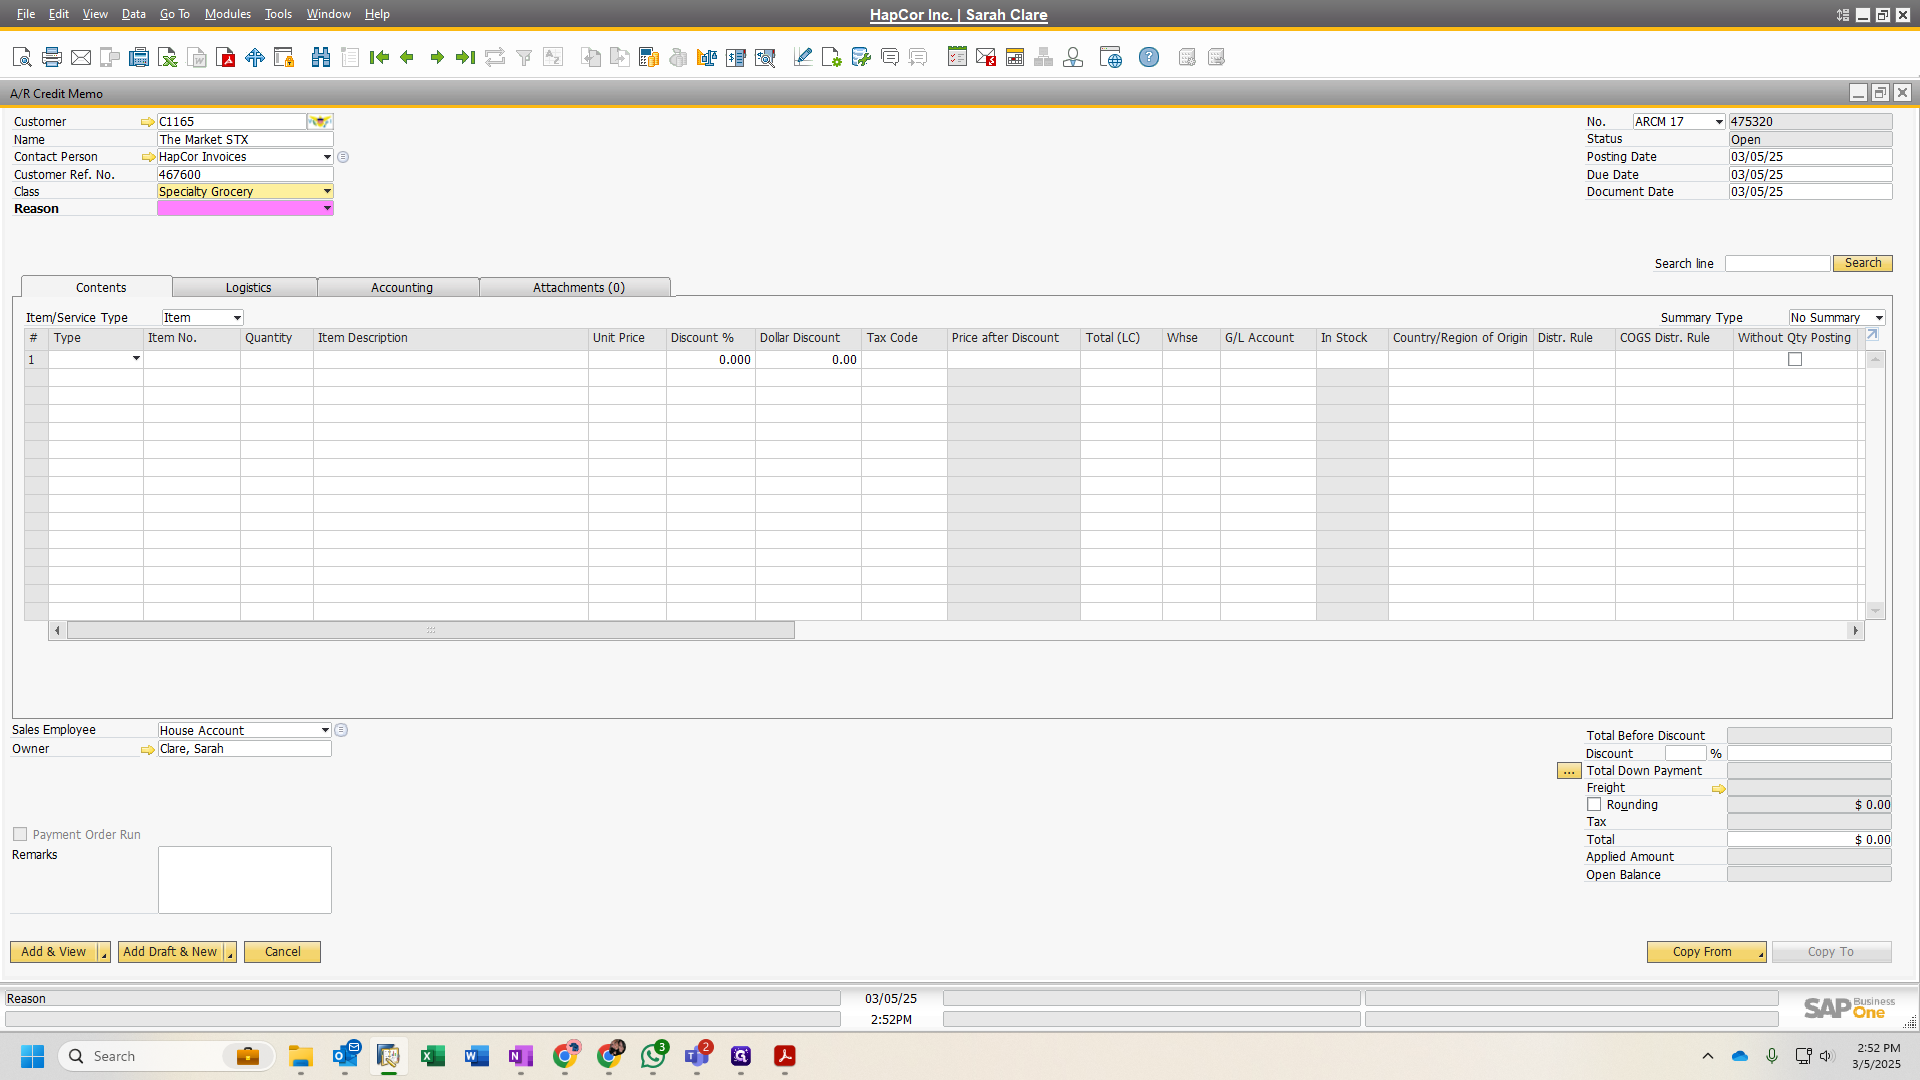
In the customer reference, we will enter our invoice number referenced on the Customers Credit Request
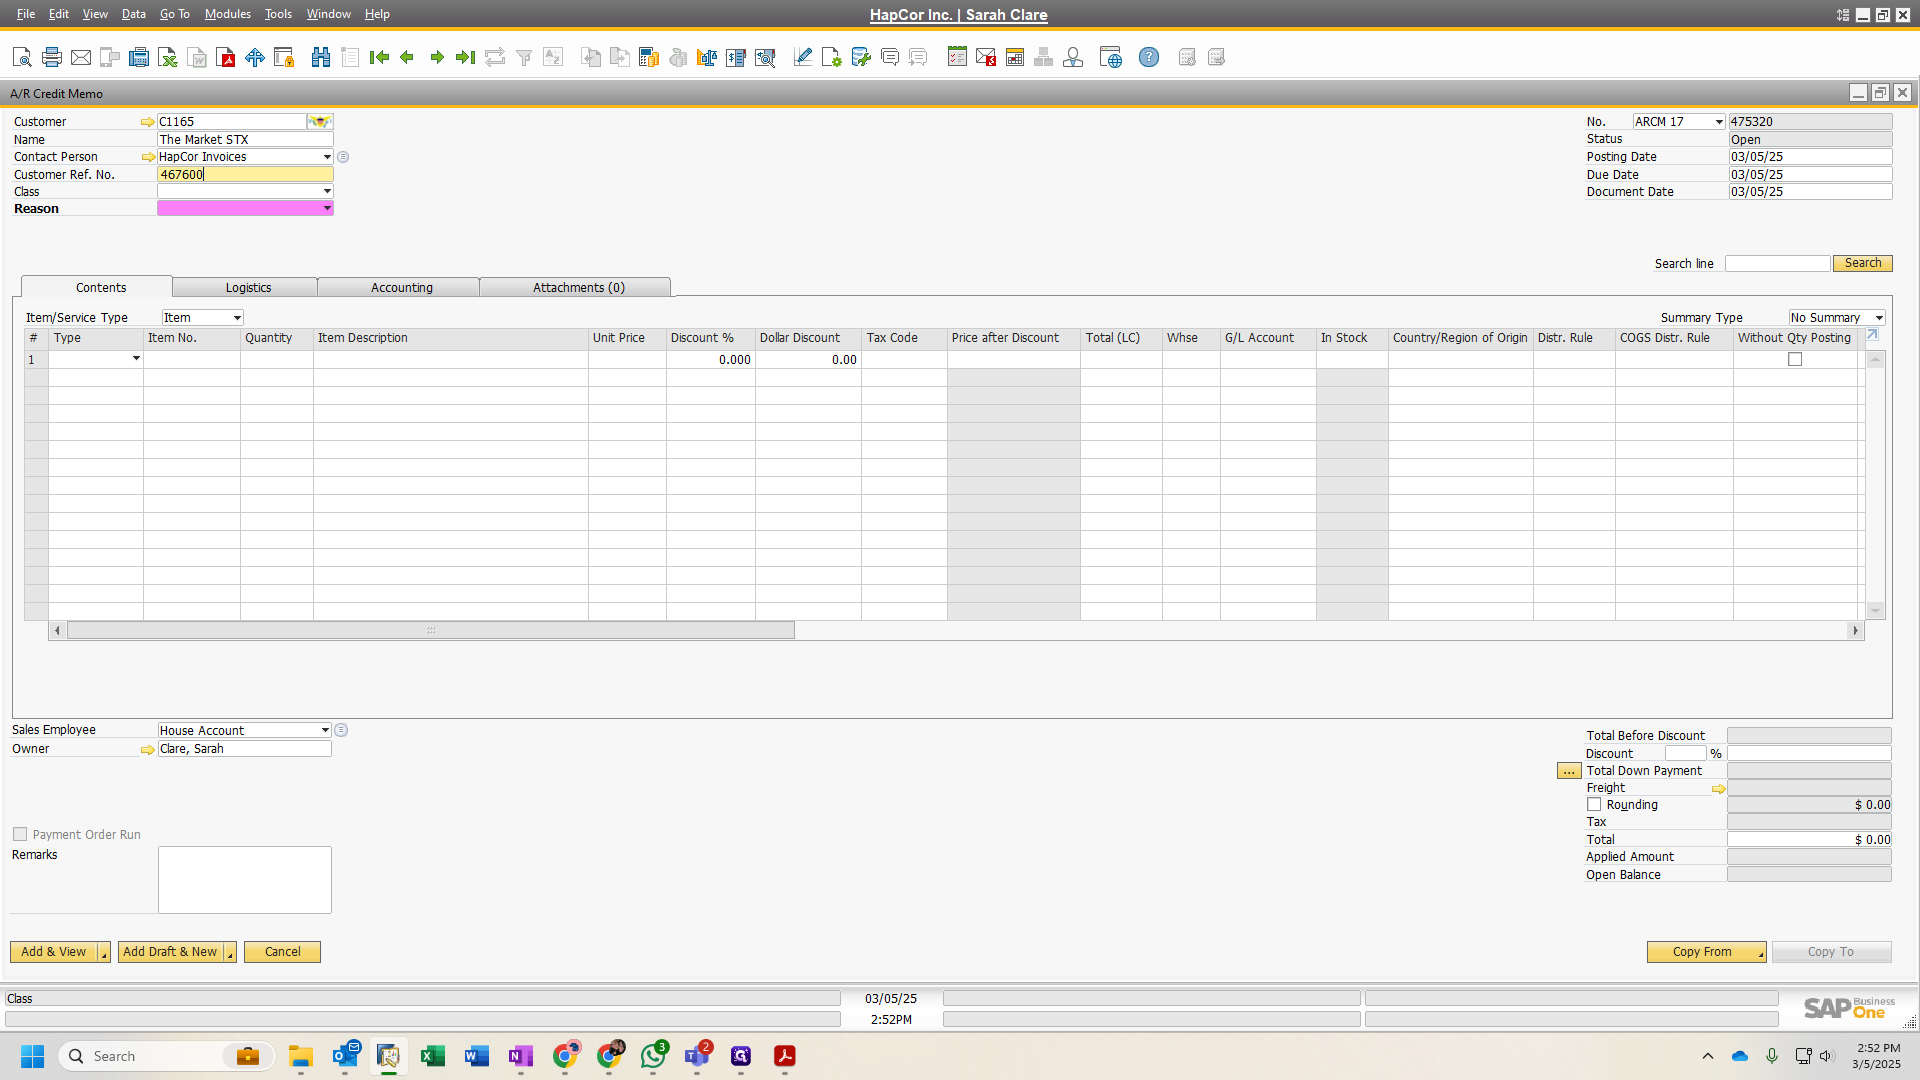
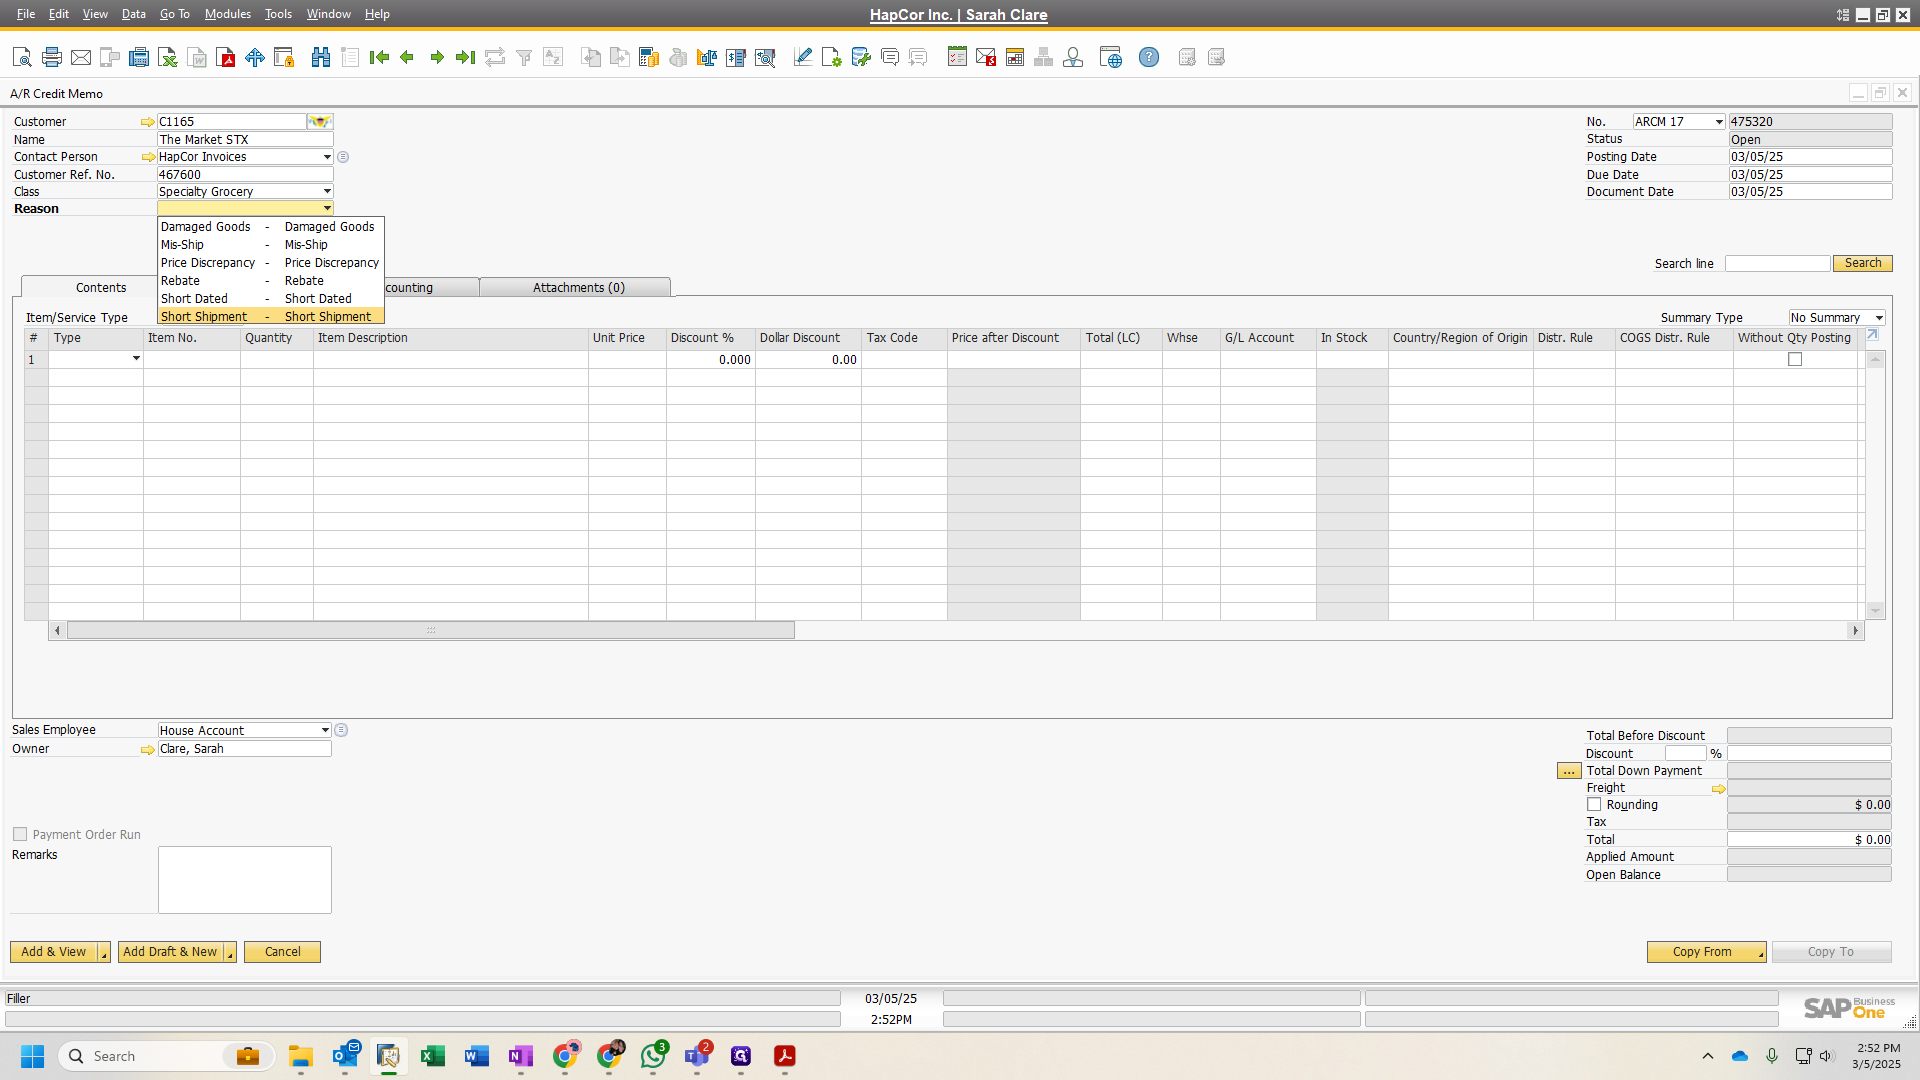
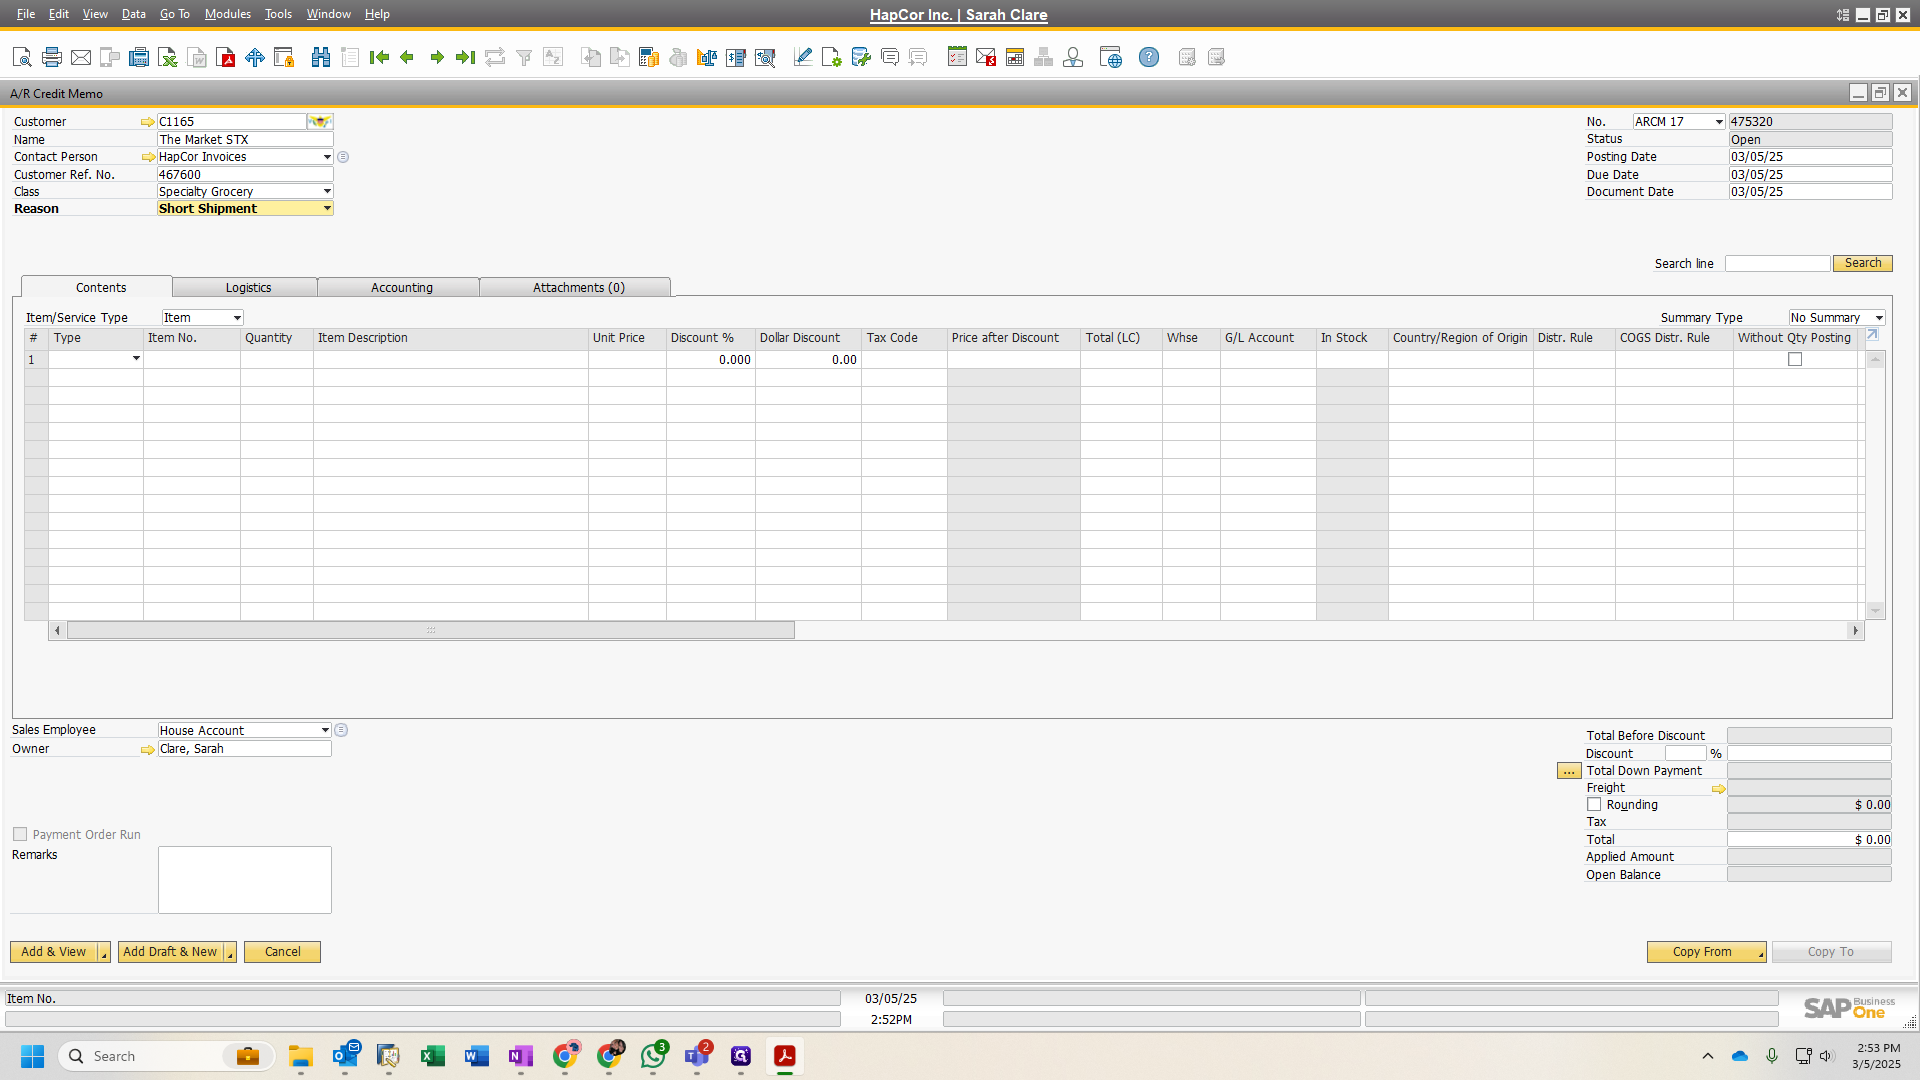
We know this was short-shipped, so we'll choose short shipment.
Refer to our credit note; the item number is listed under the code.

In SAP, enter that under the item number.
Next, set the quantity to 2. Ensure the unit price matches the unit price on the customer's credit memo.
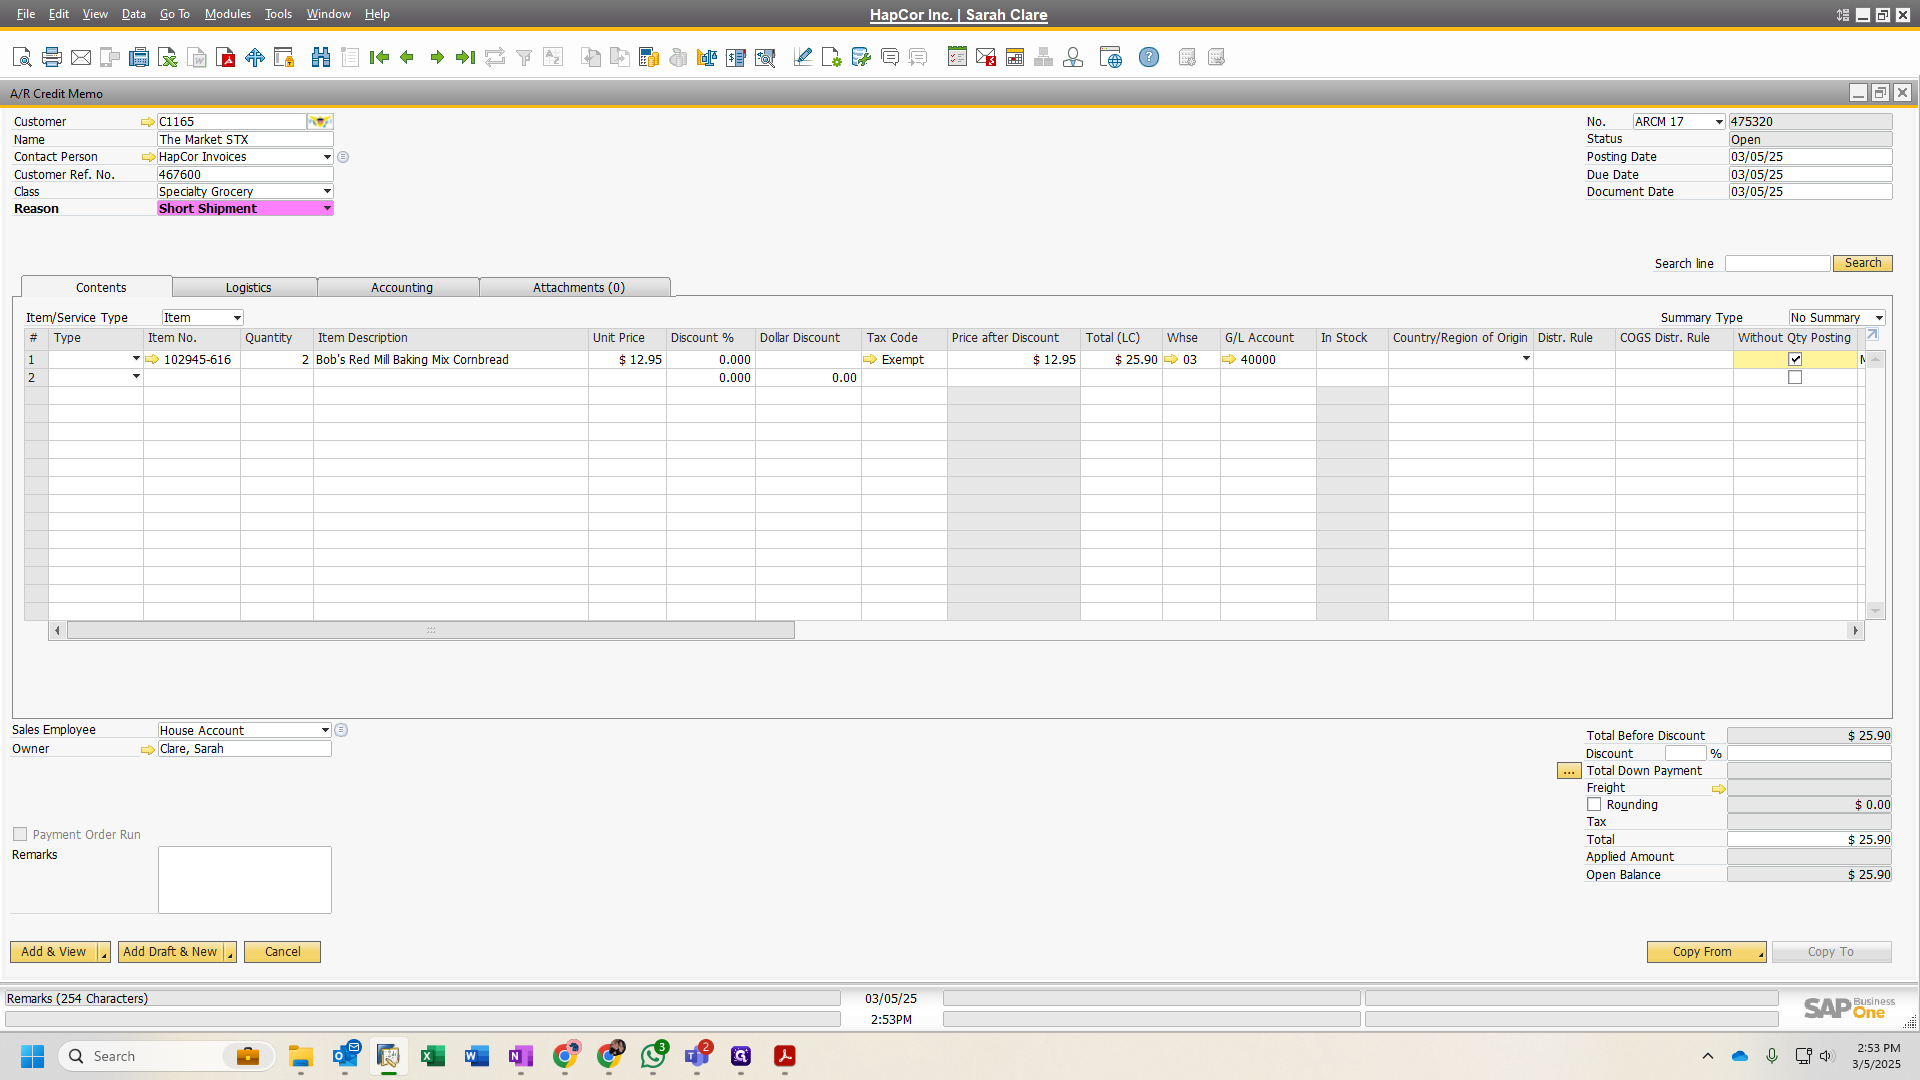
Click the box labeled "without quantity."
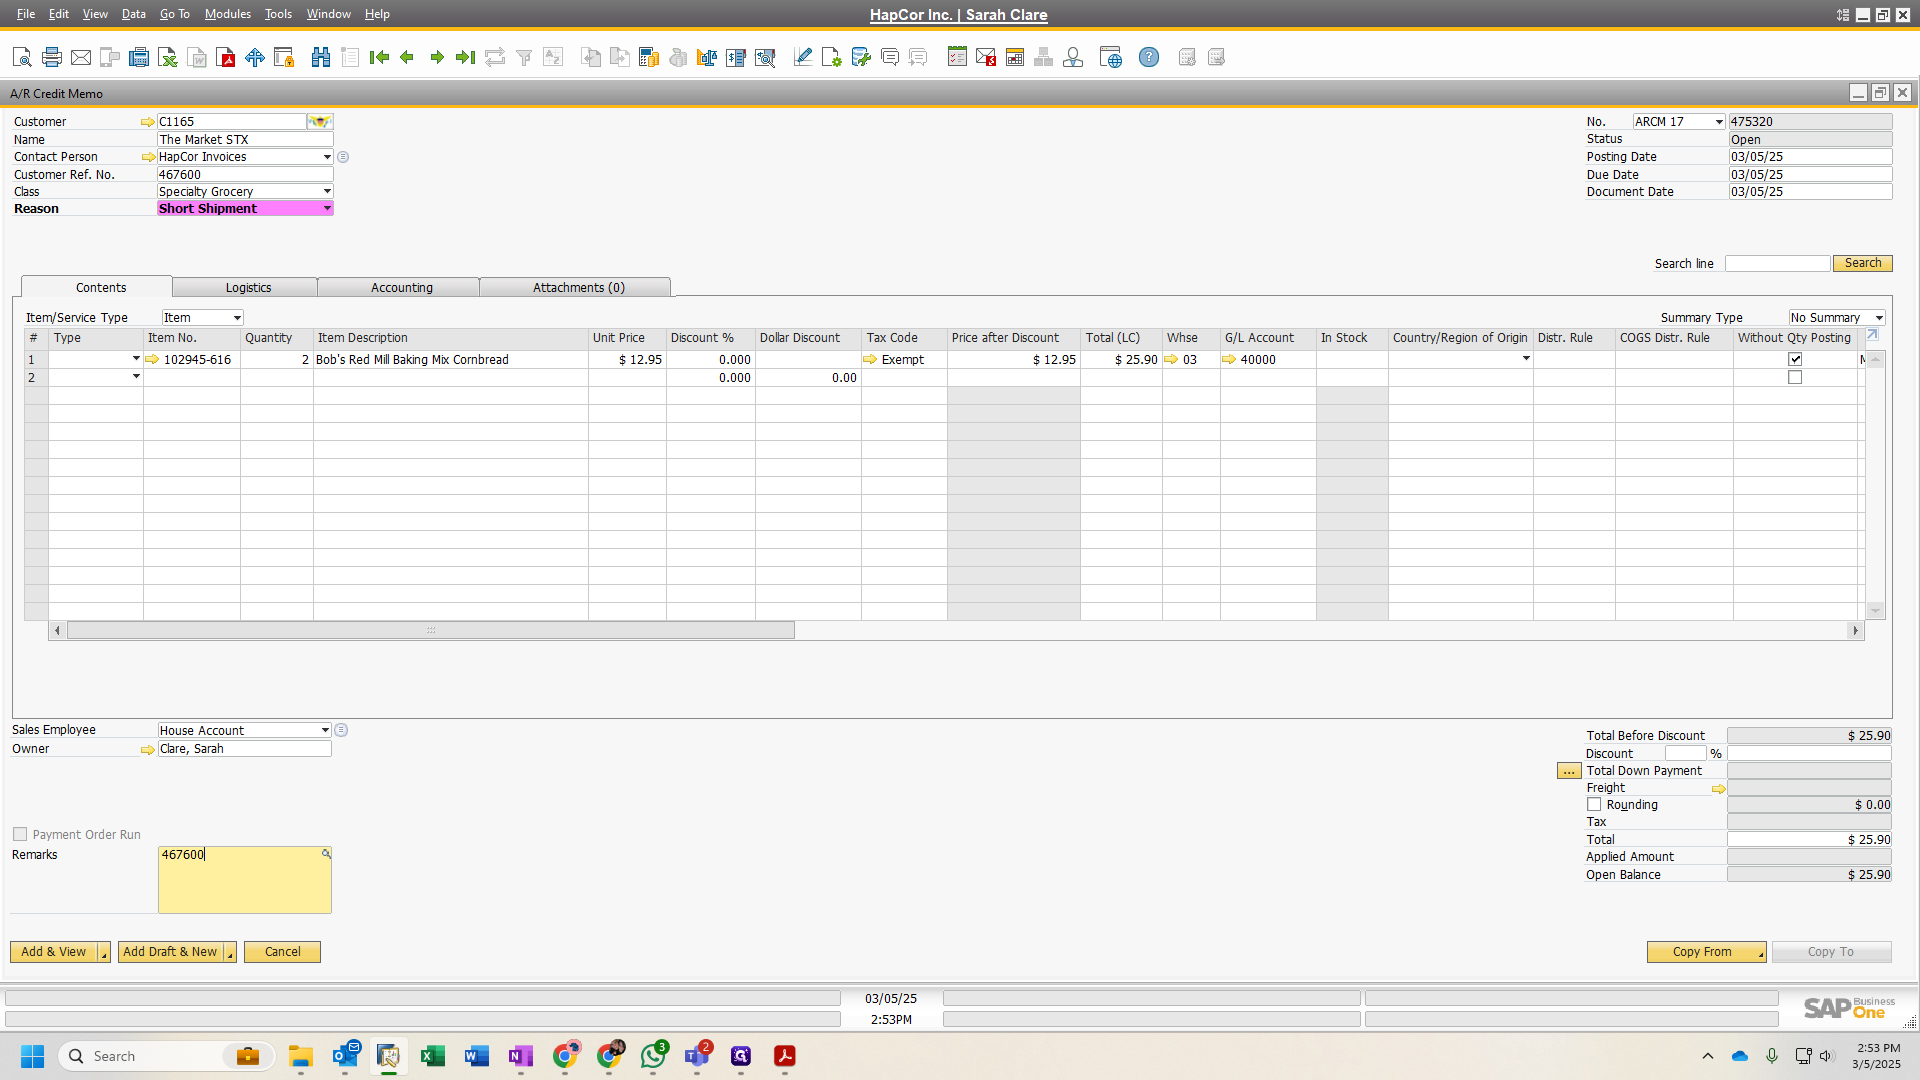
This ensures the credit note doesn't affect inventory. Typically, an AR credit memo would return inventory to stock. Since we don't want to do that, we'll select this button. In the remarks section at the bottom, we'll enter the invoice number again.
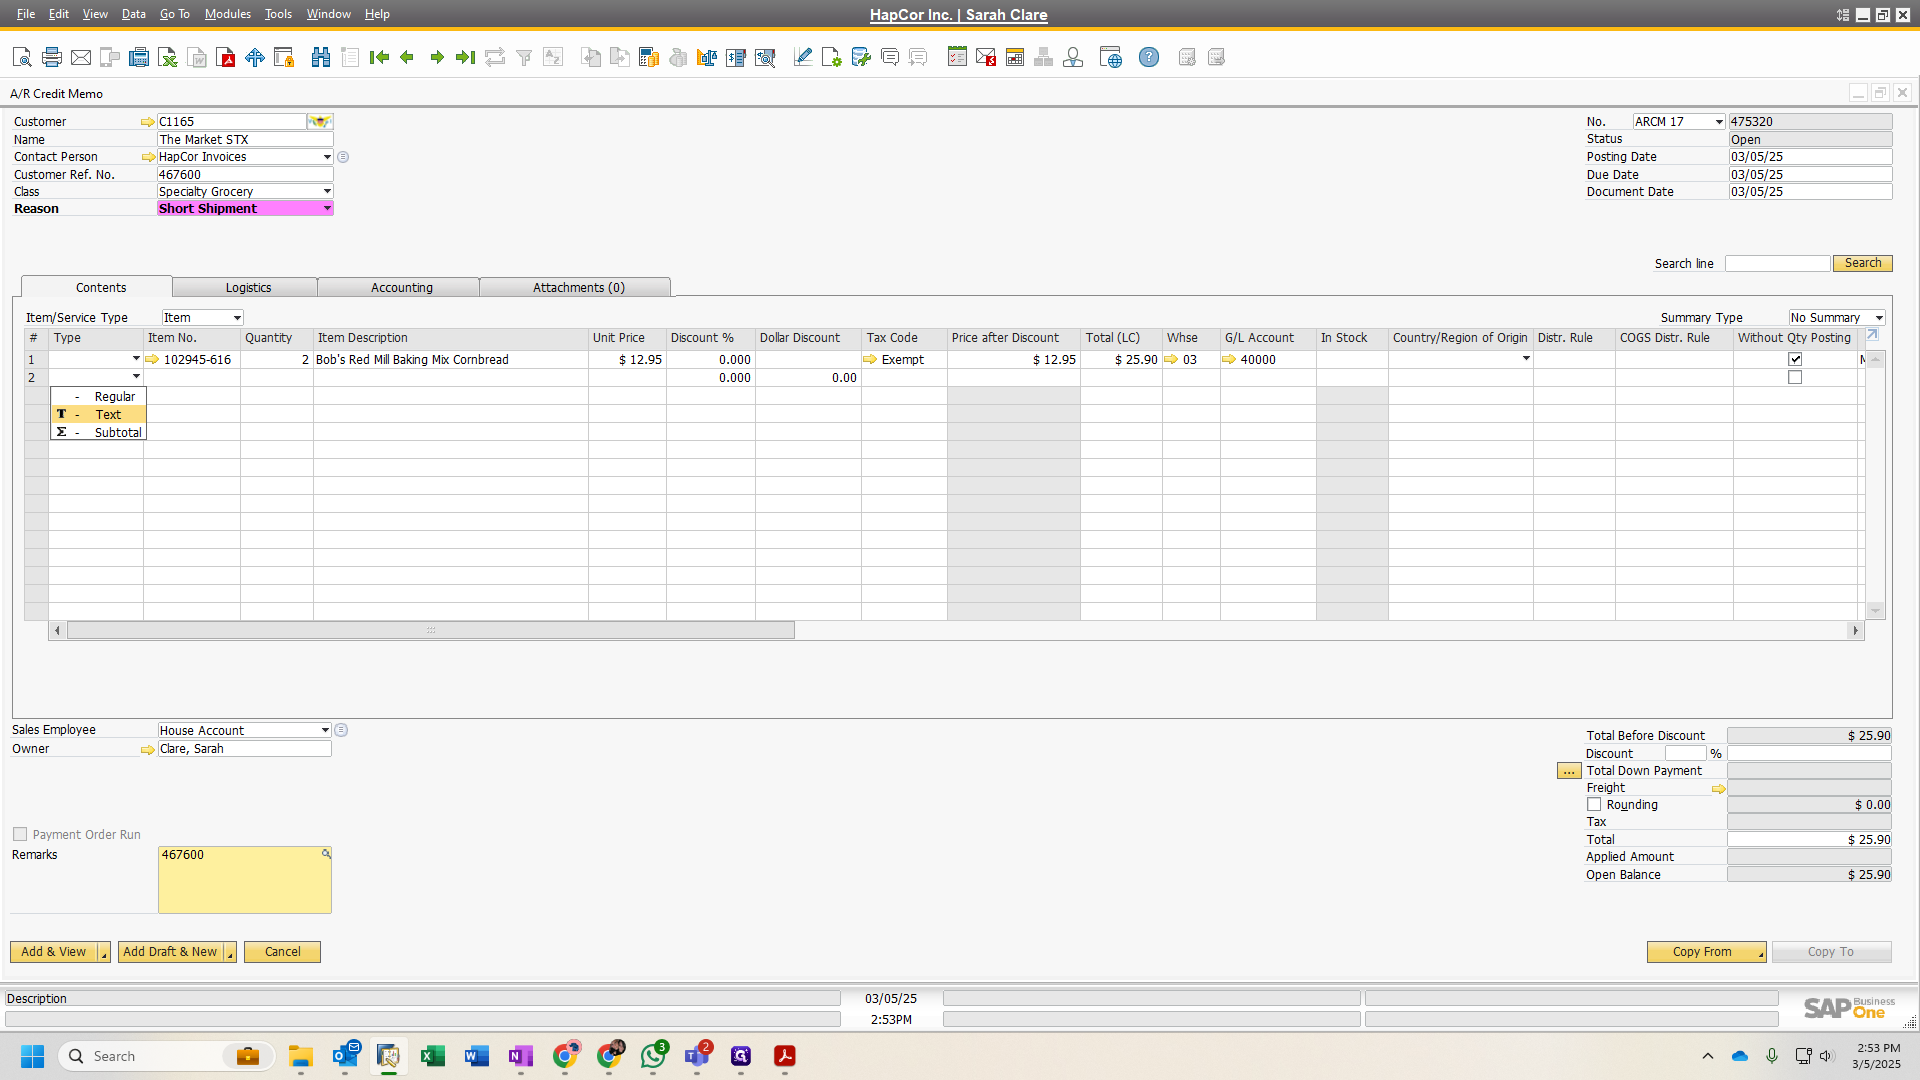
On line two, select the text and provide a brief description of the reason for the credit note.

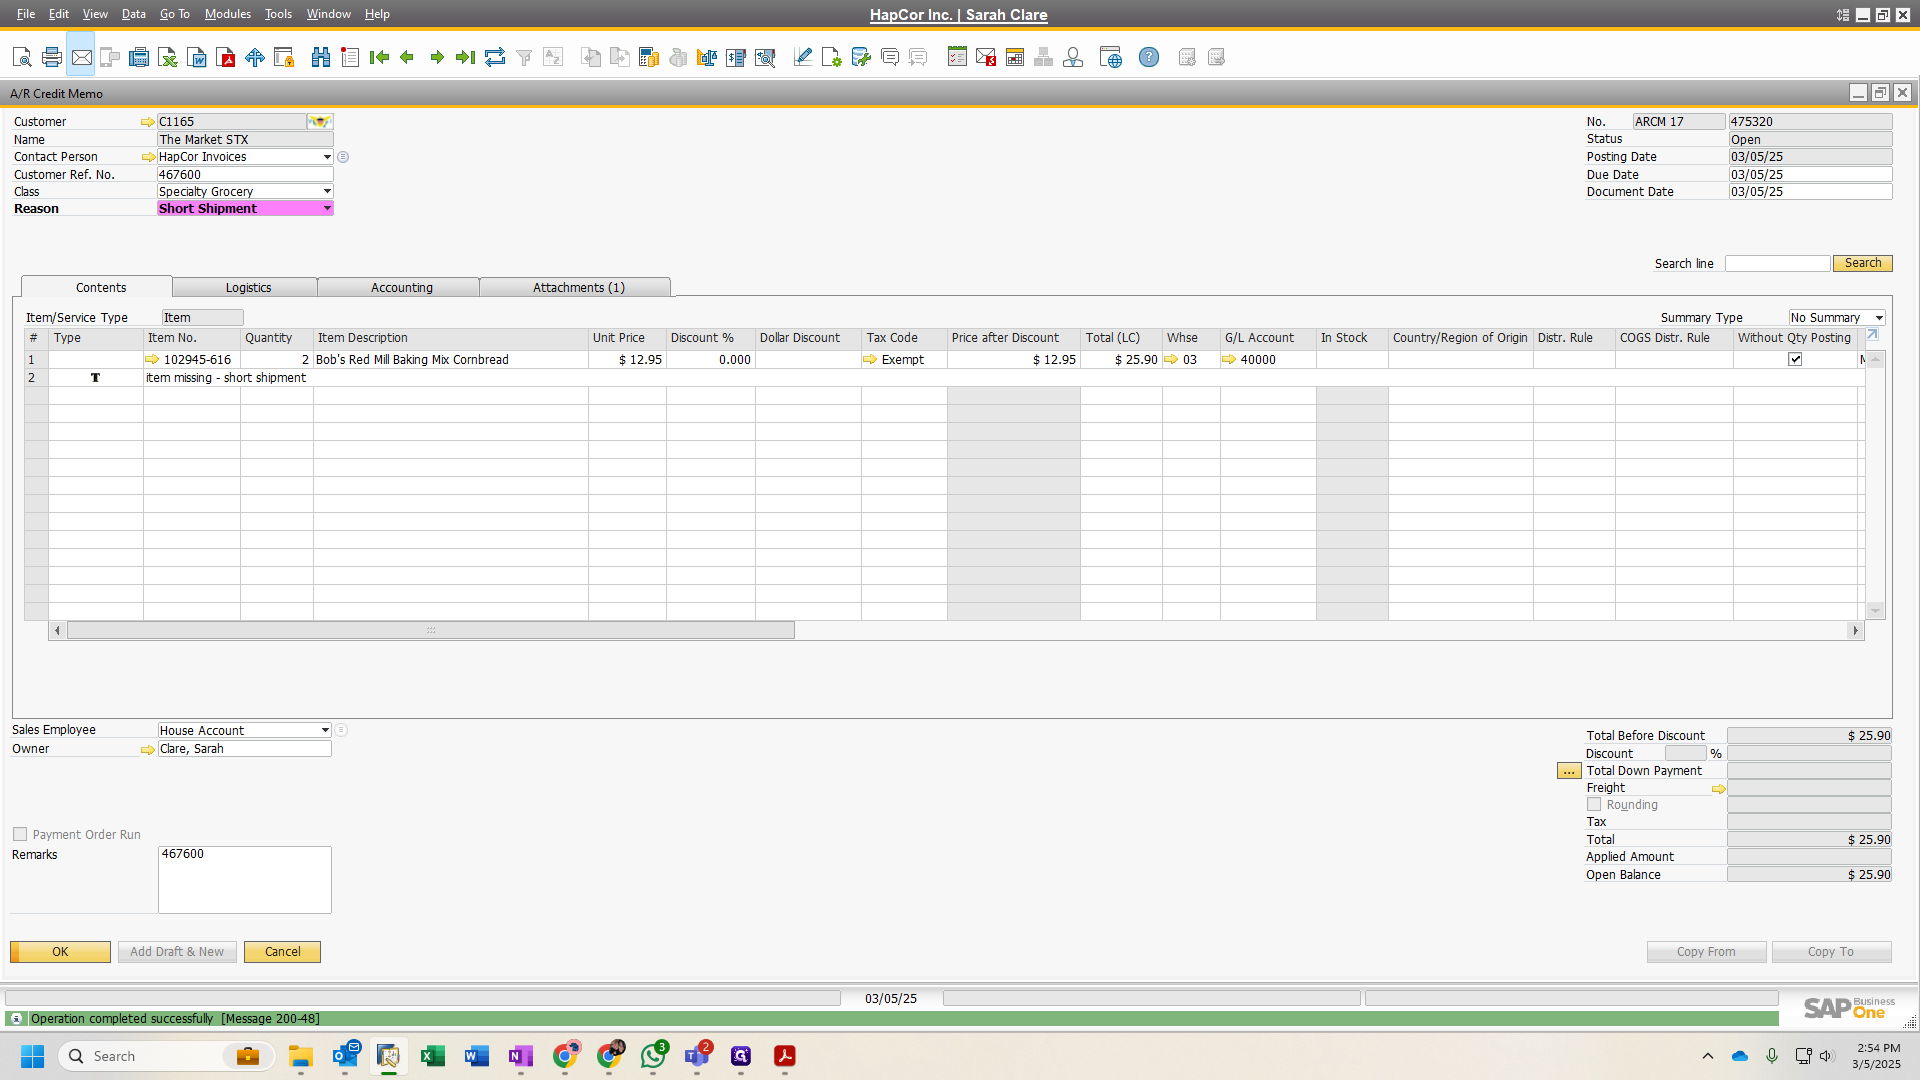
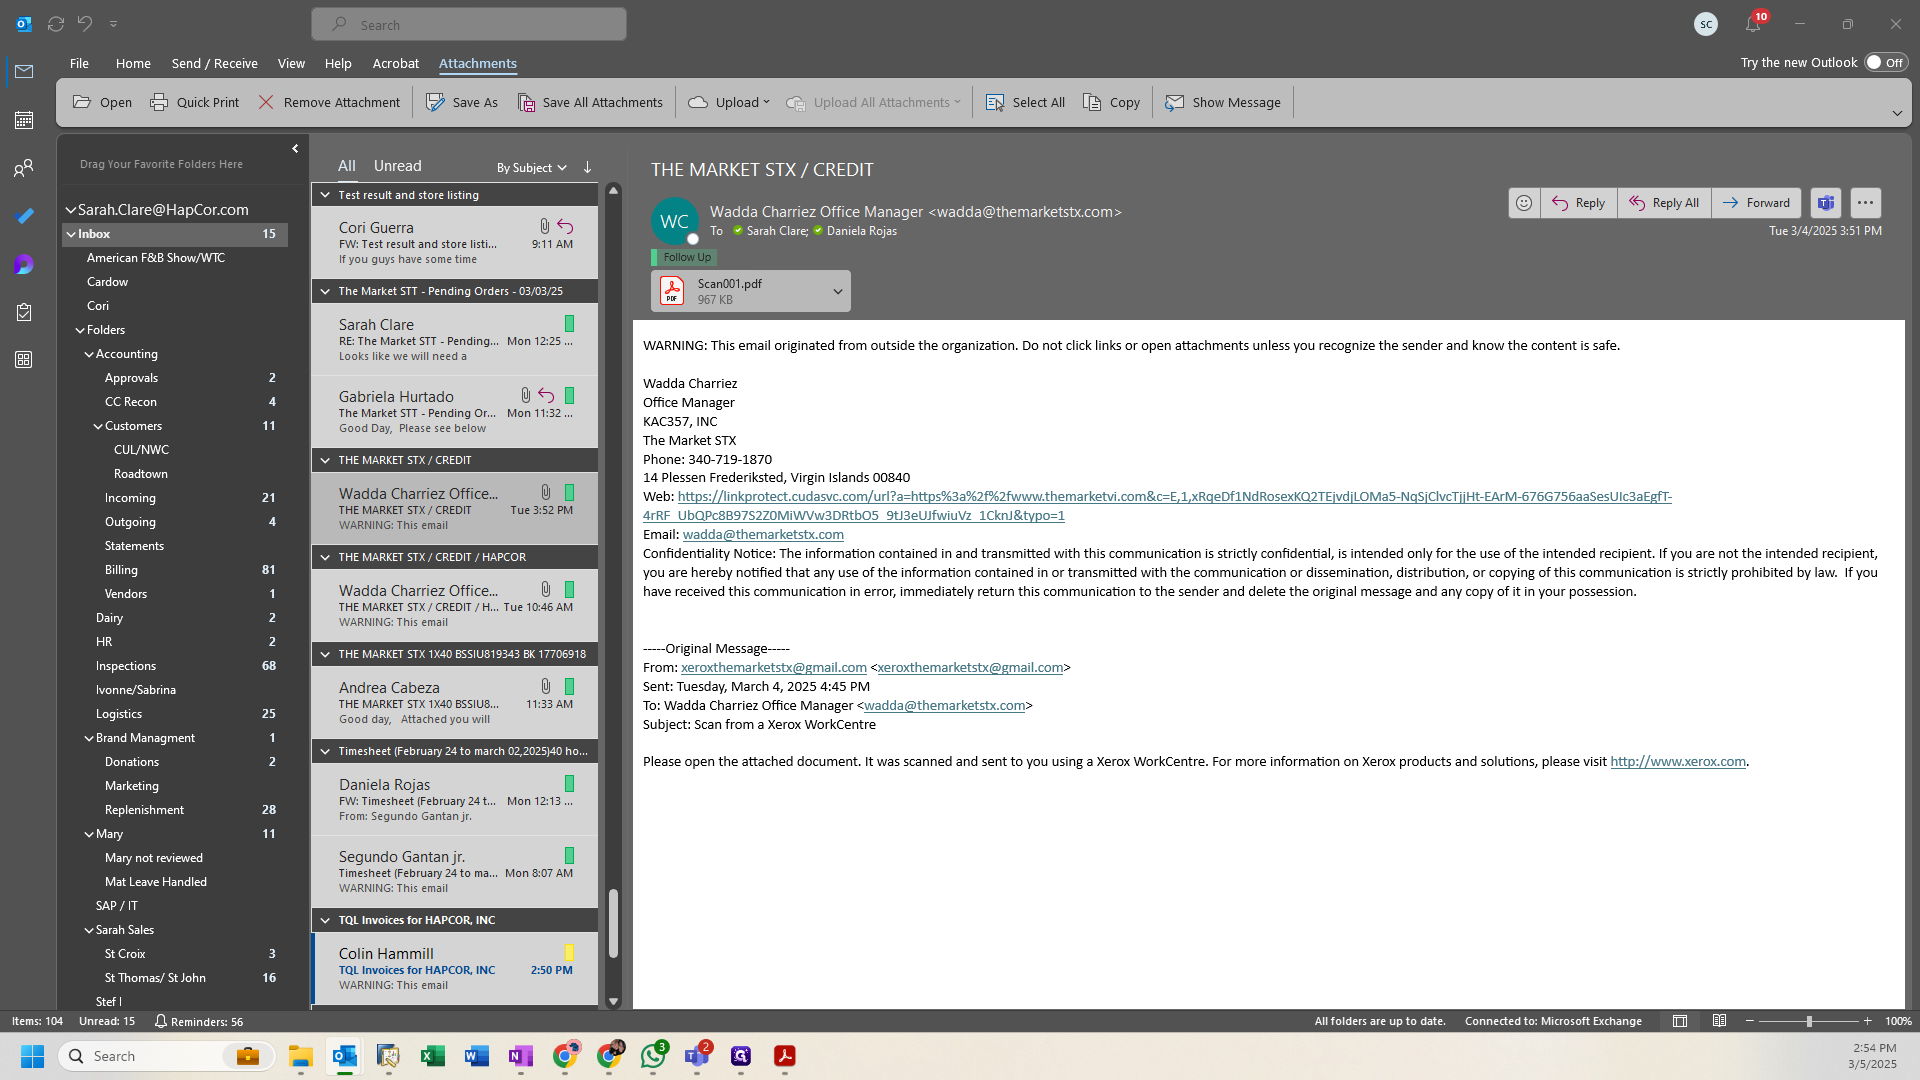
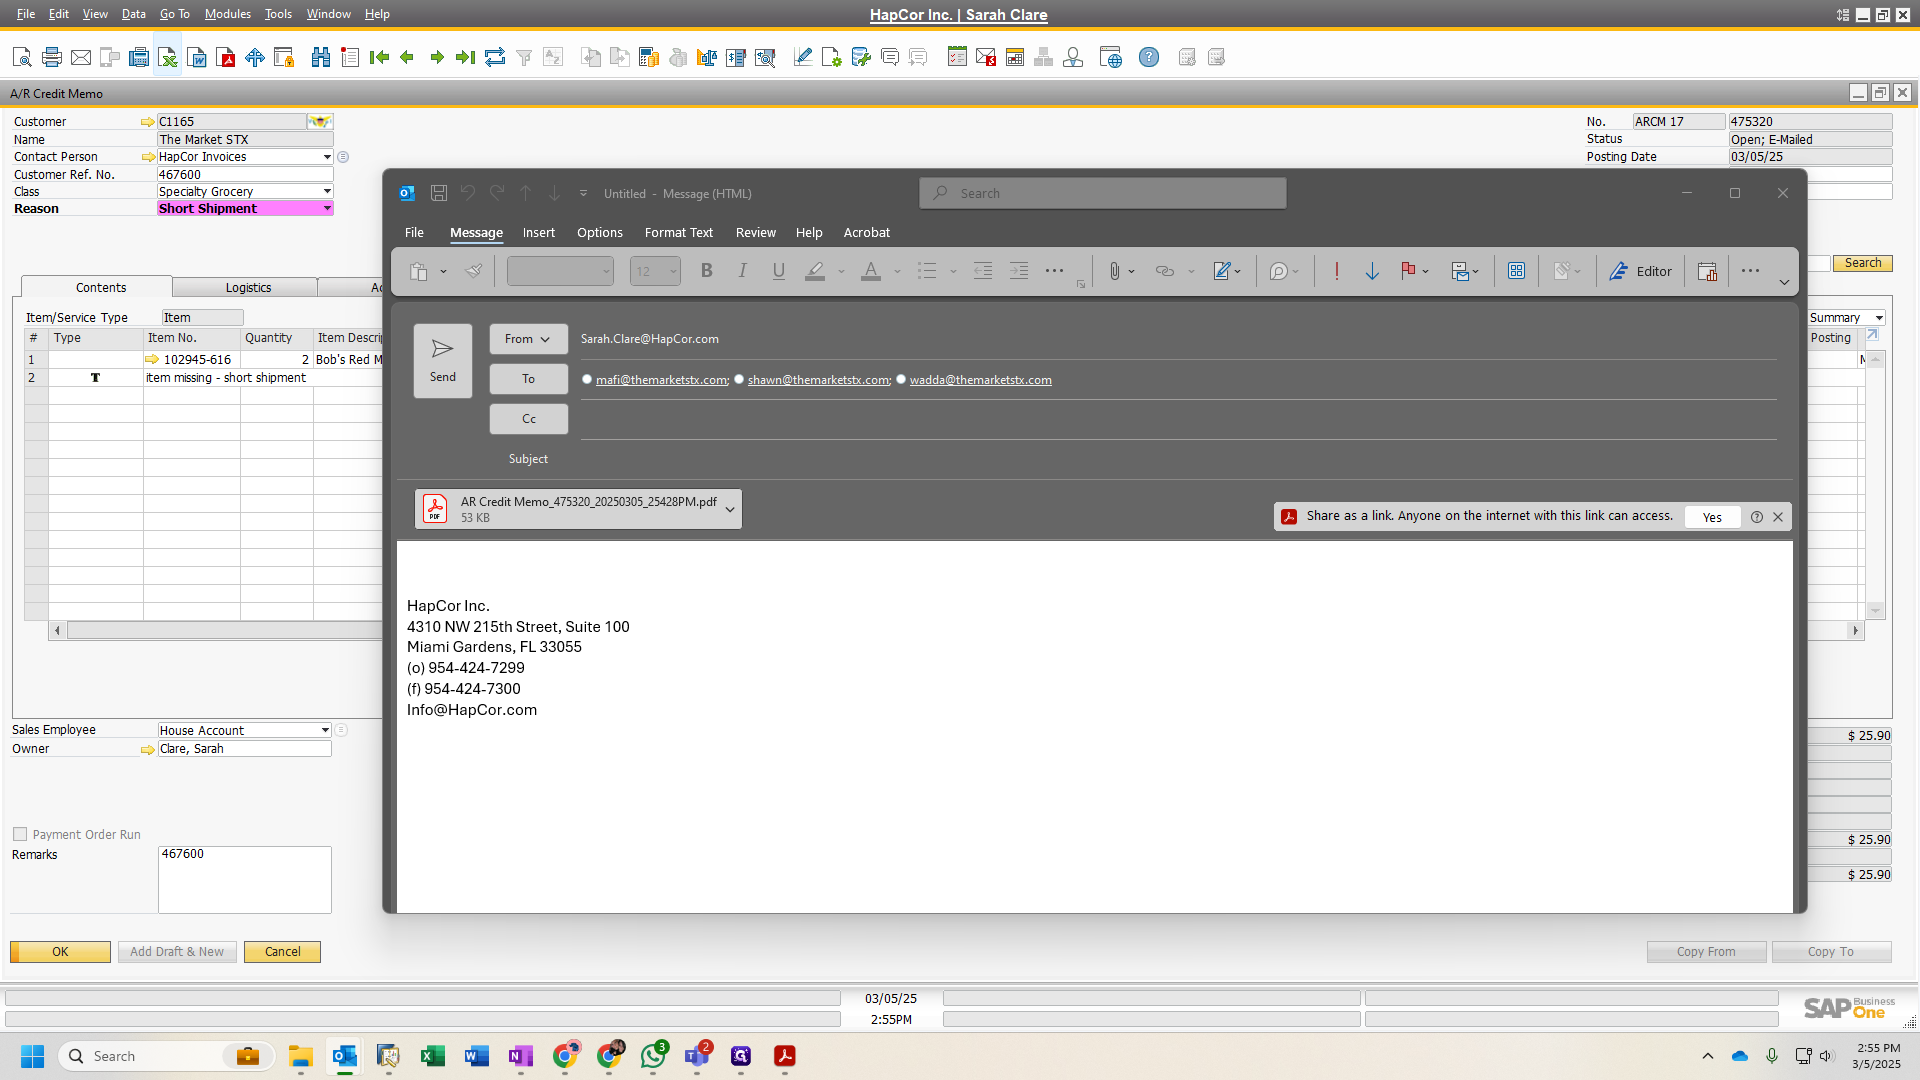
At the bottom, open our Outlook email. Locate the email that was sent to us and drag and drop it into SAP.
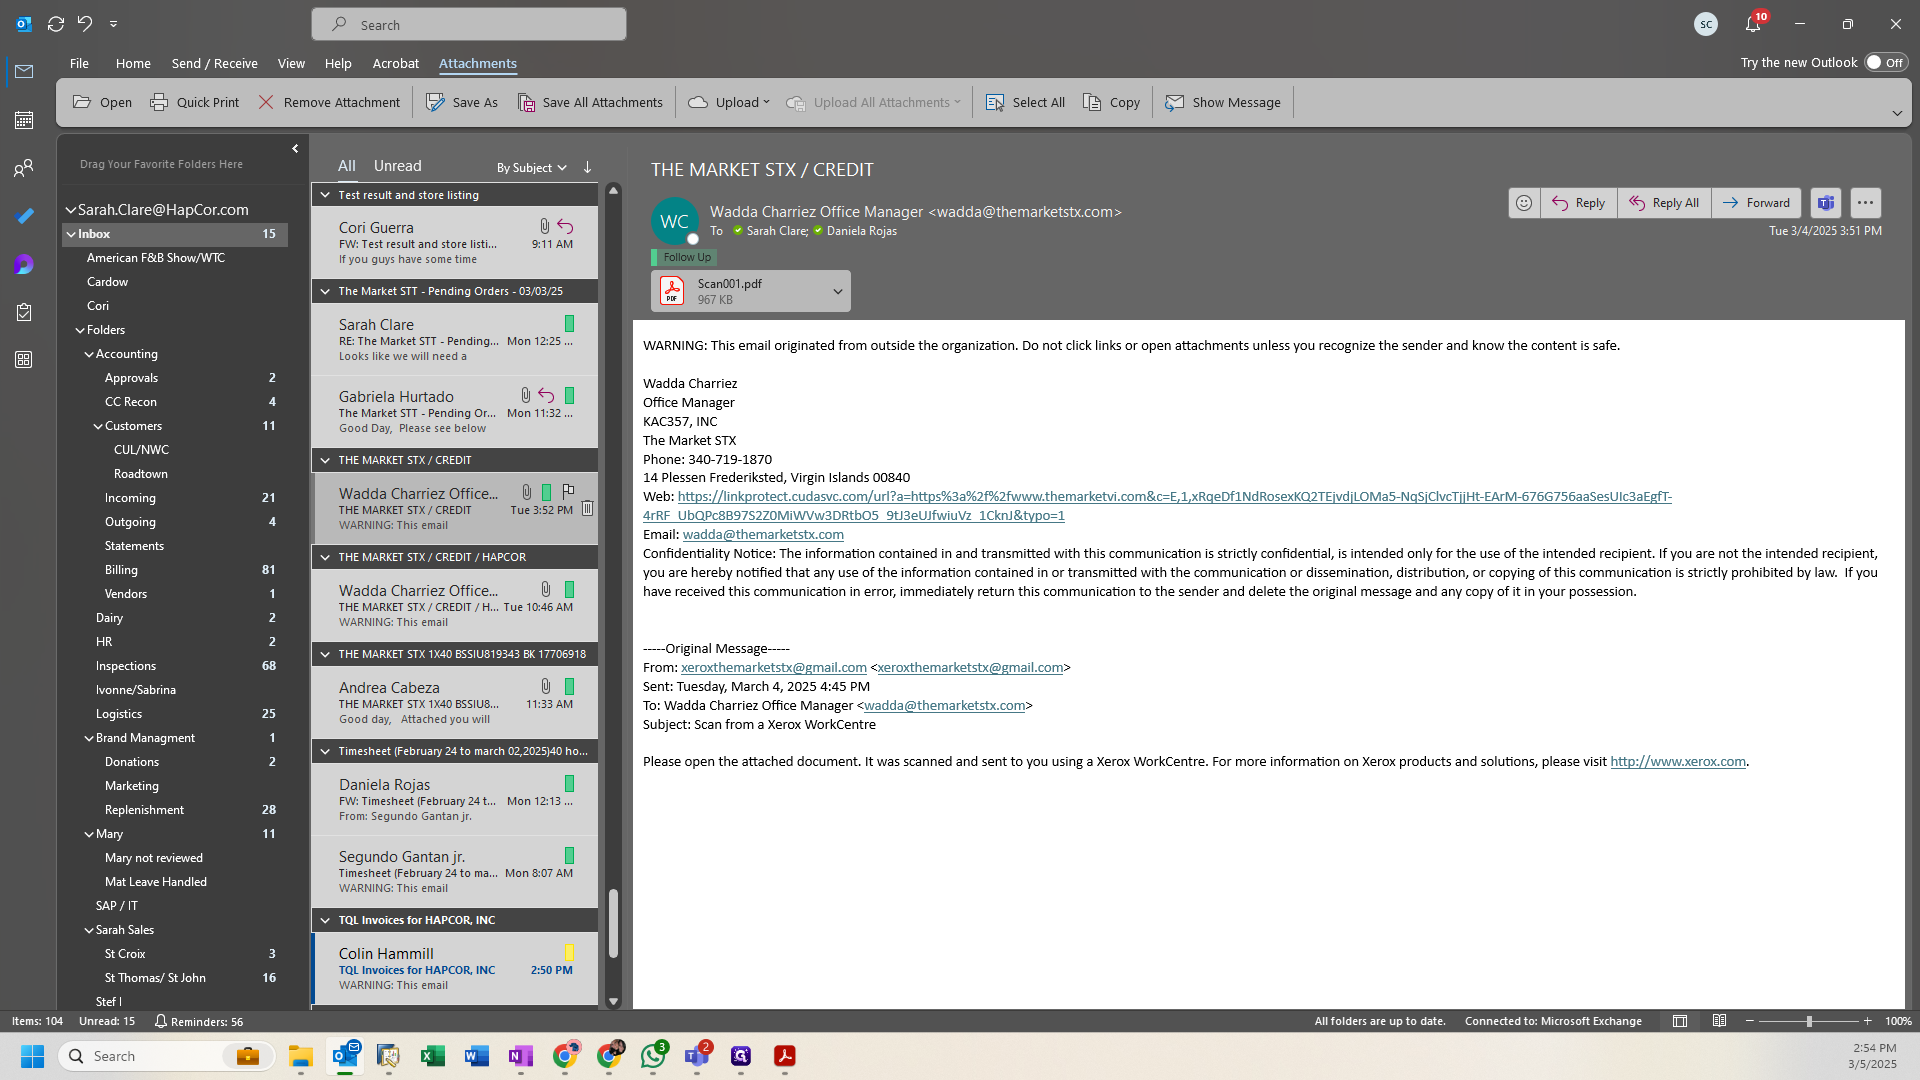
Here, we'll open the attachments. You can see the attachment, which shows the reasoning for why the credit was issued.
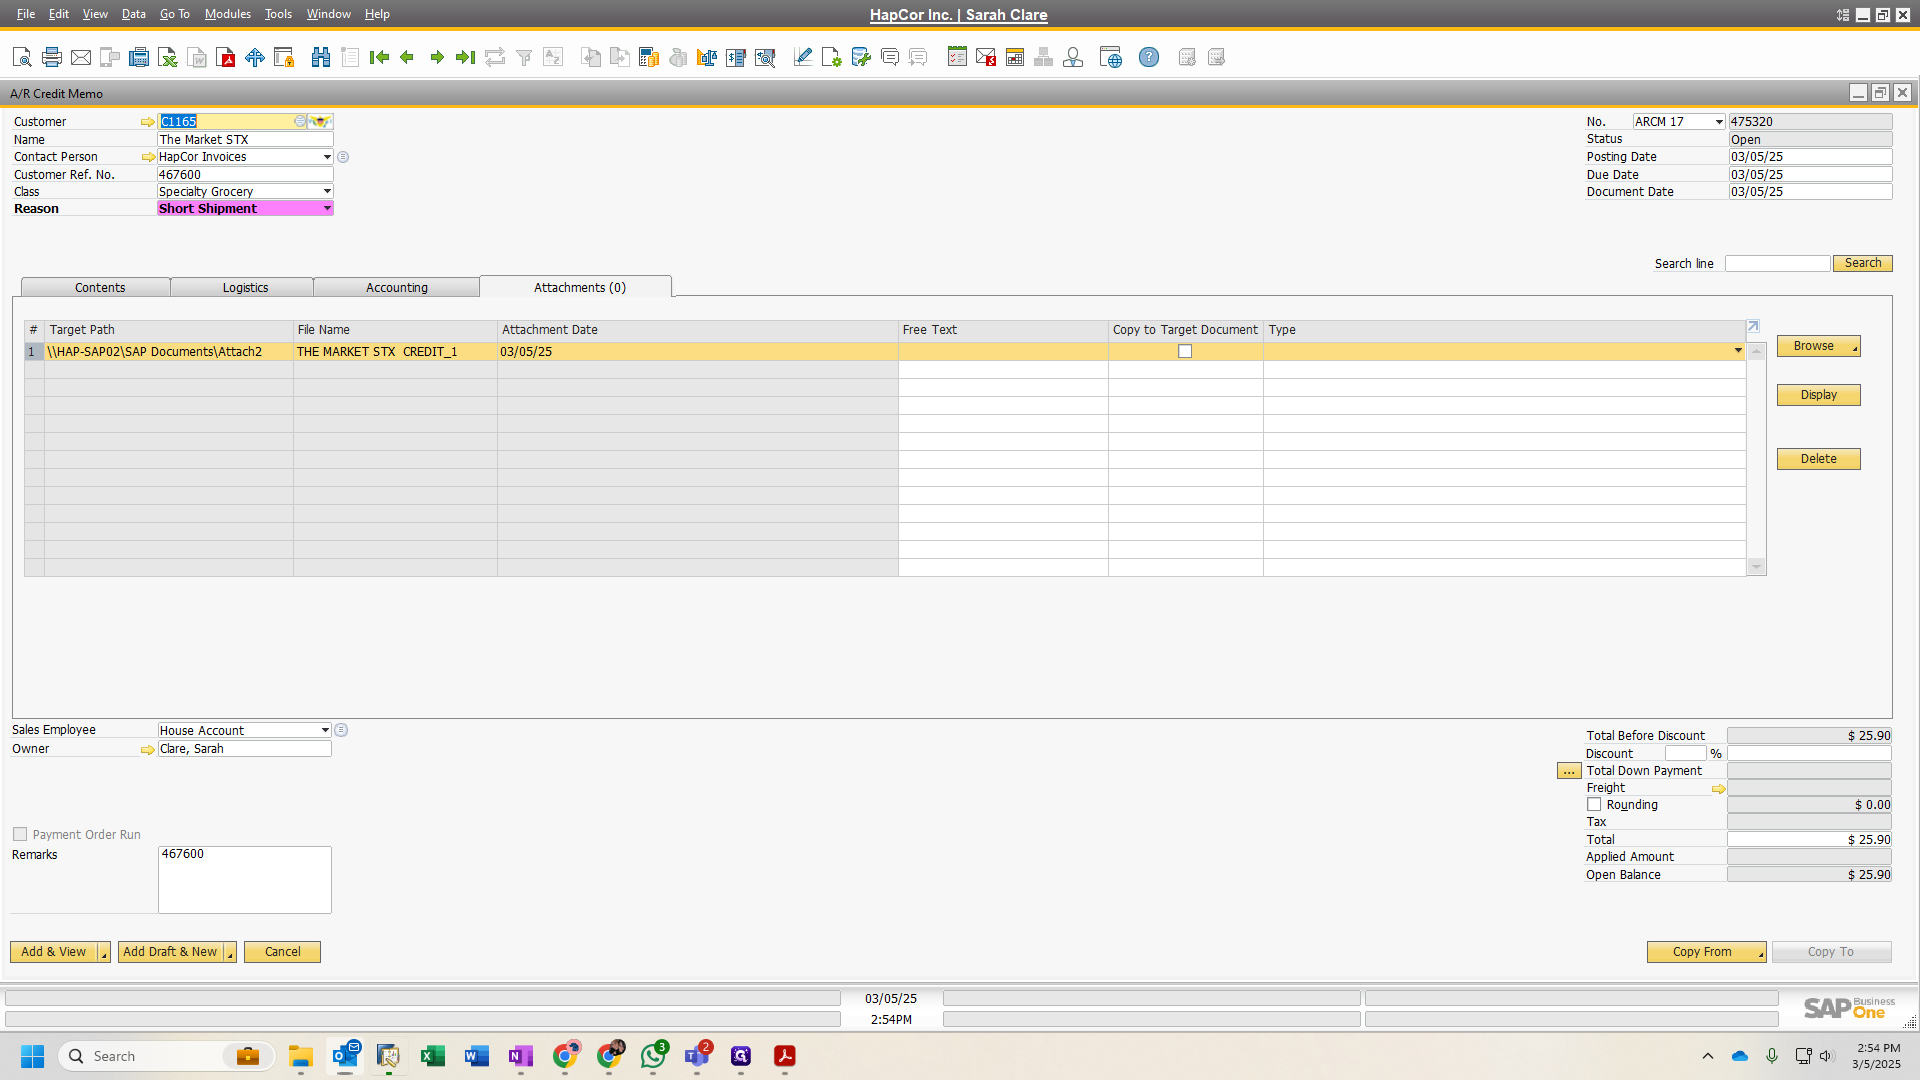
Return to the contents and review everything to ensure it appears as it should. If everything is correct, click "Add and View" at the bottom.
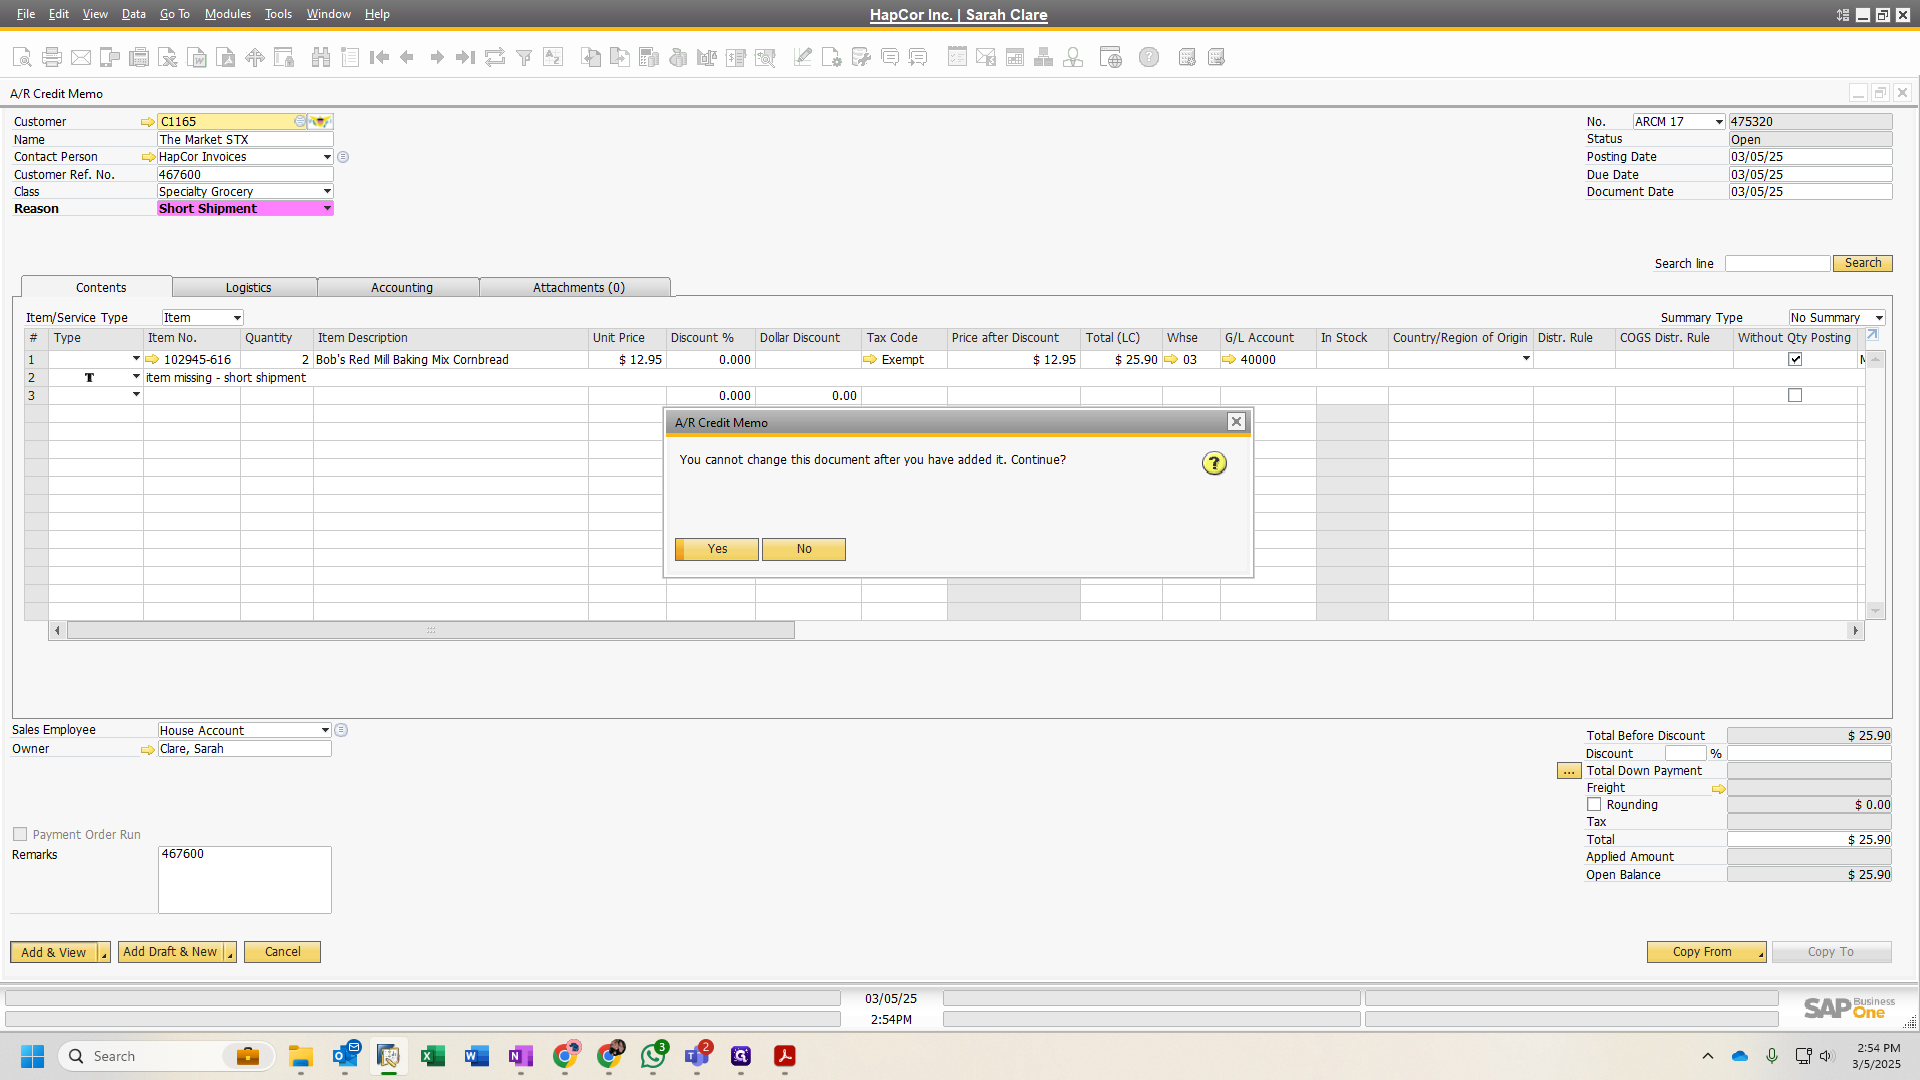
Click "Yes." From the top icon, select "Outlook Email."
This will open the credit note in an email, allowing us to easily send it to our customer.
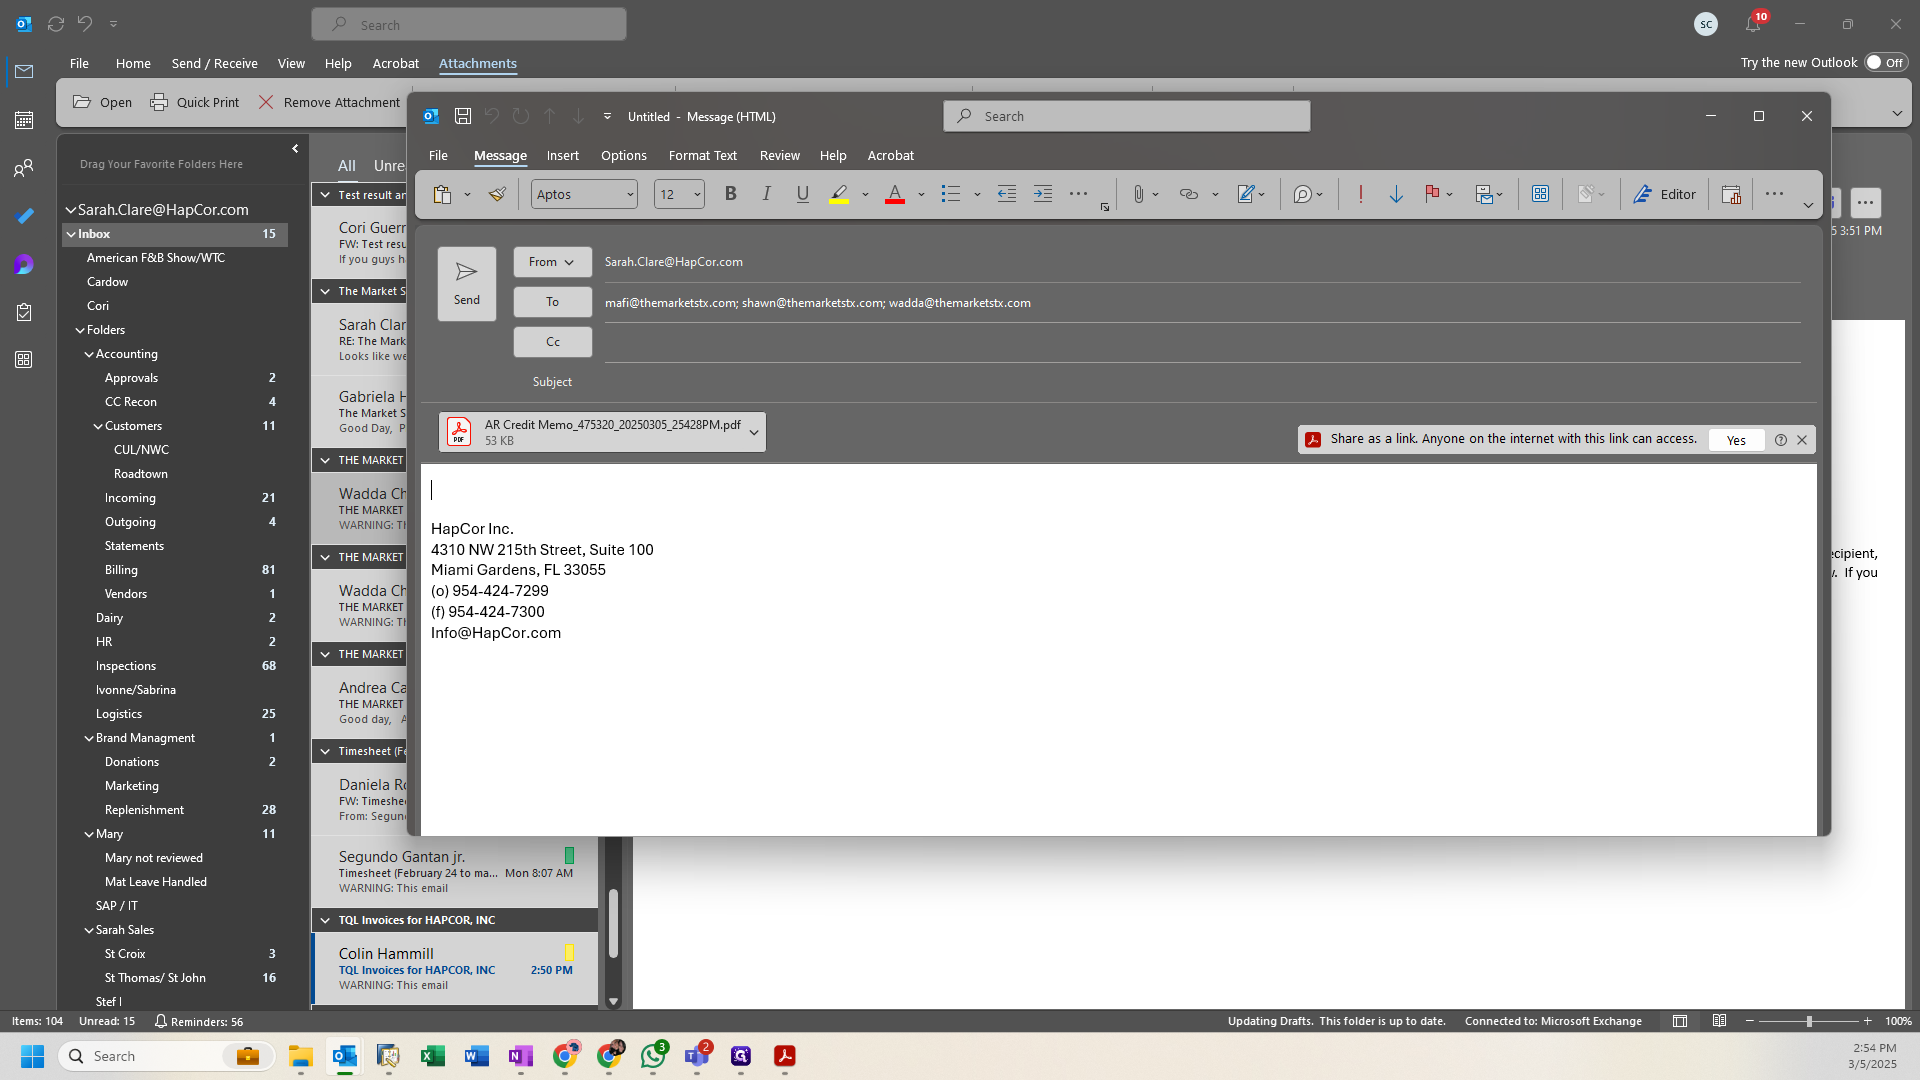
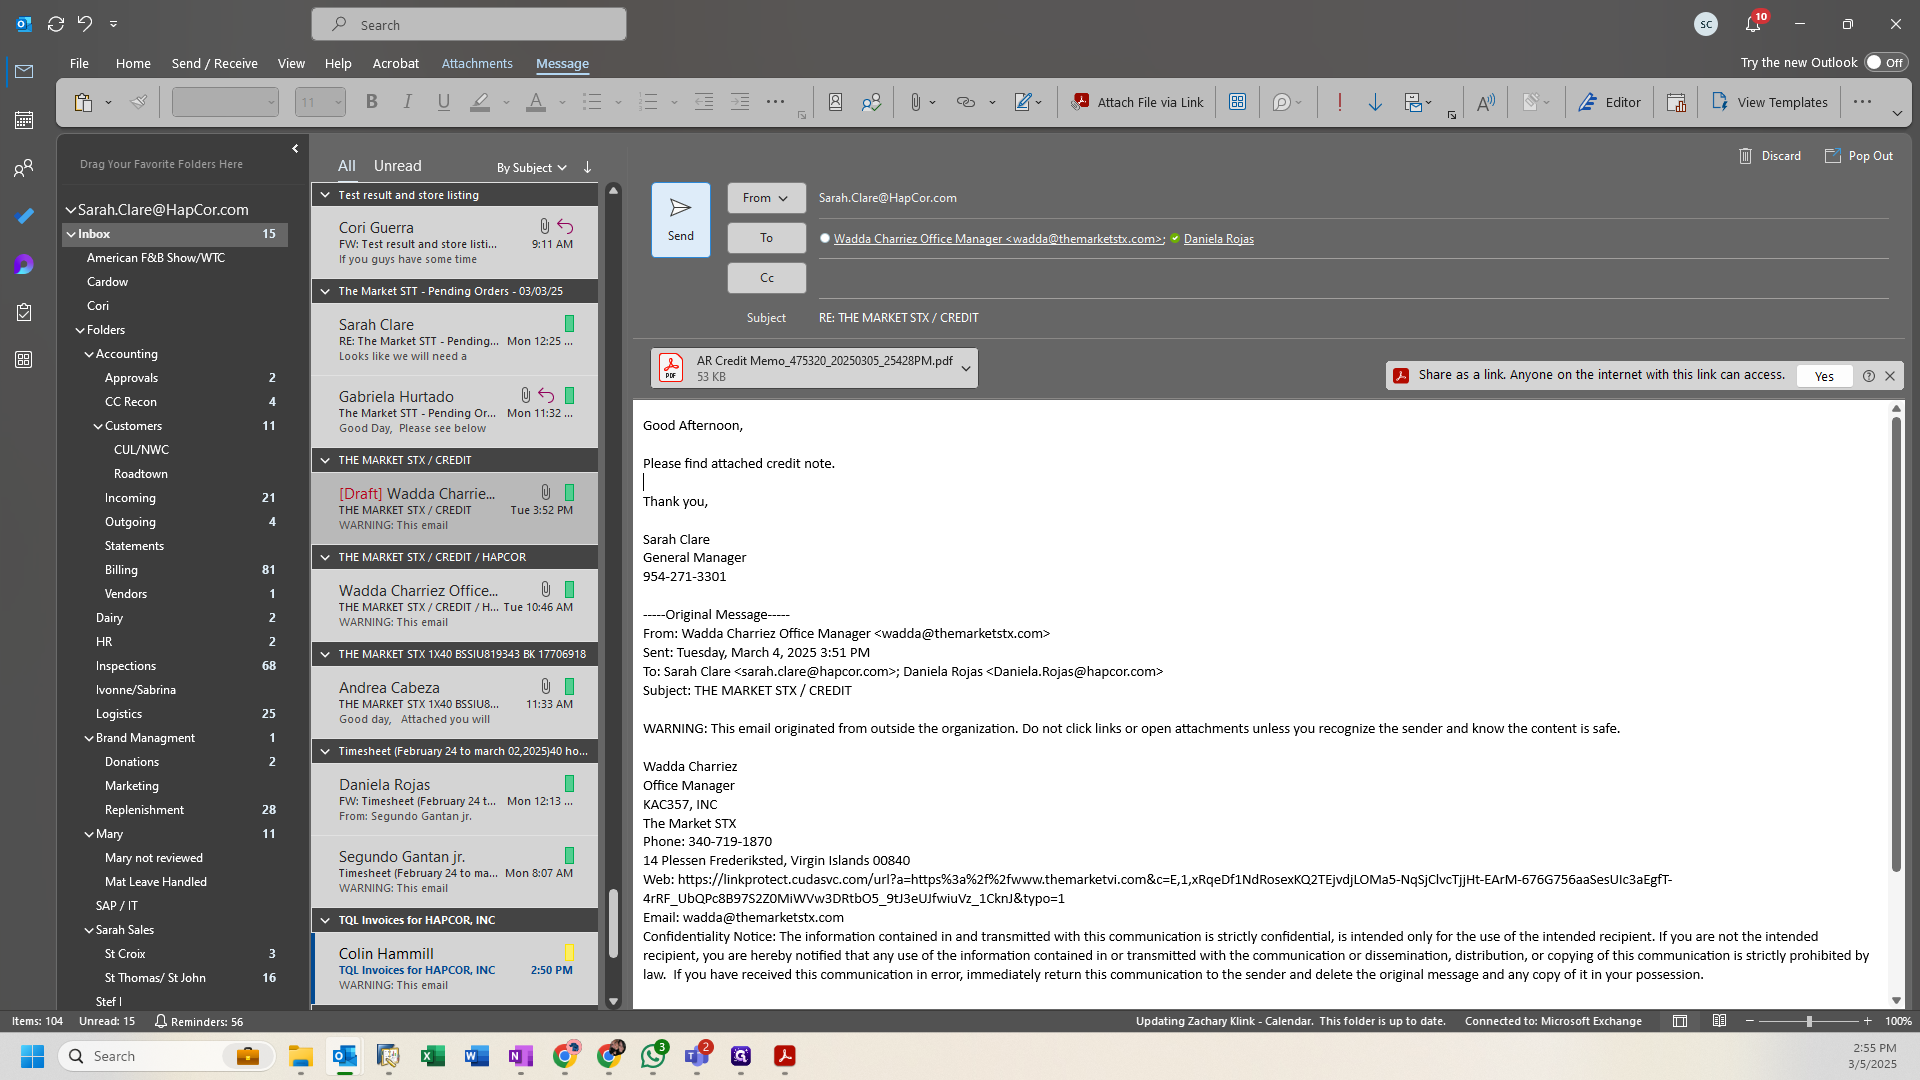
I will check the original email where the customer requested the credit.
Reply to all.
Provide a brief message. Drag the email PDF from the first email and click send.
Close this, and from here, we have completed an AR credit memo.