How to Create a Customer Invoice in Workday: Step-by-Step Guide
Learn how to create a customer invoice in Workday using a Sandbox tenant. This guide covers entering customer details, selecting invoice dates, adding memos, handling refunds, and submitting for approval.
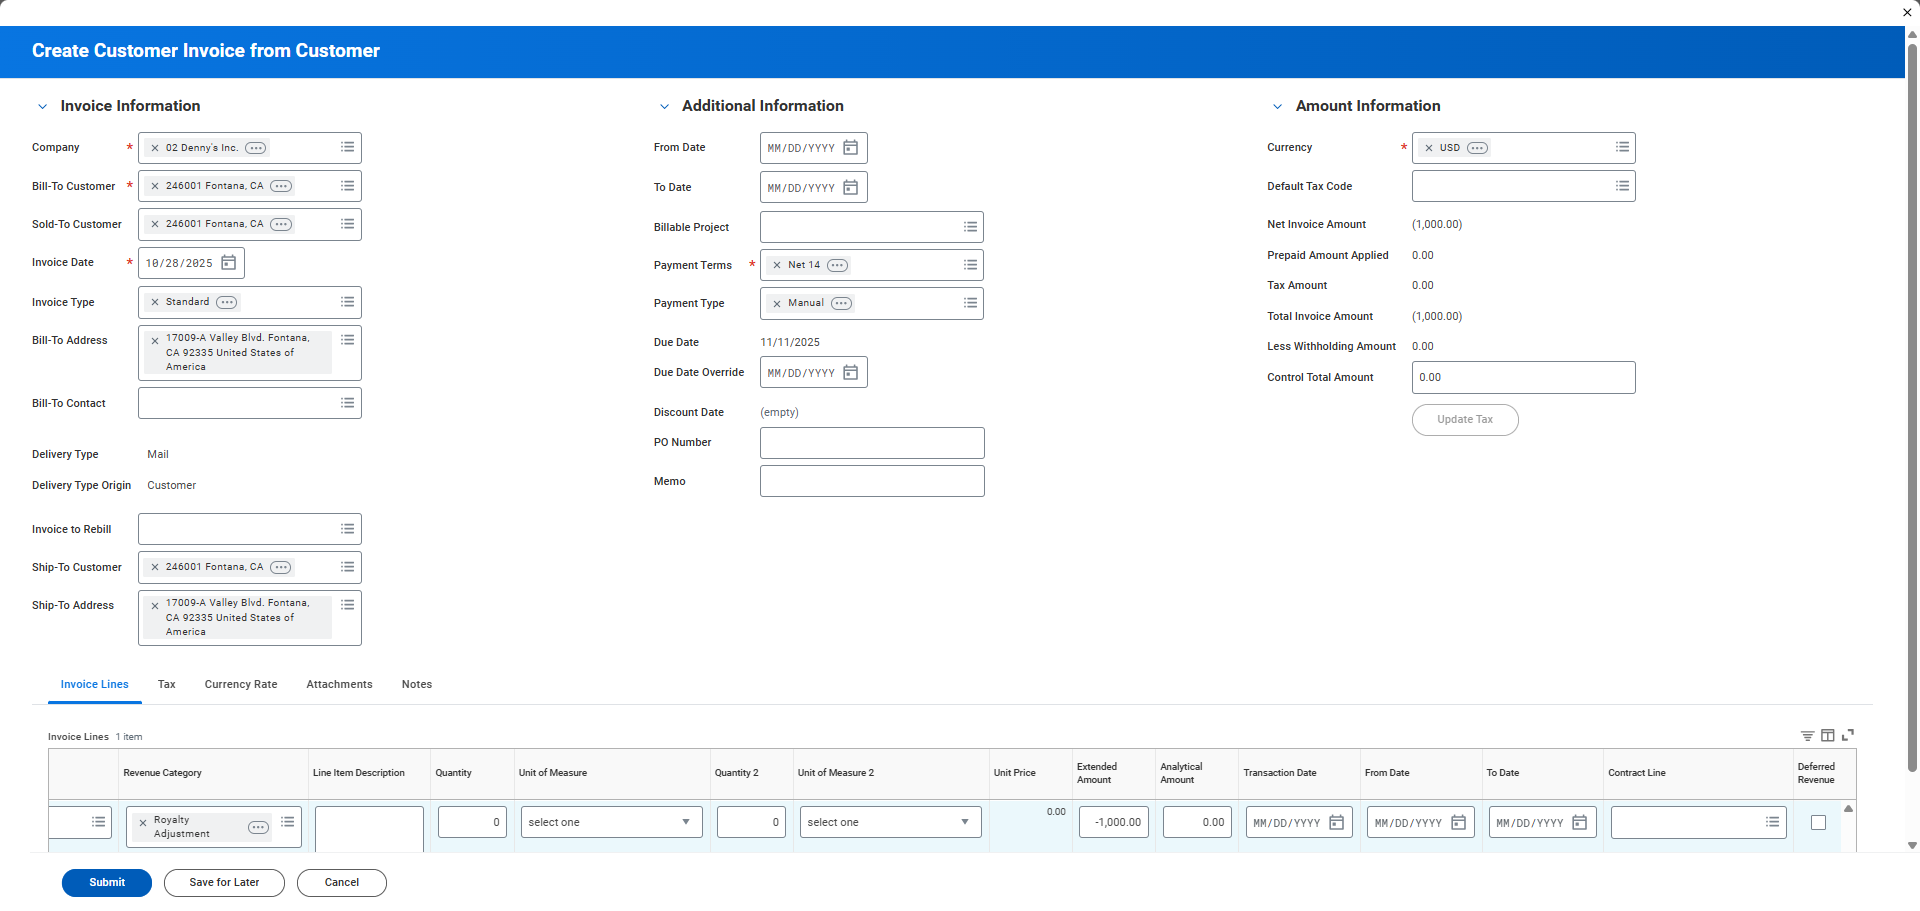
In this guide, we'll learn how to create a customer invoice using the Workday application in a Sandbox environment. This process includes entering customer and company details, selecting invoice dates, specifying revenue categories, and adding memos. We will also cover how to submit the invoice for approval and view the related accounting journal.
Let's get started
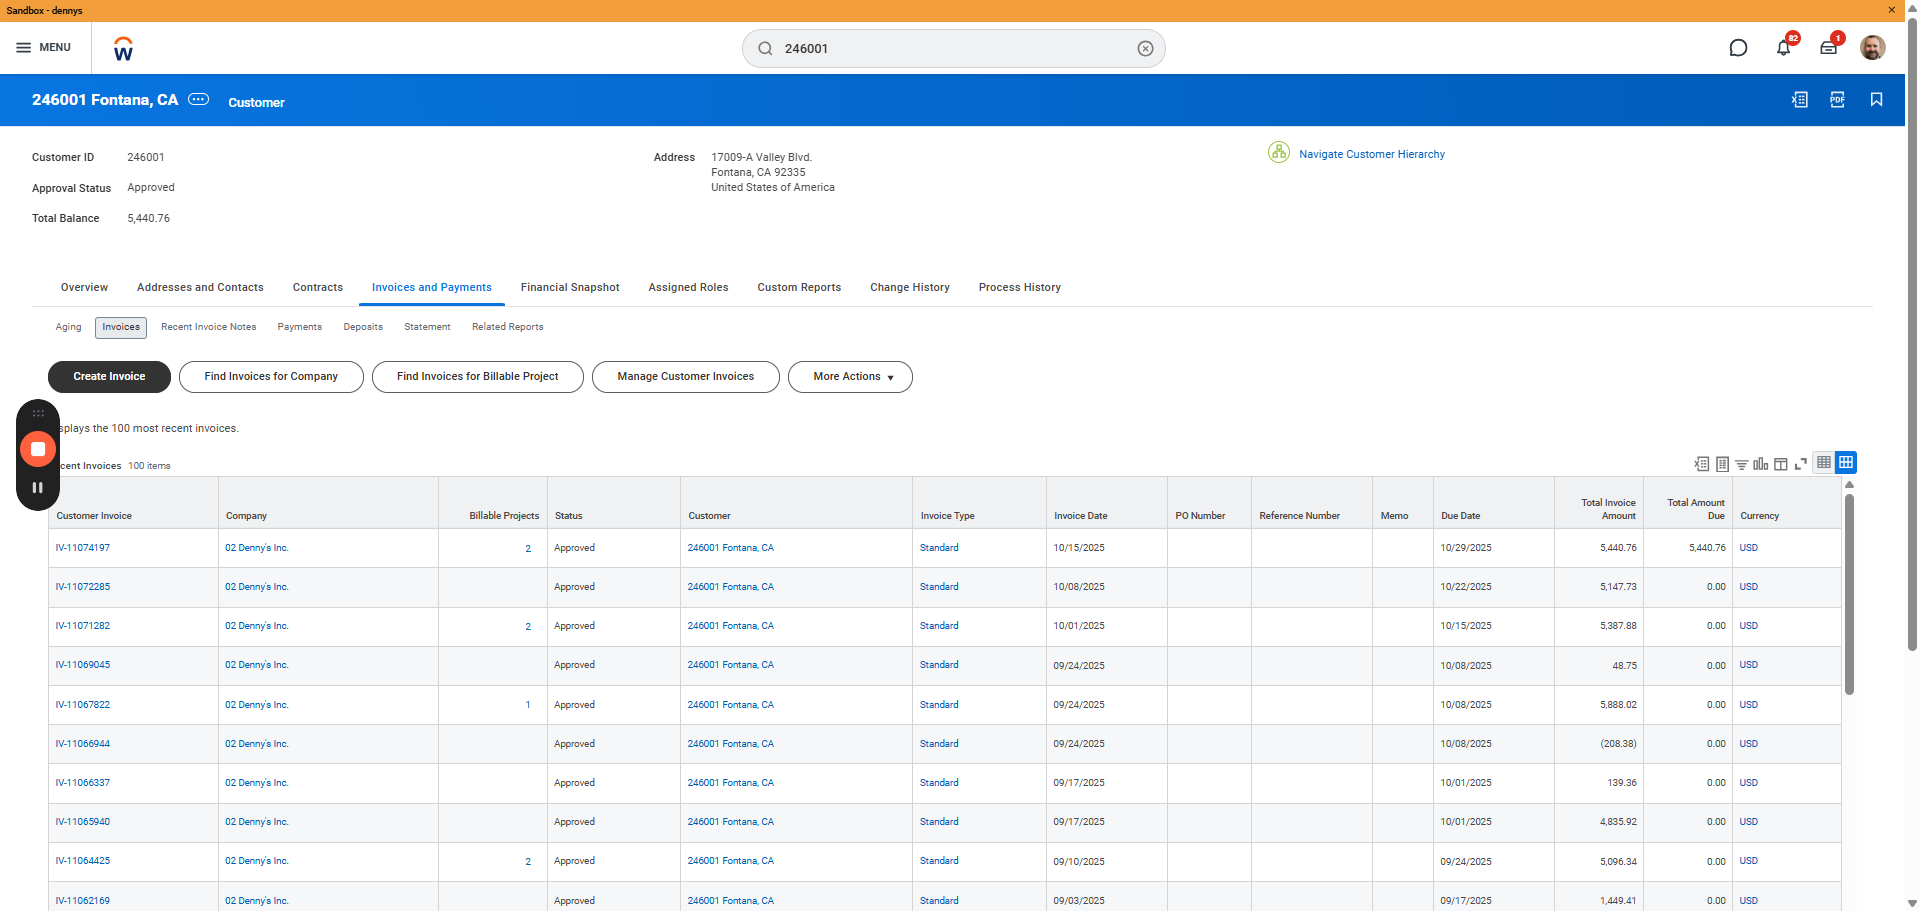
Go to the Invoice and Payments tab at the top, then select the Invoices tab. Click the Create Invoice button.
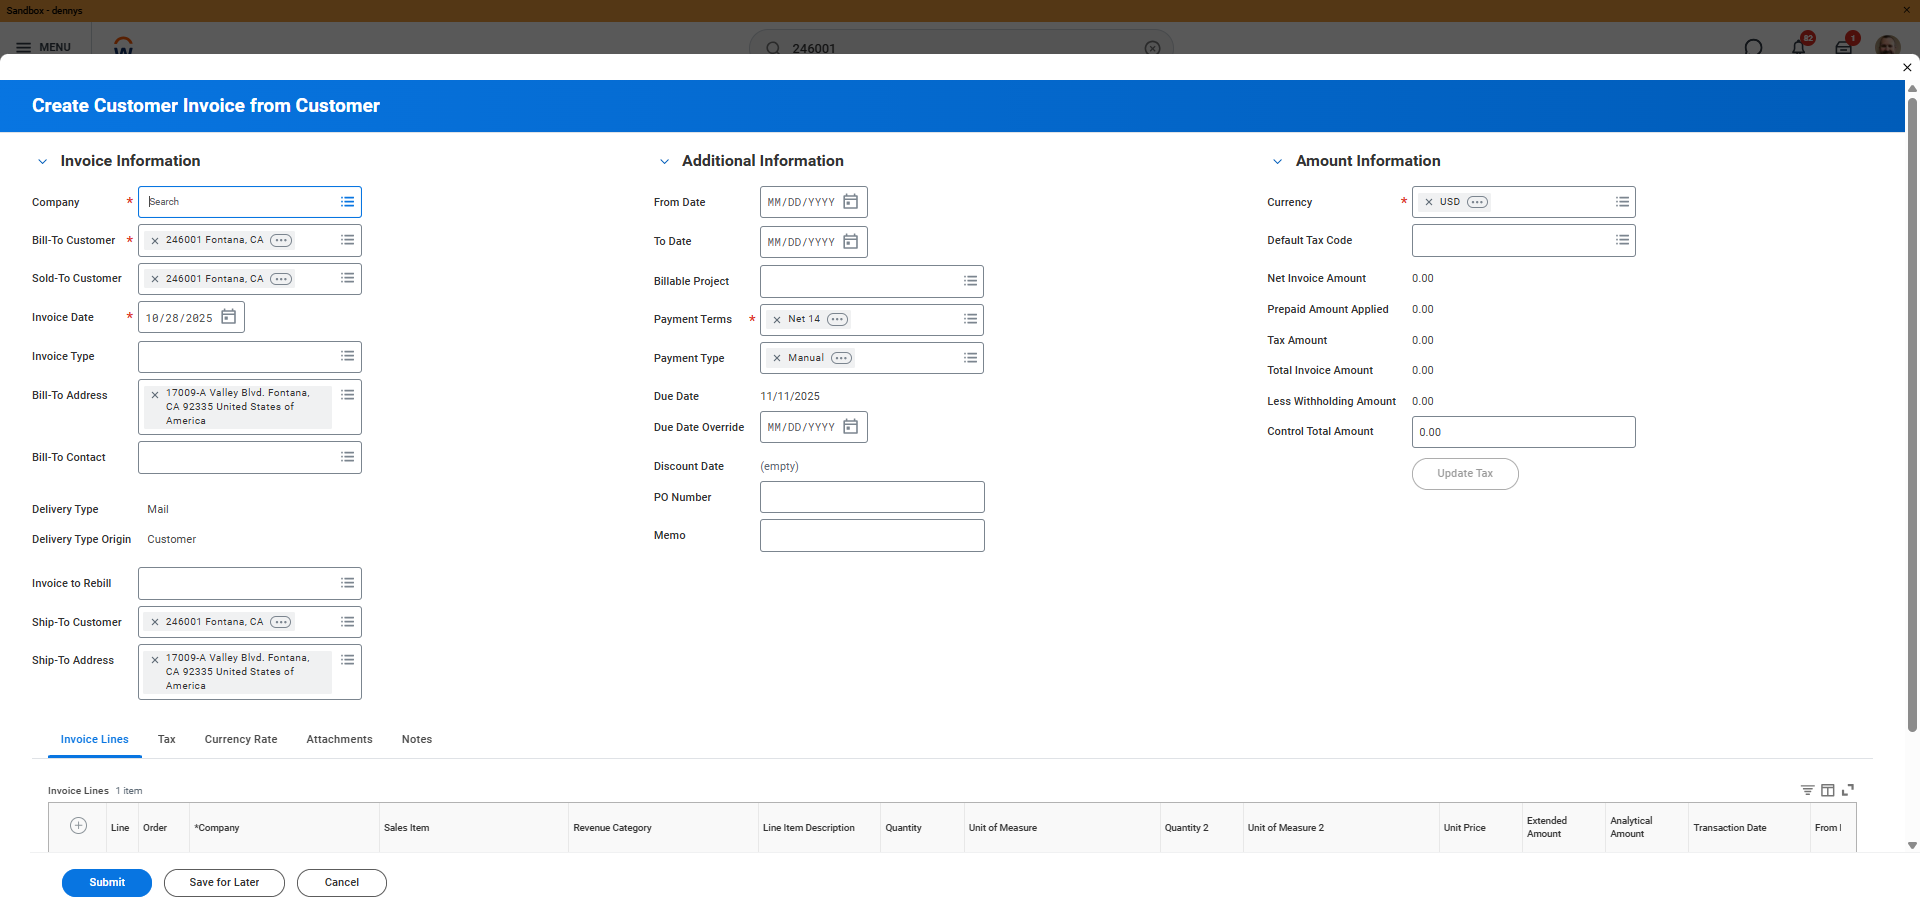
In our Sandbox tenant, we don't have 24. Now that I think about it, we'll use Company 2.
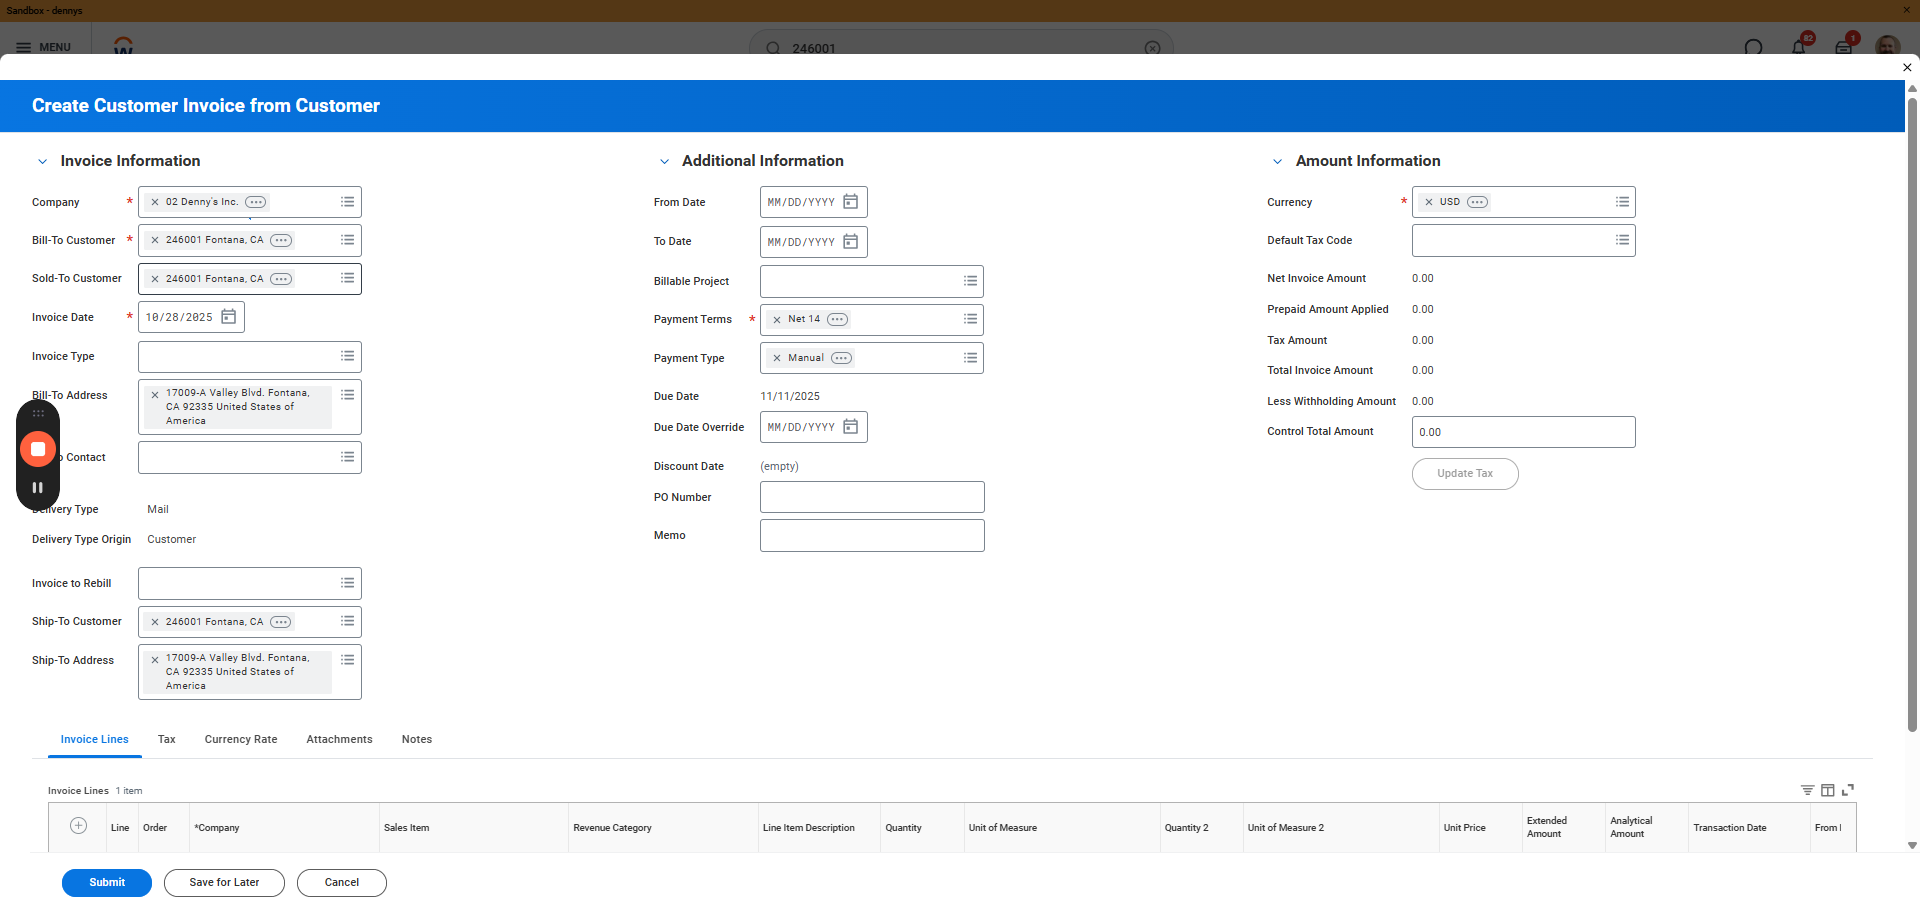
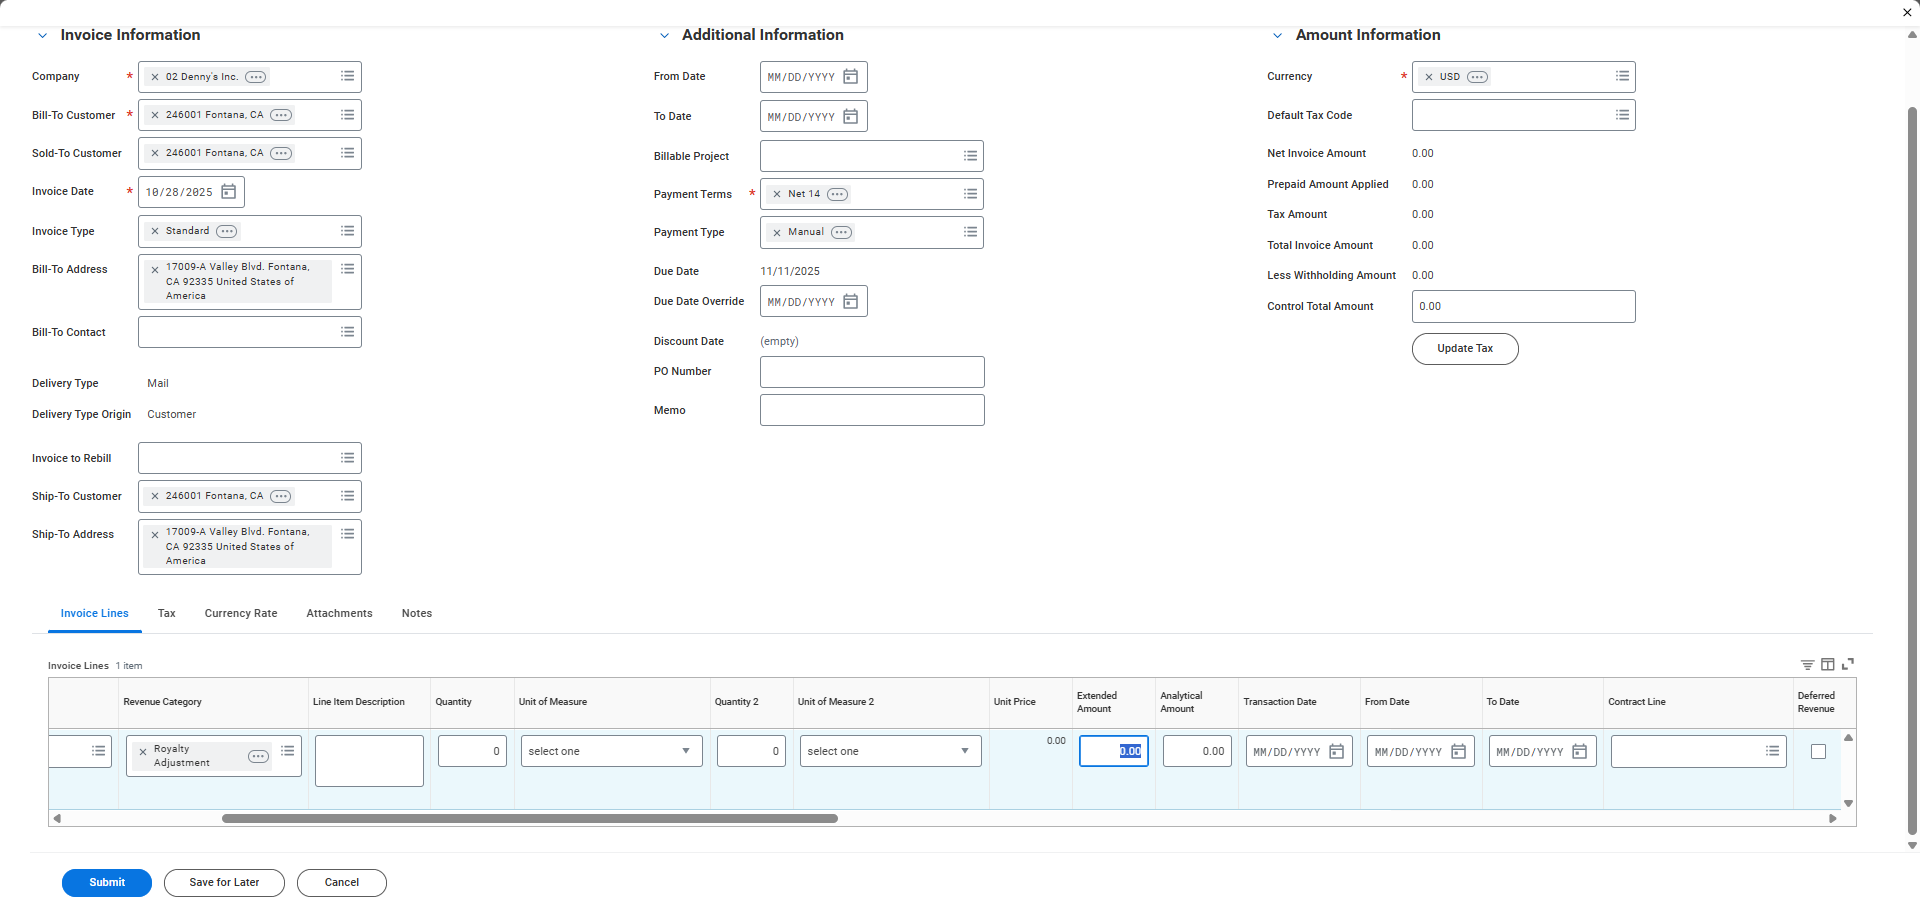
Select the invoice dates. Many fields will auto-populate for you, but pay attention to the invoice date here. This will match your week ending date.
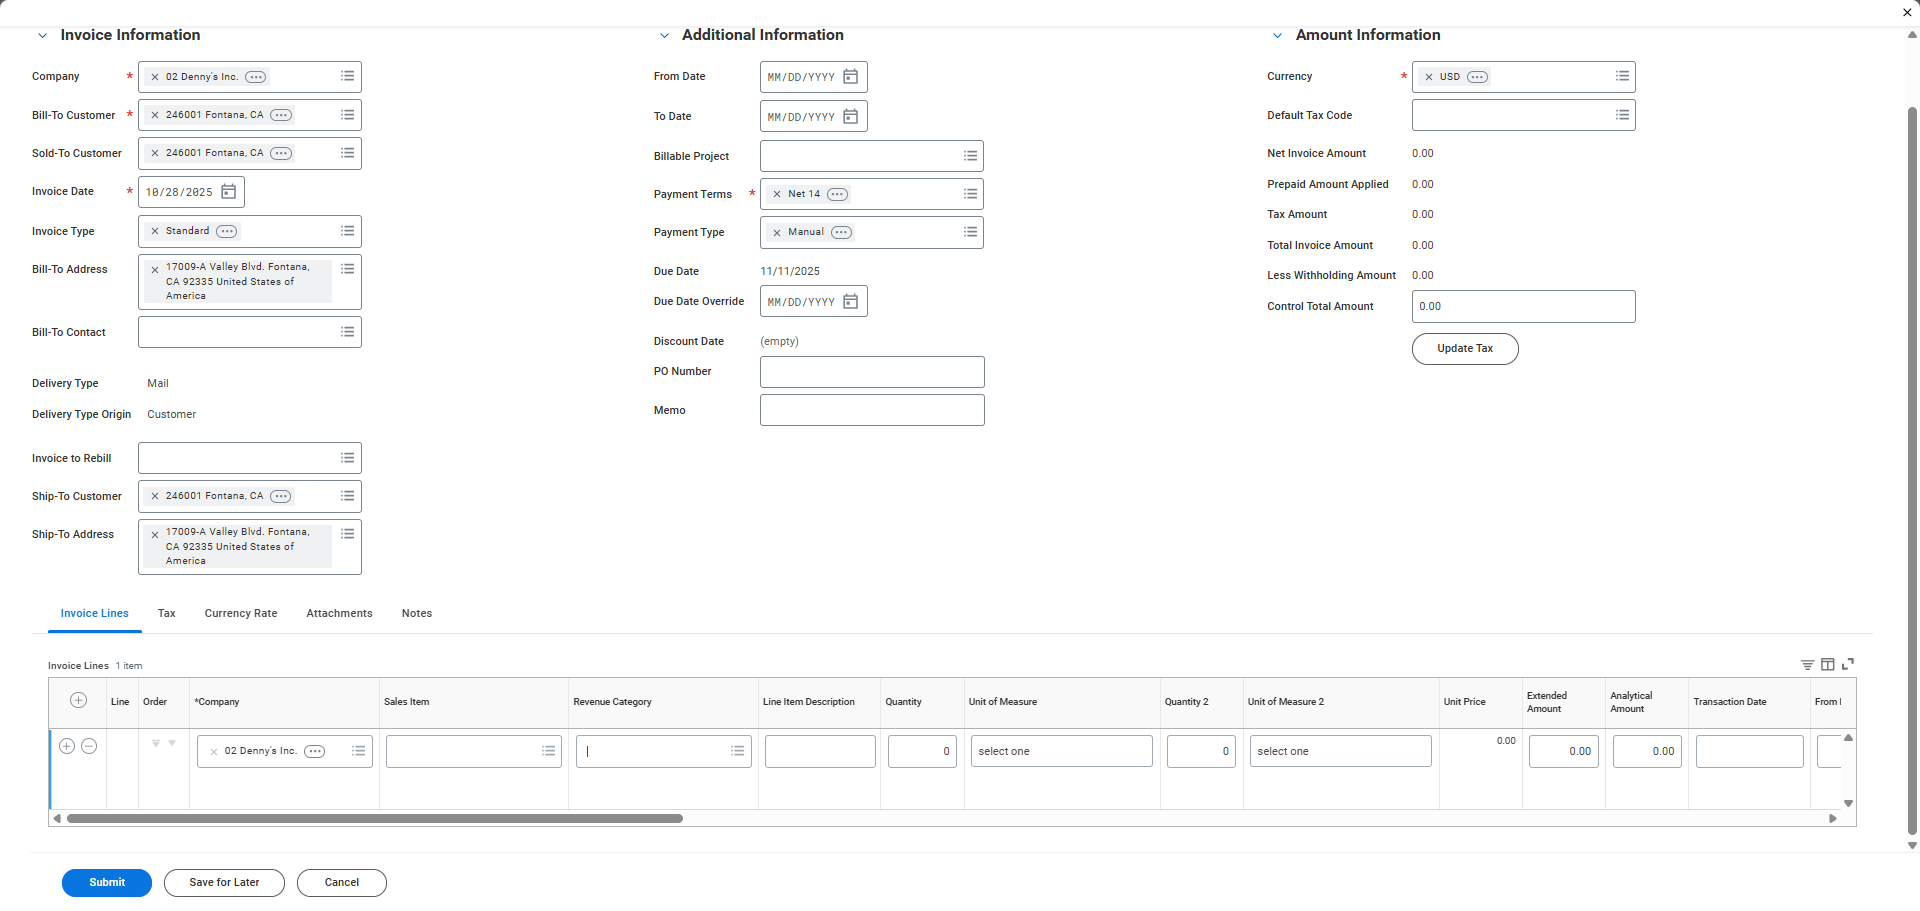
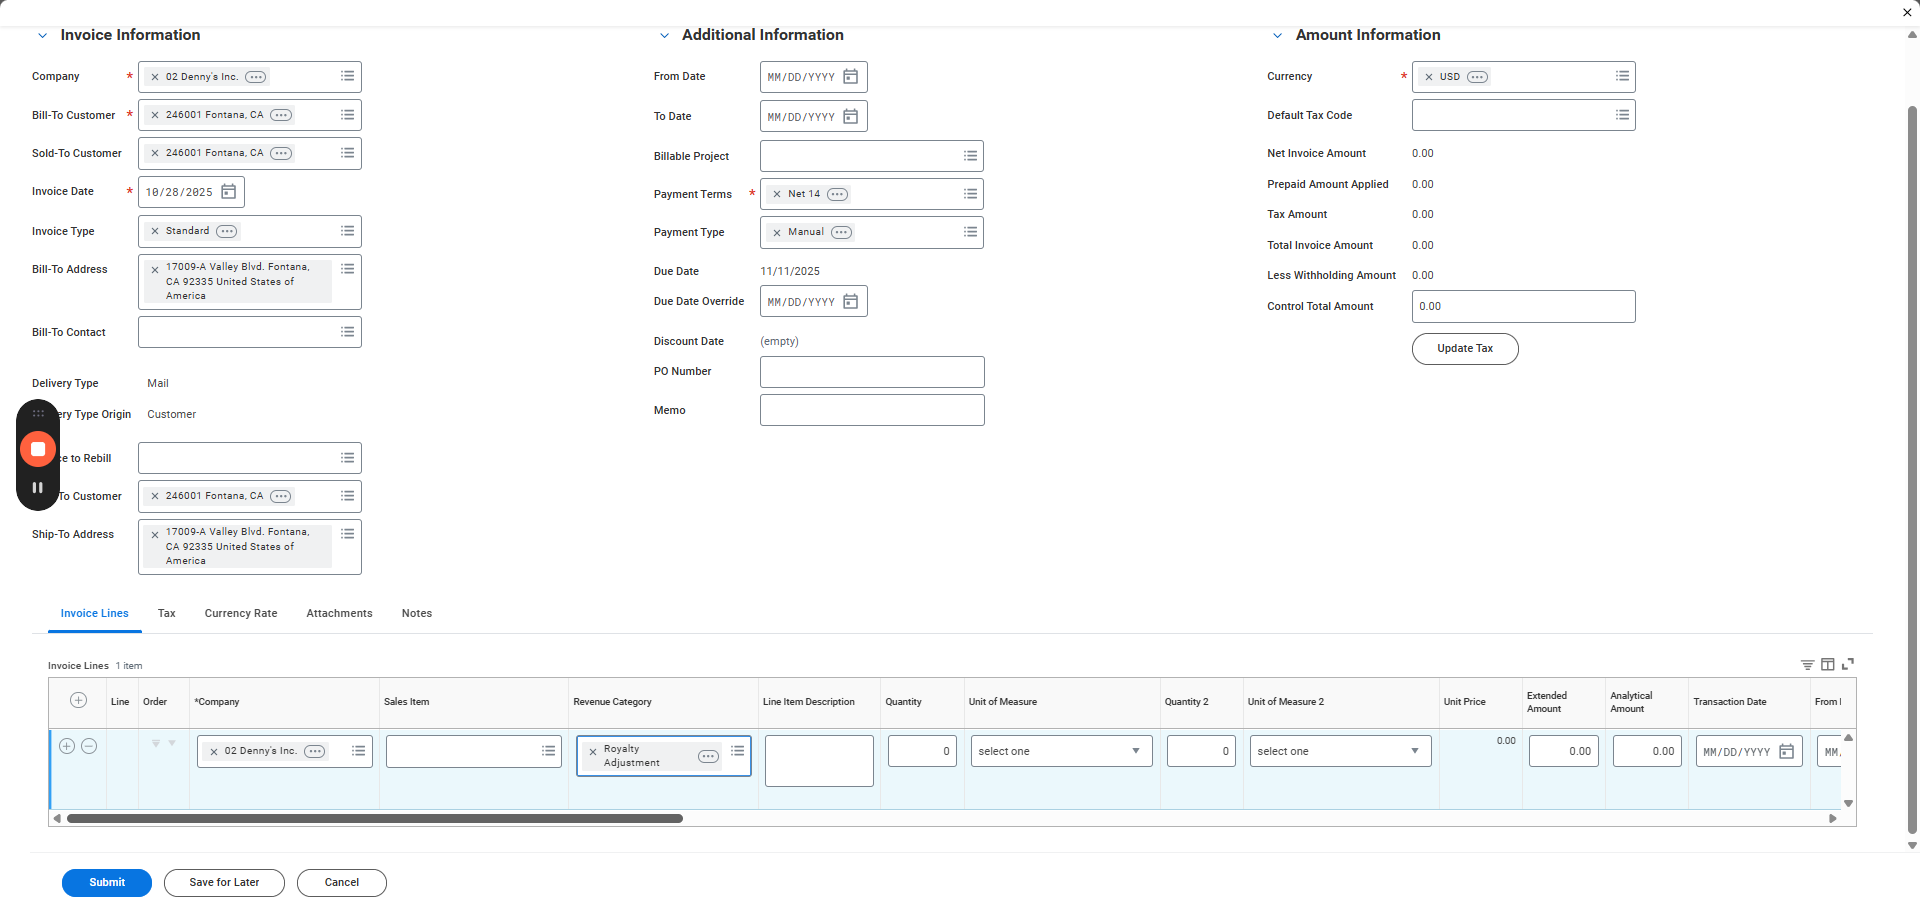
Next, enter the revenue category here.
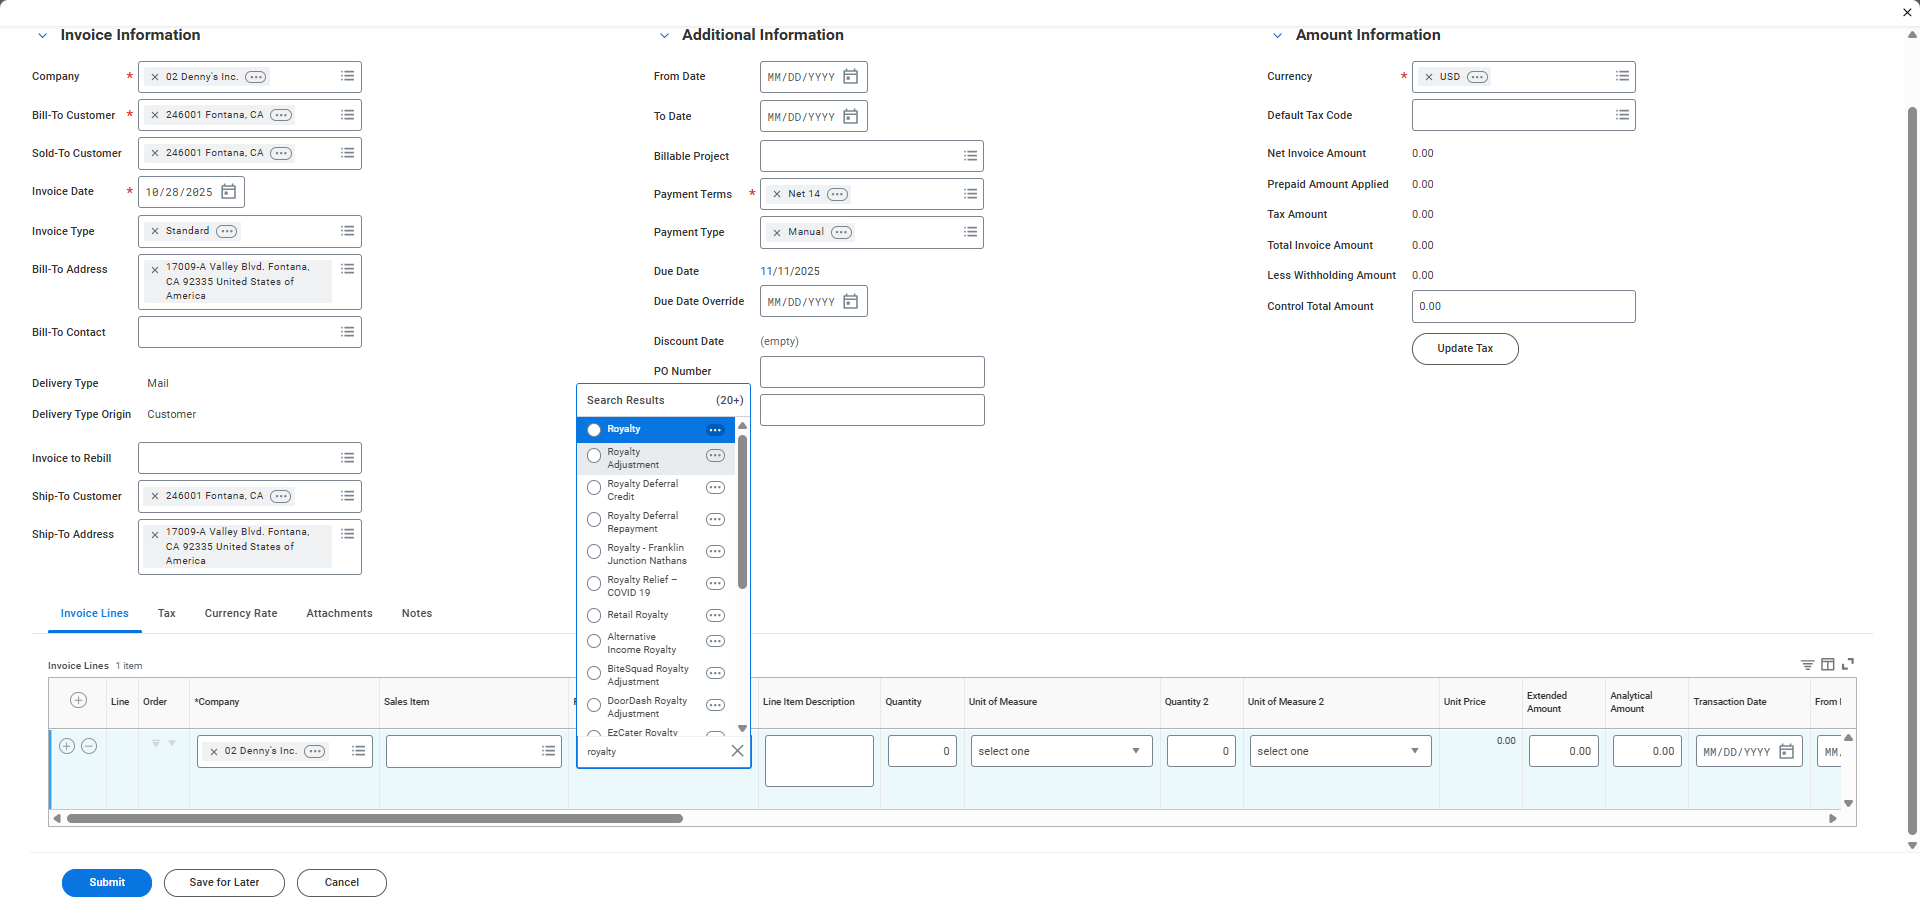
I am going to make a royalty adjustment.
Add a memo that will appear on the DFO invoice. This allows the franchisee to see exactly what they are being charged. For example, label it "Refund for prior week."
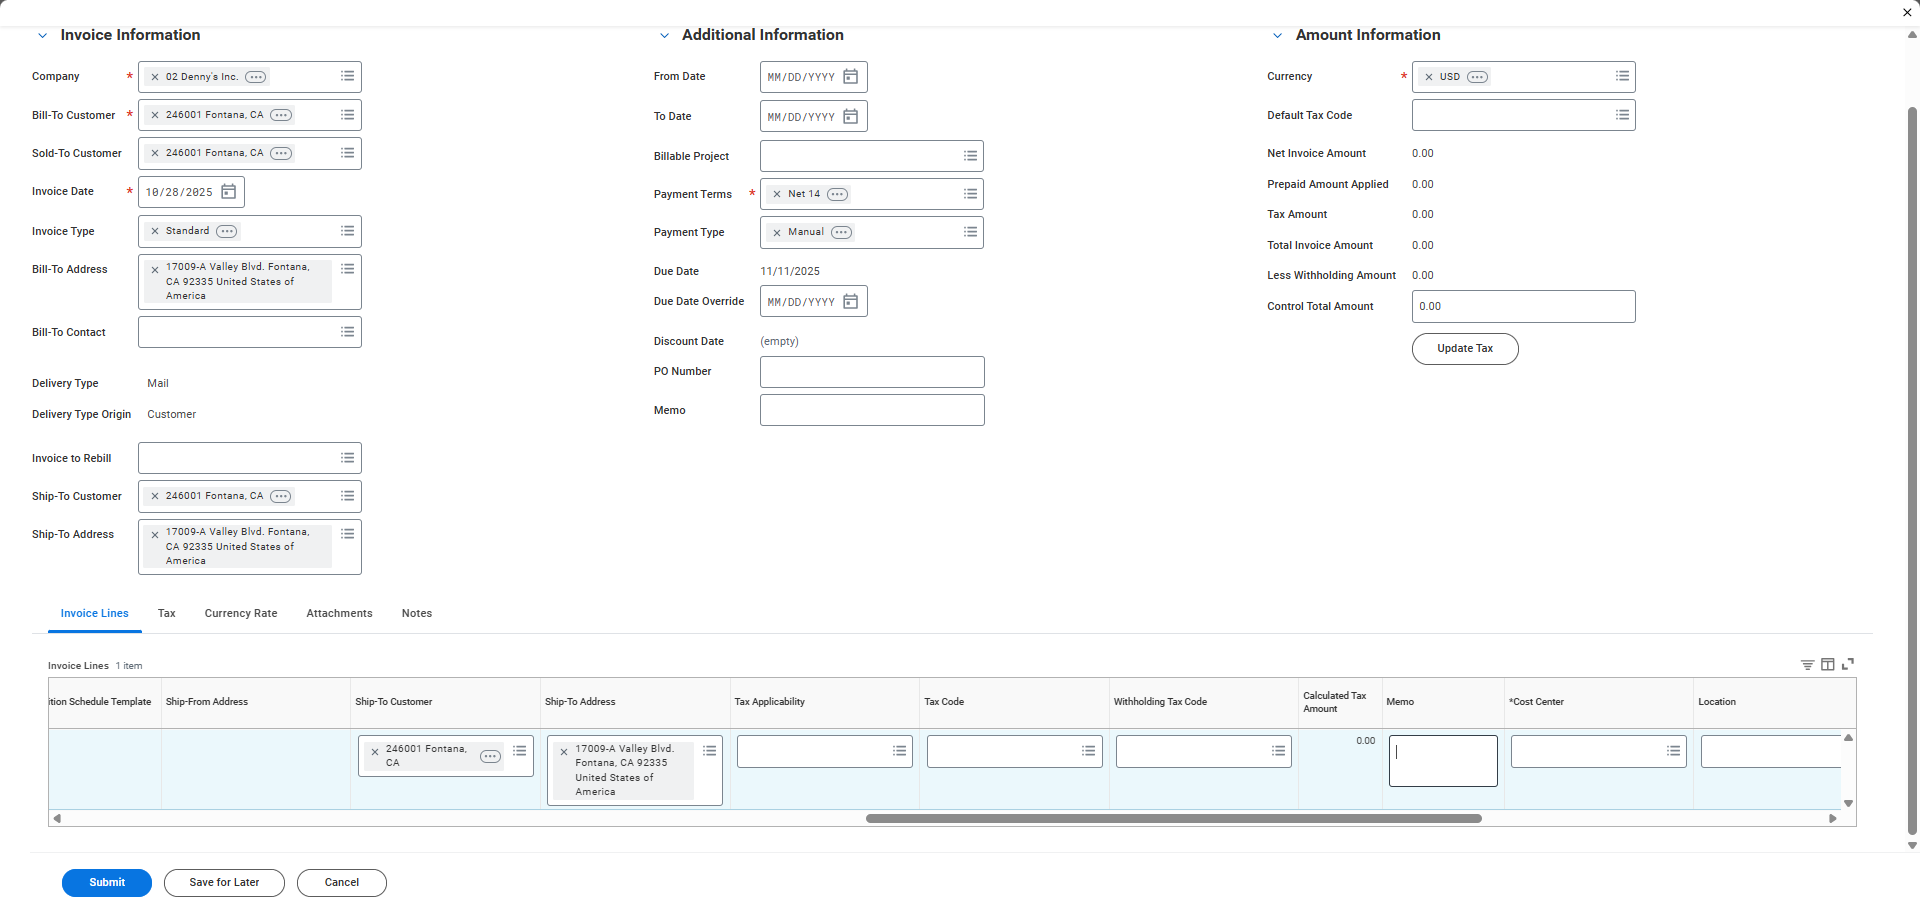
Make sure you identify the cost center. That should, in most cases, be the same as your customer.
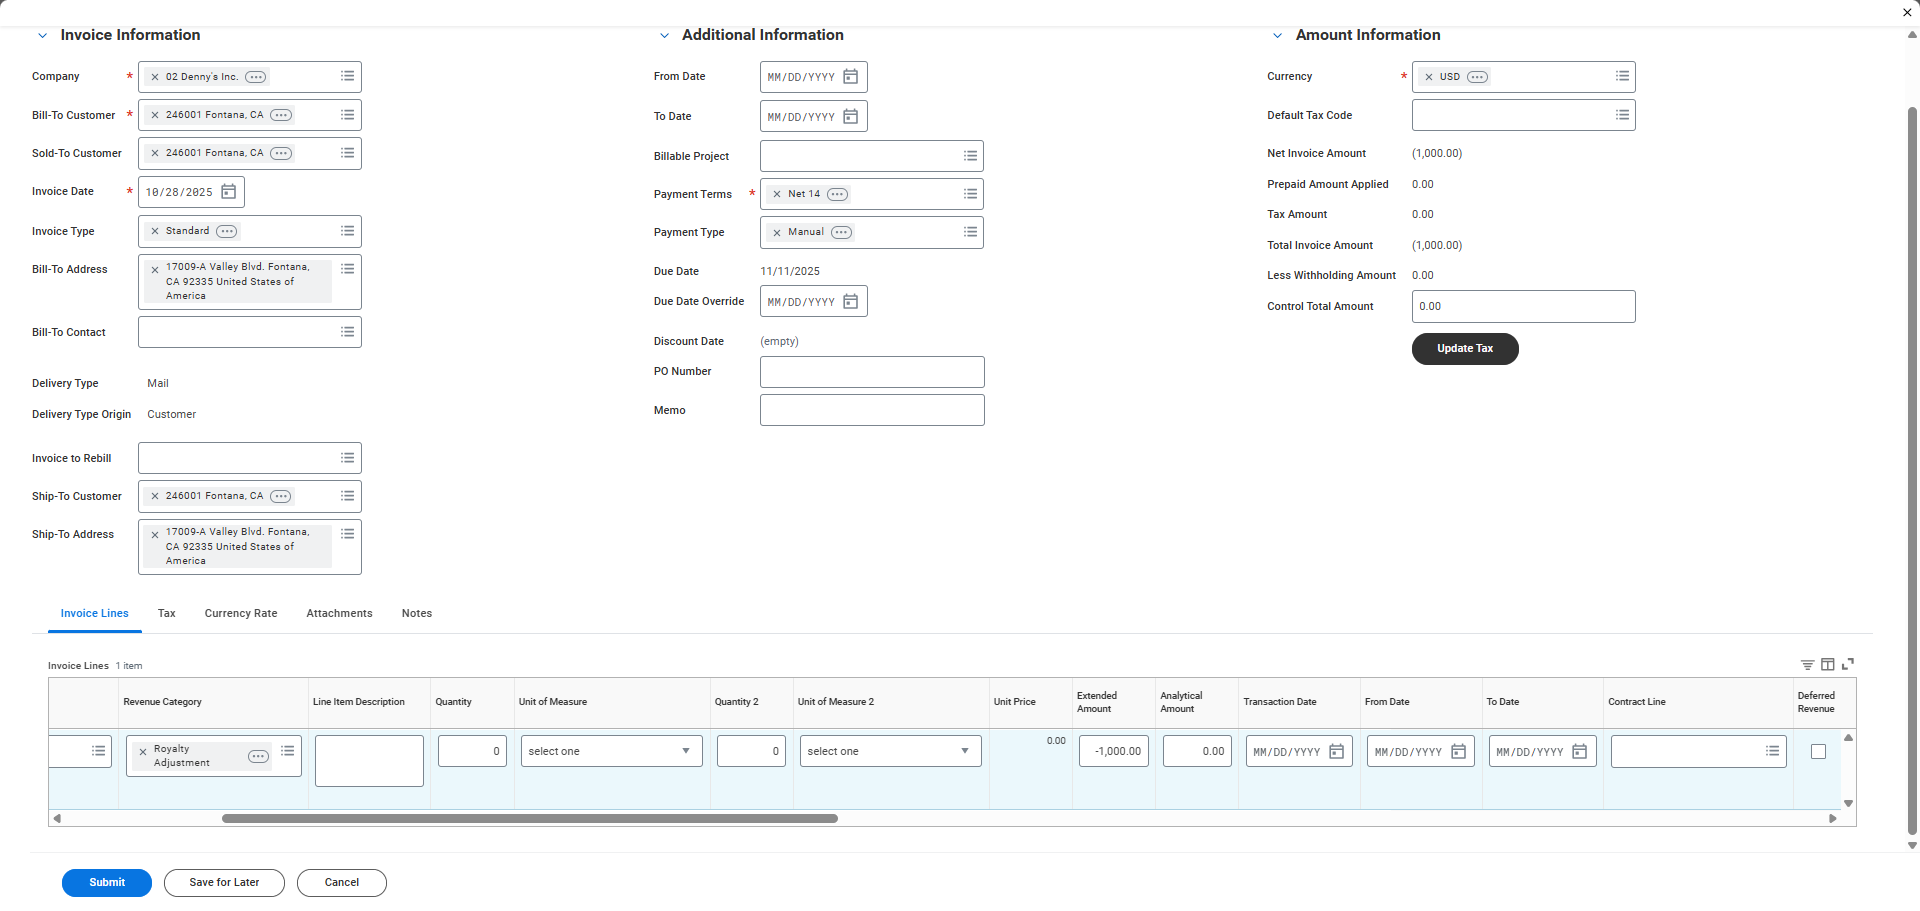
Since this is a refund, I will enter the amount as a negative number.
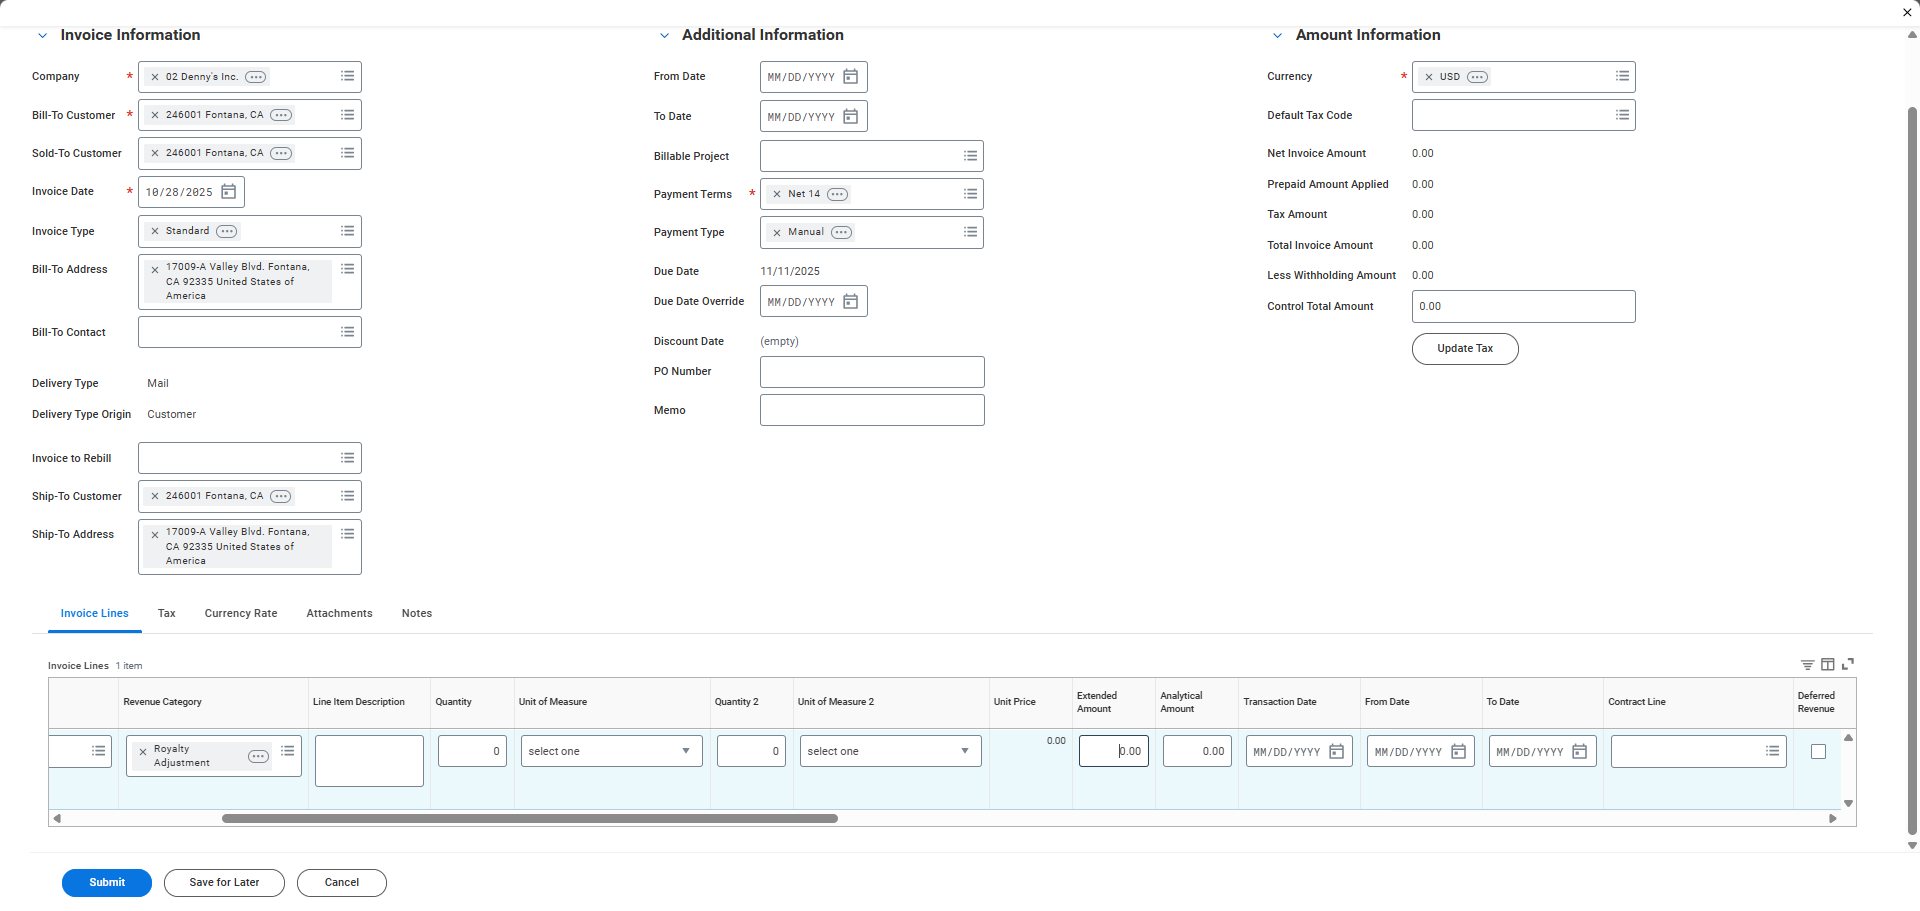
Typically, if you are charging, the extended amount field will be a positive number. However, when issuing a refund, it should be a negative number.
I'm going to enter negative 1,000 for this test.

Click the Update Tax button, then submit.
Once submitted, since all invoices require approval, you will see the next step in the process. It will indicate that the billing specialist is up next. That will be a non-initiator. The billing specialist must approve it. Once they do, the status will change to Approved. Uh, if you want to... I can't use this invoice, but I can use one that is in approved status. I'll show you how.
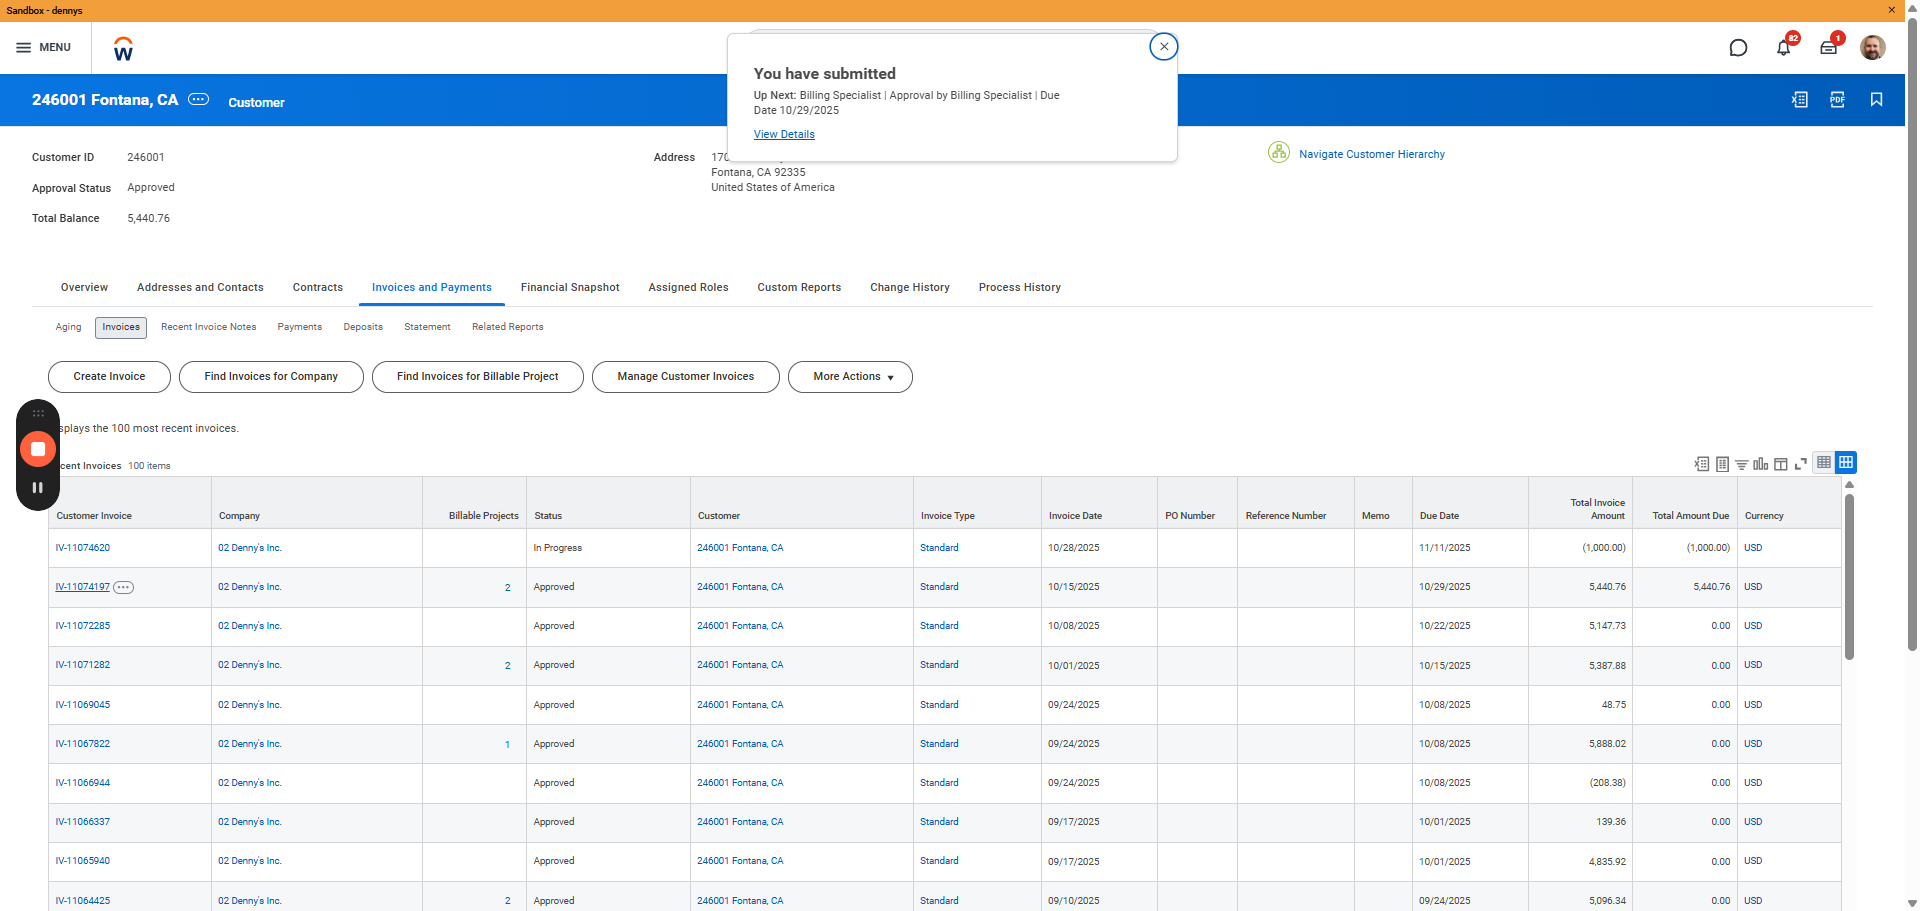
Click the ellipsis icon, then scroll down to view the accounting journal created from the invoice.
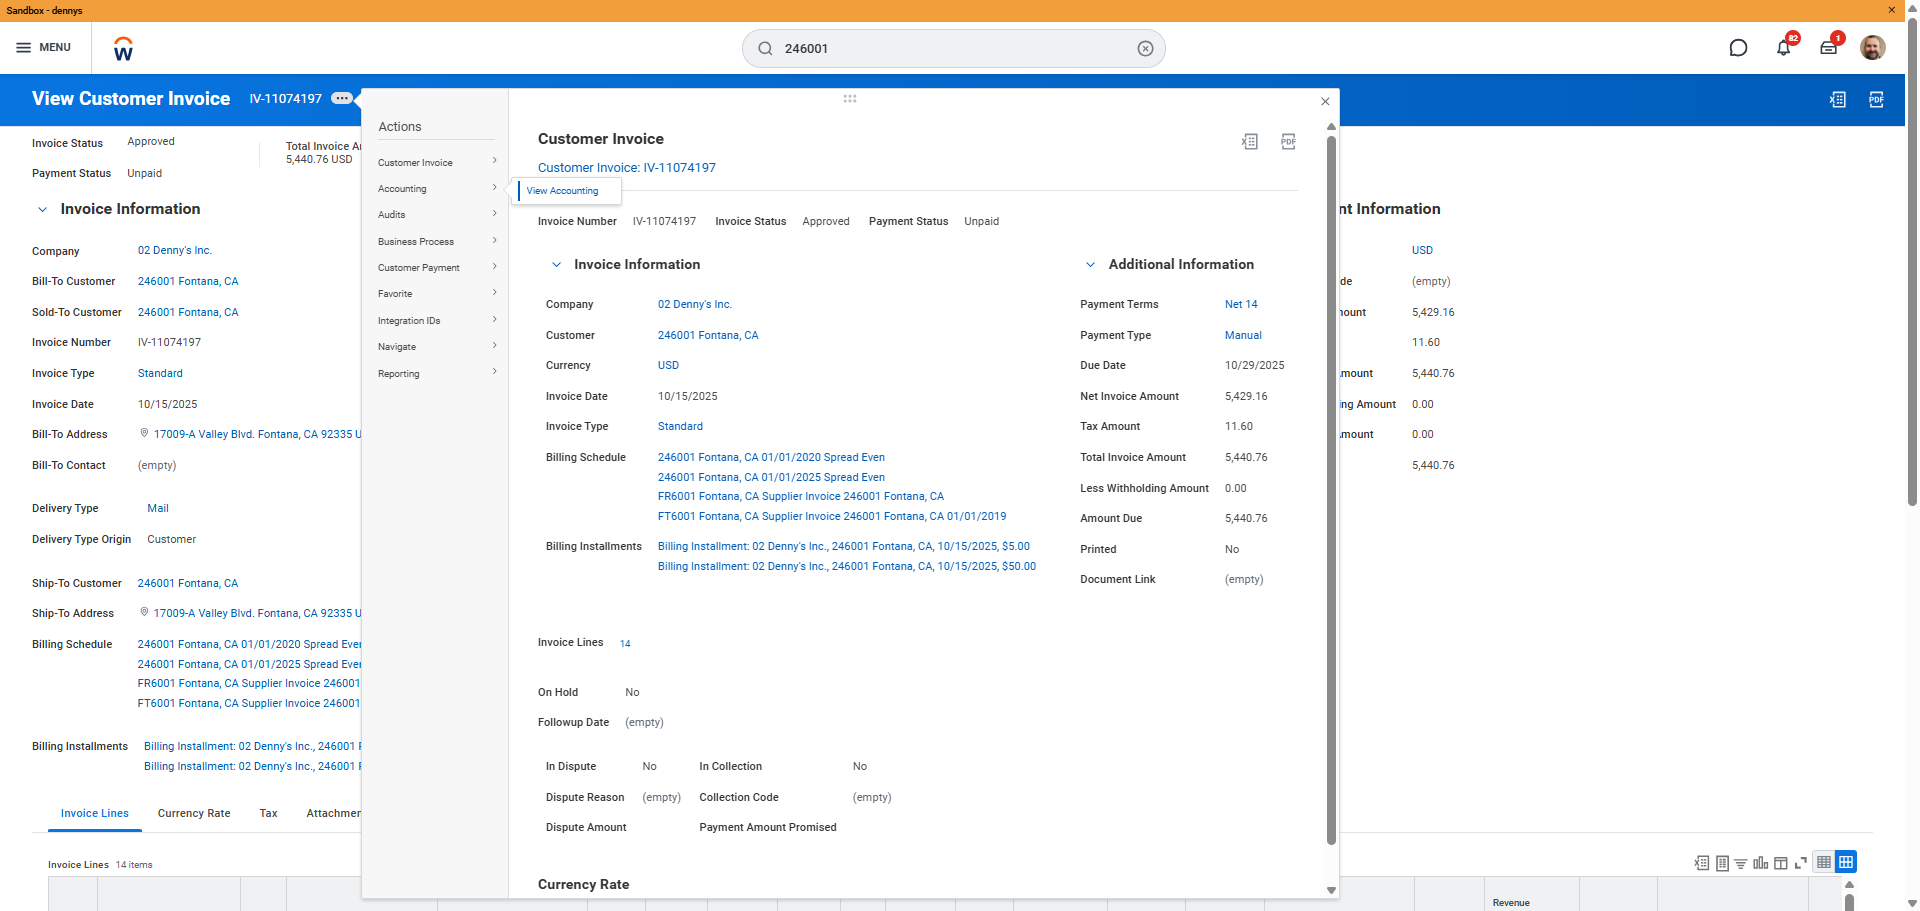
Here, we see all the debits and credits linked to this invoice, determined by the revenue category and its posting rules.