Icon

How to Create a Customer Order in Made To Order Post Sales (Version 2)

Step-by-step guide for creating a customer order, associating deals, adding SKUs, and generating equipment orders in Made To Order Post Sales version 2. Learn how to efficiently manage orders and link all necessary information.

By RevOps Team

In this guide, we'll learn how to create a customer order in the Made To Order Post Sales system, version two. This process includes entering order details, associating deals, creating and linking SKUs, and generating equipment orders. By following these steps, you can ensure all information is connected and easy to track.

Let's get started

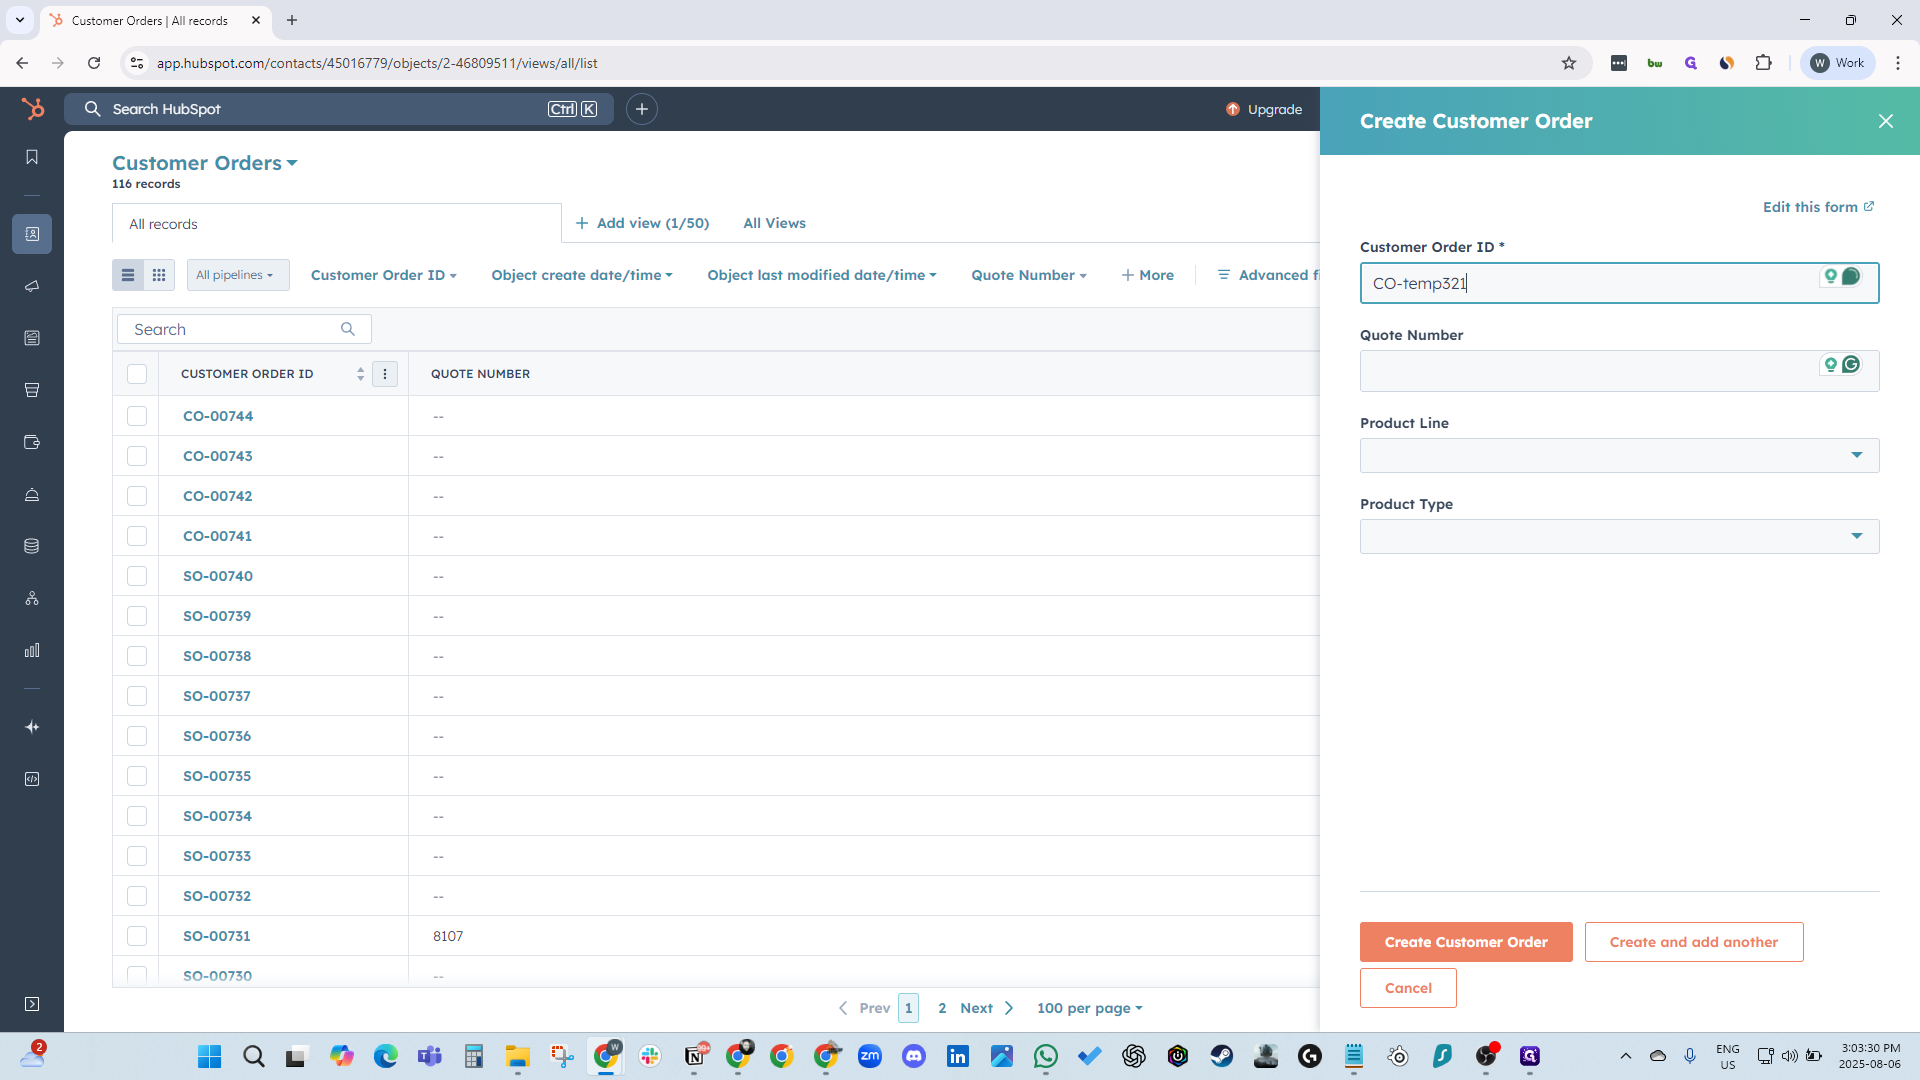
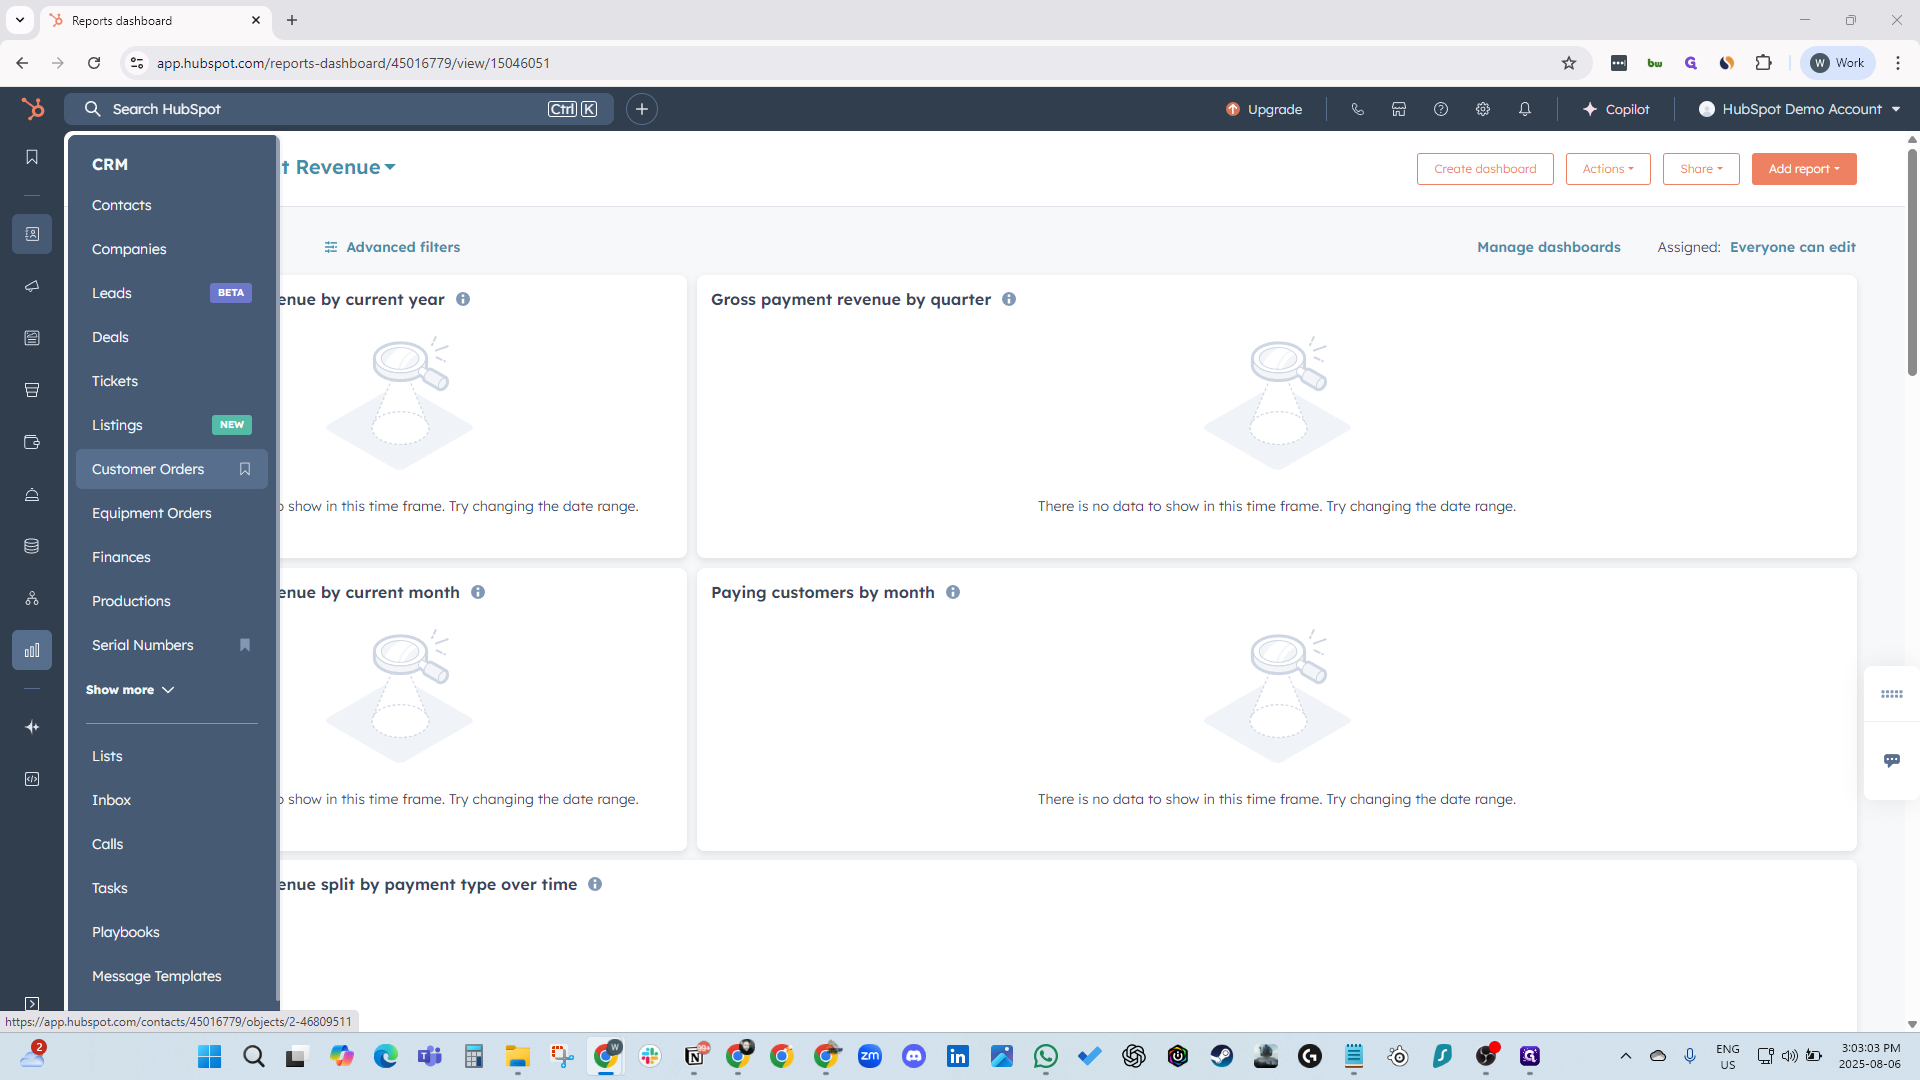
Welcome to Made To Order Post Sales, version two, based on role. Create a customer order. First, to create a customer order, open the menu and select Customer Orders.

1
Click on "Customer Orders"
Step #1: Click on "Customer Orders"

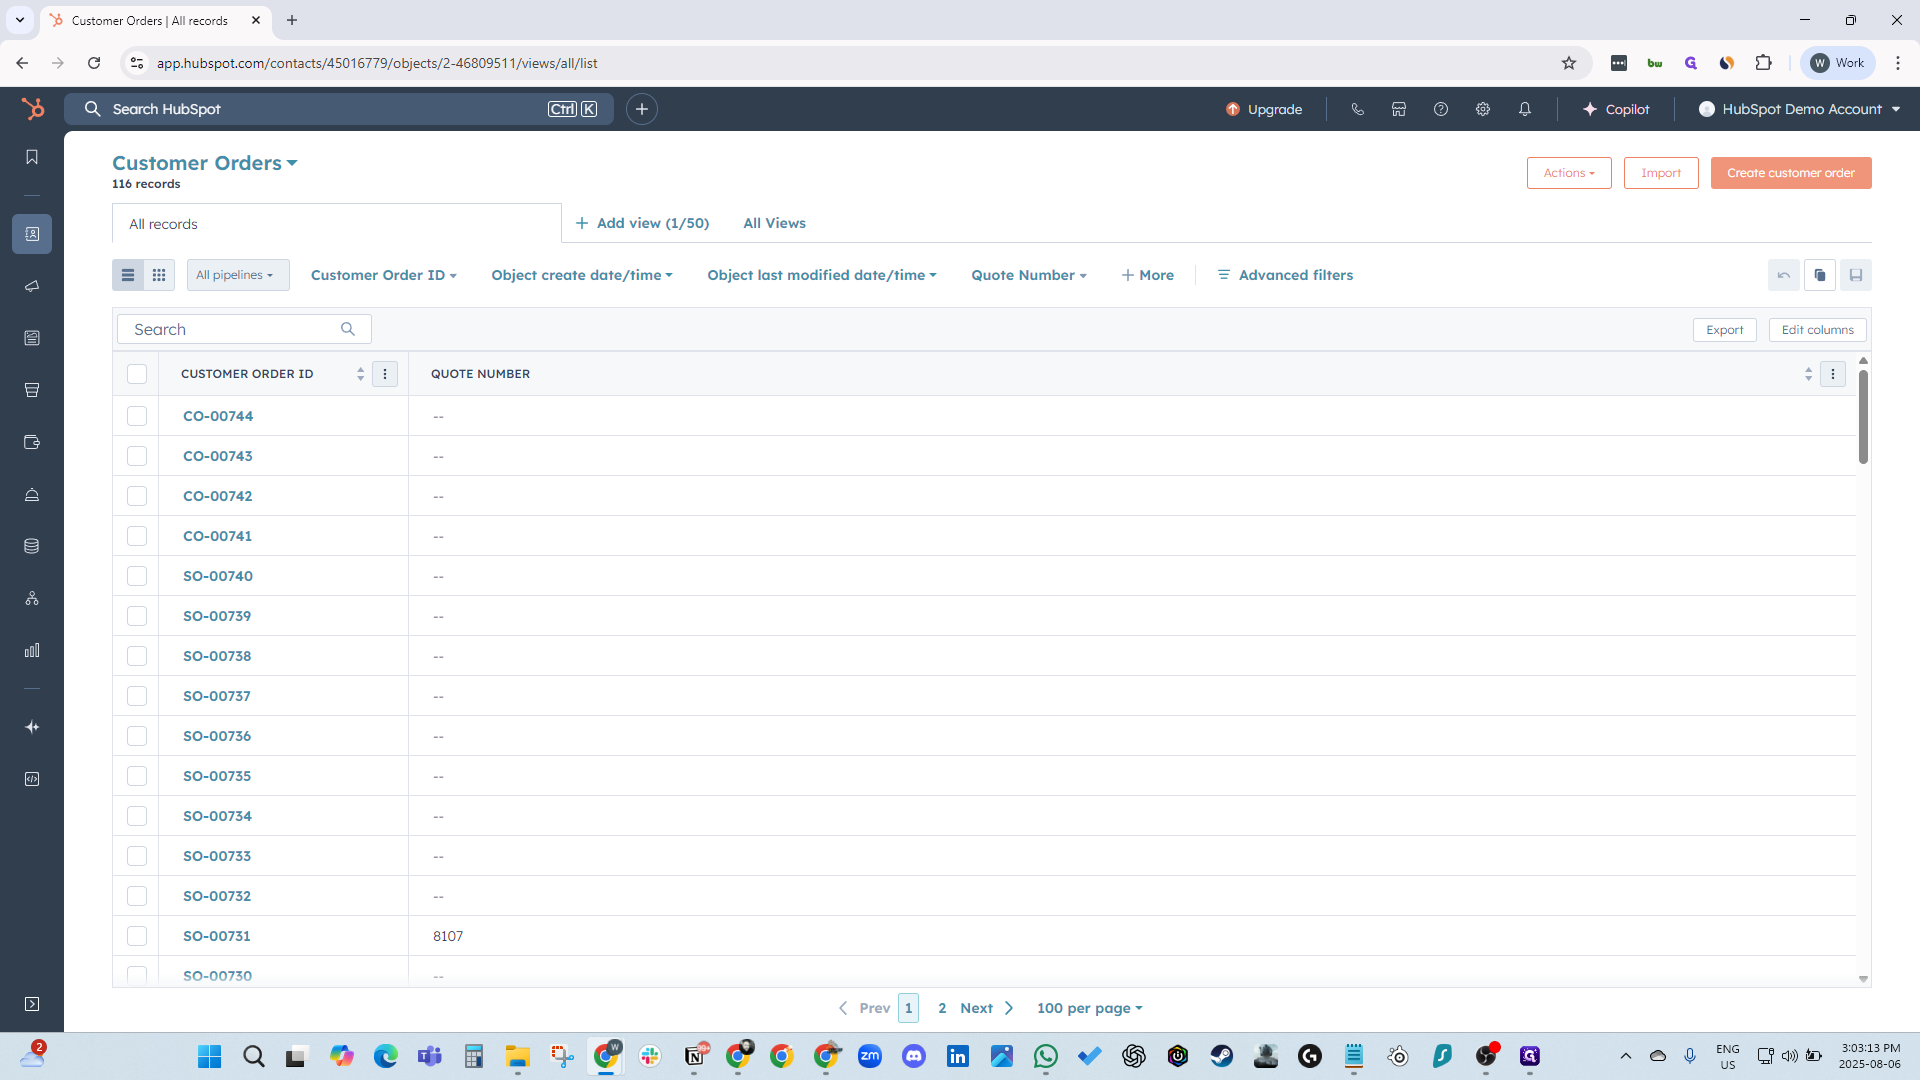
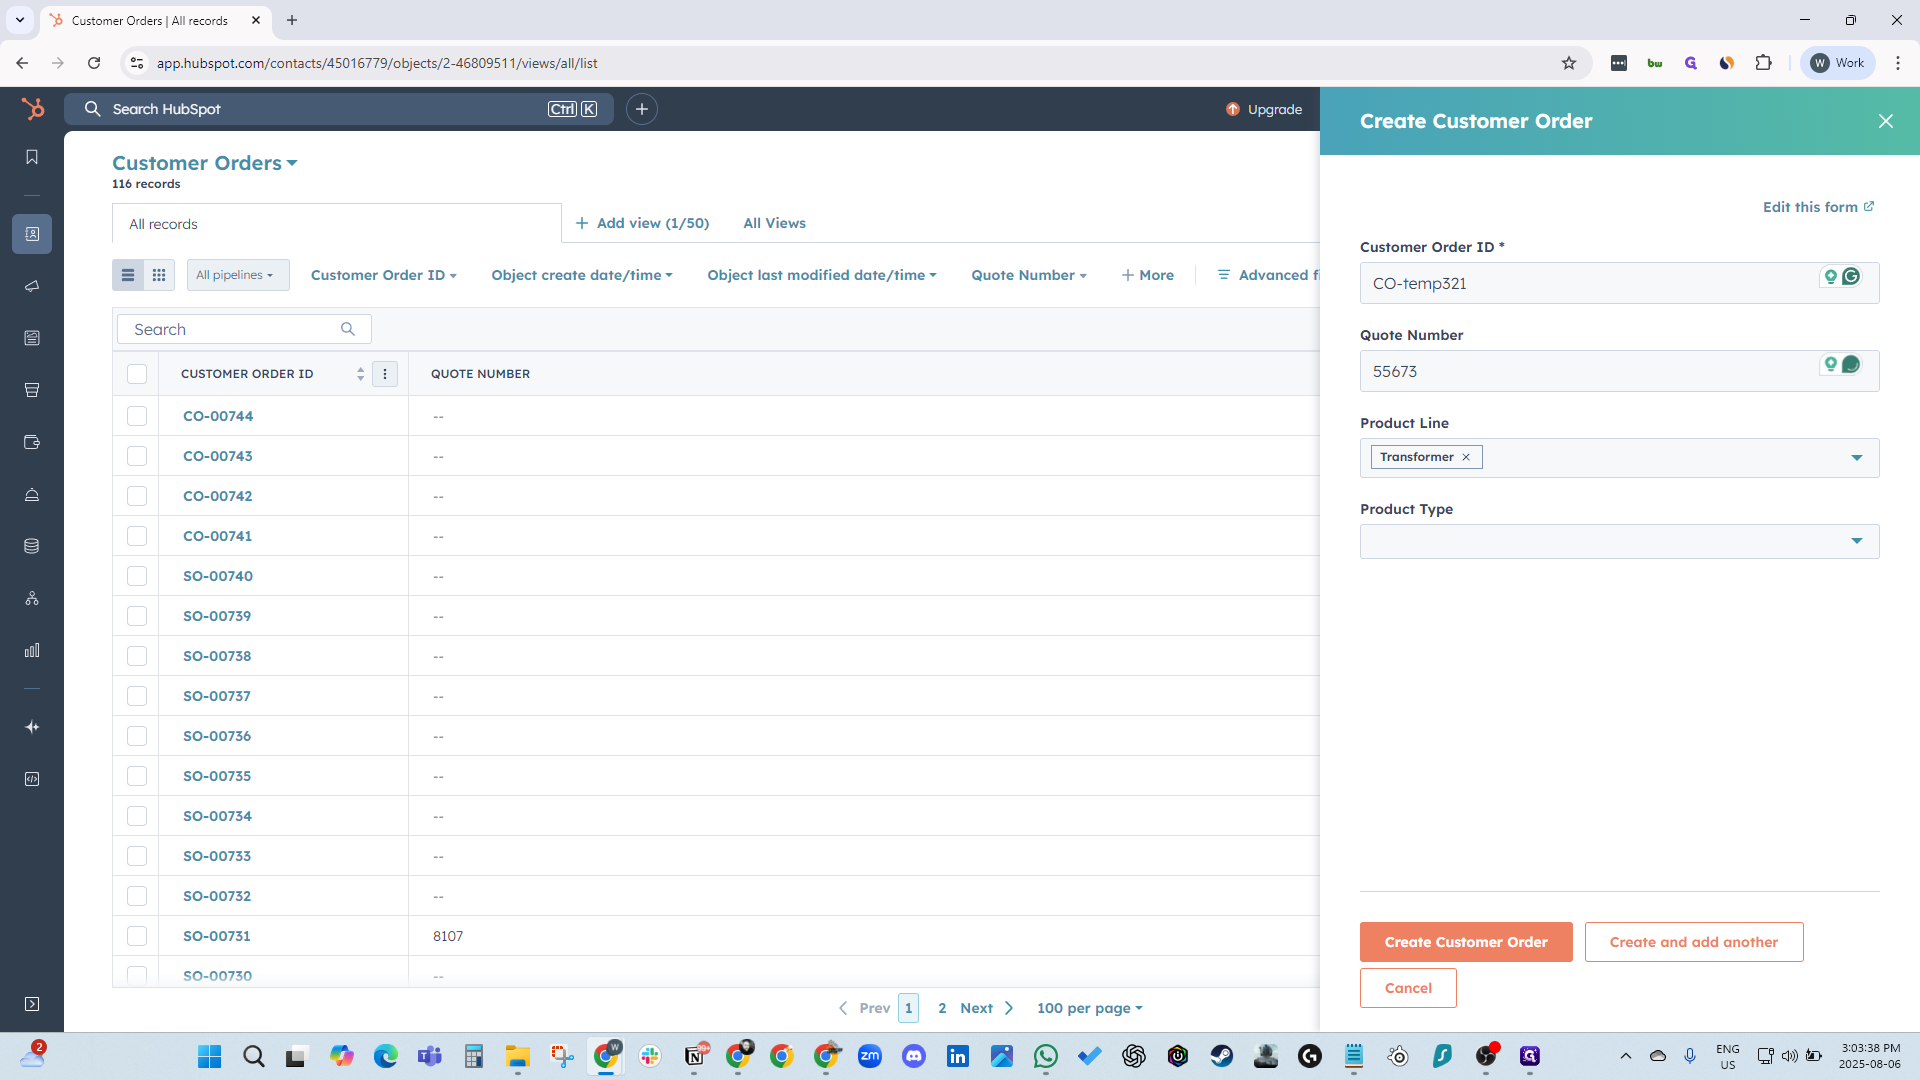
In the top right corner, click "Create Customer Order."

2
Click on "Create customer order"
Step #2: Click on "Create customer order"

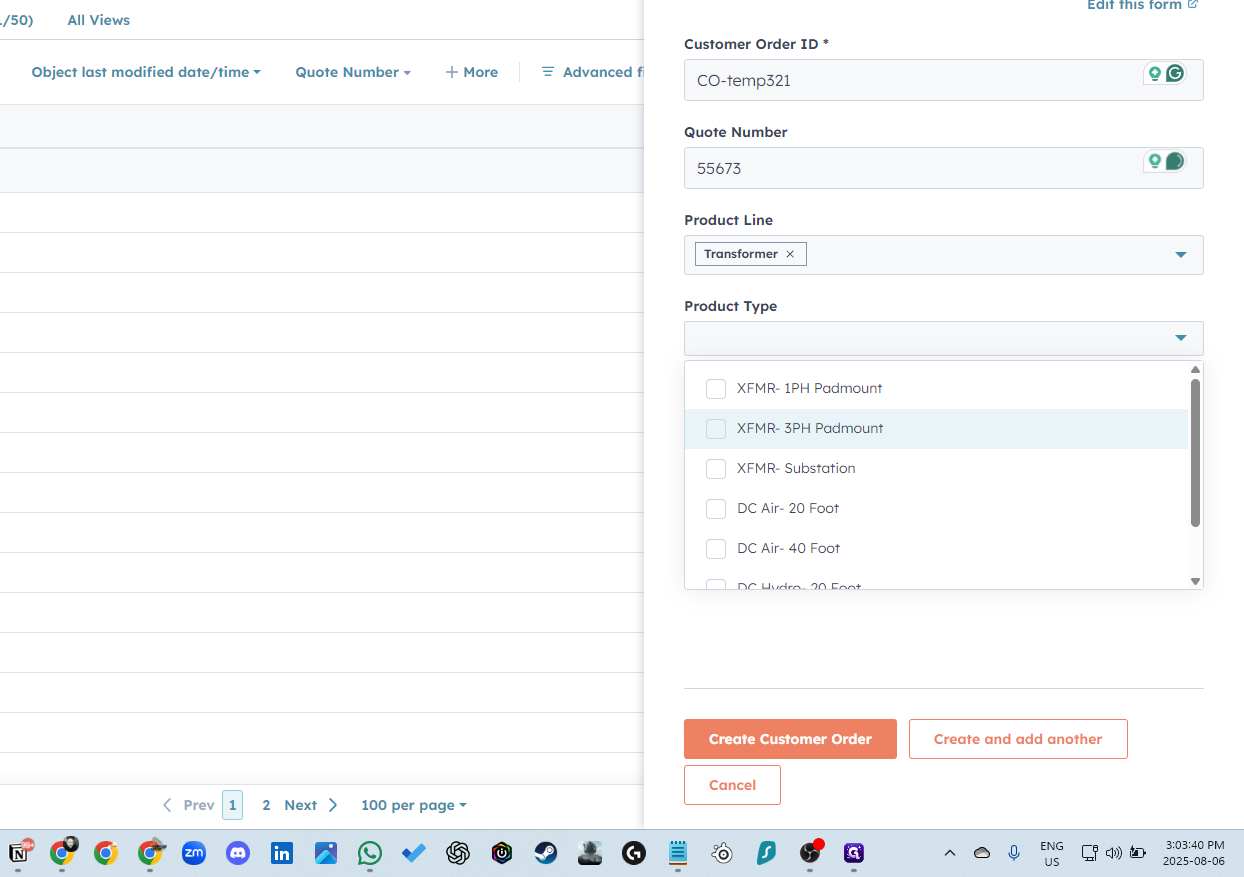
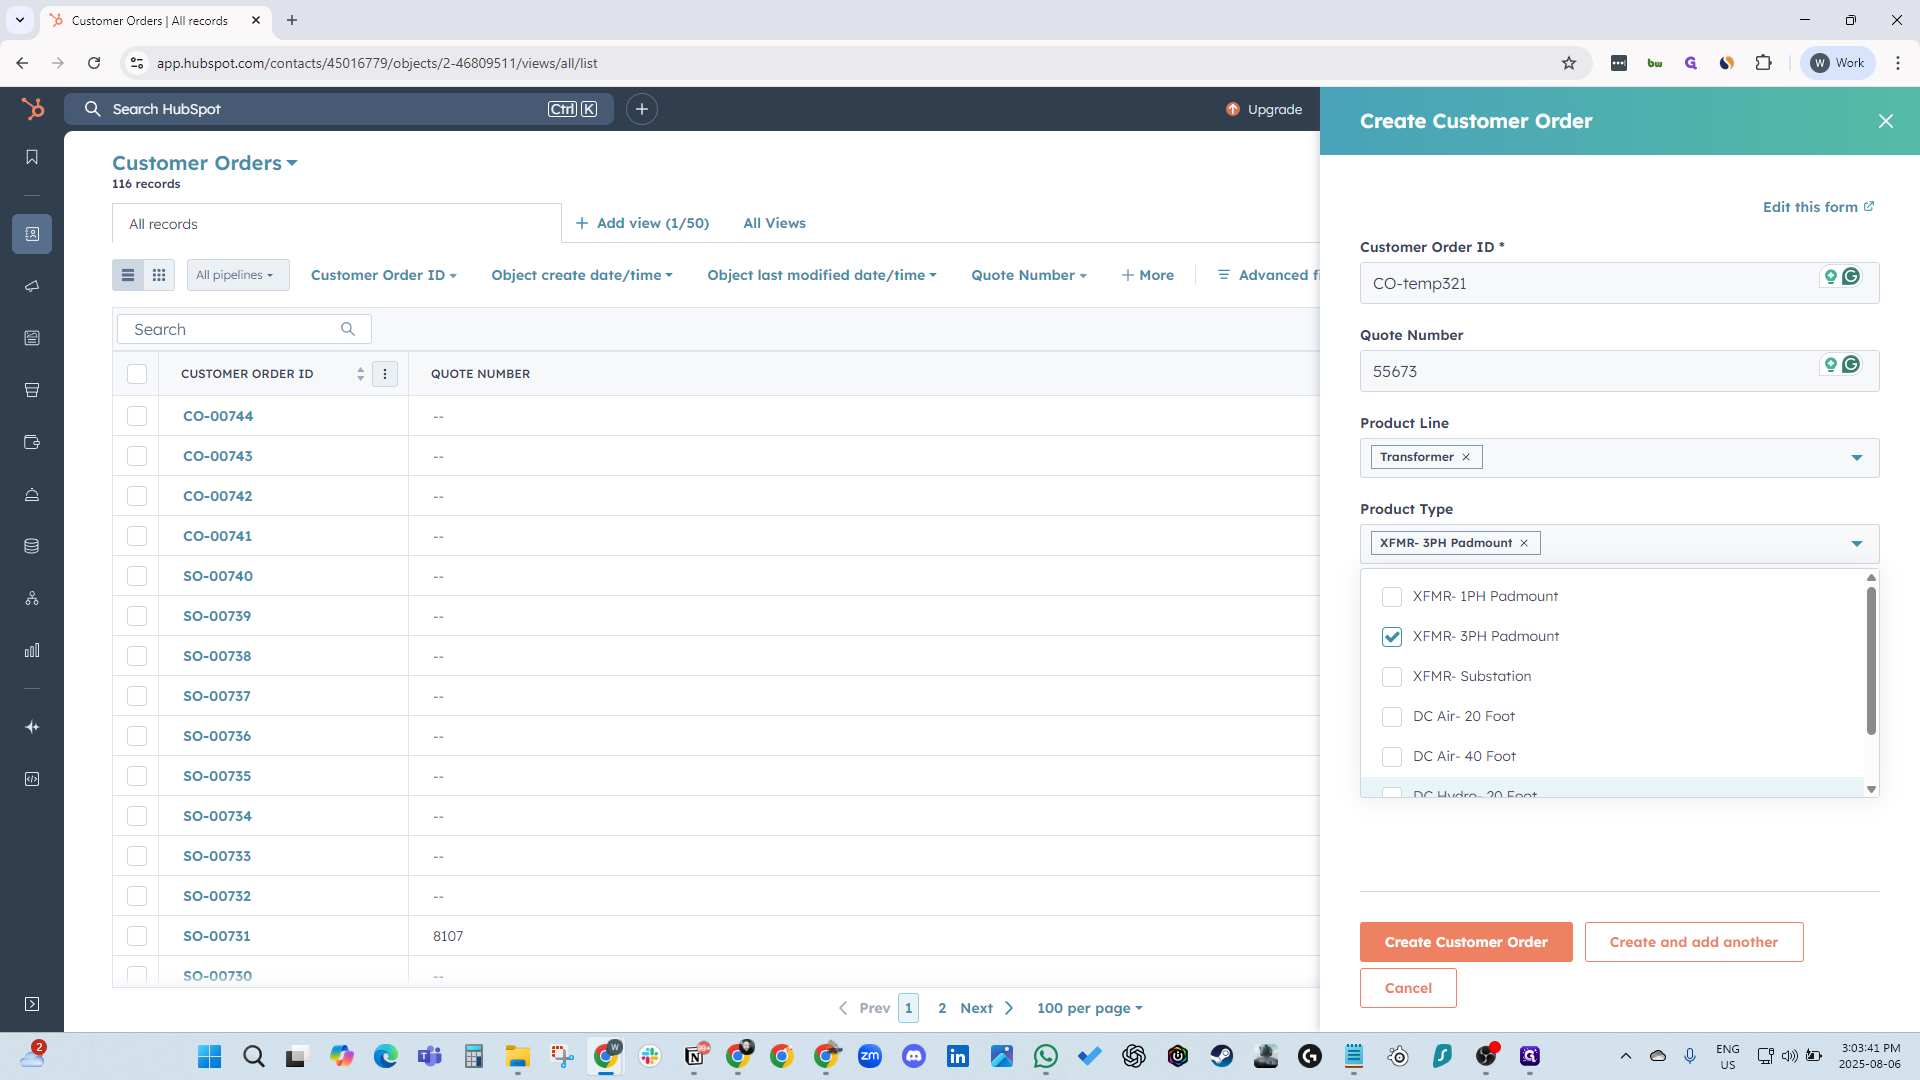
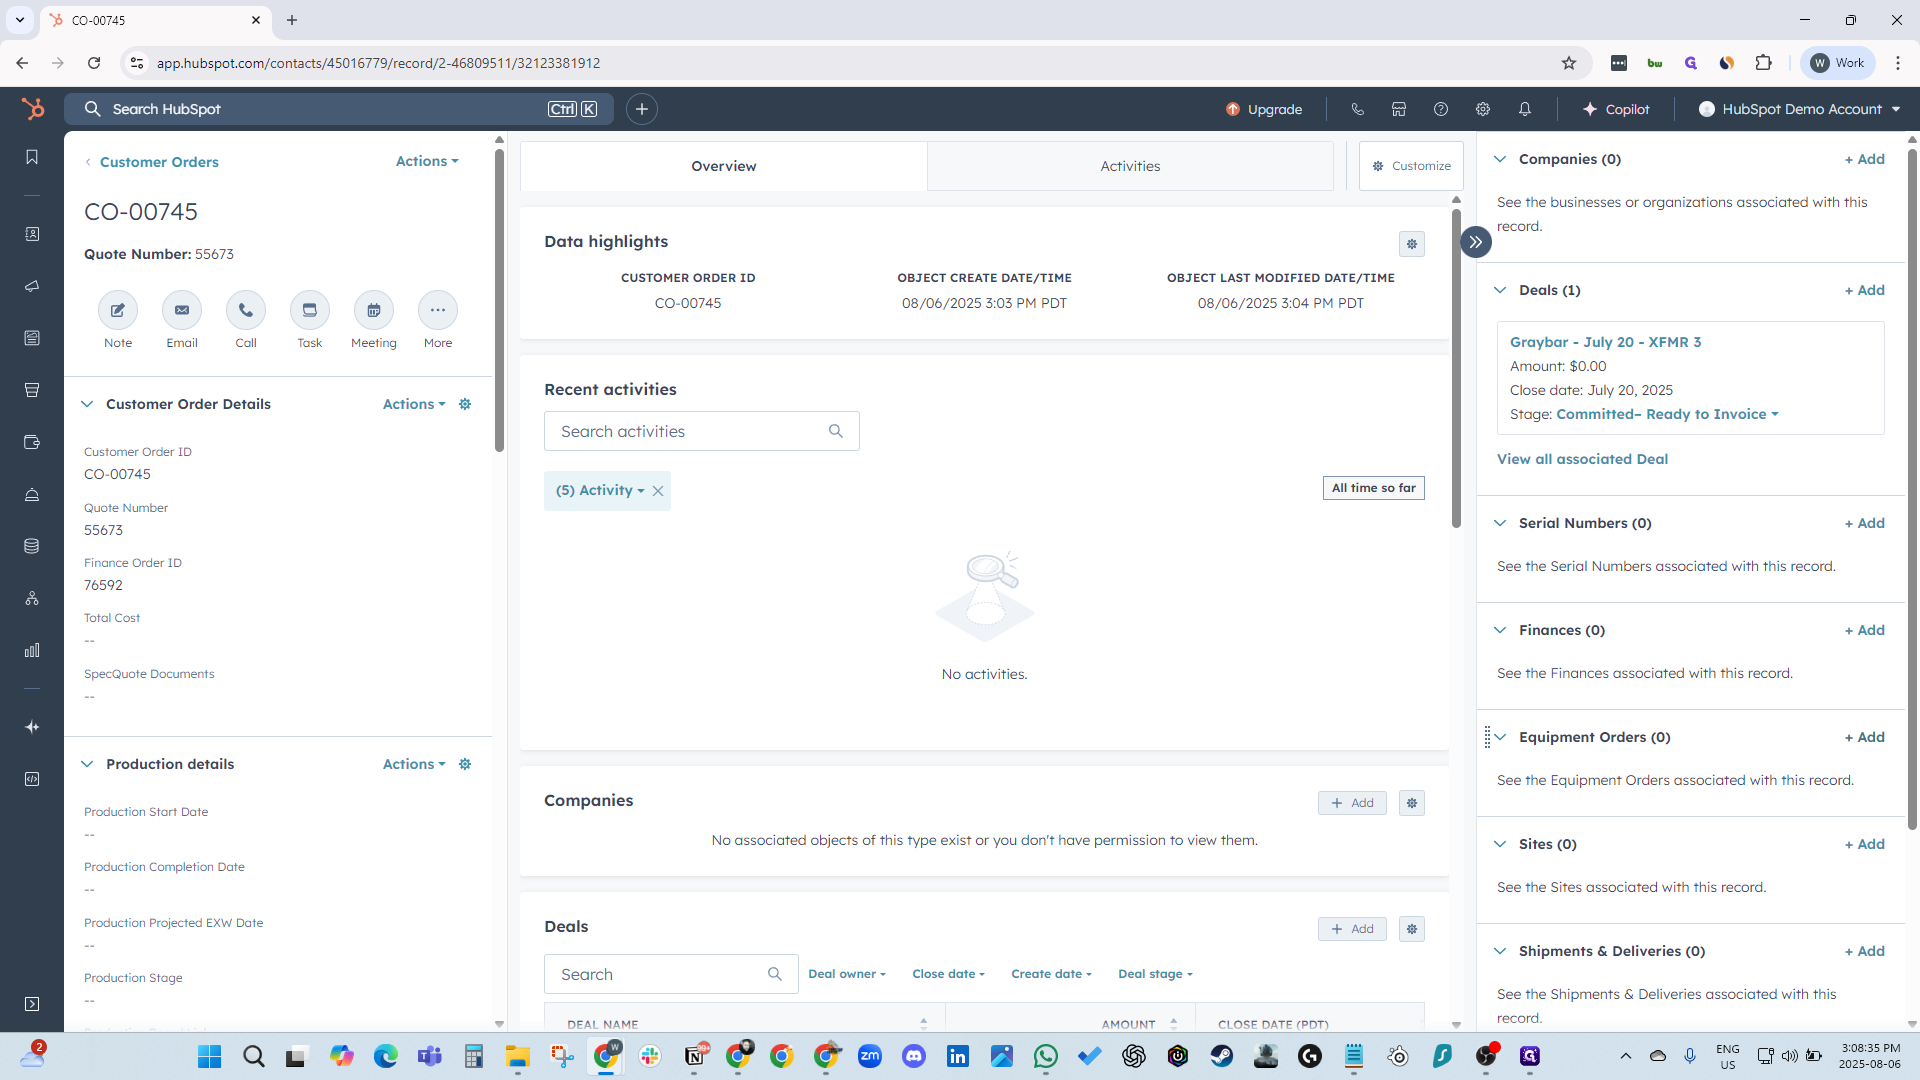
Now, our CHS will generate the next number. Enter CO-TEMP321, your quote number, product line, and product type, then click Create Customer Order.

3
Click here
Step #3: Click here
4
Type "CO-temp321"
5
Type "55673"
6
Click here
Step #6: Click here
7
Click on "Transformer"
Step #7: Click on "Transformer"
8
Click here
Step #8: Click here
9
Click here
Step #9: Click here
10
Click on "XFMR- 3PH Padmount"
Step #10: Click on "XFMR- 3PH Padmount"
11
Click here
Step #11: Click here

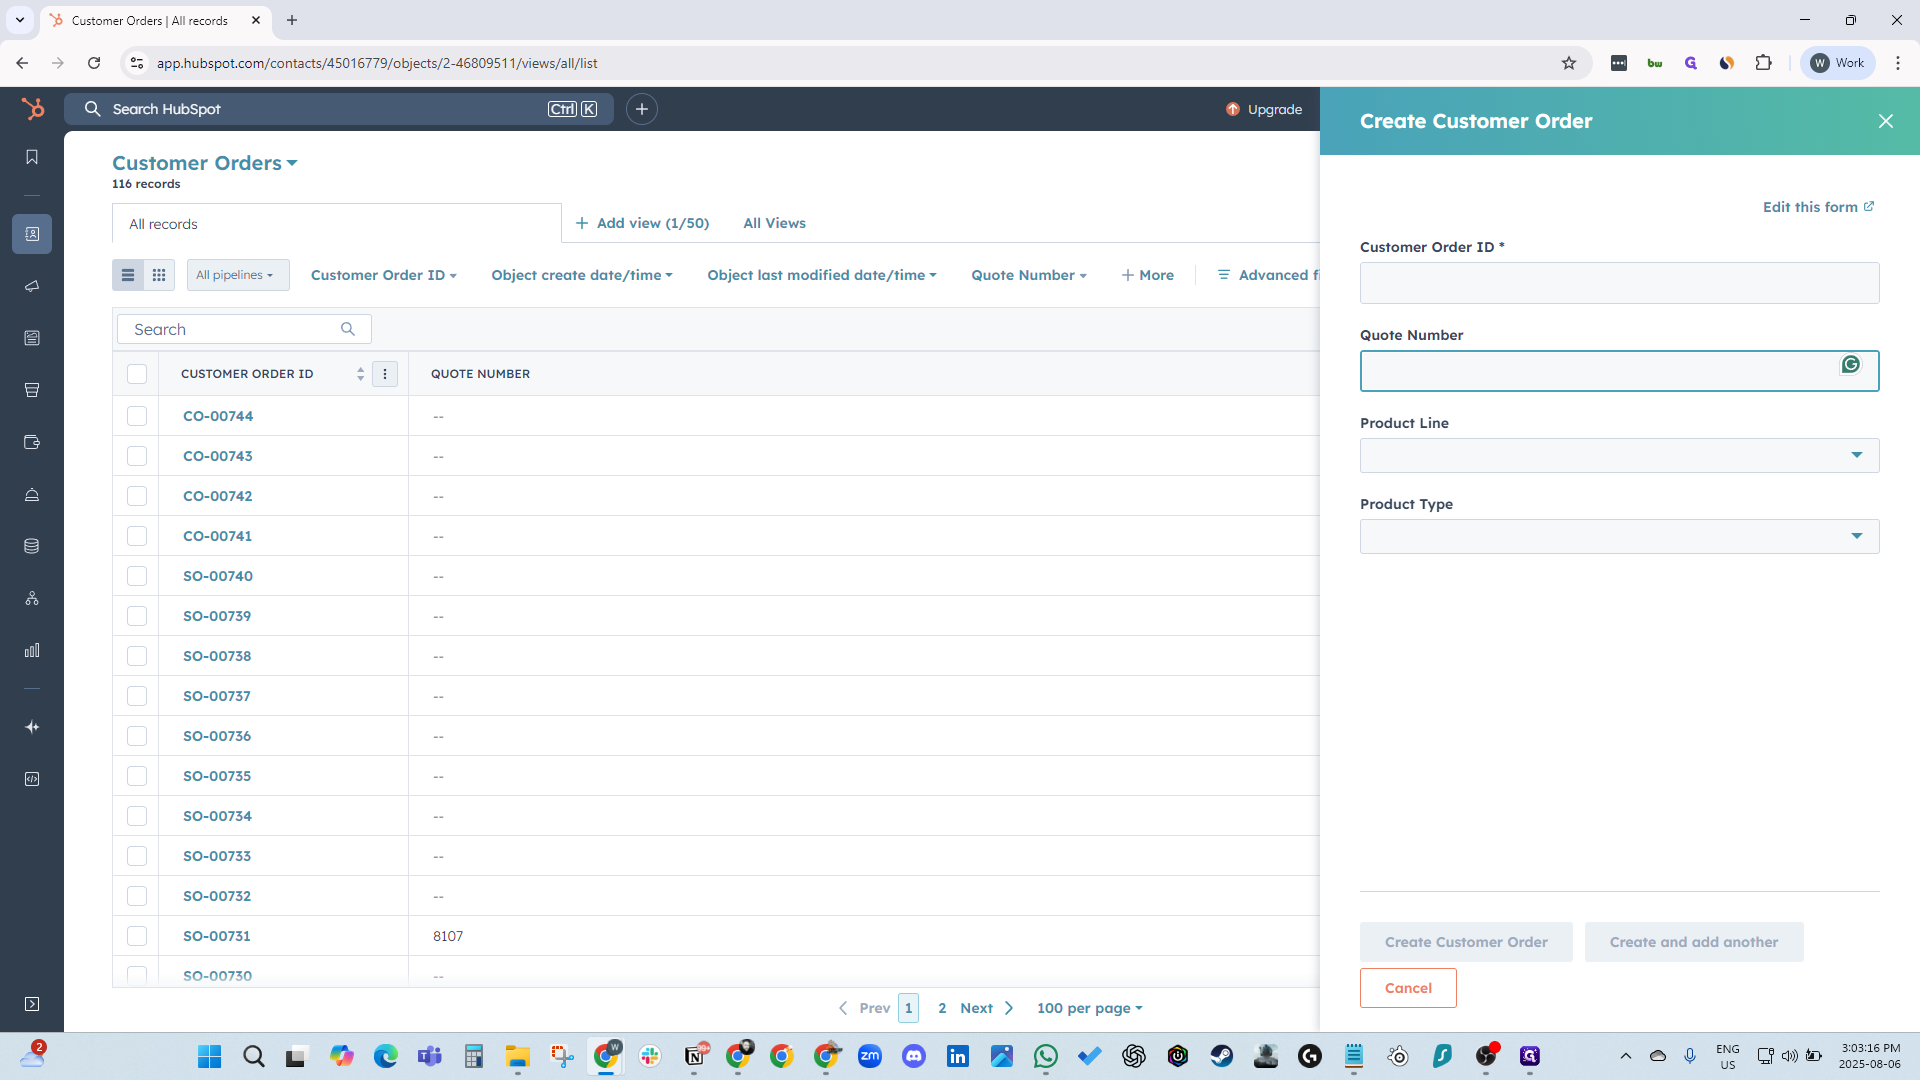
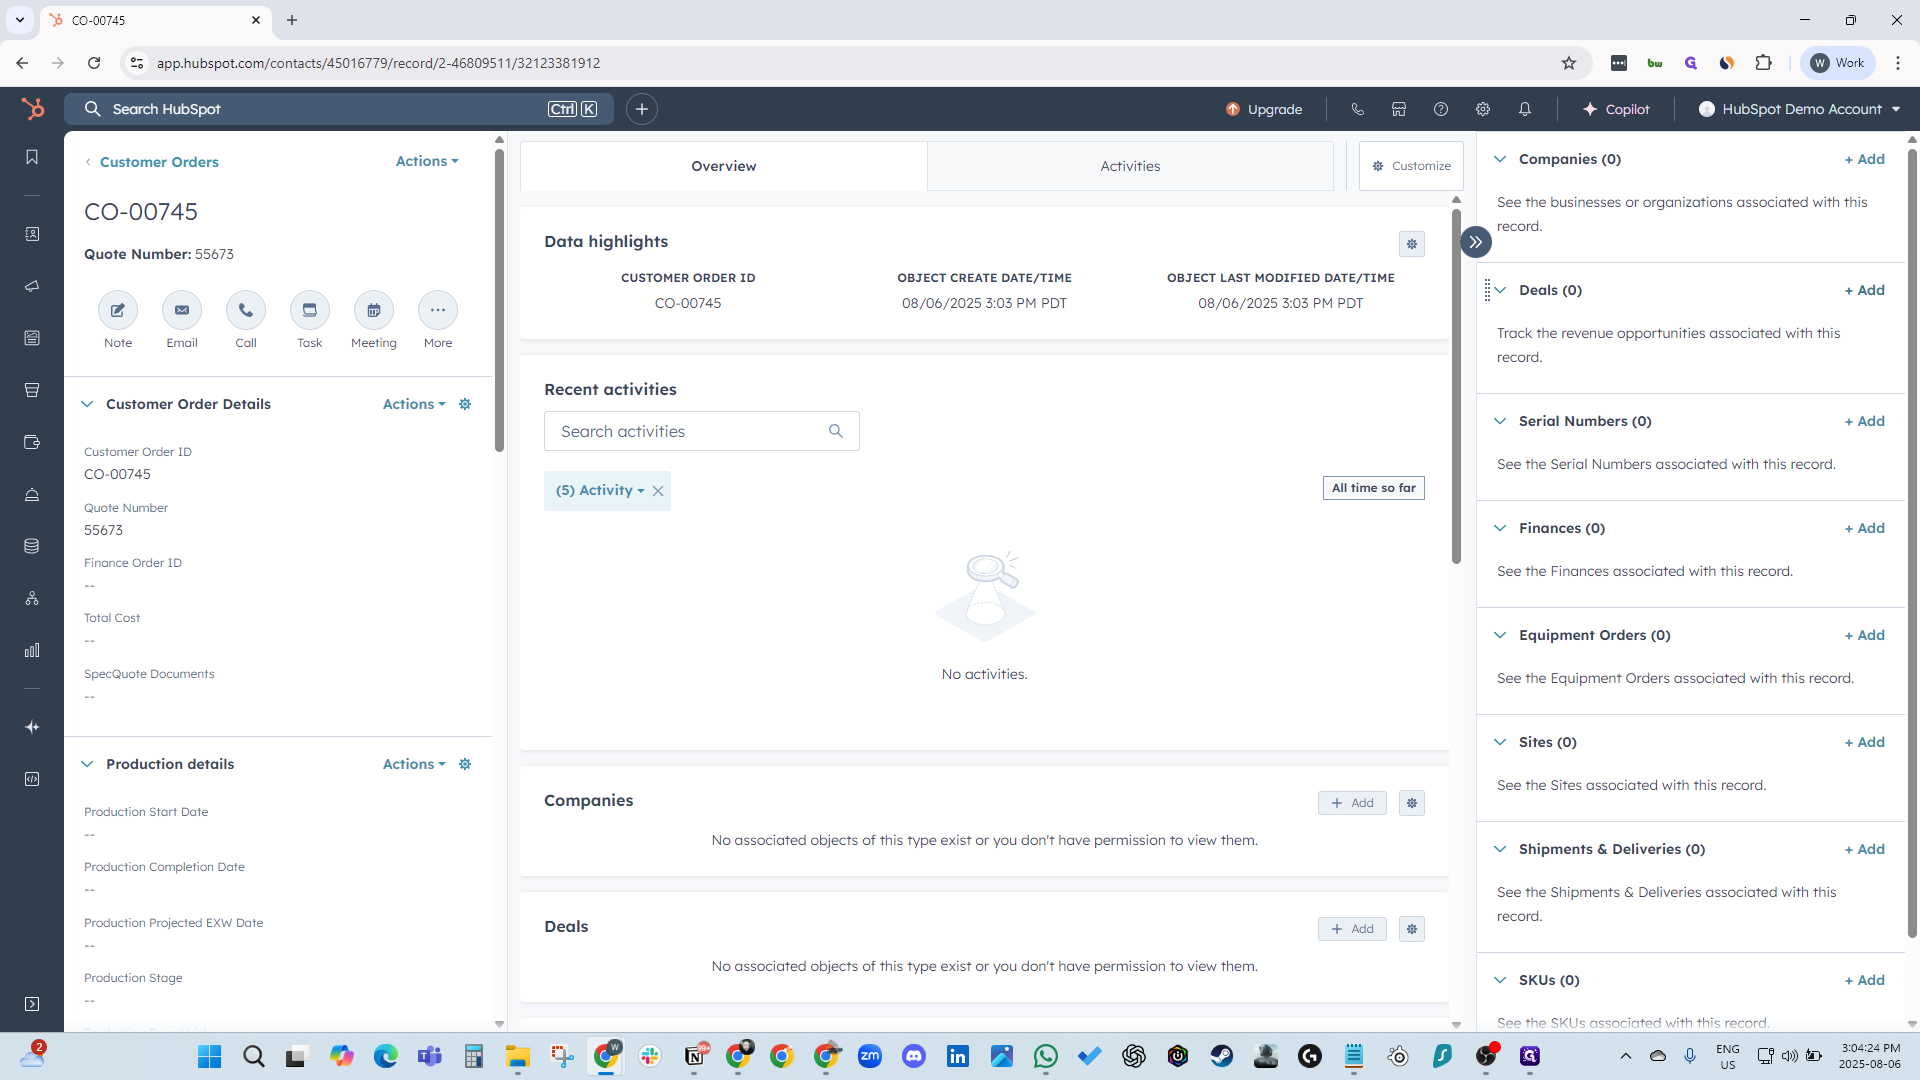
Wait a few seconds, then click refresh. The customer order will be created.

12
Click on "Create Customer Order"
Step #12: Click on "Create Customer Order"
13
Now we wait a couple of seconds and hit refresh, and the customer order is created.
14
Click on "C"
Step #14: Click on "C"
15
Click here
Step #15: Click here

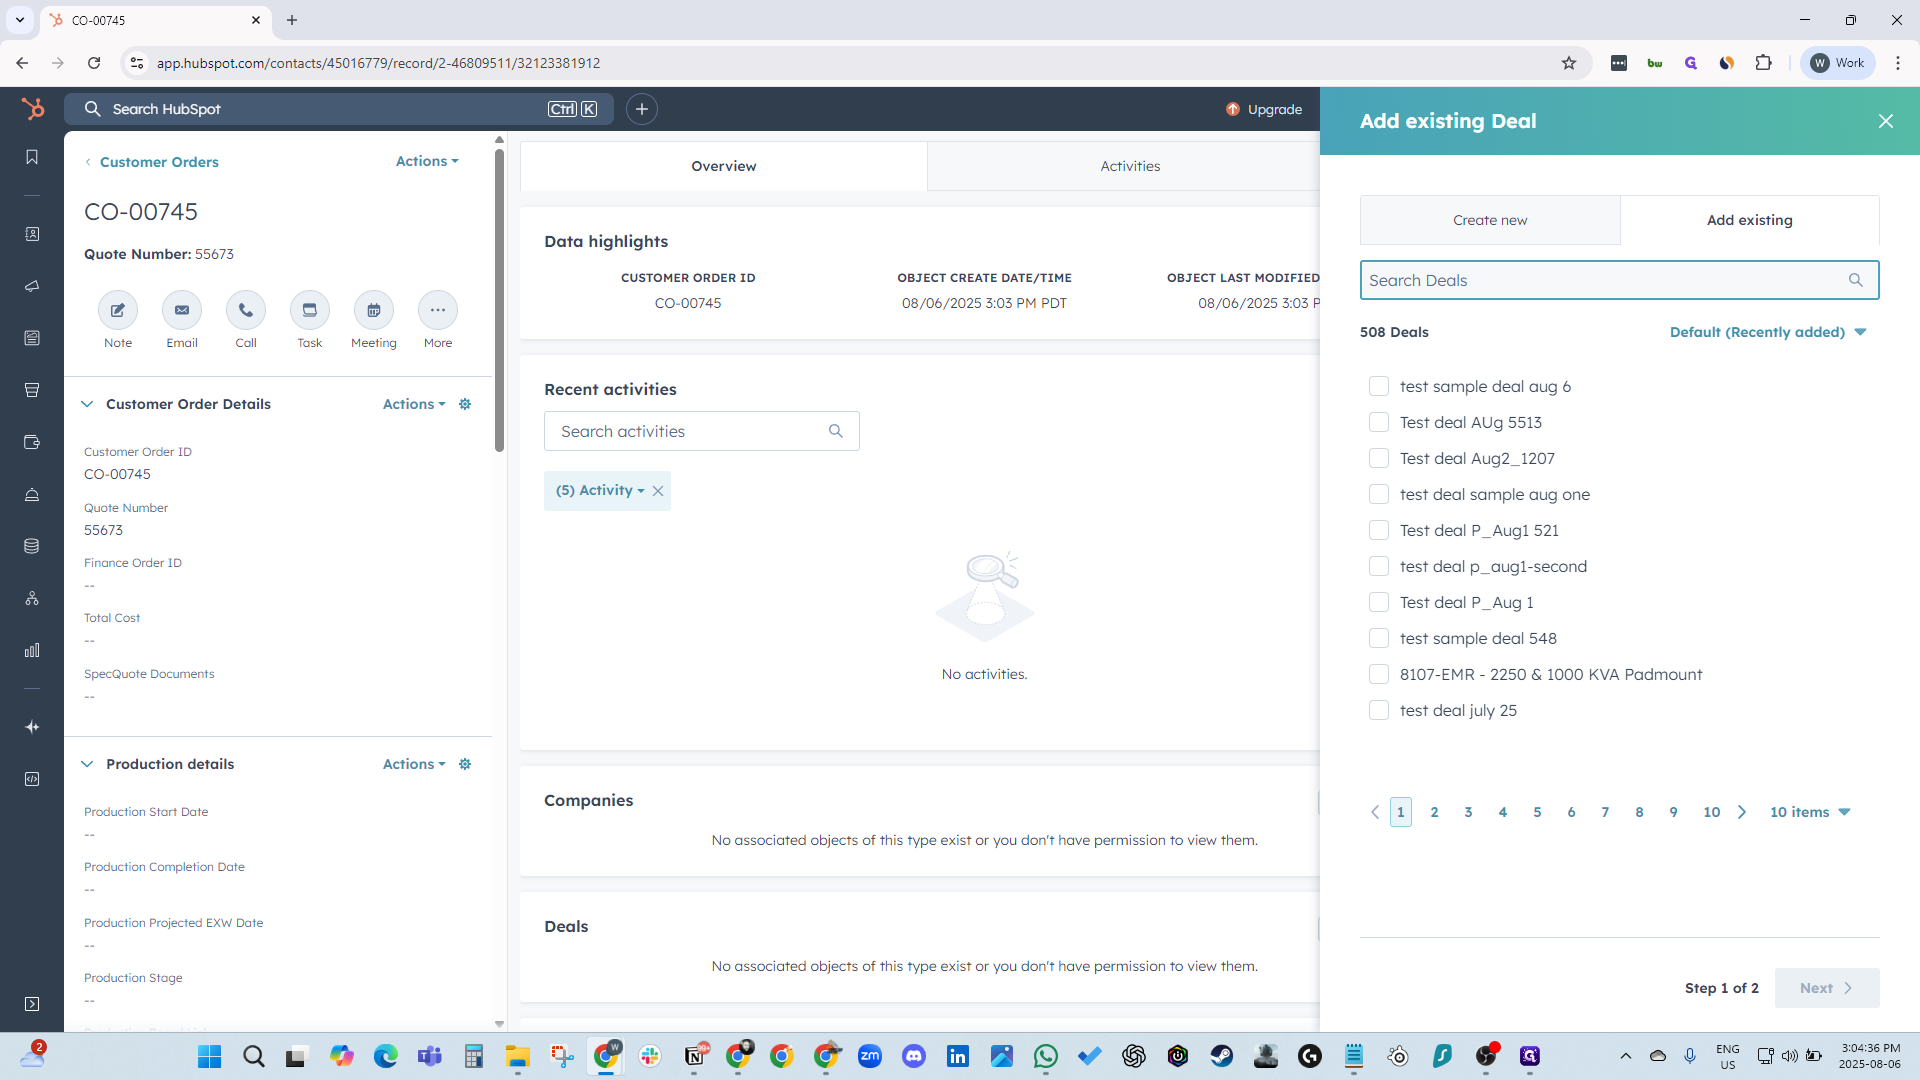
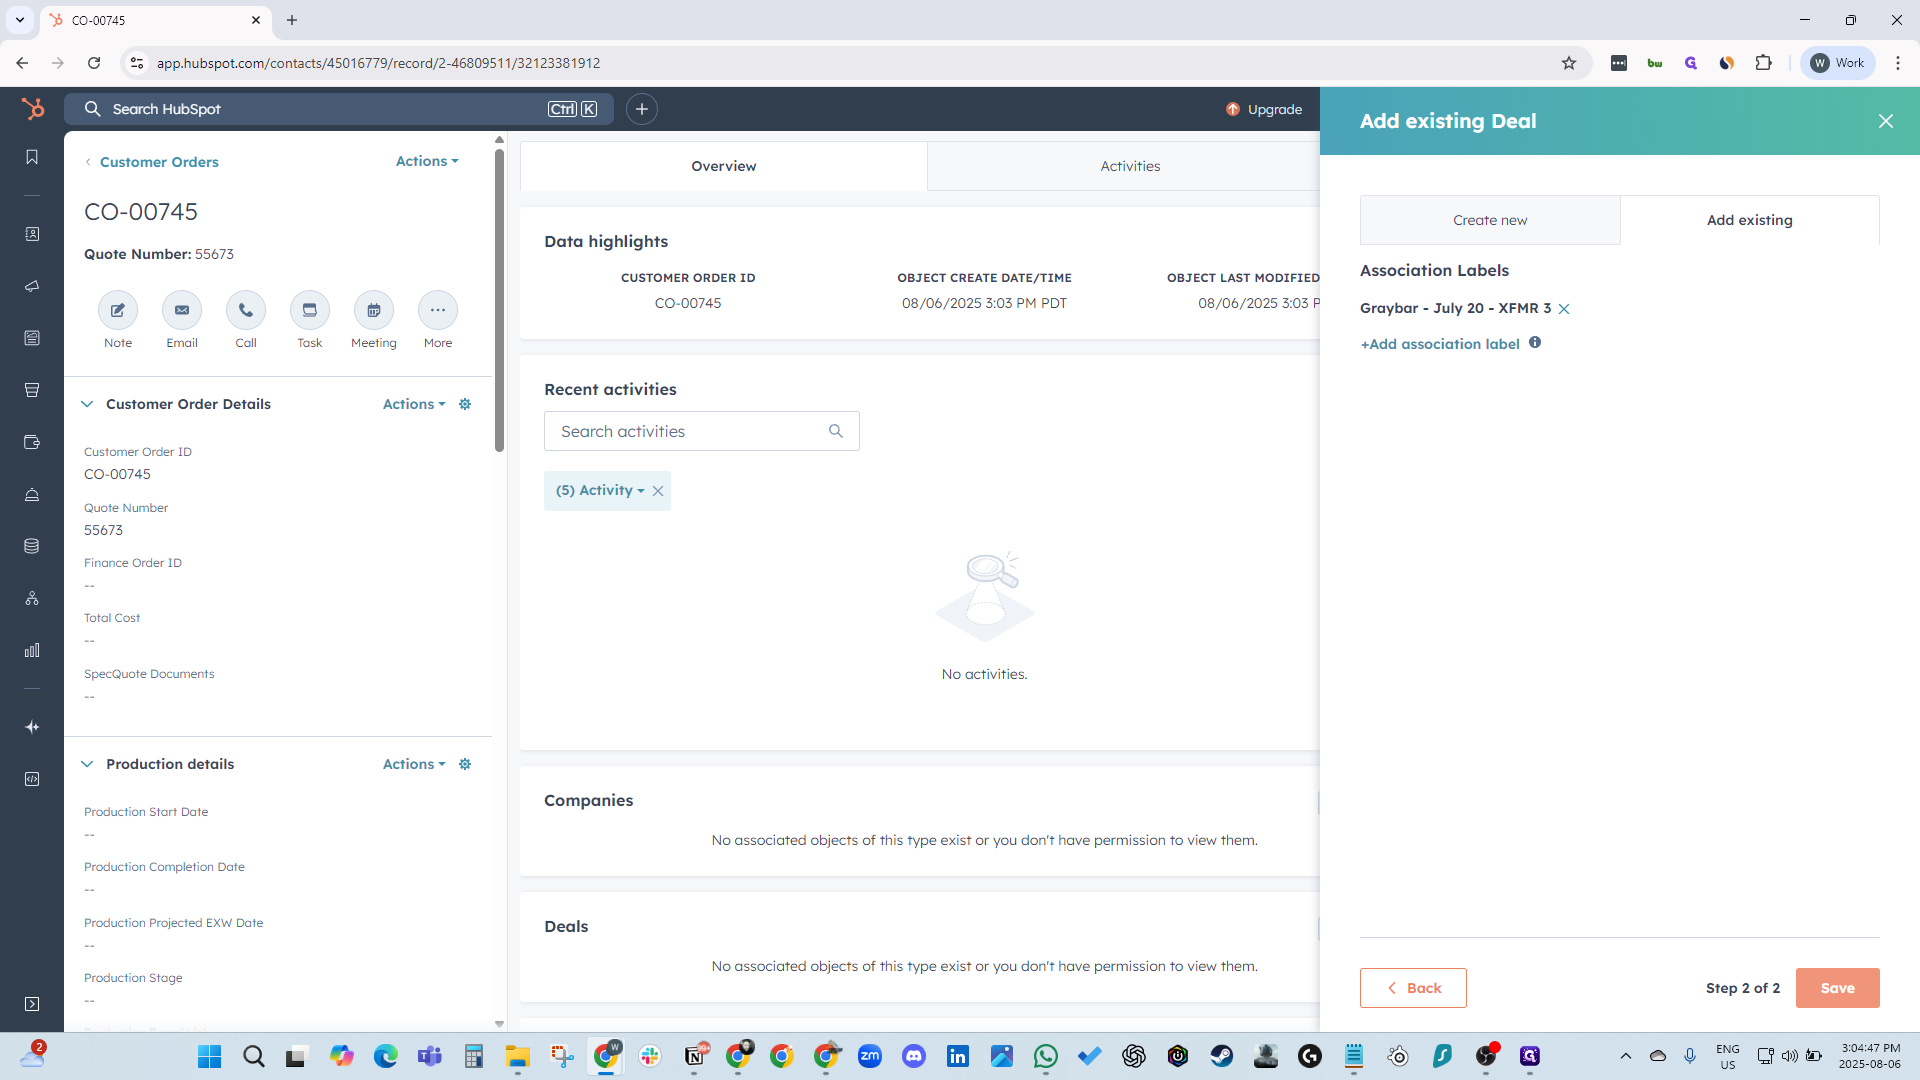
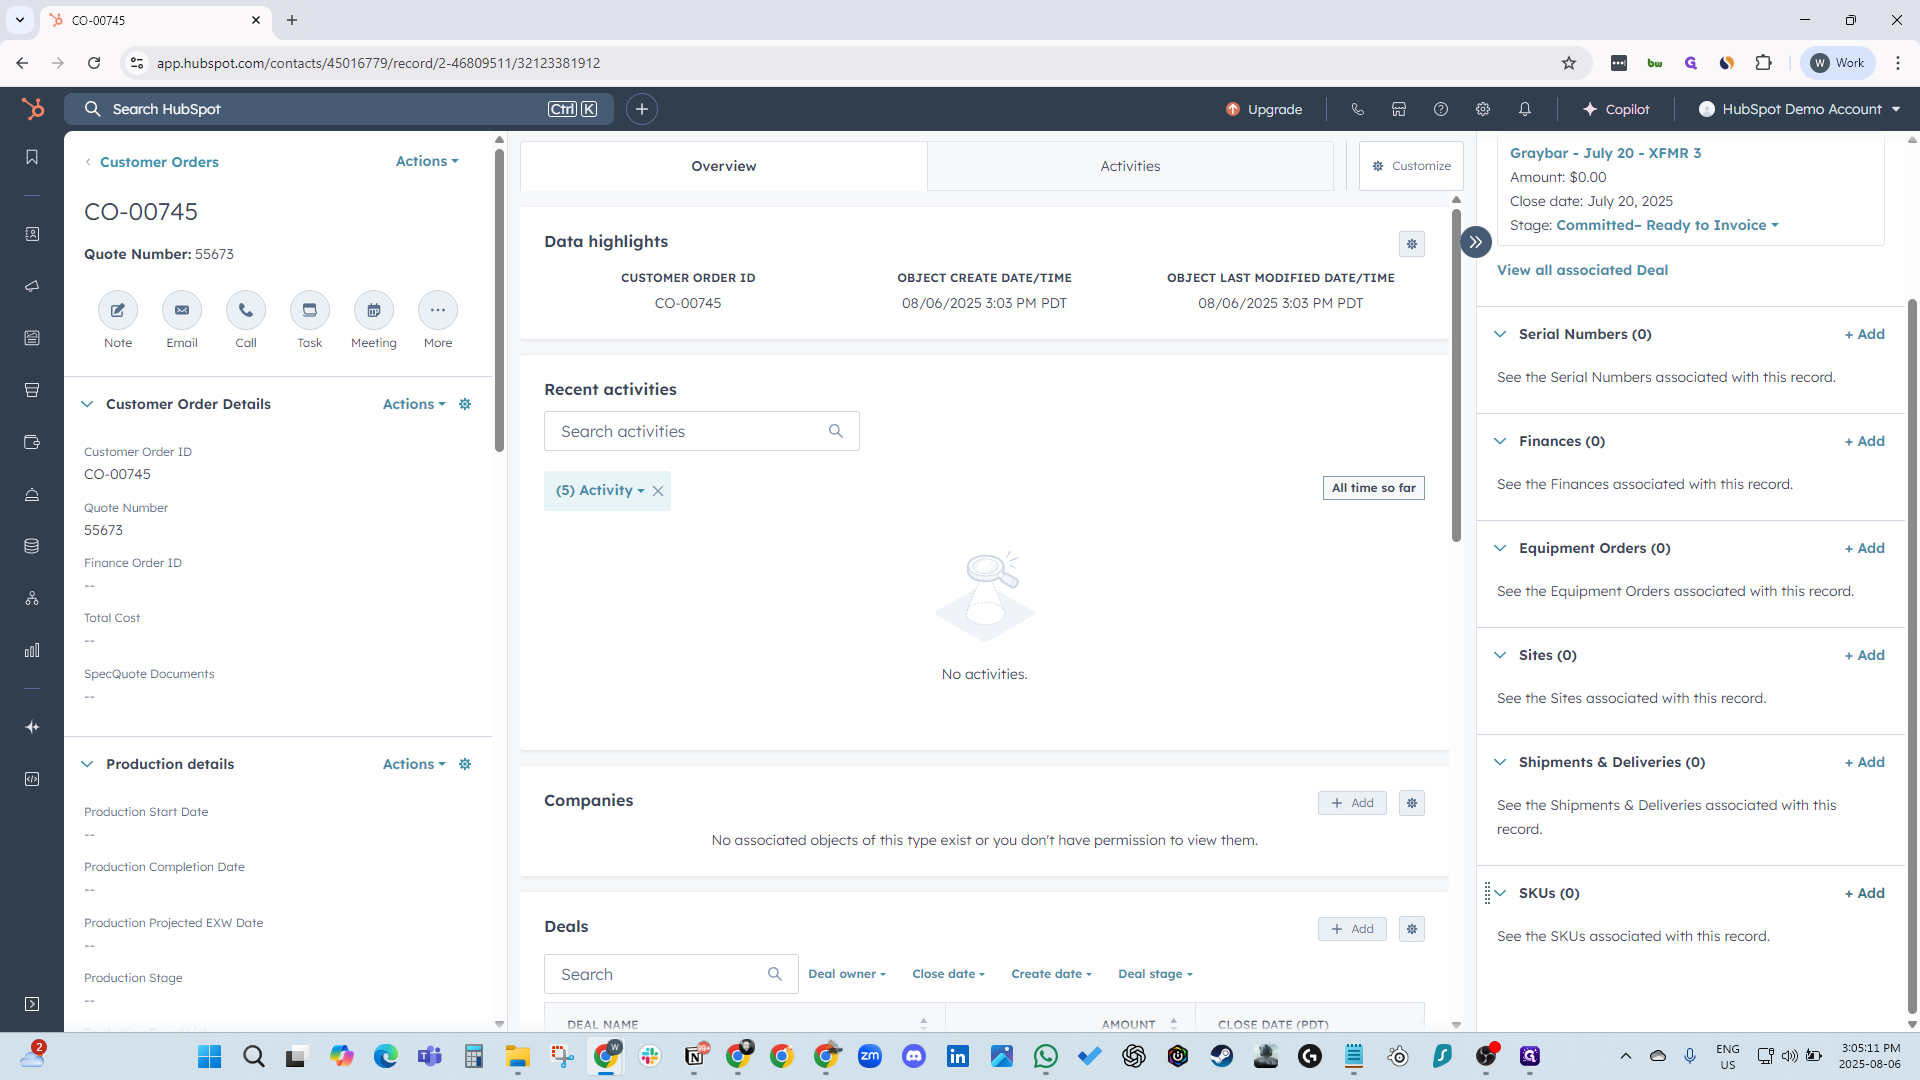
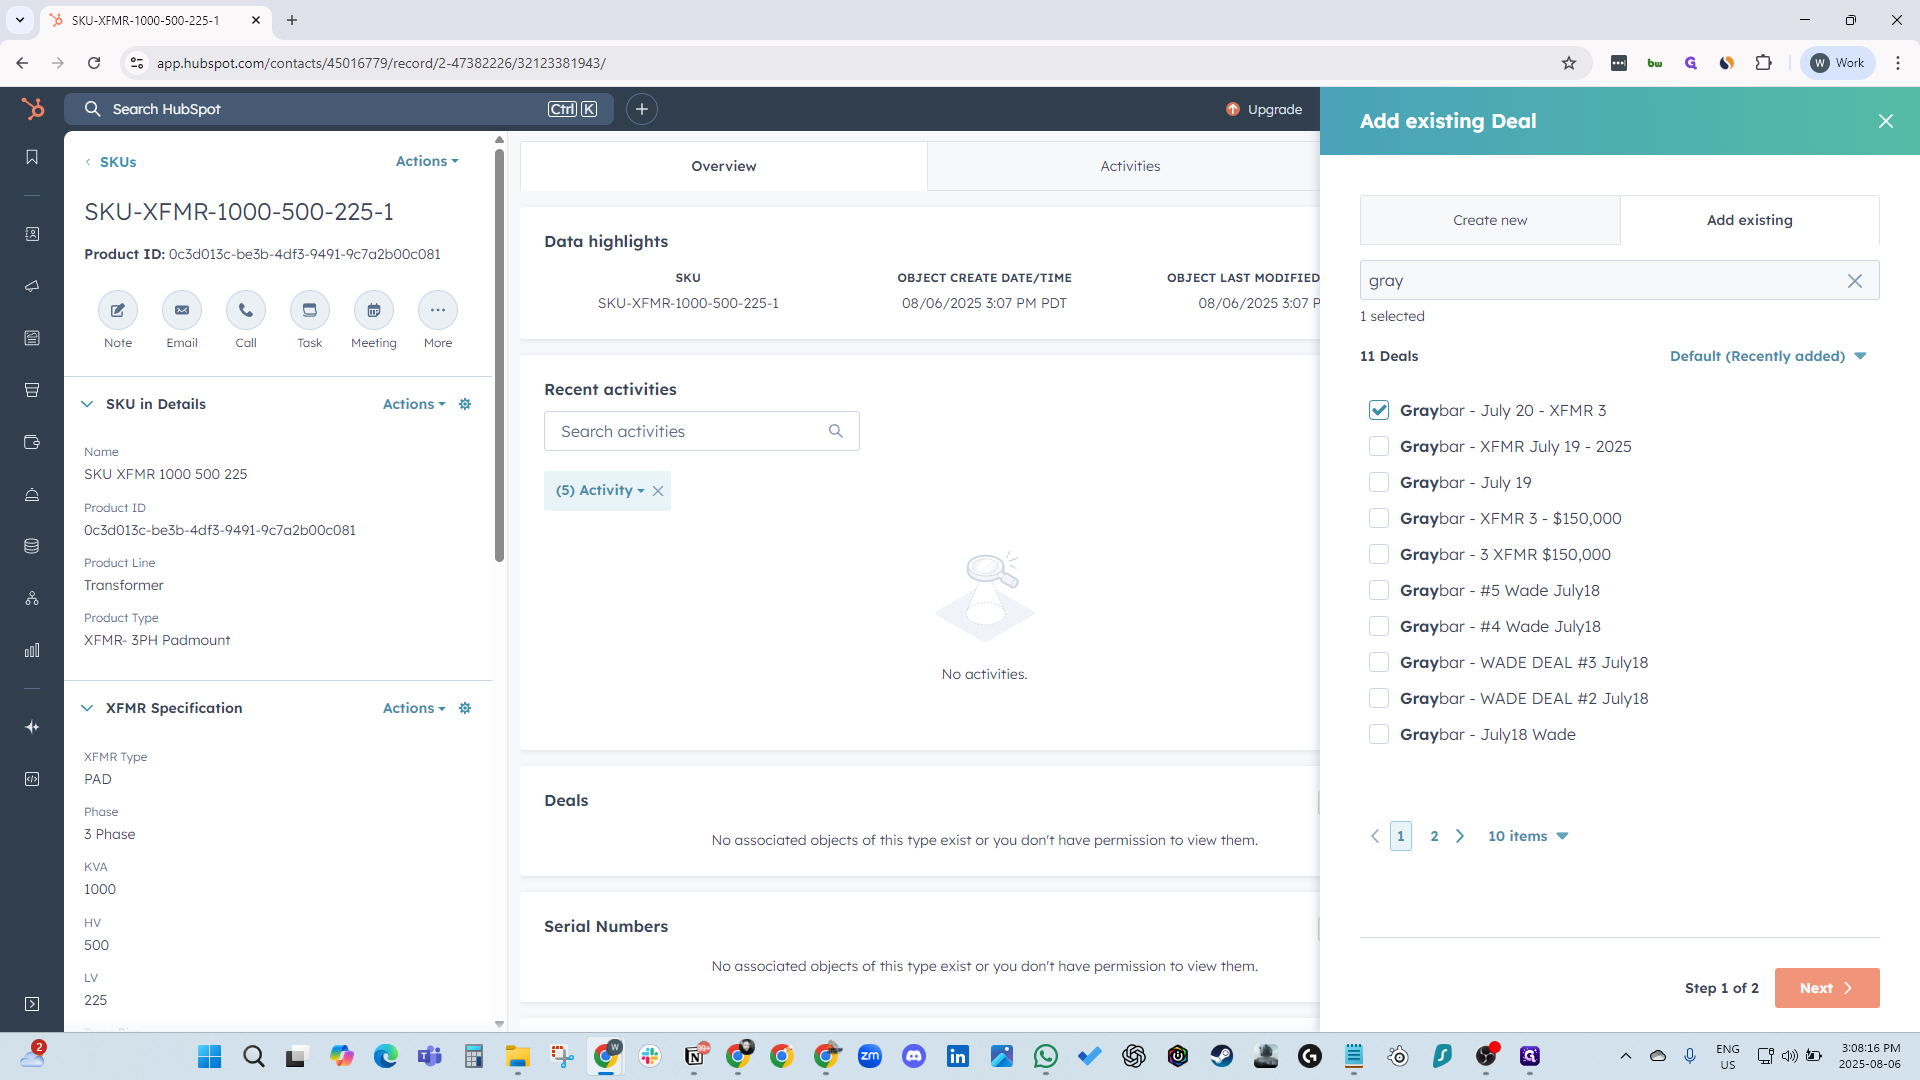
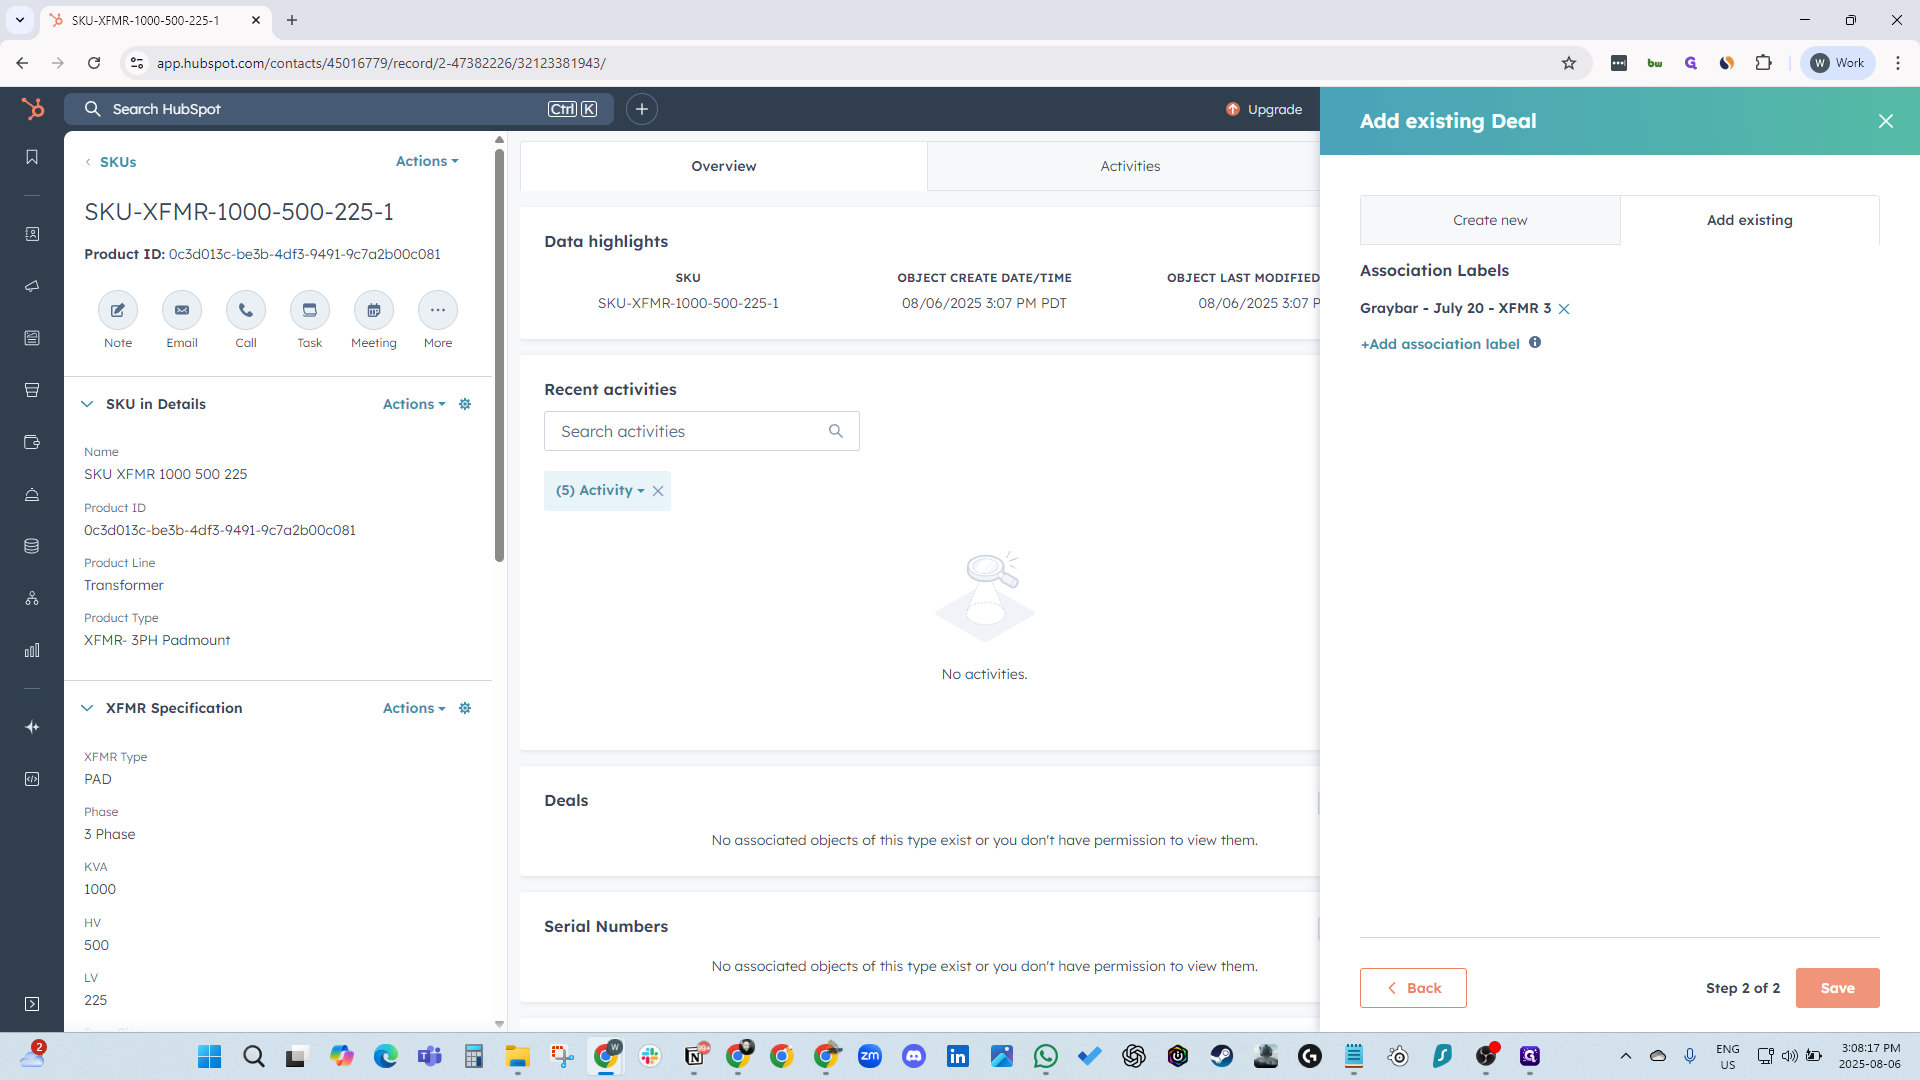
Next, associate the deal to ensure all information is connected. This makes it easy to research and see which deals are linked to each customer. Add a deal and search for the one you want.

16
Click on "+ Add"
Step #16: Click on "+ Add"
17
Click on "Add existing"
Step #17: Click on "Add existing"

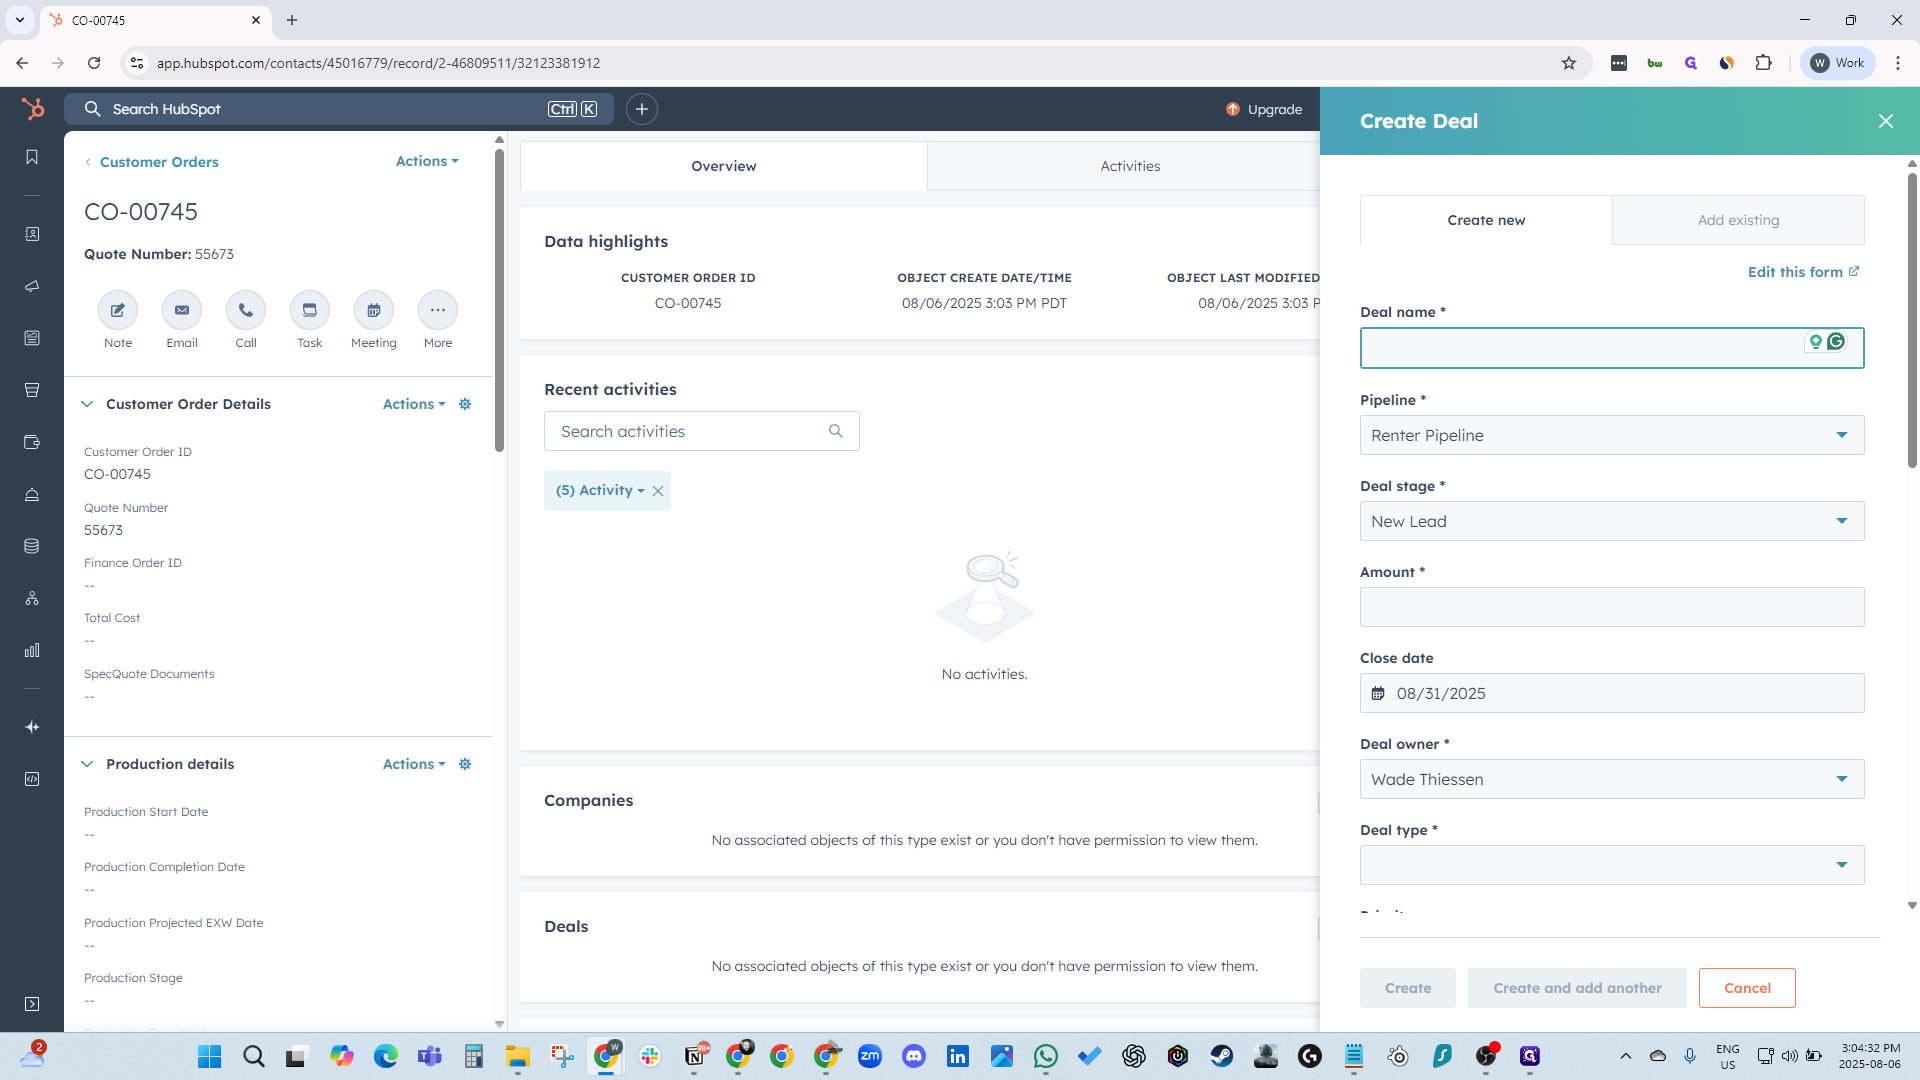
You can add an existing deal or create a new one.

18
Click on "Search Deals"
Step #18: Click on "Search Deals"
19
Type "gray"
20
Click on "Next >"
Step #20: Click on "Next >"
21
Click on "Save"
Step #21: Click on "Save"

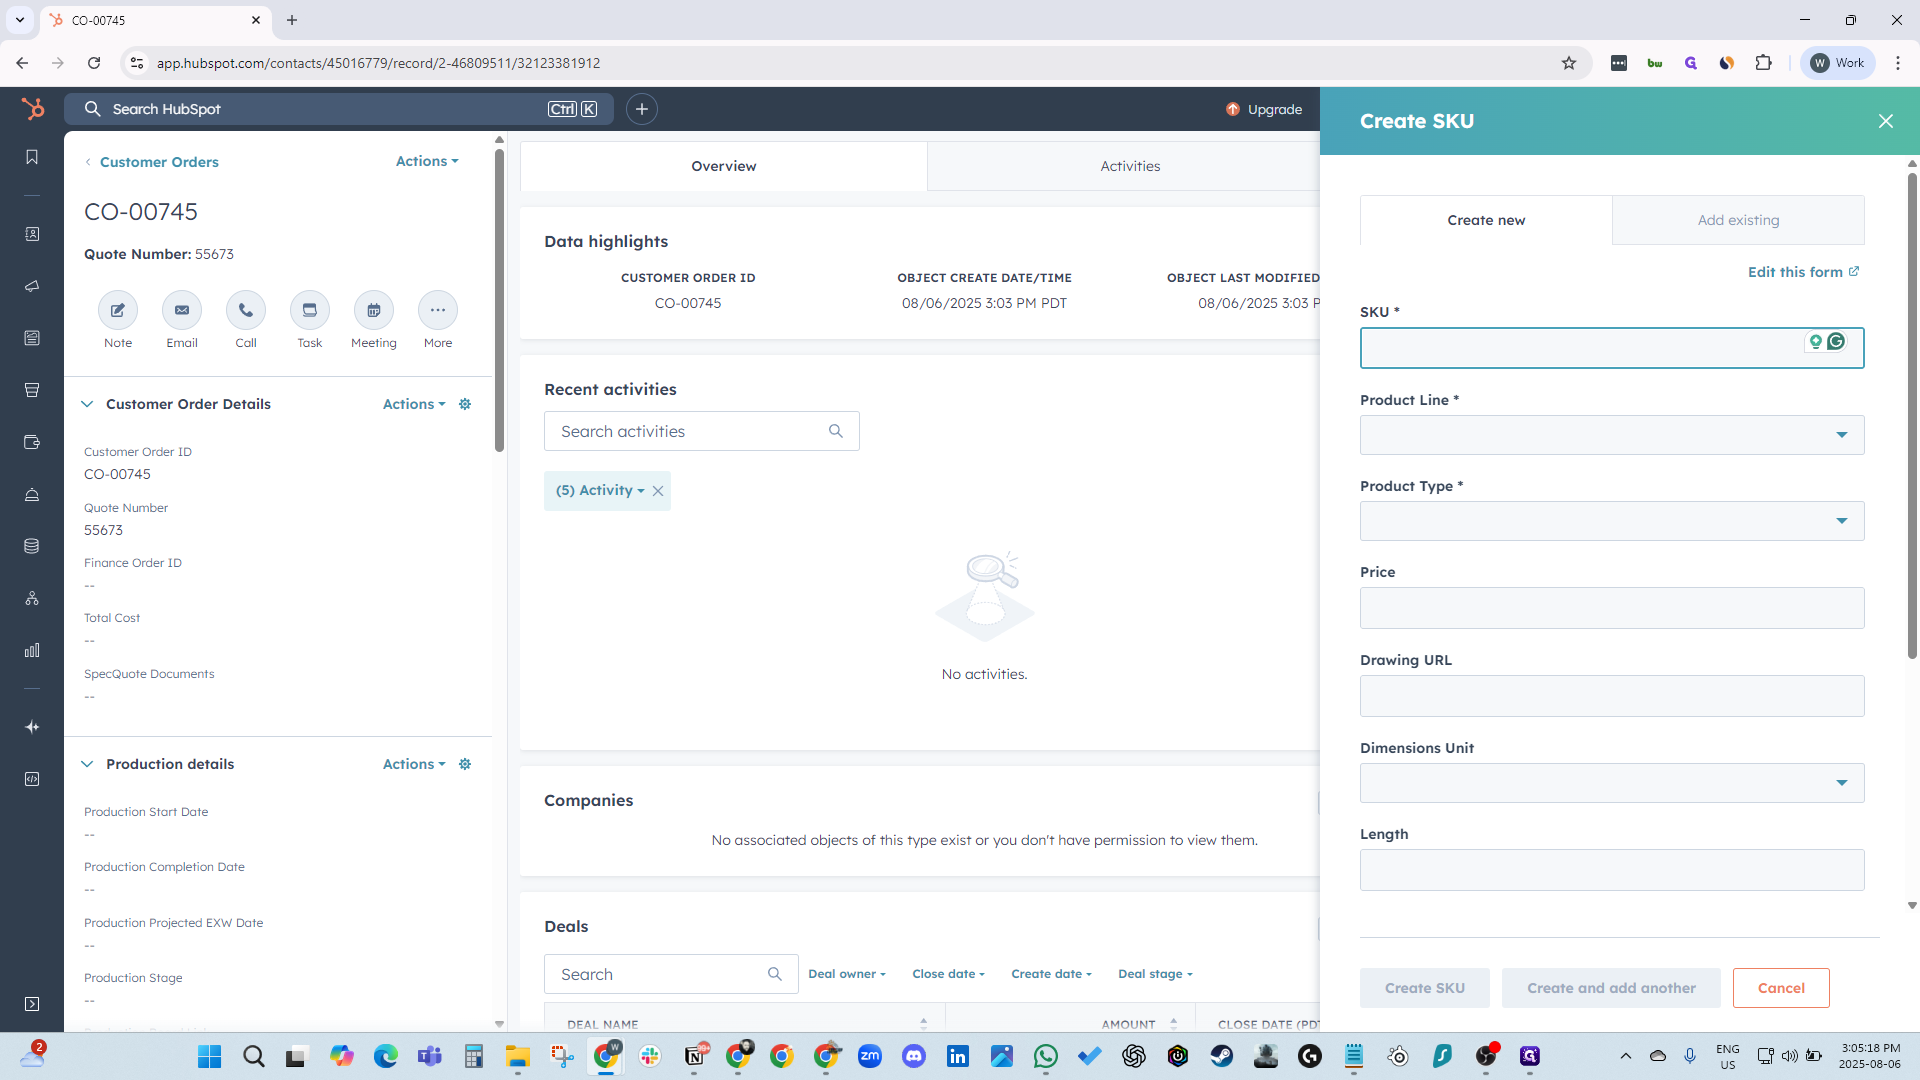
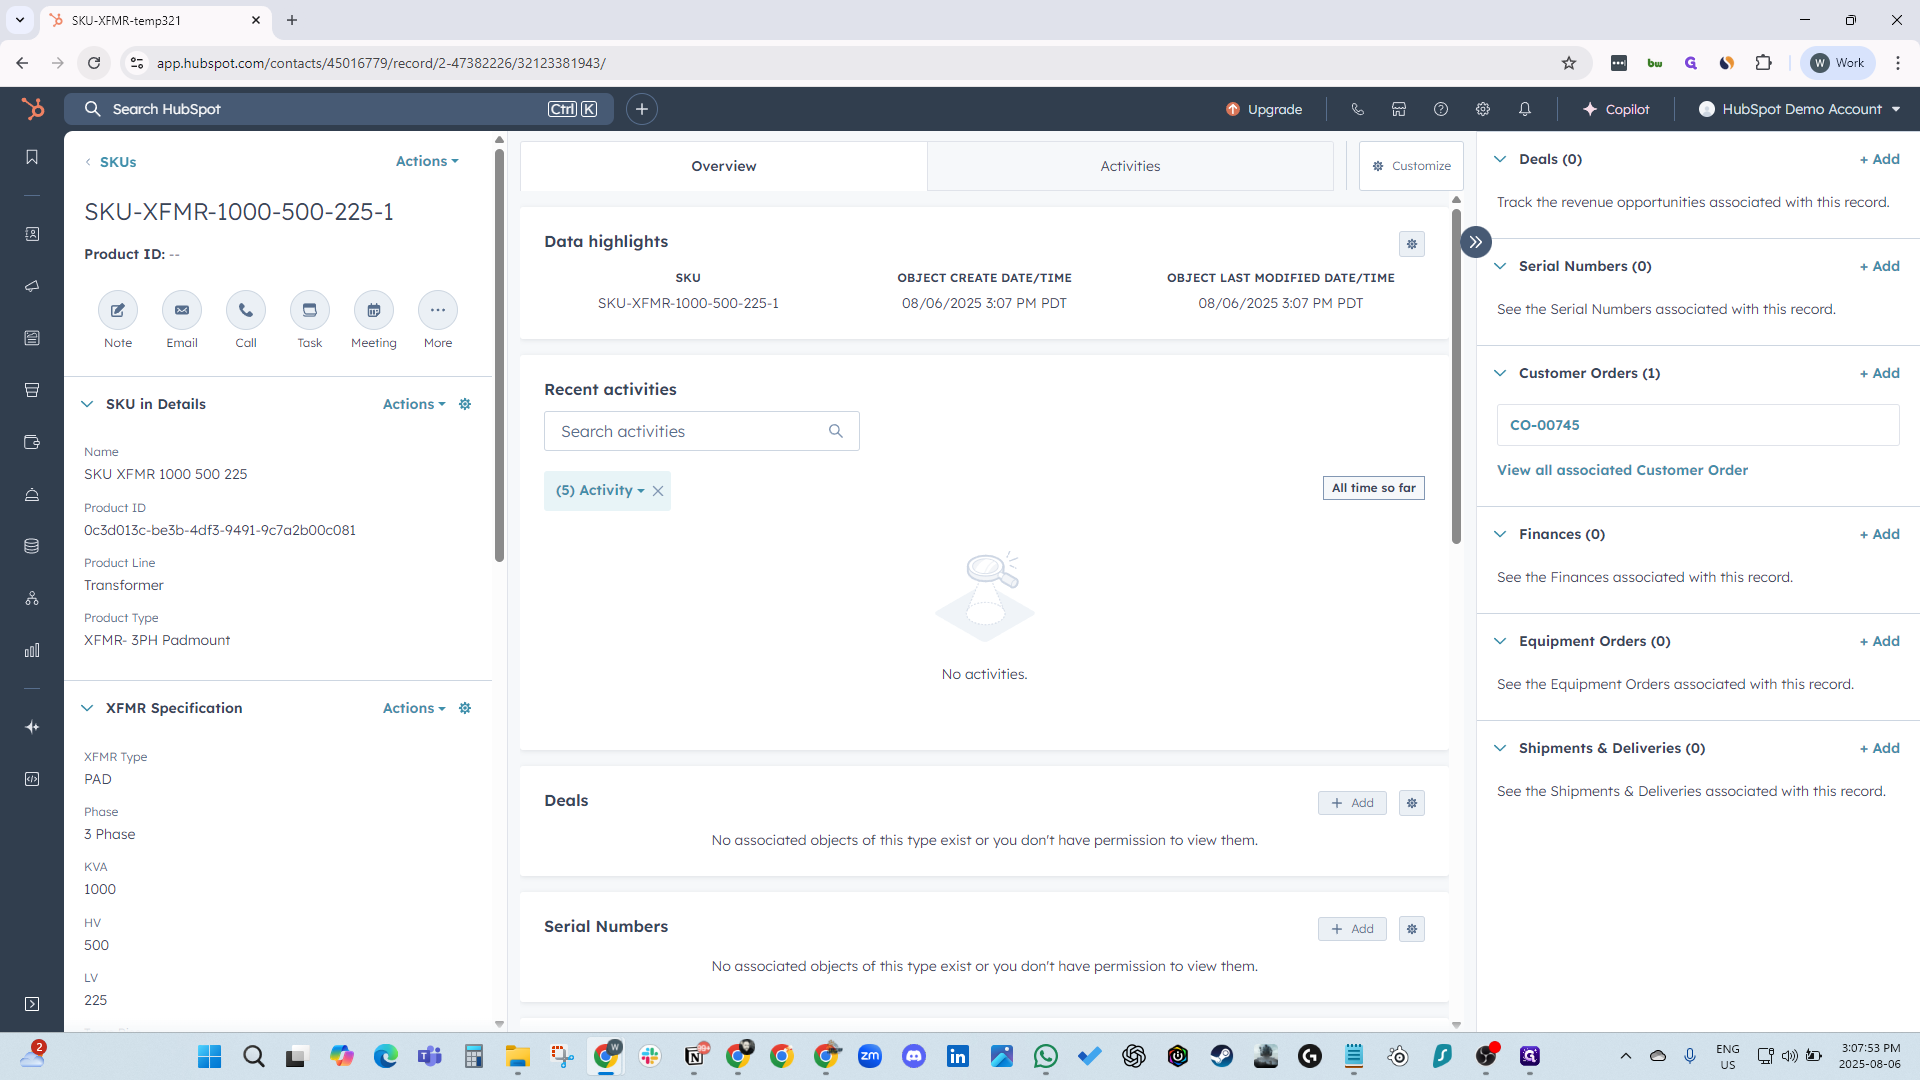
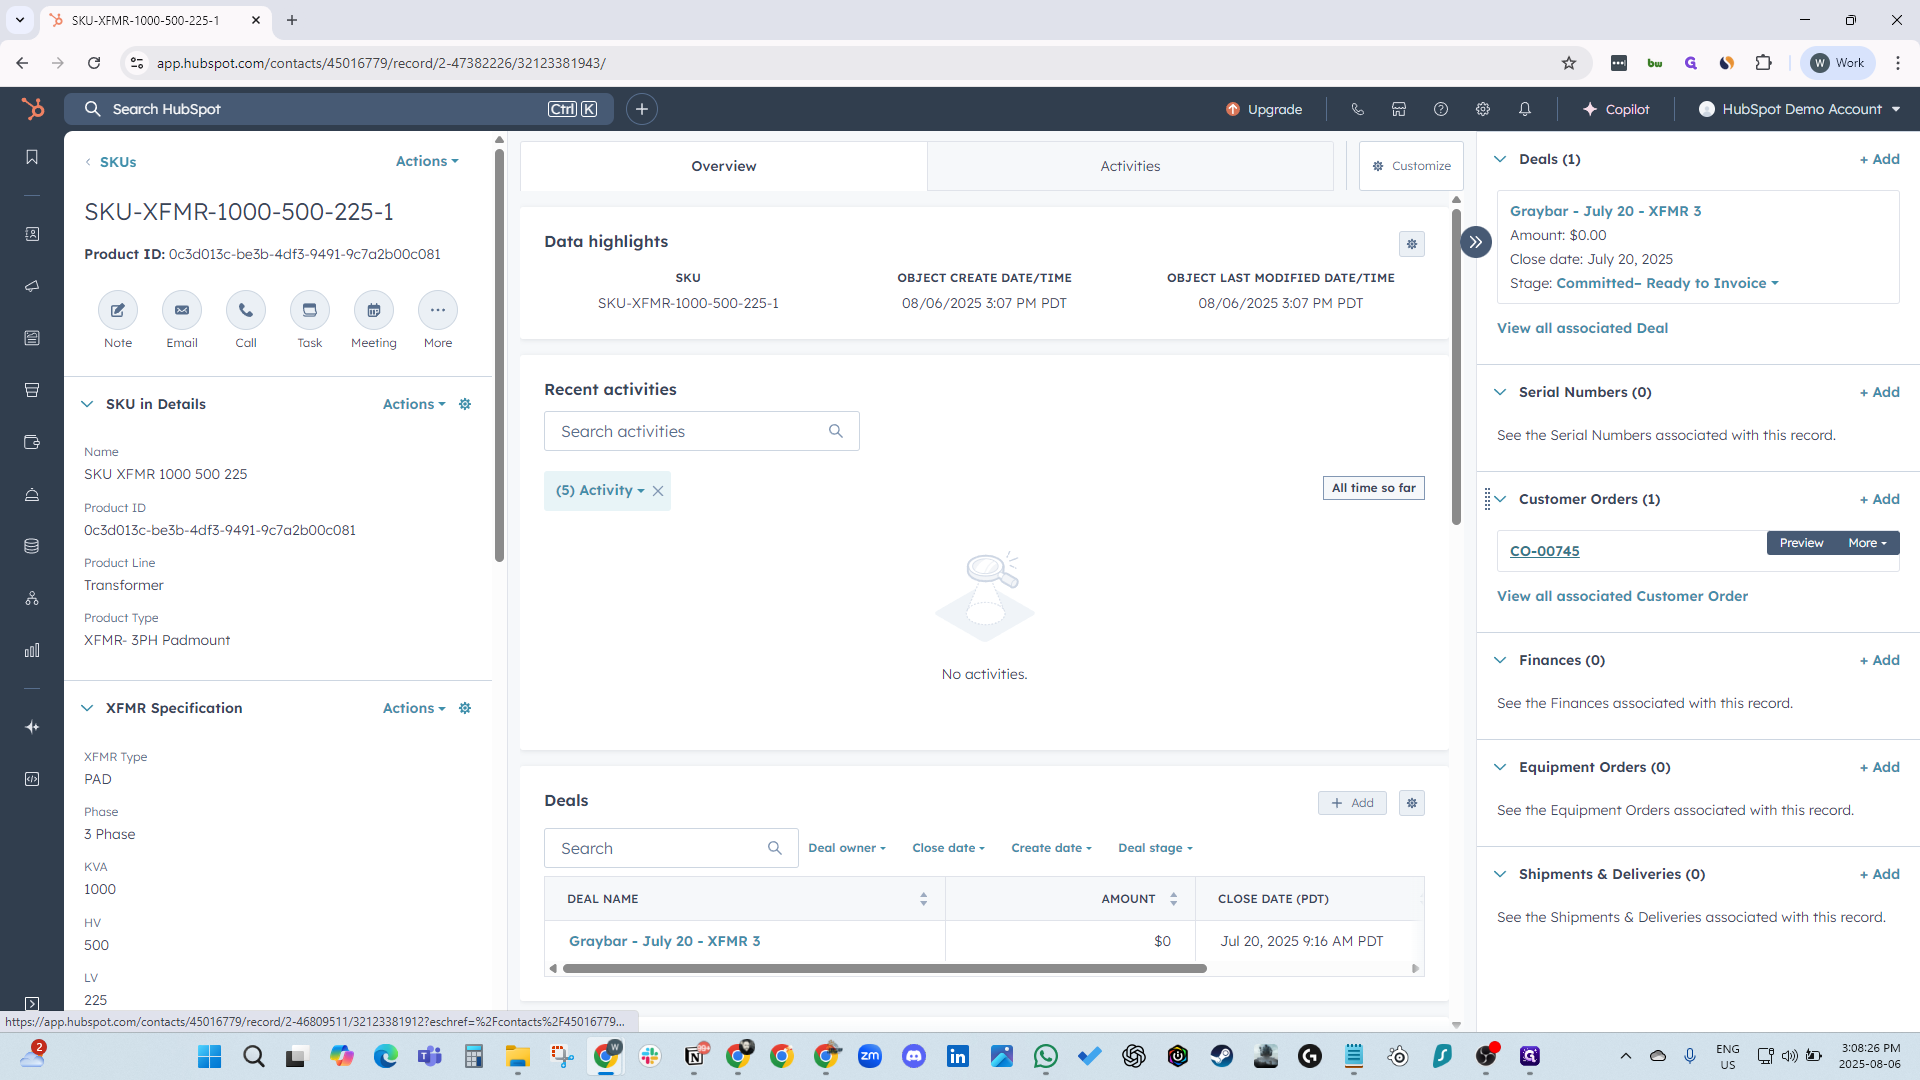
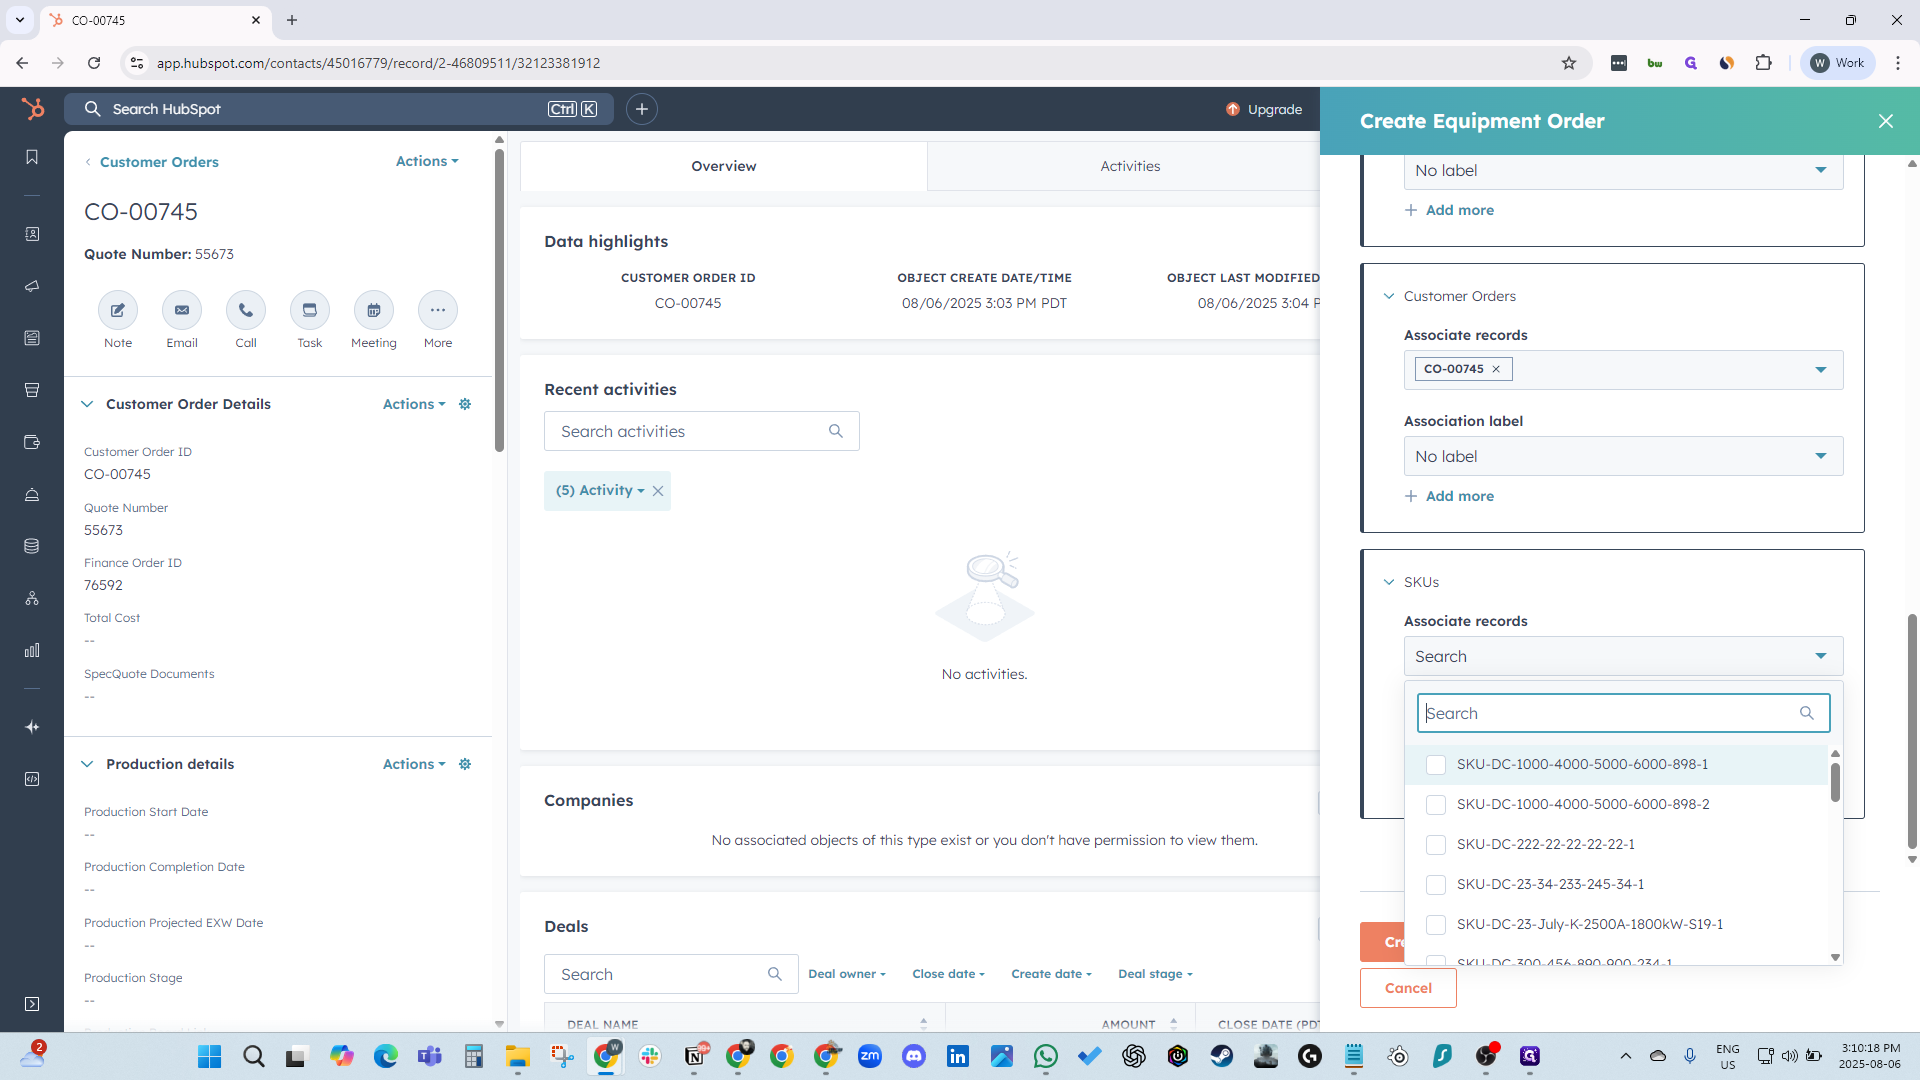
Next, we create a SKU. On your customer order, go to the bottom right and click Add SKU.

22
Click on "+ Add"
Step #22: Click on "+ Add"

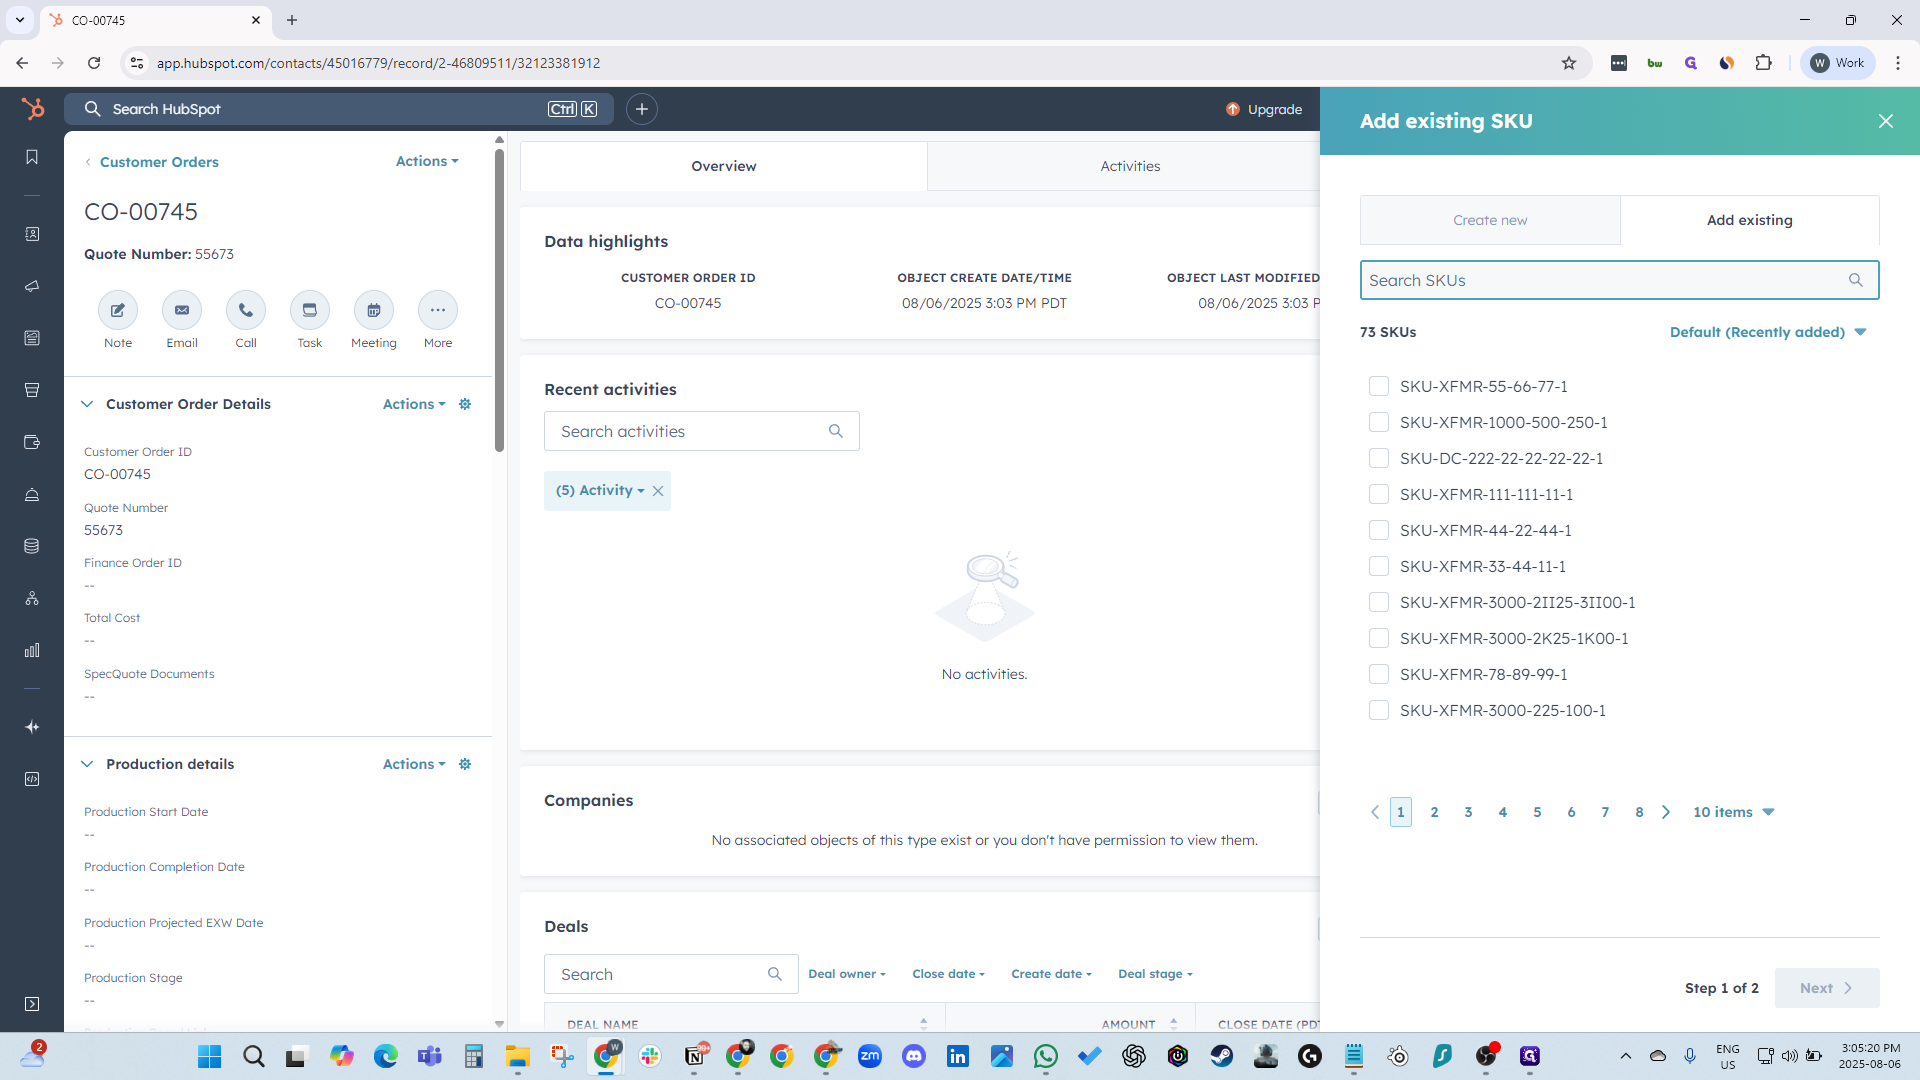
You can add an existing SKU or create a new one.

23
Click here
Step #23: Click here
24
Click here
Step #24: Click here
25
Click here
Step #25: Click here
26
Type "SKU-XFMR-temp321"
27
Click on "Transformer"
Step #27: Click on "Transformer"

It is a pad-mounted KVA transformer with a three-phase system. The conductor material is aluminum, and it uses oil. The taps are...

28
Click here
Step #28: Click here
29
Type "PAD"
30
Click here
Step #30: Click here
31
Type "1000"
32
Click here
Step #32: Click here
33
Type "500"
34
Click here
Step #34: Click here
35
Type "225"
36
Click here
Step #36: Click here
37
Type "65"
38
Click here
Step #38: Click here
39
Type "3 Phase"
40
Click here
Step #40: Click here
41
Type "AU + TabMinerial Oil + Tab"

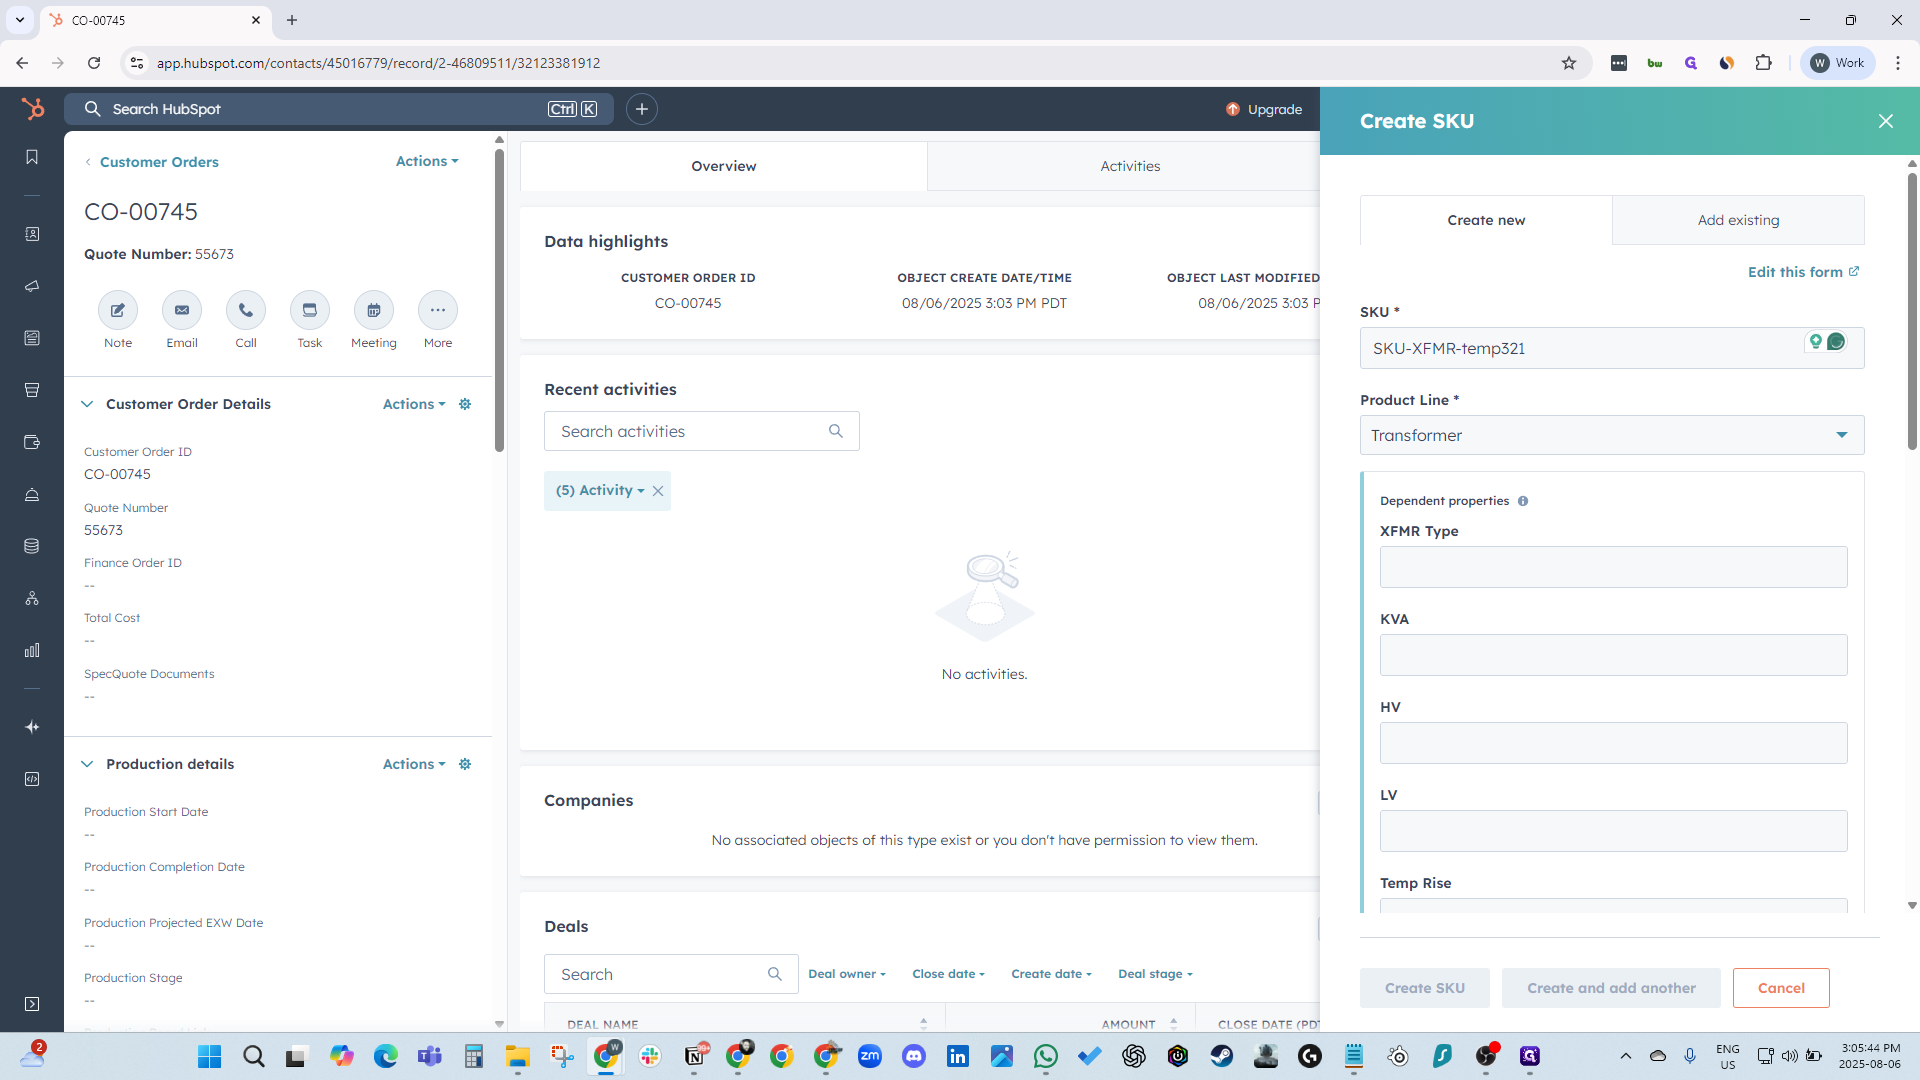
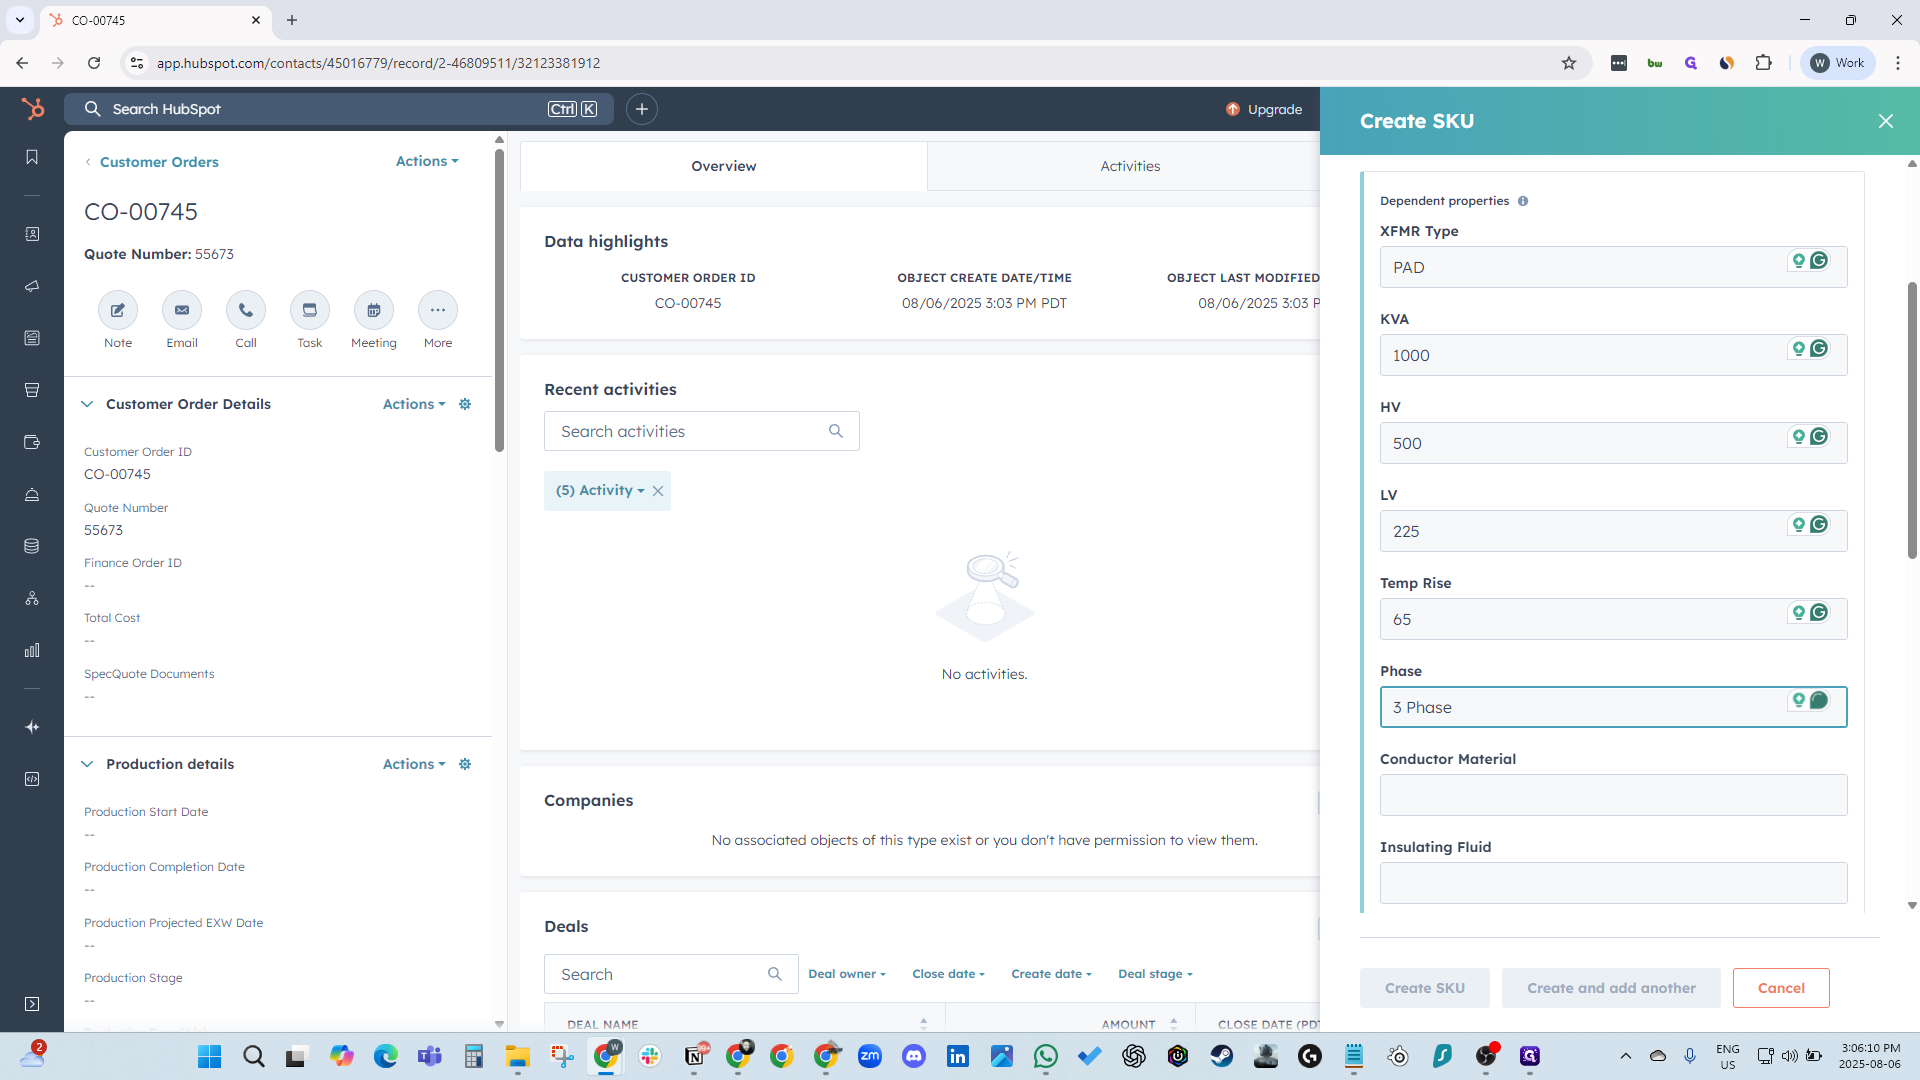
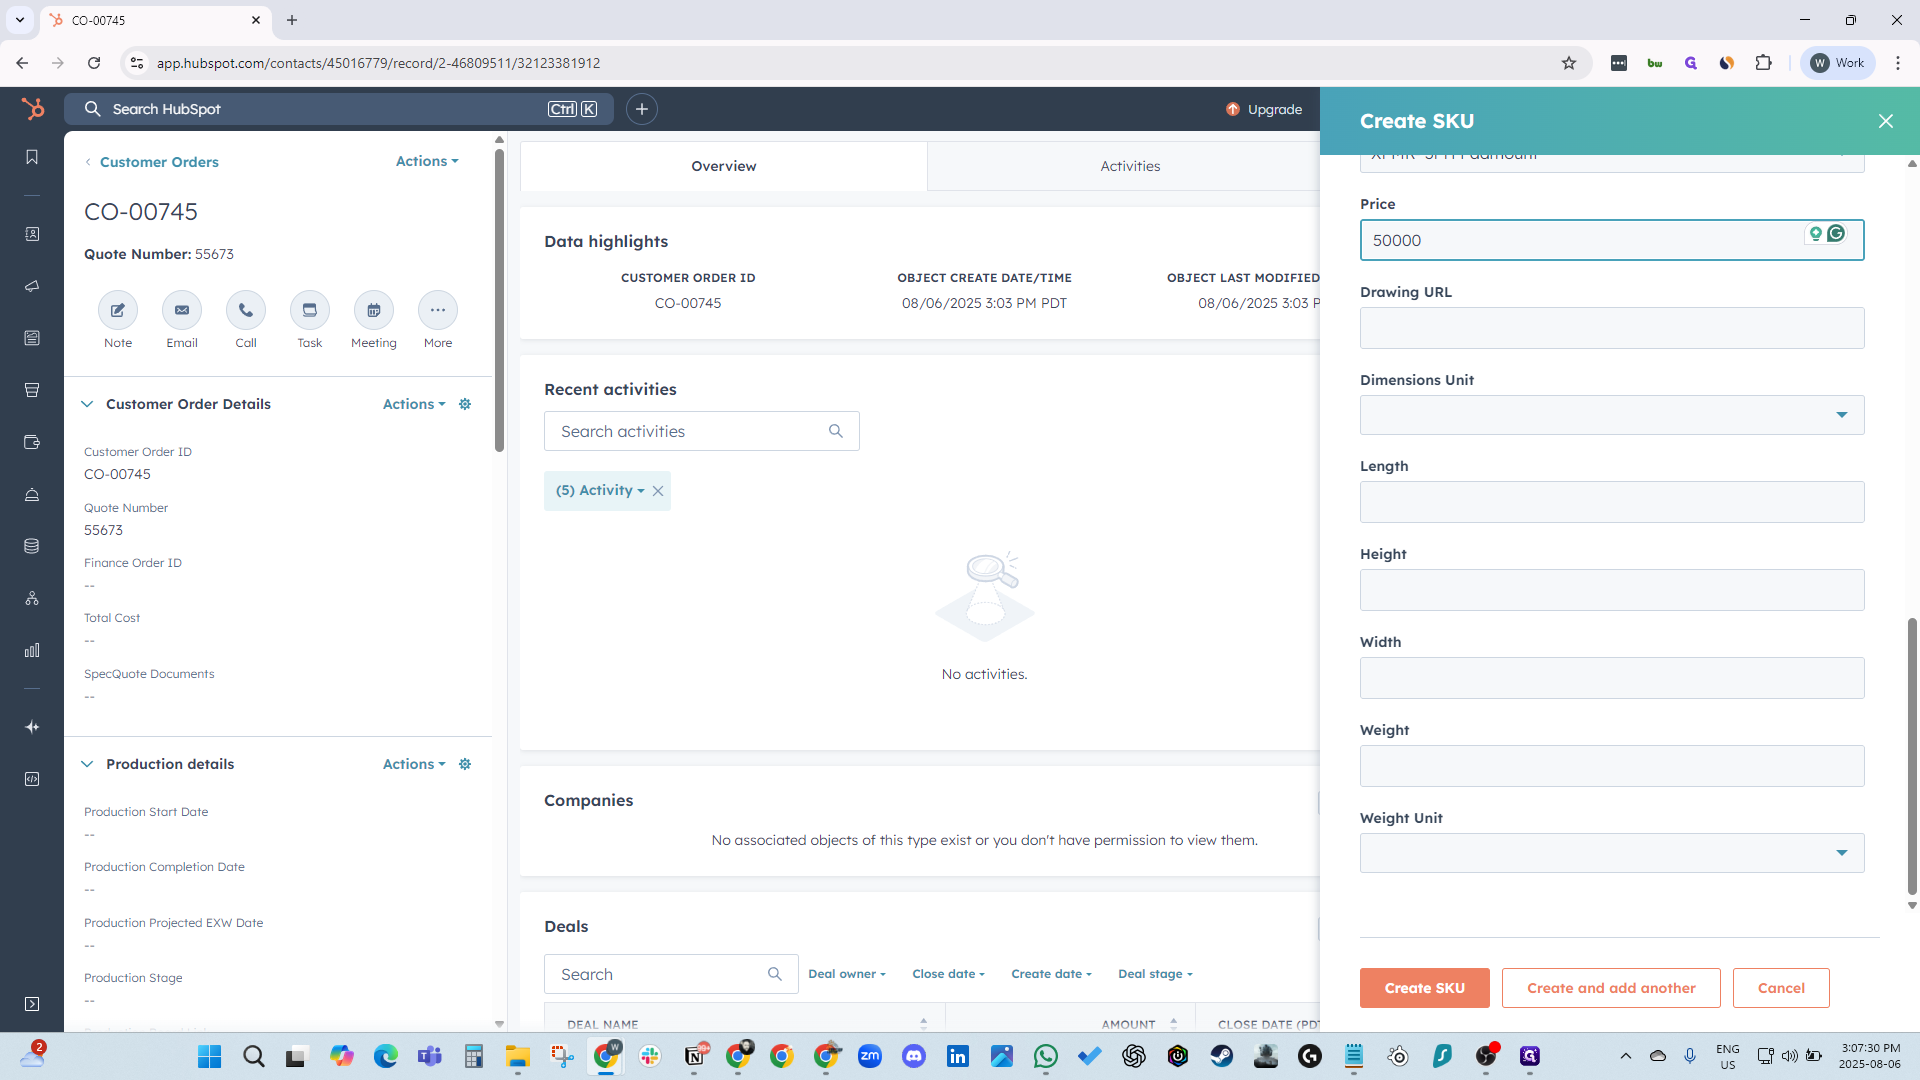
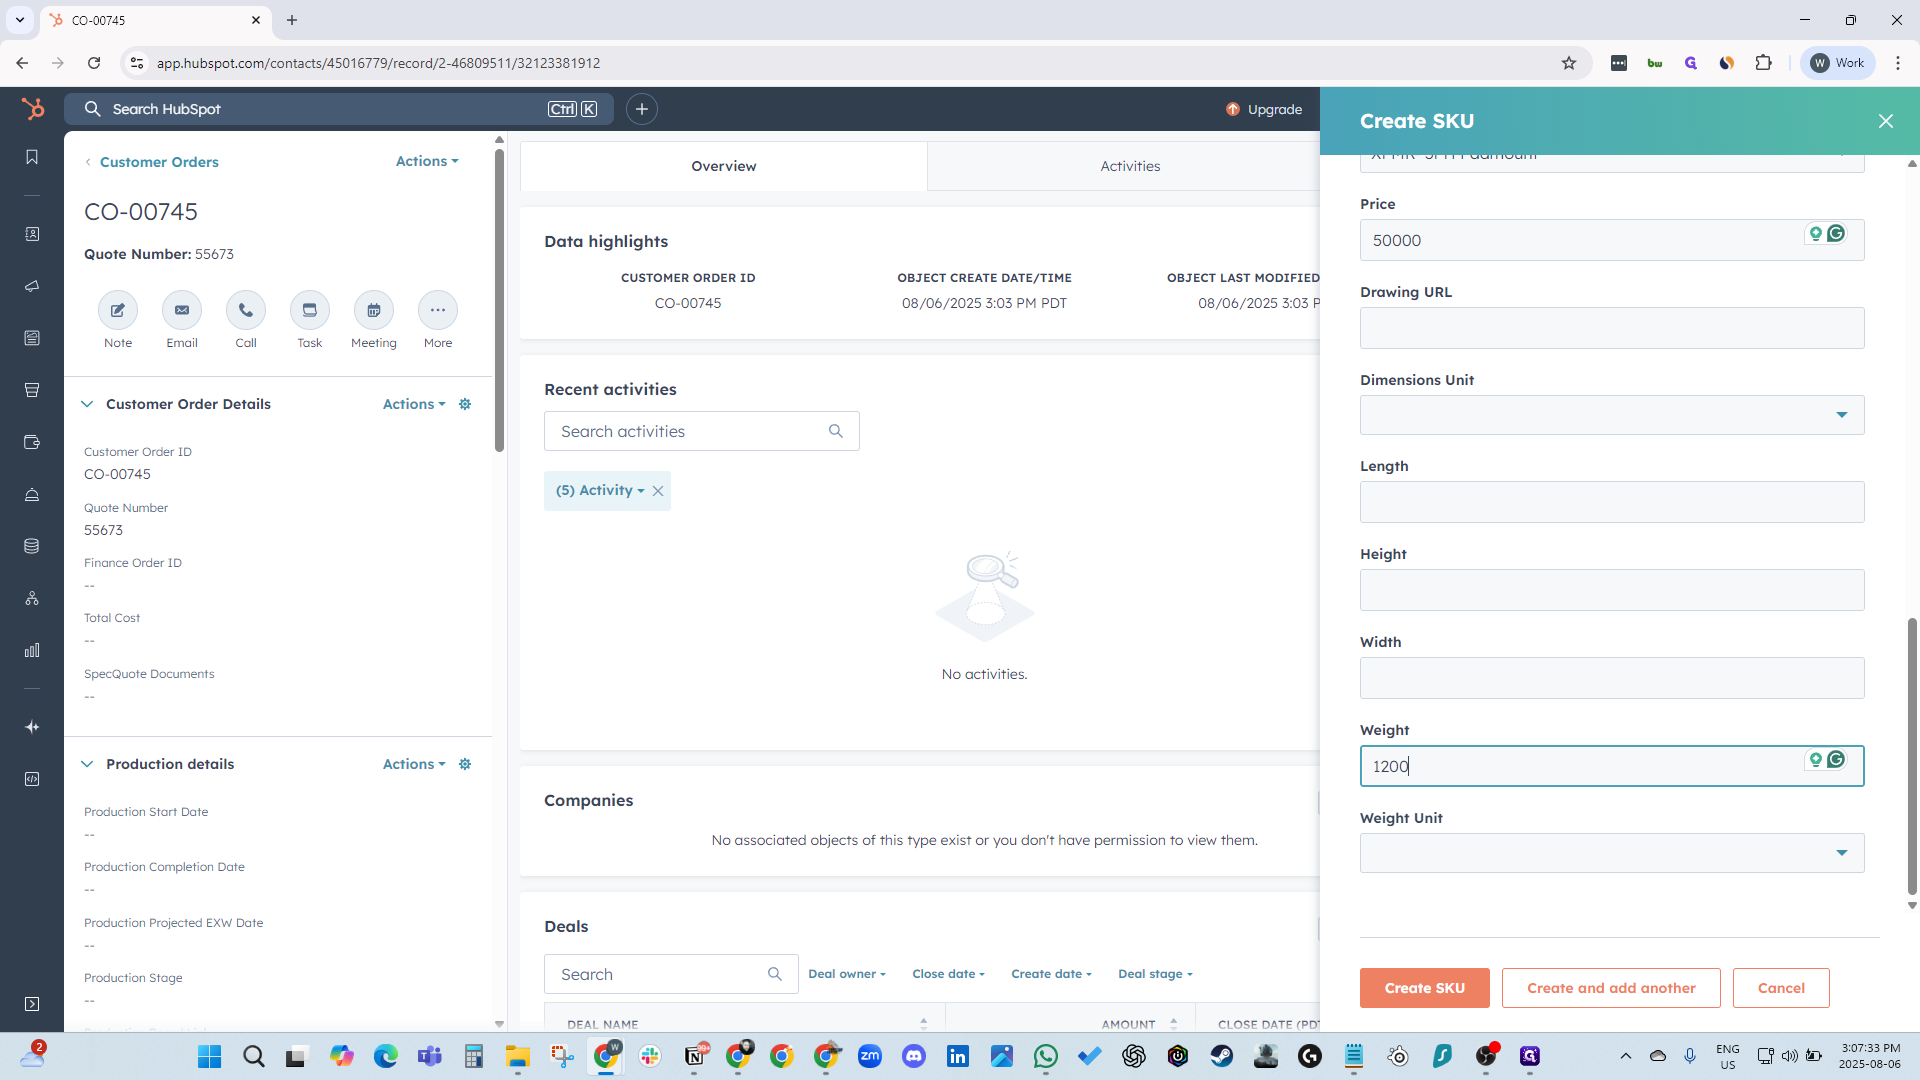
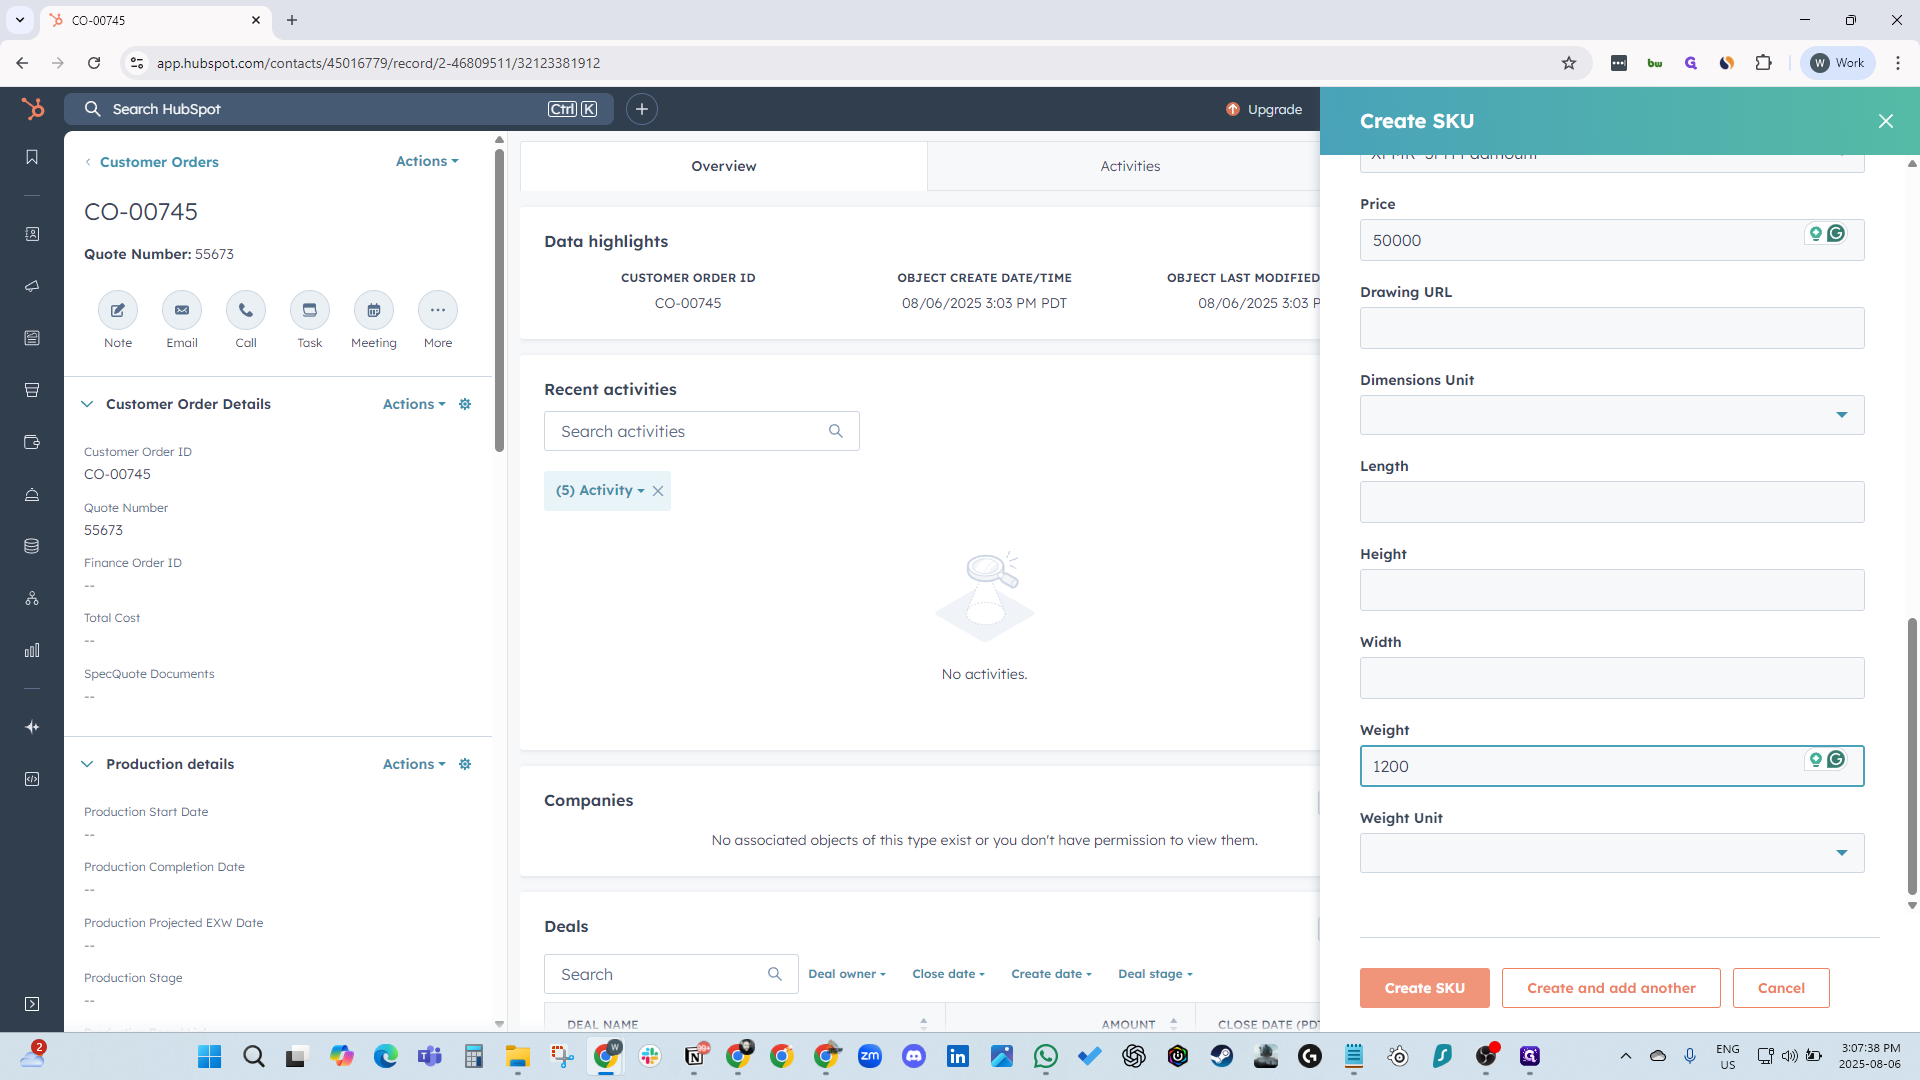
Two above, two below. It is a pad mount. Then, the price and dimensions.

42
Type "Ctrl + C"
43
Click here
Step #43: Click here
44
Type "Ctrl + V"
45
Click on "Mineral"
Step #45: Click on "Mineral"
46
Click here
Step #46: Click here
47
Click on "XFMR- 3PH Padmount"
Step #47: Click on "XFMR- 3PH Padmount"
48
Click here
Step #48: Click here
49
Type "50000"

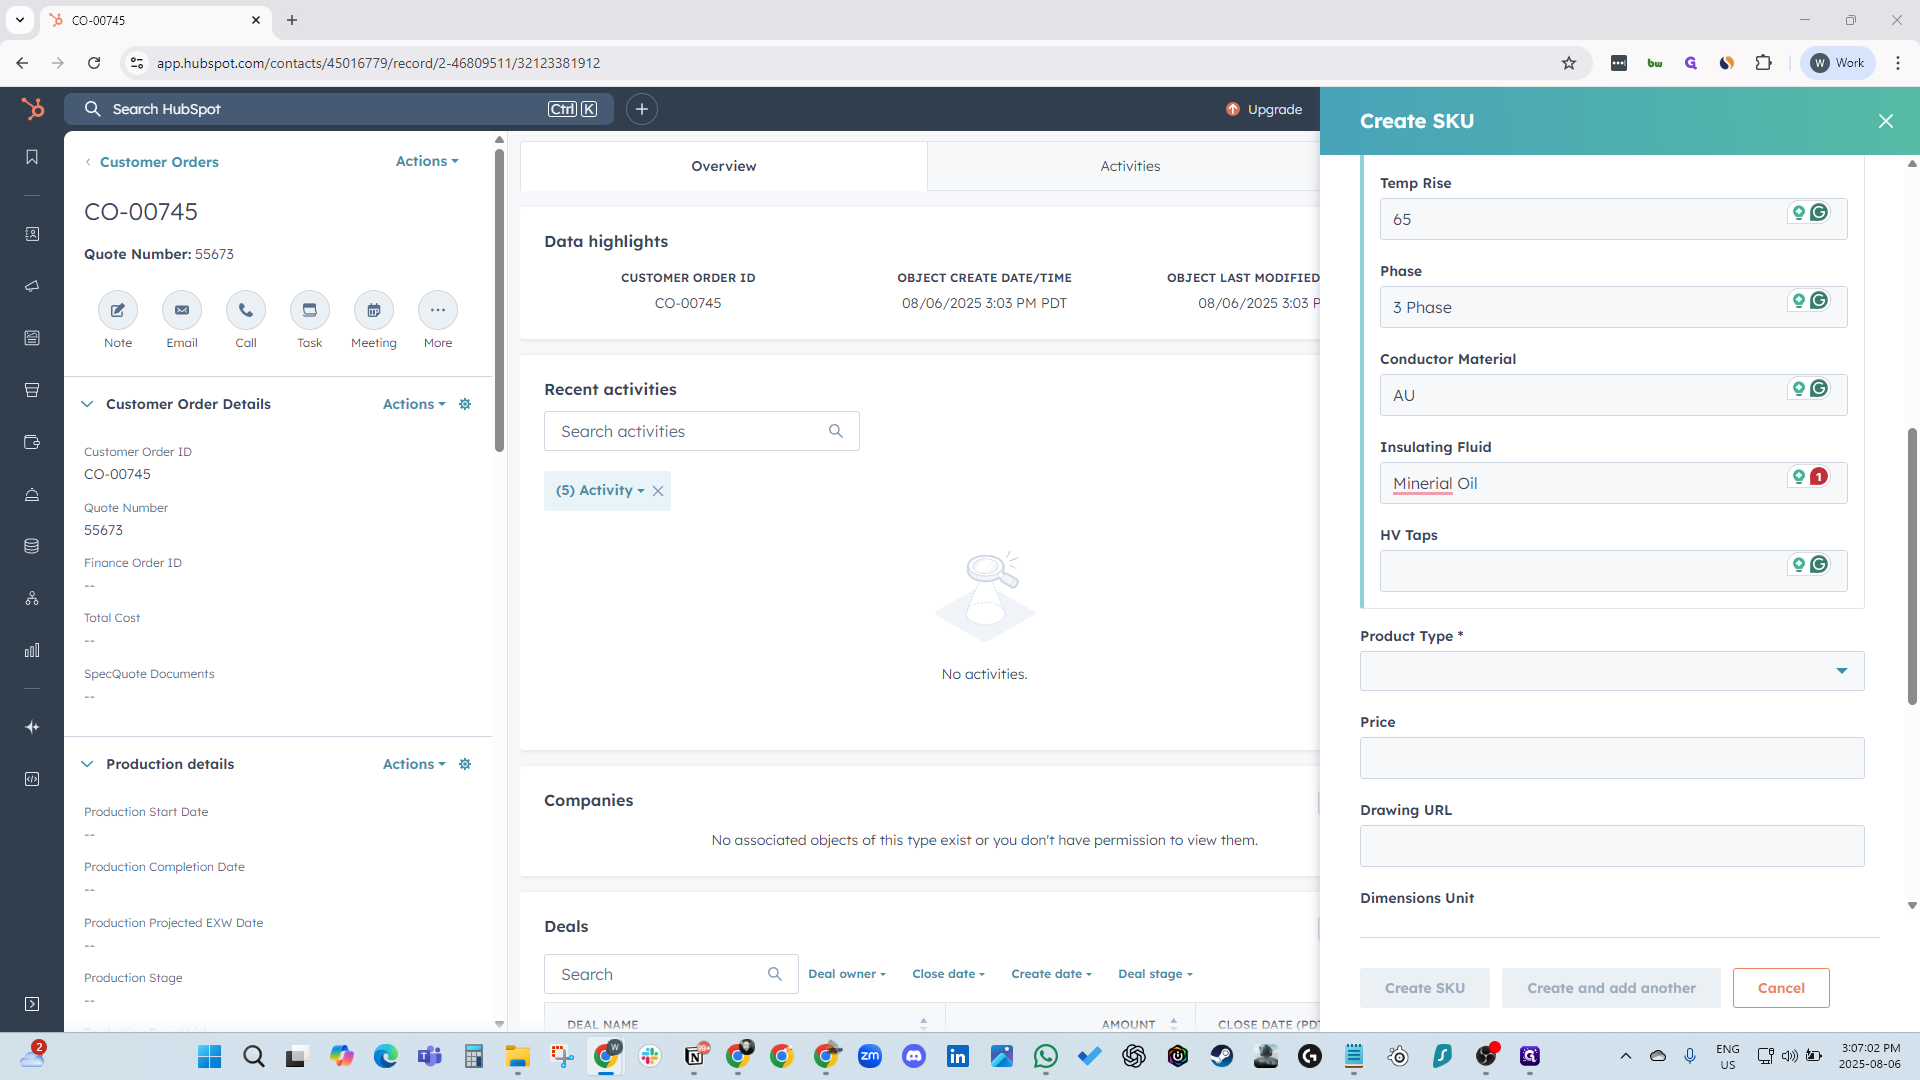
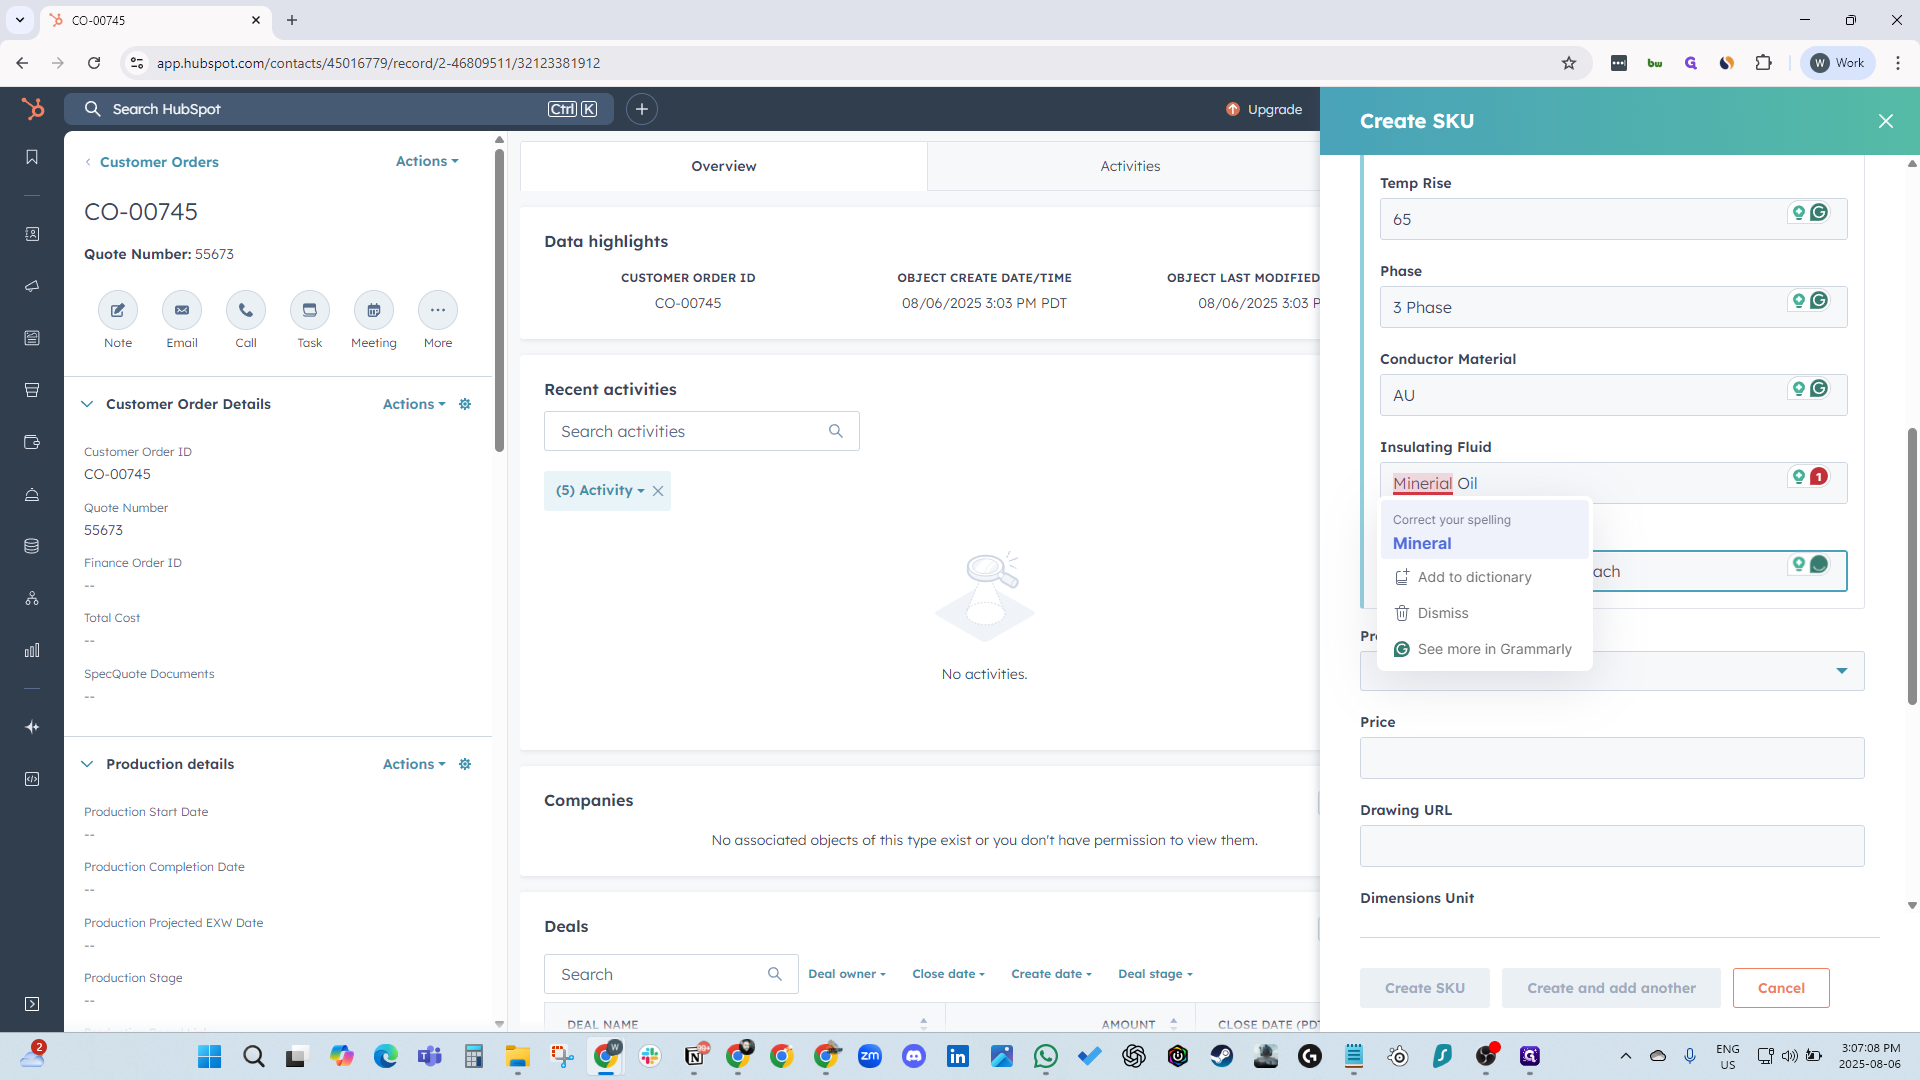
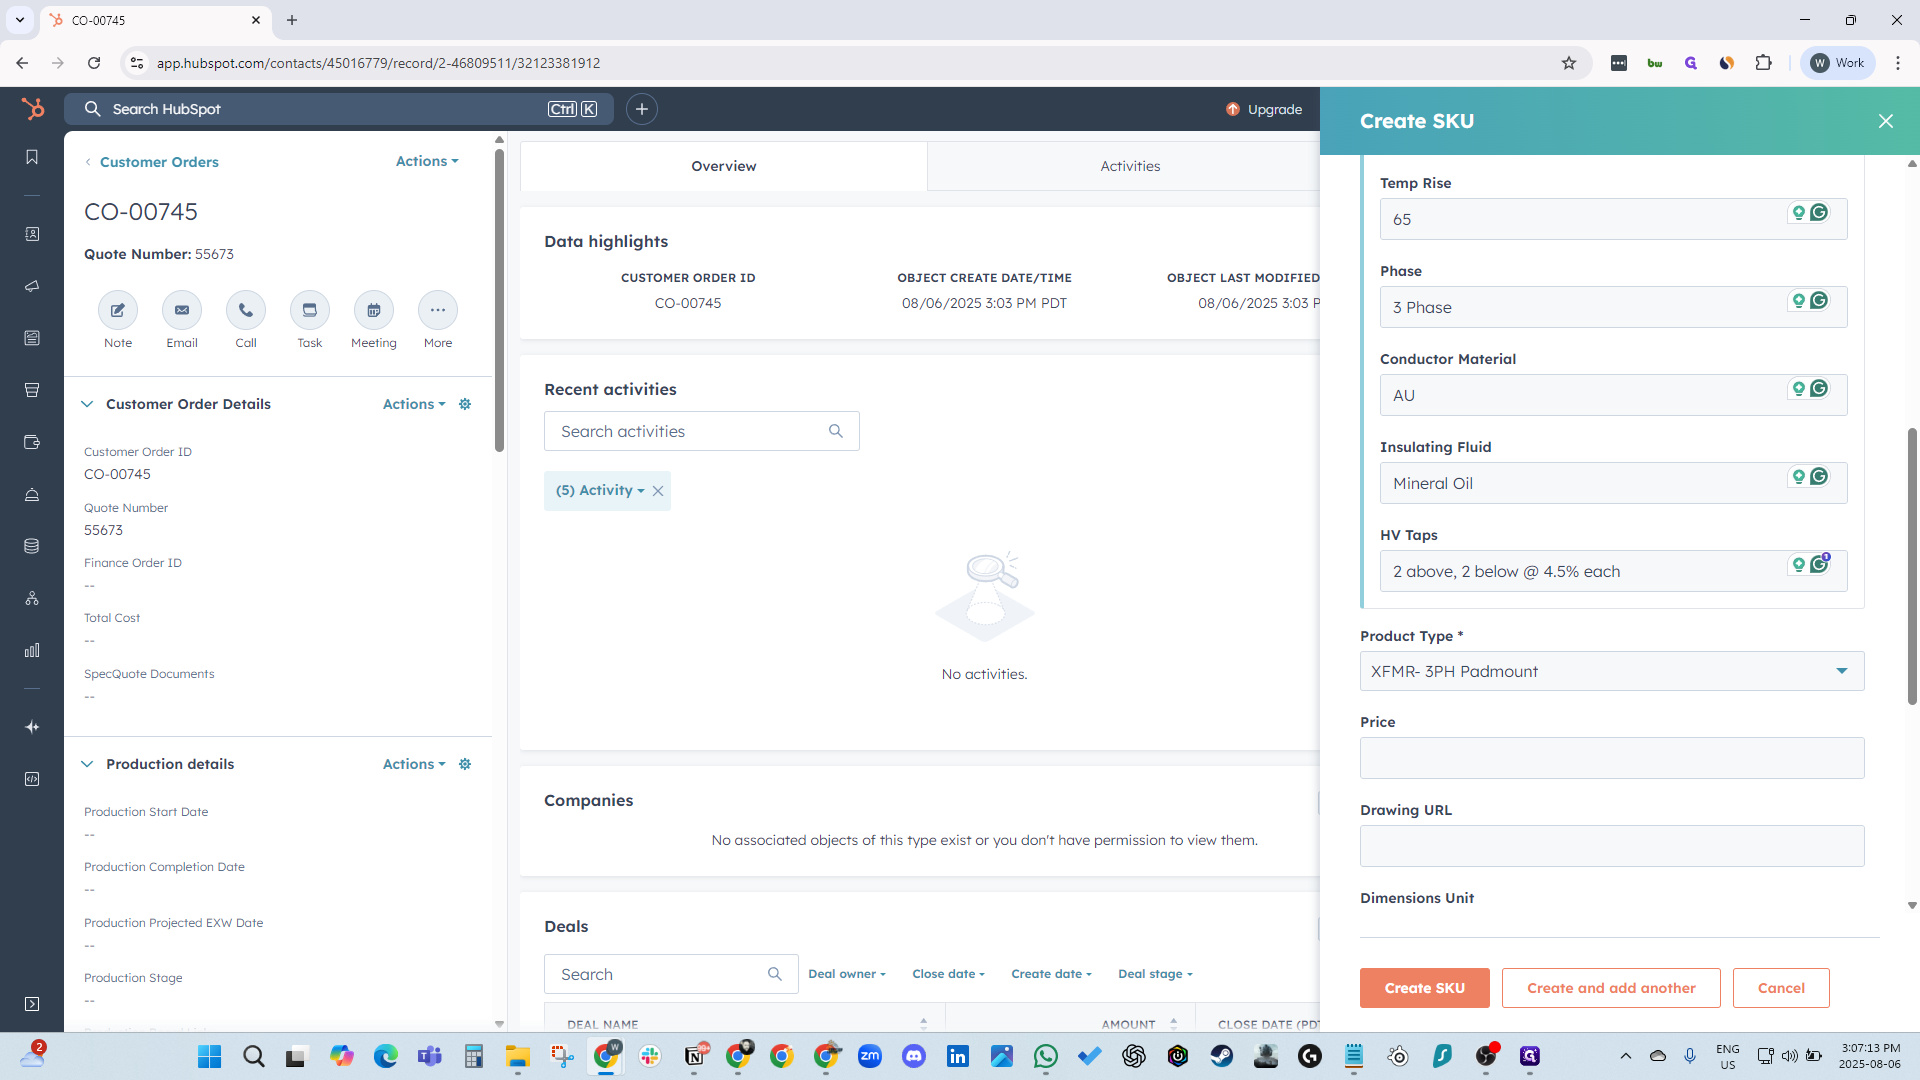
Length, width, and height can all be added.

50
Click here
Step #50: Click here
51
Type "1200"
52
Click here
Step #52: Click here

Create the SKU.

53
Click on "Create SKU"
Step #53: Click on "Create SKU"

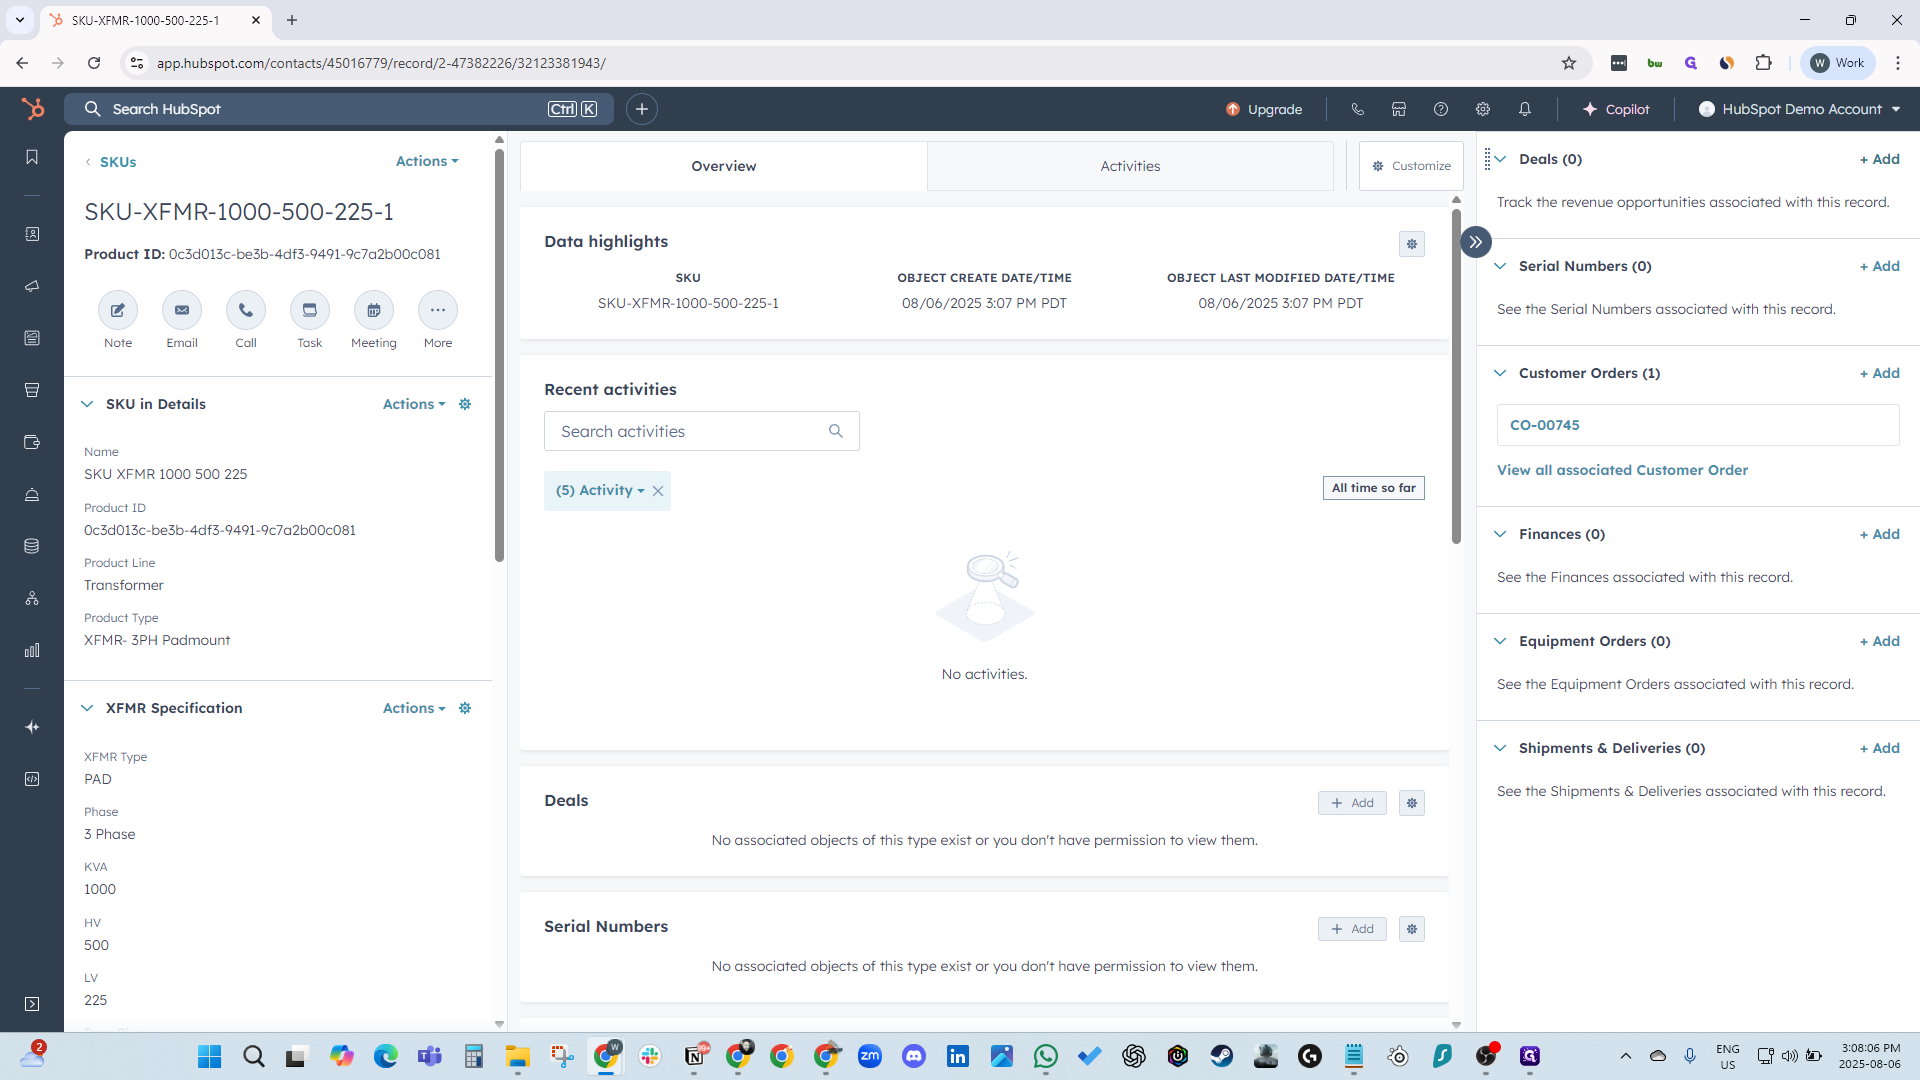
Wait a second, refresh the page, wait another second, and refresh again. The SKU will be created.

54
Click on "C"
Step #54: Click on "C"
55
Click here
Step #55: Click here

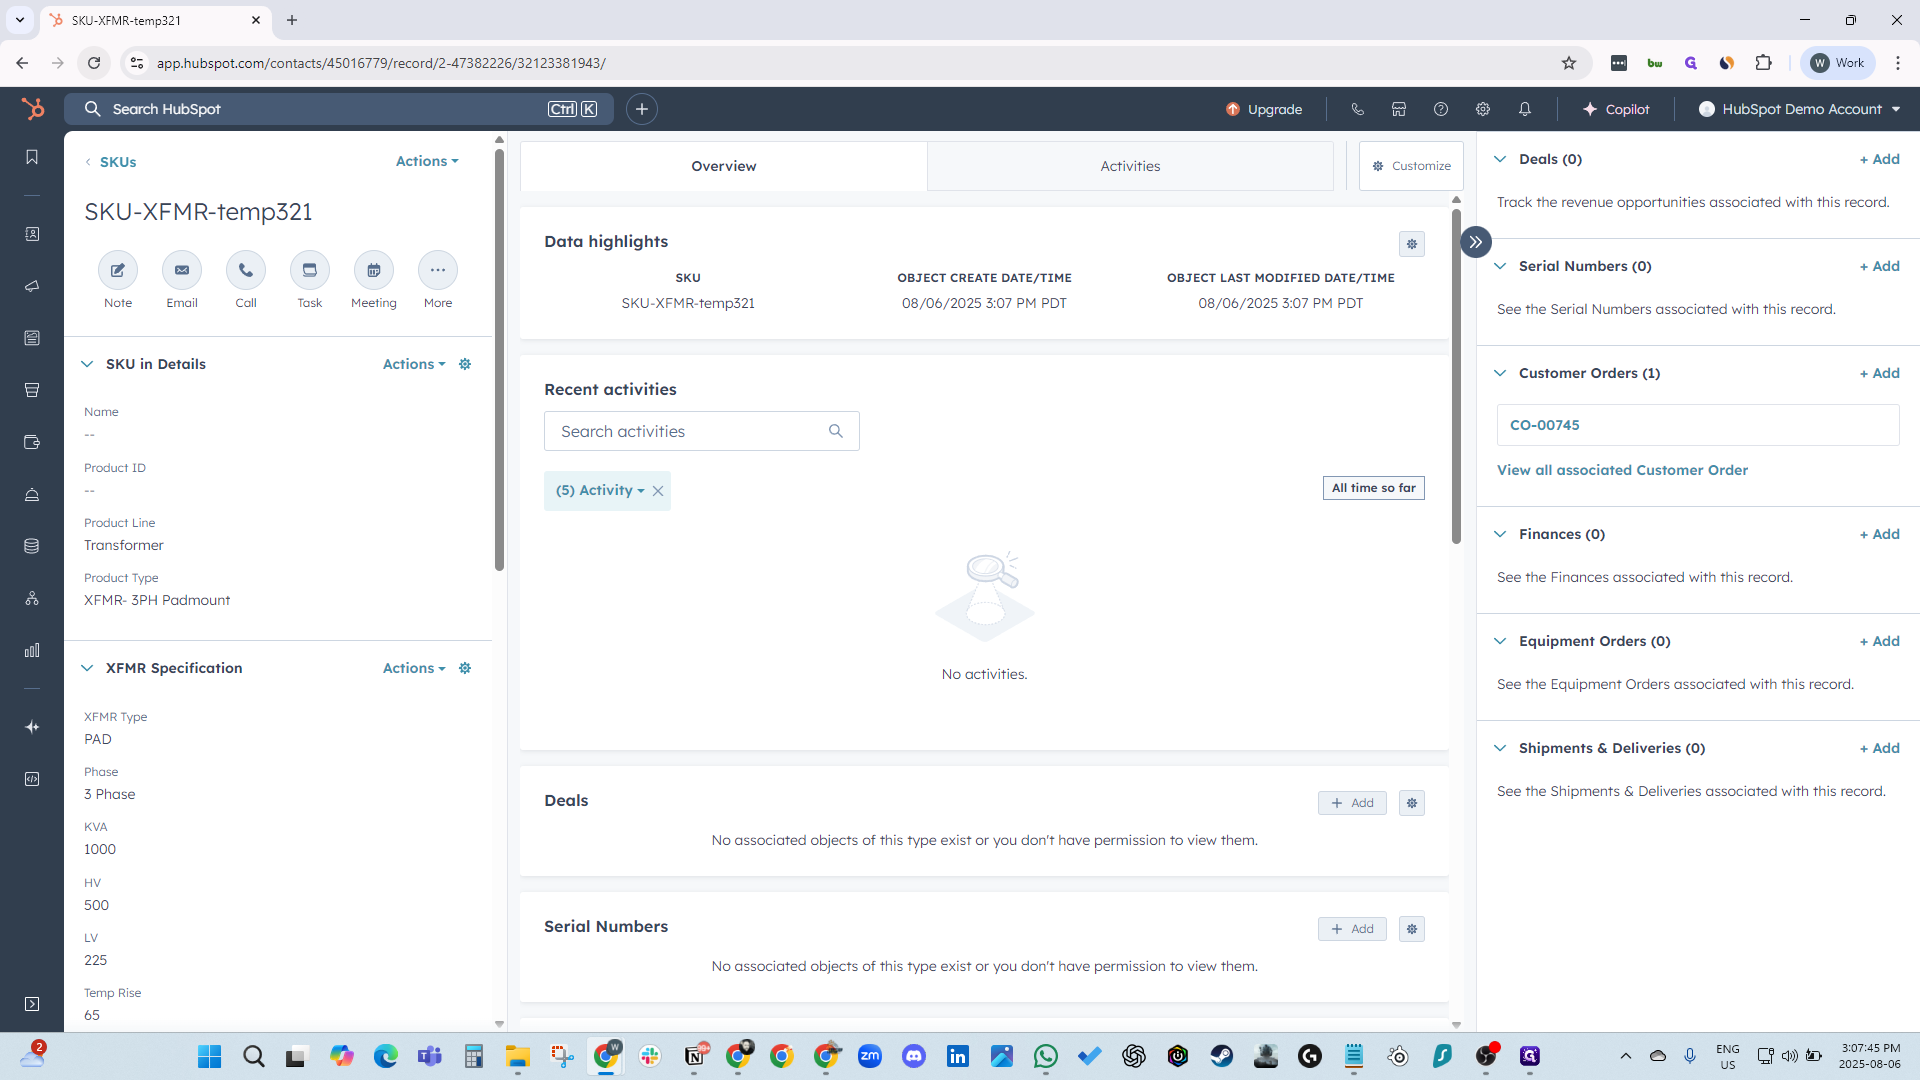
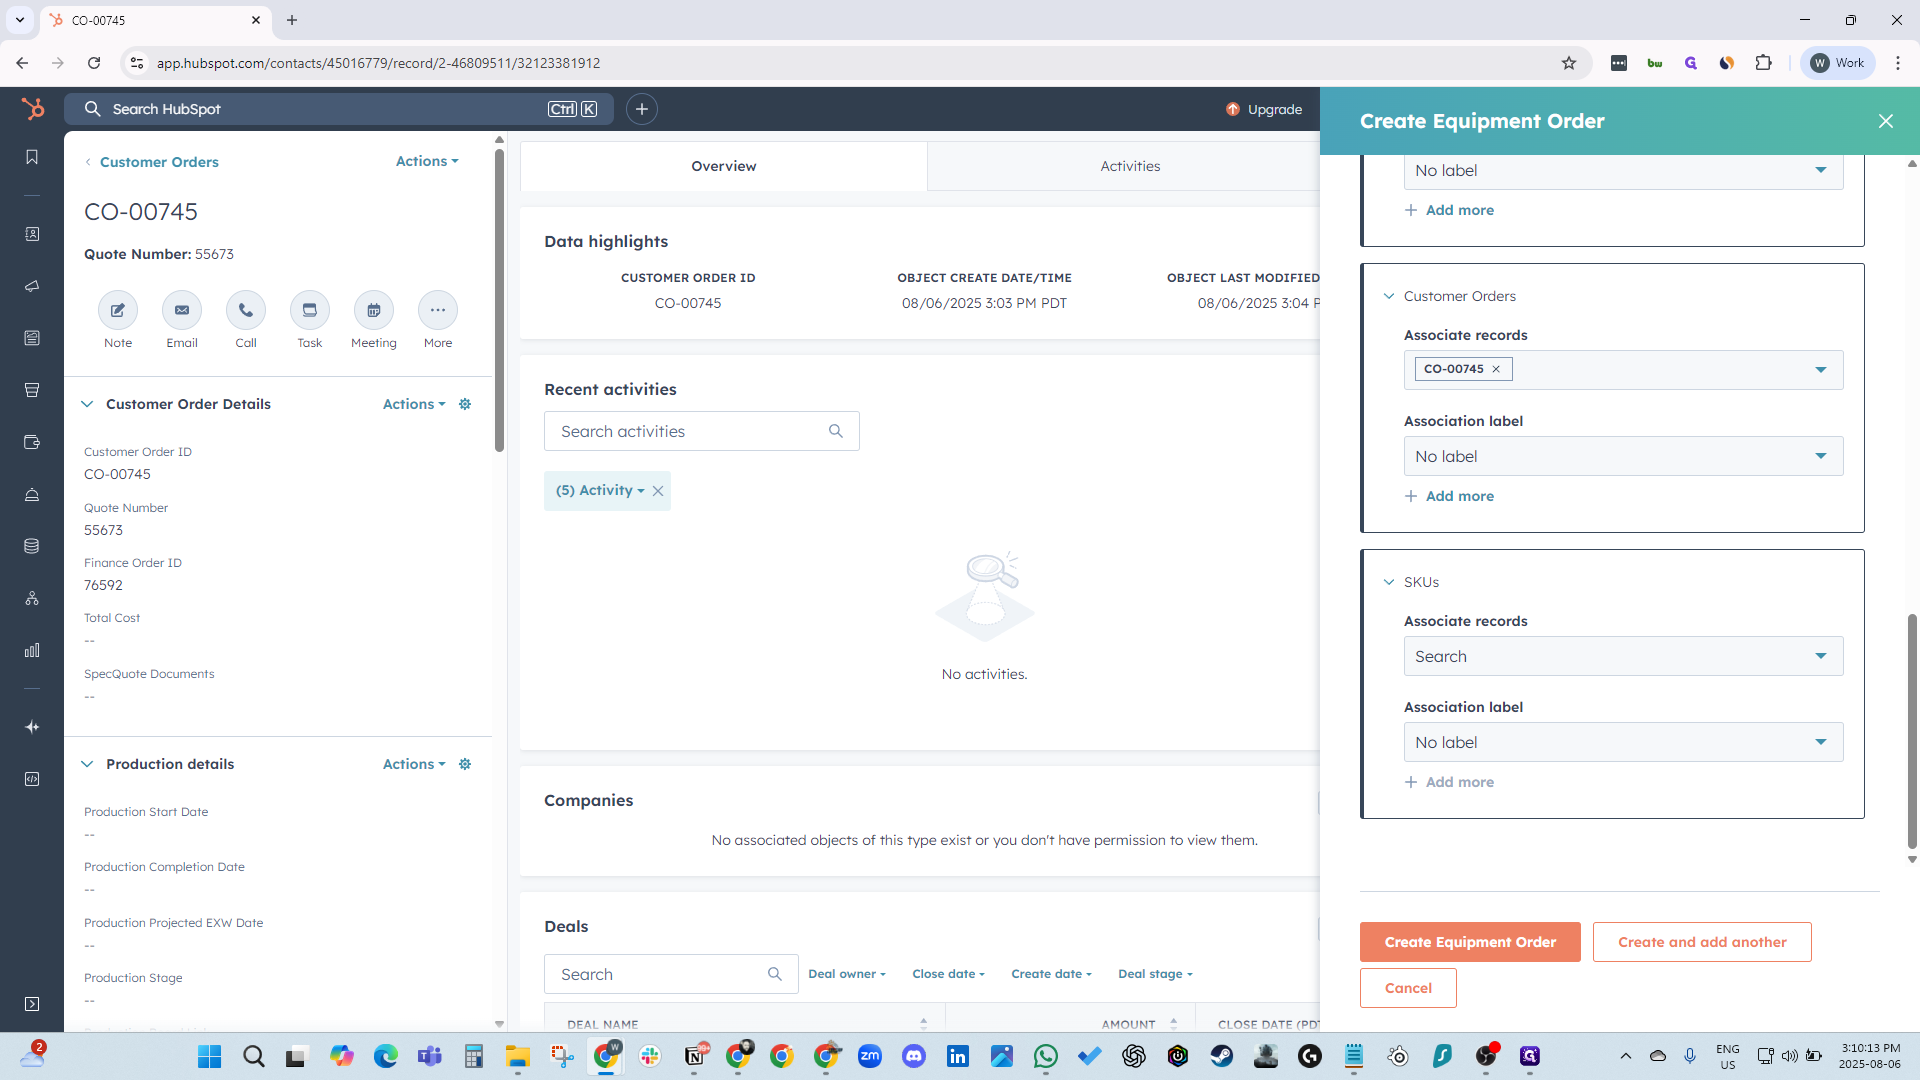
Now that the SKU is created, associate it with your deal.

56
Click on "+ Add"
Step #56: Click on "+ Add"
57
Click here
Step #57: Click here
58
Click on "Search Deals"
Step #58: Click on "Search Deals"

Search for your deal, associate it, save, and you're done.

59
Type "gray"
60
Click here
Step #60: Click here
61
Click on "Next >"
Step #61: Click on "Next >"
62
Click on "Save"
Step #62: Click on "Save"

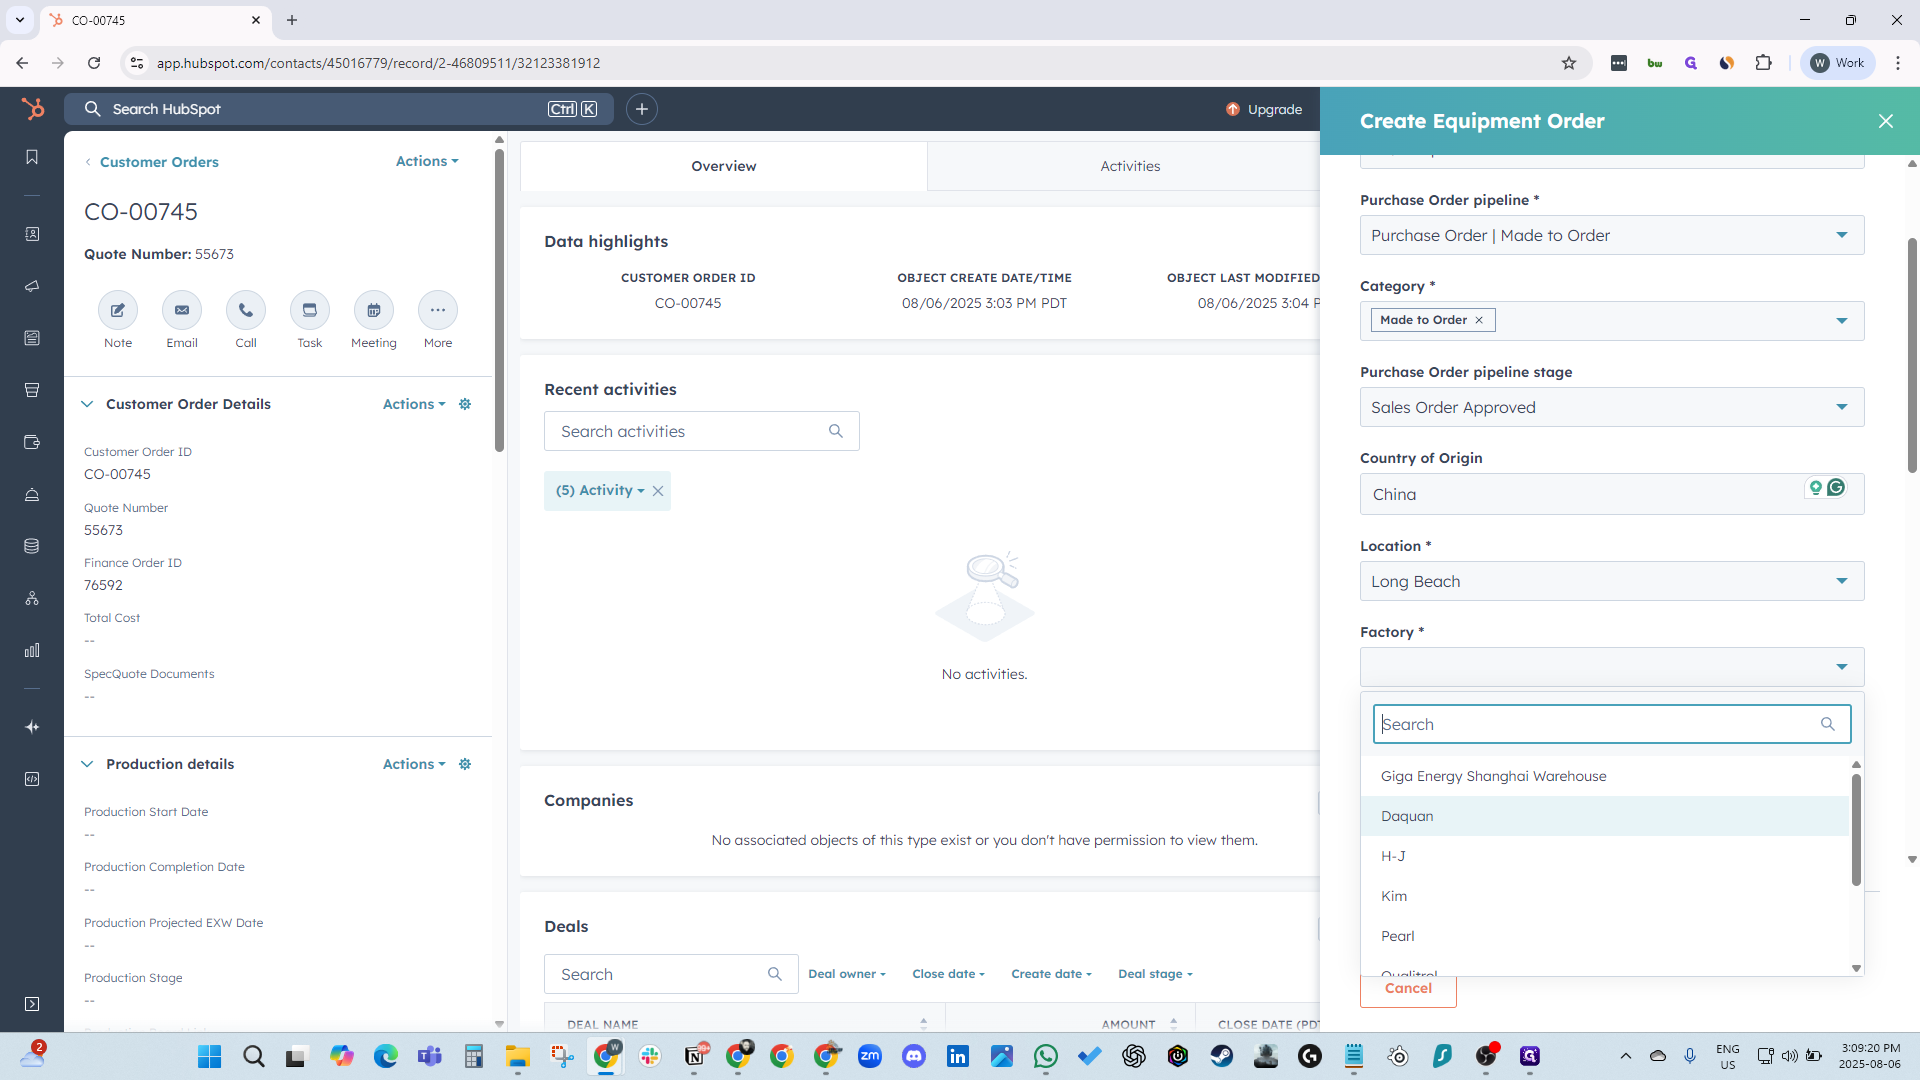
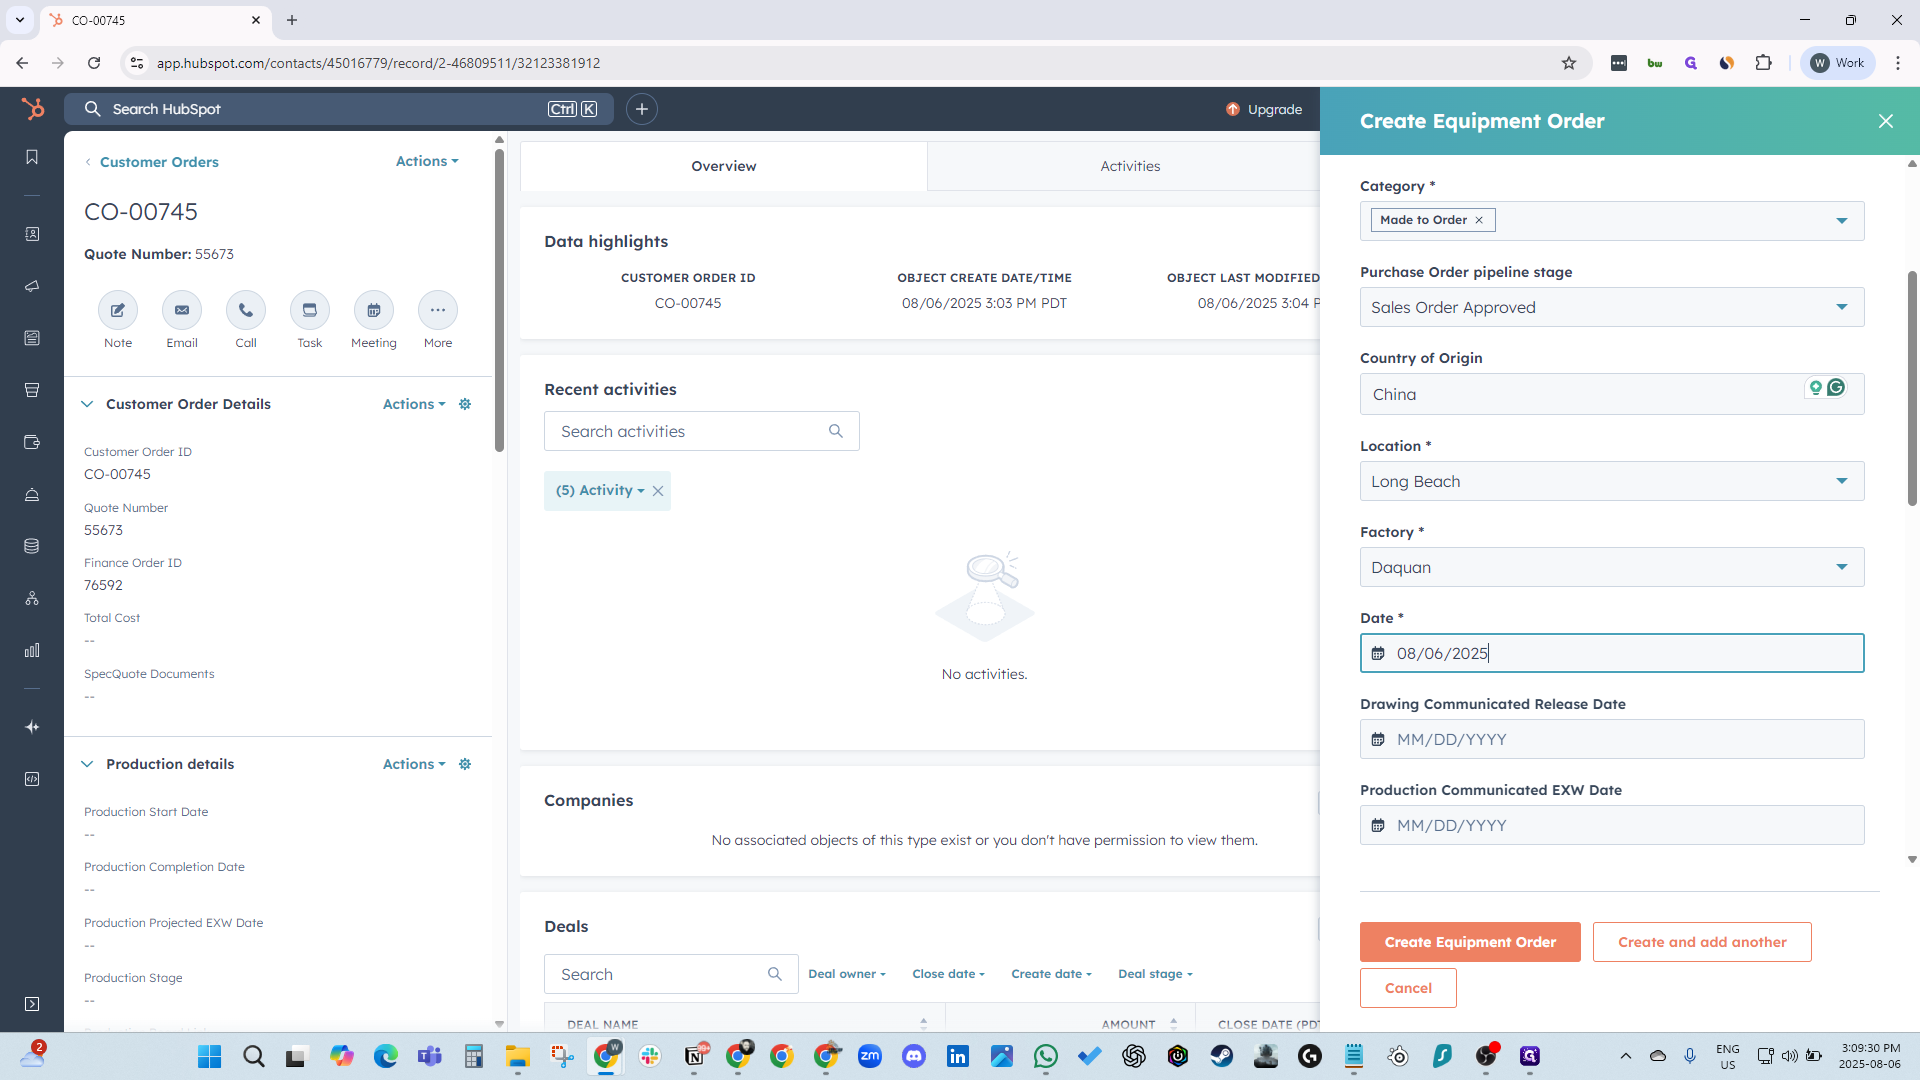
Now, return to your customer order to create an equipment order (EQ order). Click Add. You can add an existing order, but here we will create a new one. Enter EQ-TEMP321. Select the made-to-order pipeline and category. Then, choose the country of origin, location, and factory.

63
Click on "CO - 00745"
Step #63: Click on "CO - 00745"
64
Click on "+ Add"
Step #64: Click on "+ Add"
65
Click here
Step #65: Click here
66
Type "EQ-temp321"
67
Click on "Select a pipeline"
Step #67: Click on "Select a pipeline"
68
Click on "Made to Order"
Step #68: Click on "Made to Order"
69
Click here
Step #69: Click here
70
Click here
Step #70: Click here
71
Click here
Step #71: Click here
72
Click here
Step #72: Click here
73
Type "China"
74
Click here
Step #74: Click here
75
Click on "Long Beach"
Step #75: Click on "Long Beach"
76
Click here
Step #76: Click here

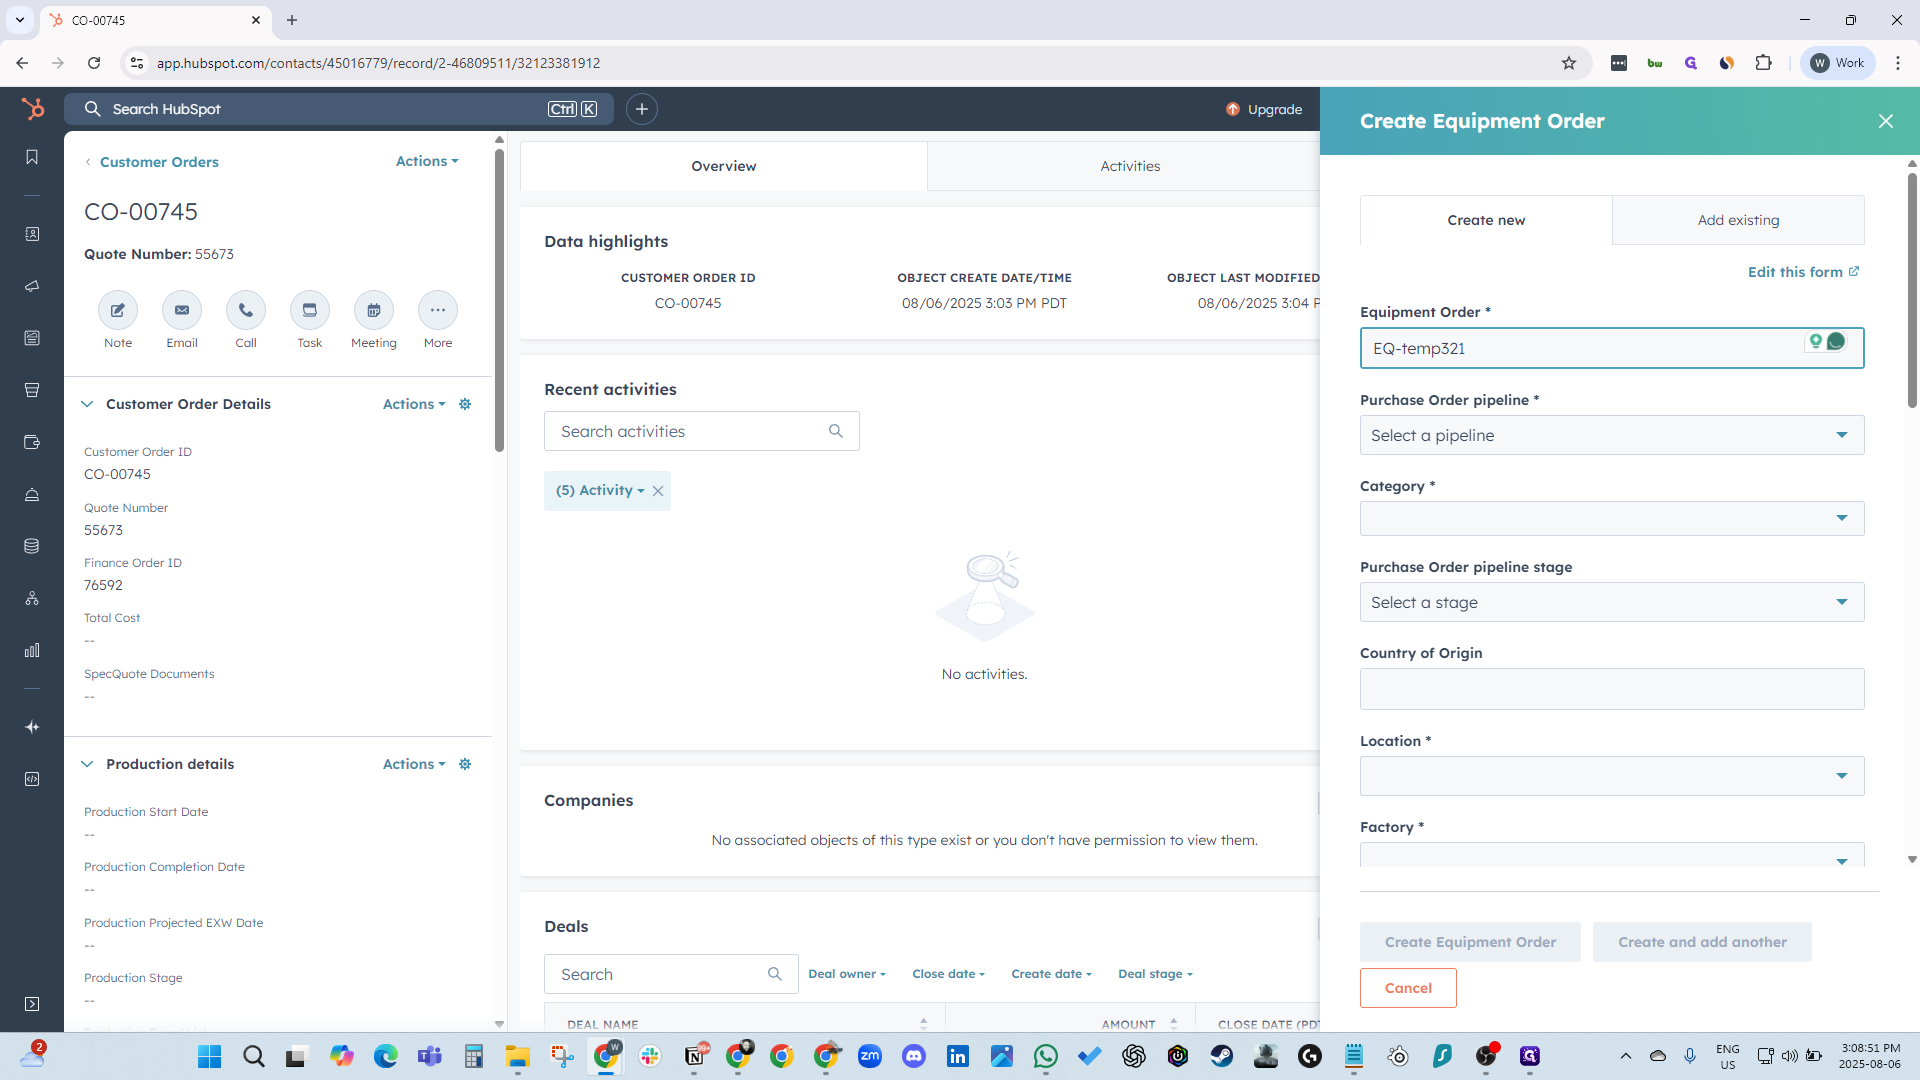
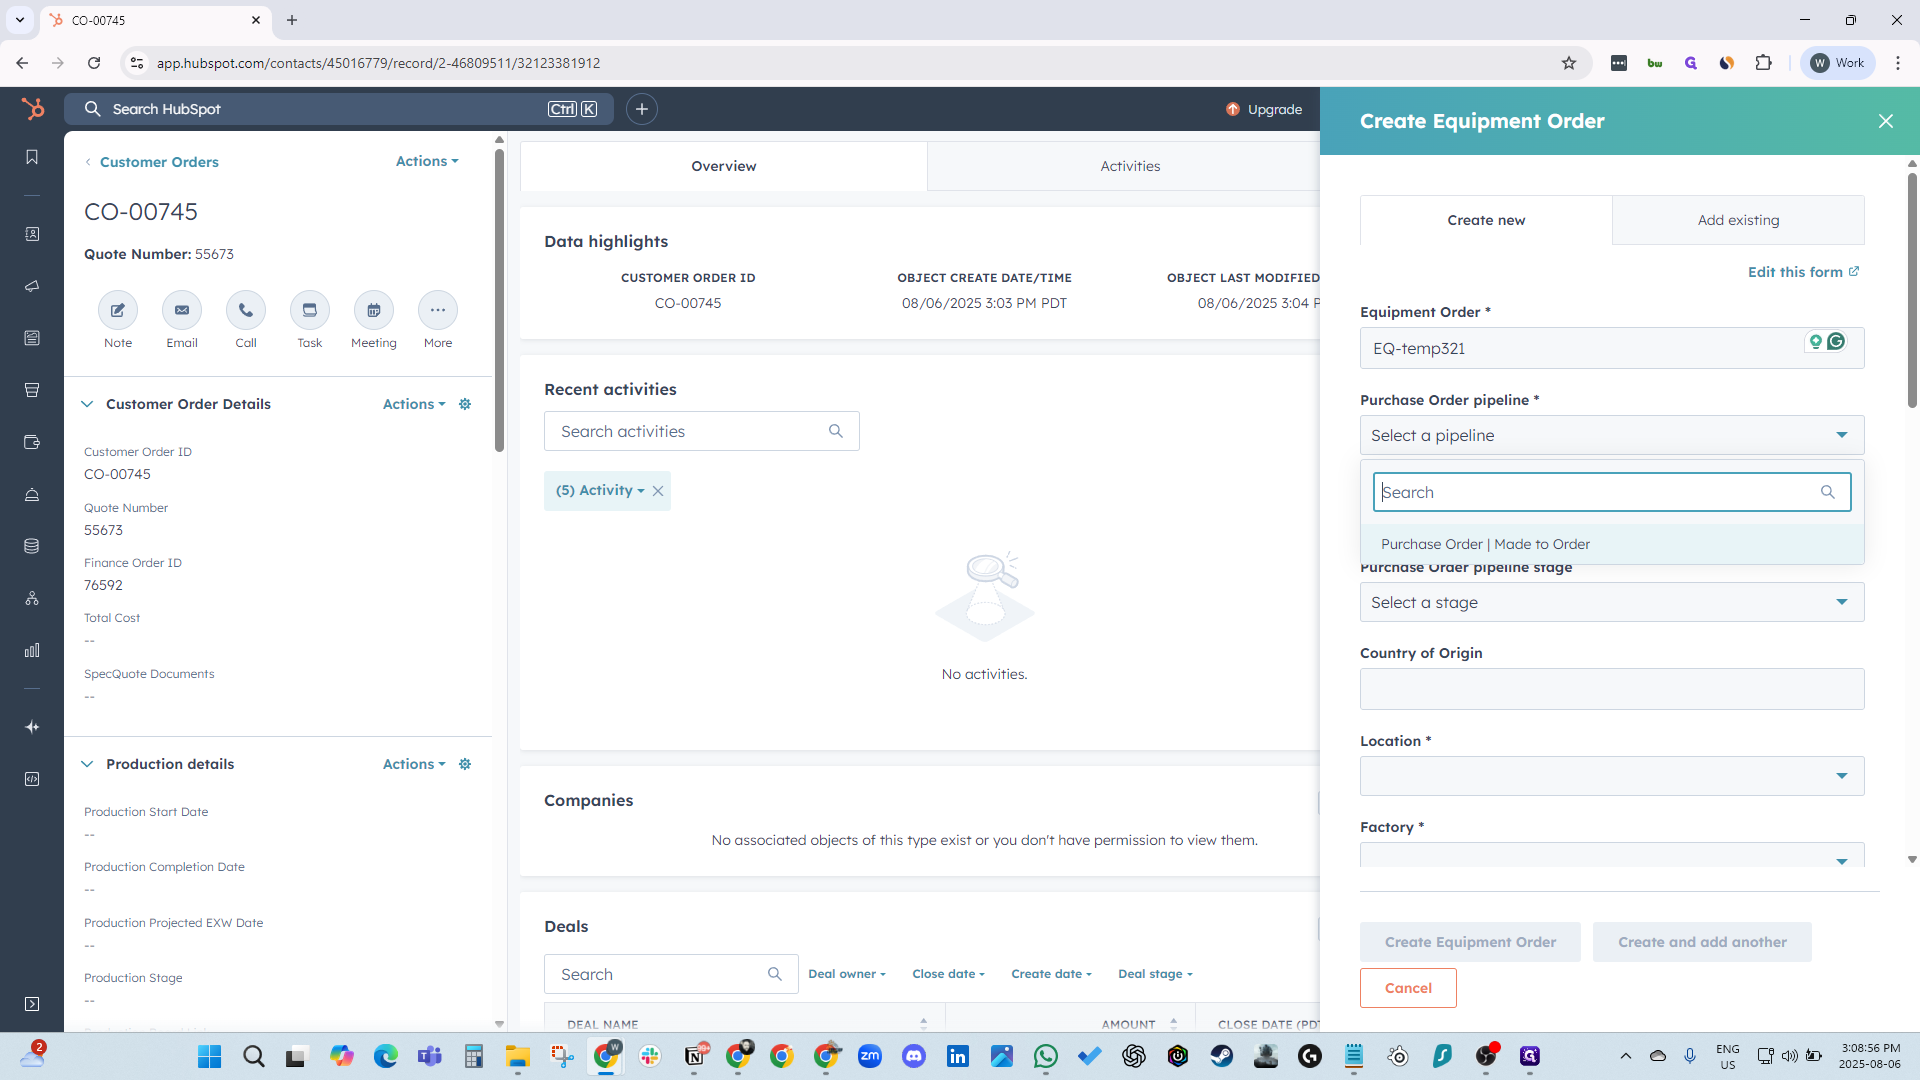
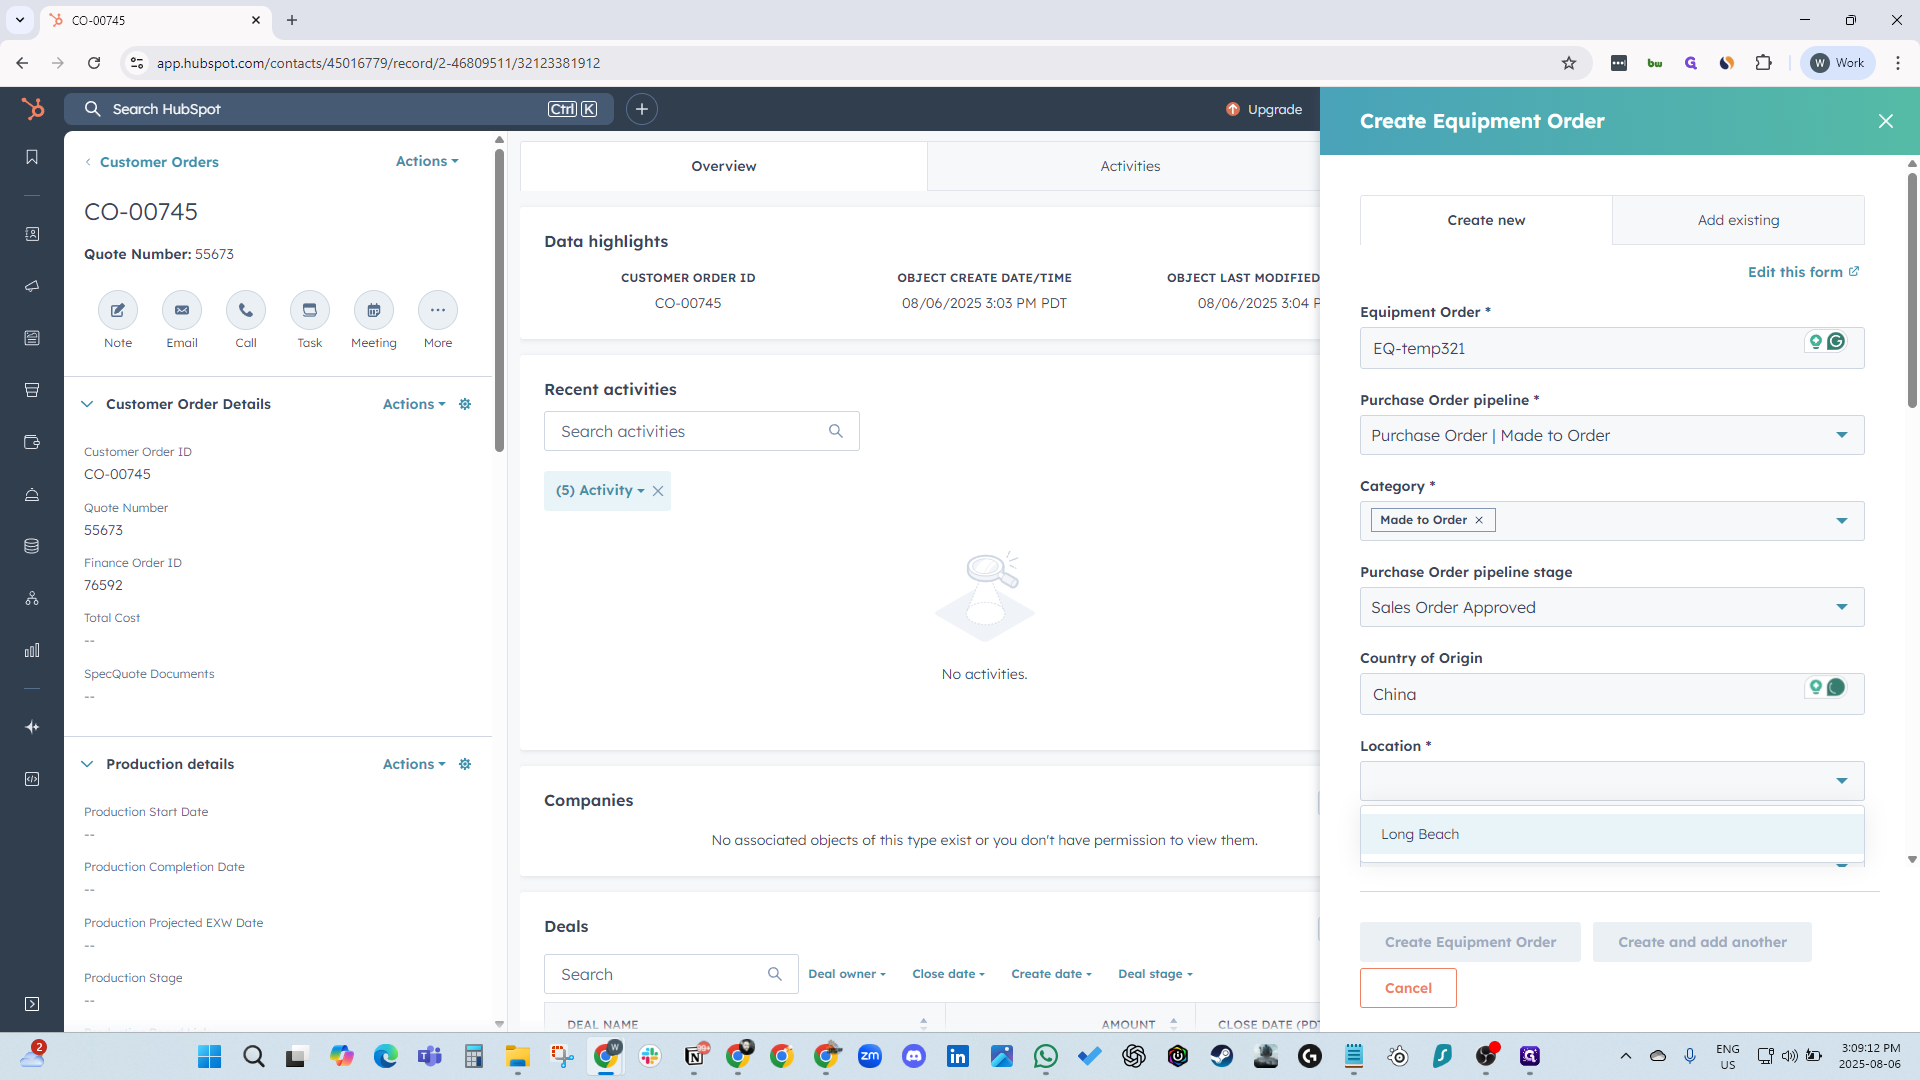
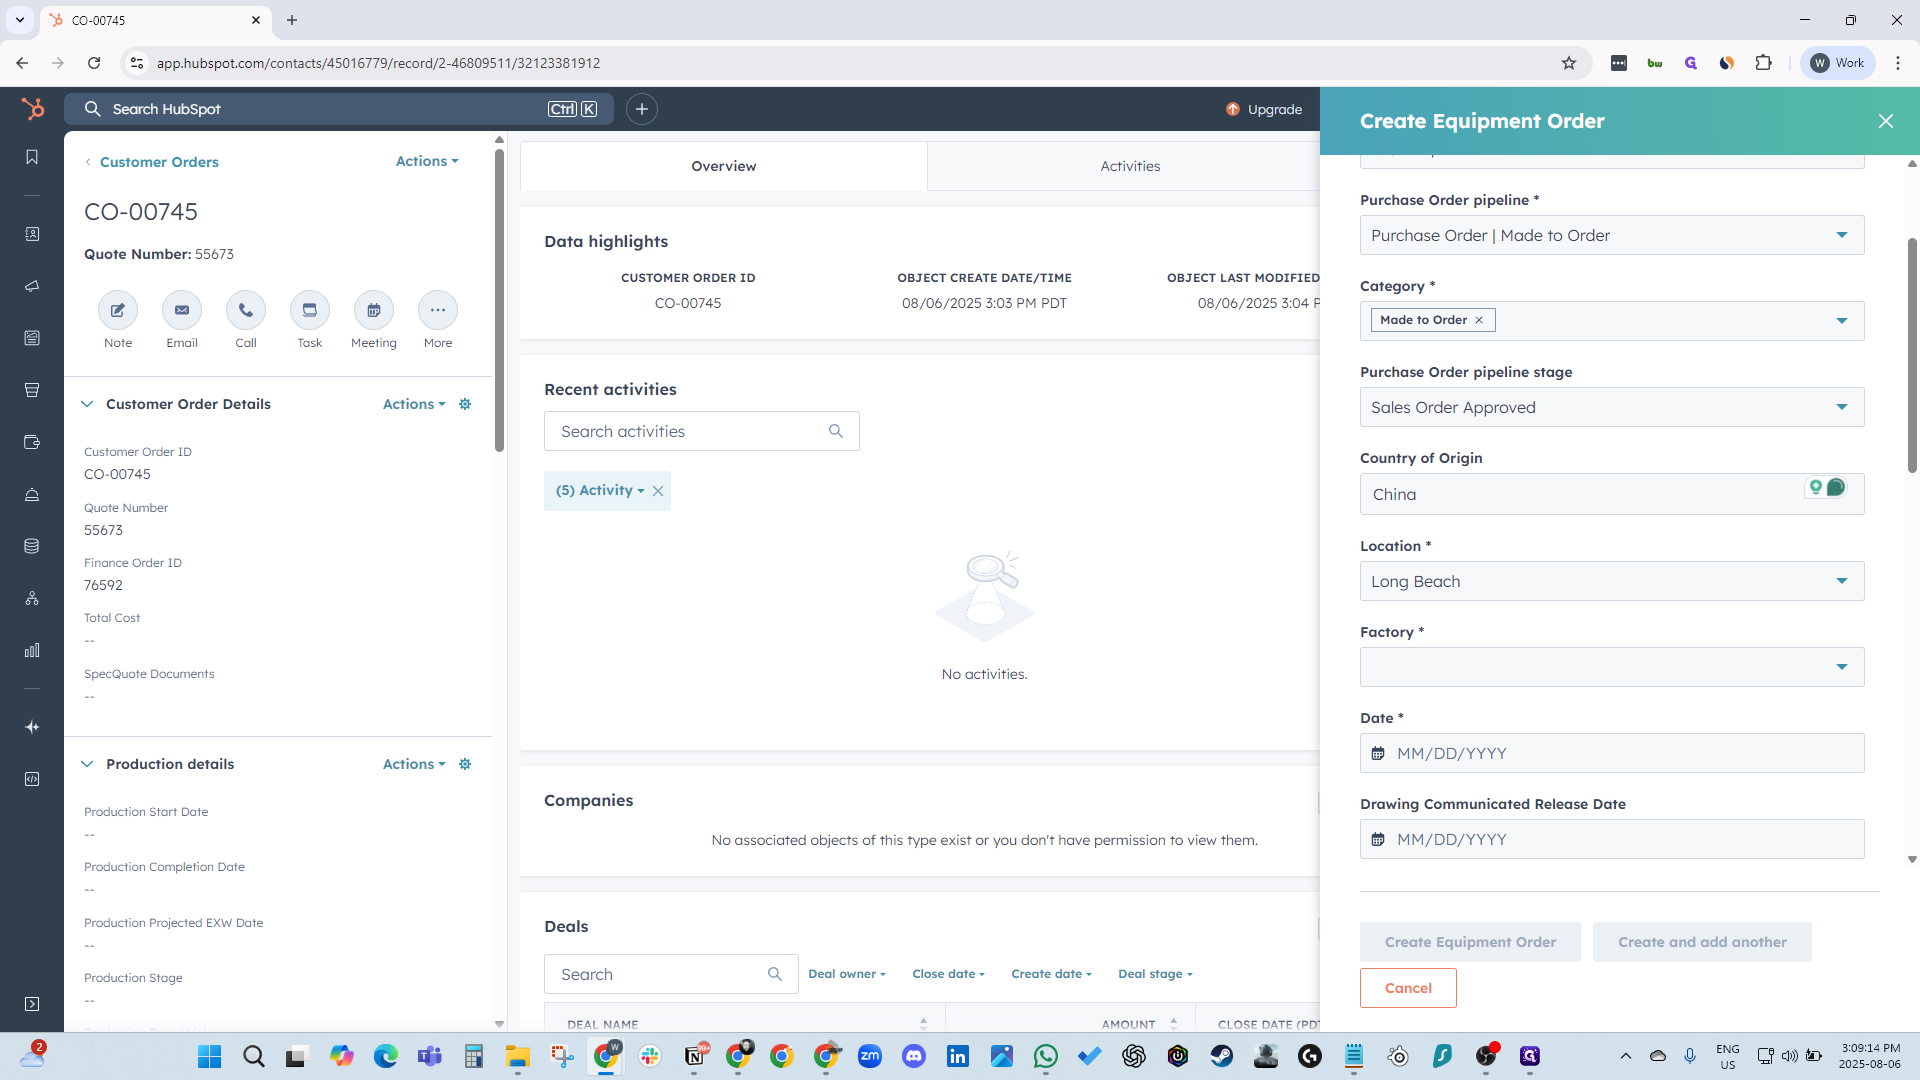
We'll select Naquin, and the date is today.

77
Click on "Daquan"
Step #77: Click on "Daquan"
78
Click on "MM / DD / YYYY"
Step #78: Click on "MM / DD / YYYY"
79
Click on "6"
Step #79: Click on "6"

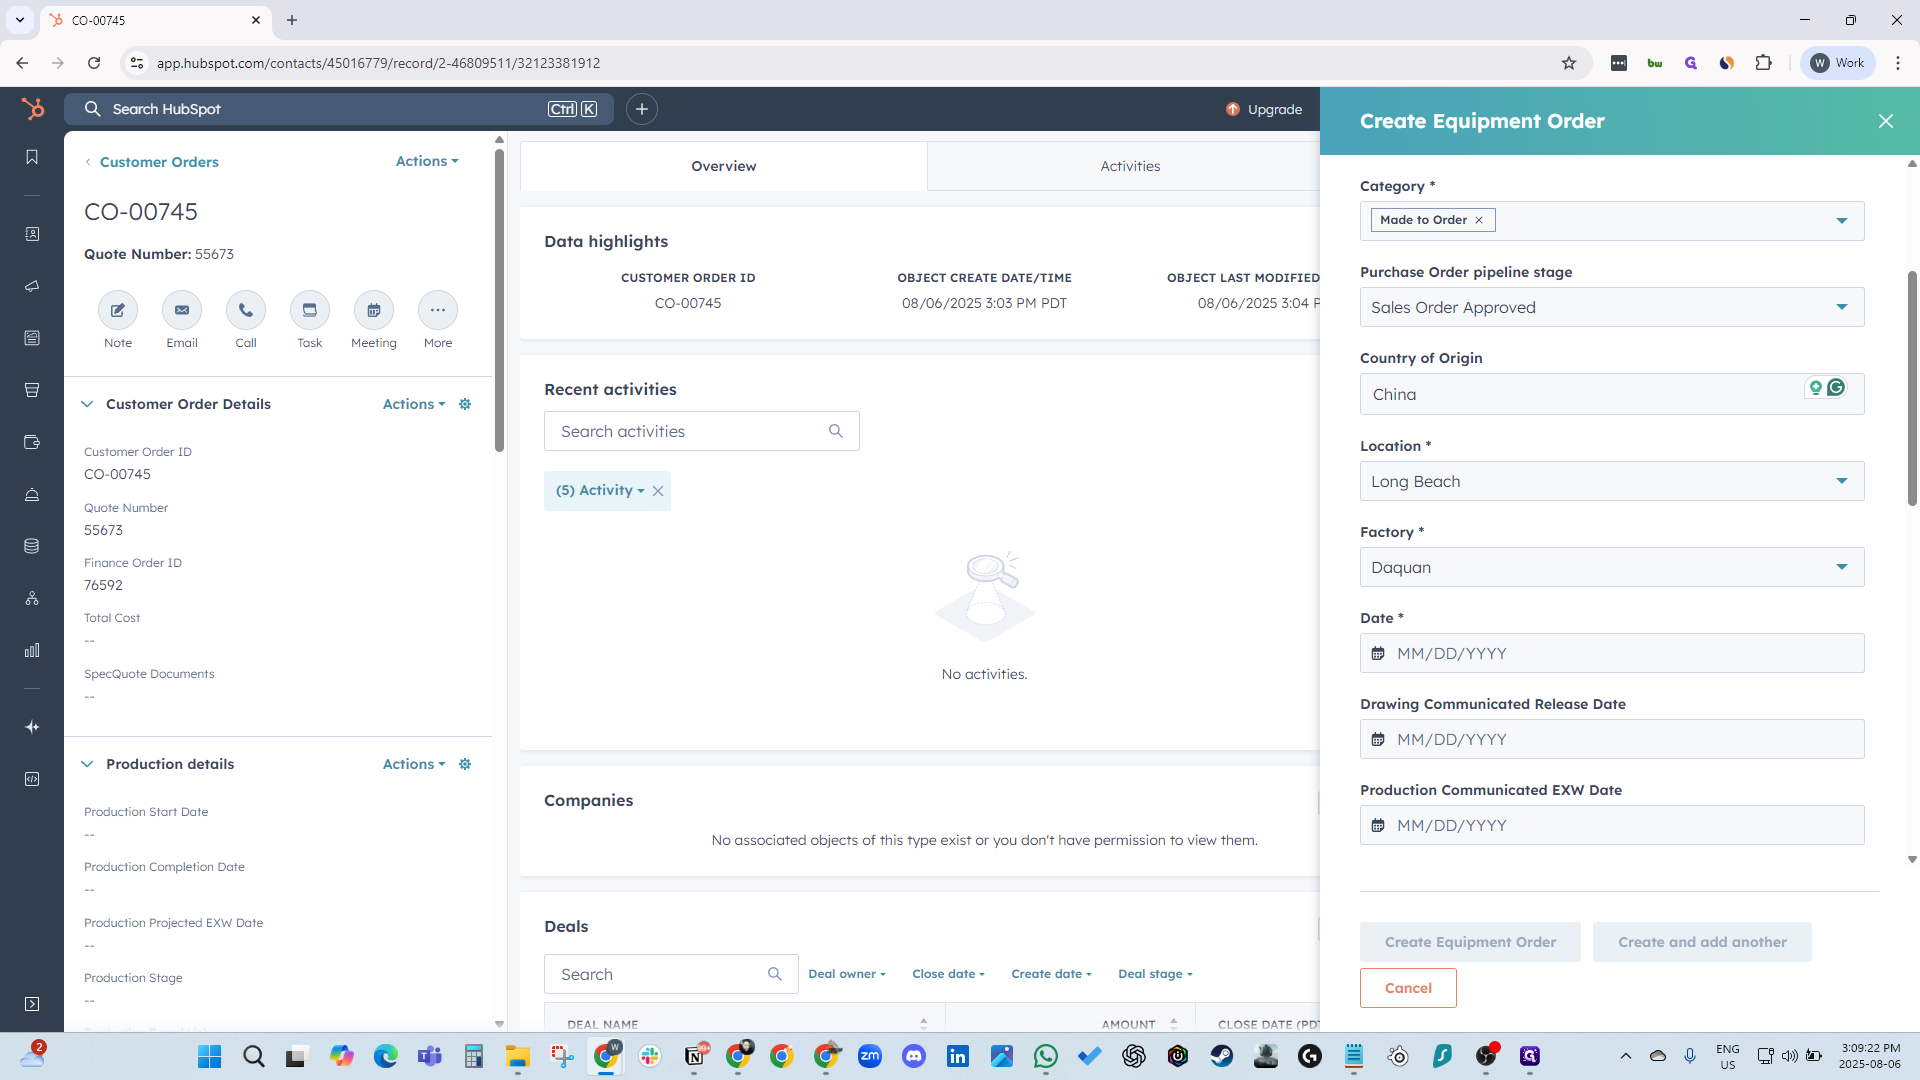
You entered the communicated release date, so let's use that.

80
Click here
Step #80: Click here
81
Click on "MM / DD / YYYY"
Step #81: Click on "MM / DD / YYYY"
82
Click on ">"
Step #82: Click on ">"
83
Click on "30"
Step #83: Click on "30"
84
Click on "MM / DD / YYYY"
Step #84: Click on "MM / DD / YYYY"

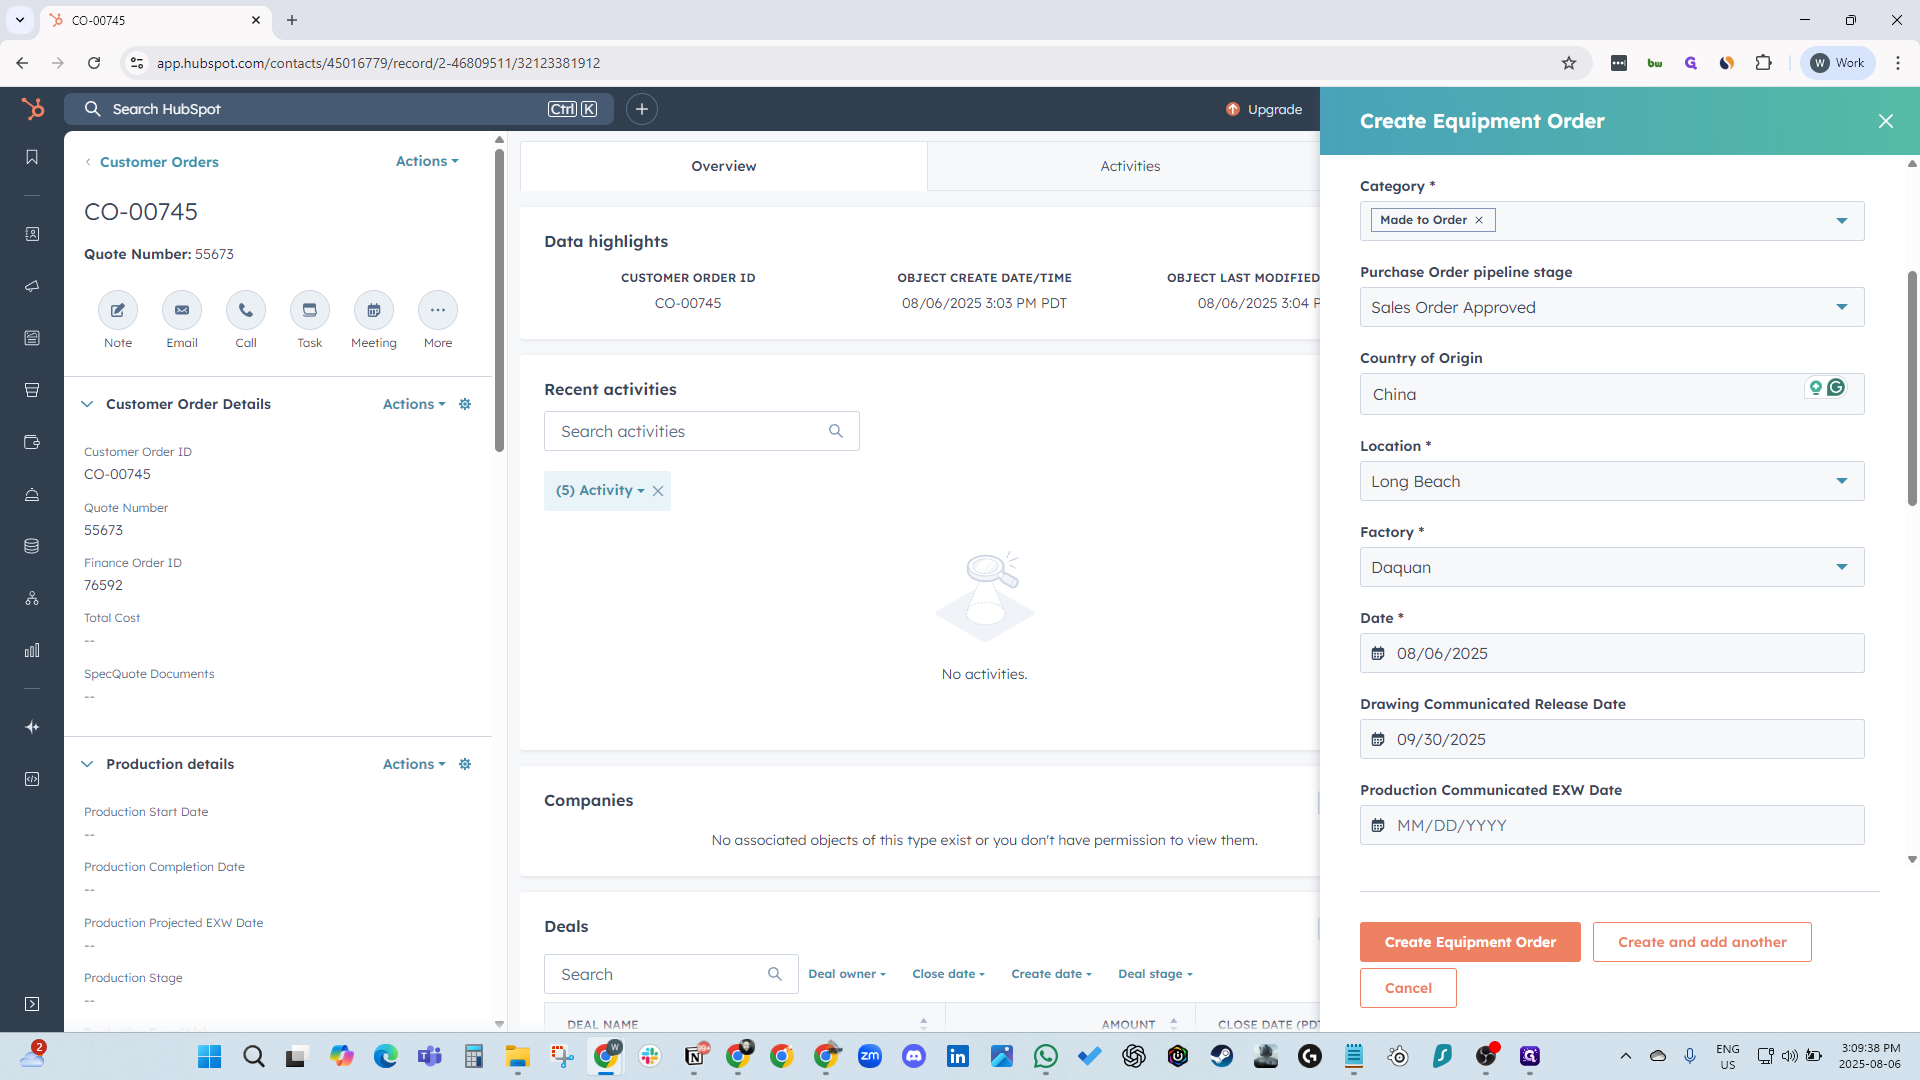
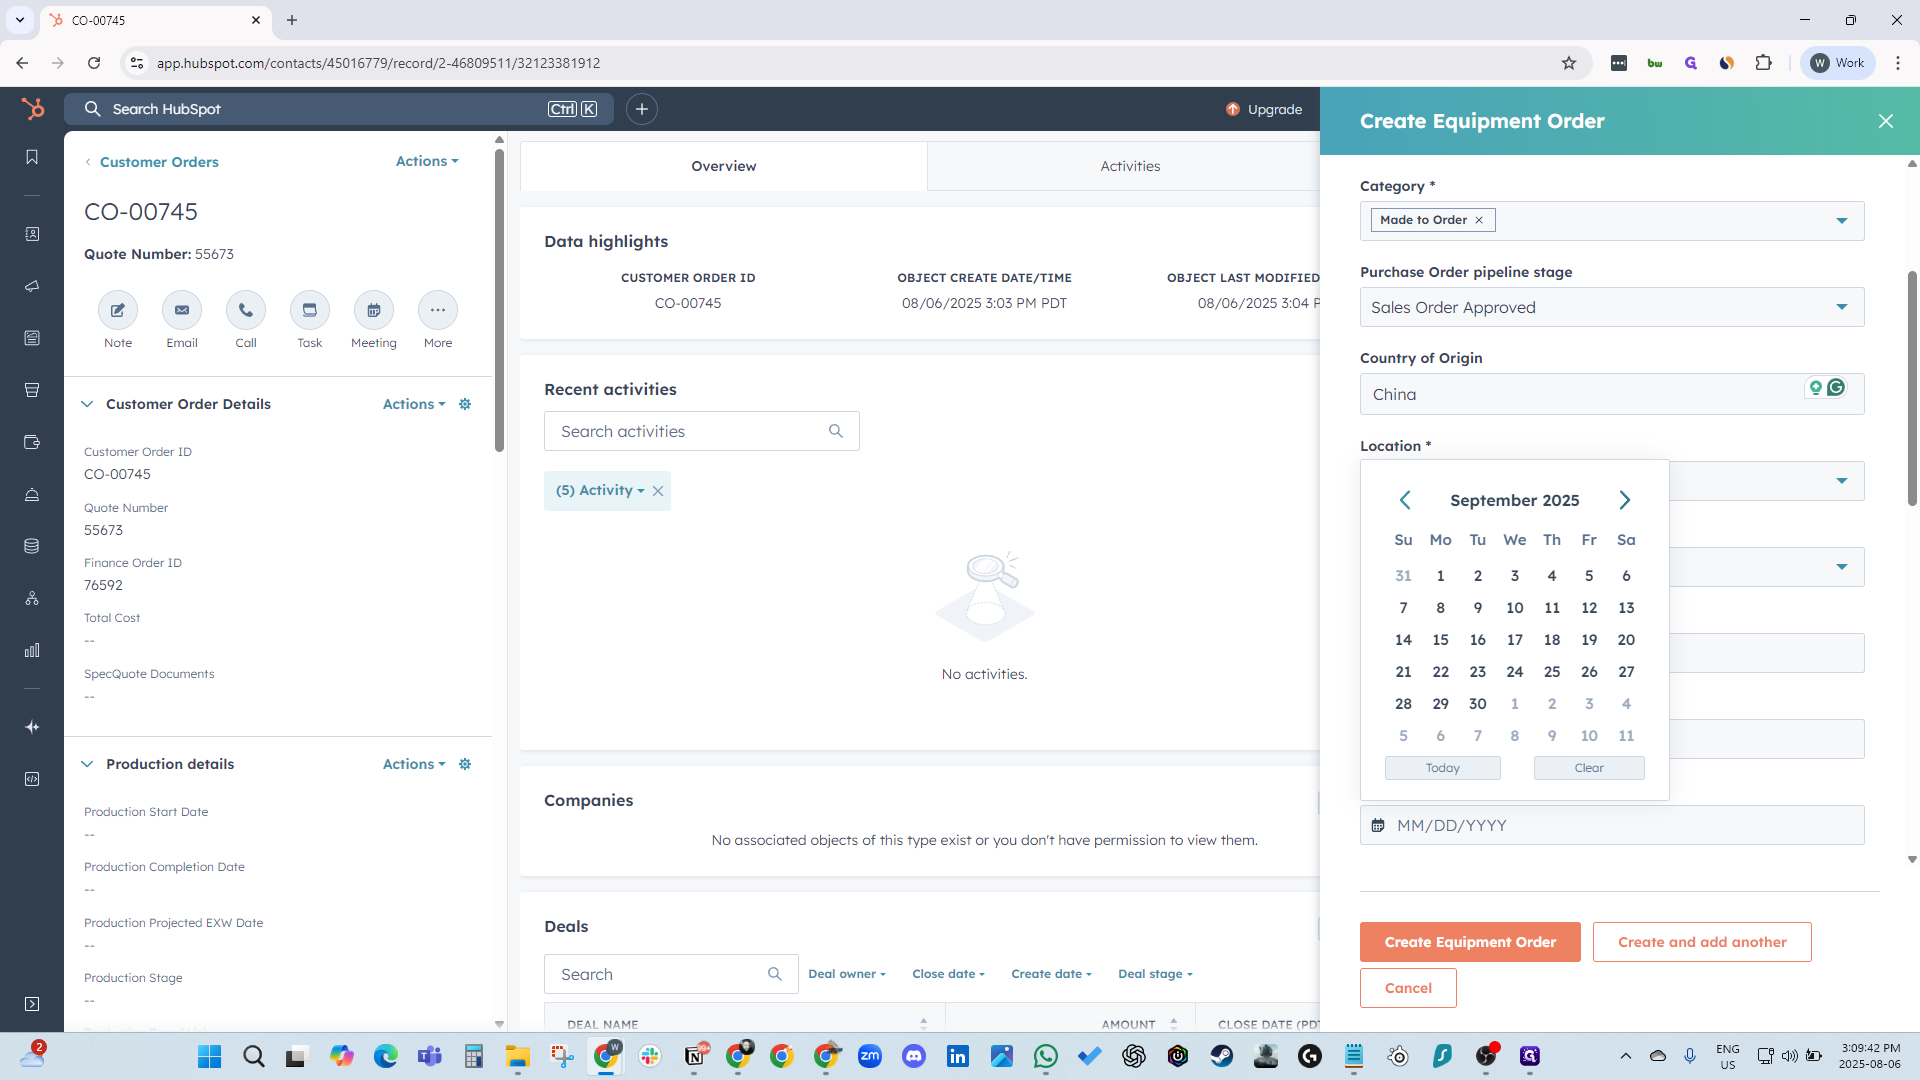
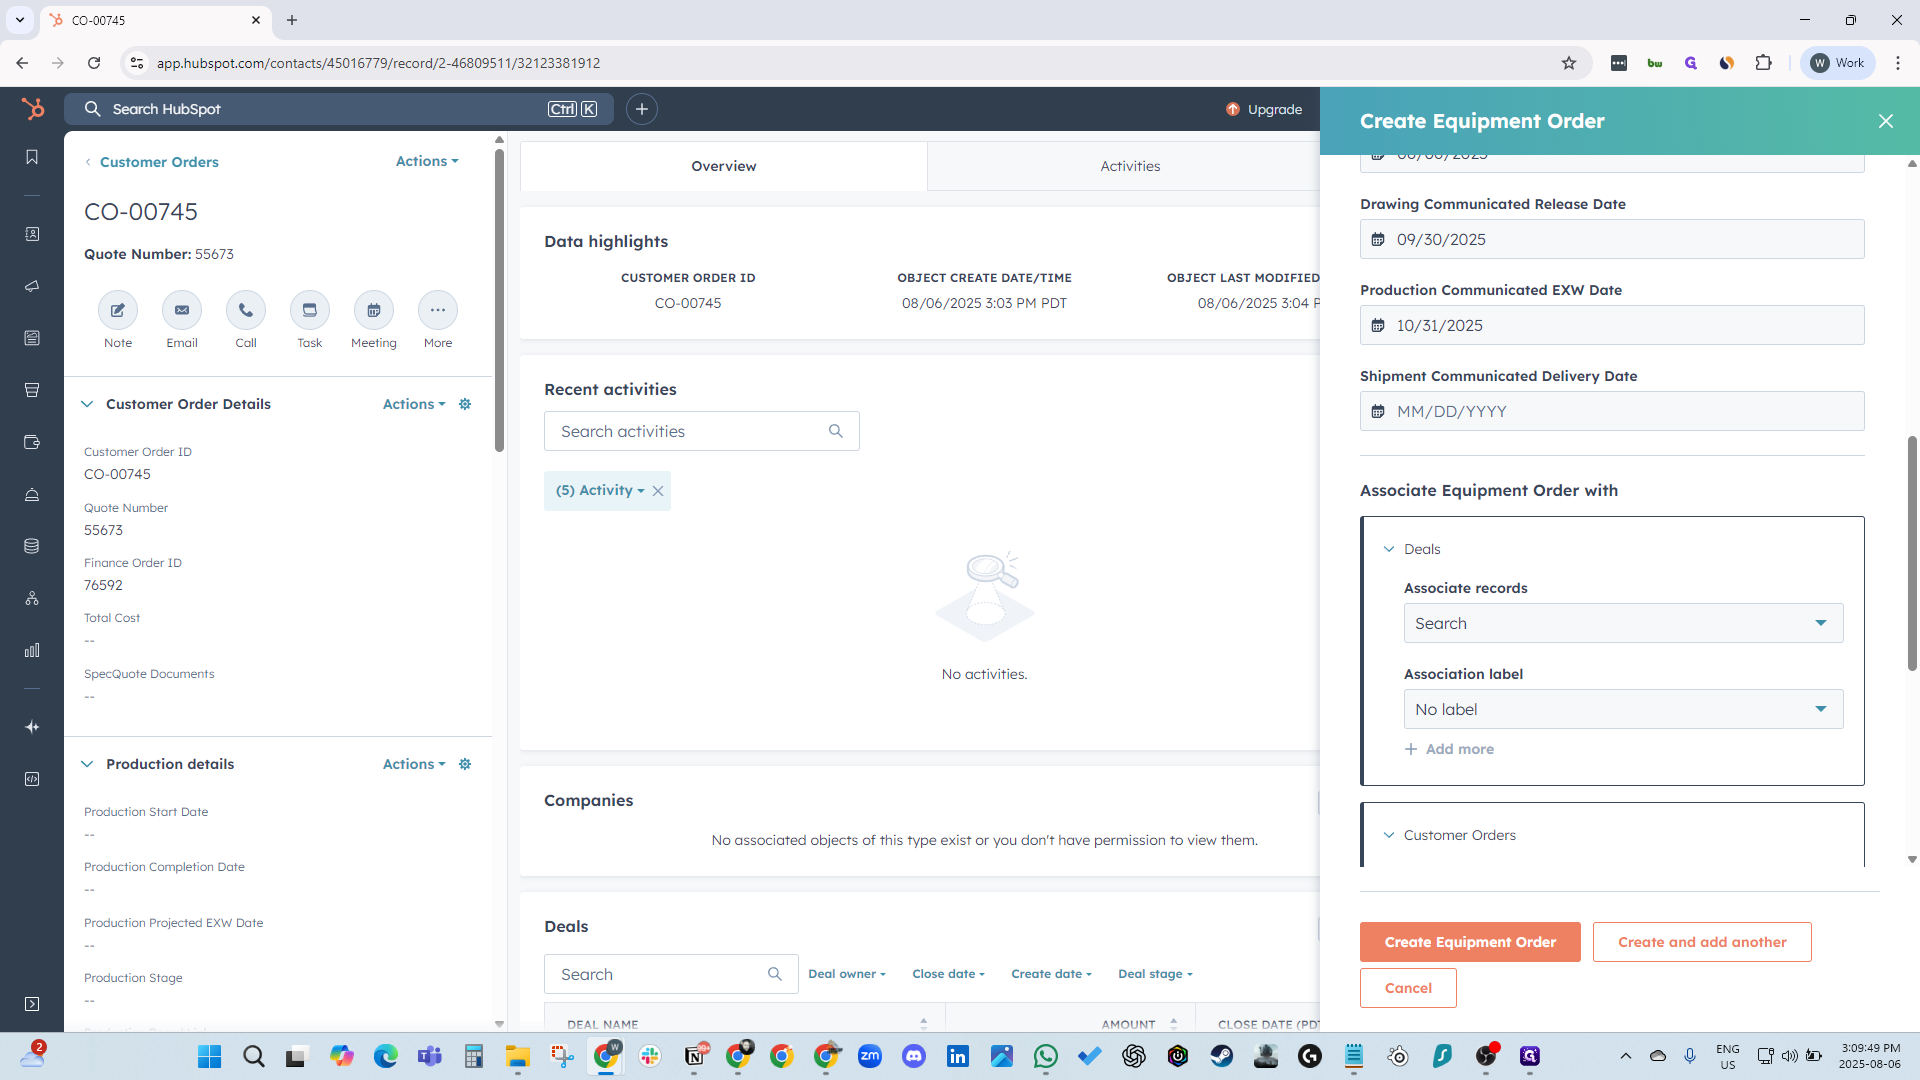
The communicated date is this, and we want to associate the deal.

85
Click on ">"
Step #85: Click on ">"
86
Click on ">"
Step #86: Click on ">"
87
Click on "31"
Step #87: Click on "31"
88
Click here
Step #88: Click here

There it is.

89
Type "gray"
90
Click here
Step #90: Click here
91
Click here
Step #91: Click here

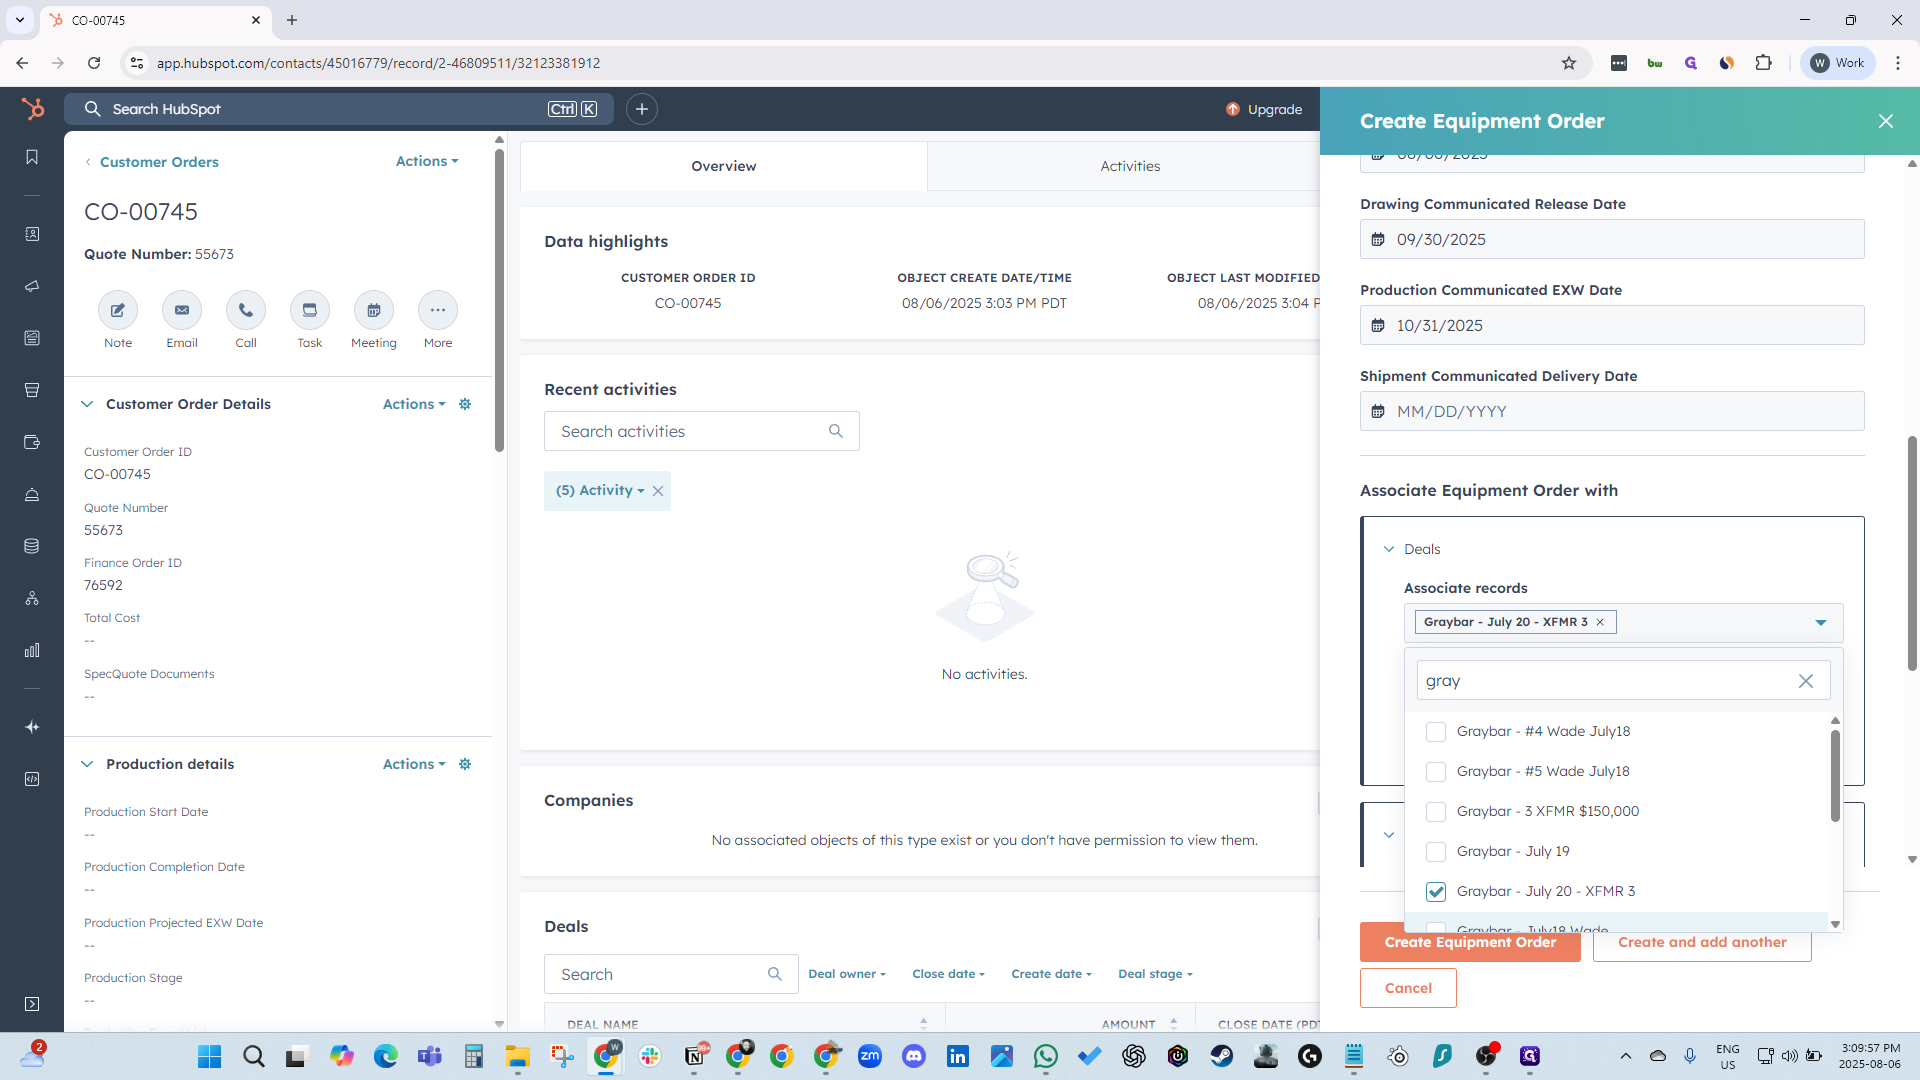
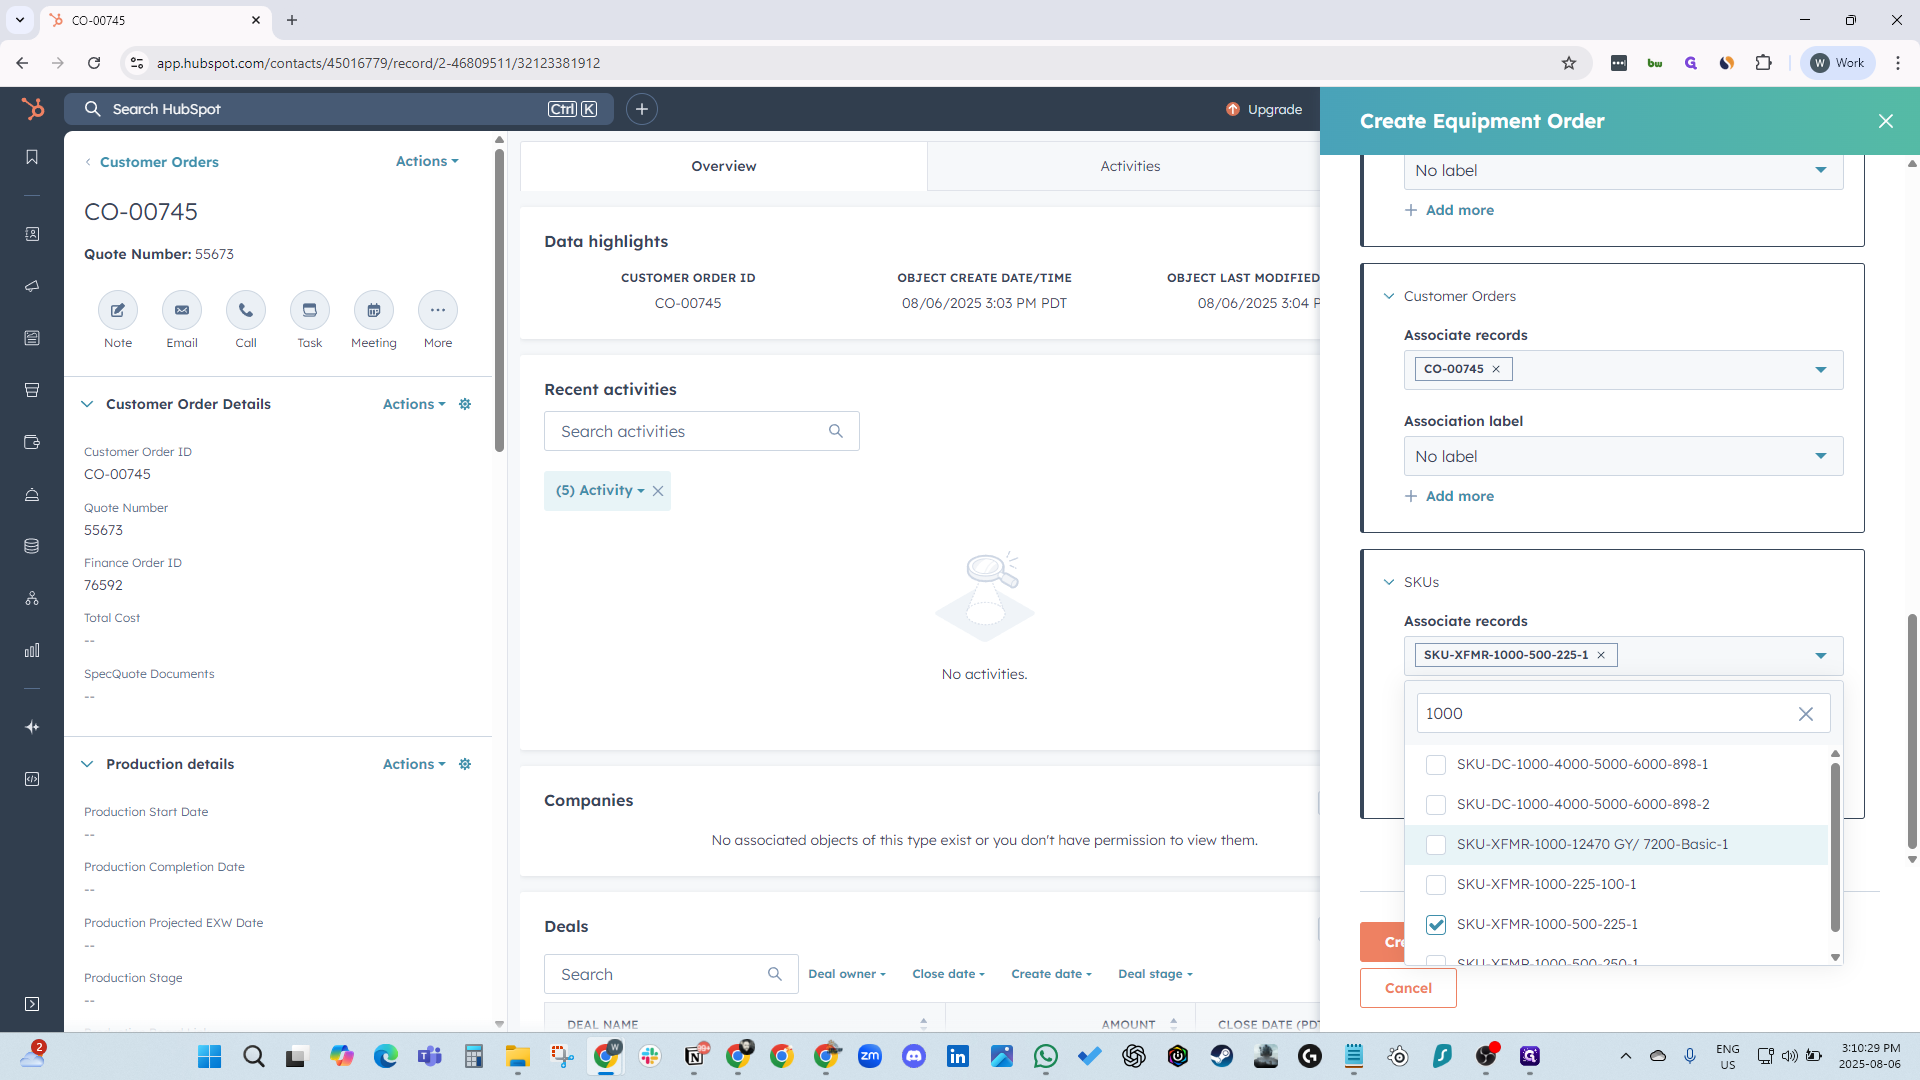
And we want to associate... The SKU is right there.

92
Click here
Step #92: Click here
93
Click here
Step #93: Click here
94
Type "1000"
95
Click here
Step #95: Click here
96
Click here
Step #96: Click here

Create EQ.

97
Click on "Create Equipment Order"
Step #97: Click on "Create Equipment Order"

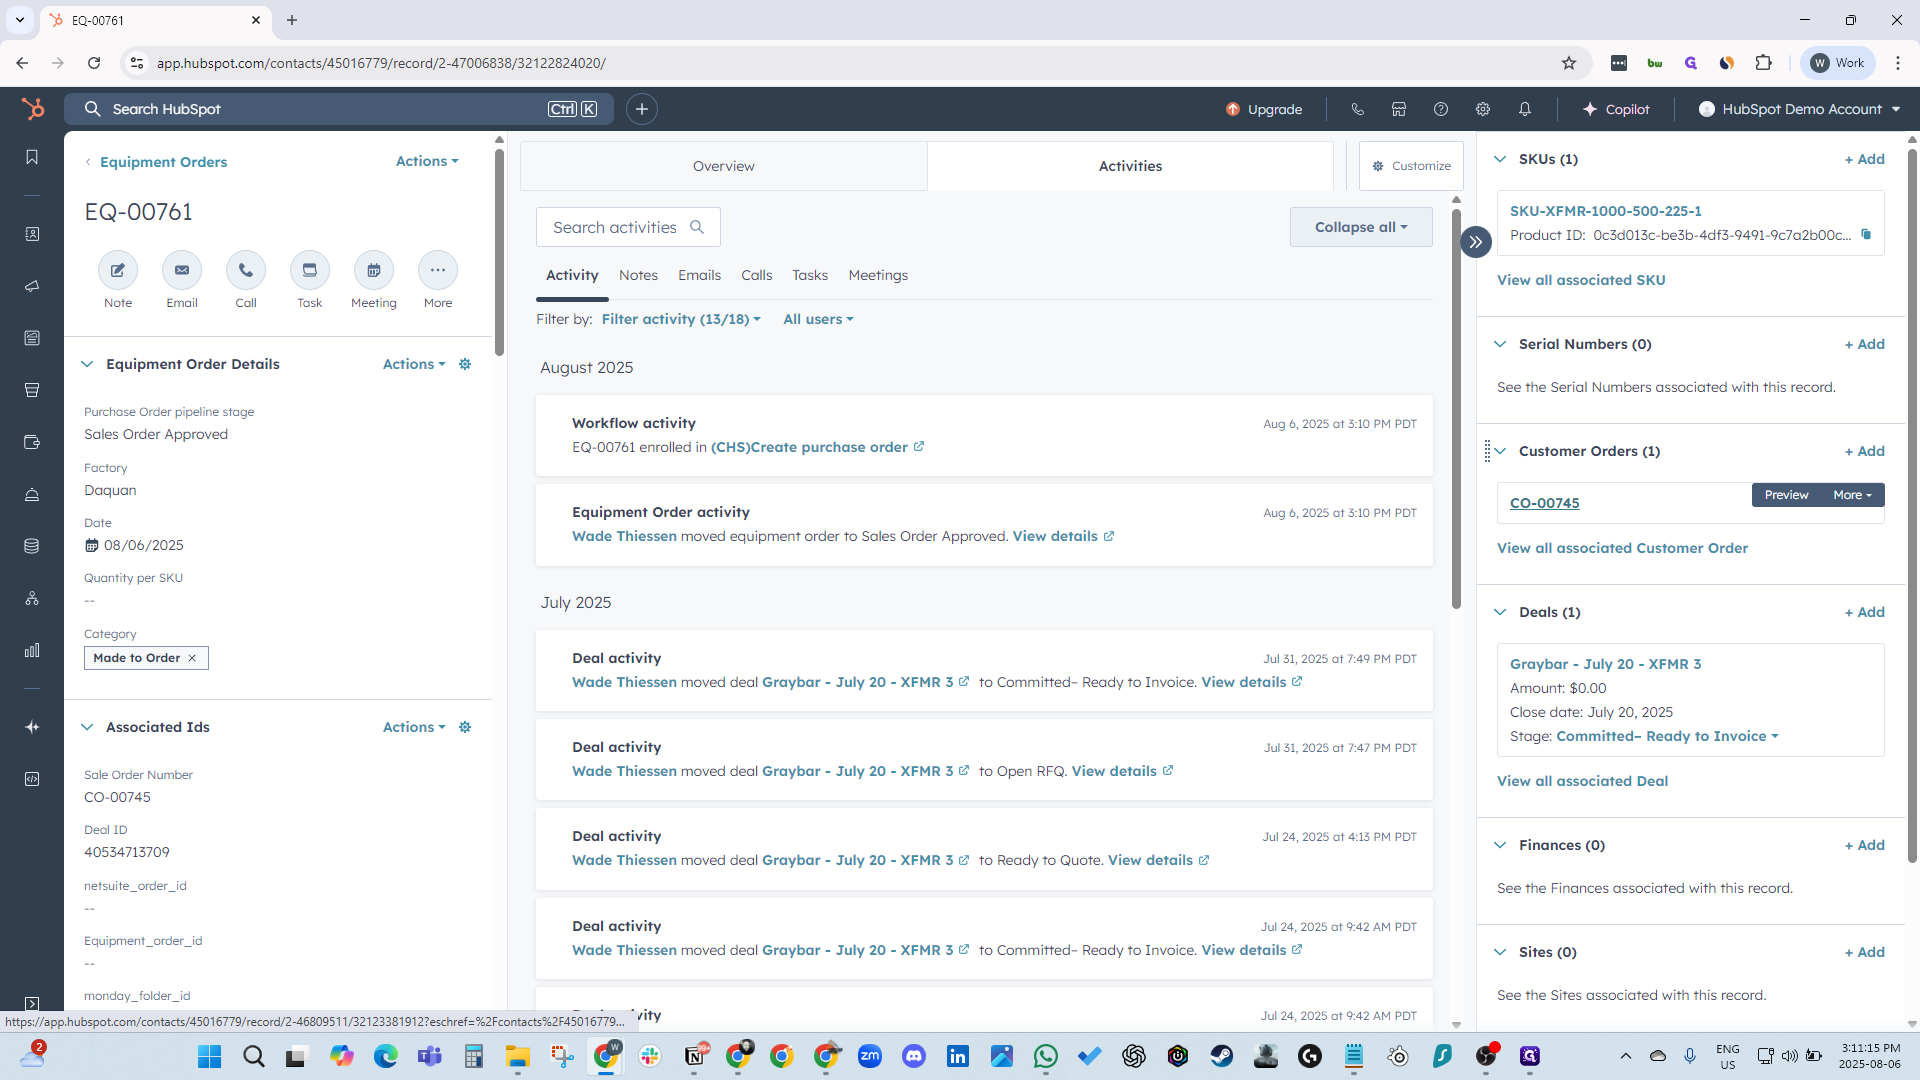
Now that you have an EQ number, refresh the page. The EQ number is generated by the CHS.

98
Click on "→ C"
Step #98: Click on "→ C"
99
Click here
Step #99: Click here

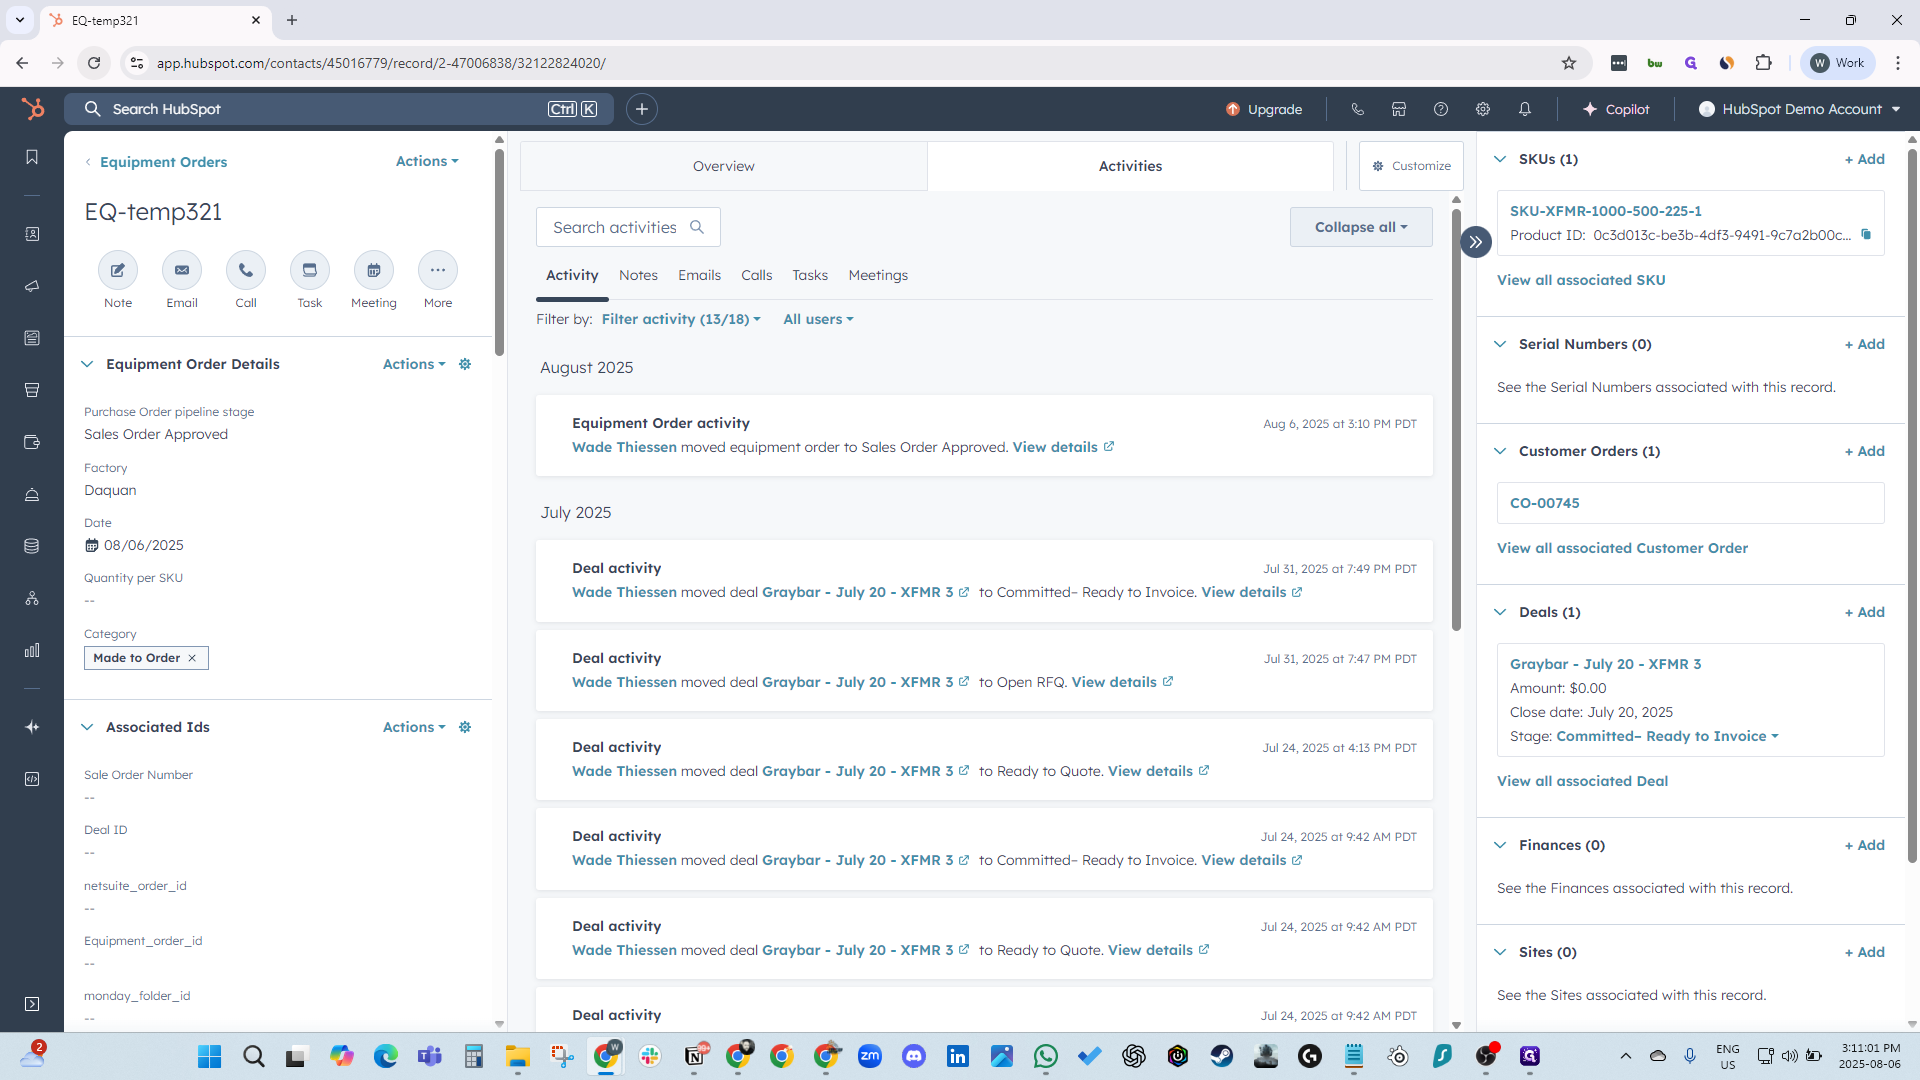
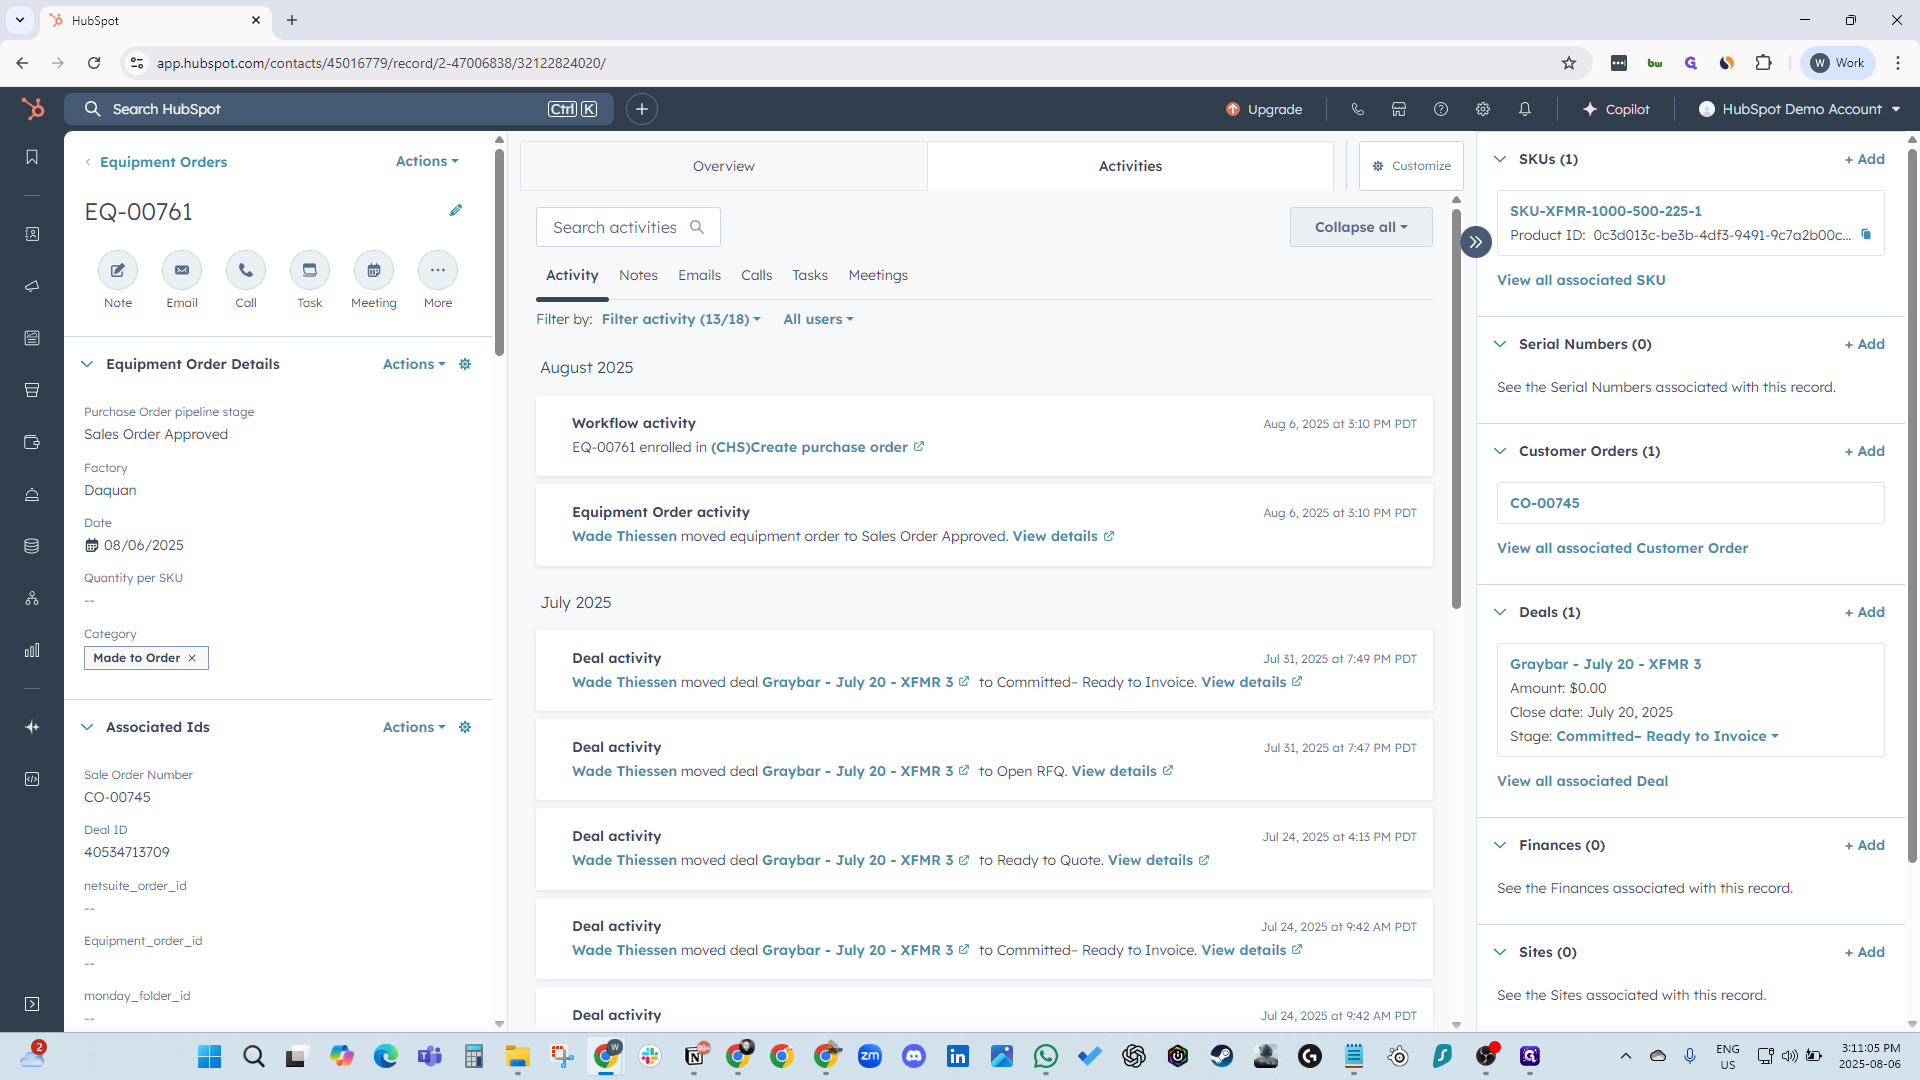
Returning to the customer order, we now have the customer order ID, code ID, financial order ID, SKU, and EQ number.

100
Click on "CO - 00745"
Step #100: Click on "CO - 00745"

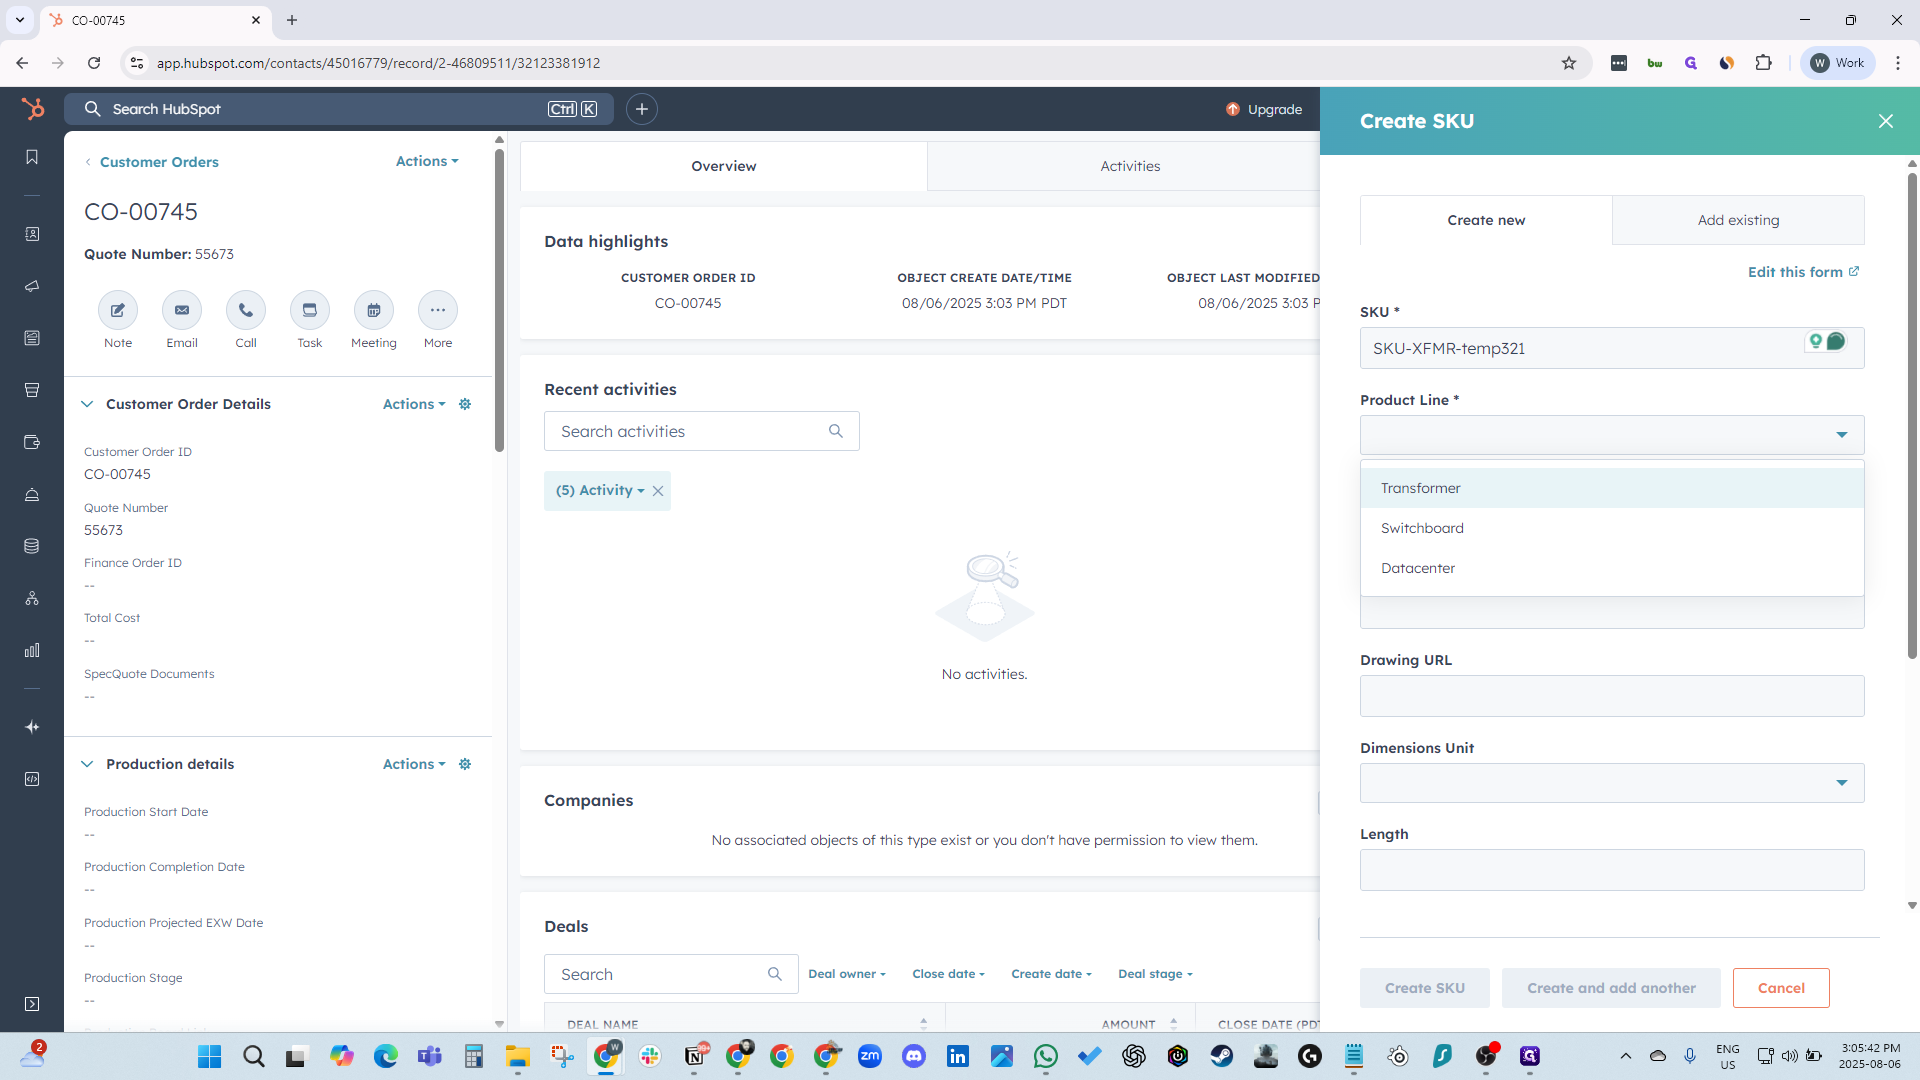
To create a new SKU, enter SKU-XFMR-TEMP321. Choose your product line.

101
Click here
Step #101: Click here

Since we're adding an existing deal, we search for a previously created deal and click save.

102
Click here
Step #102: Click here
103
Click here
Step #103: Click here

How to Create a Customer Order in Made To Order Post Sales (Version 2)