How to Create a Document to be Signed in DocuSign
Learn how to create a document to be signed in DocuSign. This guide provides step-by-step instructions on how to access DocuSign and prepare your document for signing.
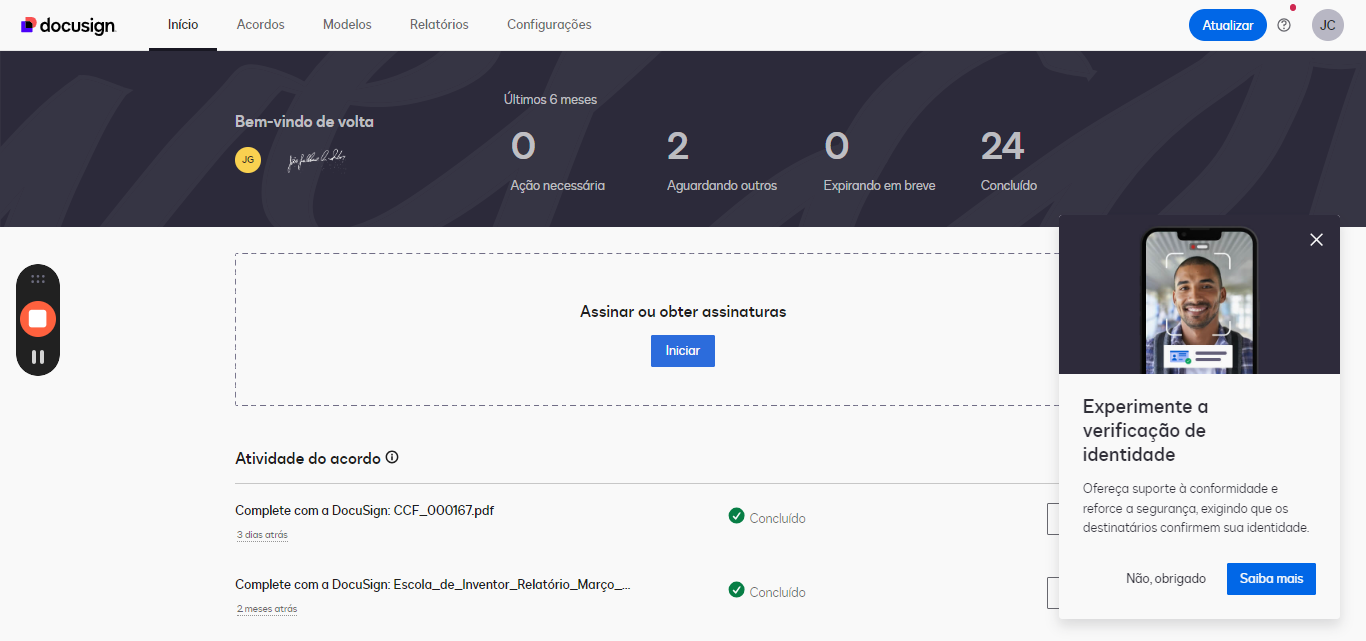
In this guide, we'll learn how to create a document for signing using DocuSign. The process involves accessing DocuSign and then clicking to log in. Understanding the steps to prepare a document for electronic signatures can streamline your workflow and enhance document security.
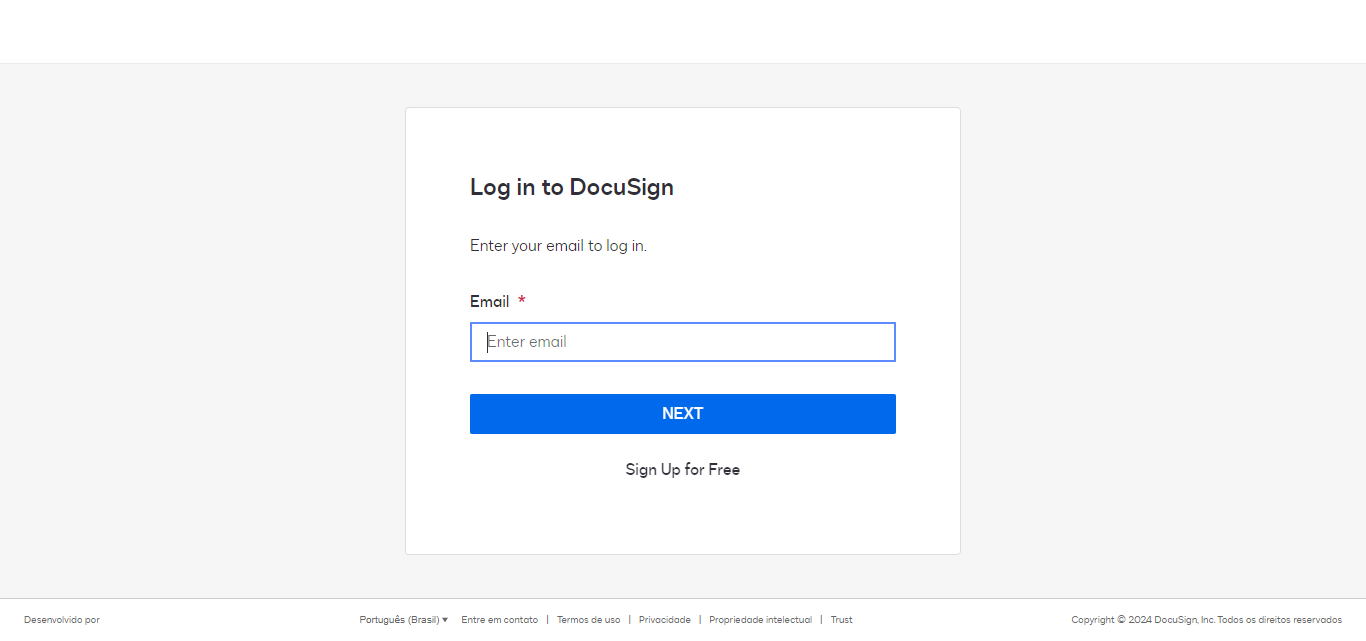
Accessing DocuSign
To begin, you need to navigate to the DocuSign platform. This step is crucial as it sets the foundation for creating and managing your electronic documents efficiently.
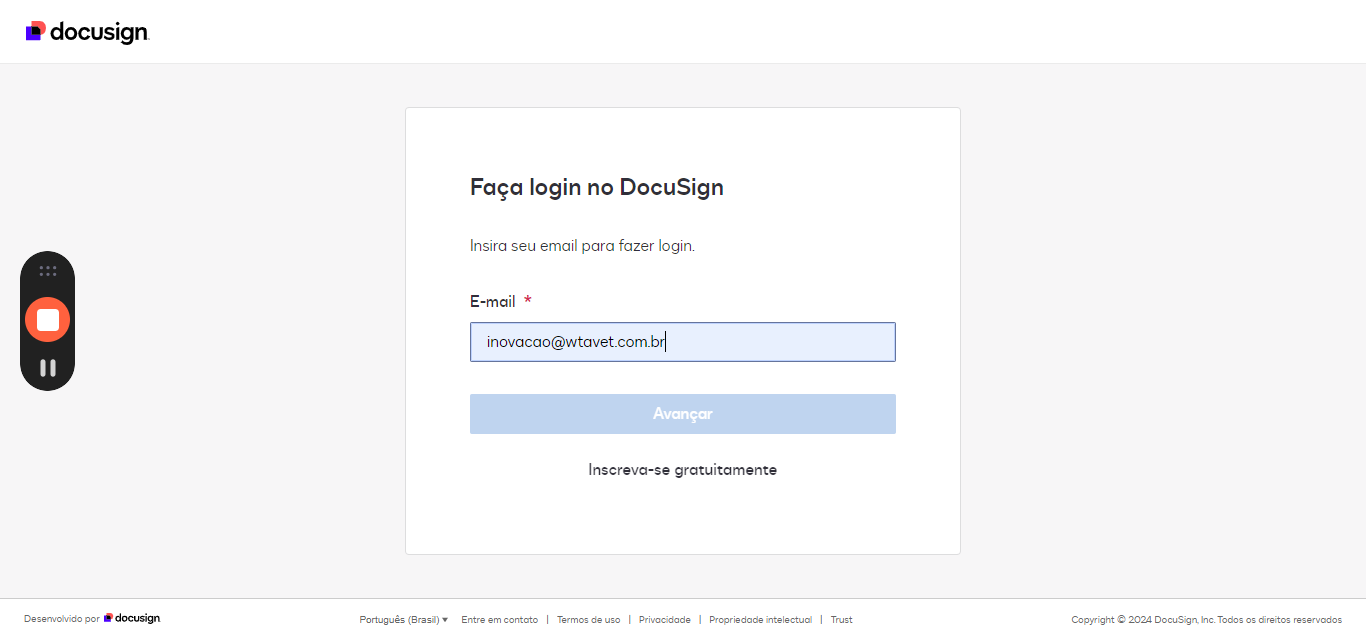
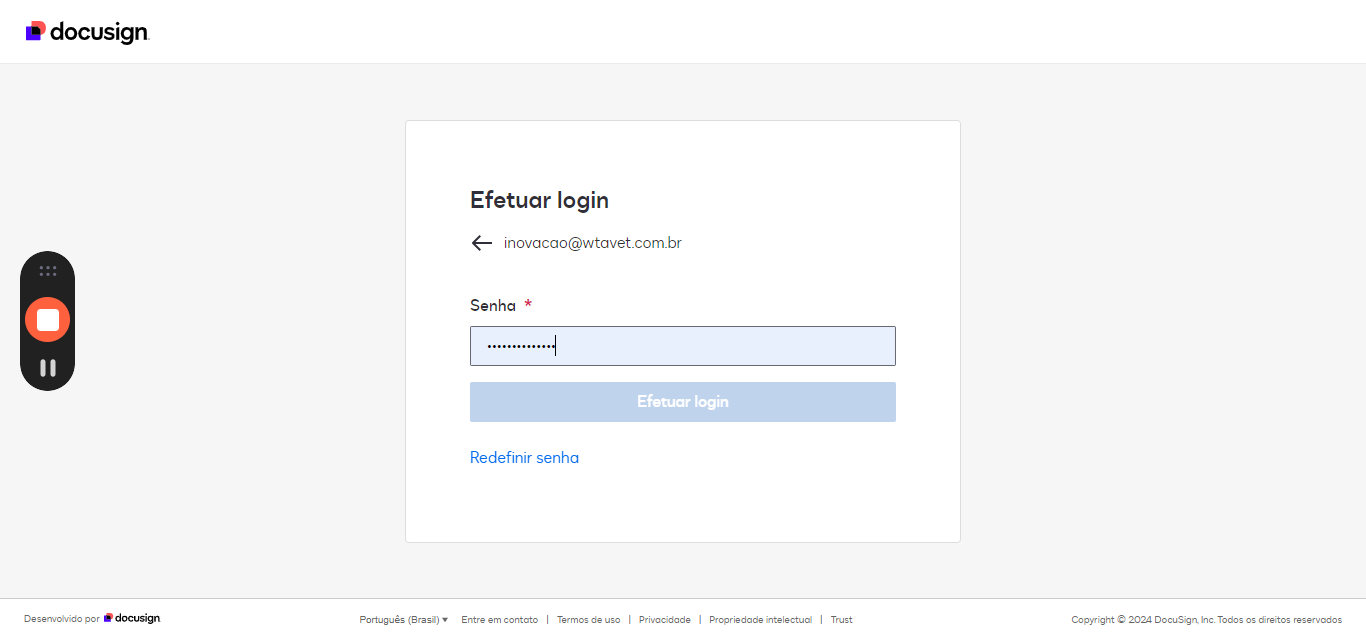
Logging In
Once you have accessed DocuSign, the next step is to log in to your account. Logging in is essential for accessing your documents, initiating signature requests, and tracking the progress of your electronic signatures.
Let's get started.
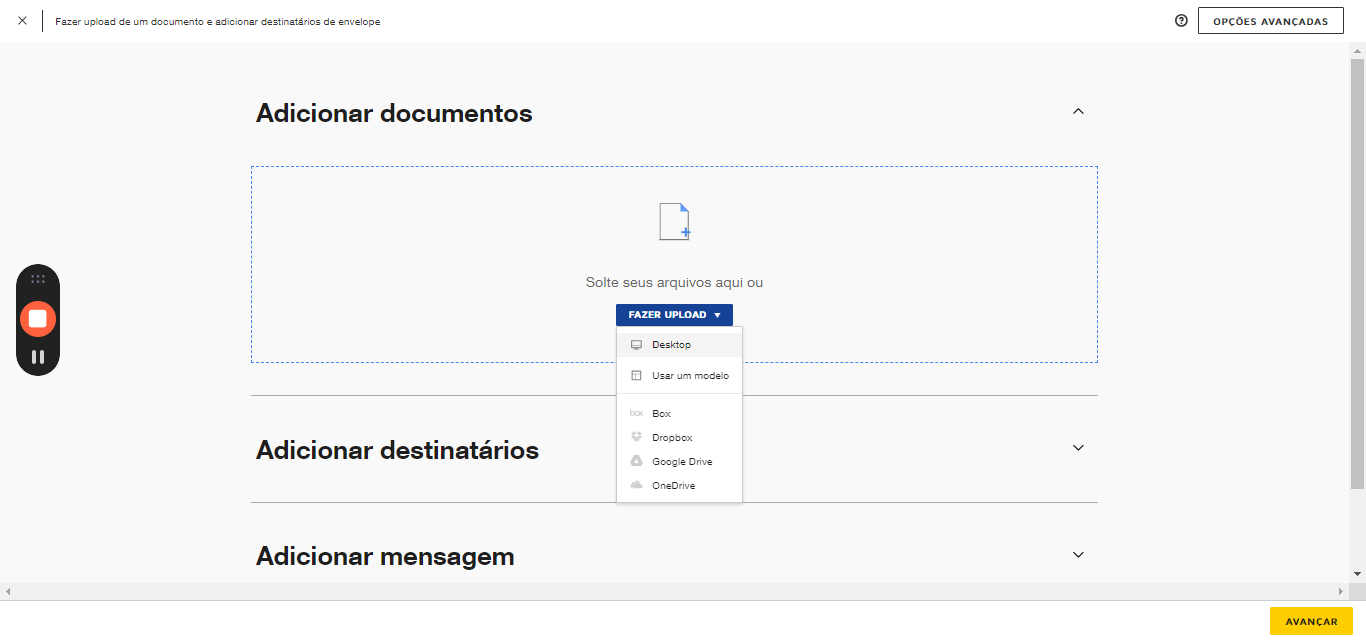
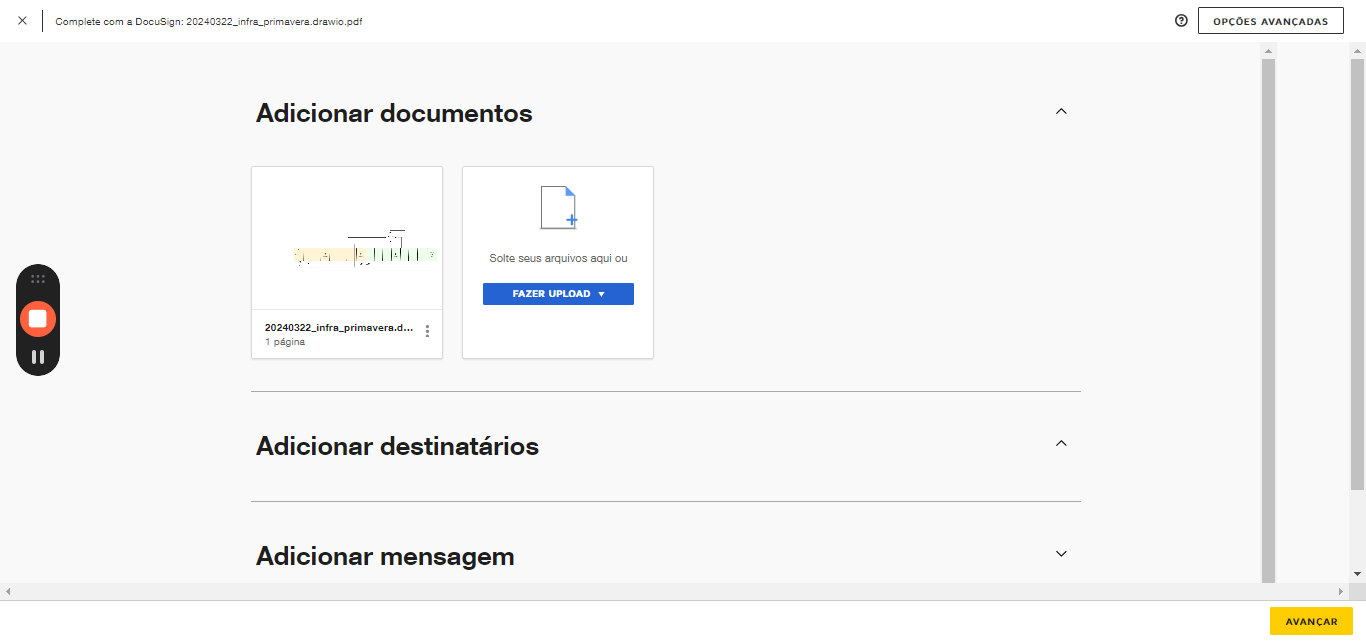
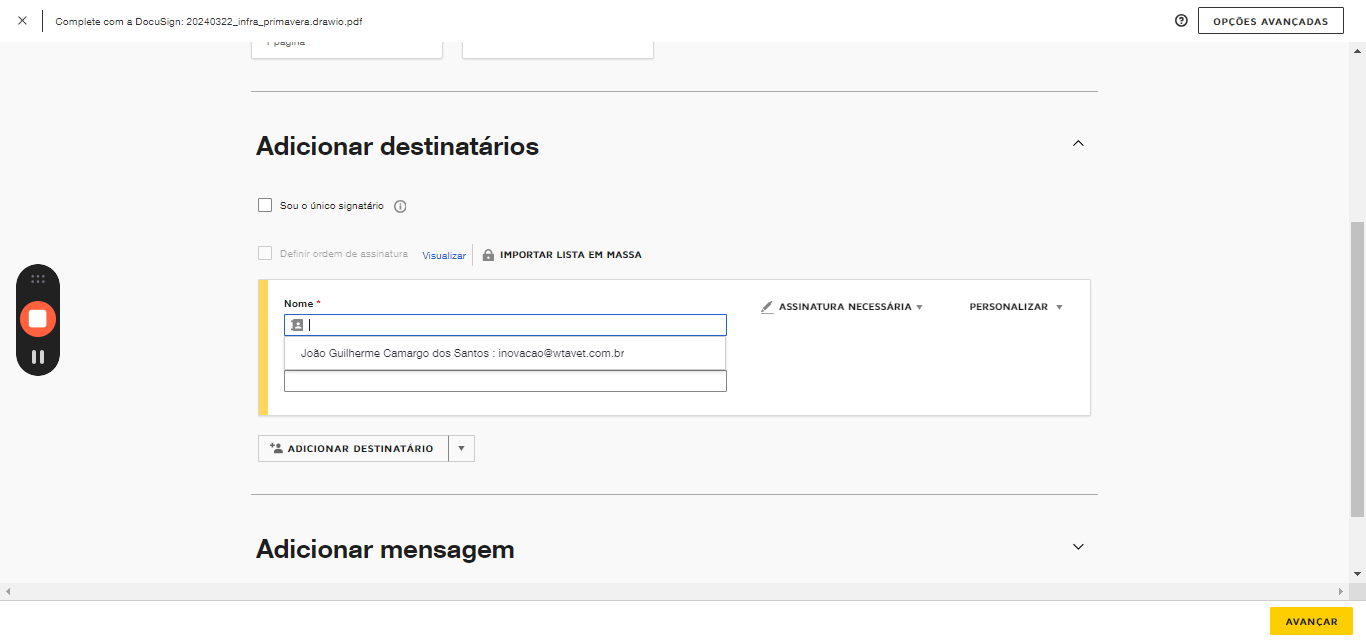
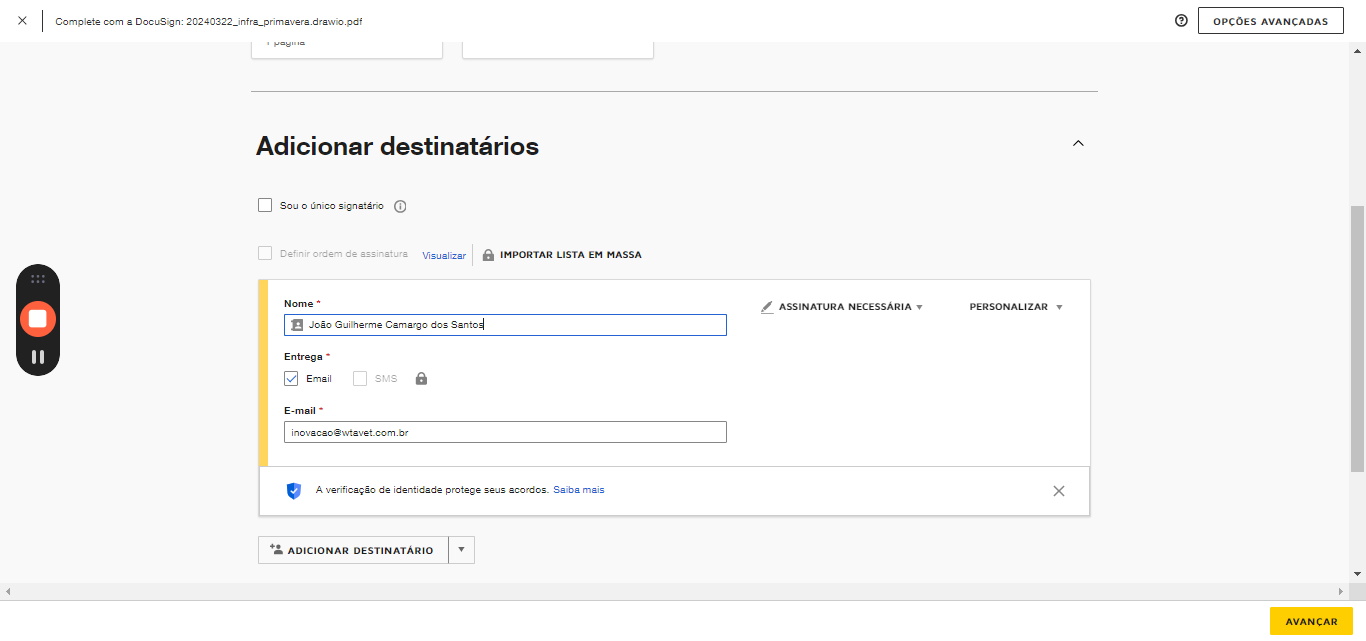
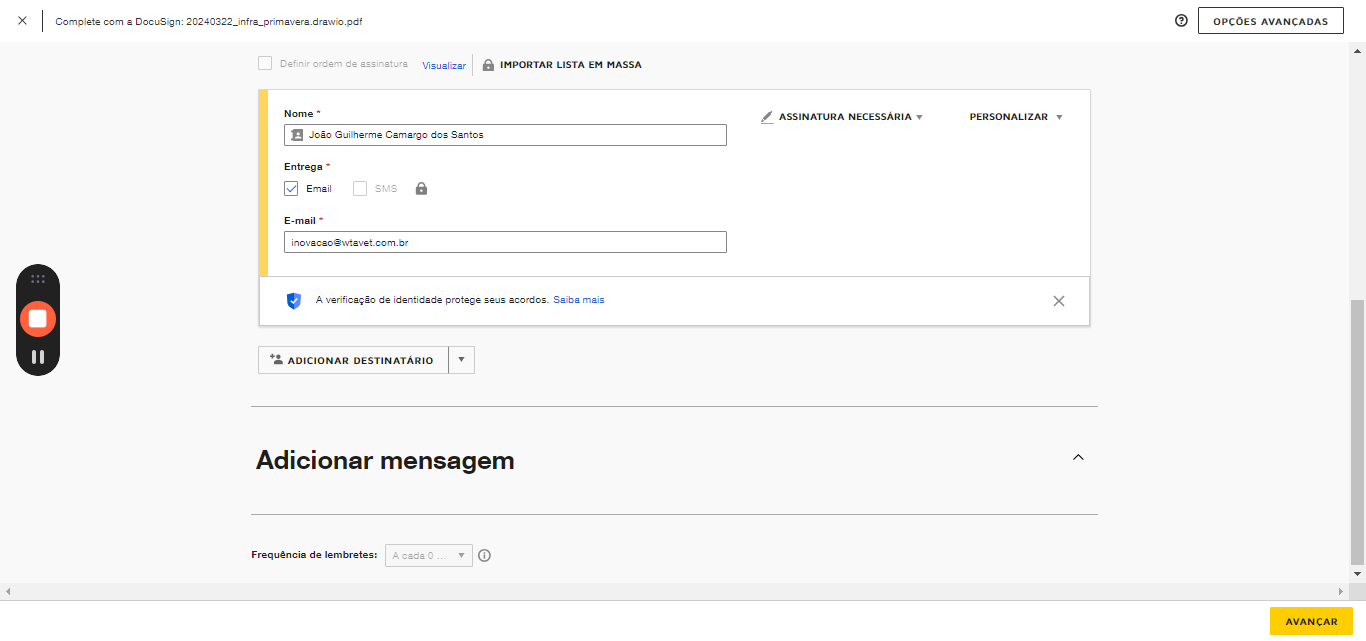
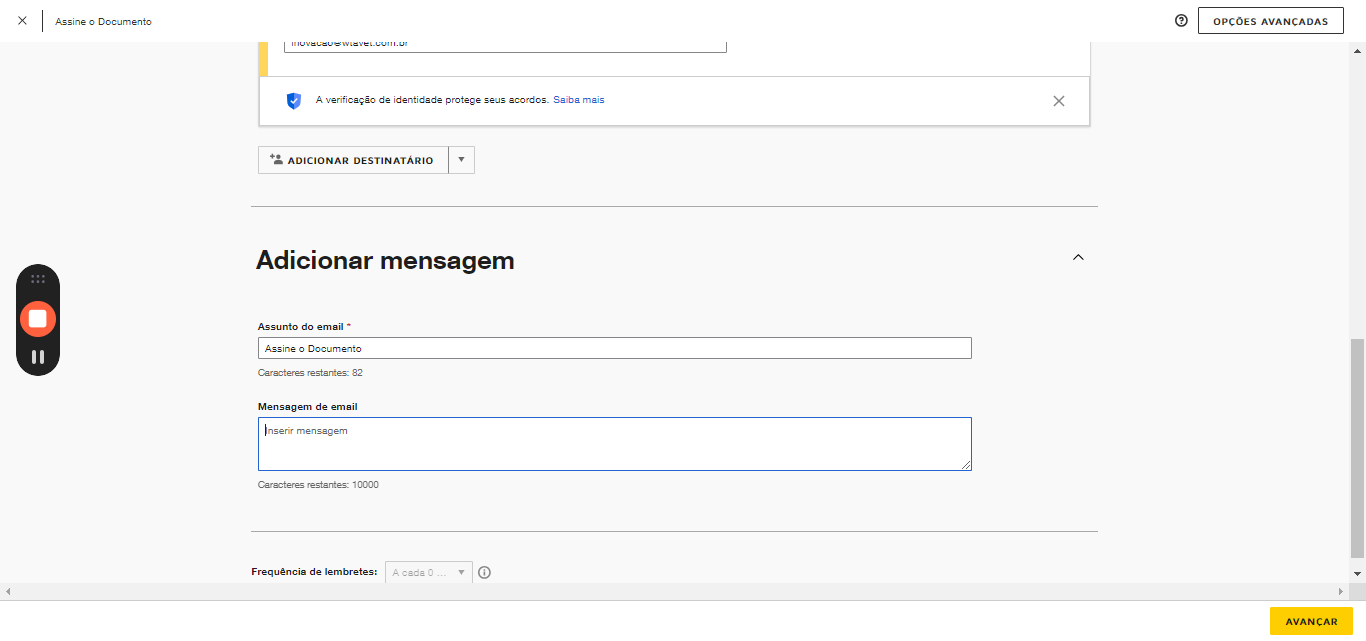
I will teach you how to create a document to be signed in DocuSign. First, access DocuSign, then click here to log in.