How to Create a Google Calendar Event with Glitter AI Guide Capture
Learn step-by-step how to use Glitter AI to record a guide for creating a Google Calendar event. This tutorial covers enabling microphone permissions, starting a capture, and saving your event.
In this guide, we'll learn how to use Glitter AI to record a step-by-step guide by capturing your actions and voice instructions. This process involves enabling microphone permissions, starting the capture, and recording your workflow as you create a Google Calendar event. By following these steps, you can easily document and share your process with others.
A new line
Let's get started
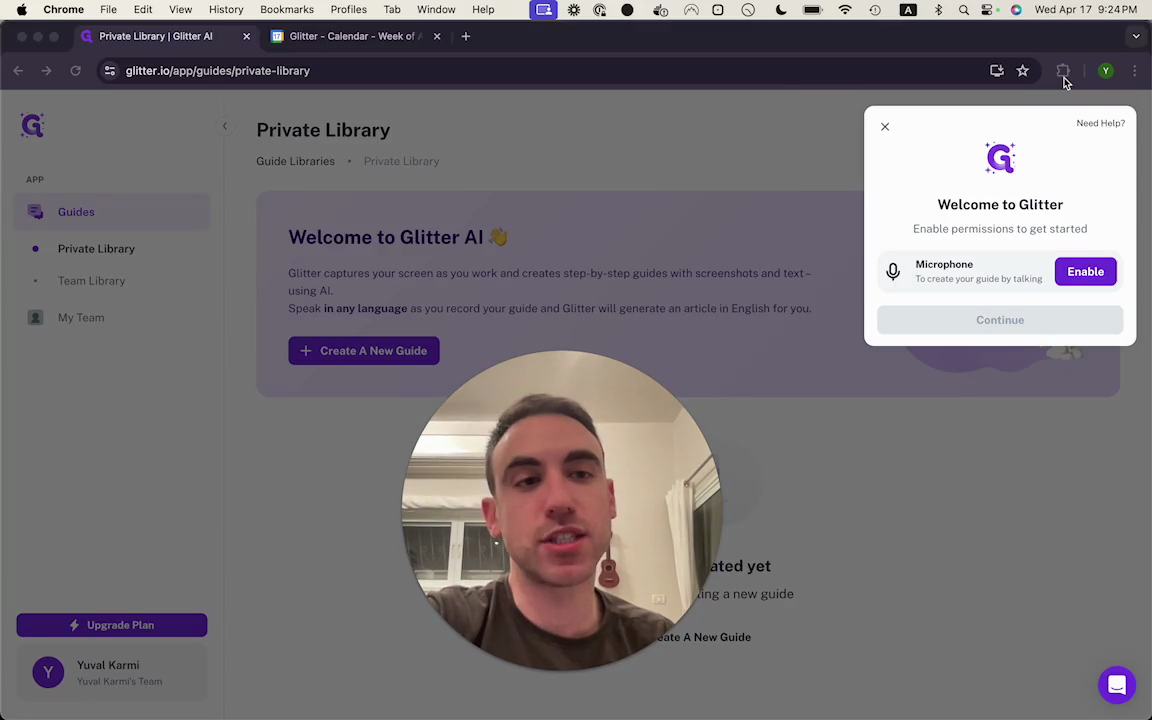
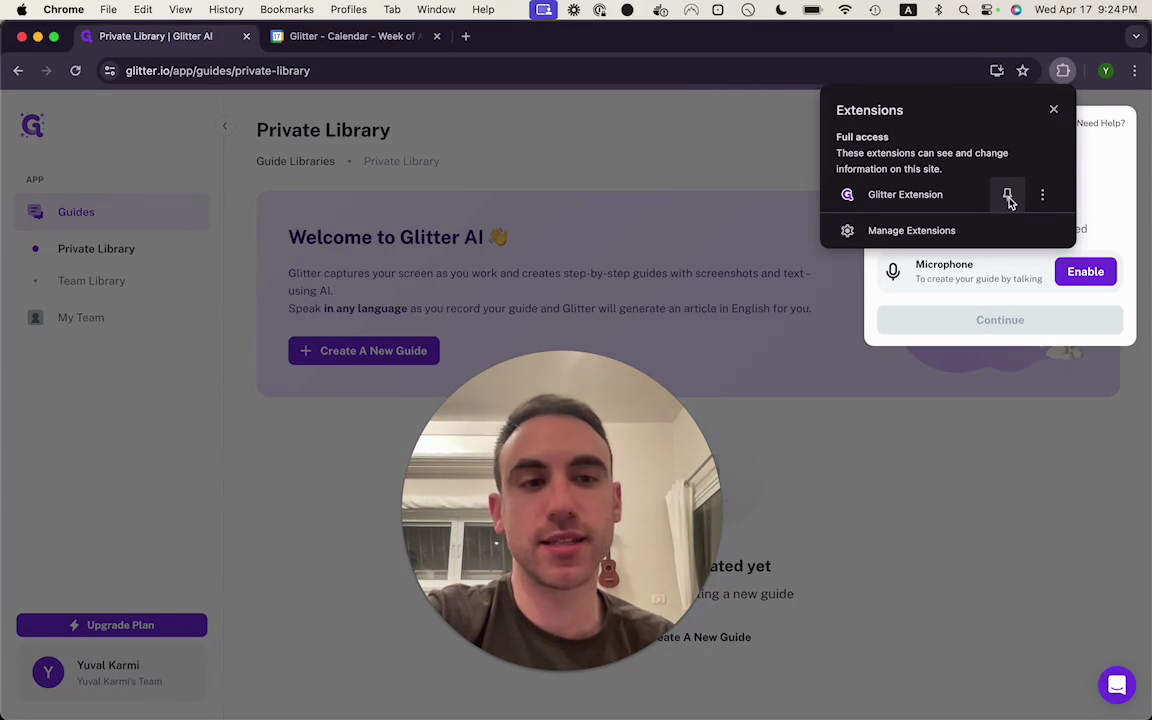
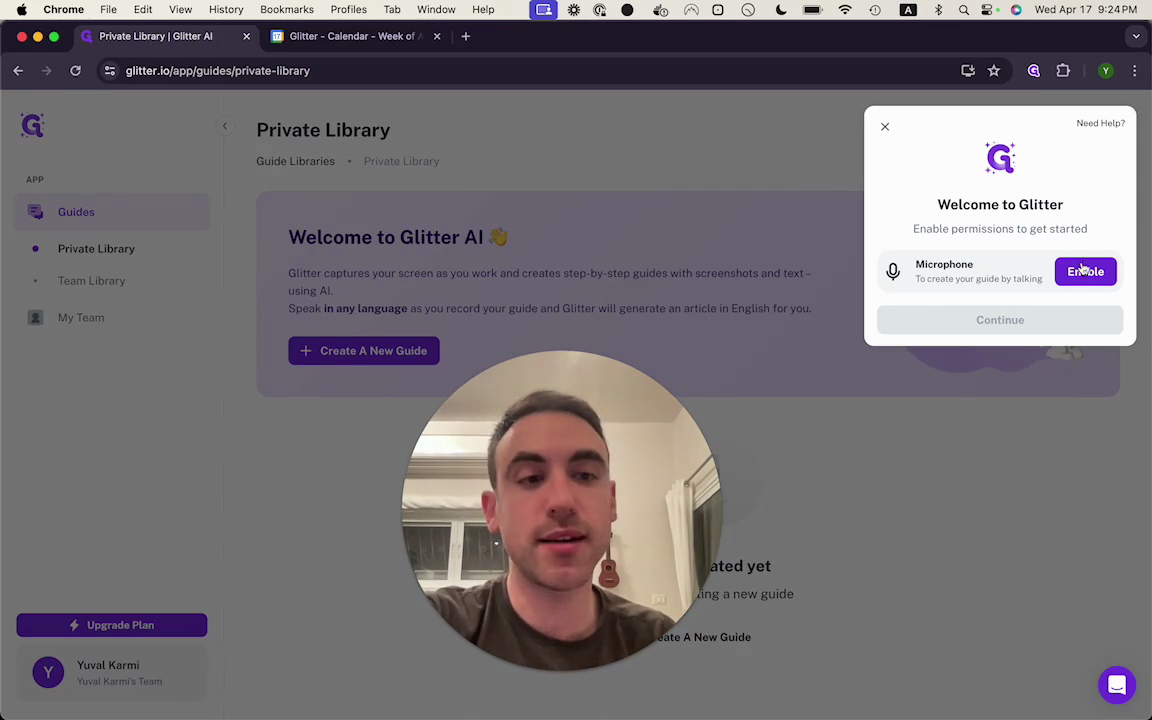
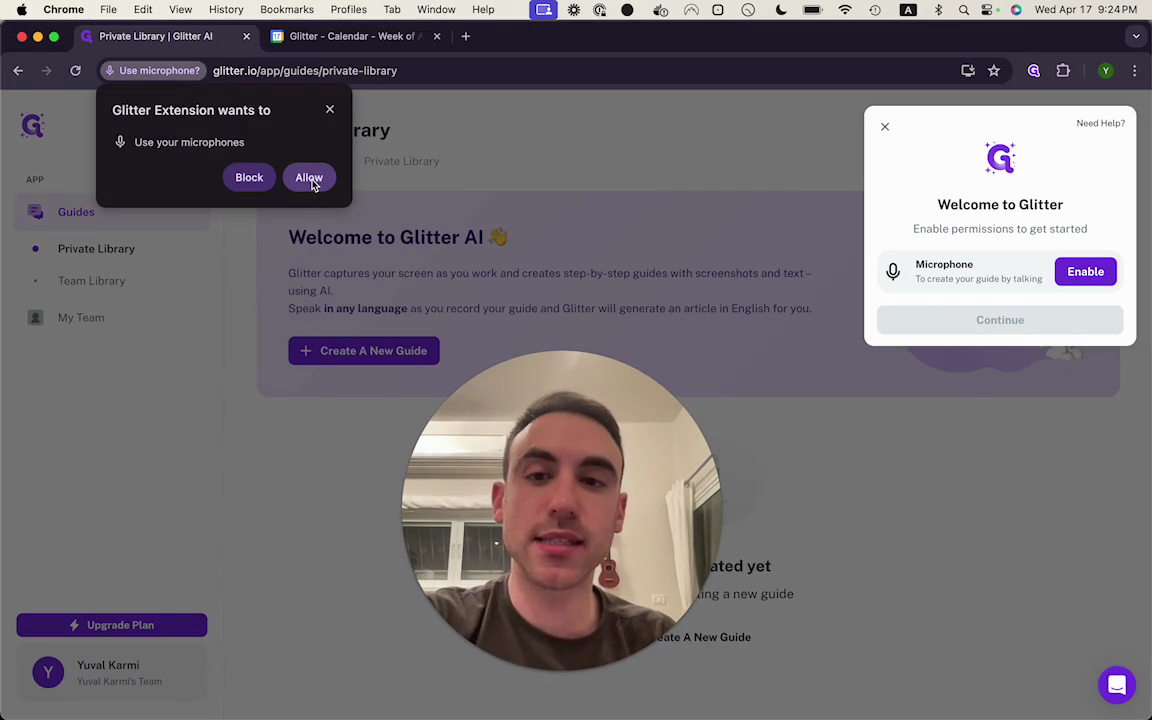
Click the extensions icon, then click the pin. Totally optional. Next, we need to grant Glitter AI microphone permissions. Everything we say aloud will be included in the article for the guide we are creating. I'll click on Enable, which opens a pop-up window. Here, we can allow microphone access.
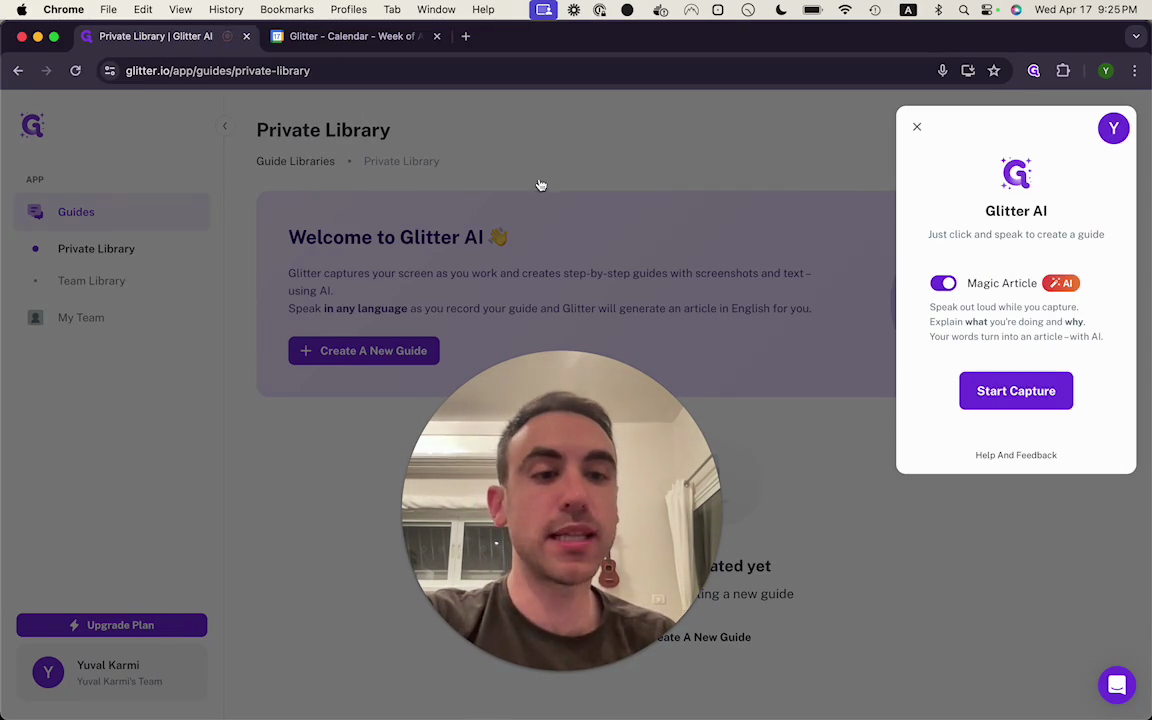
Now we can start creating our first guide. Click Start Capture. In the window that appears, click Go.
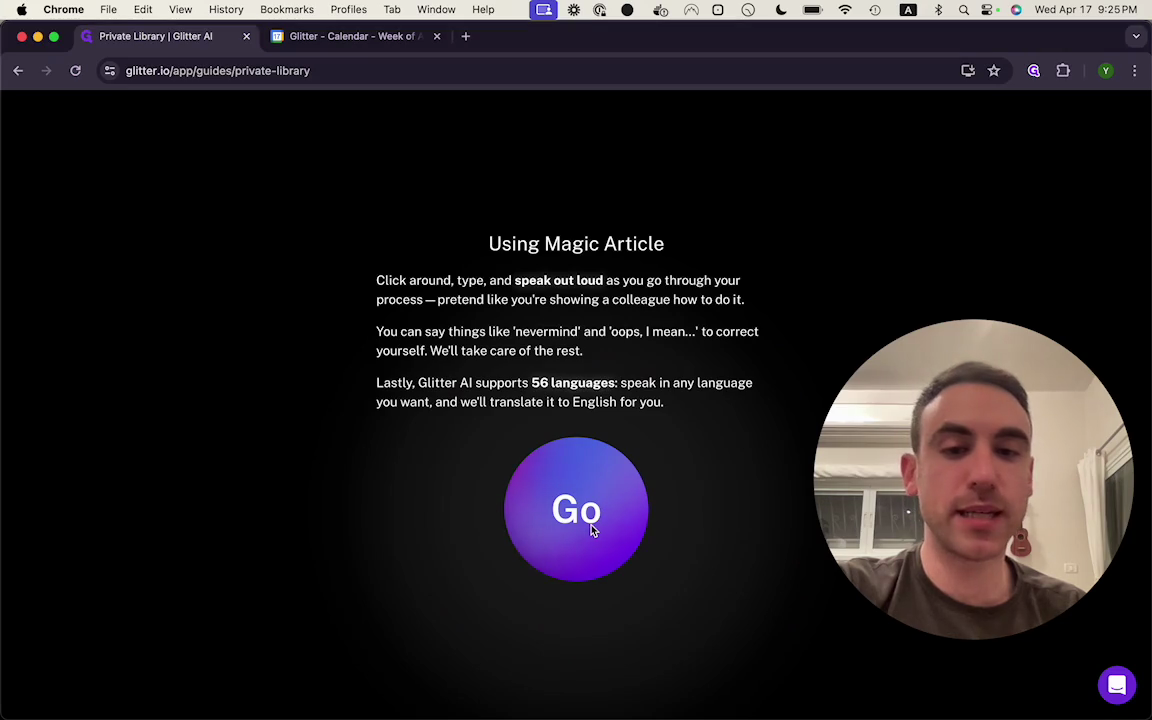
Now we see these controls. These controls let us easily start and stop the guide recording. Simply switch to the tab you want to record, then begin the steps and speak naturally.
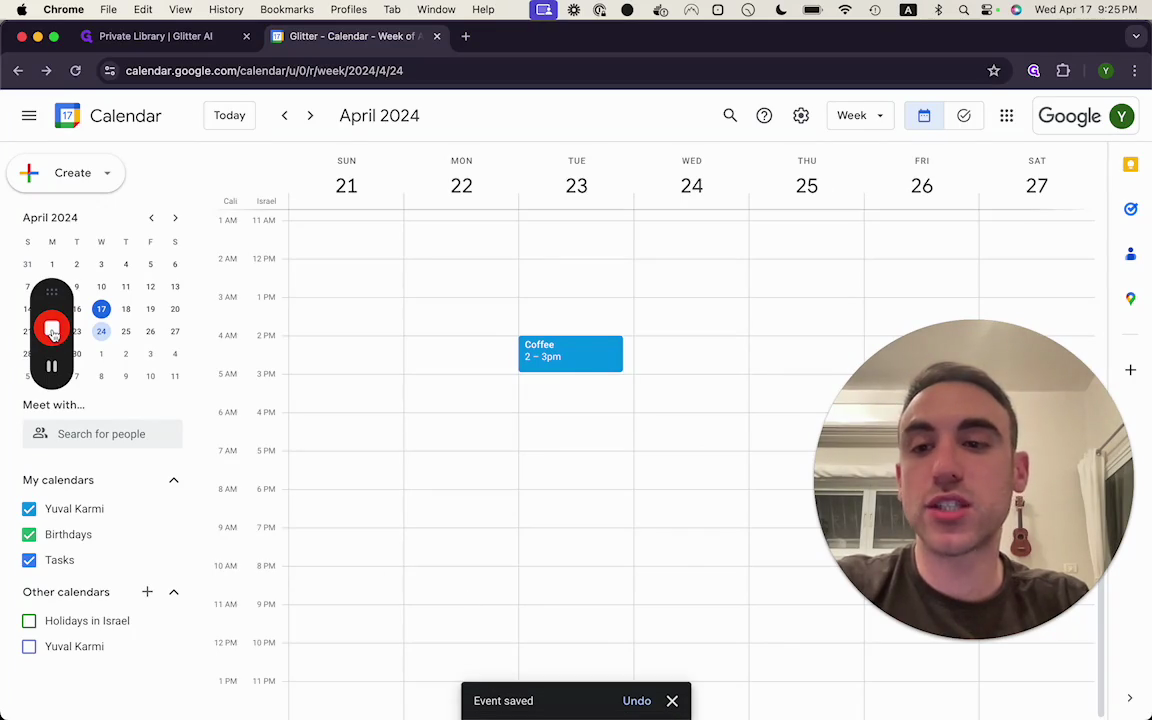
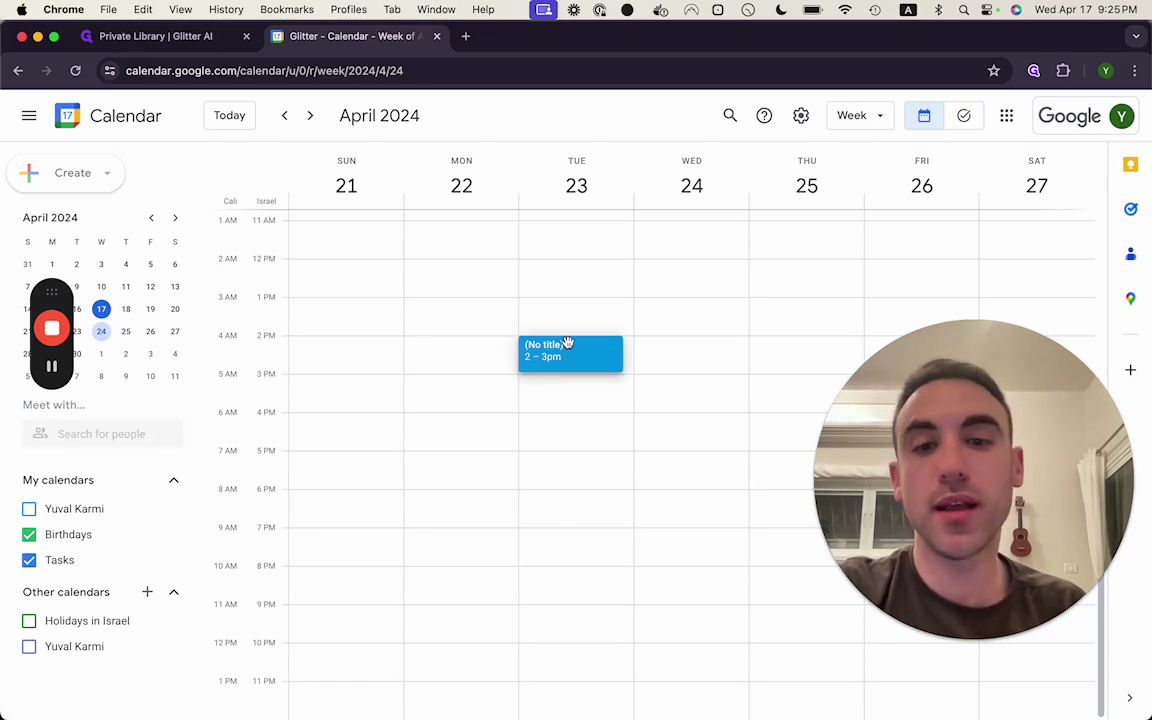
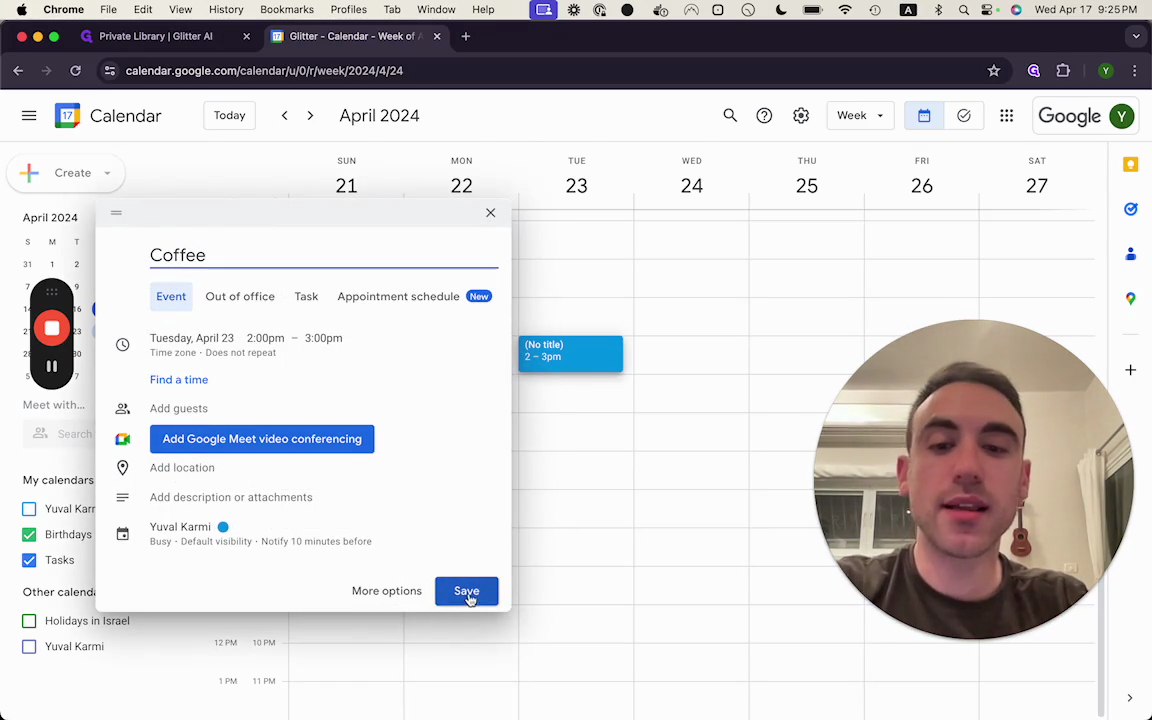
In this guide, I will show you how to create a Google Calendar event.
I'll click here.
I'll type in "coffee."
I’ll click Save.
I'll finish the guide by clicking the Stop button here.