How to Create a New Client Interest: Step-by-Step Guide
Learn how to create a new client interest in your system with this easy step-by-step guide. Follow the instructions to configure, name, and assign client interests efficiently.
By Emilie Peloquin
In this guide, we'll learn how to create a new client interest in your system. This process helps you organize and track what your clients are interested in, making it easier to manage opportunities and assignments.
You'll see how to set up a new interest, choose if it should be required or assigned automatically, and link sellers to client opportunities based on recent activity.
Let's get started
Here's how to create a new client interest.
1
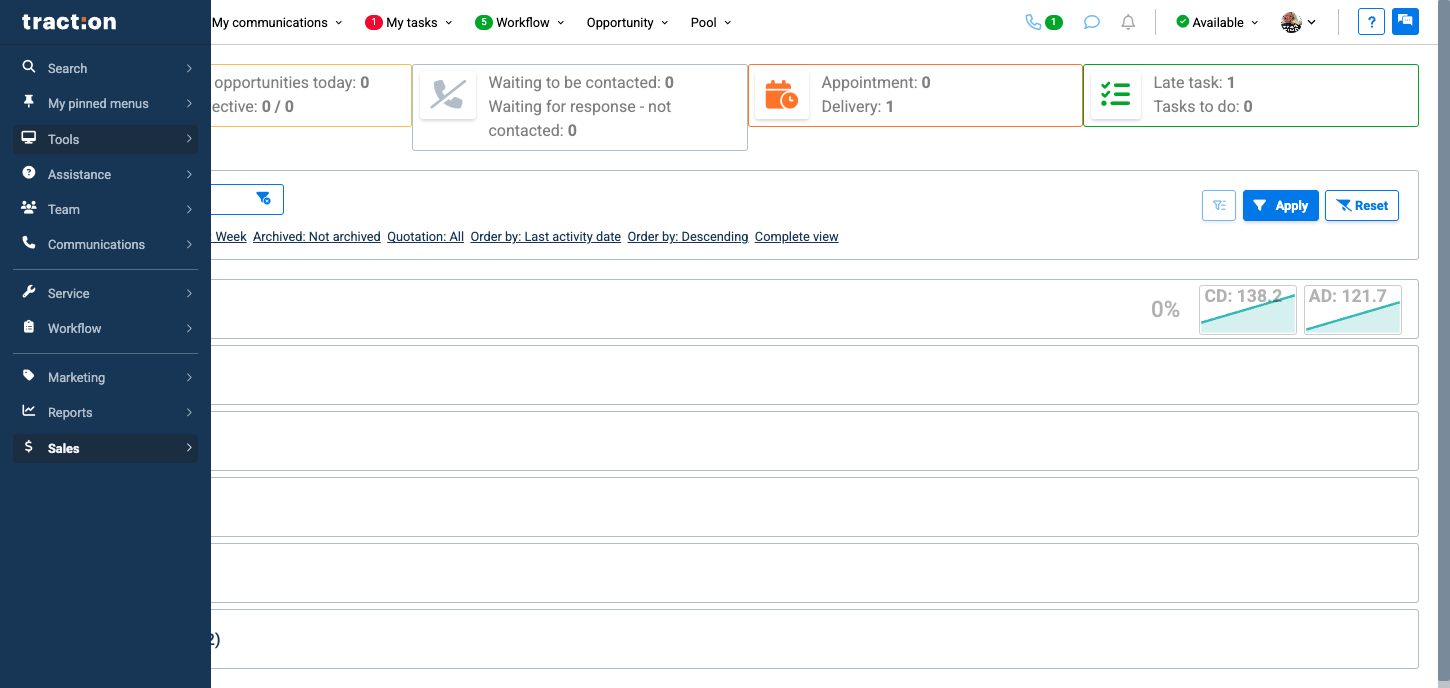
On the left menu, click on Tools.
2
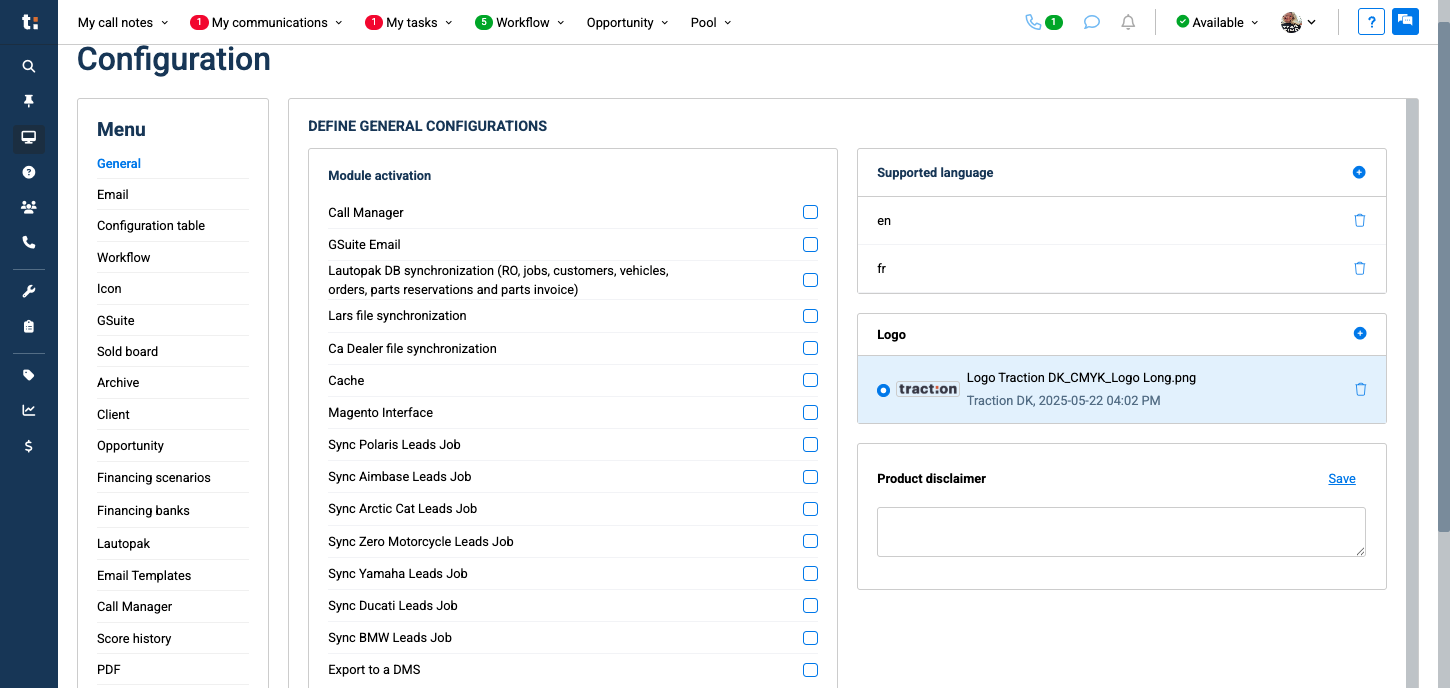
Then, click on Configuration

3
Go to the Client tab.
4
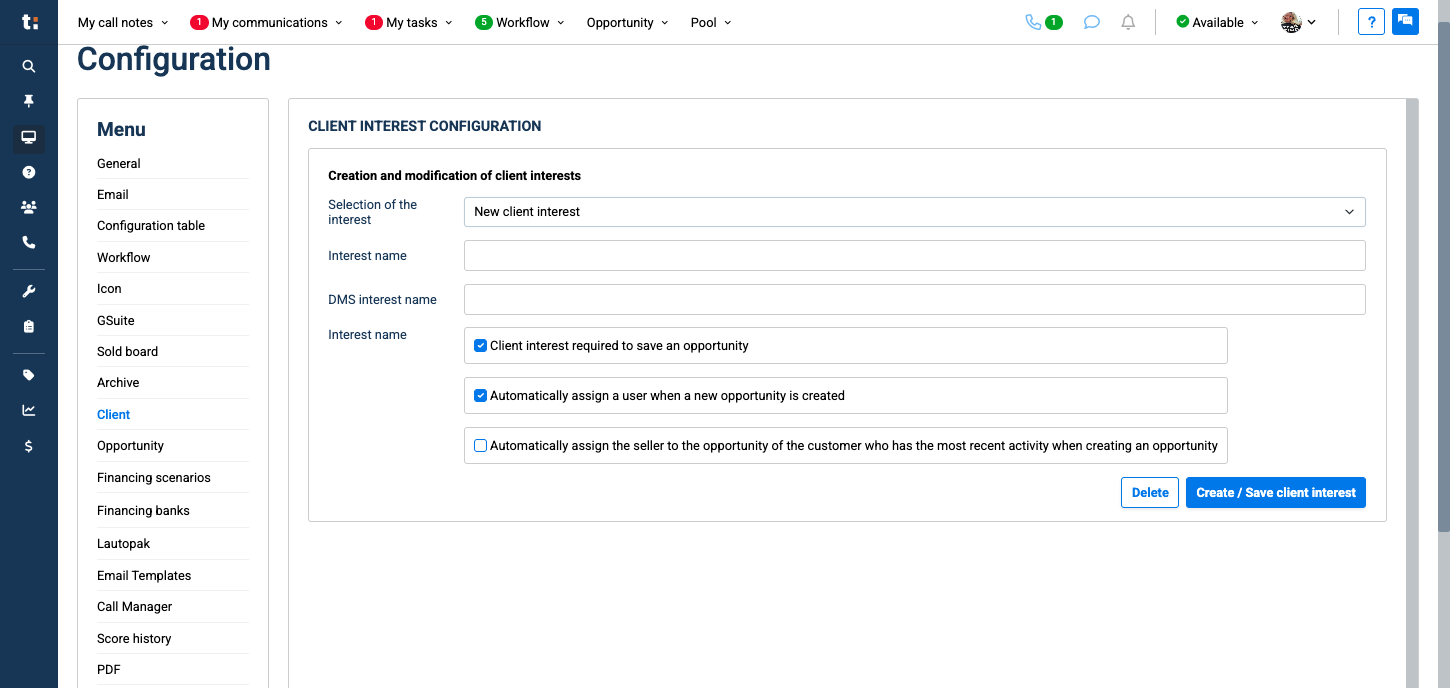
Then select New Client Interest.
5
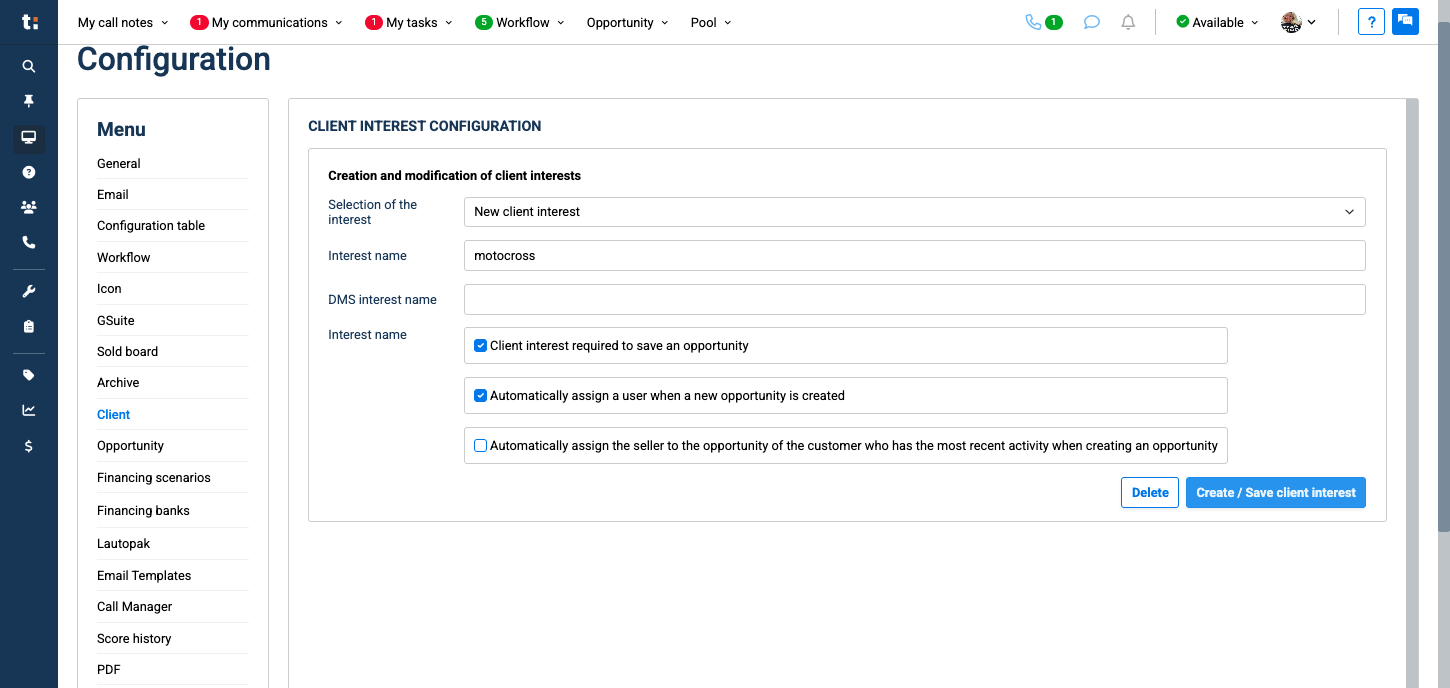
Write the name of the new interest you want to create in the "Interest name" box

6
Select the assignment rules you wish to apply.
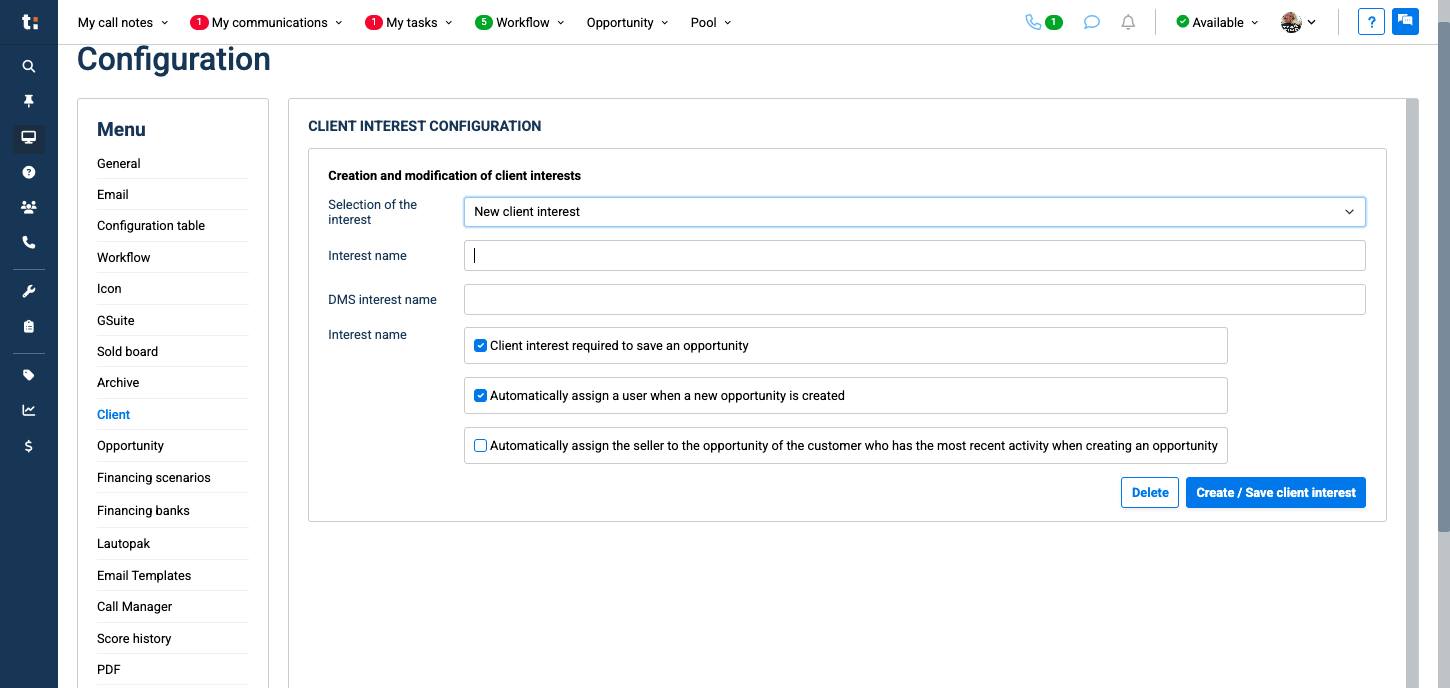
7
Click on Create/Save client interest blue button