
SOP: Creating a New Customer in IES
Learn how to create a new customer in QuickBooks with this easy step-by-step tutorial. Includes tips for organizing customer numbers, entering details, and communicating with your team.
In this guide, we'll learn how to create a new customer in QuickBooks when you receive a request by email. This process helps keep customer records organized and ensures that all necessary details, such as customer number, group code, and sales representative, are entered correctly.
You'll also see how to confirm the new customer entry and notify the requester.
Let's get started
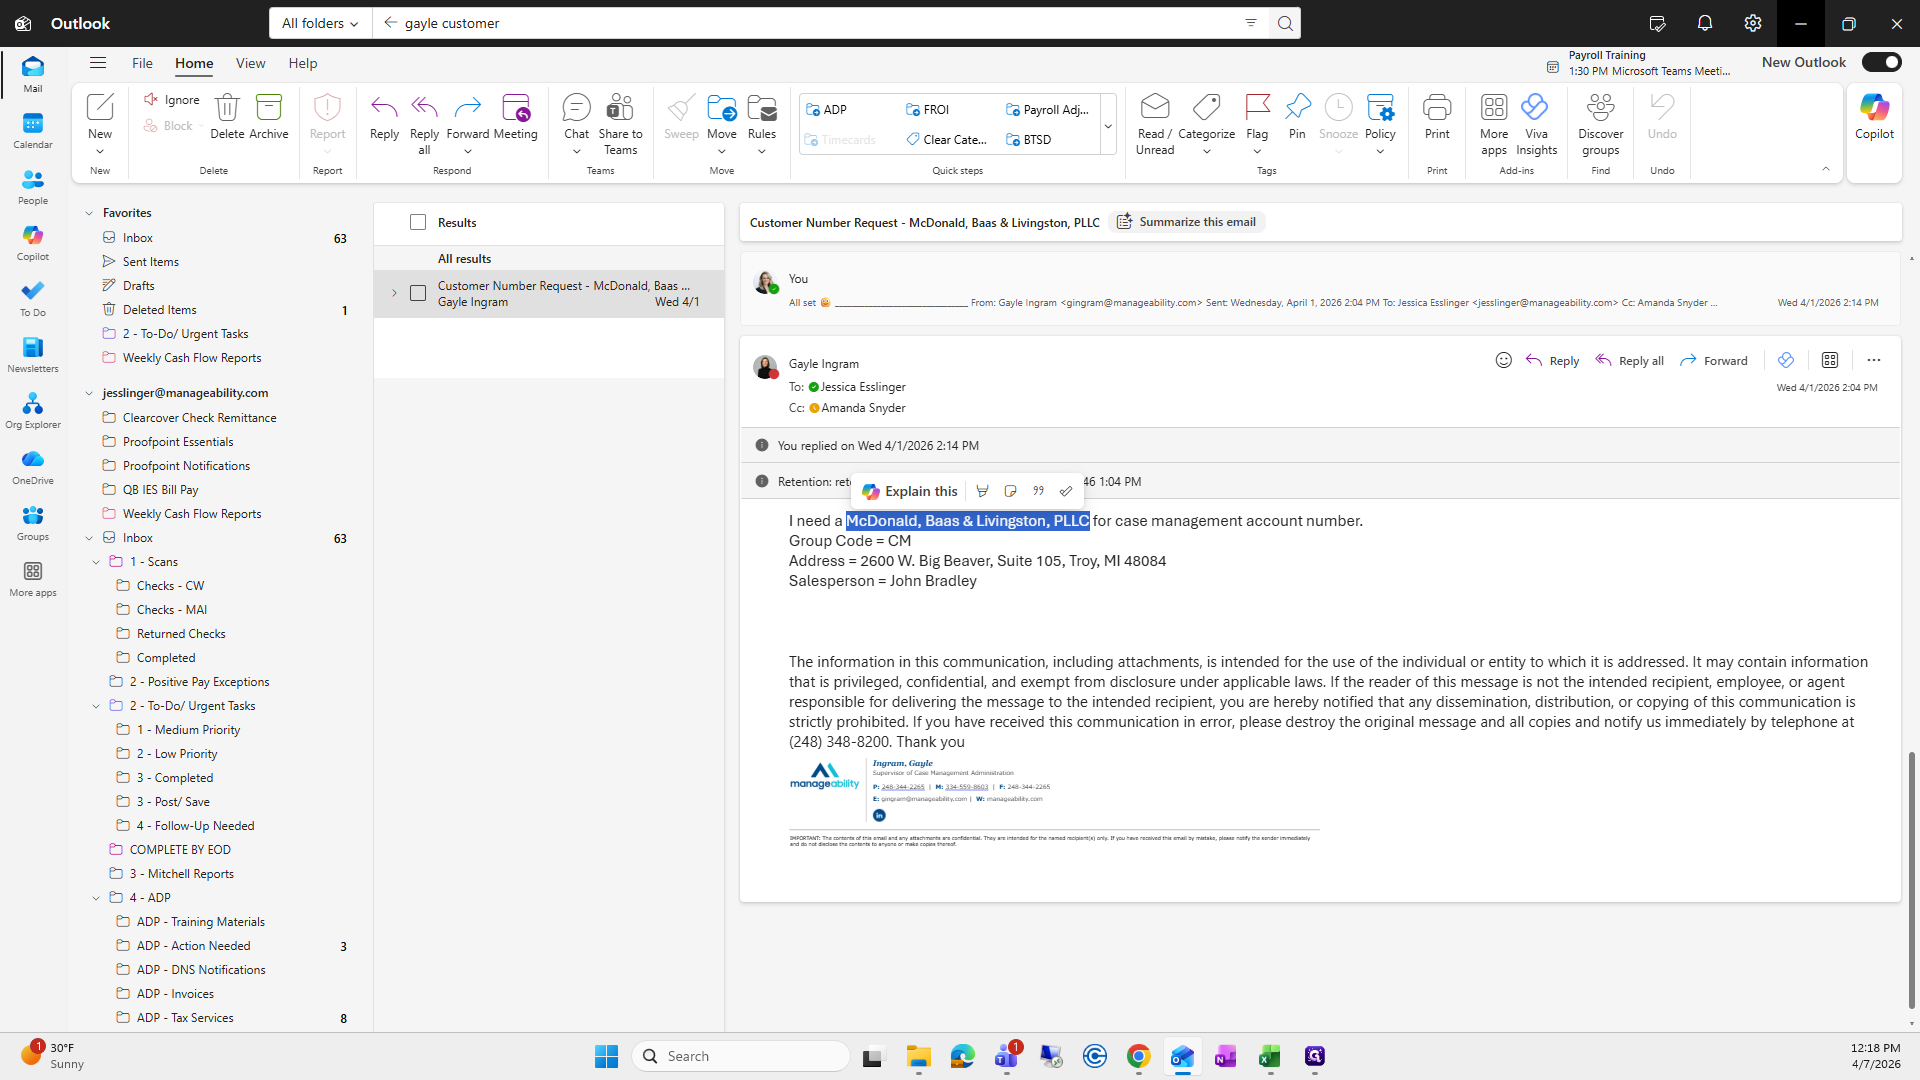
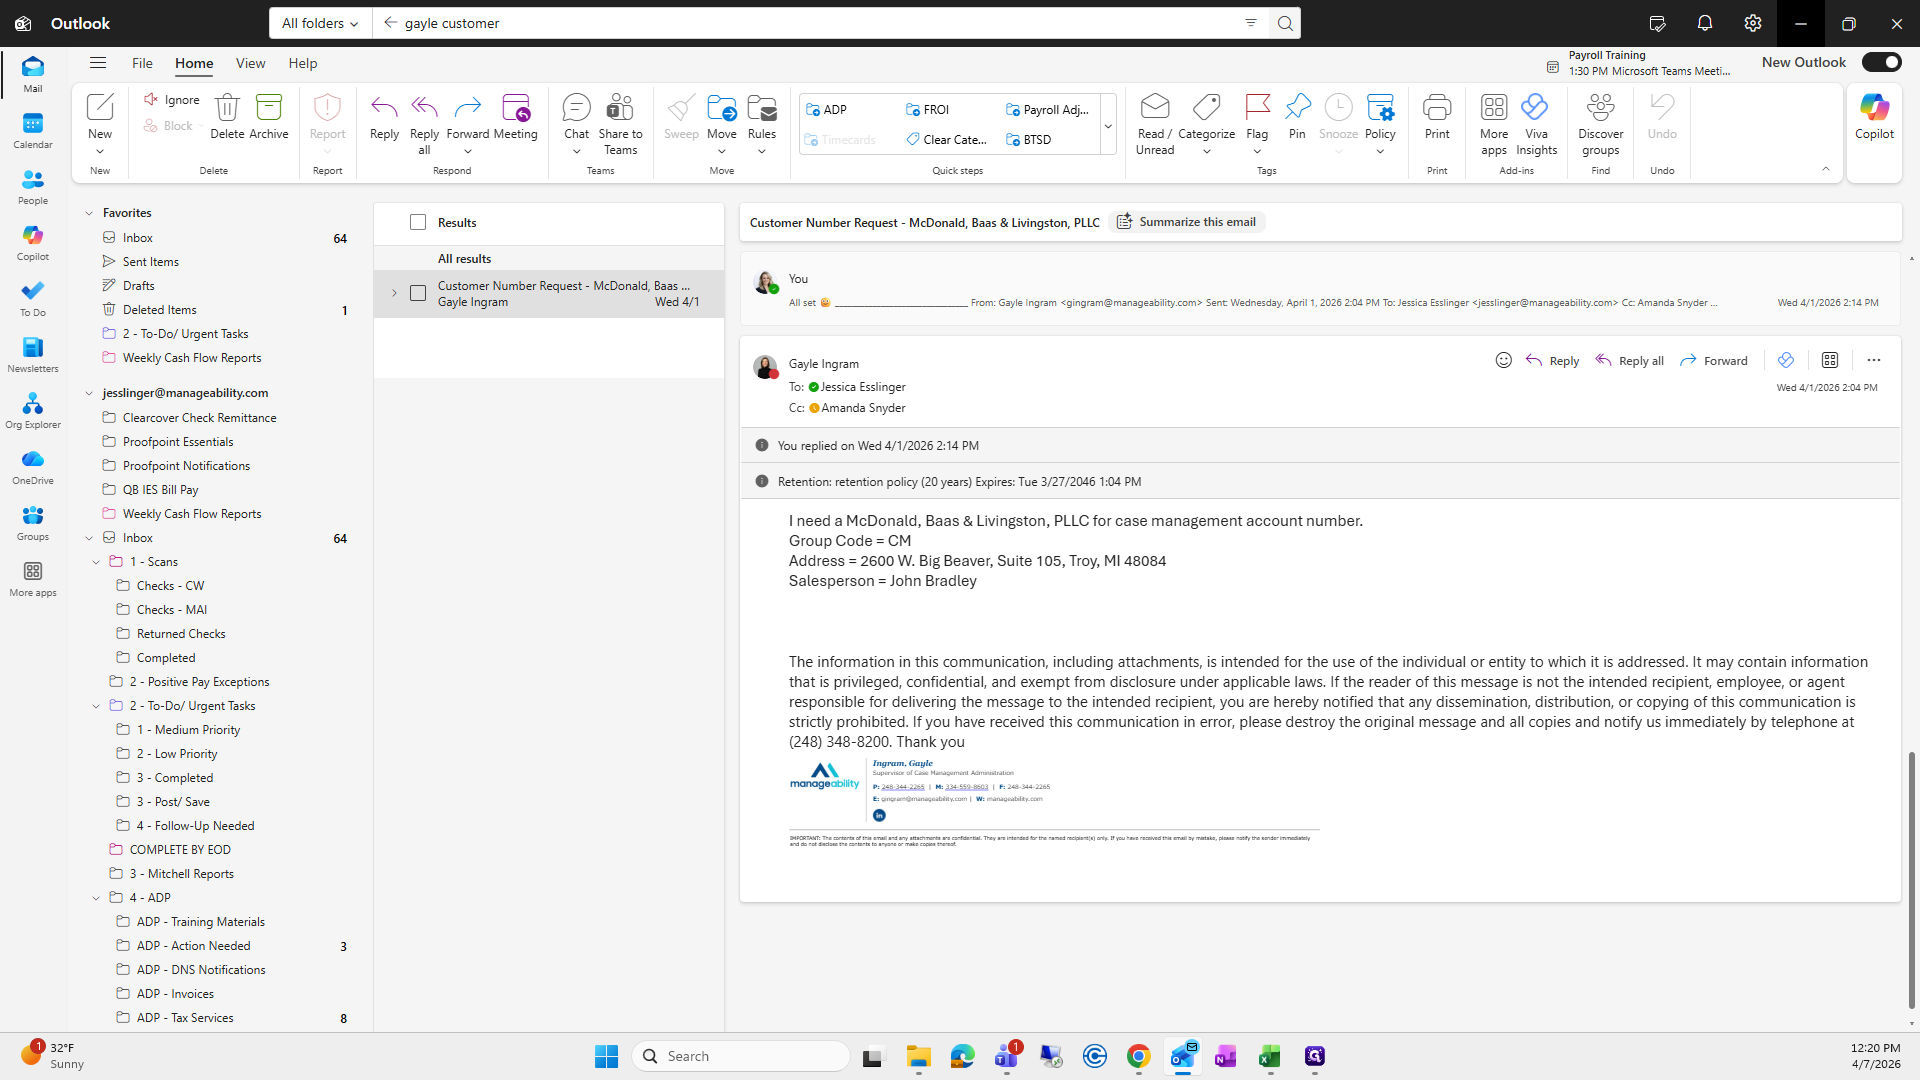
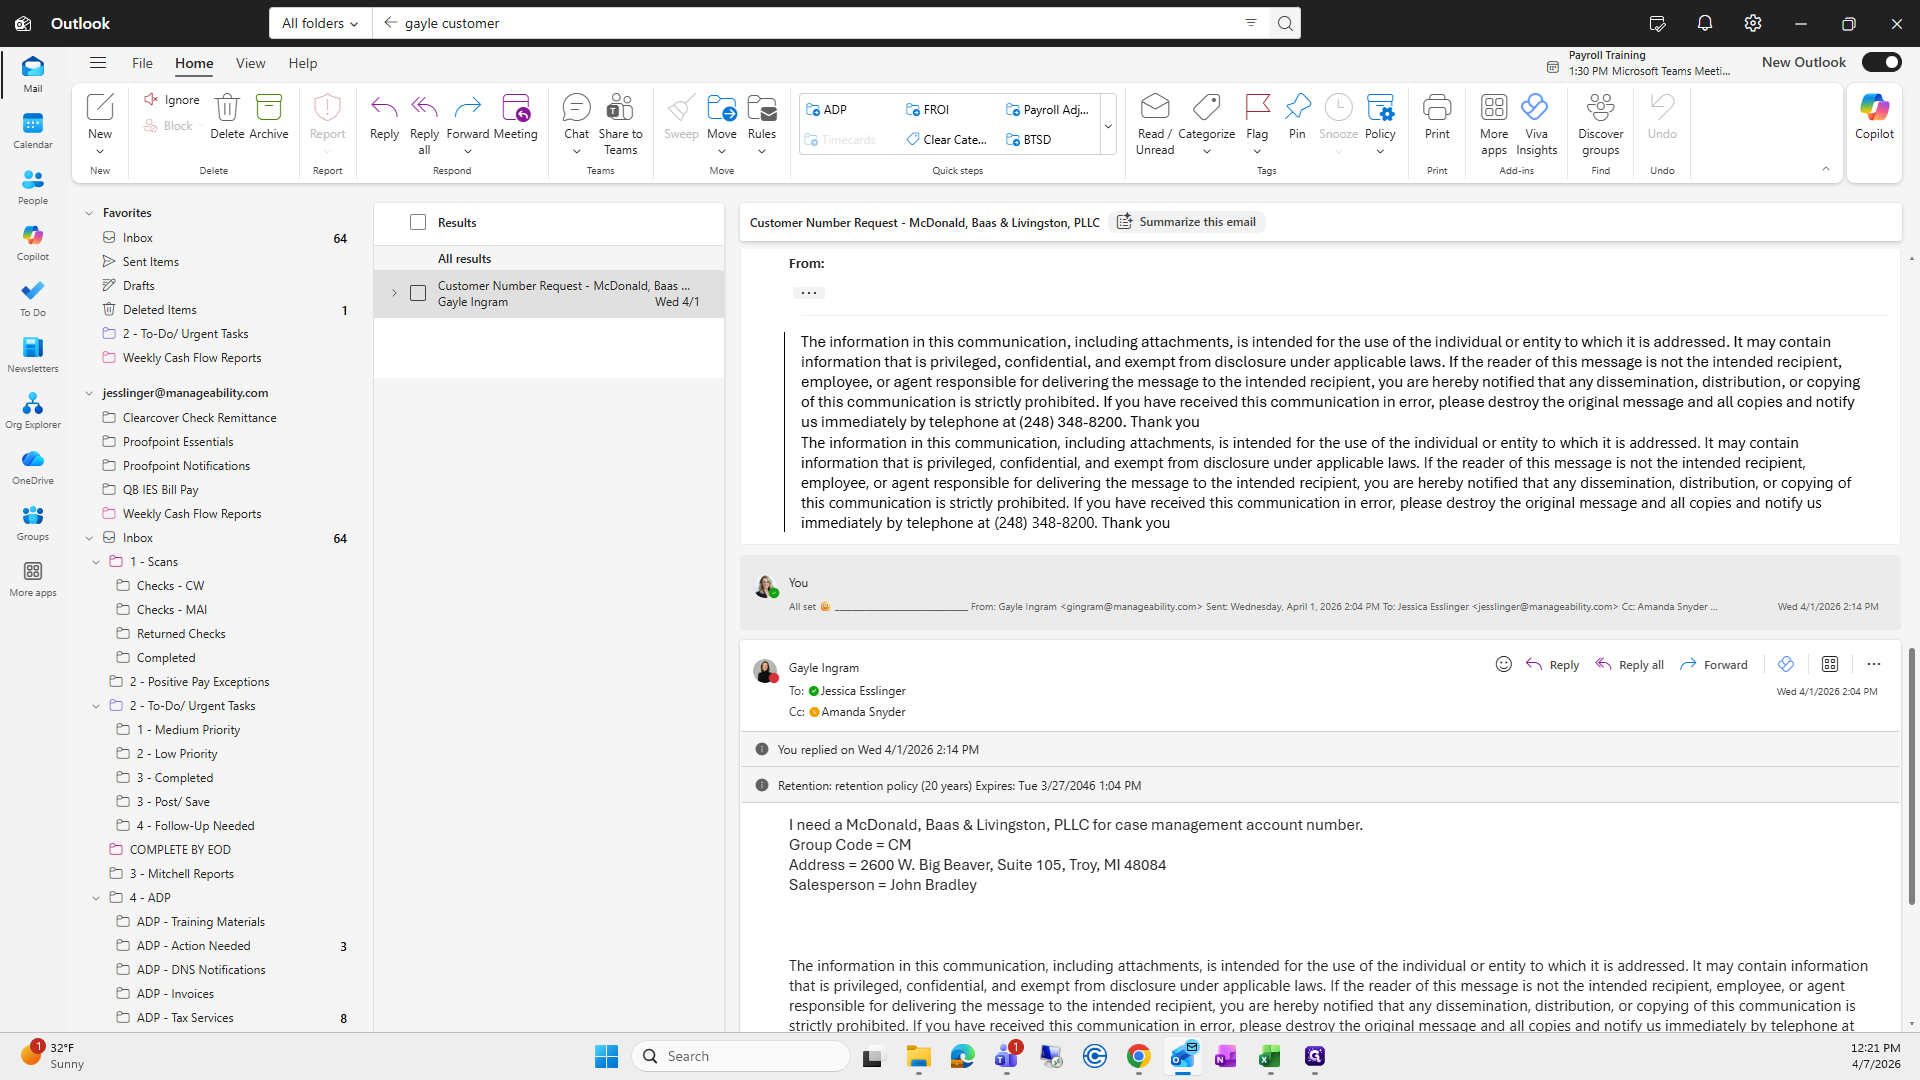
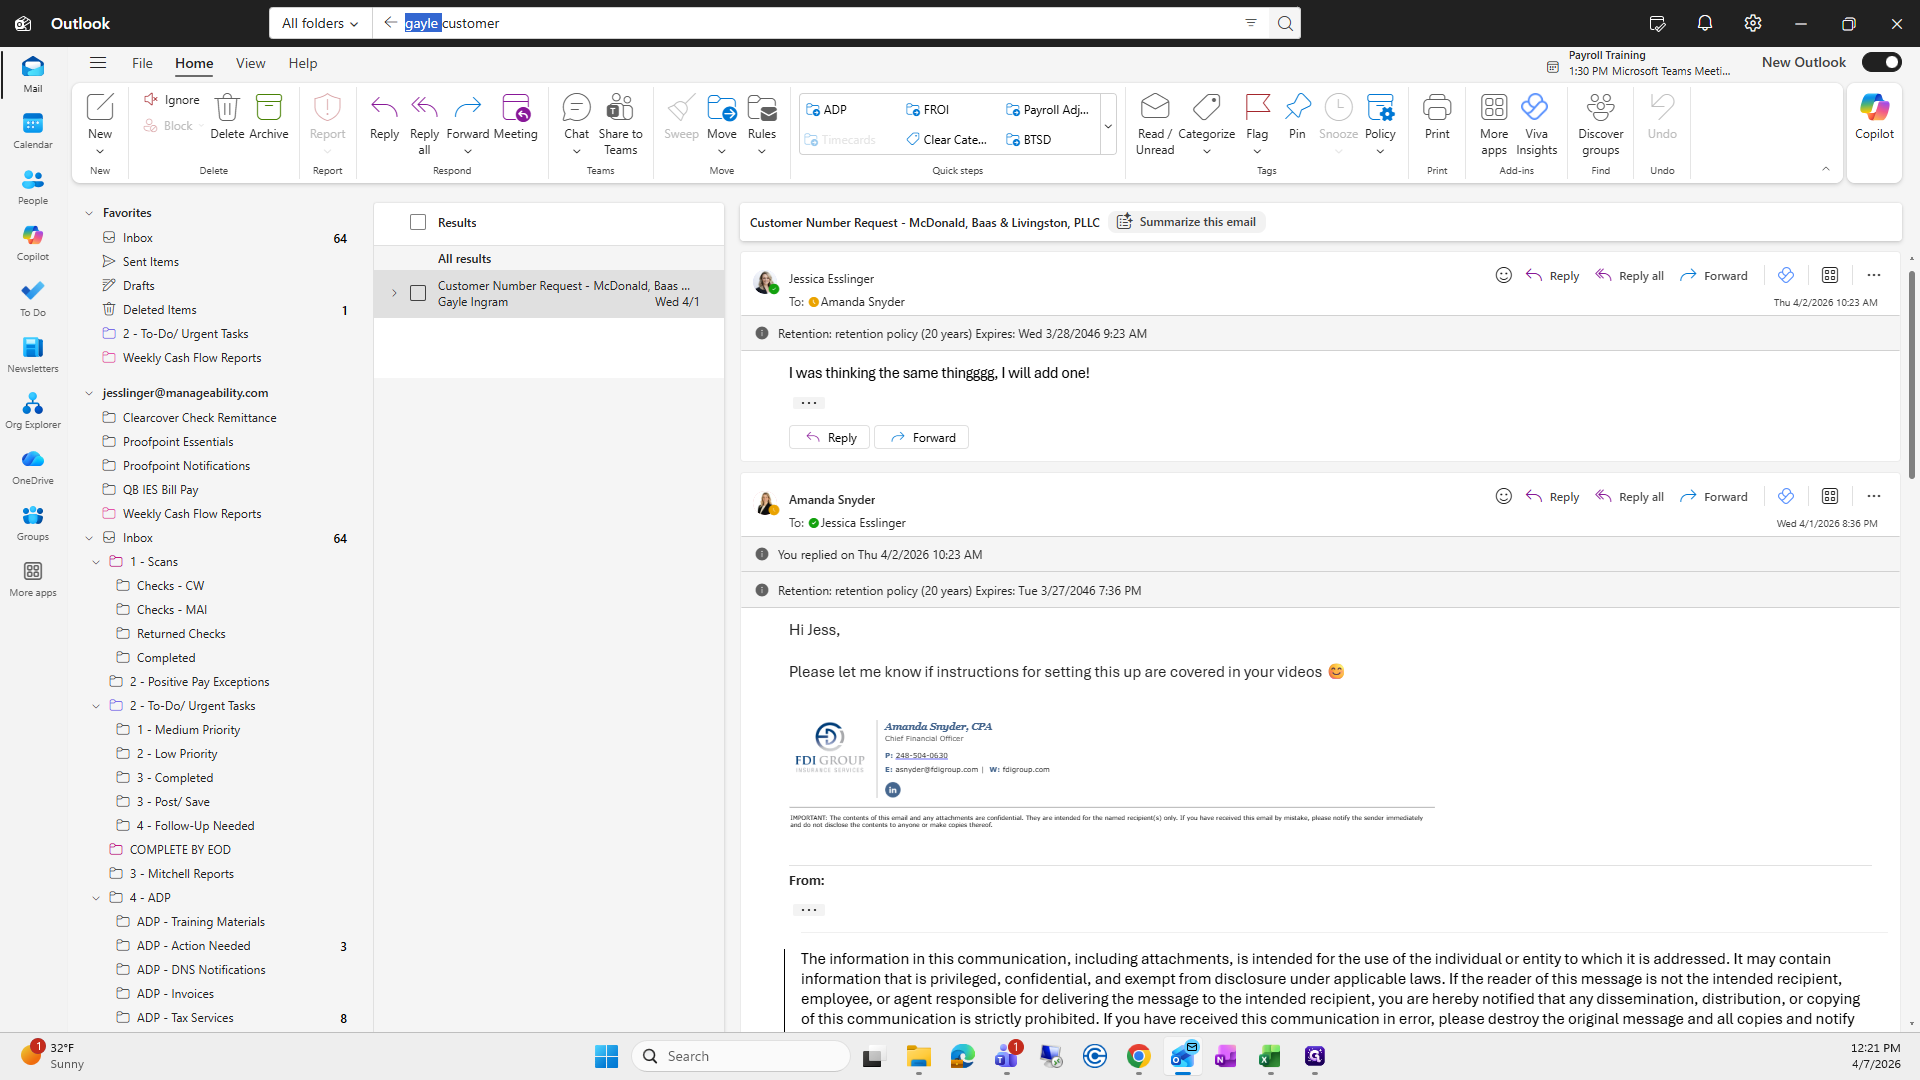
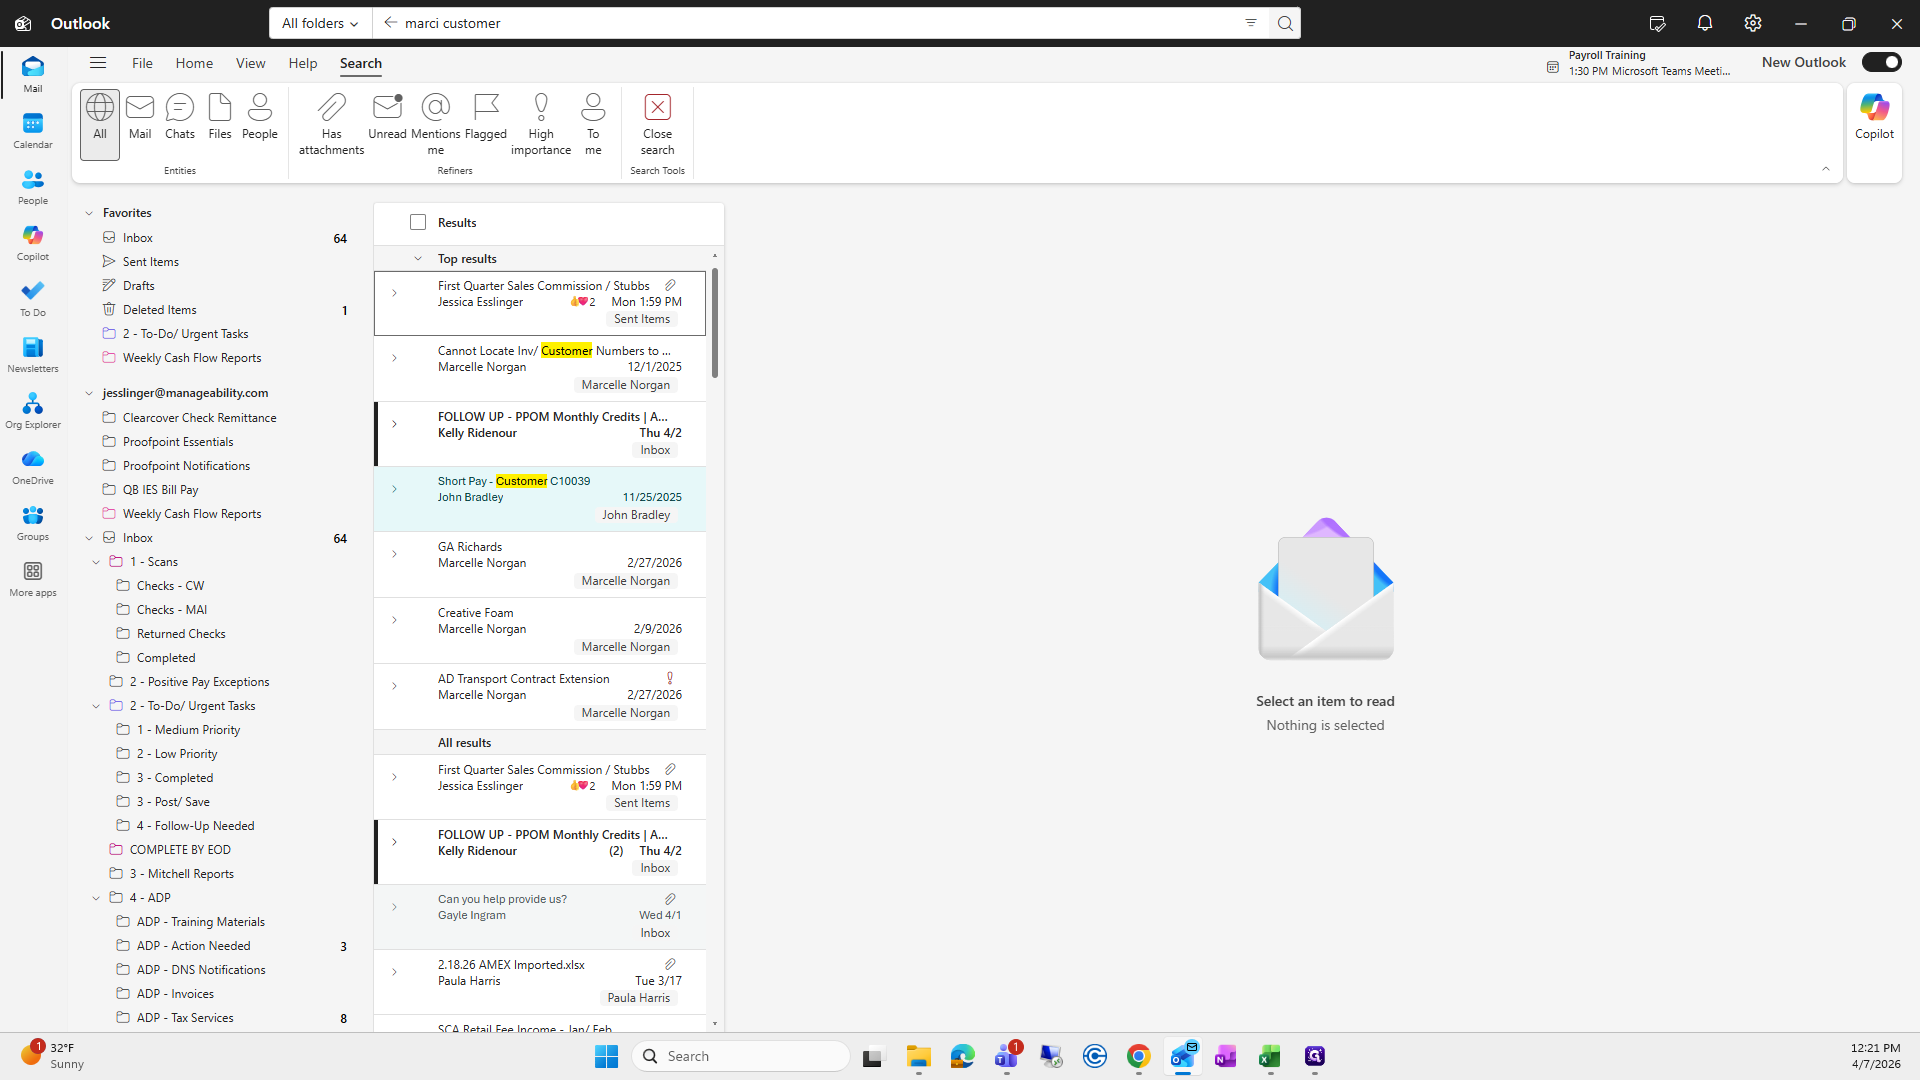
Okay. For this video, we will go over creating a new customer in QuickBooks. Occasionally, Marcy or Gail will send an email about a new customer request. They may mention Sage, but they actually mean QuickBooks. If that happens, you will receive an email like this.


This is specifically from Gail. She will provide the name, group code, address, and the salesperson.


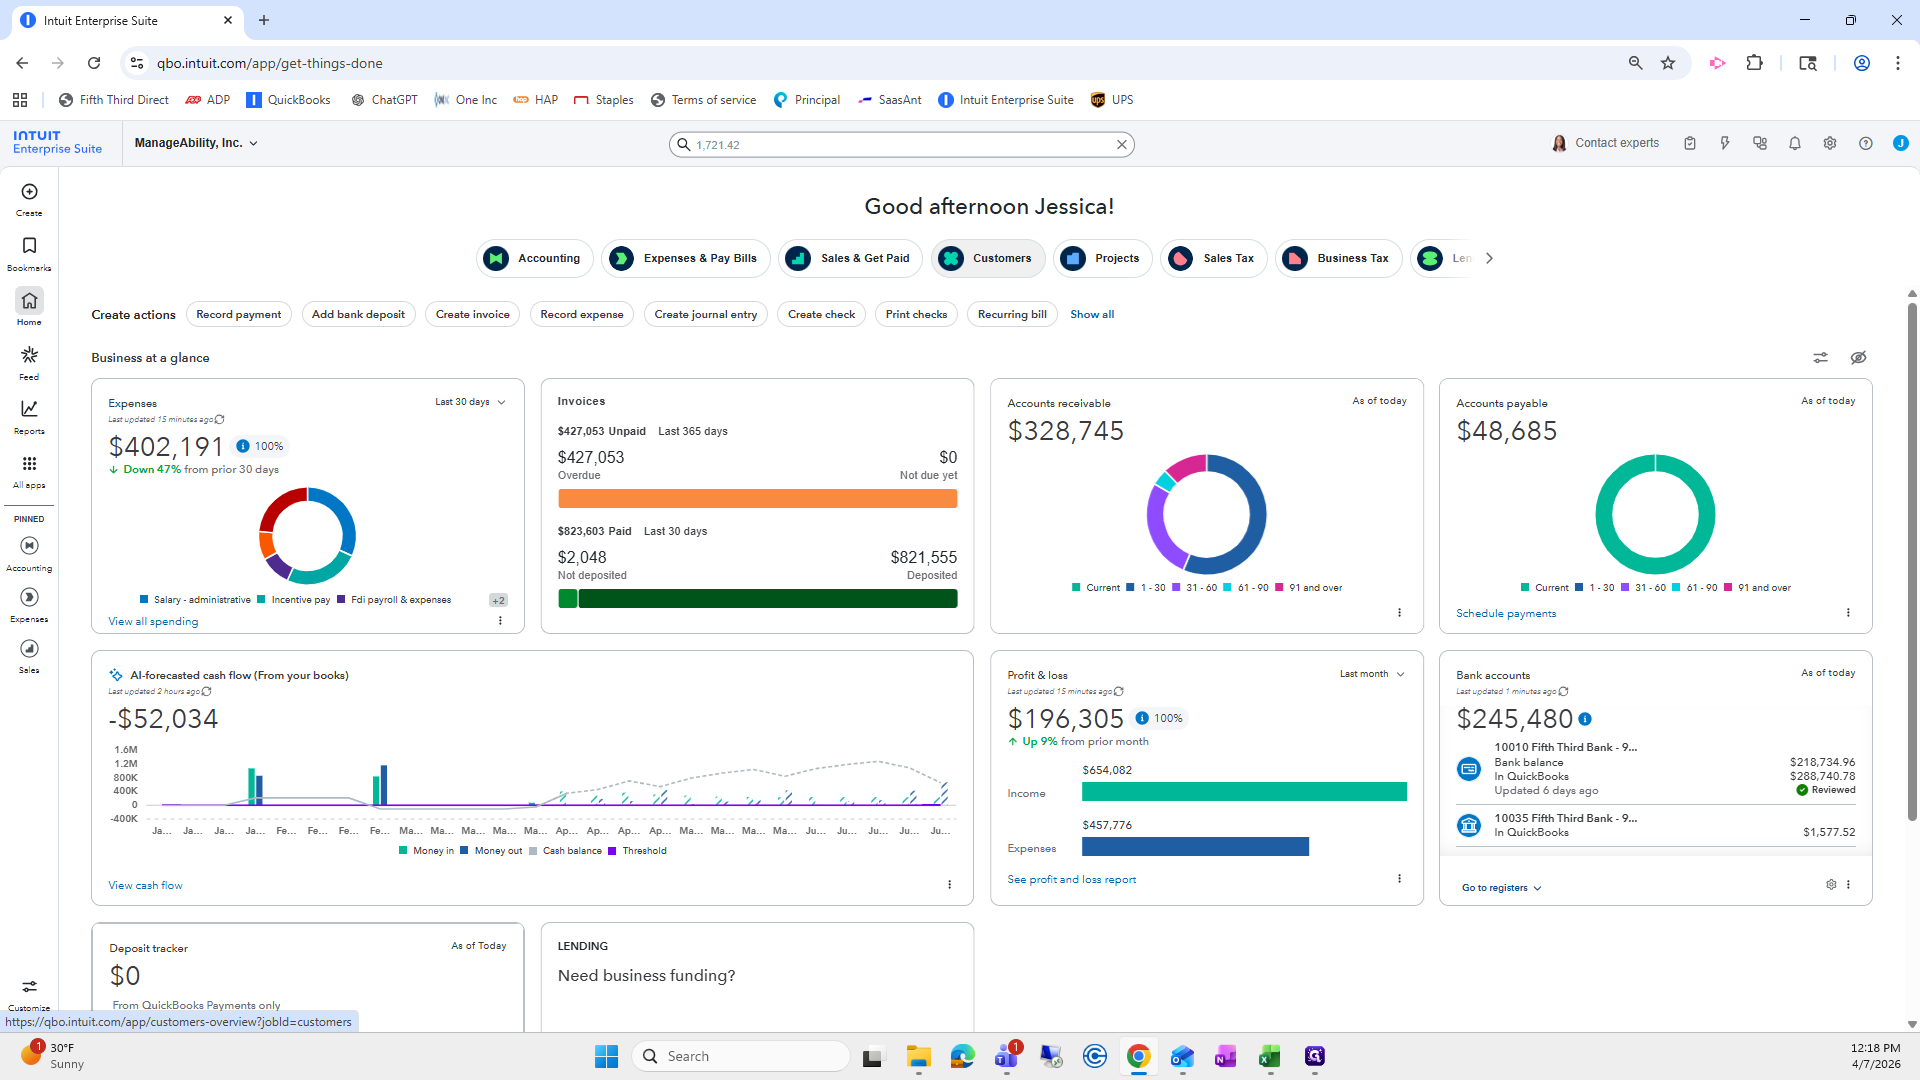
First, go to IS Manageability.

From here, go to Customers.
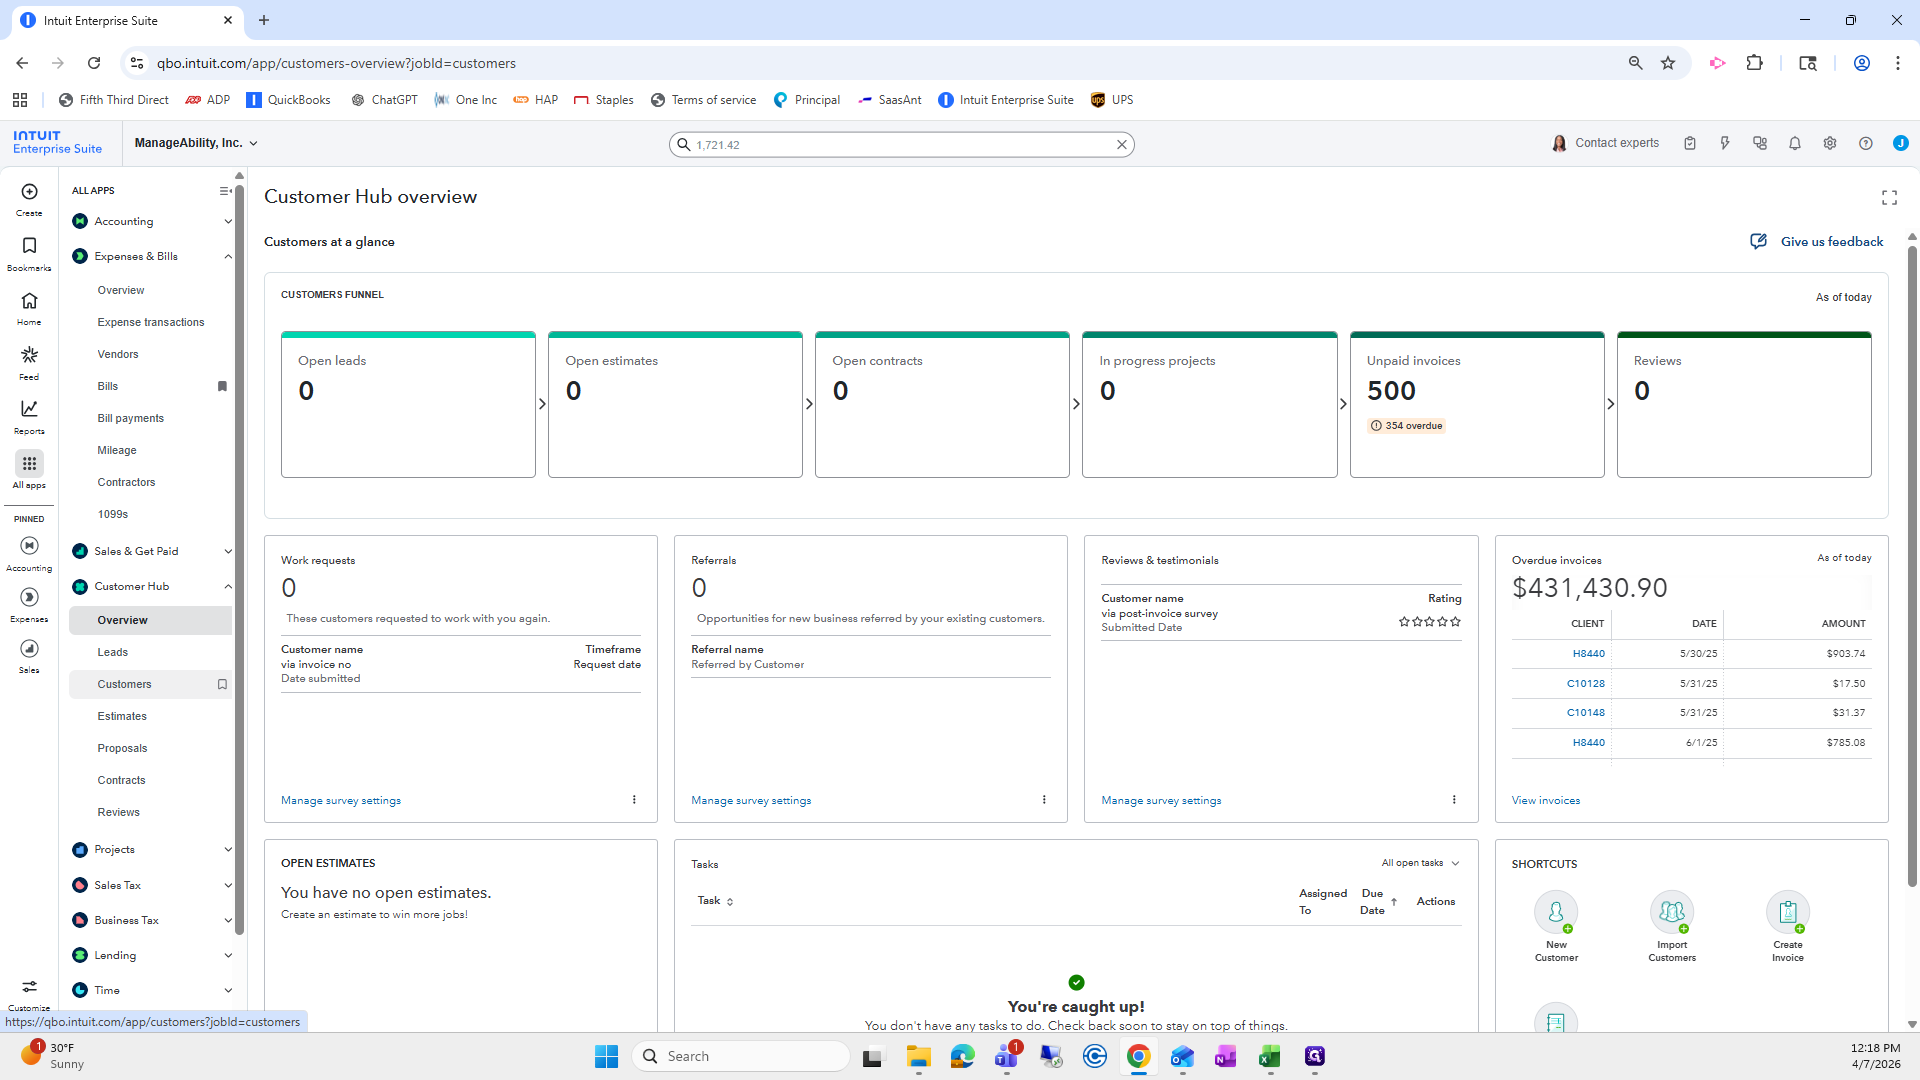
Next, we need to create a new customer. On the left-hand side, go to Customers under Customer Hub.
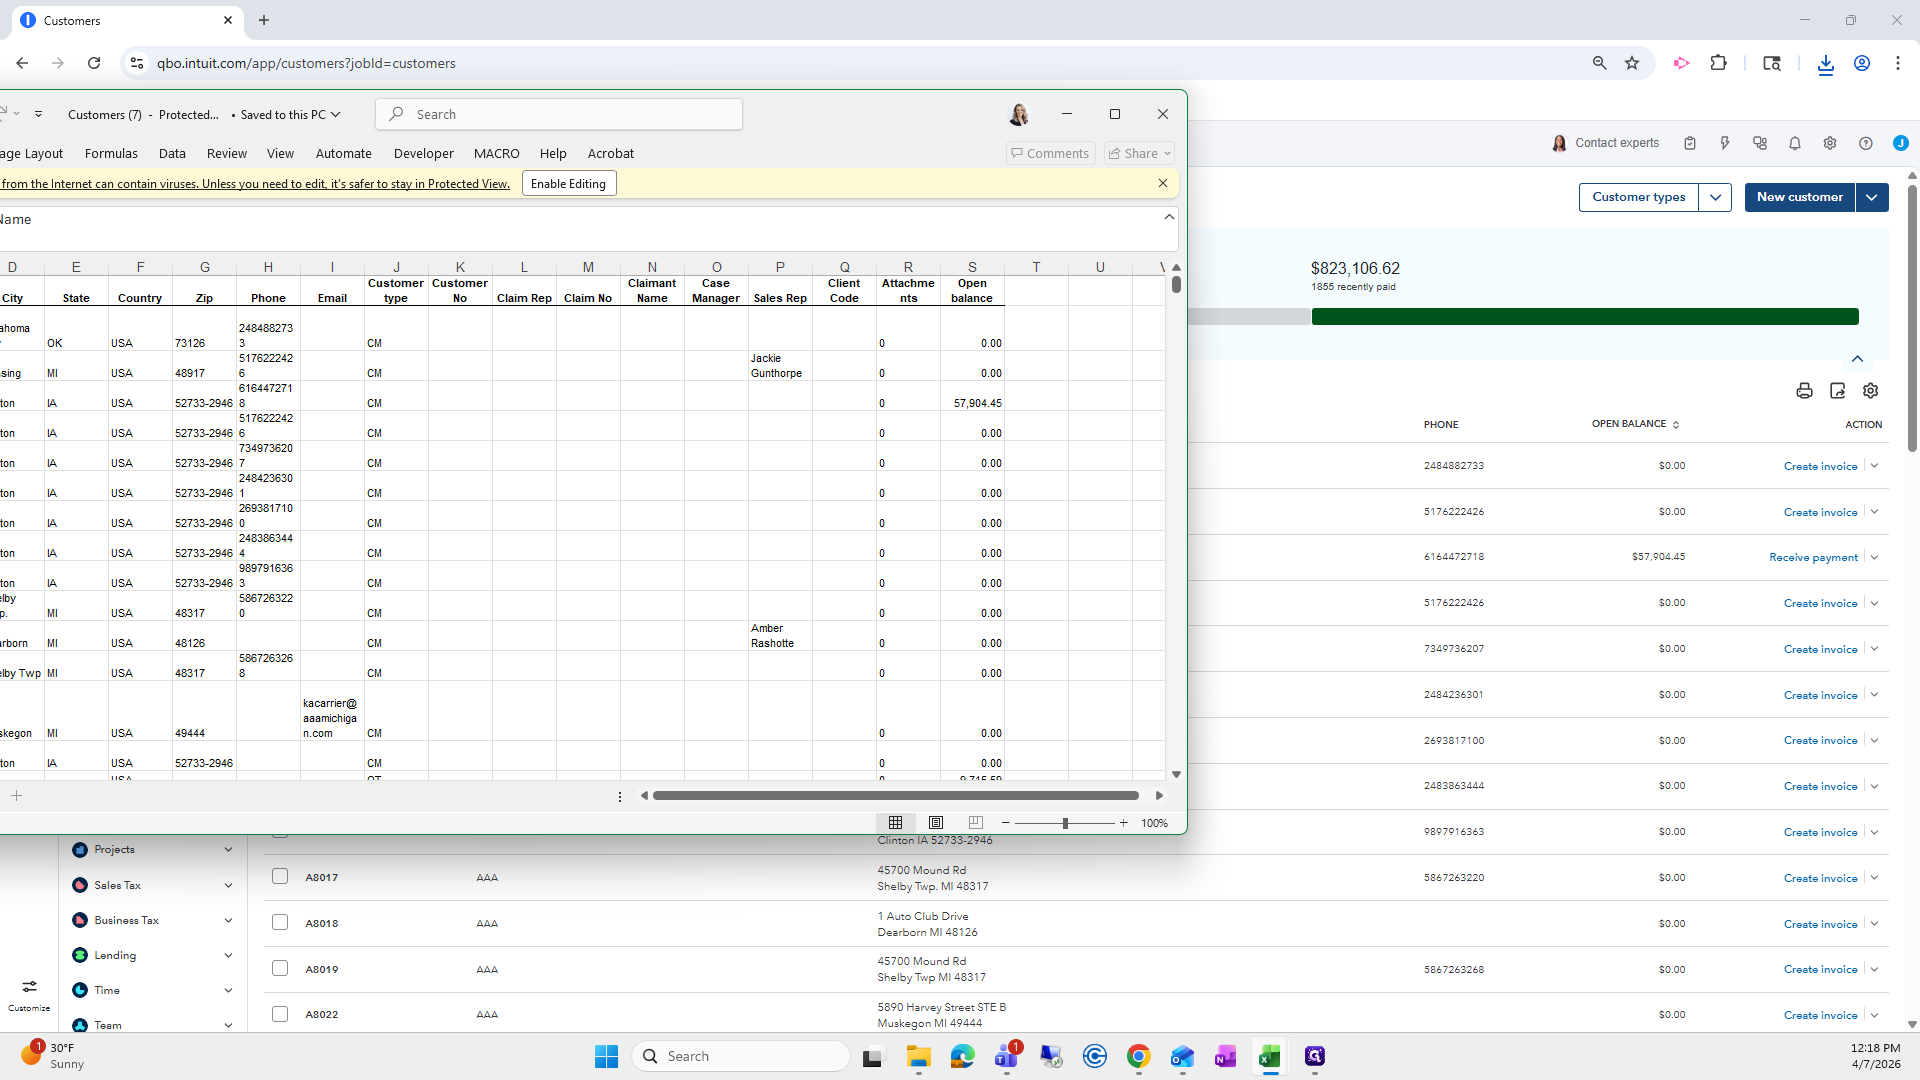
First, I like to export this quickly.

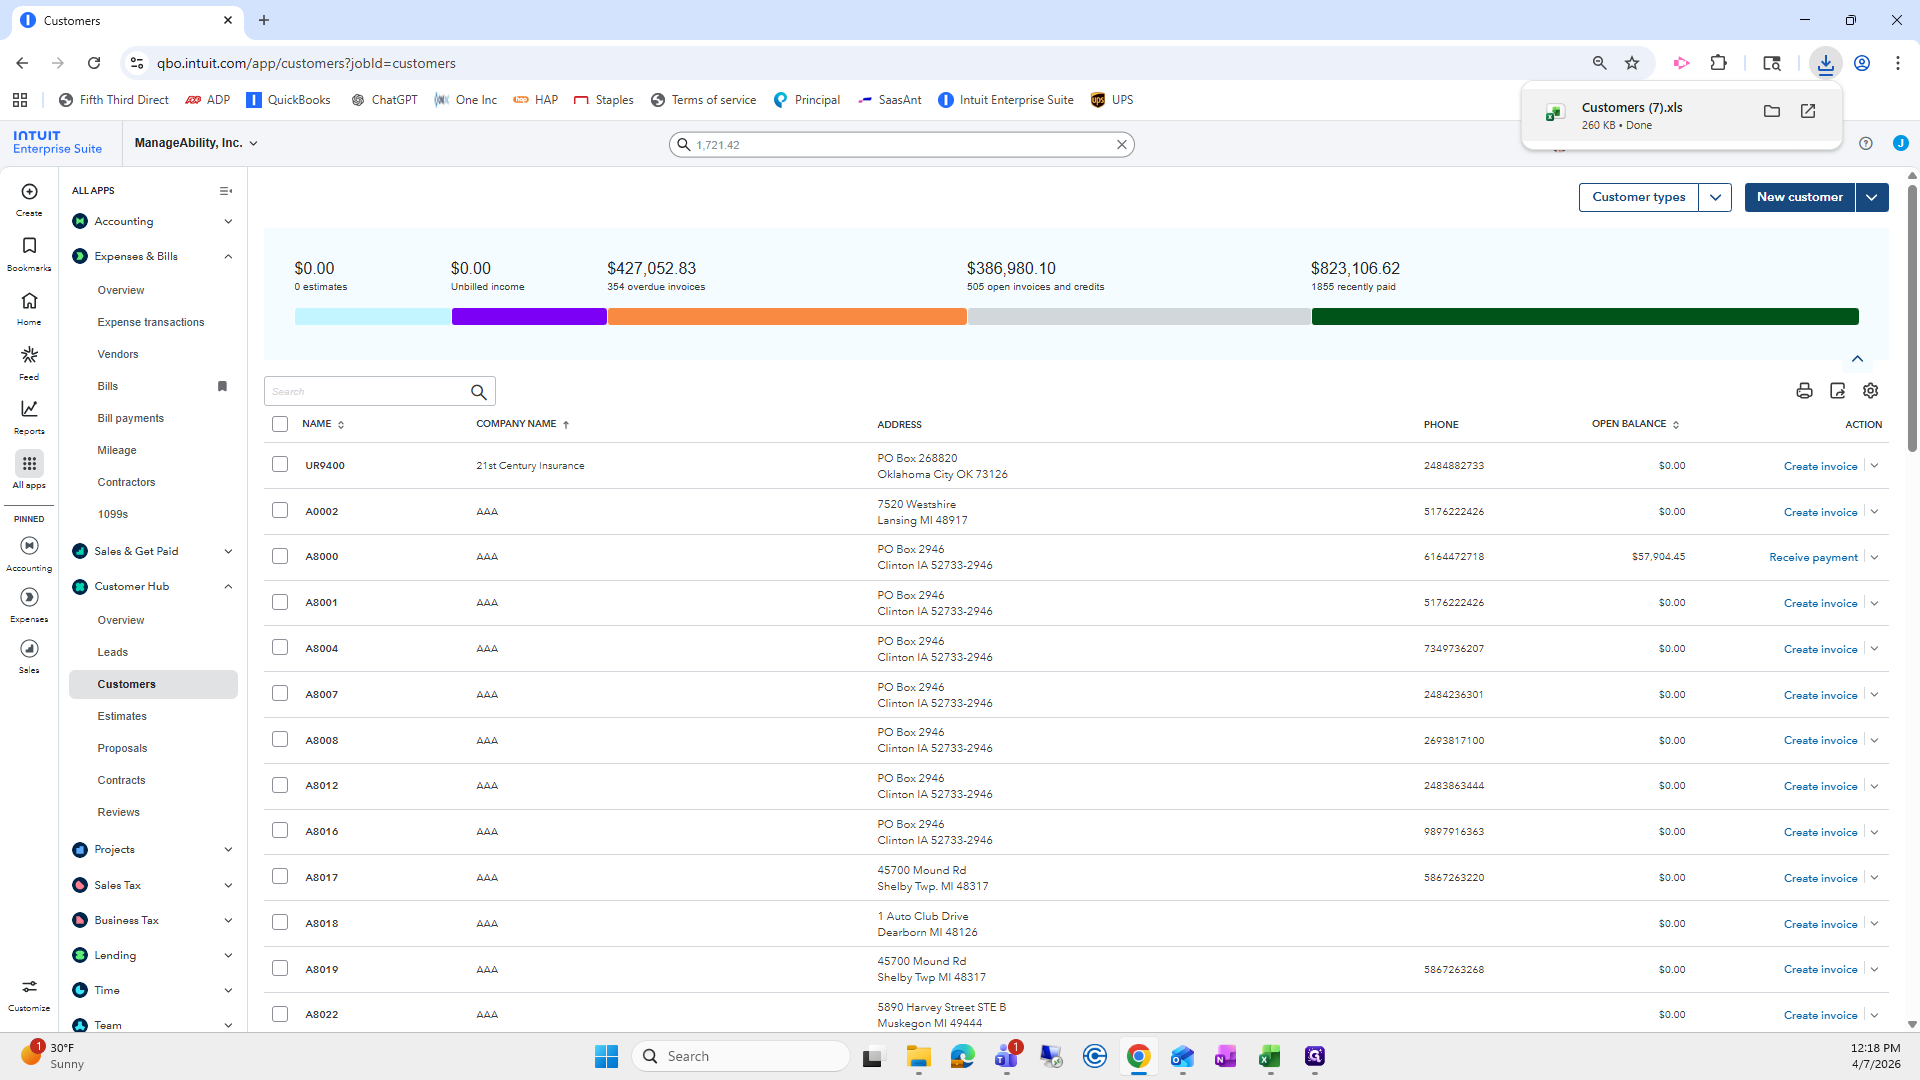
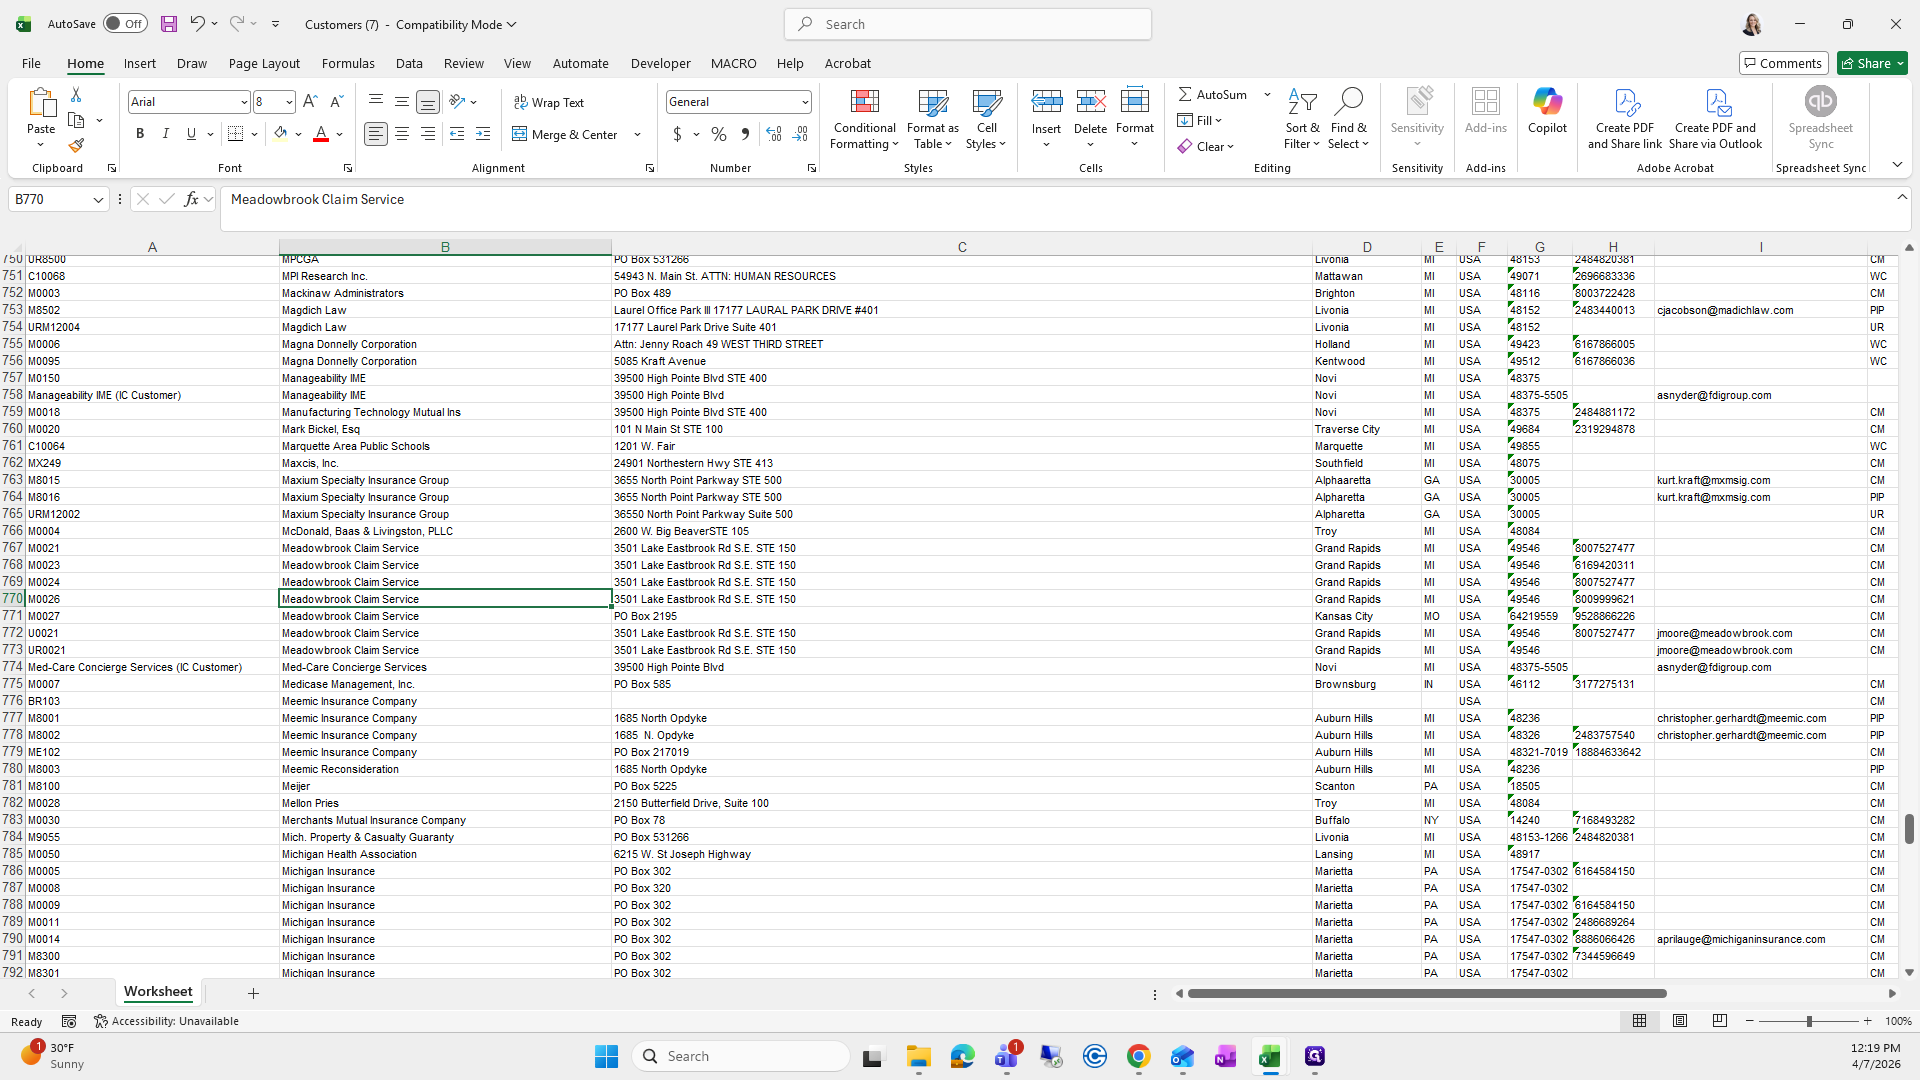
I like to keep everything organized in alphabetical order.

First, I will look at the company name.
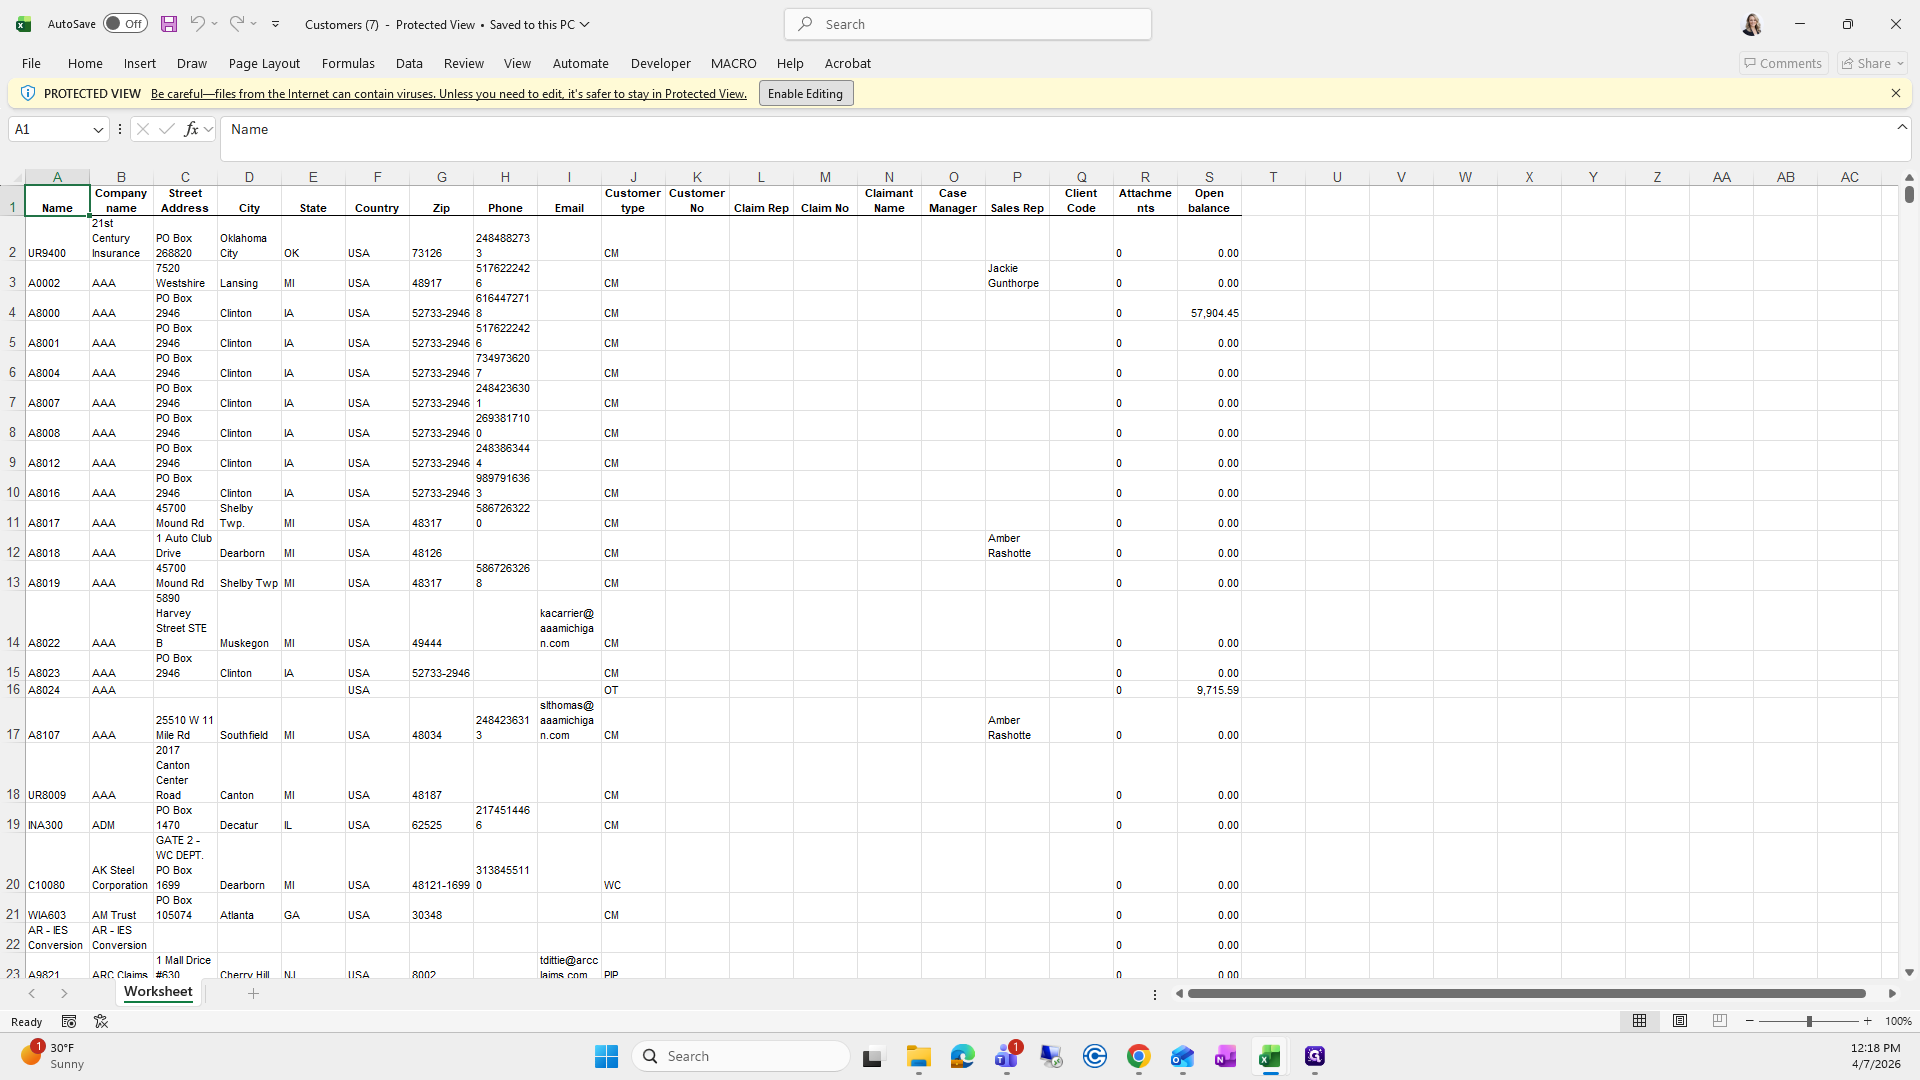
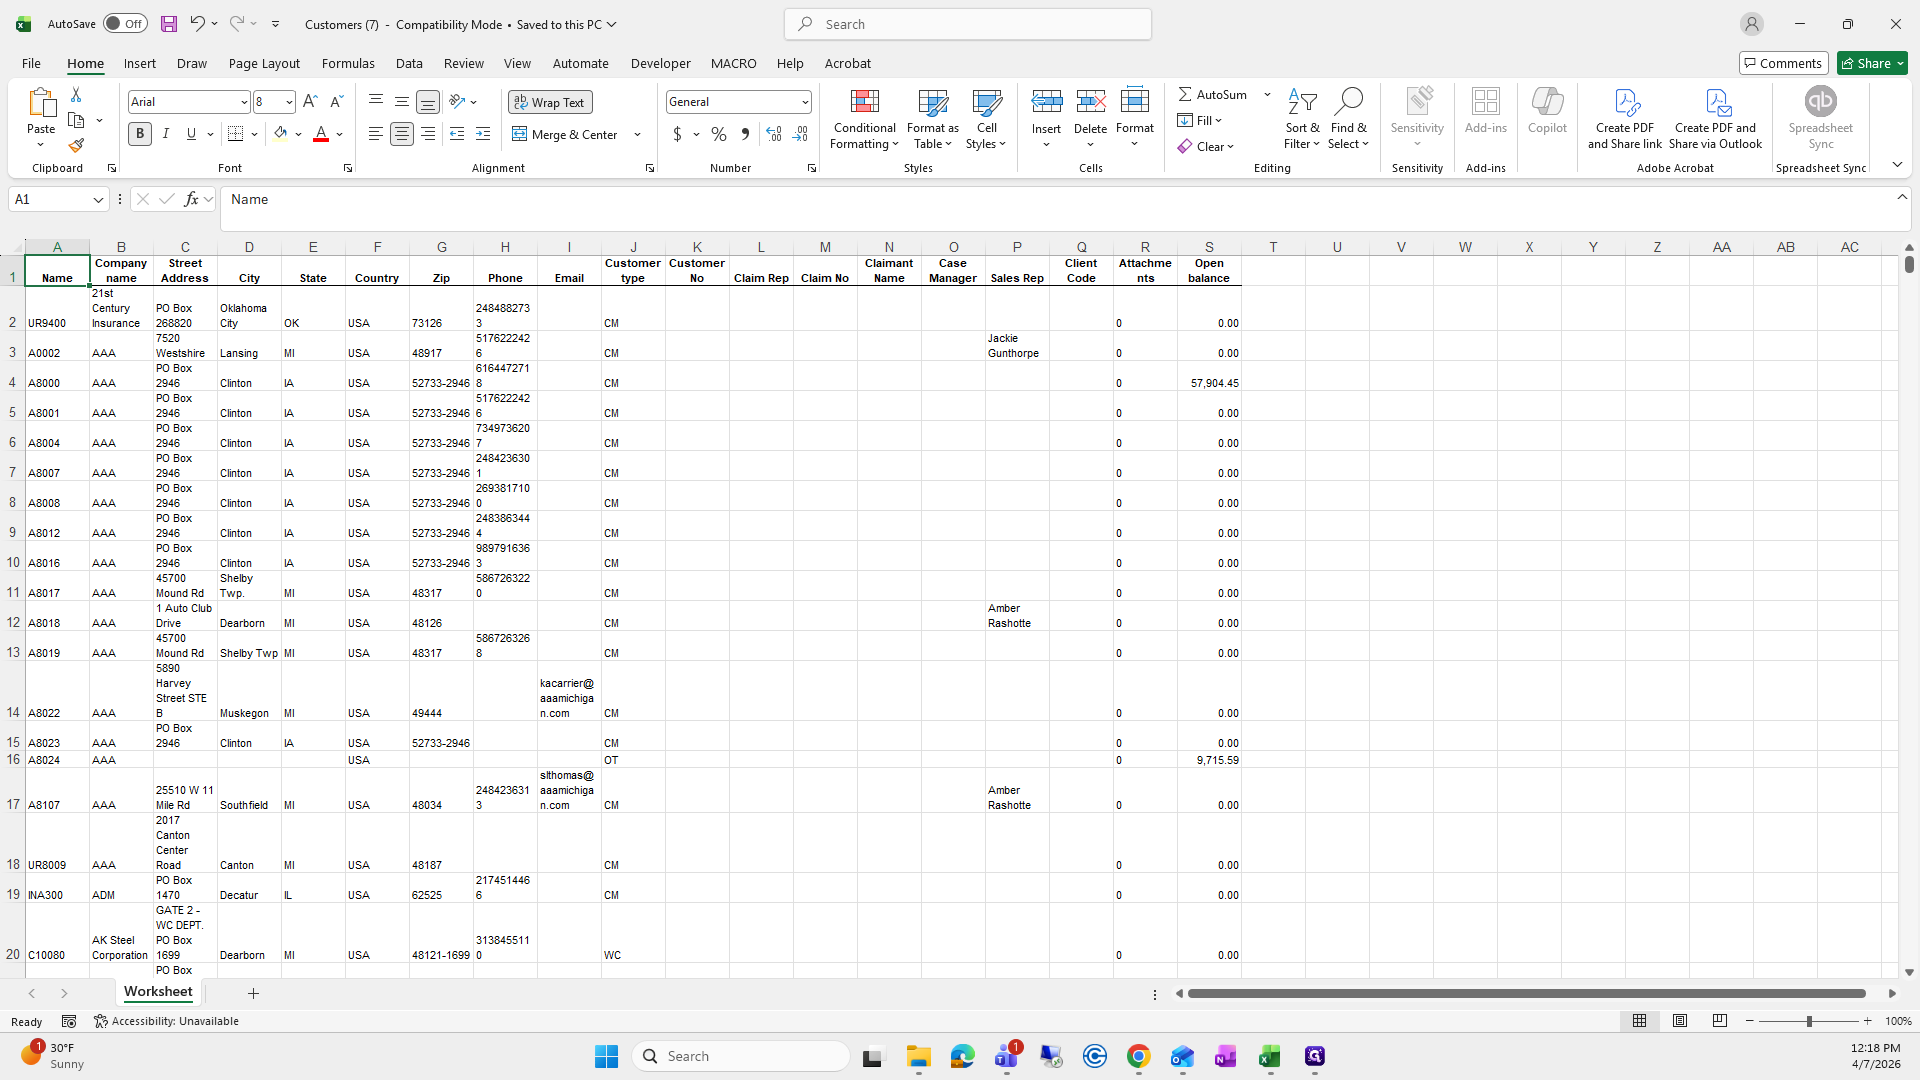
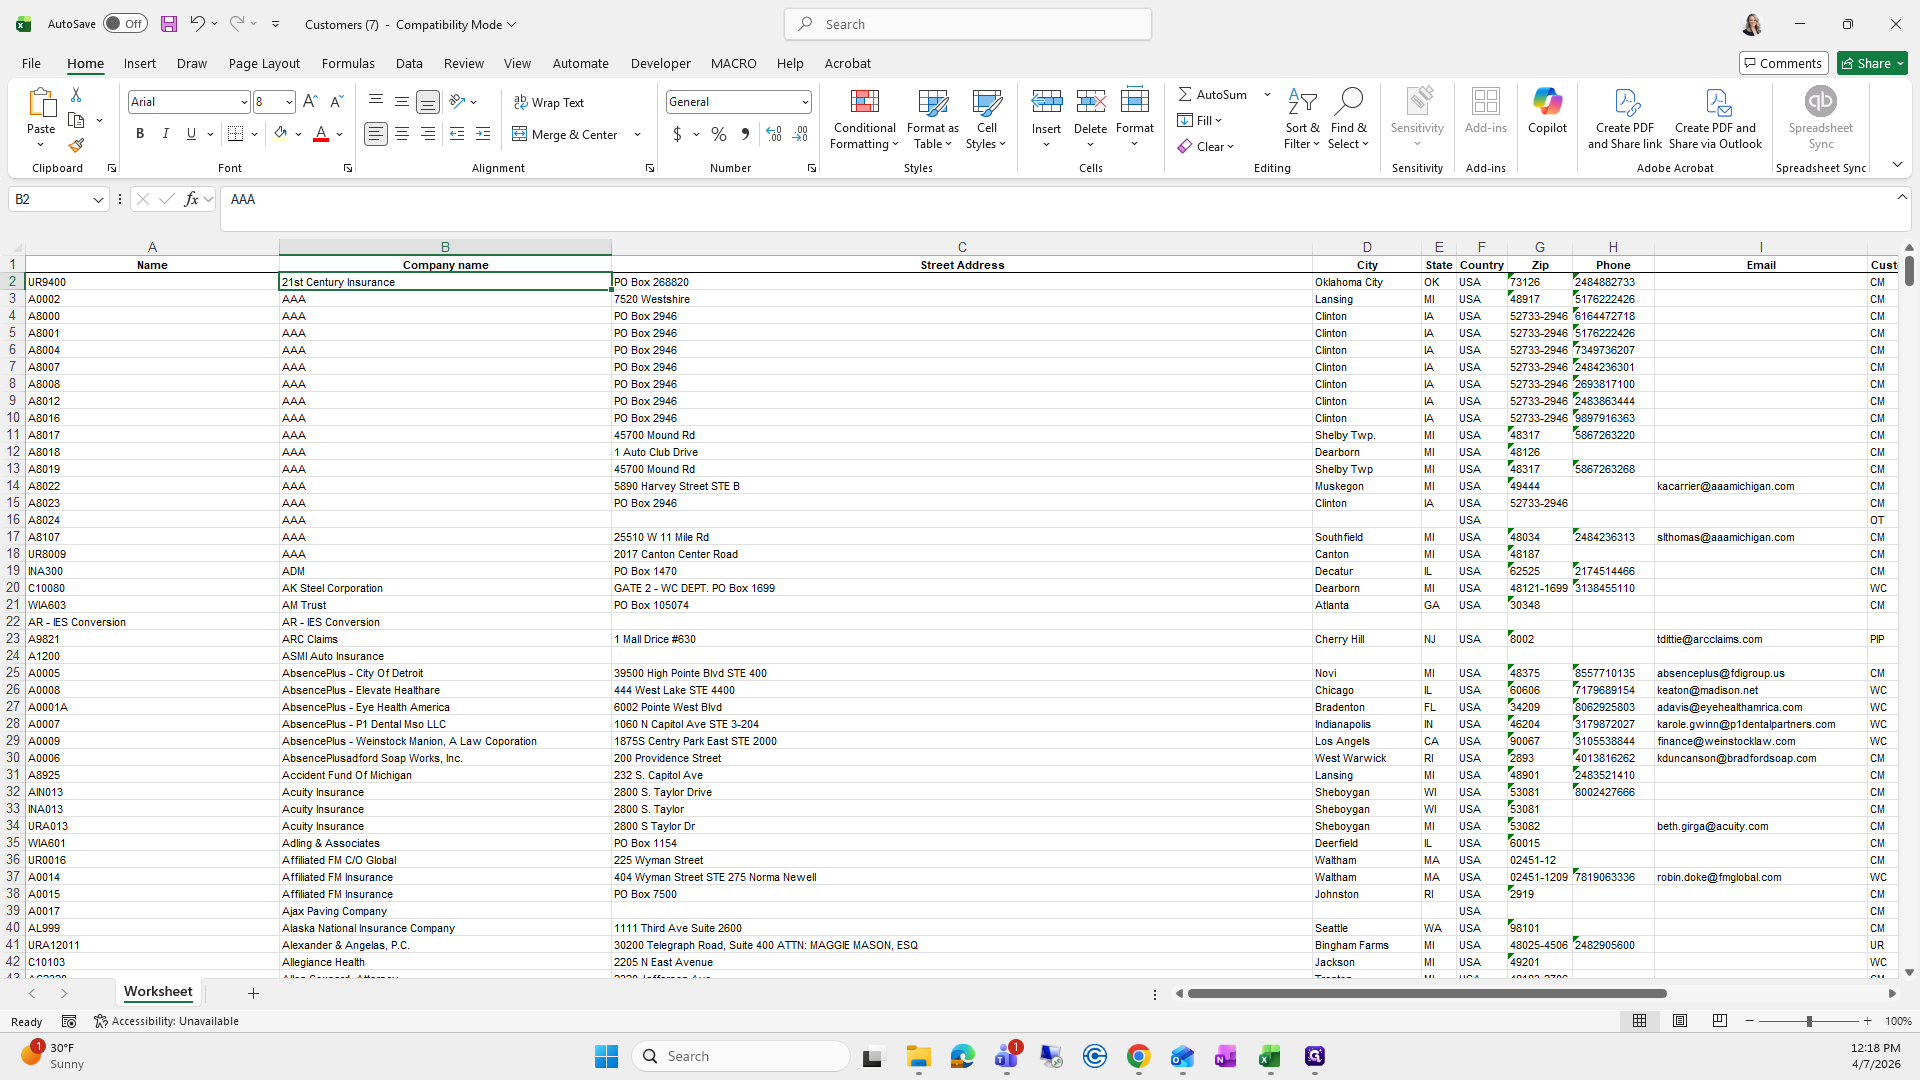
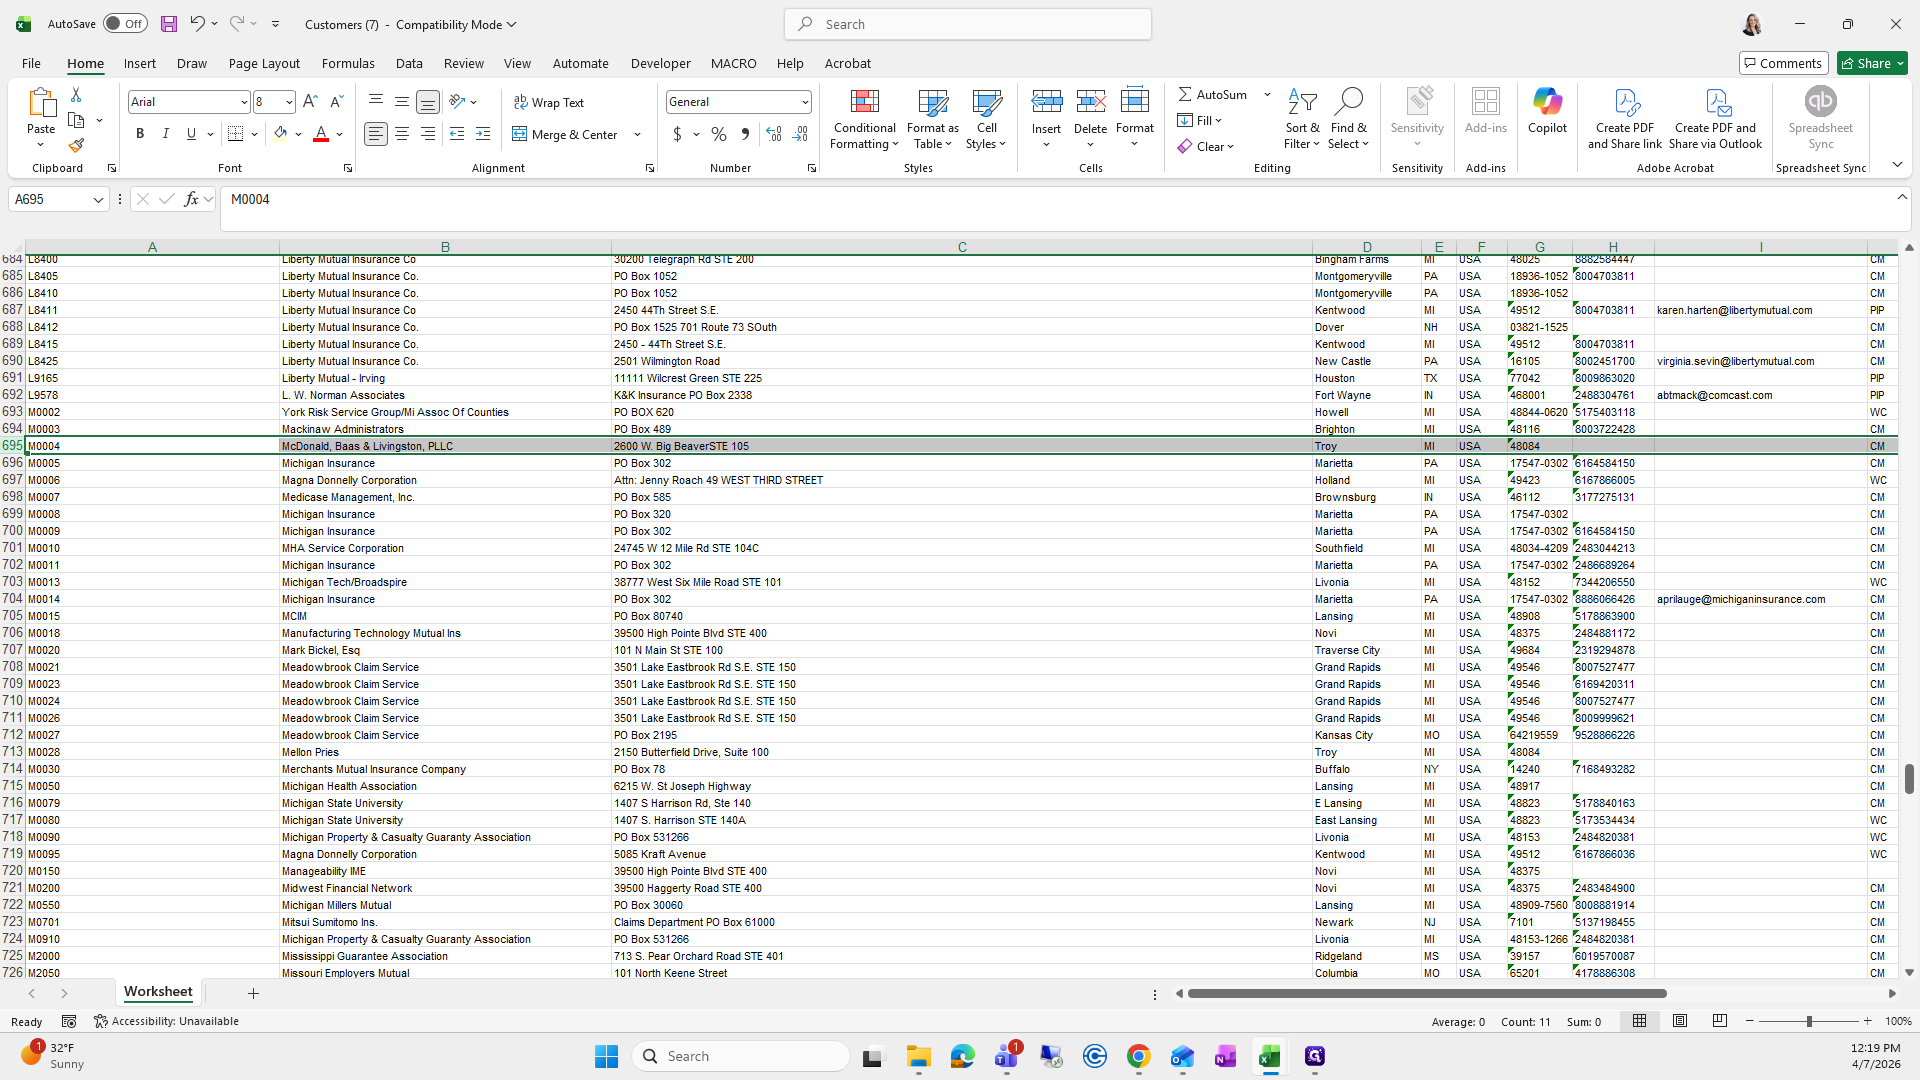
I will scroll down to the Ms because the customer that needs to be created is M.

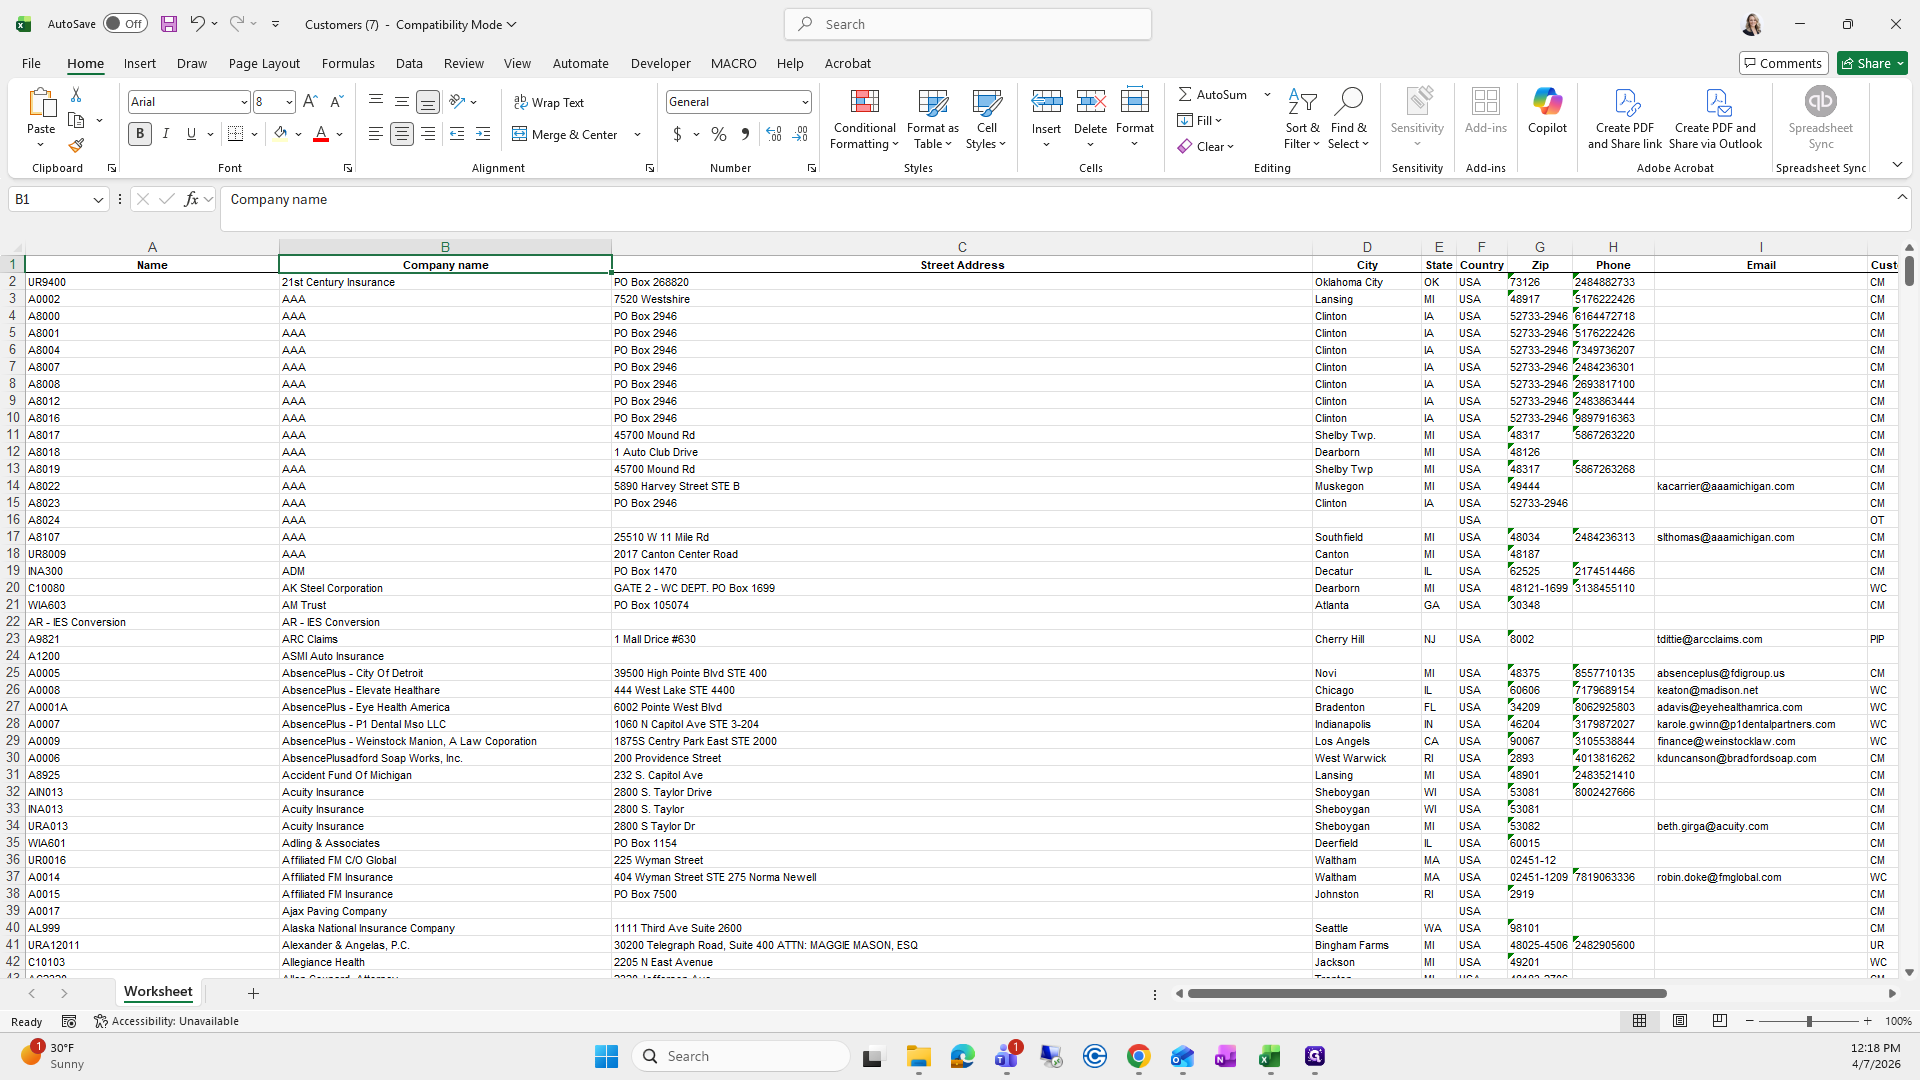


I'm going to scroll L-M-M-M-M-M-M.


I've already created it, but this is just an example.

Let's say I didn't create it.
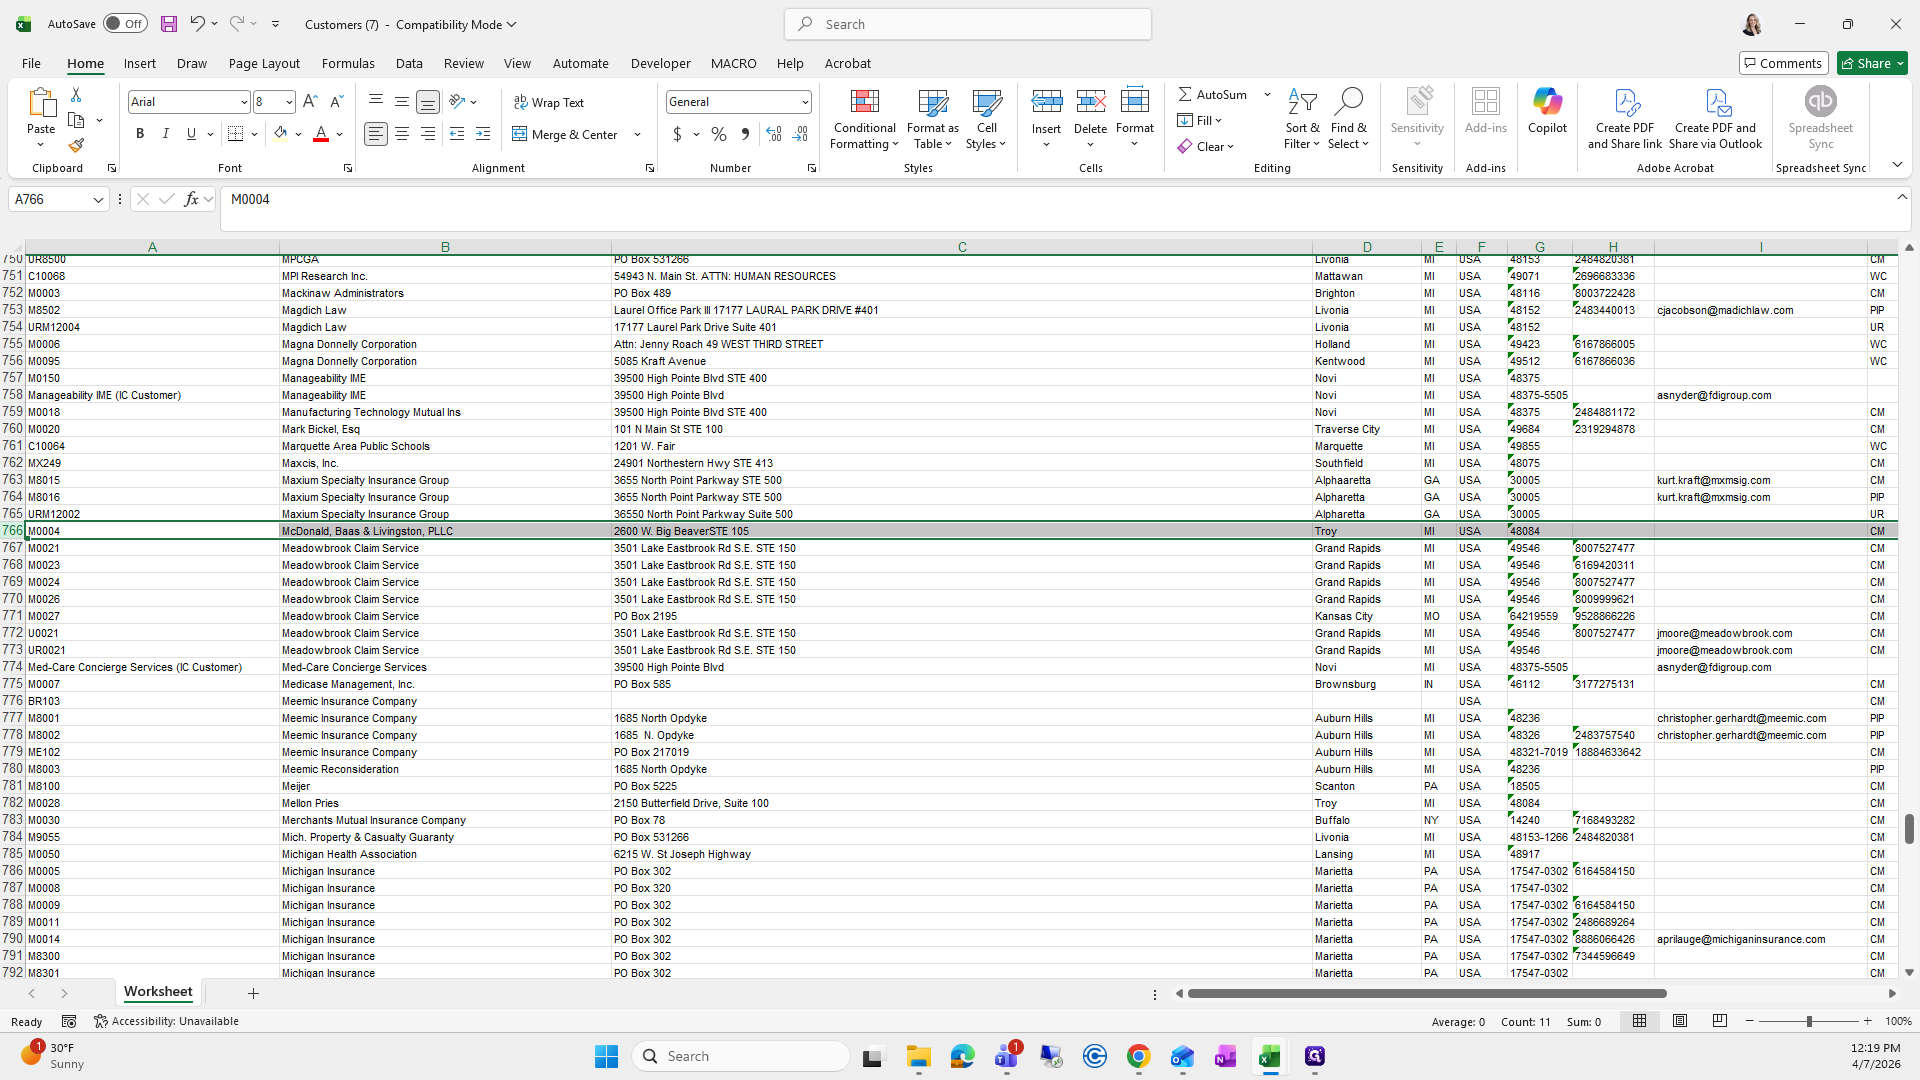
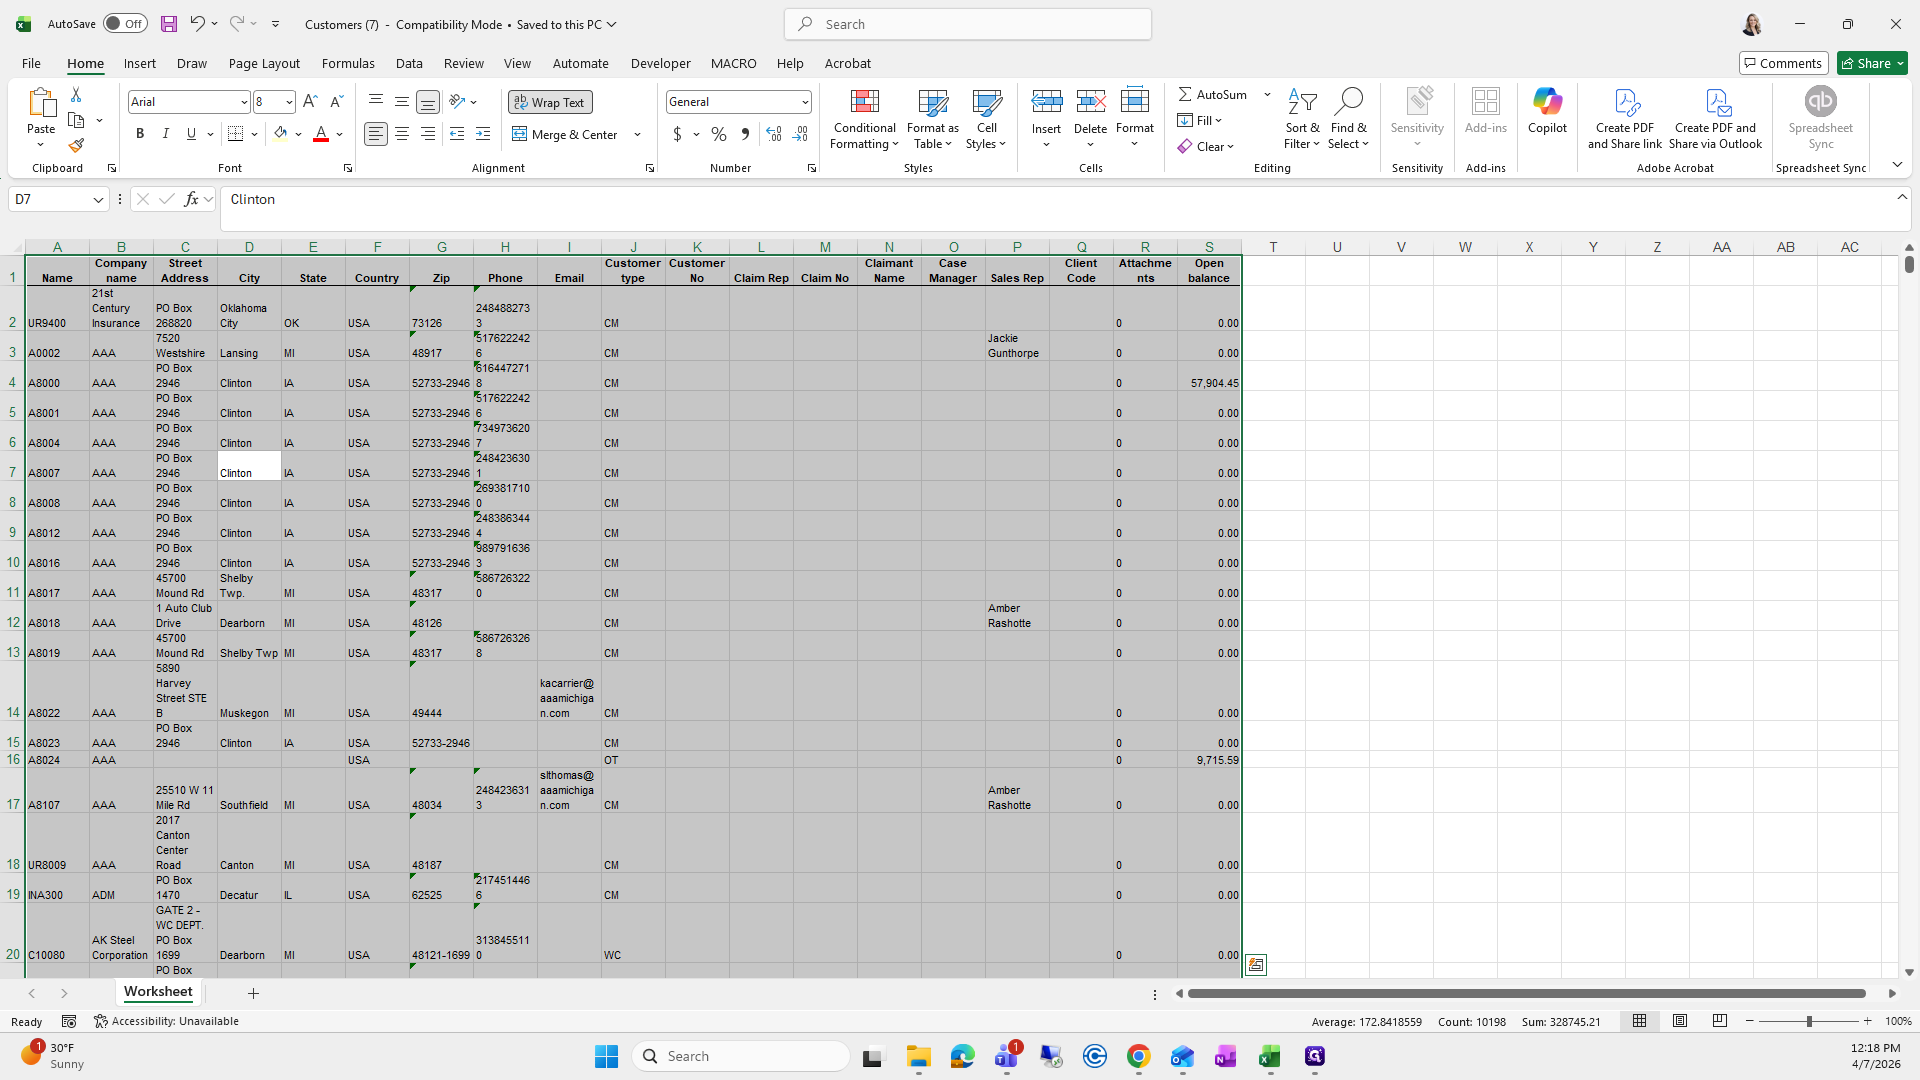
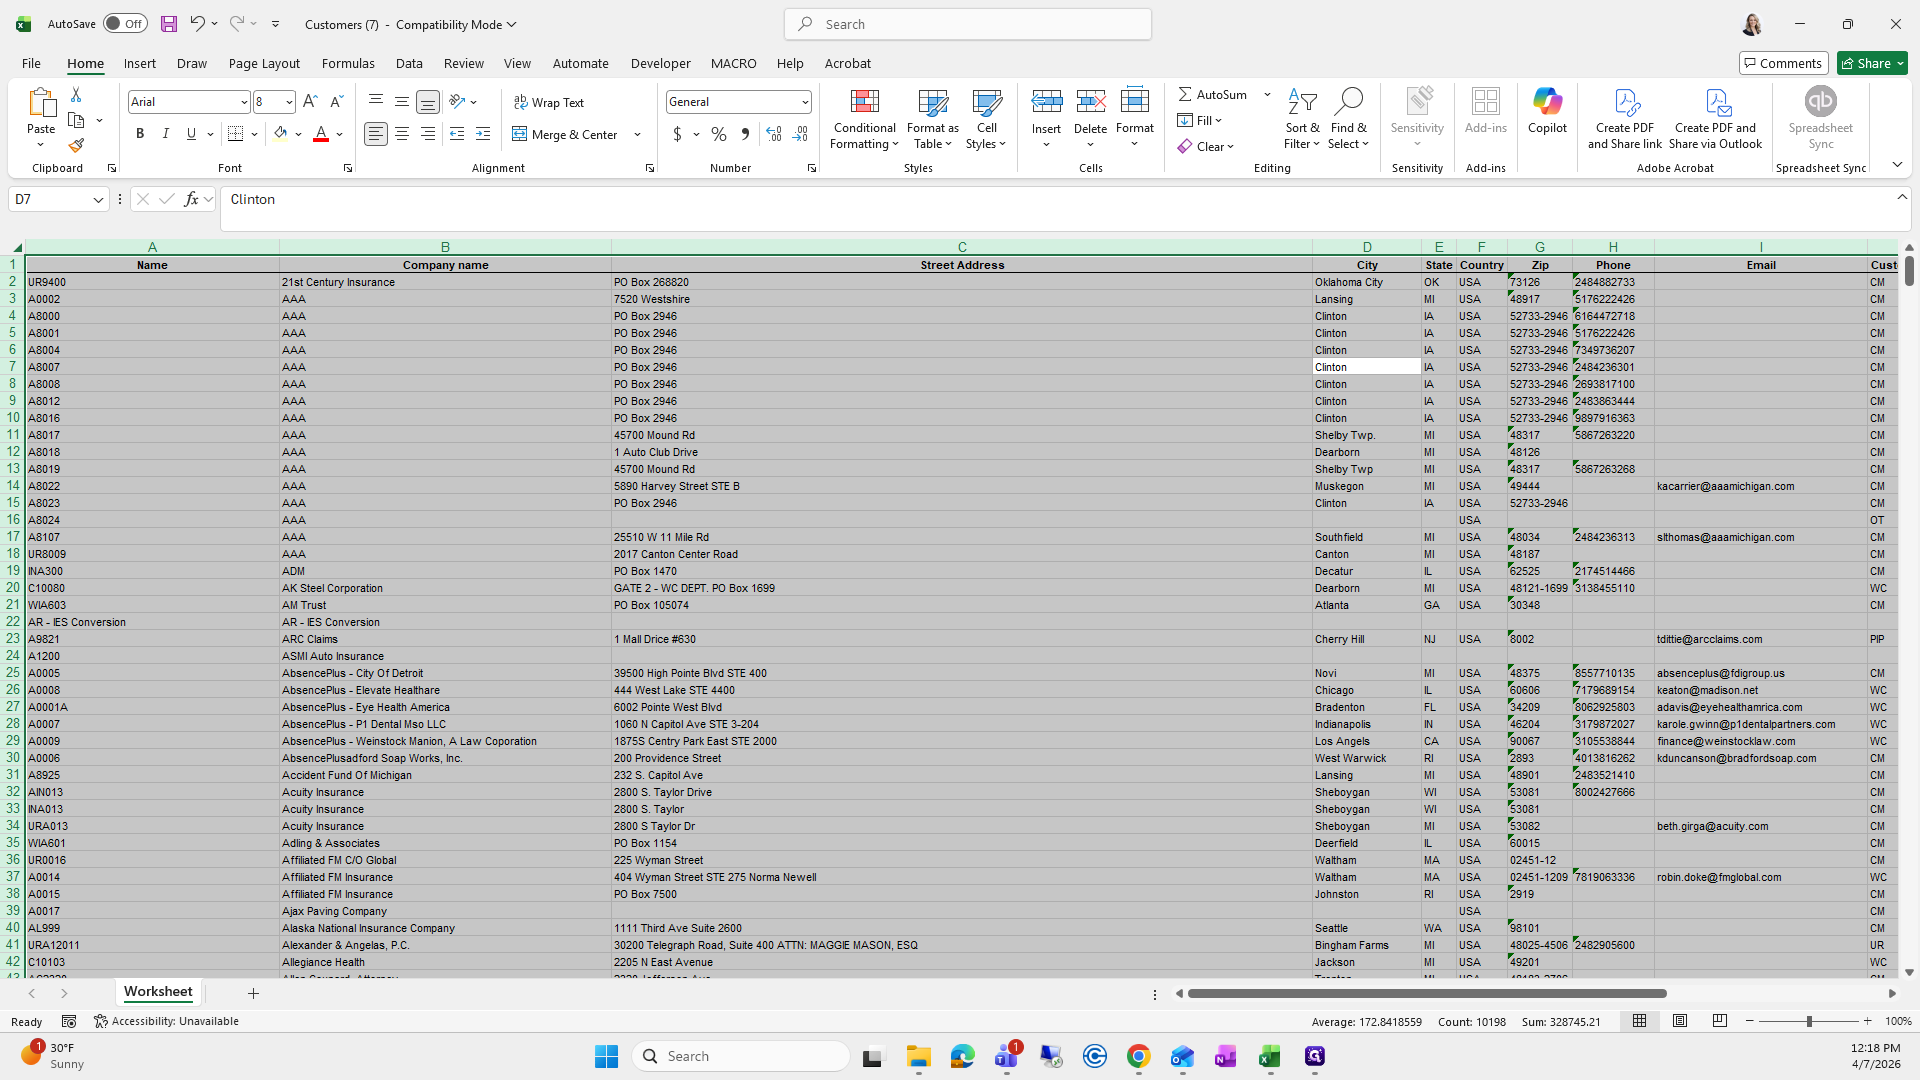
I would look at the Ms right here, and that's how I will create the customer number.
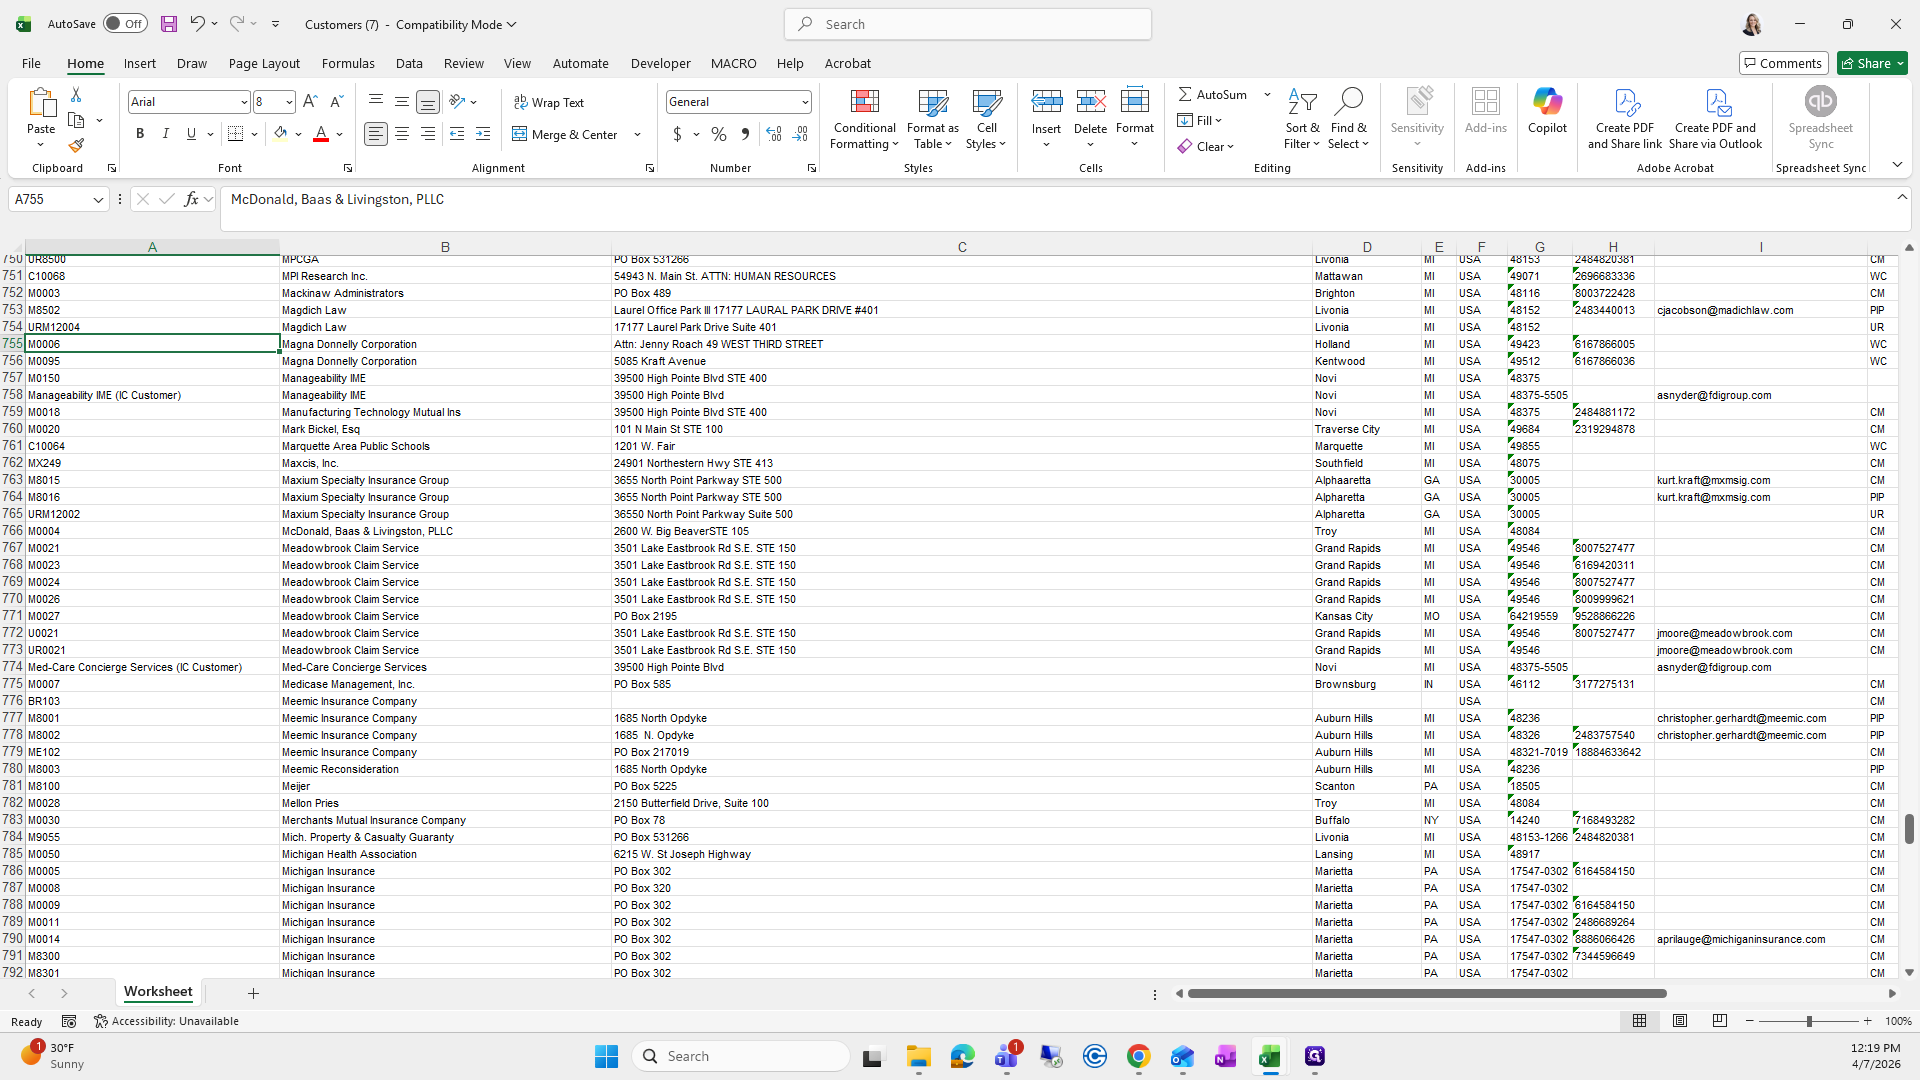
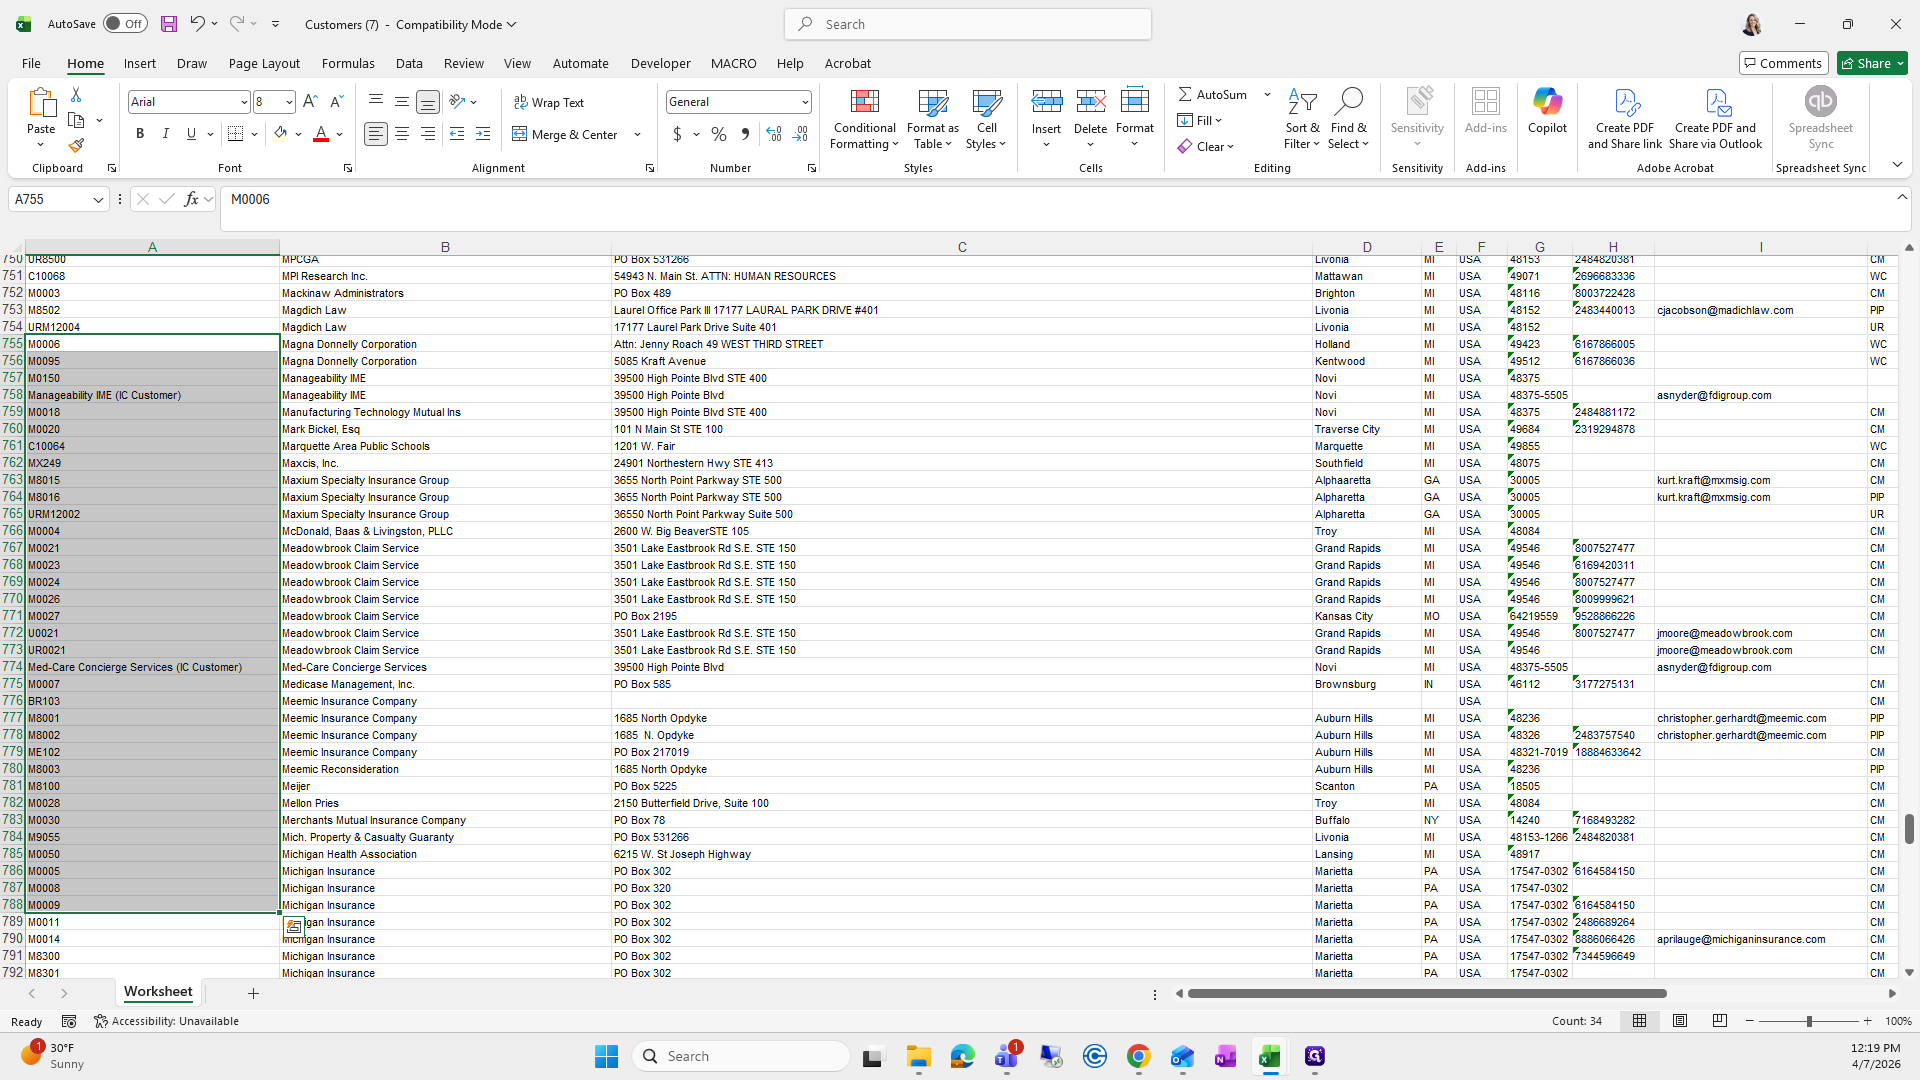
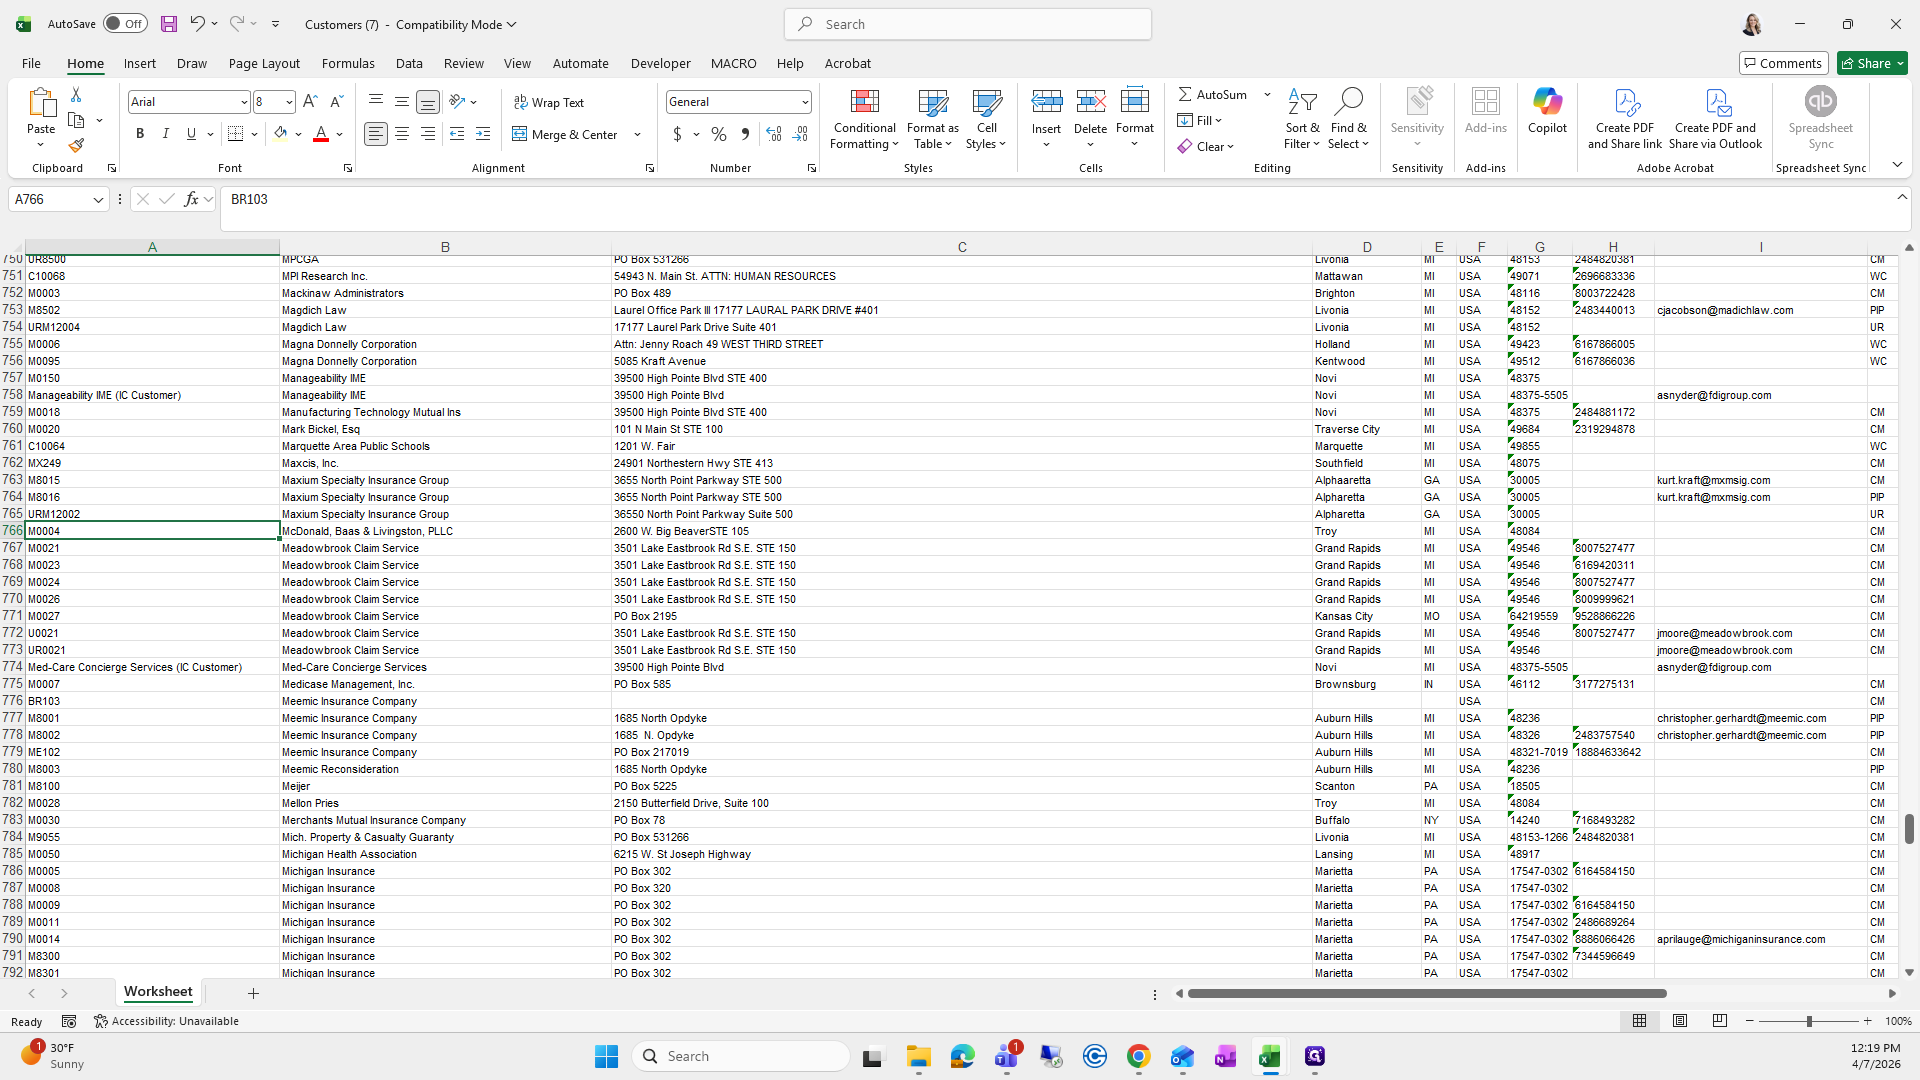
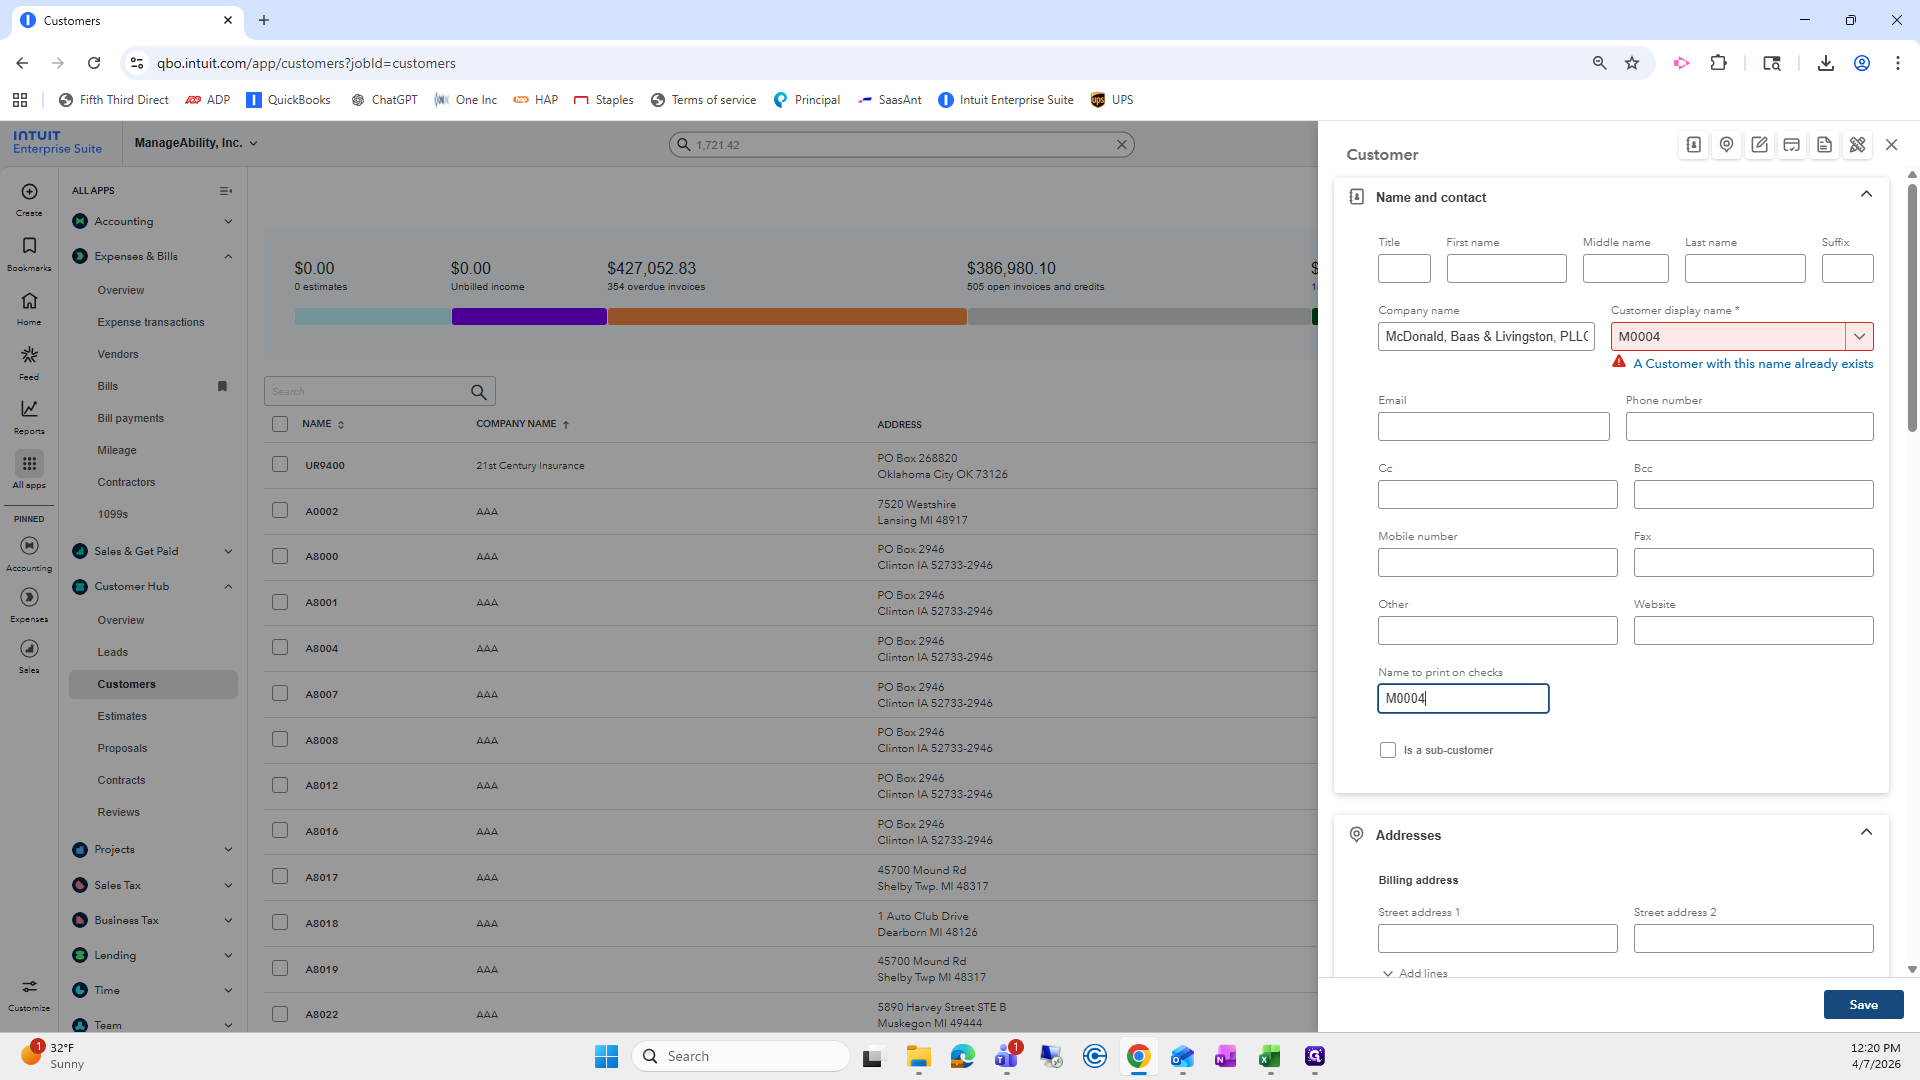
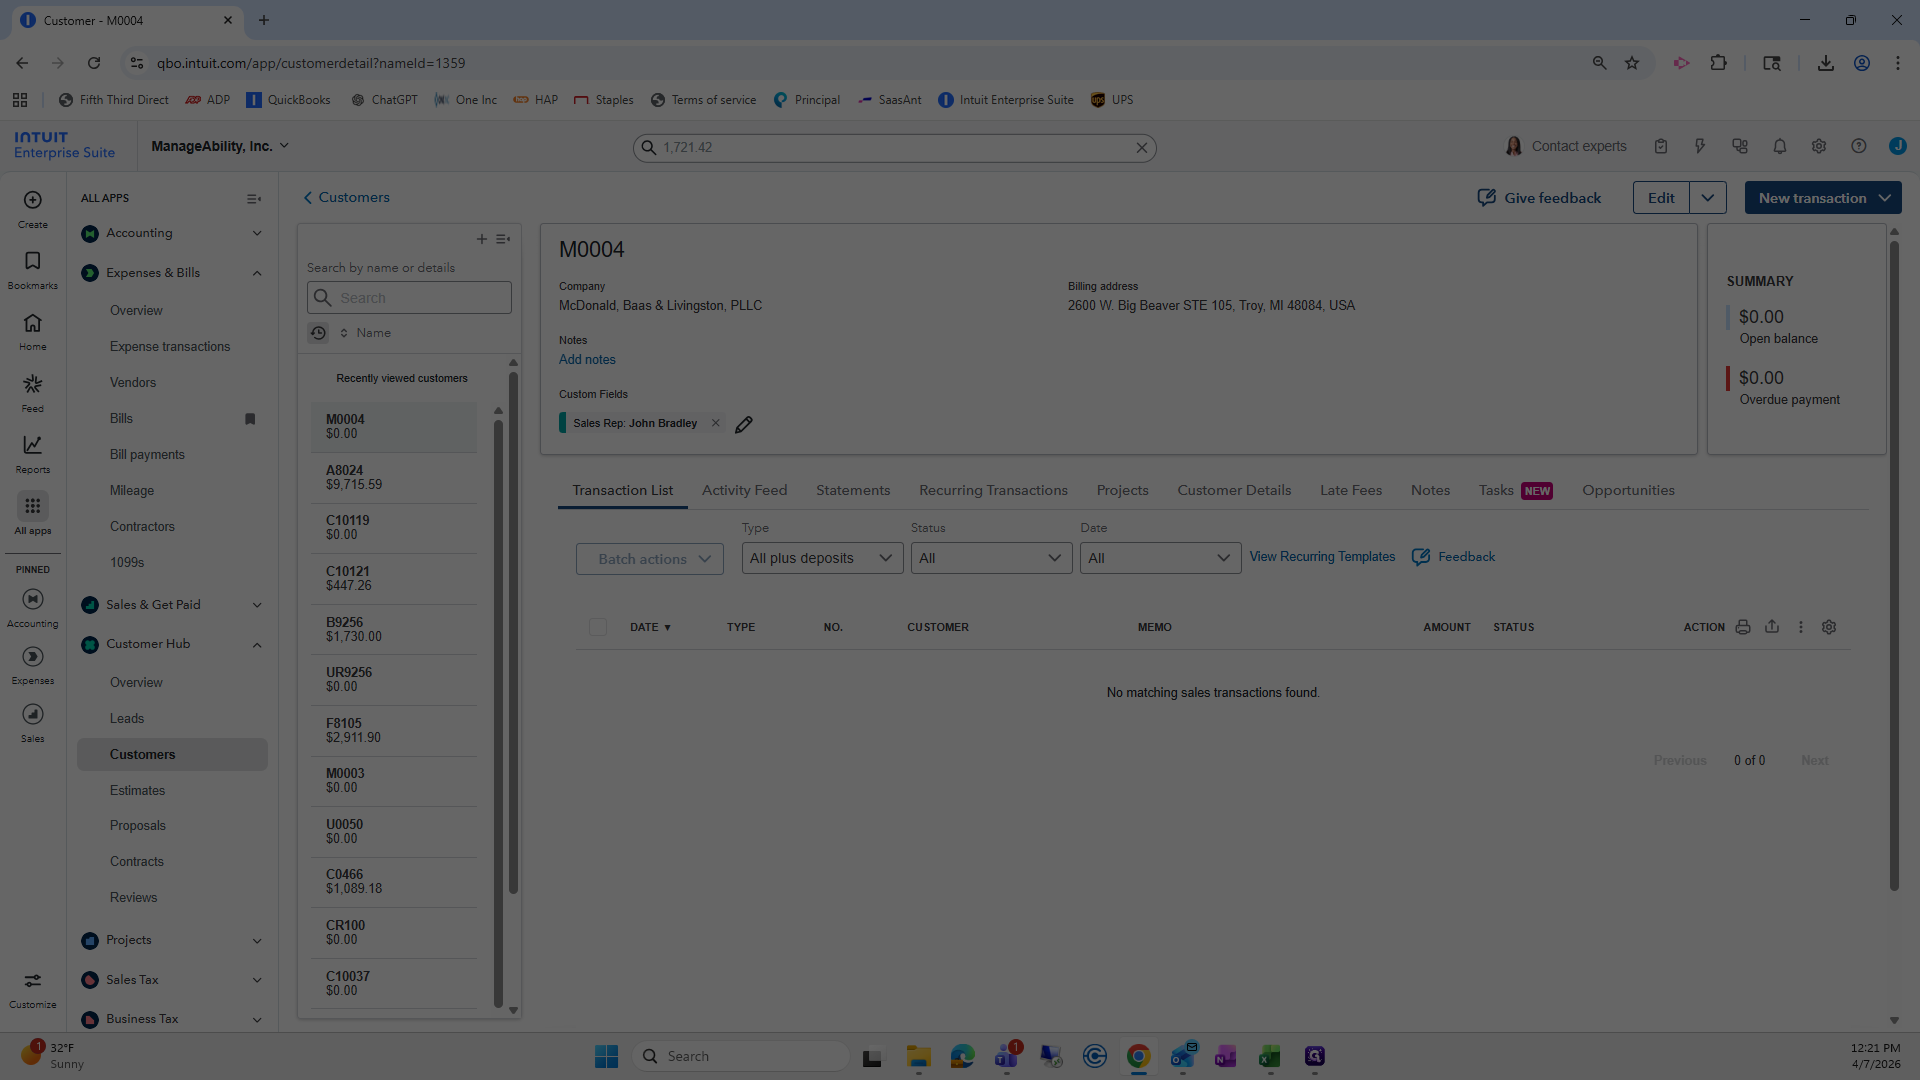
I can see that there is really no M-0004.
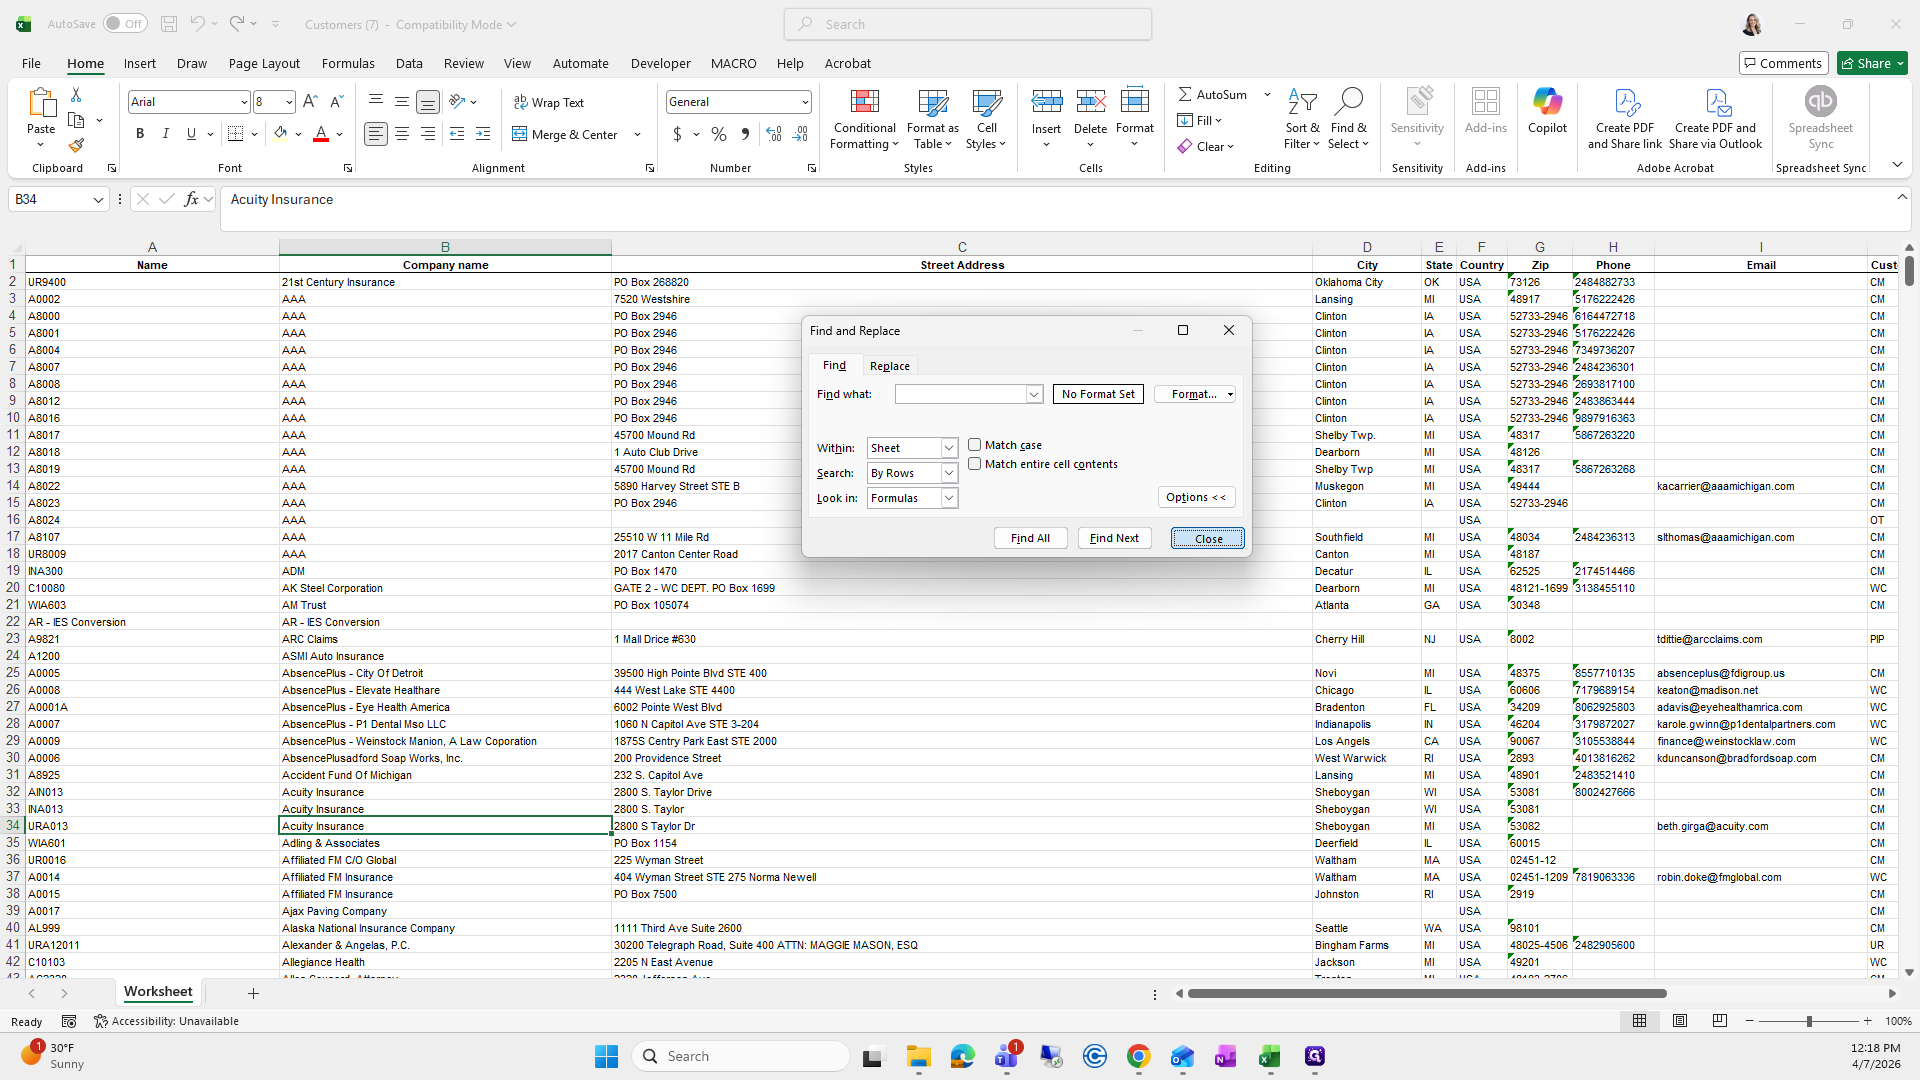
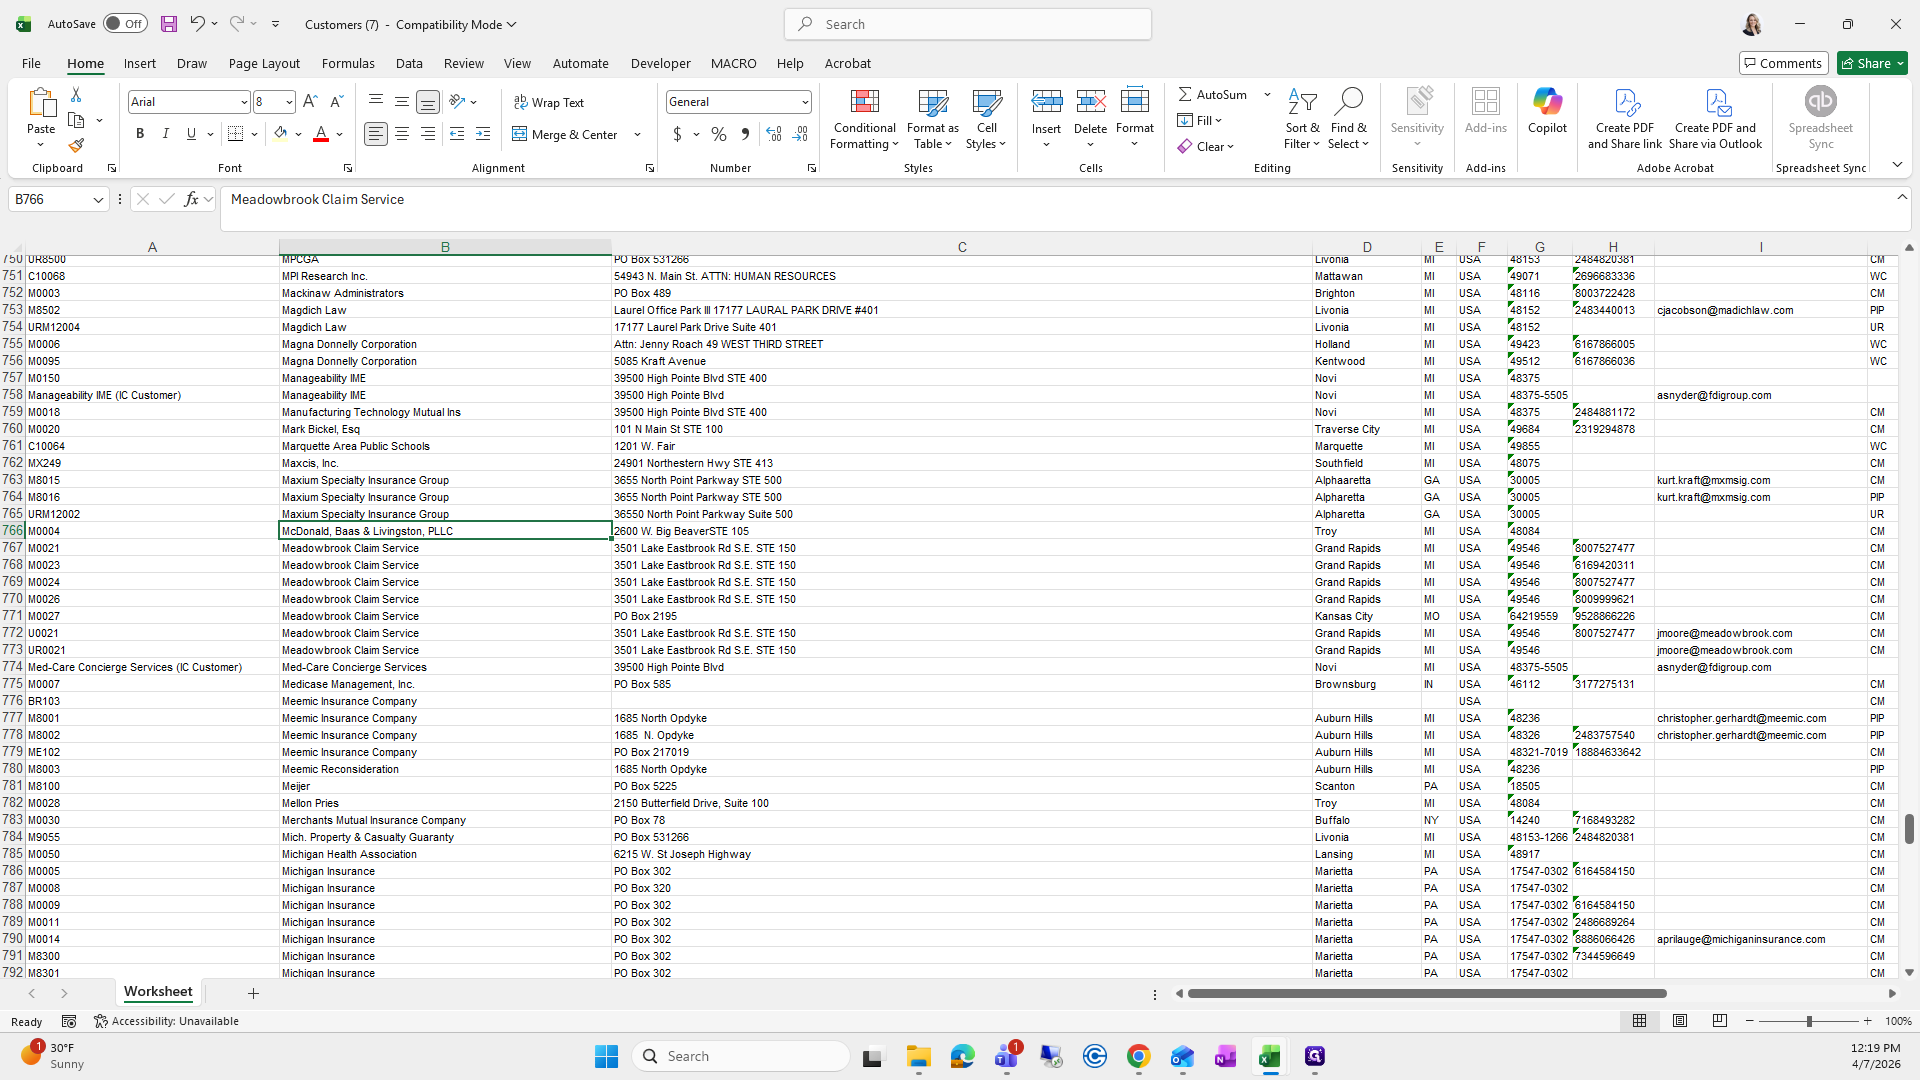
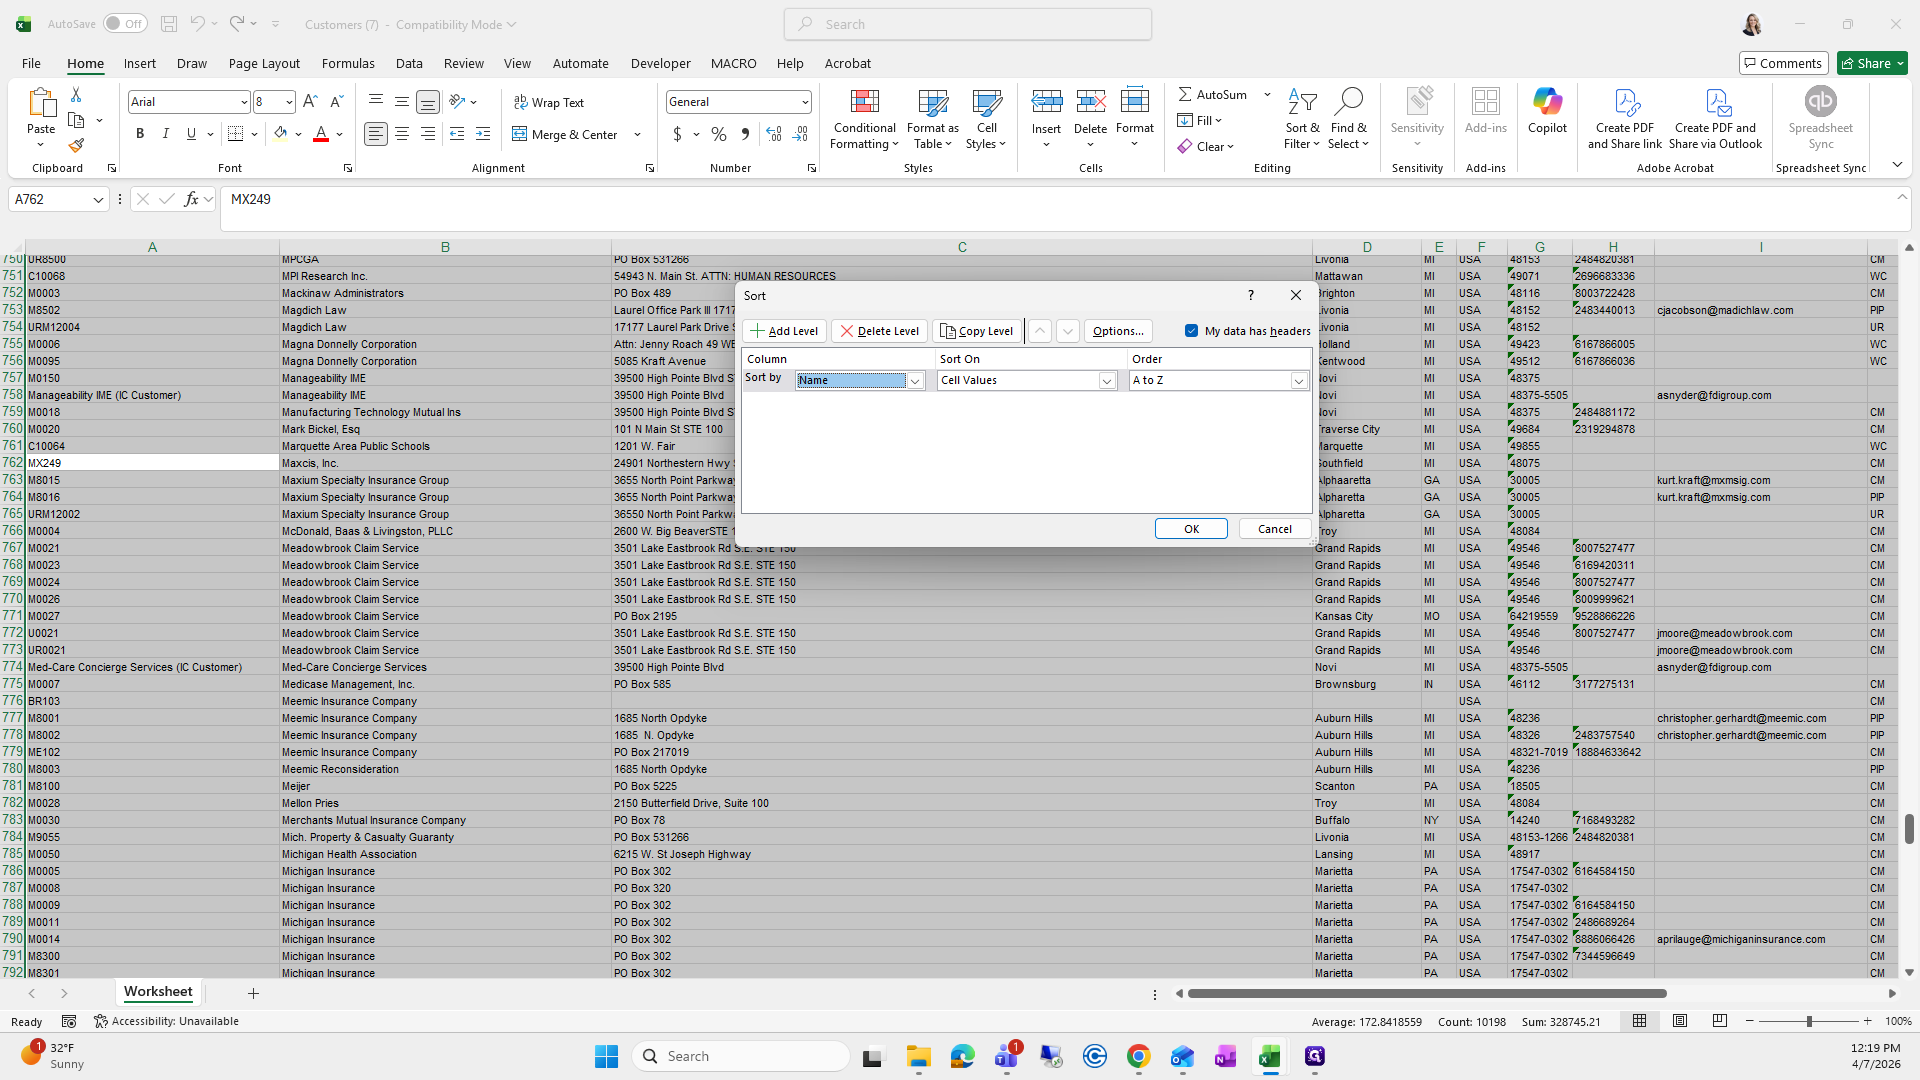
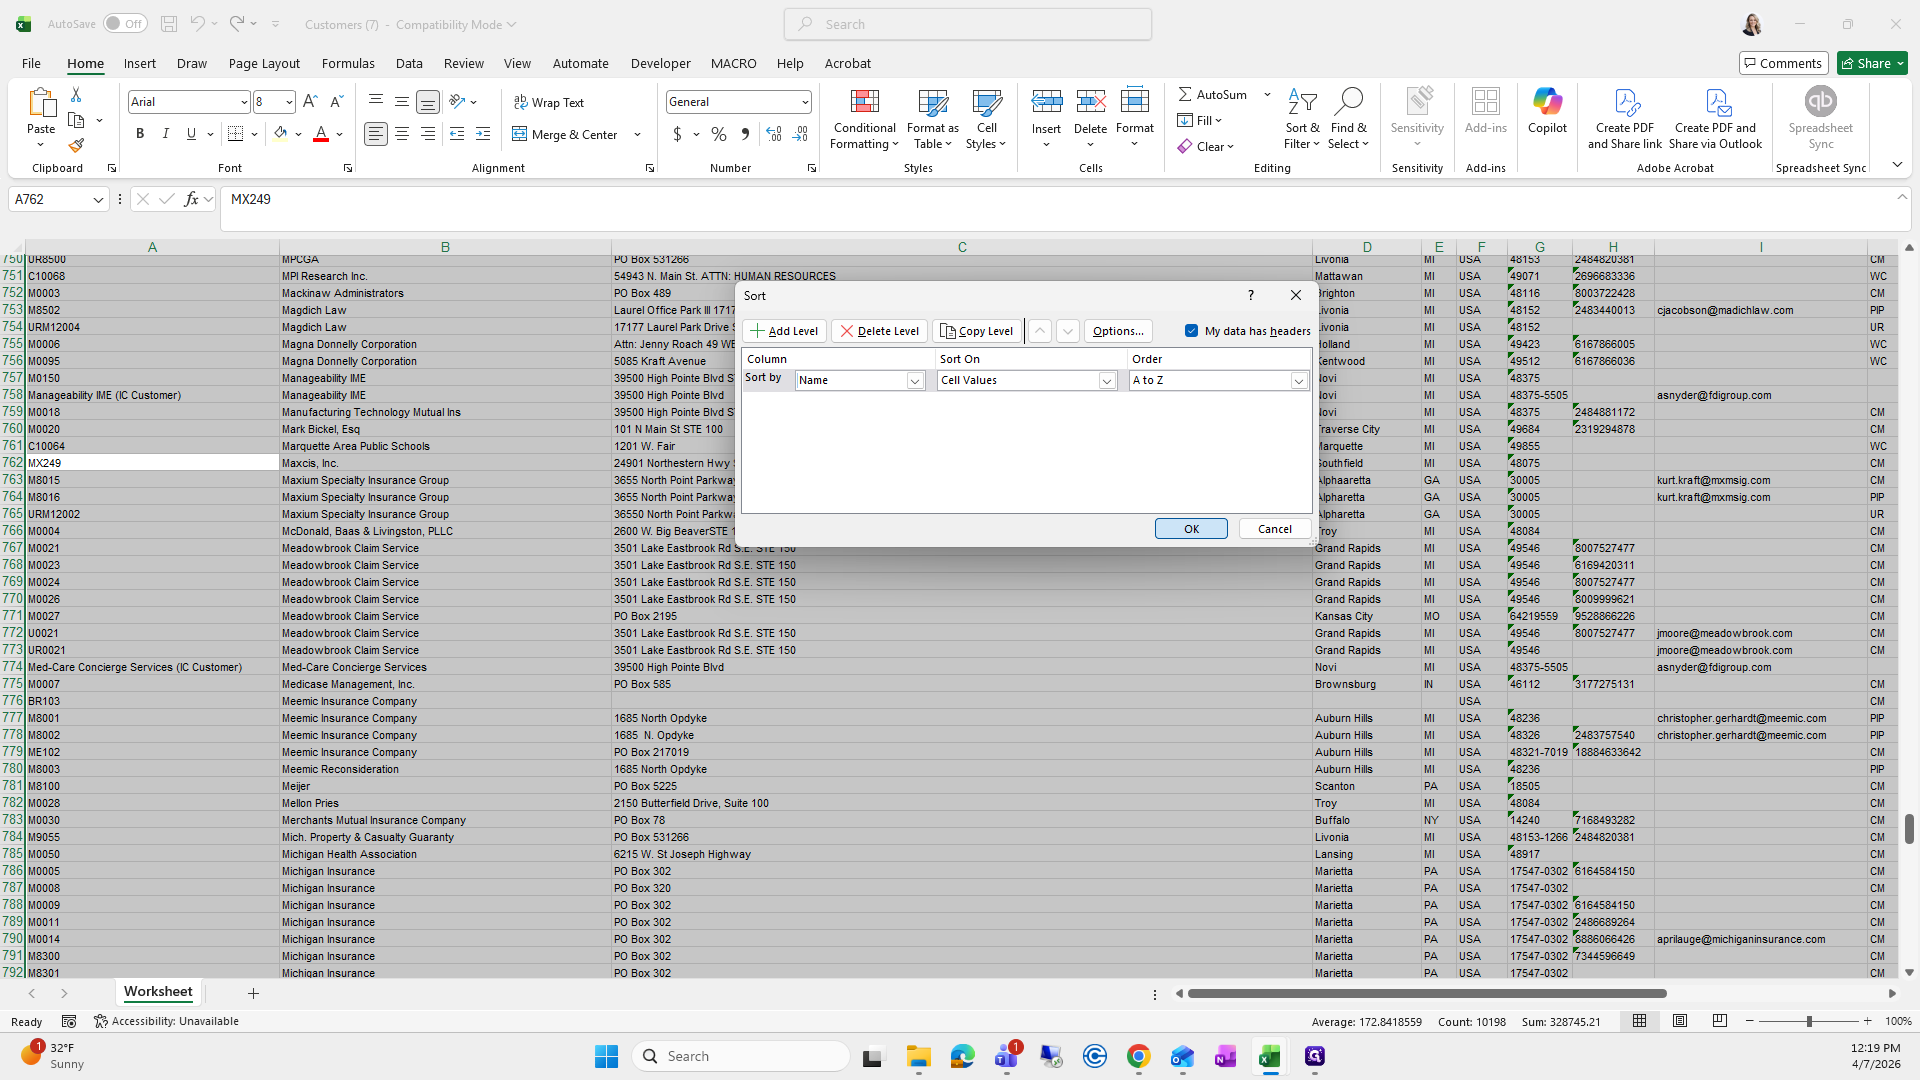
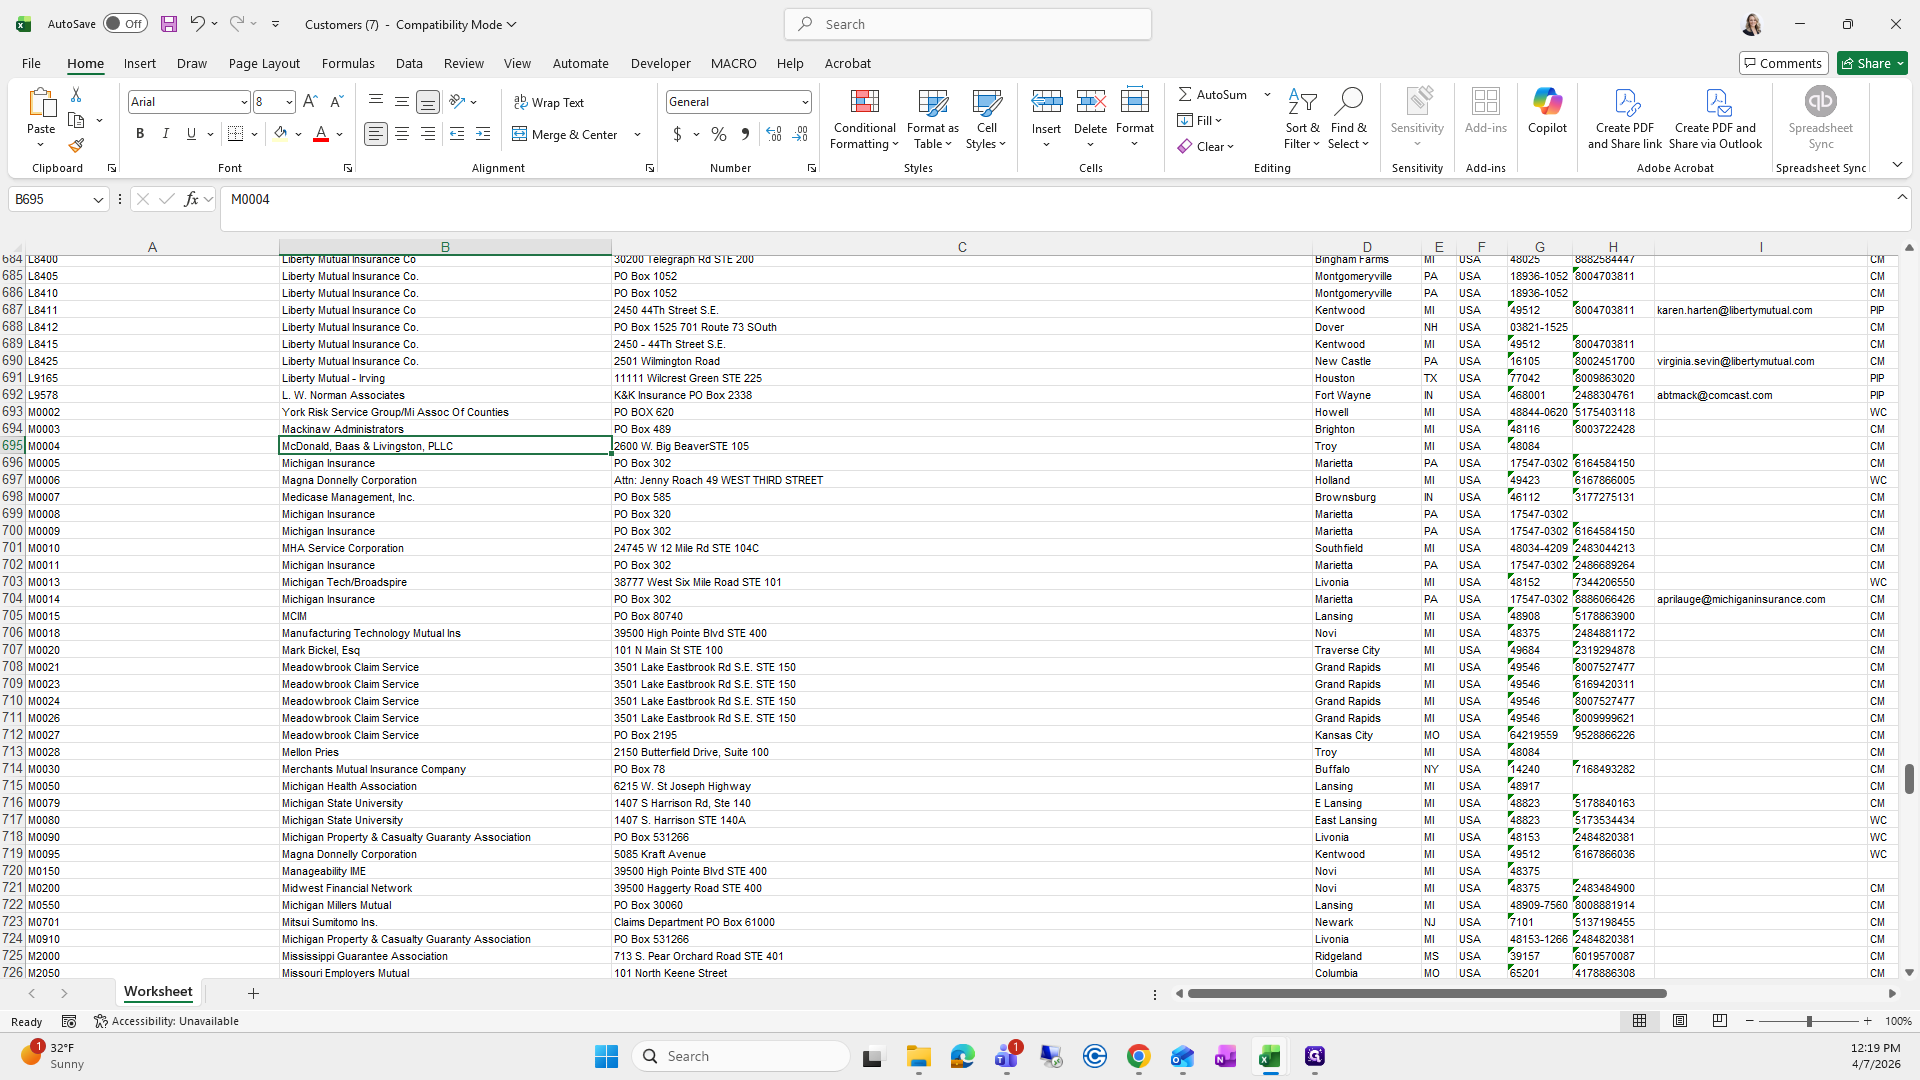
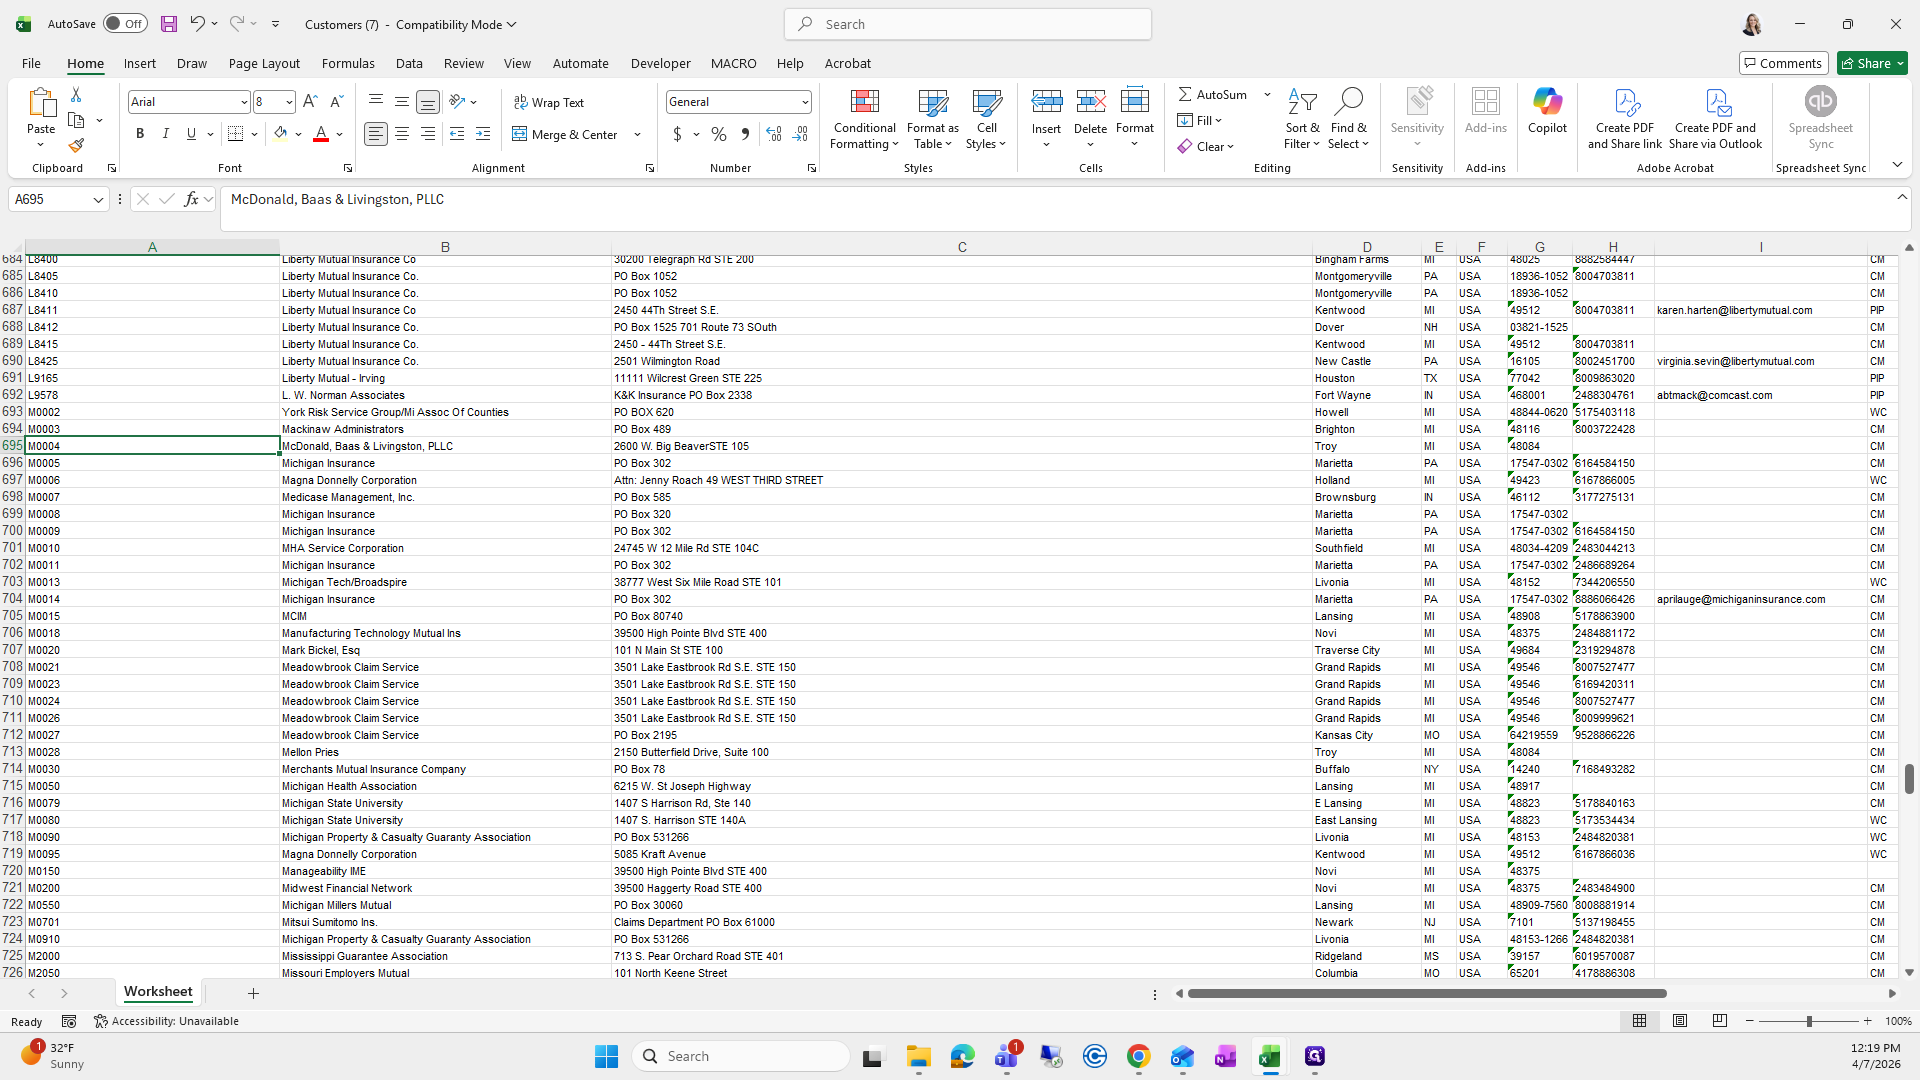
You can also sort by name, which is the customer number here, to check if there is any M number that hasn't been used.

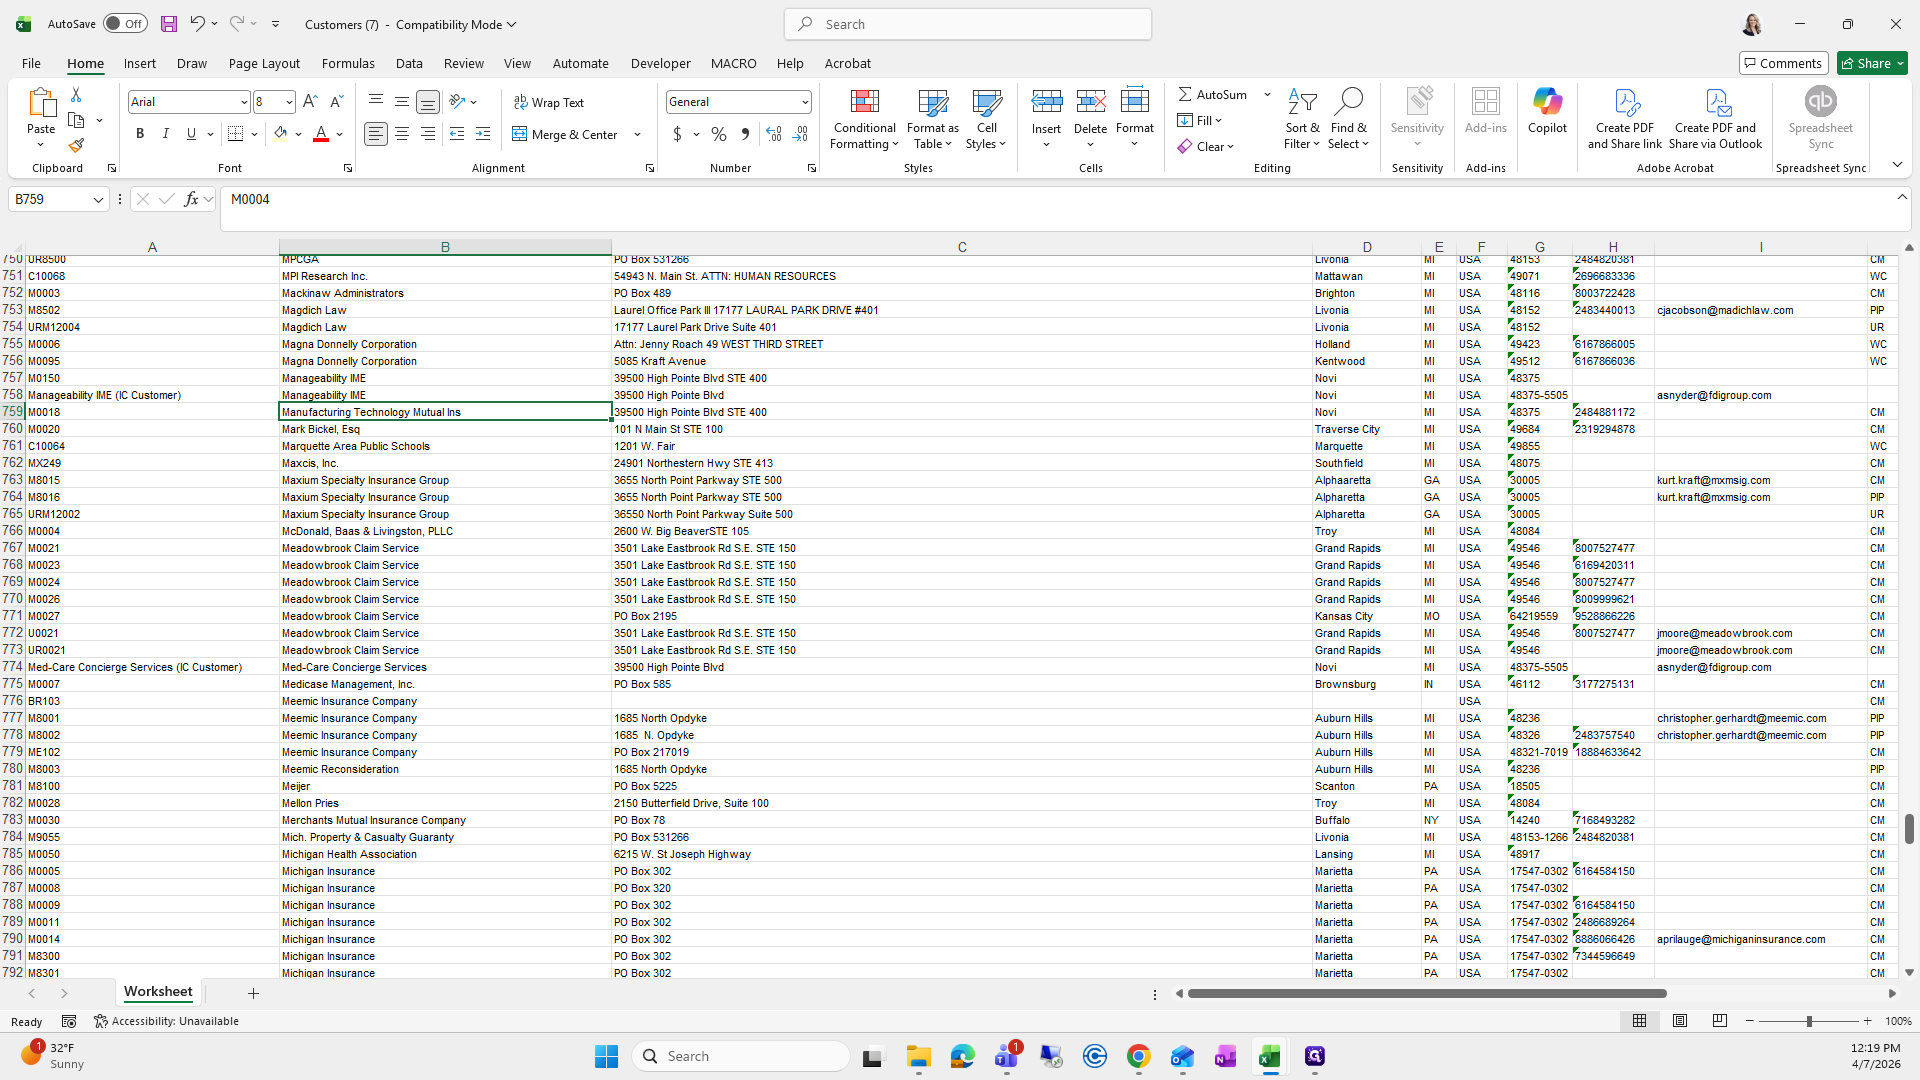


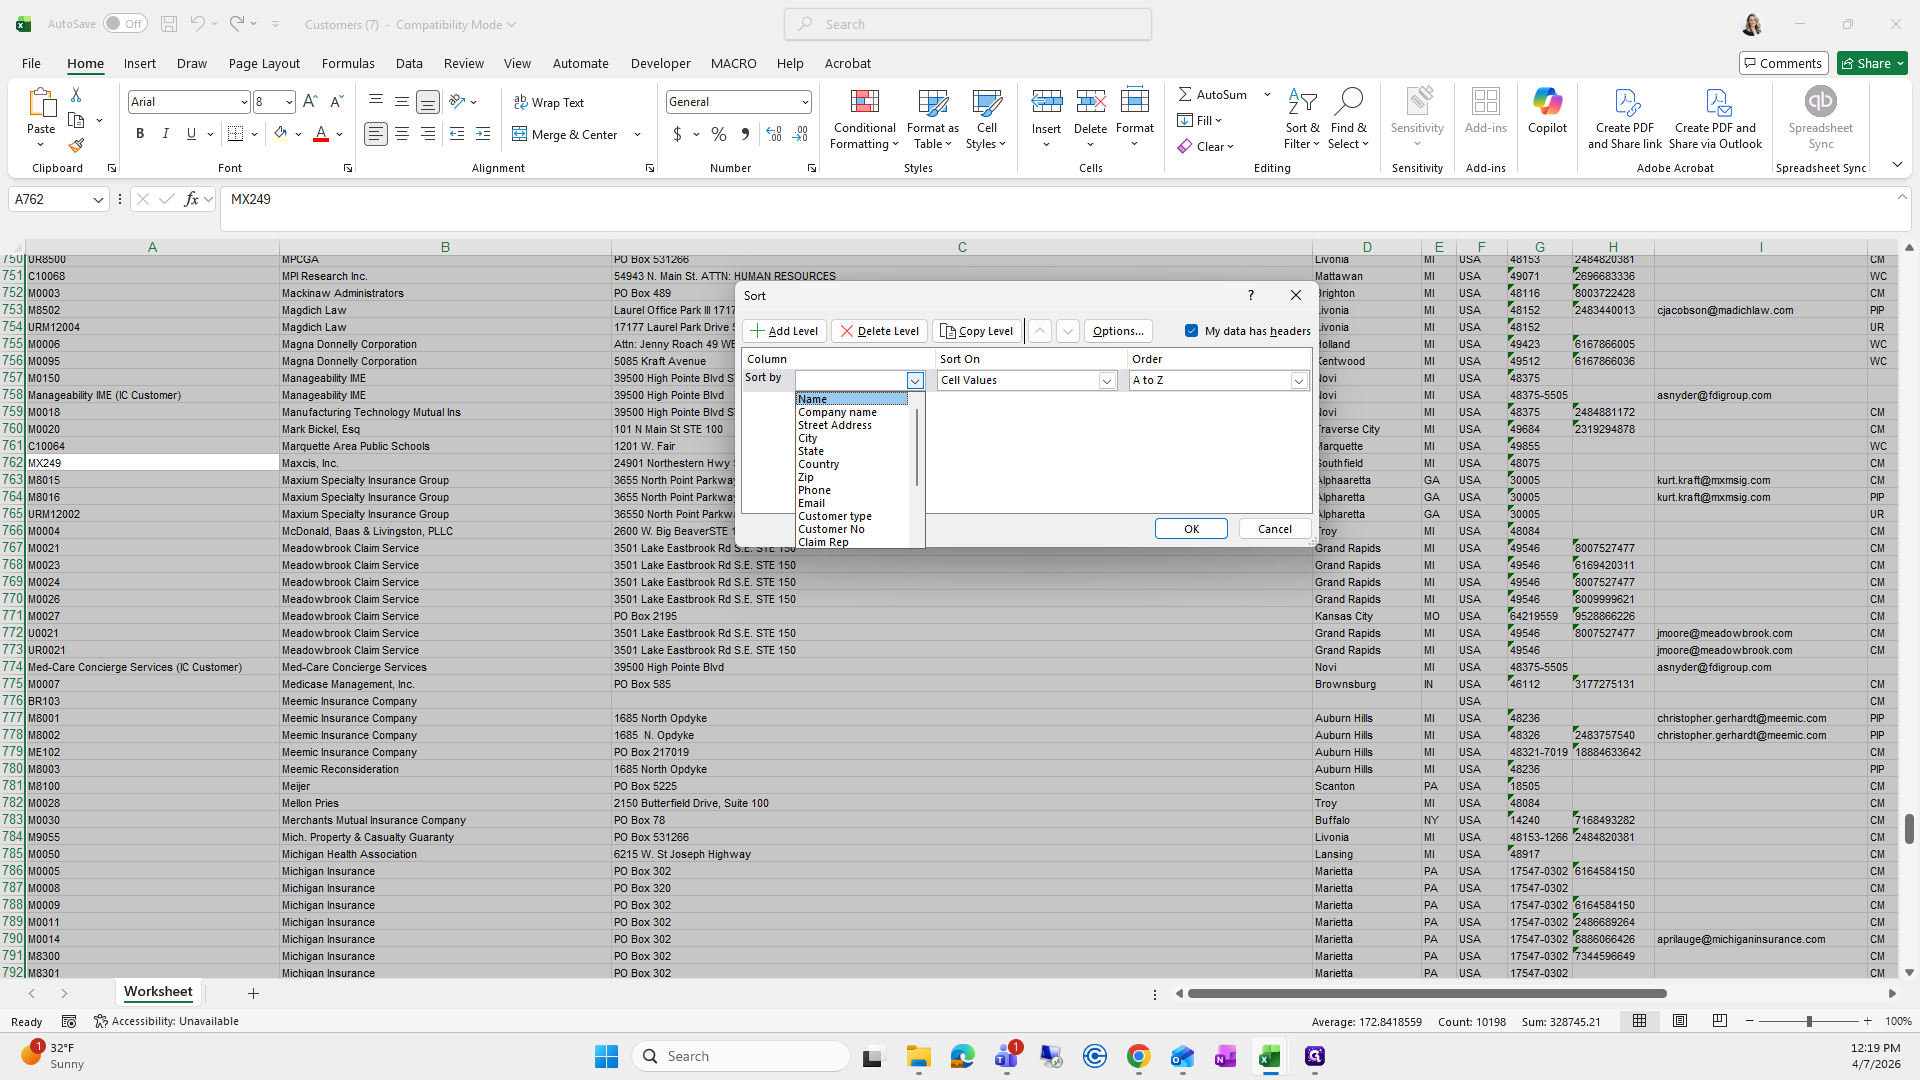
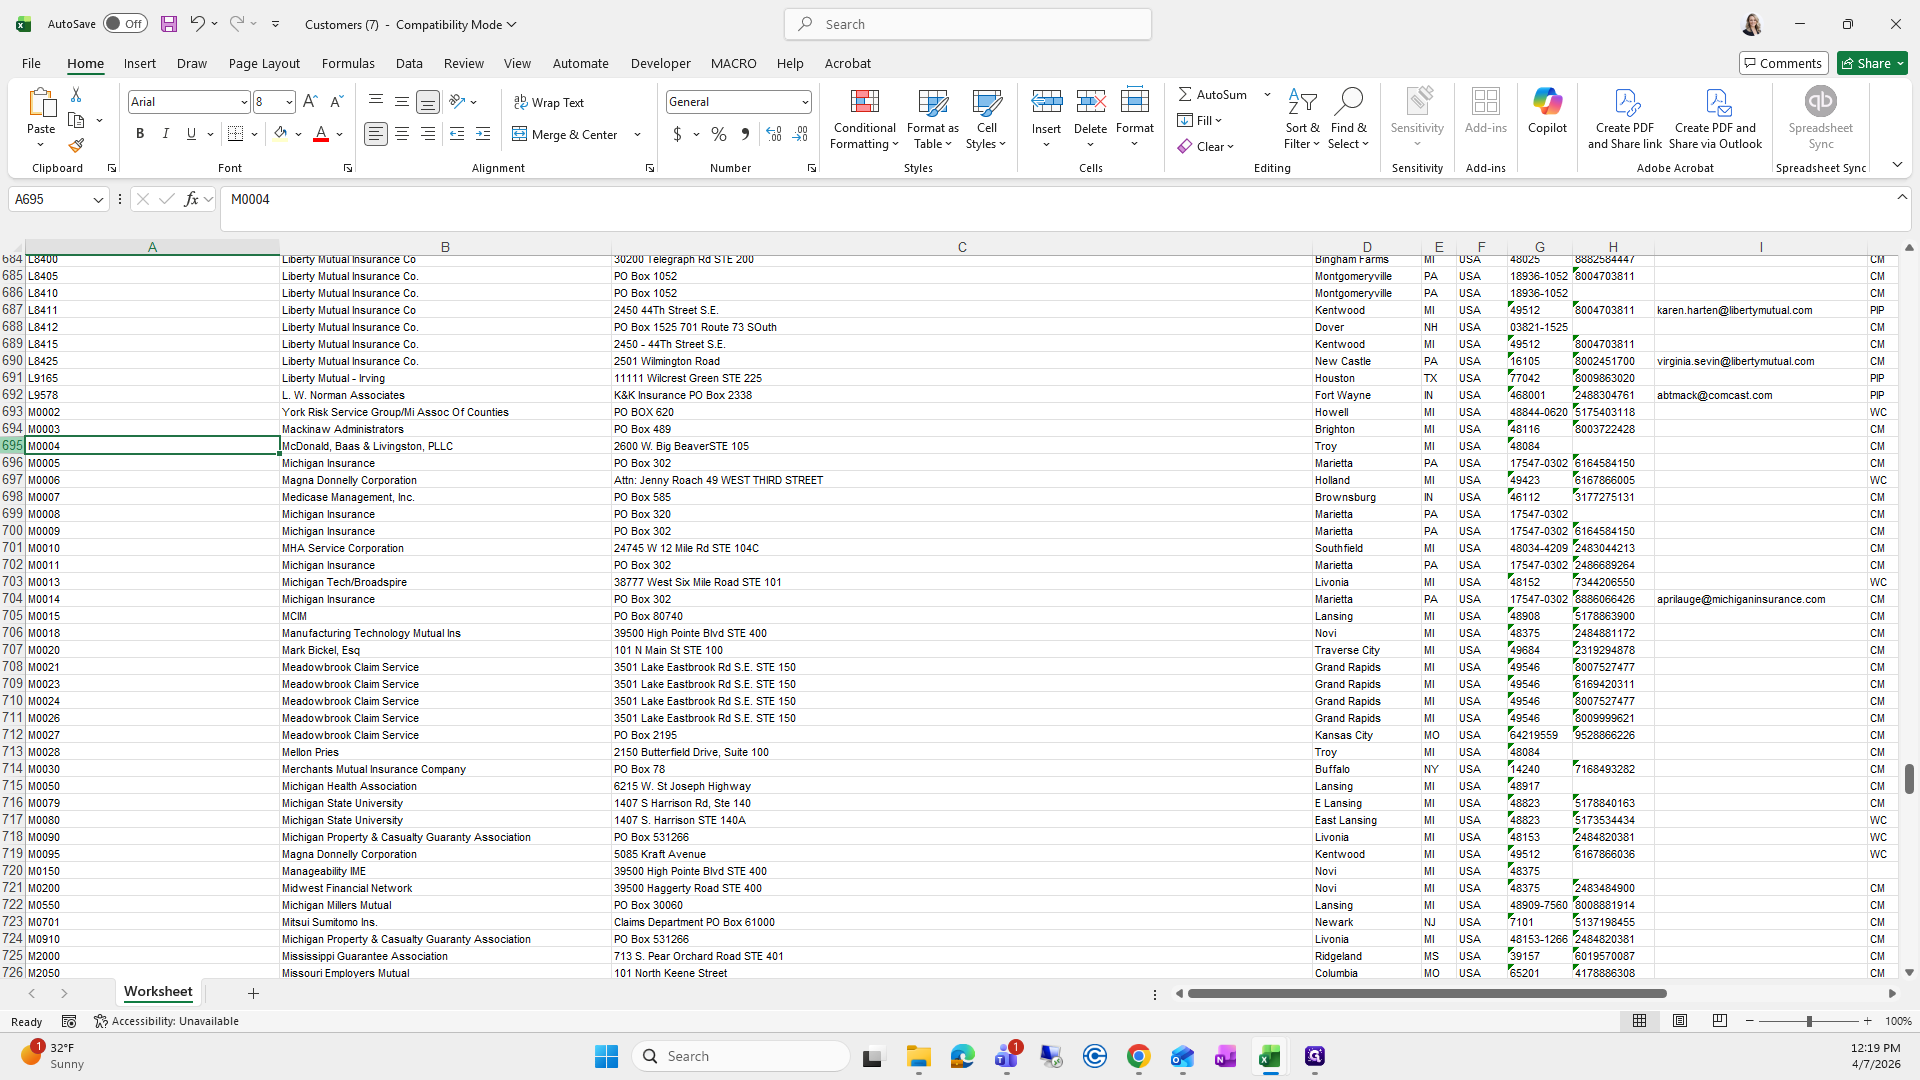
In this example, M-0-0-0-4 was not used, so I will use it for the customer number.

Go to New Customer.


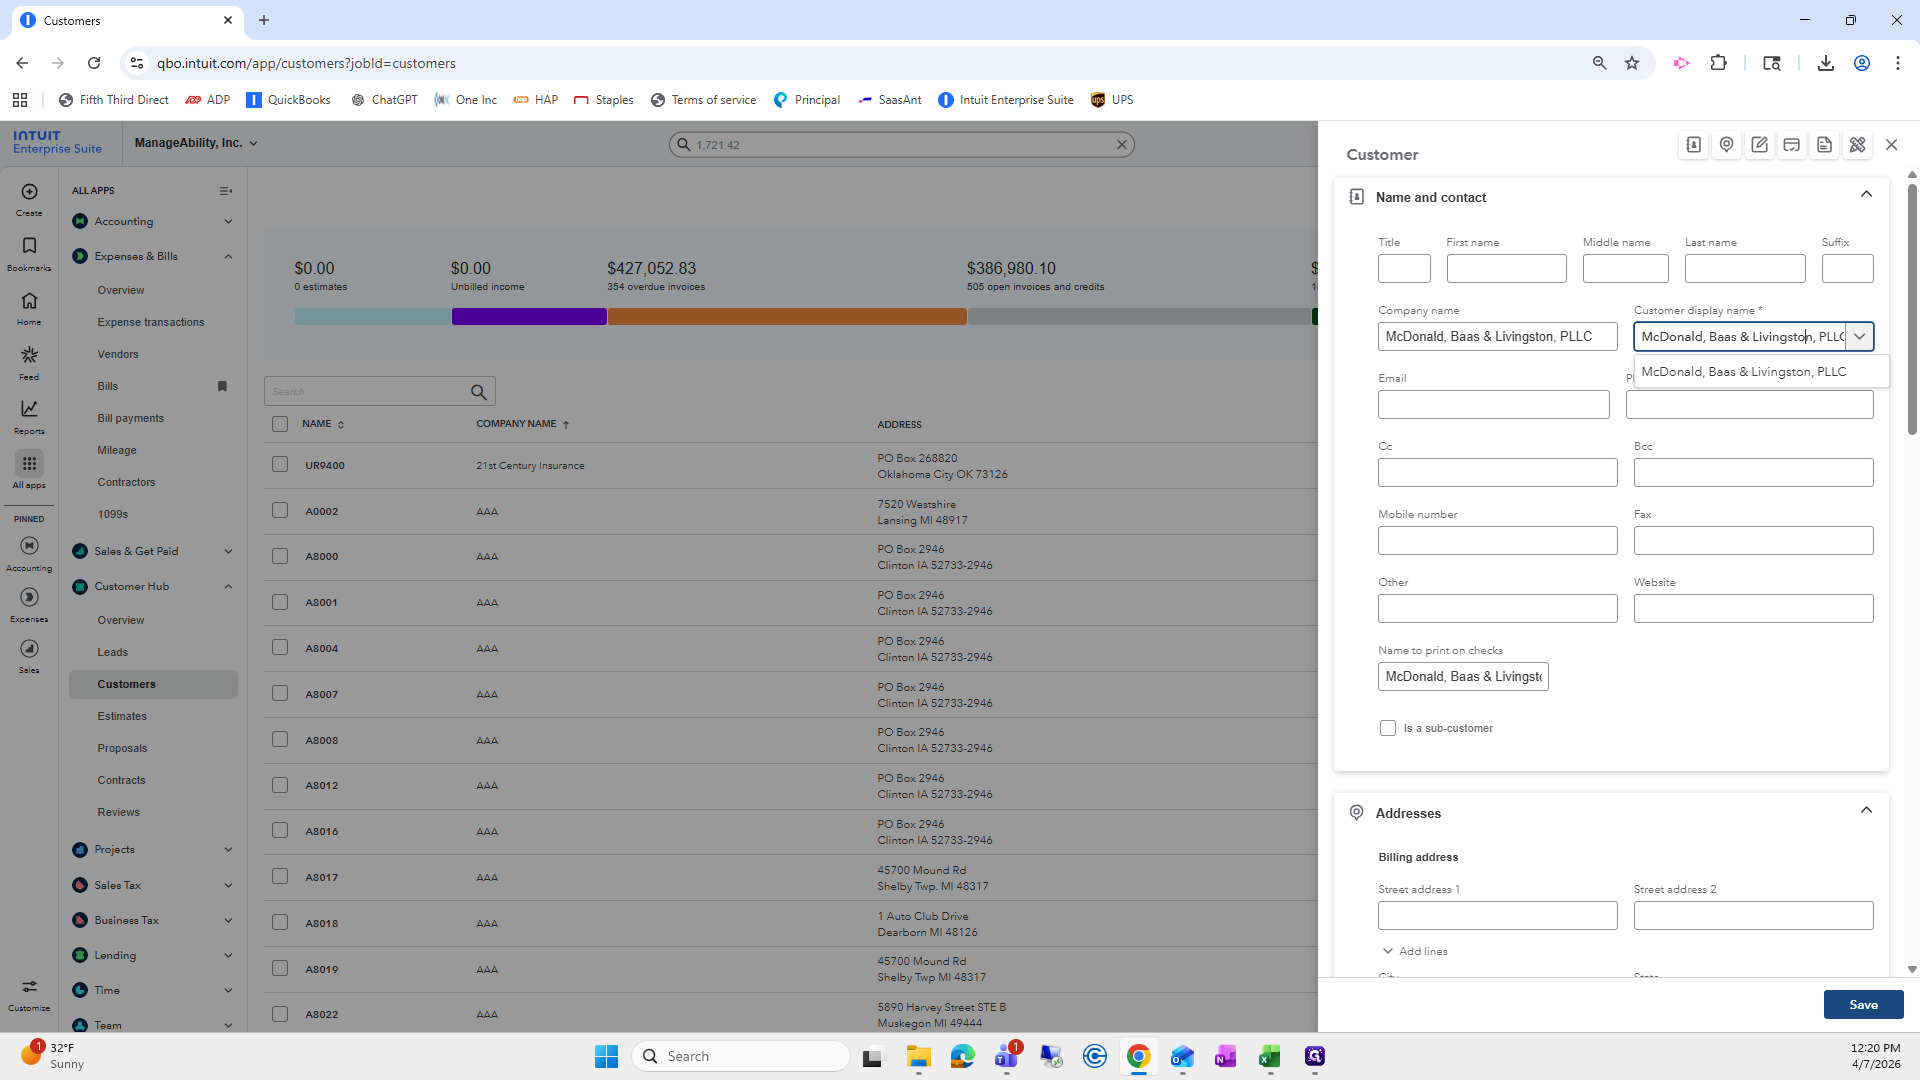
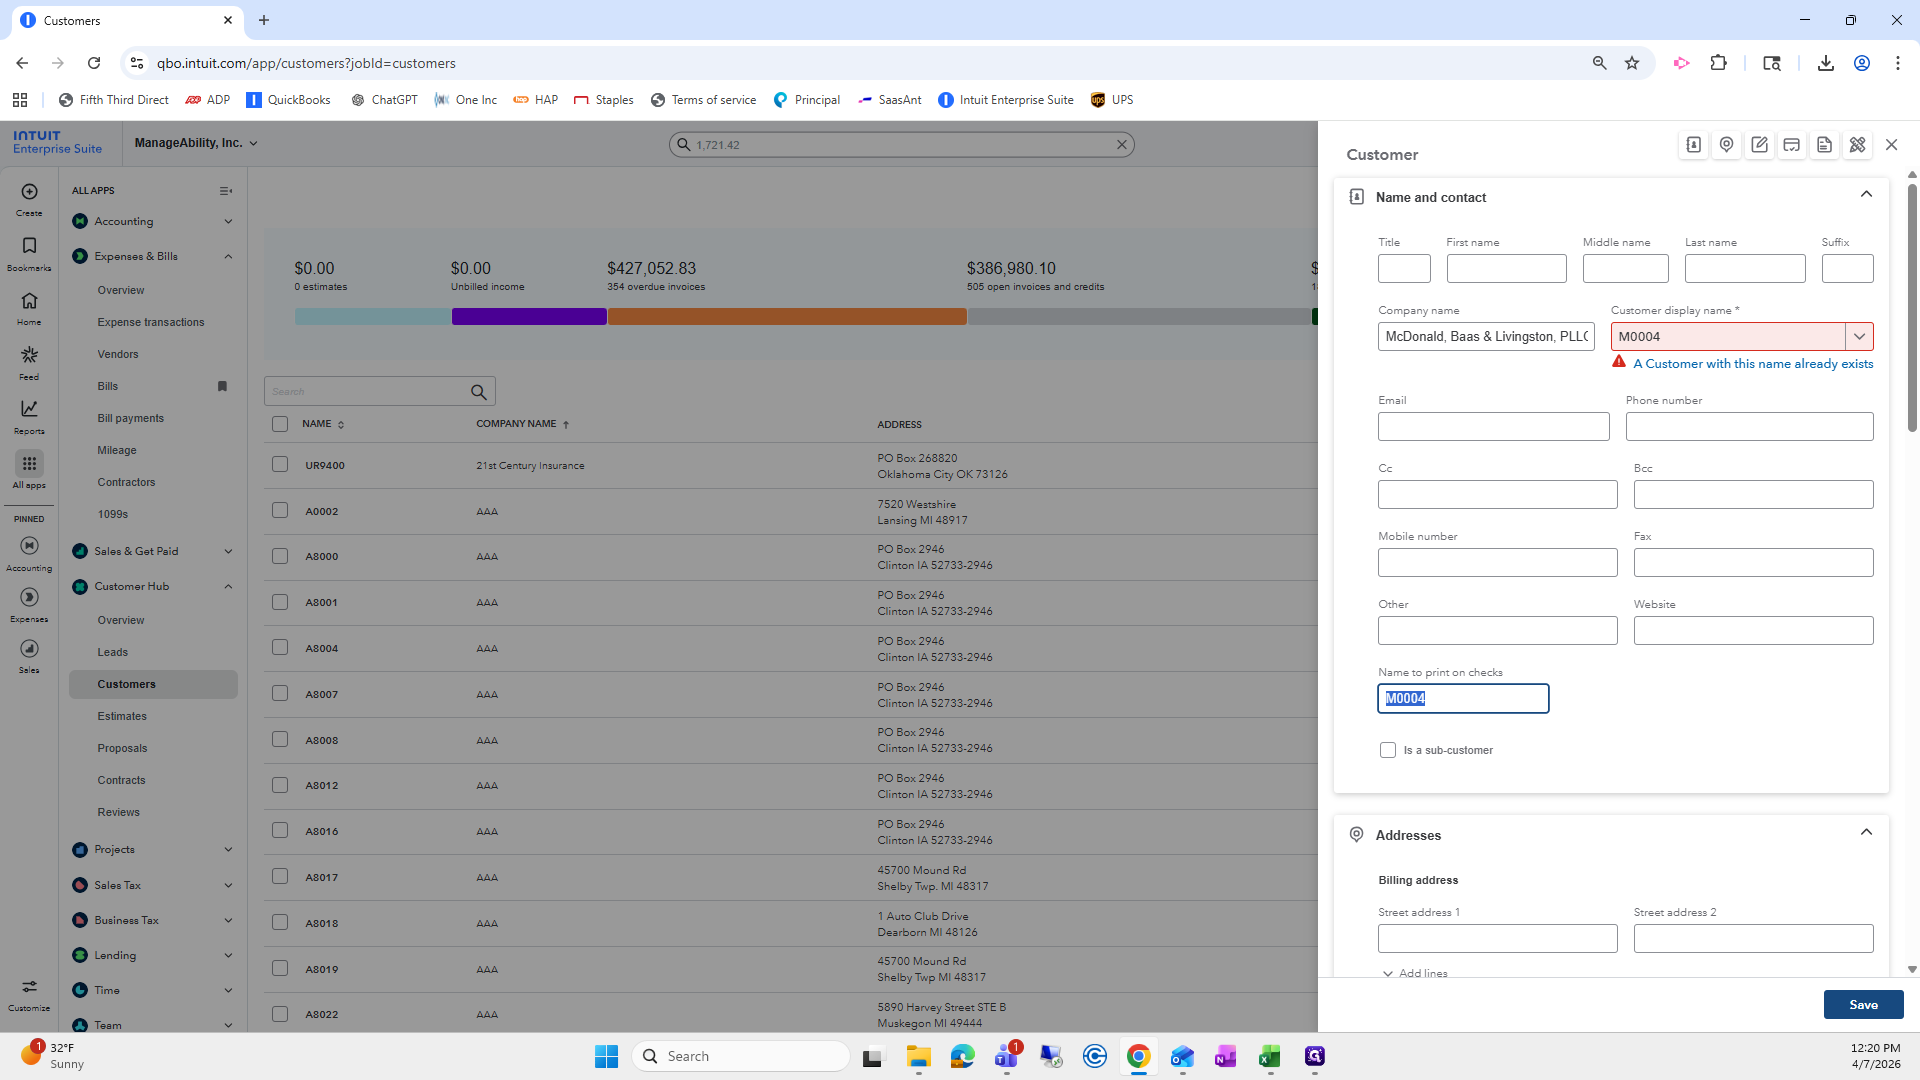
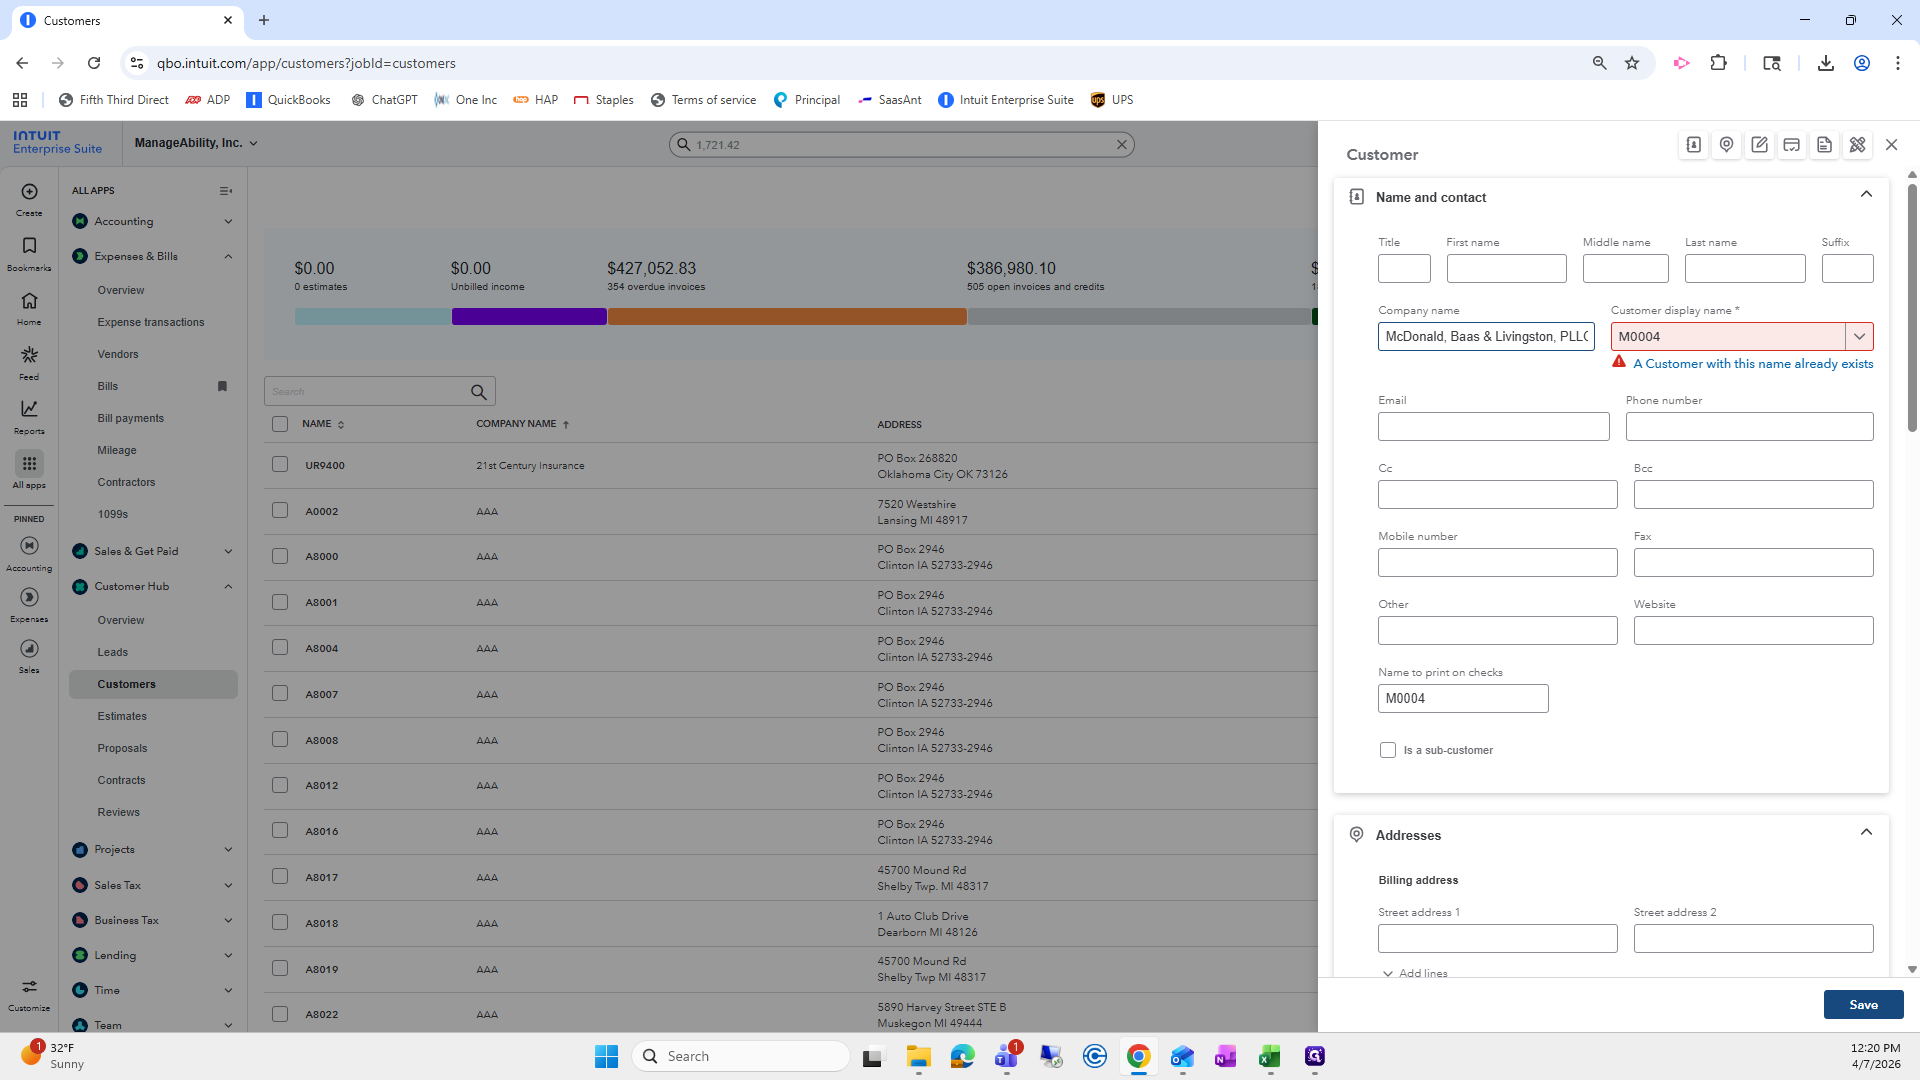
The company name appears here and will be displayed there. You'll just paste it.
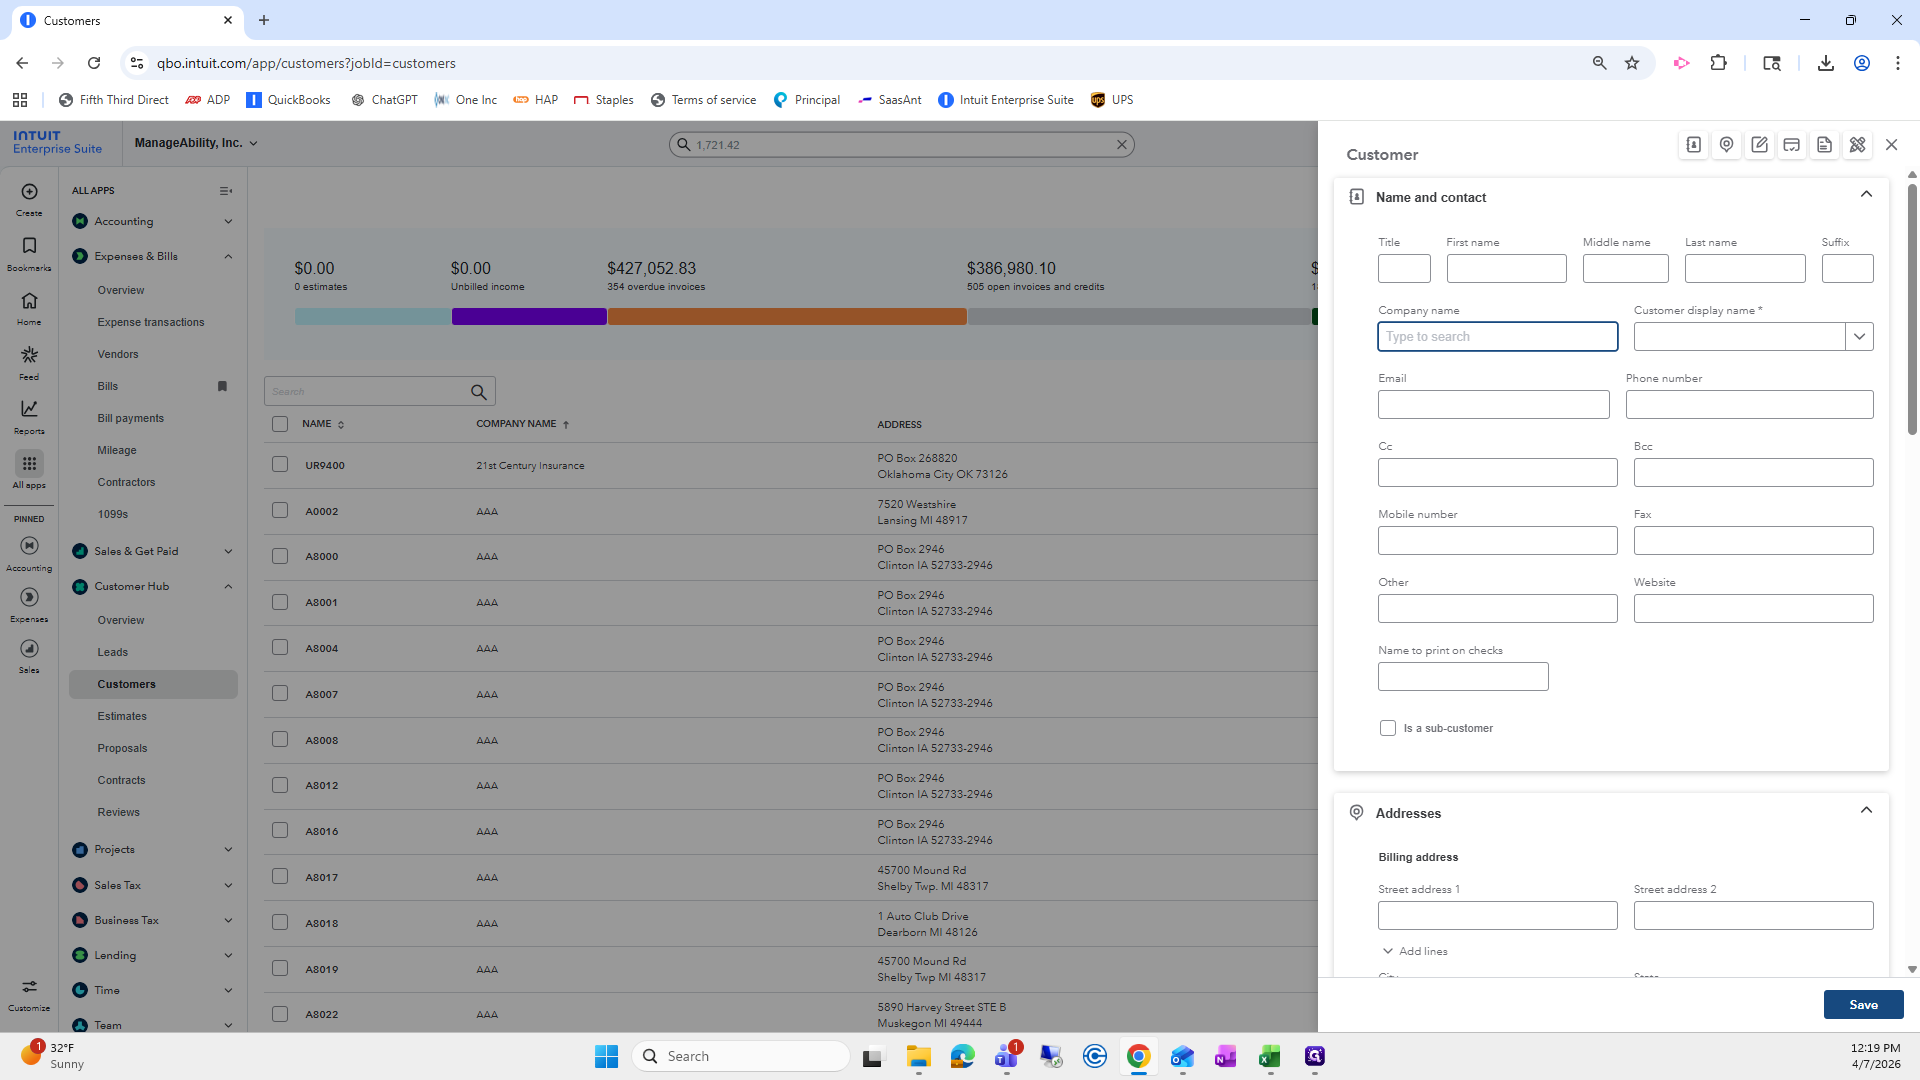
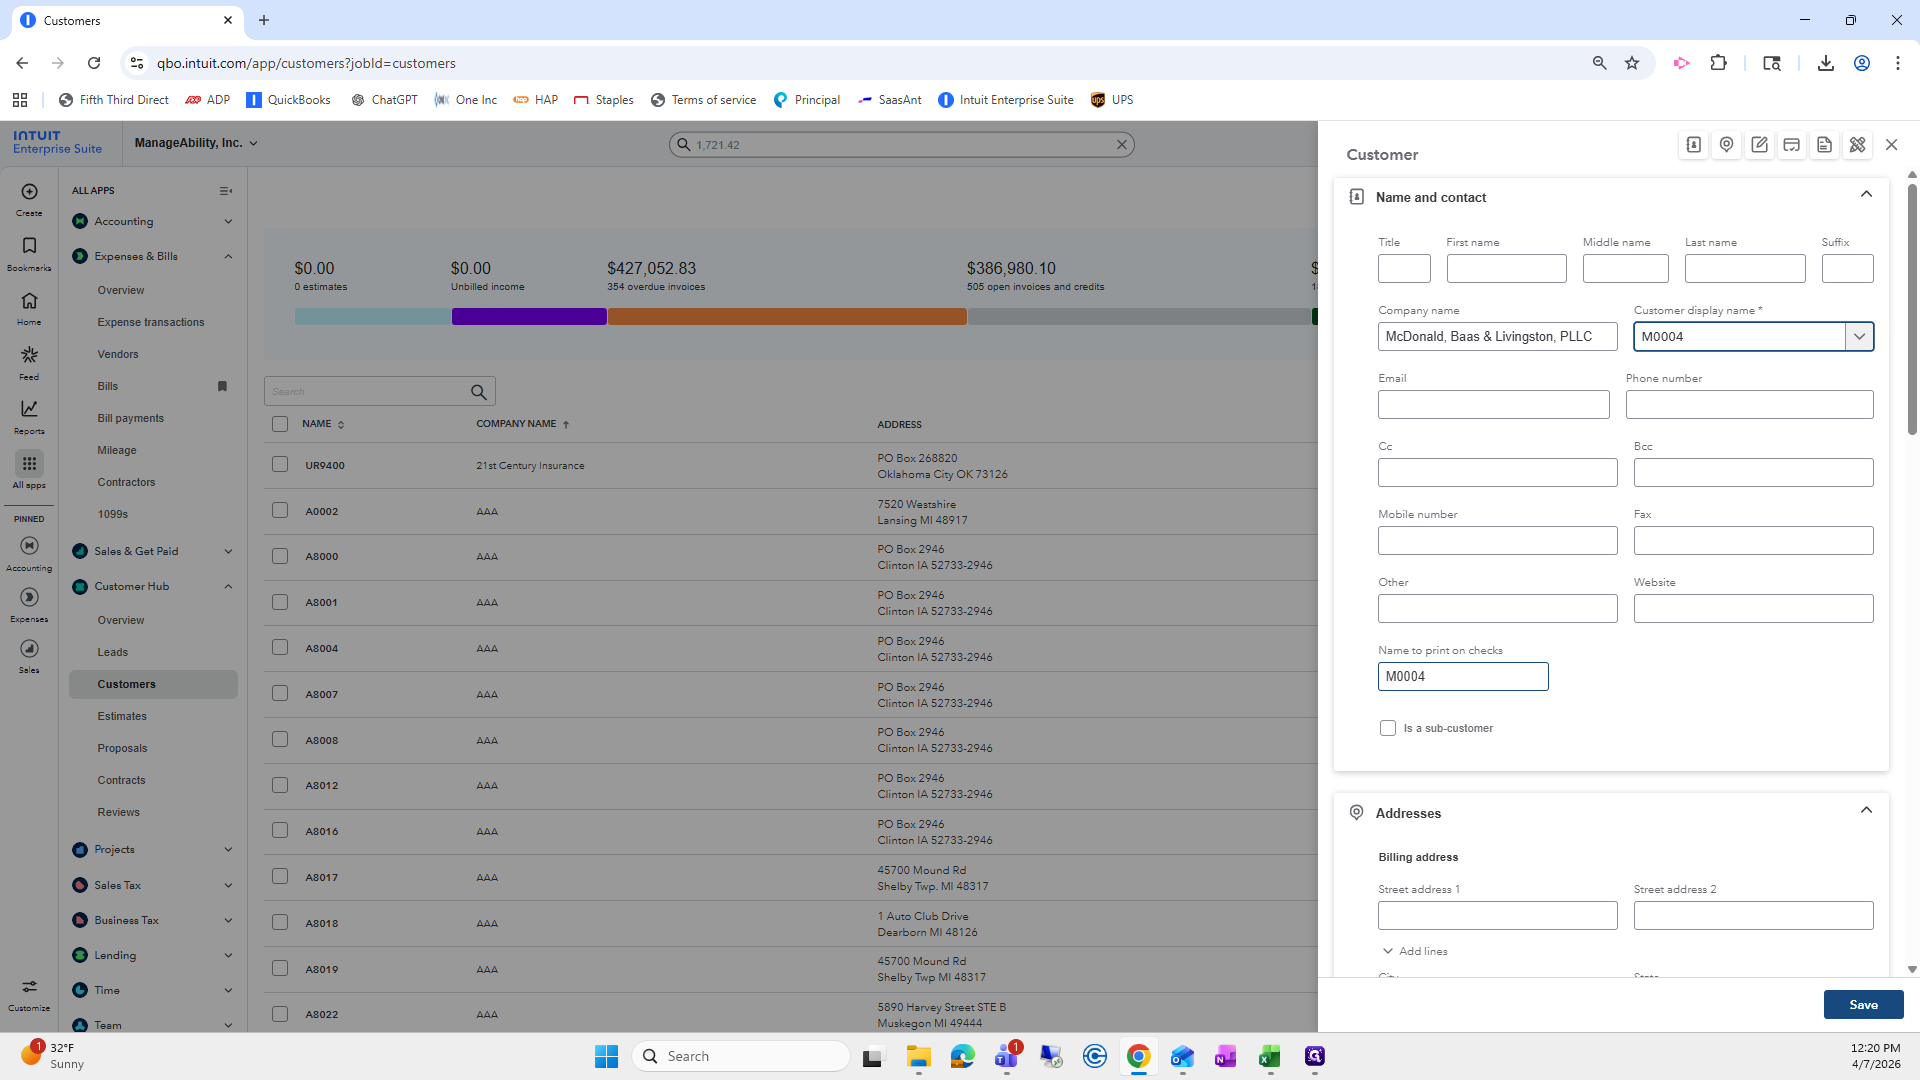
Company display name is this name here. It needs to be the actual customer number, which was M-0004.
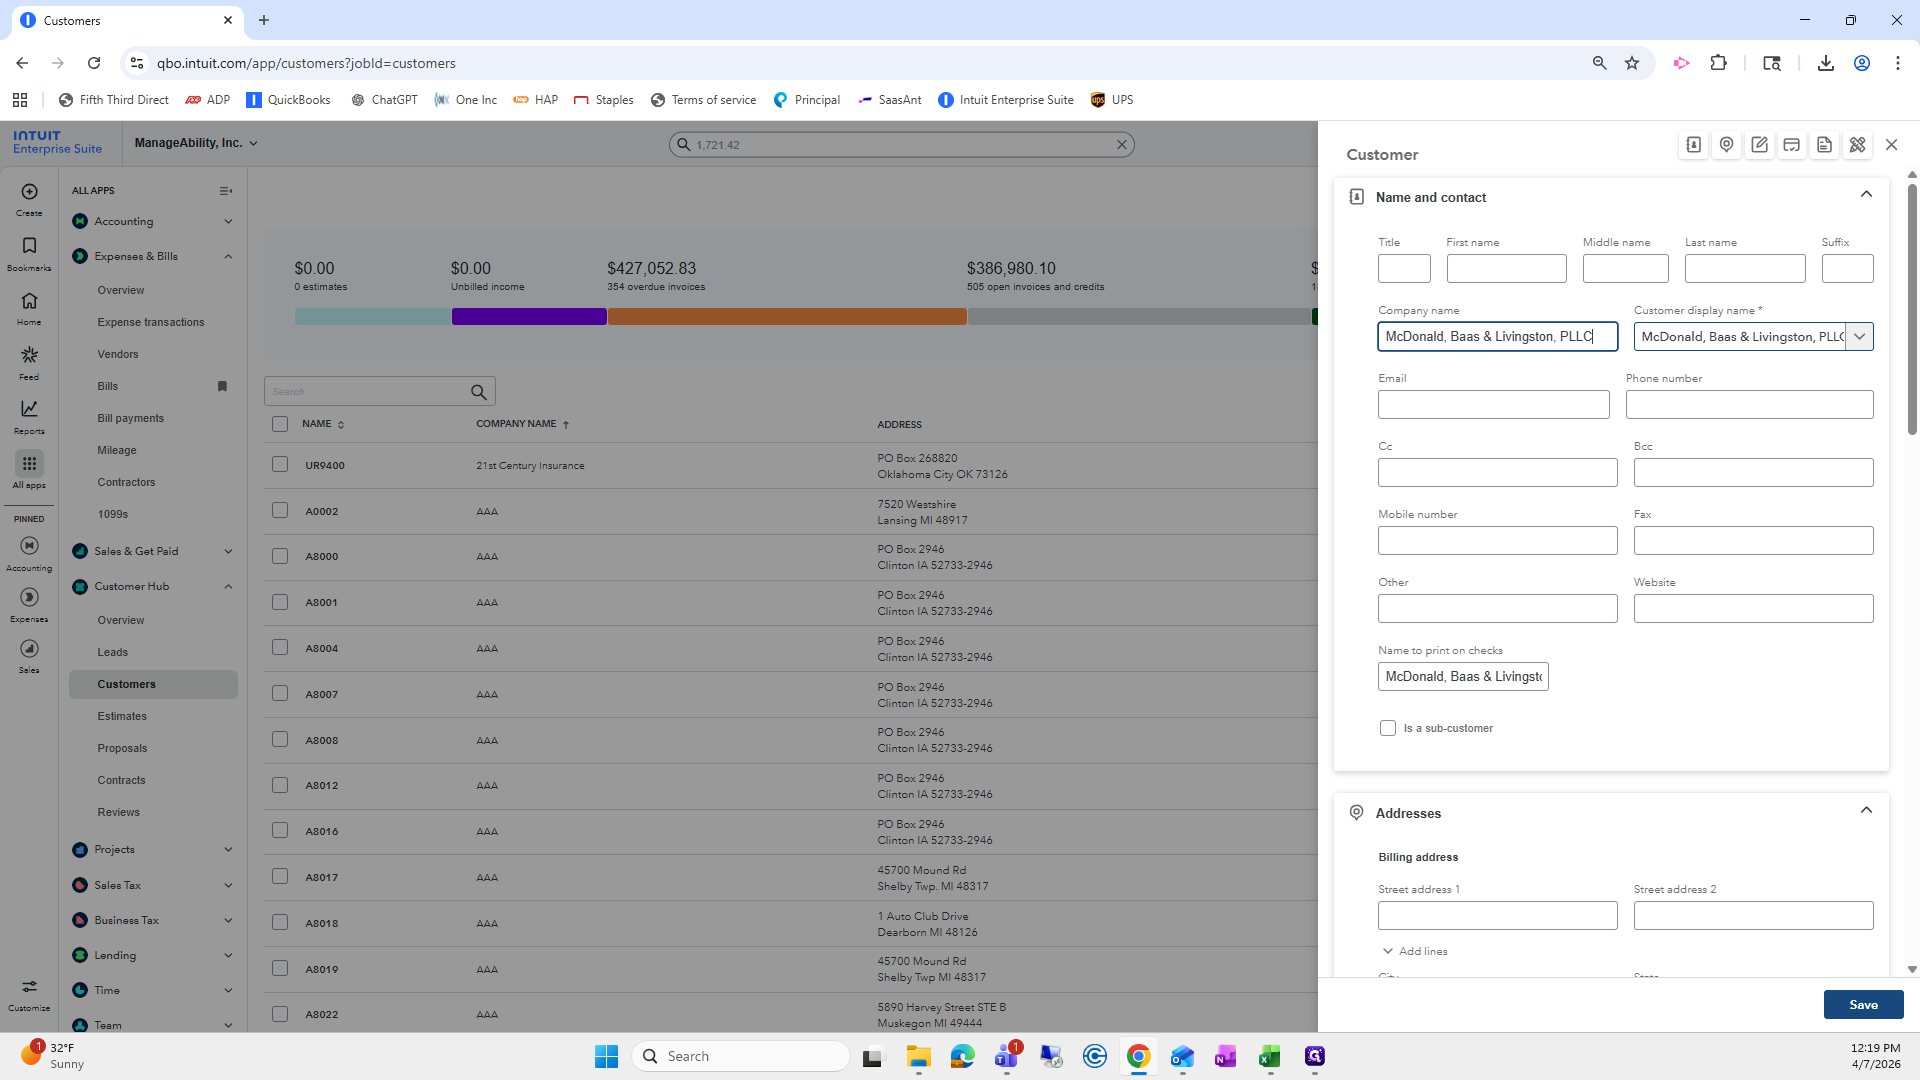
It will automatically update the print on checks.
I will copy and paste the company name here.
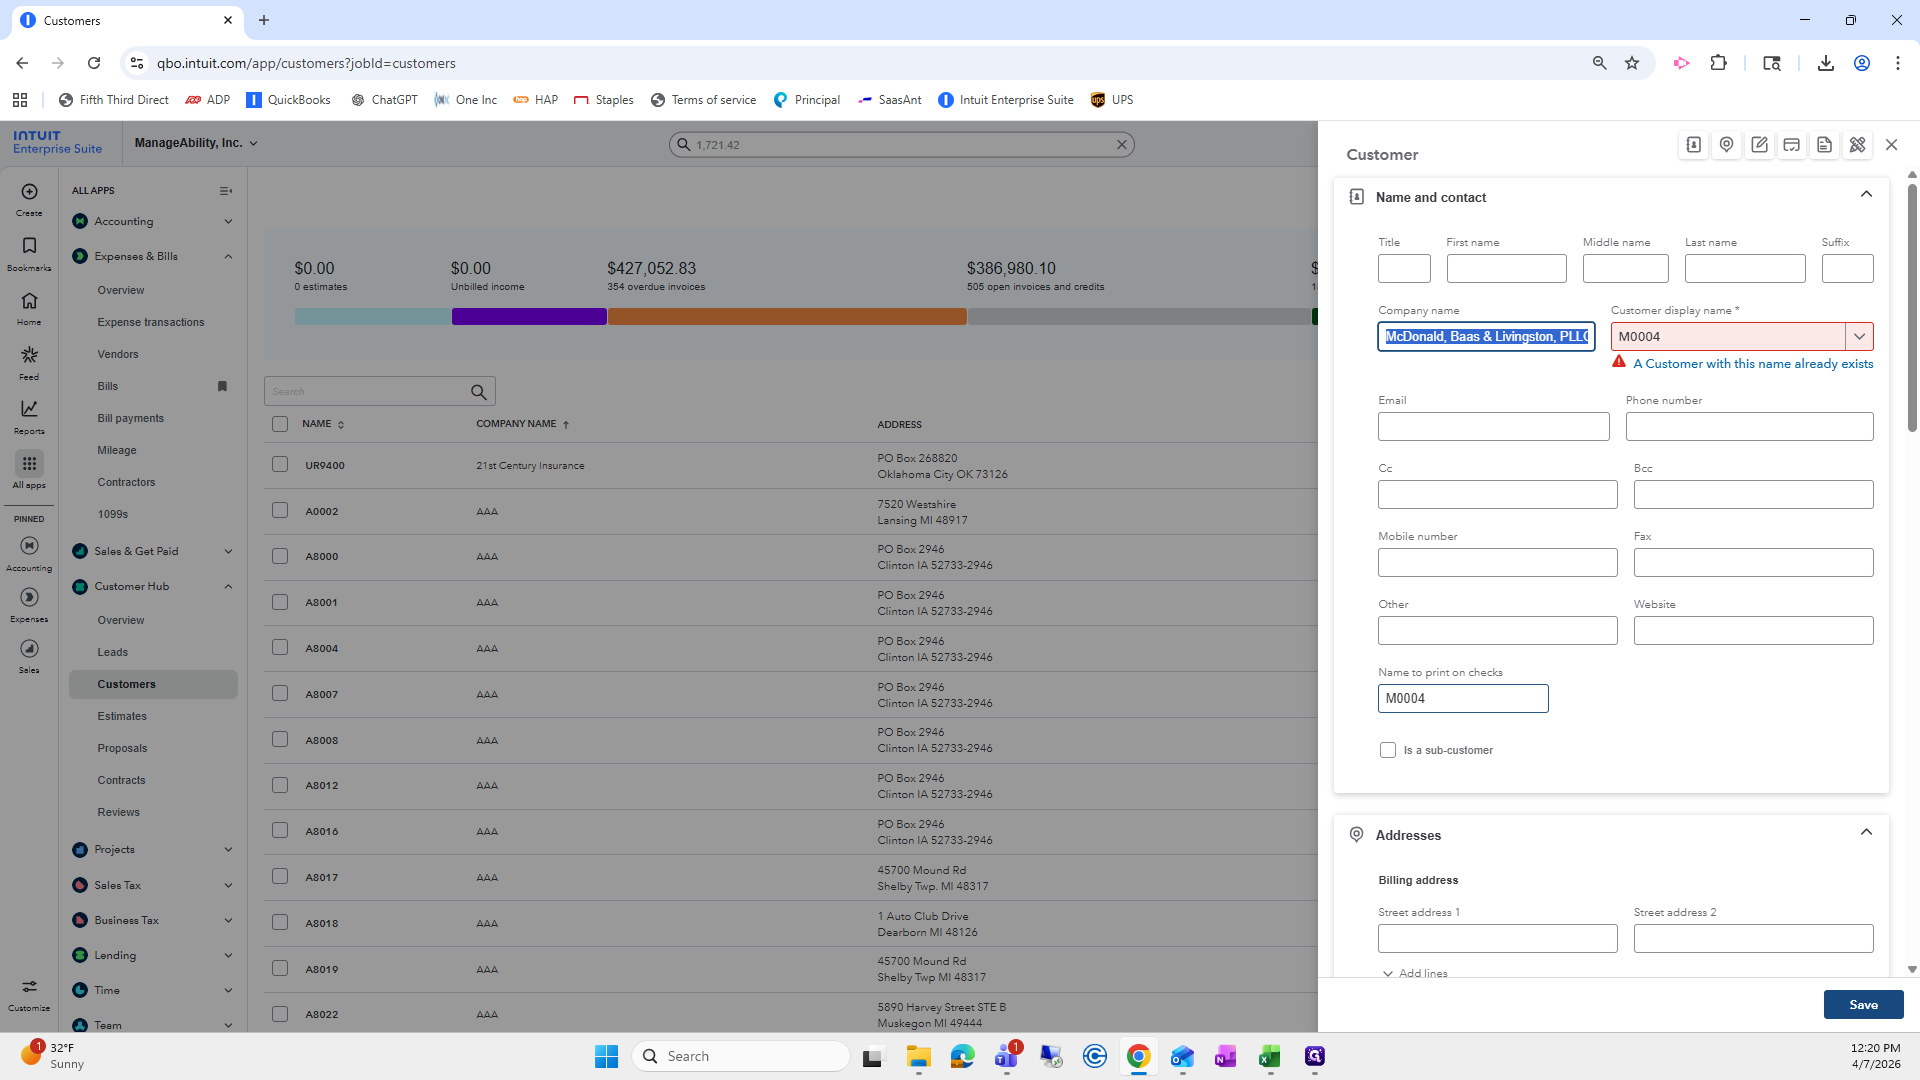

Sometimes you may receive information such as an email or address here. In this case...
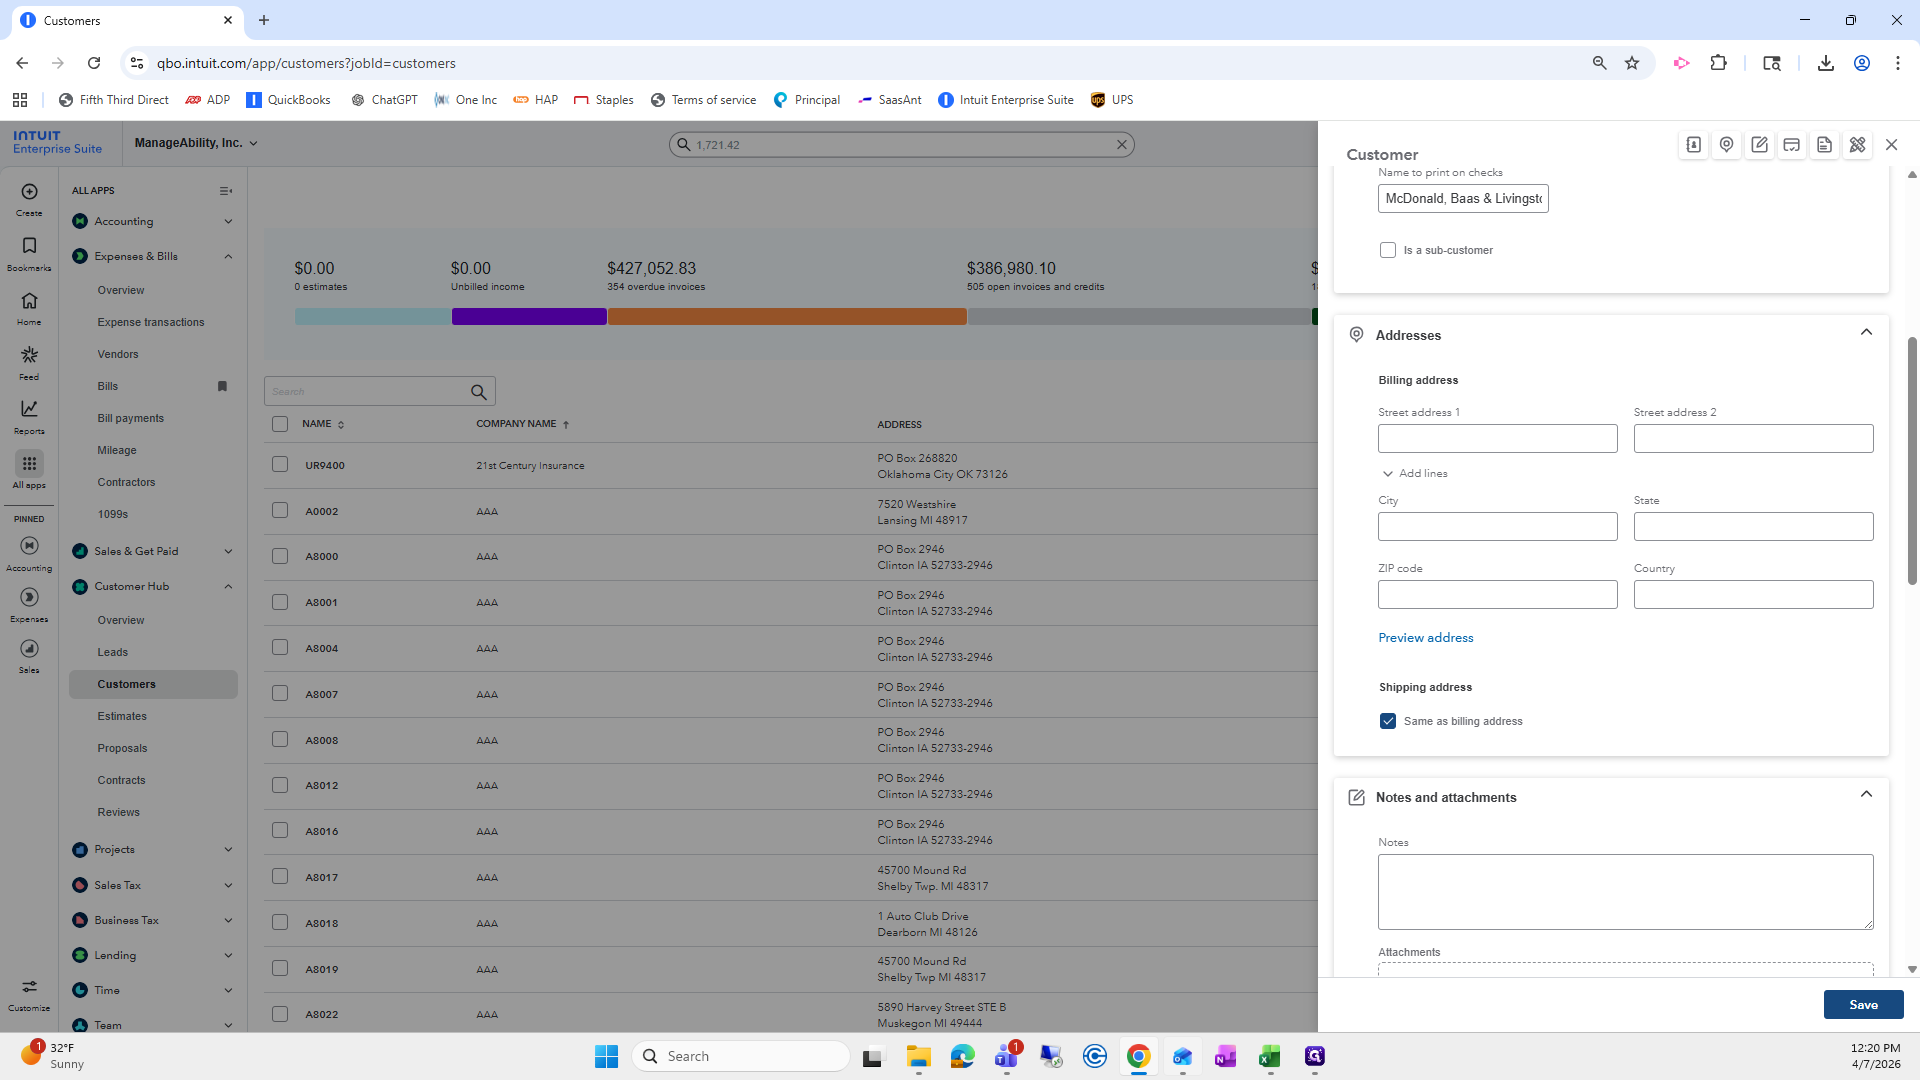
I will scroll down.

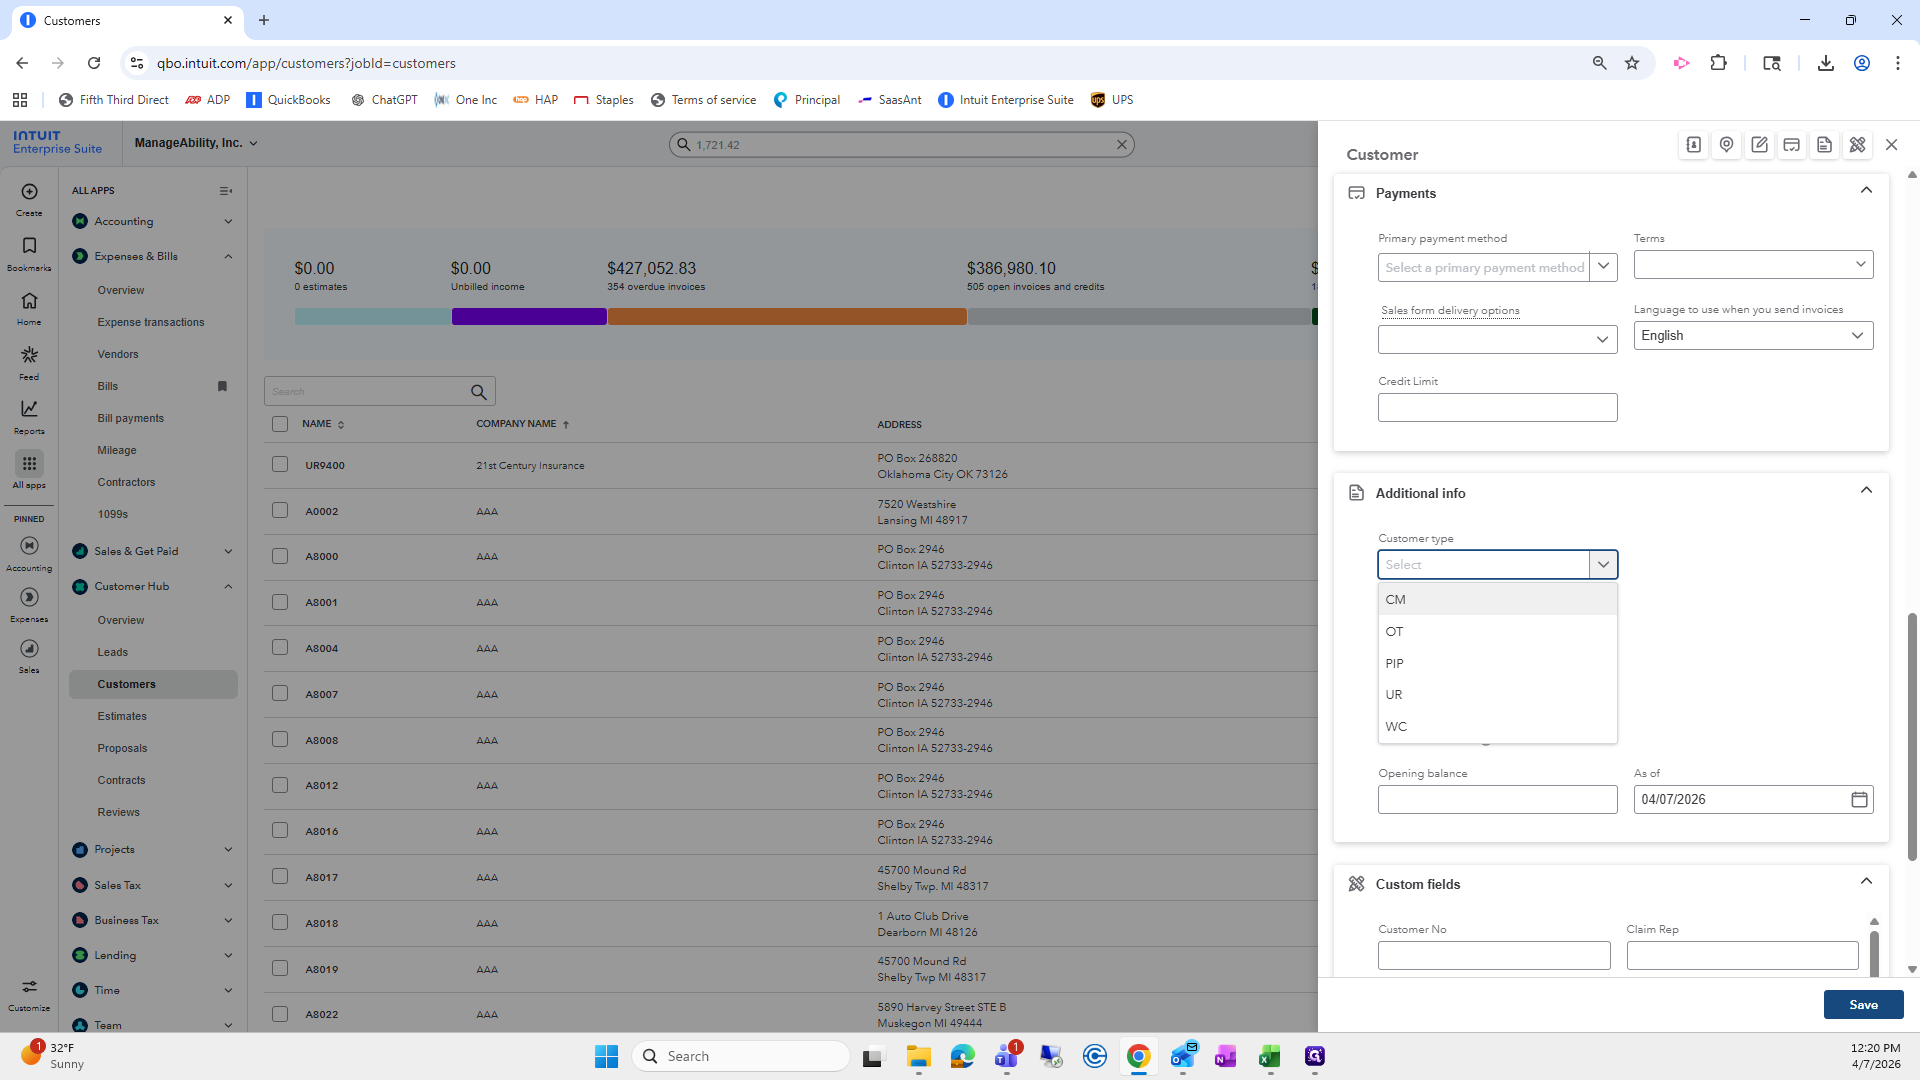
Gail has said it is group code CM, which stands for Case Management, the customer type.

Do not forget this part because we use it for many different reasons.
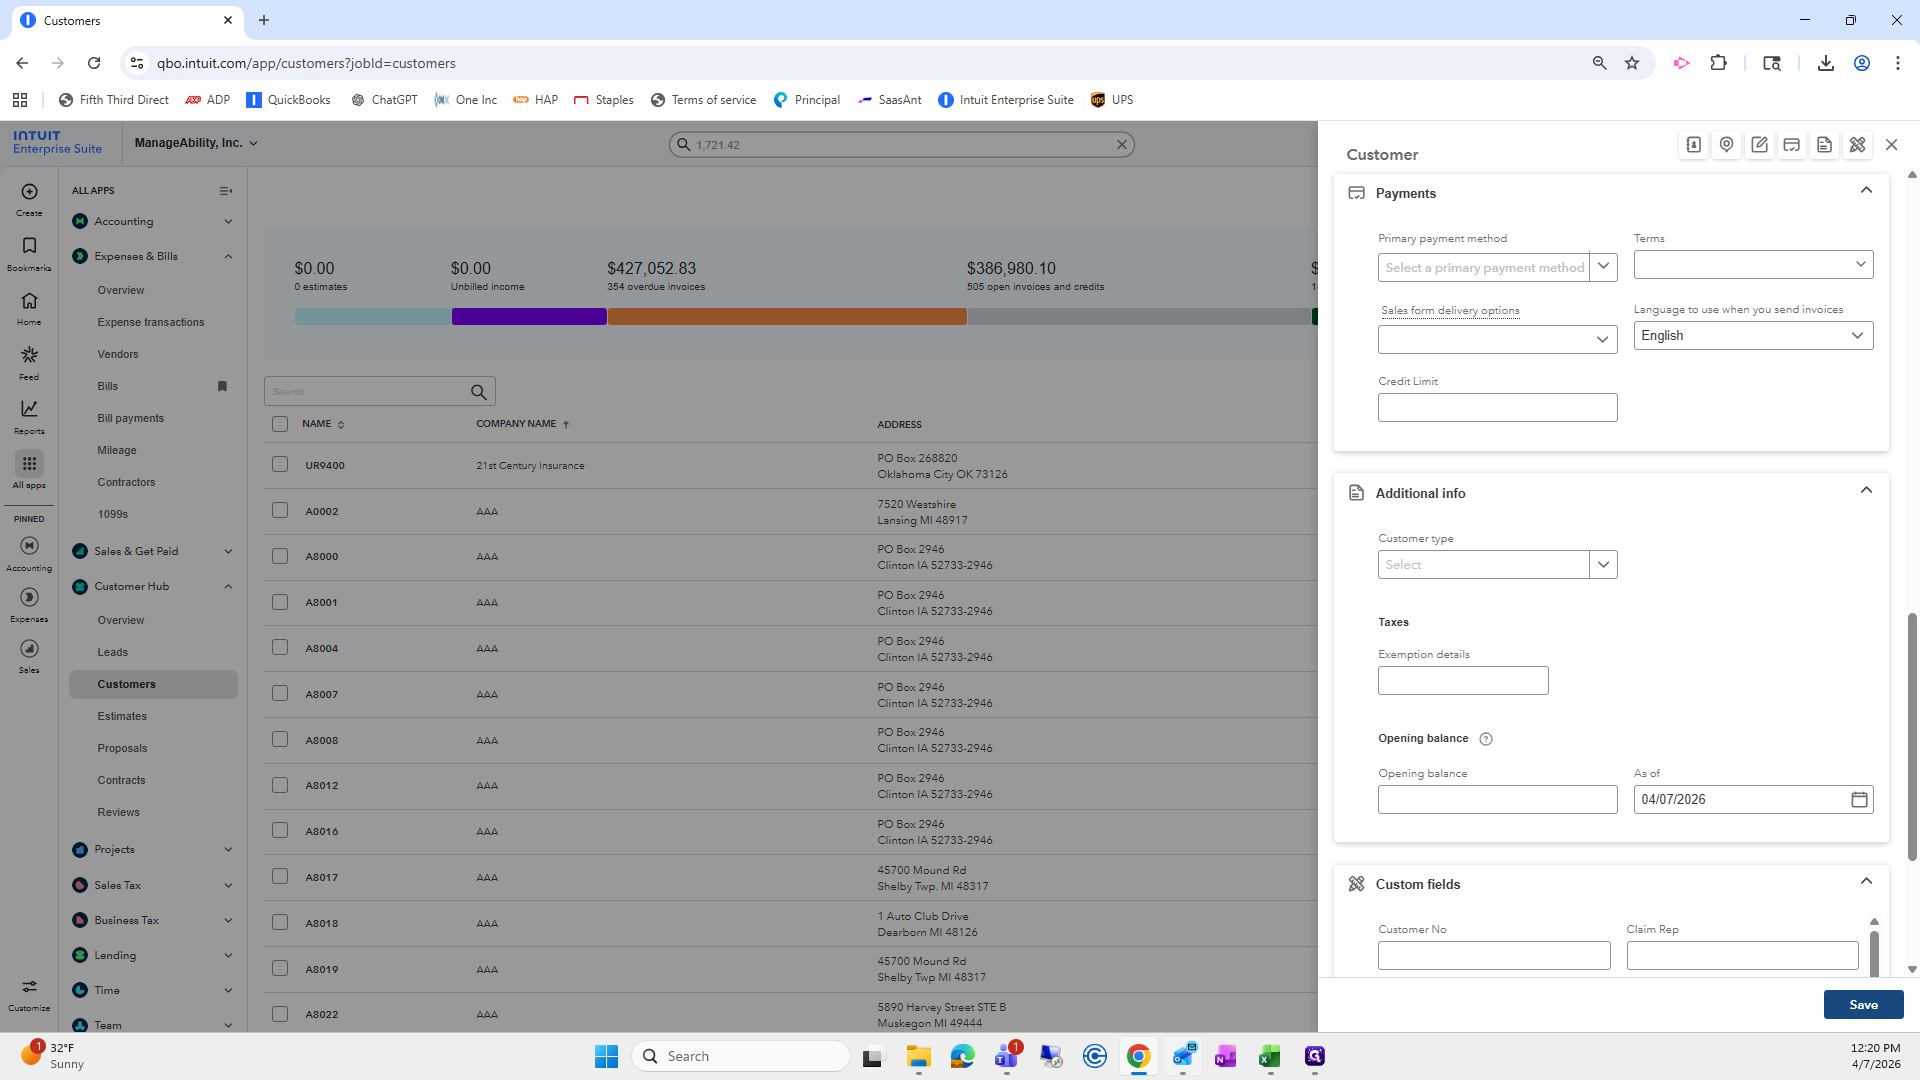

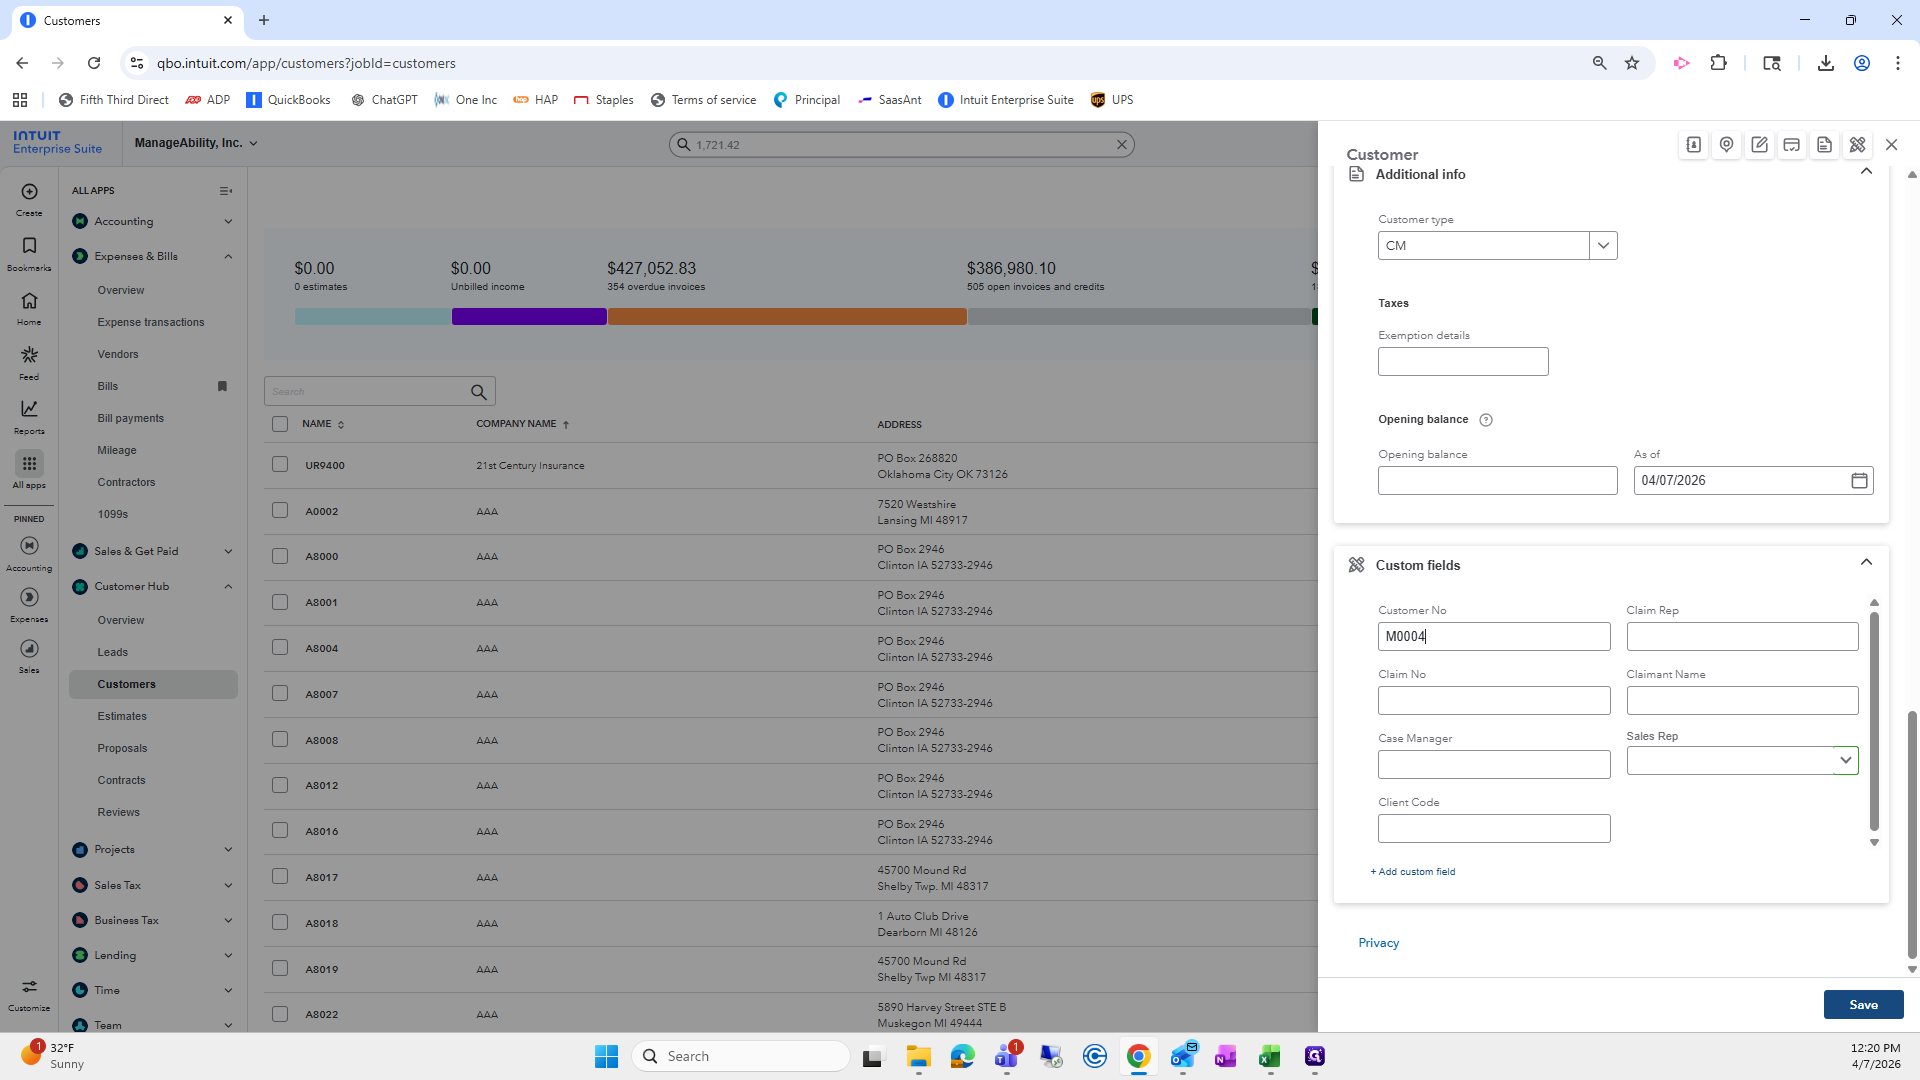
Under additional info, customer type is Case Management.

And then, a customer number. I will enter M-0-0-0-4.
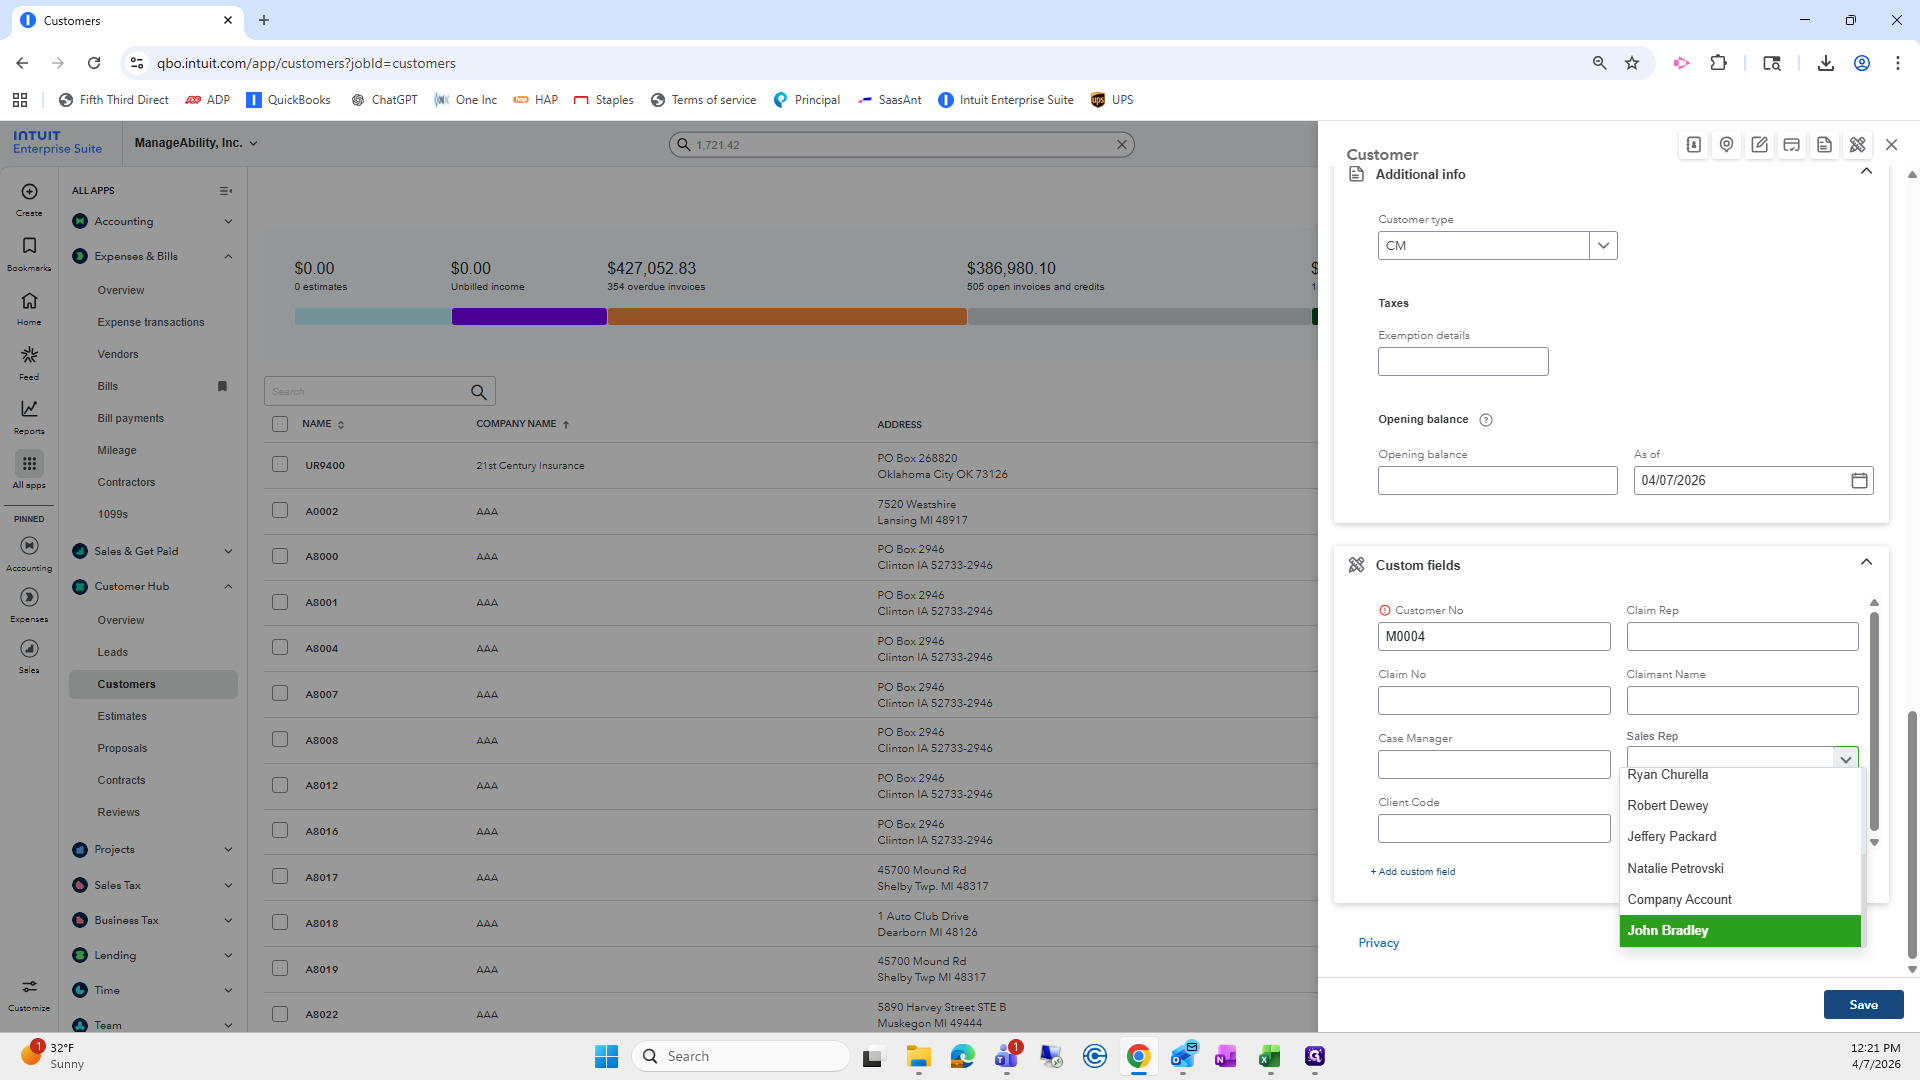
Then, for the sales rep, there is a dropdown.


We will choose John Bradley. Then click Save.
Since it's already there, I won't click Save.

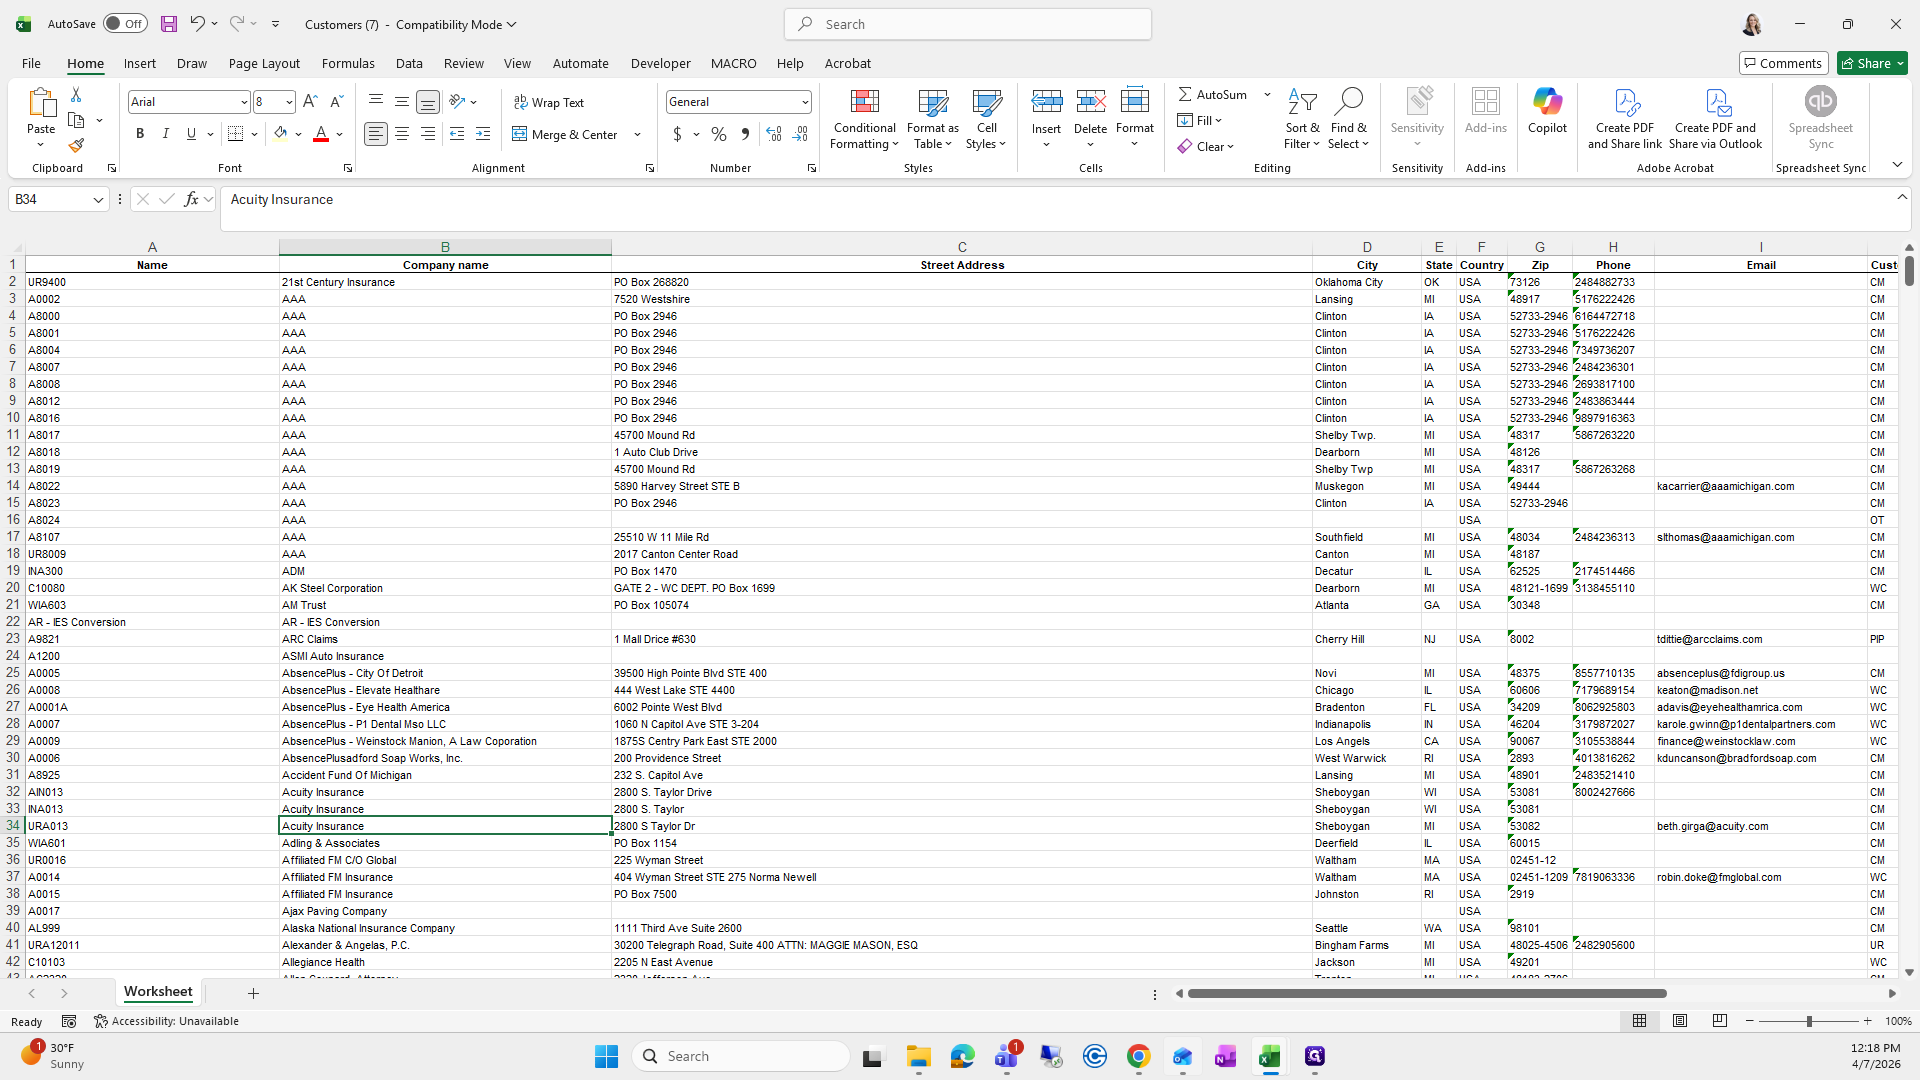
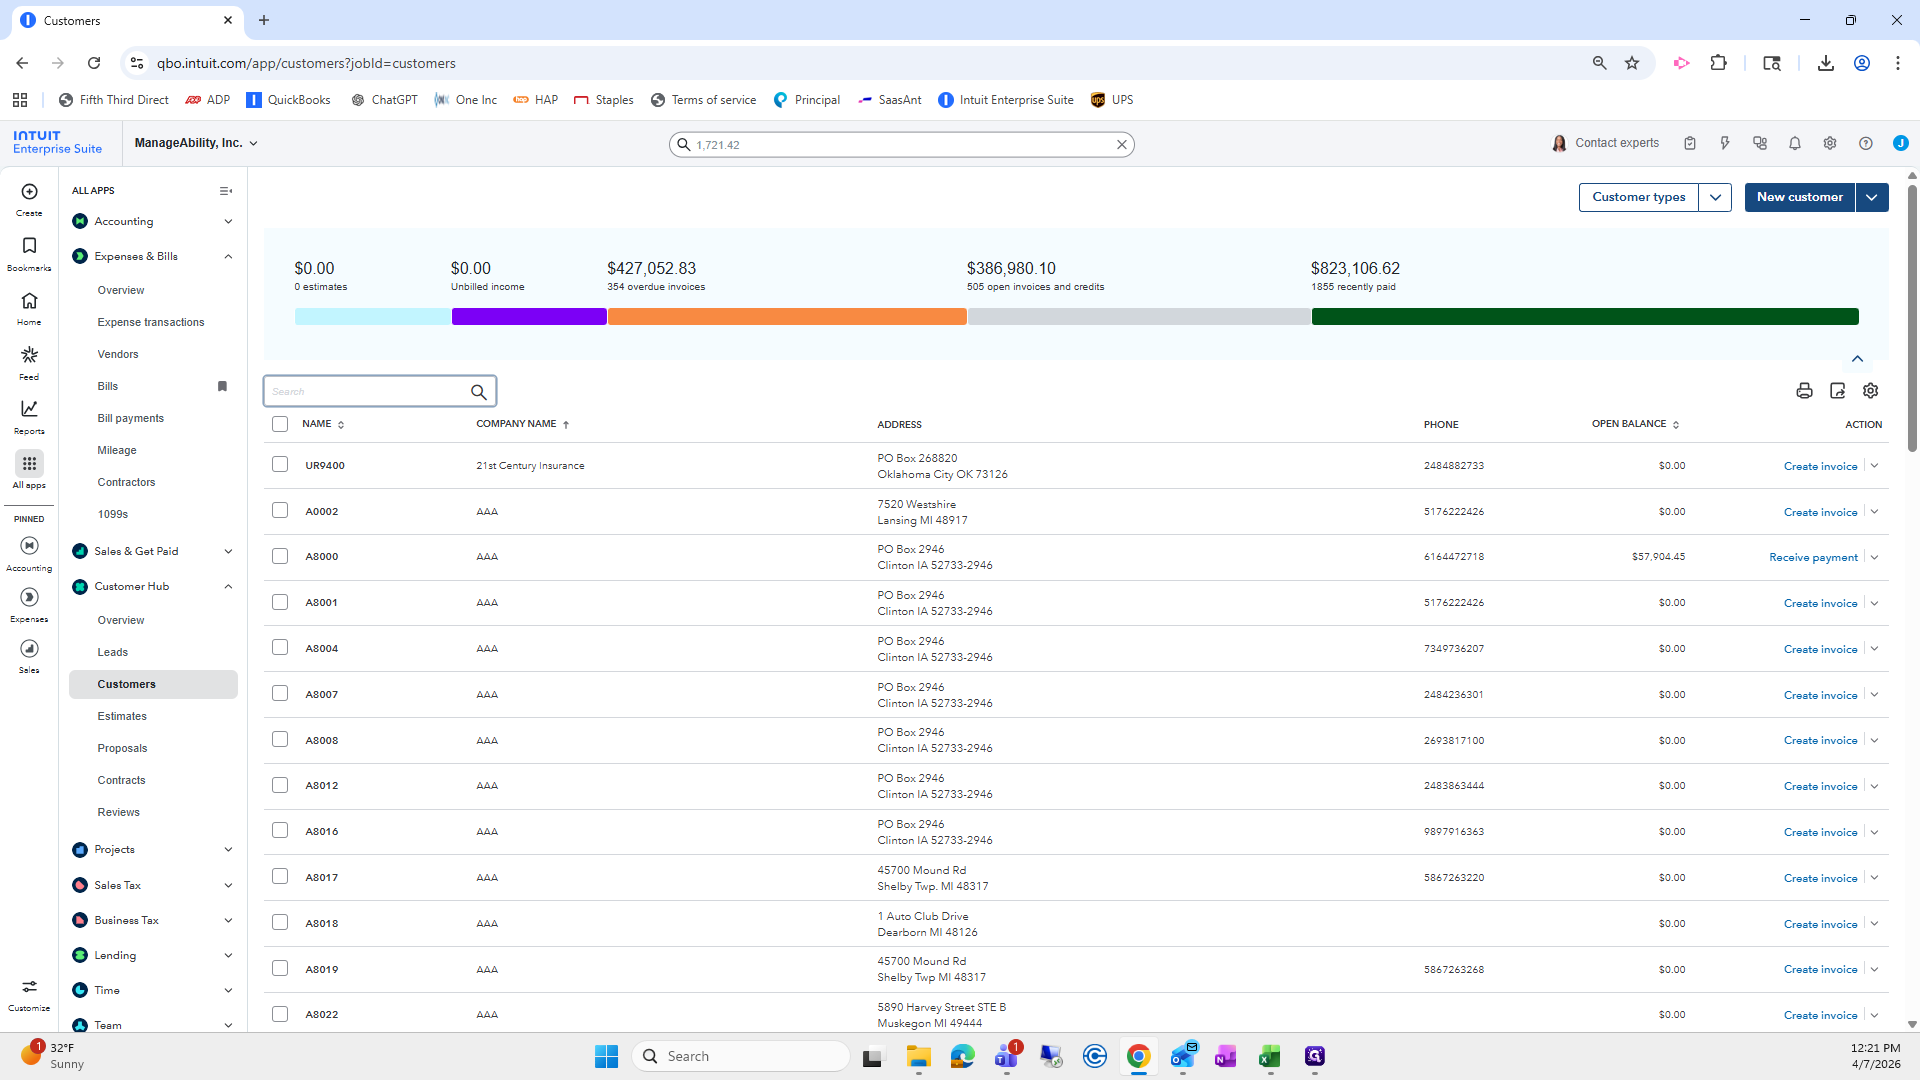
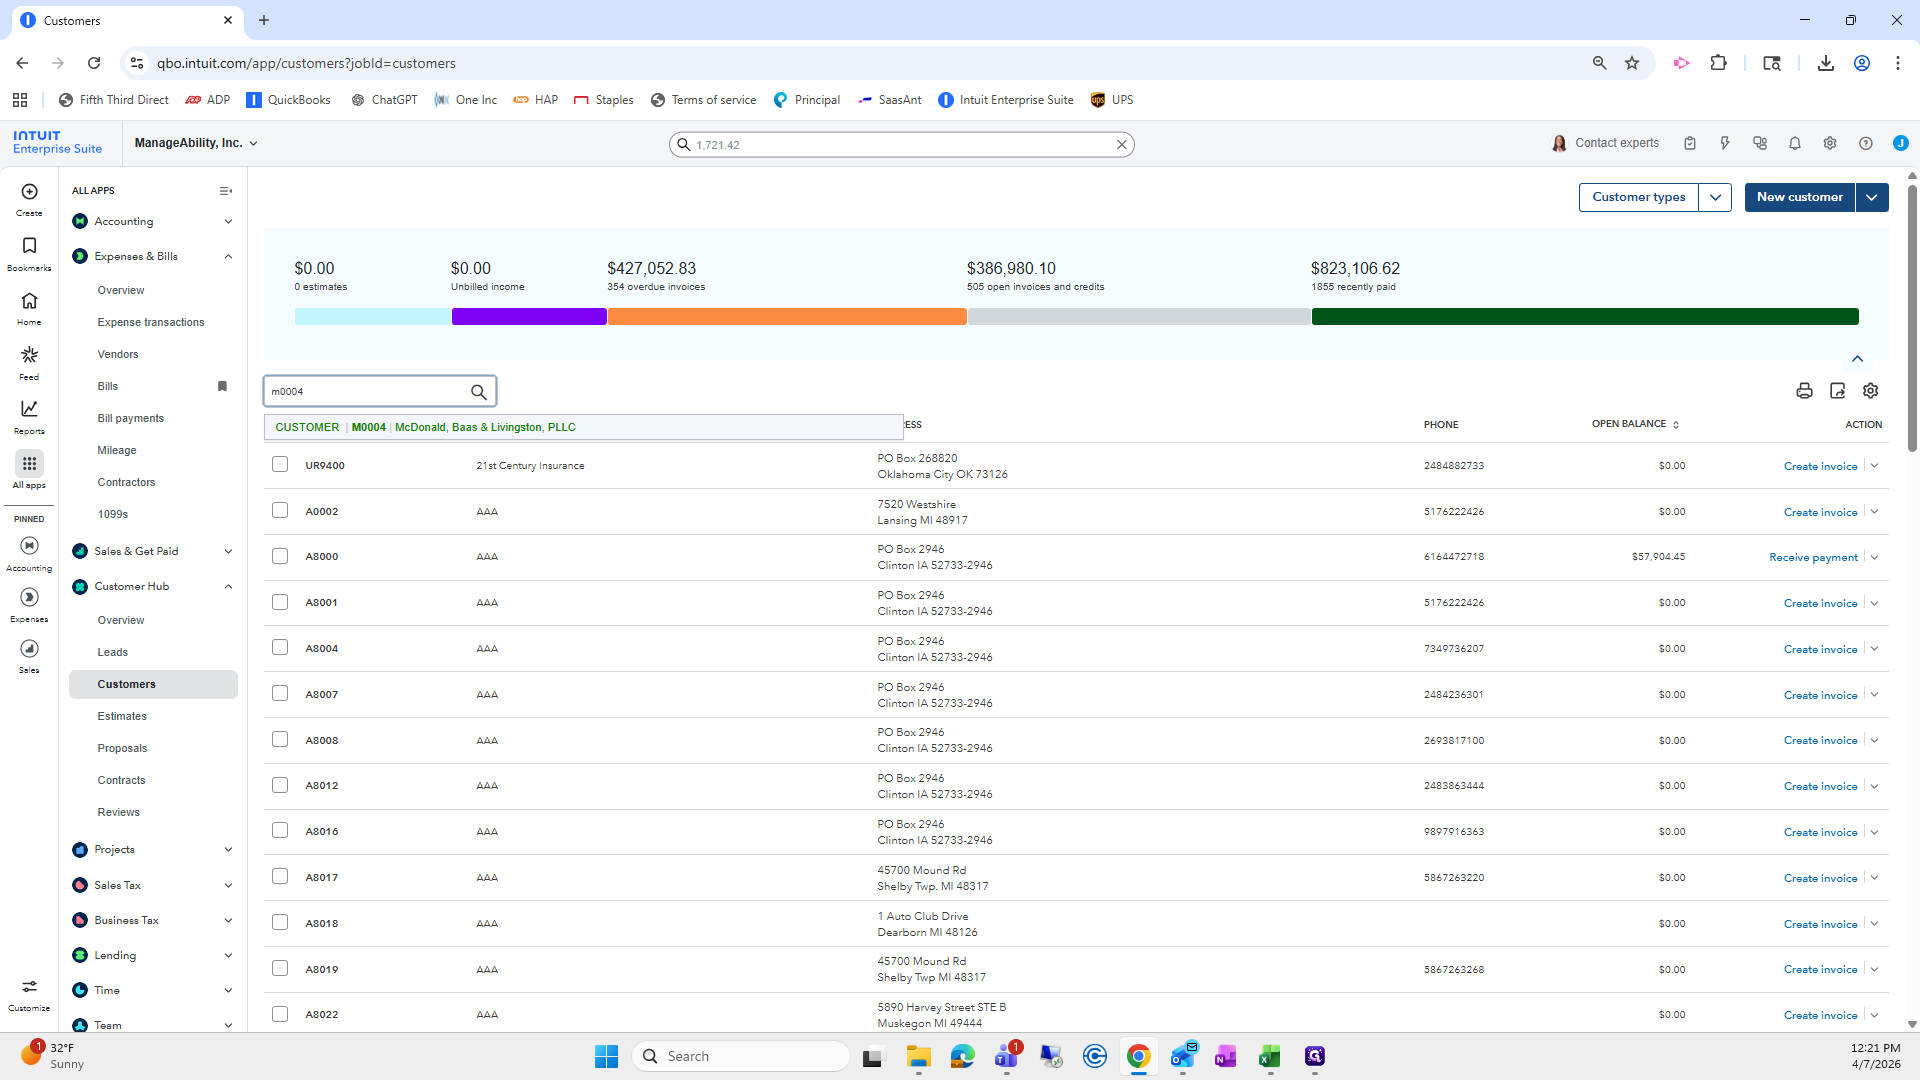
I will quickly search for this customer.


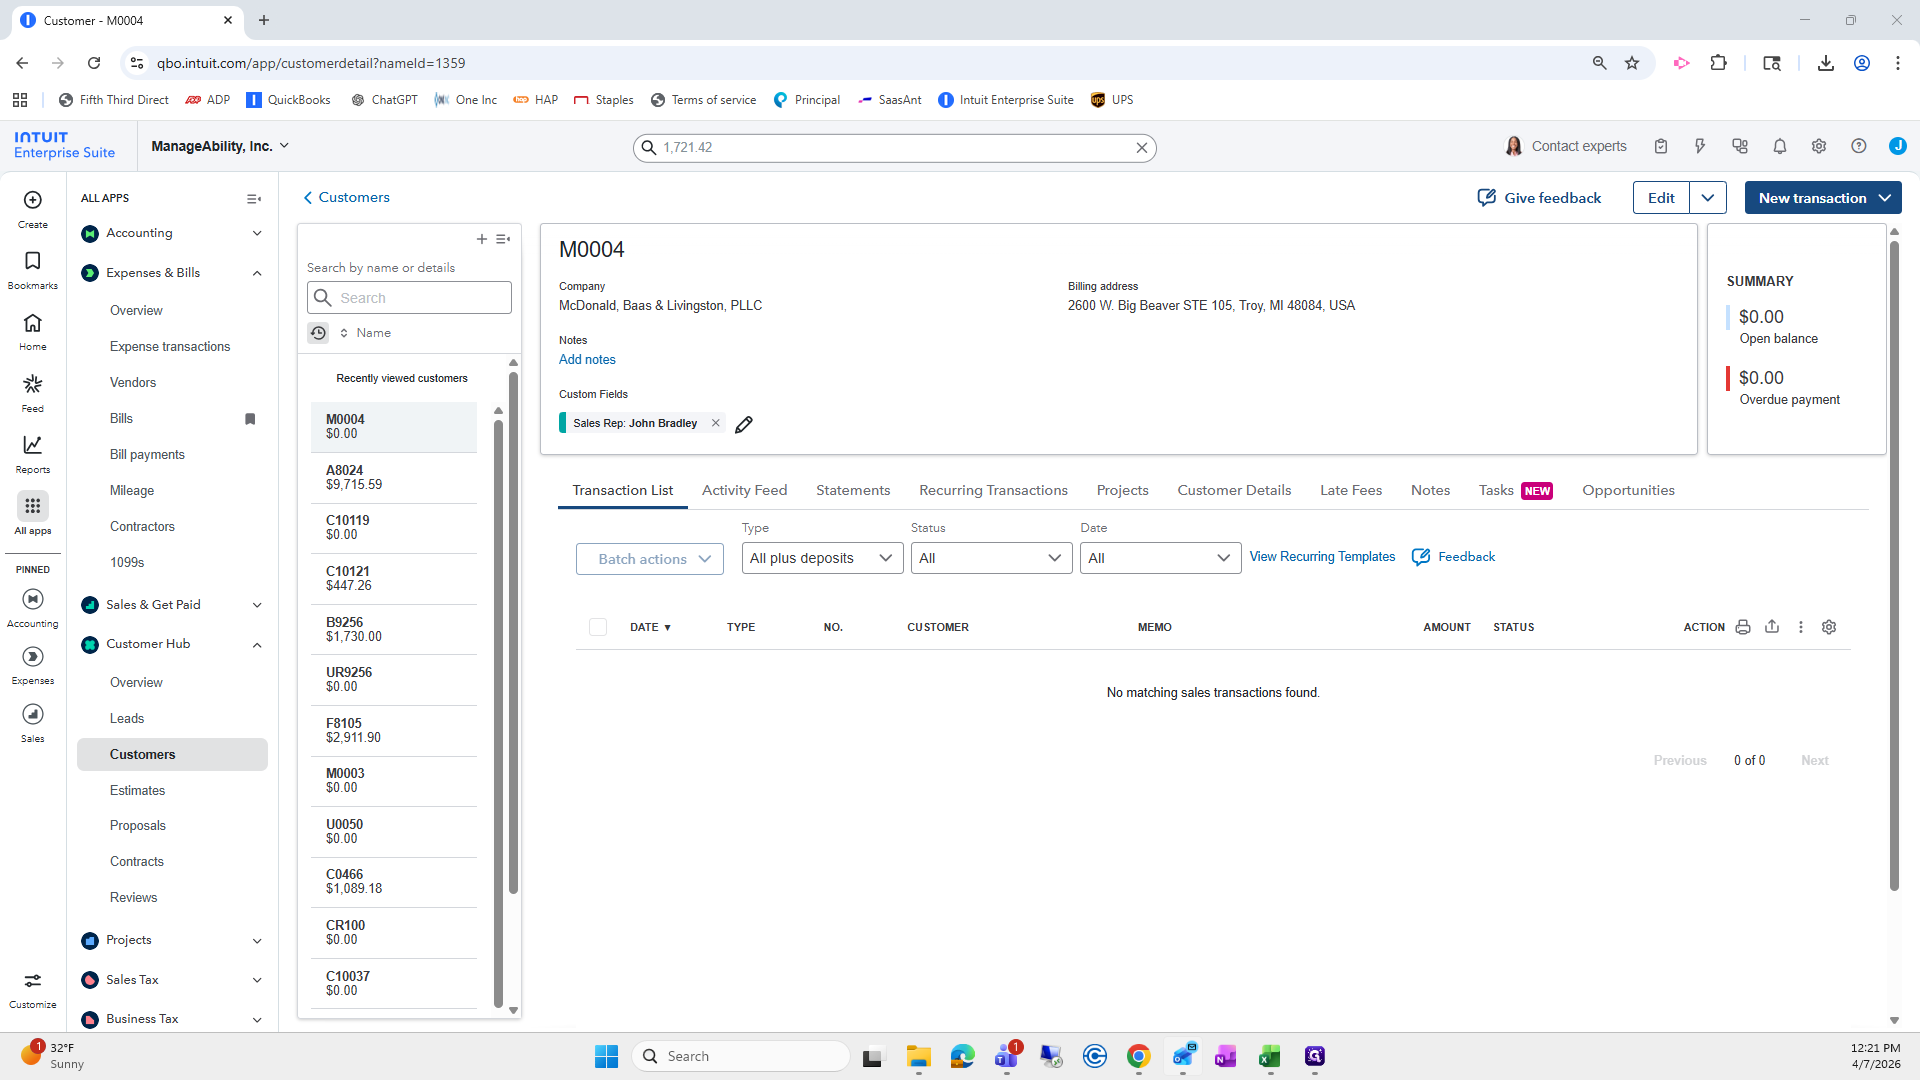
After you click Save, it will appear like this.
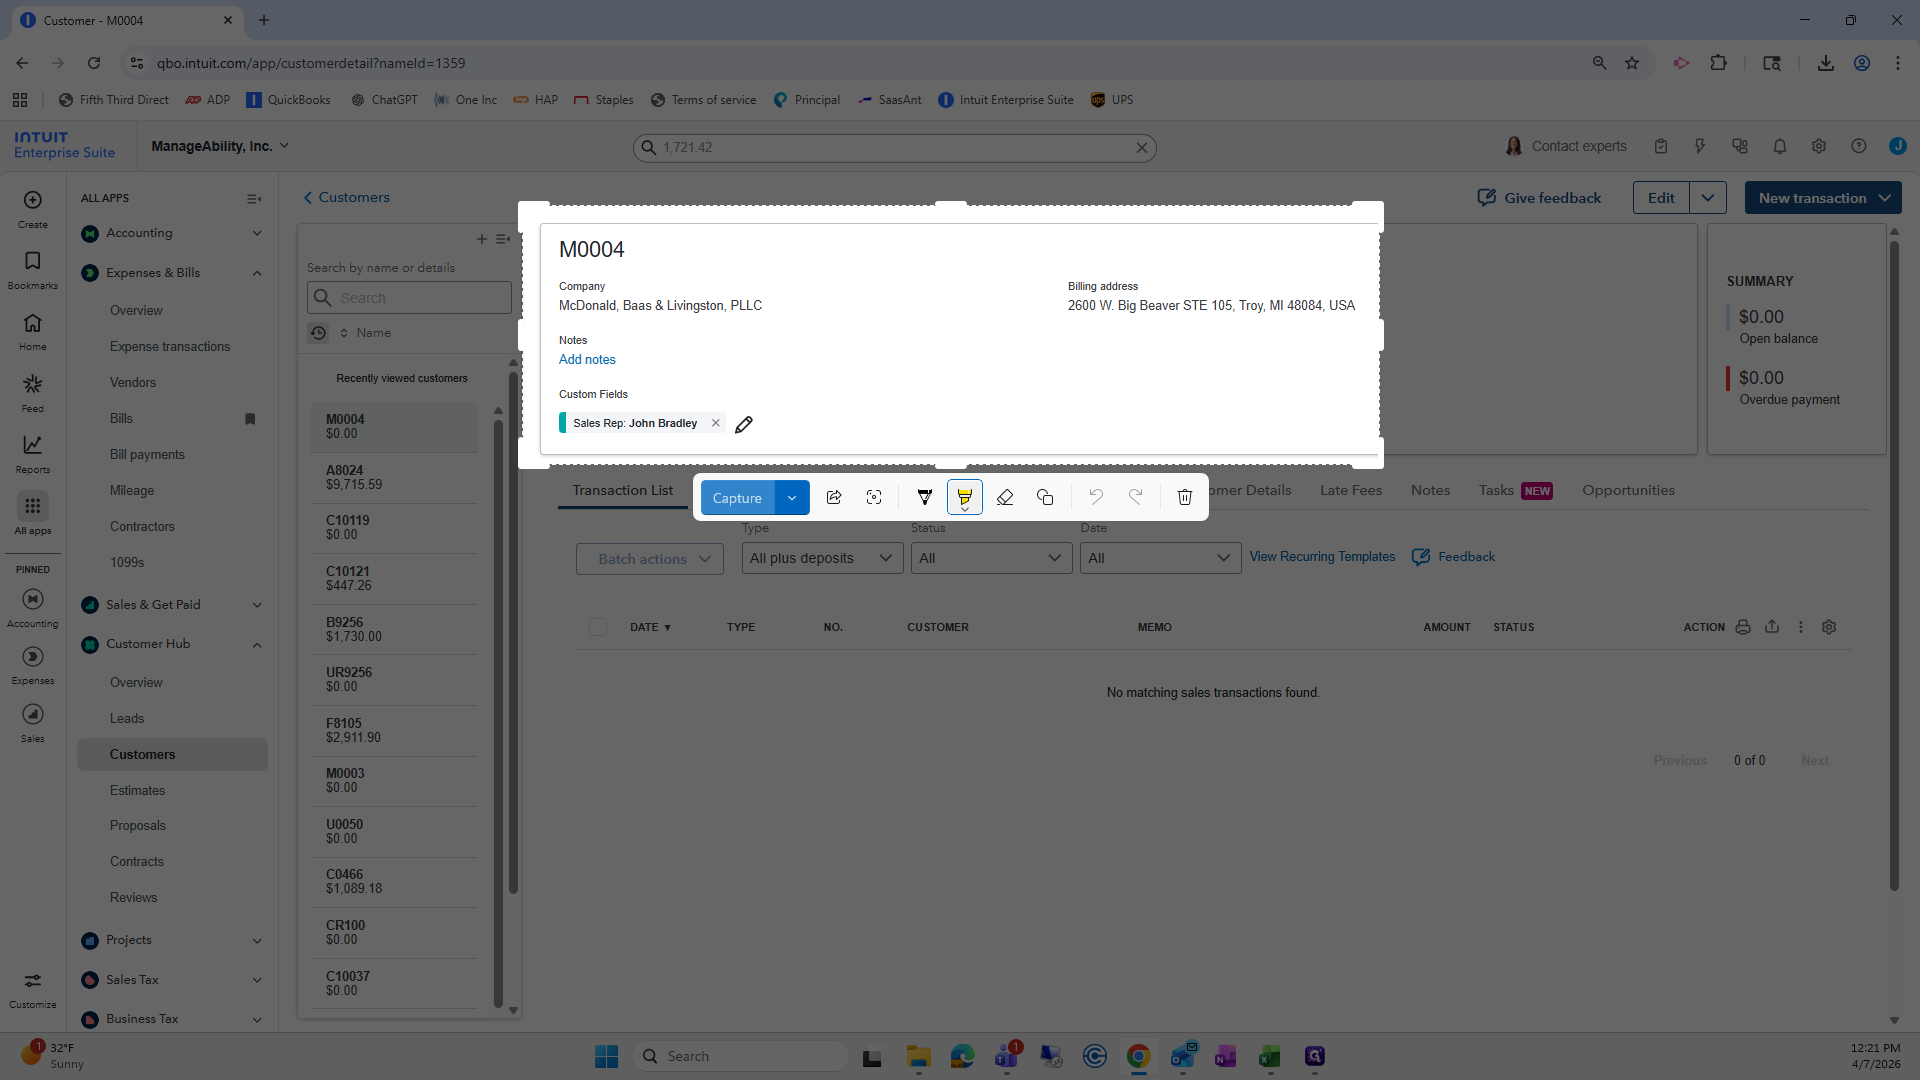
I like to quickly take a screenshot and capture it.
In my email, as I did here, I'll inform her that the customer was created and attach the screenshot.
That's all you need to do. For Marcy, she mainly codes. Let's see. Marcy is mainly used for customer codes.
I will stop this video and start a new one for customer codes.