
How to Create a New Employer as an Agent on Zorro
Learn the step-by-step process for agents to create a new employer on Zorro, including filling out mandatory fields, setting up contacts, and completing the company setup.
In this guide, we'll learn how to create a new employer as an agent. This process occurs after the client has signed the service agreement with you and Zorro. By filling out the mandatory fields, you can save the client time.
You'll also learn about the different types of contacts in Zorro and their roles. While some steps are specific to the client, knowing them can help you assist more effectively.
Finally, we'll cover the Zorro setup part, which is mandatory for you, including selecting relevant enrollment teams and setting up the plan year.
Let's get started
Now, I'll explain how to create a new employer as an agent.
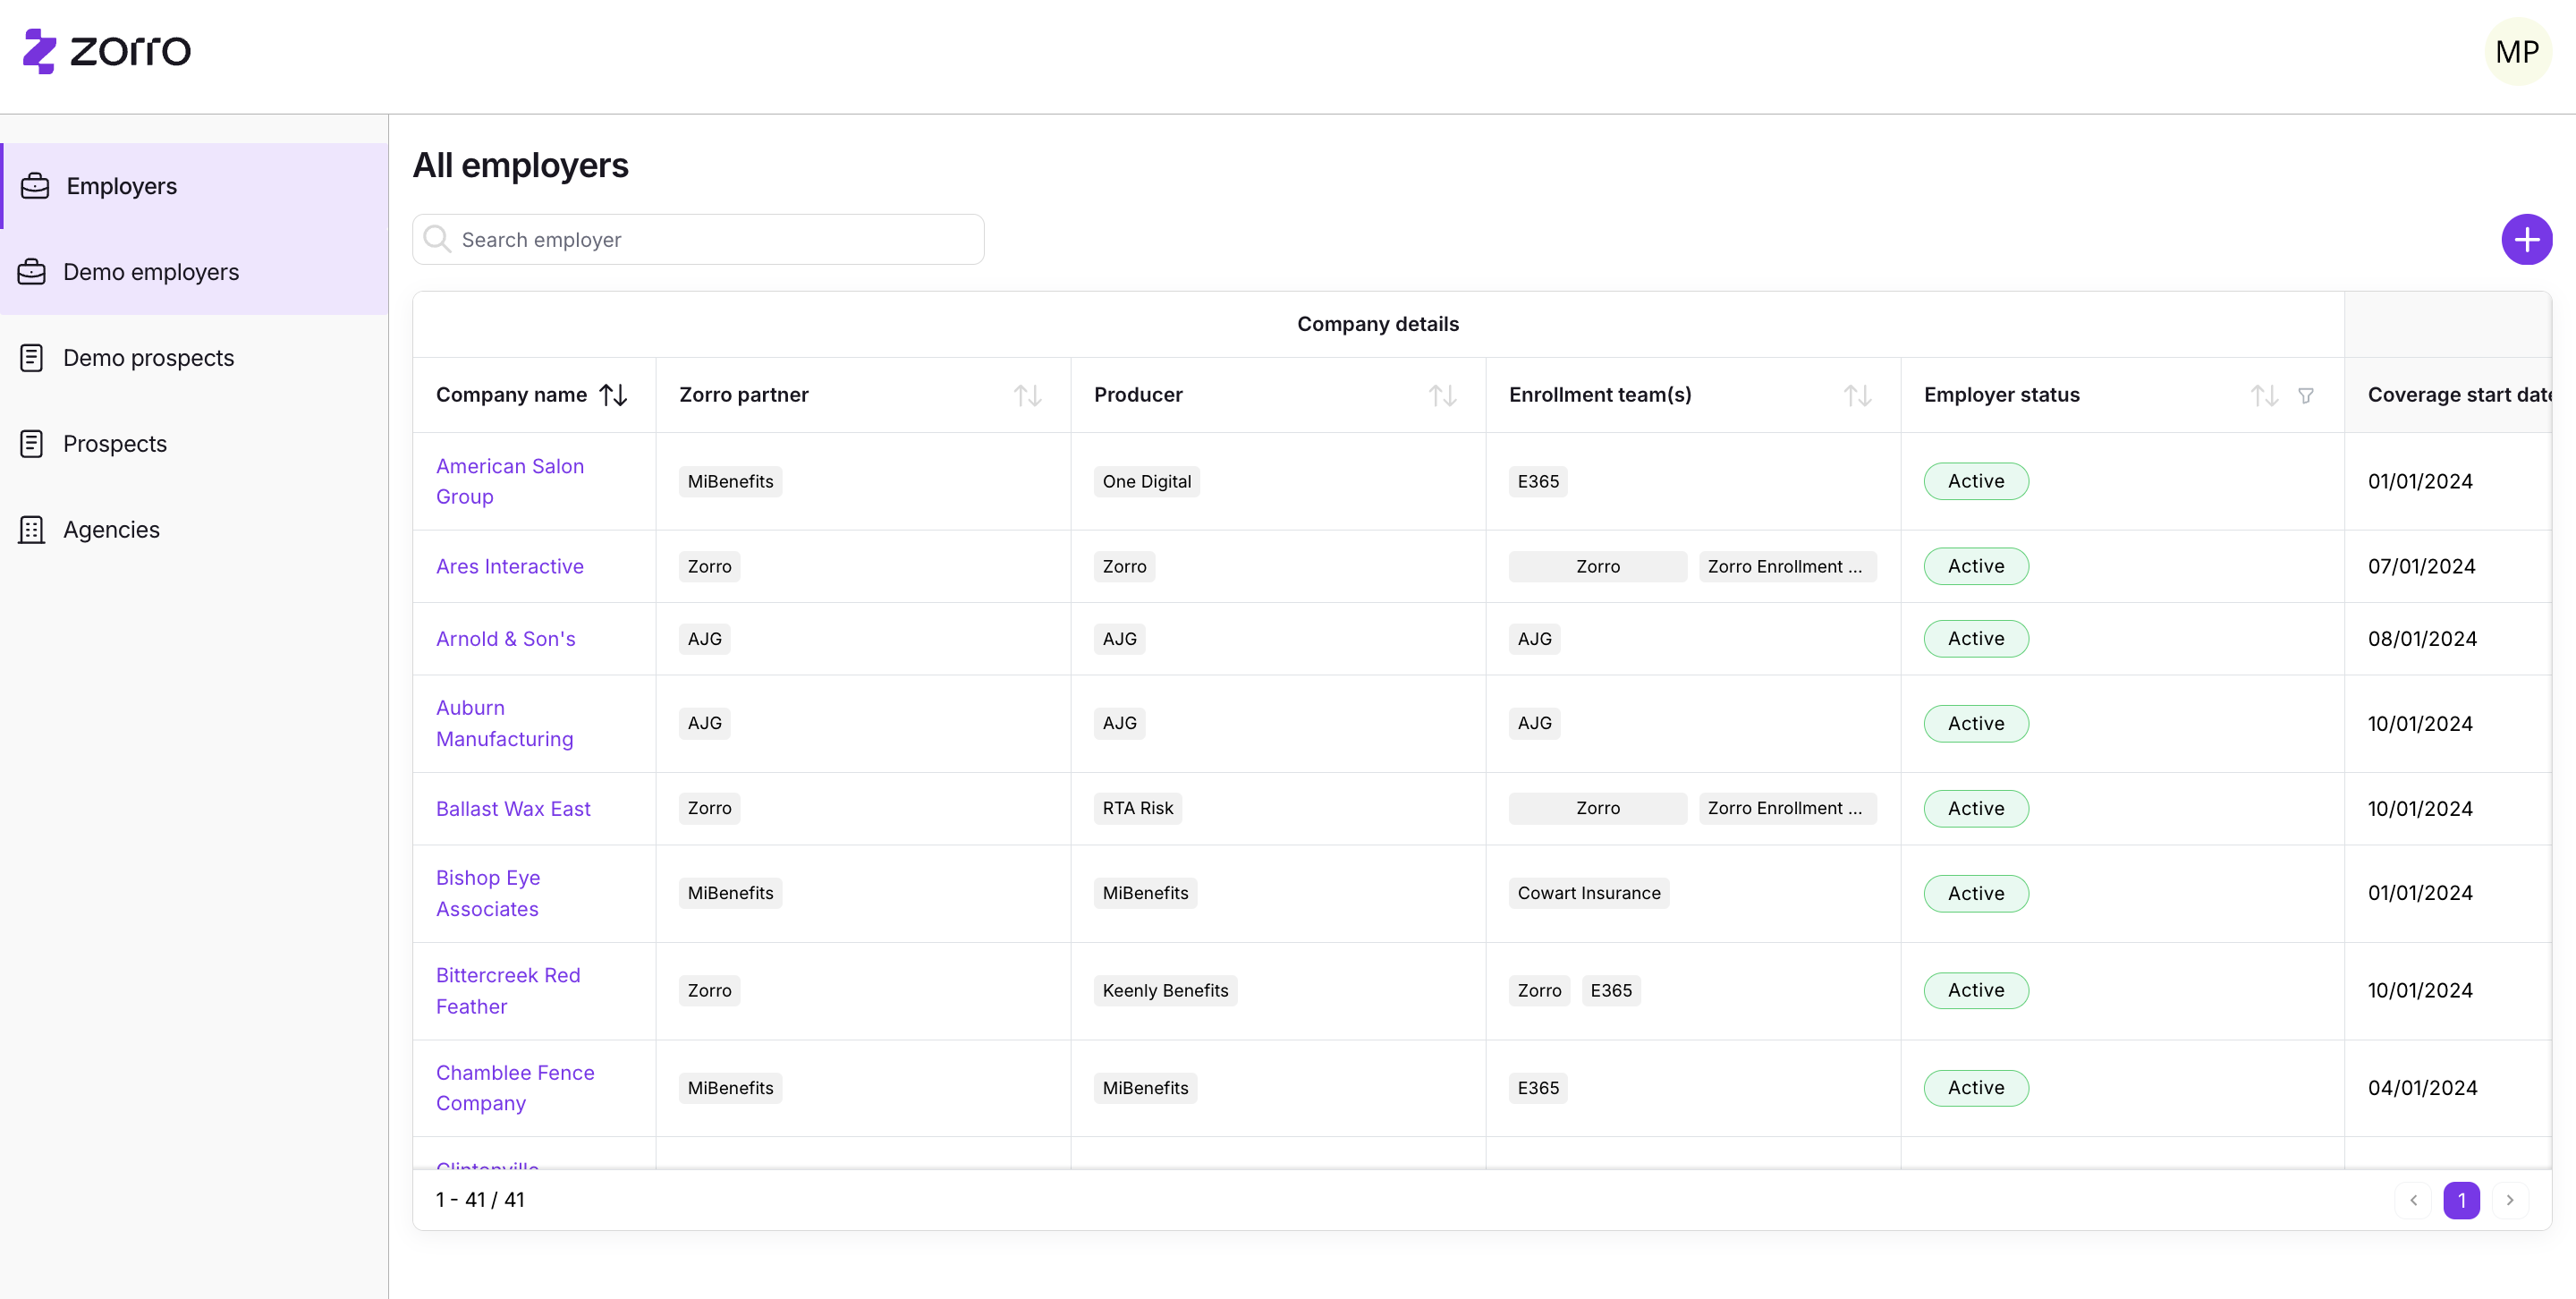
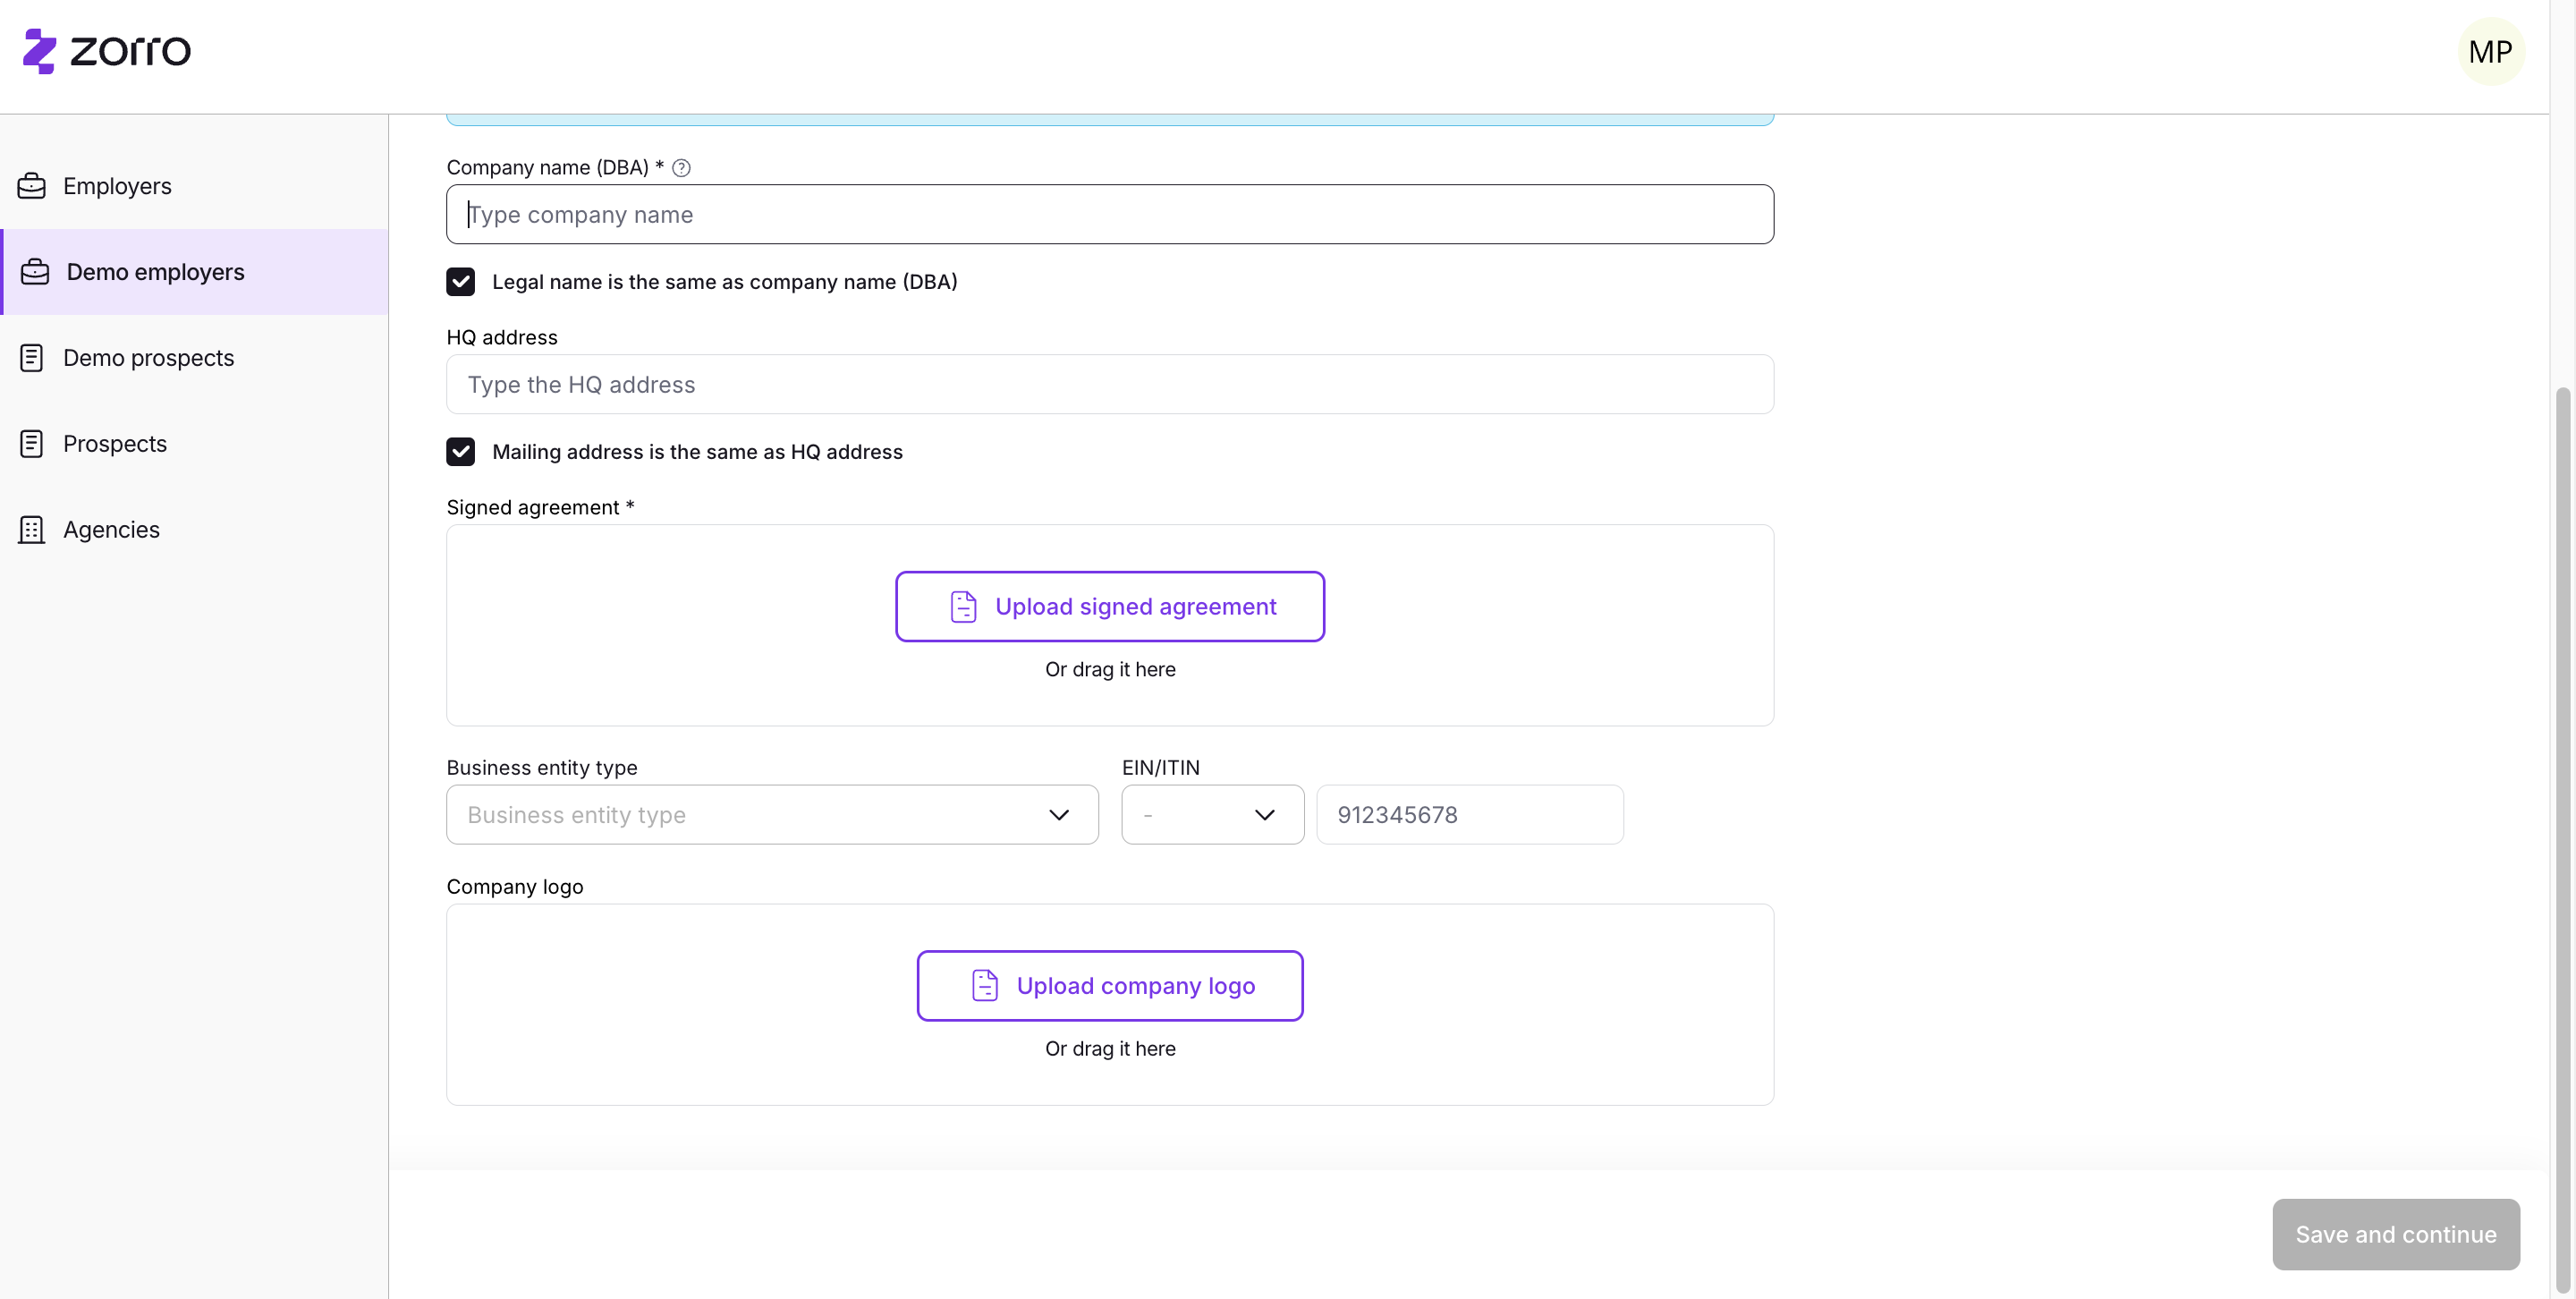
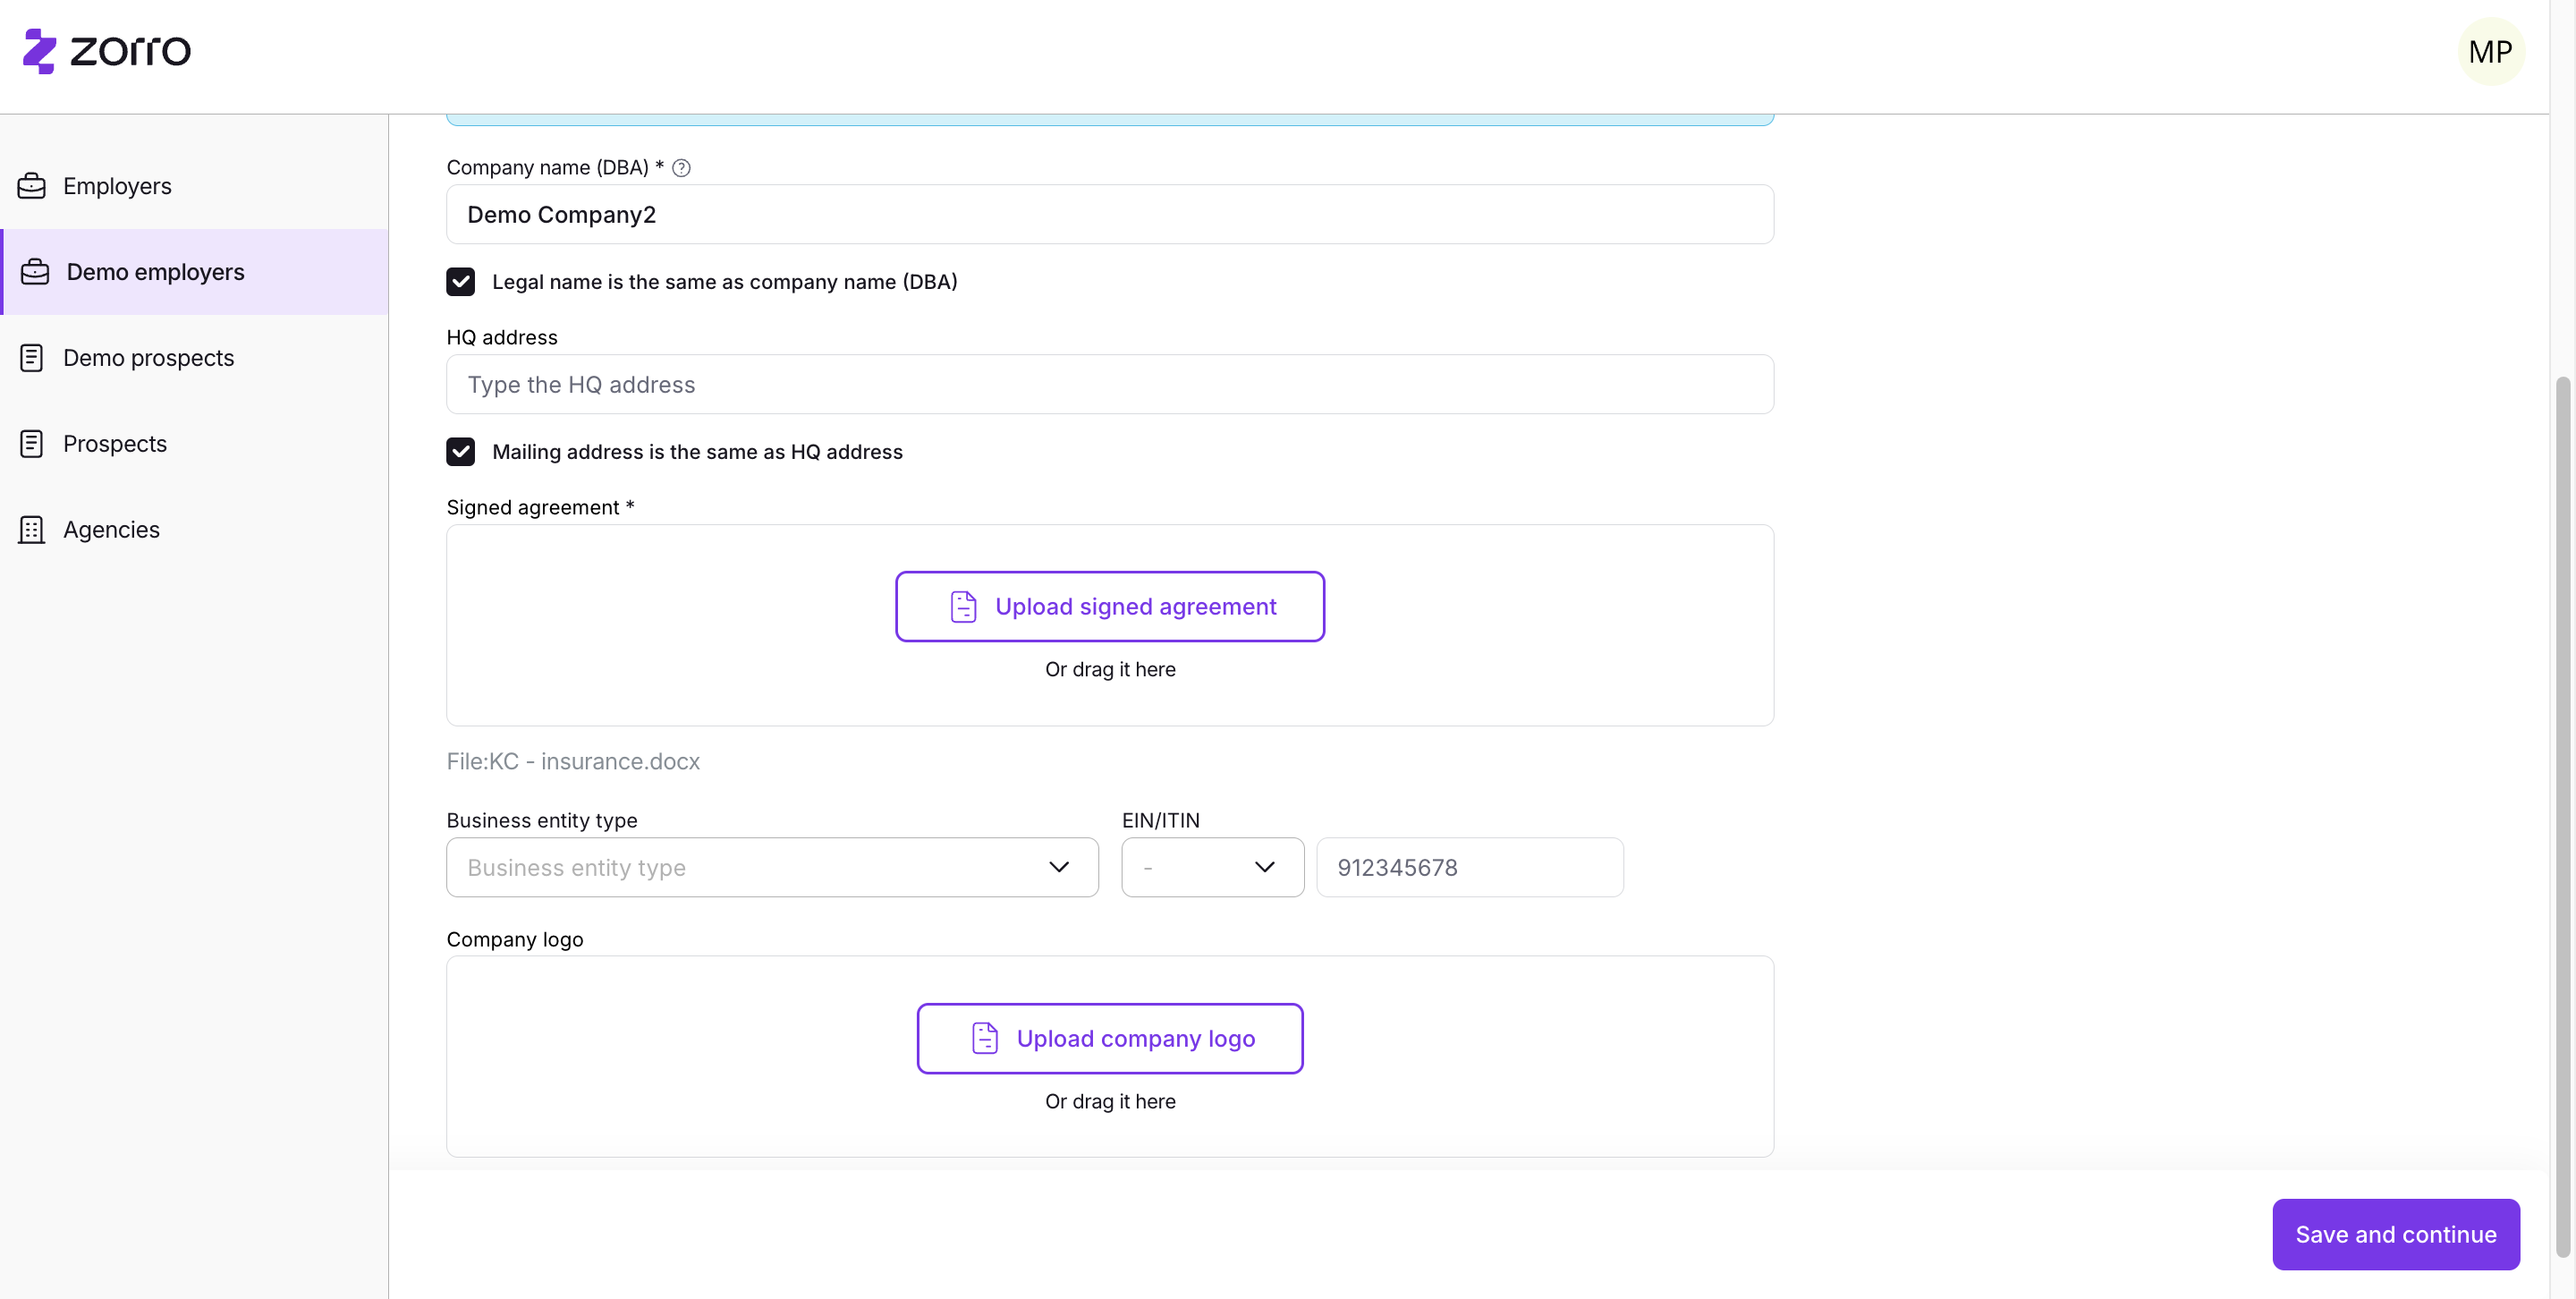
Go to the top right of the screen and click the plus button. Fill out all the fields marked with an asterisk.
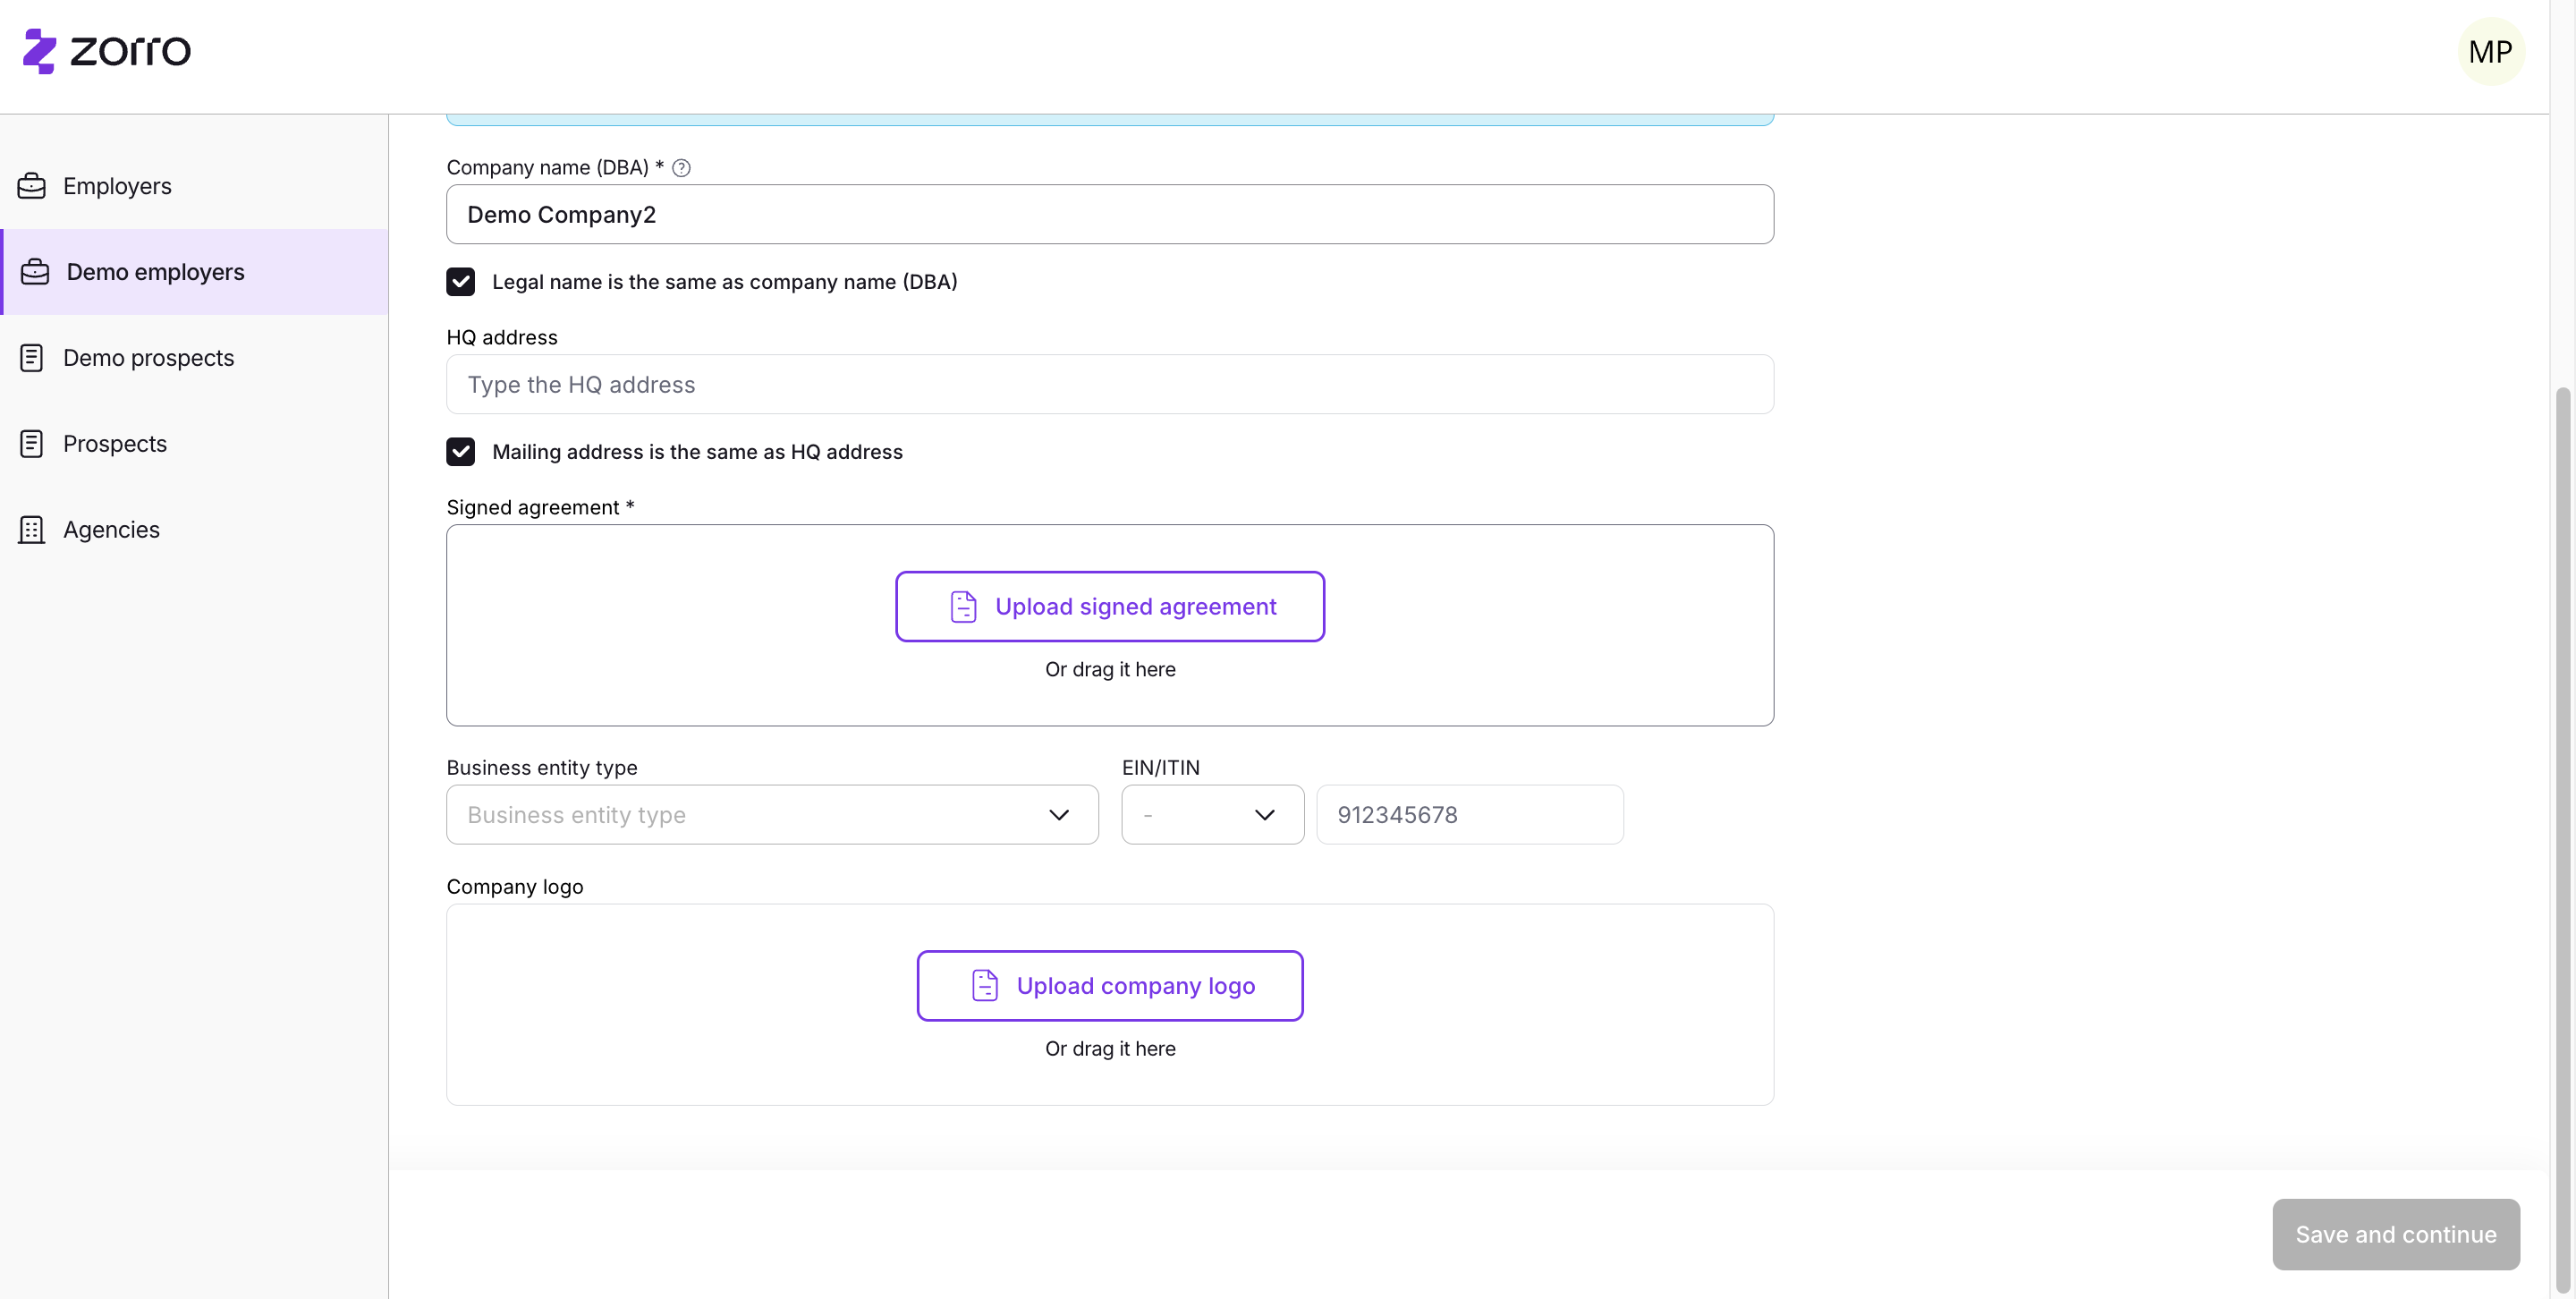
These are mandatory fields you should know as the agent after the client has completed the service agreement. This step occurs after the service agreement with you and Zorro has been signed. All fields are available here. Knowing them can save the client time by filling them in. However, they are not required. Anything not marked with an asterisk will be sent to the client to fill out. Click here and type the information. Fill in whatever is required, then click save and continue.

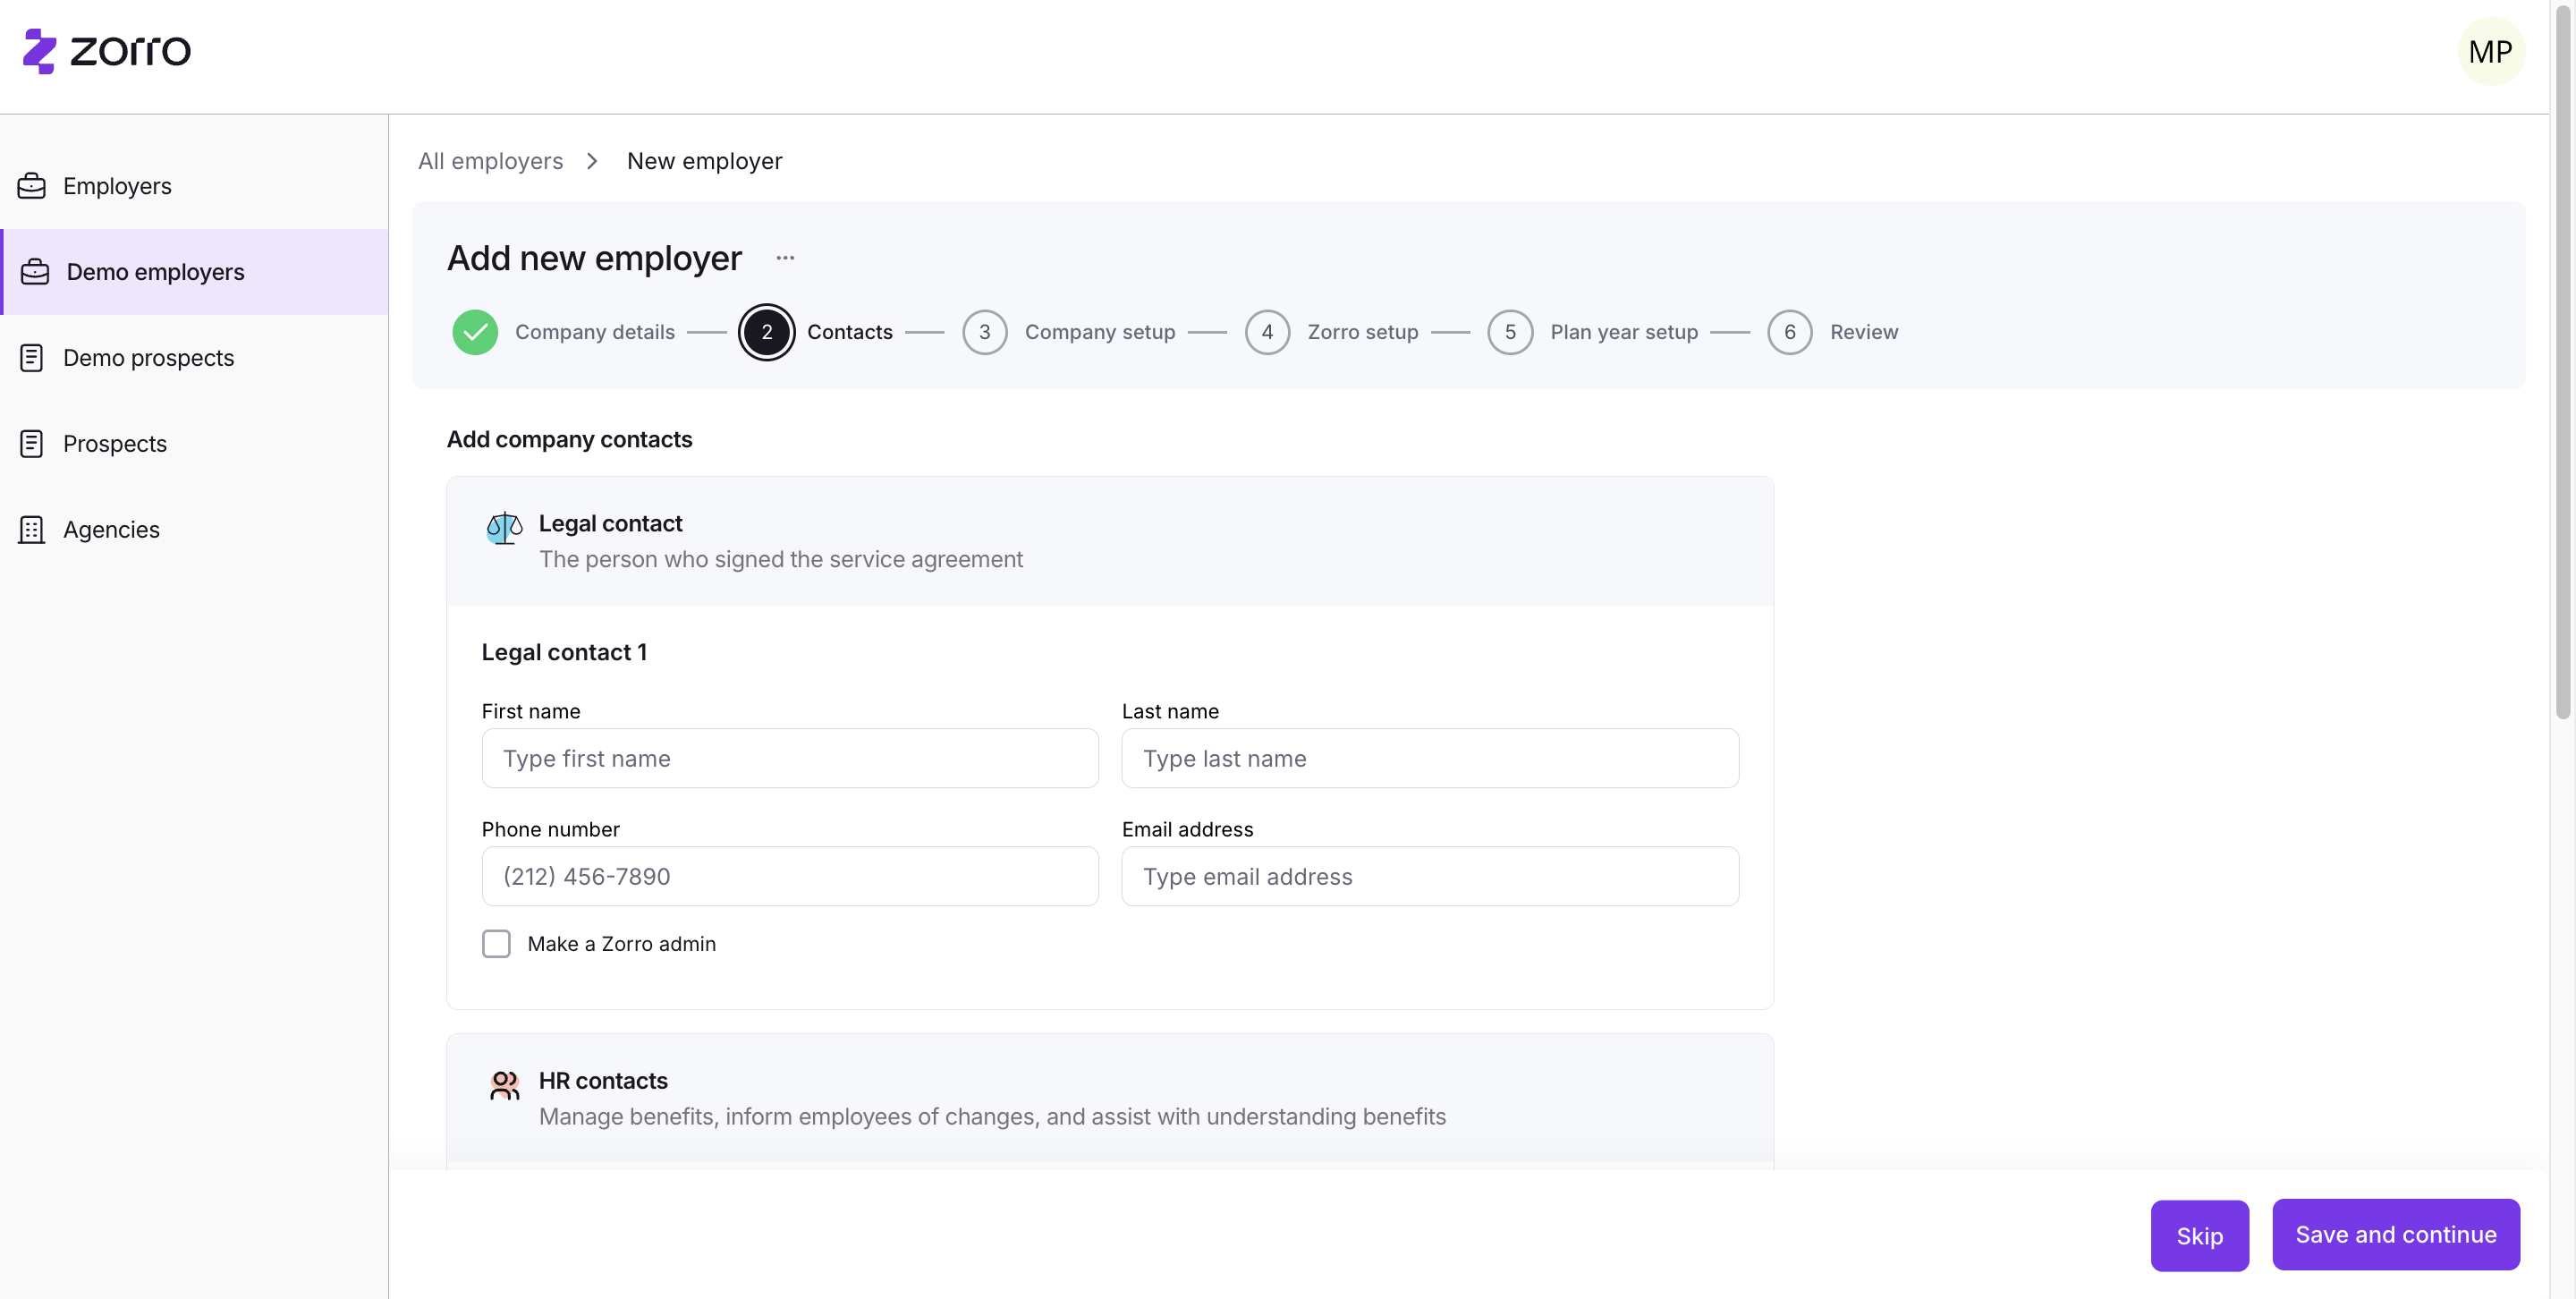
The contacts page is primarily for the client's use. It has four different types of contacts and the ability to indicate who should receive what type of communication from Zorro. This is specific to the client, so you may not know this. You can skip this step entirely. For your information, there are legal, HR, and finance contacts in Zorro, each for their own type of distribution list. The first is for service agreements, the second for employee and enrollment management, and the third for anything related to premiums and payments.
Any of the contacts here can be made a Zorro admin. A Zorro admin has the login credentials to view the company-wide account. An individual can be a contact without being an admin. However, it's common for contacts to also be made admins and have the credentials to log in as a company admin. If a client wishes to include a single contact and make it the same, they can click here. For your purposes, you'll likely click skip and then proceed with the company setup.
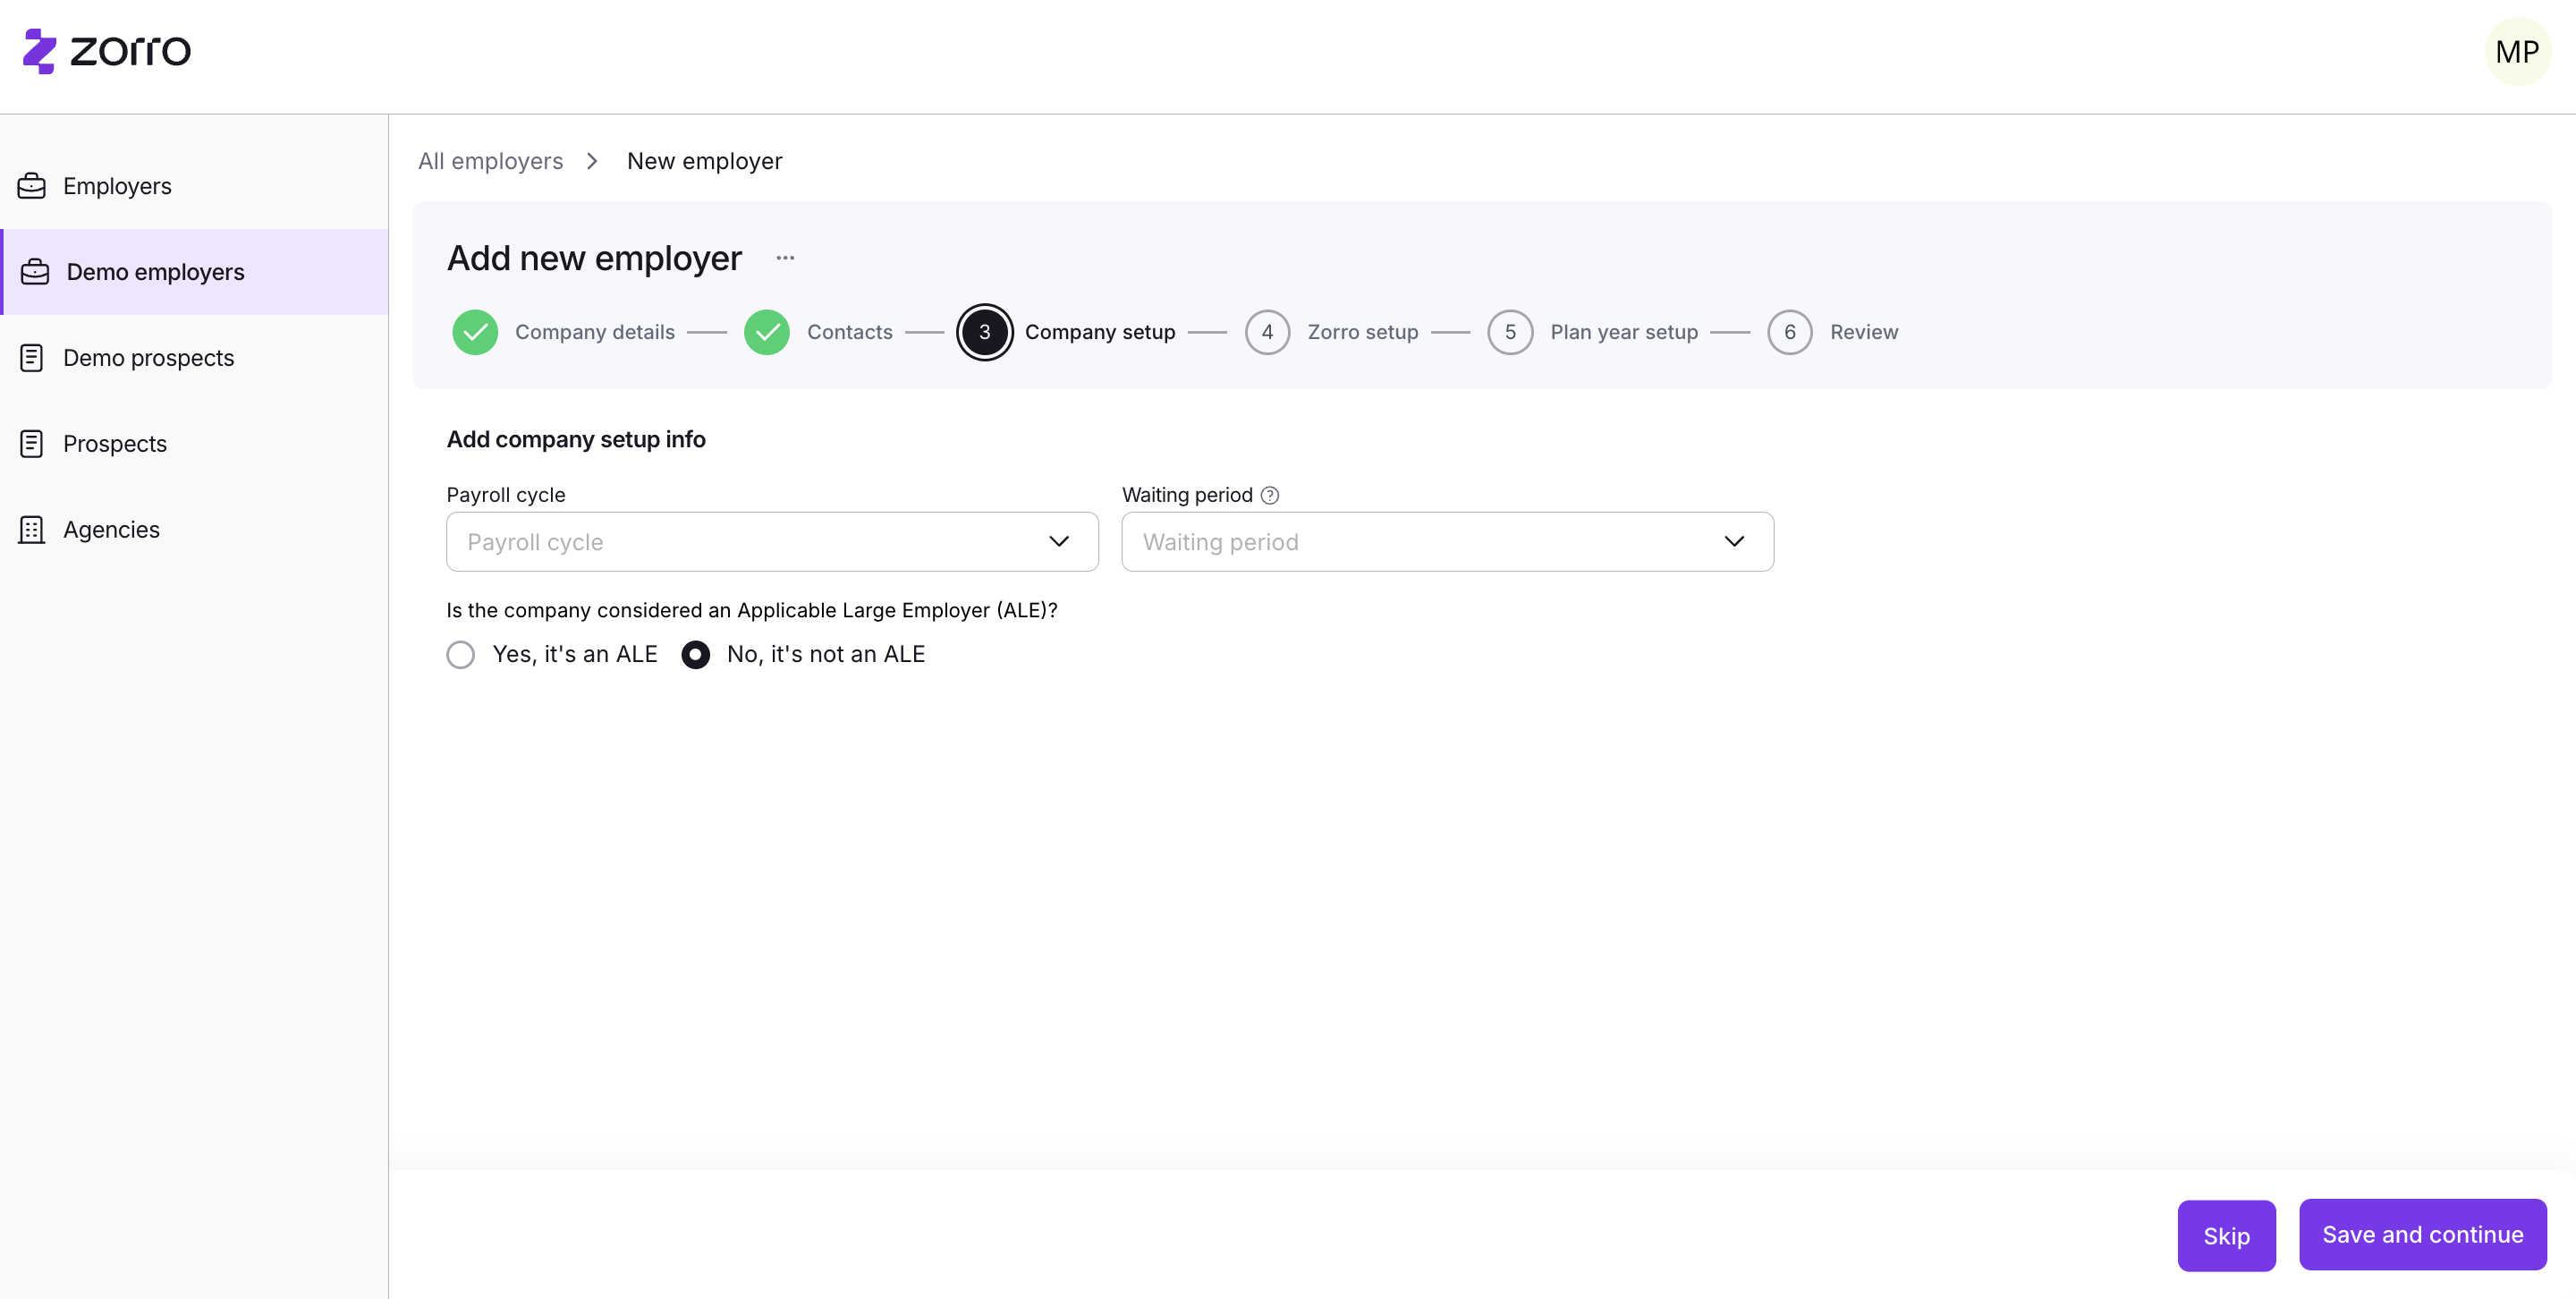
This is not mandatory for you. However, if you know the client's payroll cycle and waiting period, you can assist them by including it here.
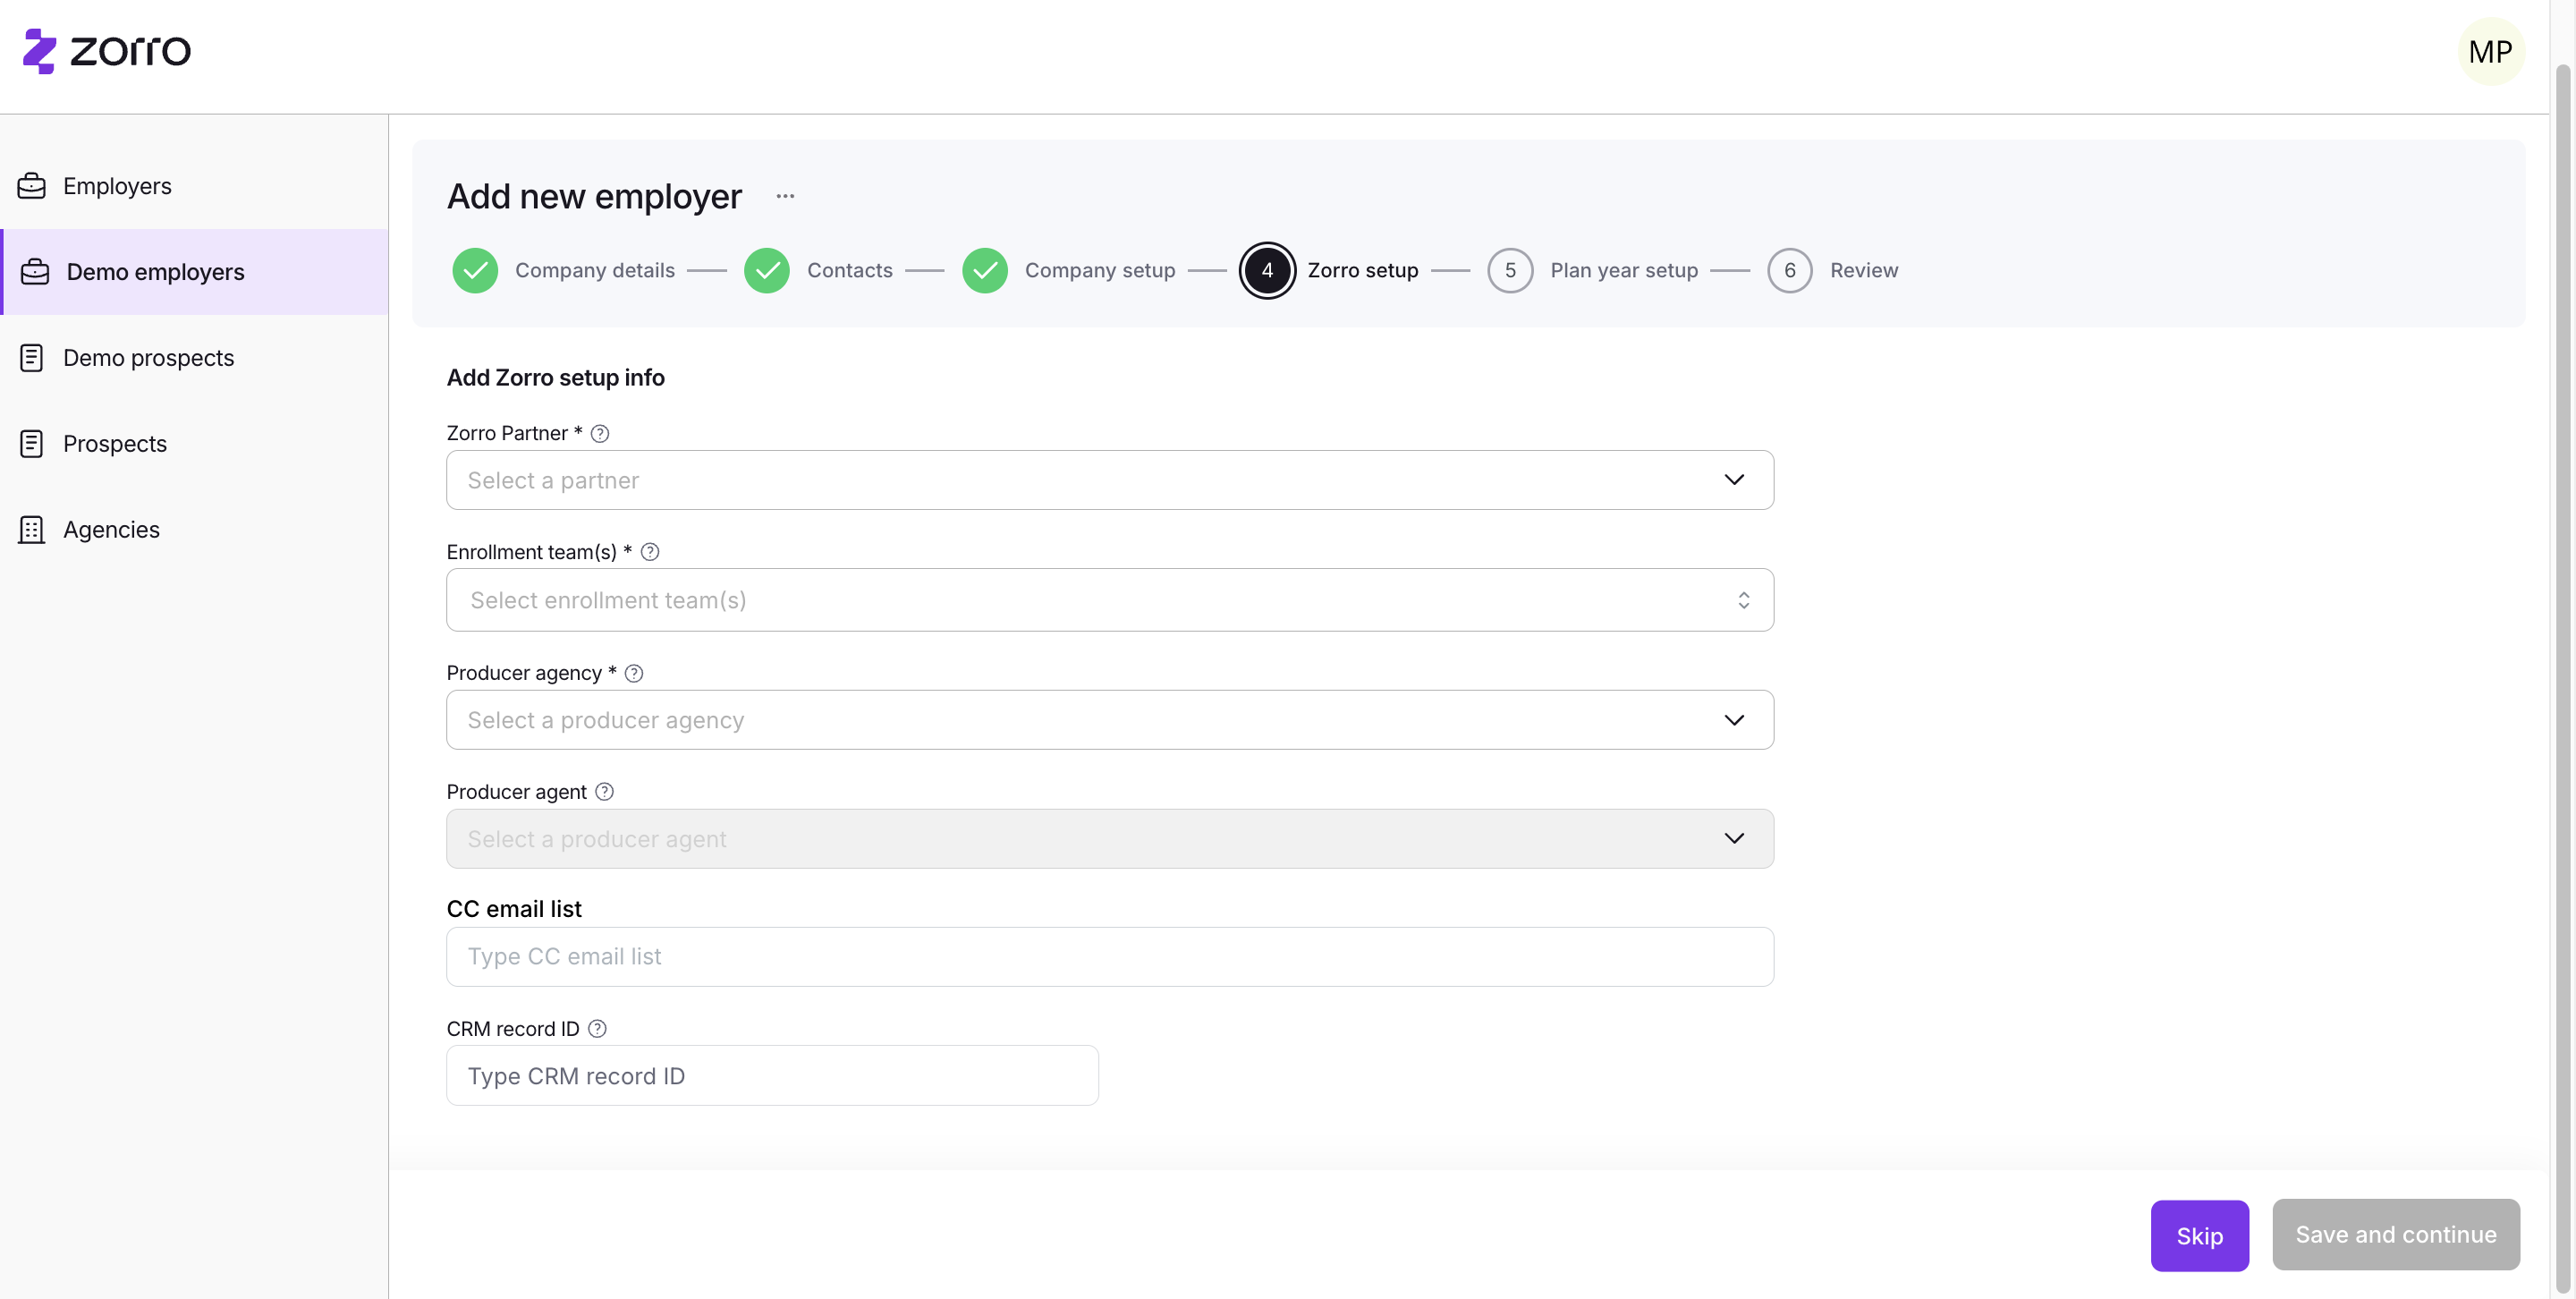
Finally, here is the Zorro setup part, which is mandatory. You need to select the relevant enrollment teams you'll be working with. Anyone we have set up your agency with will appear in the dropdown. Your producer agency will also appear if there are multiple entities, based on your pre-setup agency parameters.
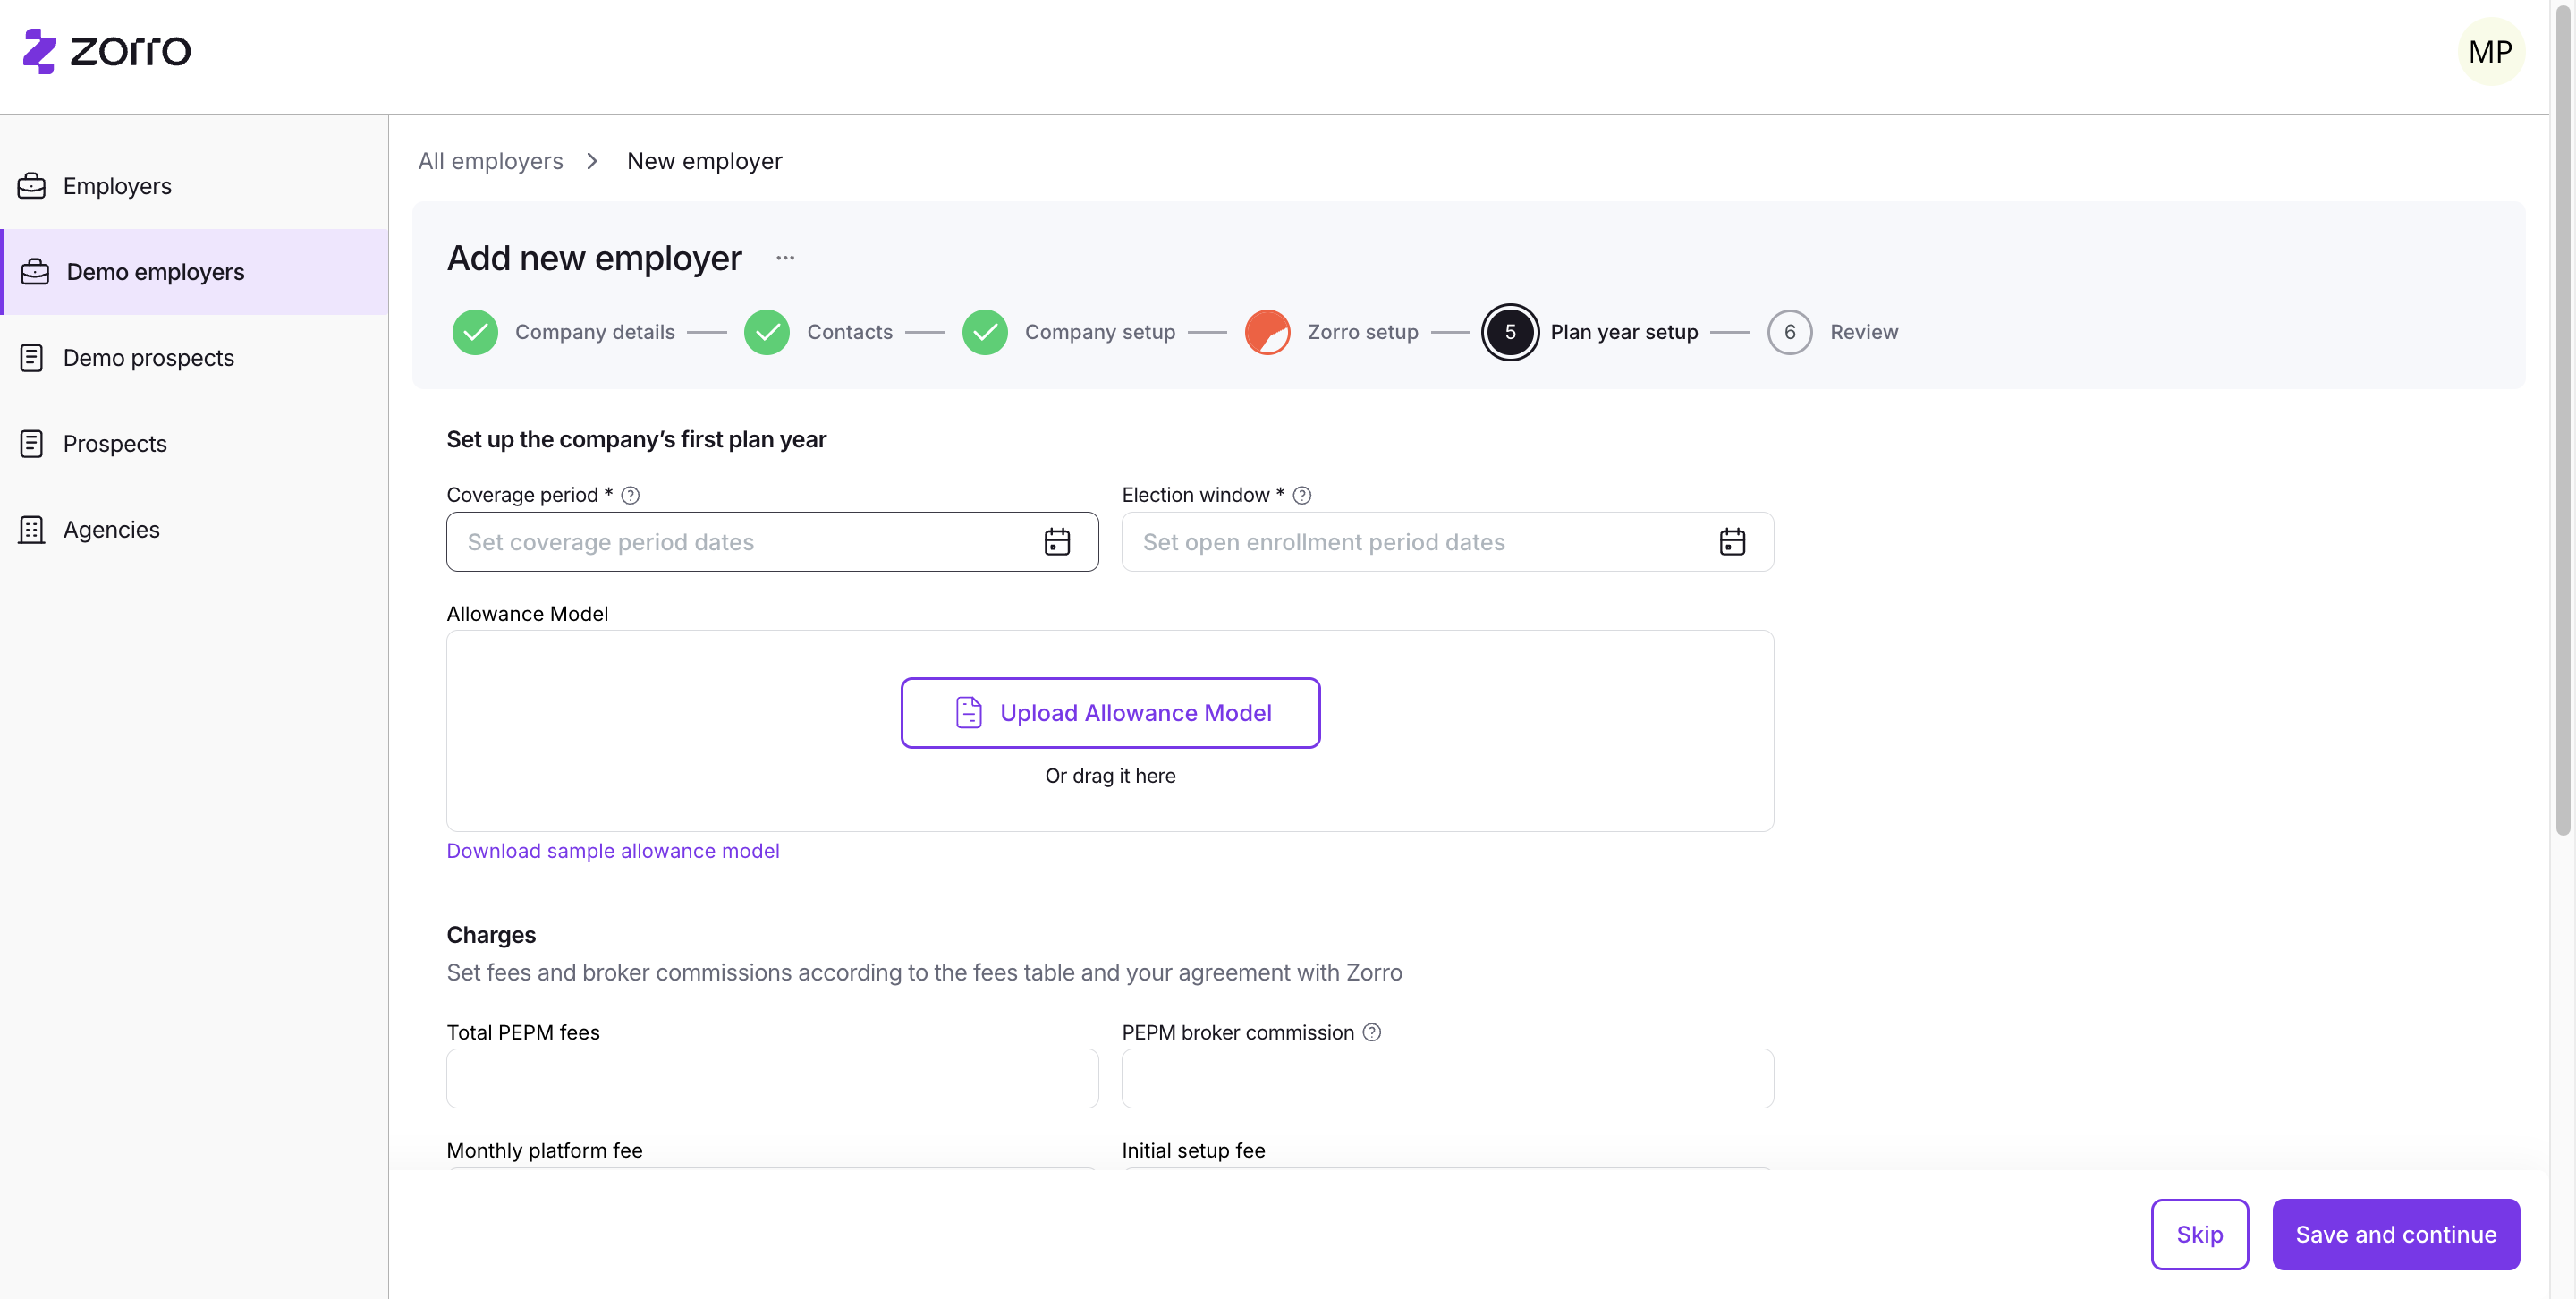
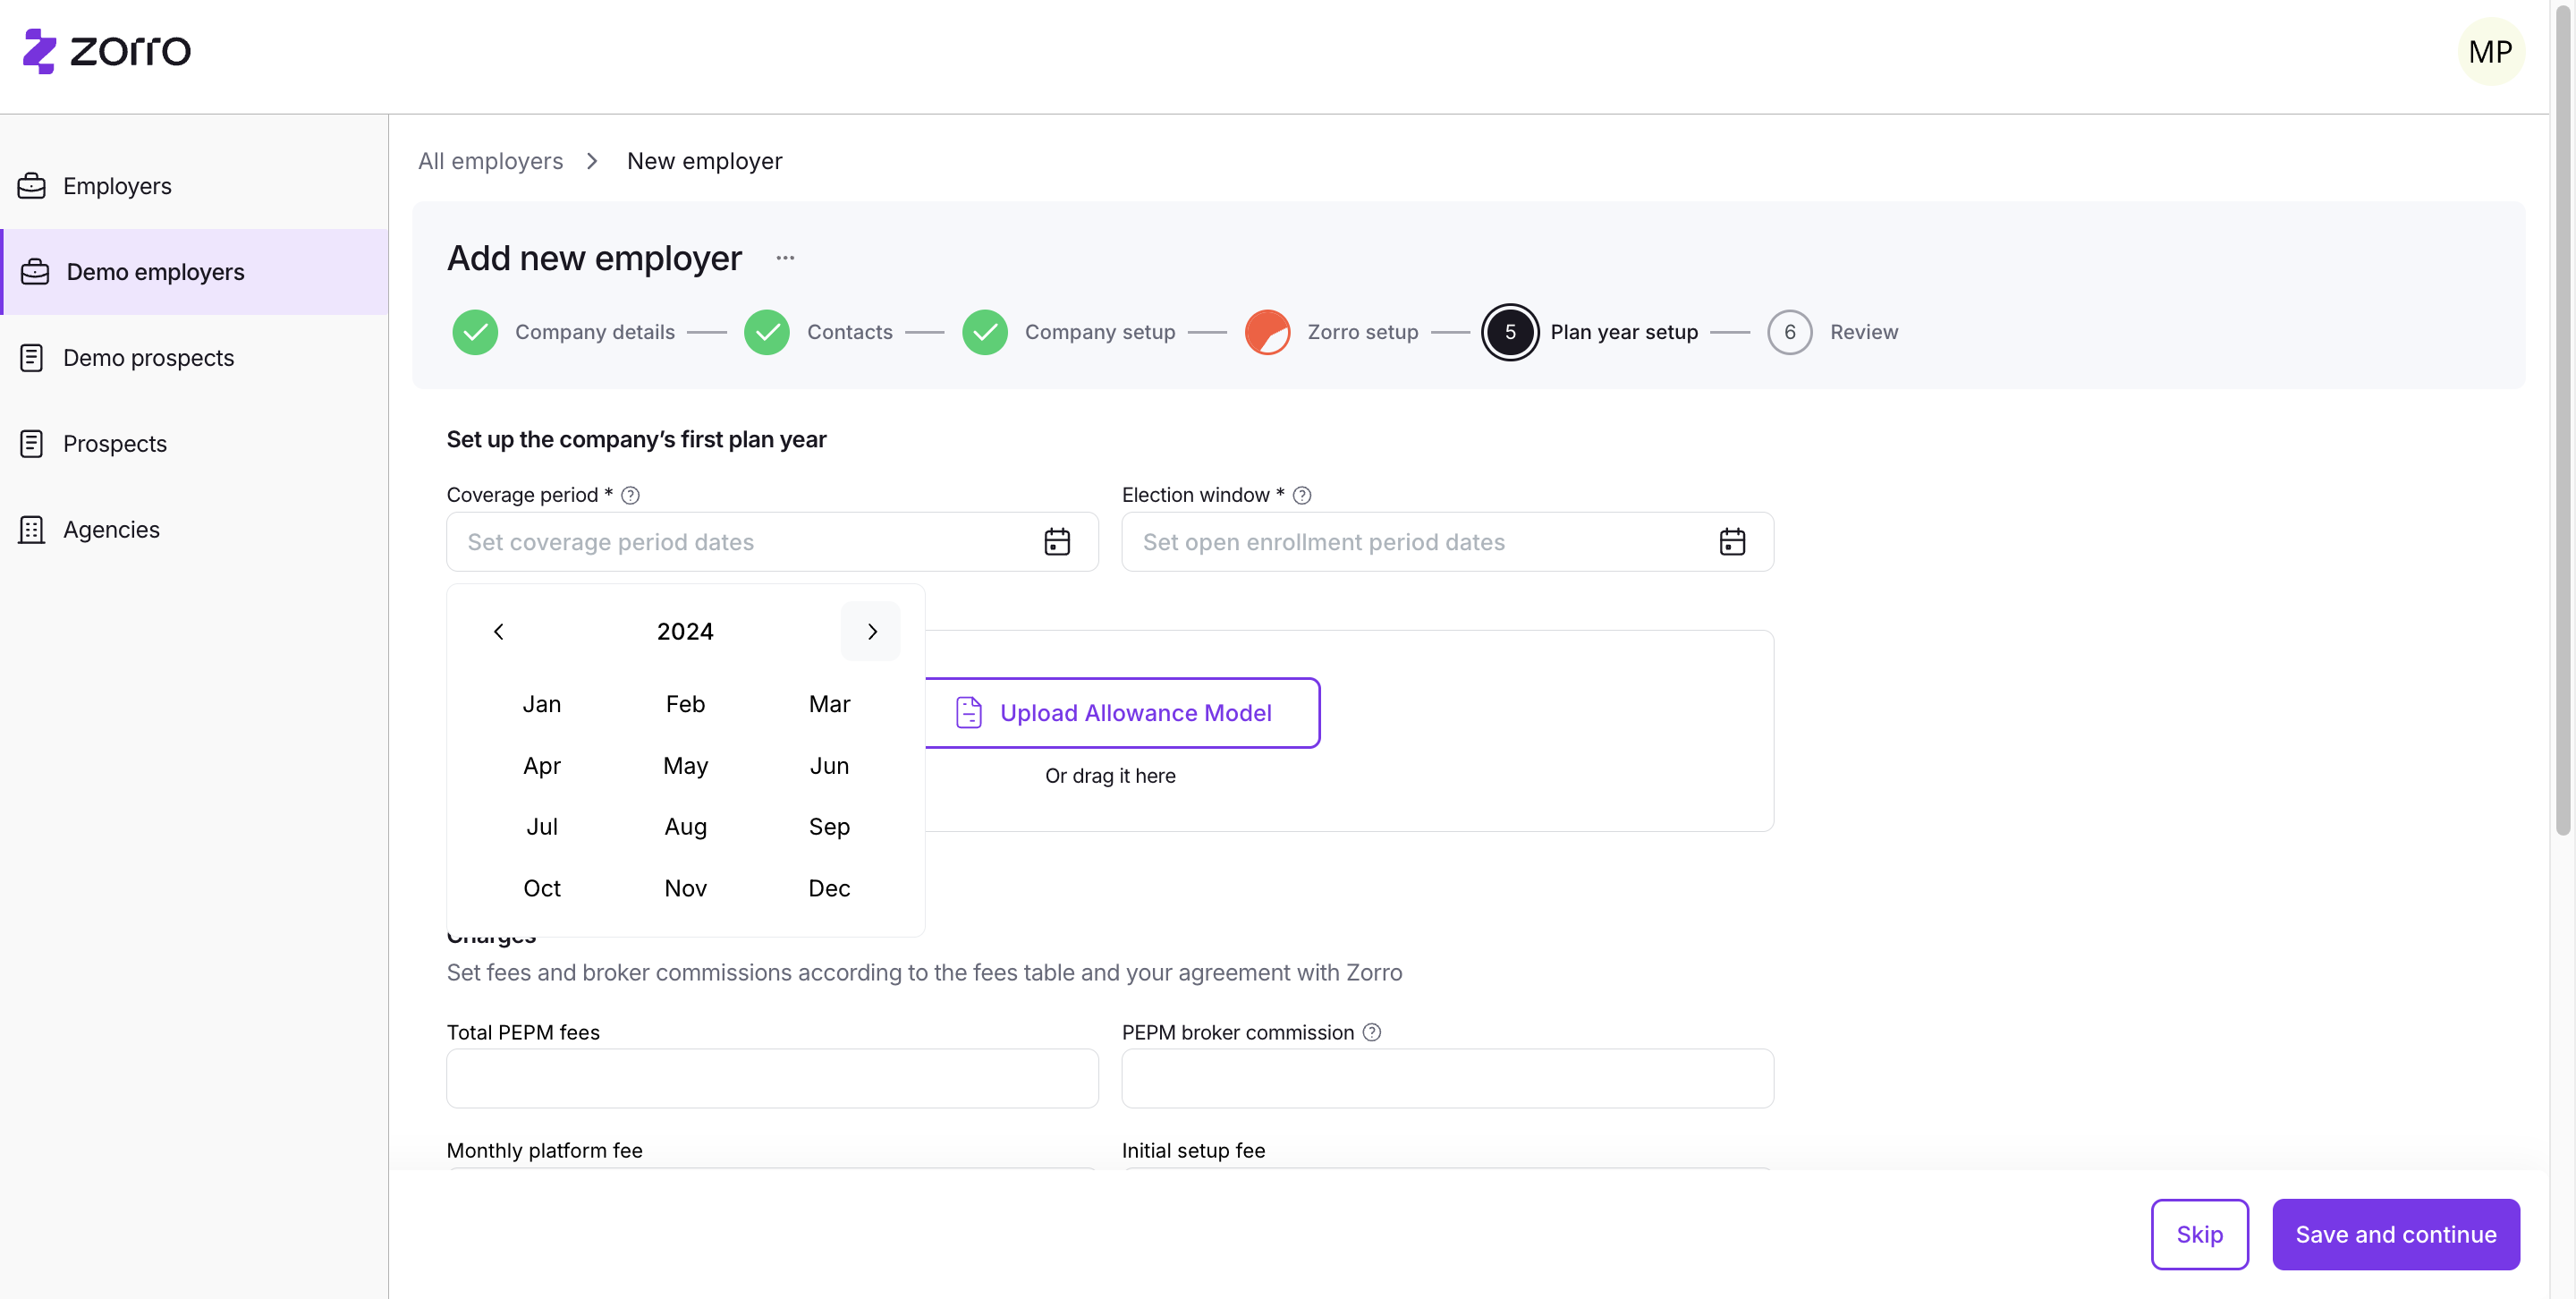
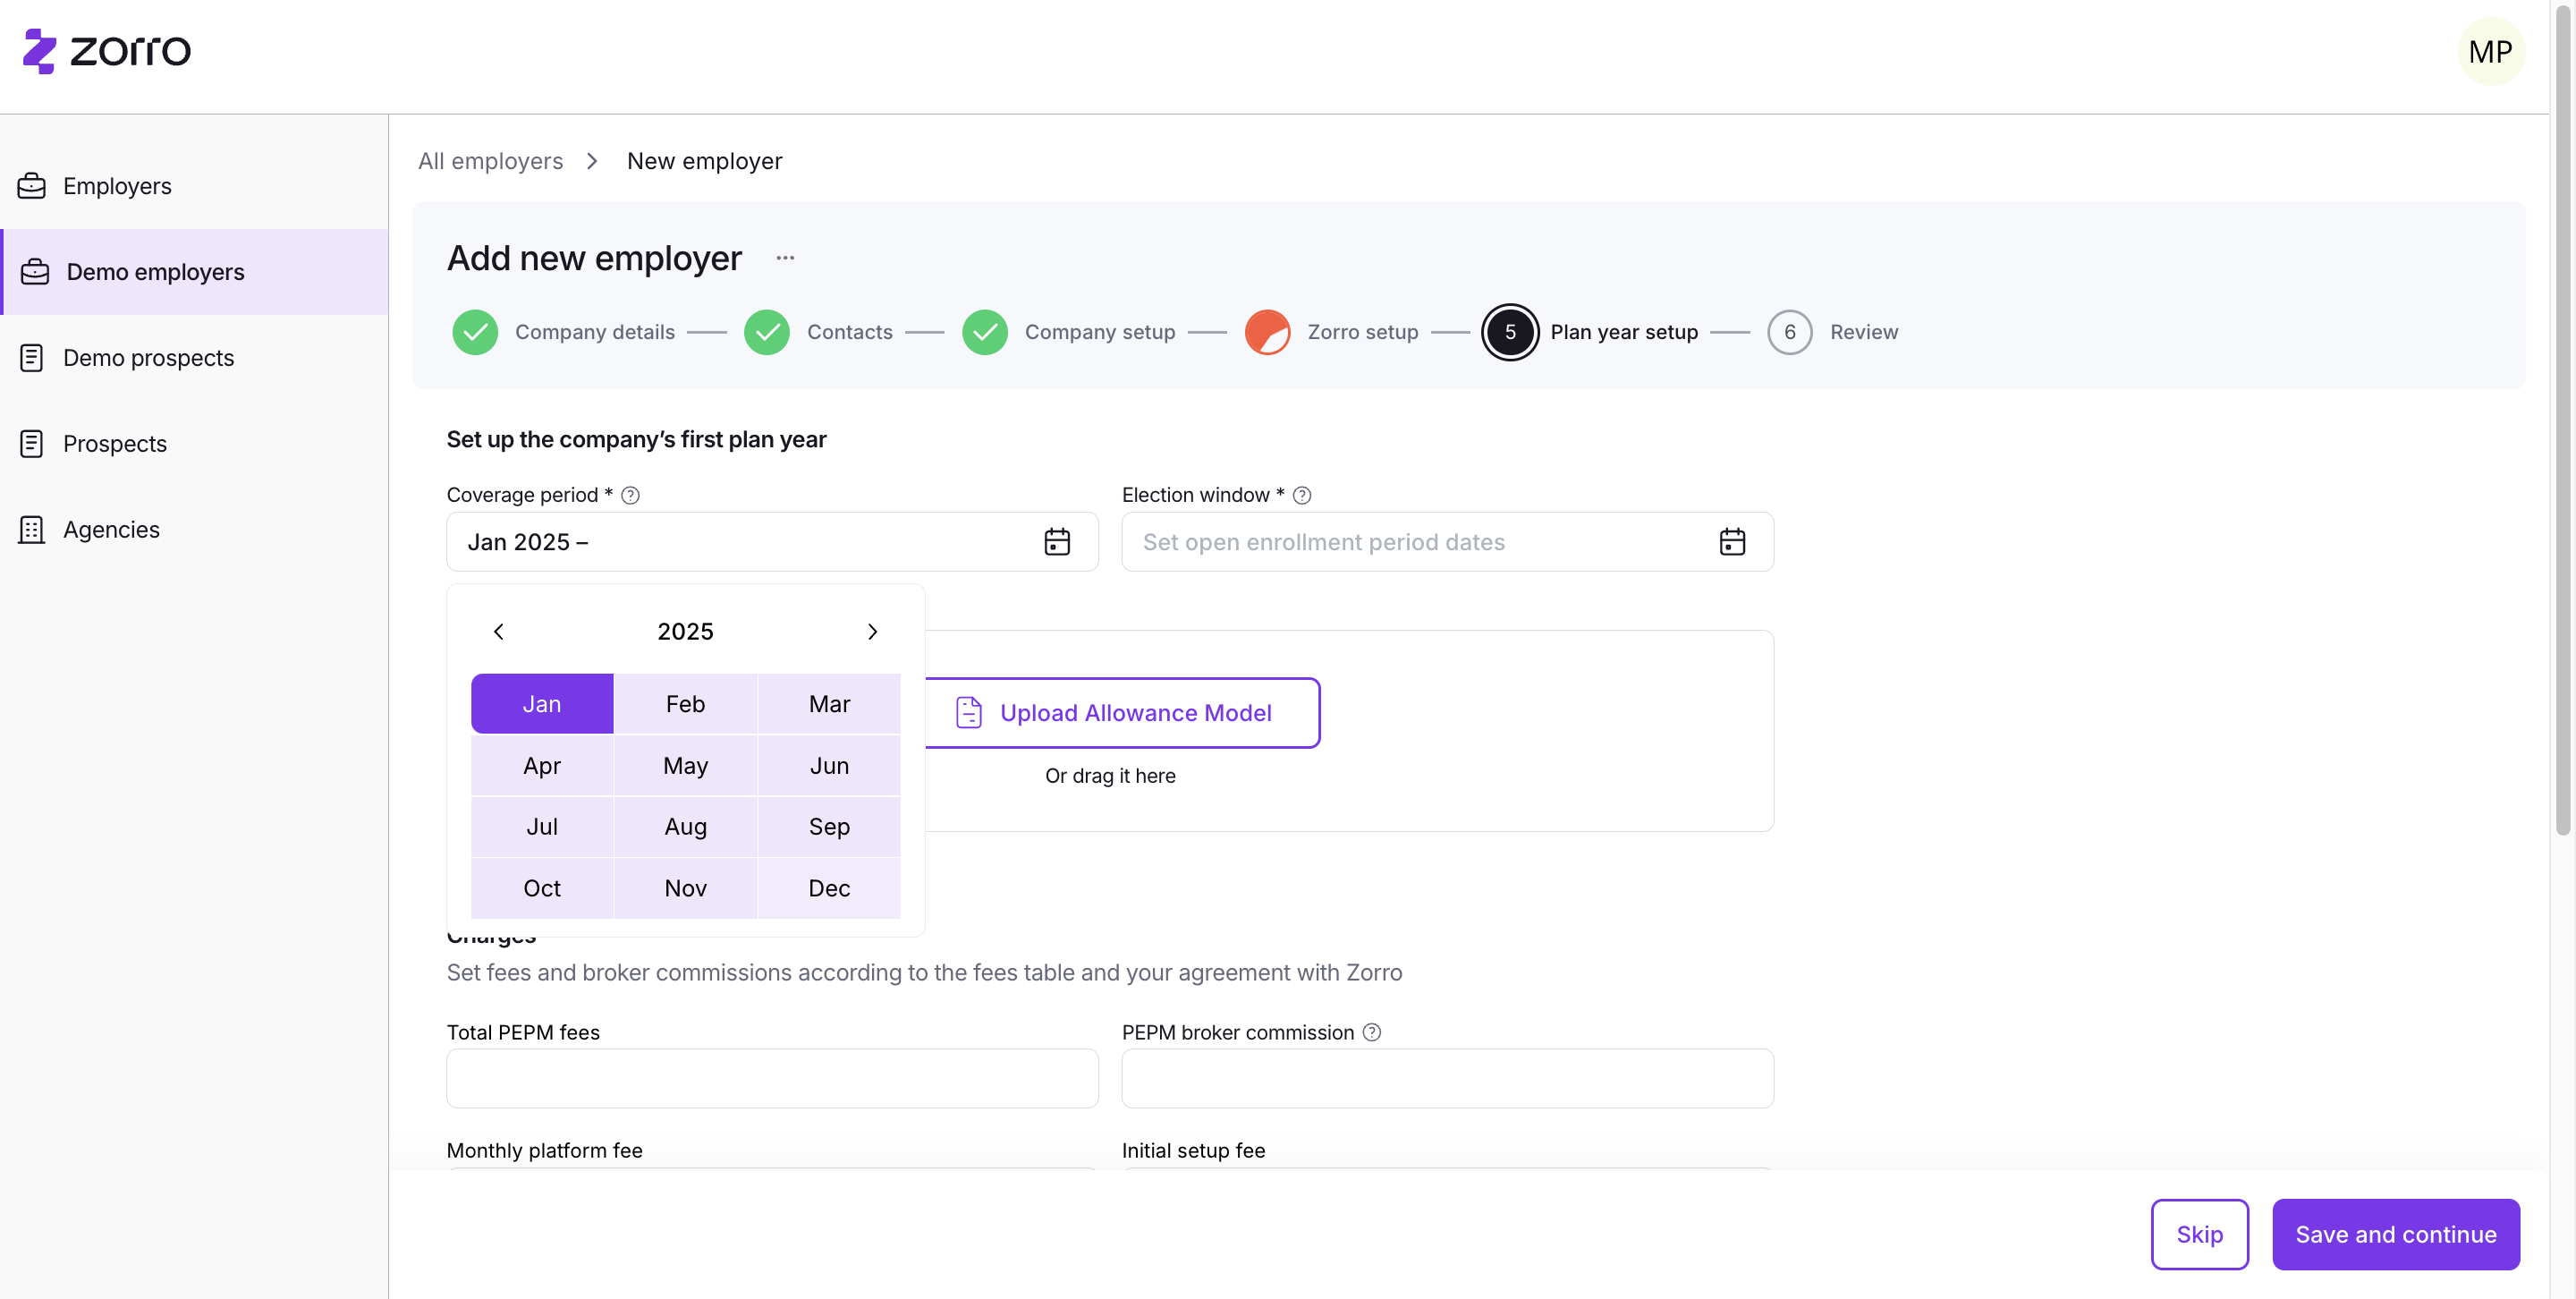
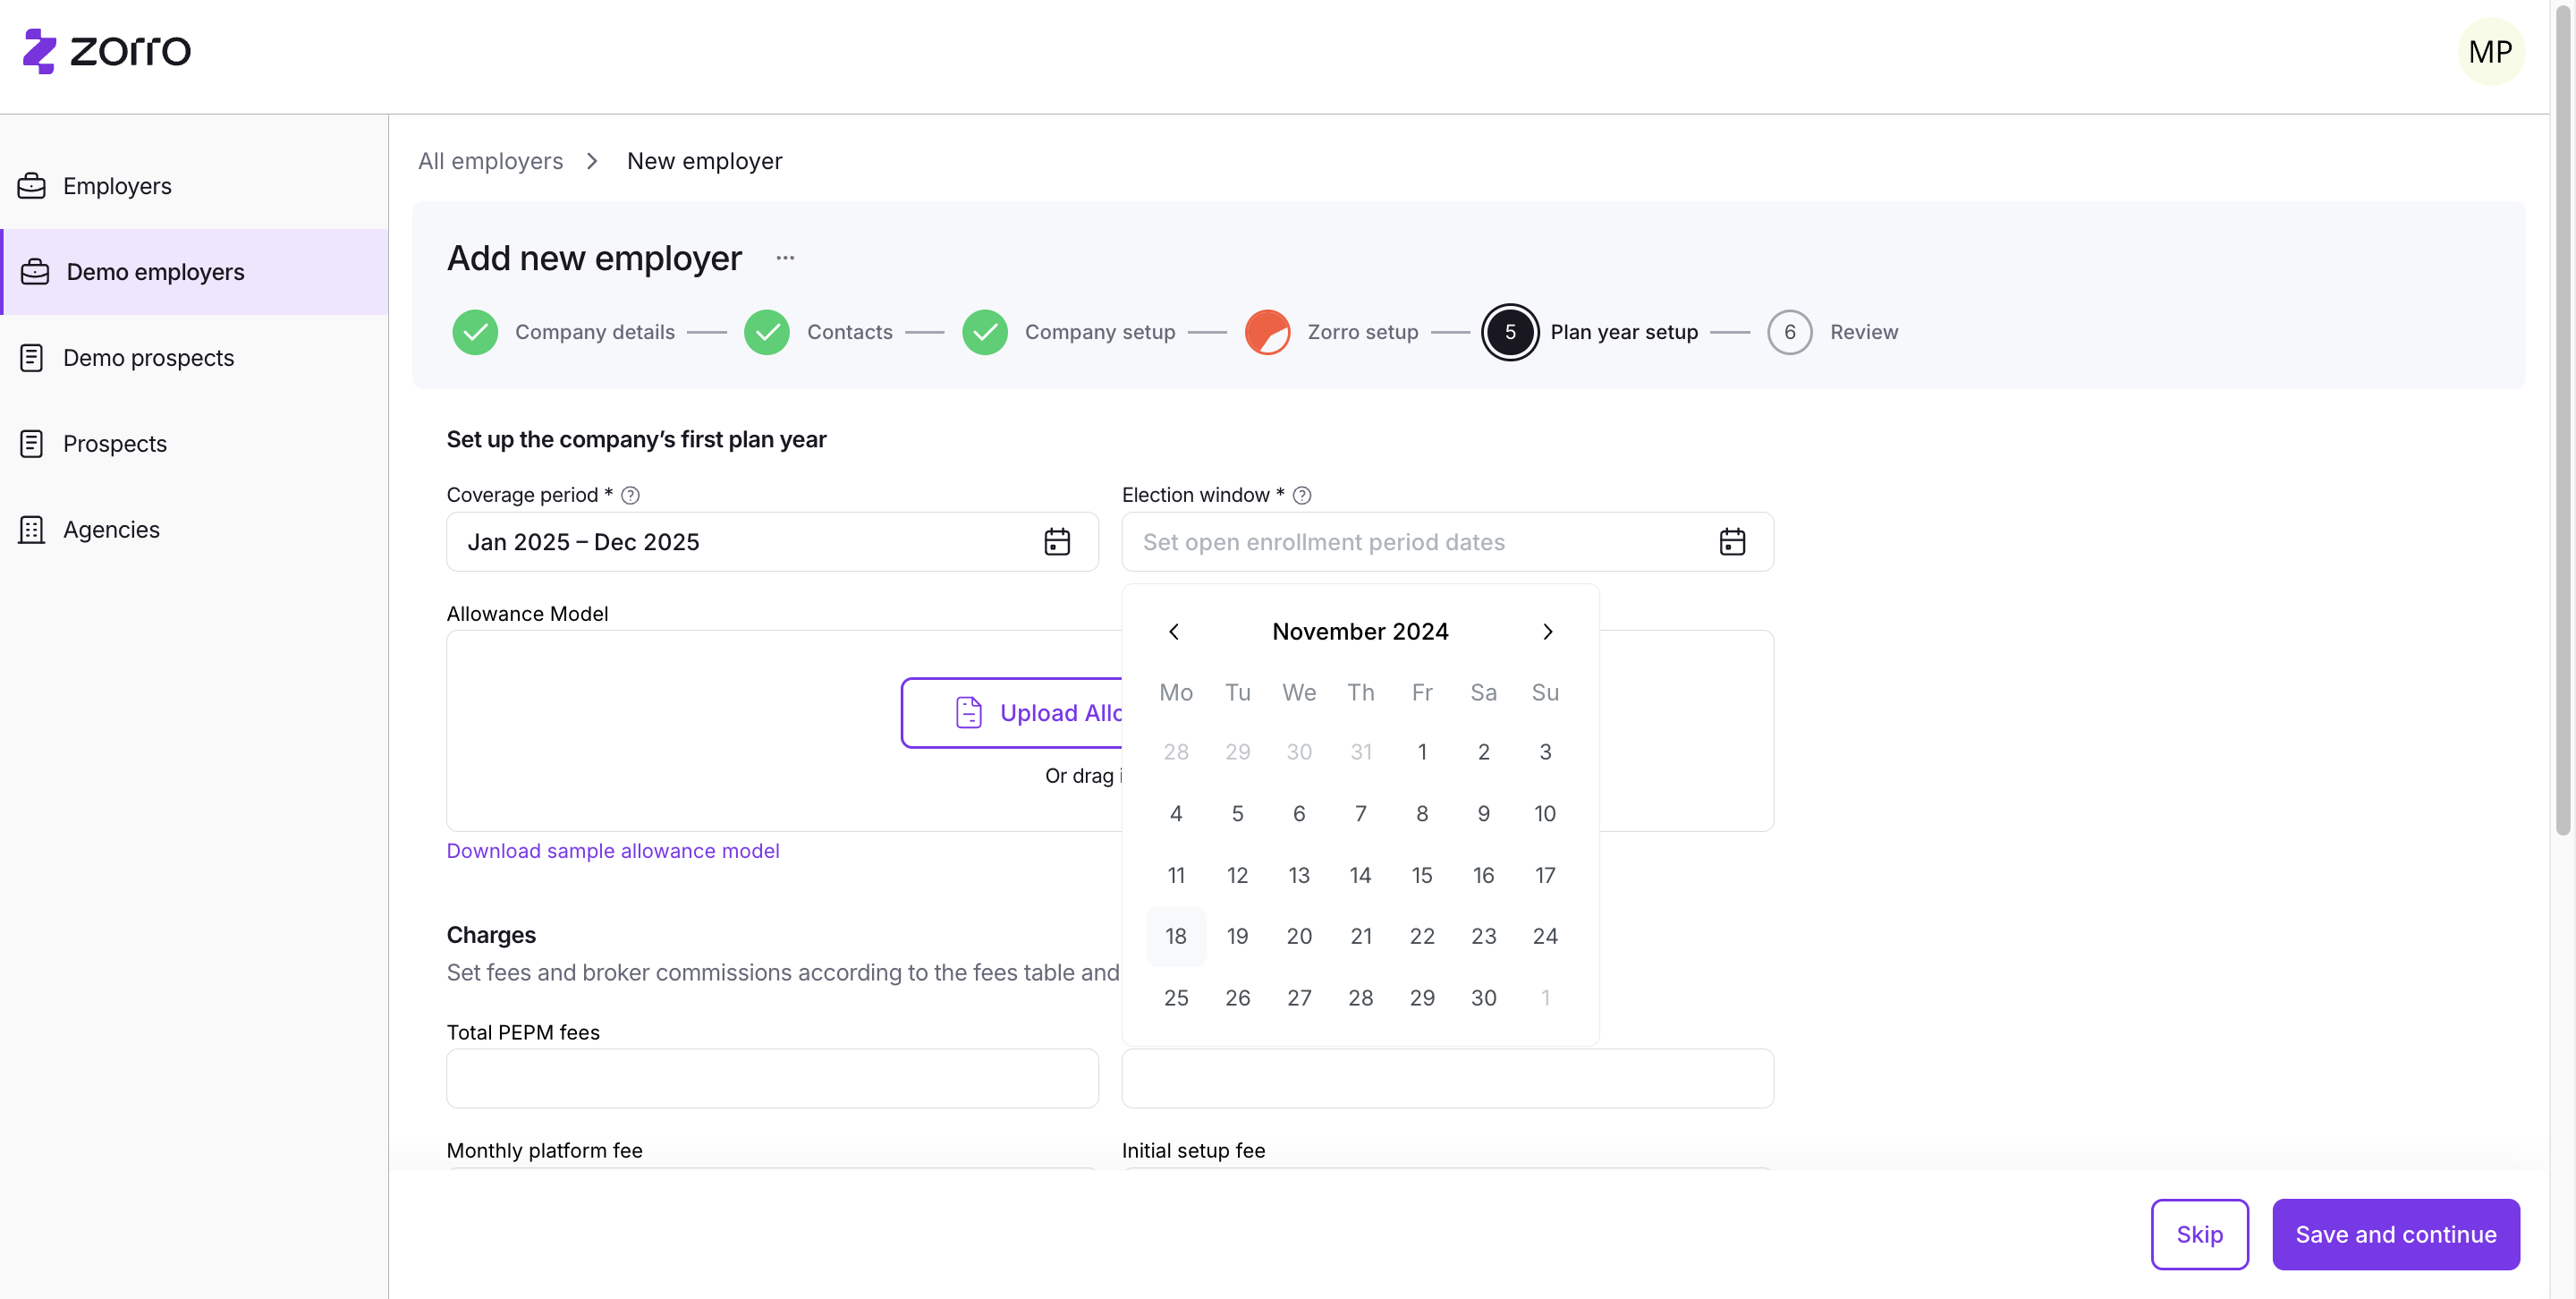
Next, proceed to the plan year setup. The coverage period will likely be January through December of 2025.


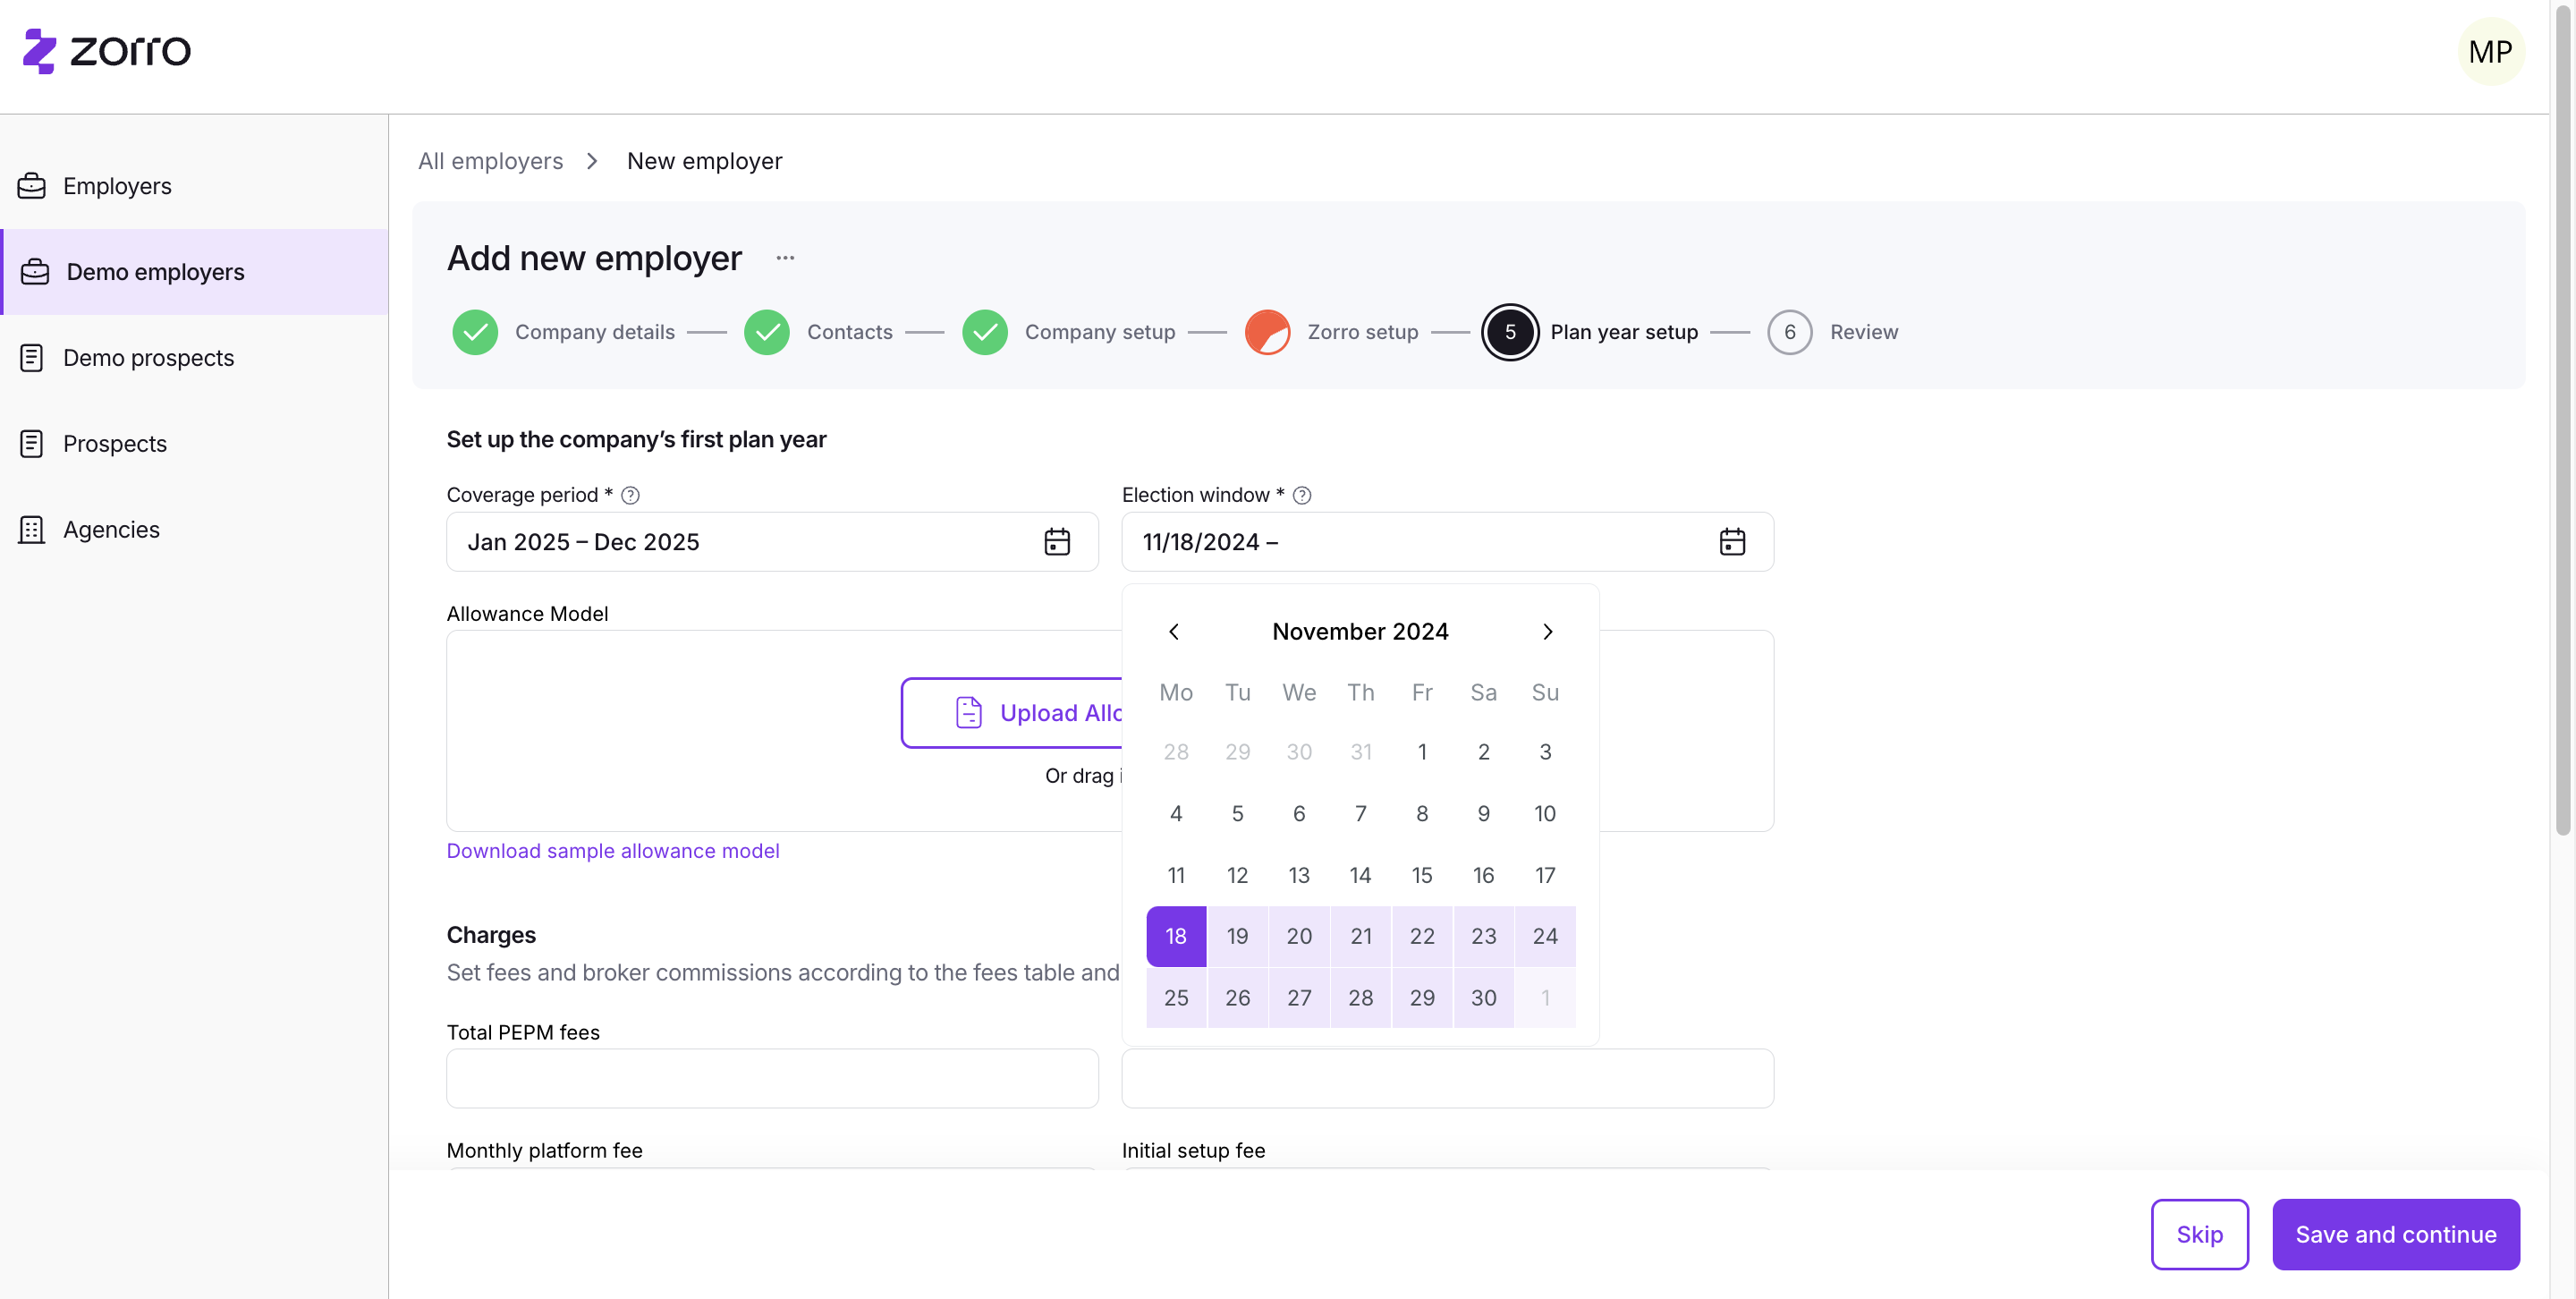
The election window is something we agreed on with Zorro and yourselves for the November-December timeframe.
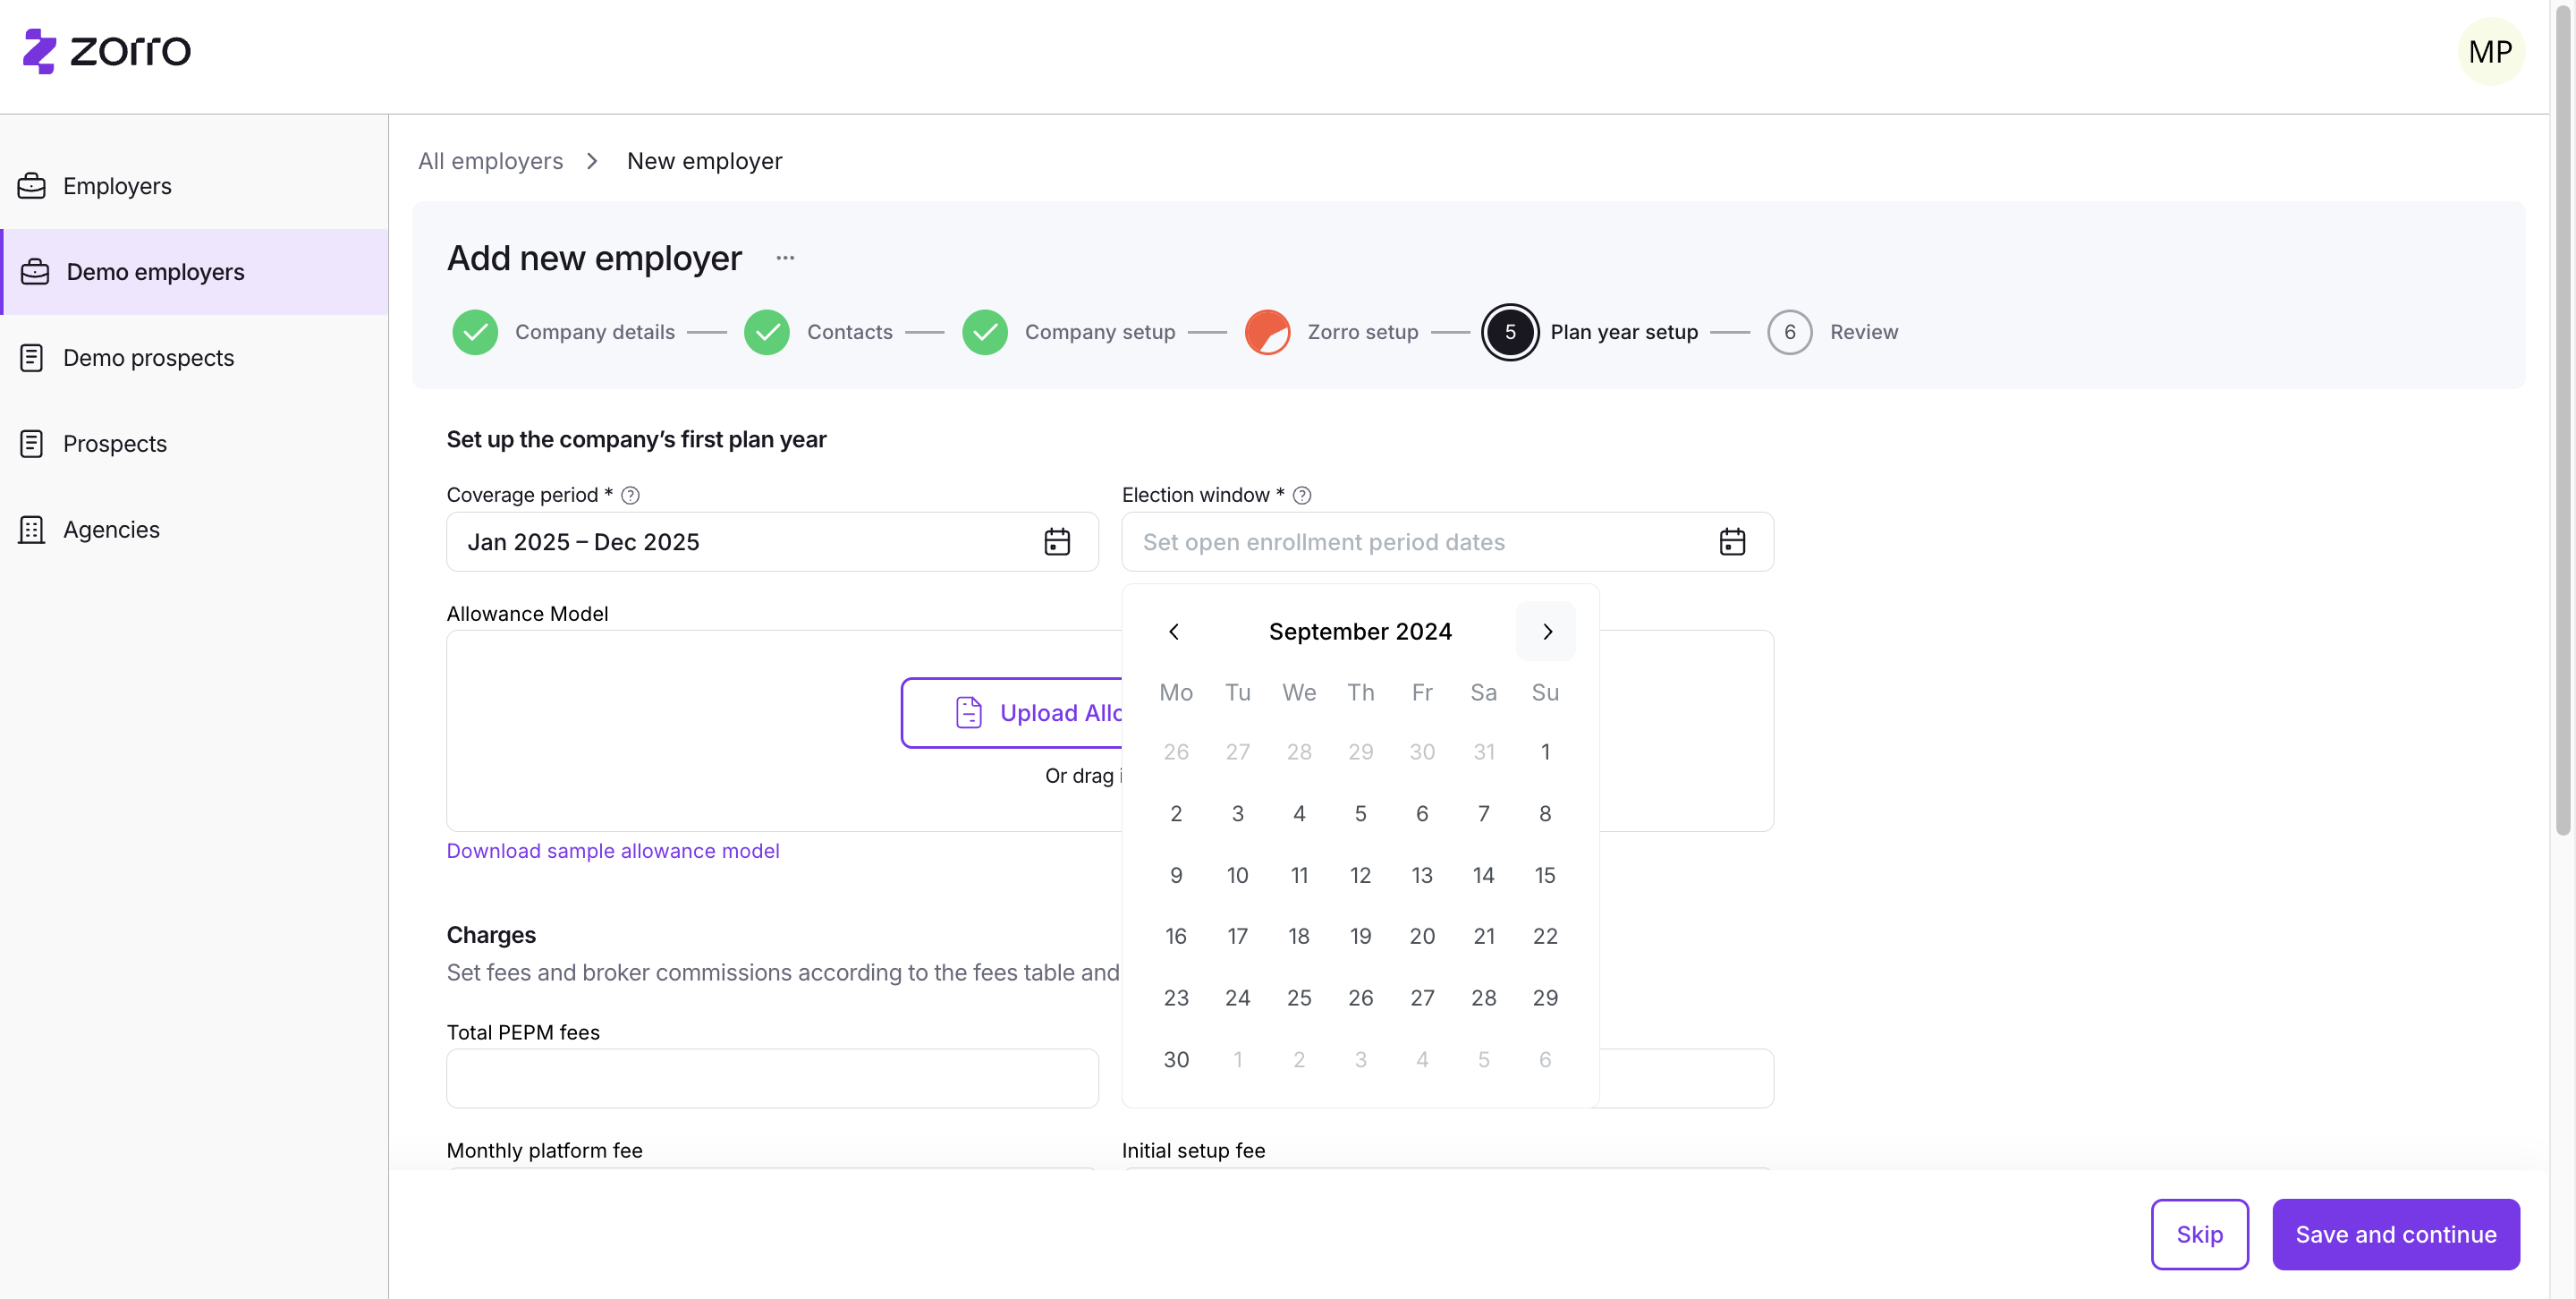

From the 18th to the 1st of December.
The allowance model will be available to you on the Zorro quoting platform, Tornado. You will be able to click here.
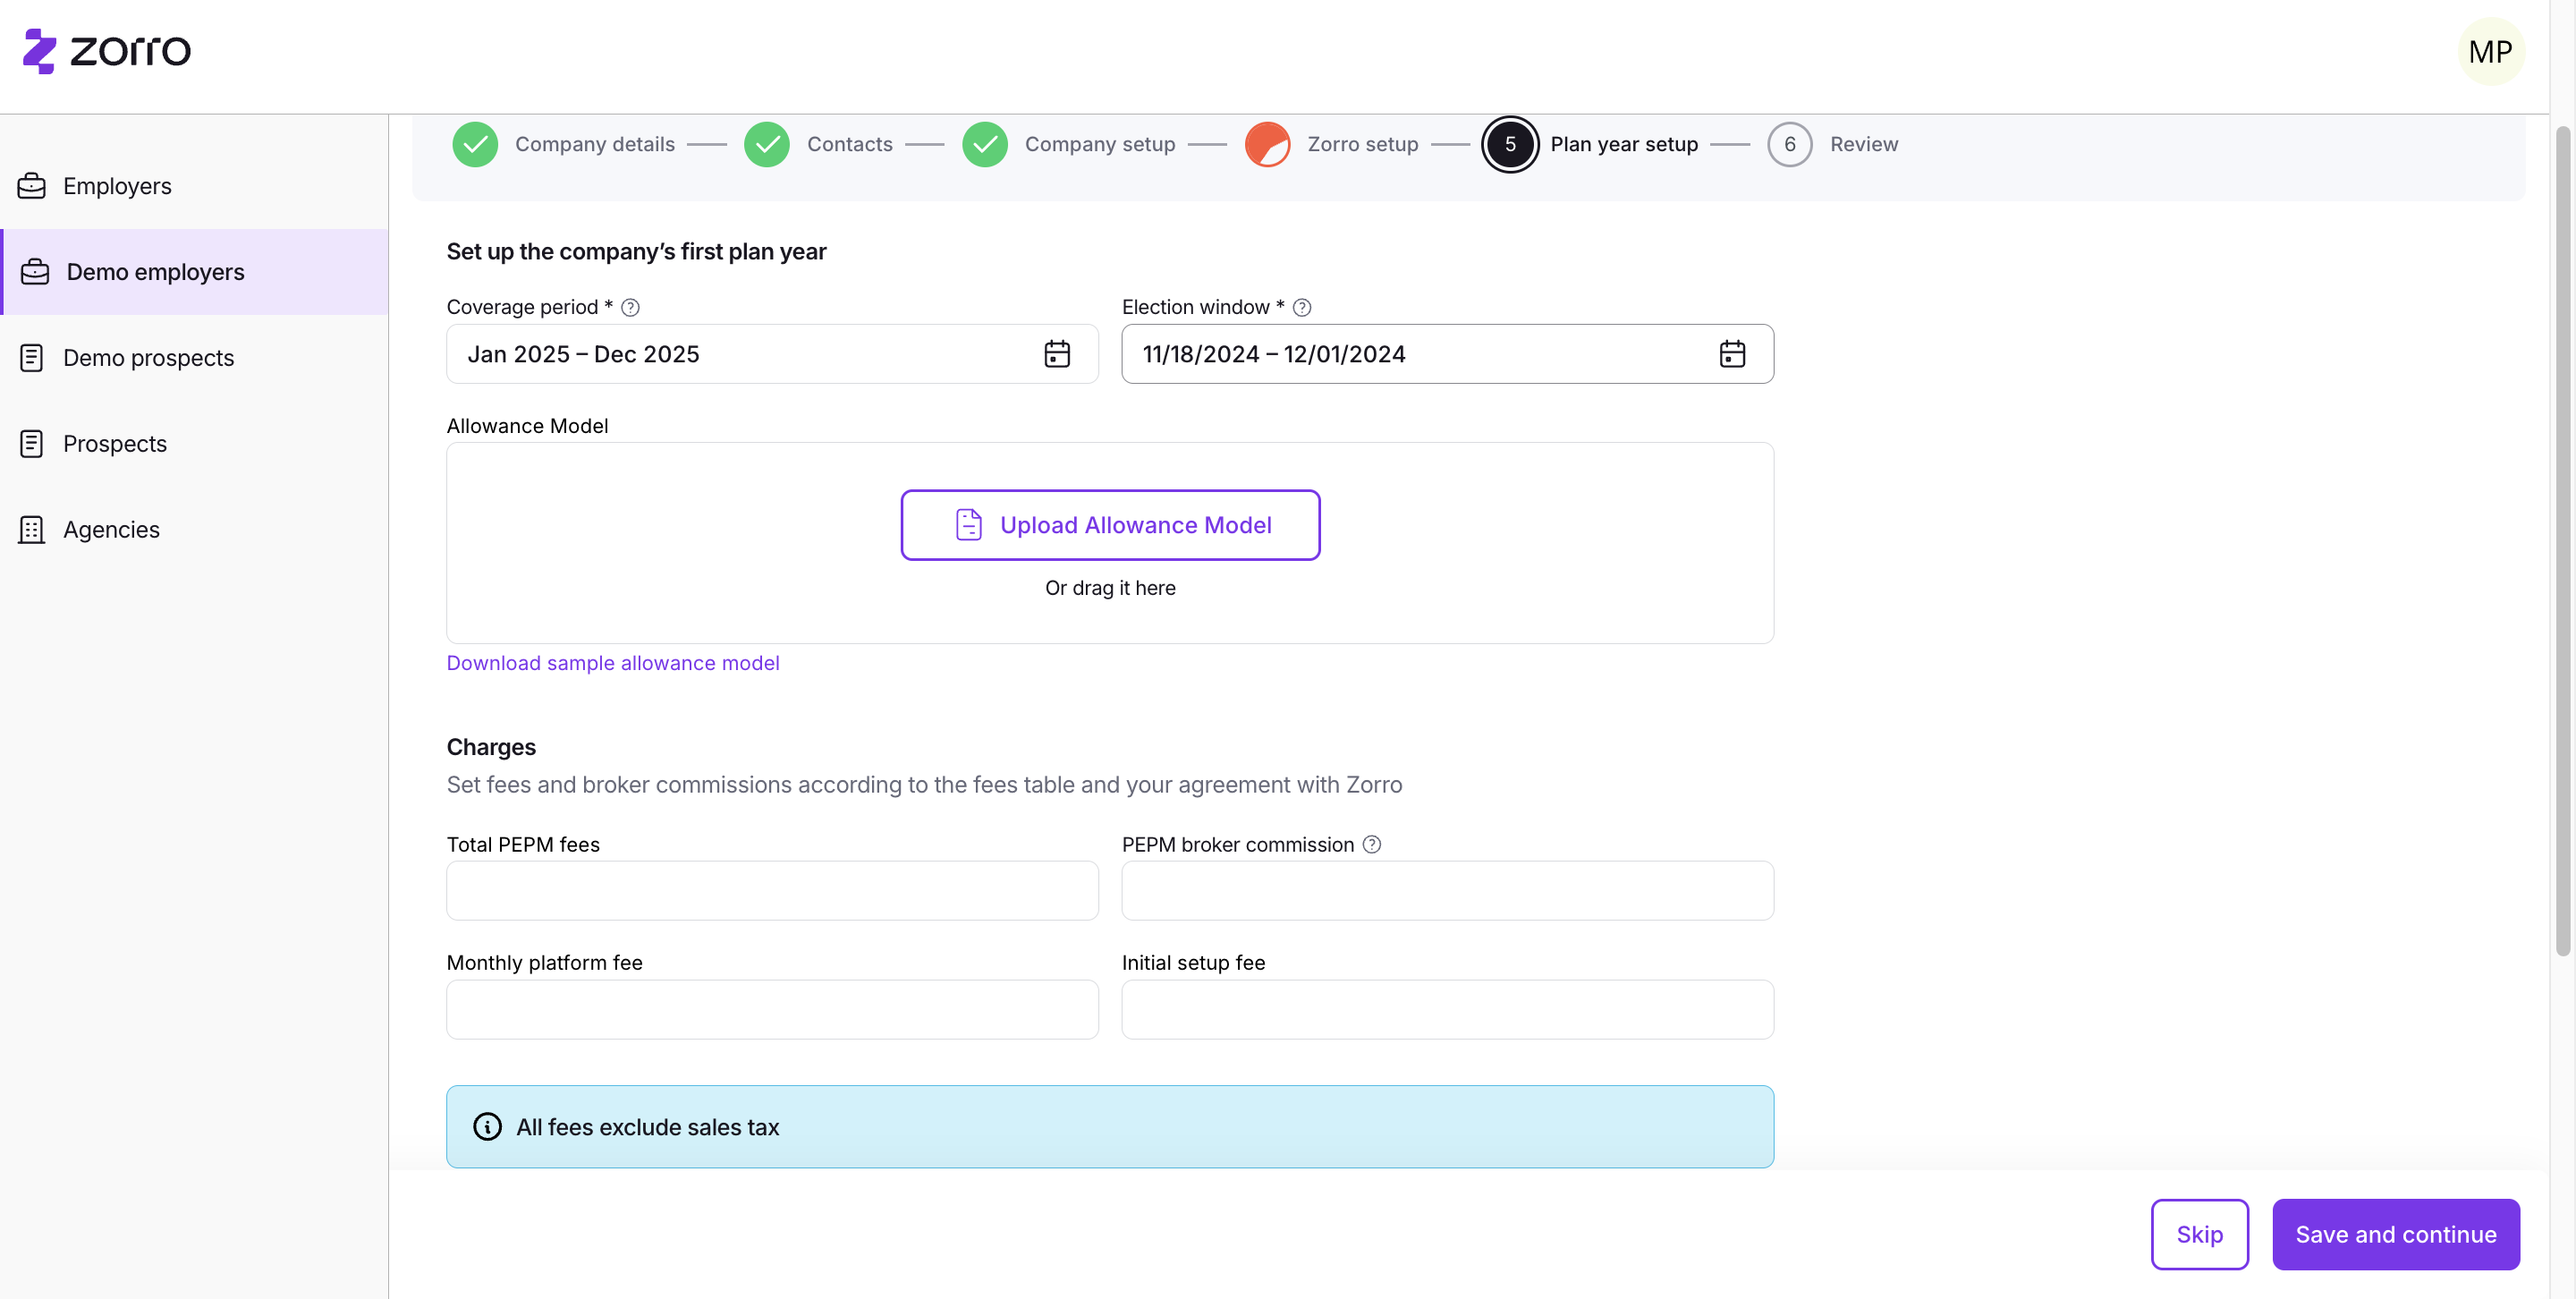
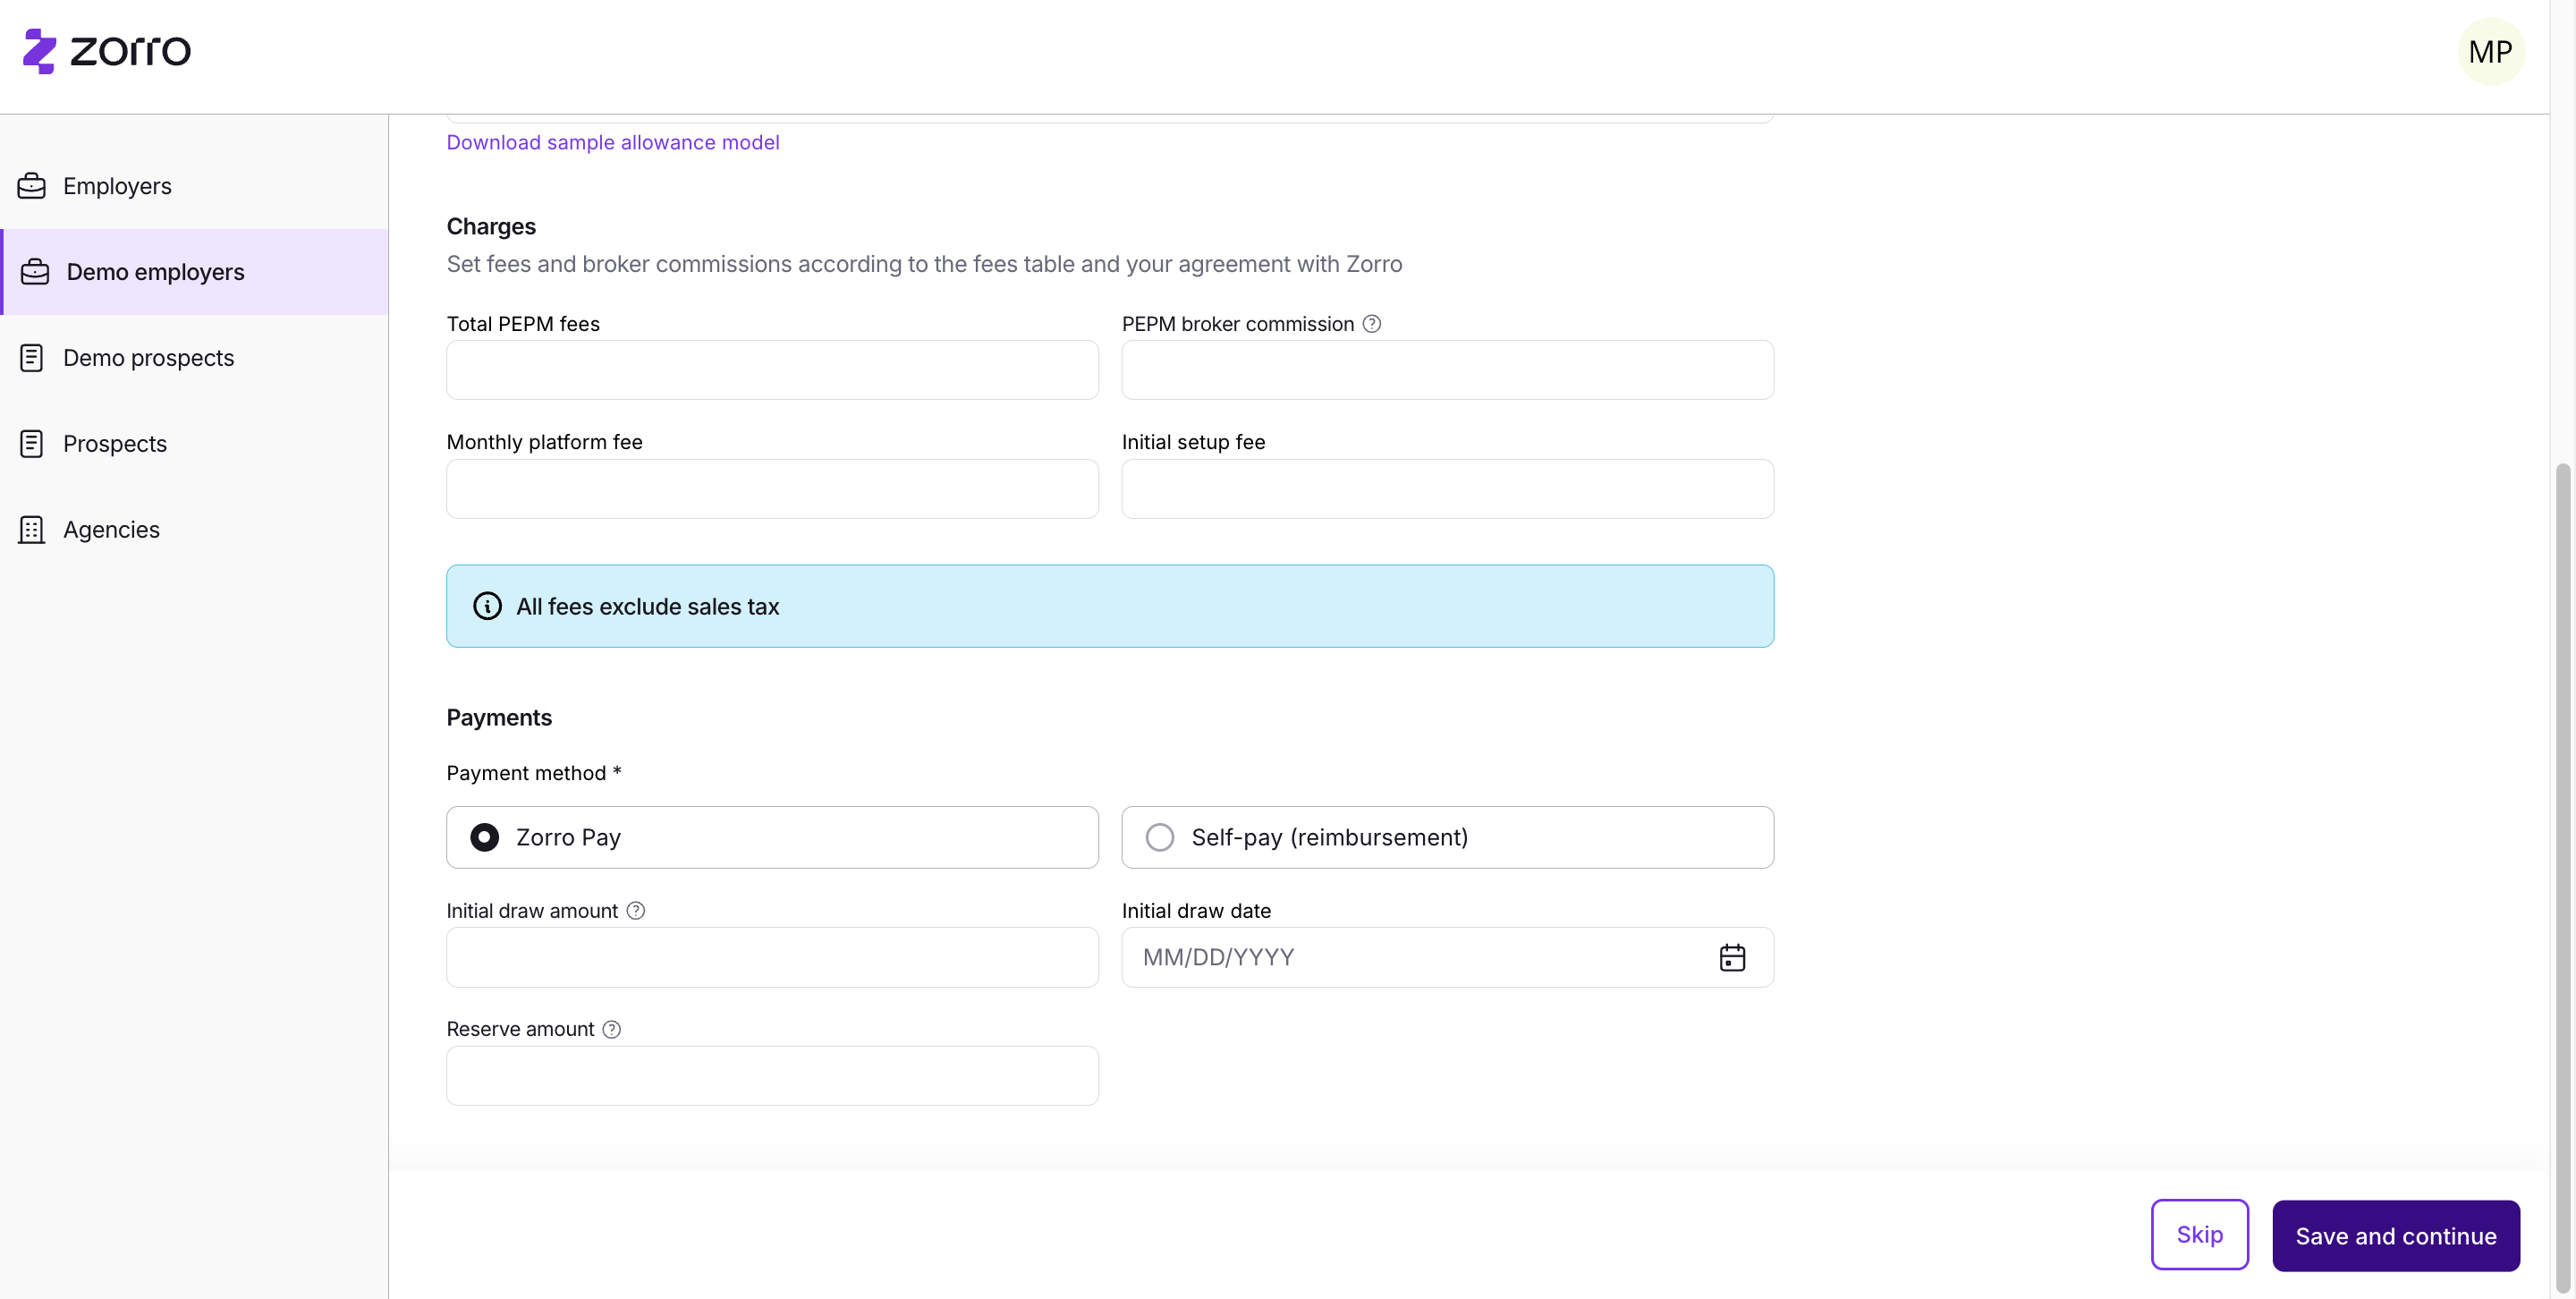
For now, you can upload an allowance model Excel file until that feature is available. Then, you can input additional information here. All of this information will be required eventually, but it is not required right now.
Finally, you will be able to review.
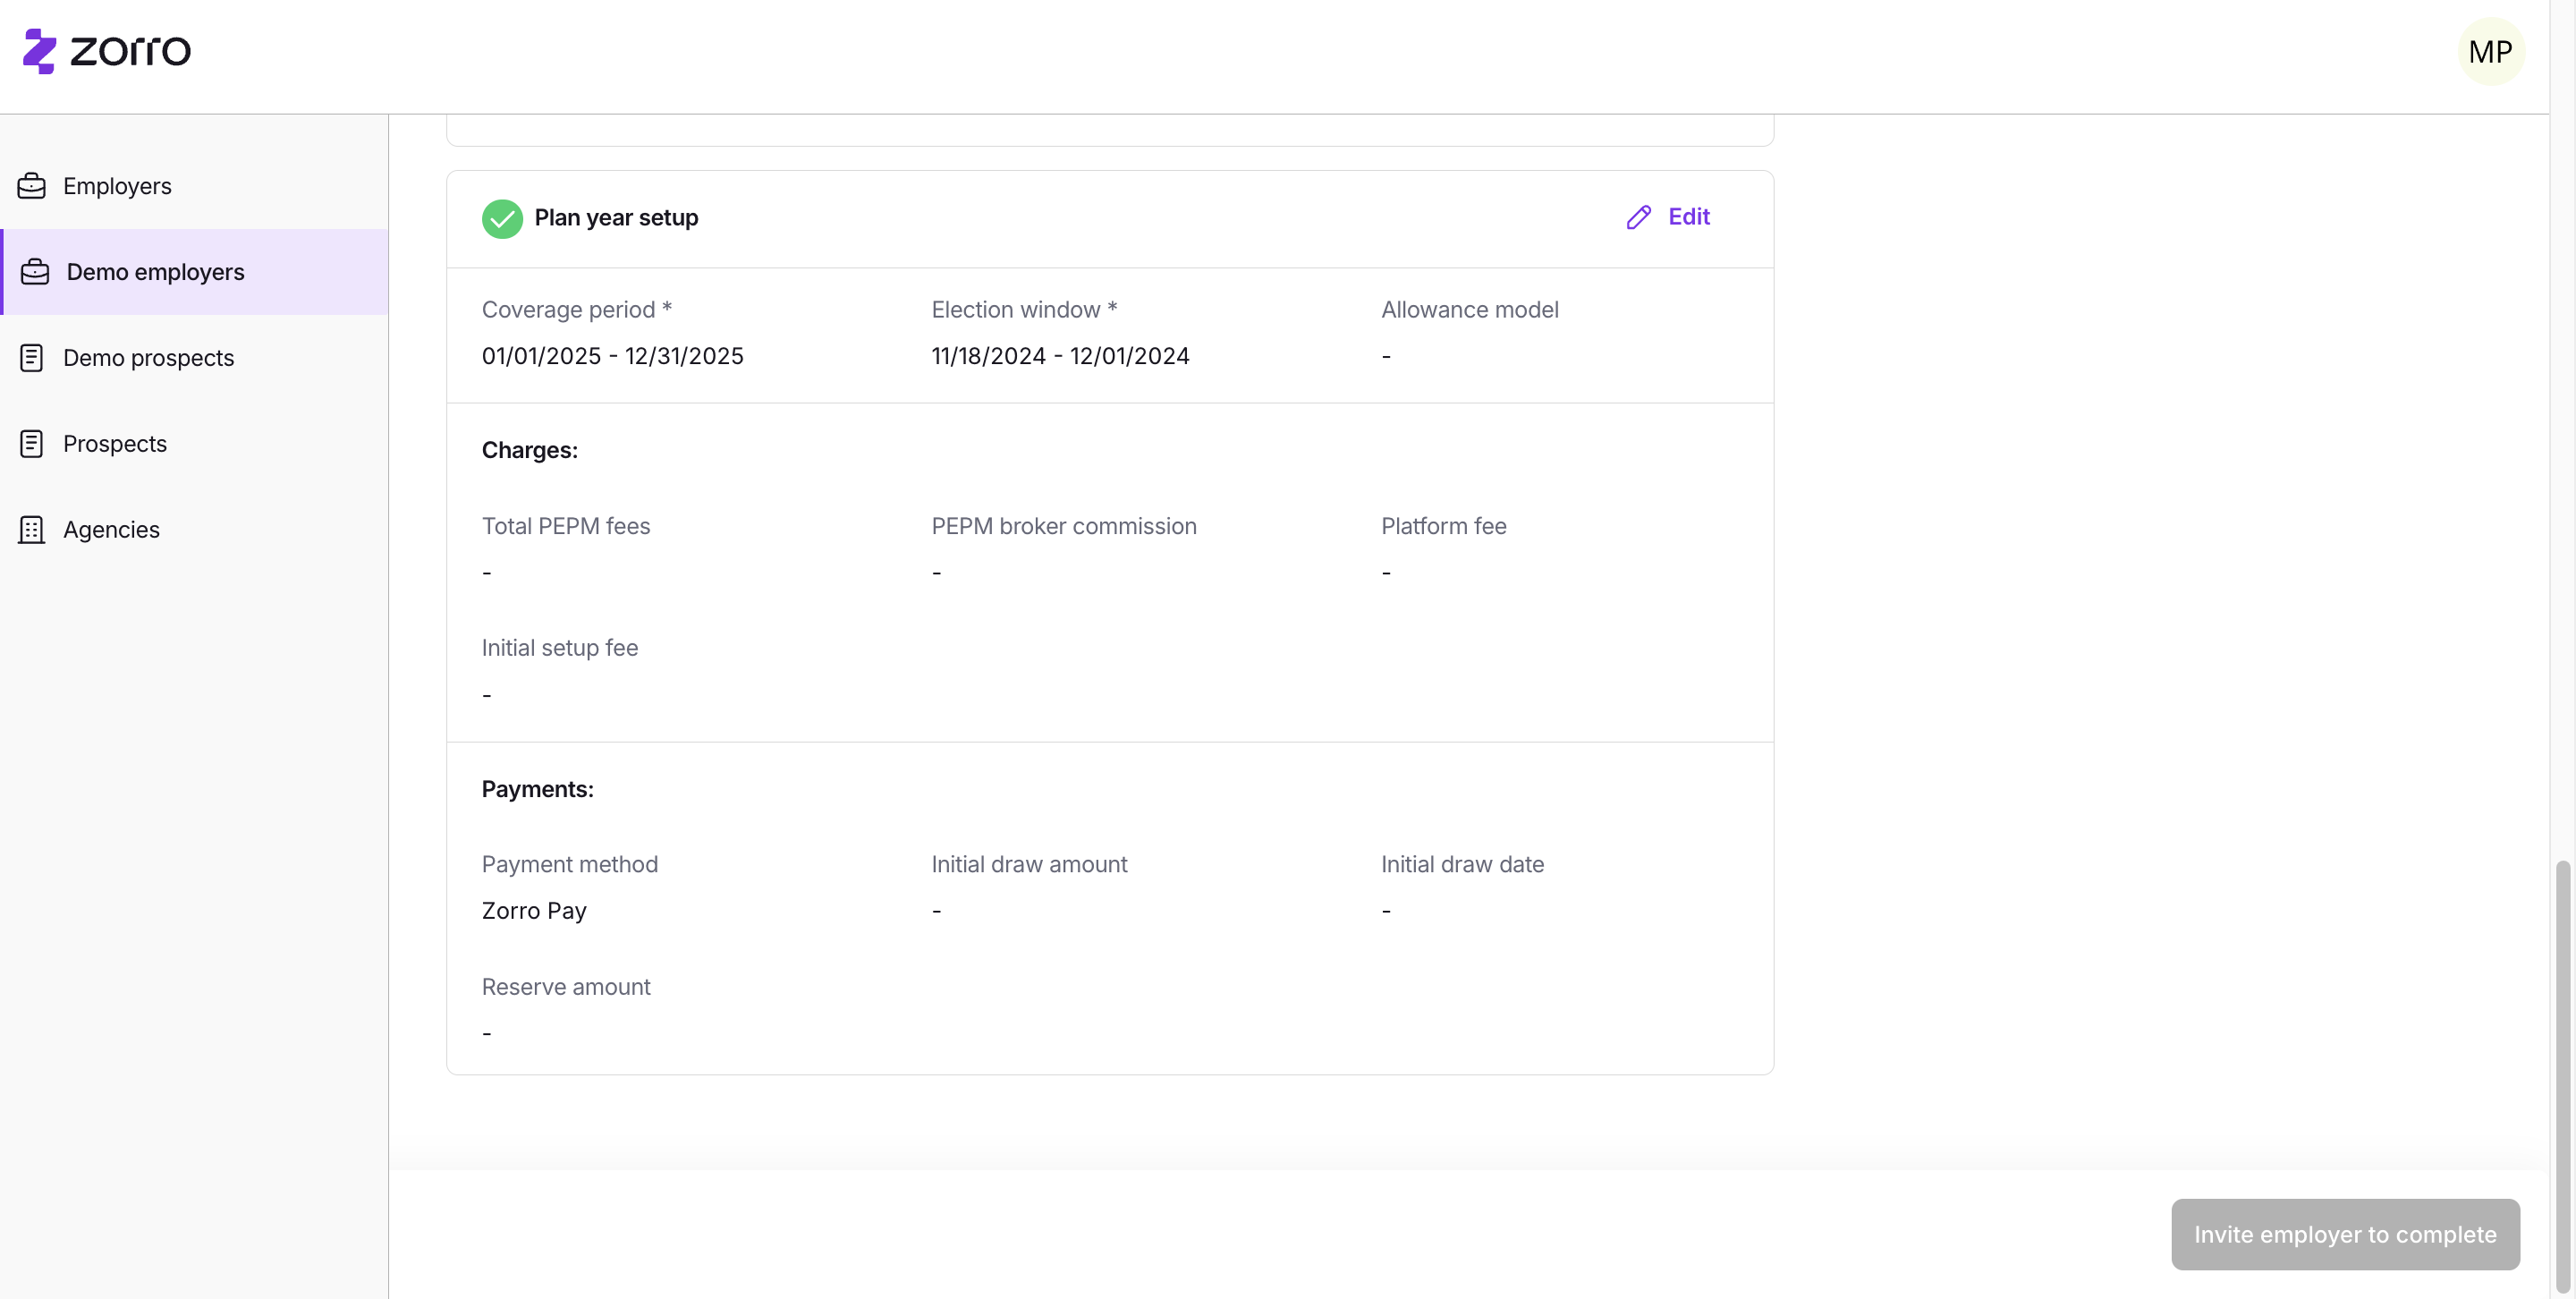
If all the necessary information is available, you can click "Invite Employer to Complete." This will generate a link that you can send to the employer for onboarding.