Participation - New Offering
Learn step-by-step how to create and post a new offering on Capstack Marketplace, including filling out public and private information, uploading documents, and managing participation requests.
Let's get started
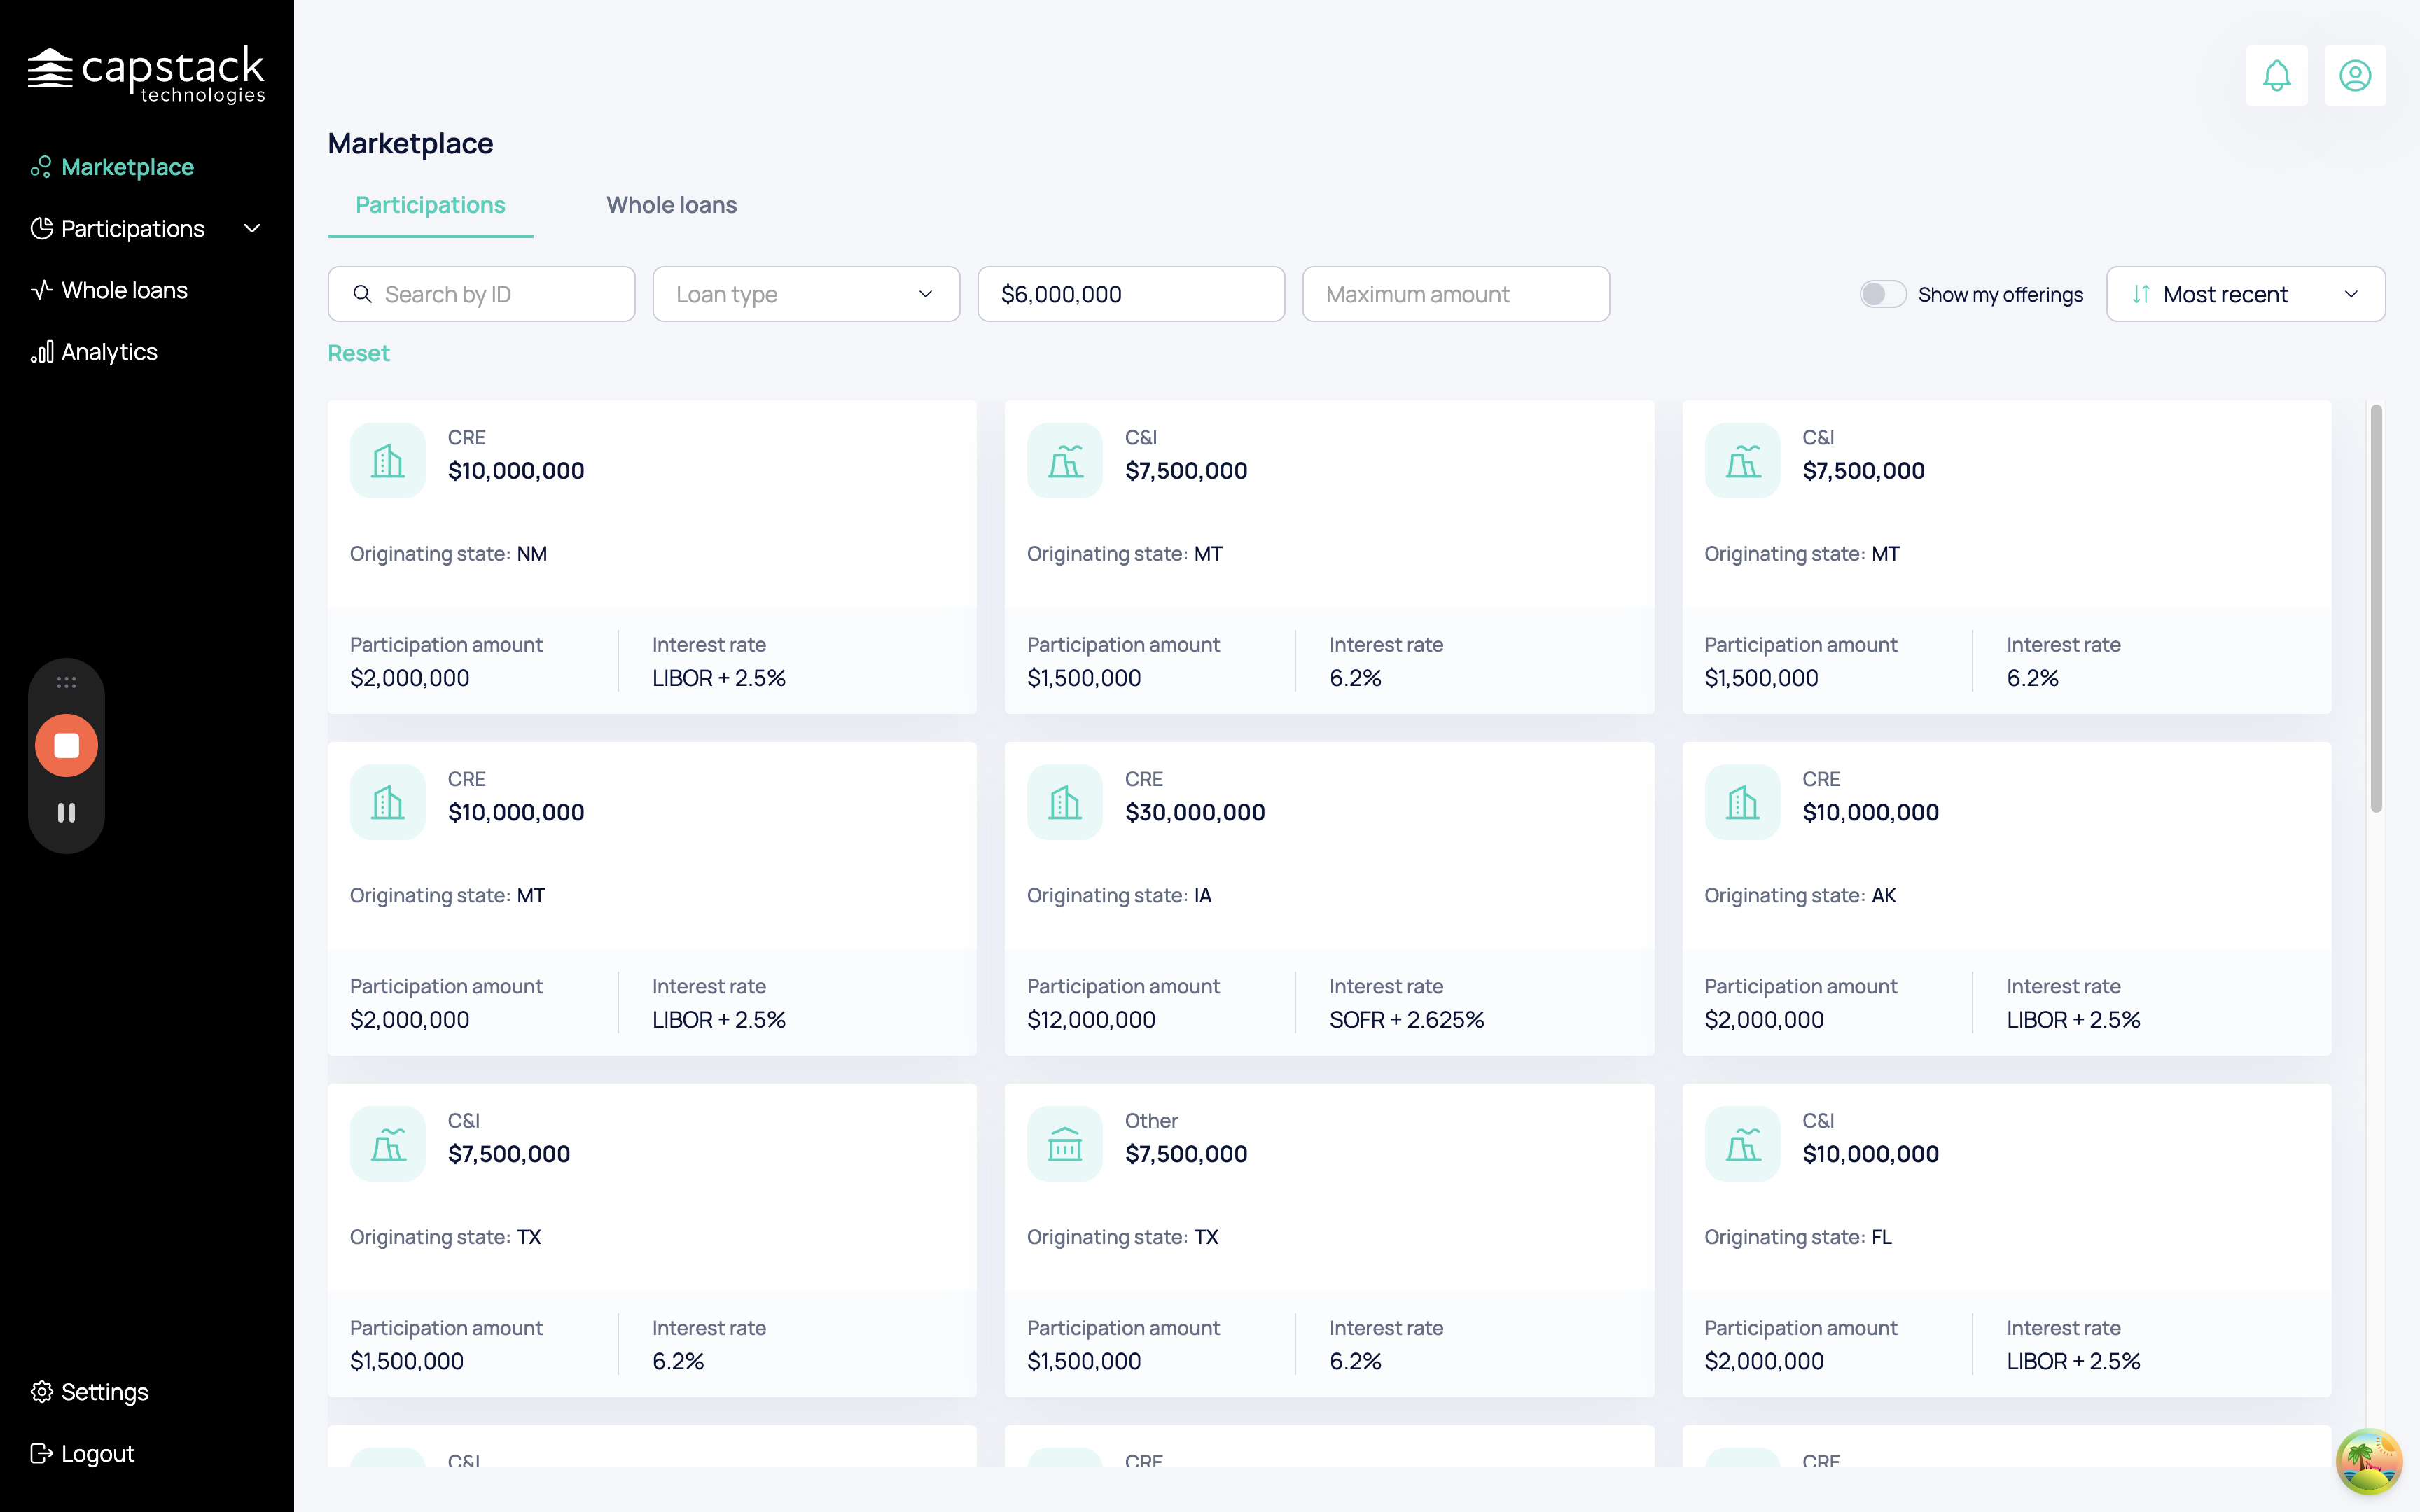
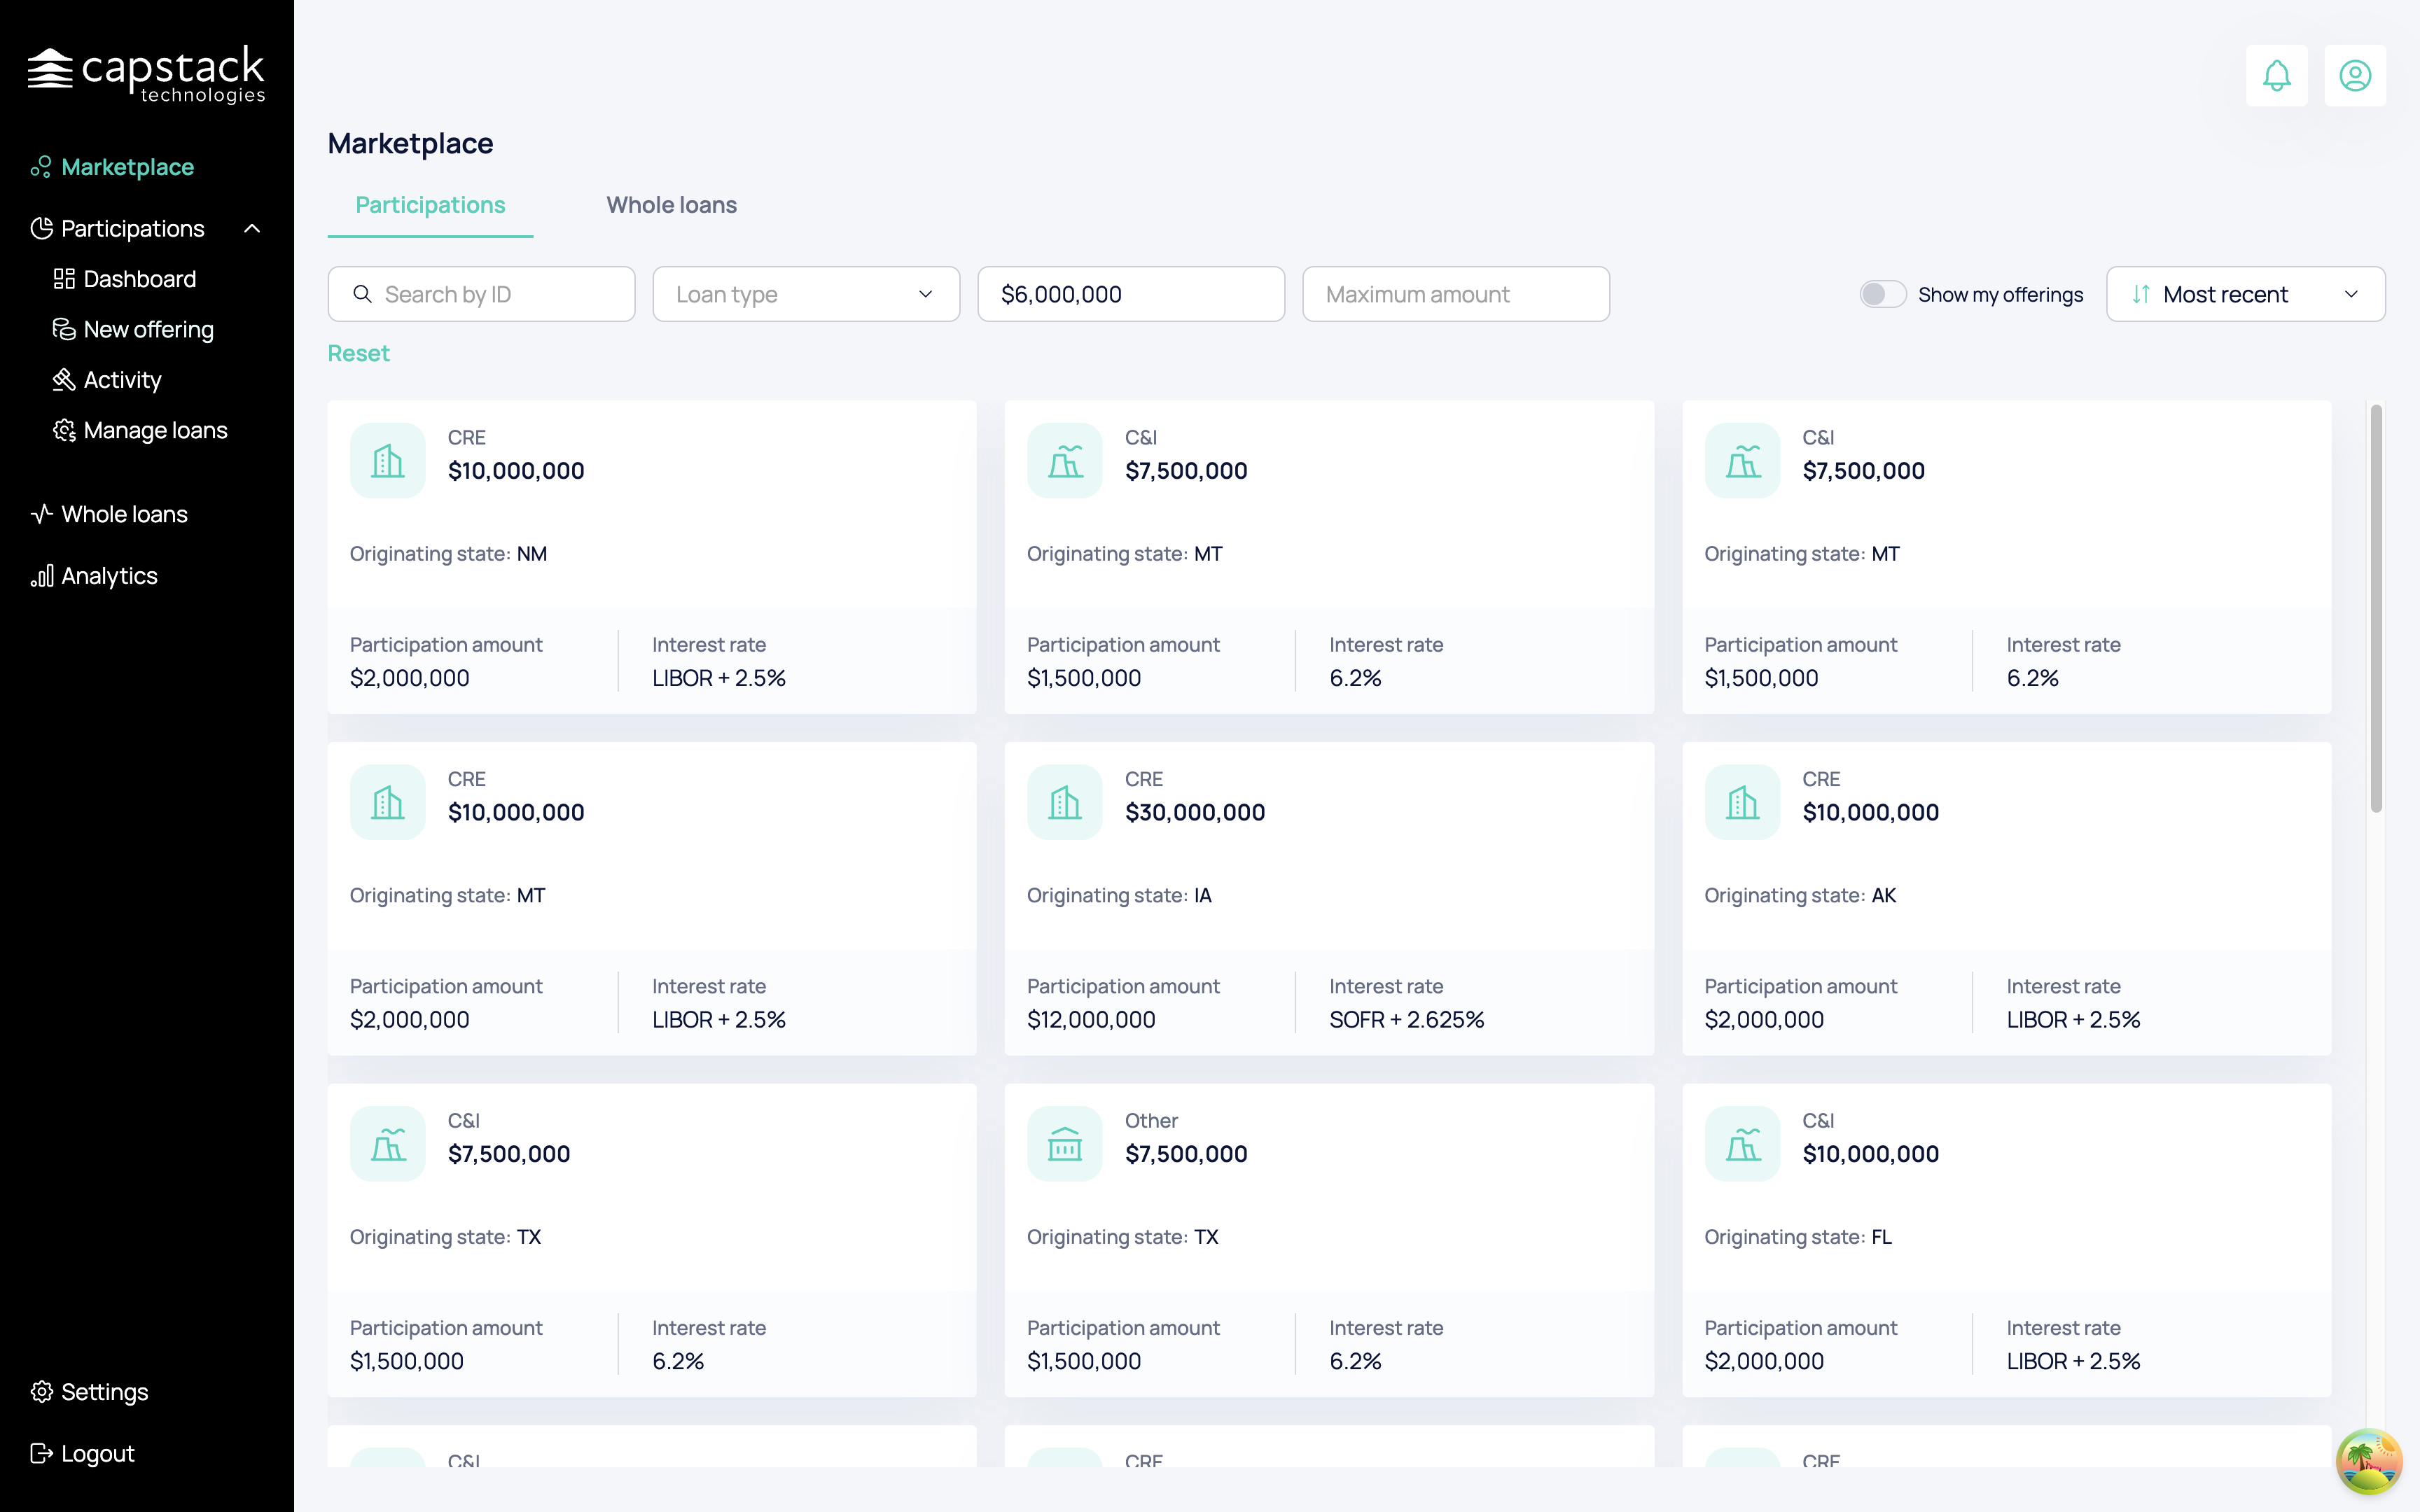
In this tutorial, we will demonstrate how to upload a new offering and post it on Capstack Marketplace. First, go to Participations and click on New Offering.
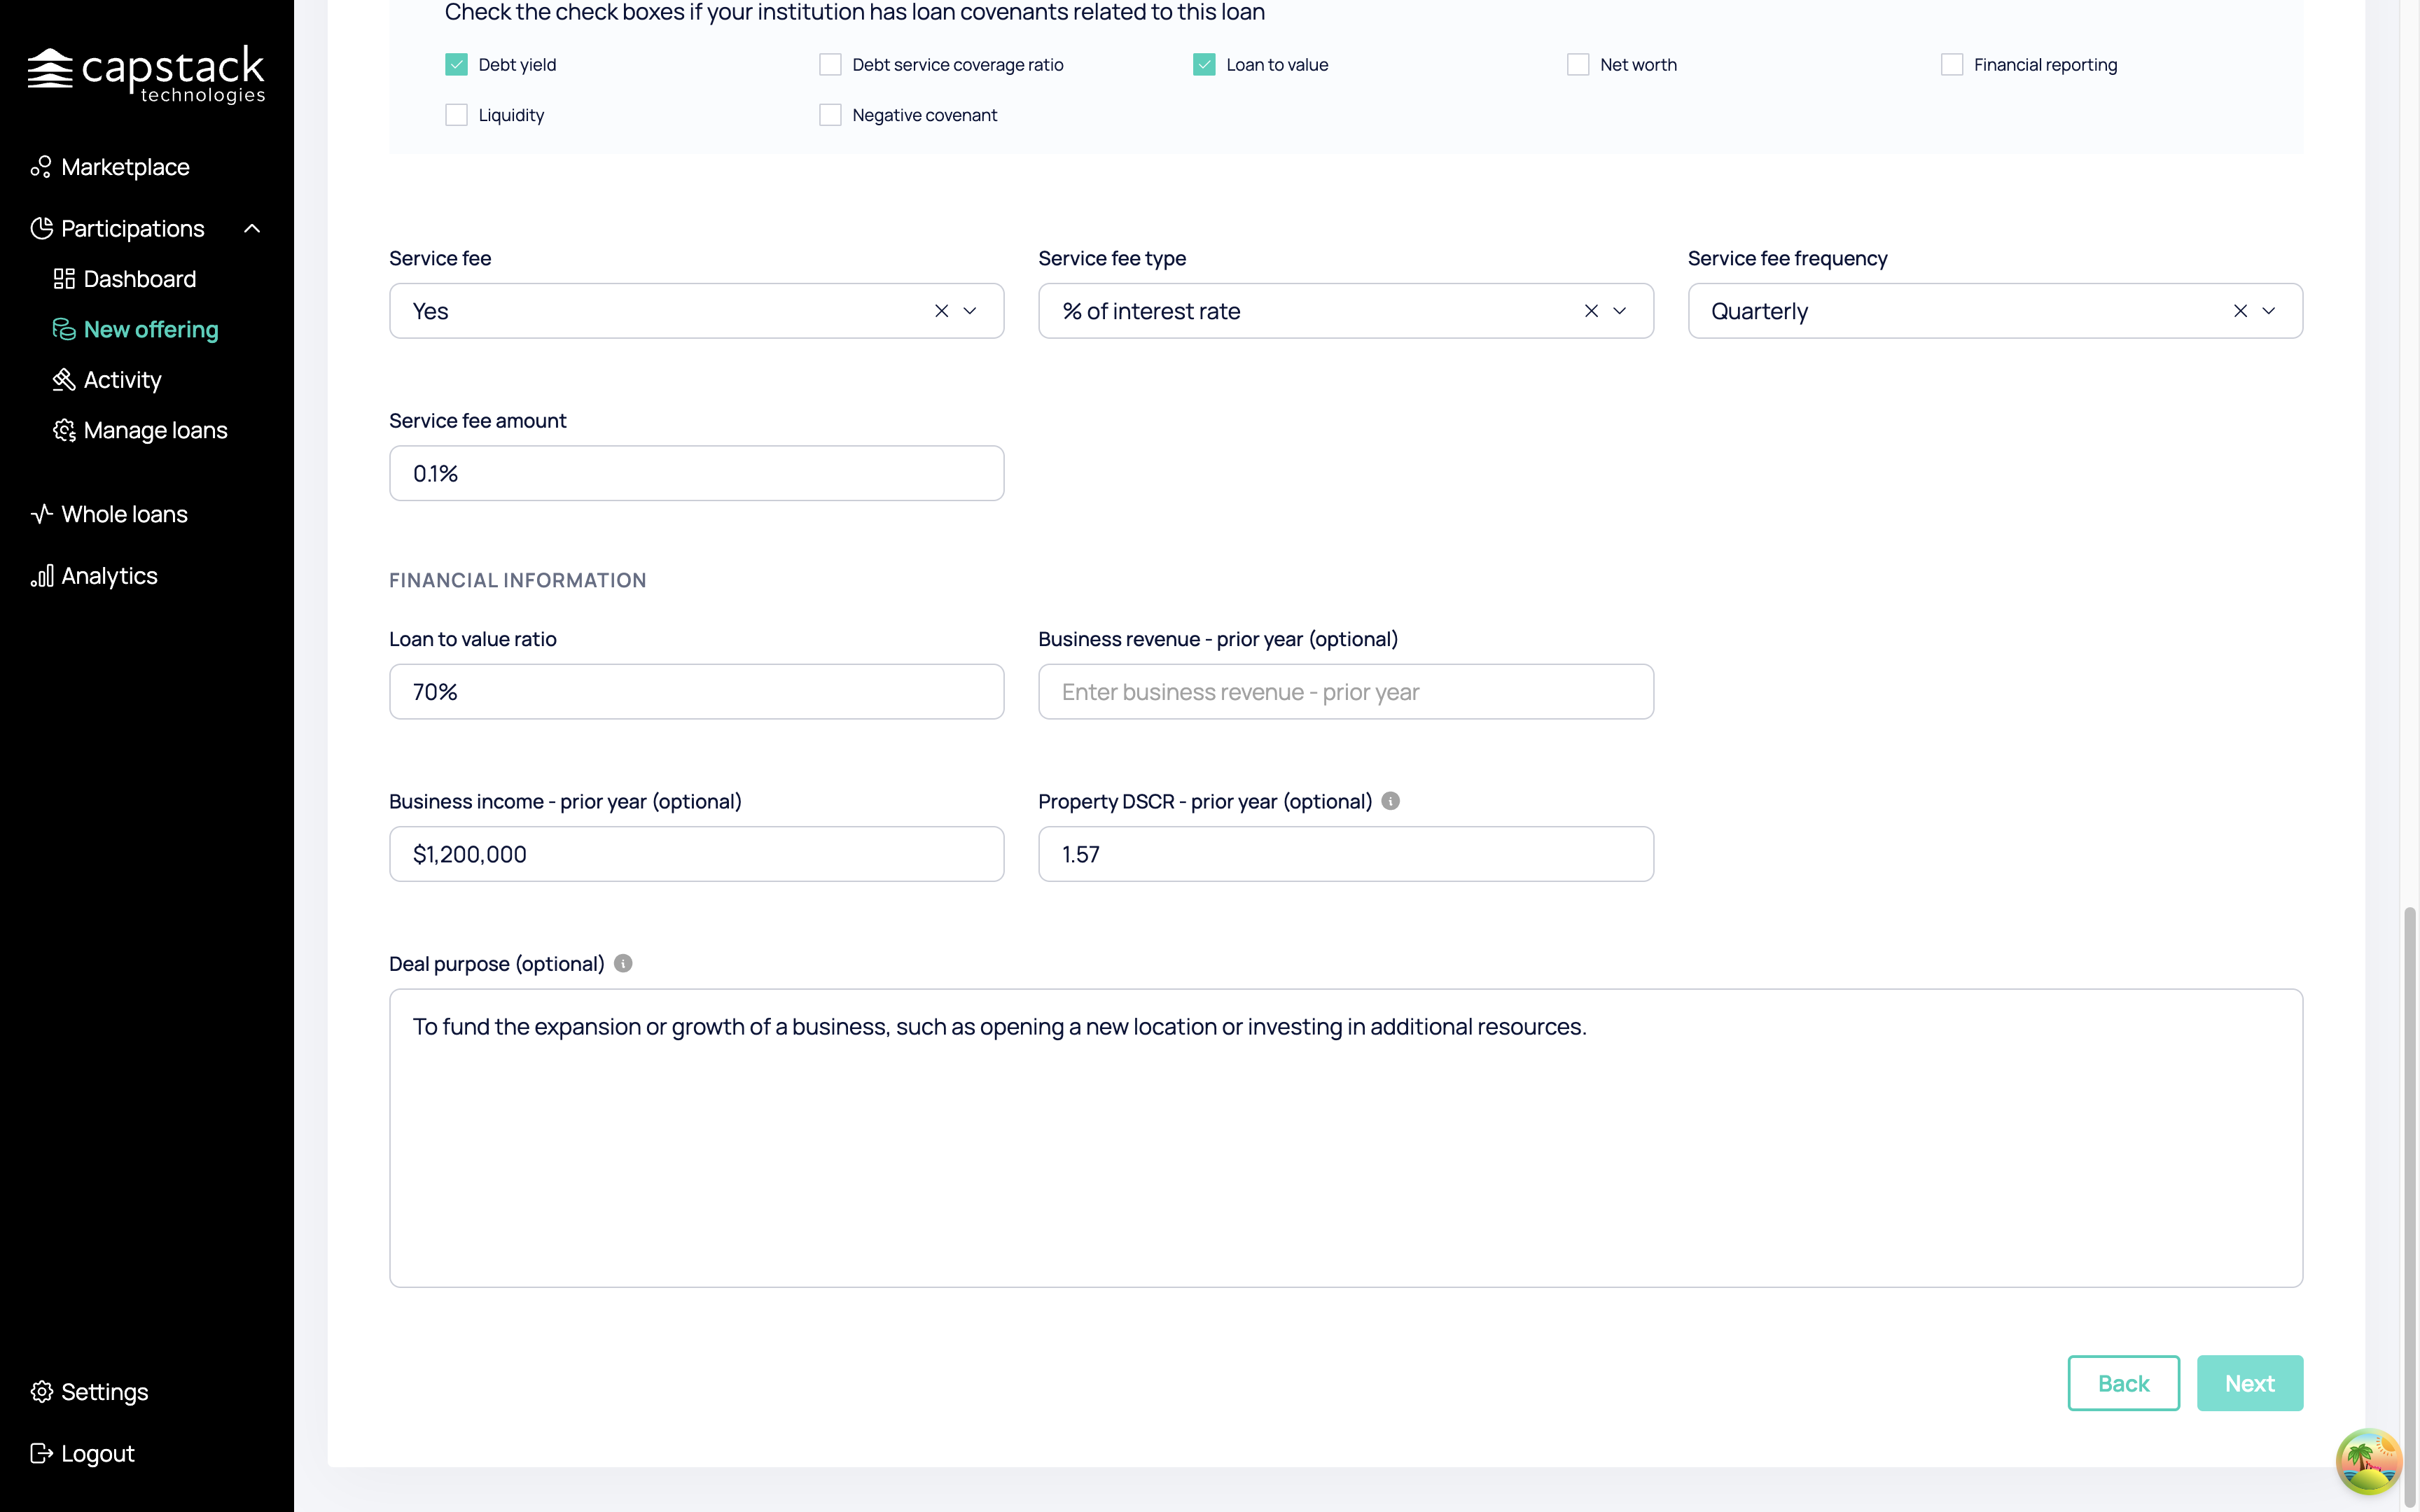
You will be redirected to a new page. in this process, you will provide all the necessary data for the offering to be tradable on the Capstack marketplace. this includes entering both public and private information about the offering and supporting documents.

Once you have entered all the public information, click "Next" to proceed to the private information.
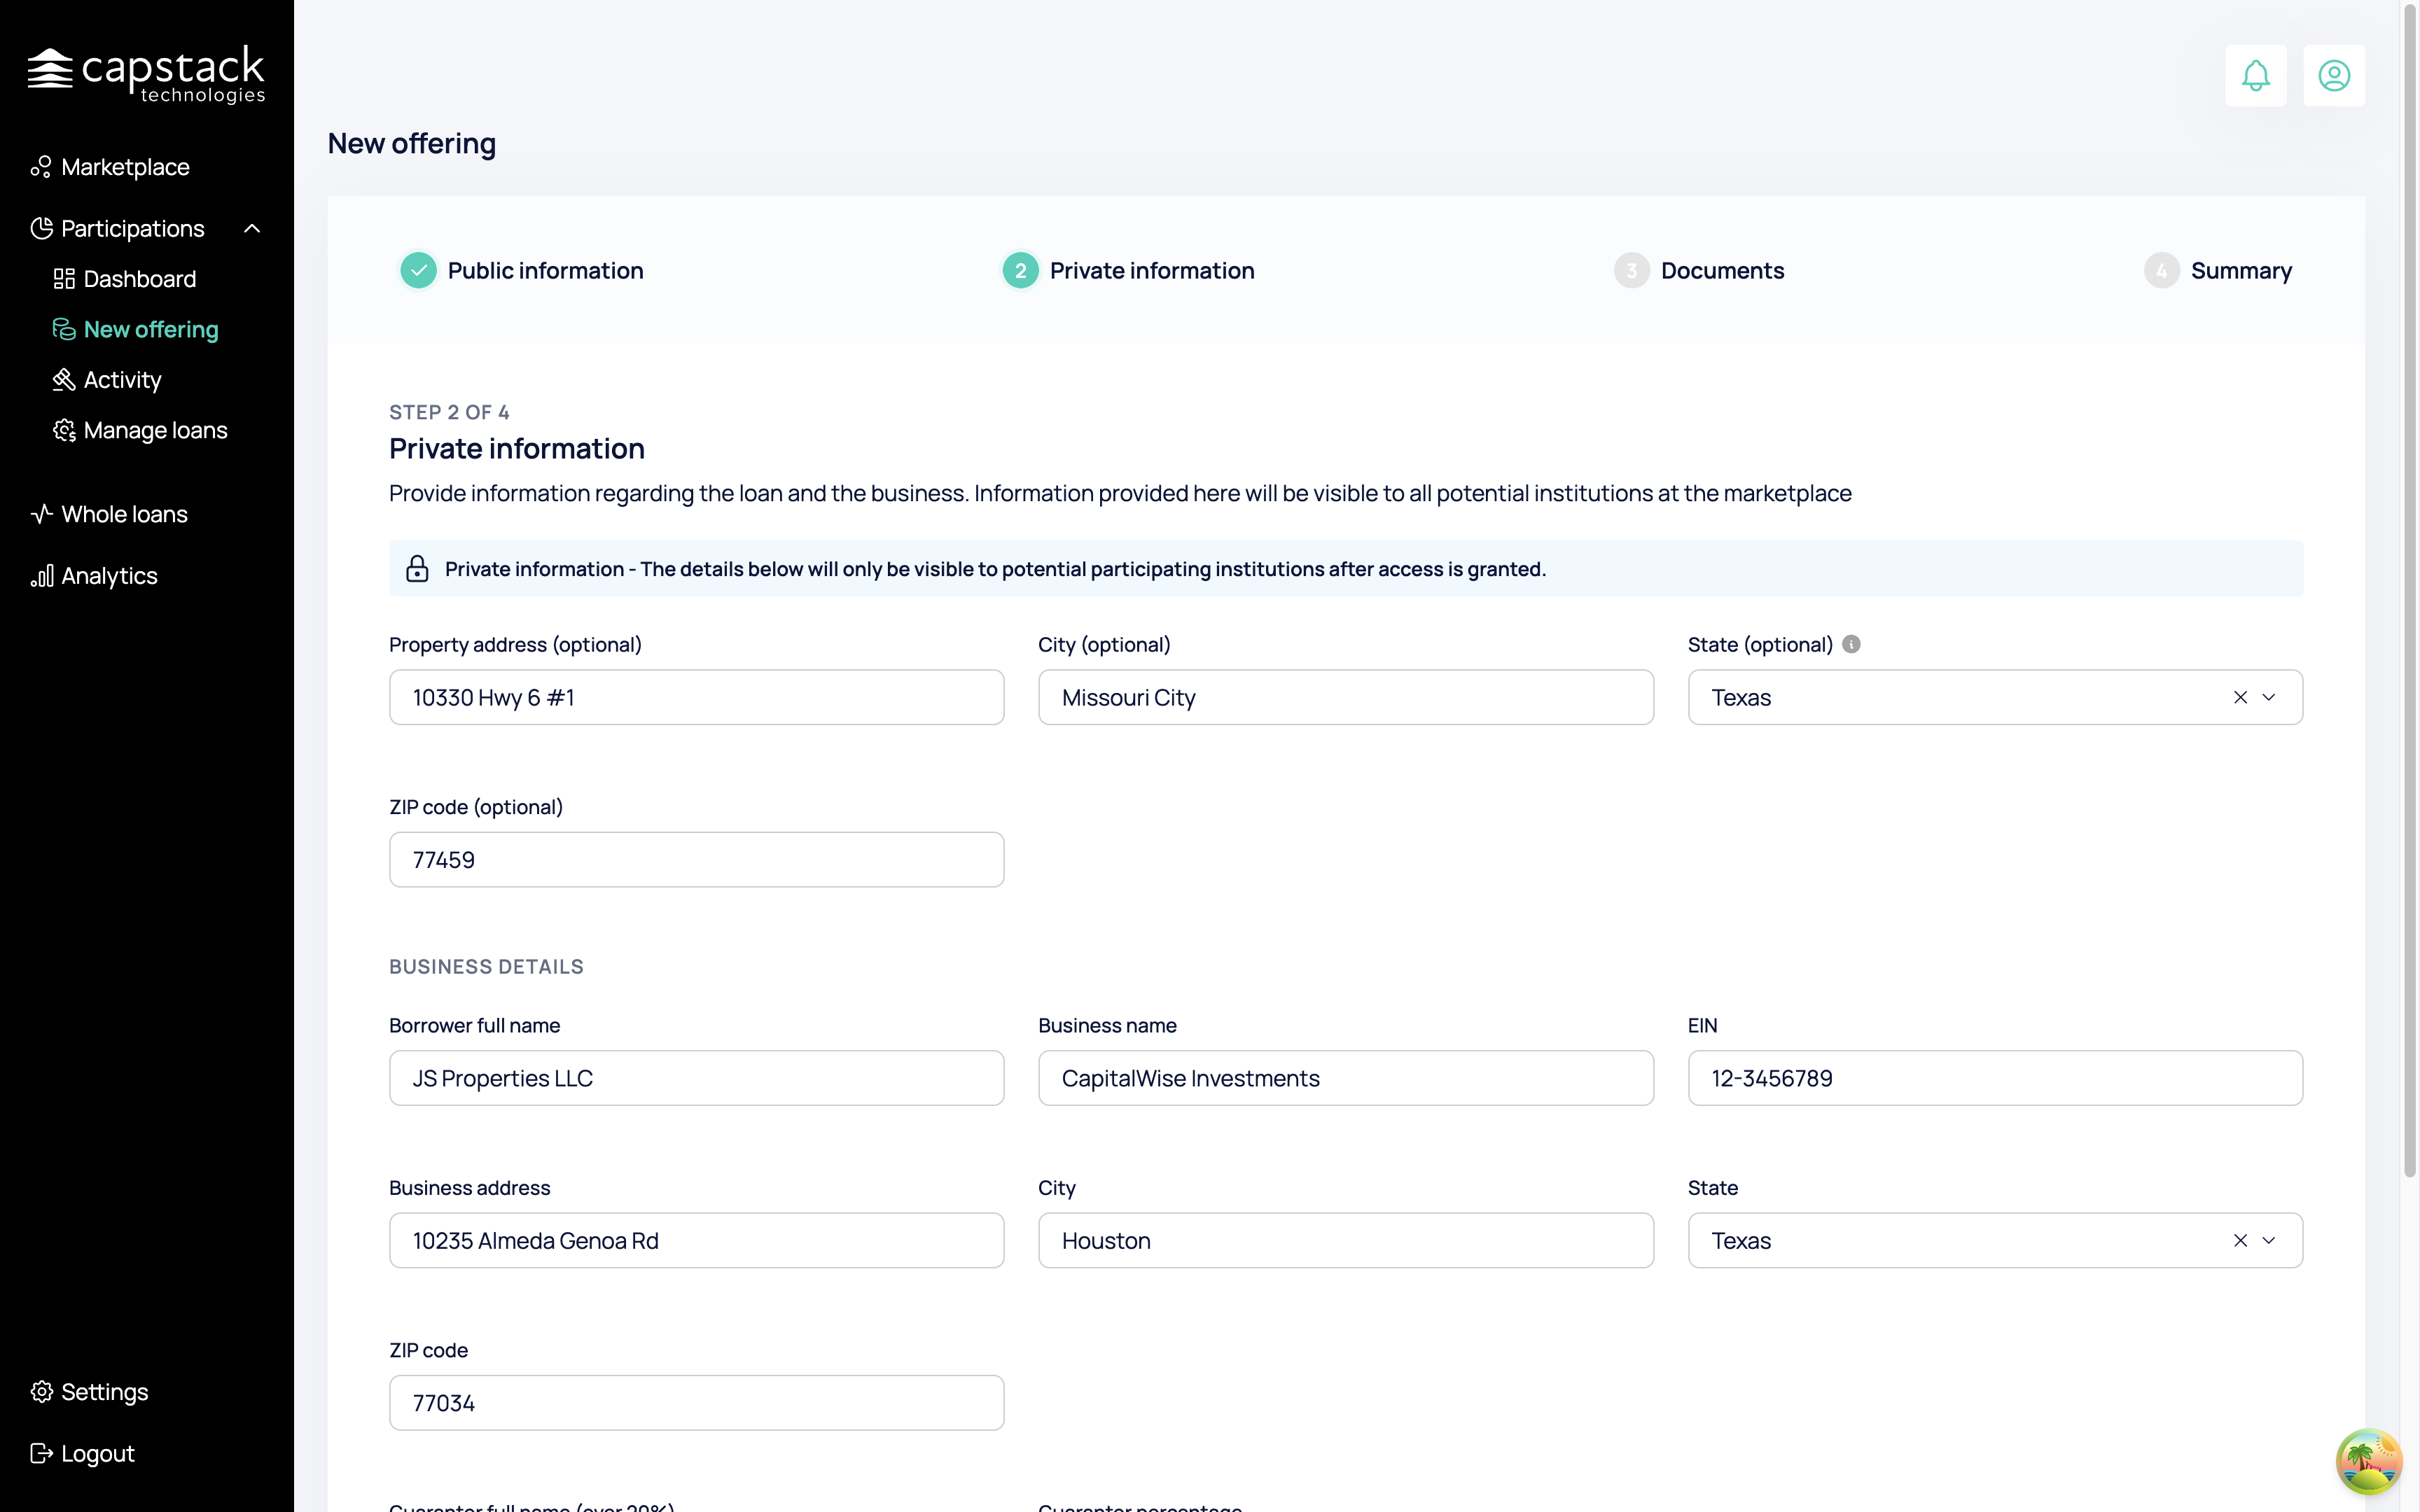
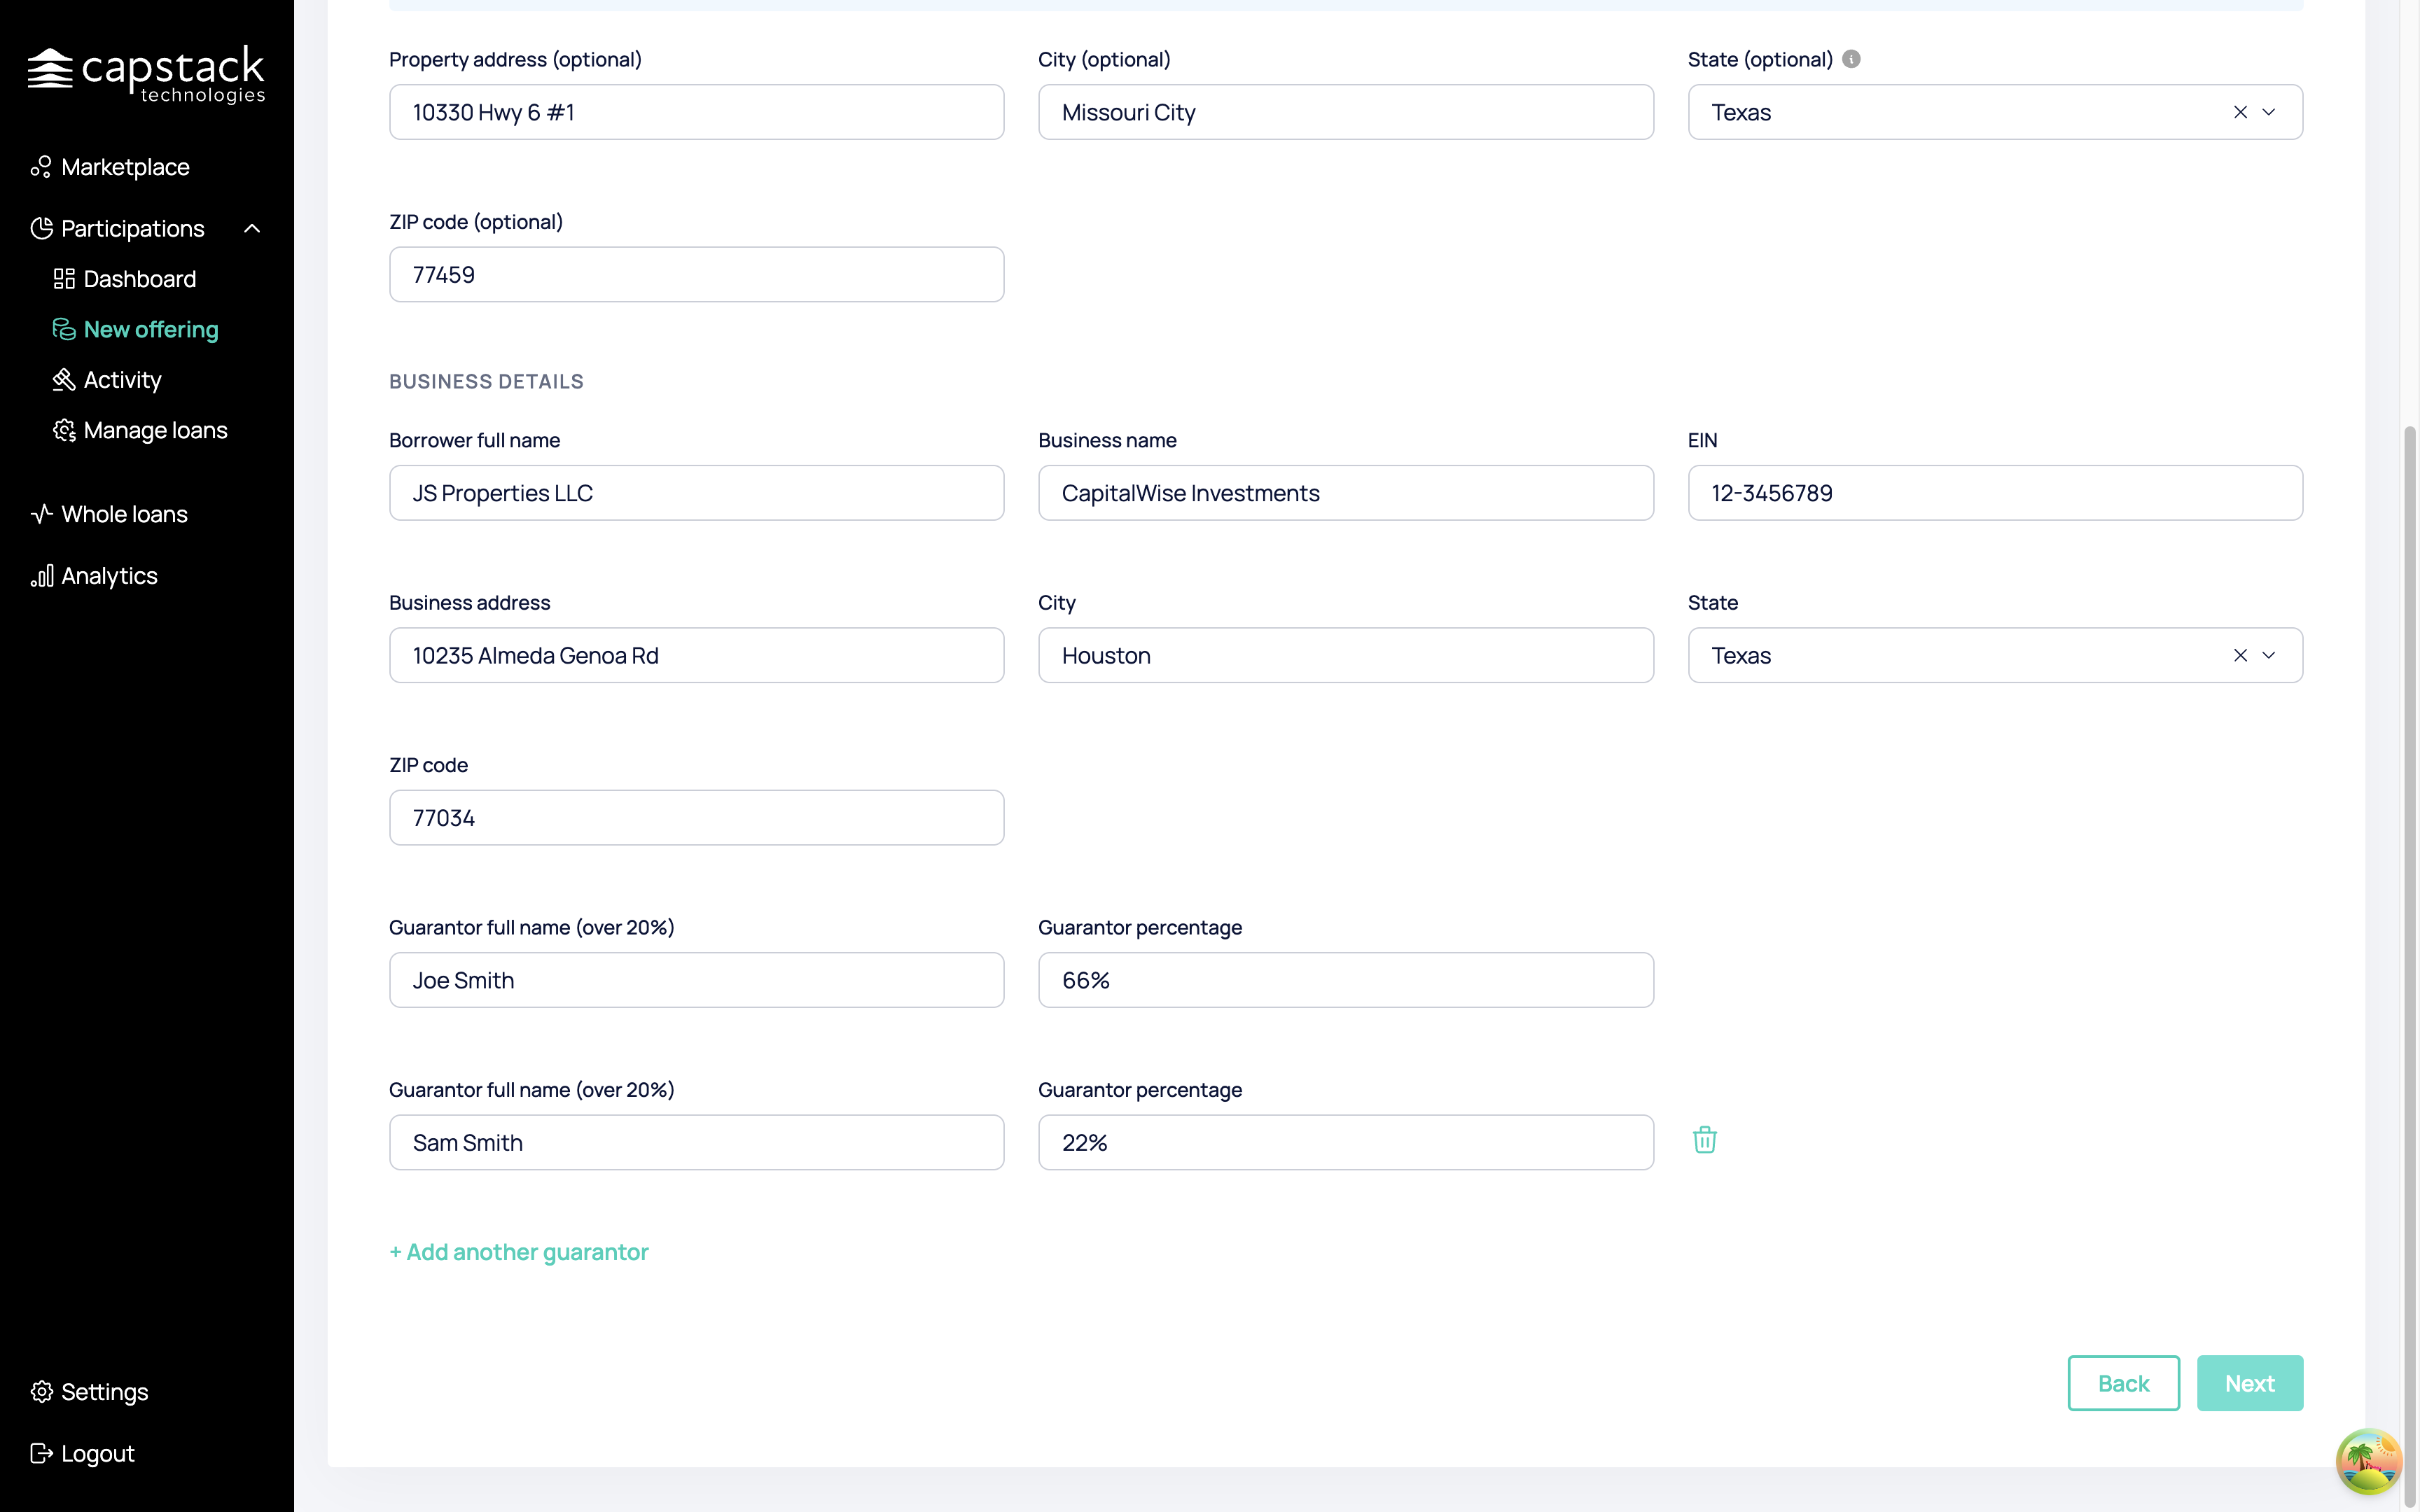
The data under private information is more sensitive data such as property address and business details, this data will be revealed to buyers only after their access requests are approved by you.
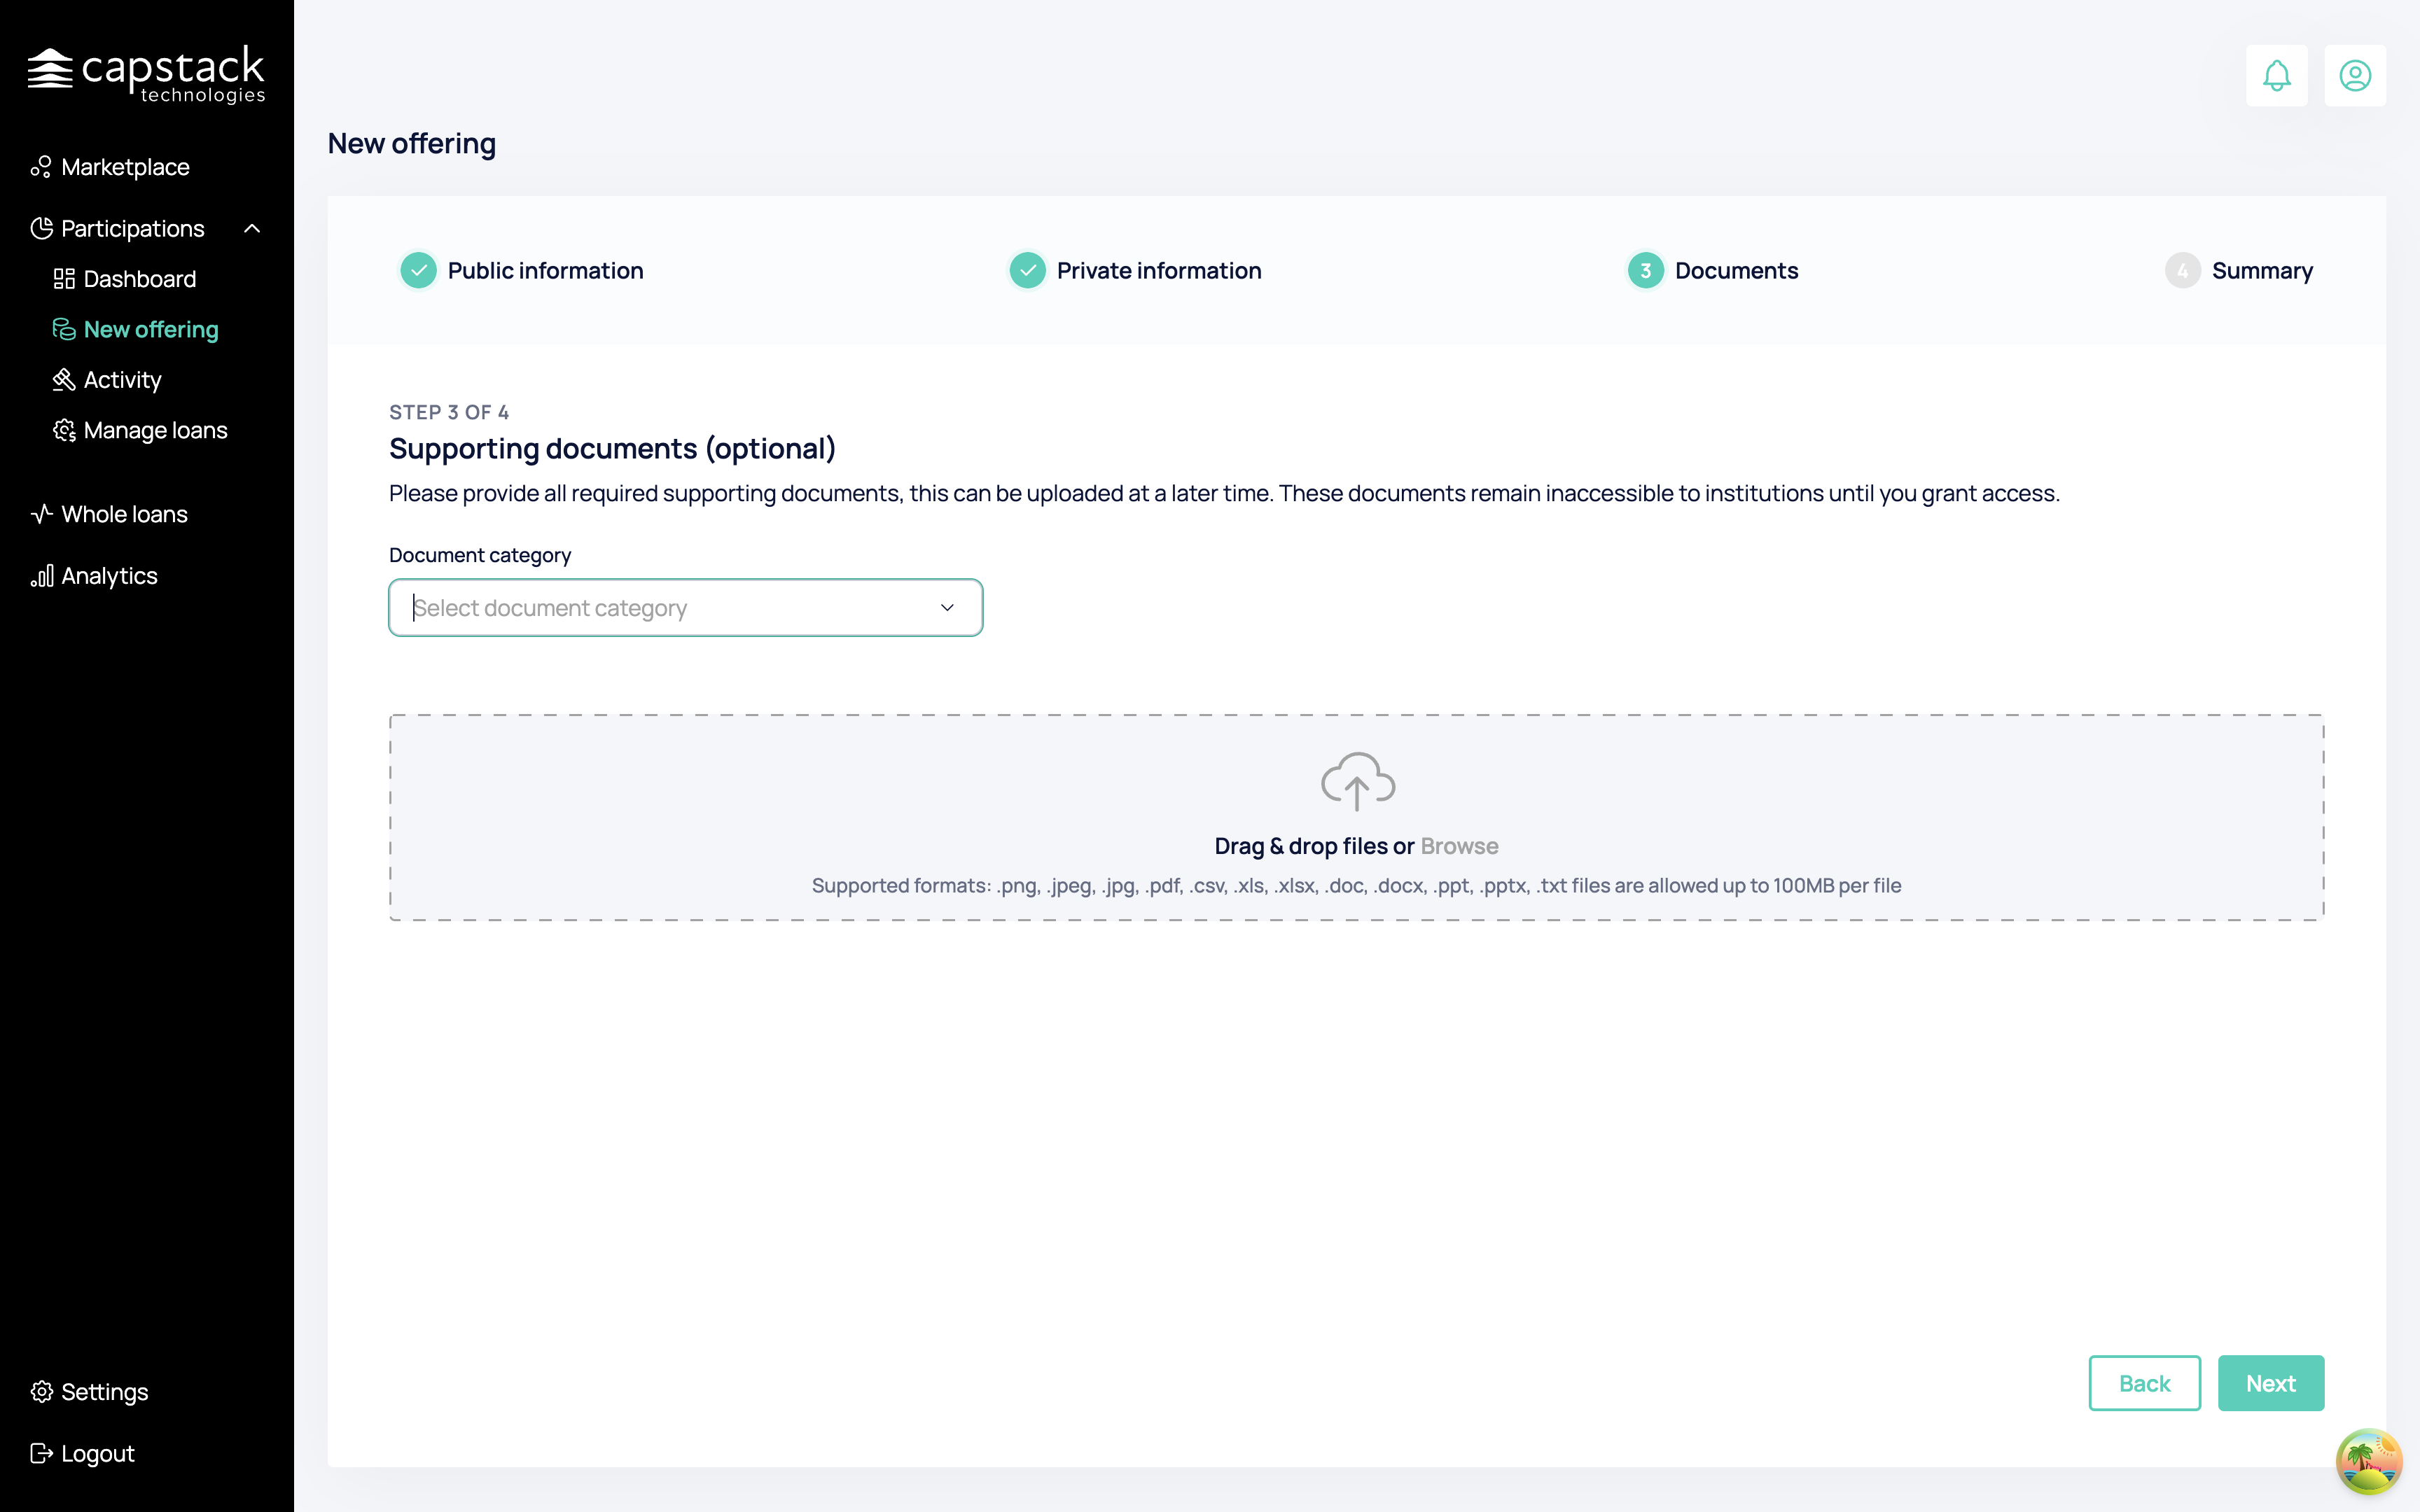
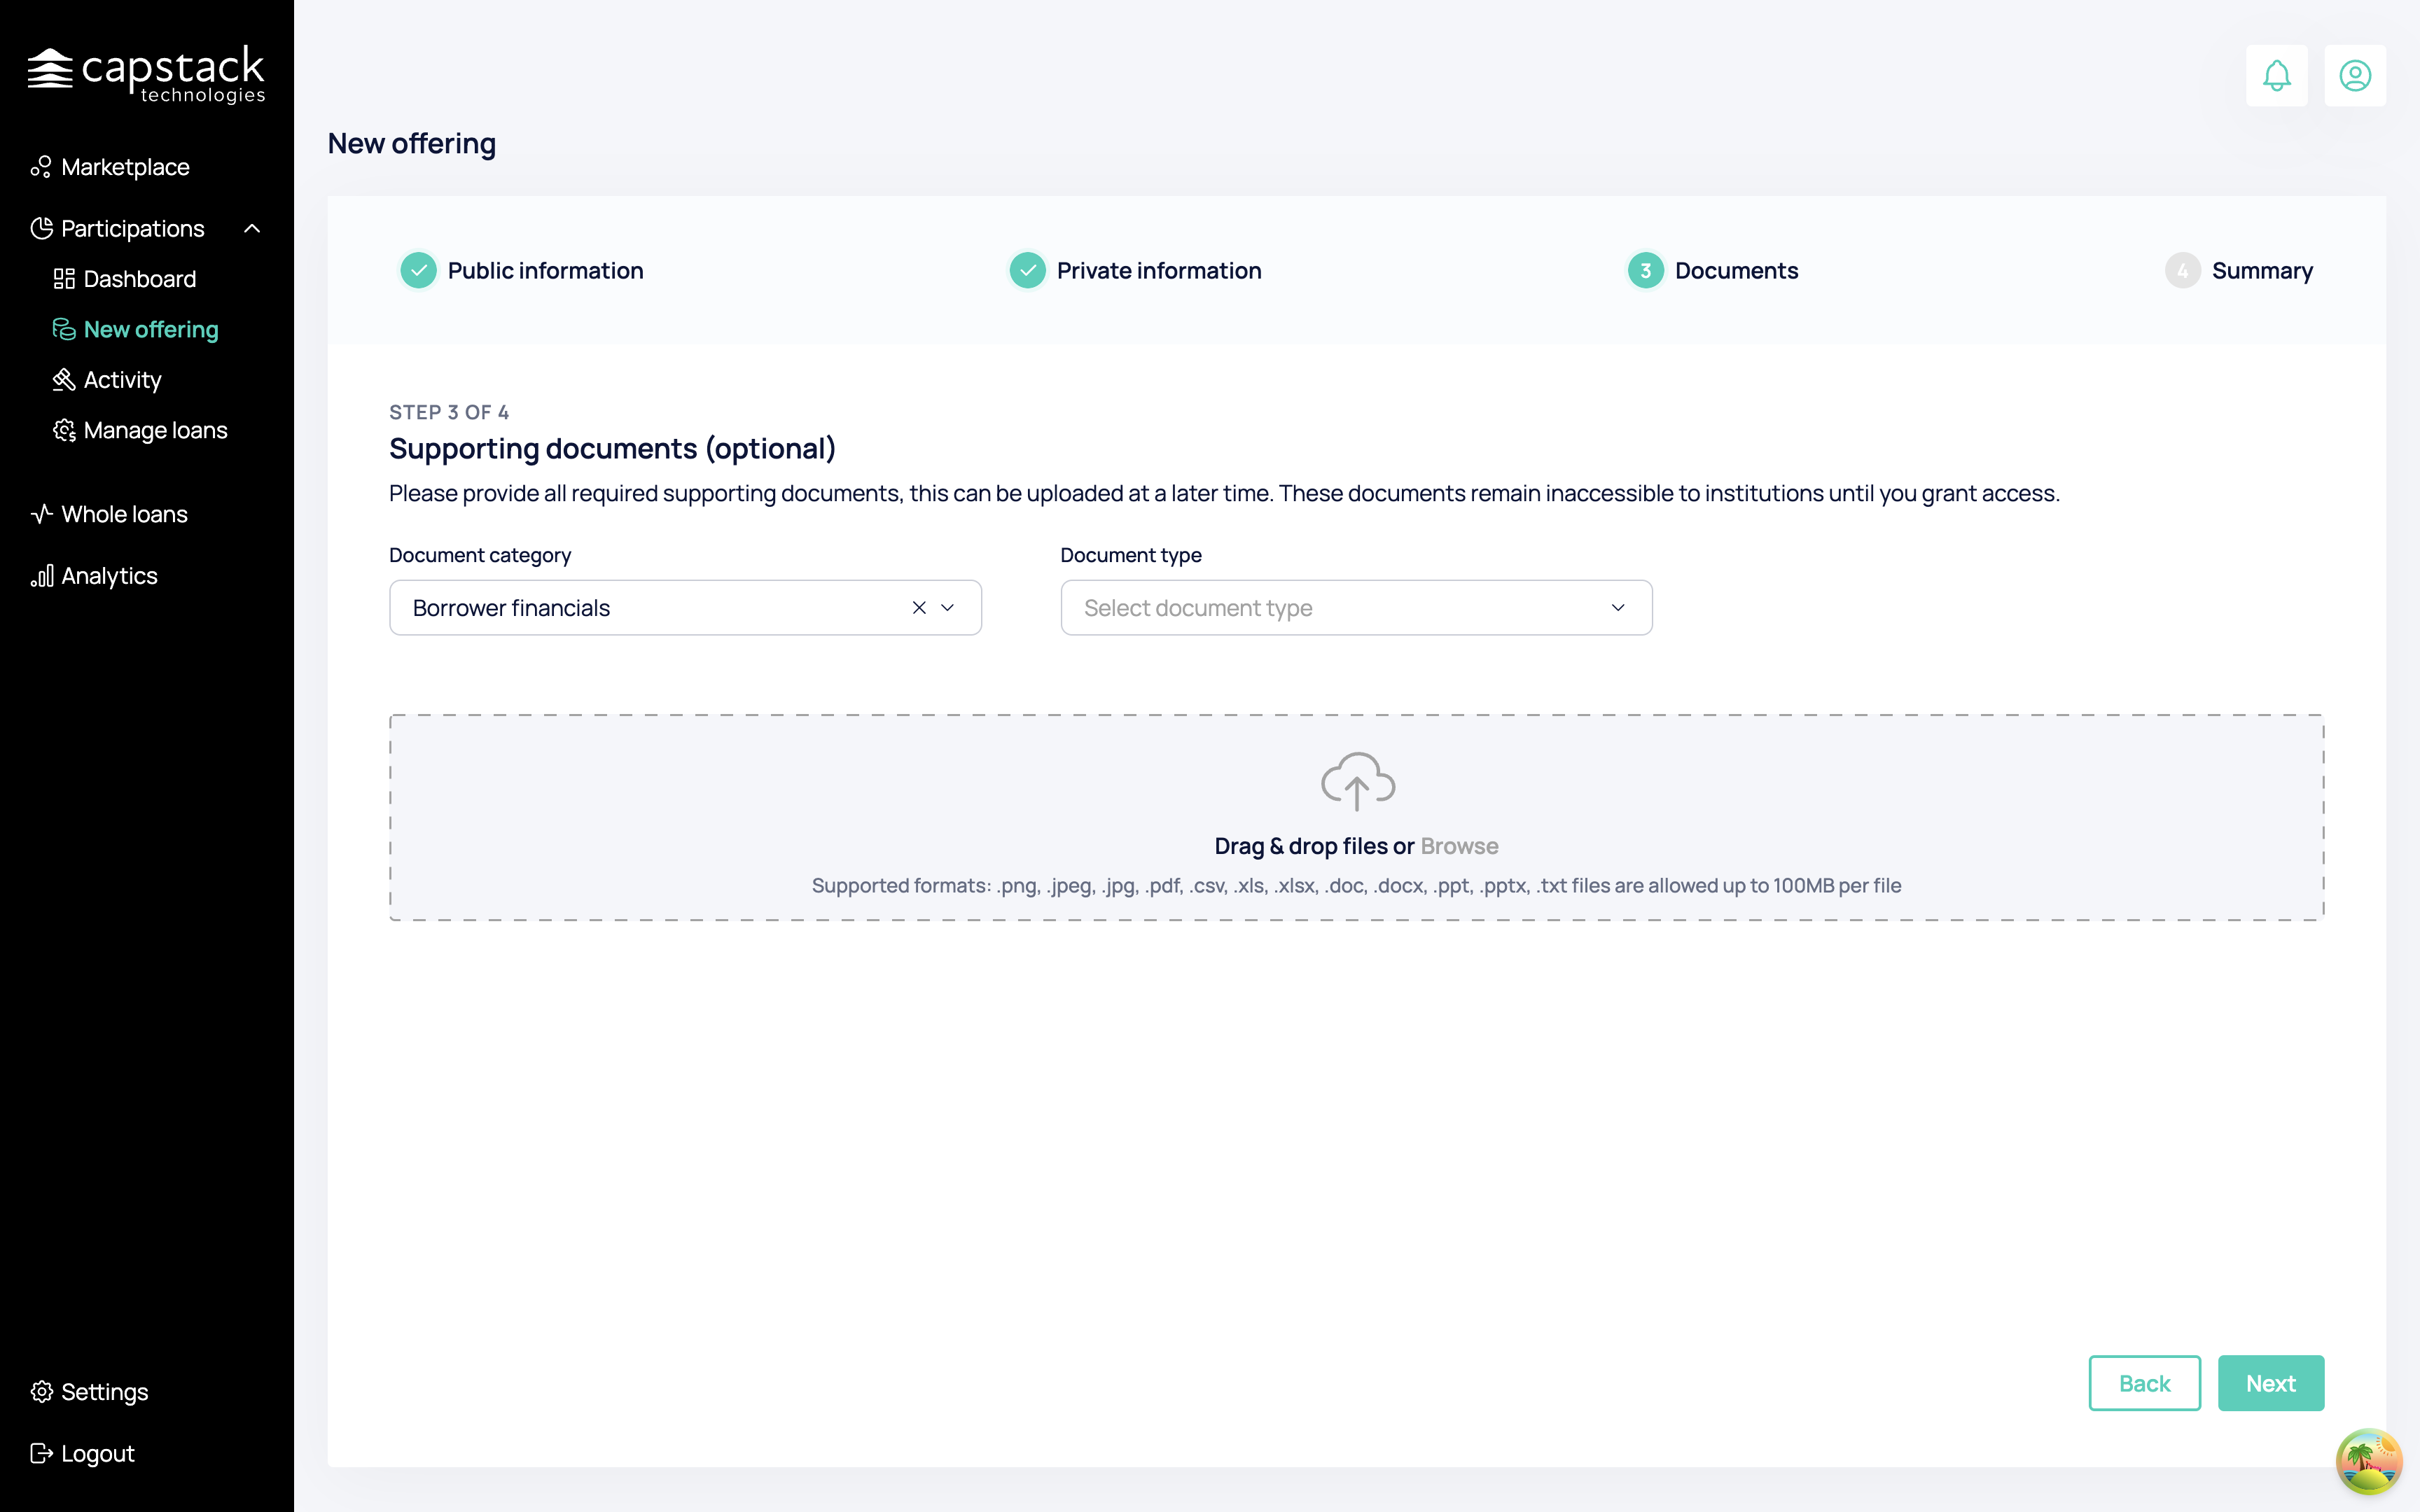
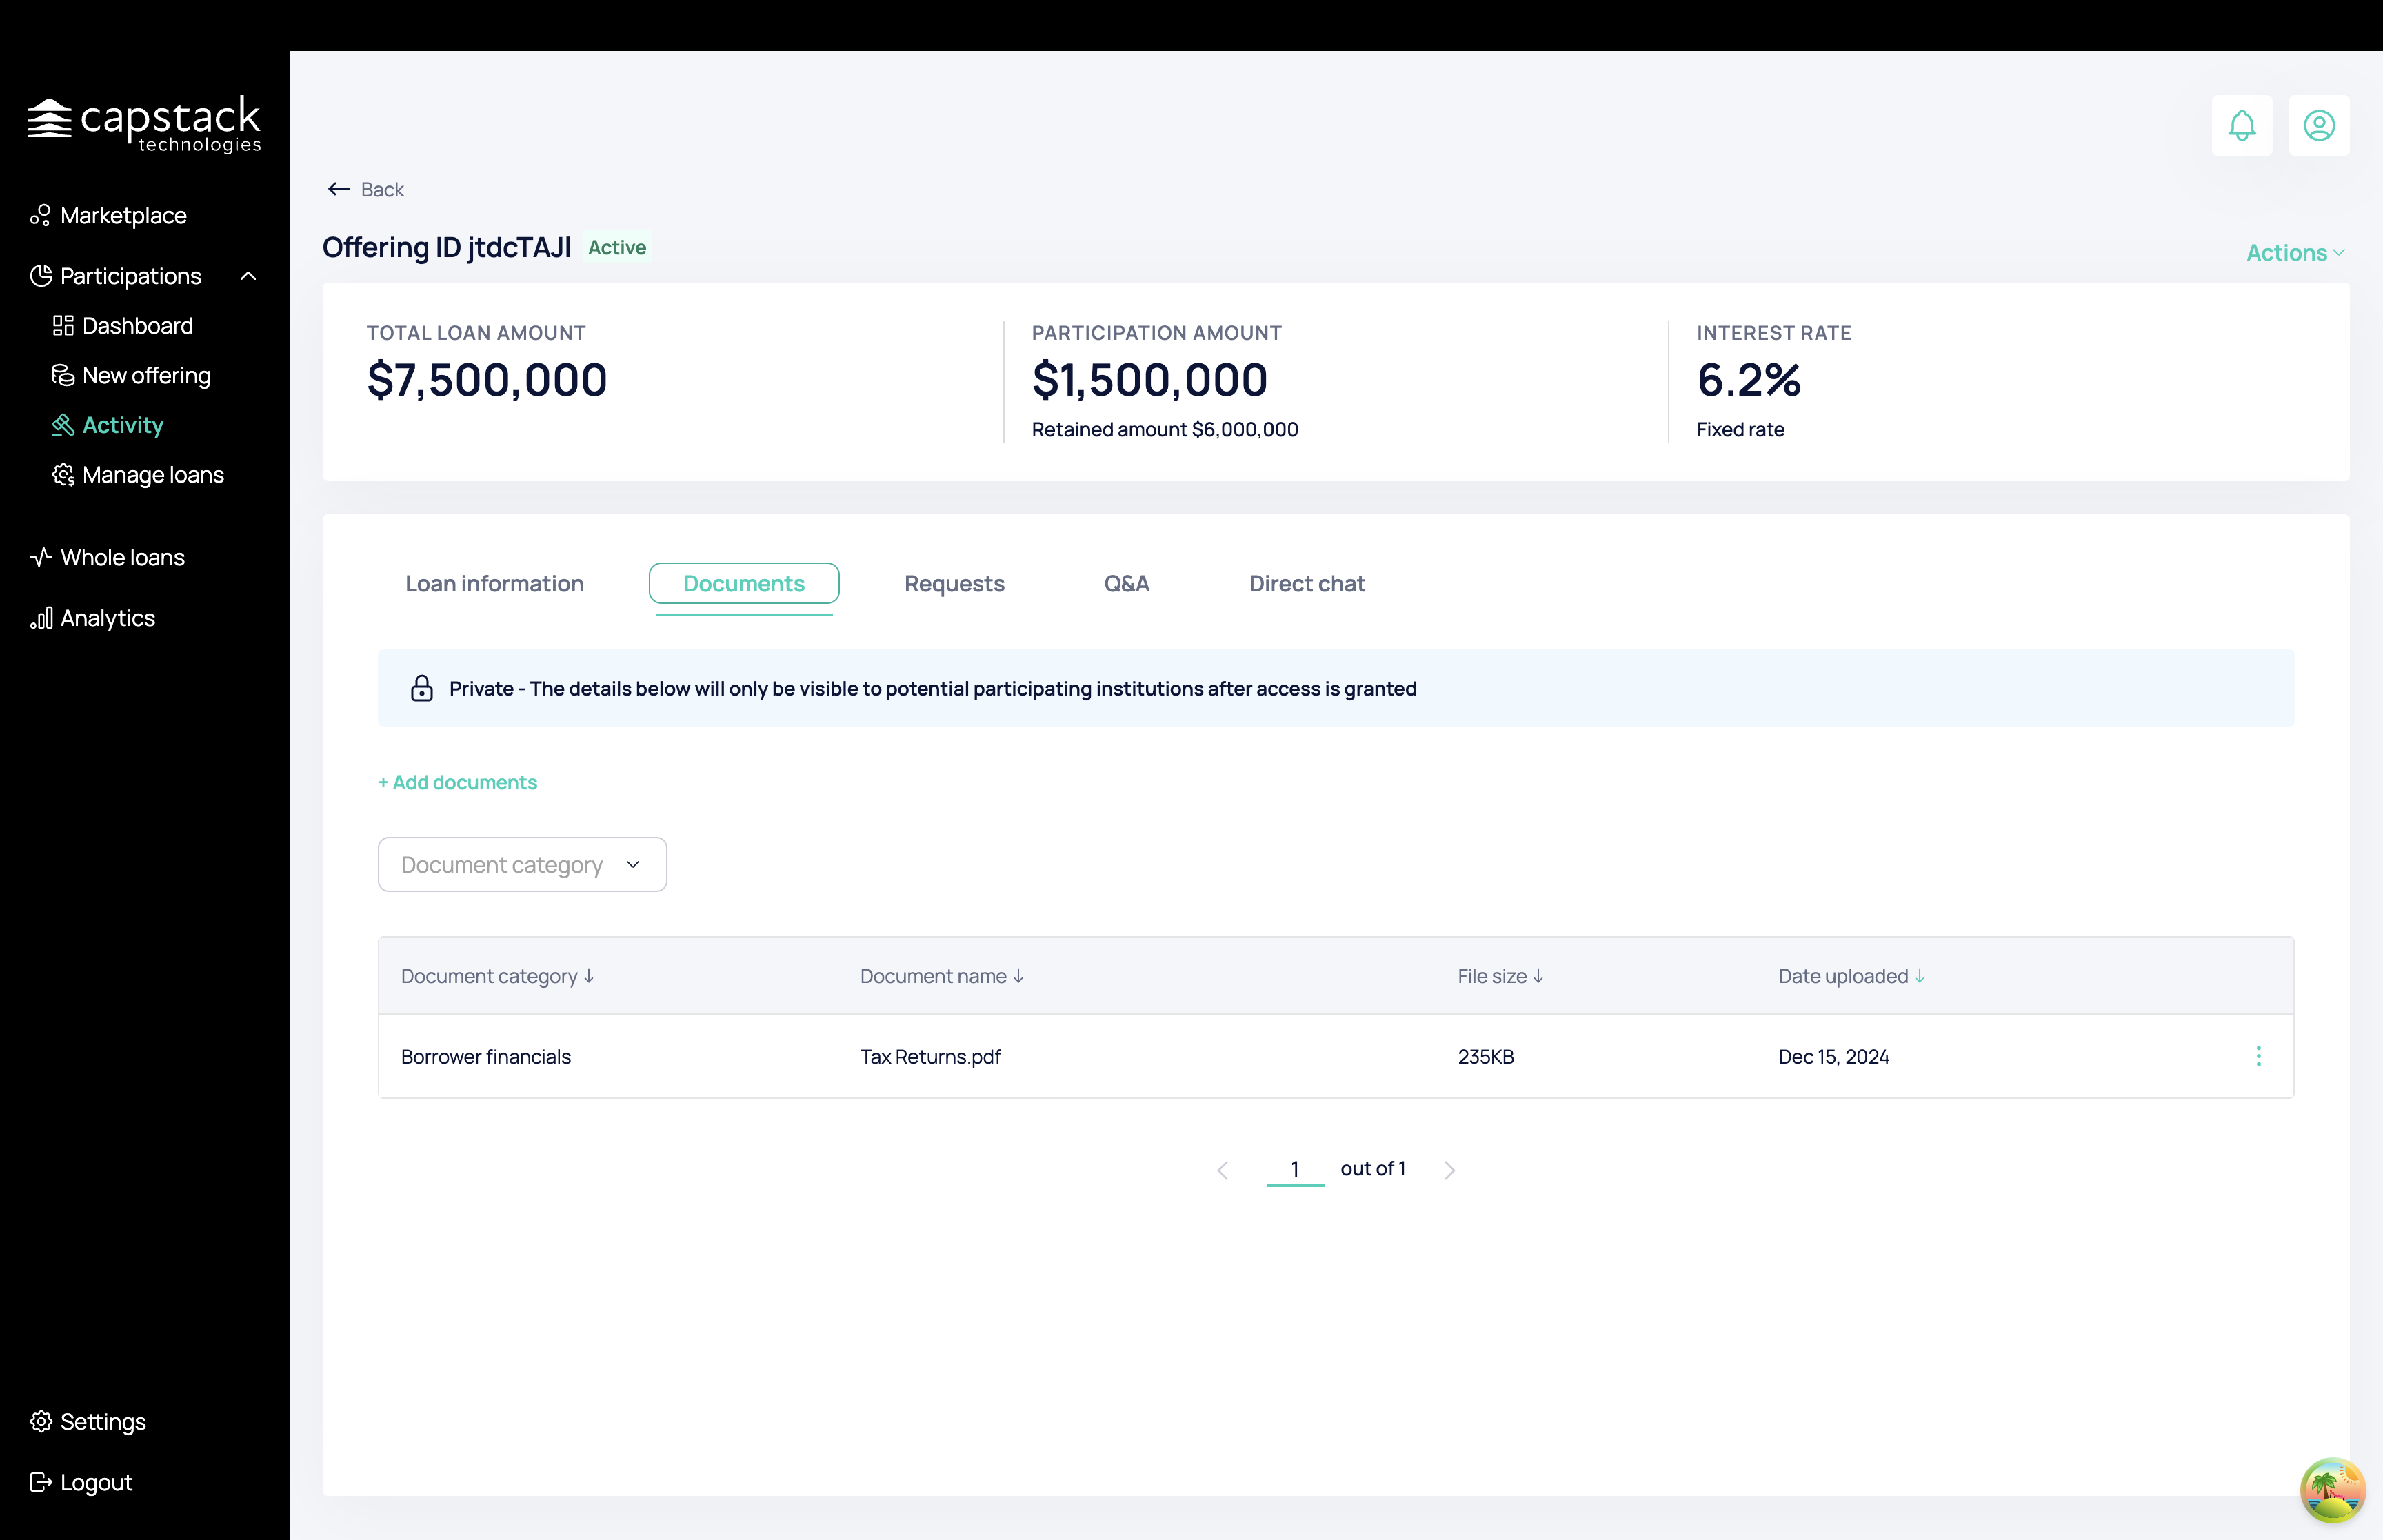
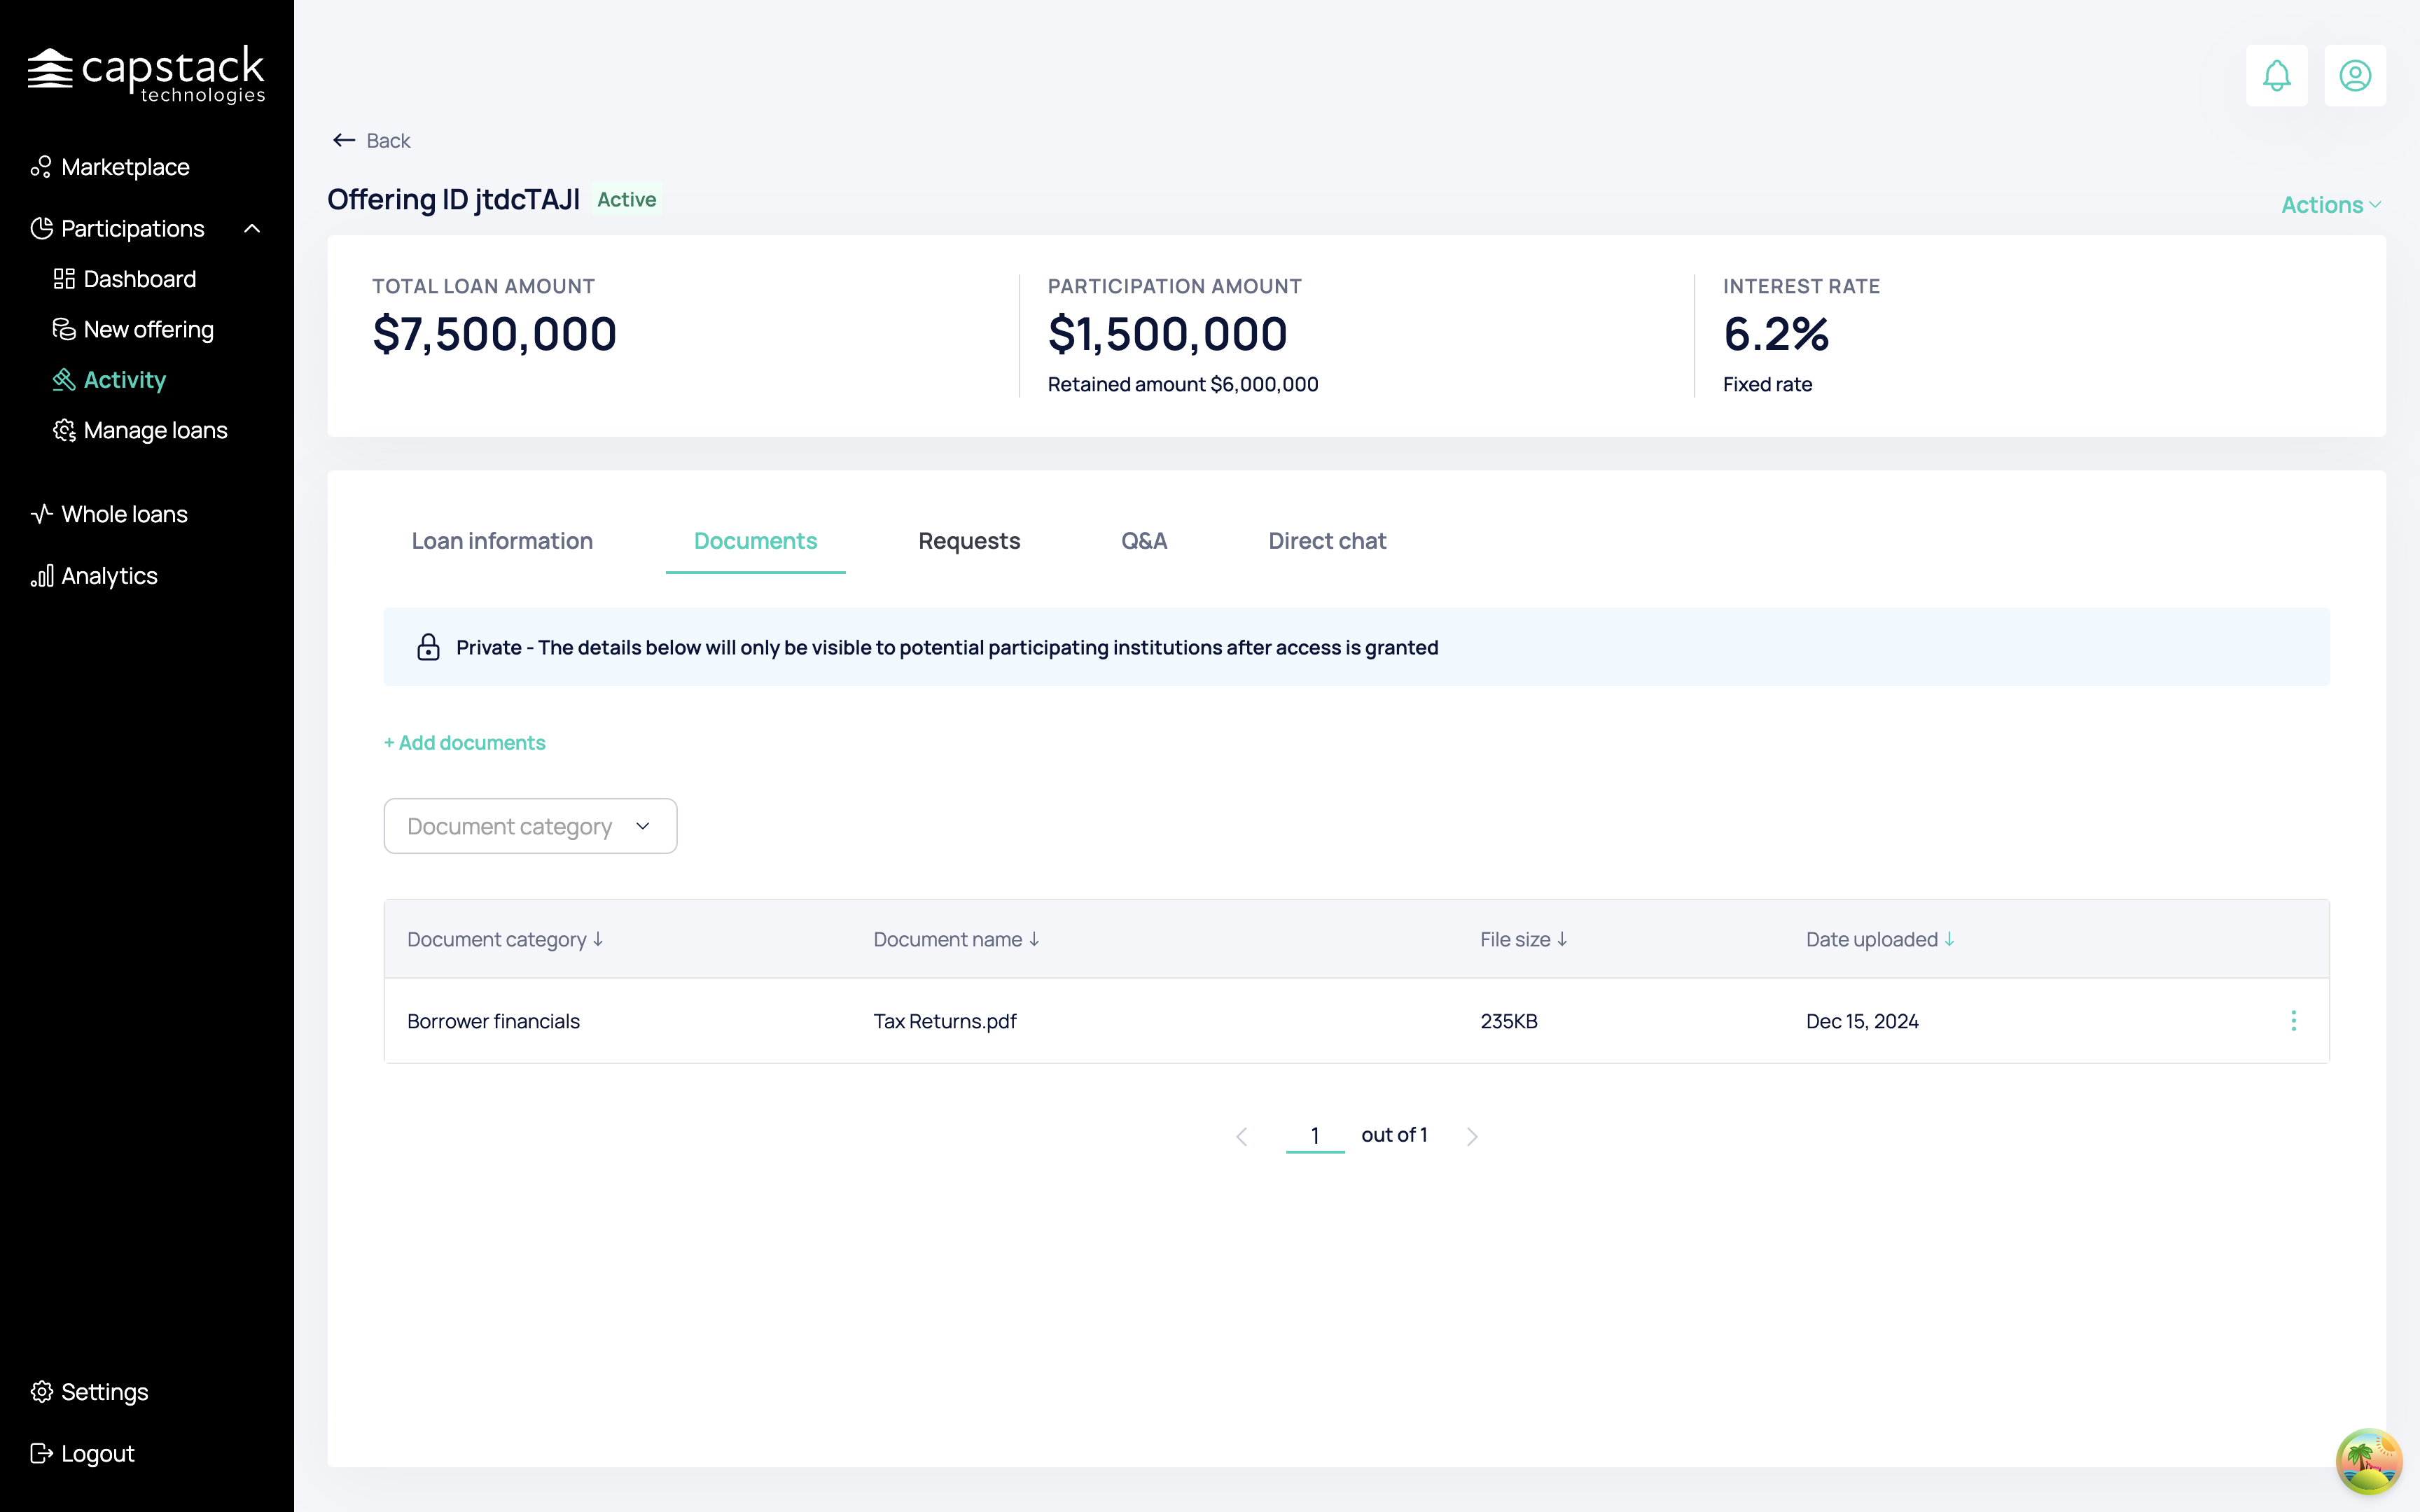
Once we finish populating the private information about the offering we will proceed to the supporting documents section.
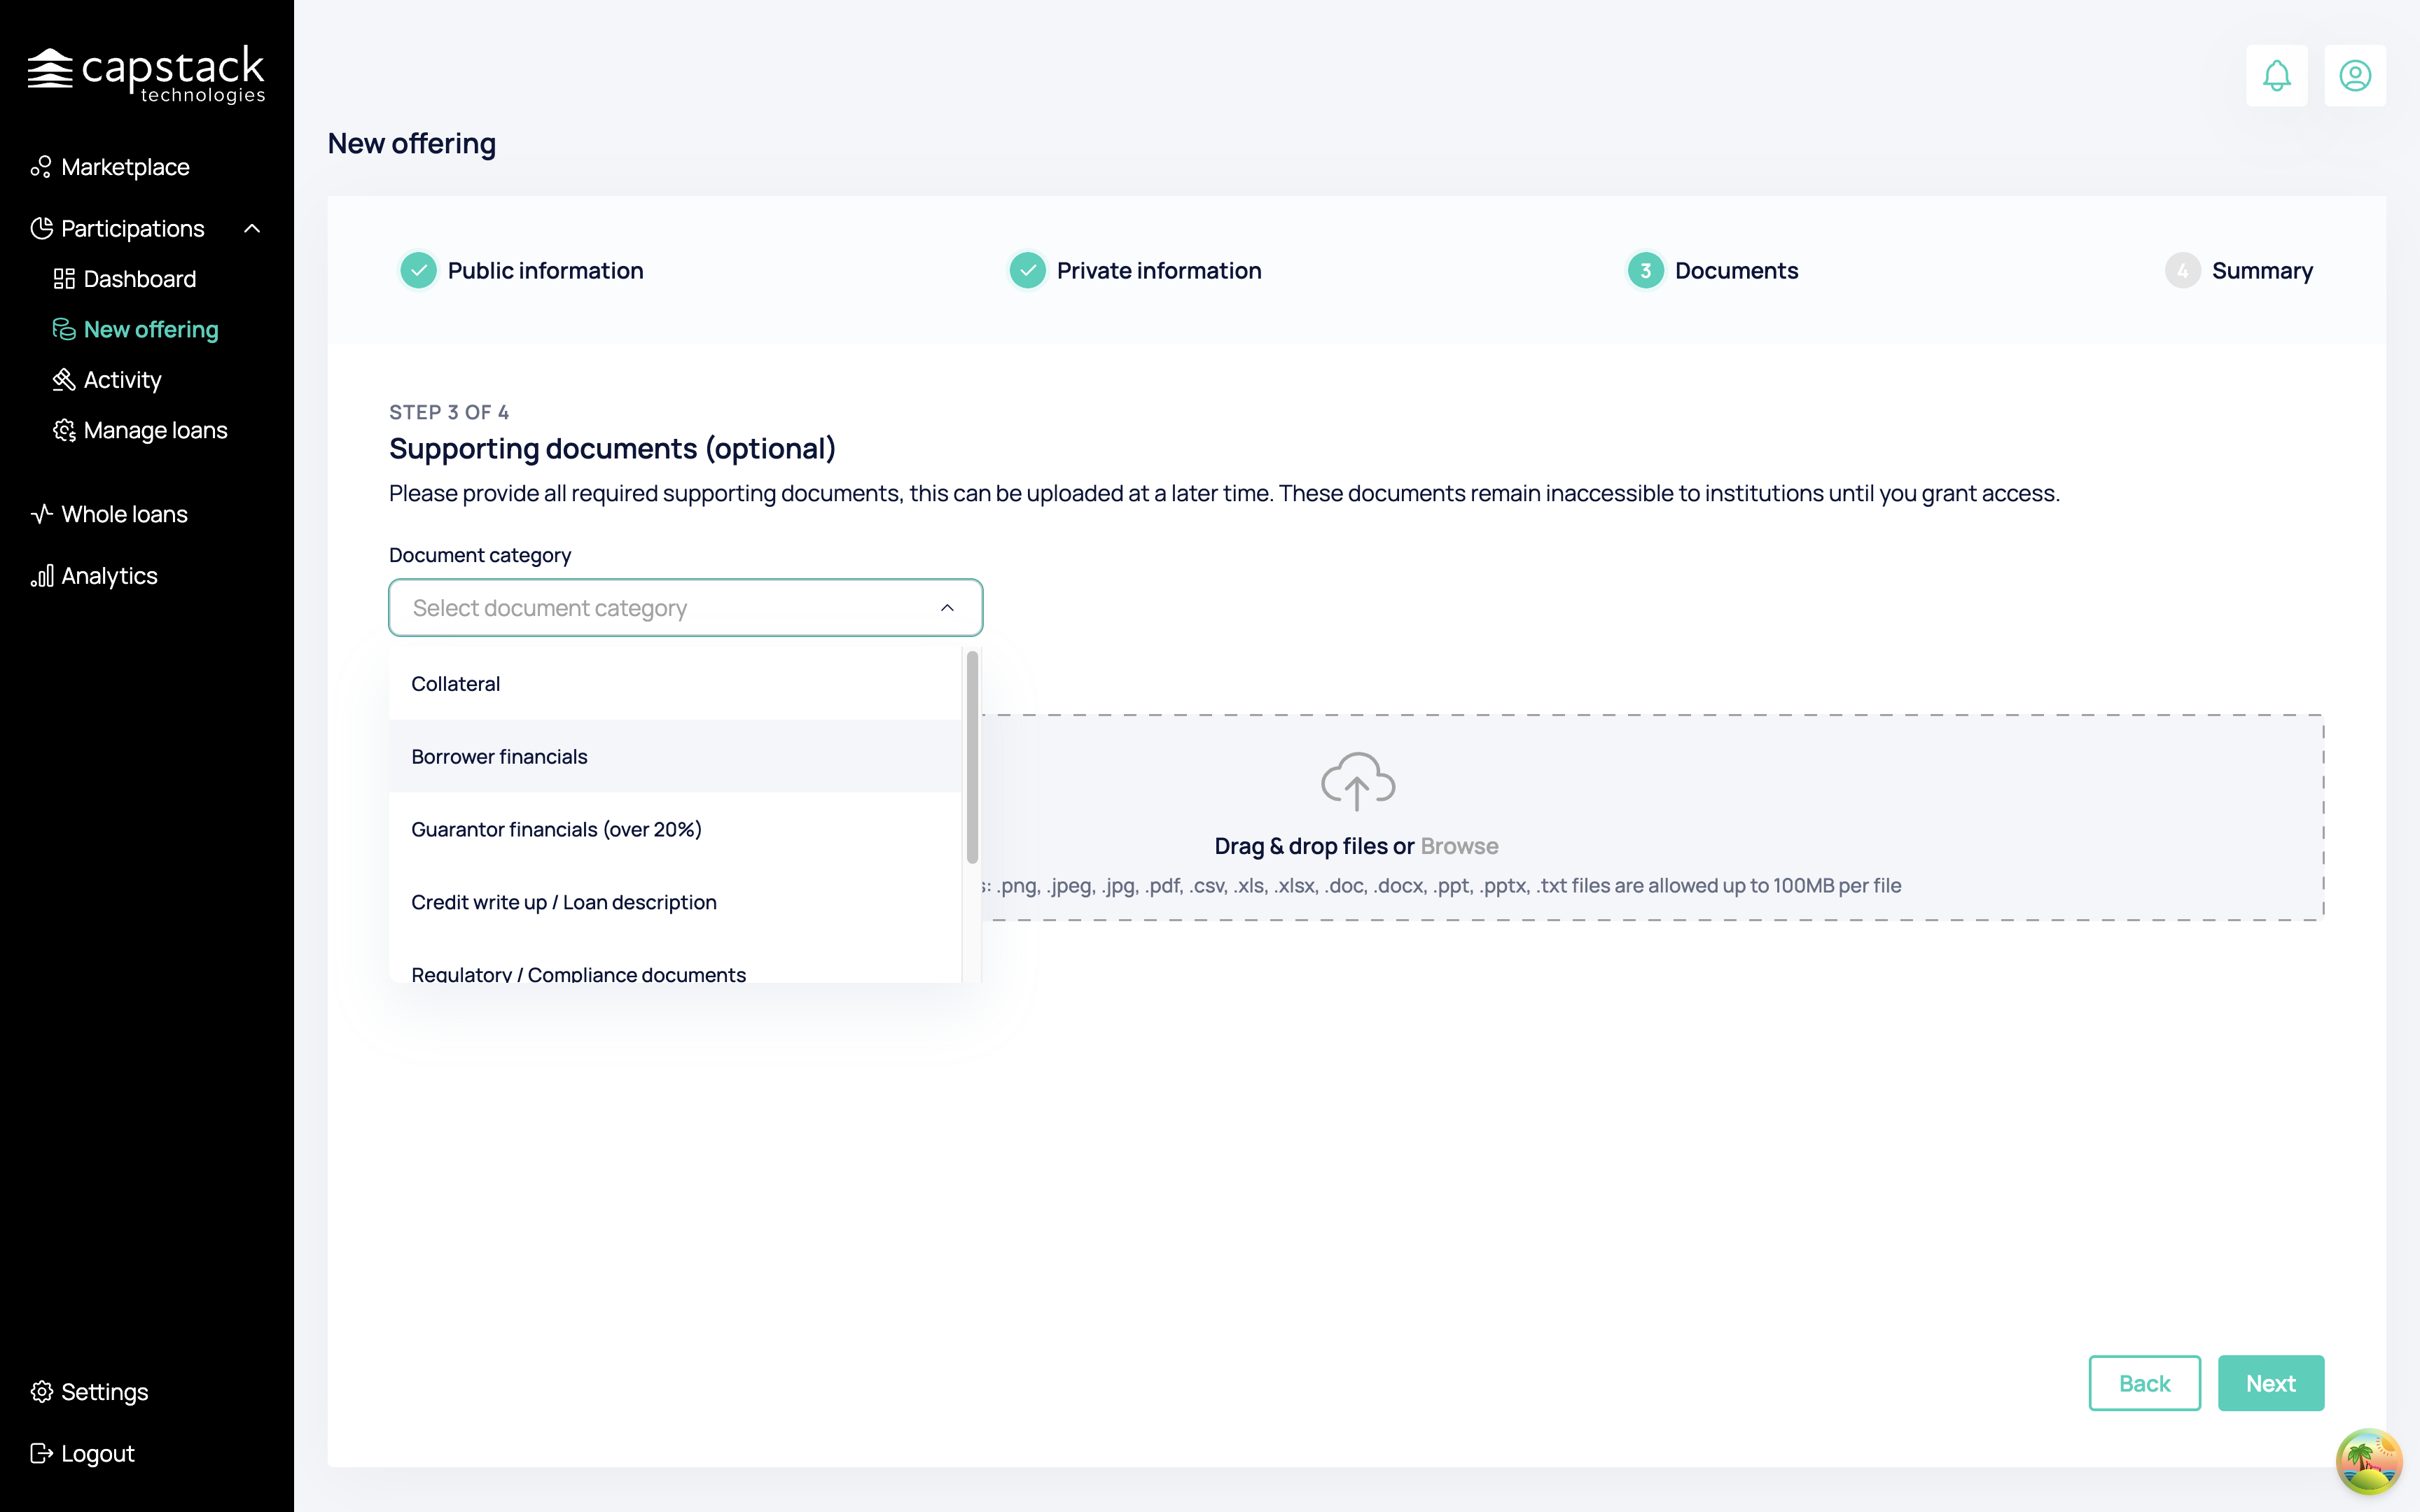
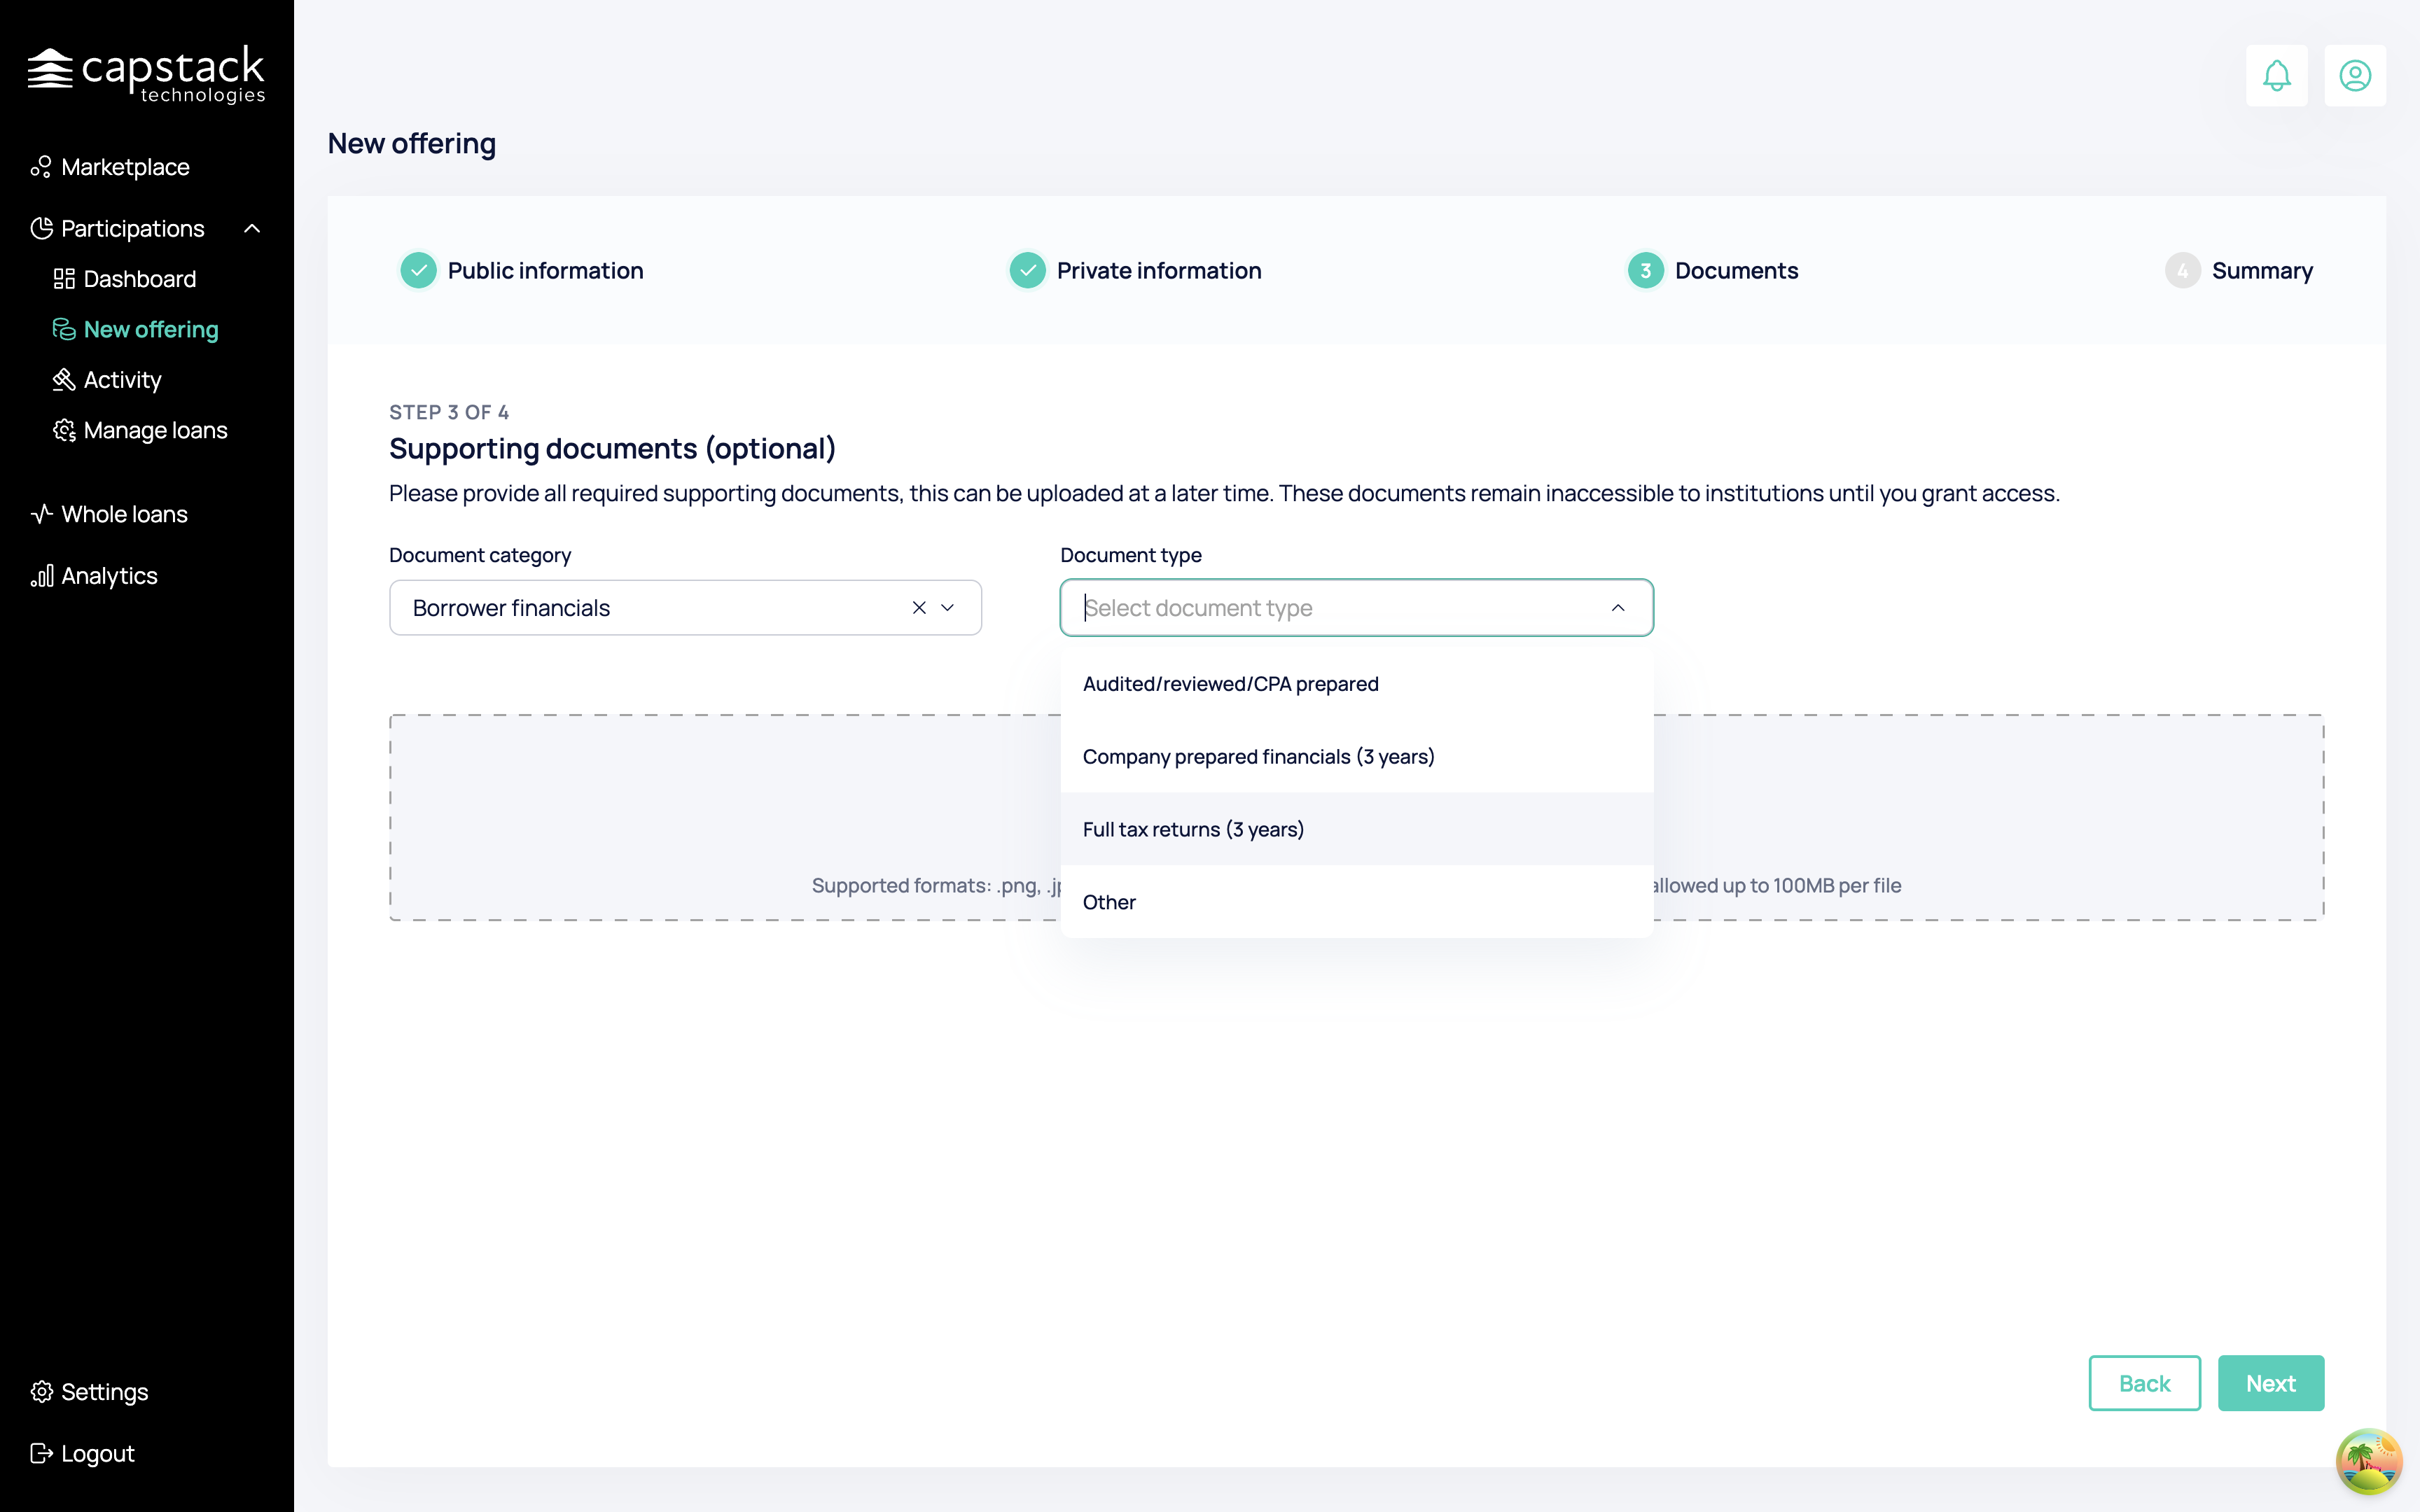
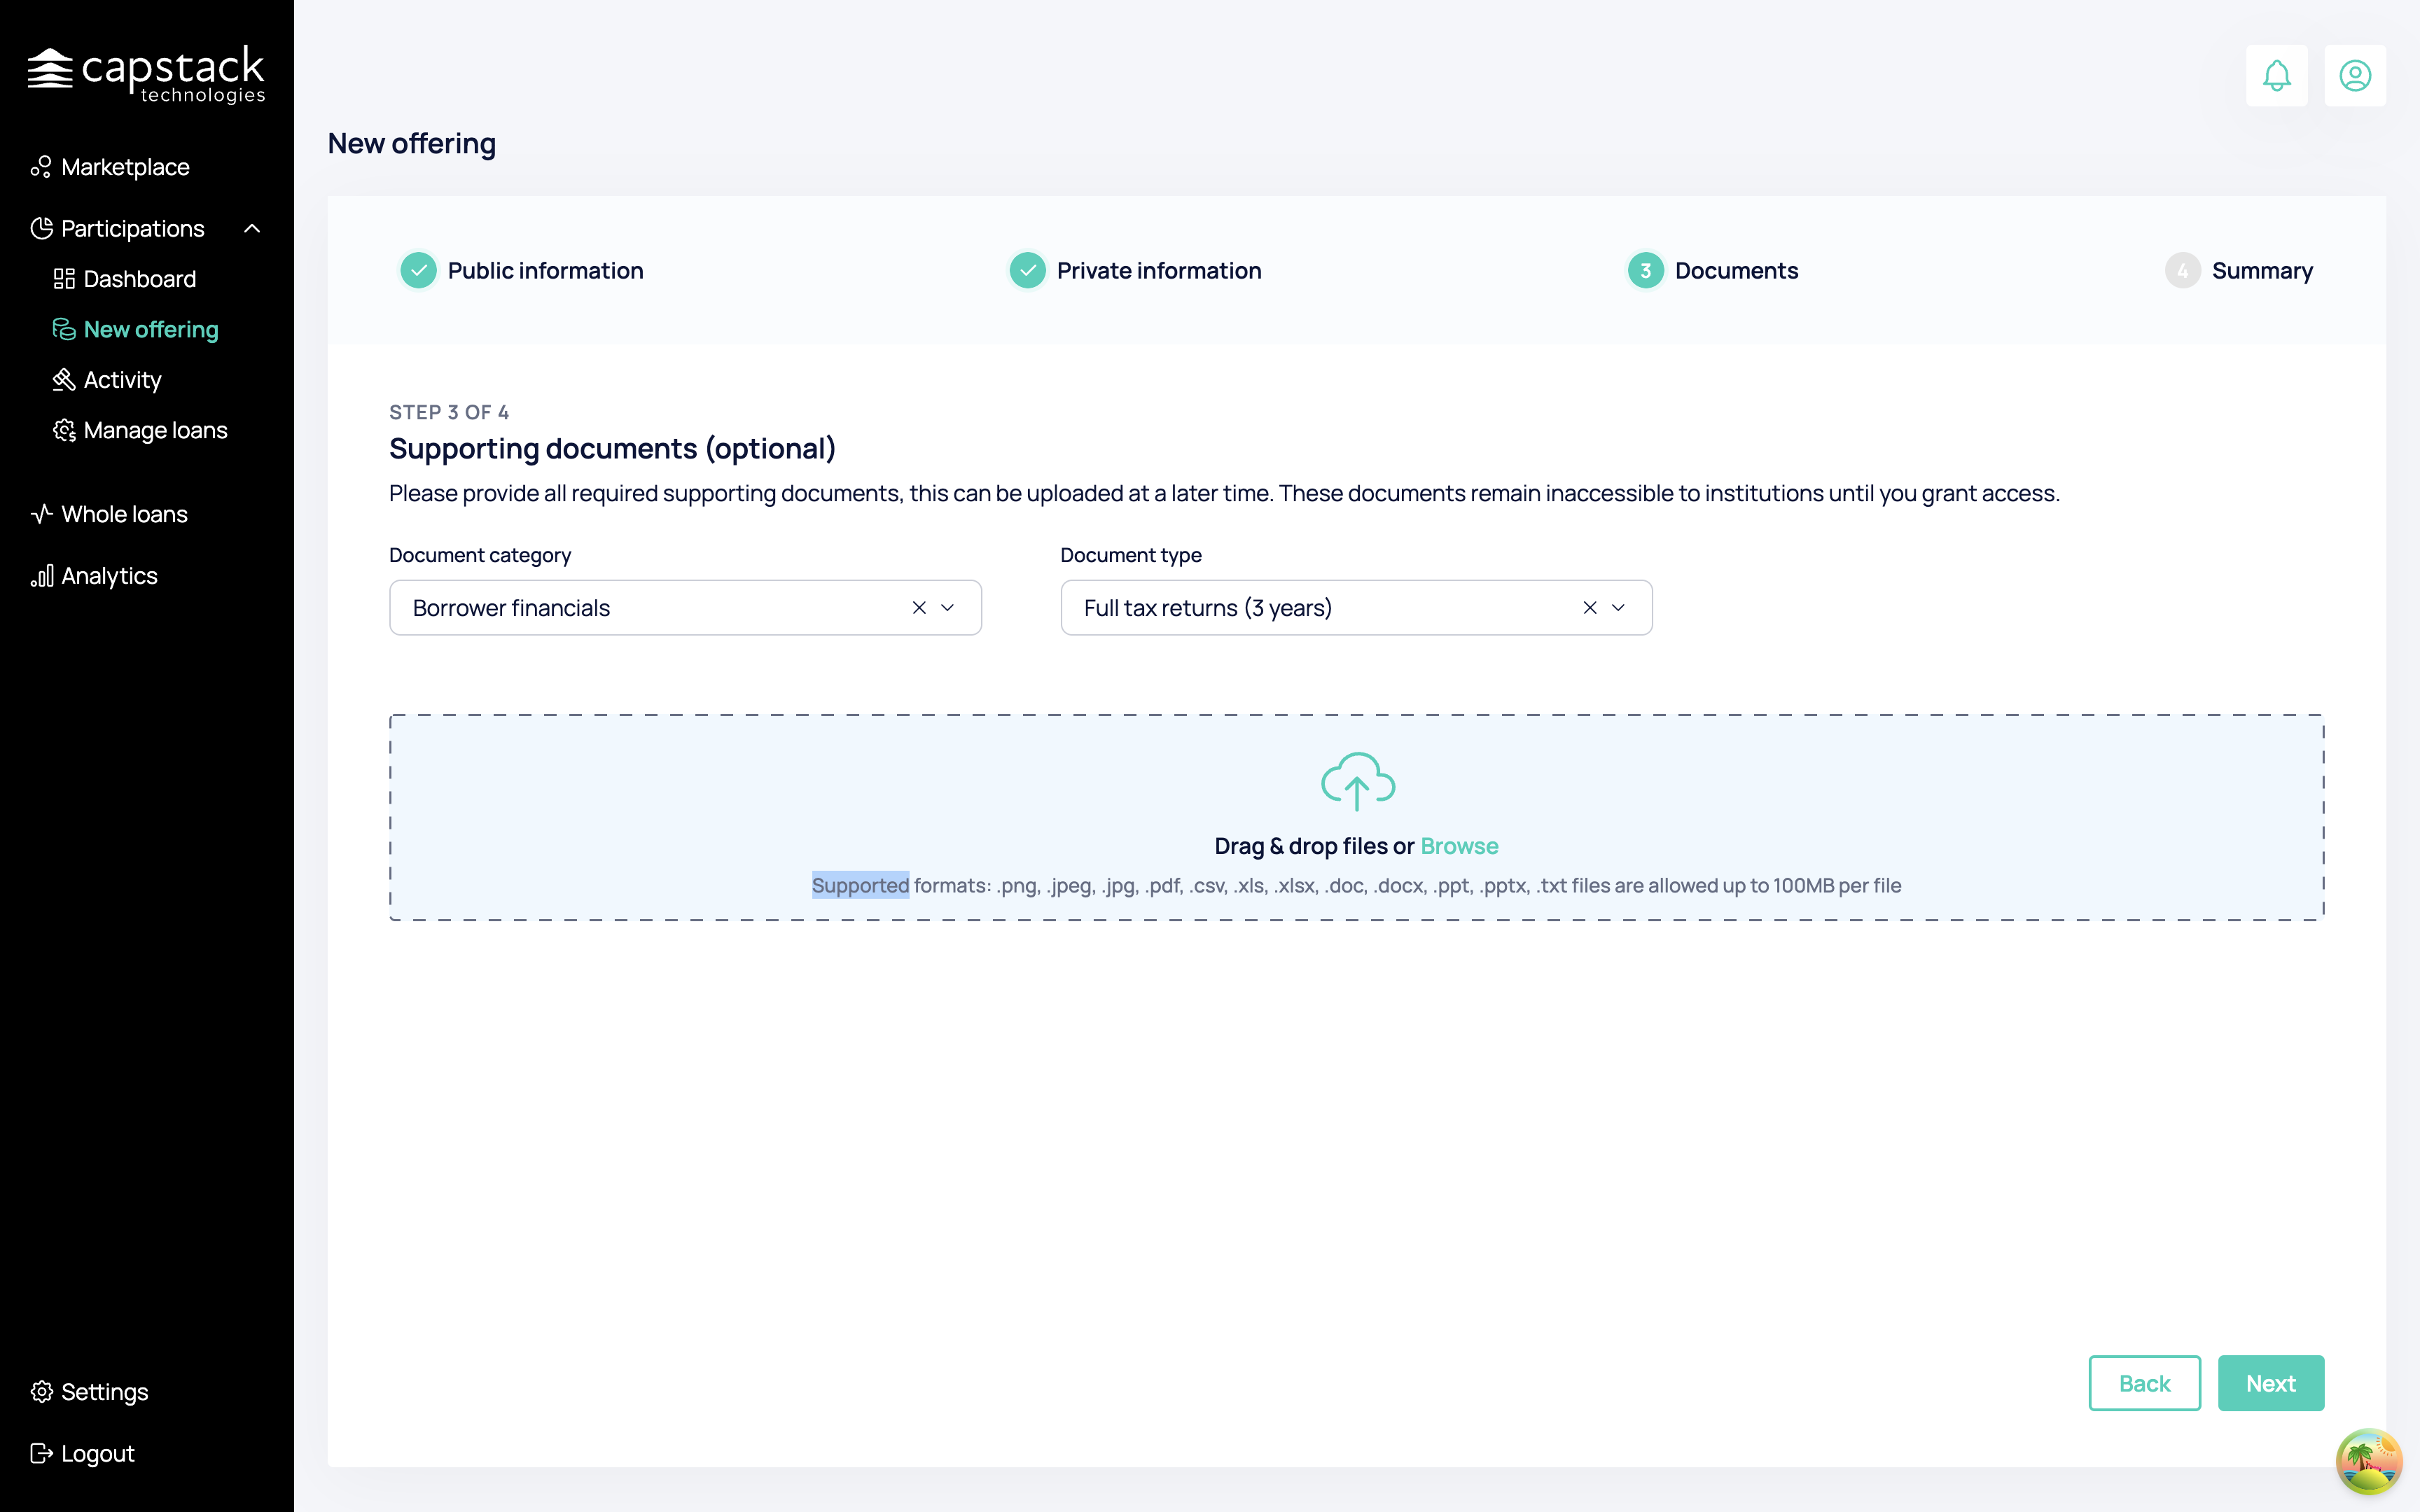
To upload the documents, you need to choose a category and document type. once you chose the category, select/ drag and drop all the files that are related to your selection.

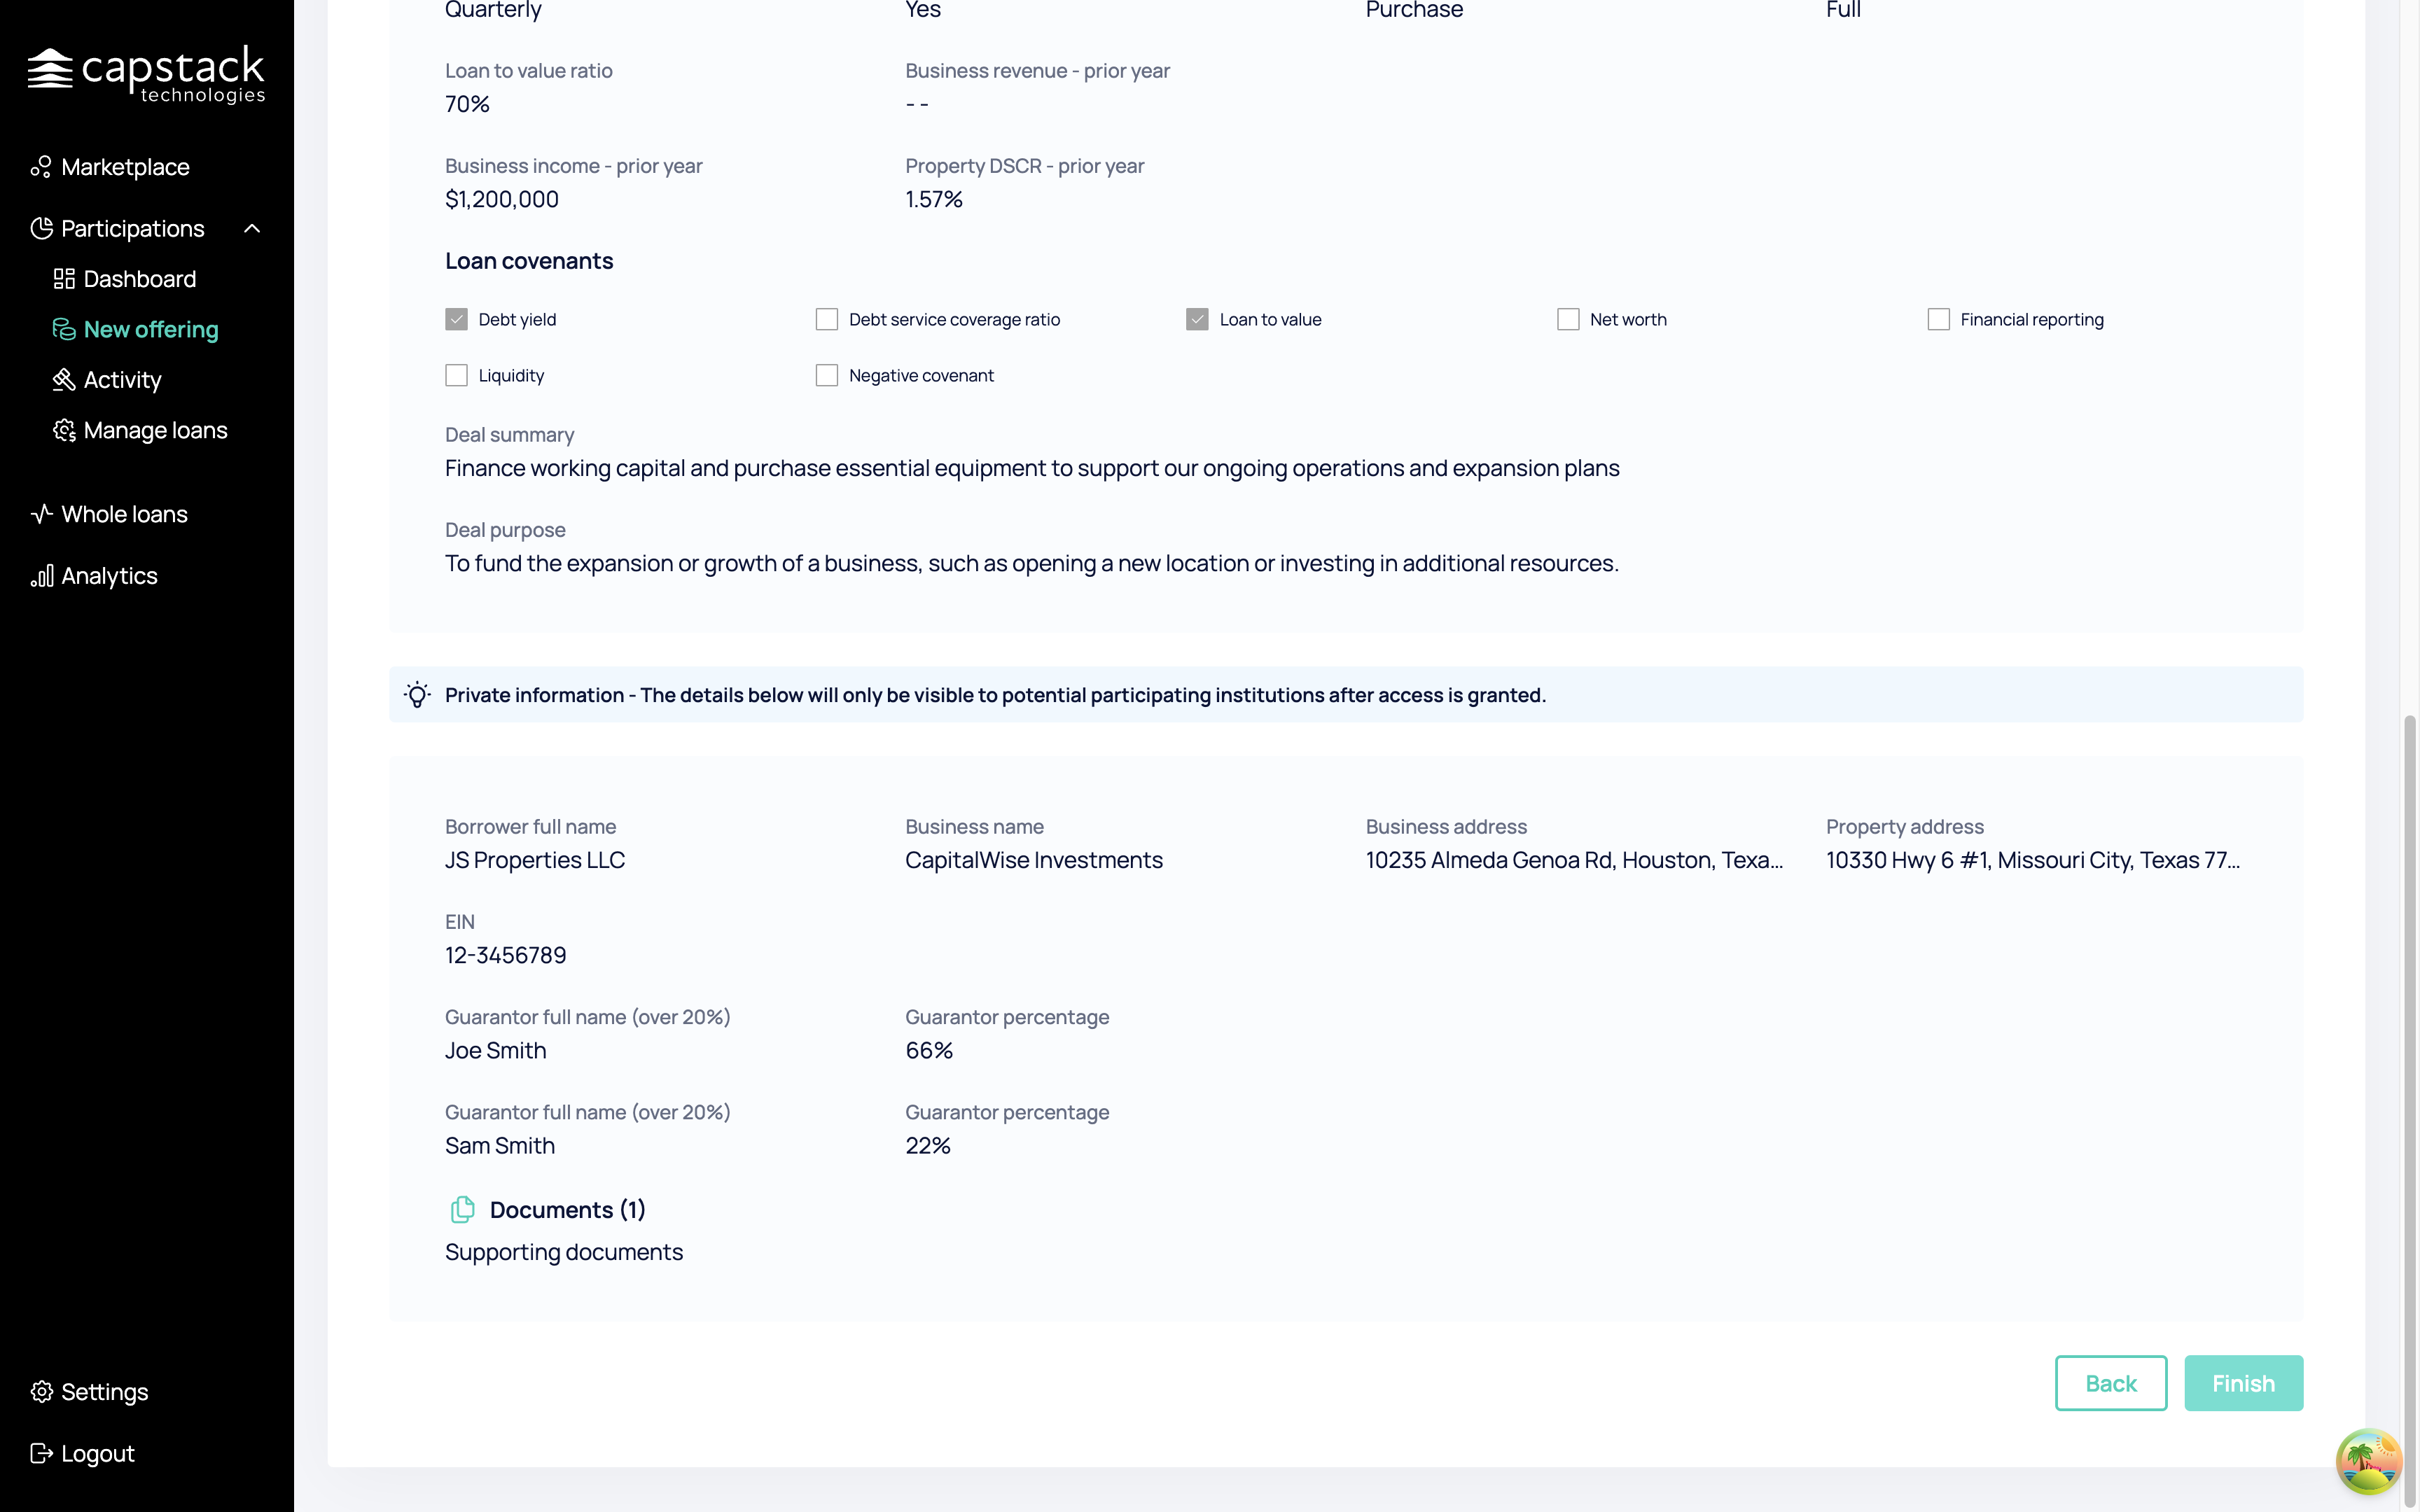
On the final page, you will see a summary of all the data you entered when uploading this participation.

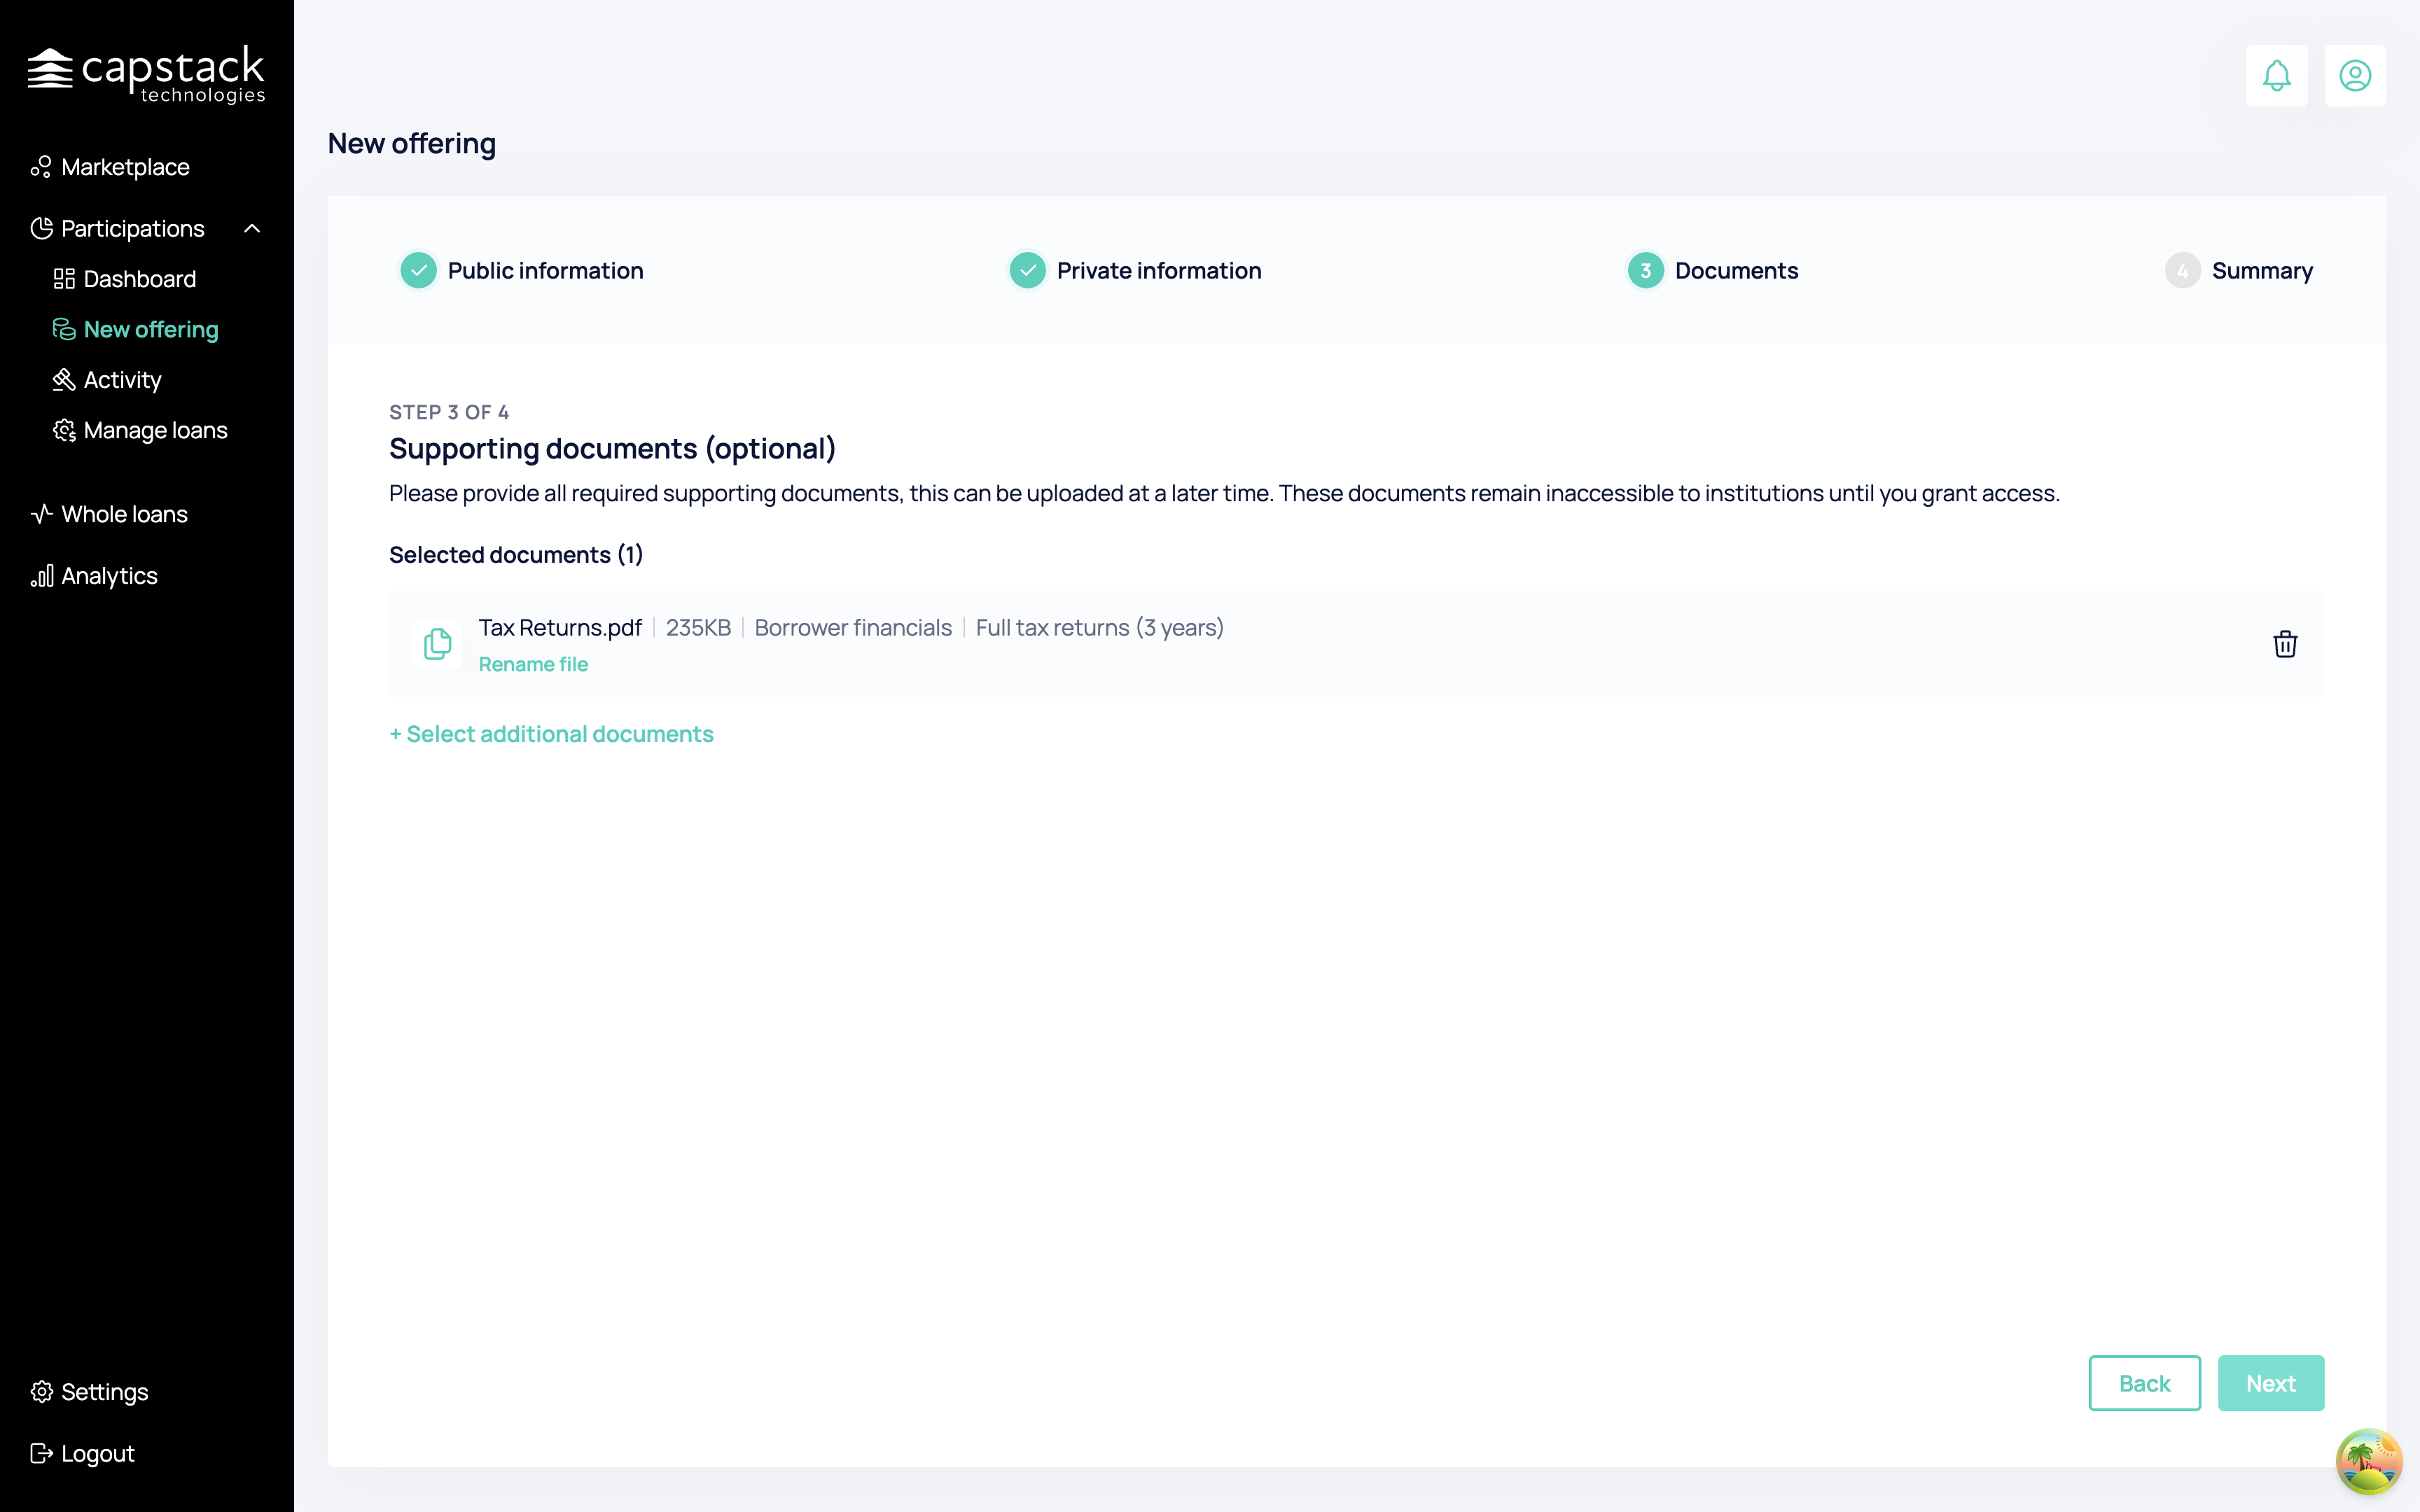
Once we are finished with uploading the files we press on next. additional file uploads will be available after the offering creation, we also support modifications and changes in a later stage of the process if any mistakes occur.
The last stage is Summary. here all you'll be able to see all the populated data we collected during the new offering process.
This is the data the buyers will see, and you can modify it if there are any mistakes. Click on Finish, and you will successfully create a new offering.
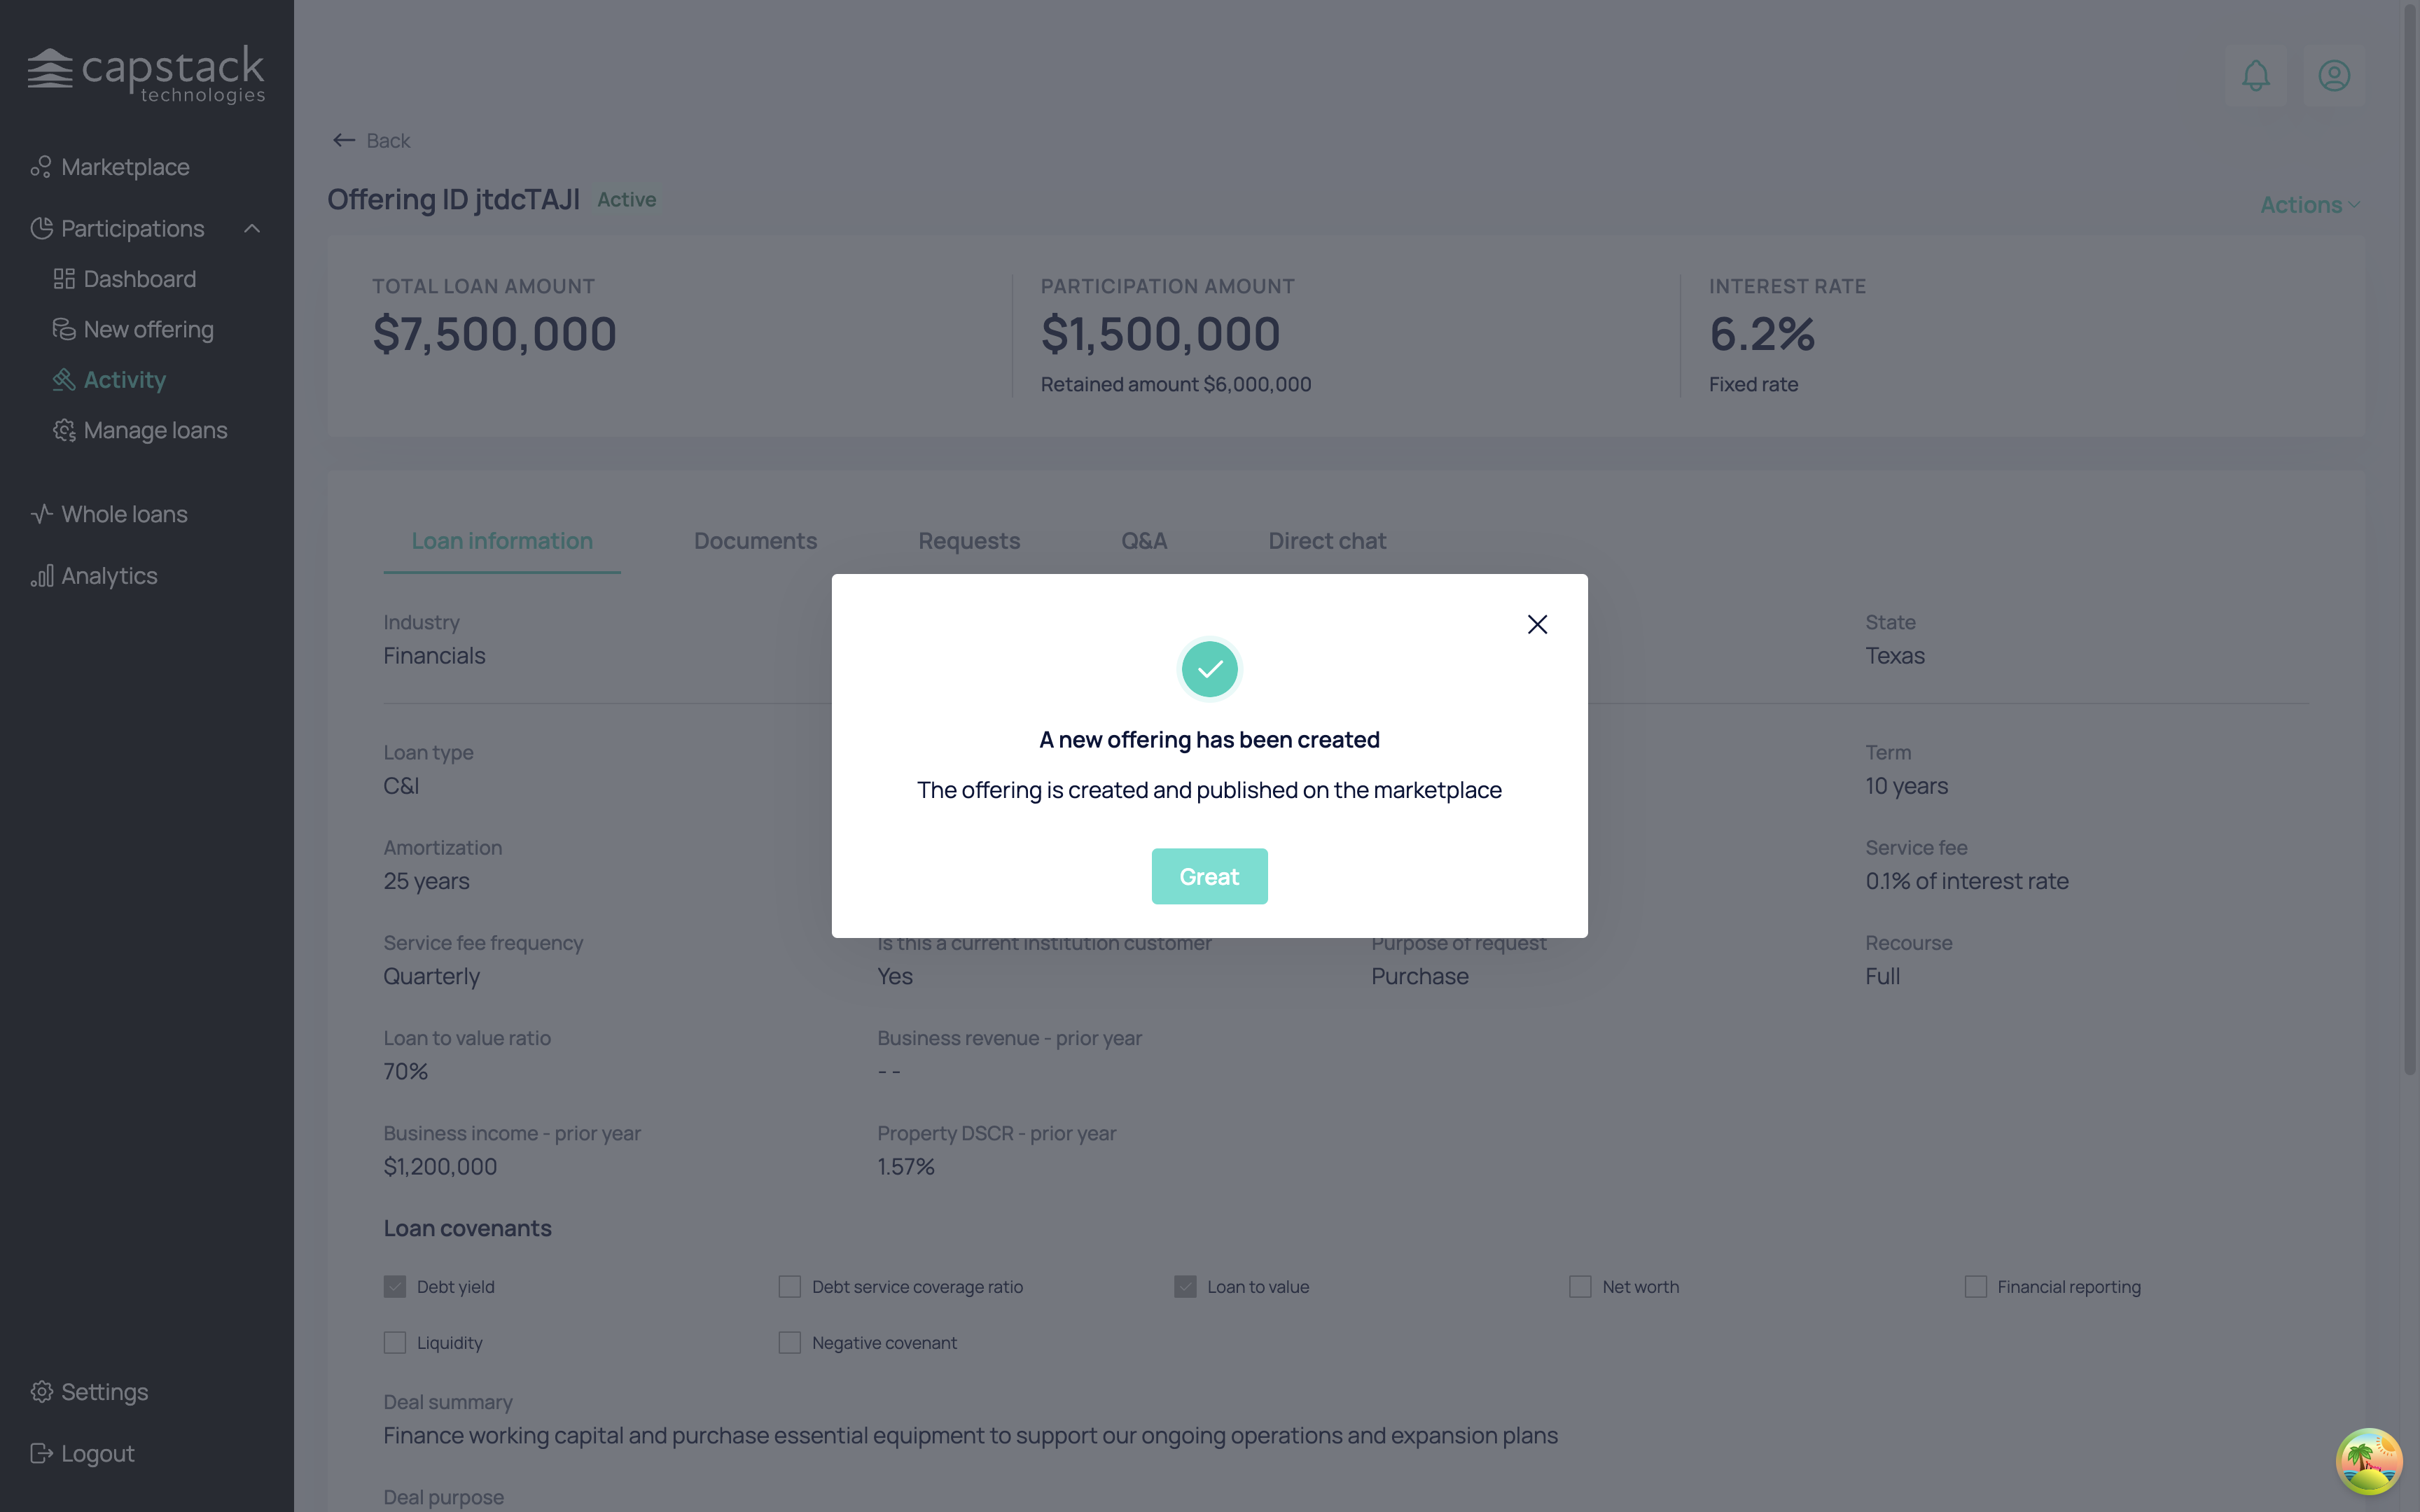
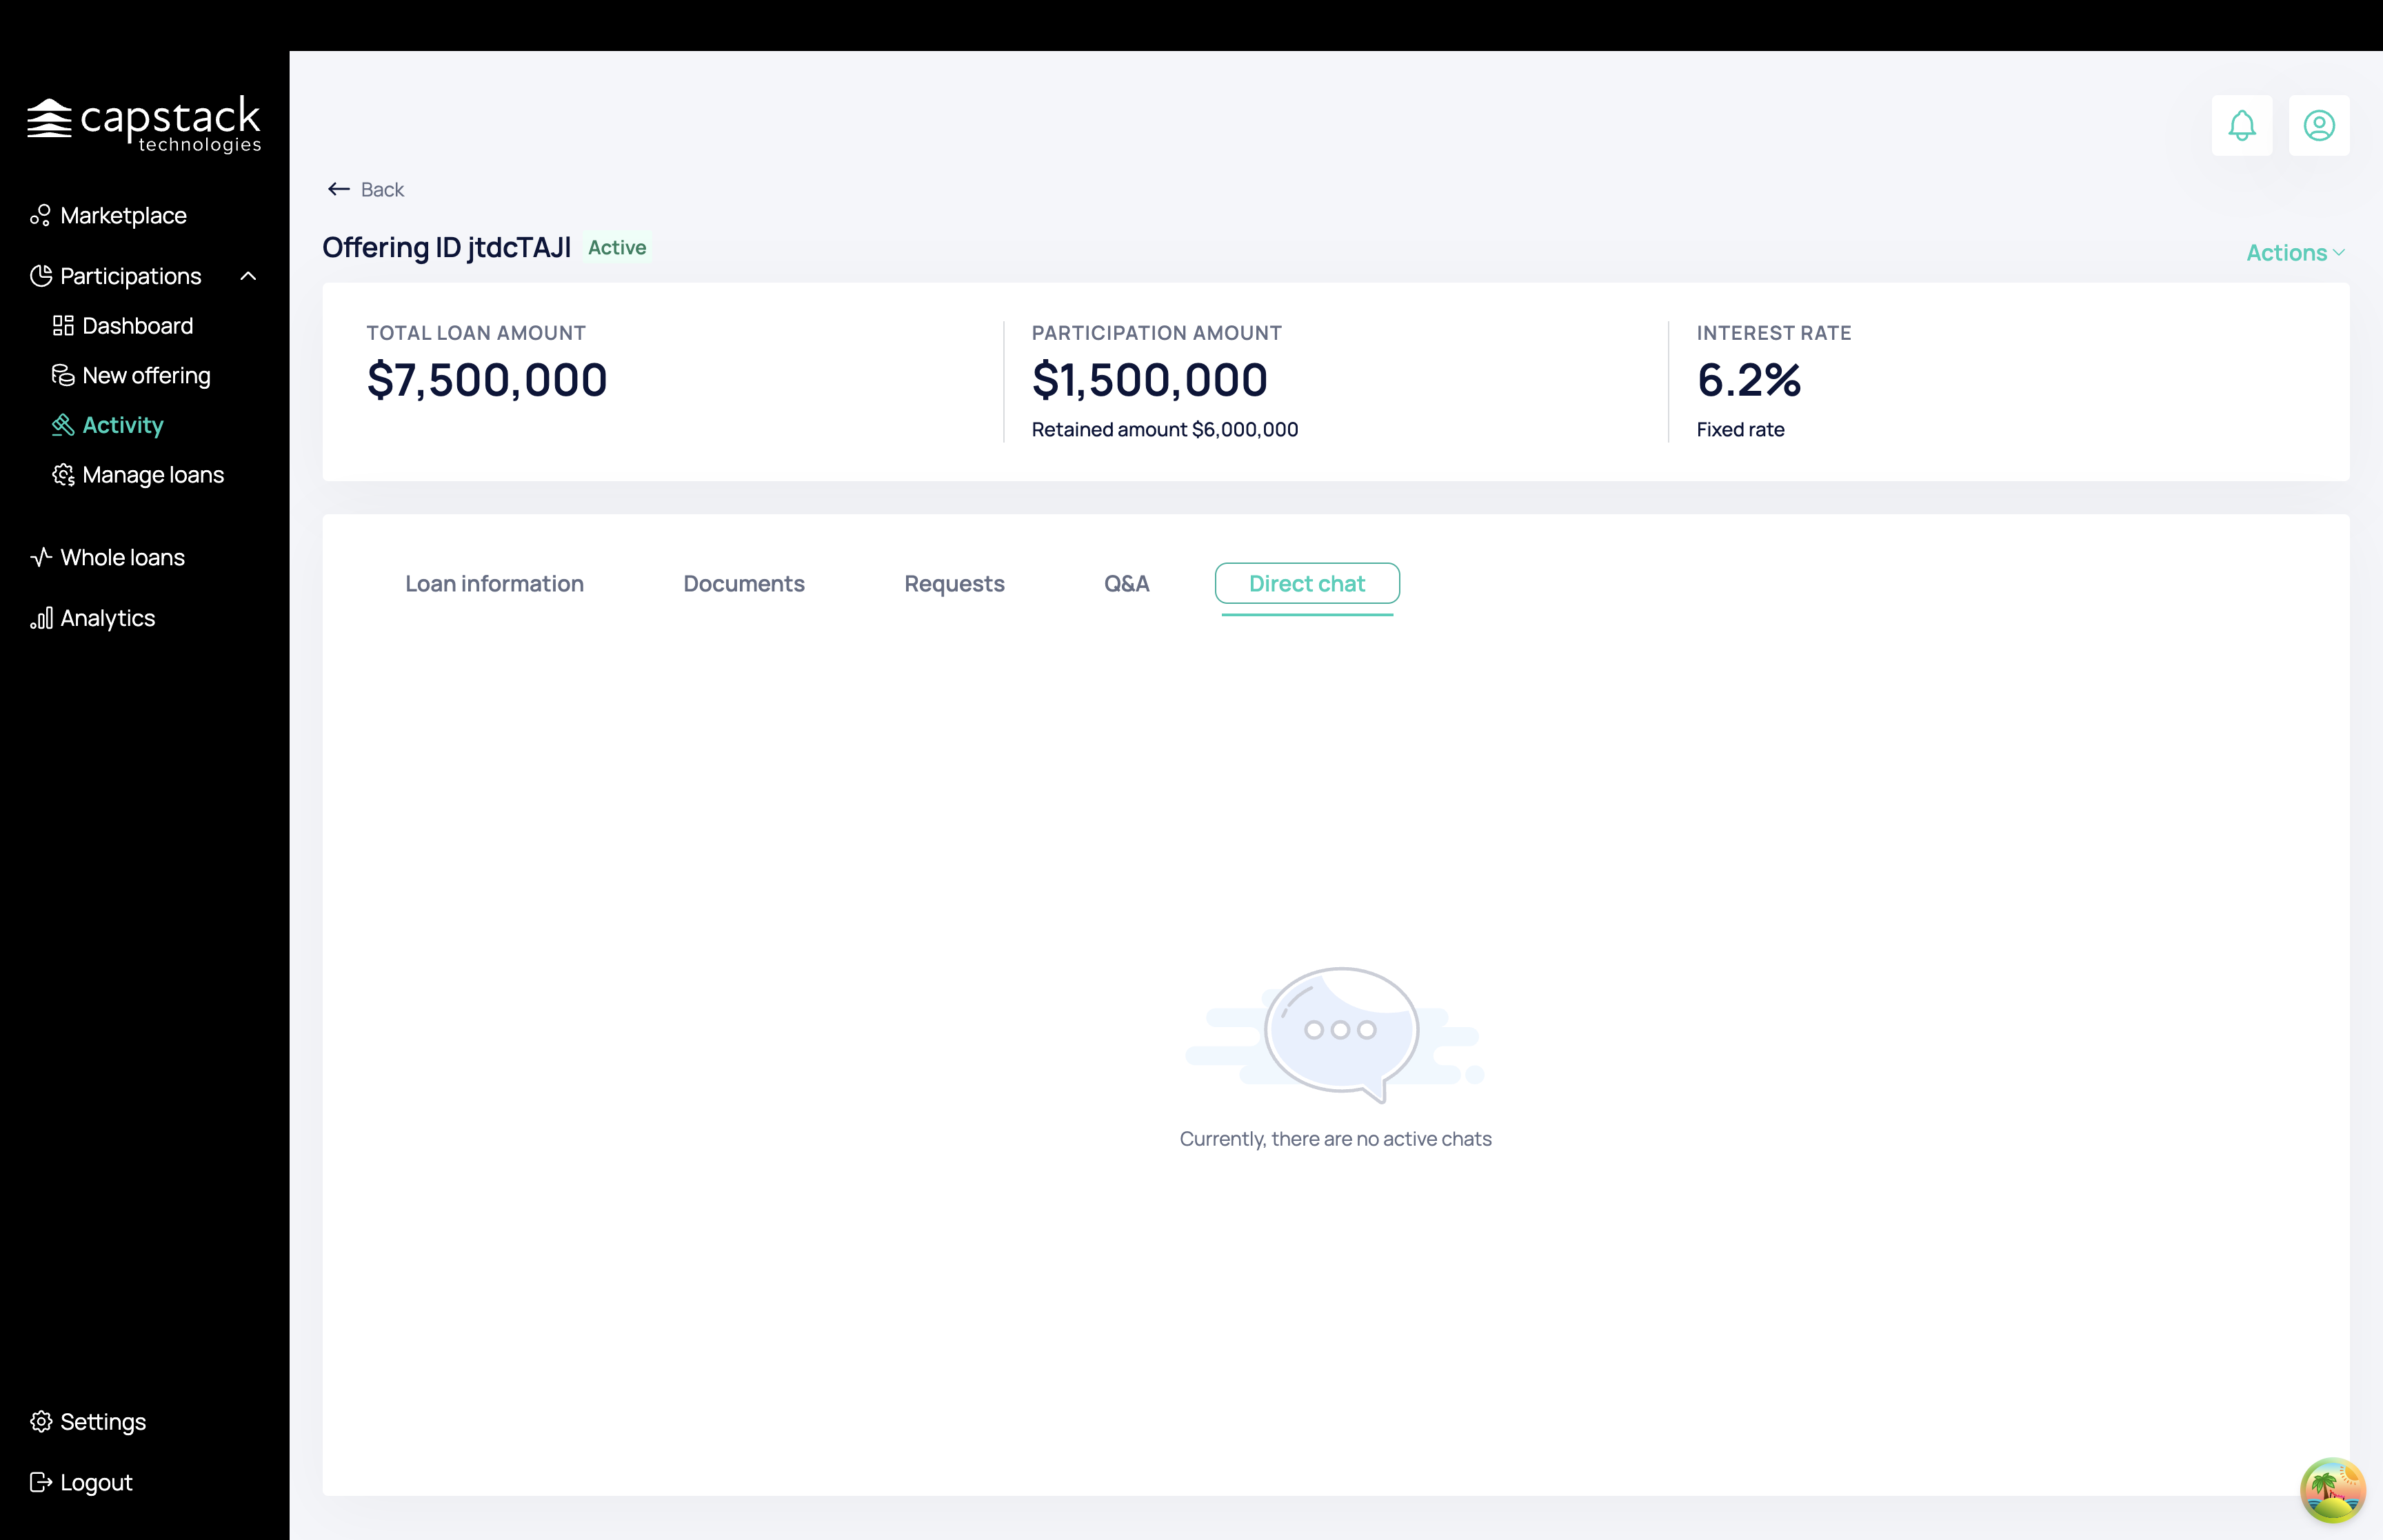
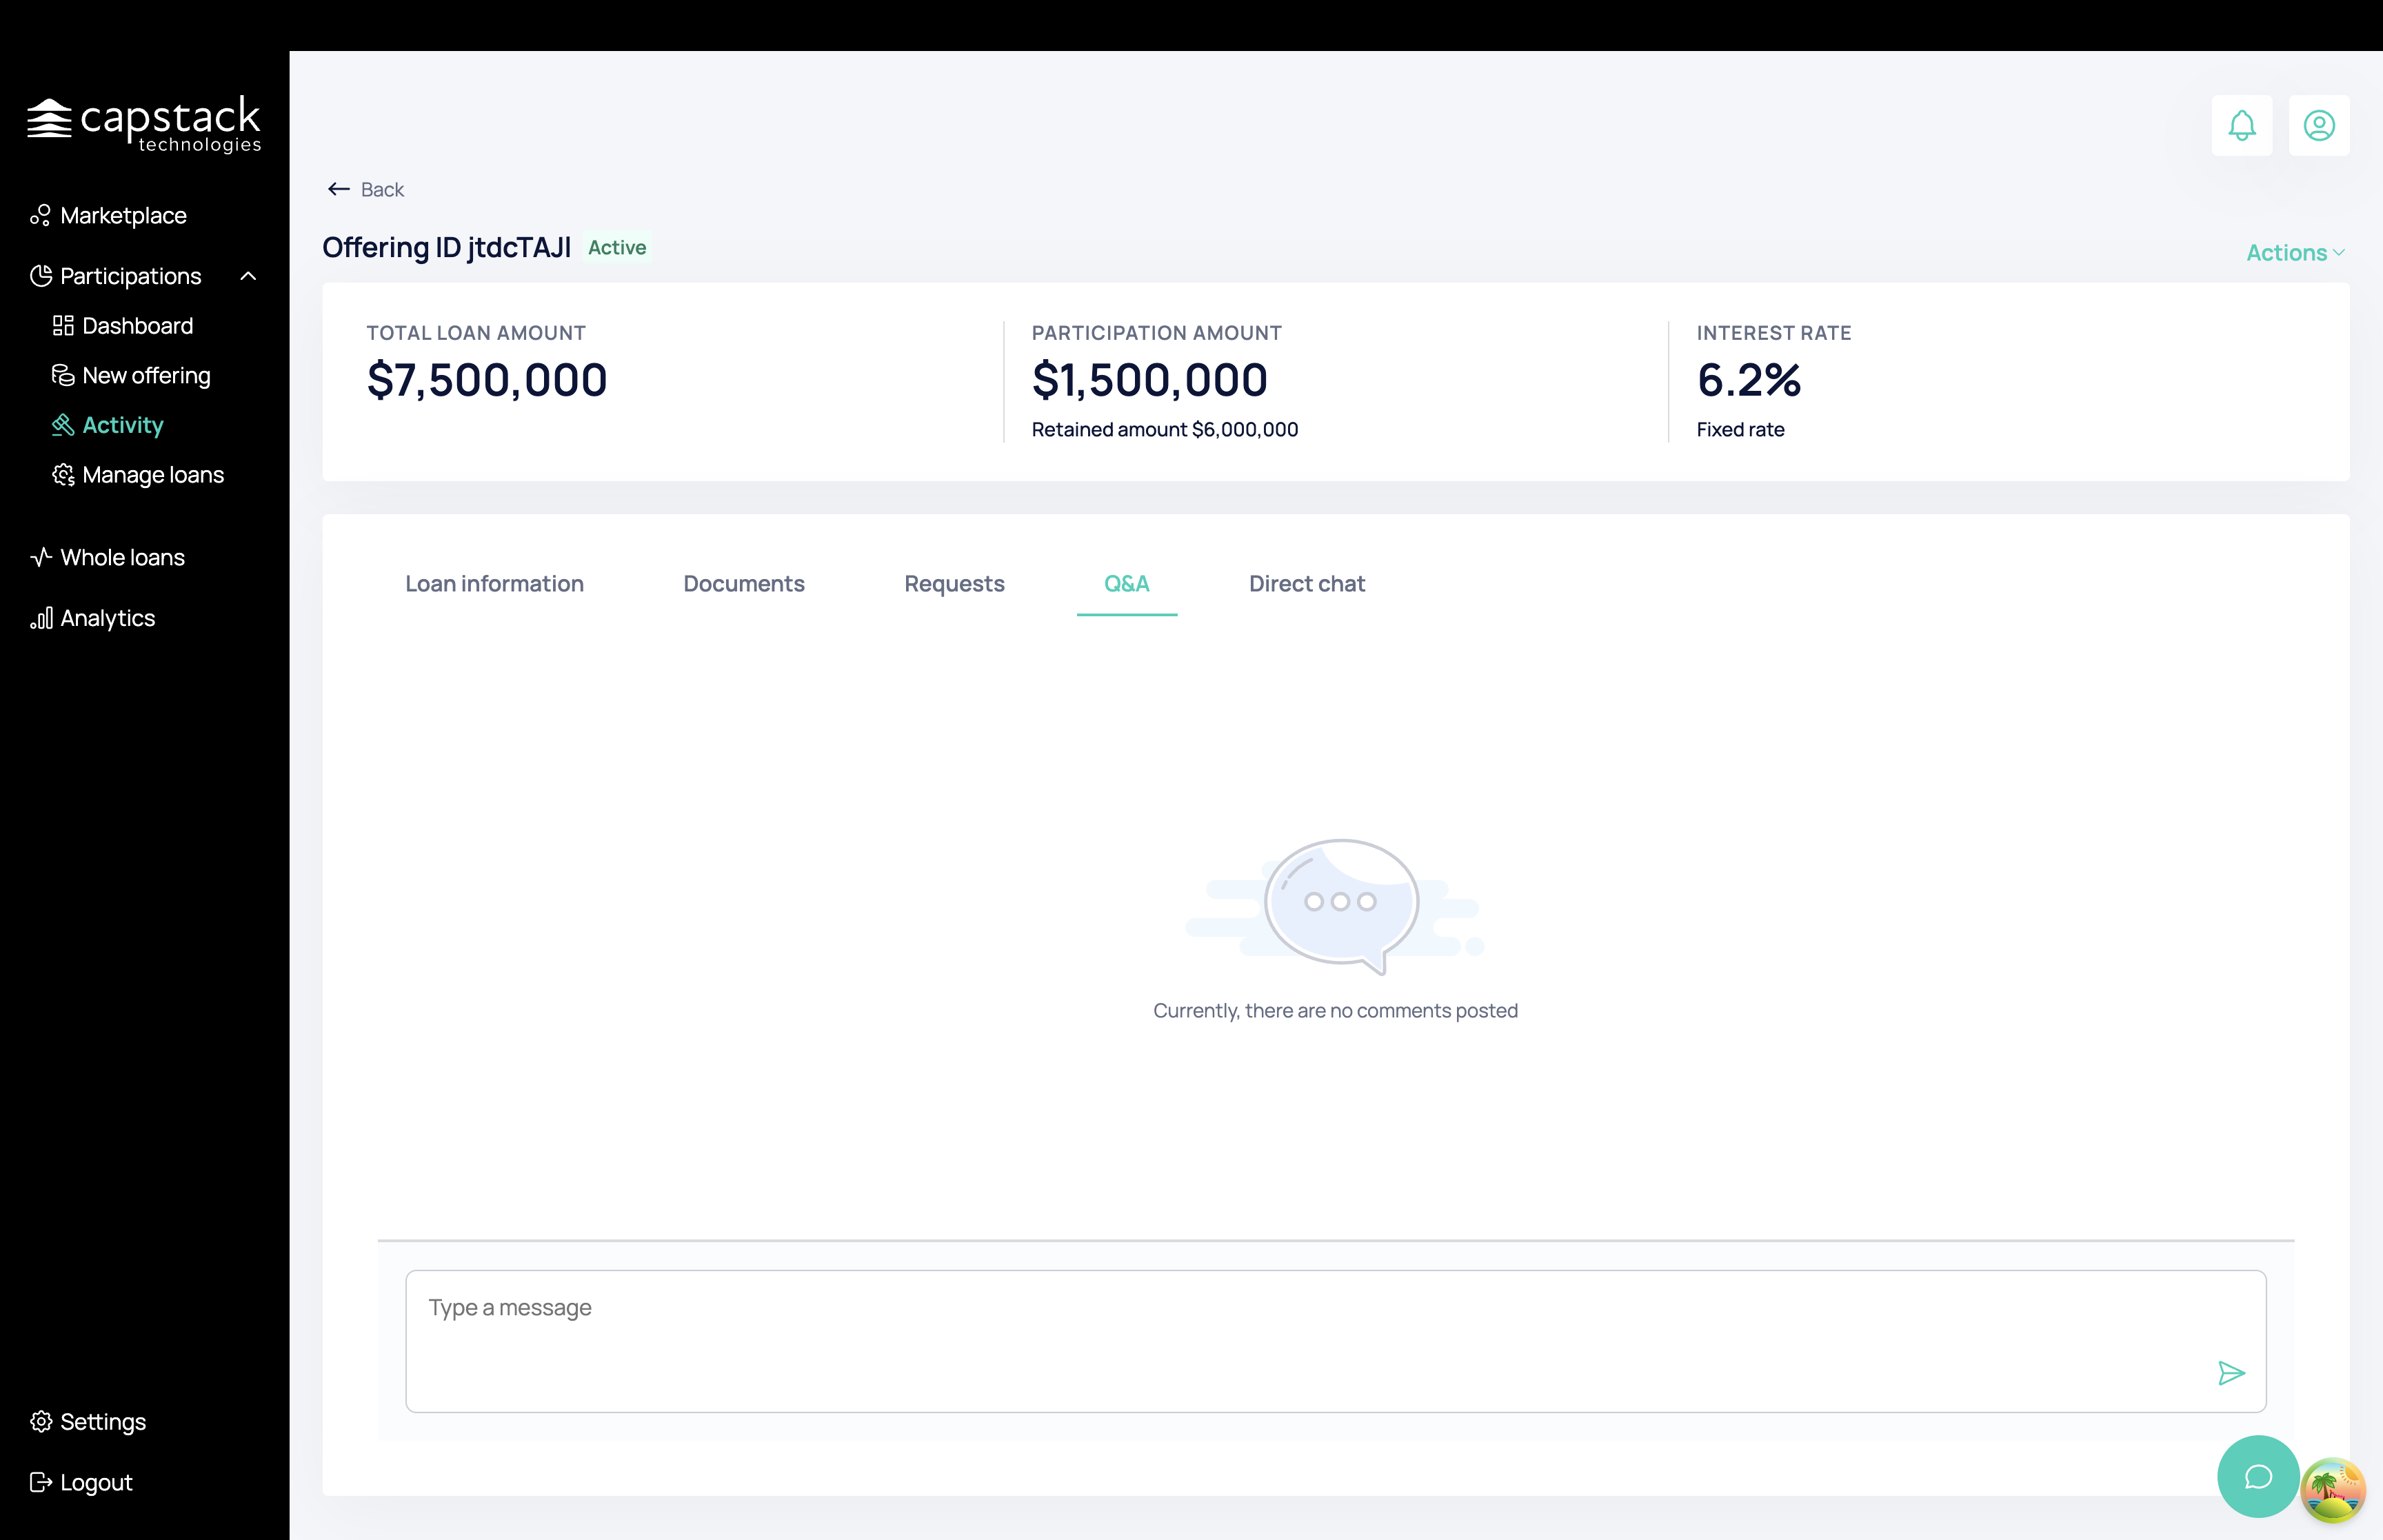
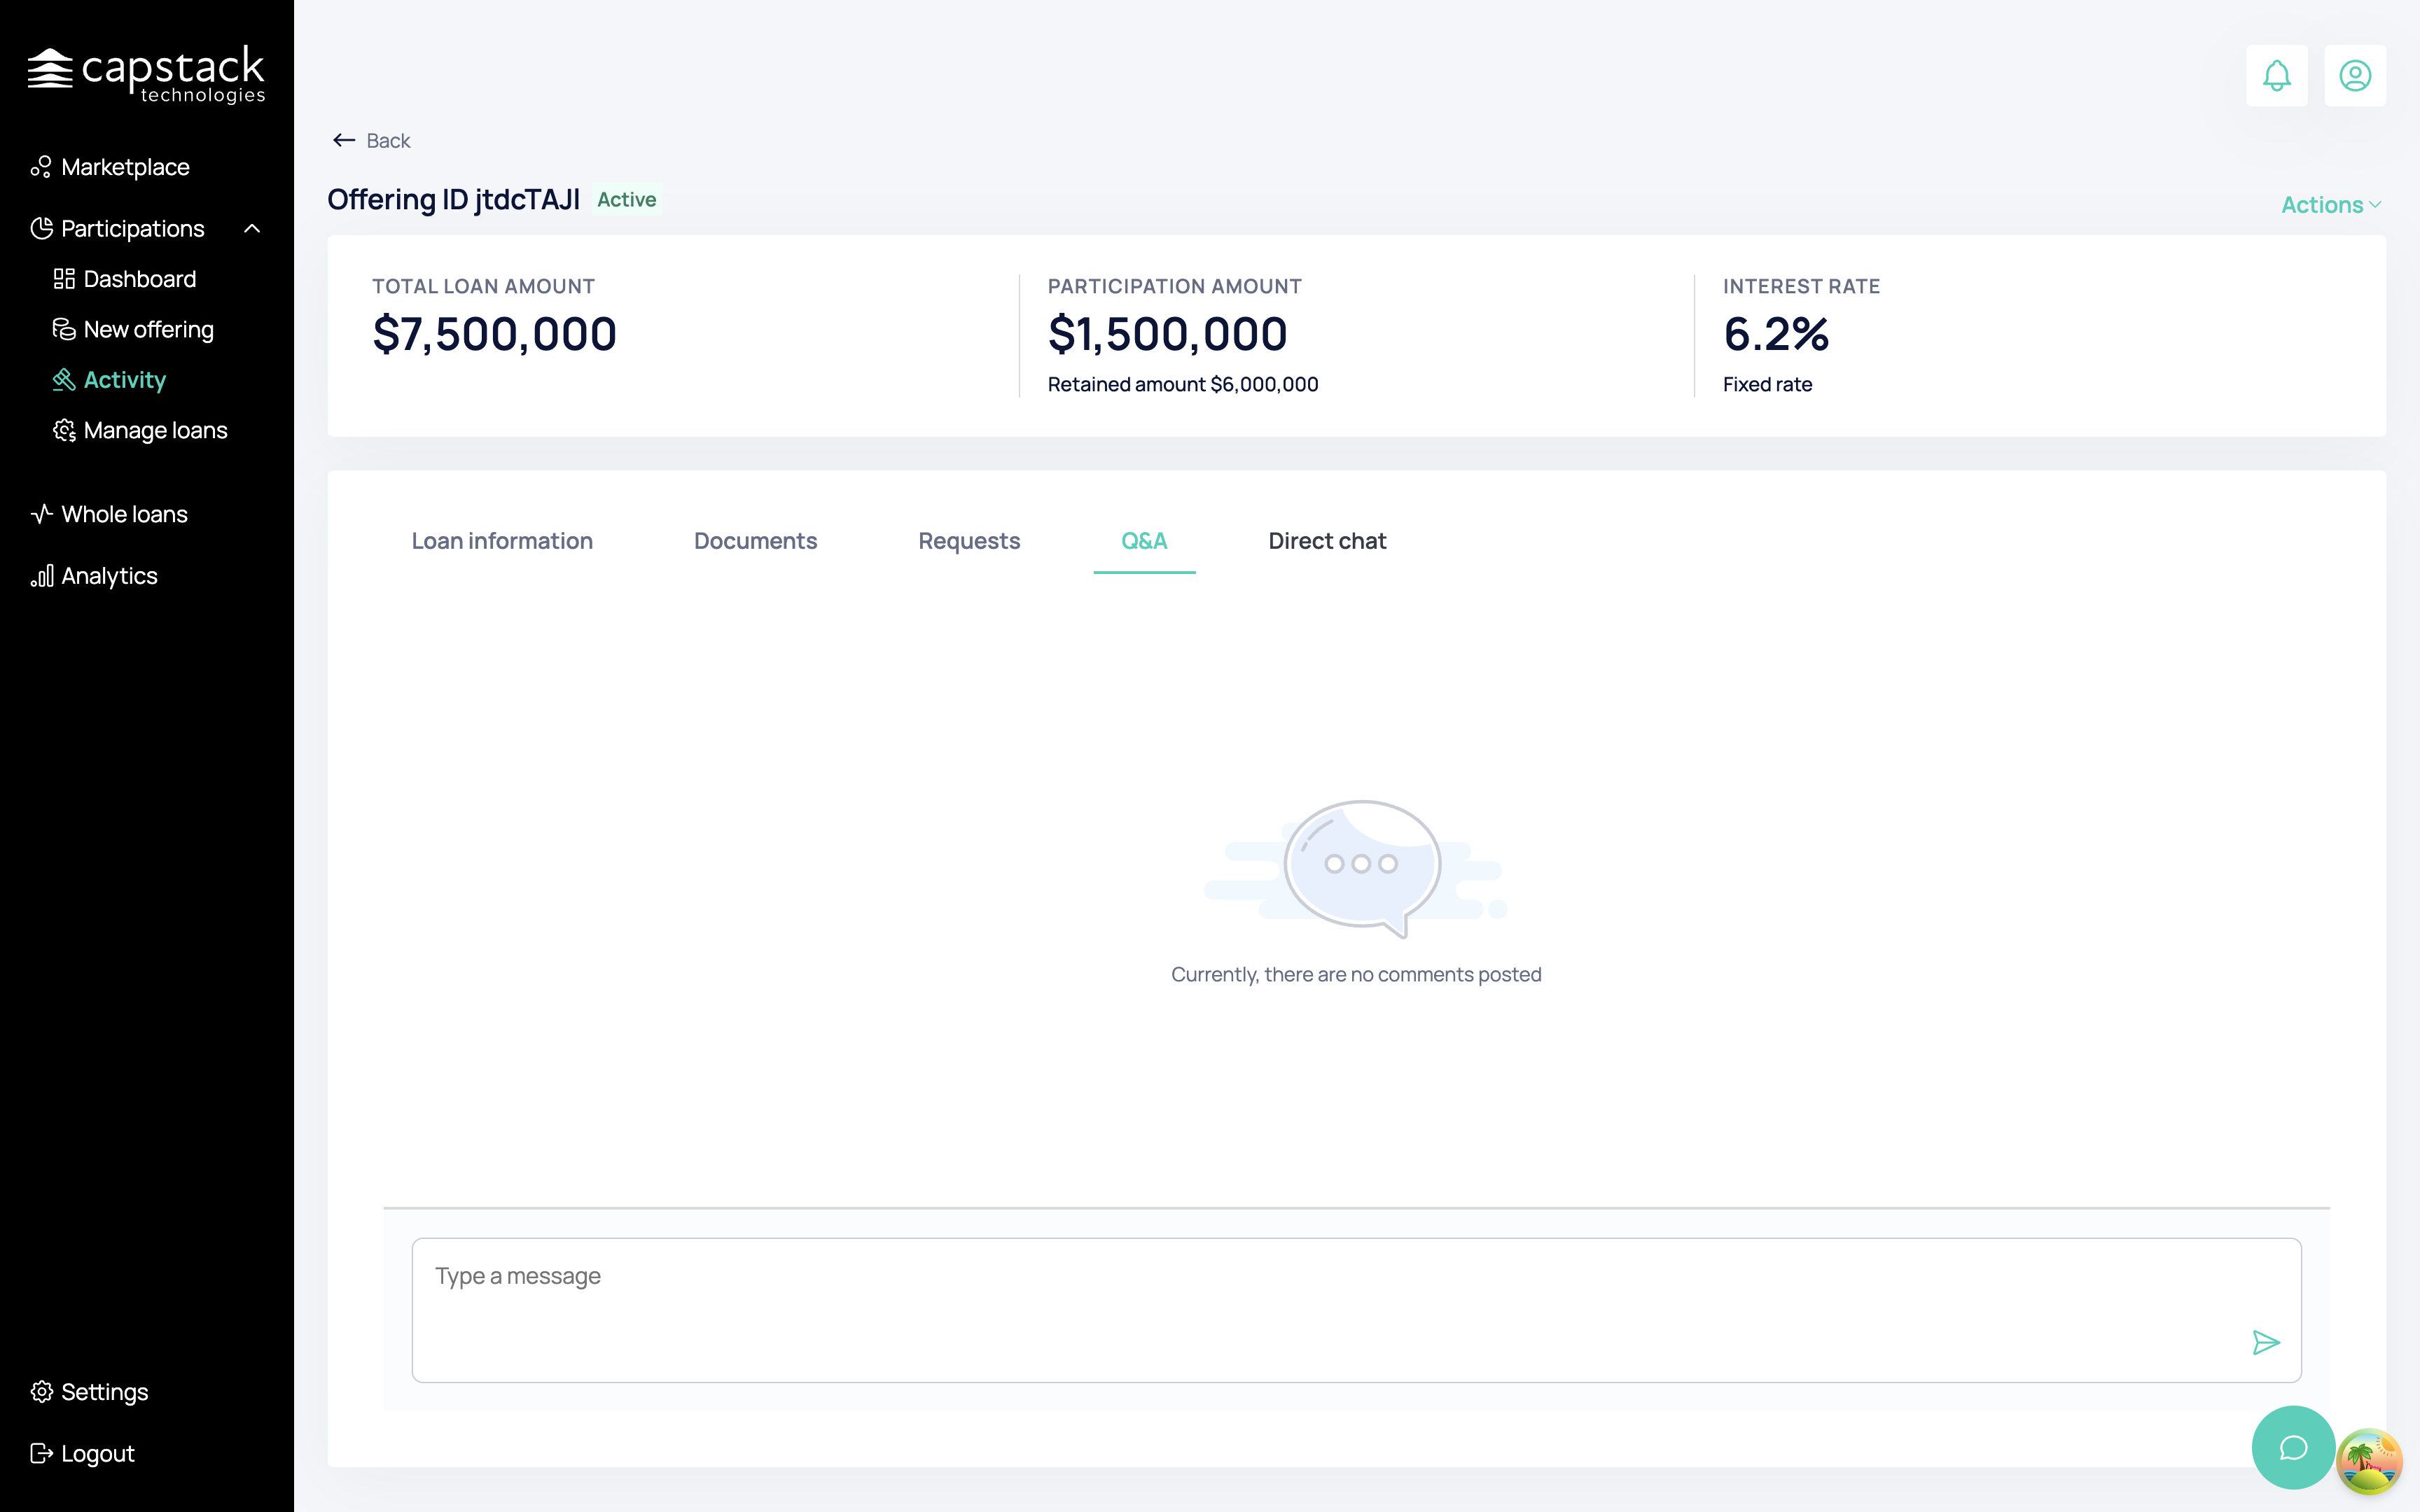
Our offering now includes complete loan information.
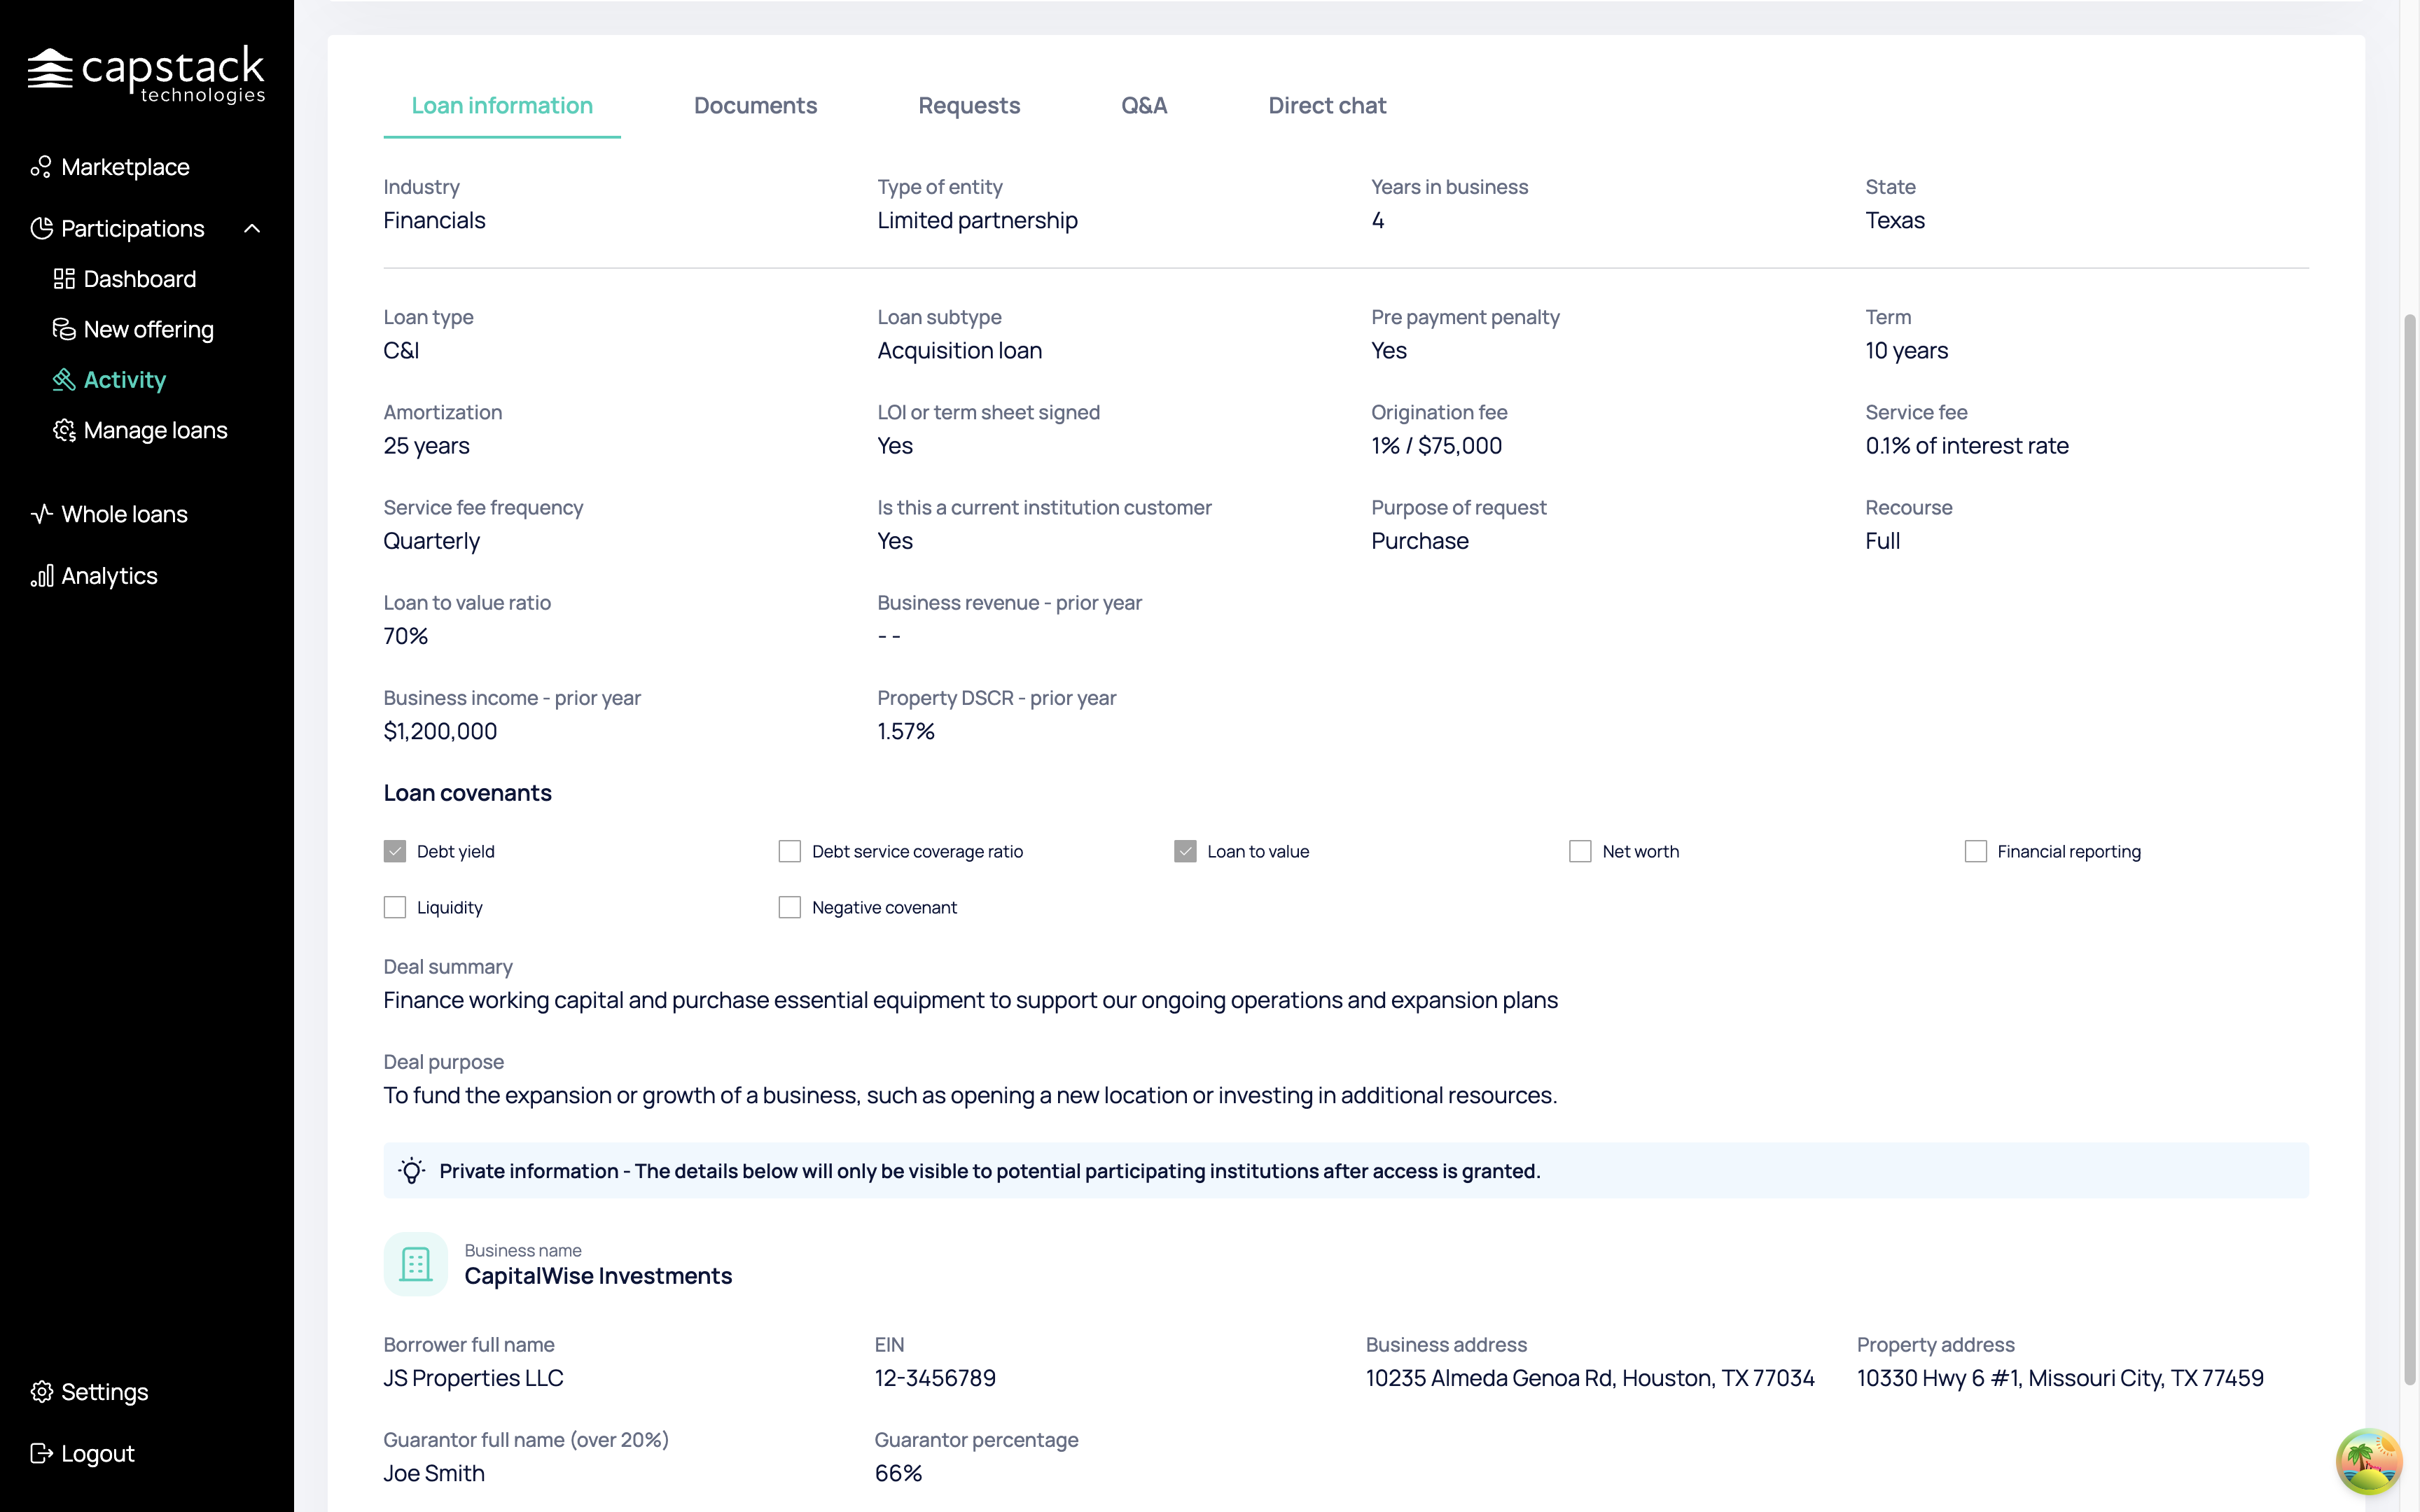
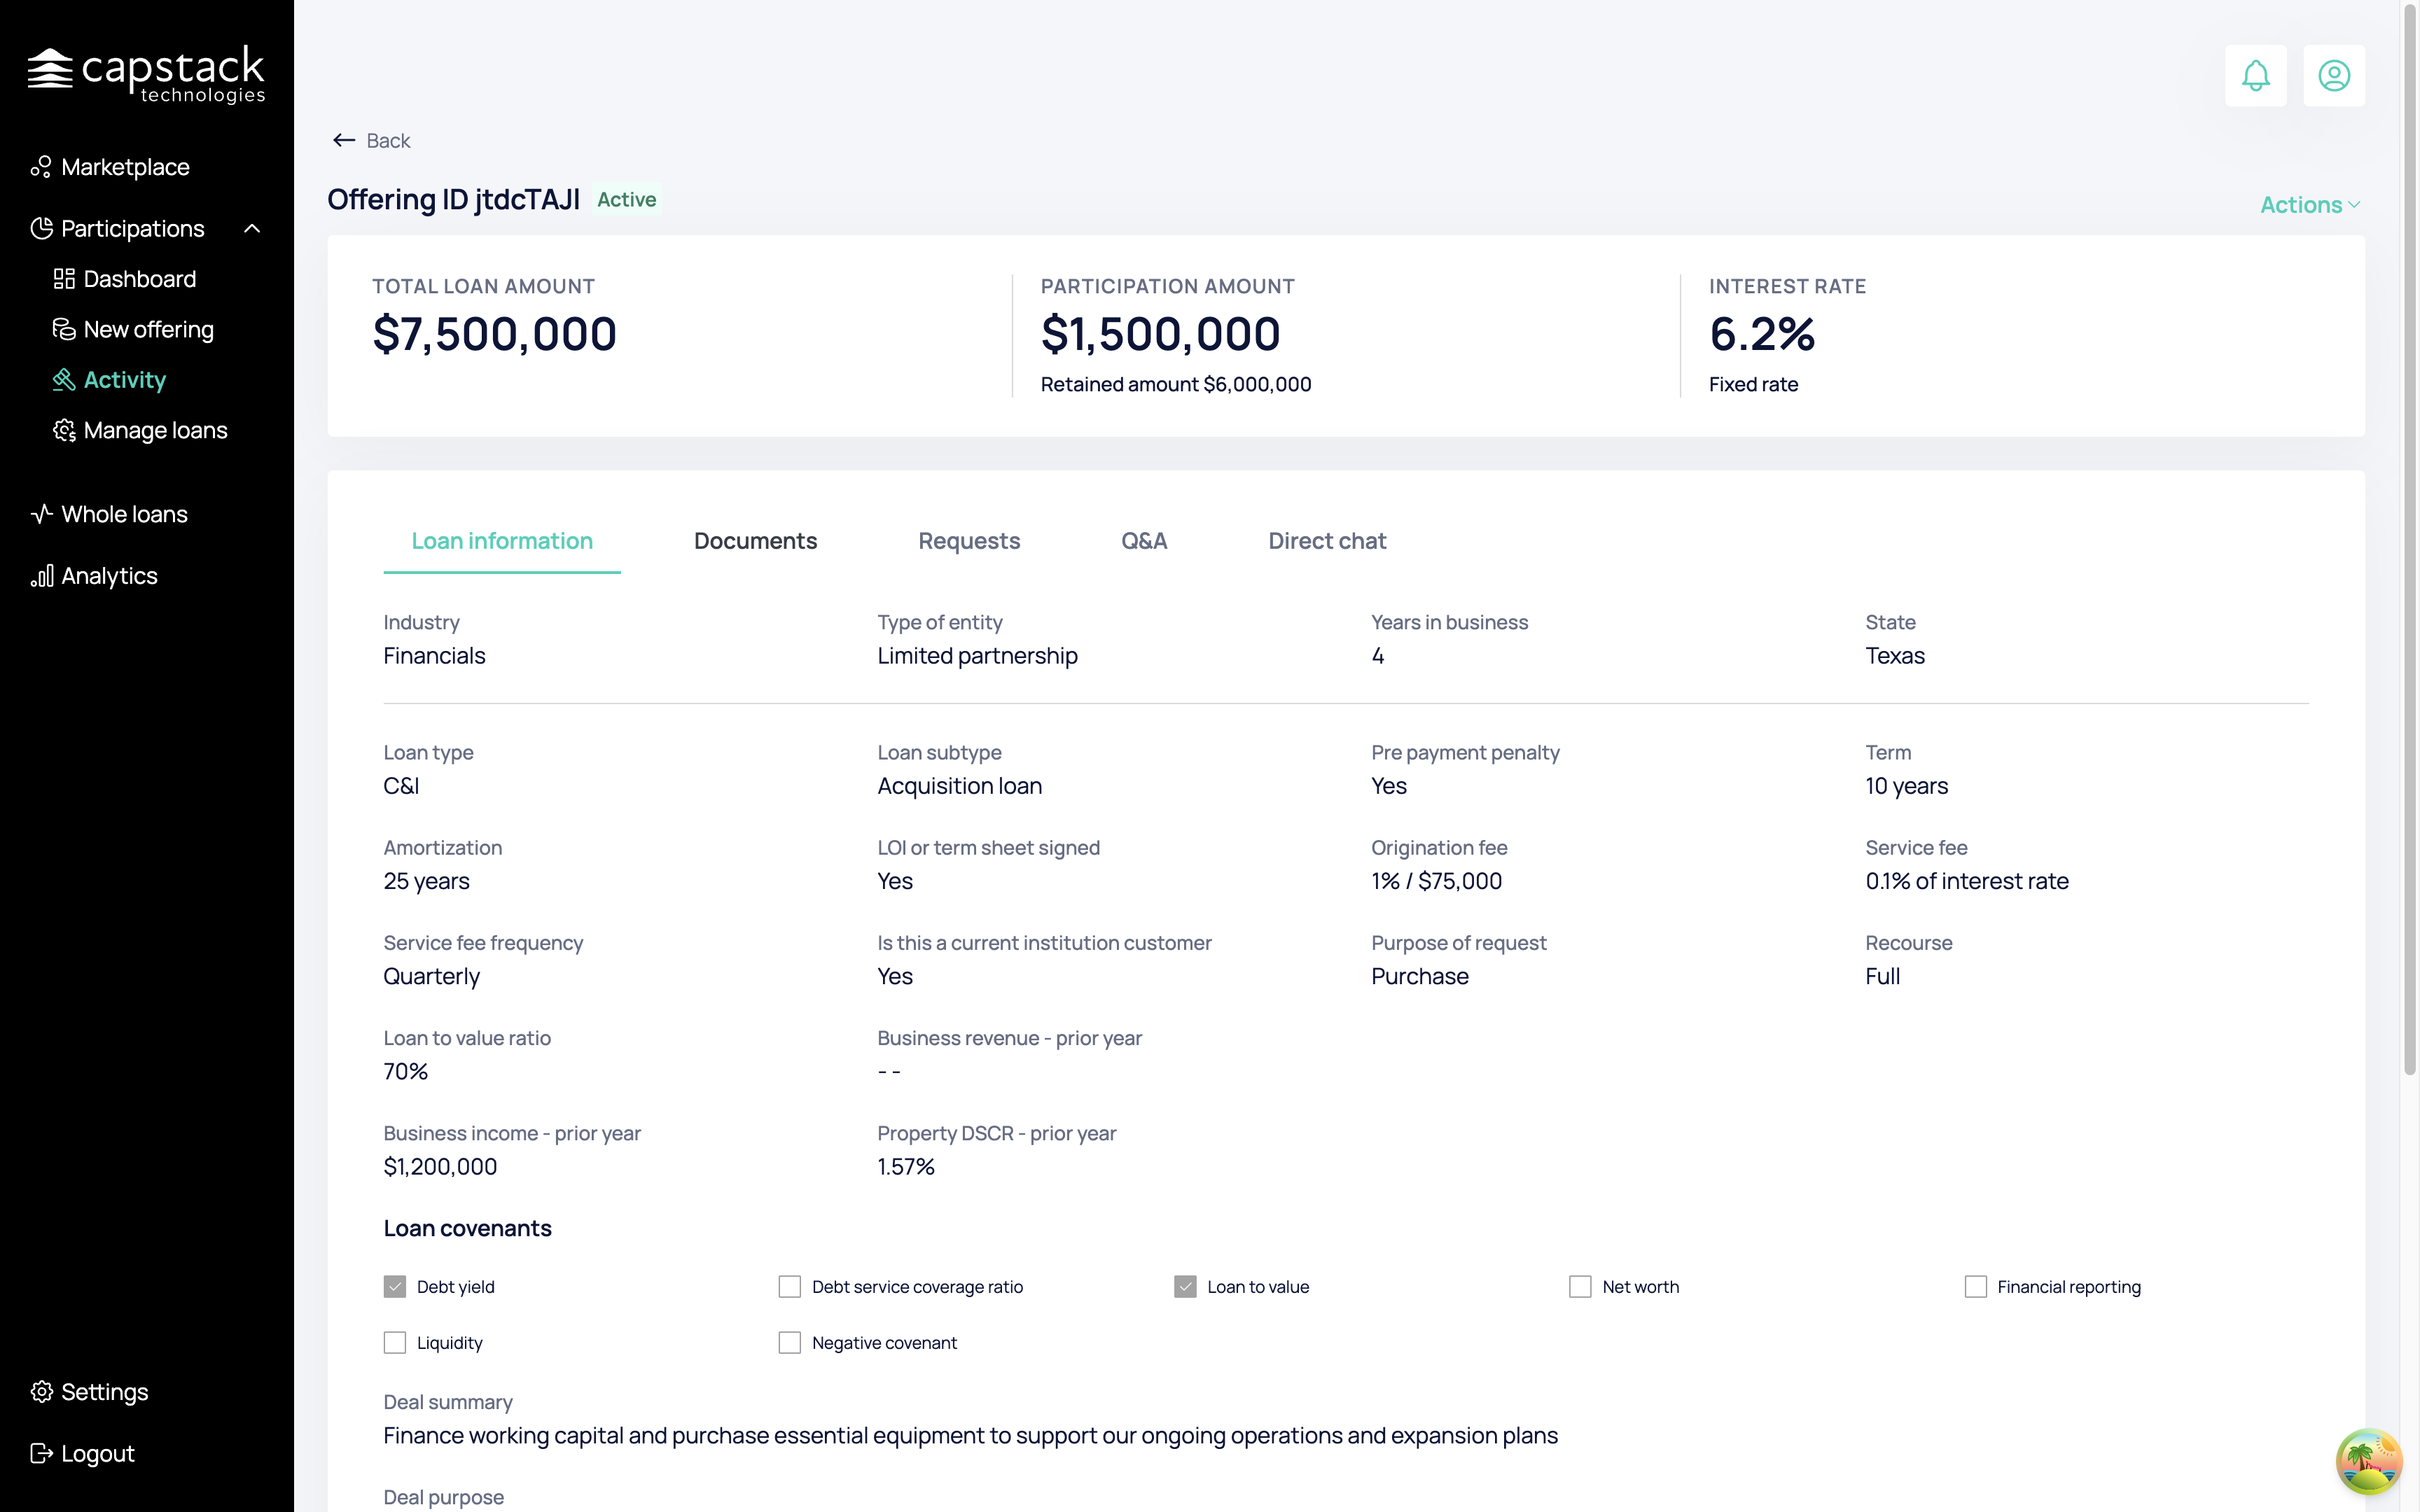
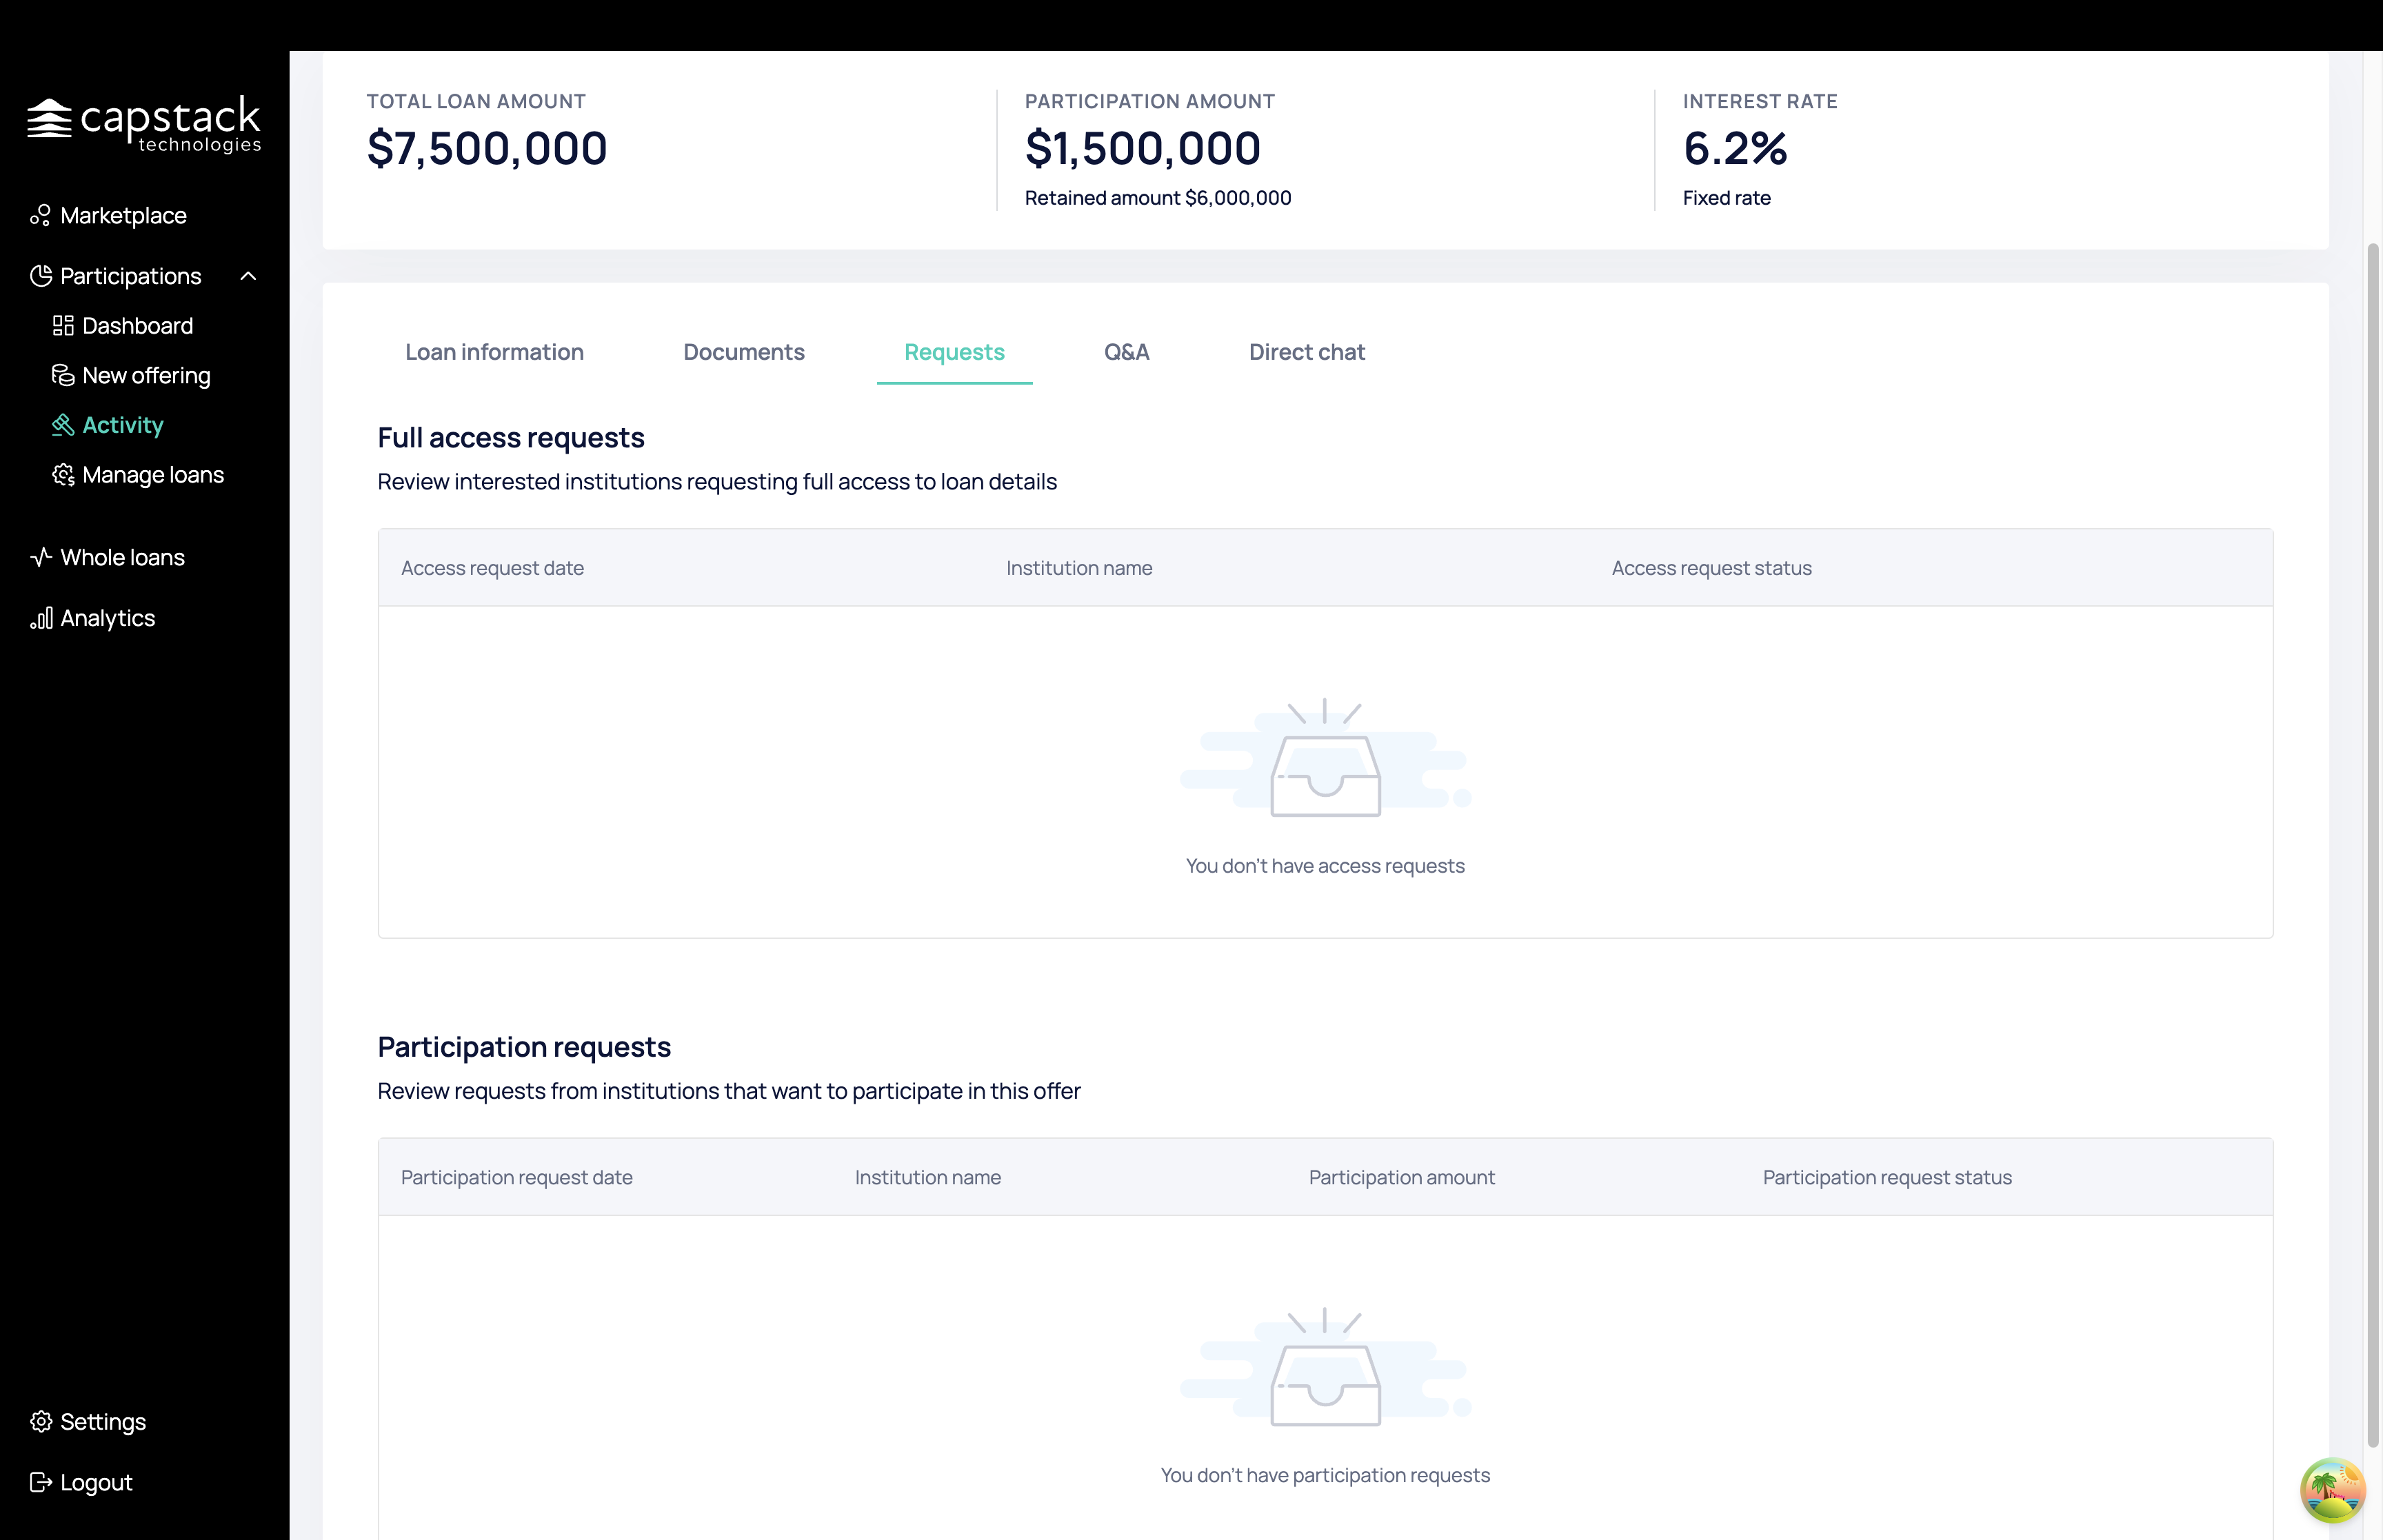
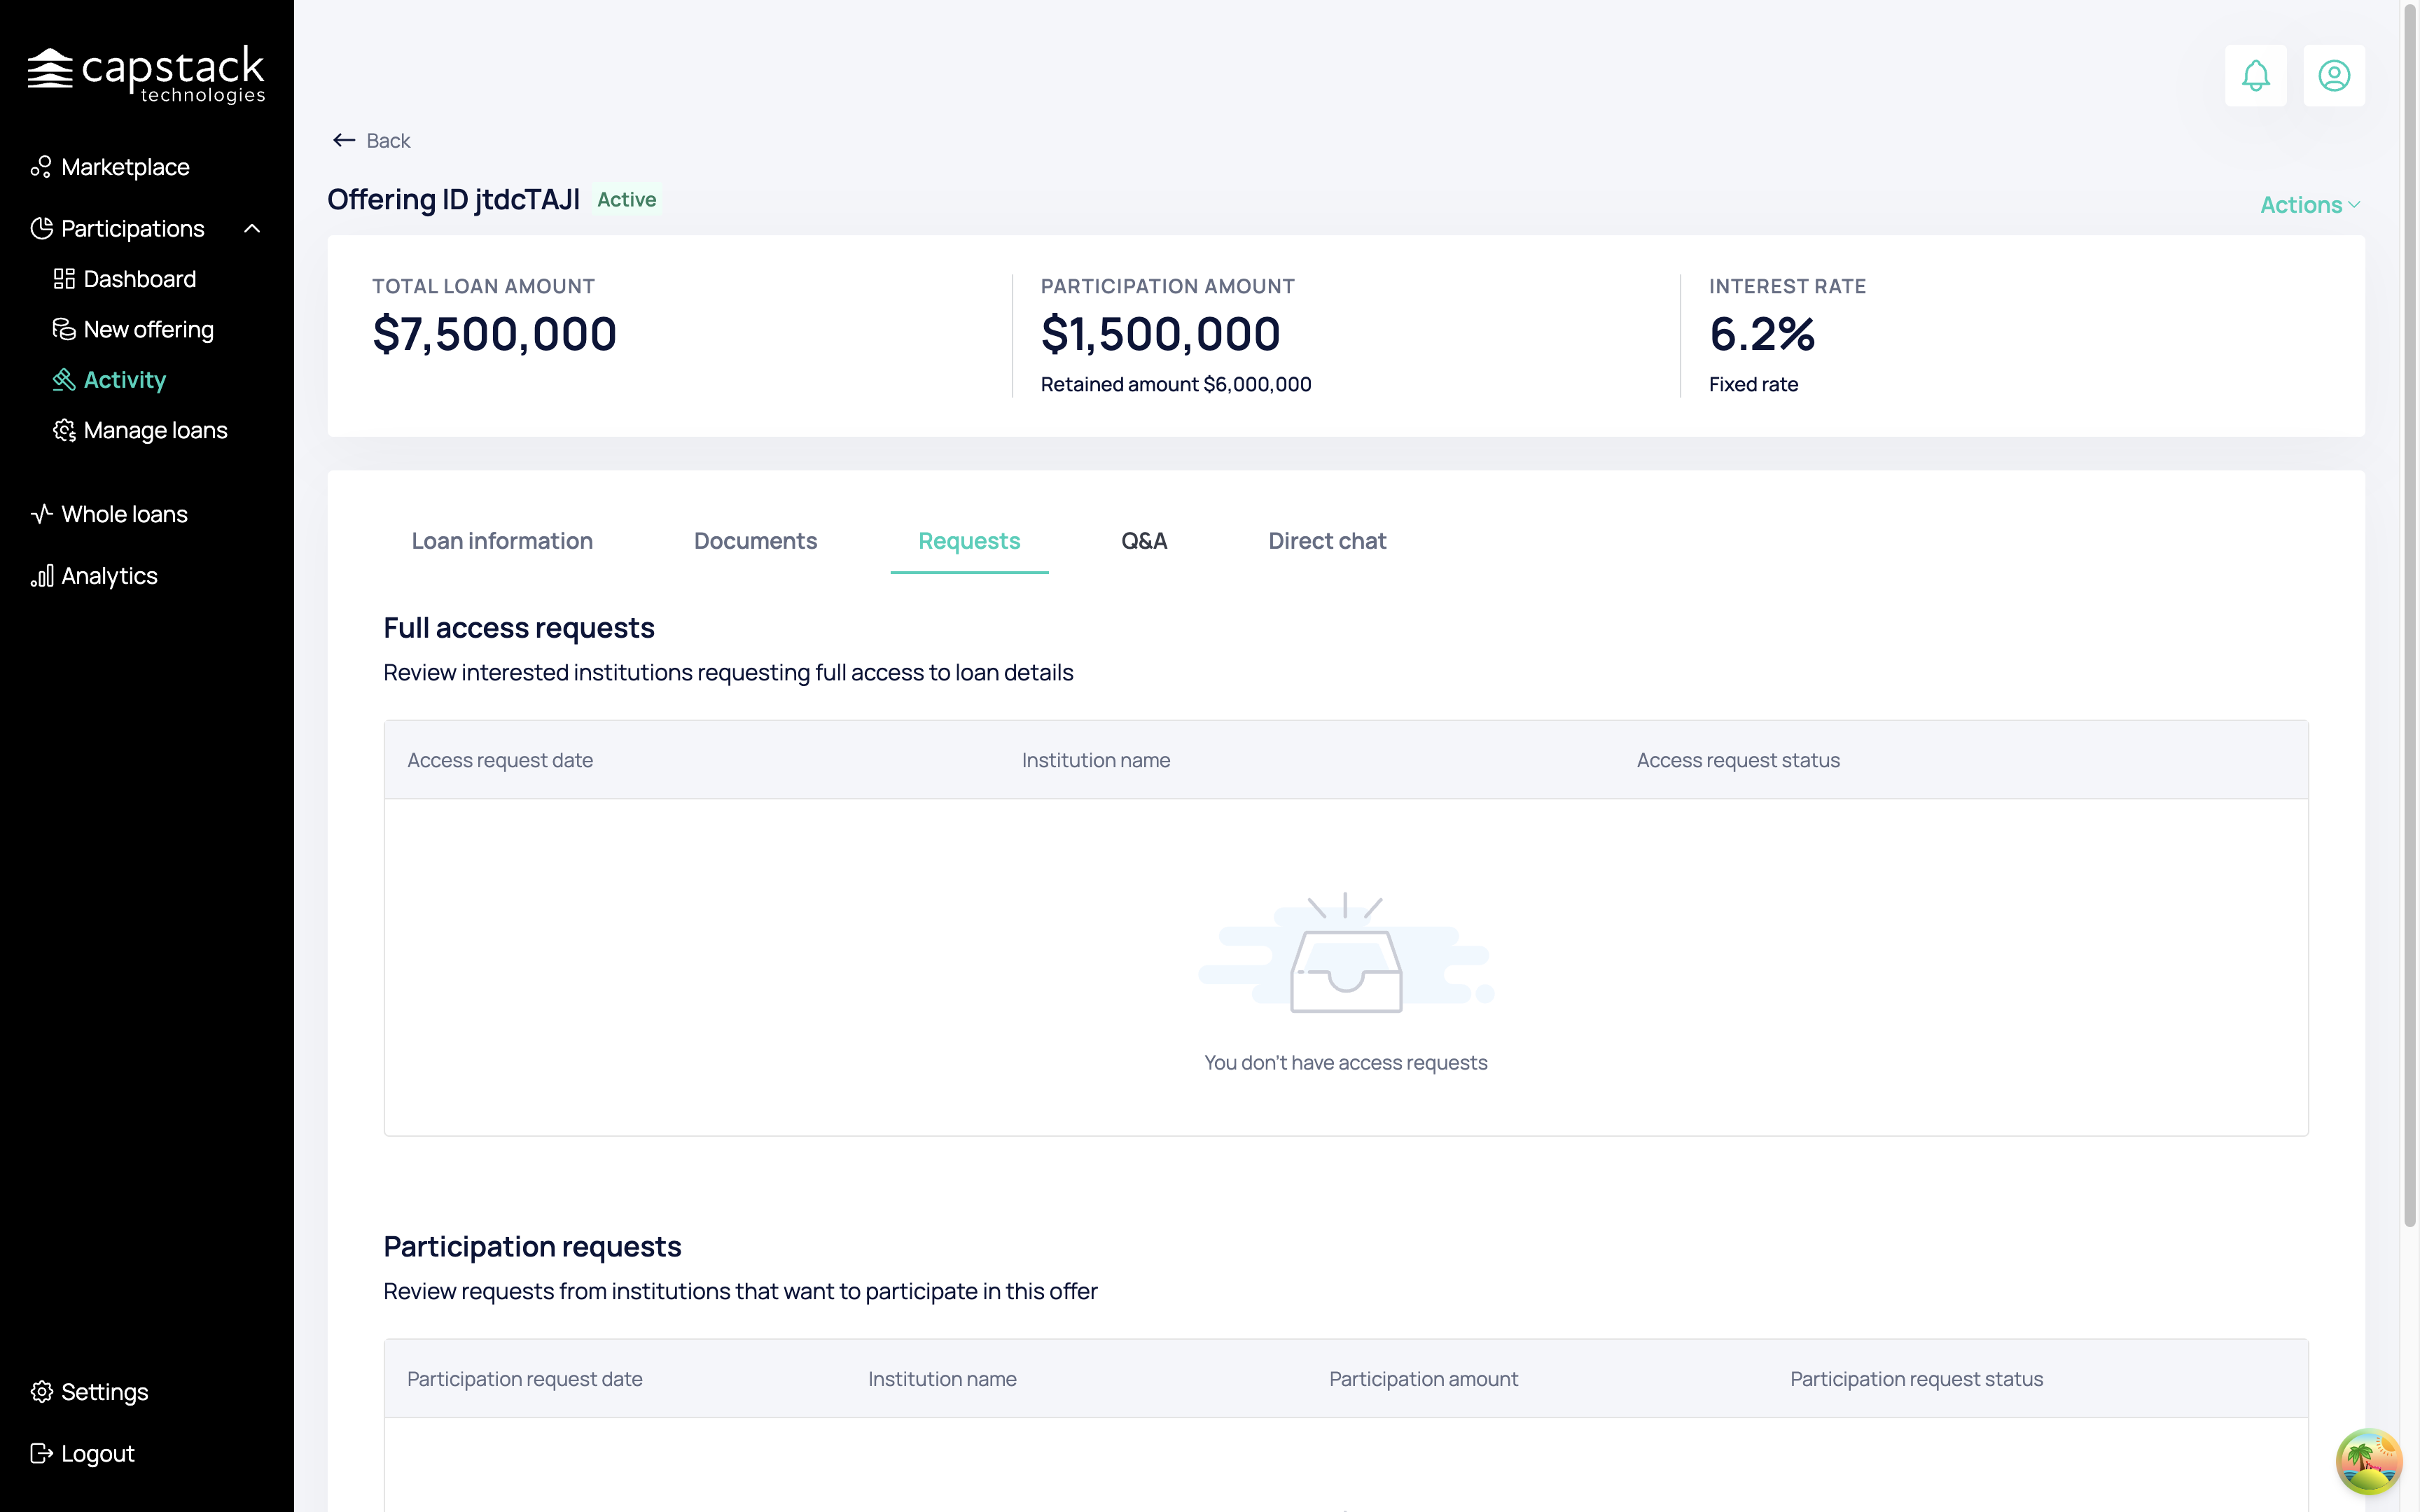
We can view public questions about the offering, the participation we uploaded, and the direct chat with all potential participants involved in the participation we uploaded.
We can view all the private messages, interested buyers sent me regarding this offering.