
Tutorial: Flyer Page 3 - Regional Map
Learn step-by-step how to create the regional map that goes on page 3 of the flyer template using Adobe Illustrator.
In this guide, we'll learn how to create a regional map for a flyer using Adobe Illustrator and Google Maps. The process involves copying a template, locating the property on Google Maps, and adjusting the map in Illustrator to highlight the property's location. We'll also add indicators for nearby cities and highways. Finally, we'll export the map as a PNG file.
Let's get started
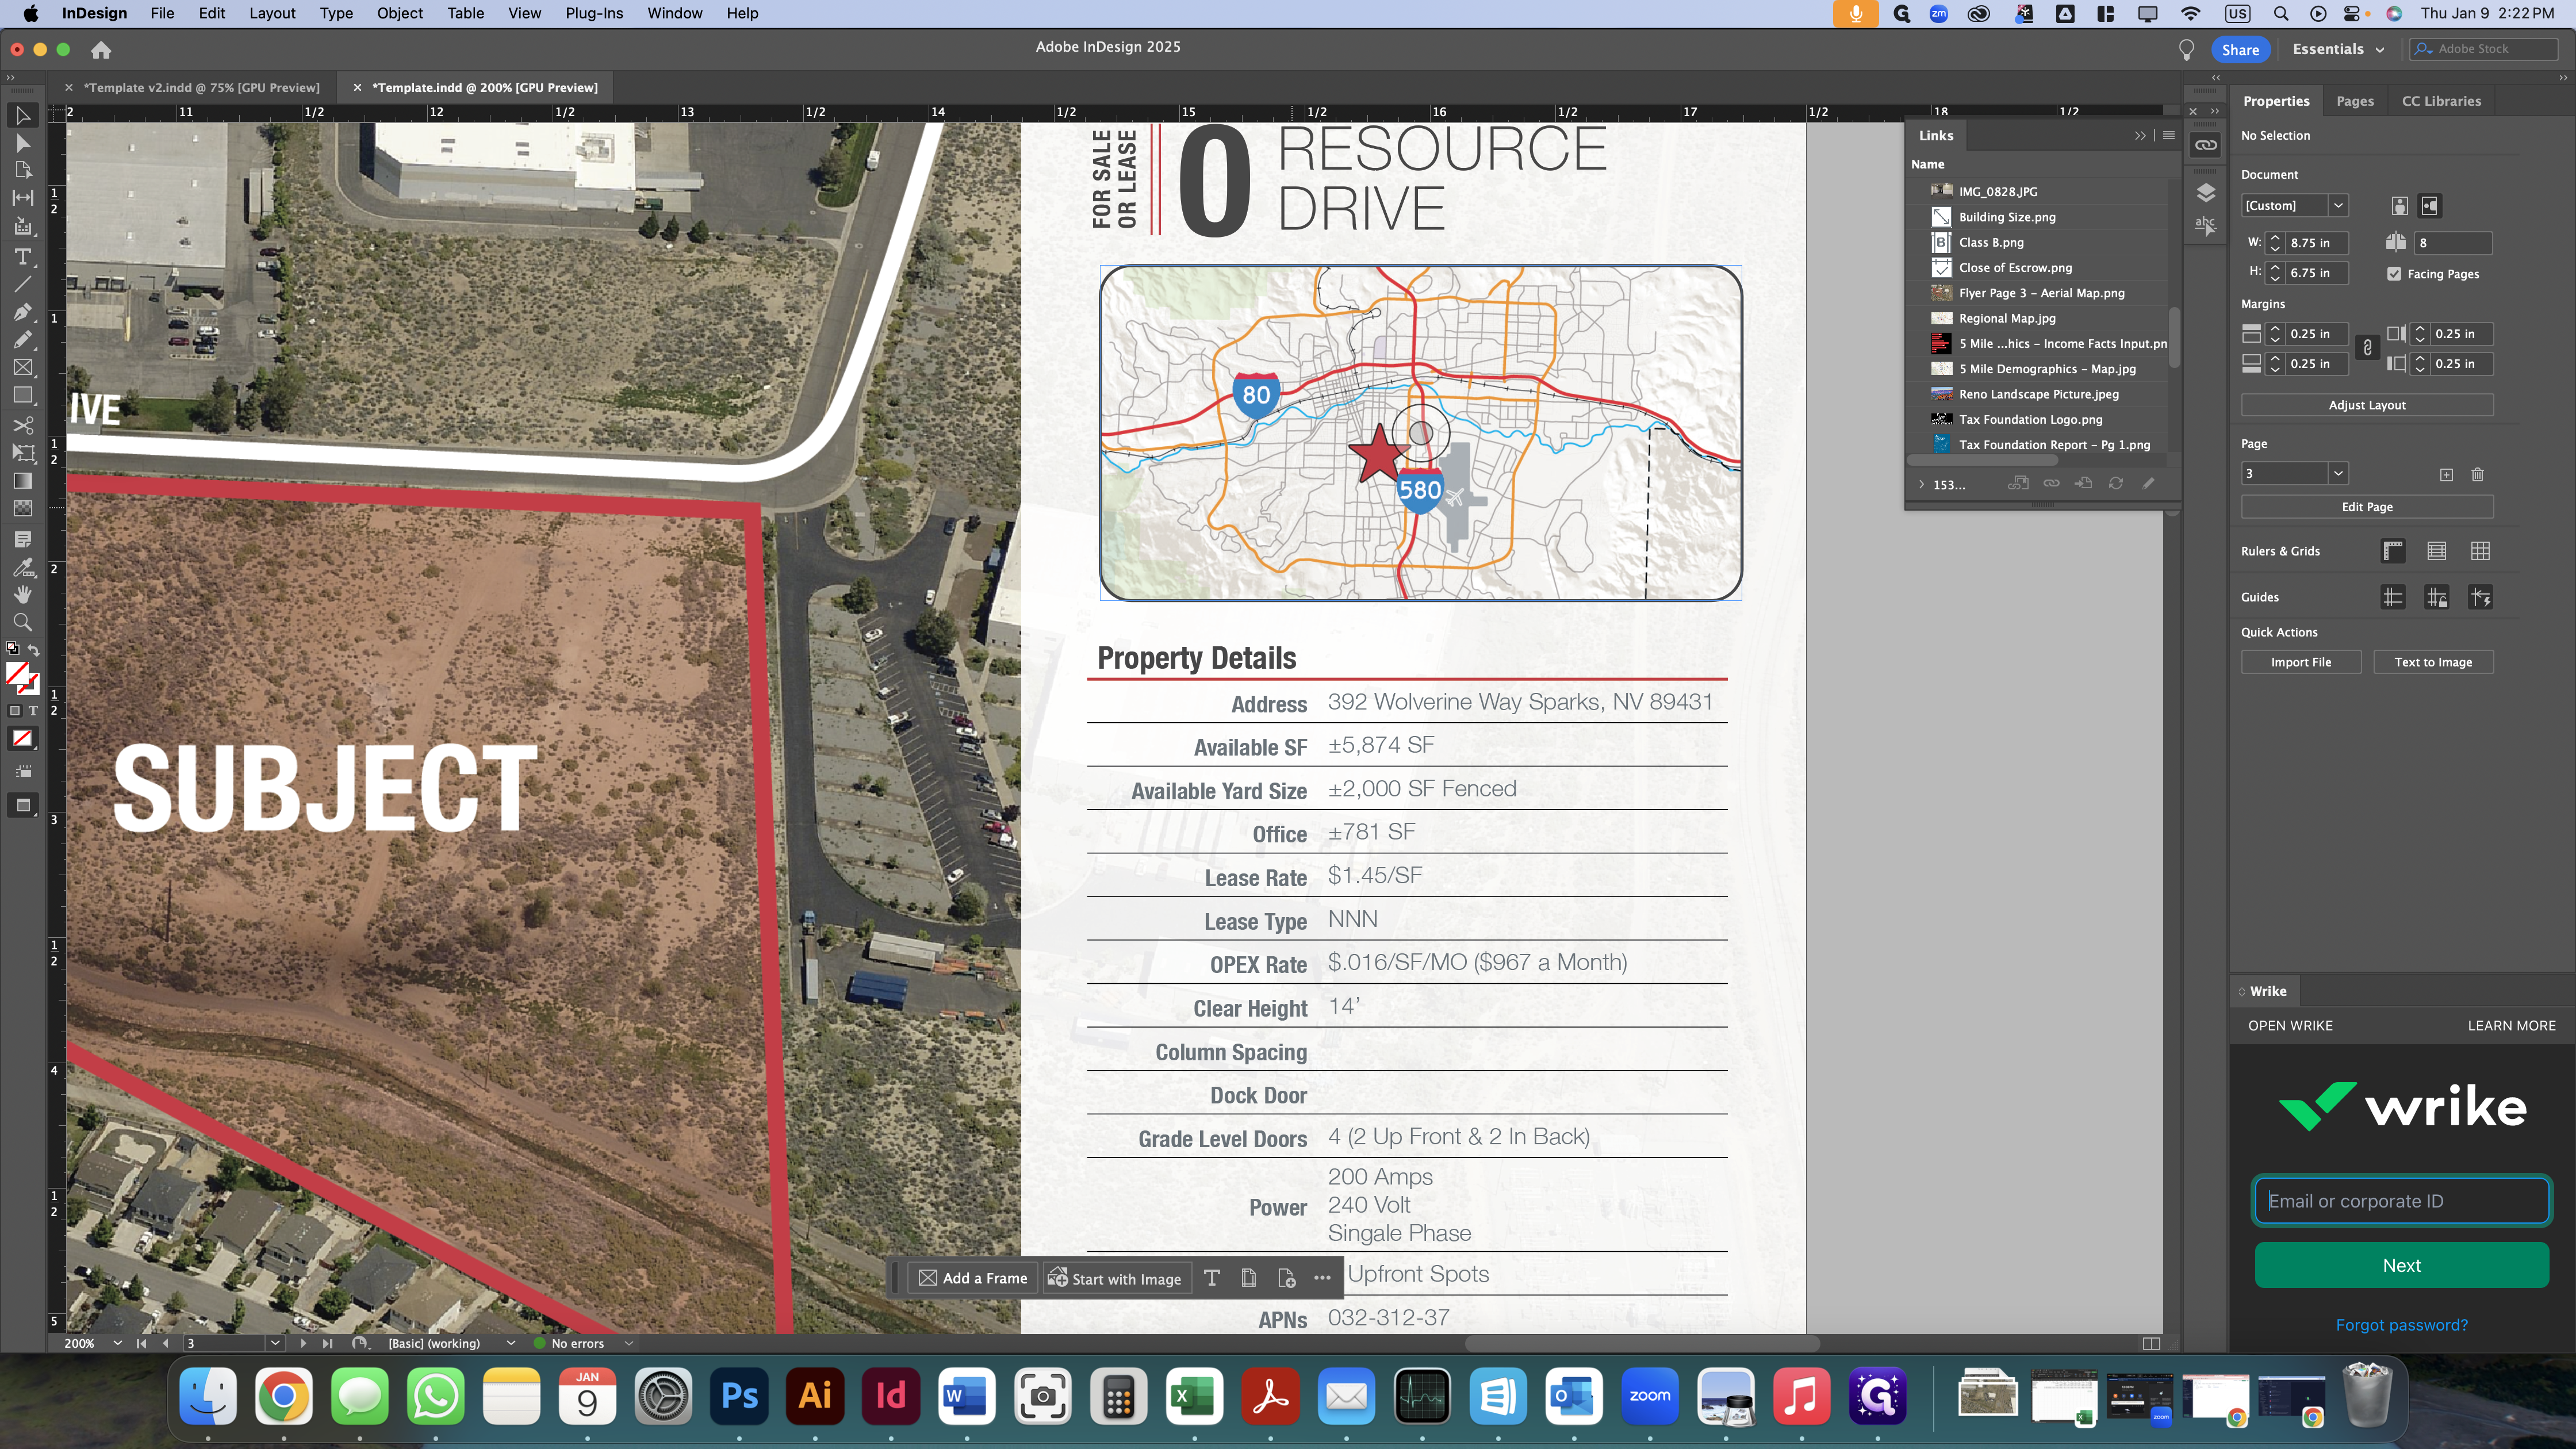
In this tutorial, we will create the regional map displayed on page 3 of our flyer.
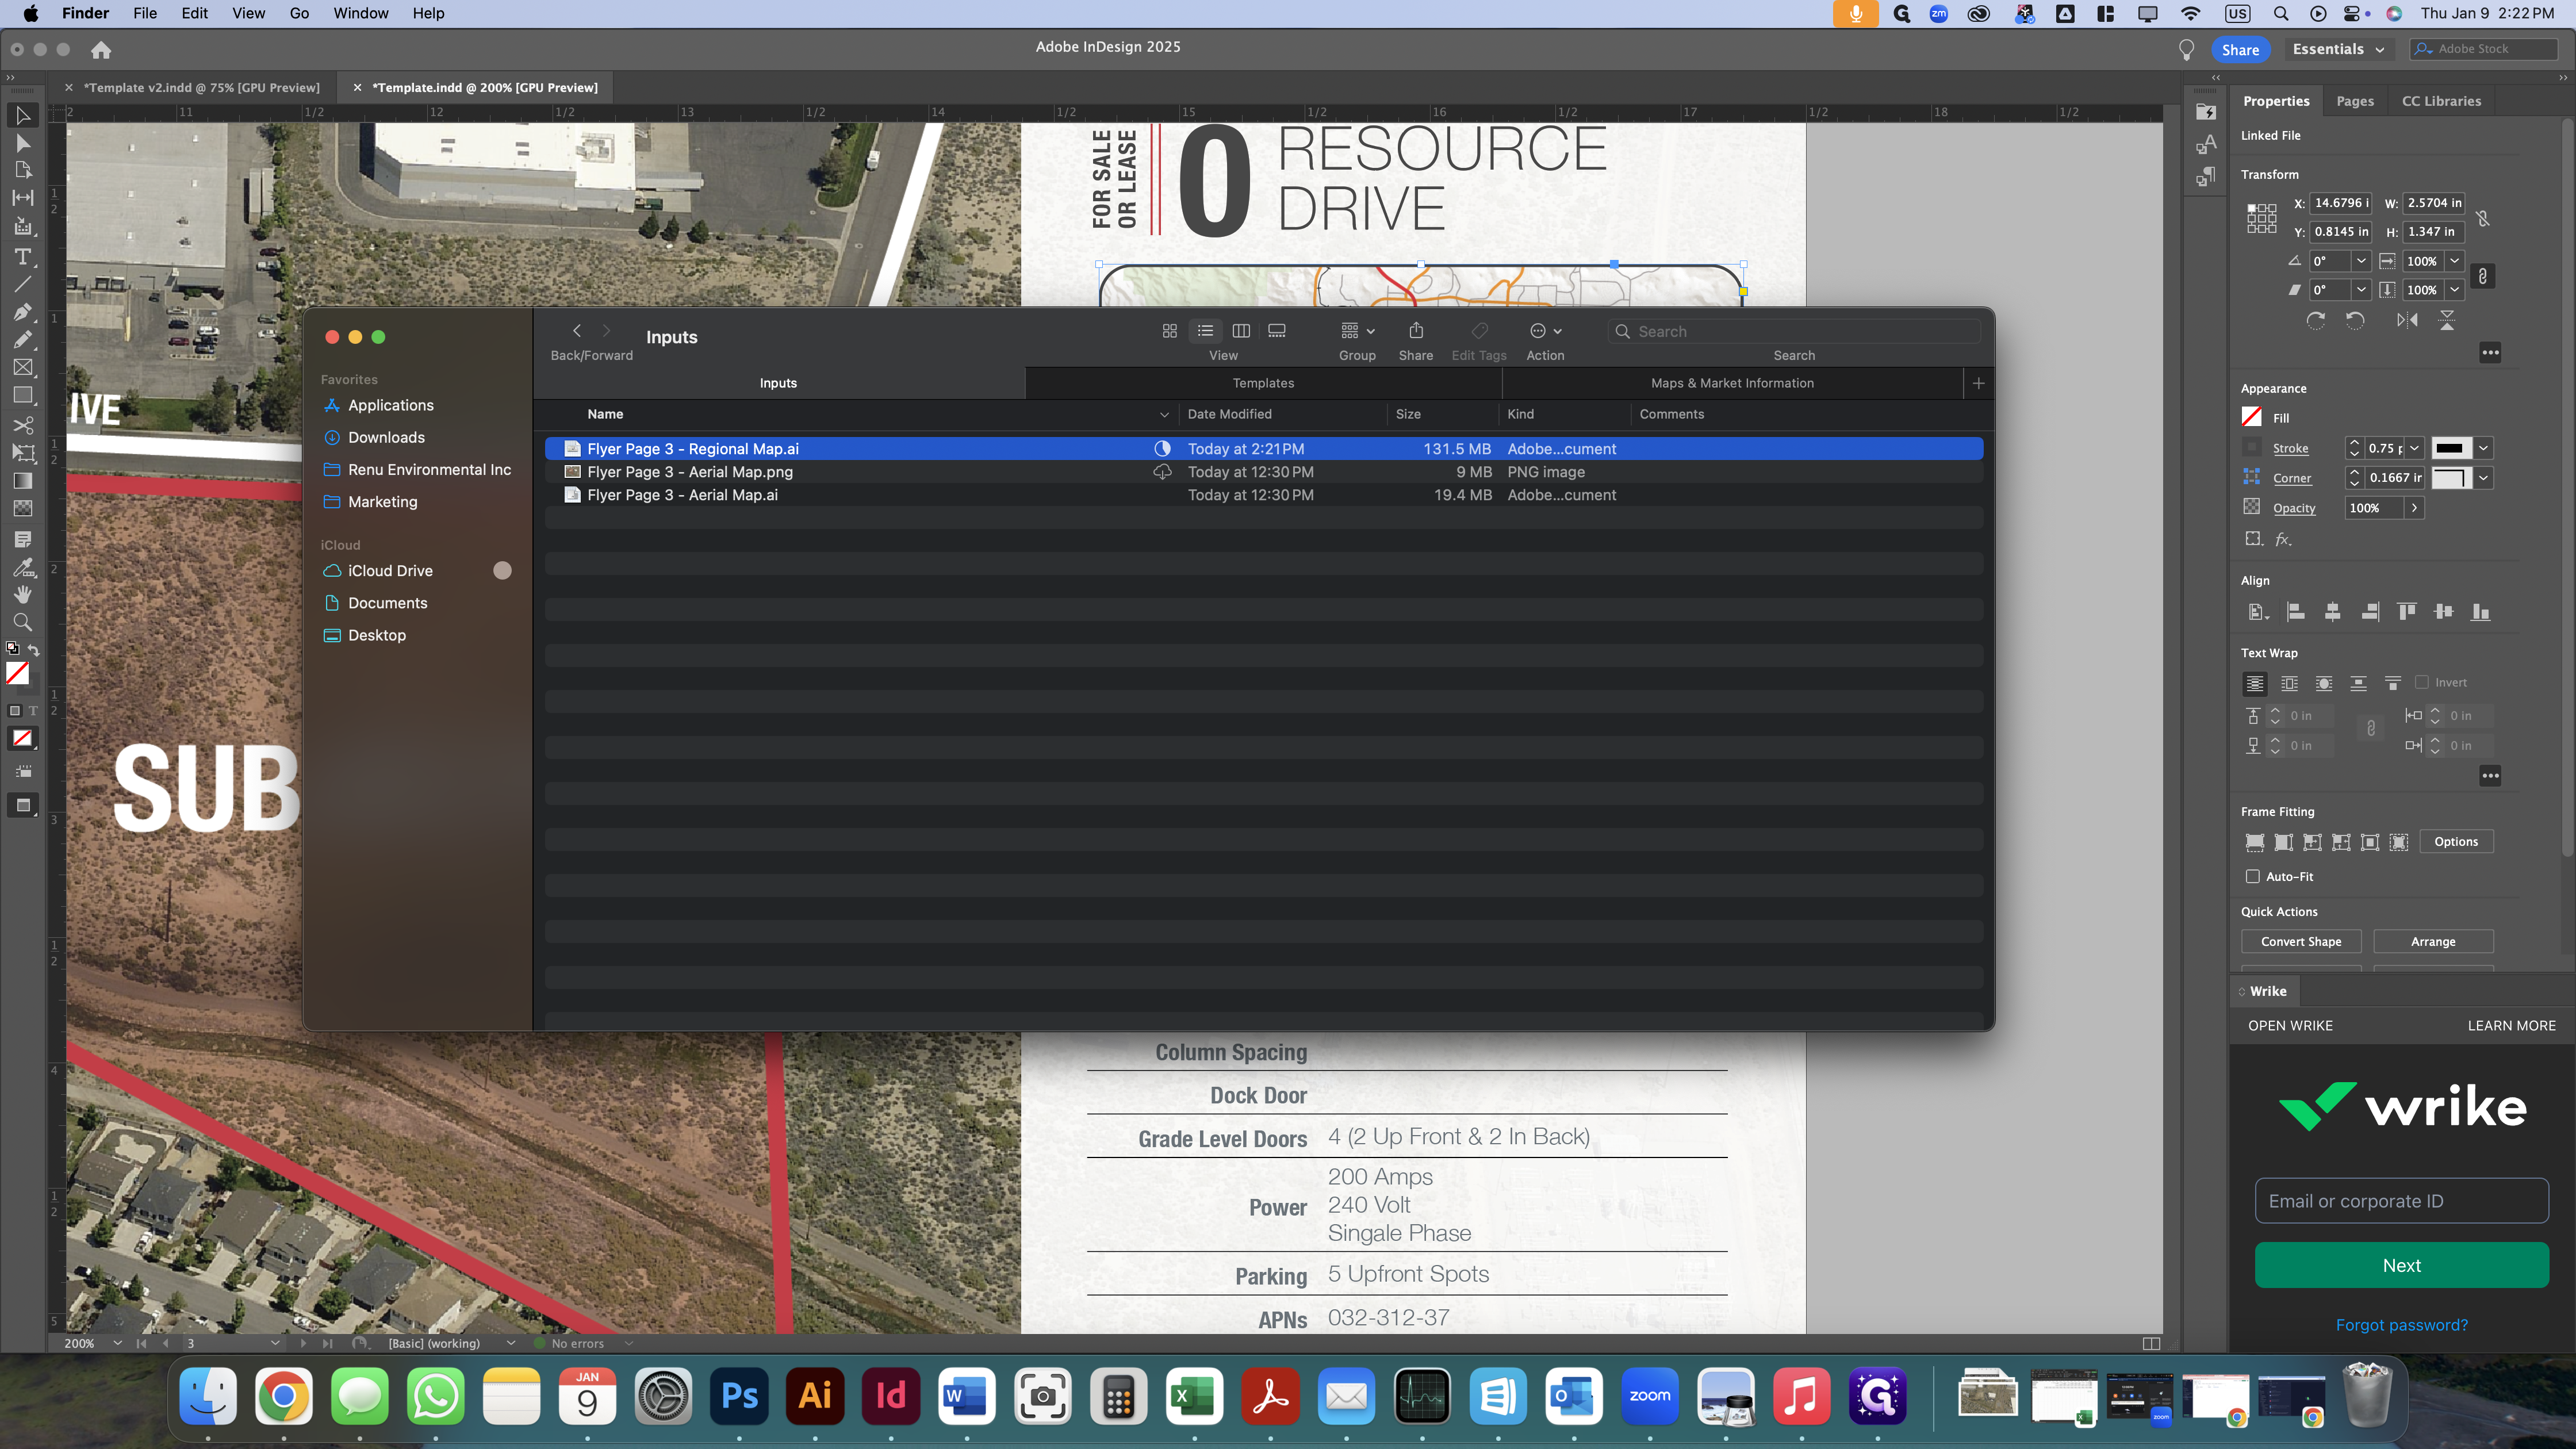
First, open the templates folder. Then, copy the folder named "Flyer Page 3 - Regional Map.ai" into the inputs folder of the subject property.
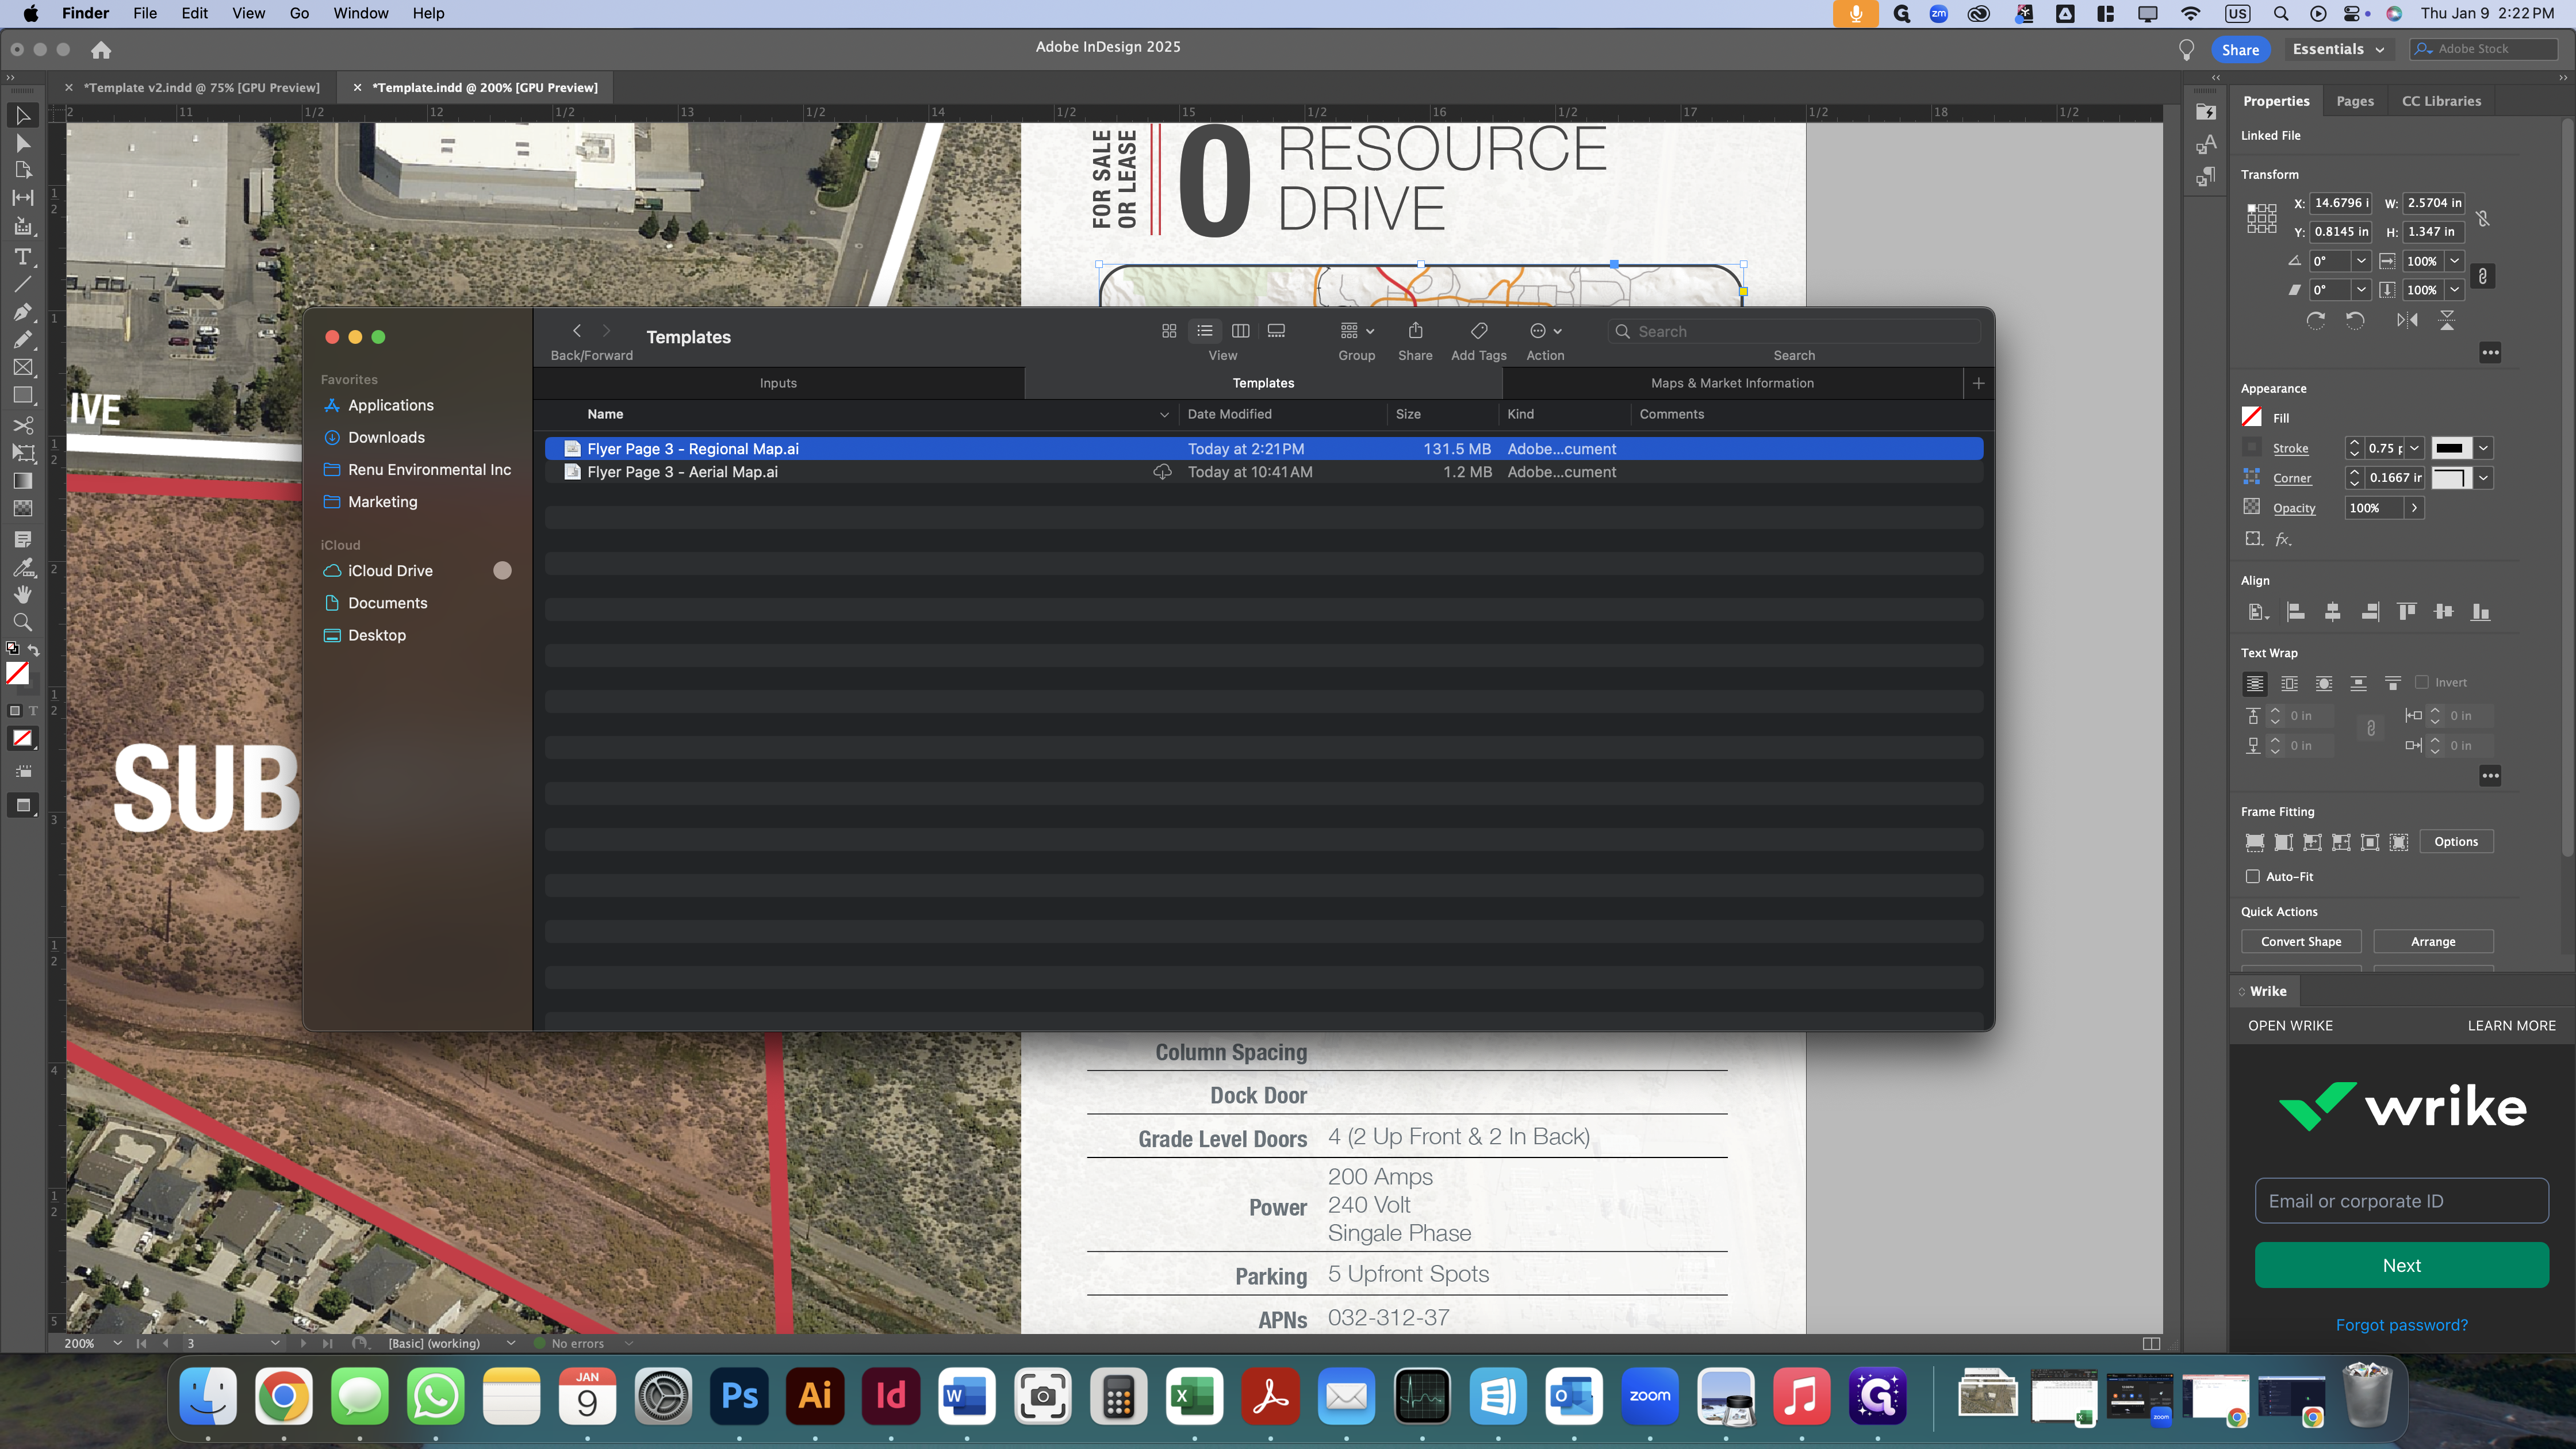
Once it's in the subject property folder, let's open it up.
Next, open your internet browser and go to Google Maps.
Next, type in the property address.
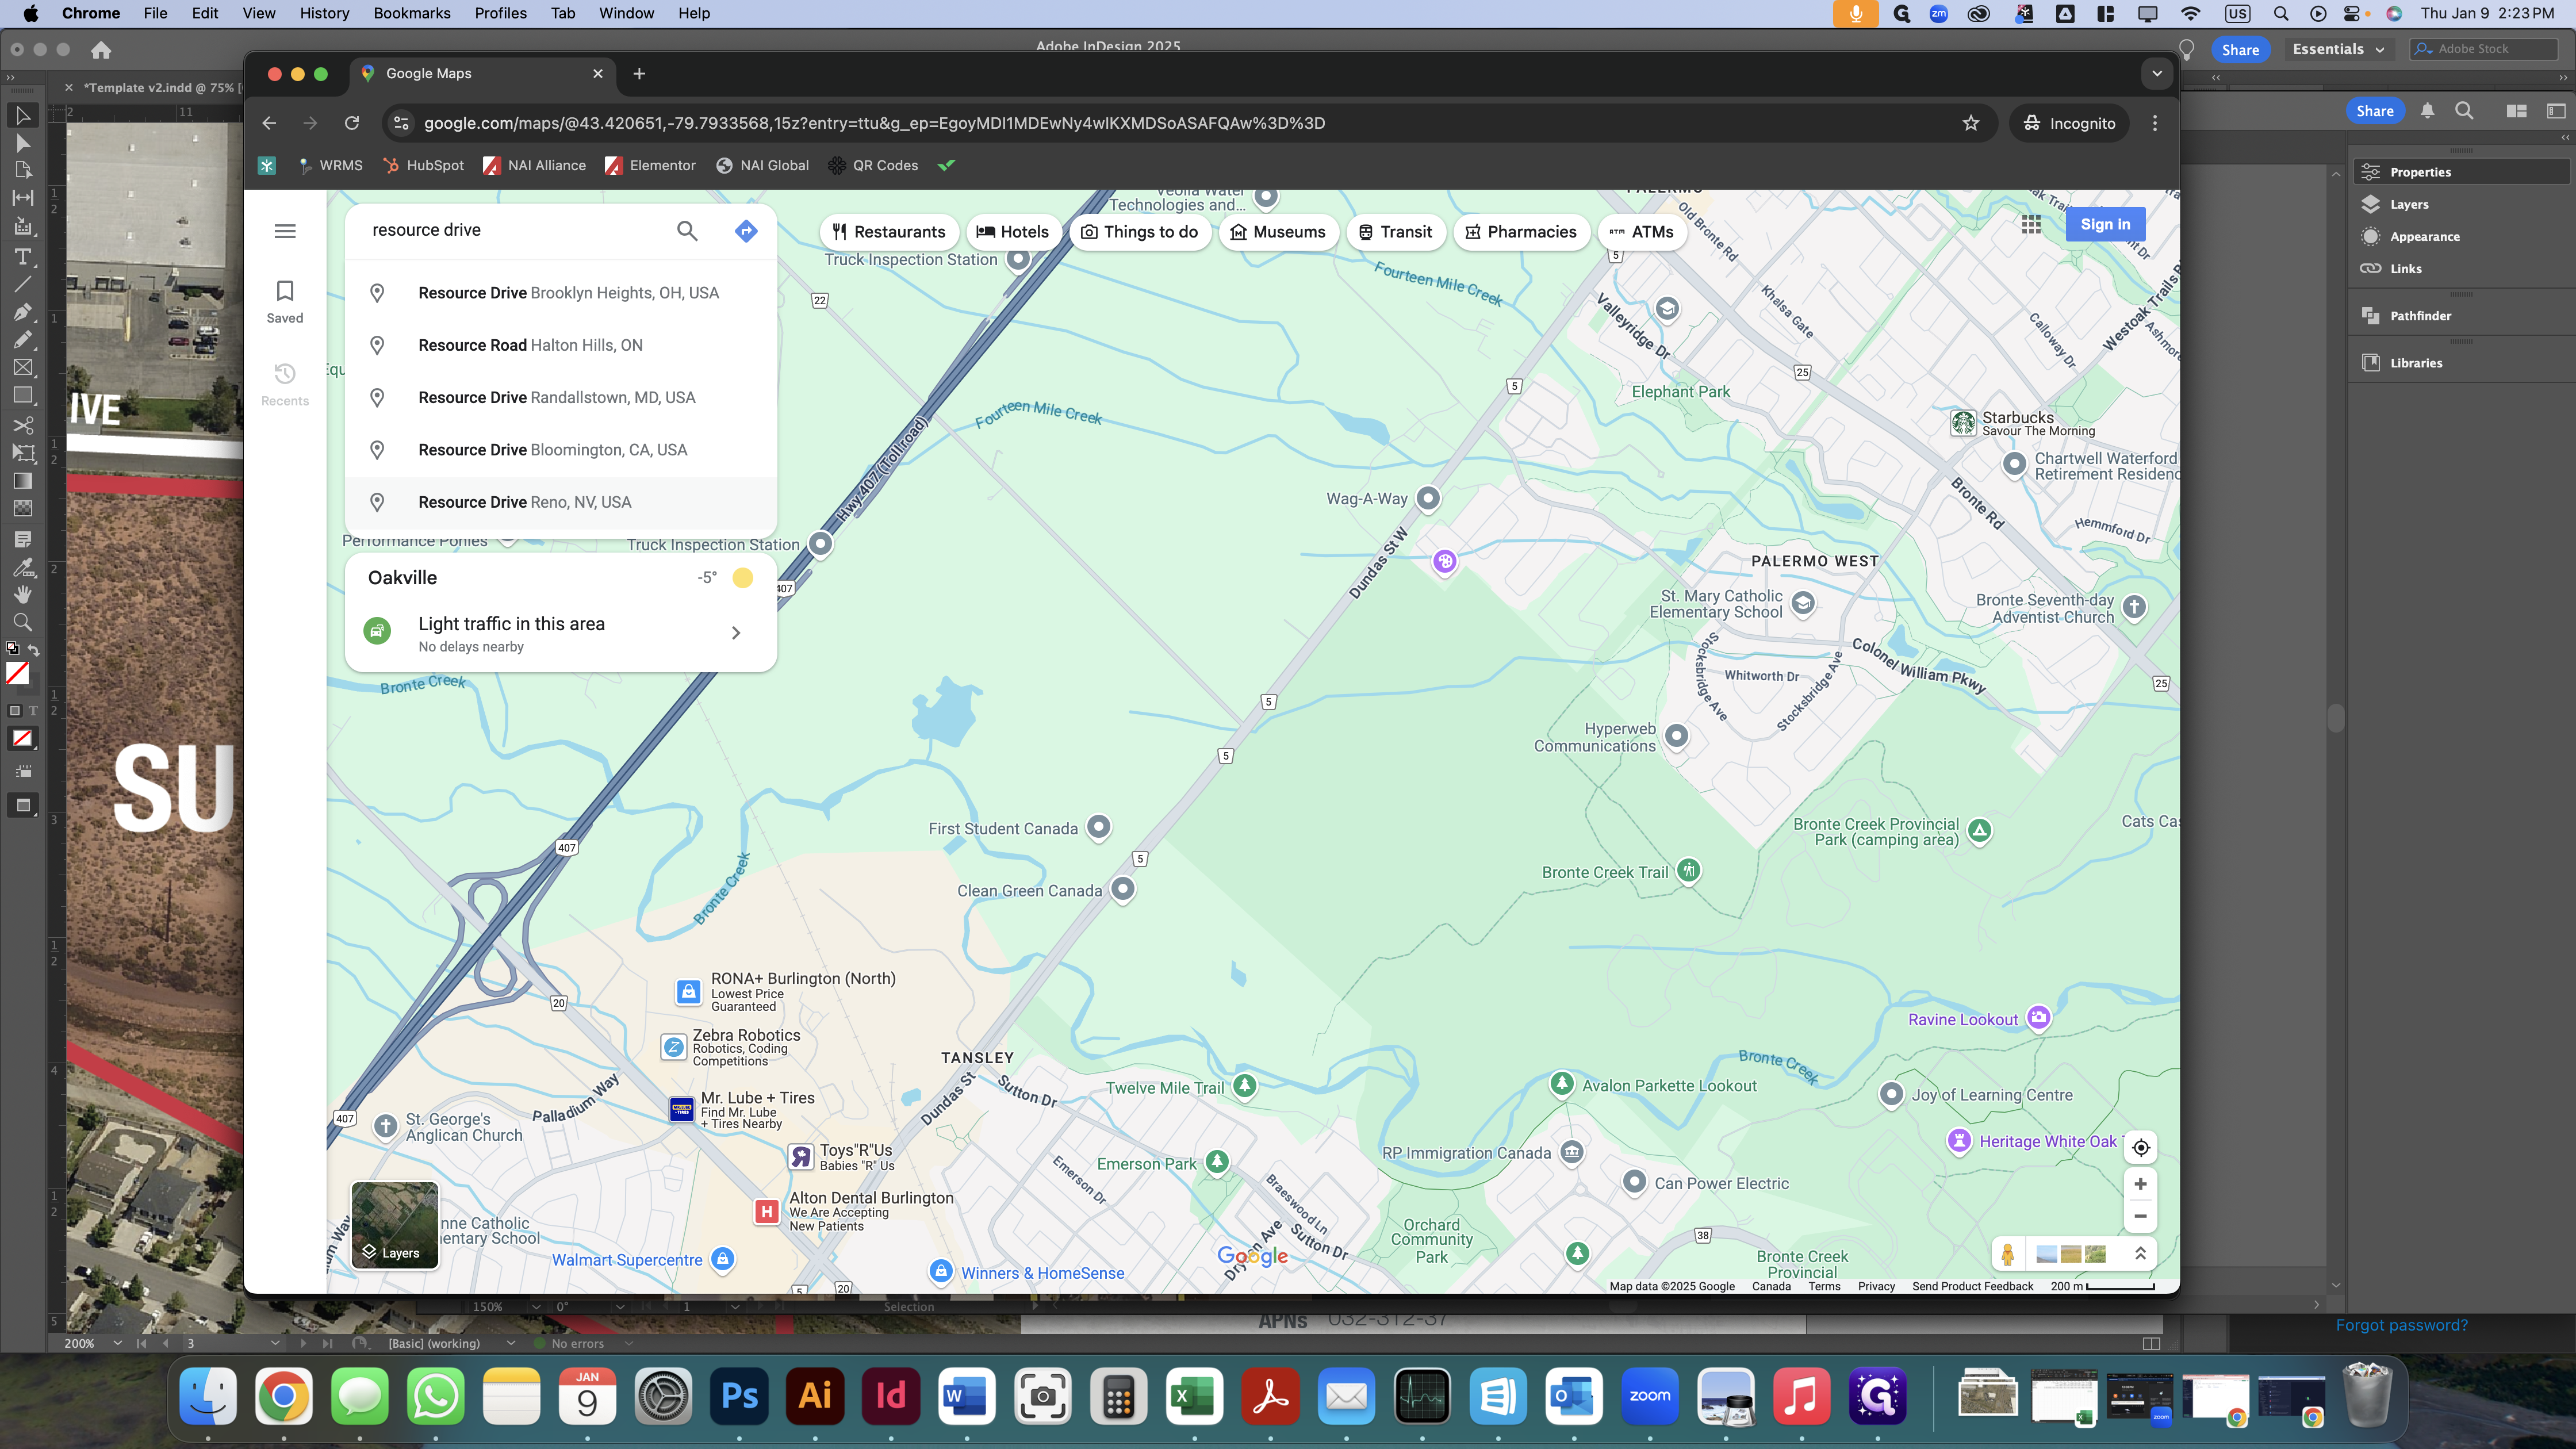
Now that we know the property's location, we'll zoom out to see where our star will be placed on the regional map.

Now that we see it's north of Reno, we'll return to Illustrator and adjust the map within the clipping group to display our property.
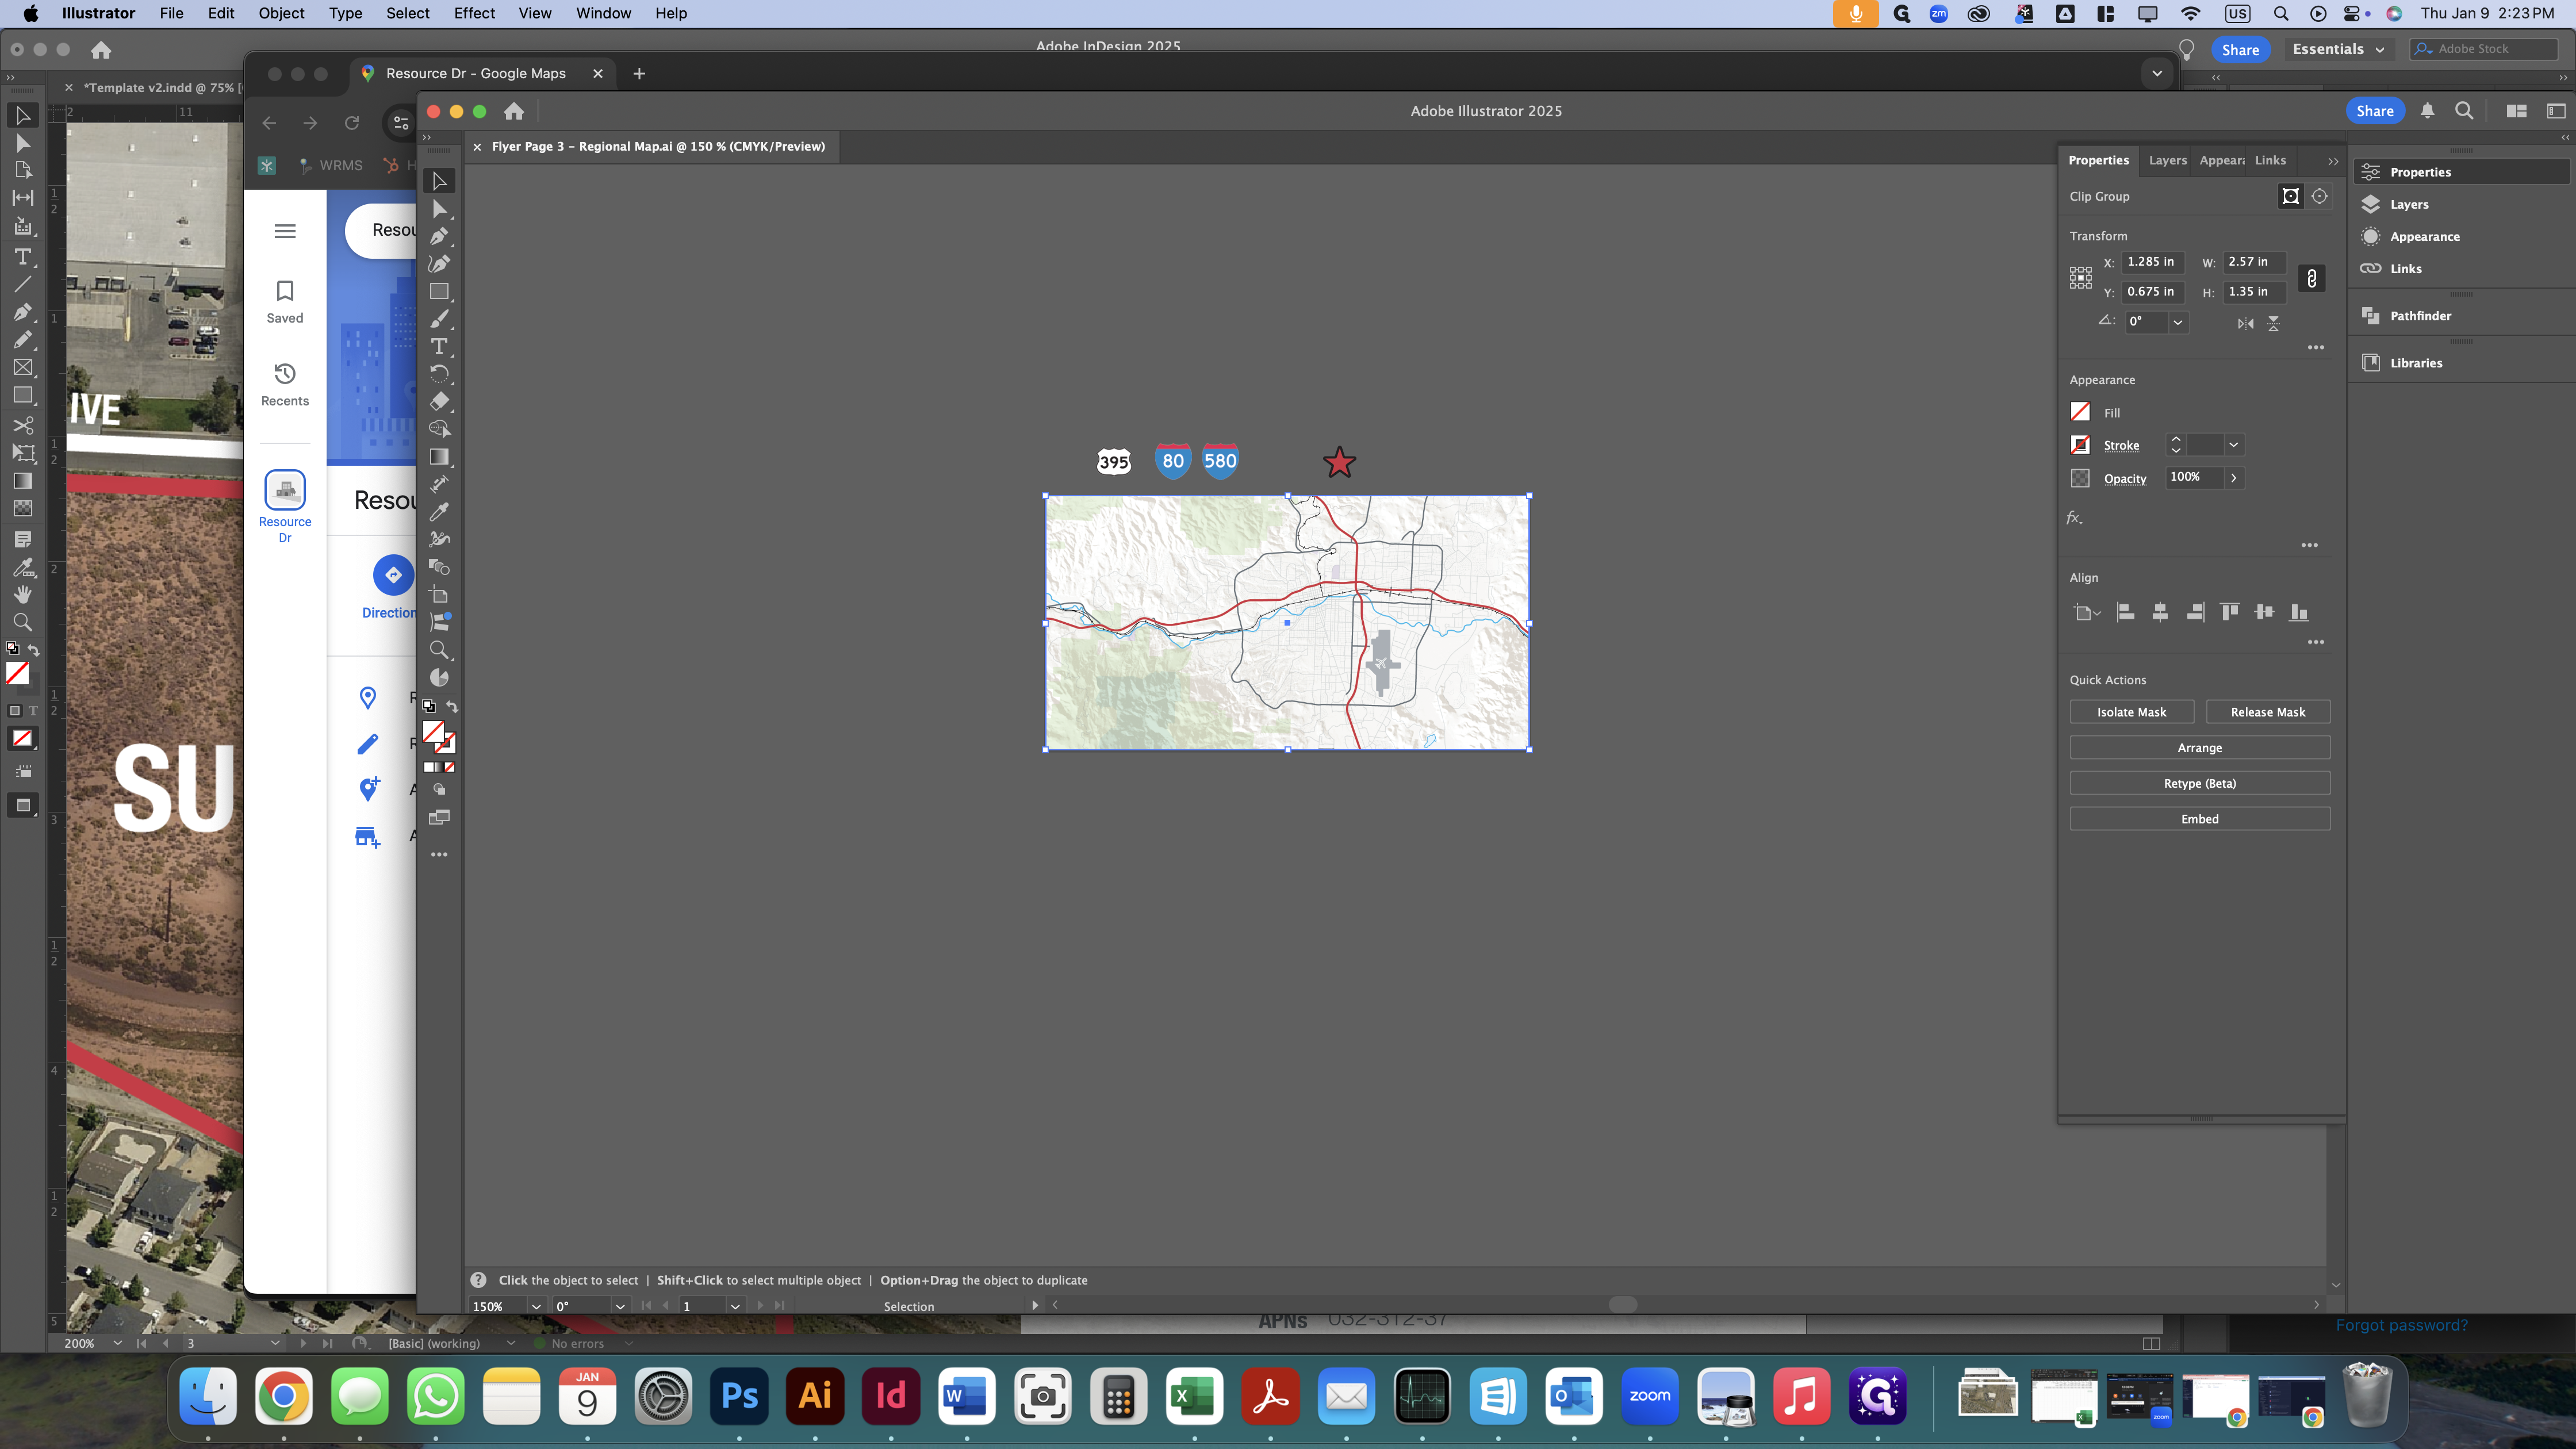
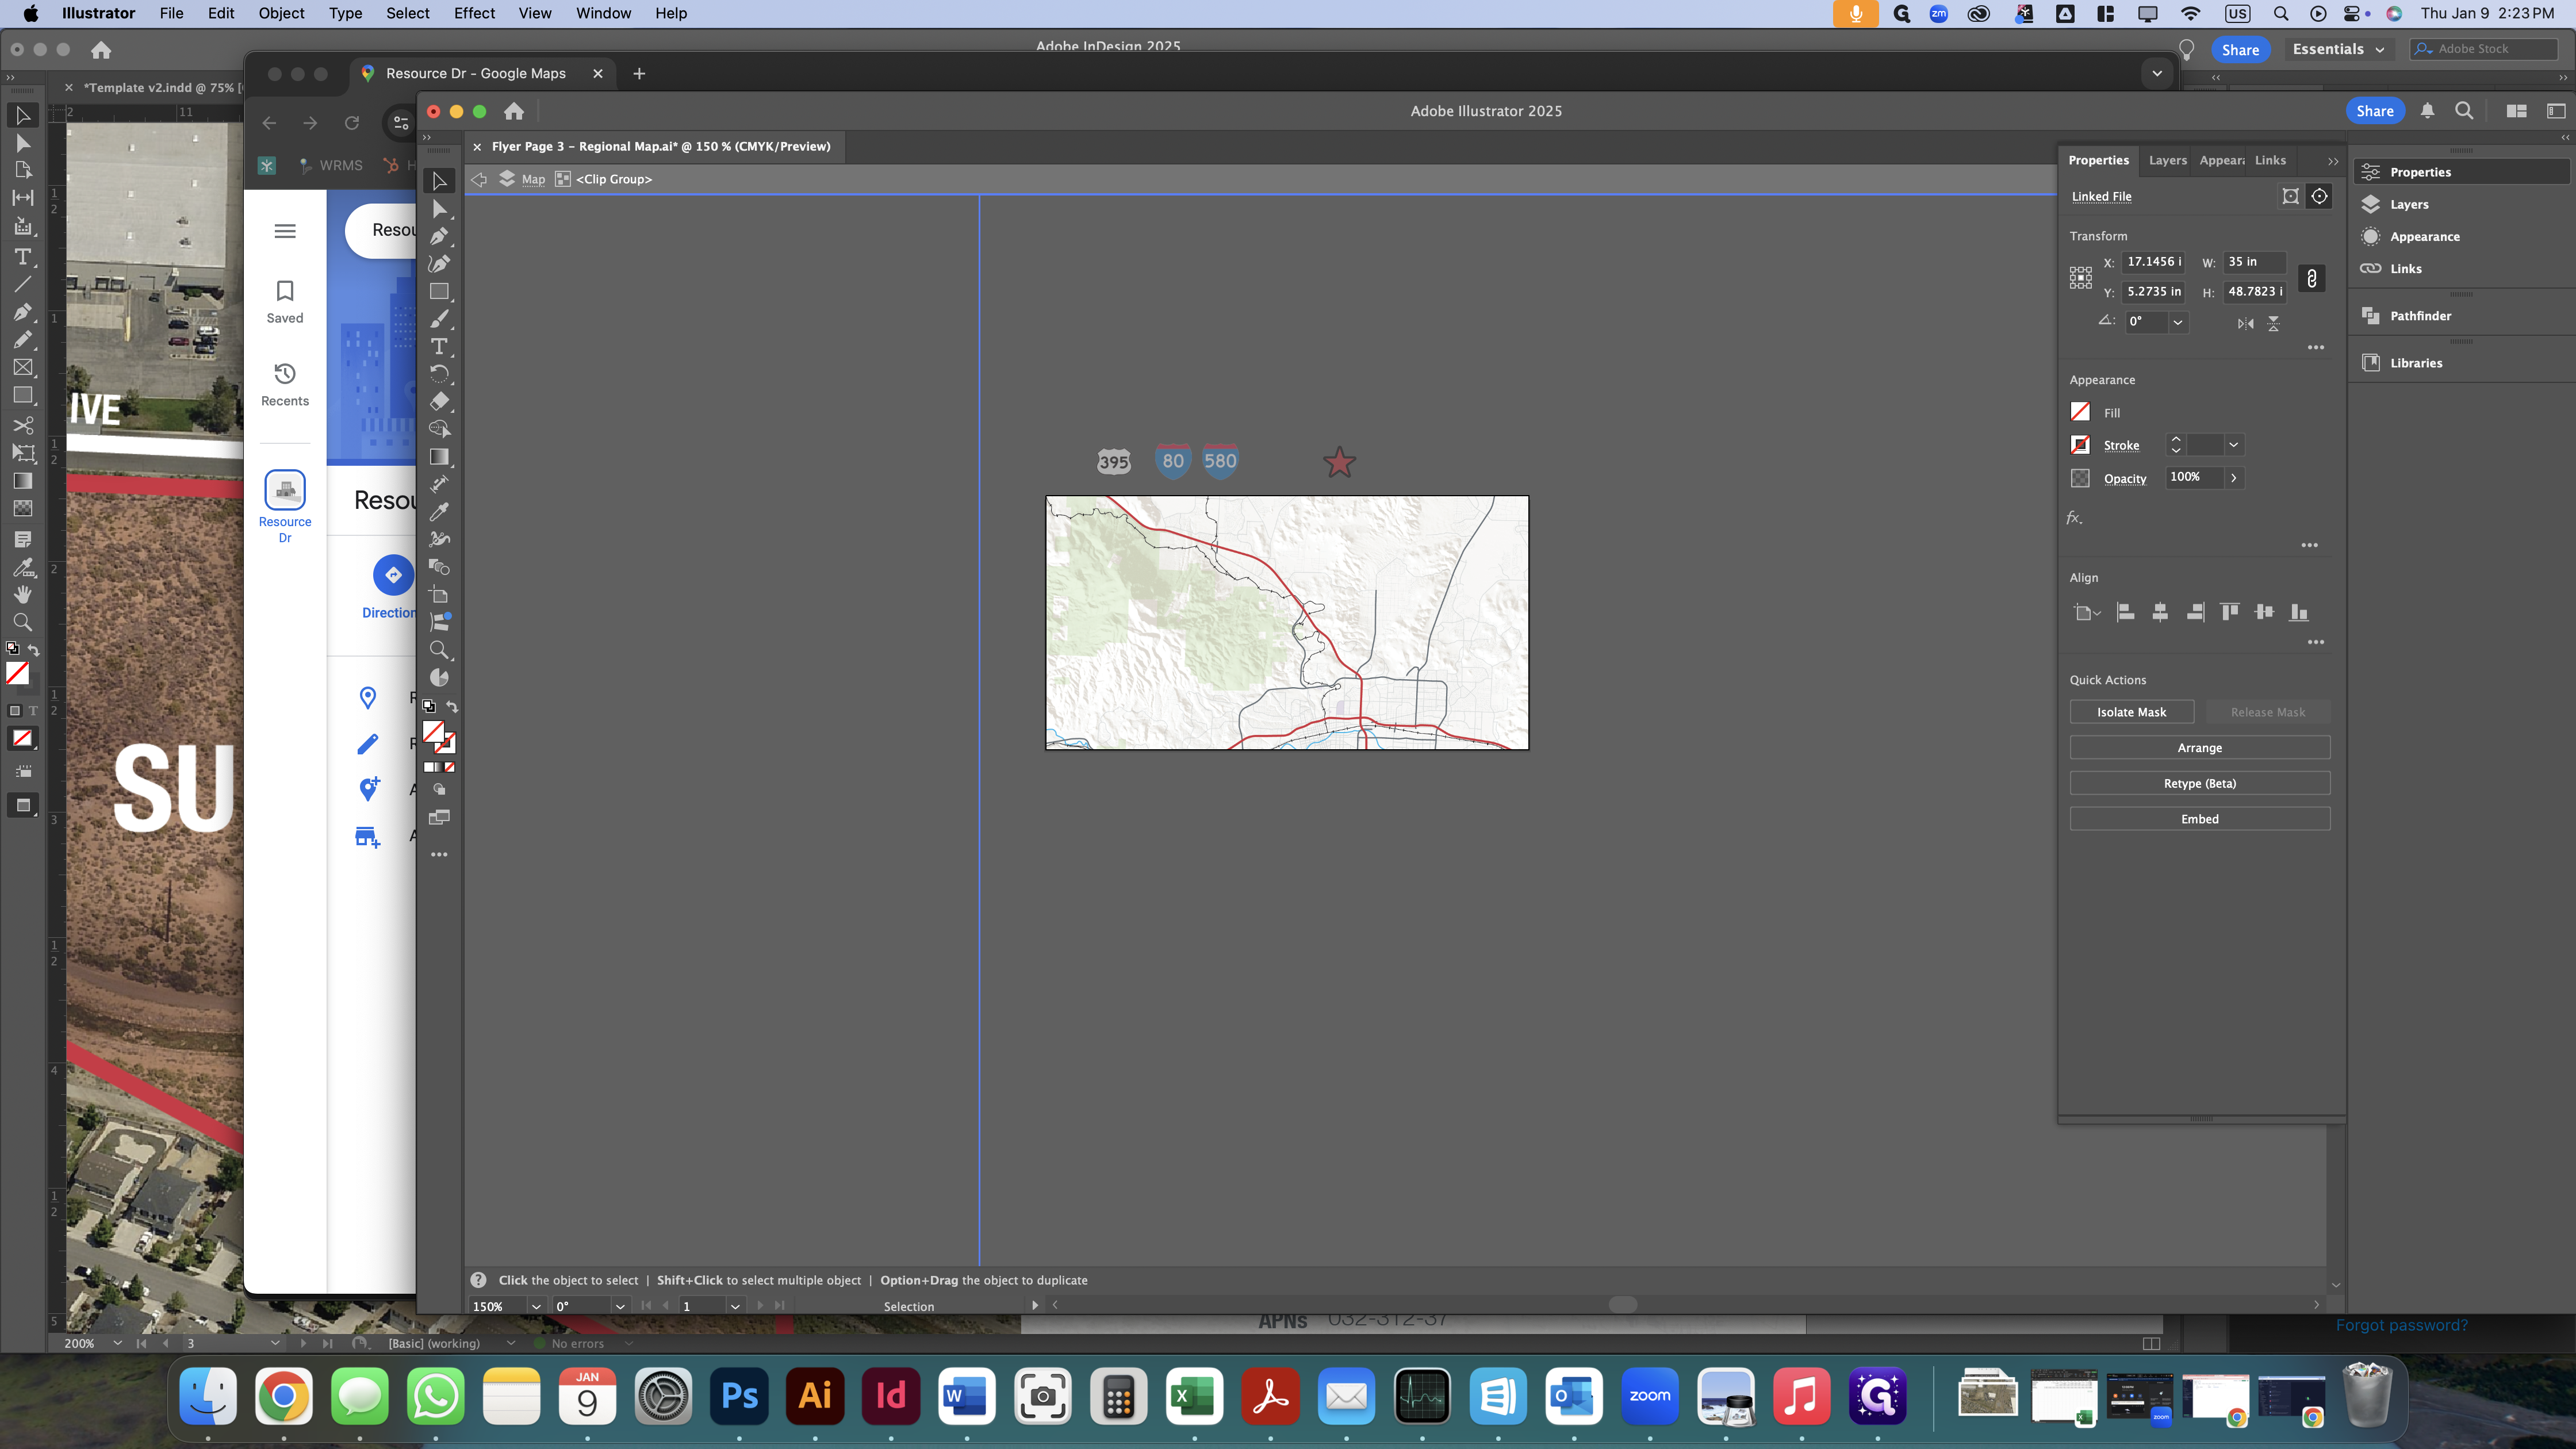
The map file is quite large which makes it difficult to scale using the cursor. Instead I will zoom in on it by going to the properties panel, ensuring that the proportions are locked, selecting the width value, and then clicking the down arrow a few times until the image is scaled the way I want it.

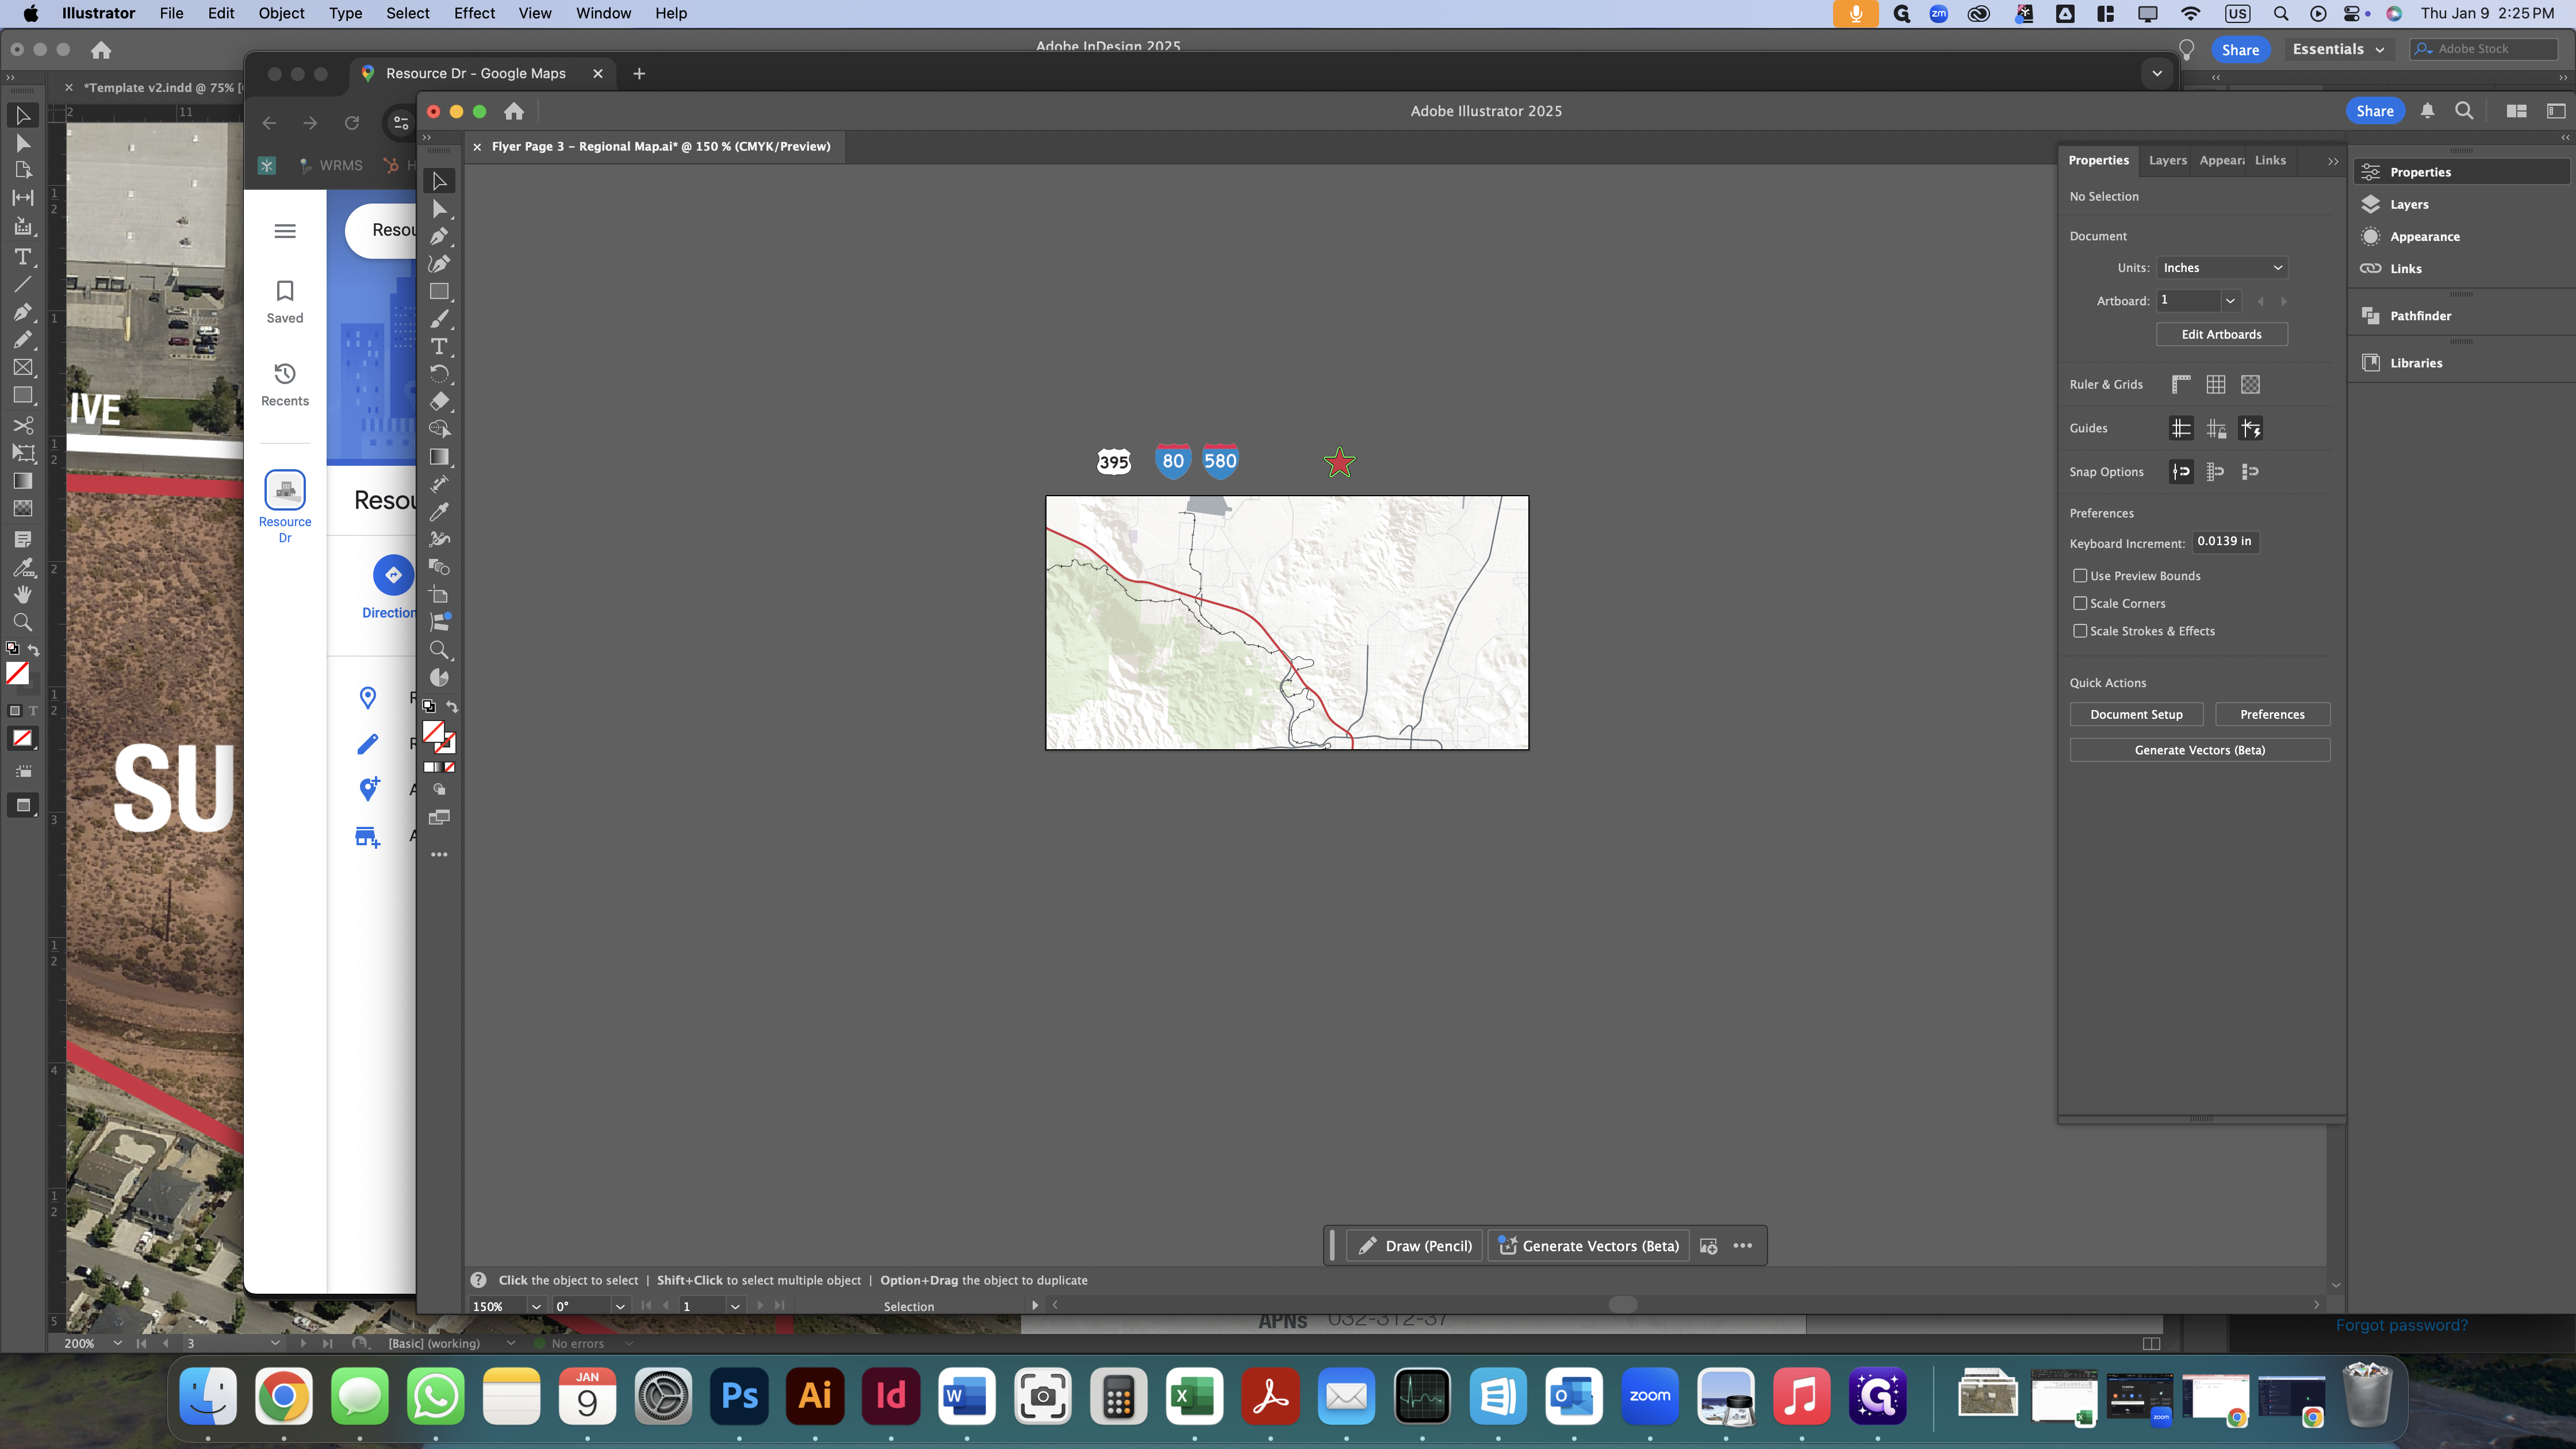
Once you have reached the desired amount of zoom, drag the png inside of the clipping path until it is centered.

Next, drag the star onto the subject property's location.
If the subject property is located outside of a major city, we're going to add an indicator to show the ready which direction the city is in. We'll drop this indicator to show that Reno is south of the property.
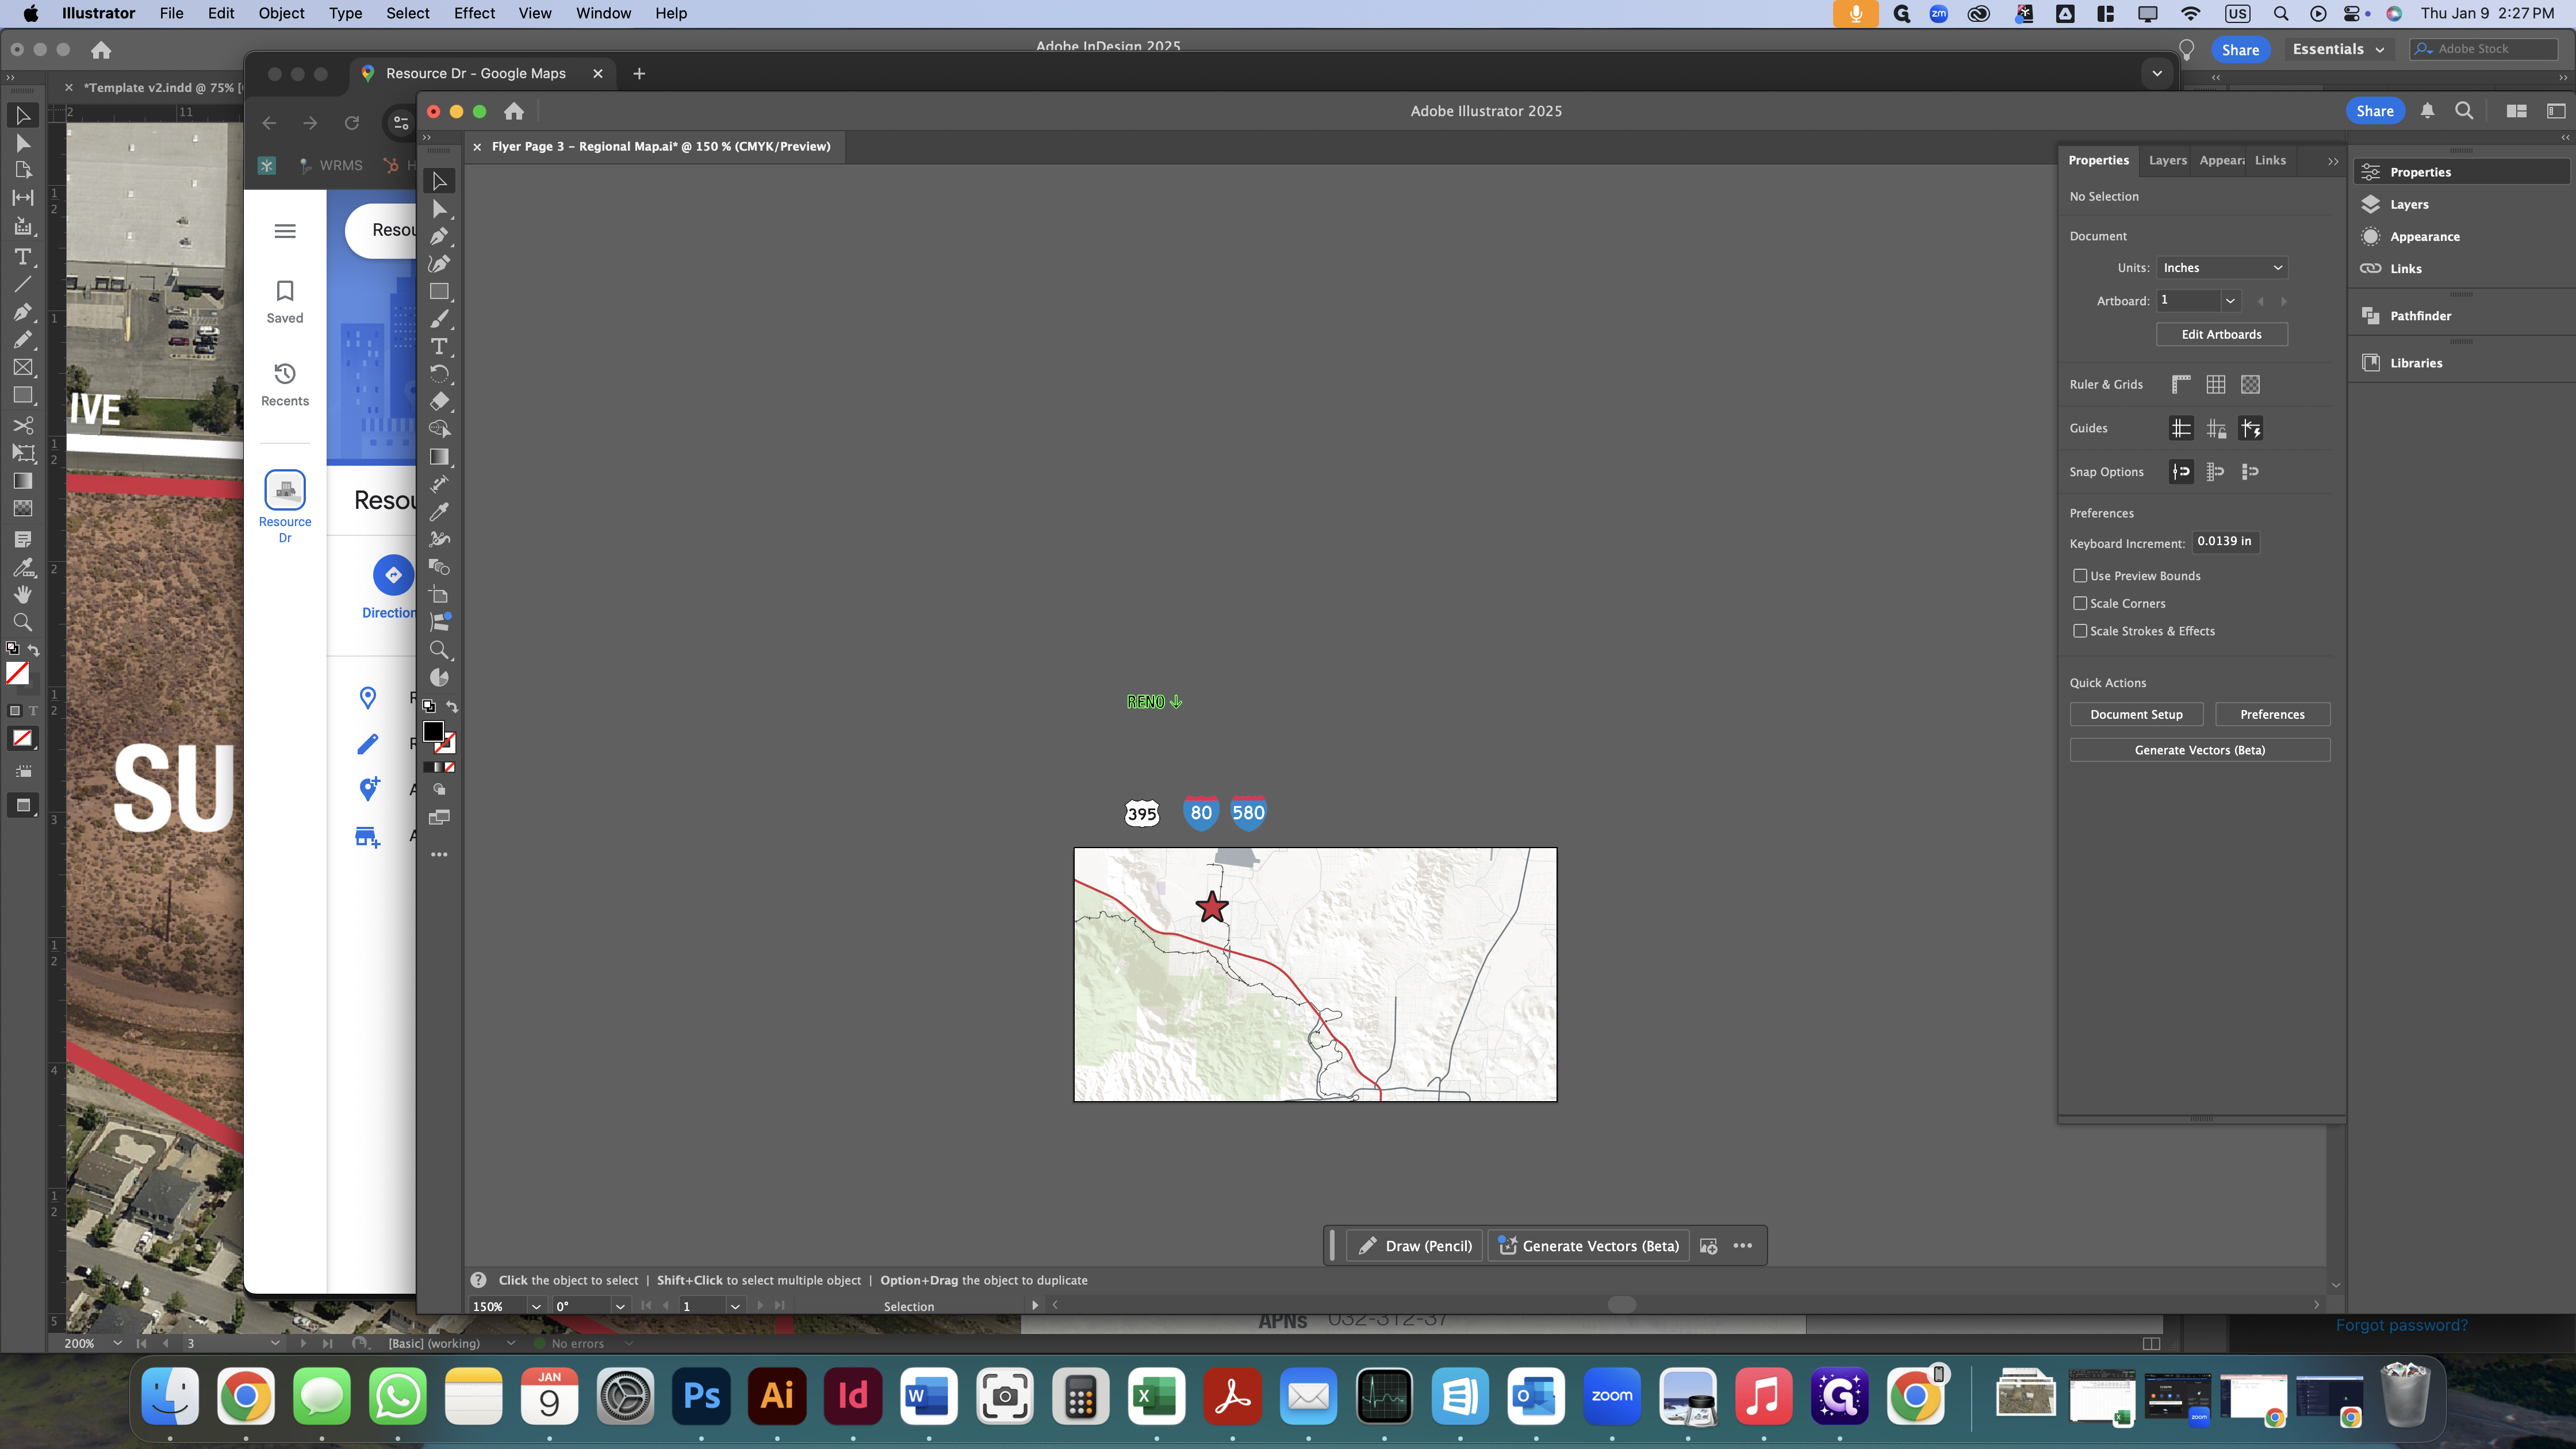
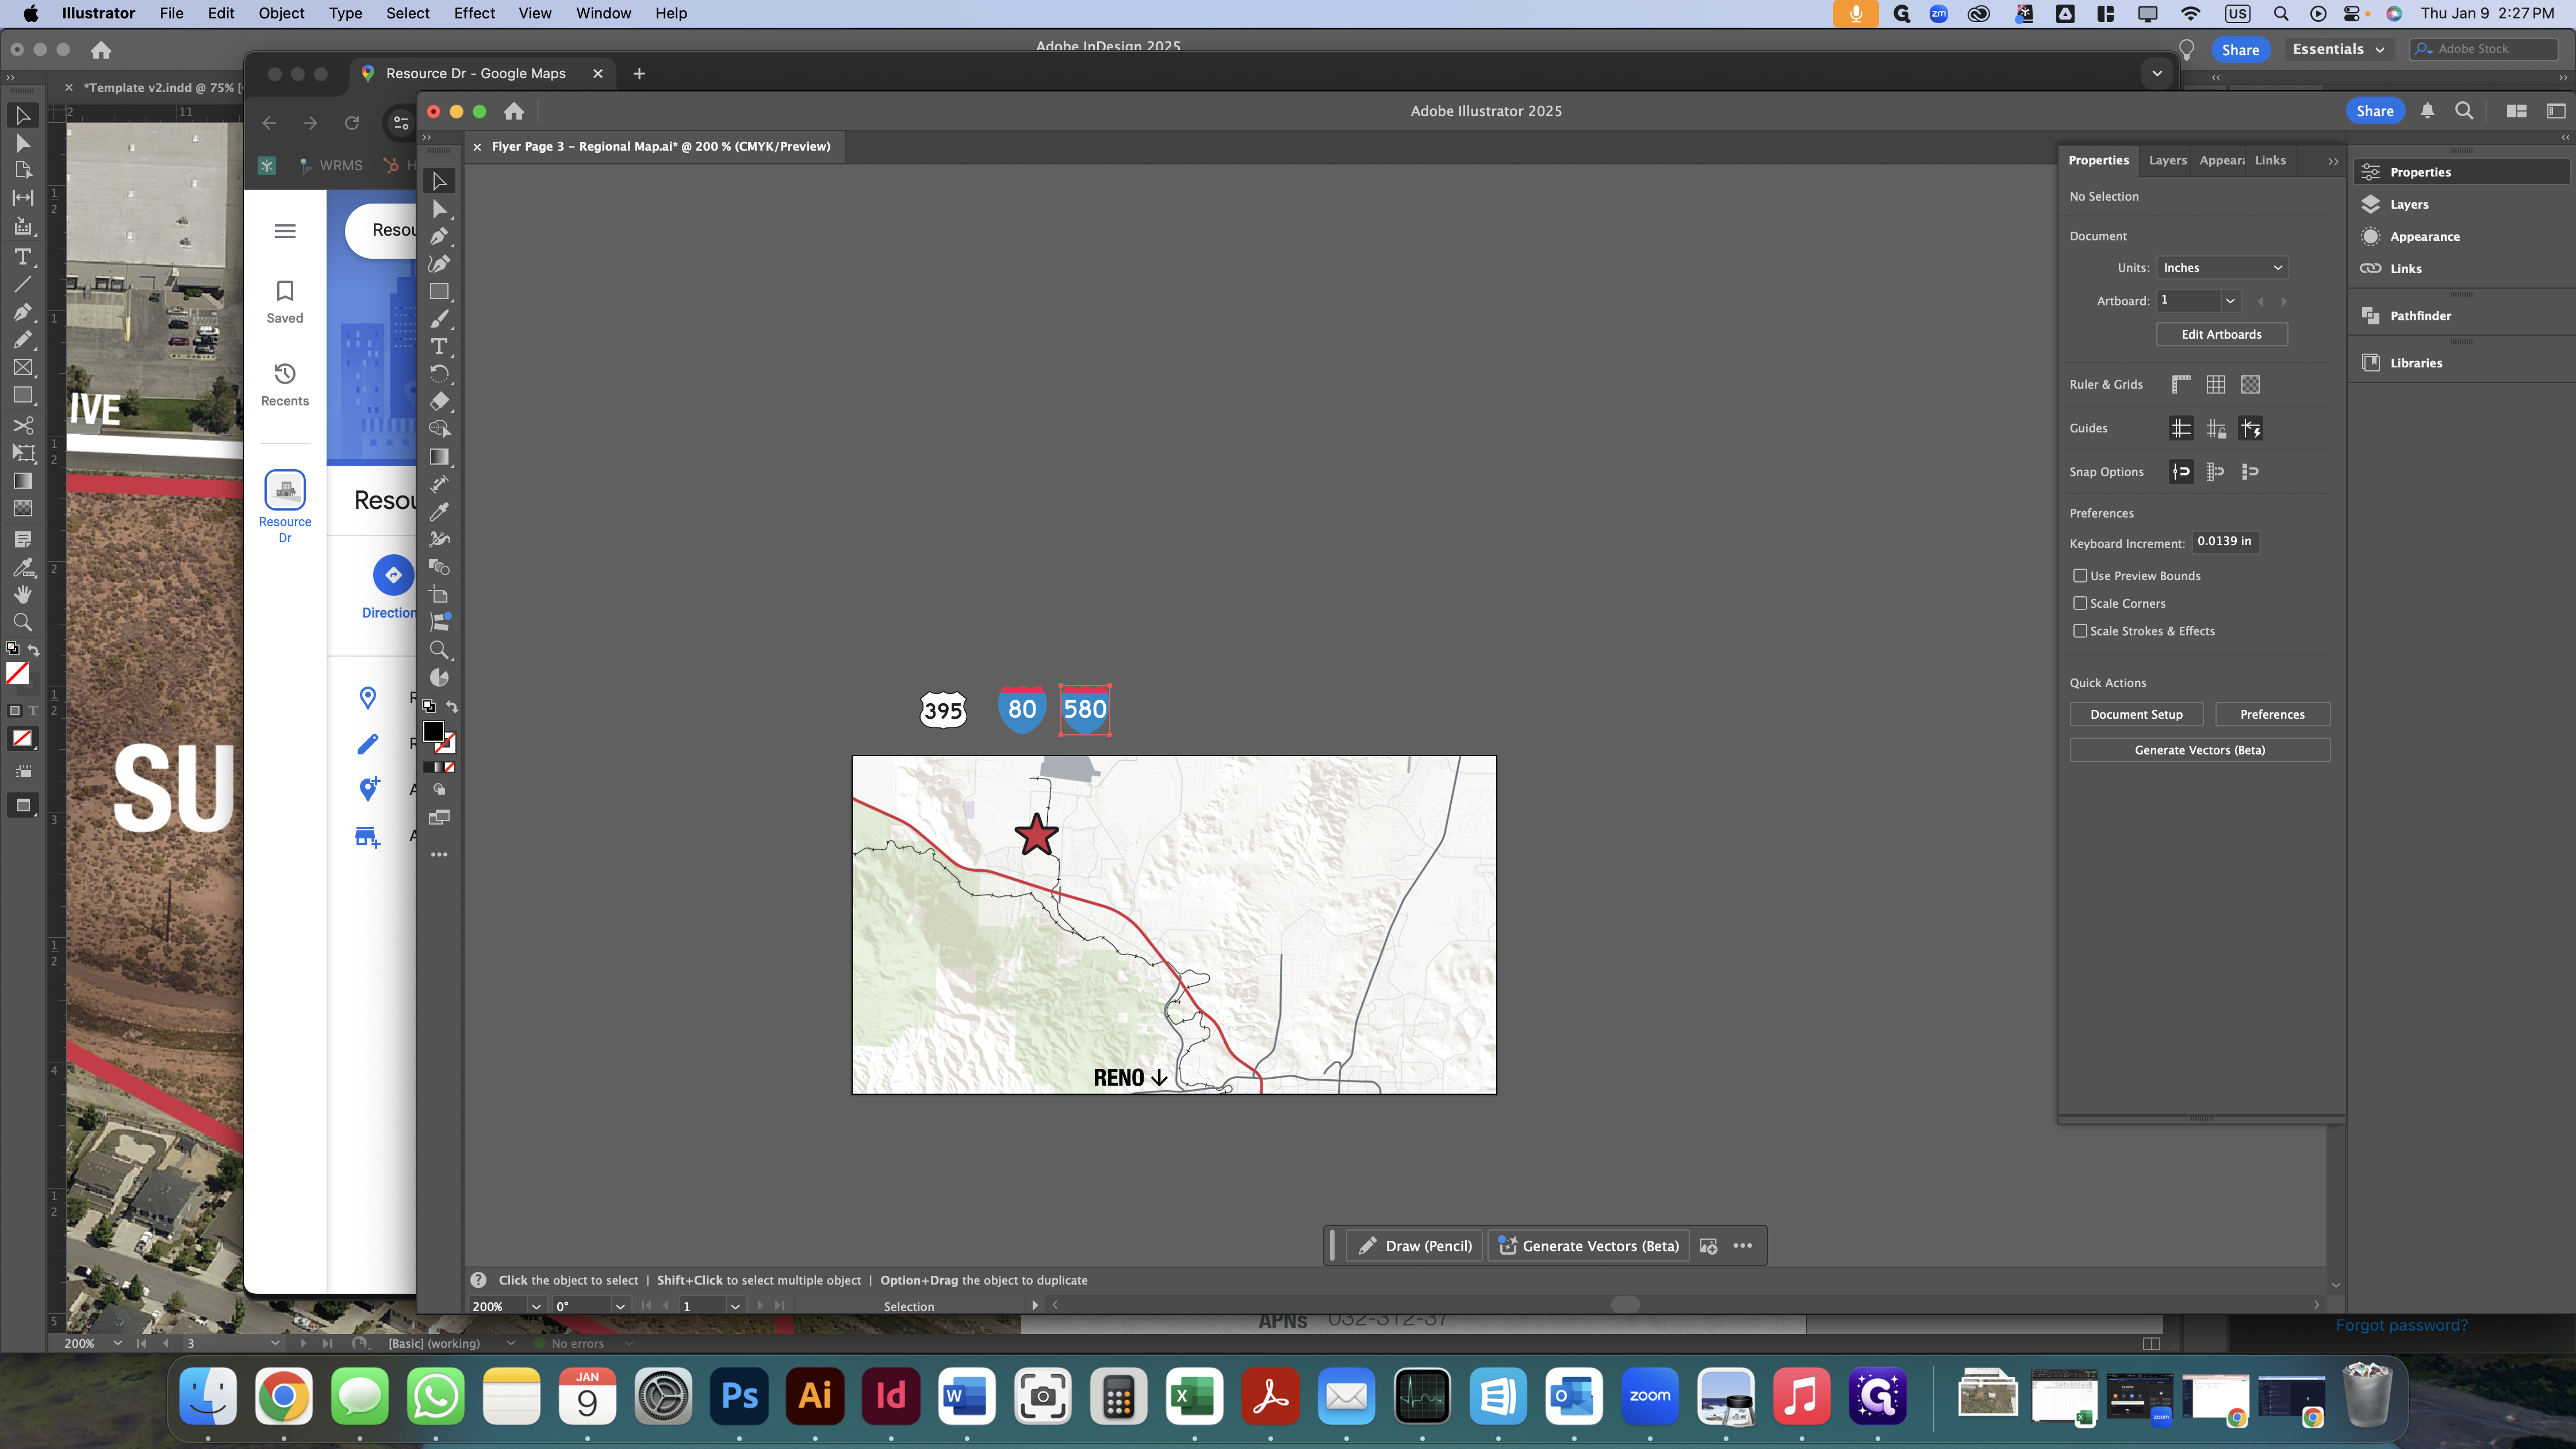
Next, we need to place these highway indicators on the corresponding highways. Use Google Maps to determine which highways are nearby. In this case, we can only see one major highway.

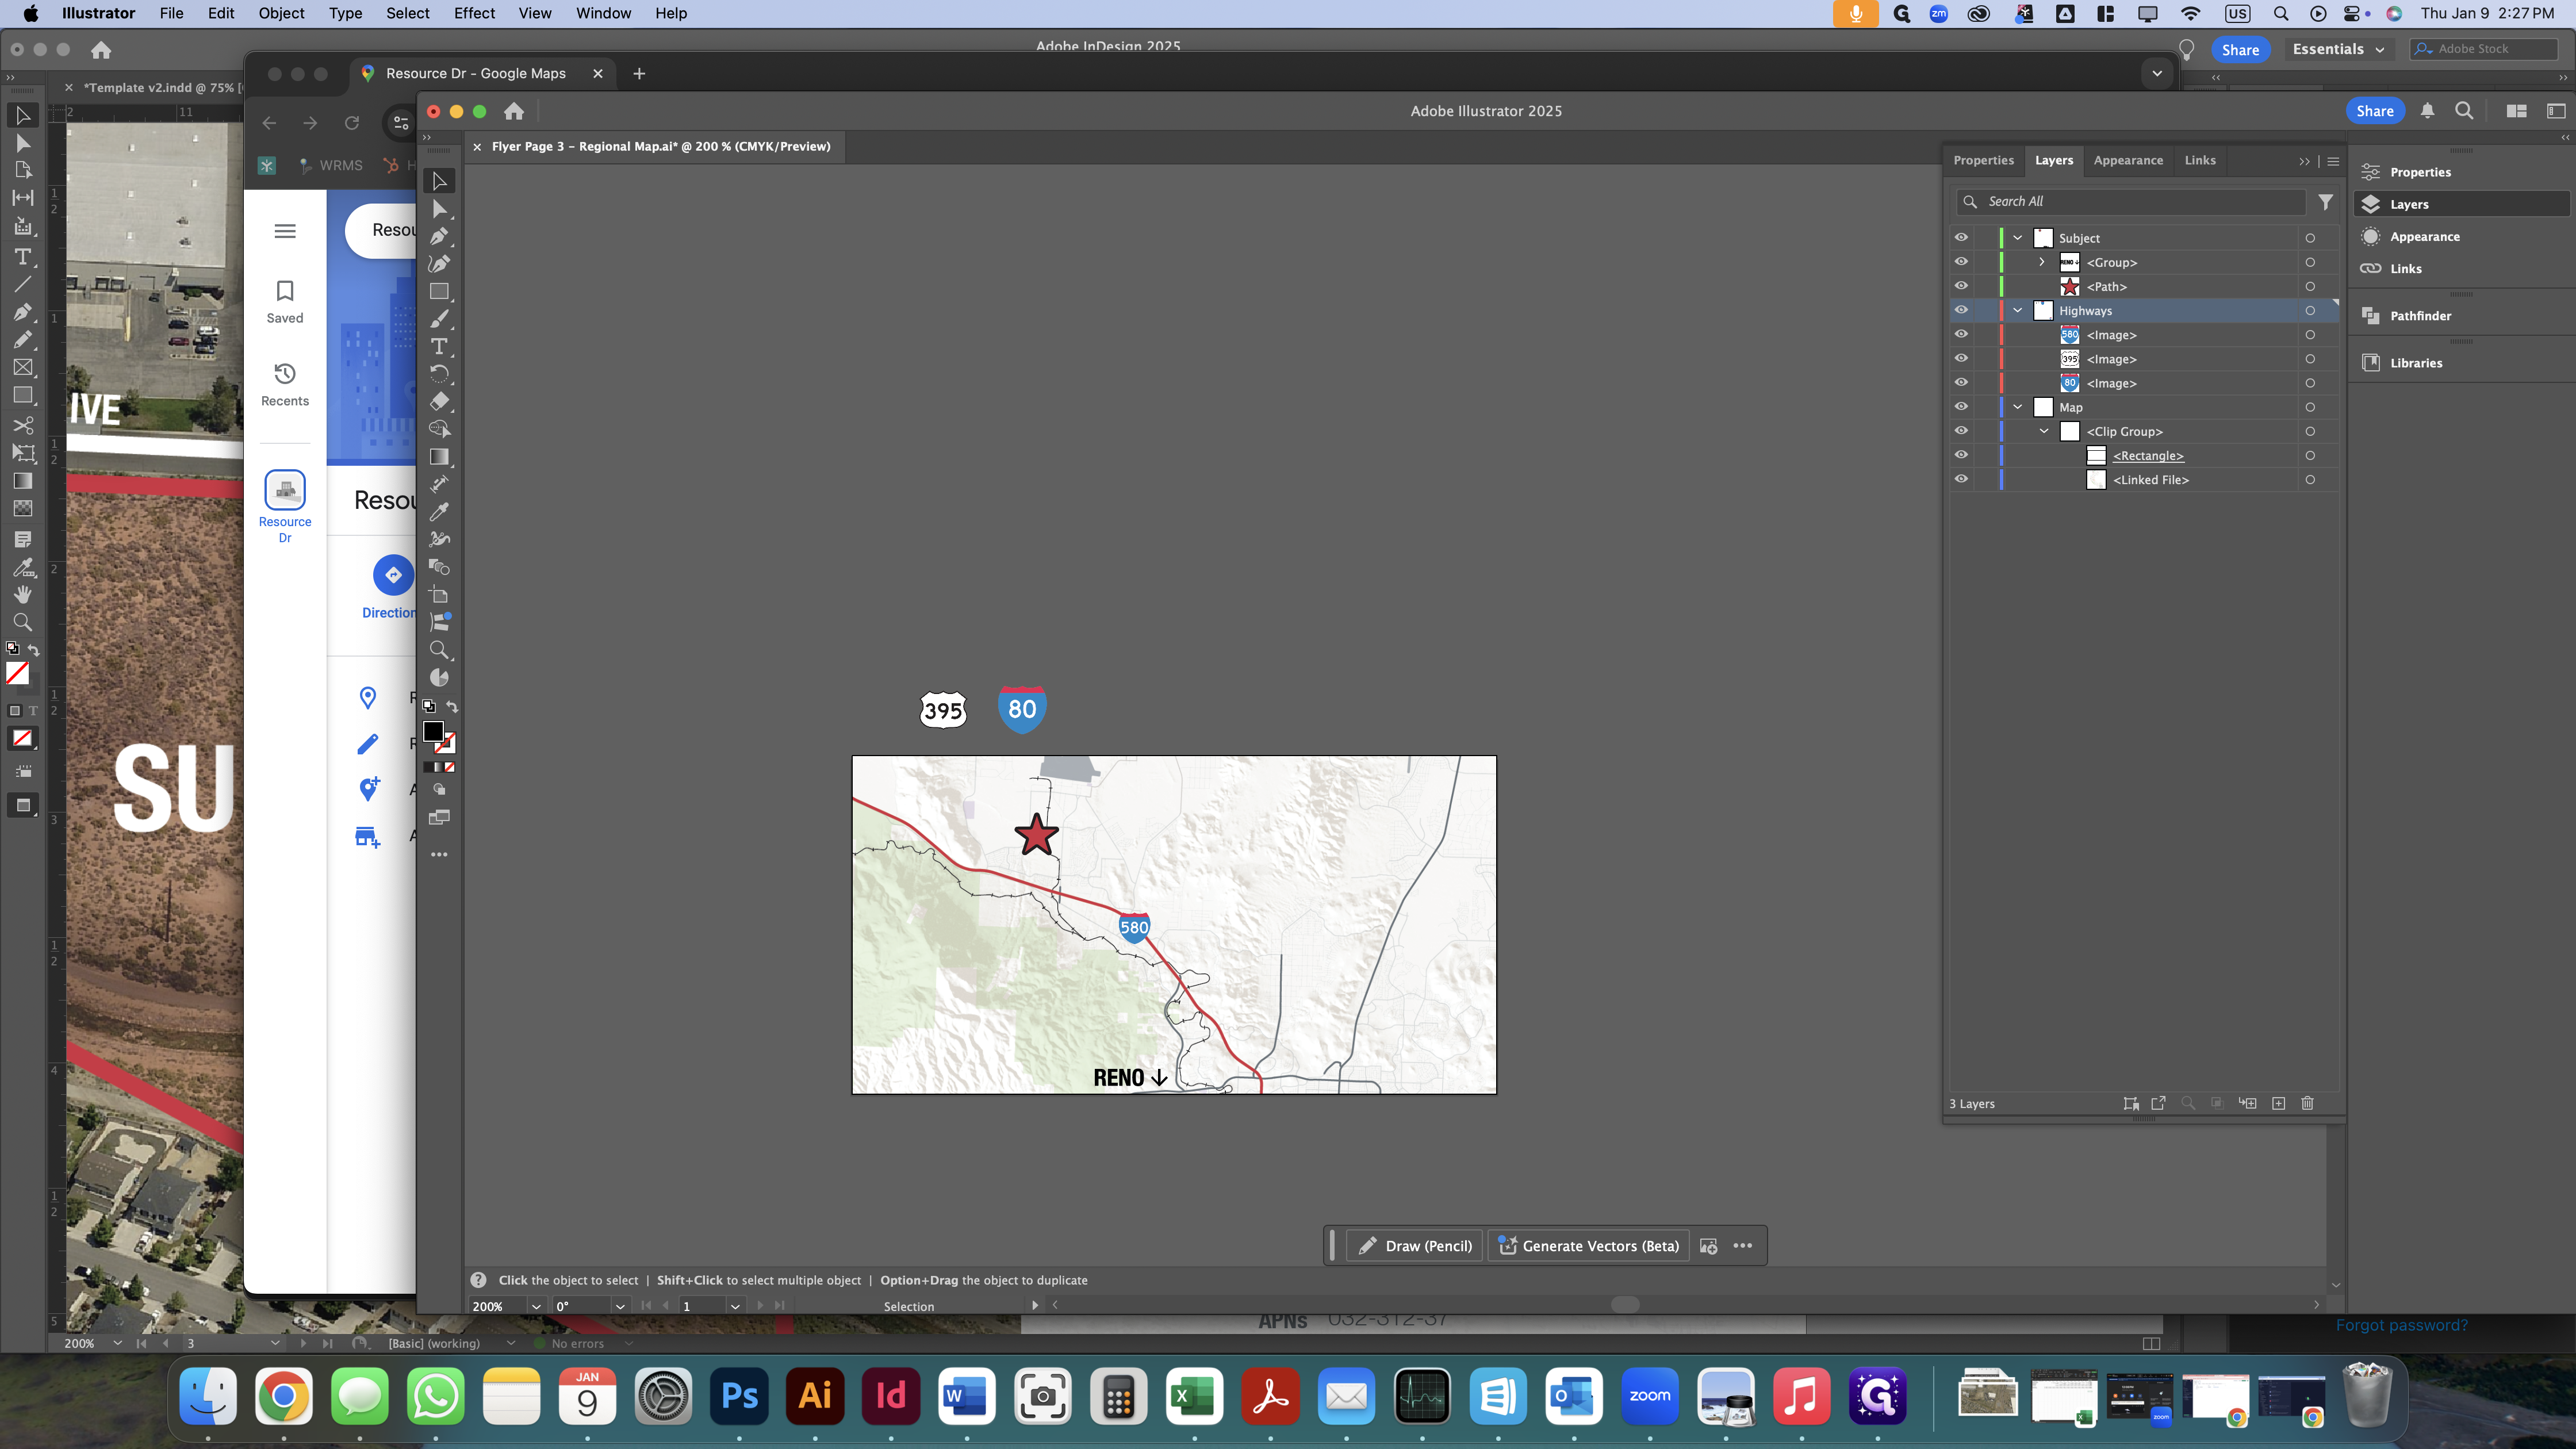
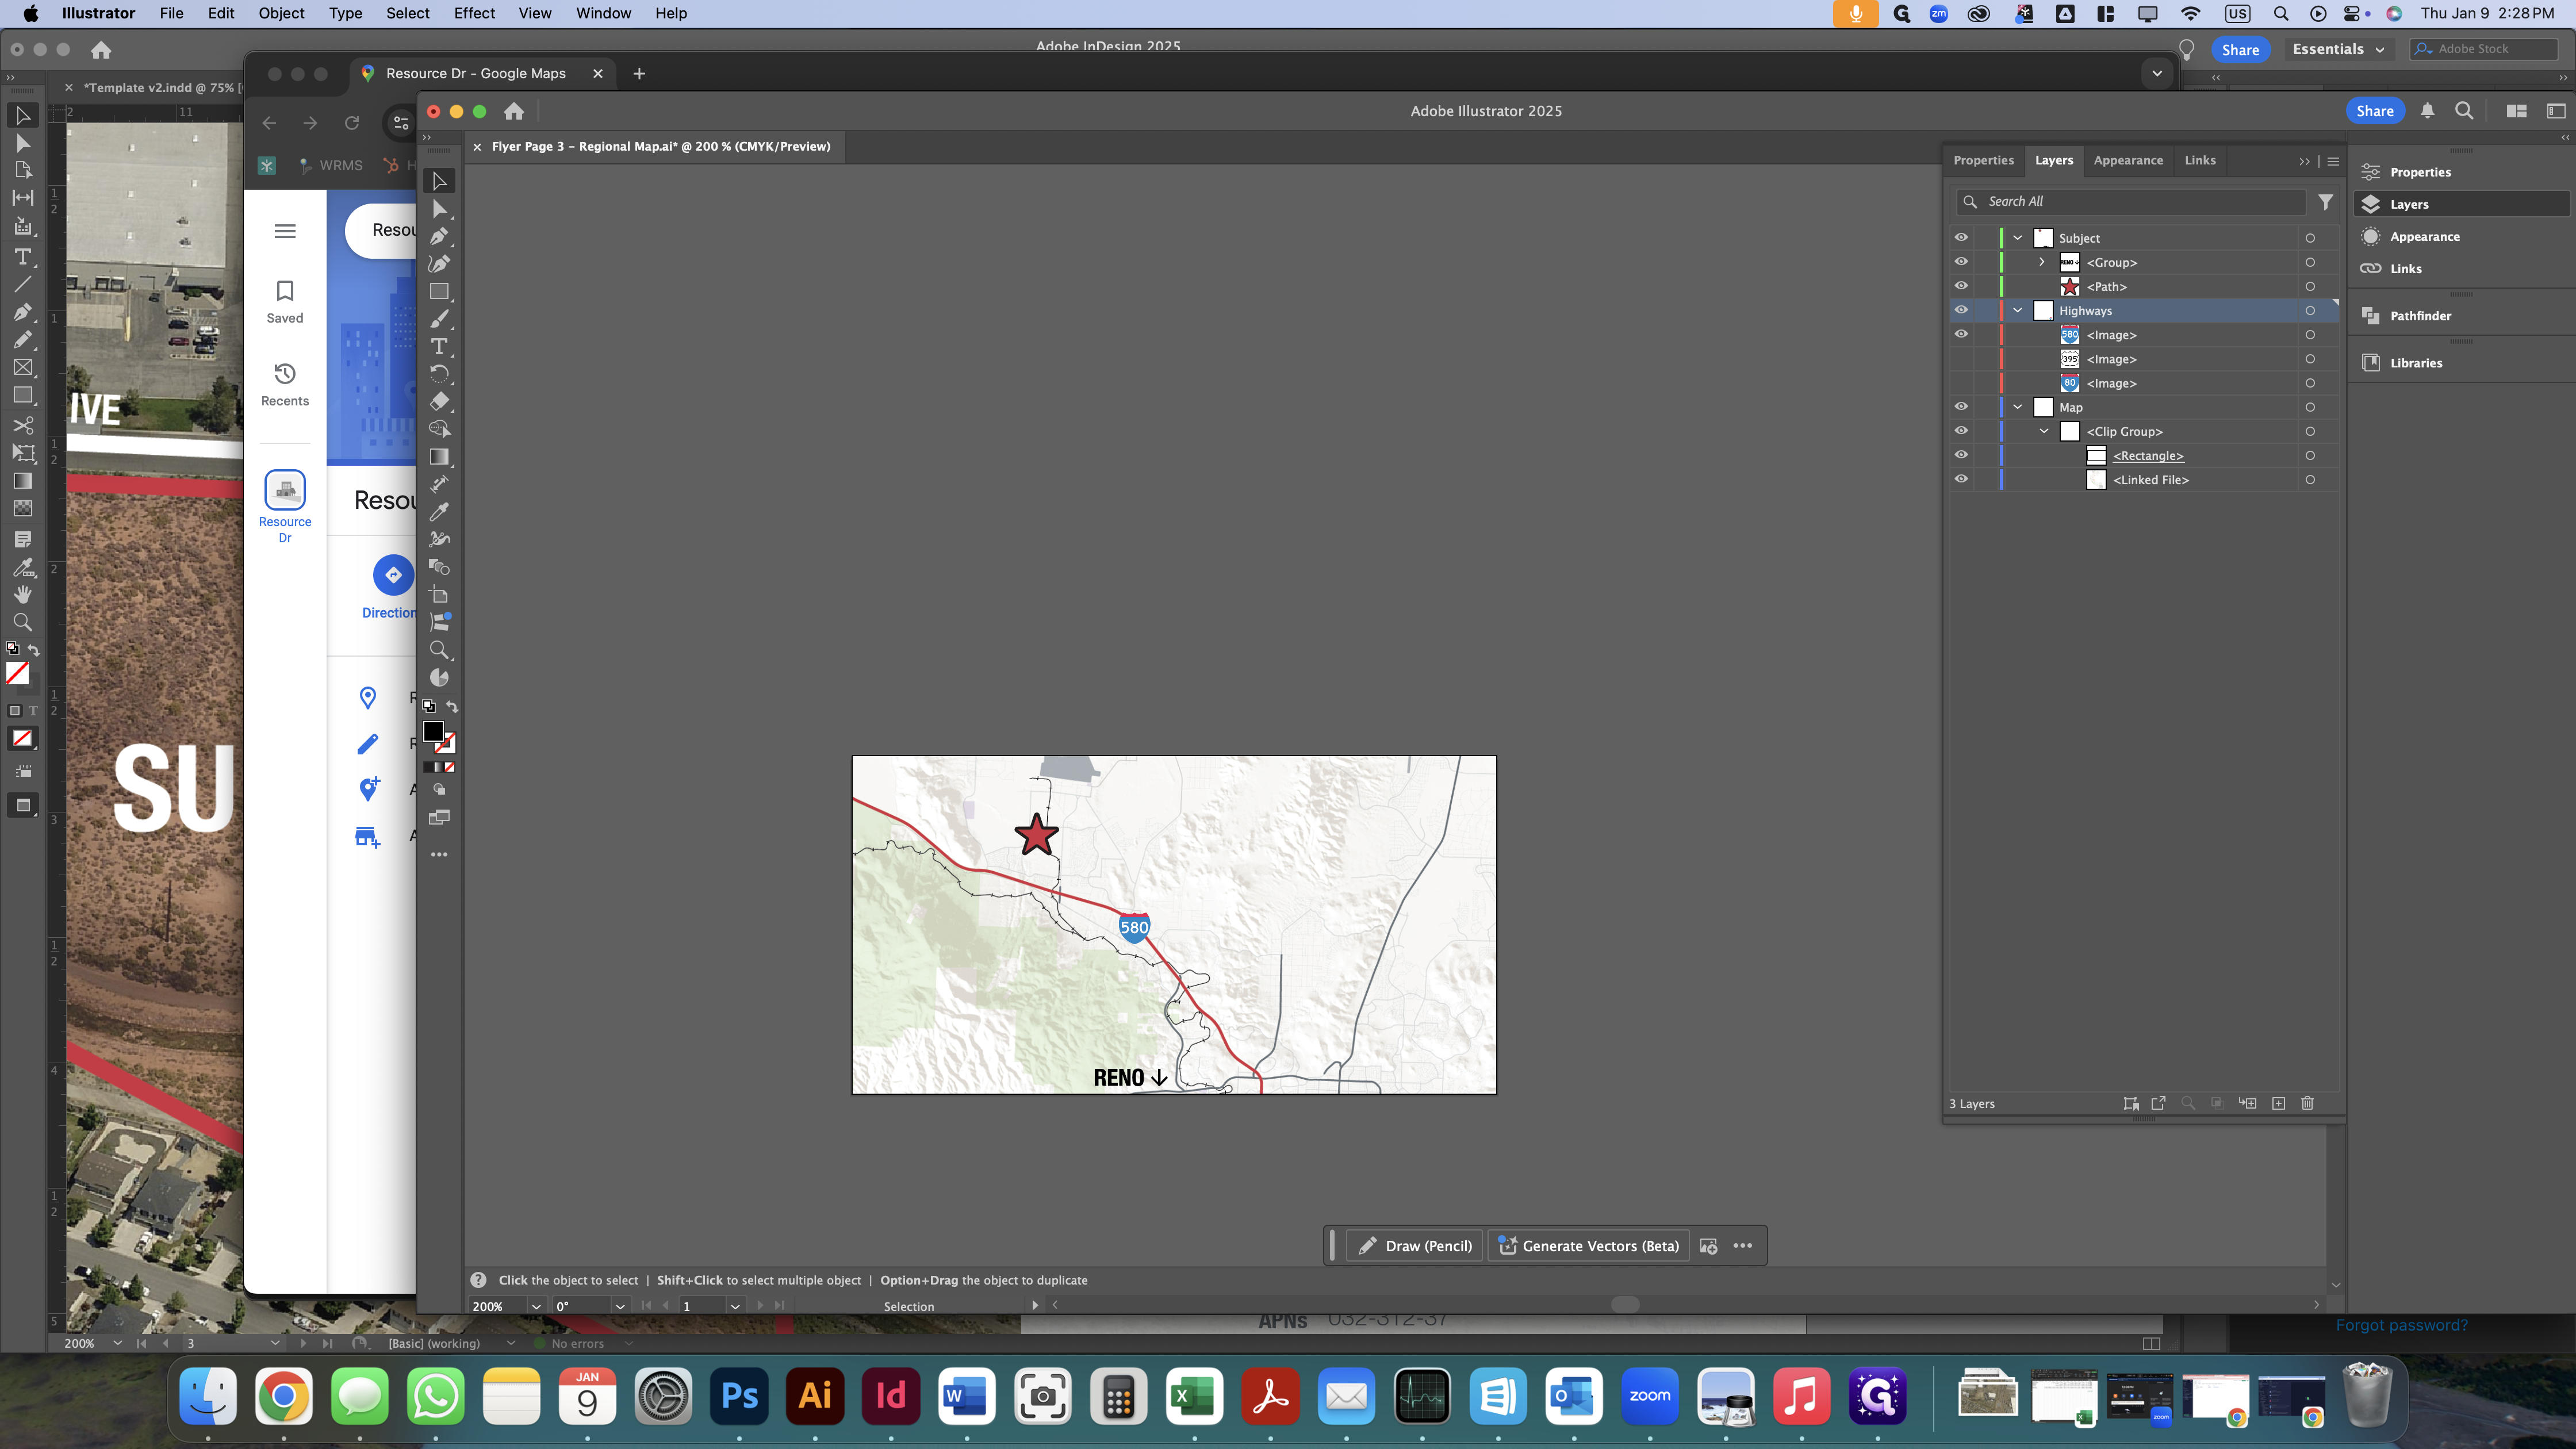
Go to the layers panel and hide the unused highway signs.


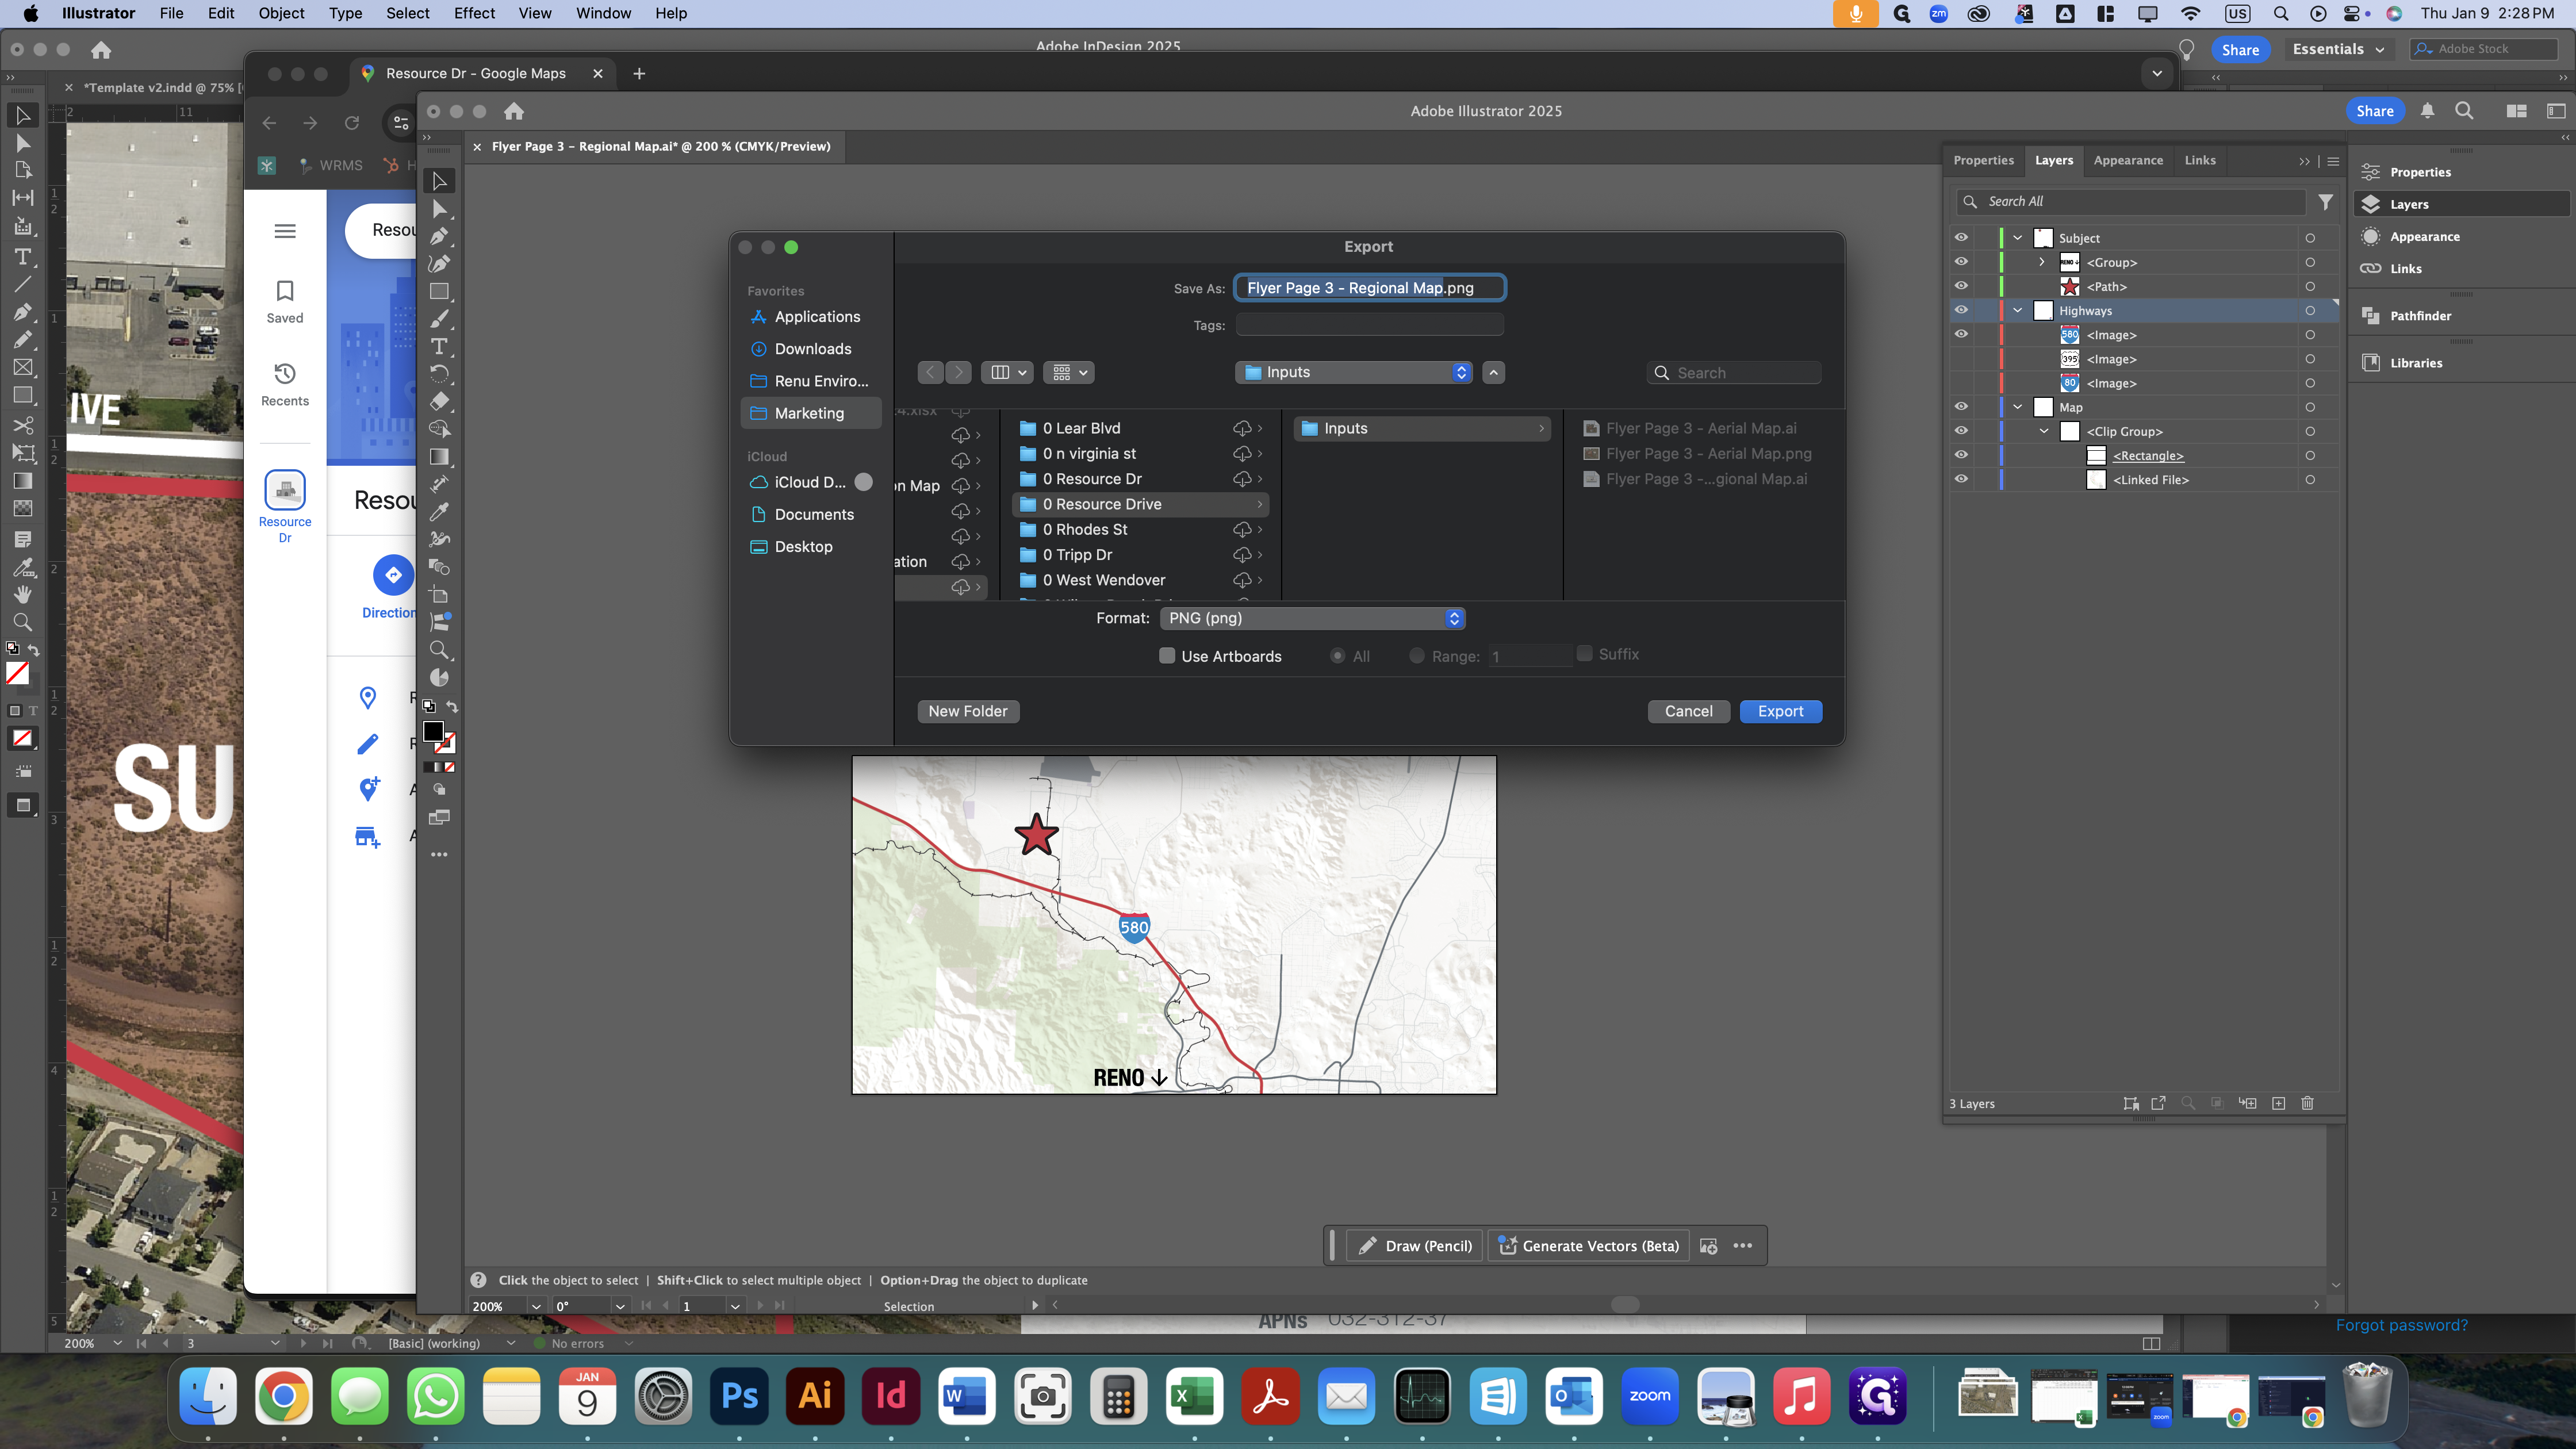
That's how we create the regional map. Export this as a PNG file.
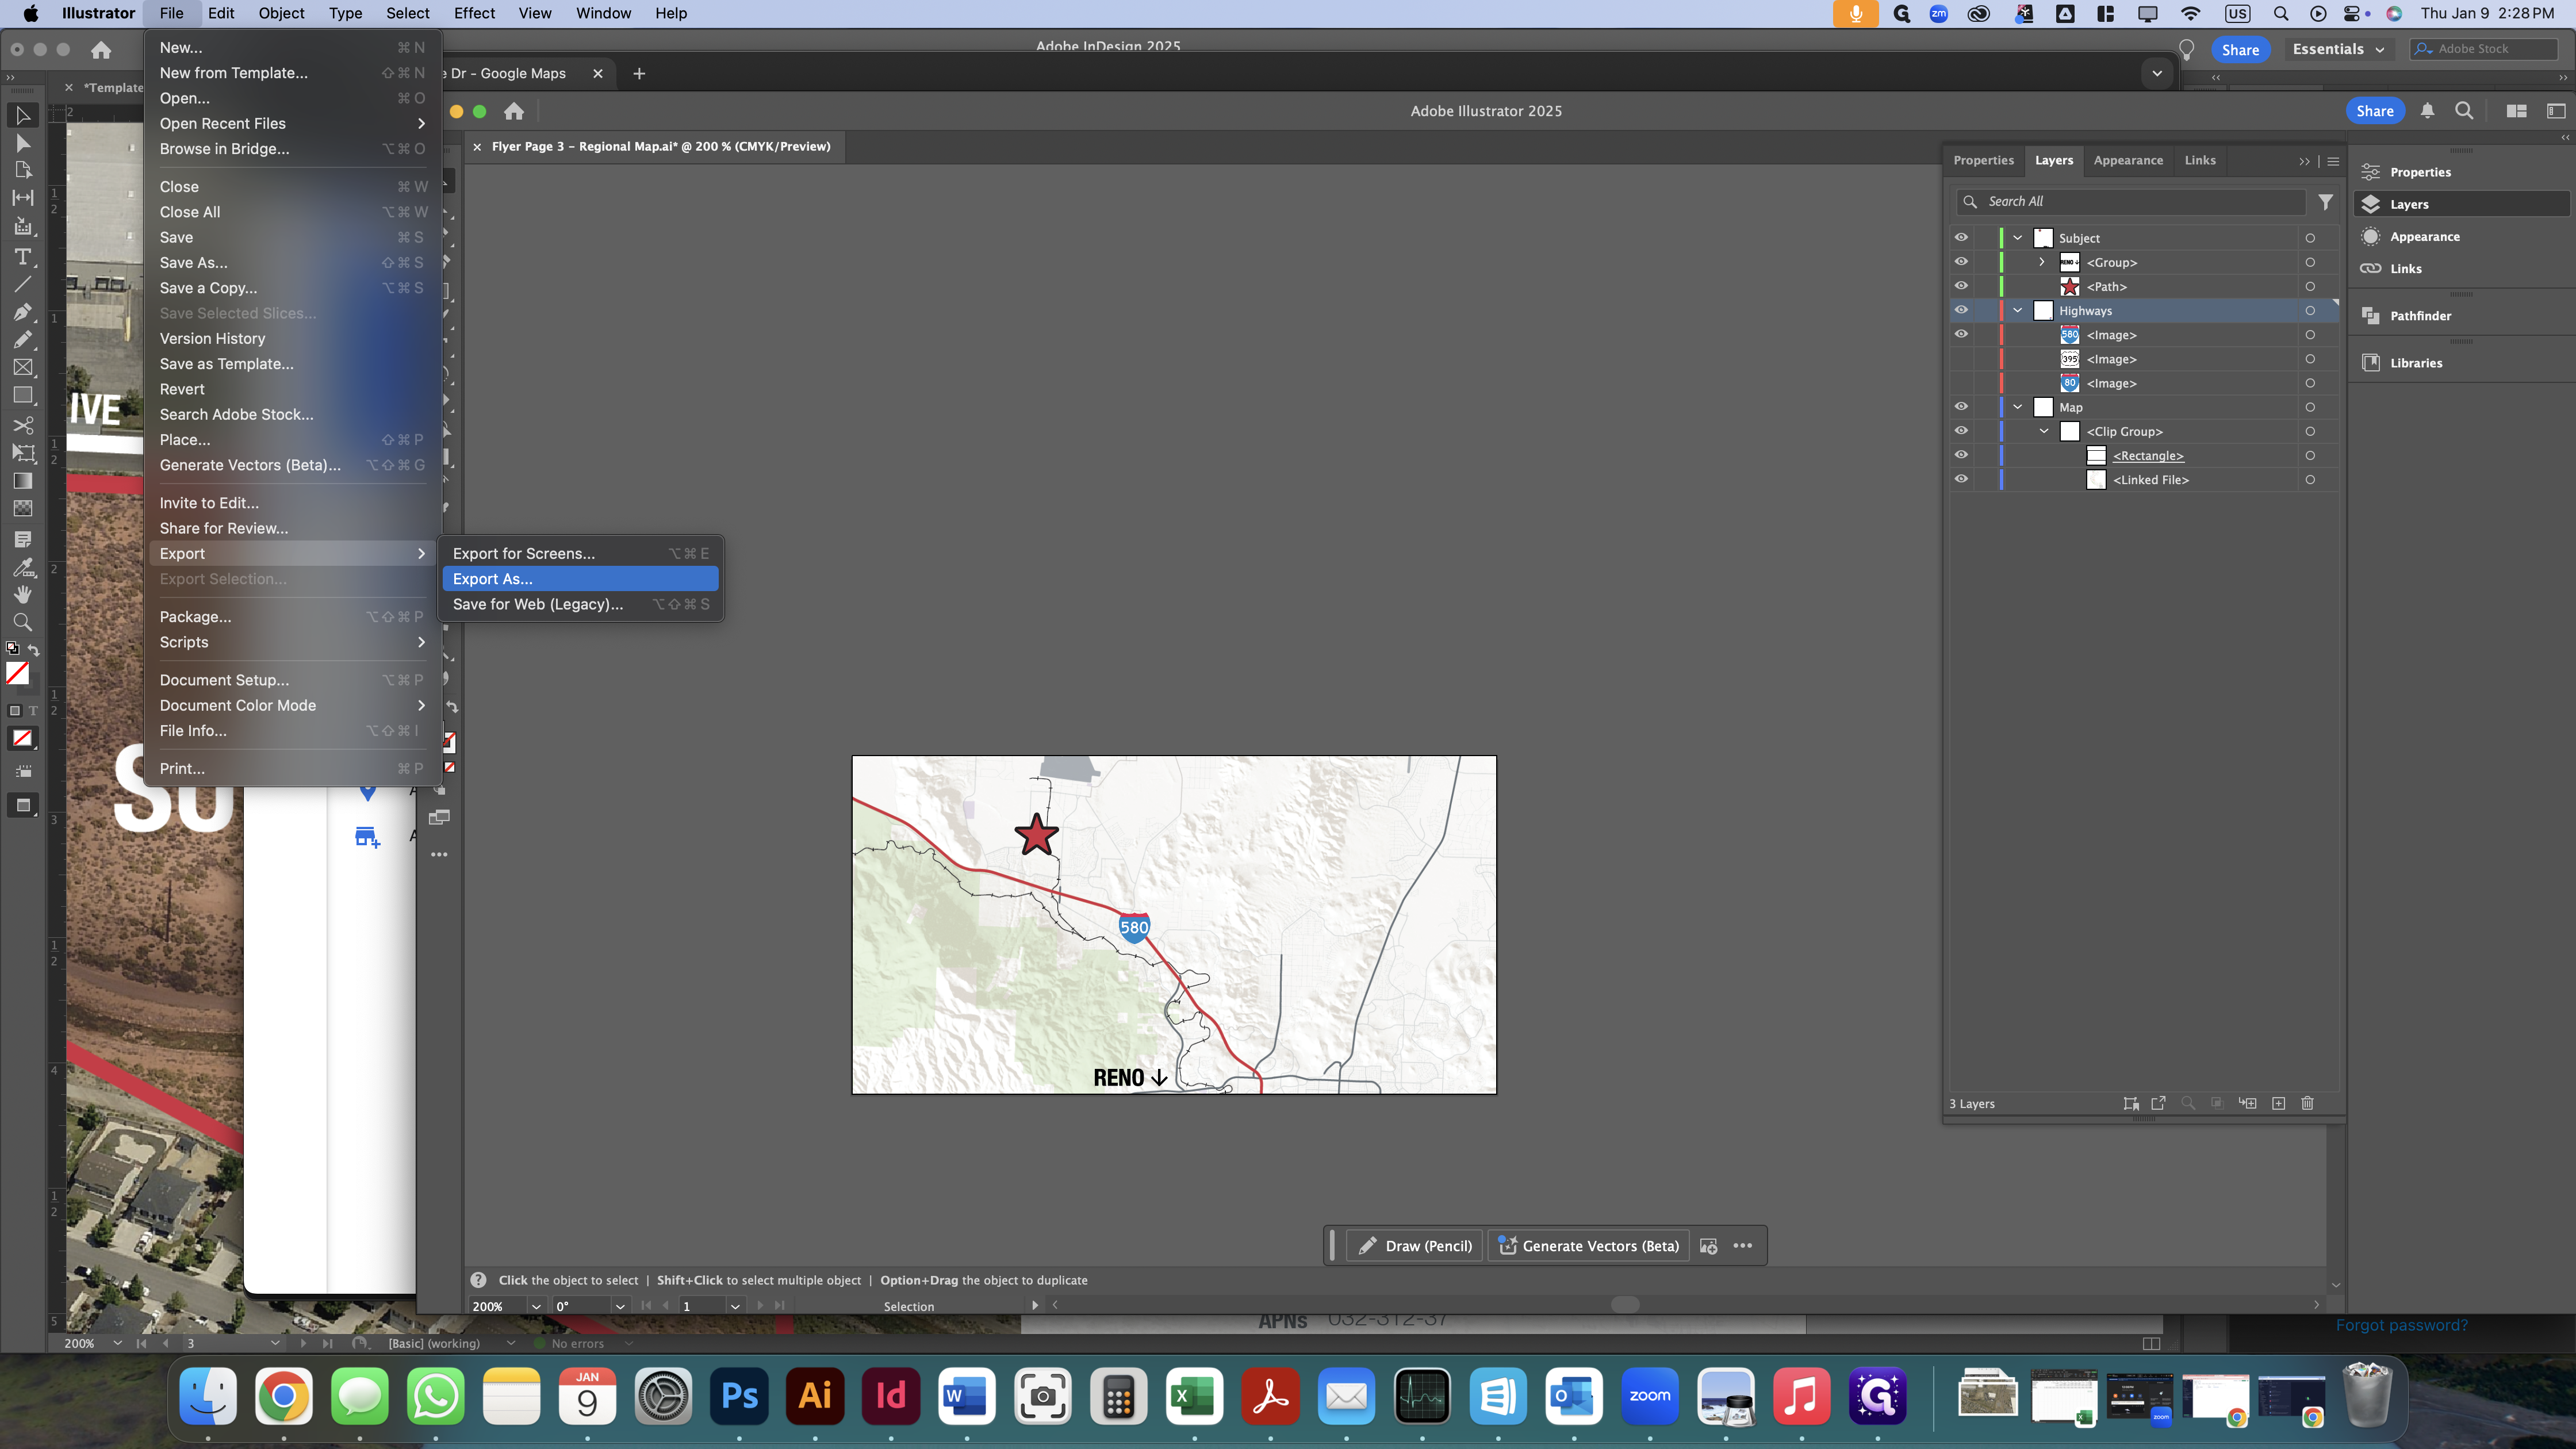
Turn on the "use artboards" checkbox.

Set the resolution to high, anti-aliasing to type optimized, and the background color to transparent.


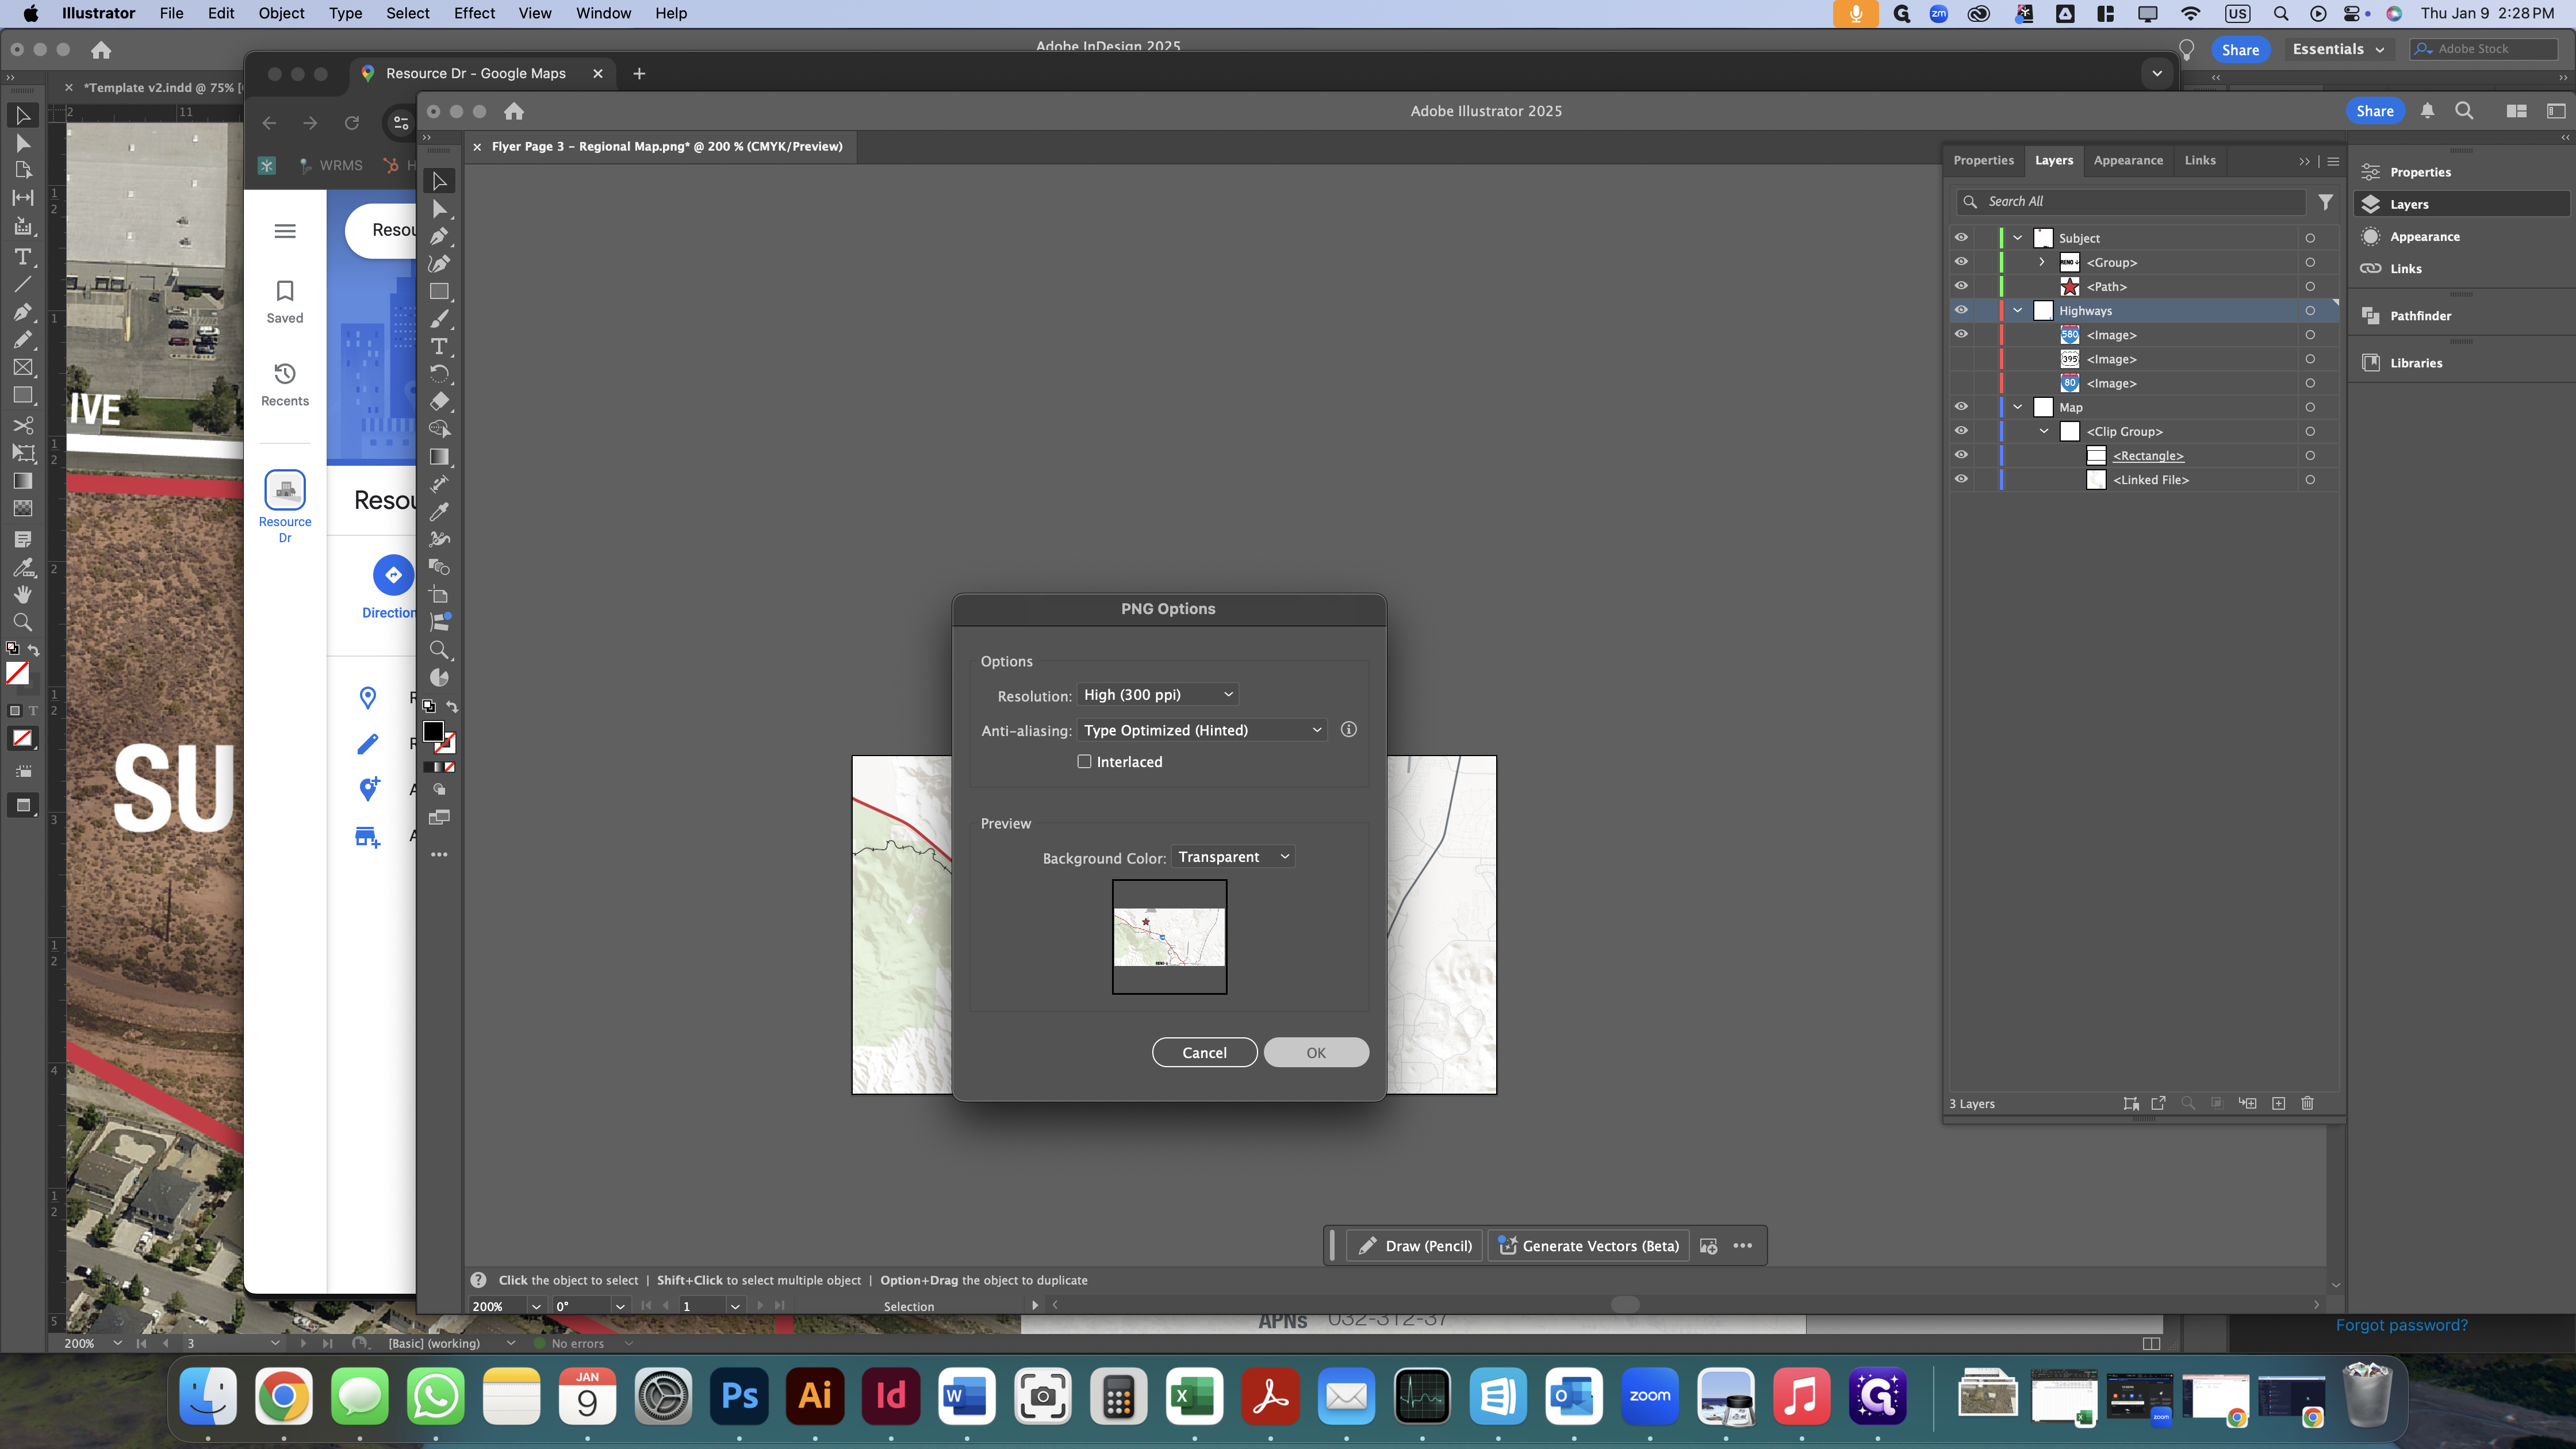
Save this file, and you're done.