
How to Create SO (Sales Order) in LMS System
Learn how to create a sales order in Sales Ops with this easy step-by-step guide. From selecting the account and salesperson to adding customer details and confirming the product price, follow these instructions to streamline your sales process.
By Heah Huiwen
In this guide, we'll learn how to create a sales order in LMS System.
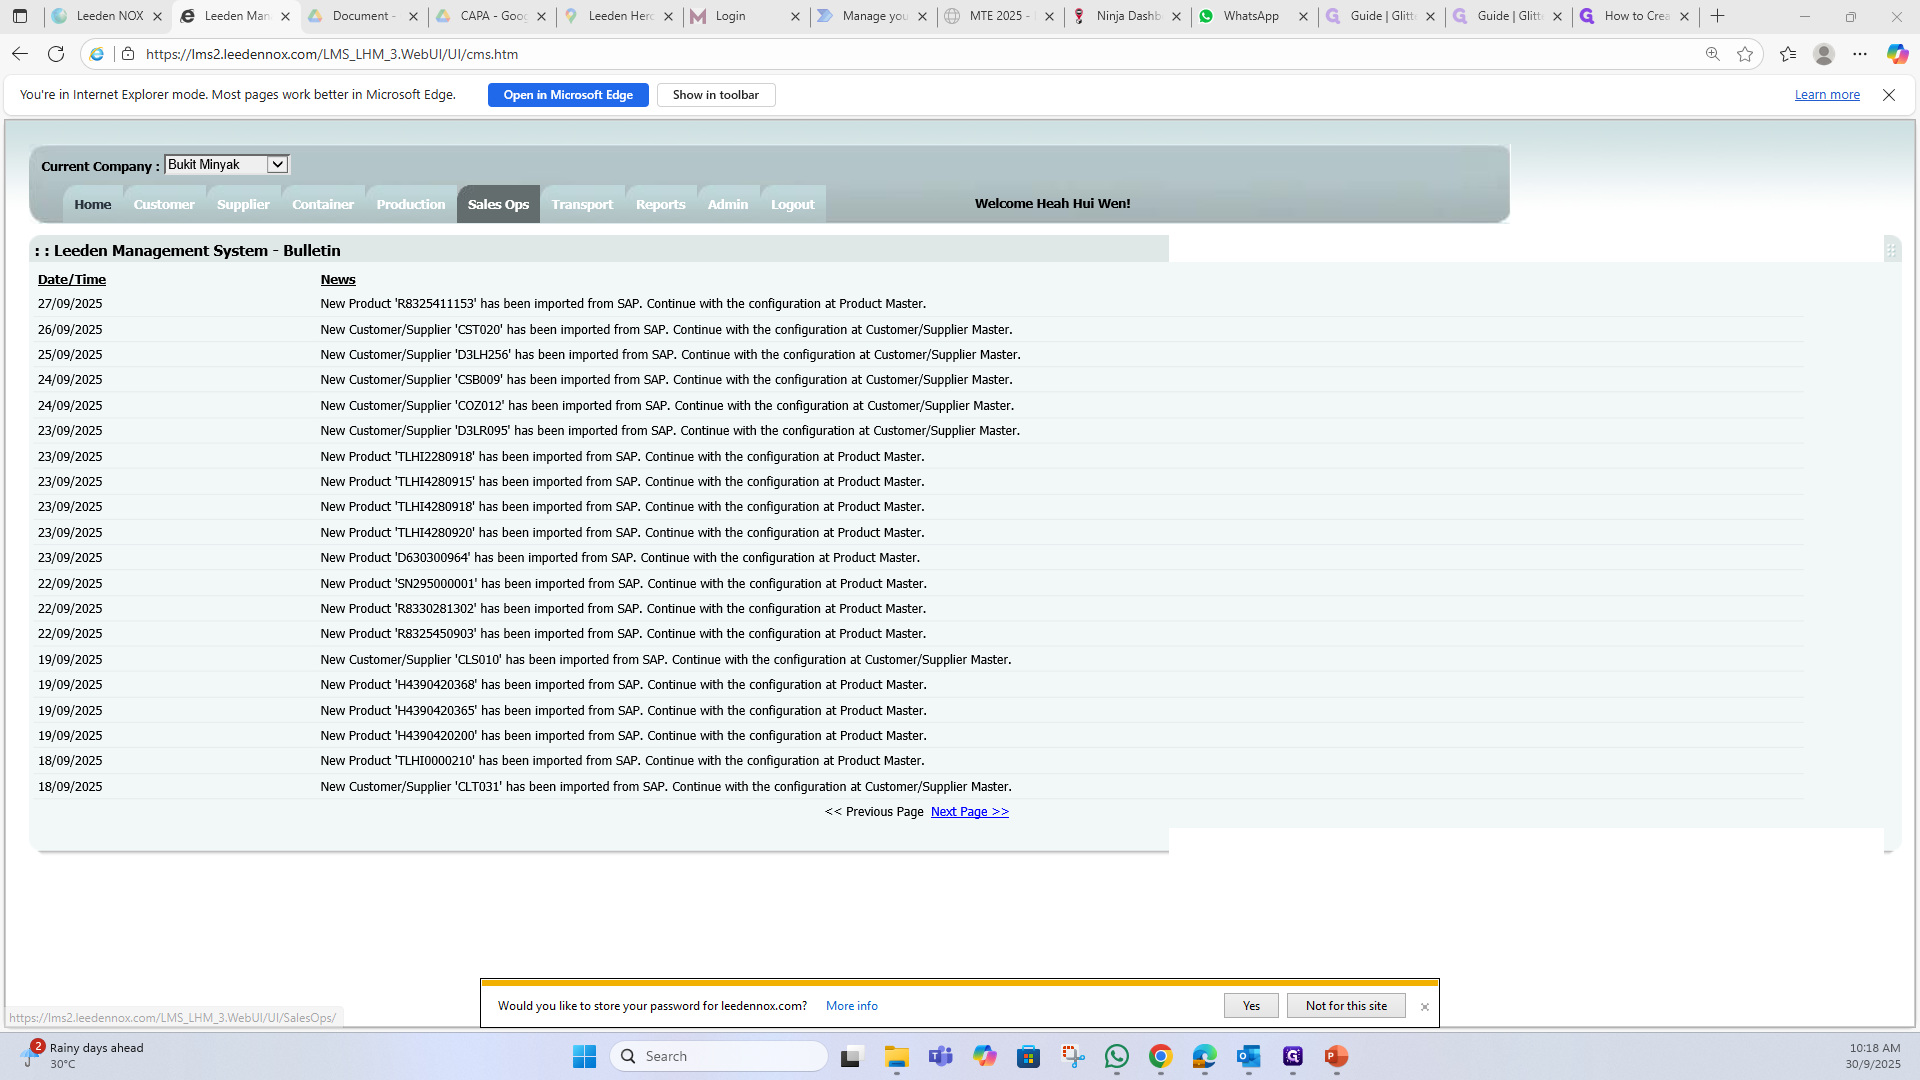
To create a sales order, go to Sales Ops. Then select Sales Order.
1
Click on "Sales Ops"
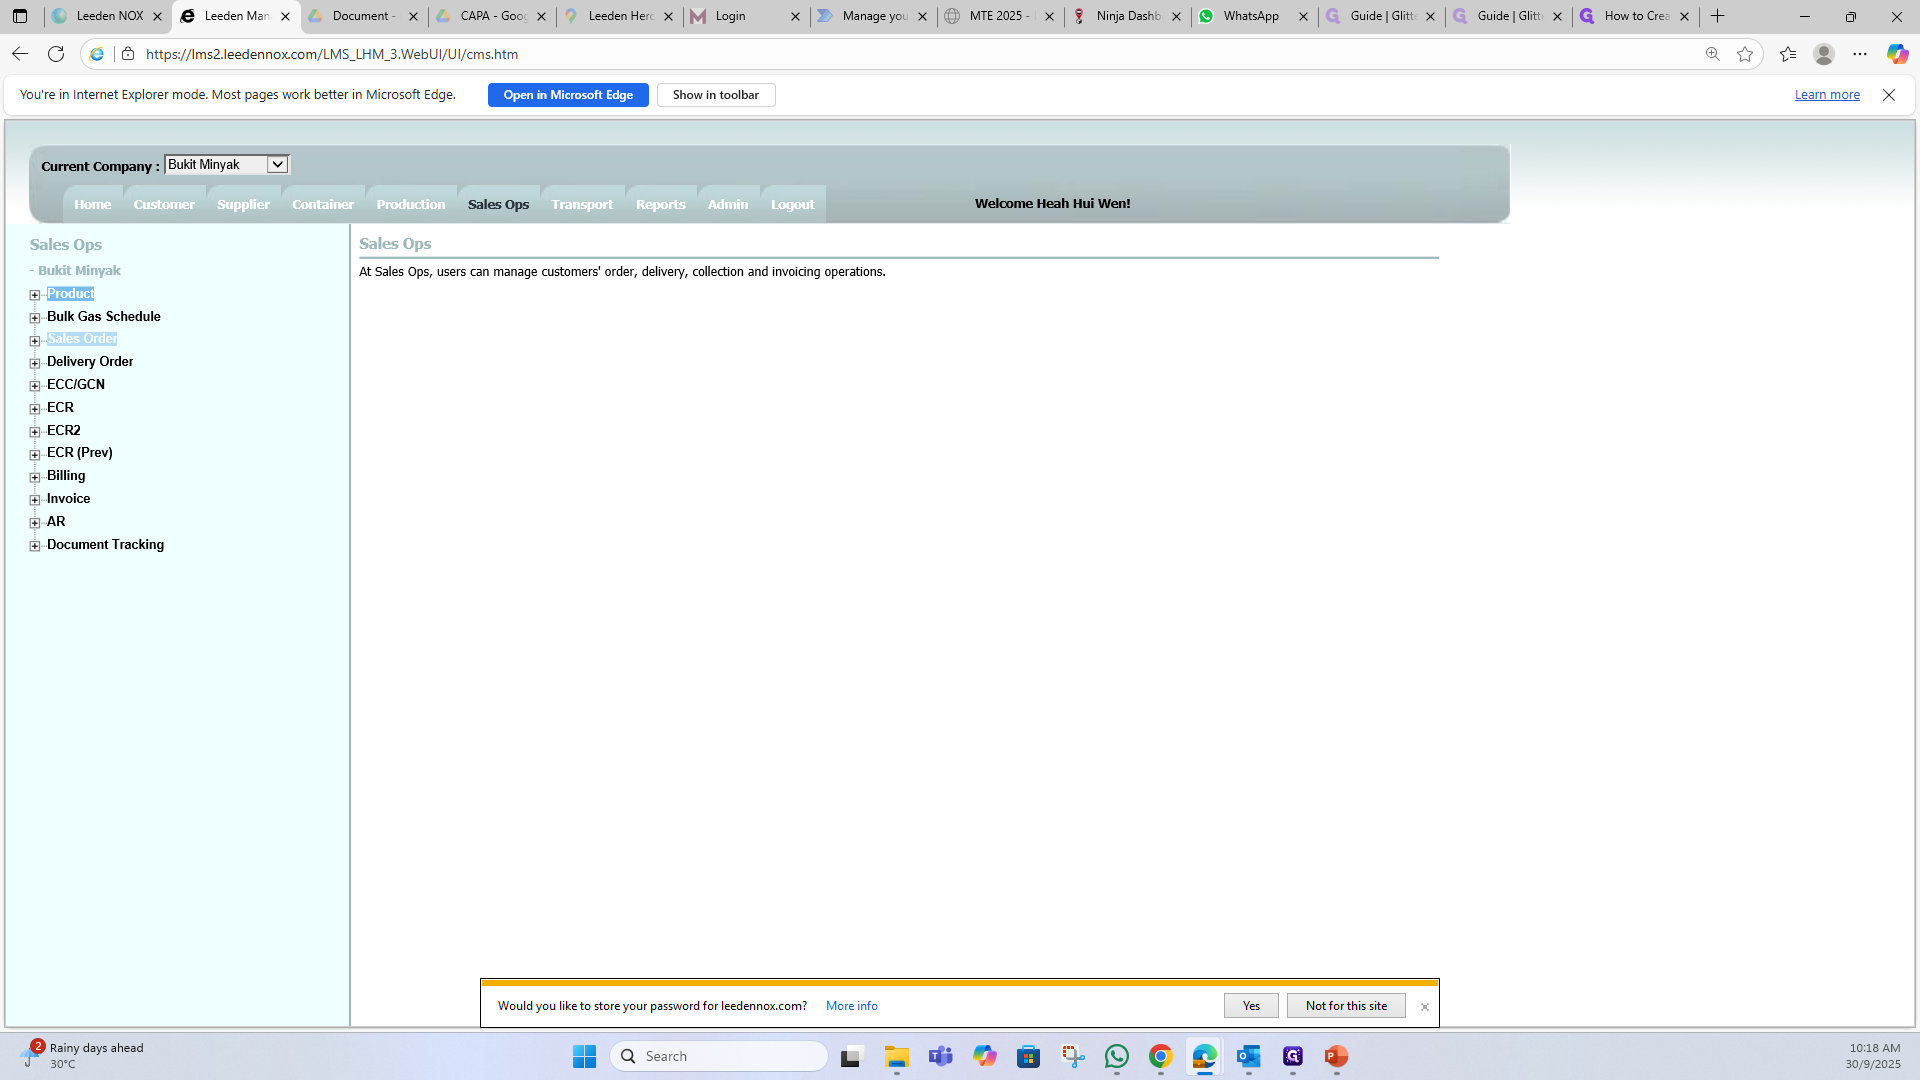
2
Click on "Sales Order"
And MS Word.
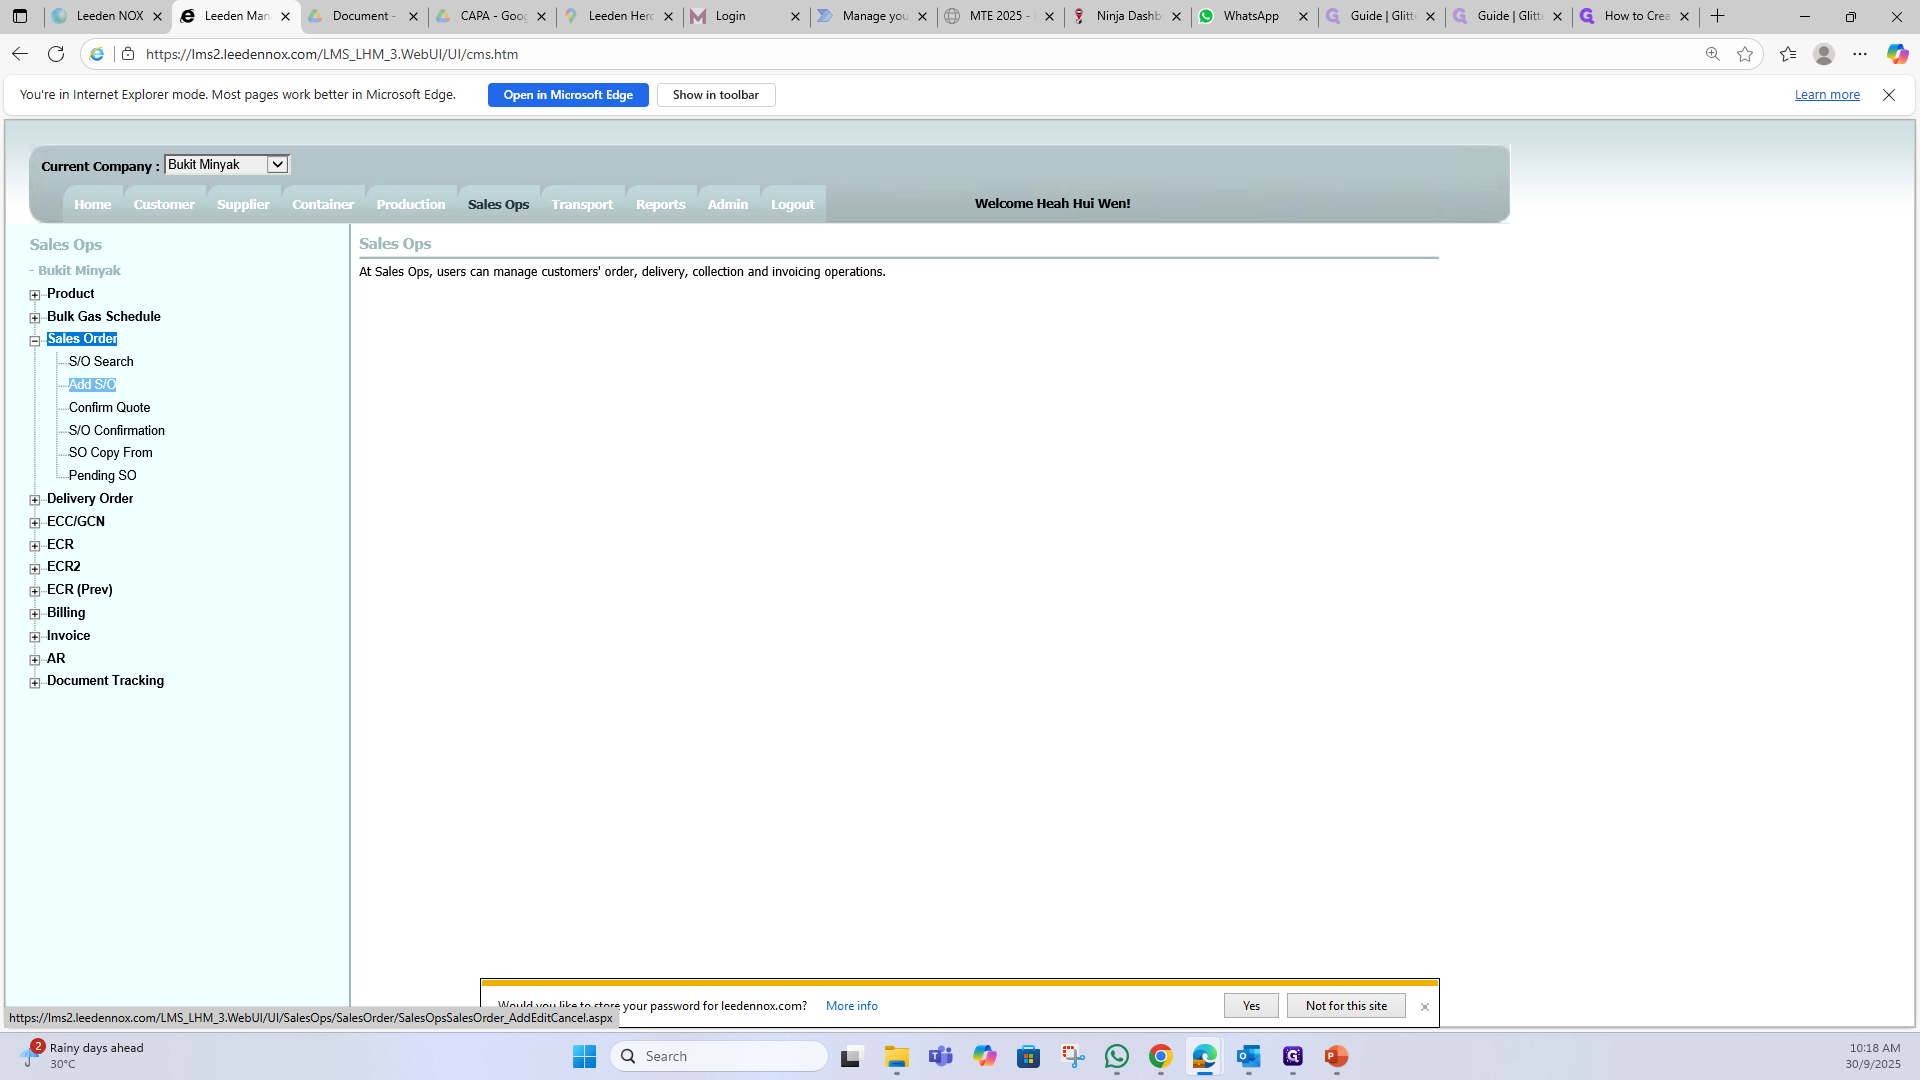
3
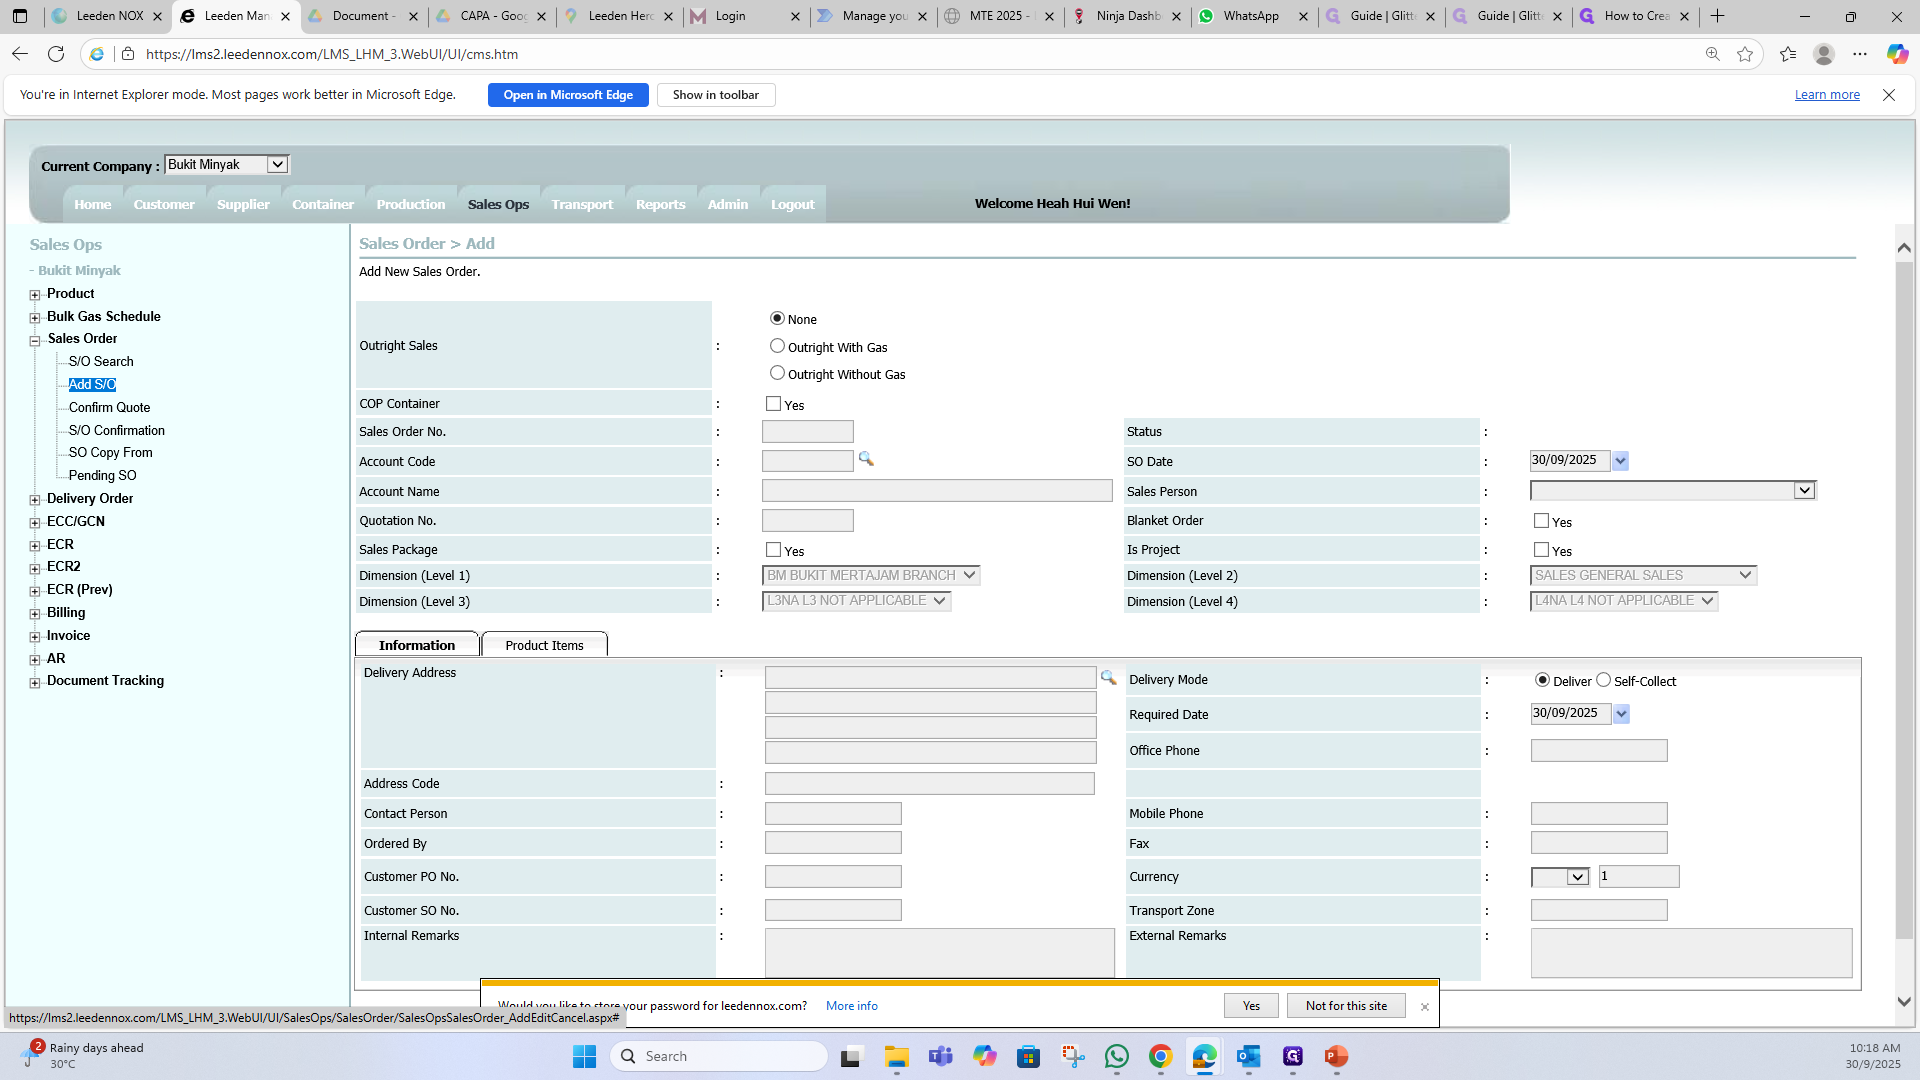
Click on "Add S/O"
Select "Search" icon at Account Code section.
4
Click on "५"
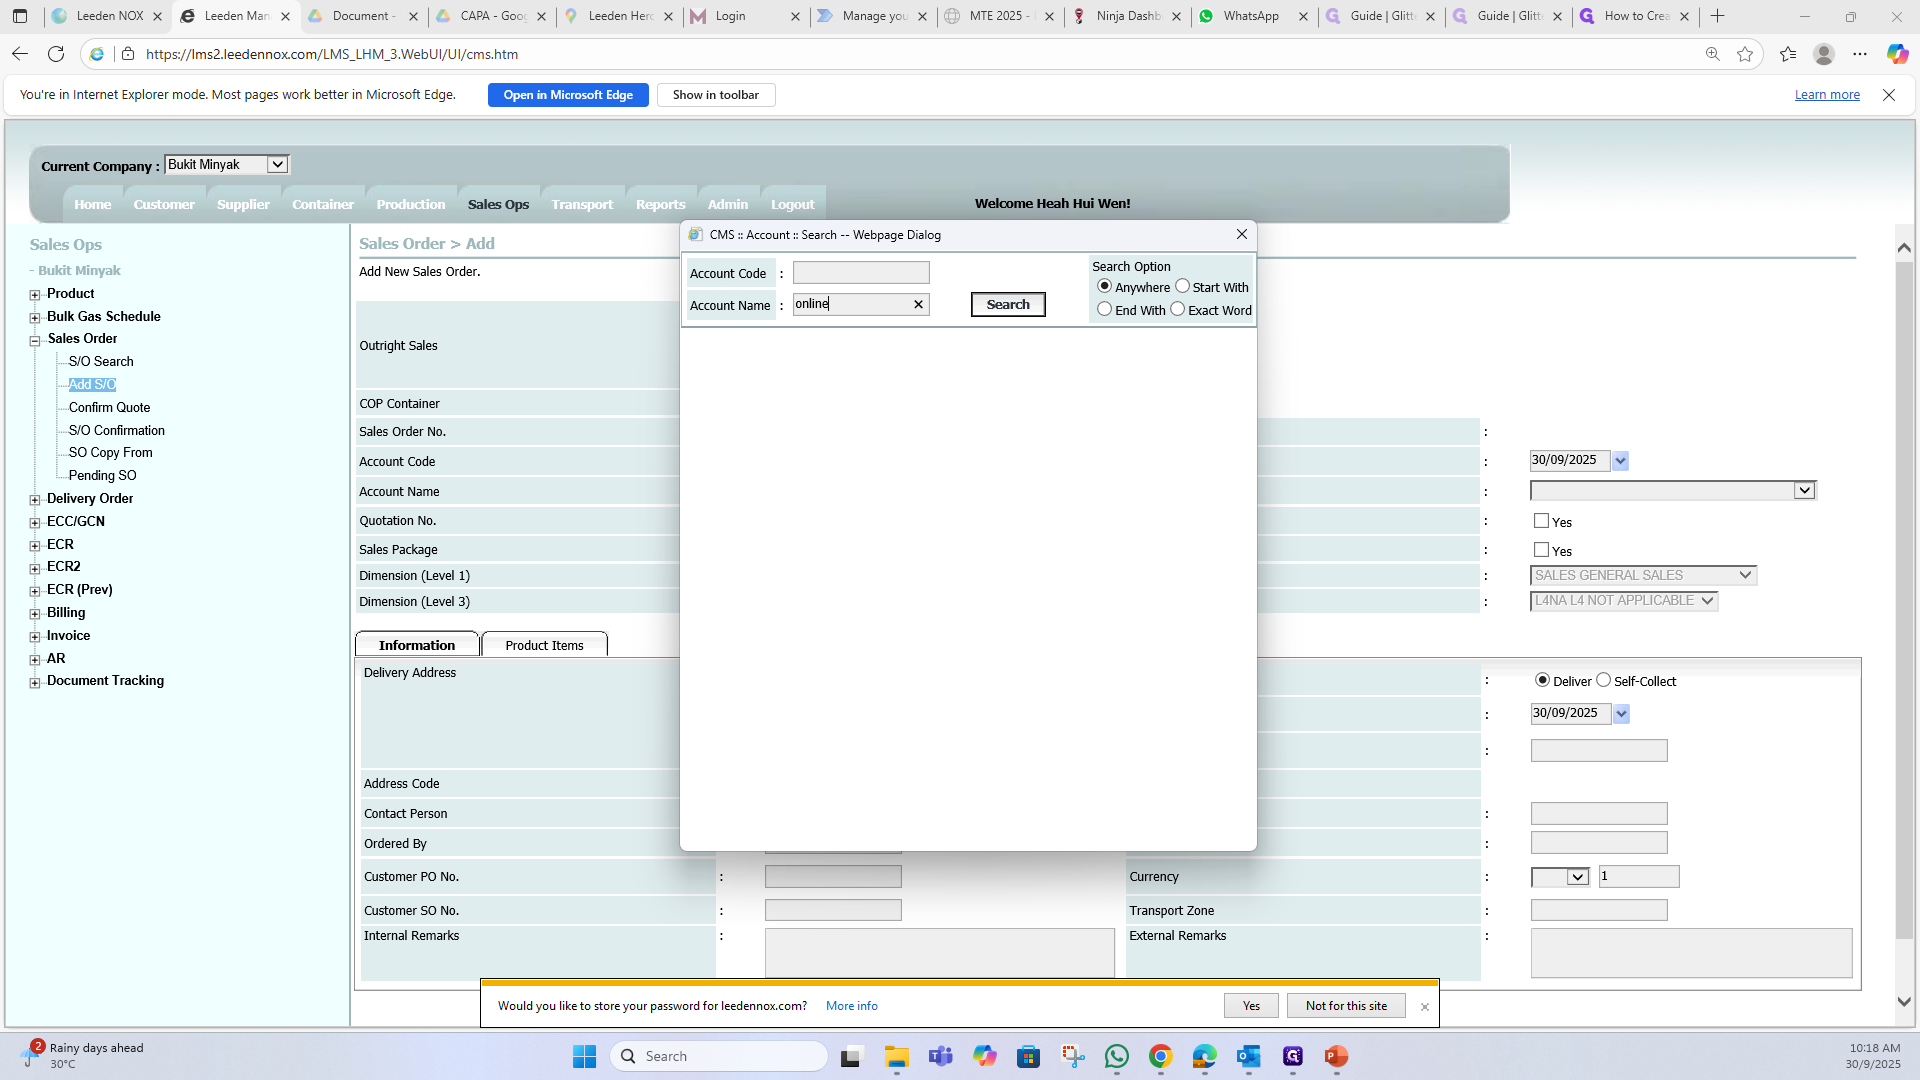
5
Type the Account Name and click "Search".
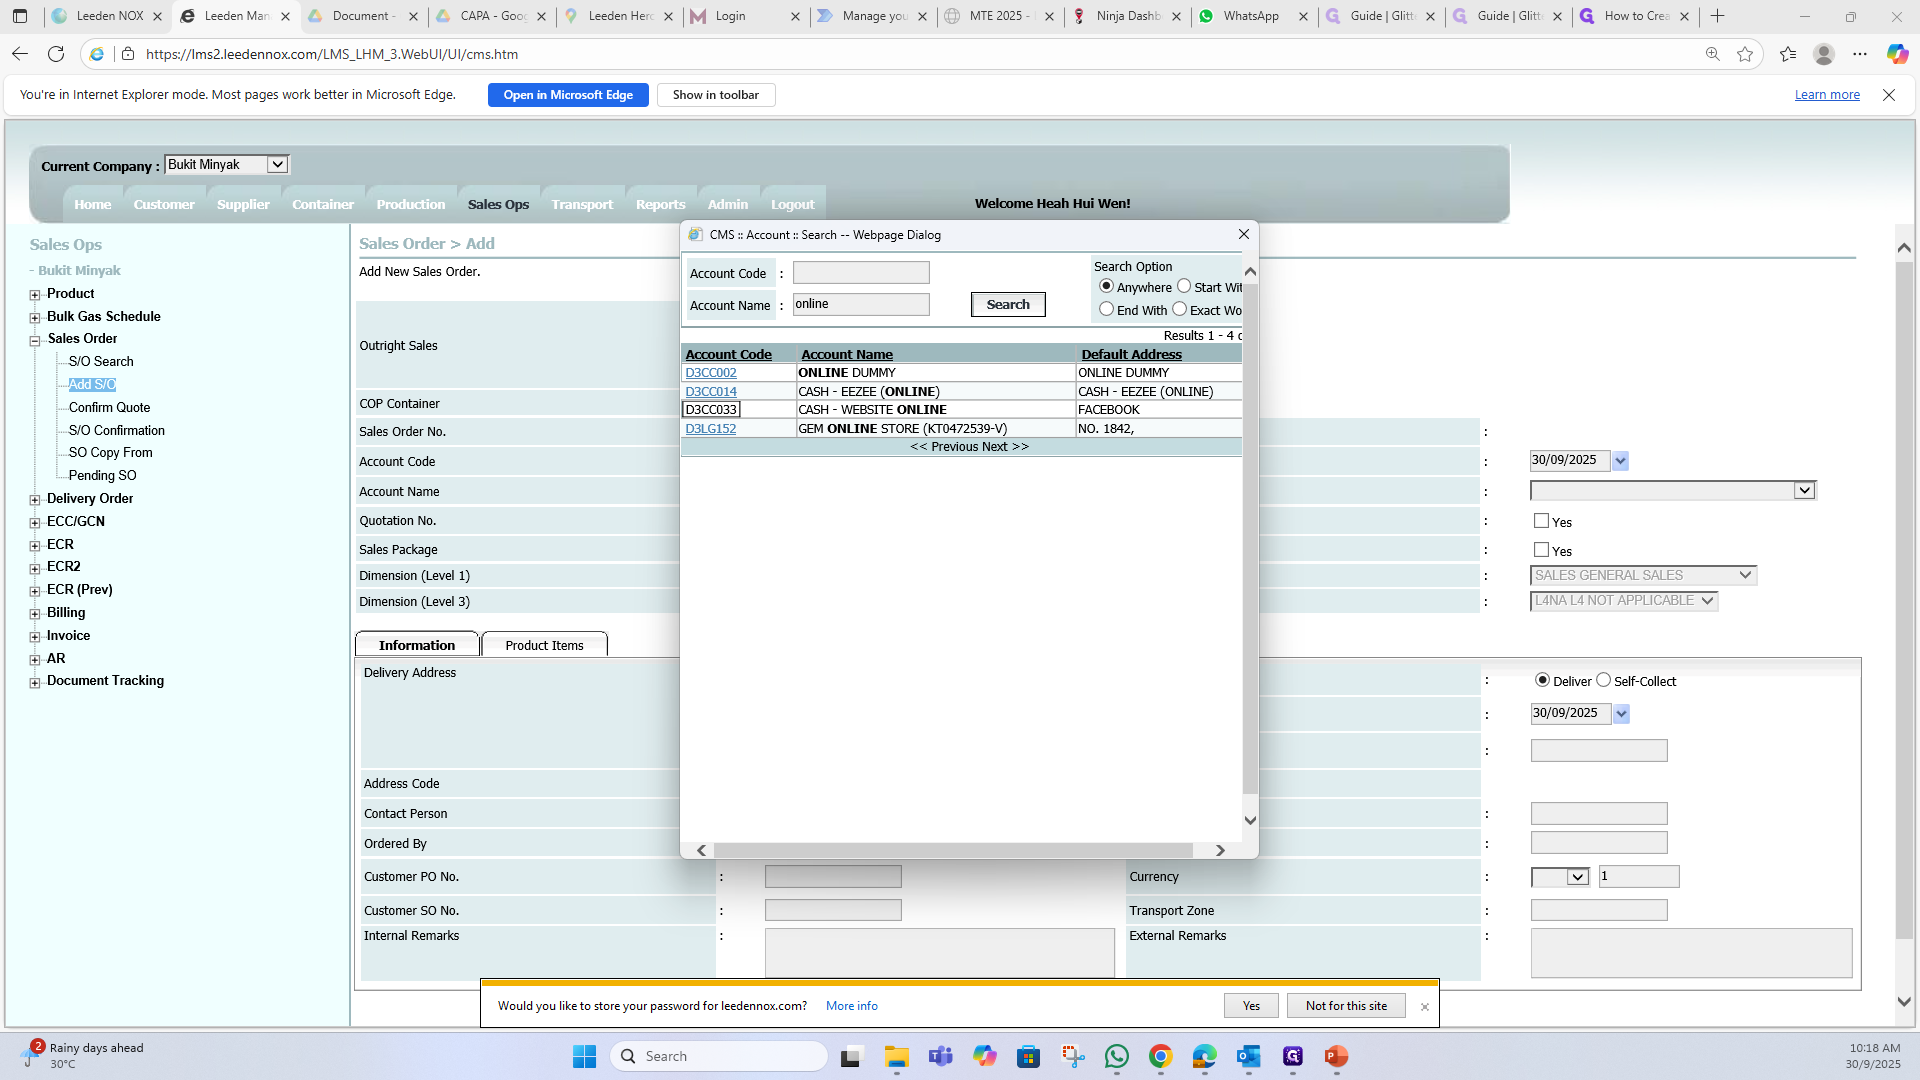
6
Select the Account.
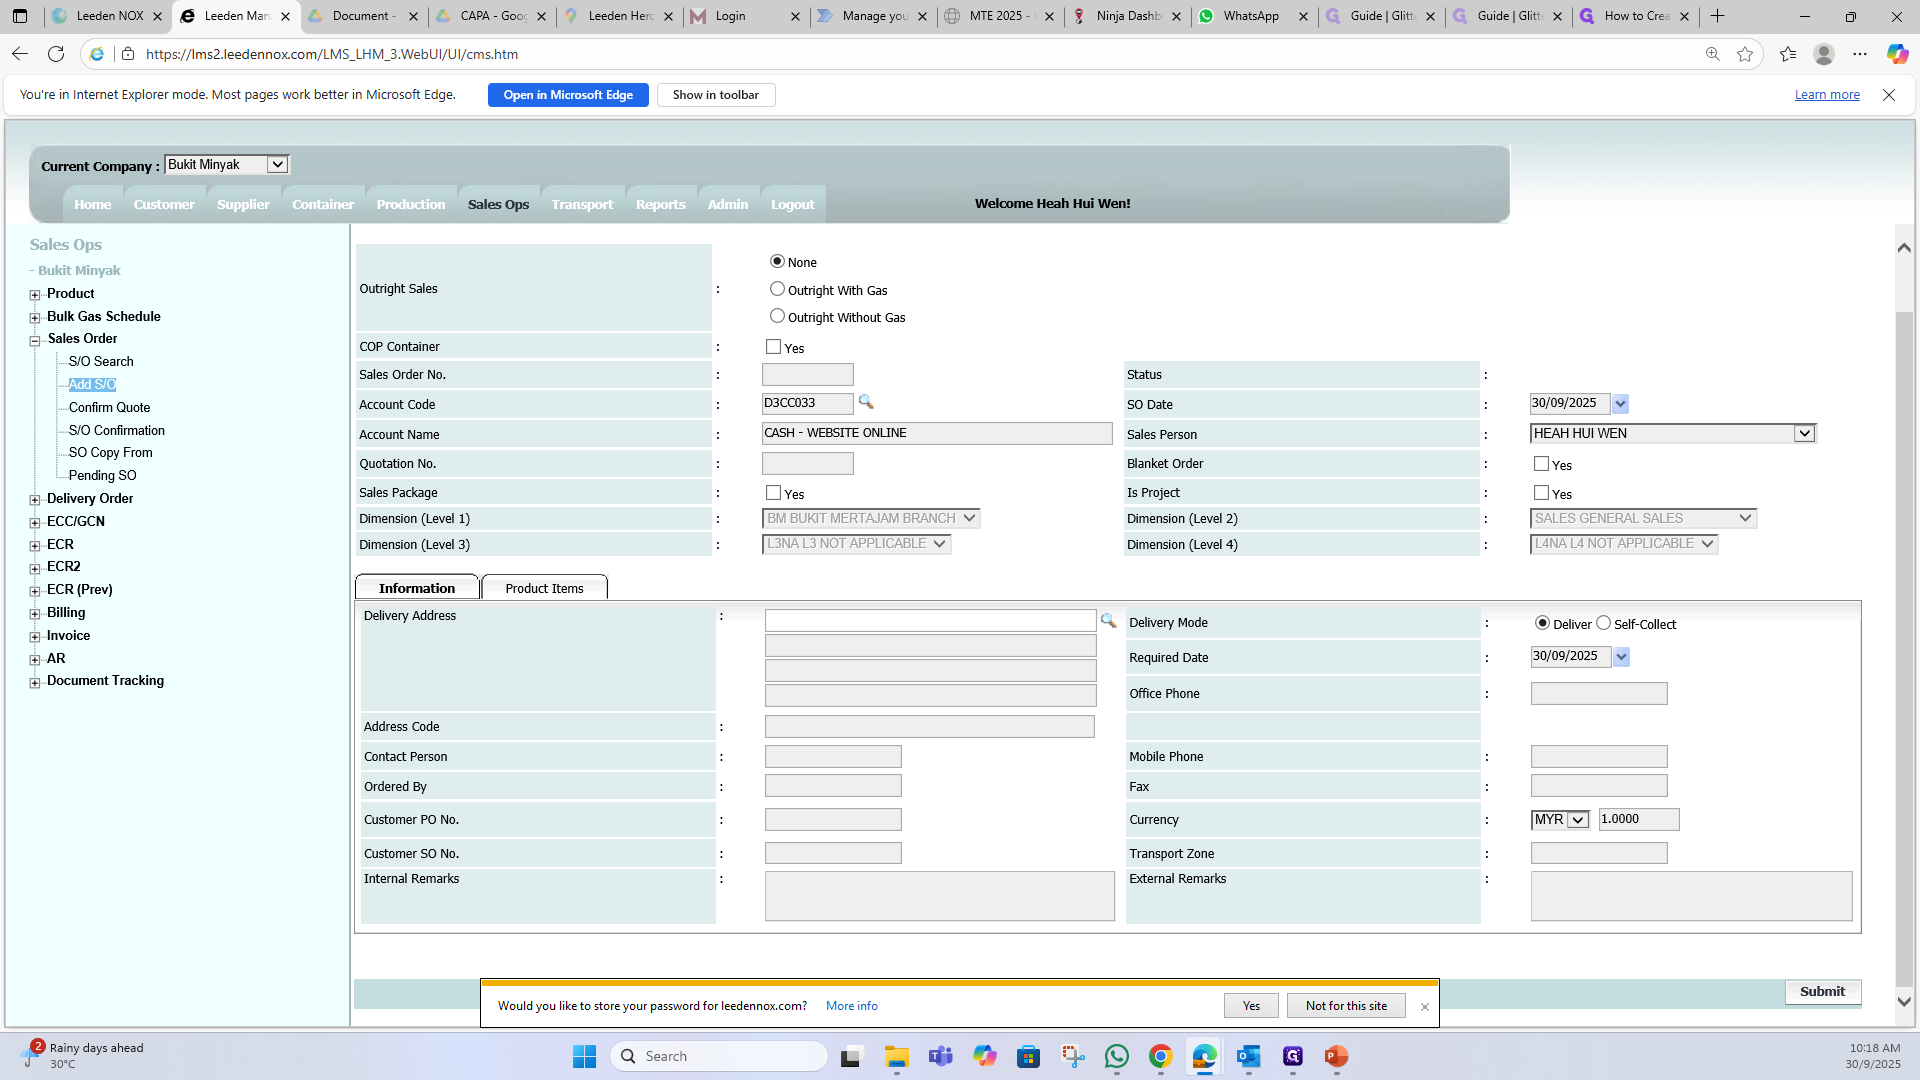
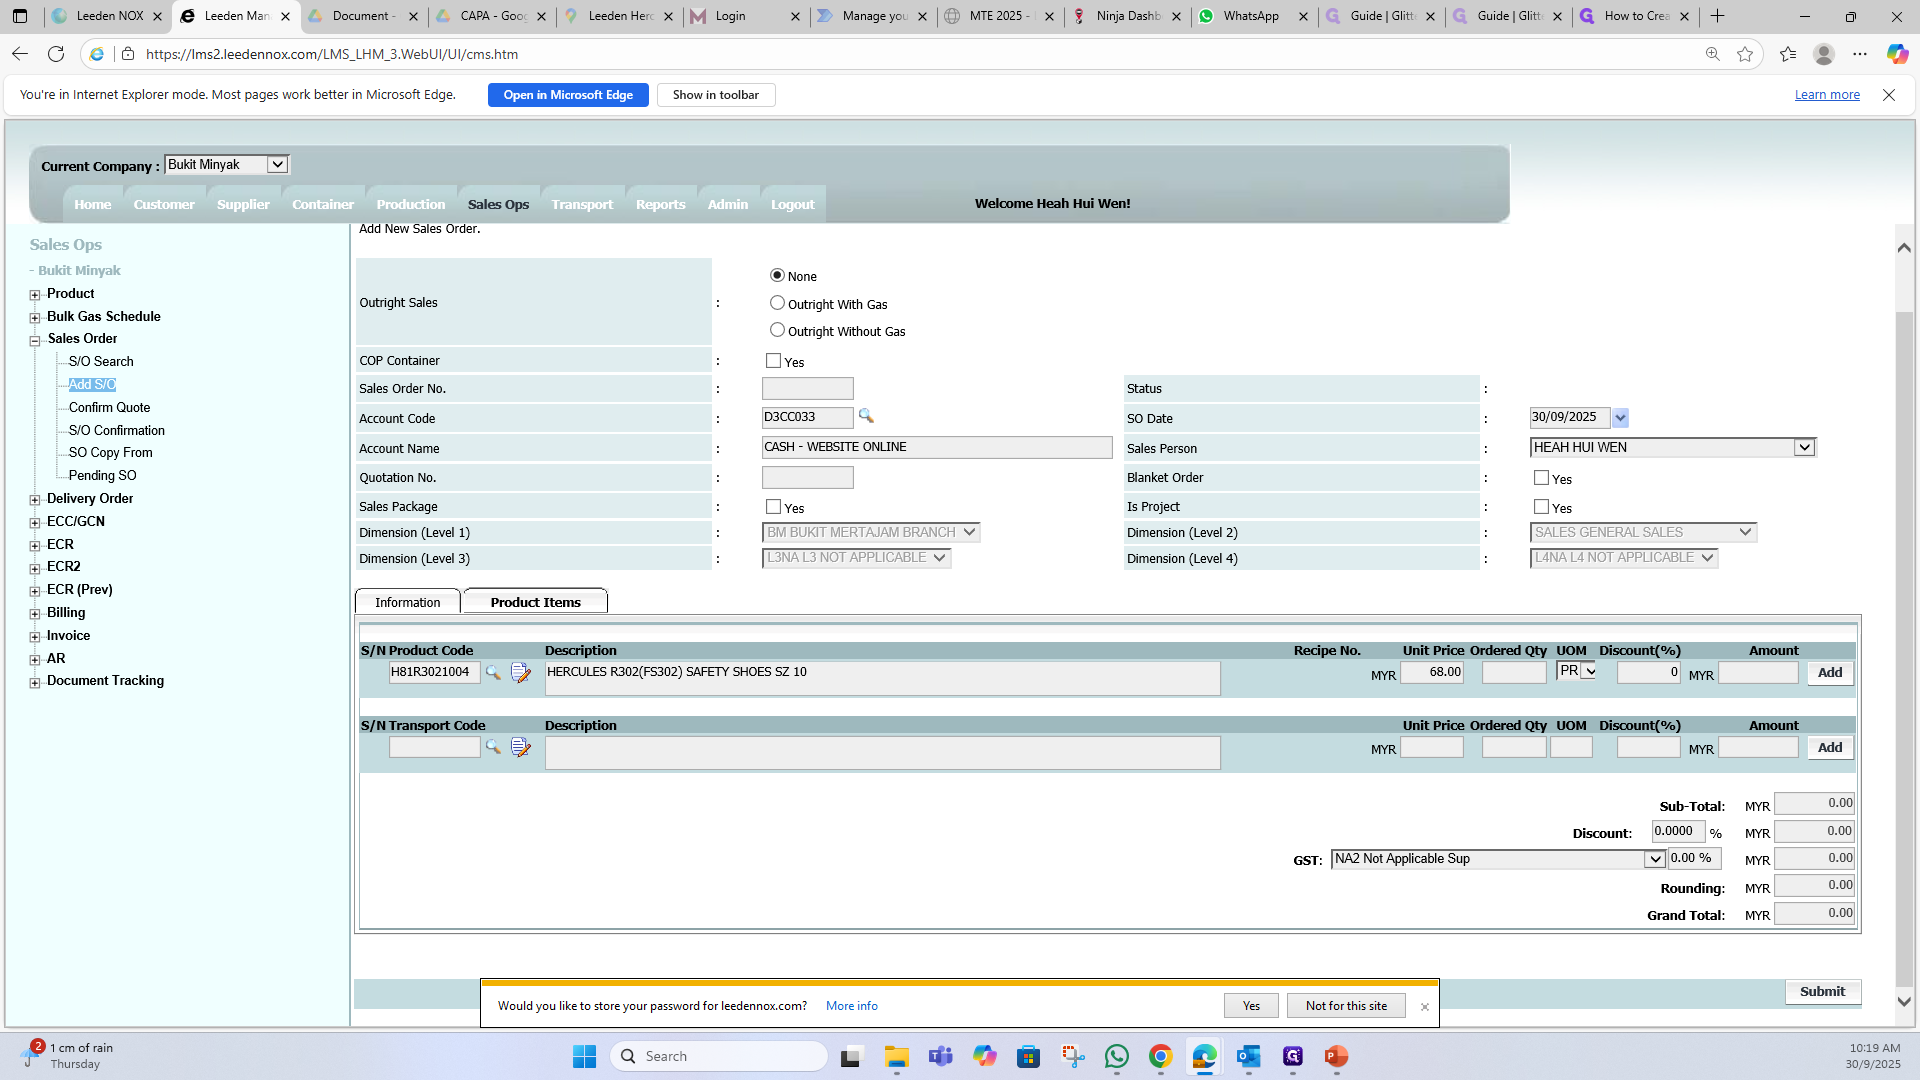
7
Choose your name/ salesperson name.
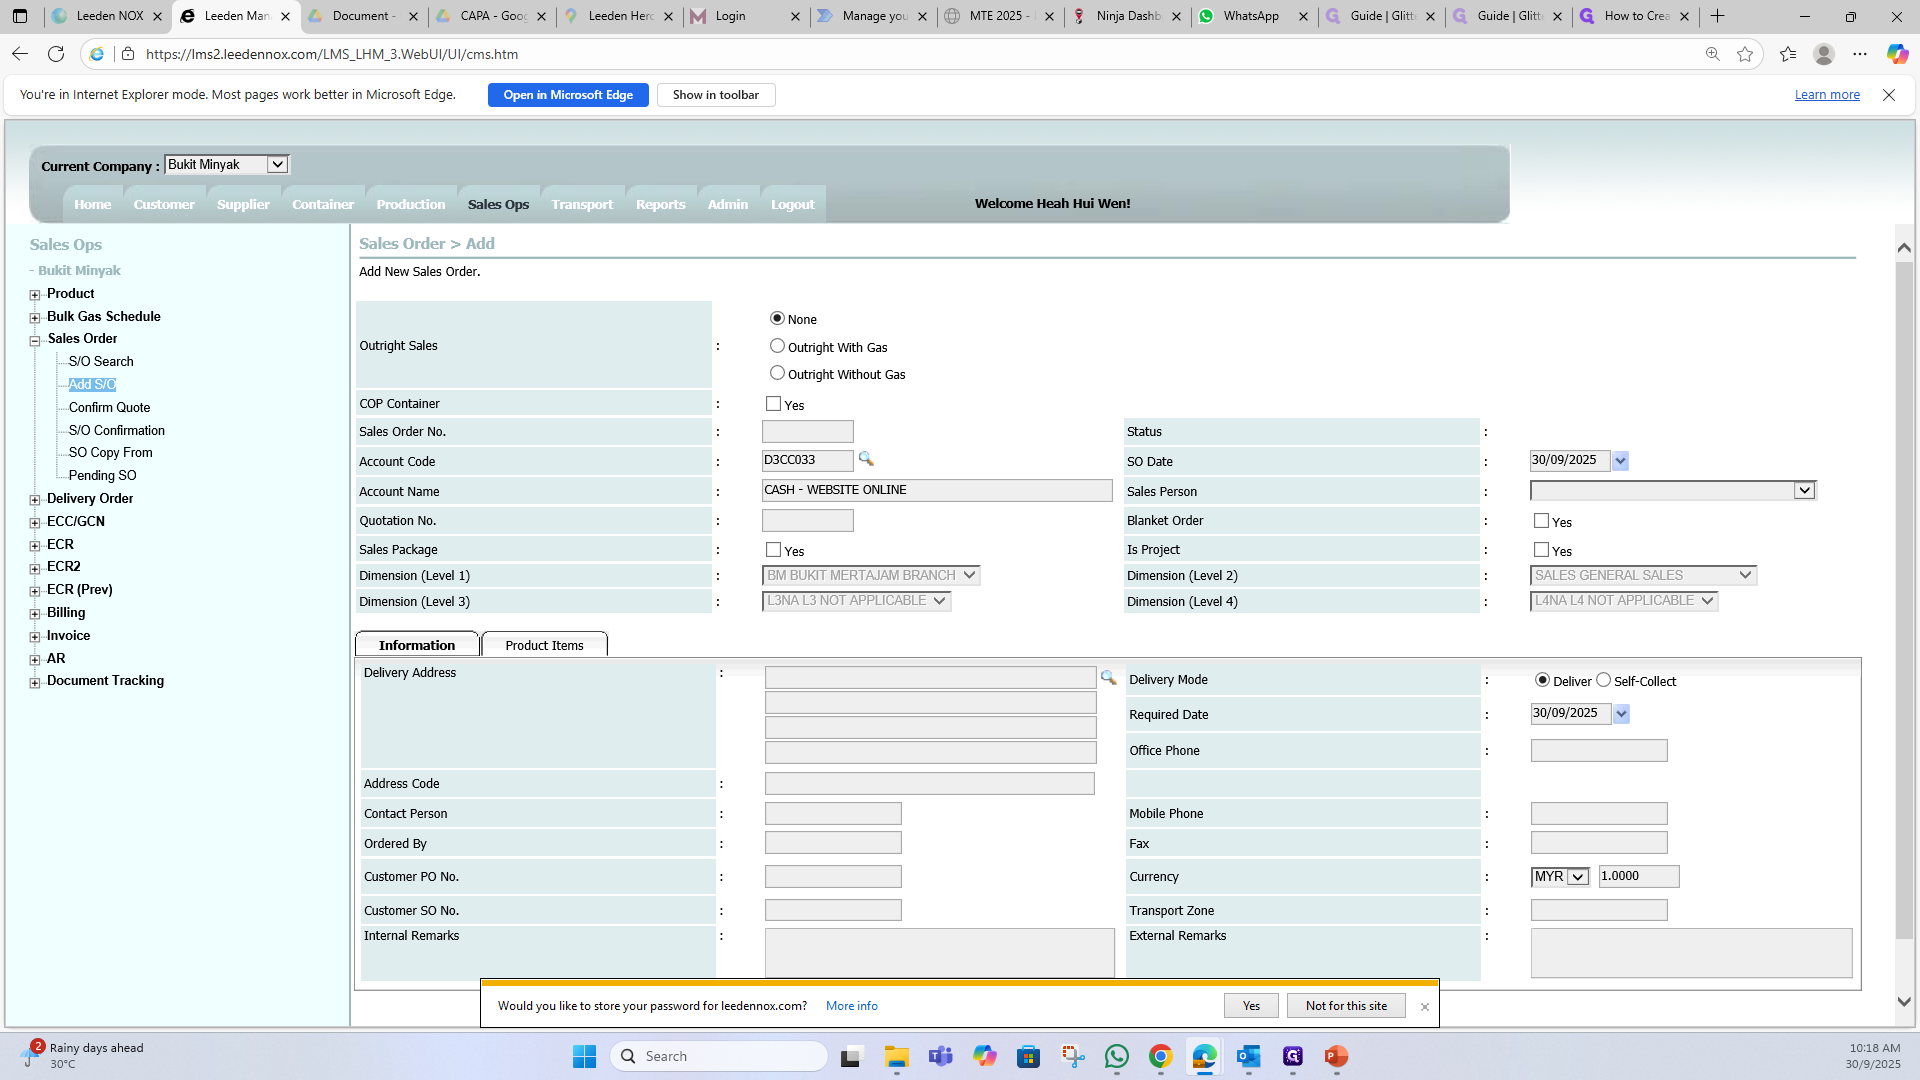
8
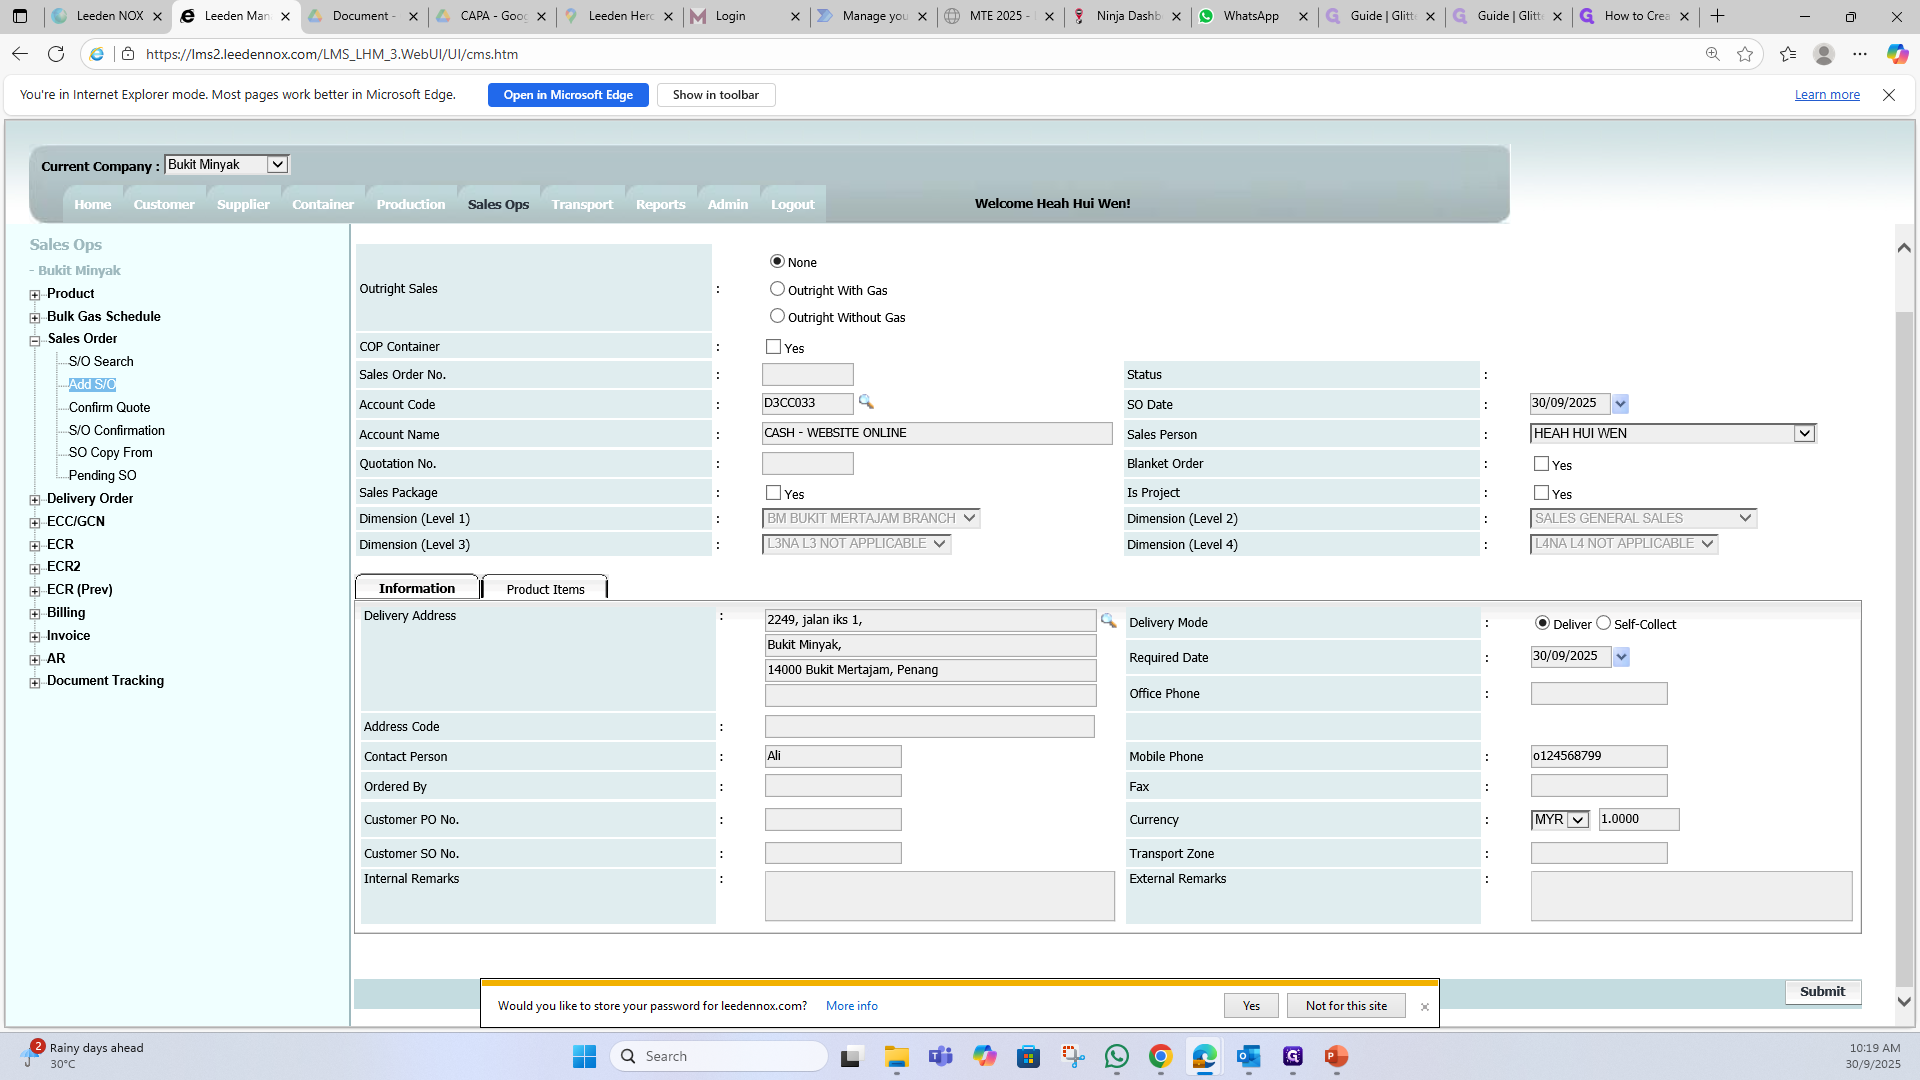
Key in customer details in "Information" section (for Address, Contact person & Contact Number).
9
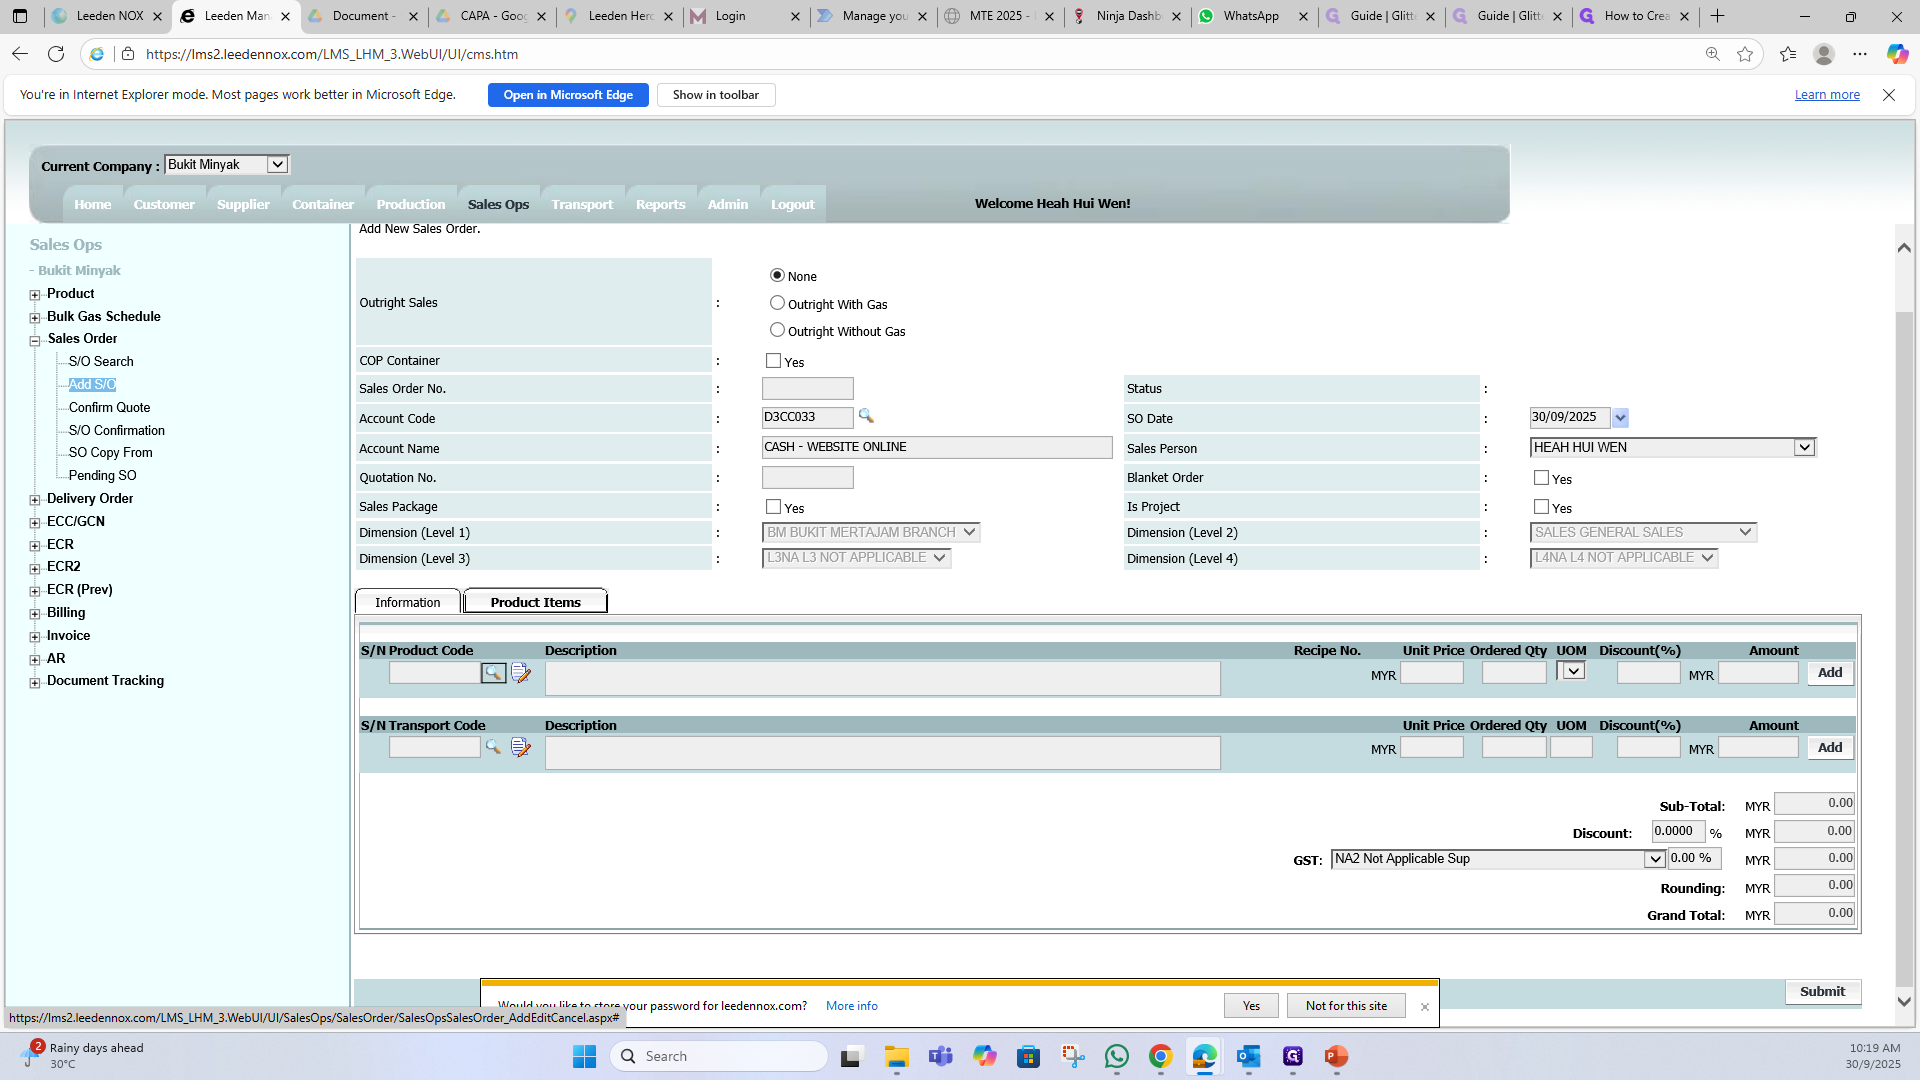
Then, click on "Product Items"
10
Select " Search" icon.
11
Type the product name.
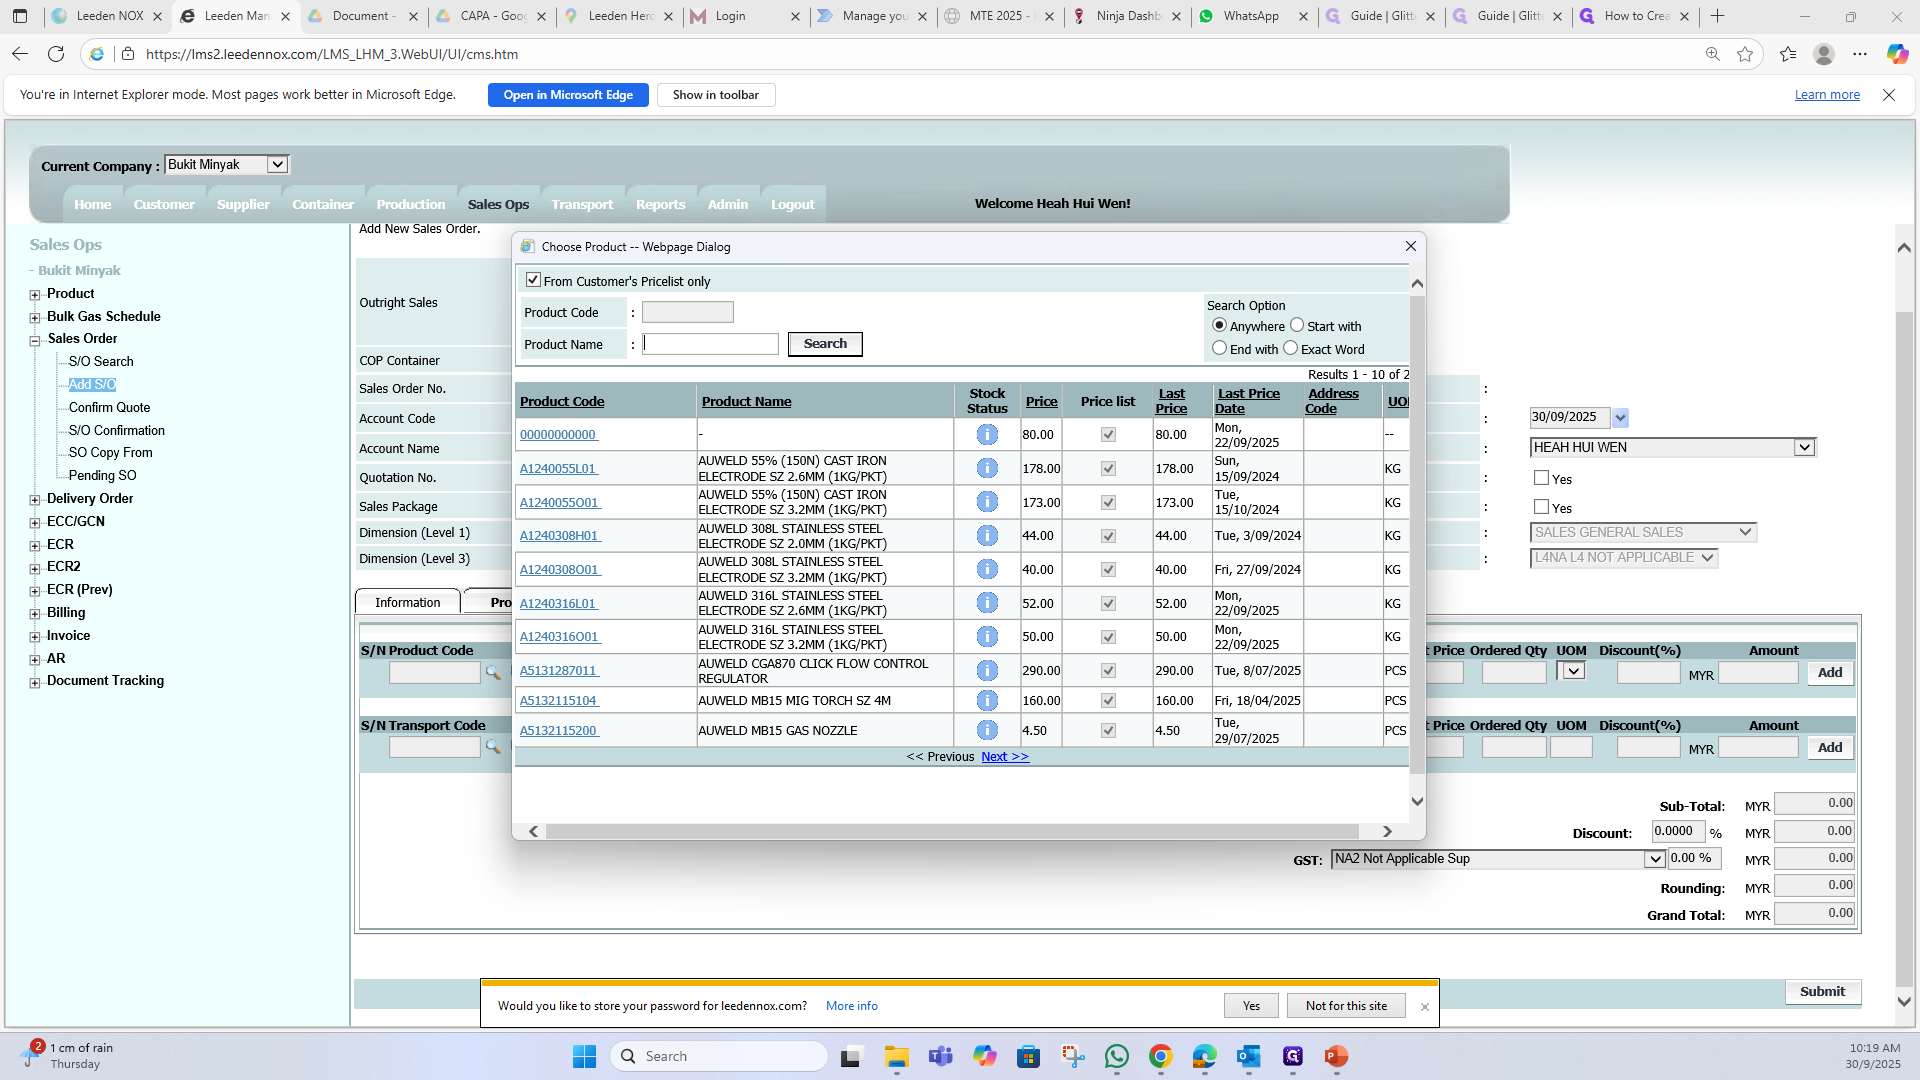
12
Select the product code.
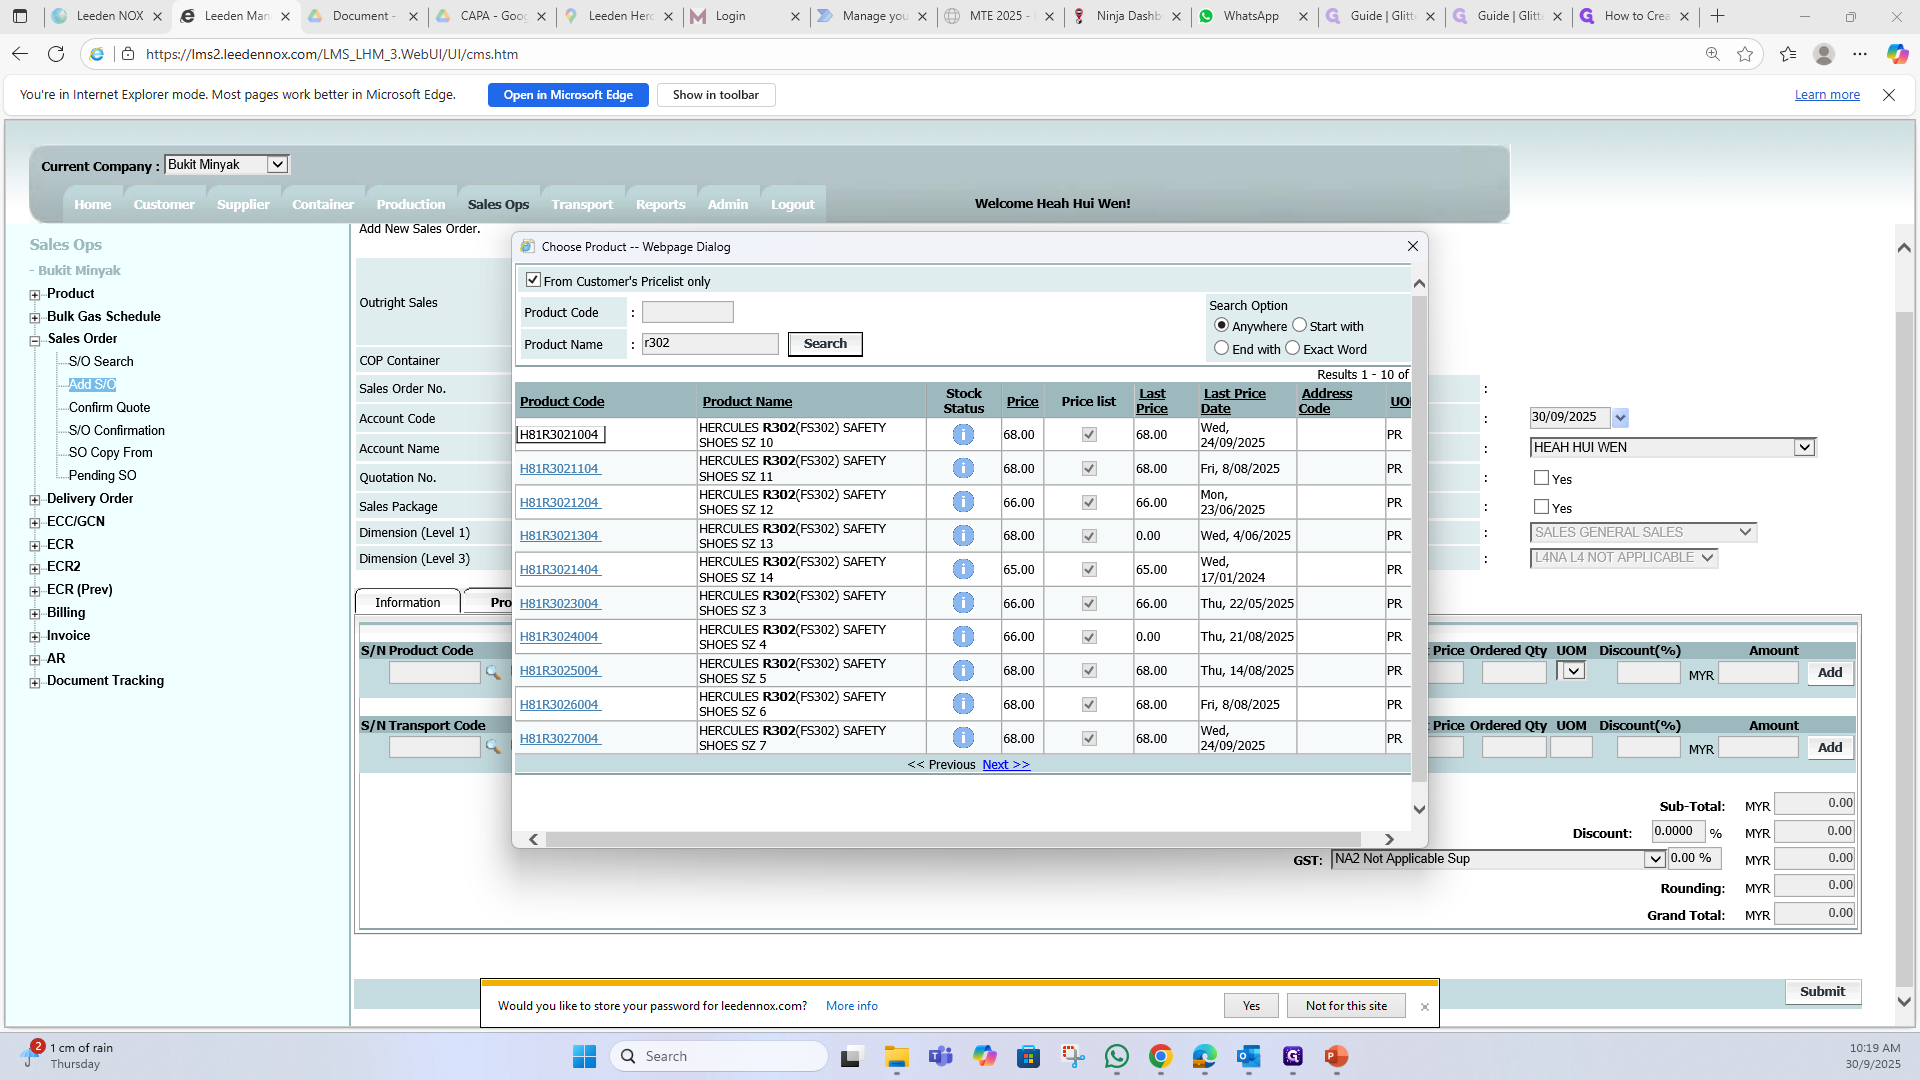
13
Check the price or type the price.
14
Type the order qunatity.

15
Click on "Add"

Lastly, click "Submit" and save PDF file by clicking "Printer" icon.