Icon

How to Create a Seminar Using Excel and S4HANA

Learn how to create a seminar using Excel and S4HANA with step-by-step instructions, including transaction codes, scheduling, and capacity settings.

By Julia Hamann

In this guide, we'll learn how to create a seminar using data from Microsoft Excel and the S4HANA system. The process involves entering transaction code OOET, setting up the seminar details, and configuring the schedule and capacity. We'll also cover how to register prices and relationships, ensuring all necessary information is accurately filled in. This guide will help you efficiently organize and manage seminar details within the system.

Let's get started

How to create a seminar? You need the data file from Excel and S4HANA.

1
Click here
Step #1: Click here

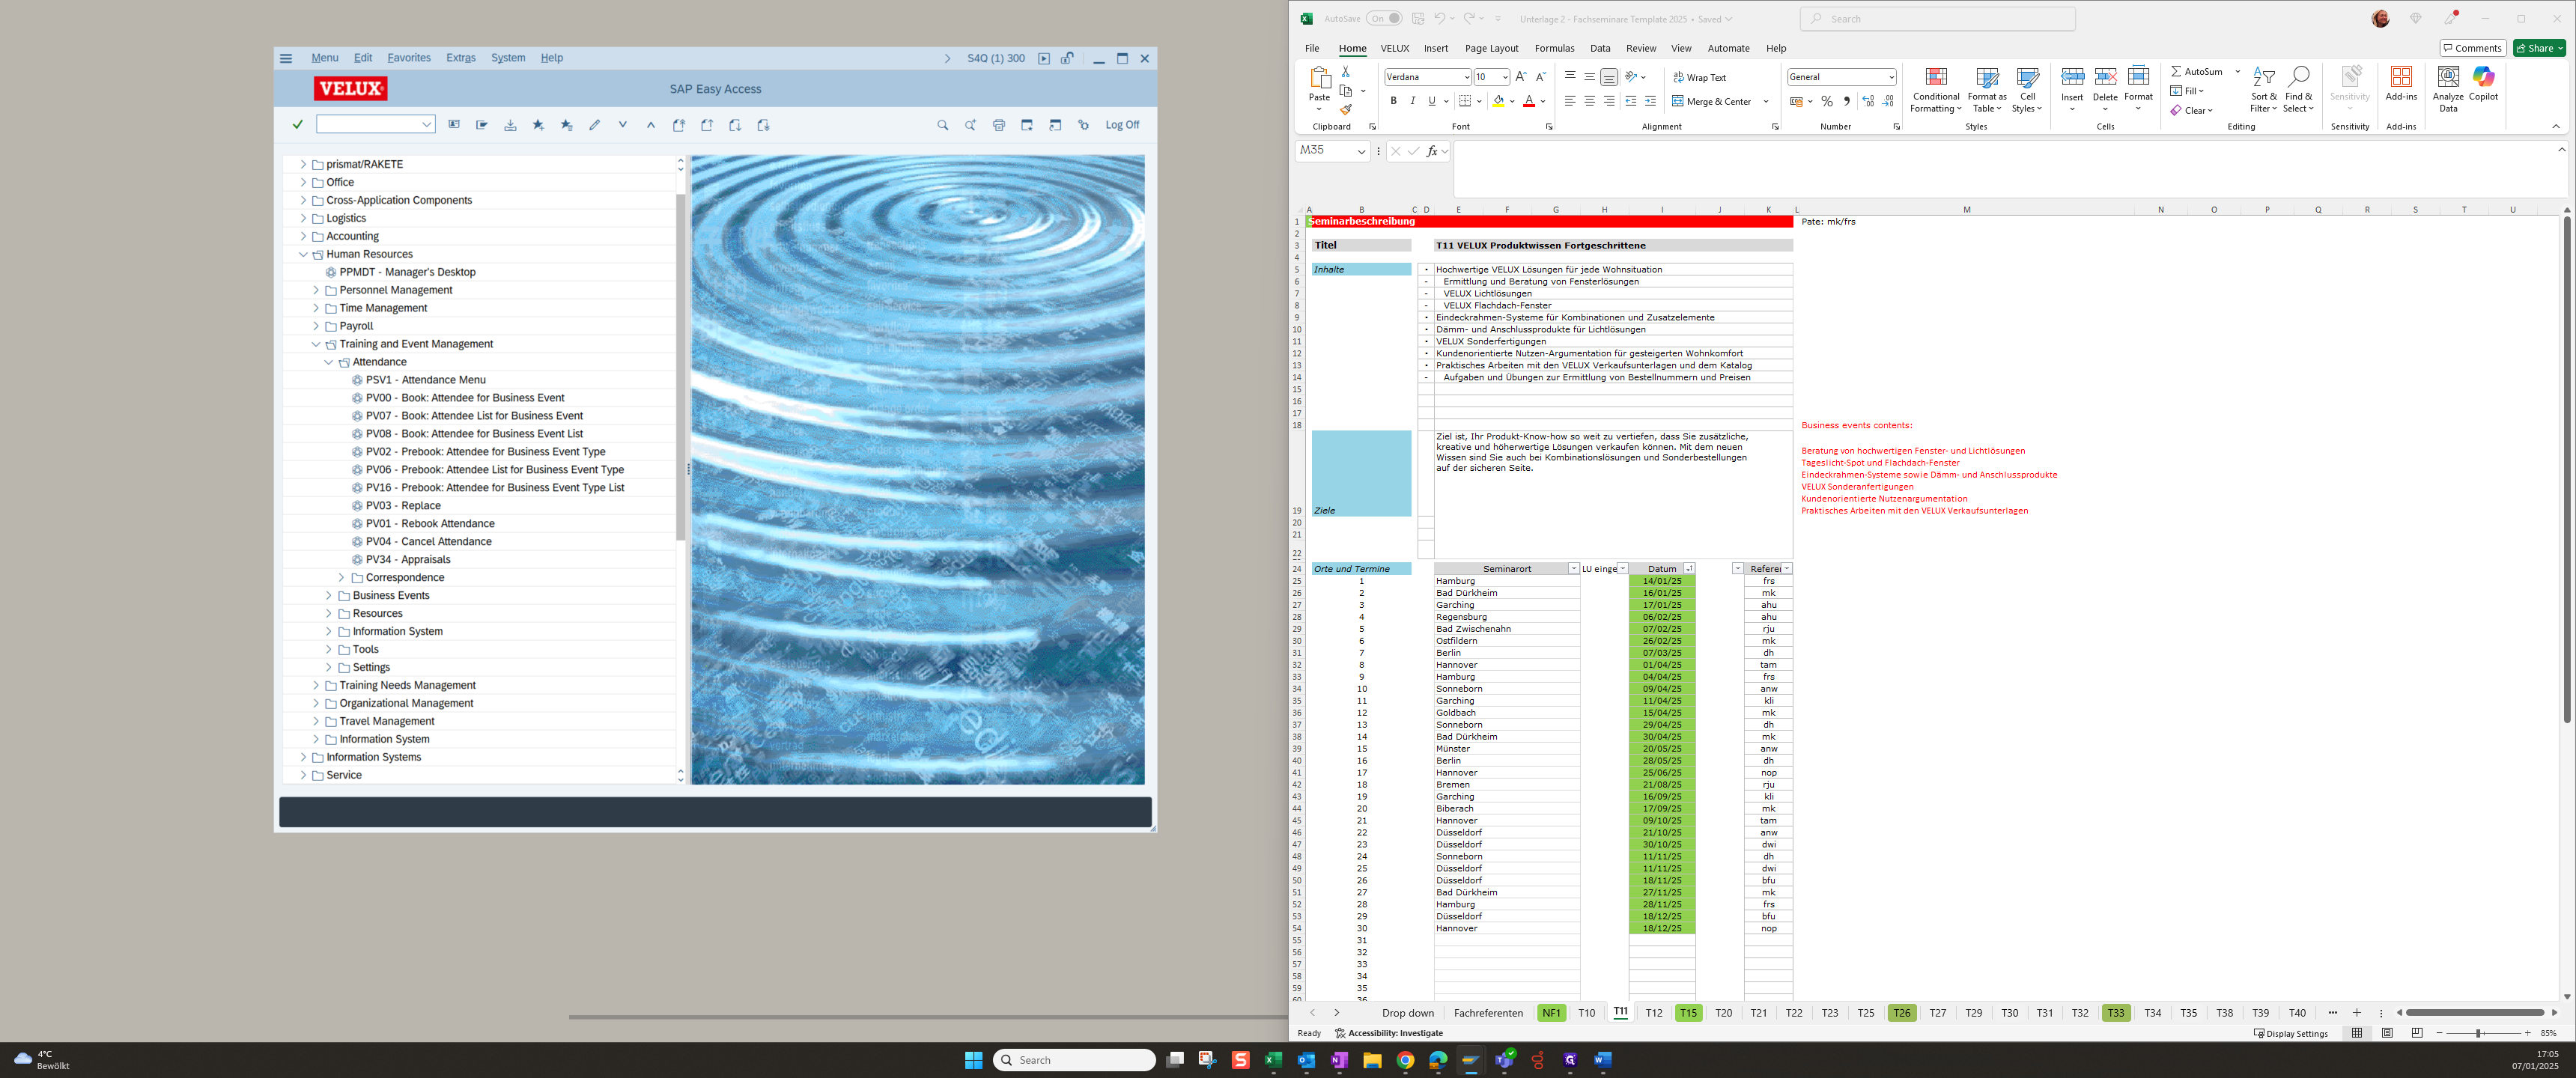
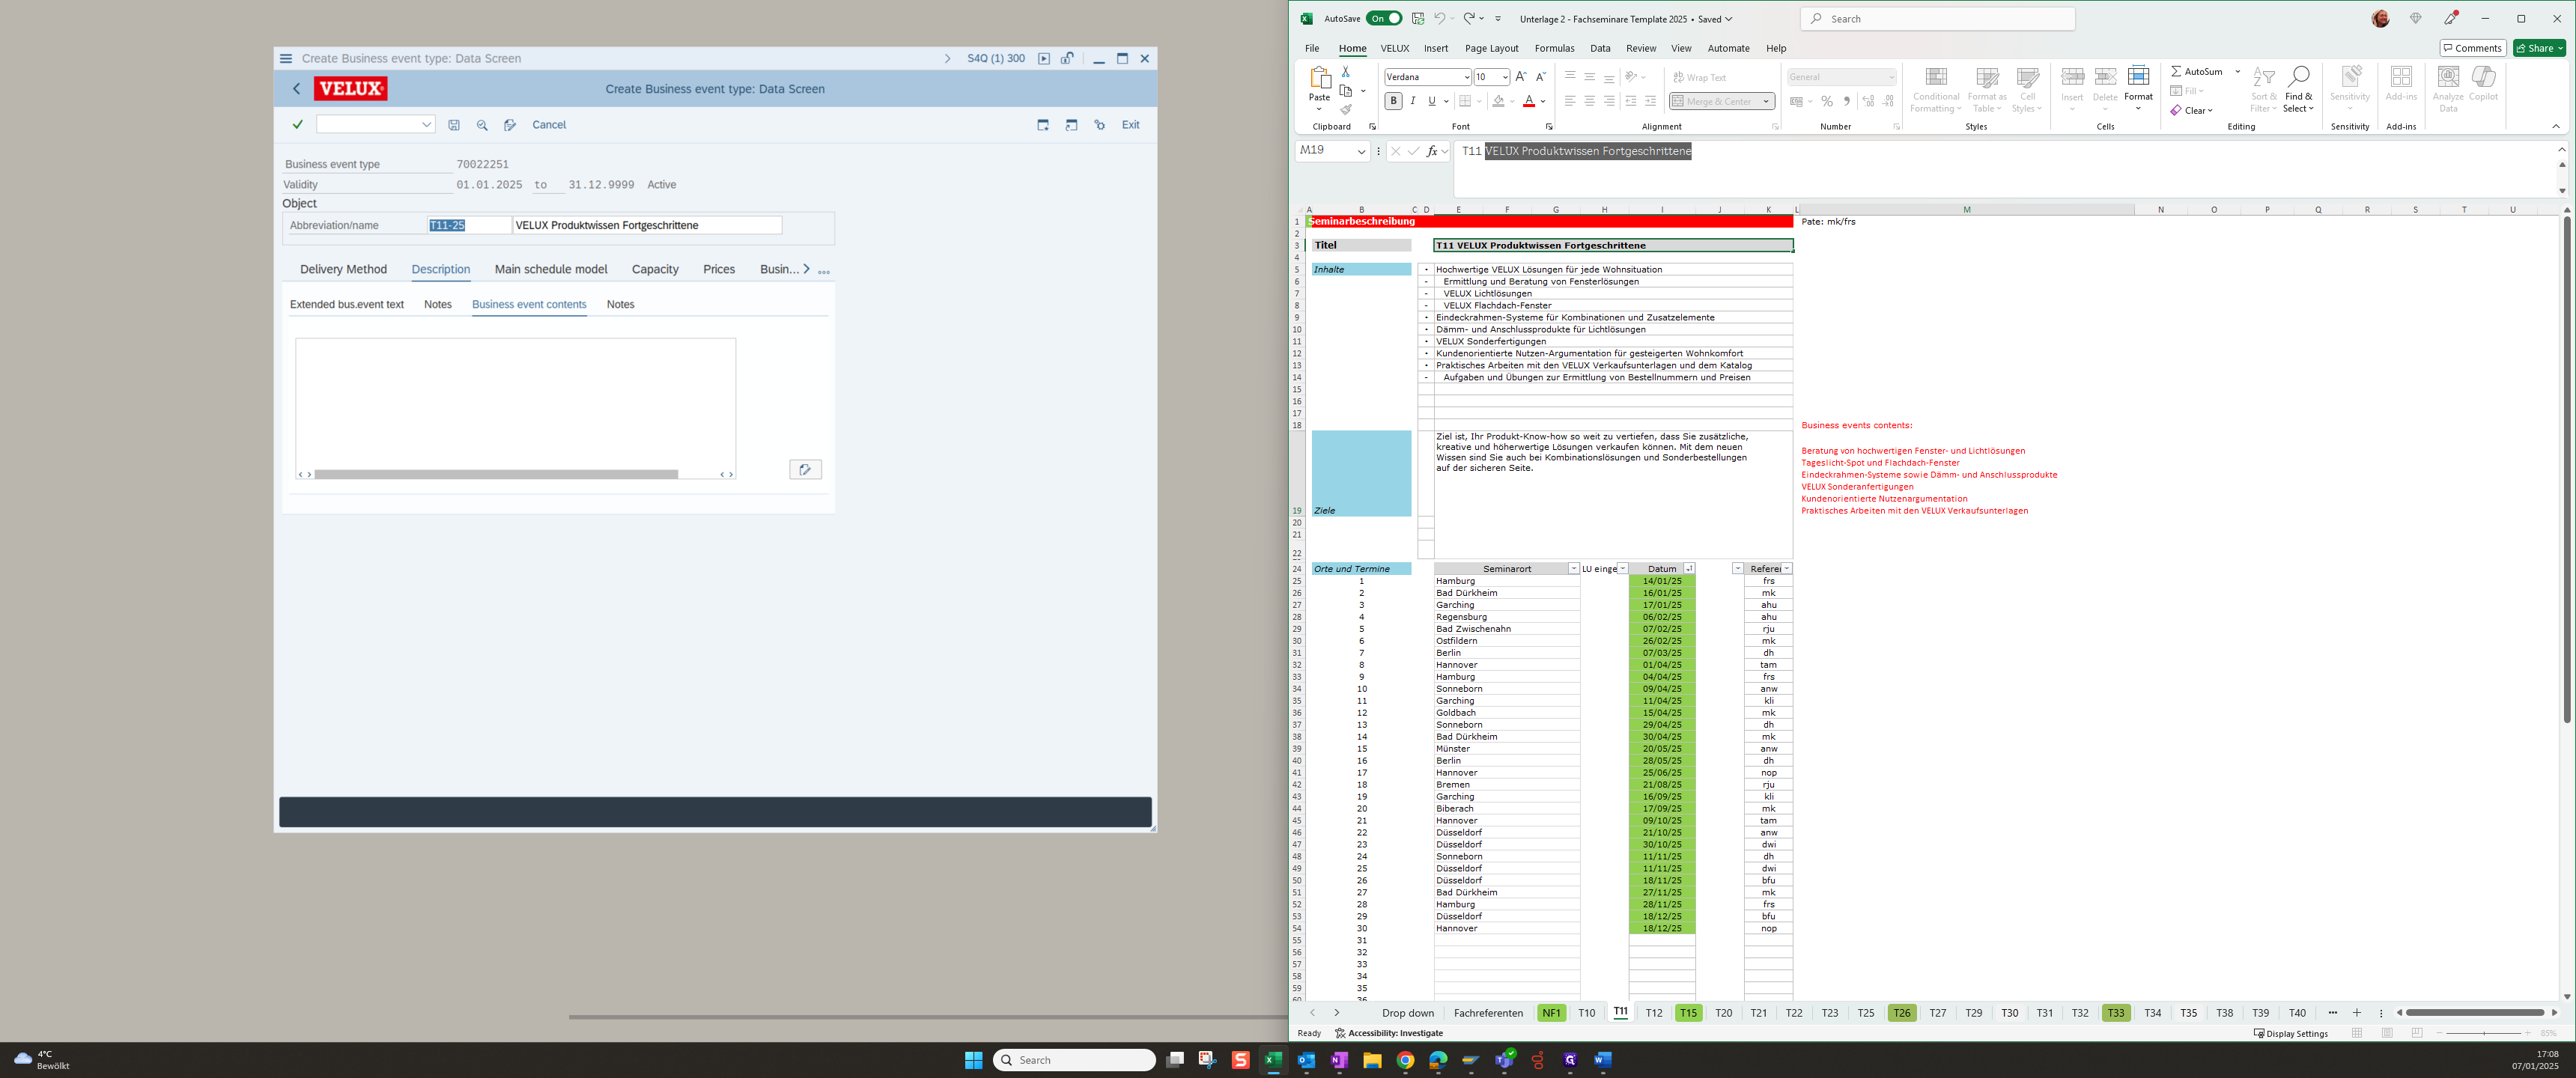
Enter transaction code OOET and press Enter

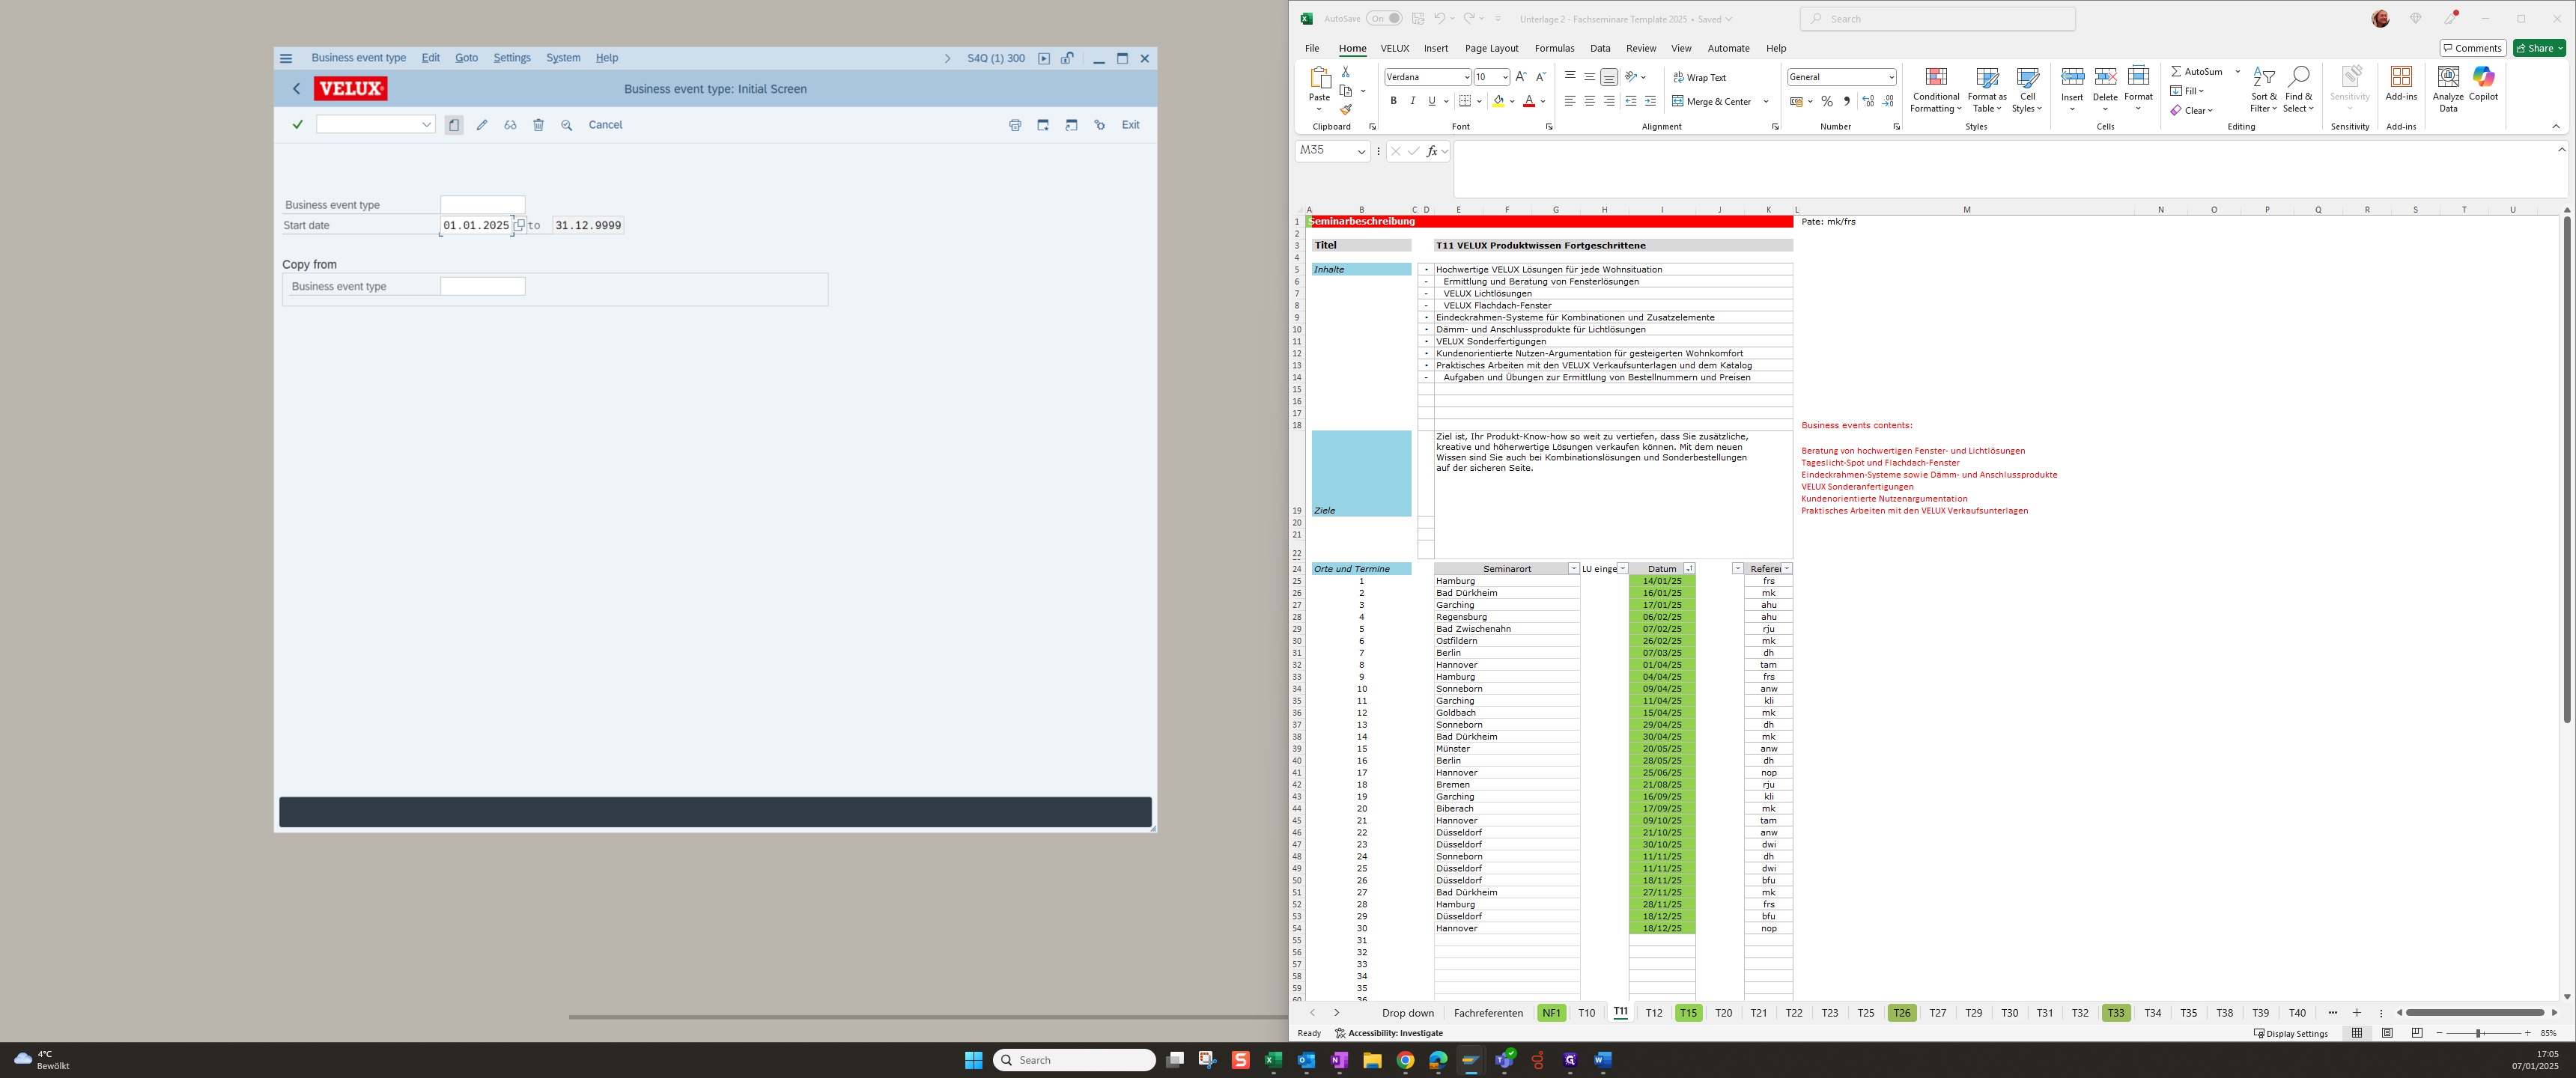
Leave the business event type empty and change the start date from January 1st

2
Click on "07.01.2025" and change to "01.01.2025"
Step #2: Click on "07.01.2025" and change to "01.01.2025"
3
Click on the white blank page to create
Step #3: Click on the white blank page to create
4
Click on "Classroom Training"
Step #4: Click on "Classroom Training"
5
Click here to fill in the number of the seminar
Step #5: Click here to fill in the number of the seminar

You can find the seminar number in the Excel file

6
Click here
Step #6: Click here
7
Click here and also add the number "-25" for the year at the end of the seminar number
Step #7: Click here and also add the number "-25" for the year at the end of the seminar number
8
In the second field you add the full title of the seminar
Step #8: In the second field you add the full title of the seminar

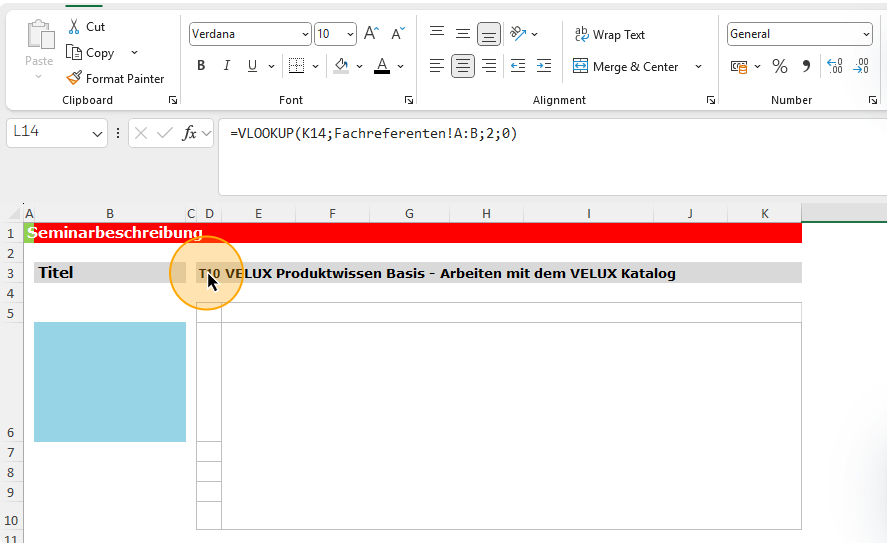
You can copy it from the data table

9
You can find the name of the seminar in line "Titel"
Step #9: You can find the name of the seminar in line "Titel"
10
Copy and paste it here
Step #10: Copy and paste it here
11
Click on the register "Description"
Step #11: Click on the register "Description"
12
Click on "Business event contents"
Step #12: Click on "Business event contents"

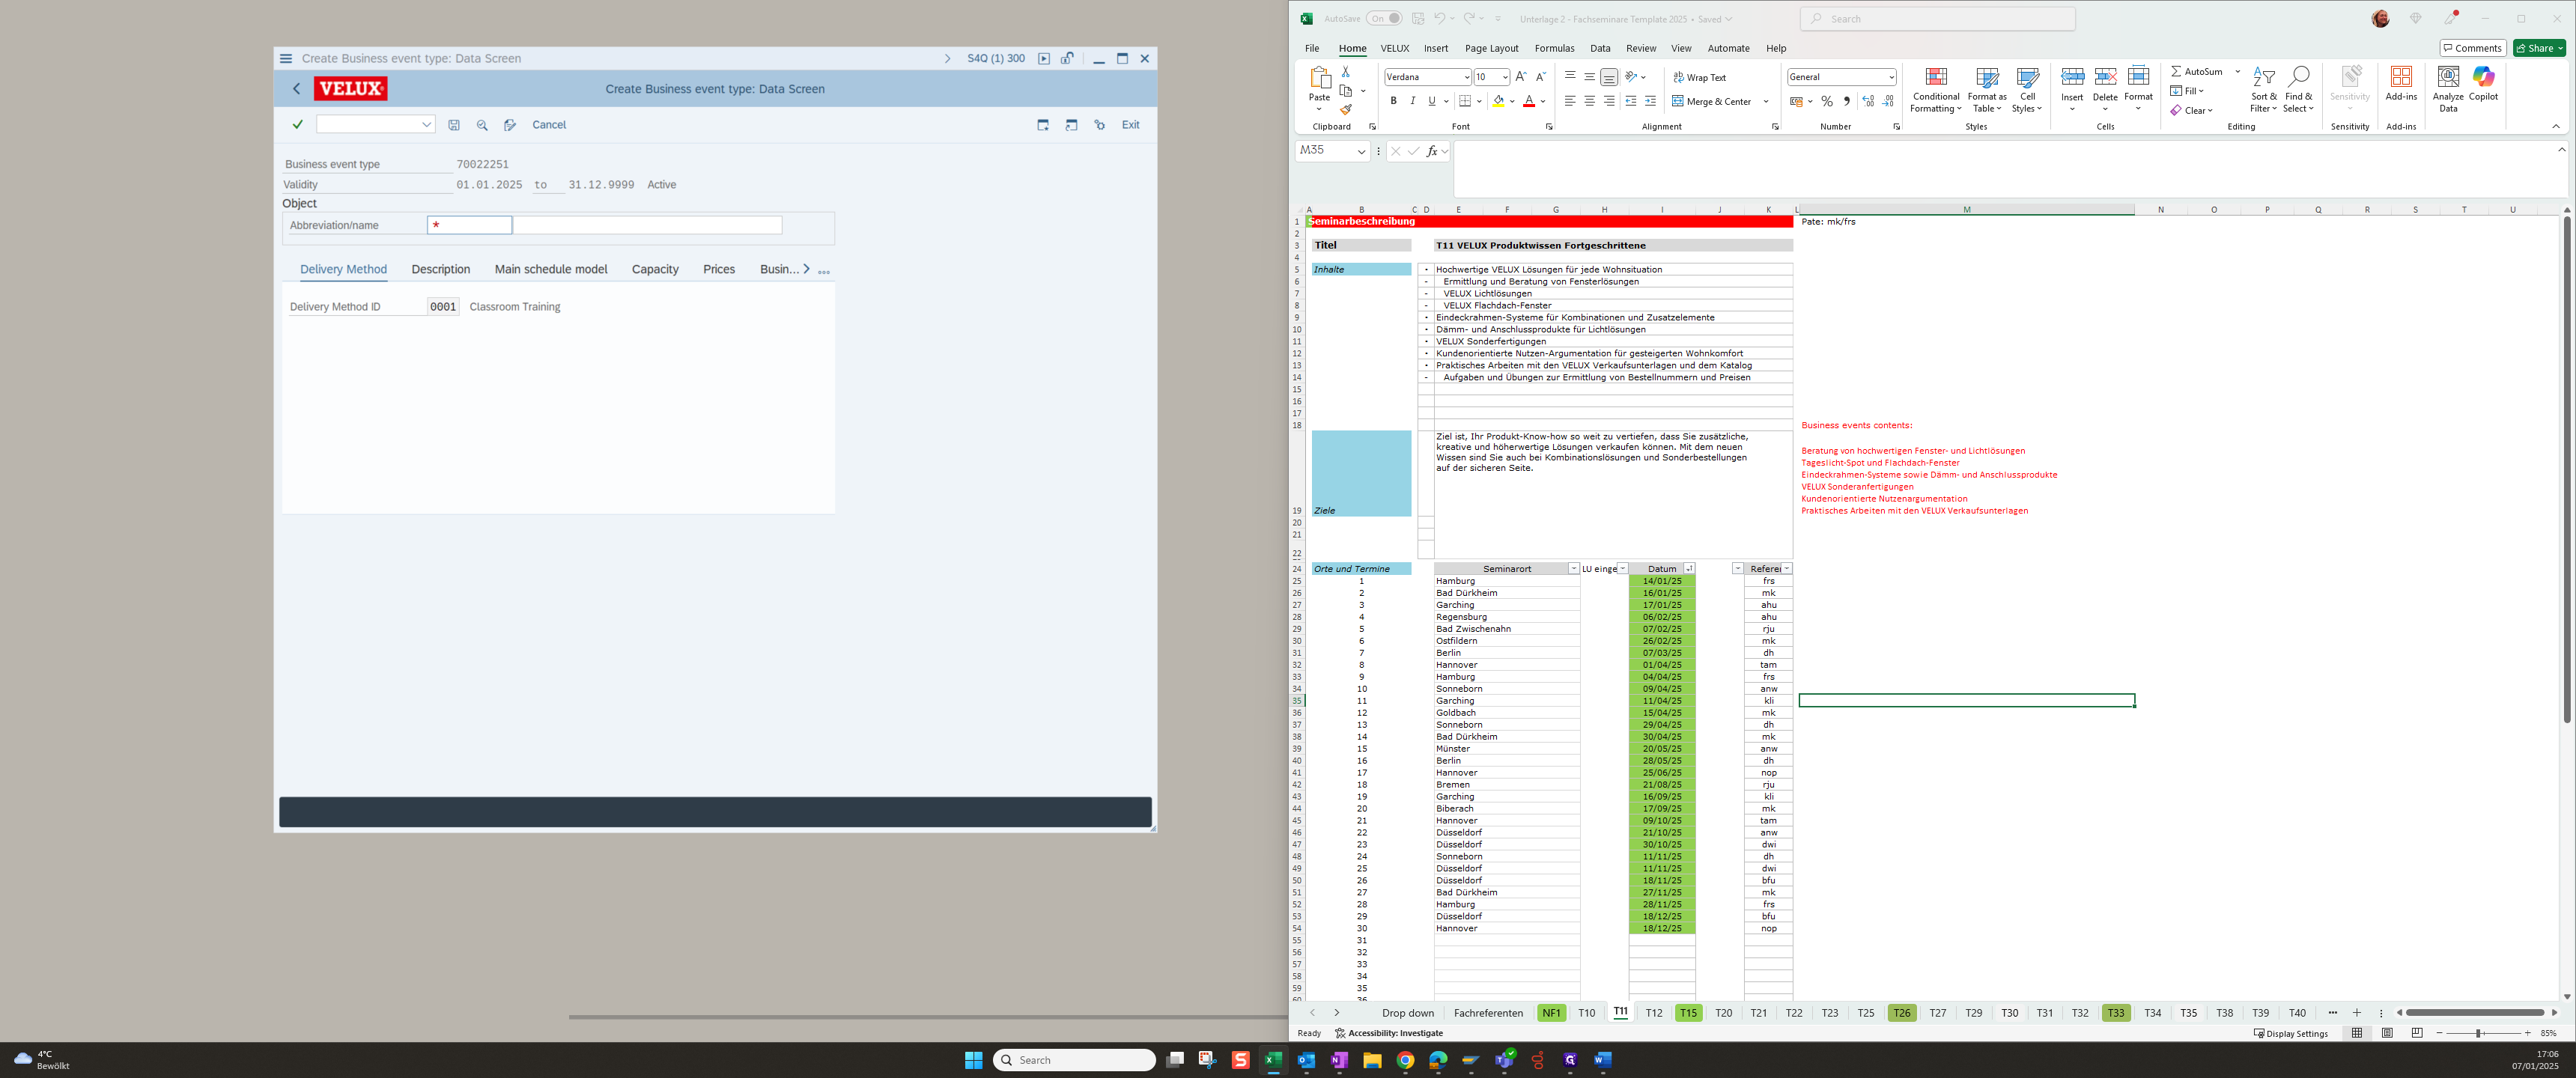
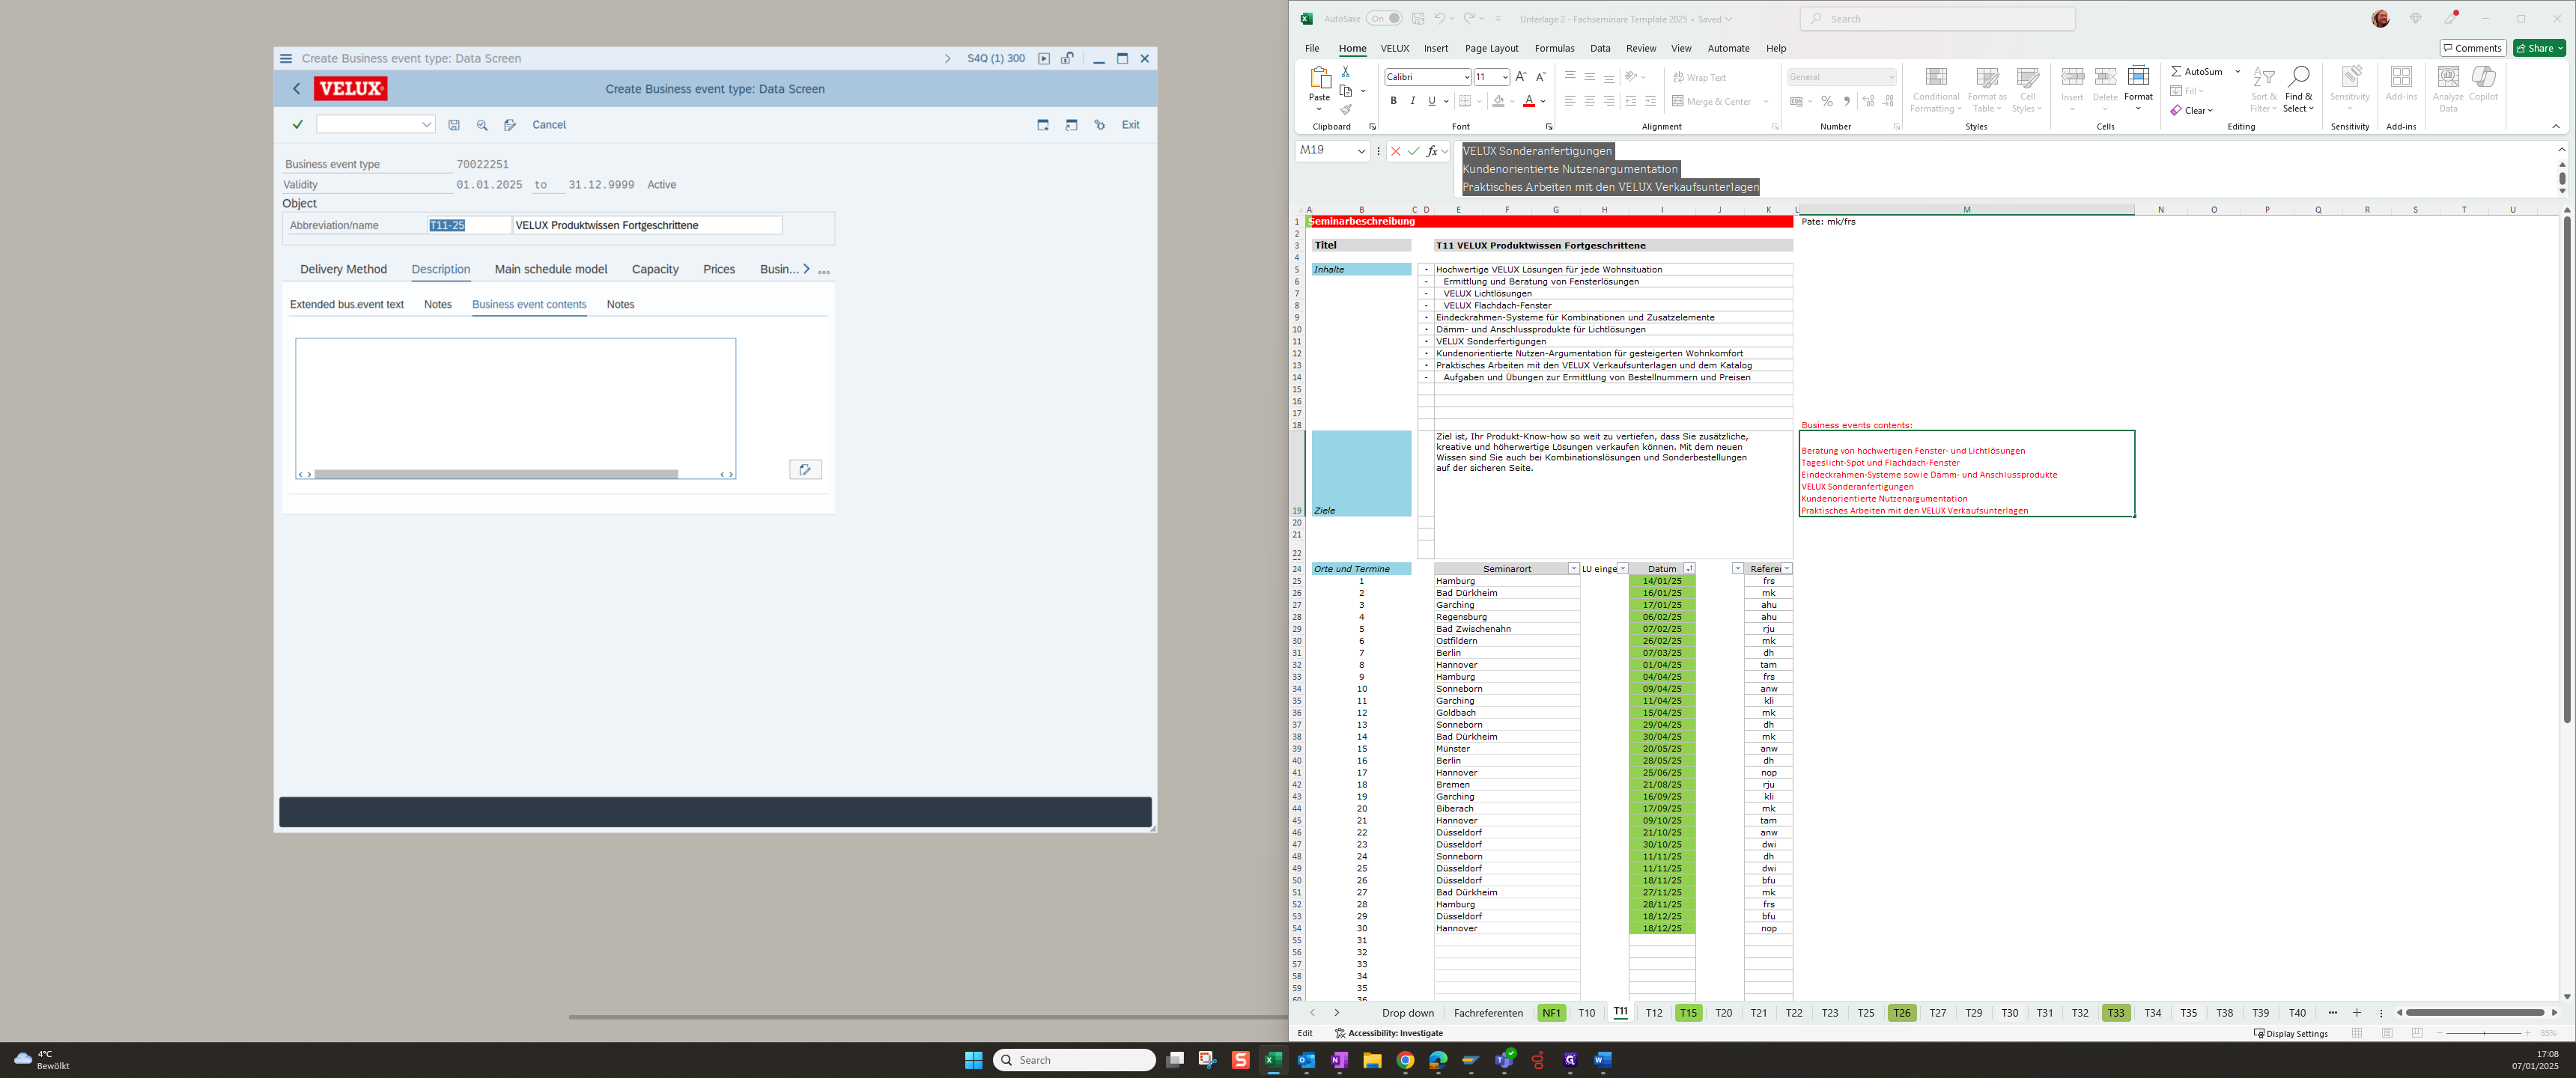
The text that will later be printed on the certificate is entered here. This can be found in Excel and is highlighted in red

13
Copy the text below "Business event contents"
Step #13: Copy the text below "Business event contents"
14
Click here and paste the text
Step #14: Click here and paste the text
15
Please ensure you leave the first line empty
Step #15: Please ensure you leave the first line empty
16
Click on Register "Main schedule model"
Step #16: Click on Register "Main schedule model"

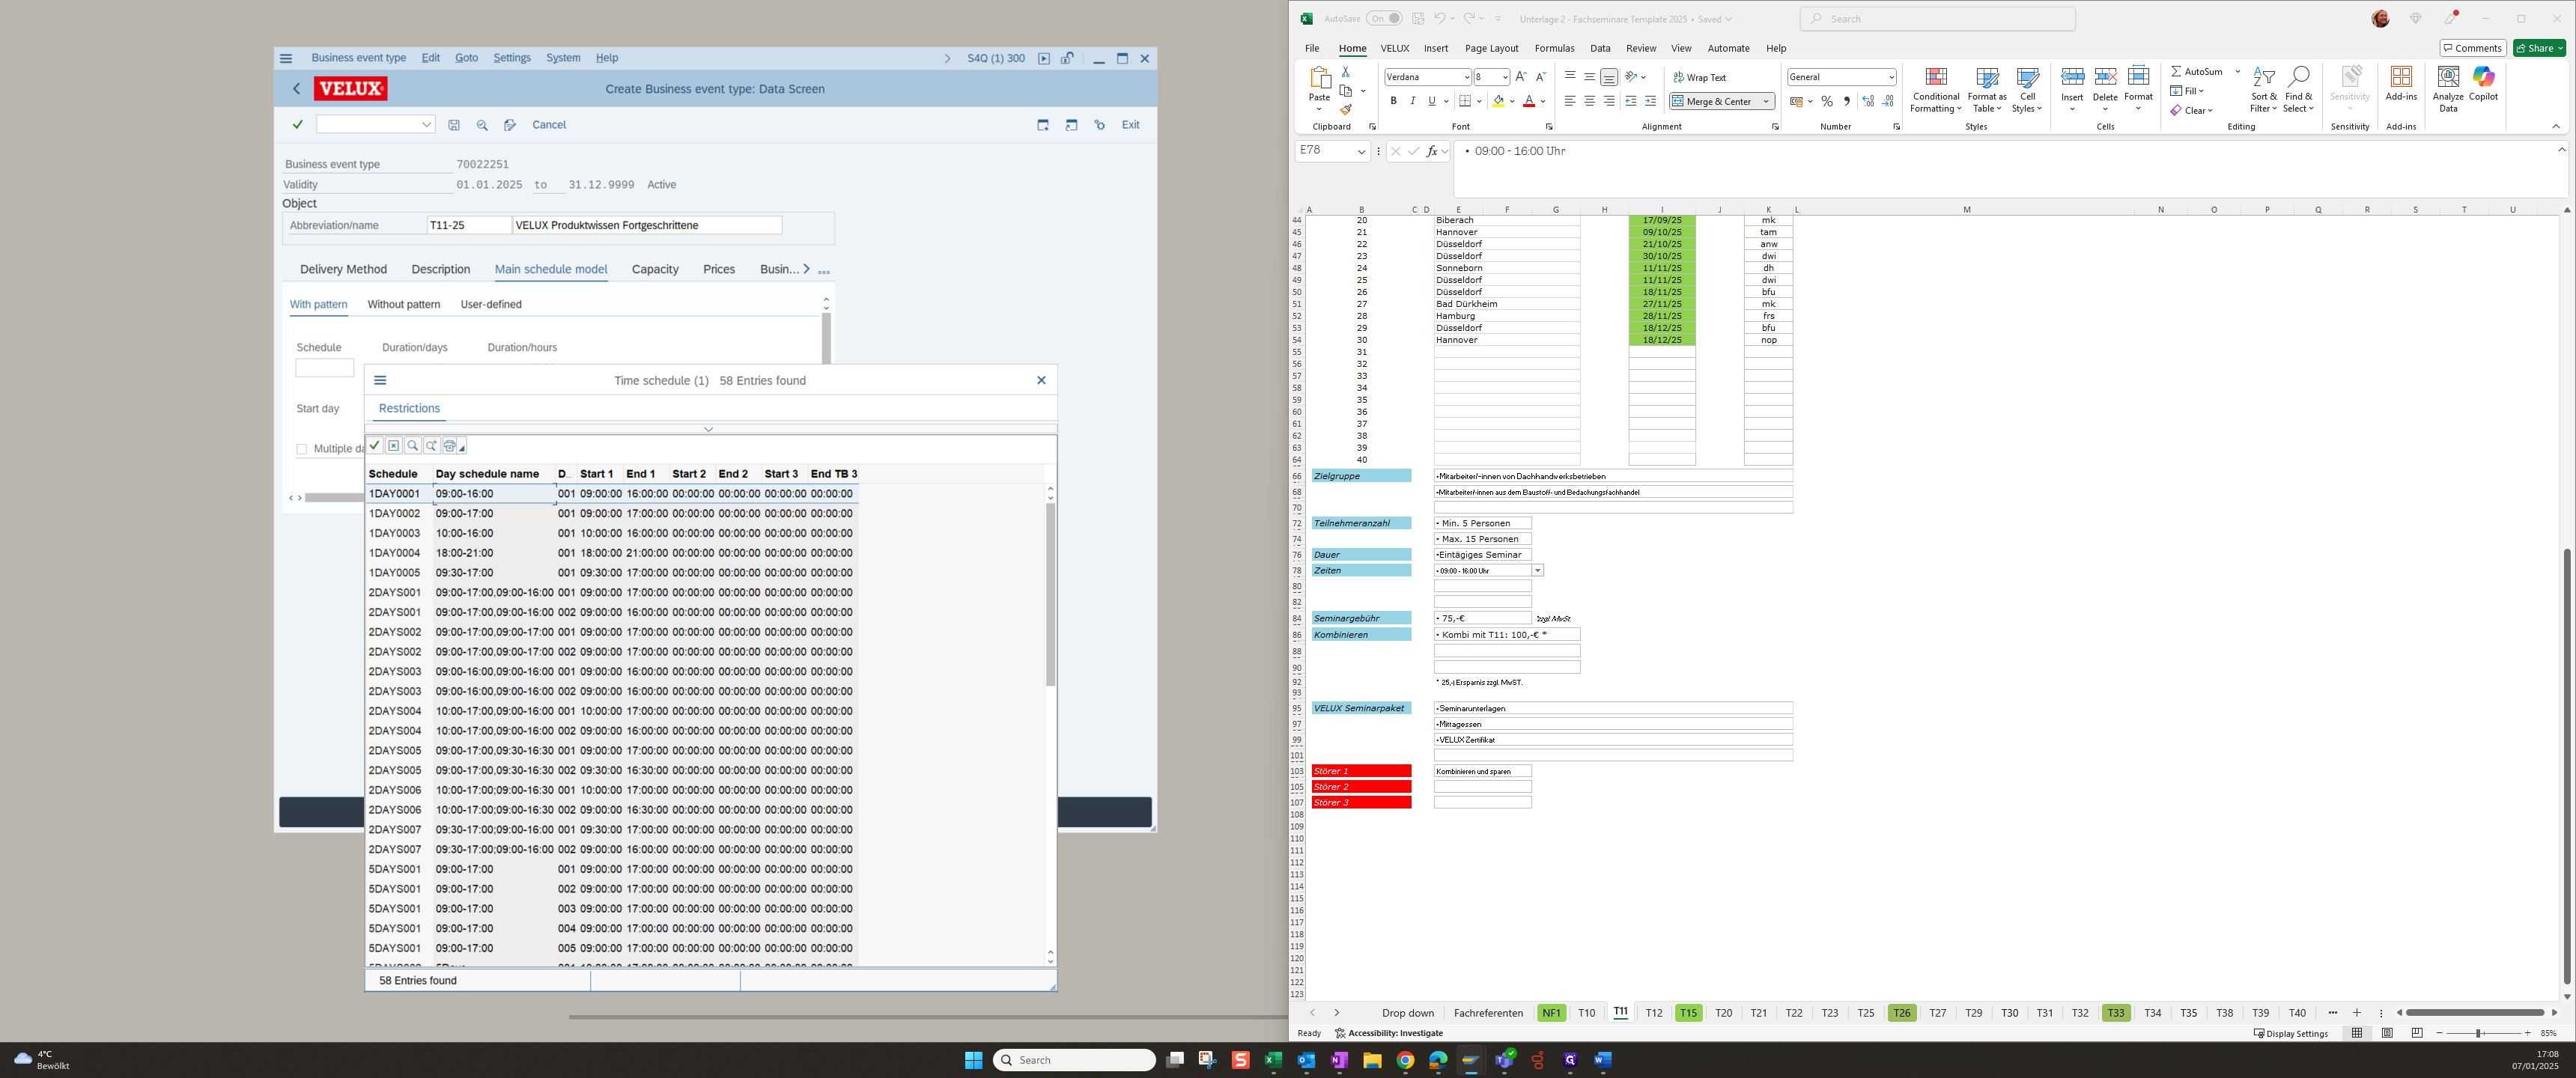
And set the correct schedule

17
Click here
Step #17: Click here

The schedule time is also available in the data table

18
You can find the schedule in line "Zeiten" (e.g. The seminar is scheduled from 9:00 to 16:00)
Step #18: You can find the schedule in line "Zeiten" (e.g. The seminar is scheduled from 9:00 to 16:00)
19
Double-click to choose the right schedule
Step #19: Double-click to choose the right schedule

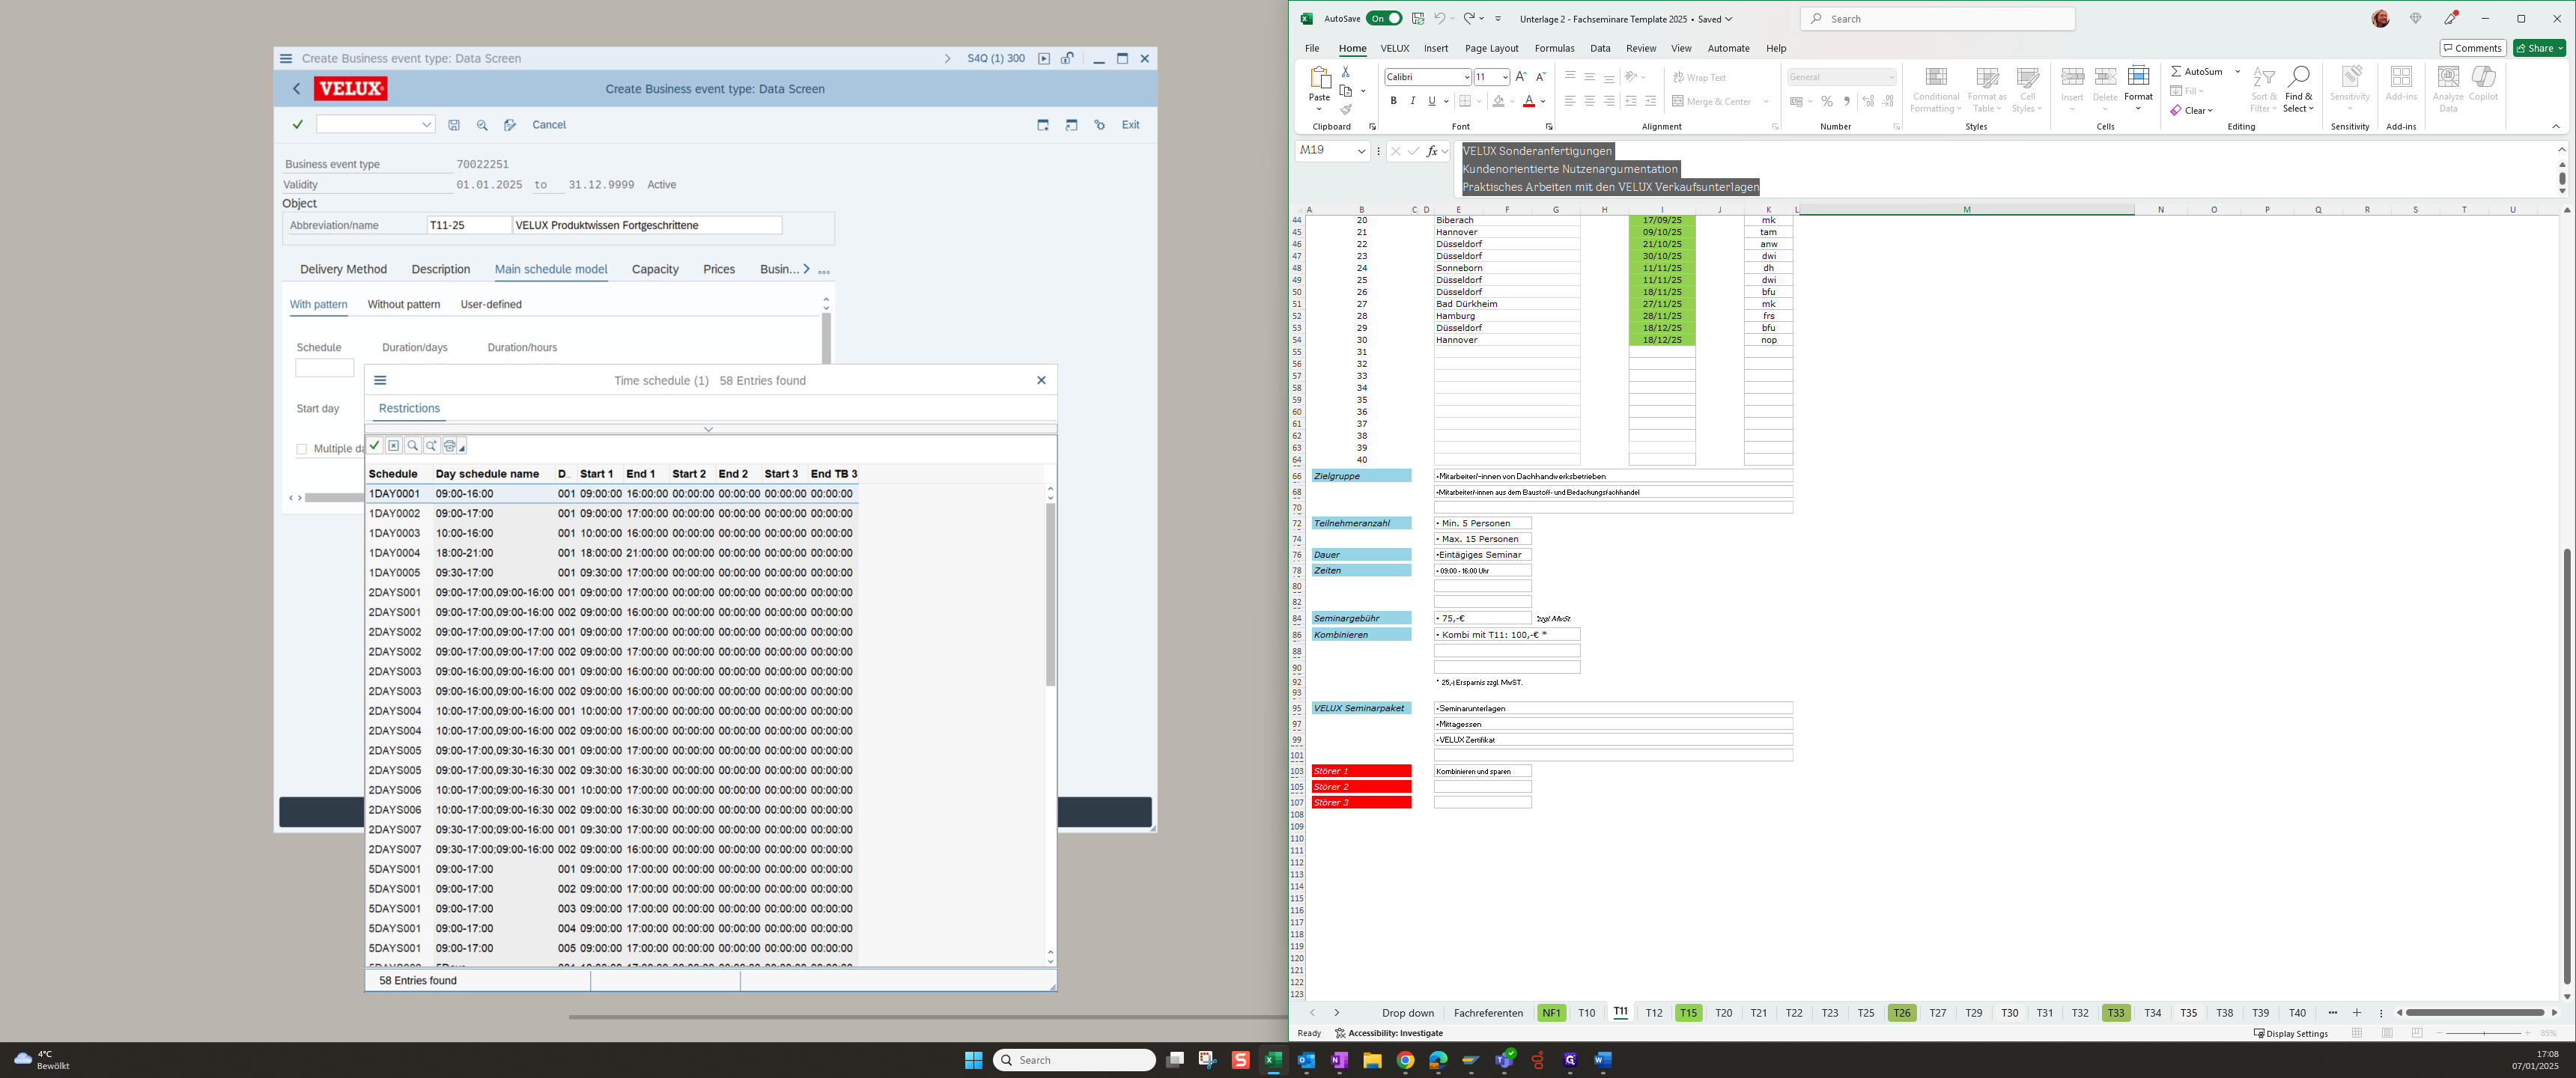
Next, click on "Capacity" to enter the minimum, optimum and maximum values

20
Click on "Capacity"
Step #20: Click on "Capacity"

You can also find the information on capacity in the Excel file

21
You can find minimum and maximum in line "Teilnehmeranzahl"
Step #21: You can find minimum and maximum in line "Teilnehmeranzahl"

i.e. The minimum is 5 and the maximum is 15

The optimum is always 8

22
Fill in the numbers
Step #22: Fill in the numbers

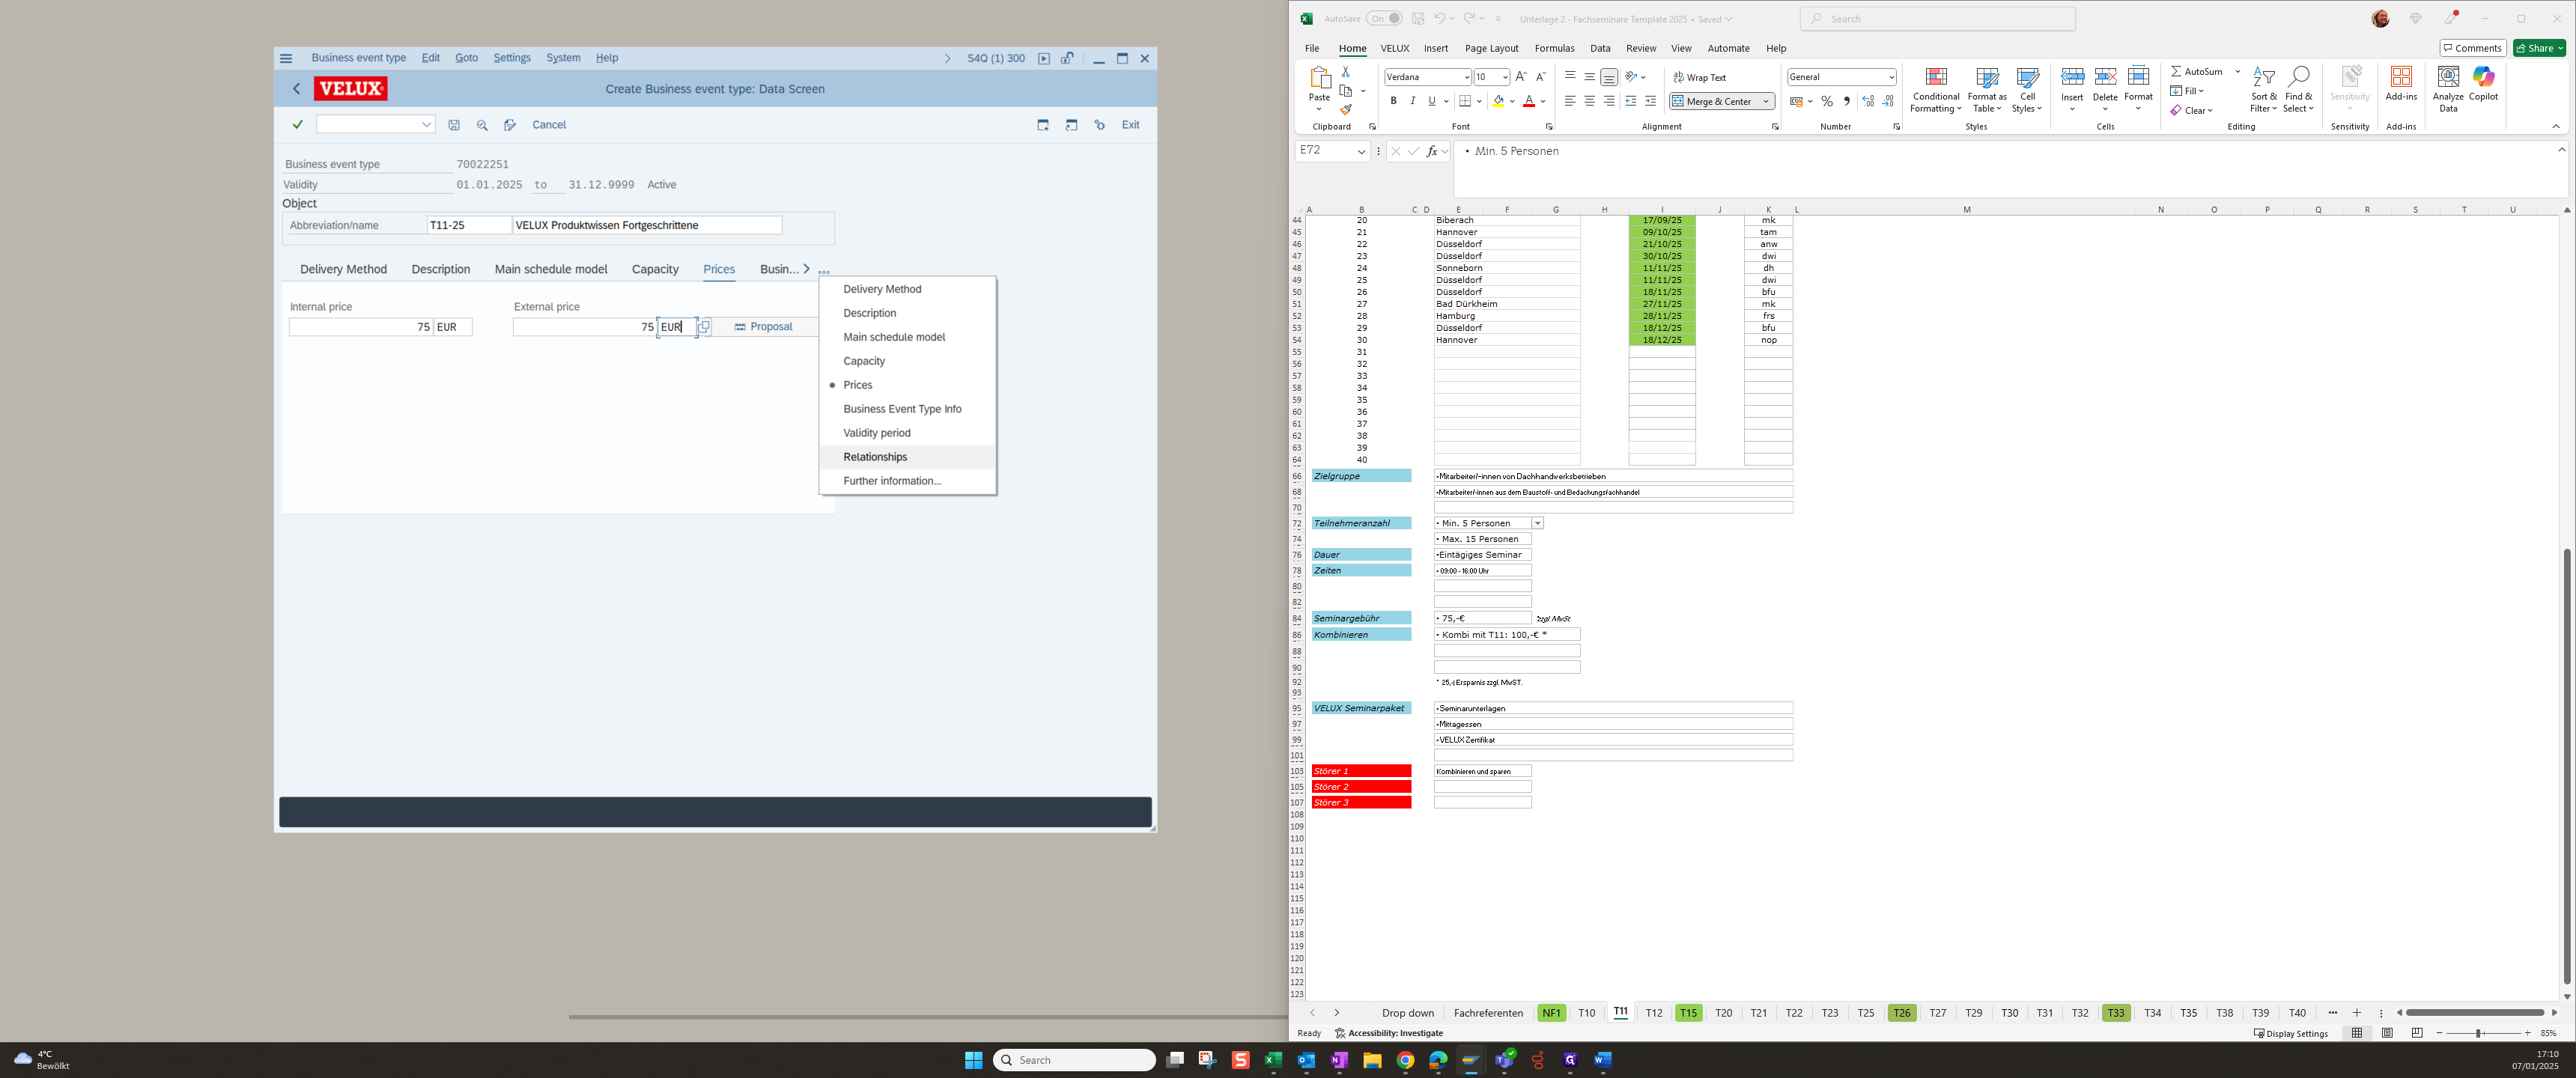
Go to the register price section and enter the seminar price

23
The seminar price is available in the excel file from the line "Seminargebühr"
Step #23: The seminar price is available in the excel file from the line "Seminargebühr"

Fill in the internal and external prices with the same price

Please ensure you fill in the correct information

24
Fill in the price
Step #24: Fill in the price

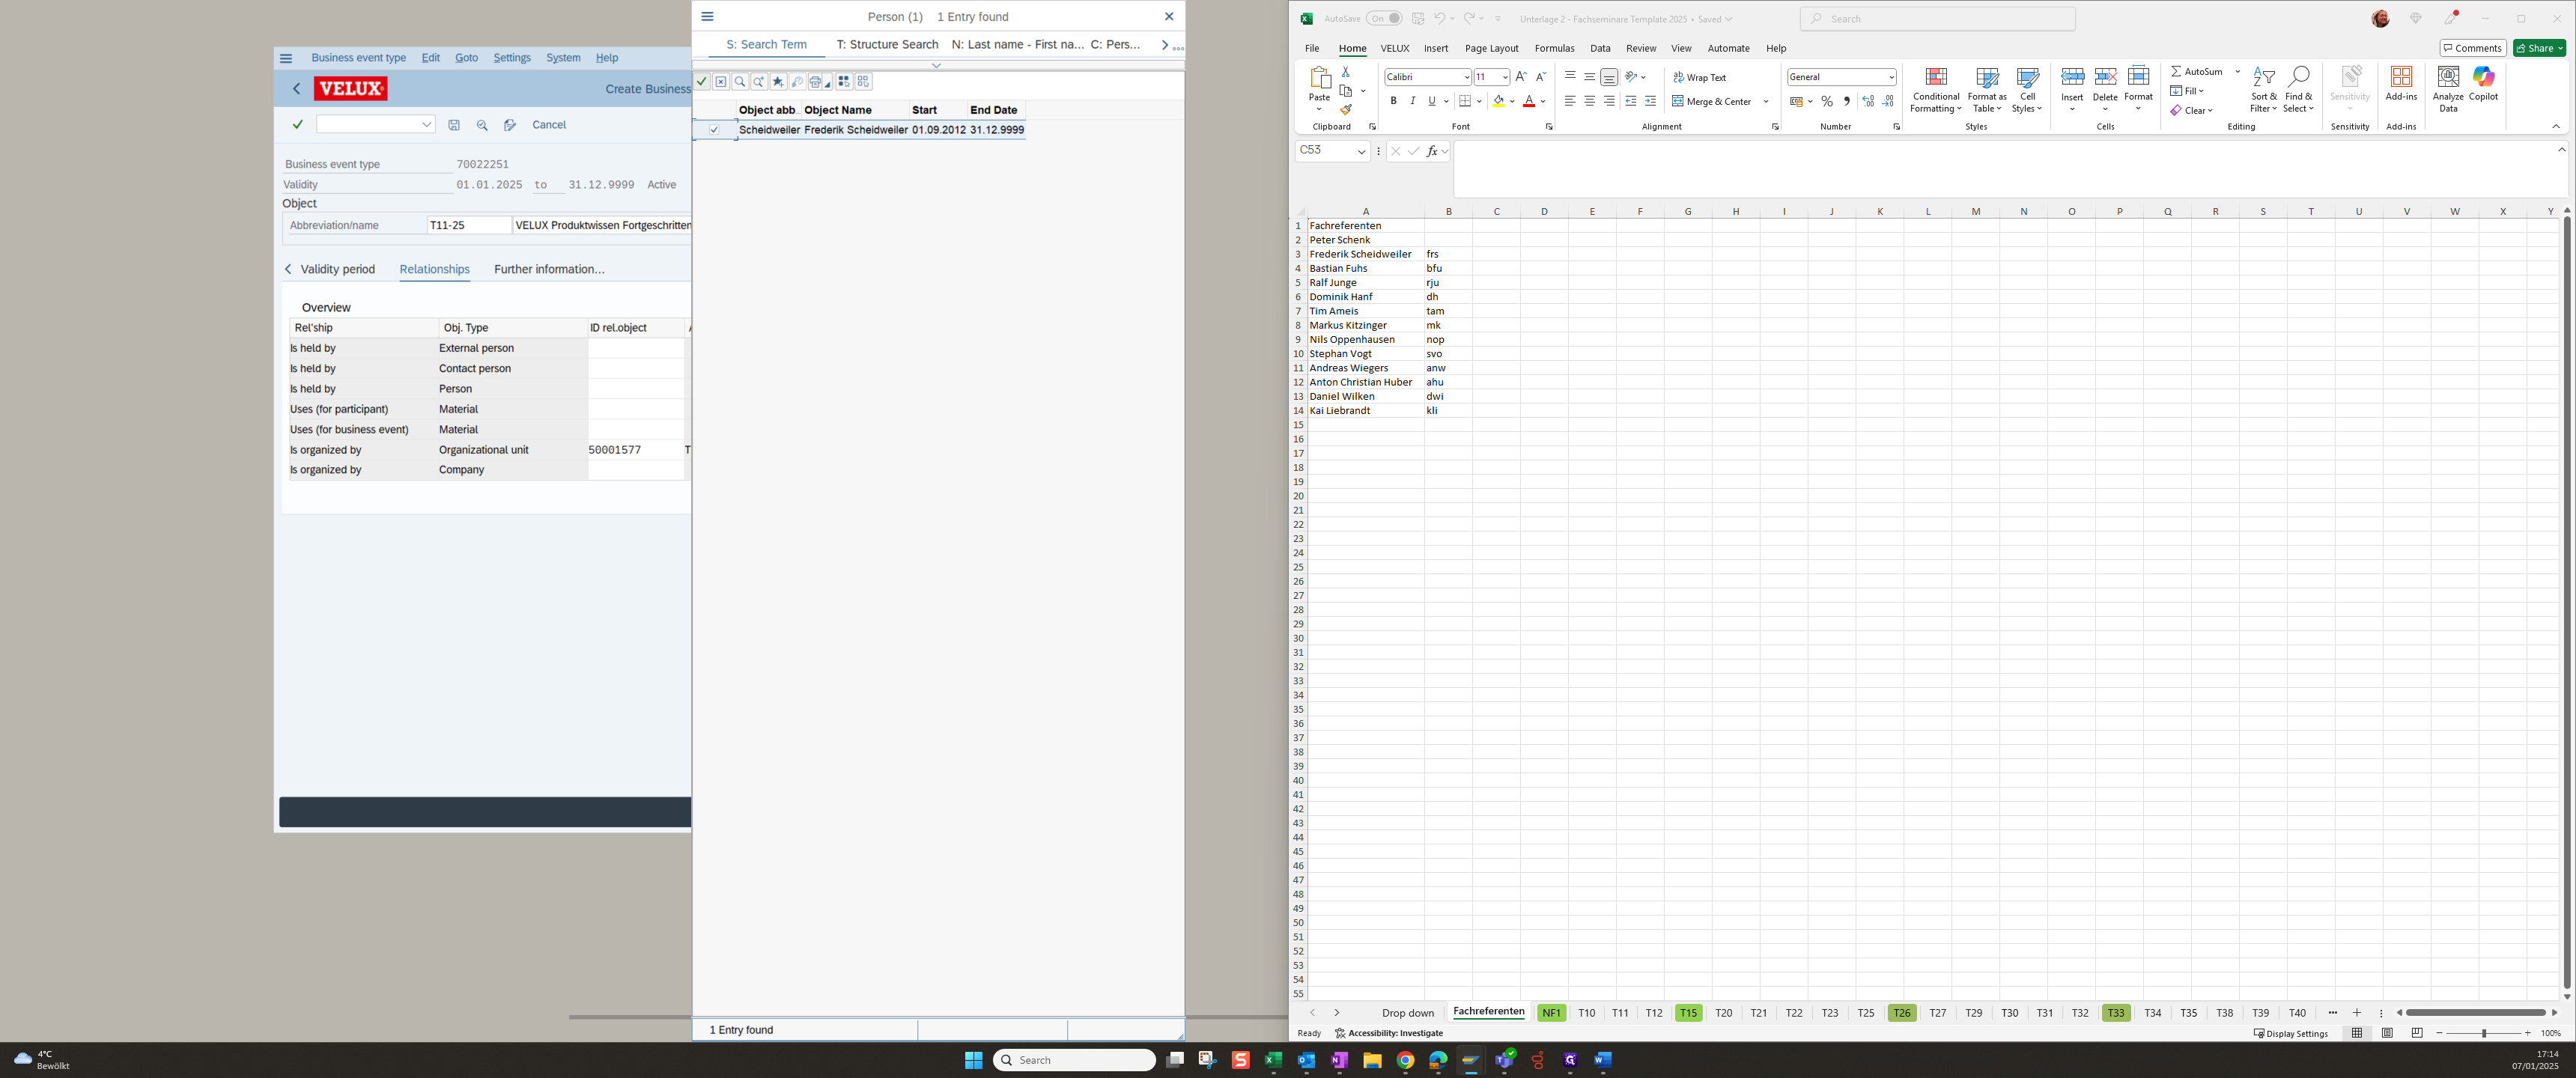
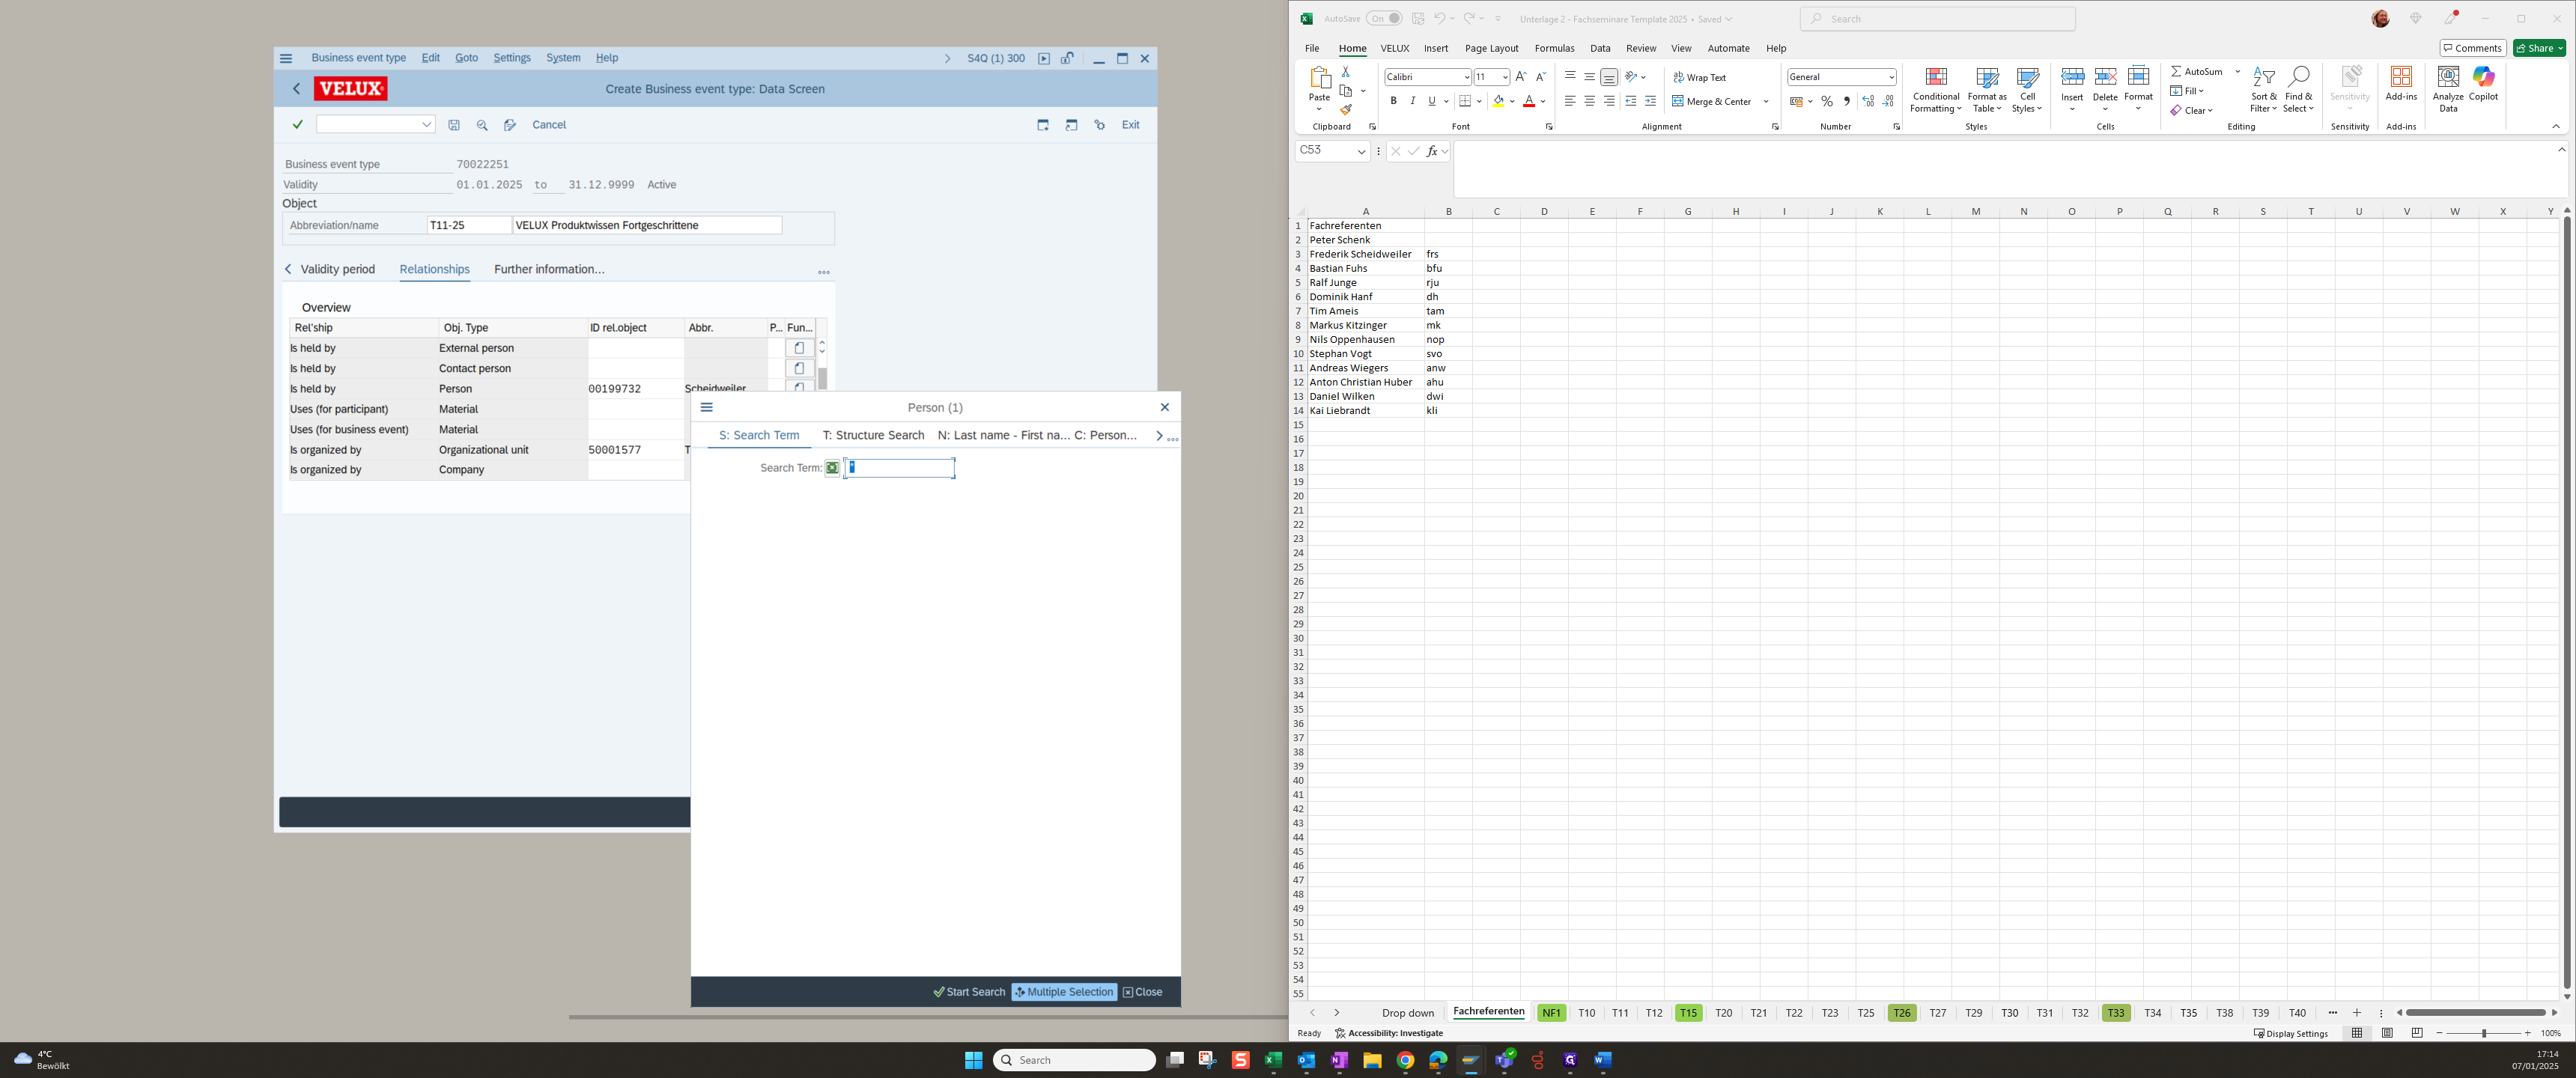
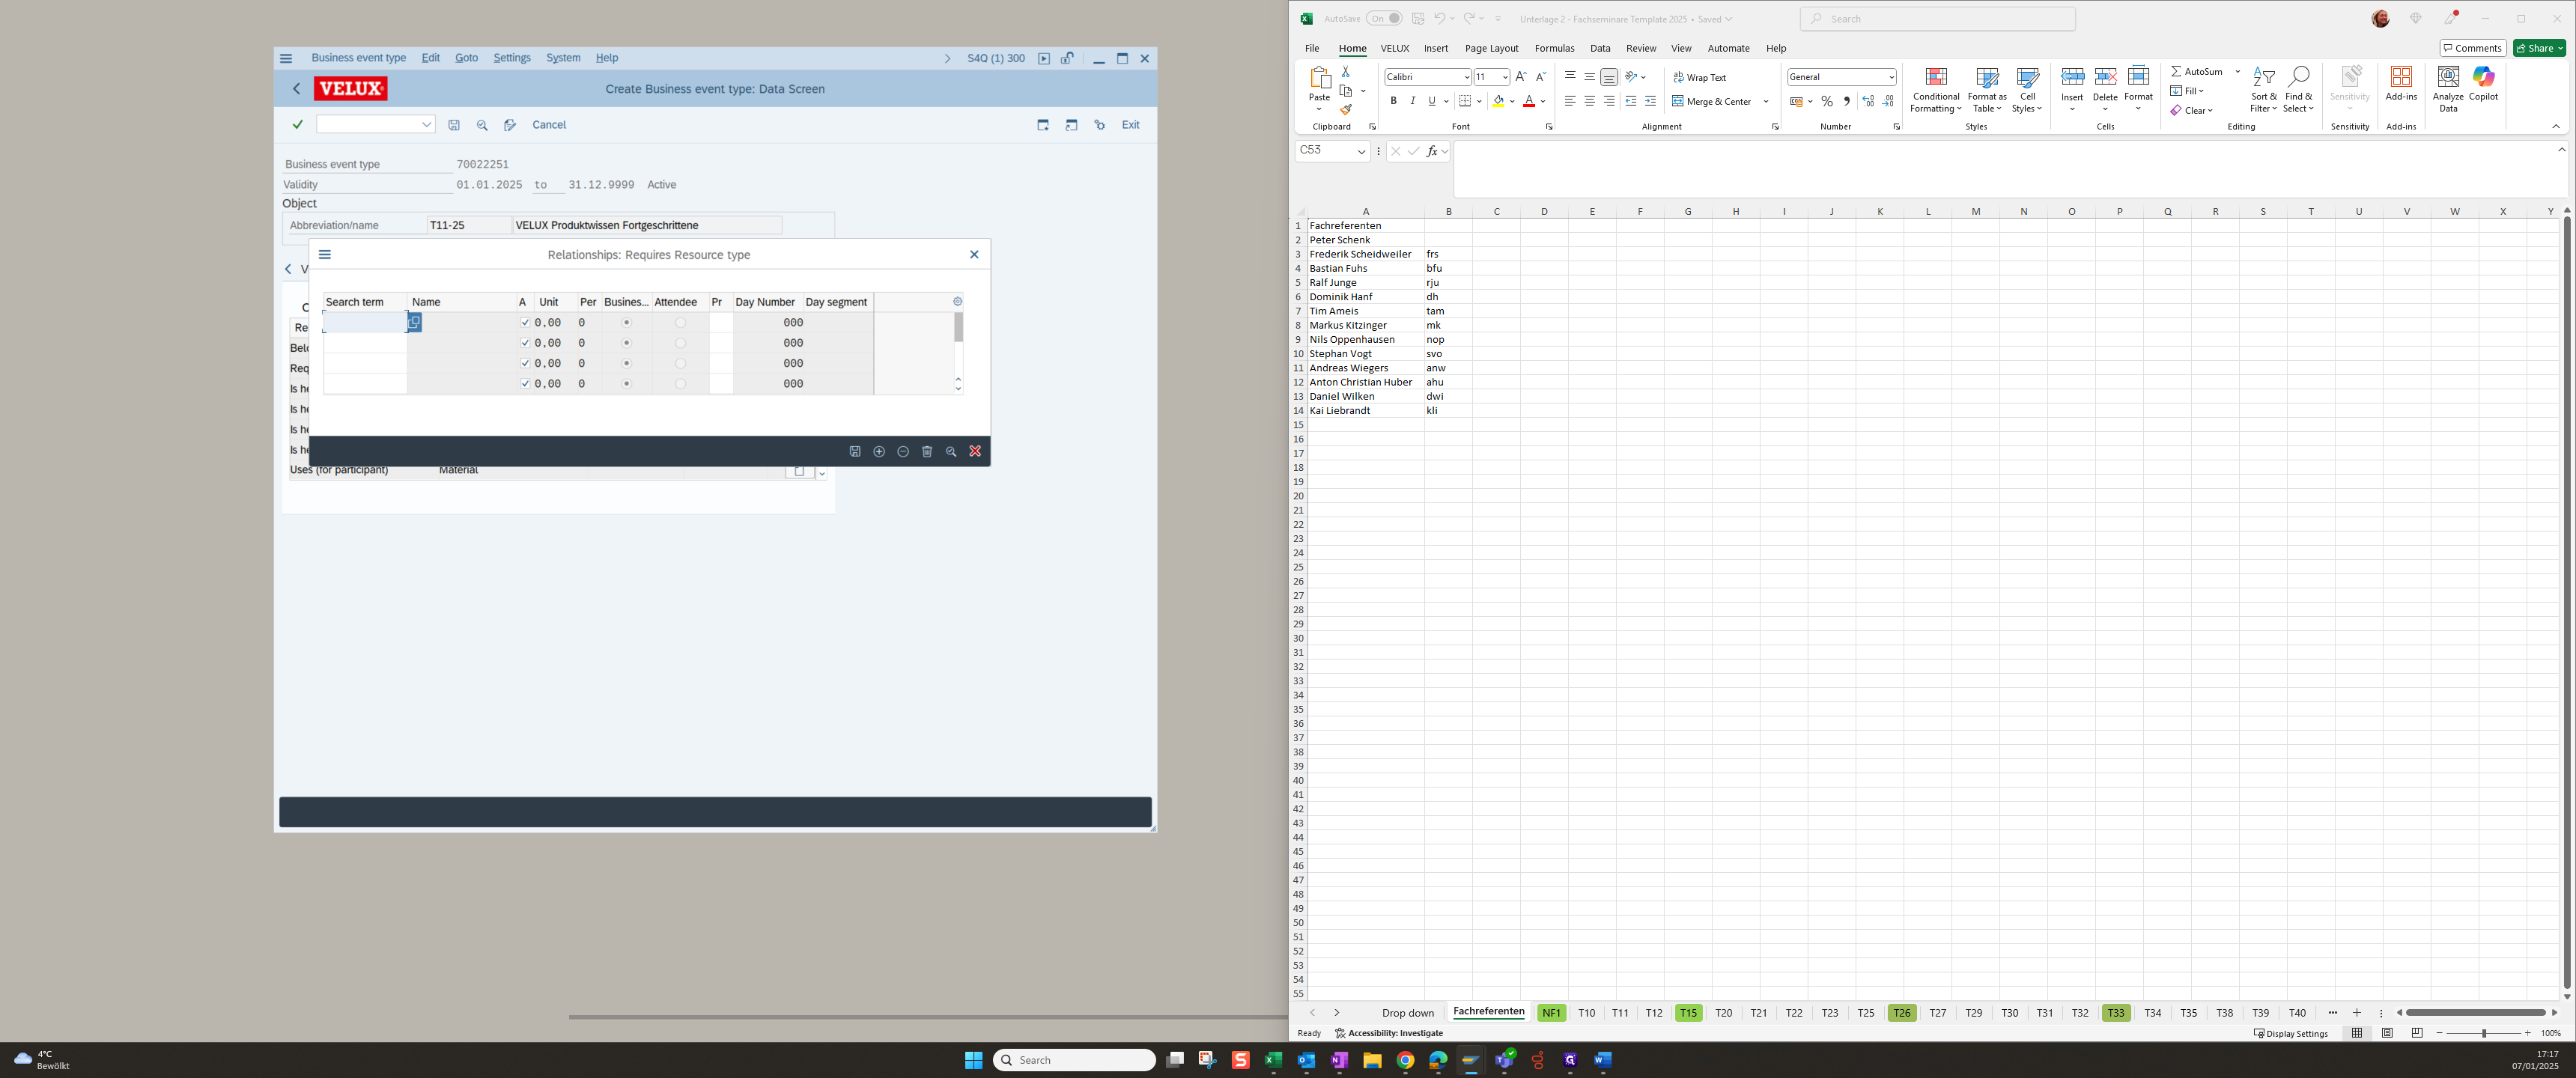
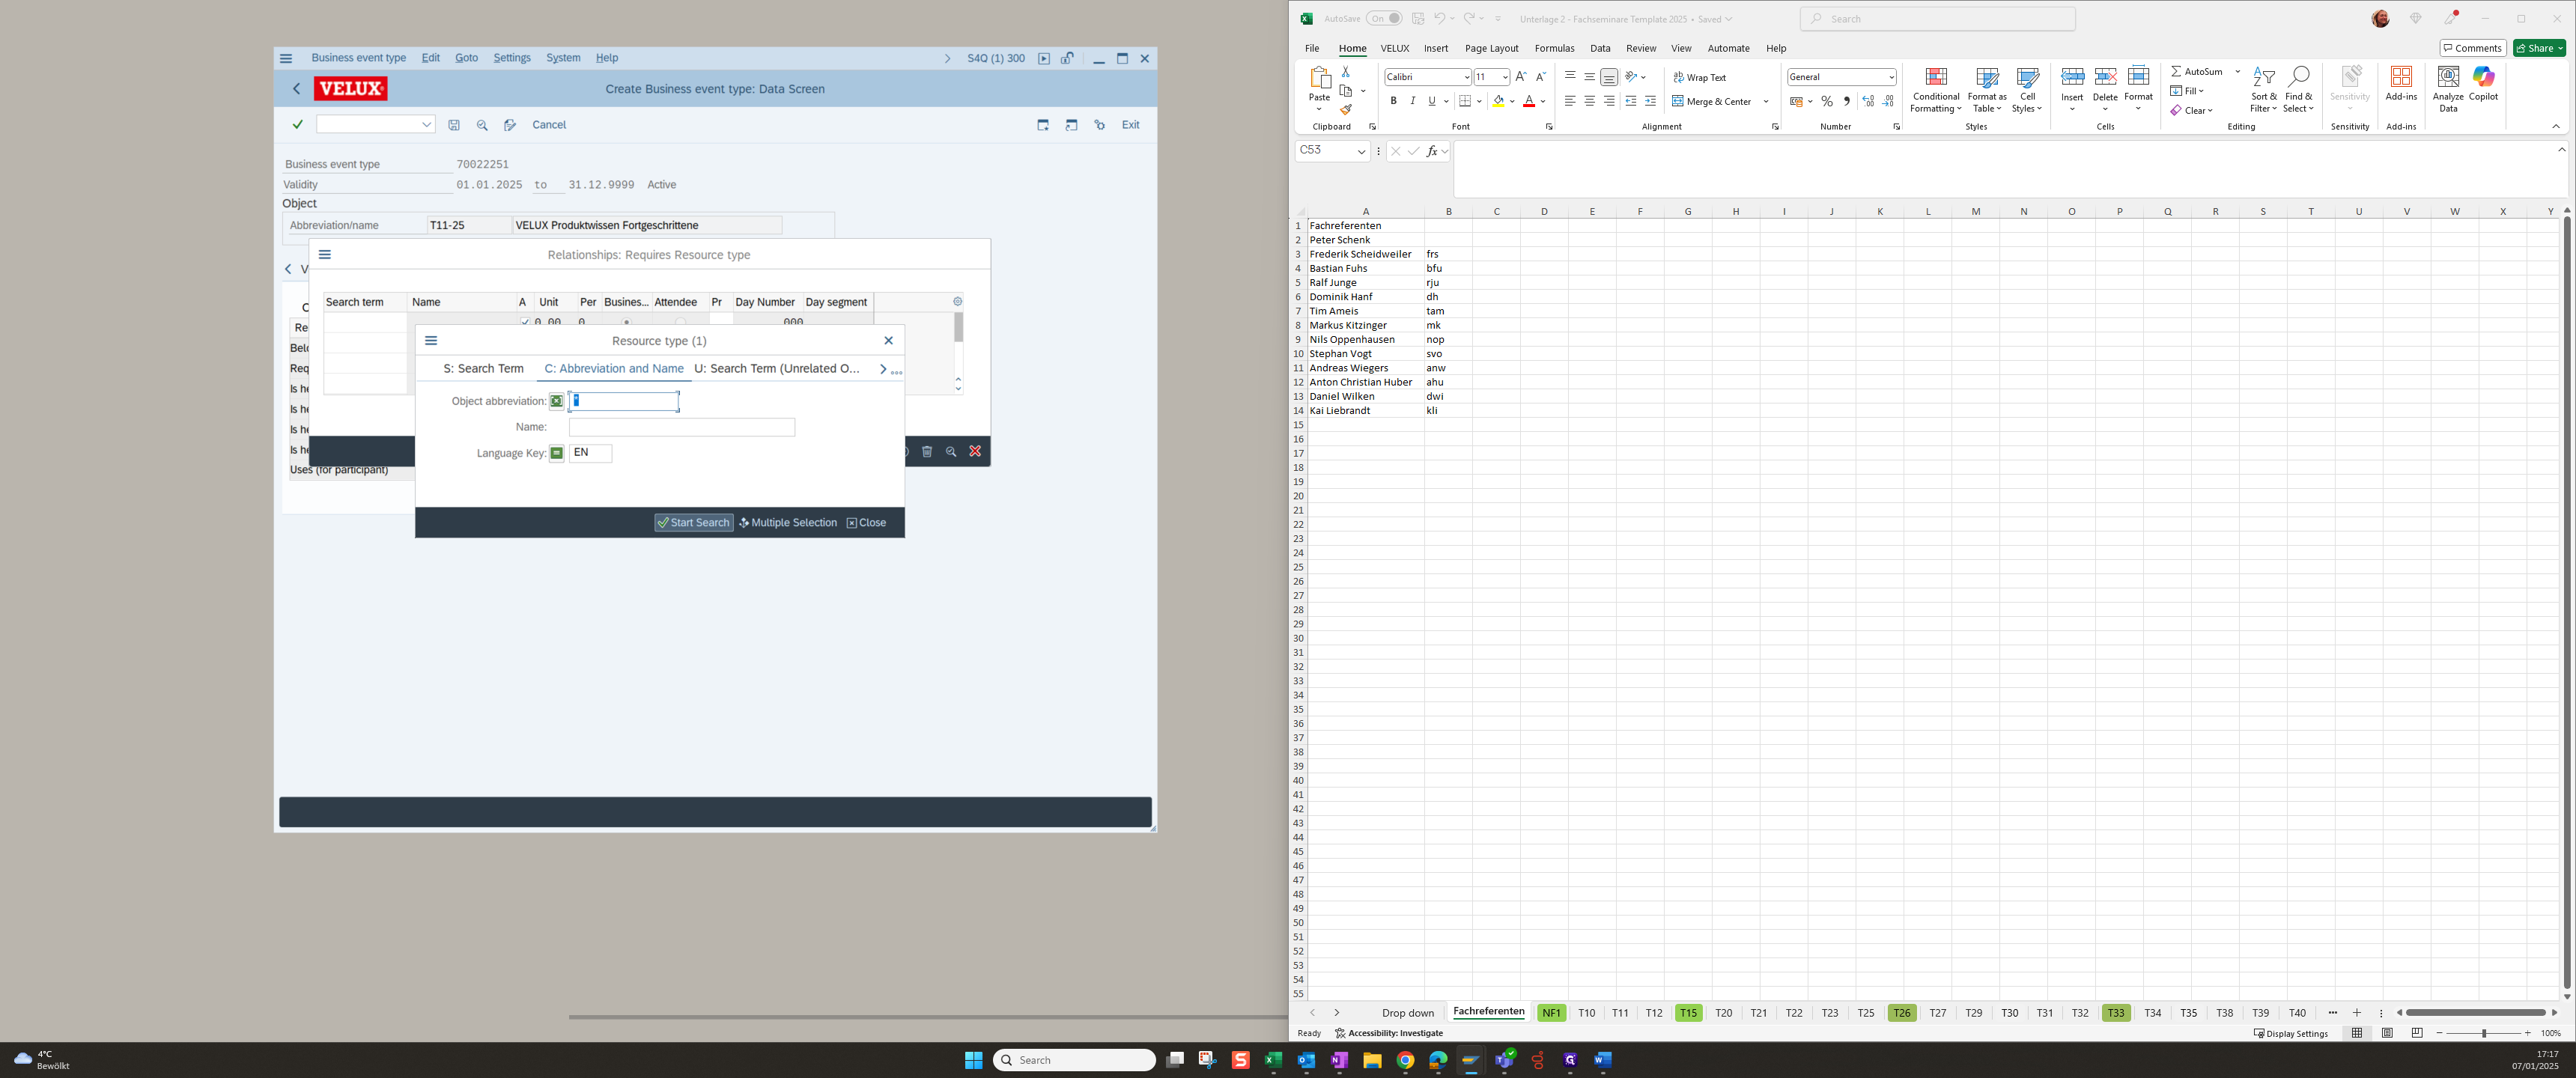
Open the register relationships to complete the form

25
Click on "000"
Step #25: Click on "000"
26
Click on "Relationships"
Step #26: Click on "Relationships"
27
Fill in the word "training" at "is organized by - Organizational Unit"
Step #27: Fill in the word "training" at "is organized by - Organizational Unit"
28
Add the representatives in the next step at "is held by .... Person"
Step #28: Add the representatives in the next step at "is held by .... Person"

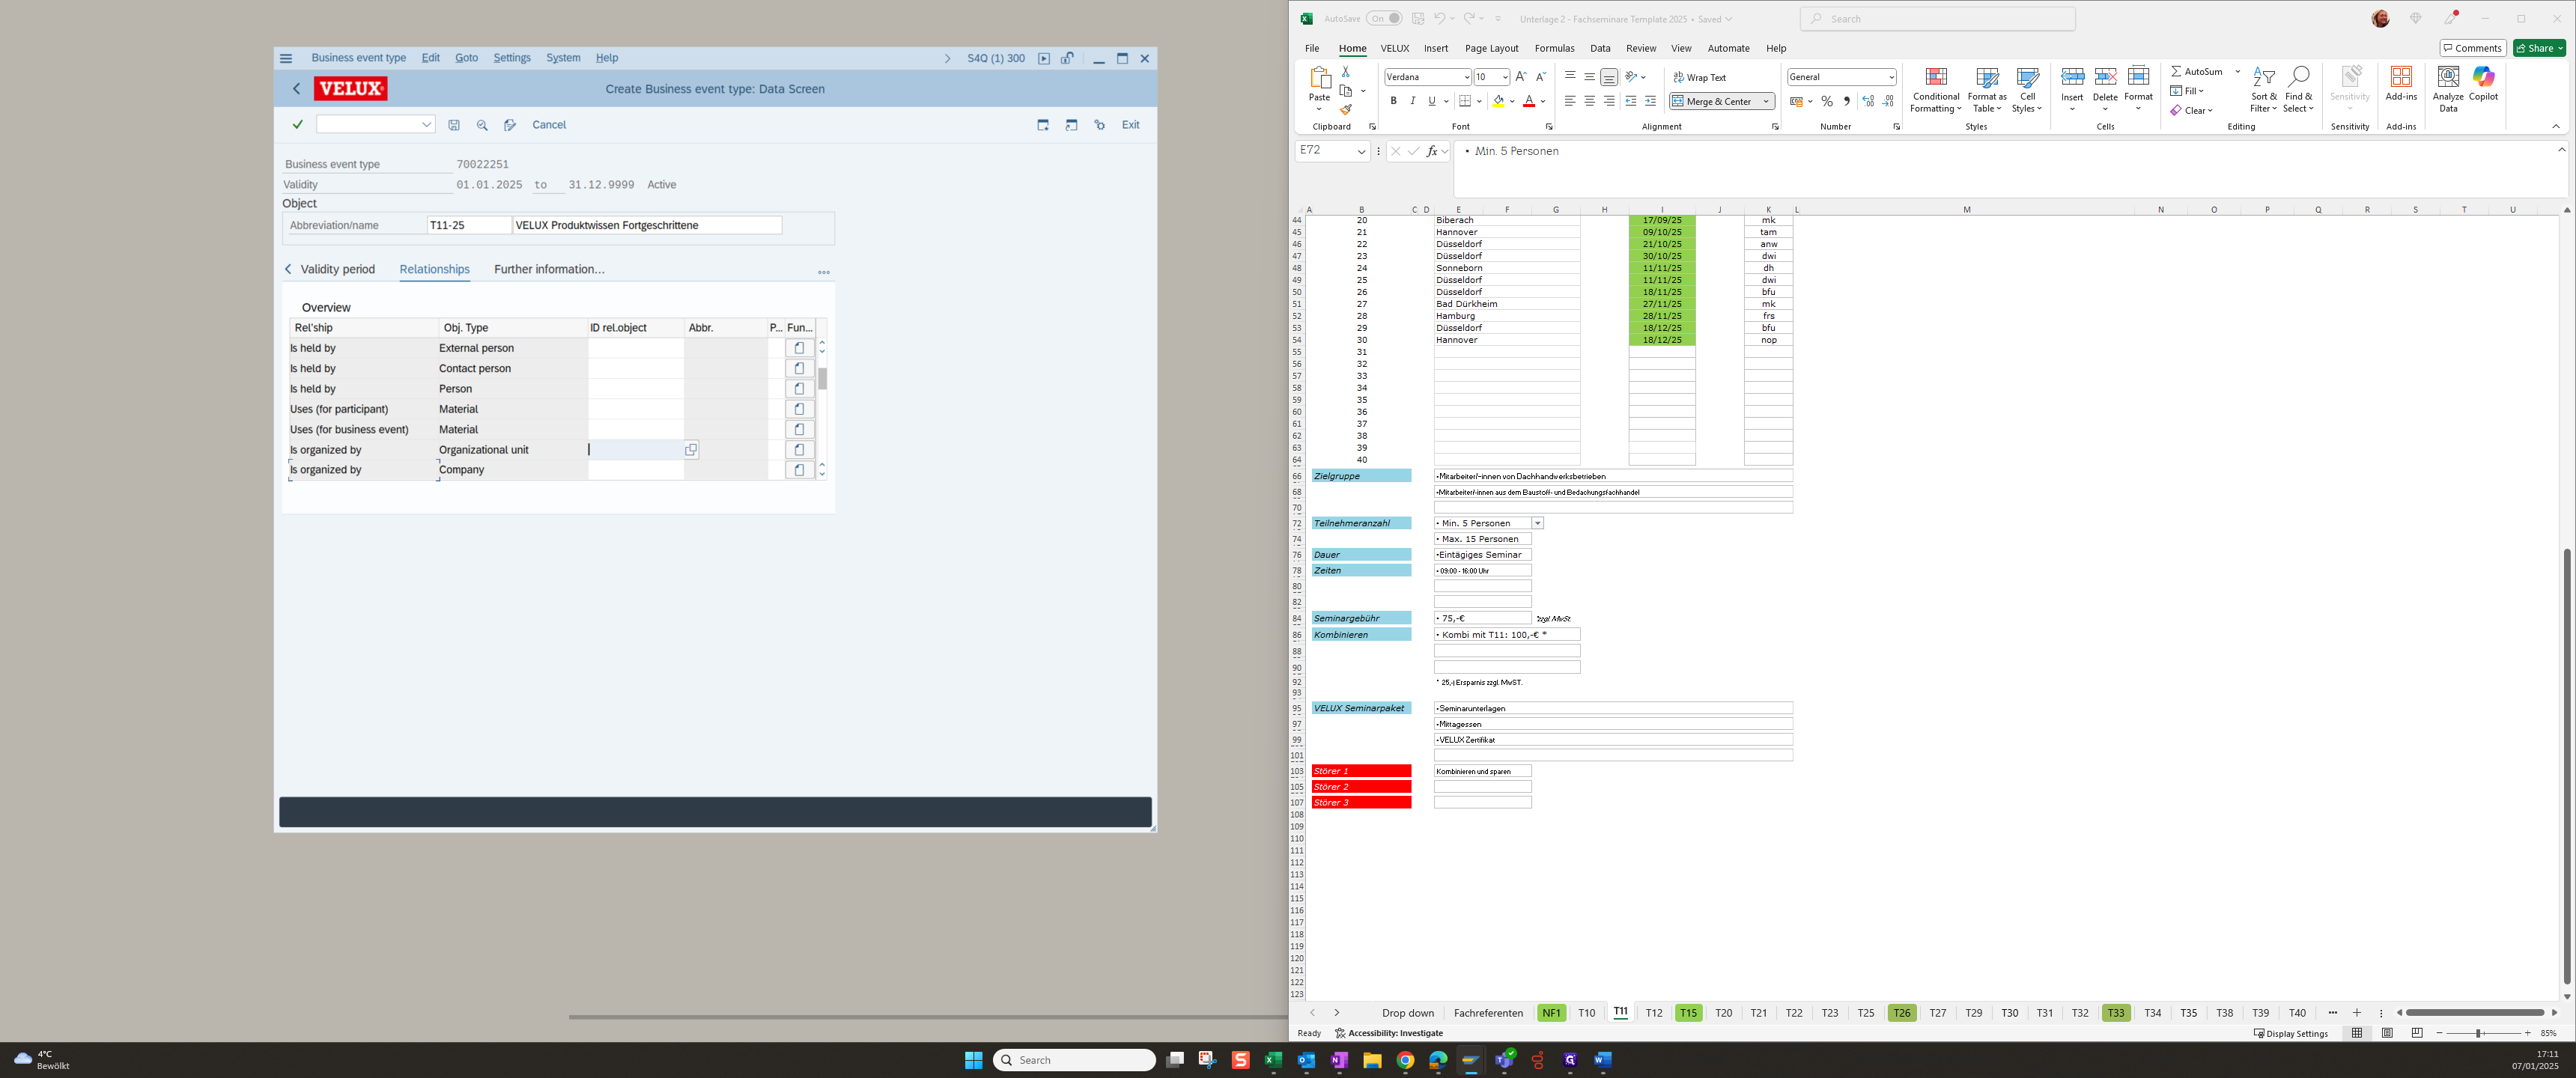
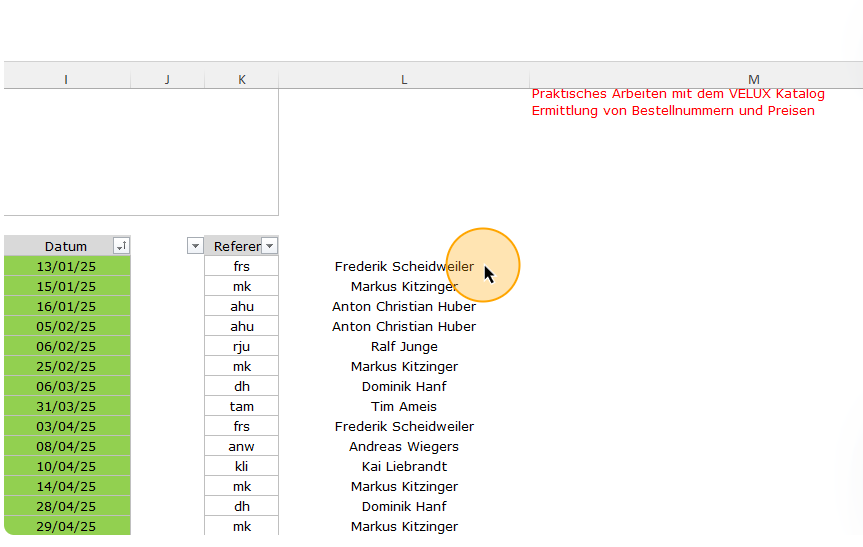
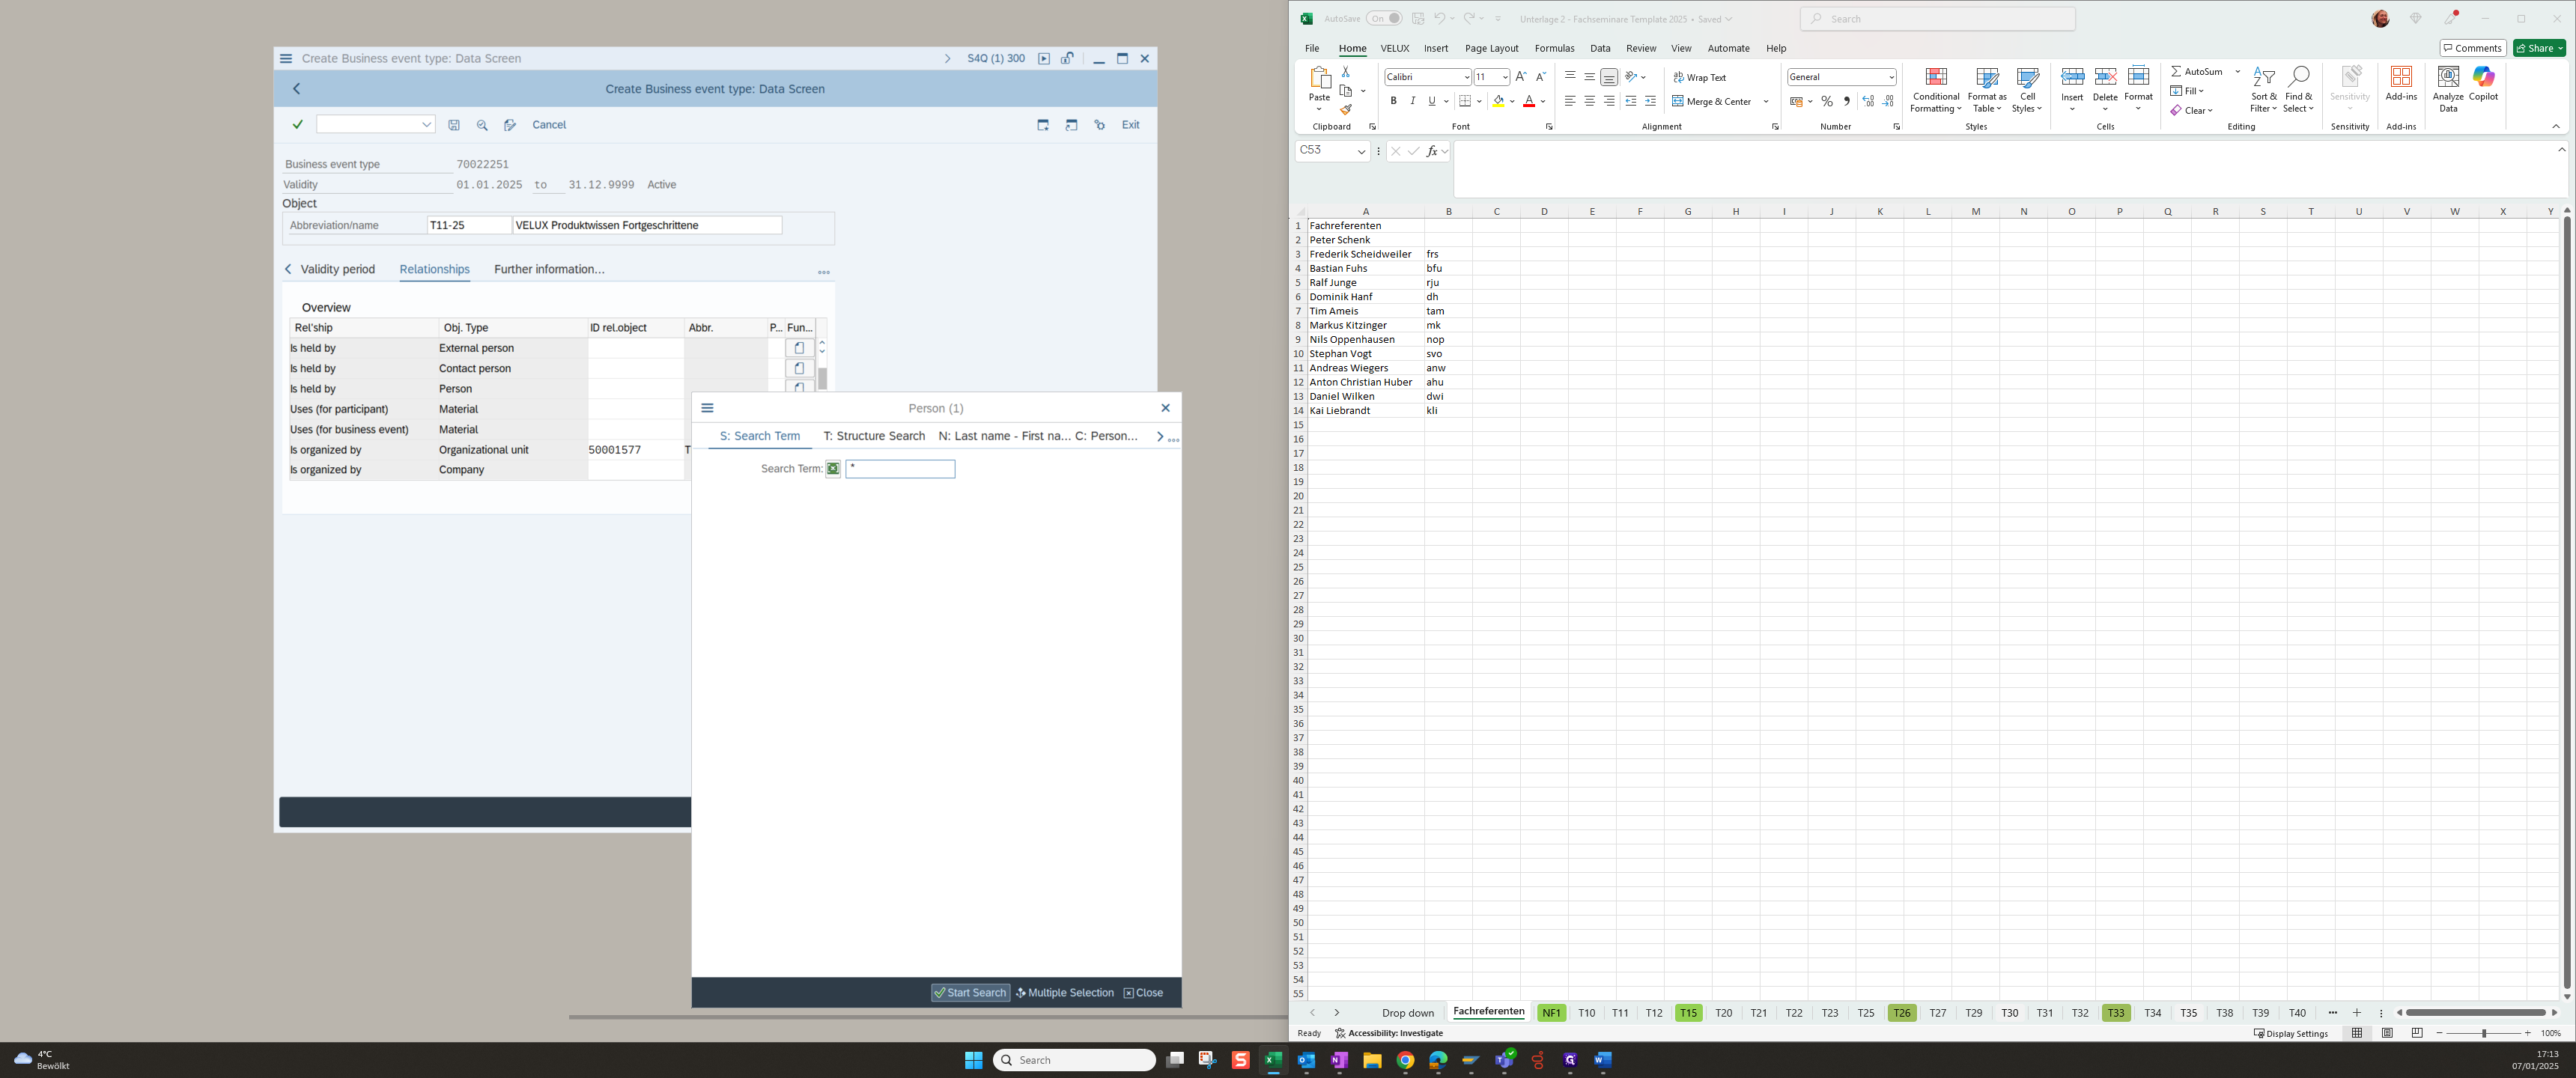
...and search for the representatives.

You can find the representers in the excel file.

29
The full name is filled in column "L" (First Name + Last Name)
Step #29: The full name is filled in column "L" (First Name + Last Name)
30
Search the representers by name i.e. Type "Scheidw*" + press Enter
Step #30: Search the representers by name i.e. Type "Scheidw*" + press Enter
31
Click on "☐"
Step #31: Click on "☐"
32
Click on the green tick
Step #32: Click on the green tick
33
If you need to add multiple representers click on the search button
Step #33: If you need to add multiple representers click on the search button
34
Click on "Multiple" to add
Step #34: Click on "Multiple" to add
35
Click on "Create" at "Requires ... Resource Type"
Step #35: Click on "Create" at "Requires ... Resource Type"
36
Click here for the search term
Step #36: Click here for the search term
37
Click on "Search Term" and Type "Instructor* + Enter"
Step #37: Click on "Search Term" and Type "Instructor* + Enter"
38
Choose "Instructors for External training"
Step #38: Choose "Instructors for External training"
39
Click on the green tick
Step #39: Click on the green tick
40
Click on the save button.
Step #40: Click on the save button.
41
All necessary data has been entered and the seminar can be saved
Step #41: All necessary data has been entered and the seminar can be saved

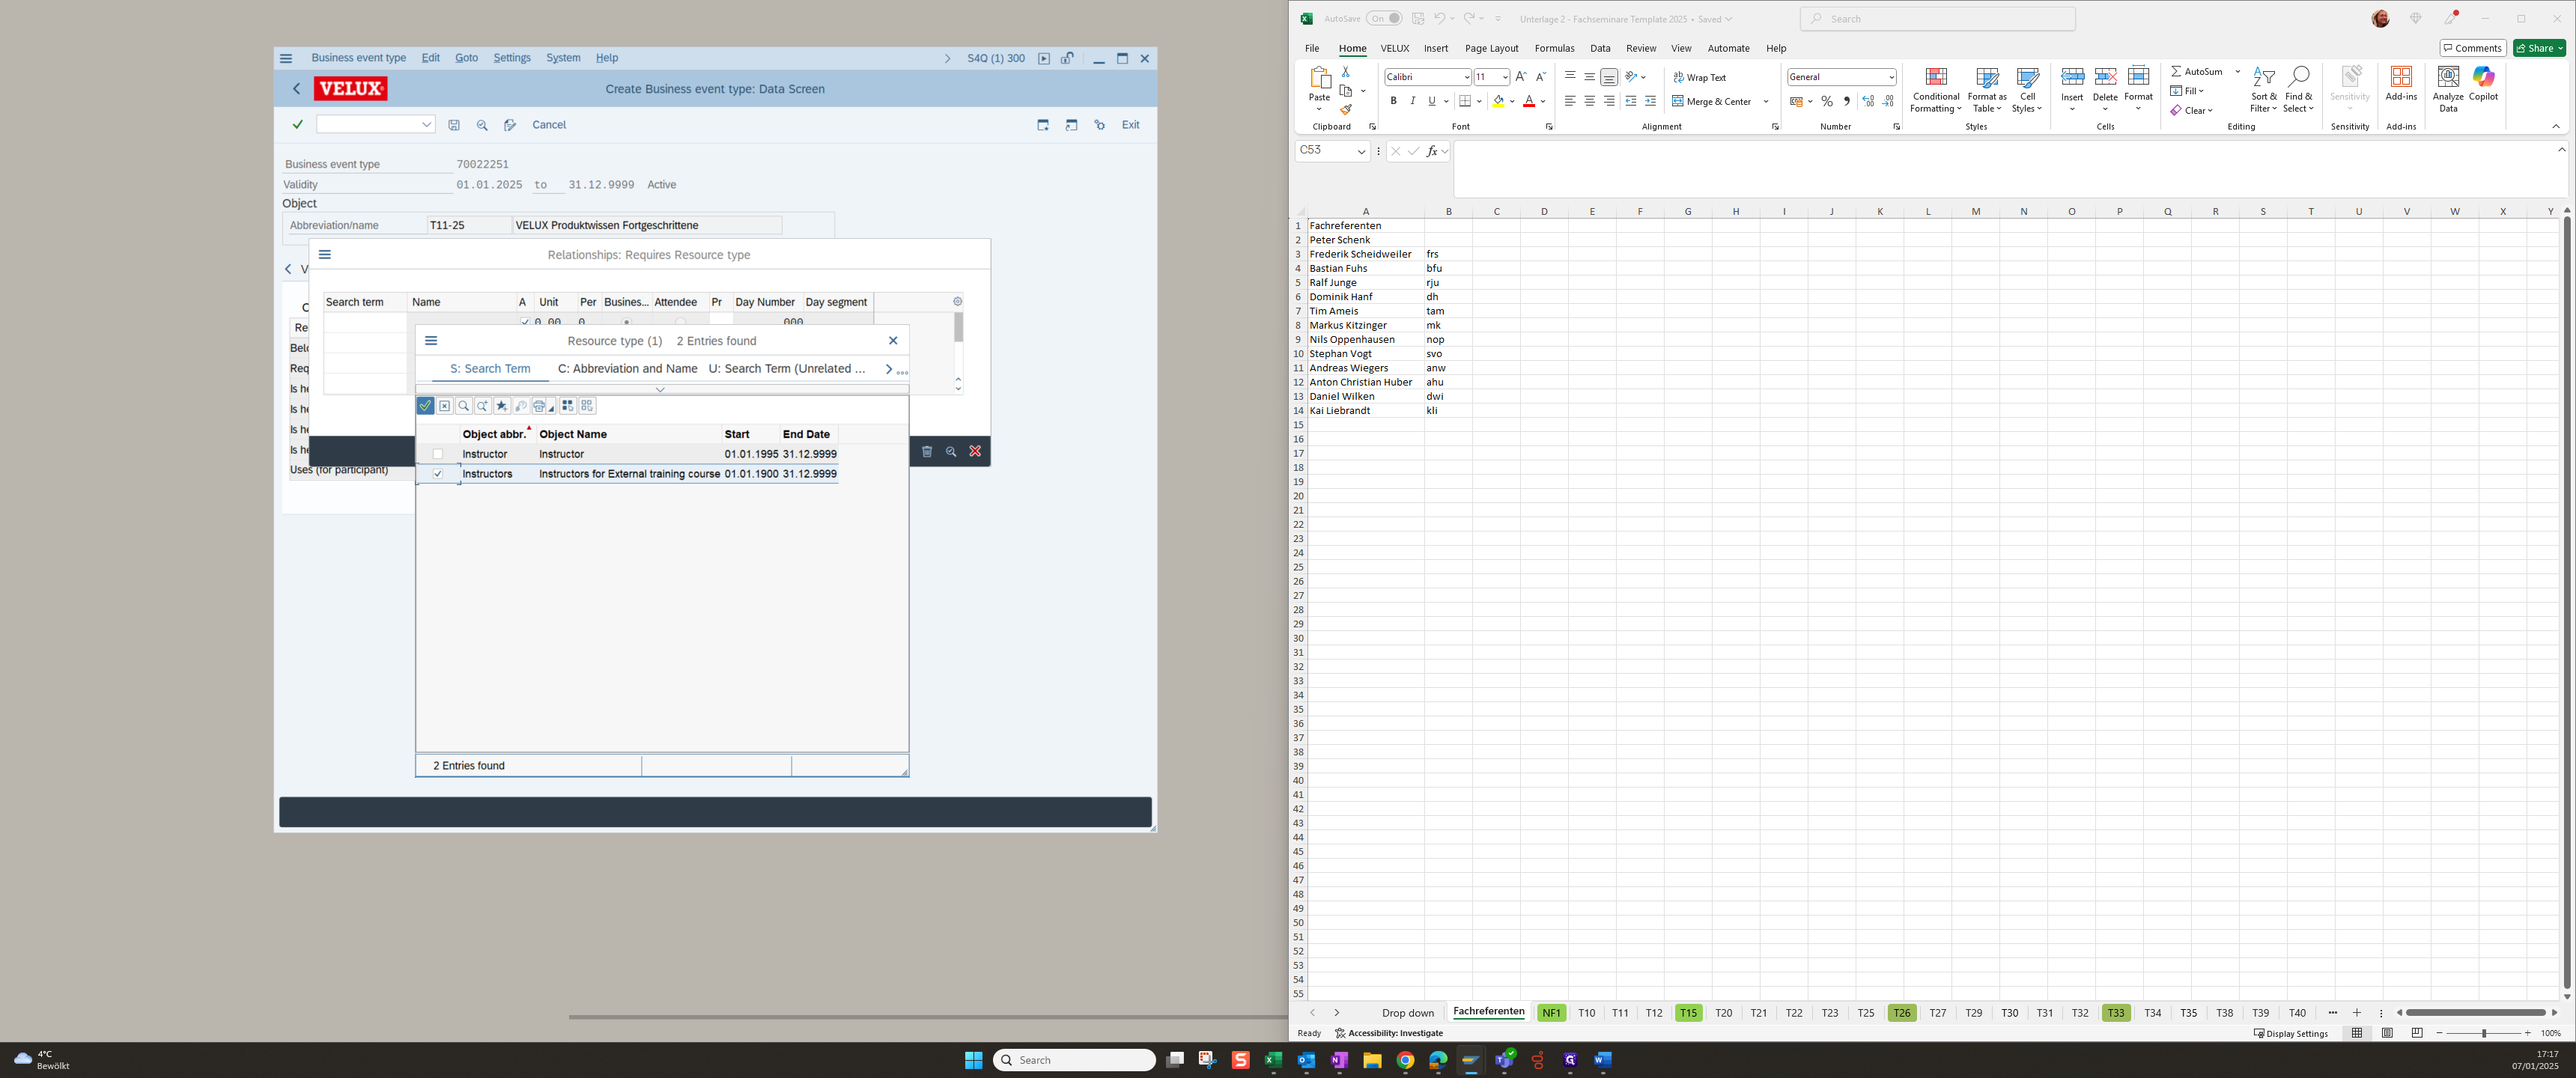
The course type T11-25 was created.

How to Create a Seminar Using Excel and S4HANA