Icon

How to Create a Special Day Opening Time Zone for Access Control

Learn step-by-step how to set up a special day opening time zone for your access control system, including editing controllers, adding special days, and syncing devices.

By Tanner Nack

In this guide, we'll learn how to set up a special day opening time zone for a specific door using an access control system. This process involves selecting the correct controller, editing the door settings, and creating a schedule for a special date and time.

You'll also see how to apply these changes and confirm that the new schedule is active.

Let's get started

How to create a special day opening time zone. Start by selecting the access control.

2
Click here
Step #2: Click here
3
Click here
Step #3: Click here

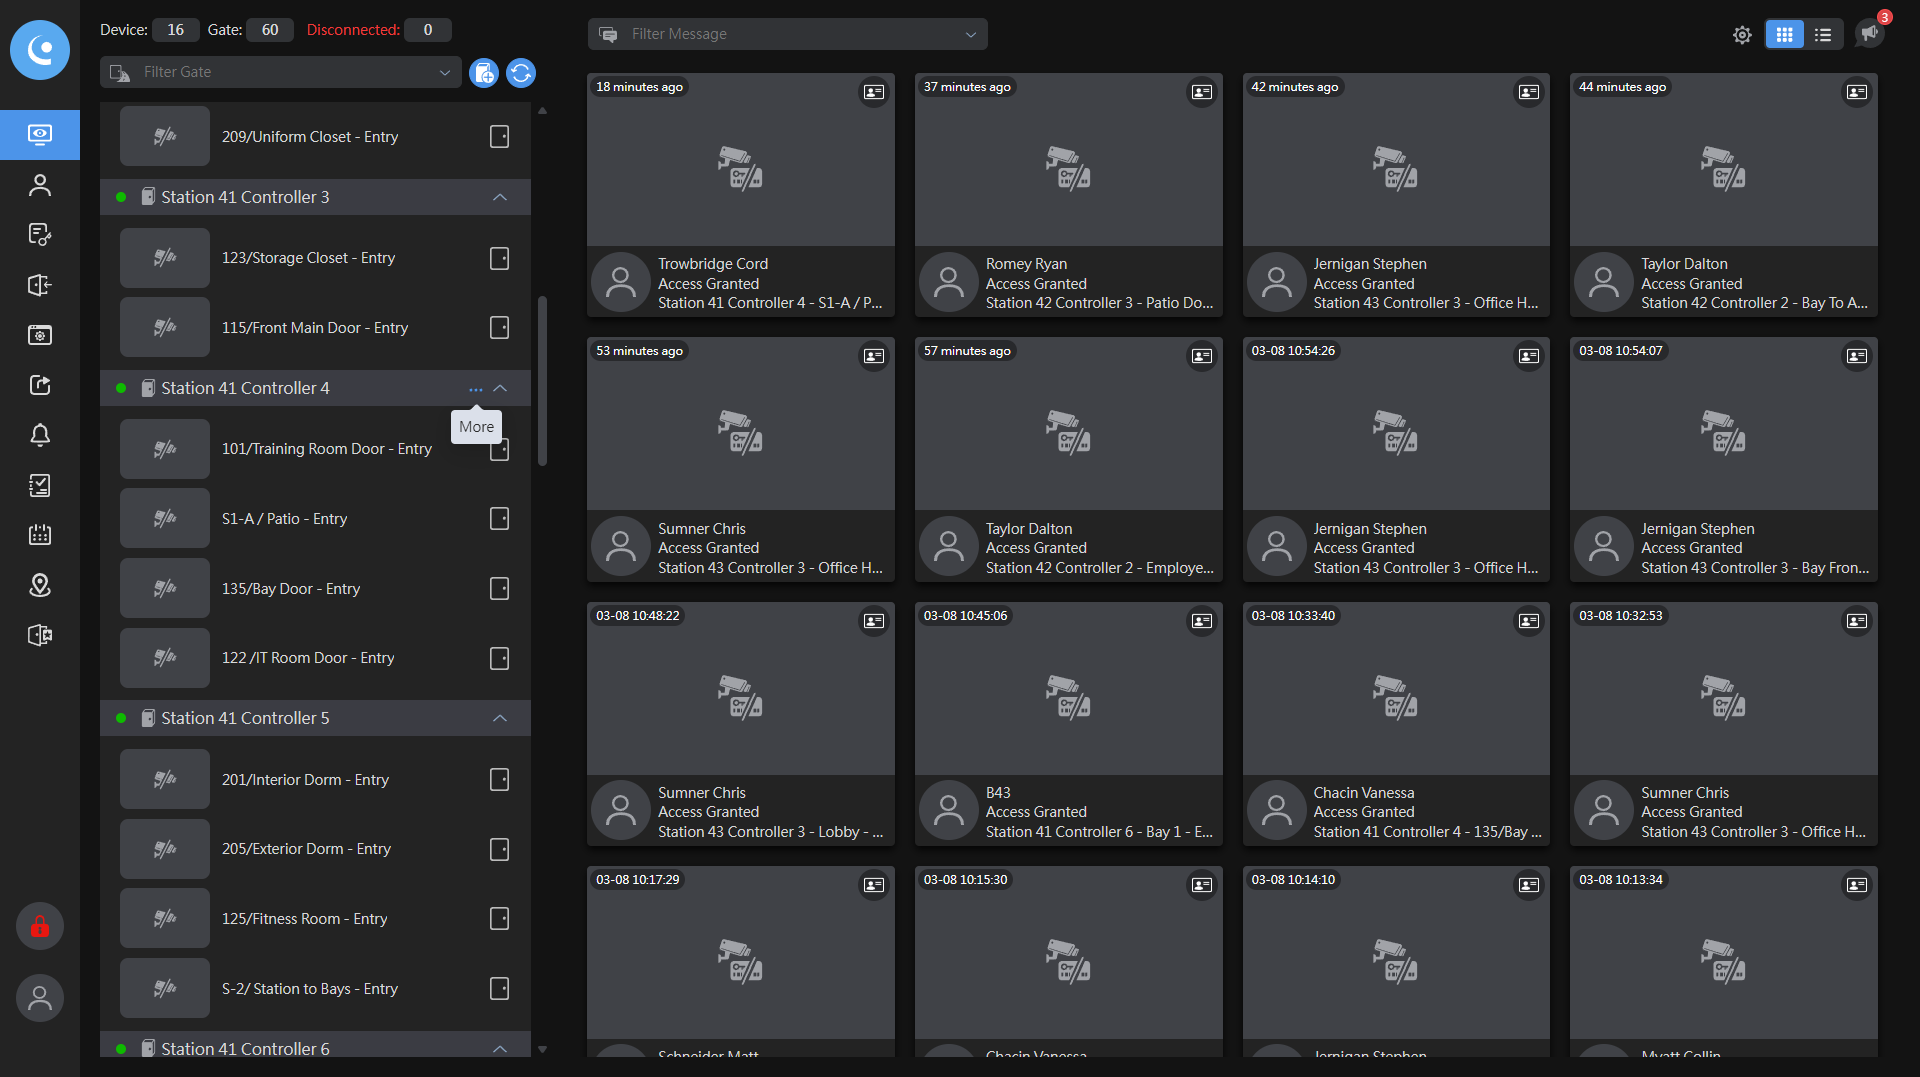
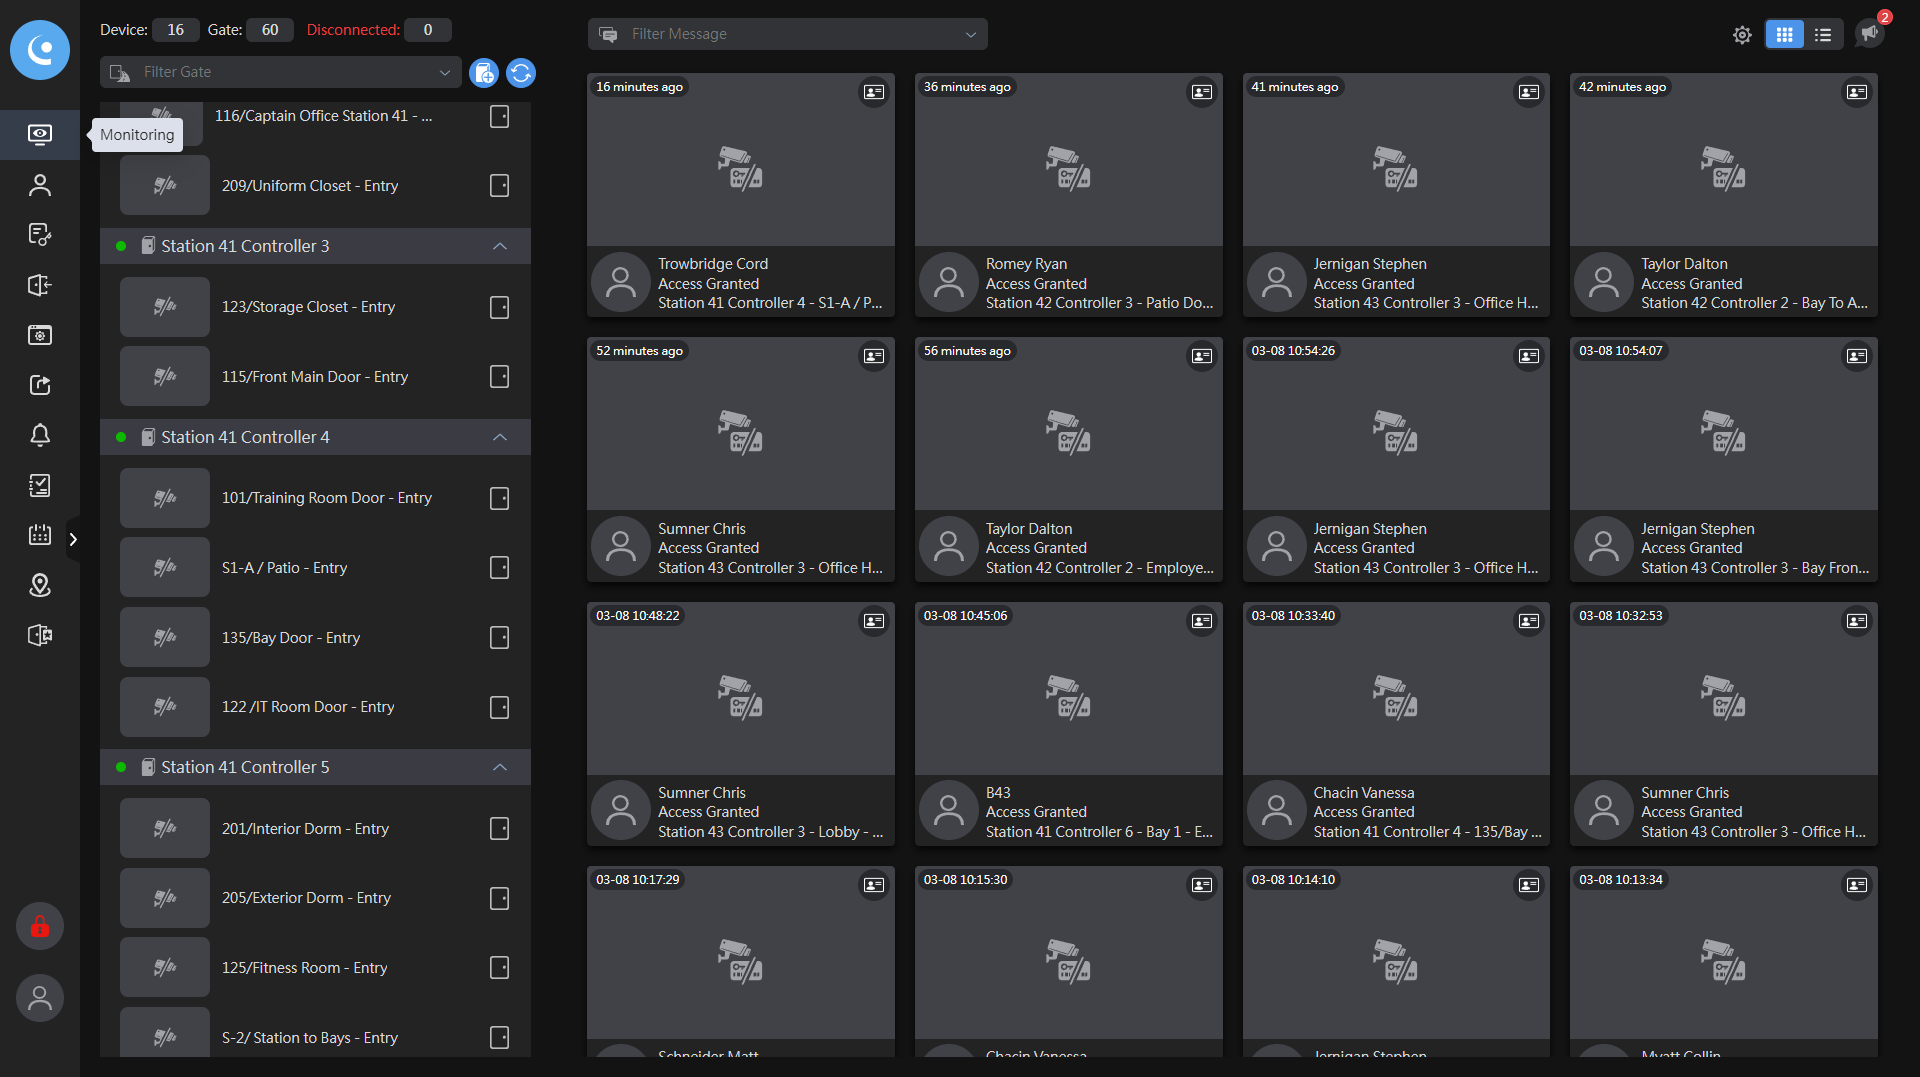
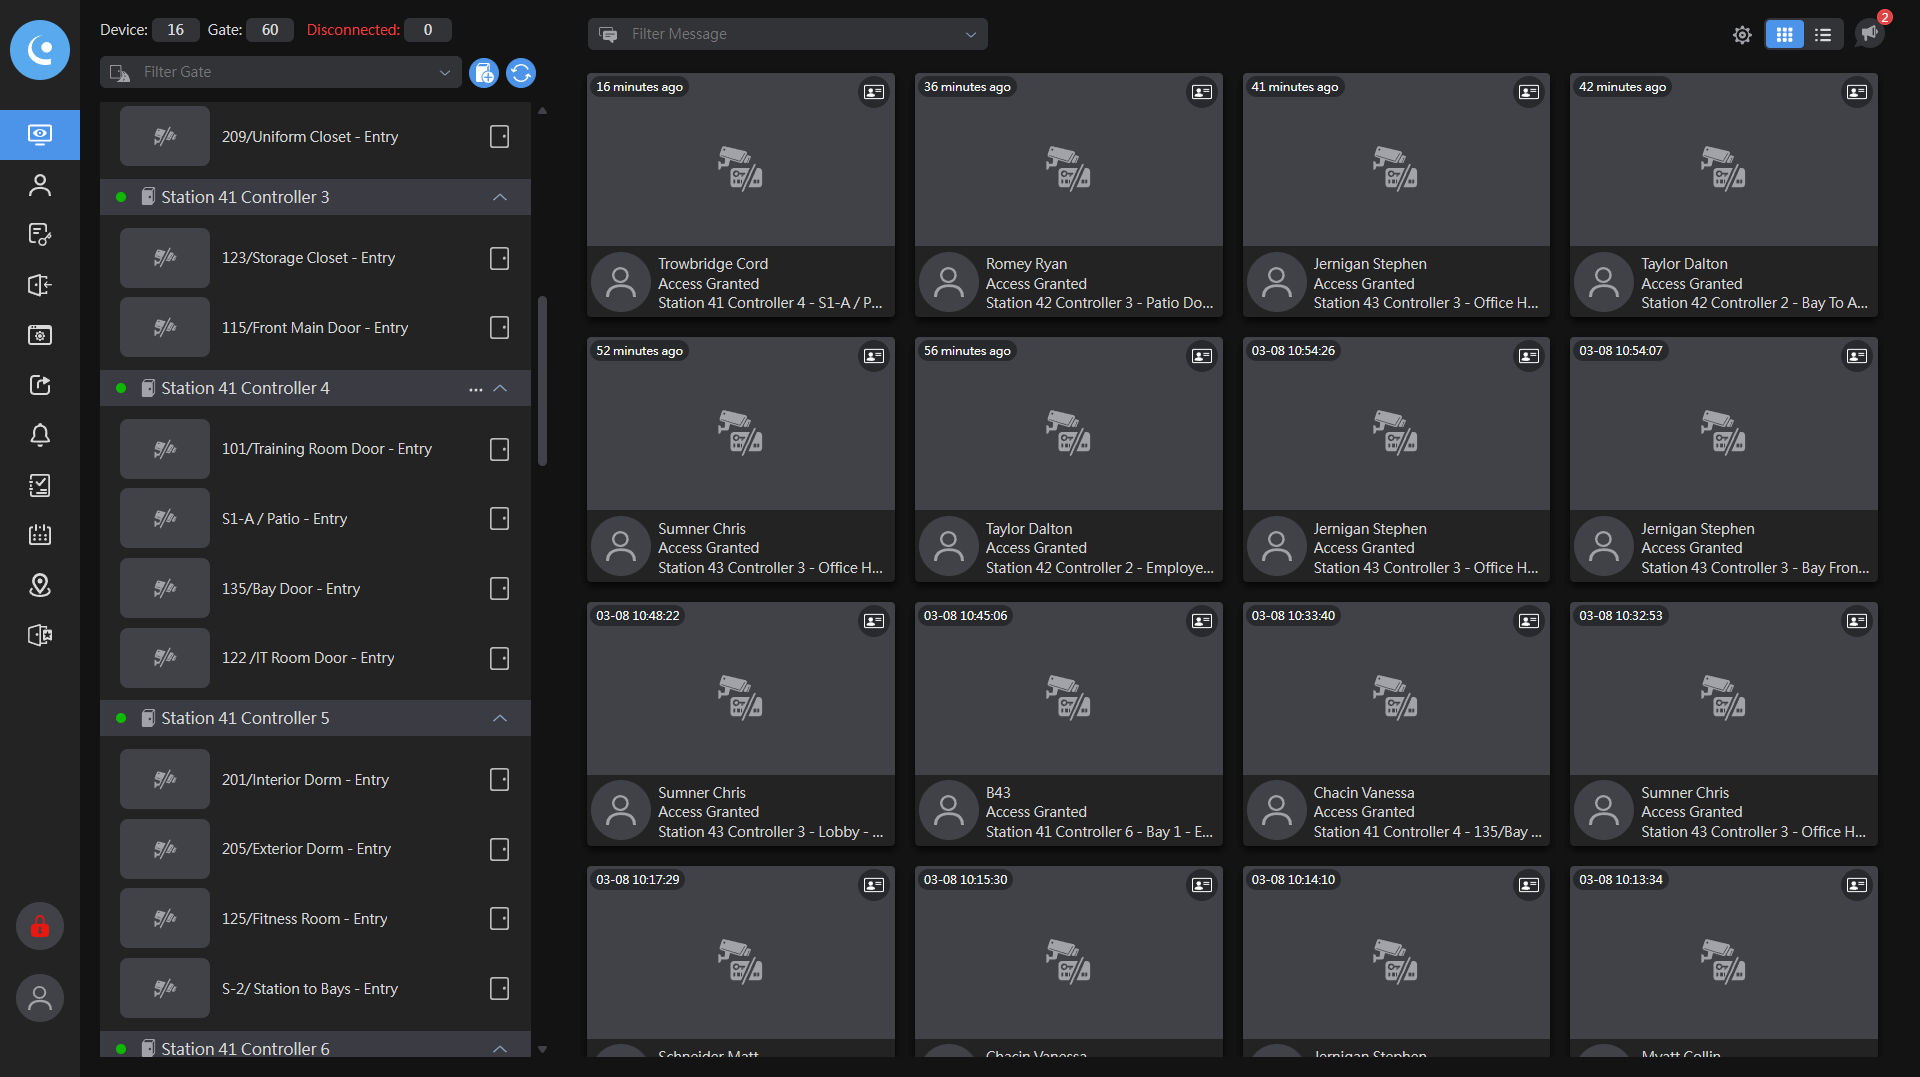
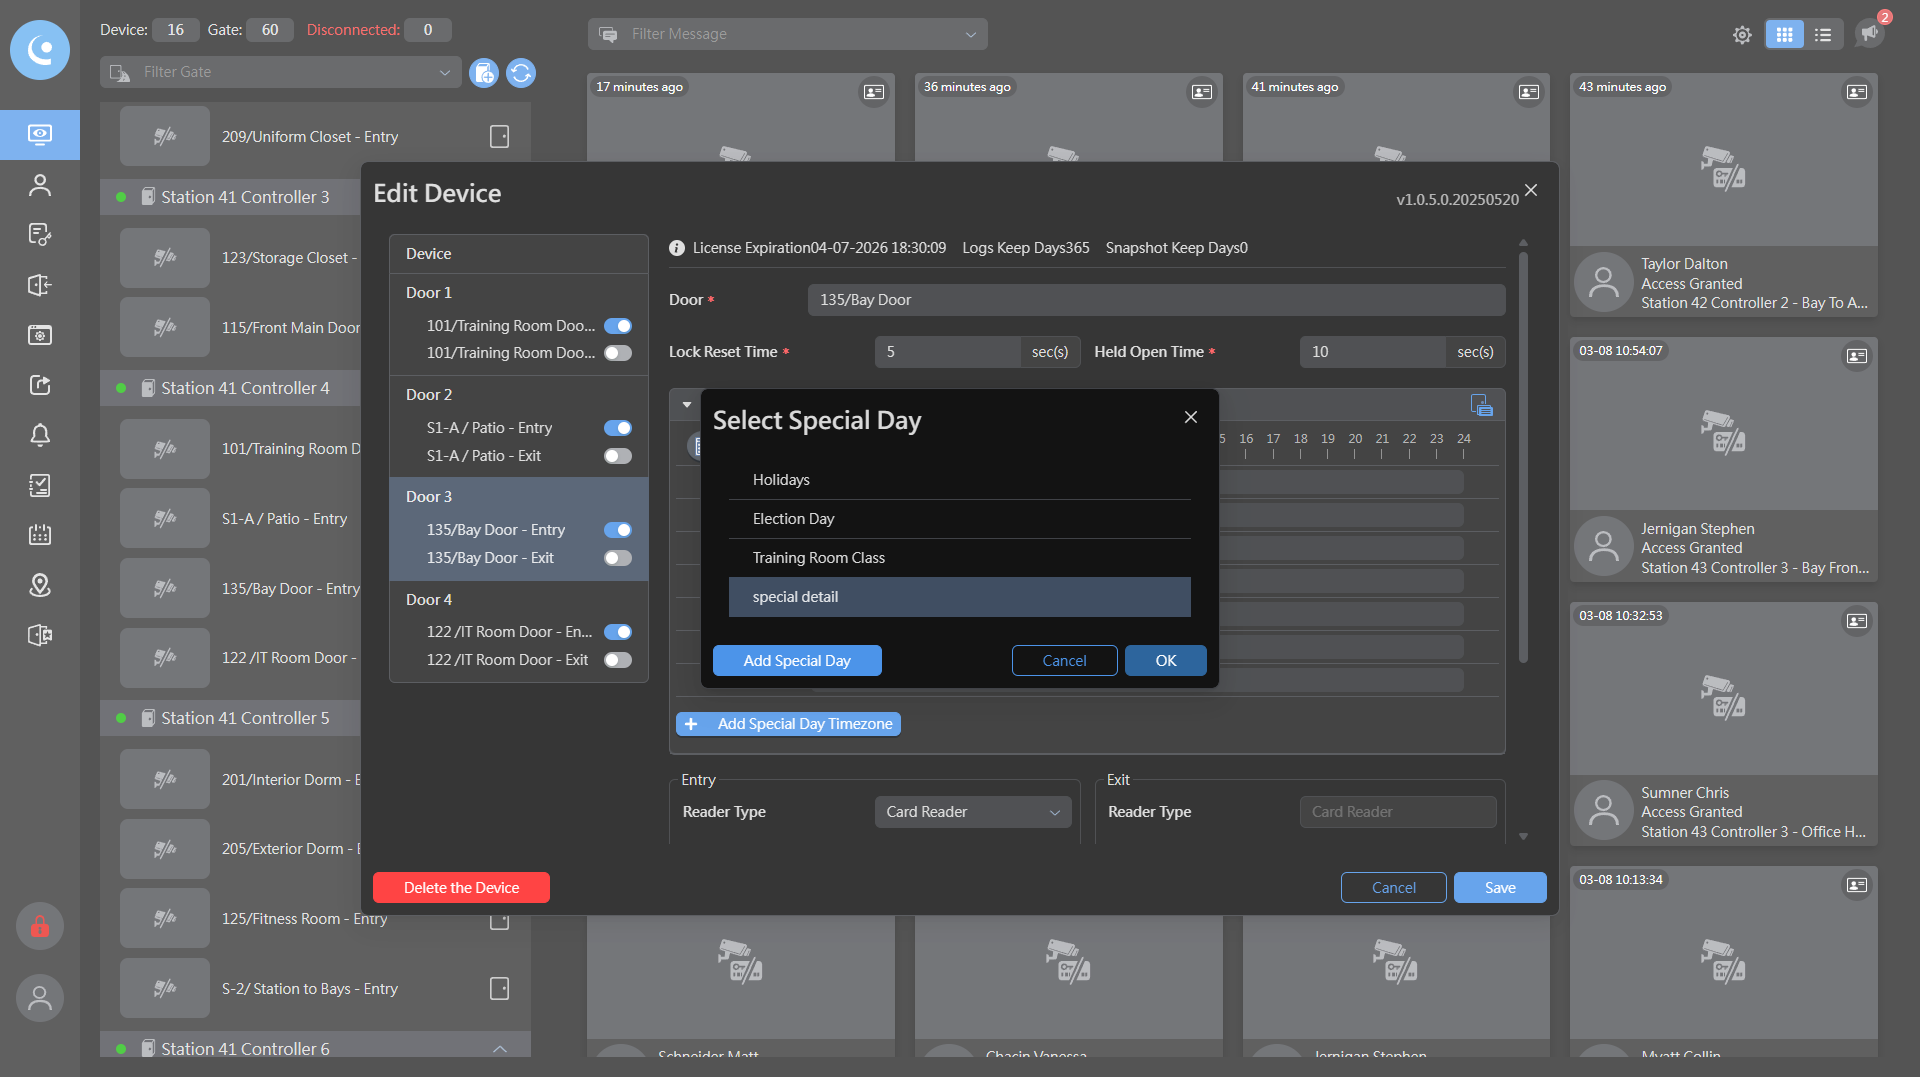
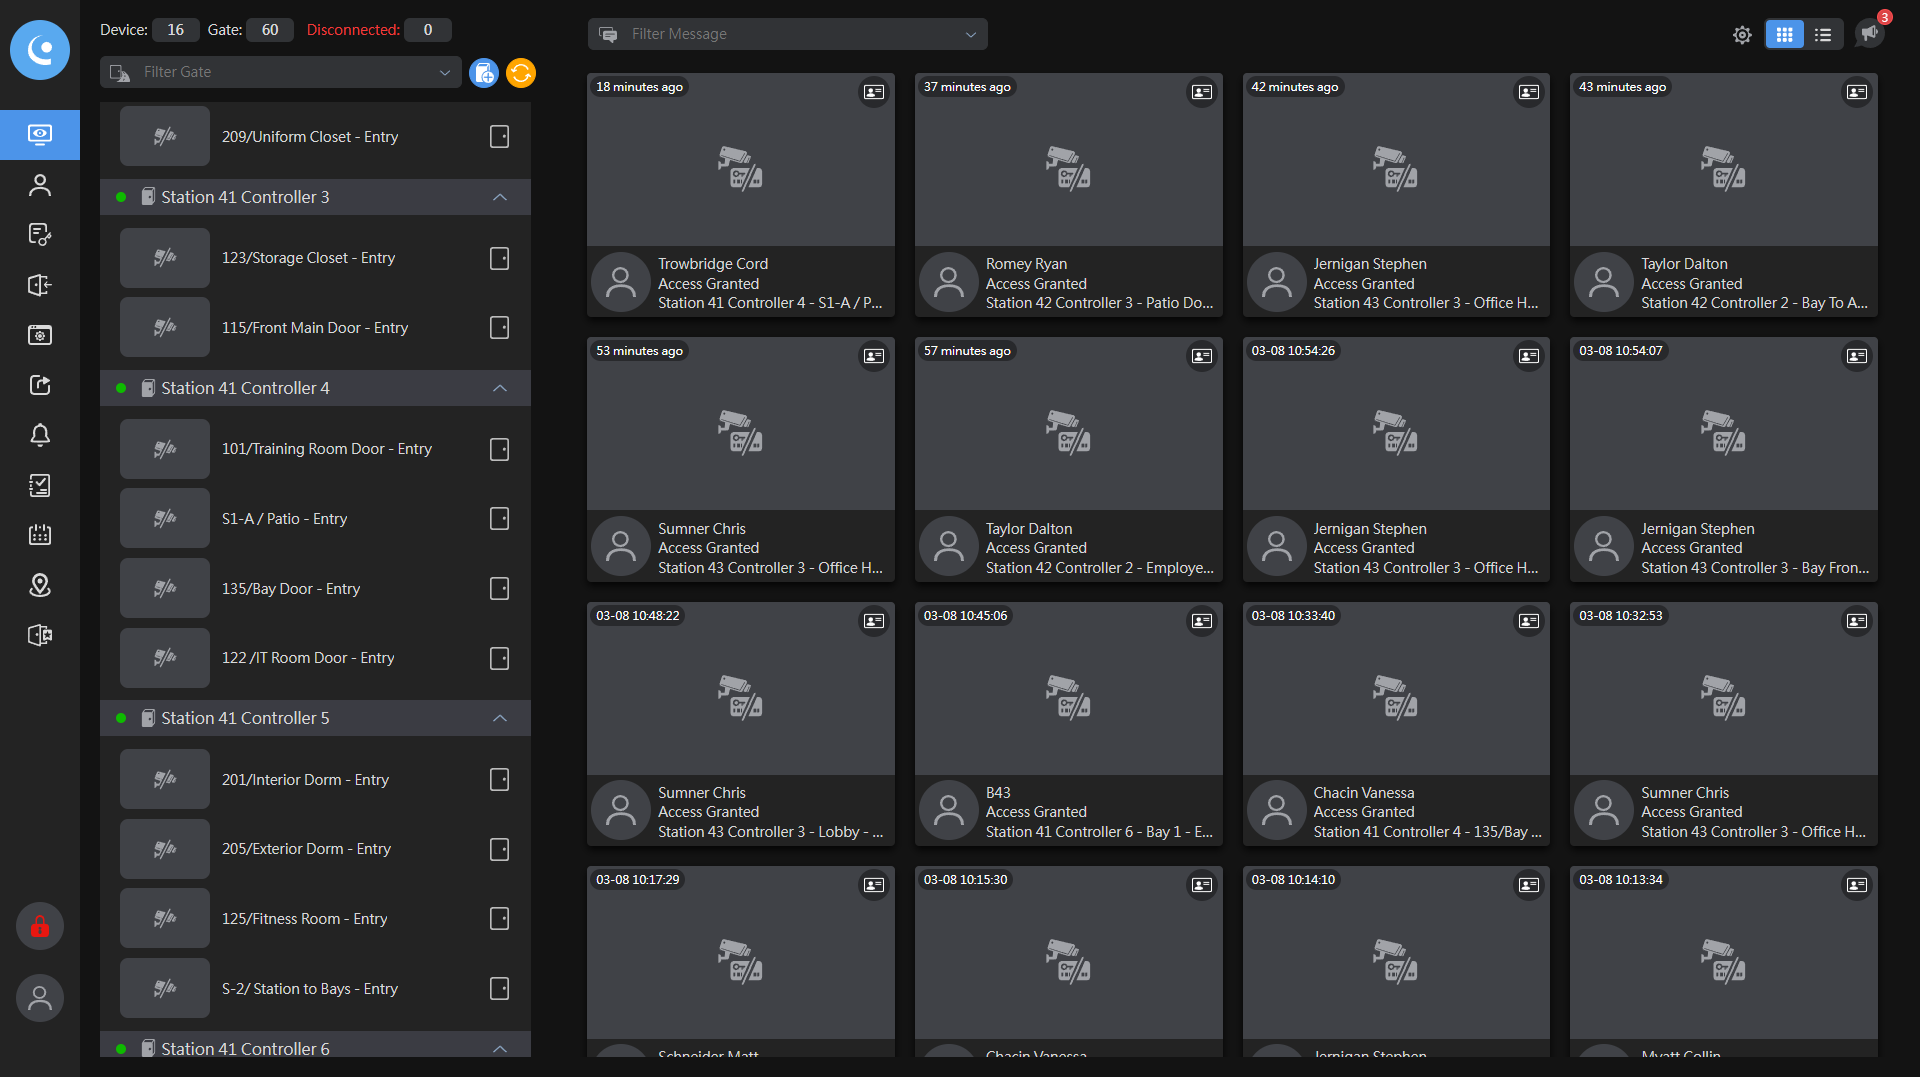
From the main monitoring tab, scroll down to the controller you want to edit.

4
Click here
Step #4: Click here

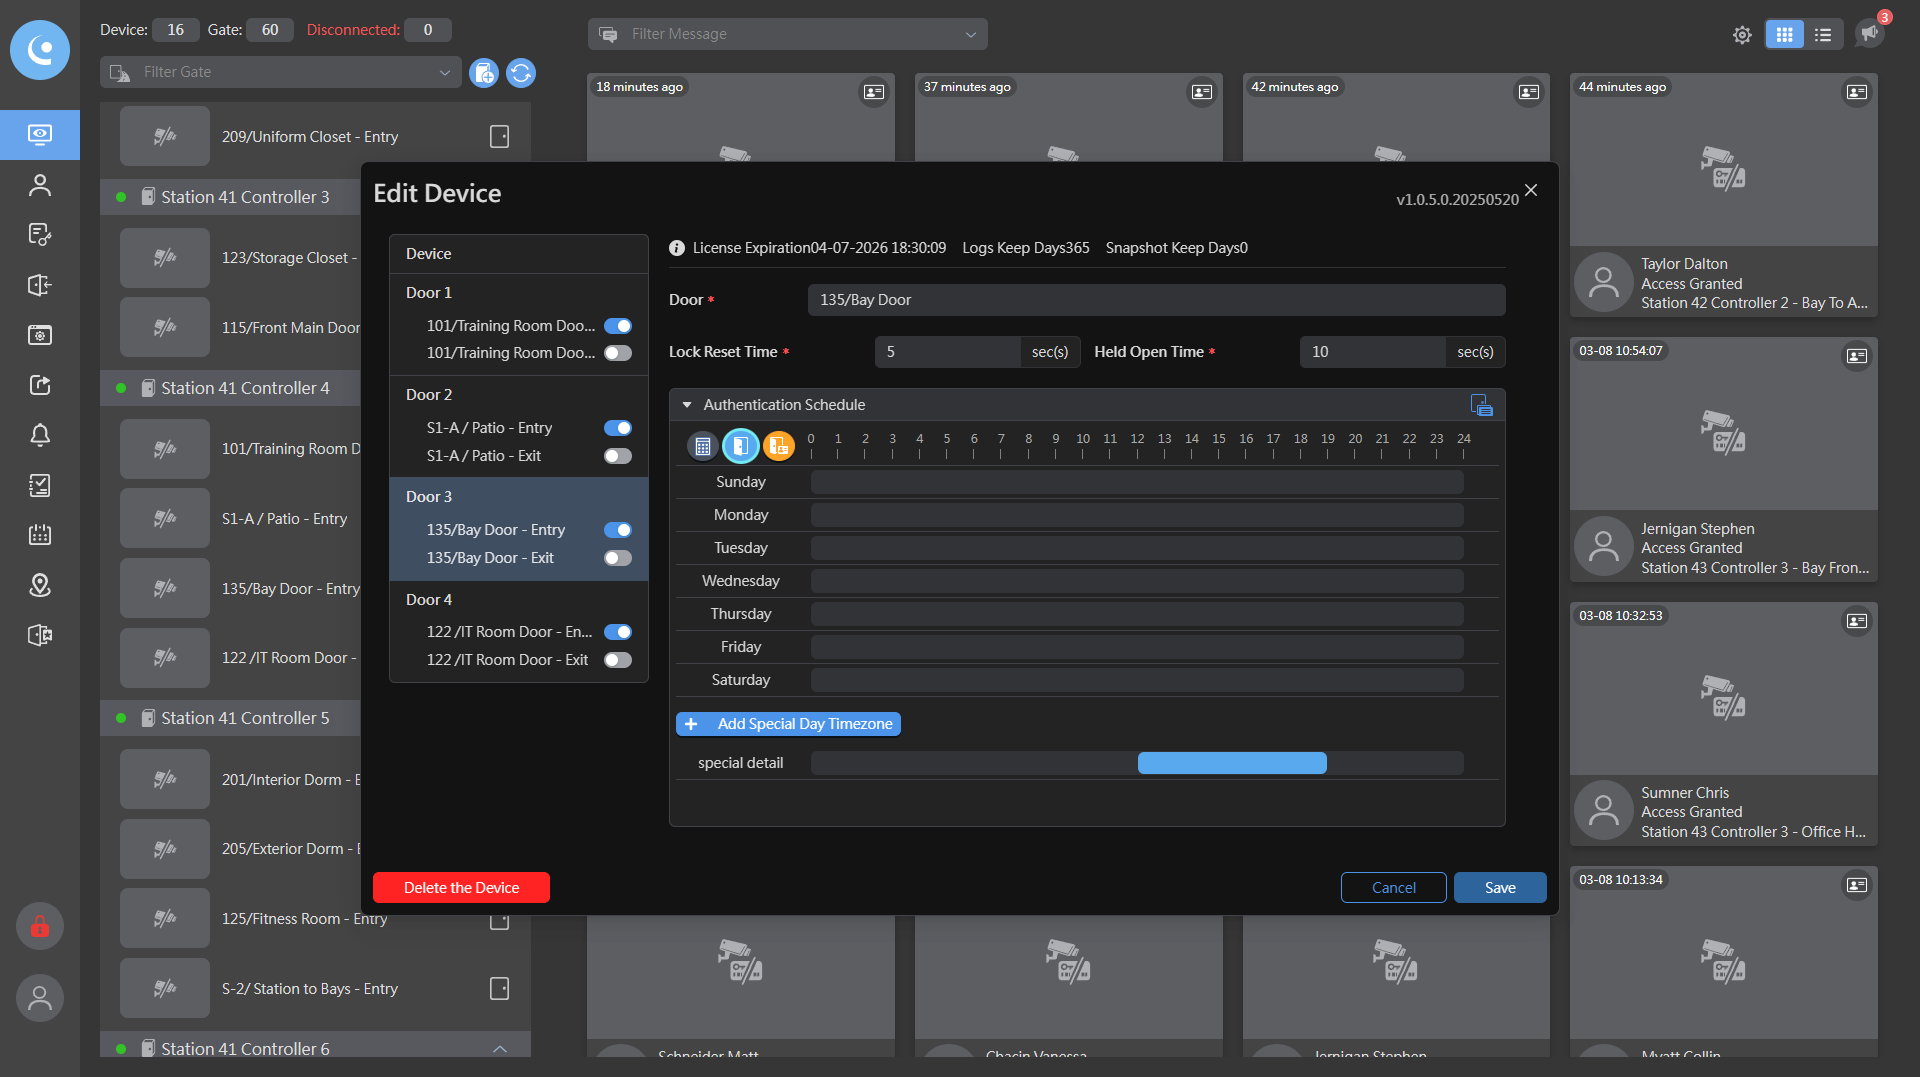
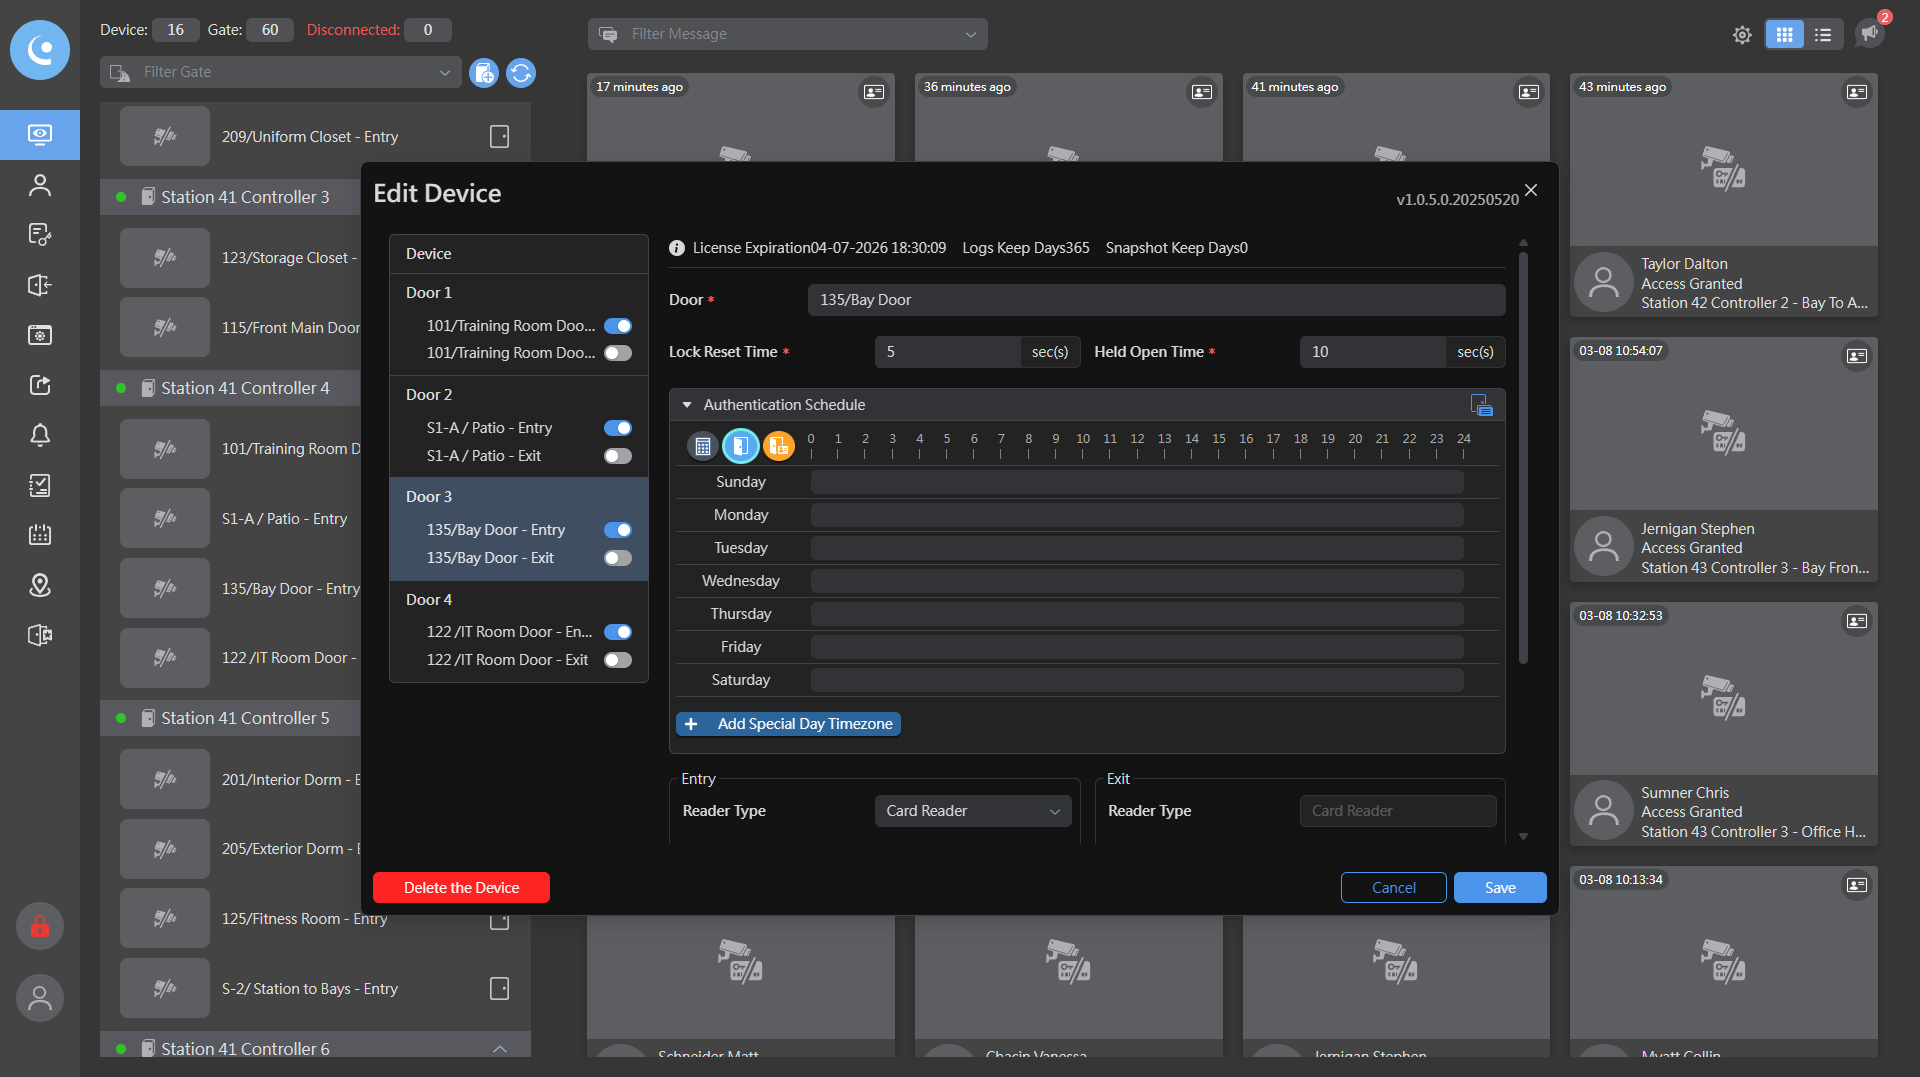
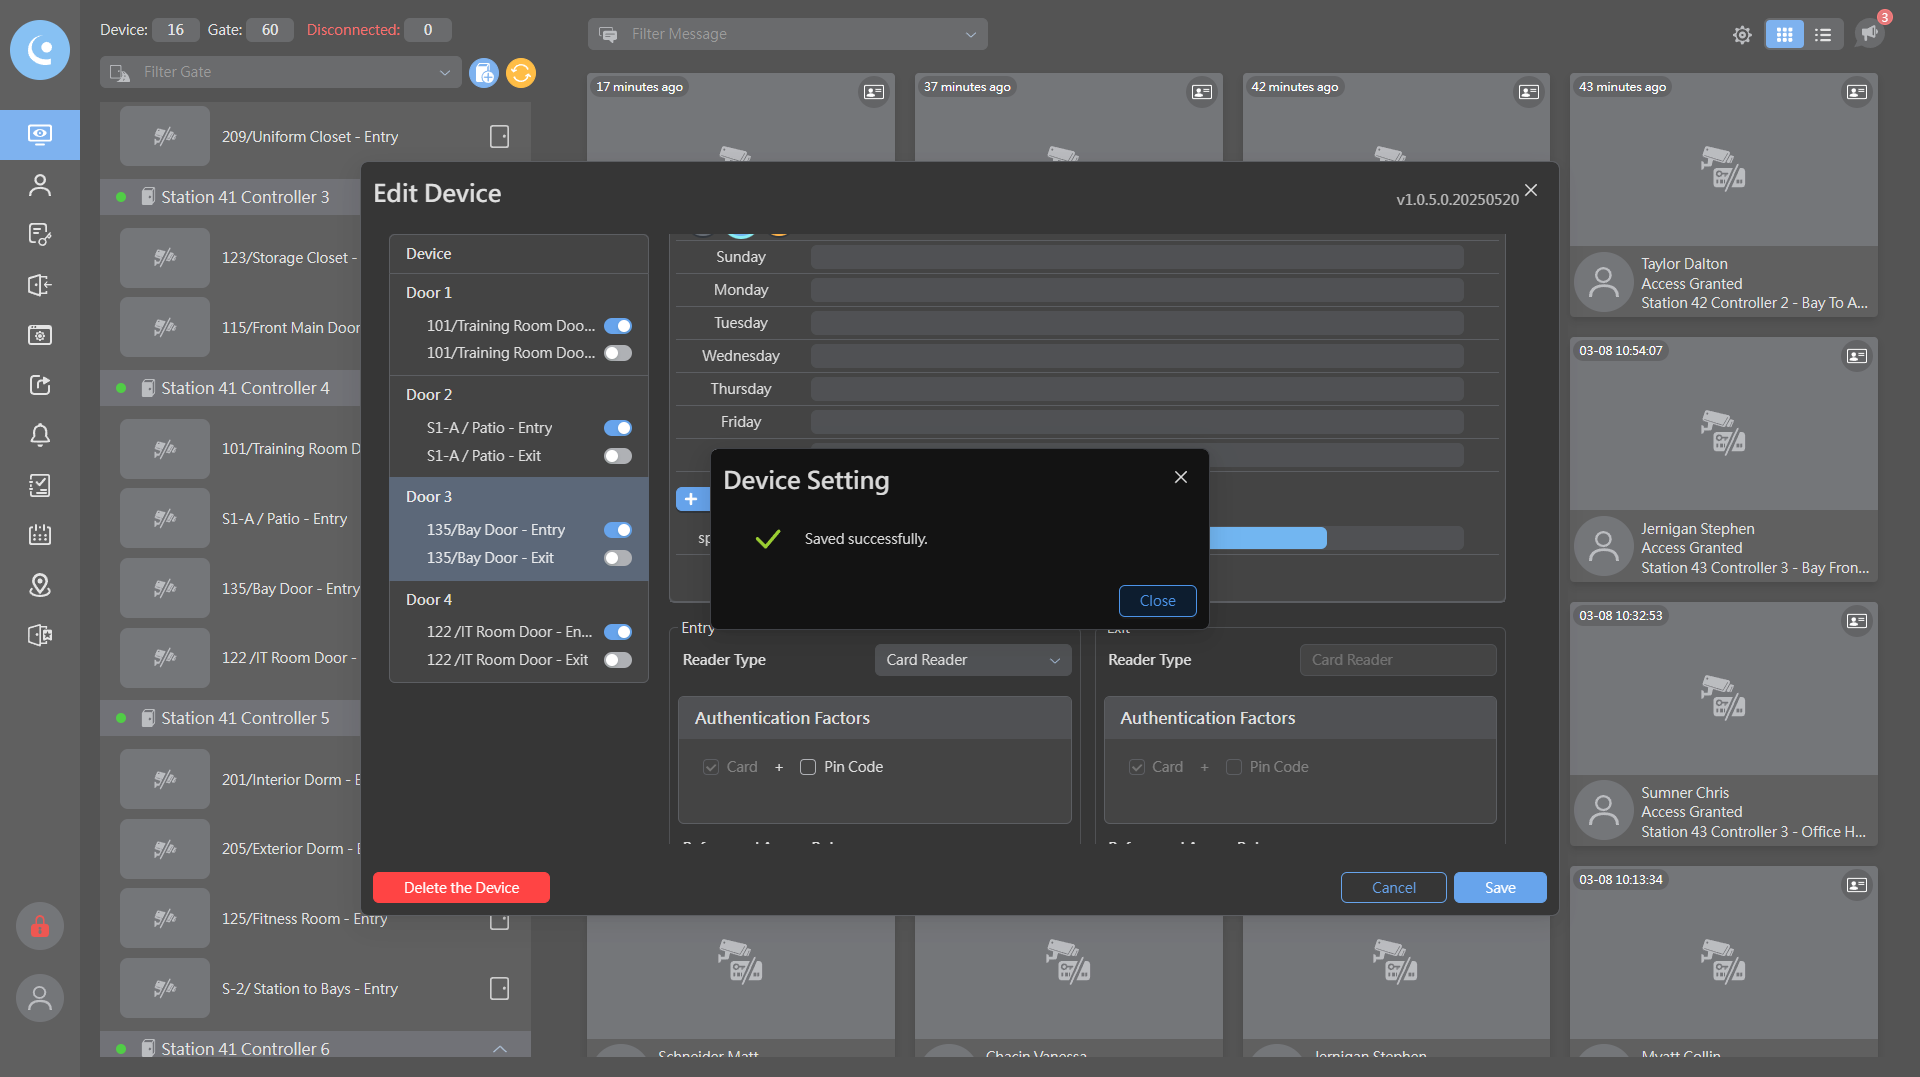
This is door 135 on controller four.

5
Click here
Step #5: Click here

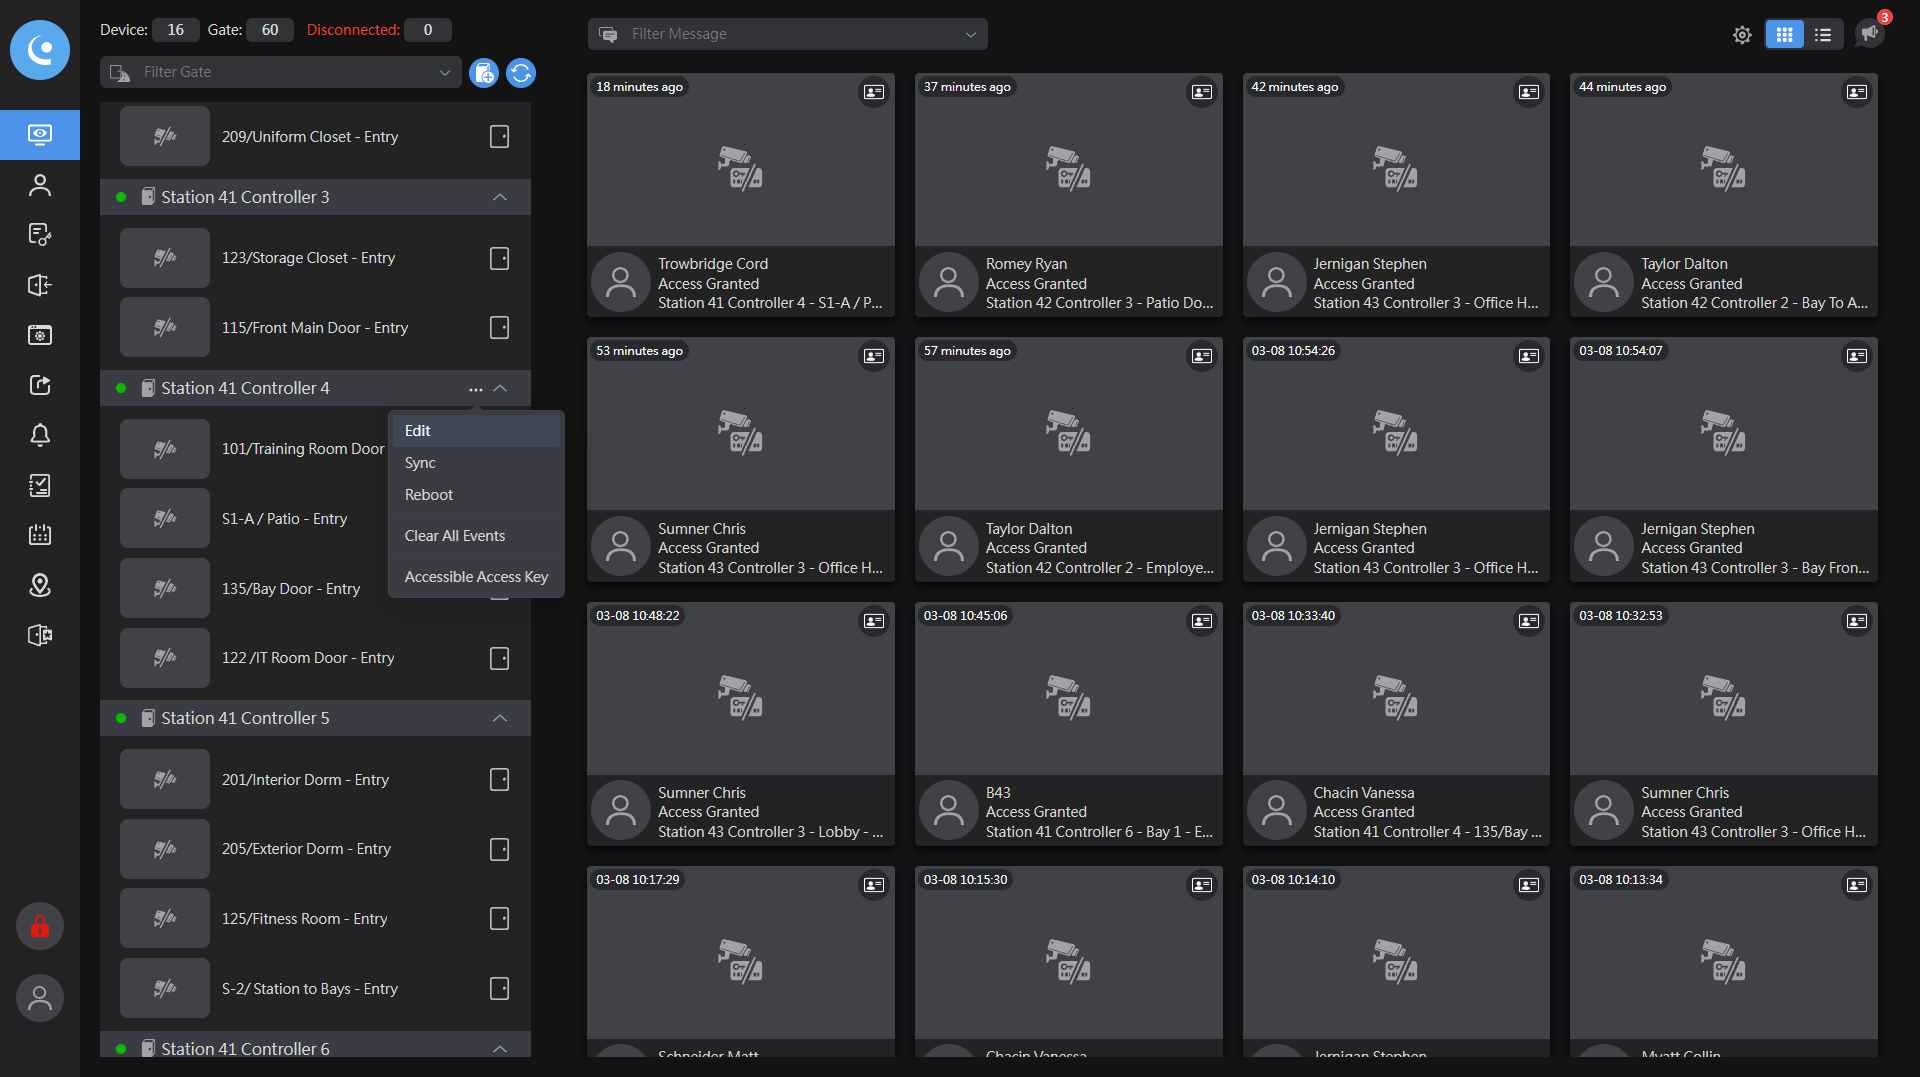
Click the three dots, then select Edit.

6
Click on "..."
Step #6: Click on "..."
7
Click here
Step #7: Click here
8
Click on "Edit Sync"
Step #8: Click on "Edit Sync"

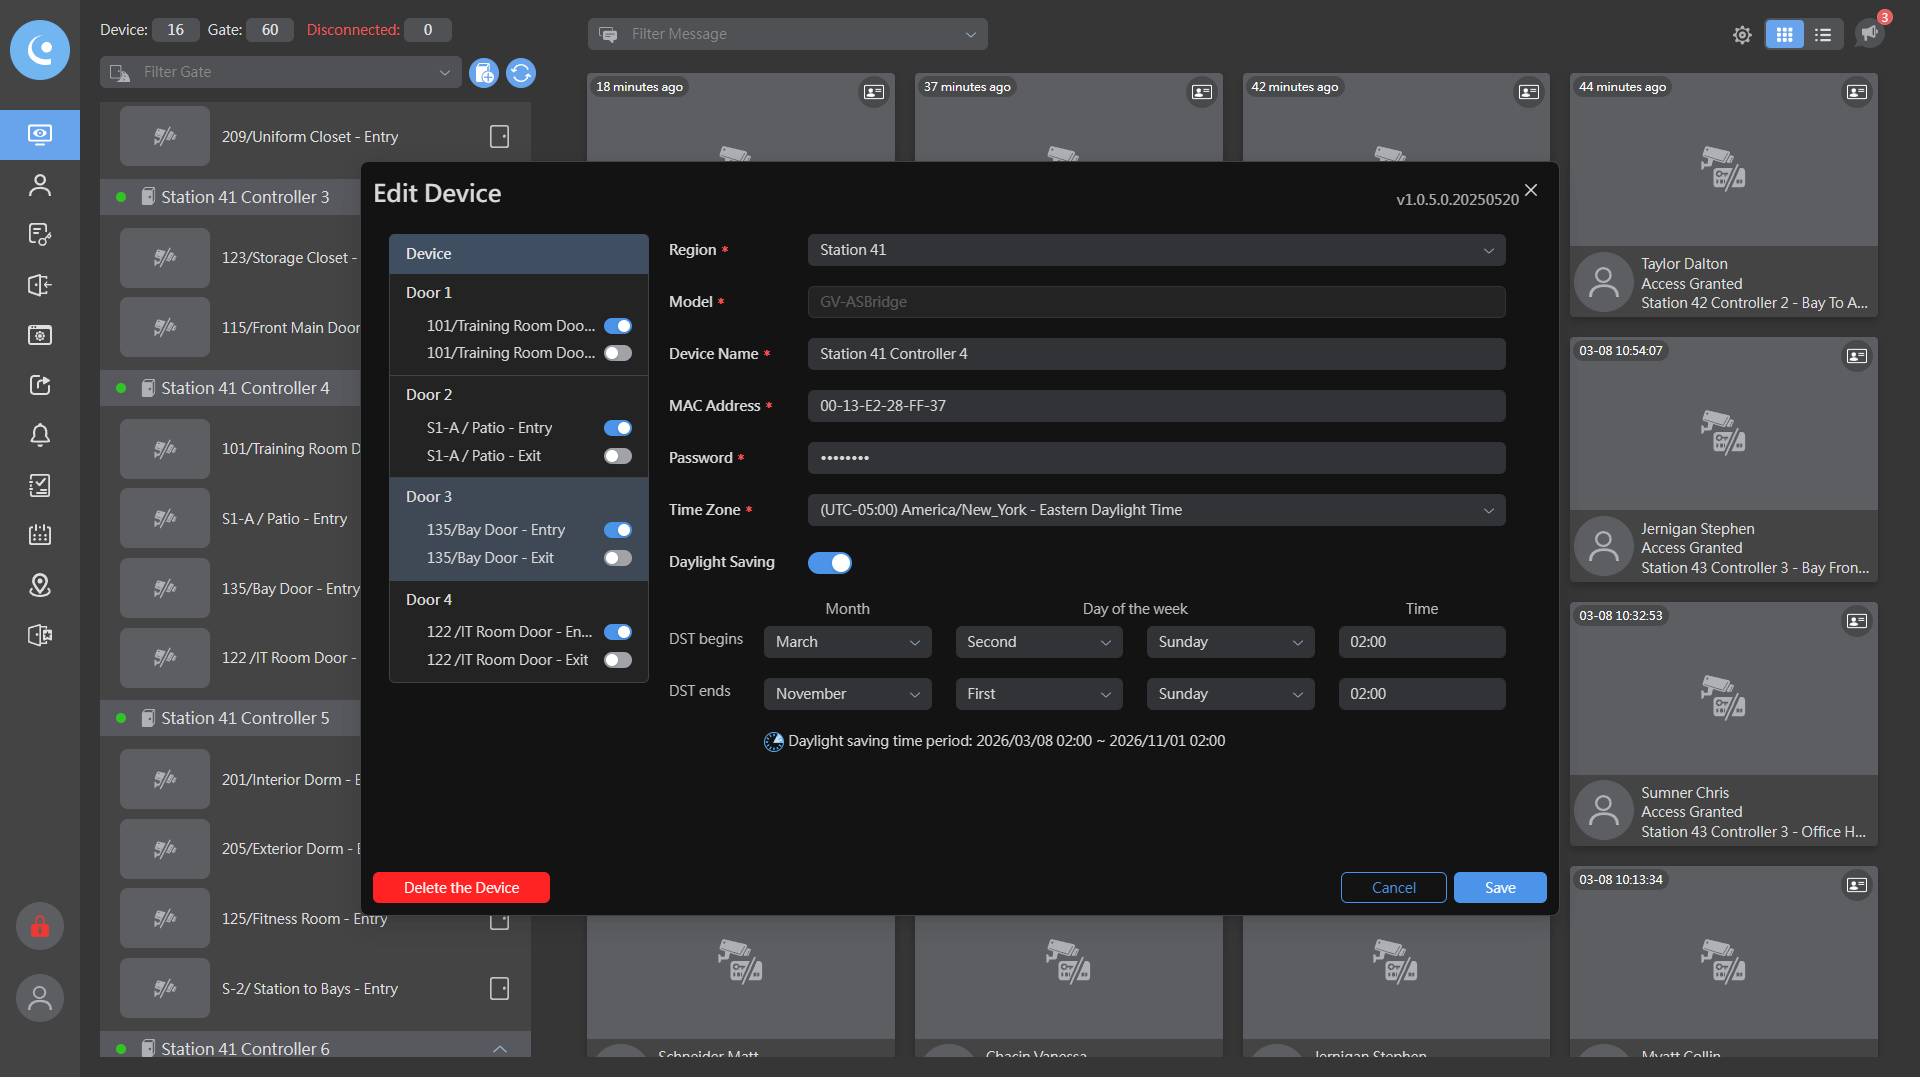
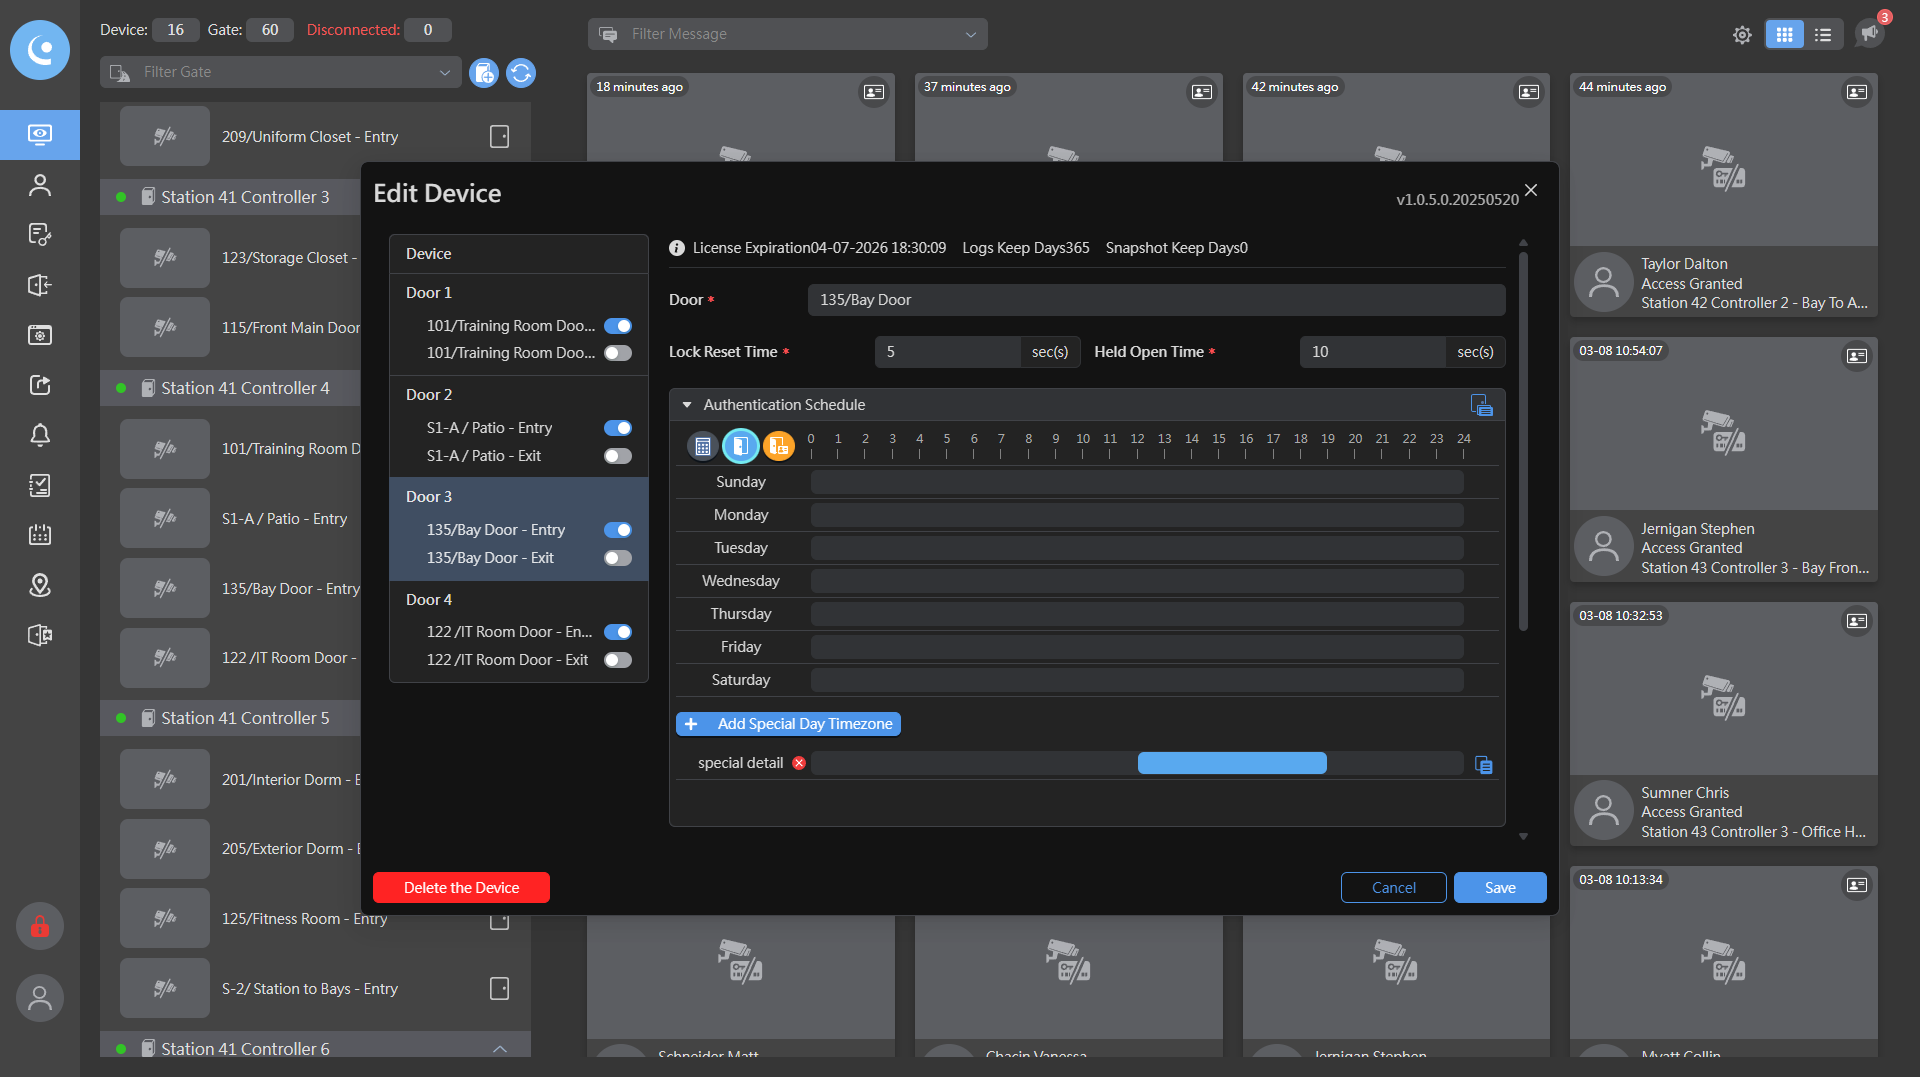
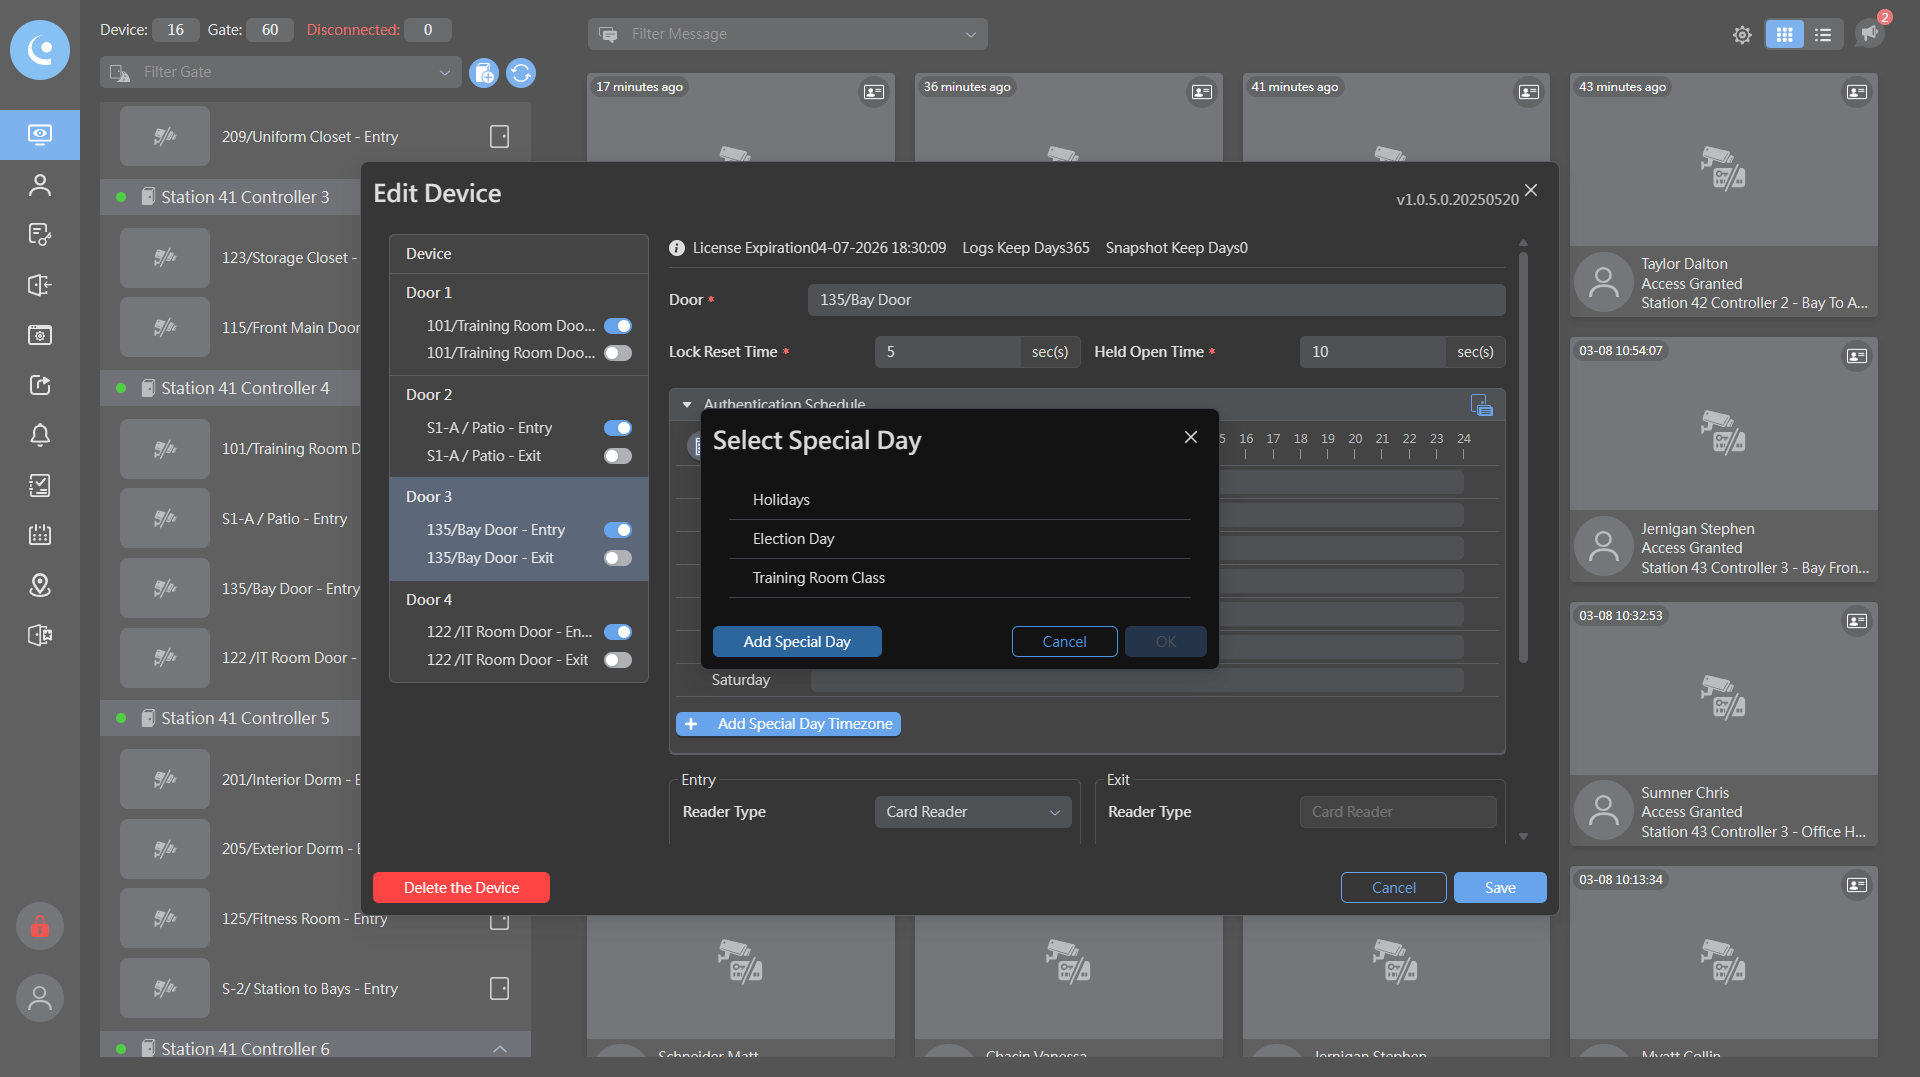
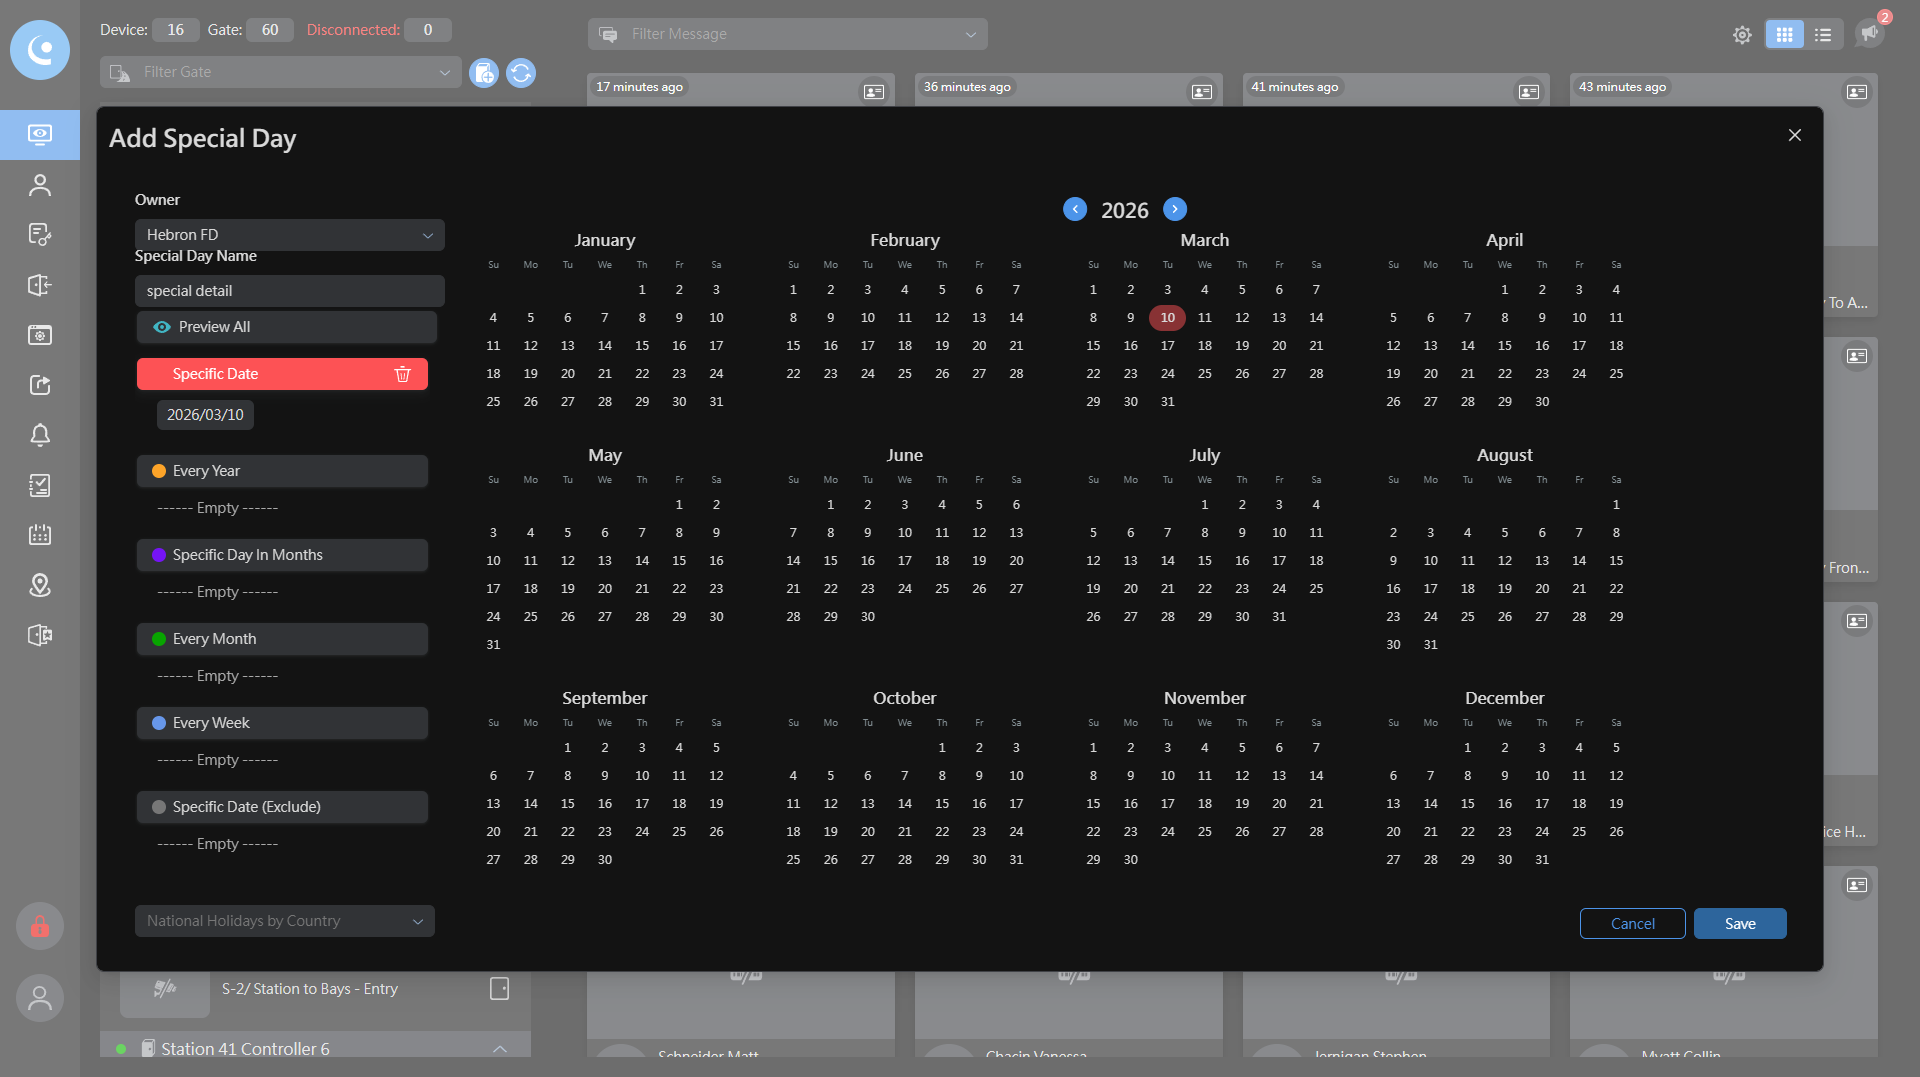
Next, select door number three. Then, choose "Authentication Schedule" and click "Add Special Day."

9
Click on "135 / Bay Door - Entry"
Step #9: Click on "135 / Bay Door - Entry"
10
Click on "Authentication Schedule"
Step #10: Click on "Authentication Schedule"
11
Click on "Add Special Day Timezone"
Step #11: Click on "Add Special Day Timezone"

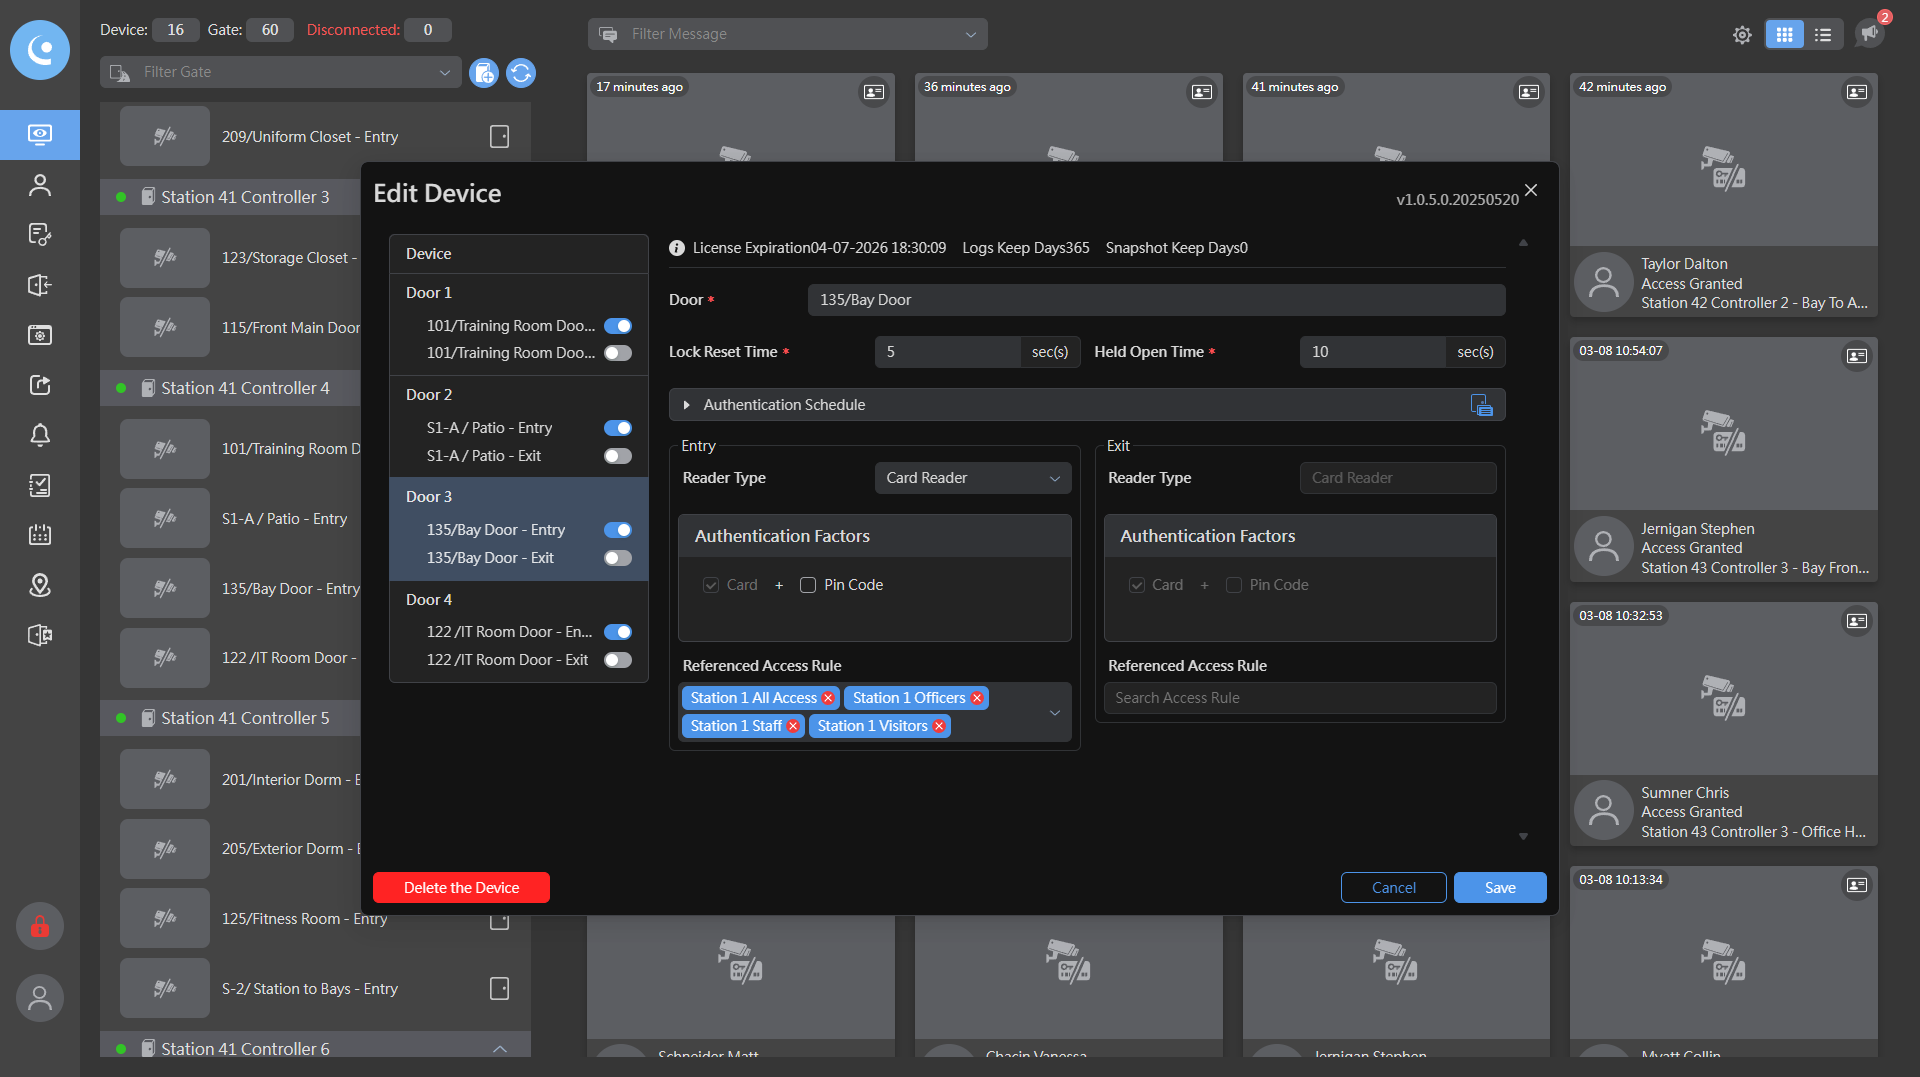
Then we click "Add Special Day" again.

12
Click on "Add Special Day"
Step #12: Click on "Add Special Day"

We will name it "Special Detail," and it will be for March 10th.

13
Click here
Step #13: Click here
14
Type "Ctrl + V"
15
Click on "10"
Step #15: Click on "10"

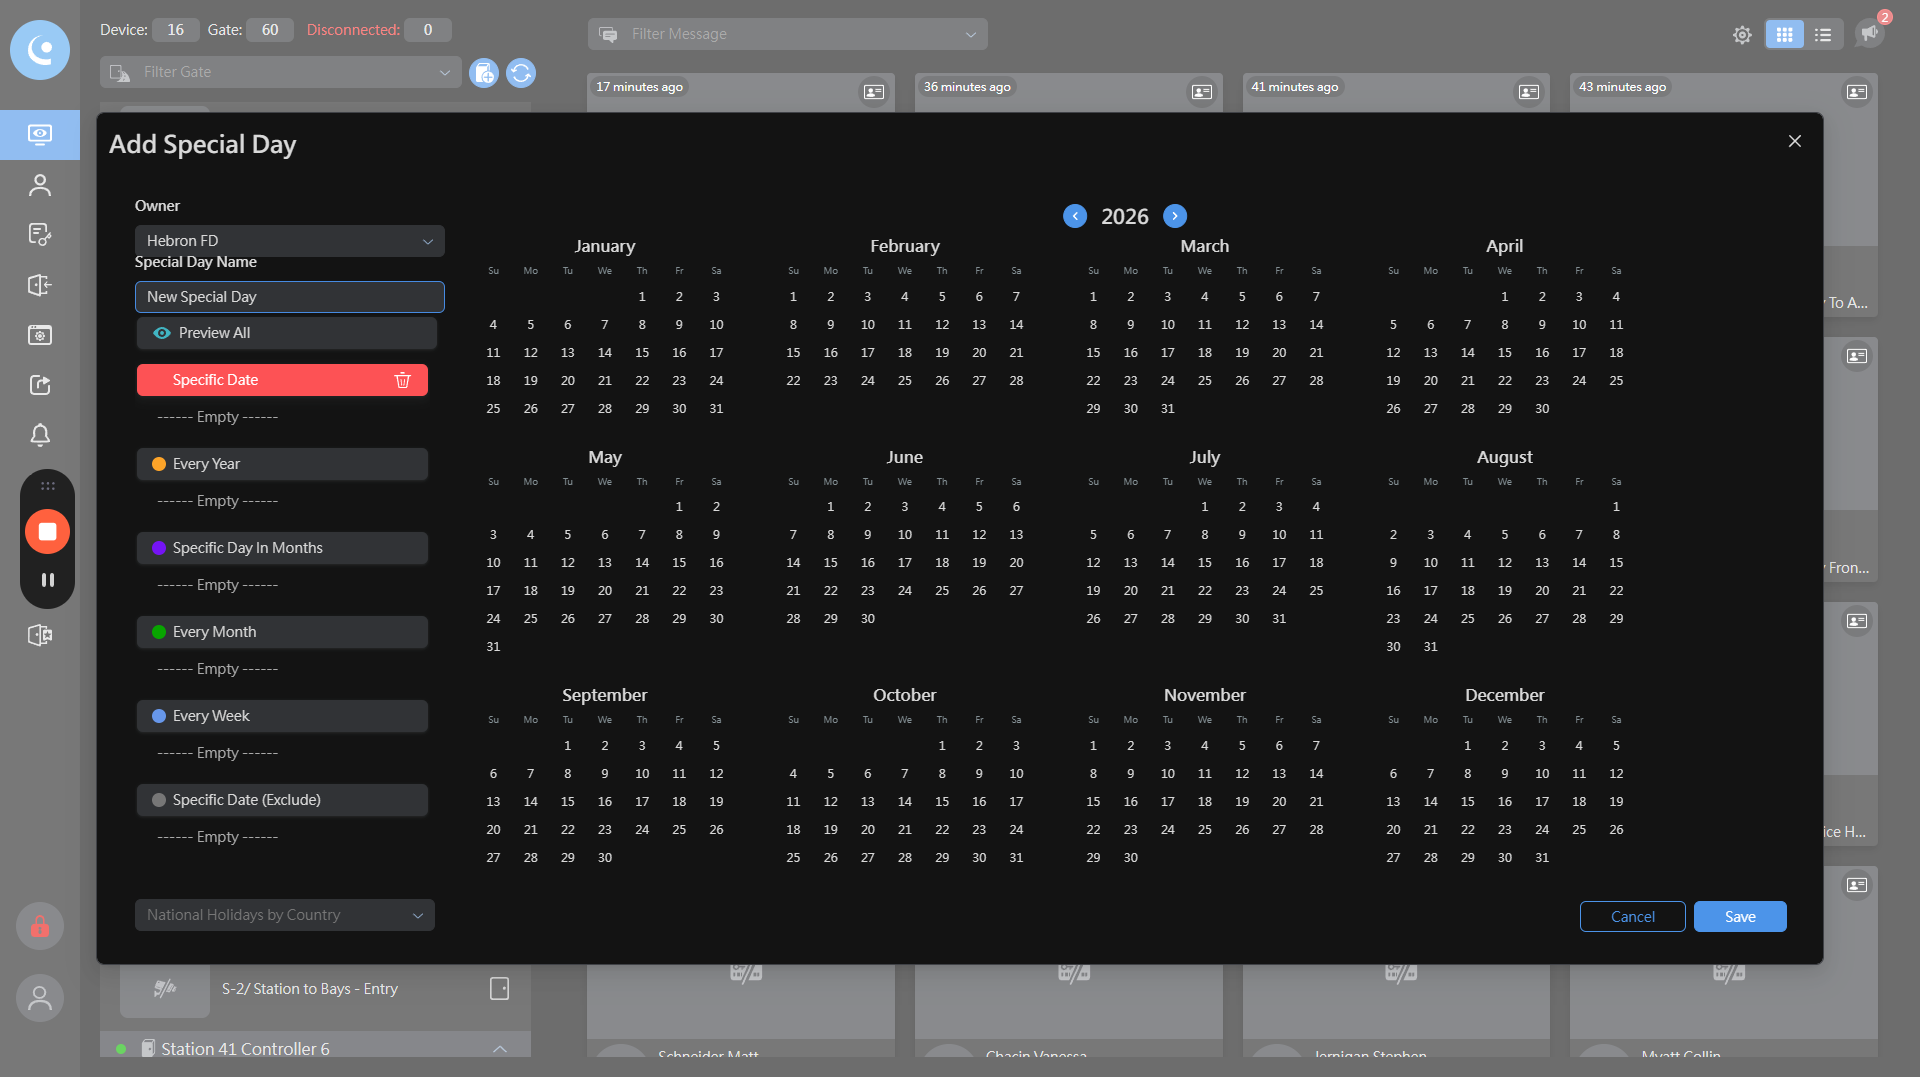
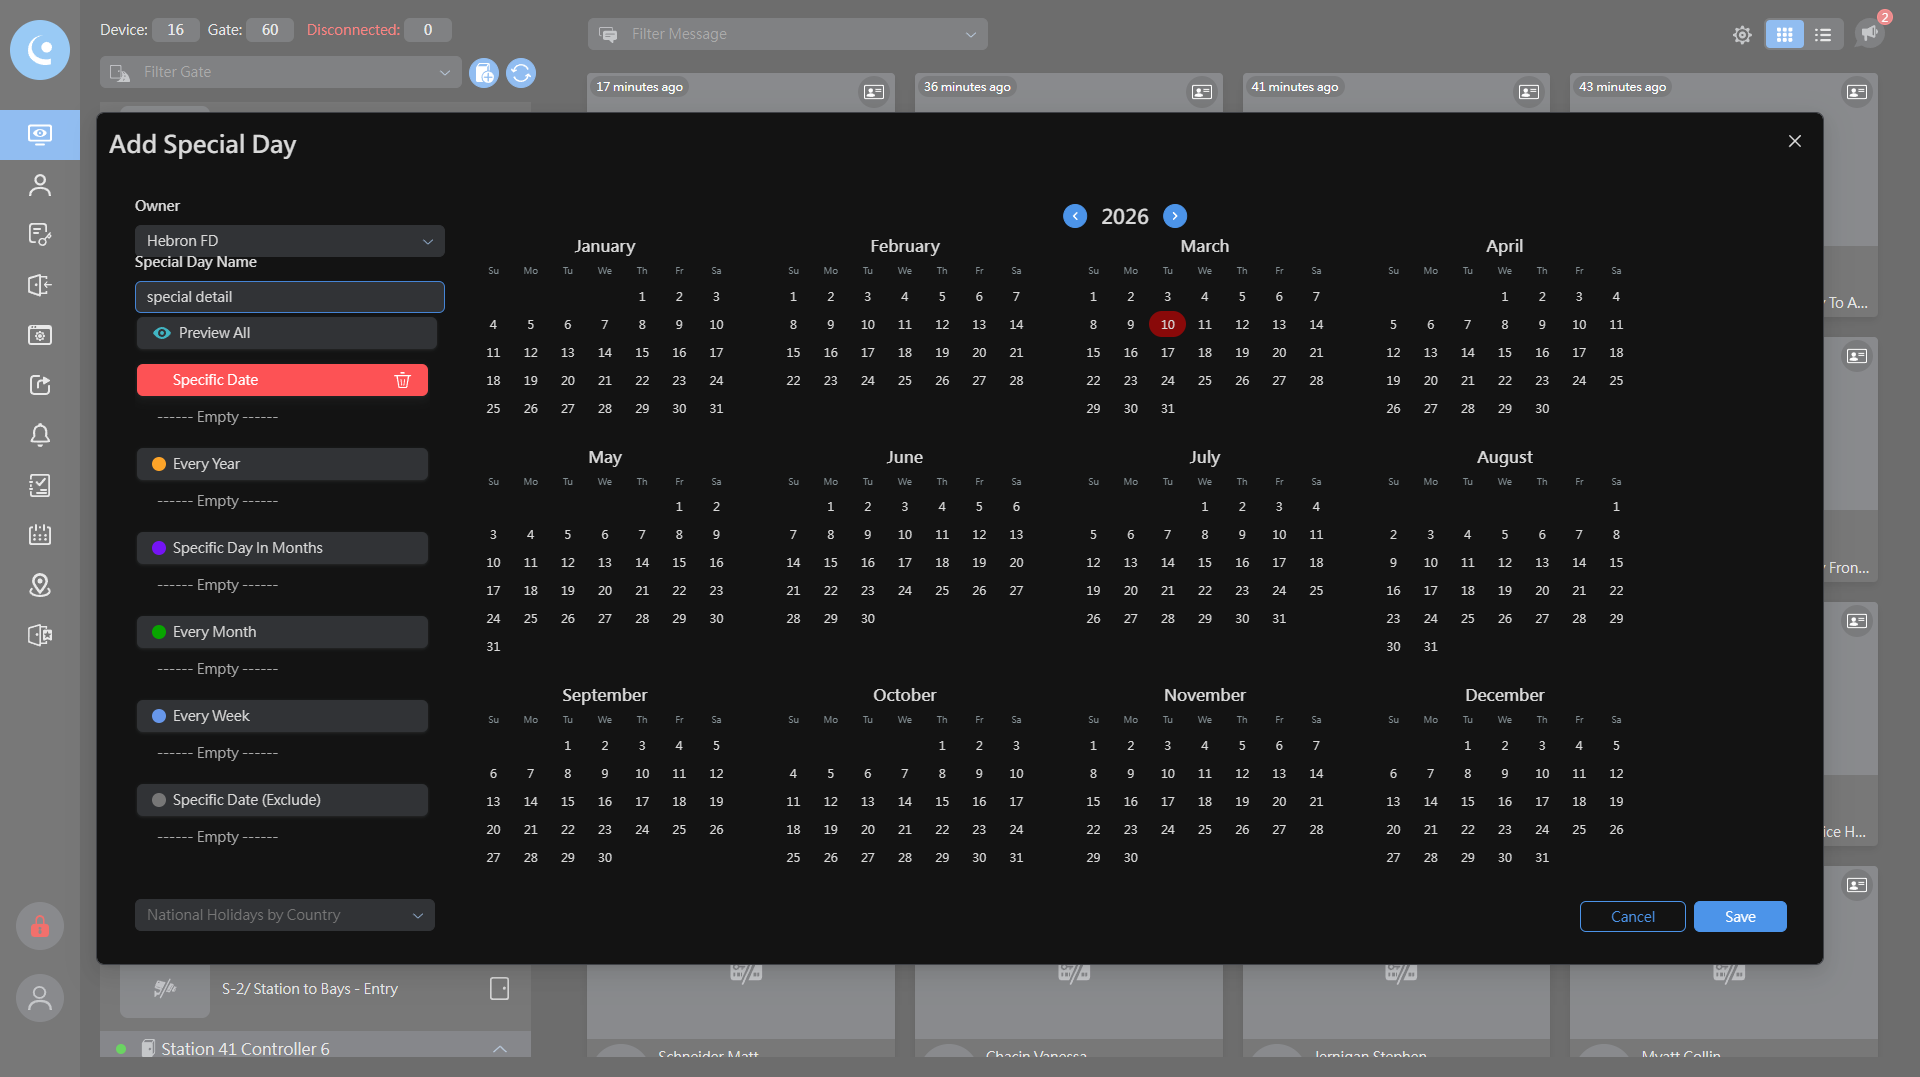
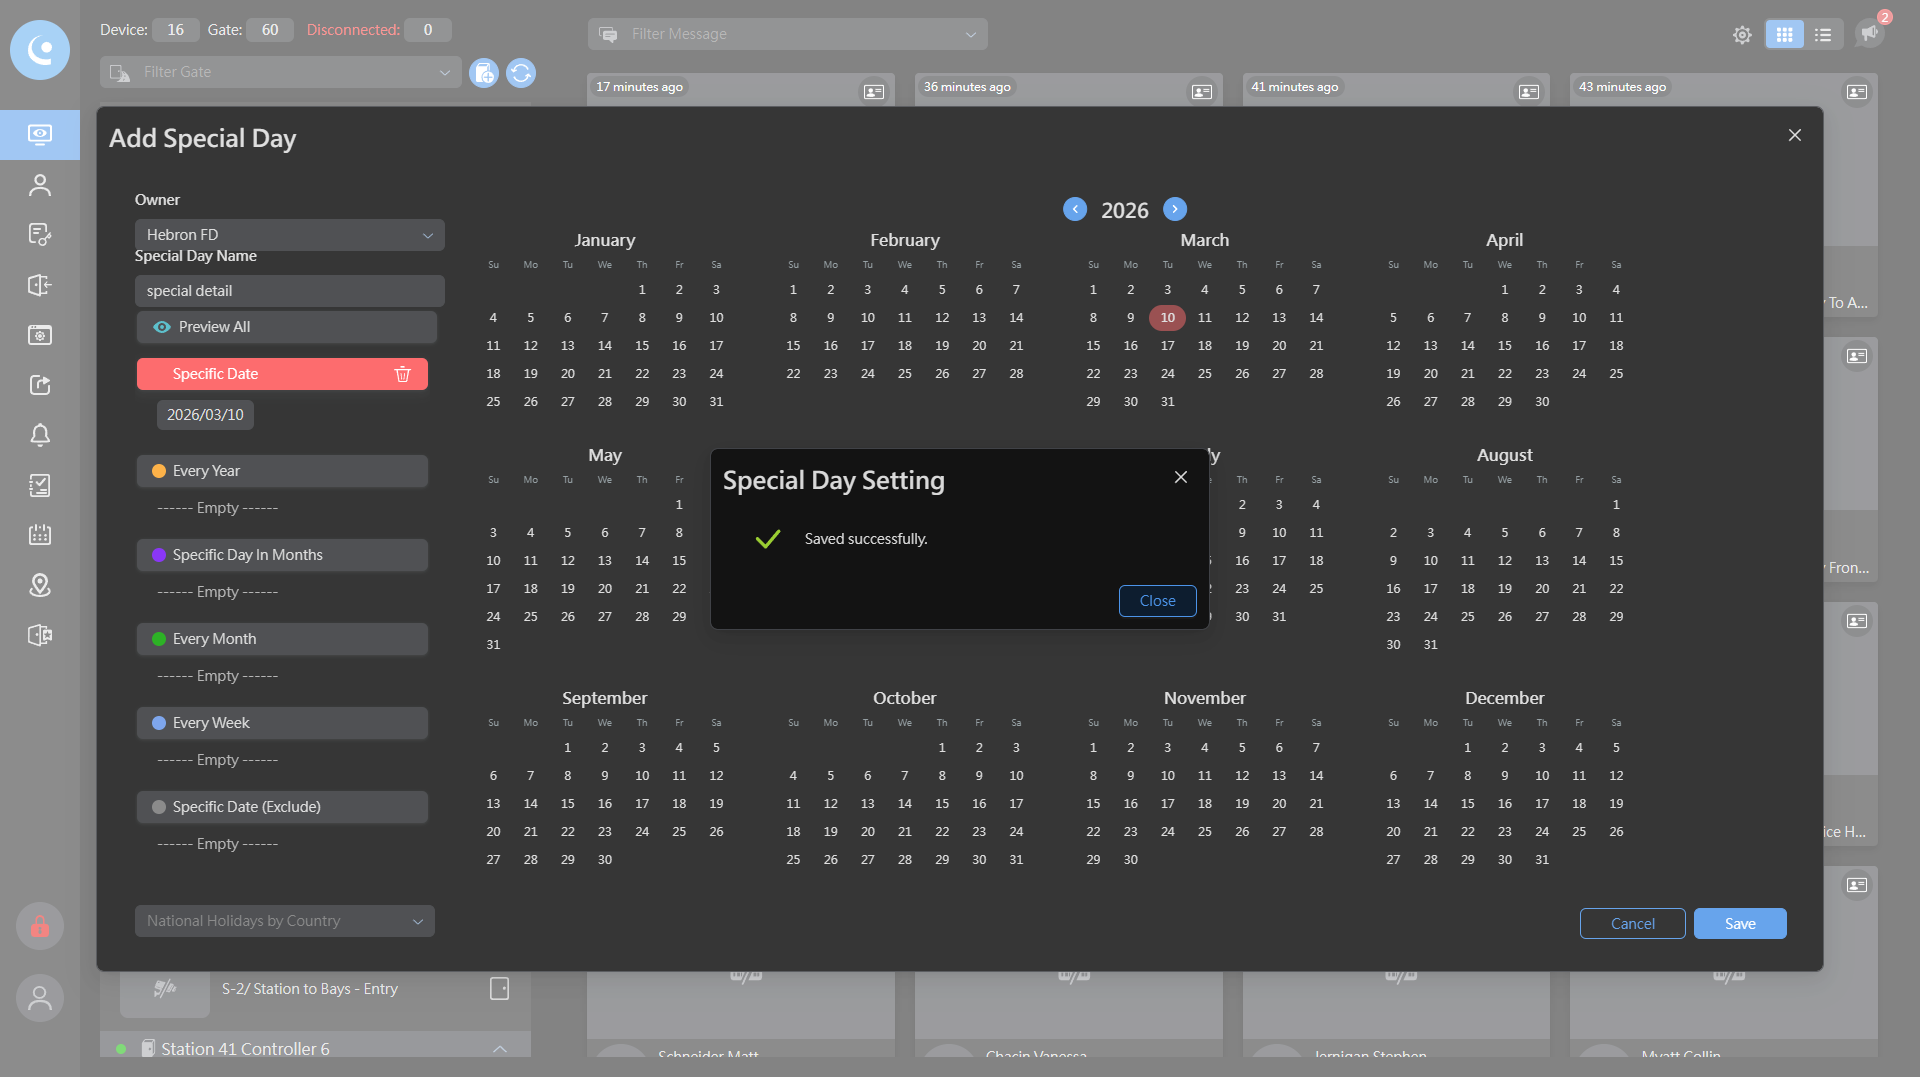
Then I will click save.

16
Click on "Save"
Step #16: Click on "Save"

Now I will select Special Detail and set the time you specified, 12:00 to 19:00.

17
Click on "Close"
Step #17: Click on "Close"
18
Click on "OK"
Step #18: Click on "OK"
20
Click here
Step #20: Click here

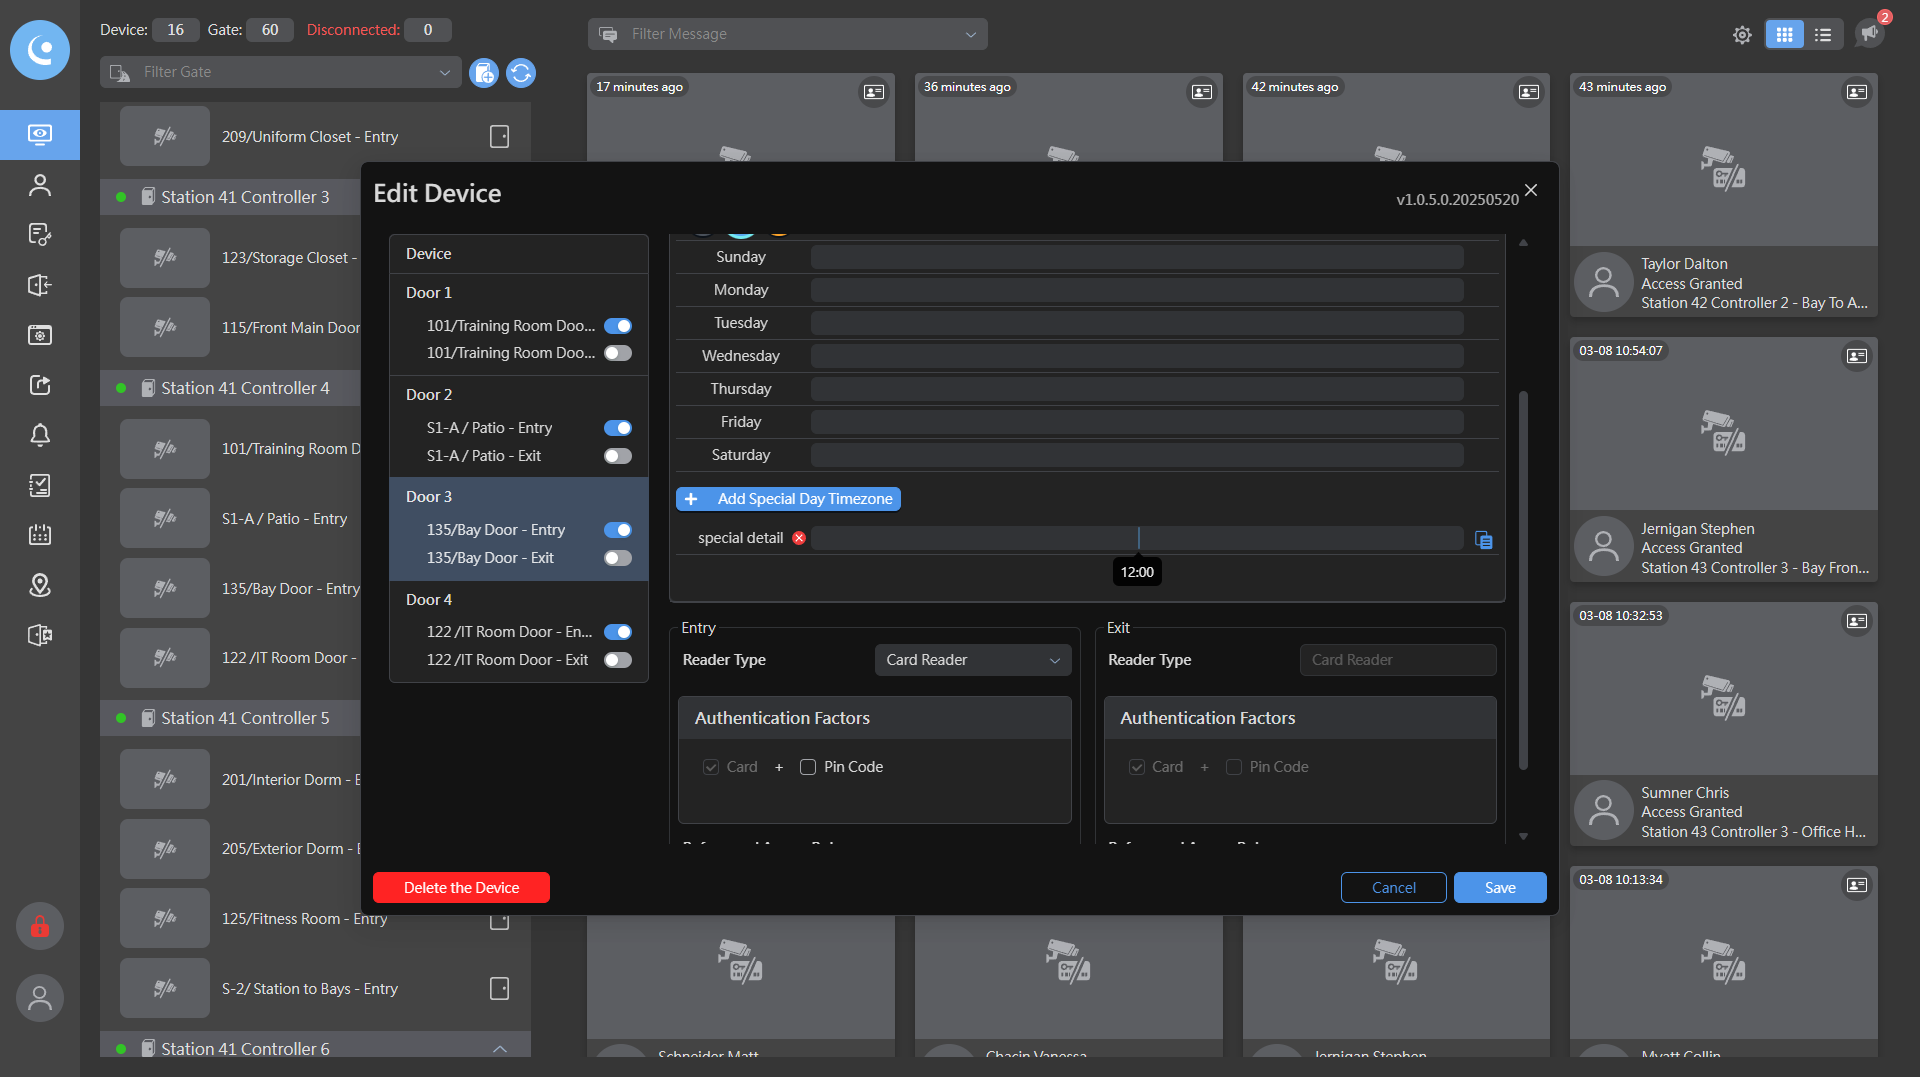
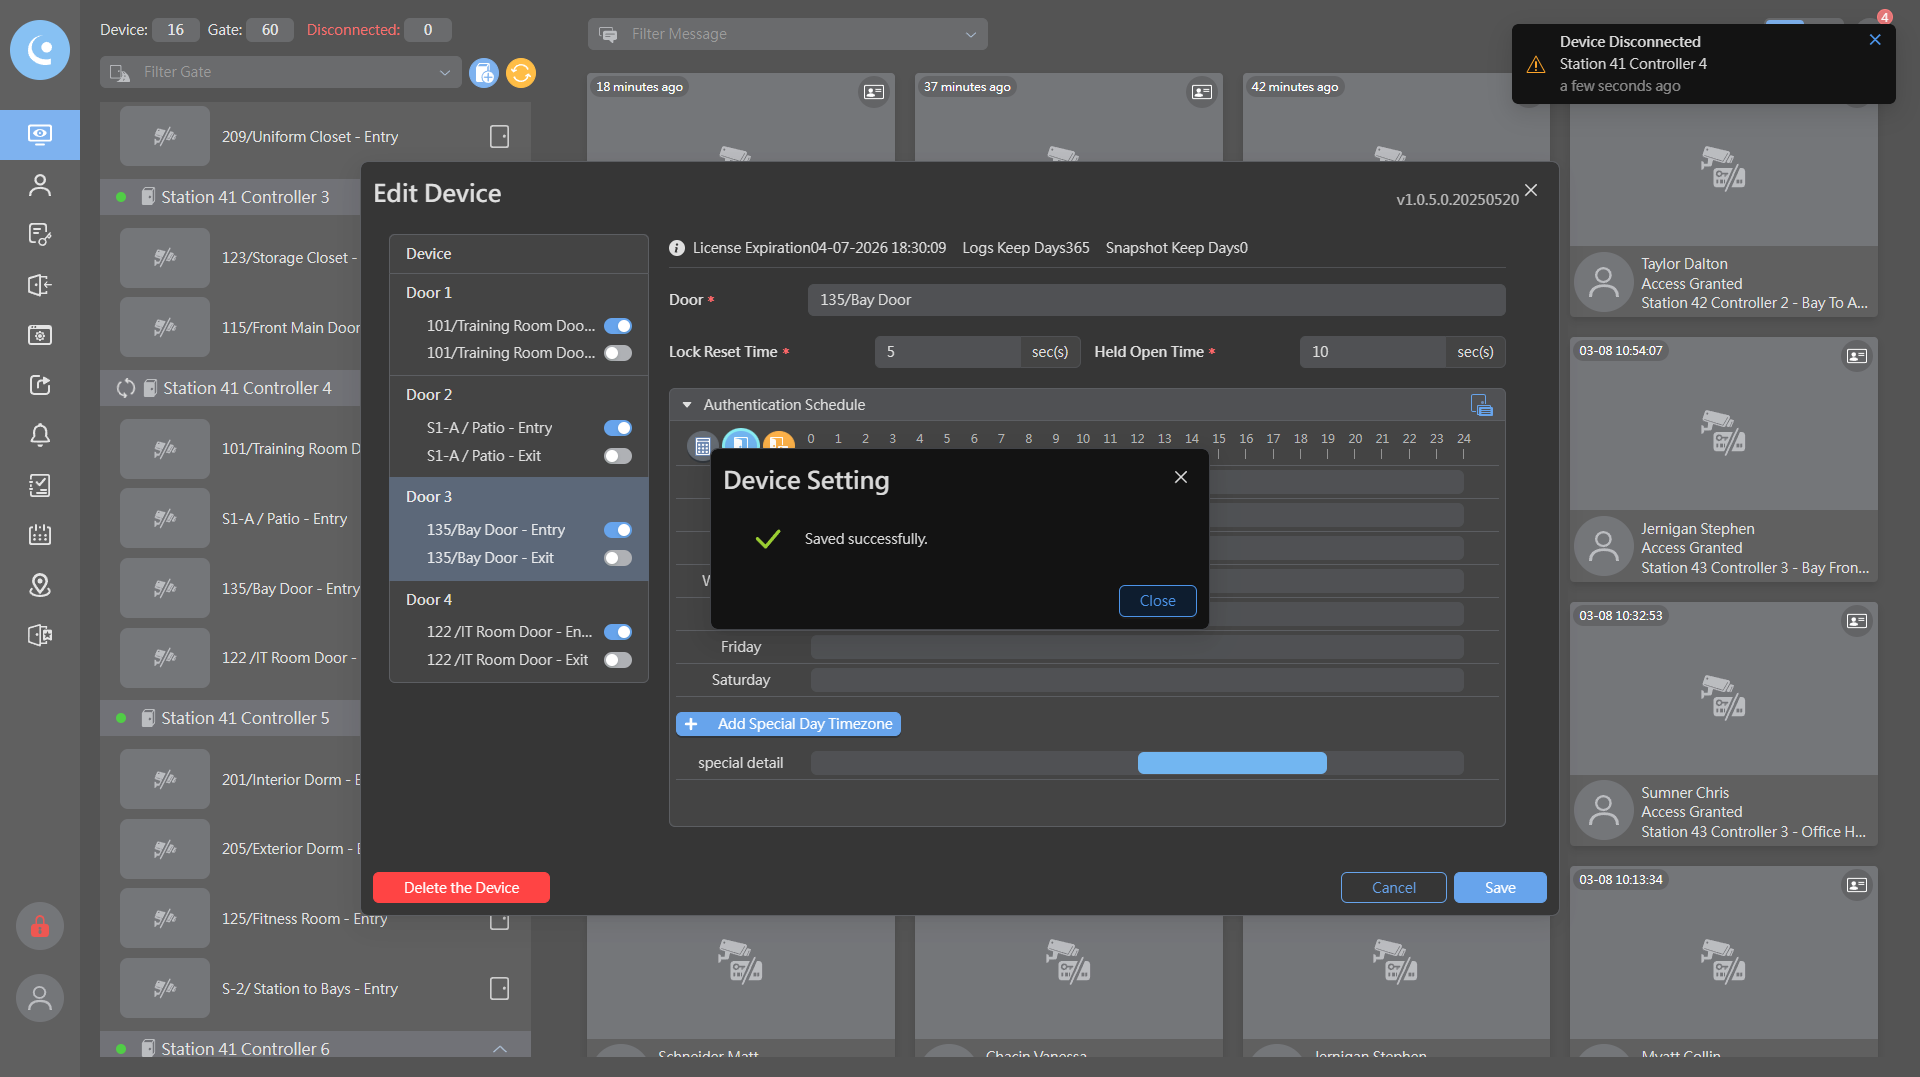
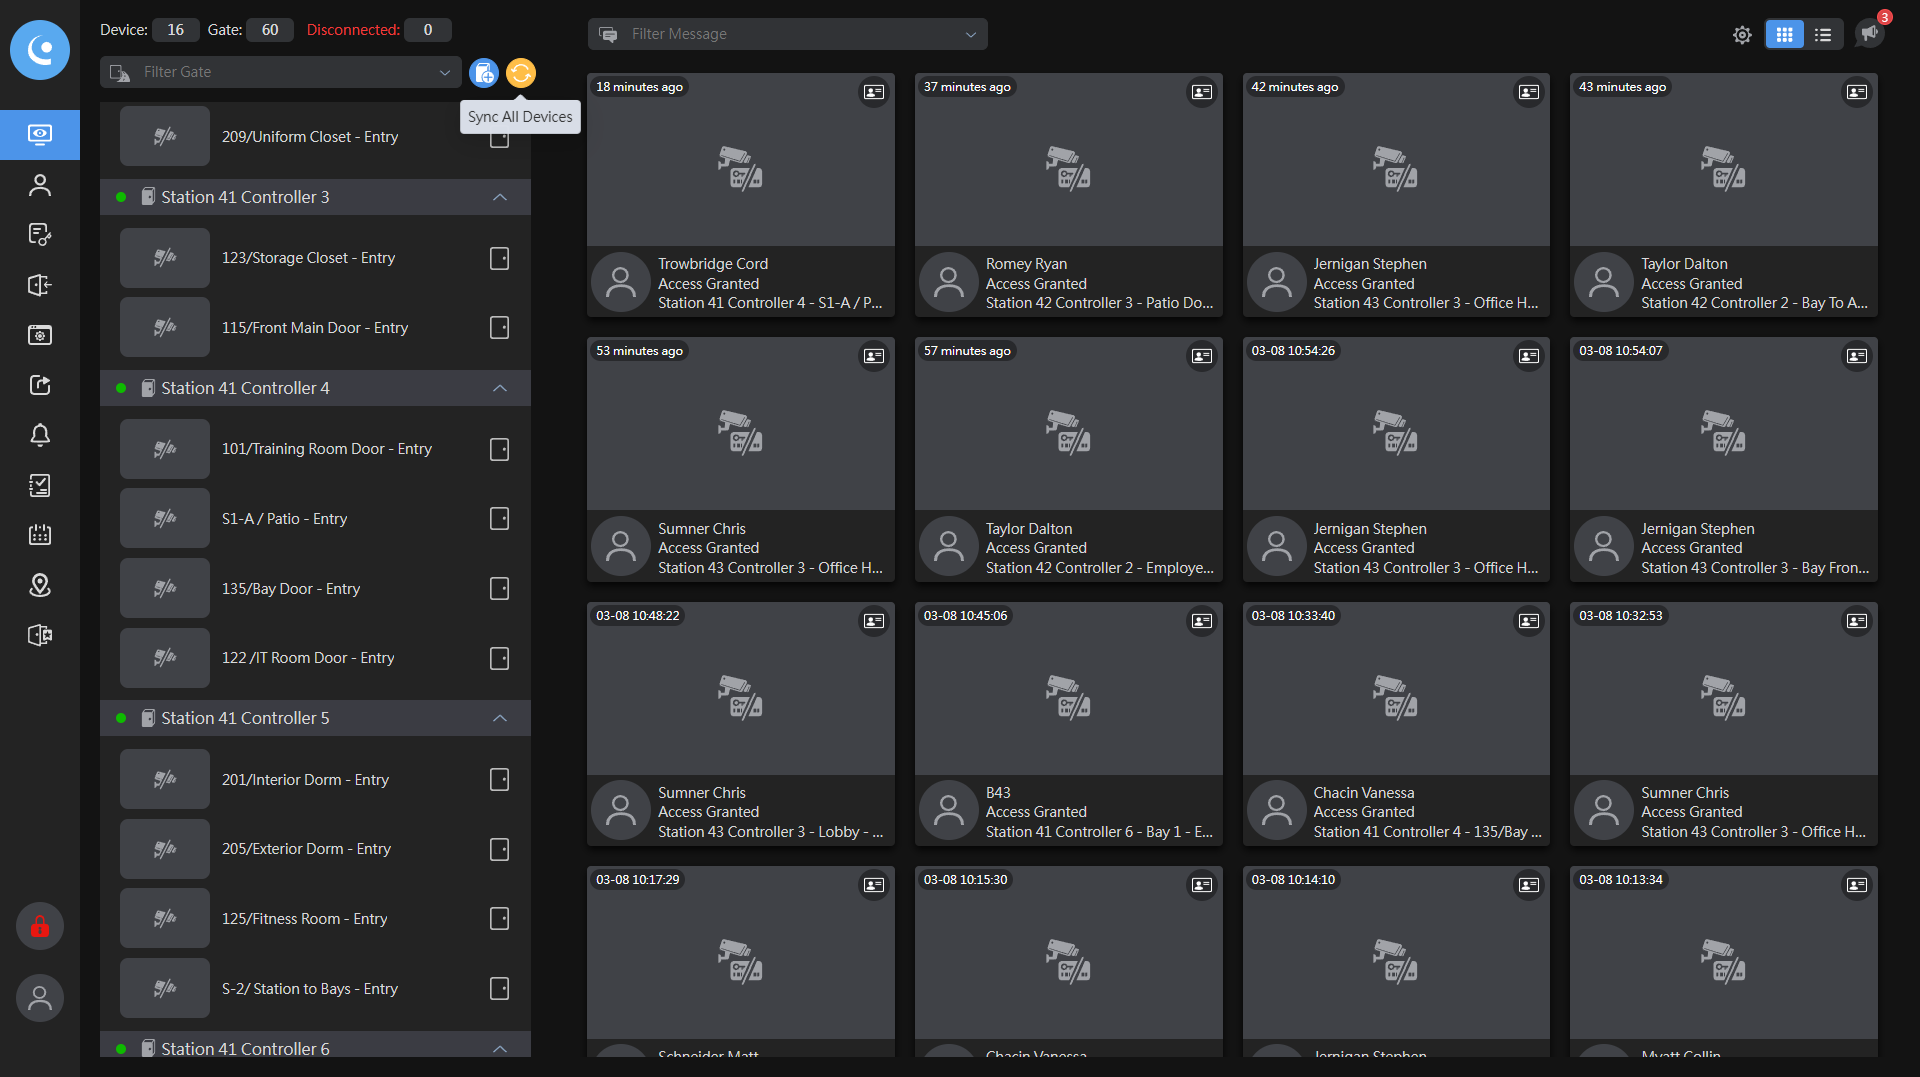
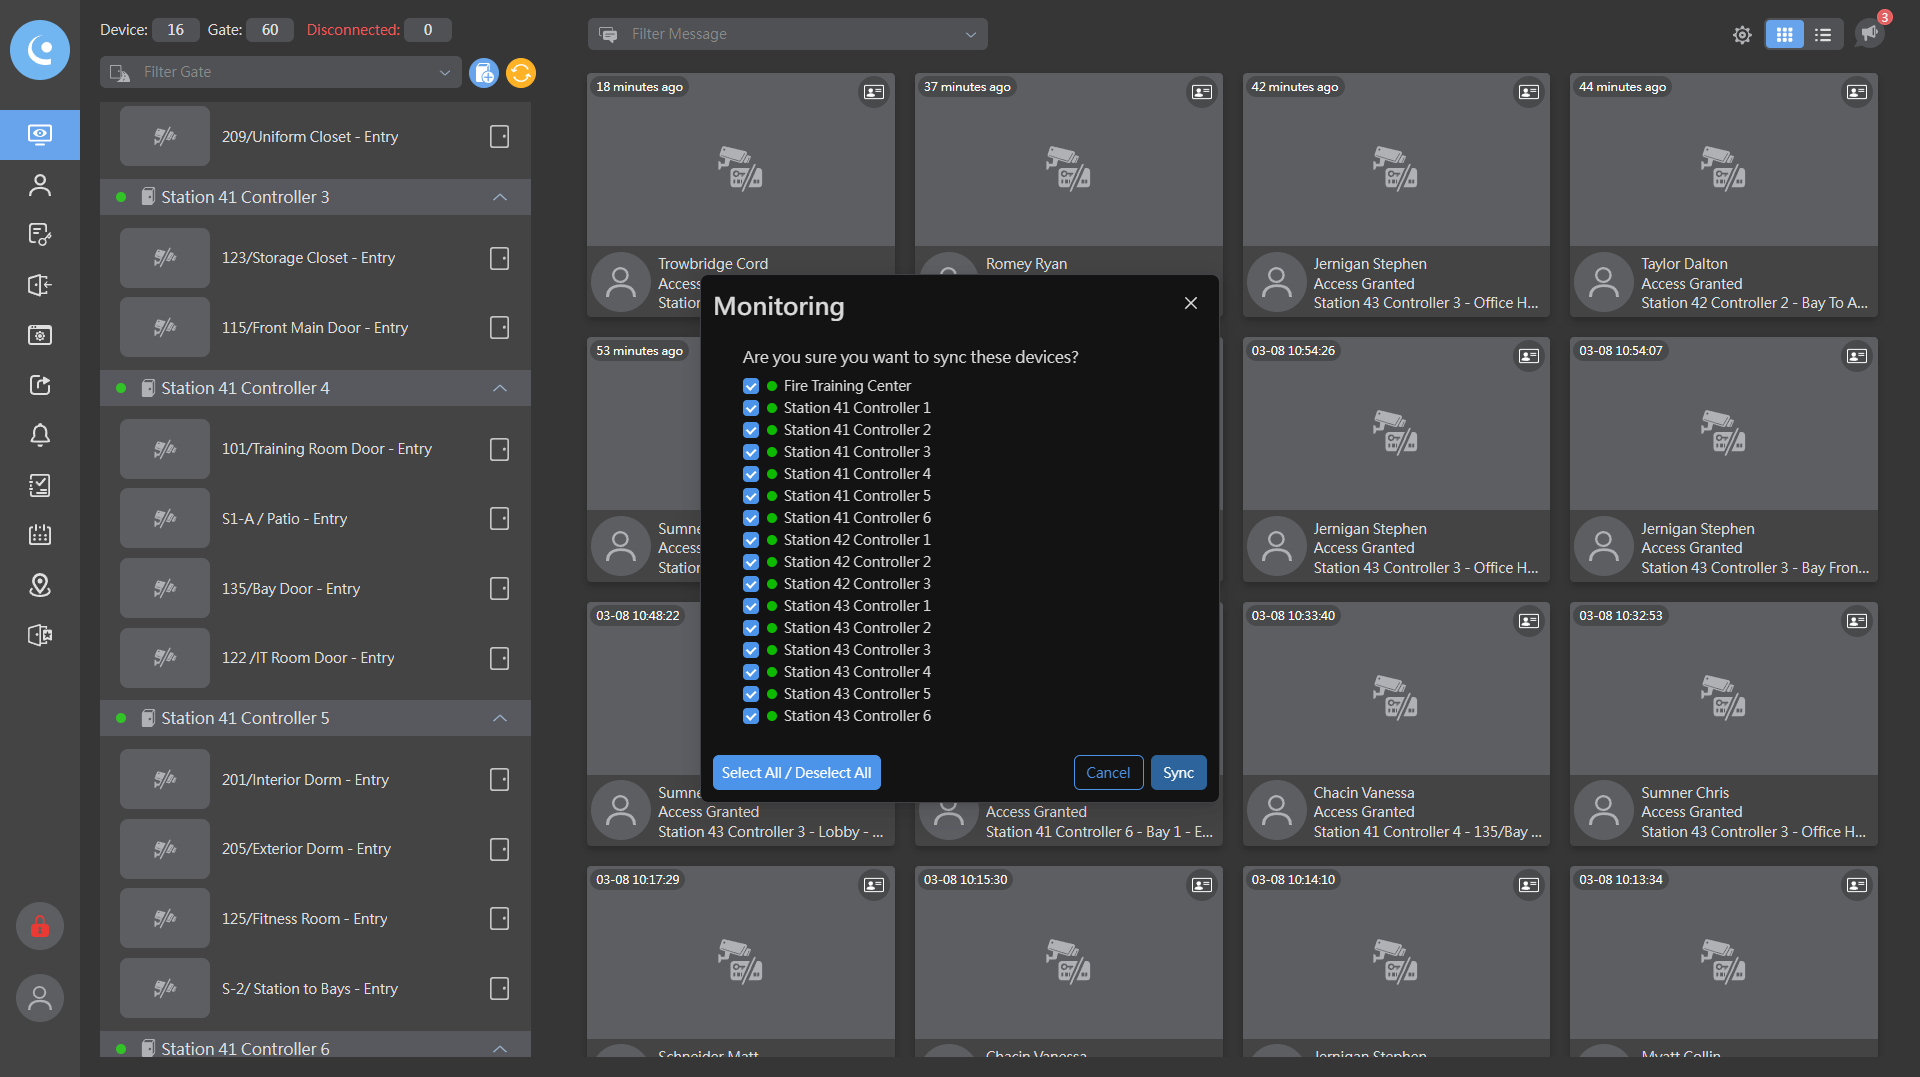
After that, I will click "Sync All Devices."

21
Click on "Save"
Step #21: Click on "Save"
22
Click on "Close"
Step #22: Click on "Close"
23
Click here
Step #23: Click here
24
Click here
Step #24: Click here
25
Click on "Sync"
Step #25: Click on "Sync"

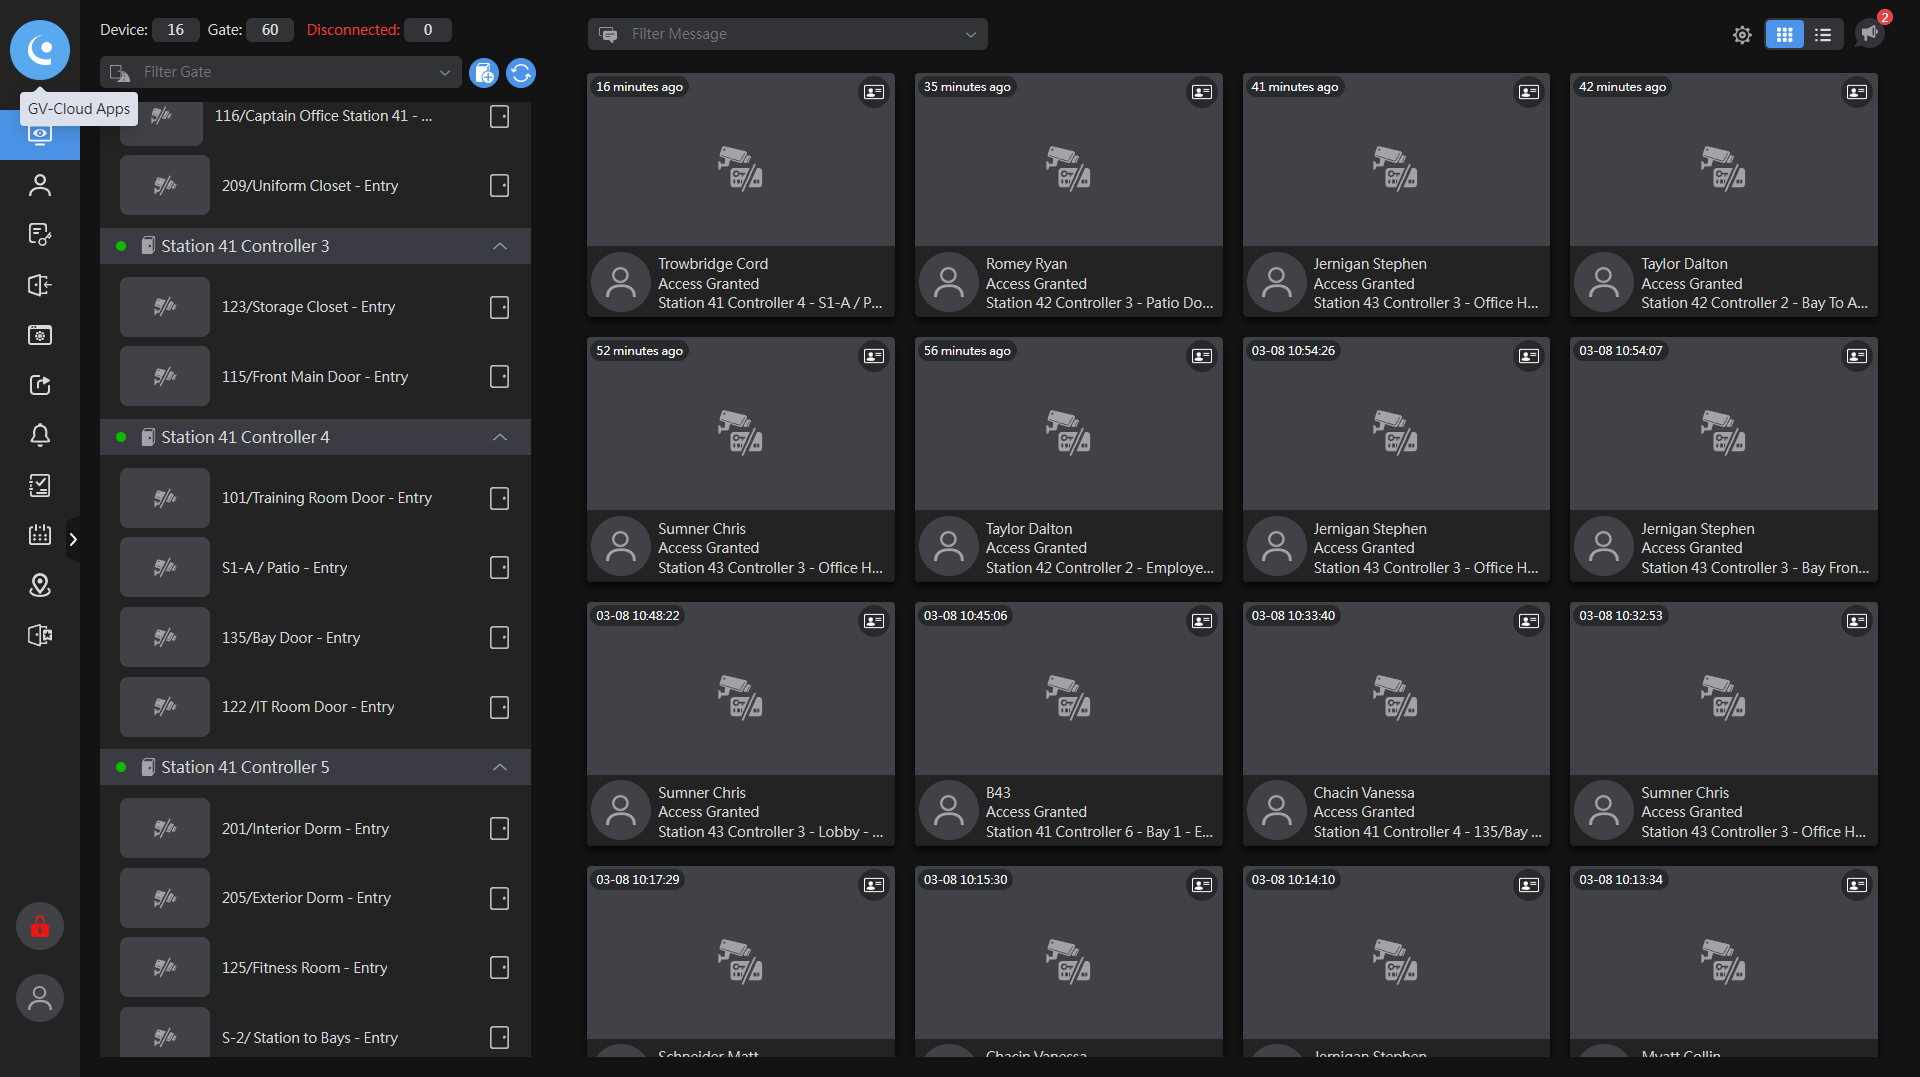
Now, if I check, I can see that my special detail is on bay 135.

26
Click here
Step #26: Click here
27
Click here
Step #27: Click here
28
Click on "135 / Bay Door - Entry"
Step #28: Click on "135 / Bay Door - Entry"
29
Click on "Authentication Schedule"
Step #29: Click on "Authentication Schedule"
30
Click on "special detail >"
Step #30: Click on "special detail >"
31
Click on "Save"
Step #31: Click on "Save"
32
Click on "Close"
Step #32: Click on "Close"