How to Create a Trigger for Outbound Clicks in Your Project
Learn step-by-step how to set up a custom event trigger for outbound clicks in your project, using Web Compare as an example. Improve your tracking and analytics with this easy guide.
In this guide, we'll learn how to create a trigger that activates every time someone clicks on an outbound link. This process involves setting up a custom event trigger in your chosen project, naming the event, and configuring it to respond to the specific action you want to track.
This method helps you monitor outbound link clicks and ensures you can use the trigger for future actions.
Let's get started
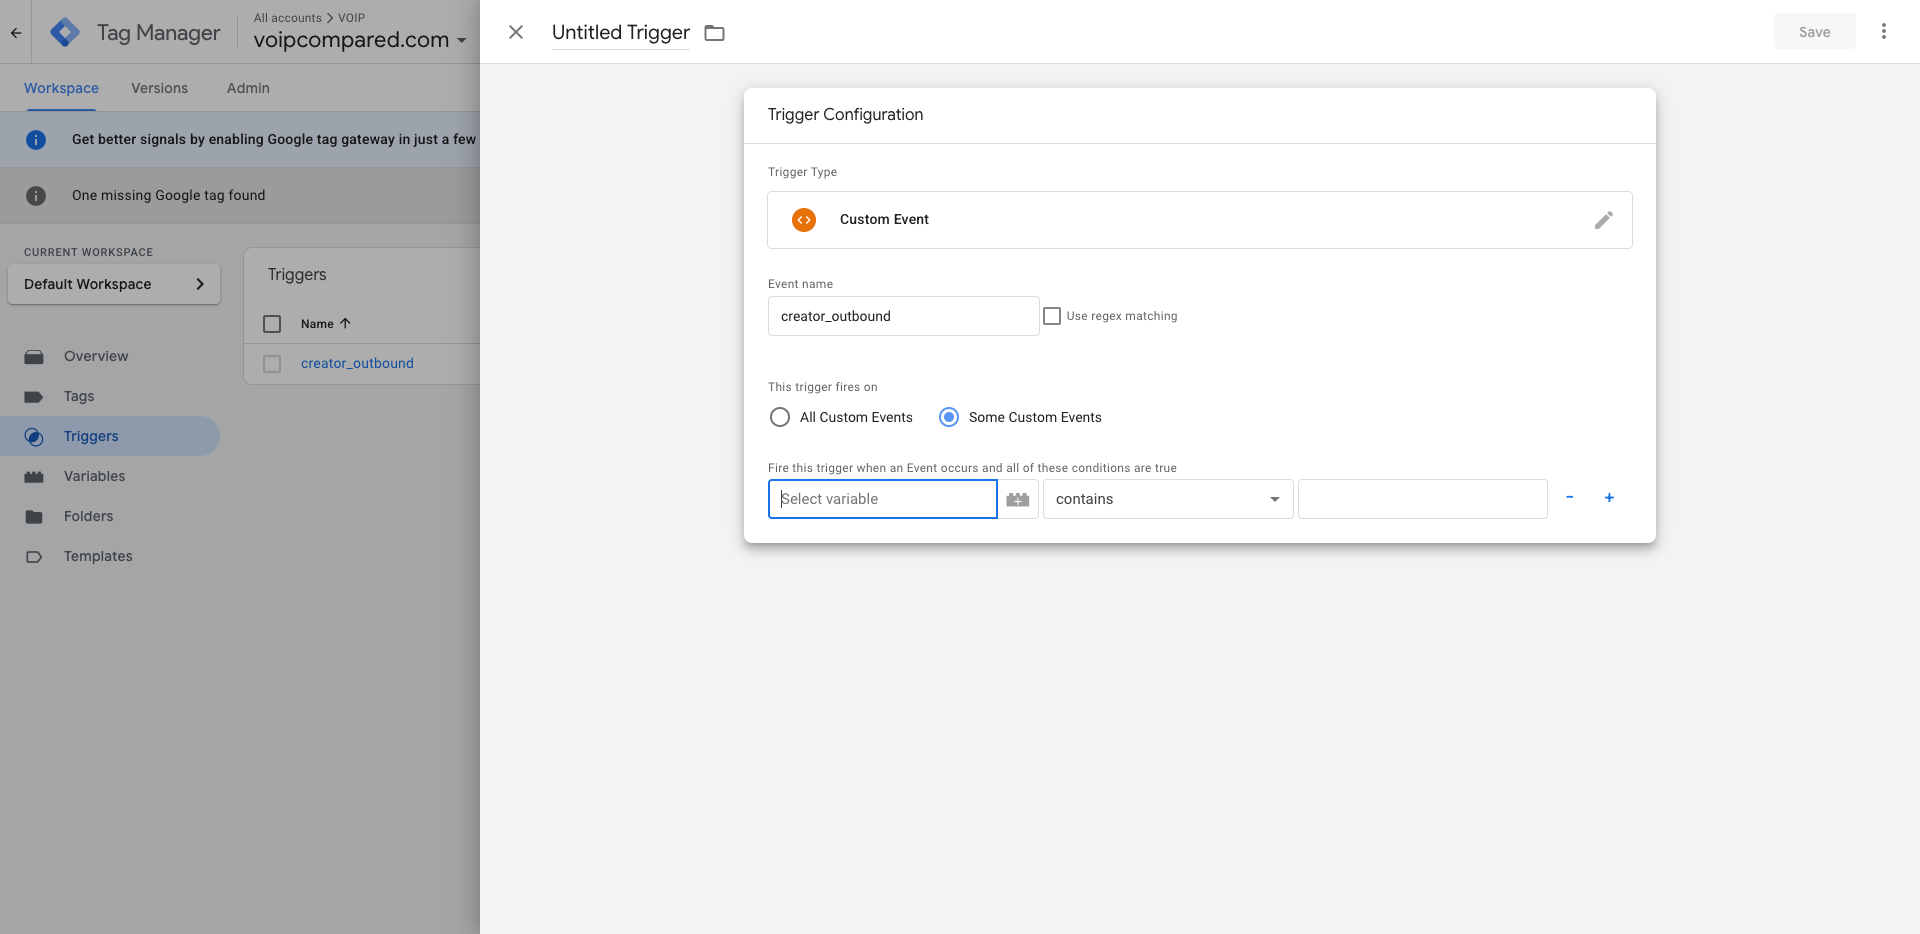
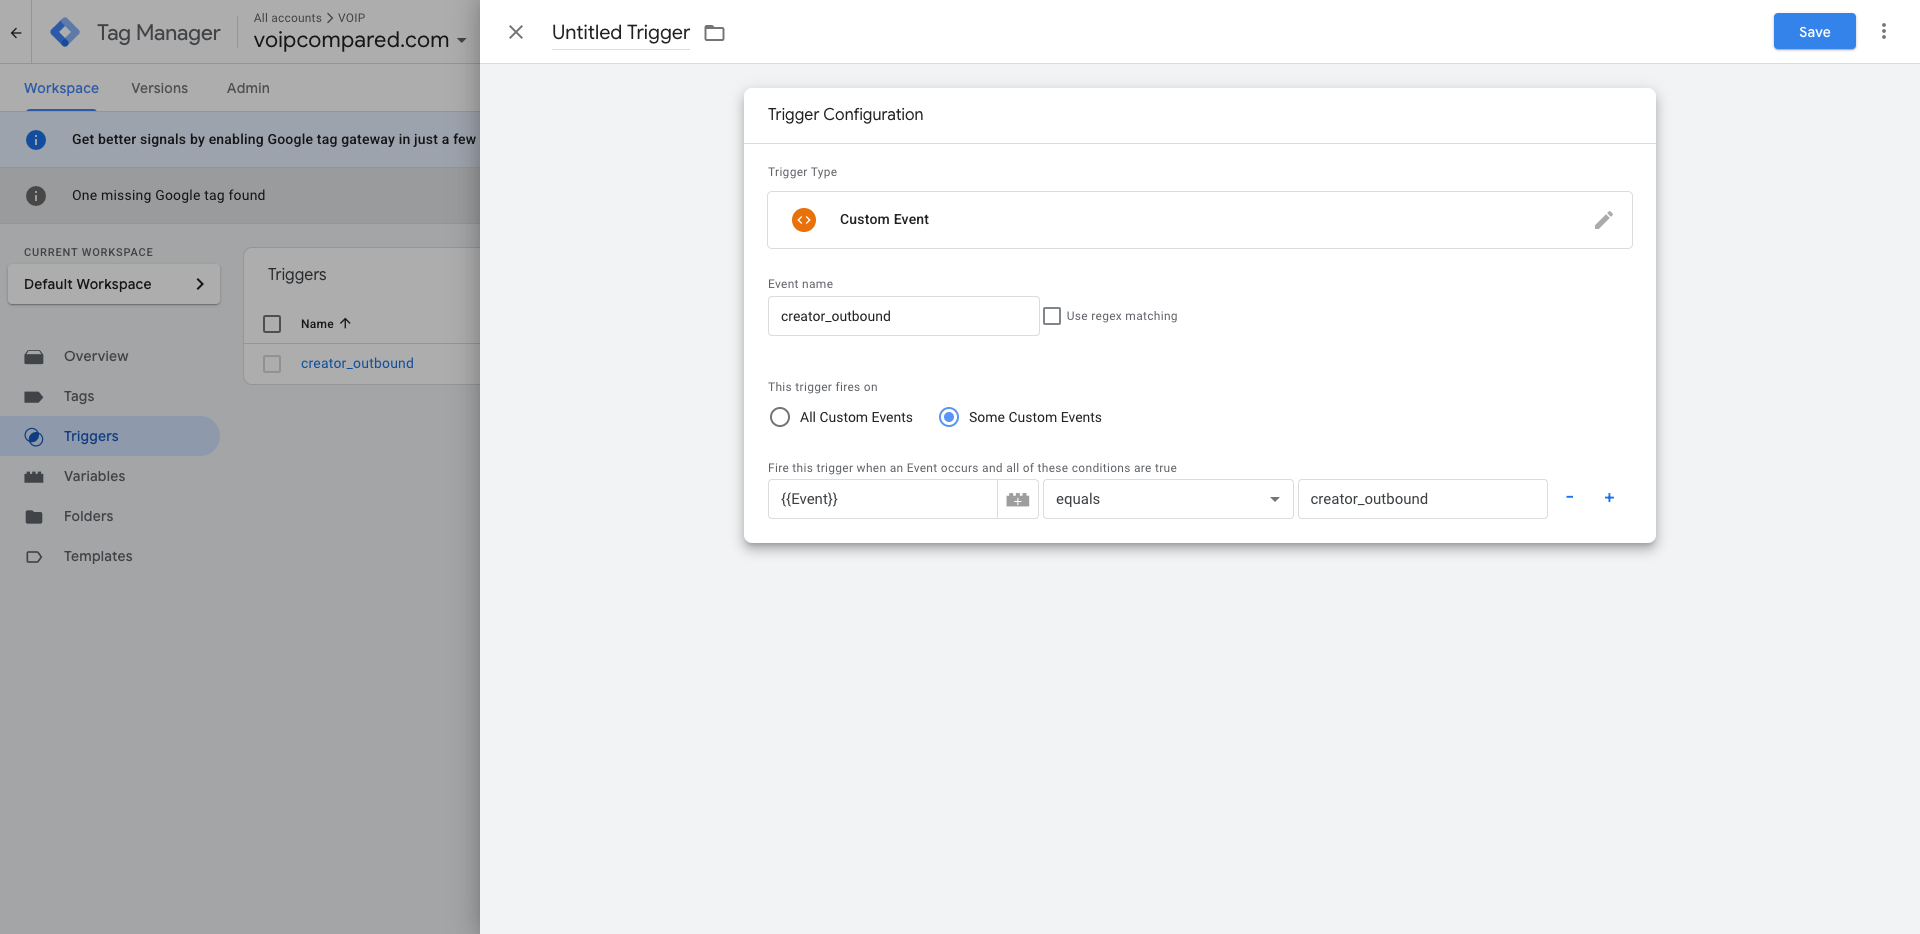
We want to create a trigger that activates every time someone clicks on outbound. To do this, go to one of the projects where you want to create the trigger. I'll use Web Compare as an example.
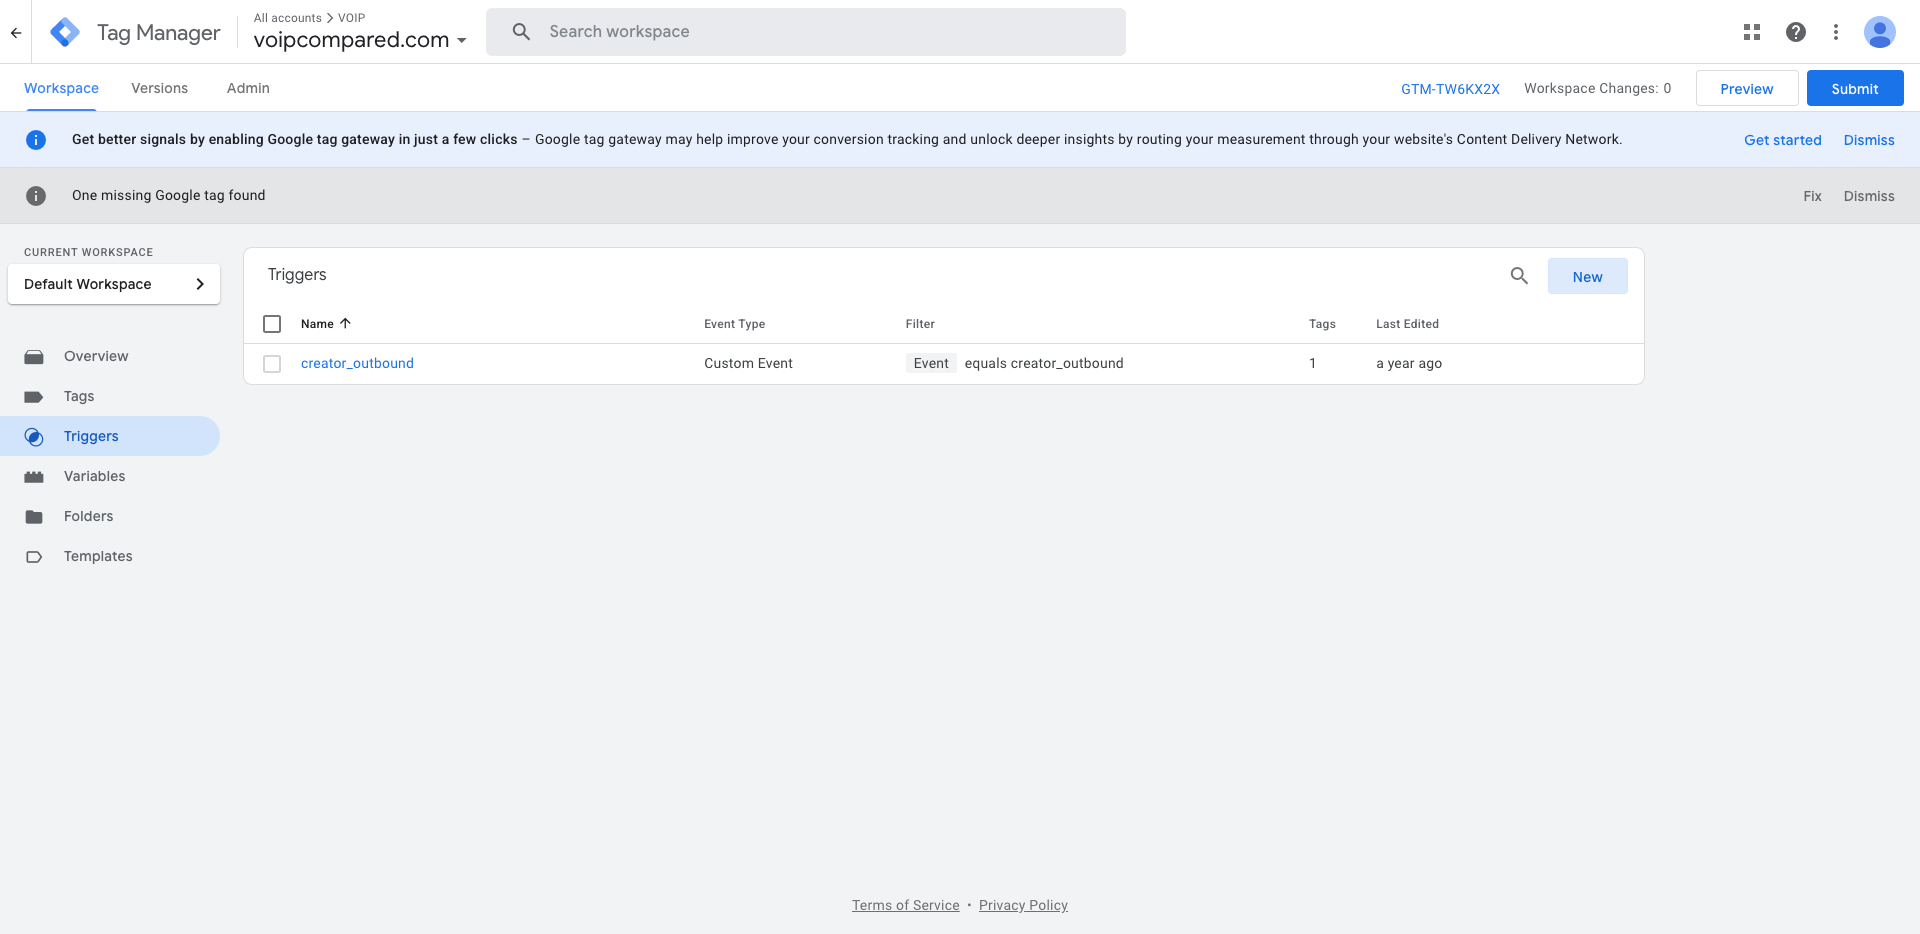

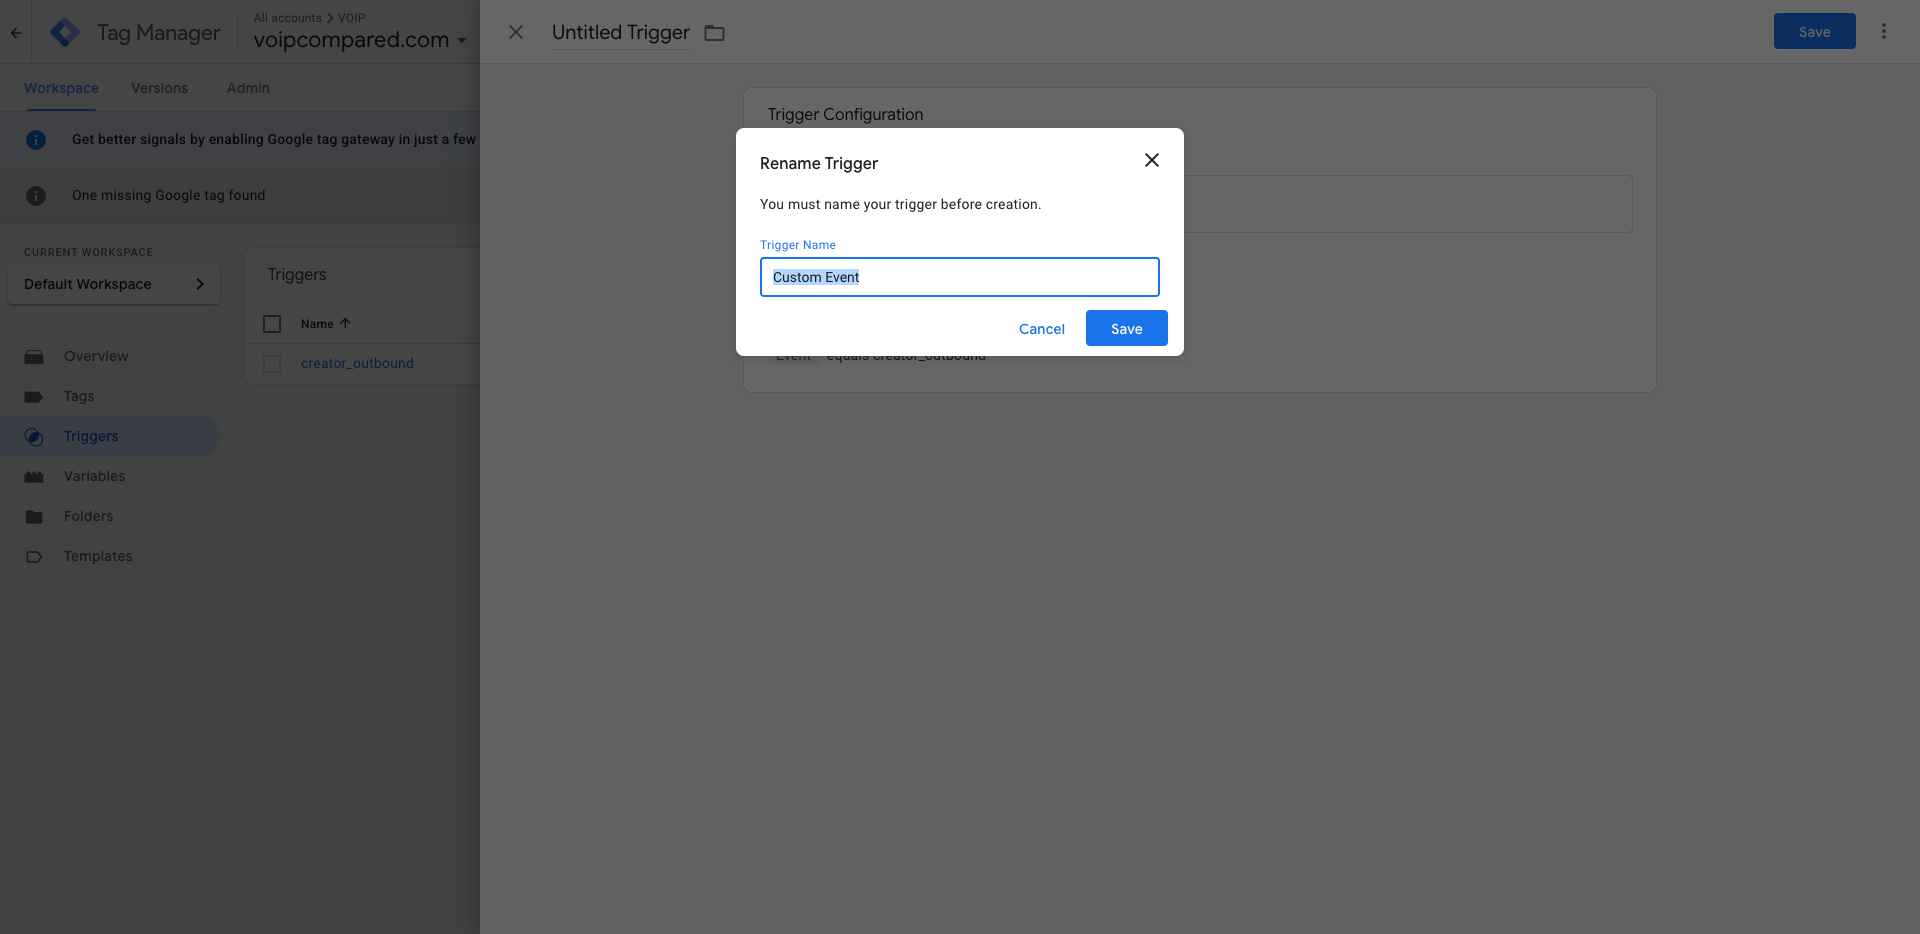
There, I will name it after the event I want, called creator_outbound.

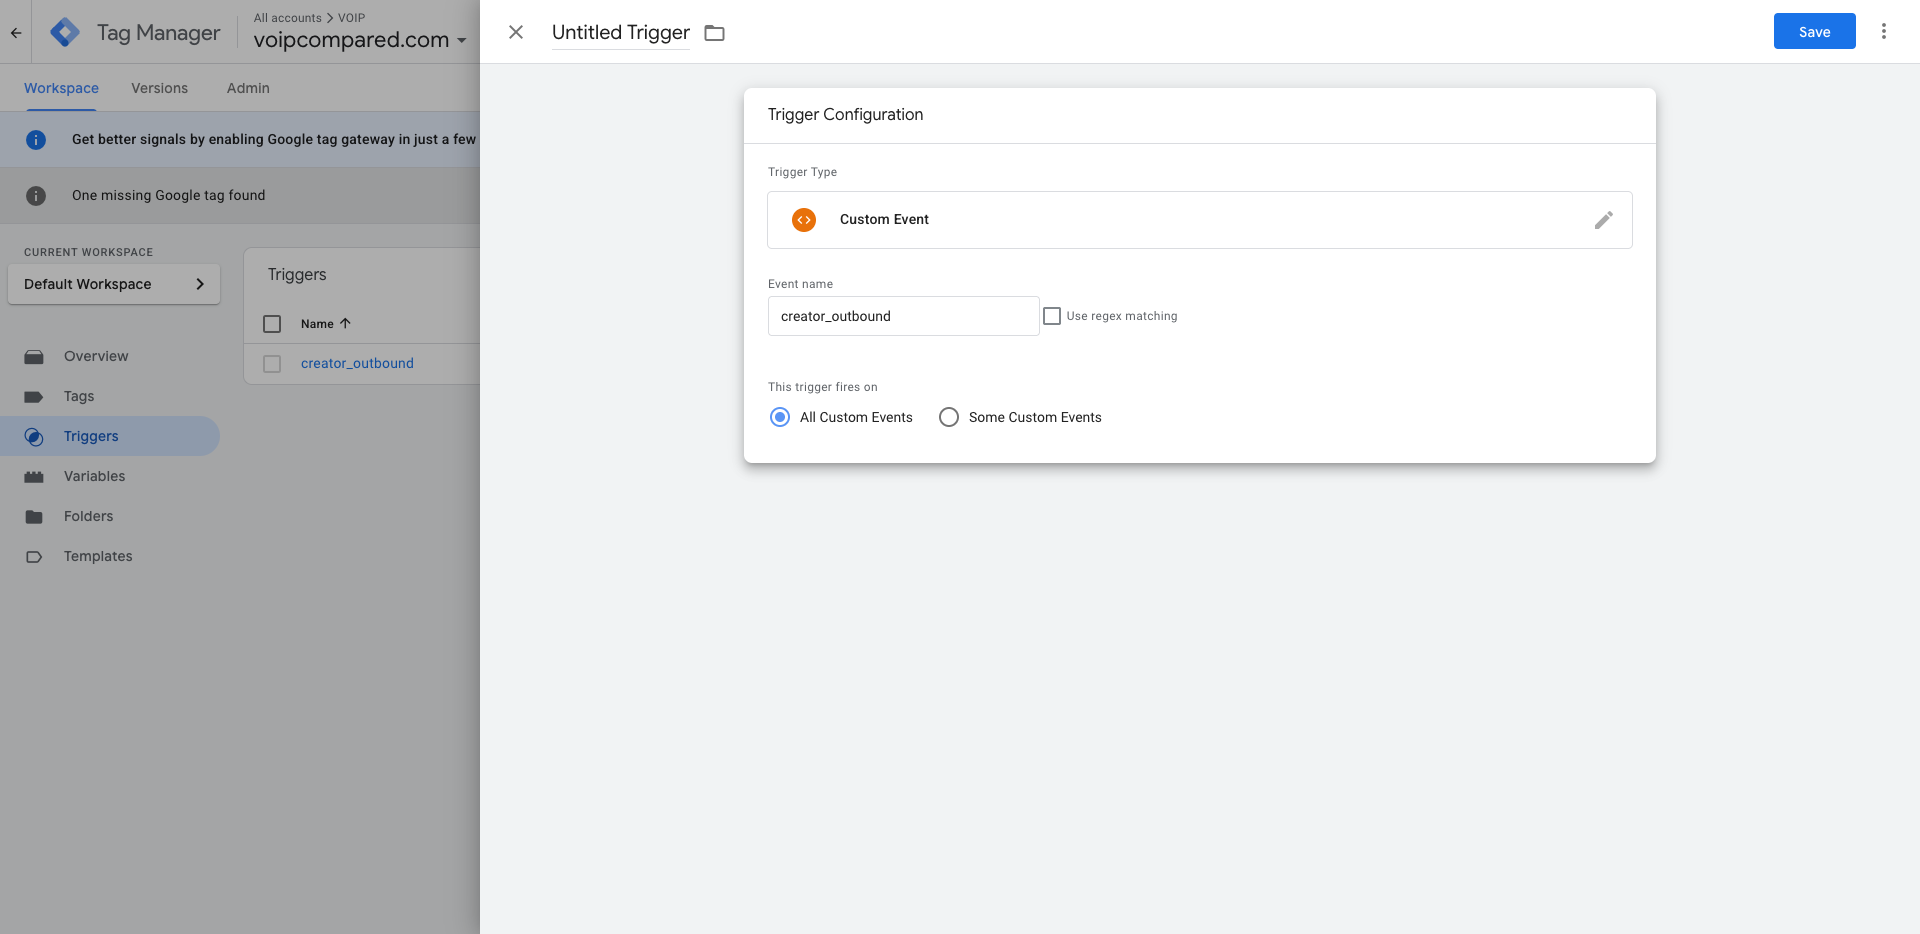
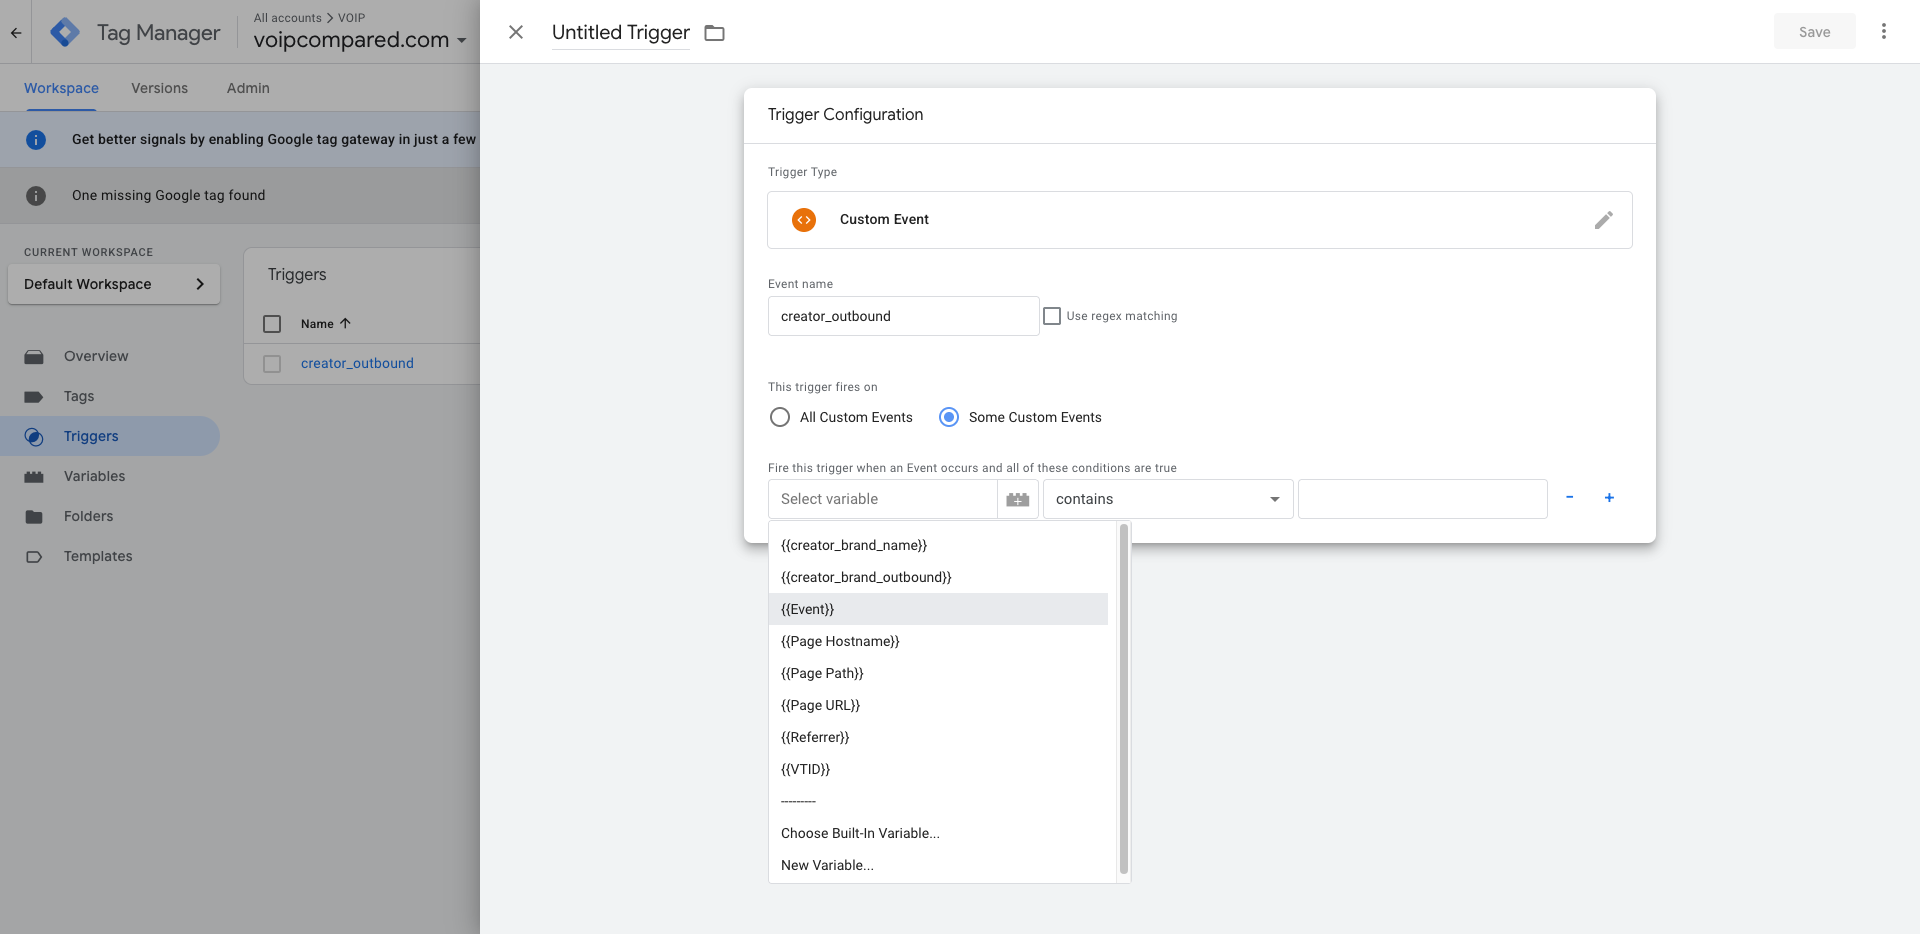
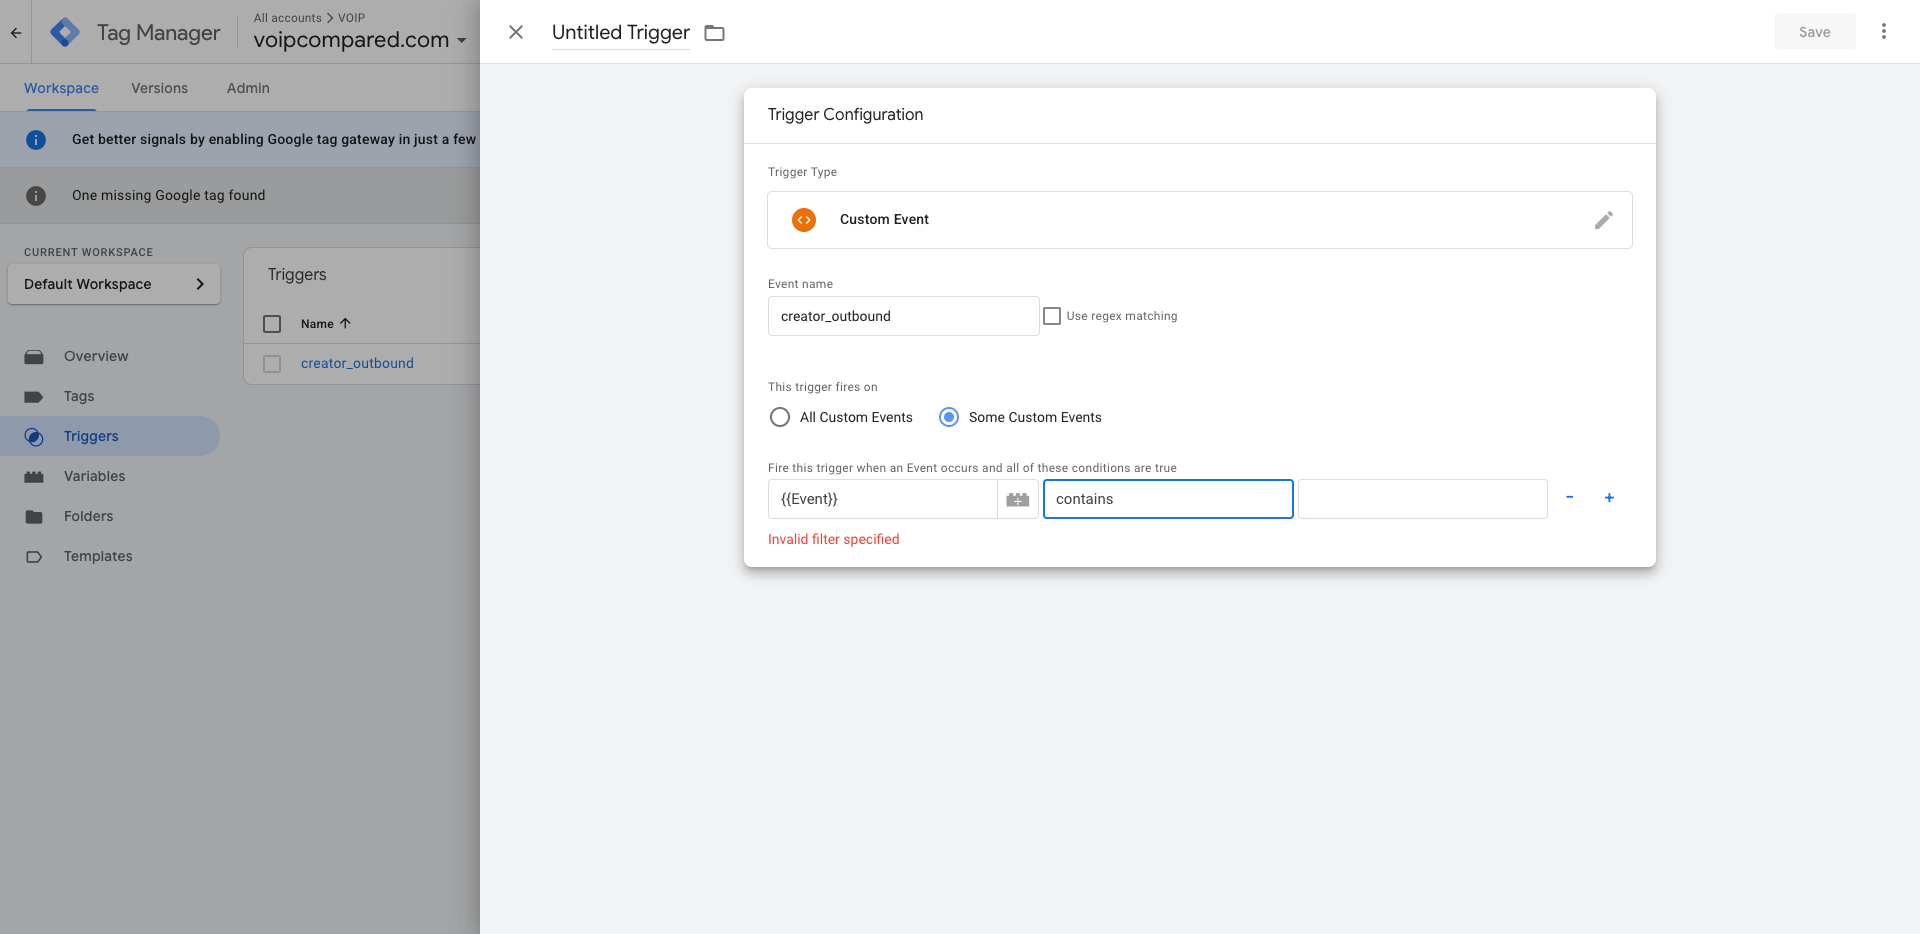
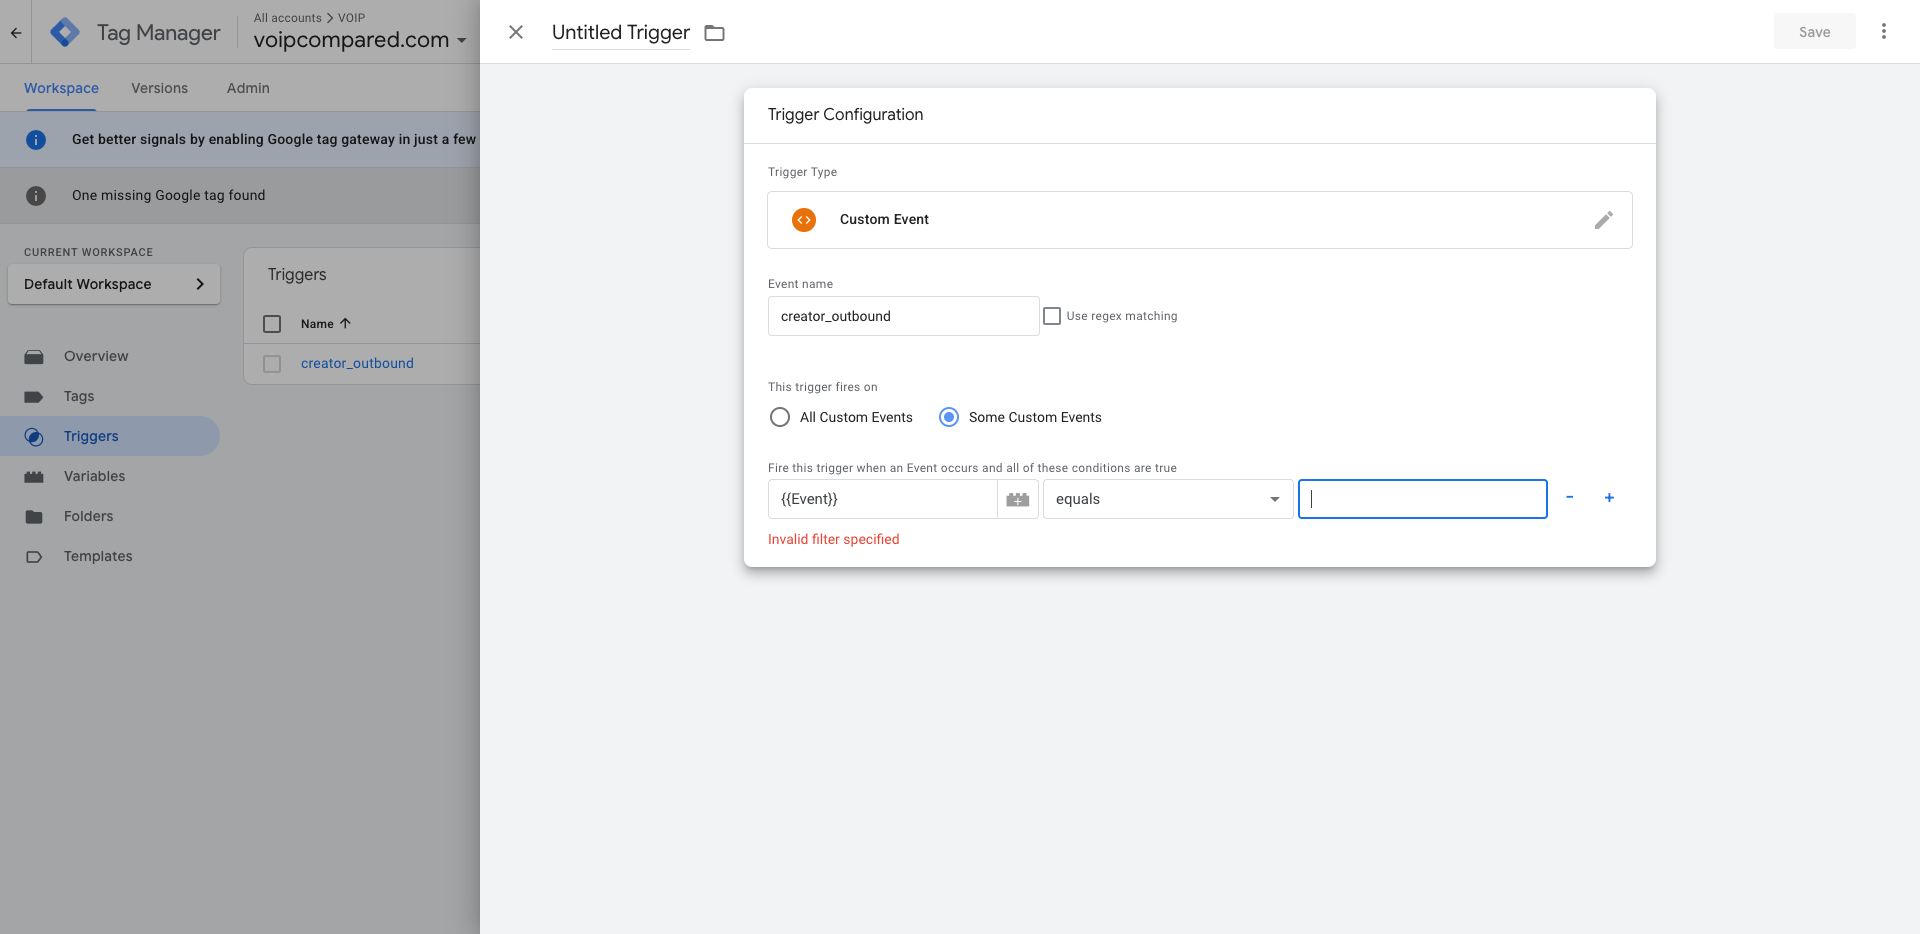
Here, I will select that the trigger will occur on an event, and this event is equal to creator_outbound.