How to Create a New User
Learn how to create a new user in your team, including setting up usernames, passwords, permissions, and roles. Follow this easy step-by-step guide to ensure proper user account setup.
By Dominik Black
In this guide, we'll learn how to create a new user in your system. We will cover each step, from entering user details and setting permissions to assigning roles and enabling the account. This process helps ensure that each user has the correct access and information for their role.
Let's get started
This article explains how to create a user.
1
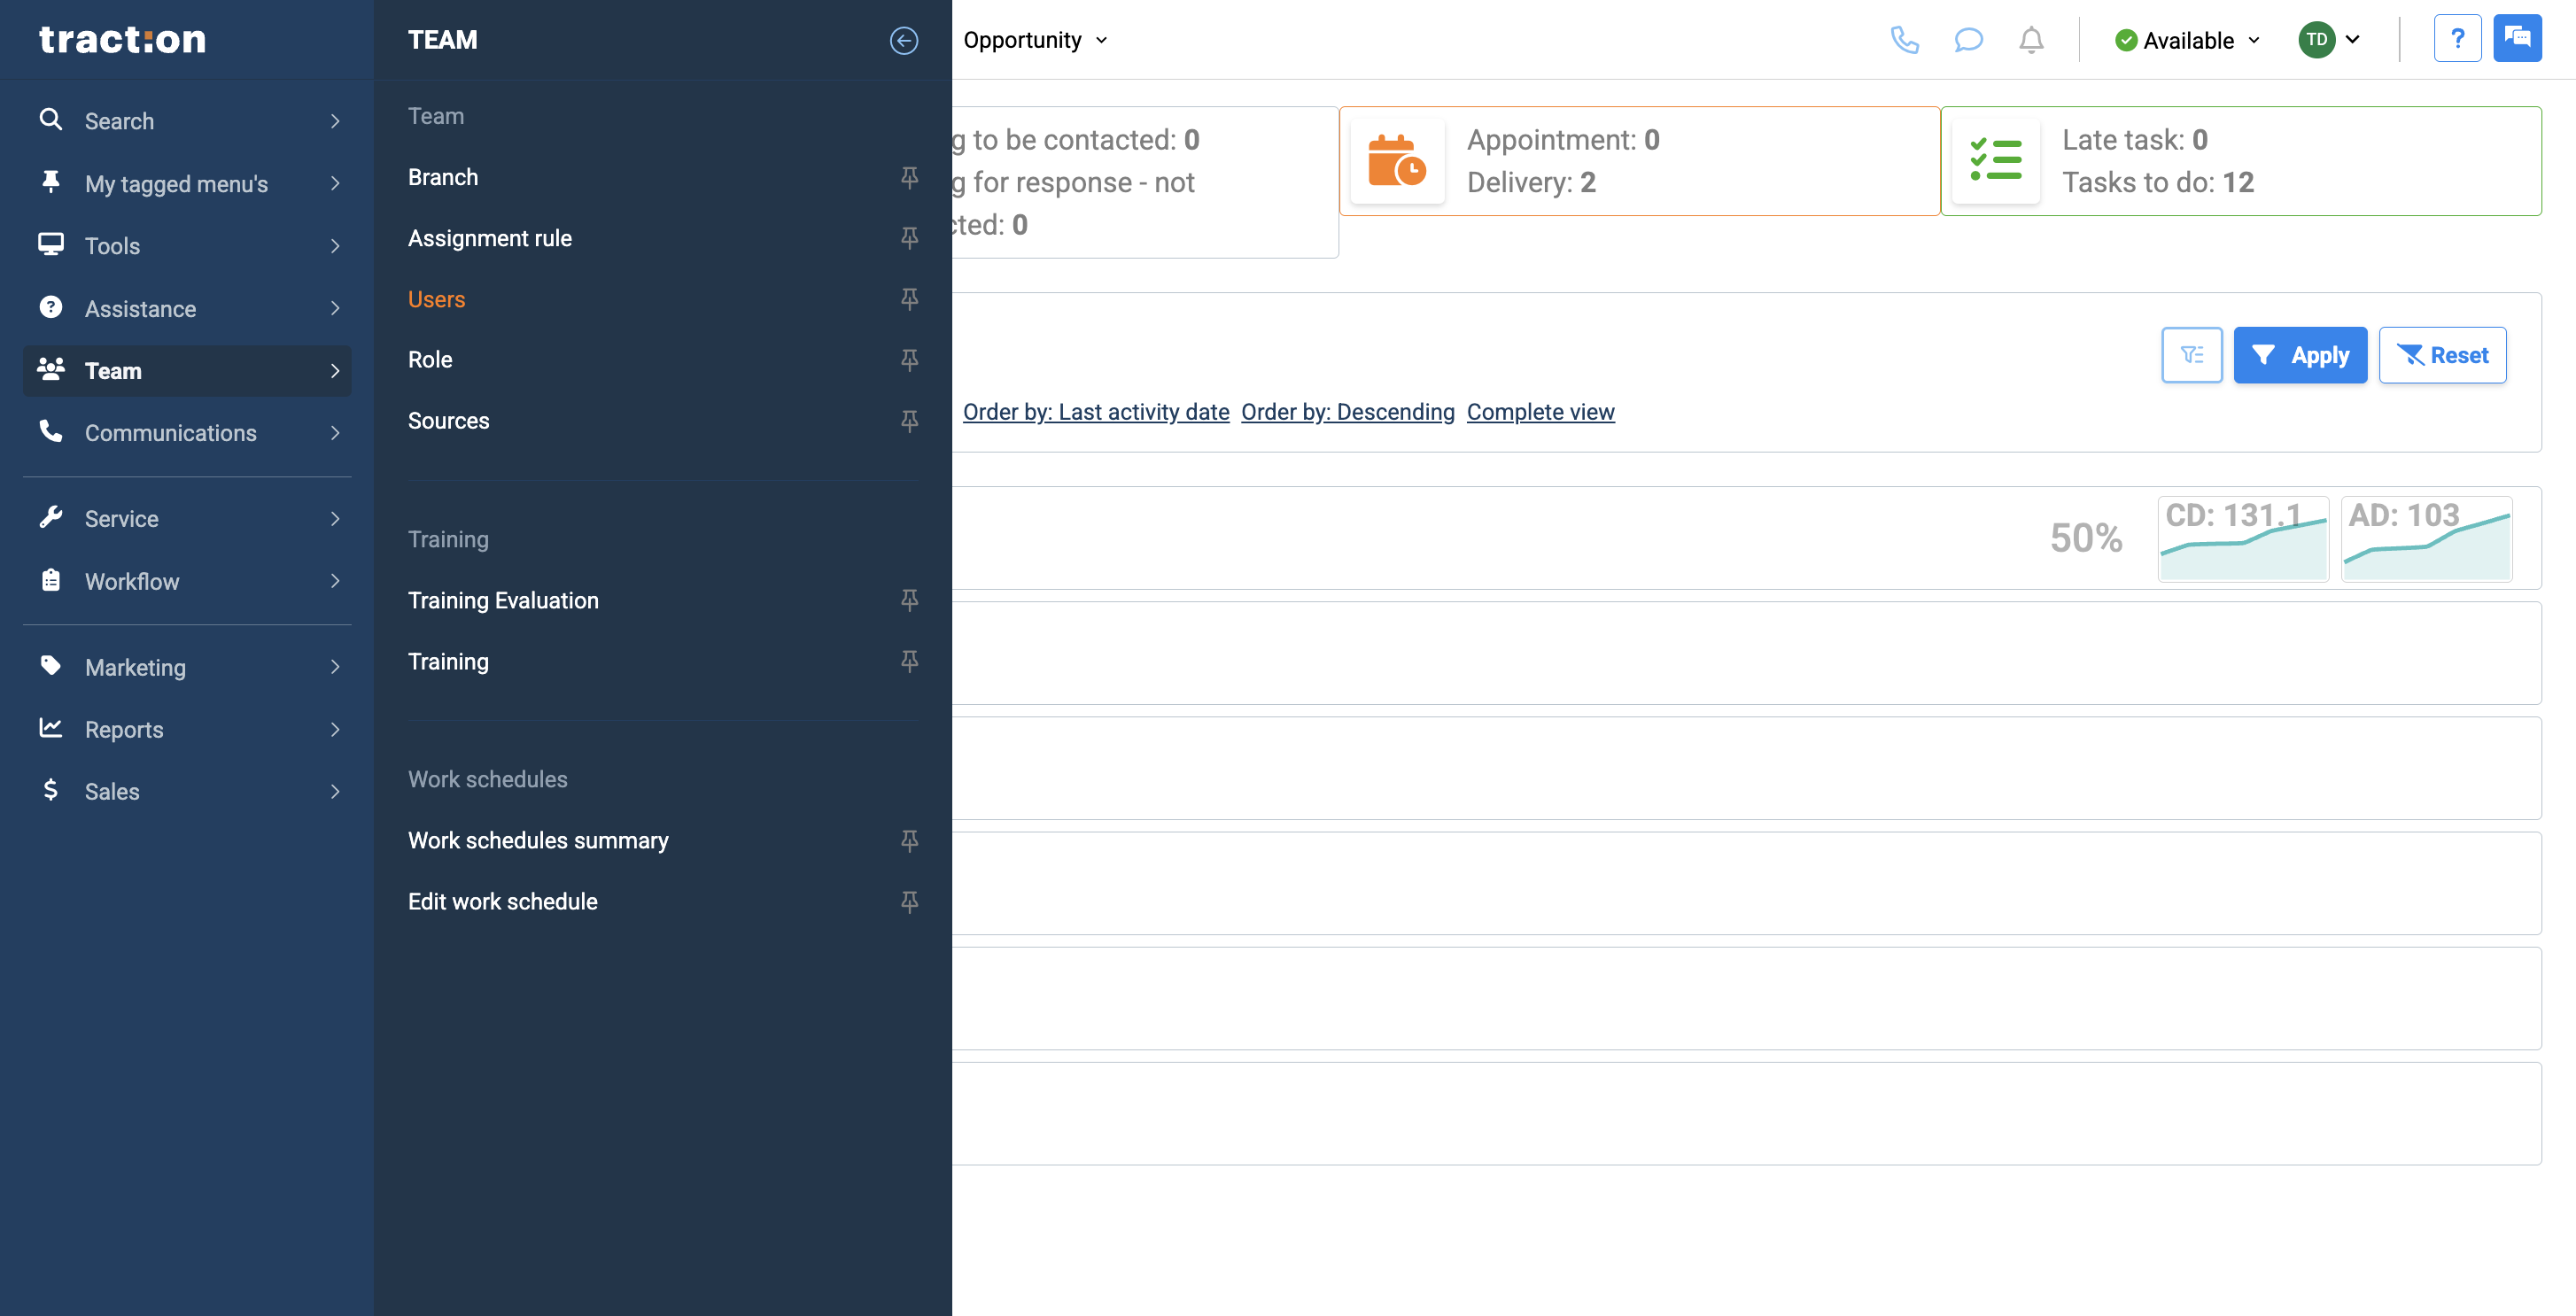
To begin, go to Team
2
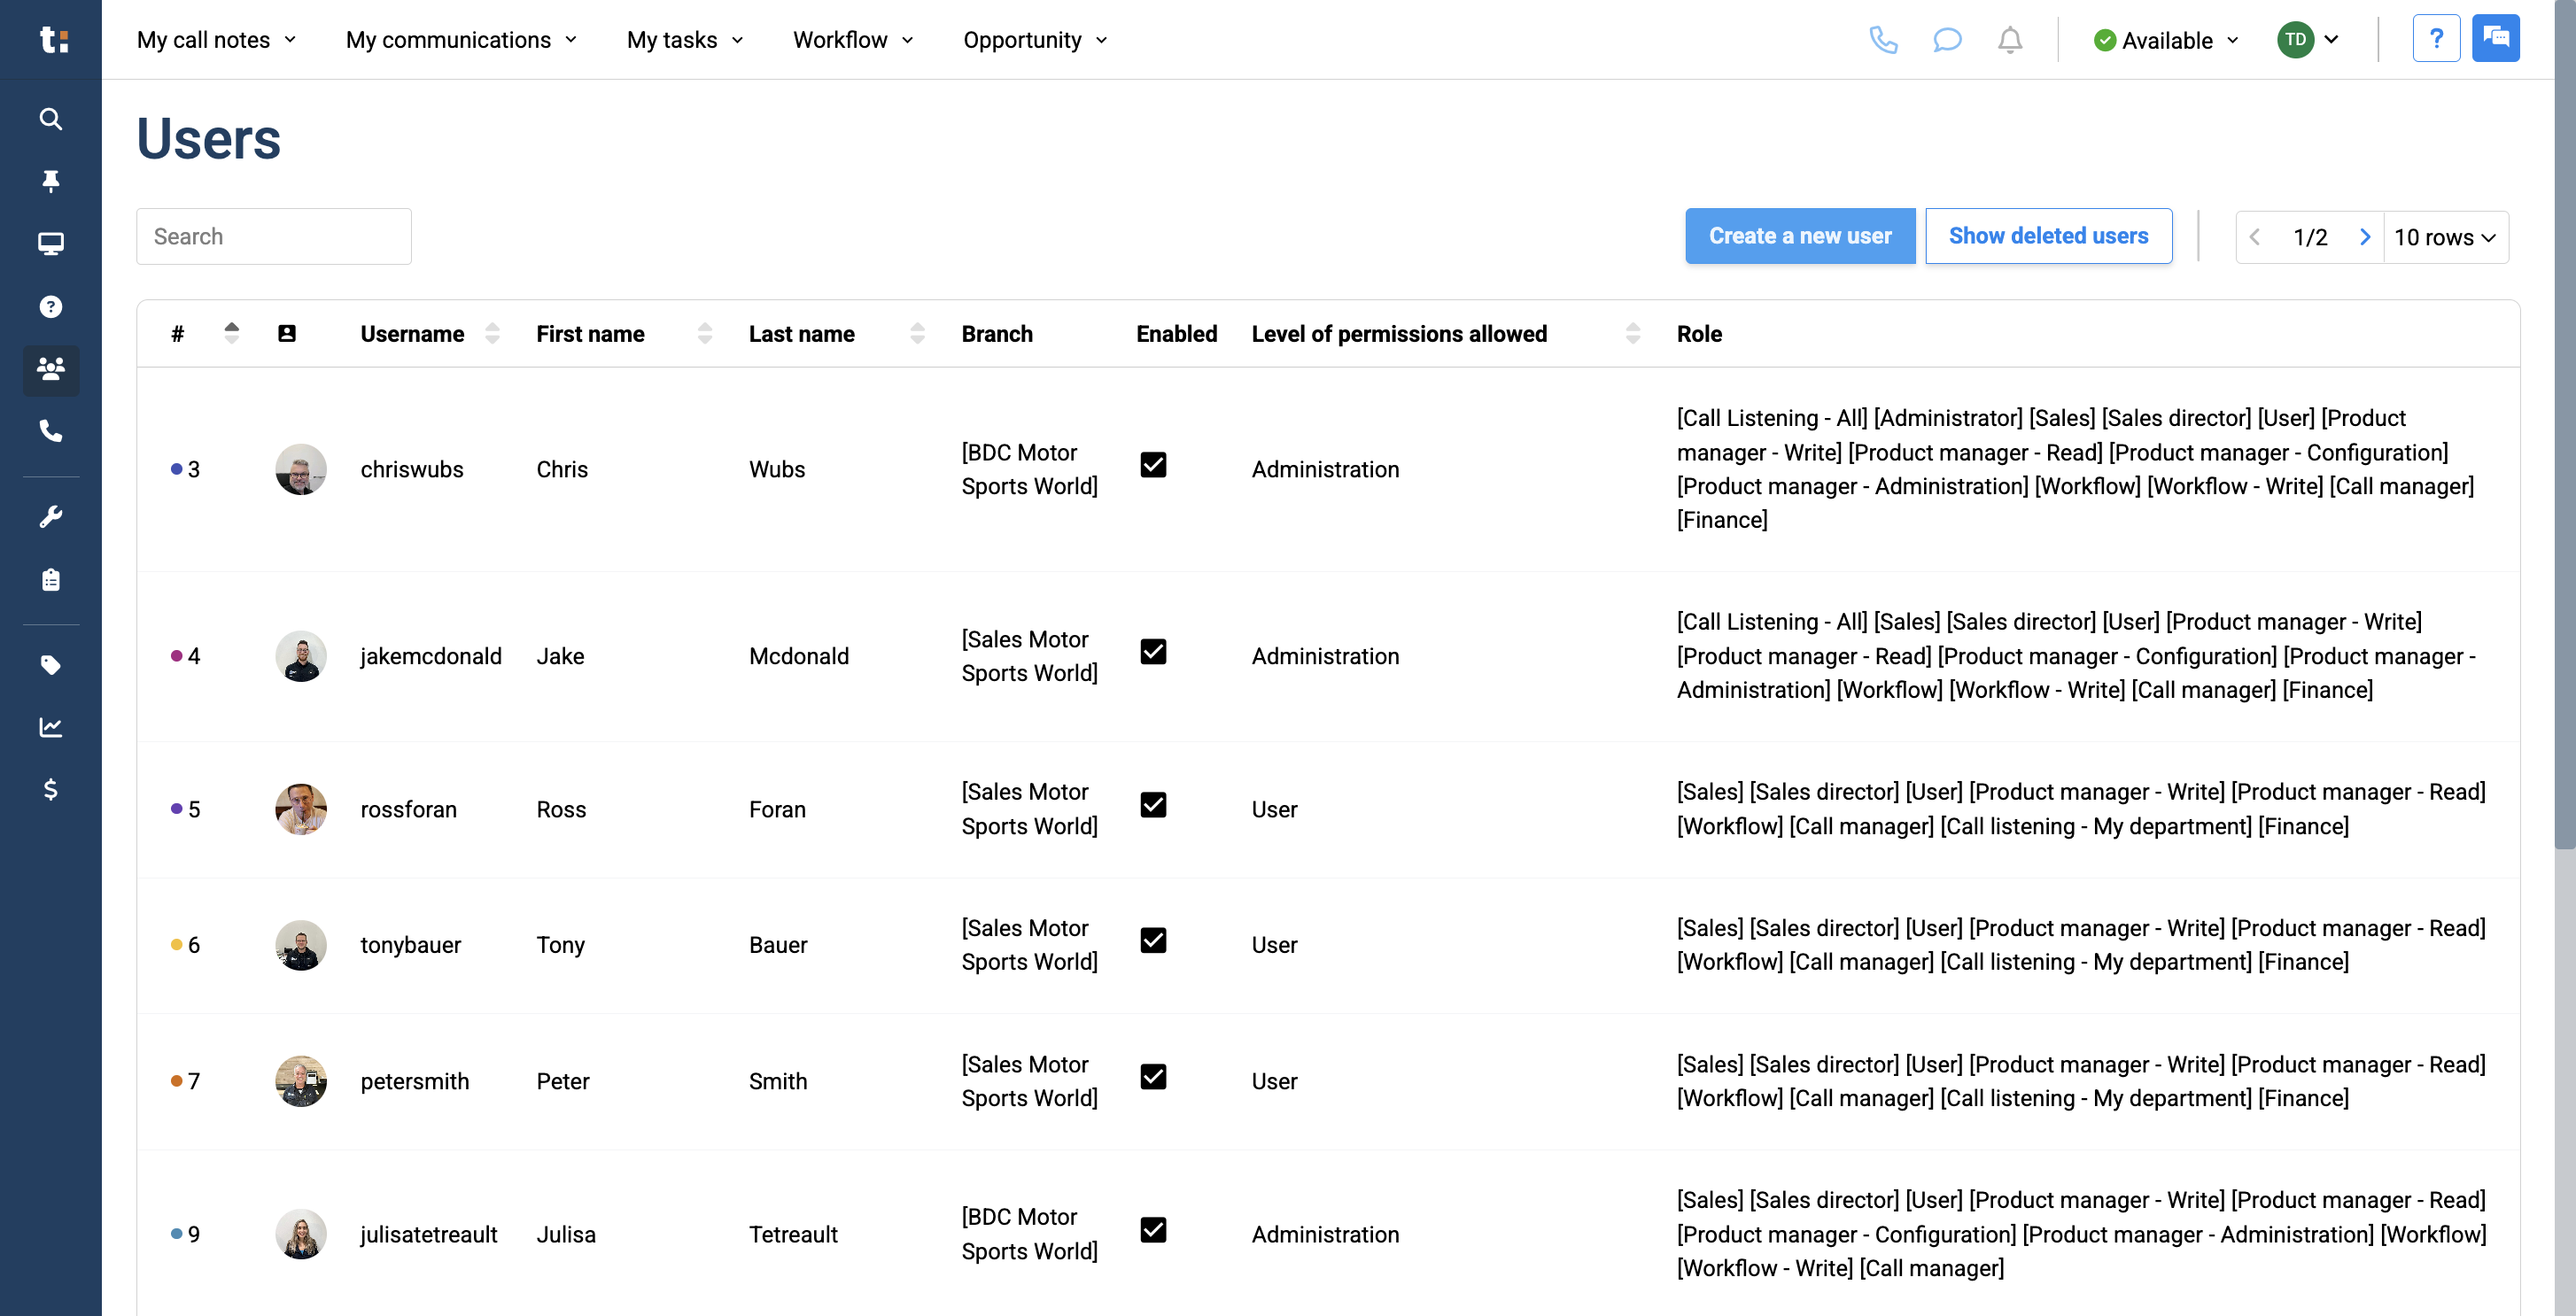
and click on Users.
3
Click the Create a New User button.
4
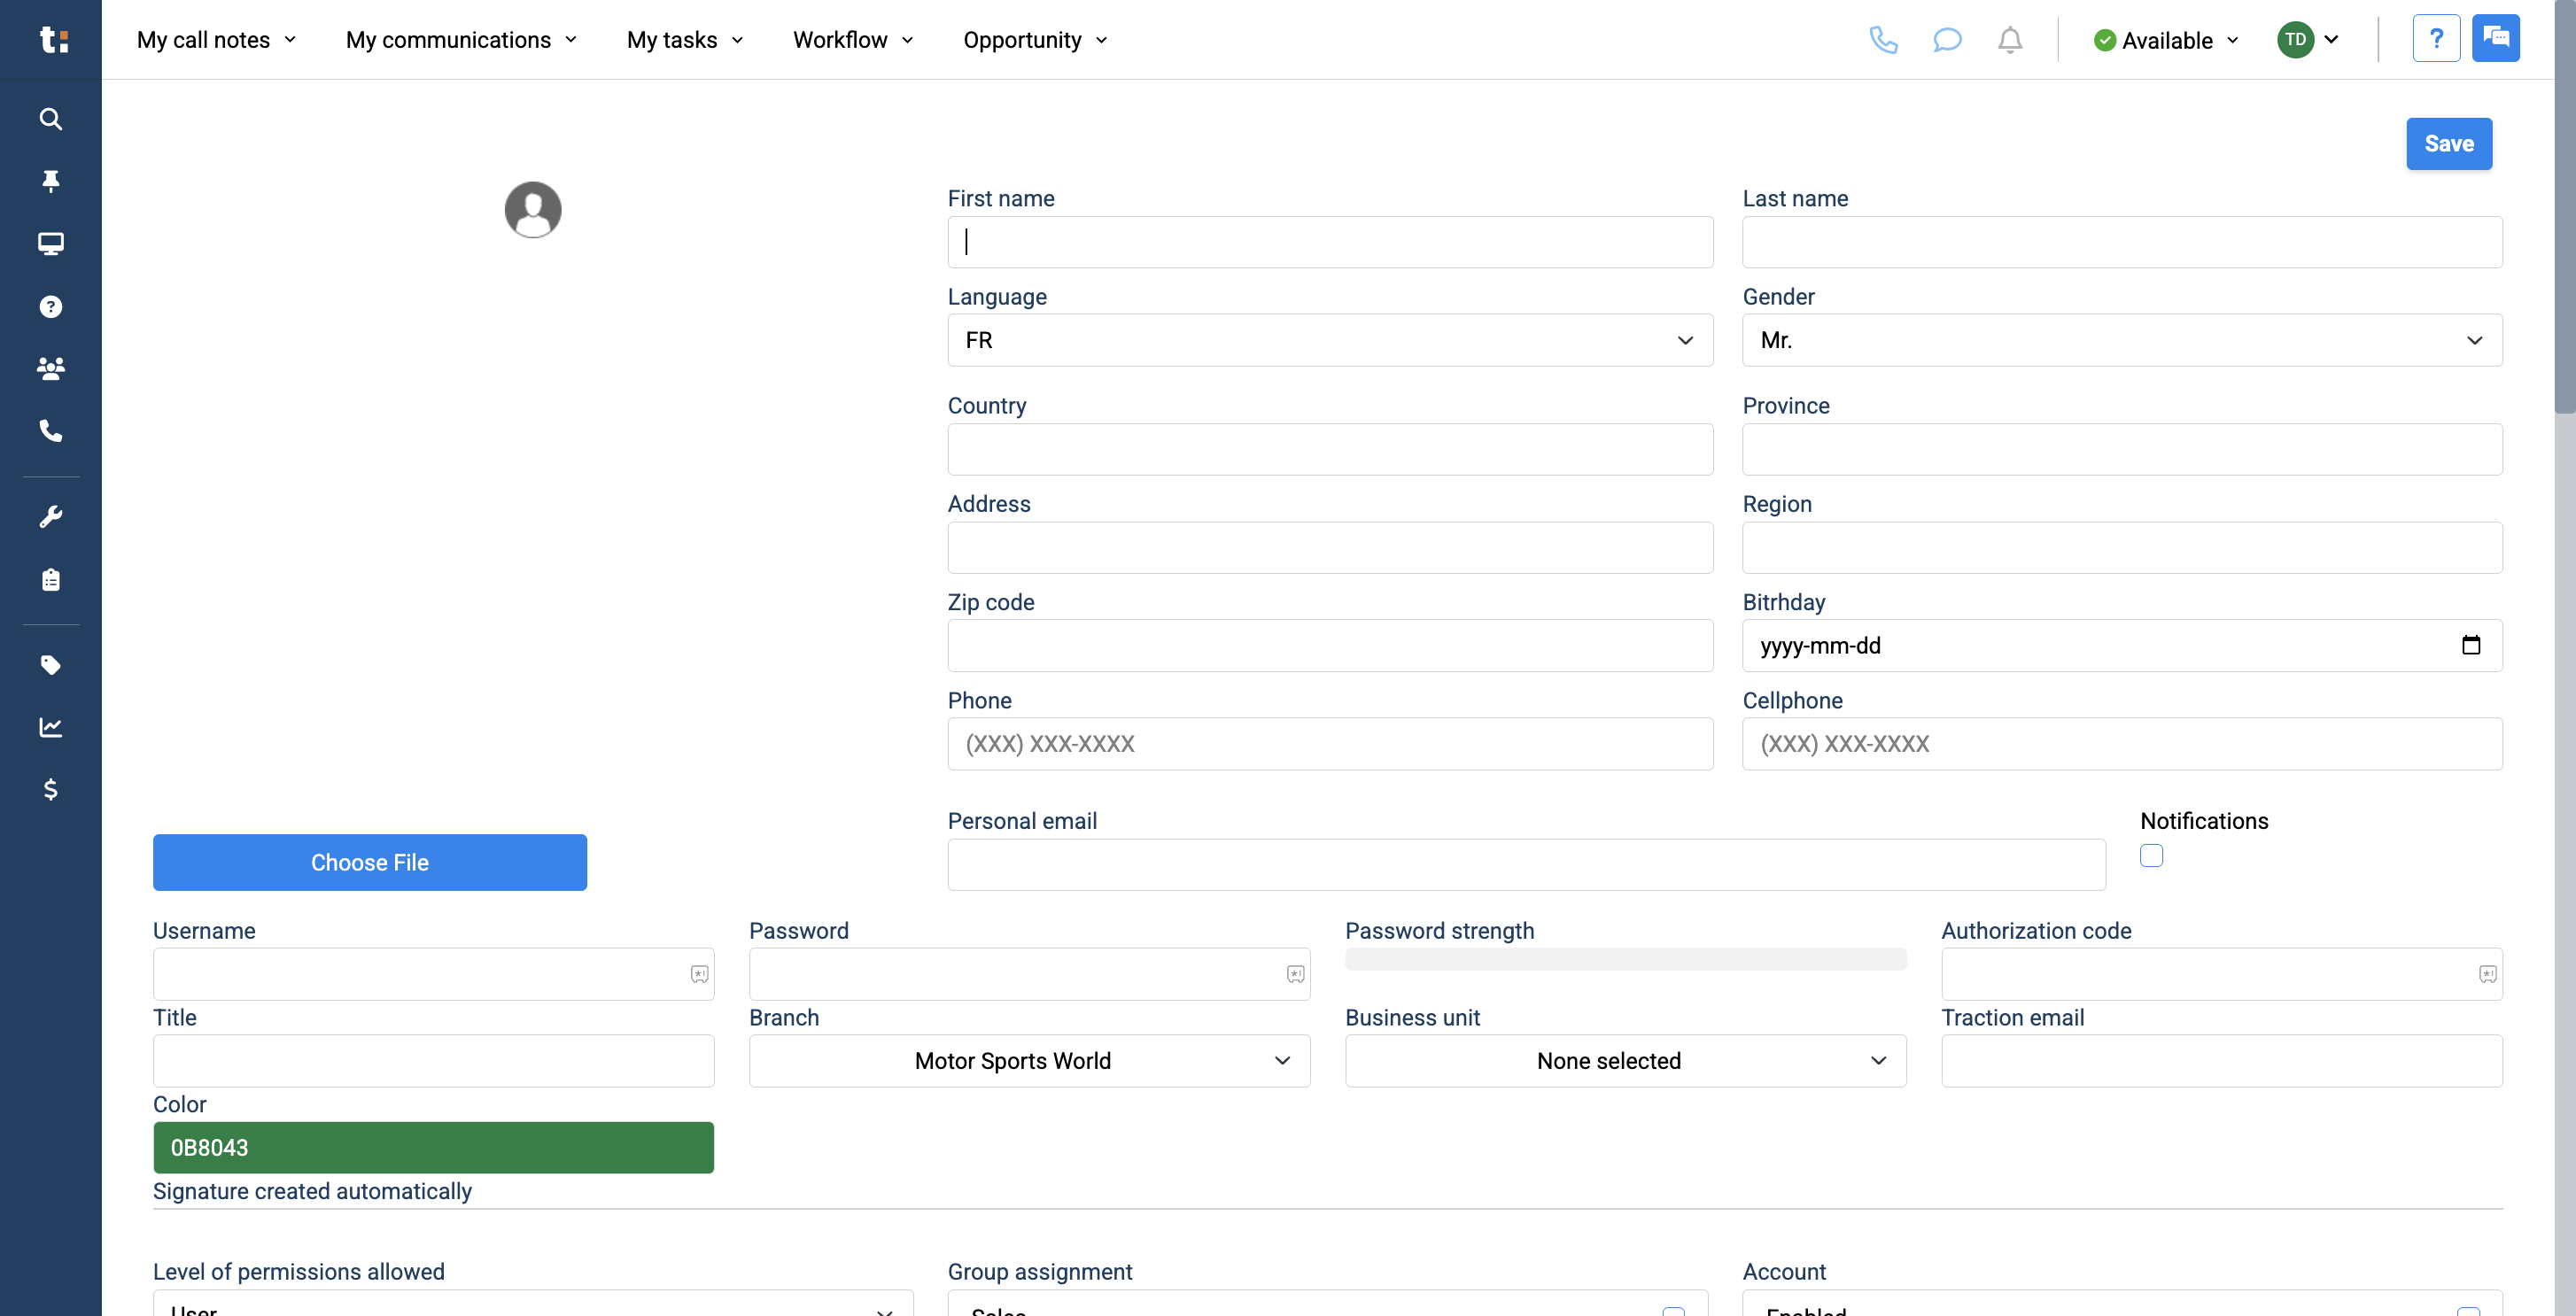
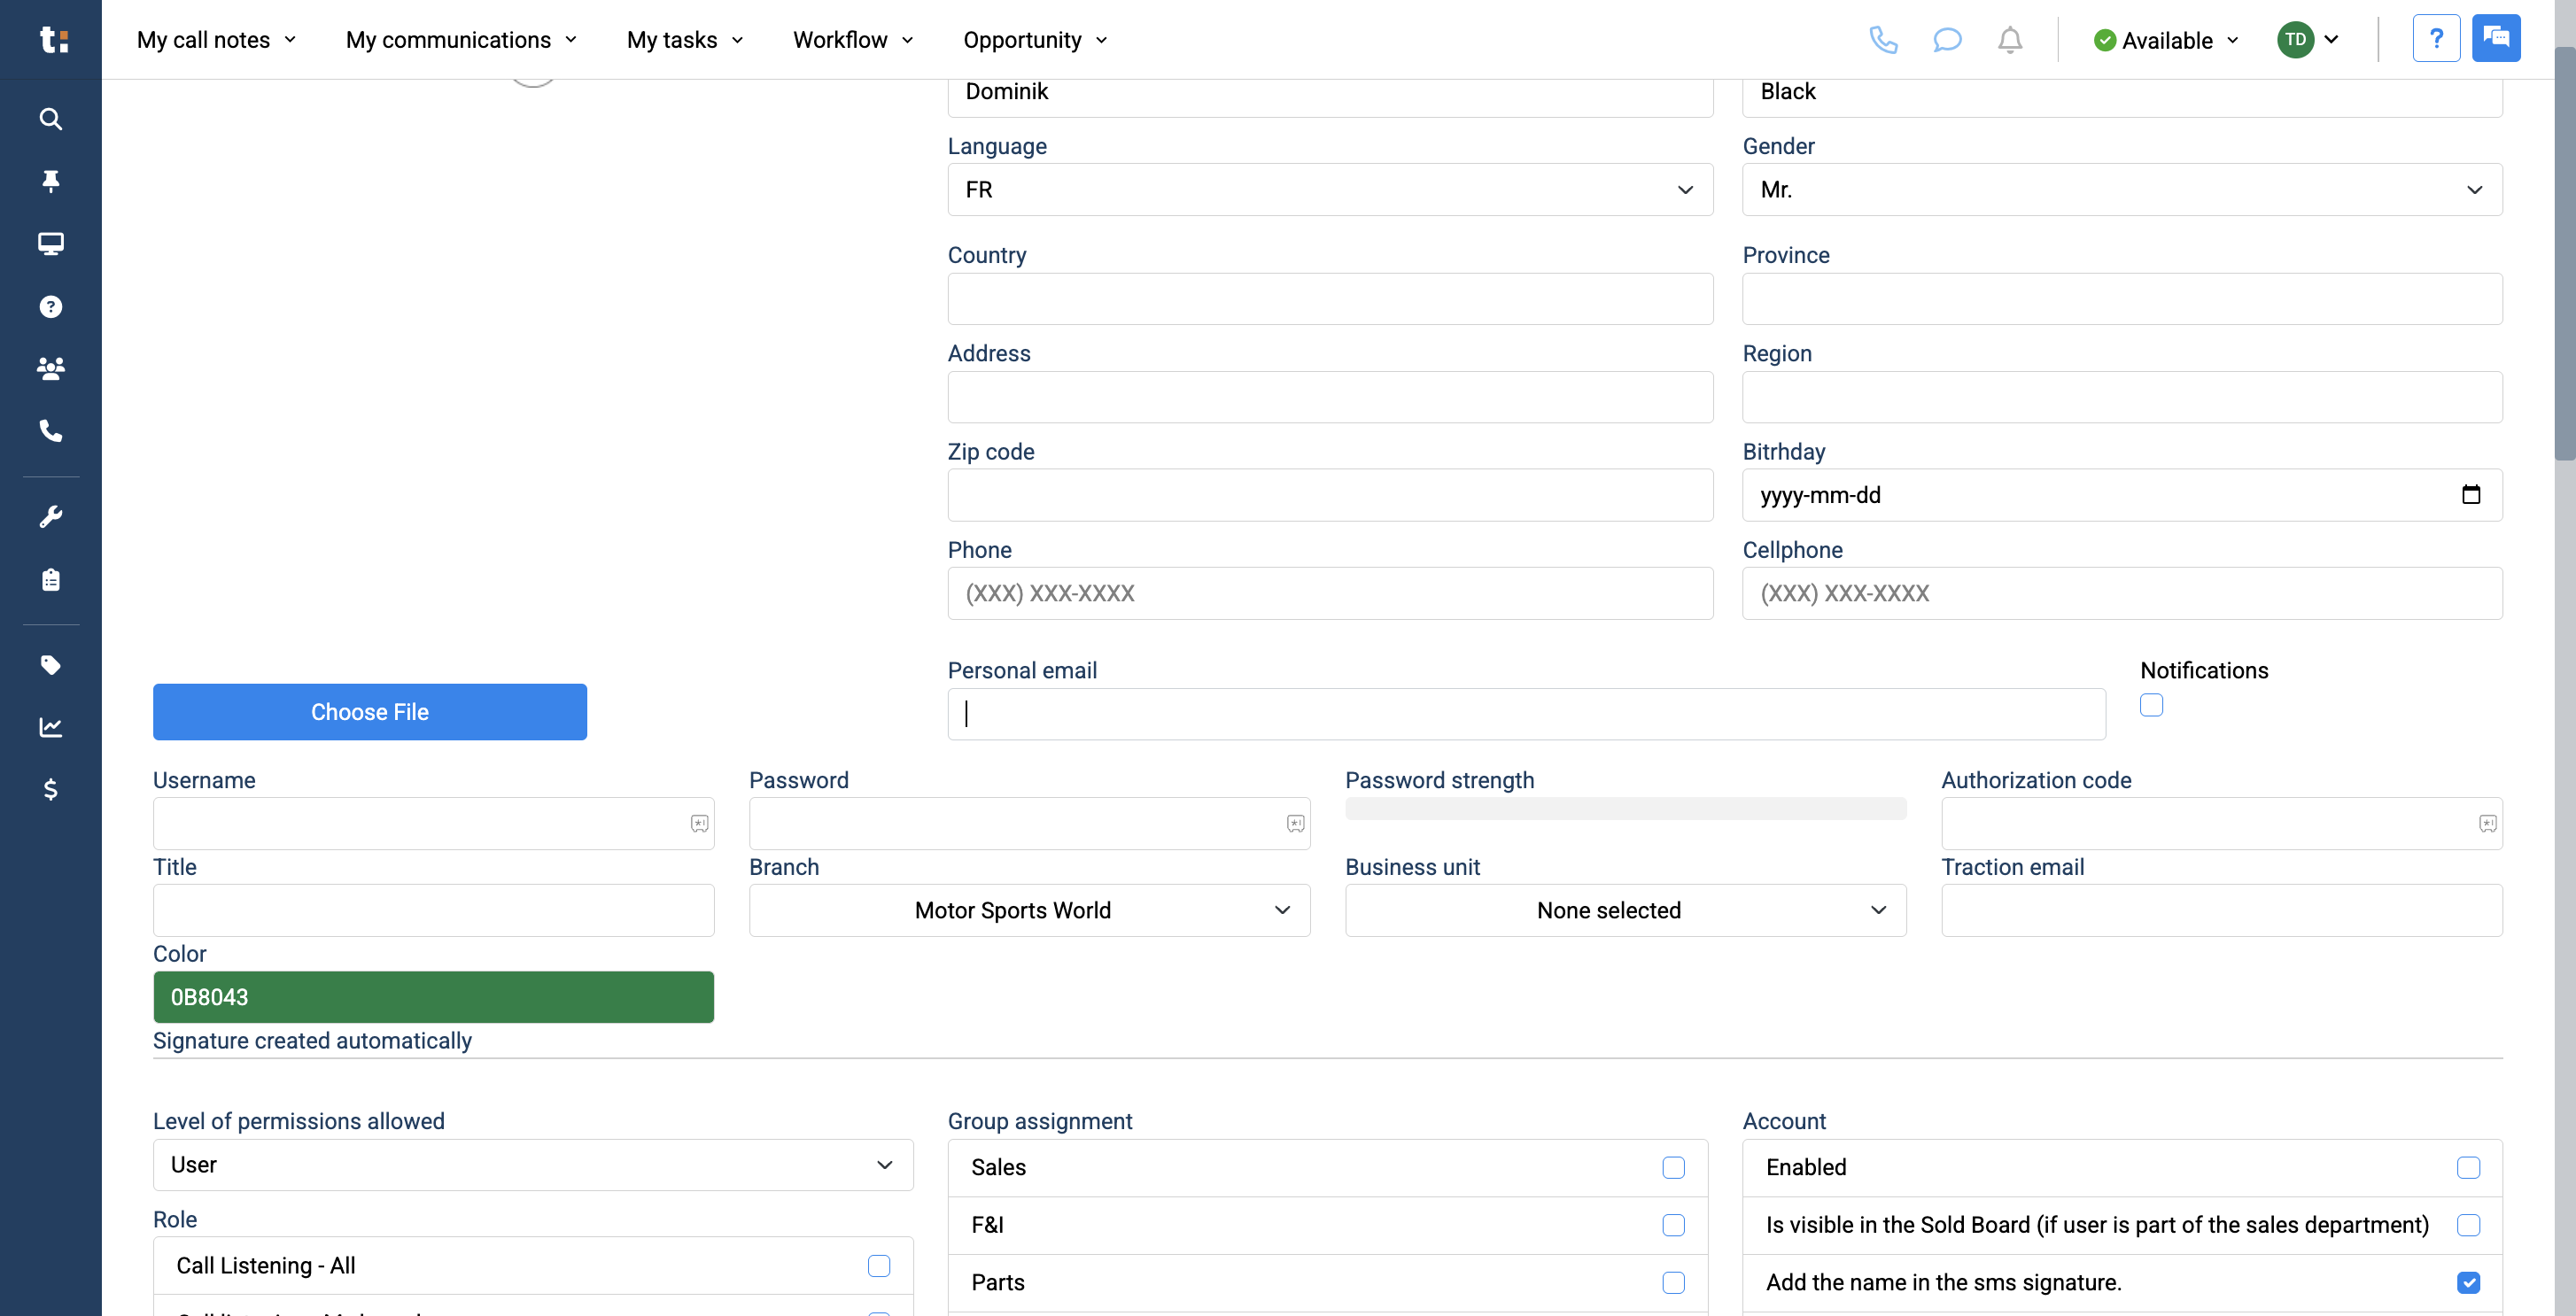
Be sure to include the user's first and last name, along with any additional information you need.
5
By entering their internal work email, users can later reset their password if needed by using the "forgot my password" option.
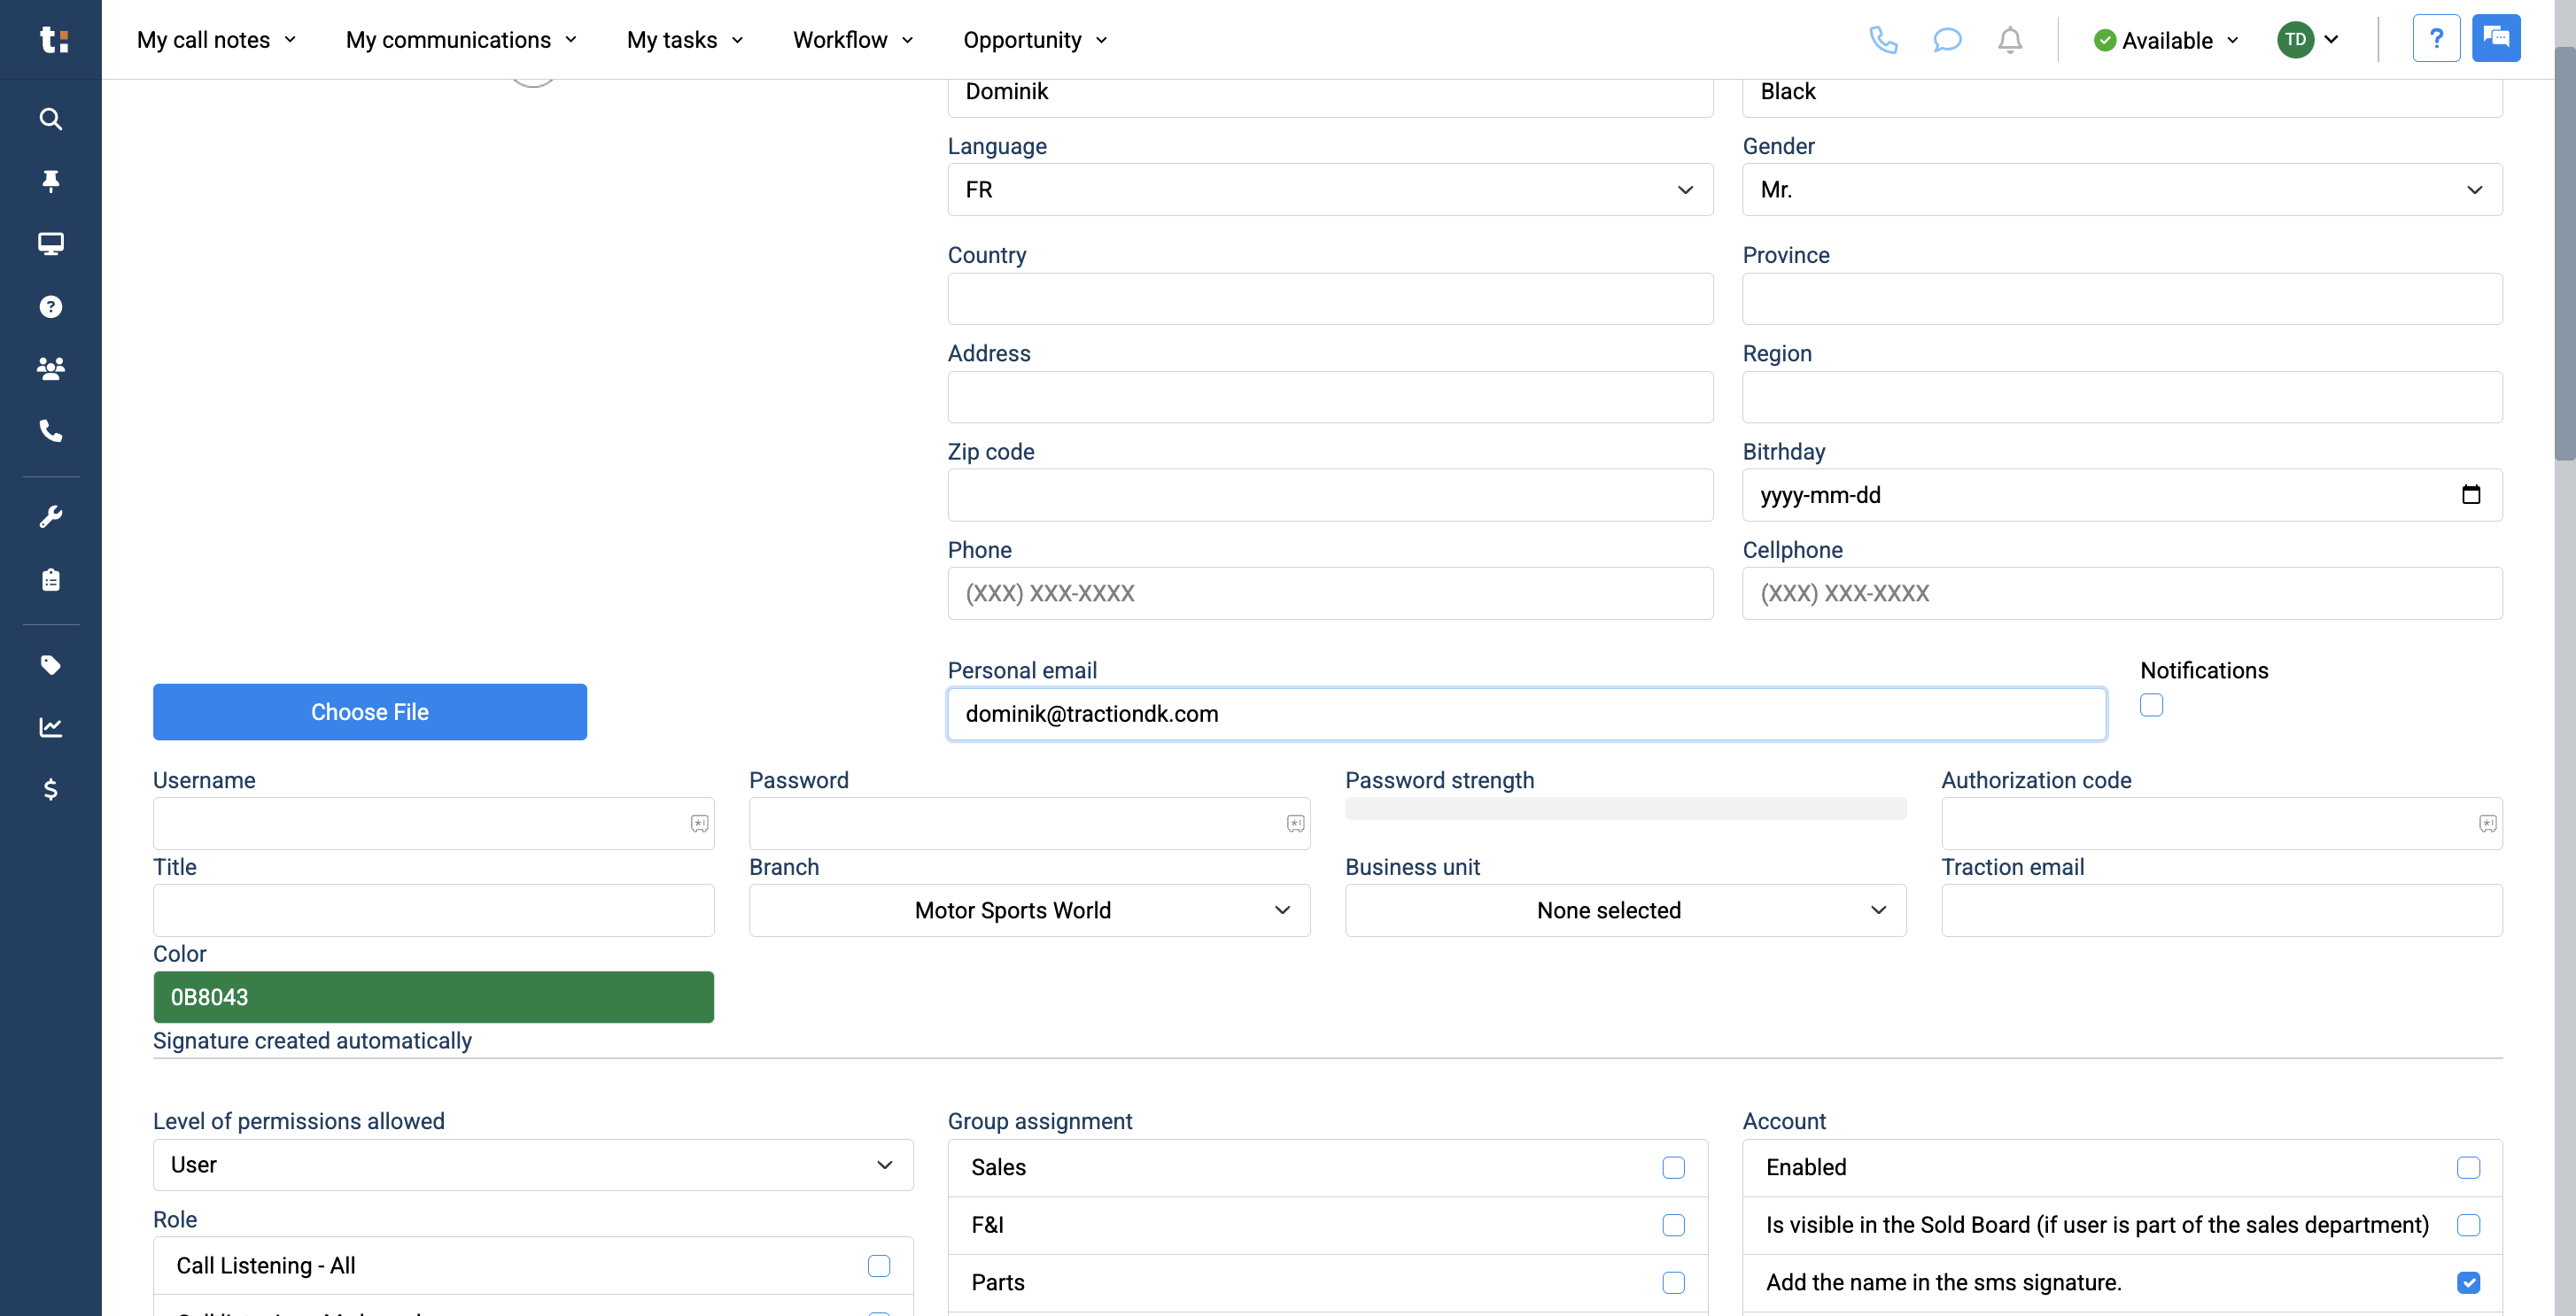
6
Make sure to enter your internal email address under Personal Email.
7
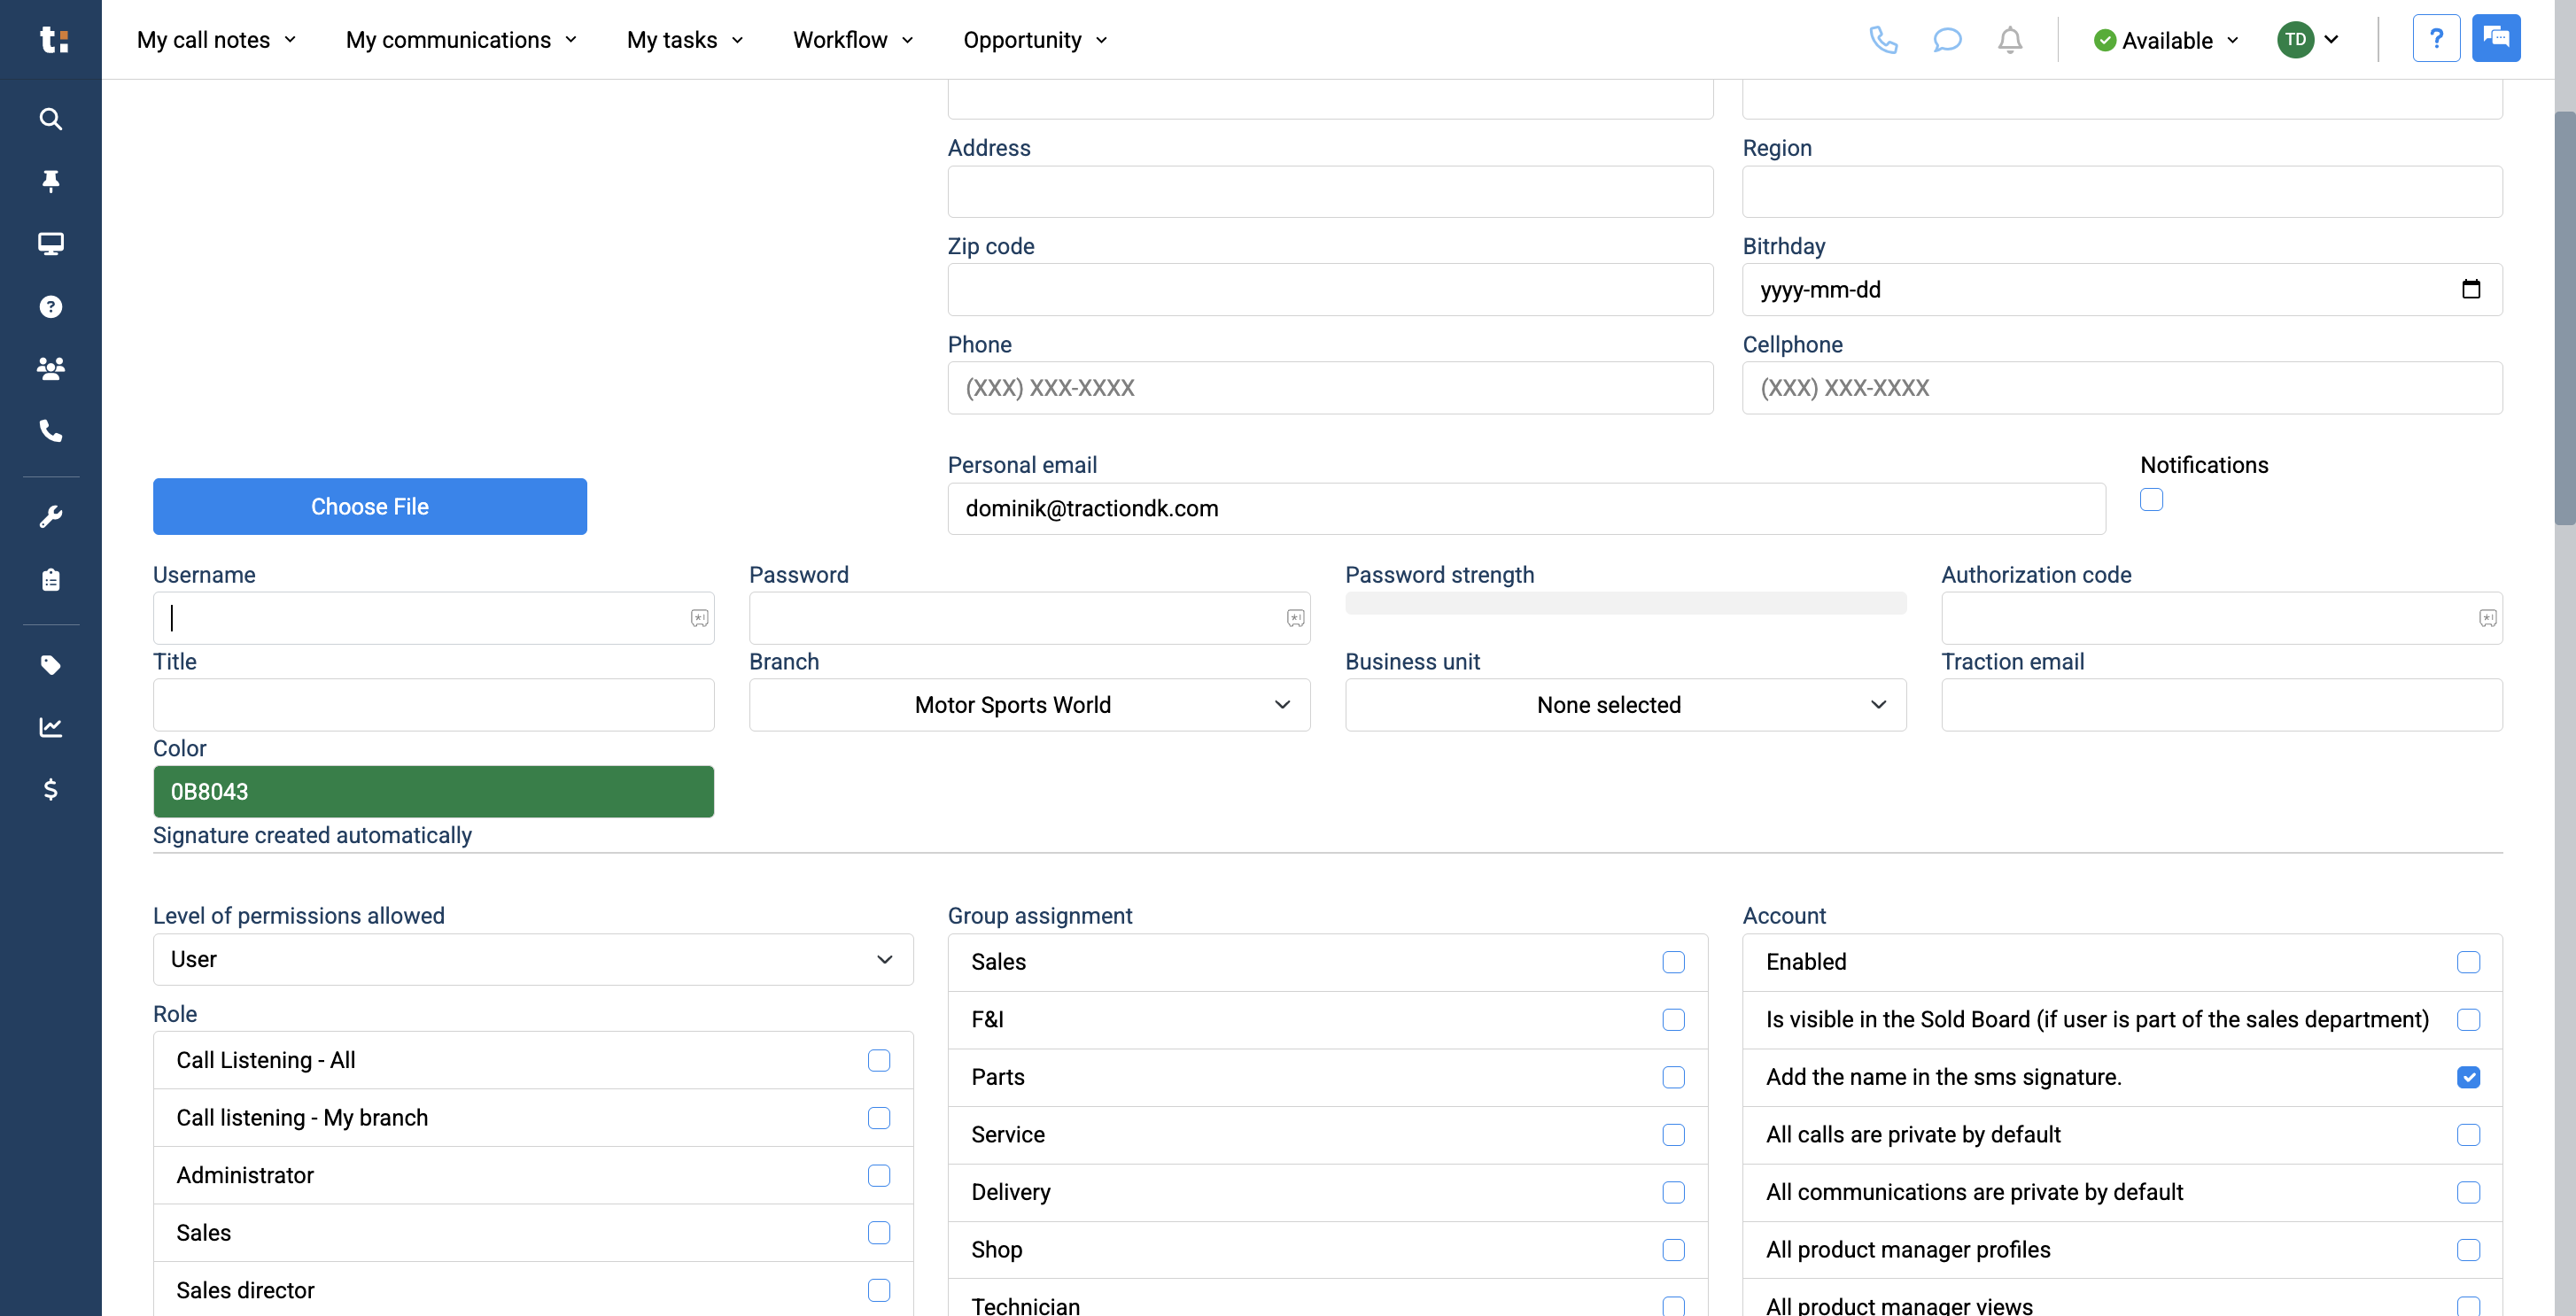
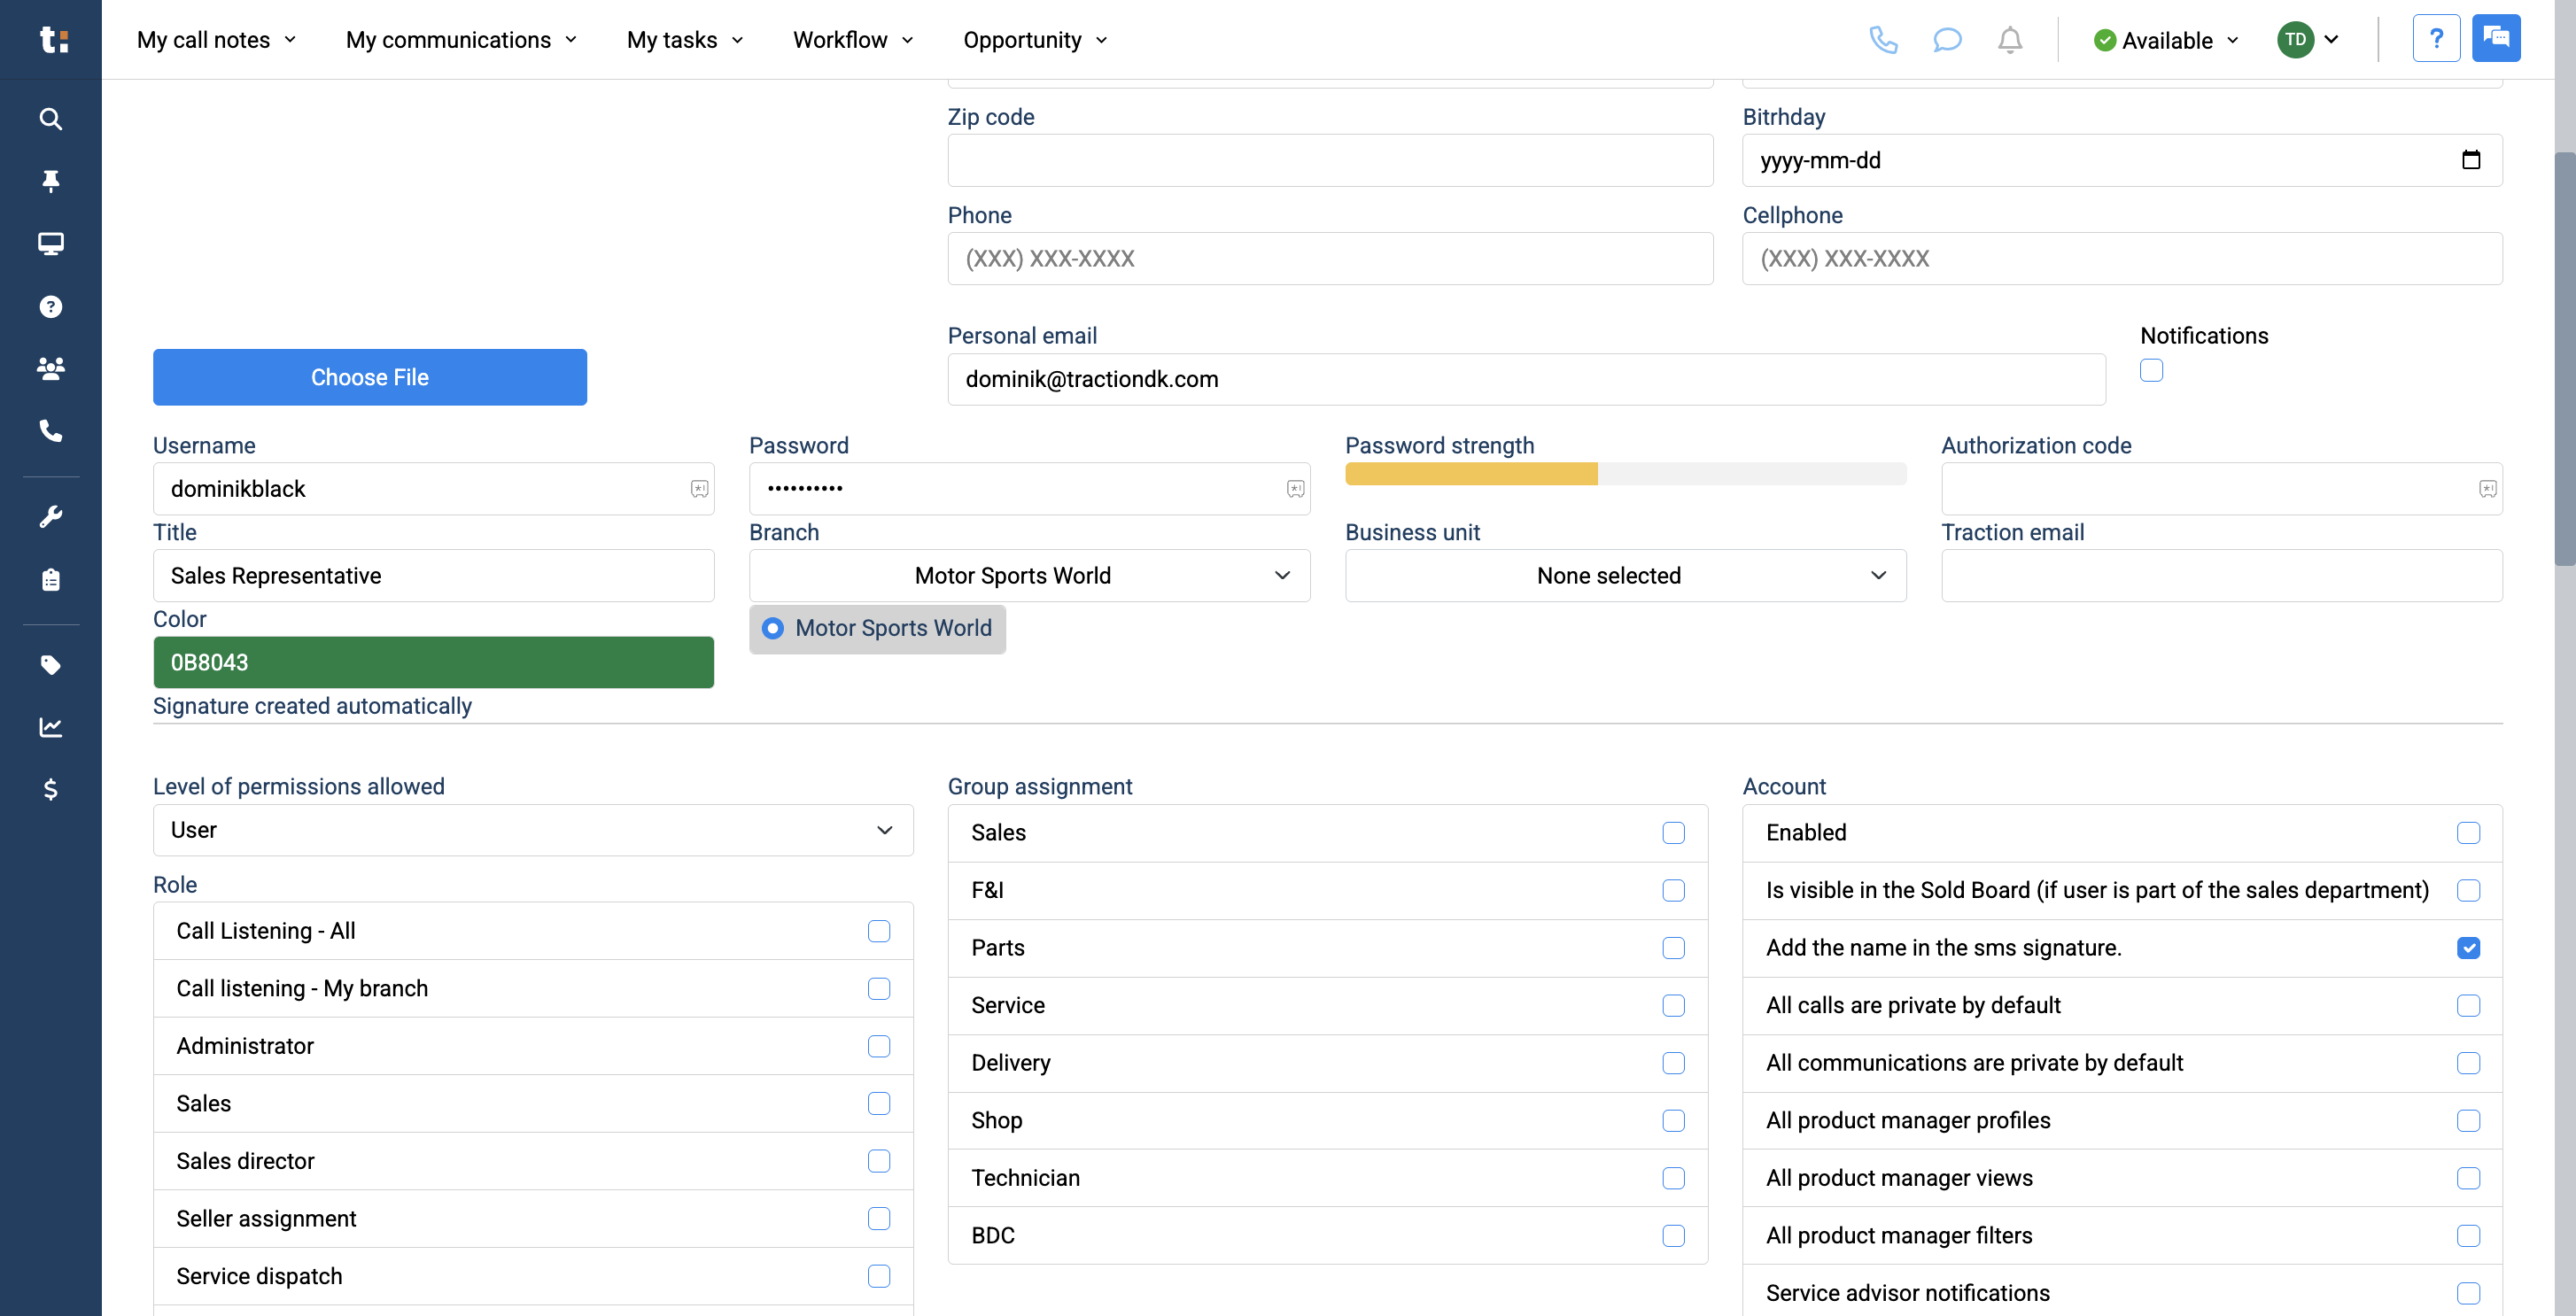
Next, add a username of your choice and set a password.
8

9
A password strength indicator is displayed next to it to ensure your password is strong enough.
10
Next, be sure to add your user's title. This will also be used in the user's signature, so it must be written correctly.

11
You can select a branch unless there is only one available.
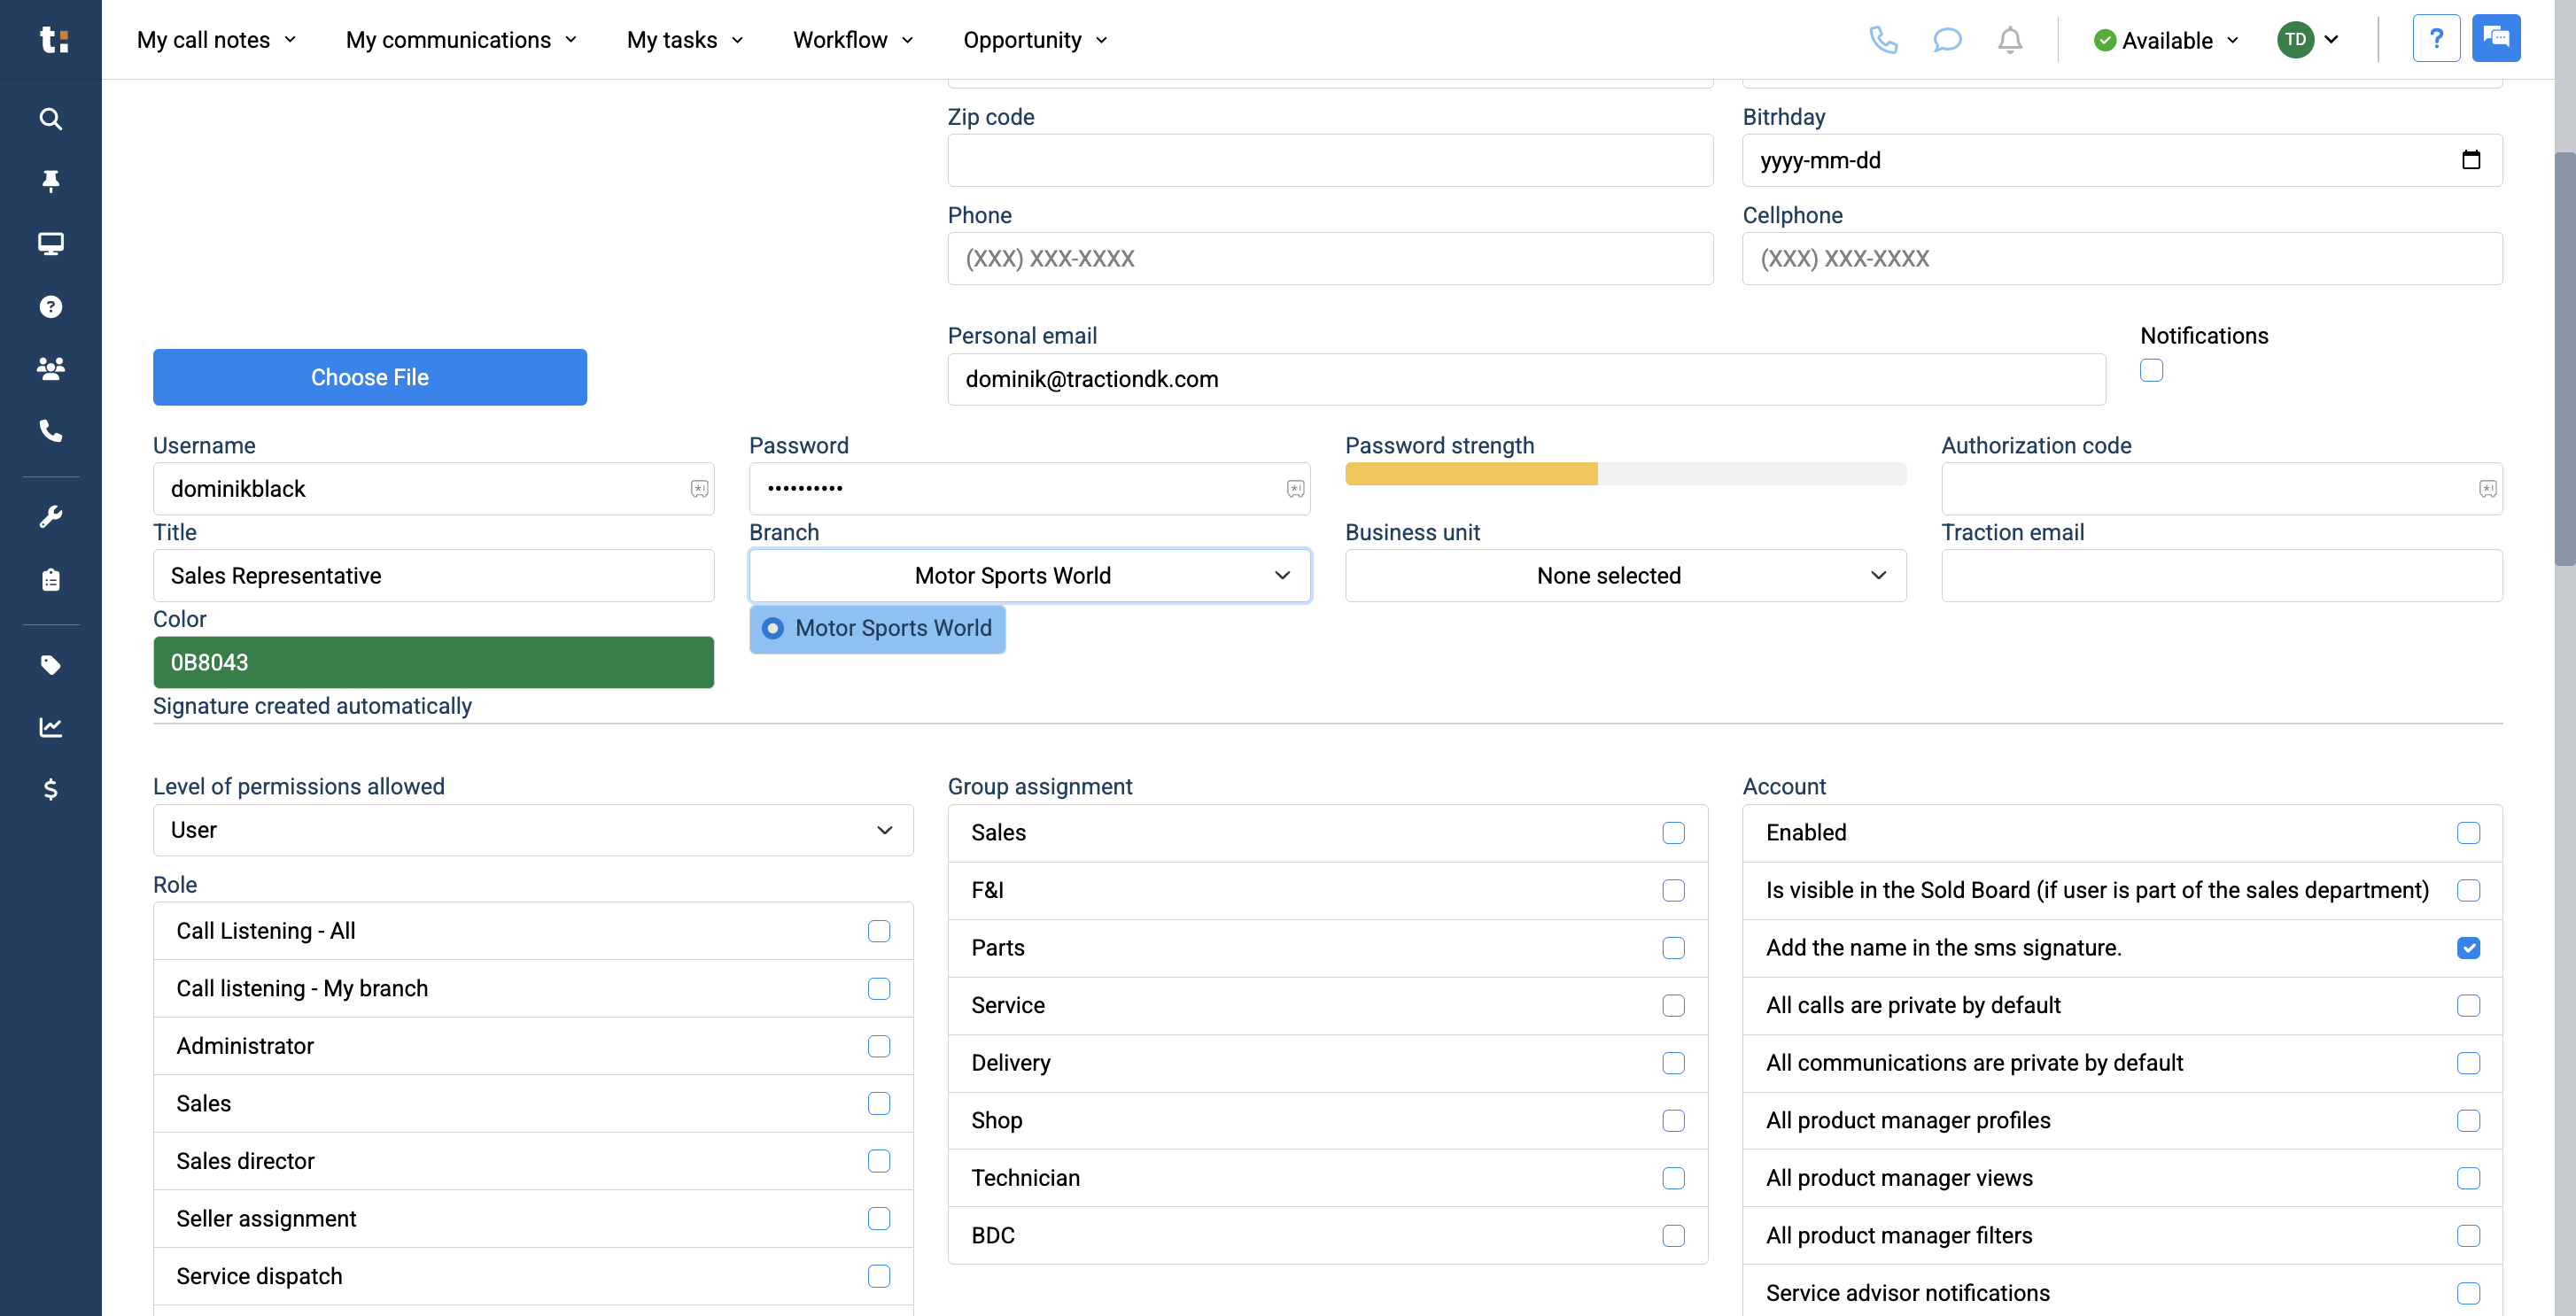
12
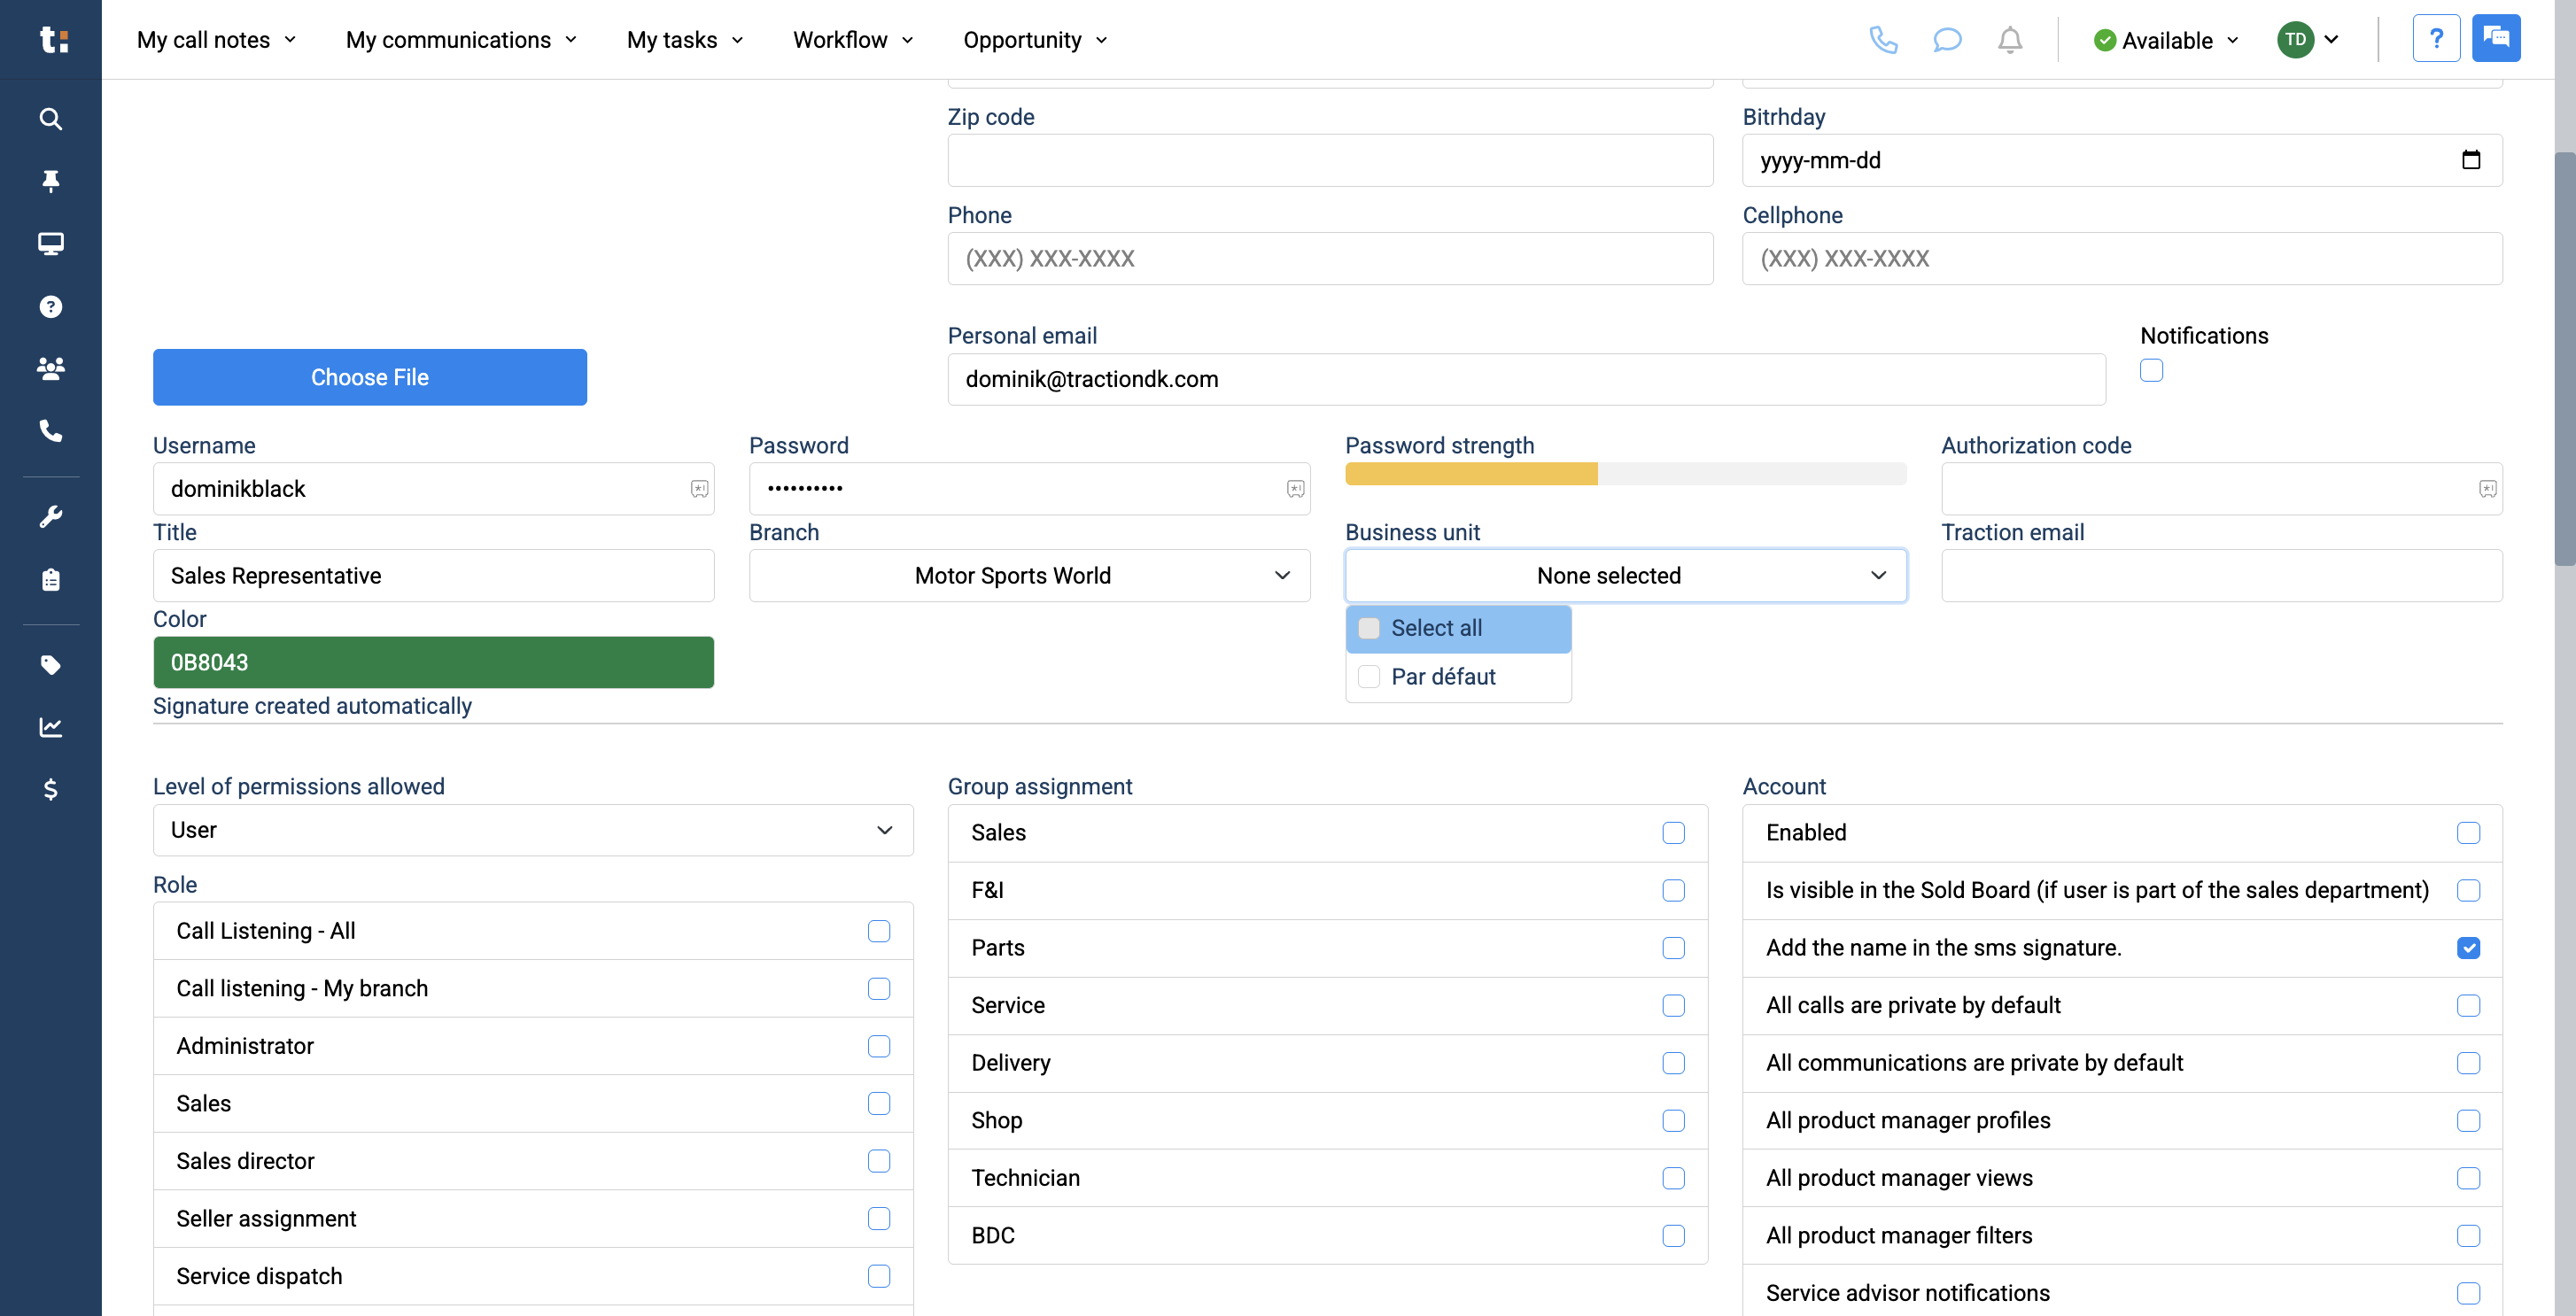
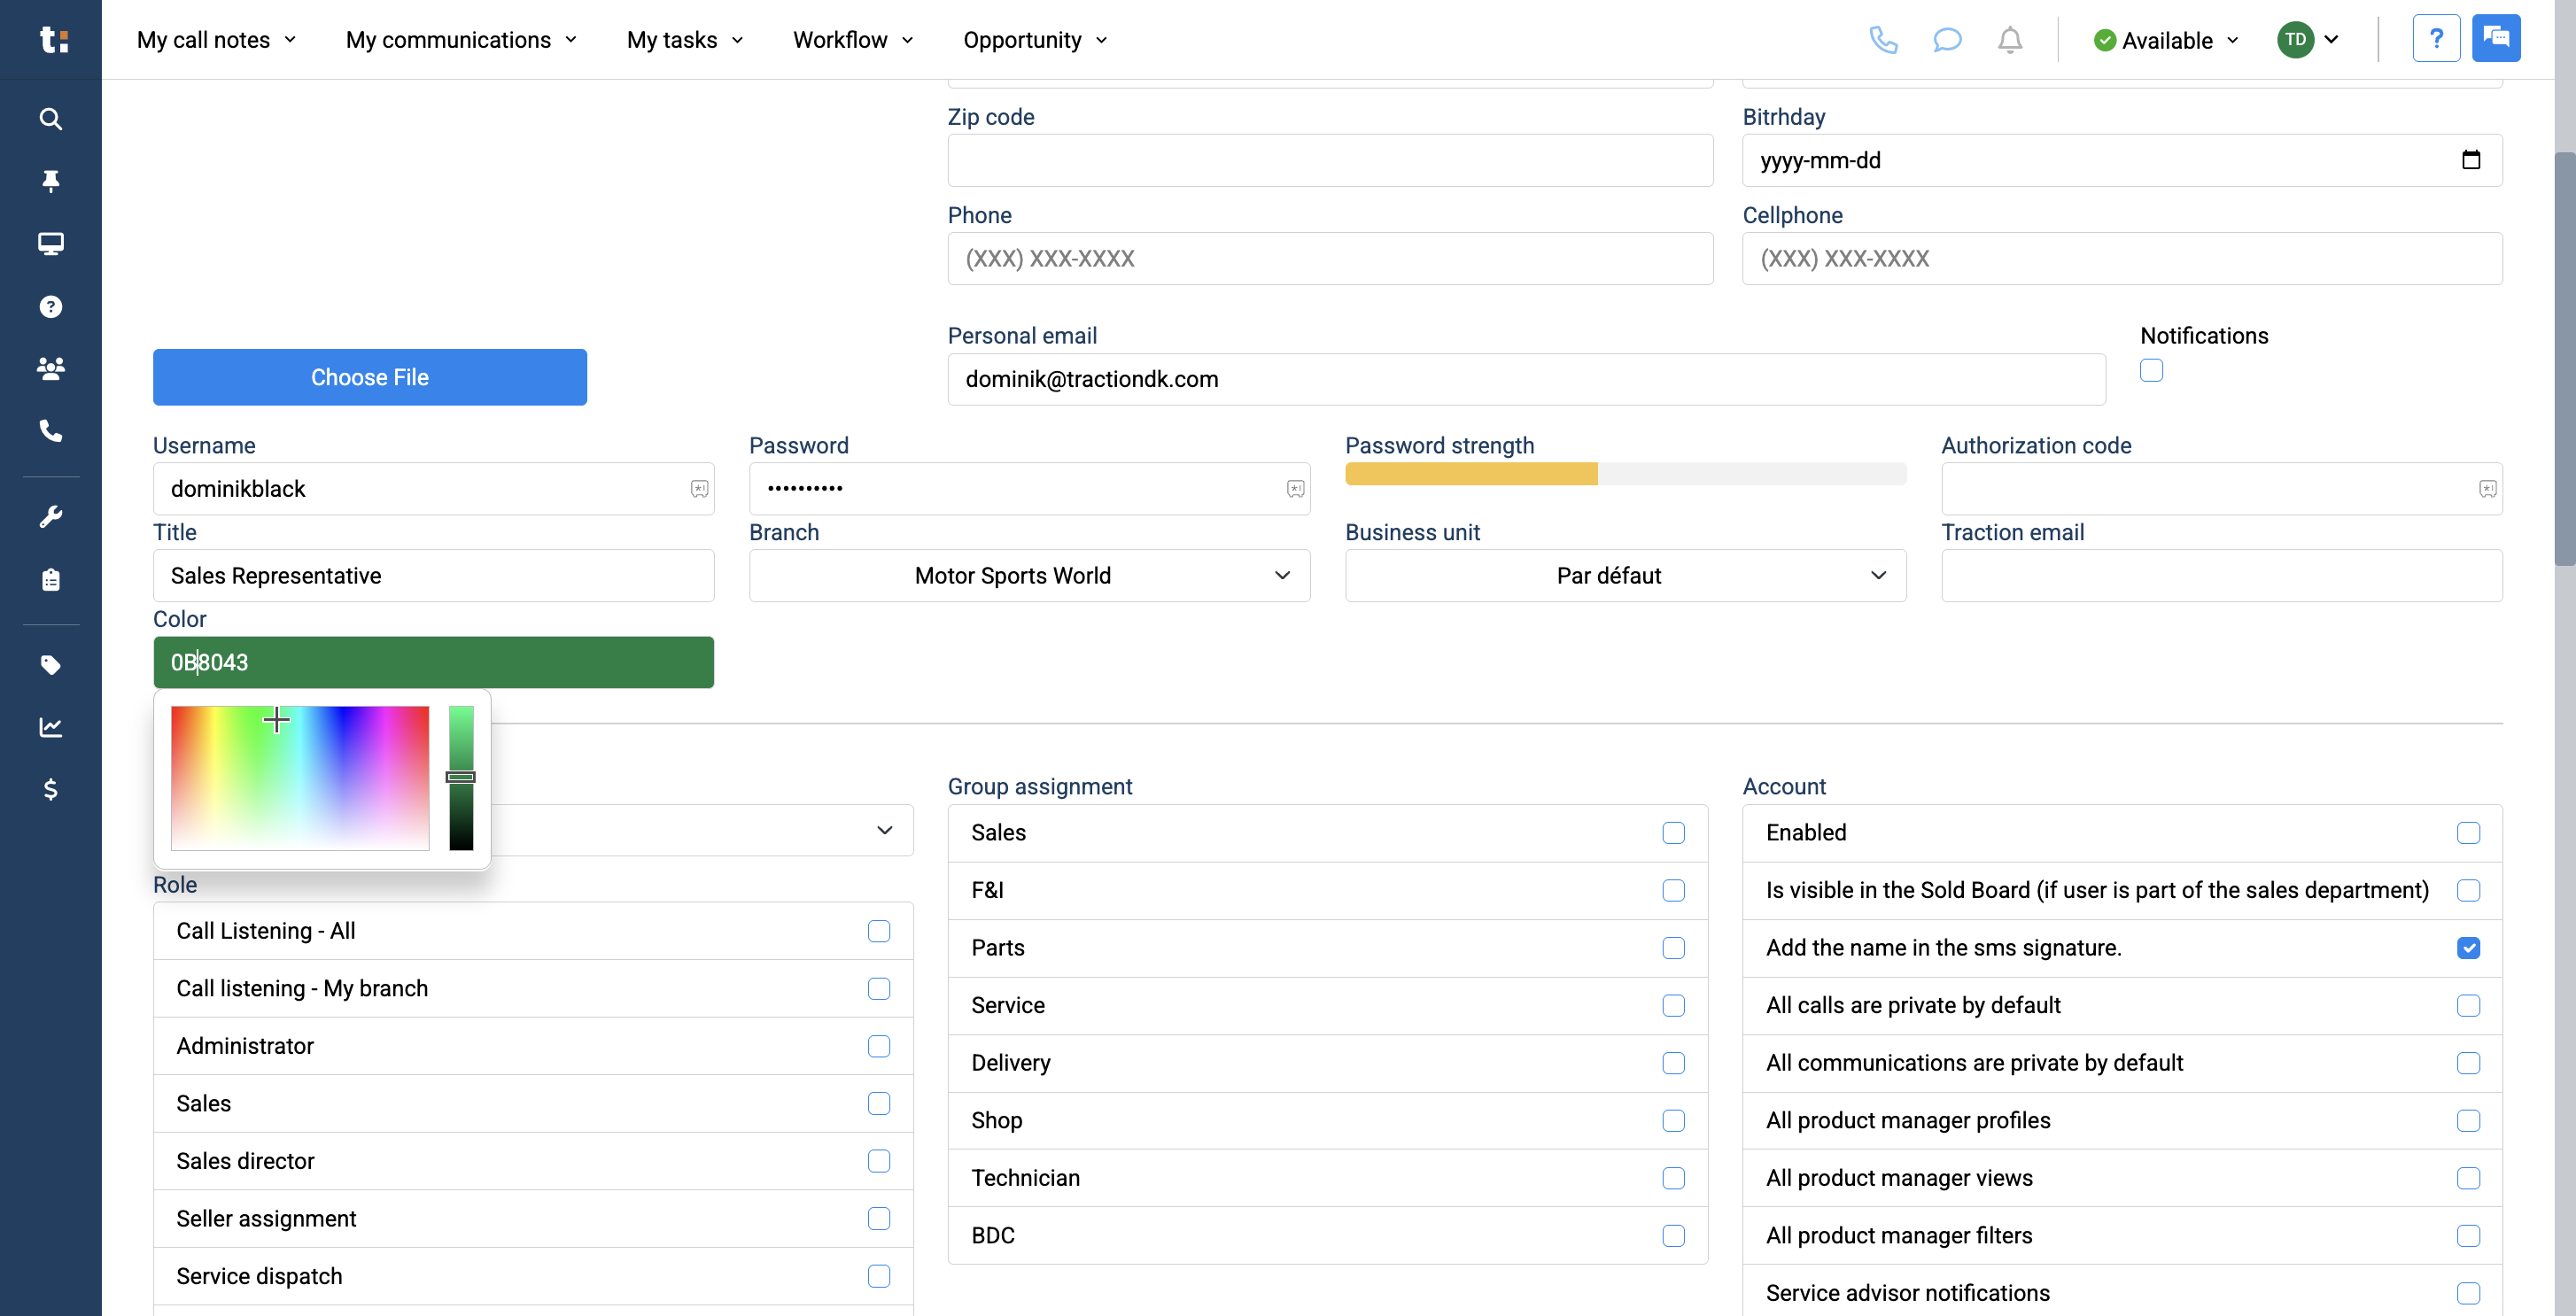
Next, select "All" under Business Unit.
13
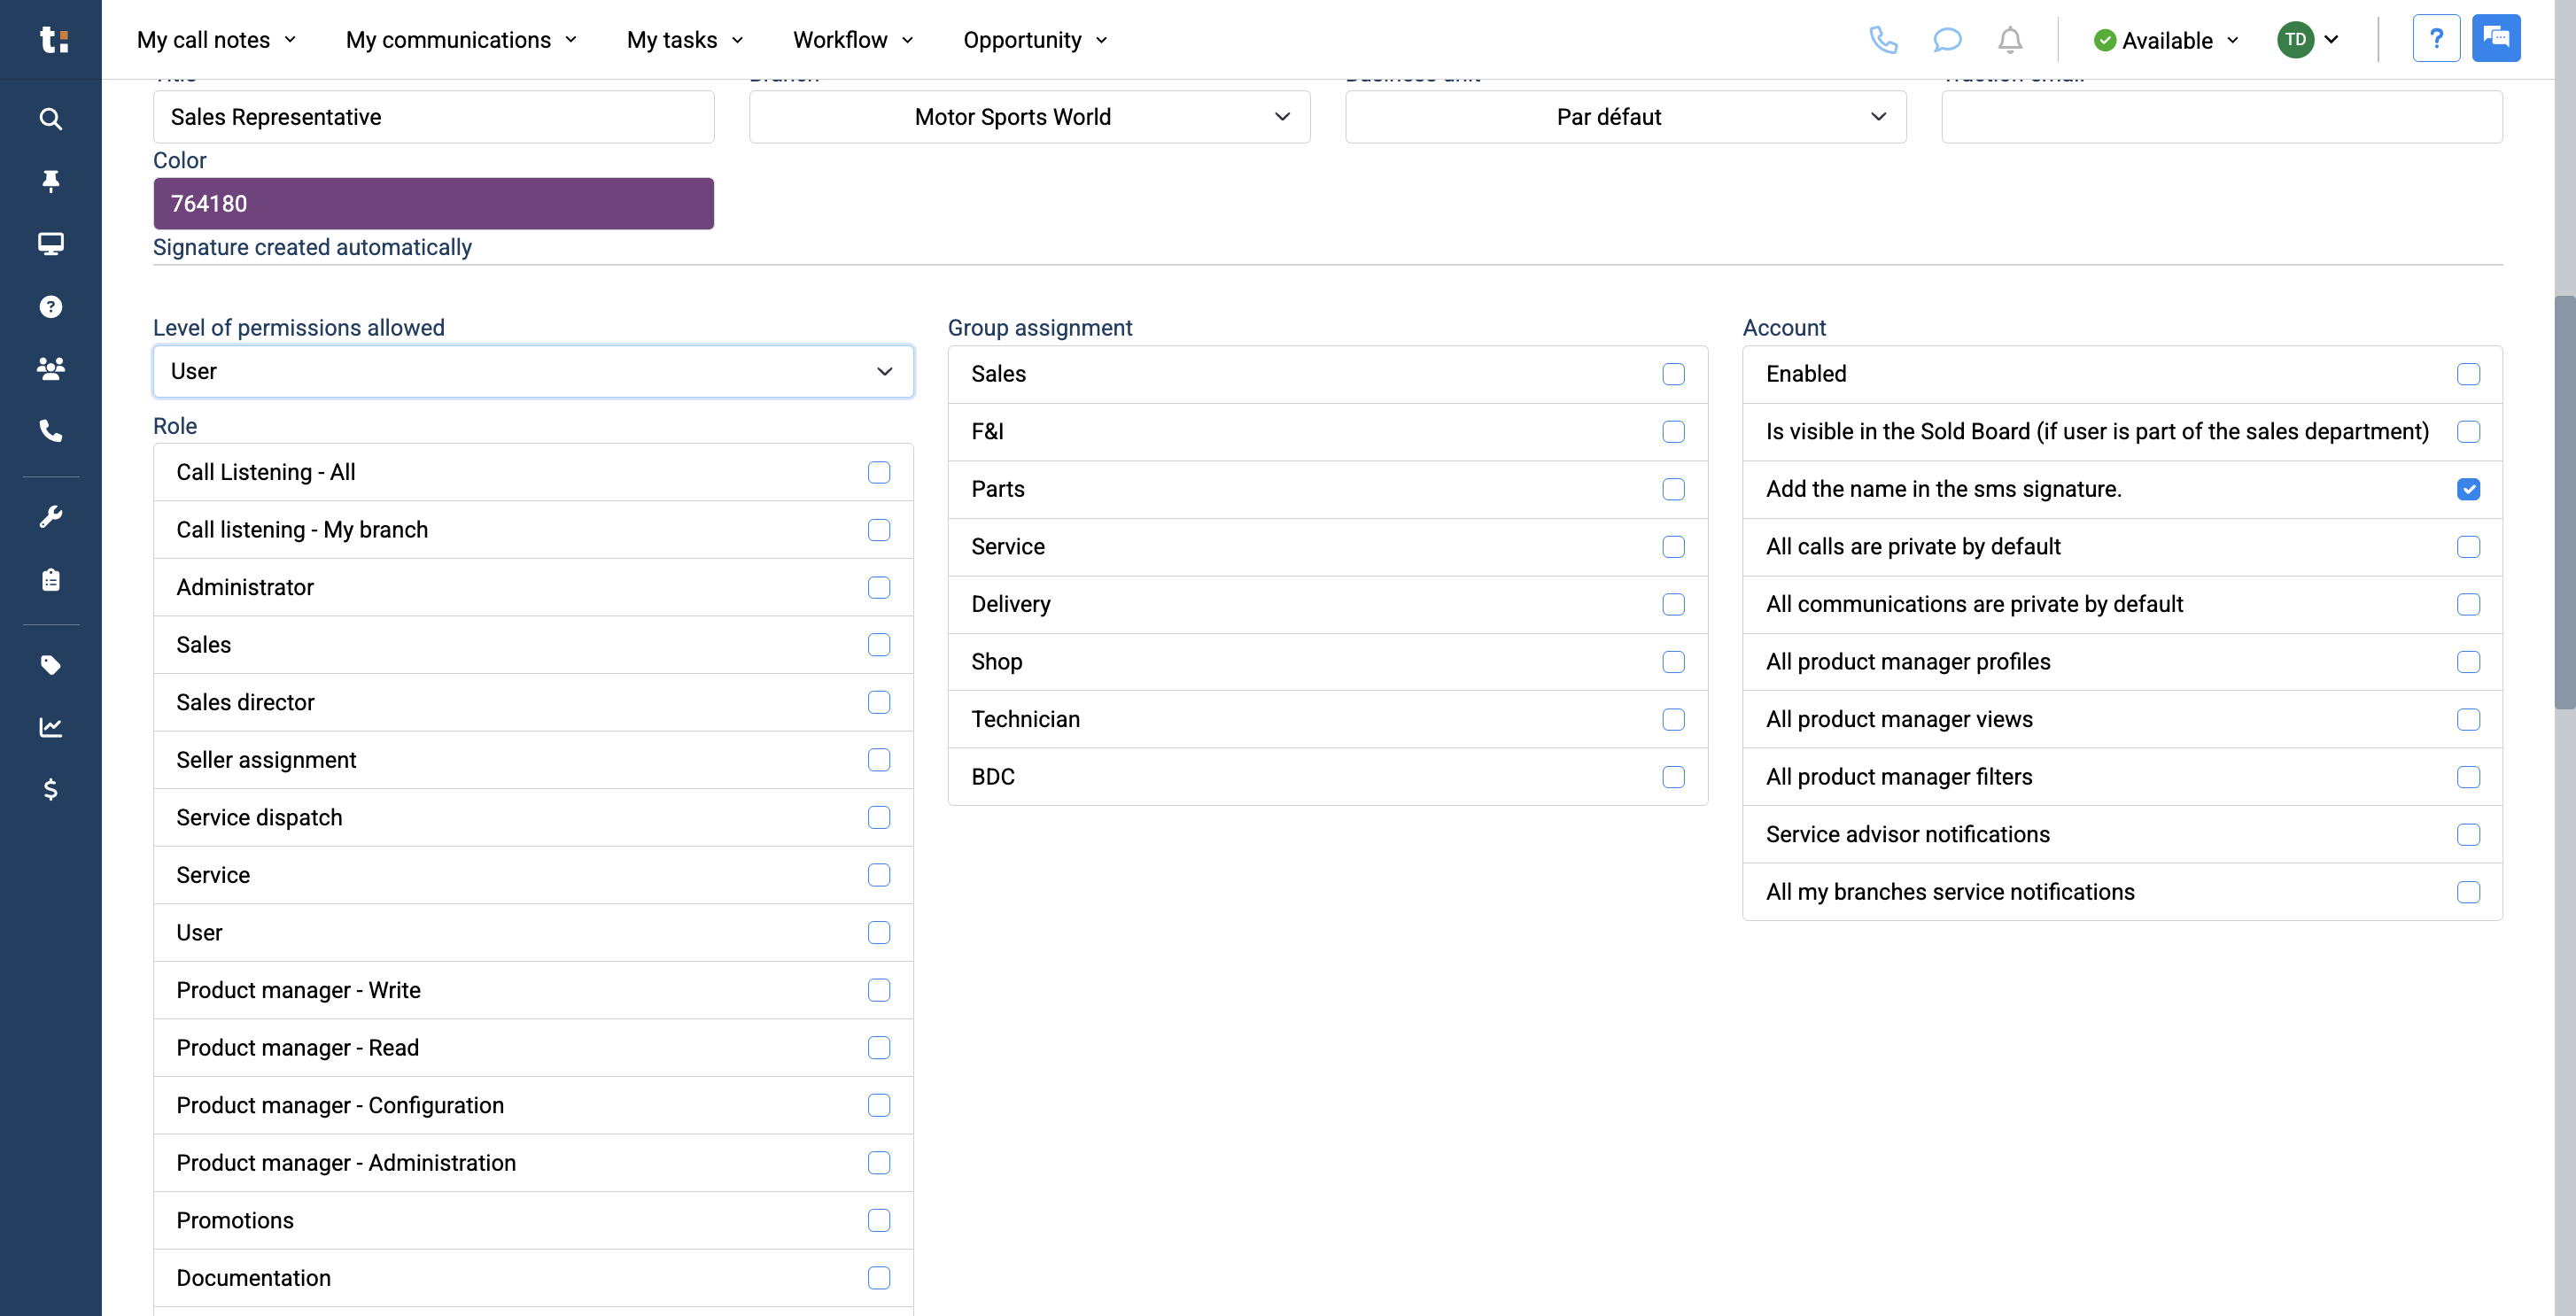
You can change the user's color to modify their icon.
14
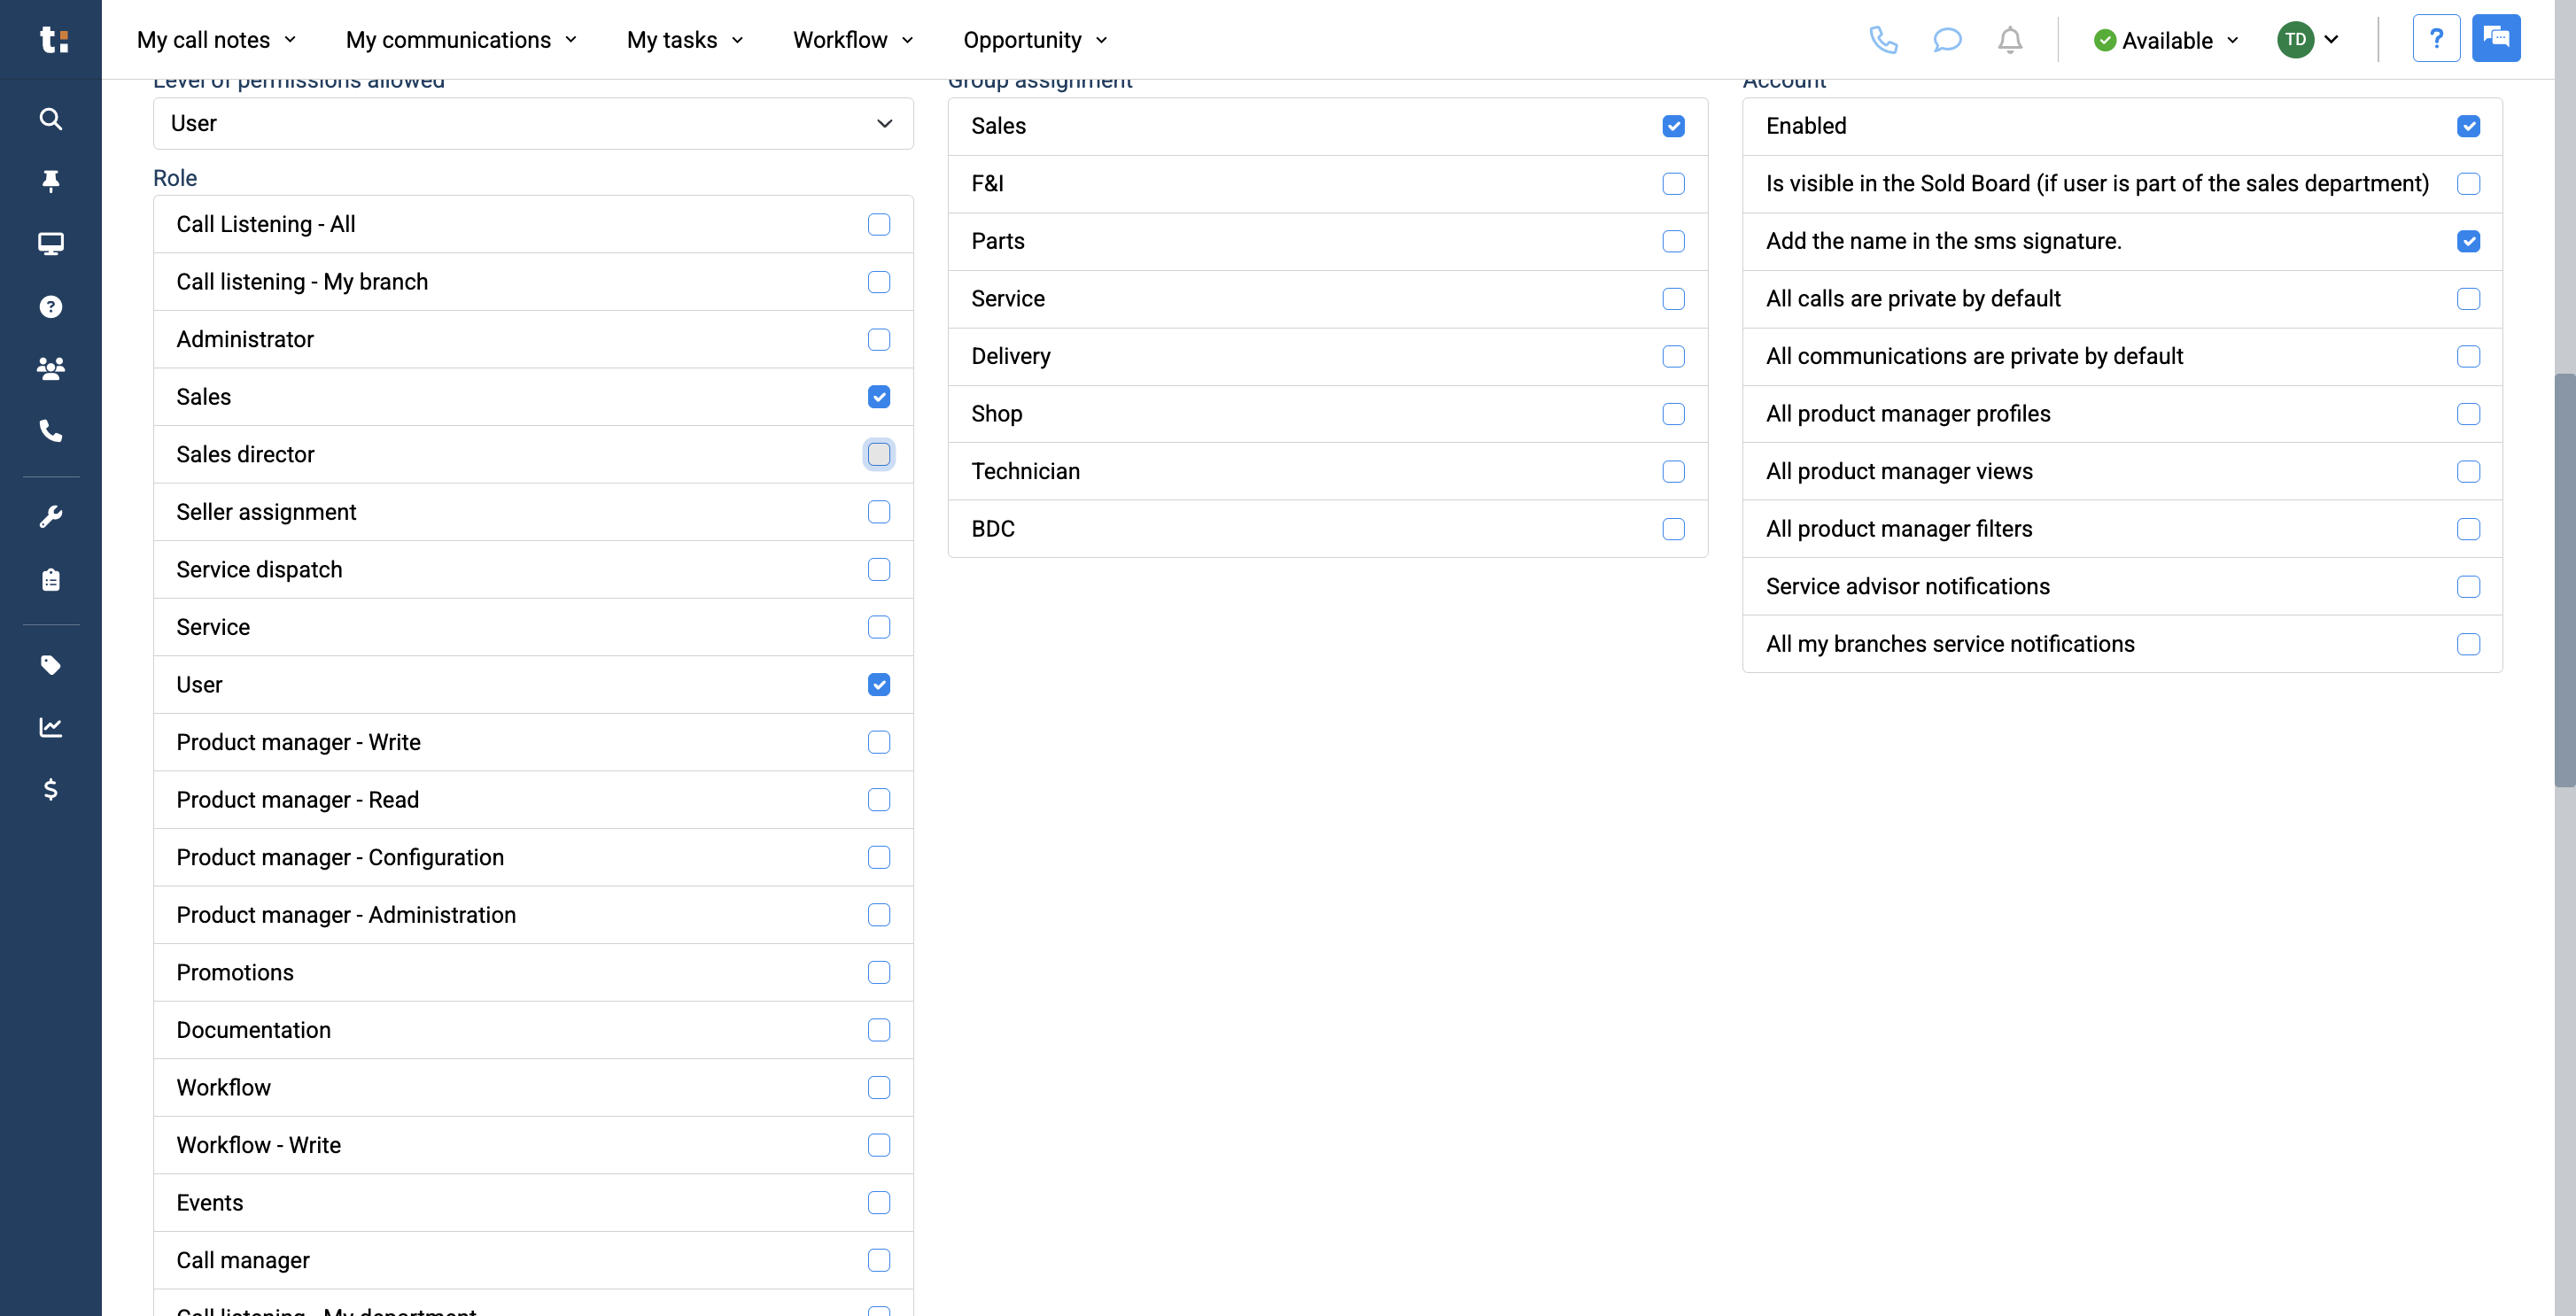
Below, you can see the levels of permissions allowed. Usually, you will select User Only, unless you want to provide more advanced features. You can then change them to Administration.

15
Under Group Assignment, you can choose which department they will join.
16
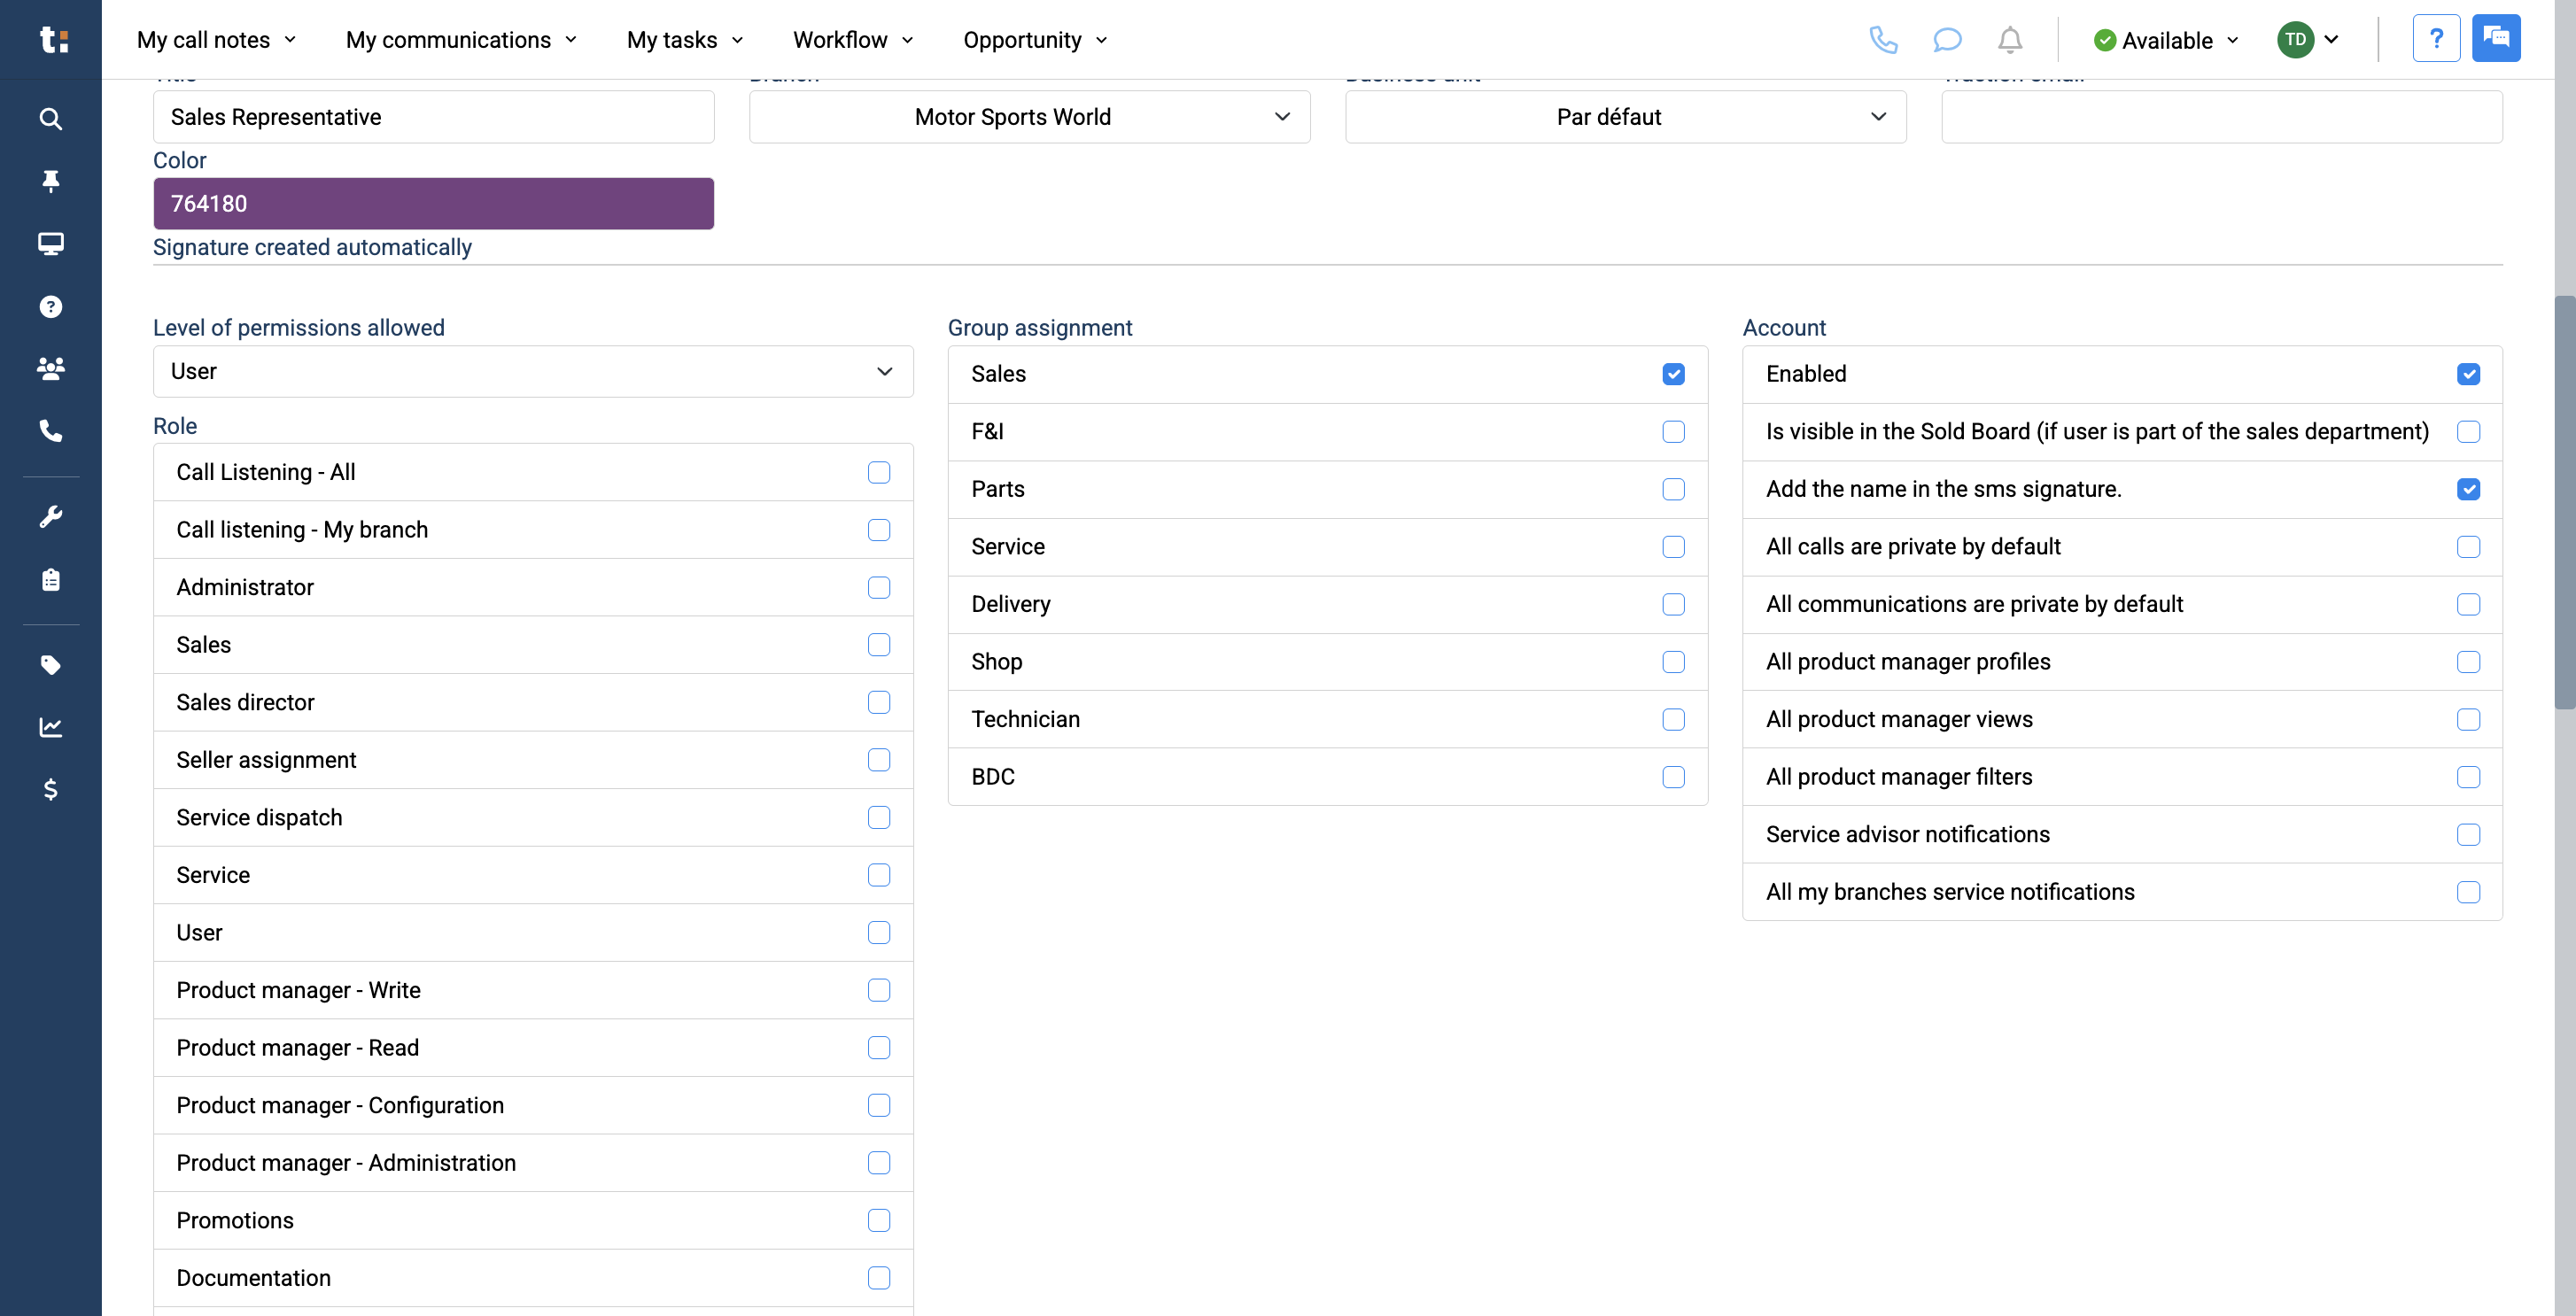
Next, under Account, make sure they are enabled.
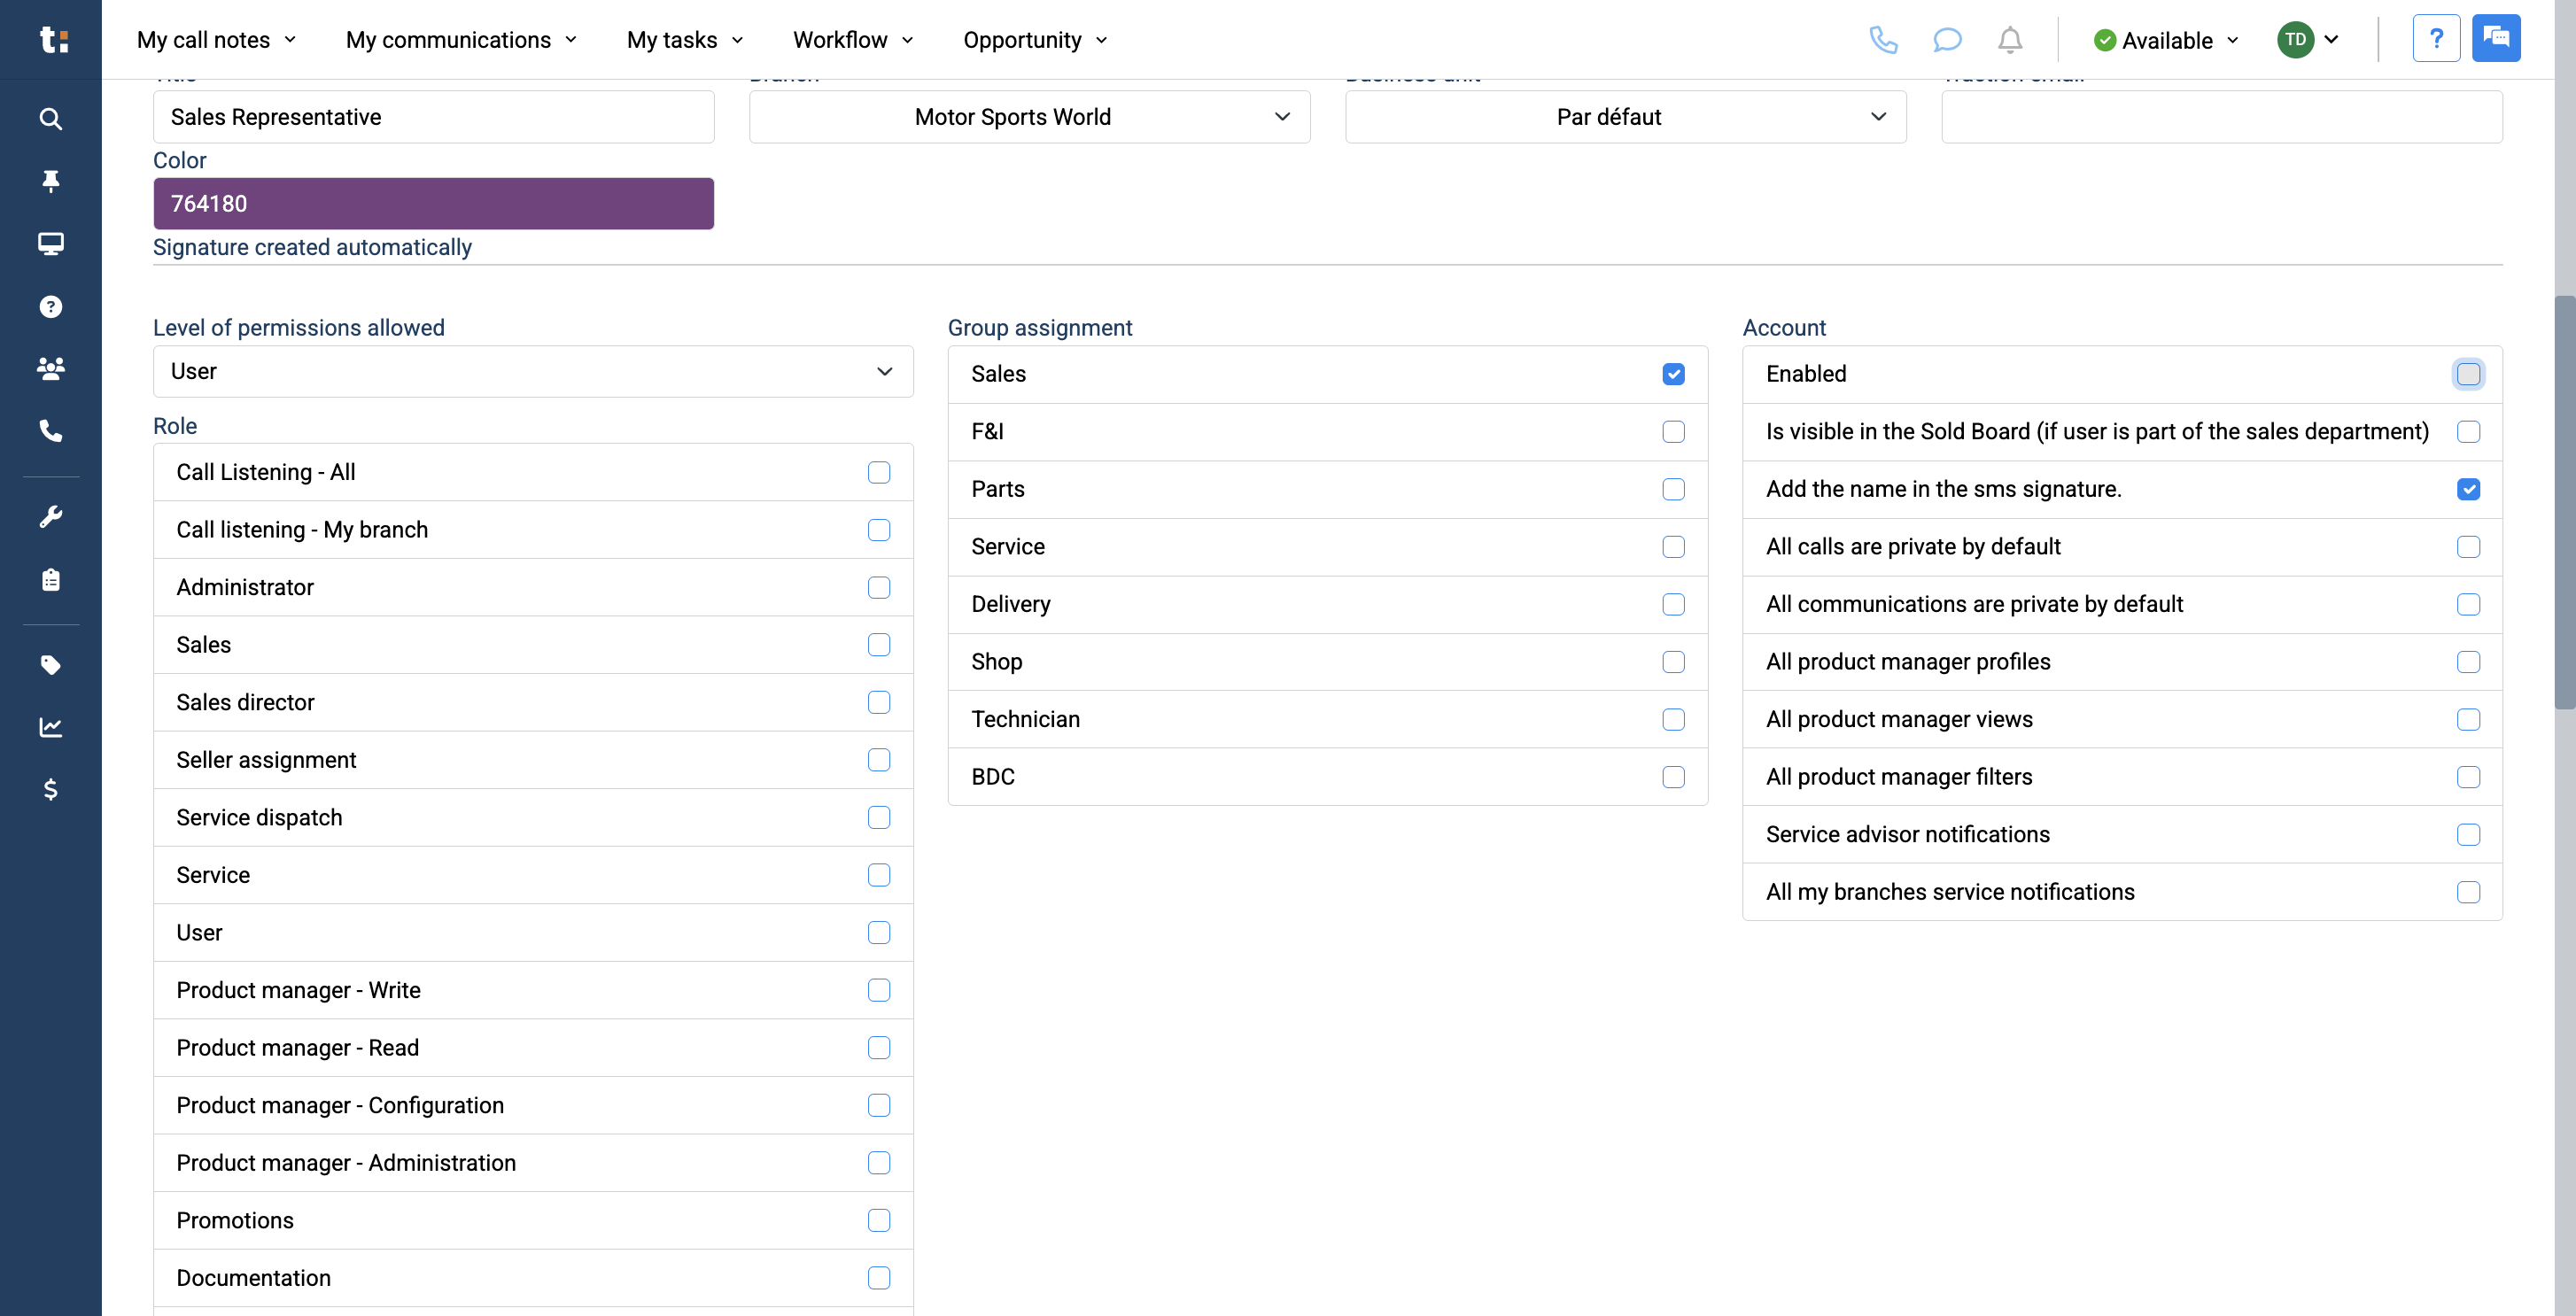
17
You can review the other options as well.
18
For example, if you are adding a sales user, make sure to check "Is Visible In The Sold board."
19
If you have F&I users, you can ensure all their calls and communications are private by default.

20
Lastly, under Roles, select User as the default option. If you do not select User, their account will not be activated.
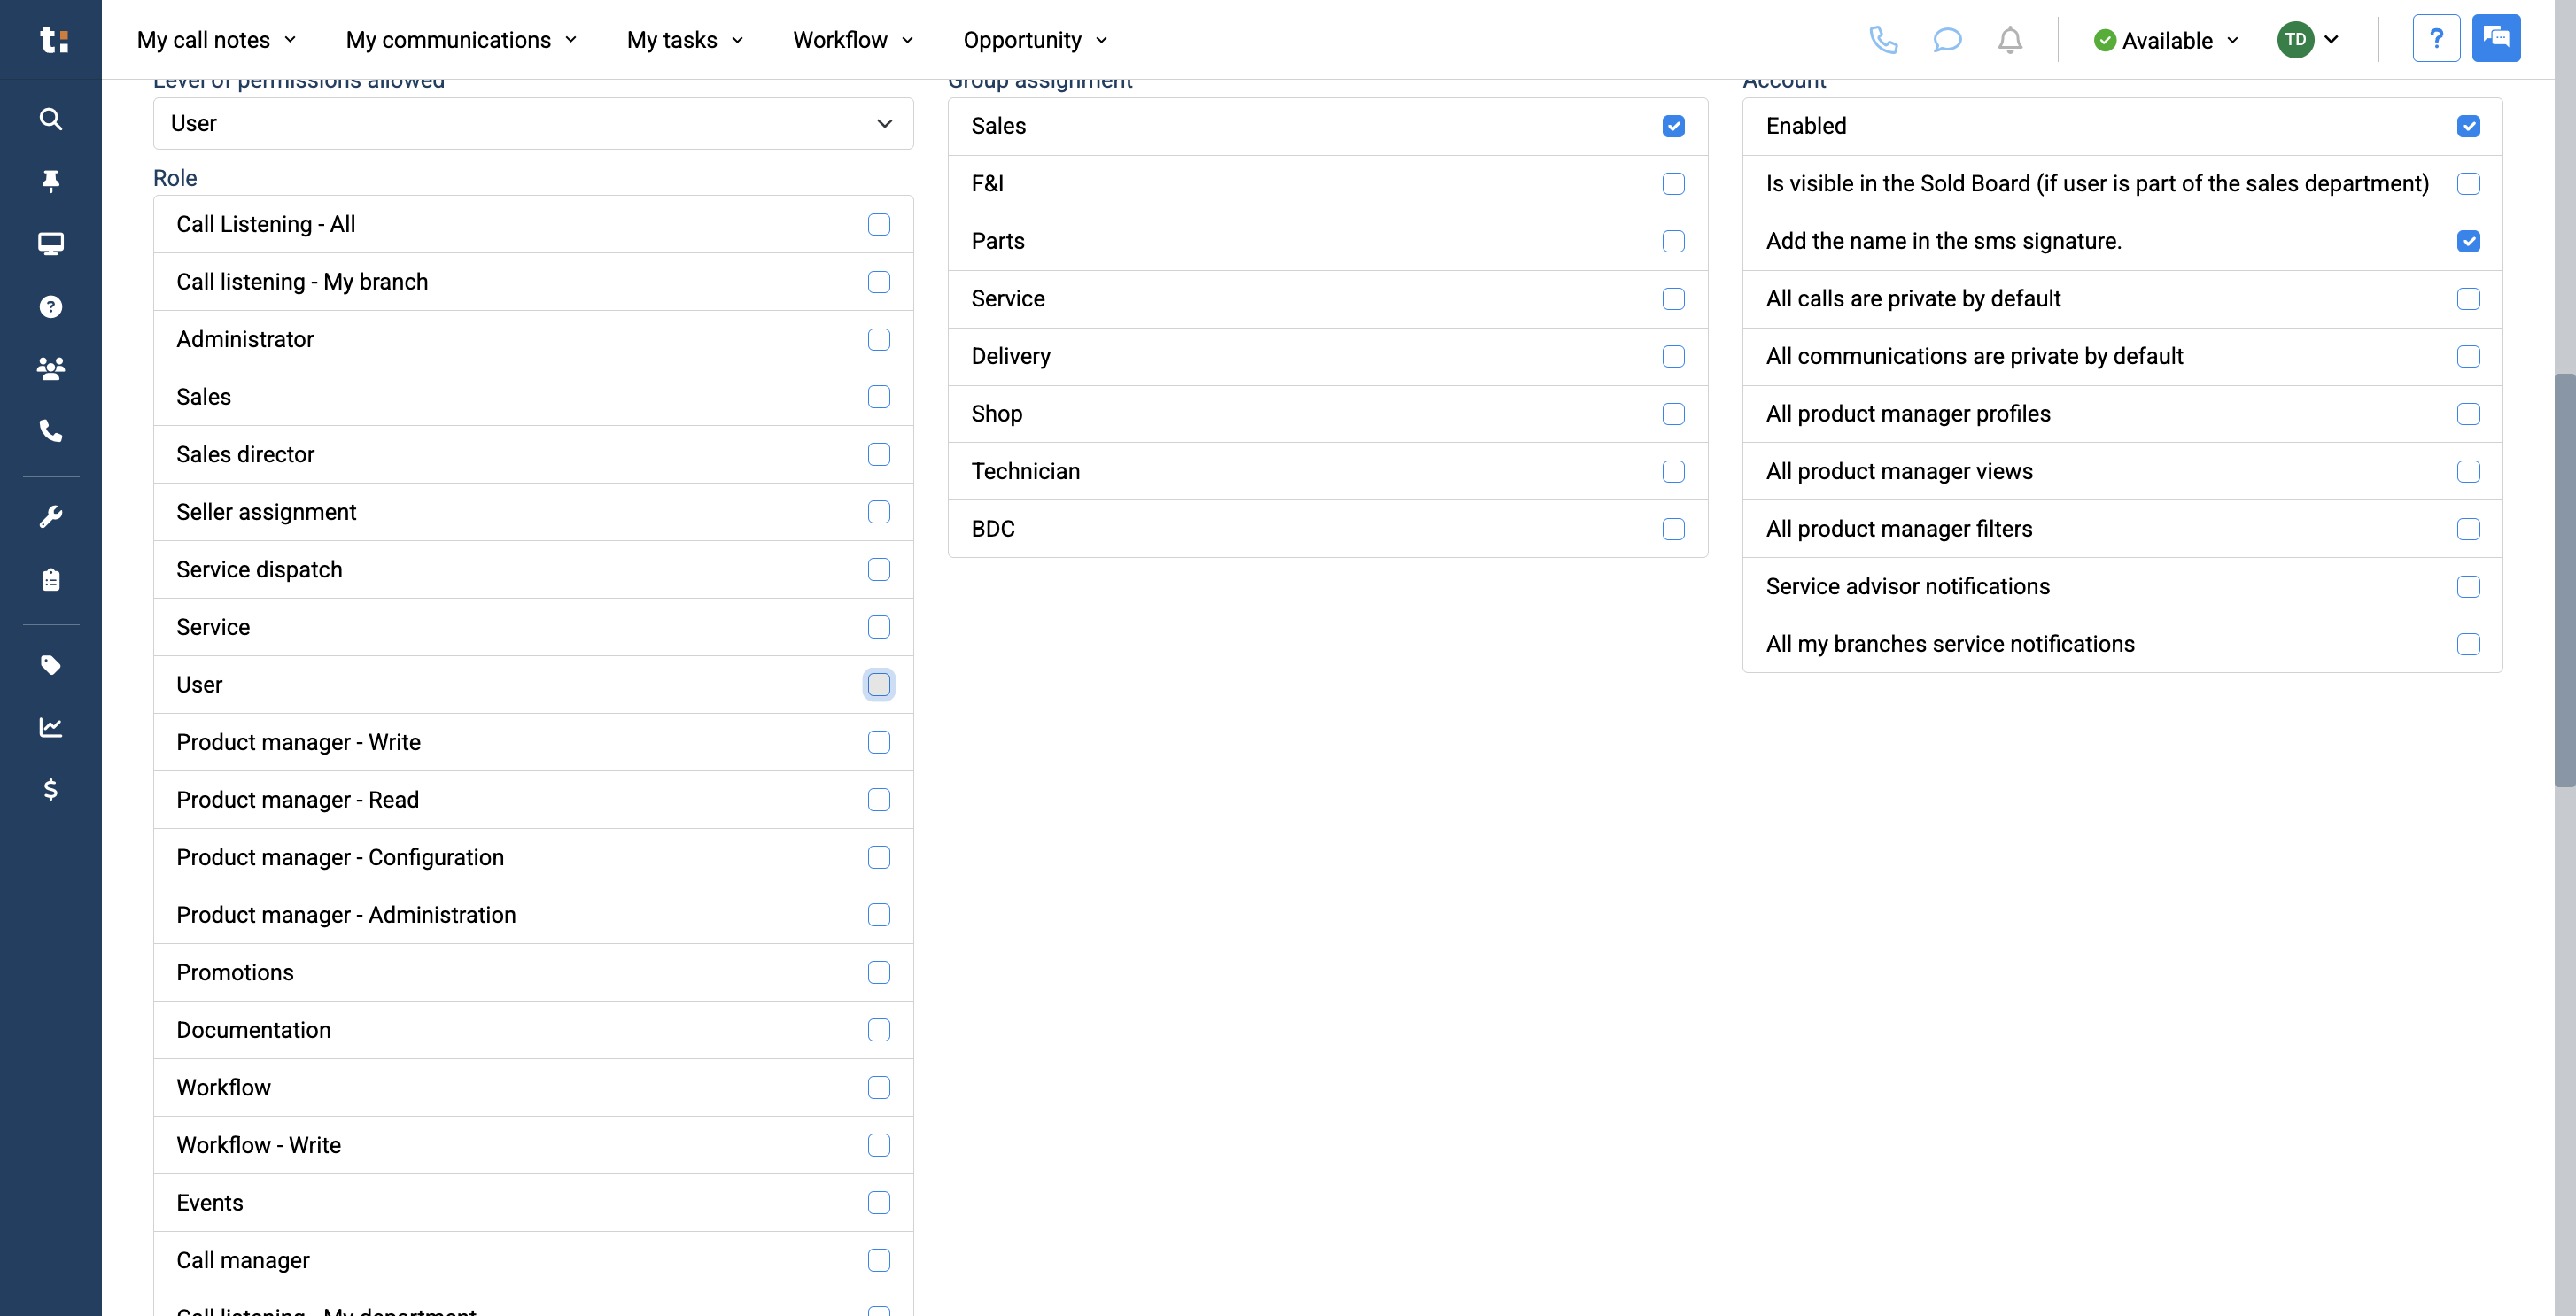
21
Afterward, depending on their department, you can assign them the roles they need for their user account.
After completing these steps, click Save to create your user.
If you still have questions after consulting this article, please feel free to contact our support team at: support@tractiondk.zohodesk.com