
How to Create an Accommodation Plan in PowerSchool Admin Portal
In this guide, we'll learn how to create and manage a student accommodation plan using the PowerSchool Admin Portal. This process includes entering student information, documenting learning needs, and making the plan available for parent review and signature.
You'll also see how to record parent meetings and track the status of electronic signatures.
For decision-making, roles, and process, refer to the Student Services Handbook.
Let's get started
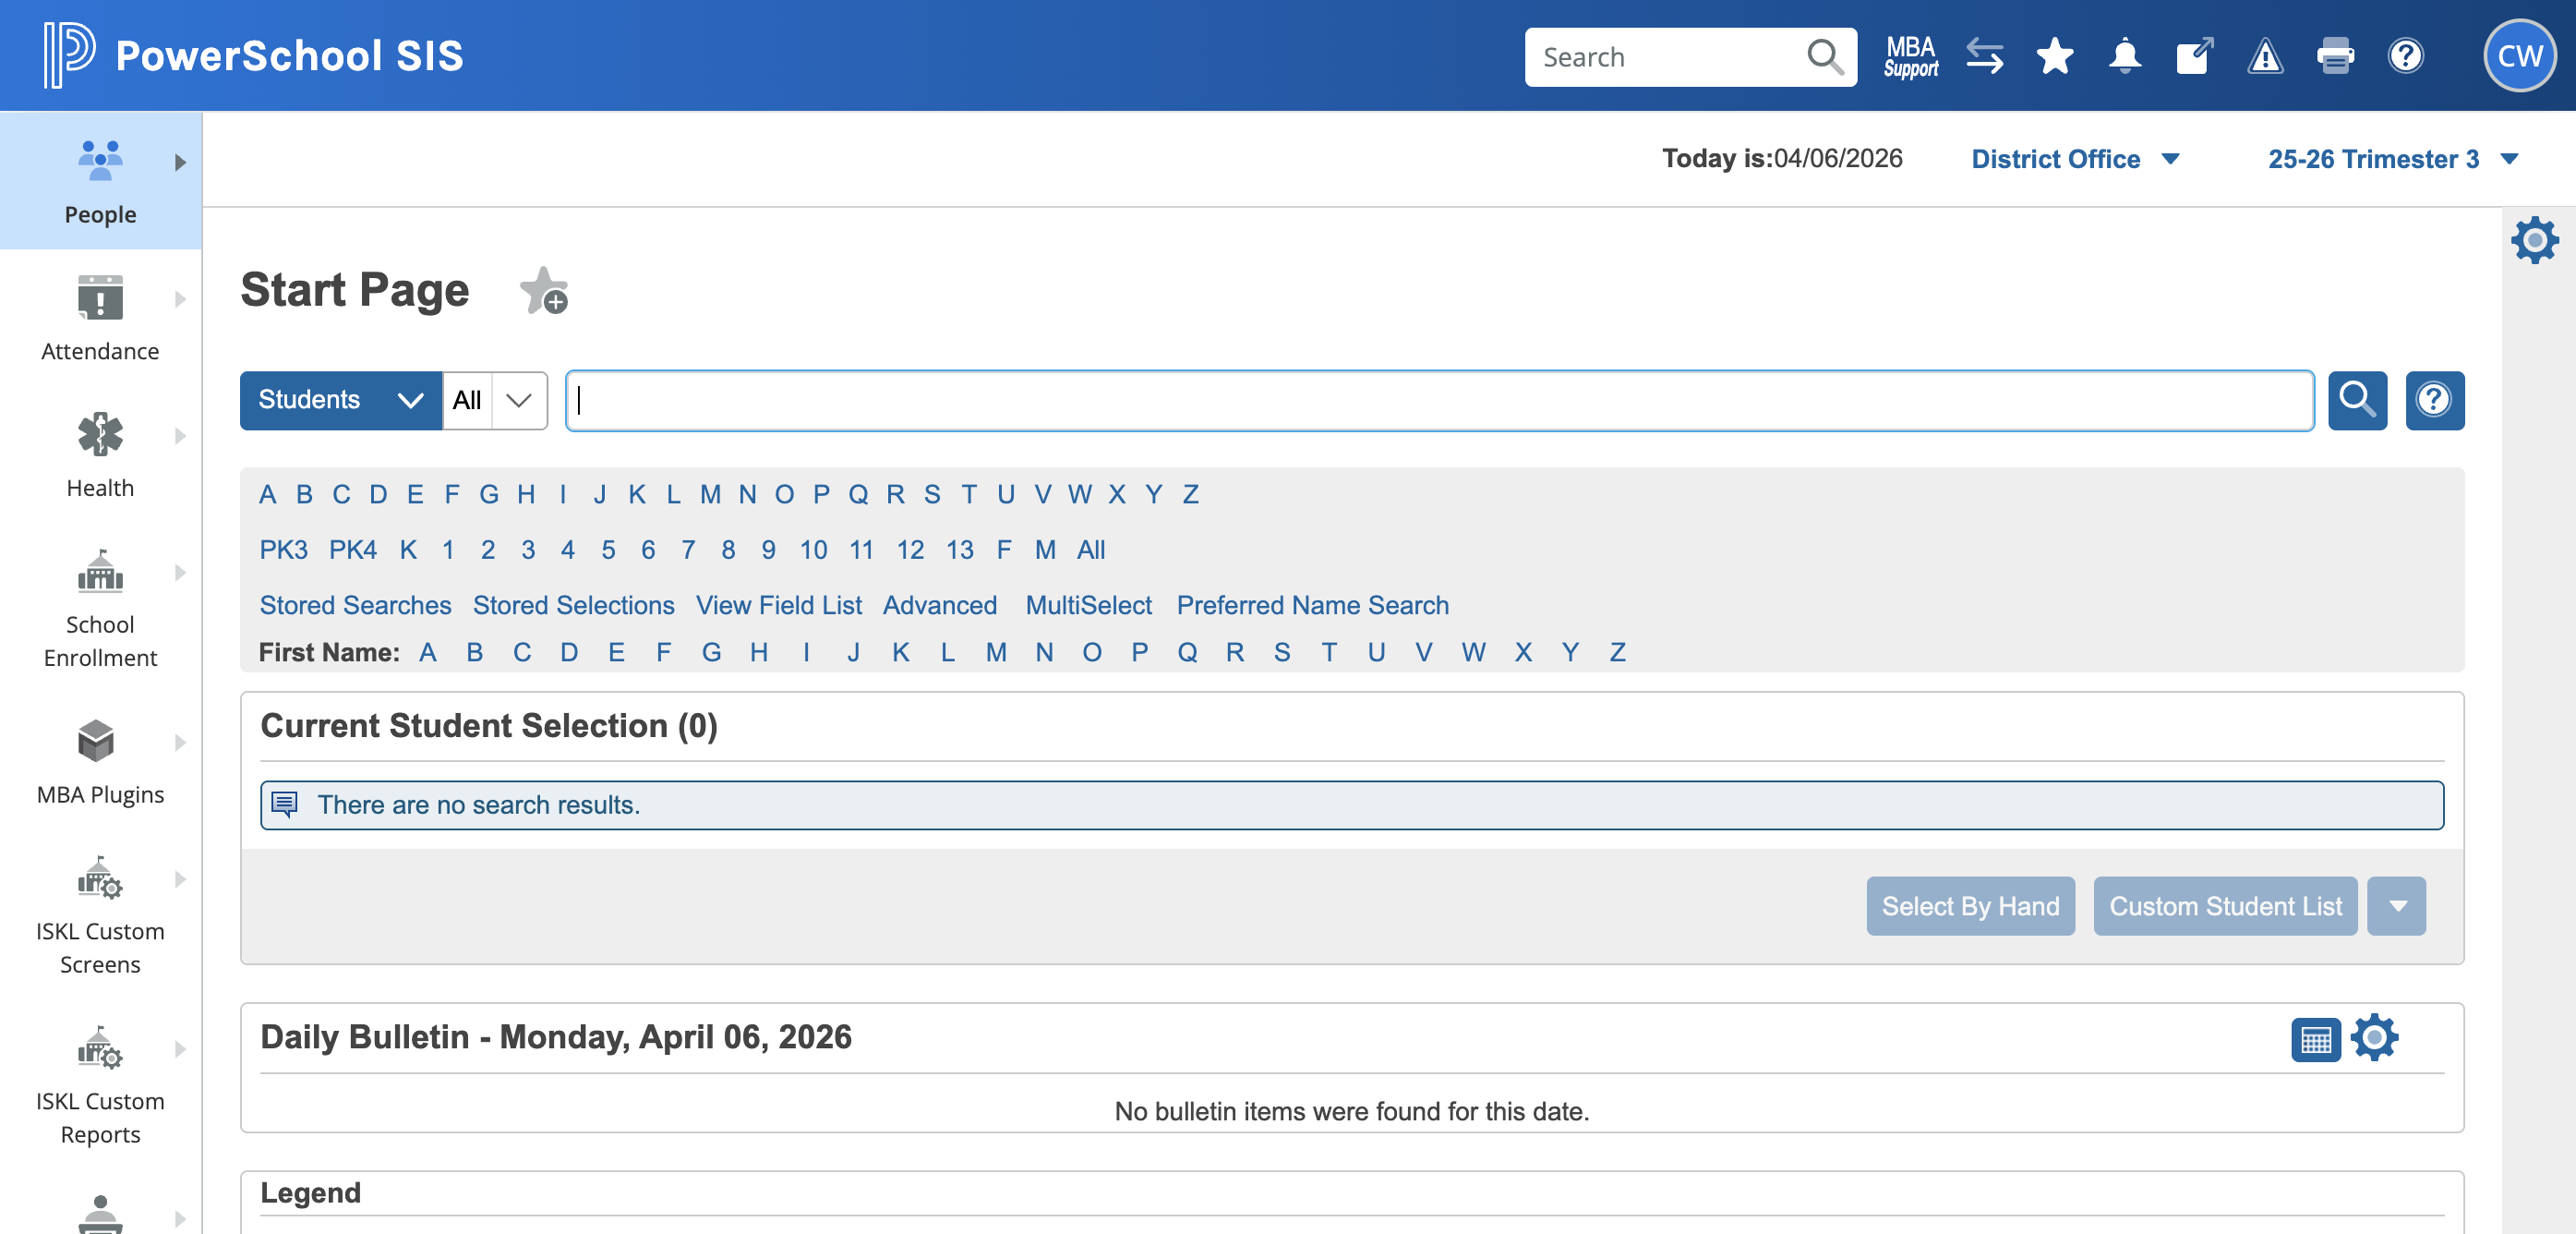
Open the PowerSchool Admin Portal. Type the student's name and select their record.
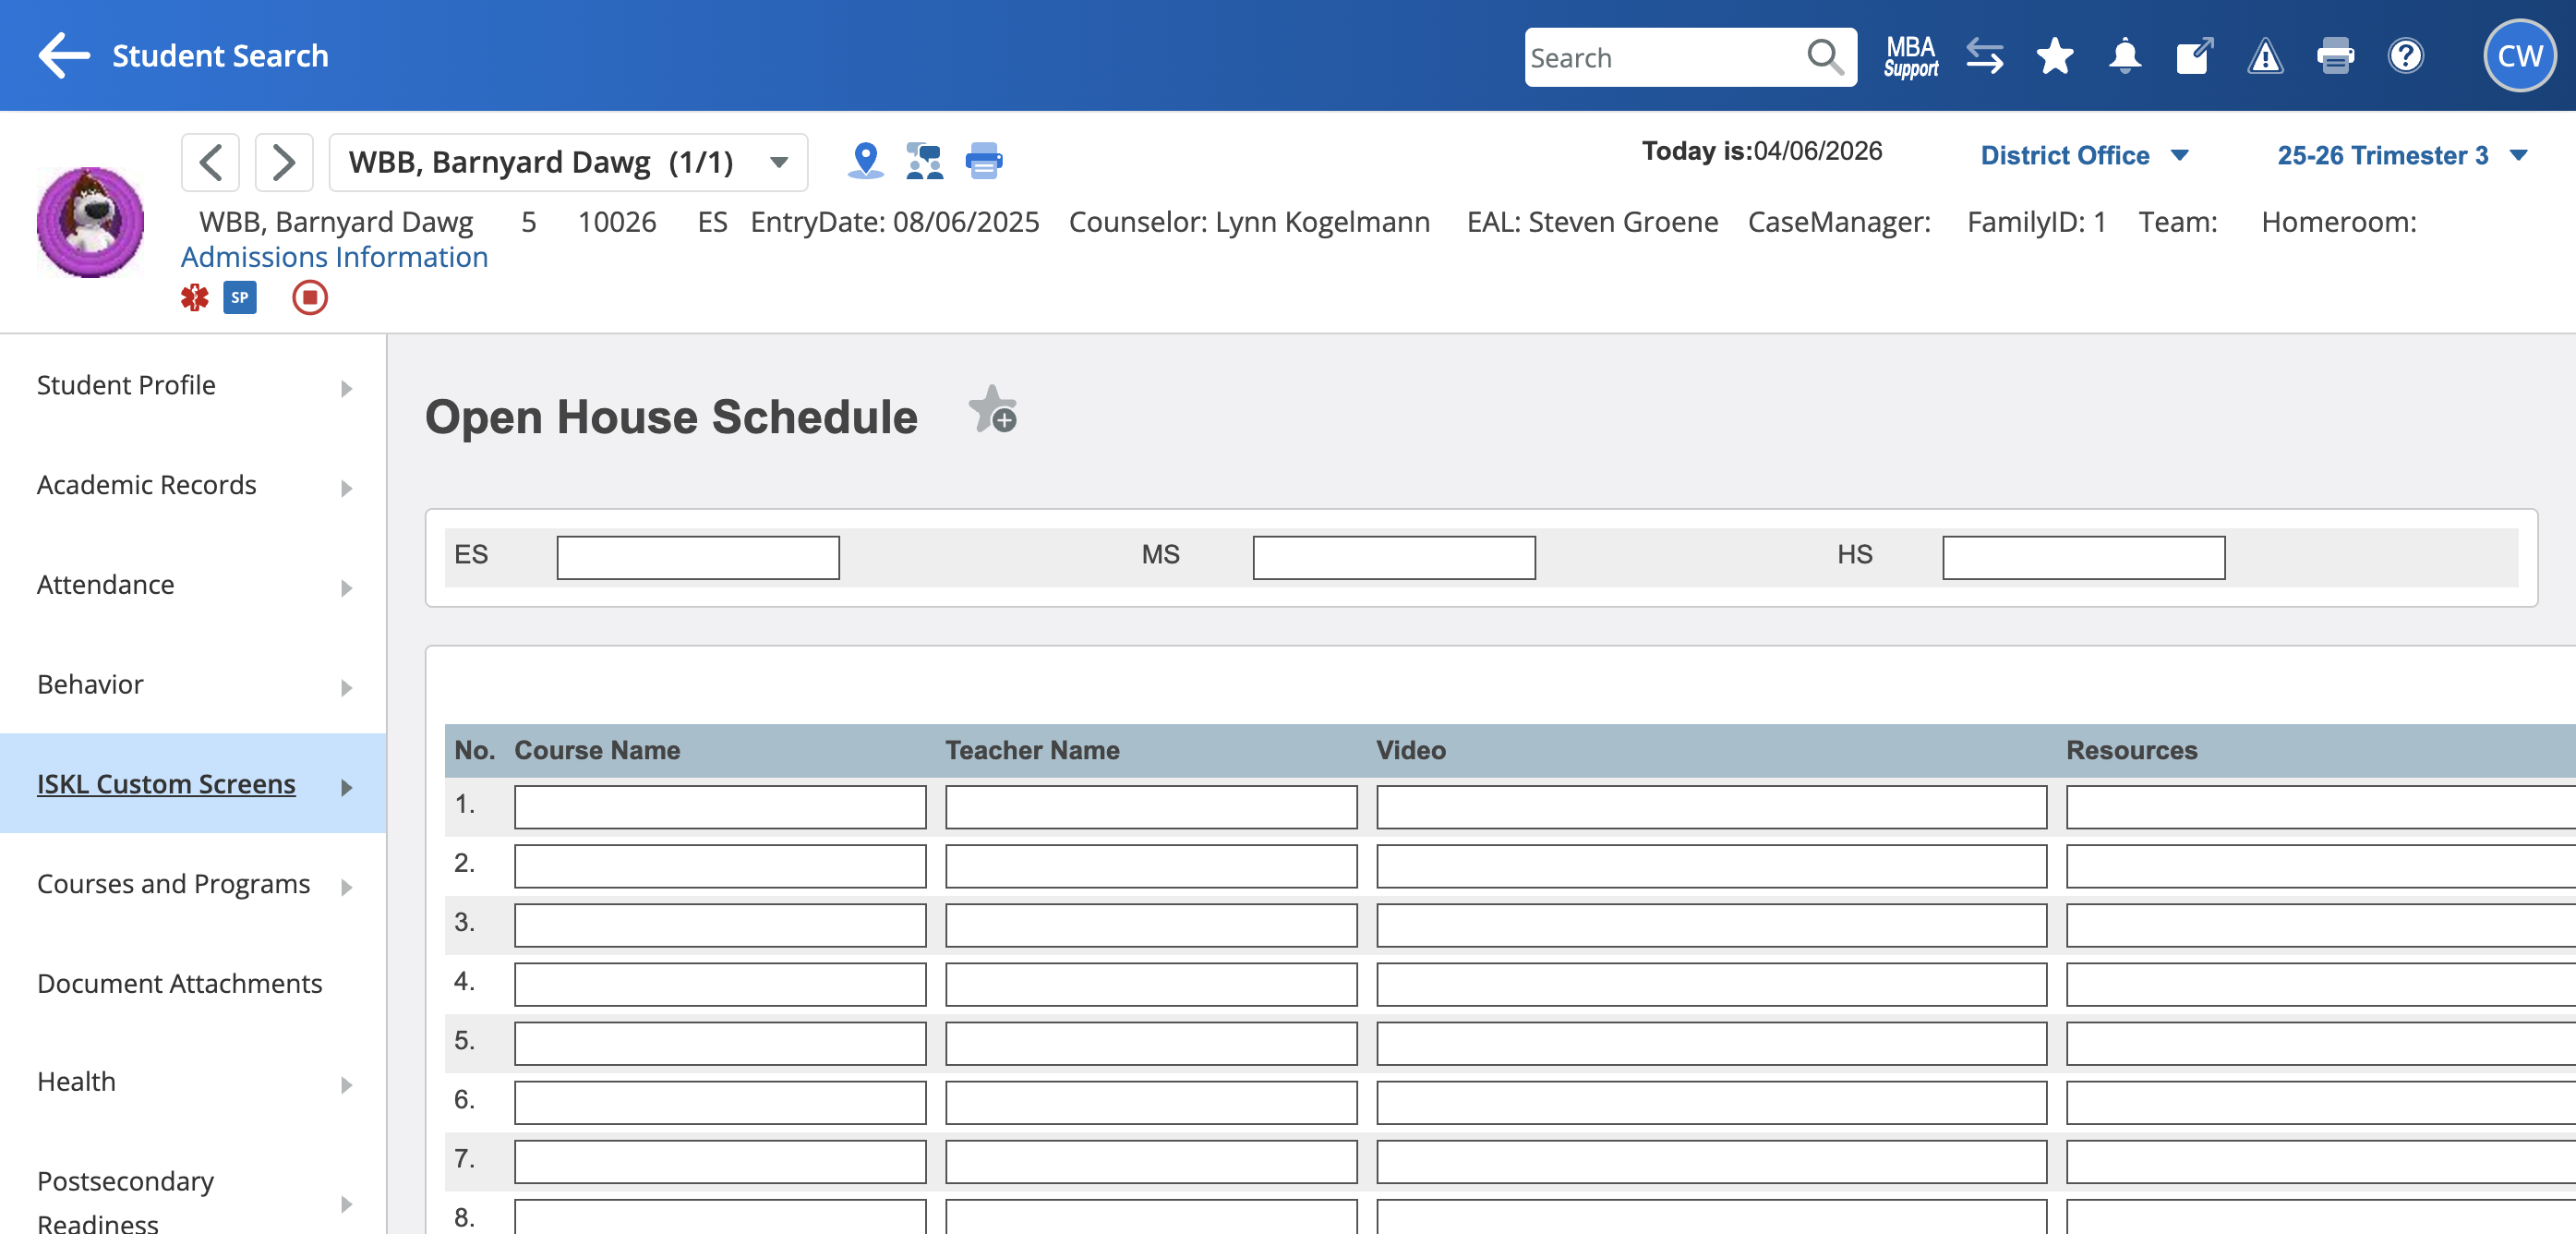
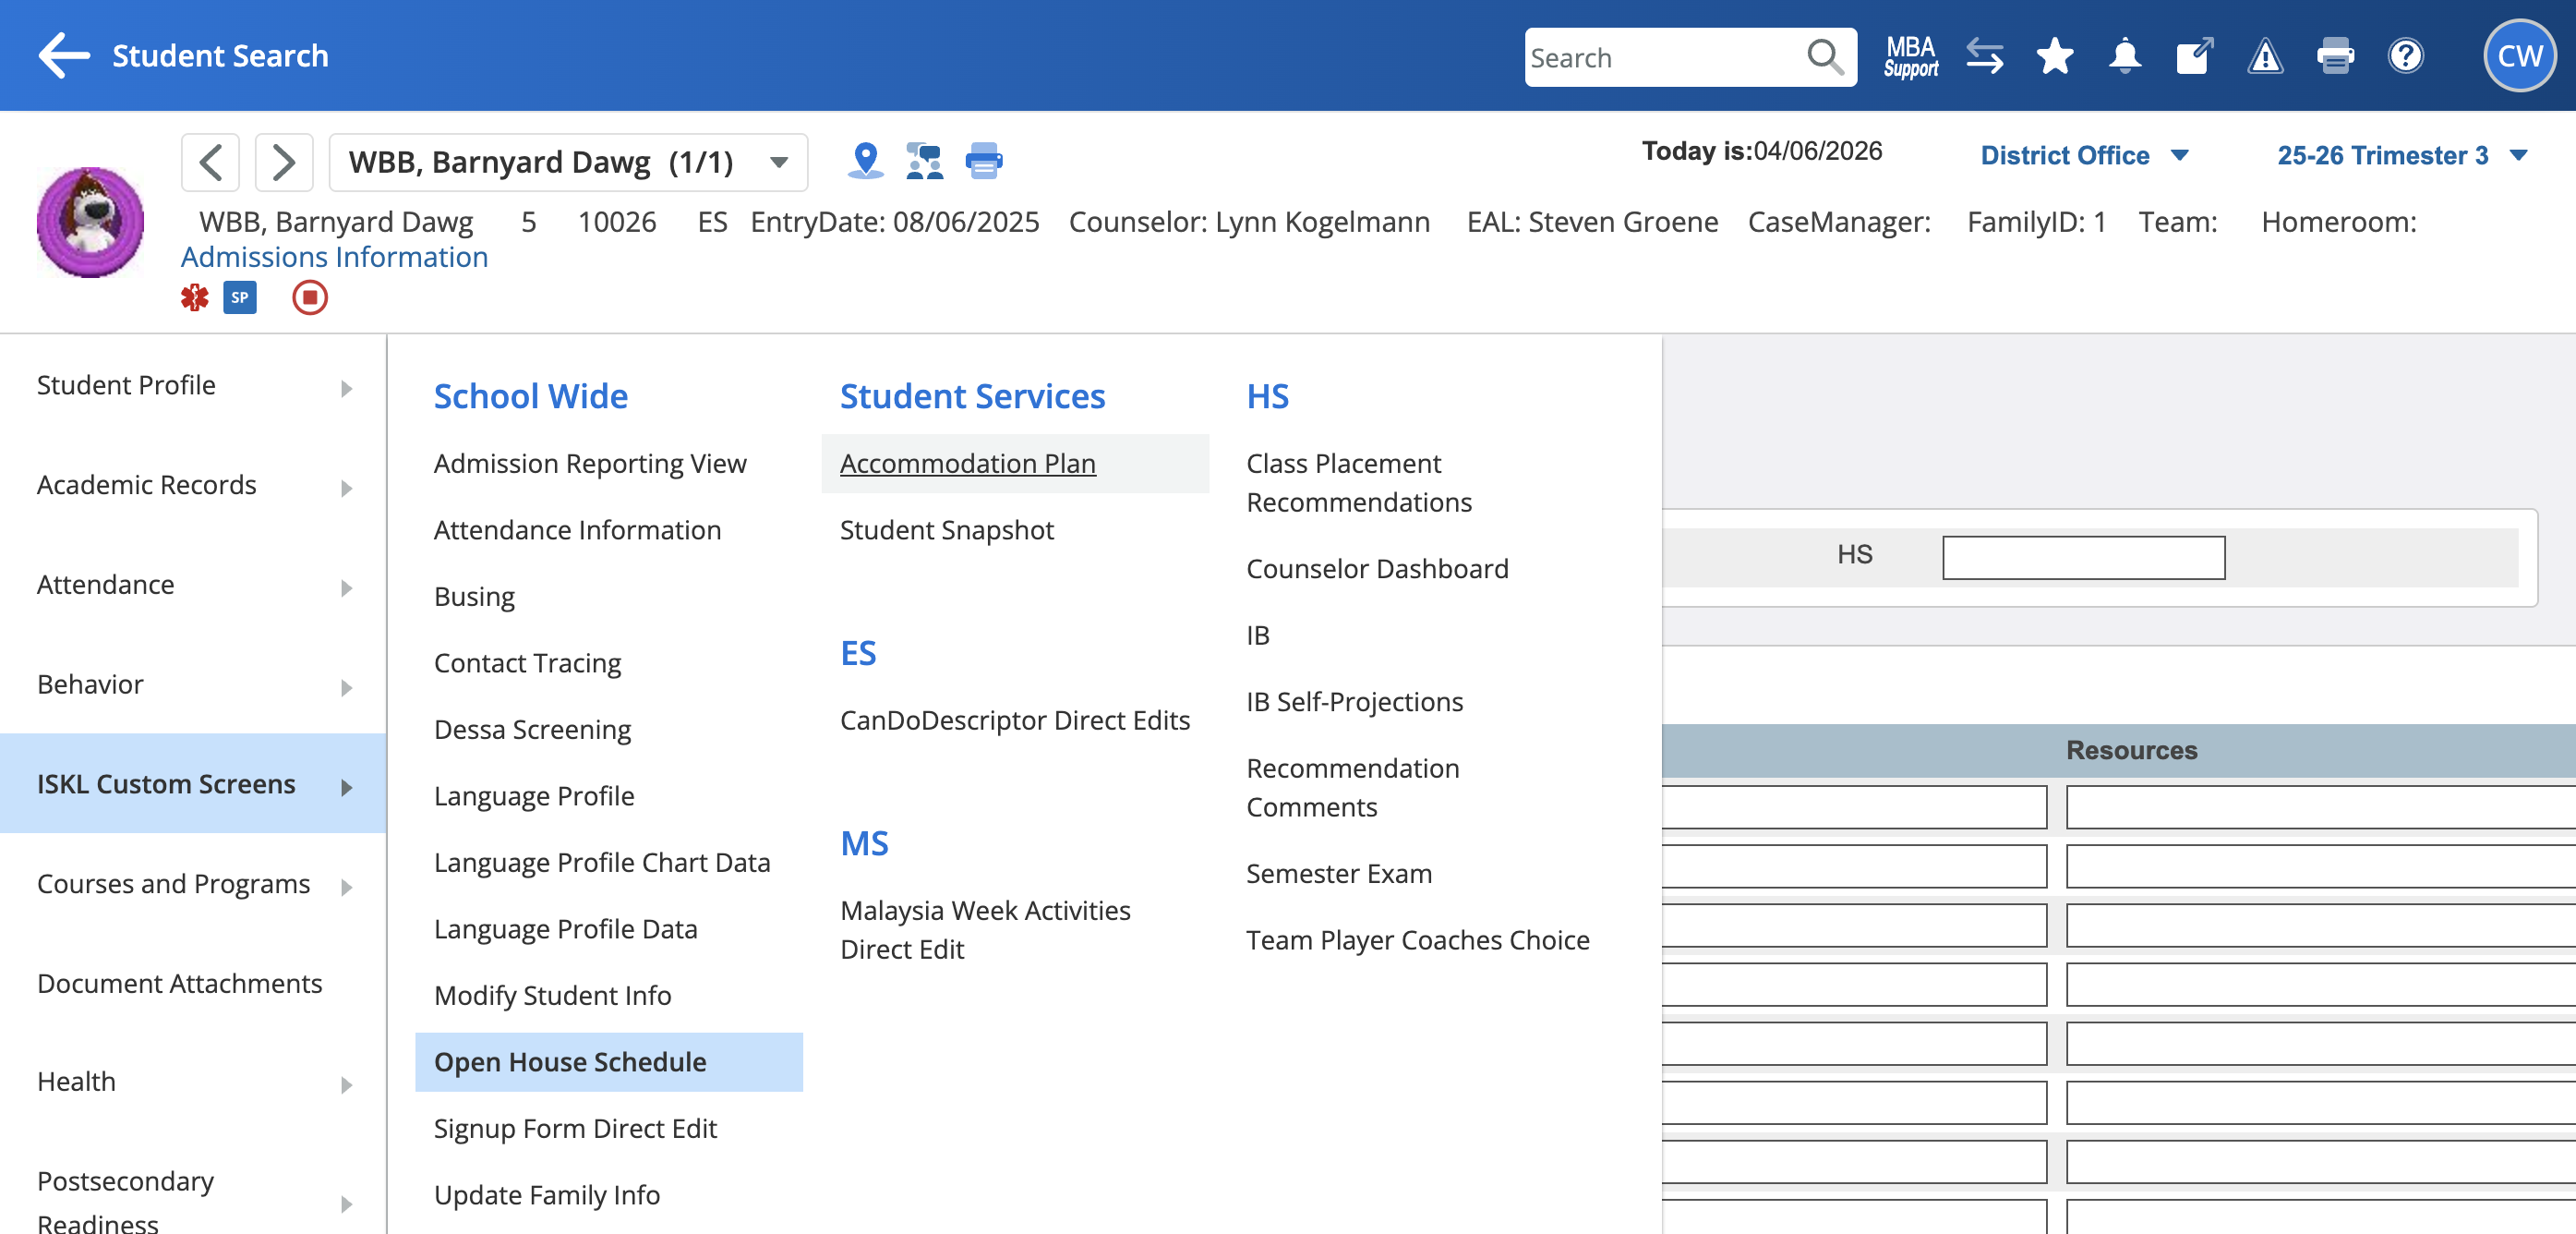
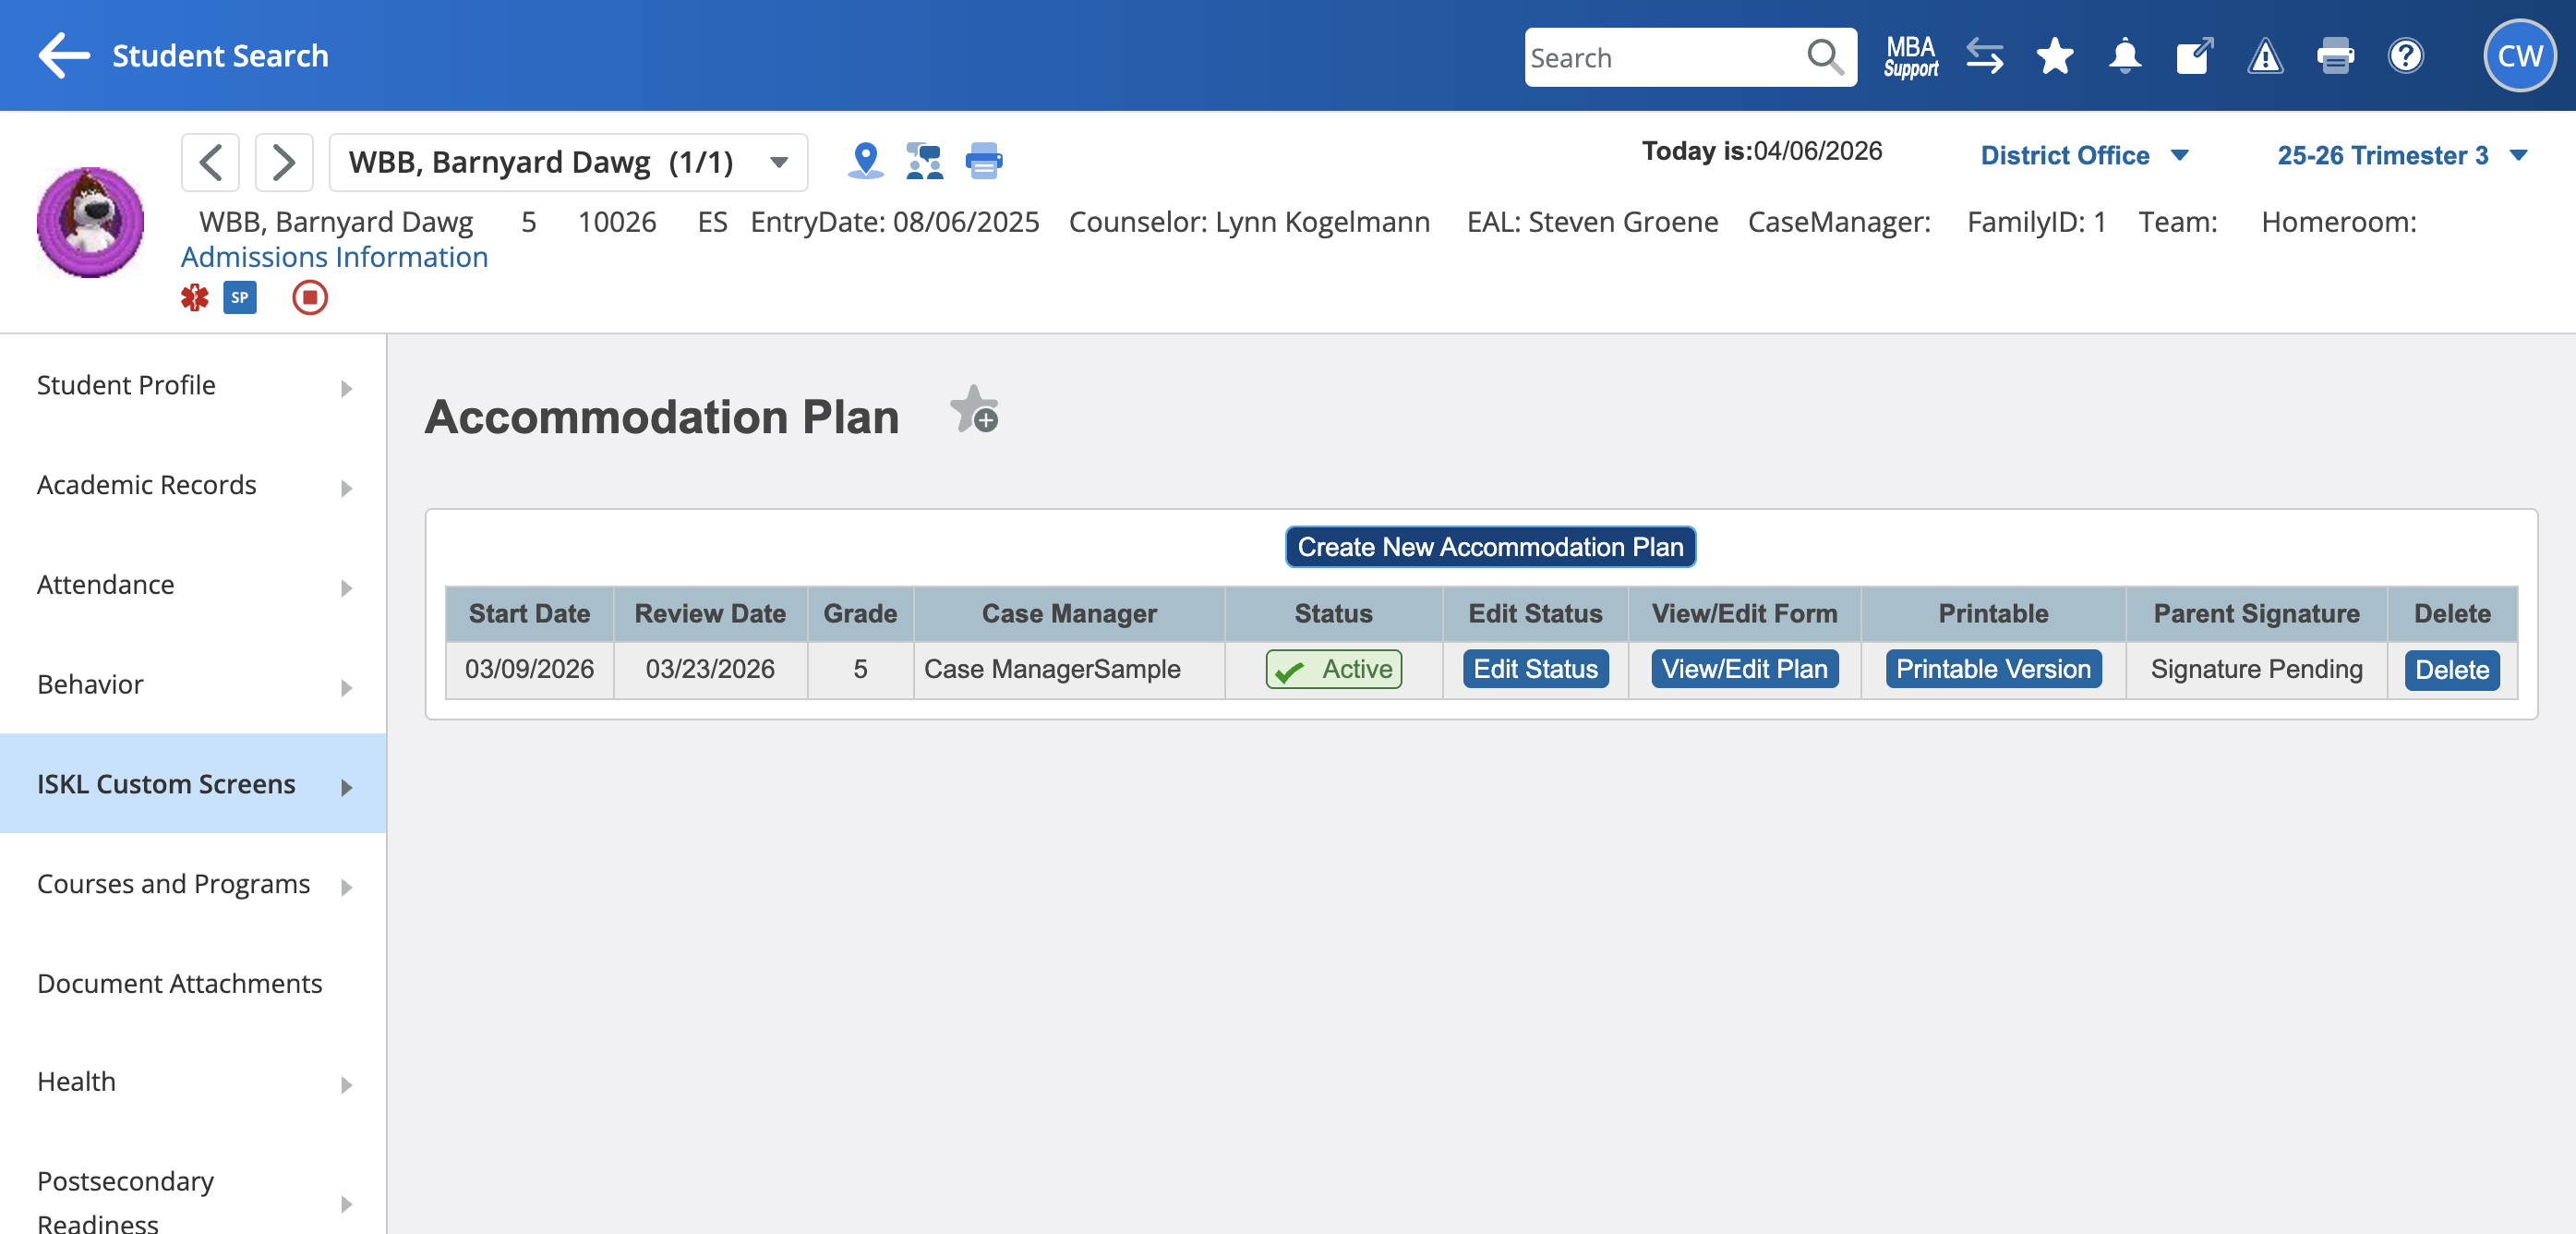
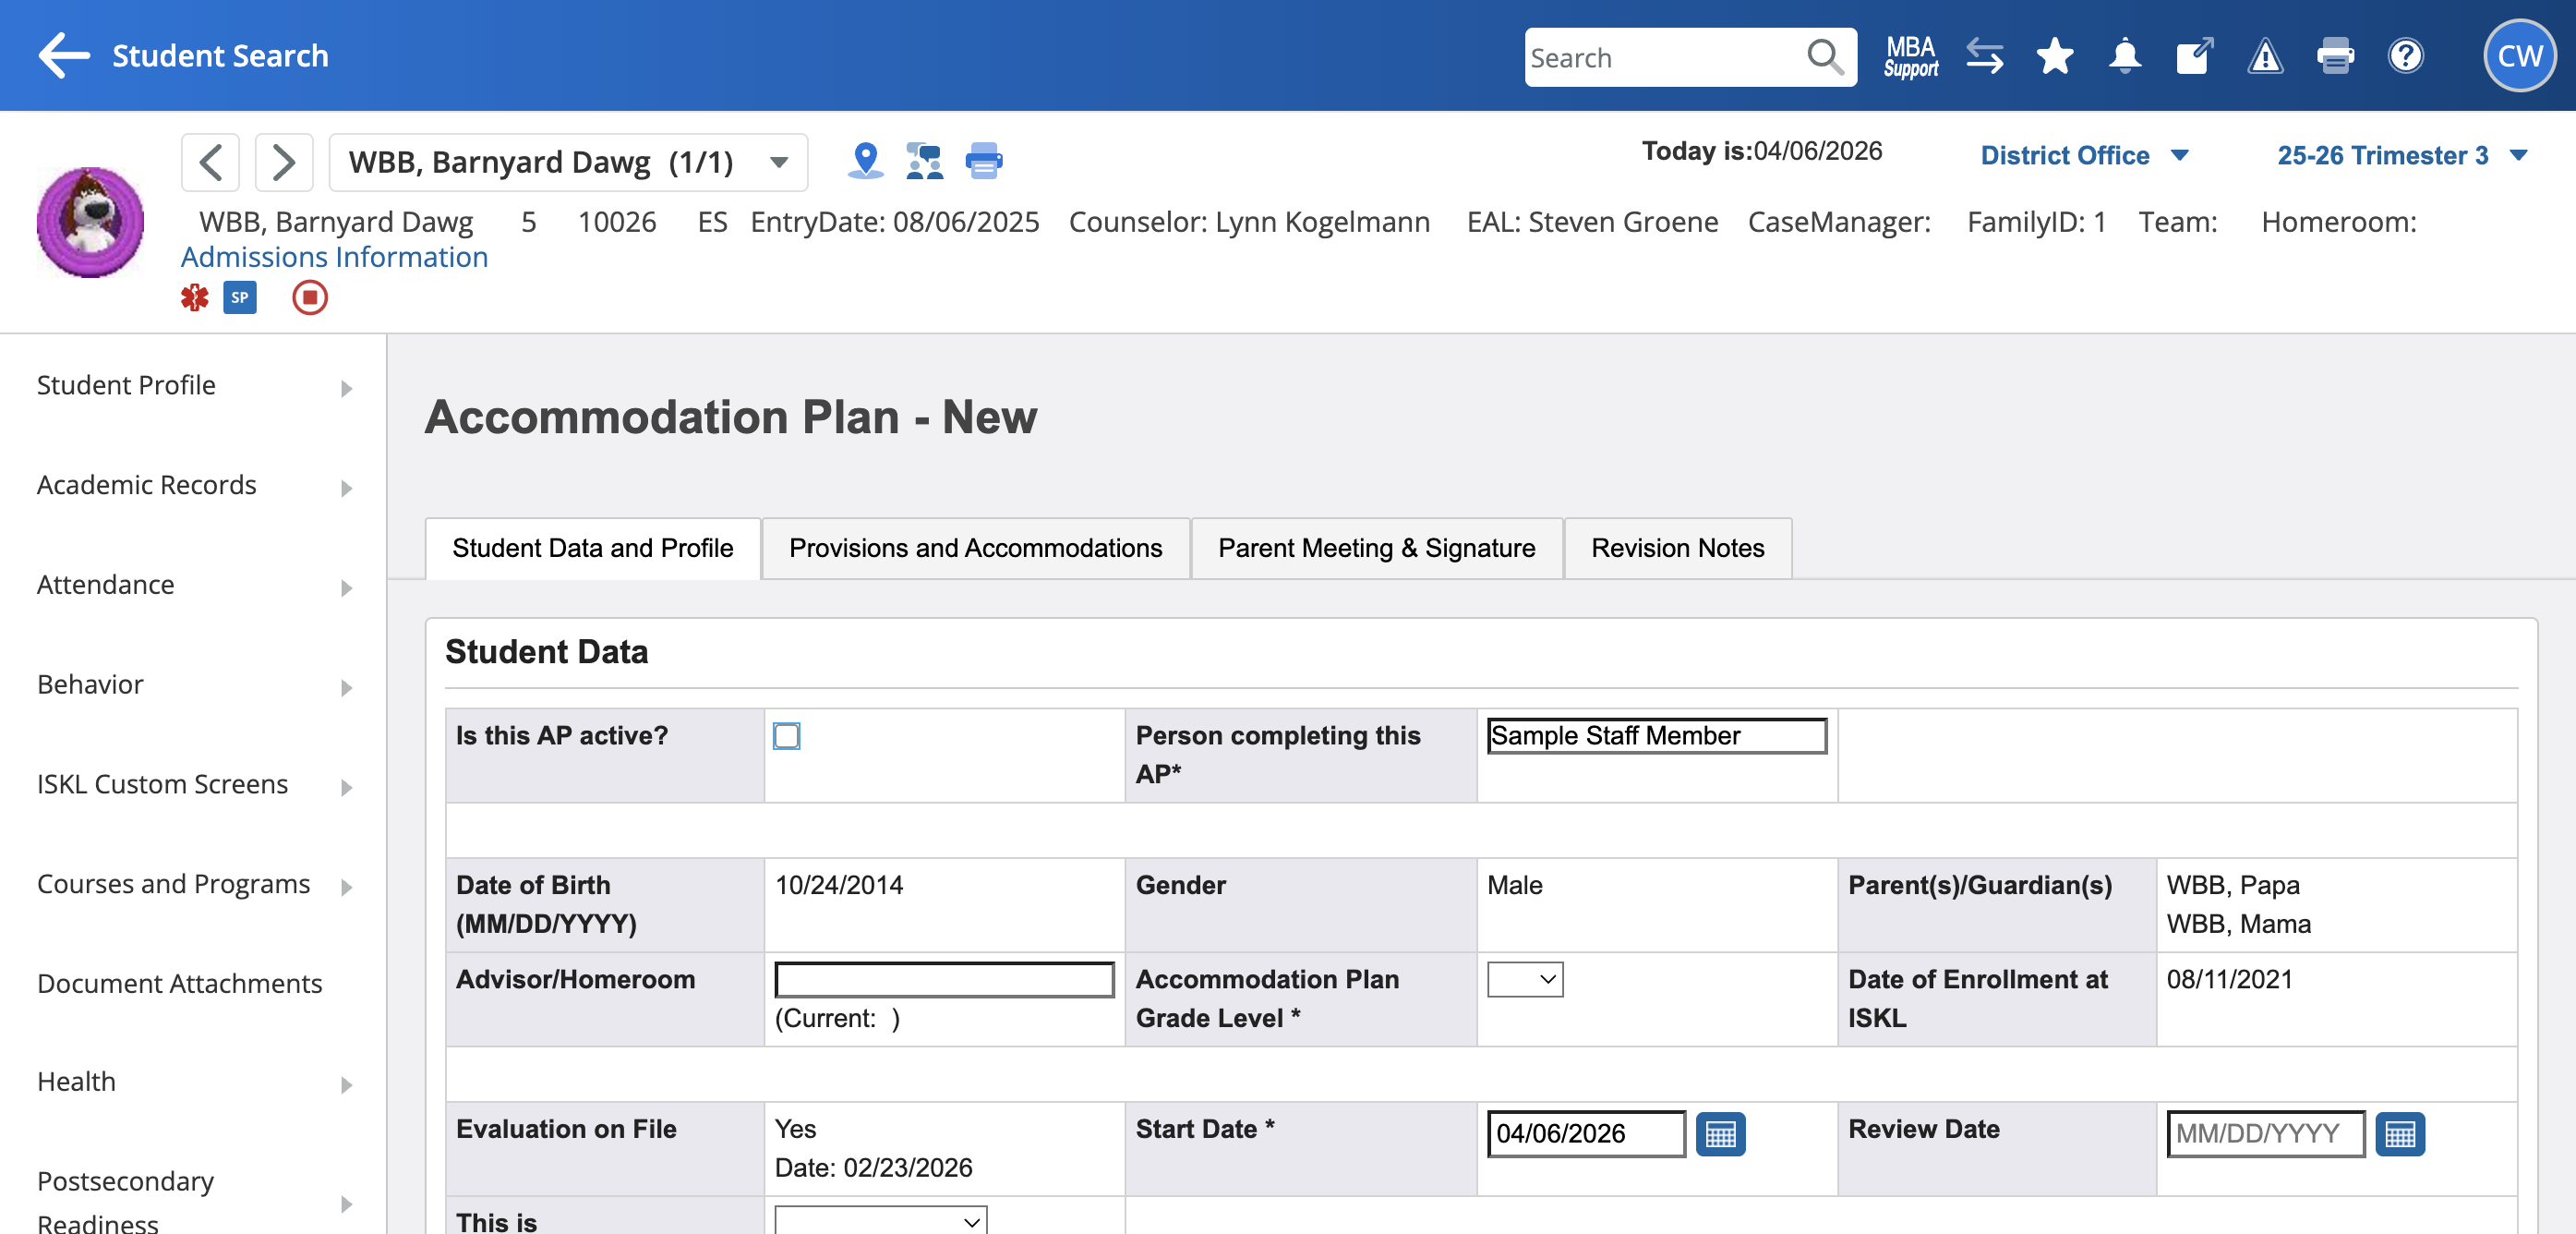
Go to Custom Screens, select Accommodation Plan, and create a new accommodation plan.
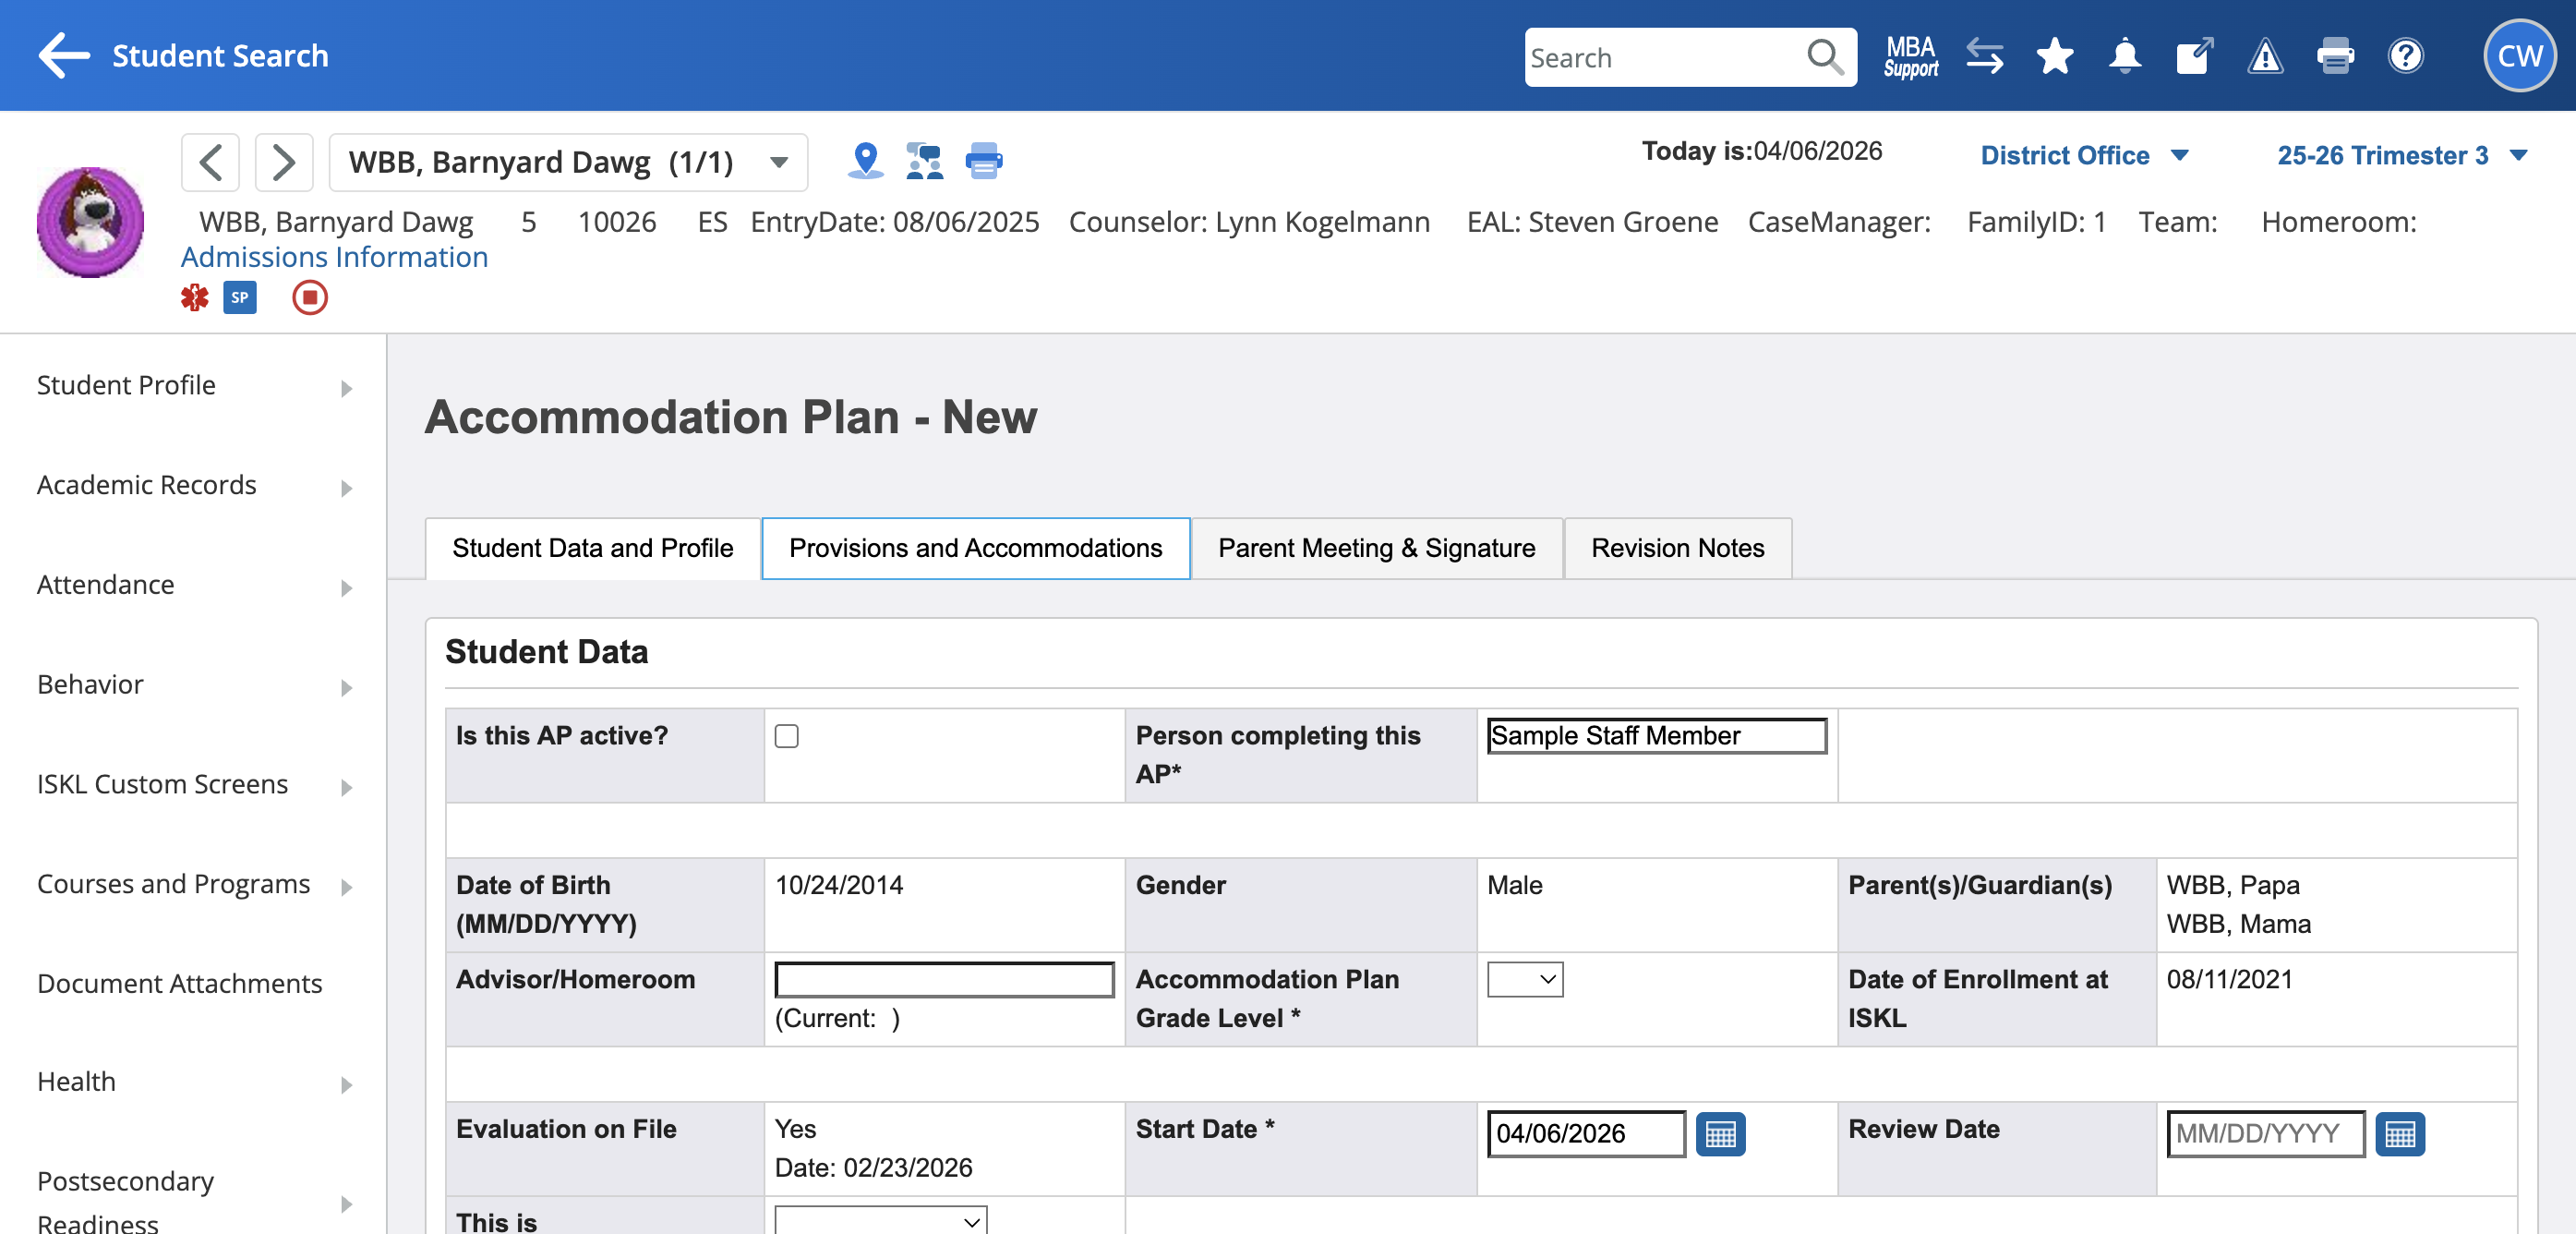
Fill in the fields and save the form.
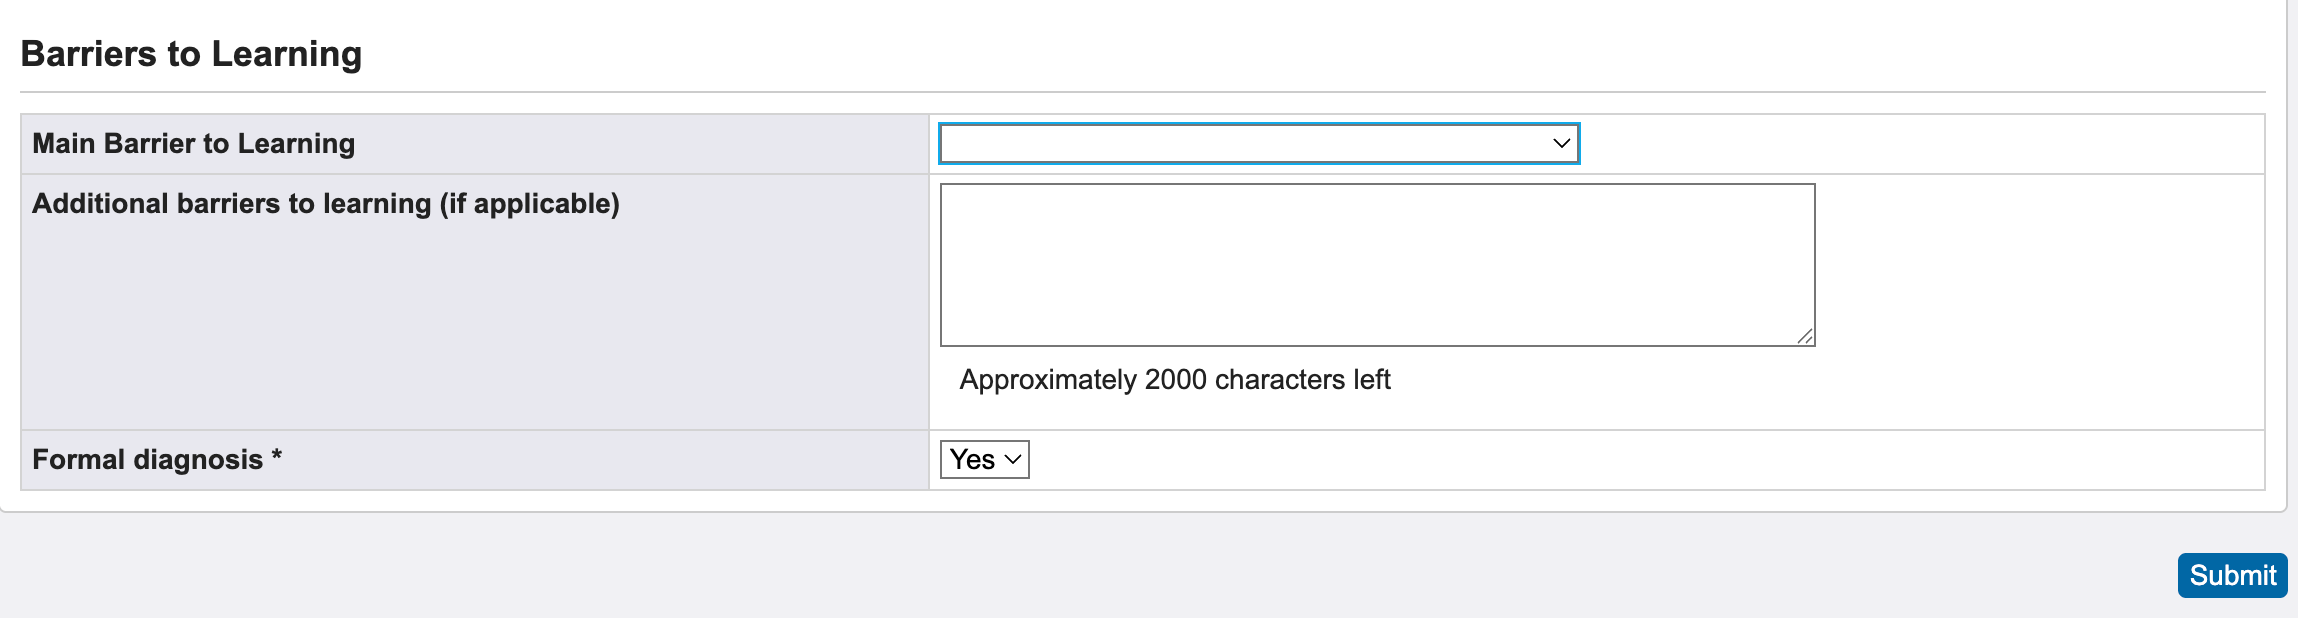
You need to complete the mandatory fields to save the form. Include the start date, the person completing the AP, and whether it is a formal diagnosis.
Use April 30 (current year) as start date for annual reviews
Use April 30 (following year) as review date to align all plans to the annual review cycle
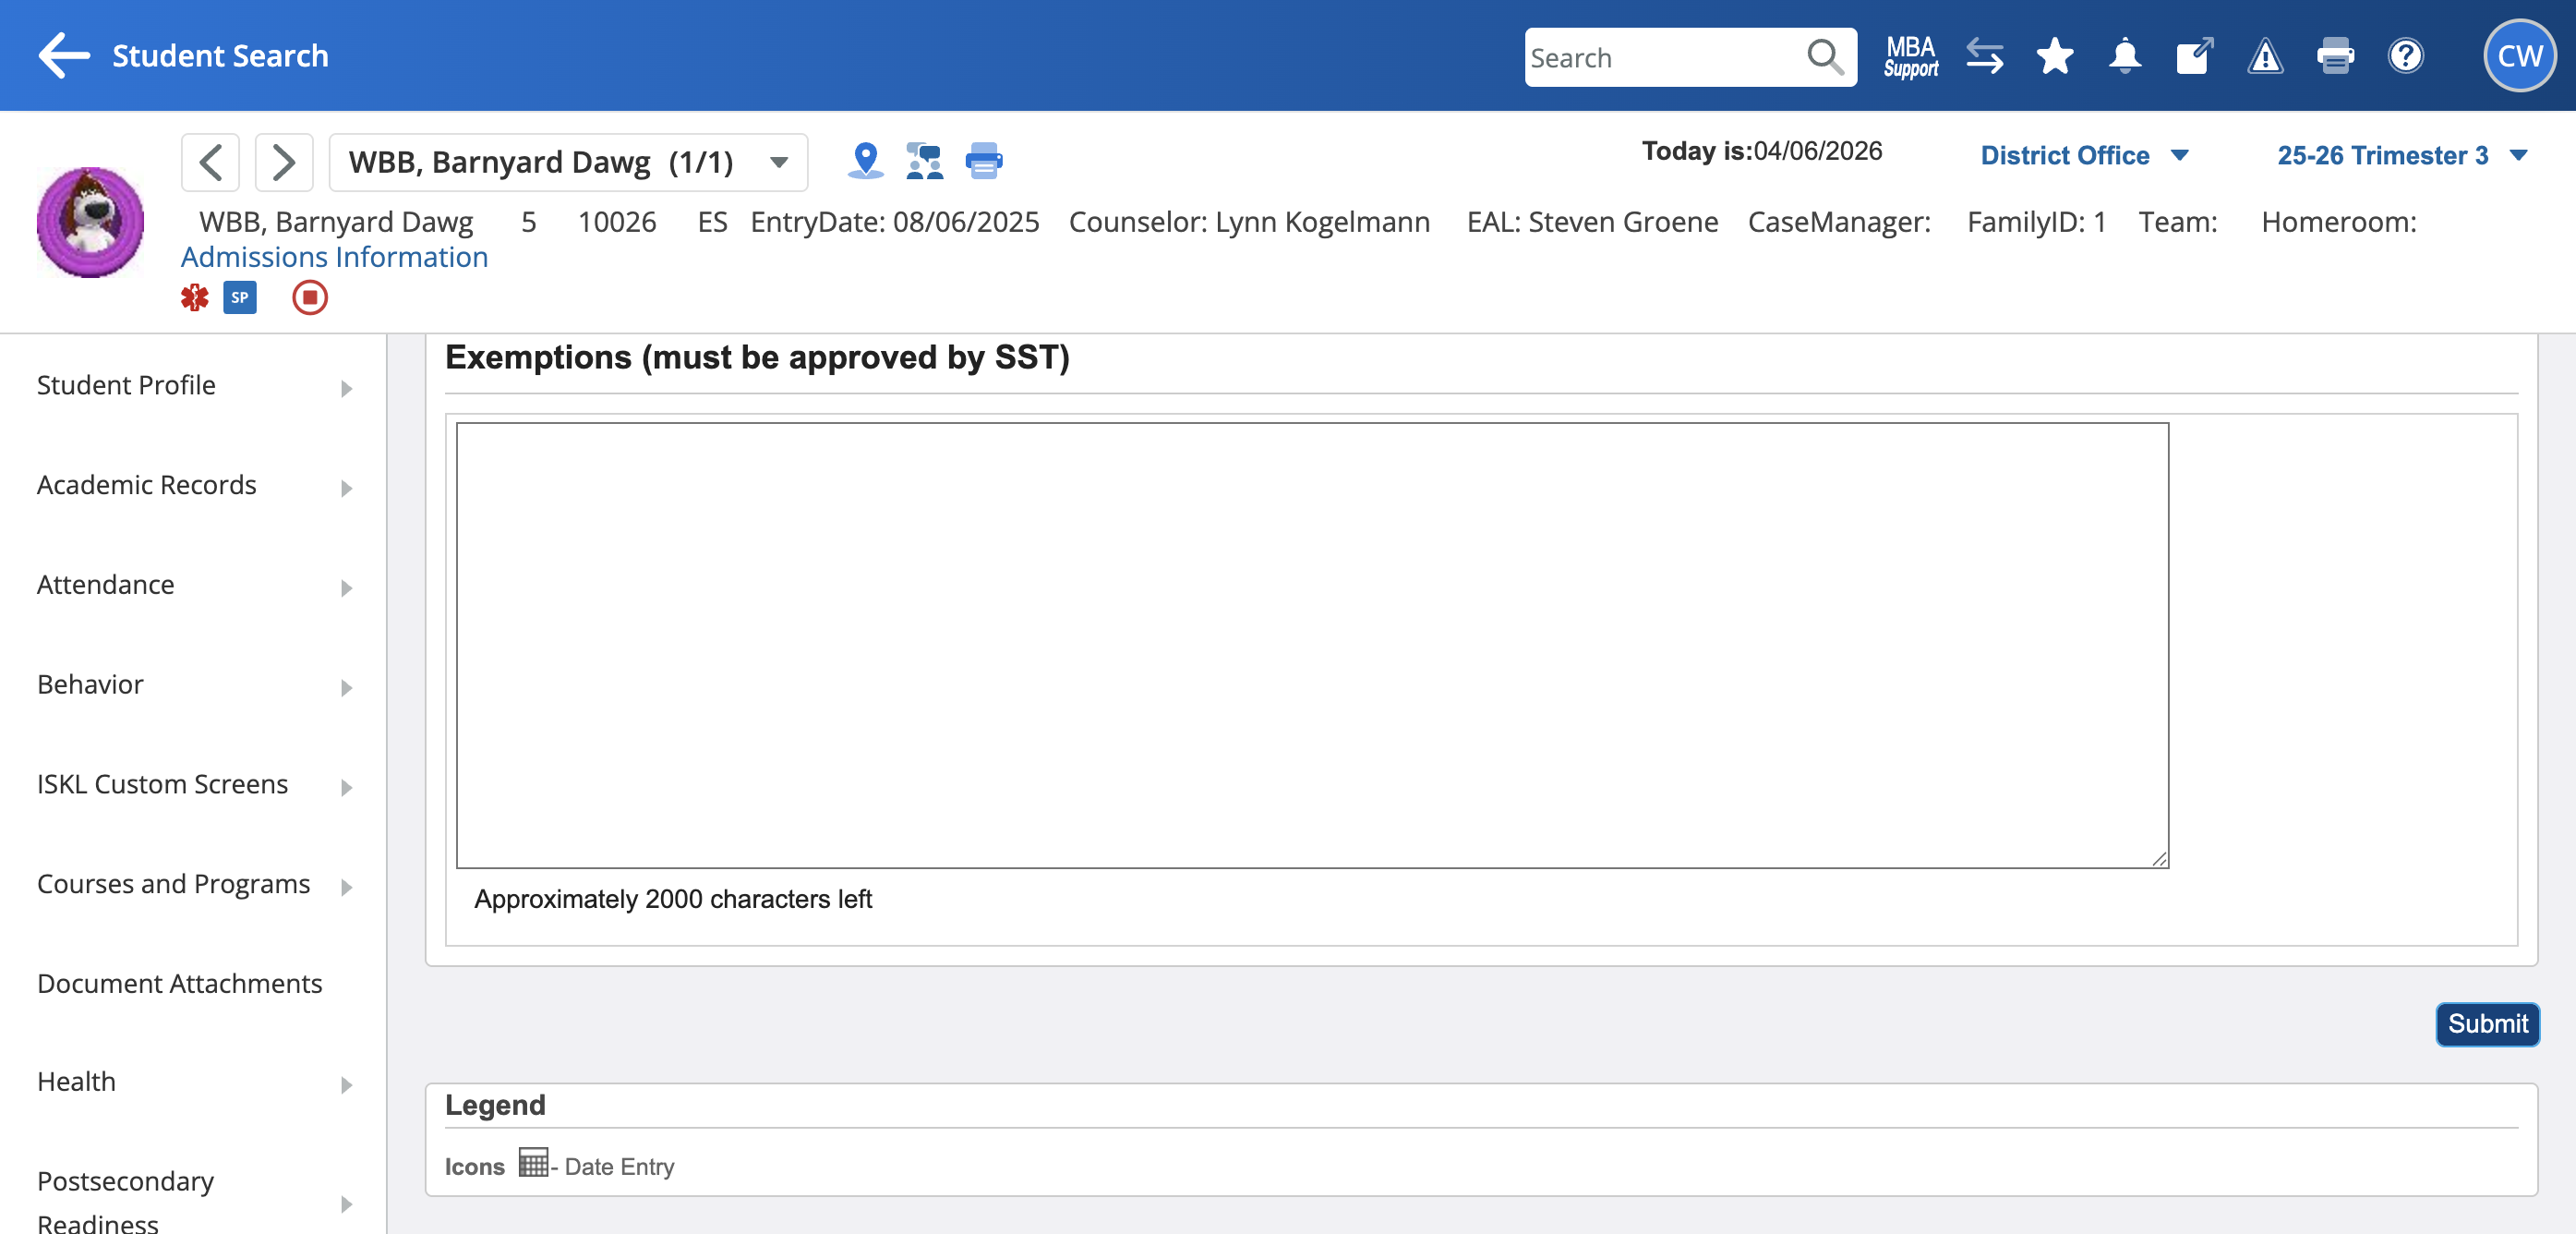
The strategies field is used to note recommended strategies (up to 5) that are very important for the student. THESE ARE EDITED IN THE STUDENT SNAPSHOT.
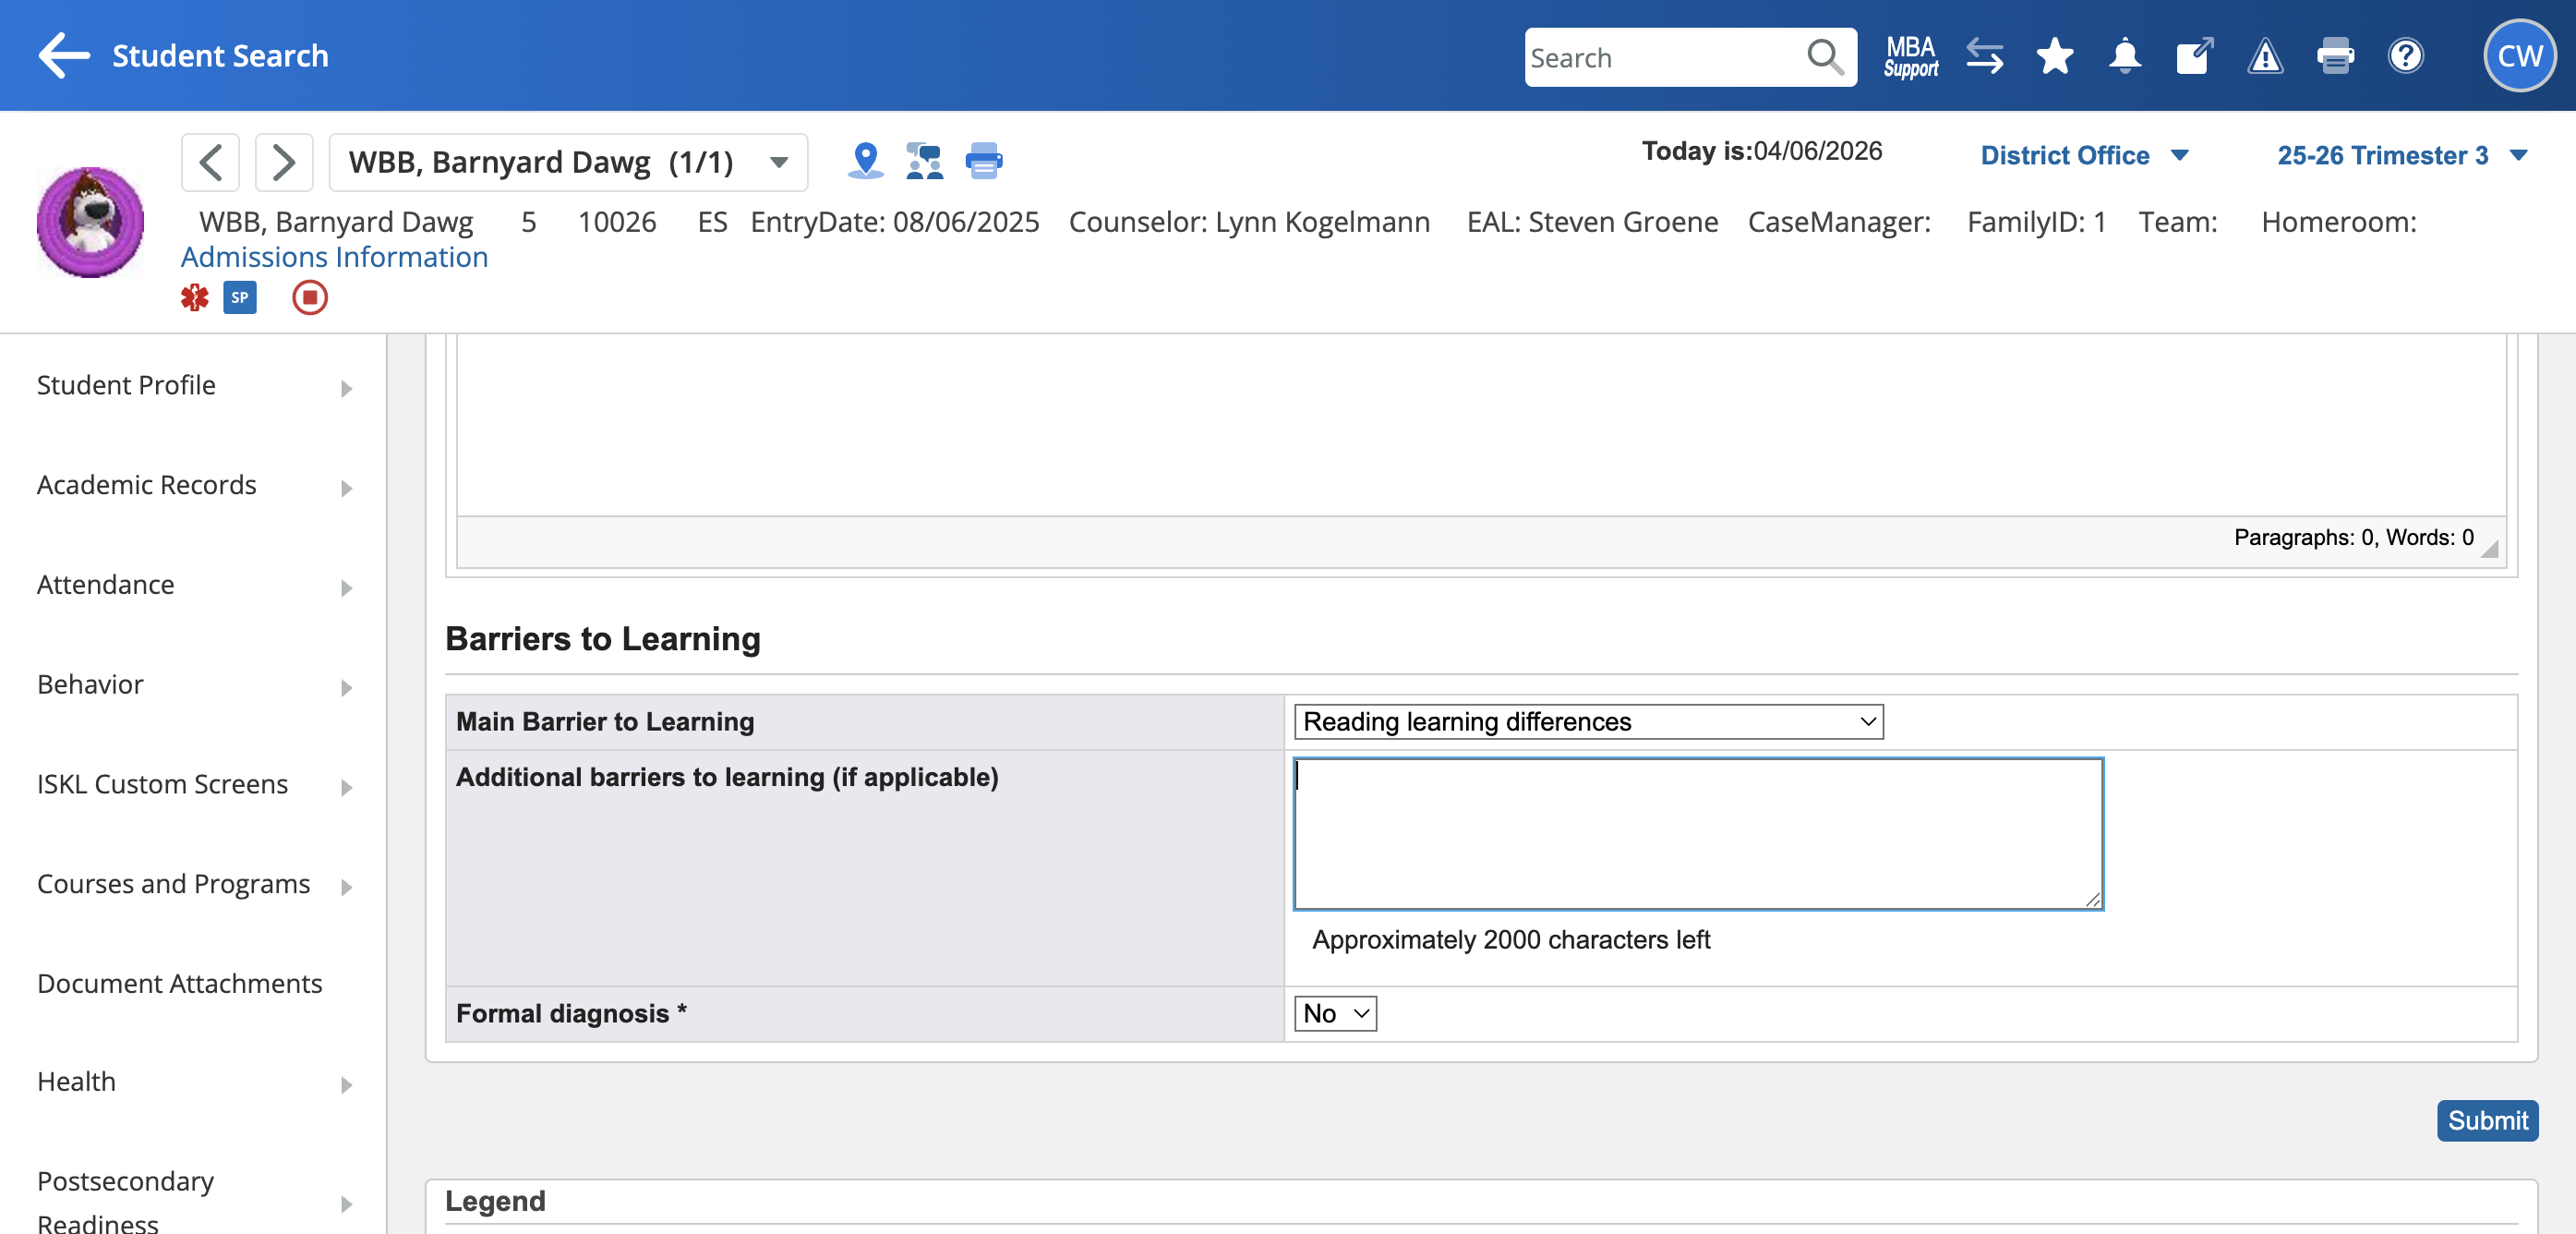
Fill out the fields.
Select the main barrier to learning from the dropdown list.
Click the tabs at the top to navigate to the other pages of the plan.
Select accommodations by checking the appropriate boxes.
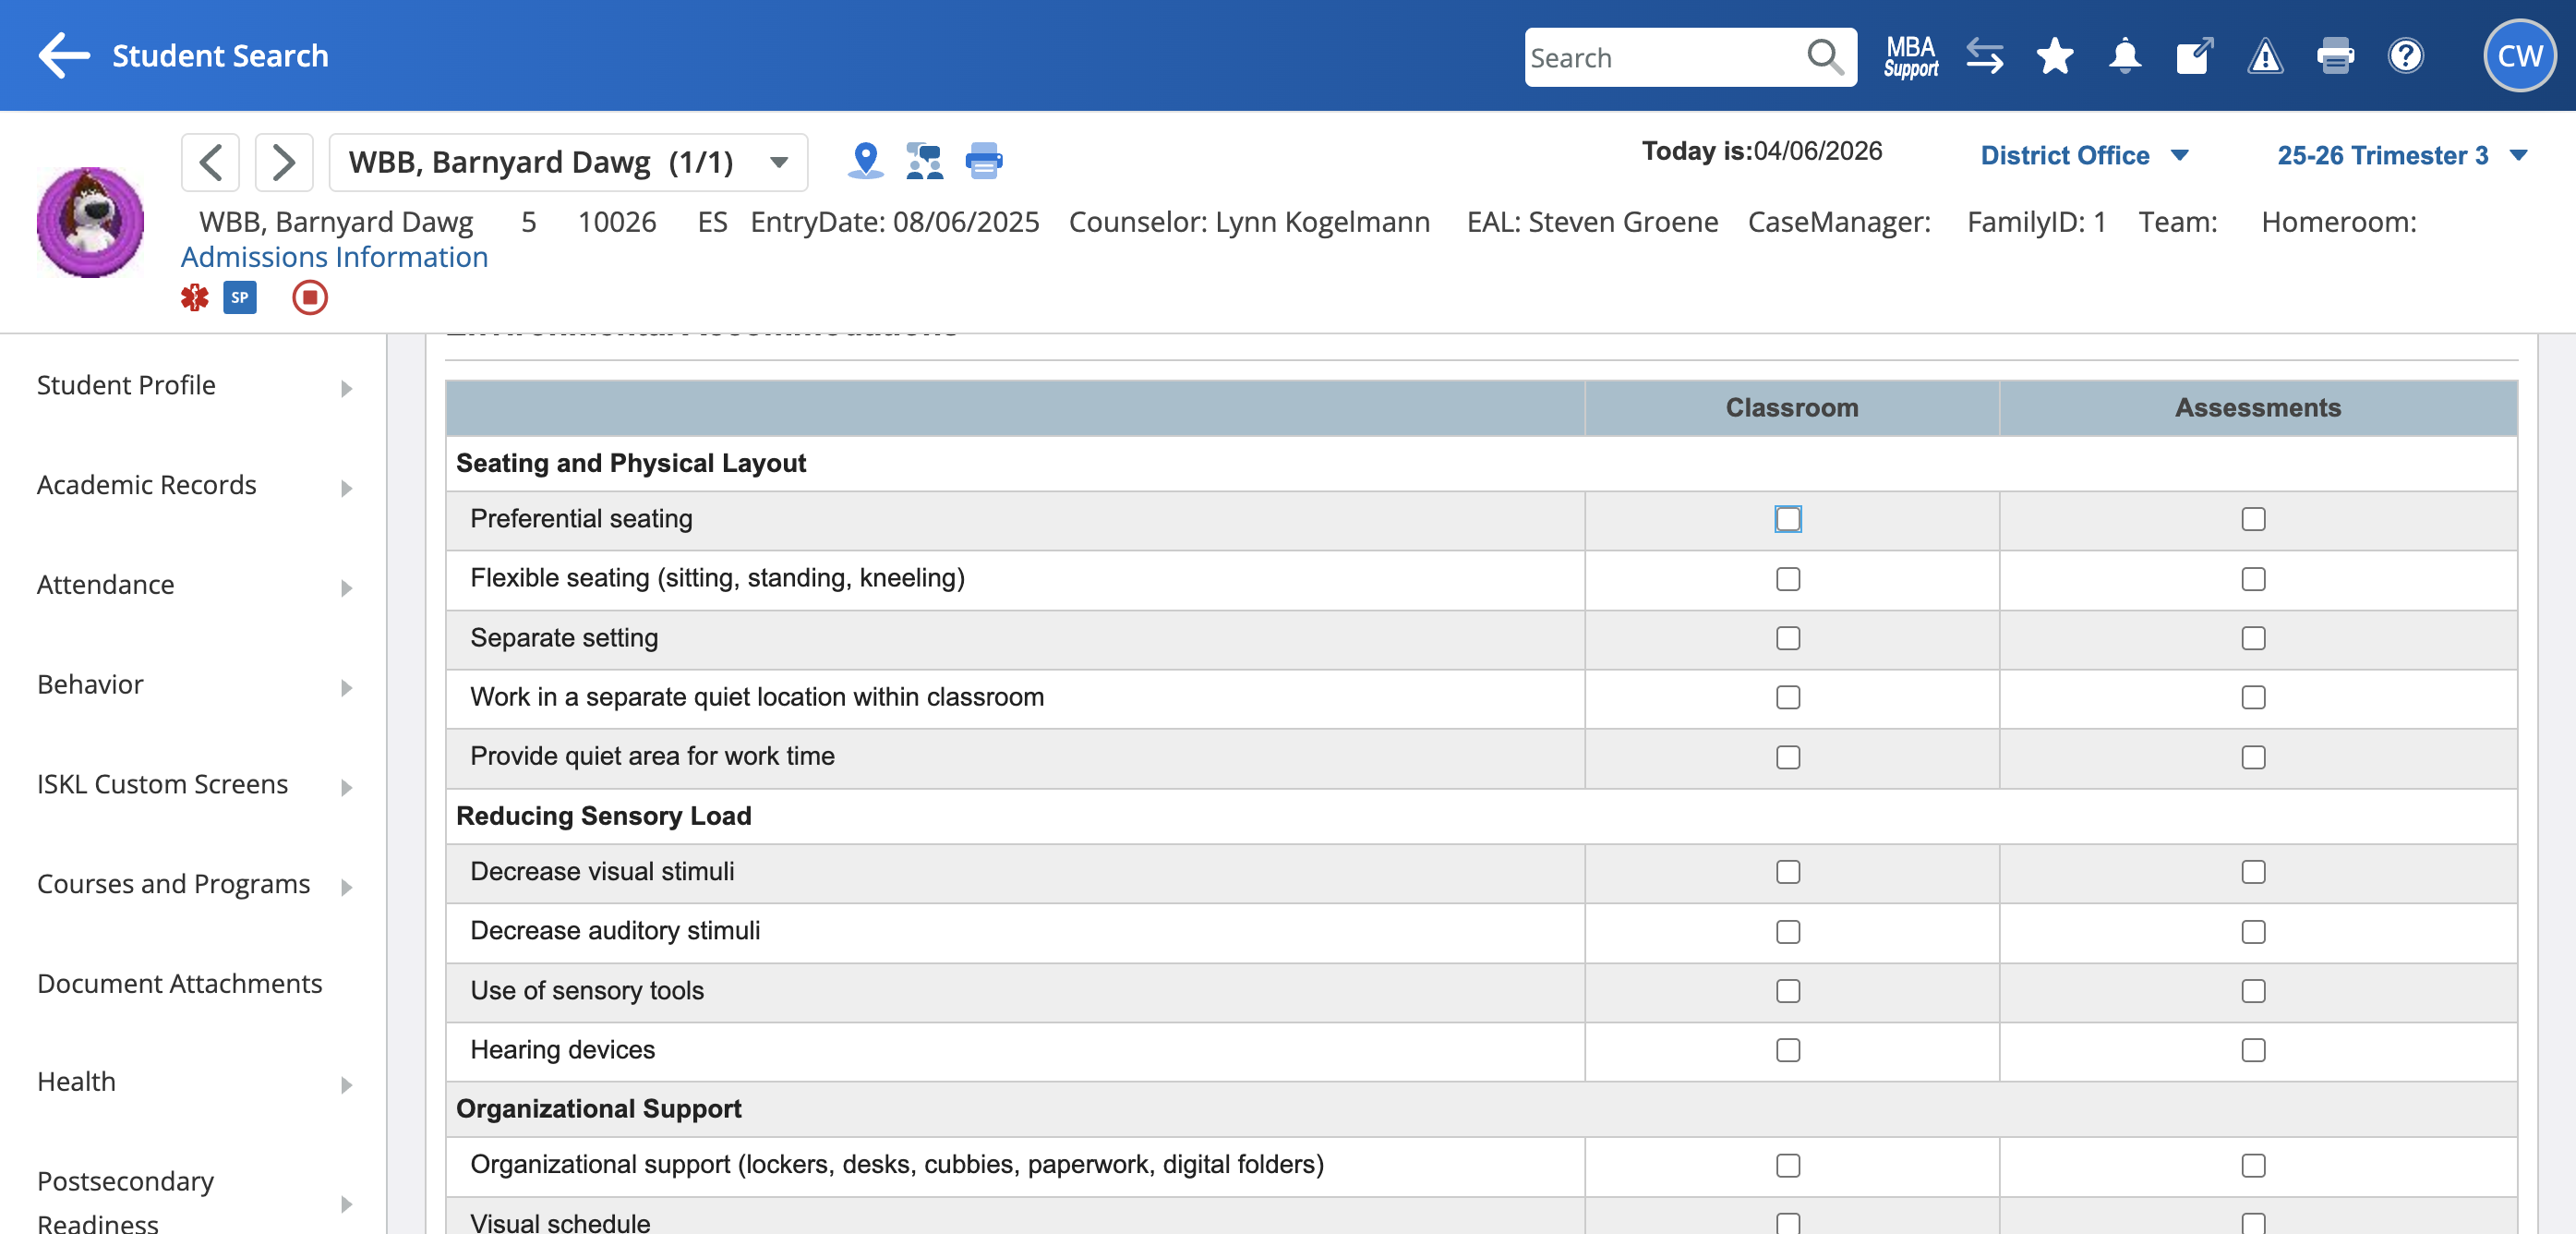
Add external assessment accommodations such as IB and any MAP accommodations.

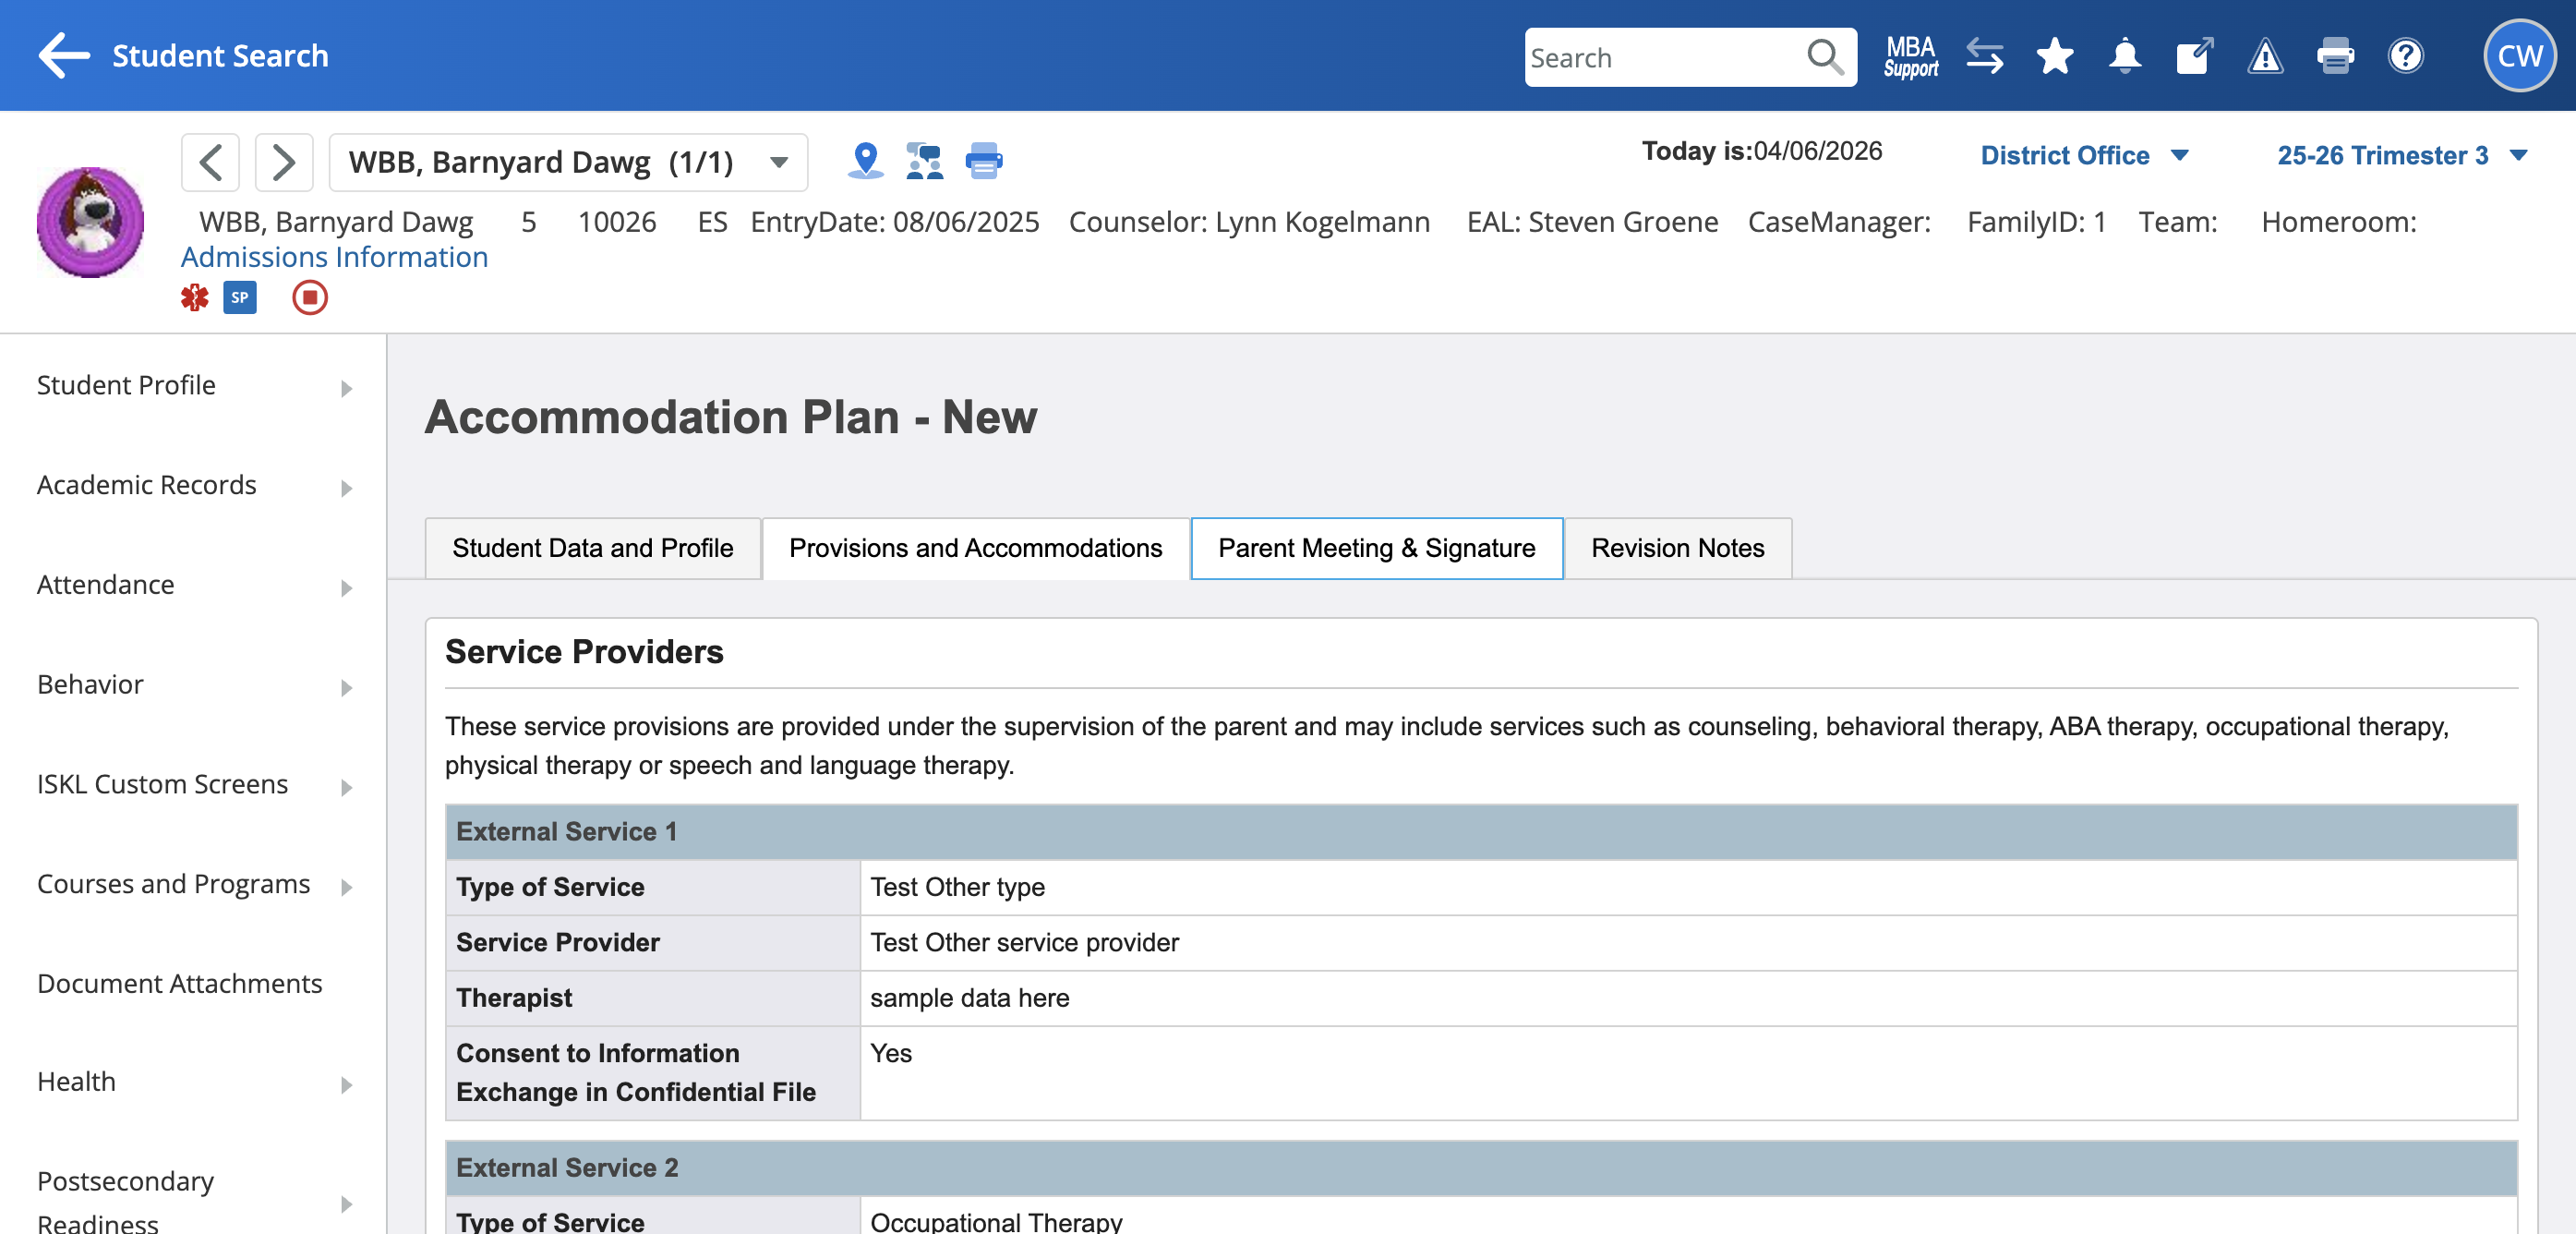
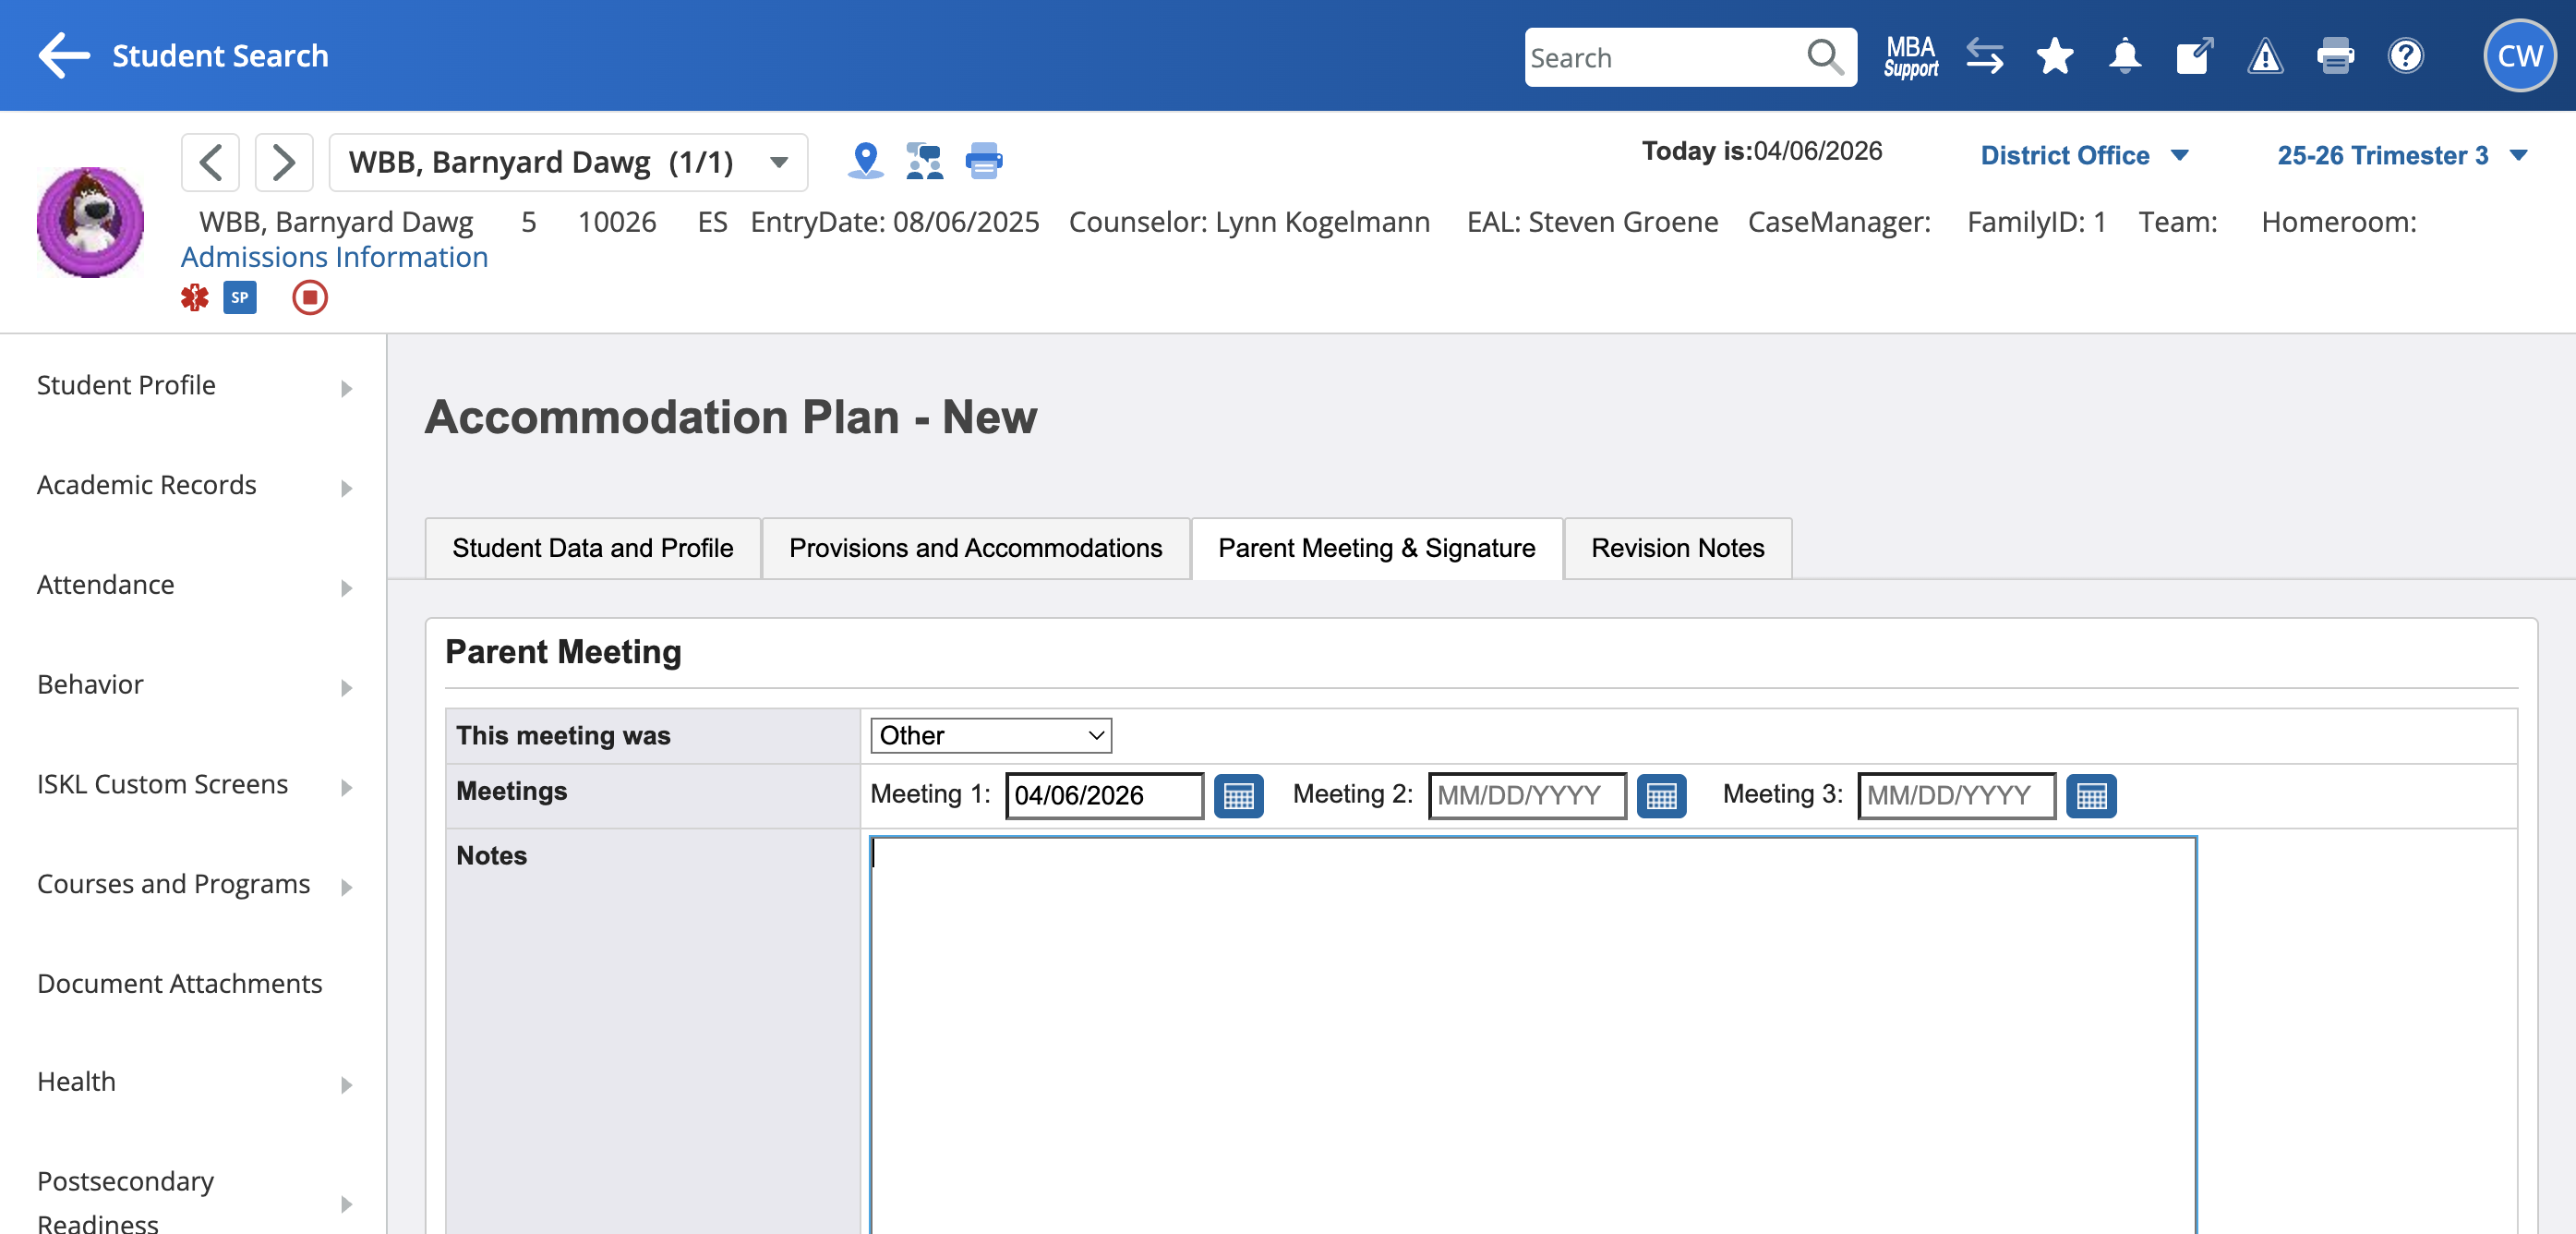
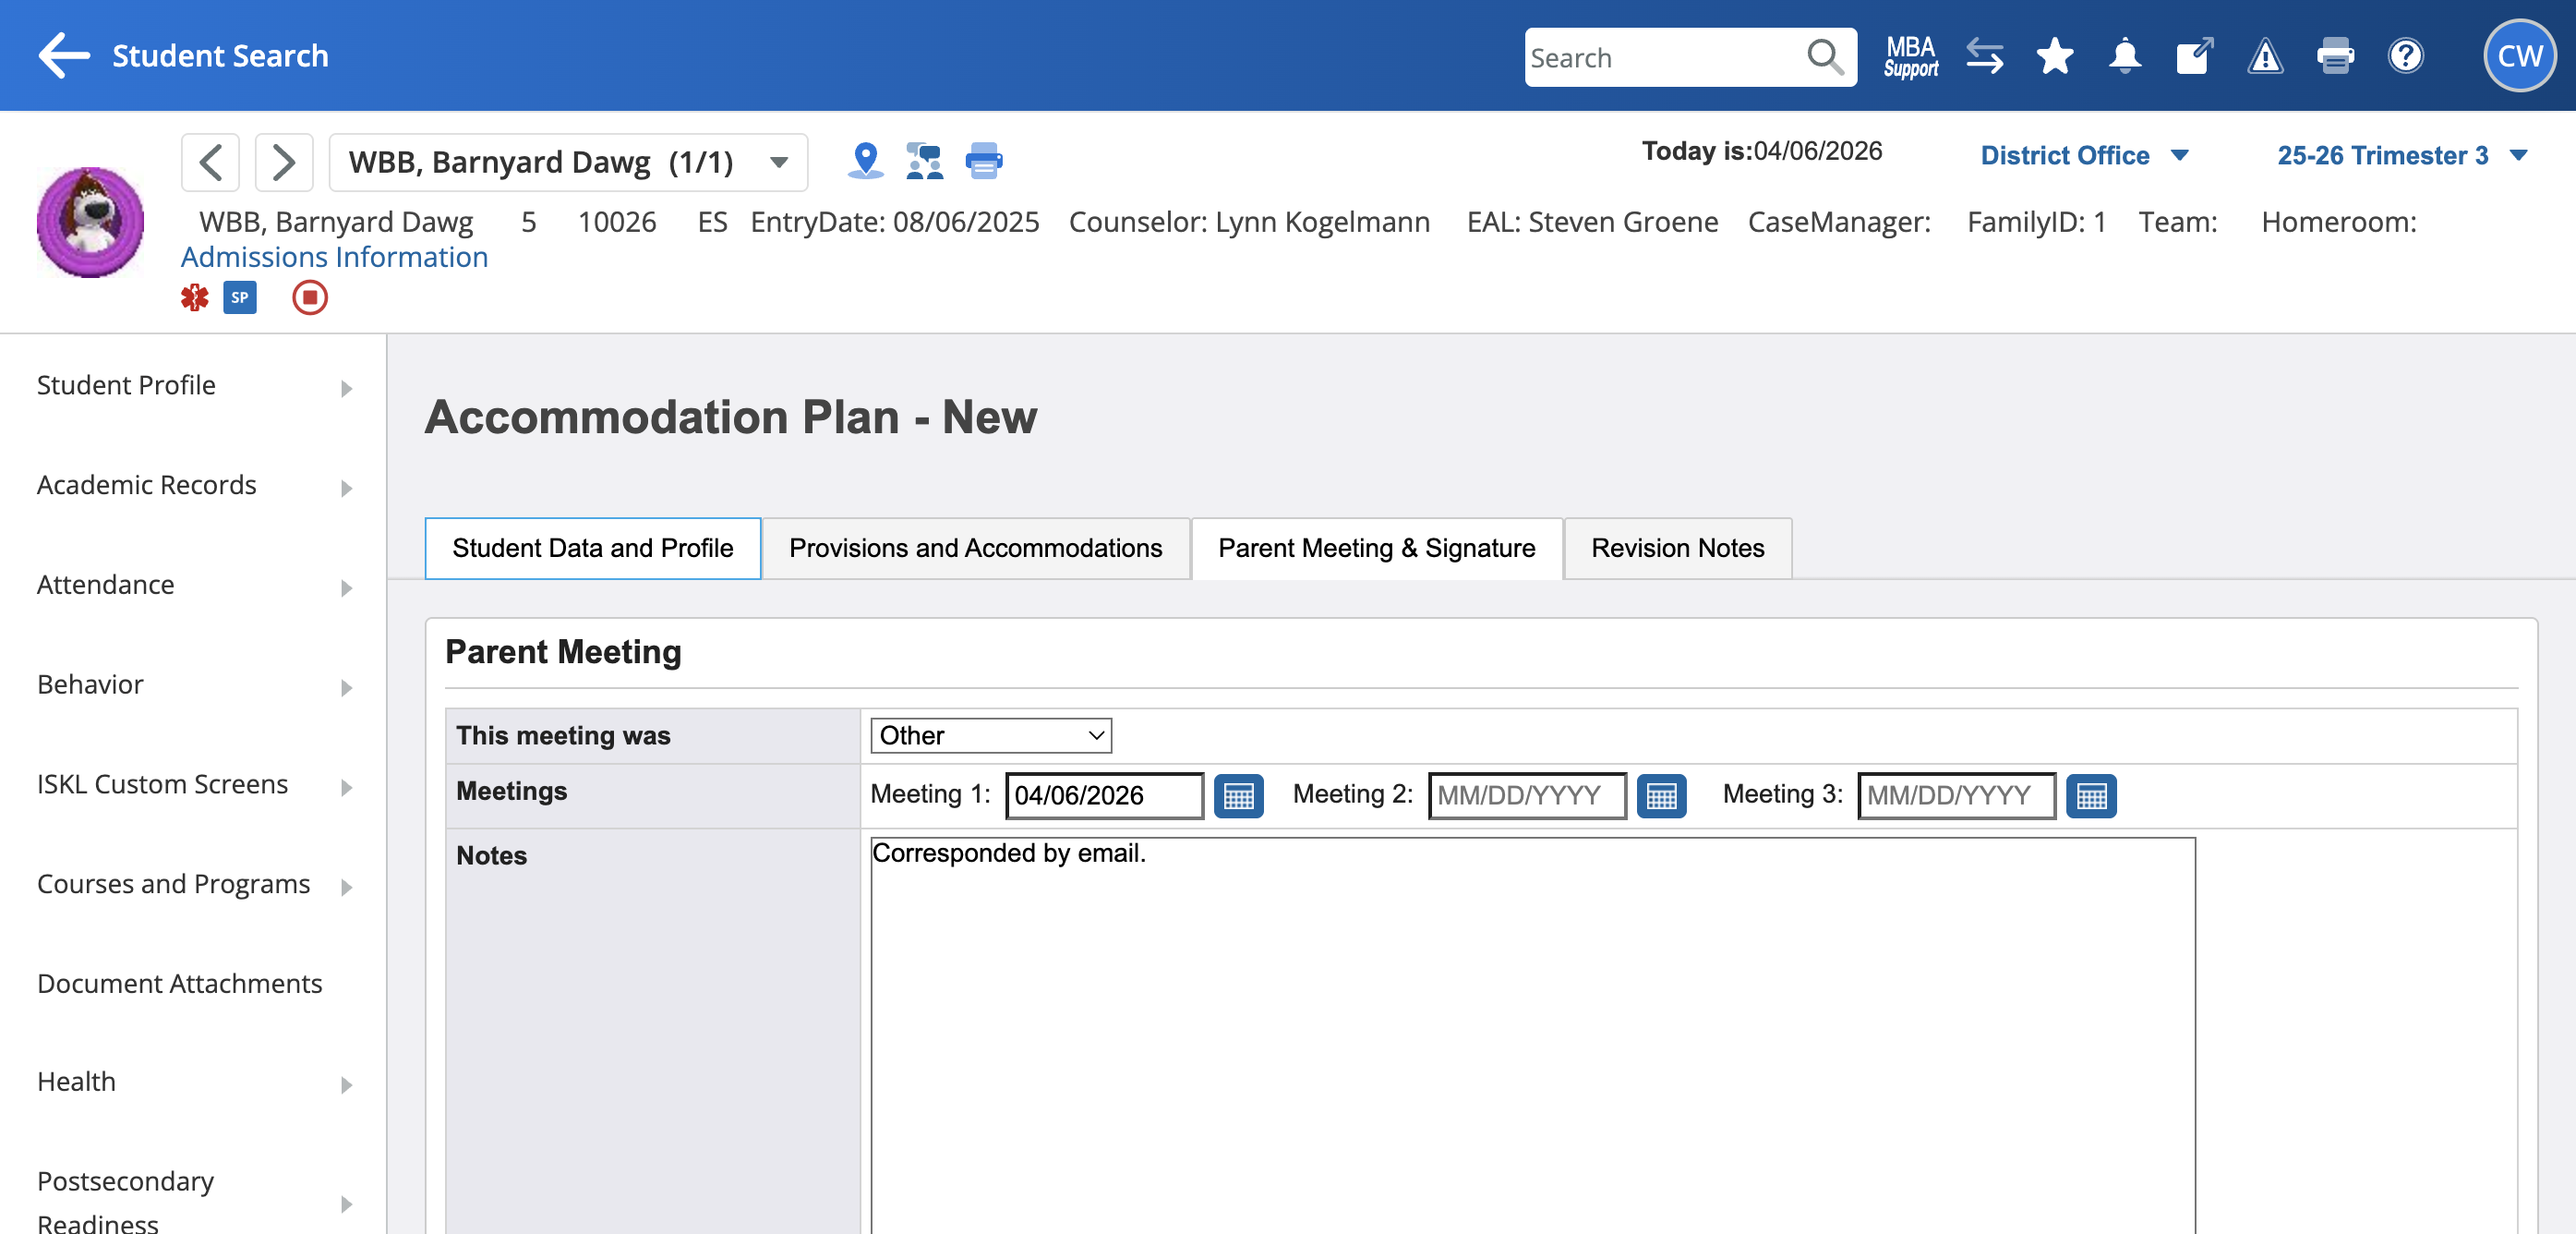
Once you click Submit and your changes are saved, you can share the draft plan with parents in the parent portal. You can also document the parent meeting.

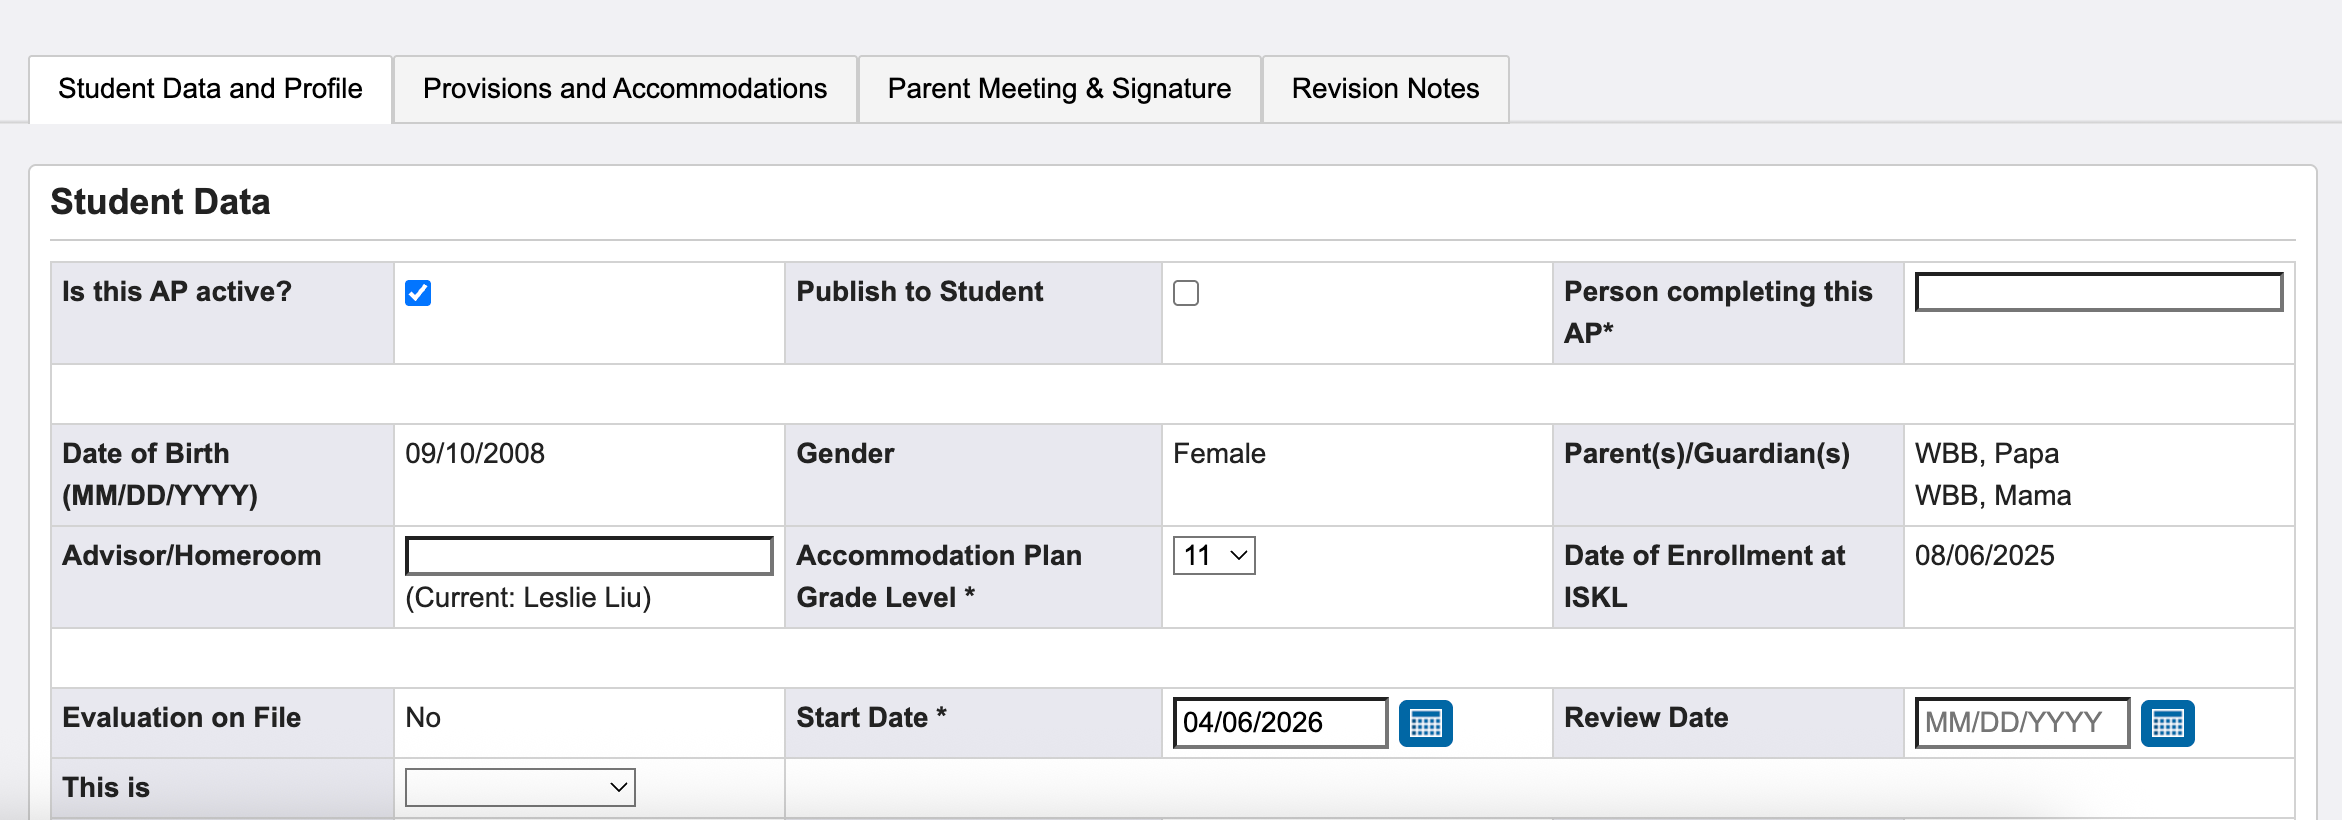
To make the plan viewable by parents on the Parent Portal, you need to check the "Is this AP Plan Active?" field on the Student Data and Profile tab.
Check the "Is this AP Plan Active?" box and click "submit." Once you activate the AP, it will appear on the parent portal.
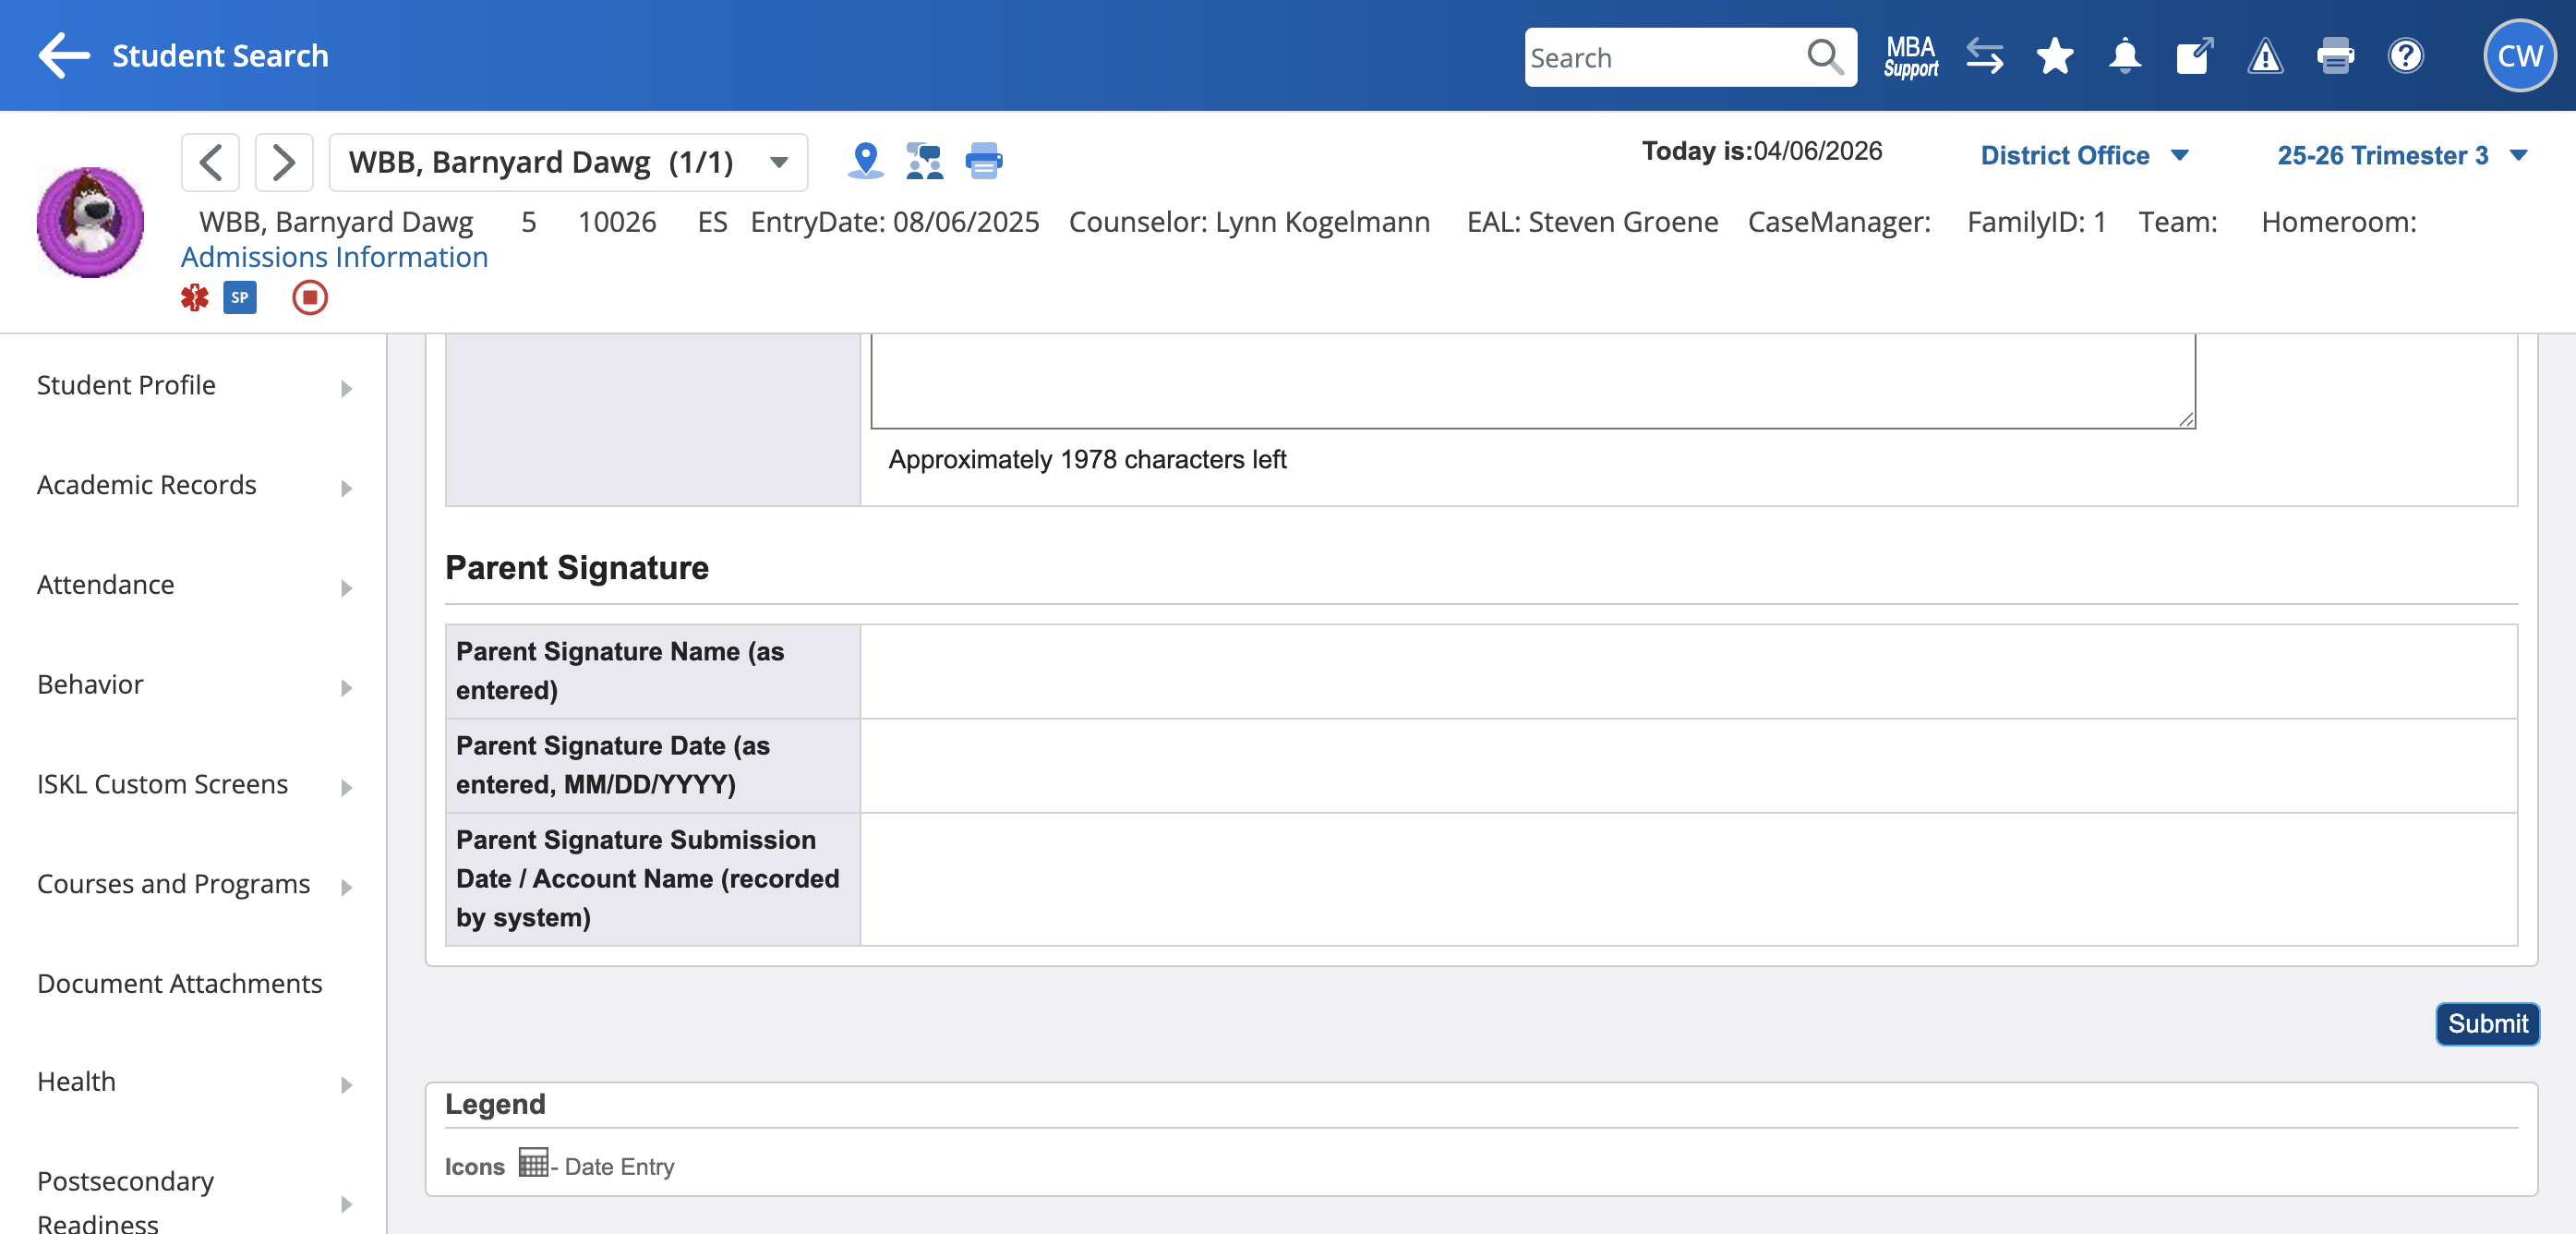
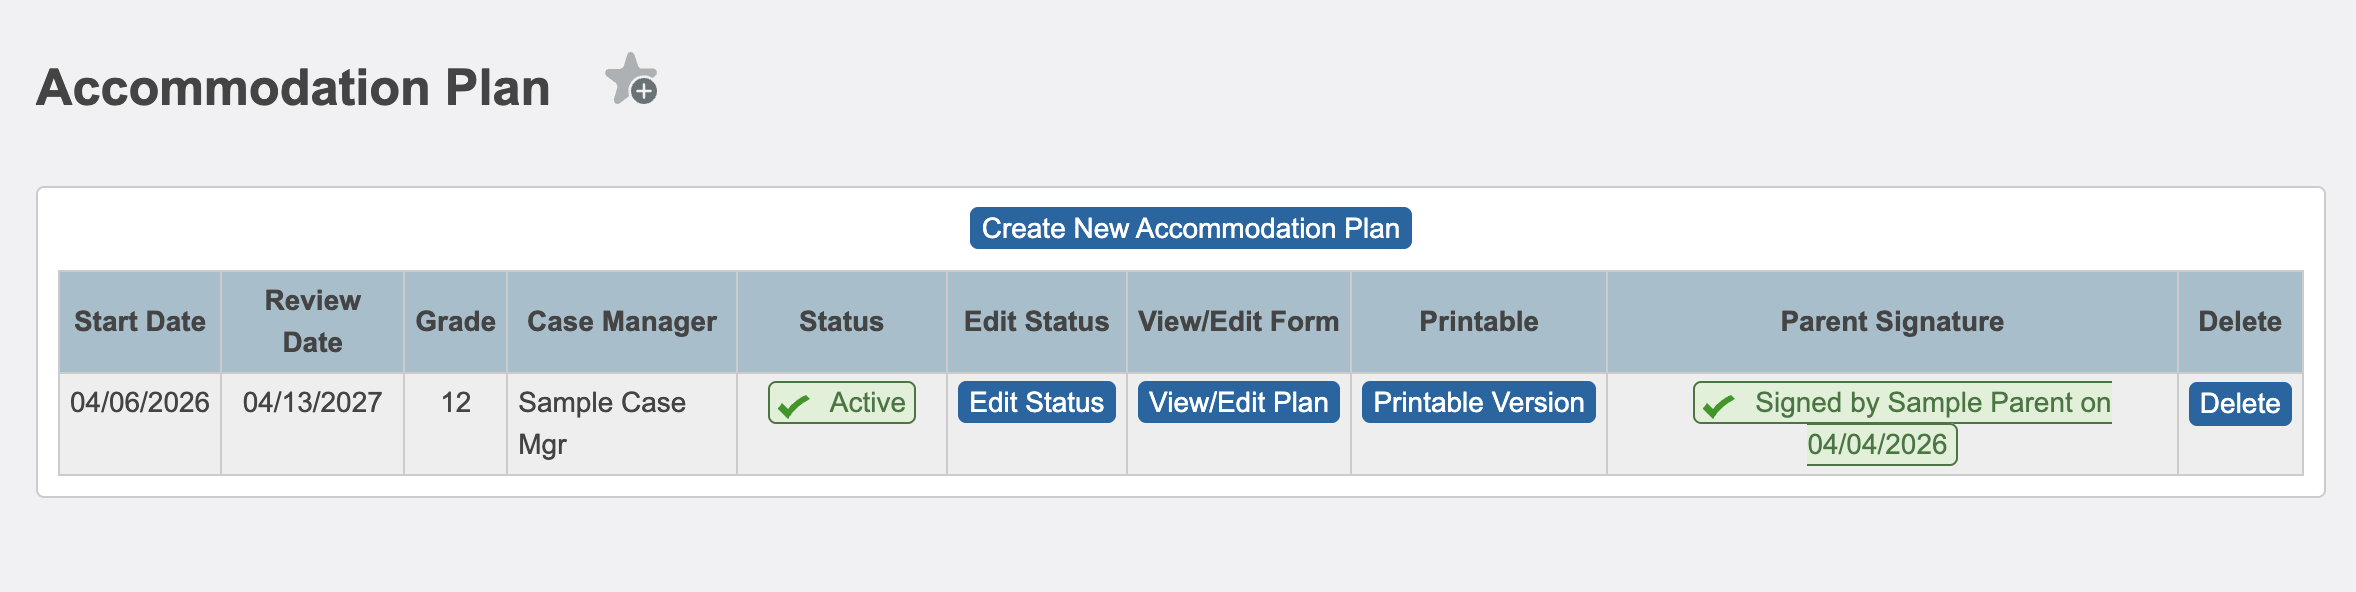
Parents can review the plan in the Parent Portal and sign it electronically. Once it's signed, you can view the timestamp on the Accommodation Plans custom screen tab, in the Parent Signature field.
That's how you create an accommodation plan.