
Tutorial: Flyer Page 3 - Aerial Map
Learn step-by-step how to create the aerial map that goes on page 3 of the flyer template using Adobe Illustrator.
In this guide, we'll learn how to create an aerial map for a flyer using Adobe Illustrator. The process involves organizing files, capturing screenshots, and editing them to fit the flyer layout. We'll start by copying the necessary template file and then proceed to capture and edit map images. The guide will cover steps to ensure the map fits well within the flyer design, including outlining parcels and adding road details. Finally, we'll export the completed map for use in the flyer.
Let's get started
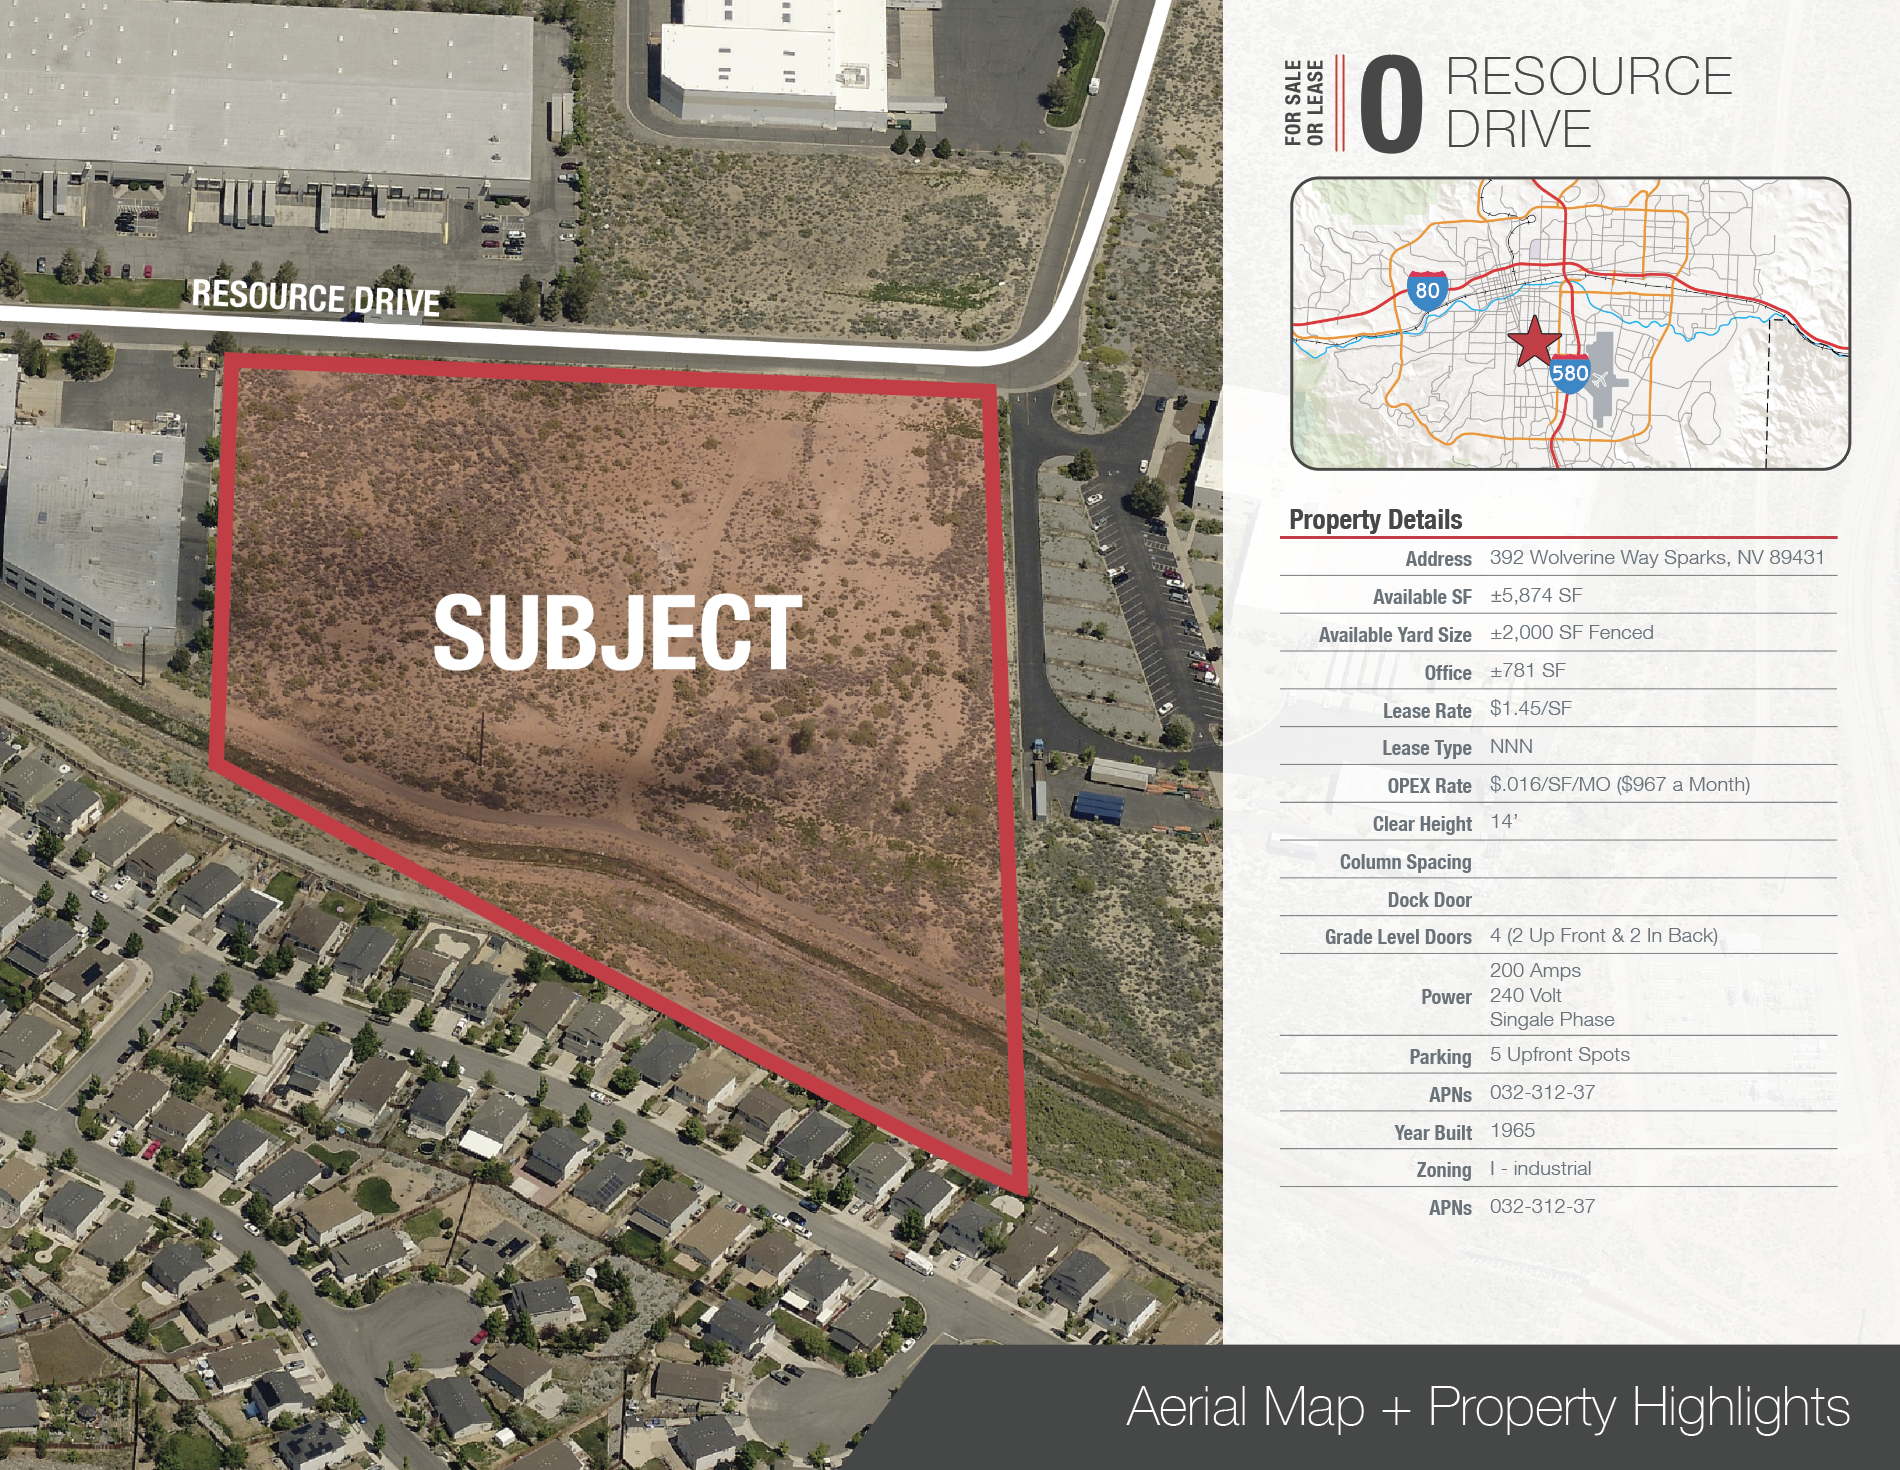
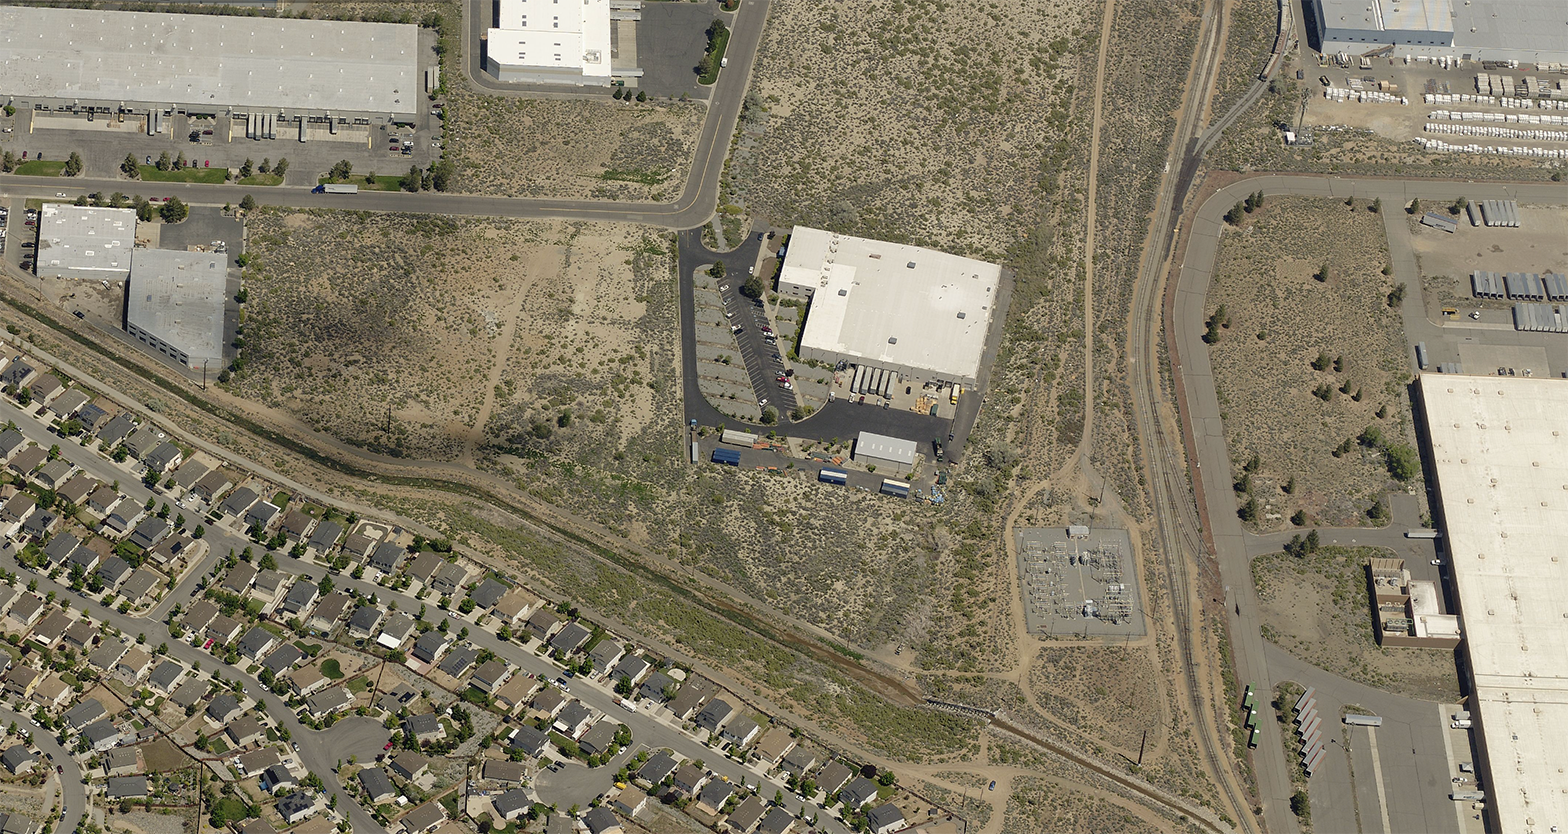
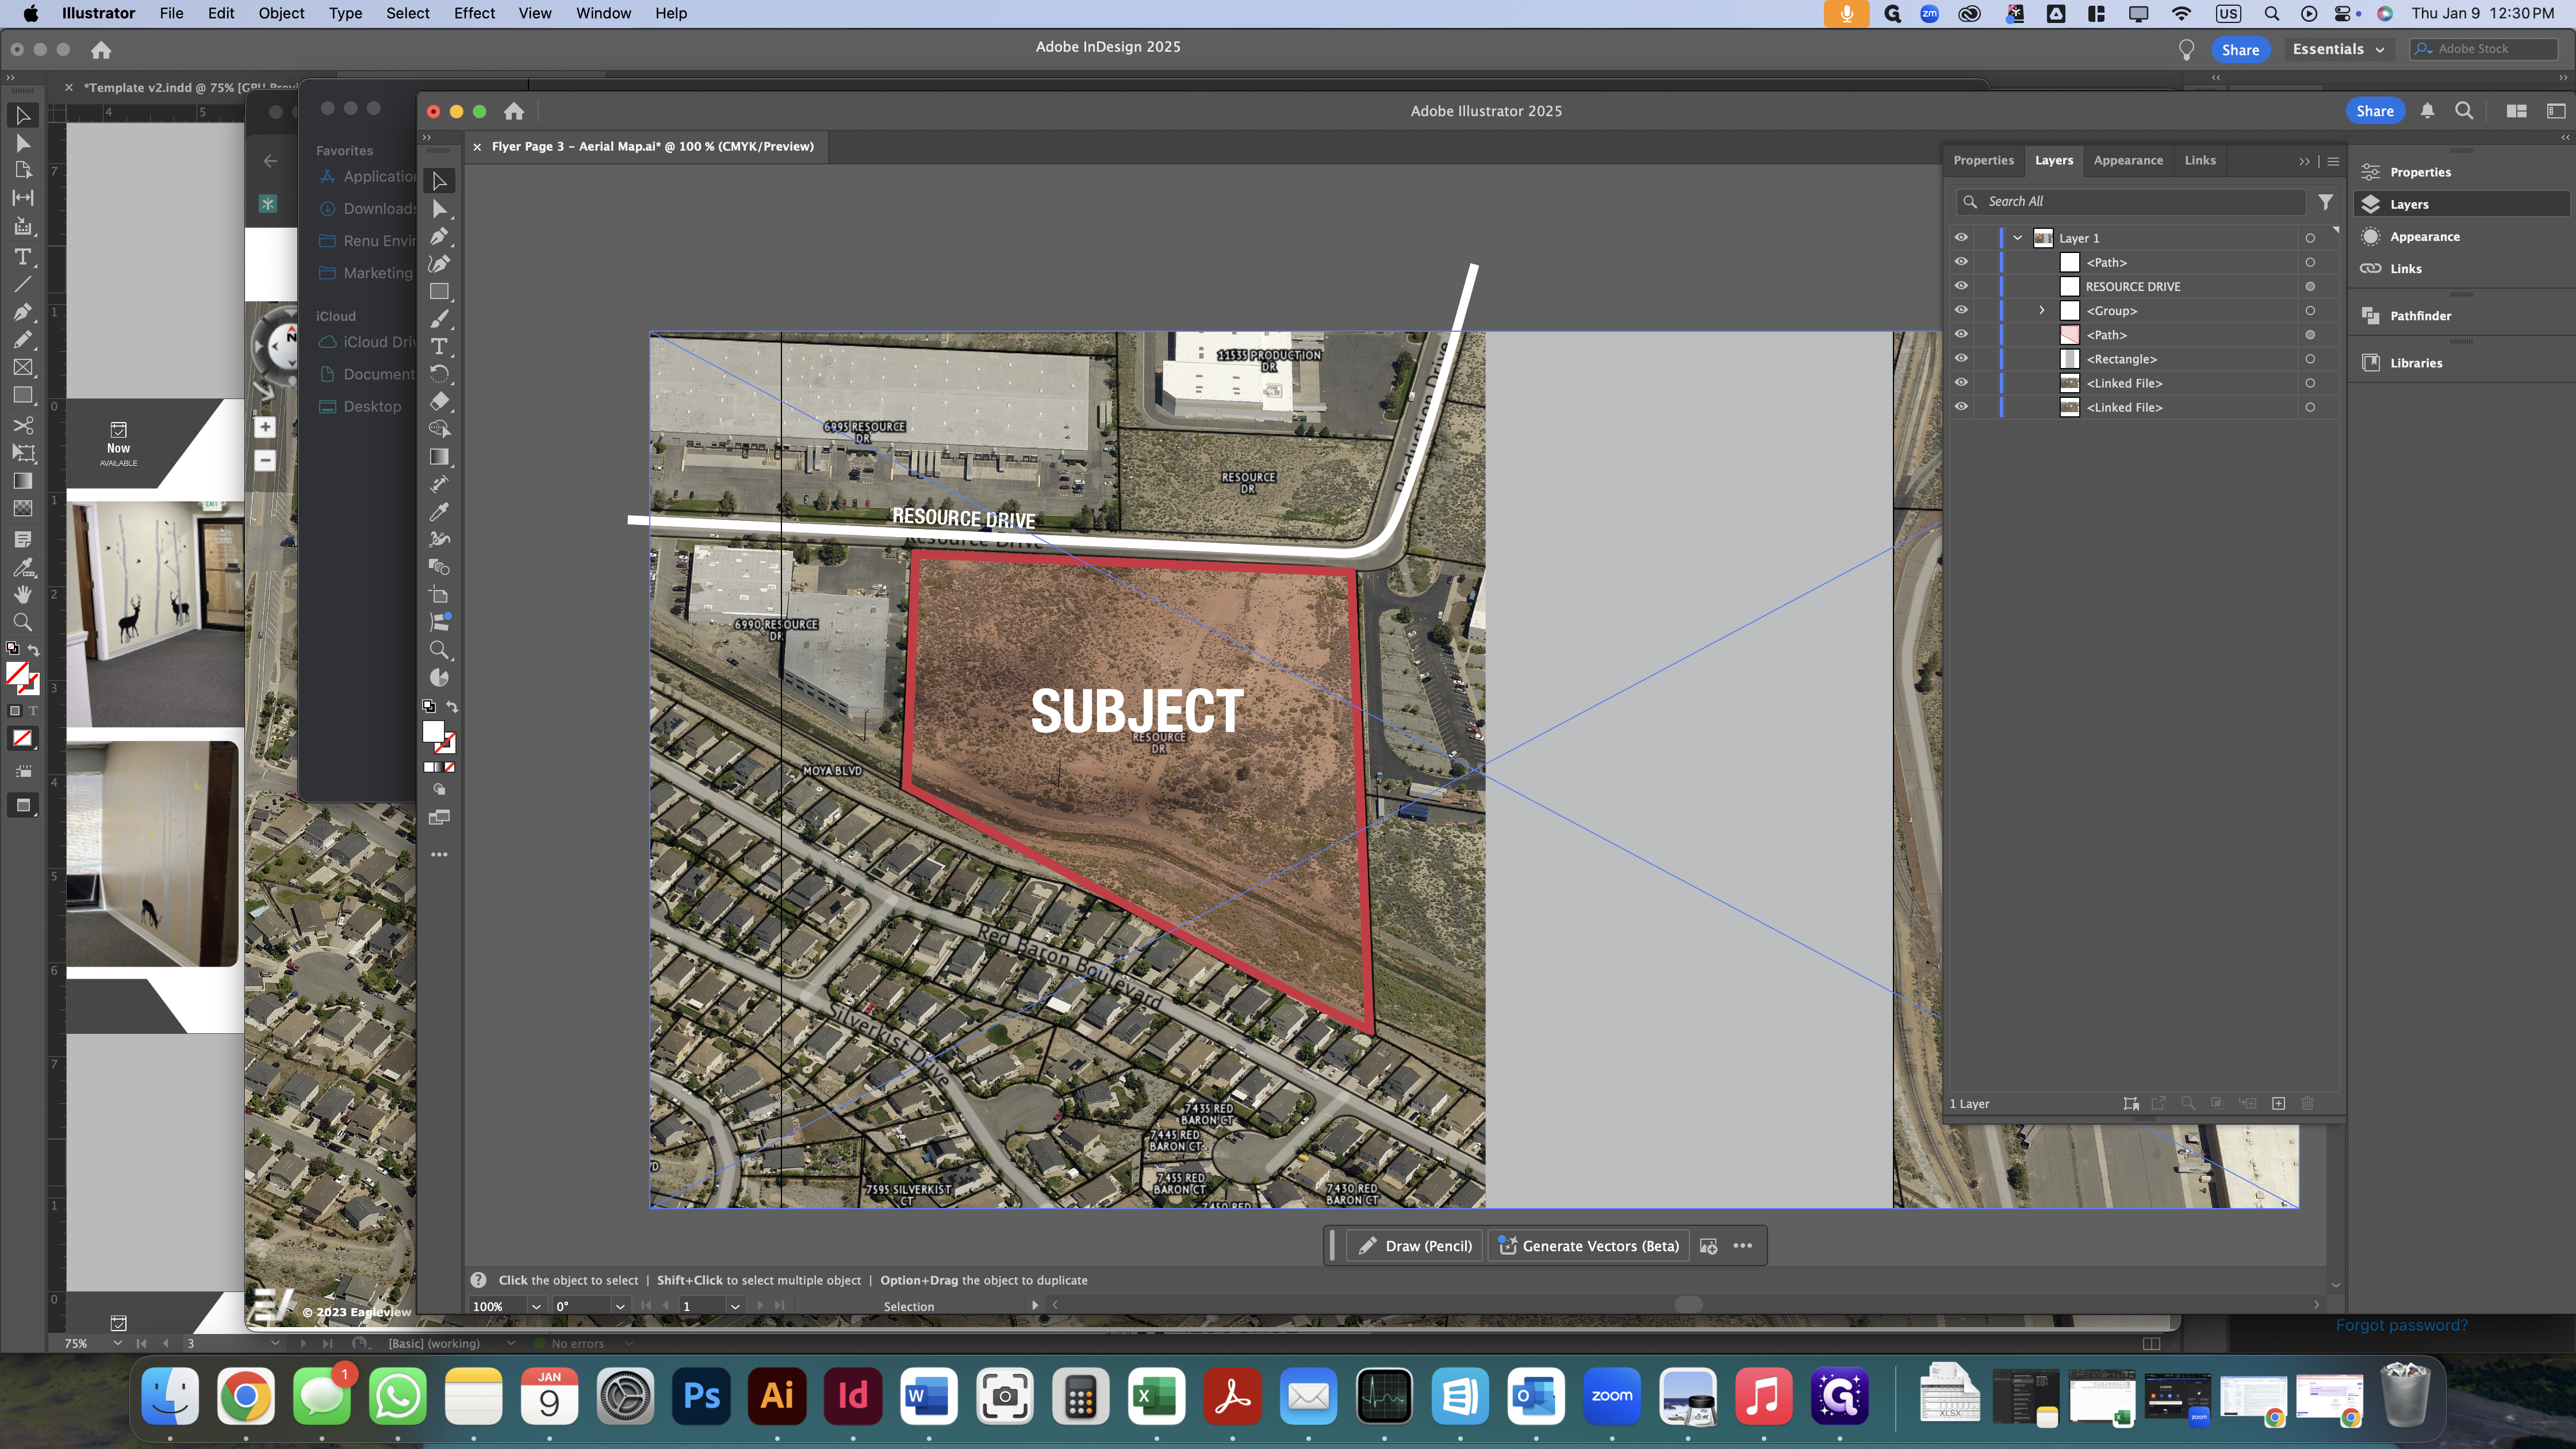
In this guide, we will create the aerial map shown here, which will be placed on page 3 of the flyer.
First, open your file browser. In the templates folder, copy the "Flyer Page 3 - Aerial Map" Adobe Illustrator file into the corresponding folder for the property you'll be working on.

In the properties folder, go to the folder for the corresponding property. Paste the Illustrator file in the folder called "Inputs".
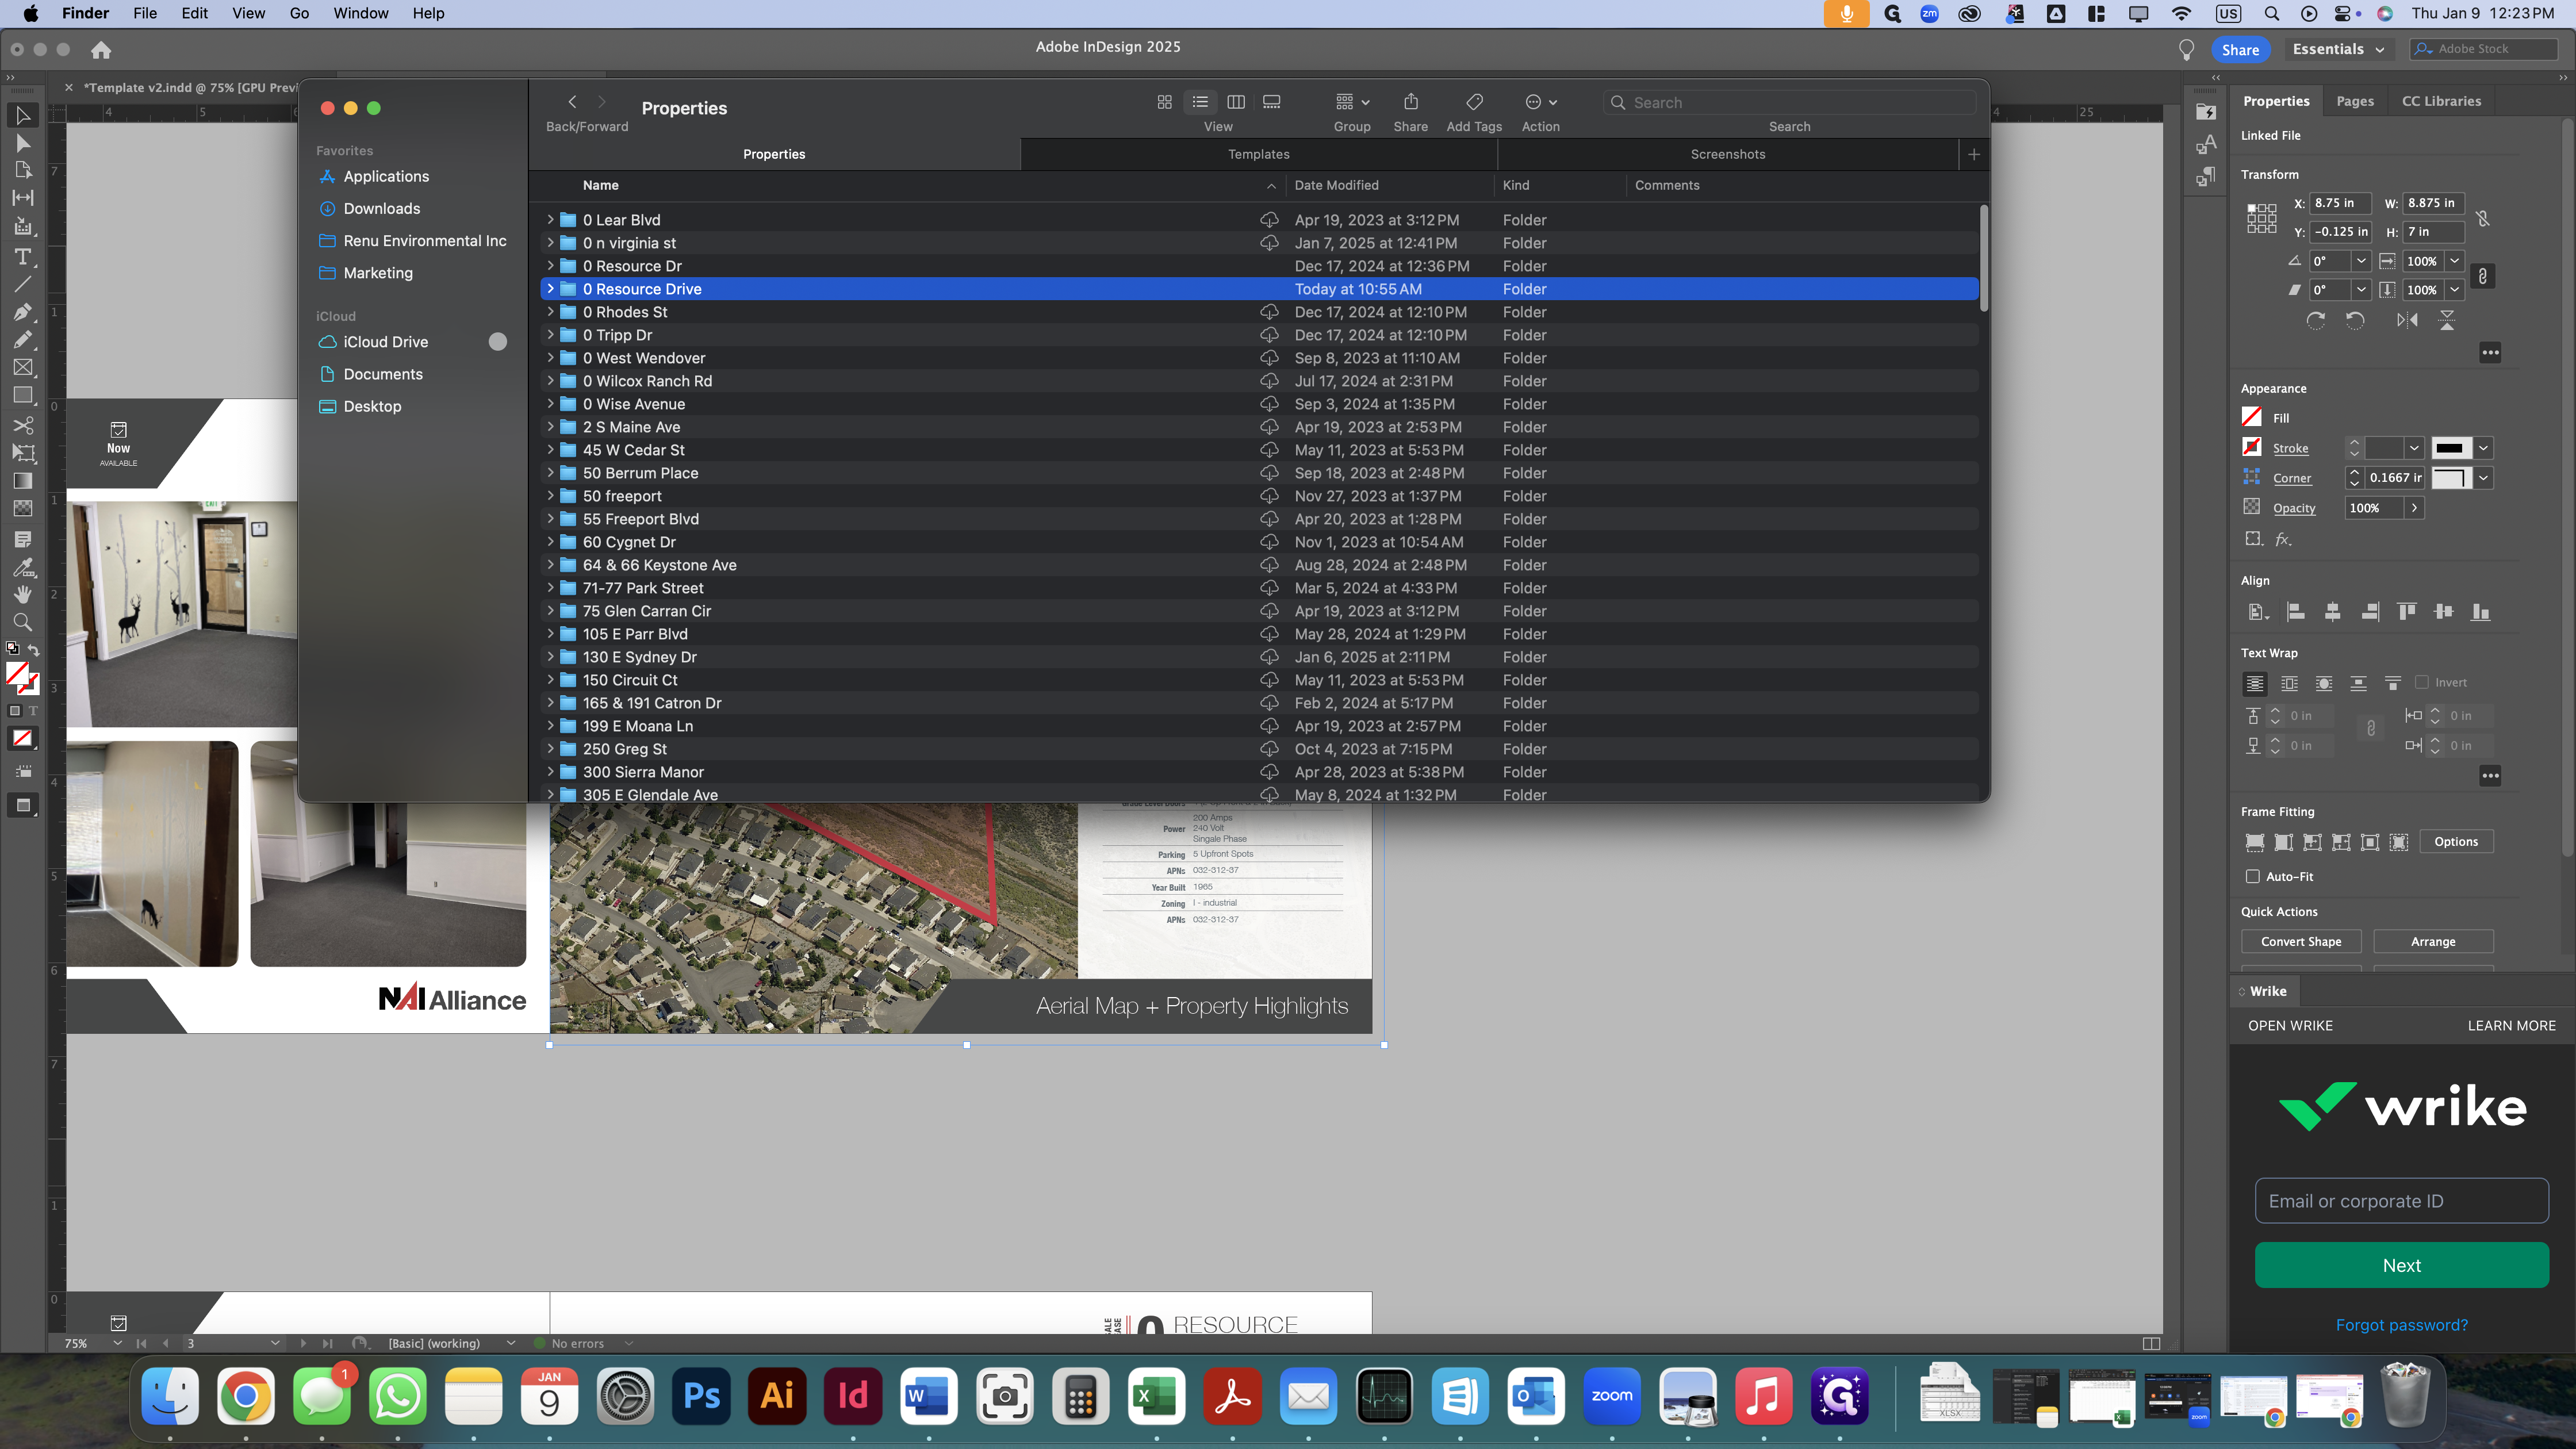

Open the Illustrator file that you just pasted.

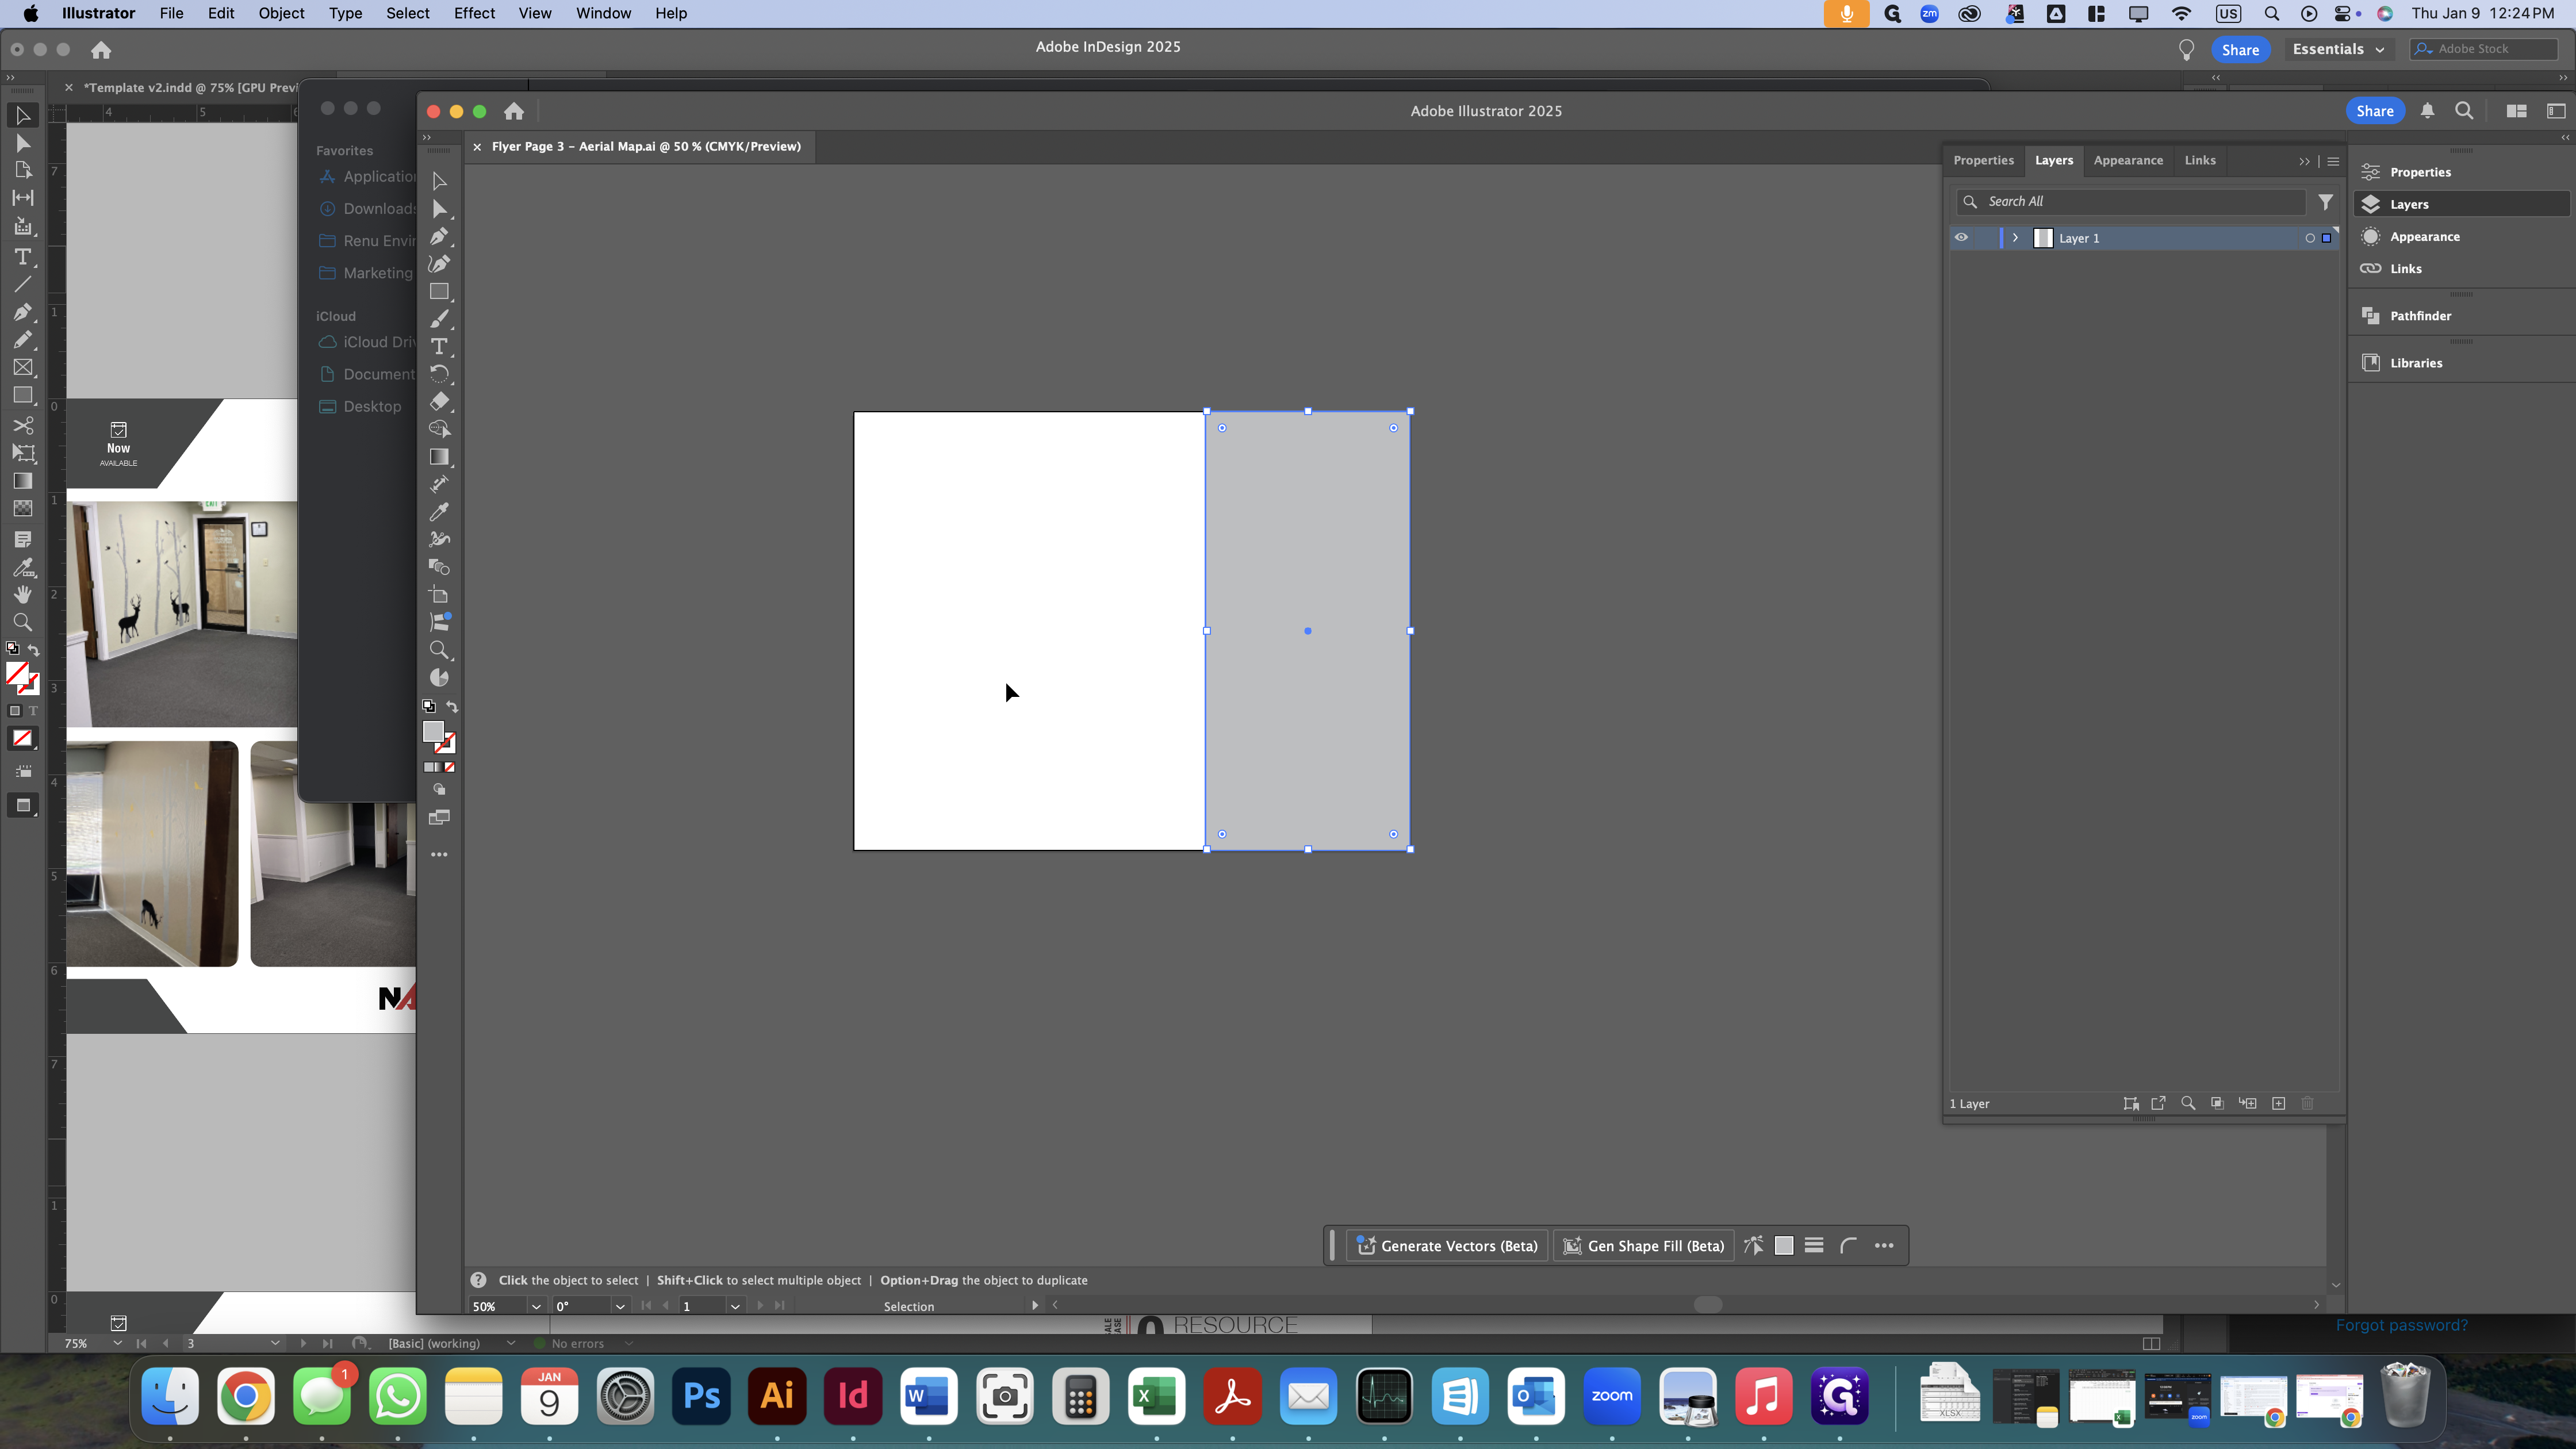
The grey box on the right serves as a reminder that there is an overlay containing property information on the right side of the page in the flyer. We'll take a screenshot to ensure the subject parcel is aligned to the left side of the page and not blocked by the overlay.
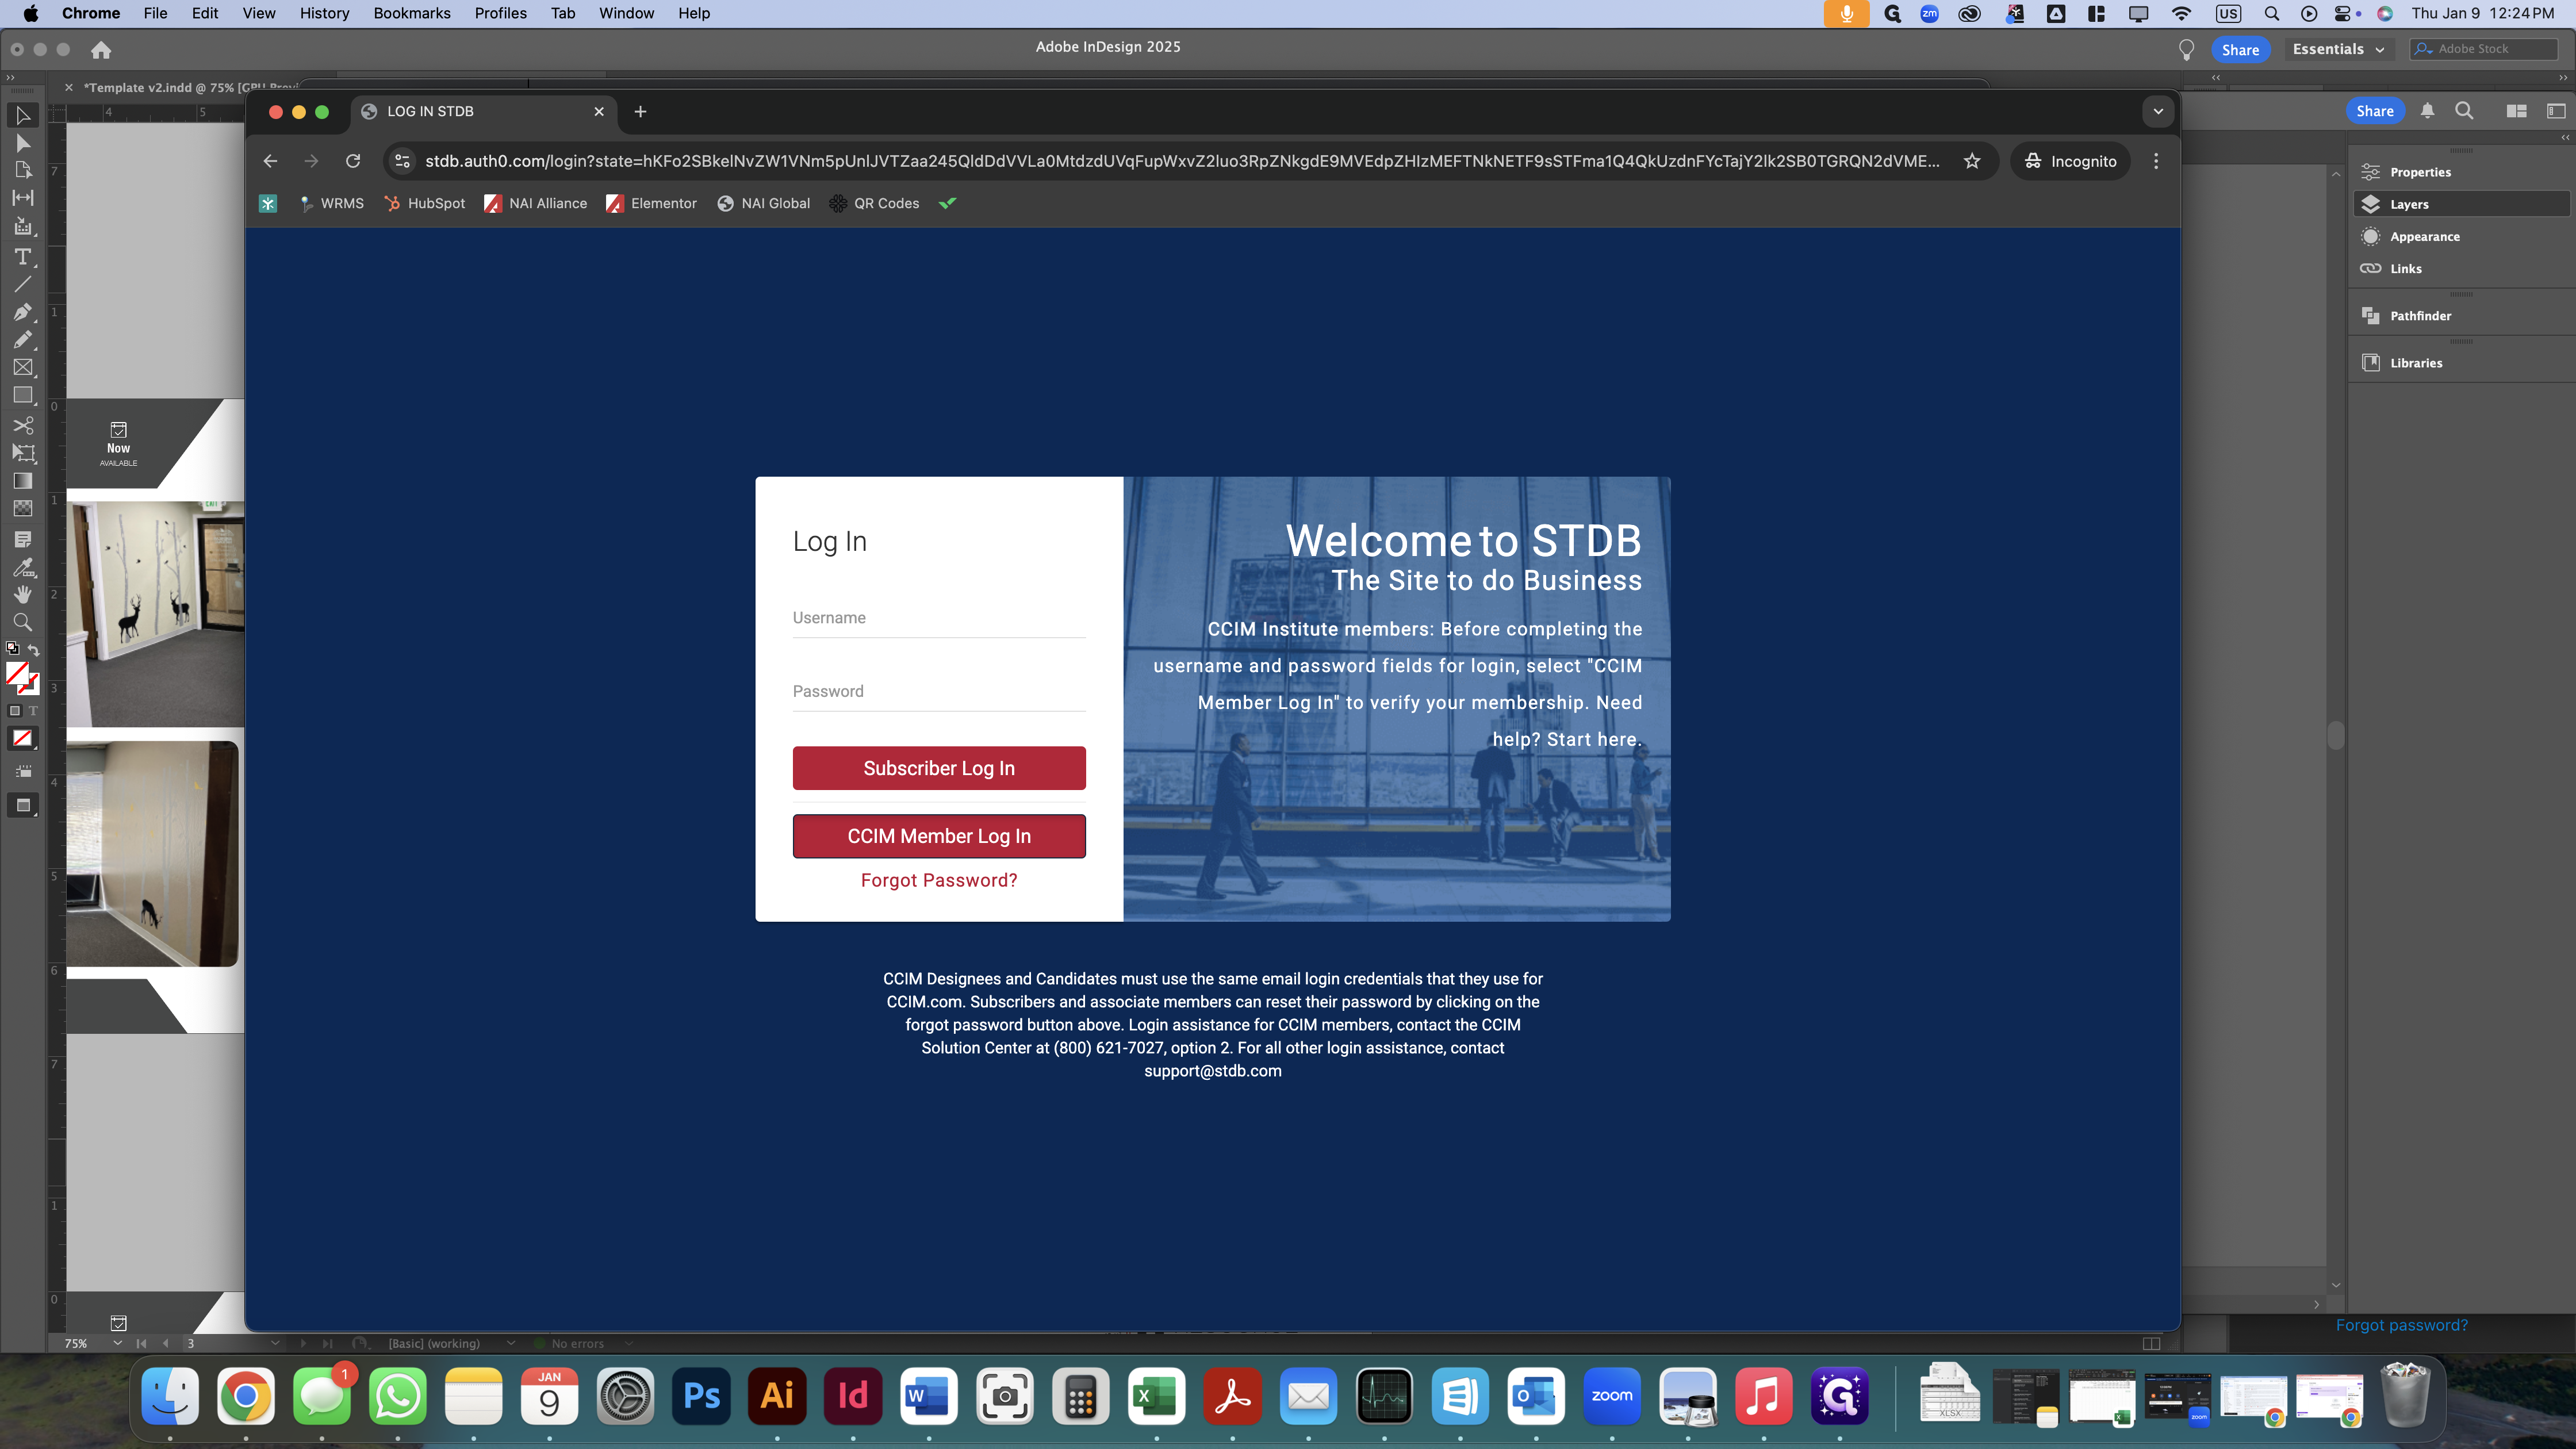
Next, we will open the browser to access STDB.com.
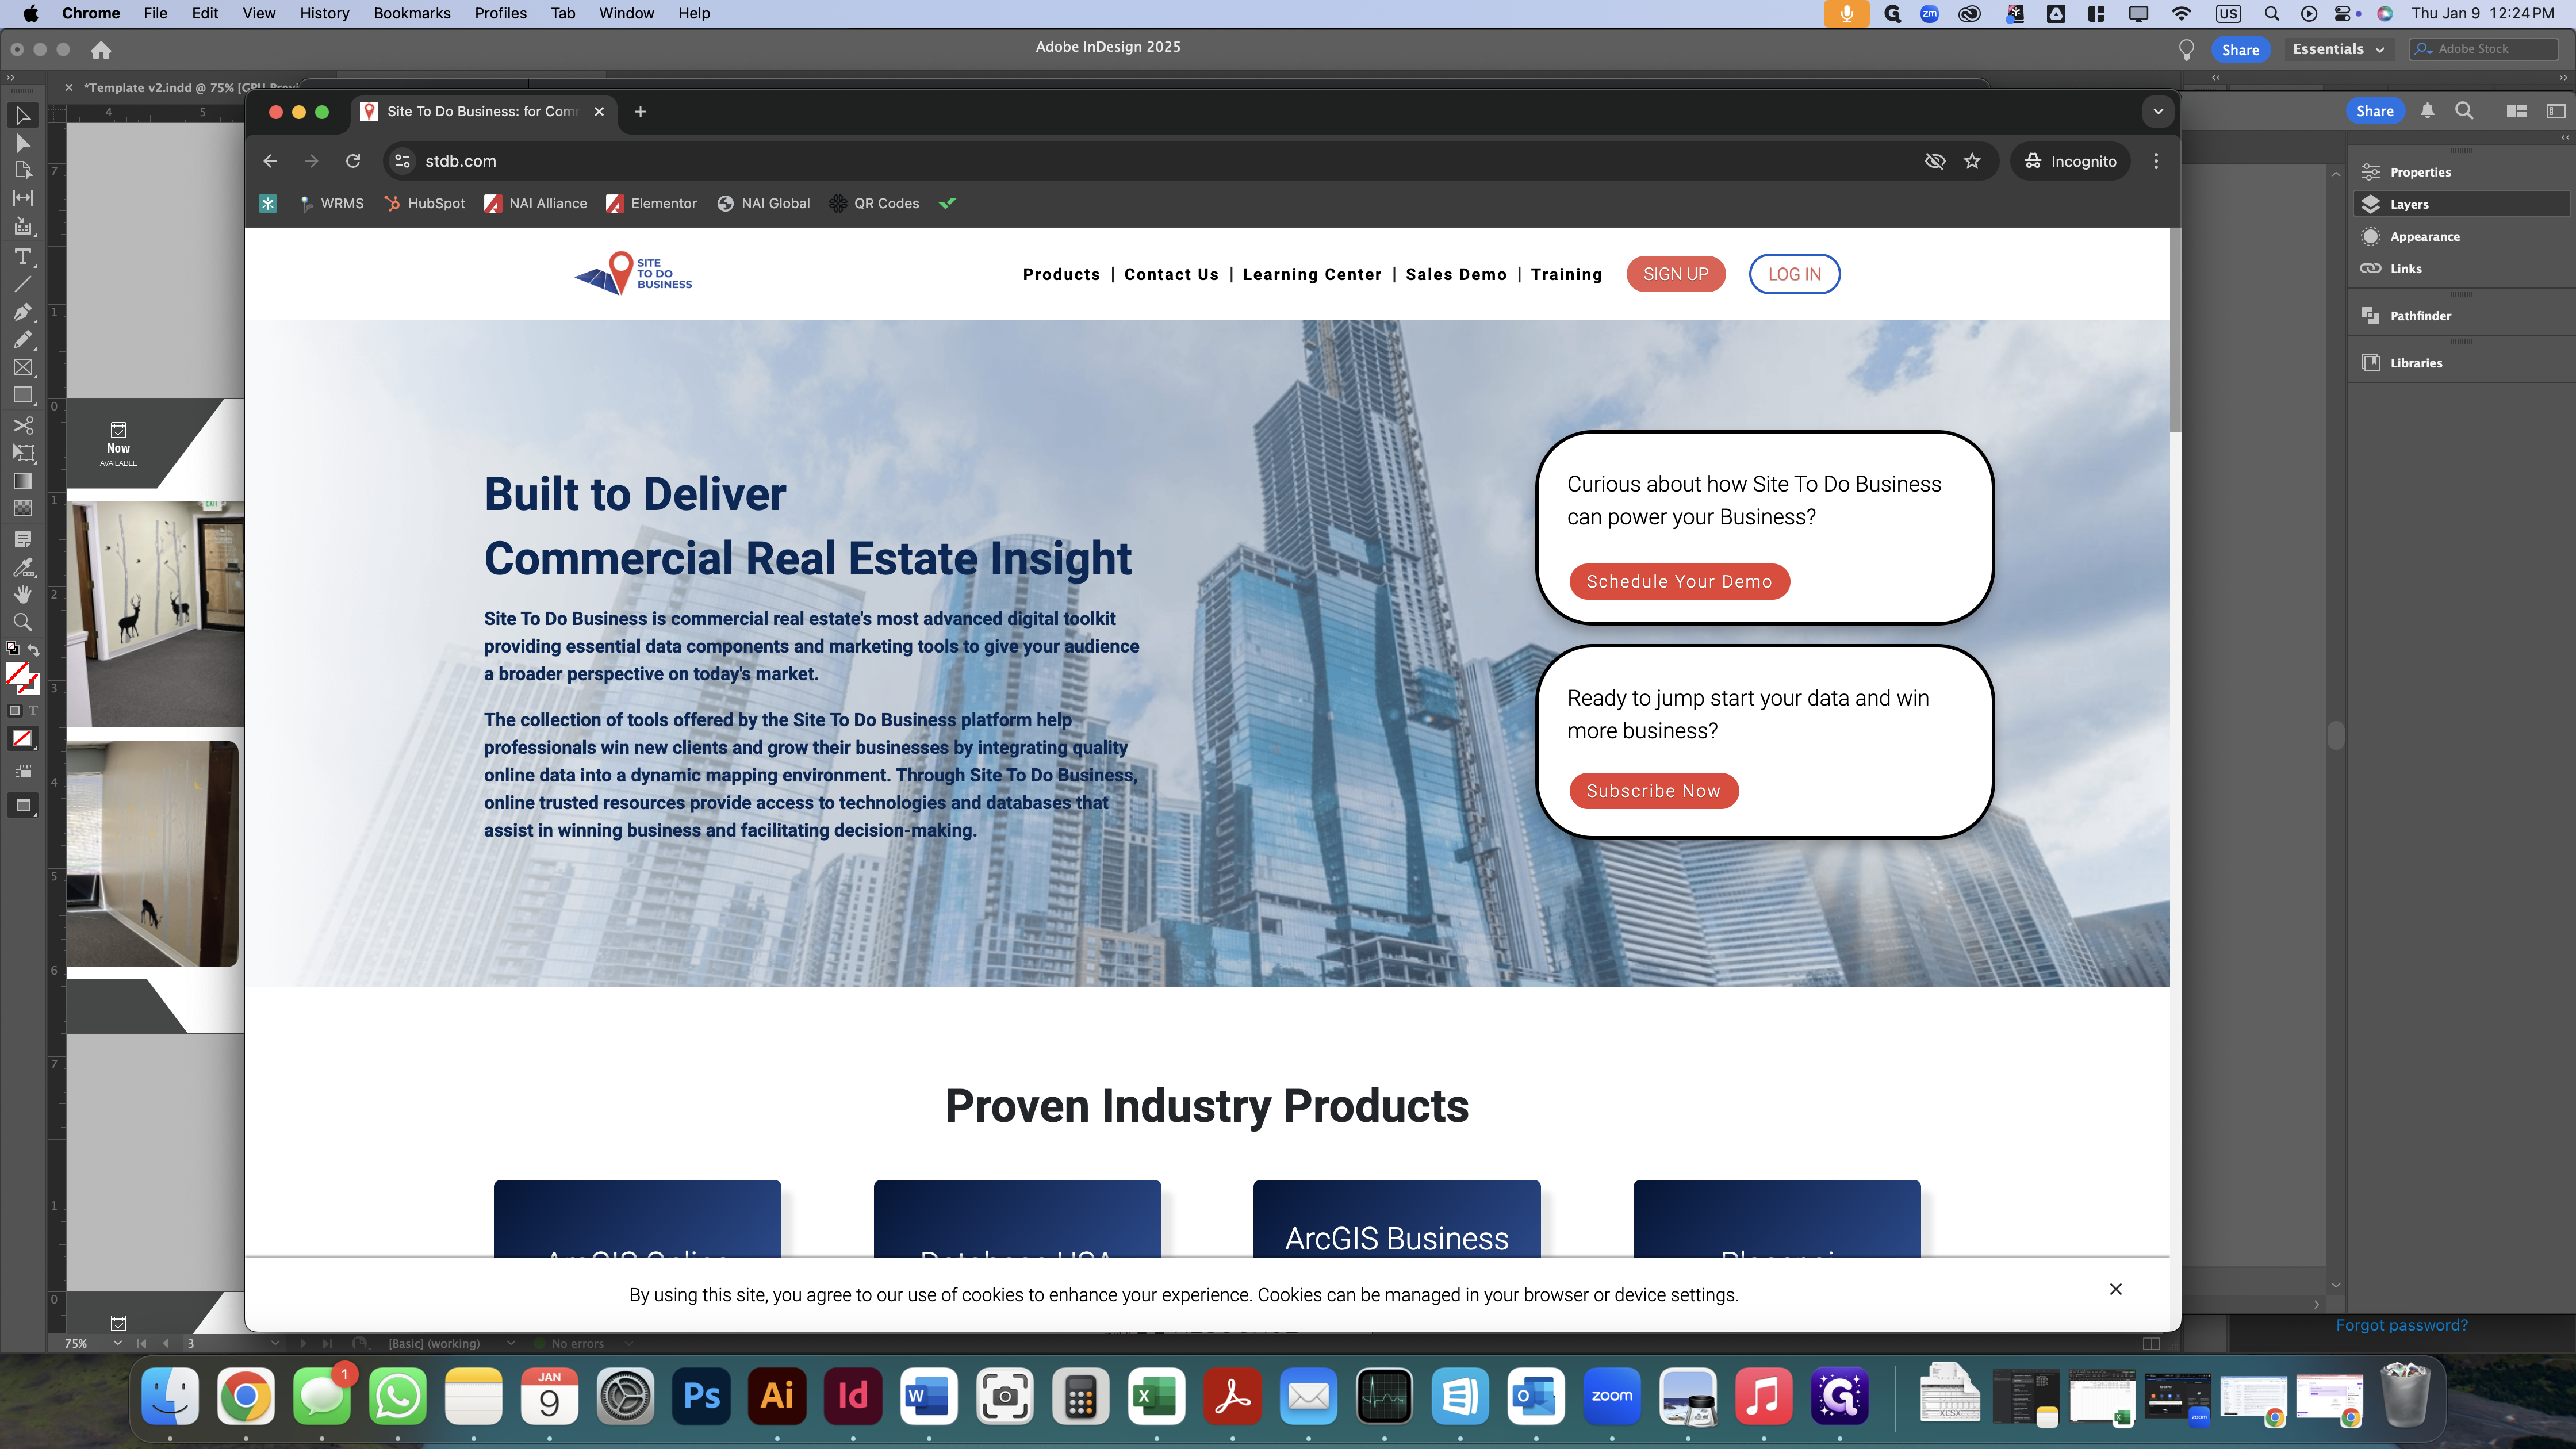
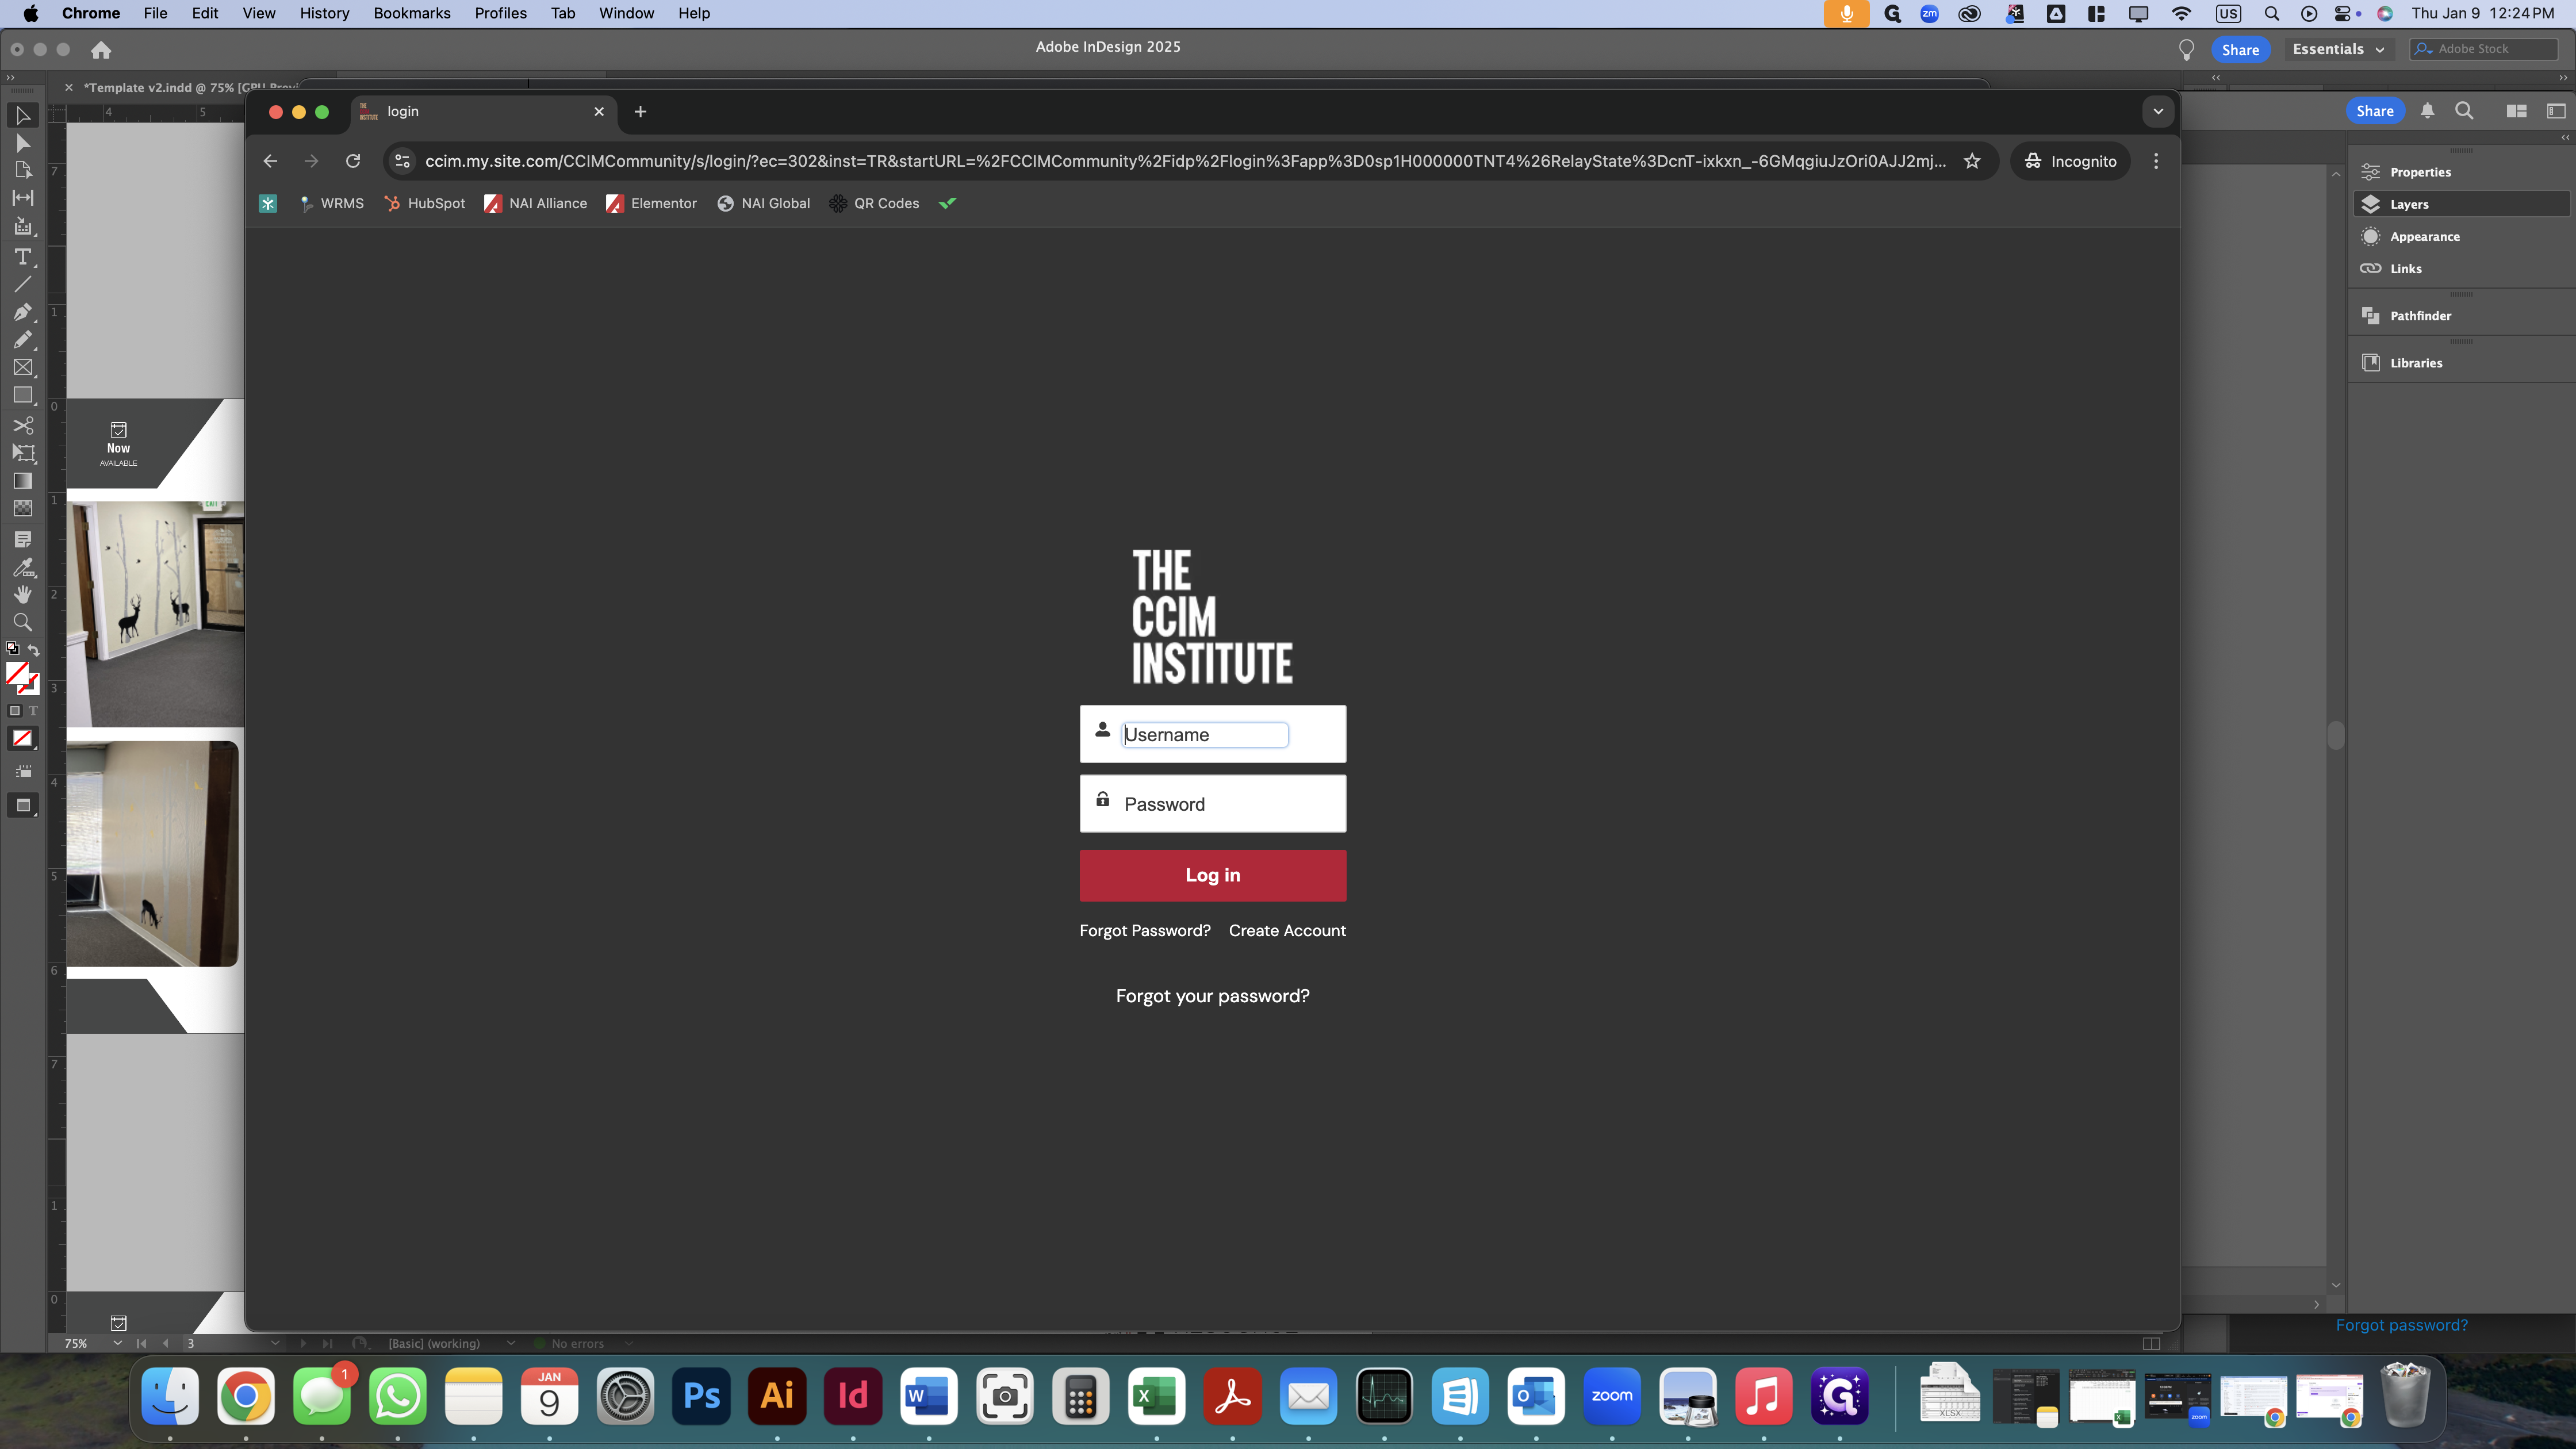
We will log in as a CCIM member.


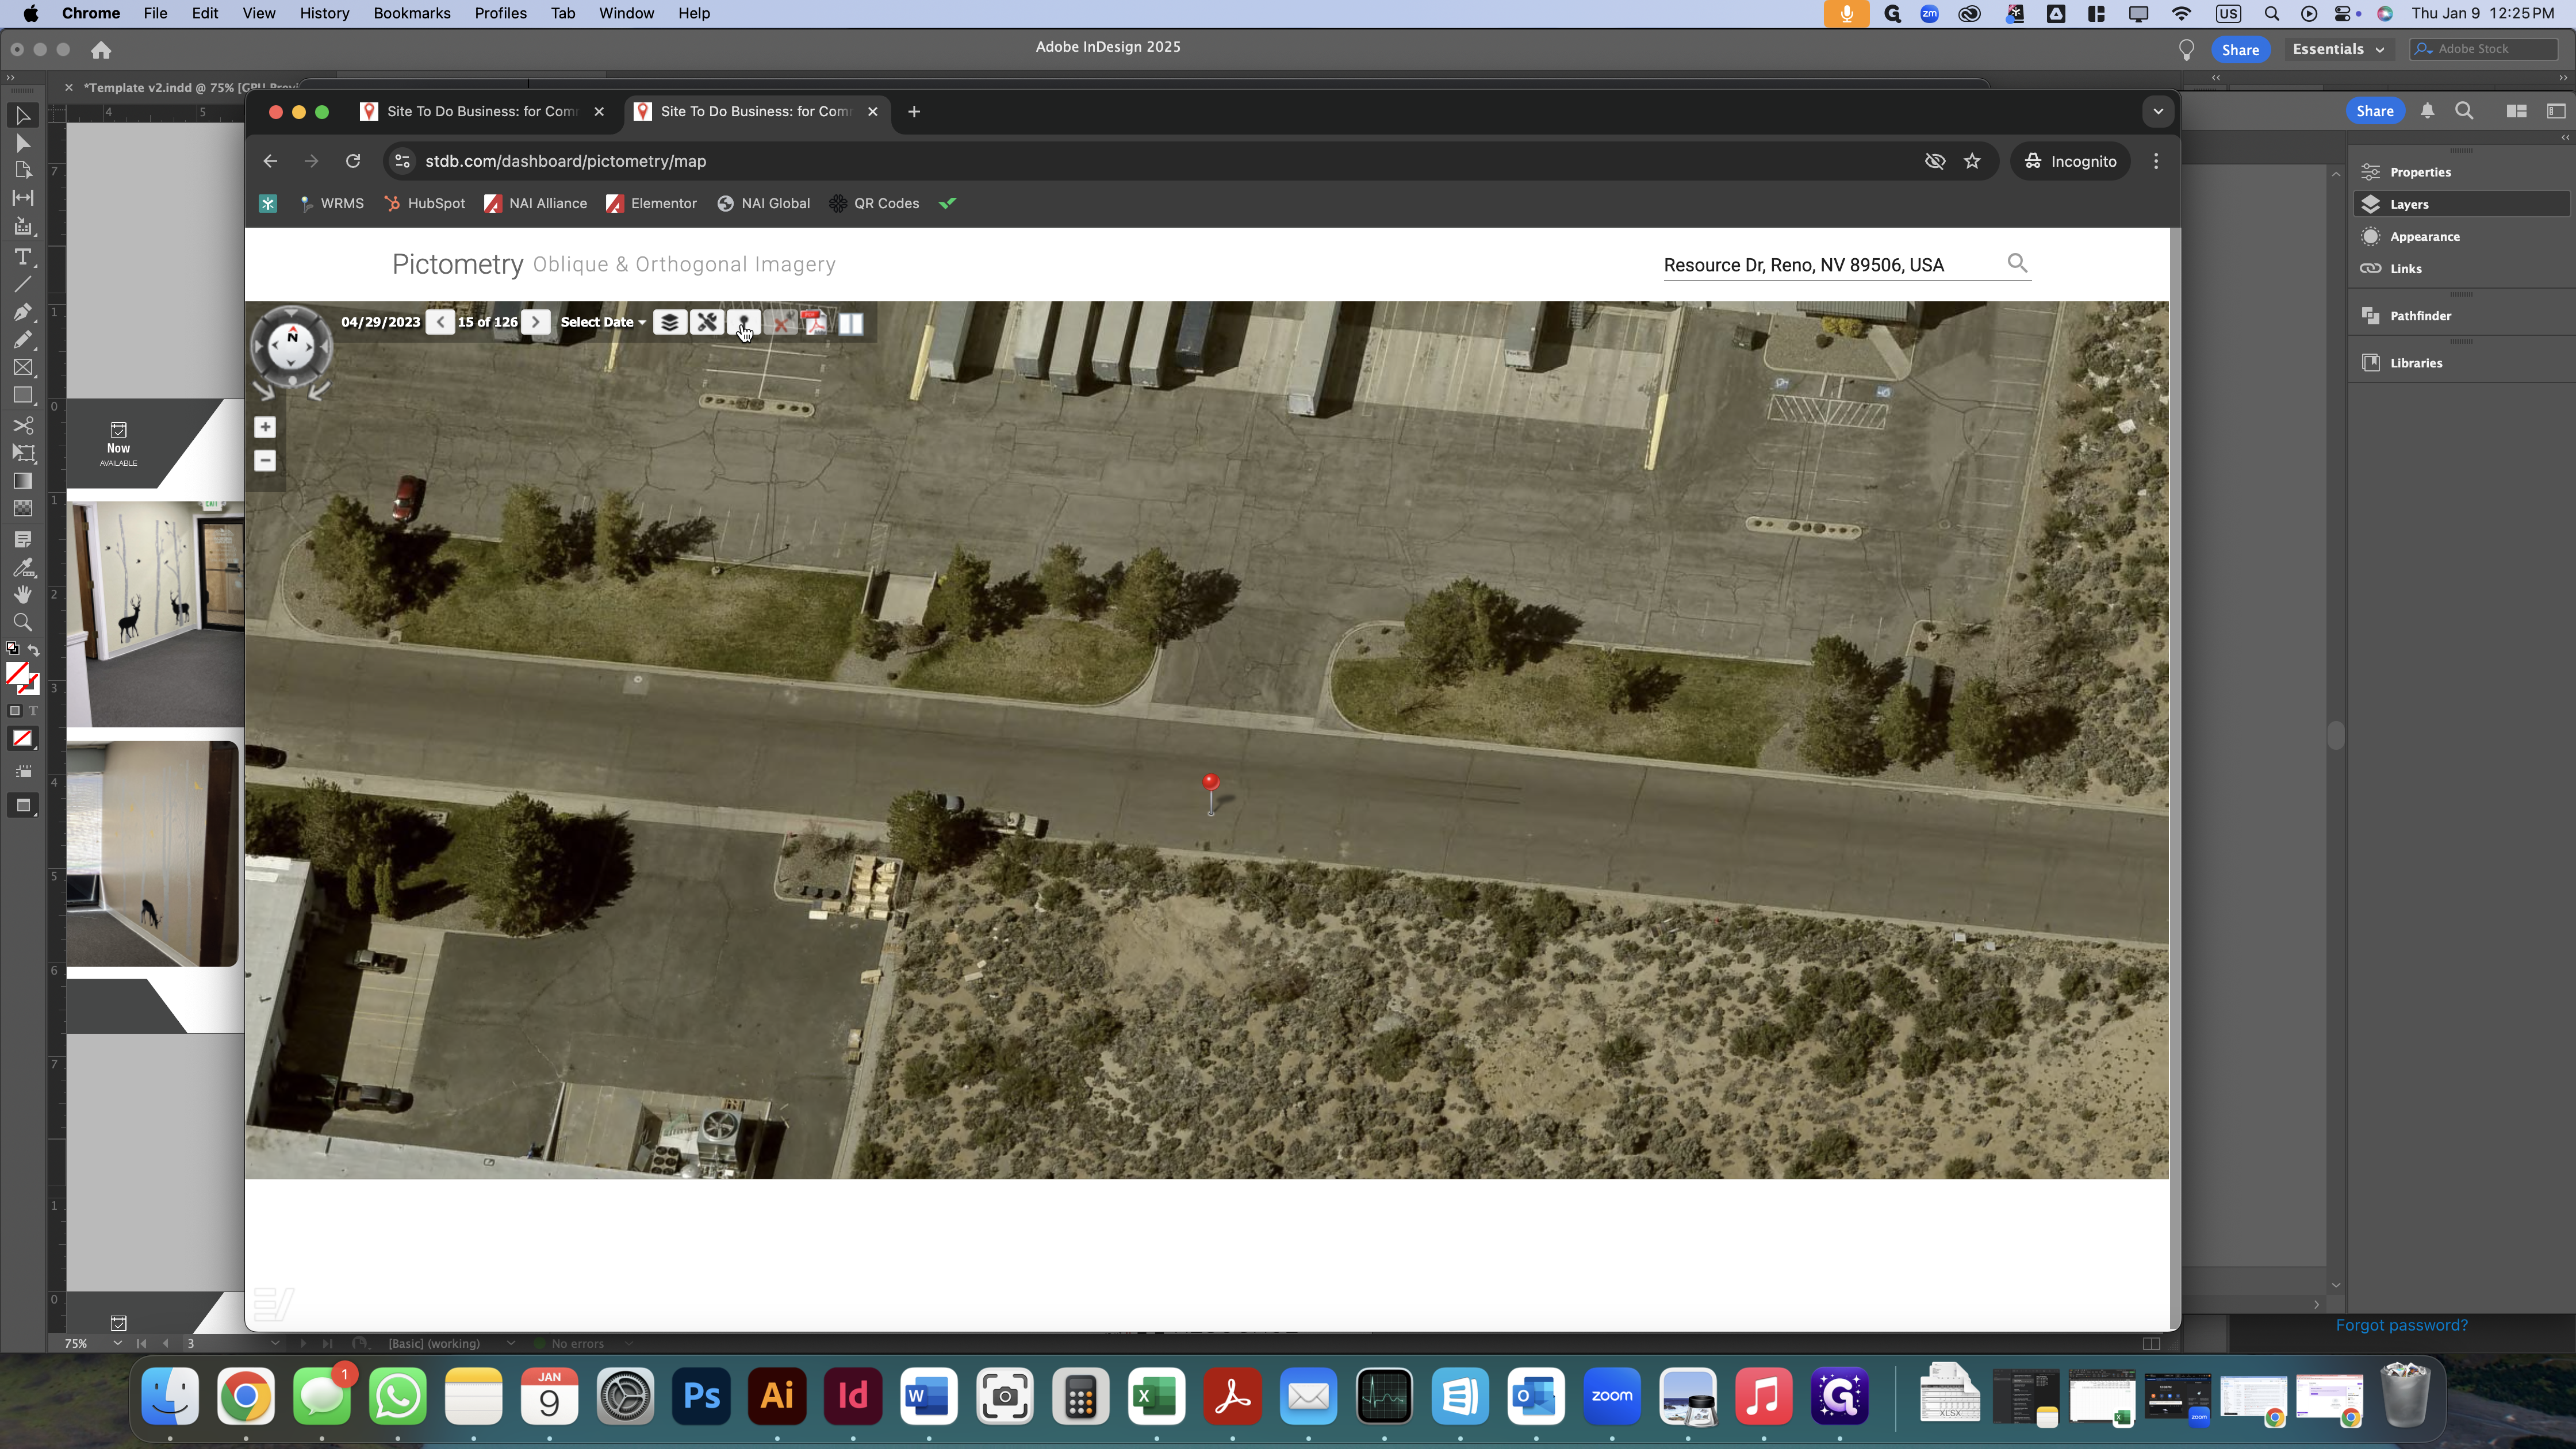
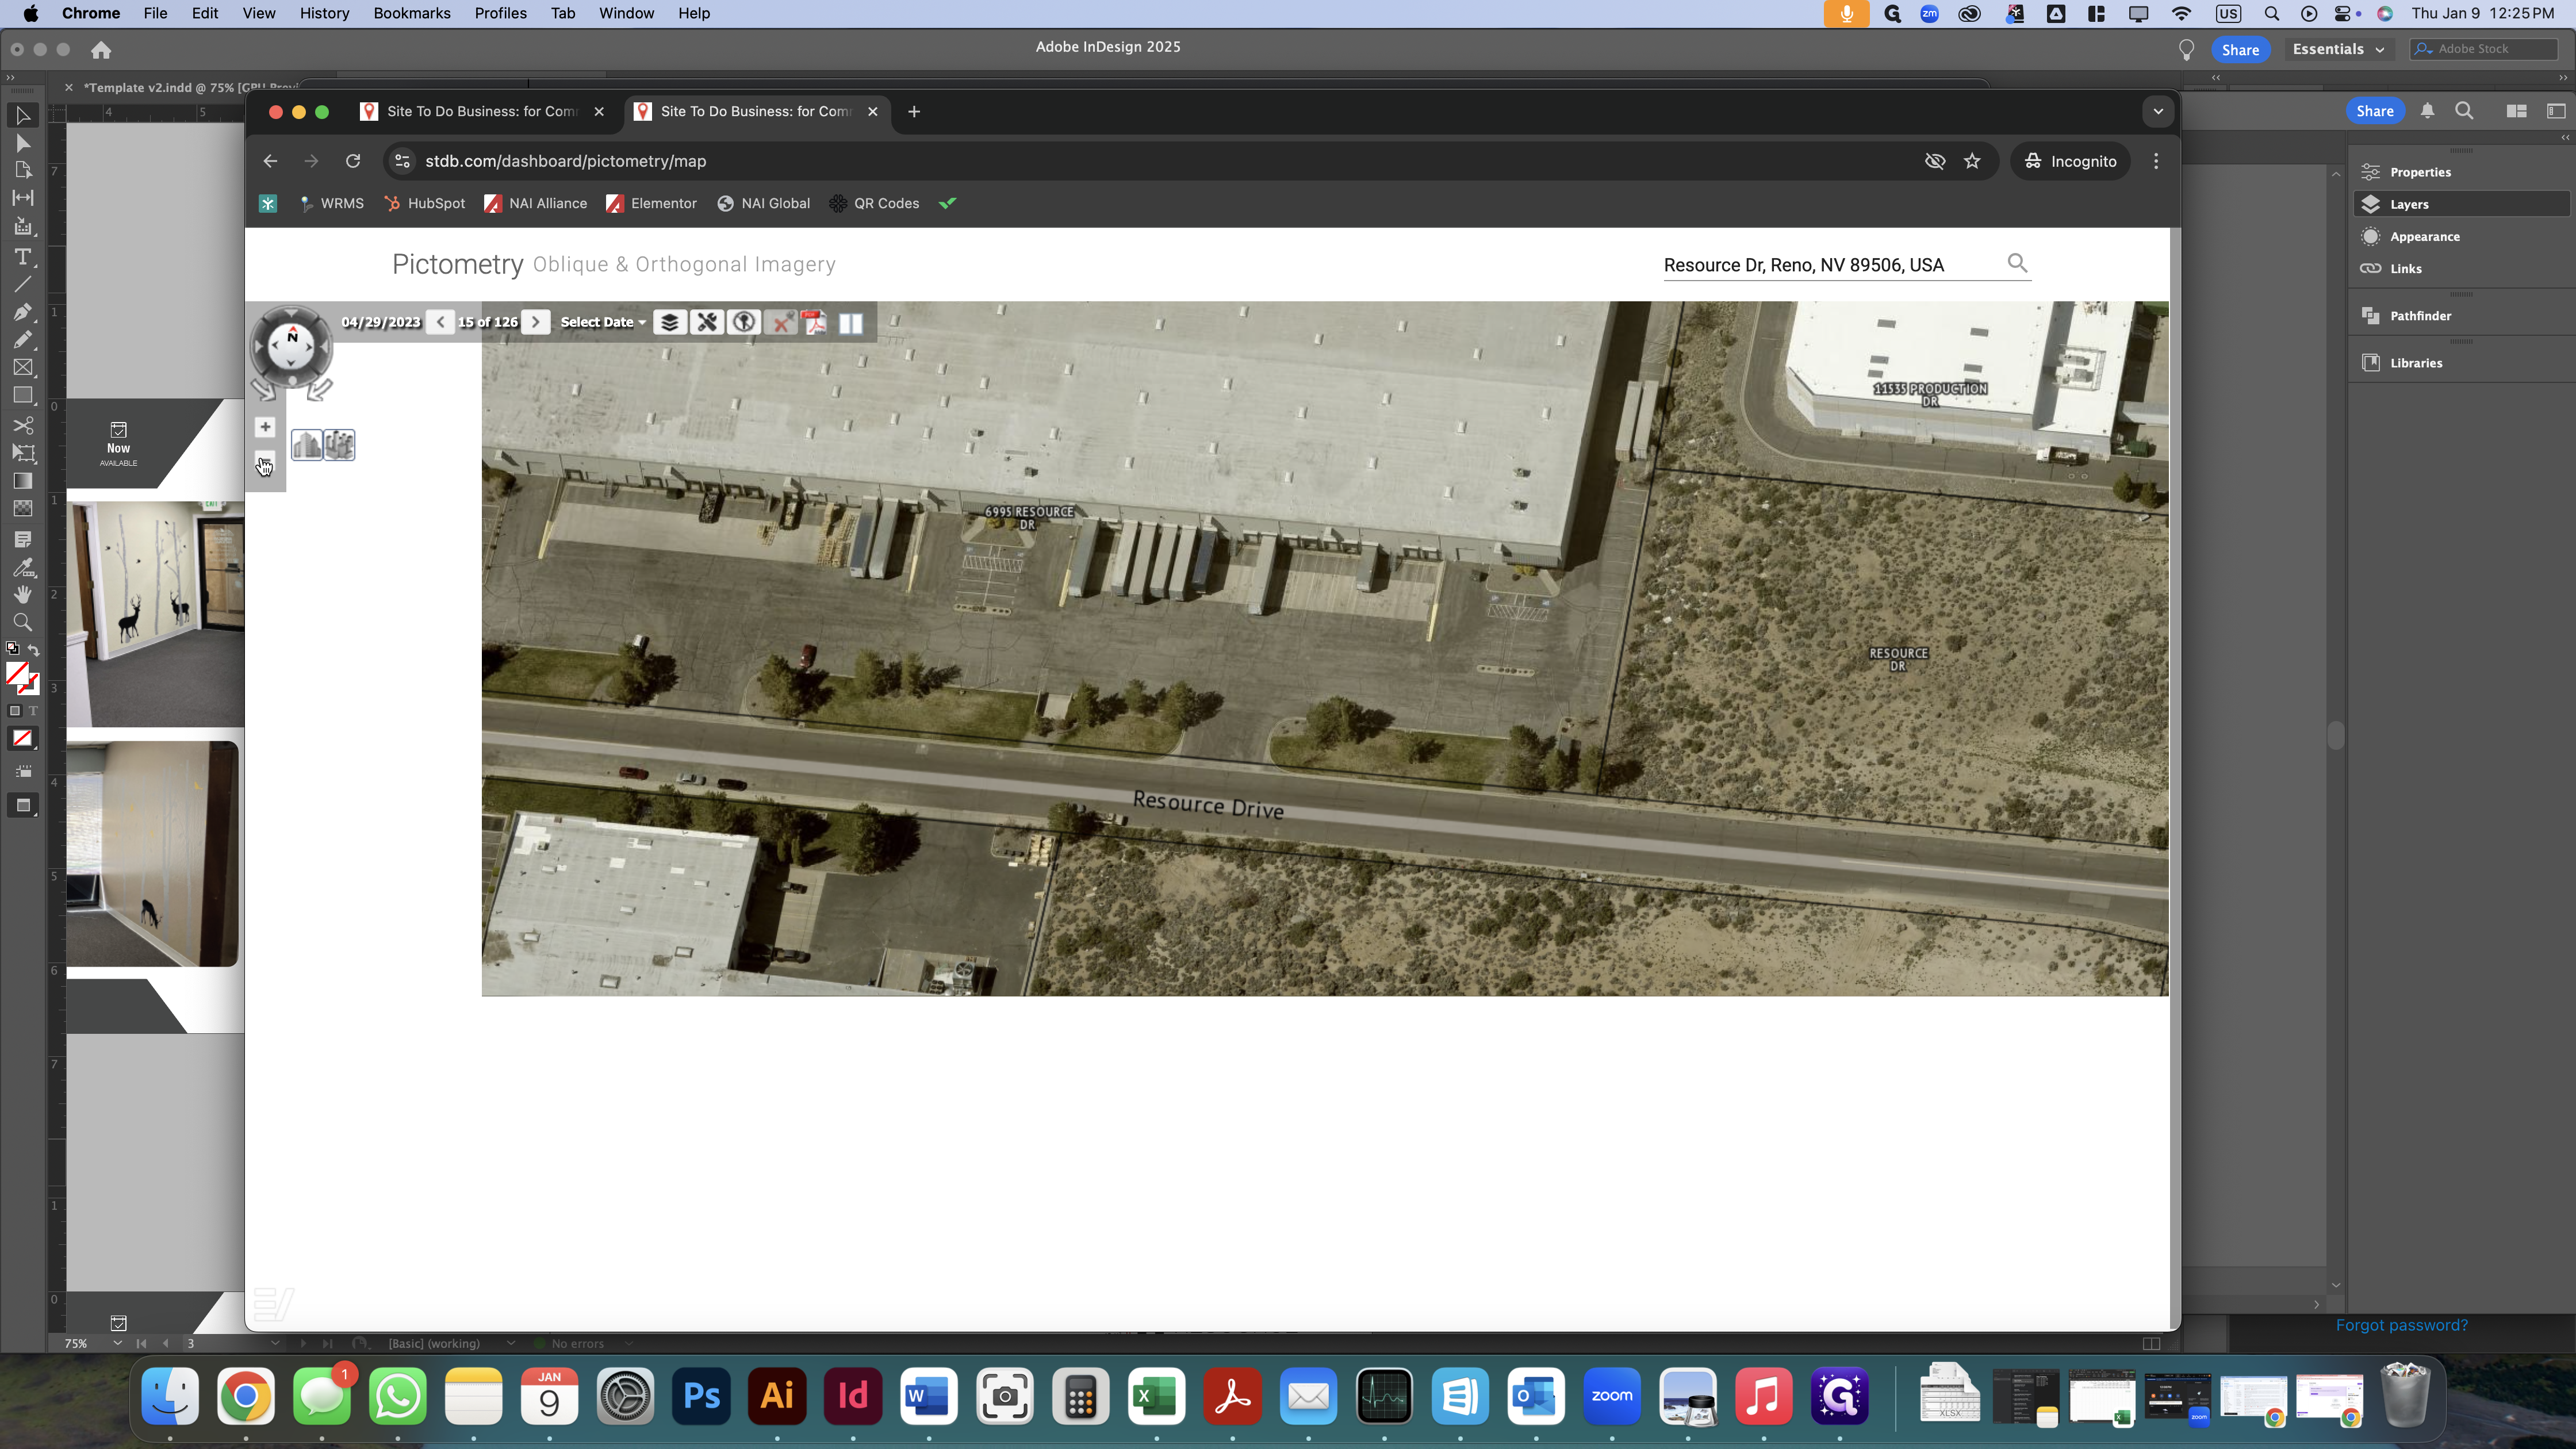
Next, we'll prepare the map so that we can take a screenshot that can be used in our flyer. First, remove the dropped pin that appears on the property.
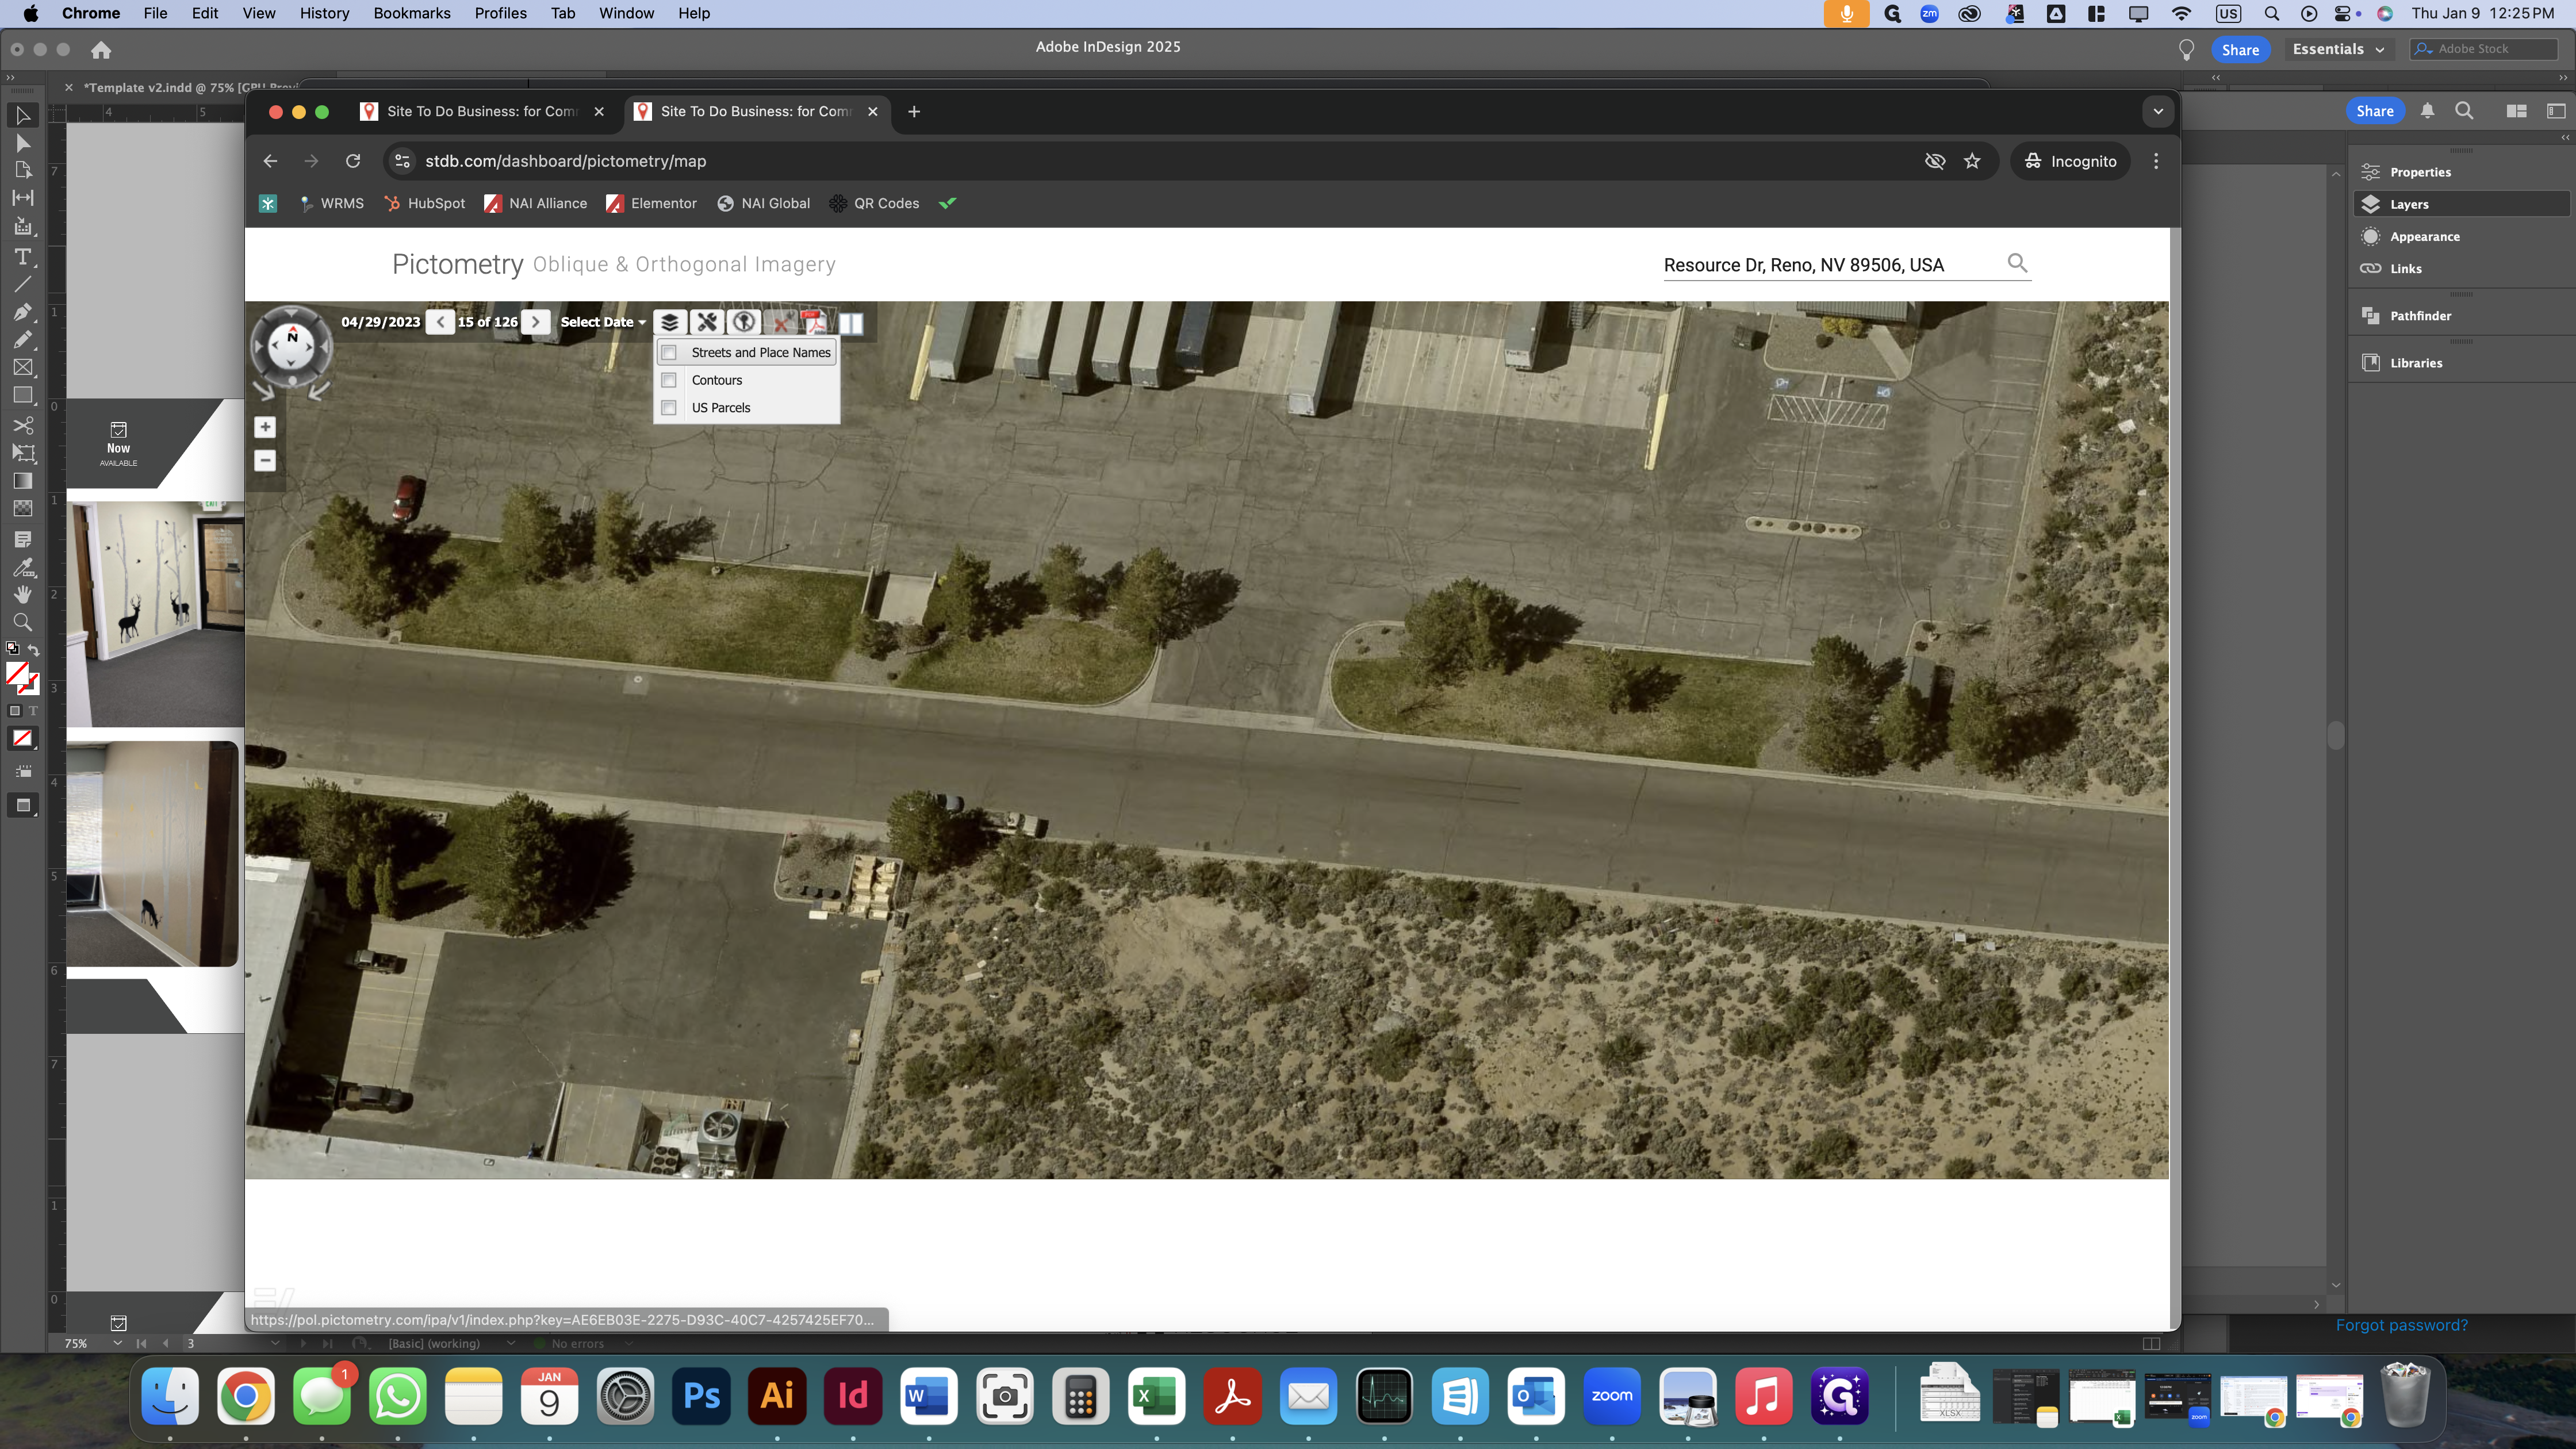
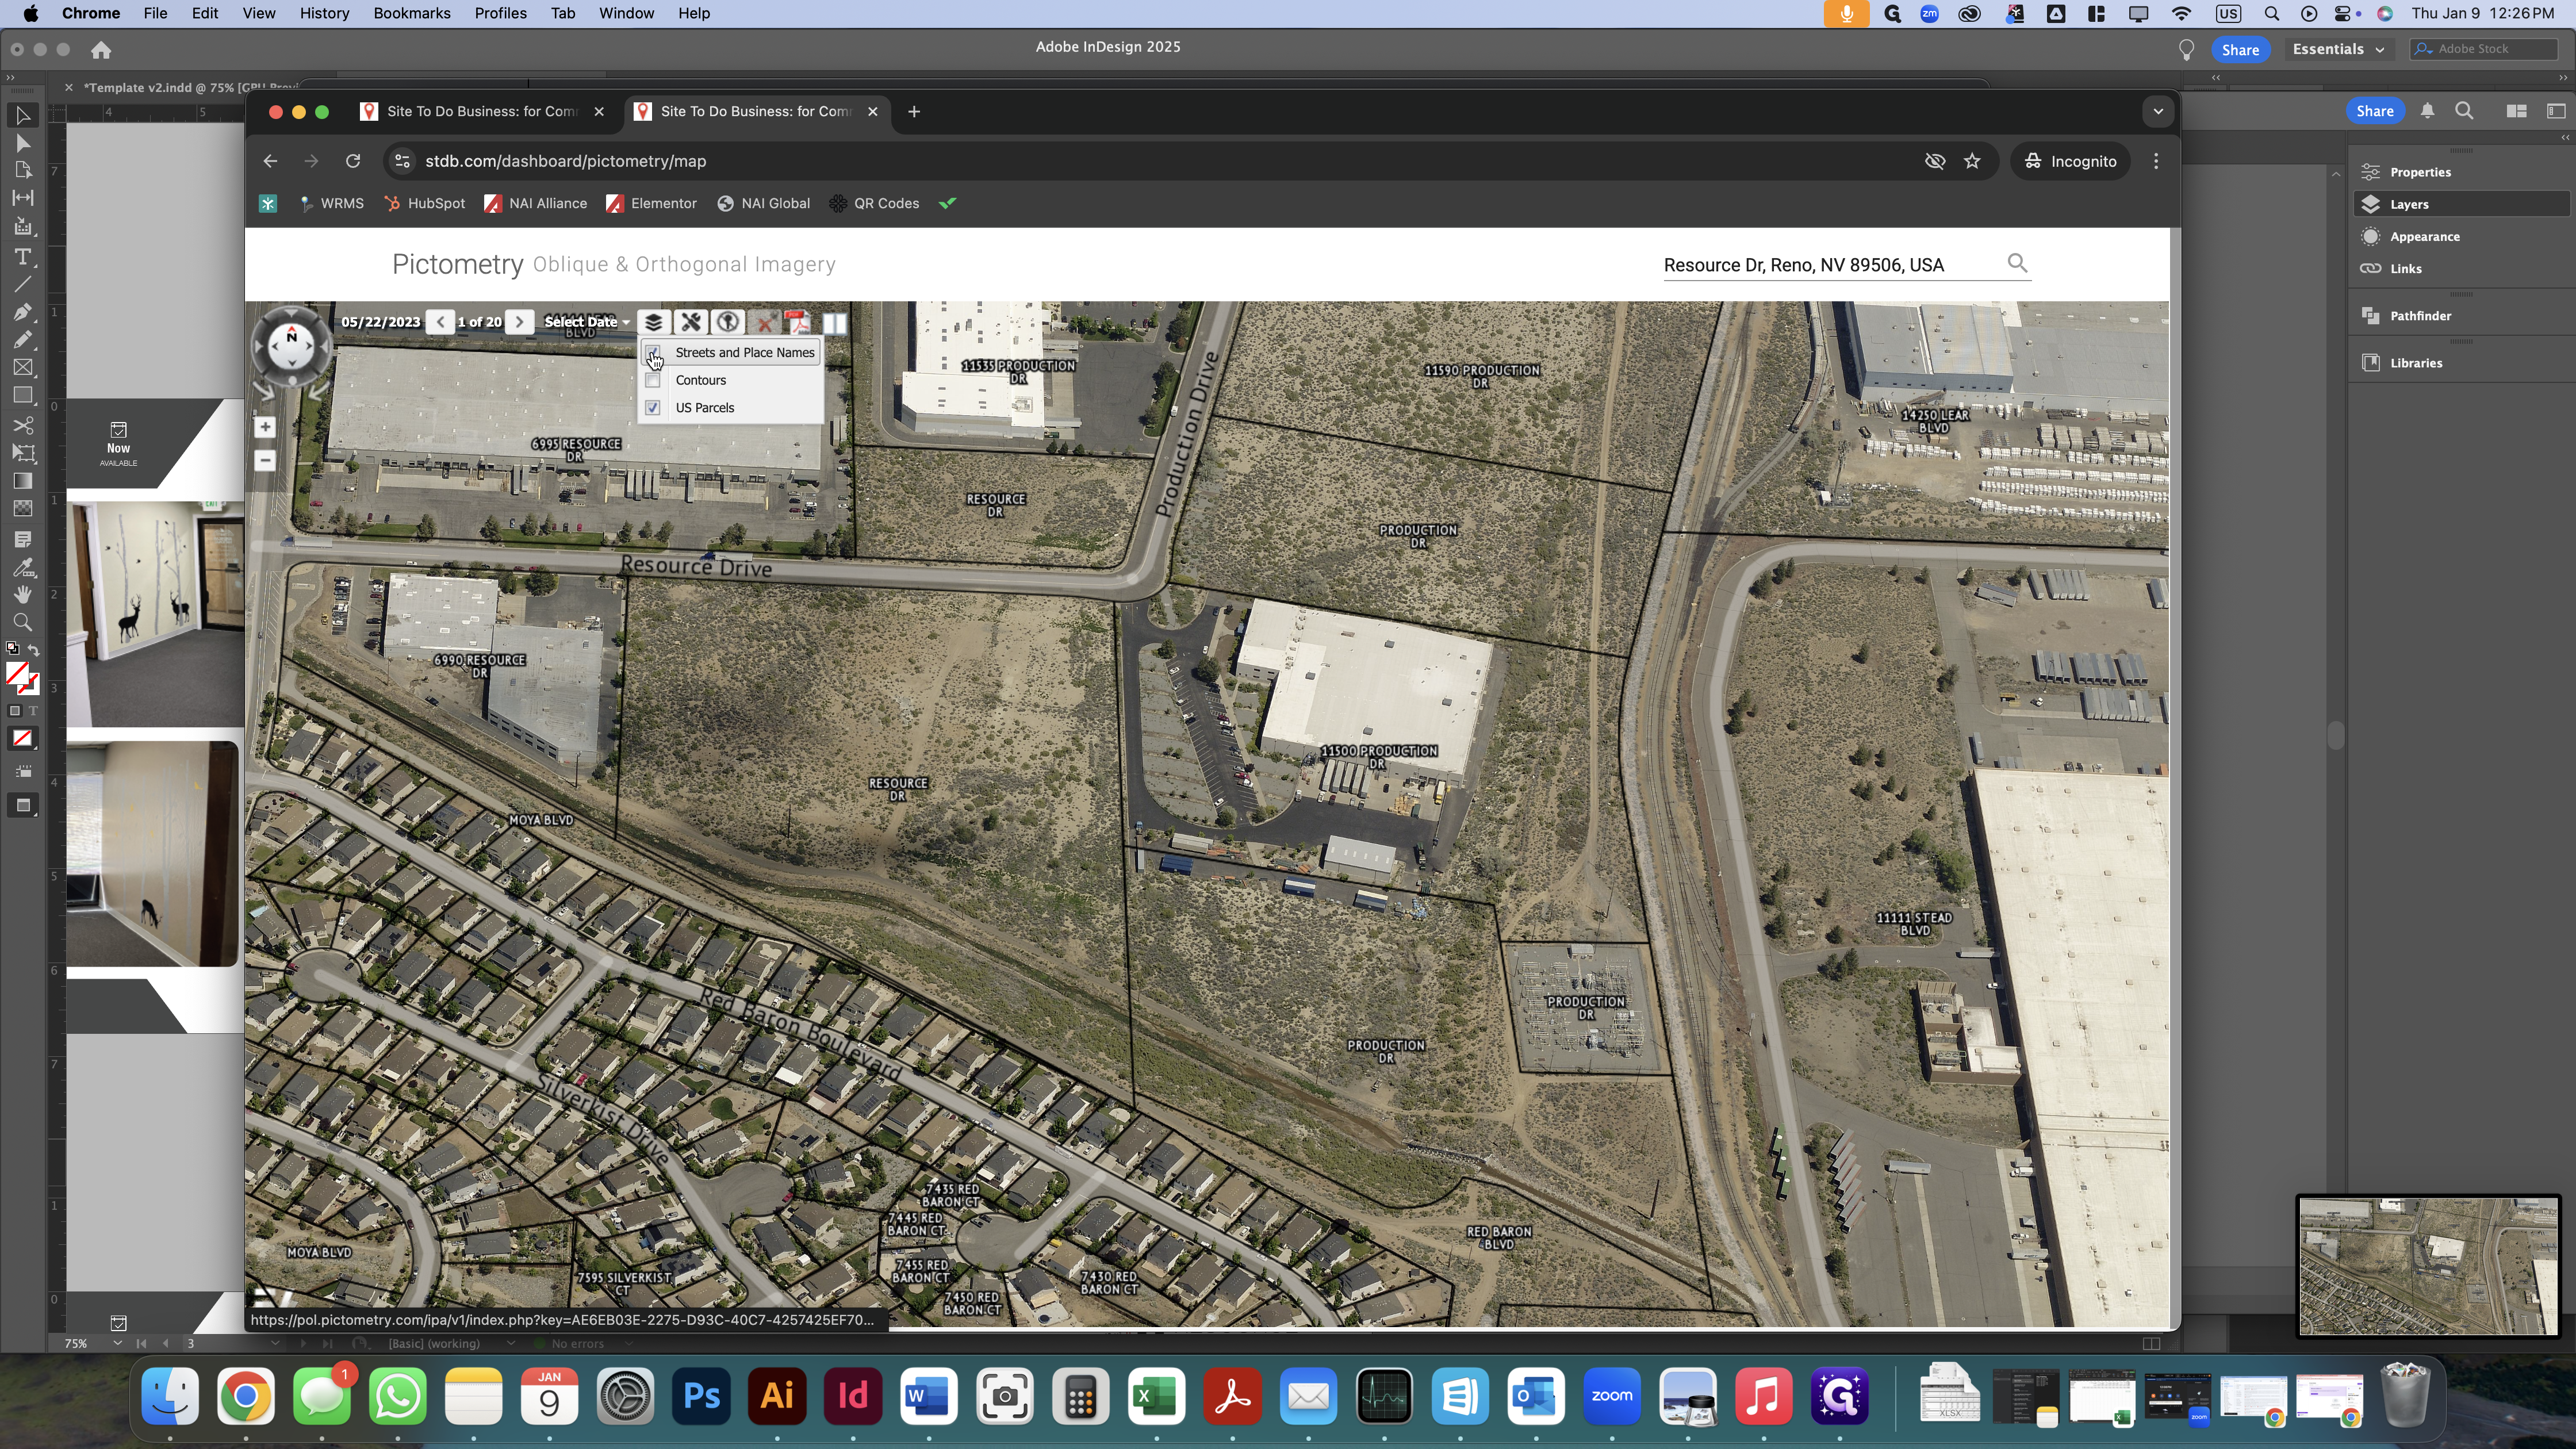
Then show the "Streets and Place Names" and "US Parcels" on the map.


We'll zoom out to view the entire parcel on our screen. Then, we'll move the map so the parcel is on the left side (keeping in mind that there is an overlay on the right hand side of the flyer page).

If we zoom out further, we'll see more of the surrounding area, but the parcel lines will disappear. We need to zoom in enough to see the parcel lines.
Now we need to take two screenshots. The first is with all parcel lines and street names showing. Select the area for the screenshot that captures as much of the map as possible, ensuring no map controls appear in the screenshot.

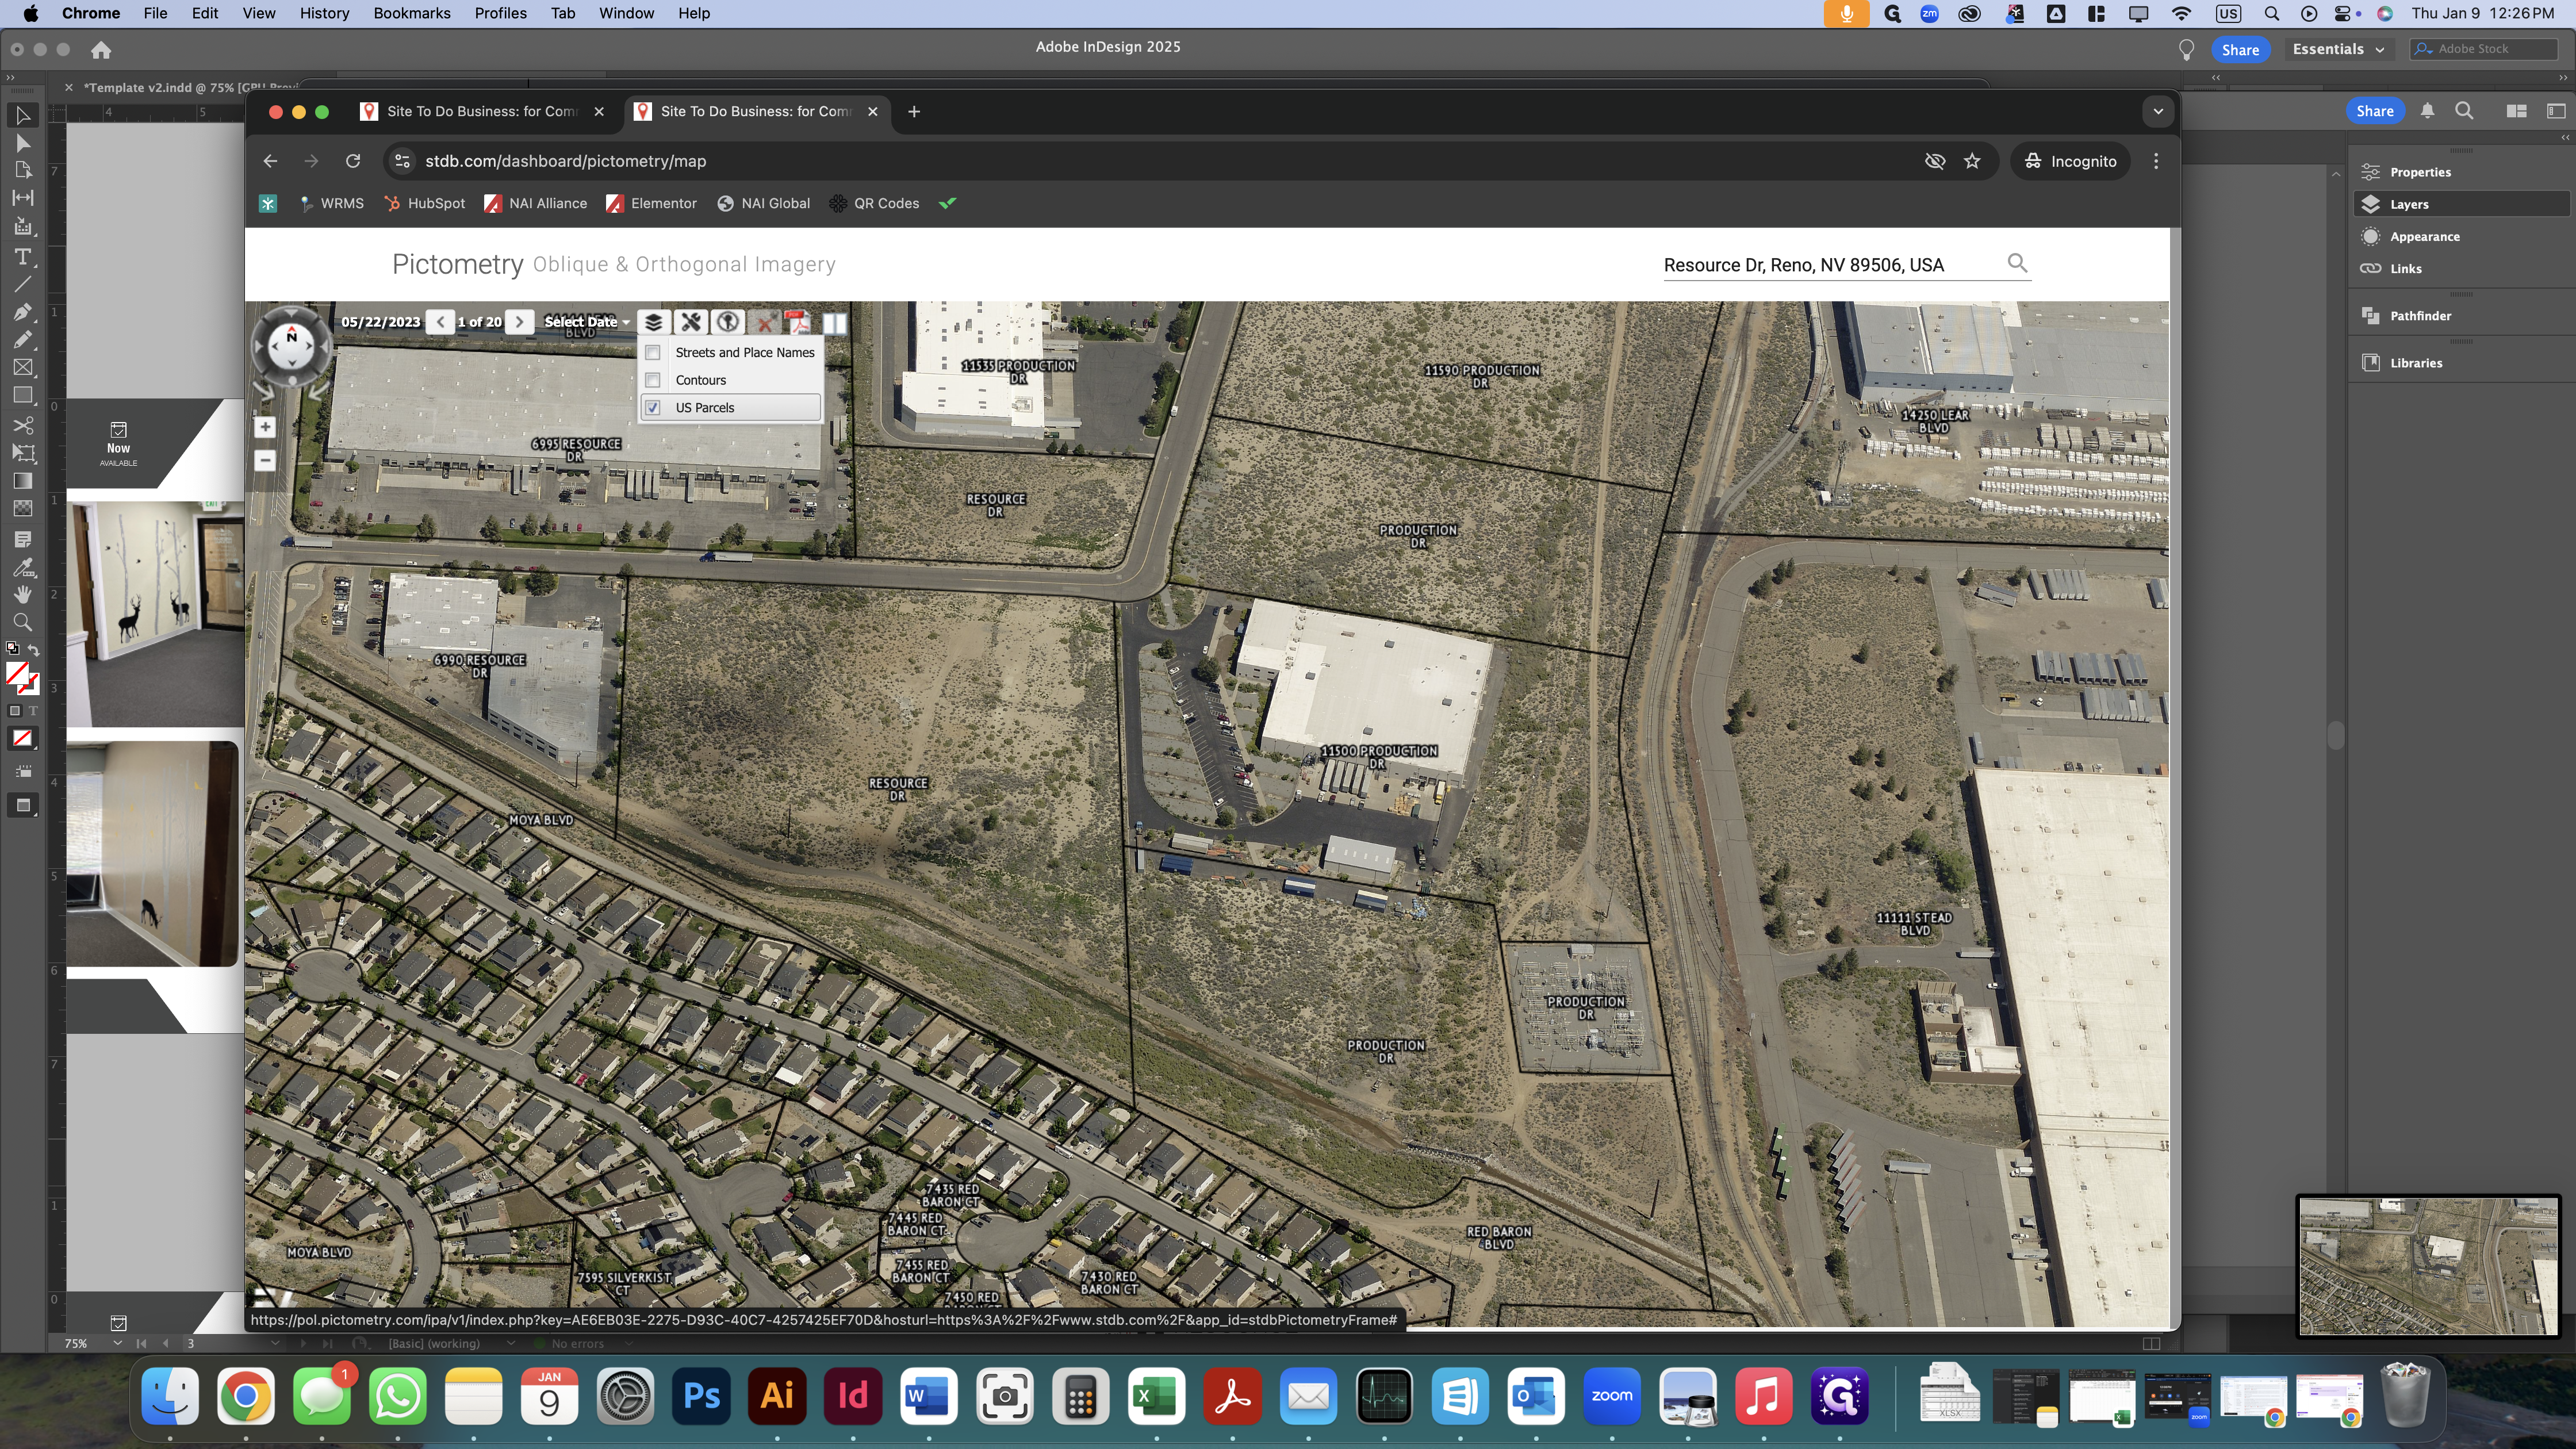
Next, without altering the map's zoom or position, turn off the street names and parcels, and take the same screenshot again.

We need both of these to make the image for our flyer. Now, return to Illustrator and insert the two screenshots we just took into the artboard.
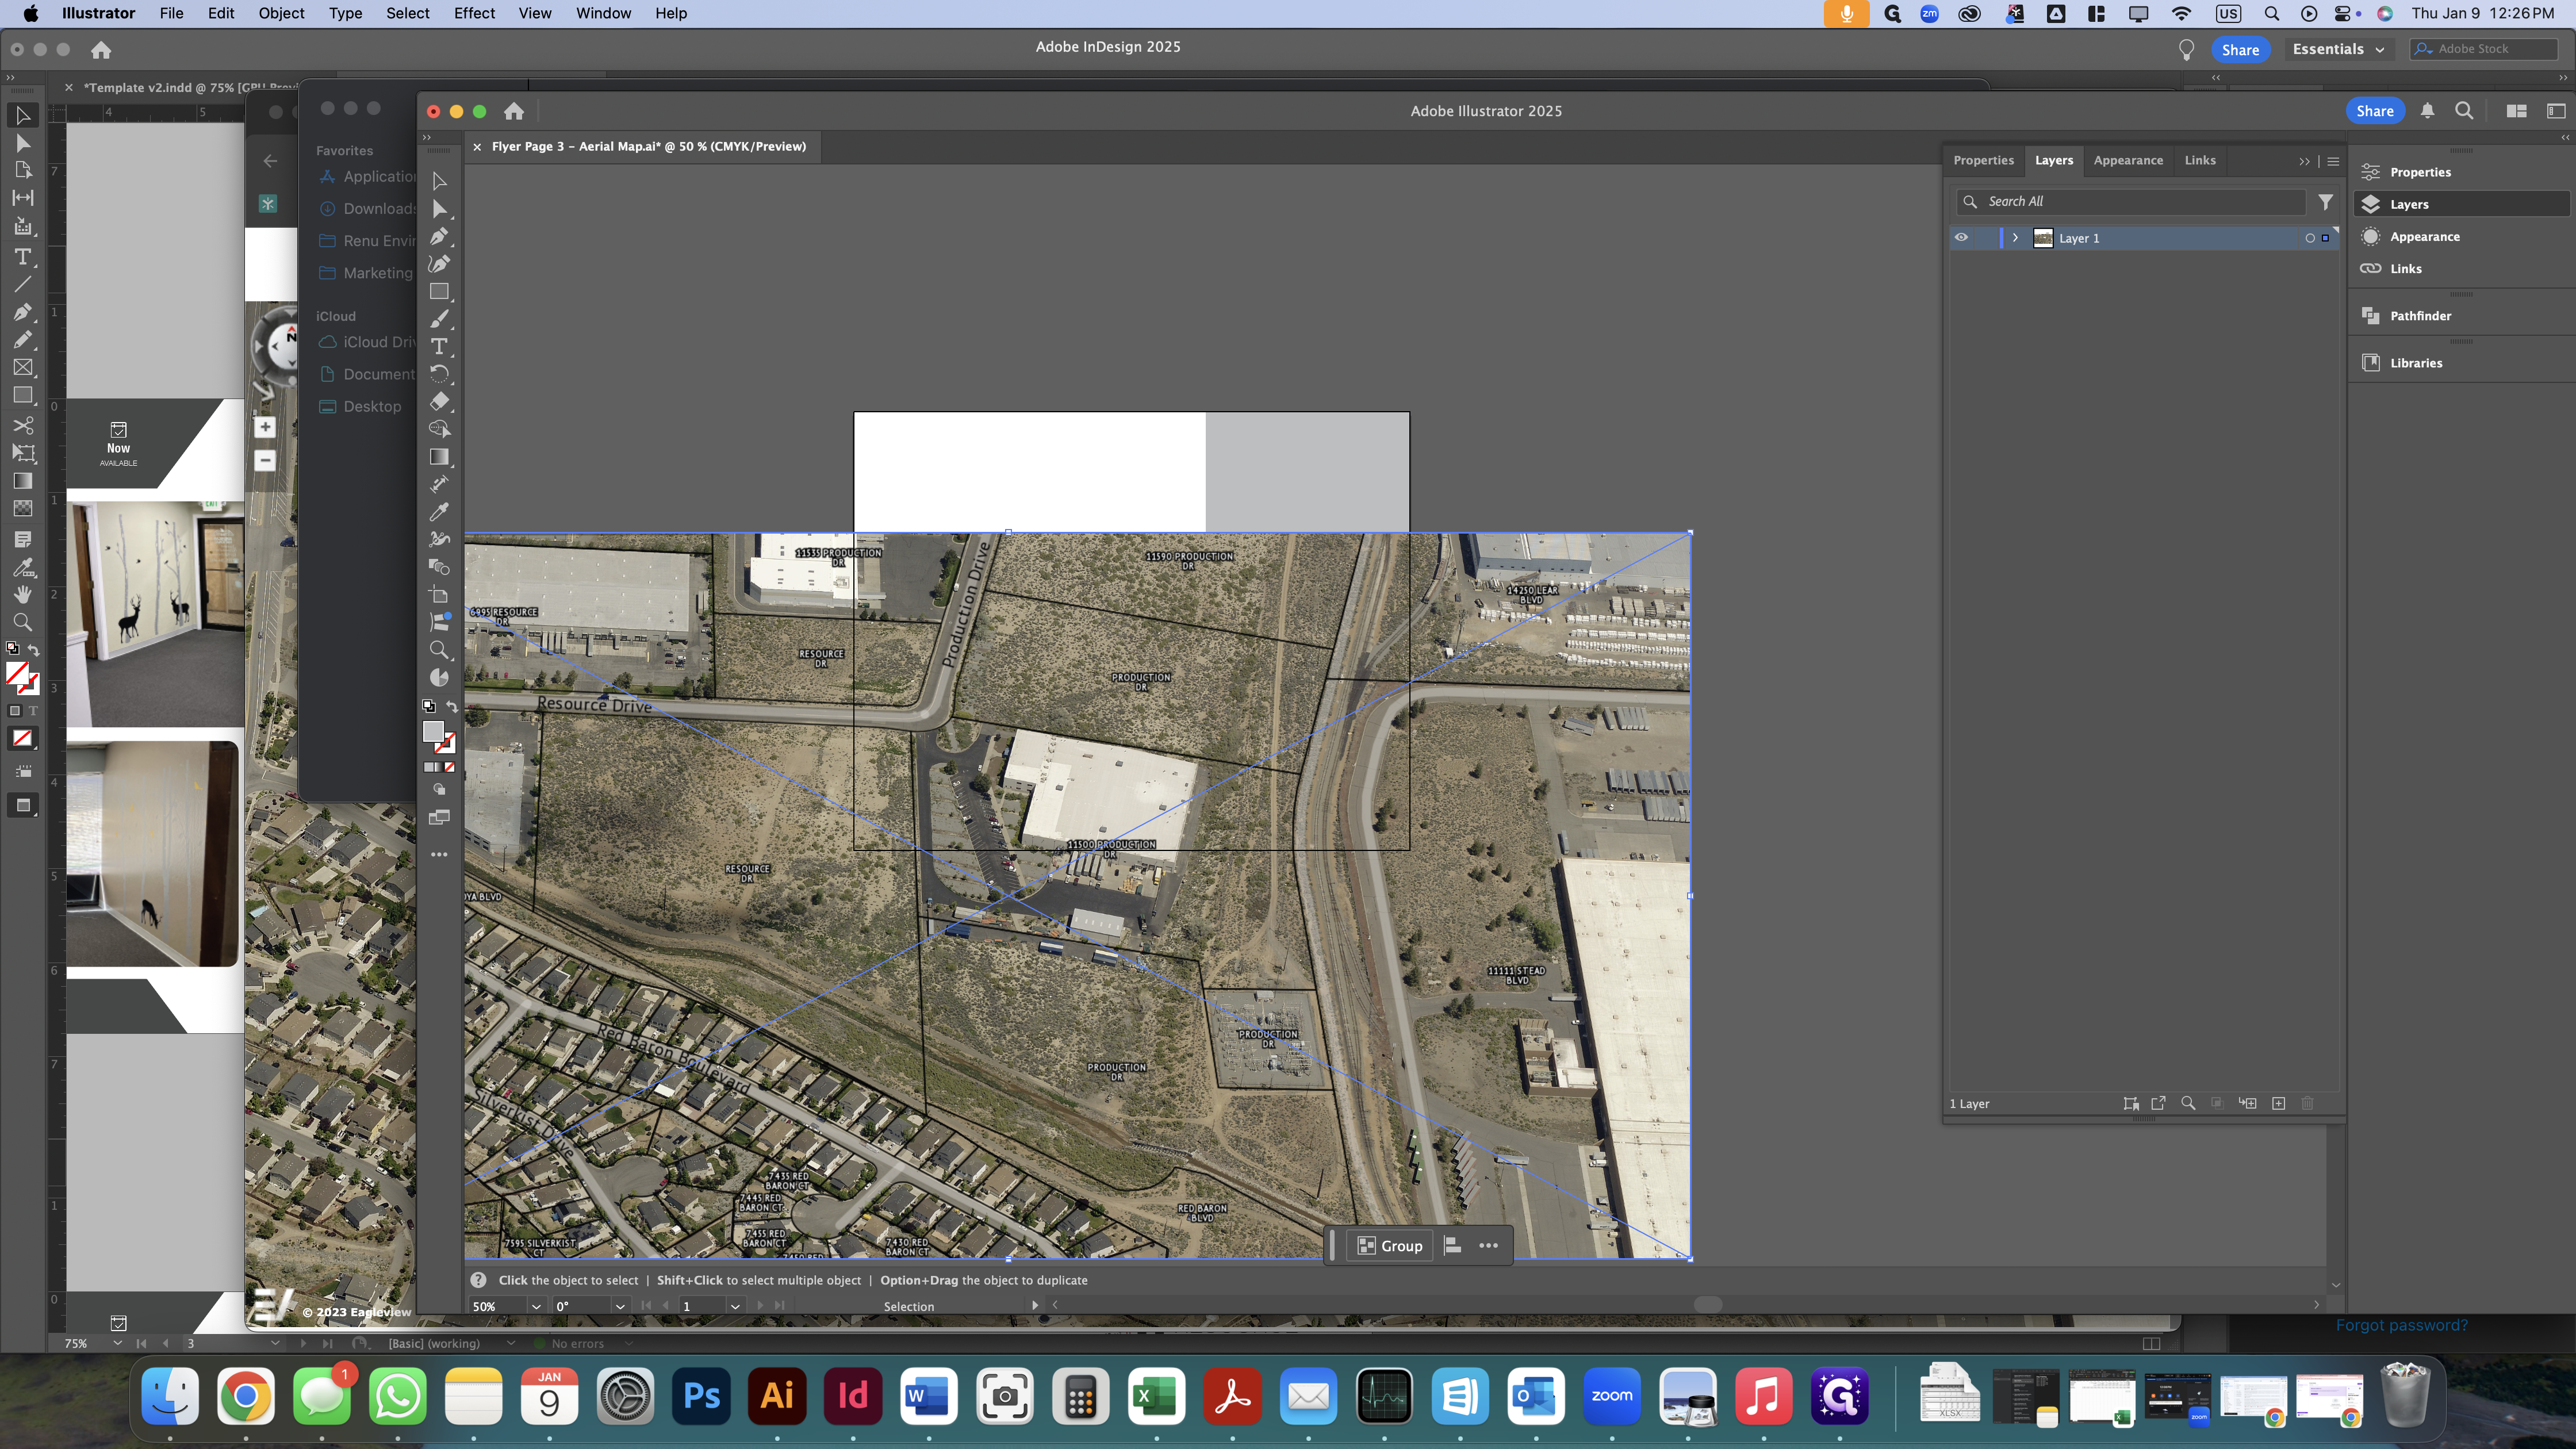
Keeping both files stacked and aligned on top of each other, we will resize both of them proportionally to fit on this page and place them behind the overlay box as a reminder.
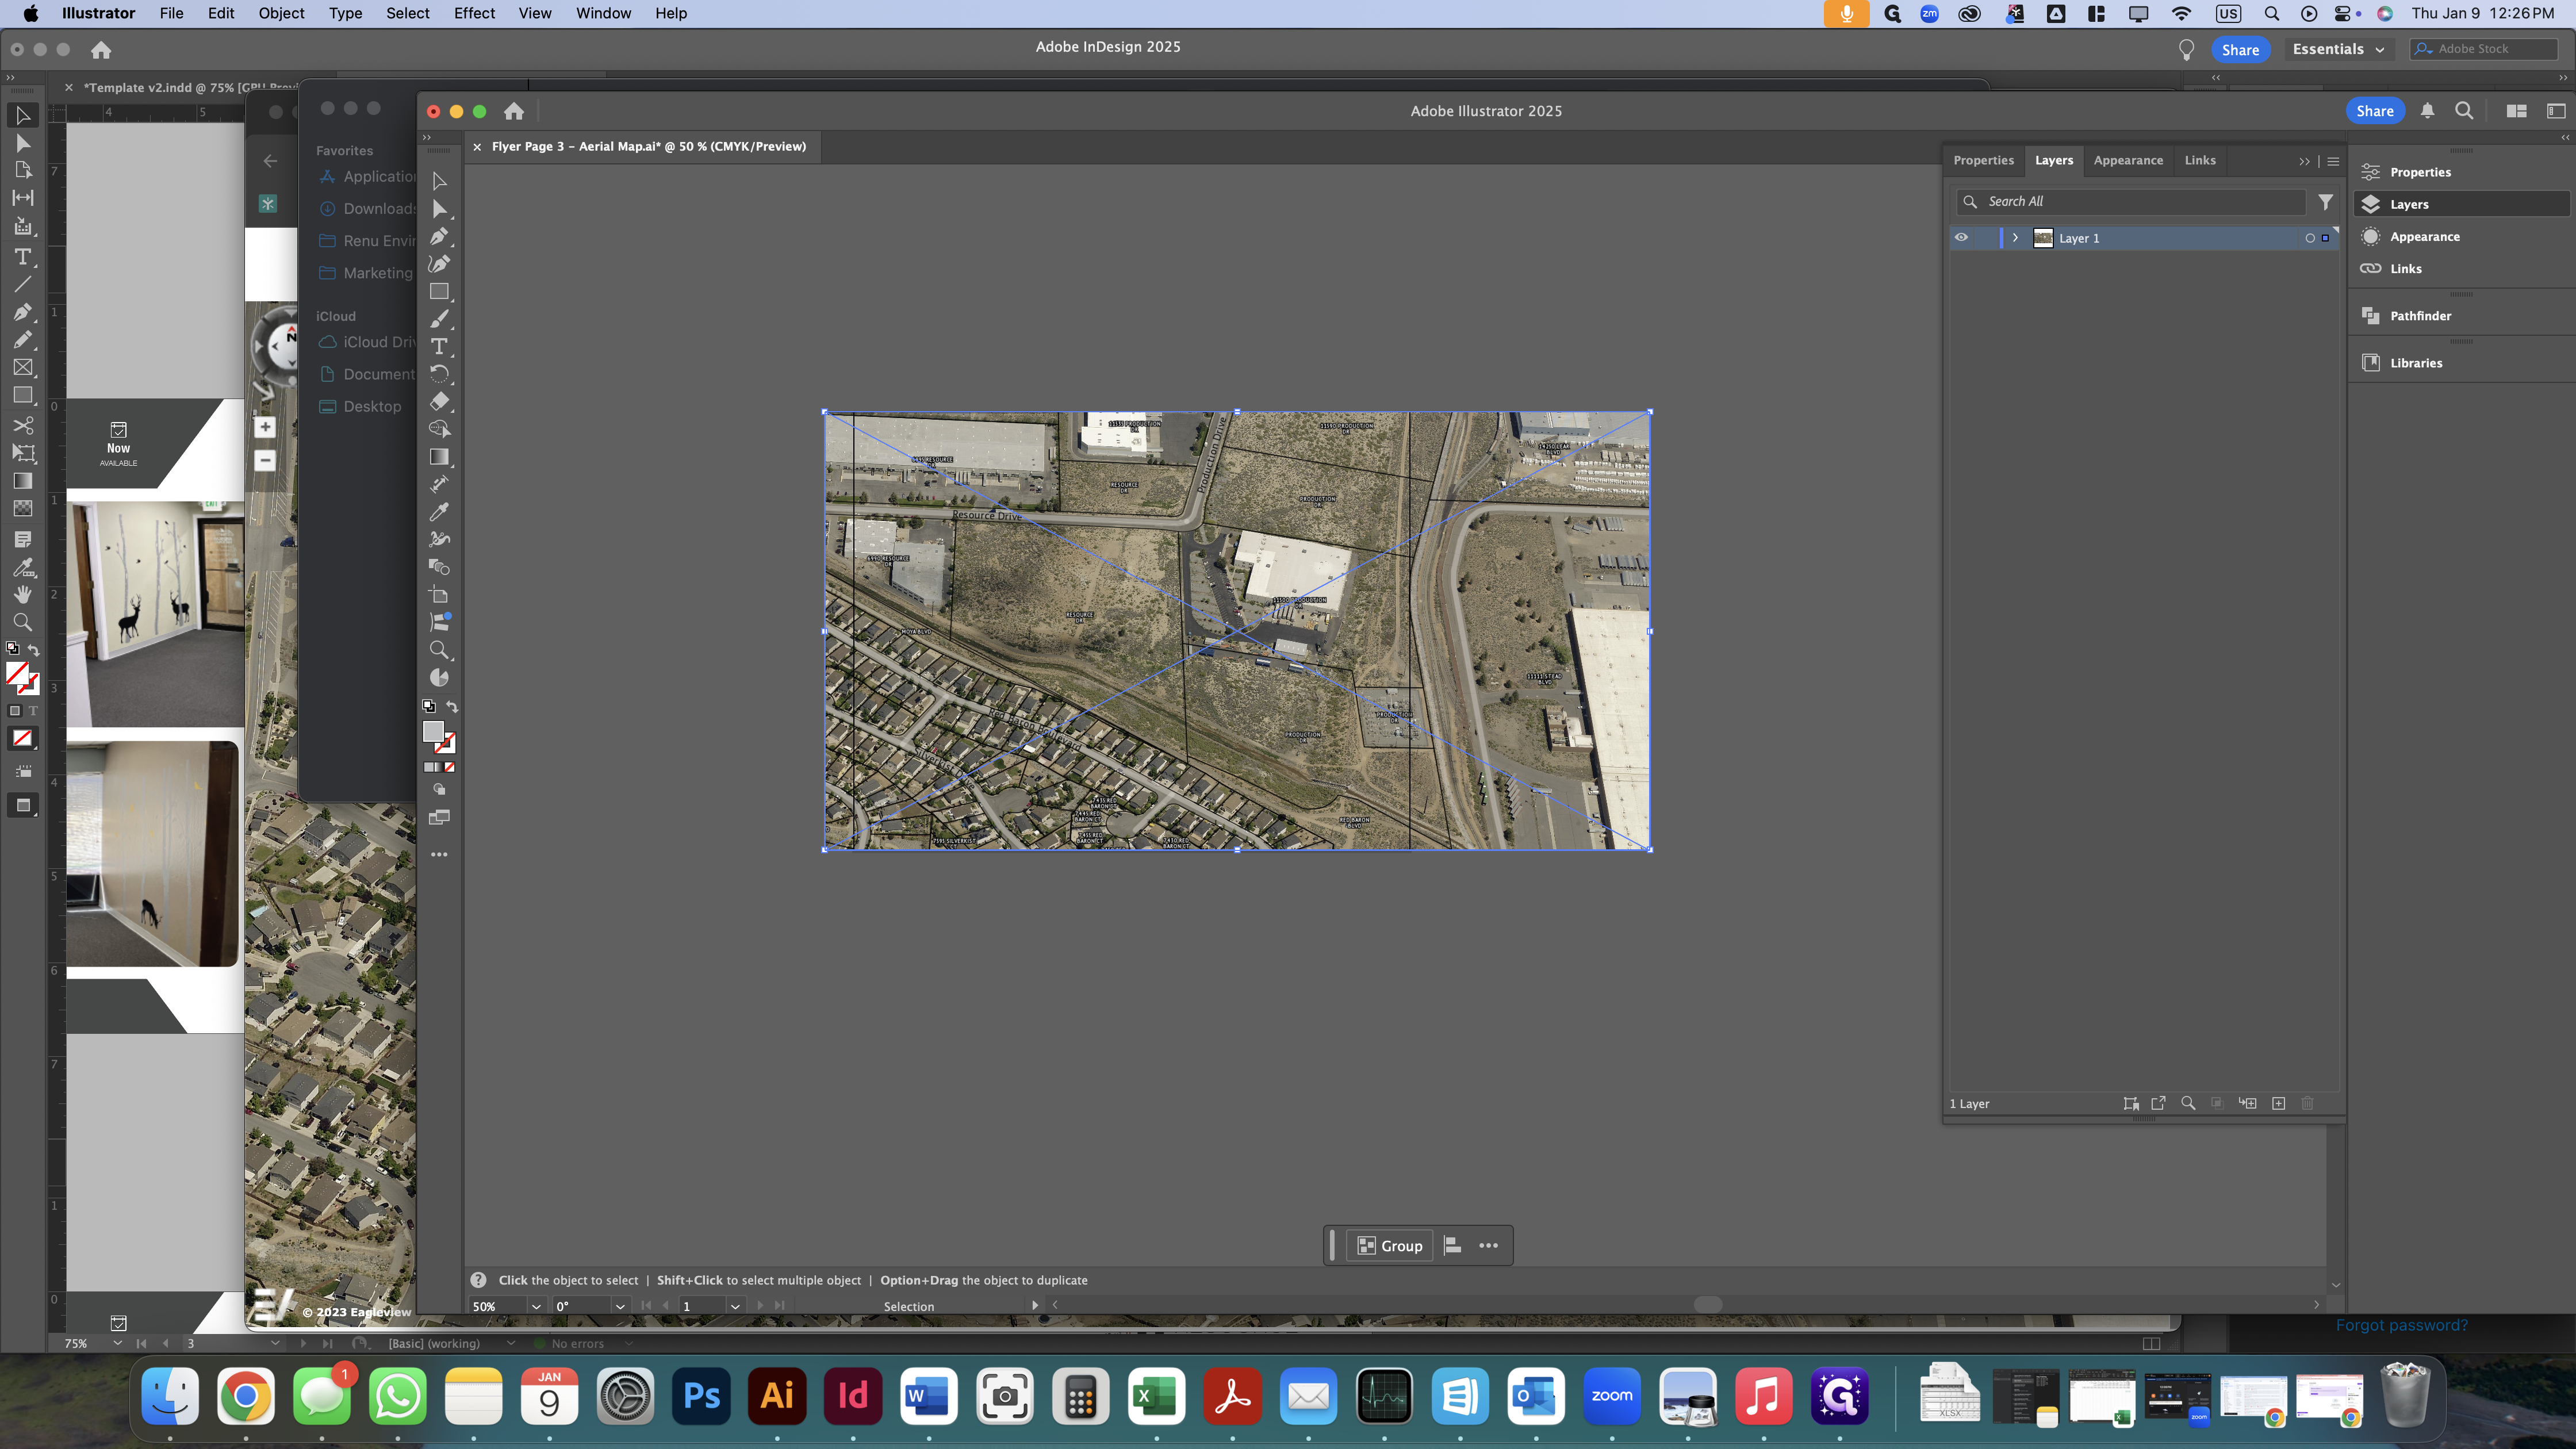
Send the two image files to the back so that you can see the grey box.
Center the subject parcel.
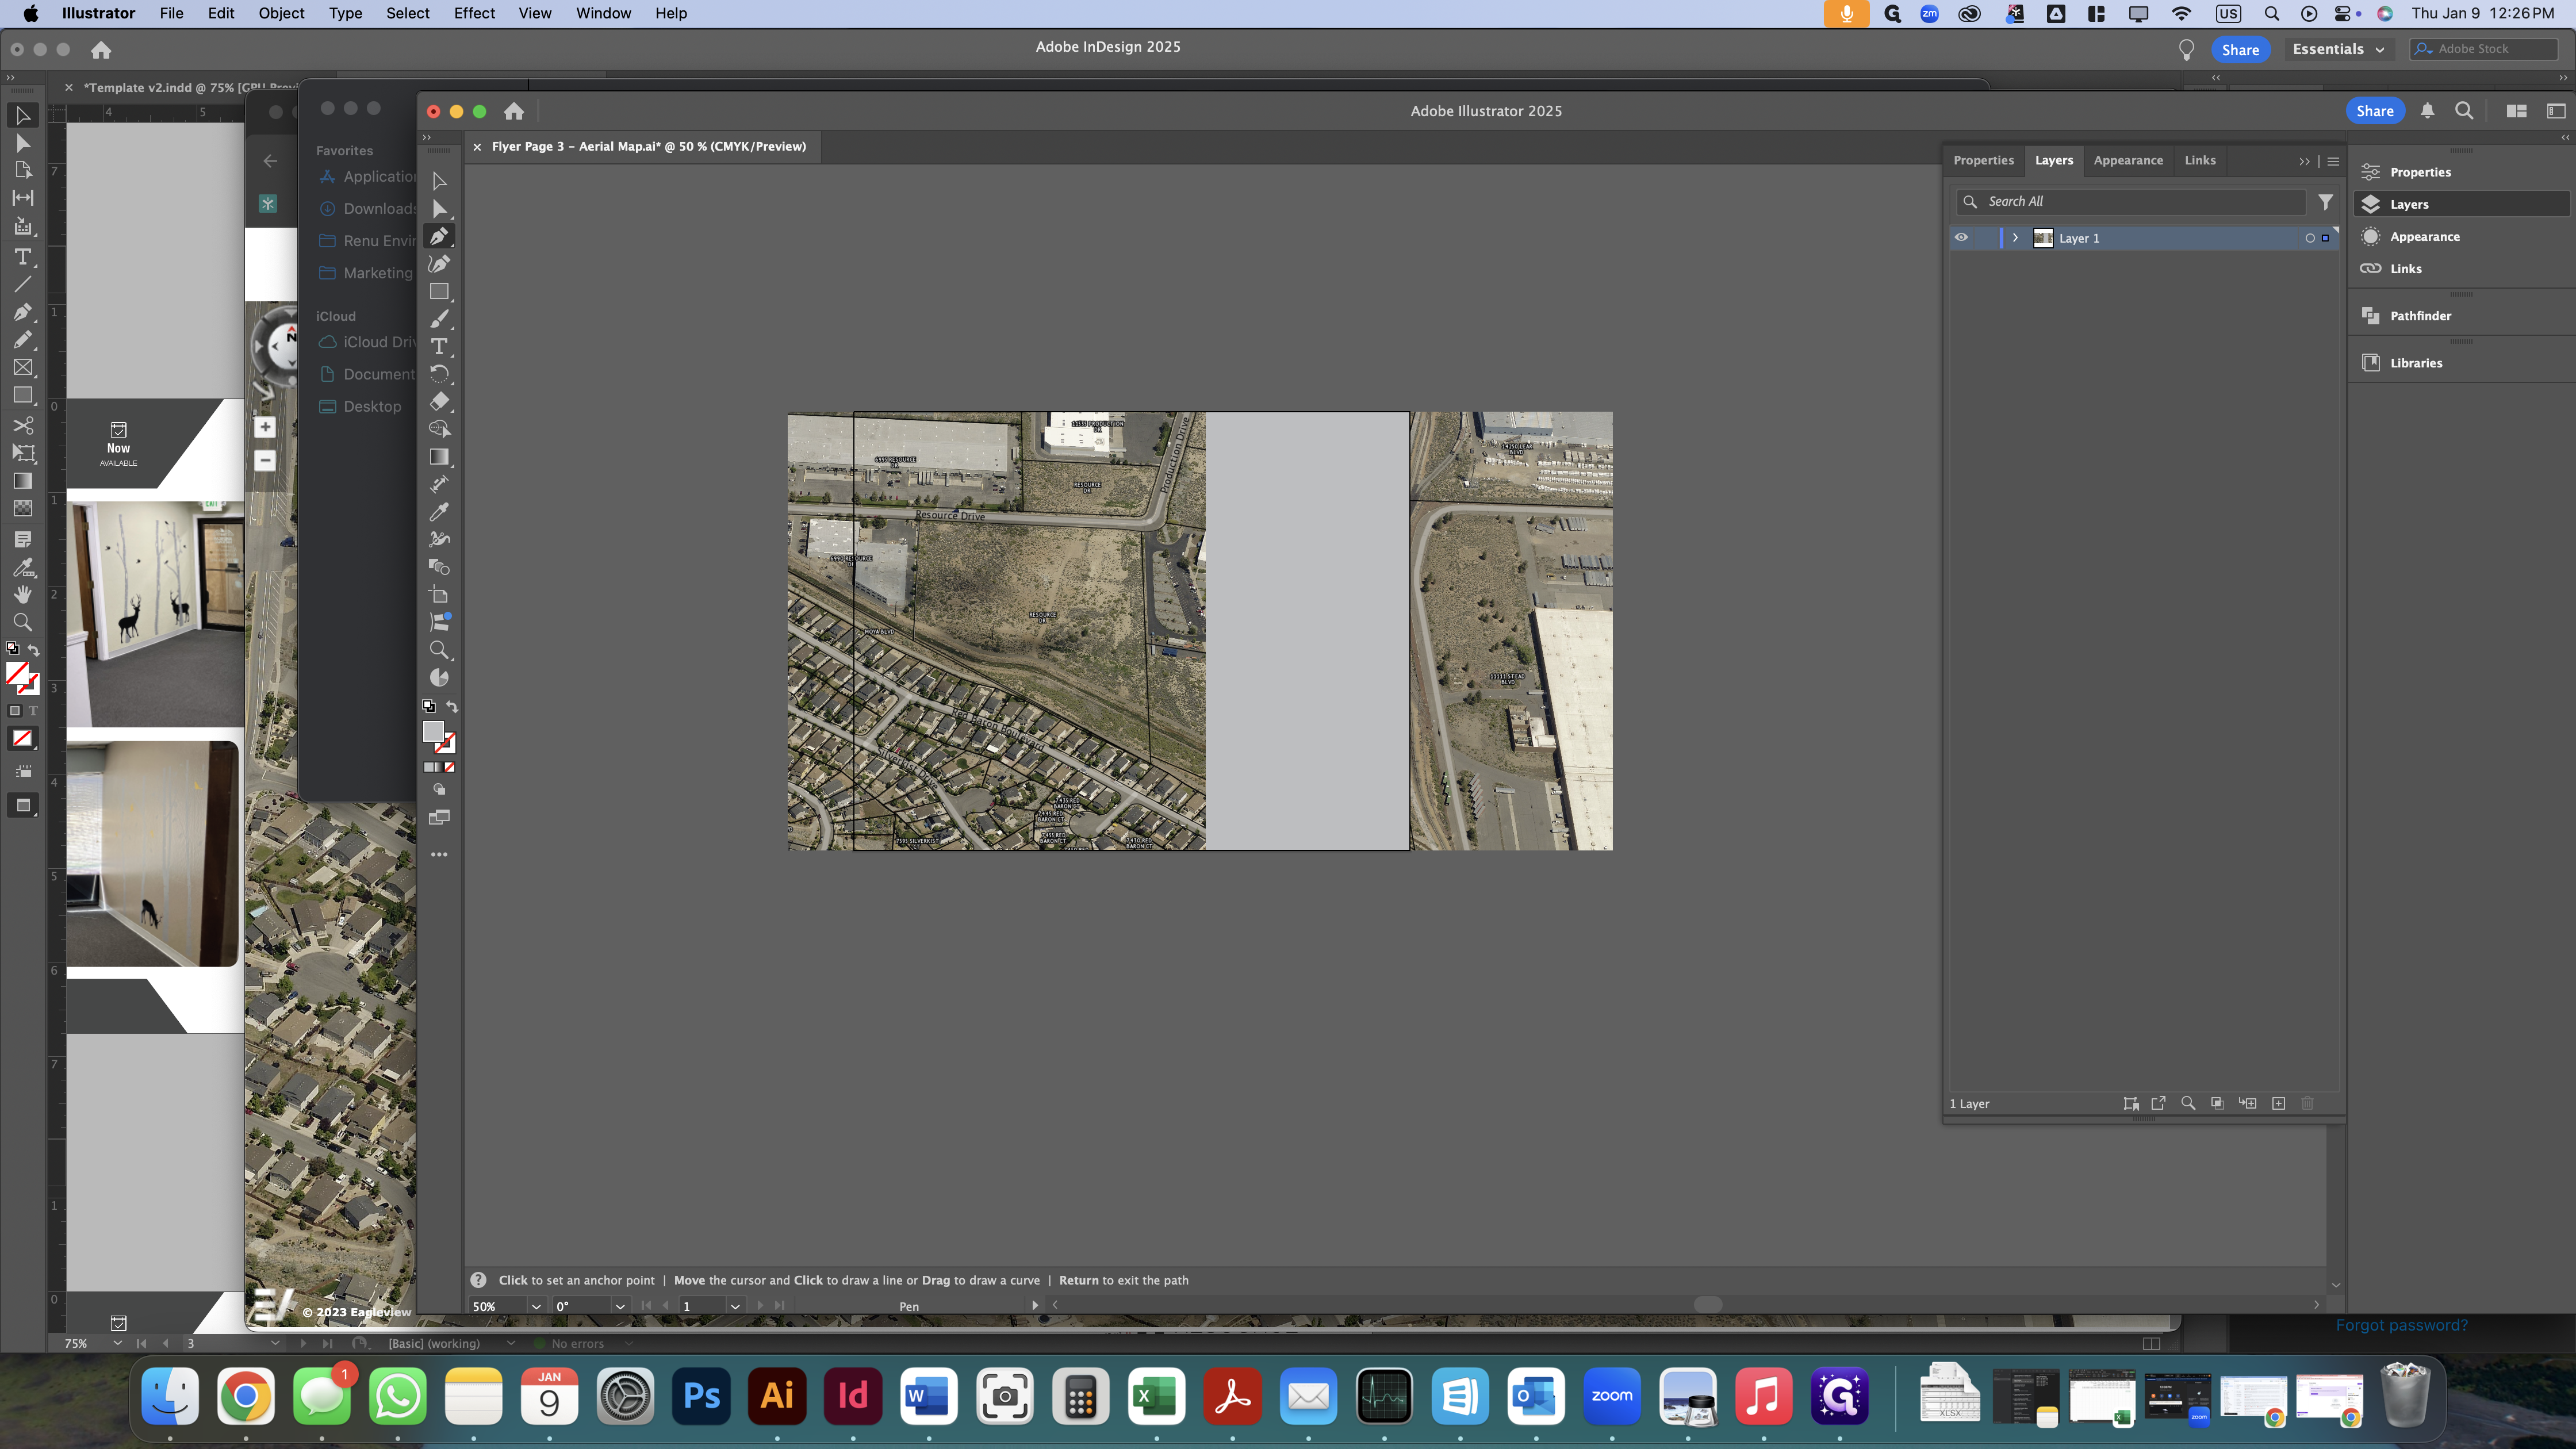
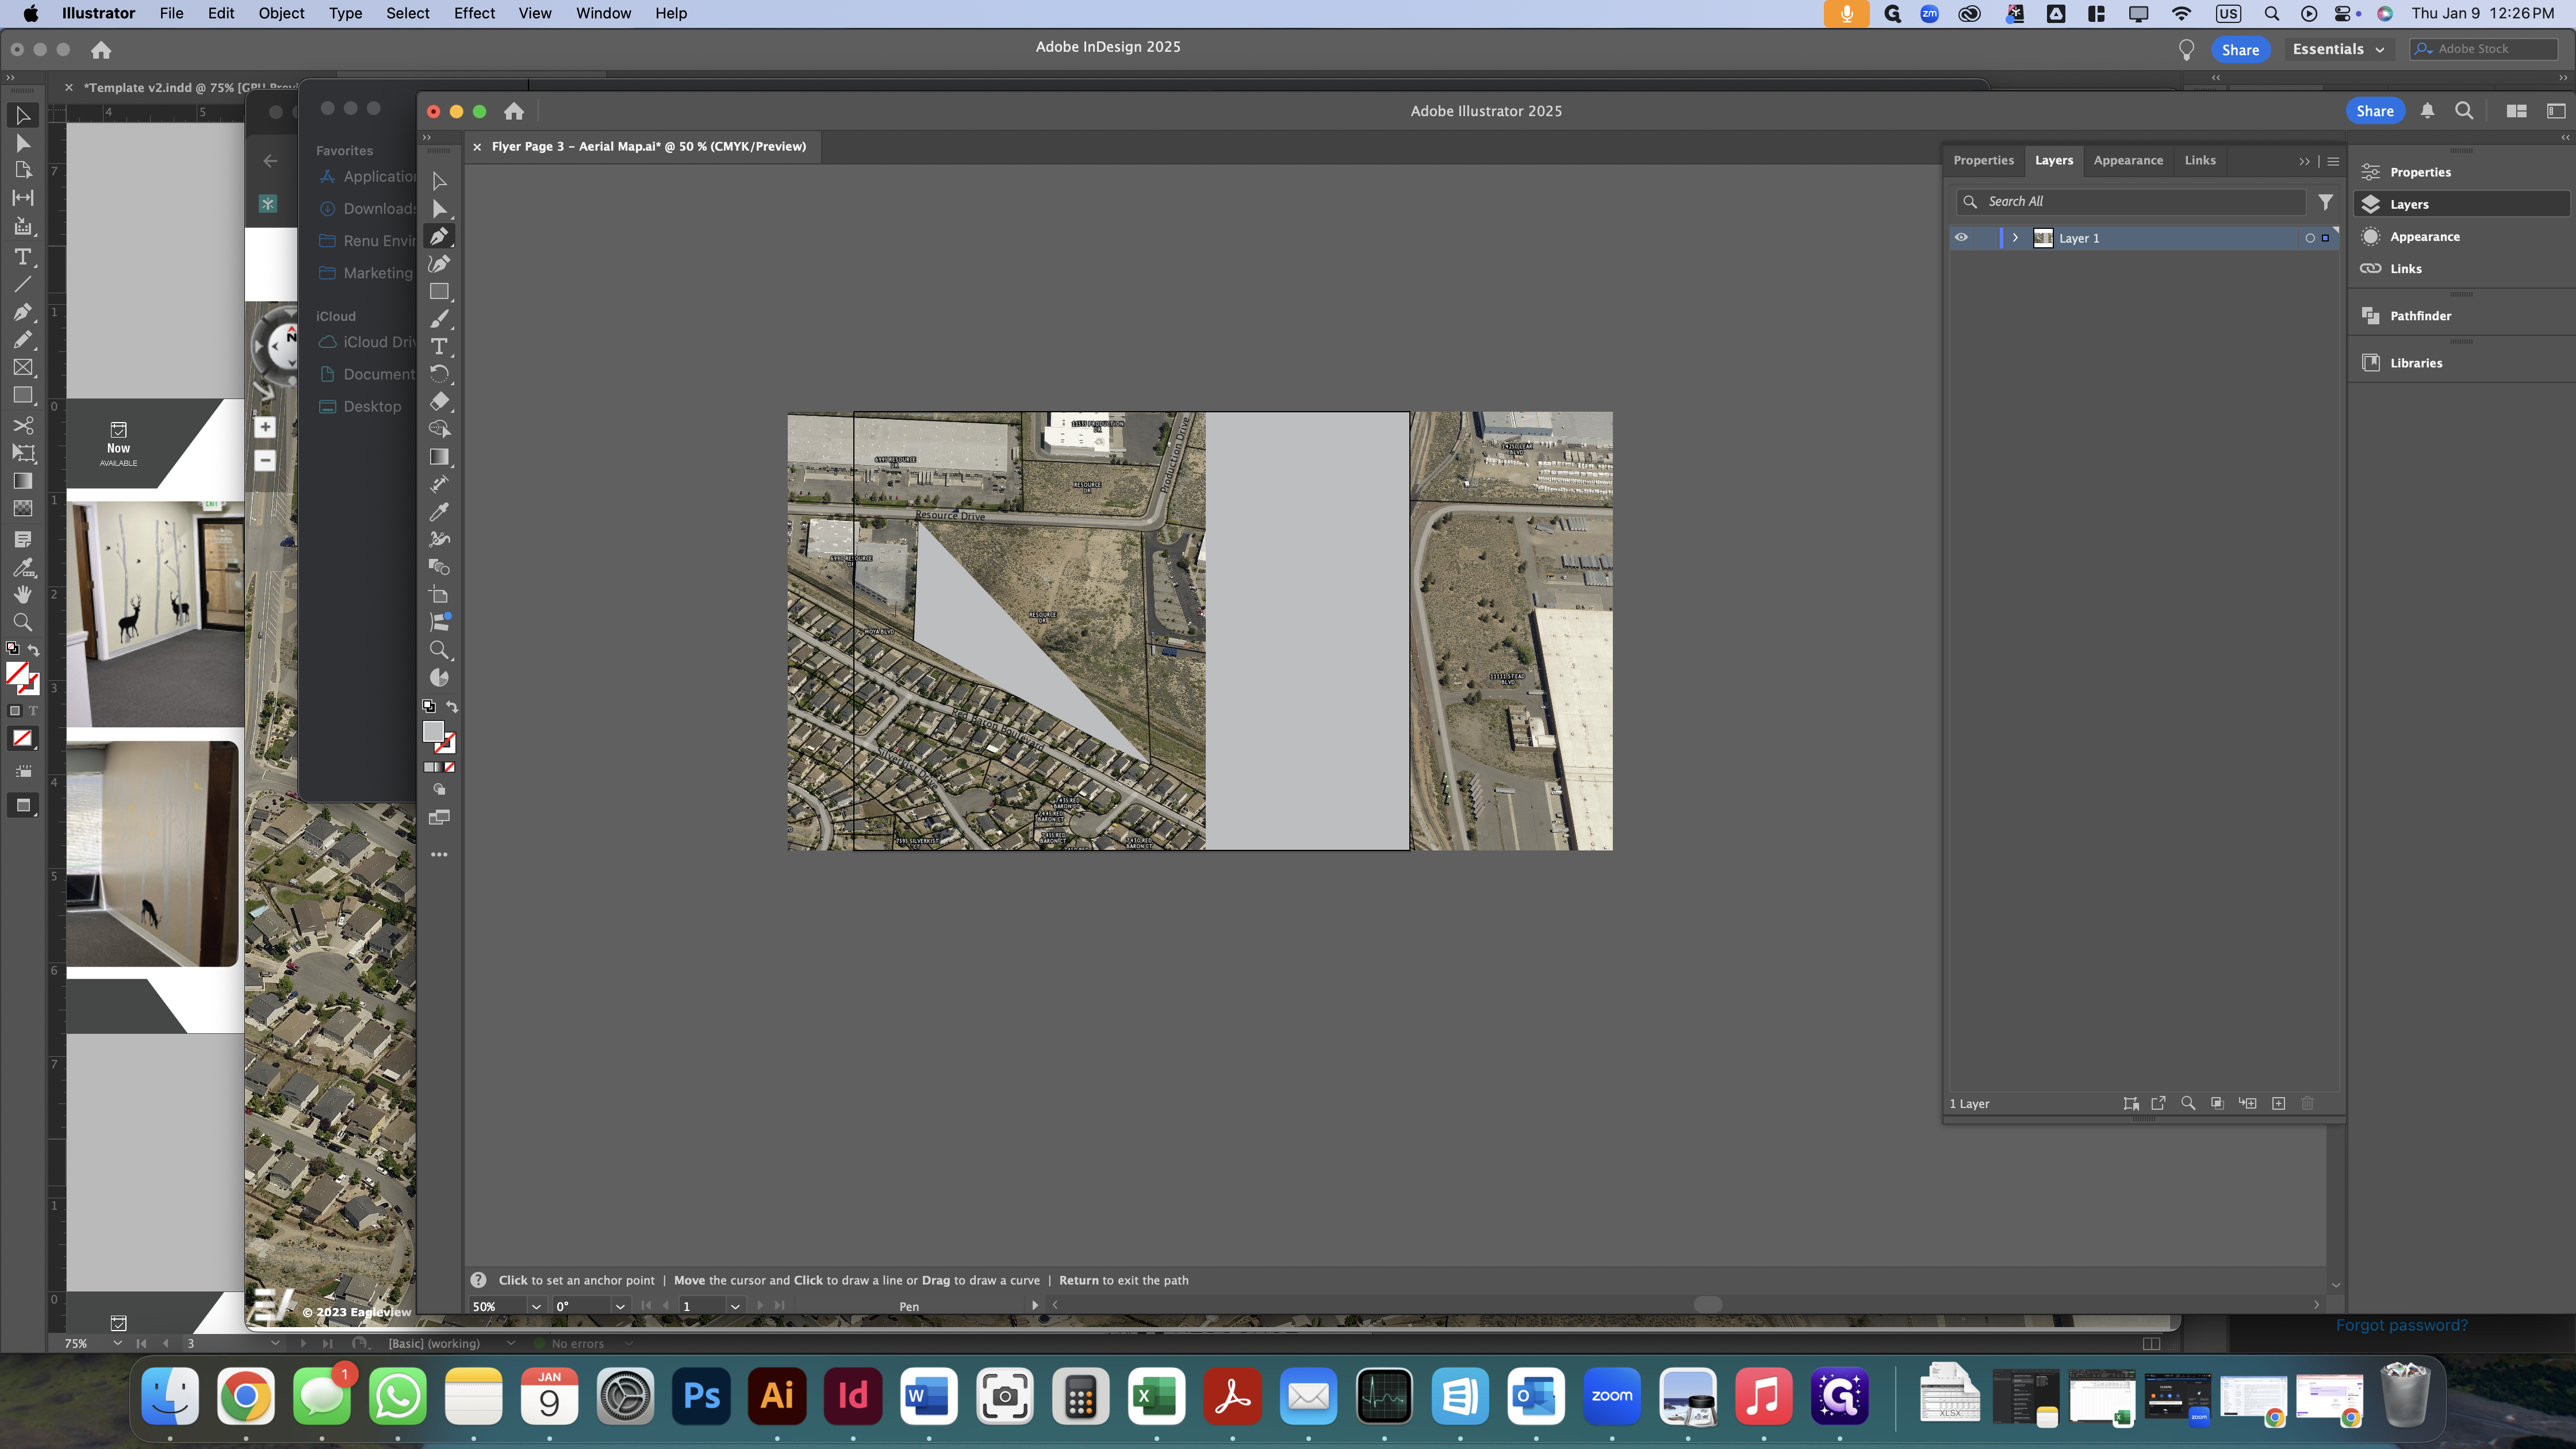
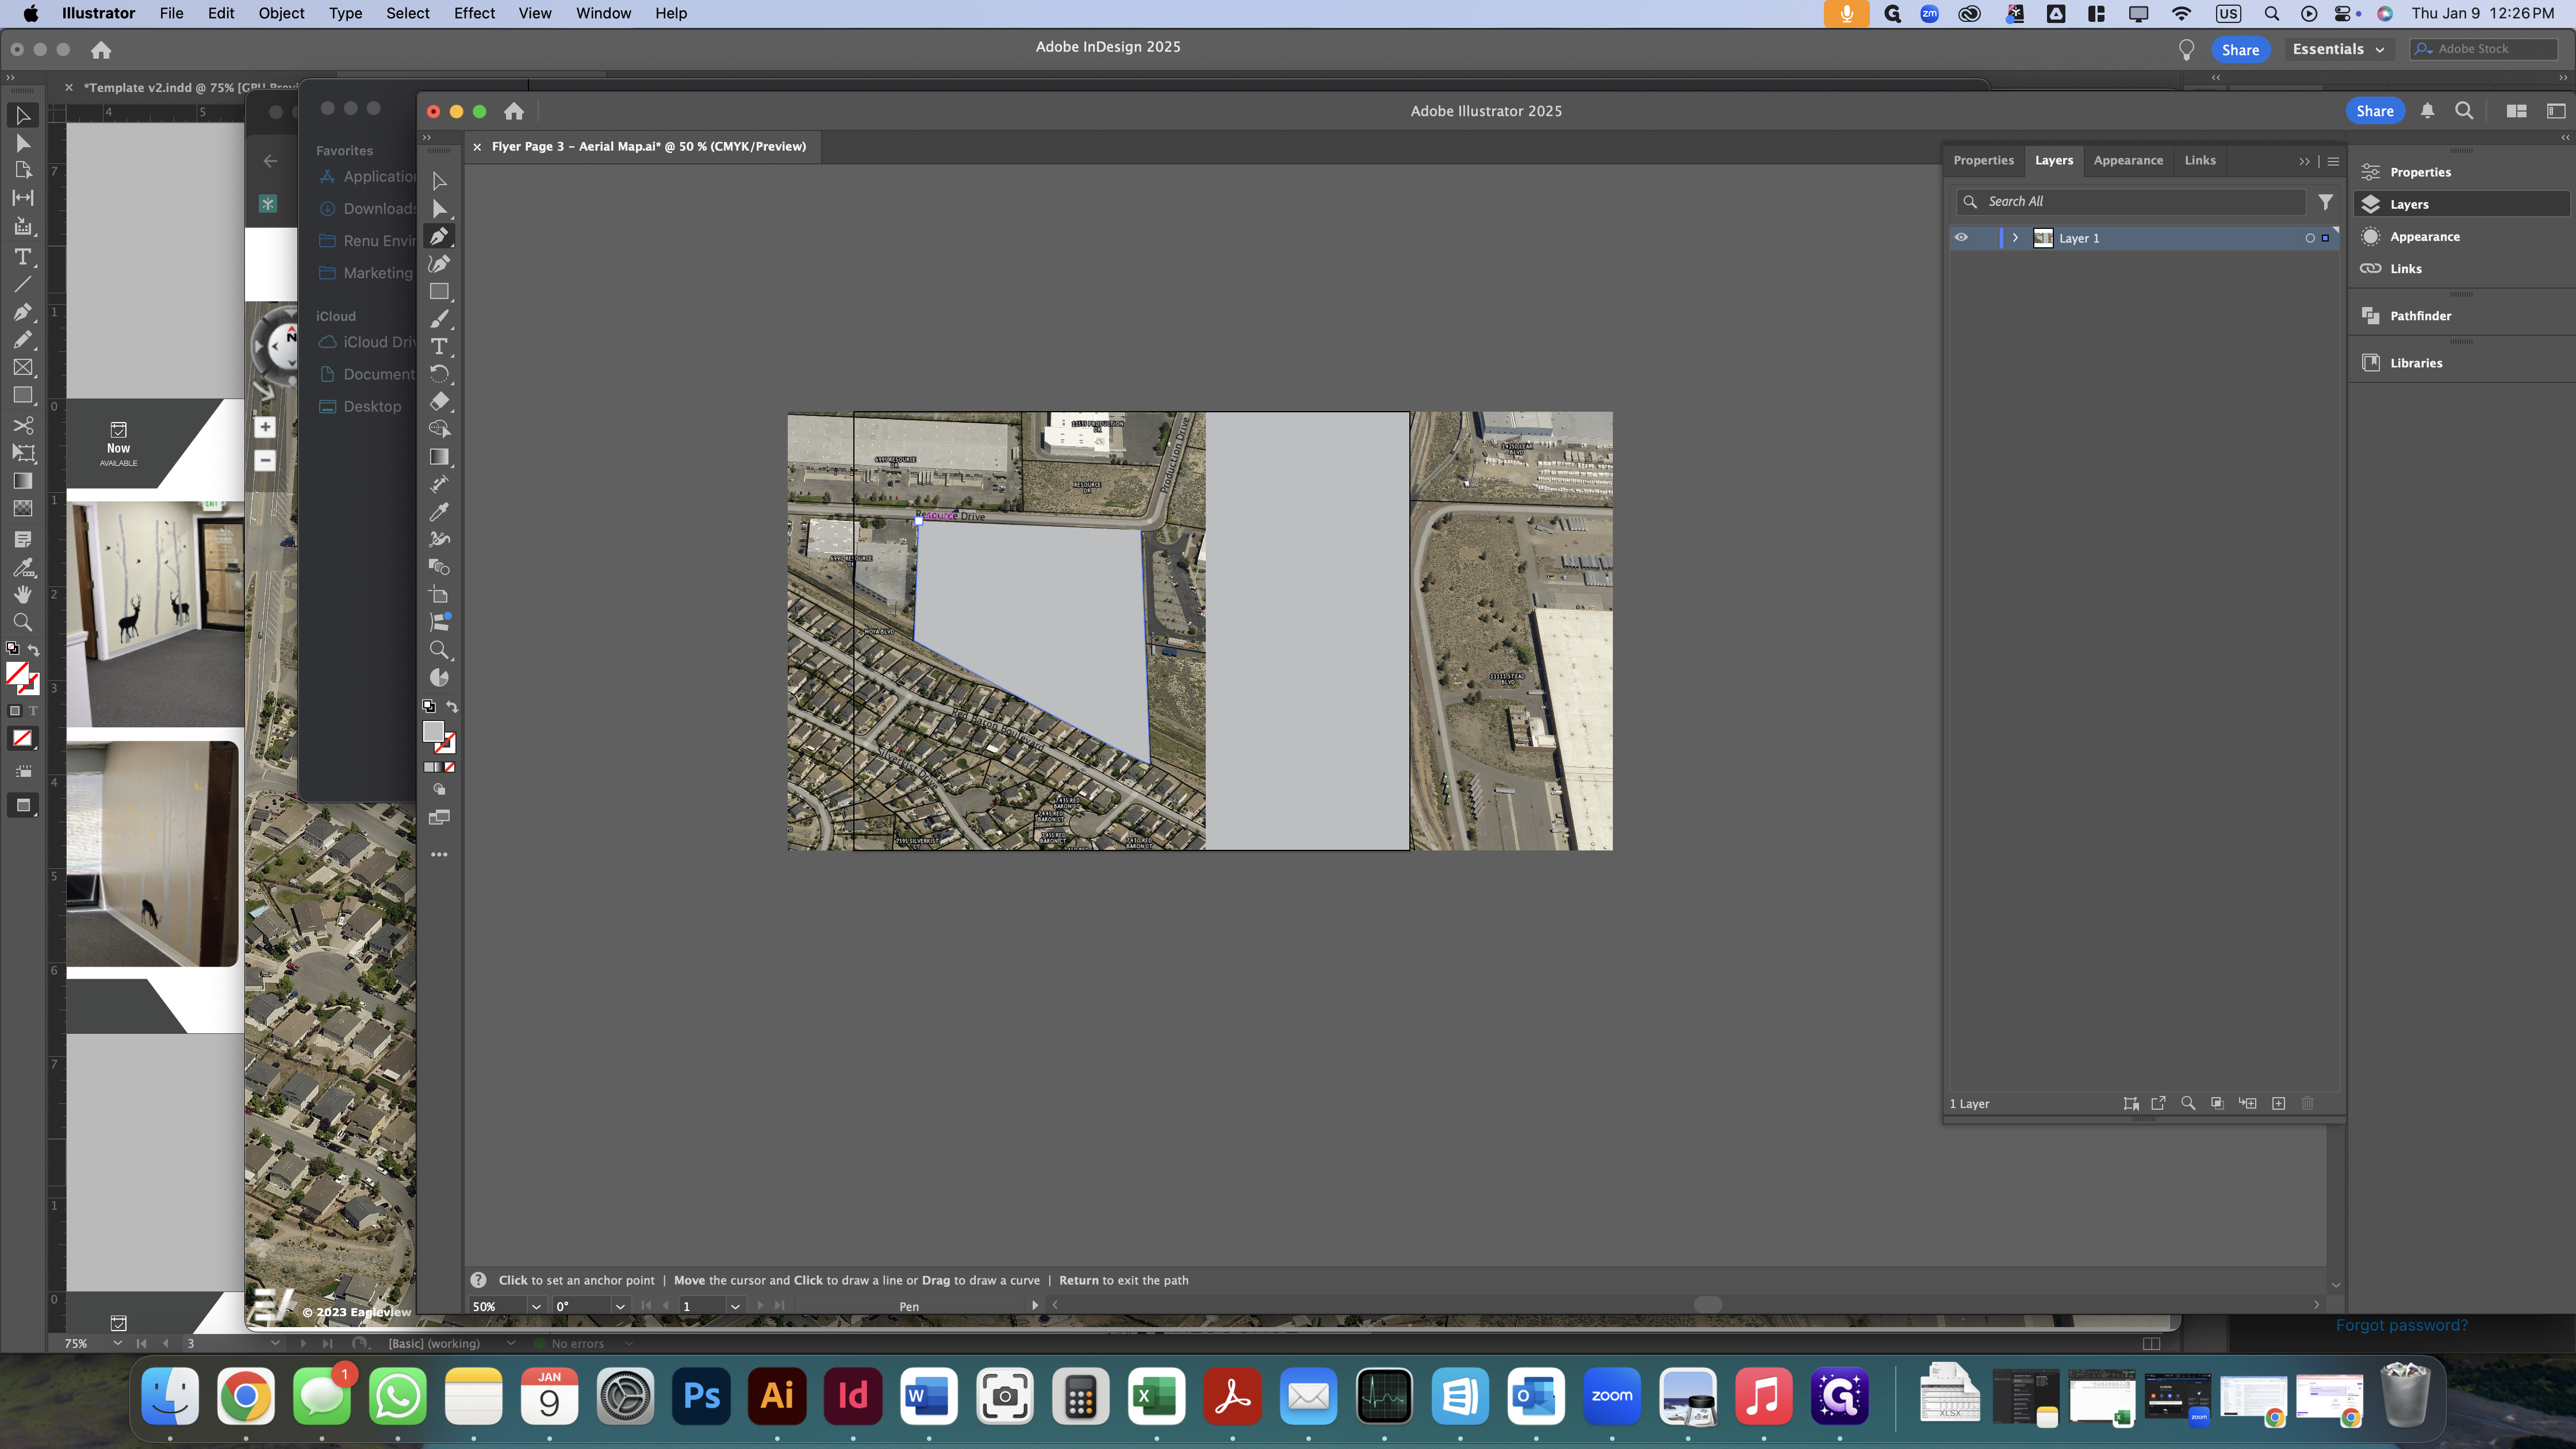
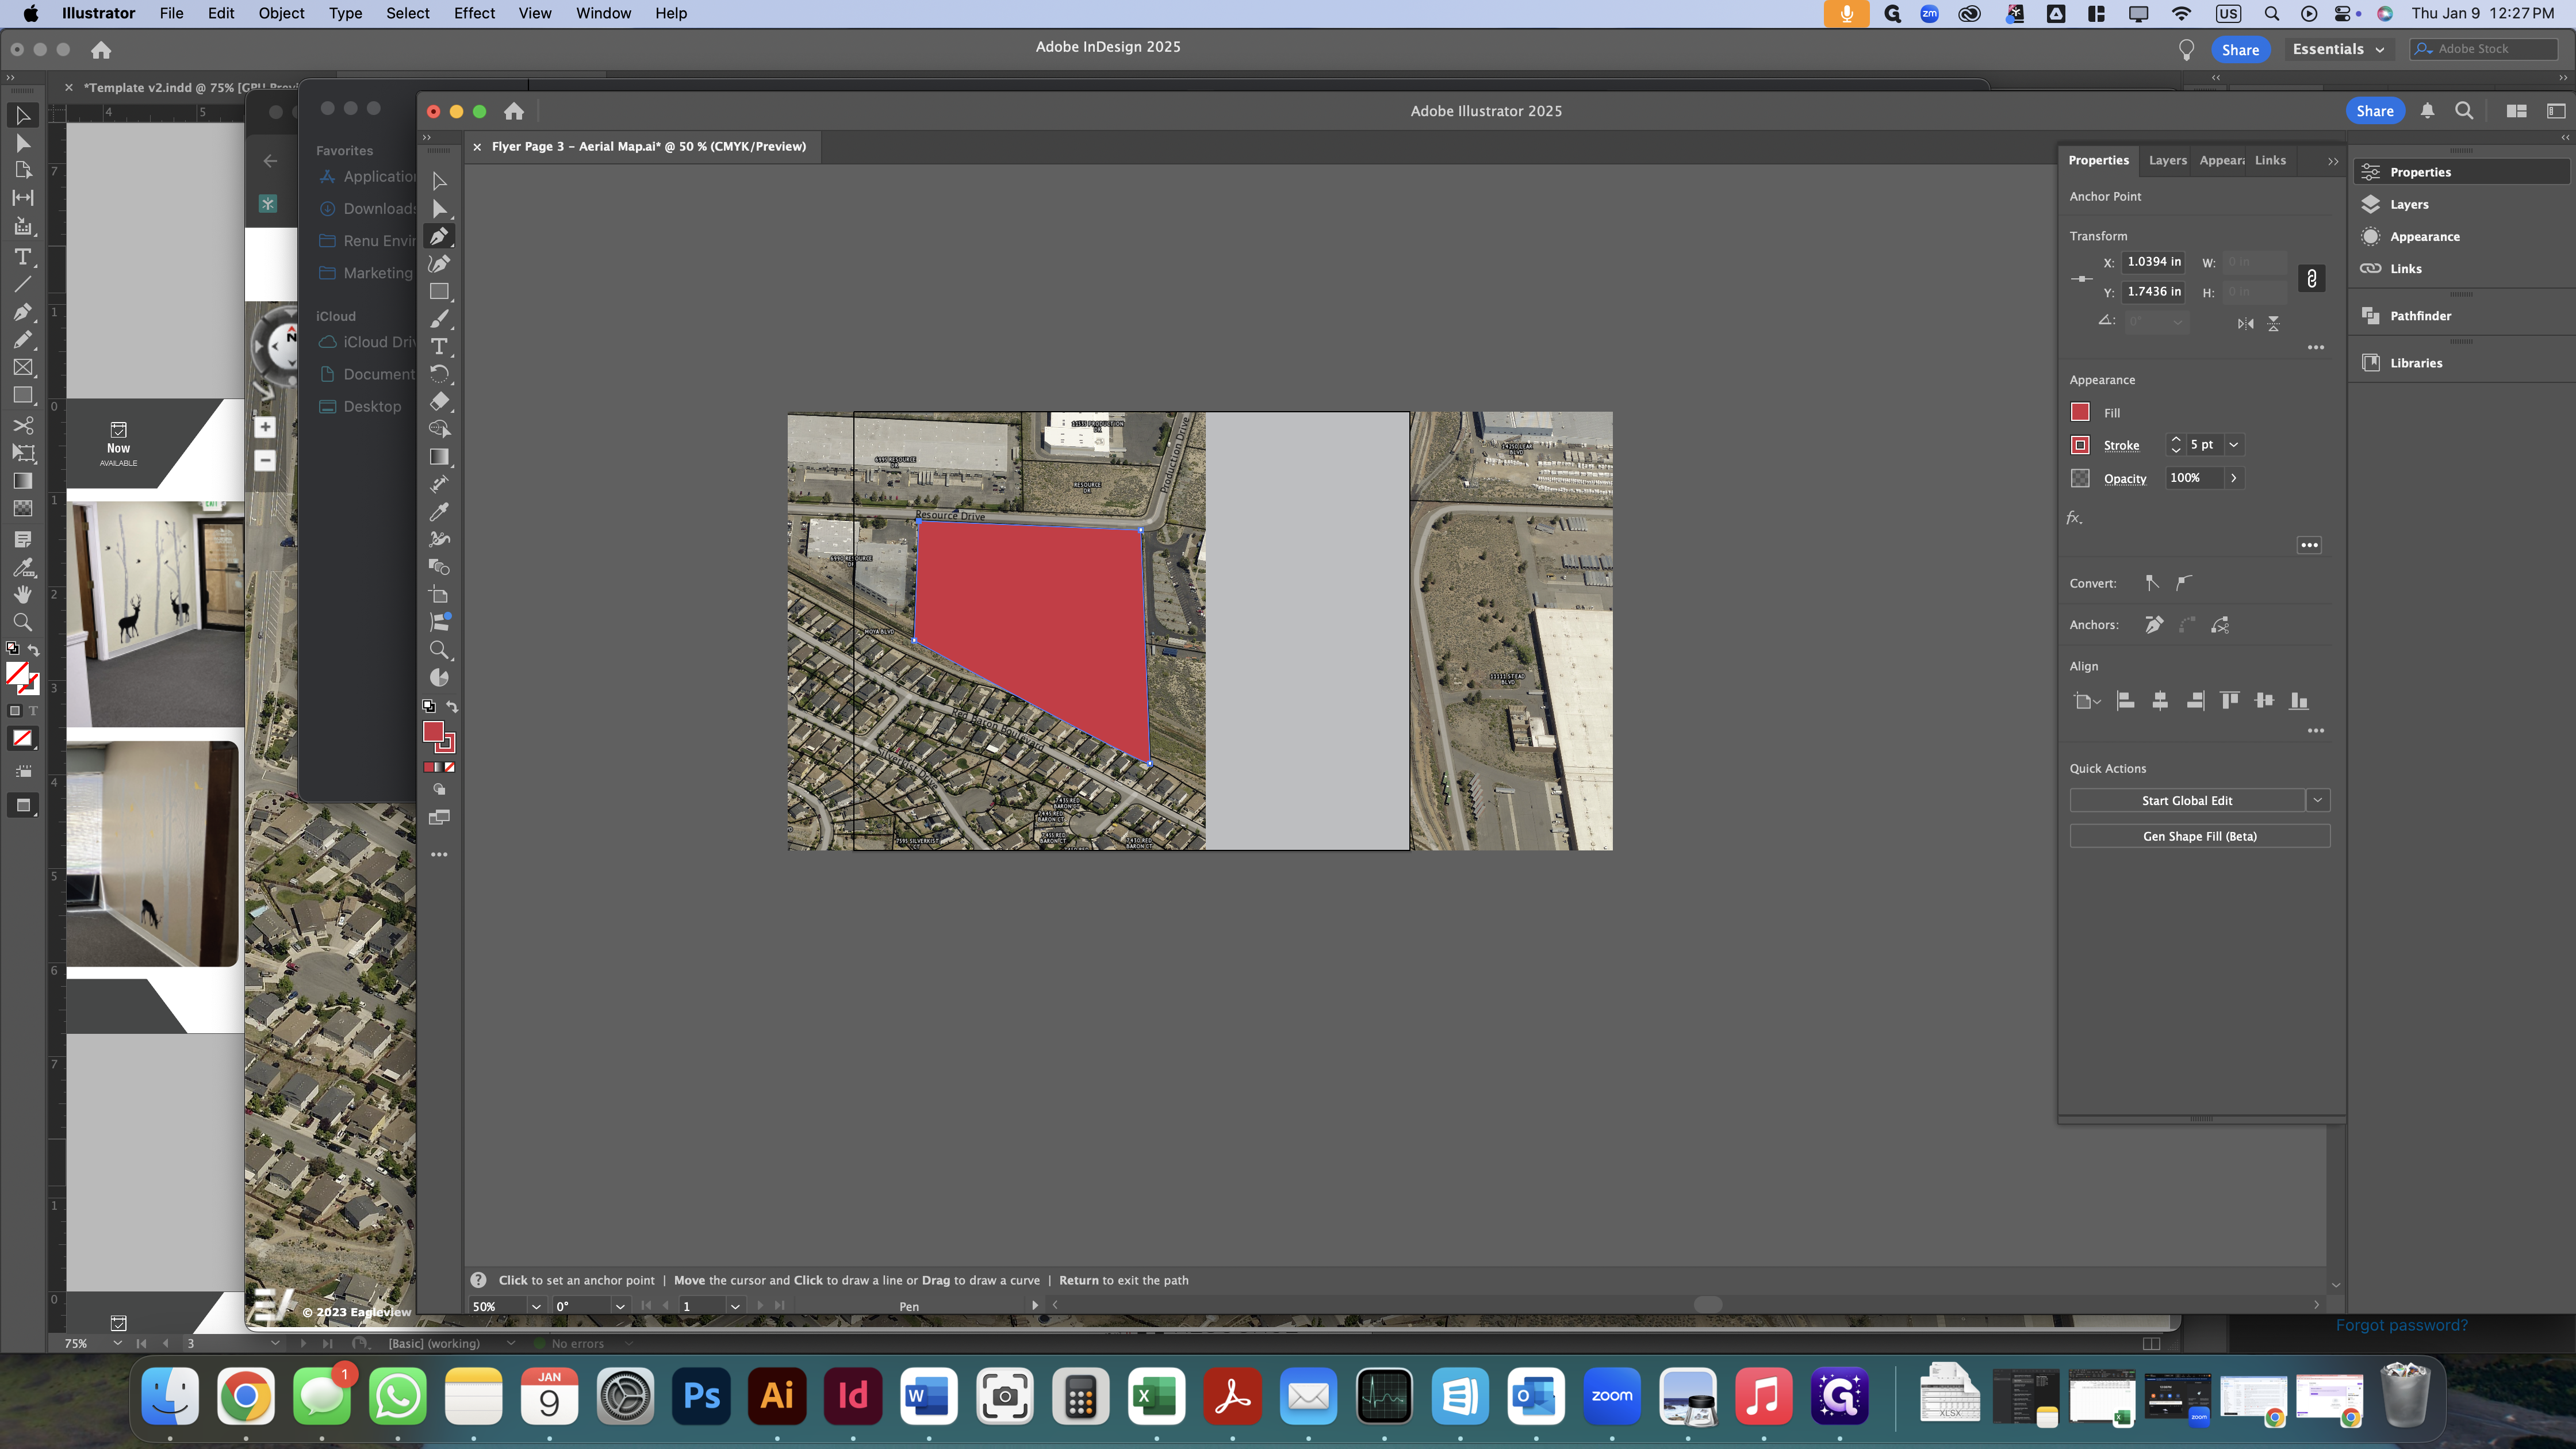
With the image that contains parcel outlines and street names above the image WITHOUT the outlines and street names, use the pen tool to create a shape that matches the parcel on the map.


Ensure that both the fill and outline colors are NAI Alliance red. Click here
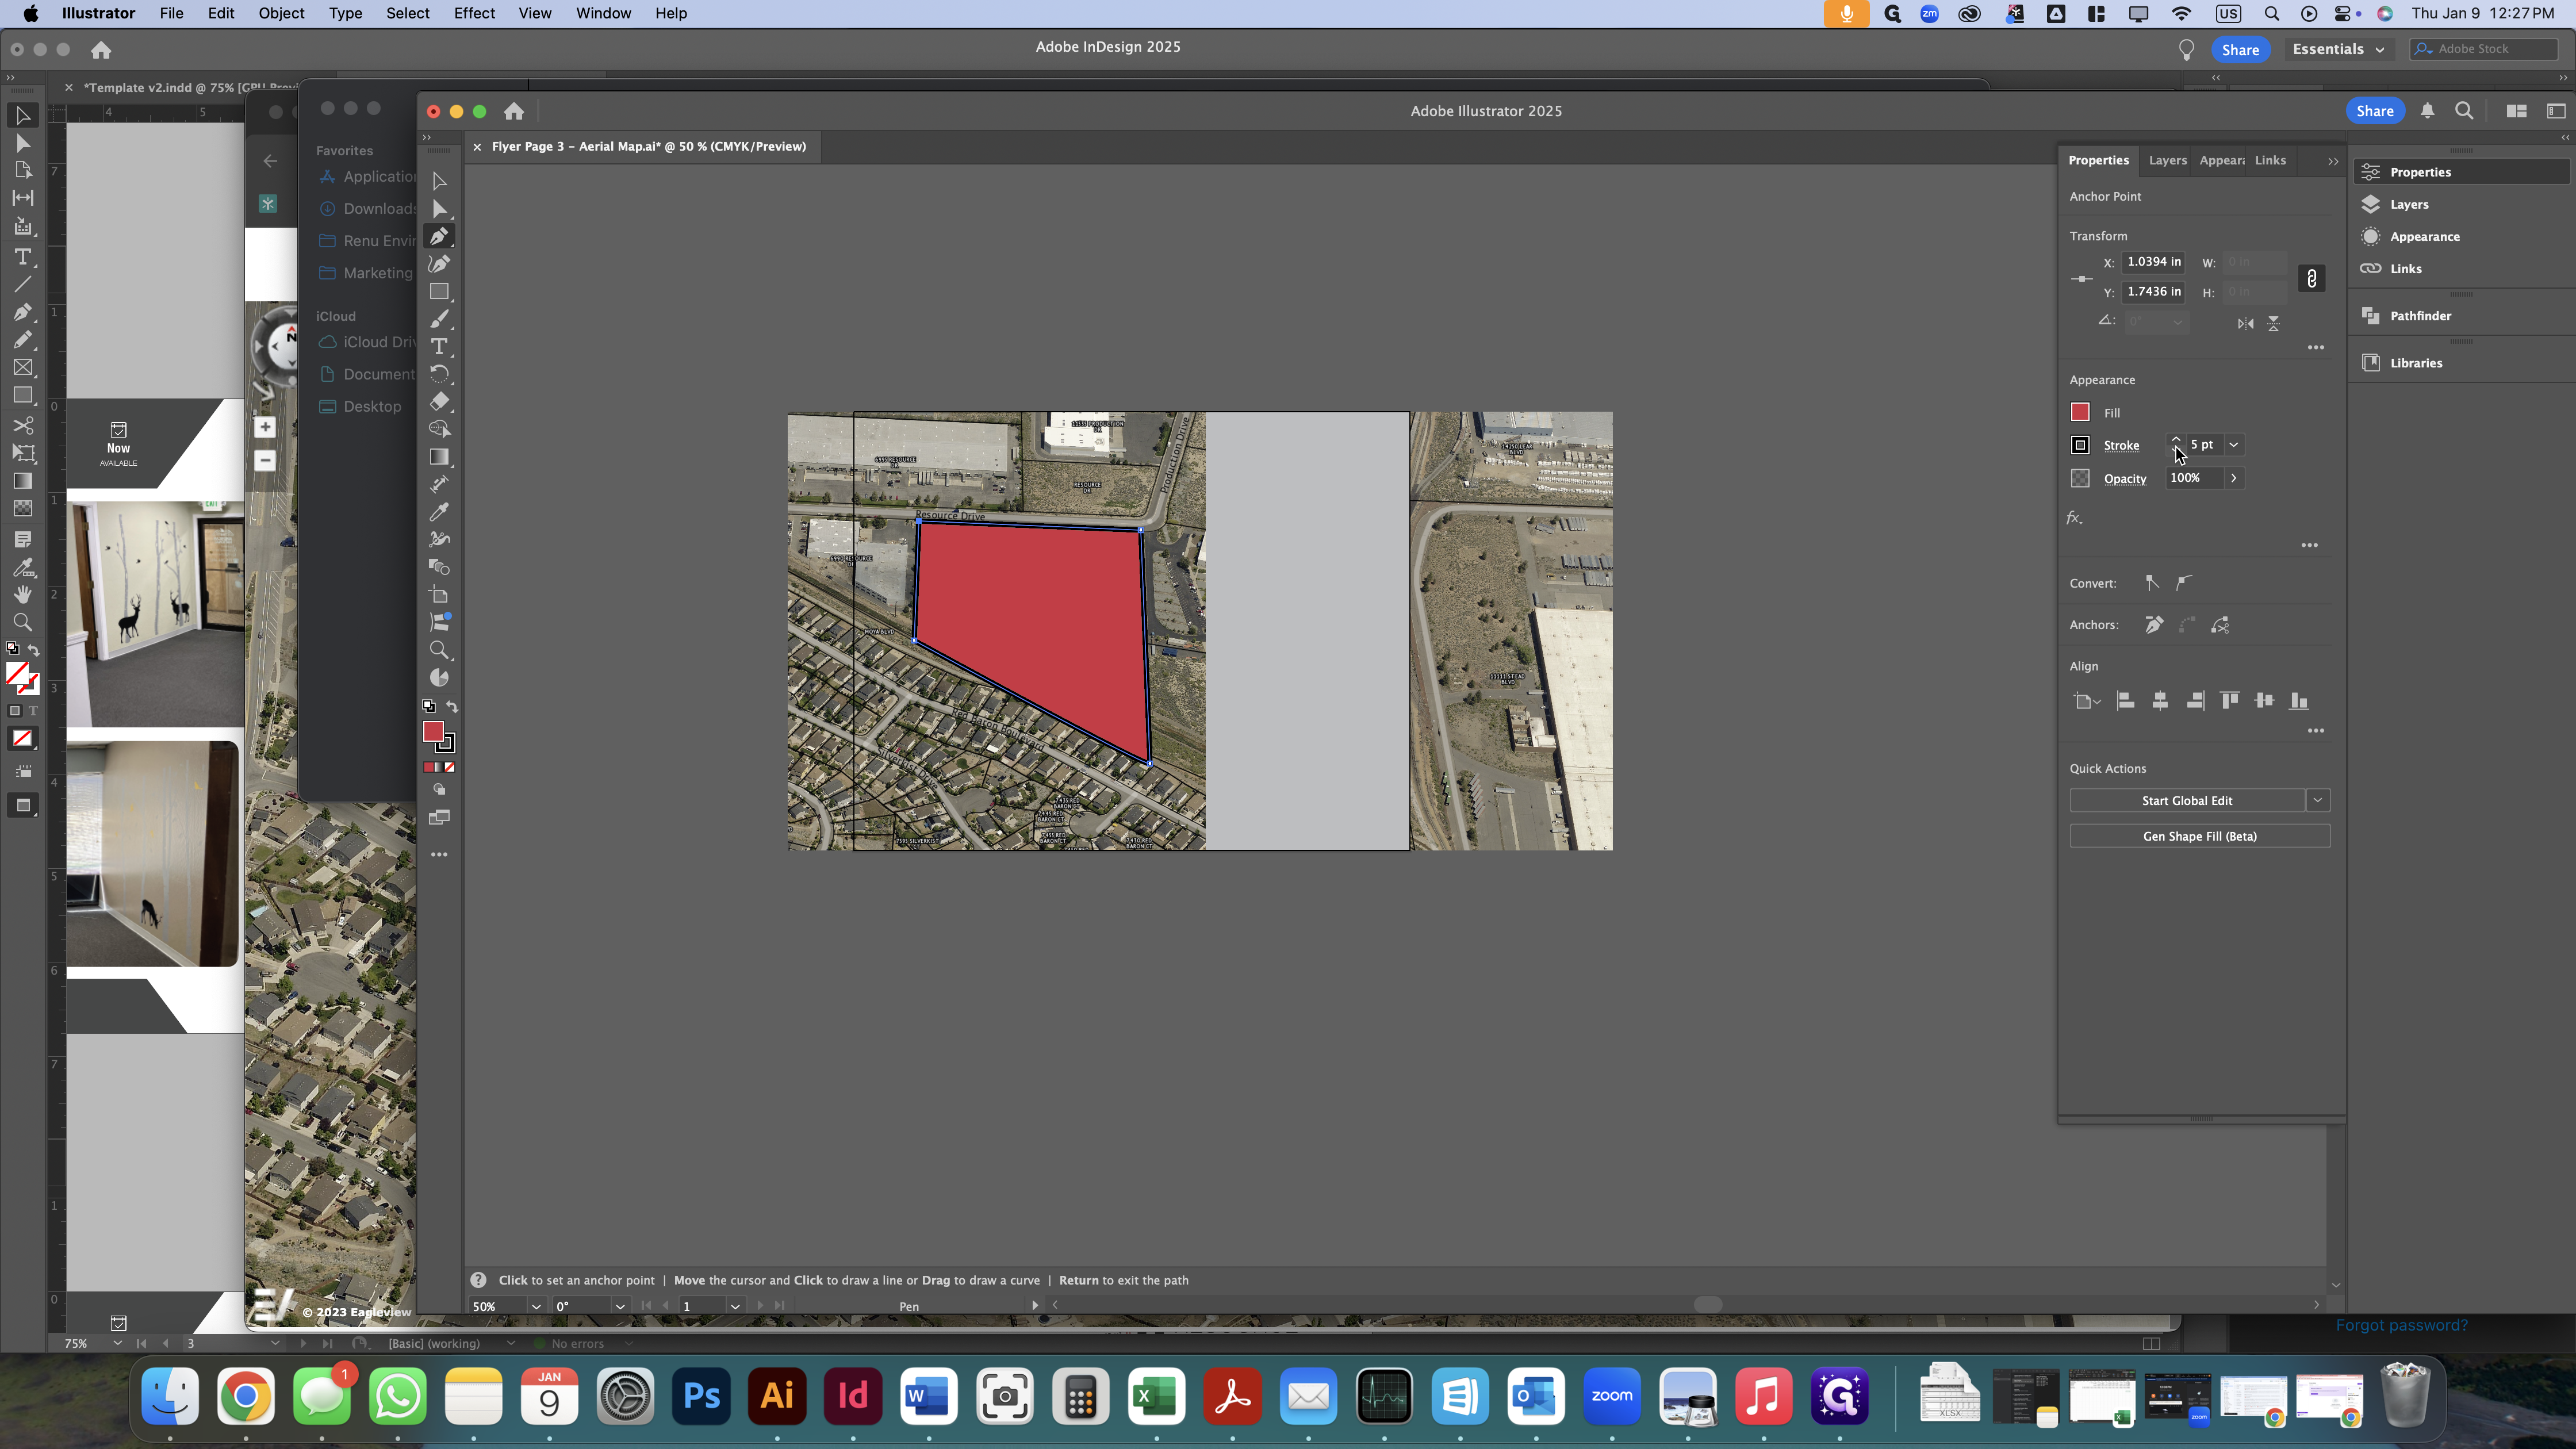
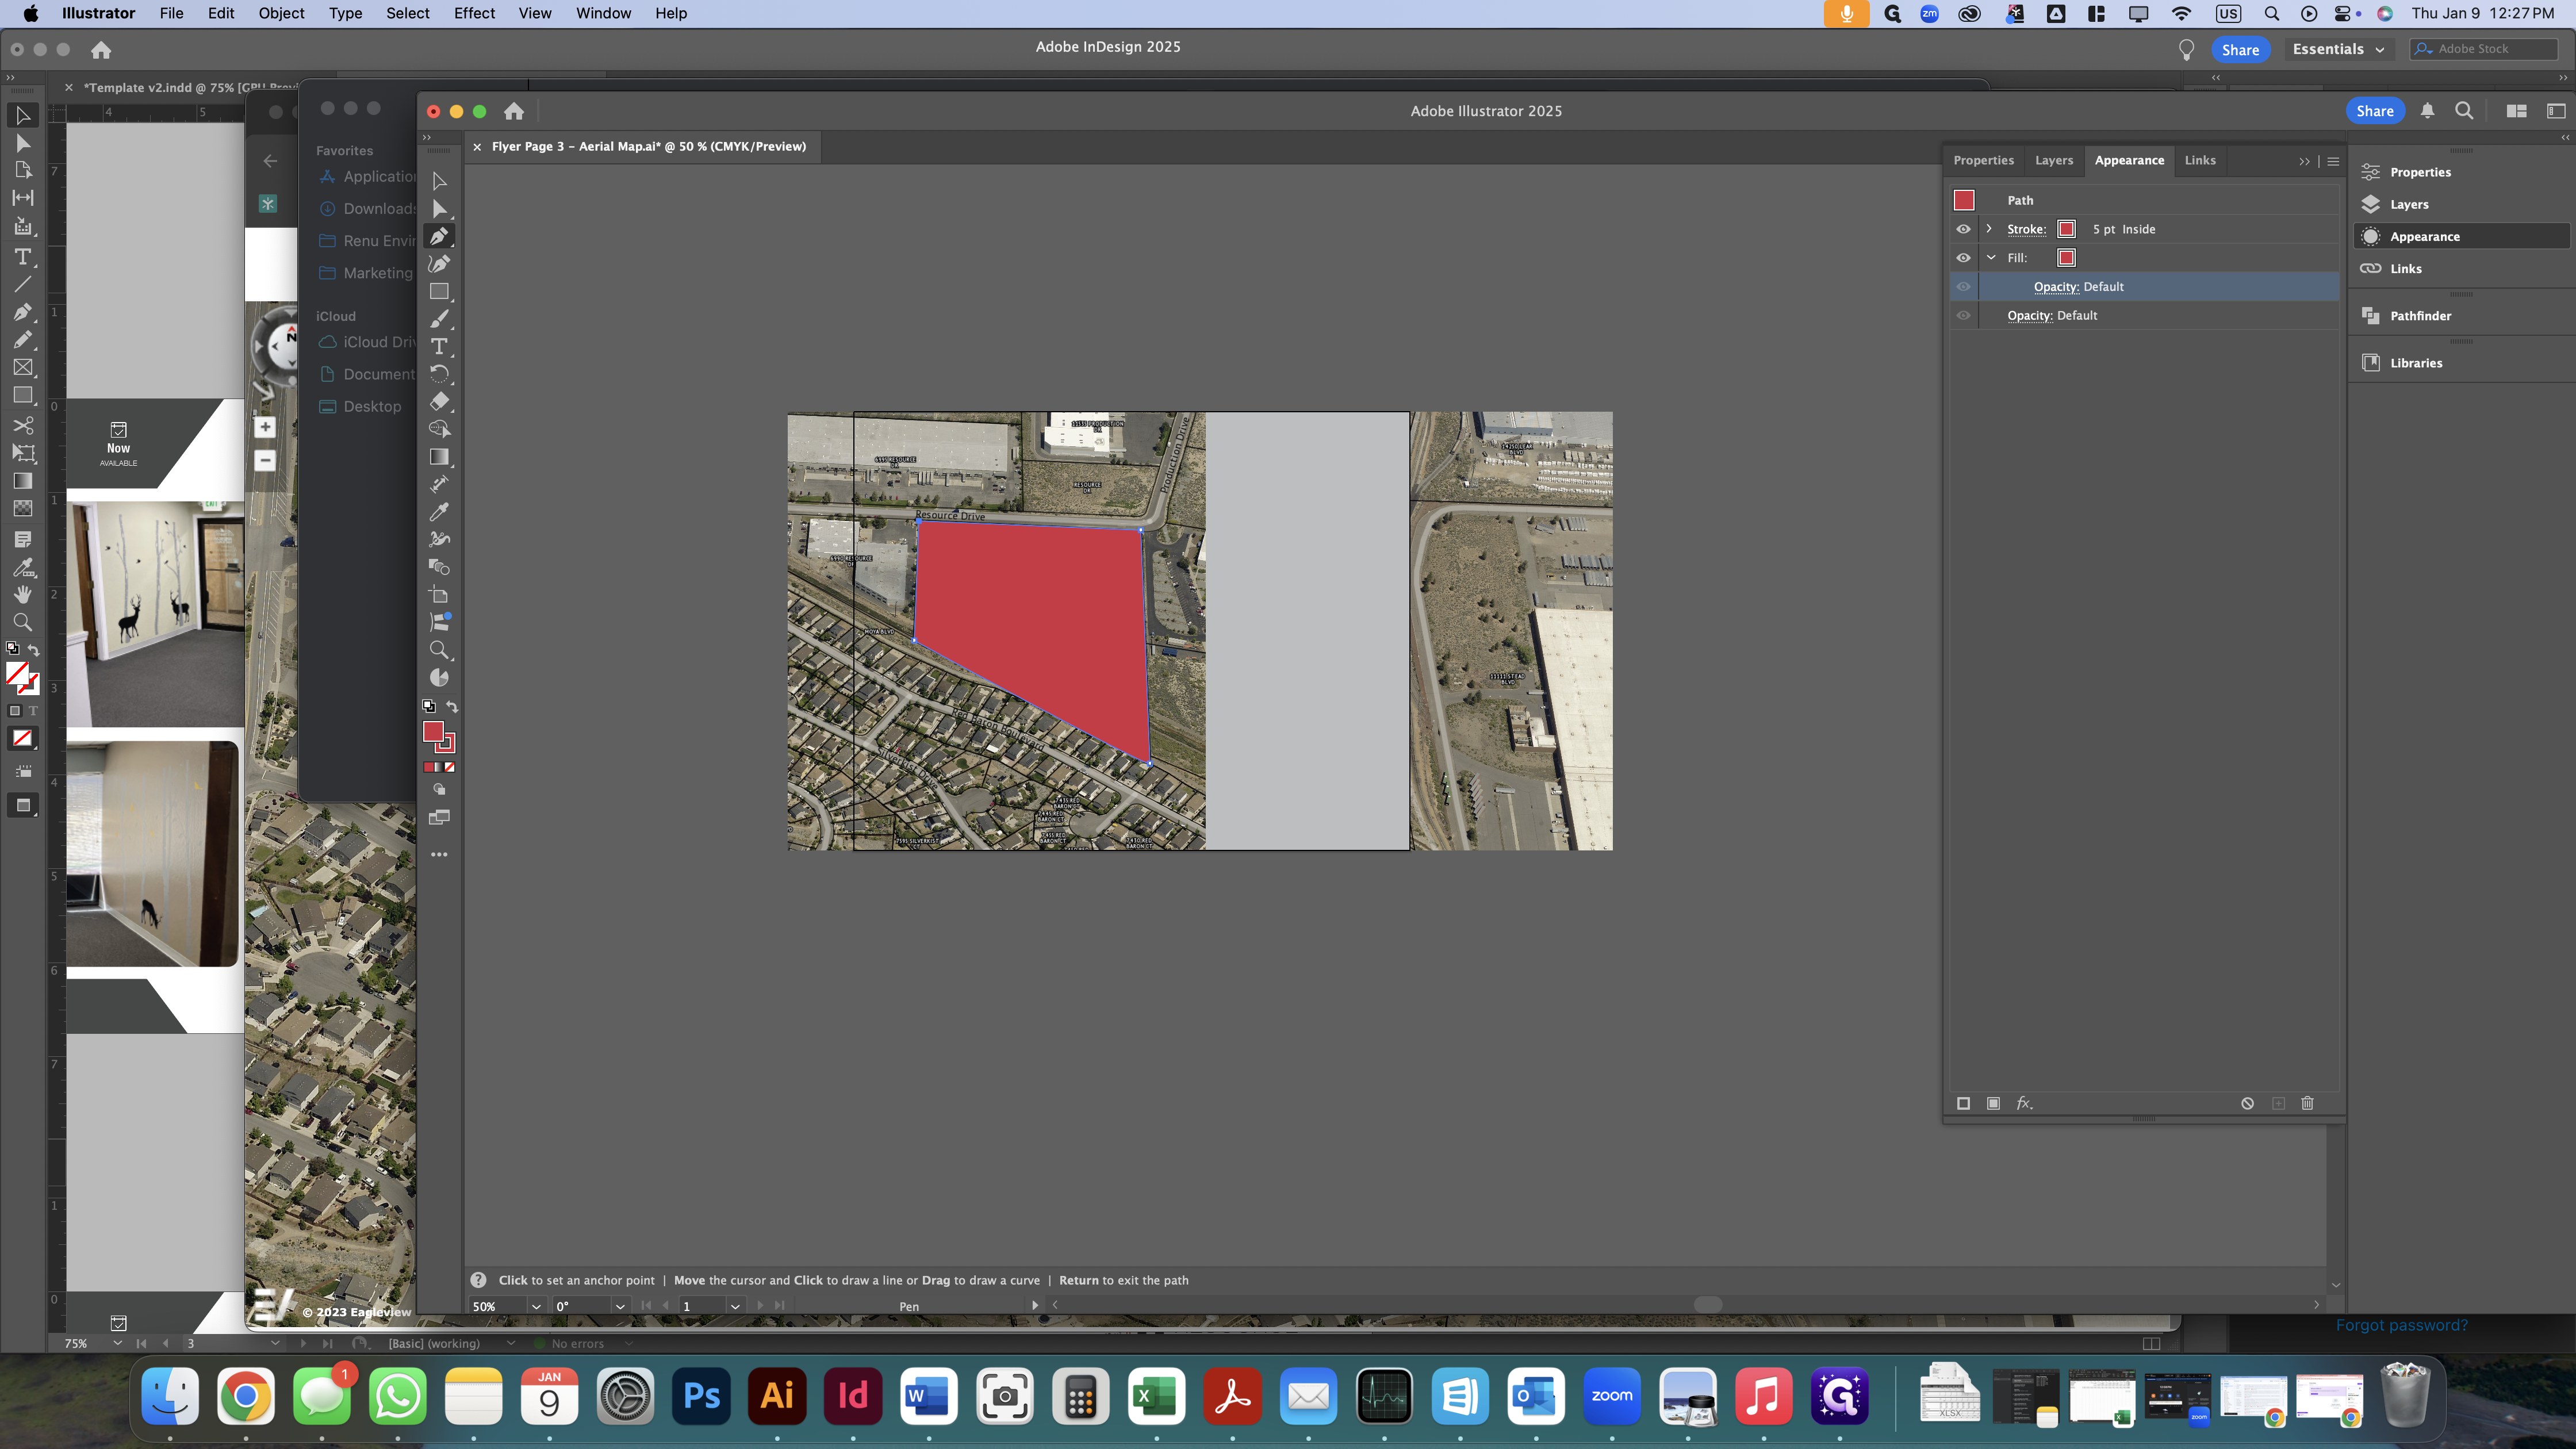
Set the stroke to align to the inside of the shape.
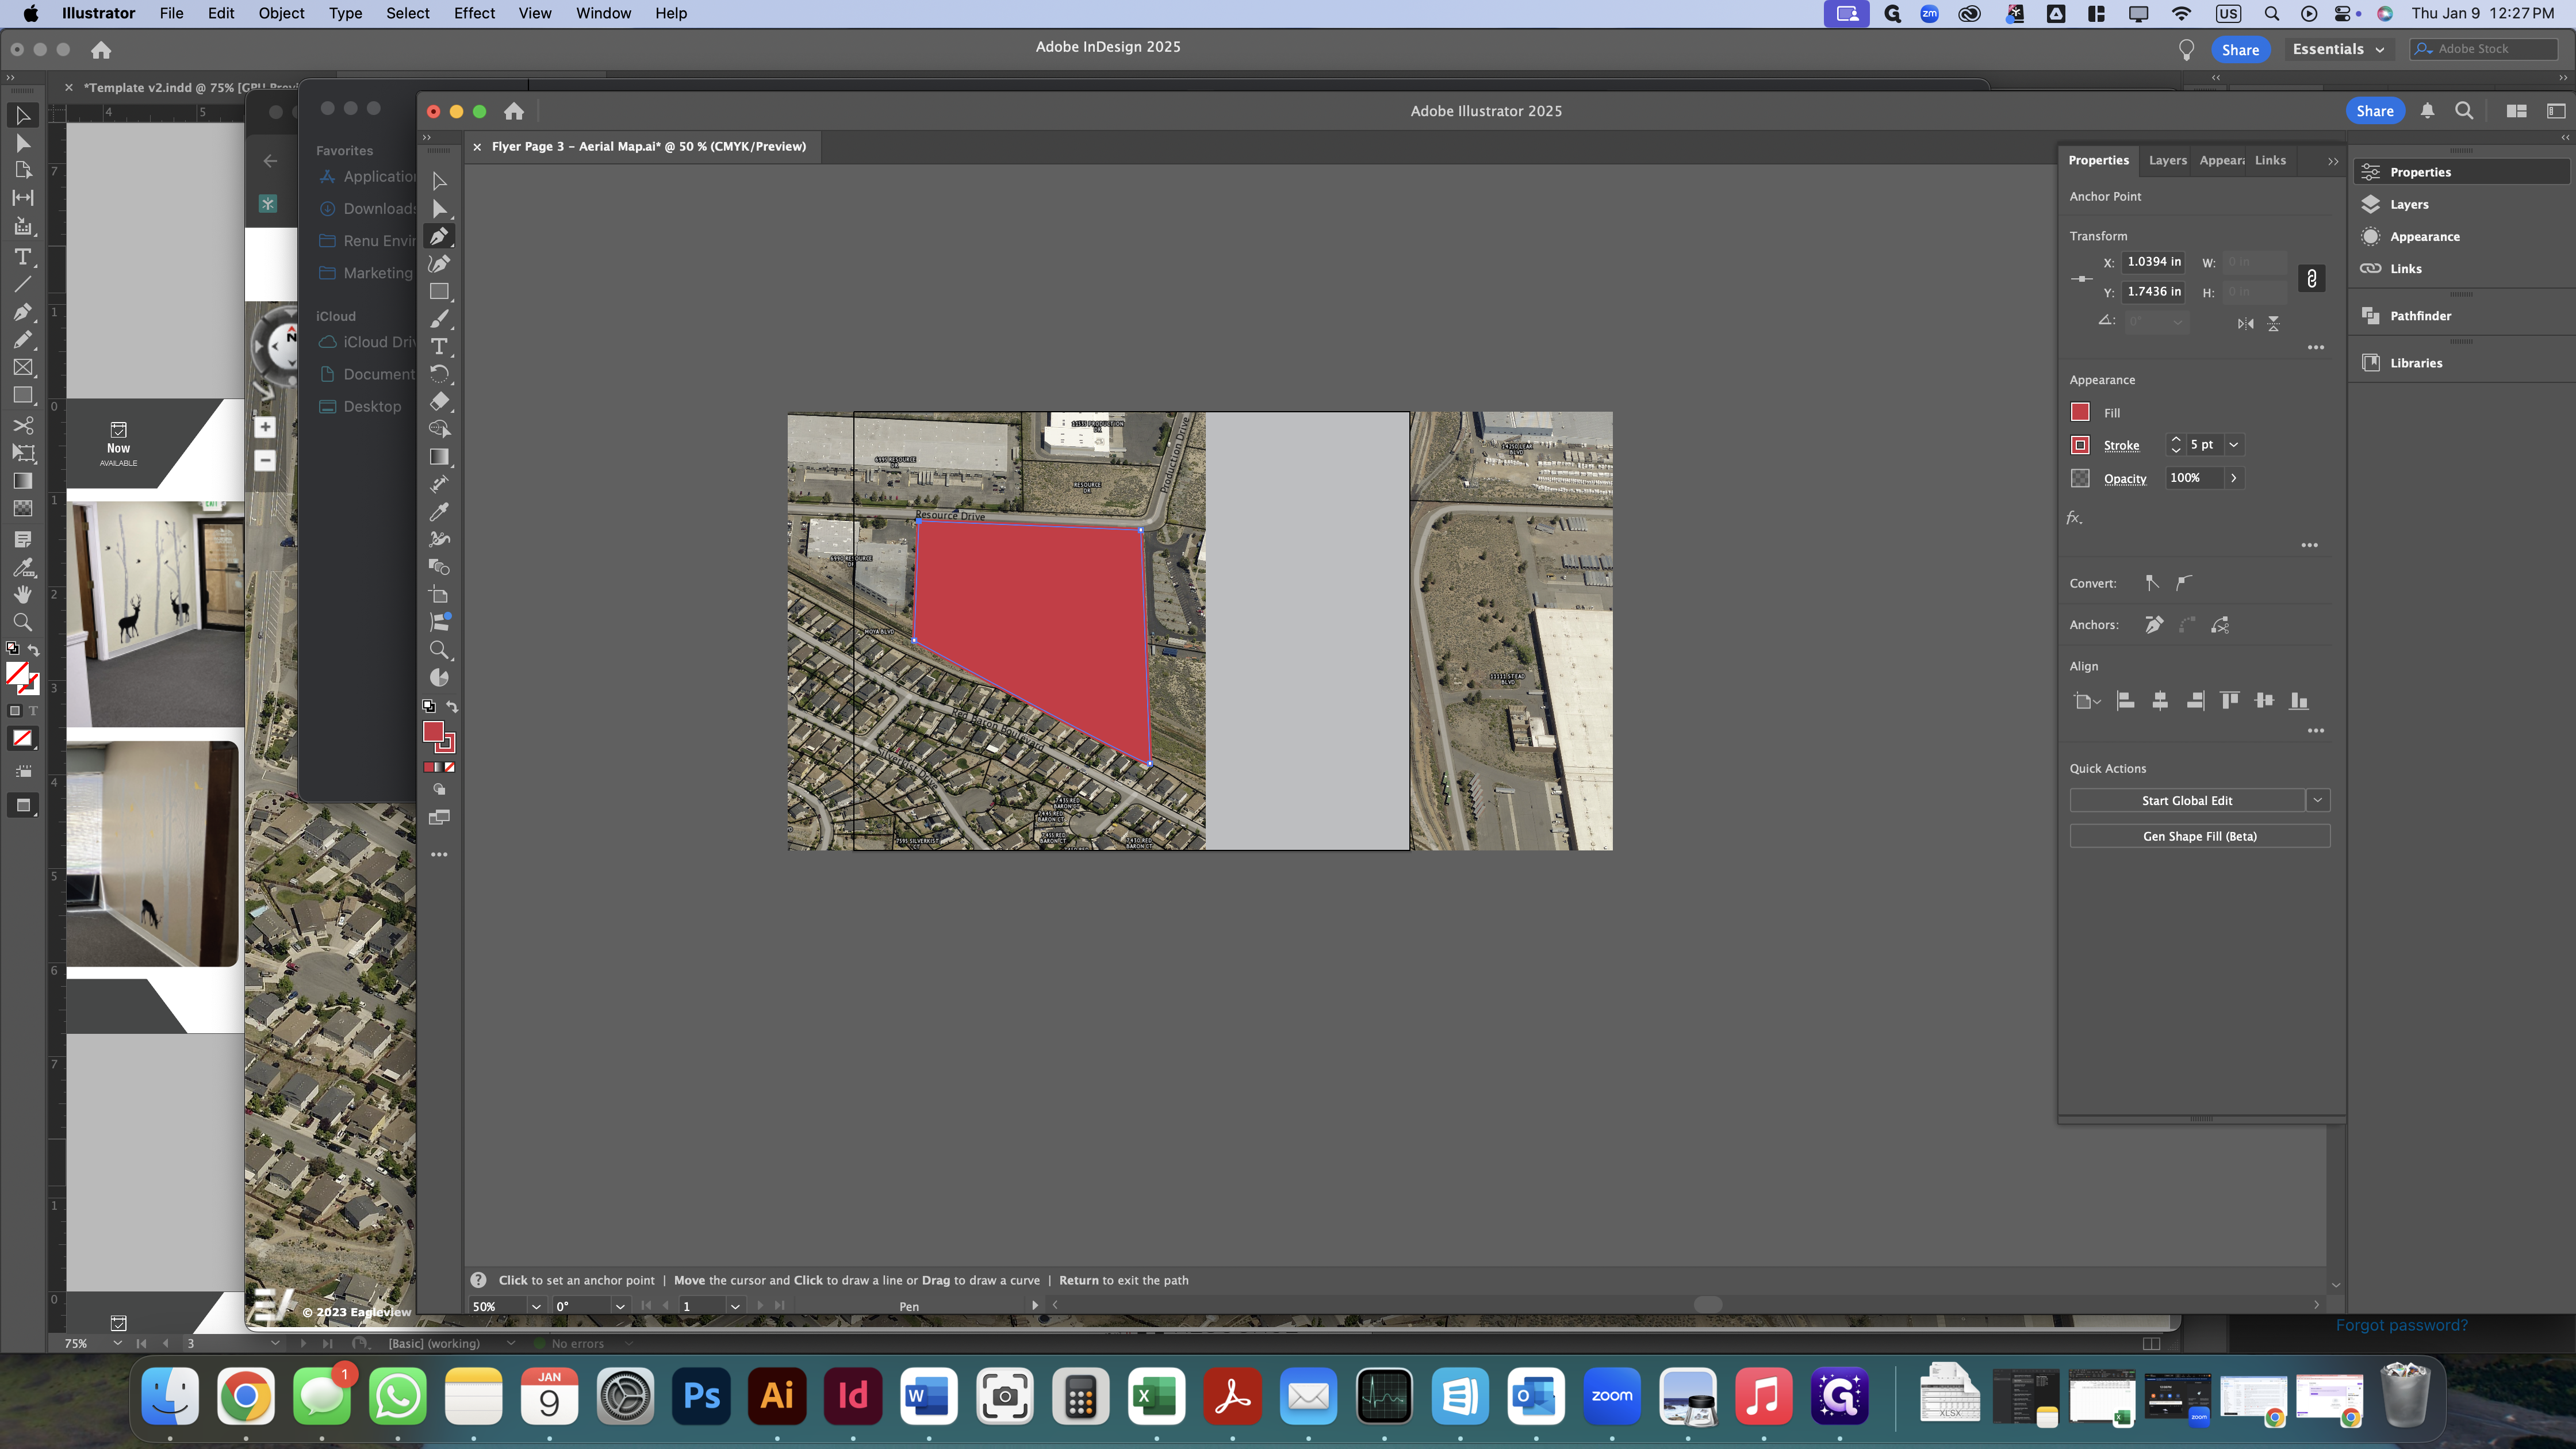

Set the fill opacity to 20%.

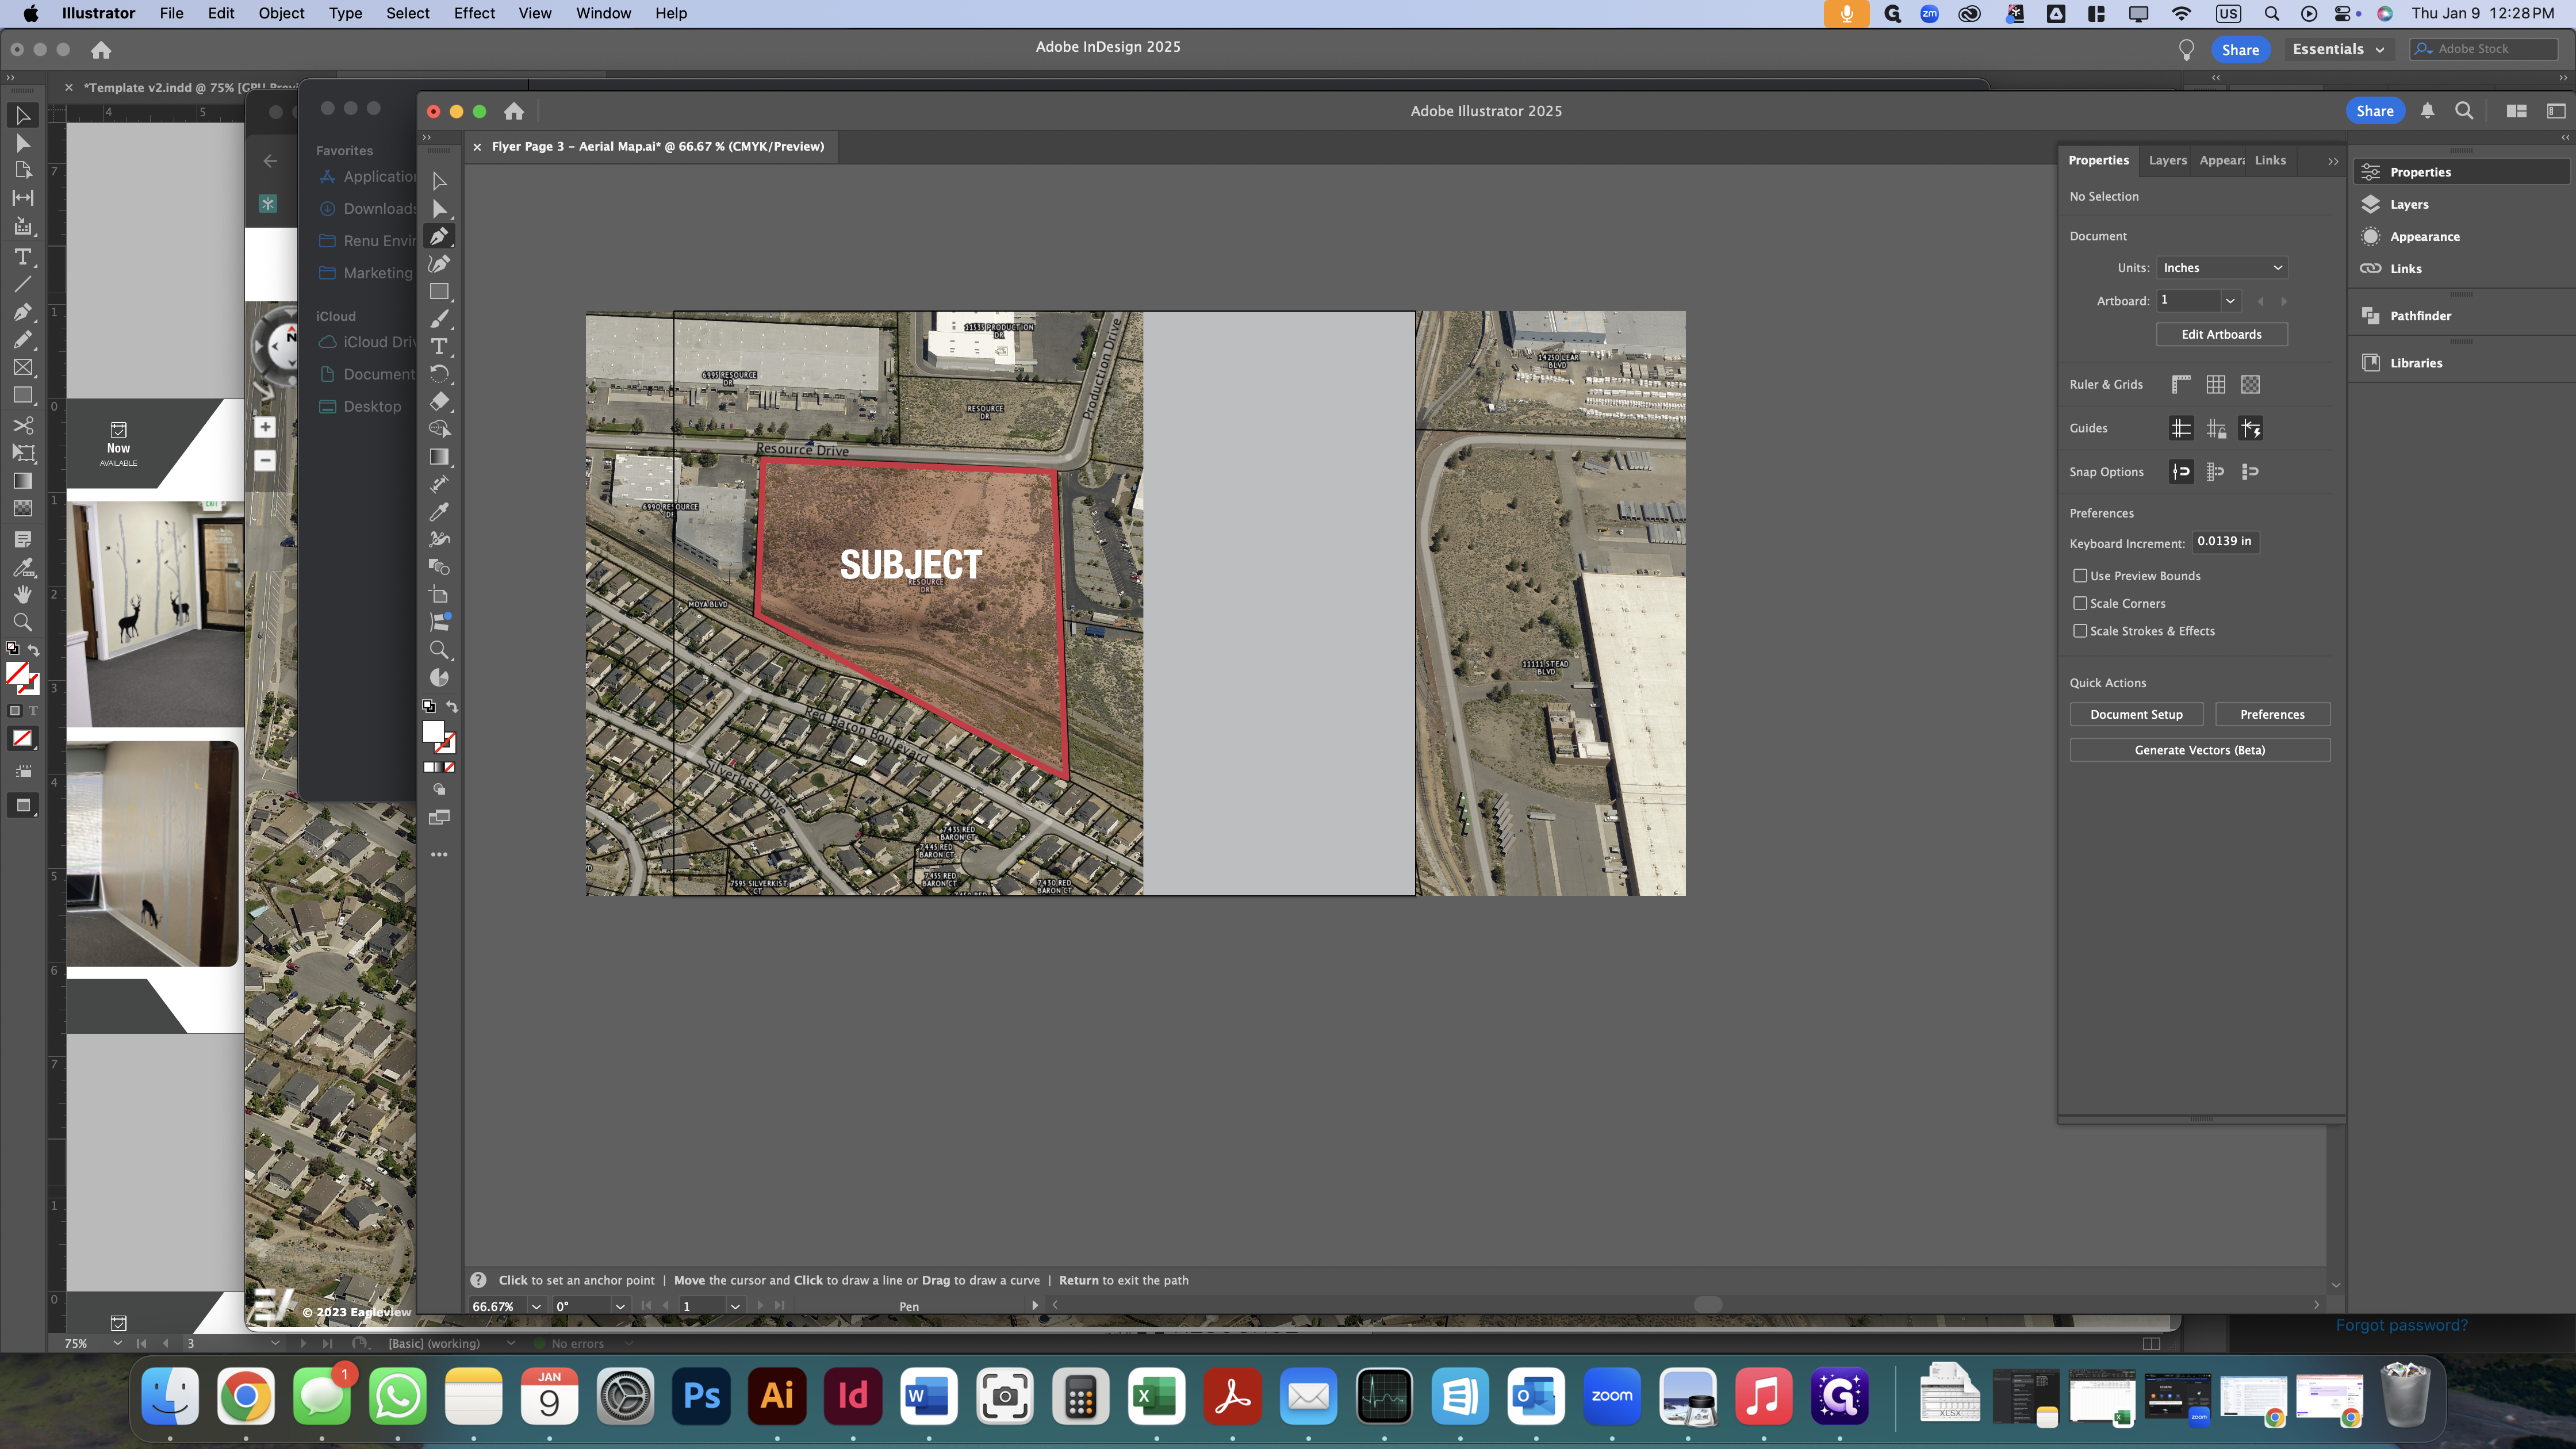
Next, drag the "SUBJECT" text onto the shape we just created.


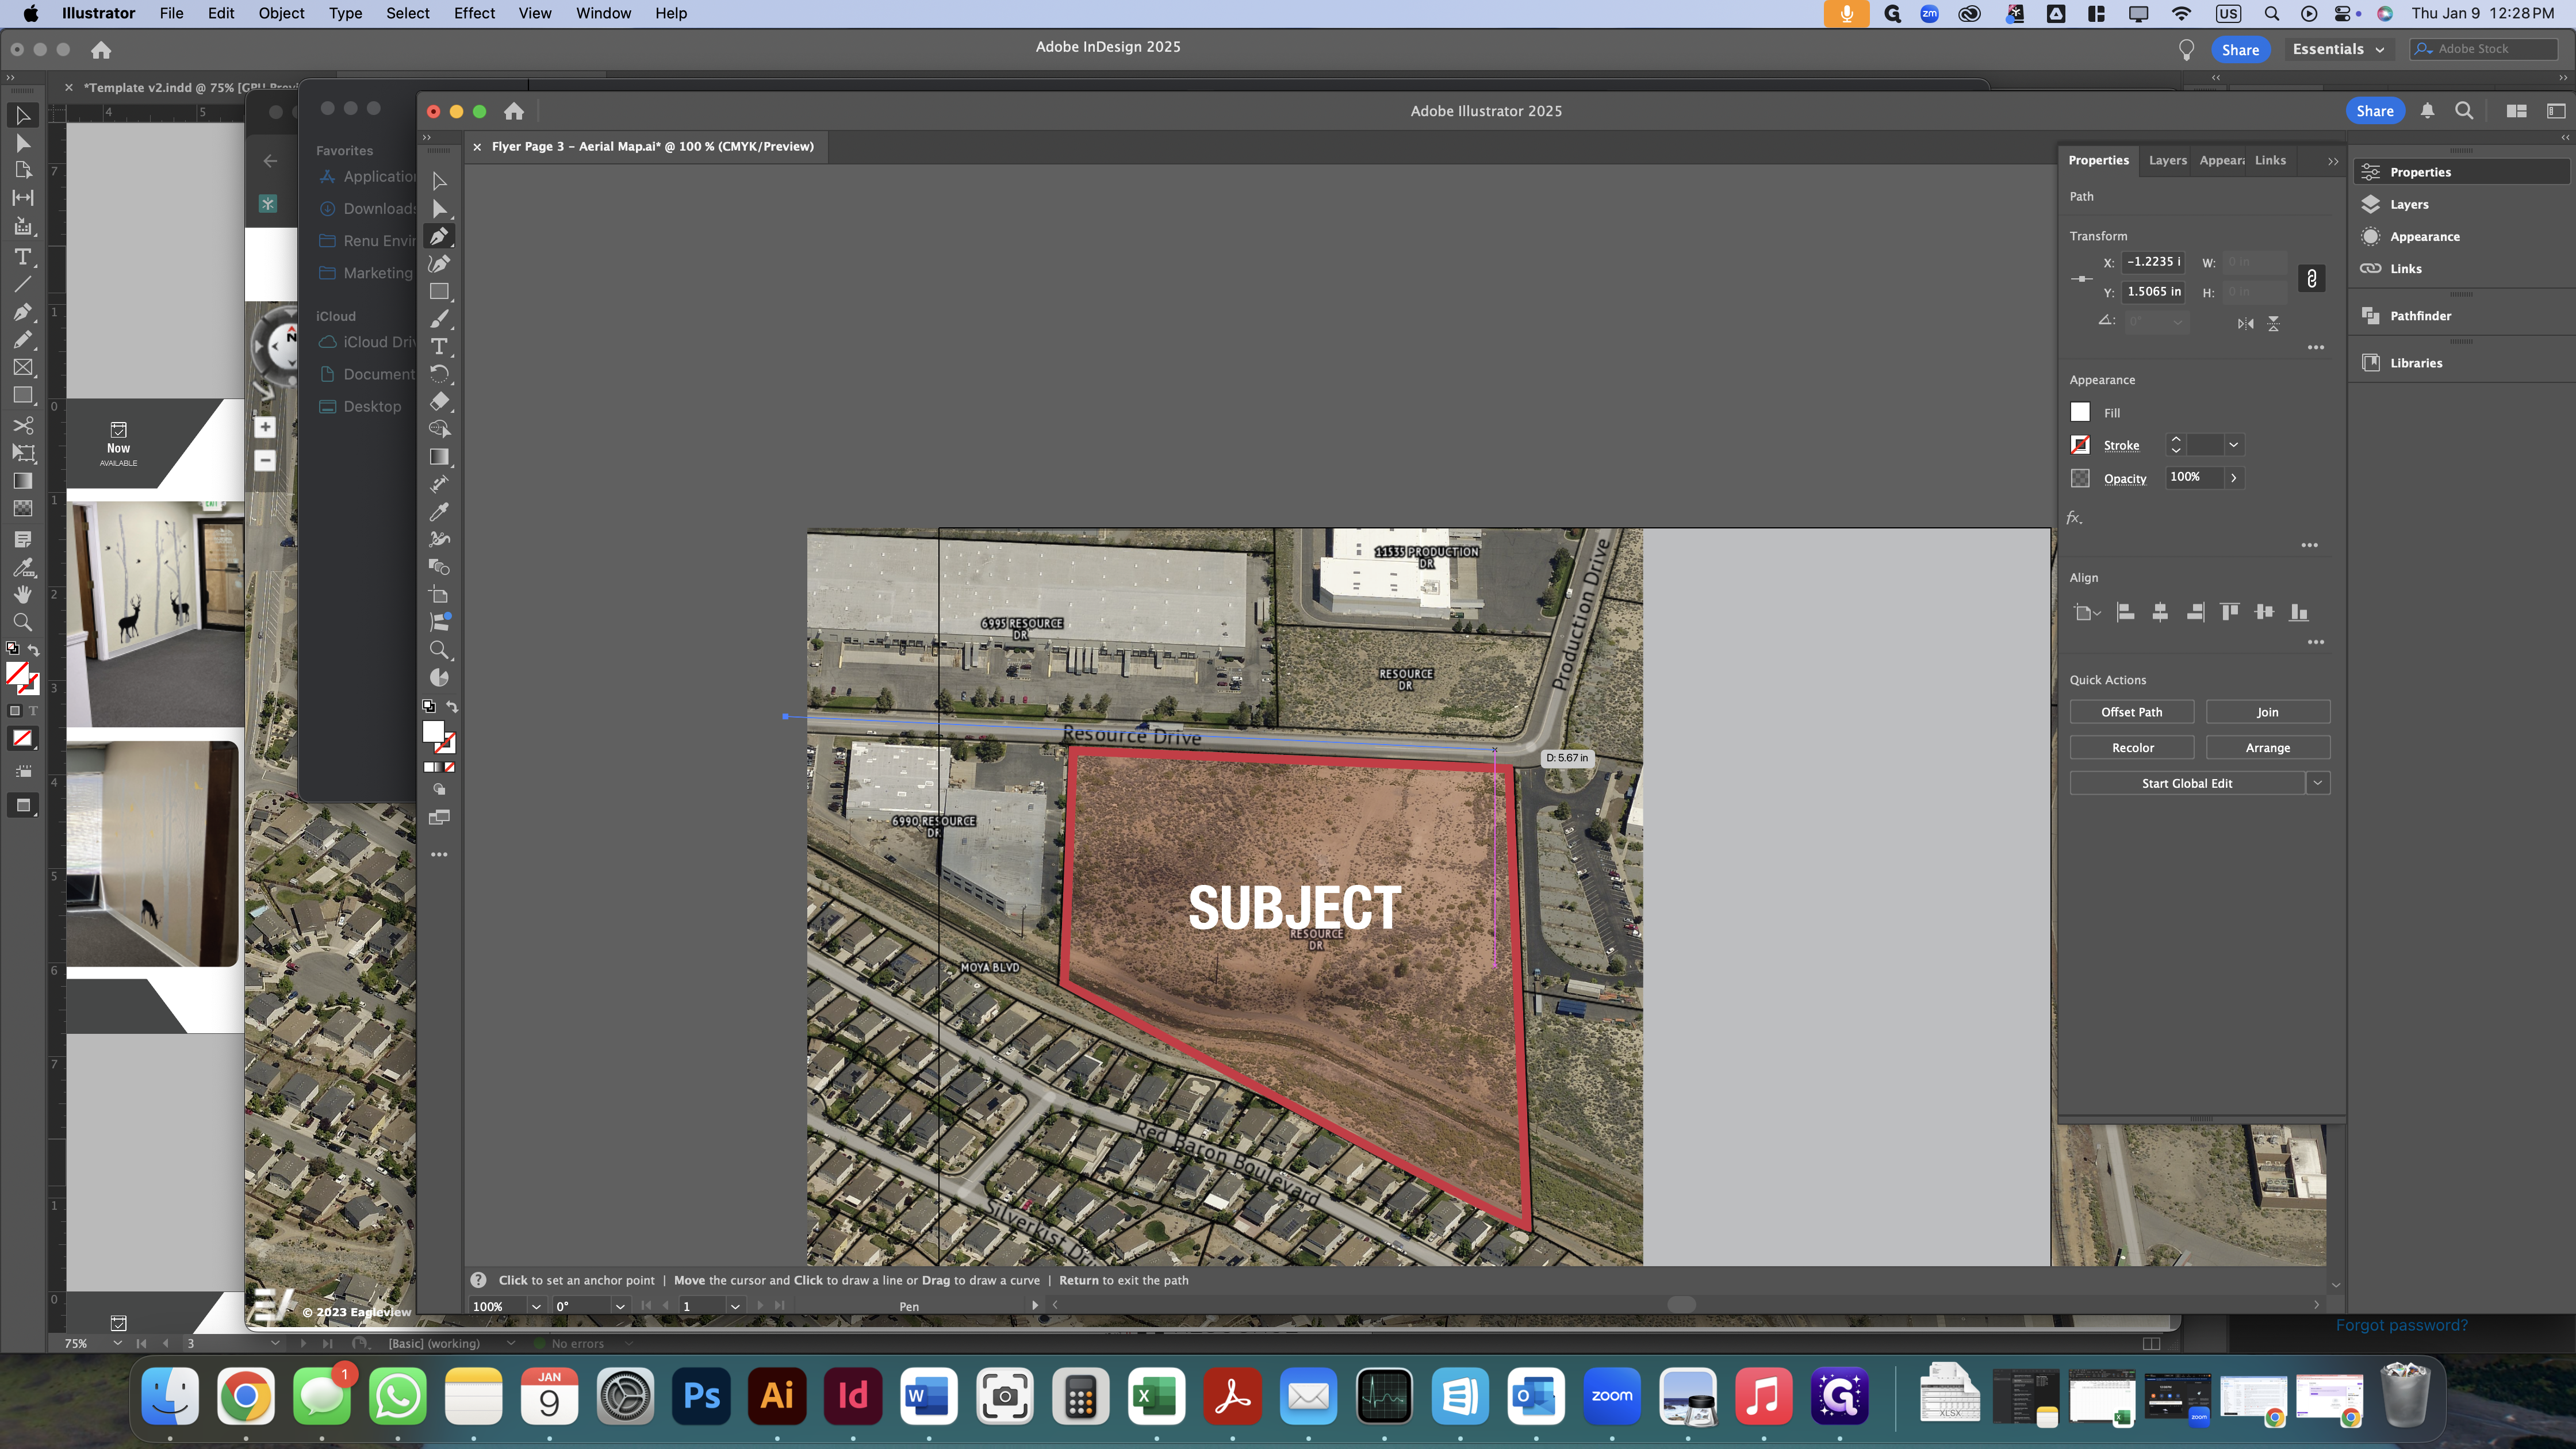
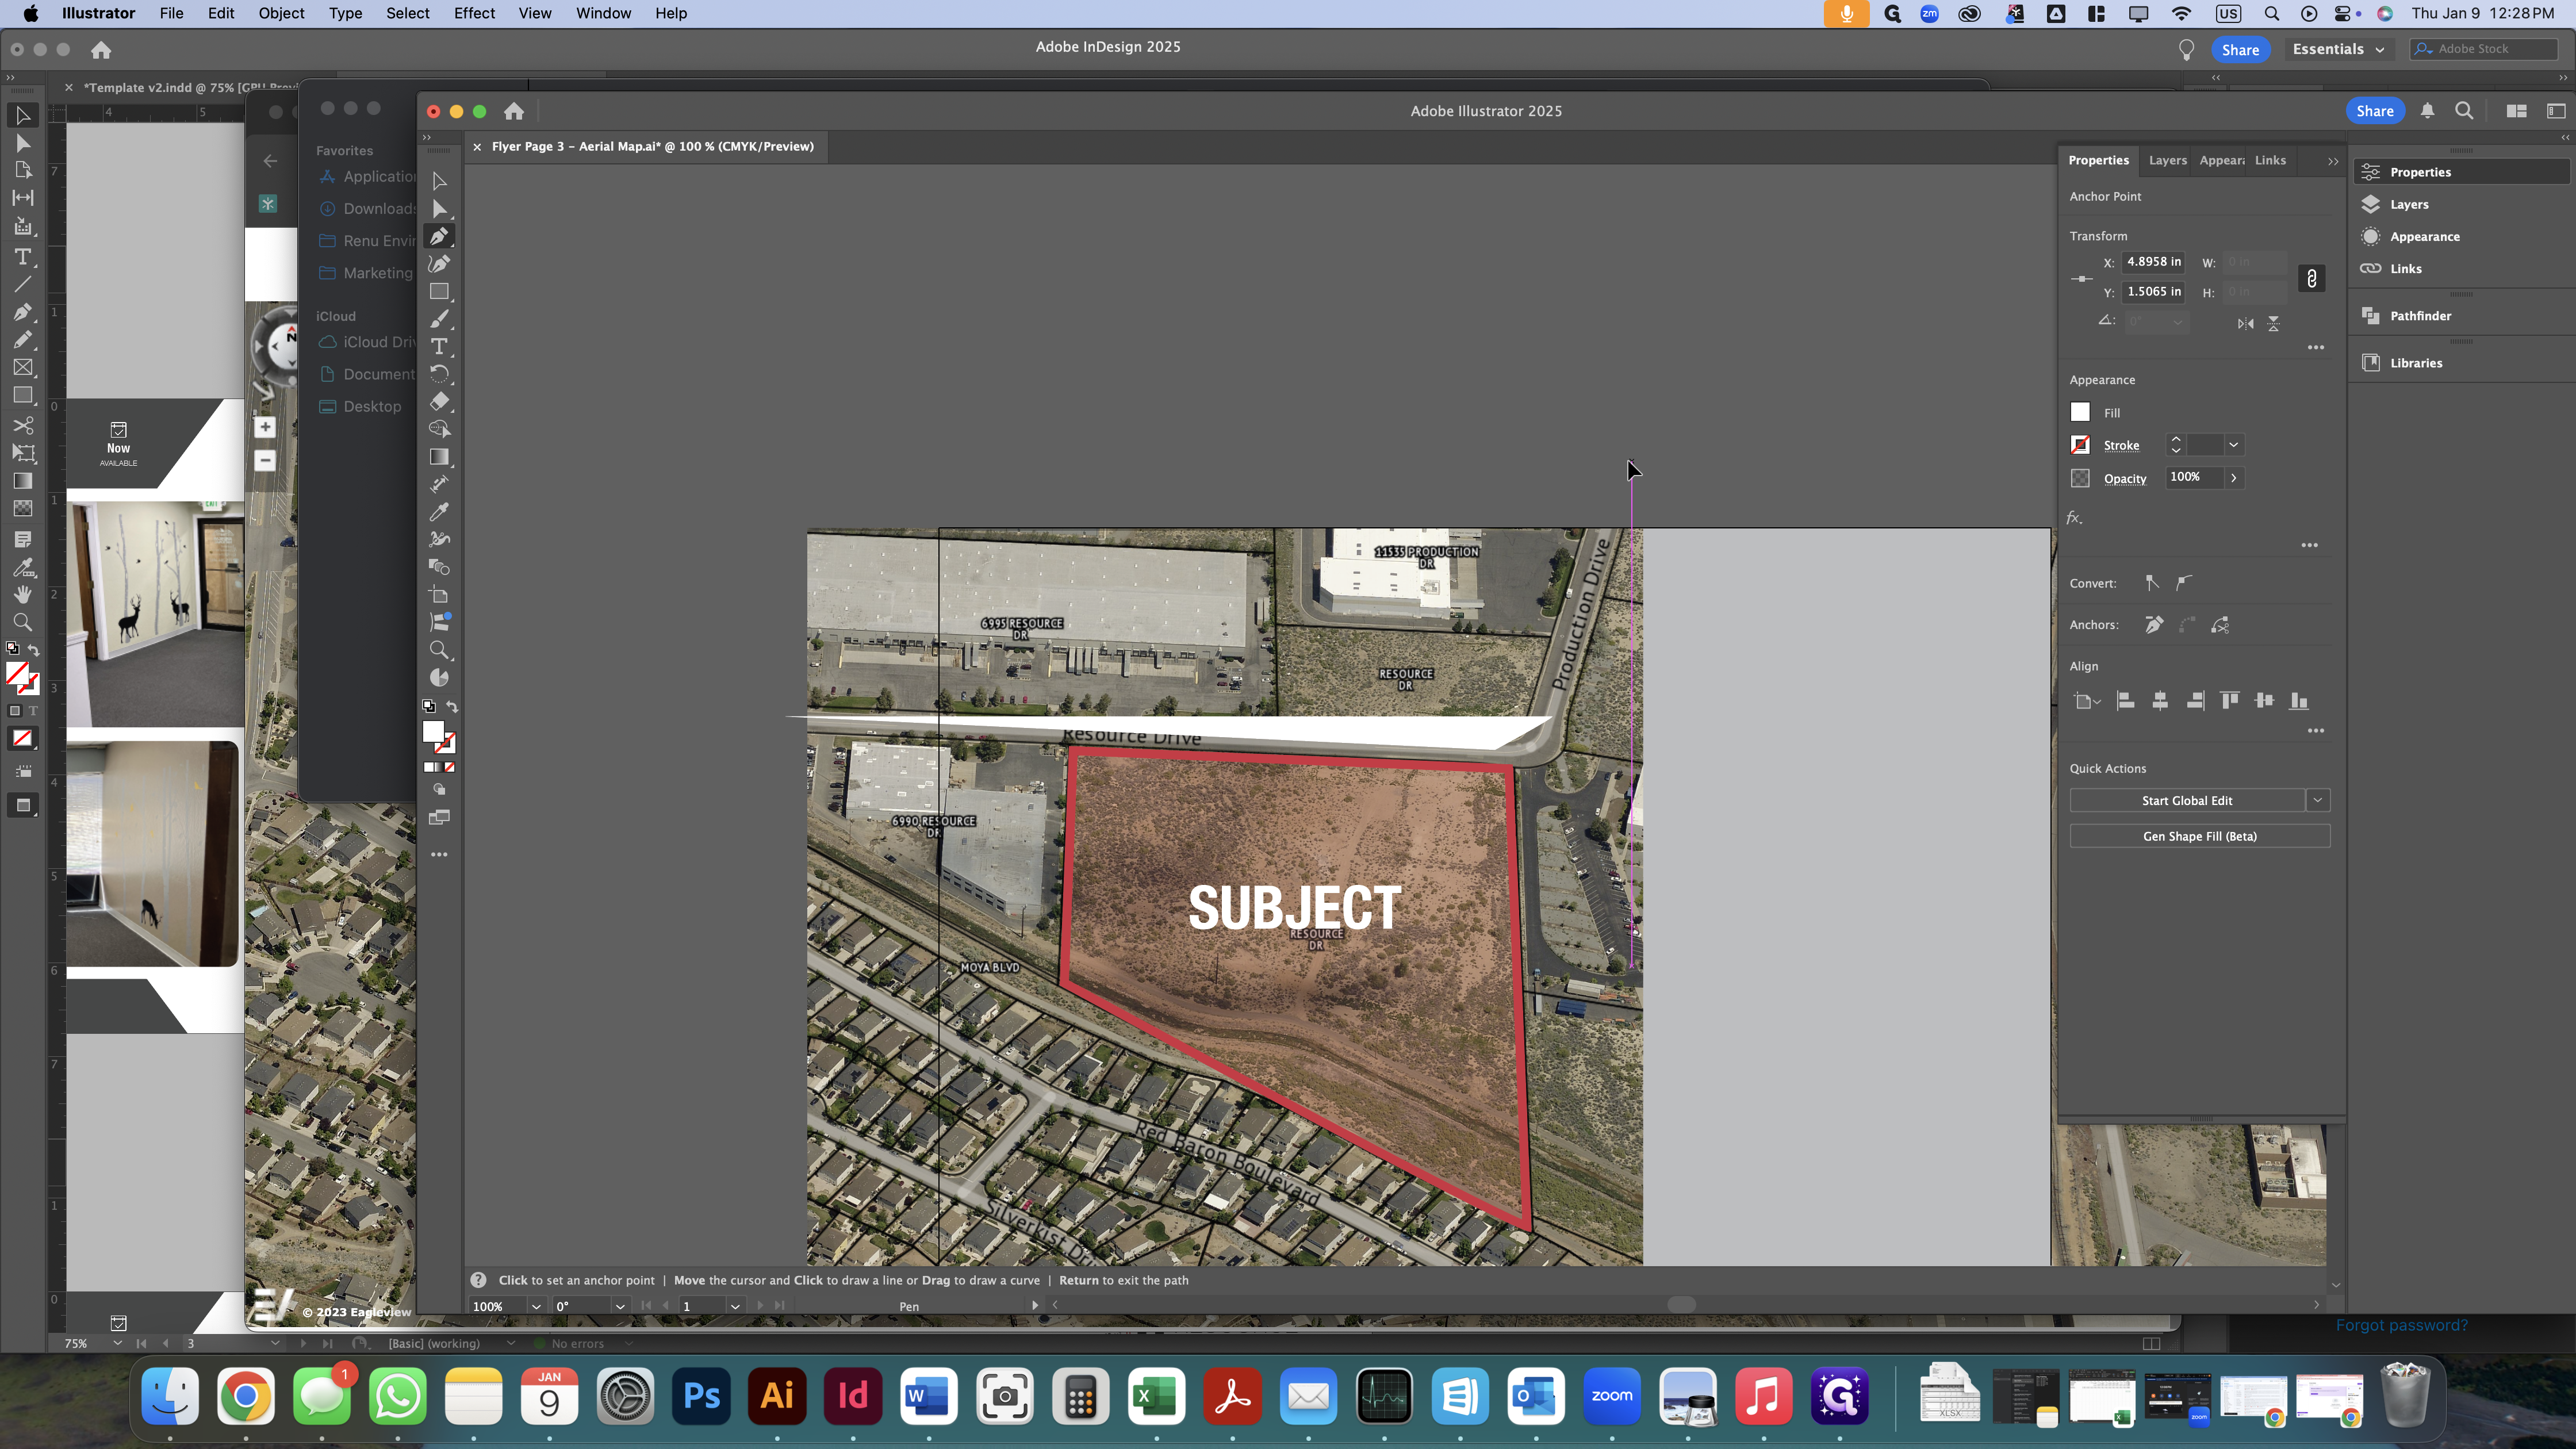
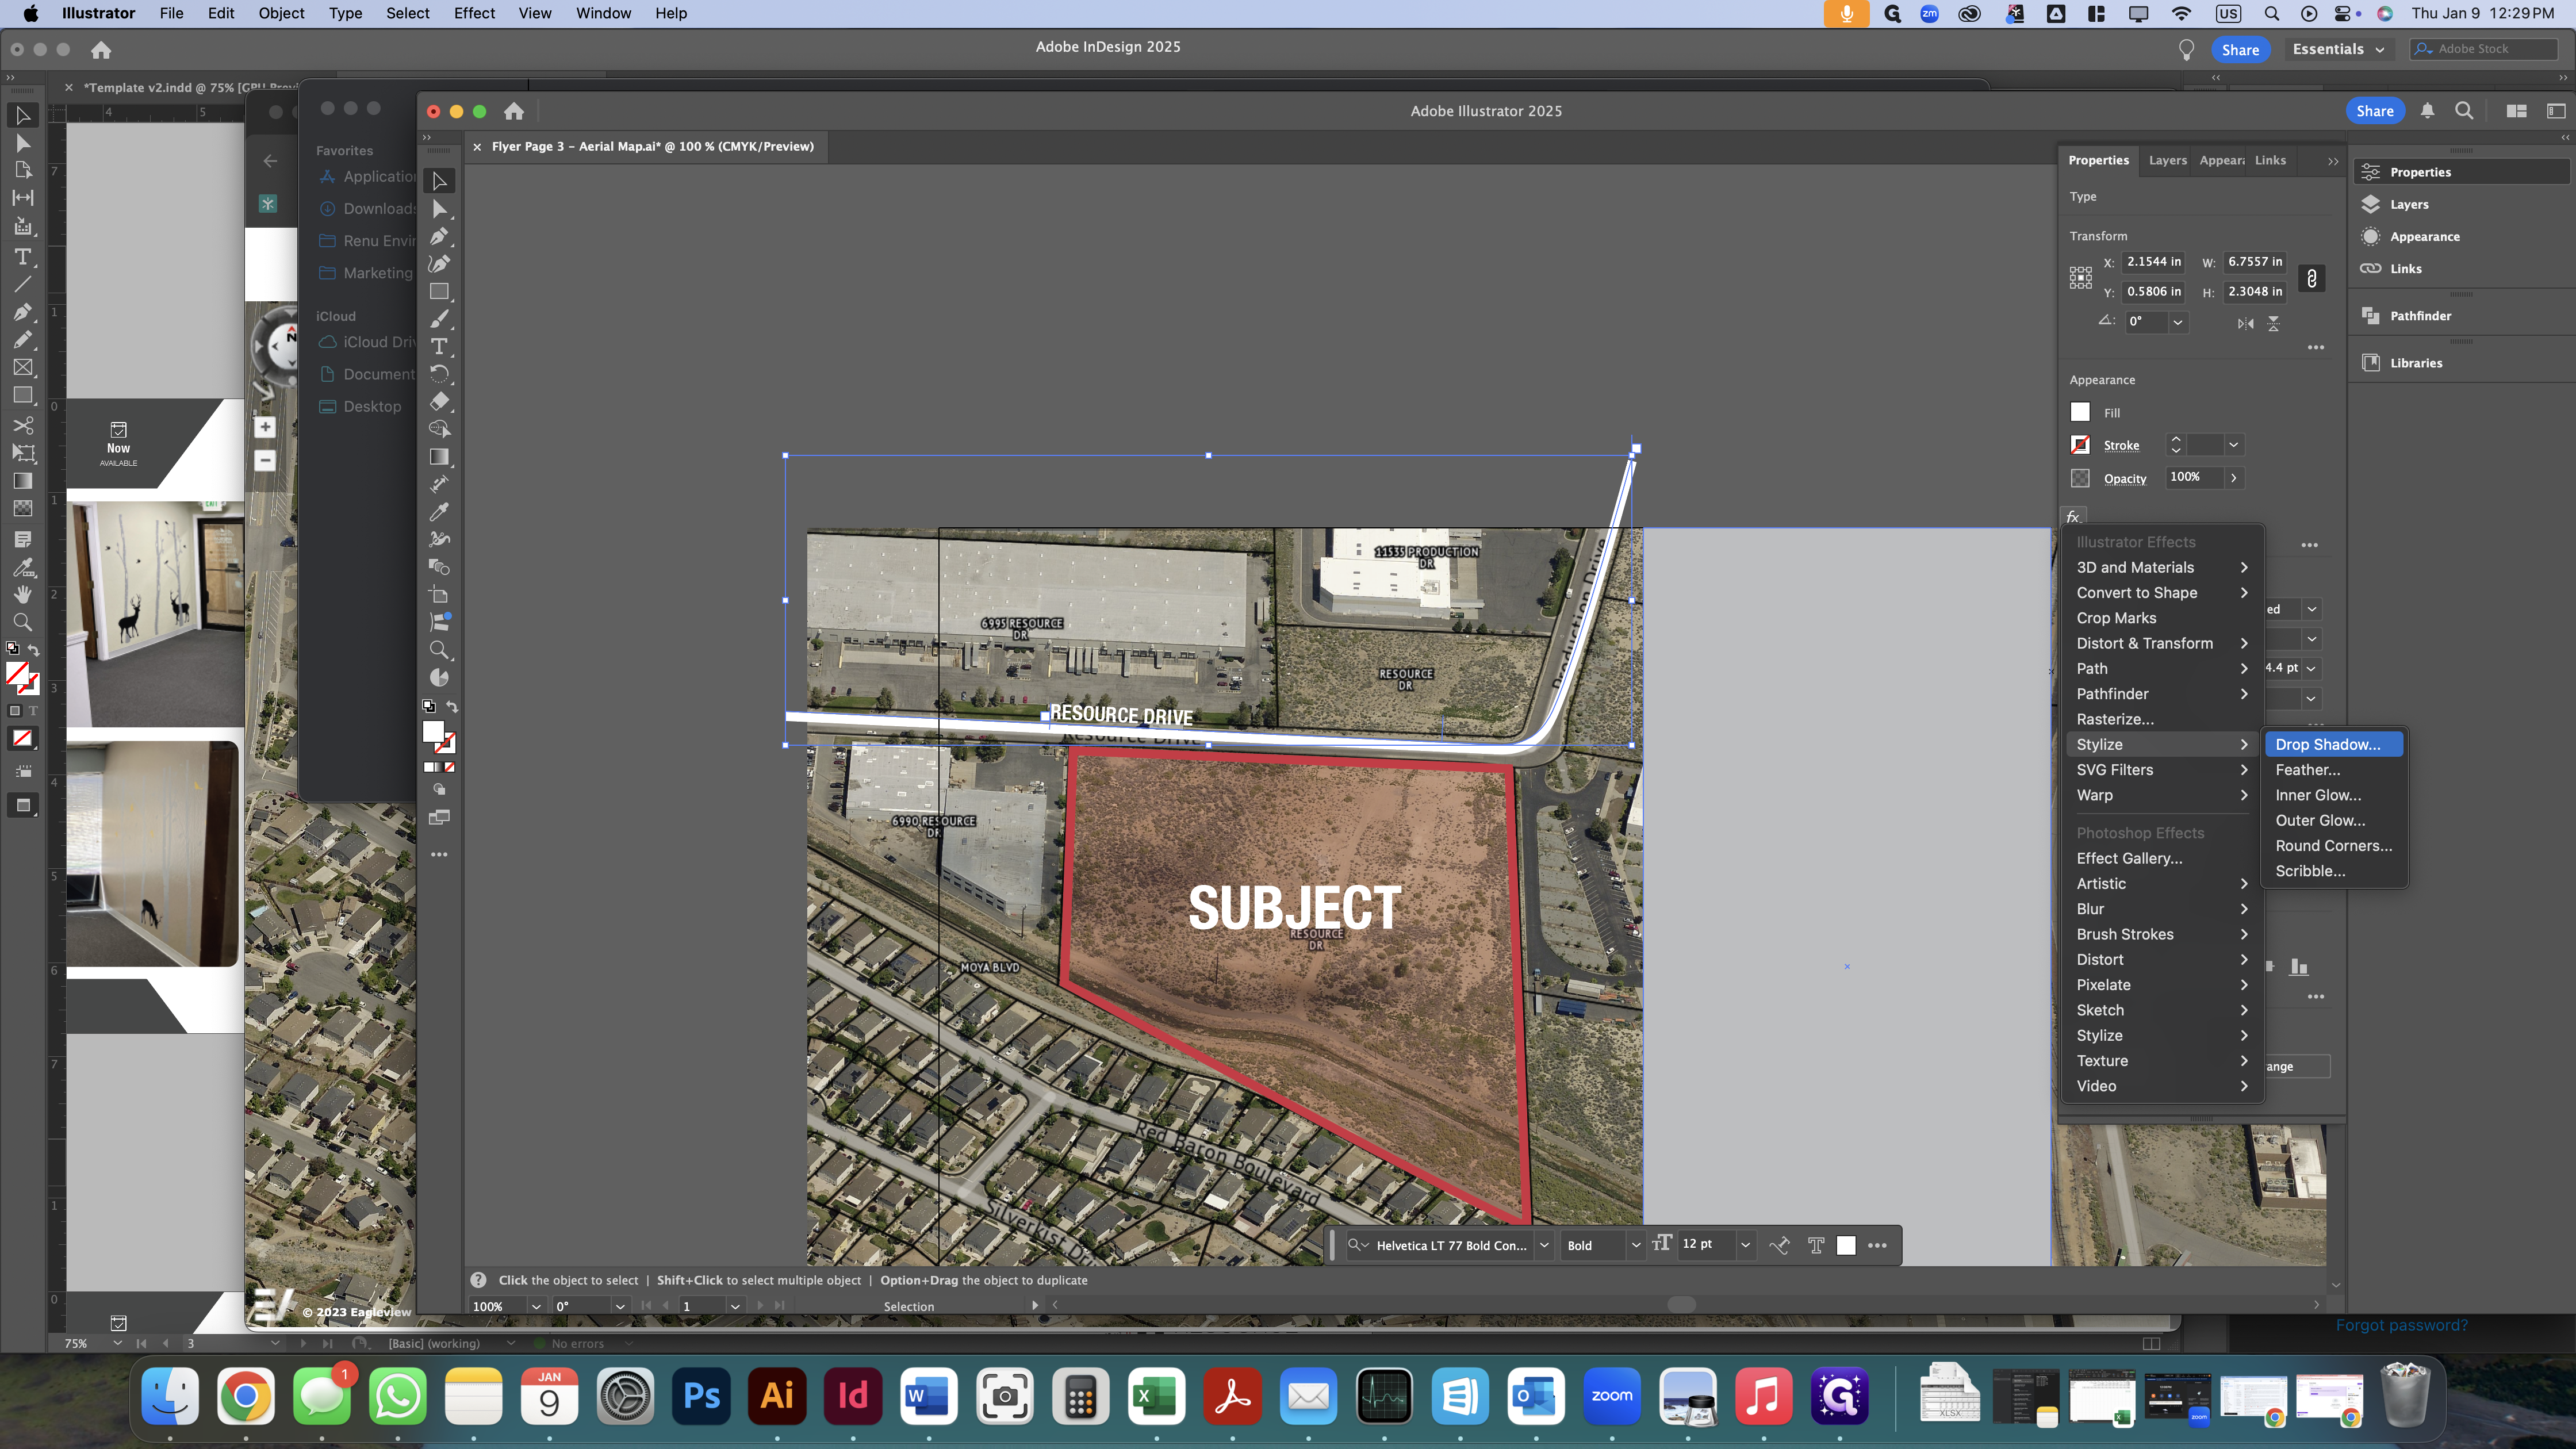
Next, we'll create lines to indicate where the roads are near the parcel.
Trace the road.

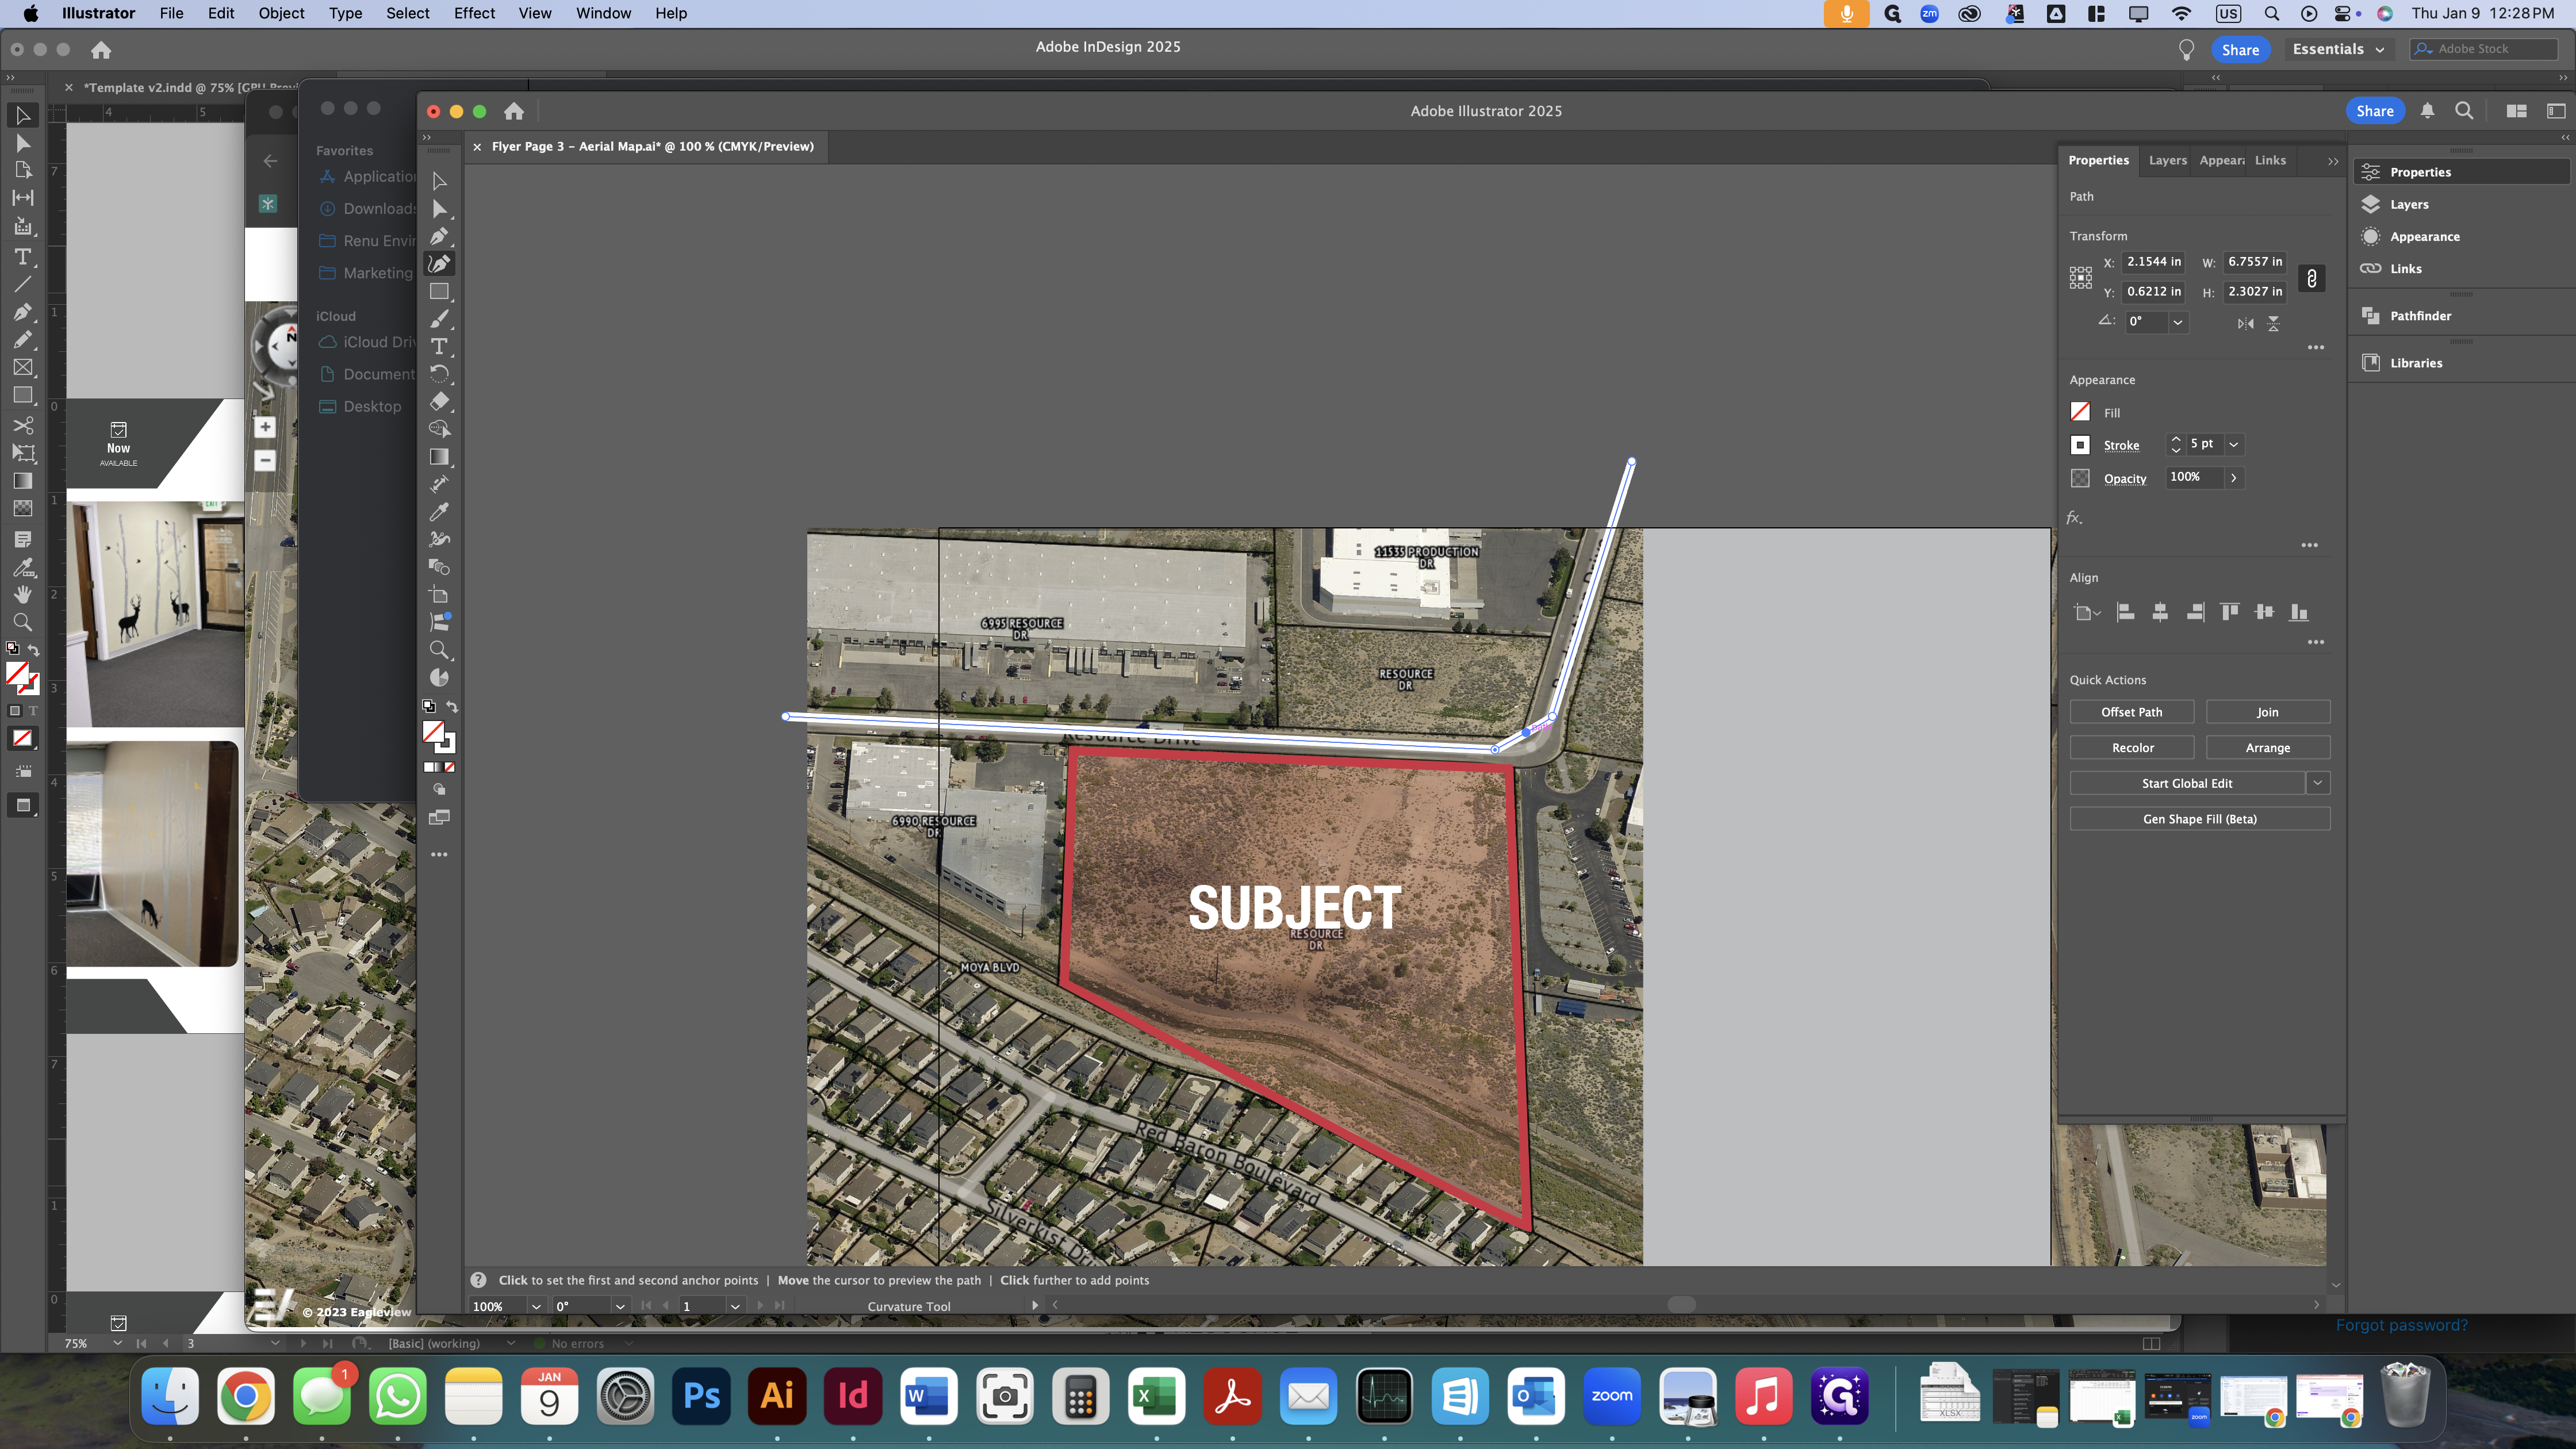
Set the fill color to transparent and the stroke color to white.
Set the stroke to 5pt weight.

Then, use the curvature tool to fix this corner spot to make the road look smoother.

Copy the line we just created and paste it back in the same spot. We will use that extra line as a reference for the type on a path tool.

In this case, the street is Resource Drive. We will spell out the full name of the street and the street type.
If it's "drive," we will spell out the entire word. If it's "street," we will also spell out the entire word.
Next, set the text color to white.


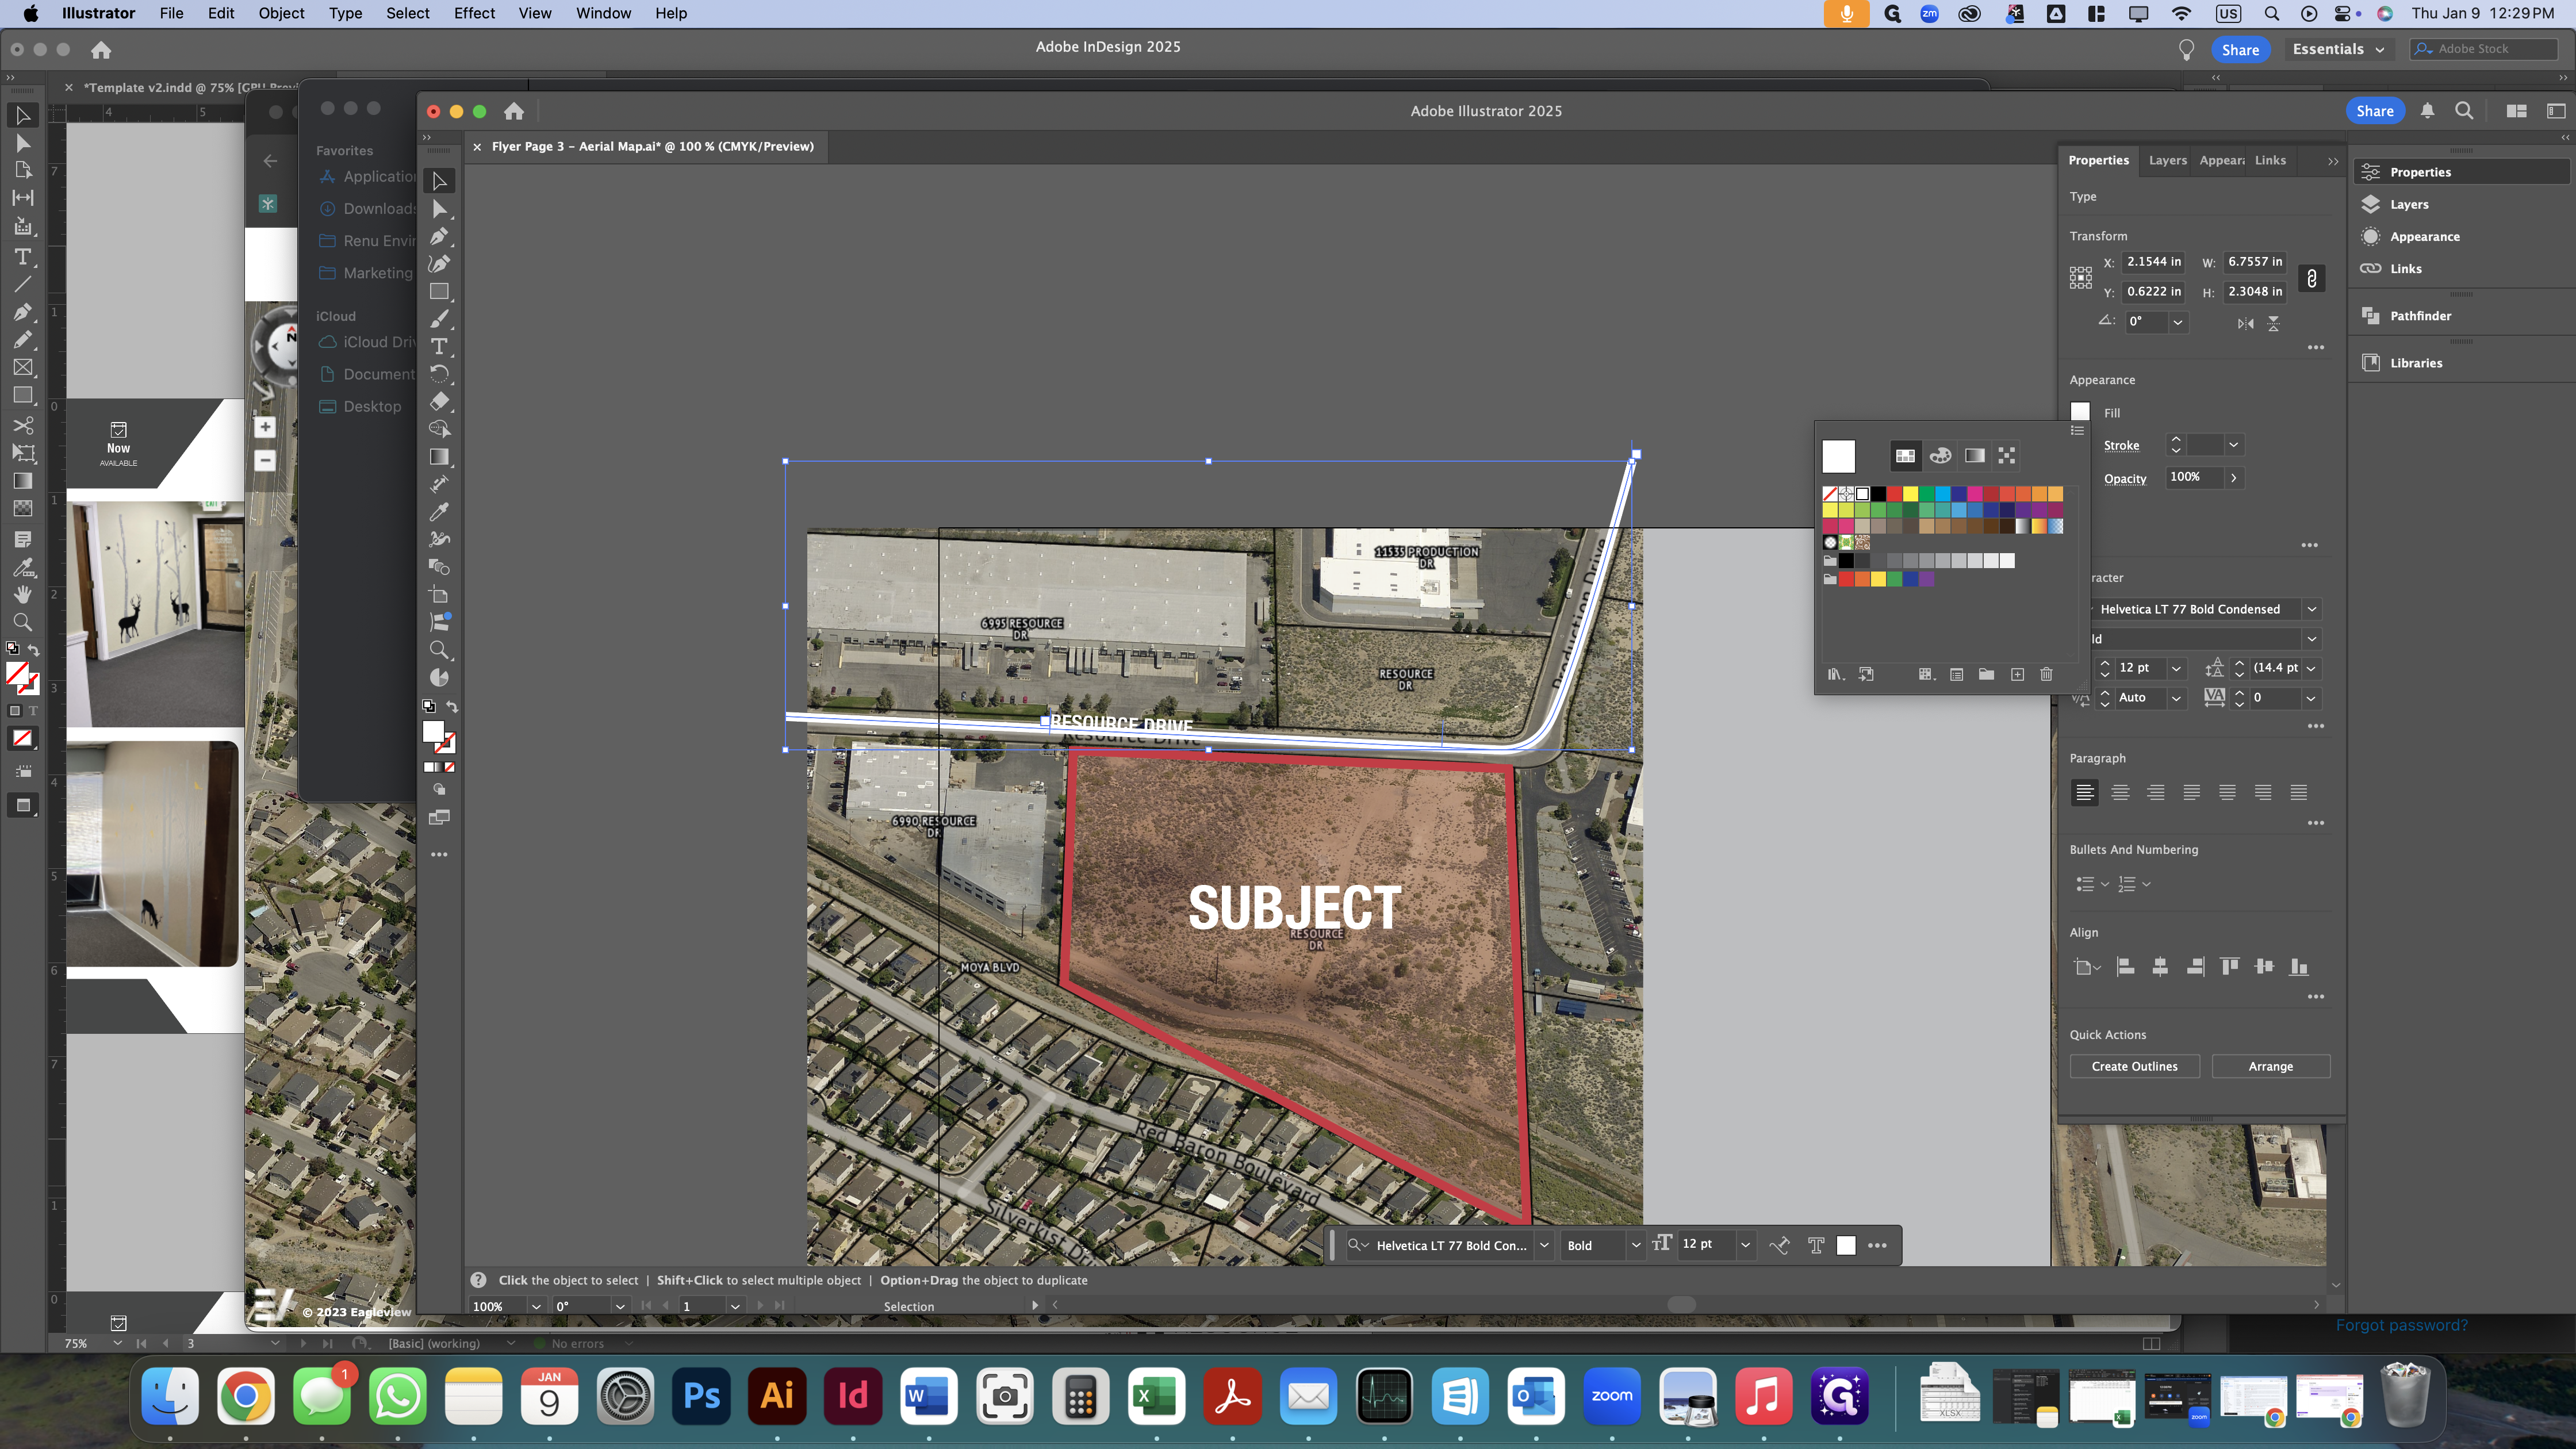
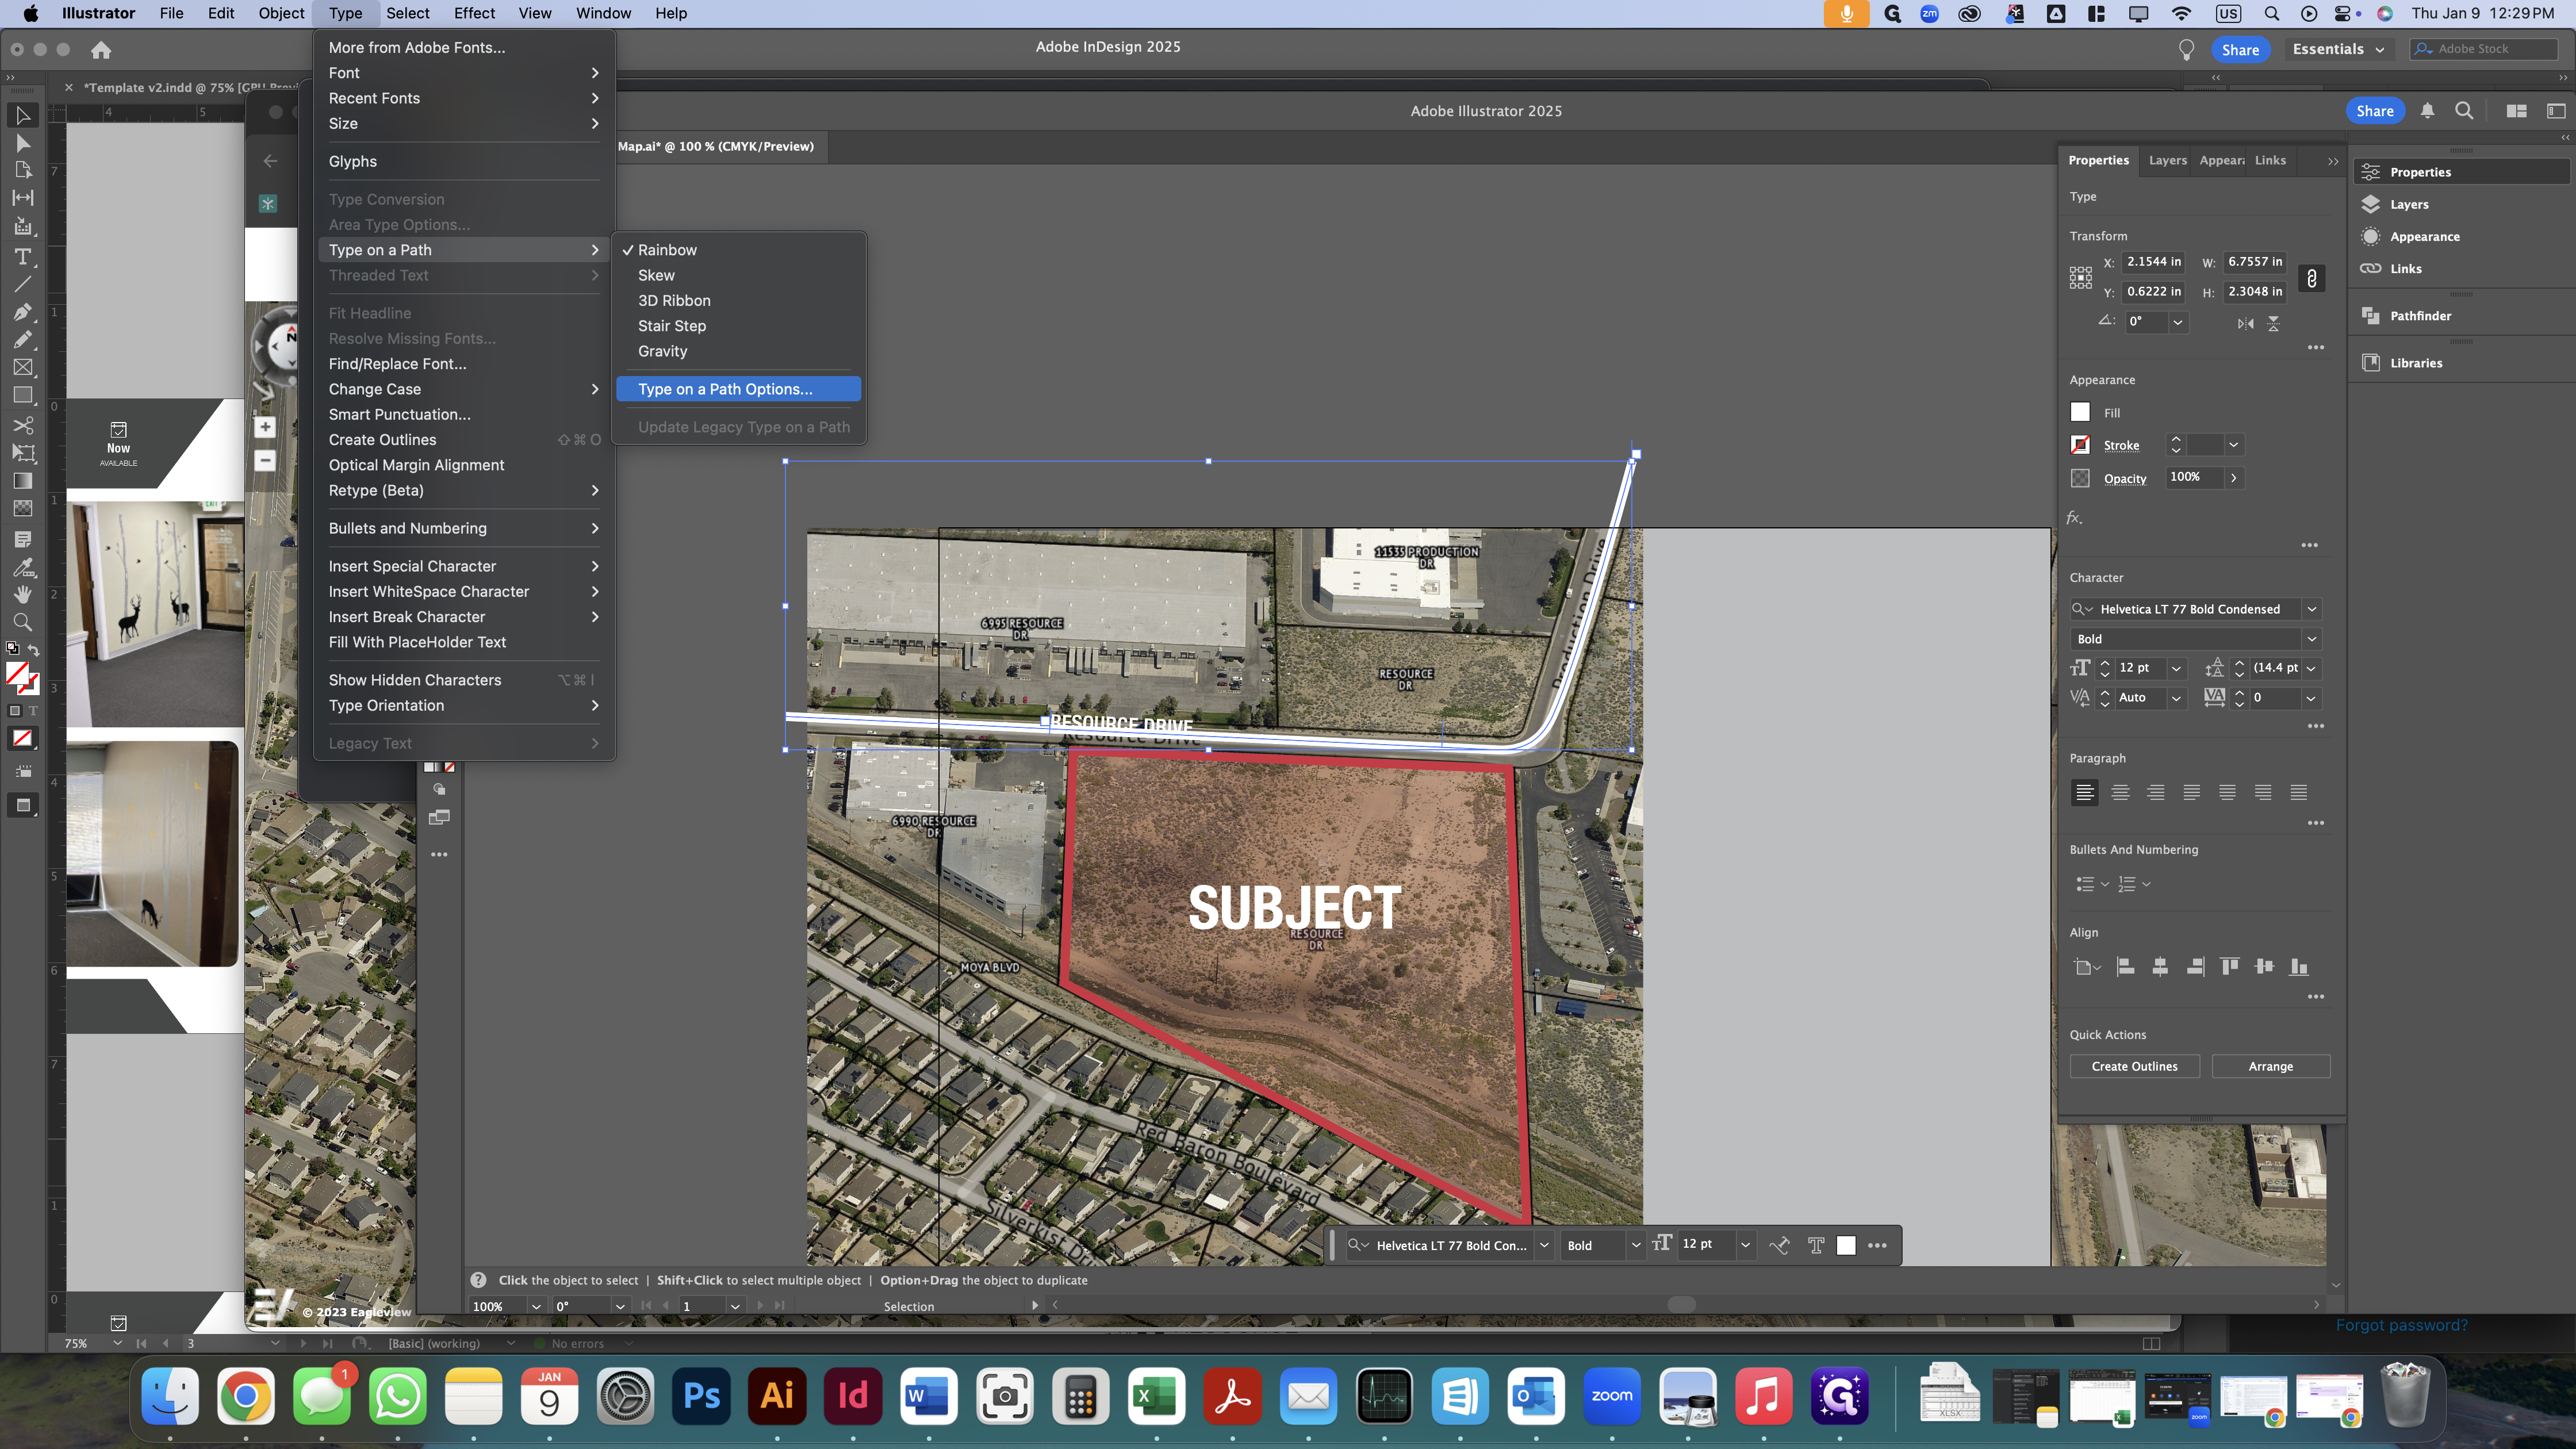
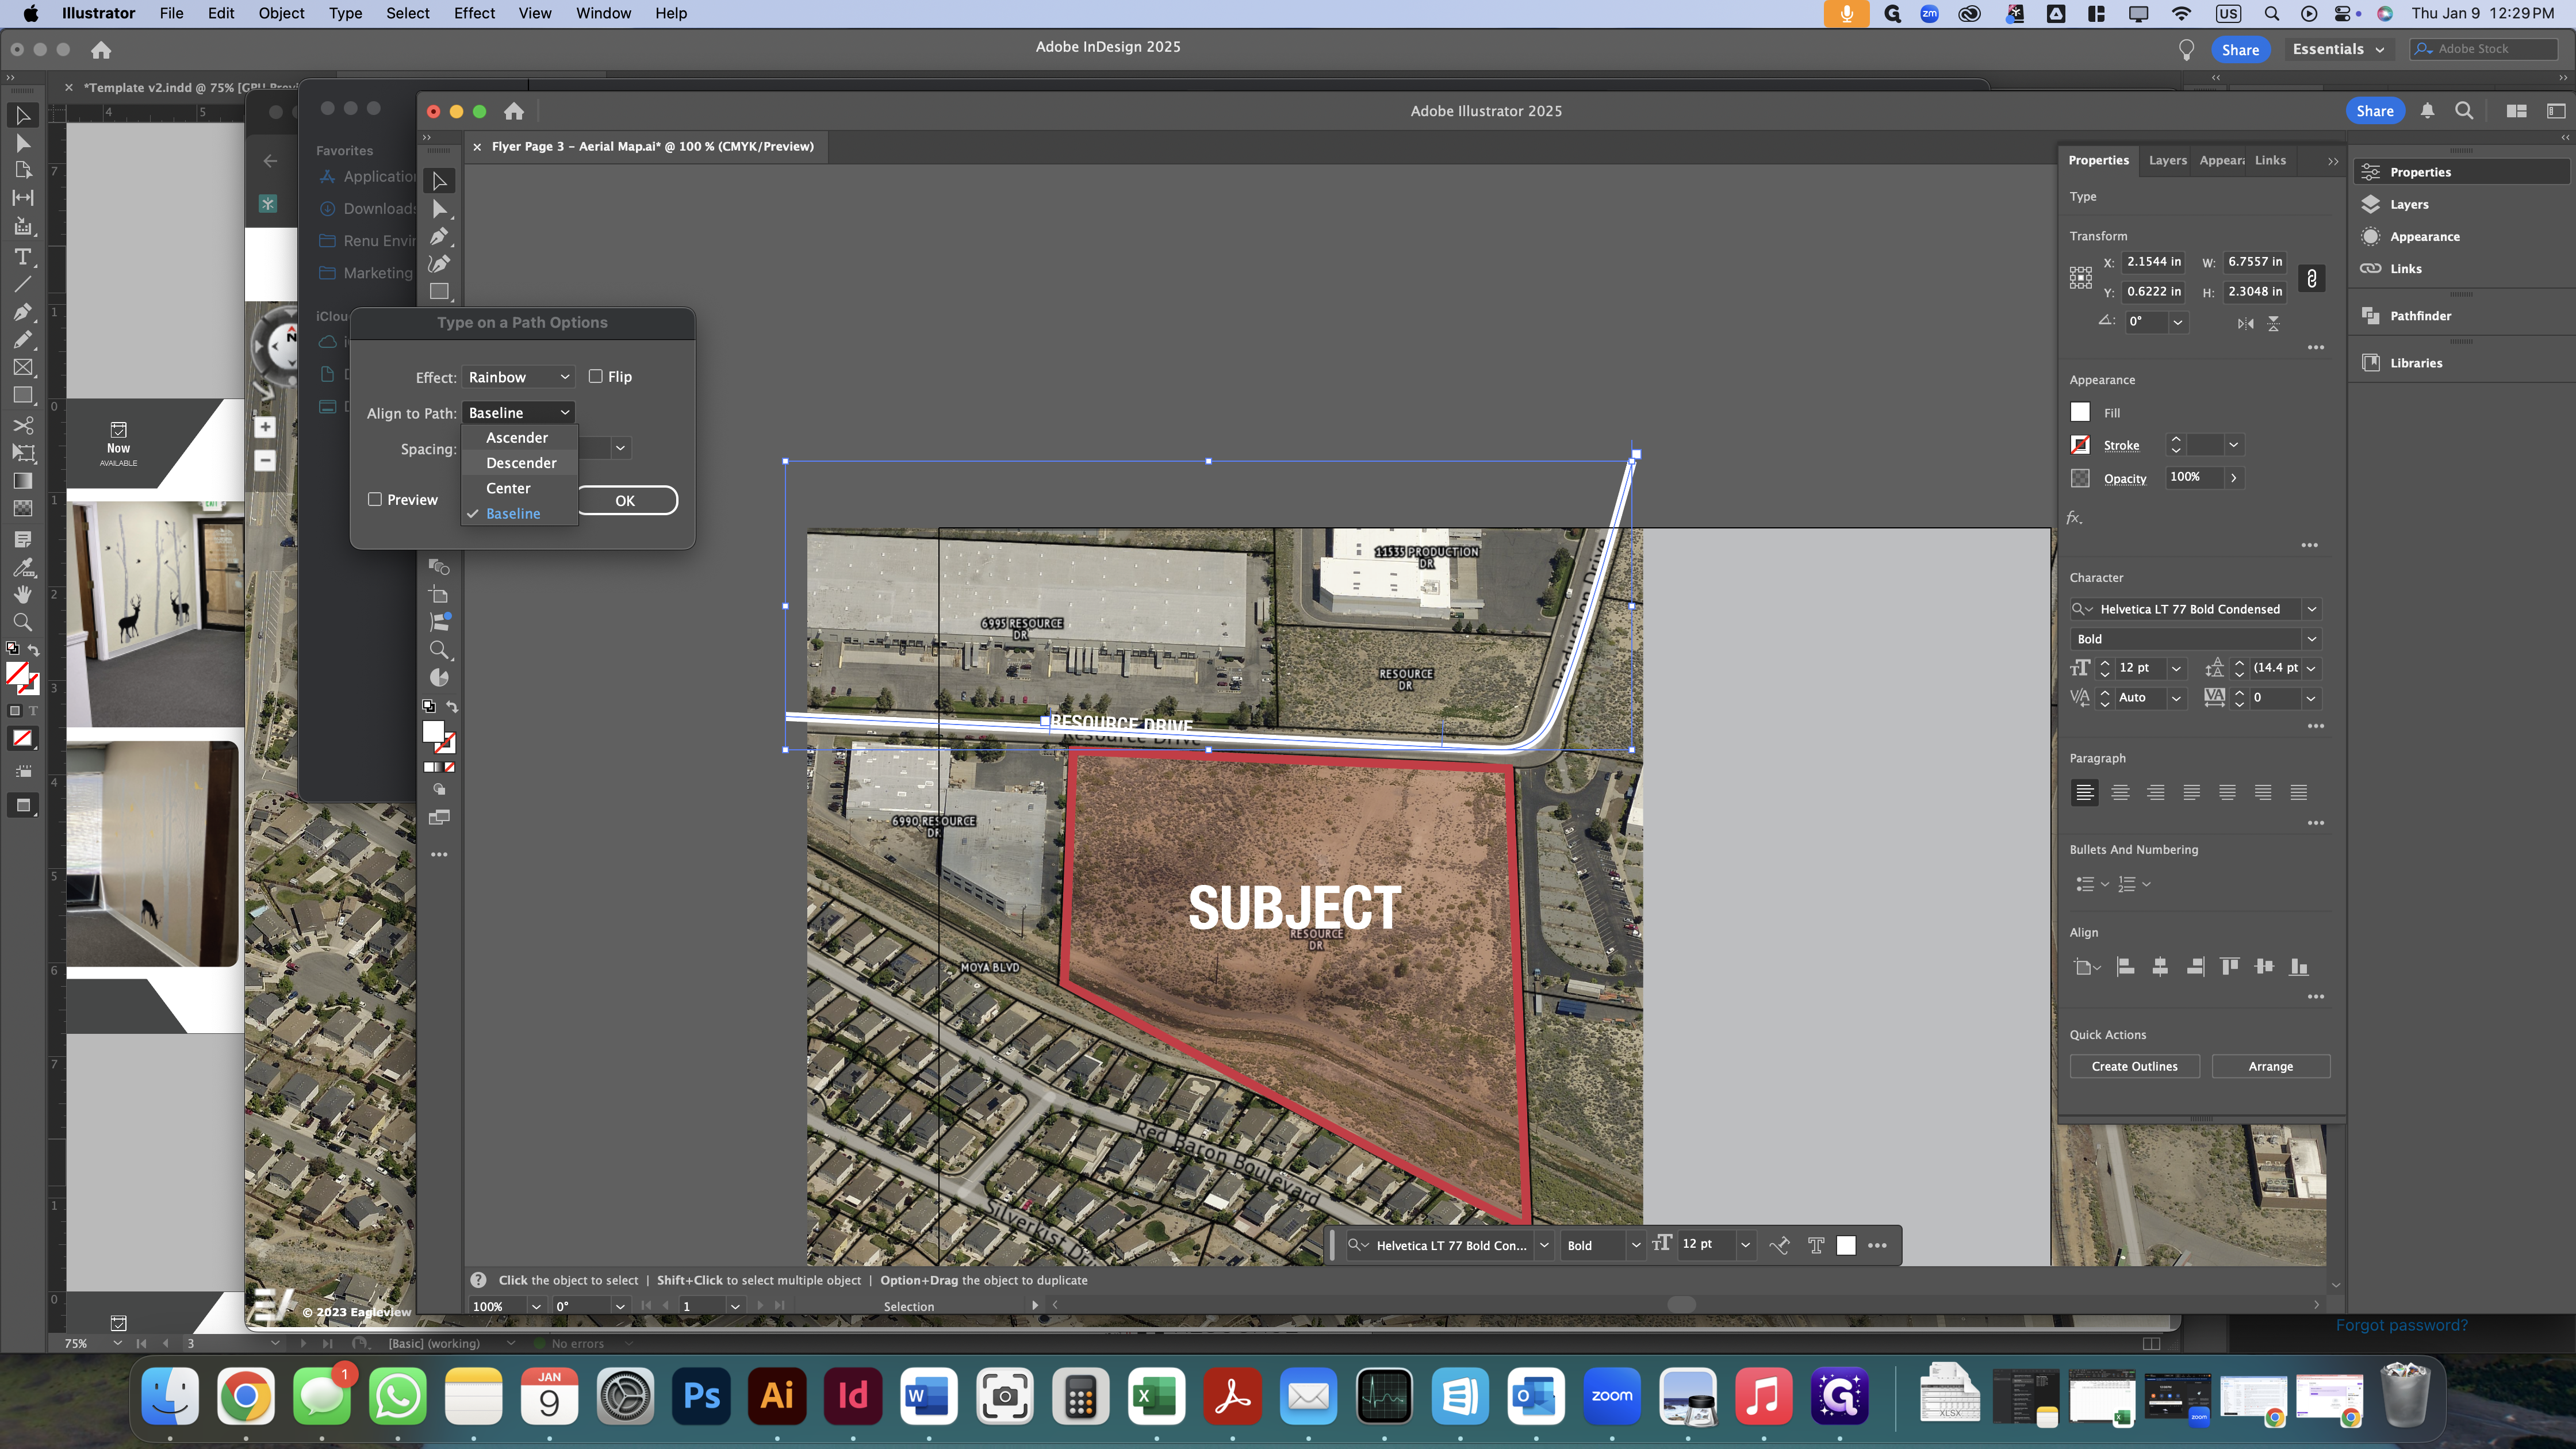
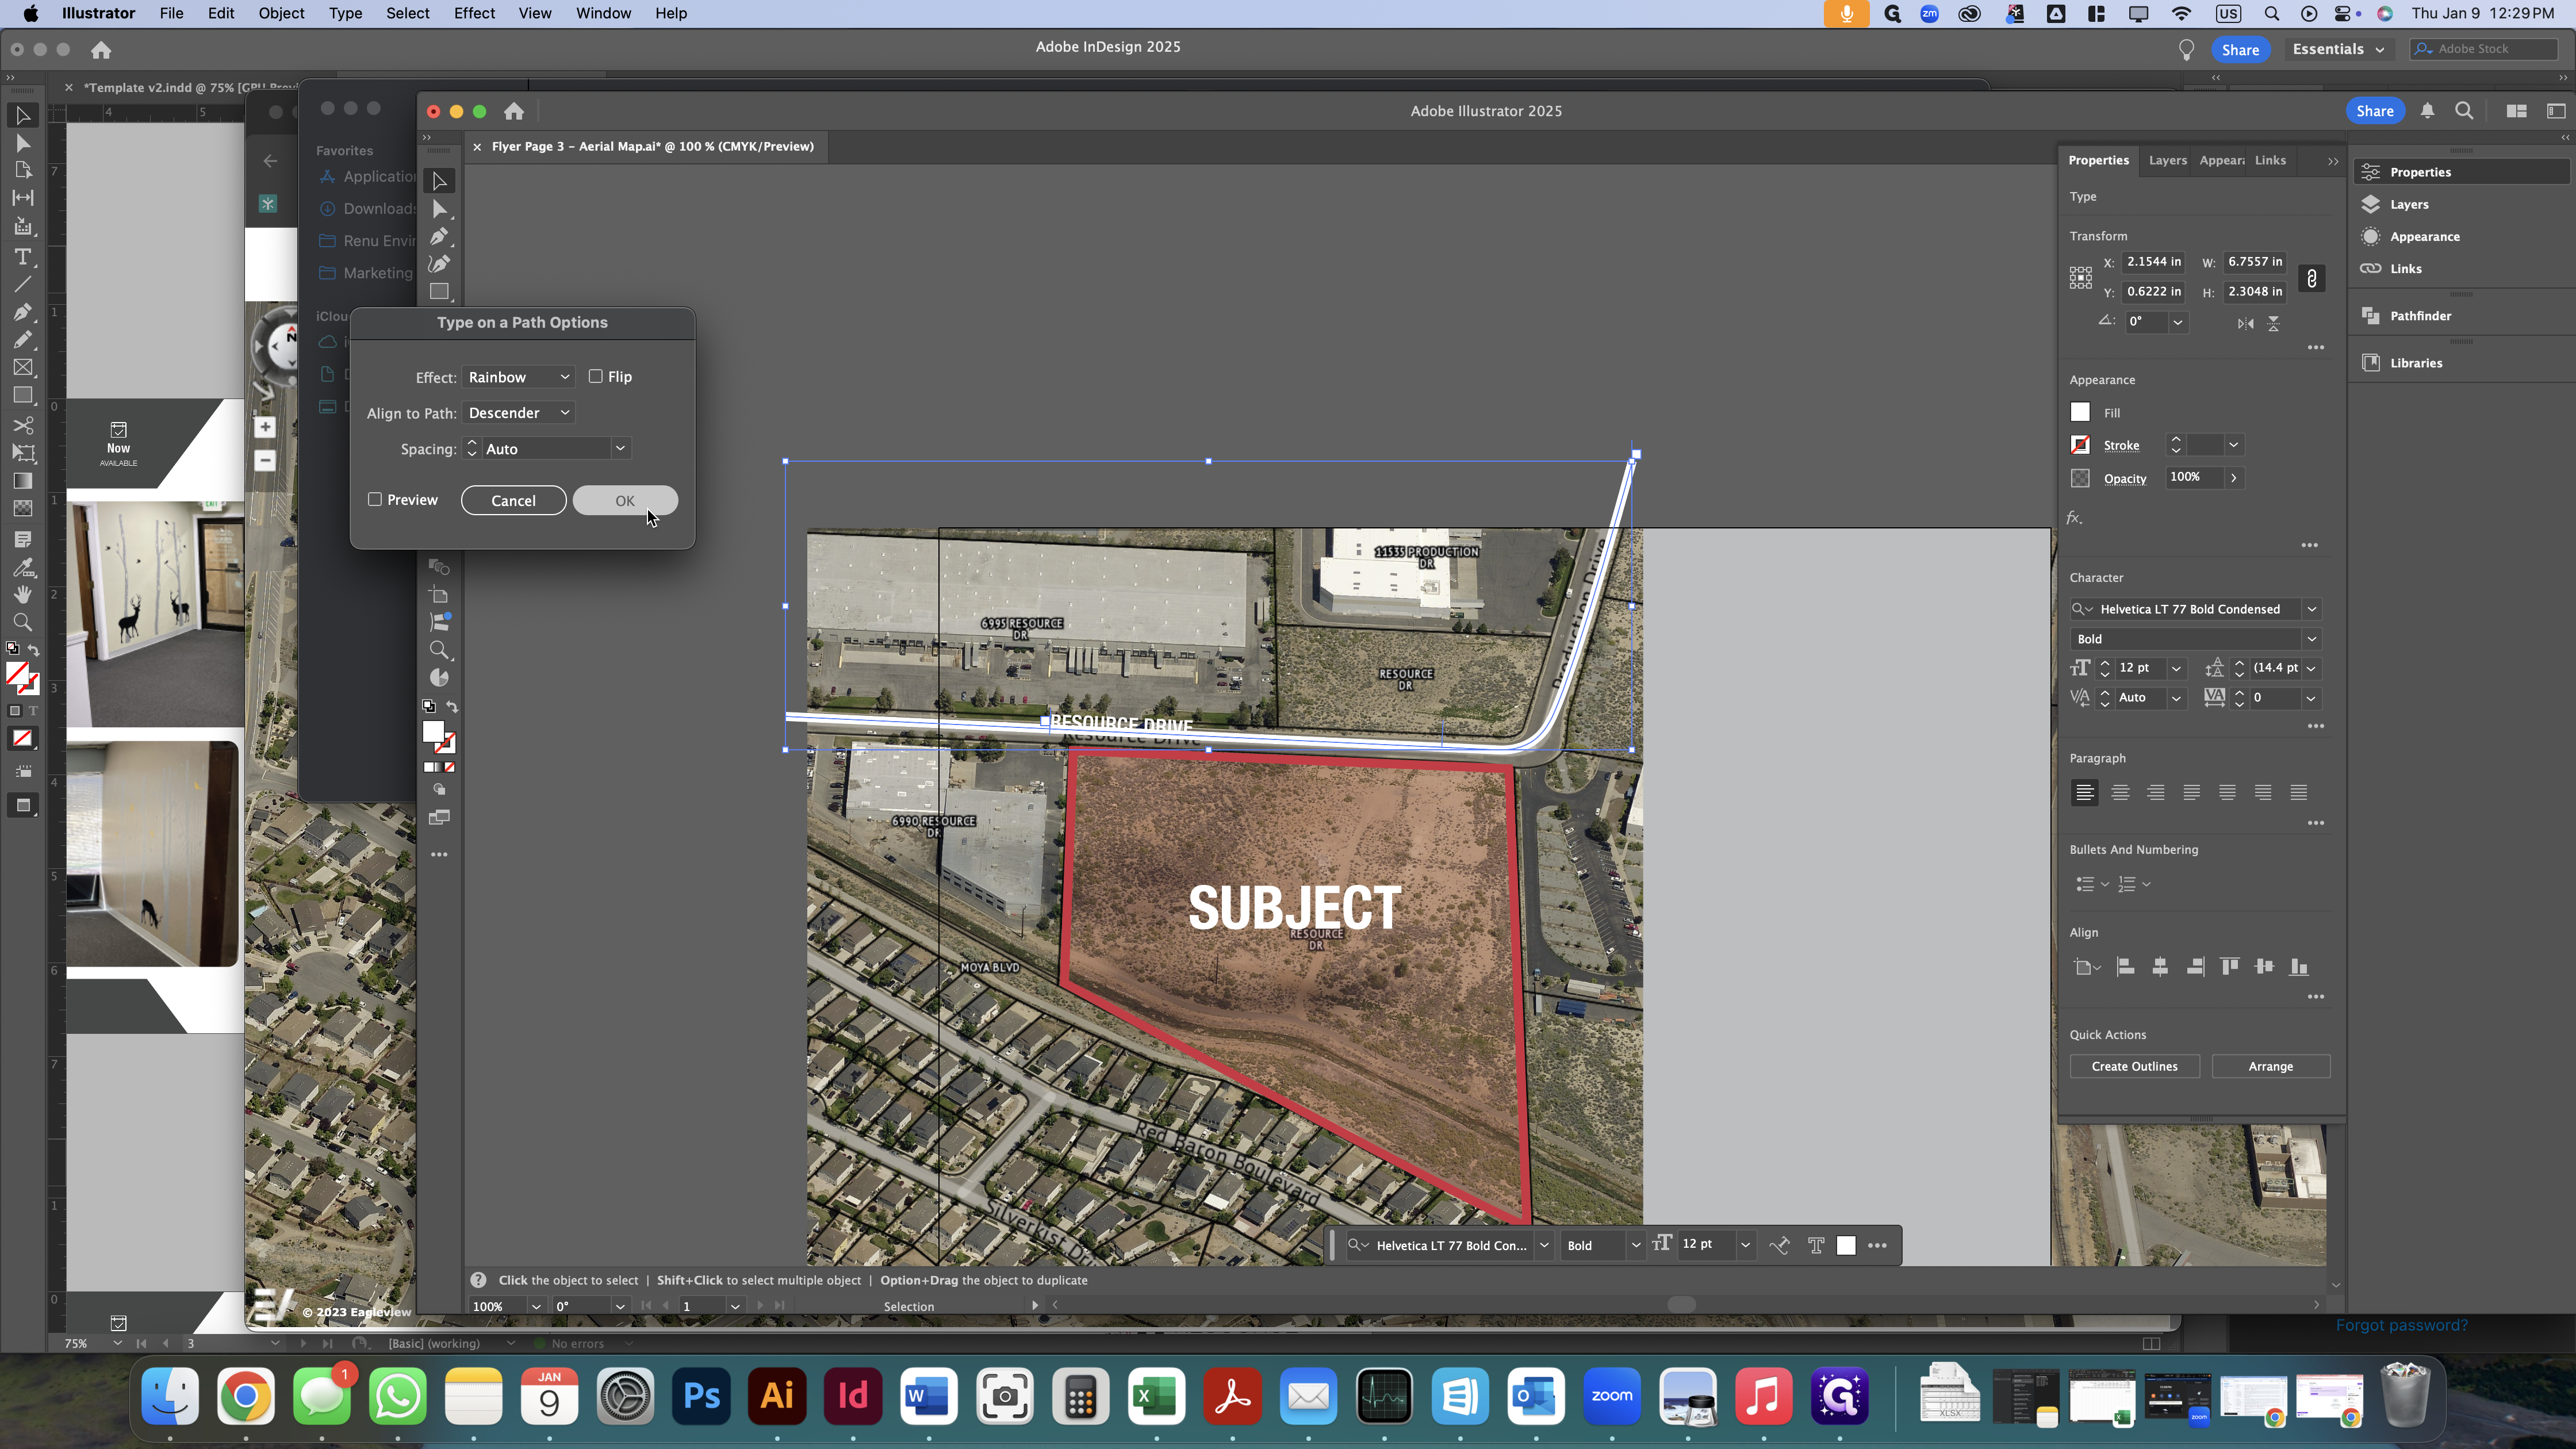
Open the "Type on a Path" menu, change the alignment to "Descender," and press "OK."
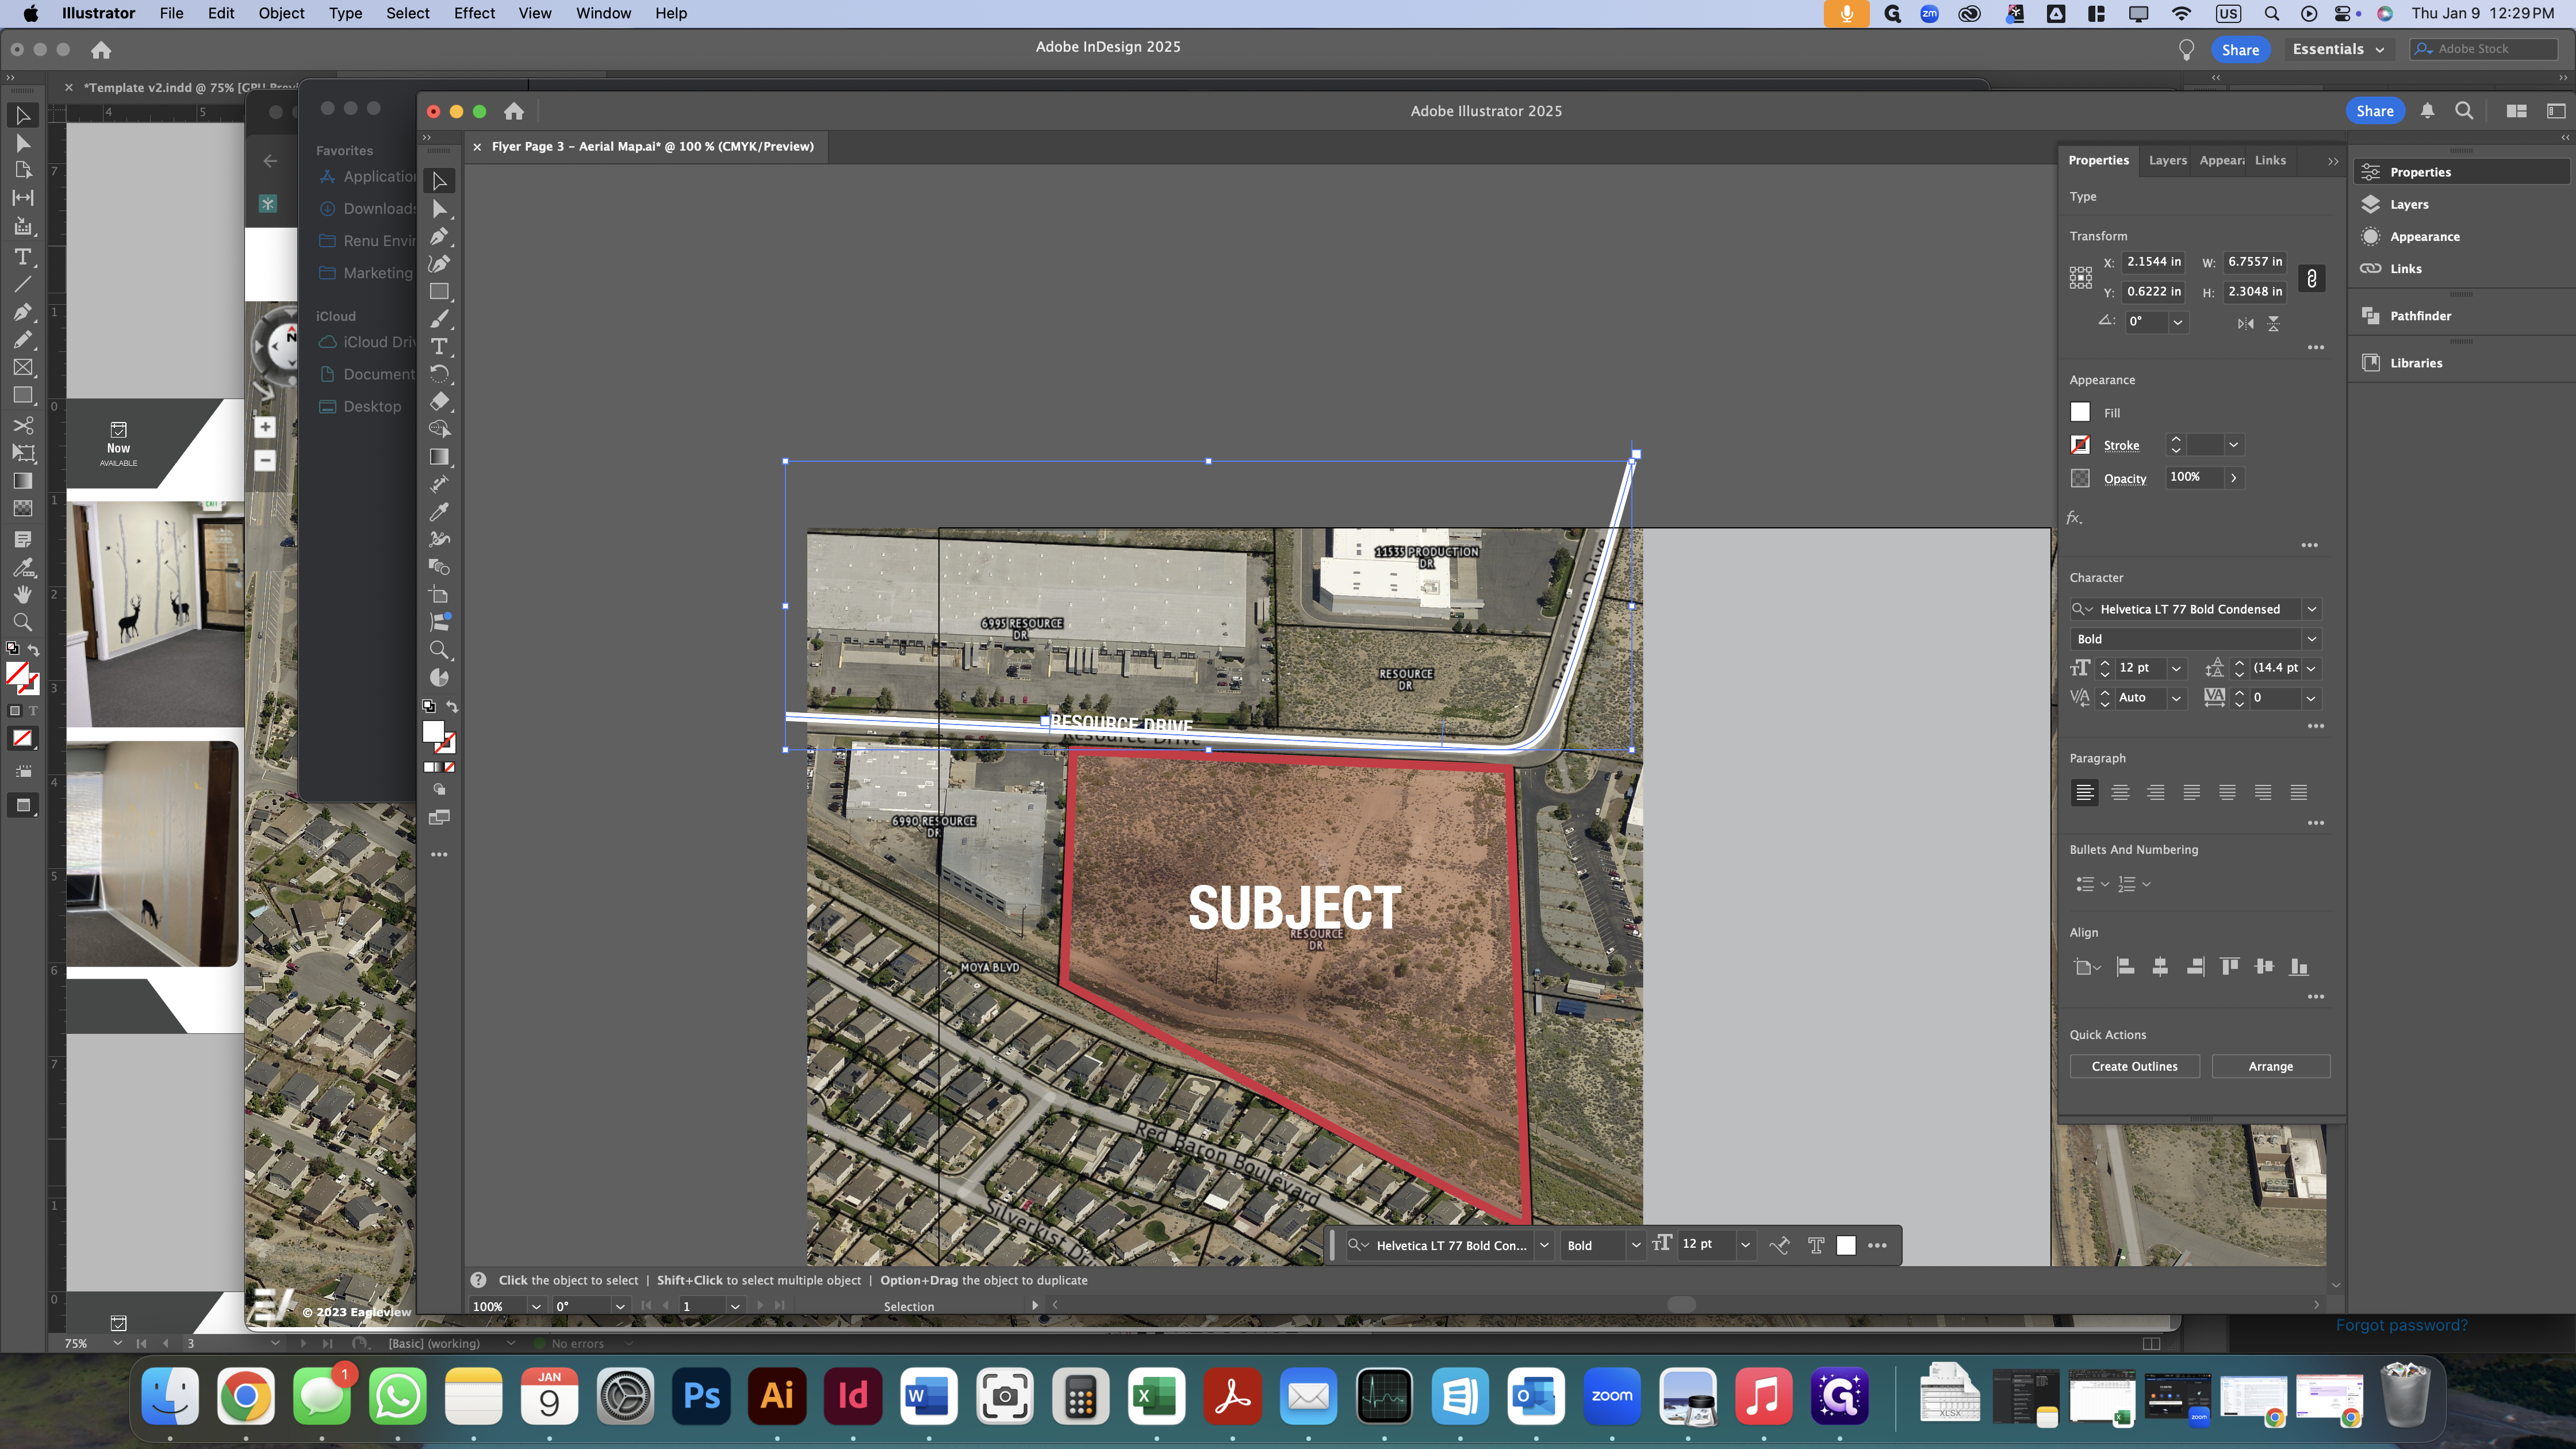
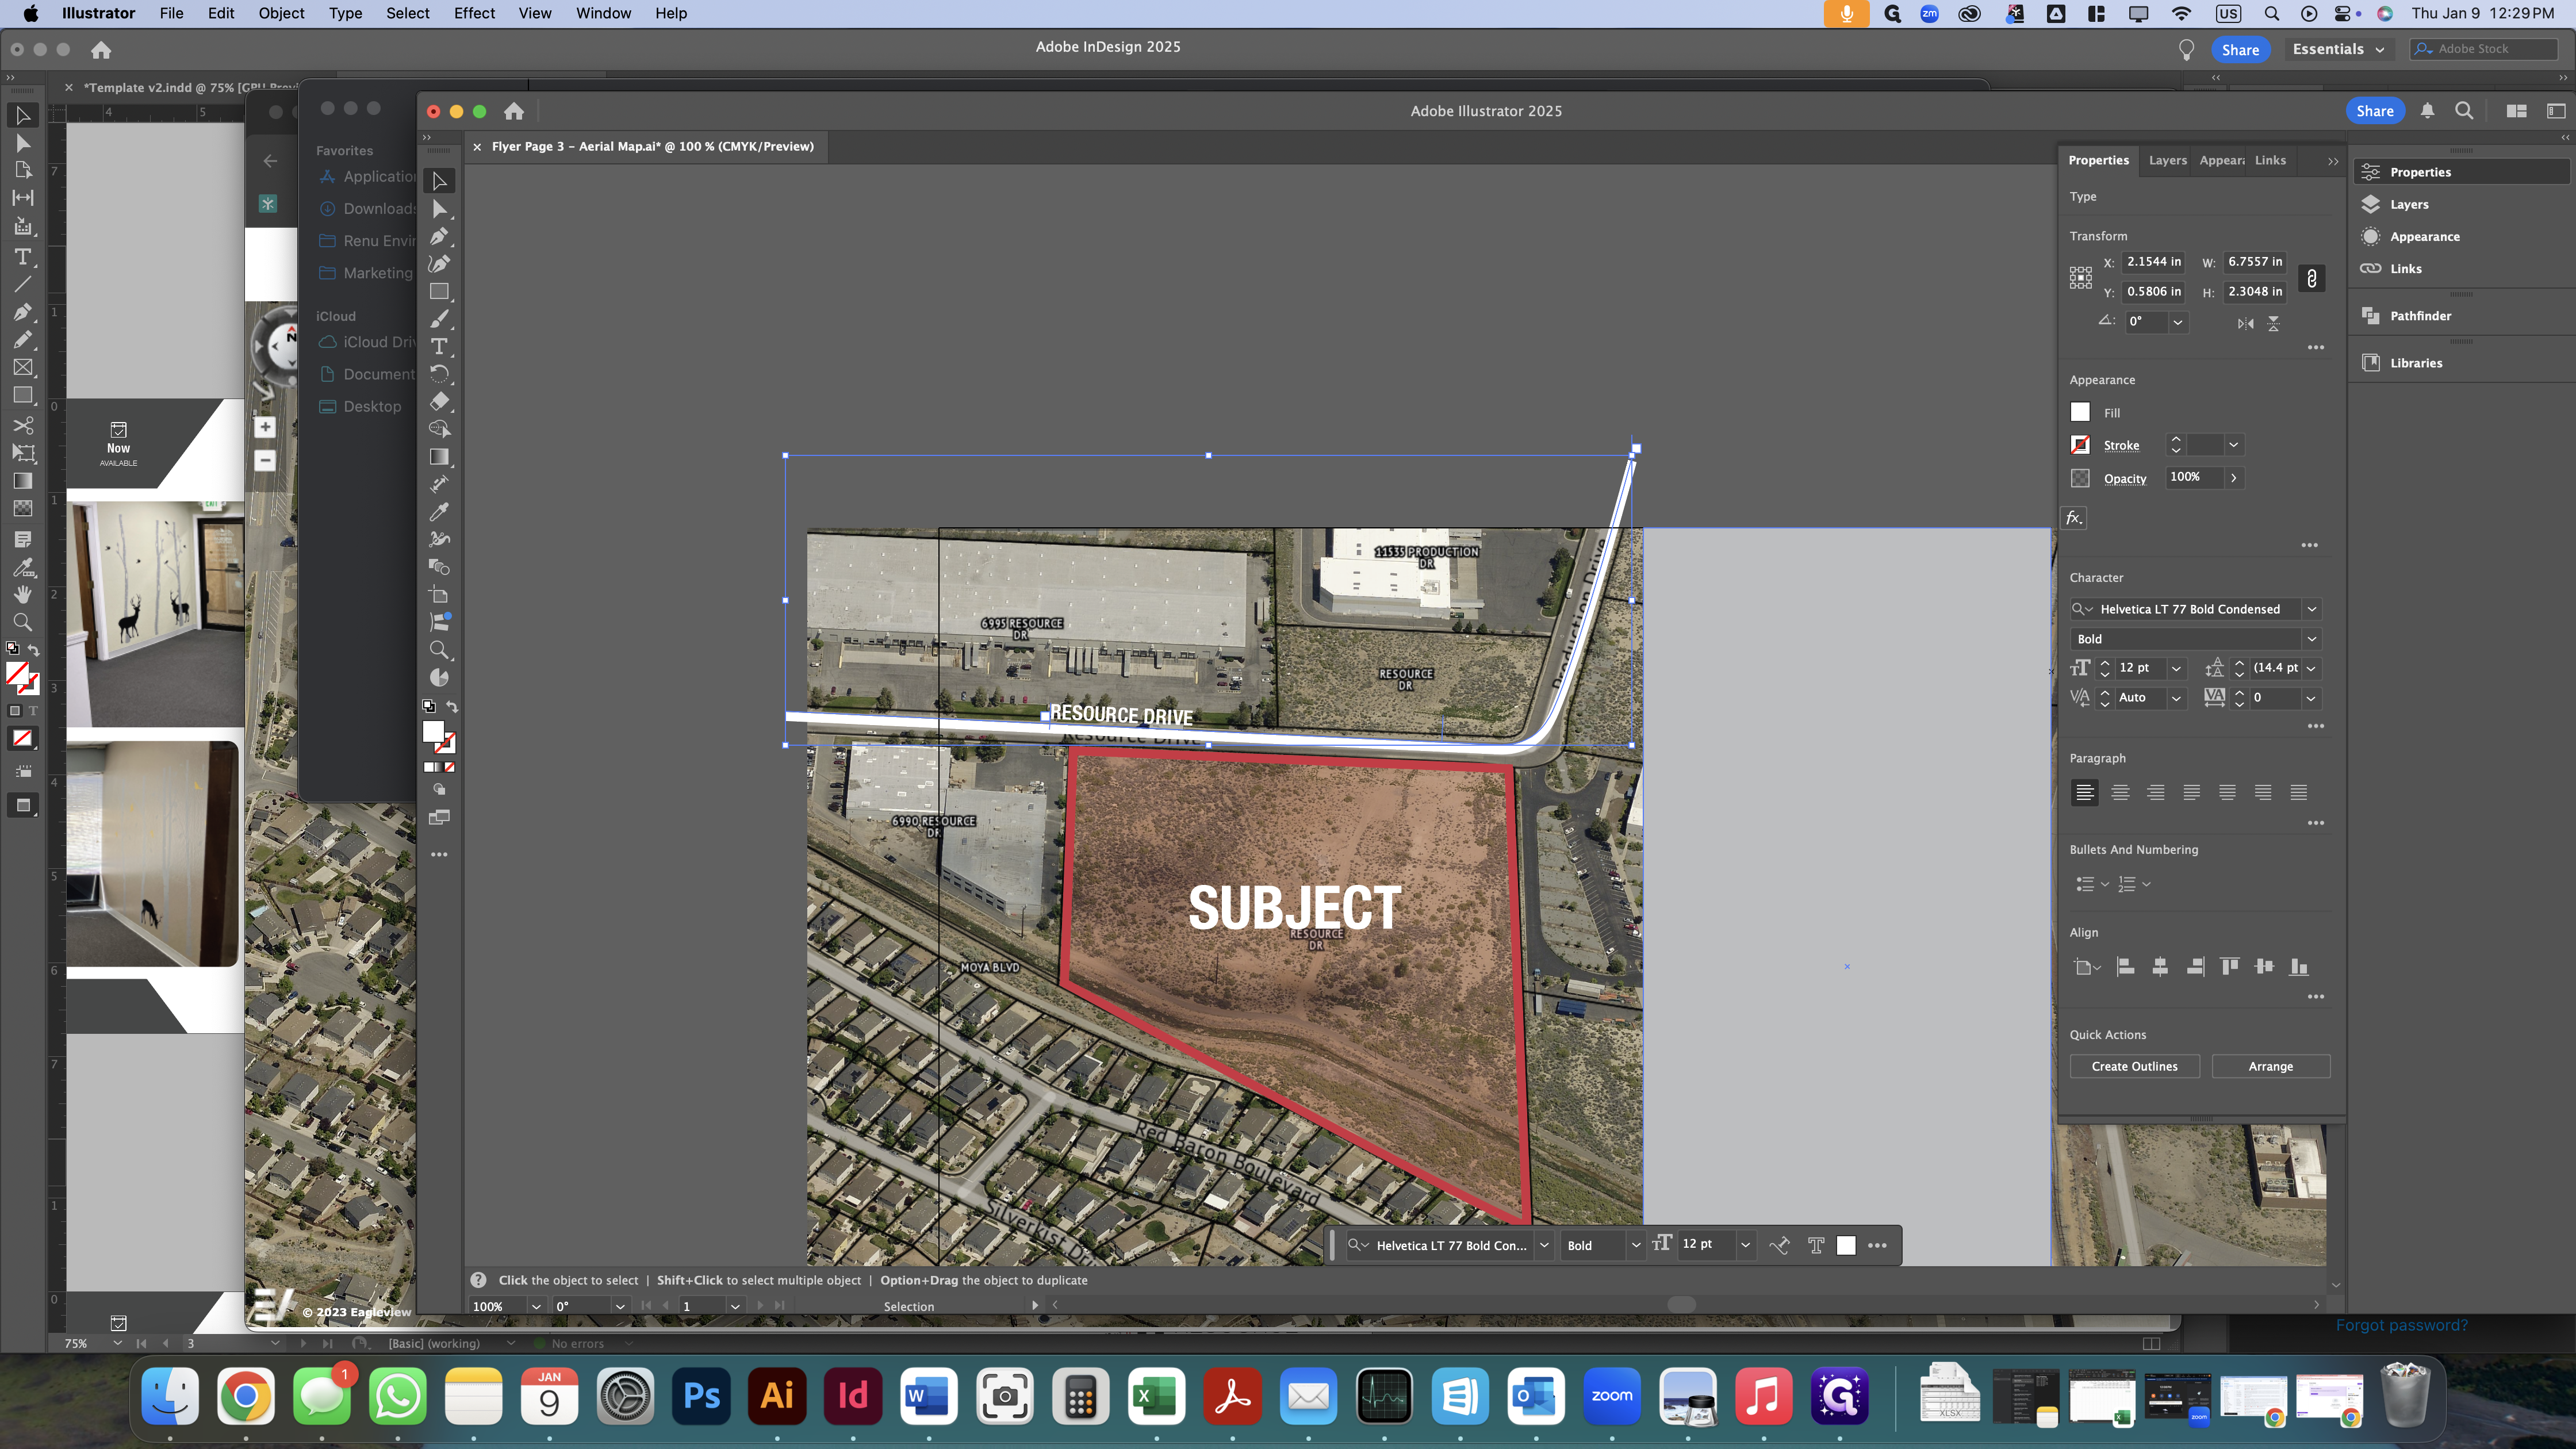
You can adjust the line slightly by moving it up, down, left, or right to ensure the entire street name is visible above it. In the screenshot above you can see that the street name is difficult to read because it is overlapping the white line.
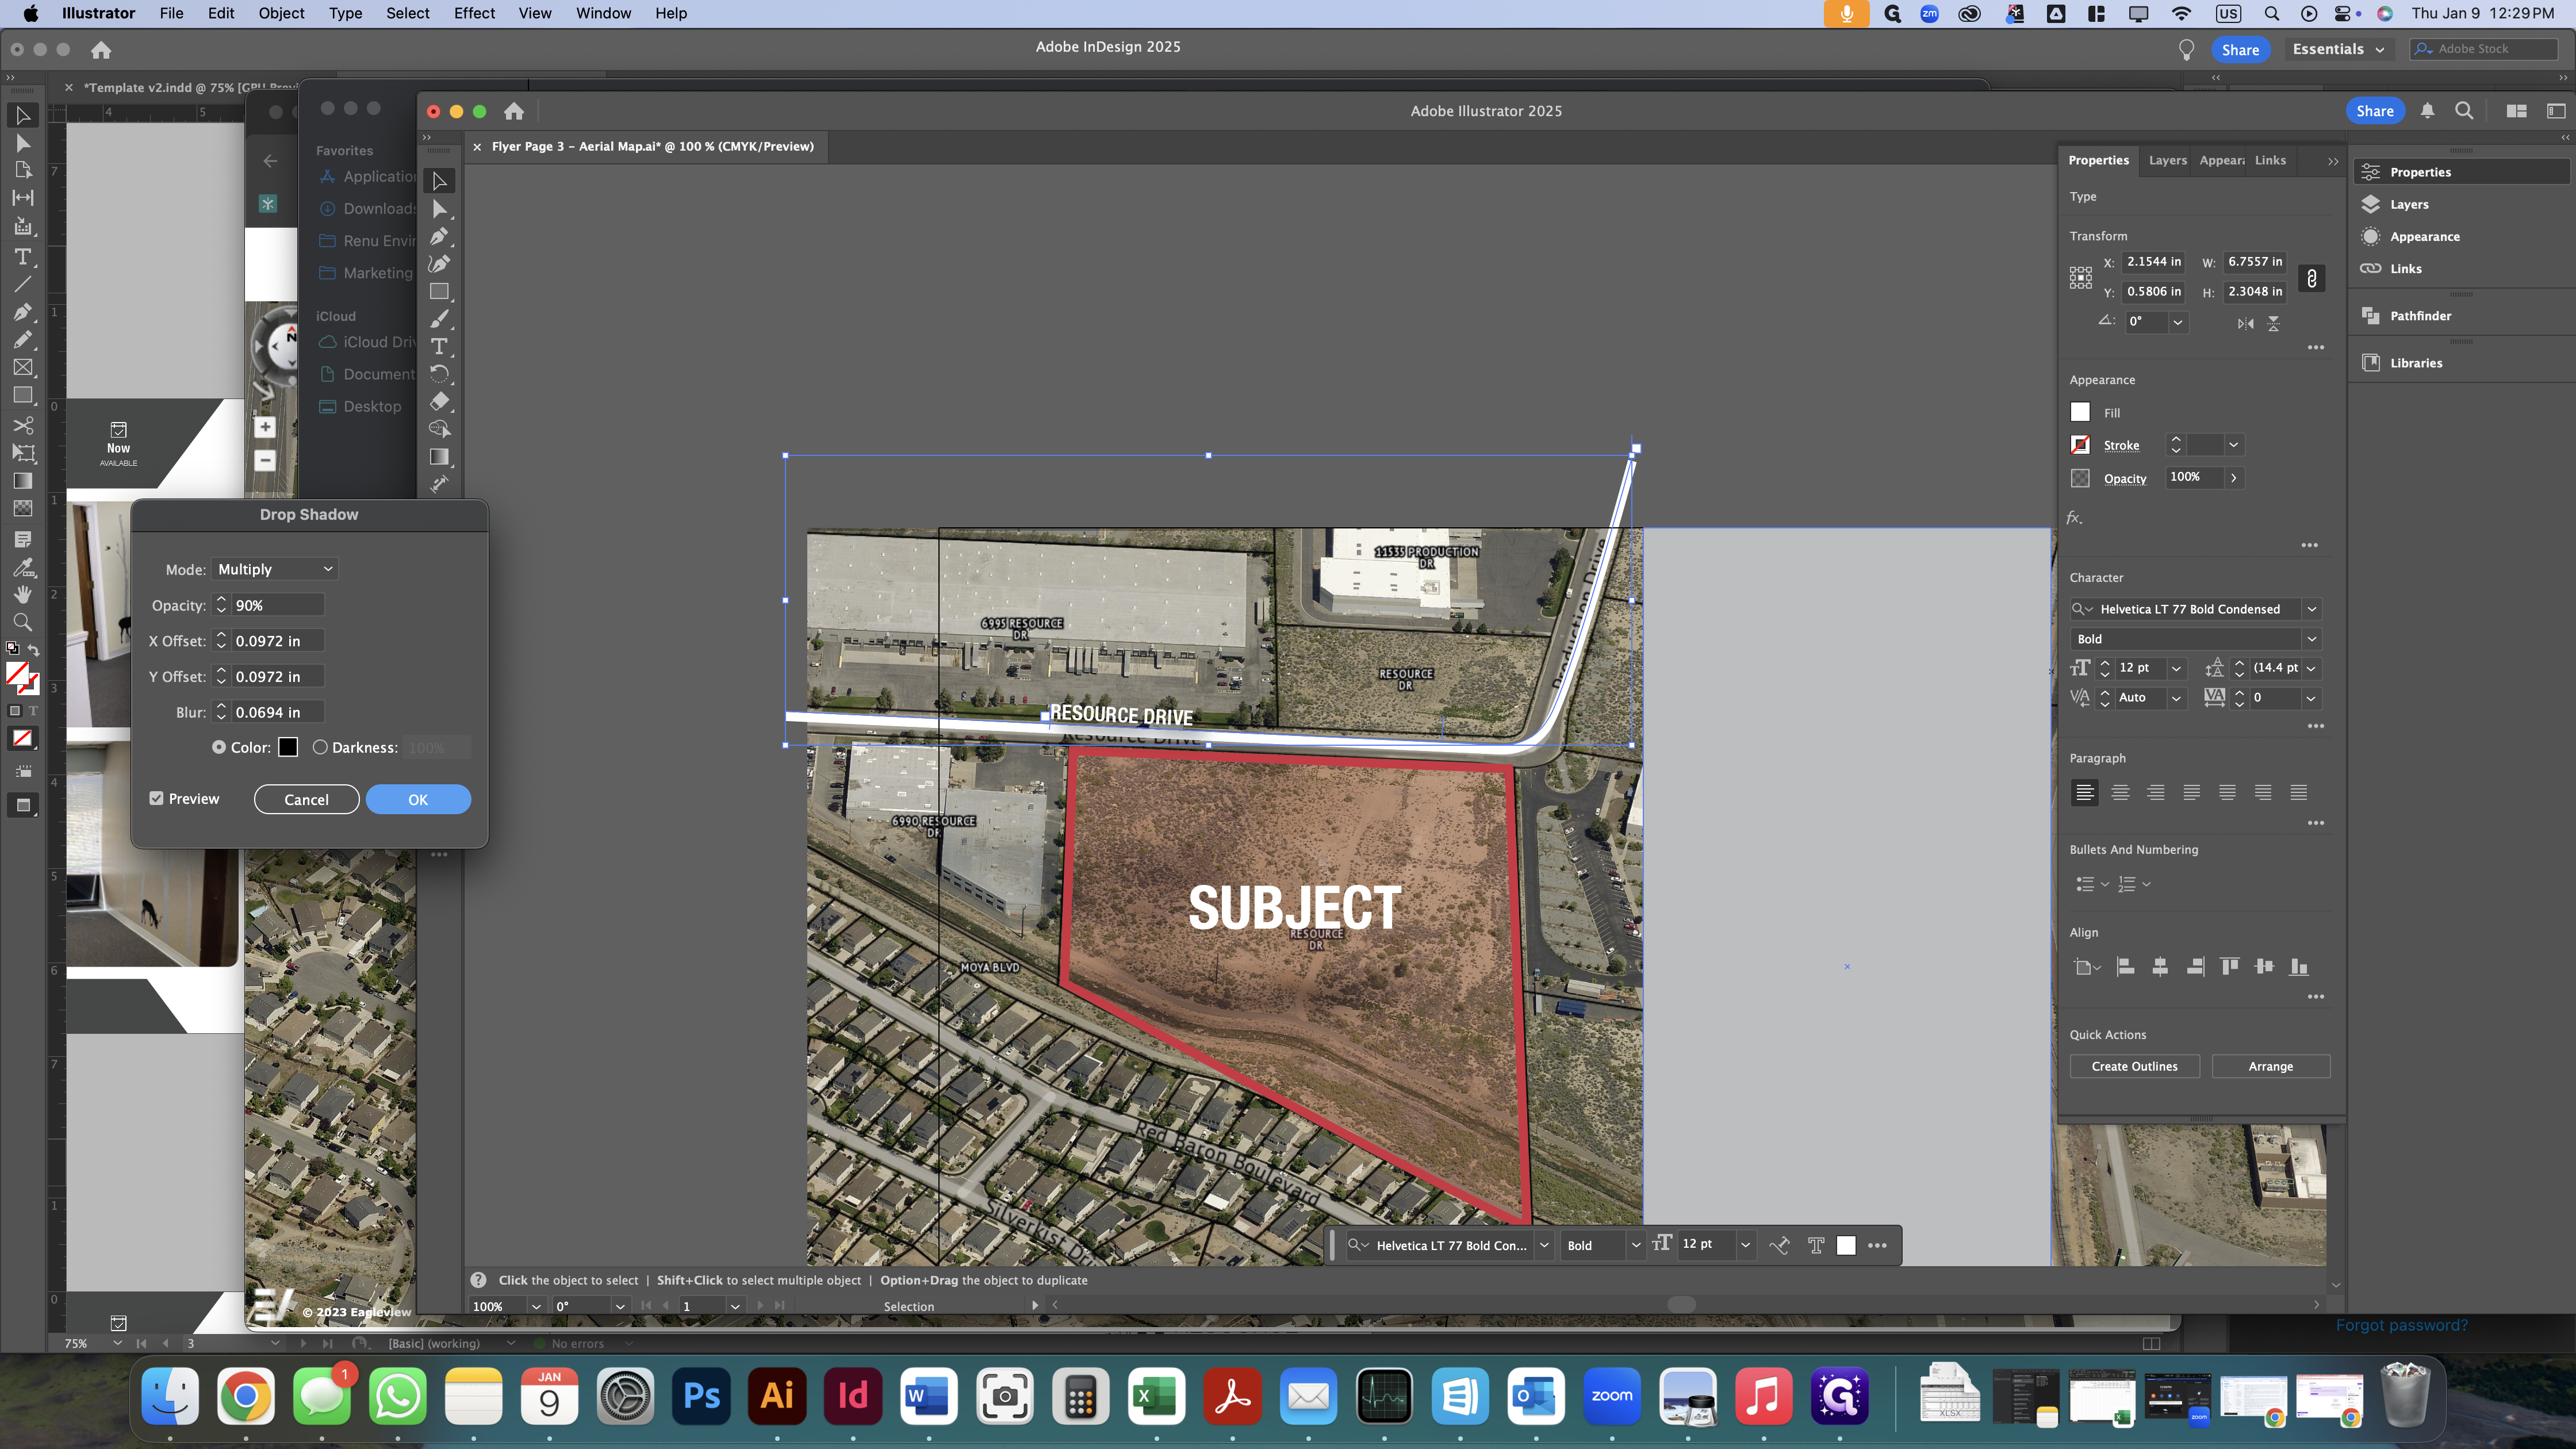
We're going to add a drop shadow. Change the opacity to 90%, and keep all other settings the same.

The drop shadow makes the street name a bit easier to read, but it also shadows the white line we created. Next we're going to move the white line above the street name in the layers panel.

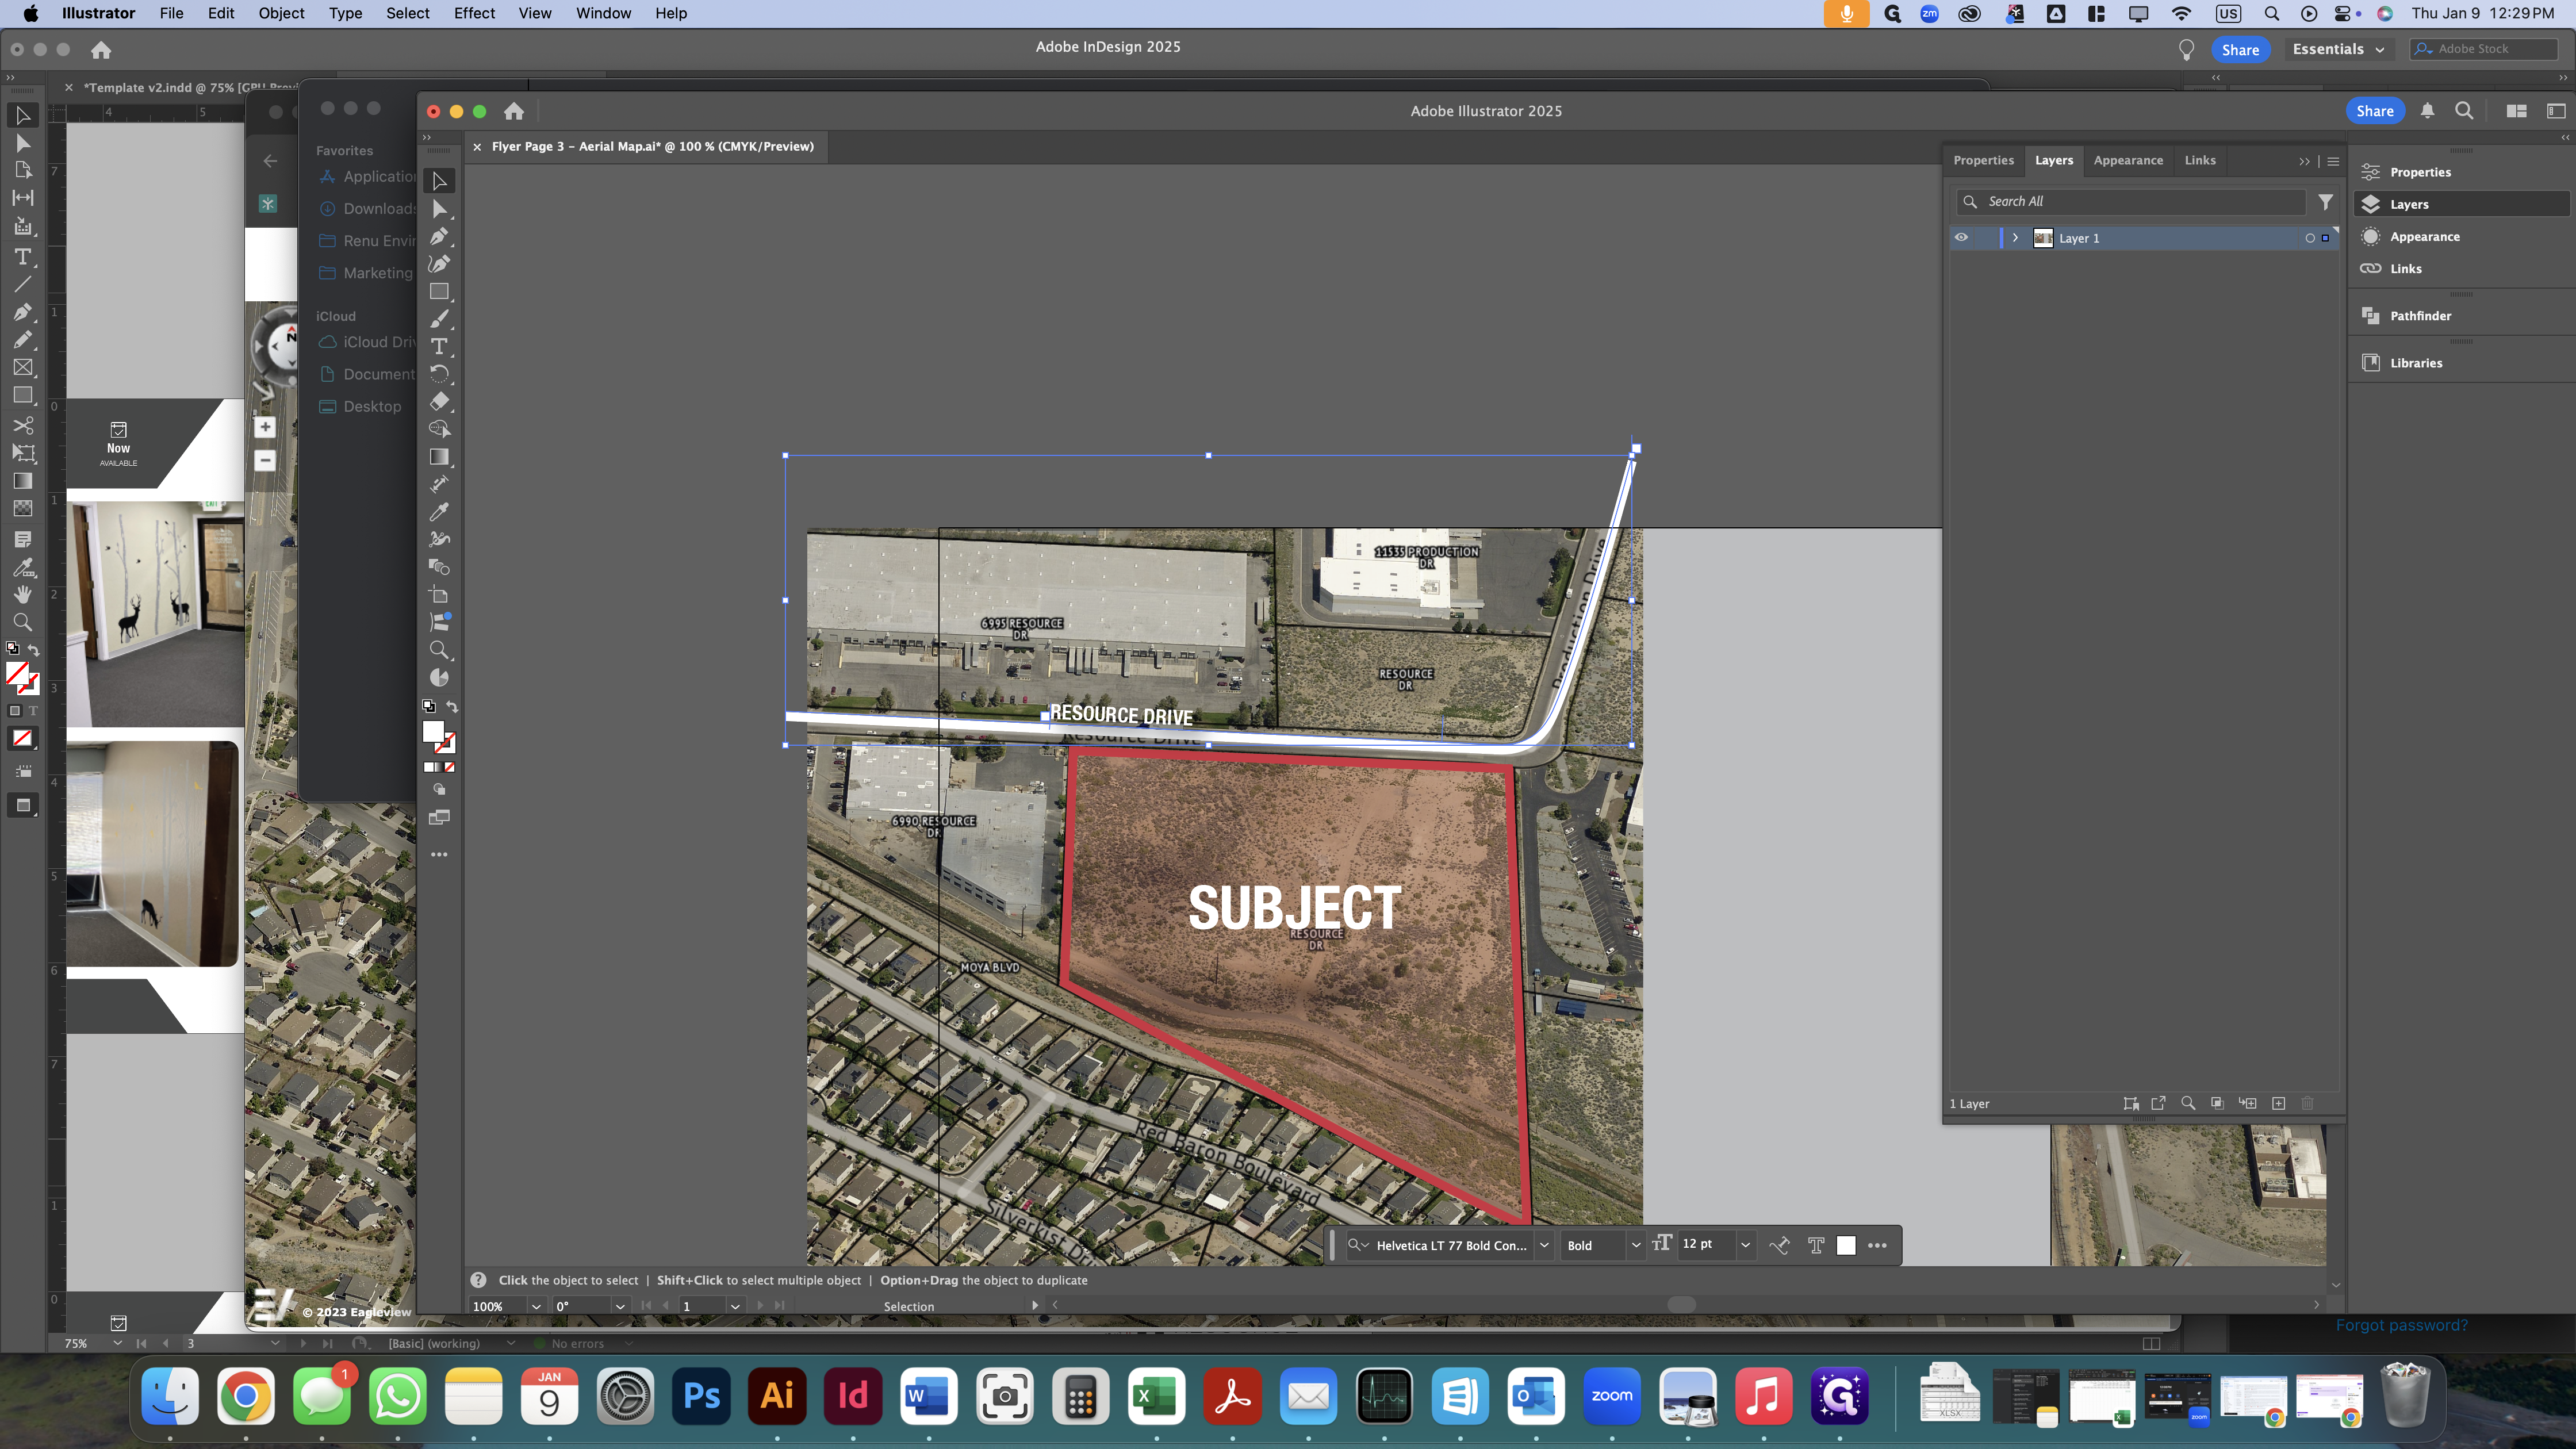
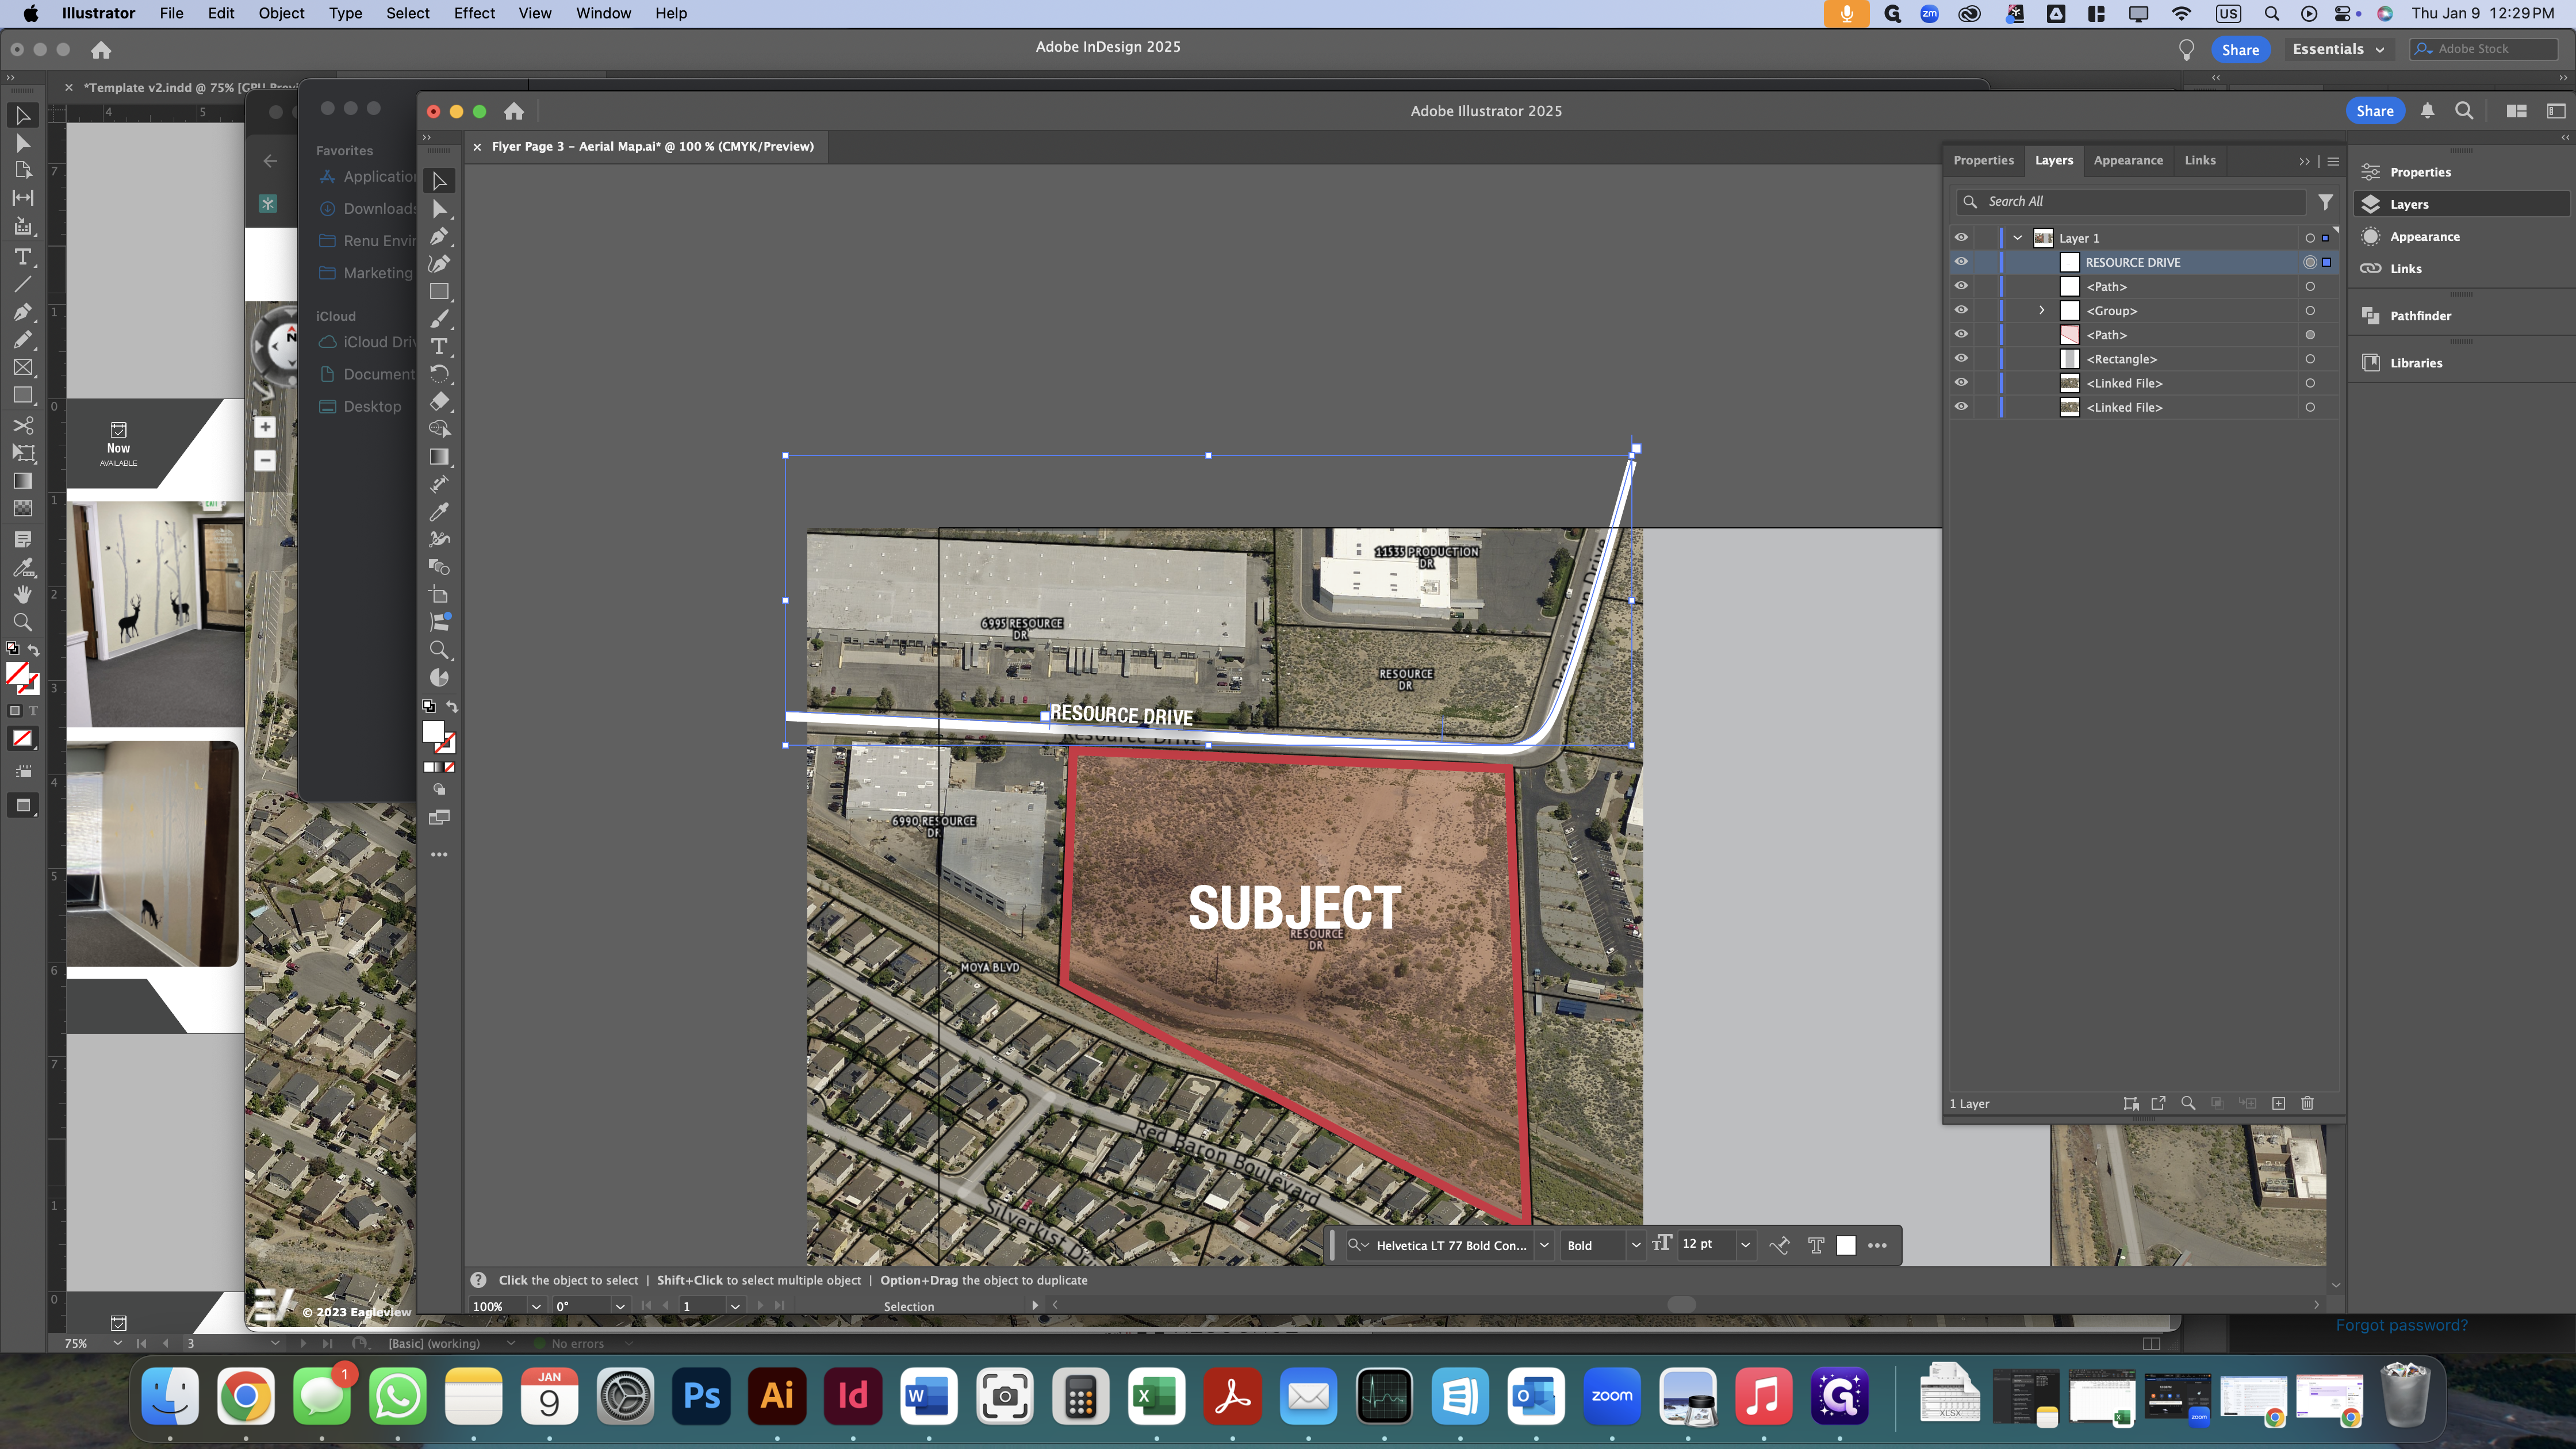
Drag the layer called "RESOURCE DRIVE" below the layer called <Path>.
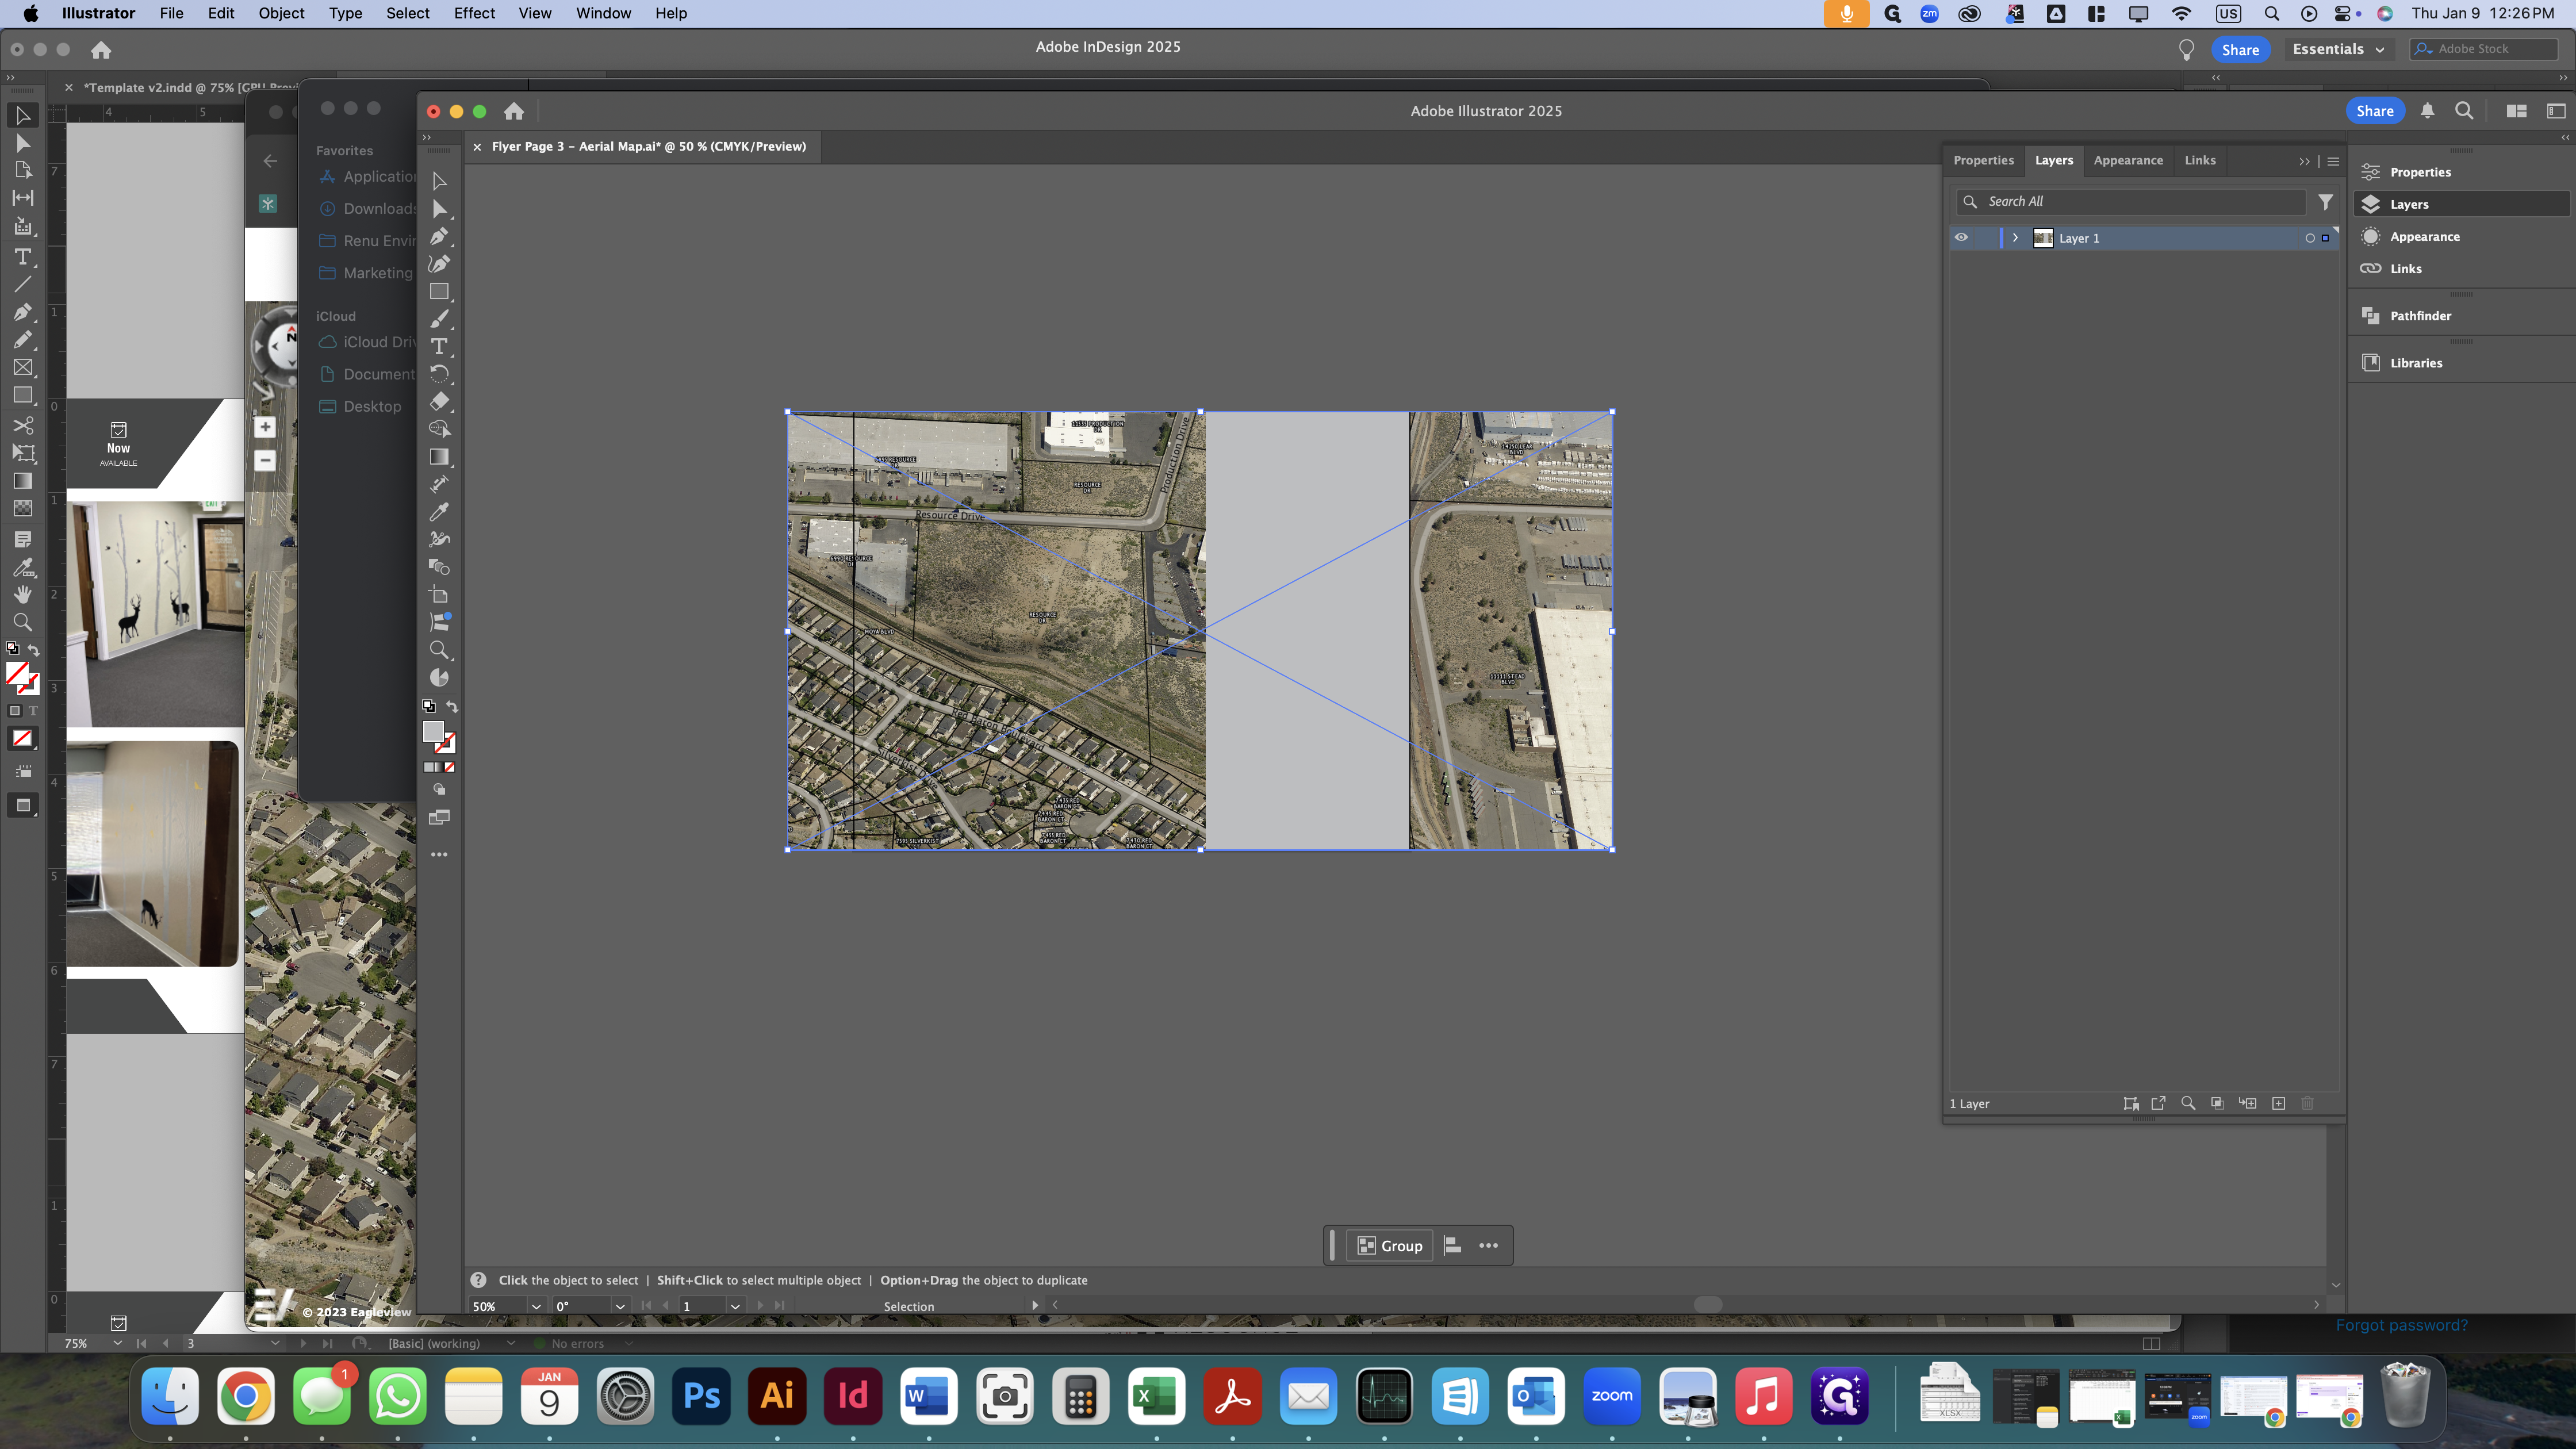
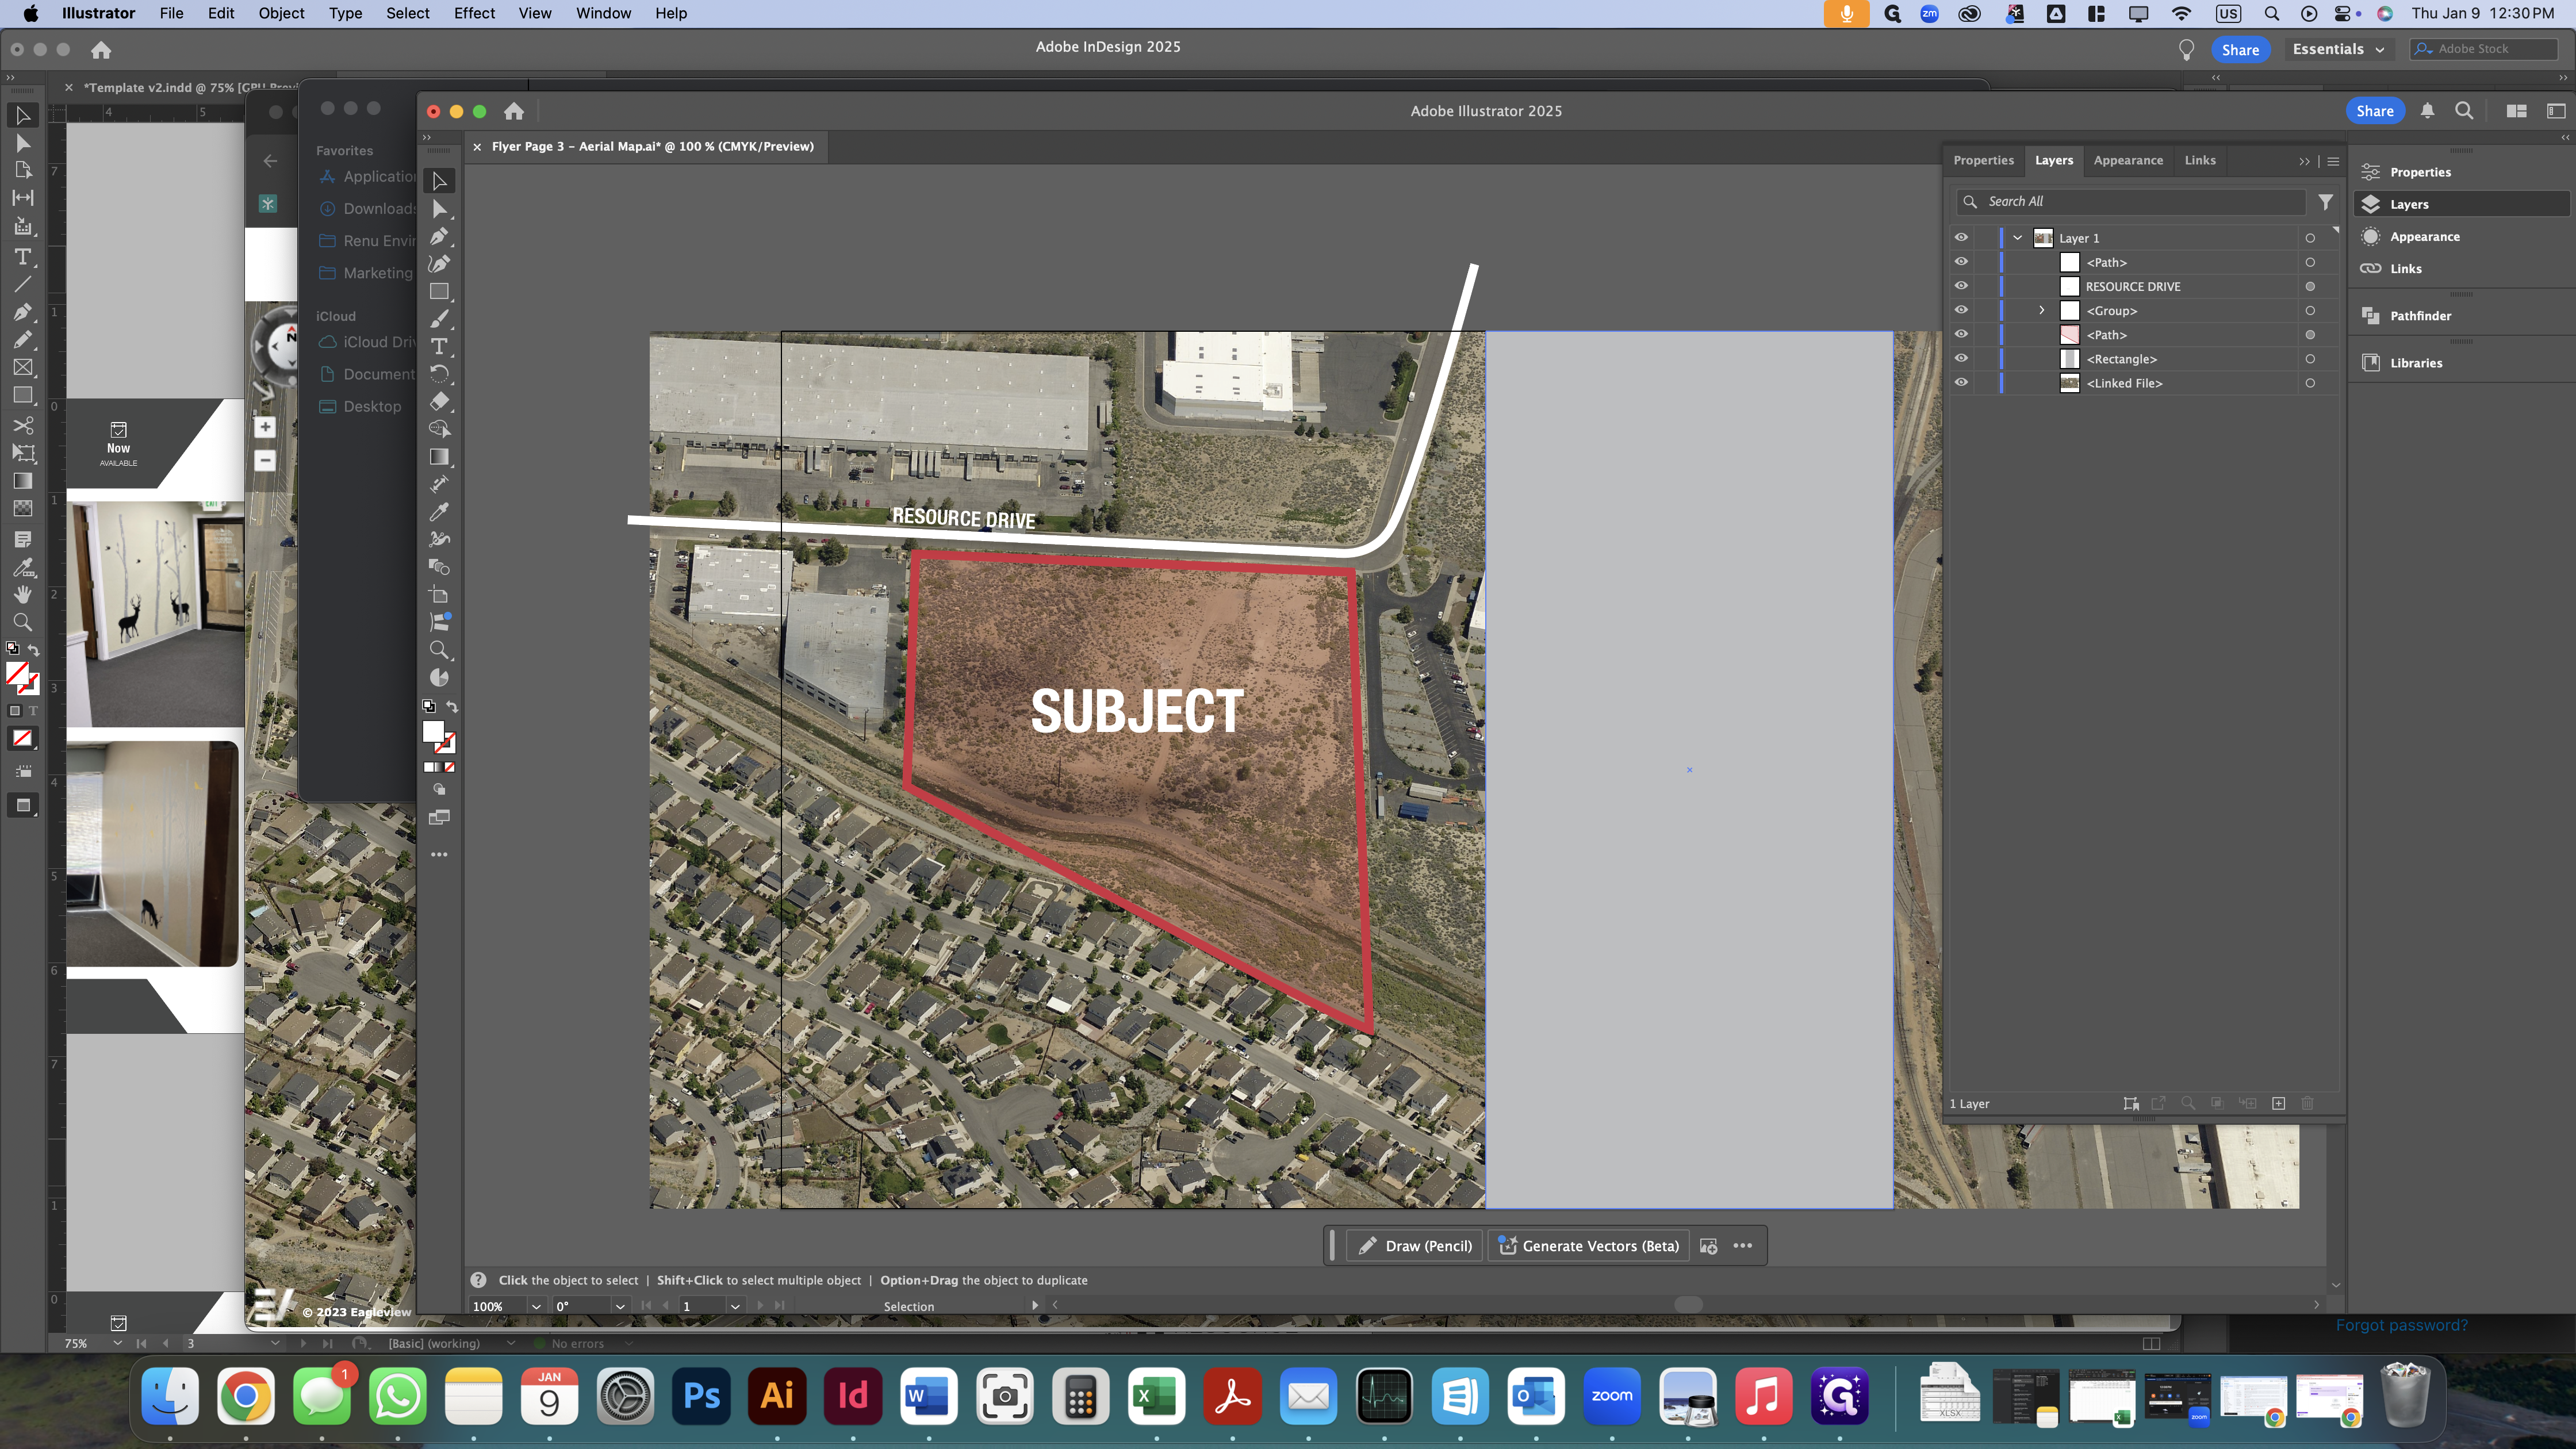
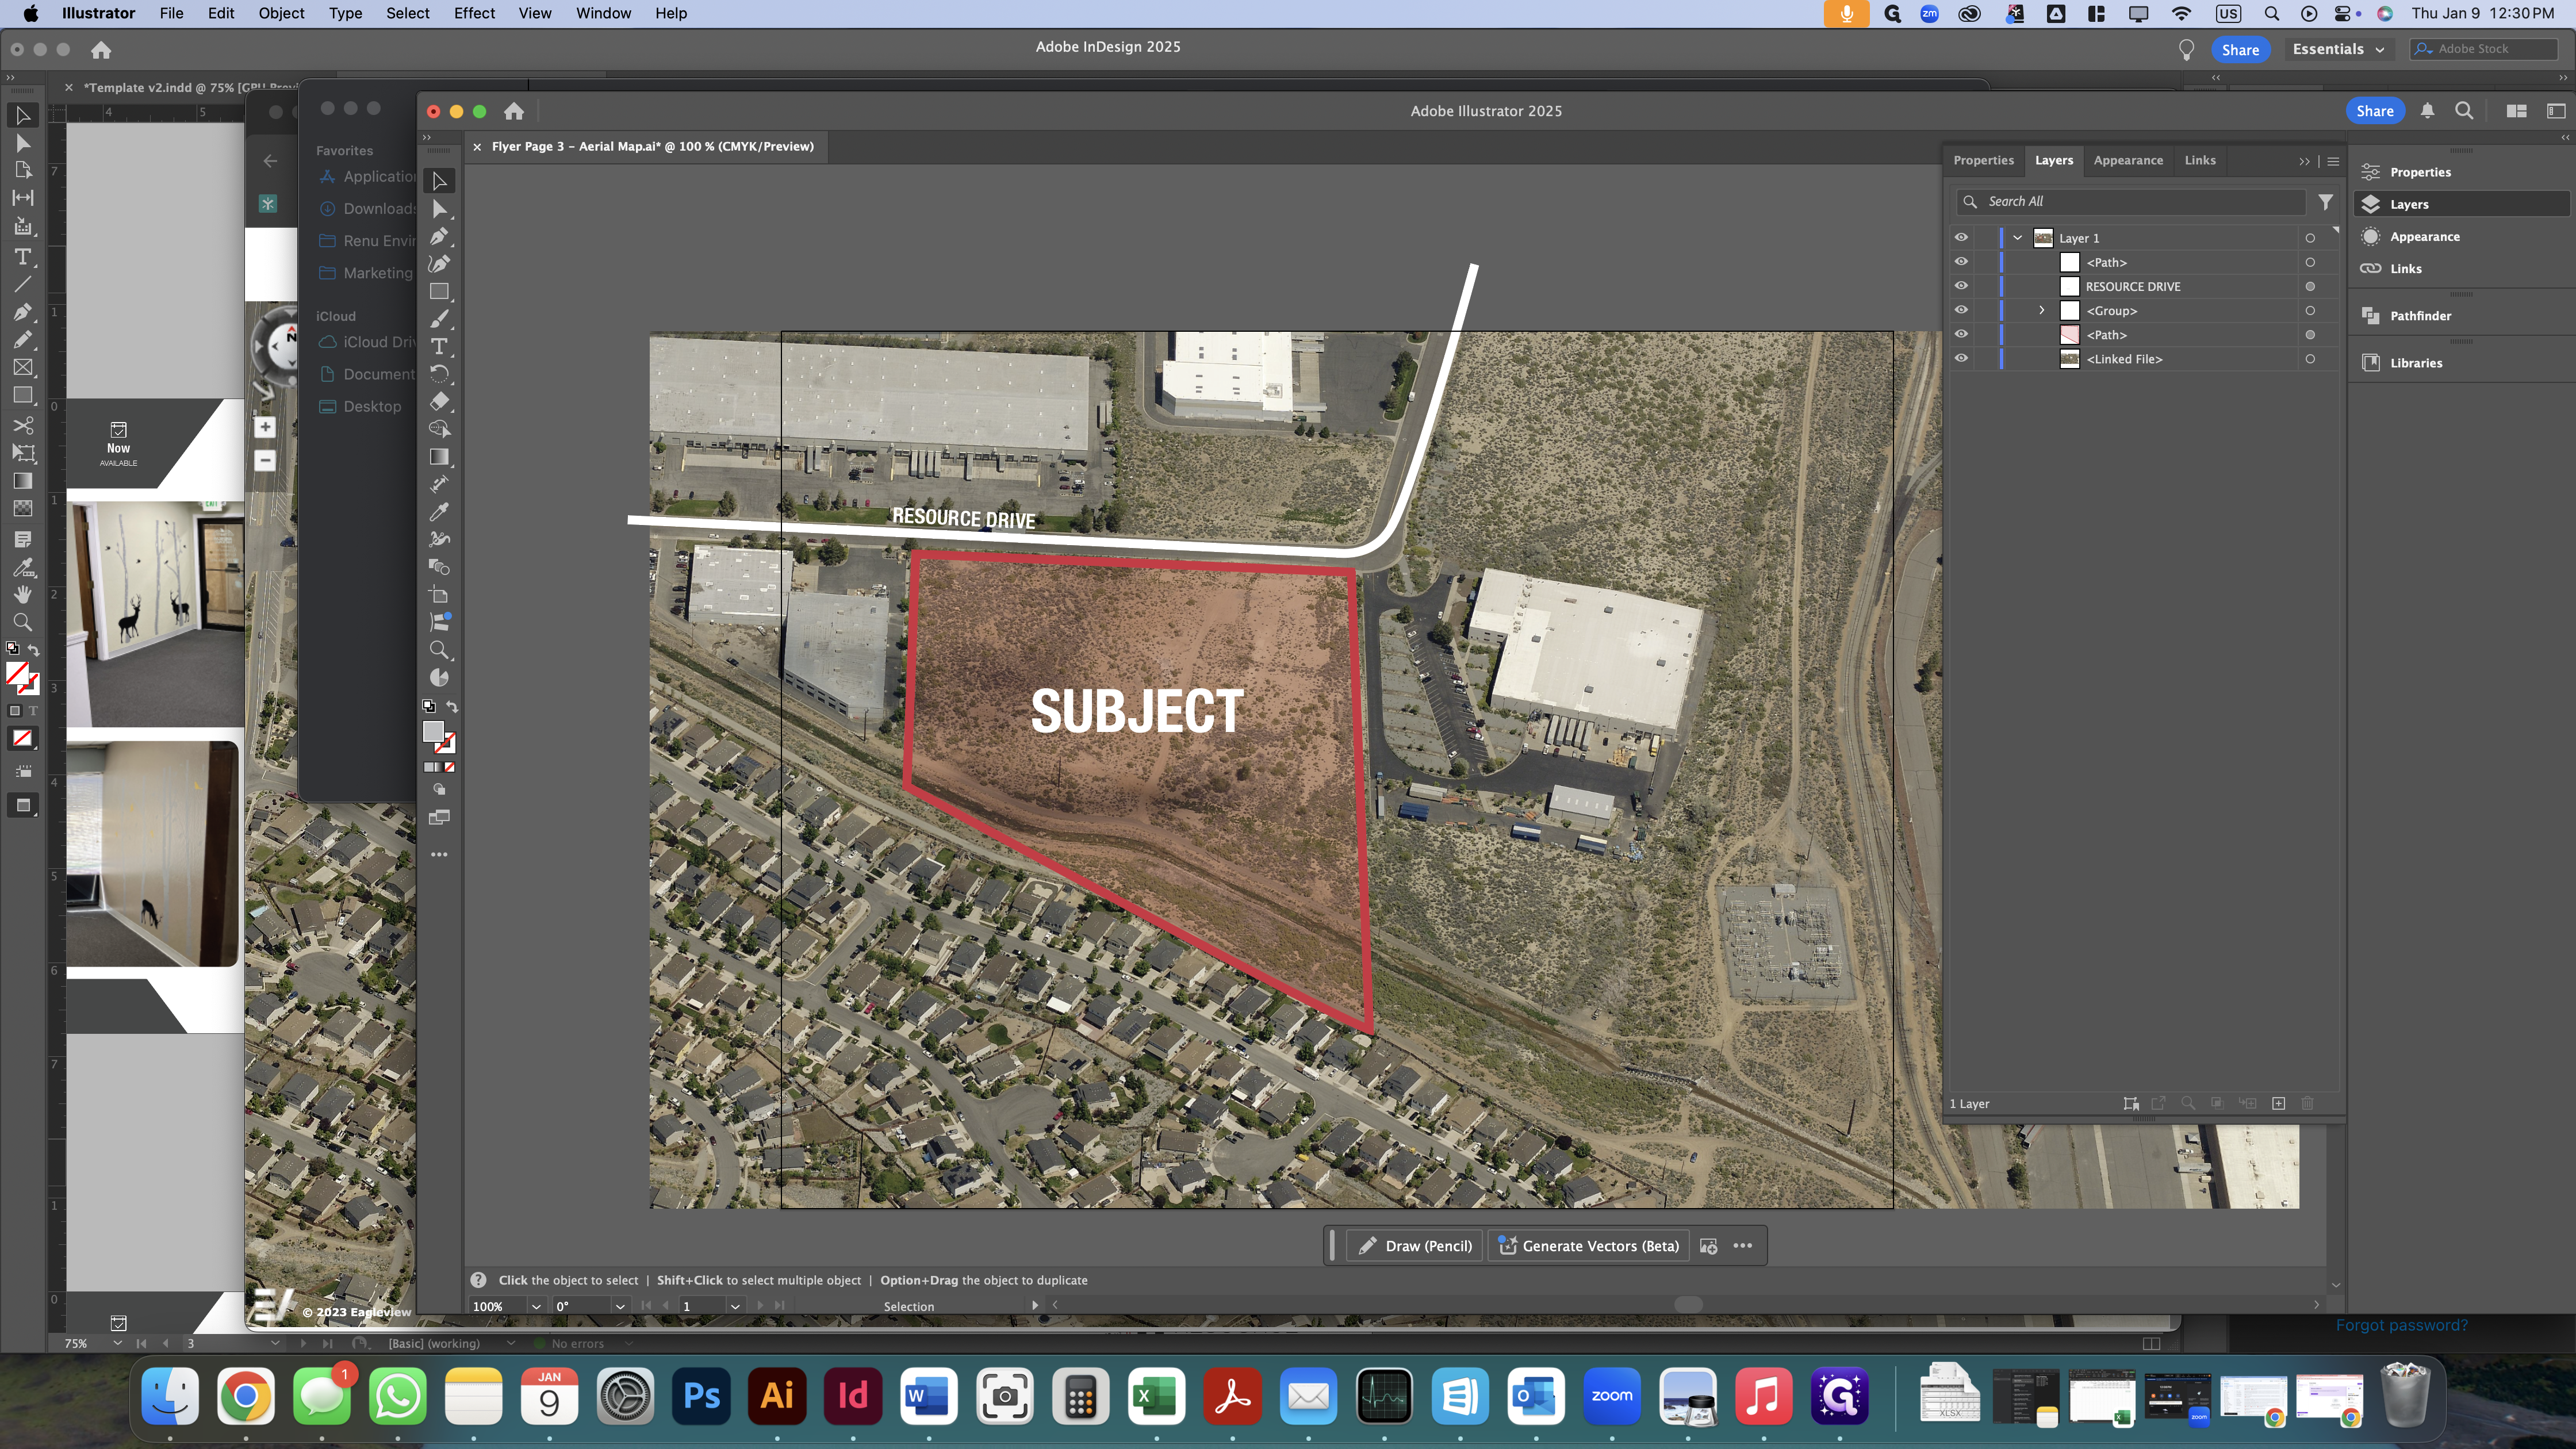
The final step is to delete the image containing all the parcel outlines and street names, leaving only a clean image.
We will delete the grey box as well.
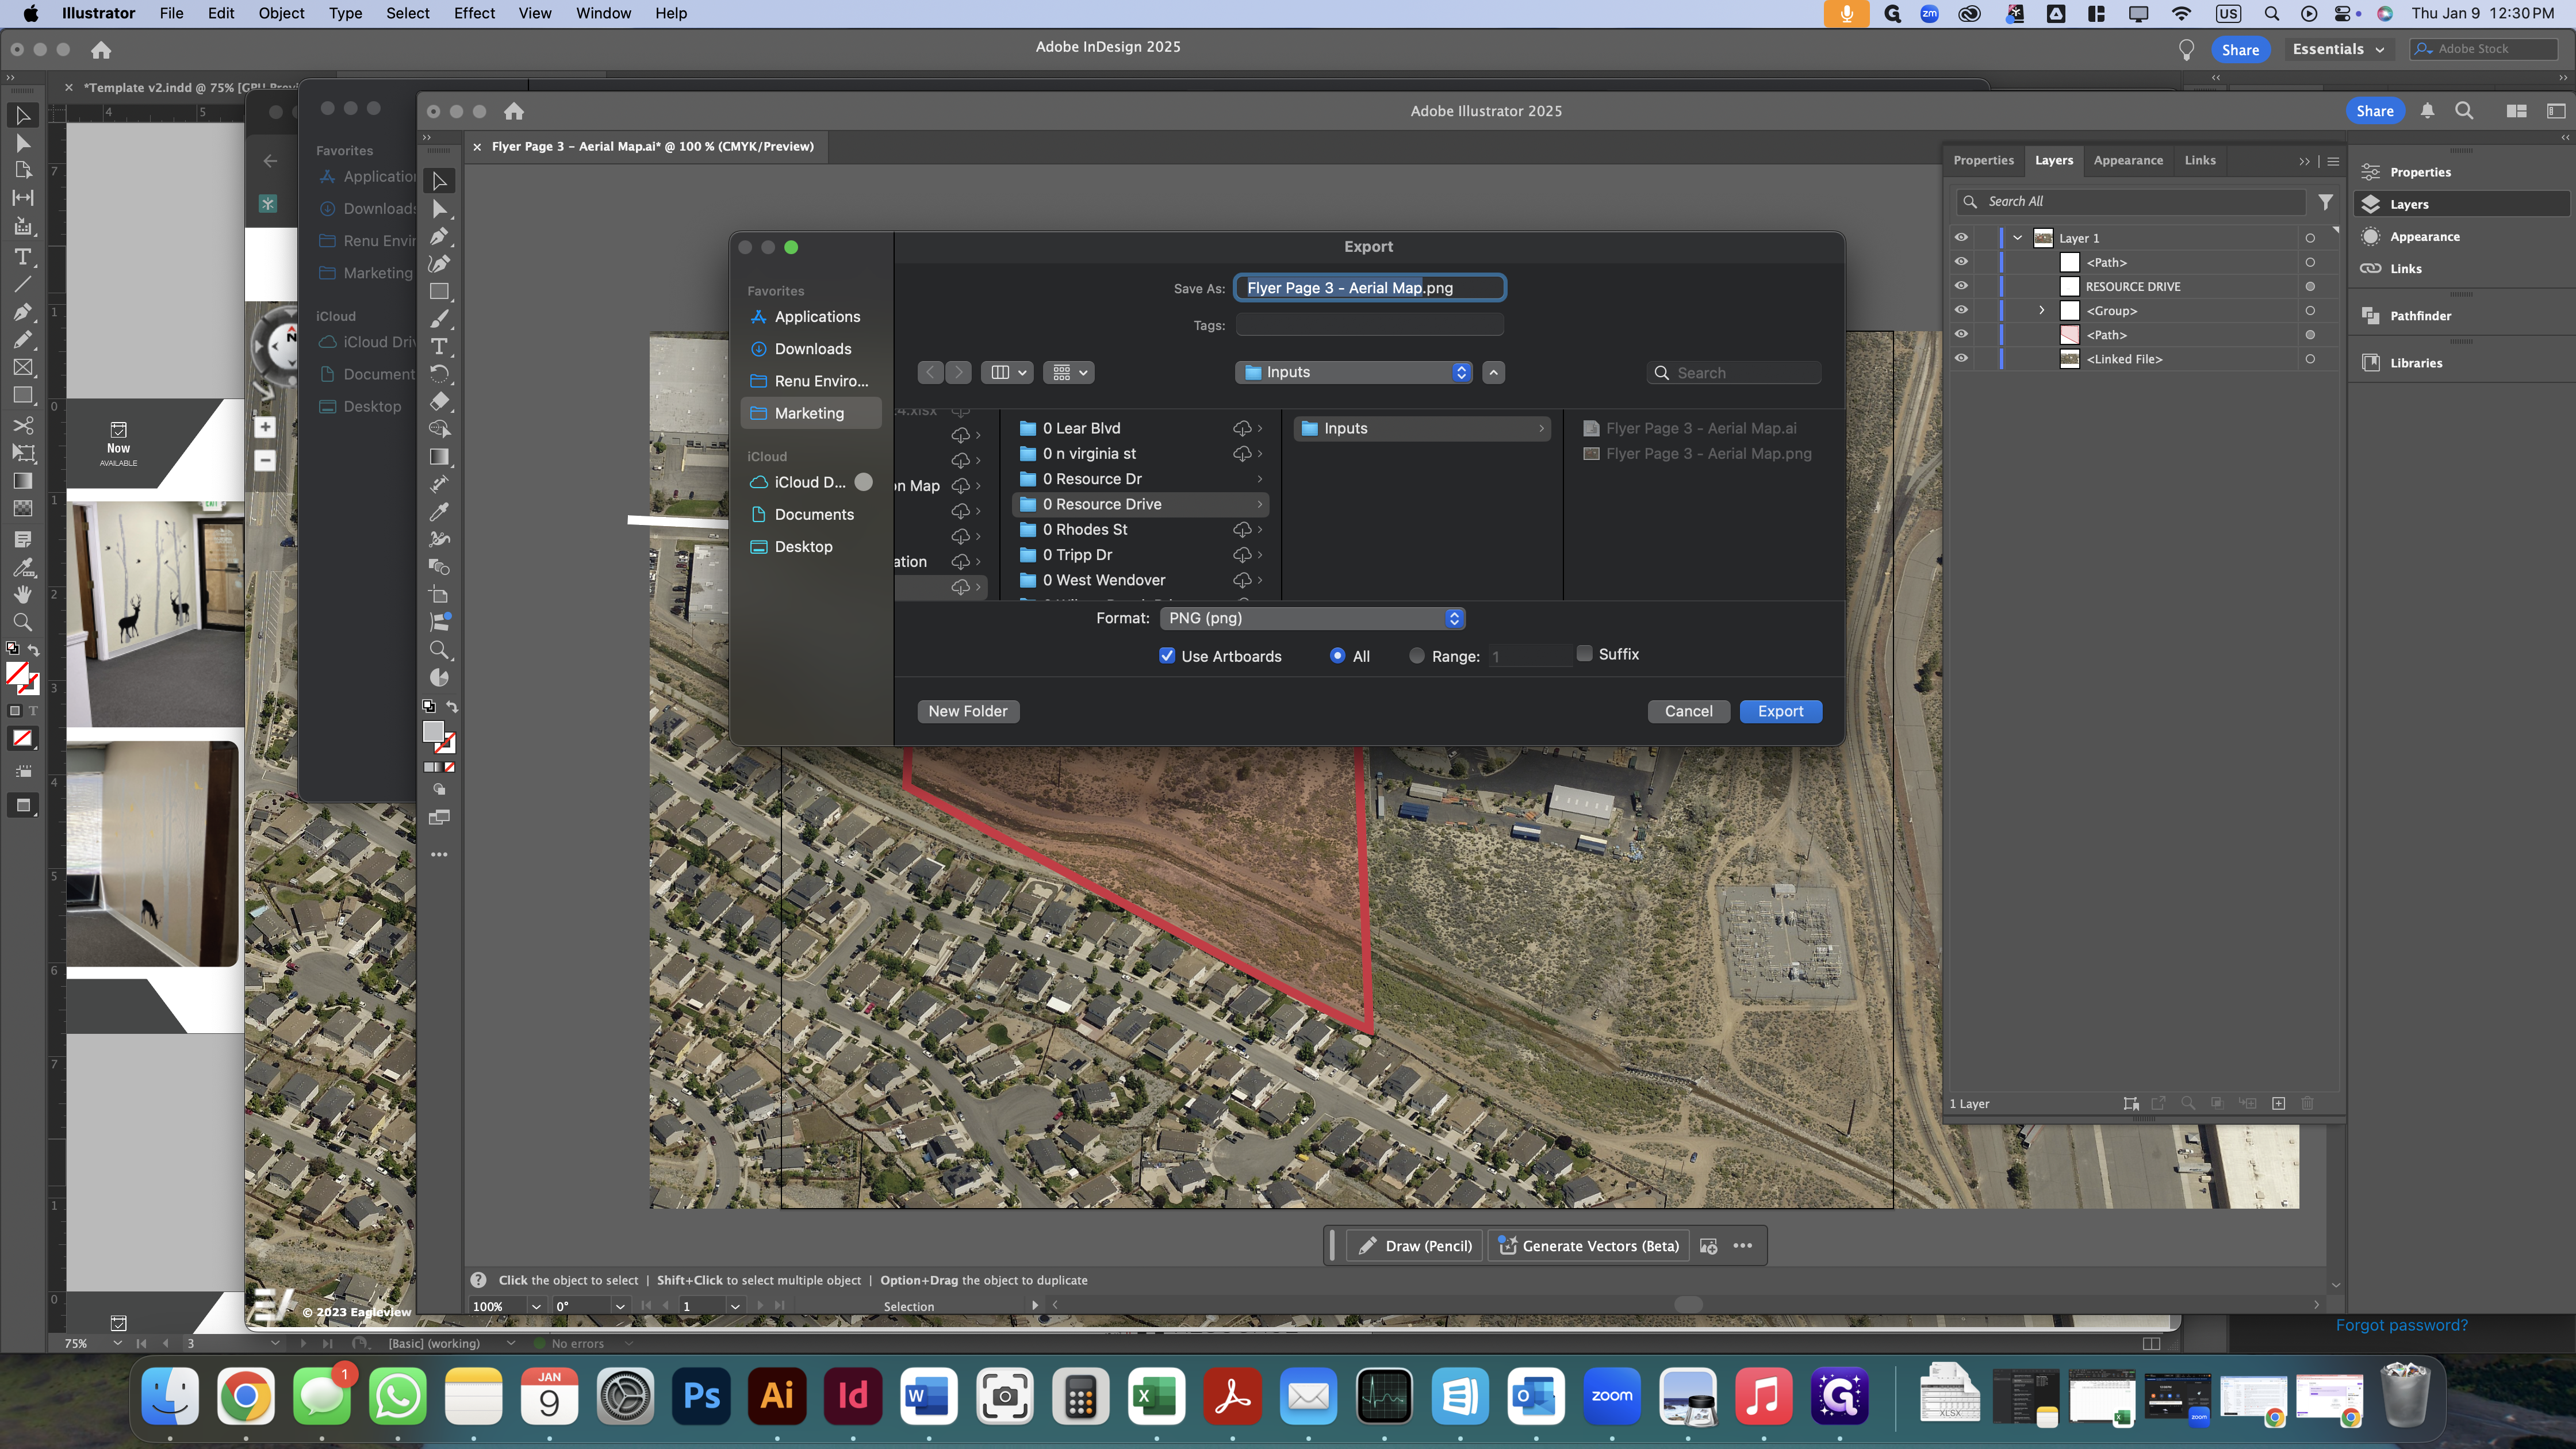
Now, we will export this as a PNG to use in our flyer.
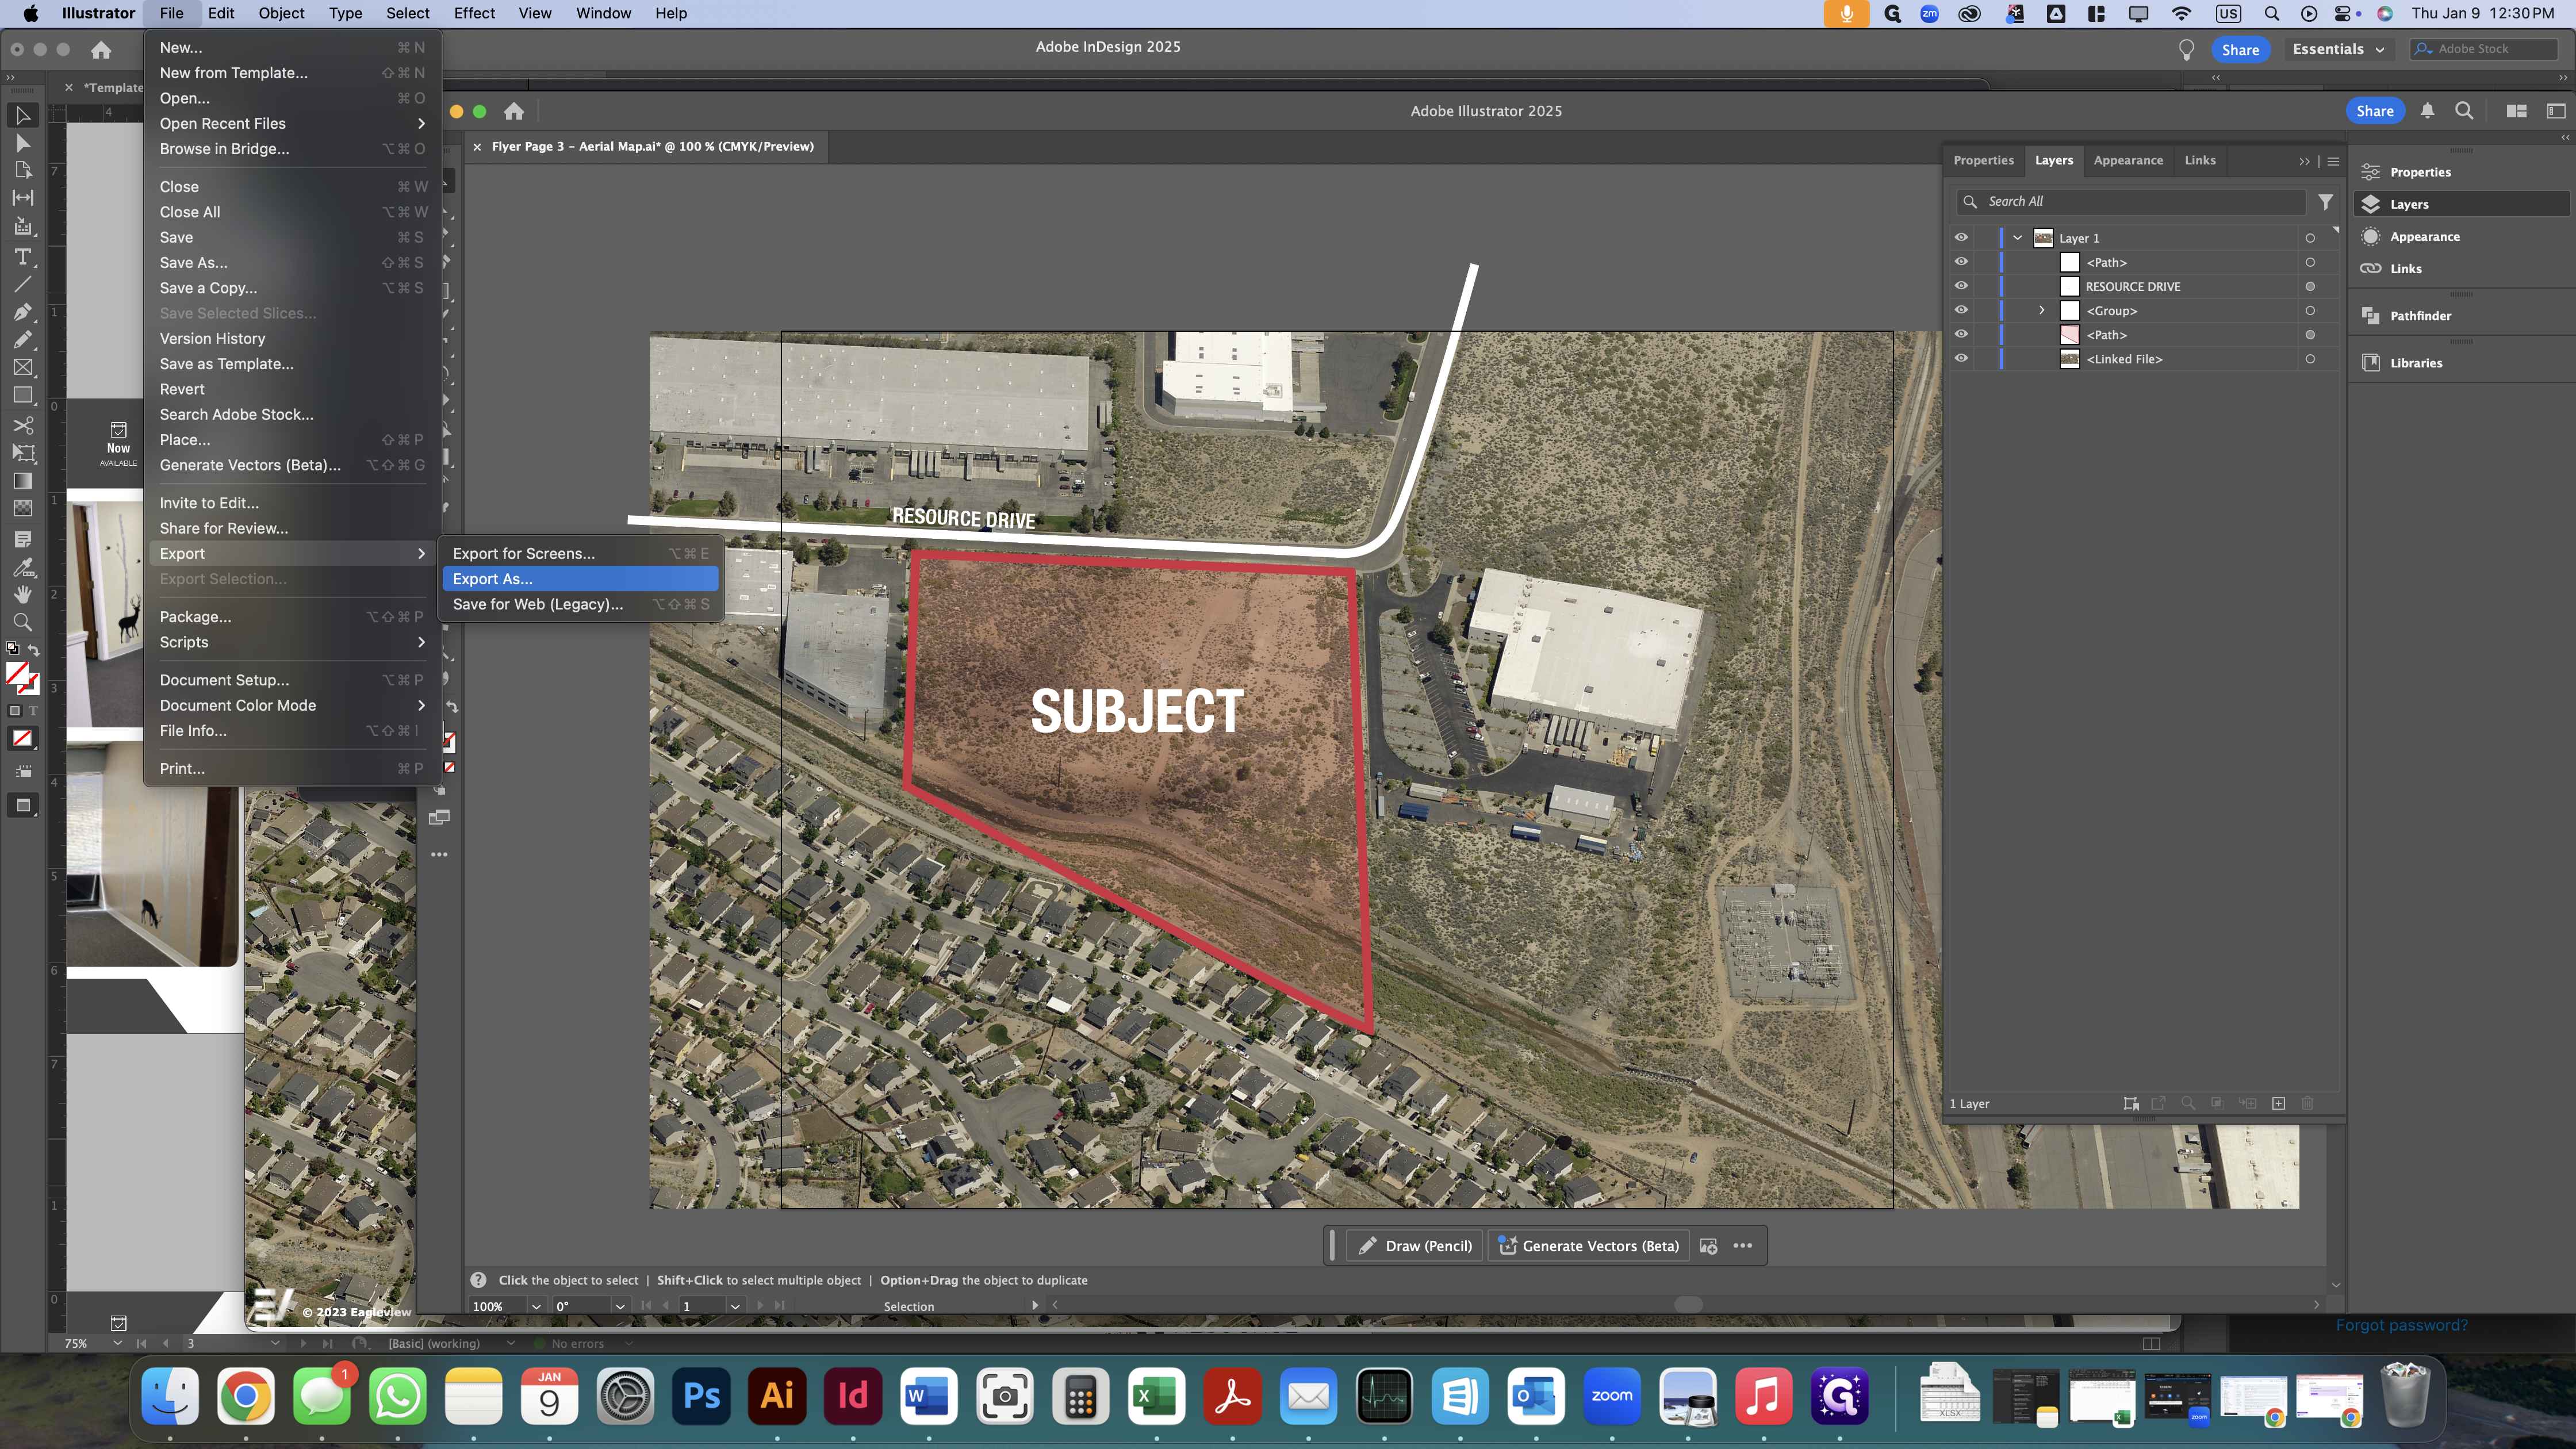

Ensure the "Use Artboards" option is checked. This will ensure that the exported image fits properly in the flyer without having to be resized.
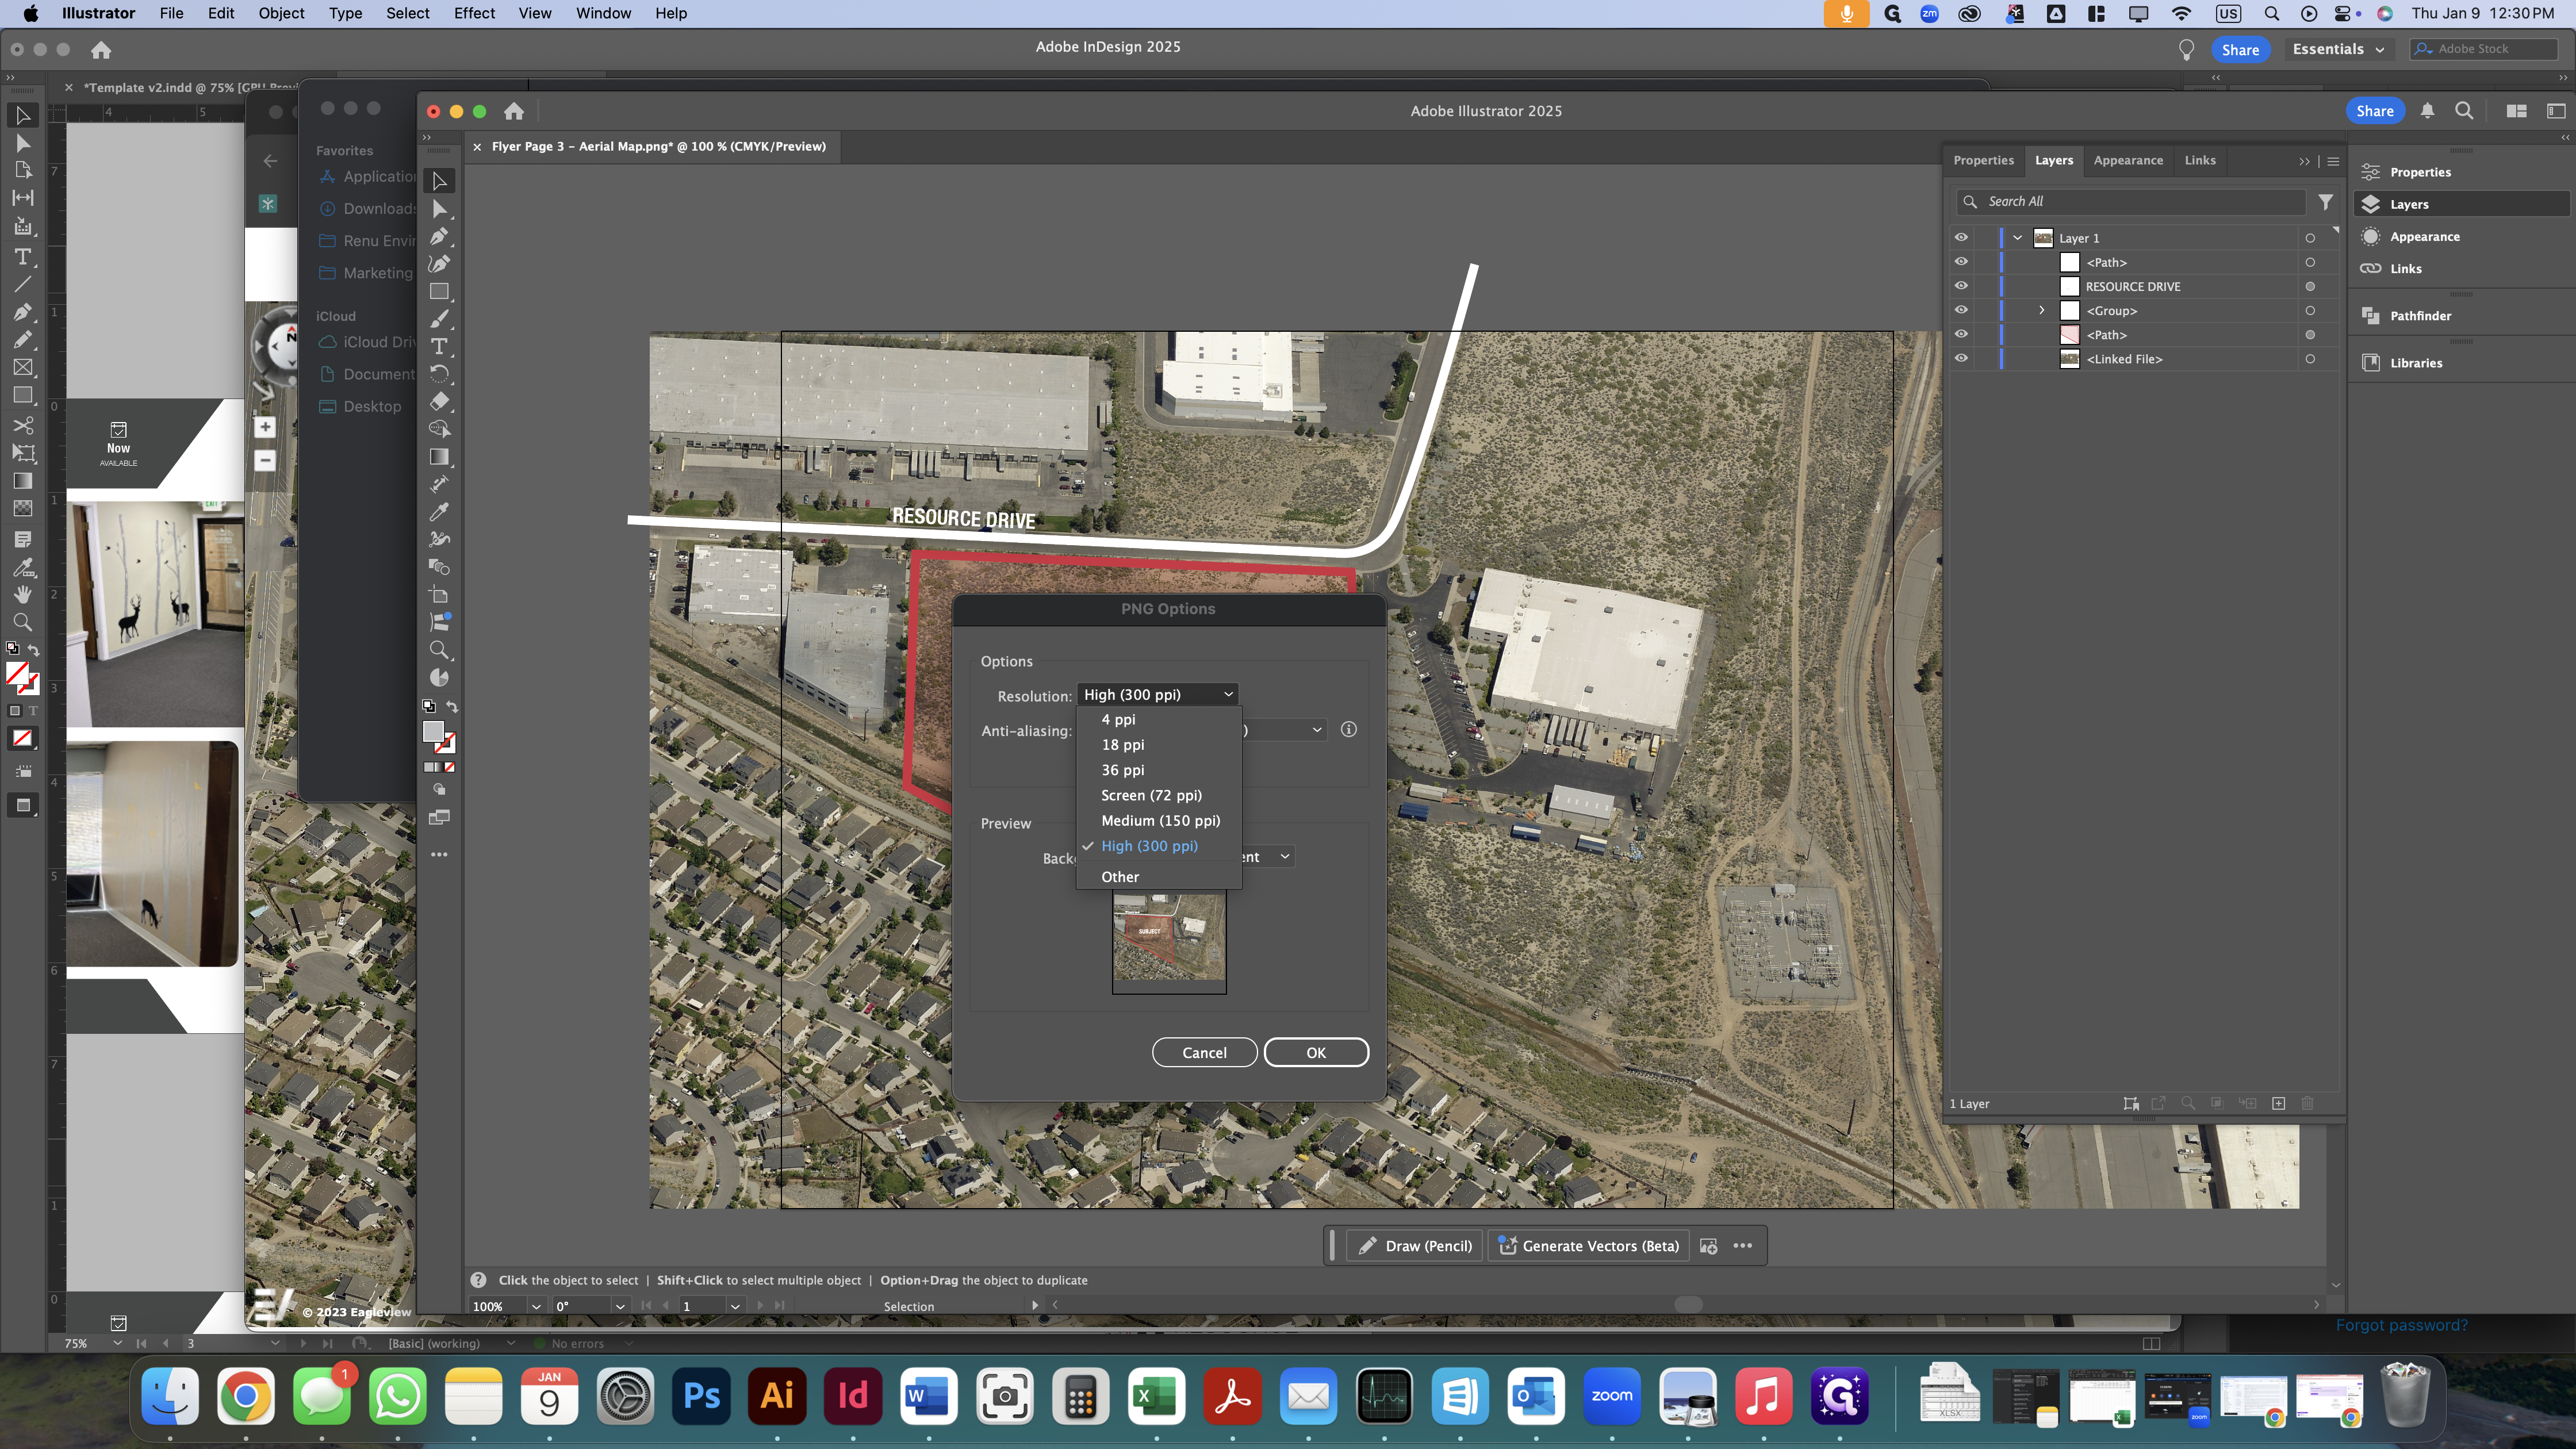
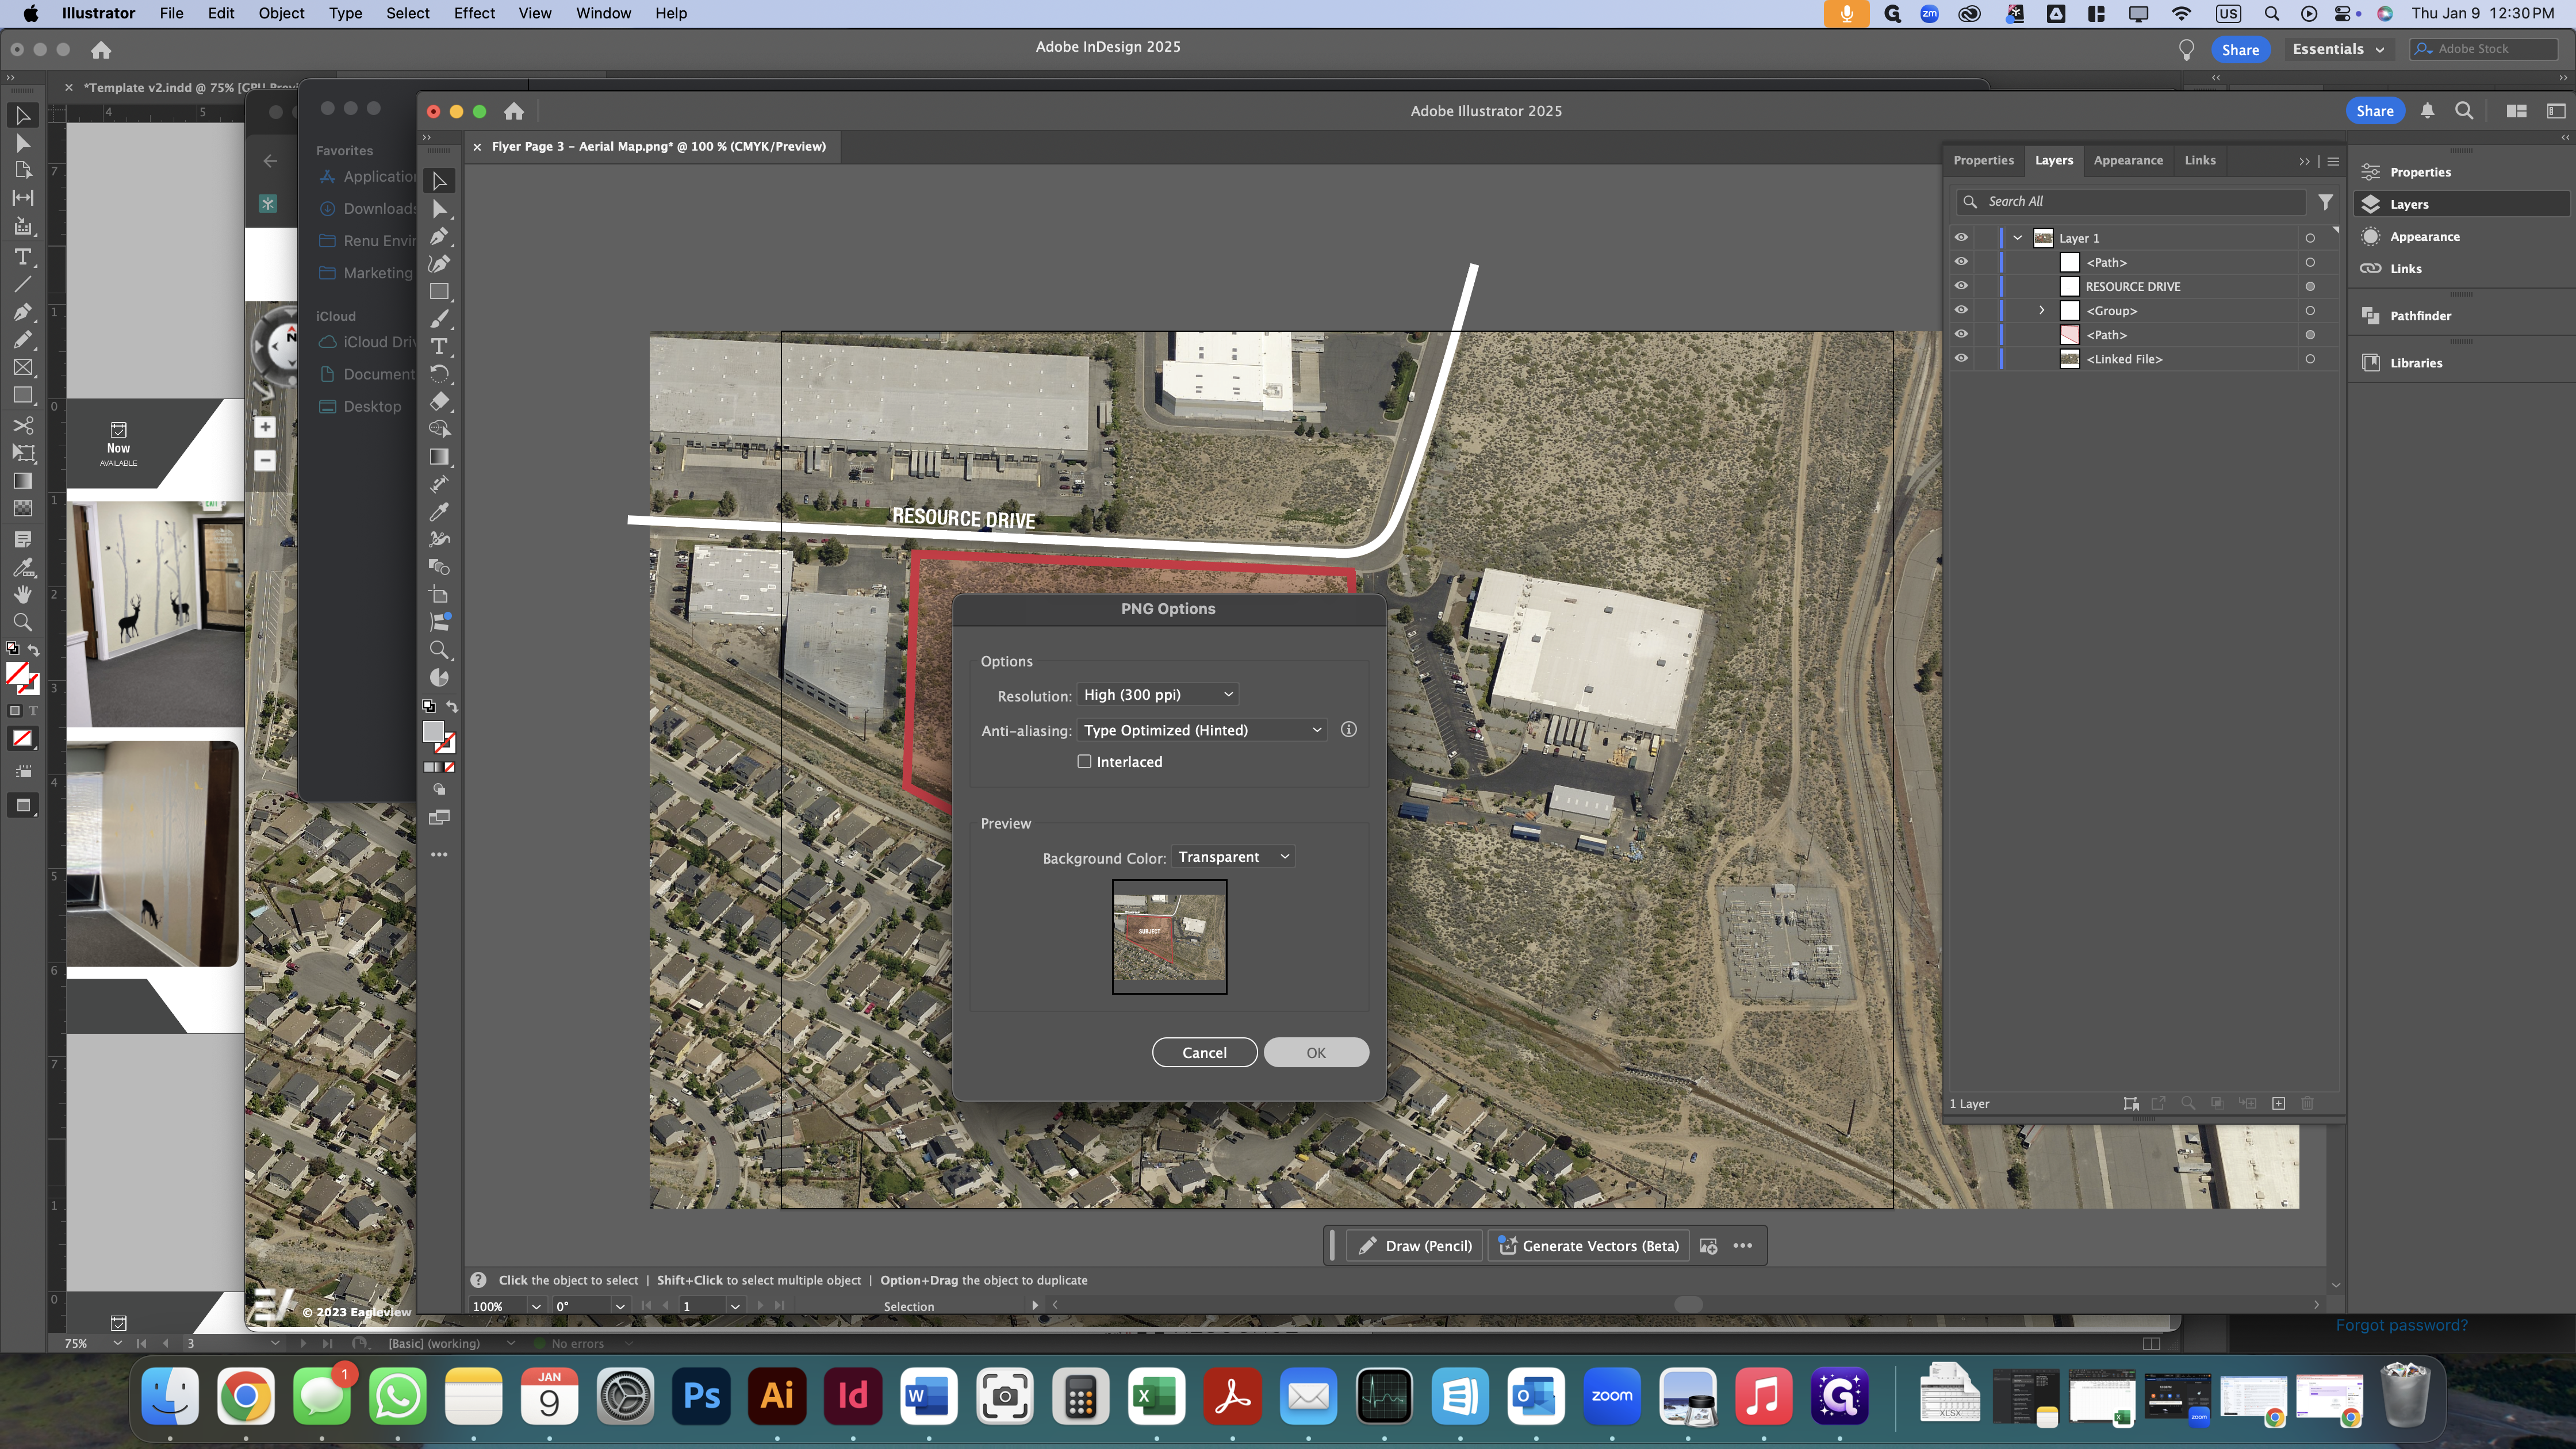
The resolution should be set to high, anti-aliasing will be type-optimized, and the background color can be transparent.
Don't forget to save the Illustrator file as well!