
How to Create an Invoice for a Membership: Step-by-Step Guide
Learn how to create an invoice for a membership, including selecting the company, adding membership details, setting dates, and saving the invoice. Perfect for chamber or association administrators.
In this guide, we'll learn how to create an invoice for a membership. We will cover how to select the company, add the membership sales item, choose the membership level, and set the correct dates. This process helps ensure accurate billing and membership tracking.
Let's get started
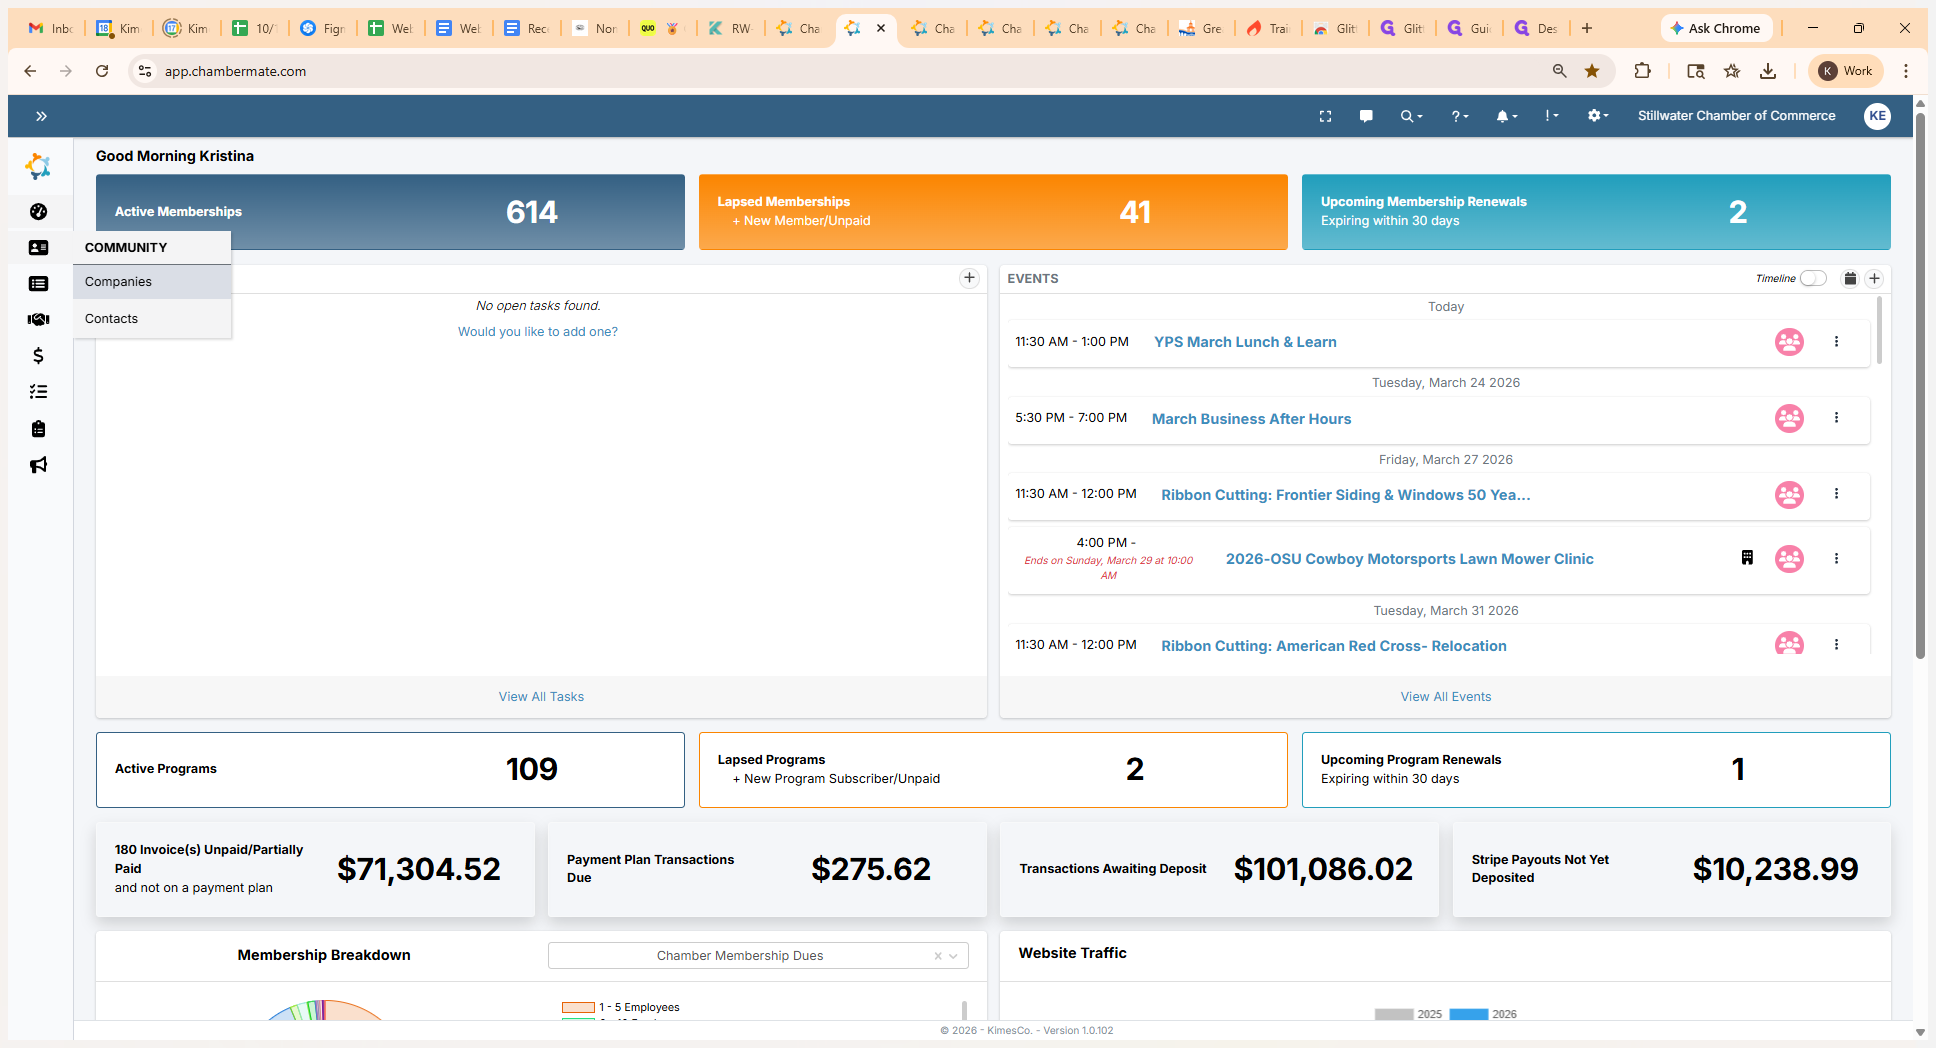
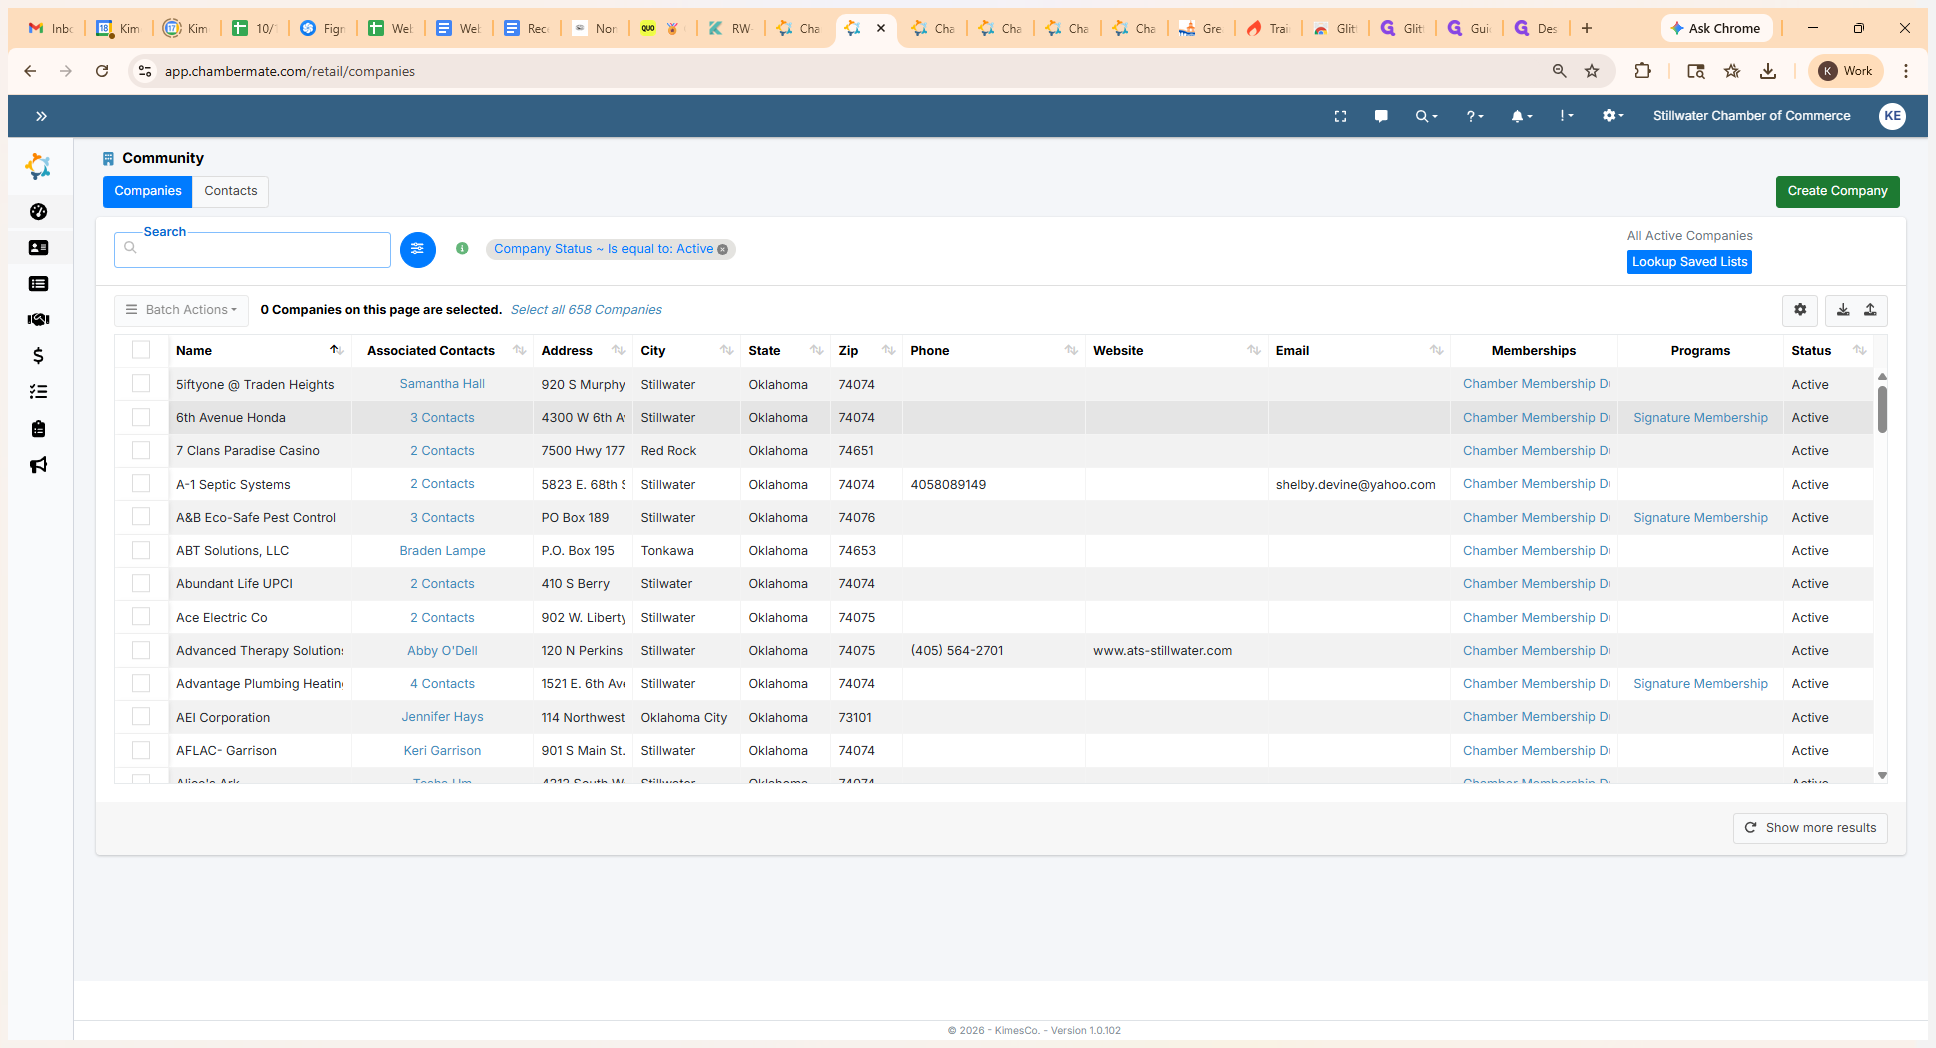
Today, we will learn how to create an invoice for a membership. First, go to the company for which you want to create an invoice.
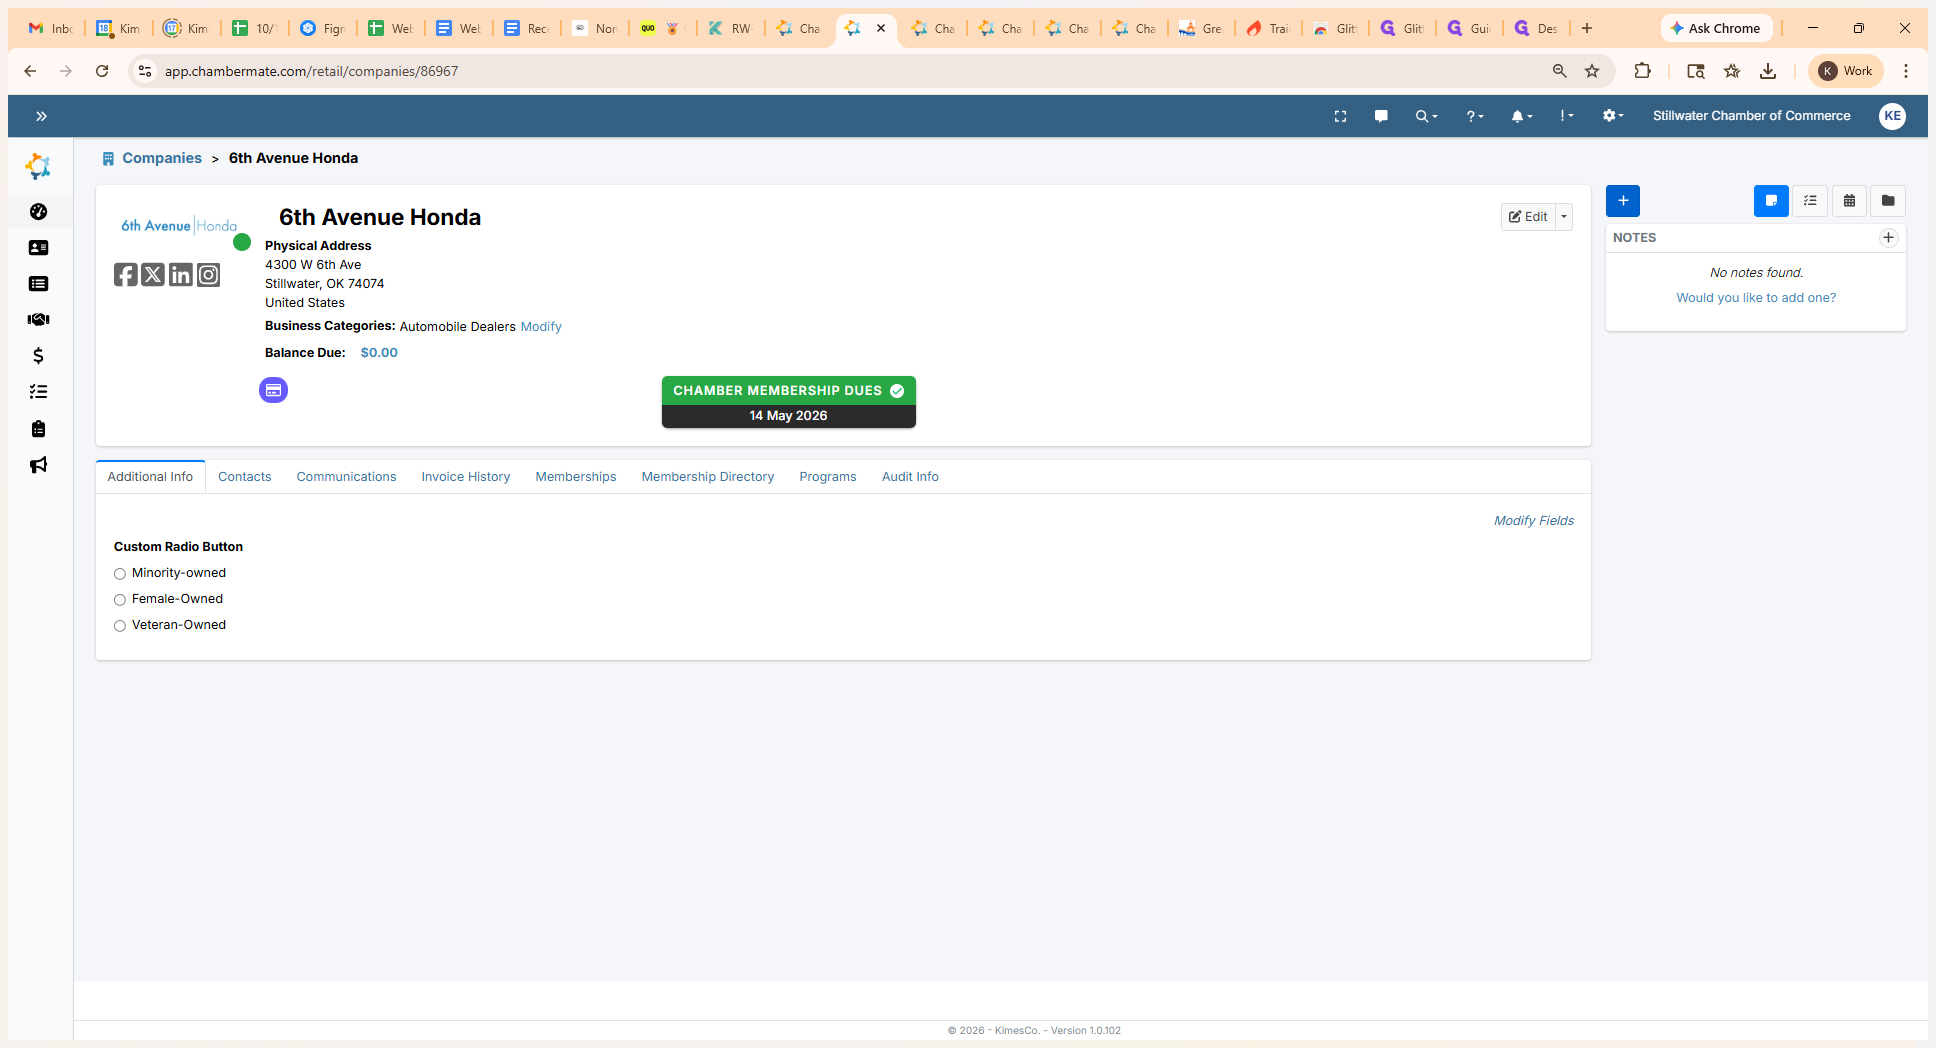
Let's say the company is Sixth Avenue Honda.
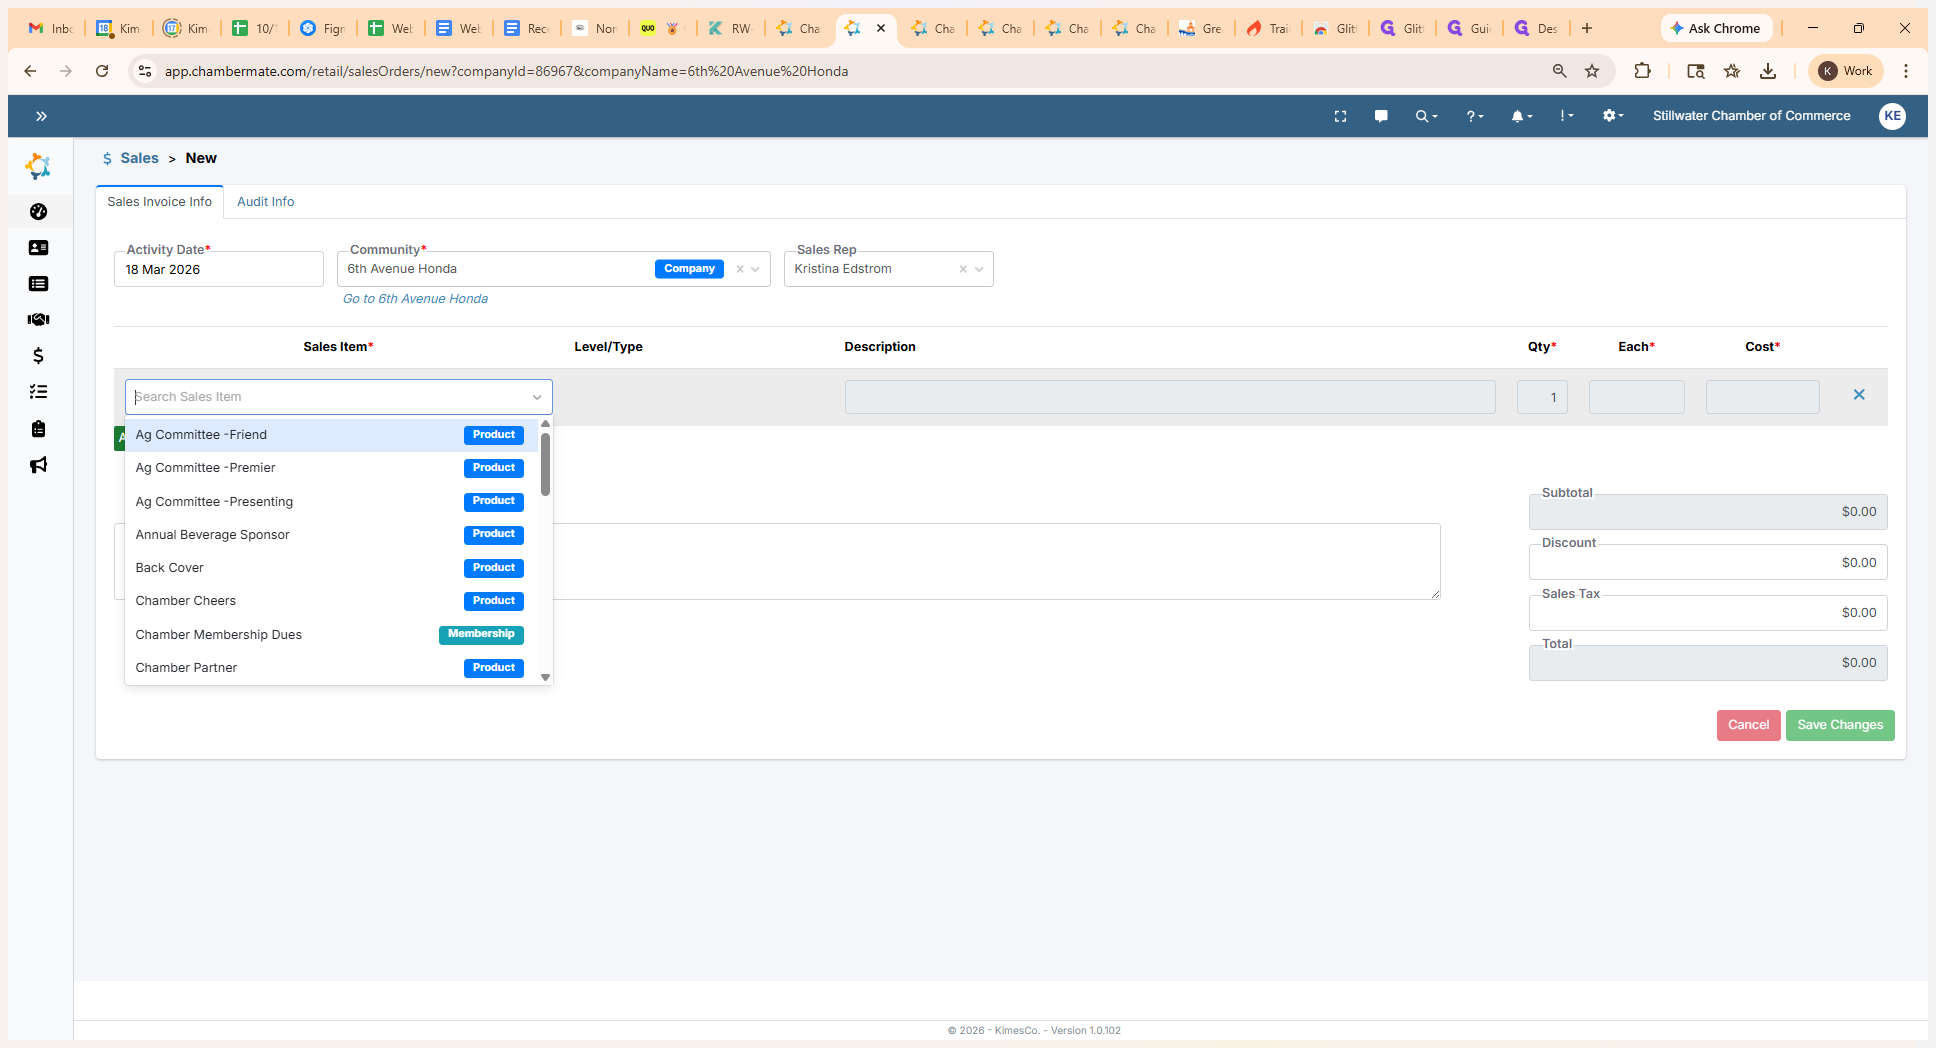
Next, click the plus sign and select Create New Sales Invoice.
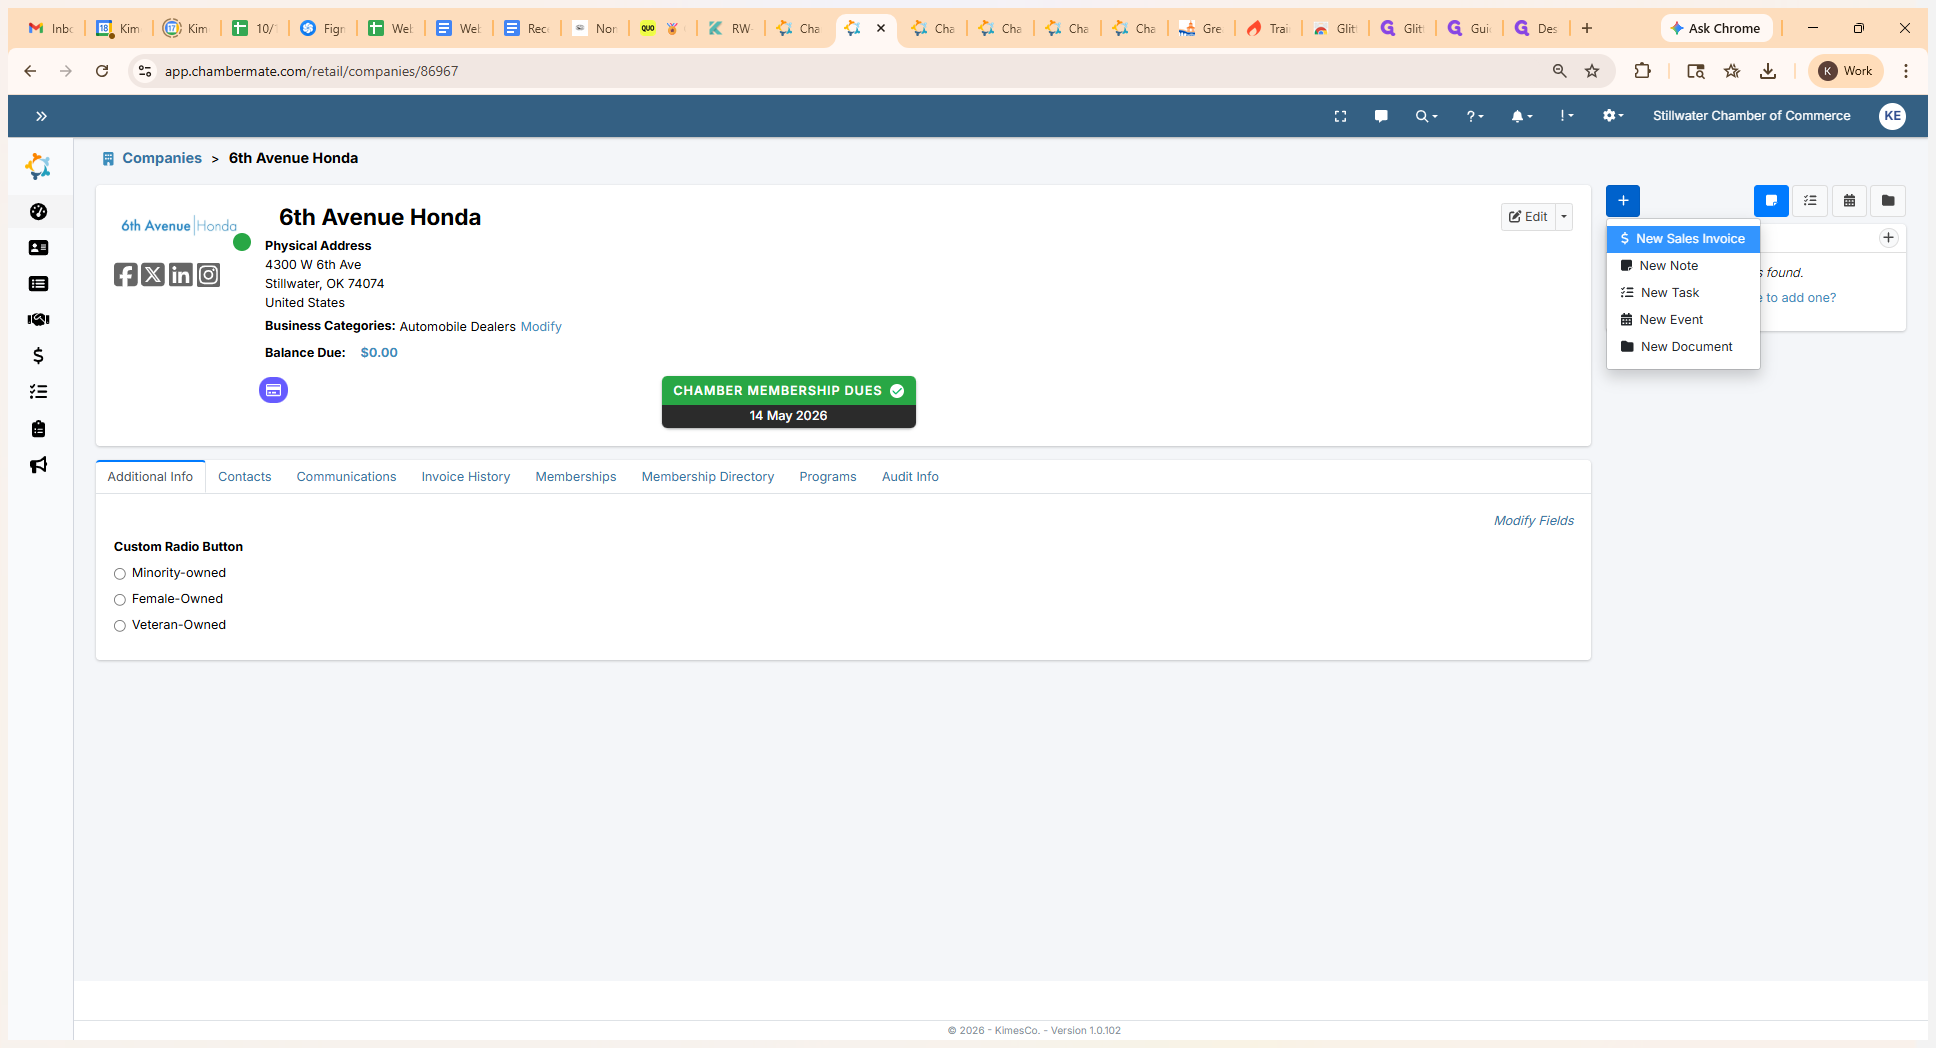
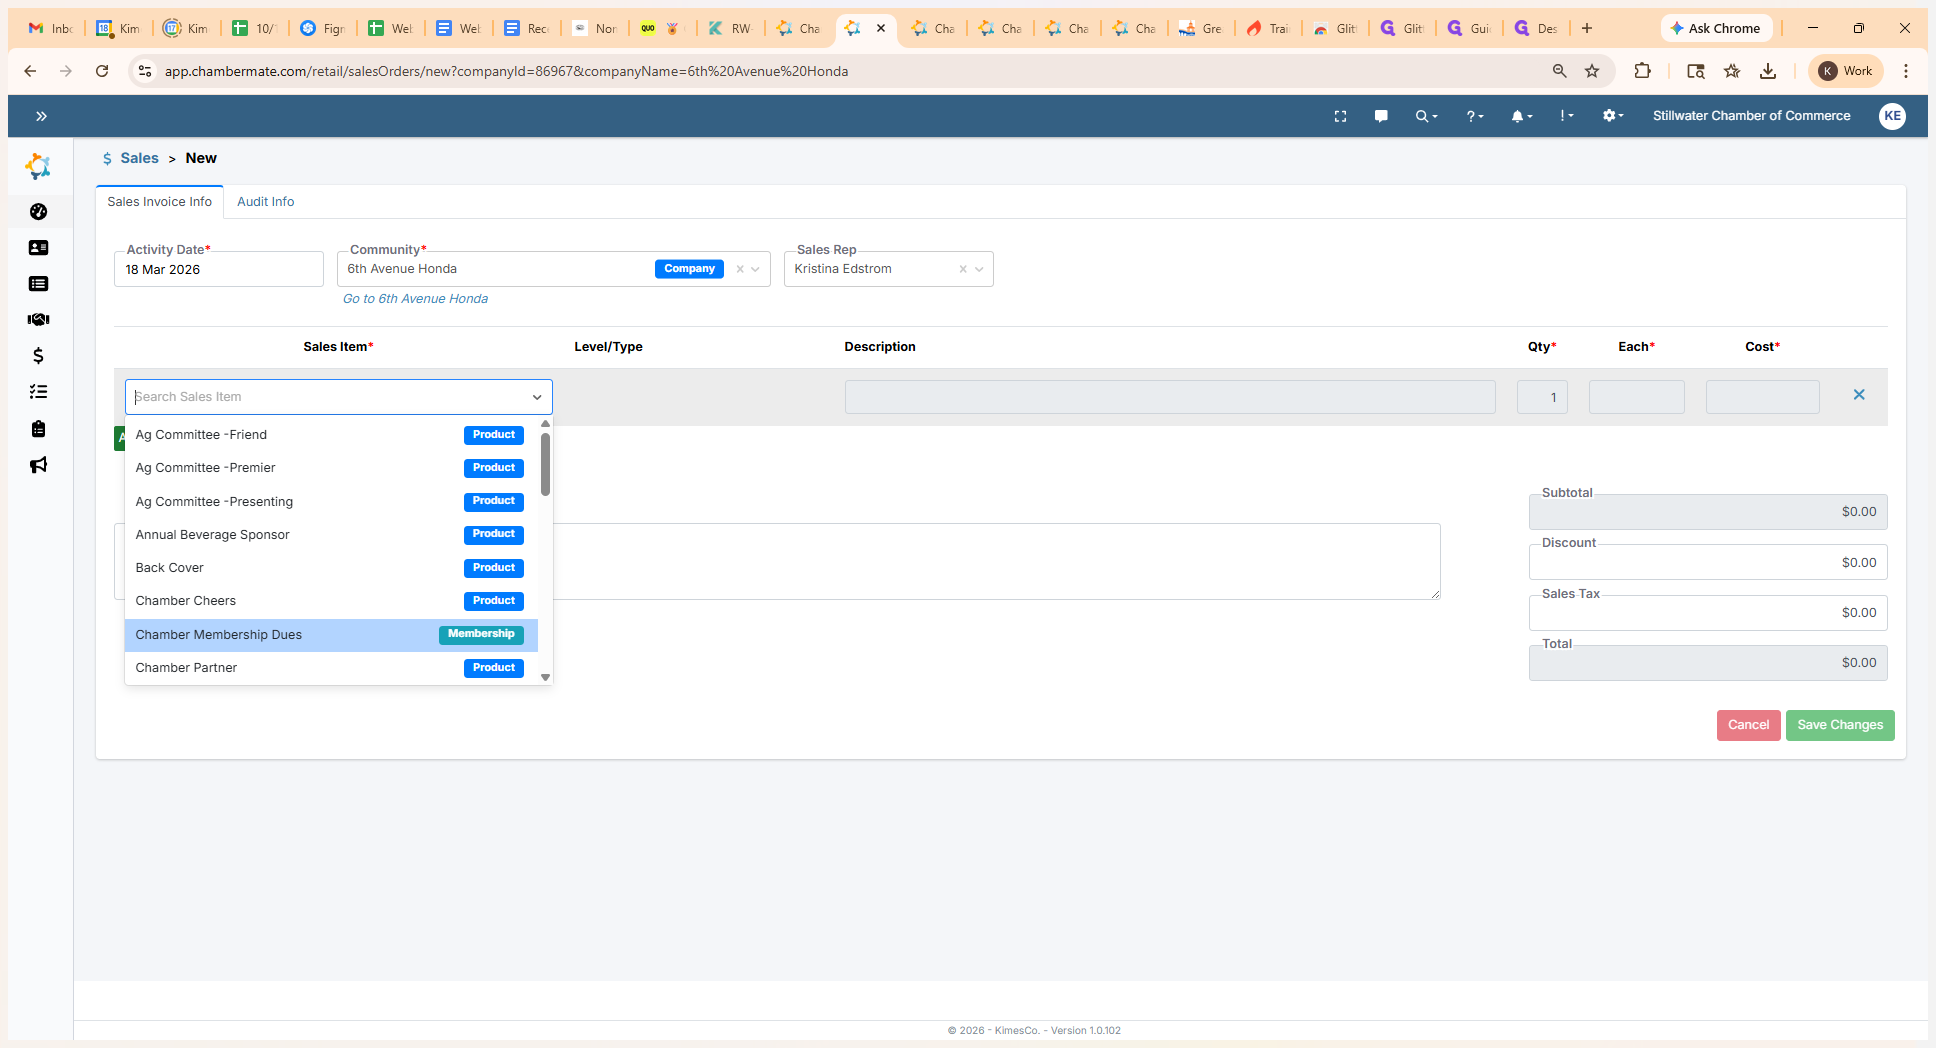
The community name is automatically filled in. Next, we will add a sales item called Membership.
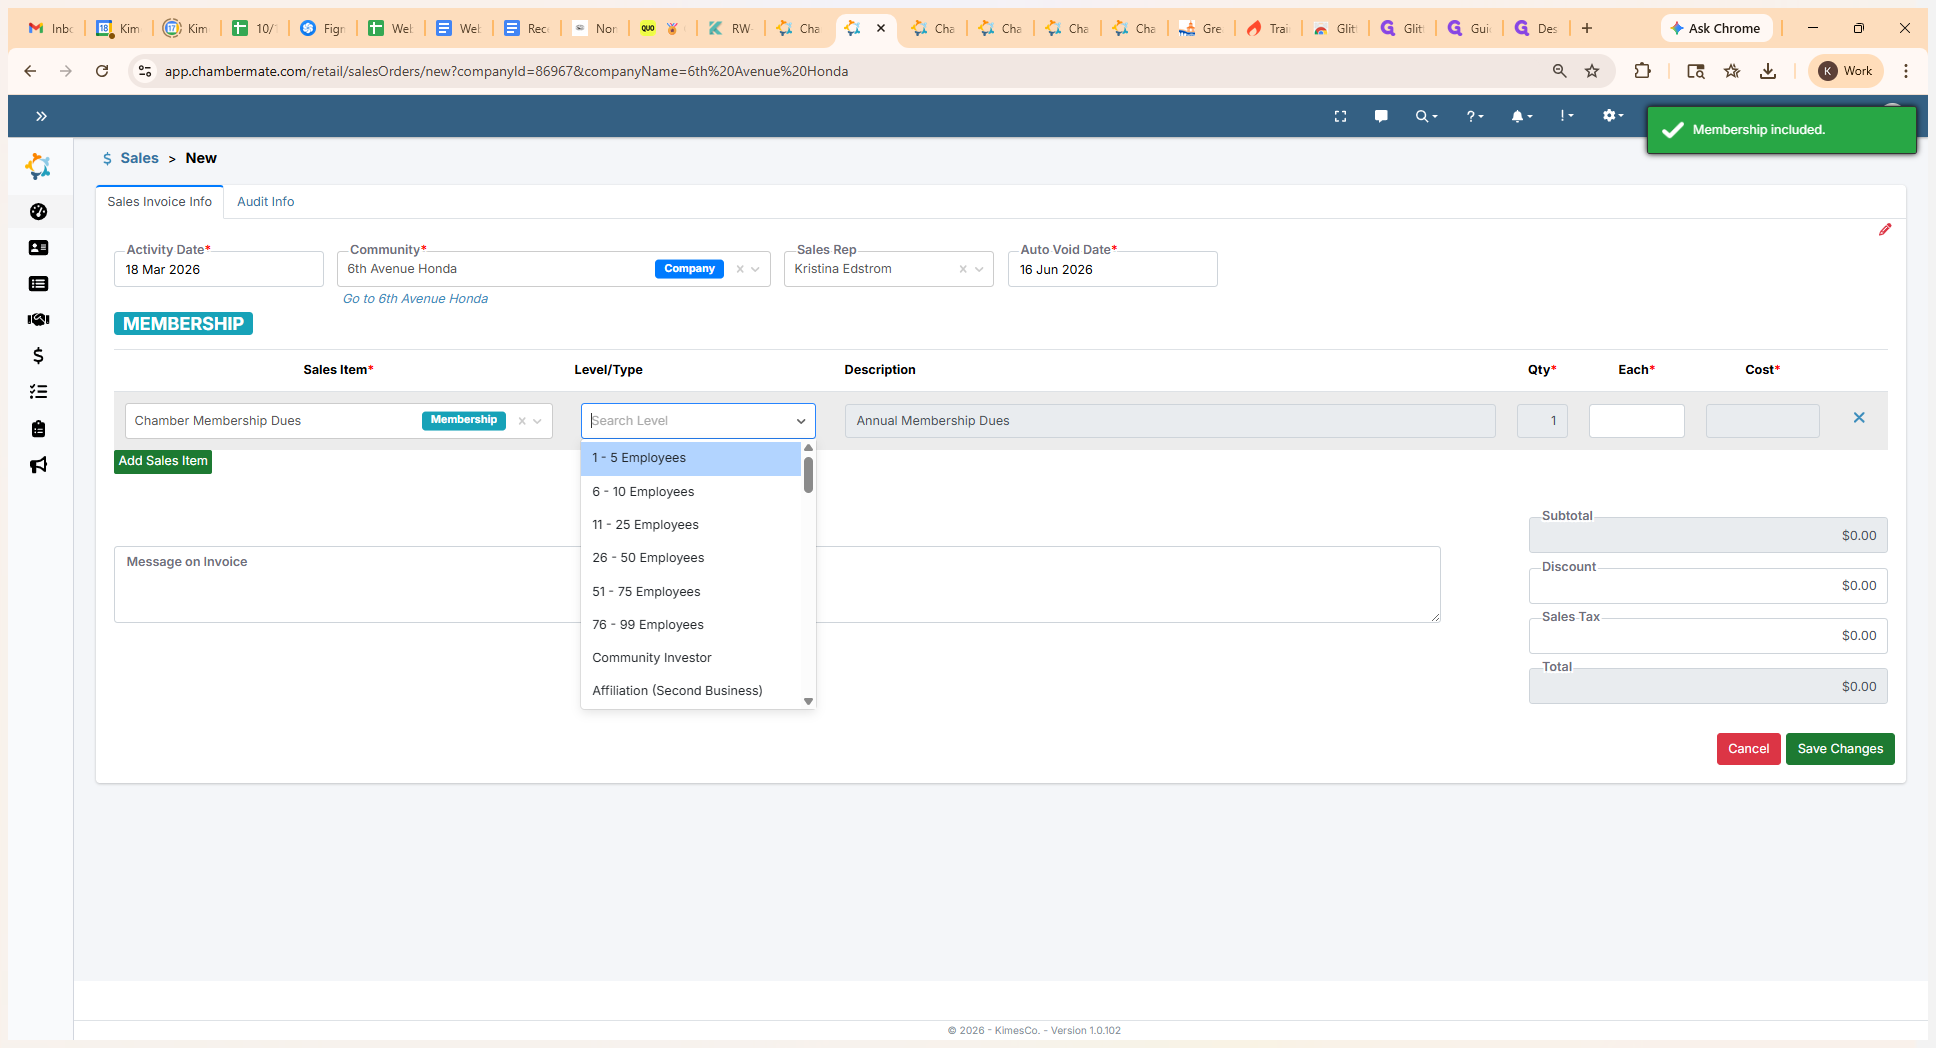
We will select the level type.

This automatically pulls the price from our chamber settings.
The start date and end date show the membership period. To edit the start date to a past date, update the start date field here.
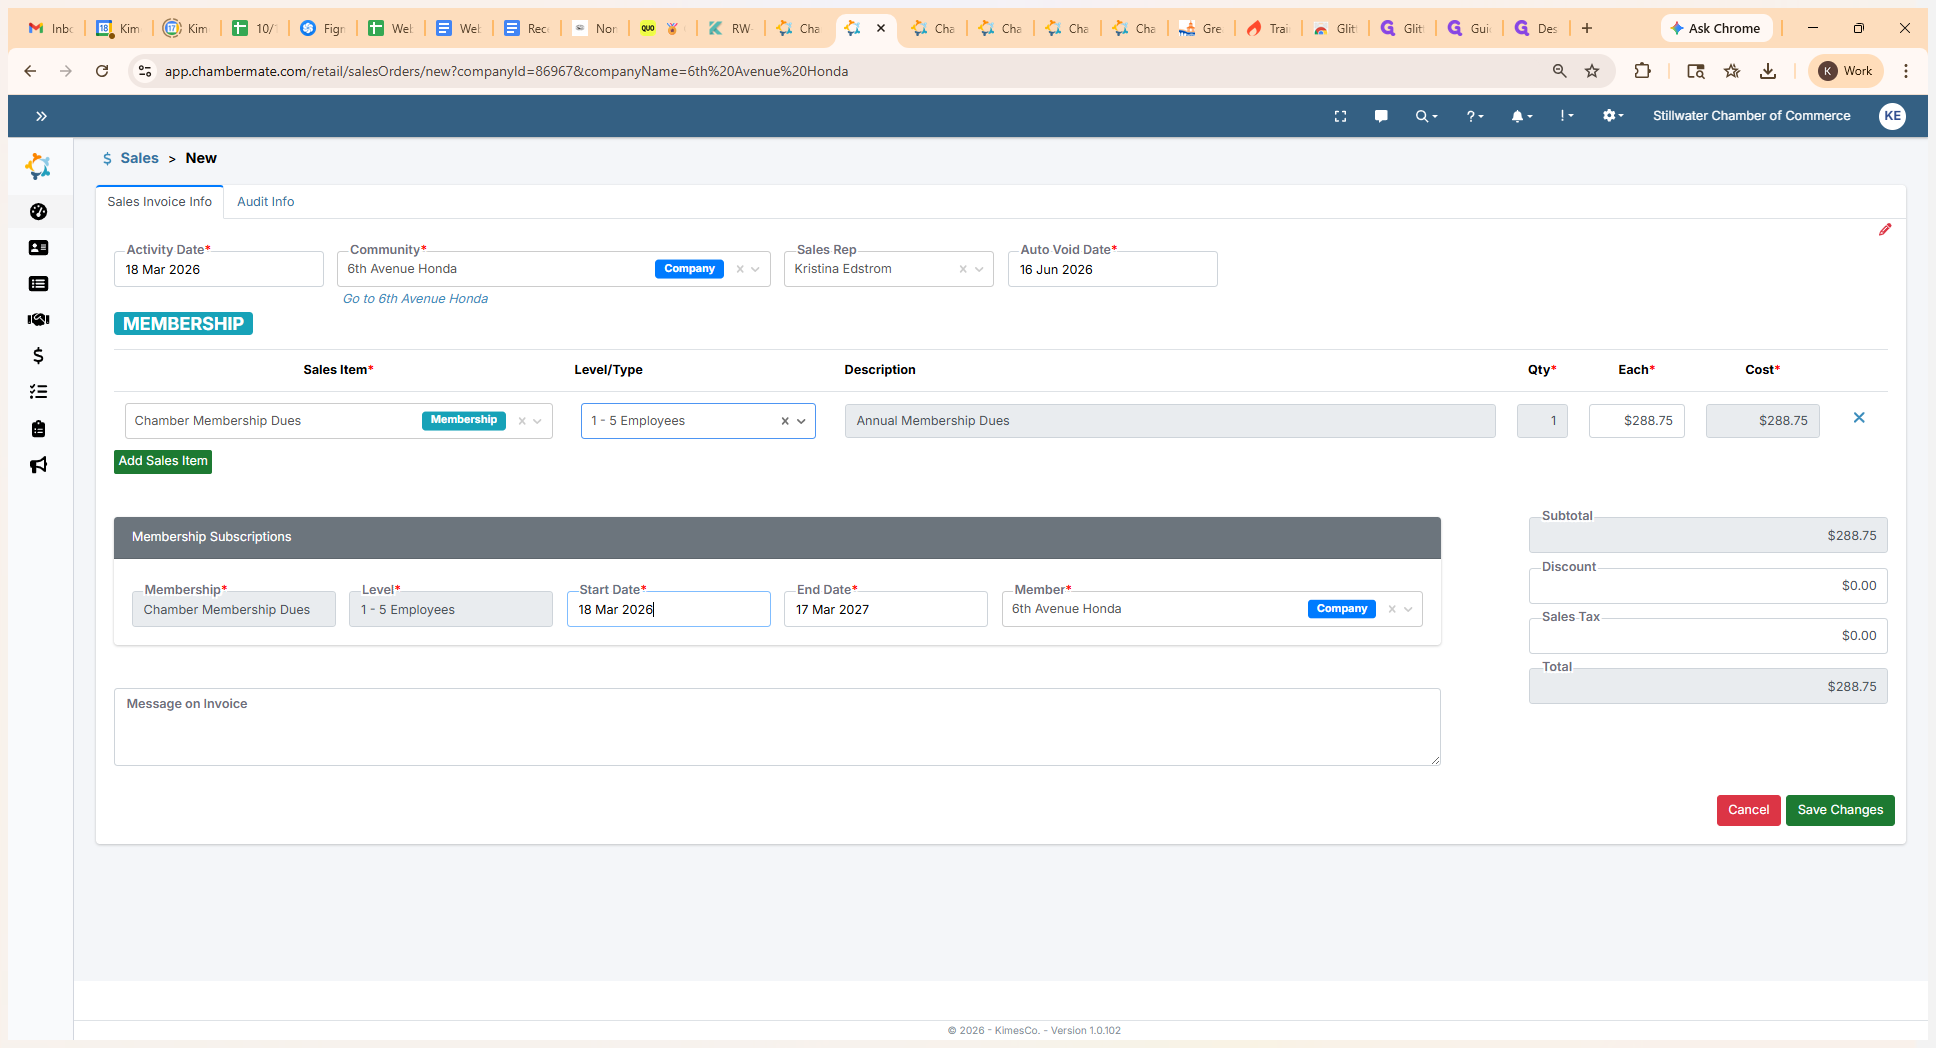
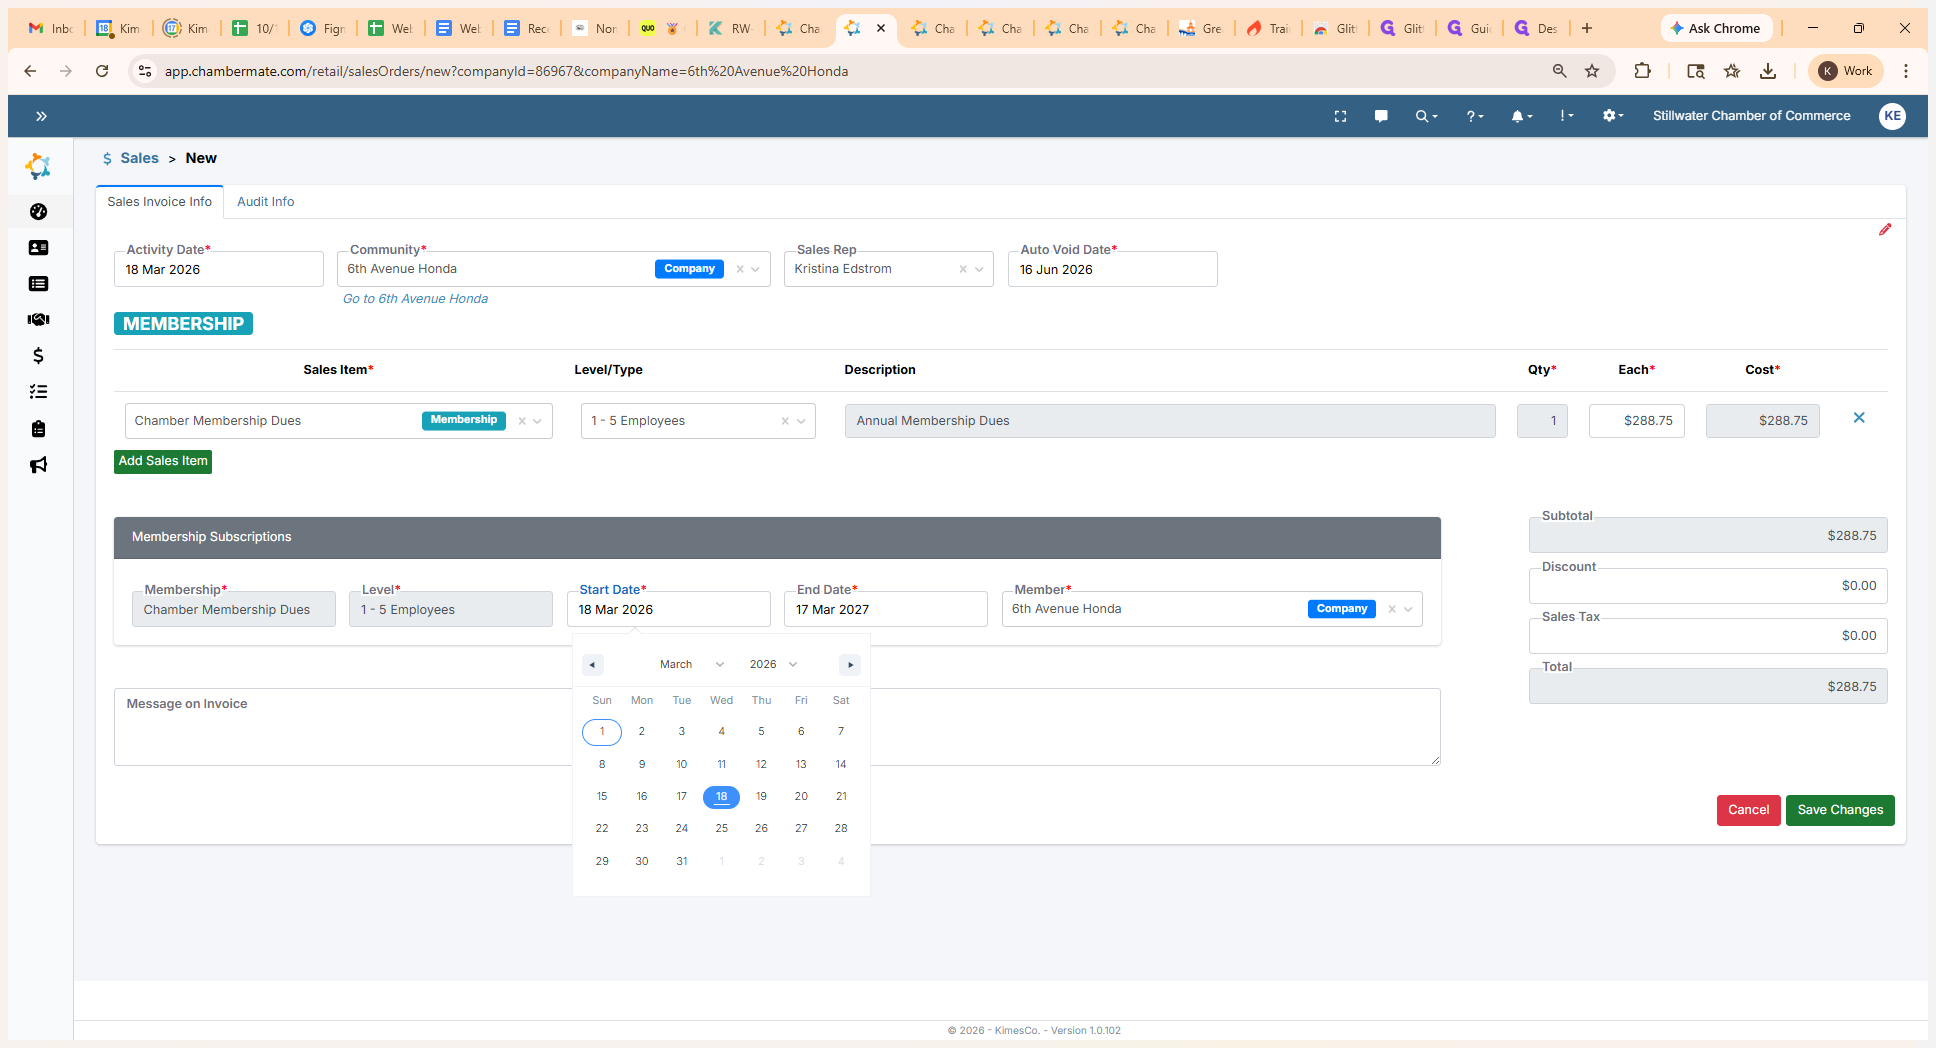
Based on your settings, this will automatically set the end date for a full year. Next, click Save.