
How to Create an Option List for Coffee in Bakesmart
Learn how to create and edit an option list for coffee within Bakesmart's product library. Follow these simple steps to manage your product options effectively.
In this guide, we'll learn how to create a new option list for coffee using BakeSmart. Option lists are useful for organizing and customizing product offerings. We'll explore how to navigate the product library, access product types, and add or edit option lists. This process will help streamline product management and enhance customer choices.
Let's get started
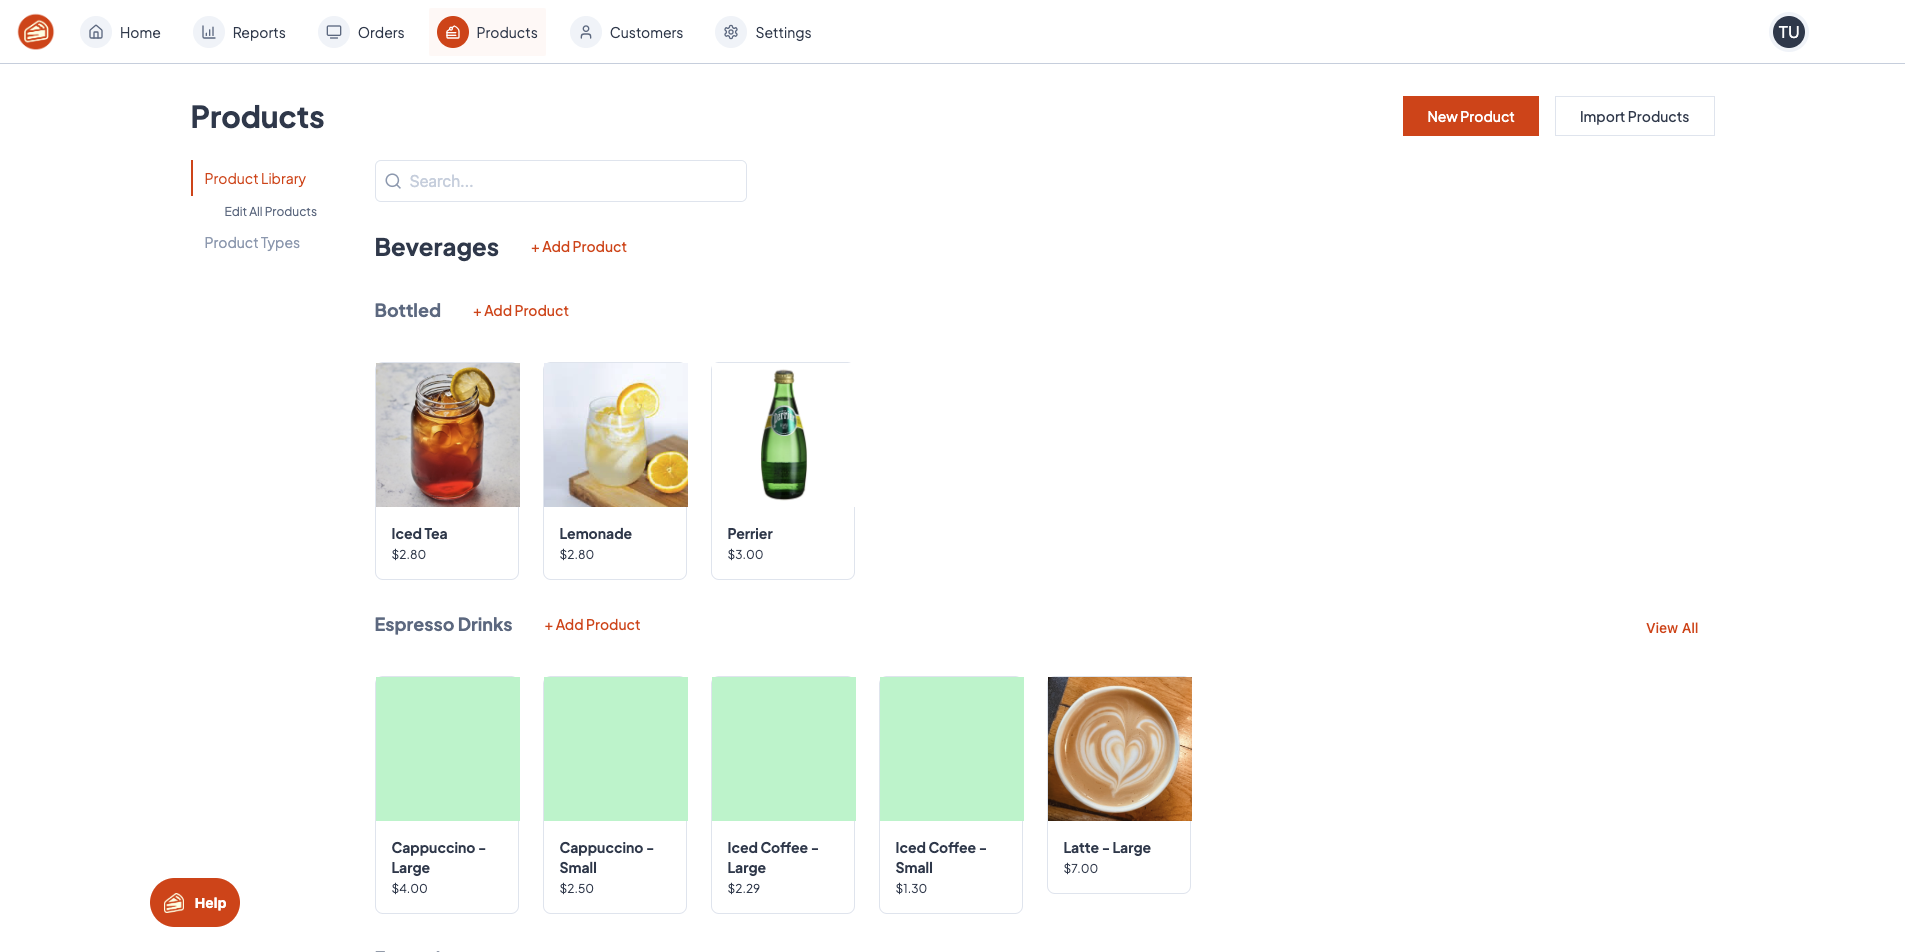
Alright, let's create an option list. We'll make a new option list for coffee. Here, I'm in Bakesmart within the product library.
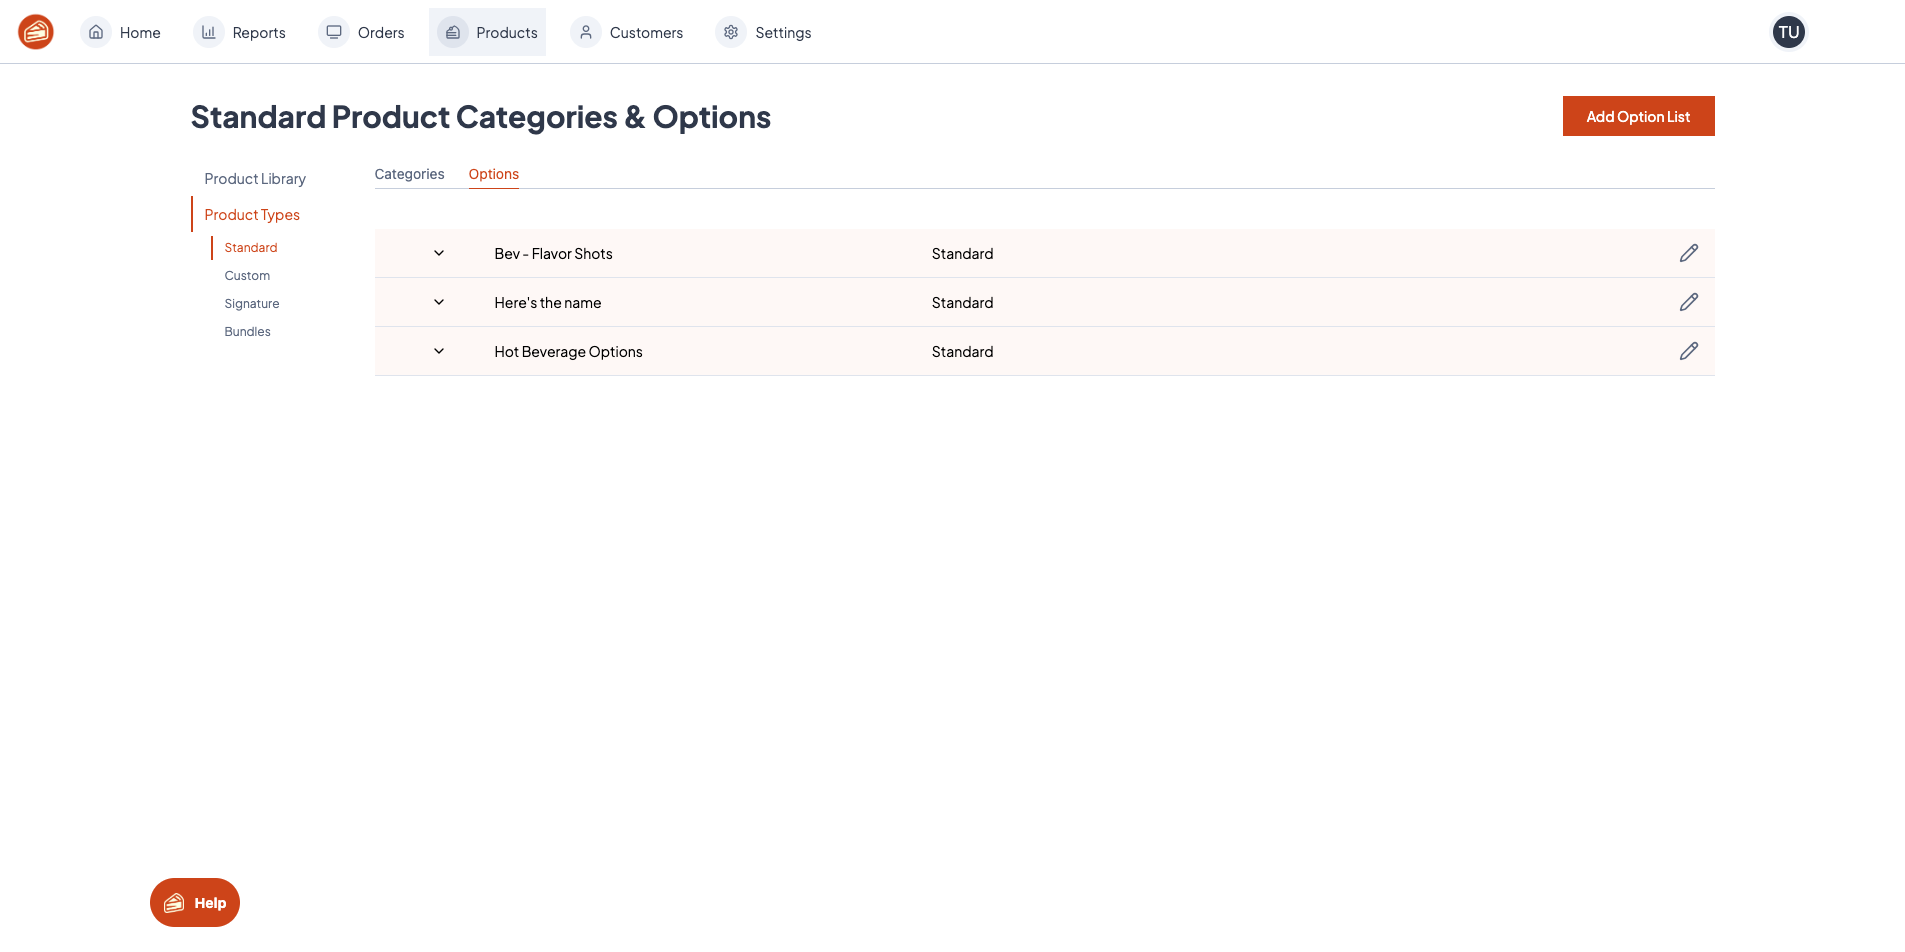
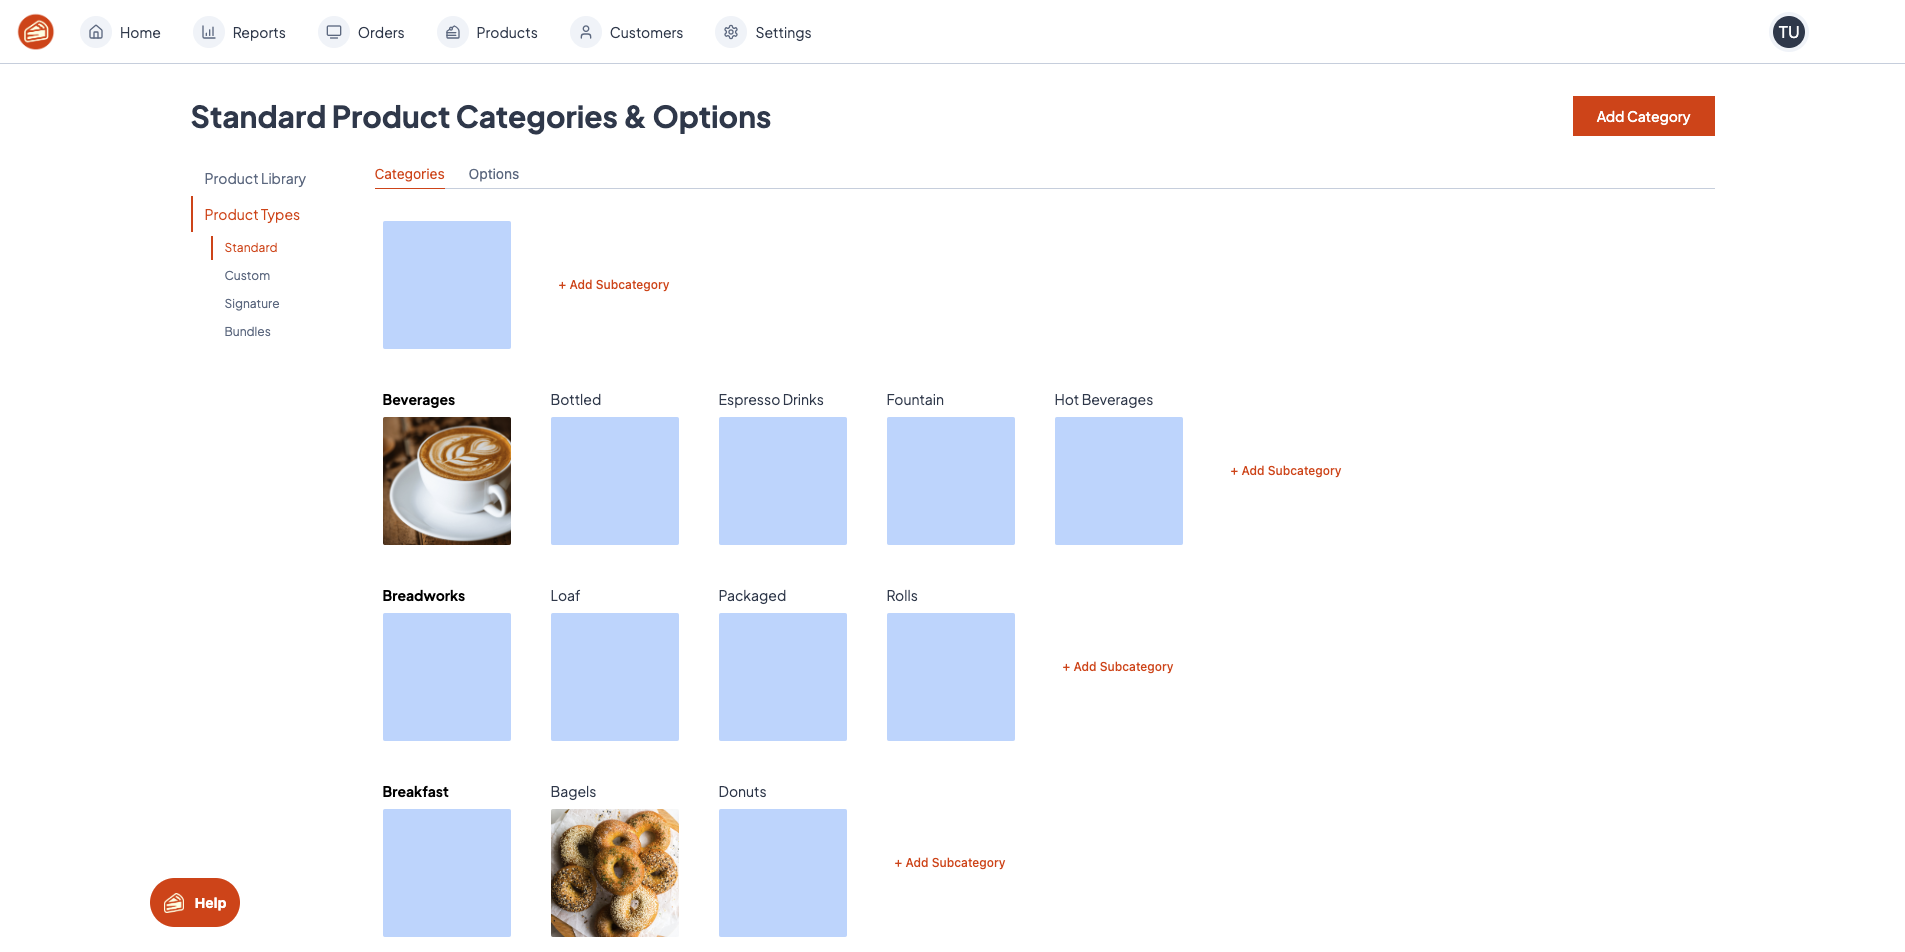
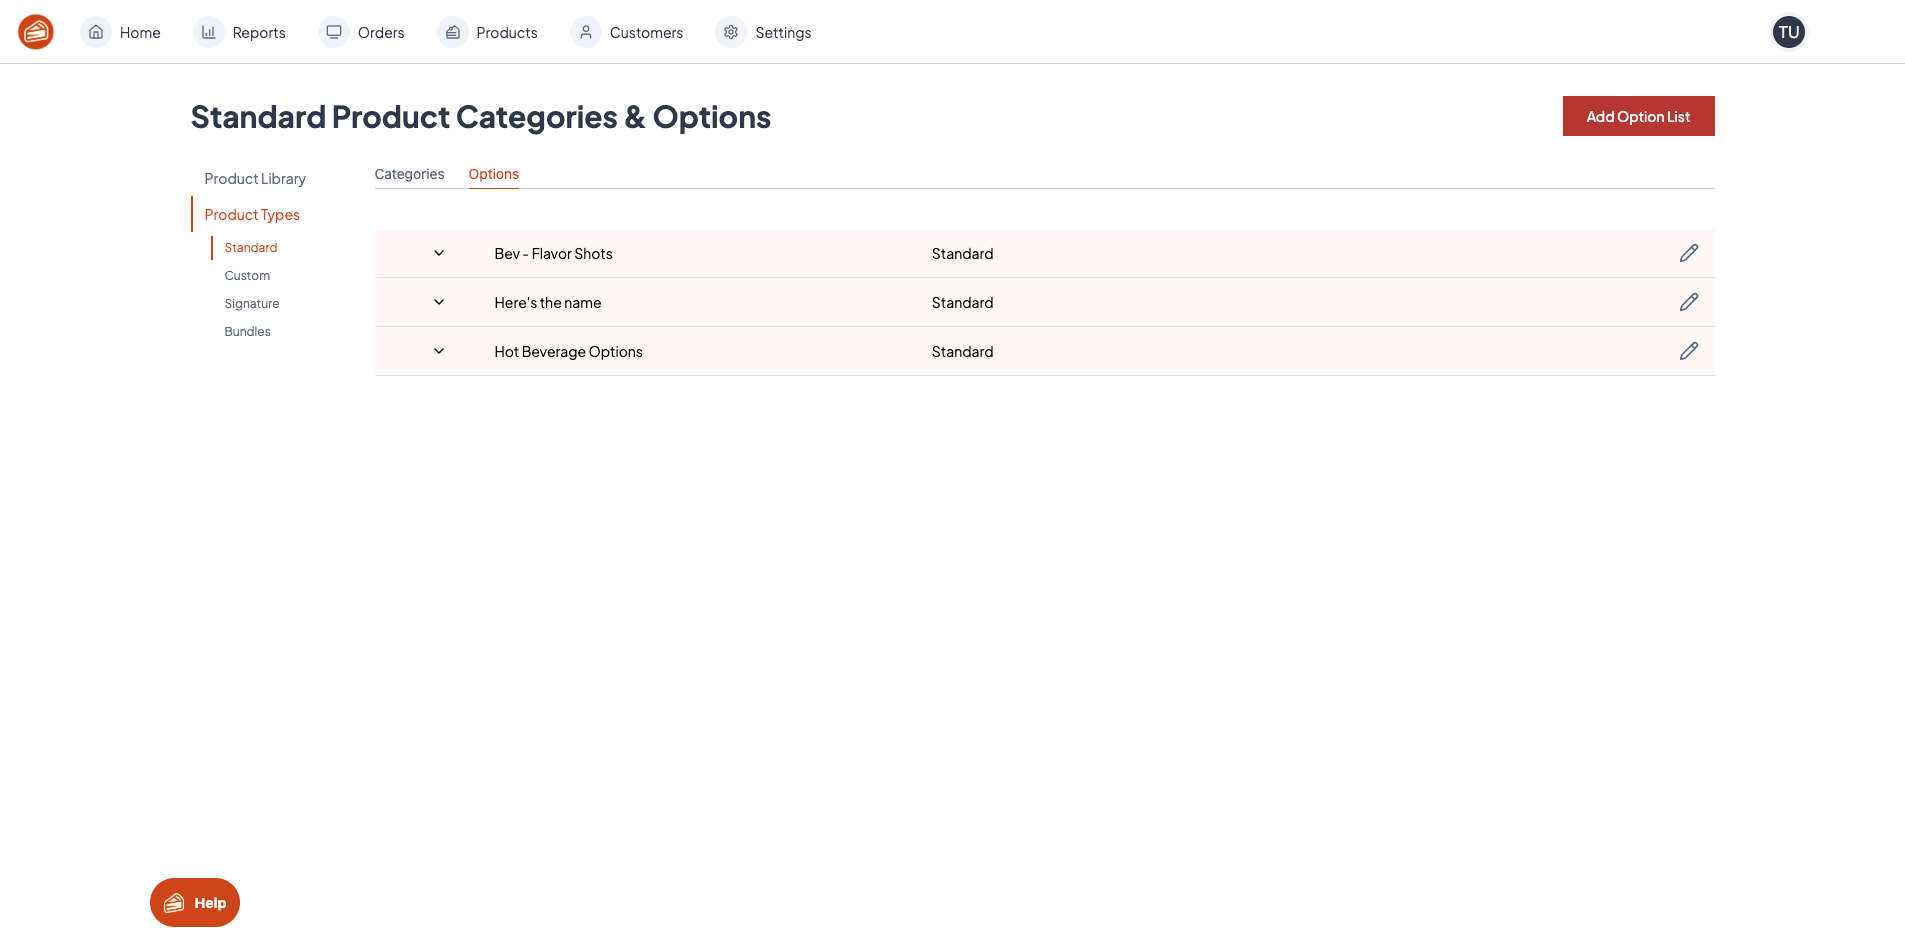
If I go to product types and look at my standard product types, I can see all the option lists under options.
You can edit an option list by clicking the pencil icon.
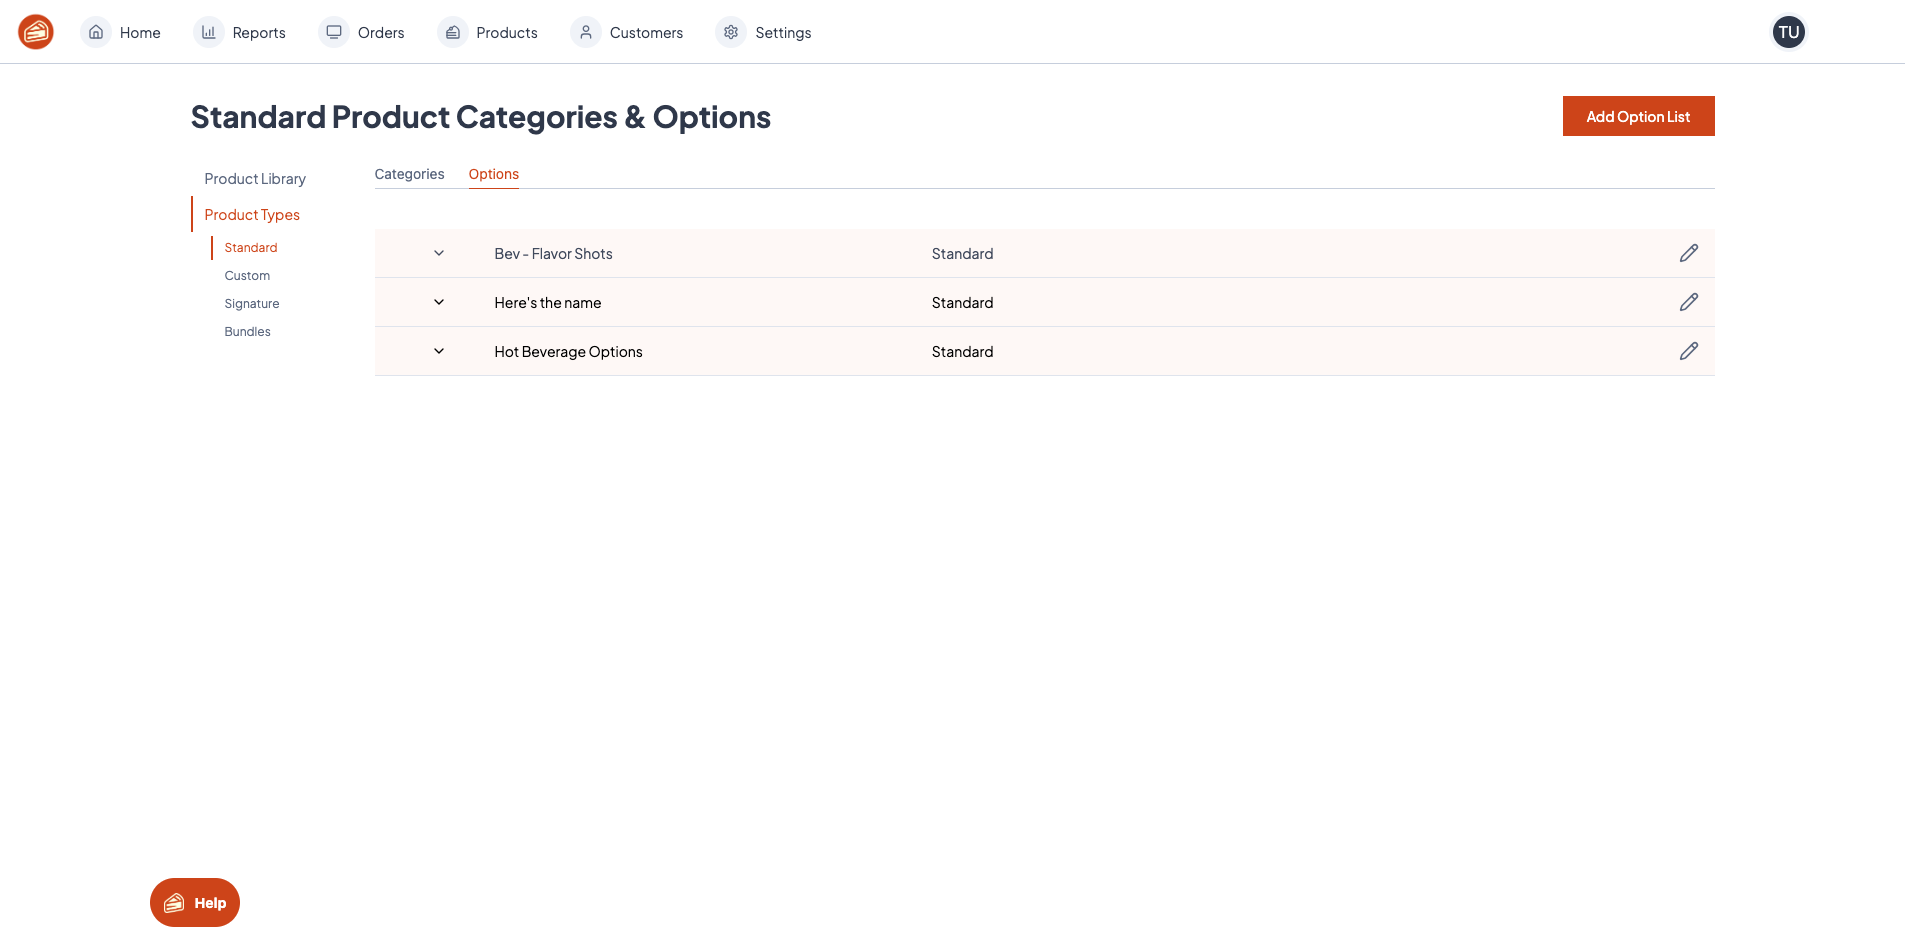

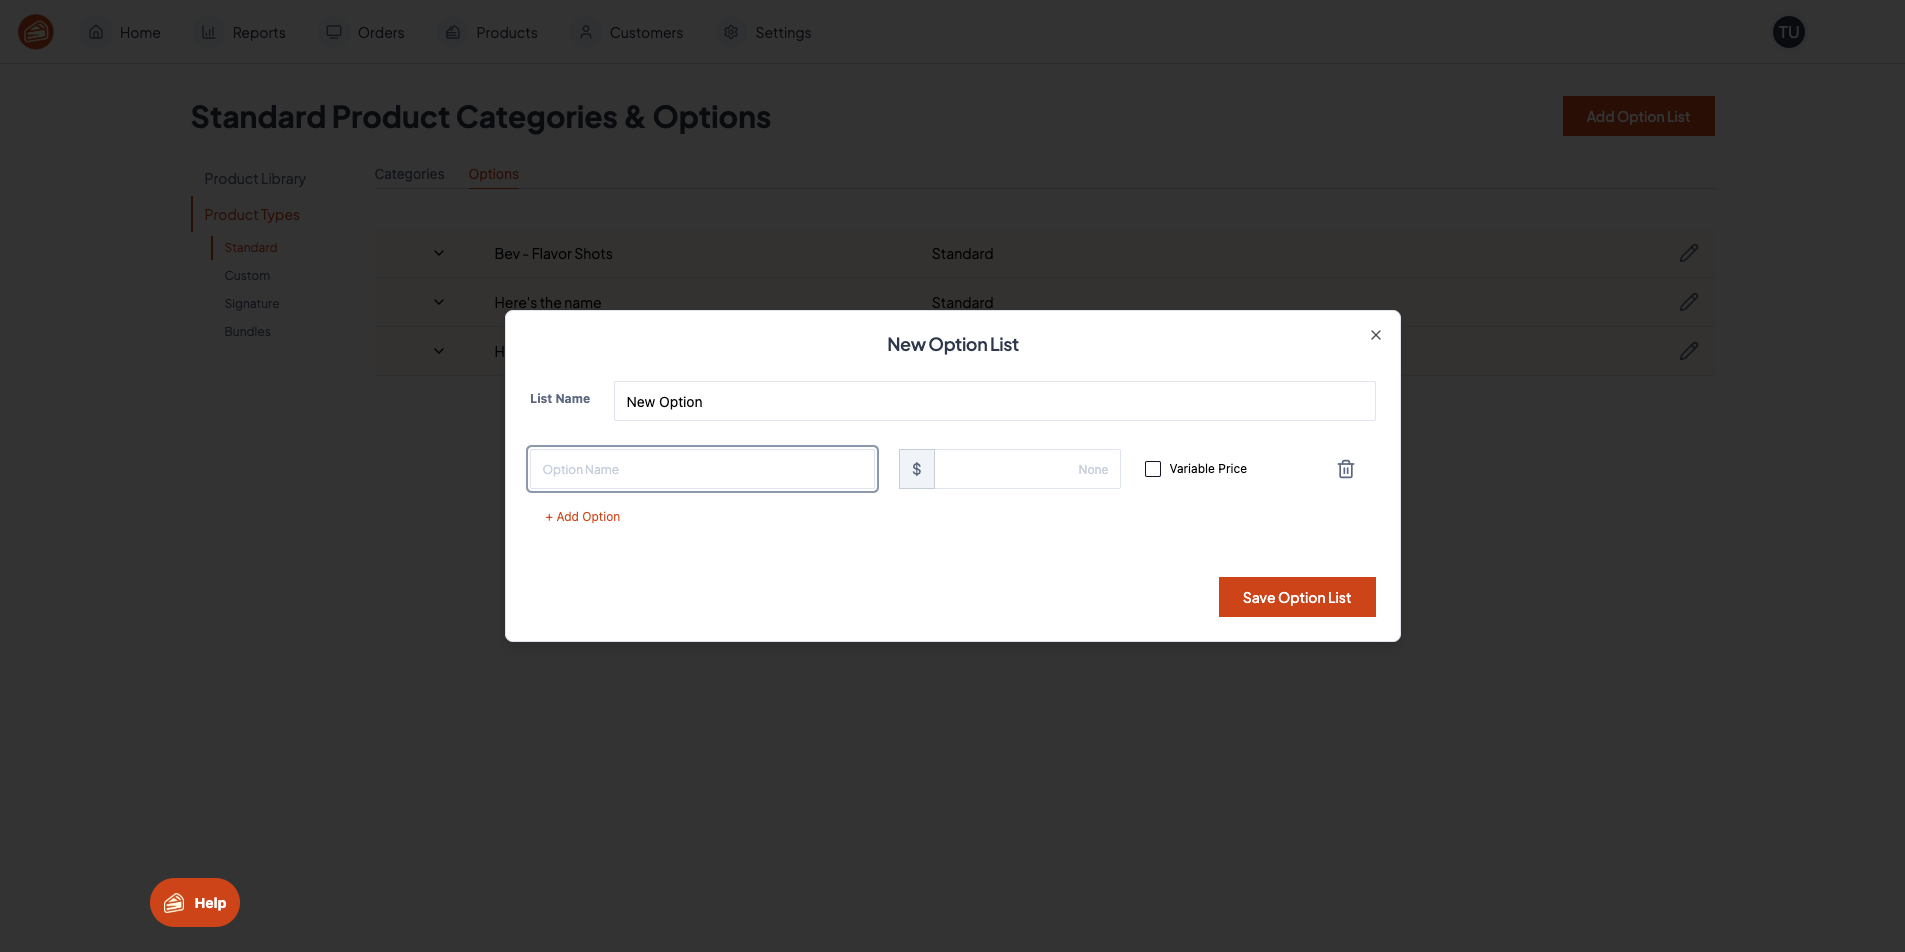
I can add a new option list from here.
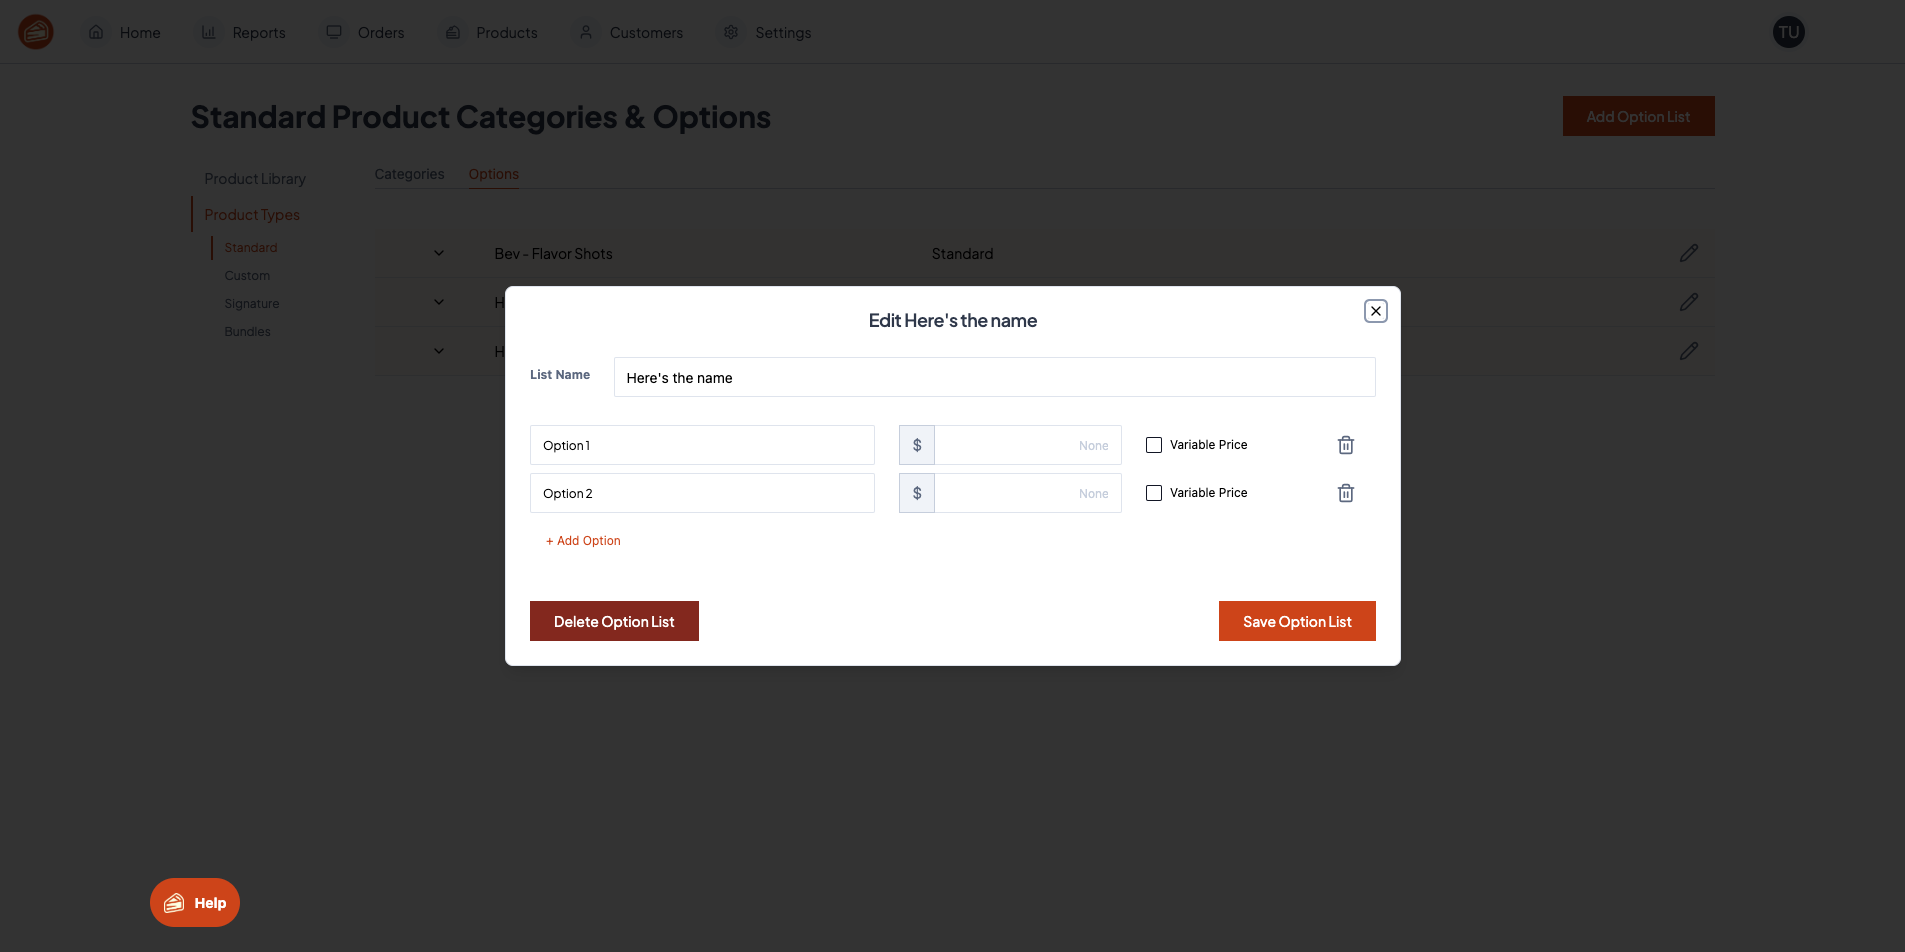
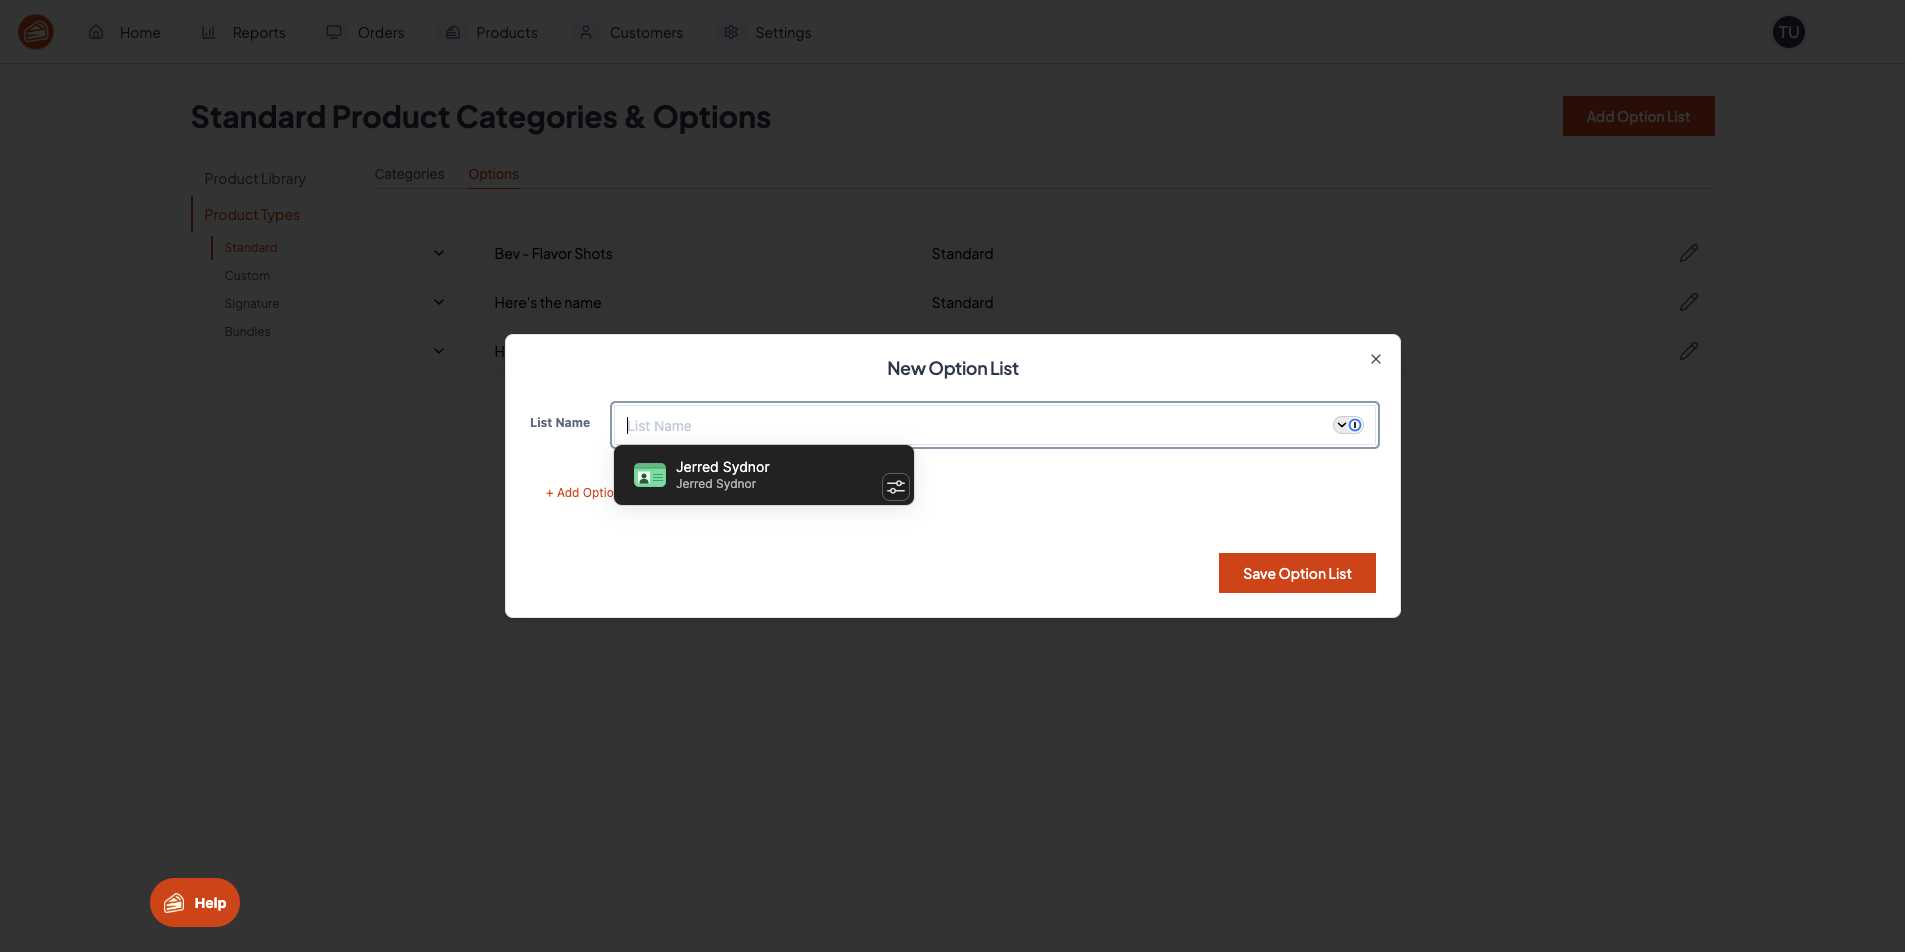
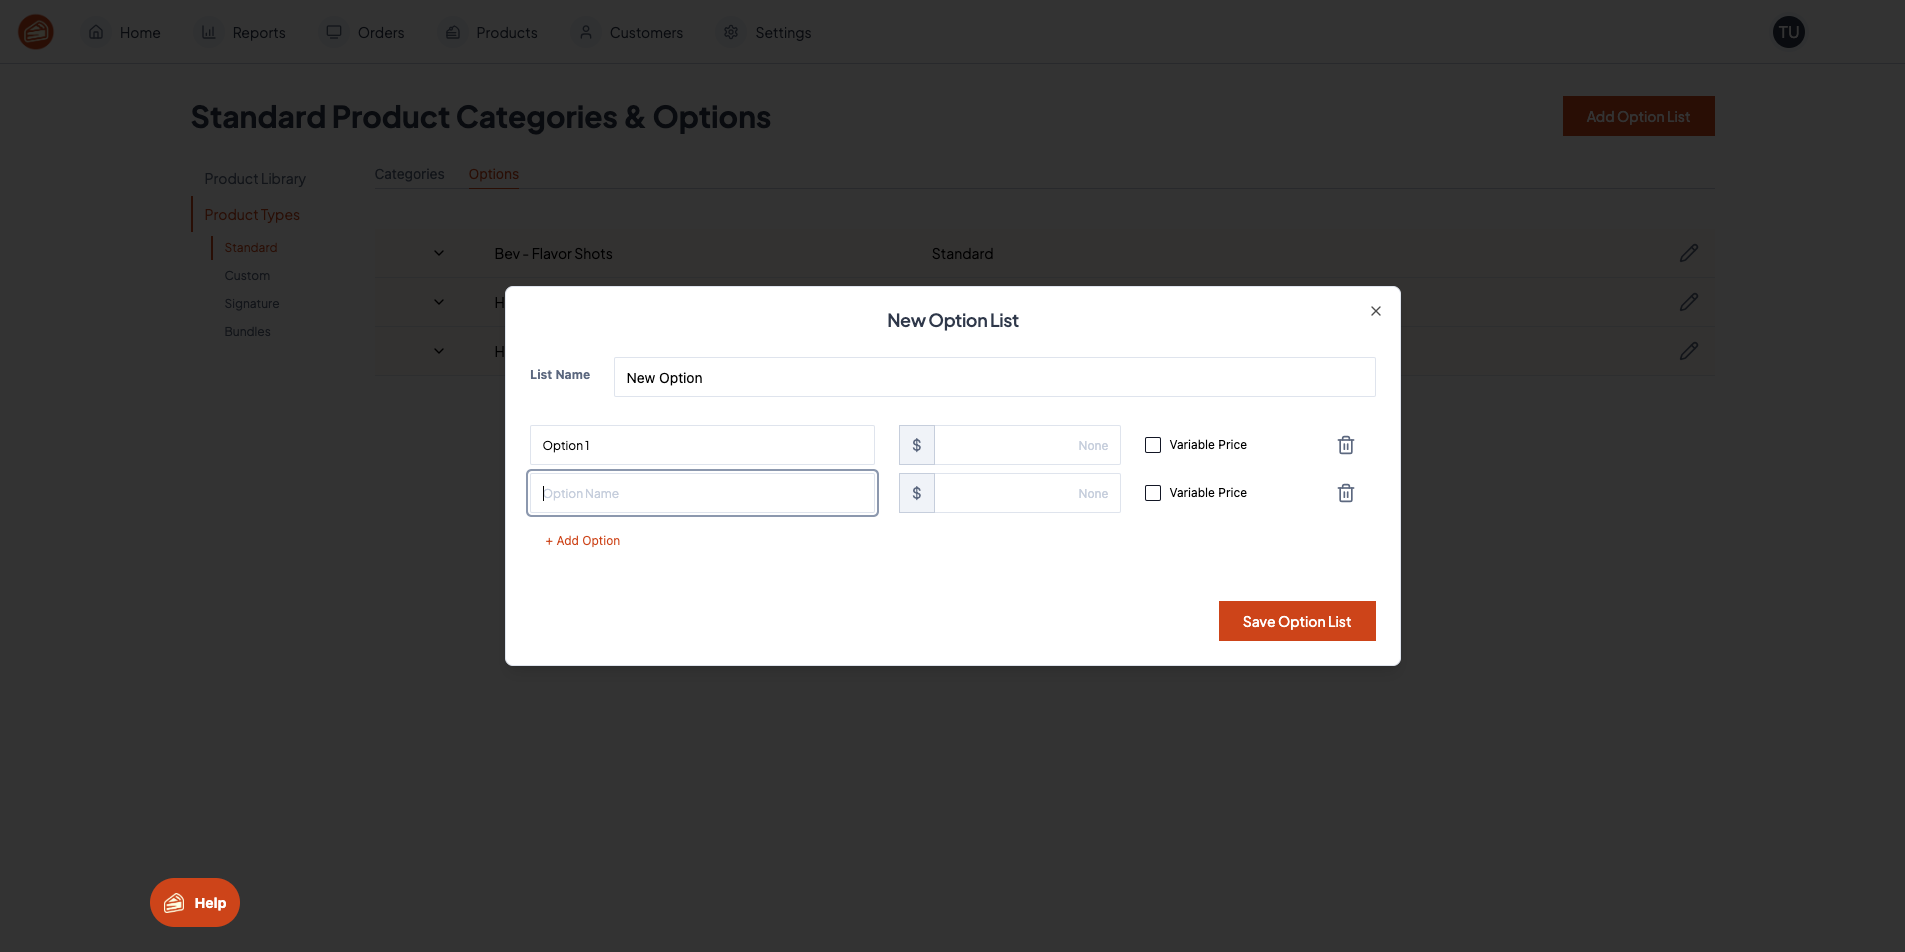
Let's name it and add a few options.
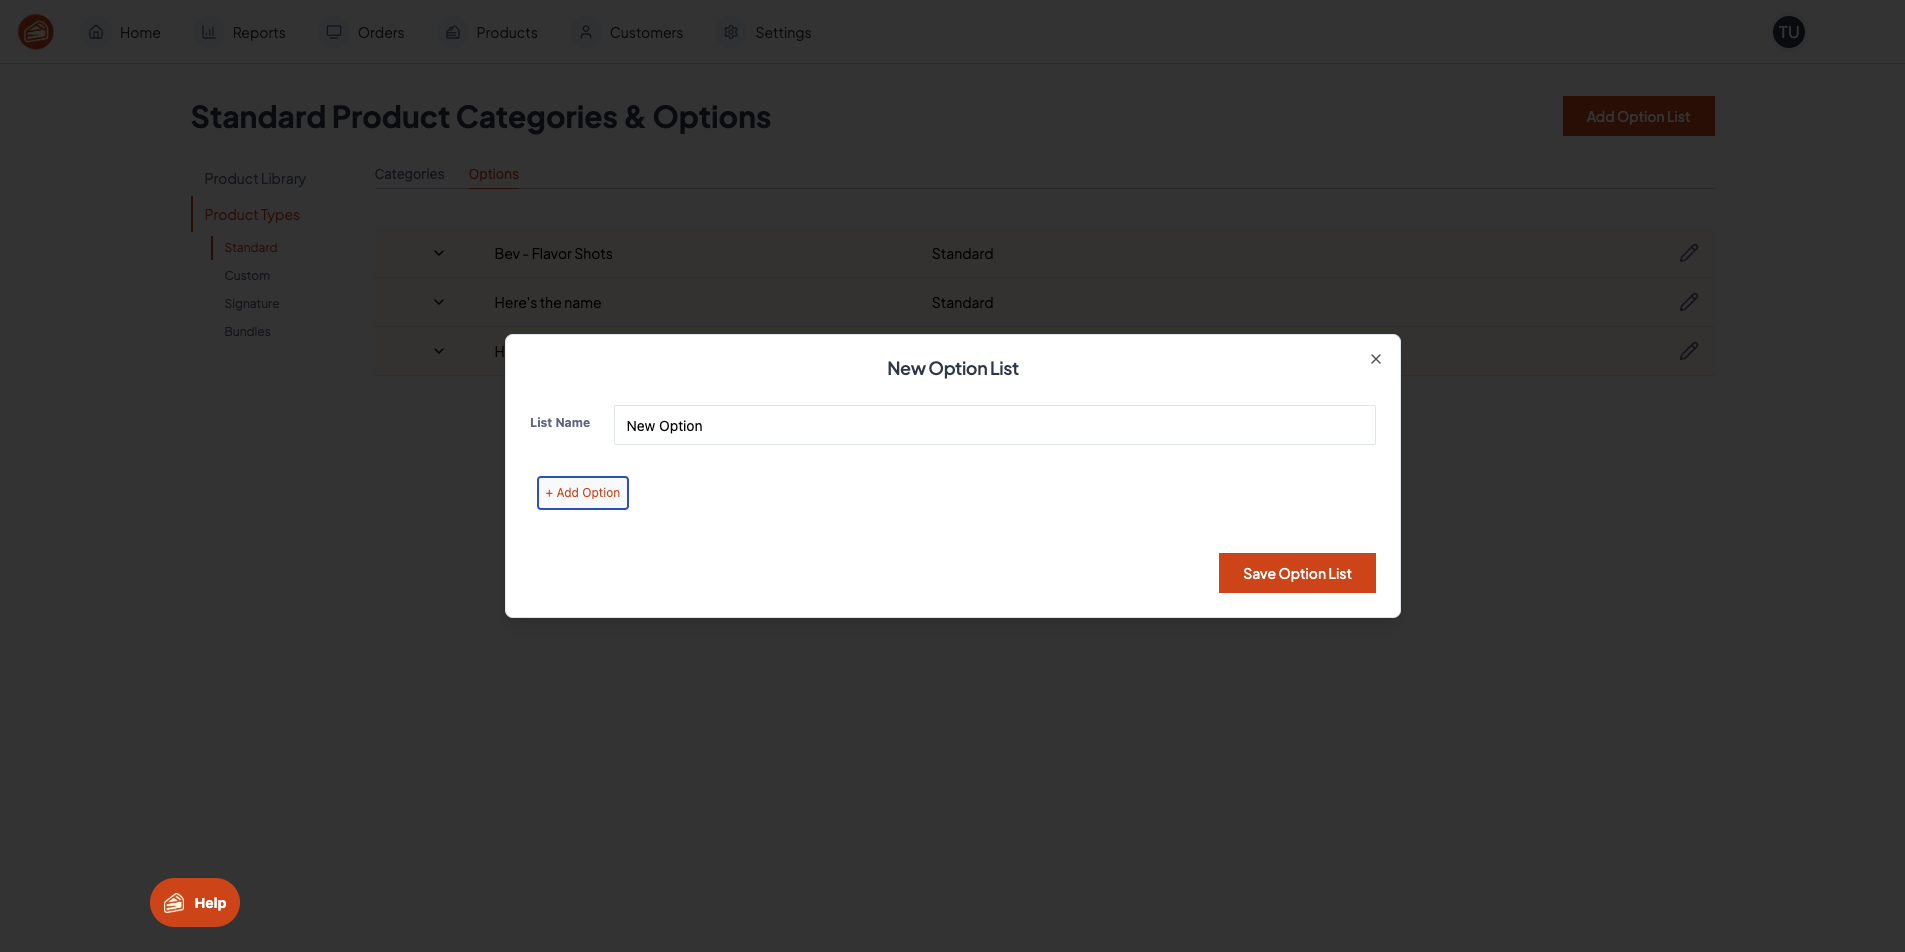

And that's it.
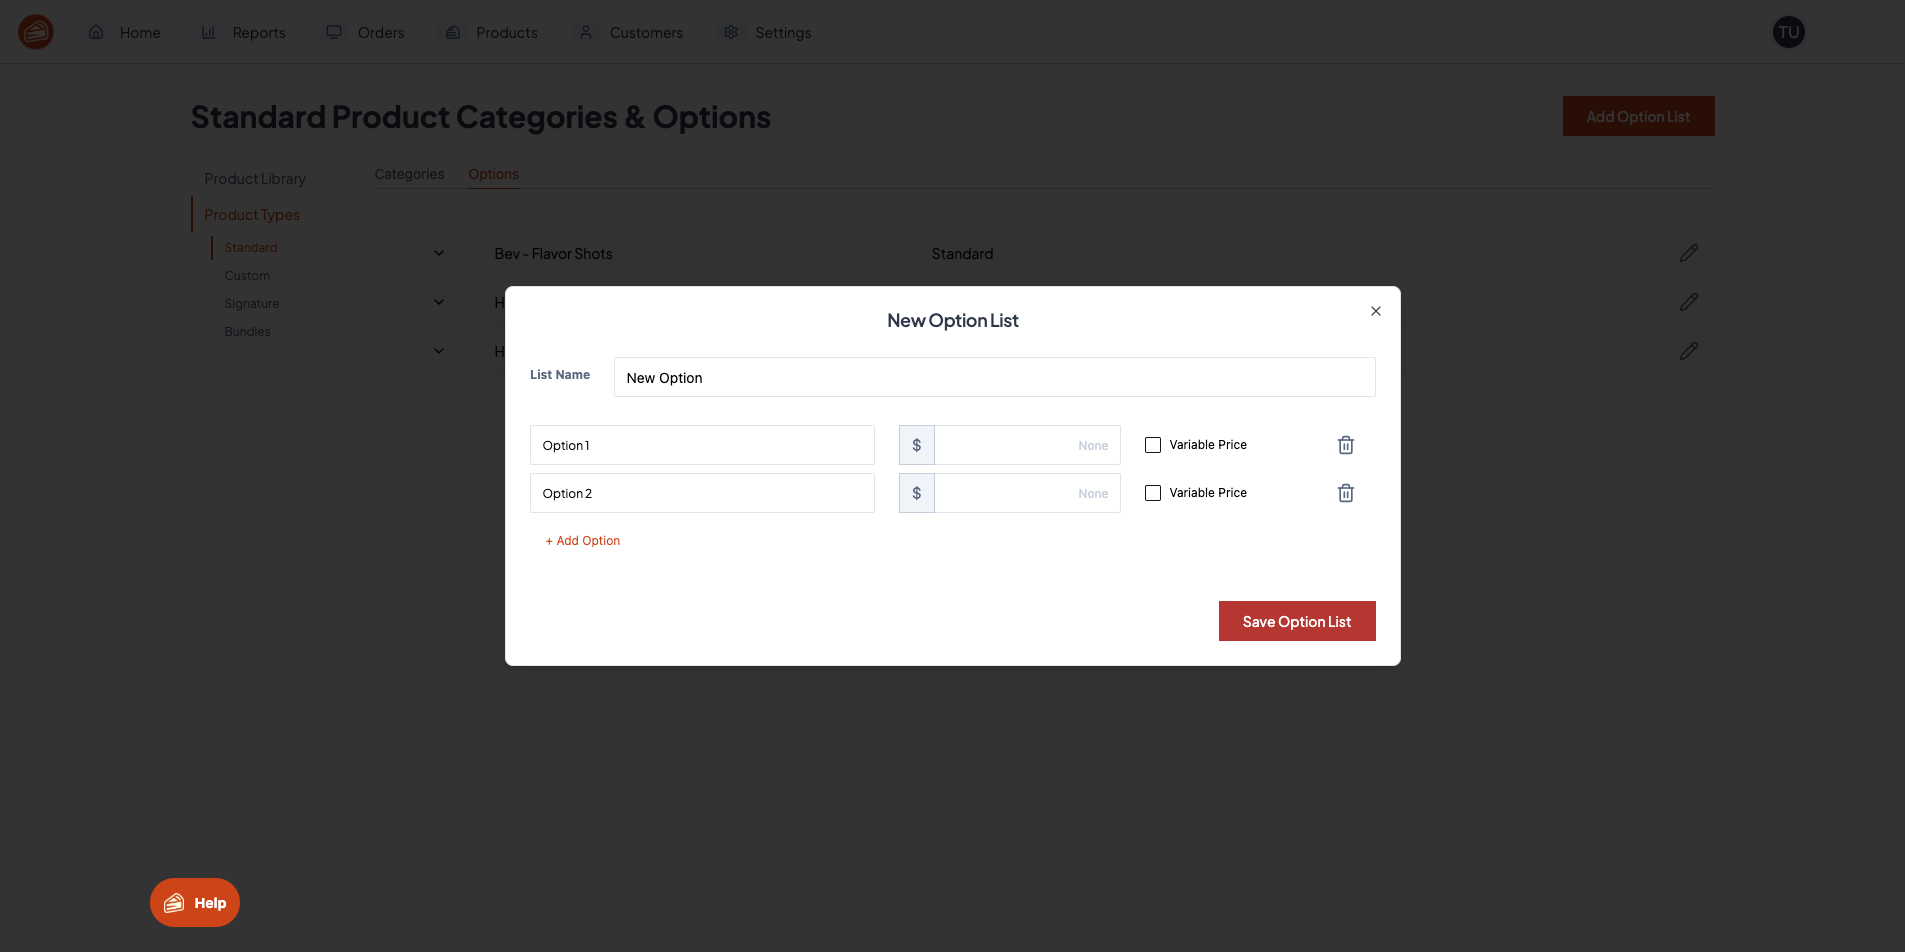
We created an option list.