How to Create and Deliver Gift Cards on Reservety: Step-by-Step Tutorial
Learn how to create gift cards in Reservity, add them as products, and deliver them electronically to customers. This tutorial covers every step, from setting up coupons to customizing delivery options and applying them during checkout.
By Reservety
In this guide, we'll learn how to create and deliver gift cards using Reservety and demonstrate its use case with the test orders.
You will see how to set up a gift card as a coupon, add it as a product, and make it available for purchase on your website.
We will also cover how customers can buy gift cards, choose the amount, send them to others electronically, and apply them during checkout.
Let's get started
1
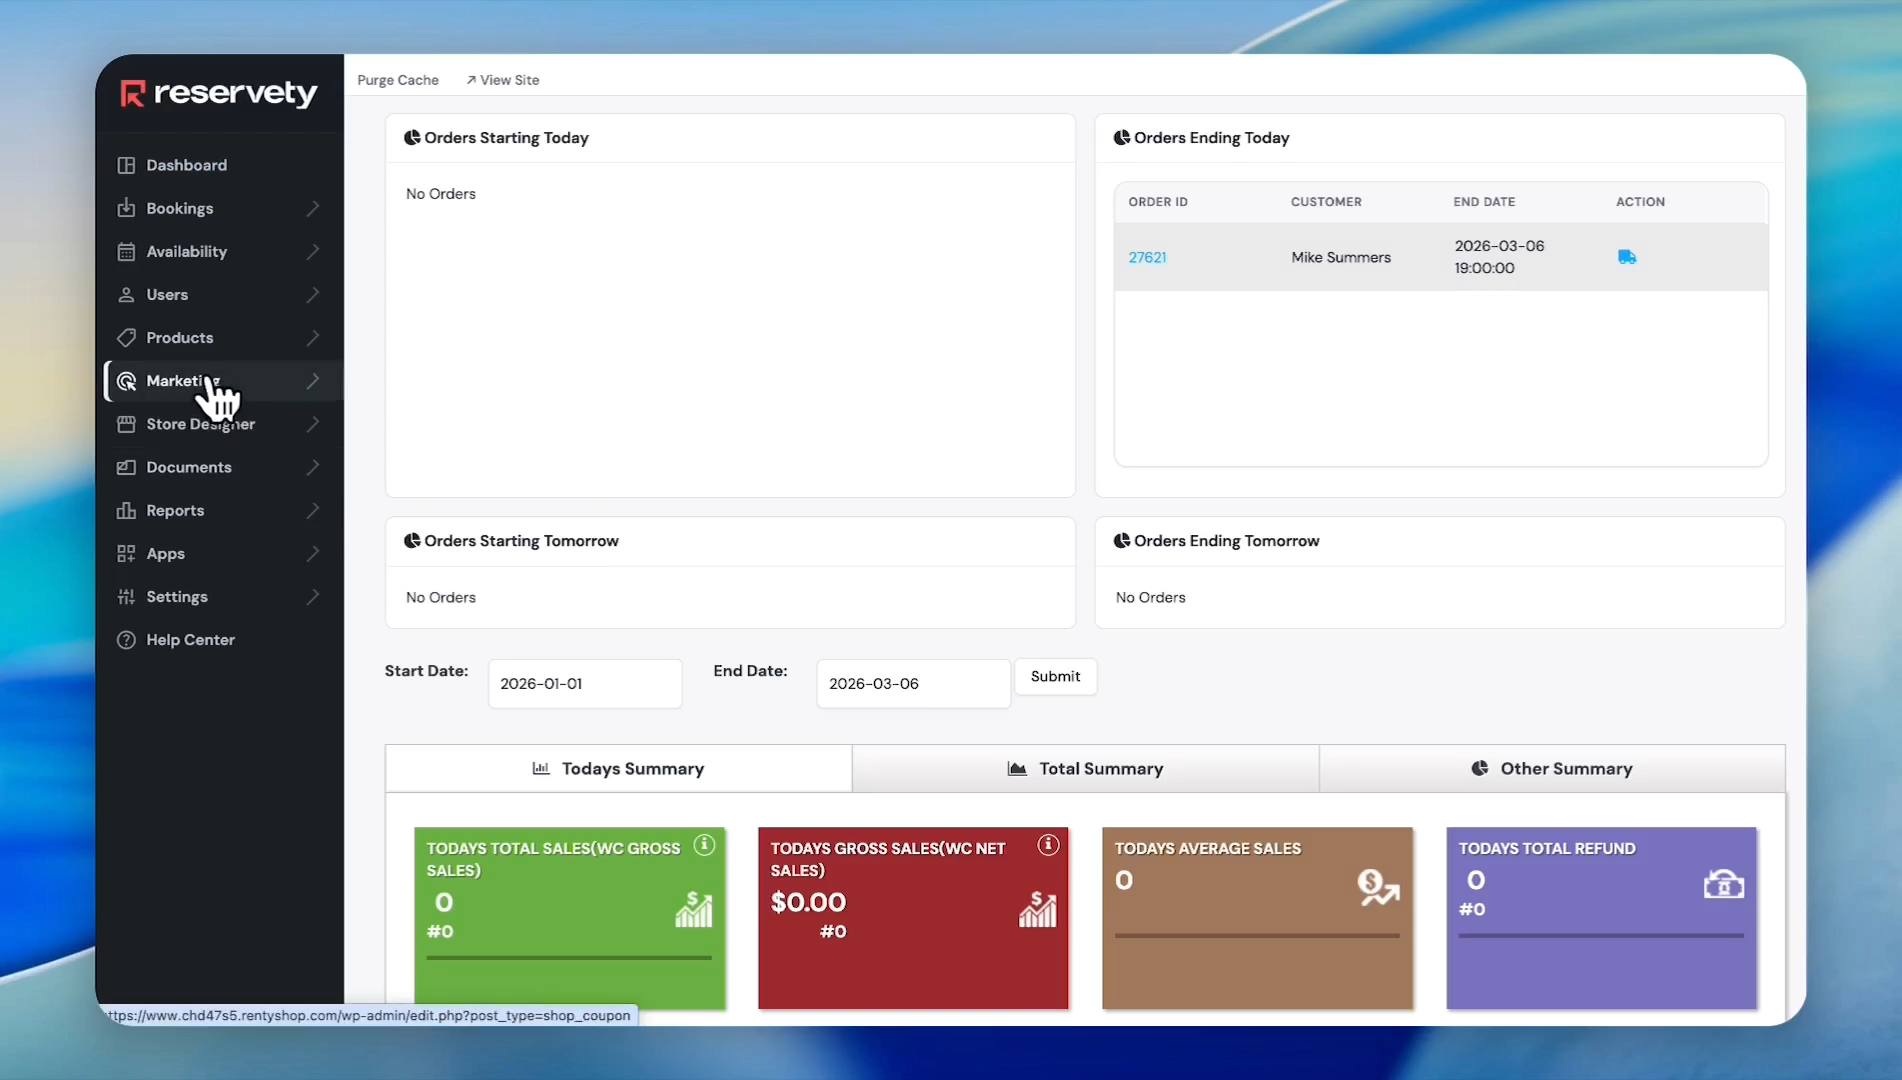
Click on Marketing in the left sidebar.
2
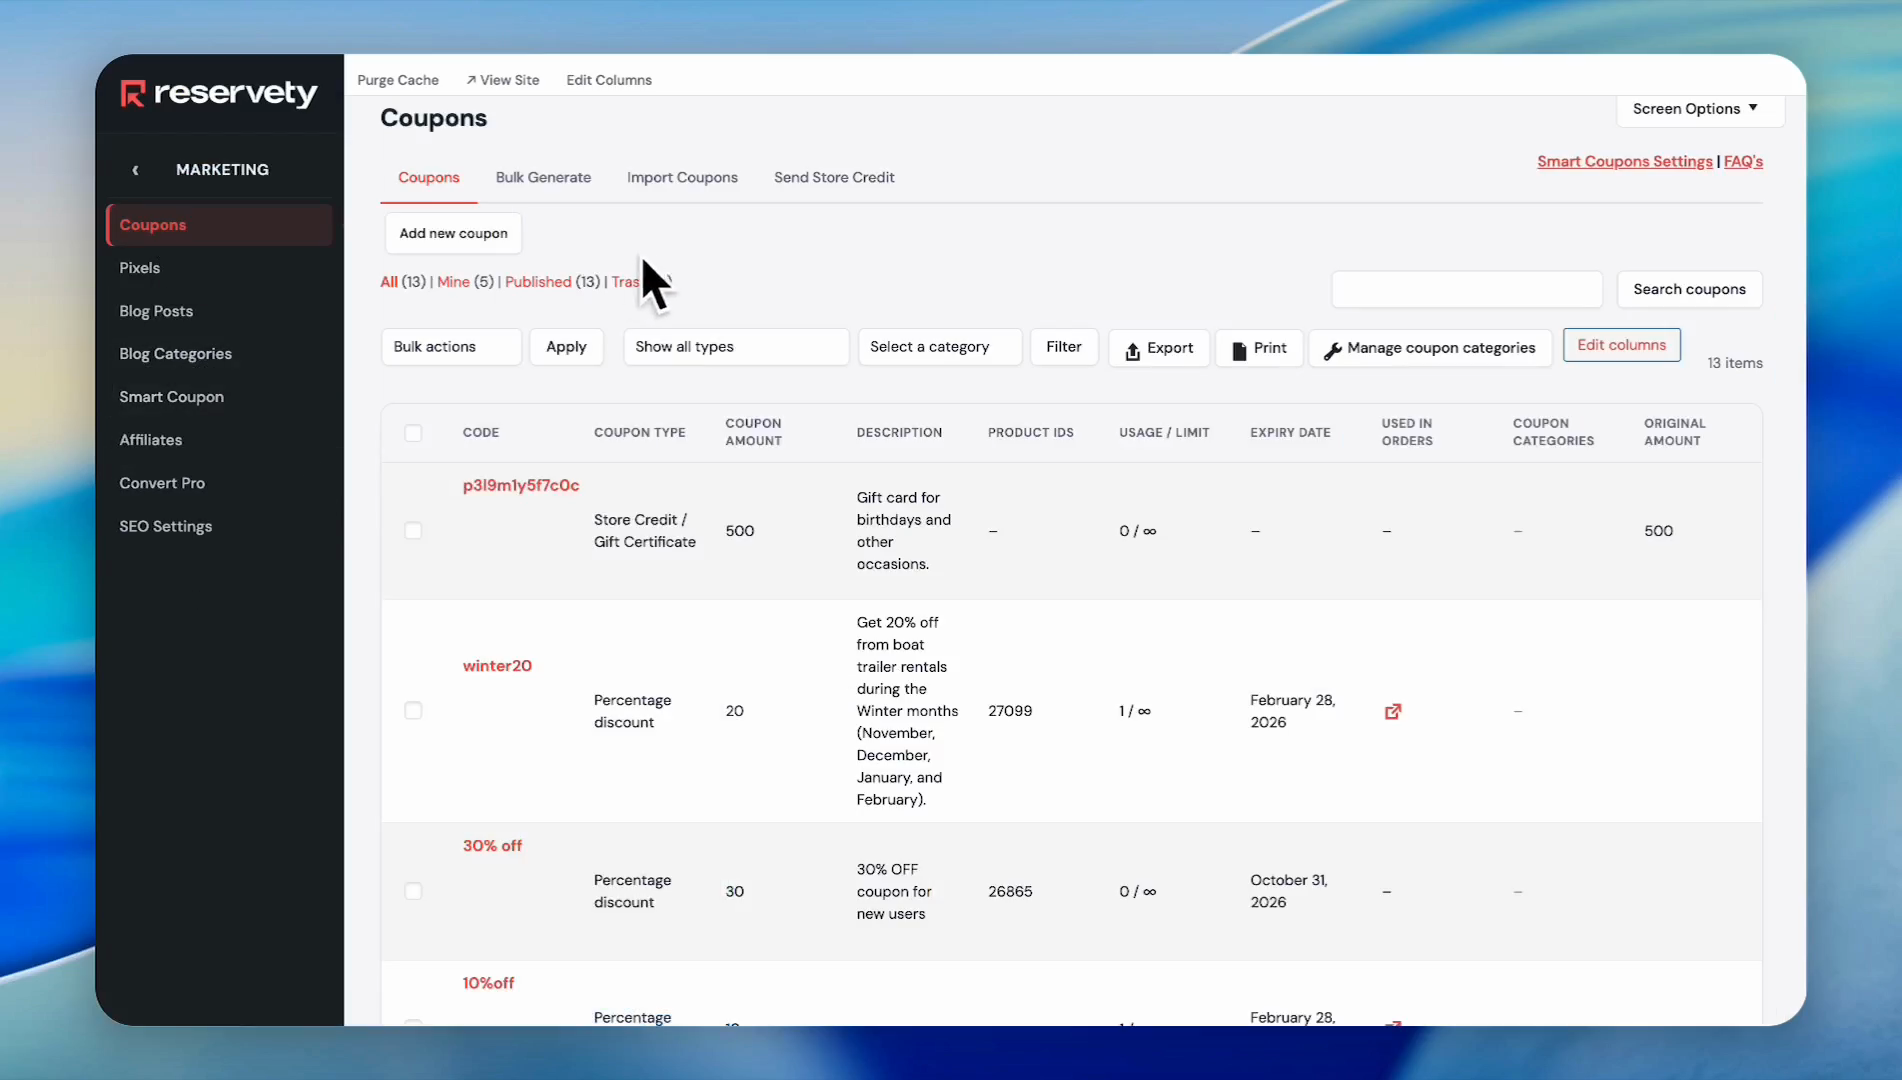
Click on Coupons.

3
Click the Add new coupon button.
4
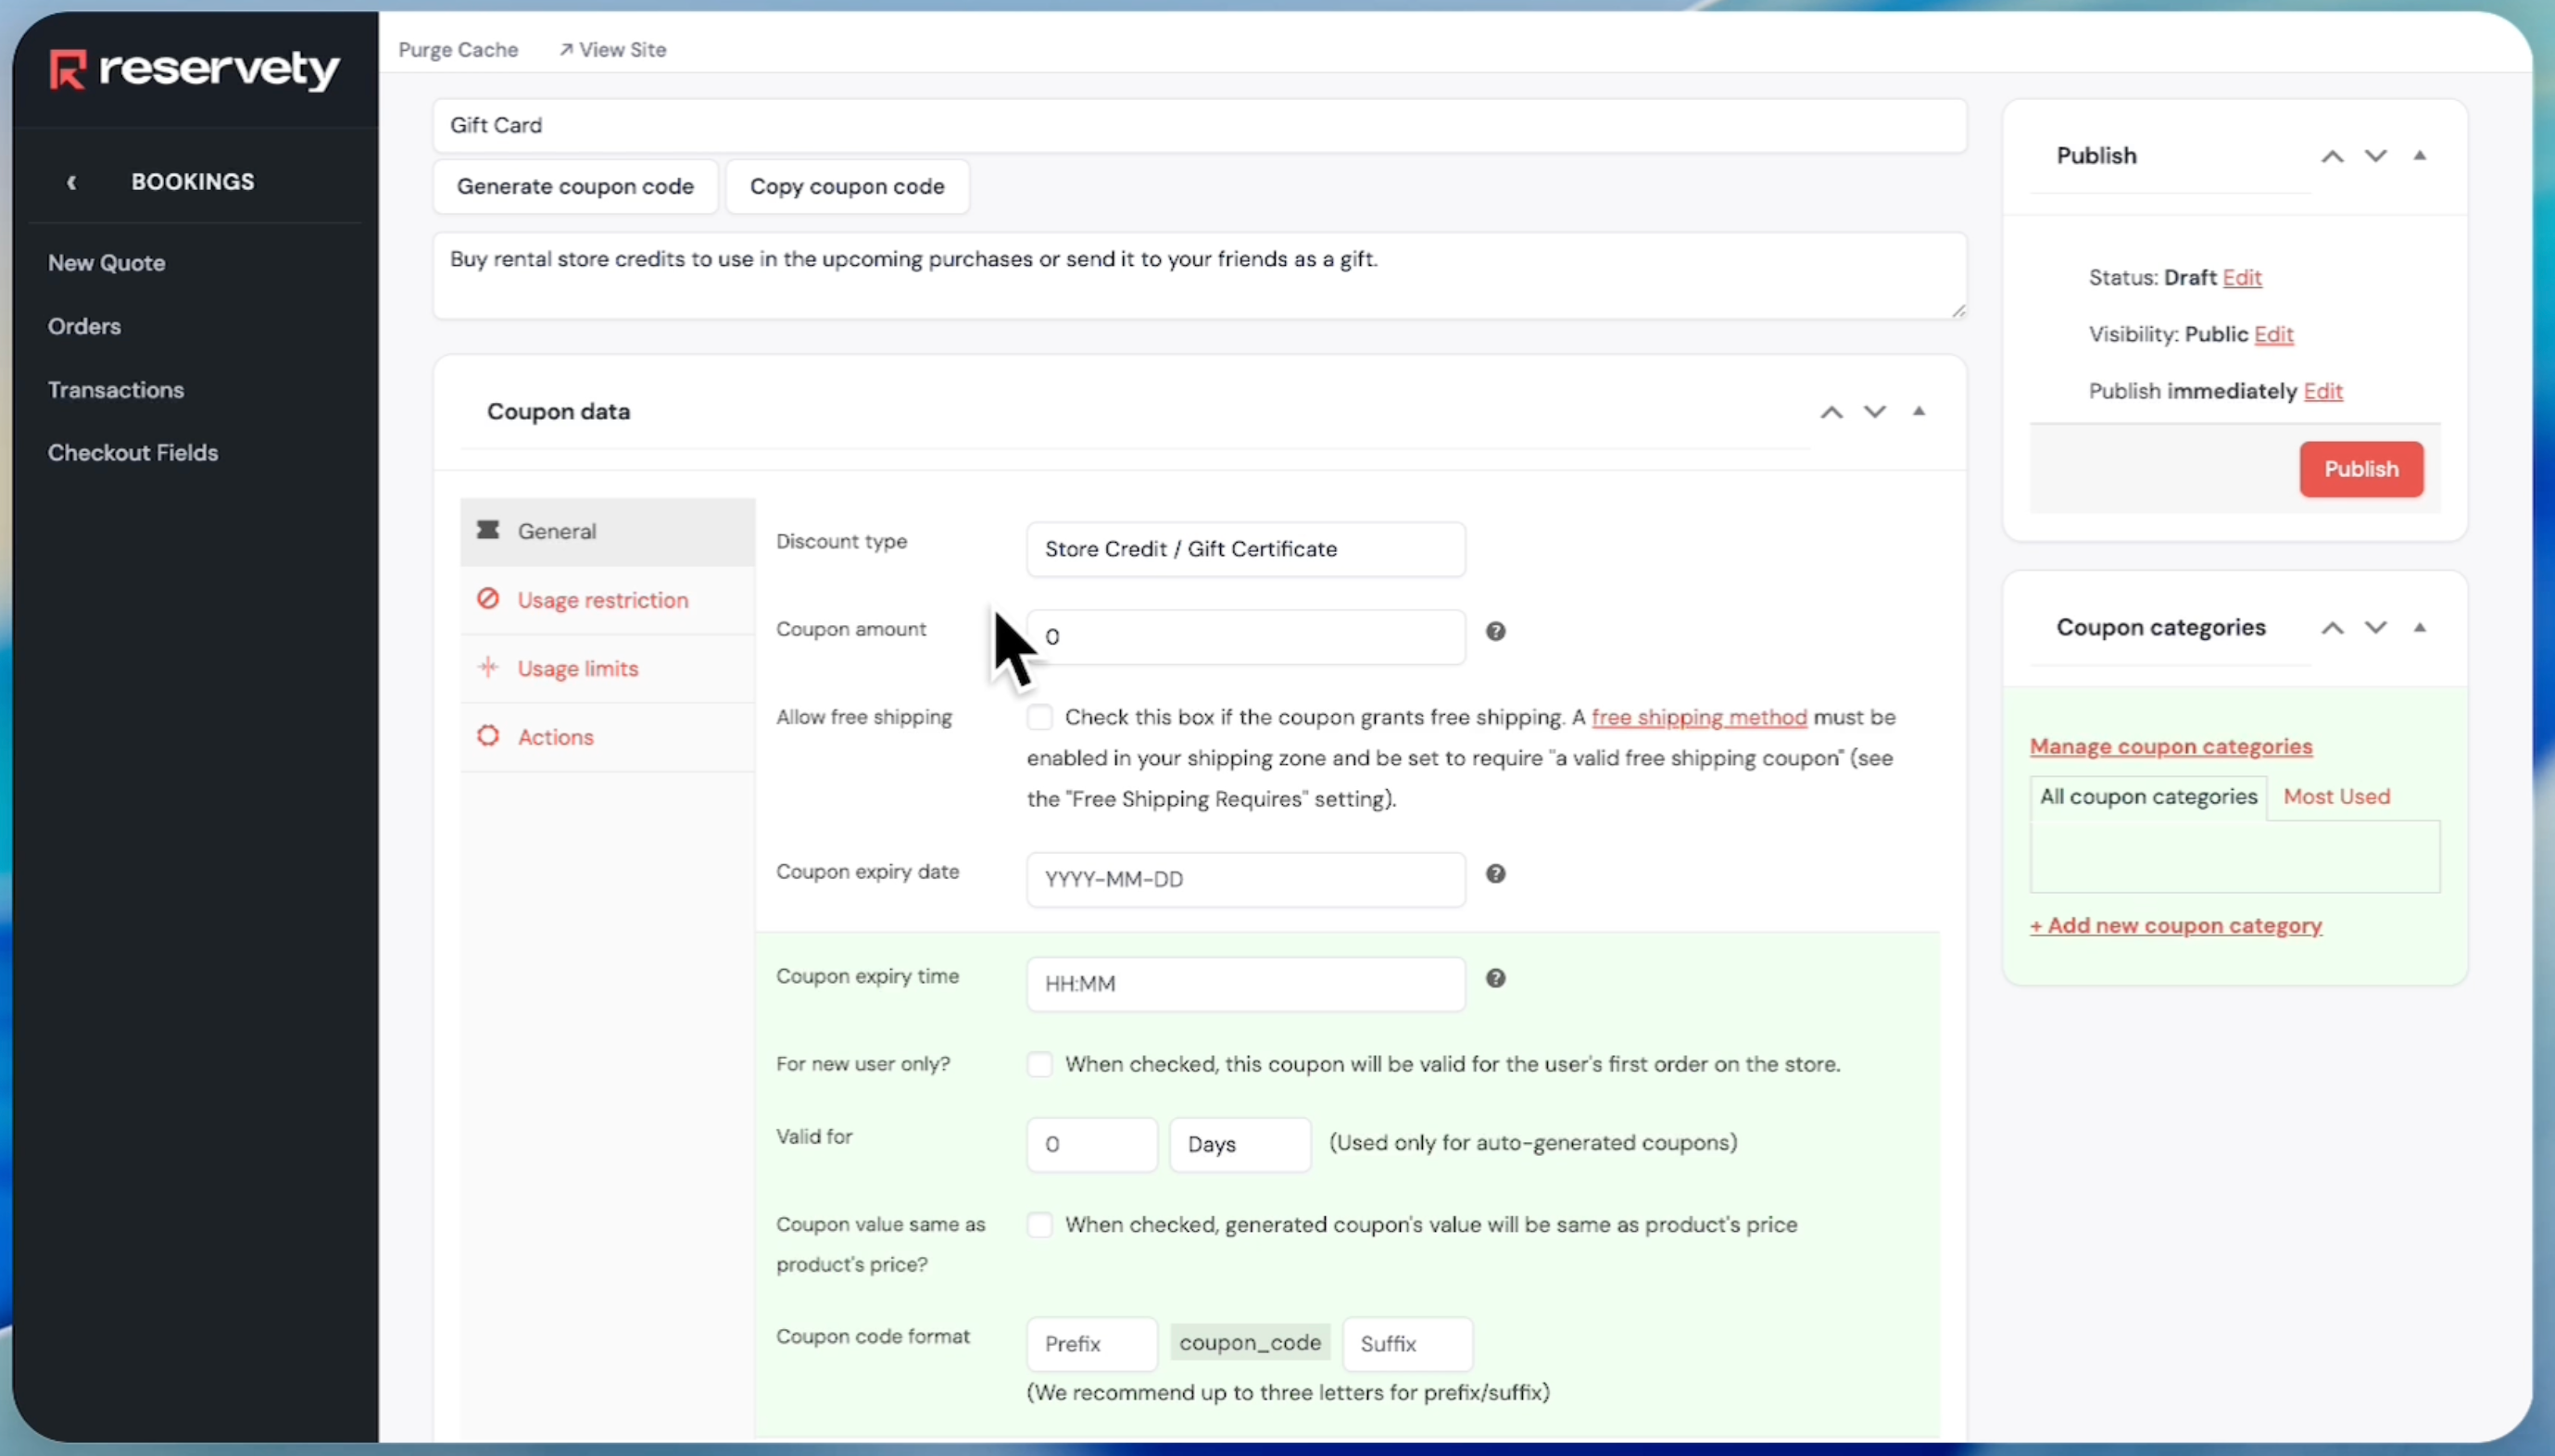
Name the coupon, and add a description. Then, click the Discount type dropdown.
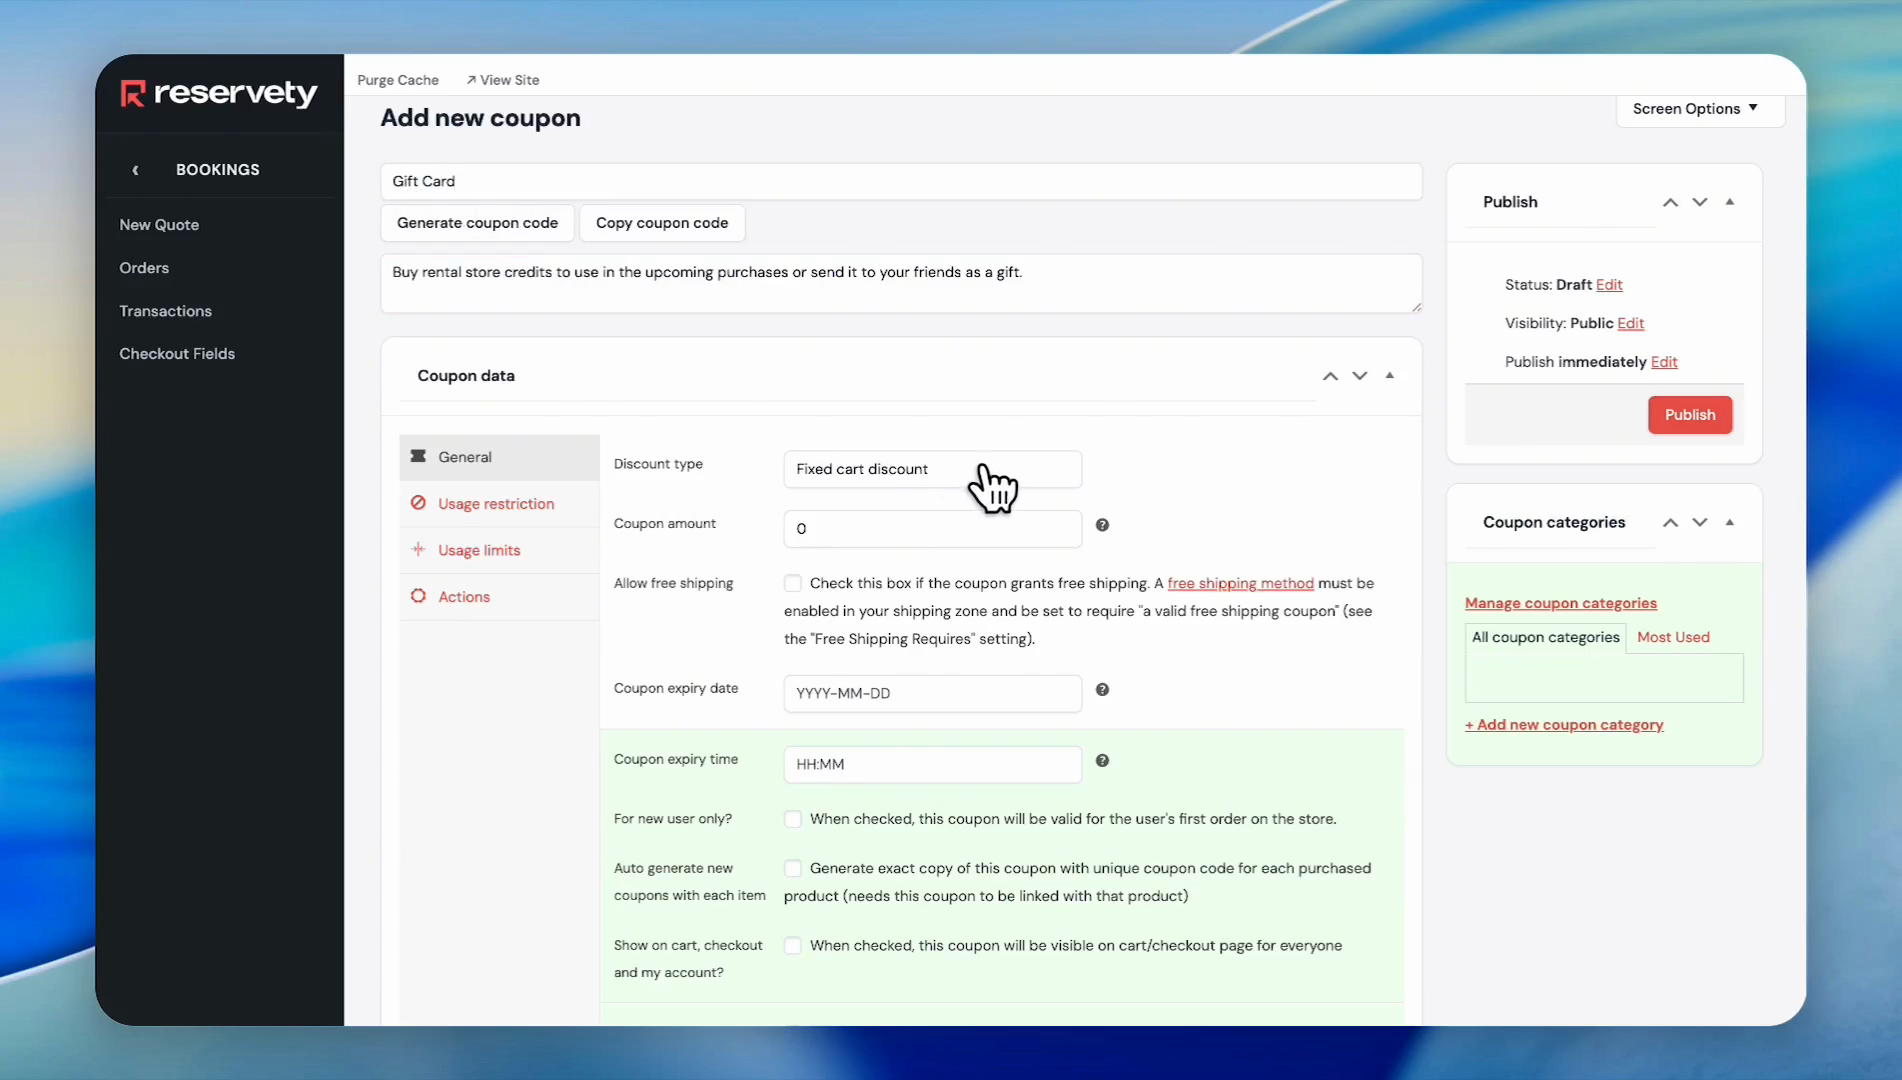
5
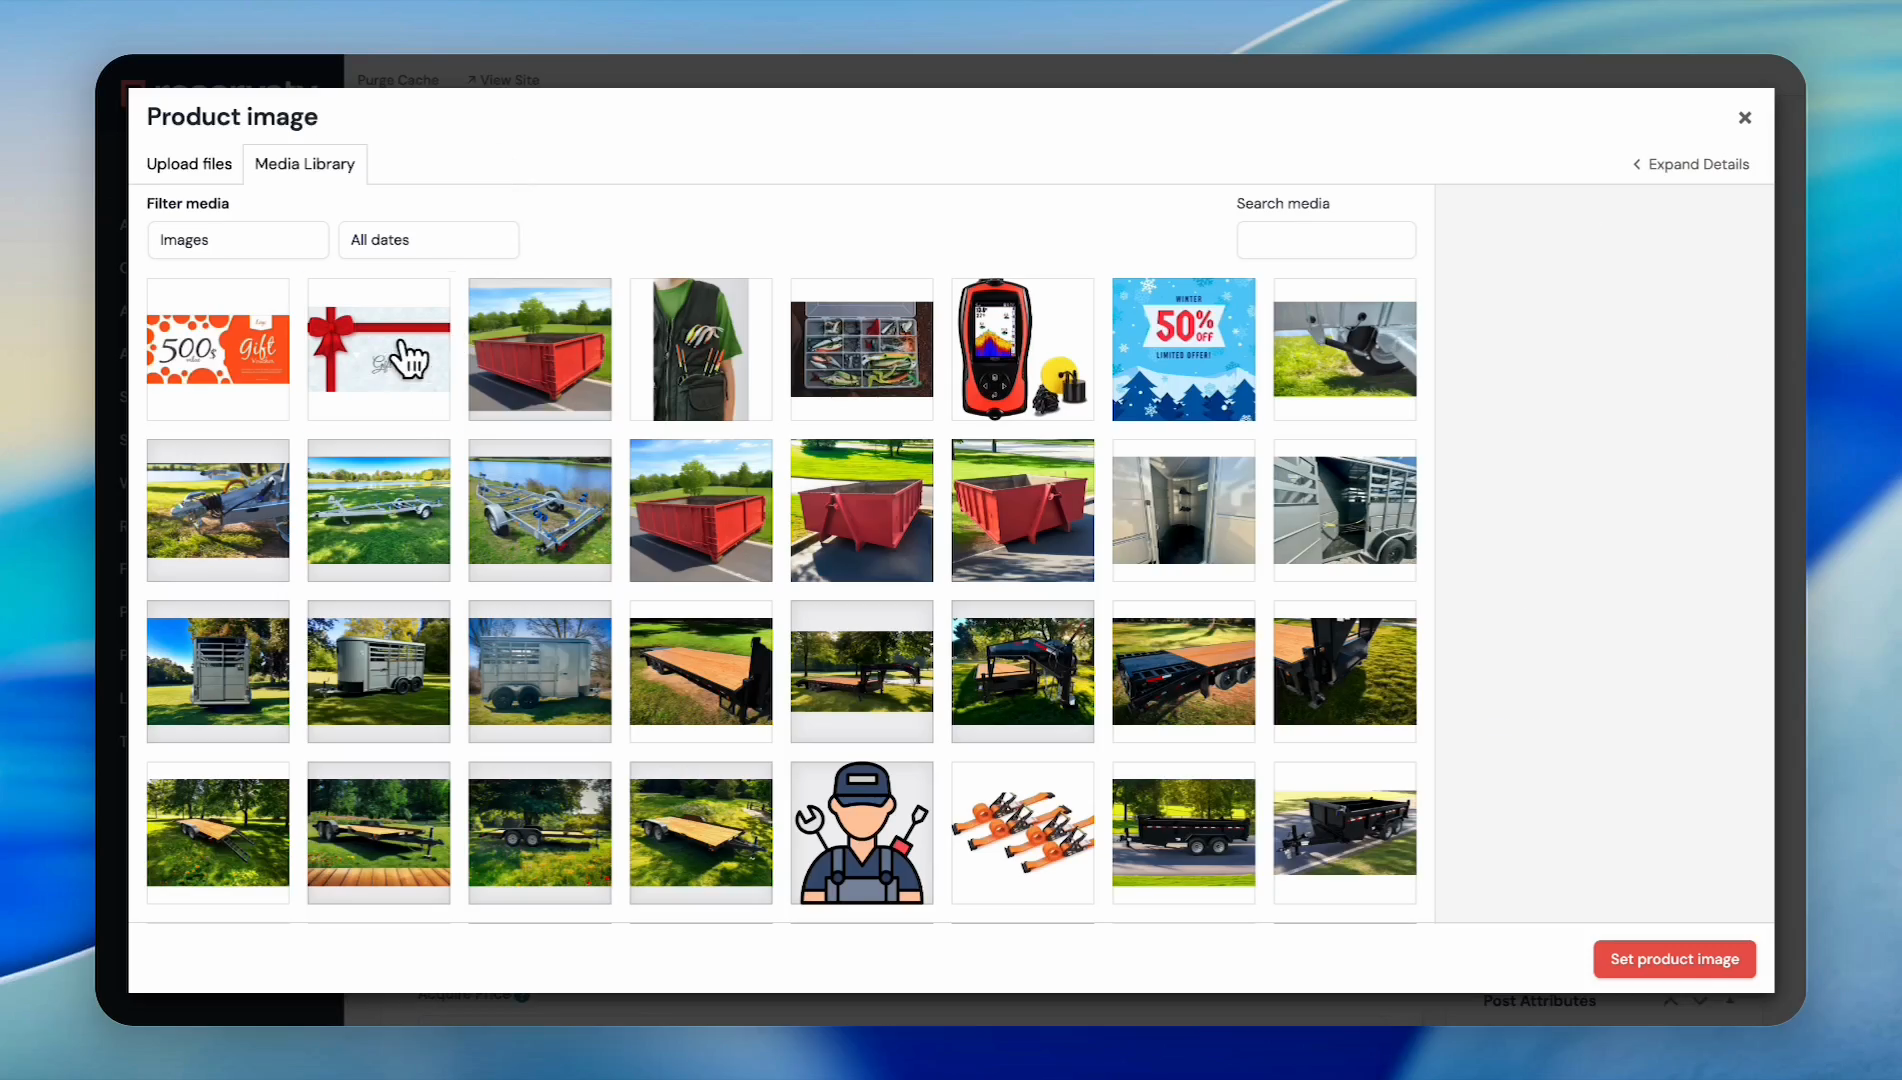
Select Store Credit / Gift Certificate from the dropdown menu.
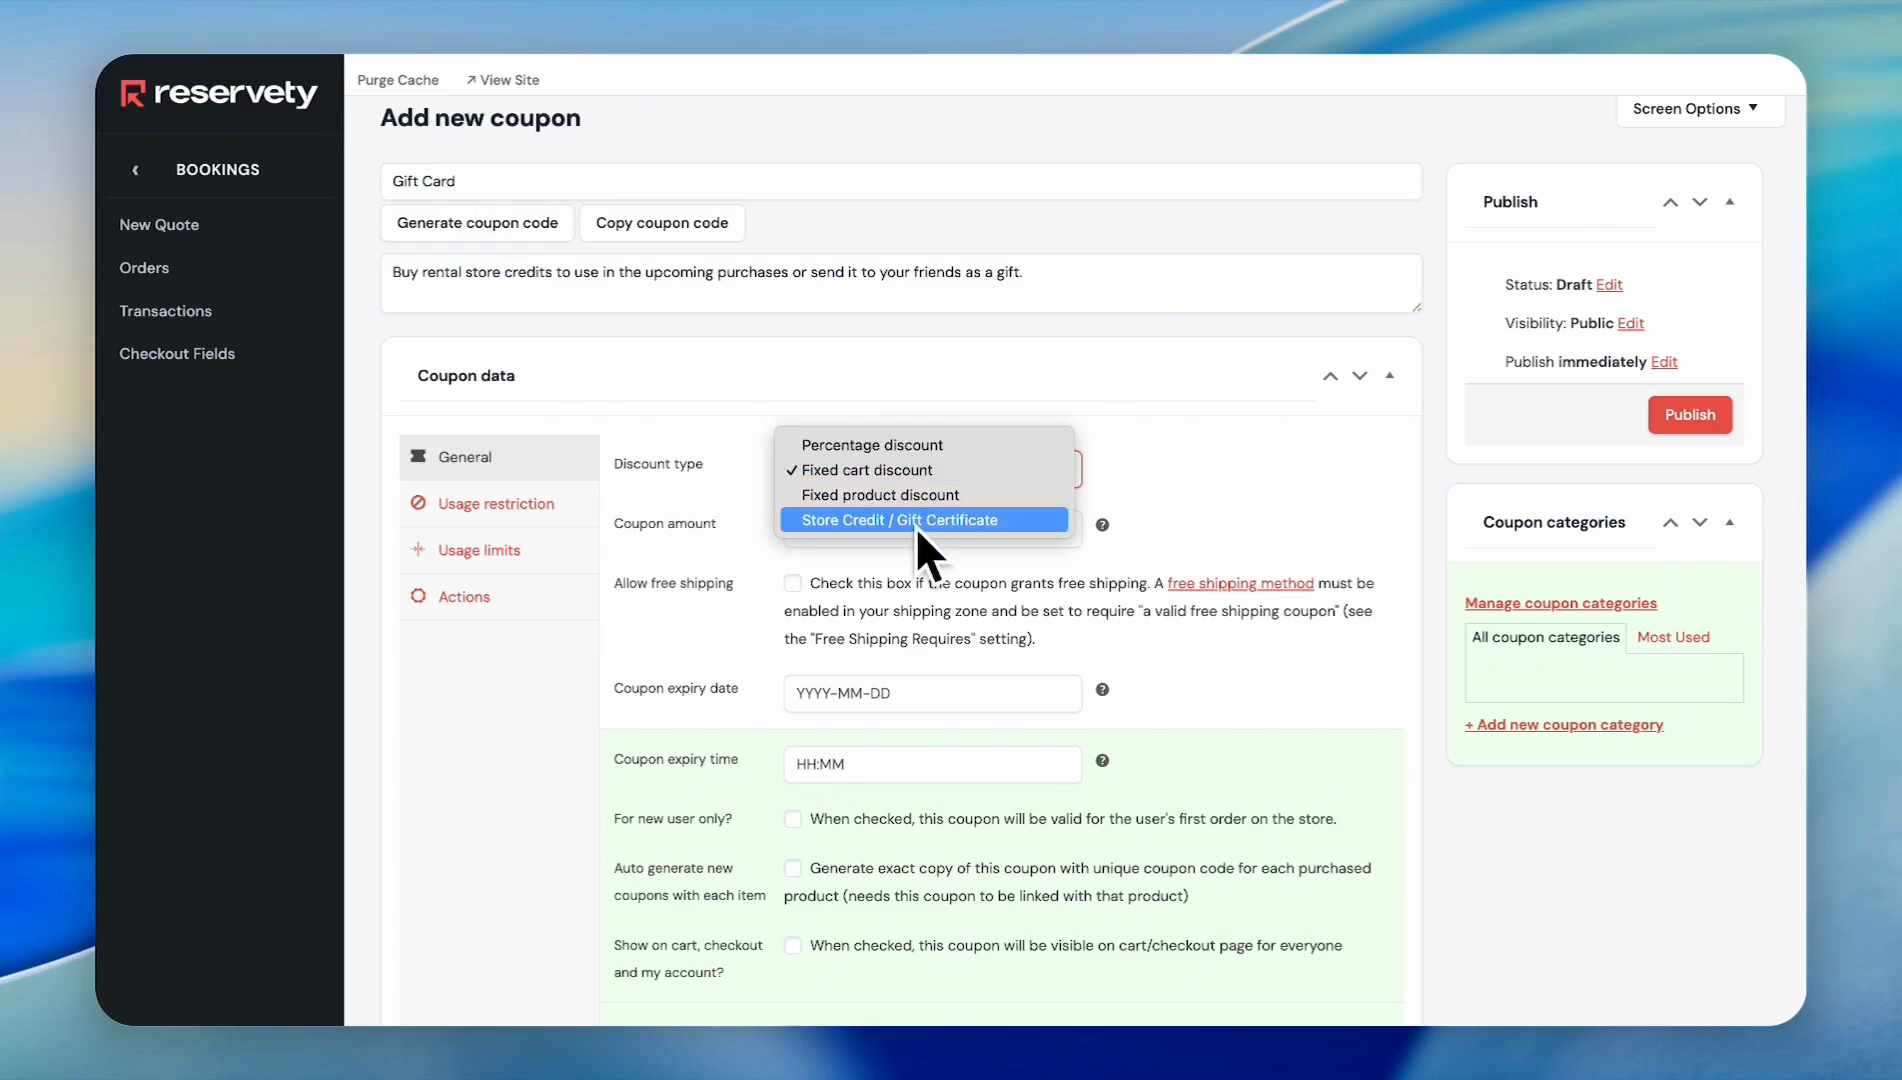
You can create two types of giftcards. One with a fixed amount (e.g., $25, $50, $100, etc.).
The second option is to let customers decide how much to put on each gift card.
6
In this example, we will not enter an amount for the gift card, so we will leave the "coupon amount" field at 0.
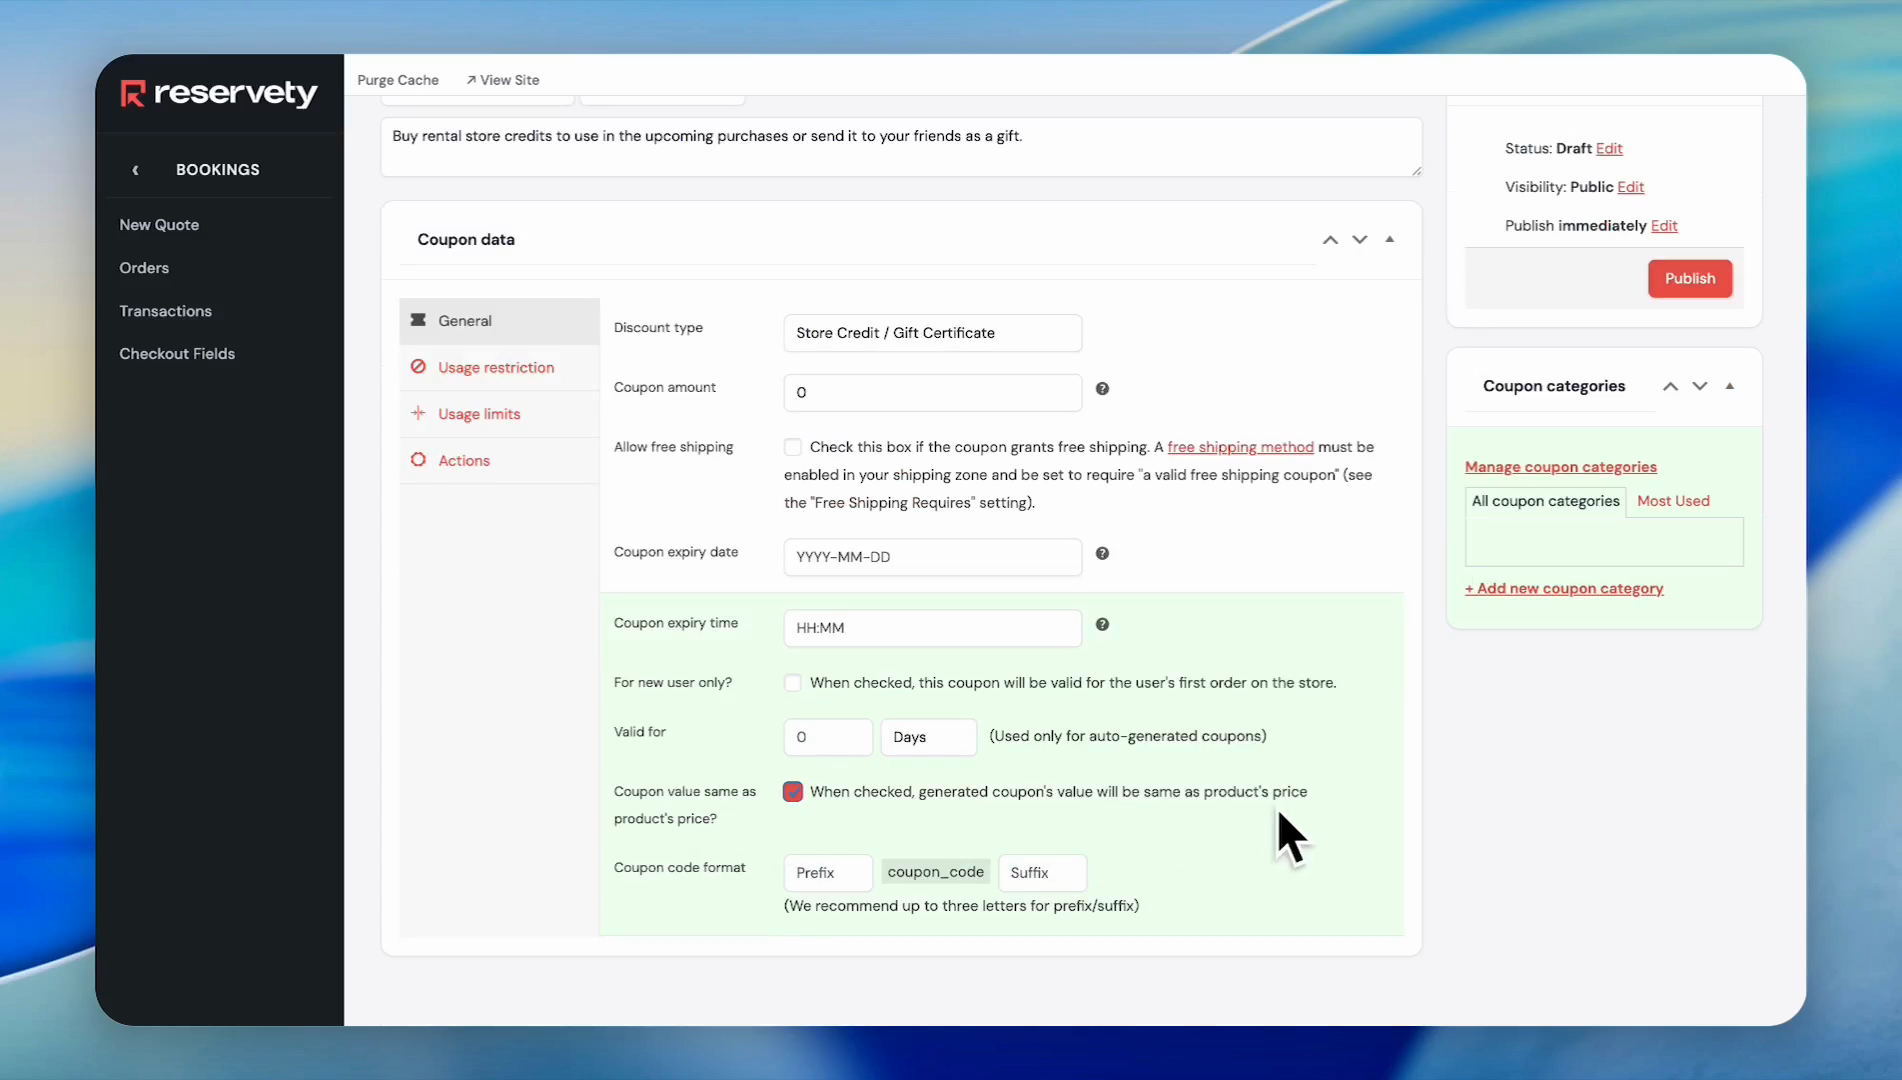
7
Click the checkbox for 'Coupon value same as product's price'. When checked, it generates a coupon with a value equal to the product's price.
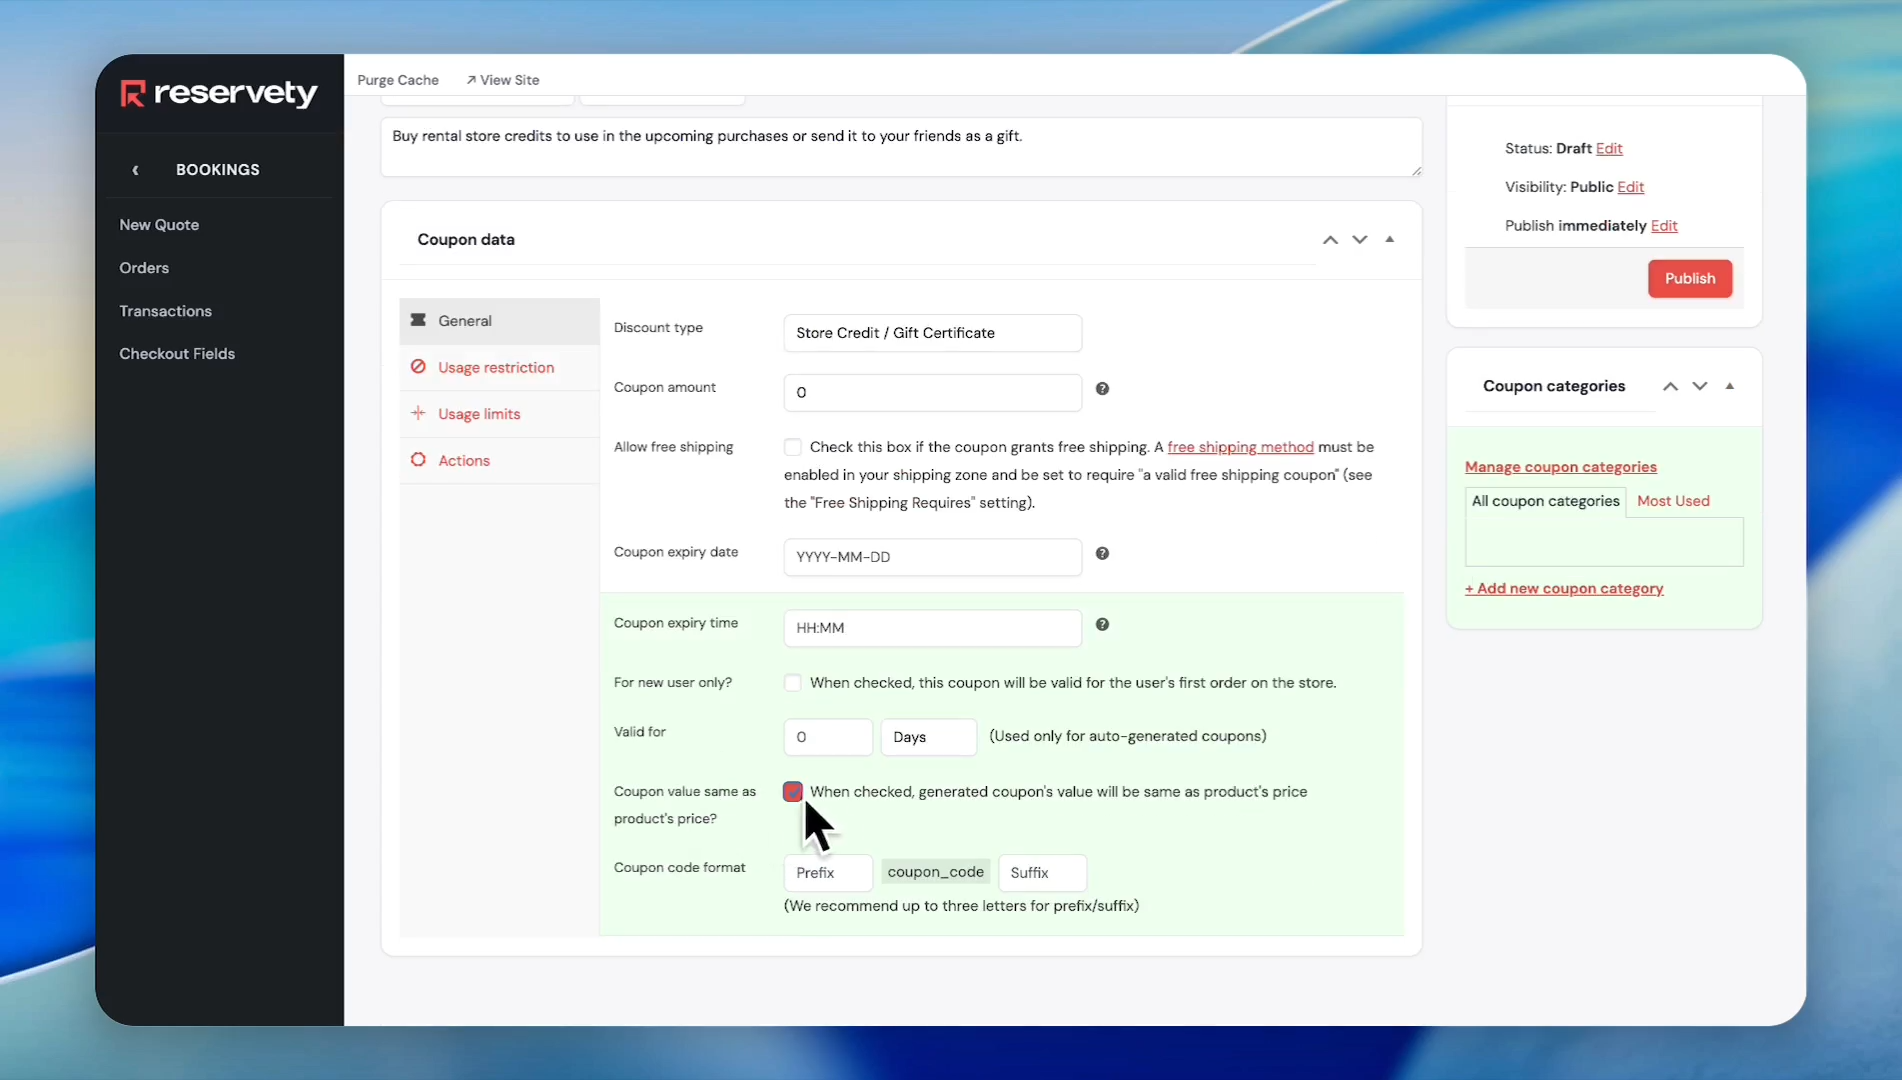
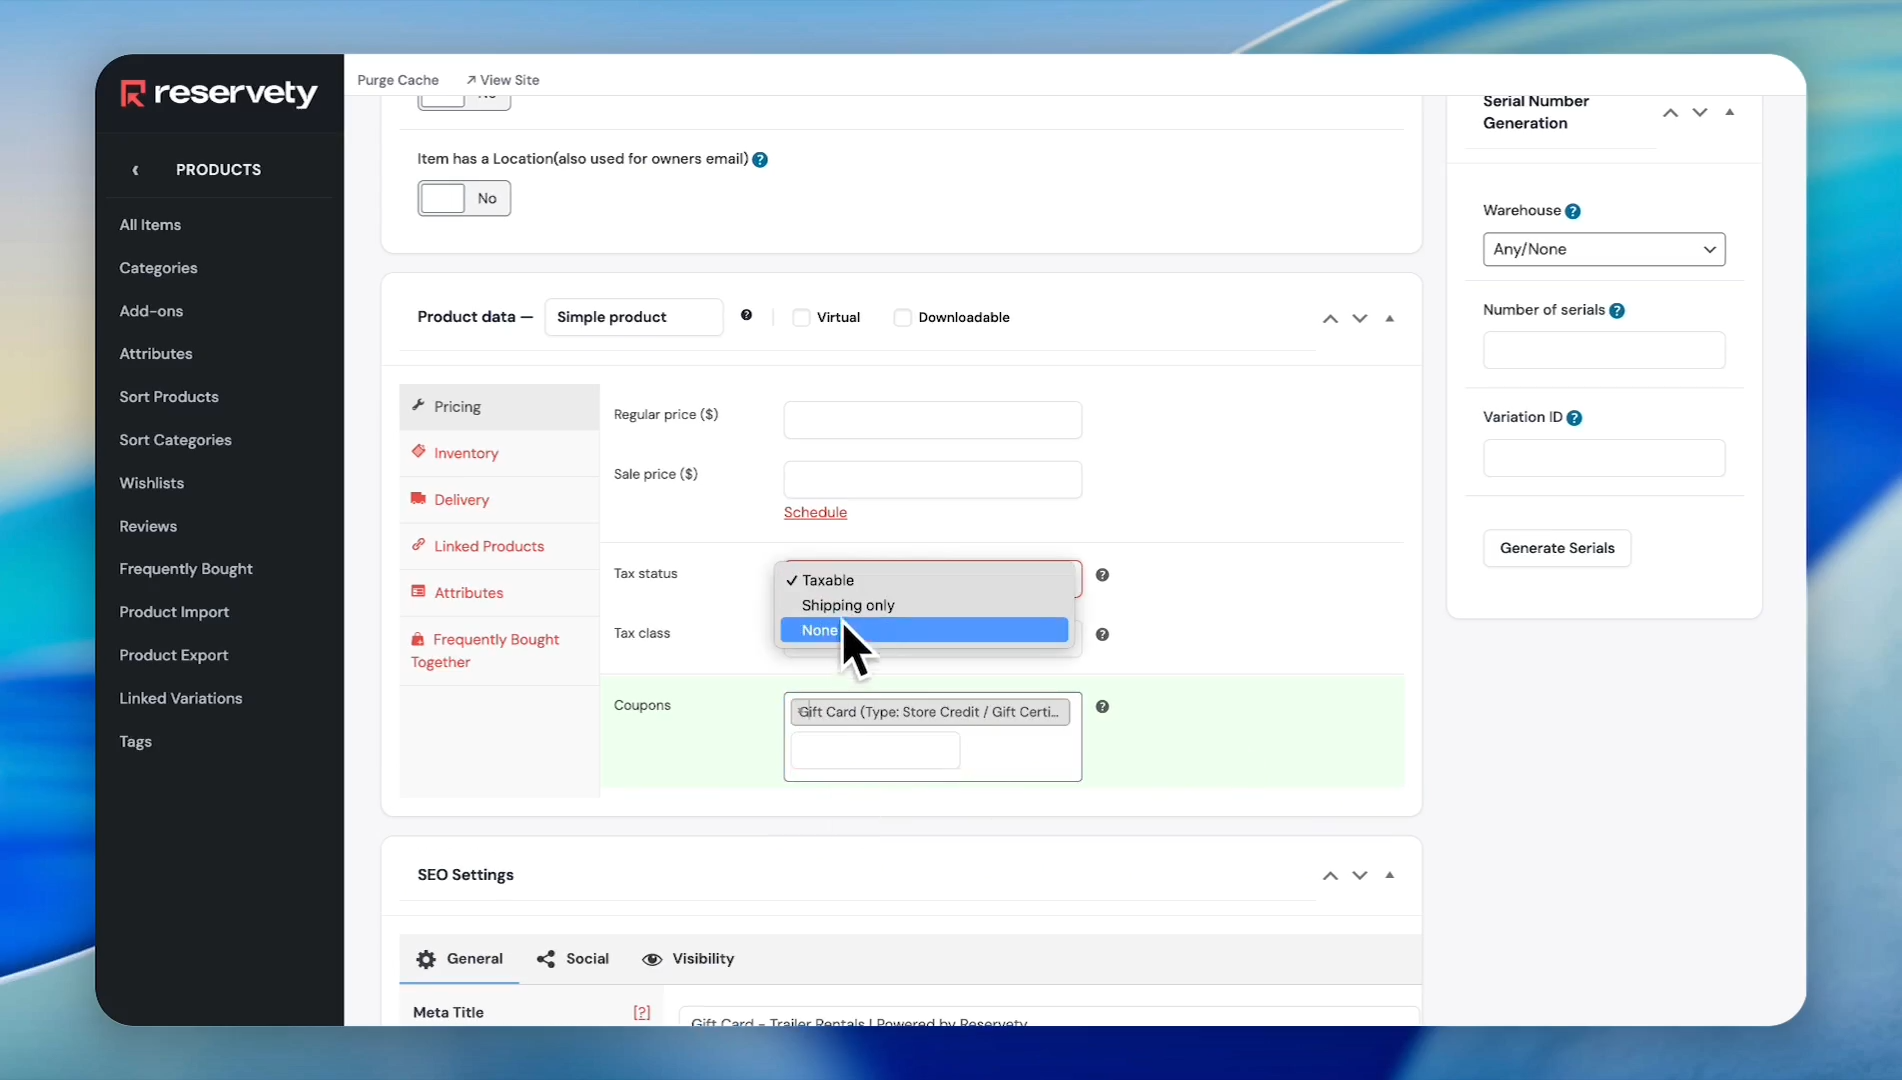
8
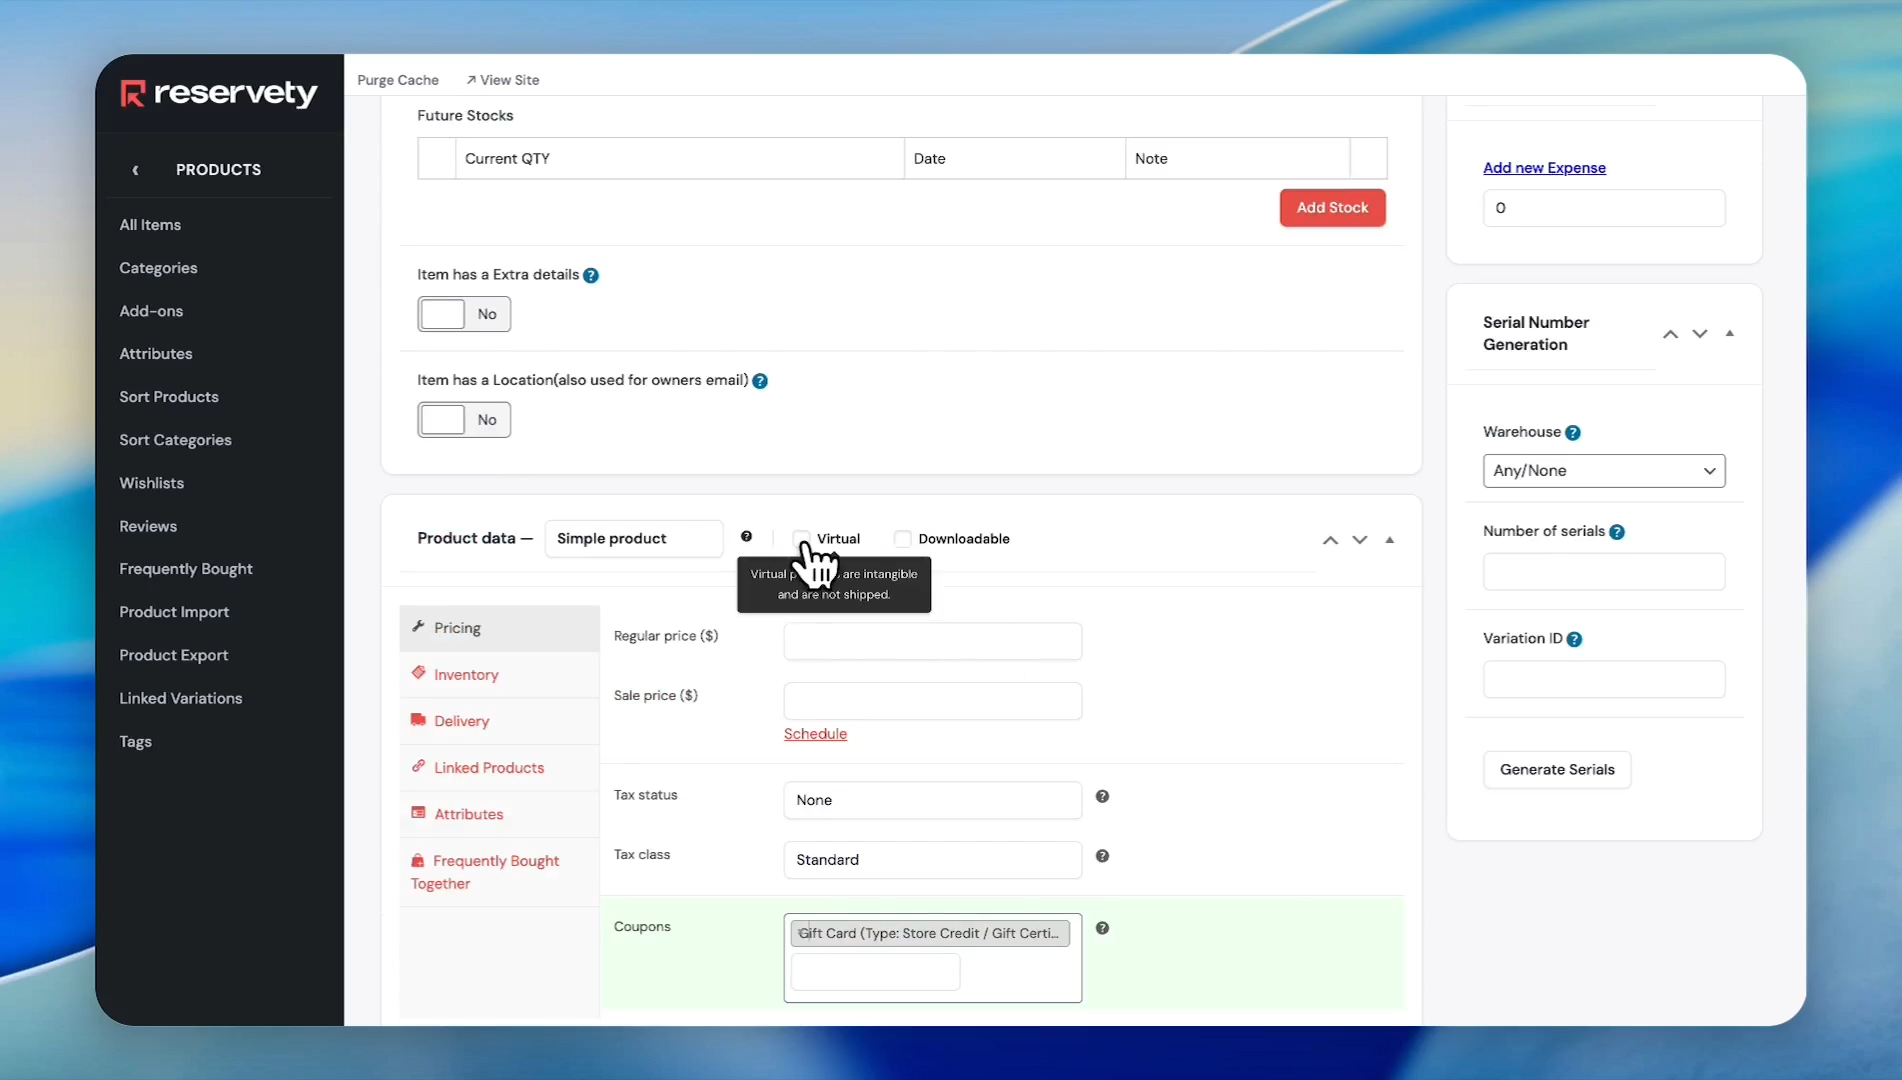
Click the Publish button.
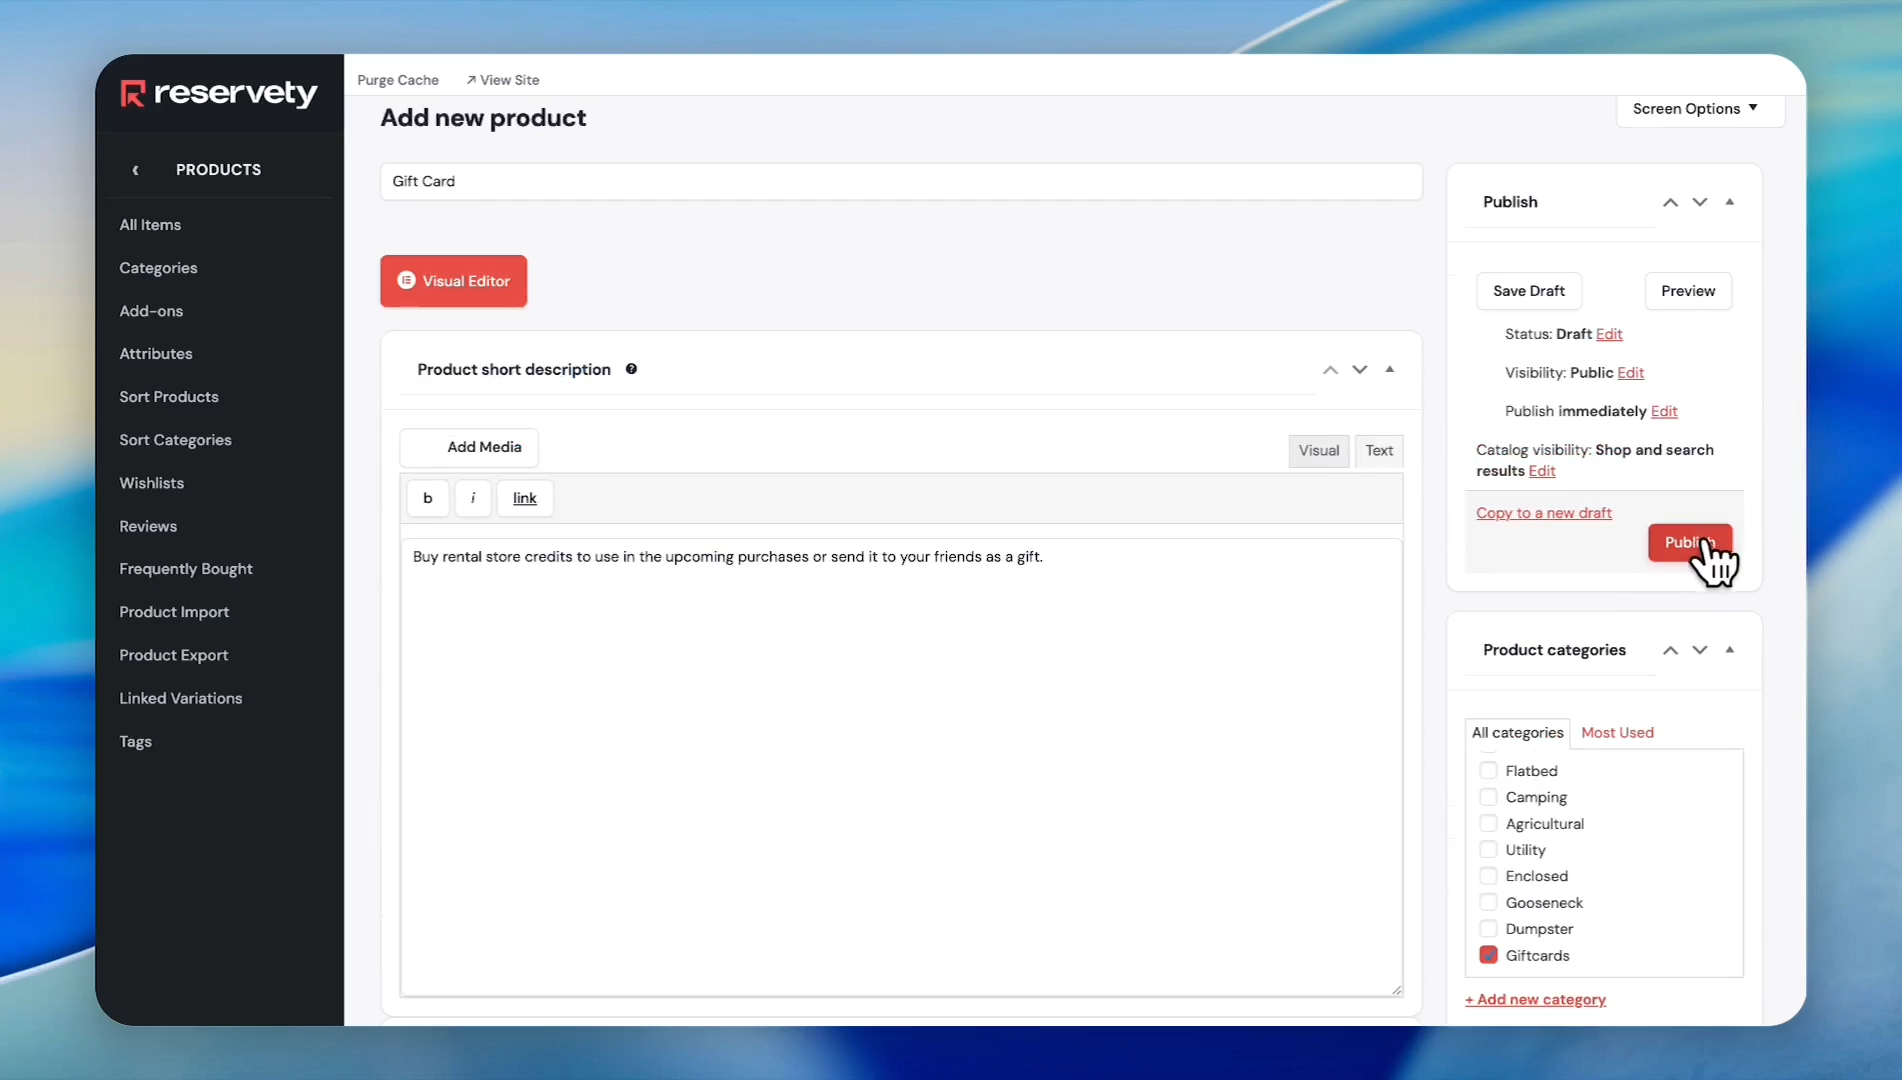
9
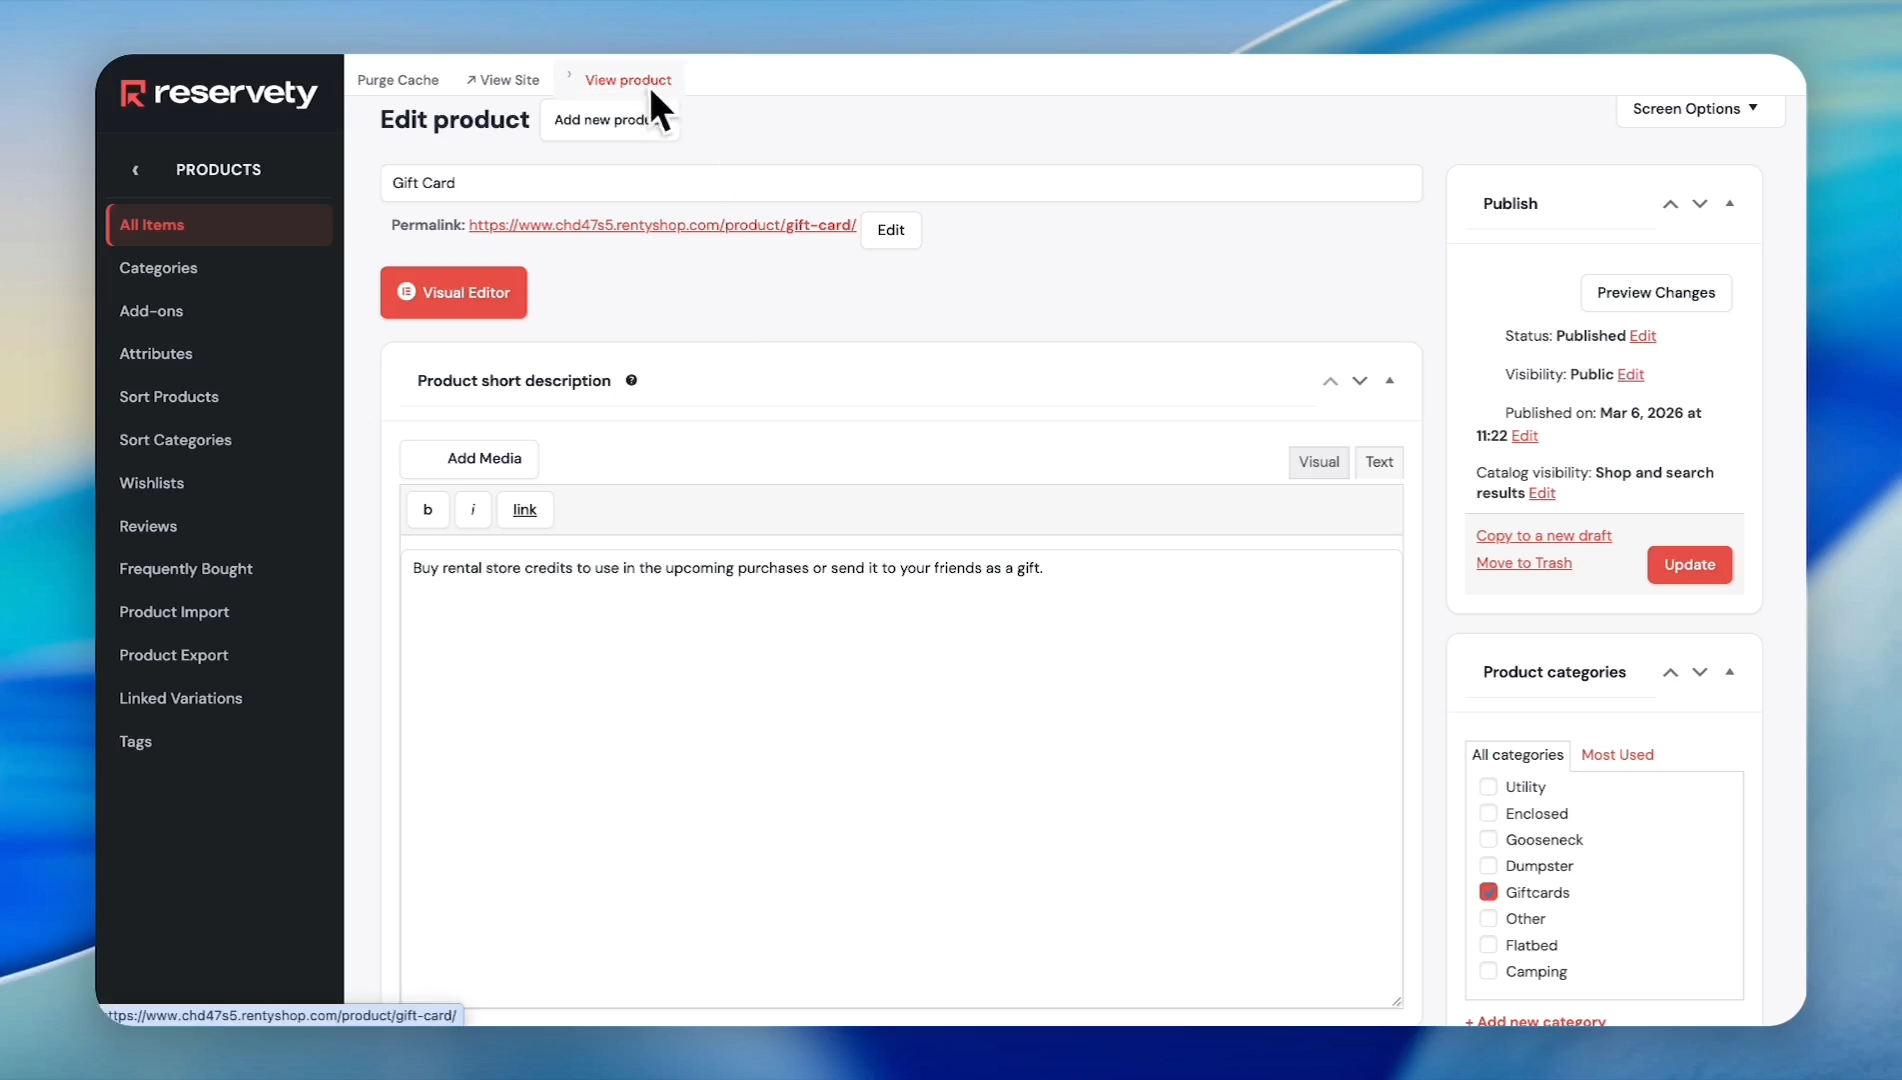
Click on the coupon expiry date and time to set an expiry date for your gift card. We do not want to set an expiry date, so we will leave the coupon expiry date and time as they are.

10
Click the Publish button.

Now, let's add our gift card as a sellable product to our rental website.
11
In the left sidebar, click Products.
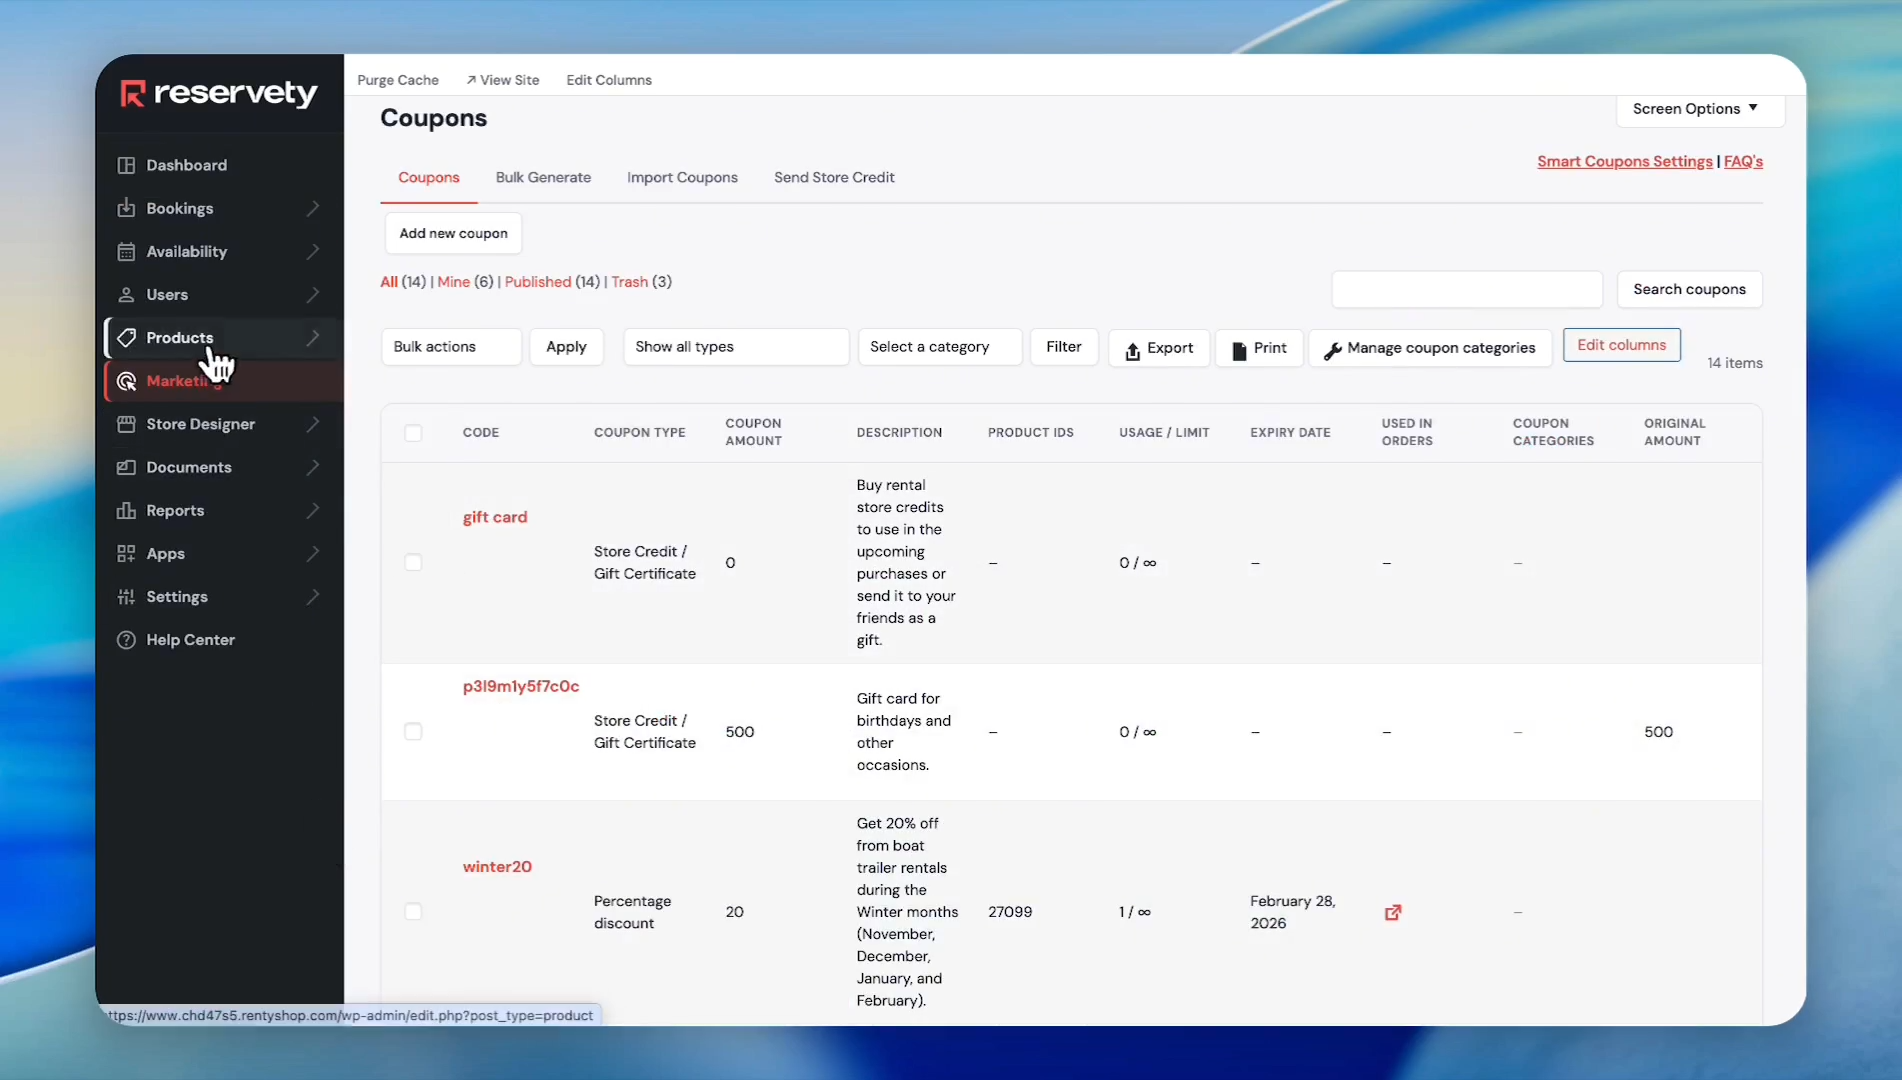
12
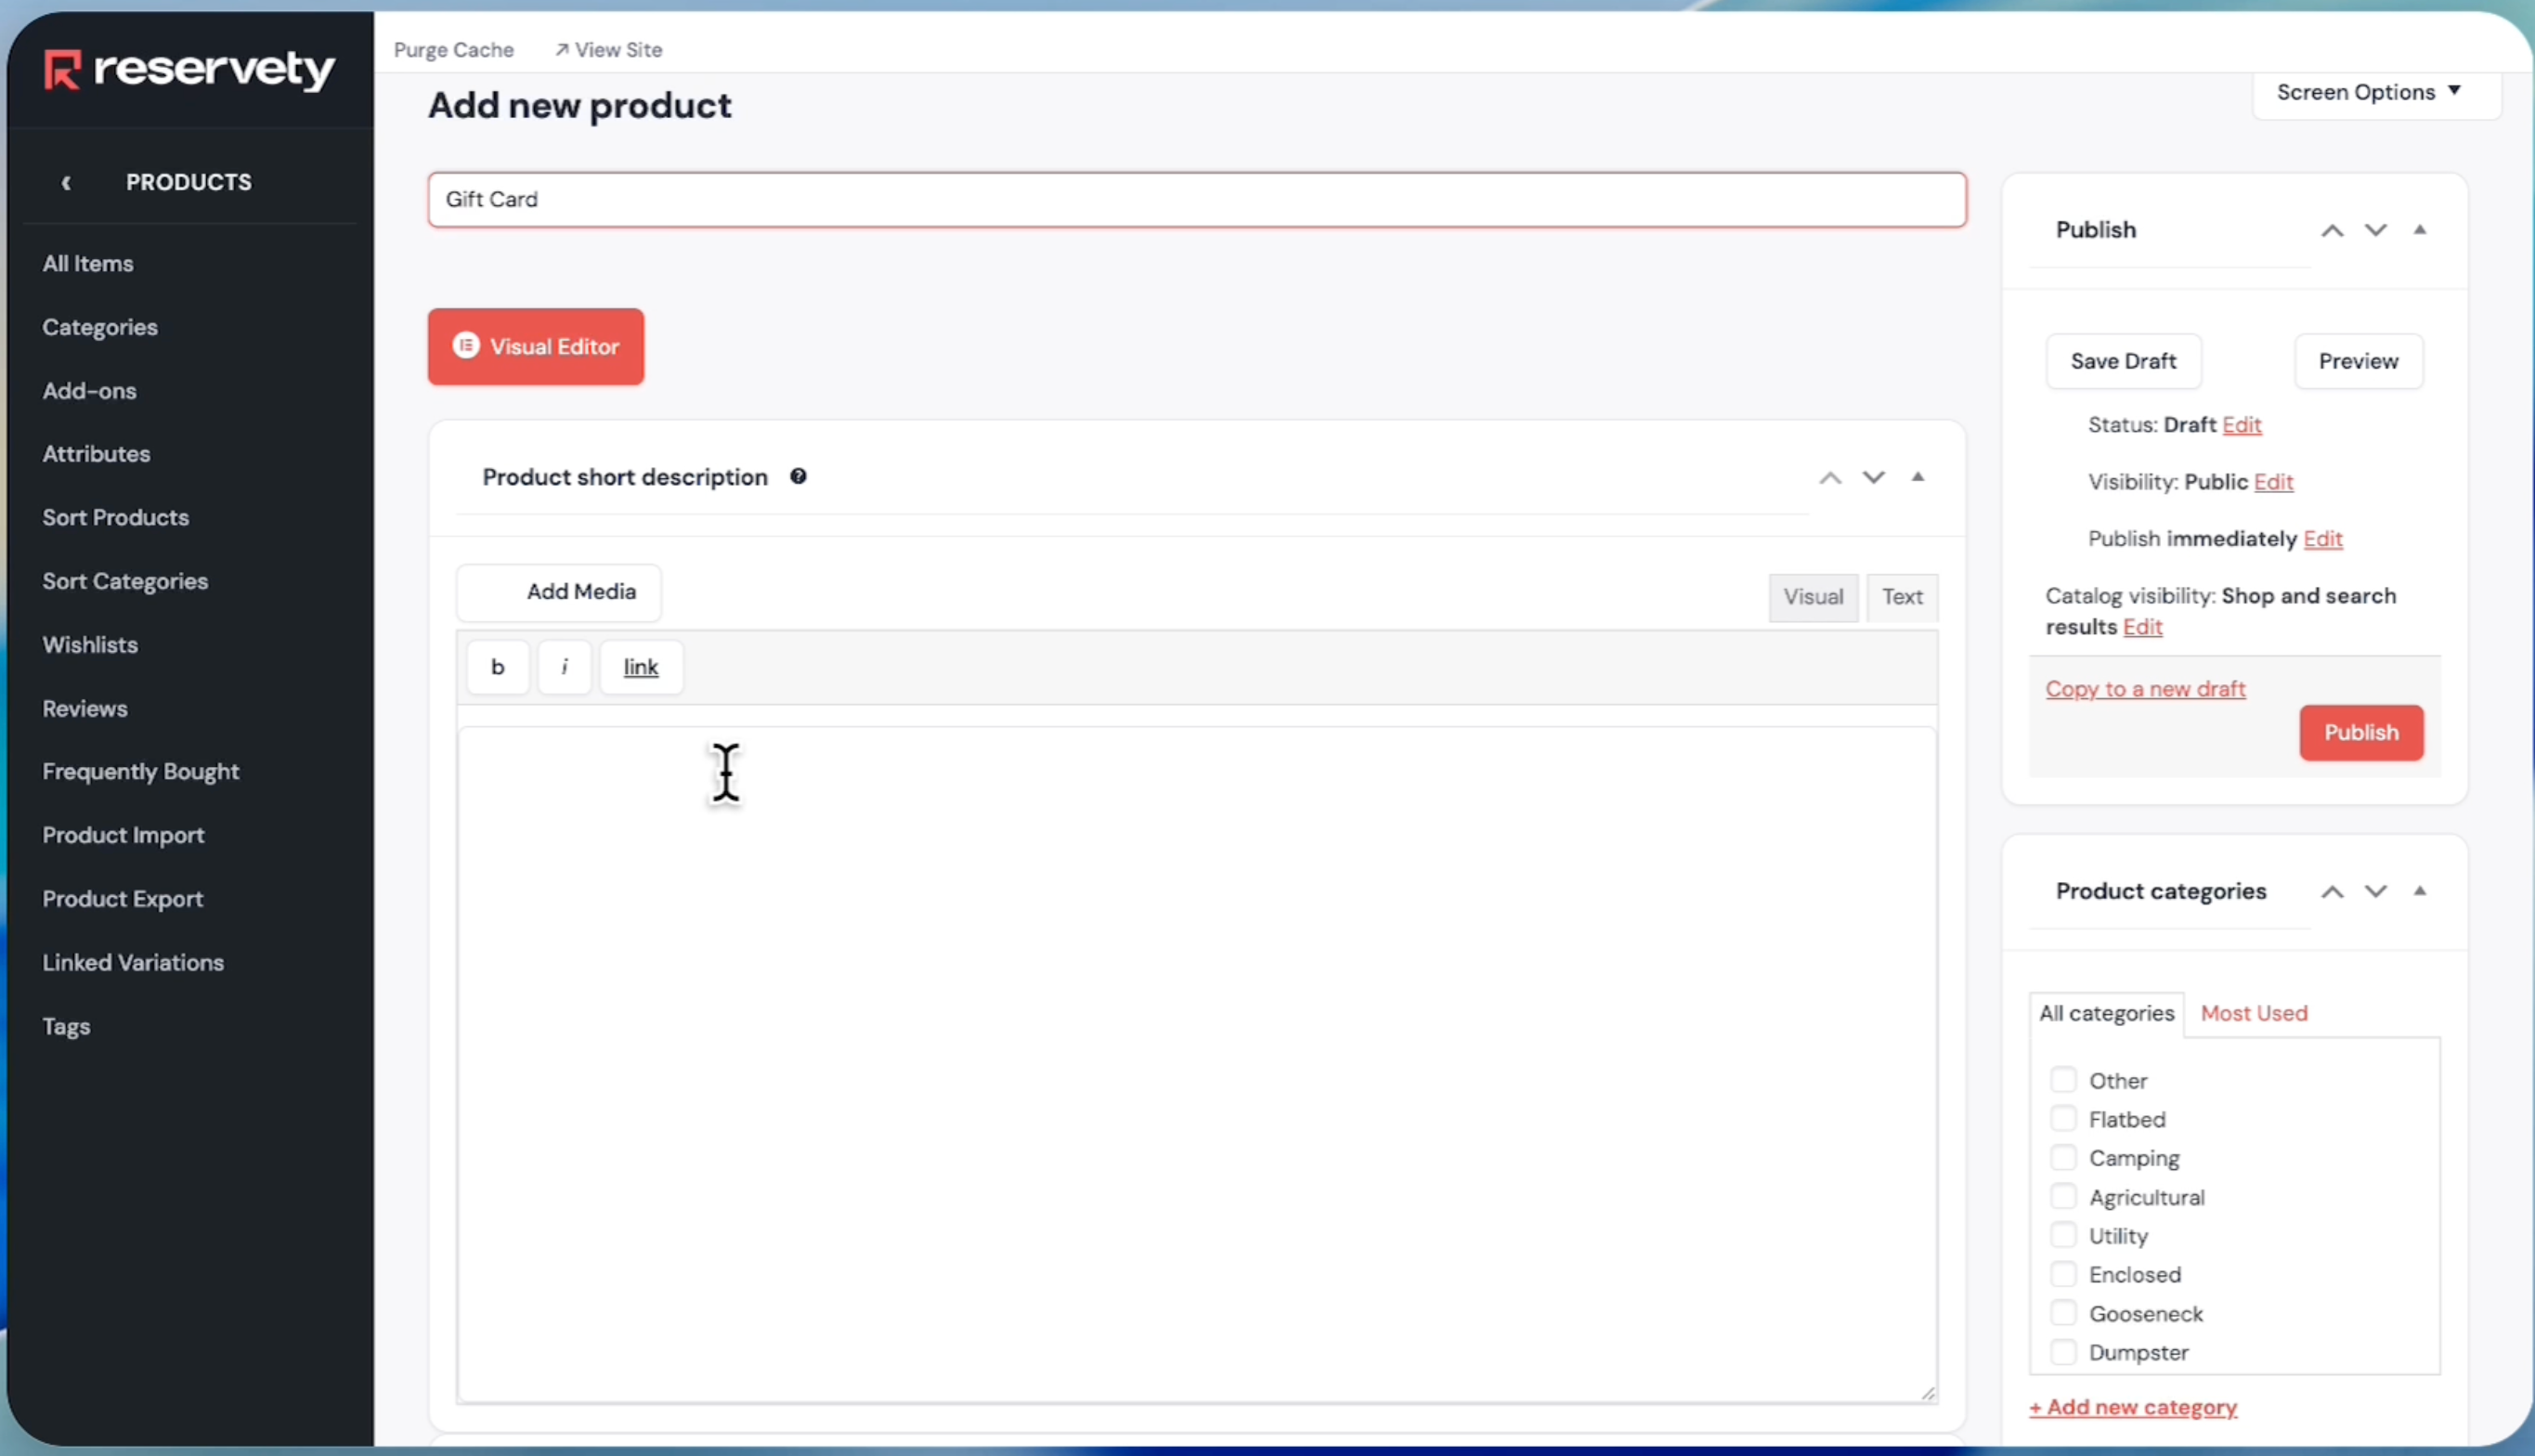
Click All Items, then click the Add new product button.
13
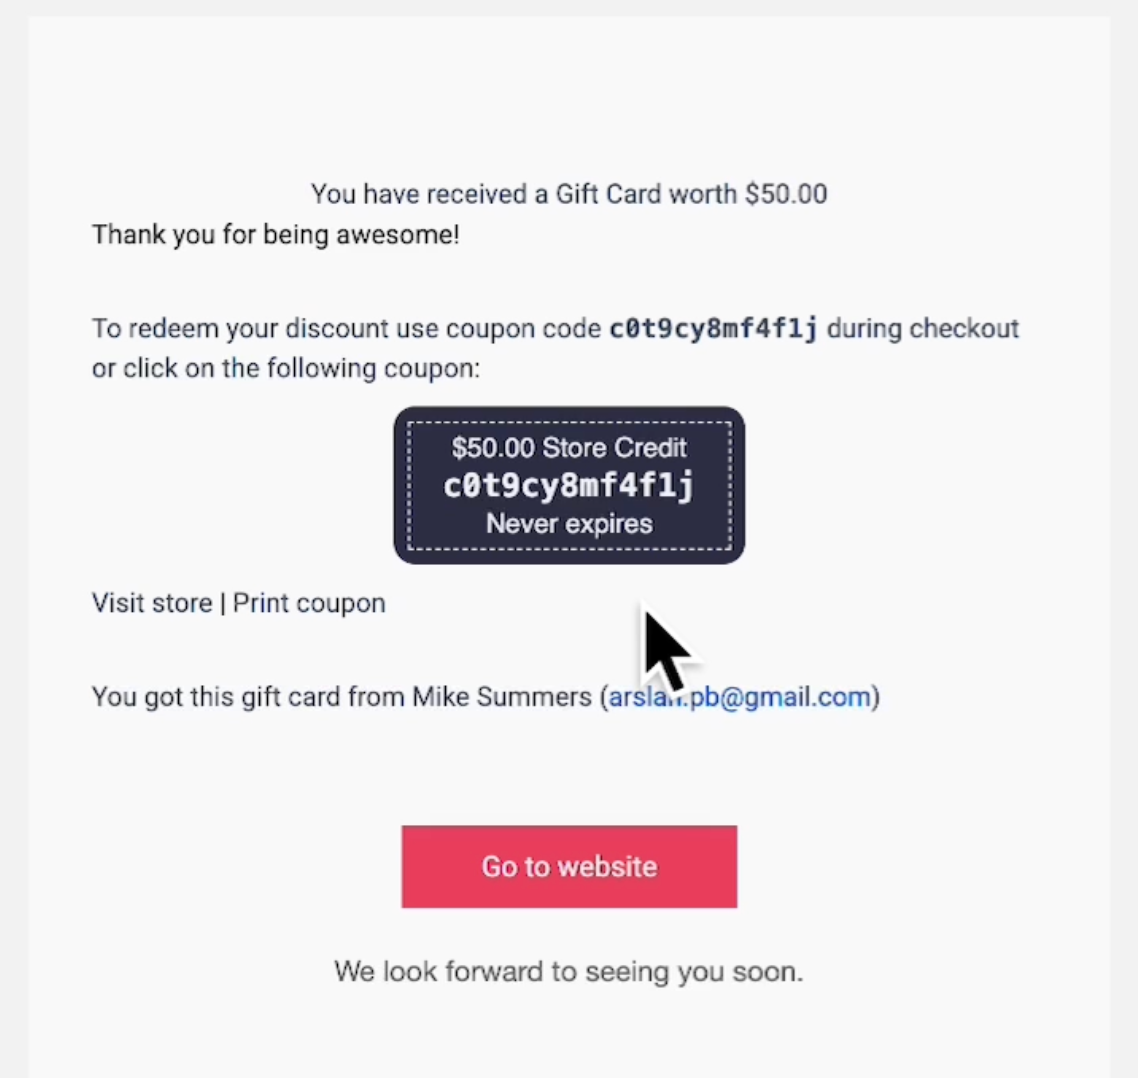
Name the product and add a description
14
Select a category for your giftcard.

15
If you don't have a category for gift cards, click on "Add New Category" to create one.
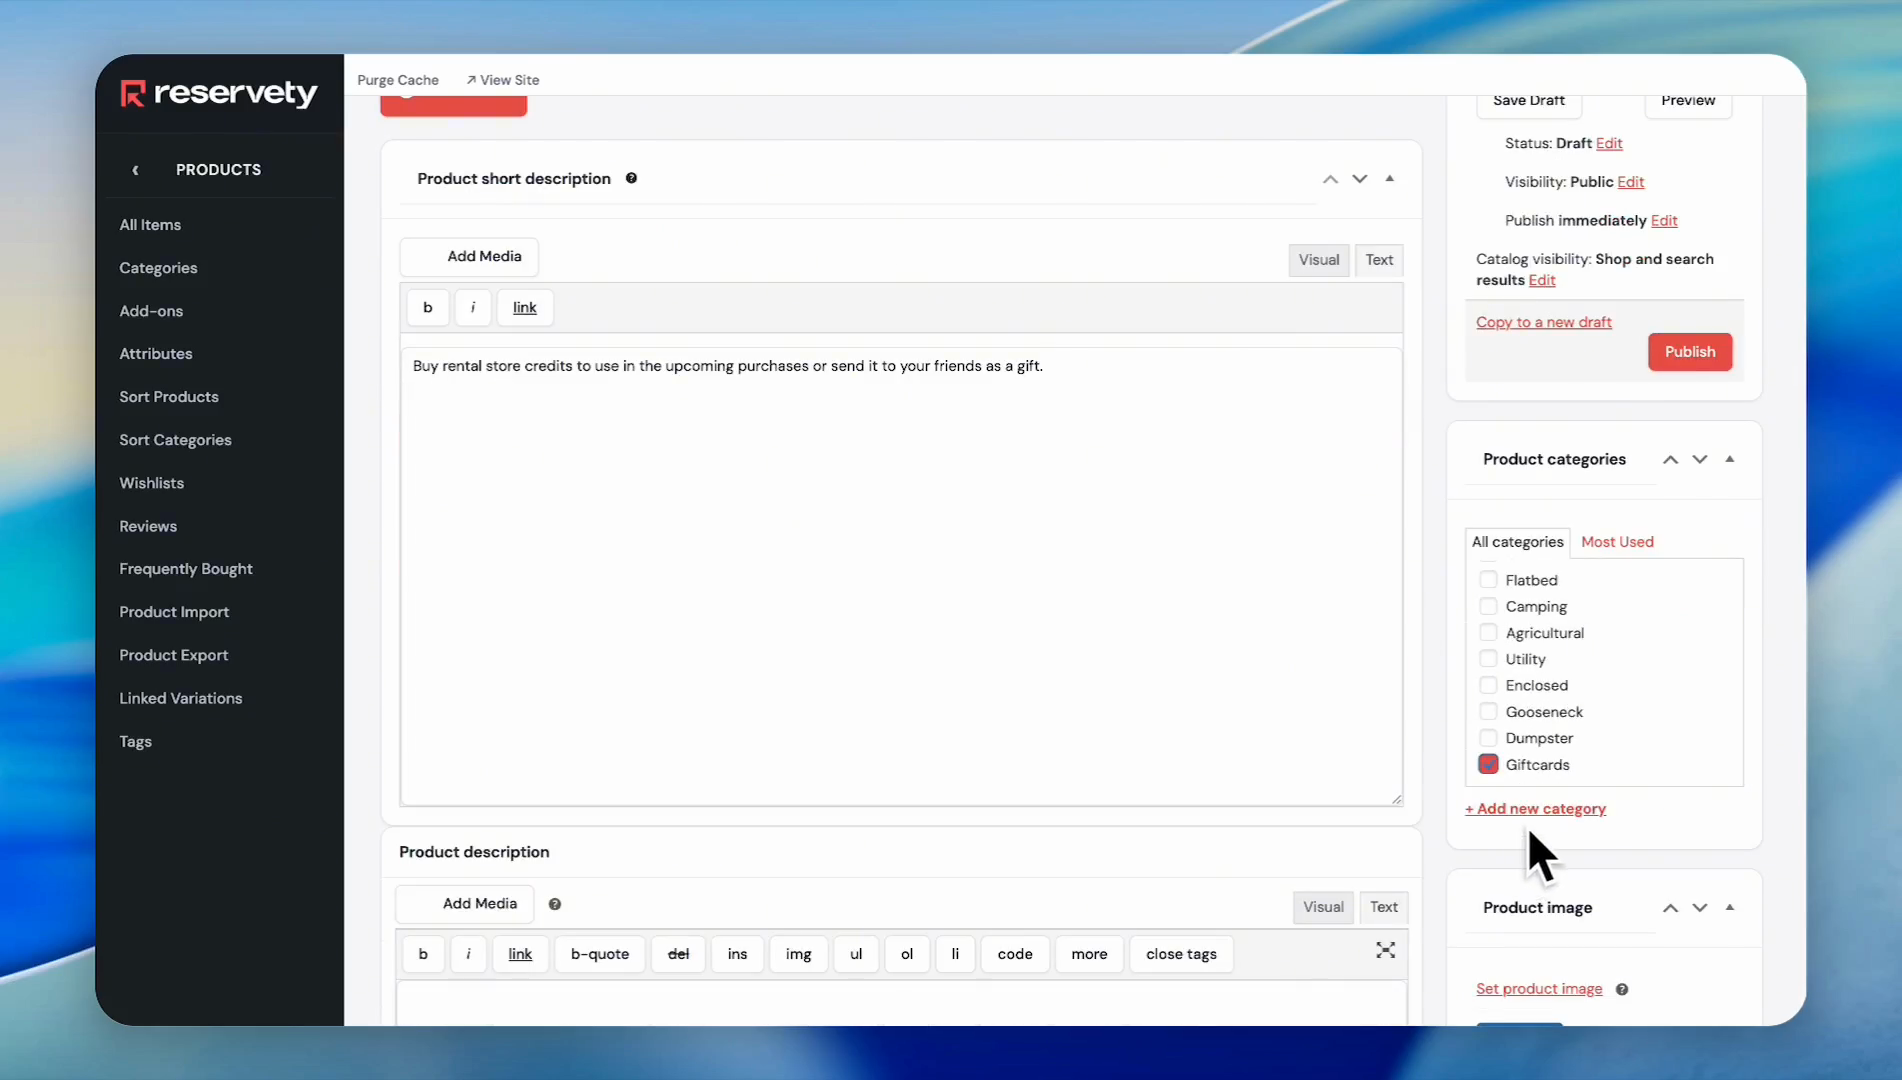
16
Click the Set product image button.
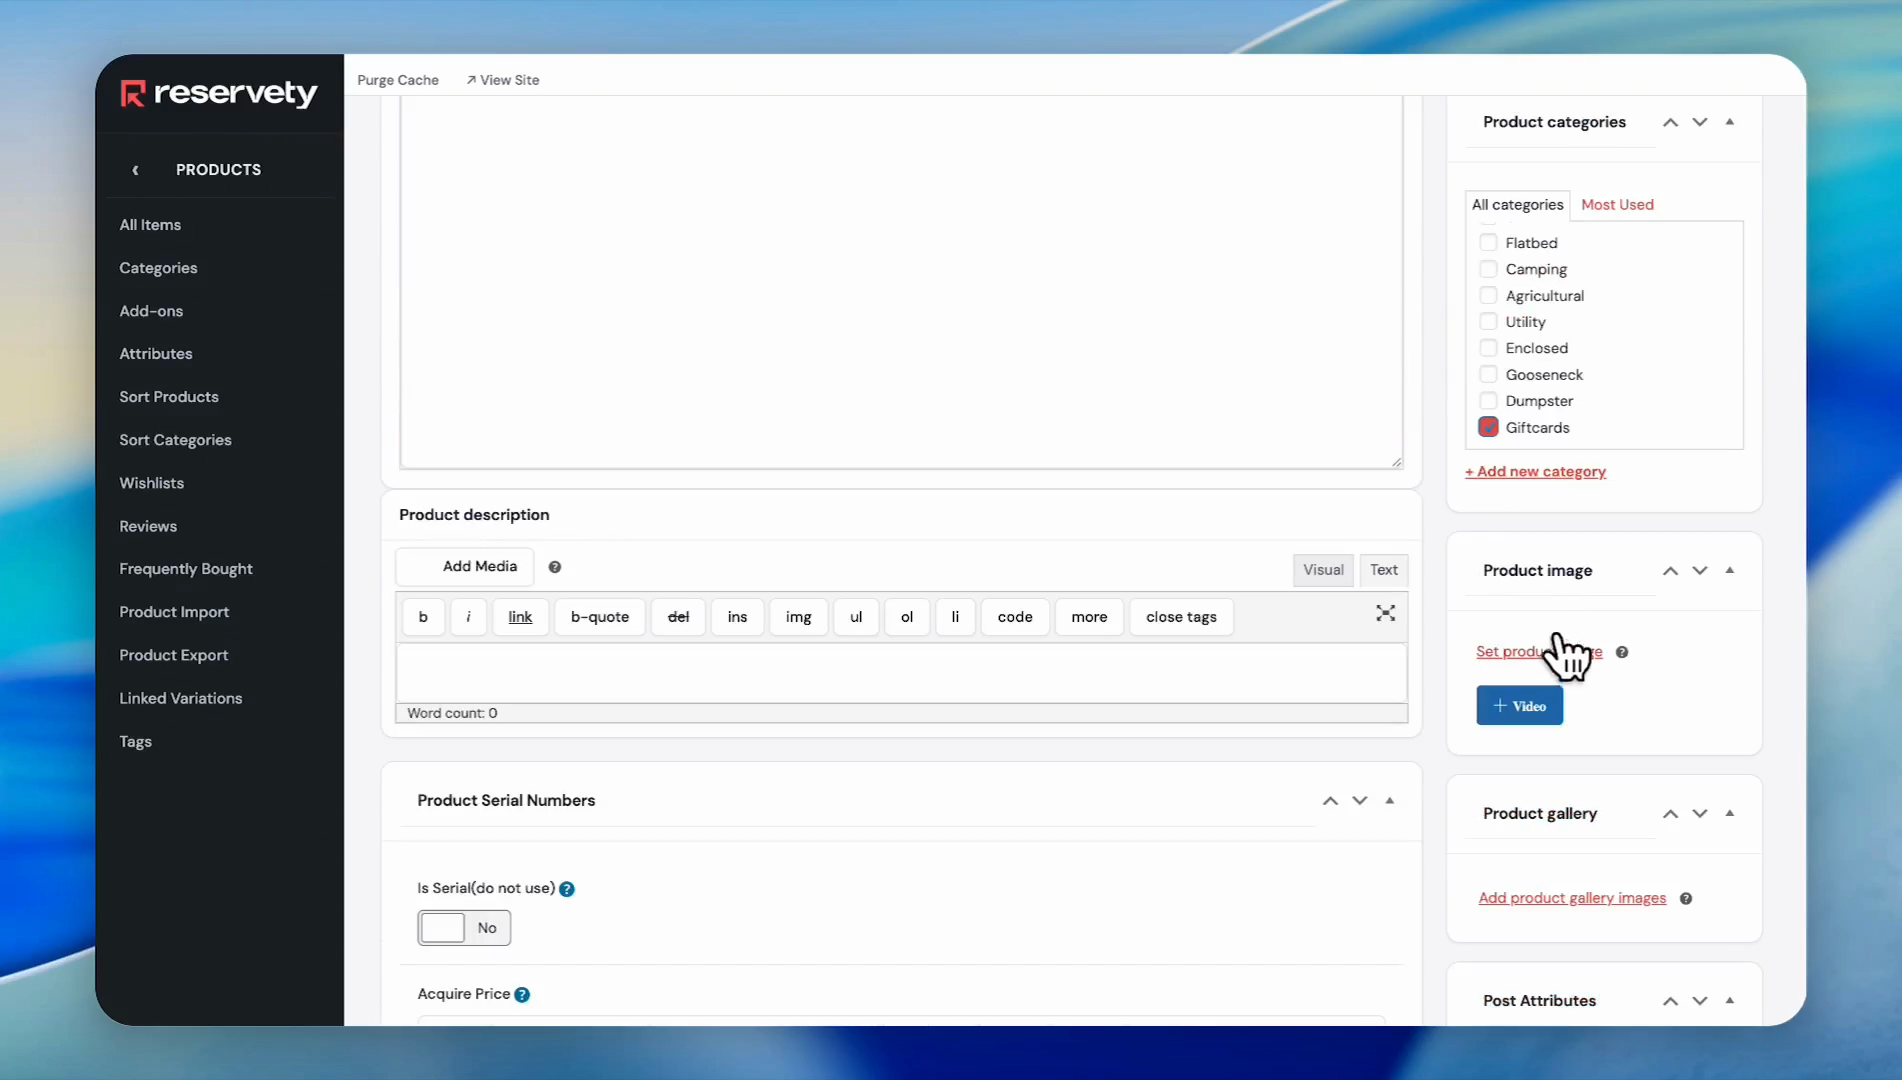
17
Select an image for your gift card.
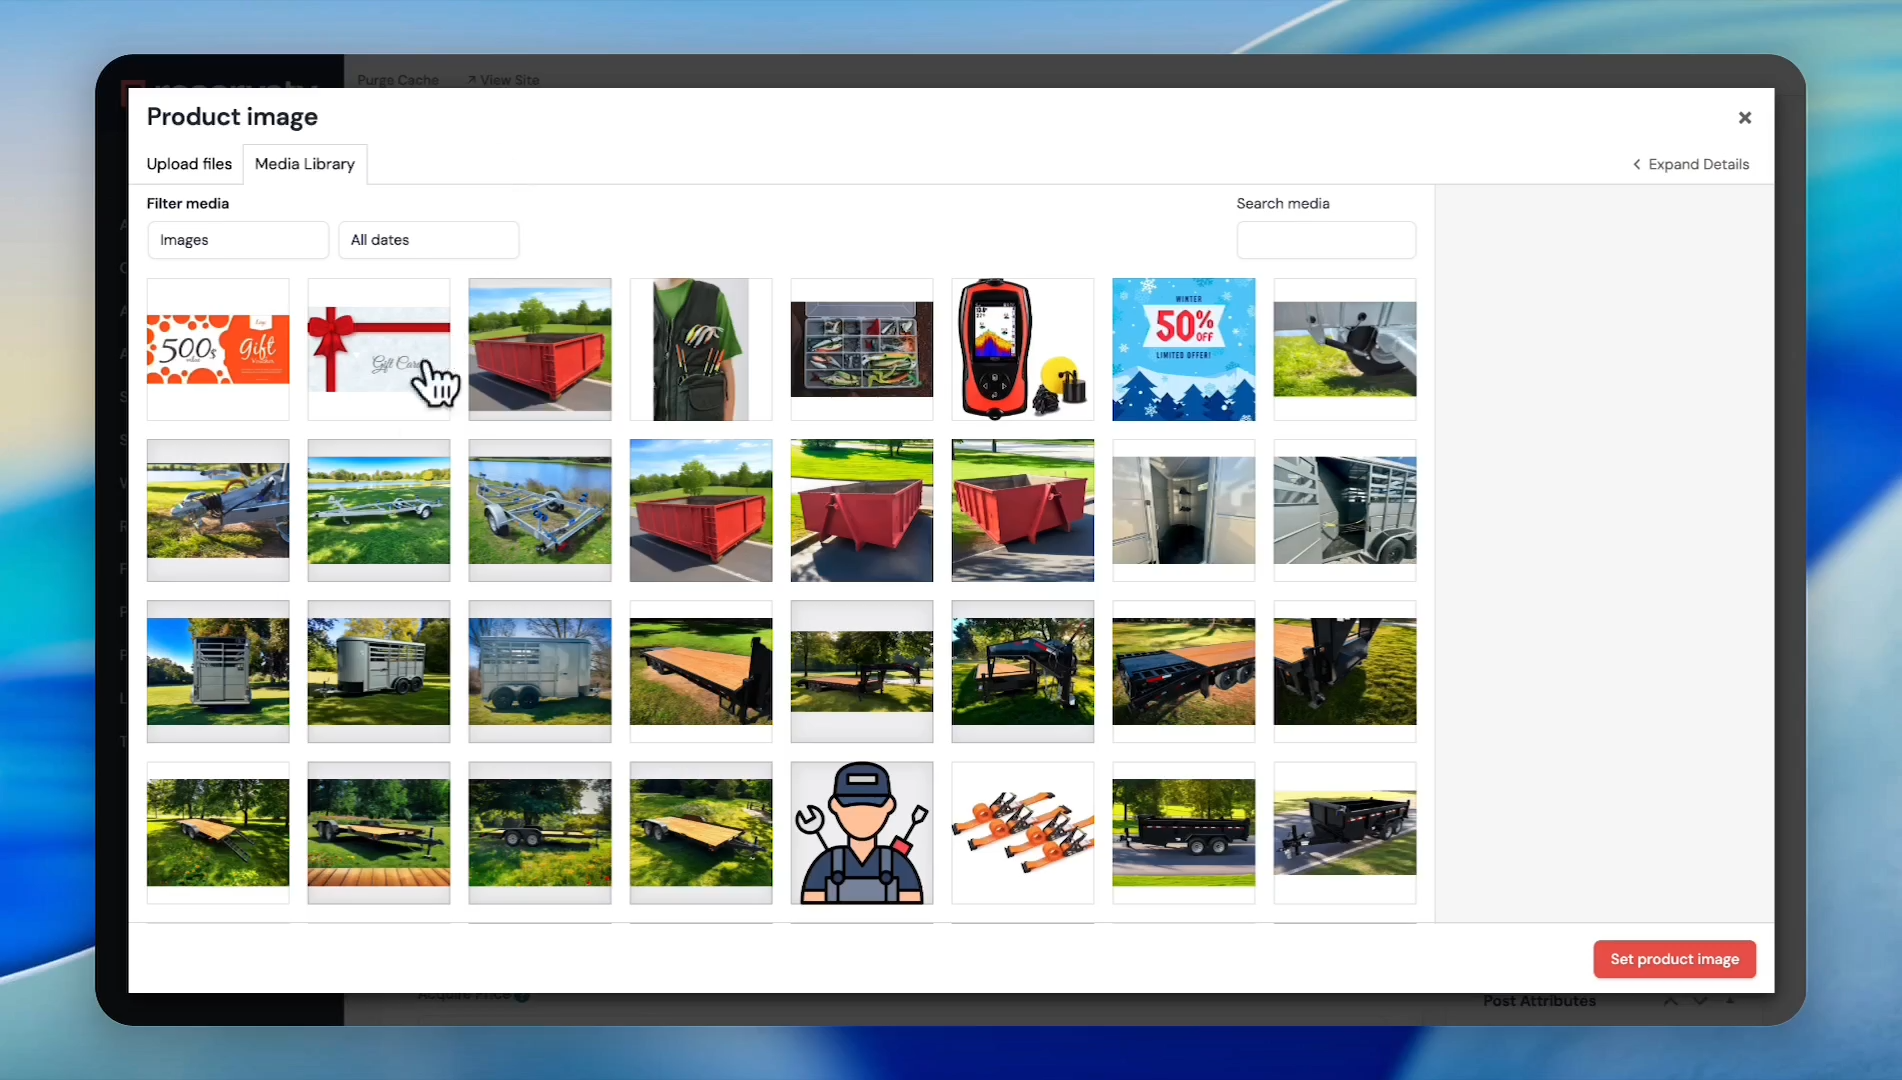
18
Click the Set product image button.
19
In the Item Types section, click the Is Bookable Product toggle to set it to No.

20
Scroll down and click on the 'Pricing' tab.
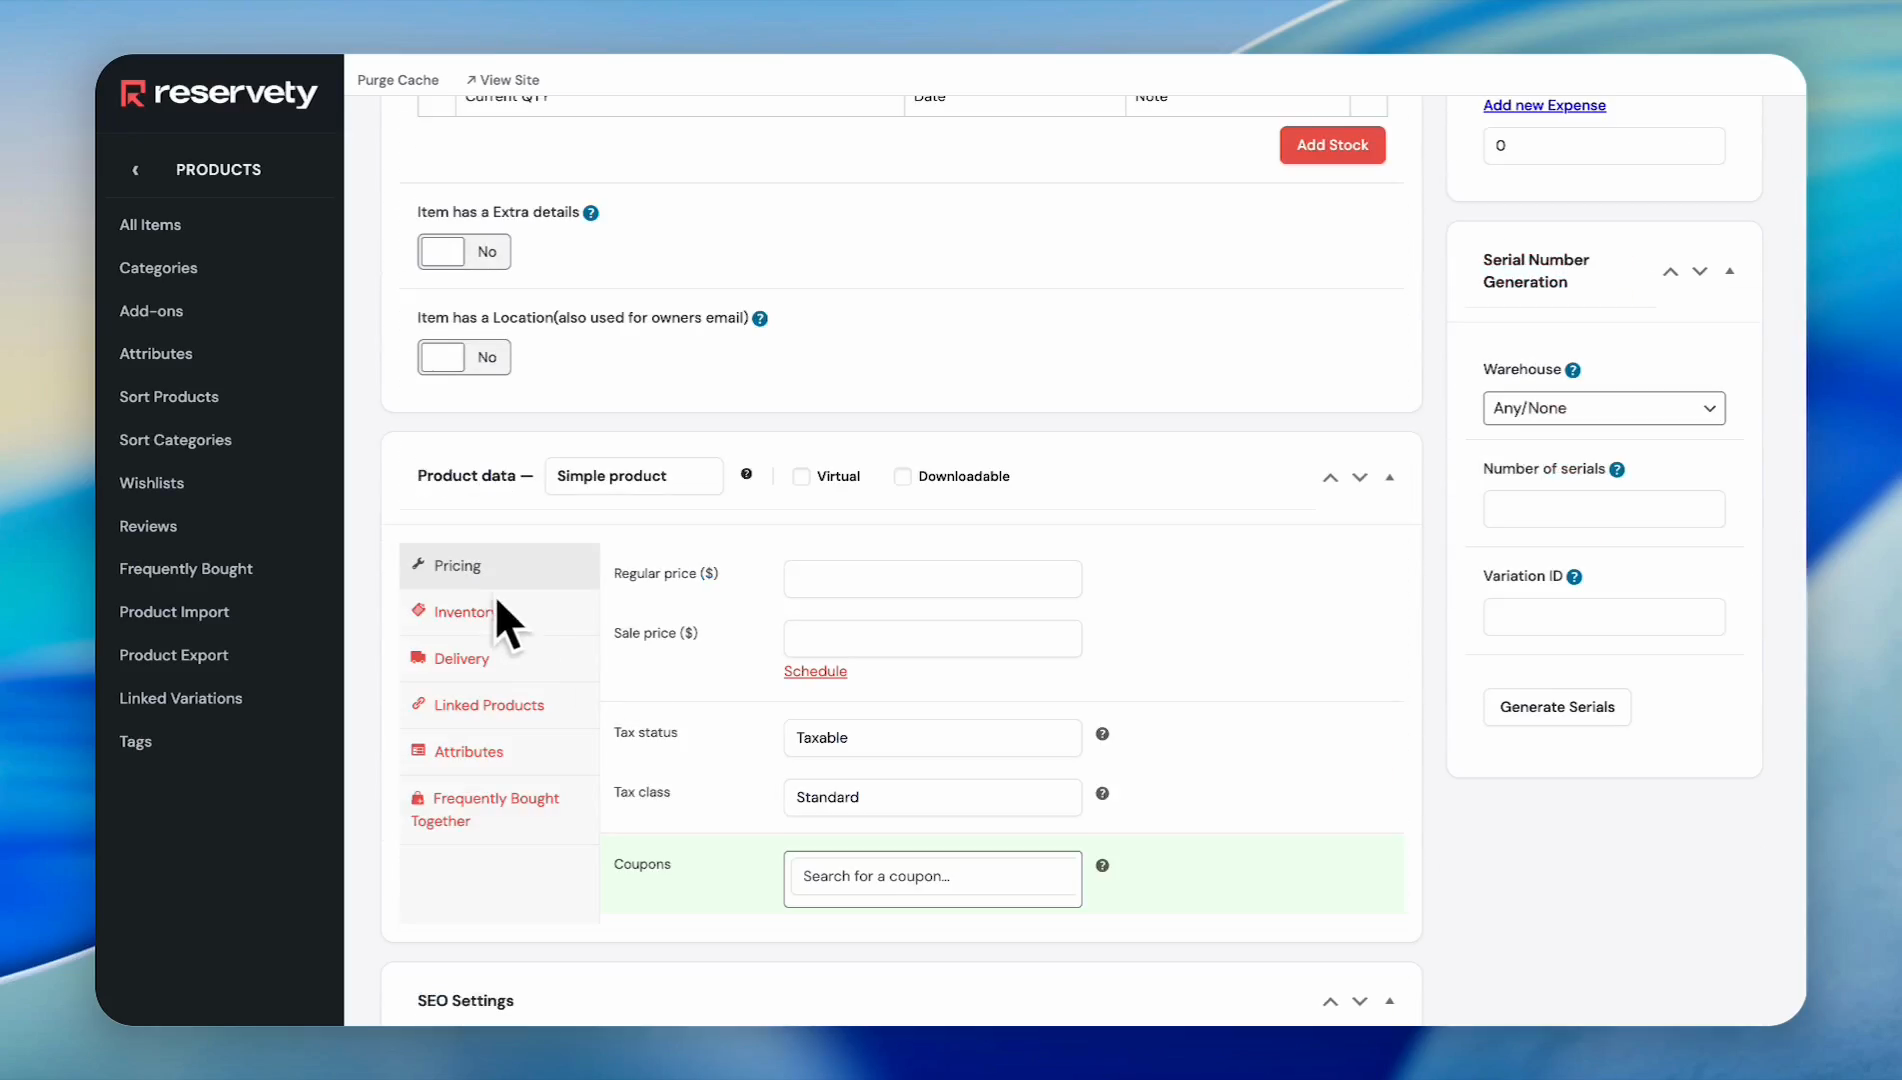
21
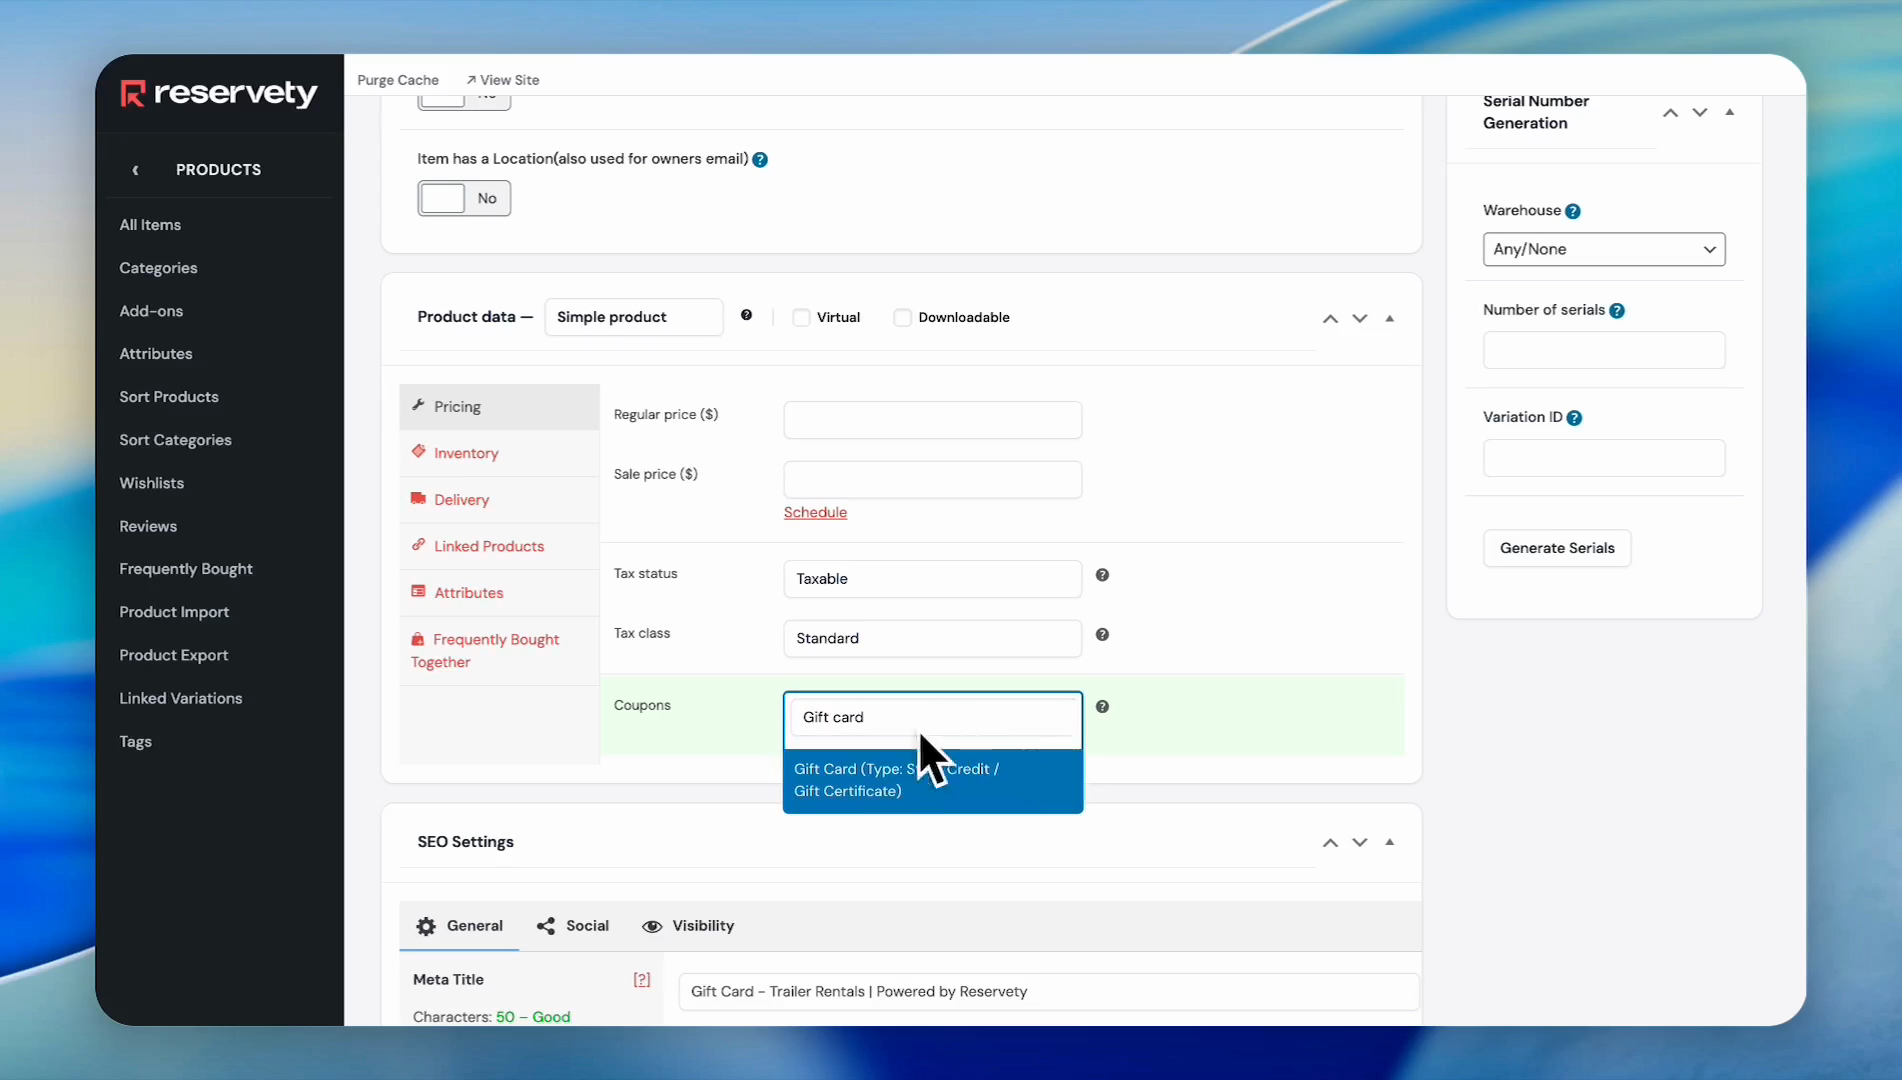
Go to the coupon section, click on the 'Search for a coupon...' field.

22
Type the name, find the coupon you created earlier, and click on it.
23
Click on the 'Tax status' dropdown menu and select "none." Because we do not want to tax the gift card
24
Since we want to deliver the gift cards electronically, check the 'Virtual' checkbox.
25
Then, click the 'Publish' button in the top-right corner.
Let's go to the website and view our gift card.
26
Click the 'View product' link at the top of the page.
27
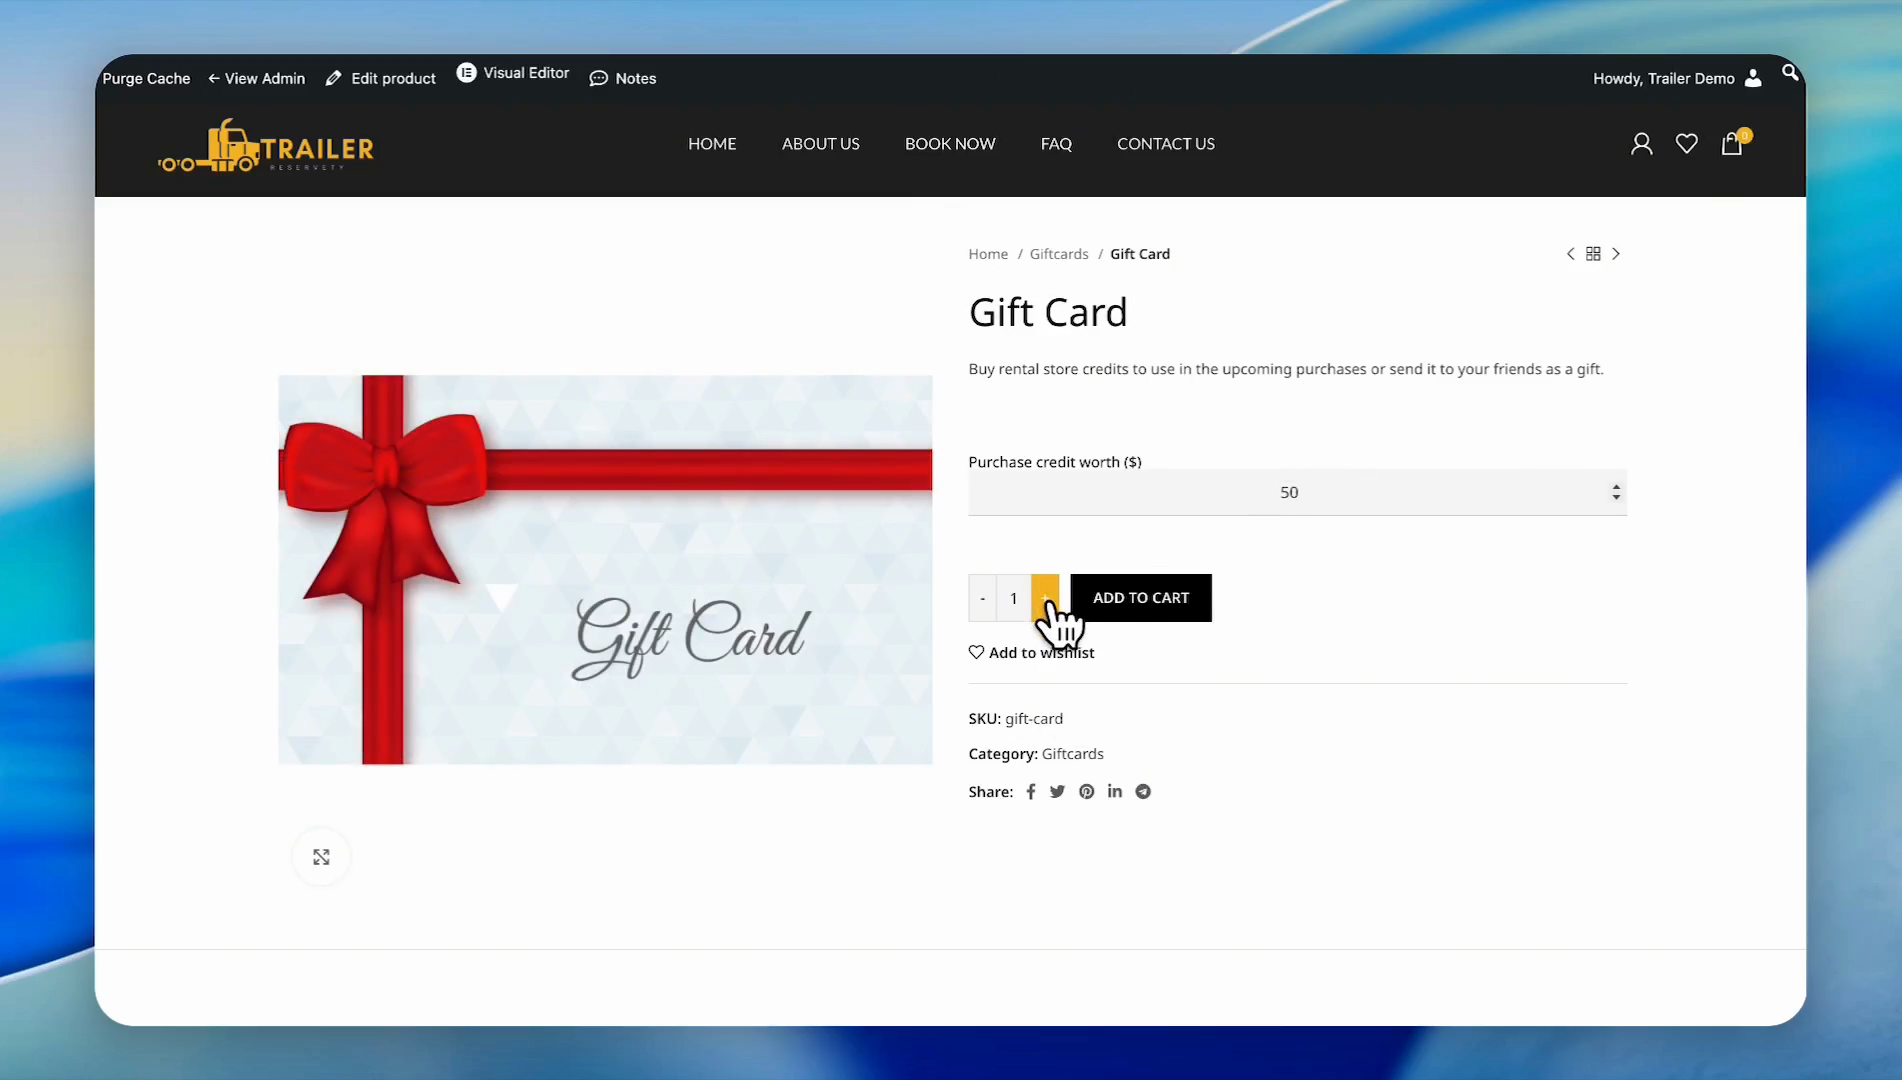
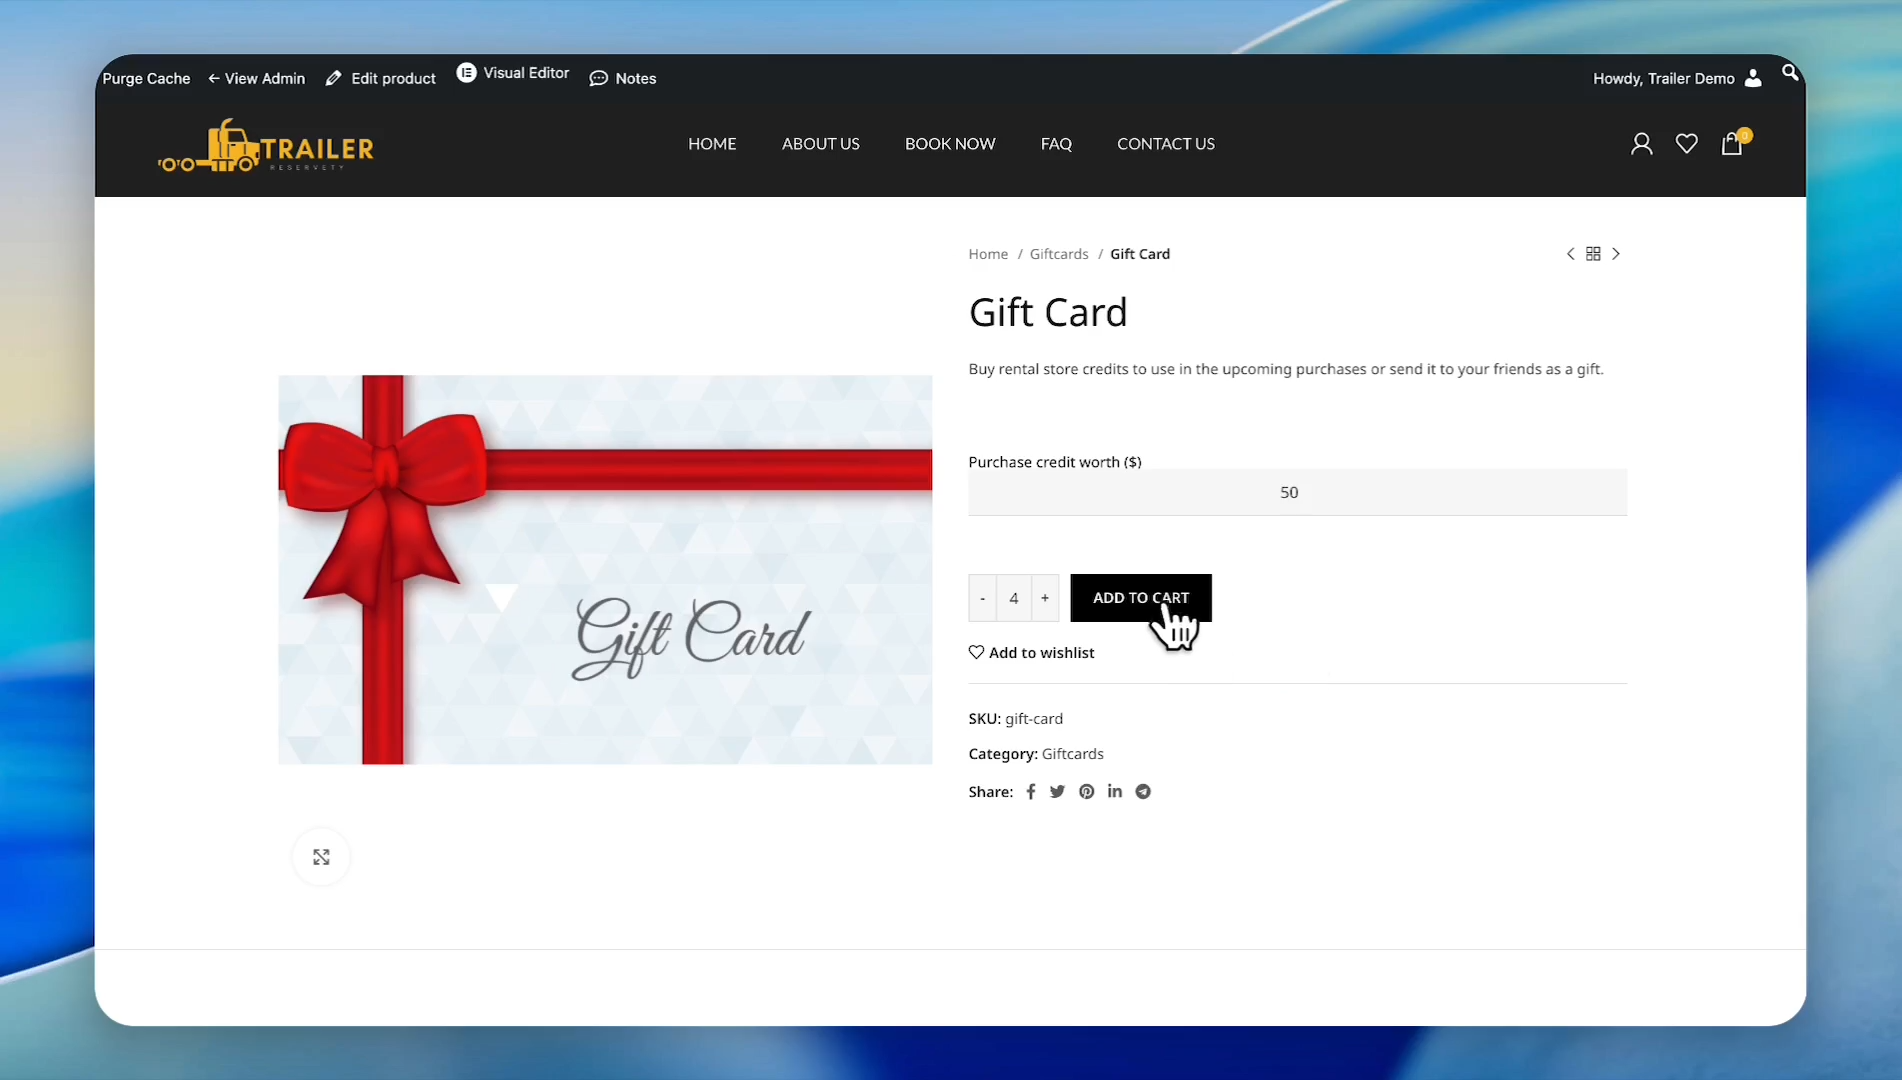
Our gift card is clearly displayed on our website. Suppose we want to get 4 x $50 gift cards.
Write 50, and click the plus button to increase the quantity to 4.
Write 50, and click the plus button to increase the quantity to 4.
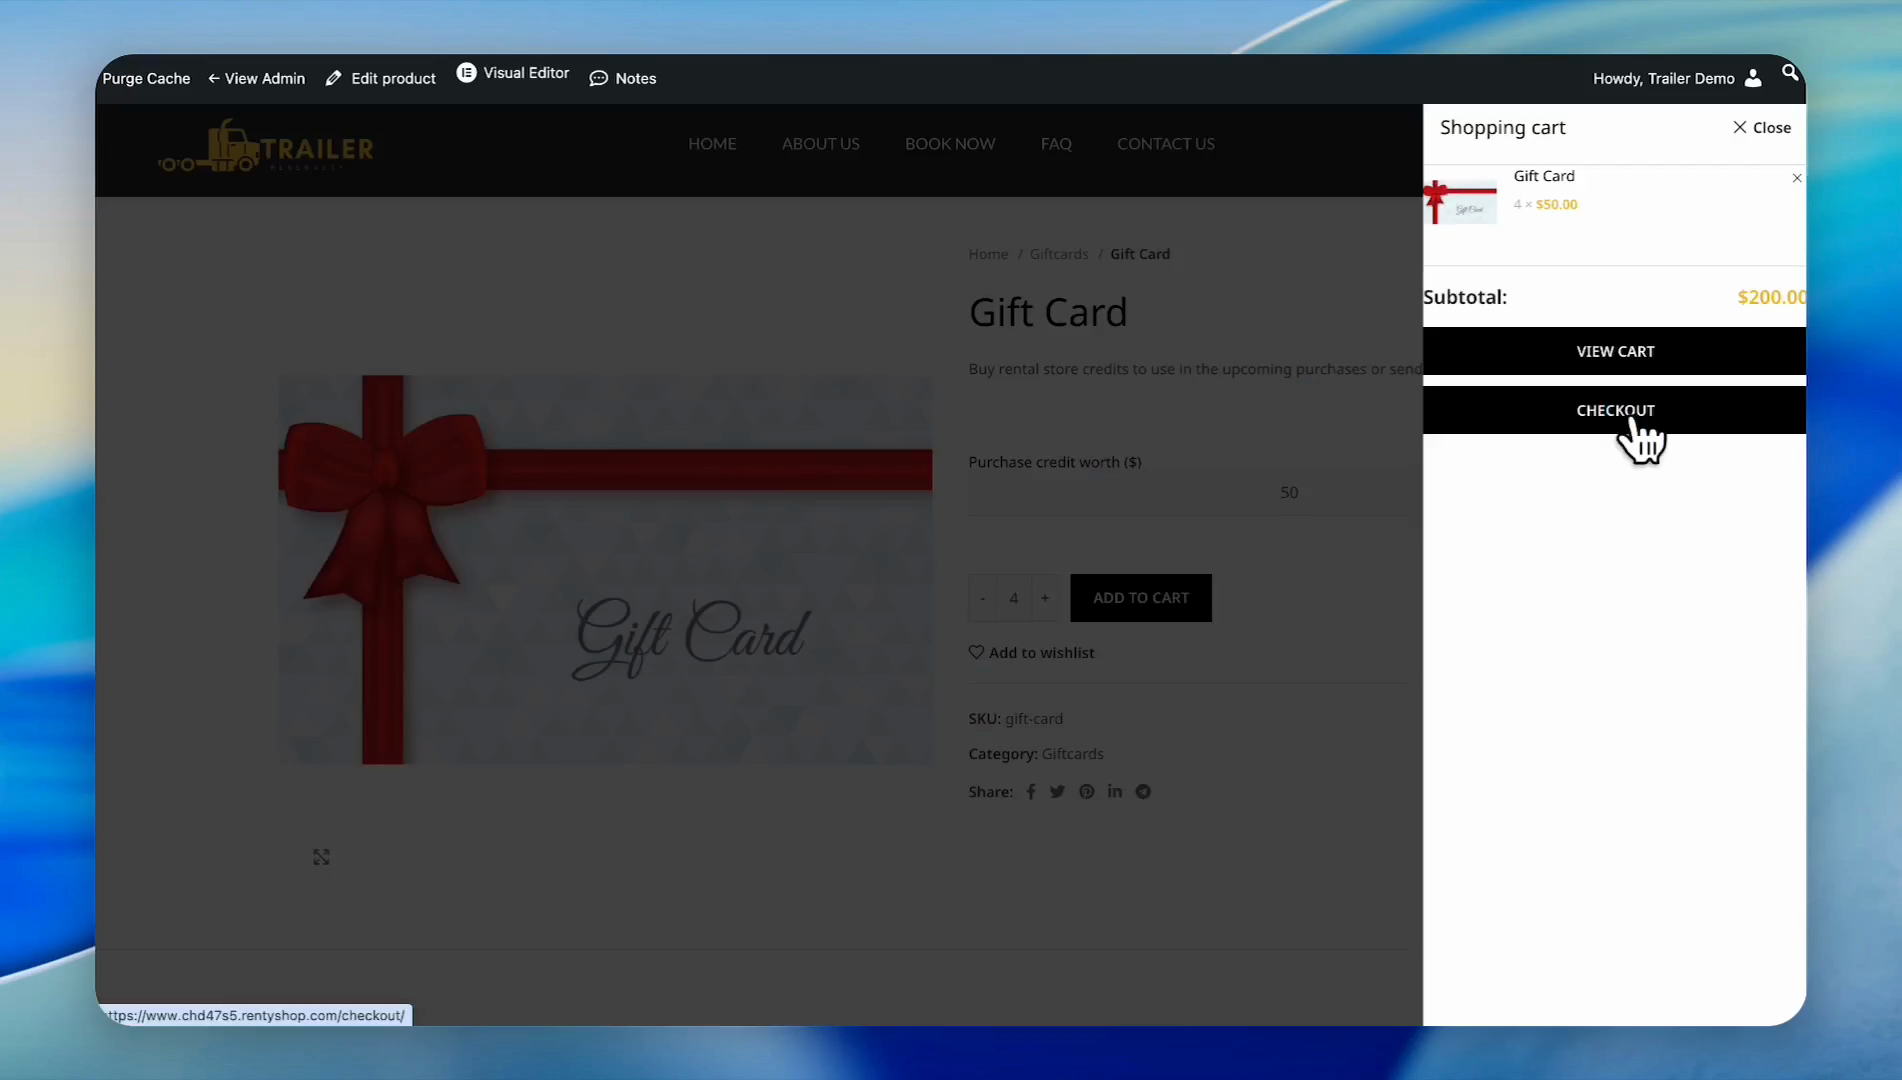
28
Click the 'ADD TO CART' button.
29
Click the 'CHECKOUT' button.
30
On the checkout page, ensure the amount is correct. We have four $50 gift cards, totaling $200. There are no taxes because we chose not to tax the gift cards
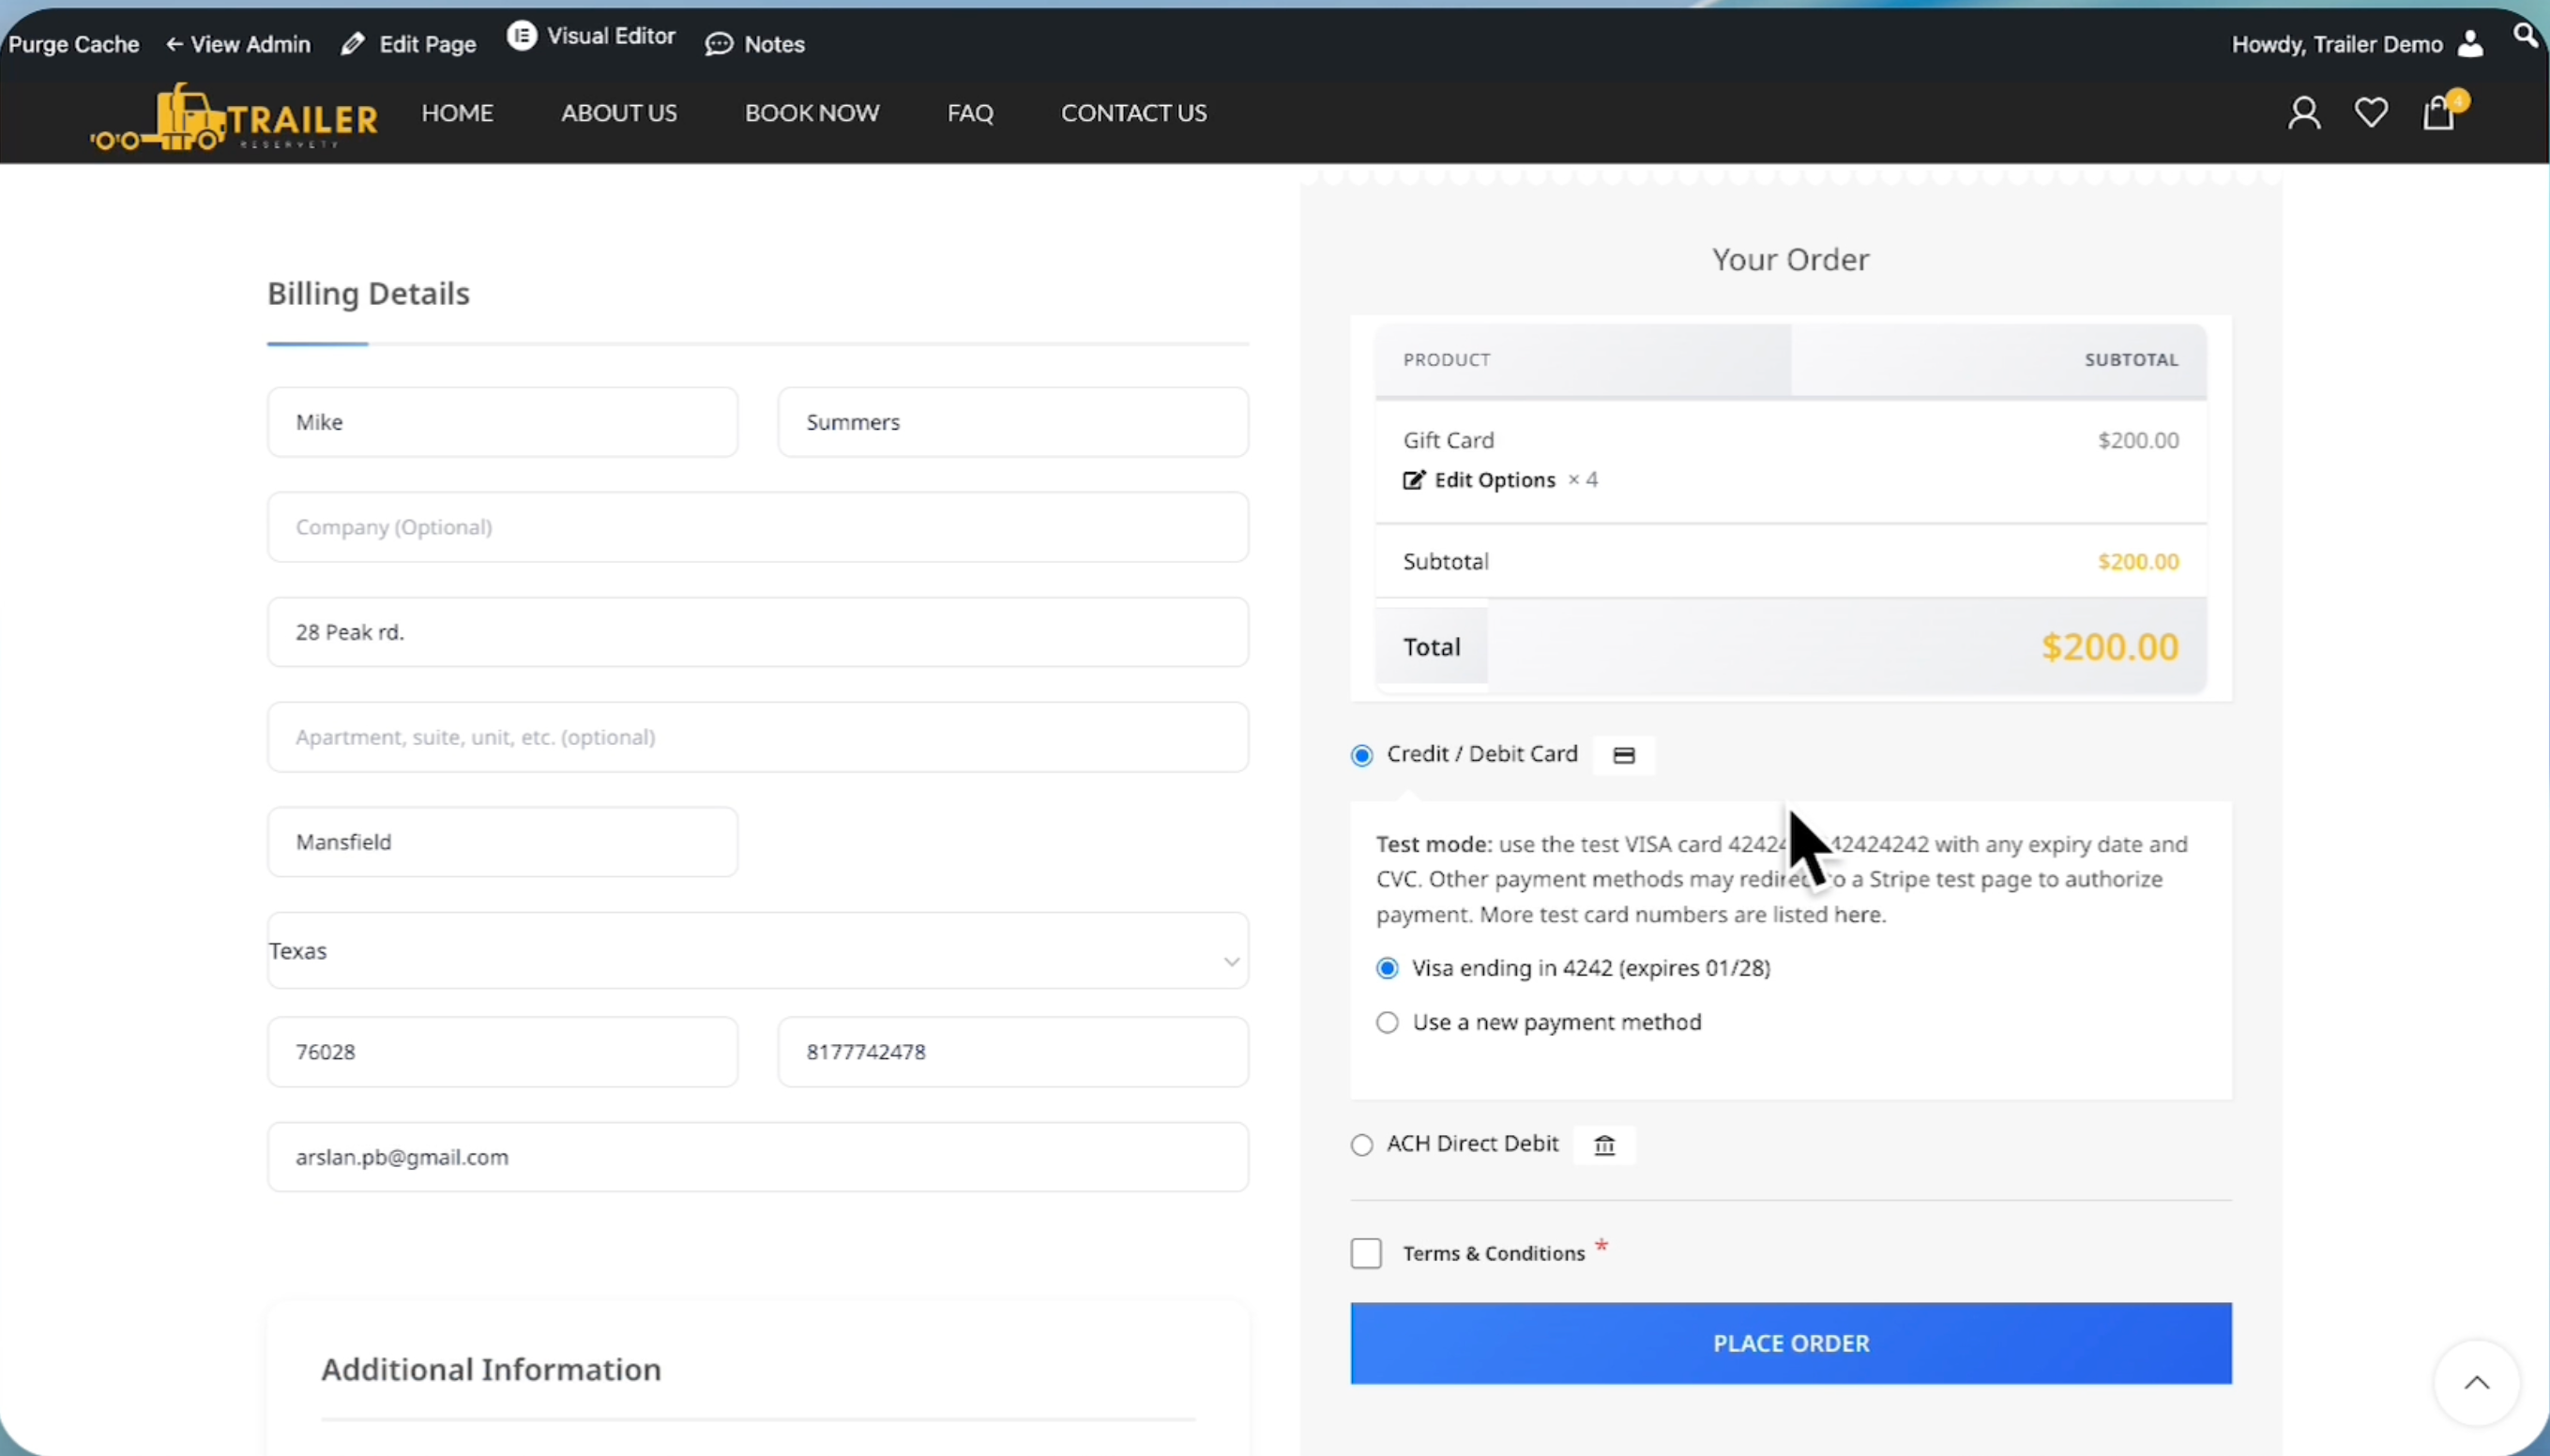
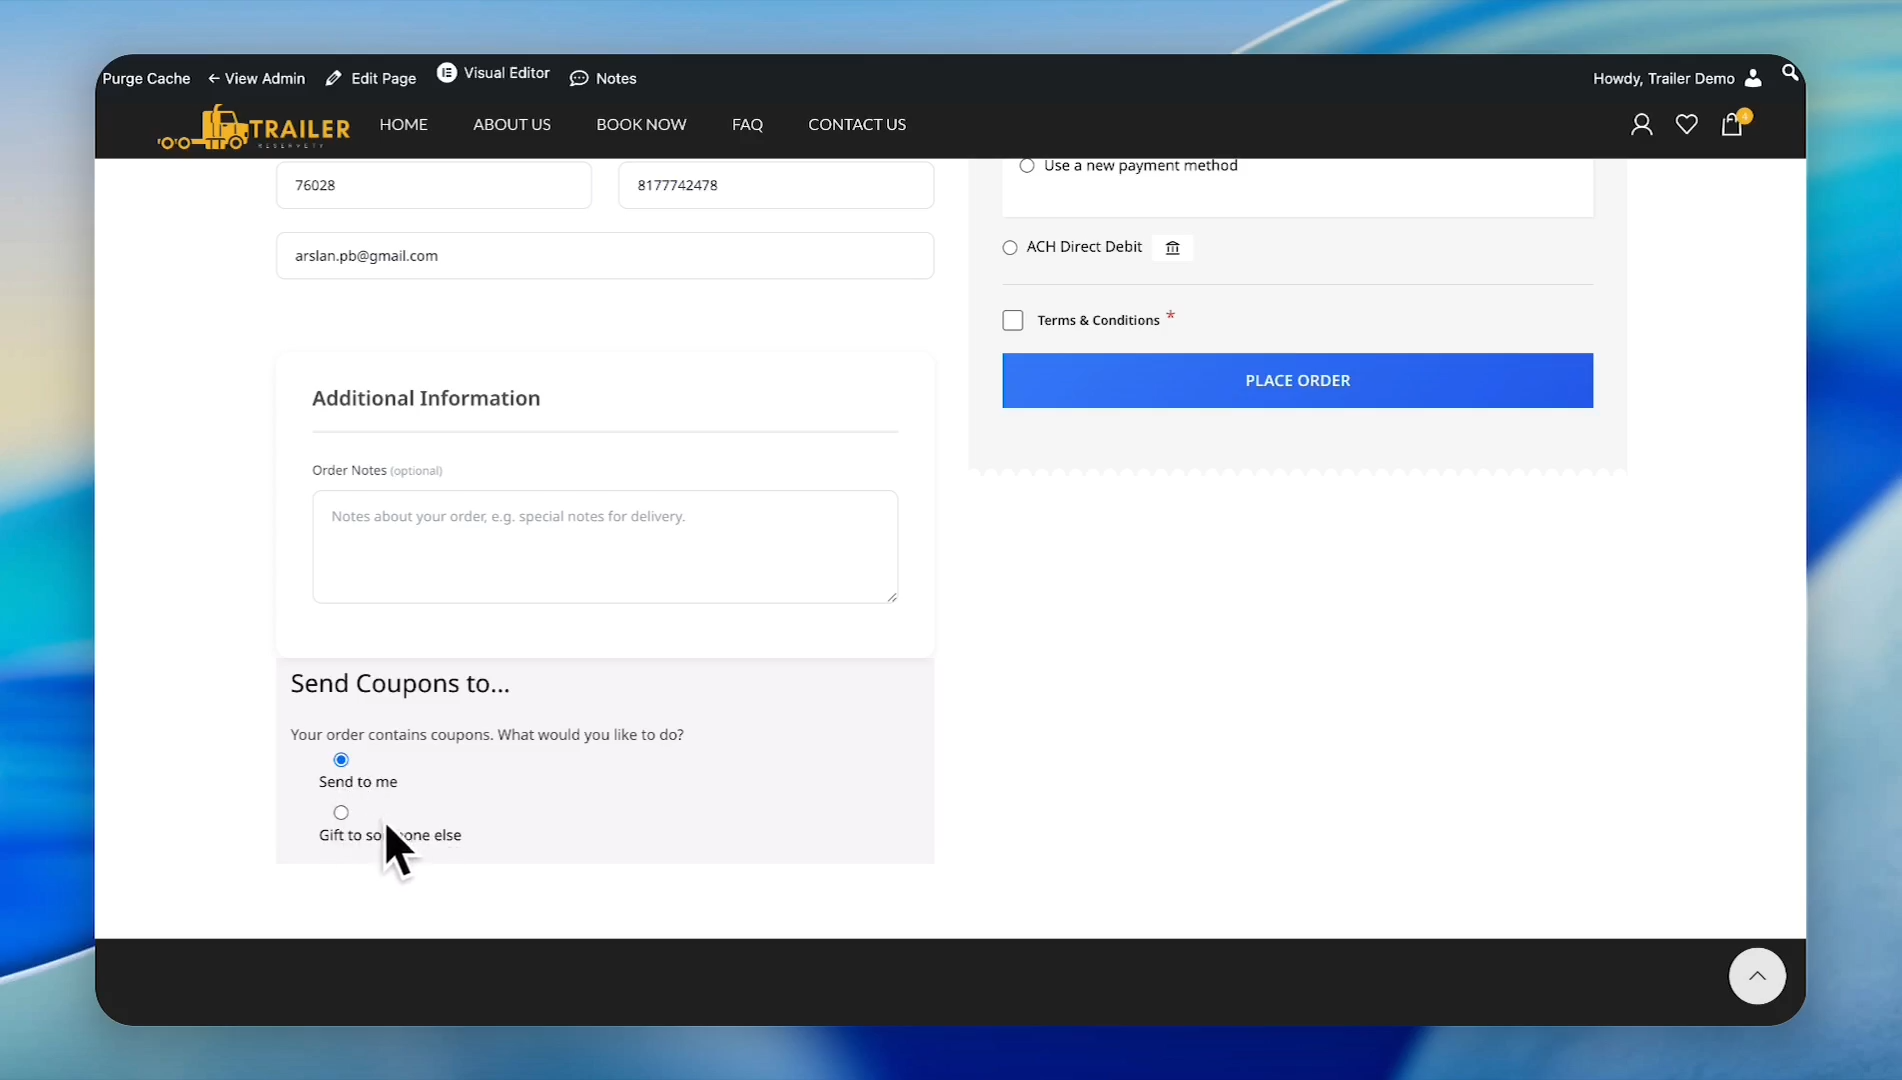
31
Fill out the customer information and find the section labeled "Send coupons to." This section is where you choose where to send the gift cards. You can send it to yourself or to someone else. If you want to send it to someone else, click the "Gift to someone else" radio button.
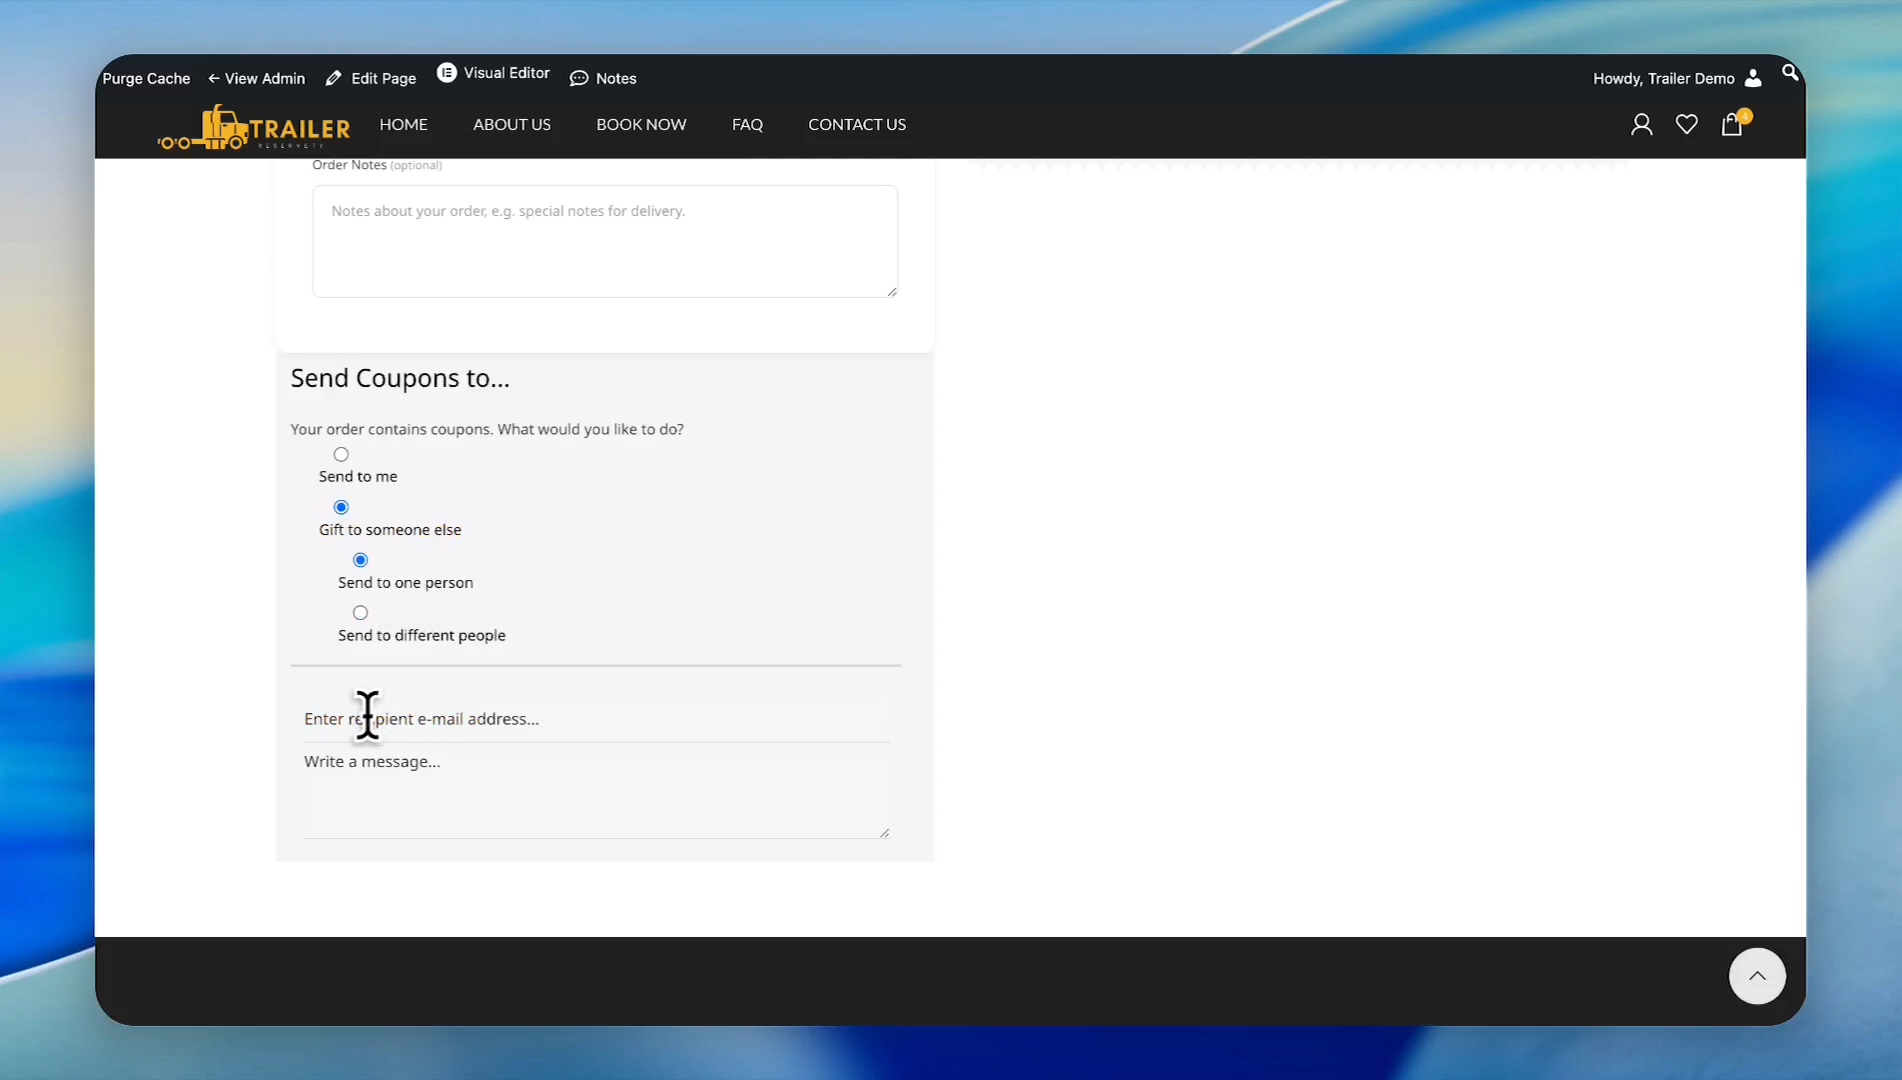
32
When you choose the "Gift to someone else" option, you have two options: "Send to one person" or "Send to different people".
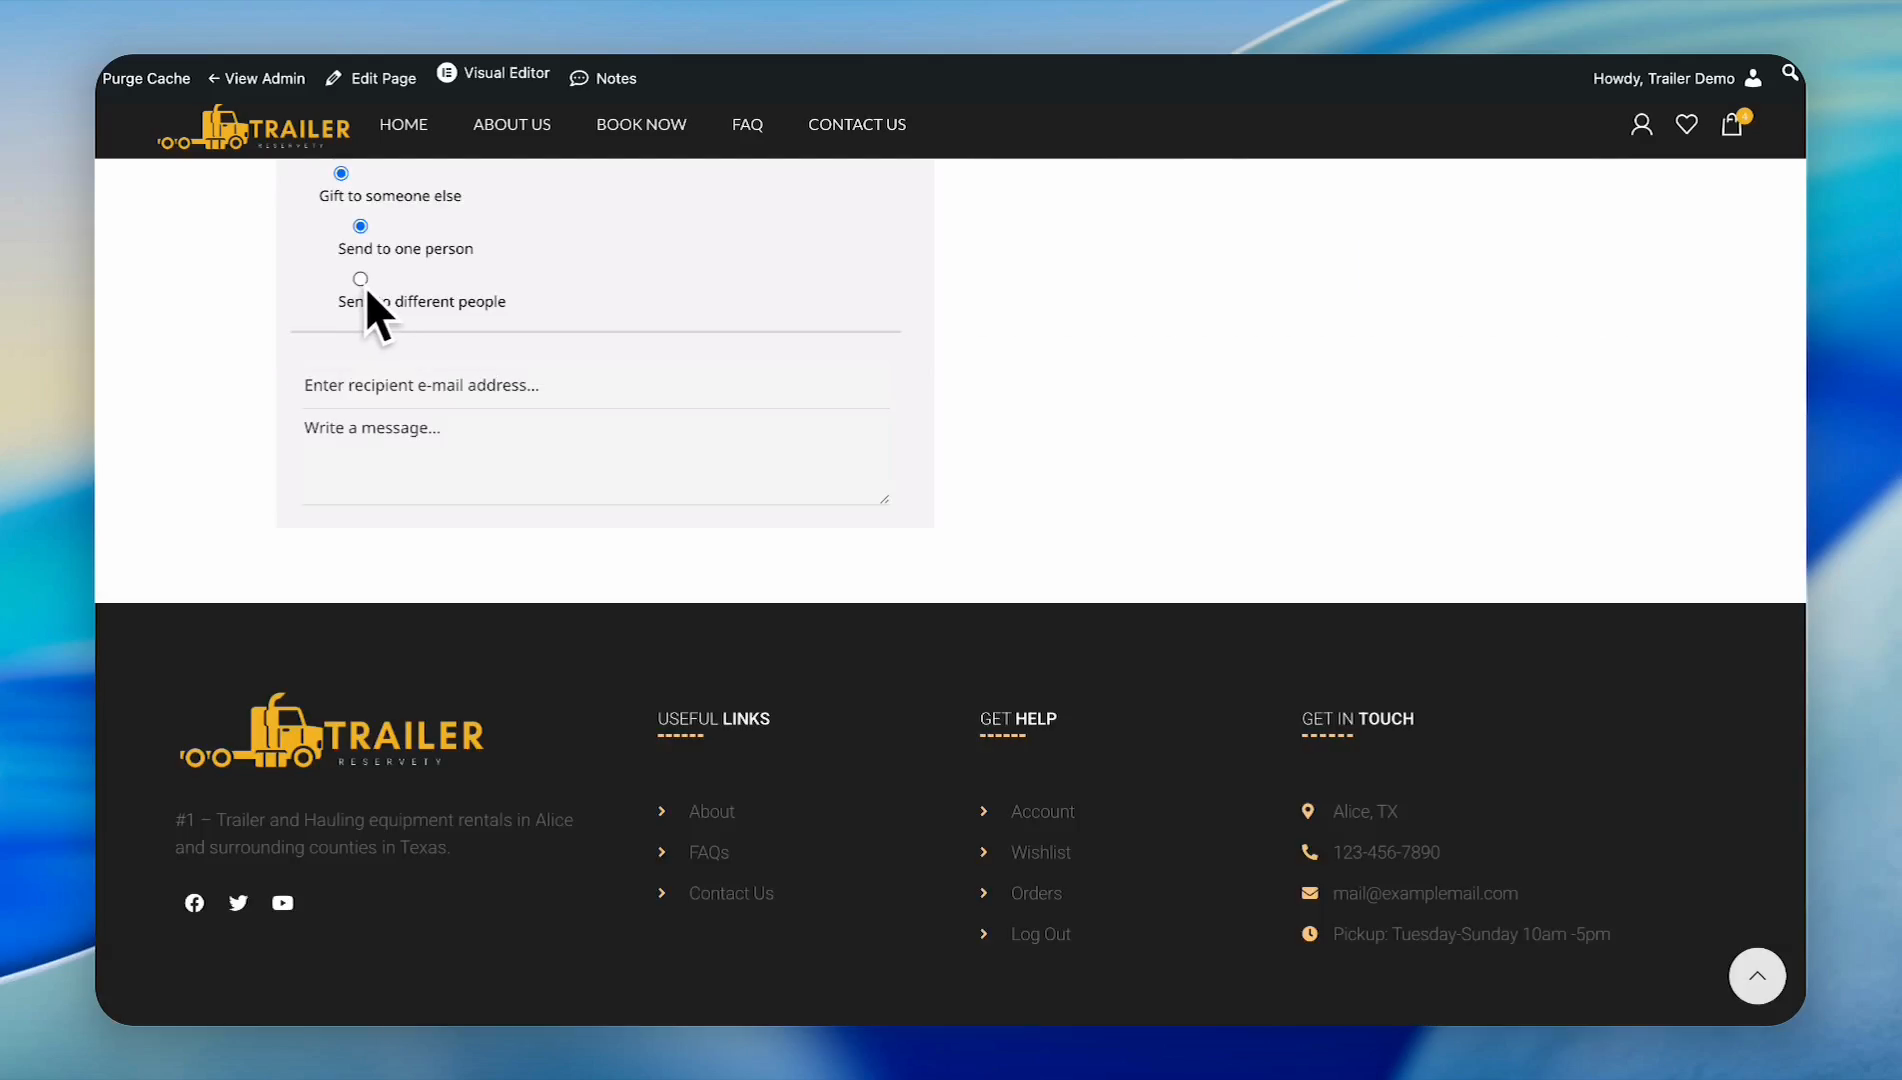
33
In this tutorial, we will select the 'Send to one person' radio button. Enter the person's email and write a personalized message.
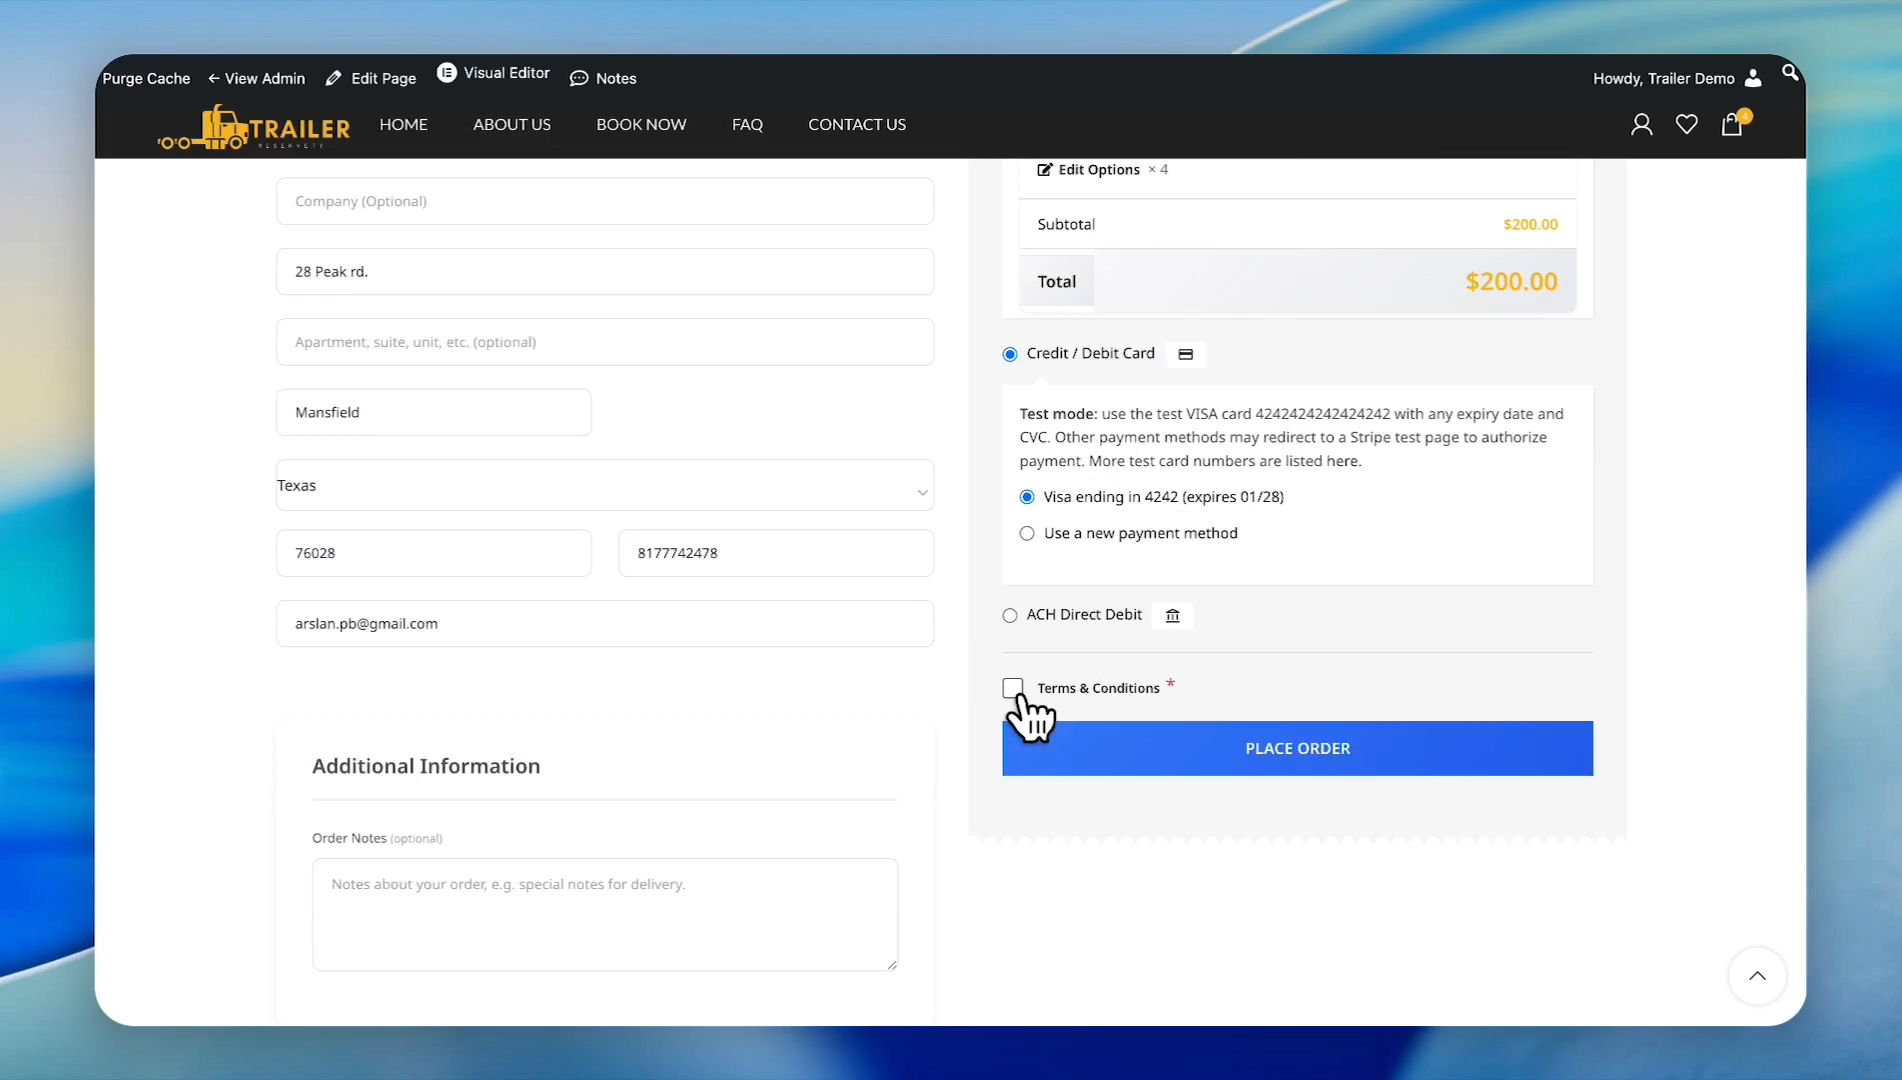
34
Click the 'Terms & Conditions' checkbox and hit the "Place Order" button.
35
Recipients will get the gift card in their email inbox and copy and paste the code to spend on items. Or they can keep the credits in their account until they make future purchases.
36
As you can see, we applied the gift card to the test order, and it worked perfectly.
