
How to Create and Distribute a Daily Report in Kahua: Step-by-Step Guide
Learn how to efficiently create and distribute daily reports in Kahua. This step-by-step guide covers everything from setting up the report to distributing and locking it for your project management needs.
In this guide, we'll learn how to create and distribute a daily report in Kahua. This process helps you document daily activities, incidents, visitors, equipment, materials, and weather conditions for your project. By following these steps, you can ensure that all relevant users receive the report and that your records are accurate and complete.
Let's get started
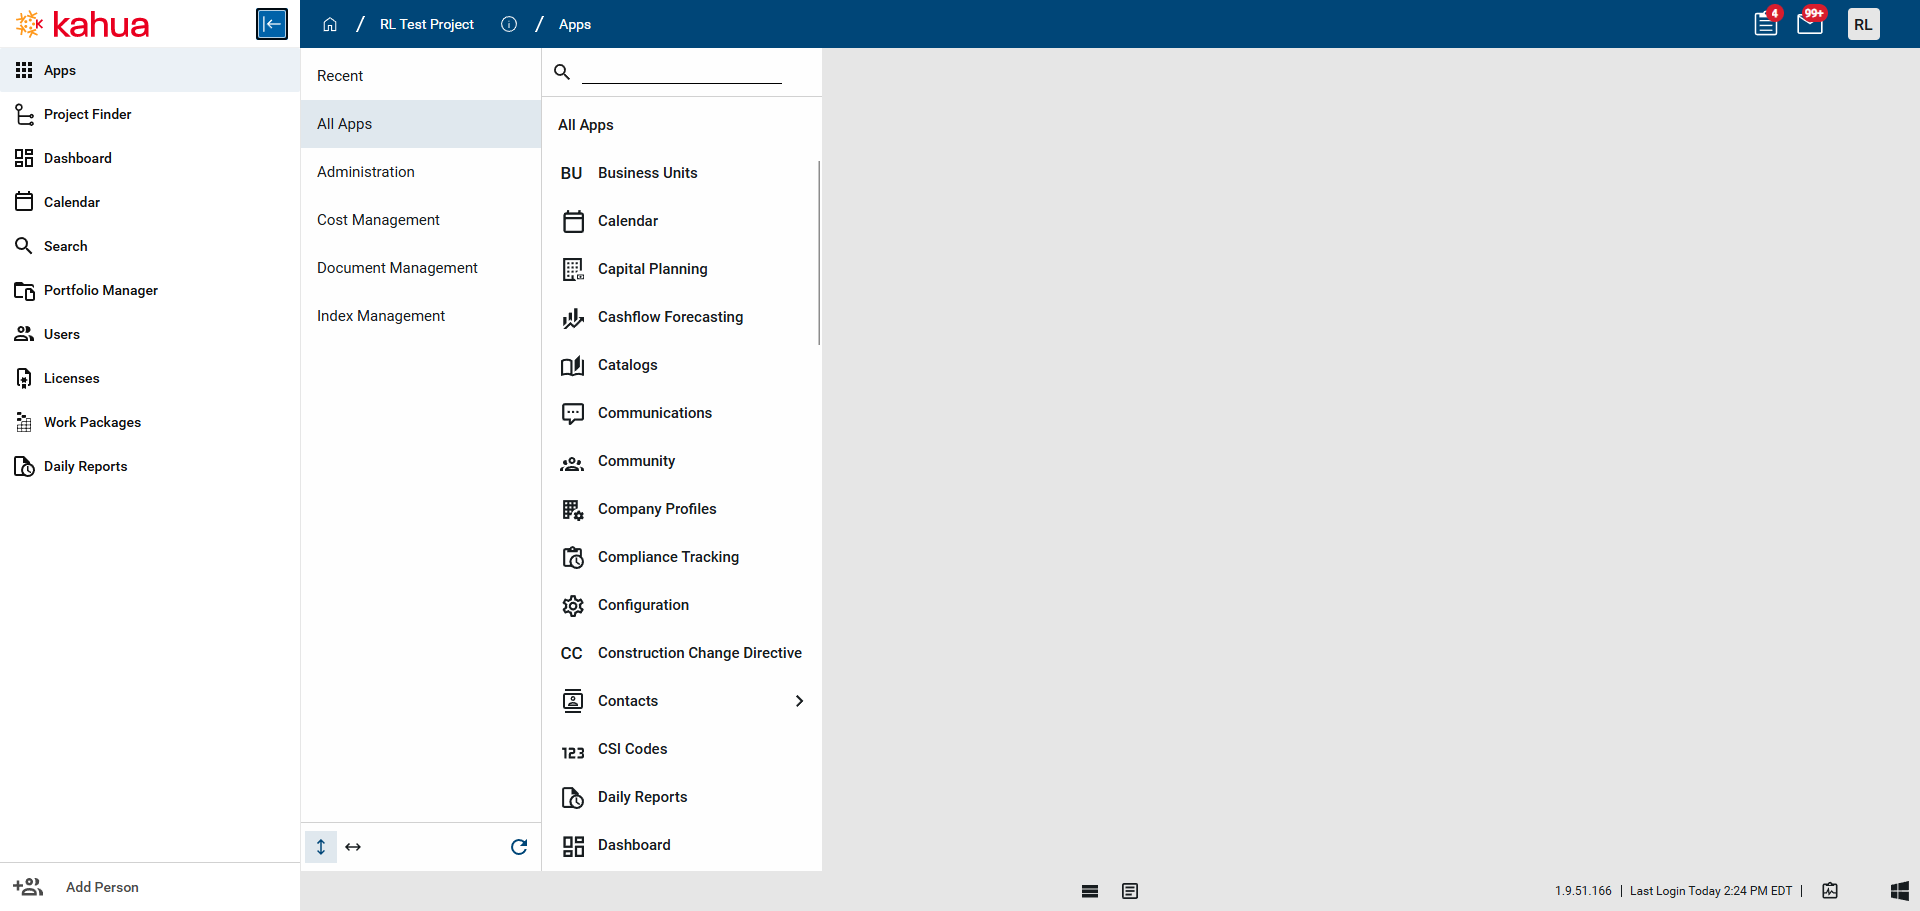
Today, we will learn how to create and distribute a daily report in Kahua. To begin, navigate to the project where you want to create the daily report.
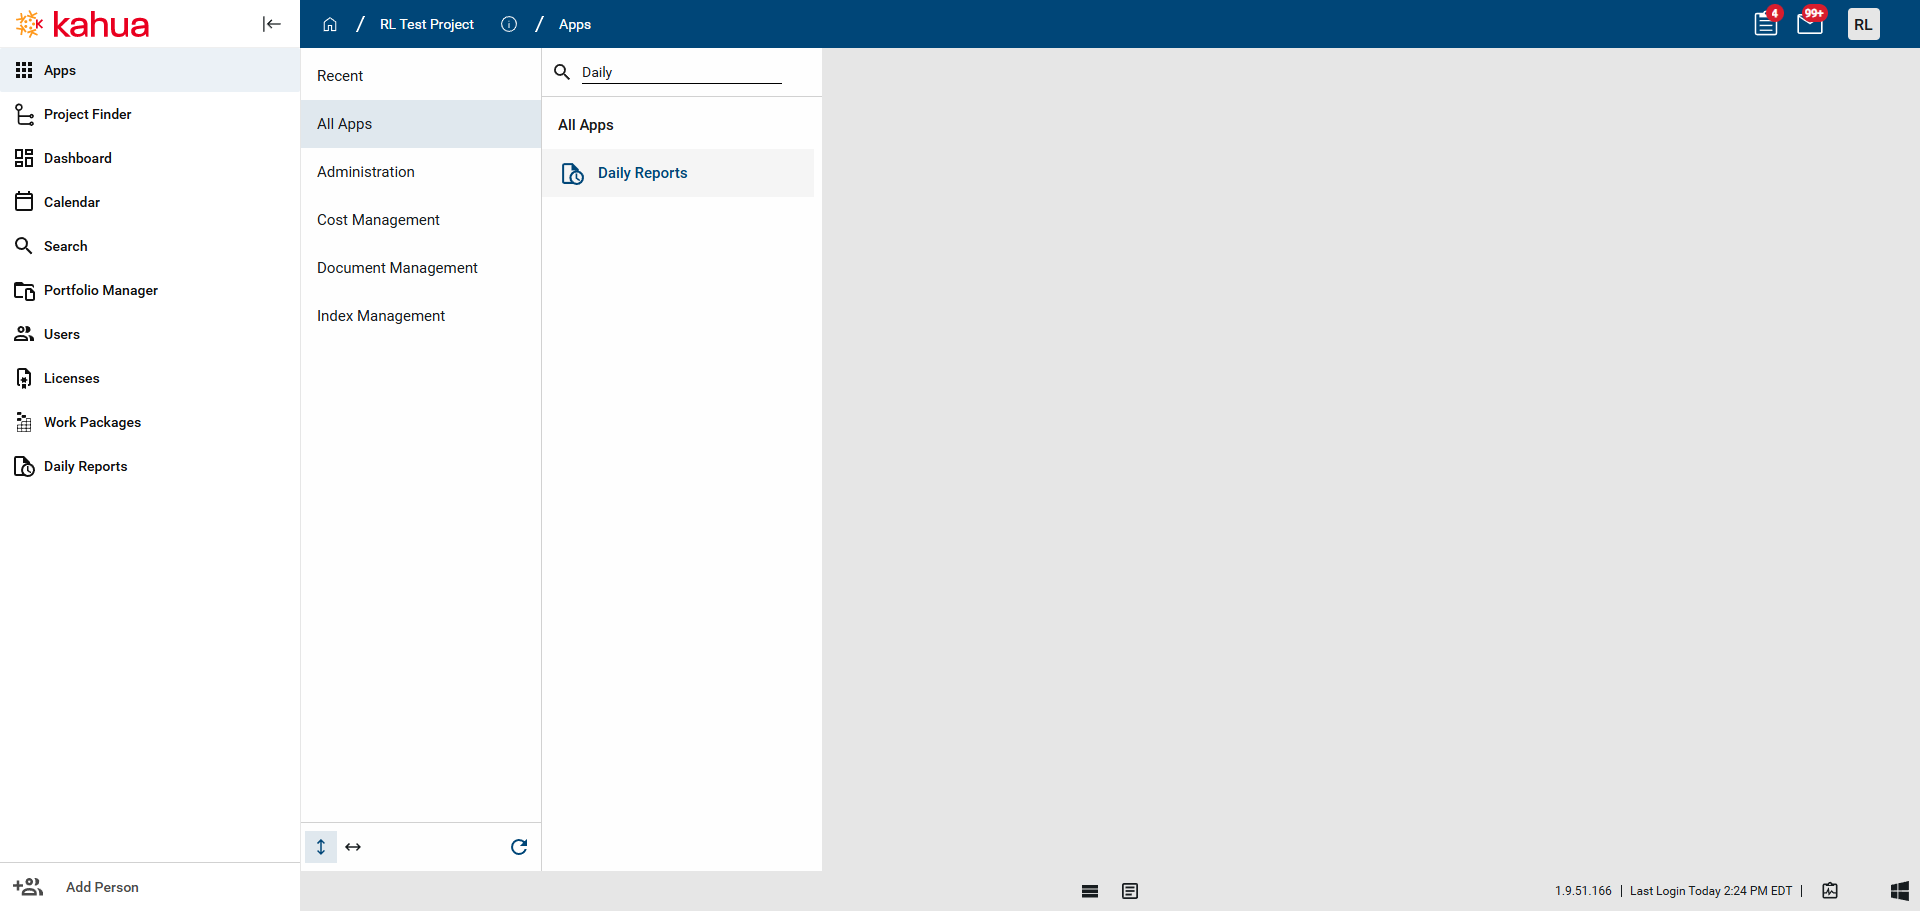
Click on Apps, then All Apps. Go to the search bar and type "daily."
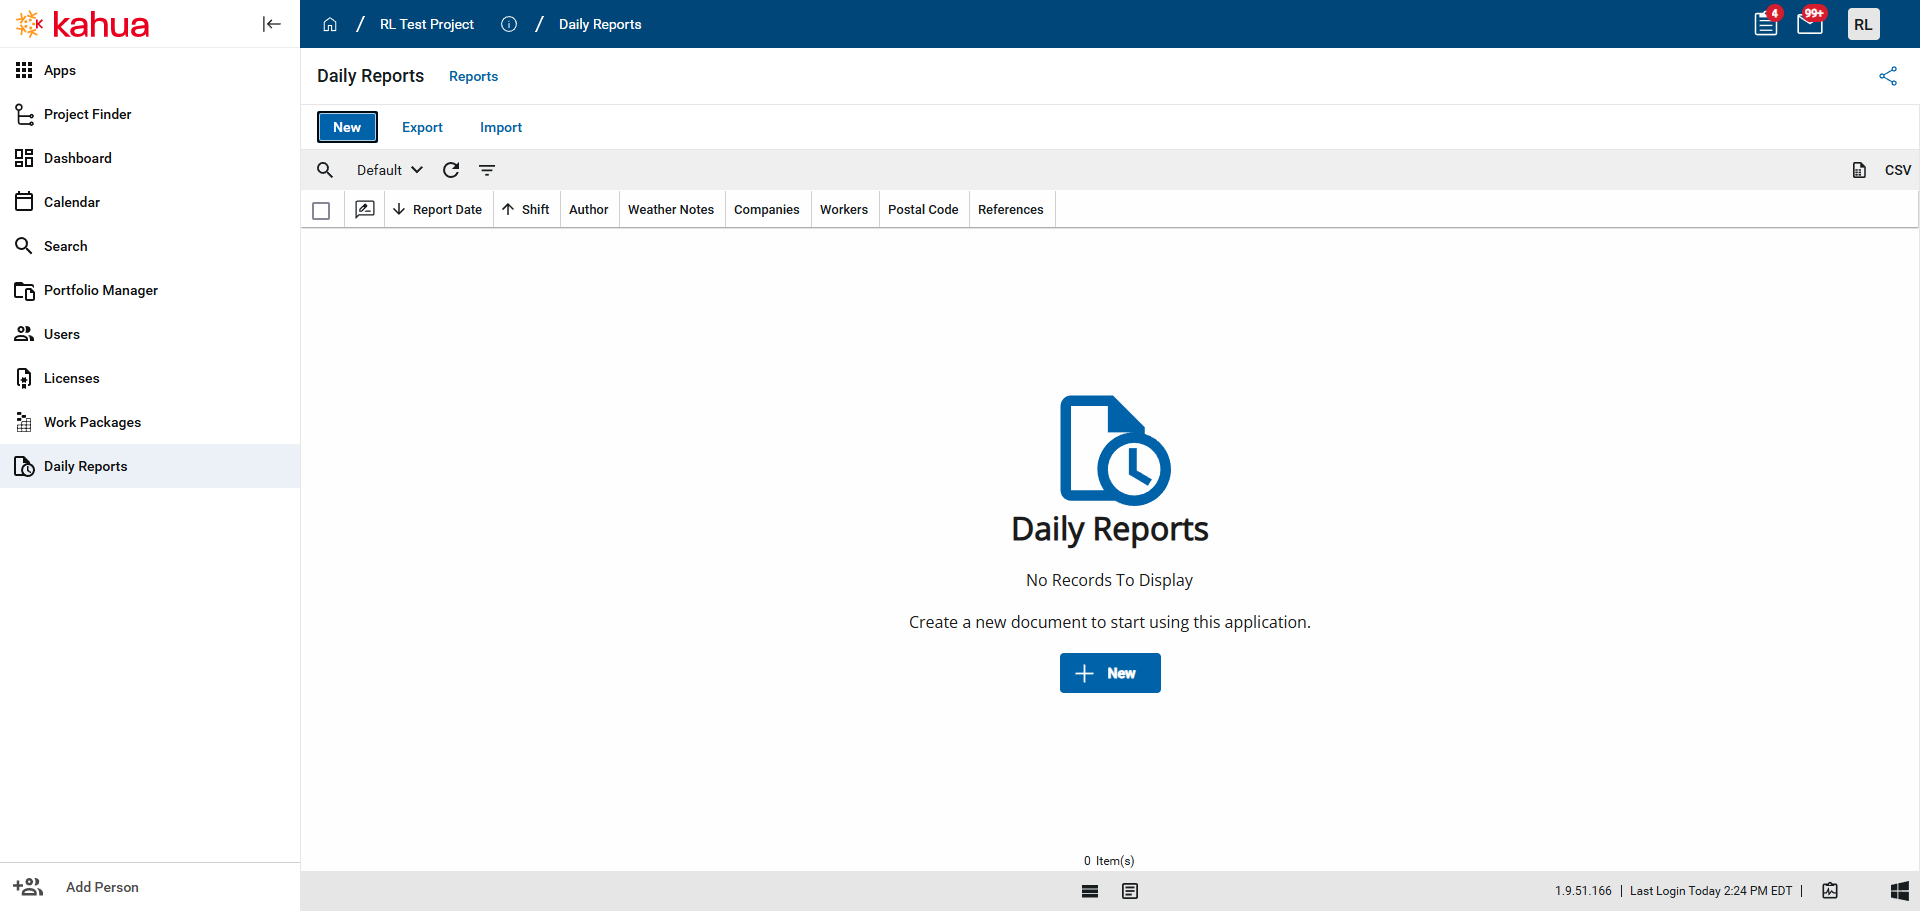
Once in the application, click "New" to create a daily report. A form will appear for you to fill out.
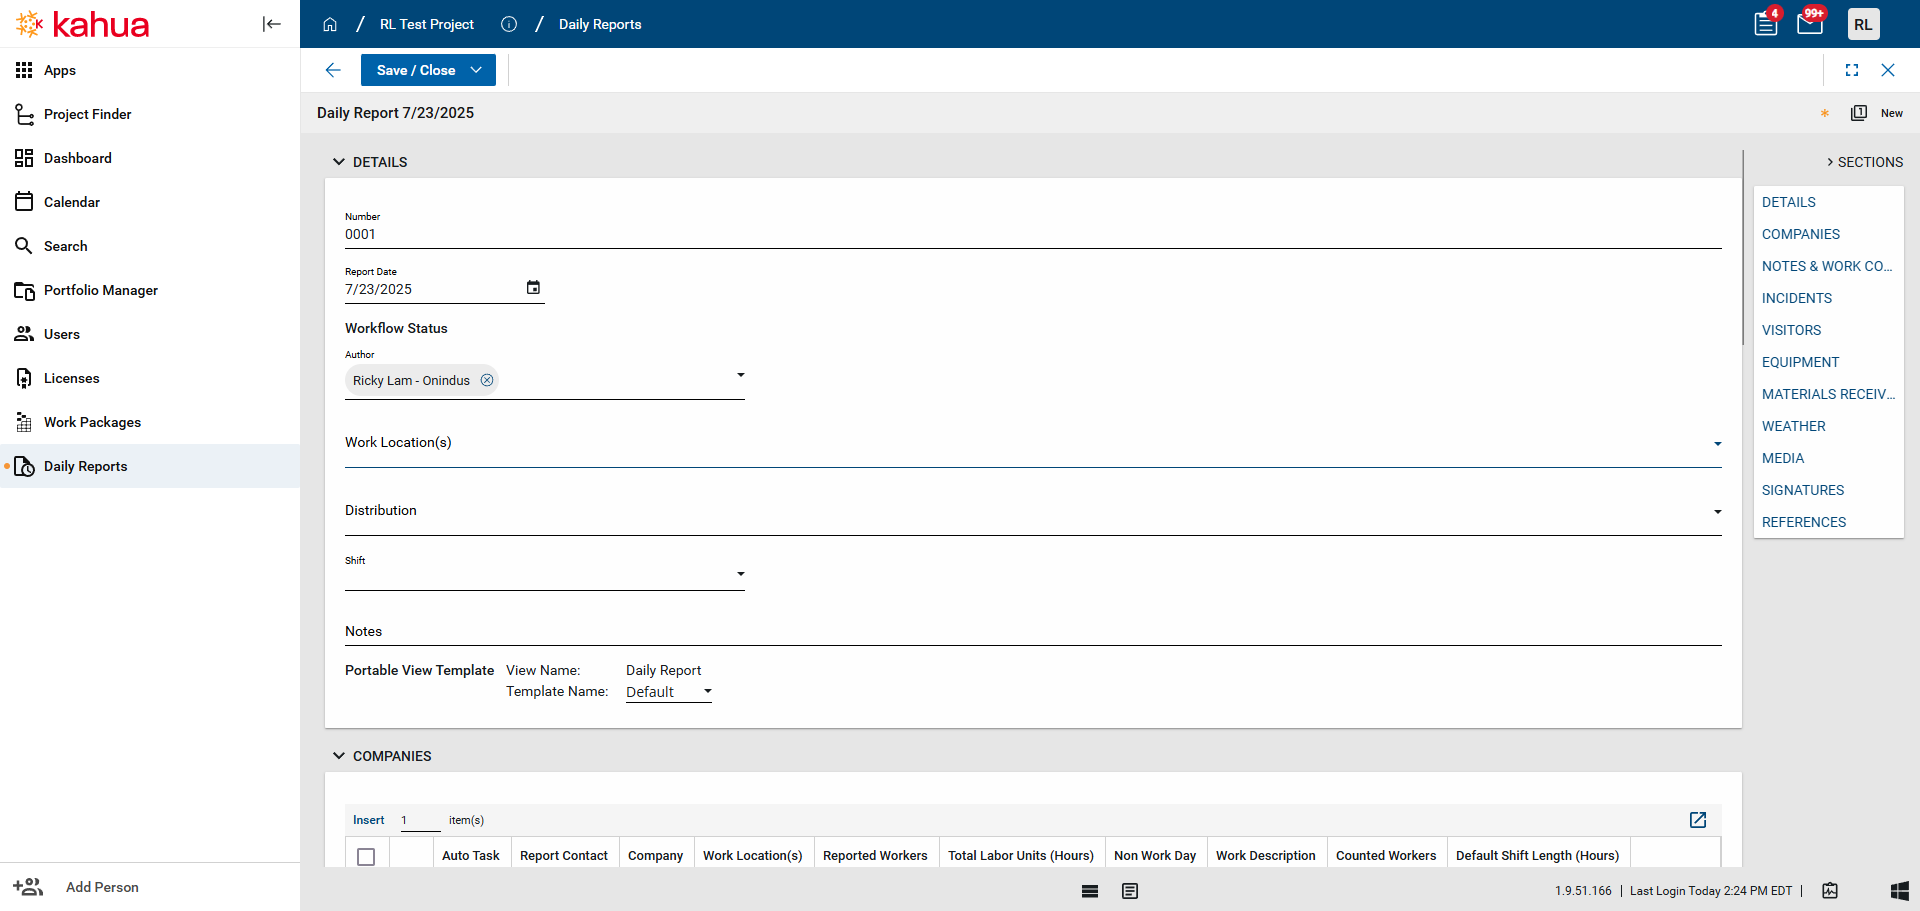
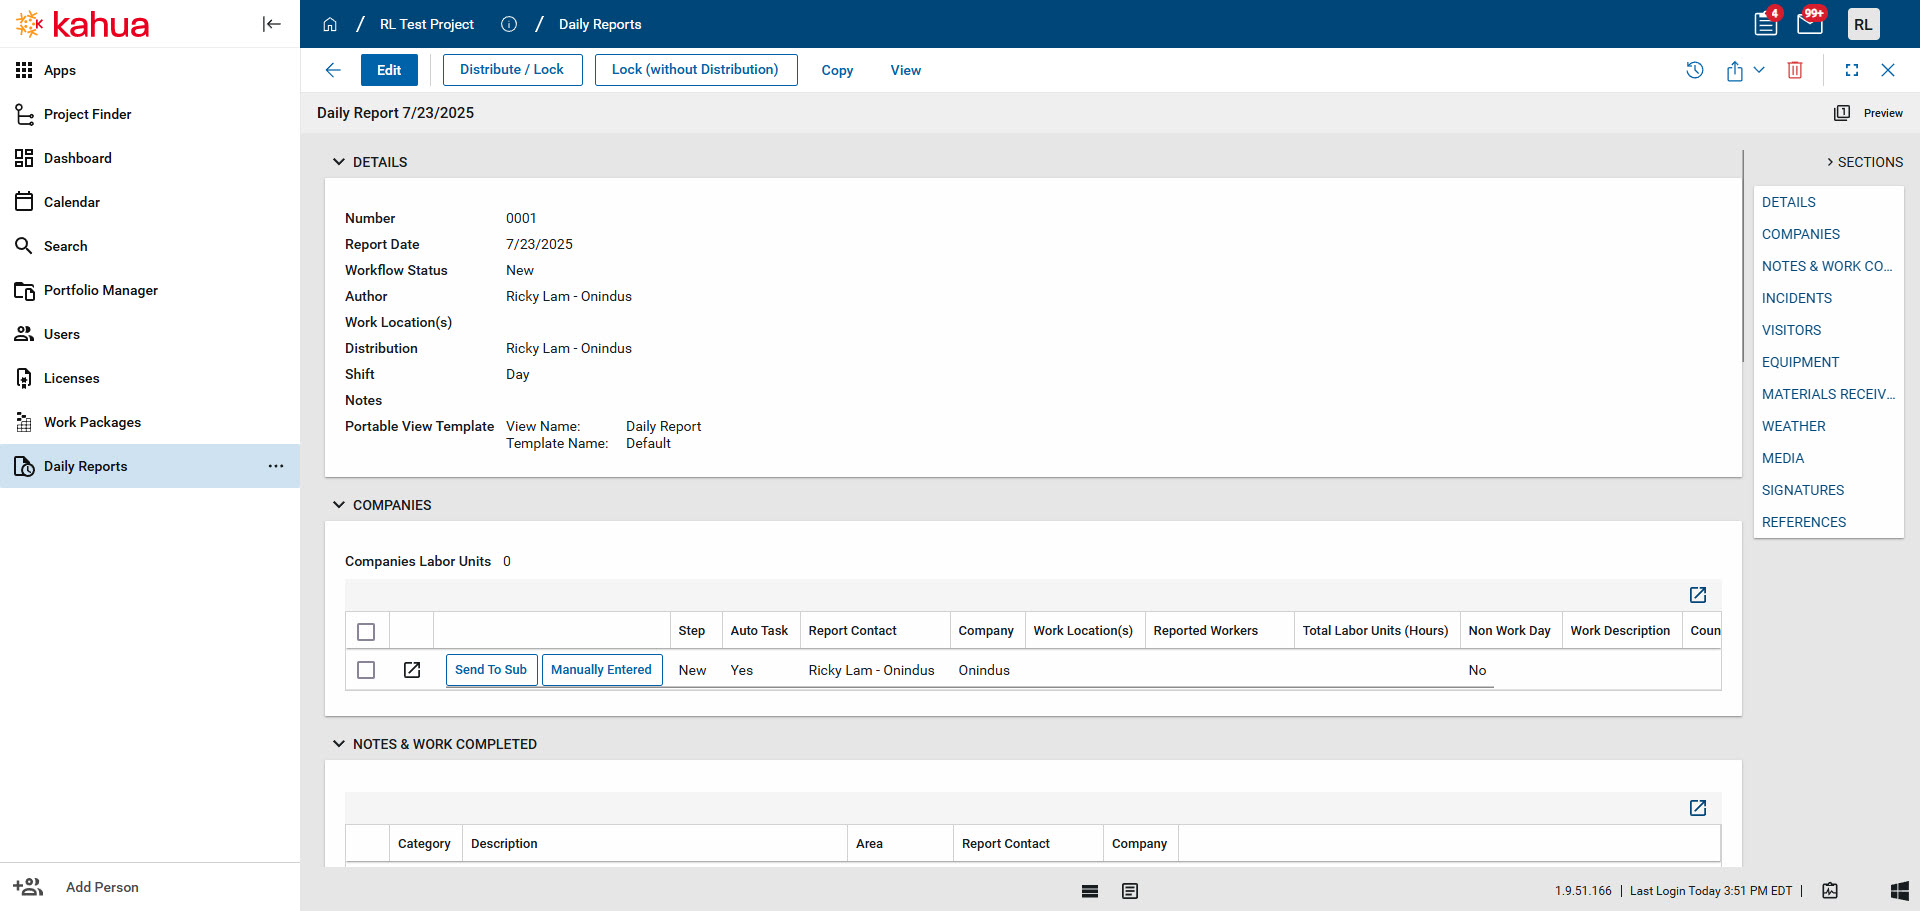
In this exercise, I will fill every user field with my own information to avoid sending multiple tasks and notifications. Normally these fields will be populated with relevant users.
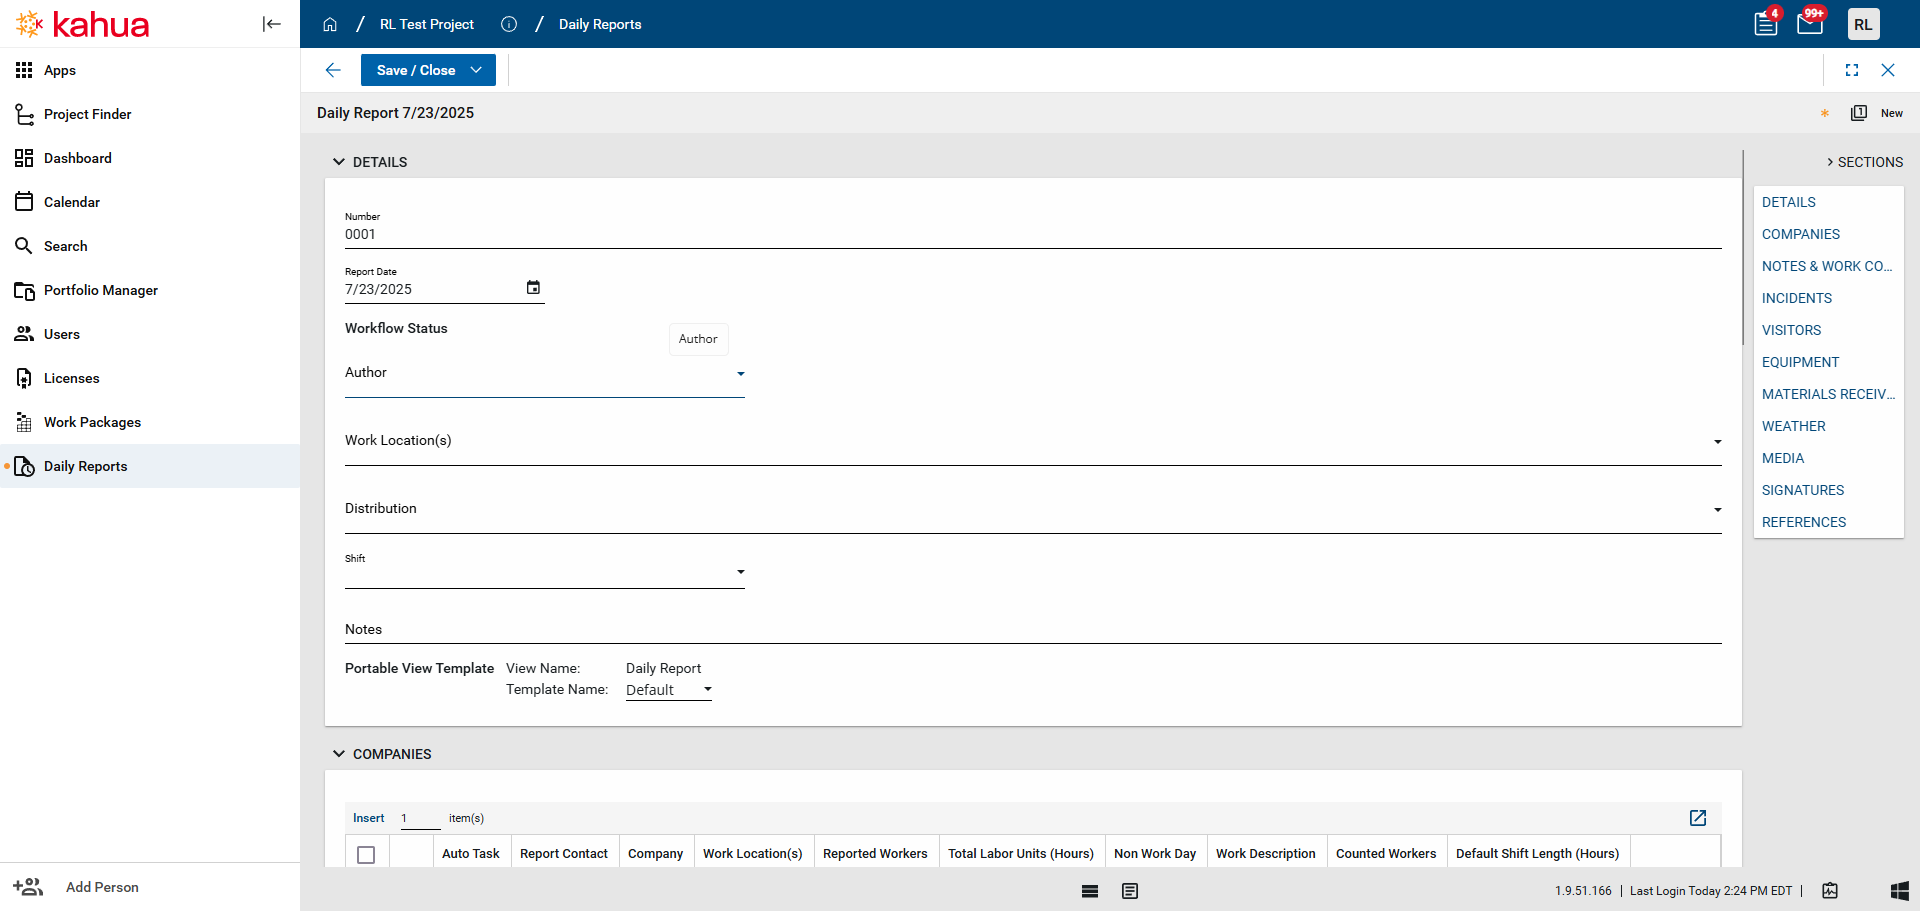
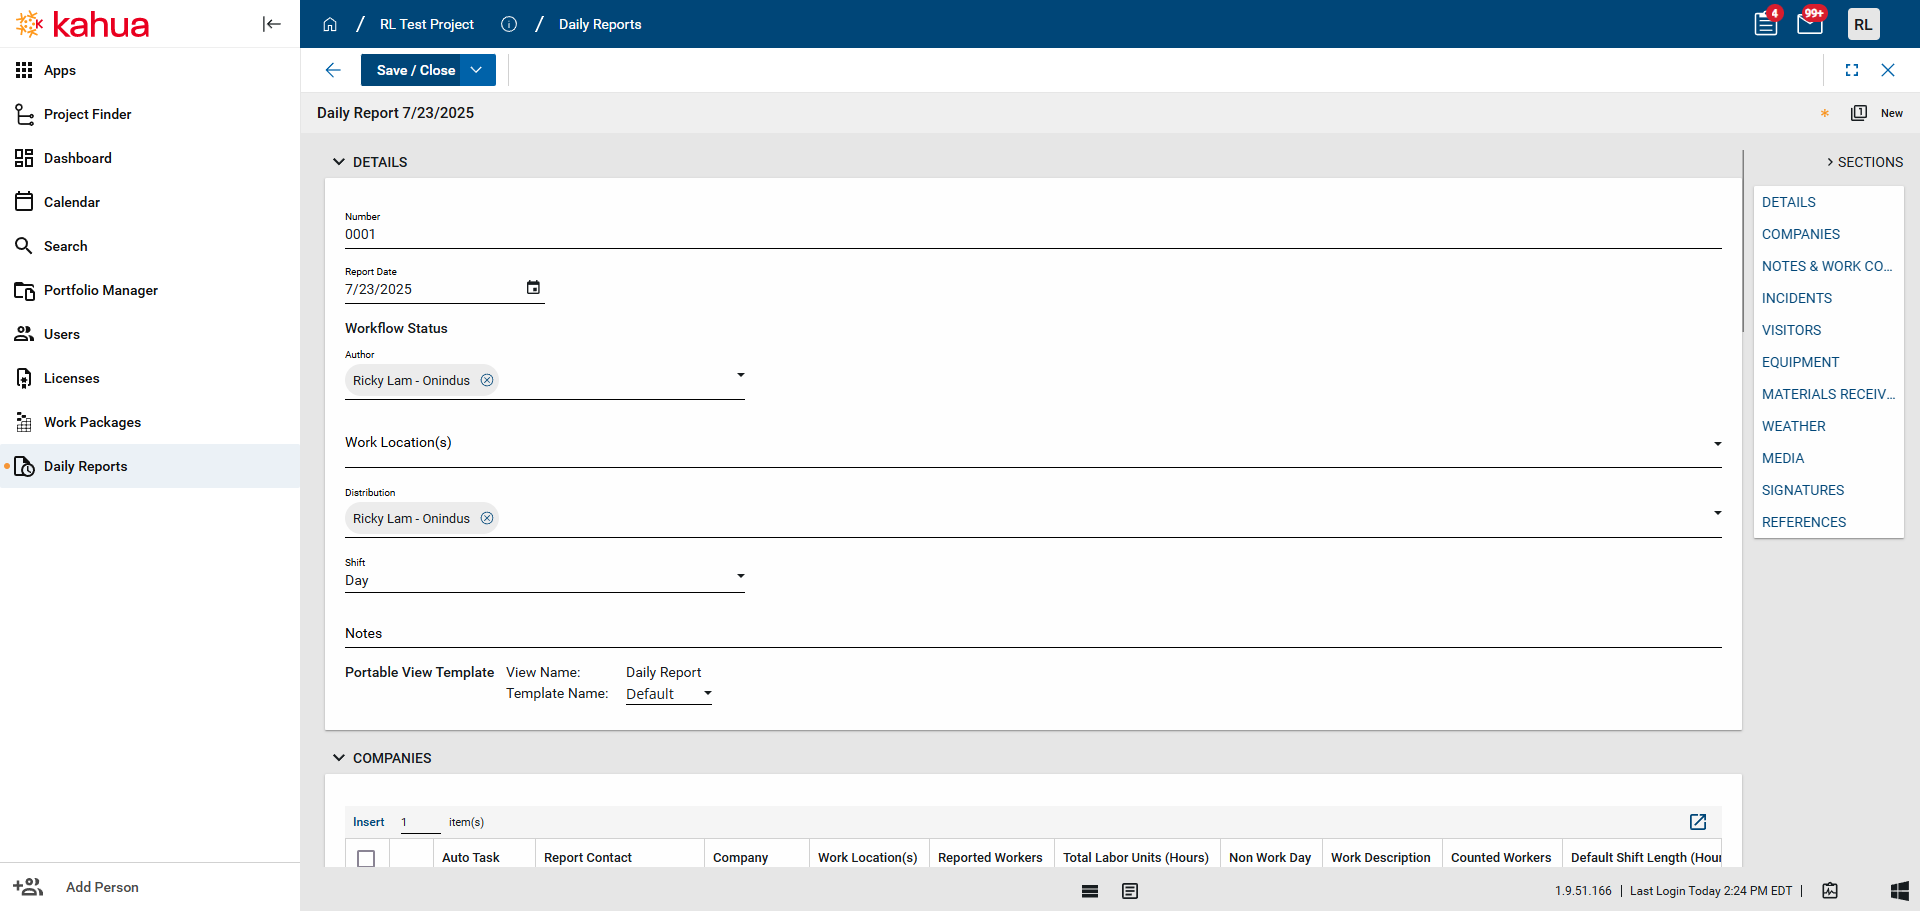
The should be author the person who created this daily report. Work location will be a list of locations, but currently there are no locations in the system.
Distribution: Any user designated in this field will receive a copy of the daily report when you click Distribute at the end of the process.

Day shift.
Notes are for any notable observations or information you want to share that don't fit into the other sections.

In the Companies section, you'll add any relevant users from every company involved in this daily report.
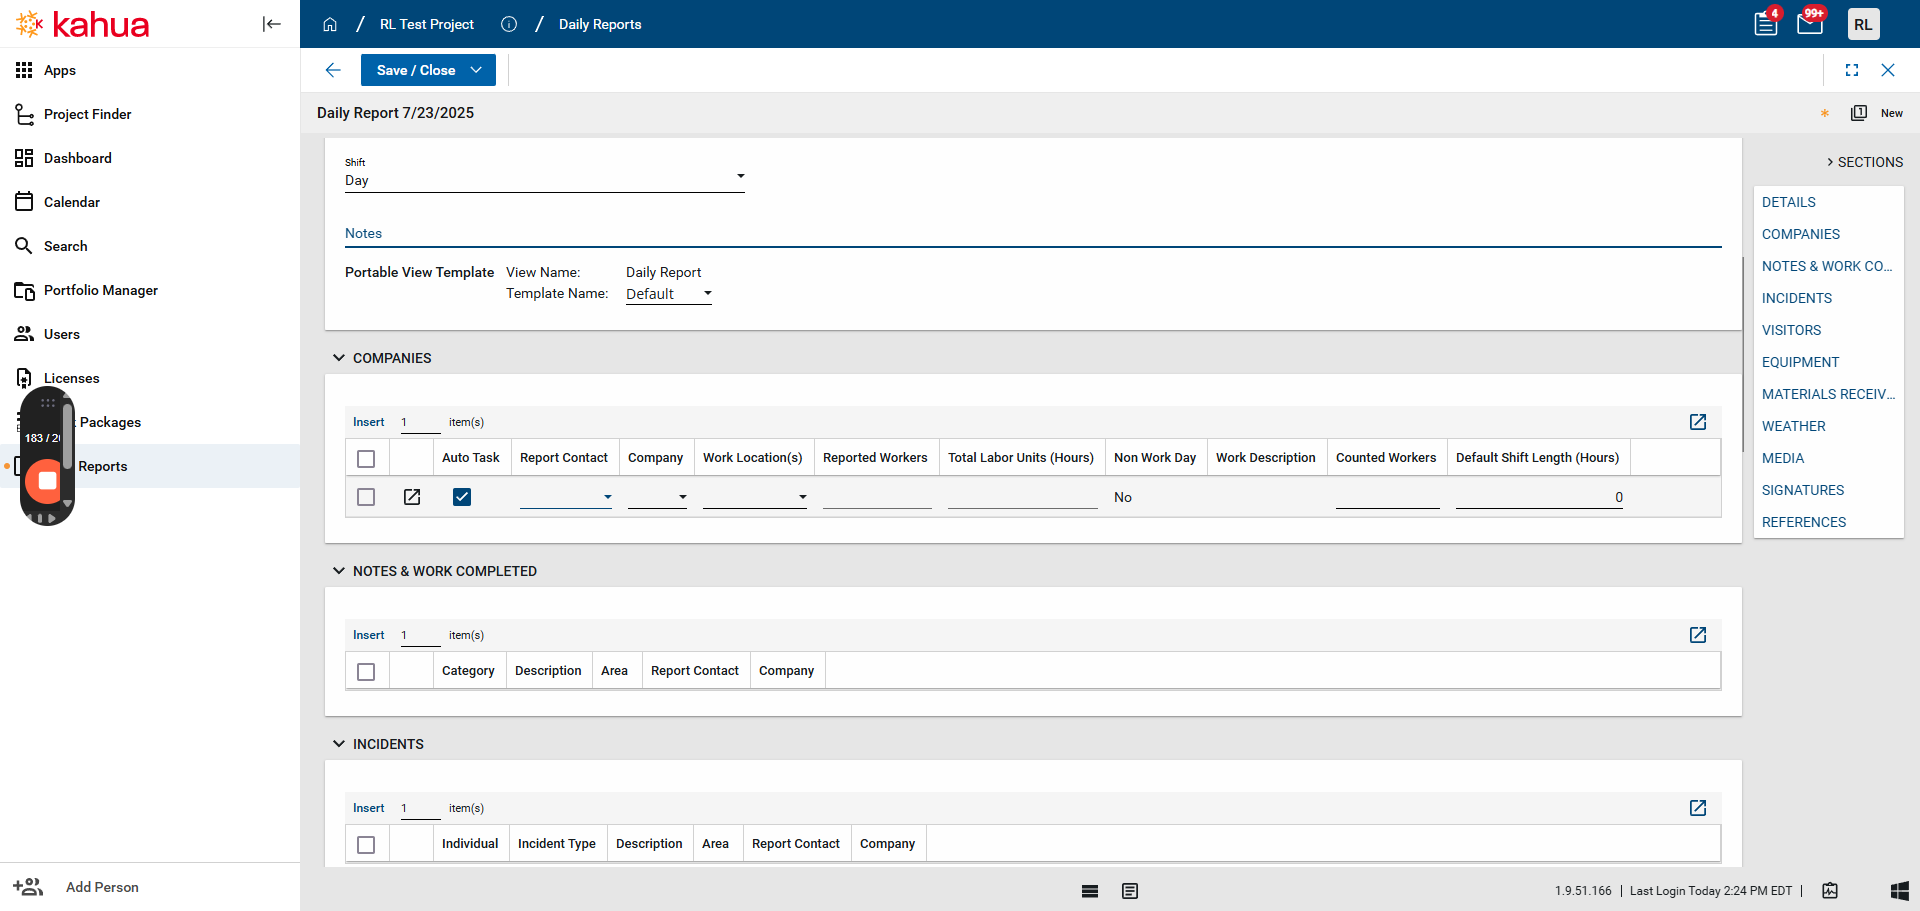
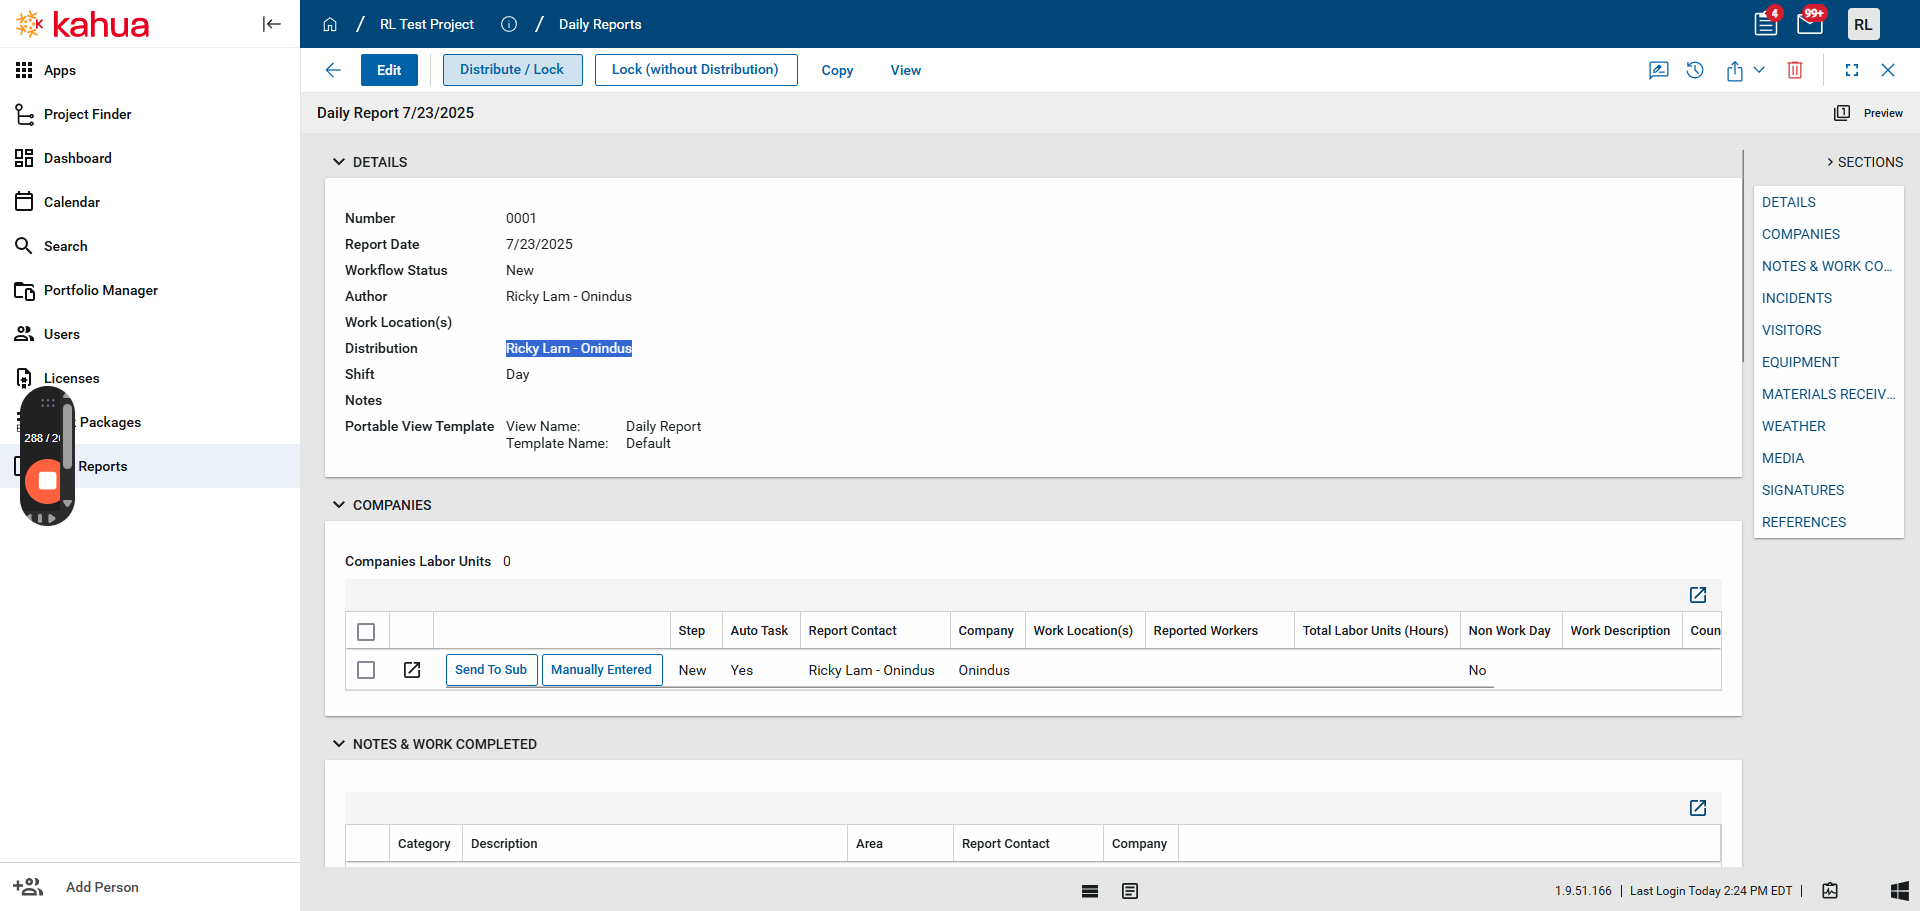
After you save the daily report, a button will appear in this section for each row. I will show you later and explain its function.
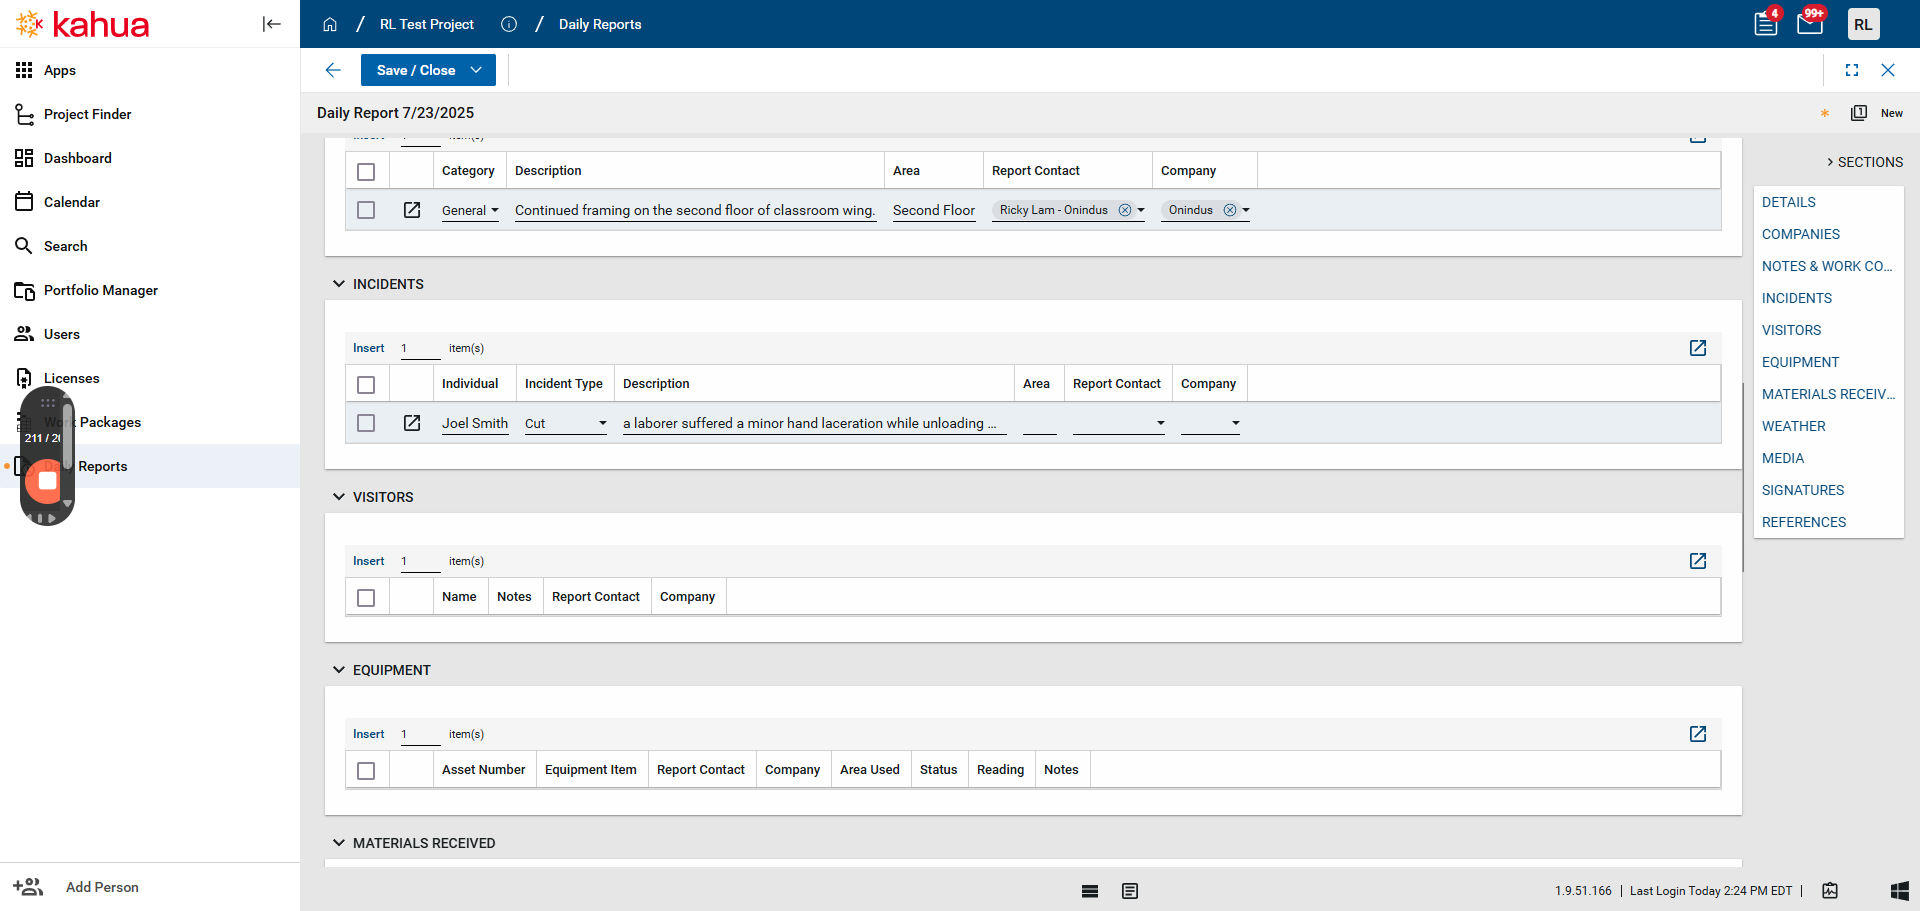
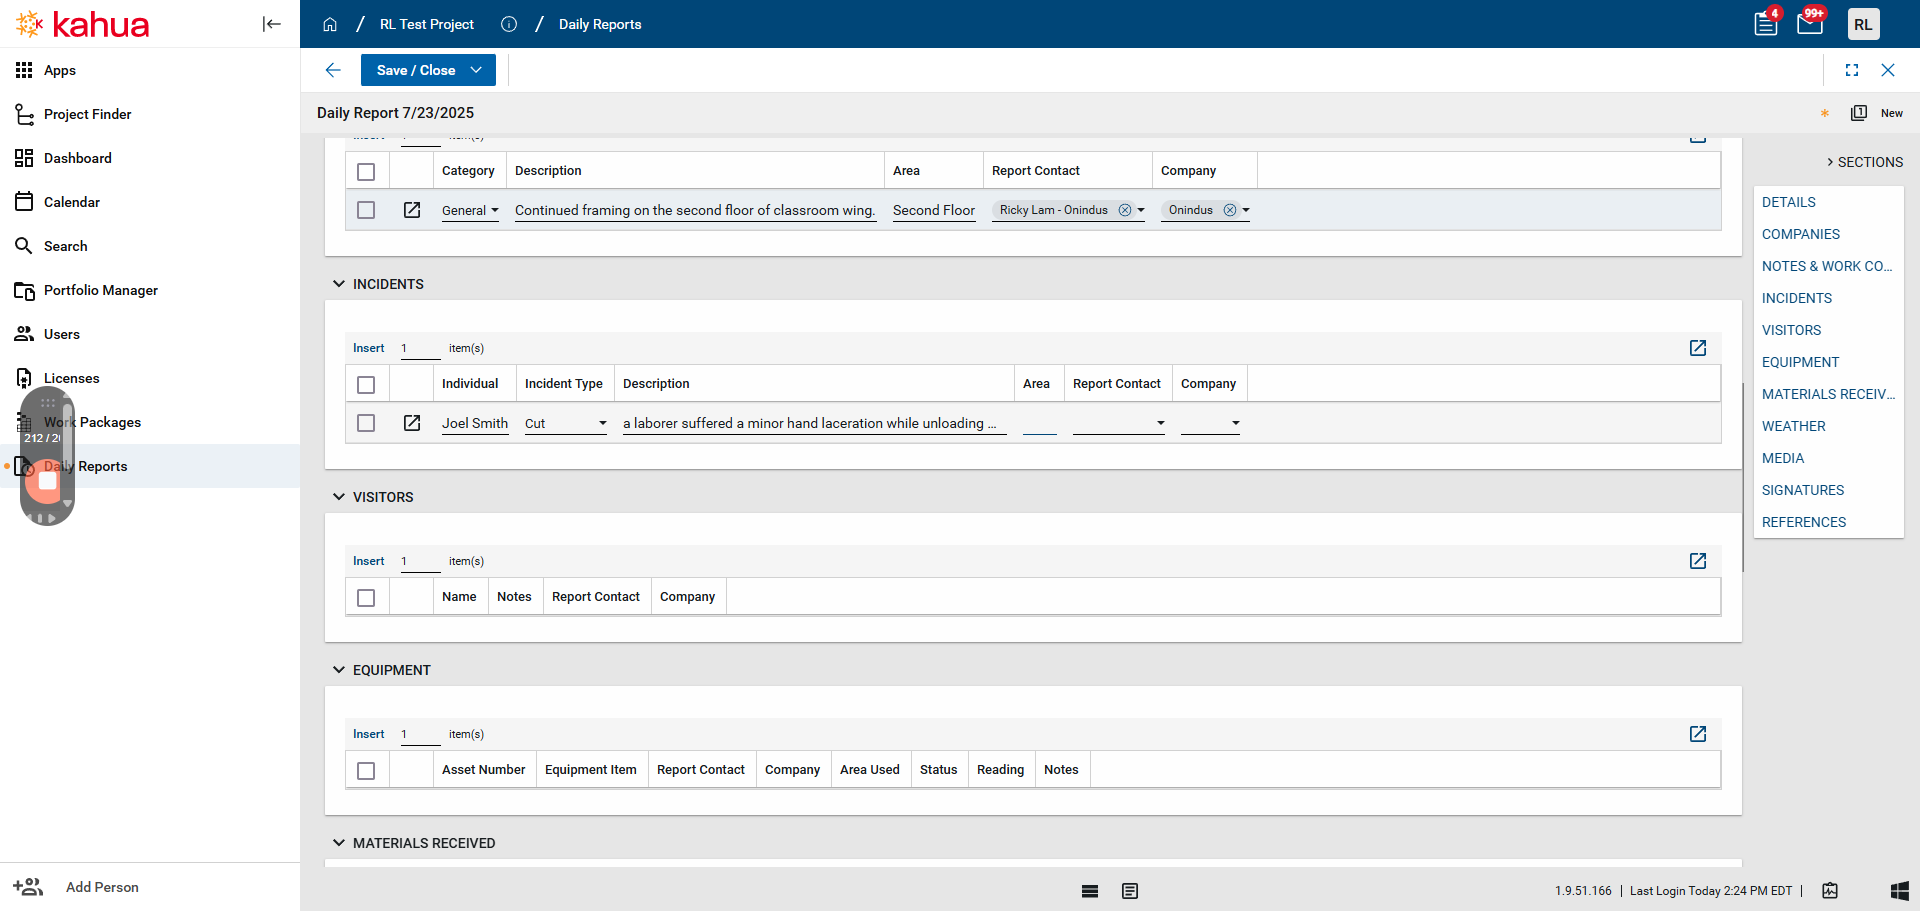
Notes and Work Completed: This section is where you will describe the work done for the day.
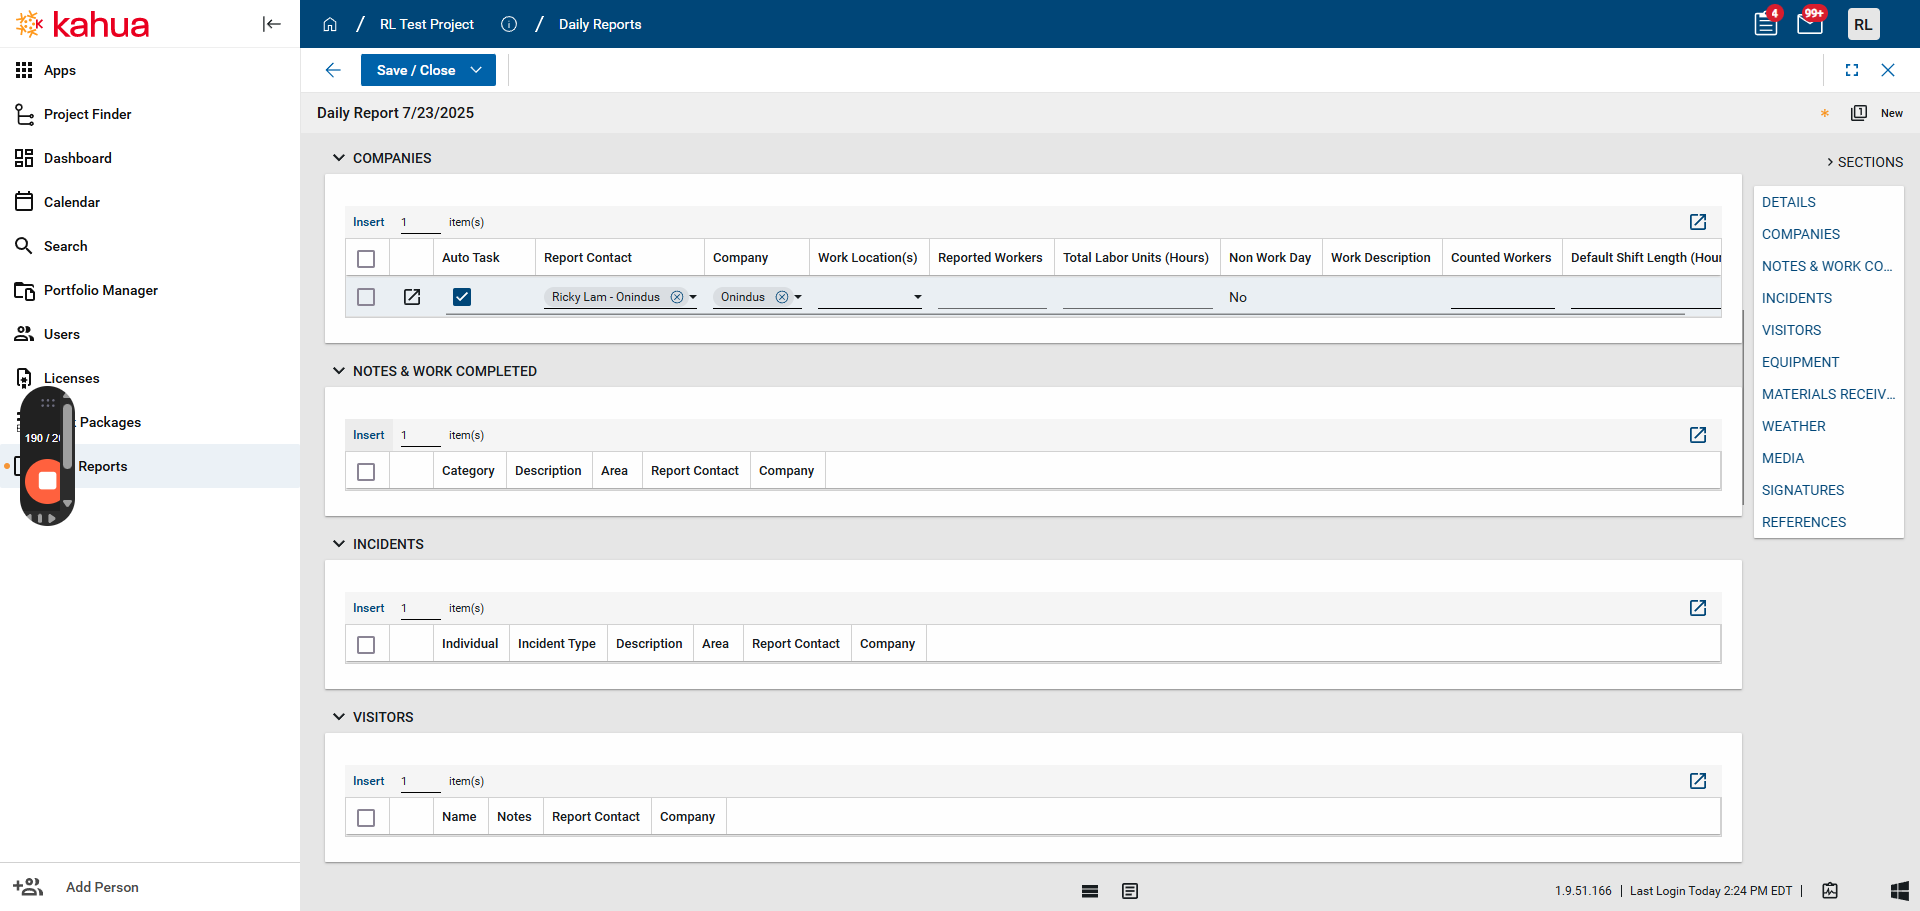

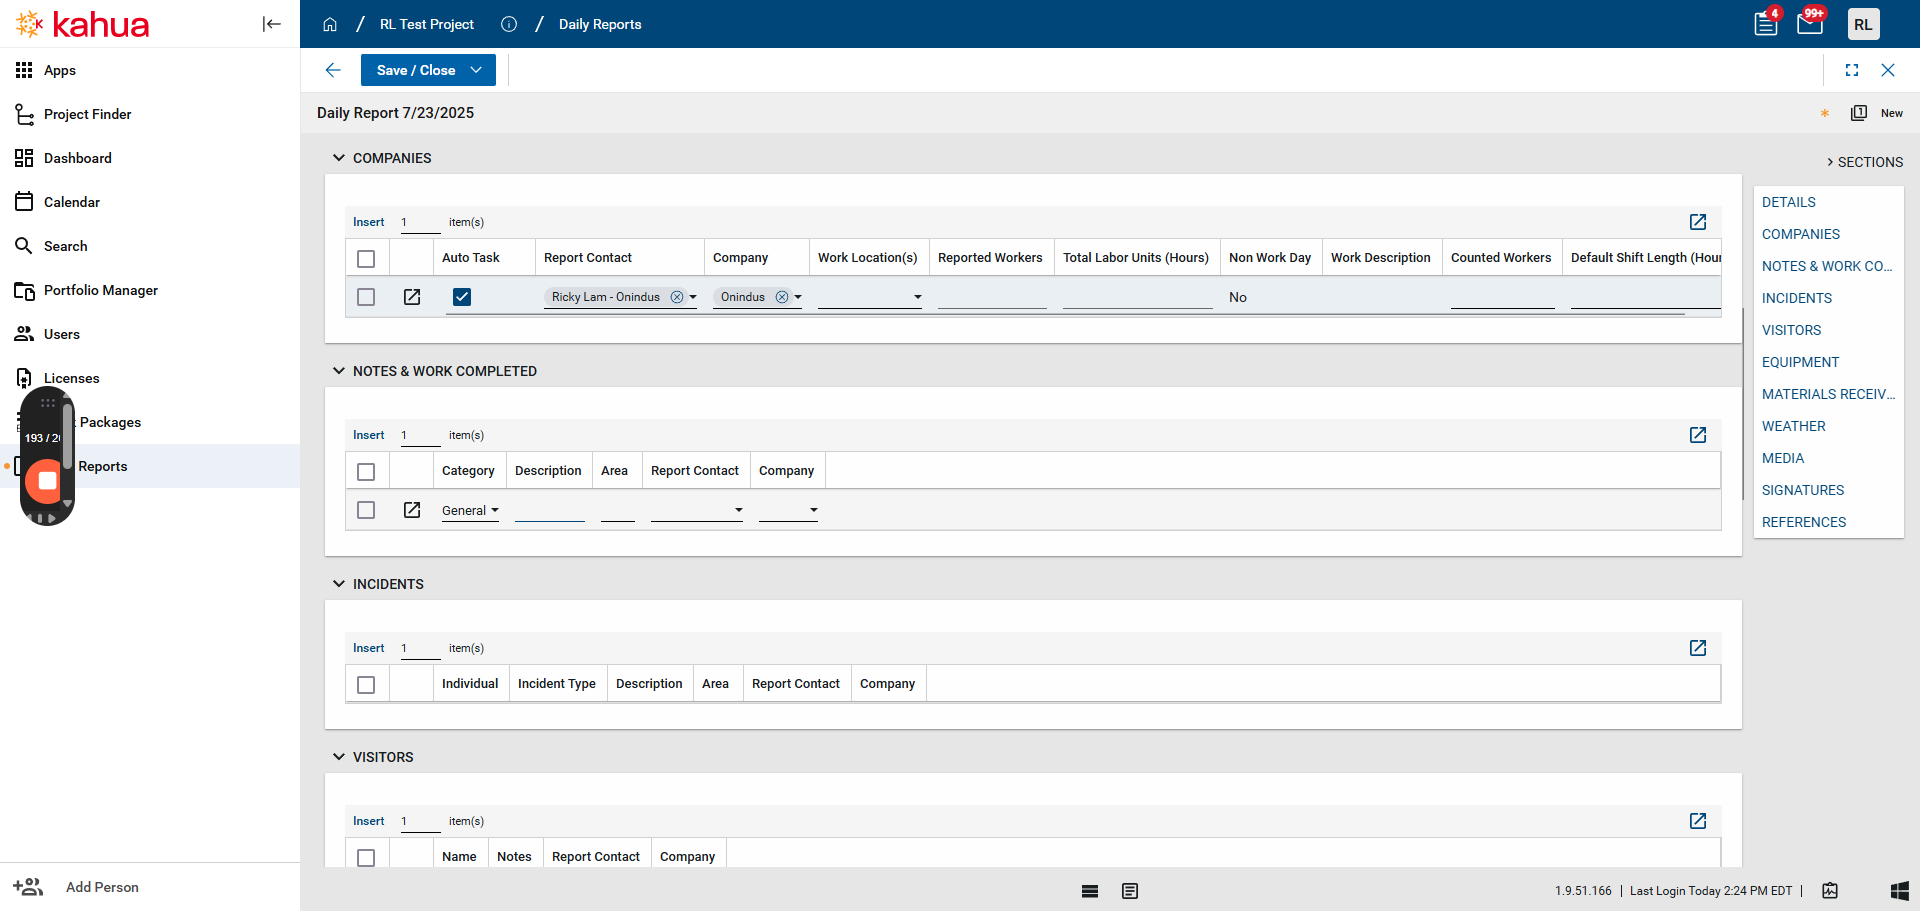
Report Contact refers to the appropriate person to is responsible for the completed work.

The Incidents section is for any injury or detrimental condition that occurred during the timeframe of the report, including any cuts, falls, or sickness that occur on site.


In the Visitors section. Add anyone who came on site needs to be recorded. Click "Insert," enter a name, and add any notes about that person. Then, the report contact who needs to be informed about that visitor.
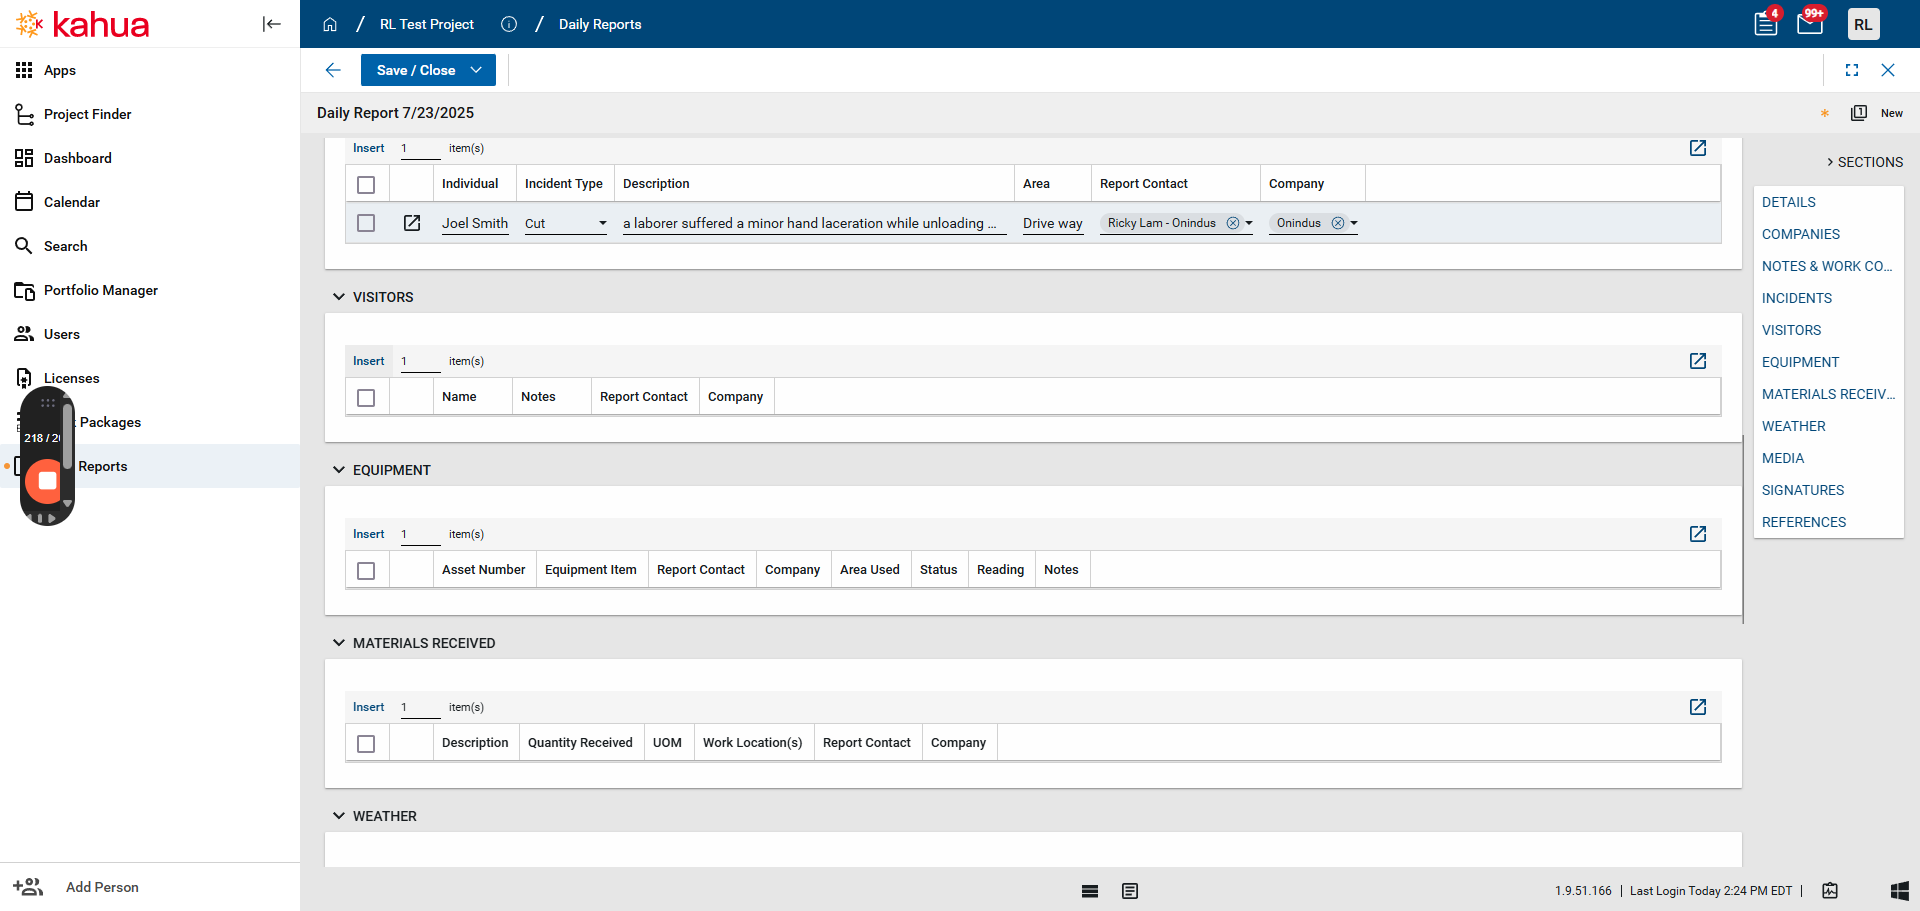
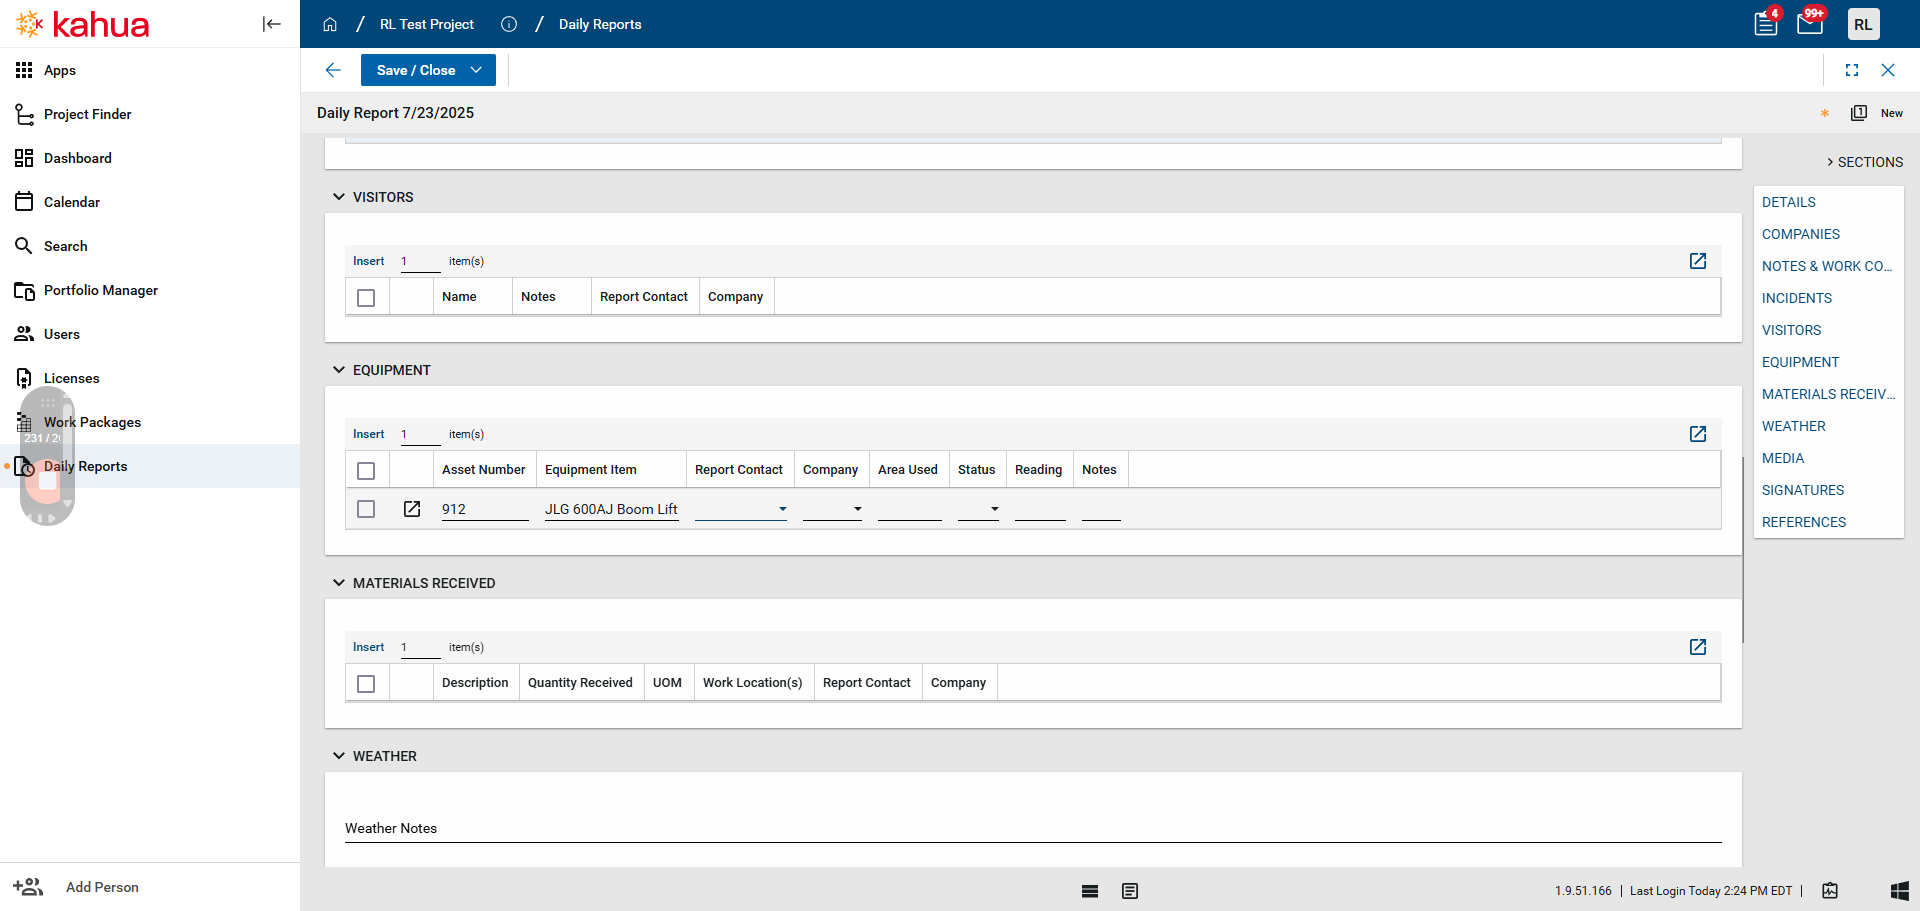
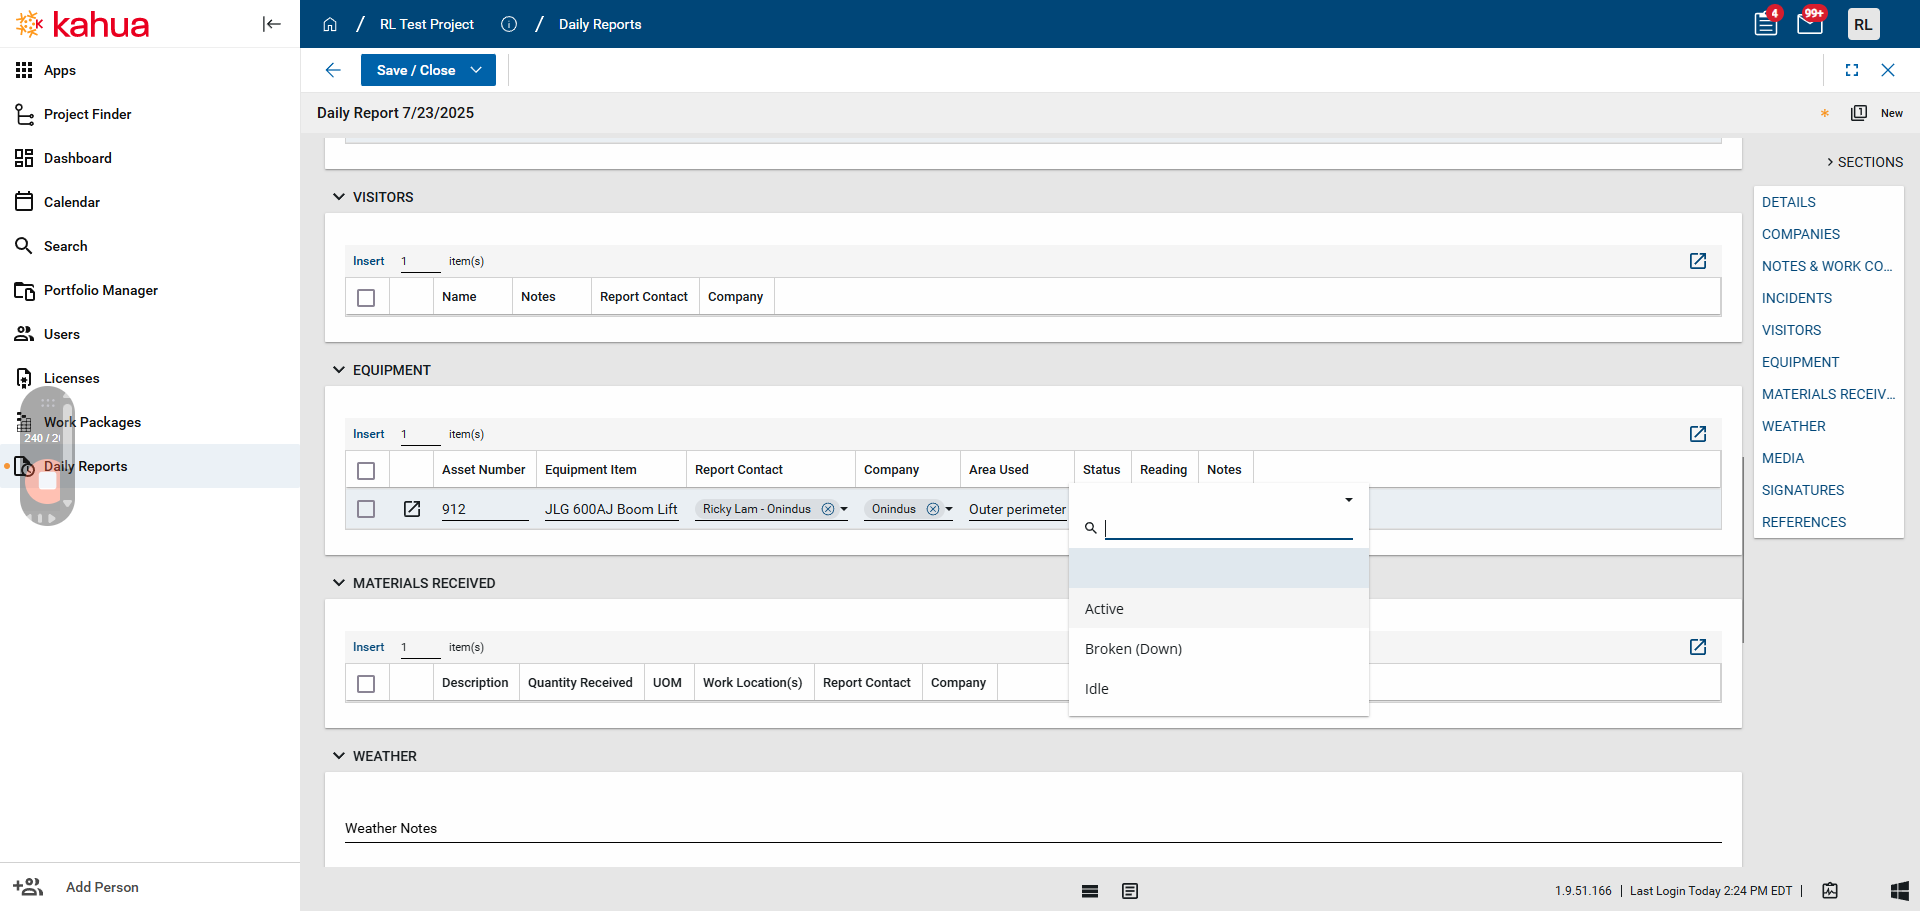
In the Equipment section, record any relevant equipment used during the day, its information and a relevant user associated with the equipment

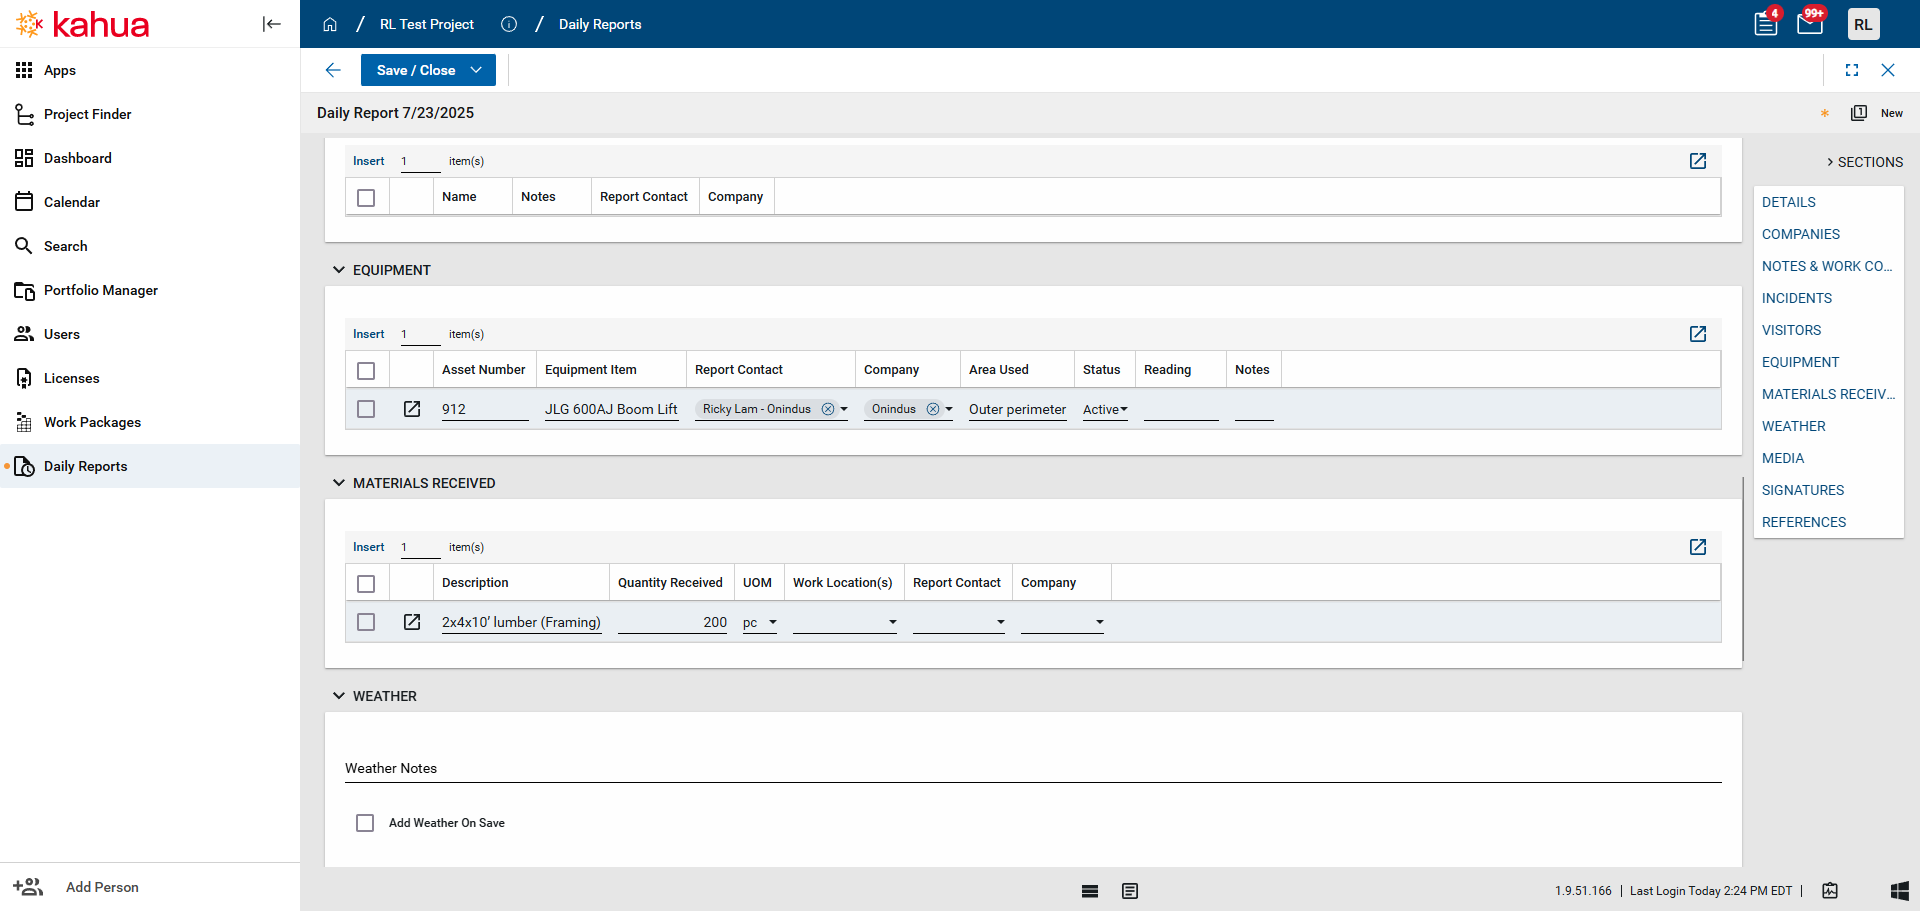
In the Materials Received section, record any materials that were received during the day, its information and a relevant user associated with the materials
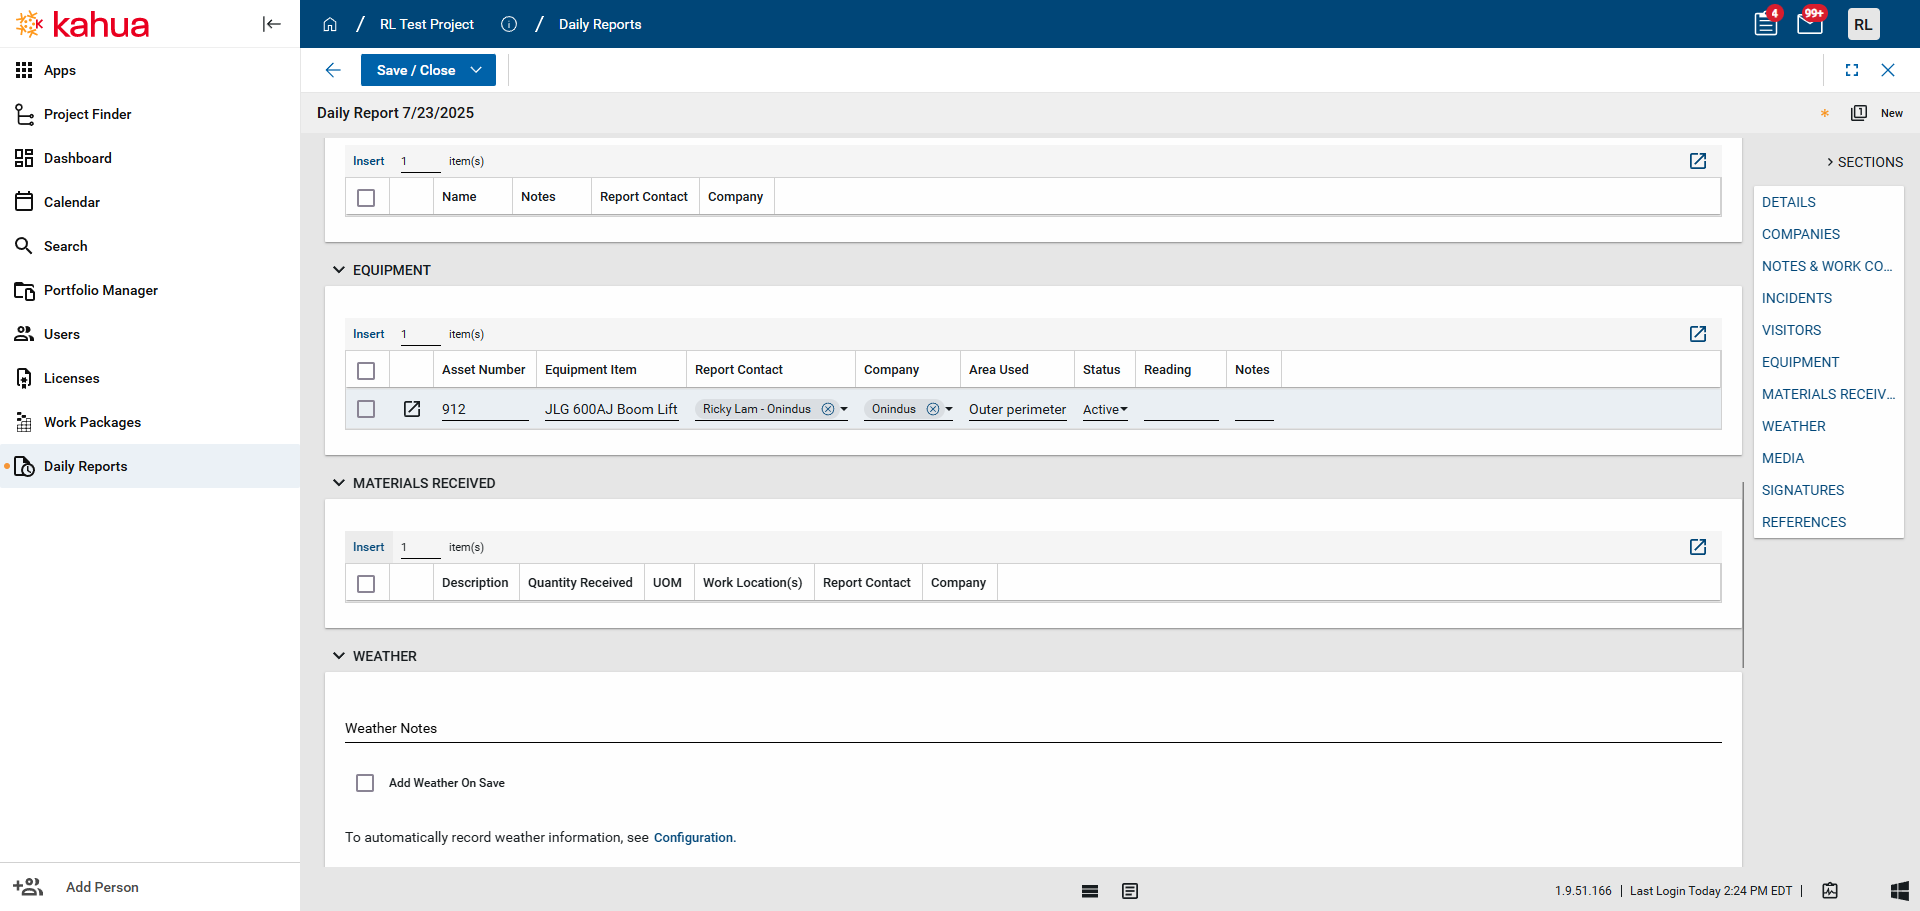
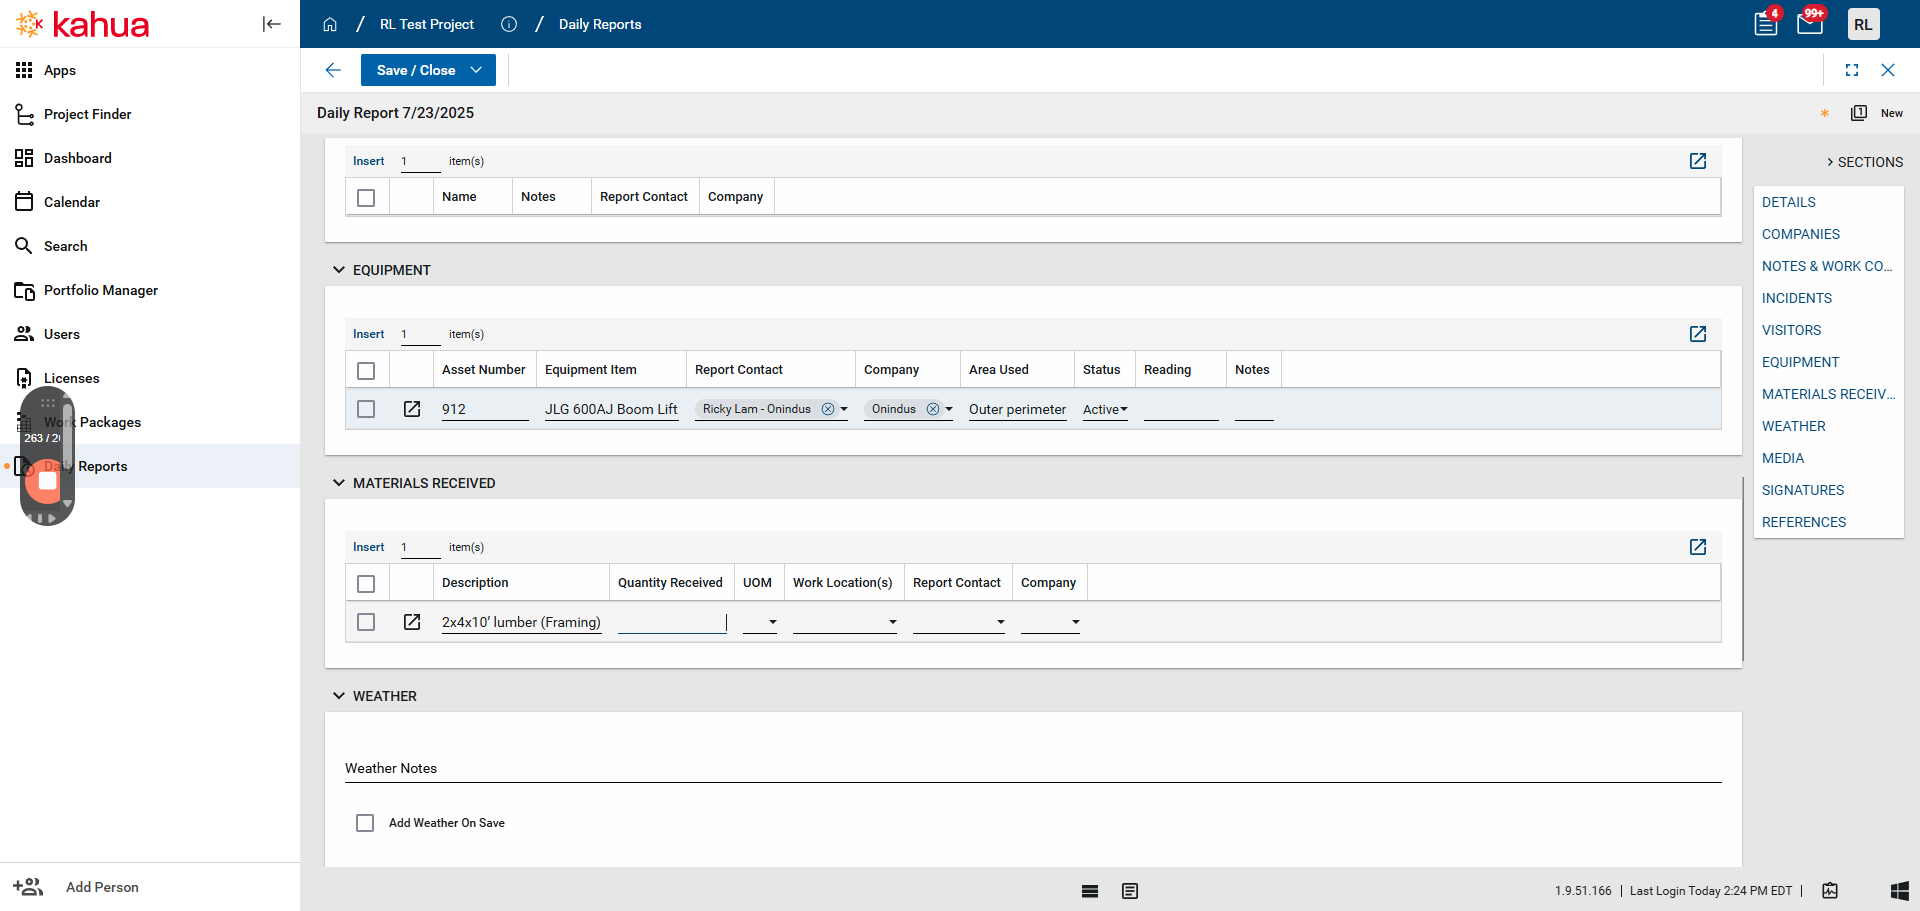
The Weather section reports the weather conditions of the day. Clicking on the Add Current Conditions button will record the current weather for the specified ZIP code and country.

The weather function can be set up to record conditions at specific intervals. You can upload any relevant media, signatures, or references in the sections below After you have completed all required fields, click Save and Close.
This will save the daily report. This hasn't been submitted to a workflow yet. It's saved, so you can access it later if you need to make edits. After saving and reaching this page, go to the company section. Click "Send to Sub" so the relevant person at the company receives a task. They will fill out the required information and send it back to you for review. After you review it, you can go to Distribute and Lock. When you press this button, it will send a copy of the daily report to everyone listed in the distribution field. Afterward, the report will be locked and cannot be changed.
After you hit Distribute and Lock, your daily report is complete.