How to Create and Edit Products in Printful: Step-by-Step Guide
Learn how to create new products, duplicate existing ones, and customize items in Printful. This guide covers uploading logos, editing product details, and tips for optimal print quality.
In this guide, we'll learn how to create new products and edit existing ones in Printful. You will see how to duplicate products, update logos, adjust sizes and colors, and use design tools to prepare your artwork for printing. This process helps you keep your product catalog up to date and ensures your designs are ready for production.
Let's get started
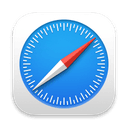
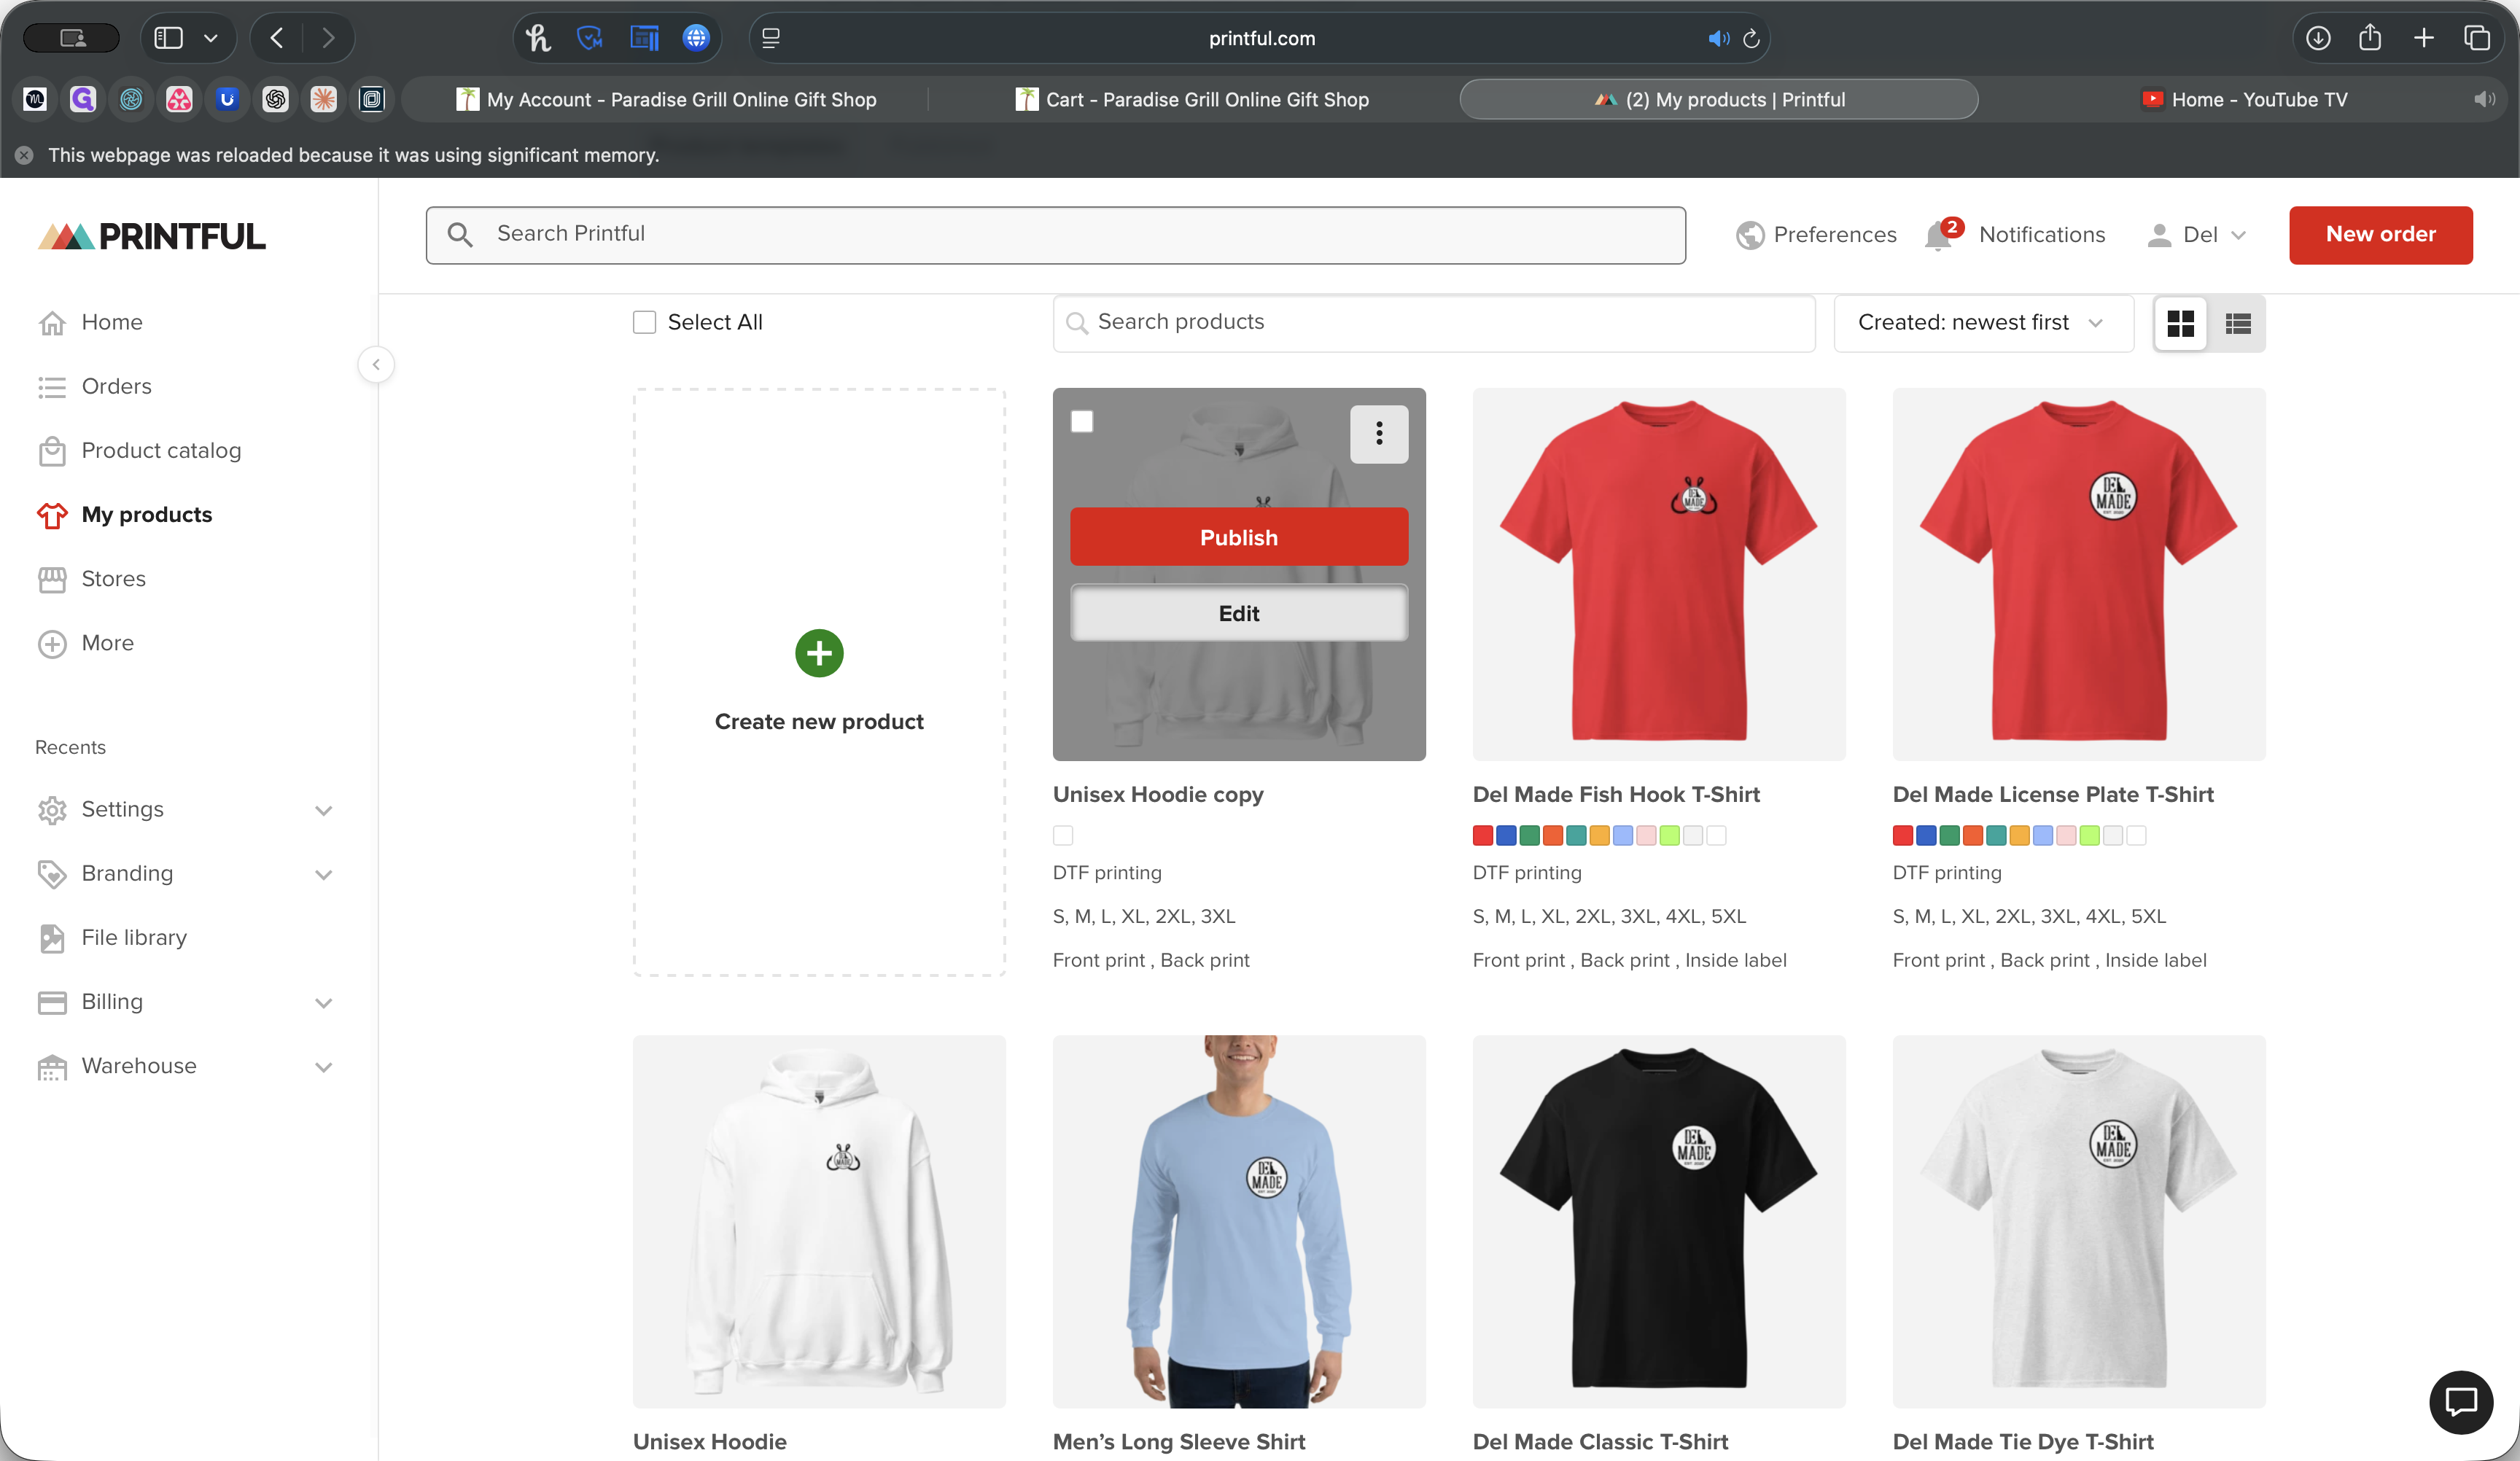
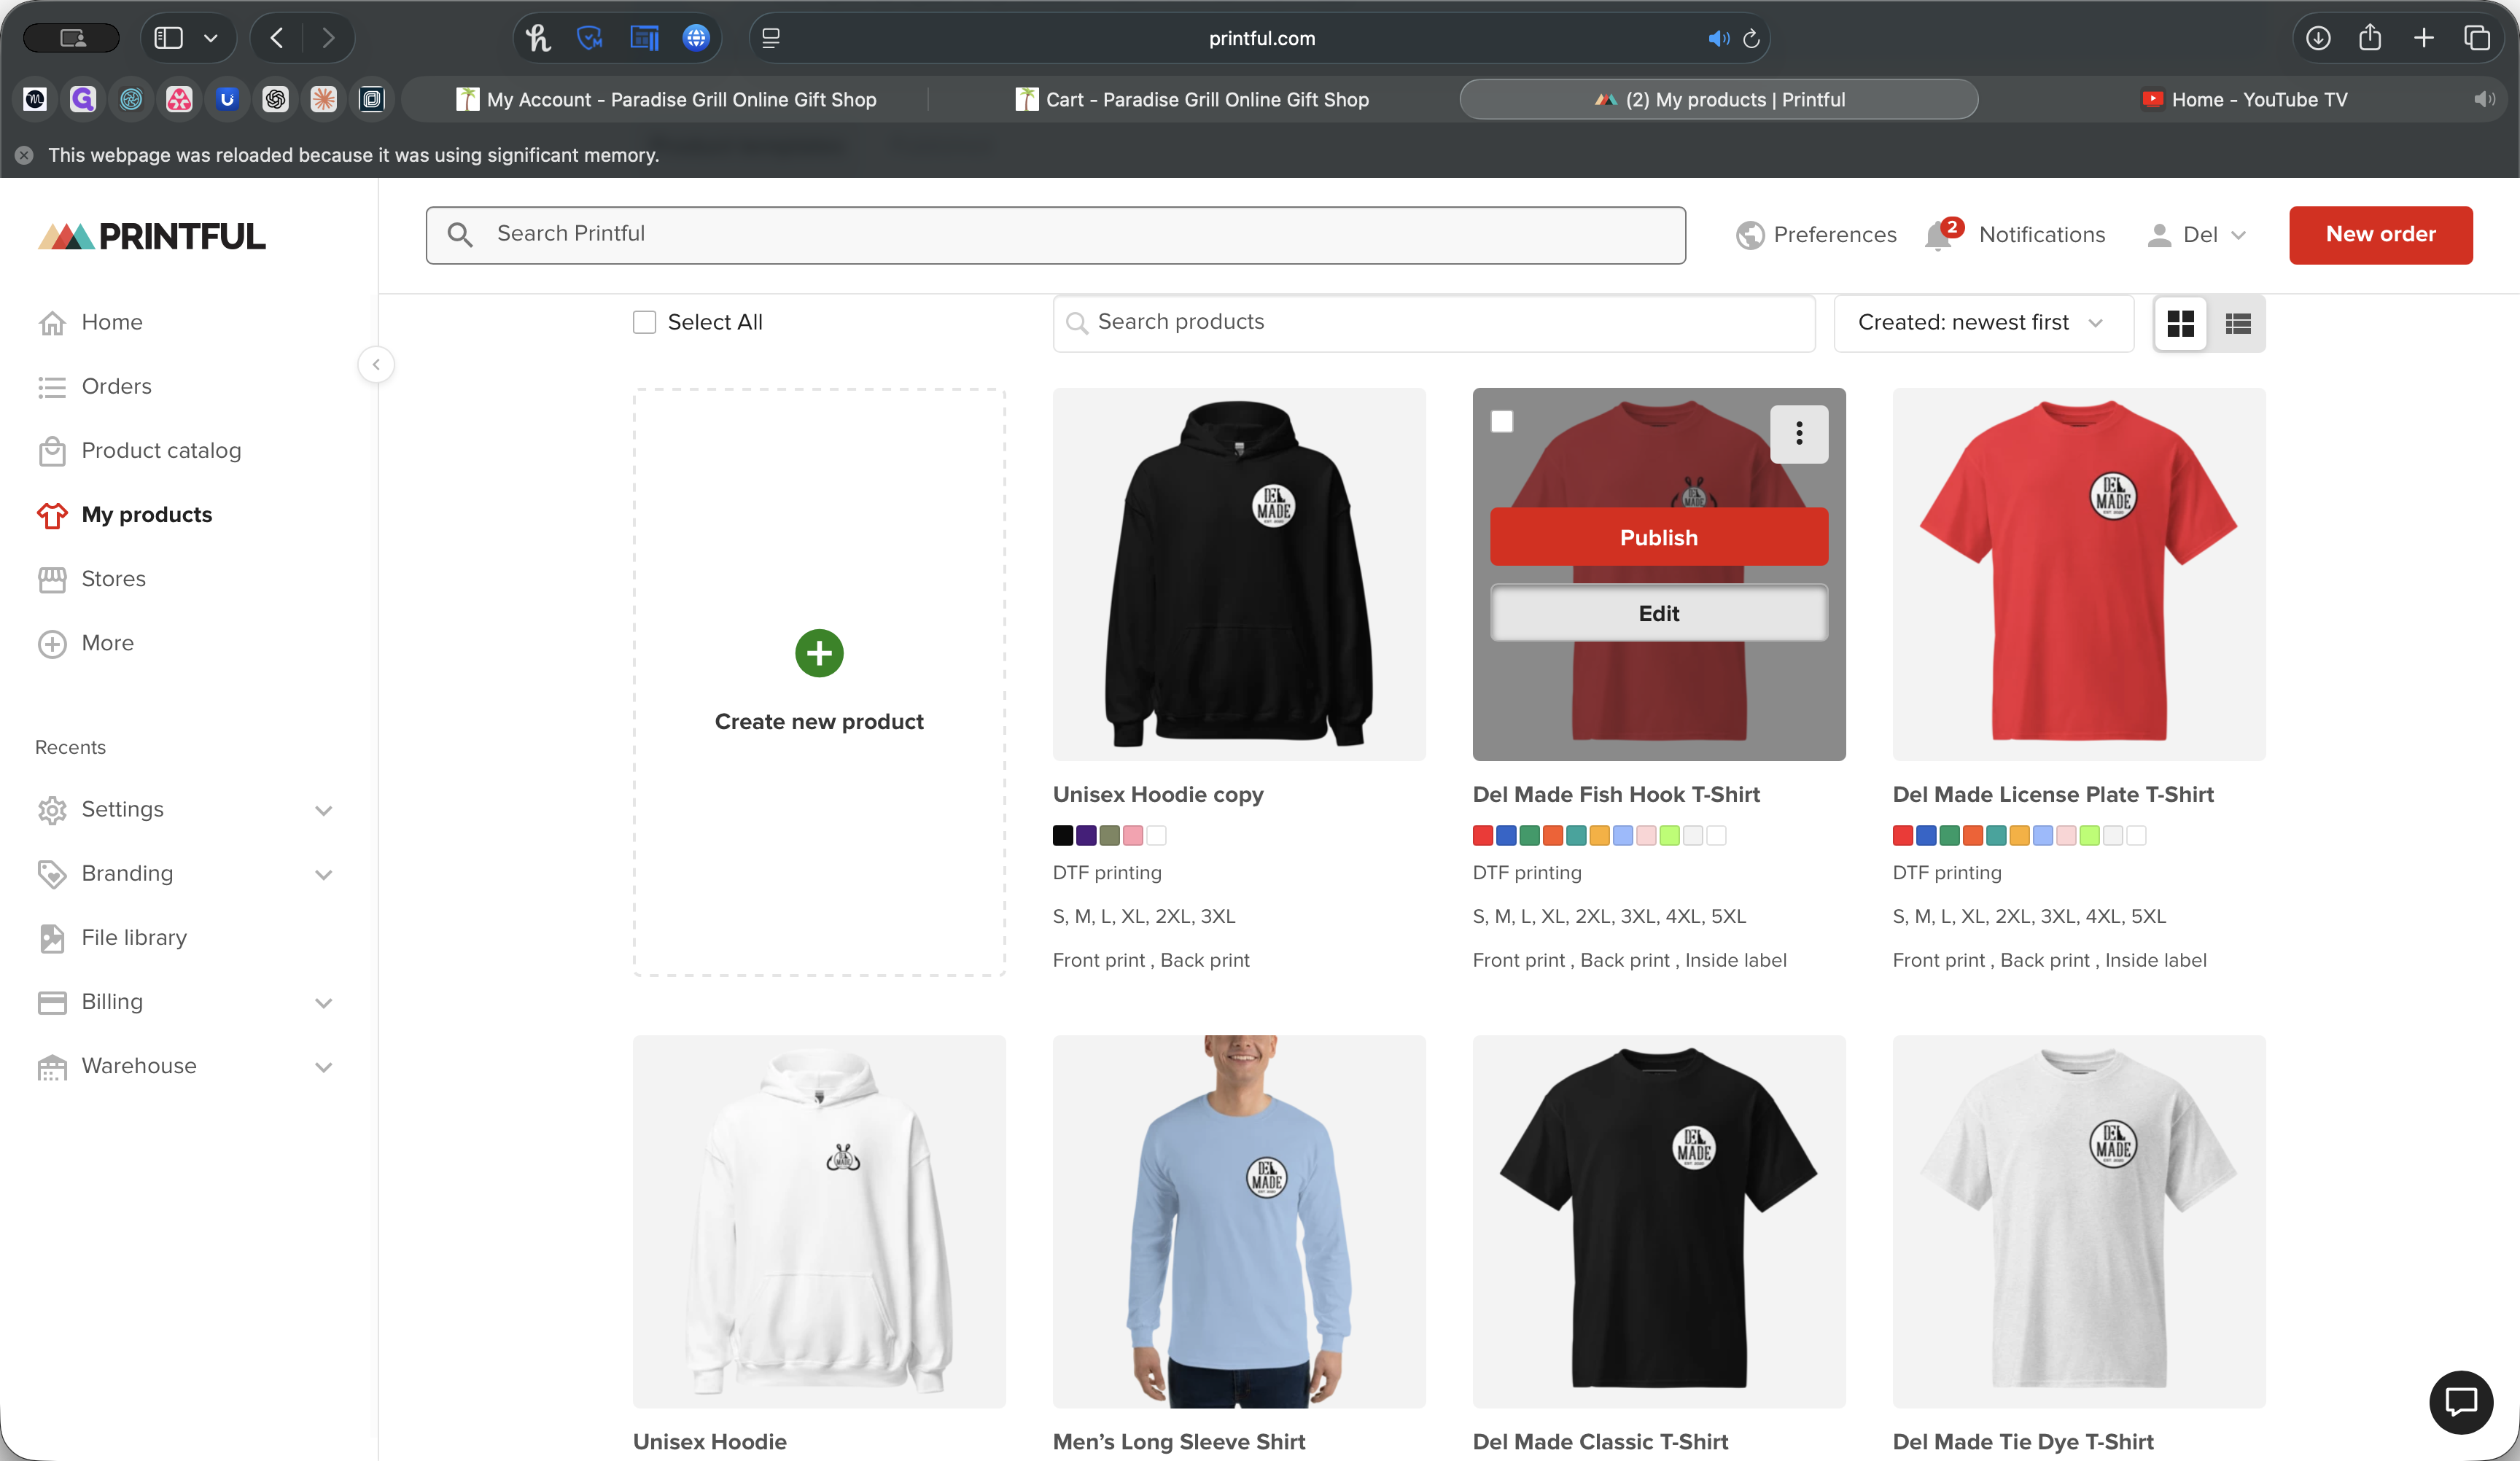
To create new products or edit existing ones, we'll start by covering how to create products. Log in to Printful. Go to the My Products tab.
From there, you will see a list of products that have already been created. We need to update some logos, but for new items, we should first locate the item. We have samples of the long sleeve, the hoodie, and a regular T-shirt. We'll duplicate the product we want to create.
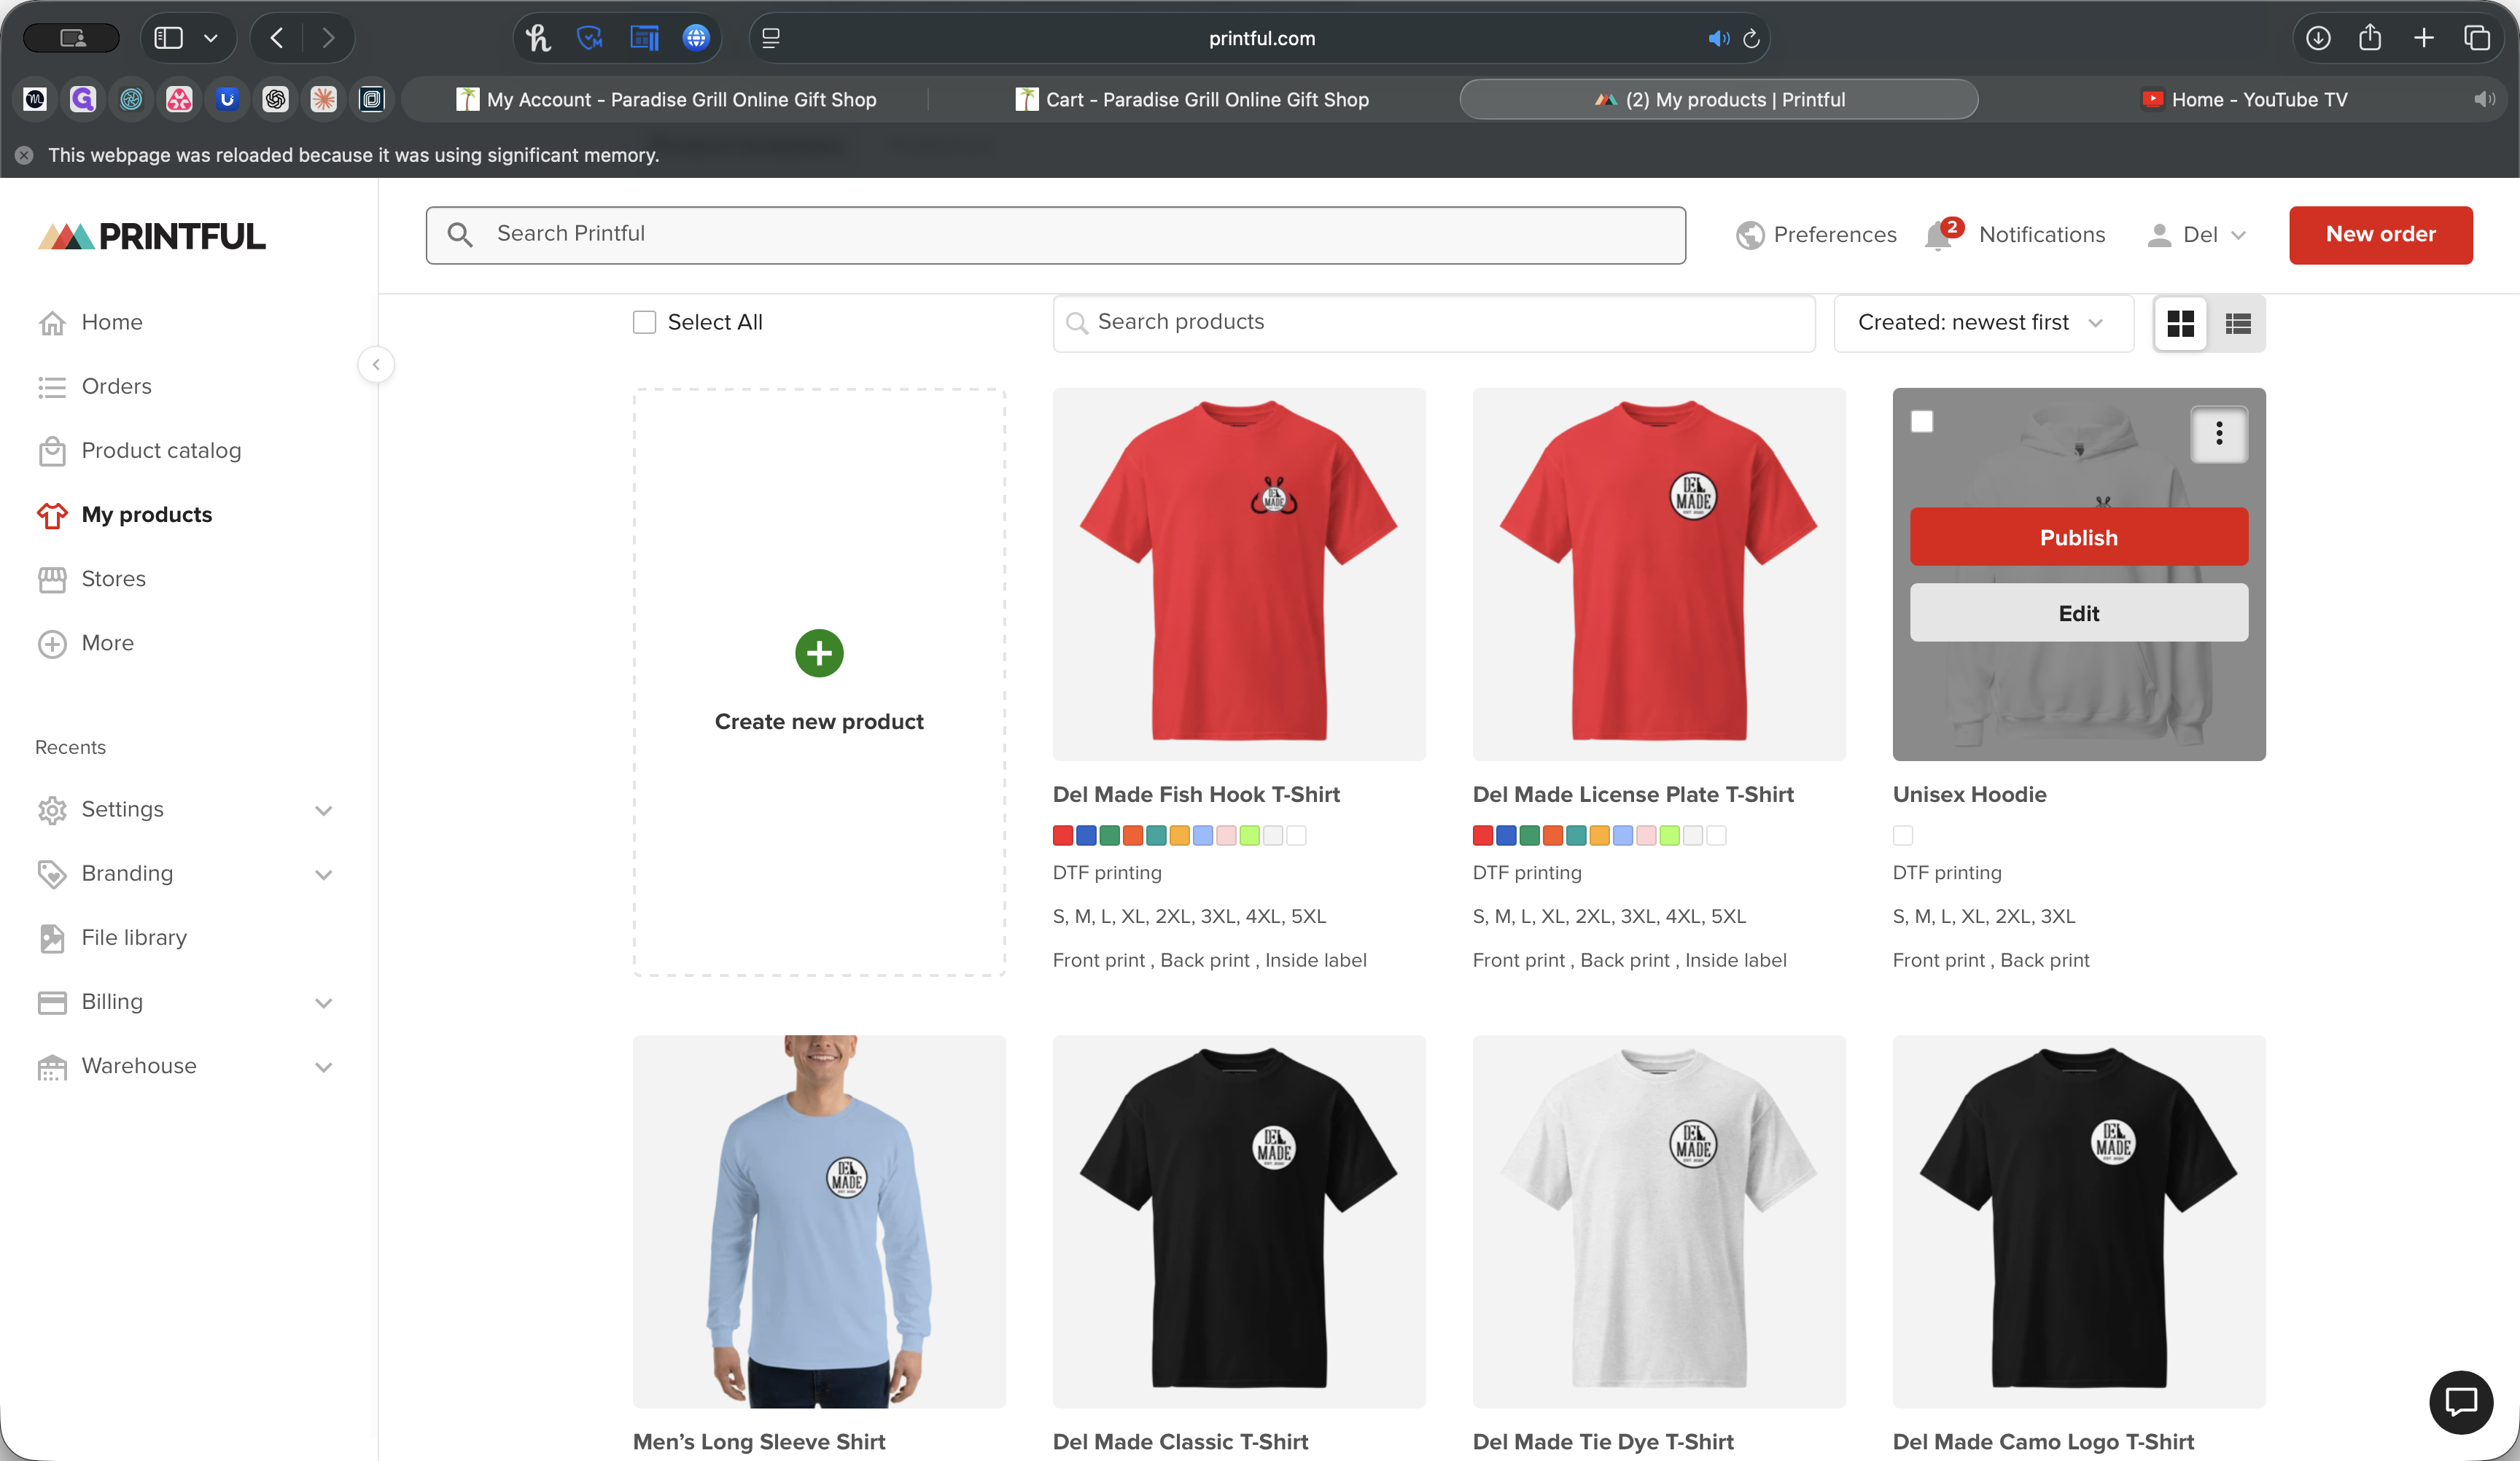
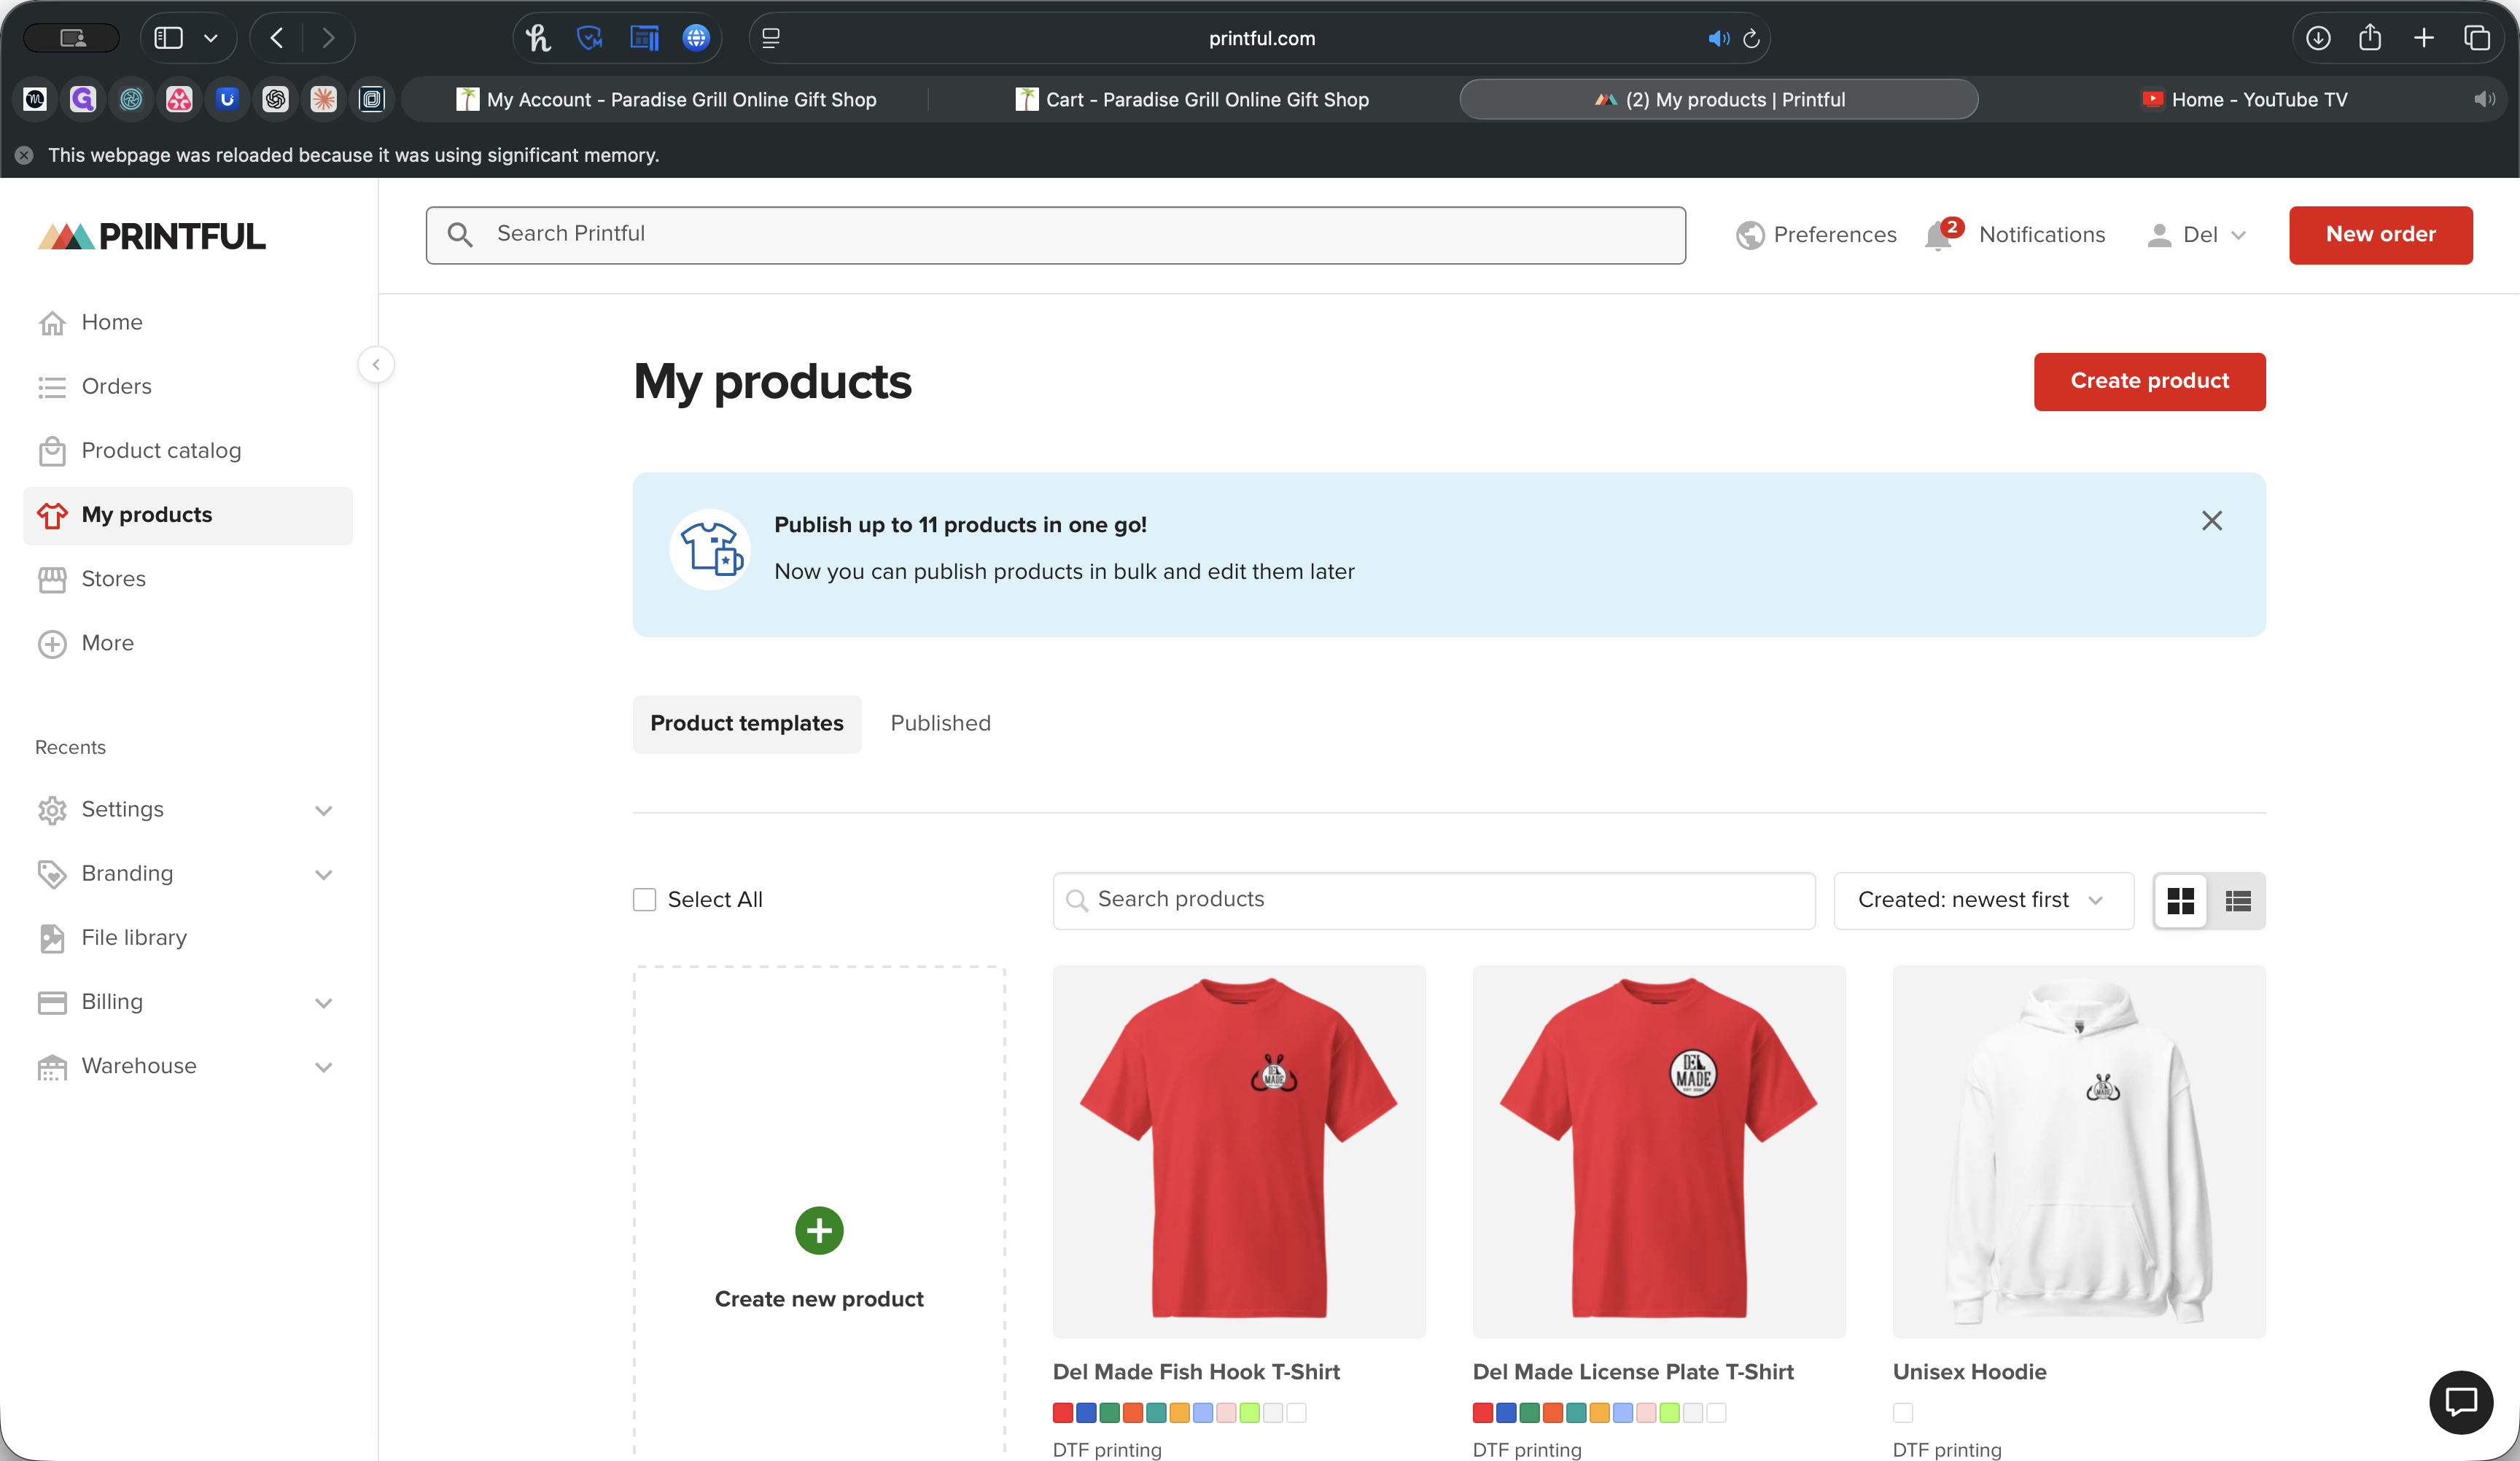
We’ll duplicate it, and you’ll see it creates a new product. Click "Edit" on the Unisex Hoodie Copy.
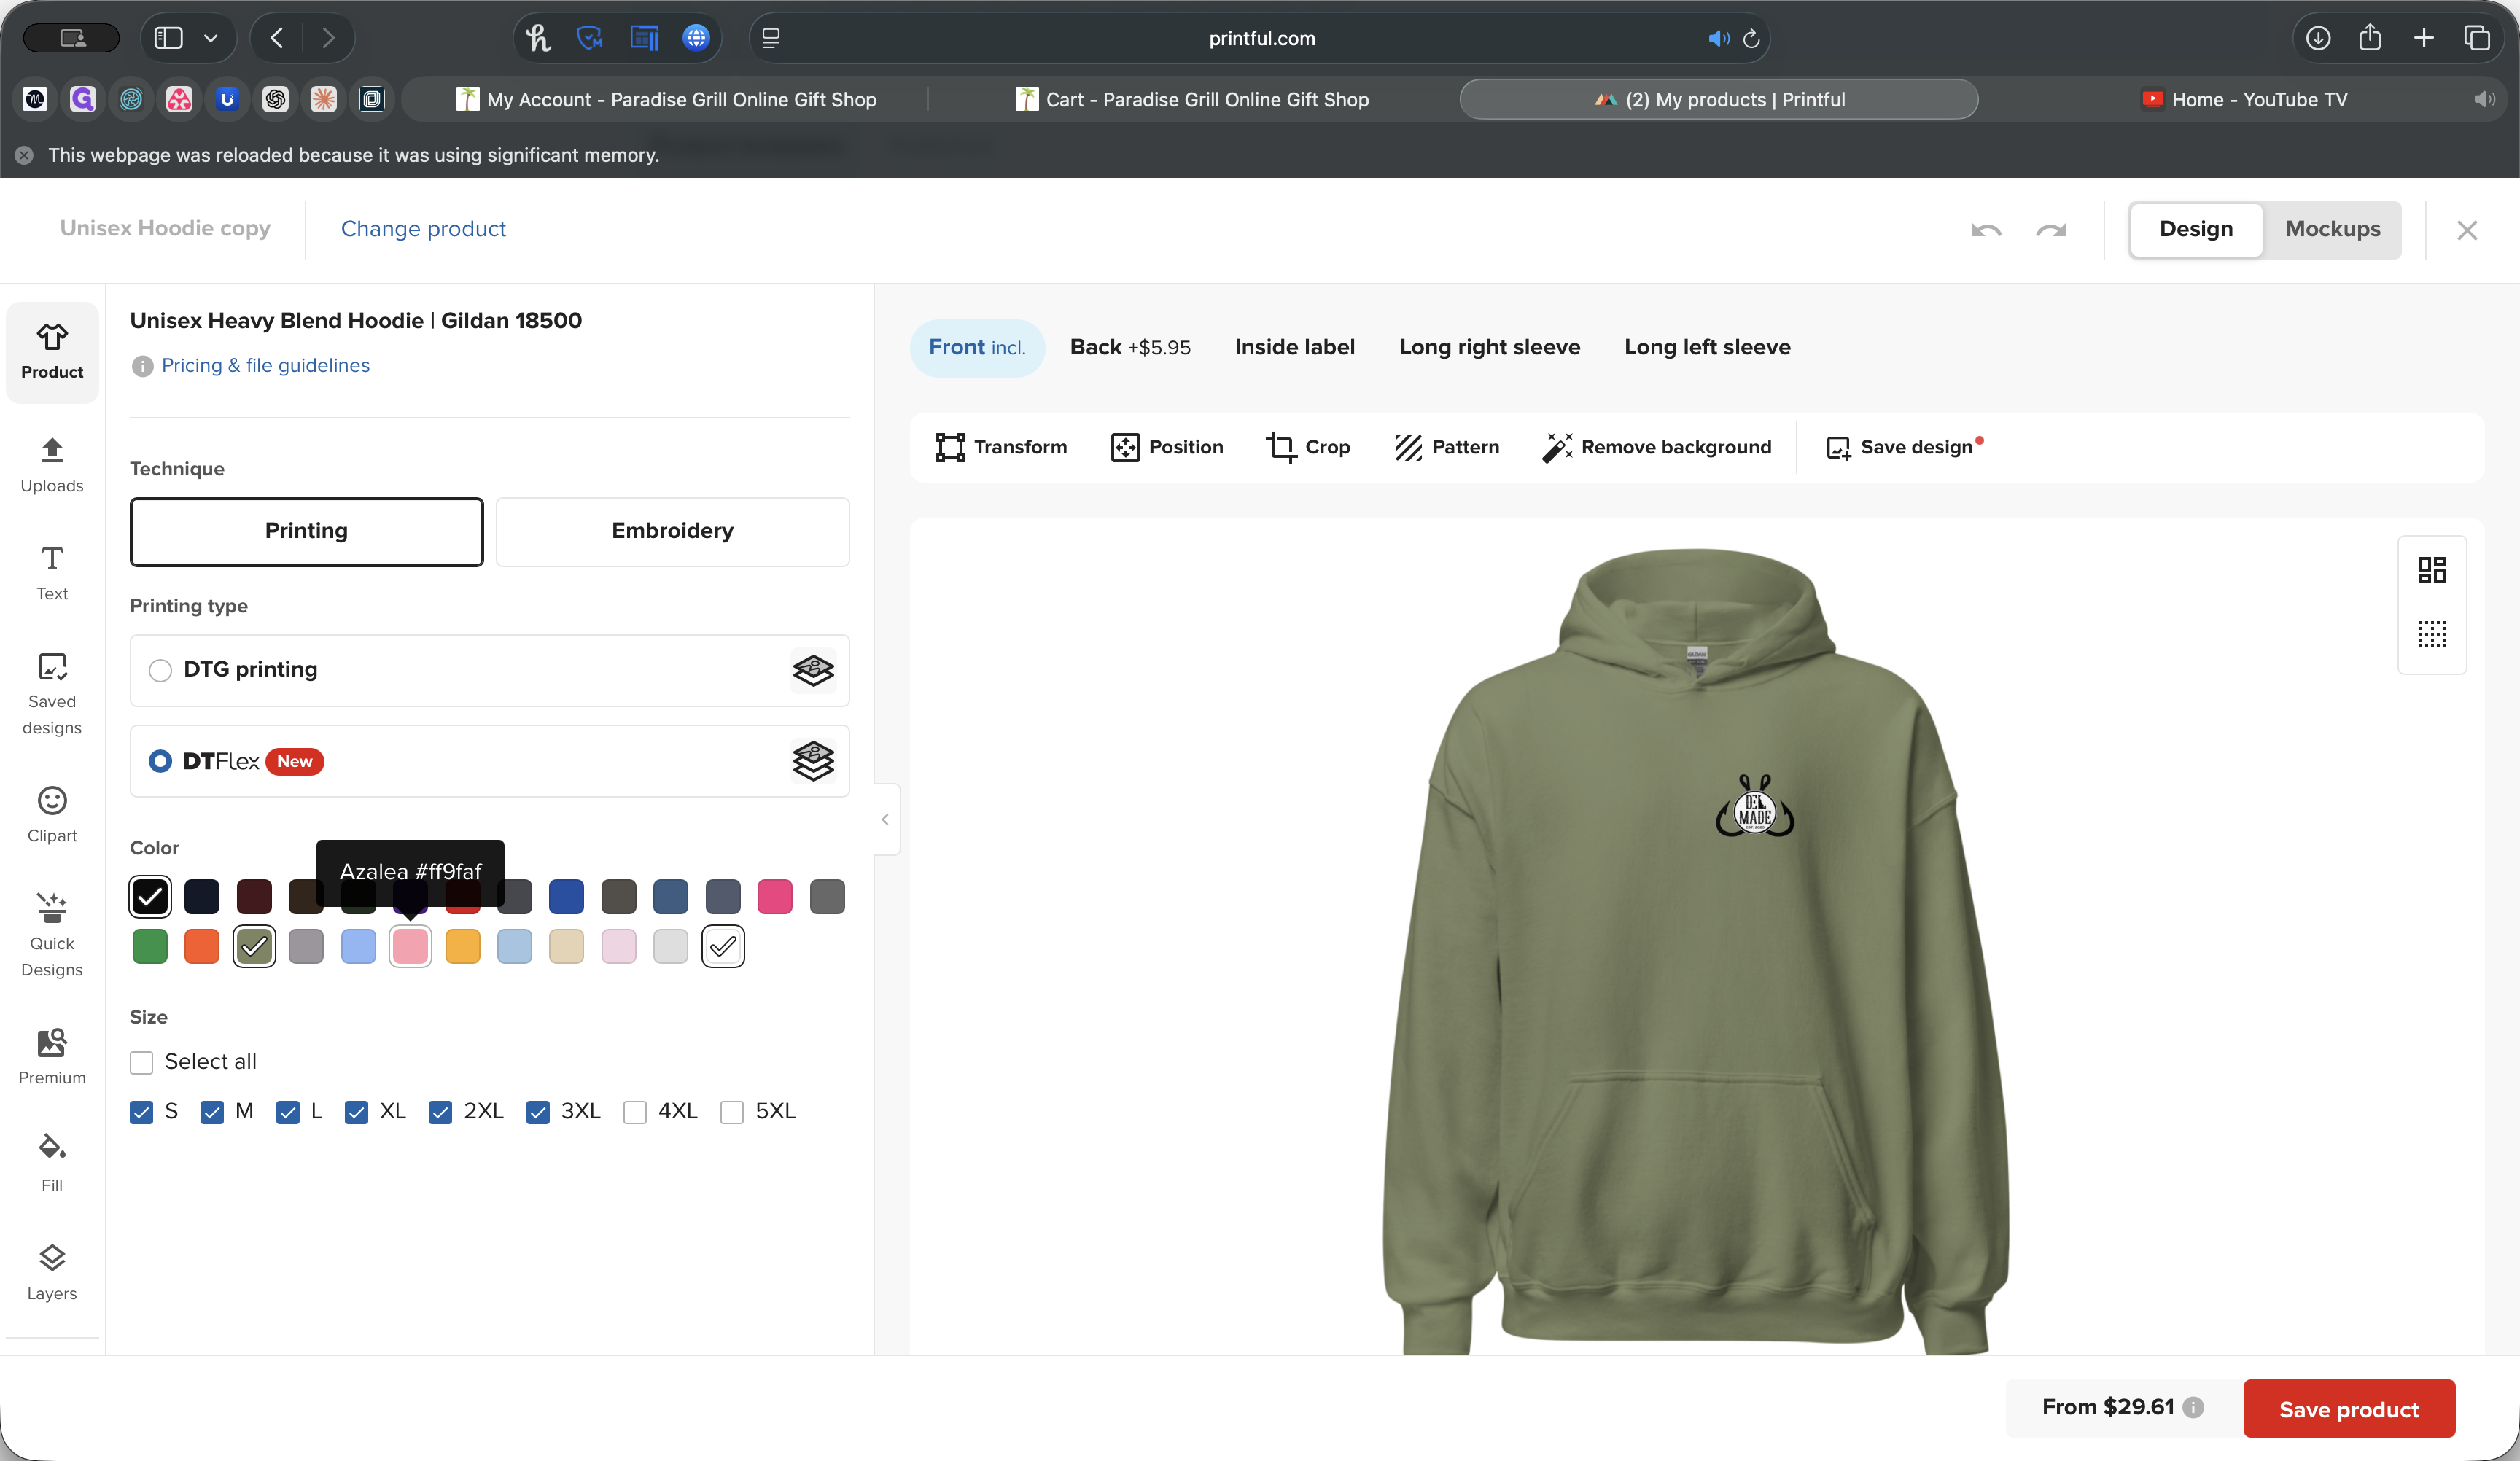
This will open a canvas that we can edit. We want to run DT Flex wherever possible. Otherwise, DTG is fine. You can immediately customize both the sizes and the colors.
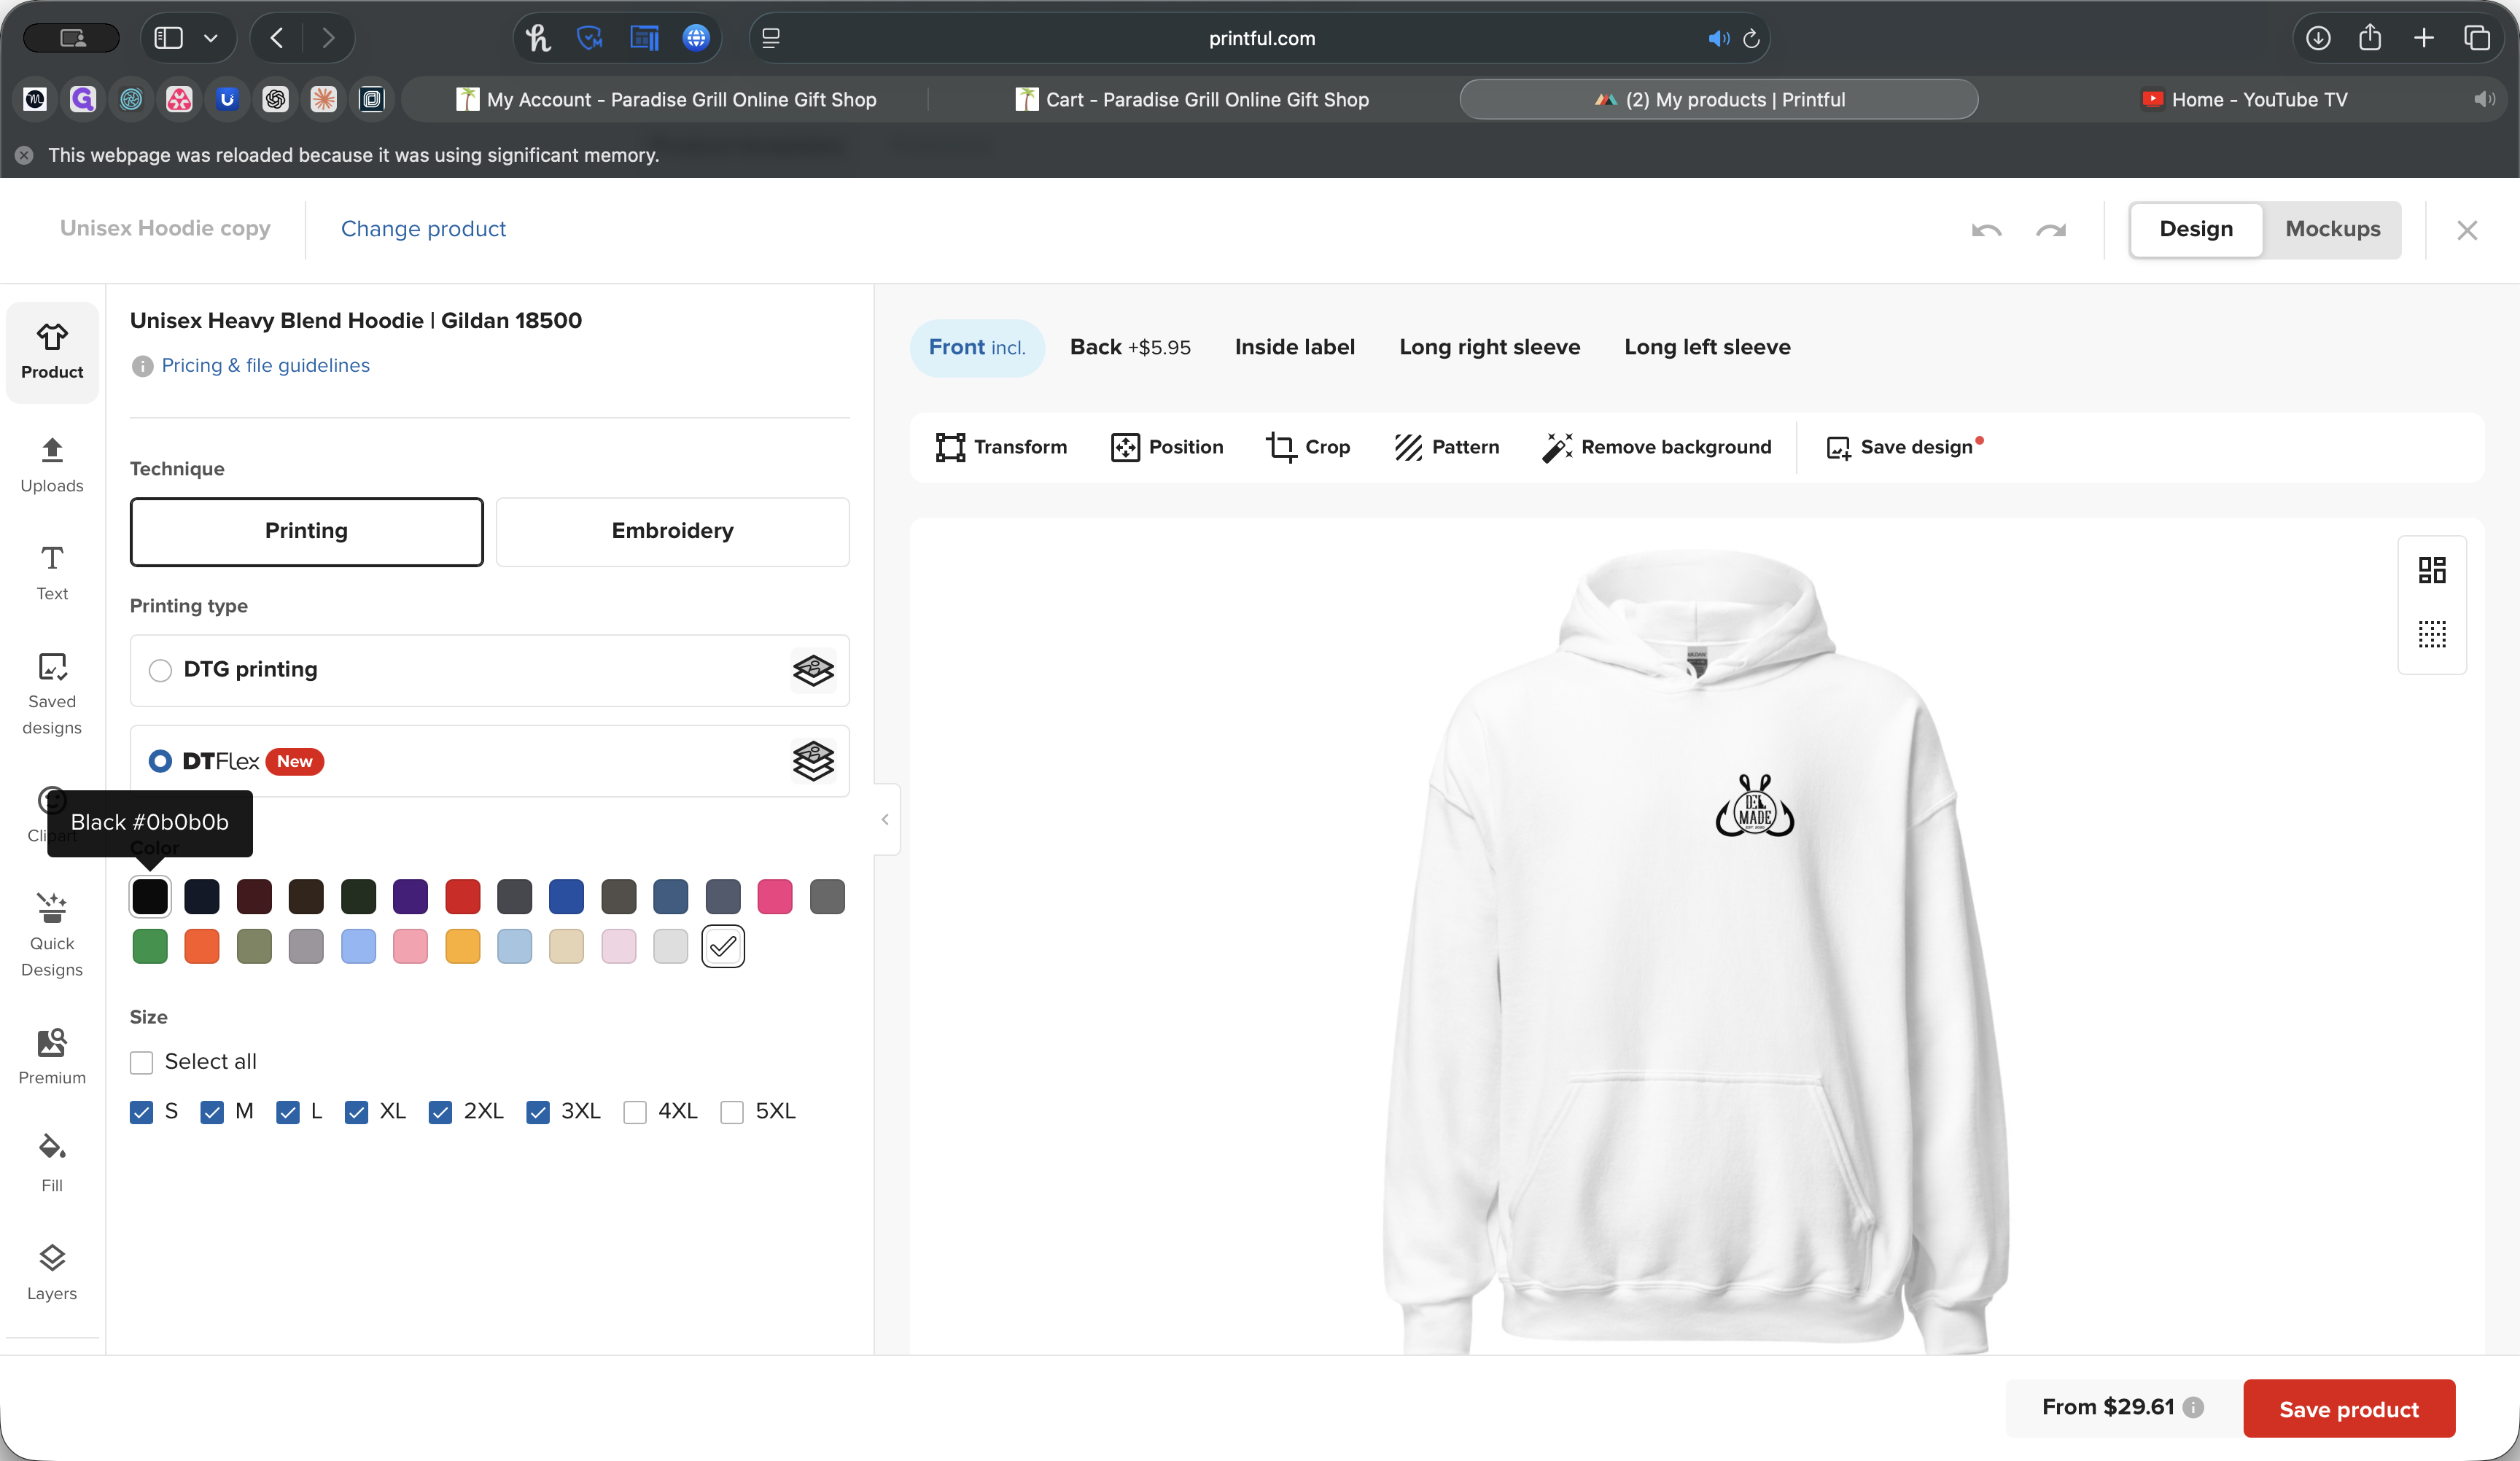
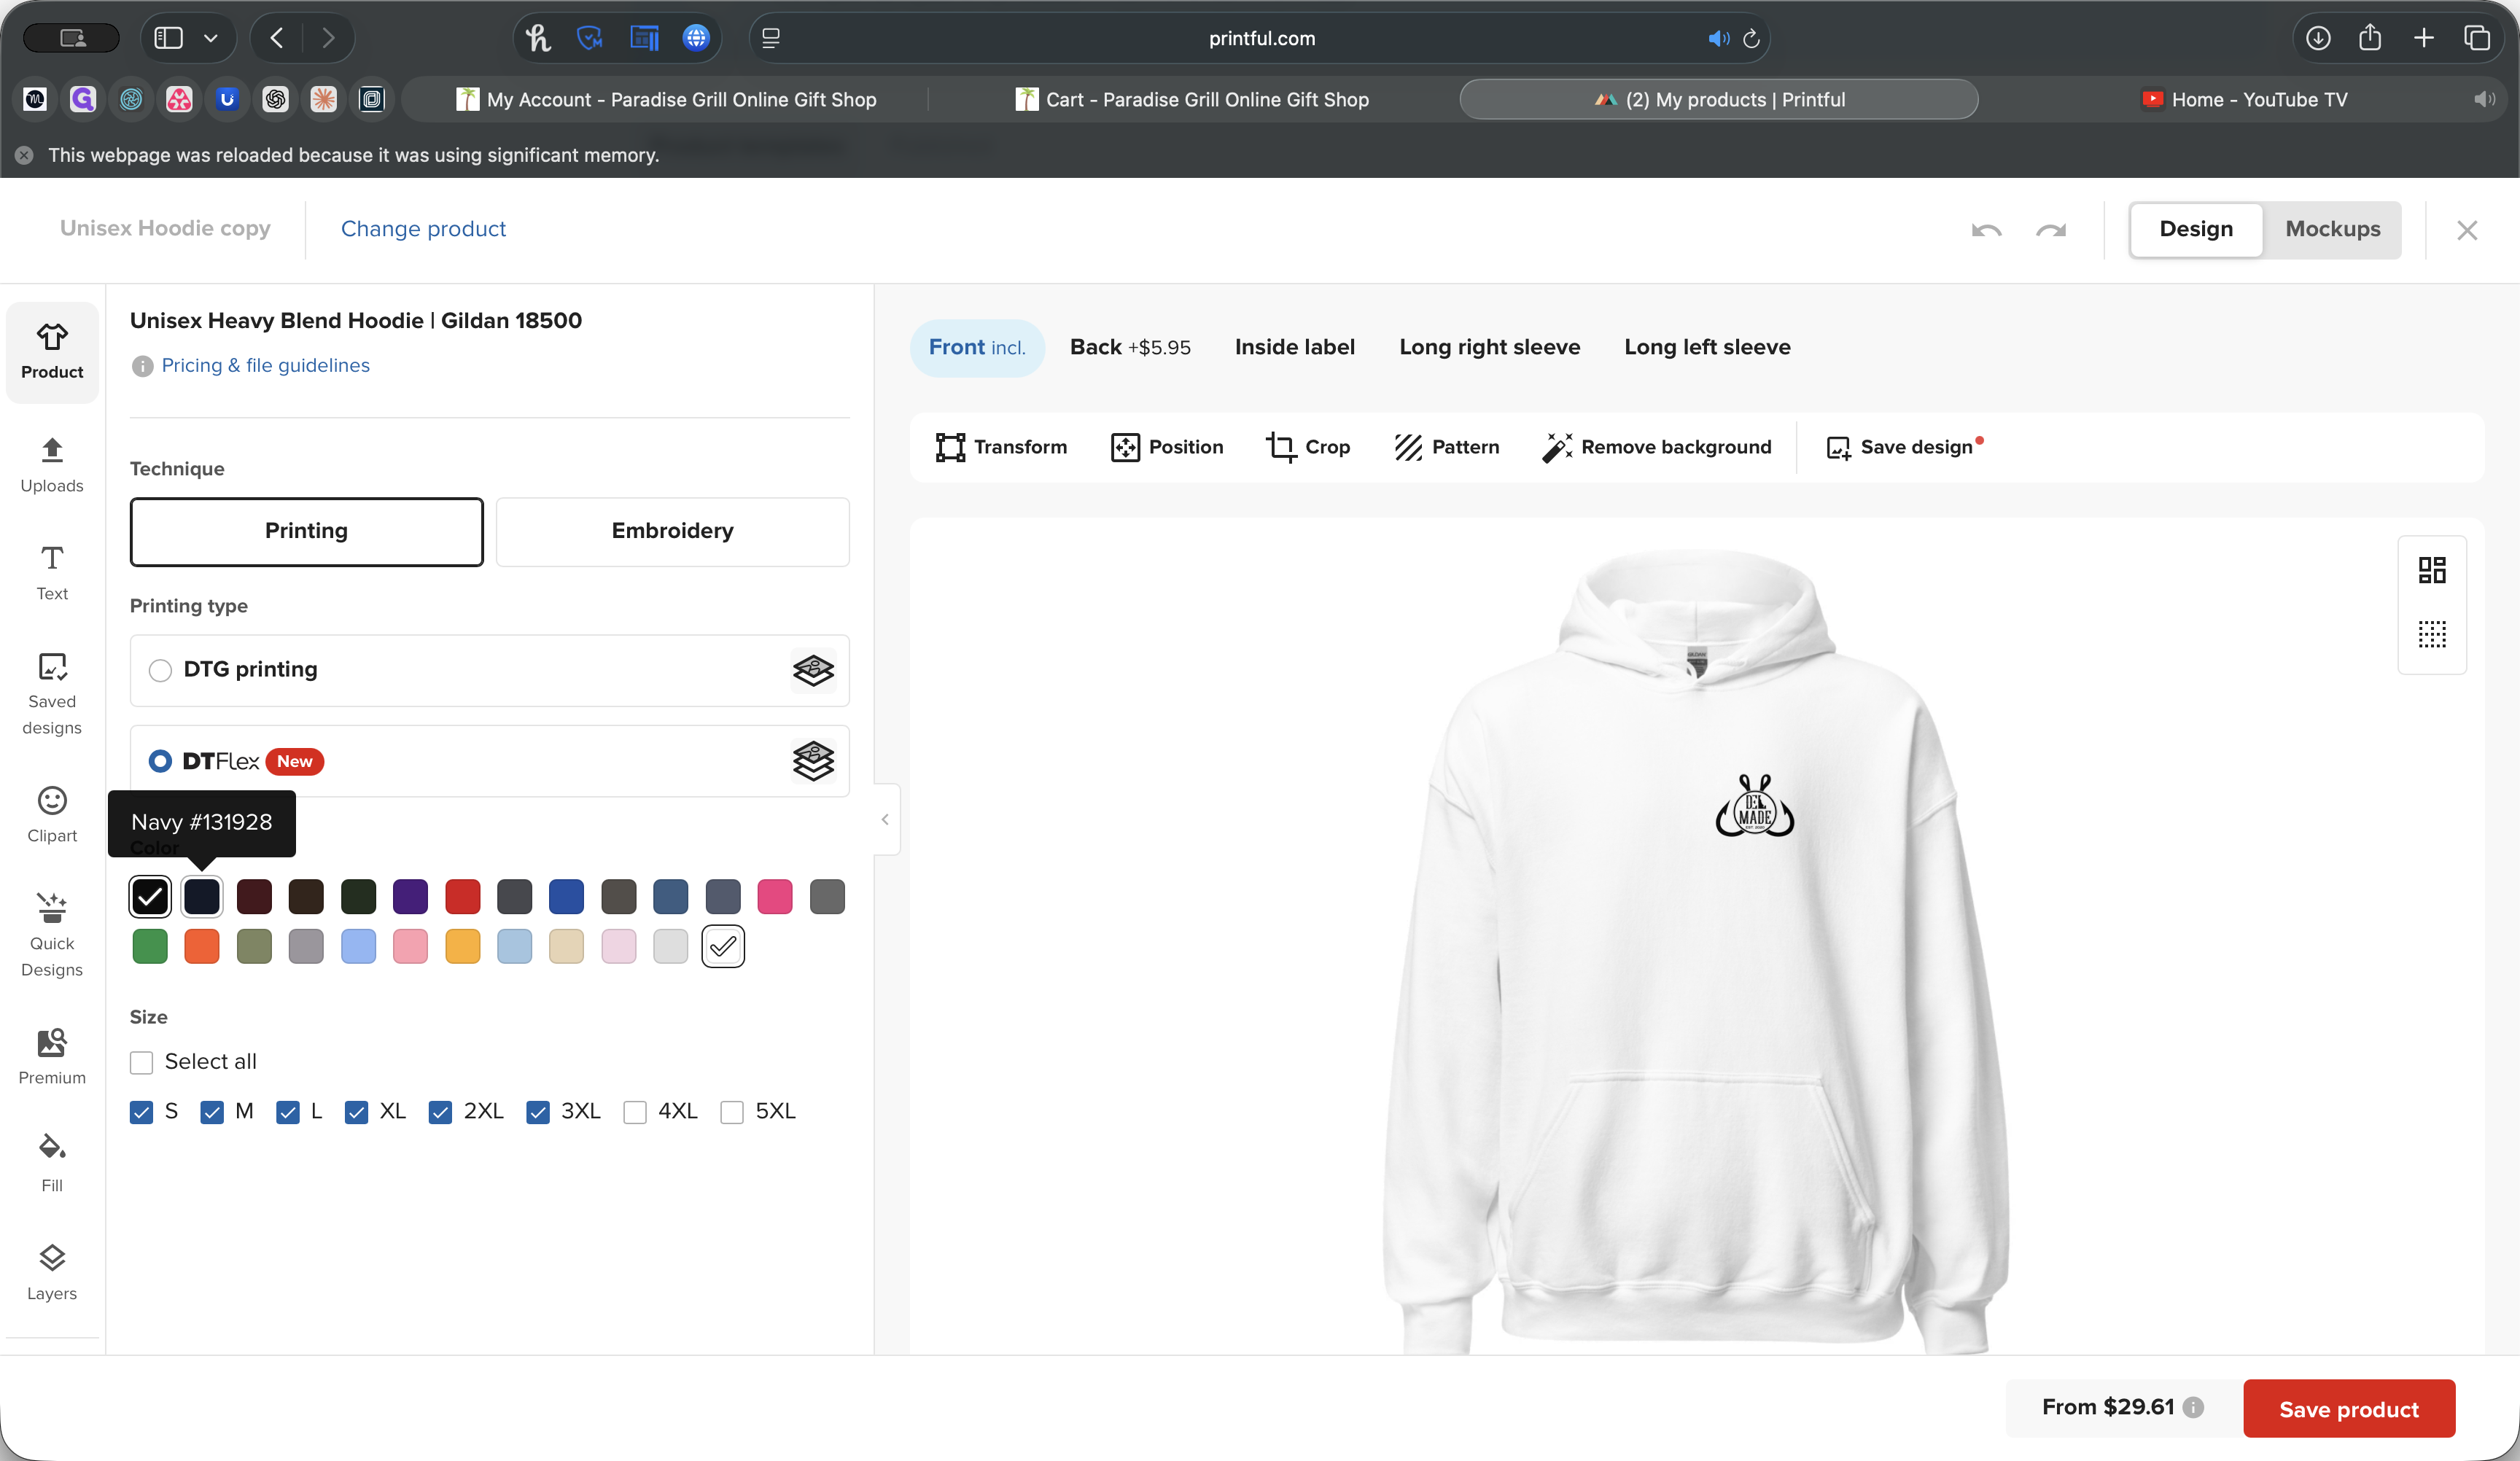
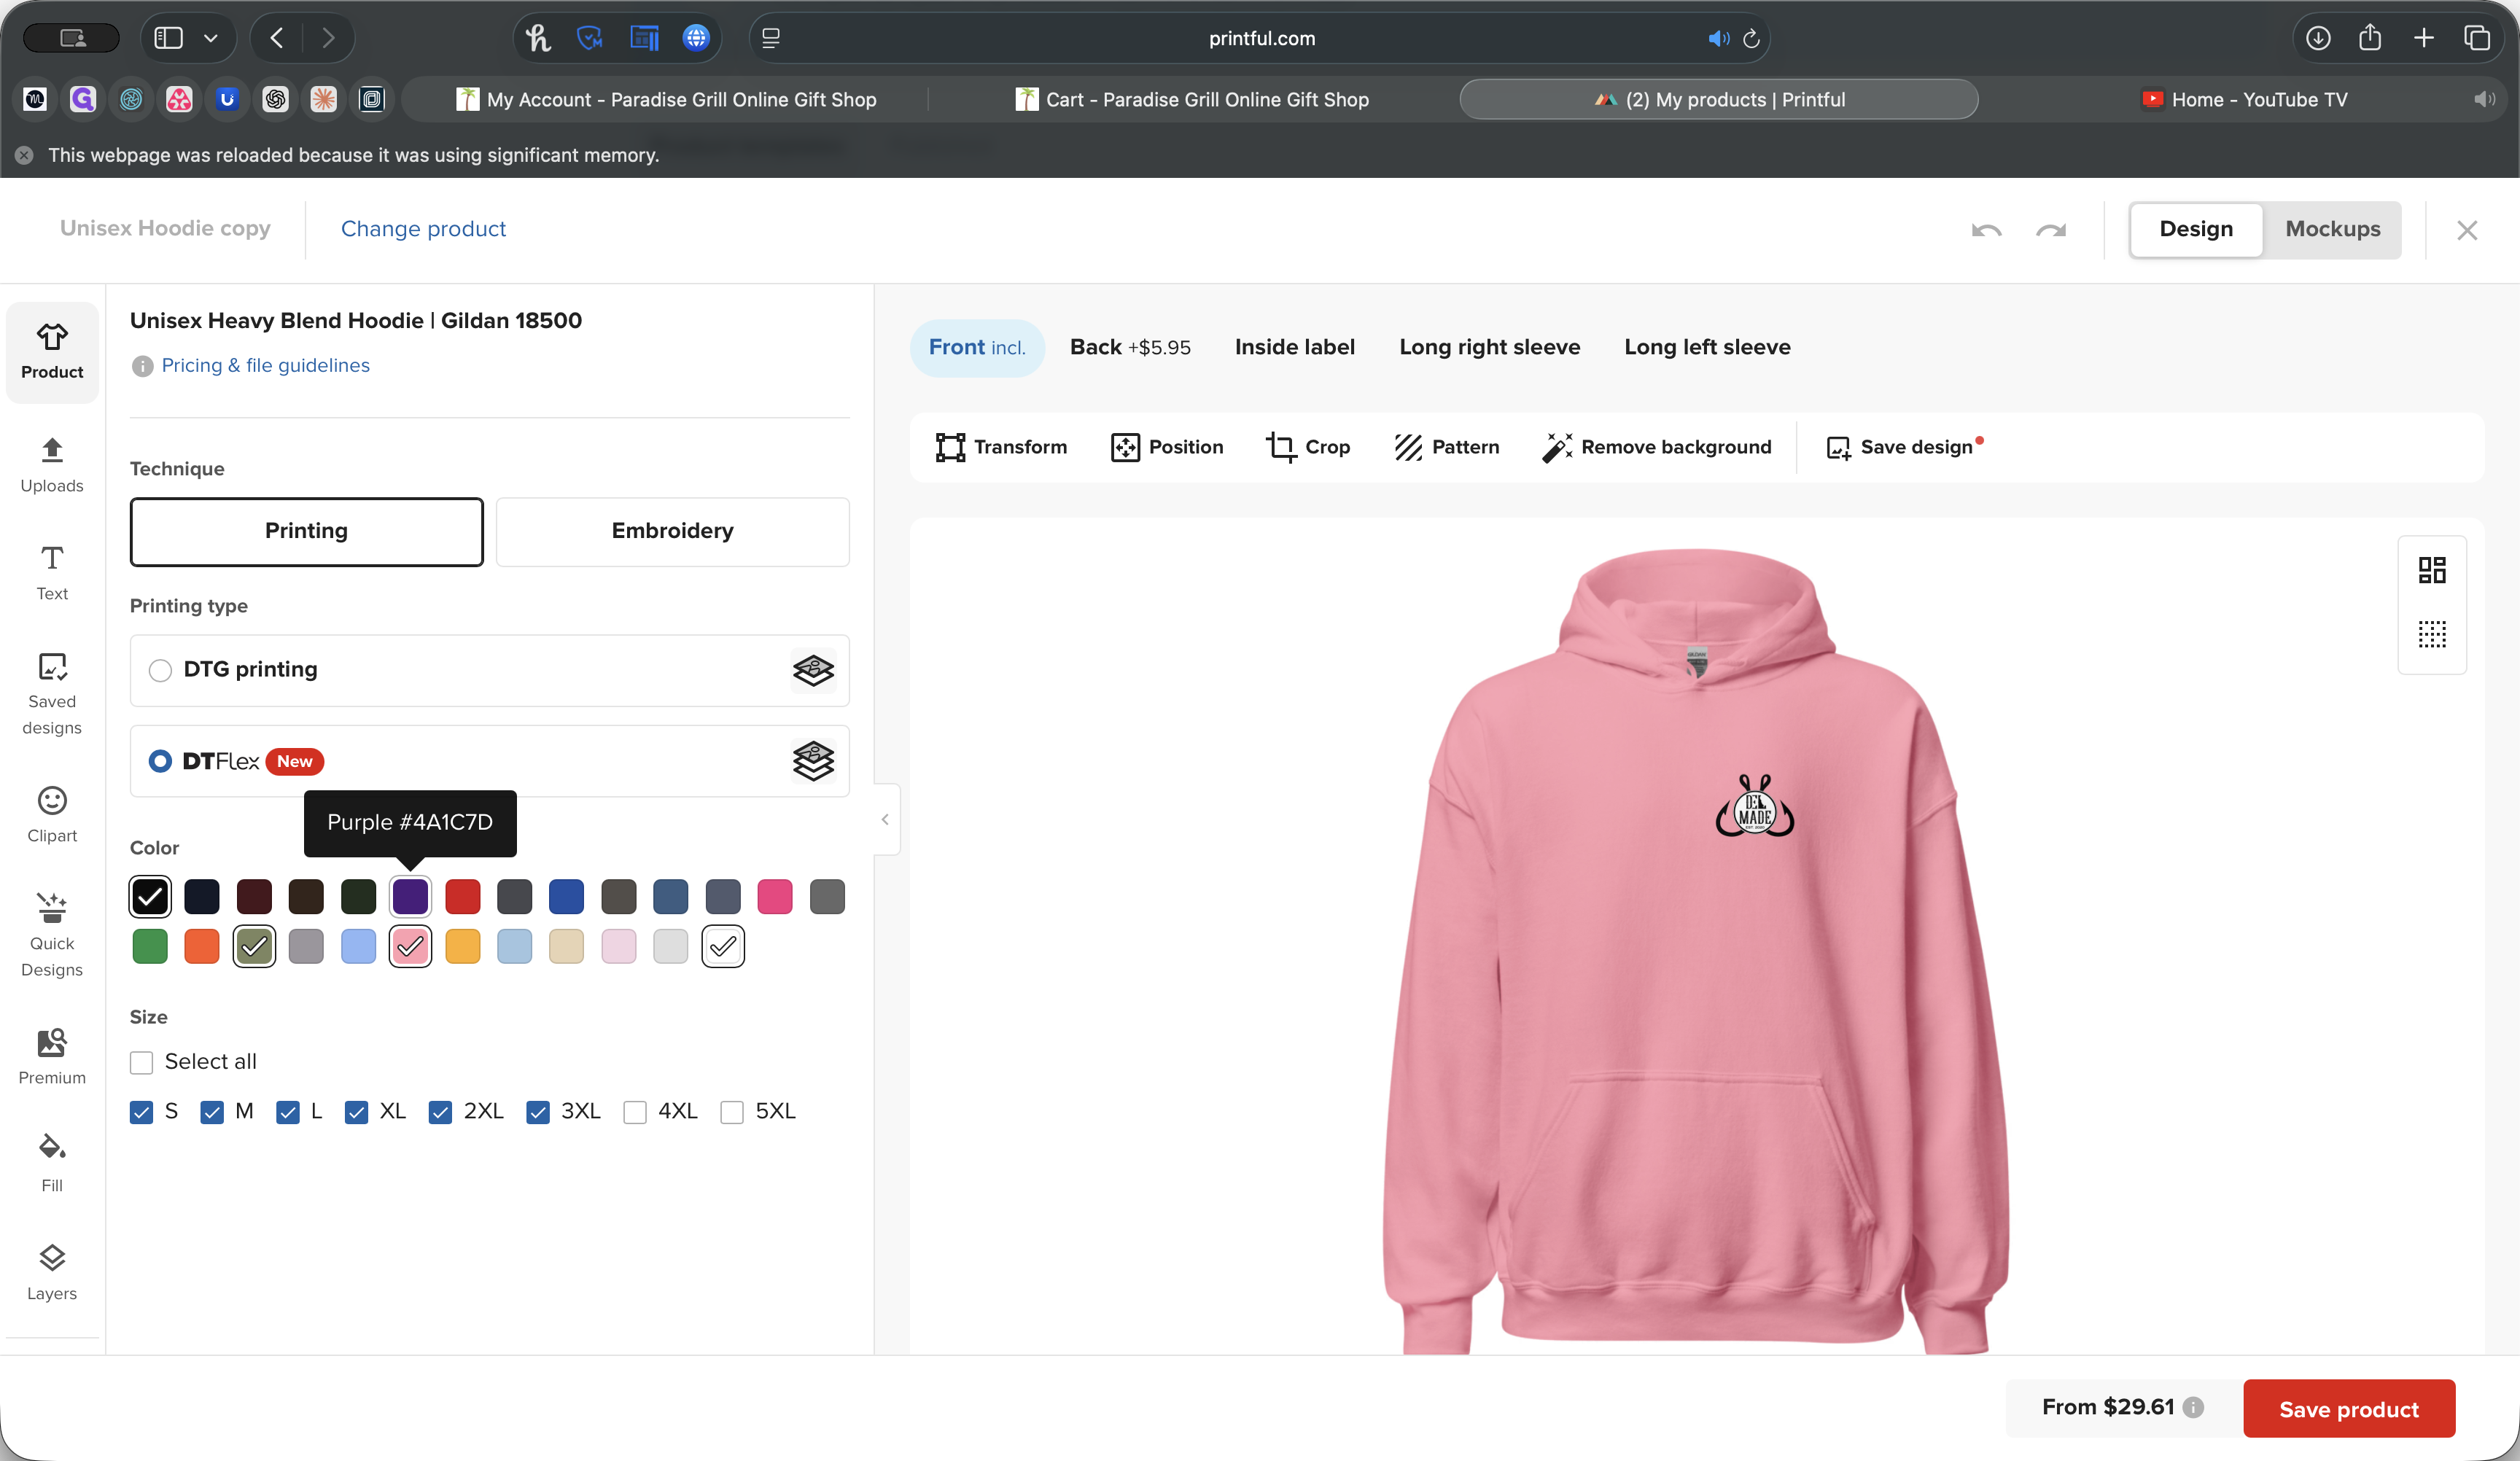
If you want different colors, you can choose the ones you prefer.
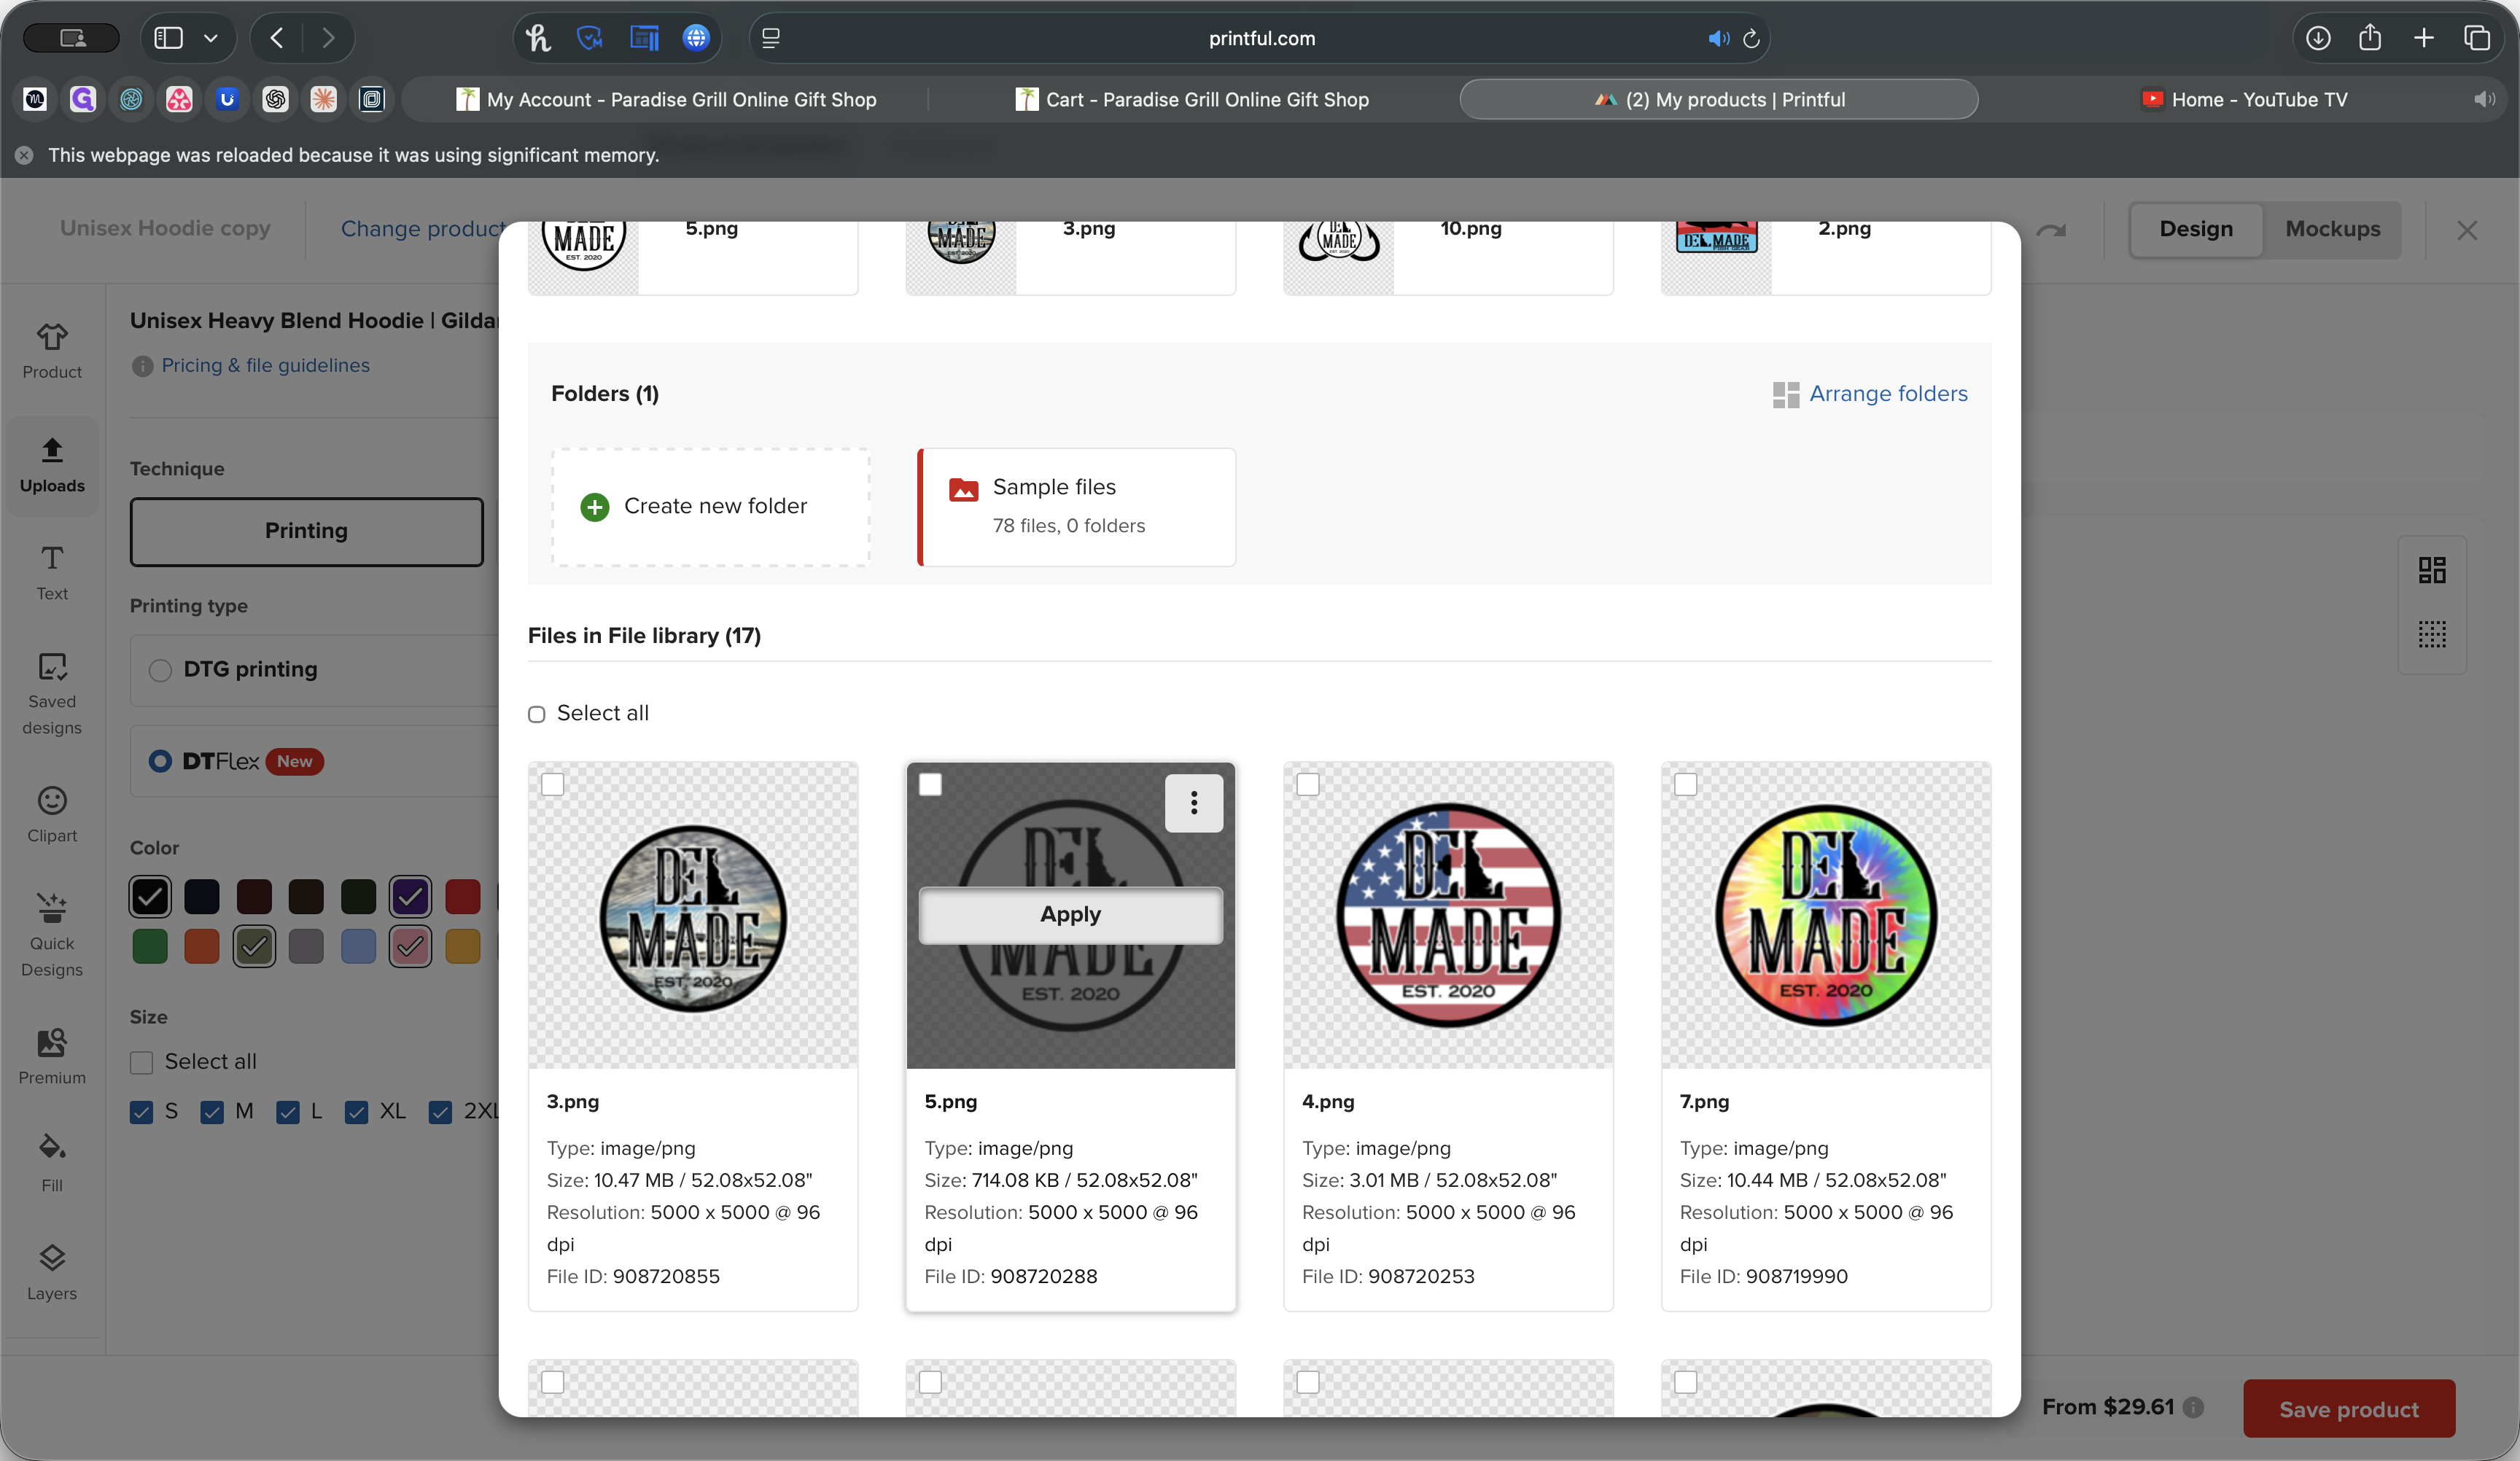
You should also add a logo that is different from the one already there.

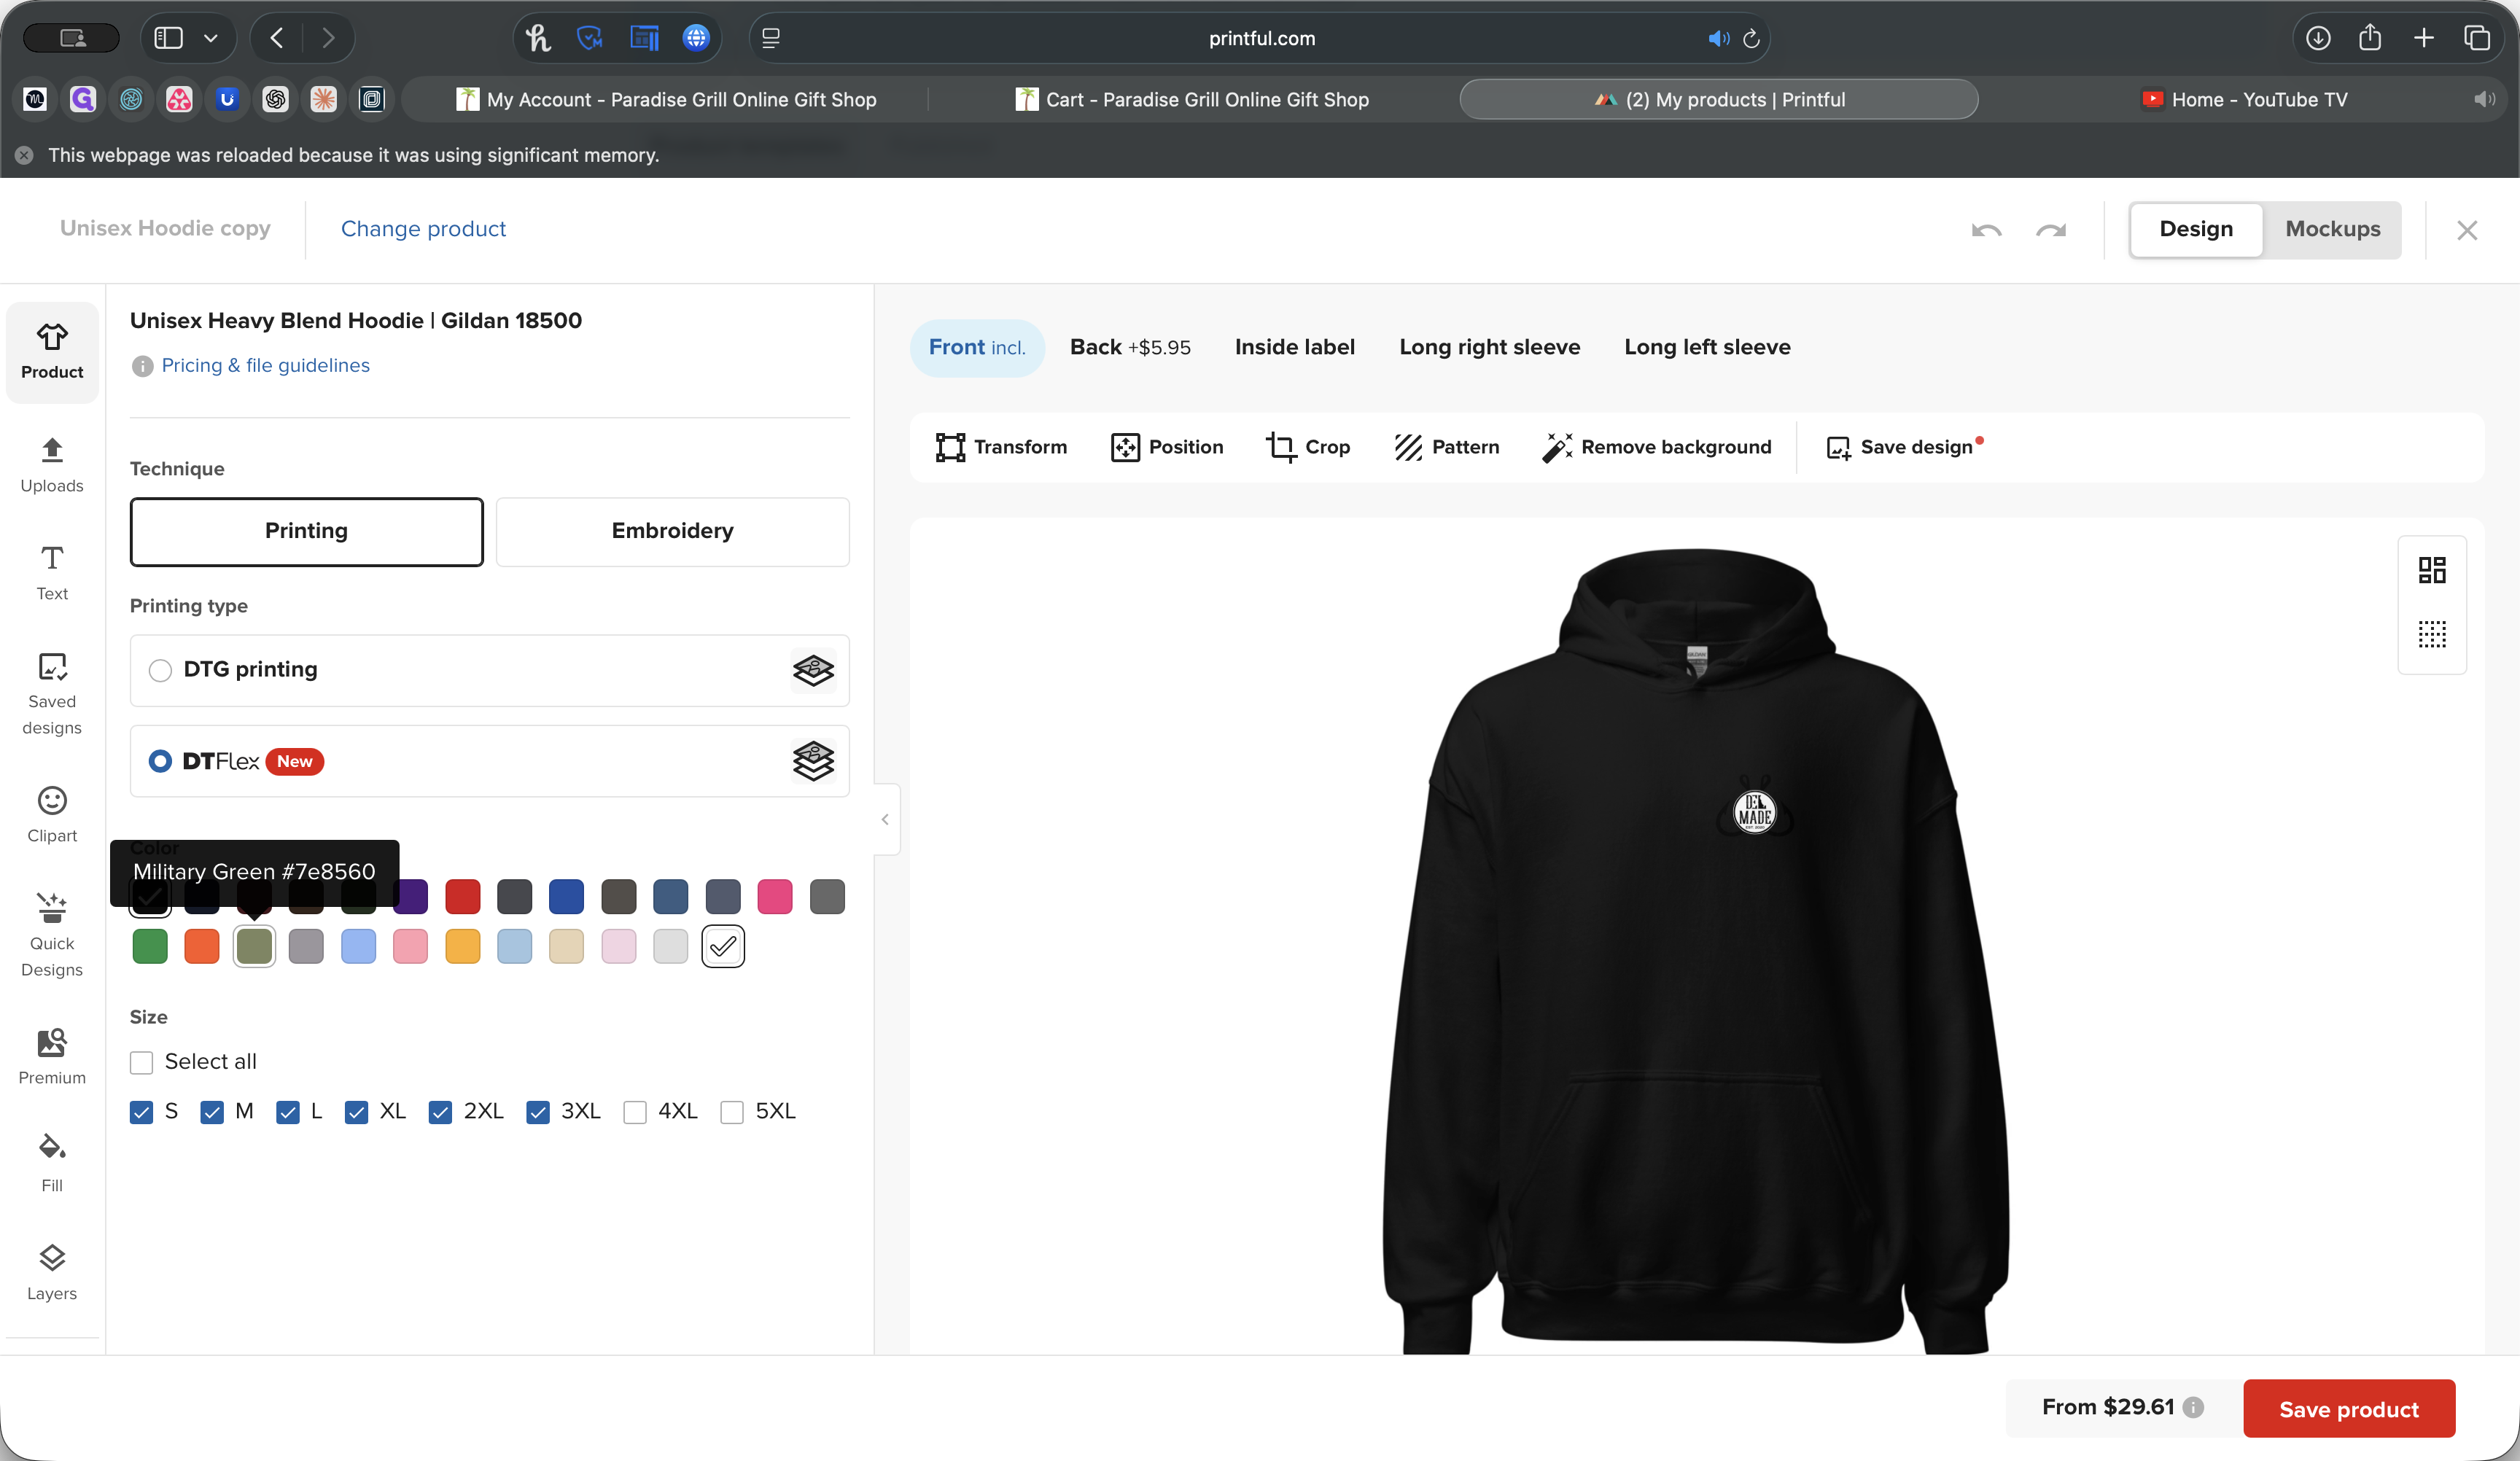
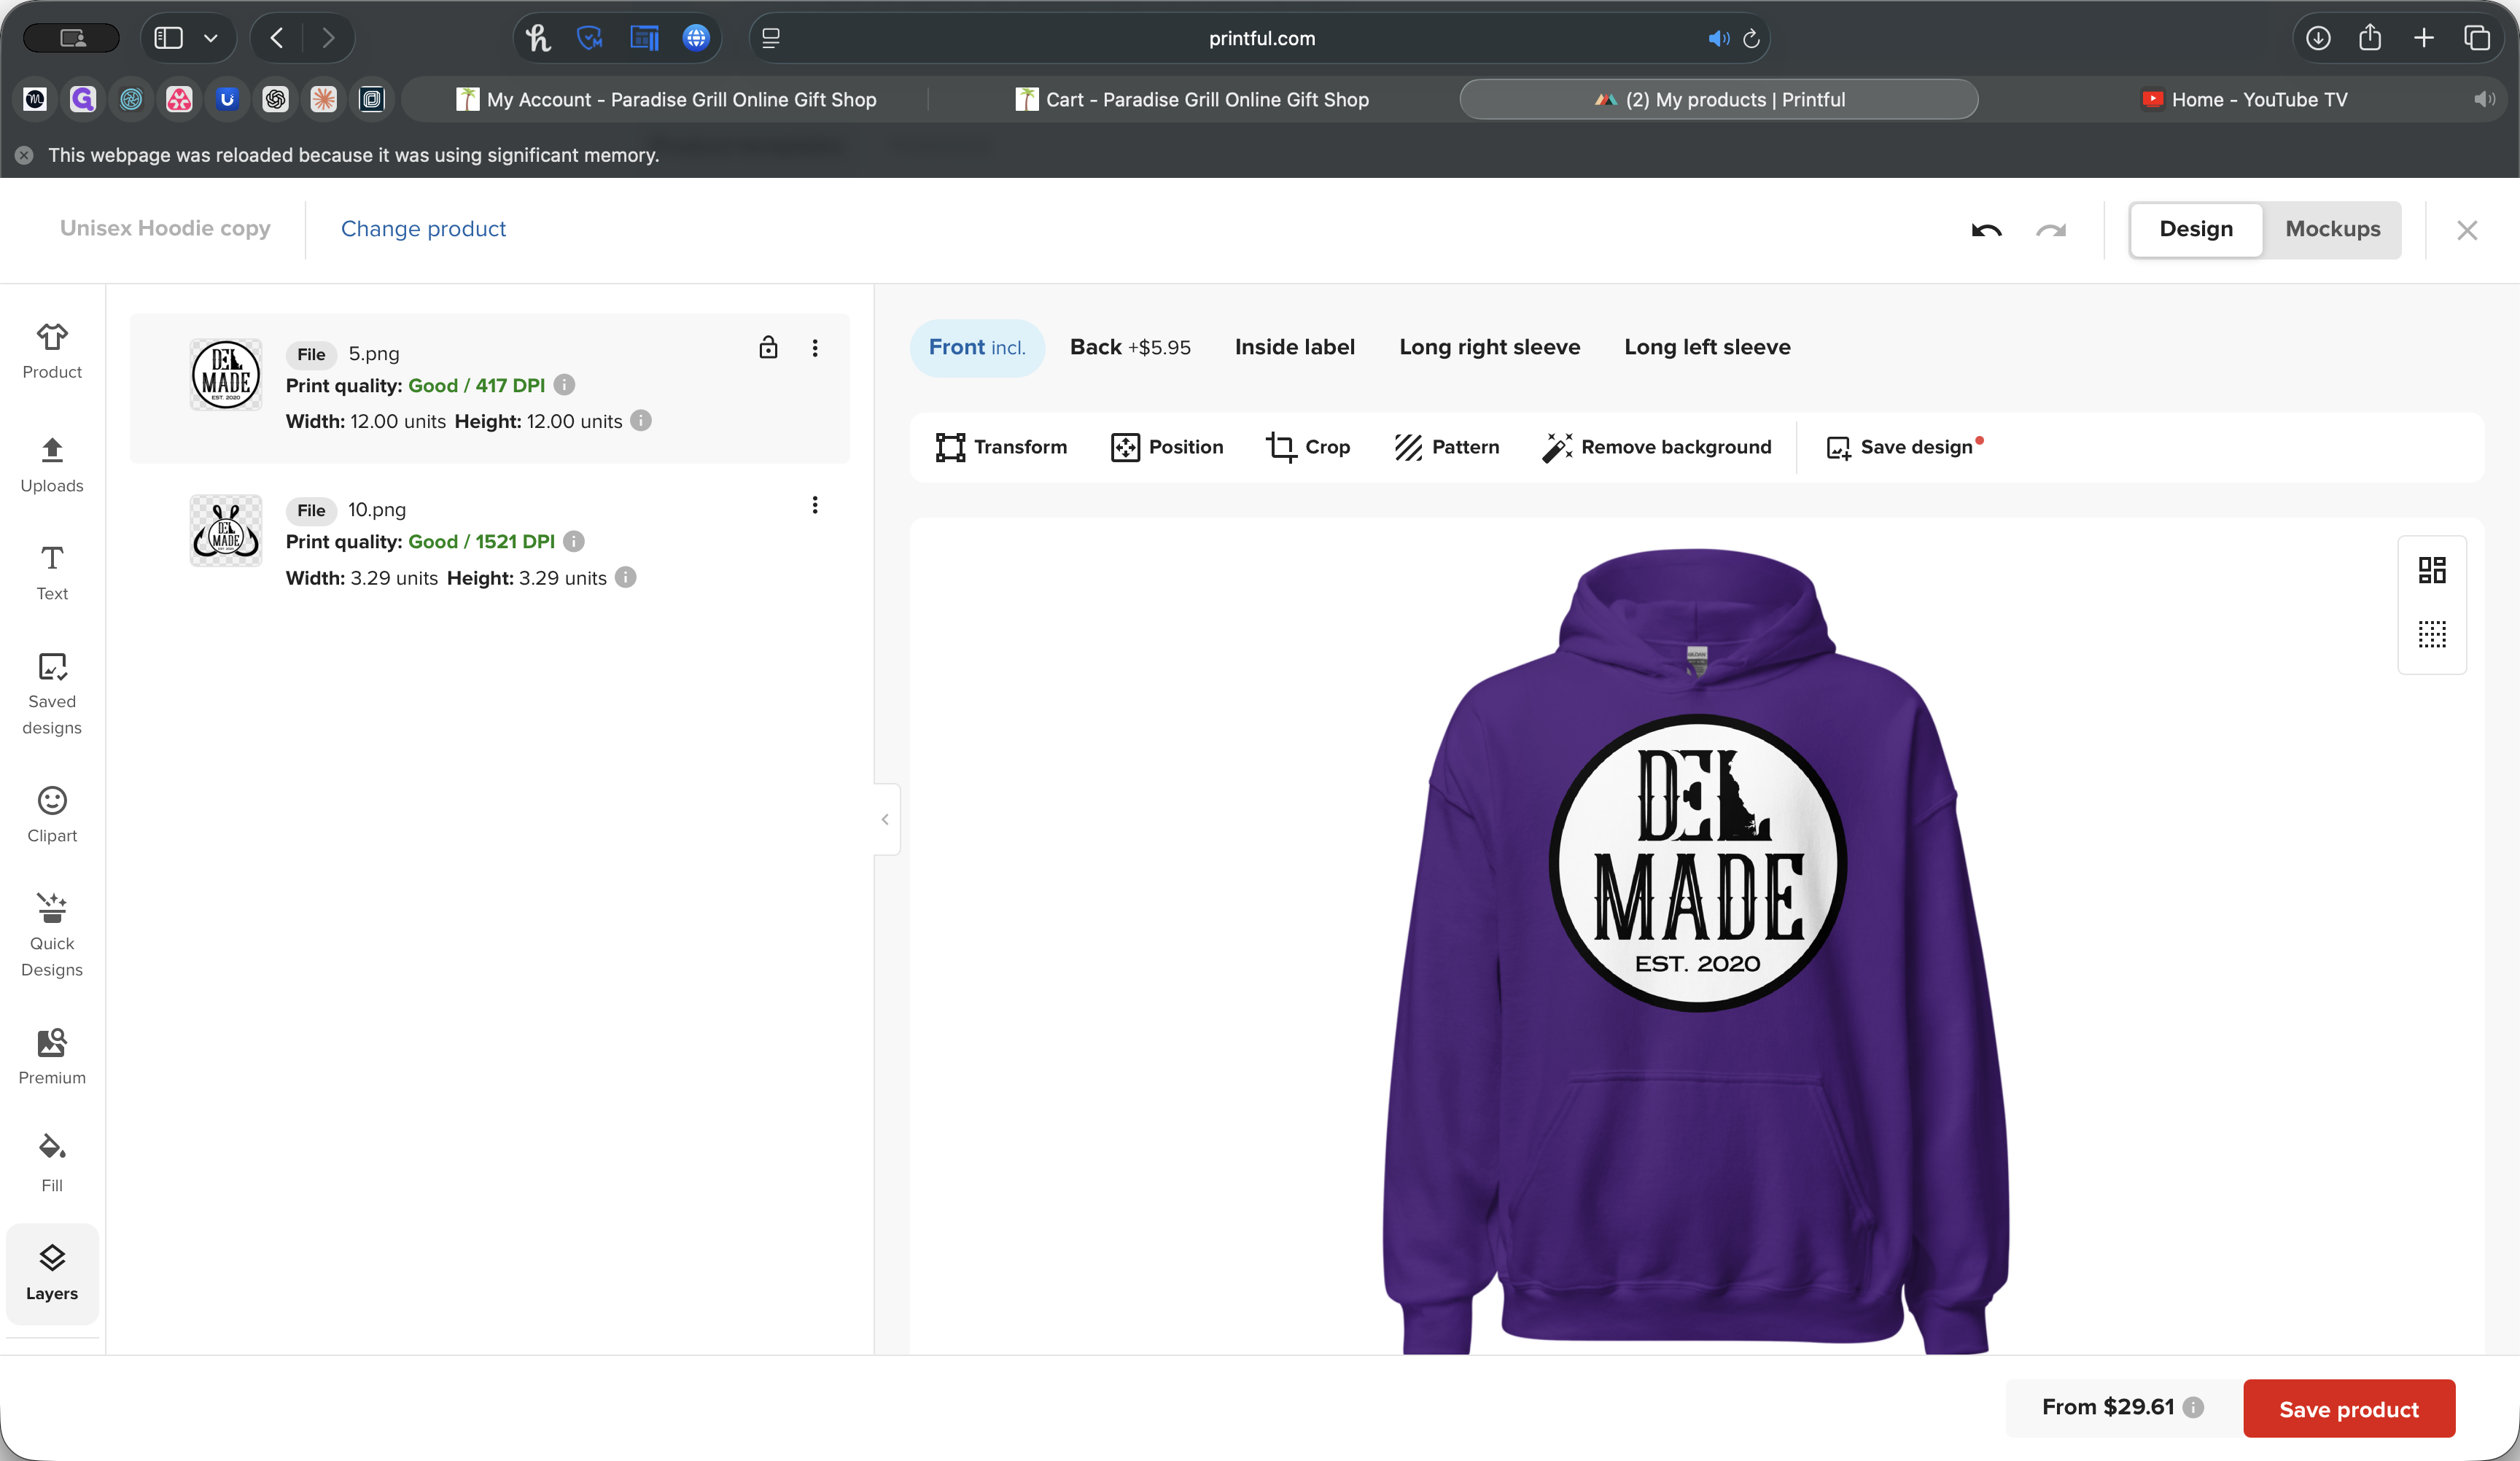
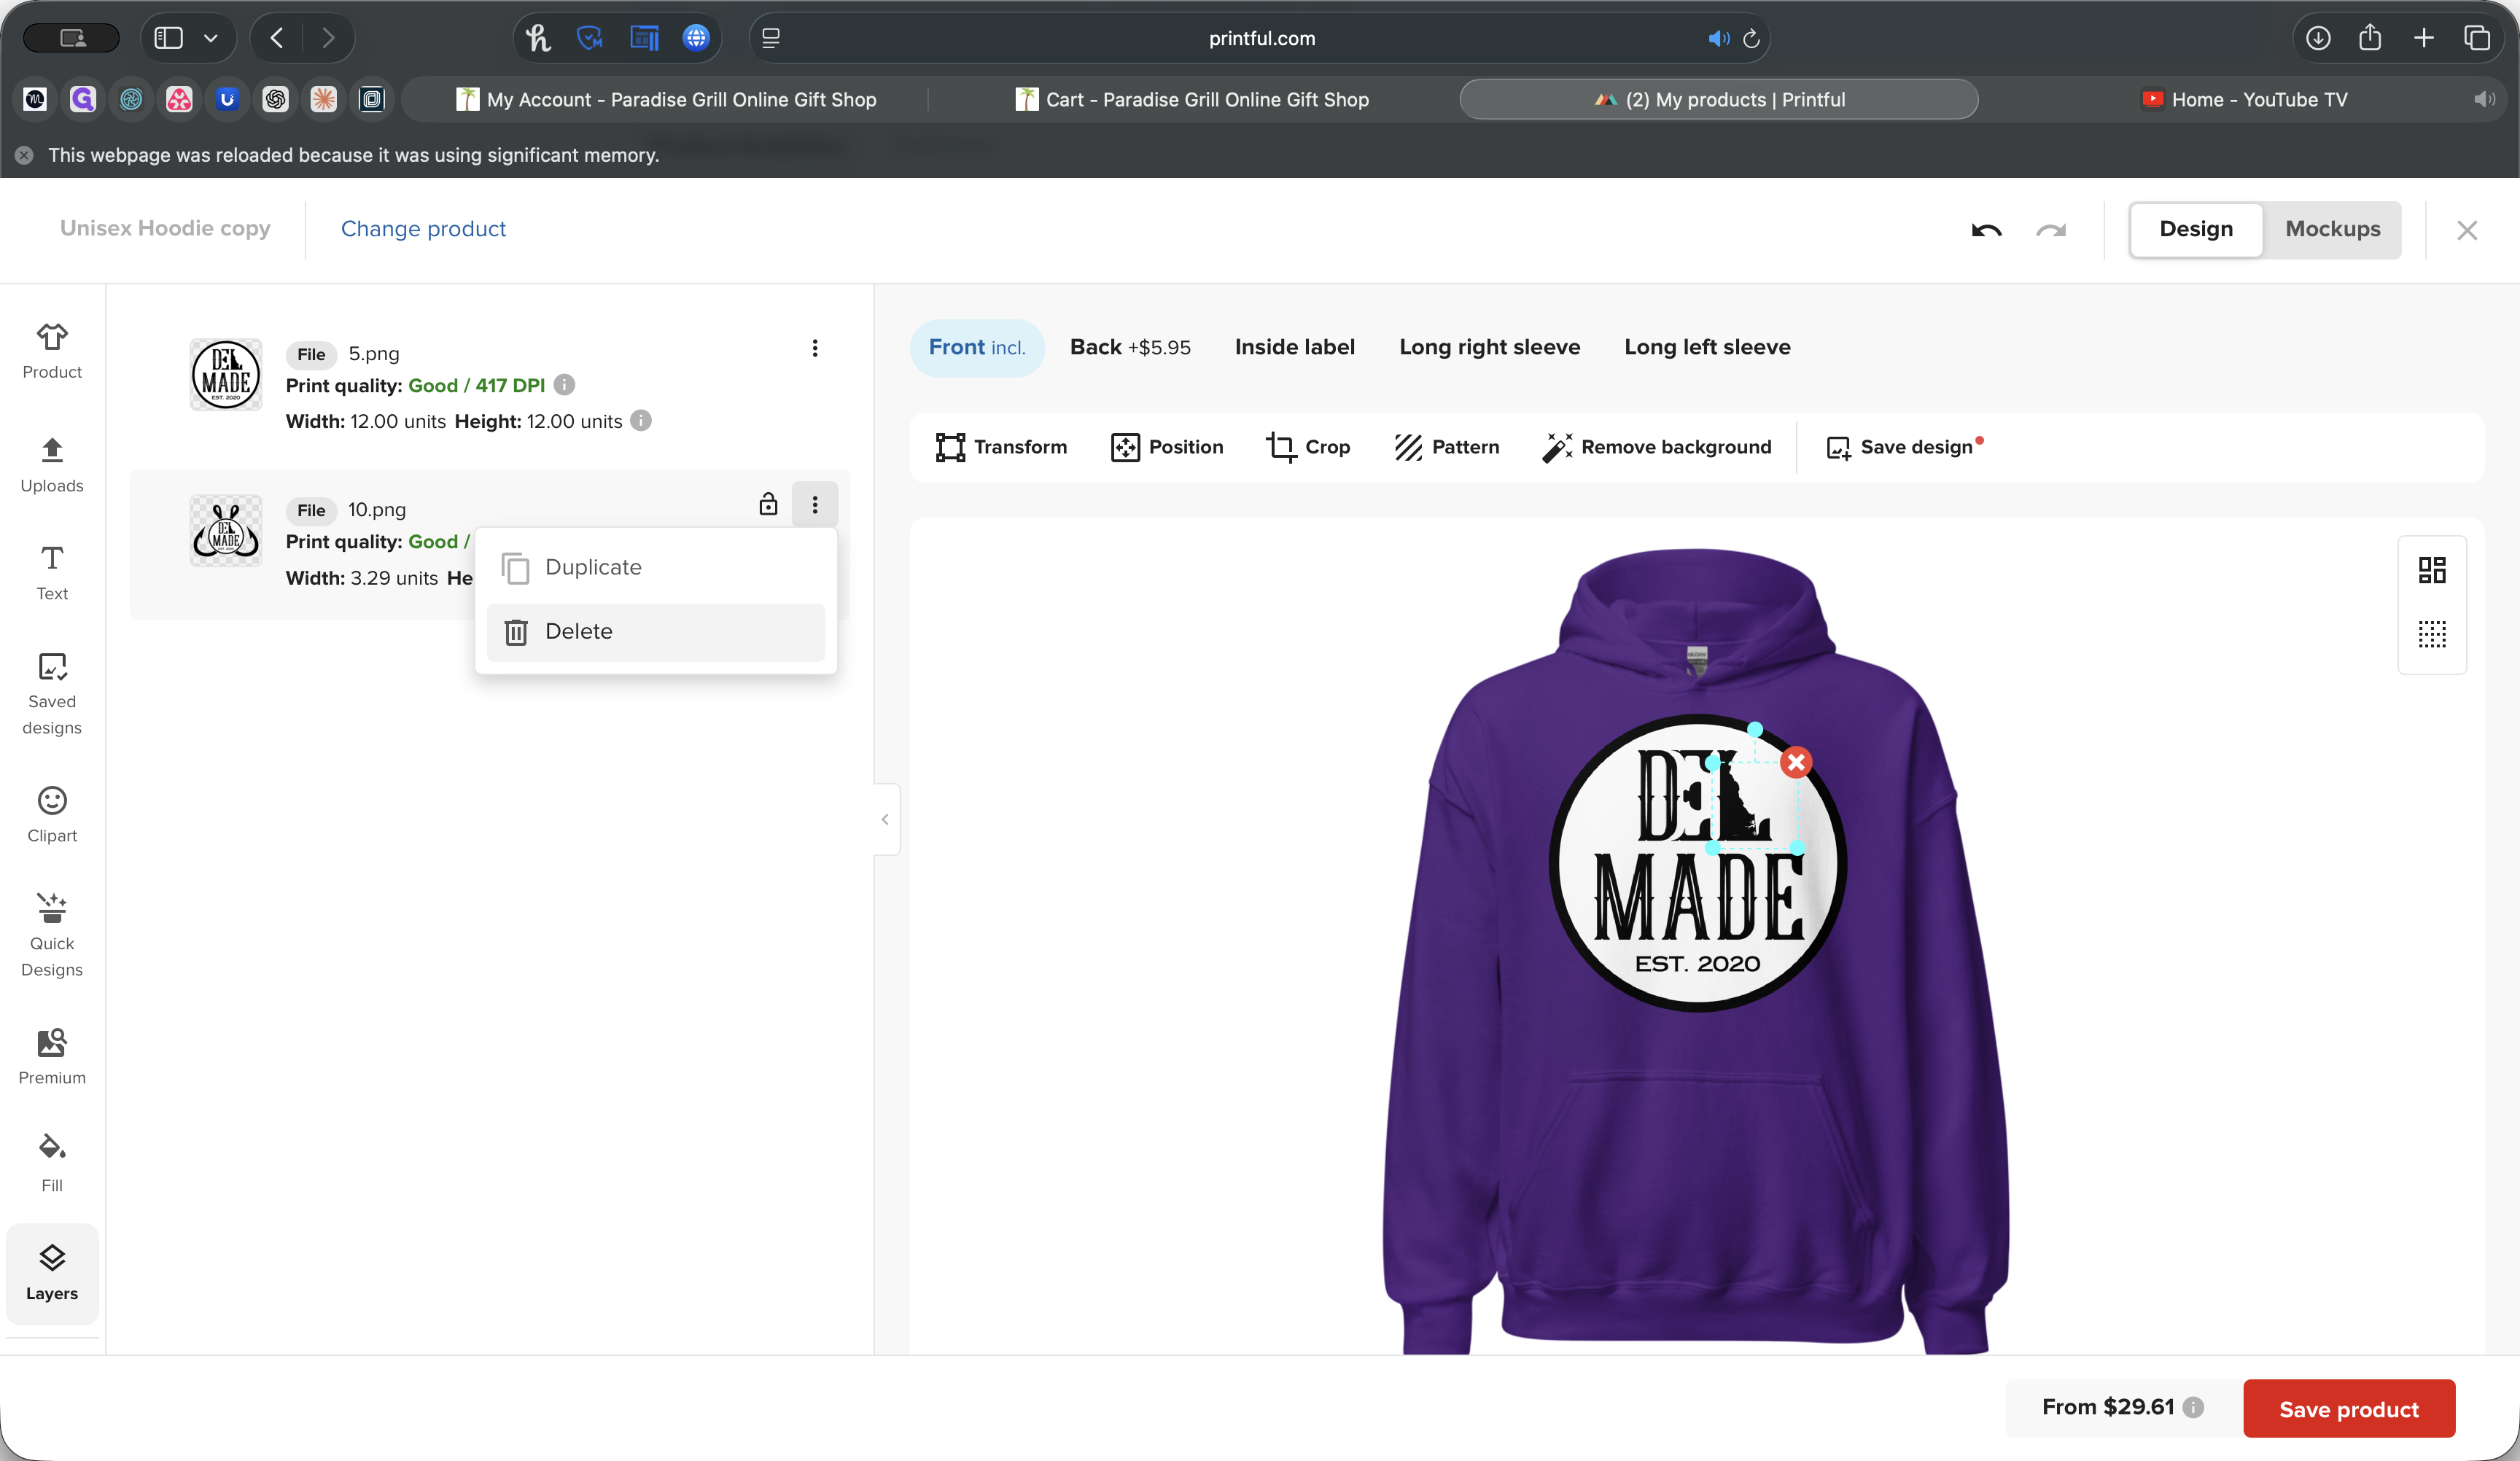
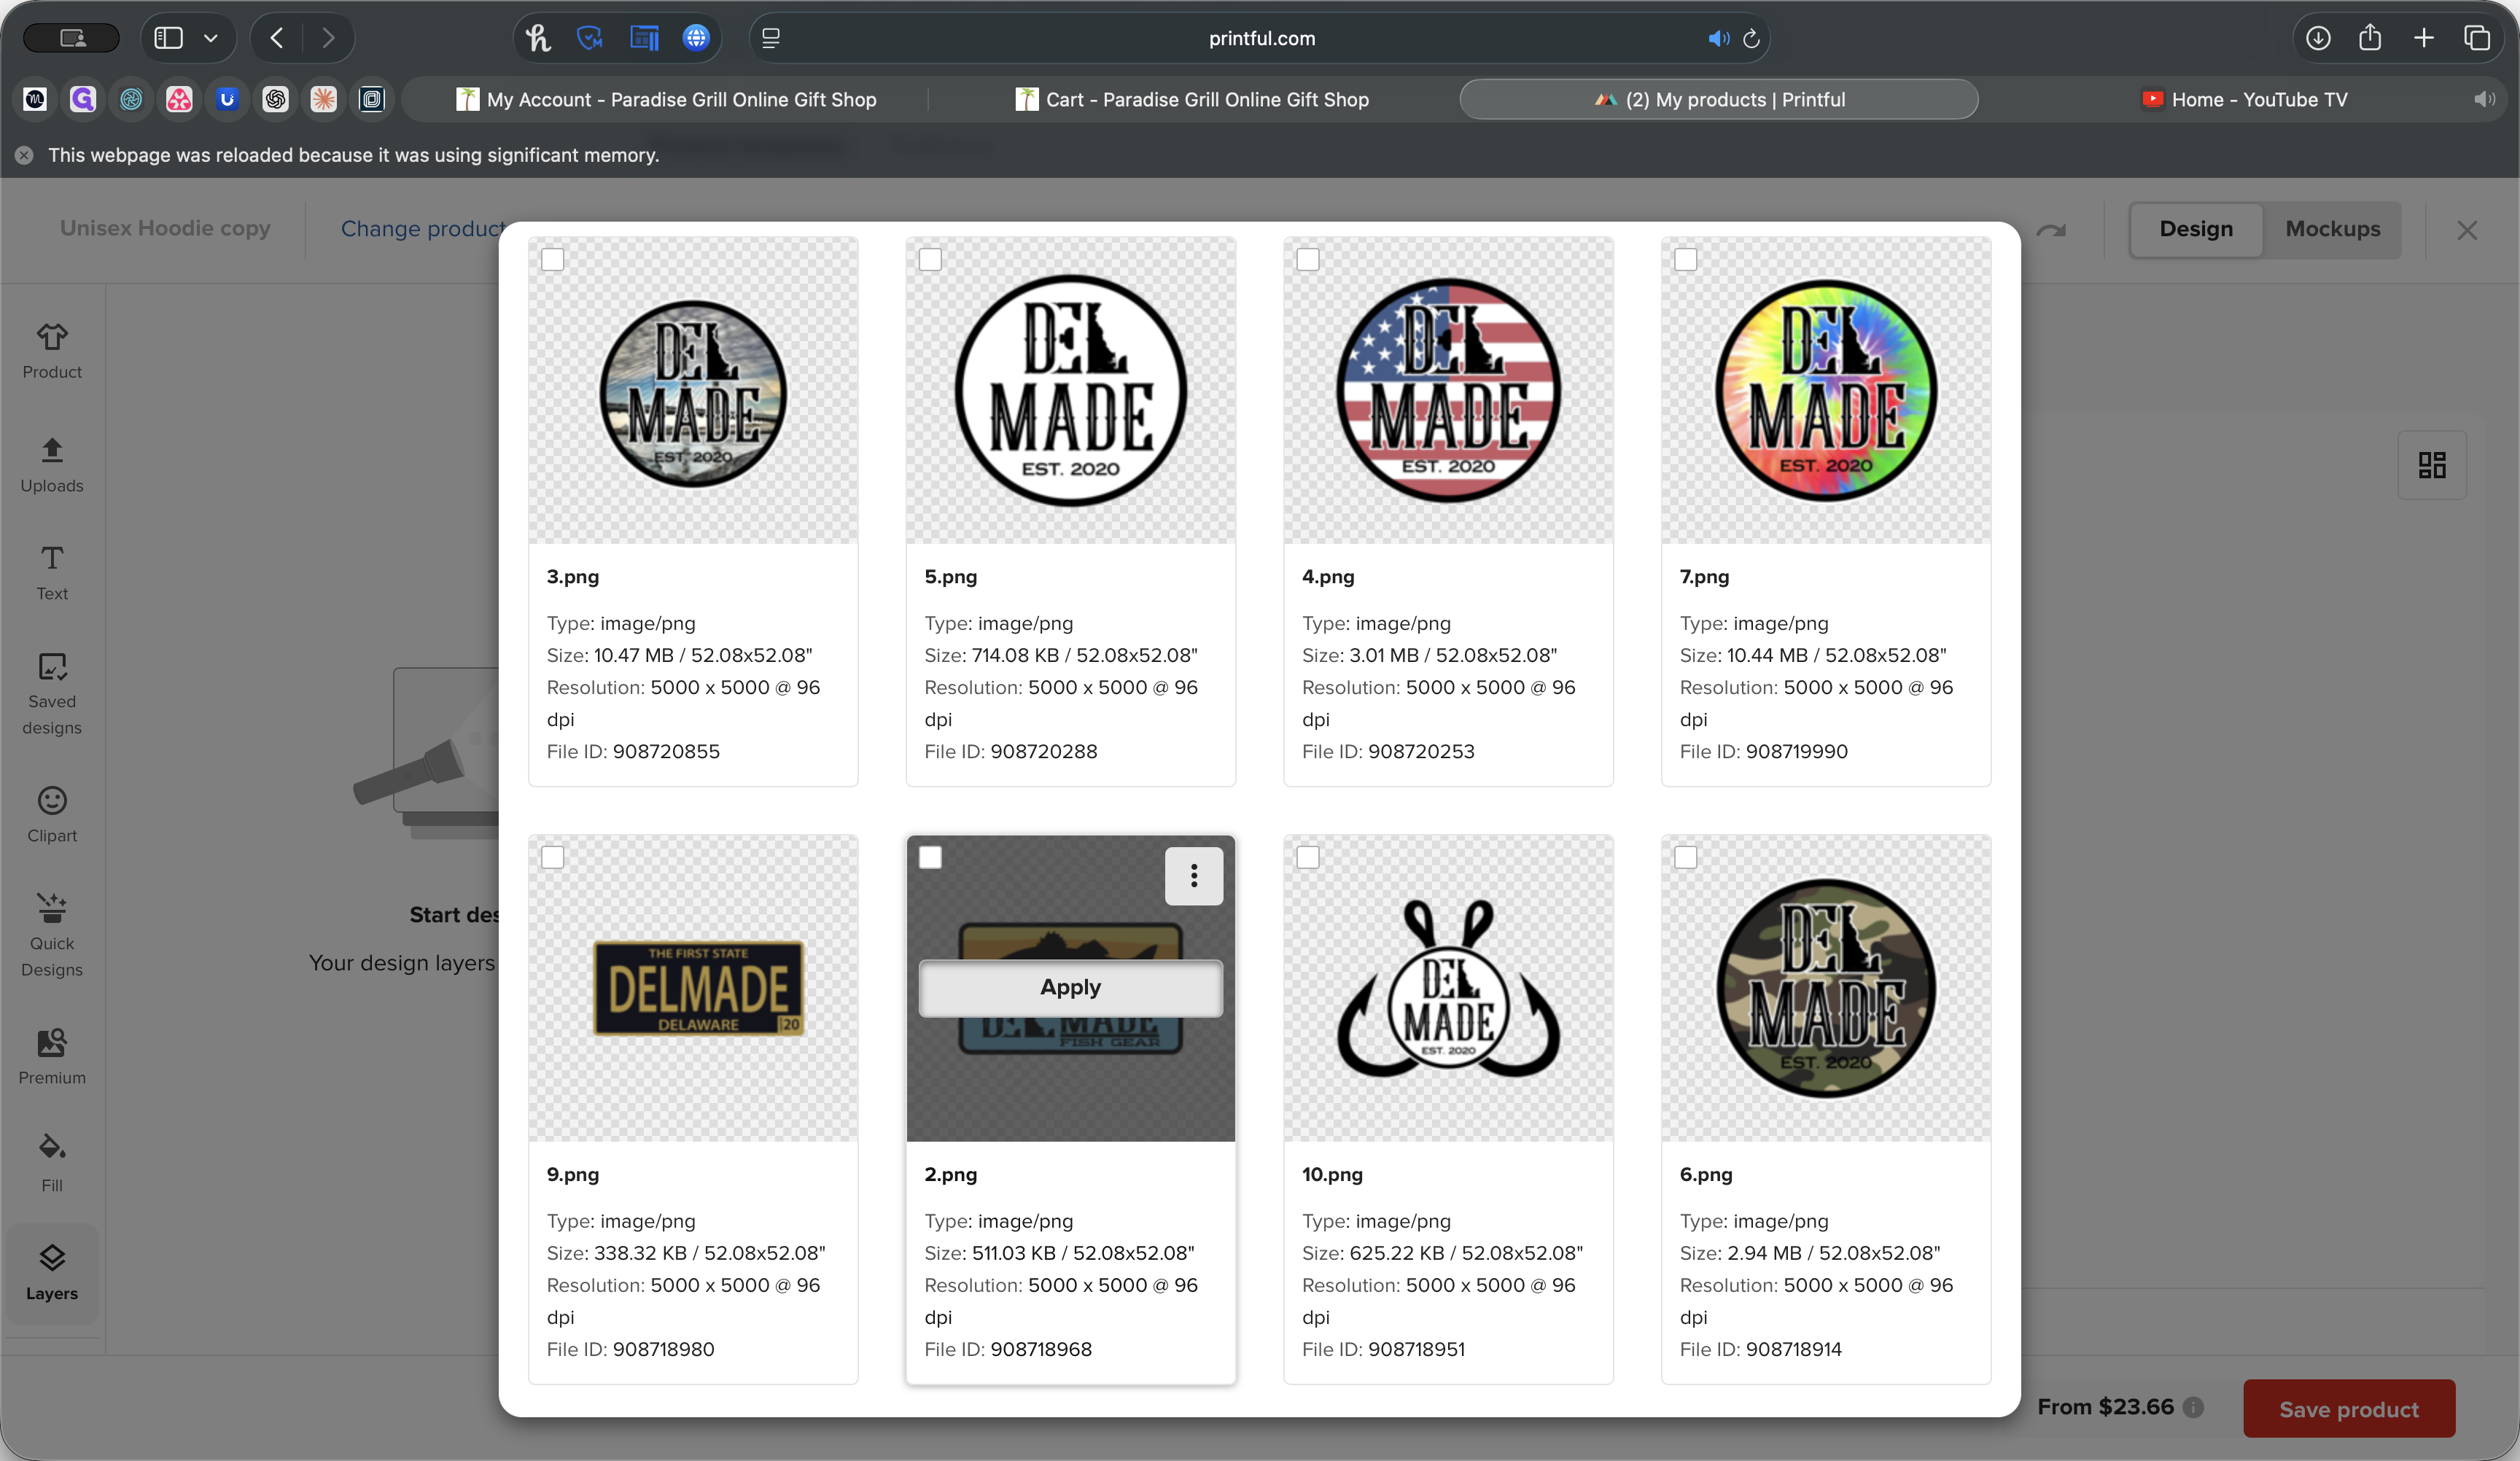
Click Uploads. You can upload a file here or select multiple files to upload. When those are uploaded, you can choose the one you want to use. For example, select this logo and click Apply. Now, you'll see that we're on the front, and it has taken us to the Layers column, located at the bottom left.
We want to delete the layer we don't need. In this case, it's this one.

Now, we can take this and resize it.
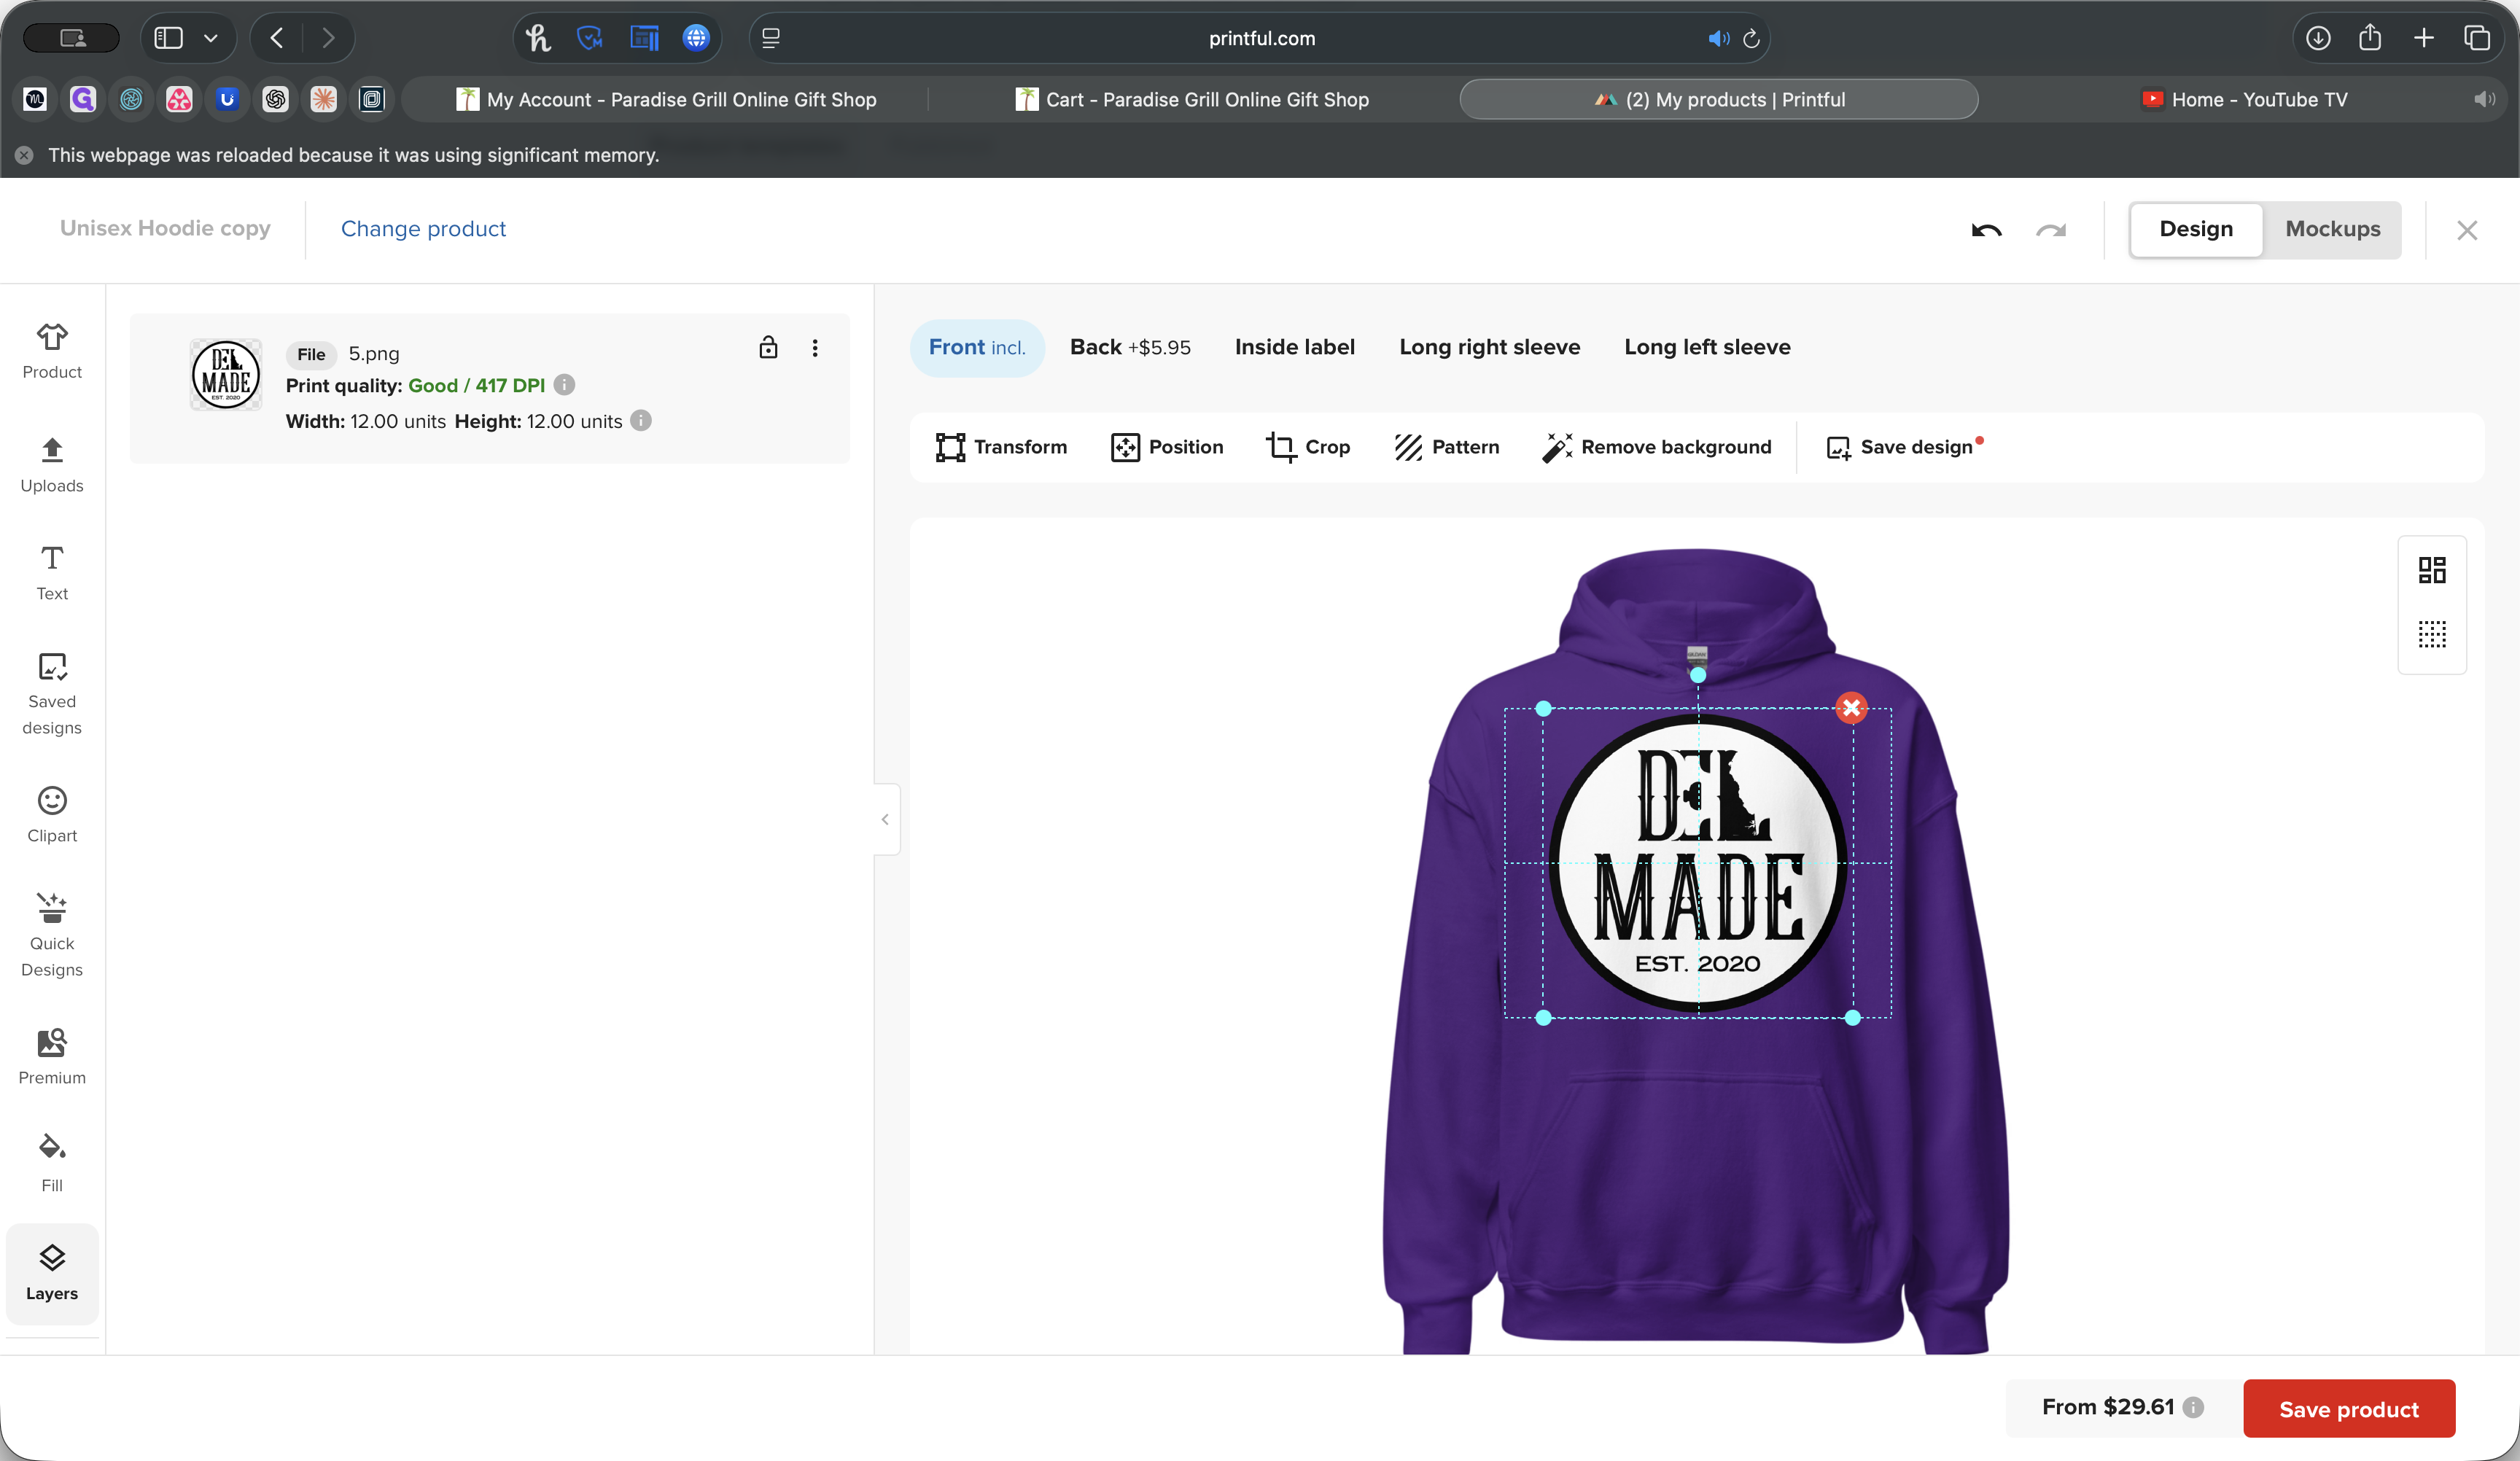

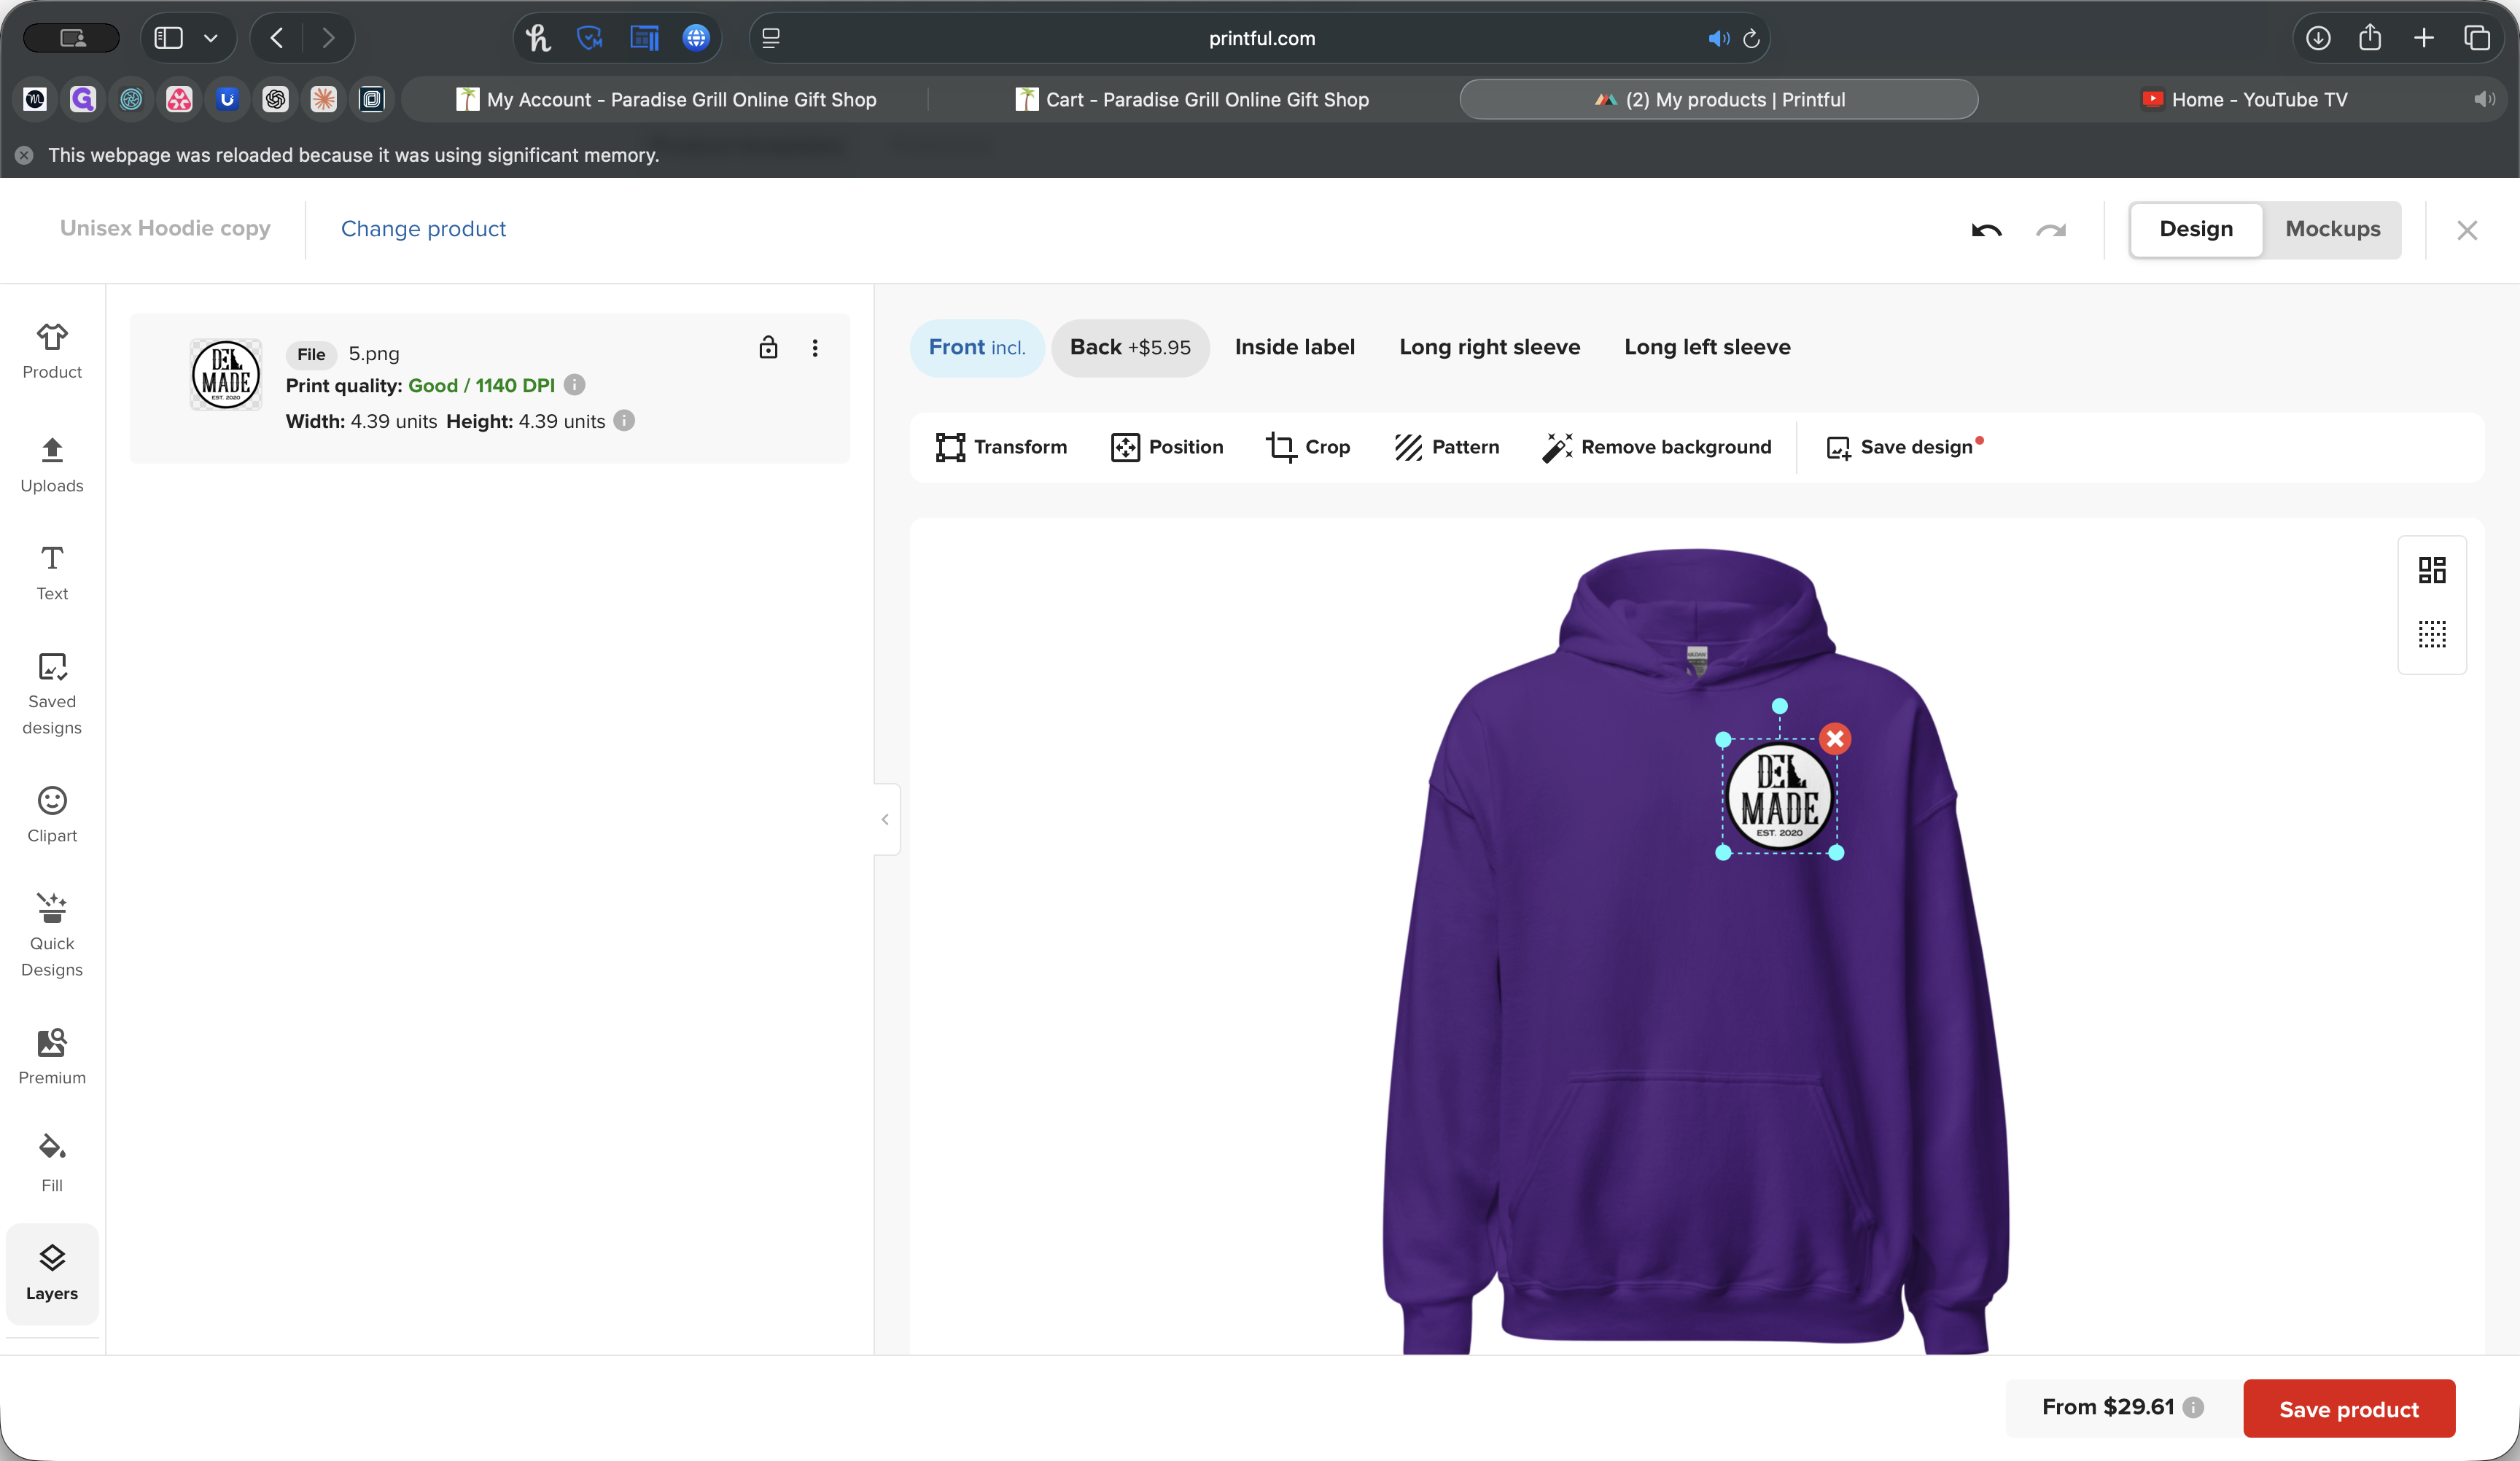
I find that 439 by 439 looks good. You can also see visually where it goes on the hoodie.

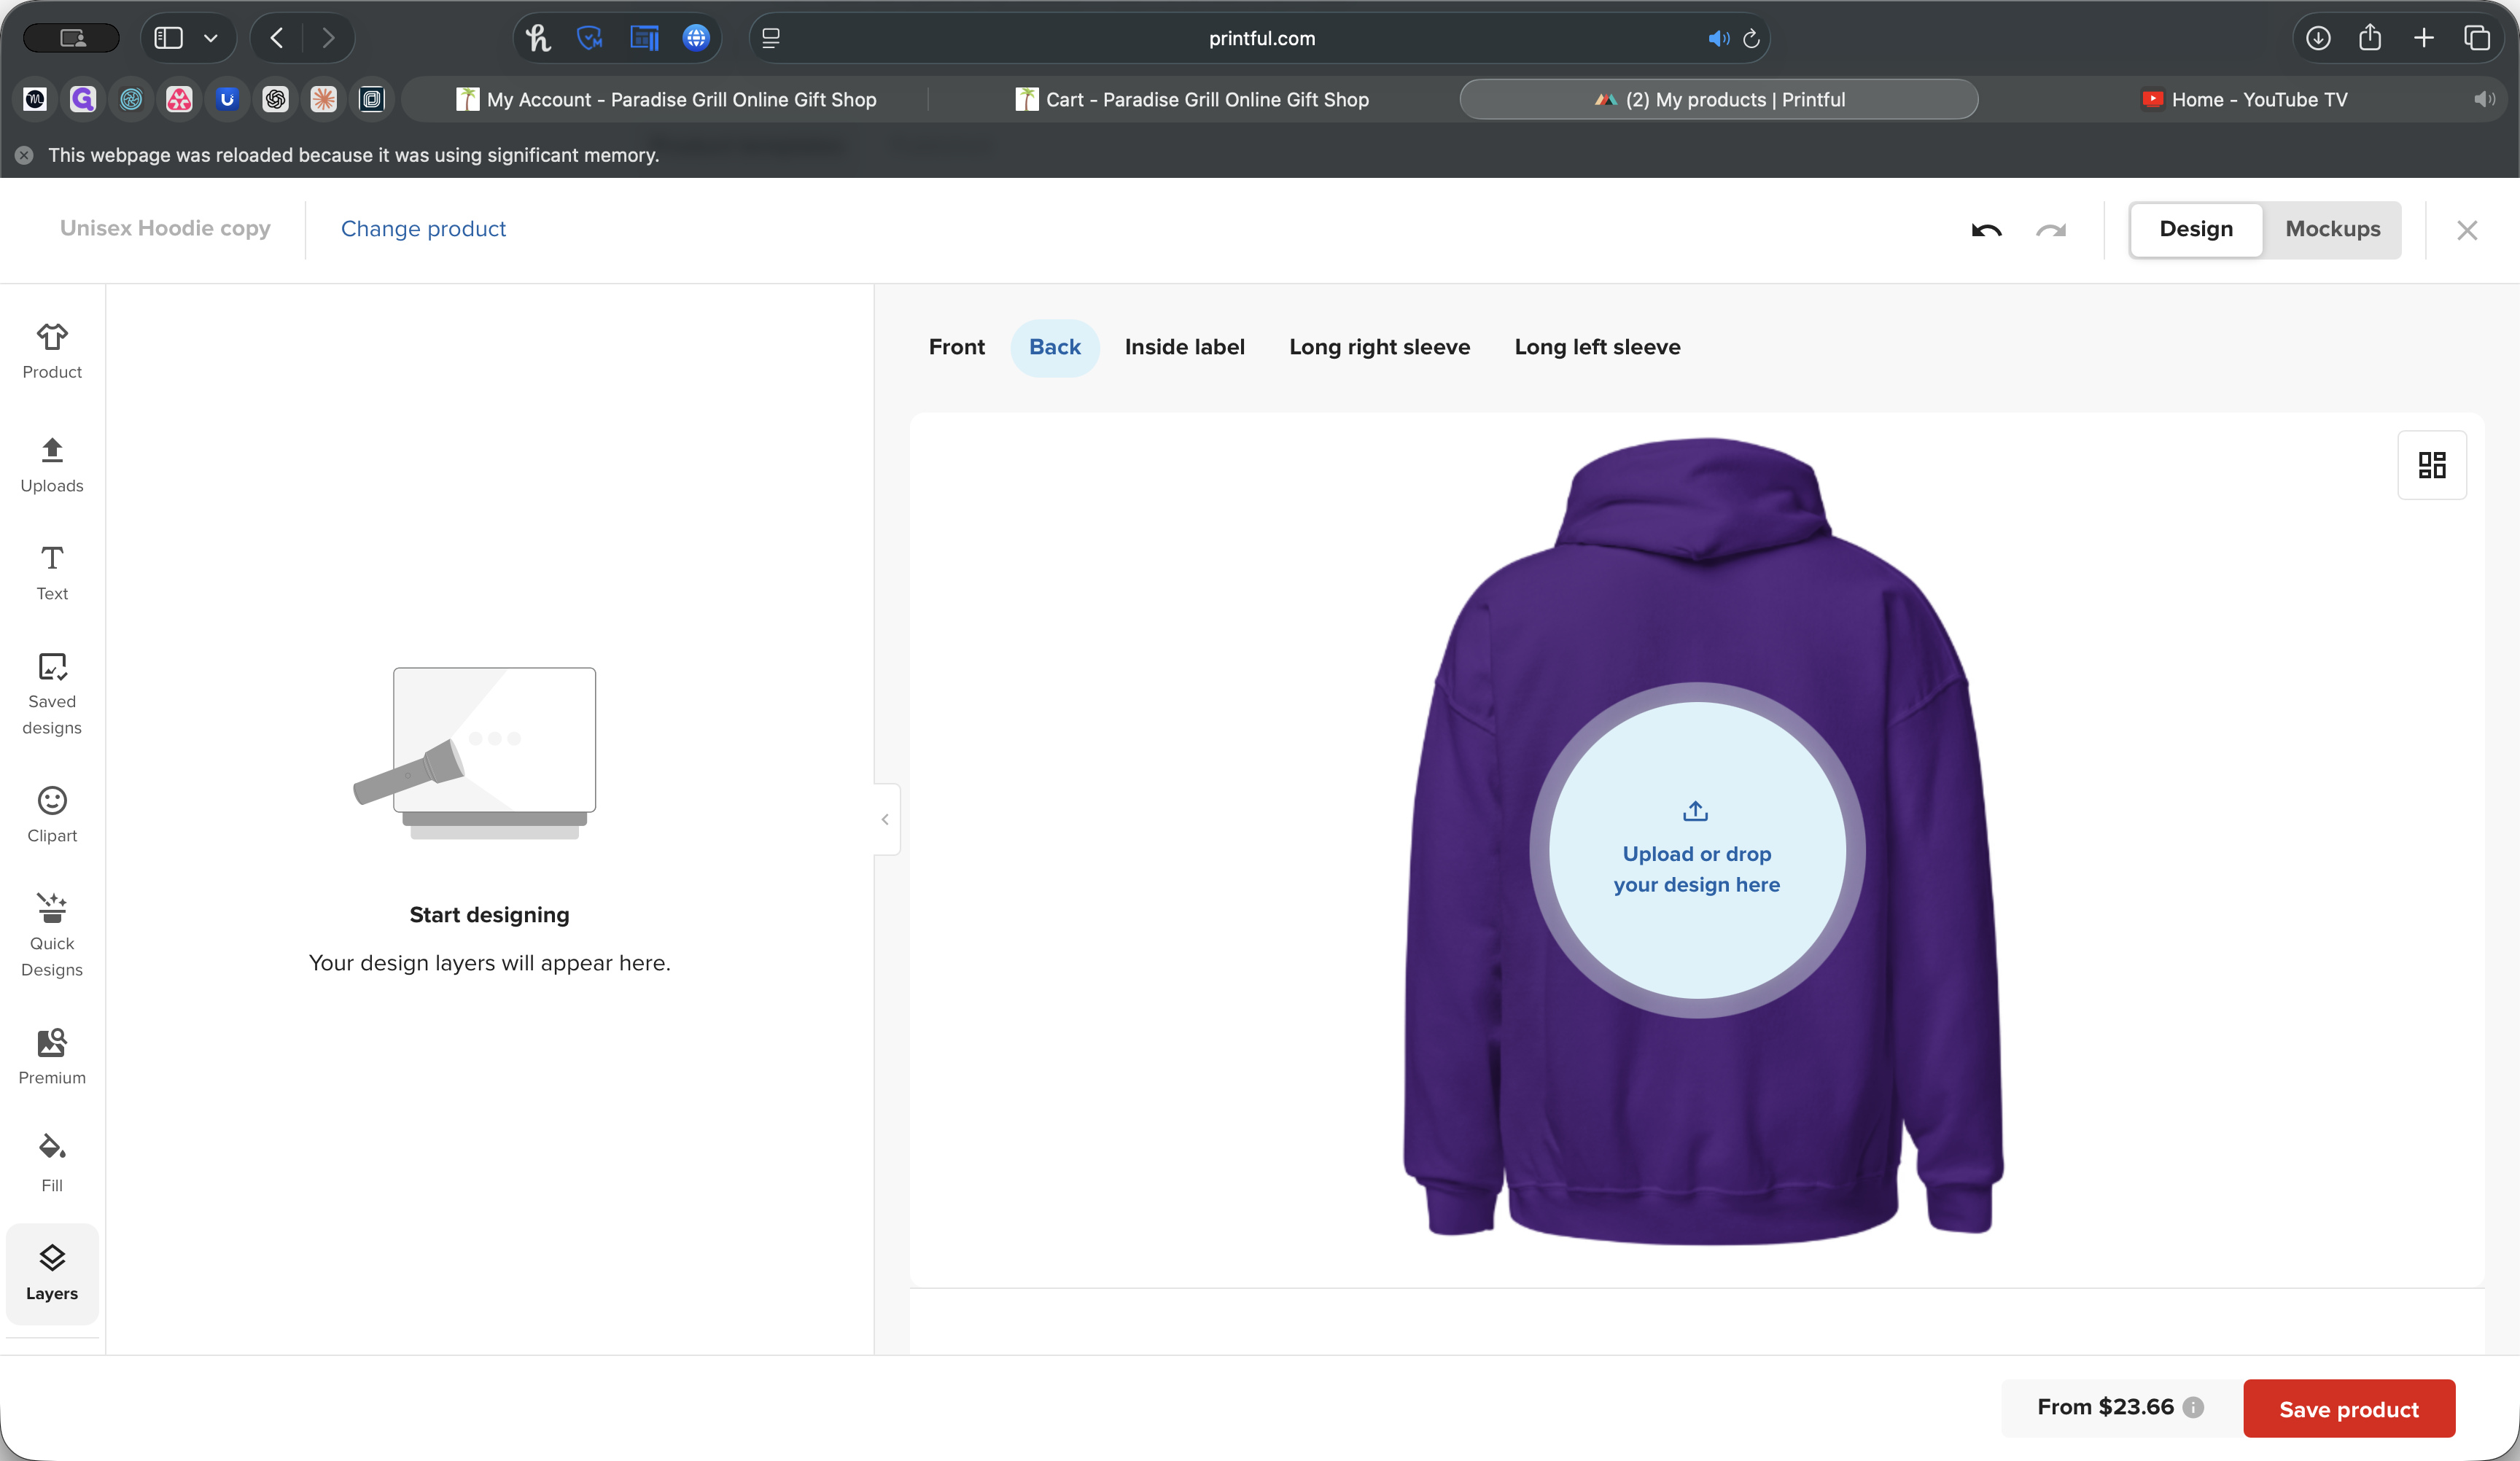
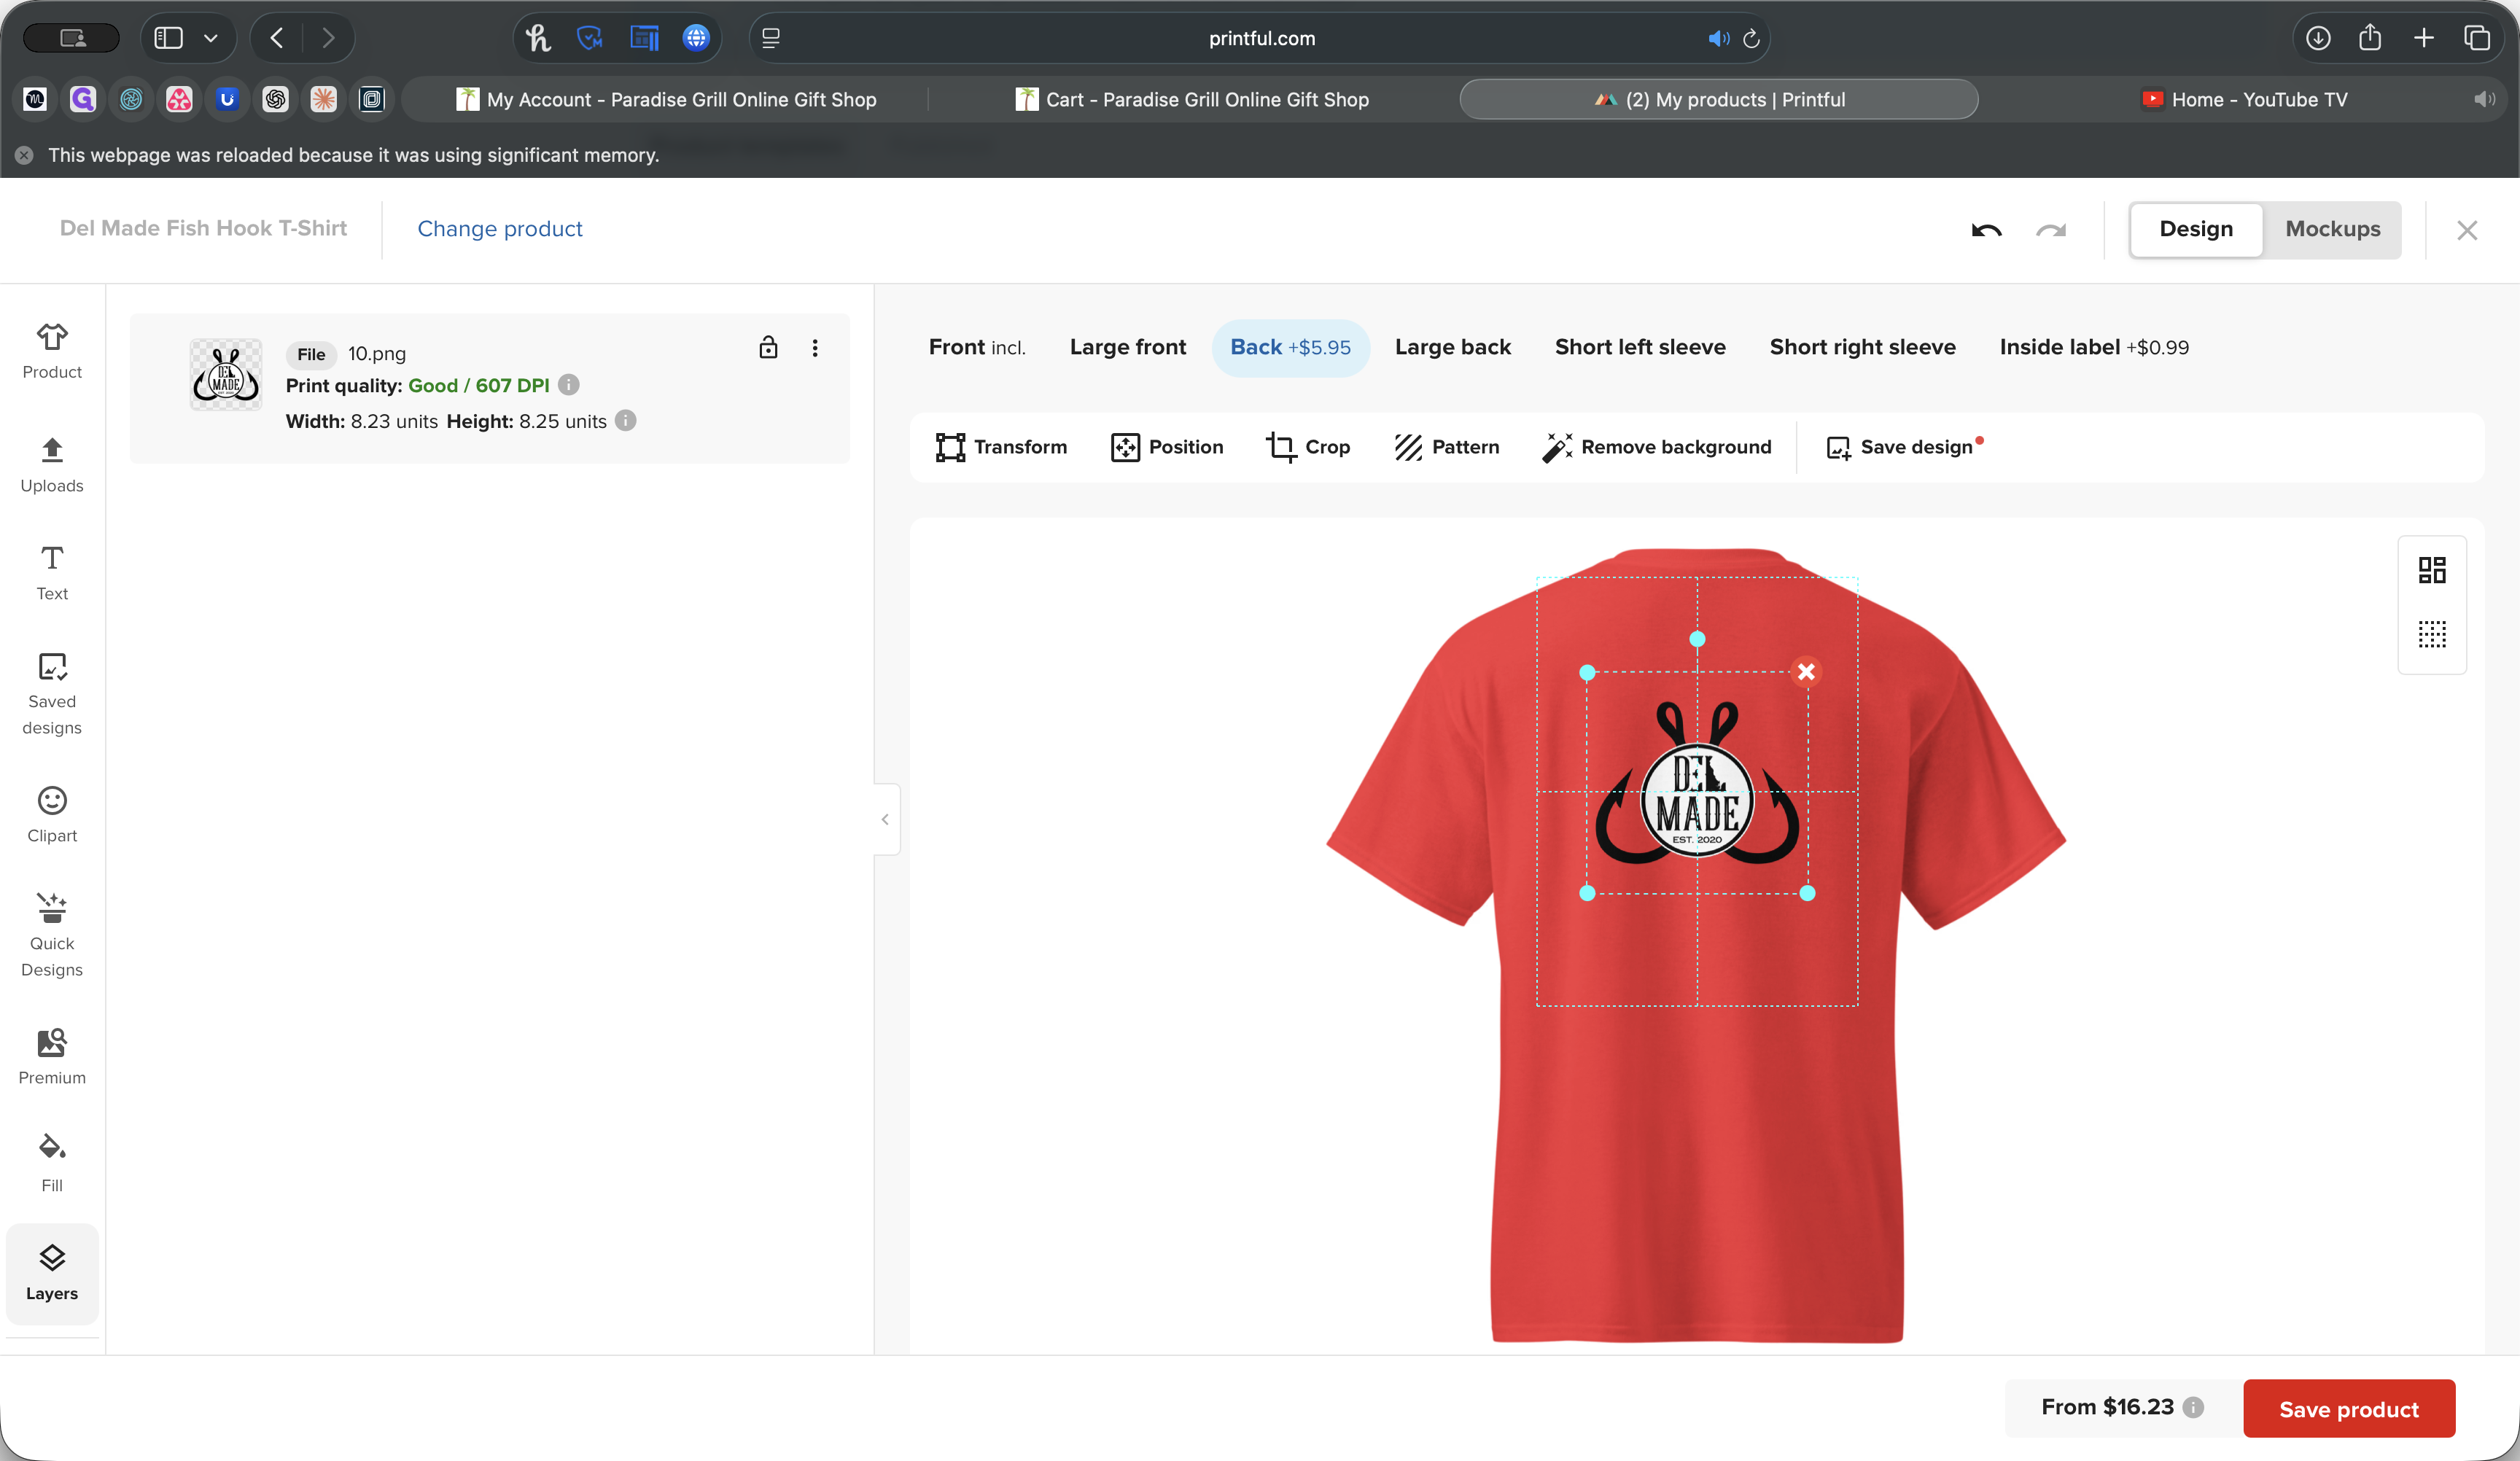
You can simply space it where you want. Next, go to the back side and repeat the same process.


We can delete the logo, click Upload, and for demonstration purposes, select this one.
That will automatically size it.

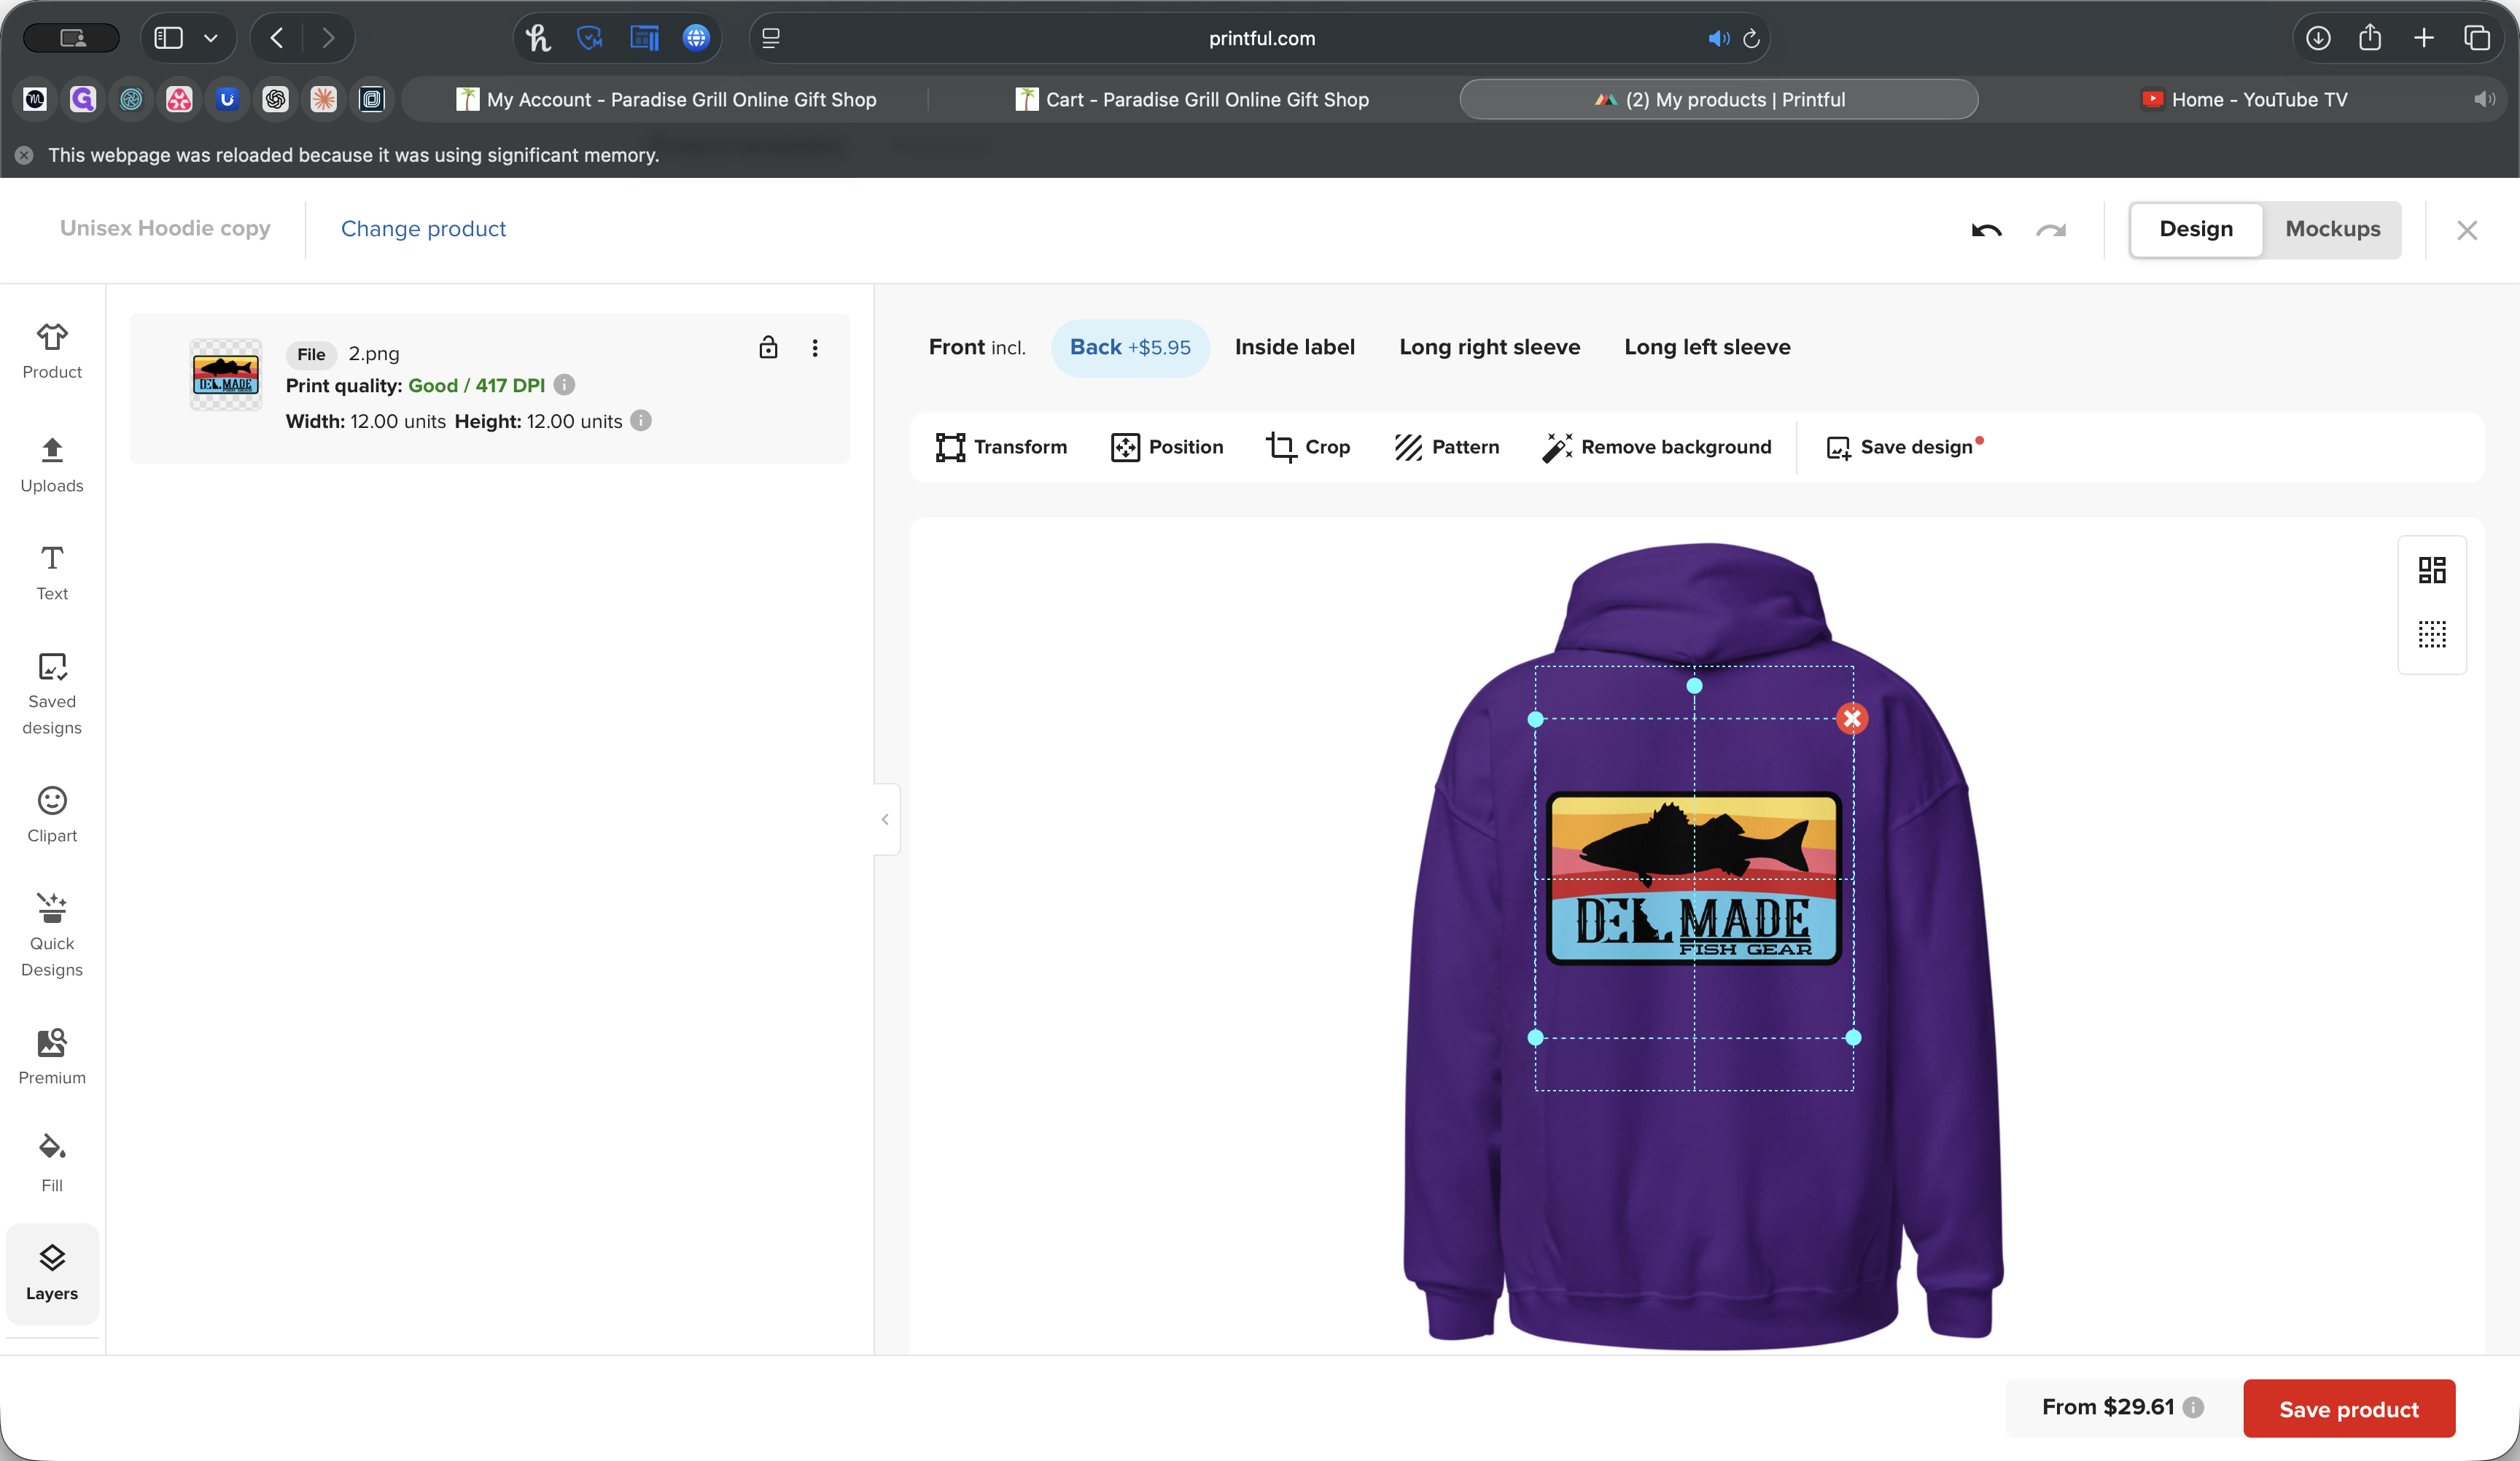
You can move it around if you want.

I have these set to full width. This brings me to another point. When resizing your vectors, open Canva and create a 5,000 by 5,000 pixel canvas. Save your work with a transparent background. This will give you a 12 by 12 inch unit structure. Make sure your print quality is good.

We have 417 DPI, which is more than sufficient. That's it. Then, click Save.

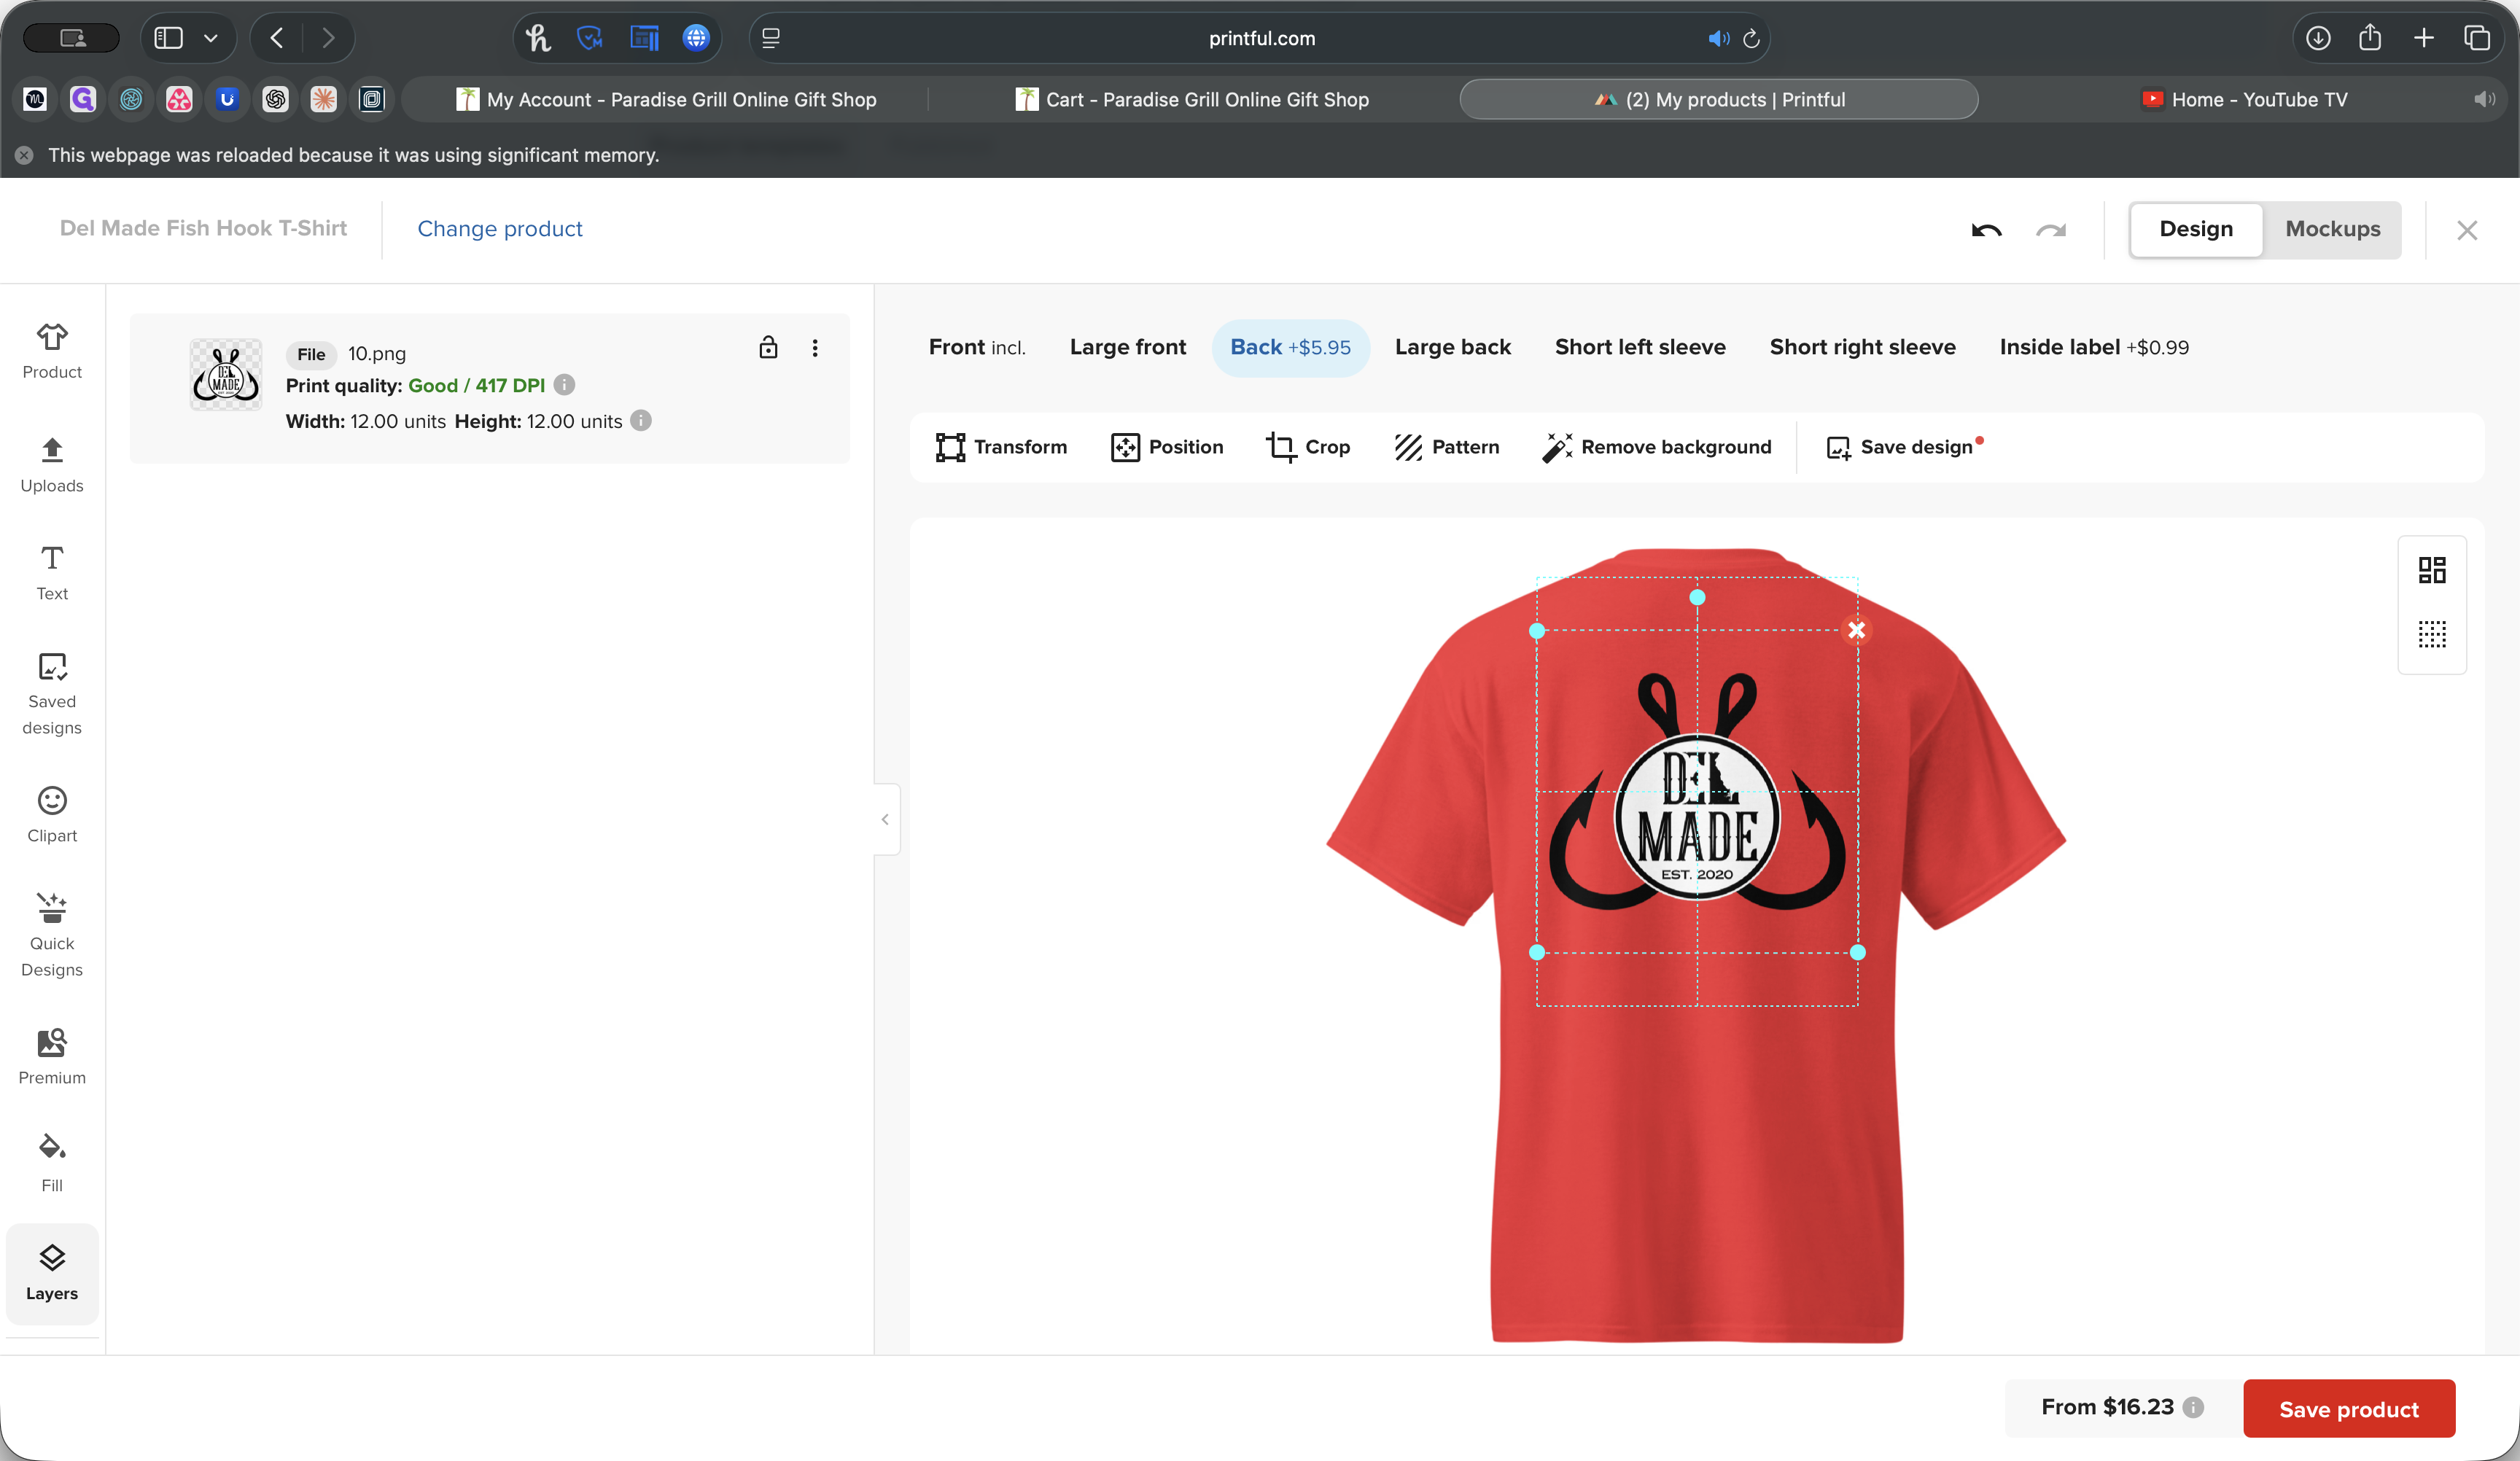
From there, you'll see the preview update. You can go back, click Edit, and make changes. To update an existing product, go to the product and click Edit.
For example, if you want to move the logo to the back and make it smaller, you can do that. Save your changes, and that's it.


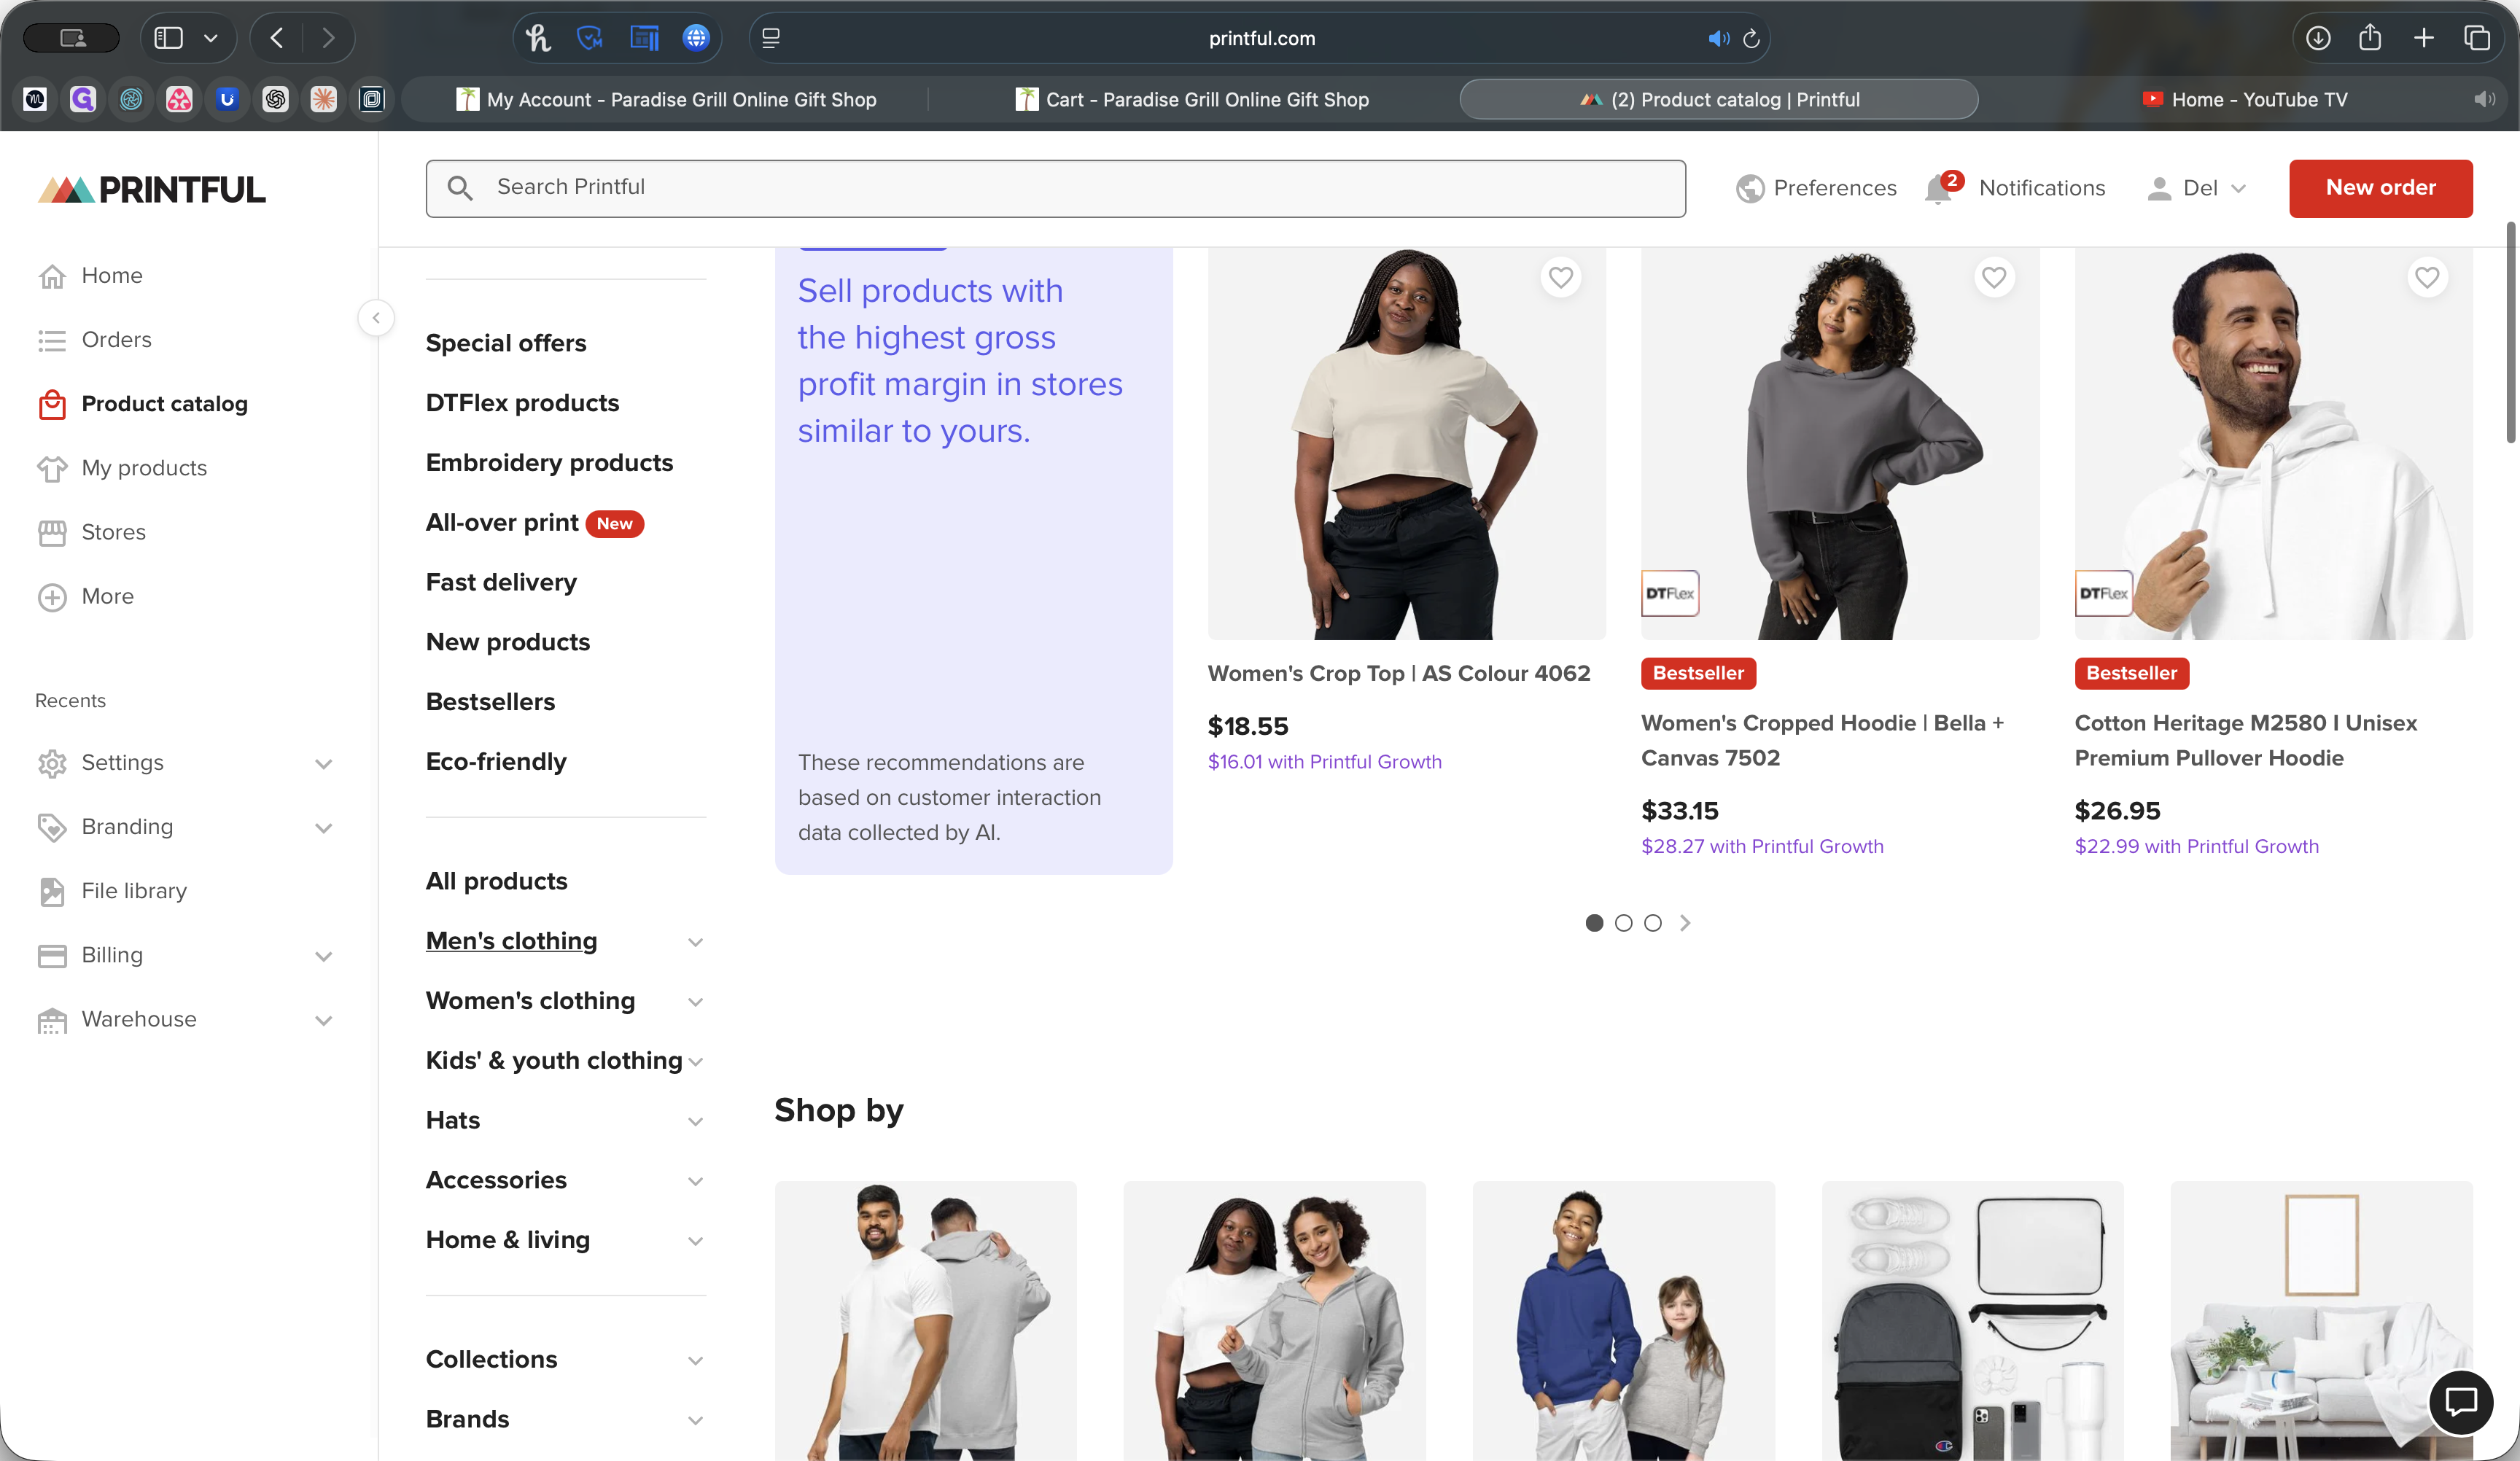
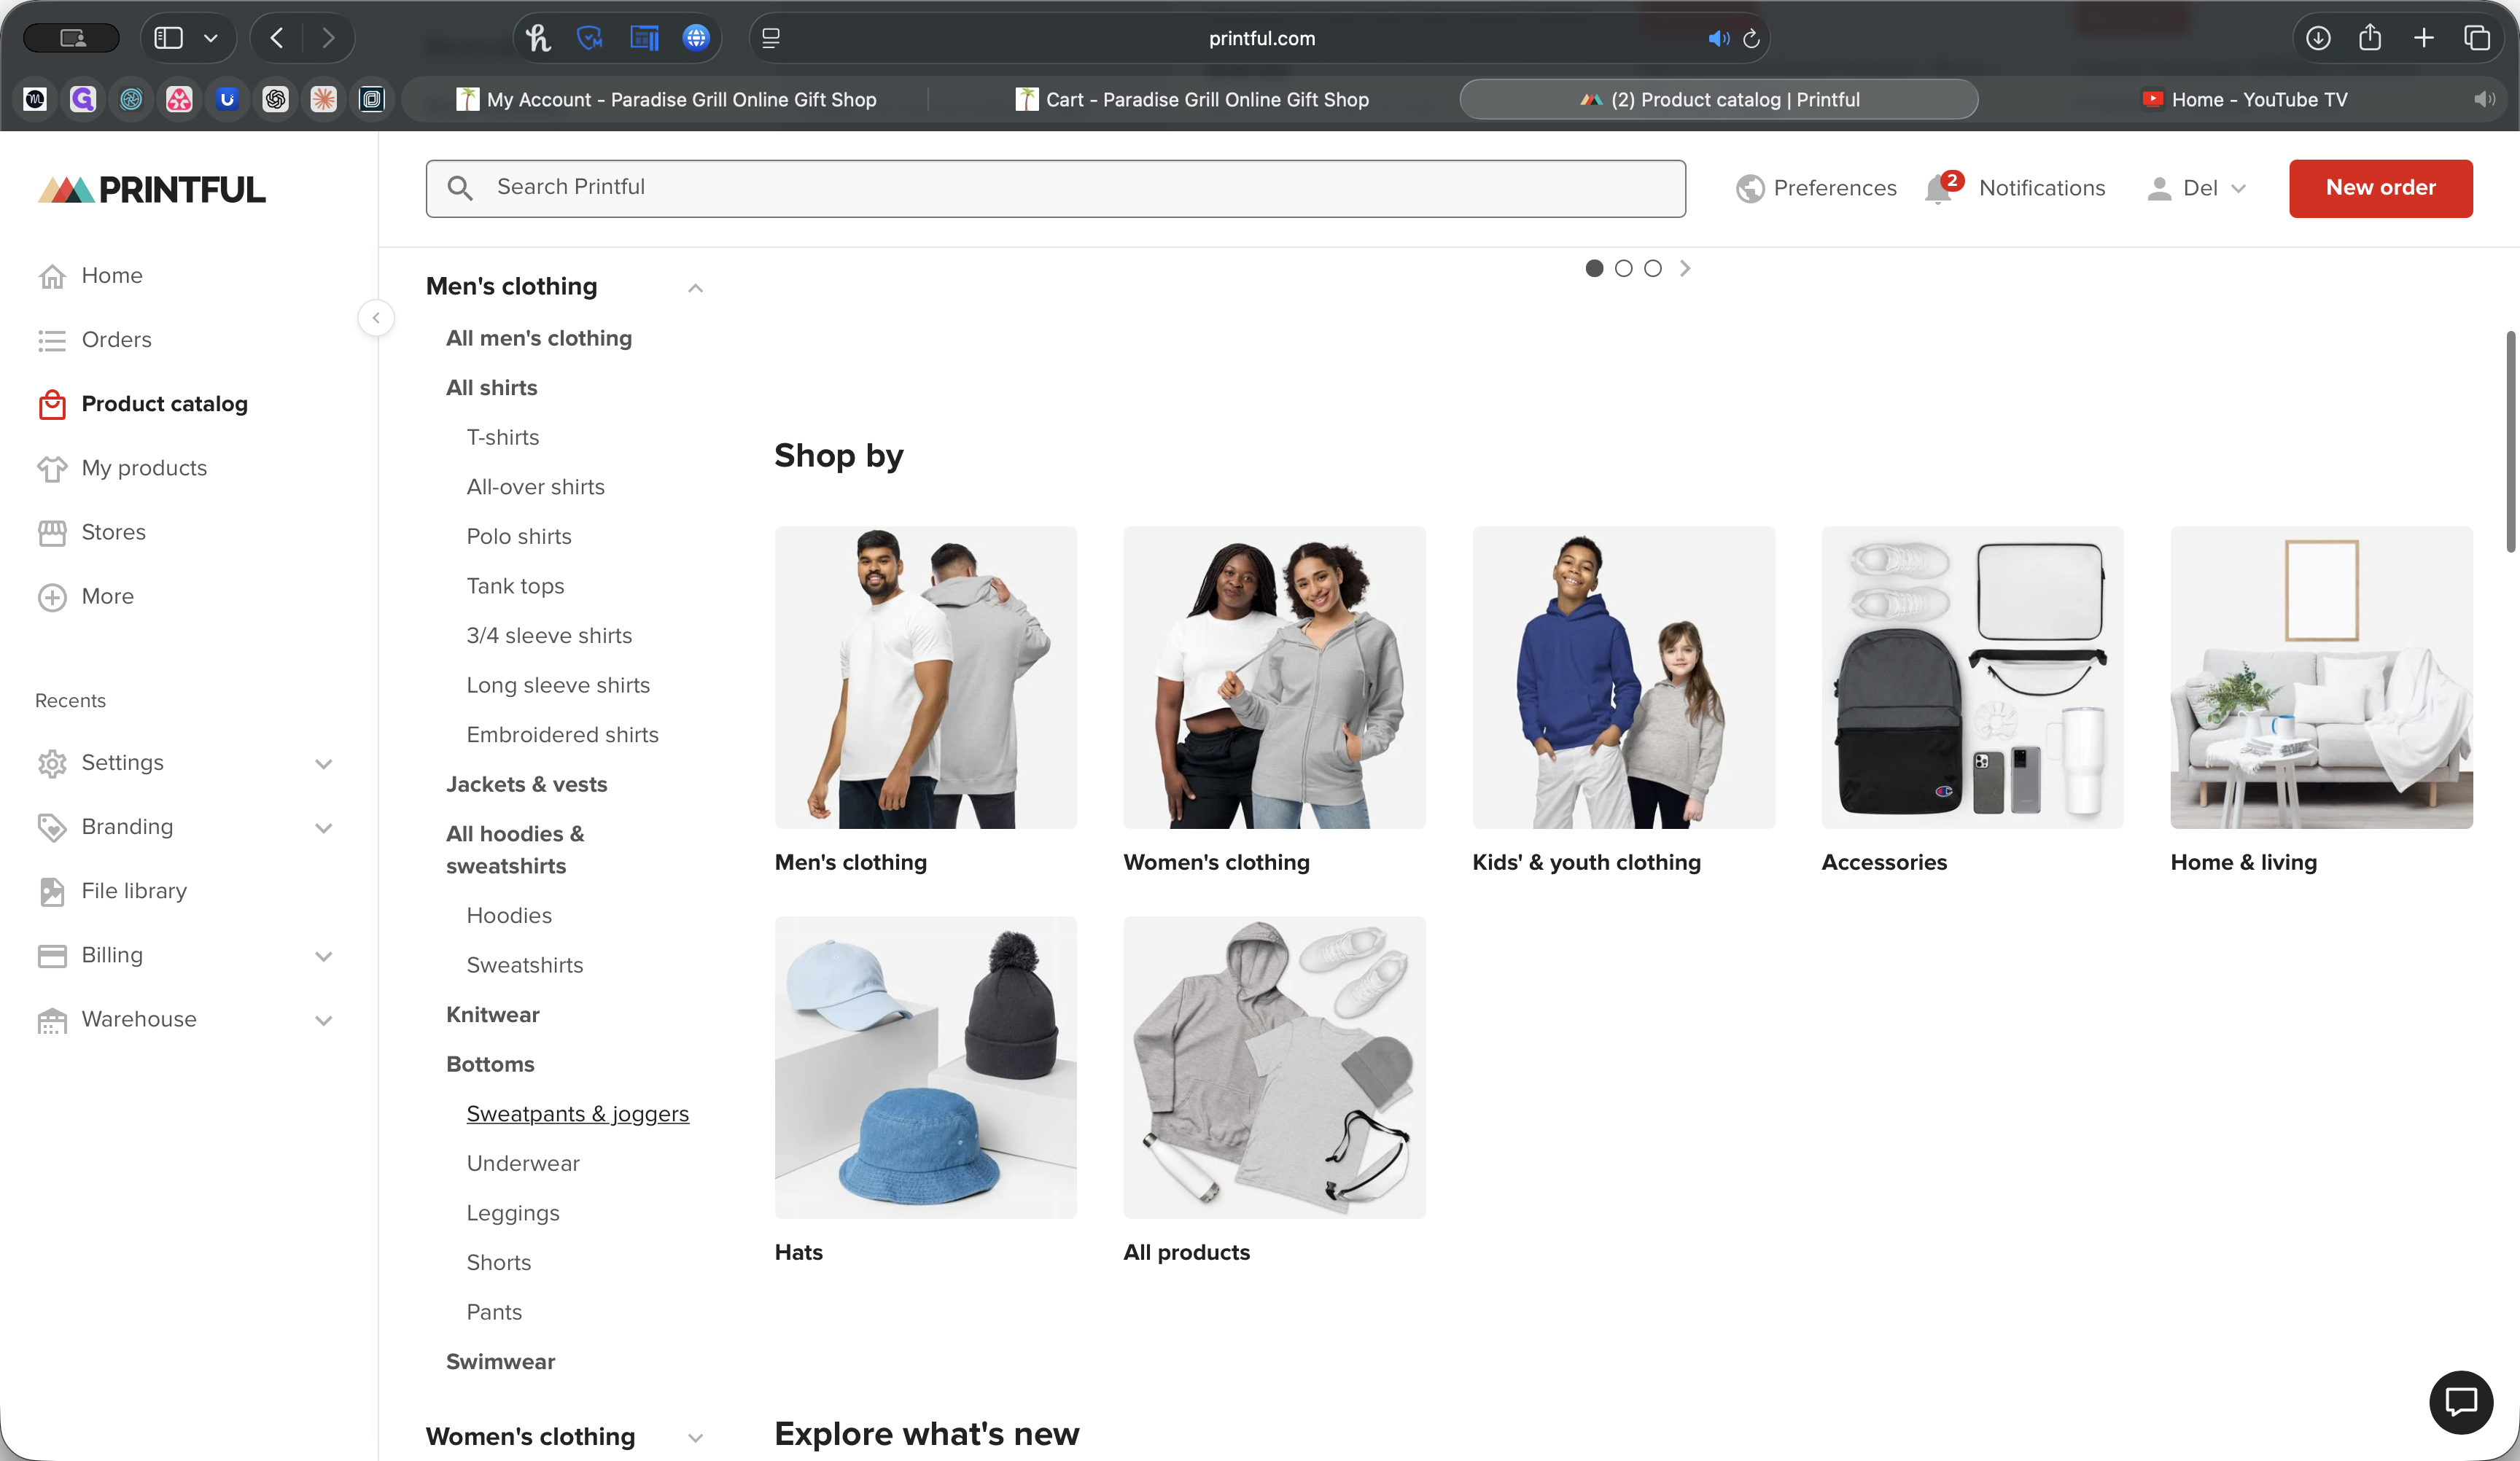
Once you finish adding all the products, we will publish them to the website. For now, these are the only areas you need to focus on. If you want to explore other products, feel free to customize as you like. Click on Products, then go to men's clothing, where unisex items are usually found. You can browse different types of sweatpants and joggers, and add a logo or other customizations.

This shows where your pricing starts.
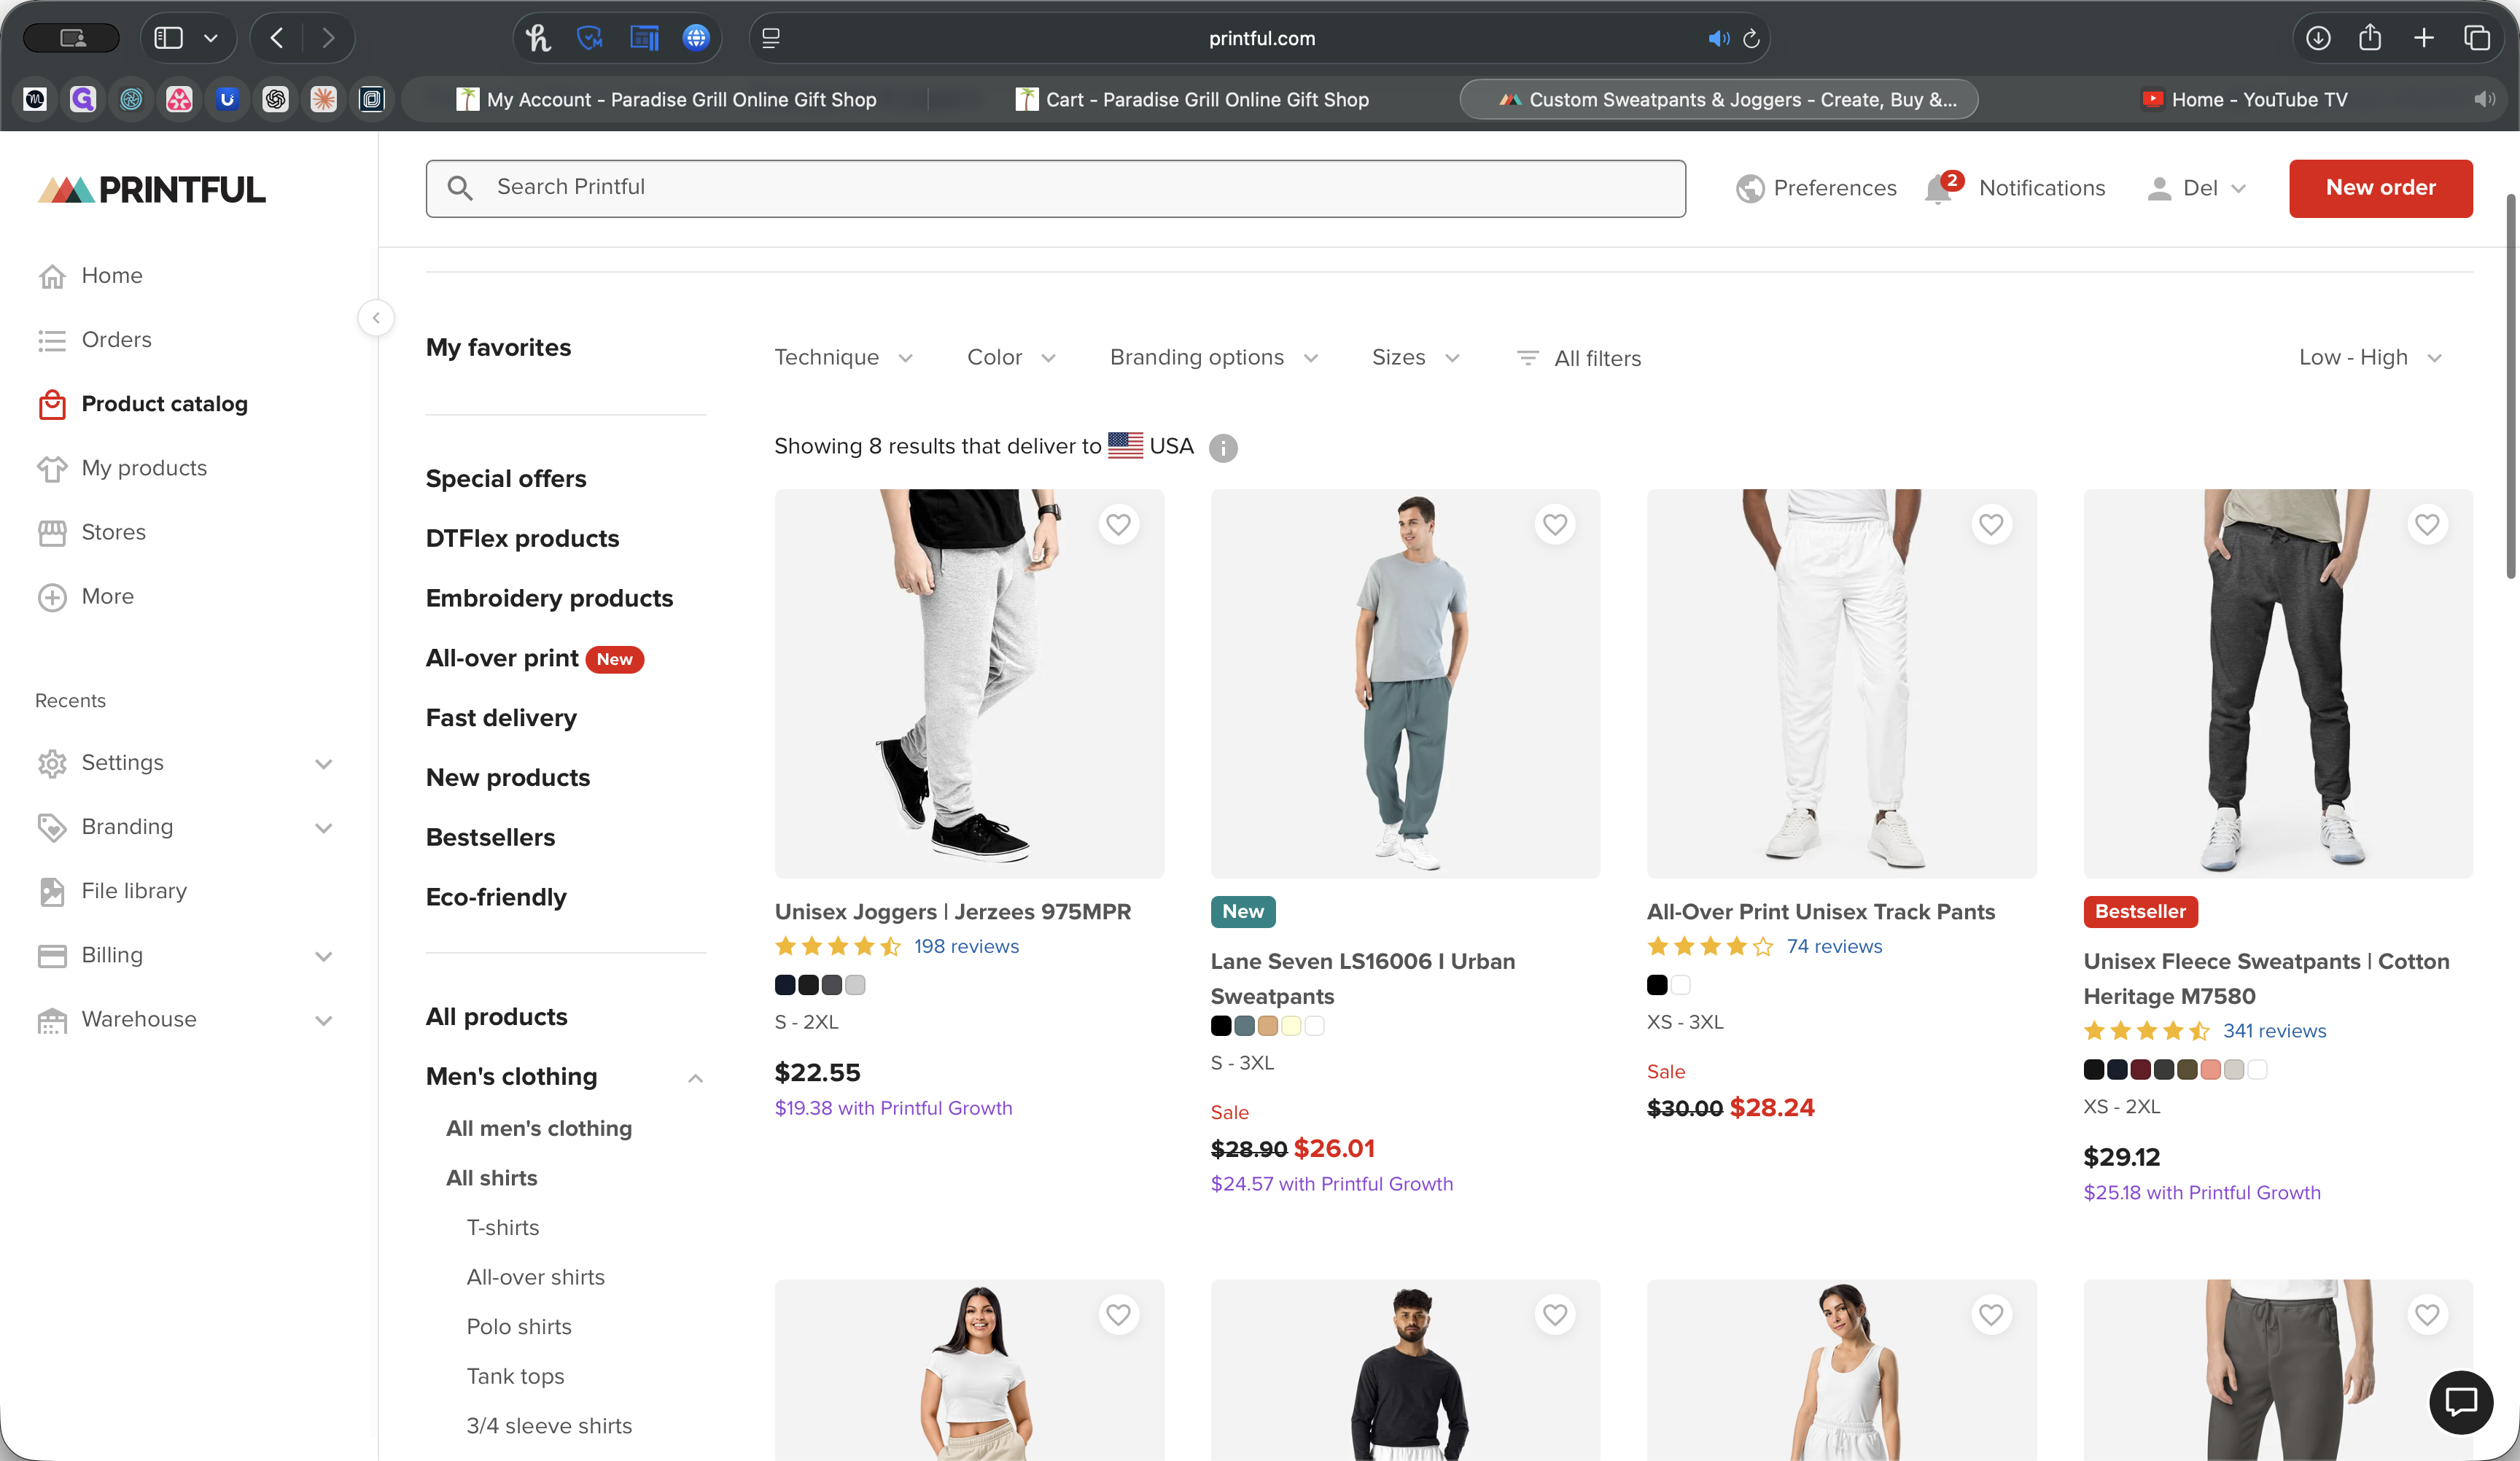
As you add items a la carte to the product, the price will increase slightly, so we'll need to adjust the margin. However, I'm not concerned about pricing; I'll handle that on my end. That's it. If you have any questions, let me know.