How to Create and Manage a Classroom for Students
Learn how to create a classroom, invite students, and manage your class effectively with step-by-step instructions.
In this guide, we'll learn how to set up a classroom and invite students to join it. This process involves creating a new classroom, naming it appropriately, and adding students. You can invite students by sharing a join code or sending email invitations. Once students are added, you can assign tutors and pathways to enhance the learning experience.
Let's get started
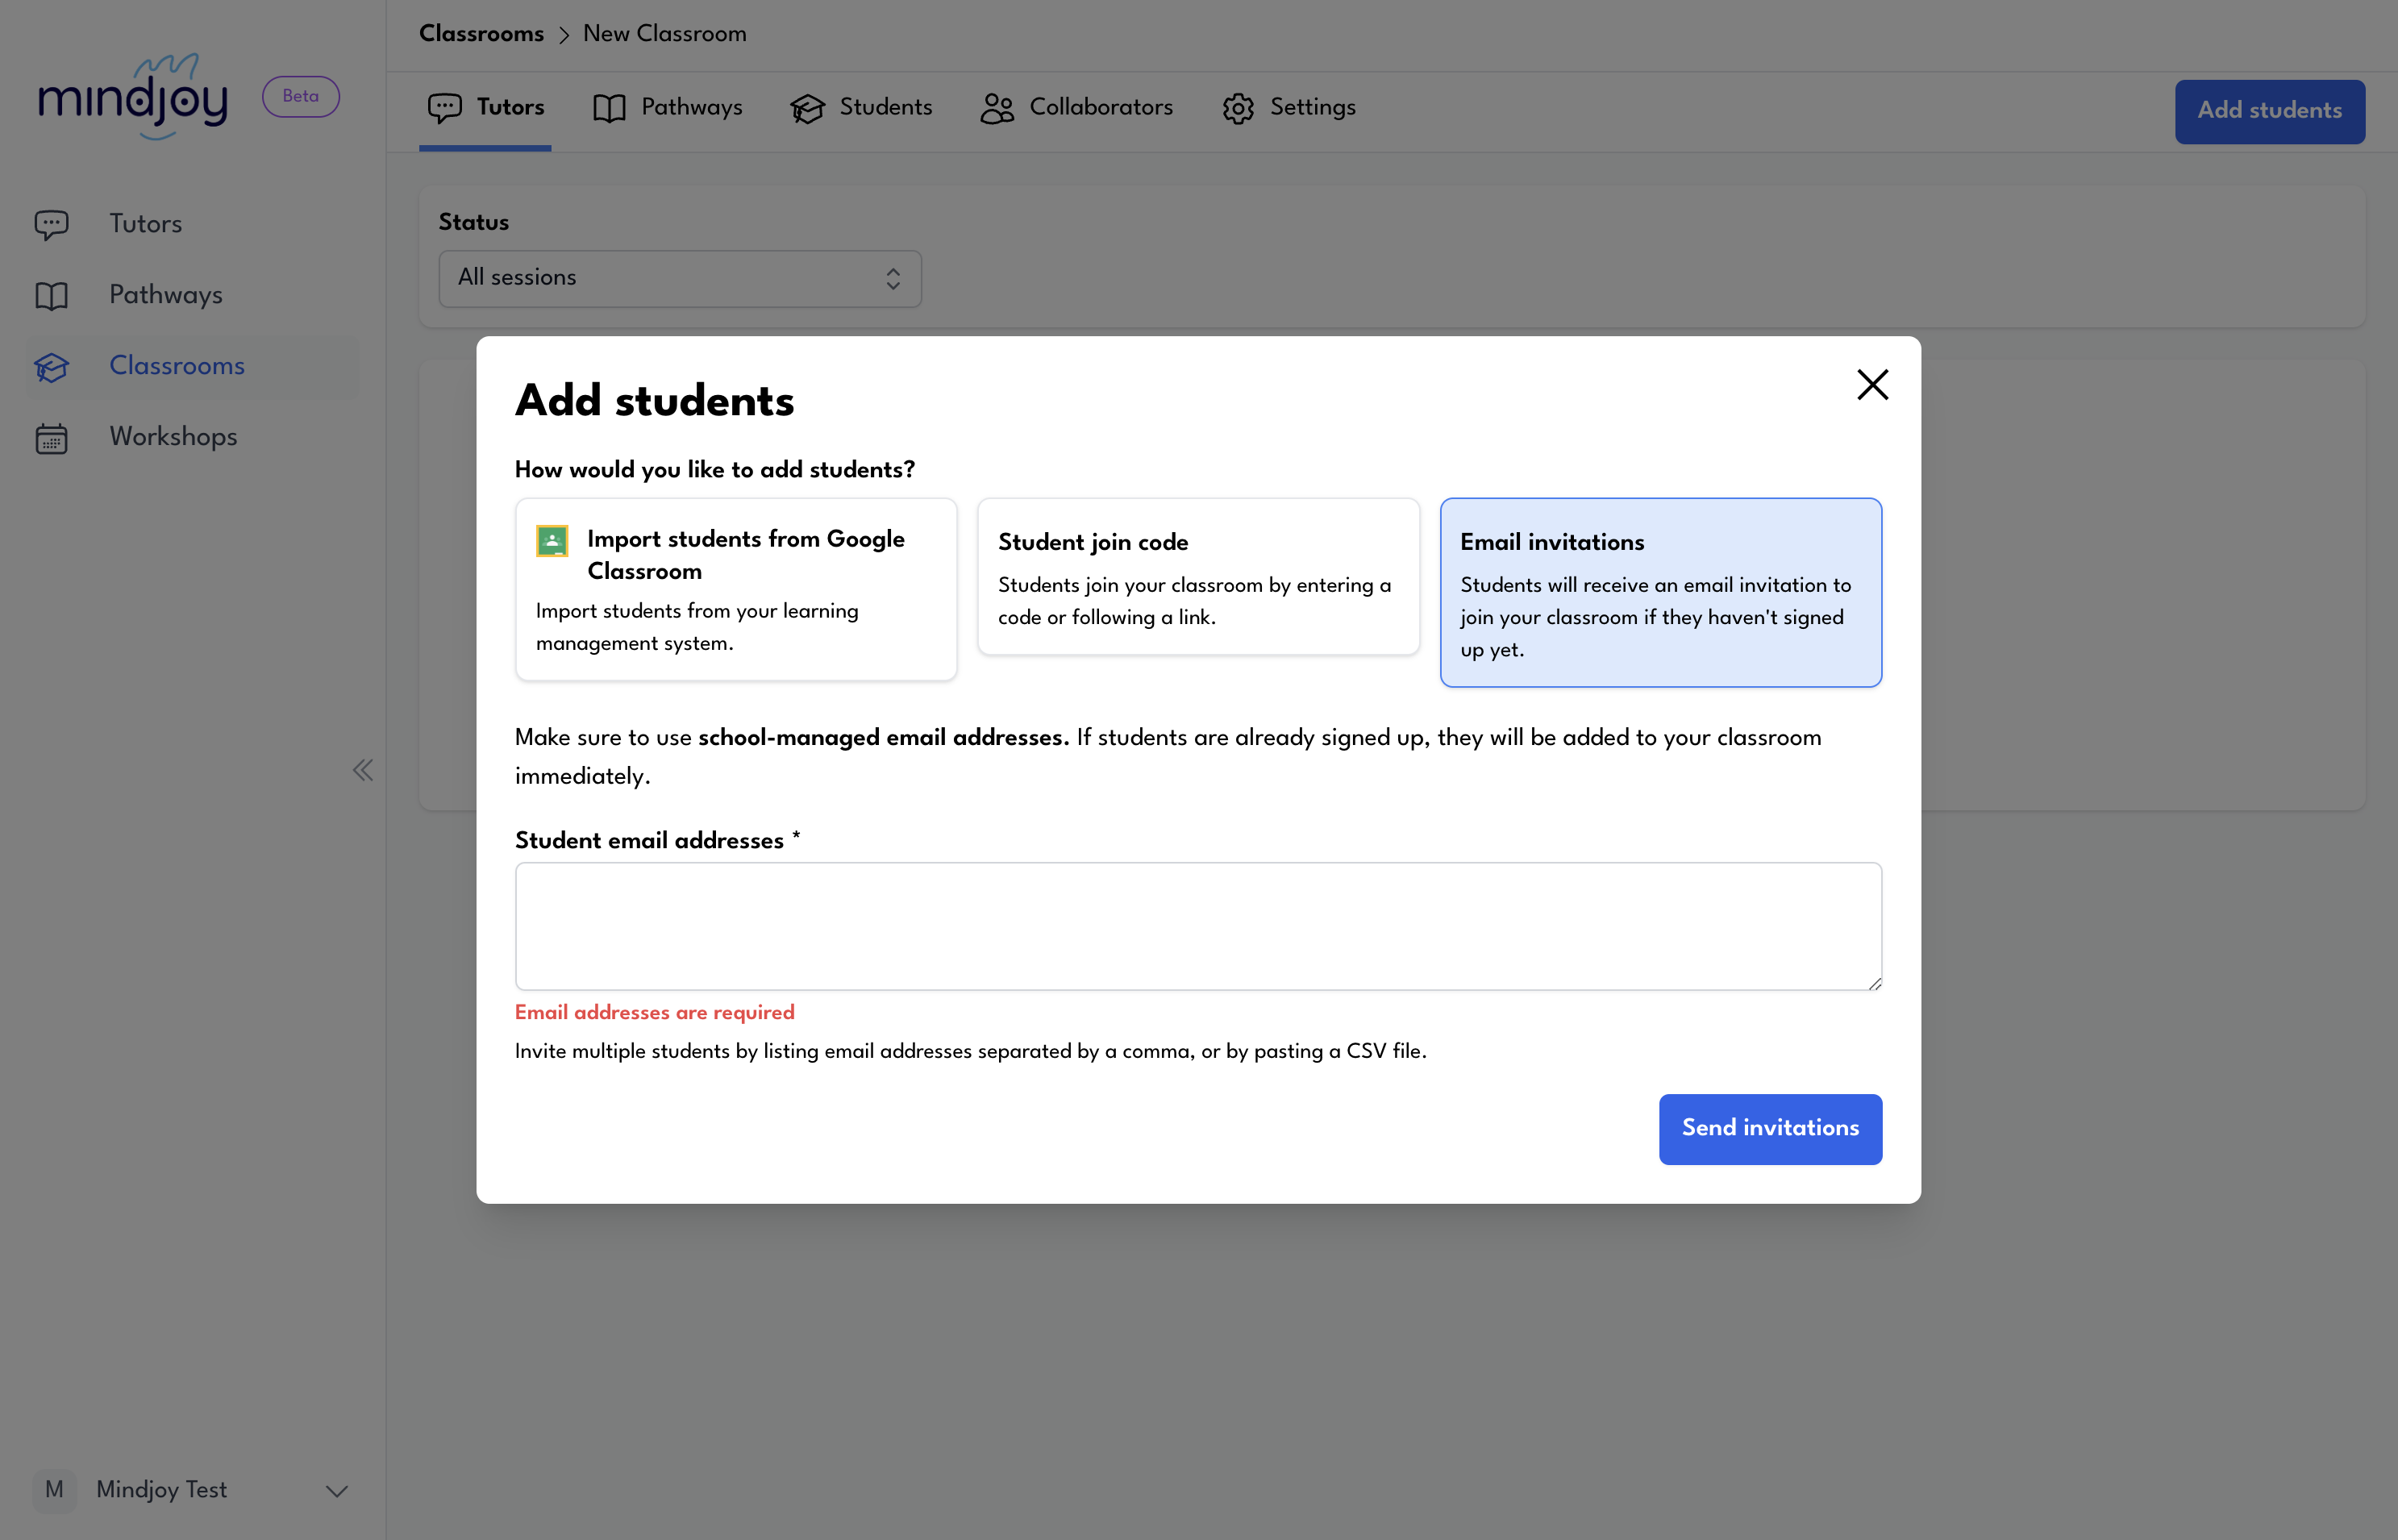
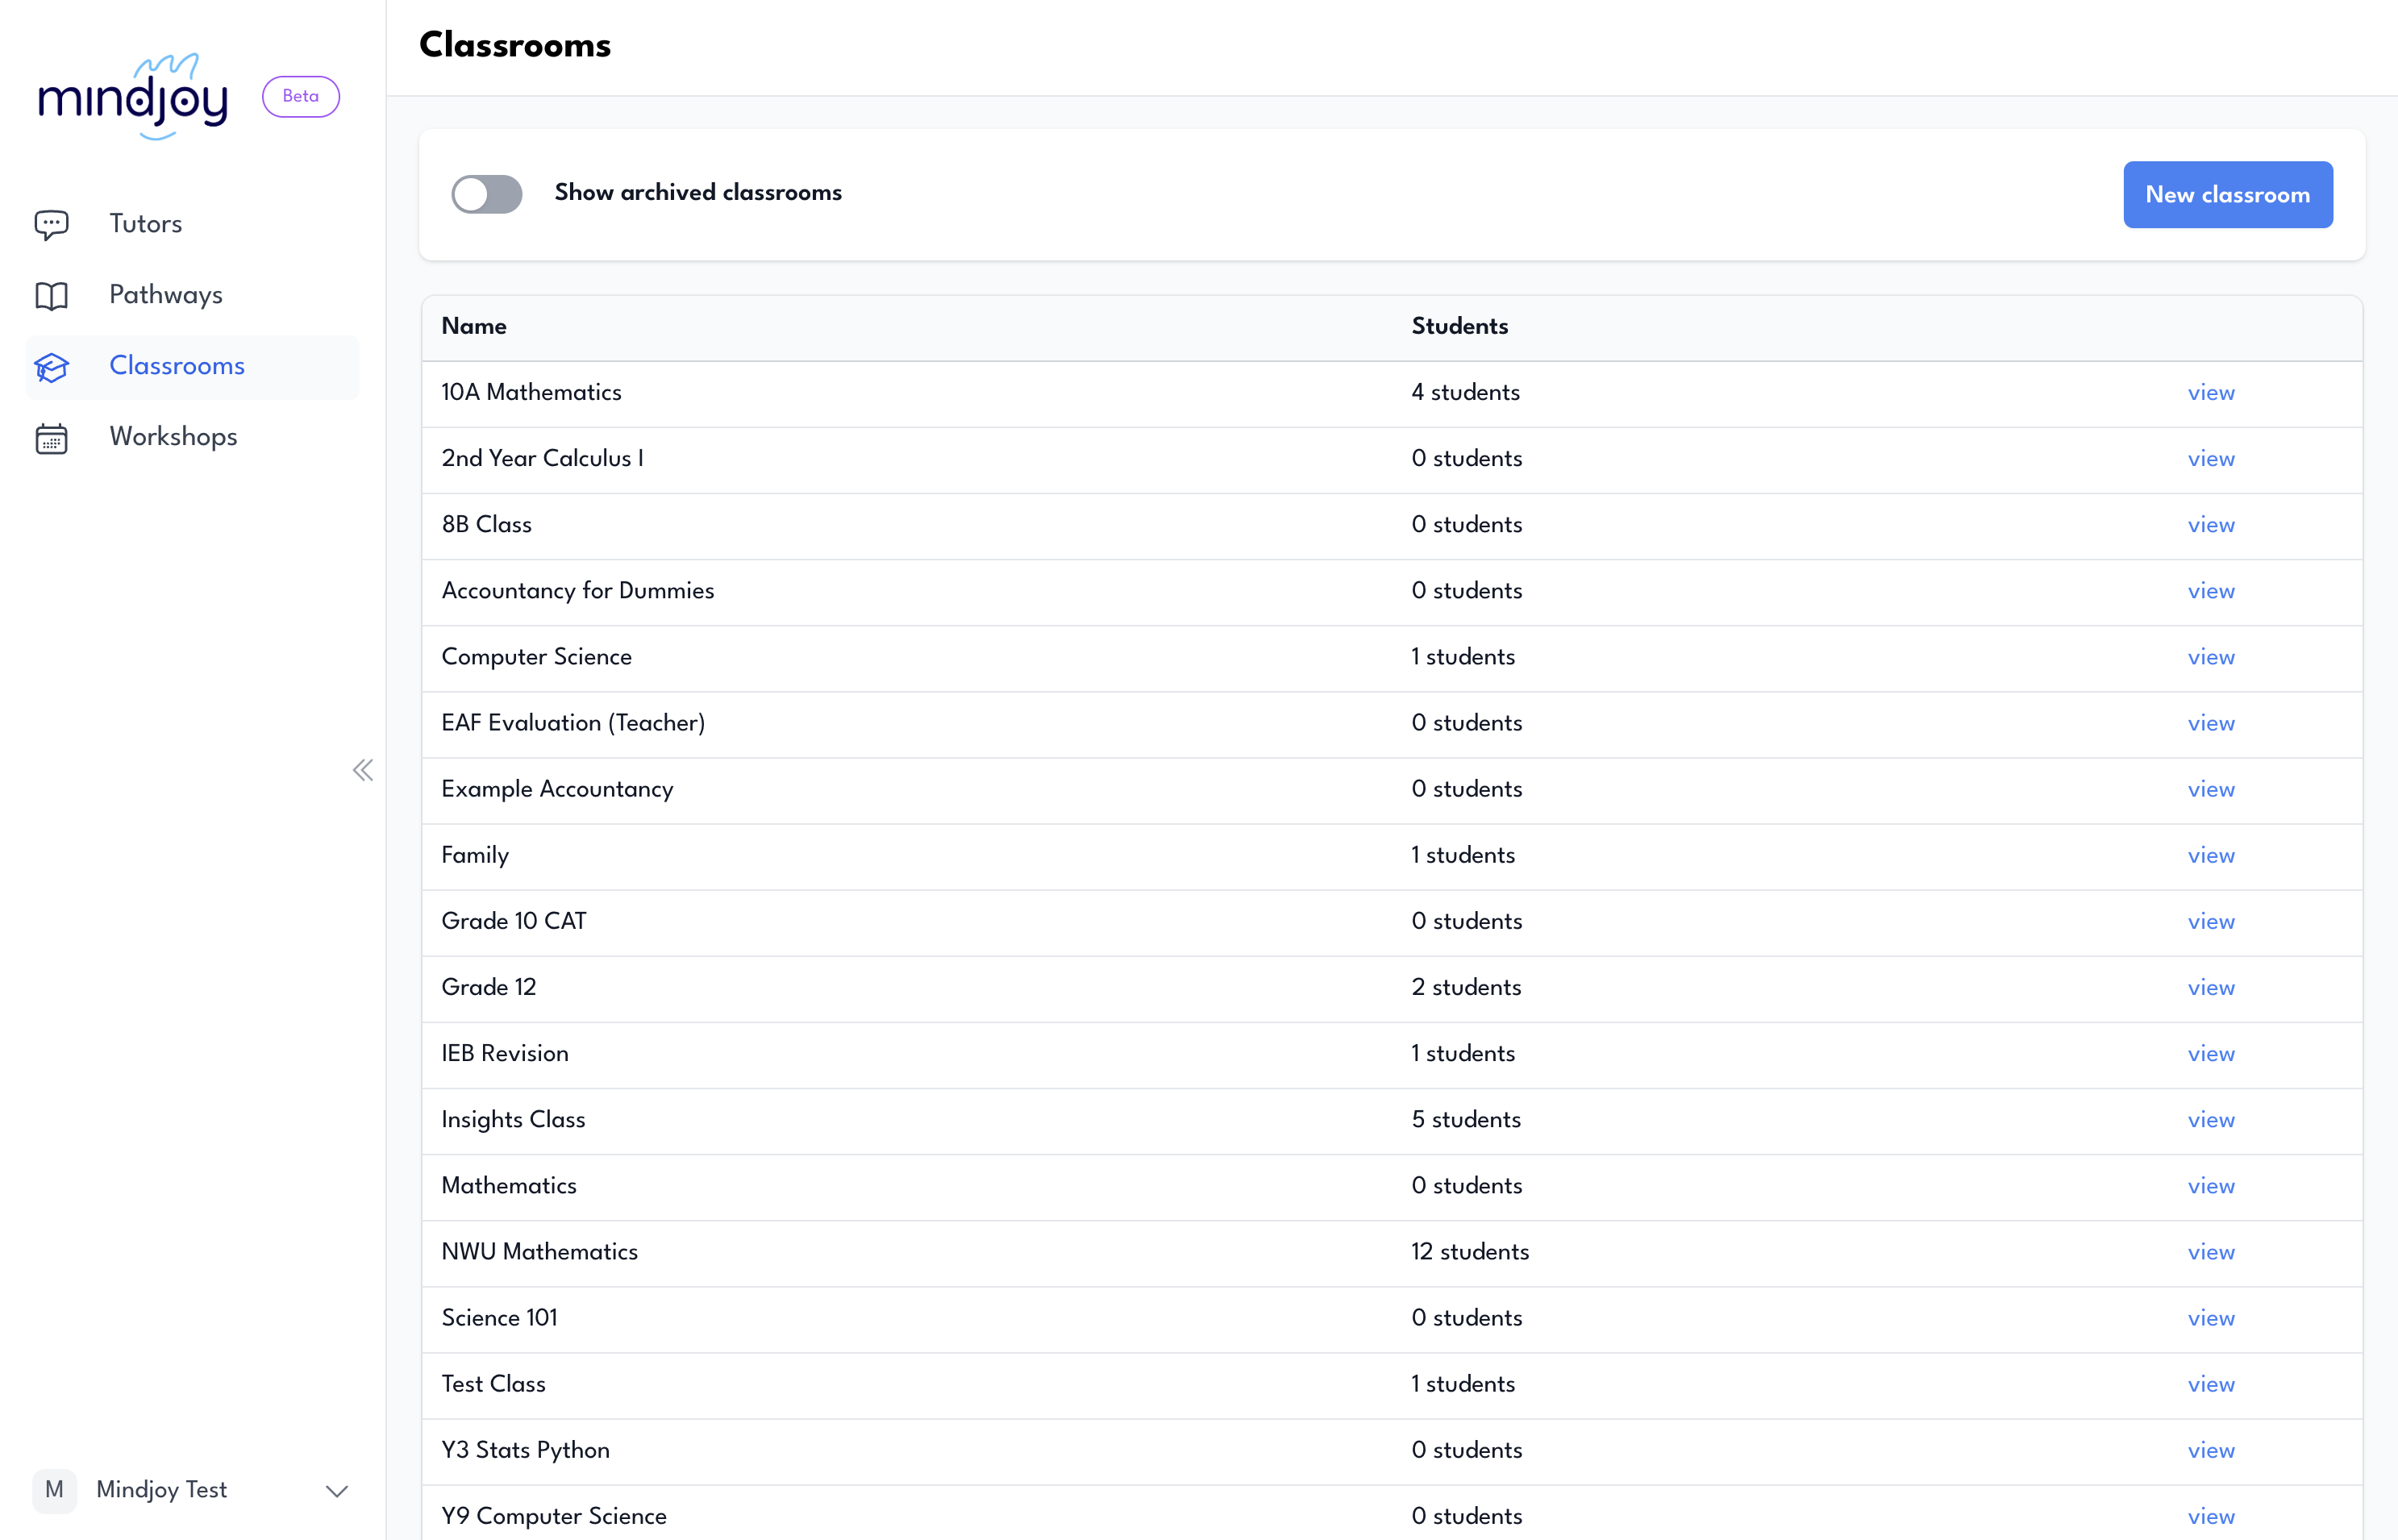
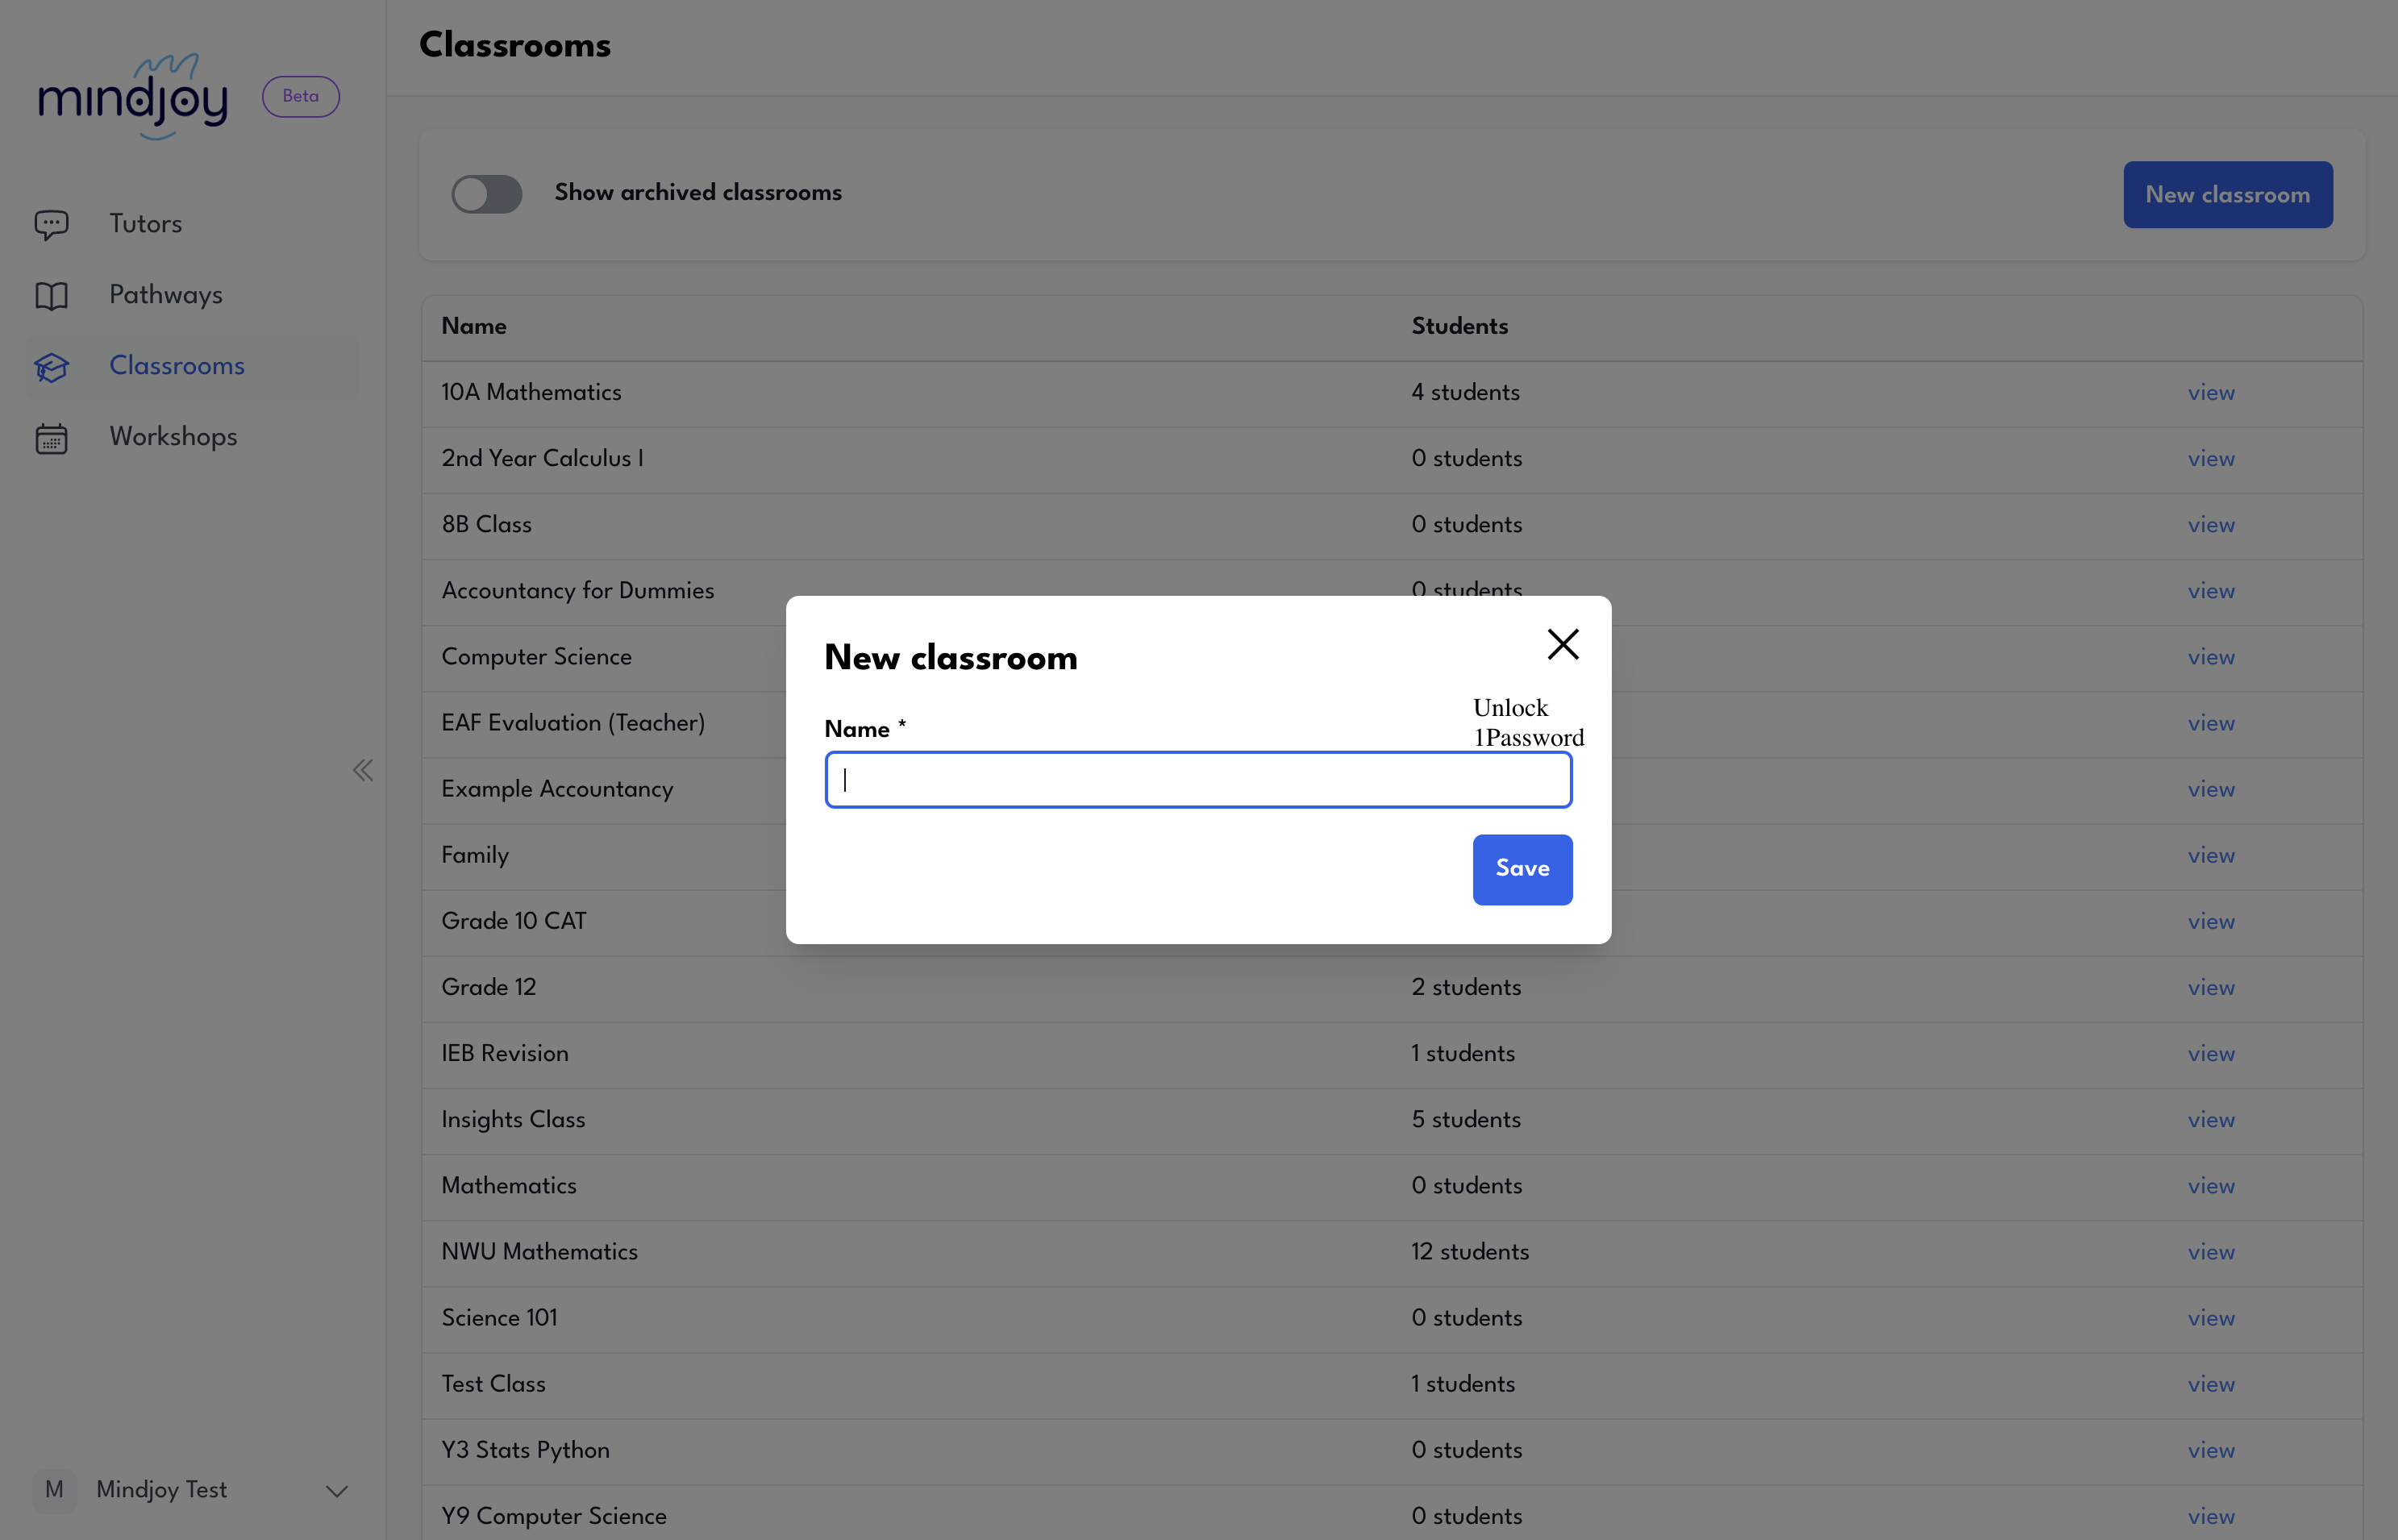
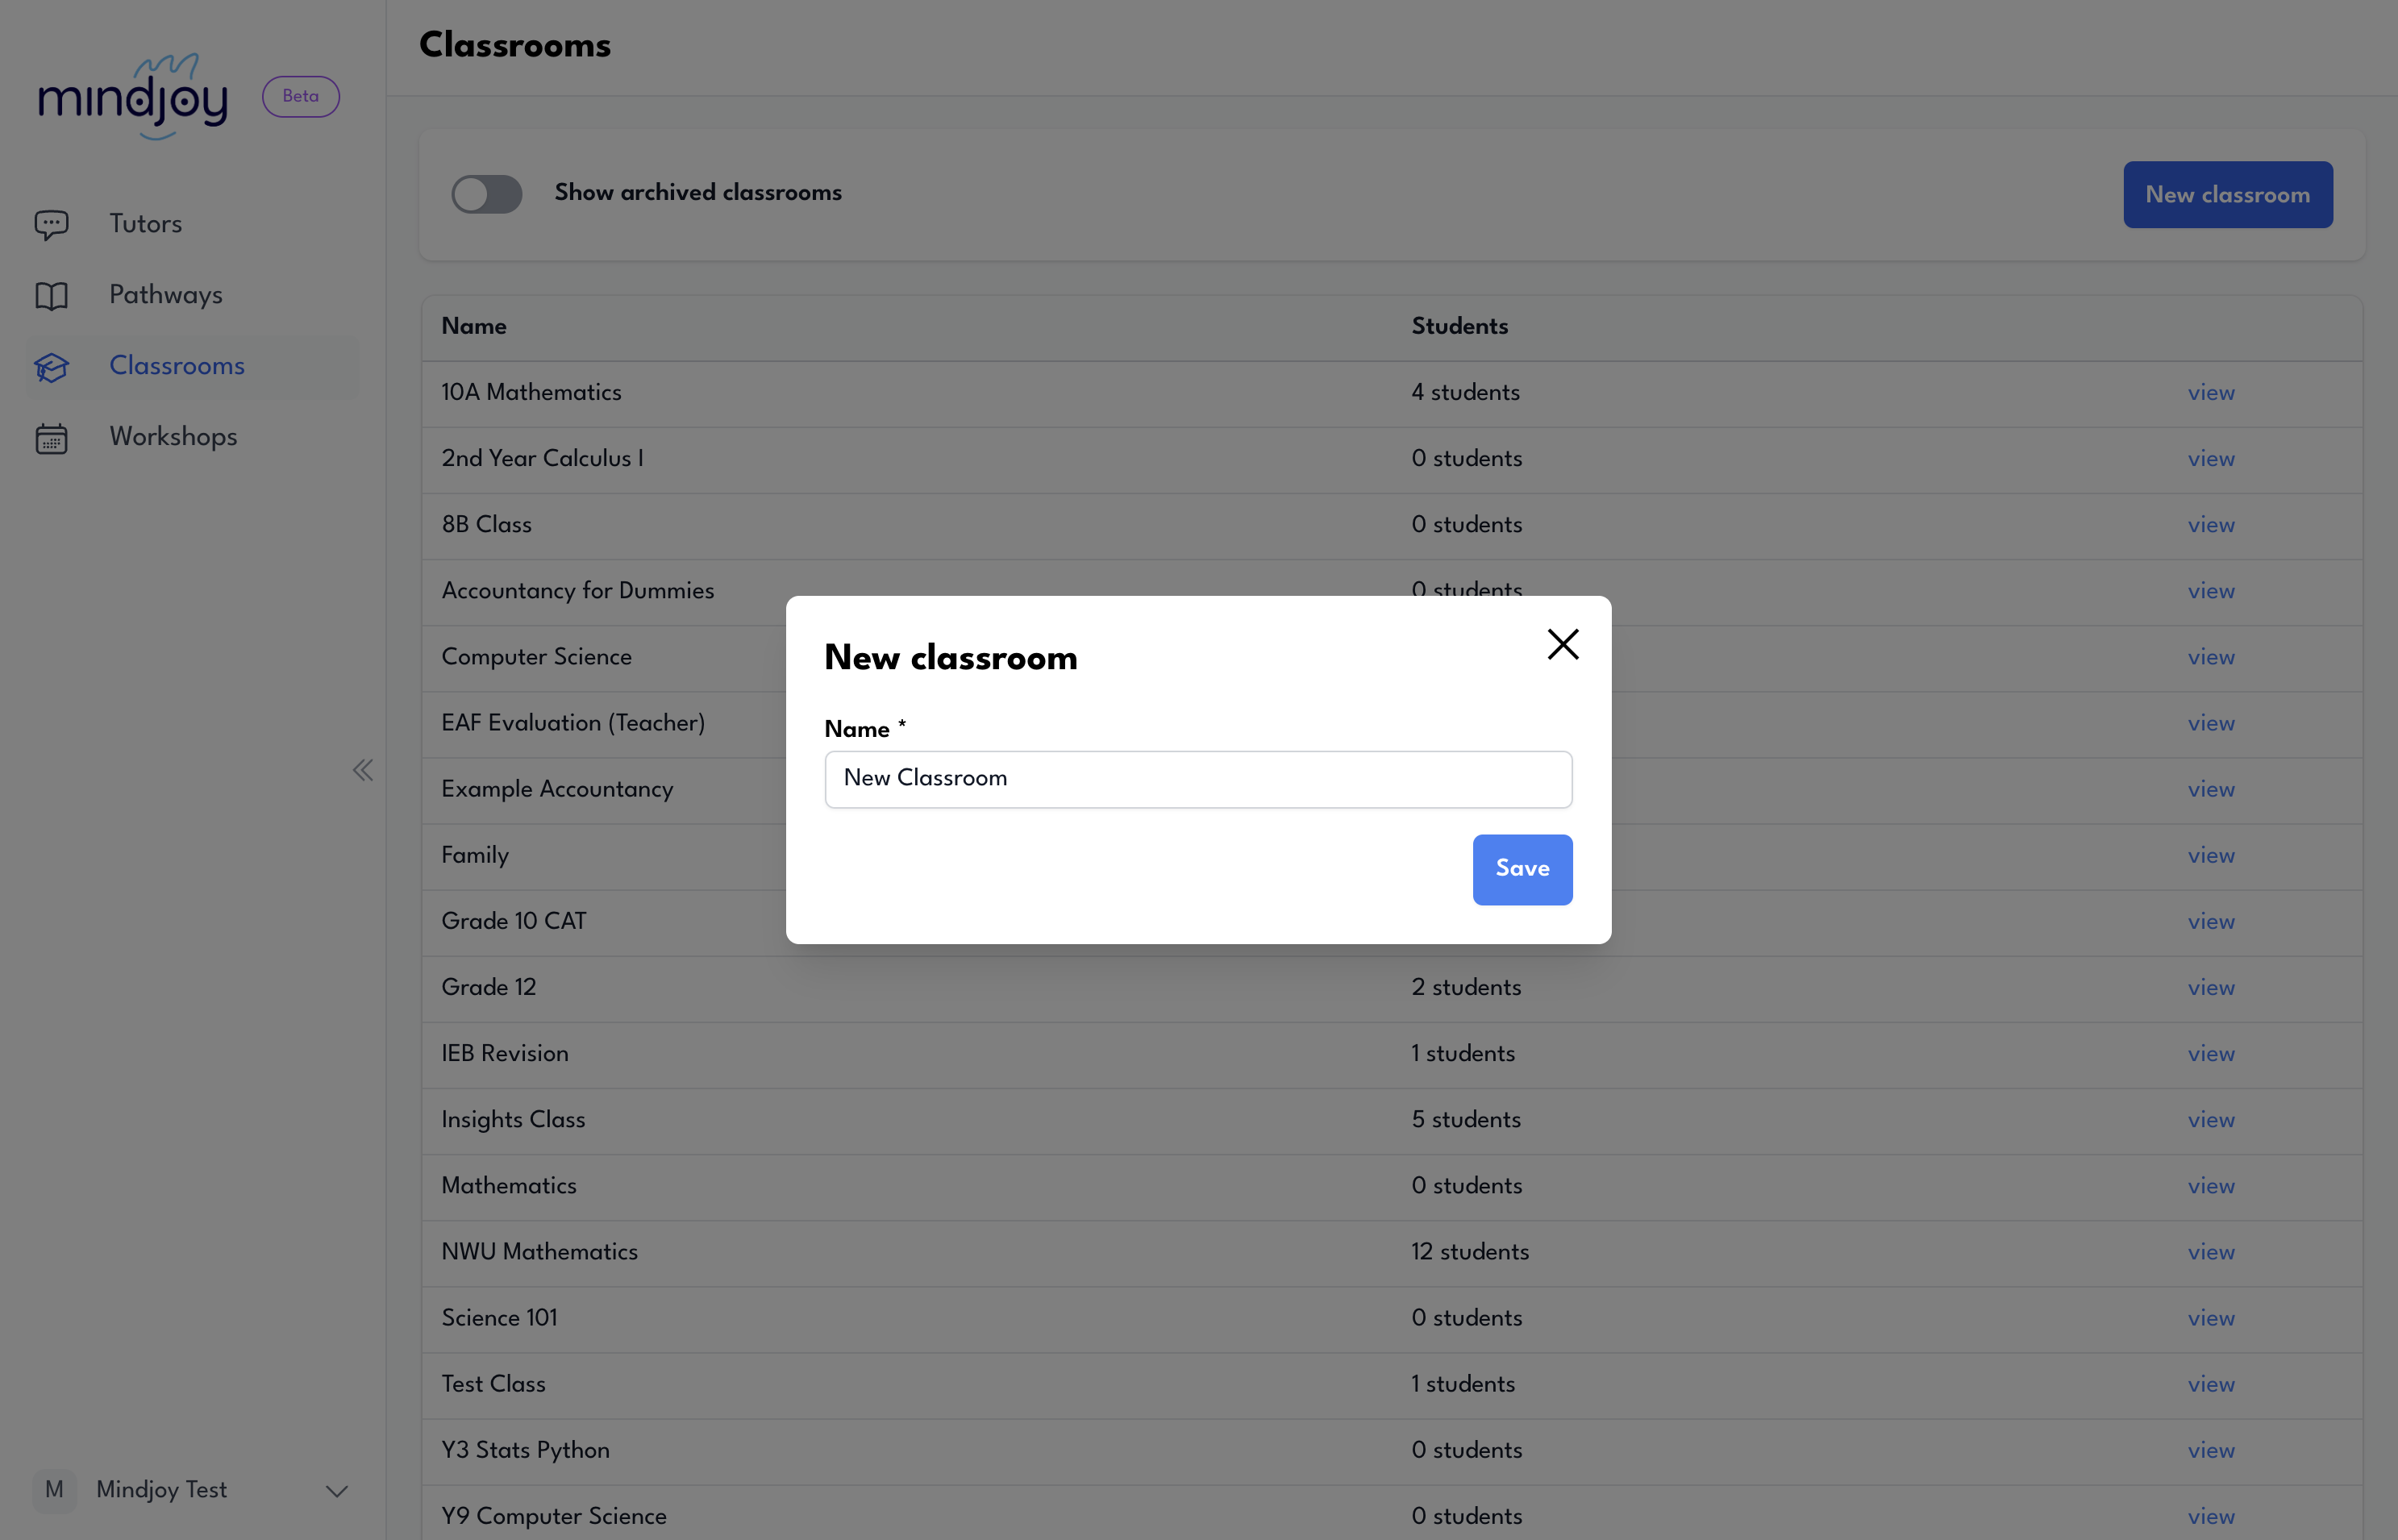
To create a classroom to invite students, click on "Classrooms" on the left-hand side, then select "Create a New Classroom."
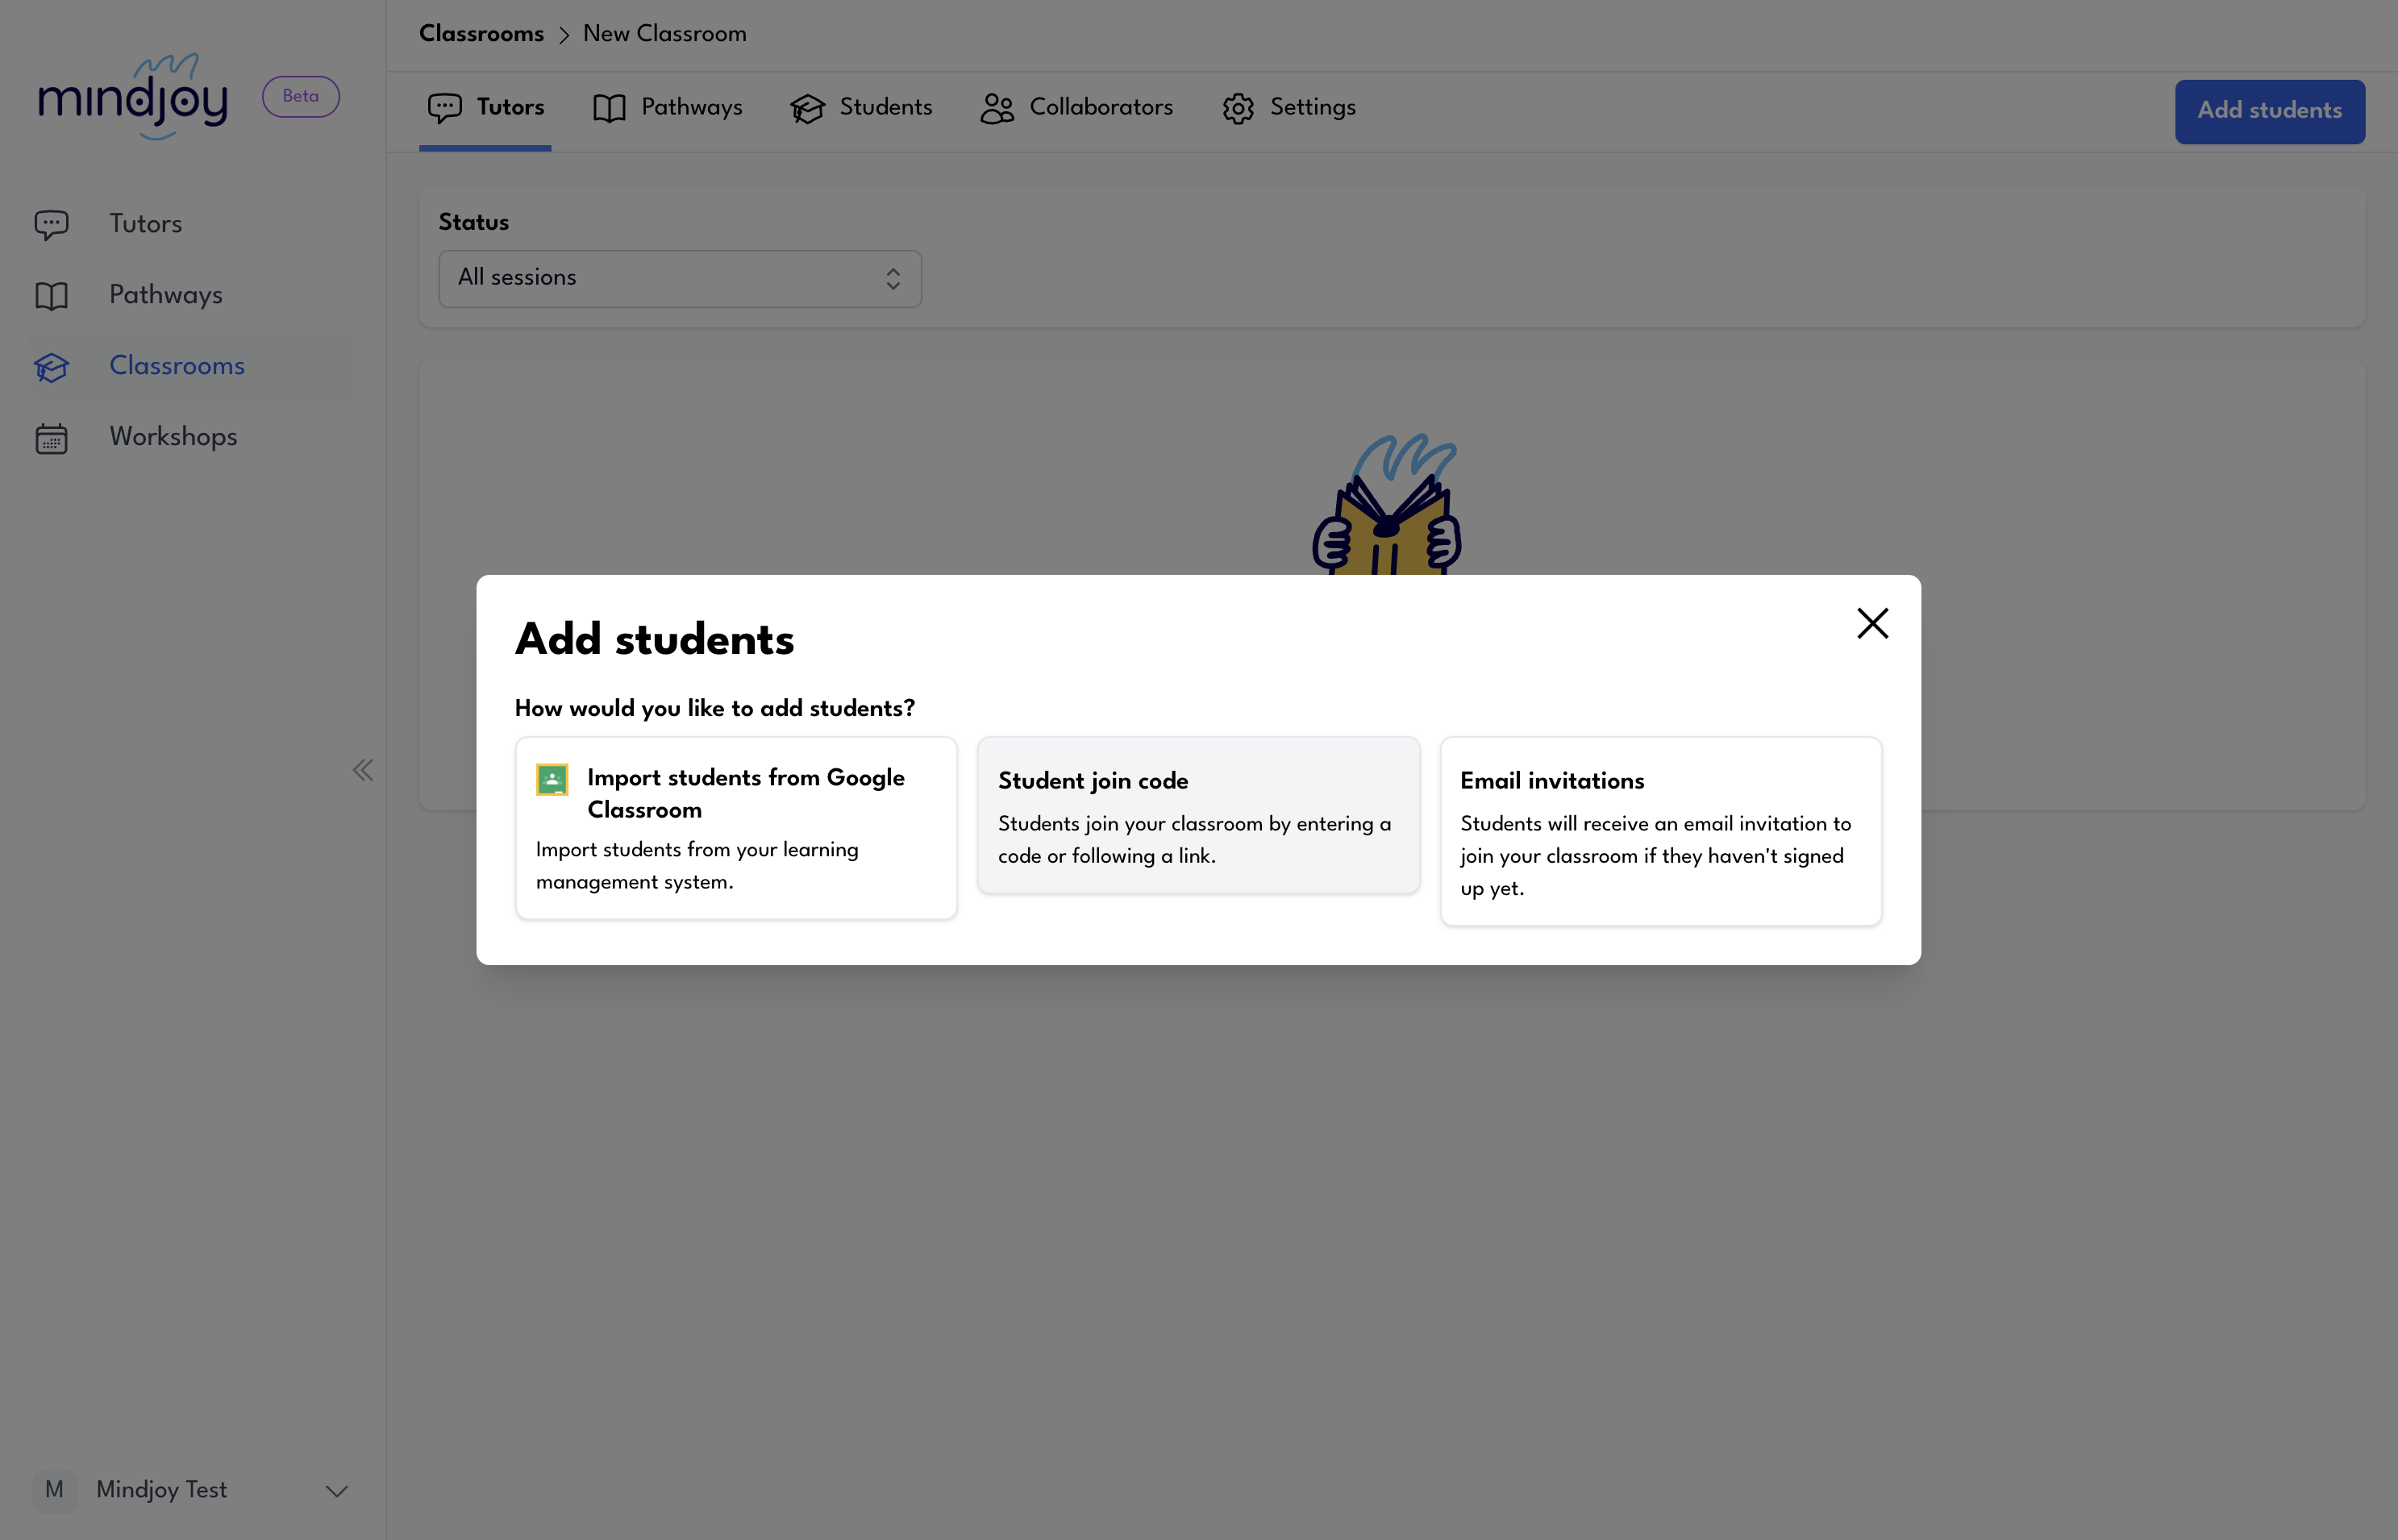
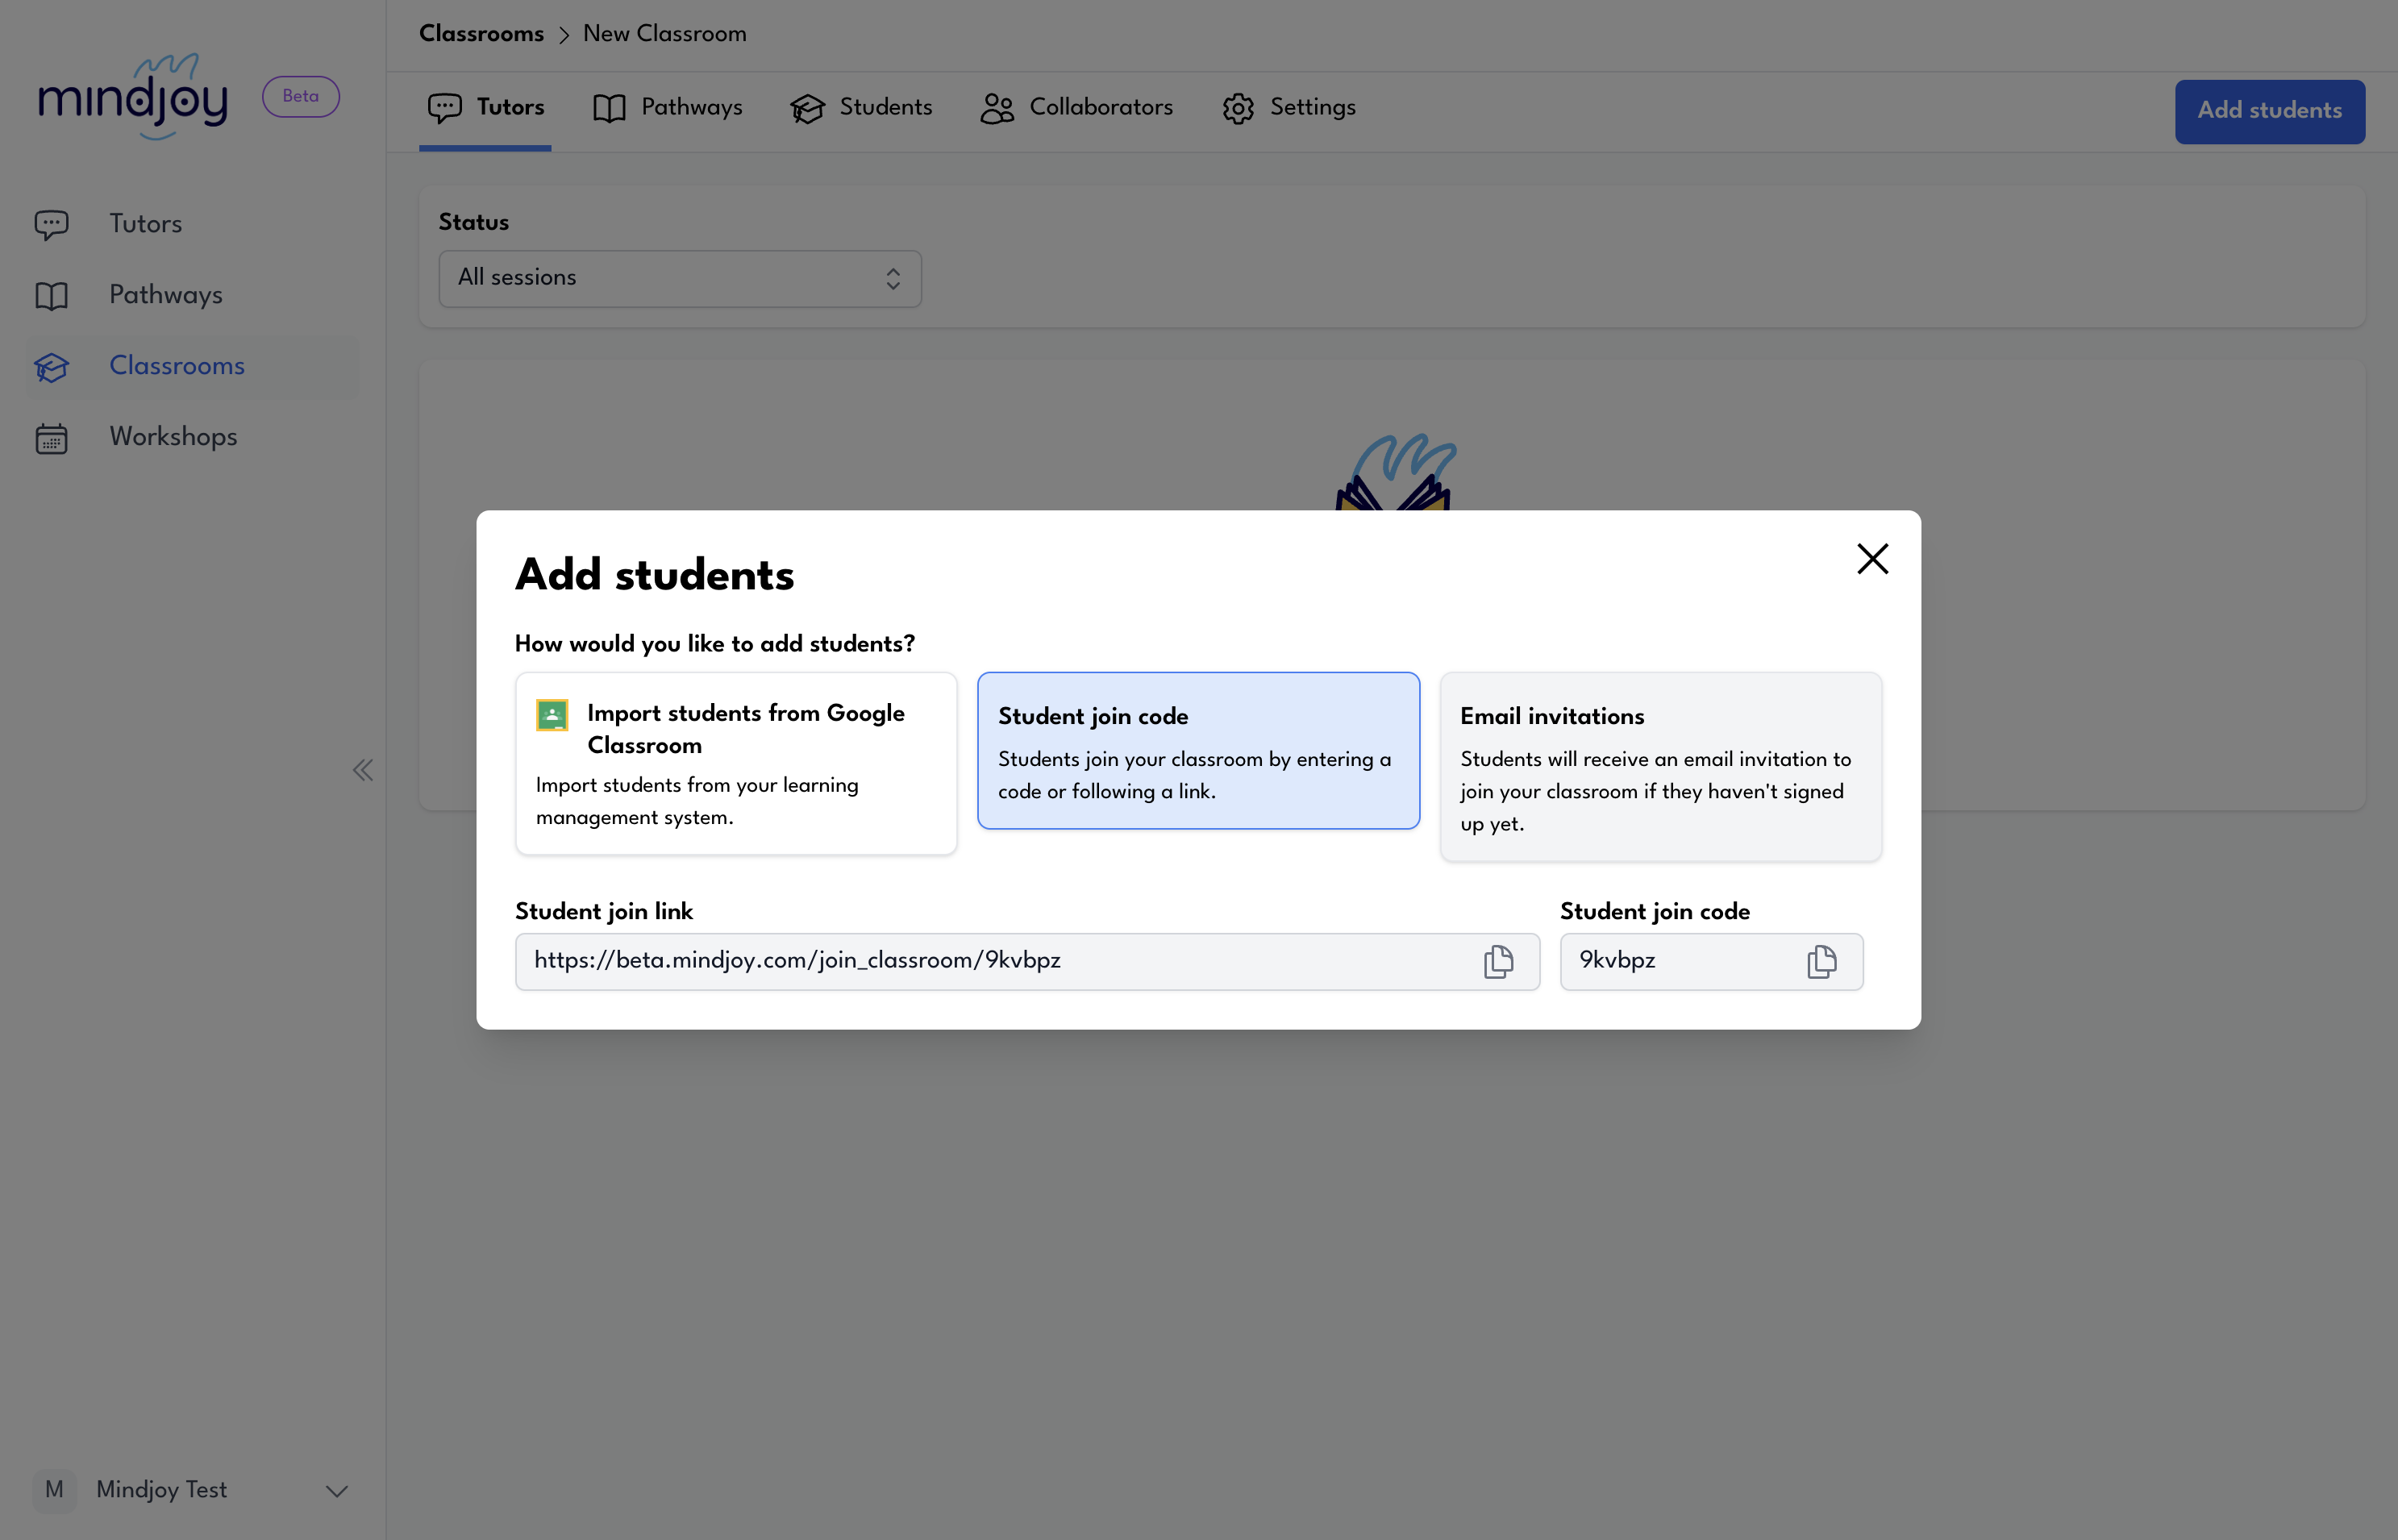
You have two main options. You can use a student join code by sharing the link or code directly with students. Alternatively, if you have their email addresses, click on email invitations, paste their addresses, and send the invitations.
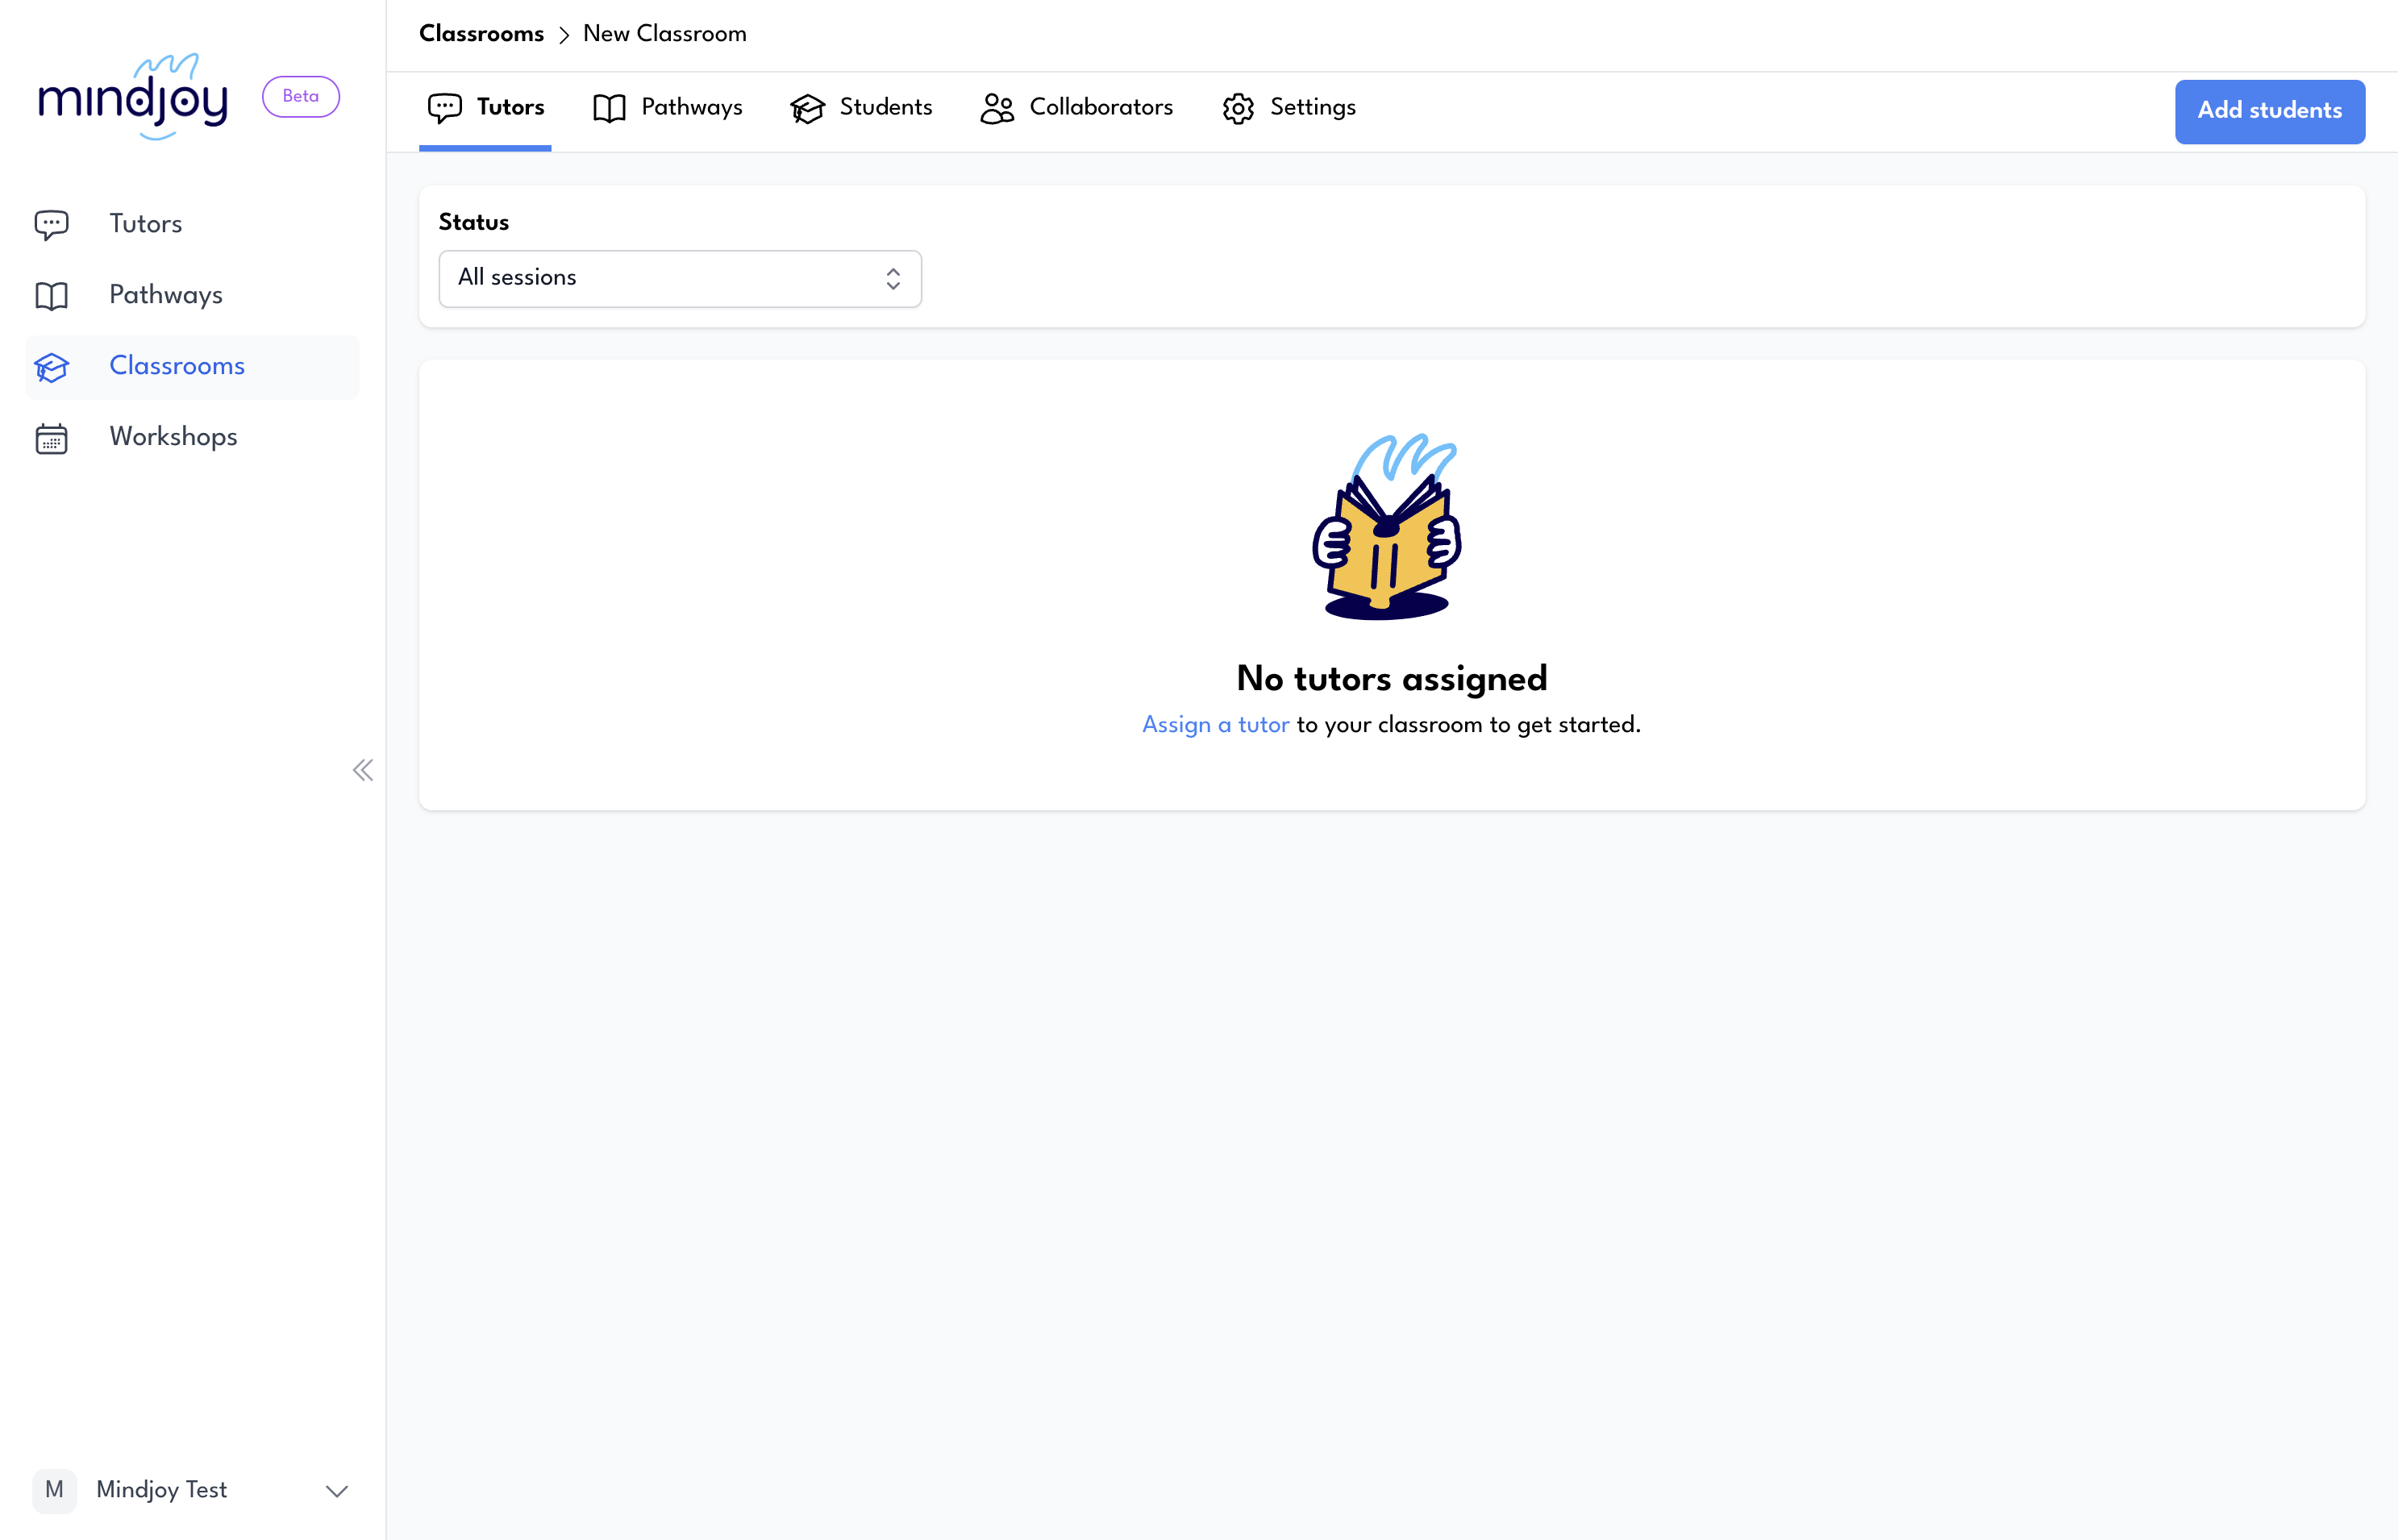
Once completed and students are in your classroom, you can assign tutors and pathways to your class.