How to Create and Manage a Project: Step-by-Step Guide
Learn how to create a project, upload files, set the correct scale, and manage areas efficiently. Follow this easy step-by-step guide for project setup and management.
By Ben Rudin
In this guide, we'll learn how to create a new project, upload your files, and set the correct scale. We will also cover how to view, add, or remove areas within your project. You will see how to use the chat feature to ask questions as you work.
Let's get started
1
Go to Kamai
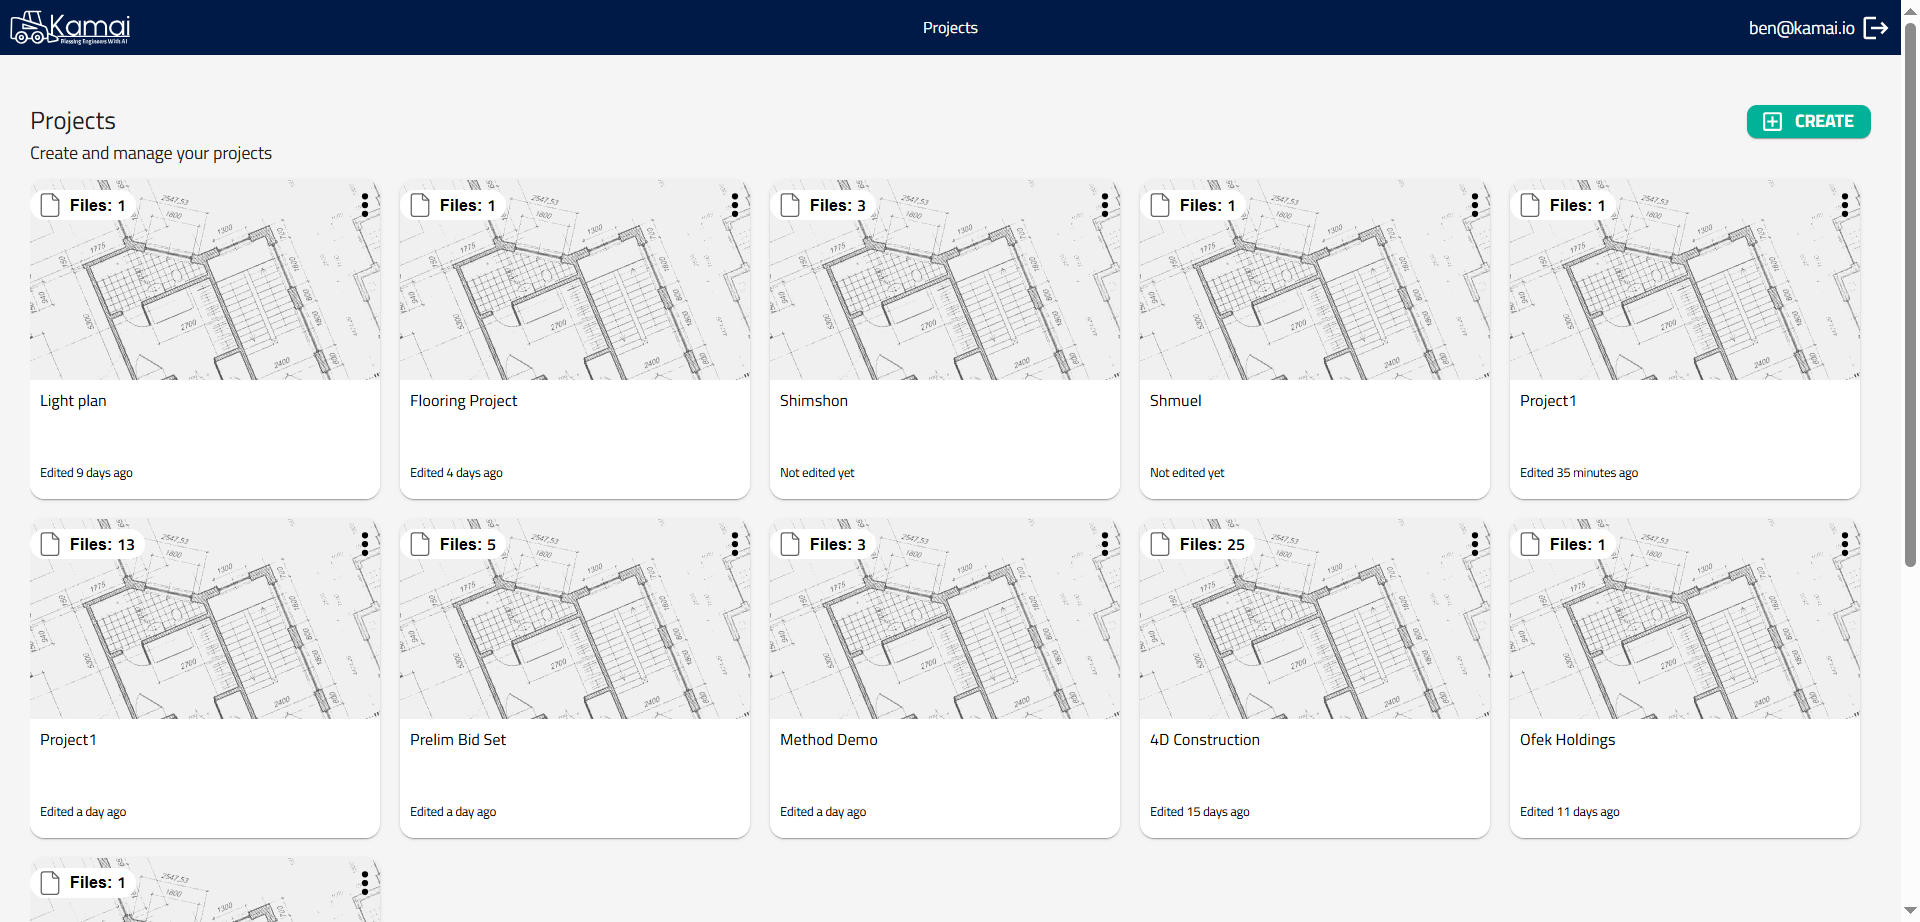
2
Create a project
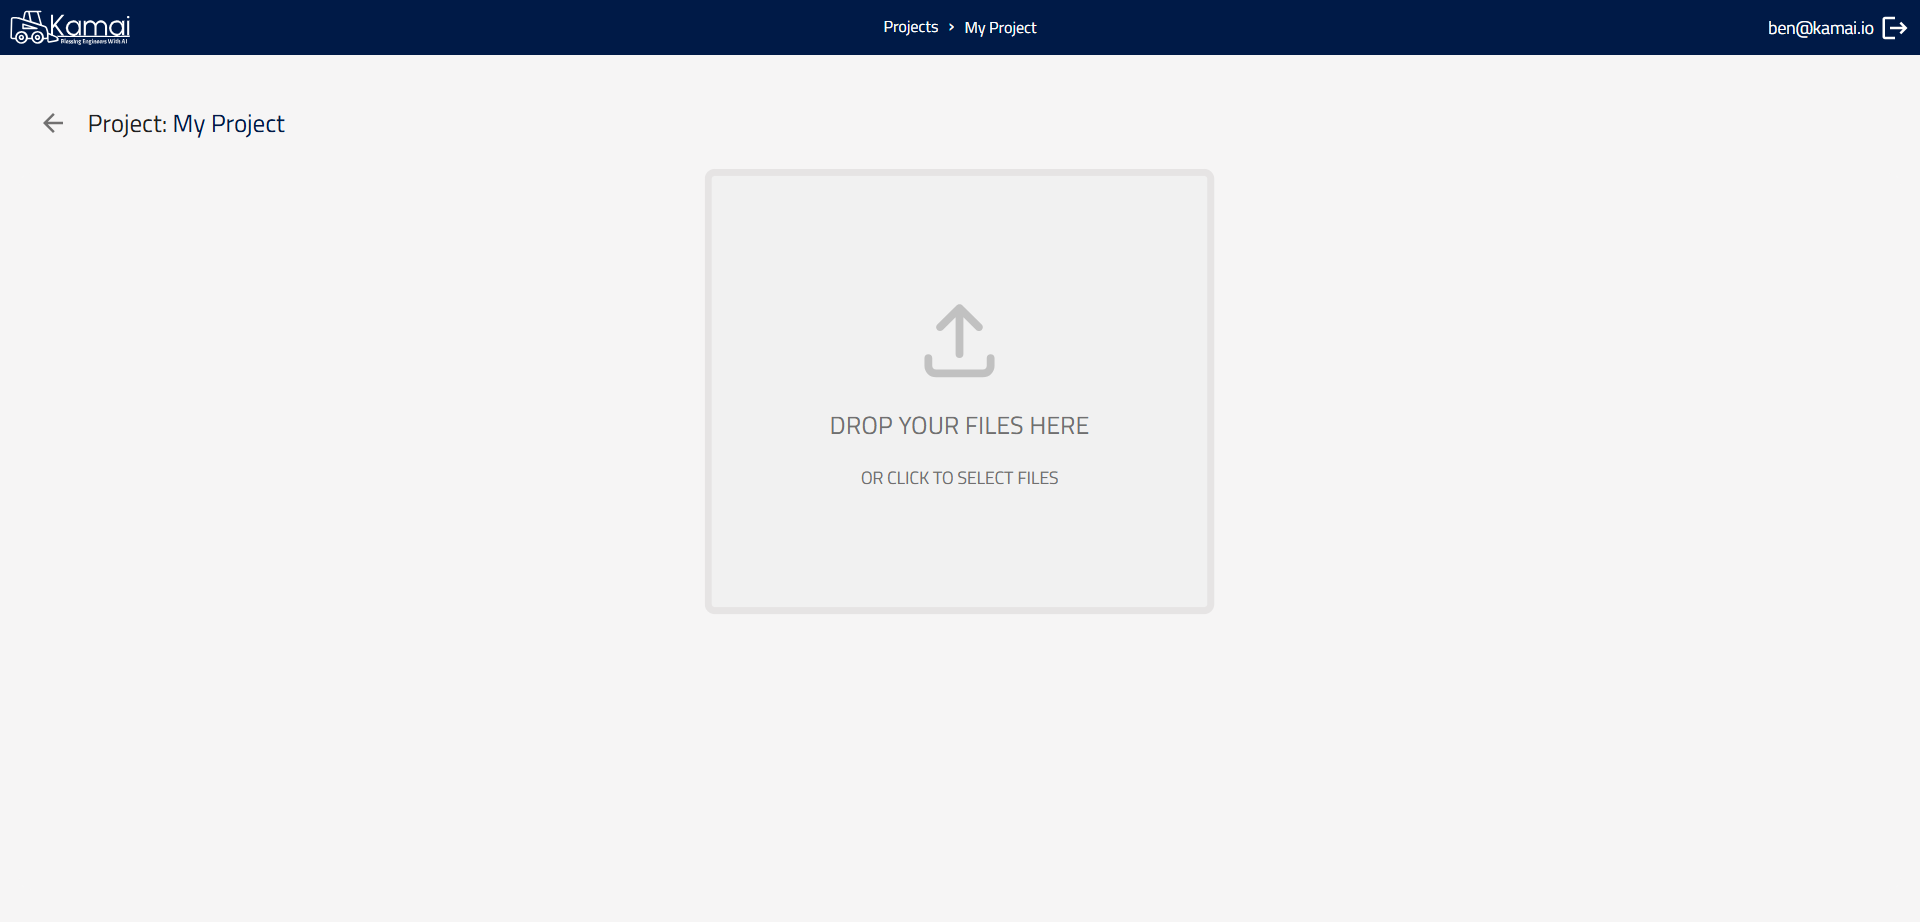
3
Upload your blueprints
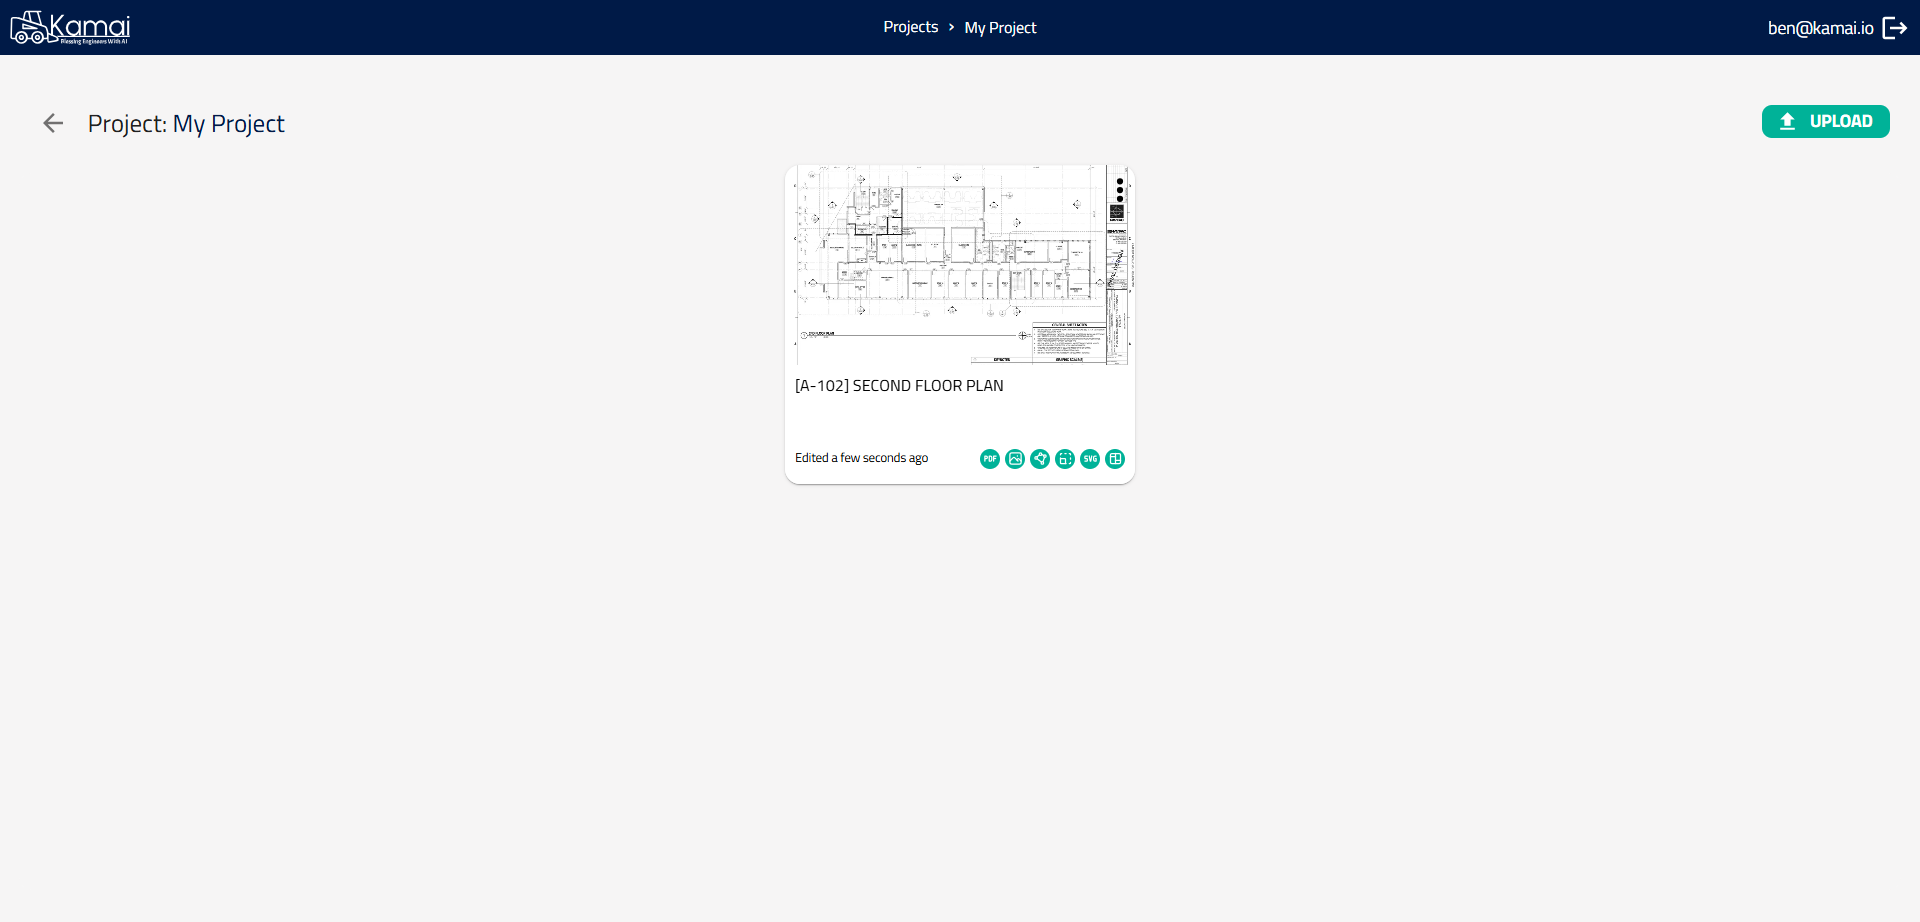
4
Wait for the AI to calculate everything for you
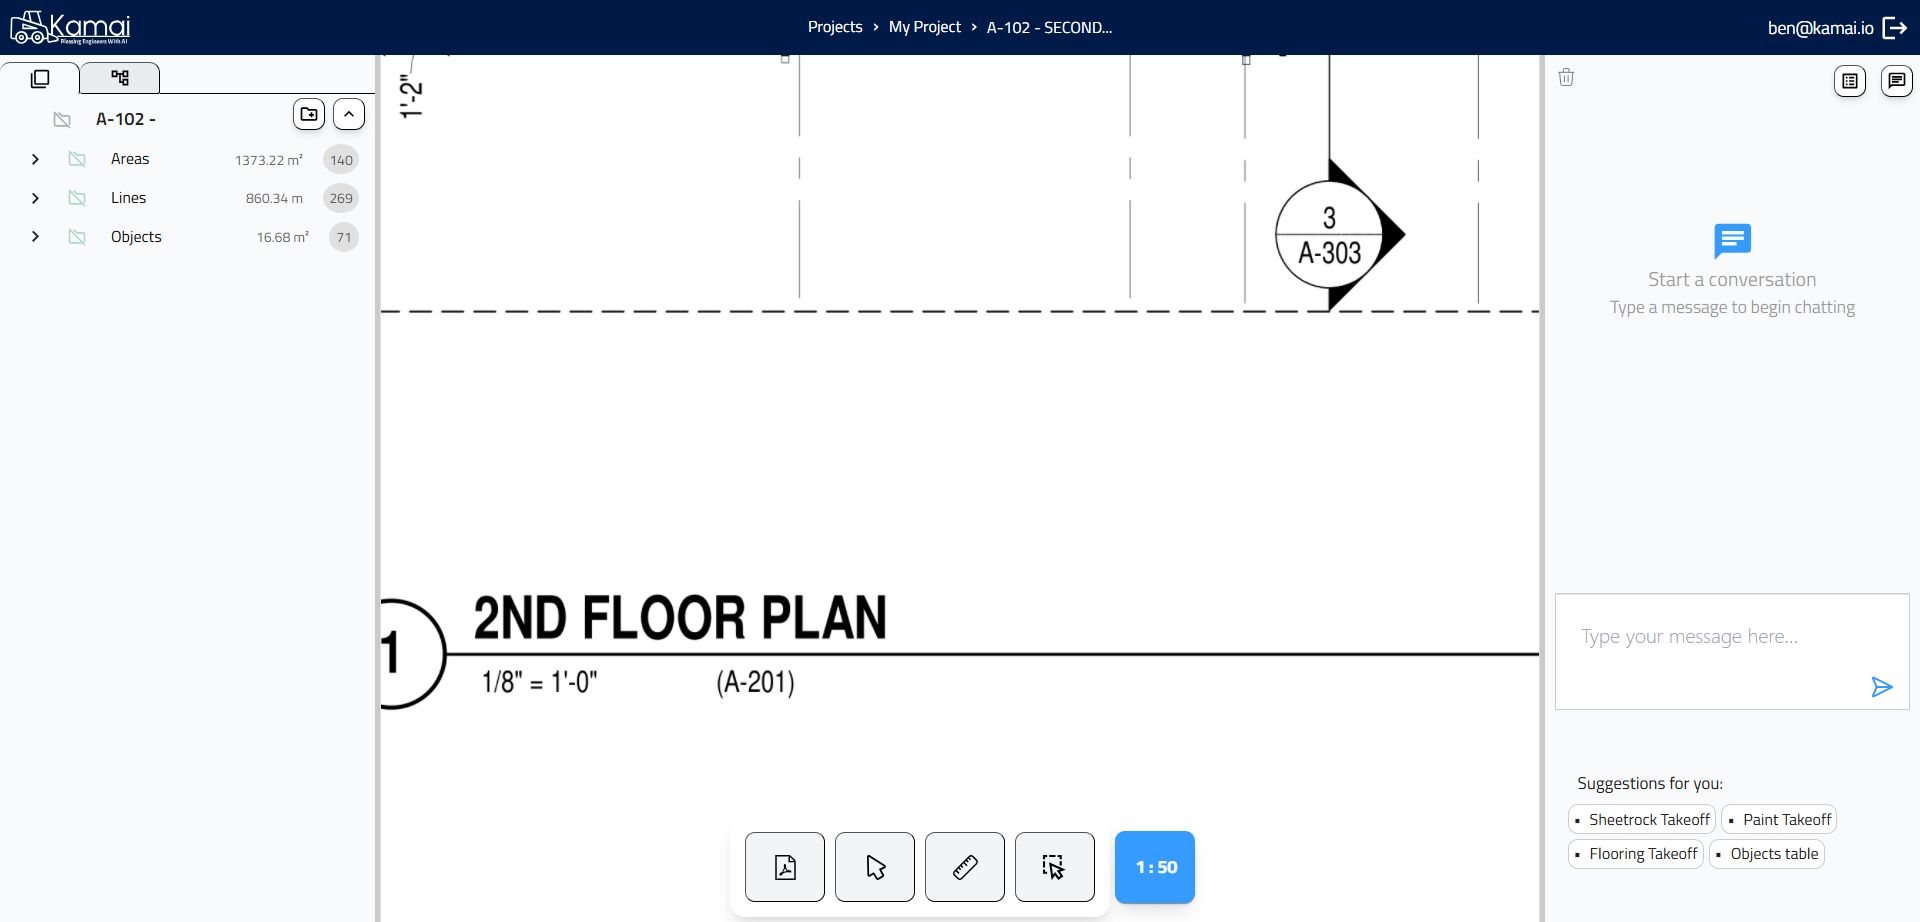
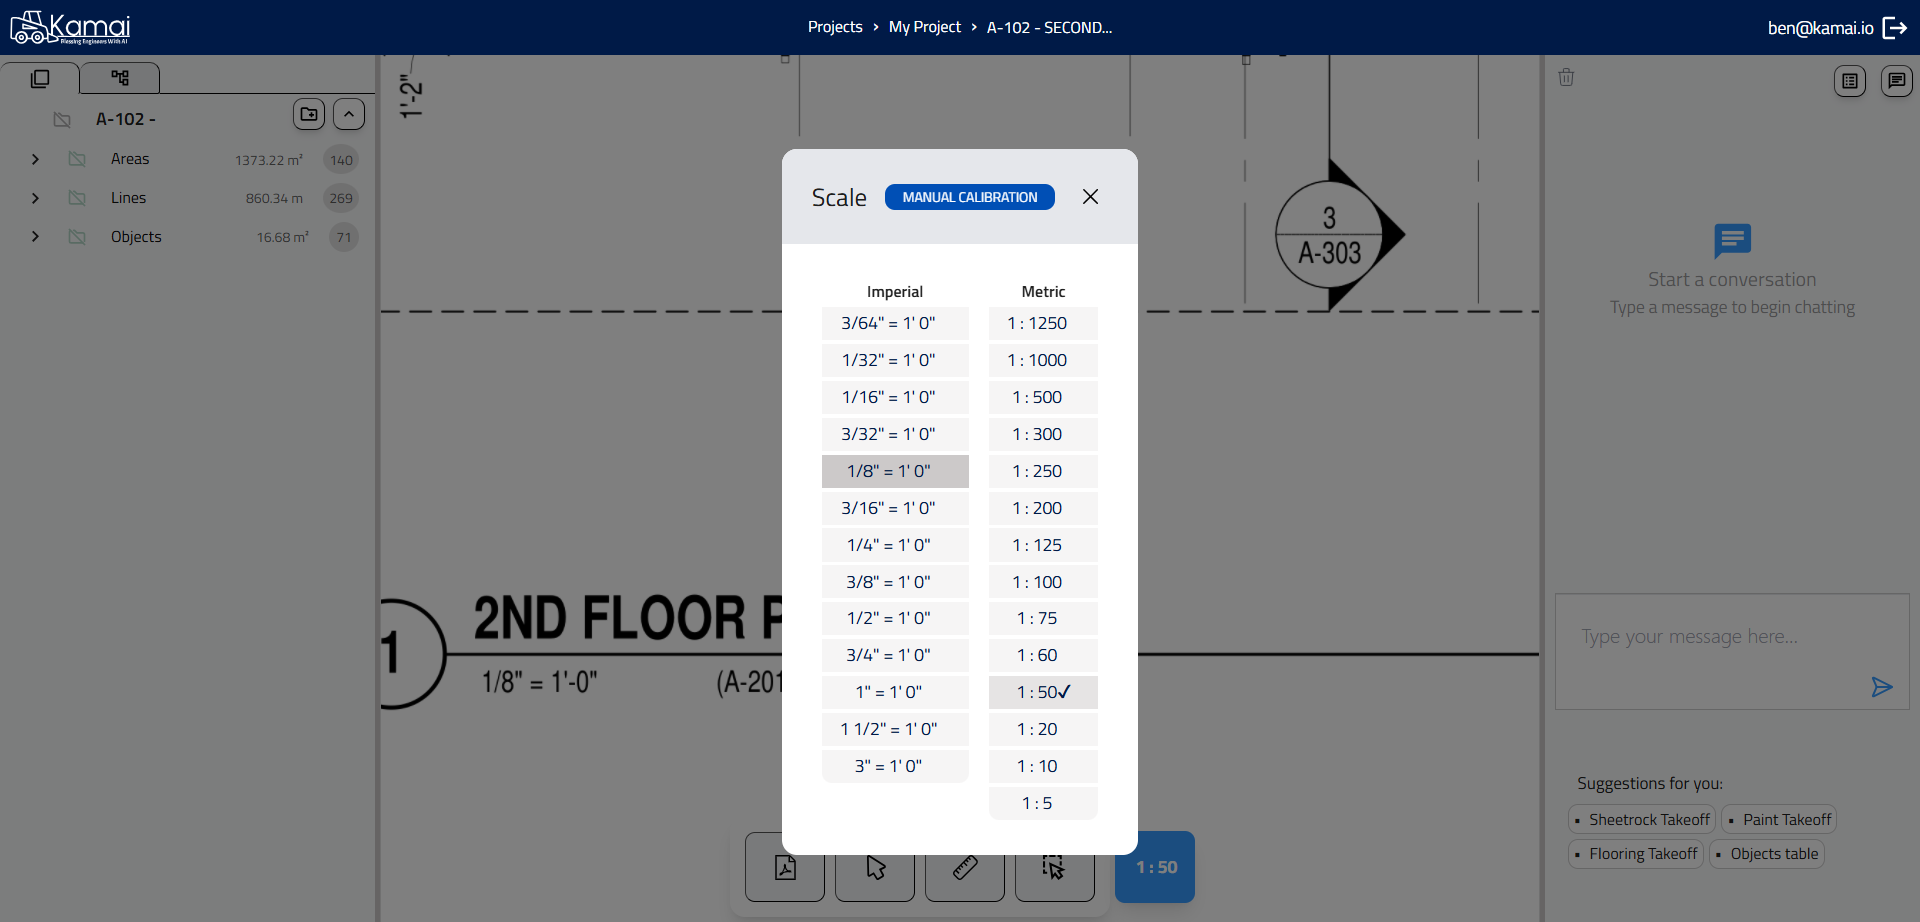
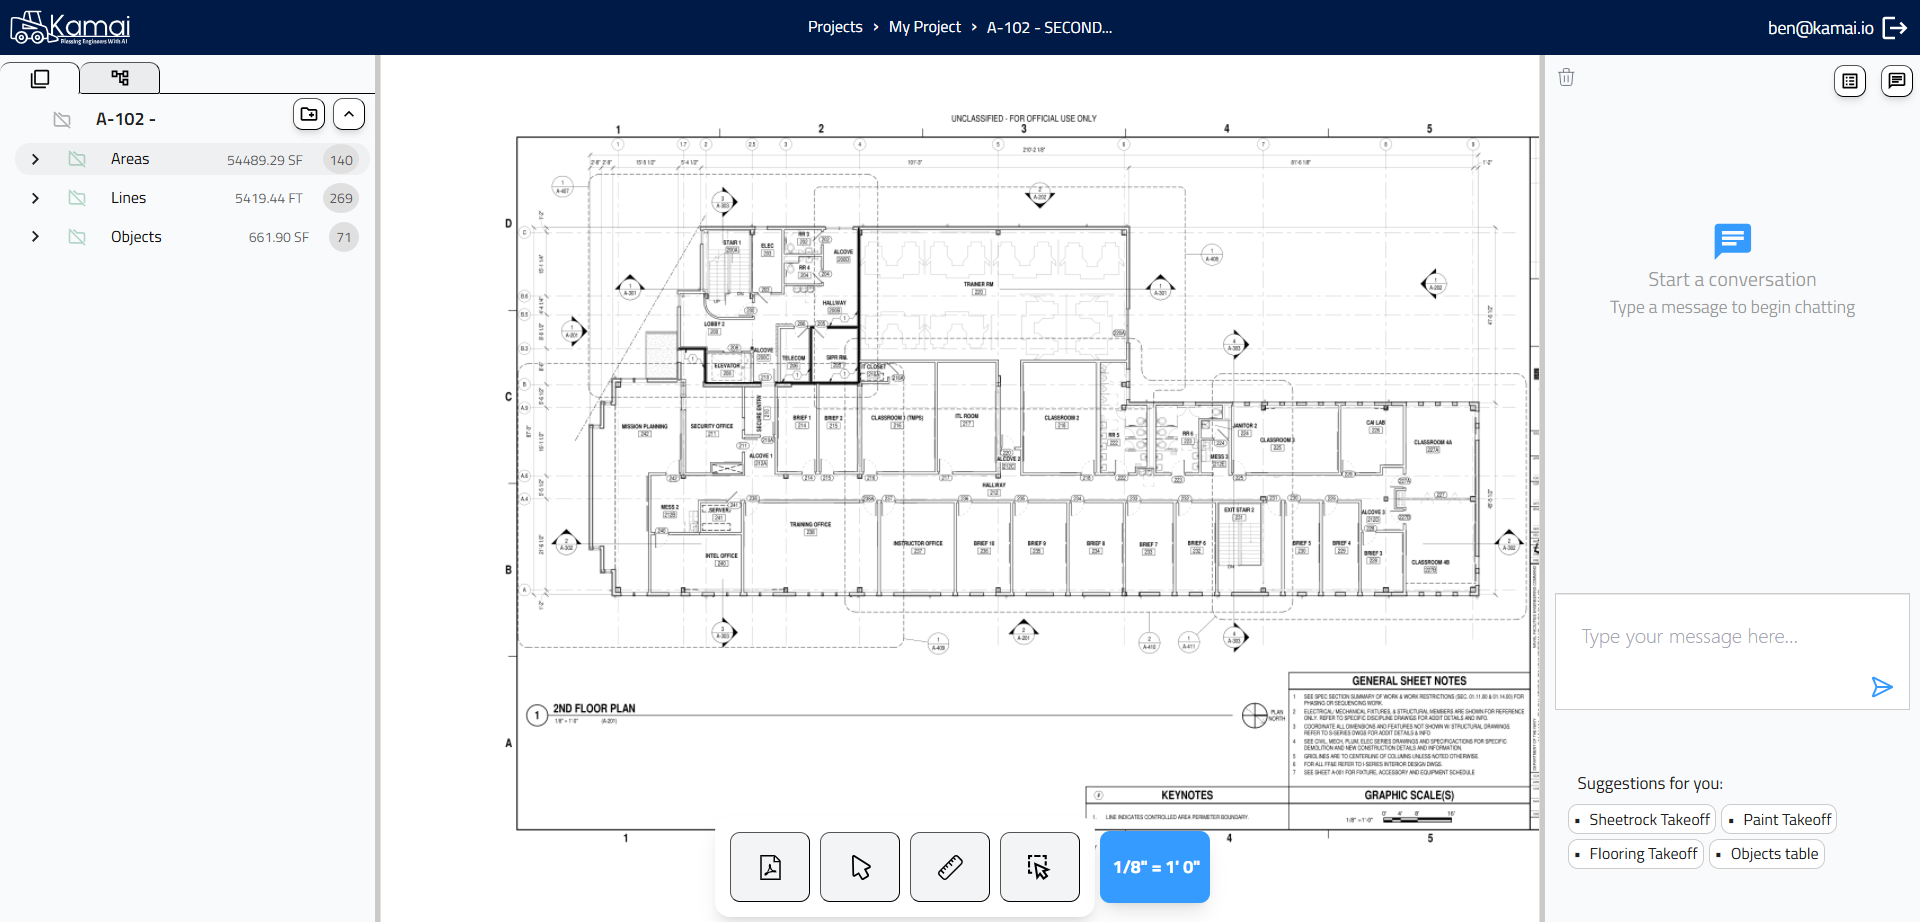
5
Set the right scale
6
7
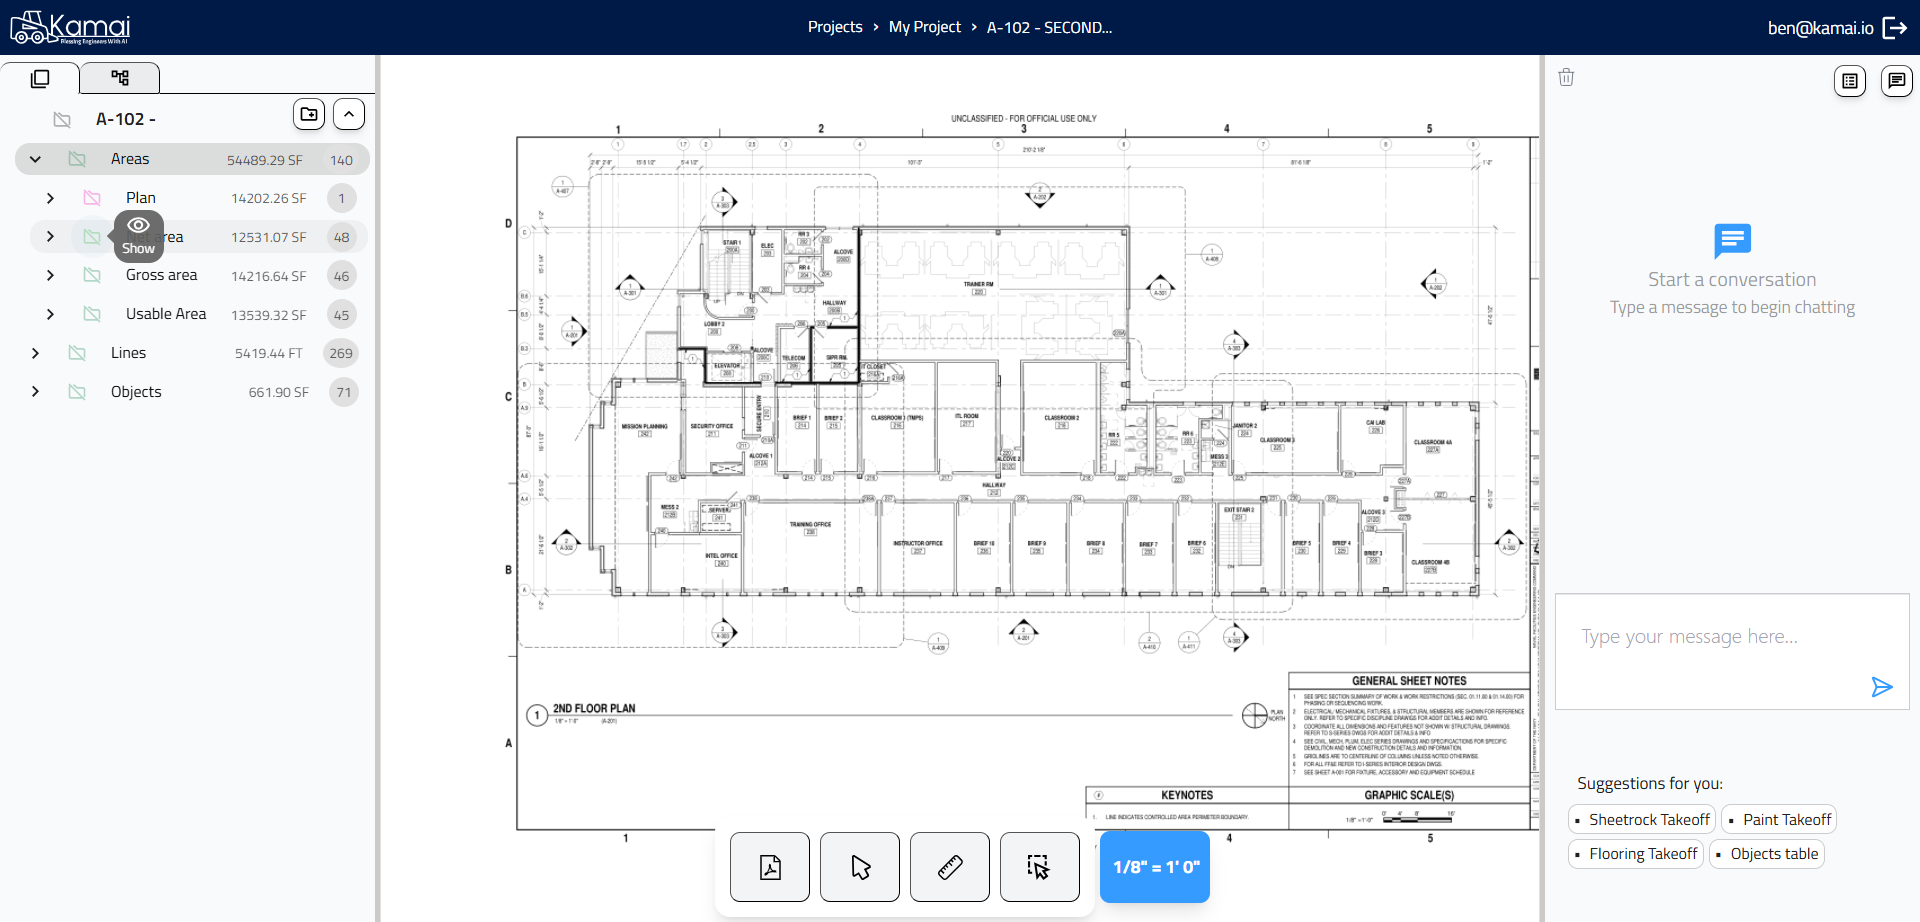
Open and navigate the folders
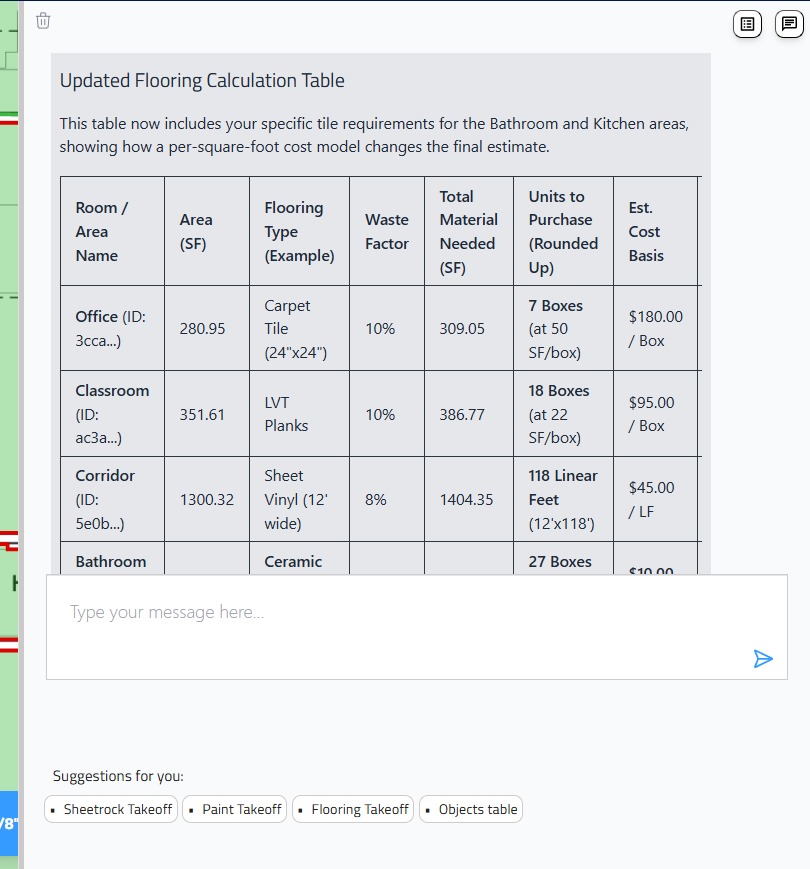
8
You can turn them on/off by clicking on the folder icon
9
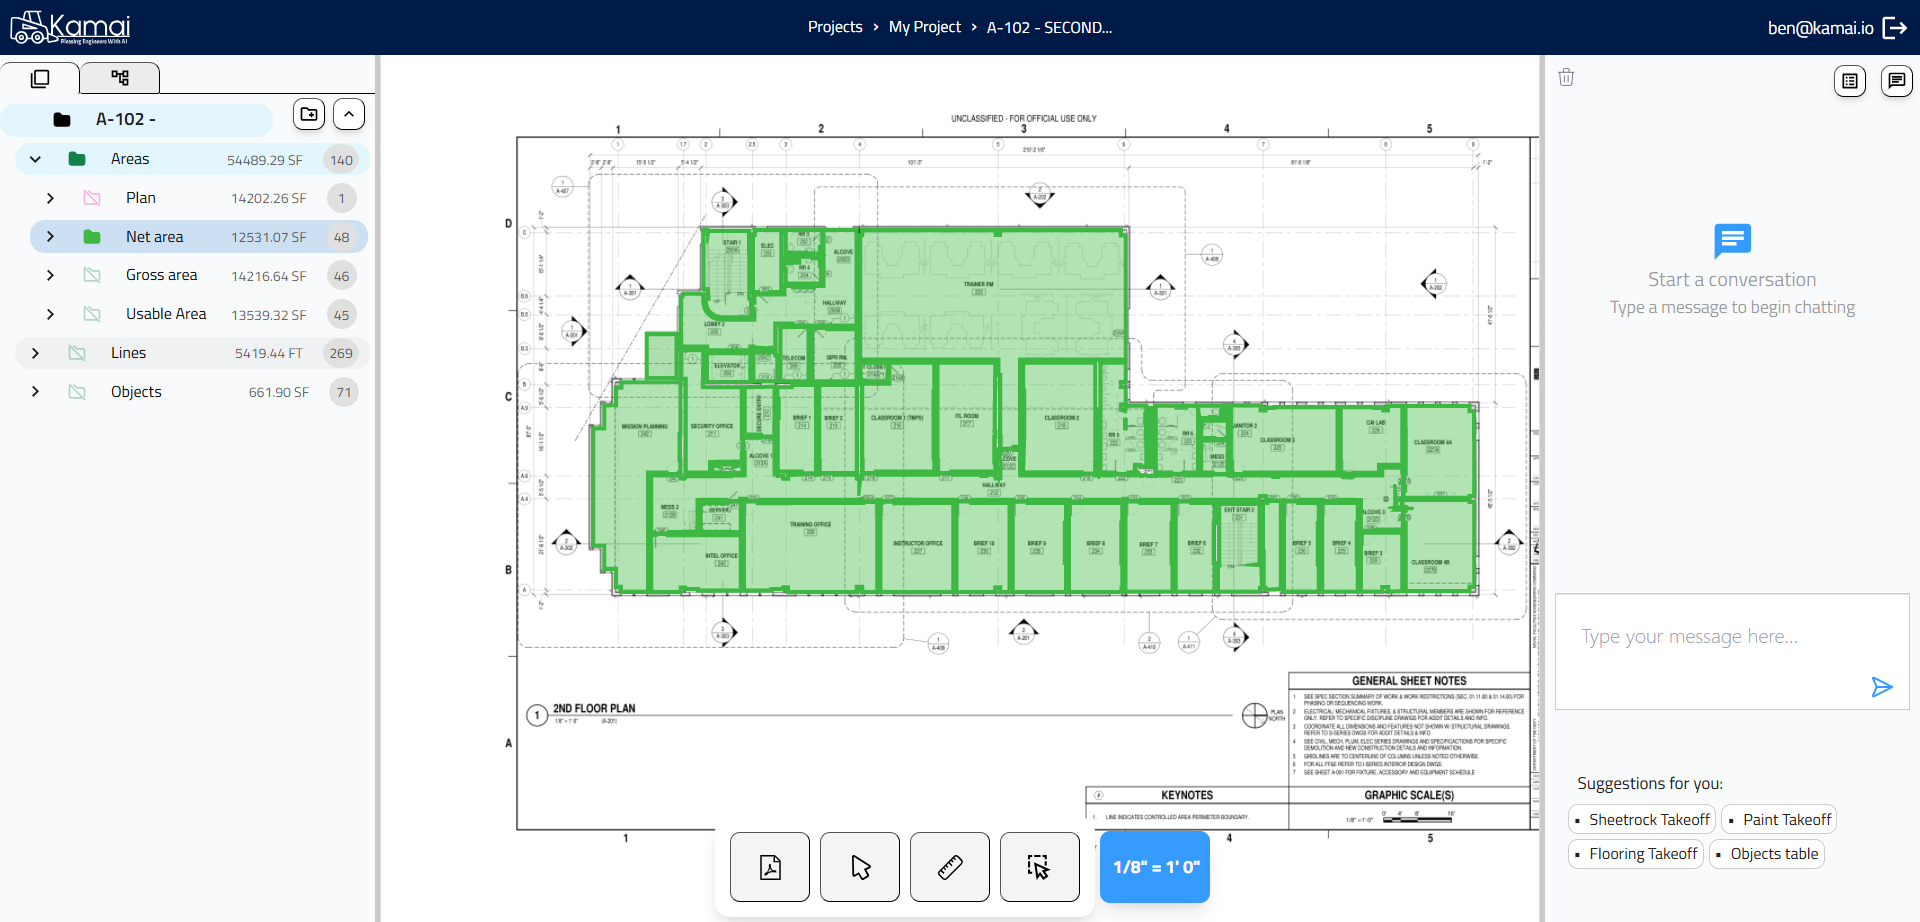
10
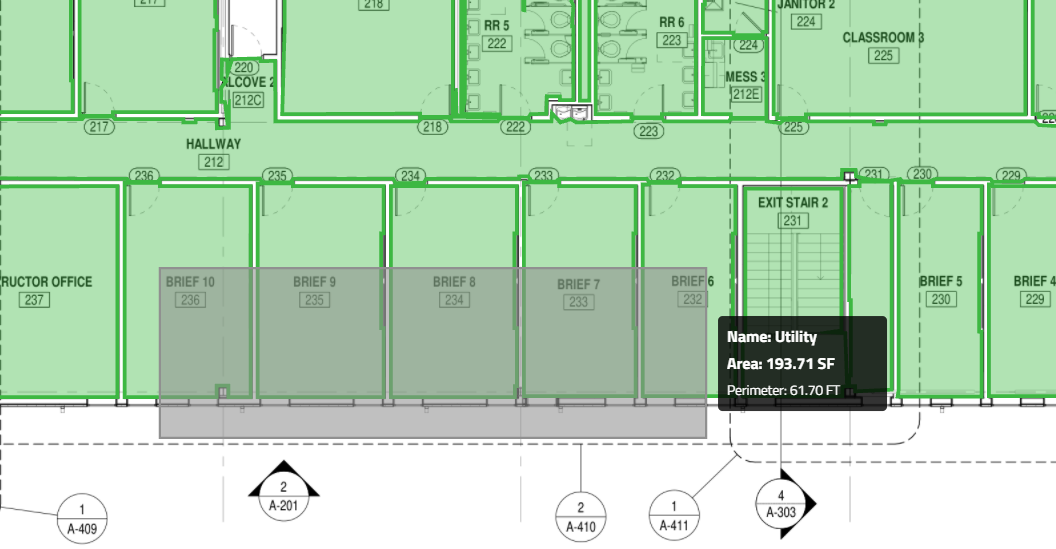
Hover above any area to see its name, size and perimeter
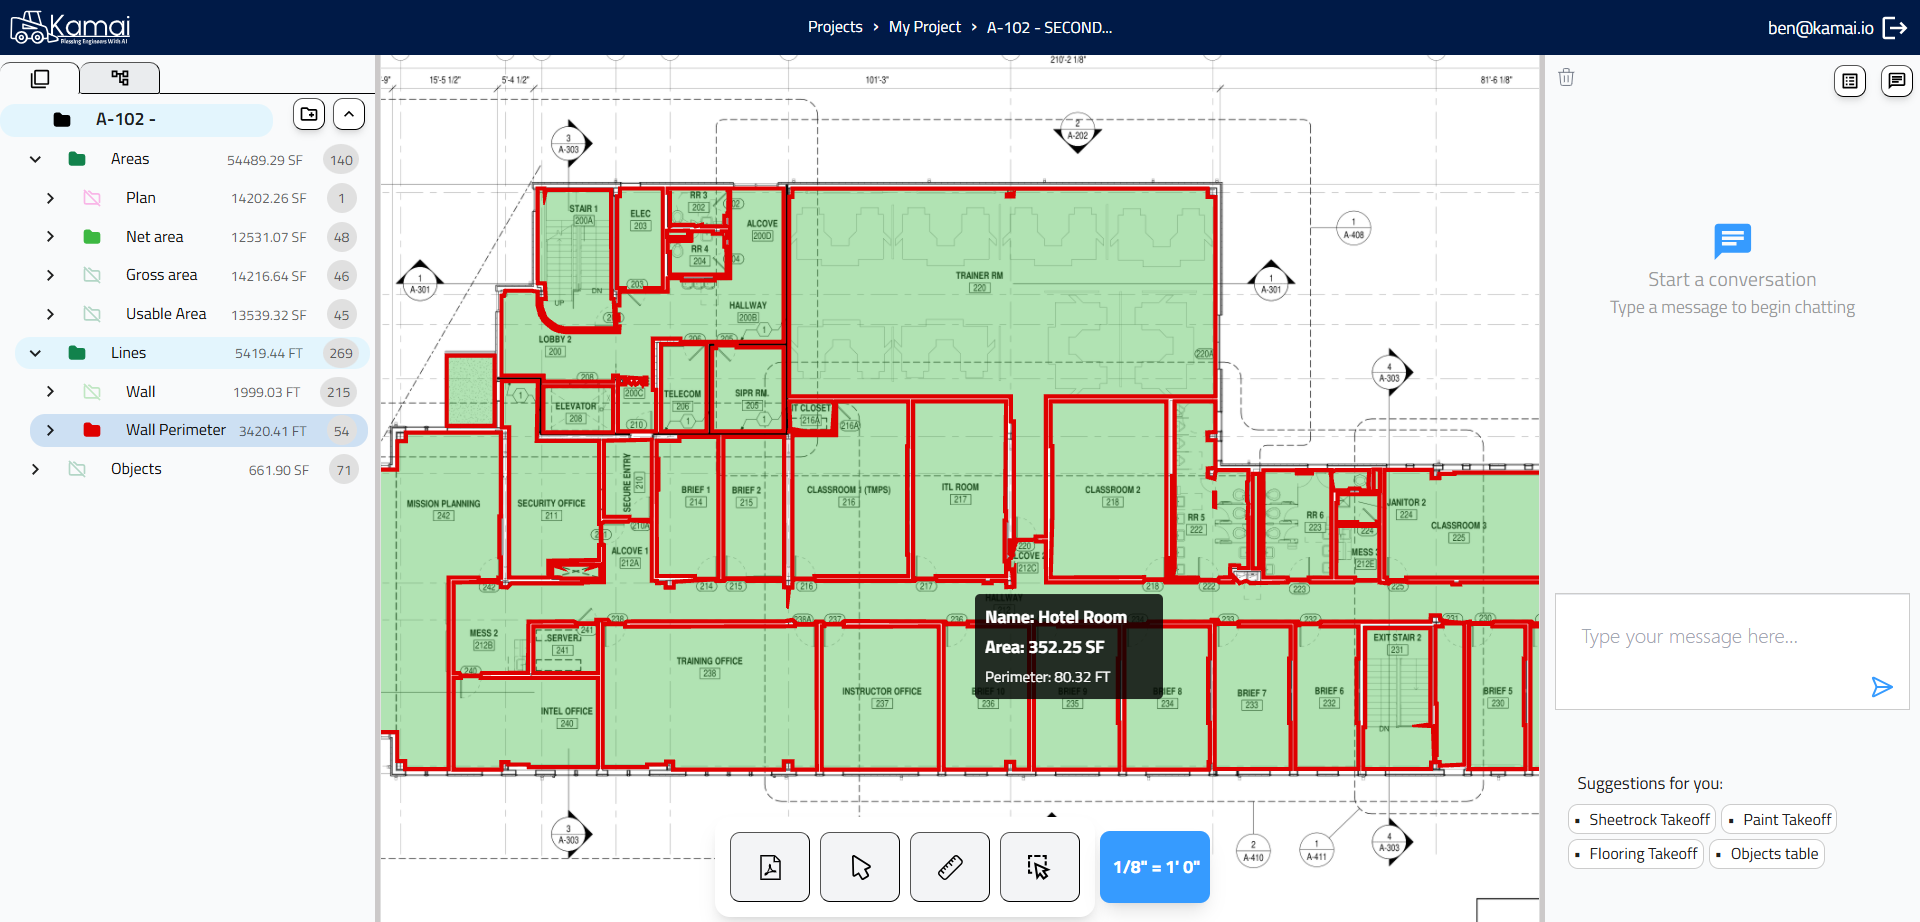
11
Right-click on any folder
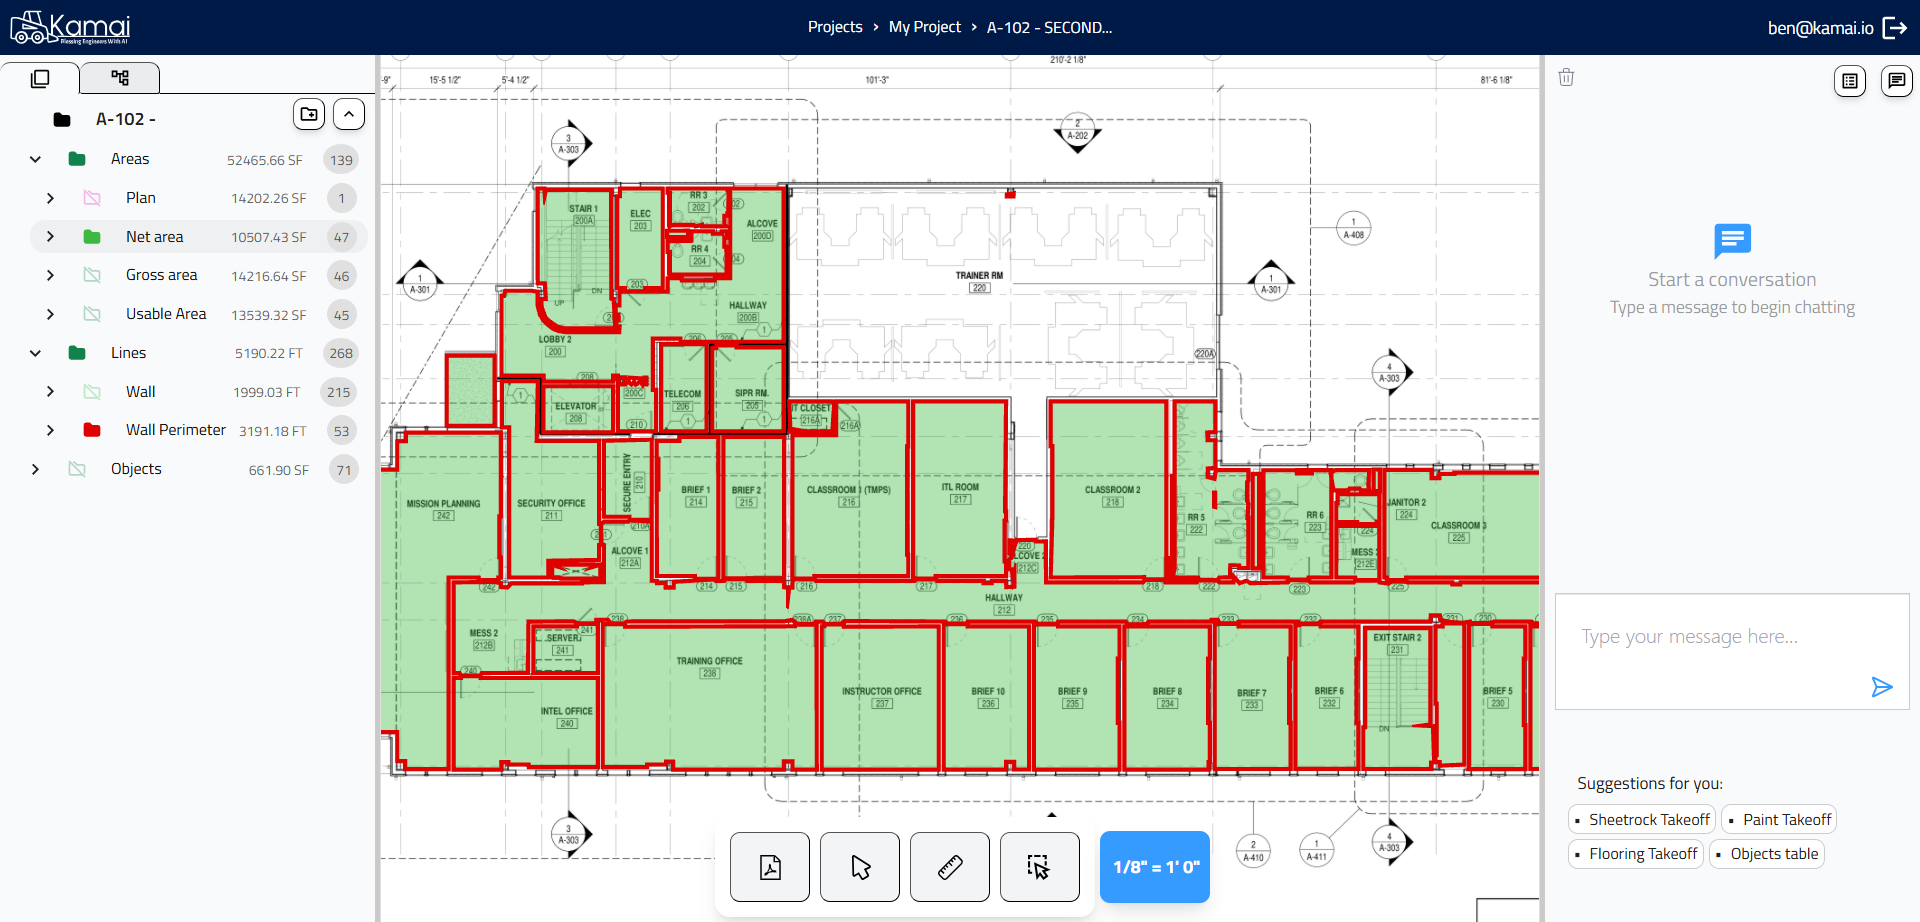
12
You can add more areas and walls to each folder
13
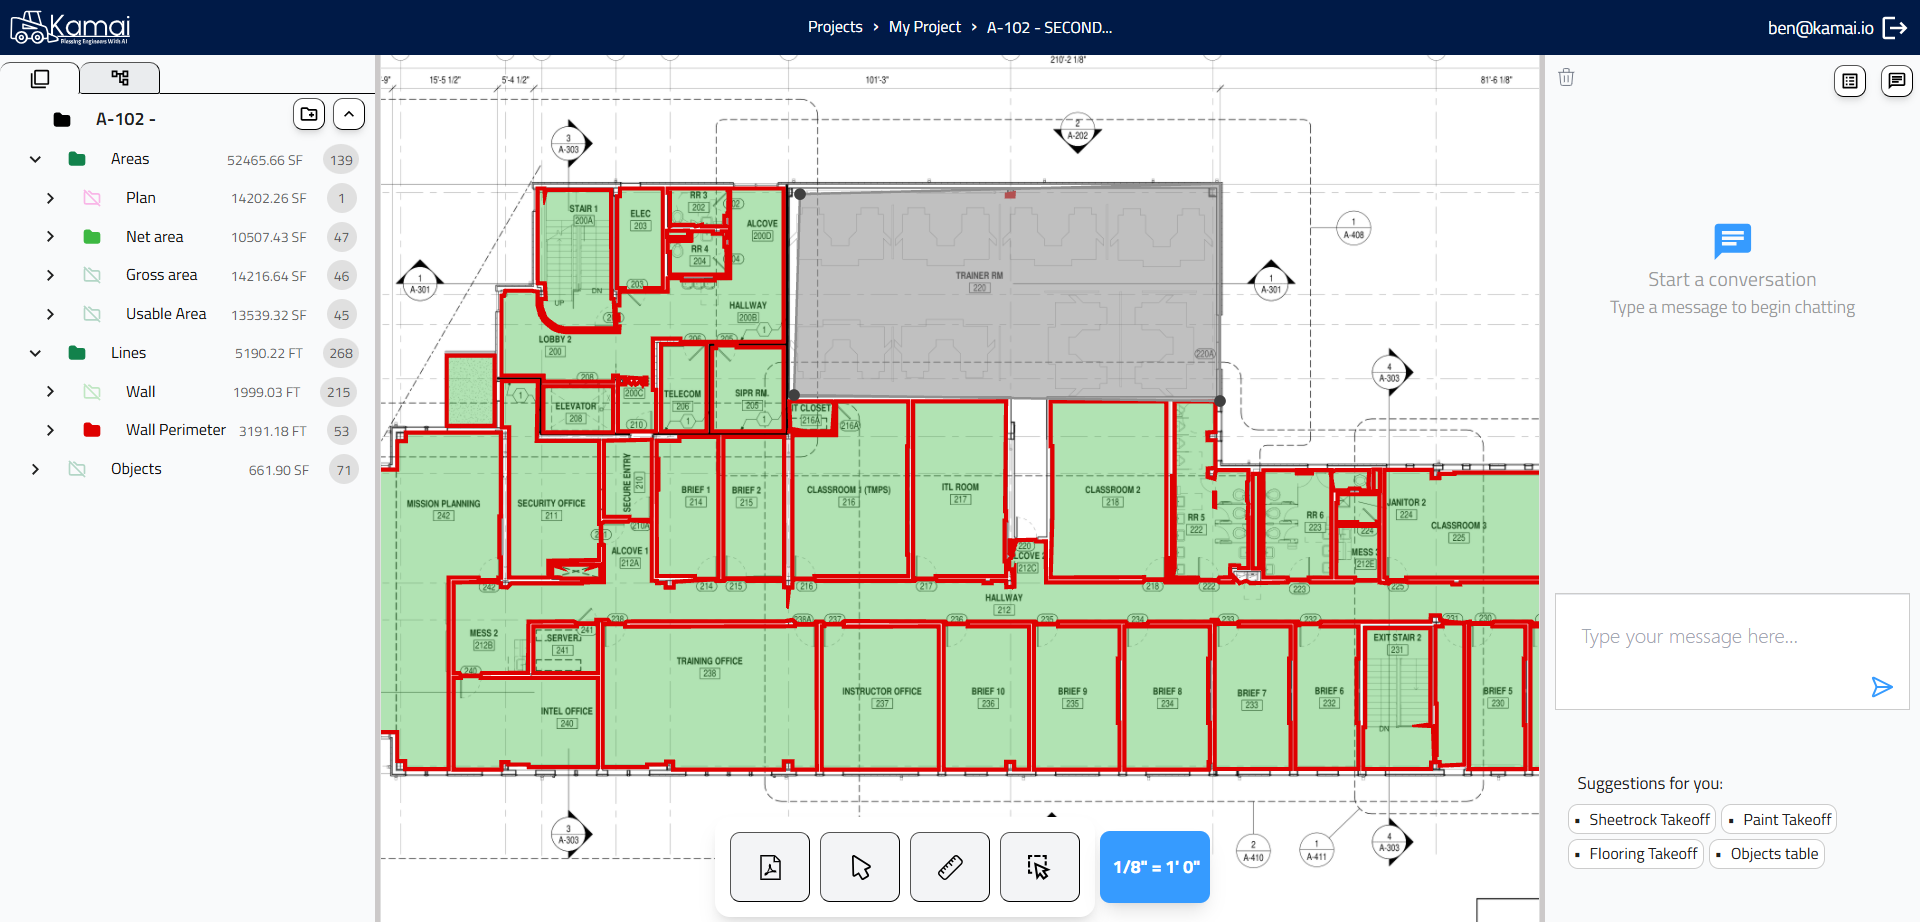
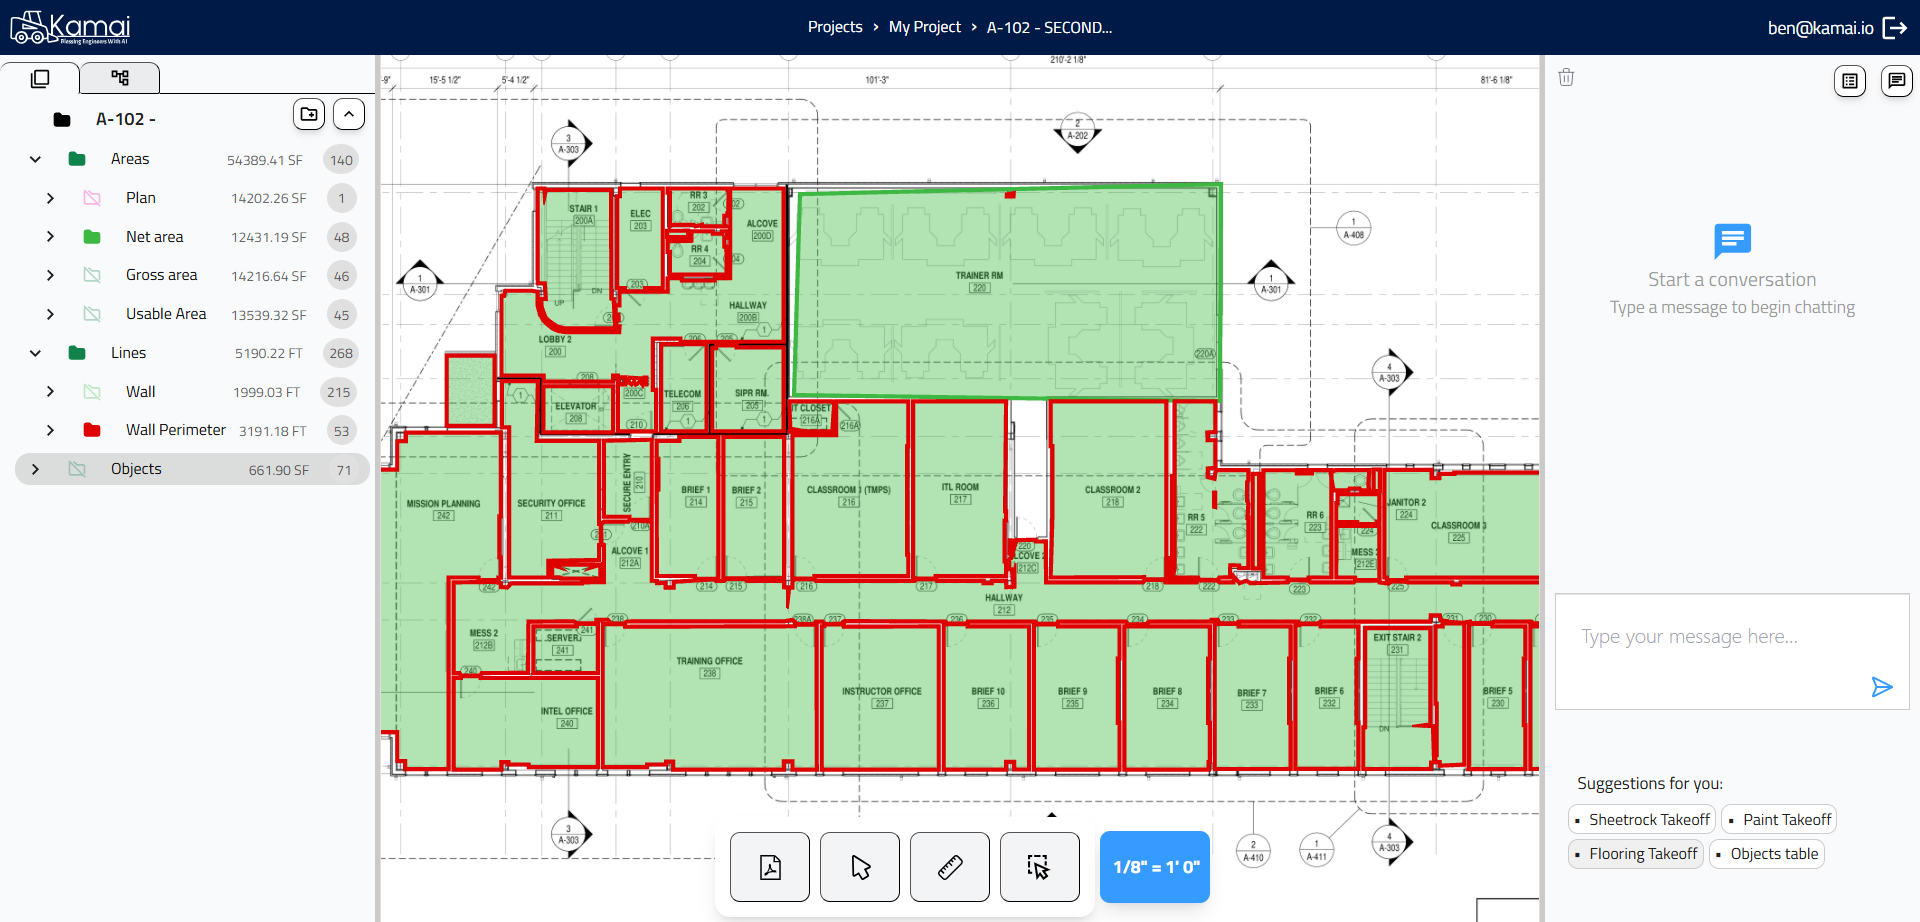
14
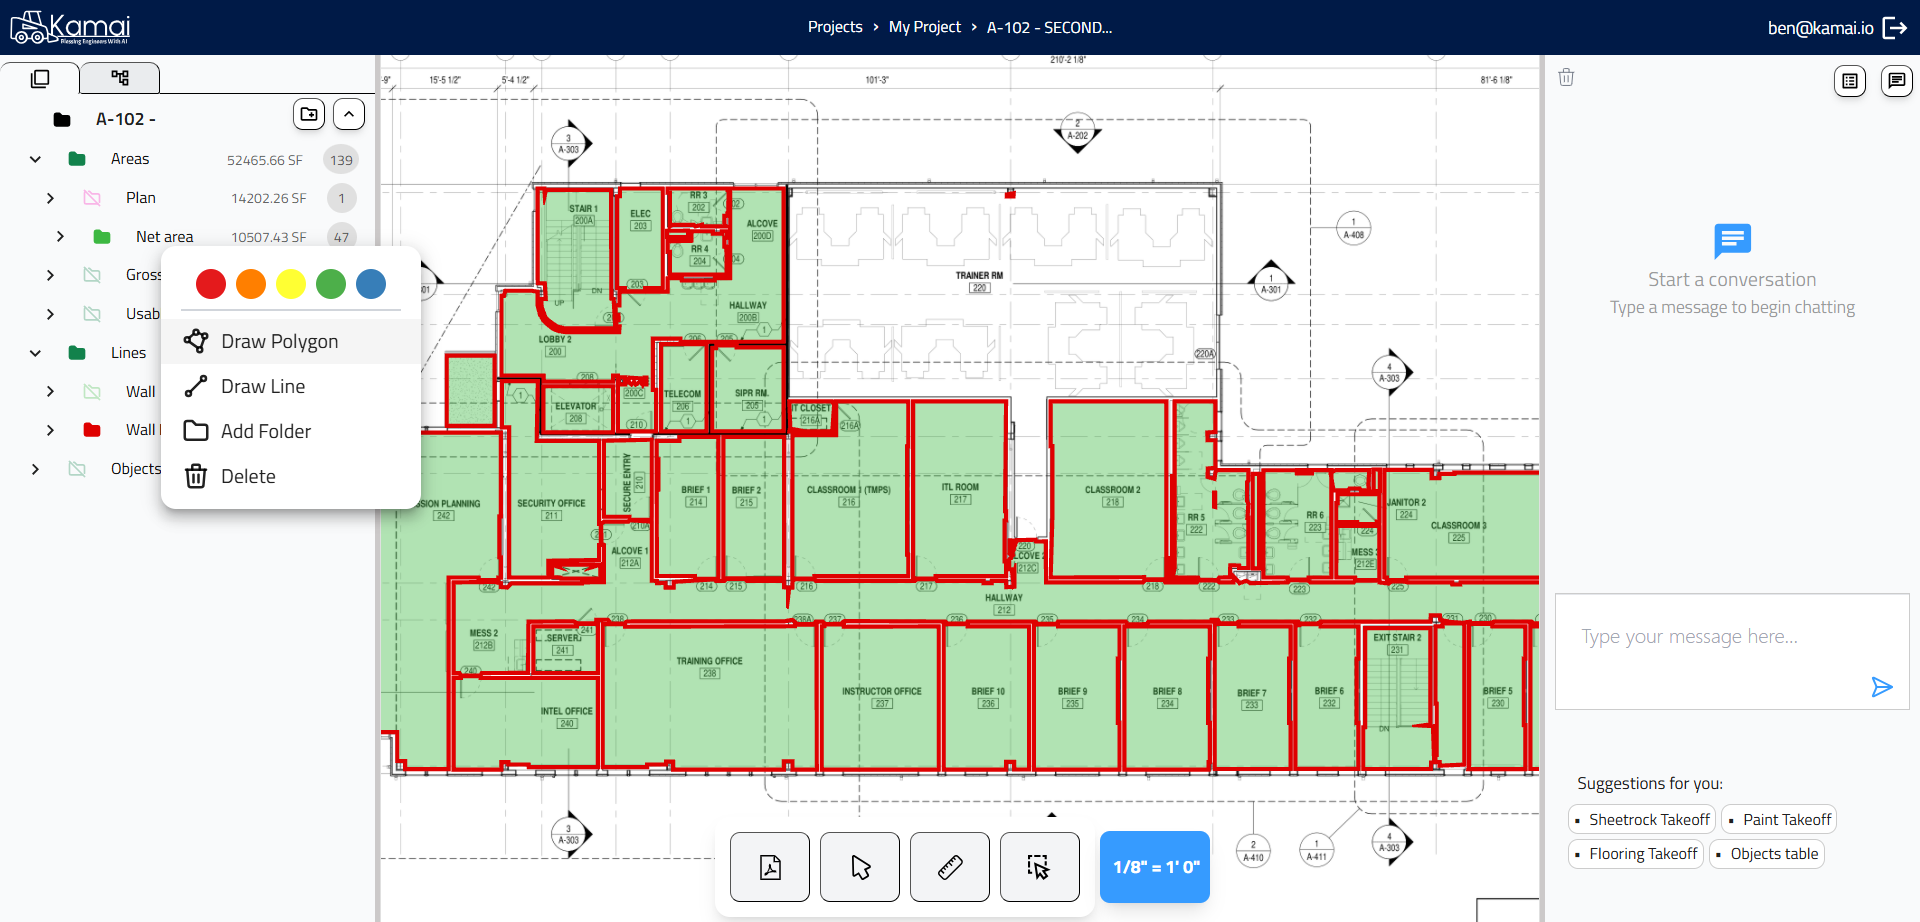
You can select and group areas together
15
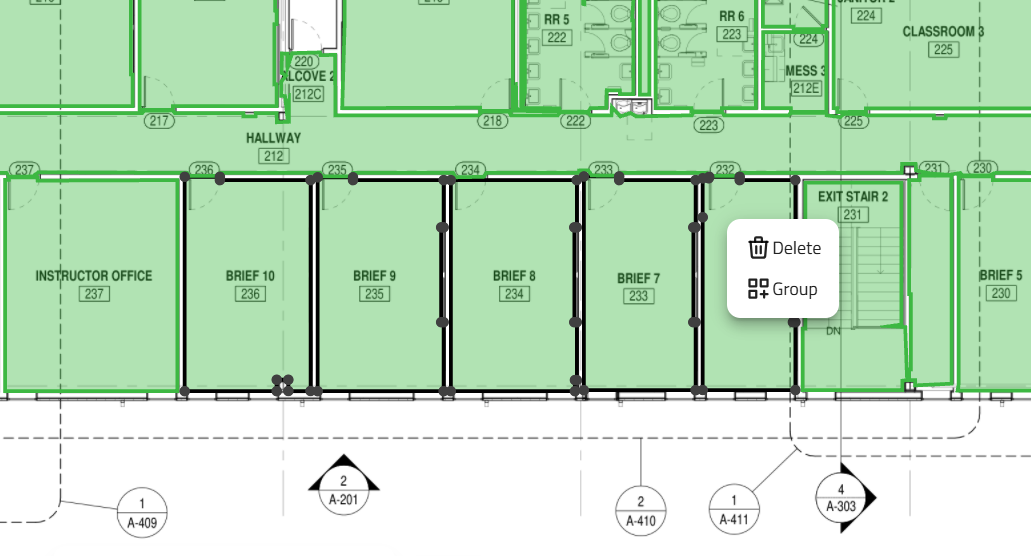
16
New group has been created with the selected areas inside

17
Talk with your blueprint
18
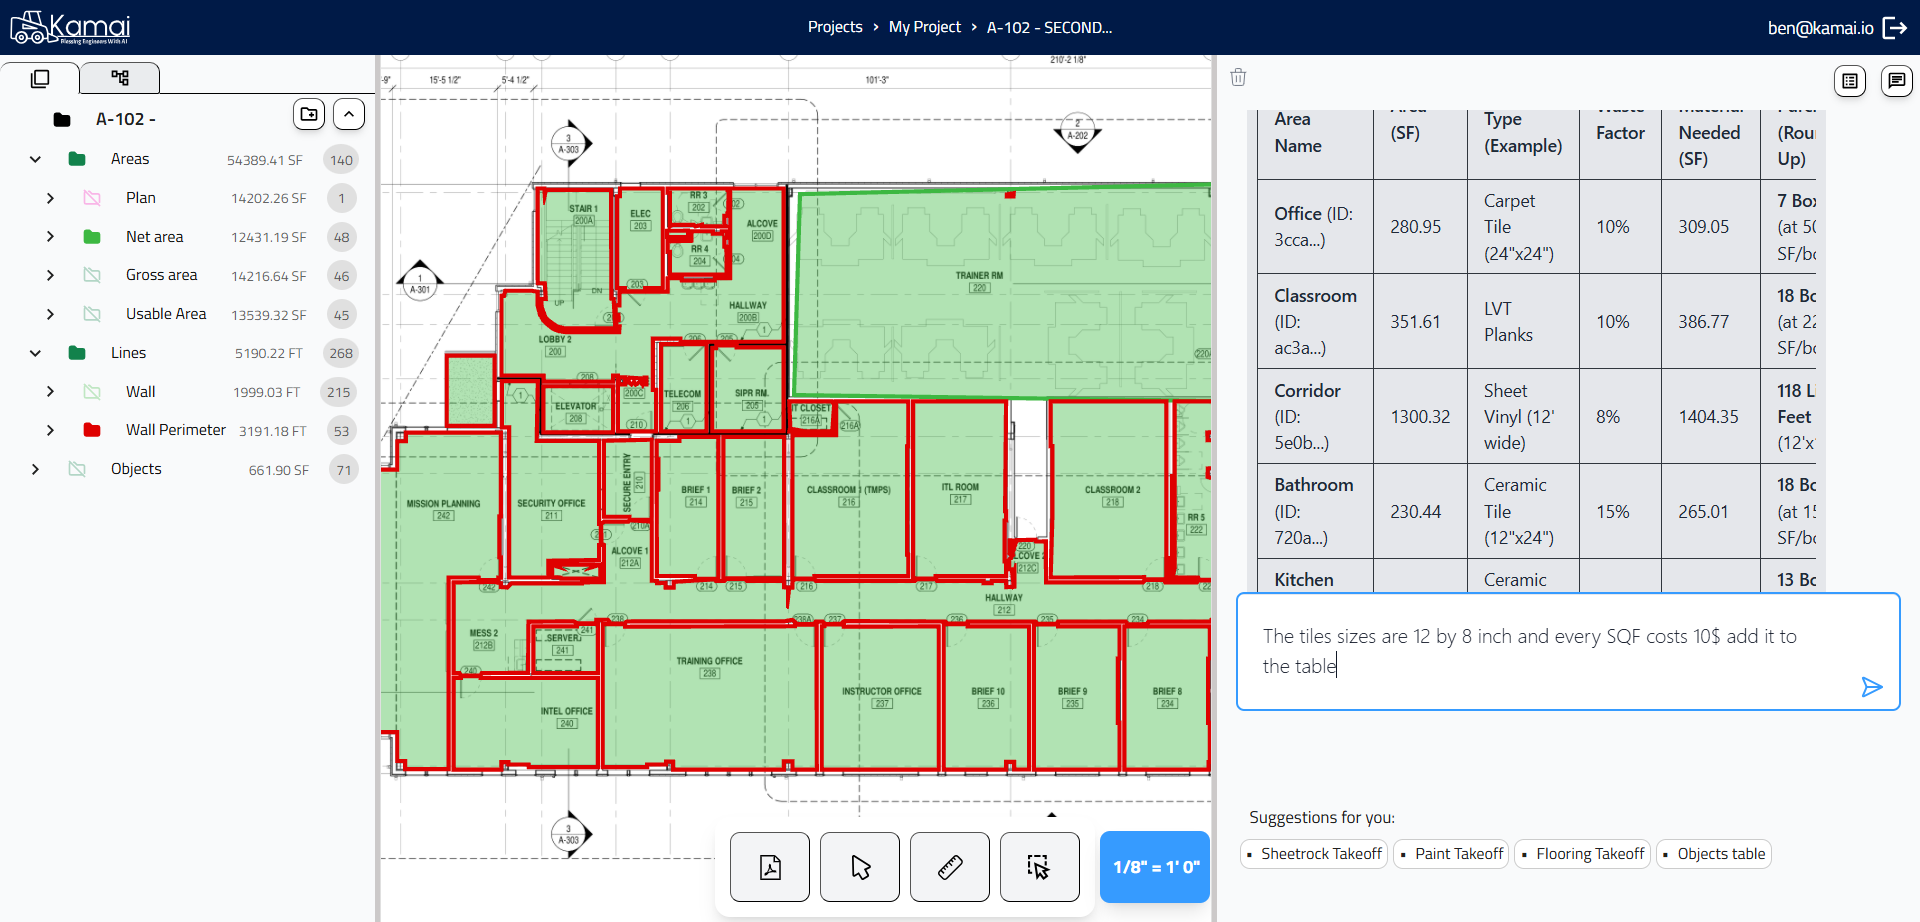
19
Enjoy the AI doing the takeoff for you