
How to Create and Manage a Shared Calendar Event for PTO
Learn how to create and manage a shared calendar event for PTO, ensuring it stays on event and is added to the correct calendar.
In this guide, we'll learn how to create and manage events in a shared calendar. This is useful for keeping everyone informed about important dates, such as personal time off (PTO). We'll cover how to ensure the event stays categorized correctly and how to add it to a specific calendar, like an academic technology calendar, instead of a personal one.
By following these steps, you can ensure that your team is always up-to-date with your schedule.
Let's get started
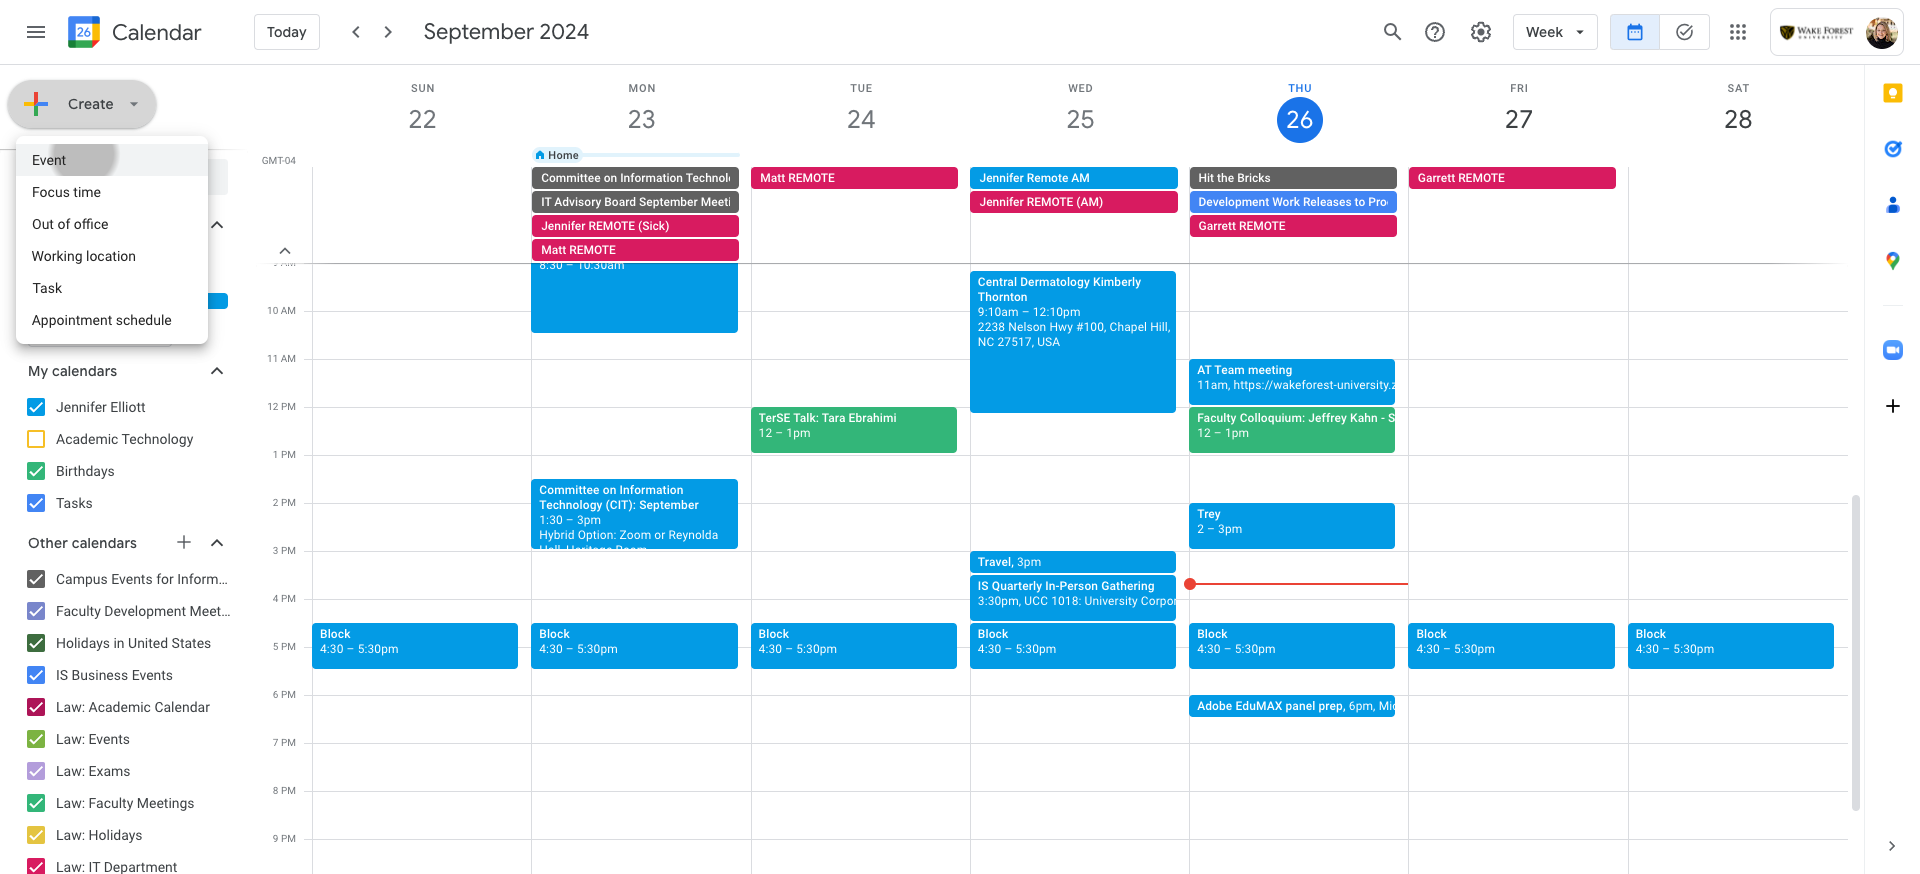
To use our shared calendar, we will create an event called "Jennifer PTO."

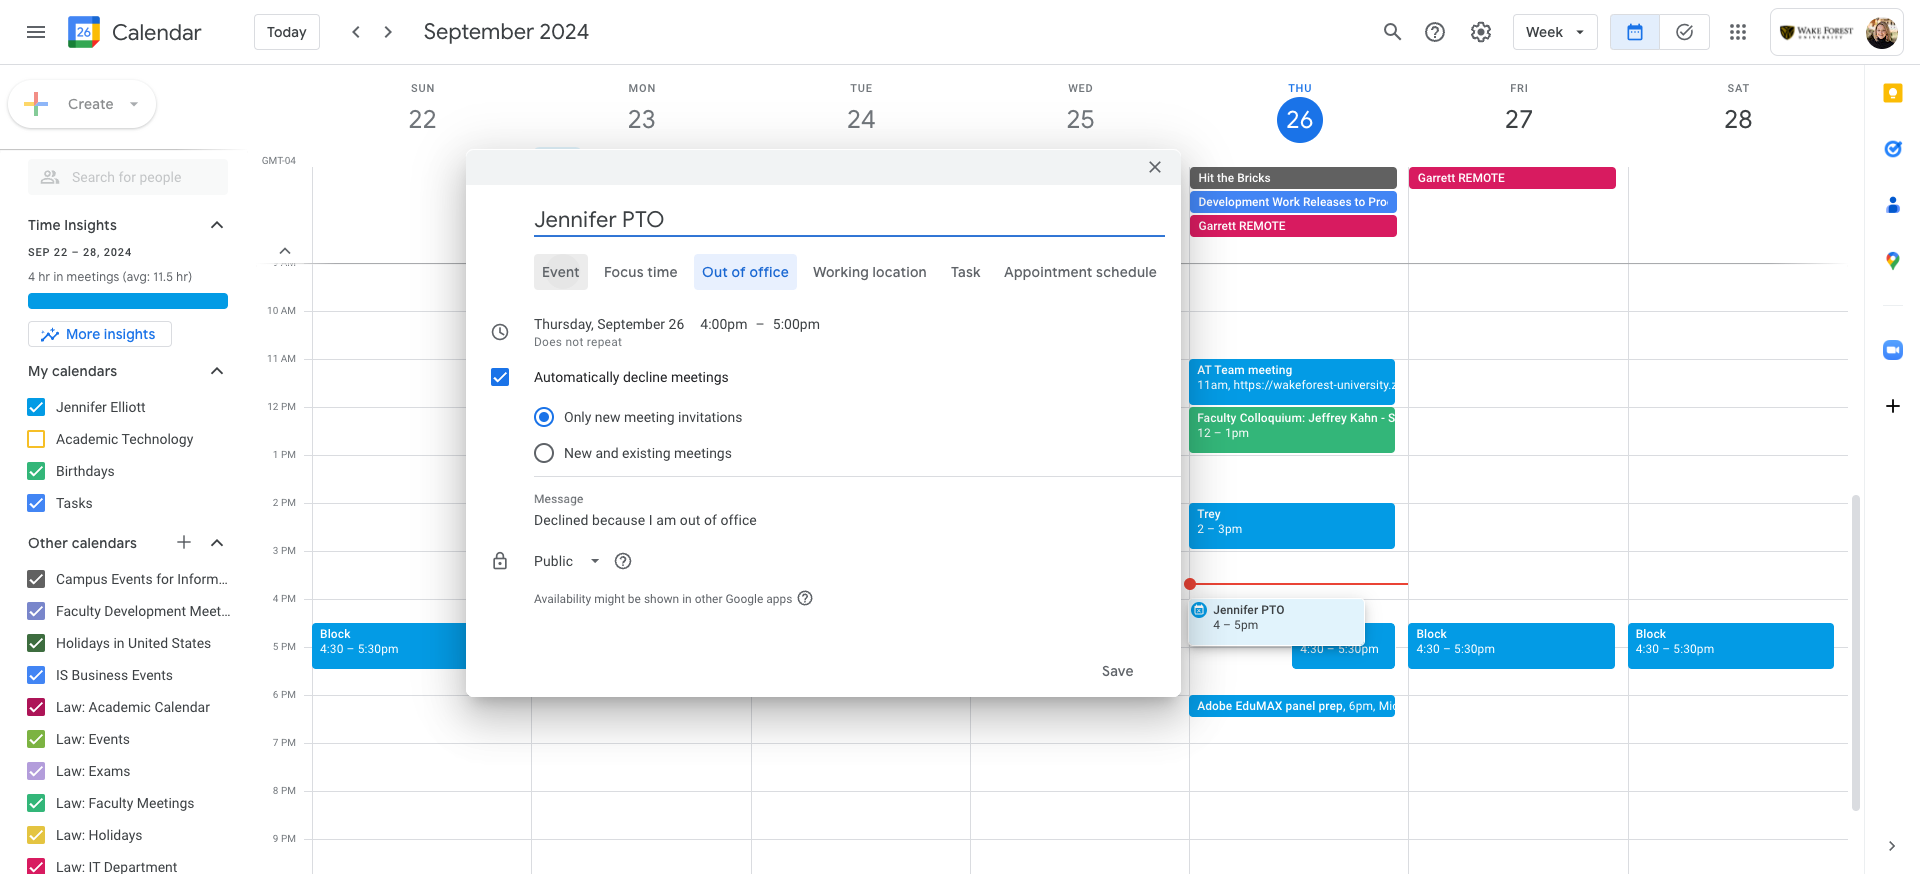
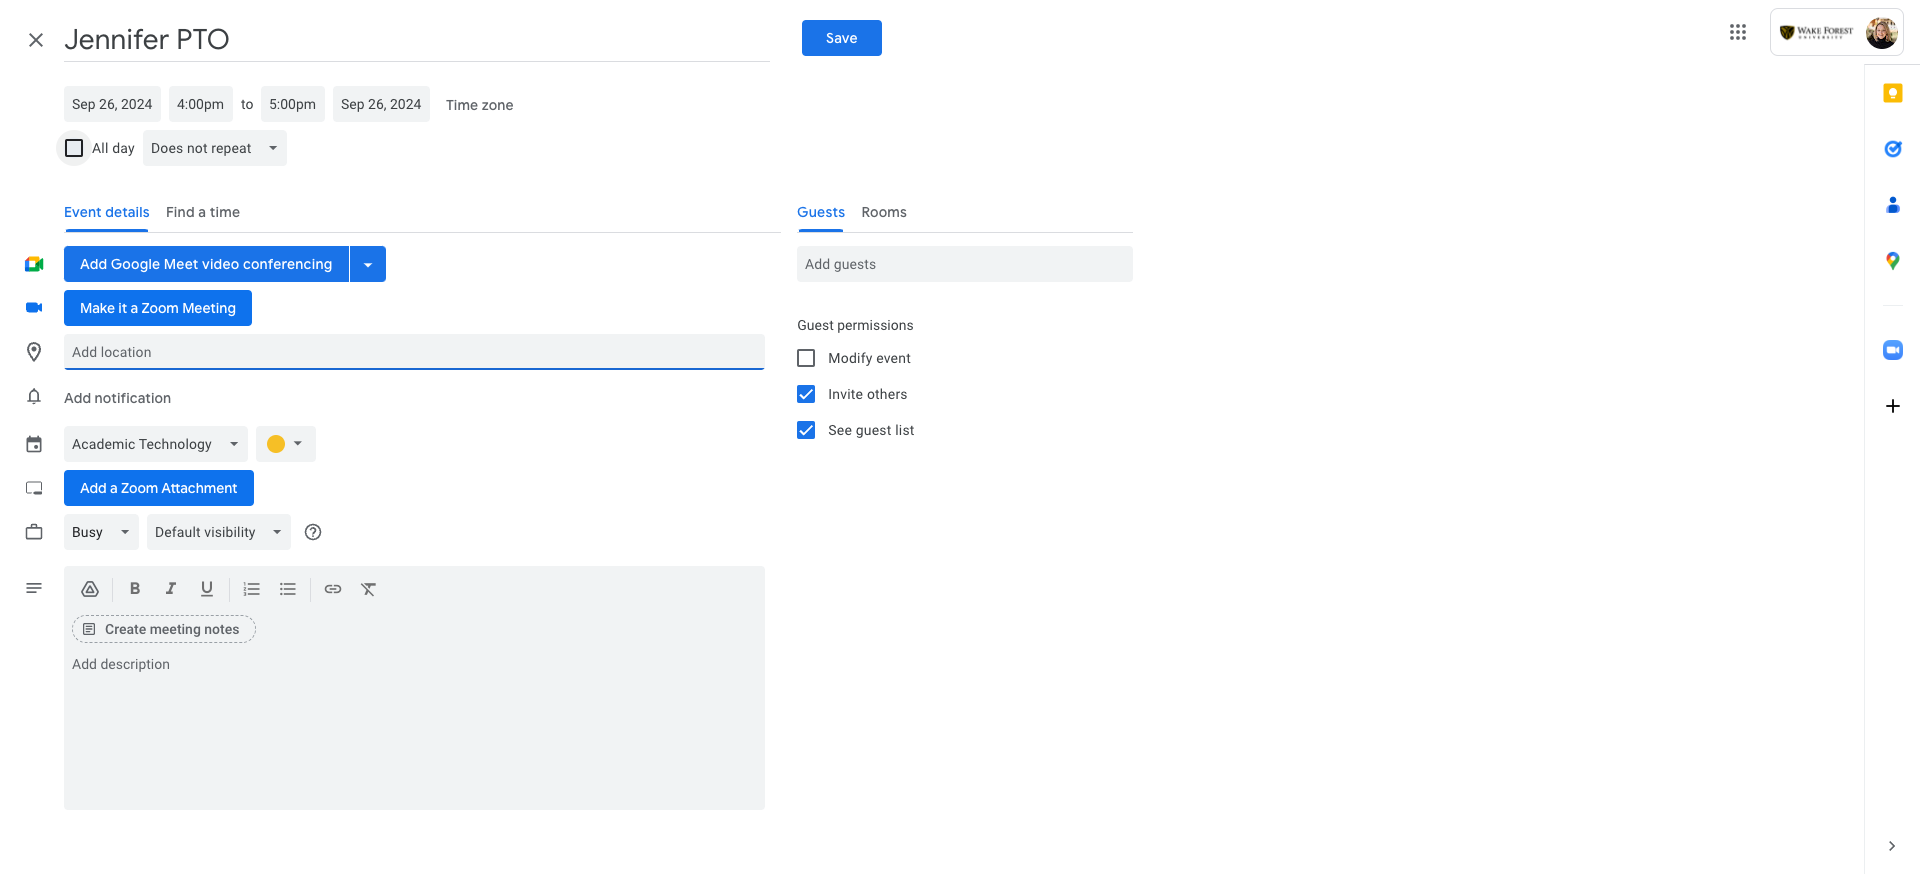
I'm going to make sure it stays on event. It tends to switch to out of office automatically.
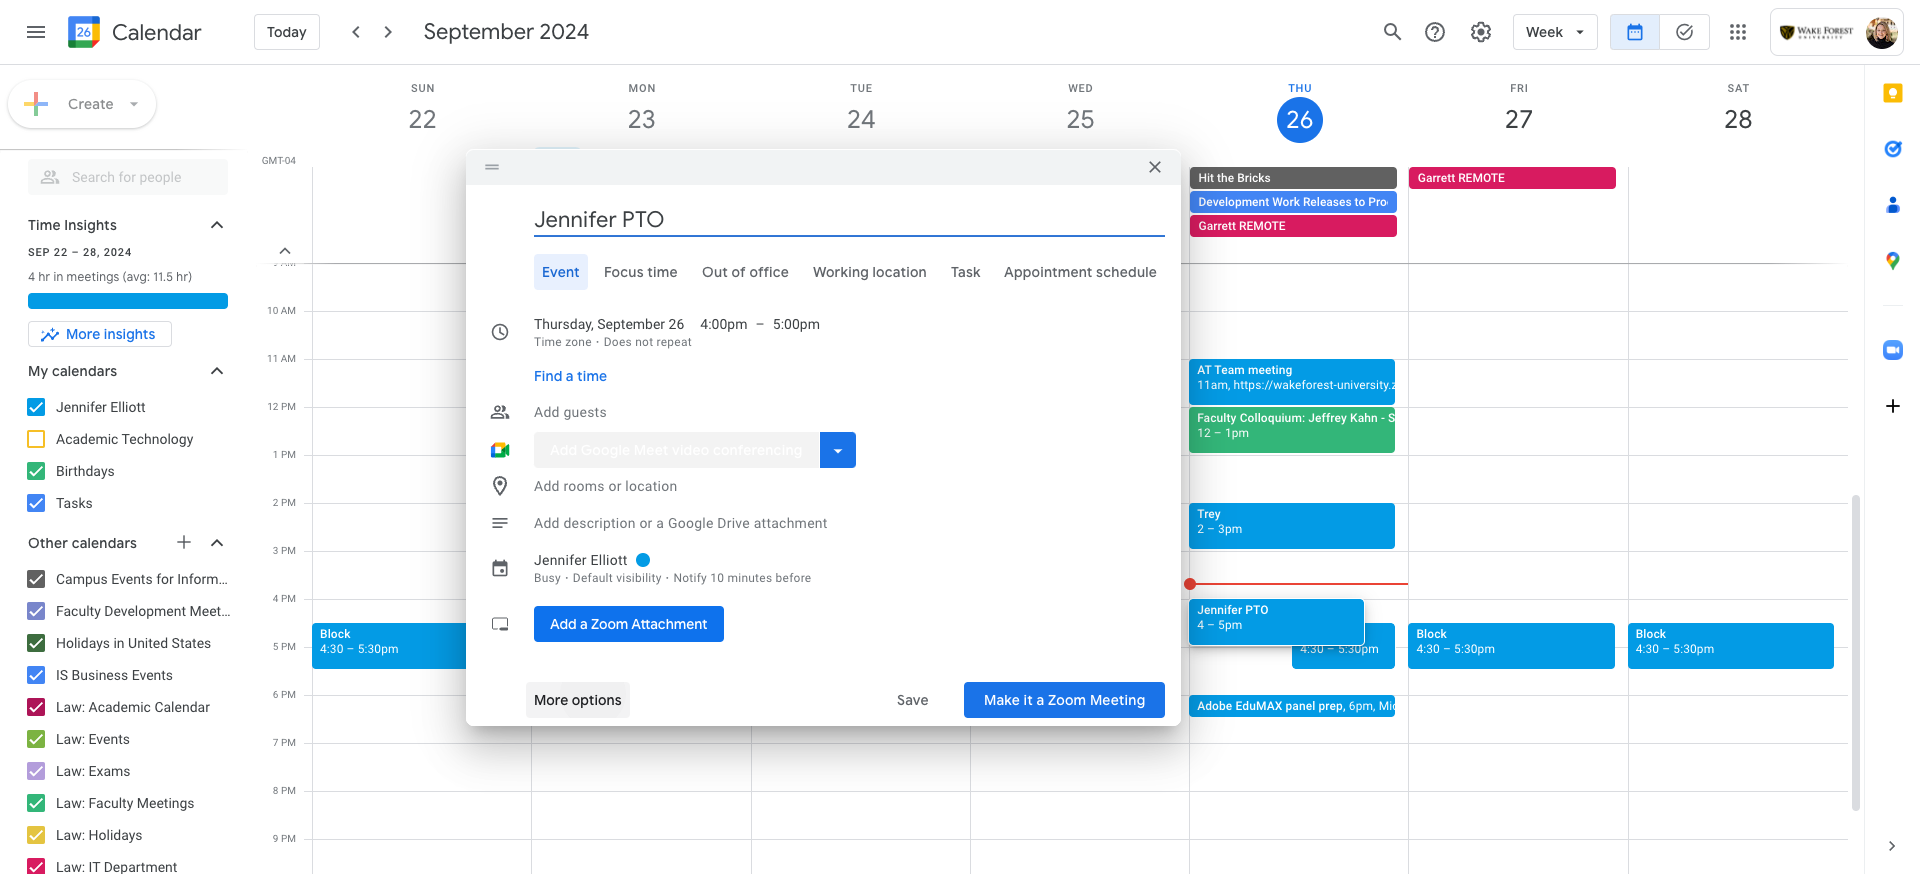
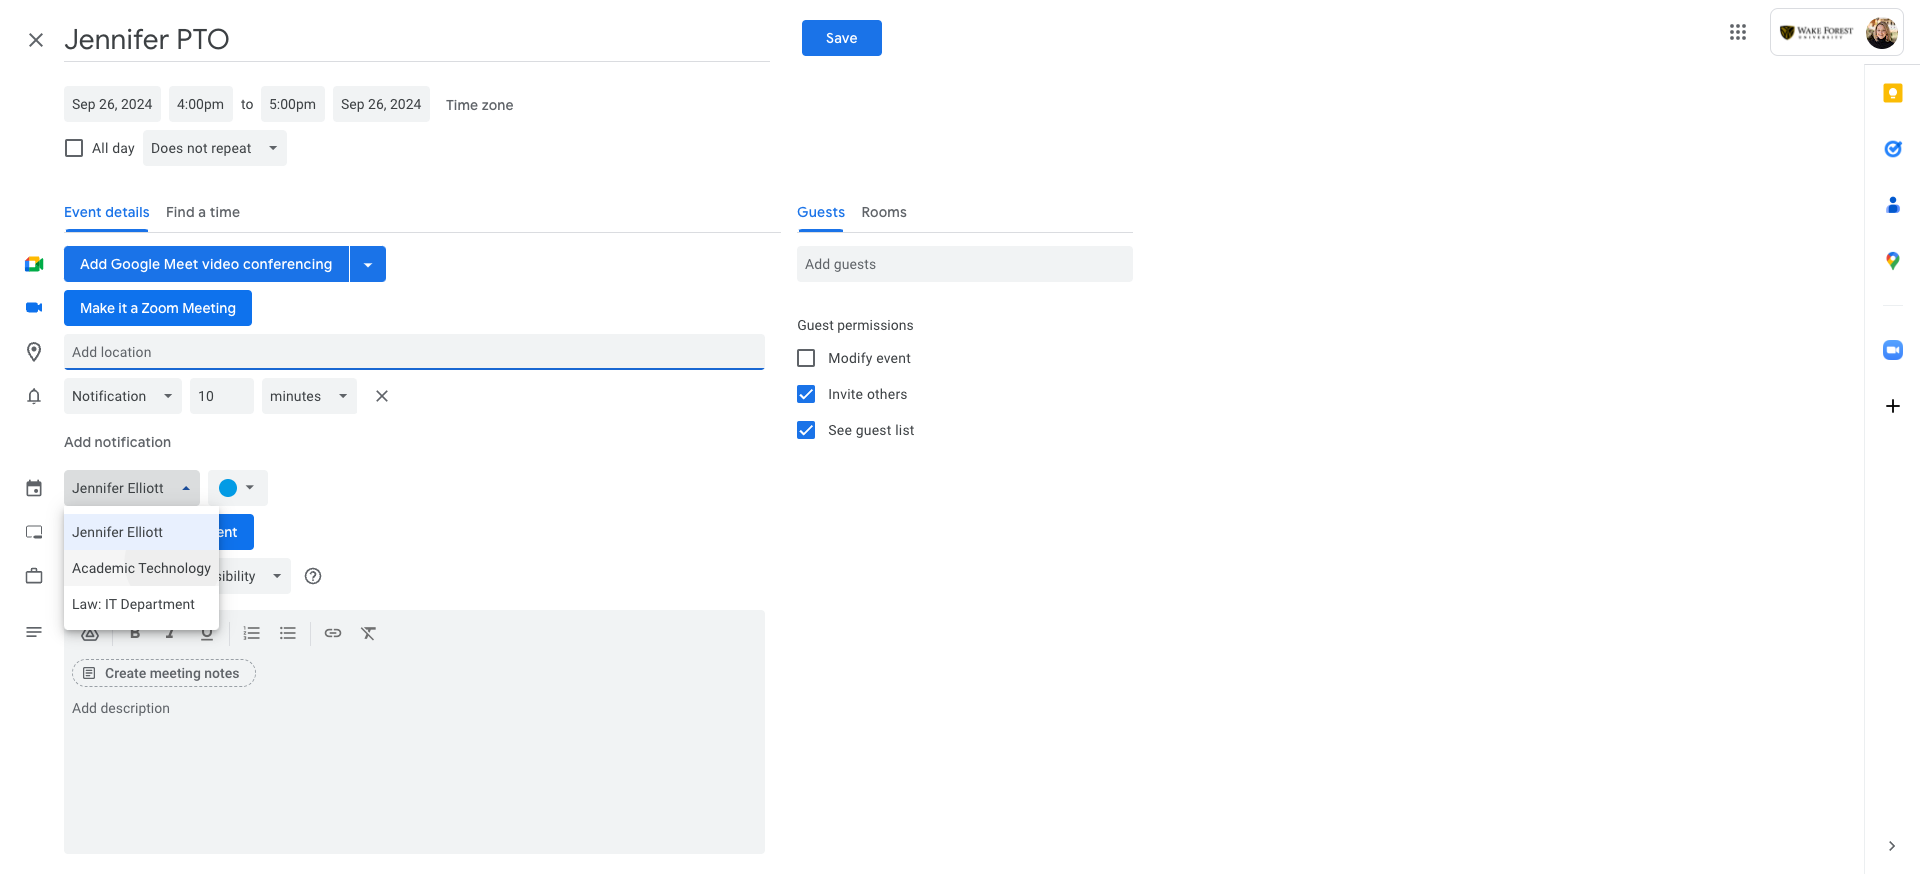
It will default to my calendar. I will click on "More options." Instead of adding it to my regular calendar, I will add it to "Academic Technology." I will ensure that "All day" is saved.
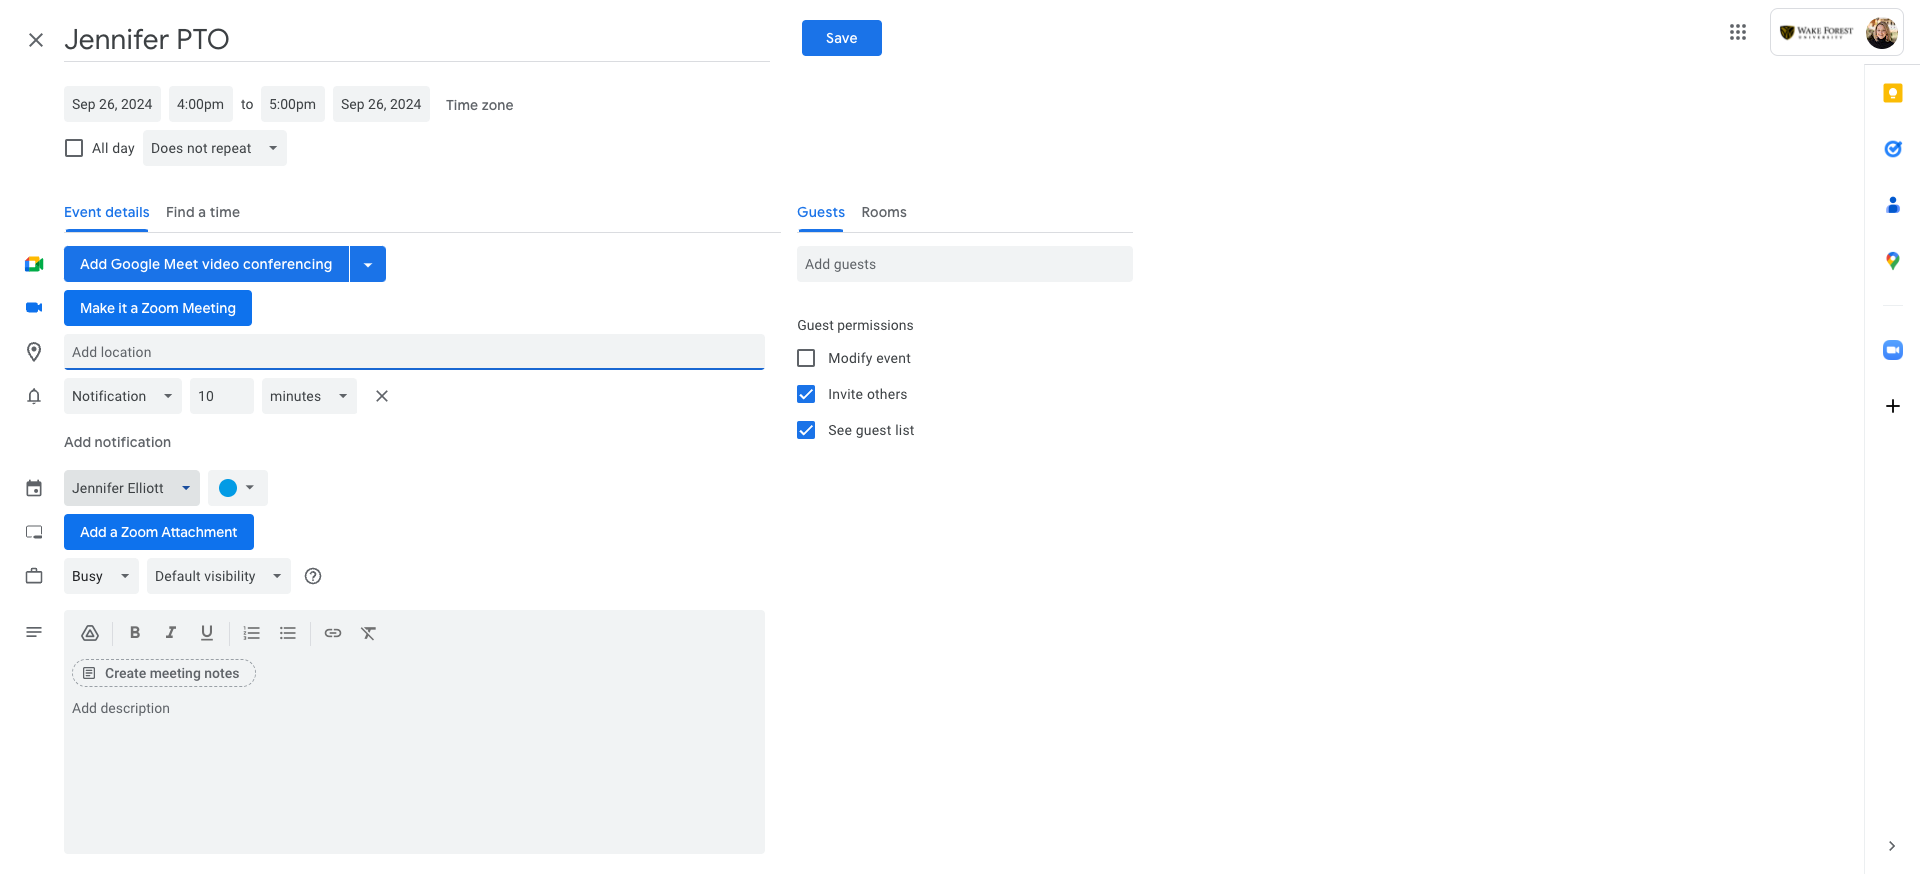
Then, I will click save.

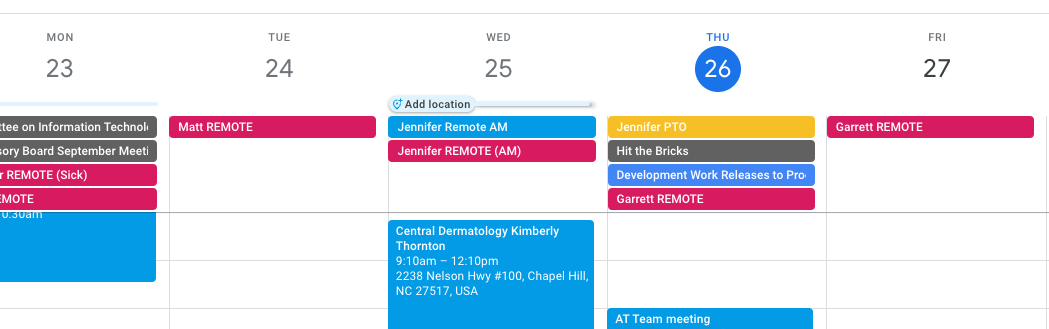
You will see in this calendar when I have PTO. That's it.