How to Create and Manage Orders Efficiently
Learn how to create, find, and manage orders effectively using the order entry page. Step-by-step guide to adjusting dates, finding existing orders, and saving changes.
By Conal Charles
In this guide, we'll learn how to create and manage orders using an order entry system. We'll start by finding existing orders, navigating through the date calendar, and selecting an order to modify. Finally, we'll update the order details and save the changes. This process helps ensure accurate and up-to-date order information.
Let's get started
I will create a new order by clicking on the order entry page.
1
Click on "Order Entry CSHTML +"
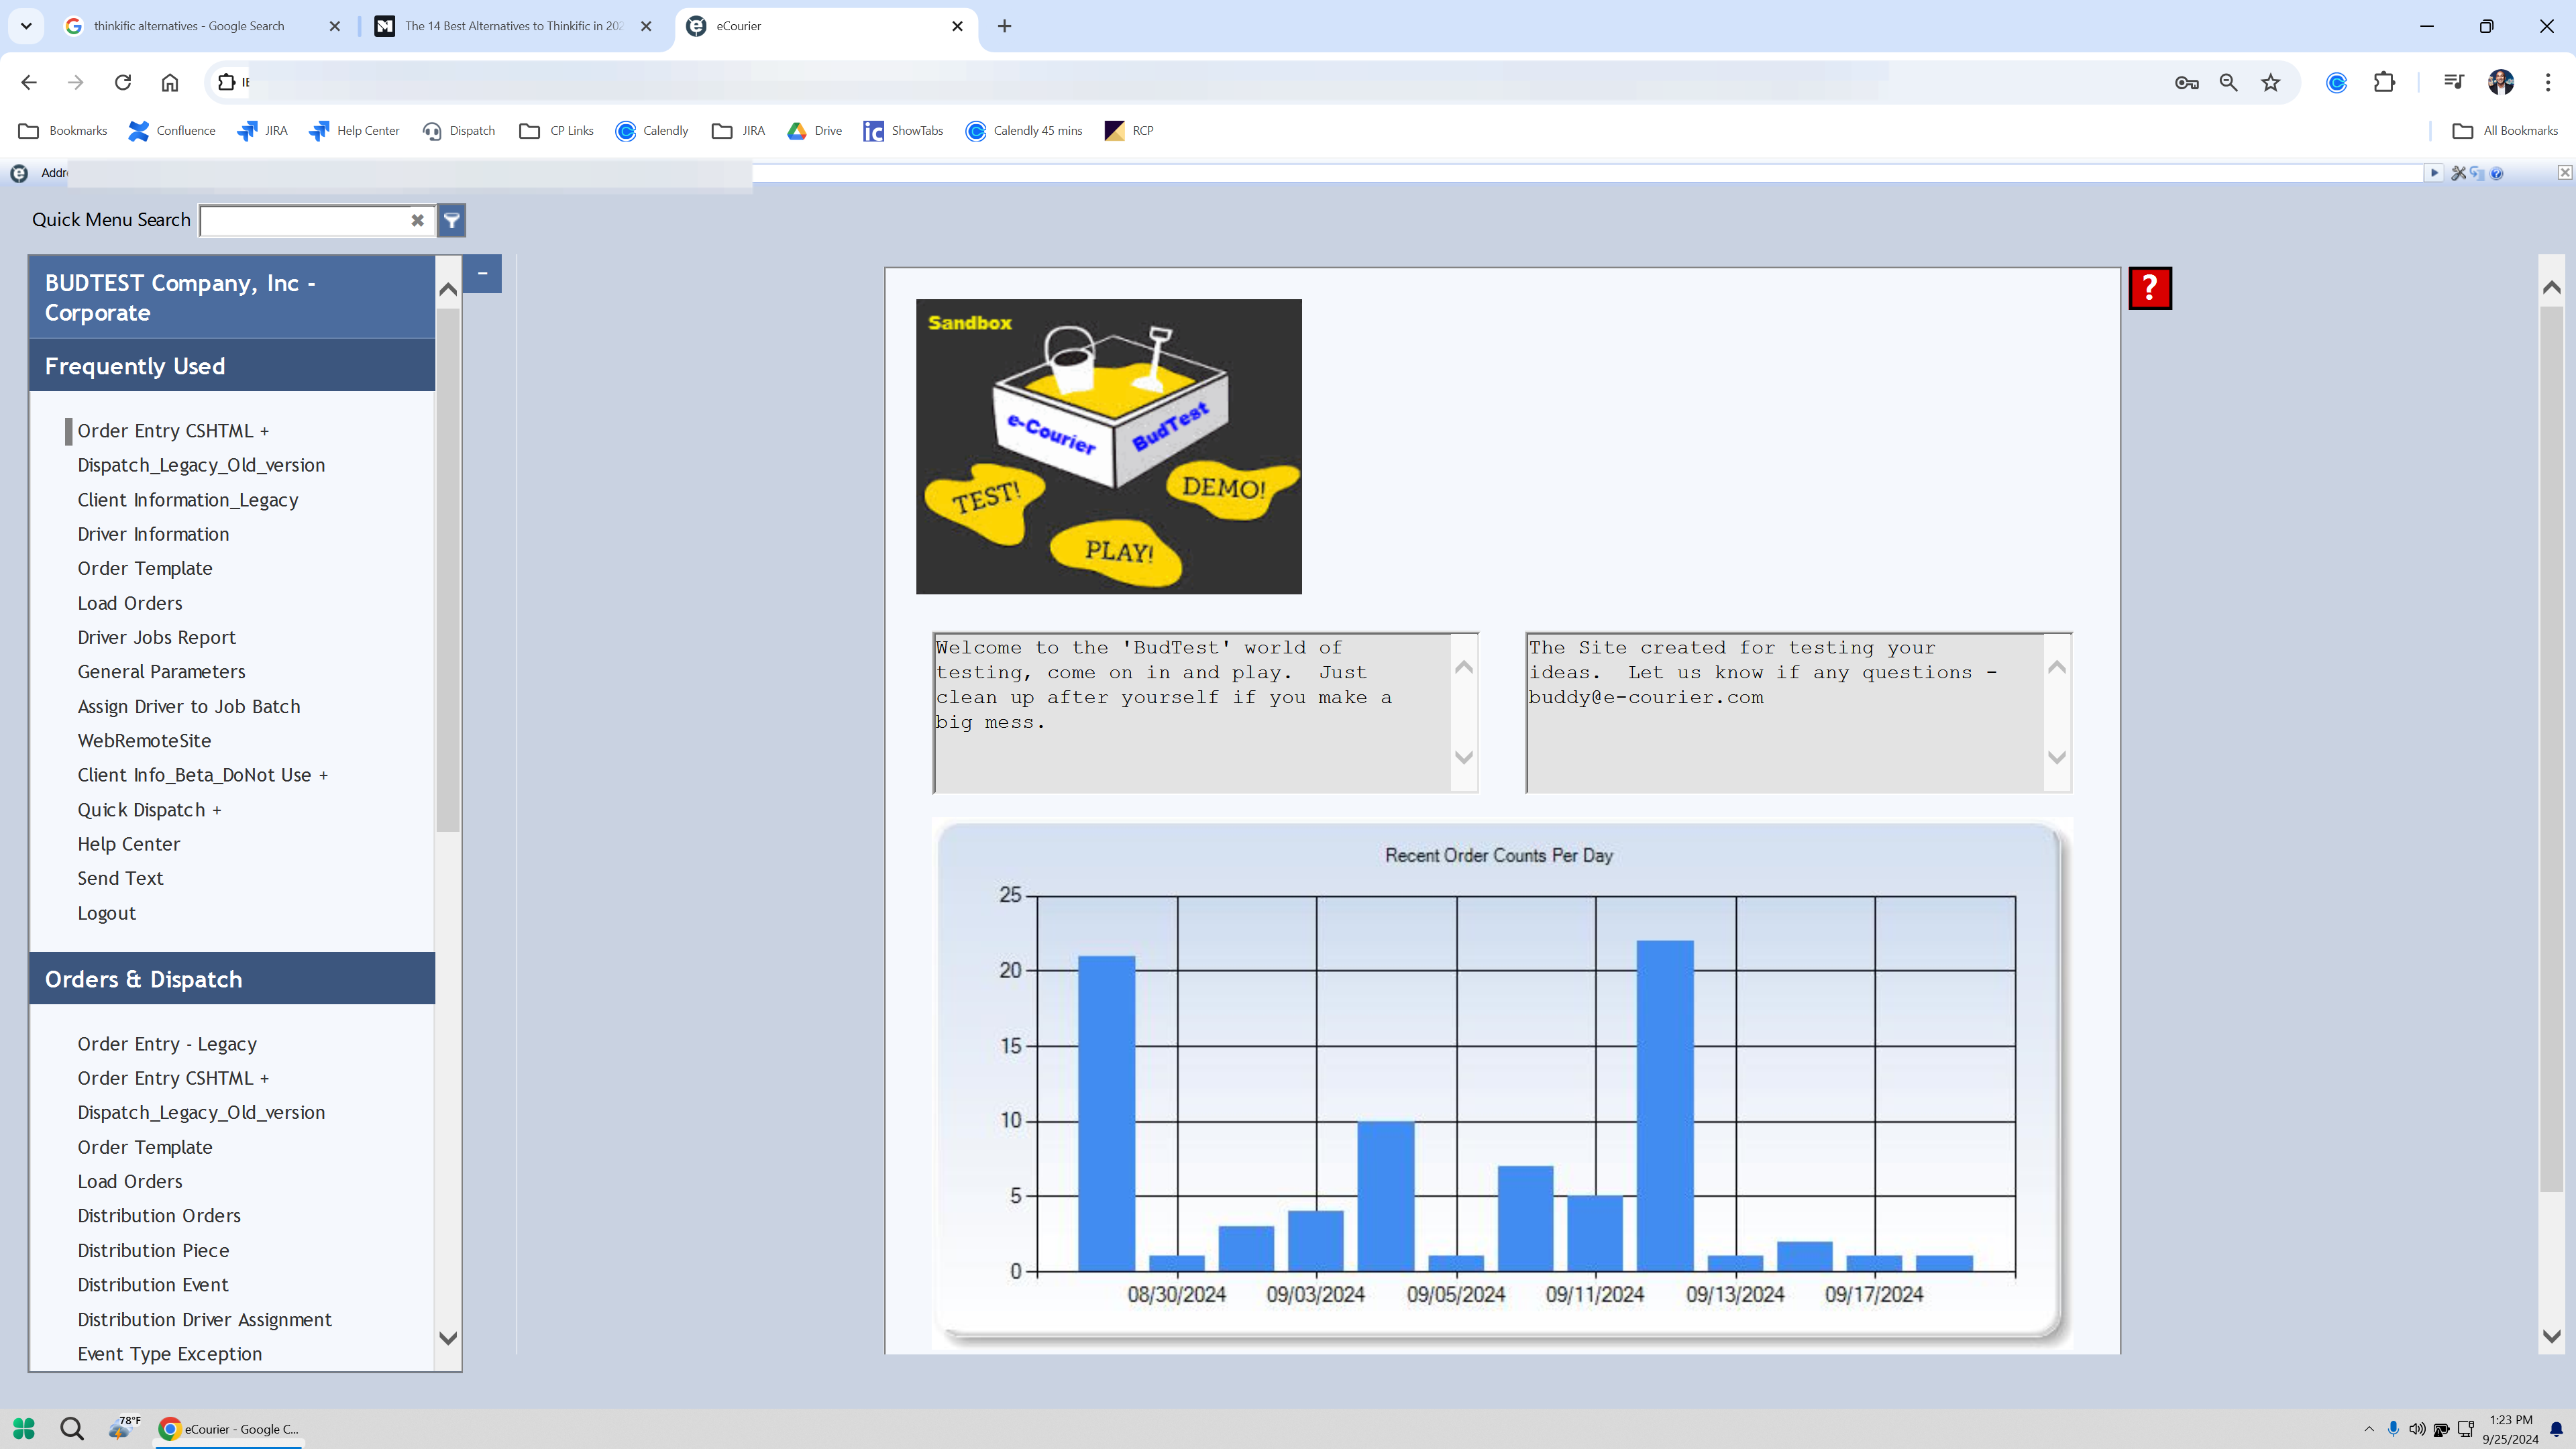
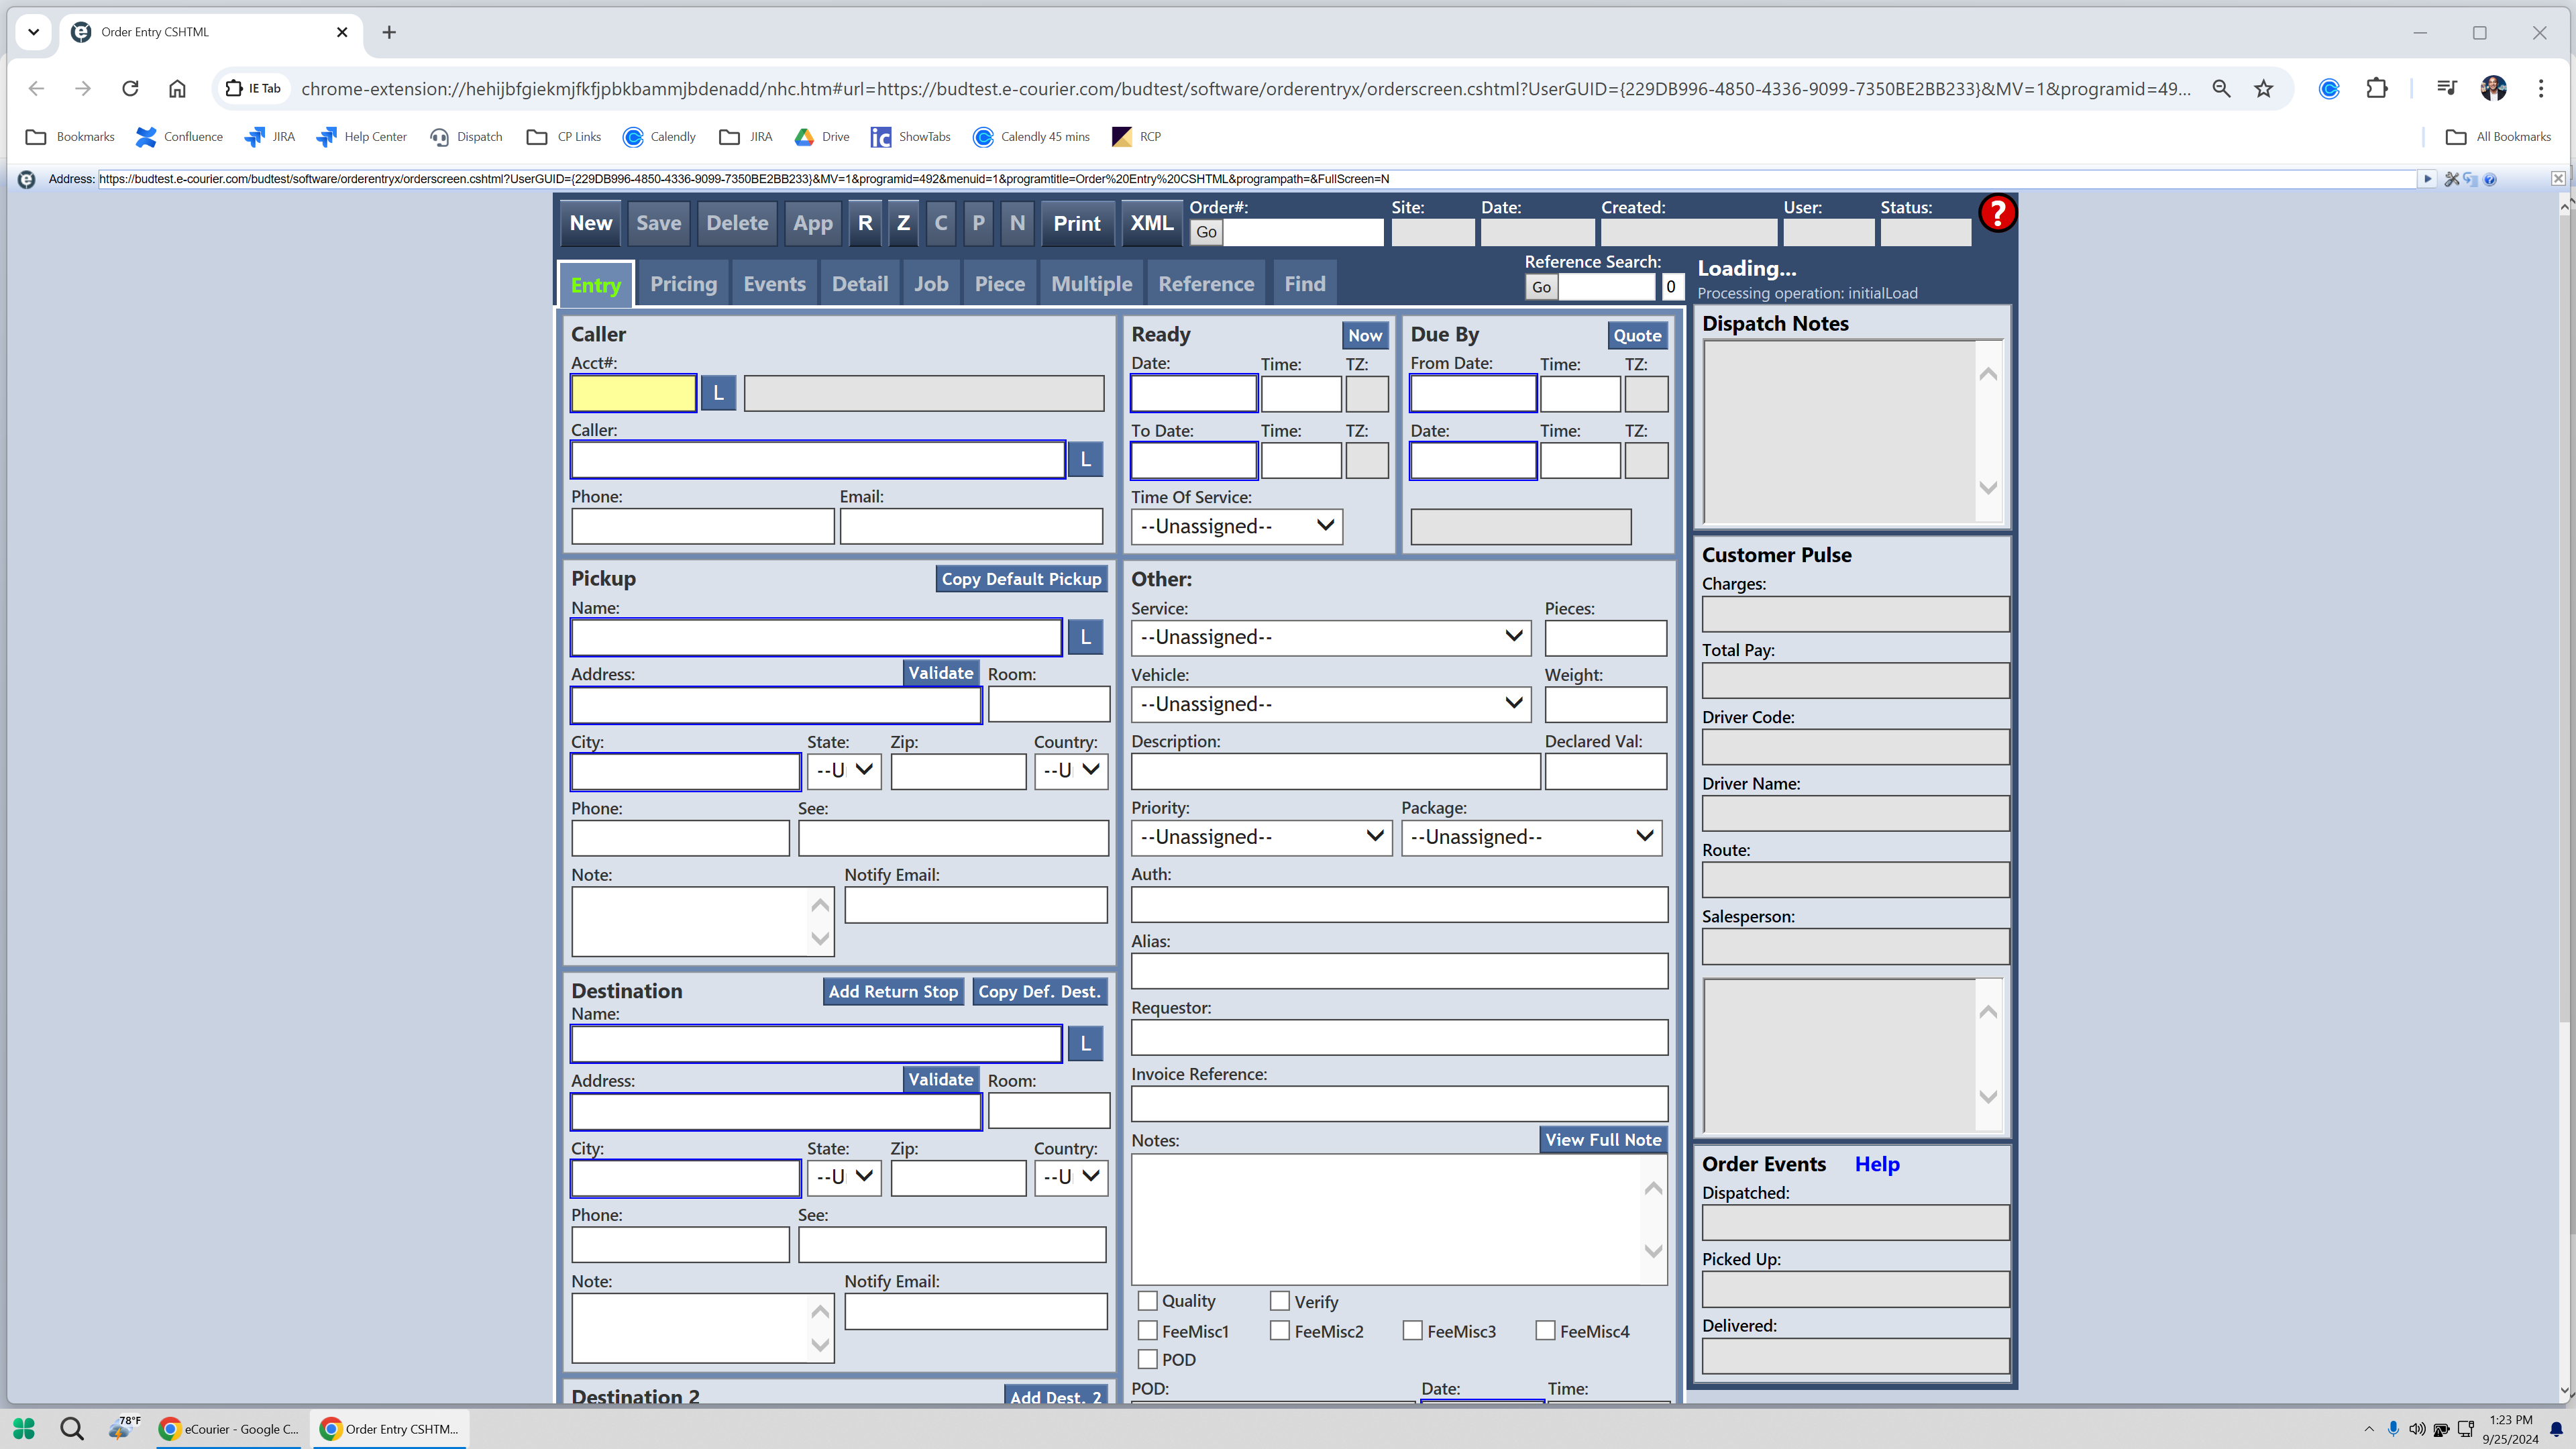
2
A new window will open up with the new order
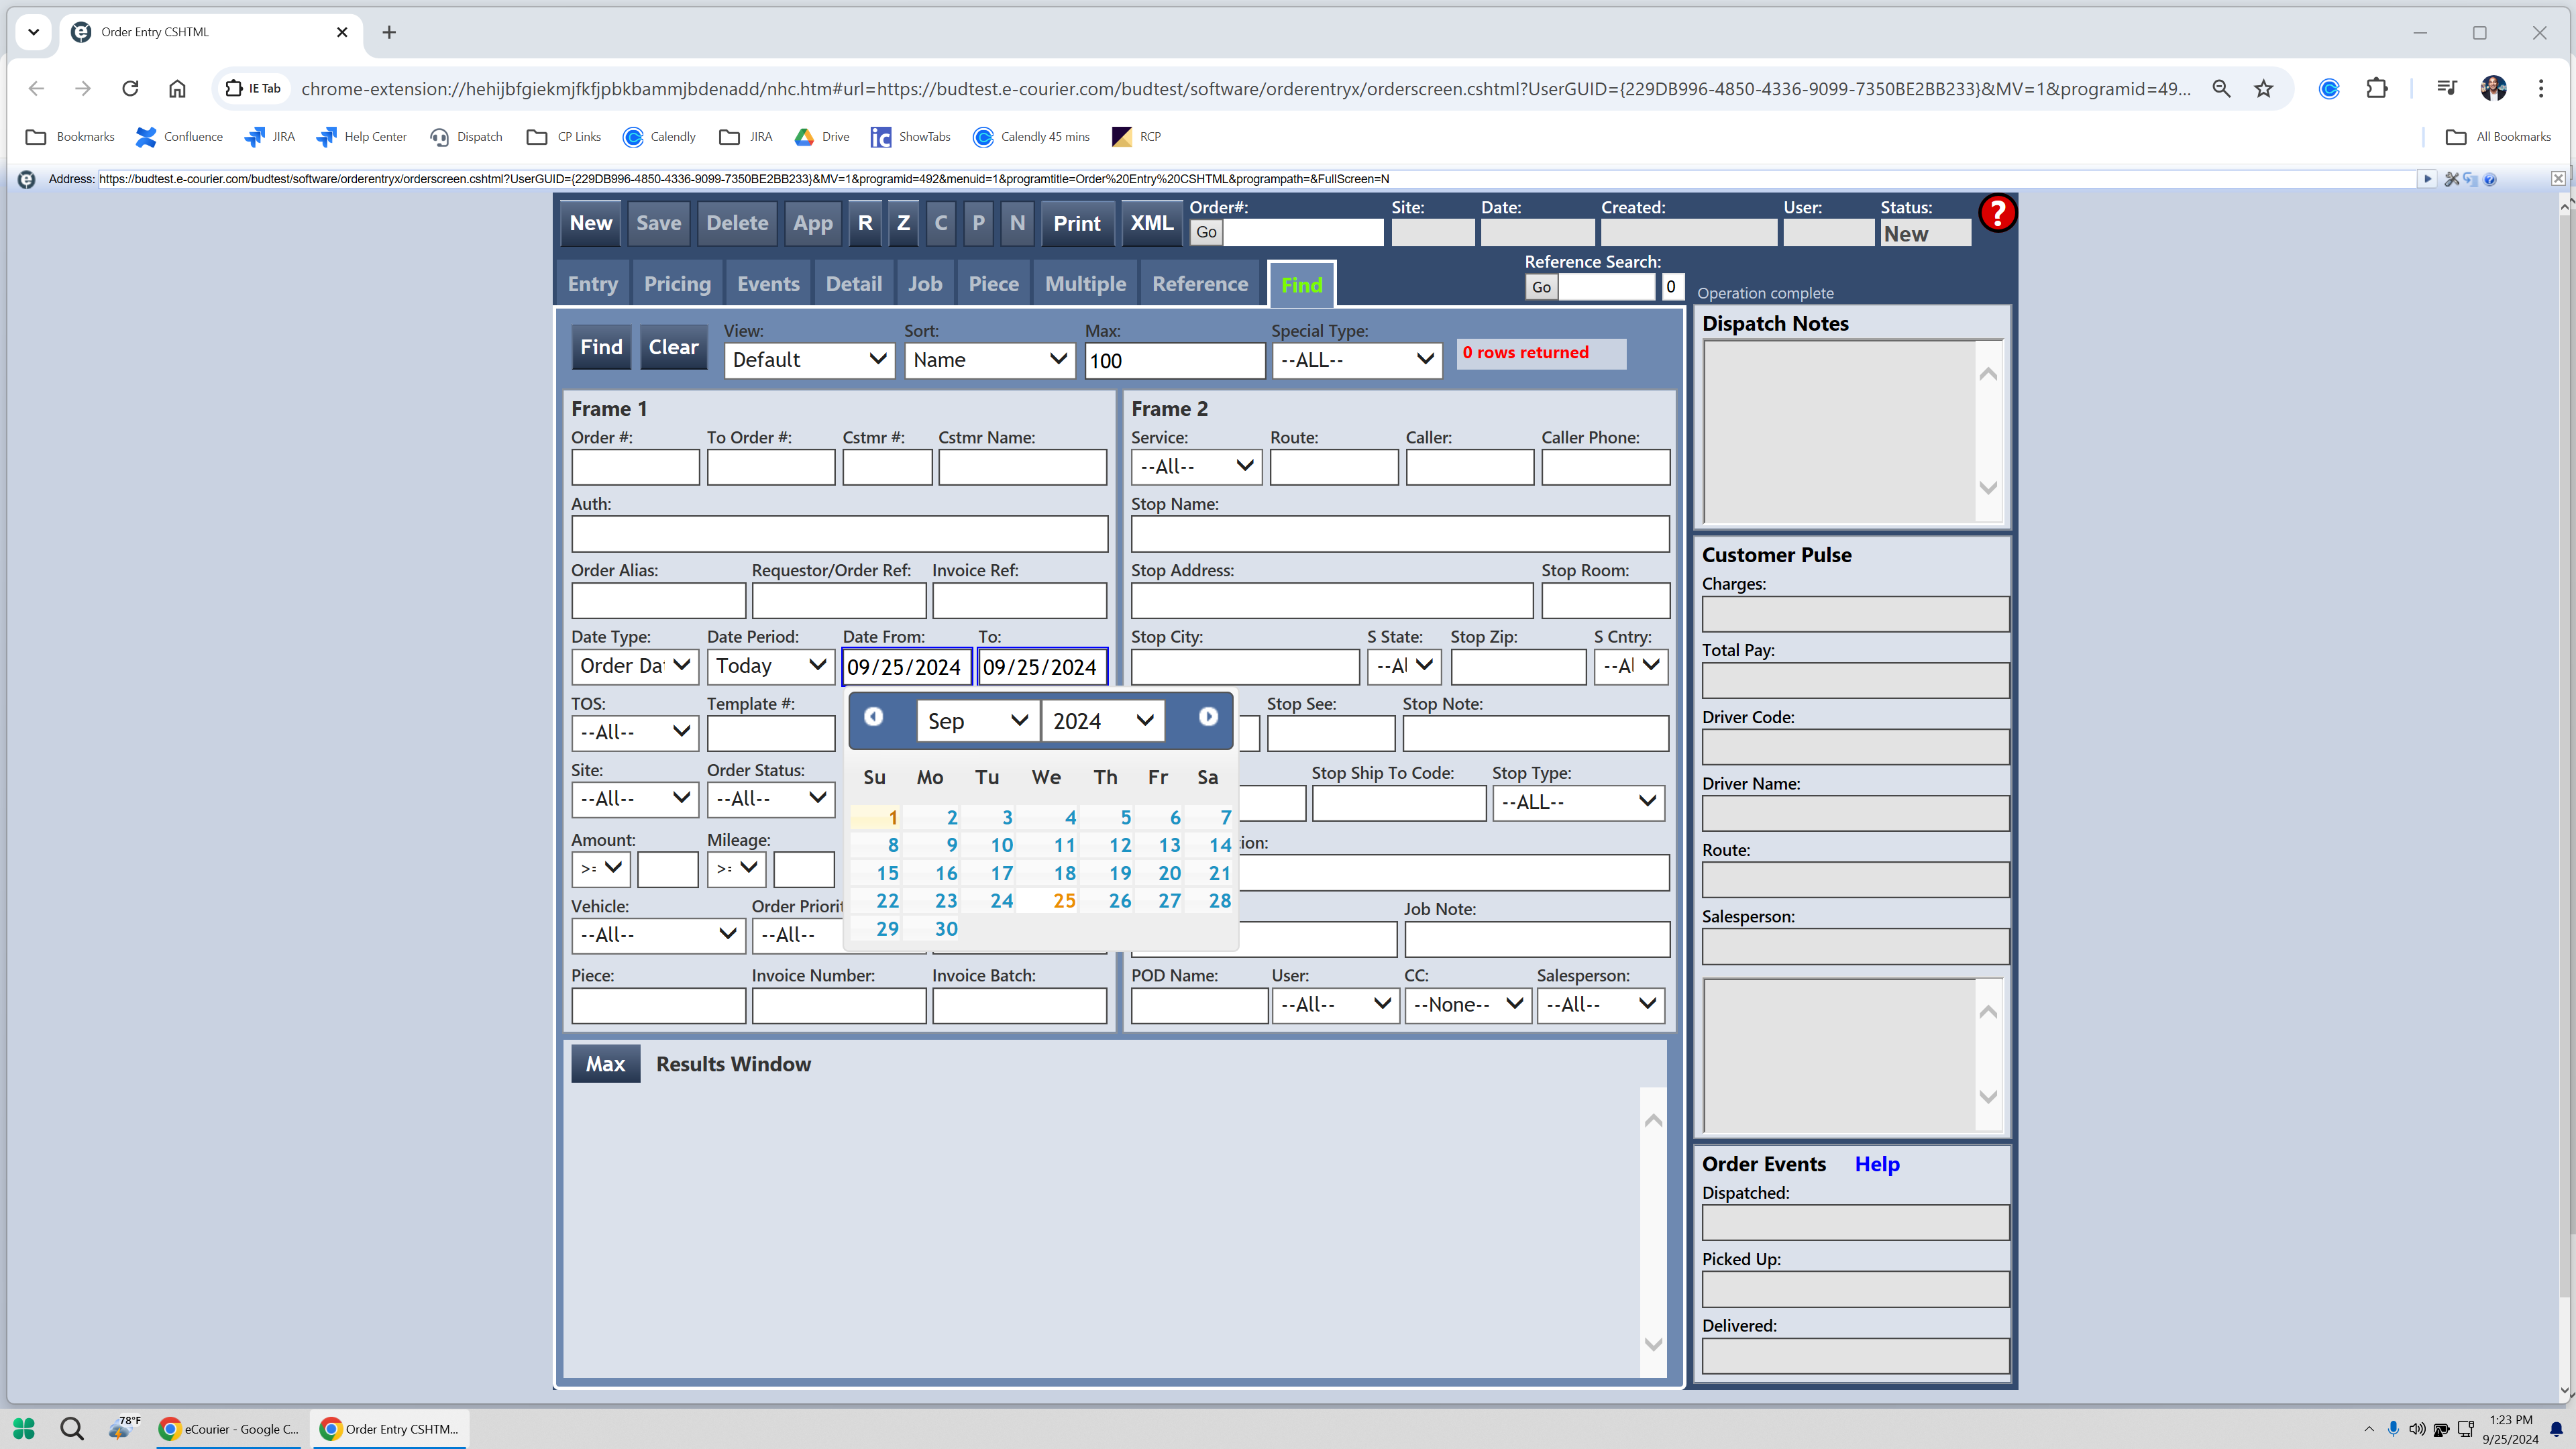
First, I will find some existing orders. I click on "Find" and see that there are no orders. I will adjust the date on the calendar and look again.
3
Click on "Find"

4
Click on "Find"

5
Click on "09/25/2024"
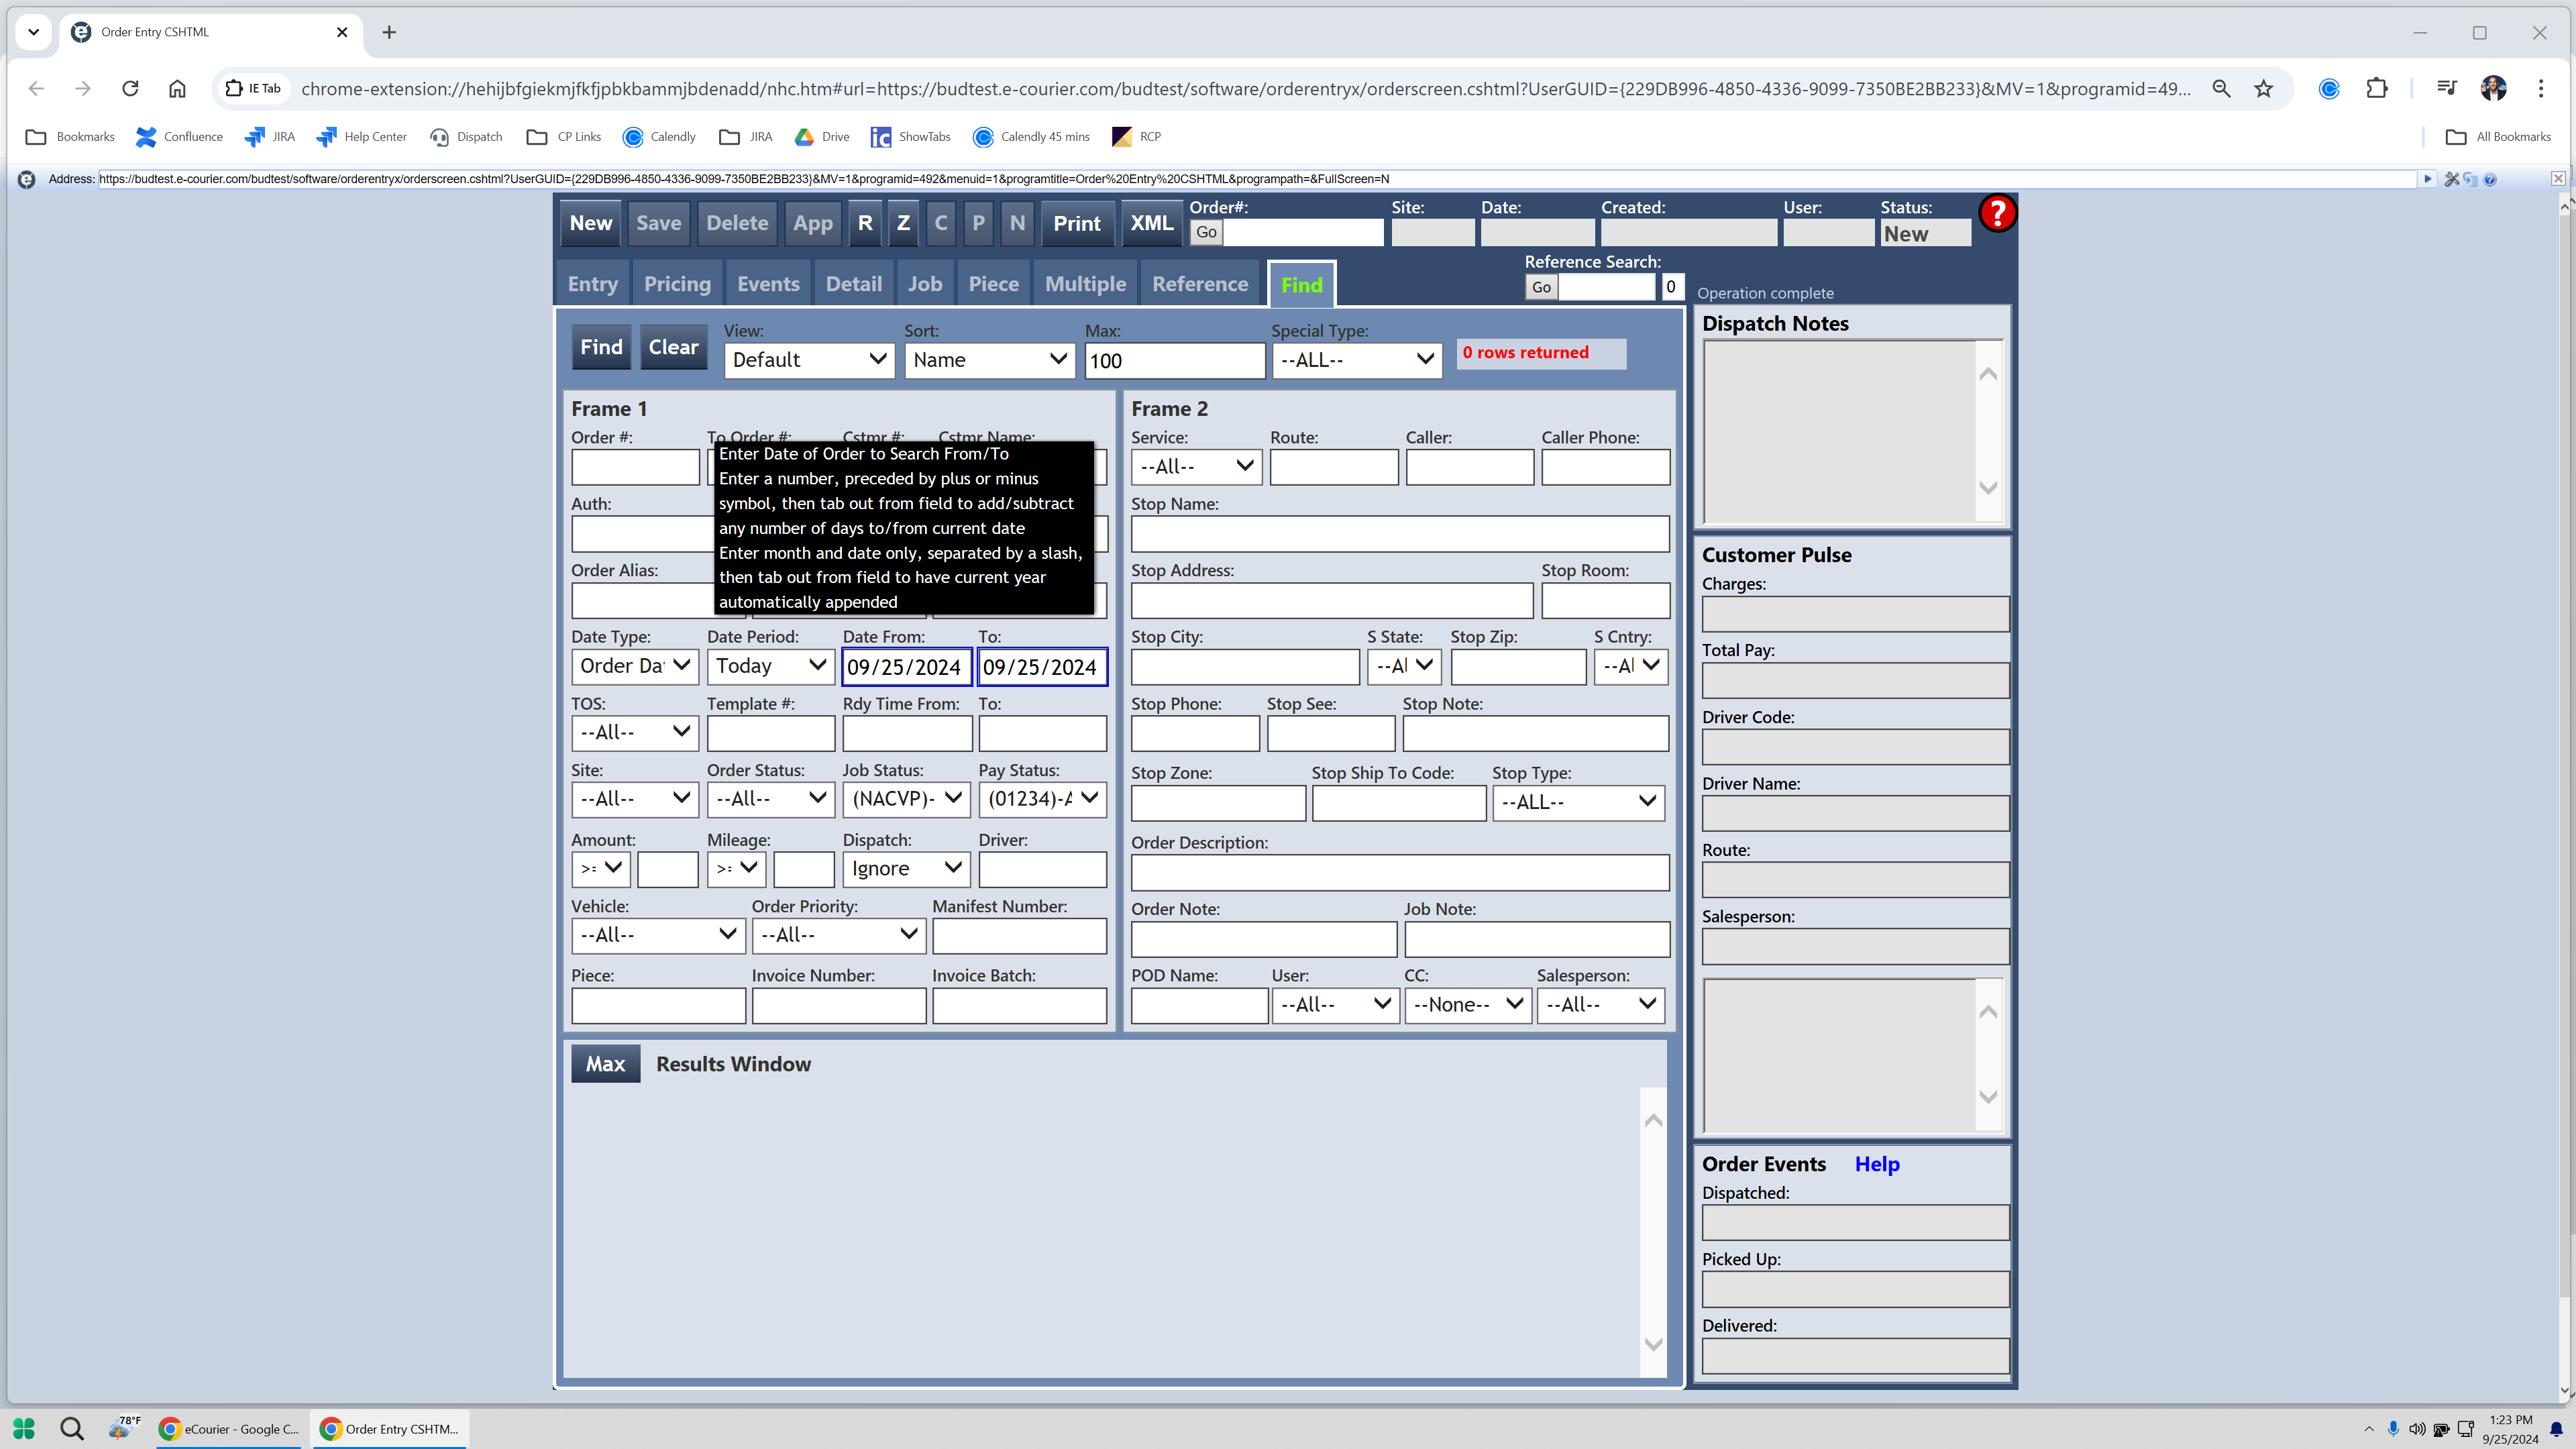
6
Click on "1"
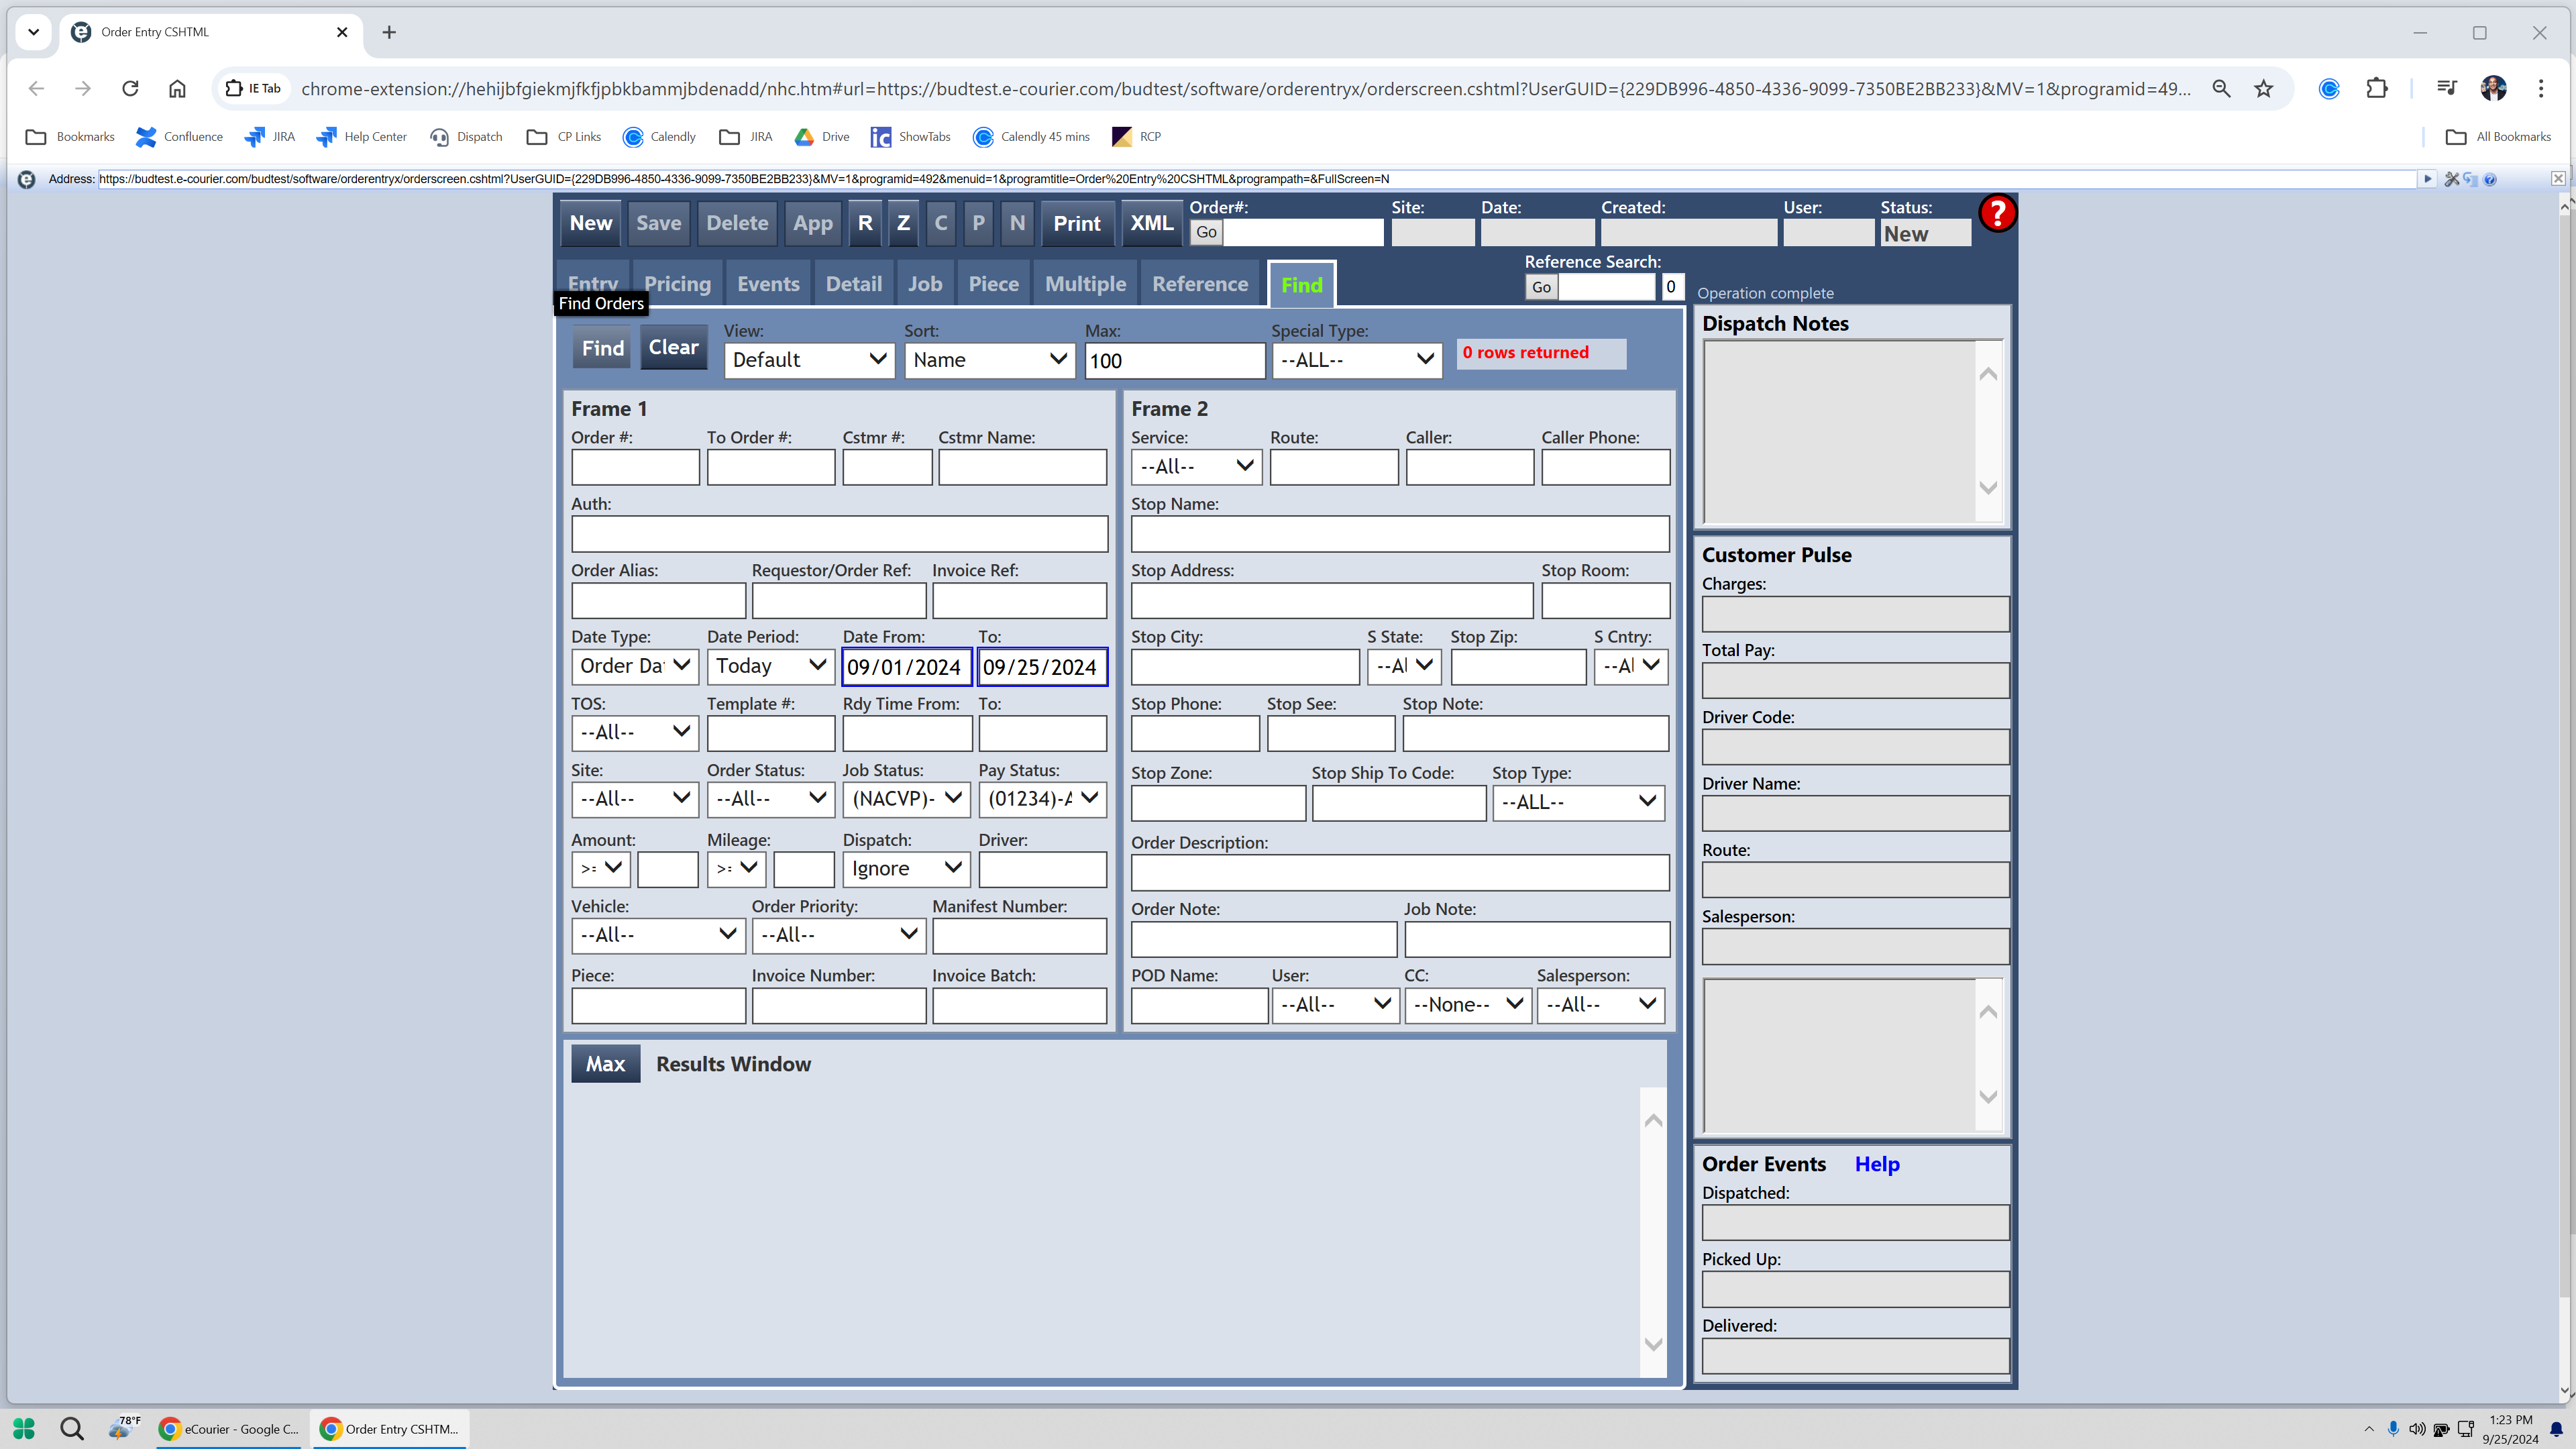
7
Click on "Find"
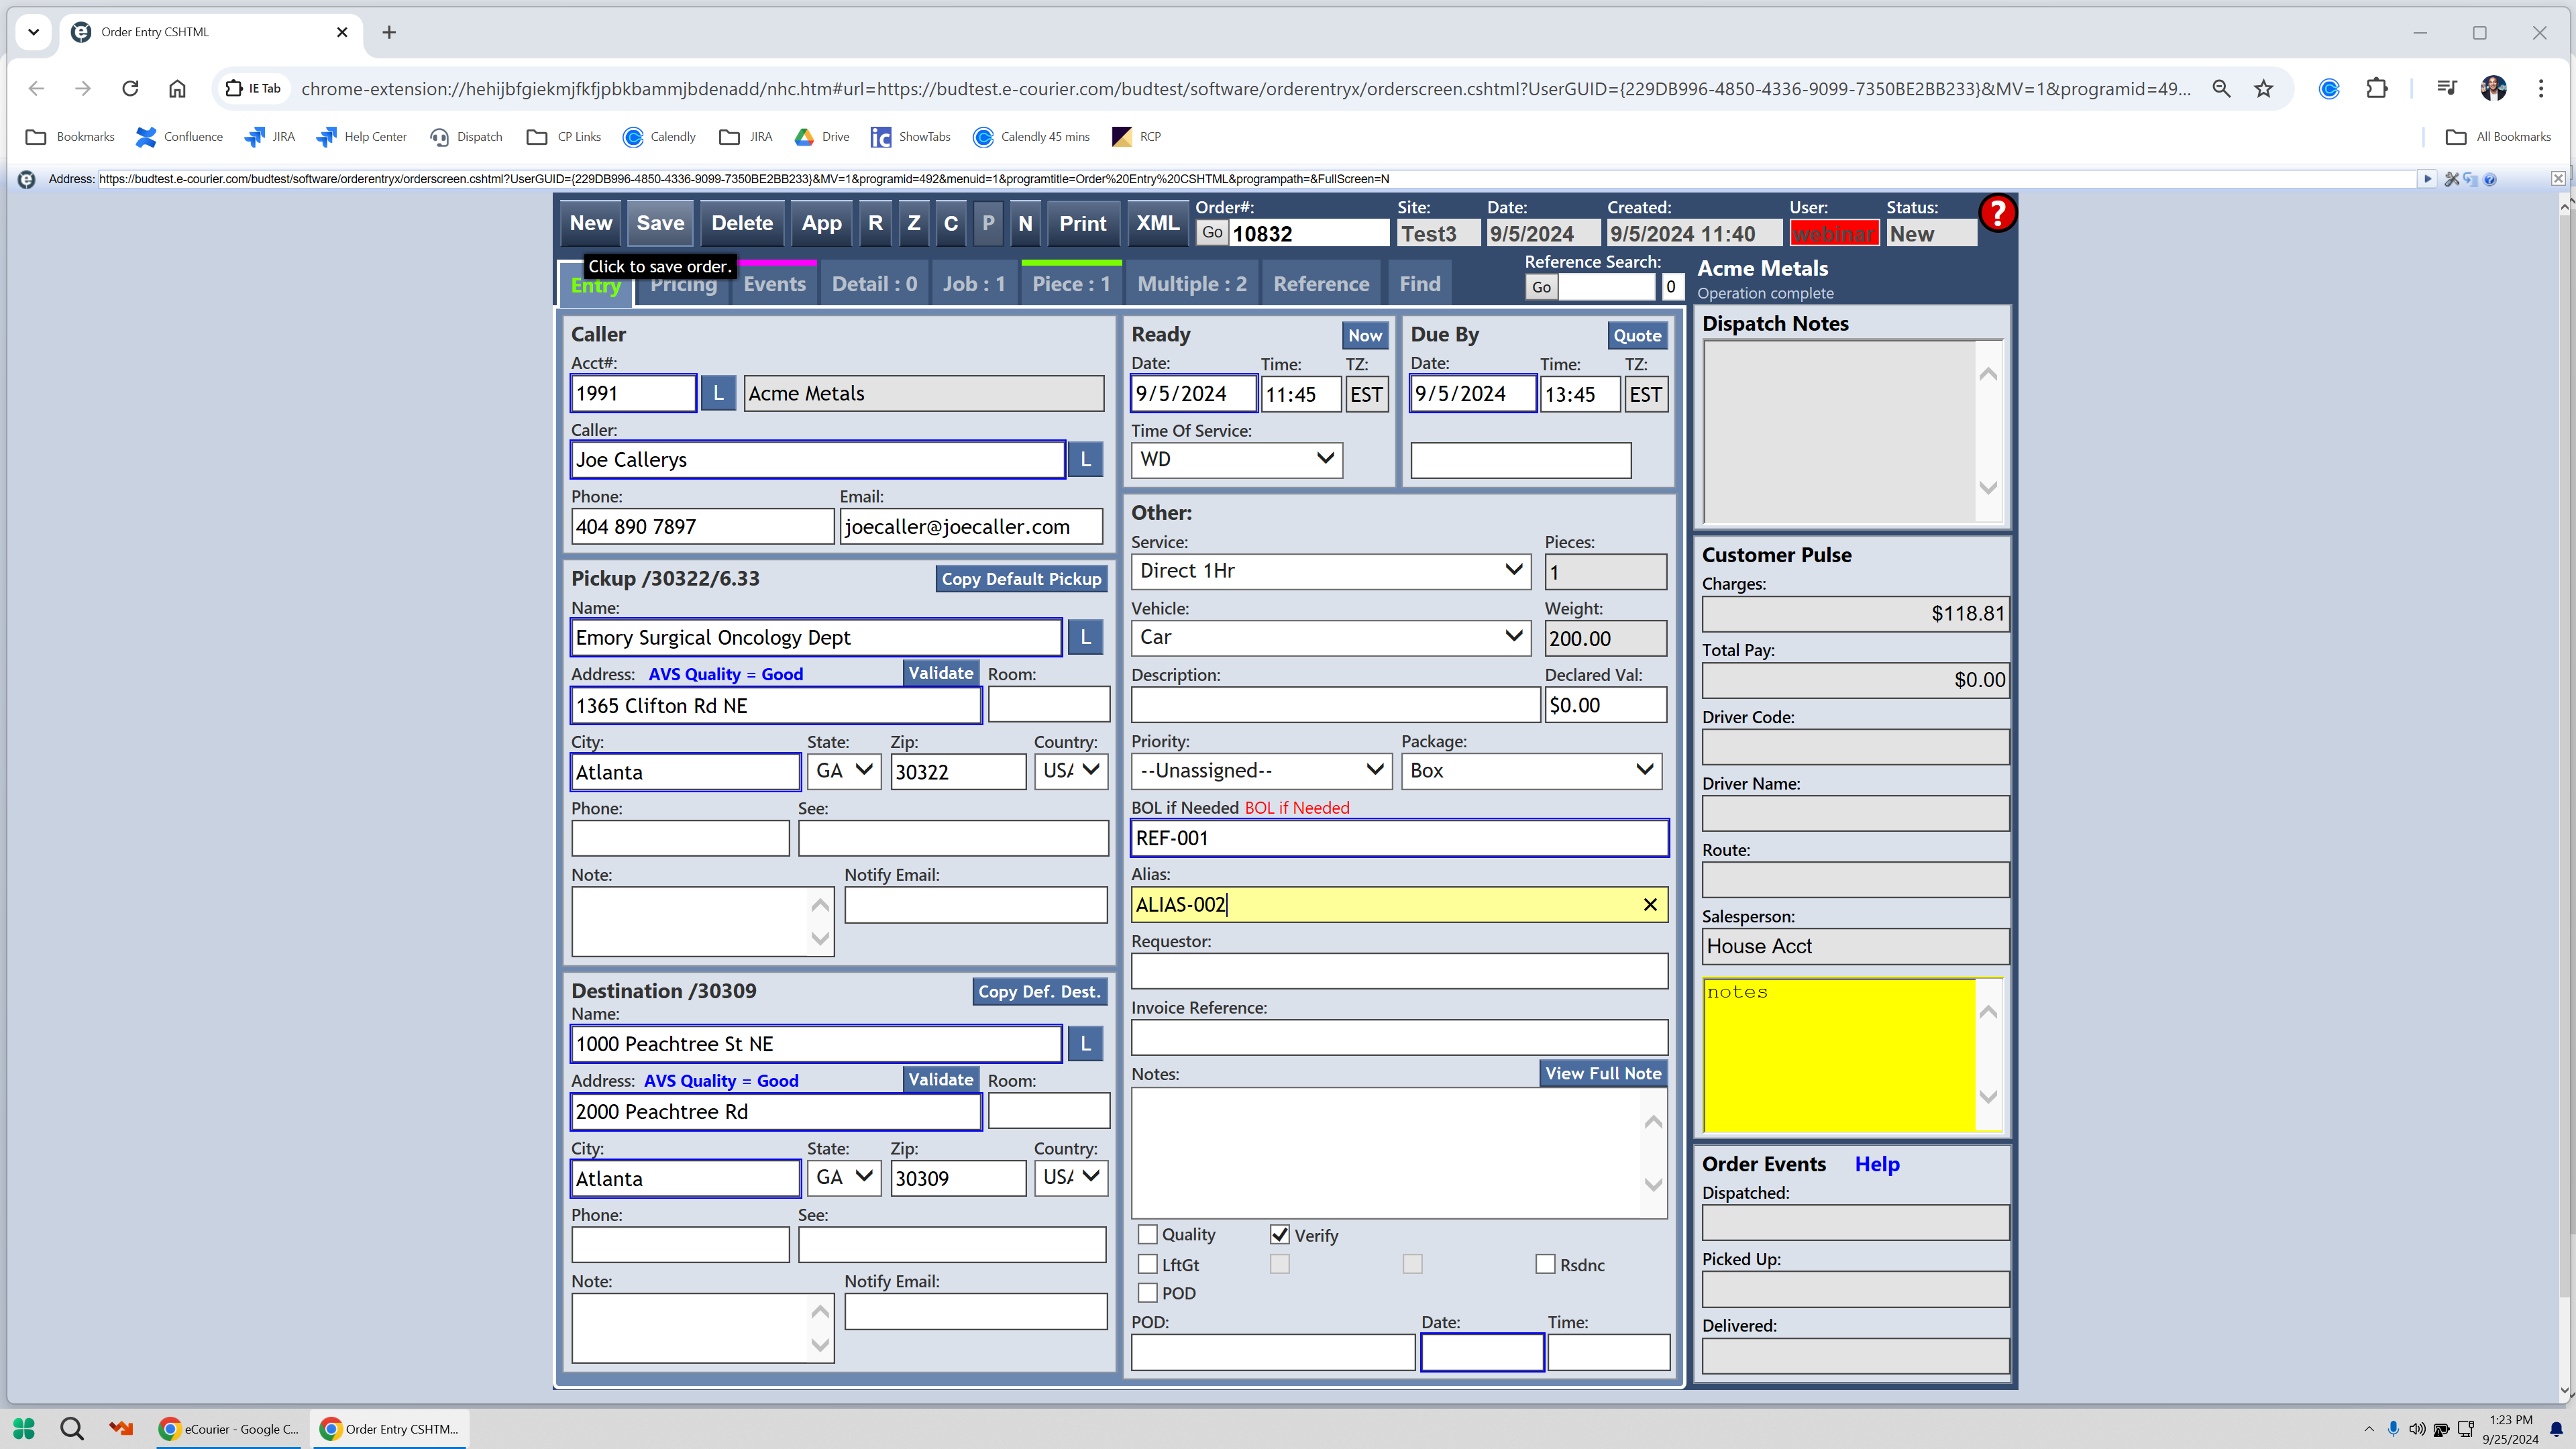
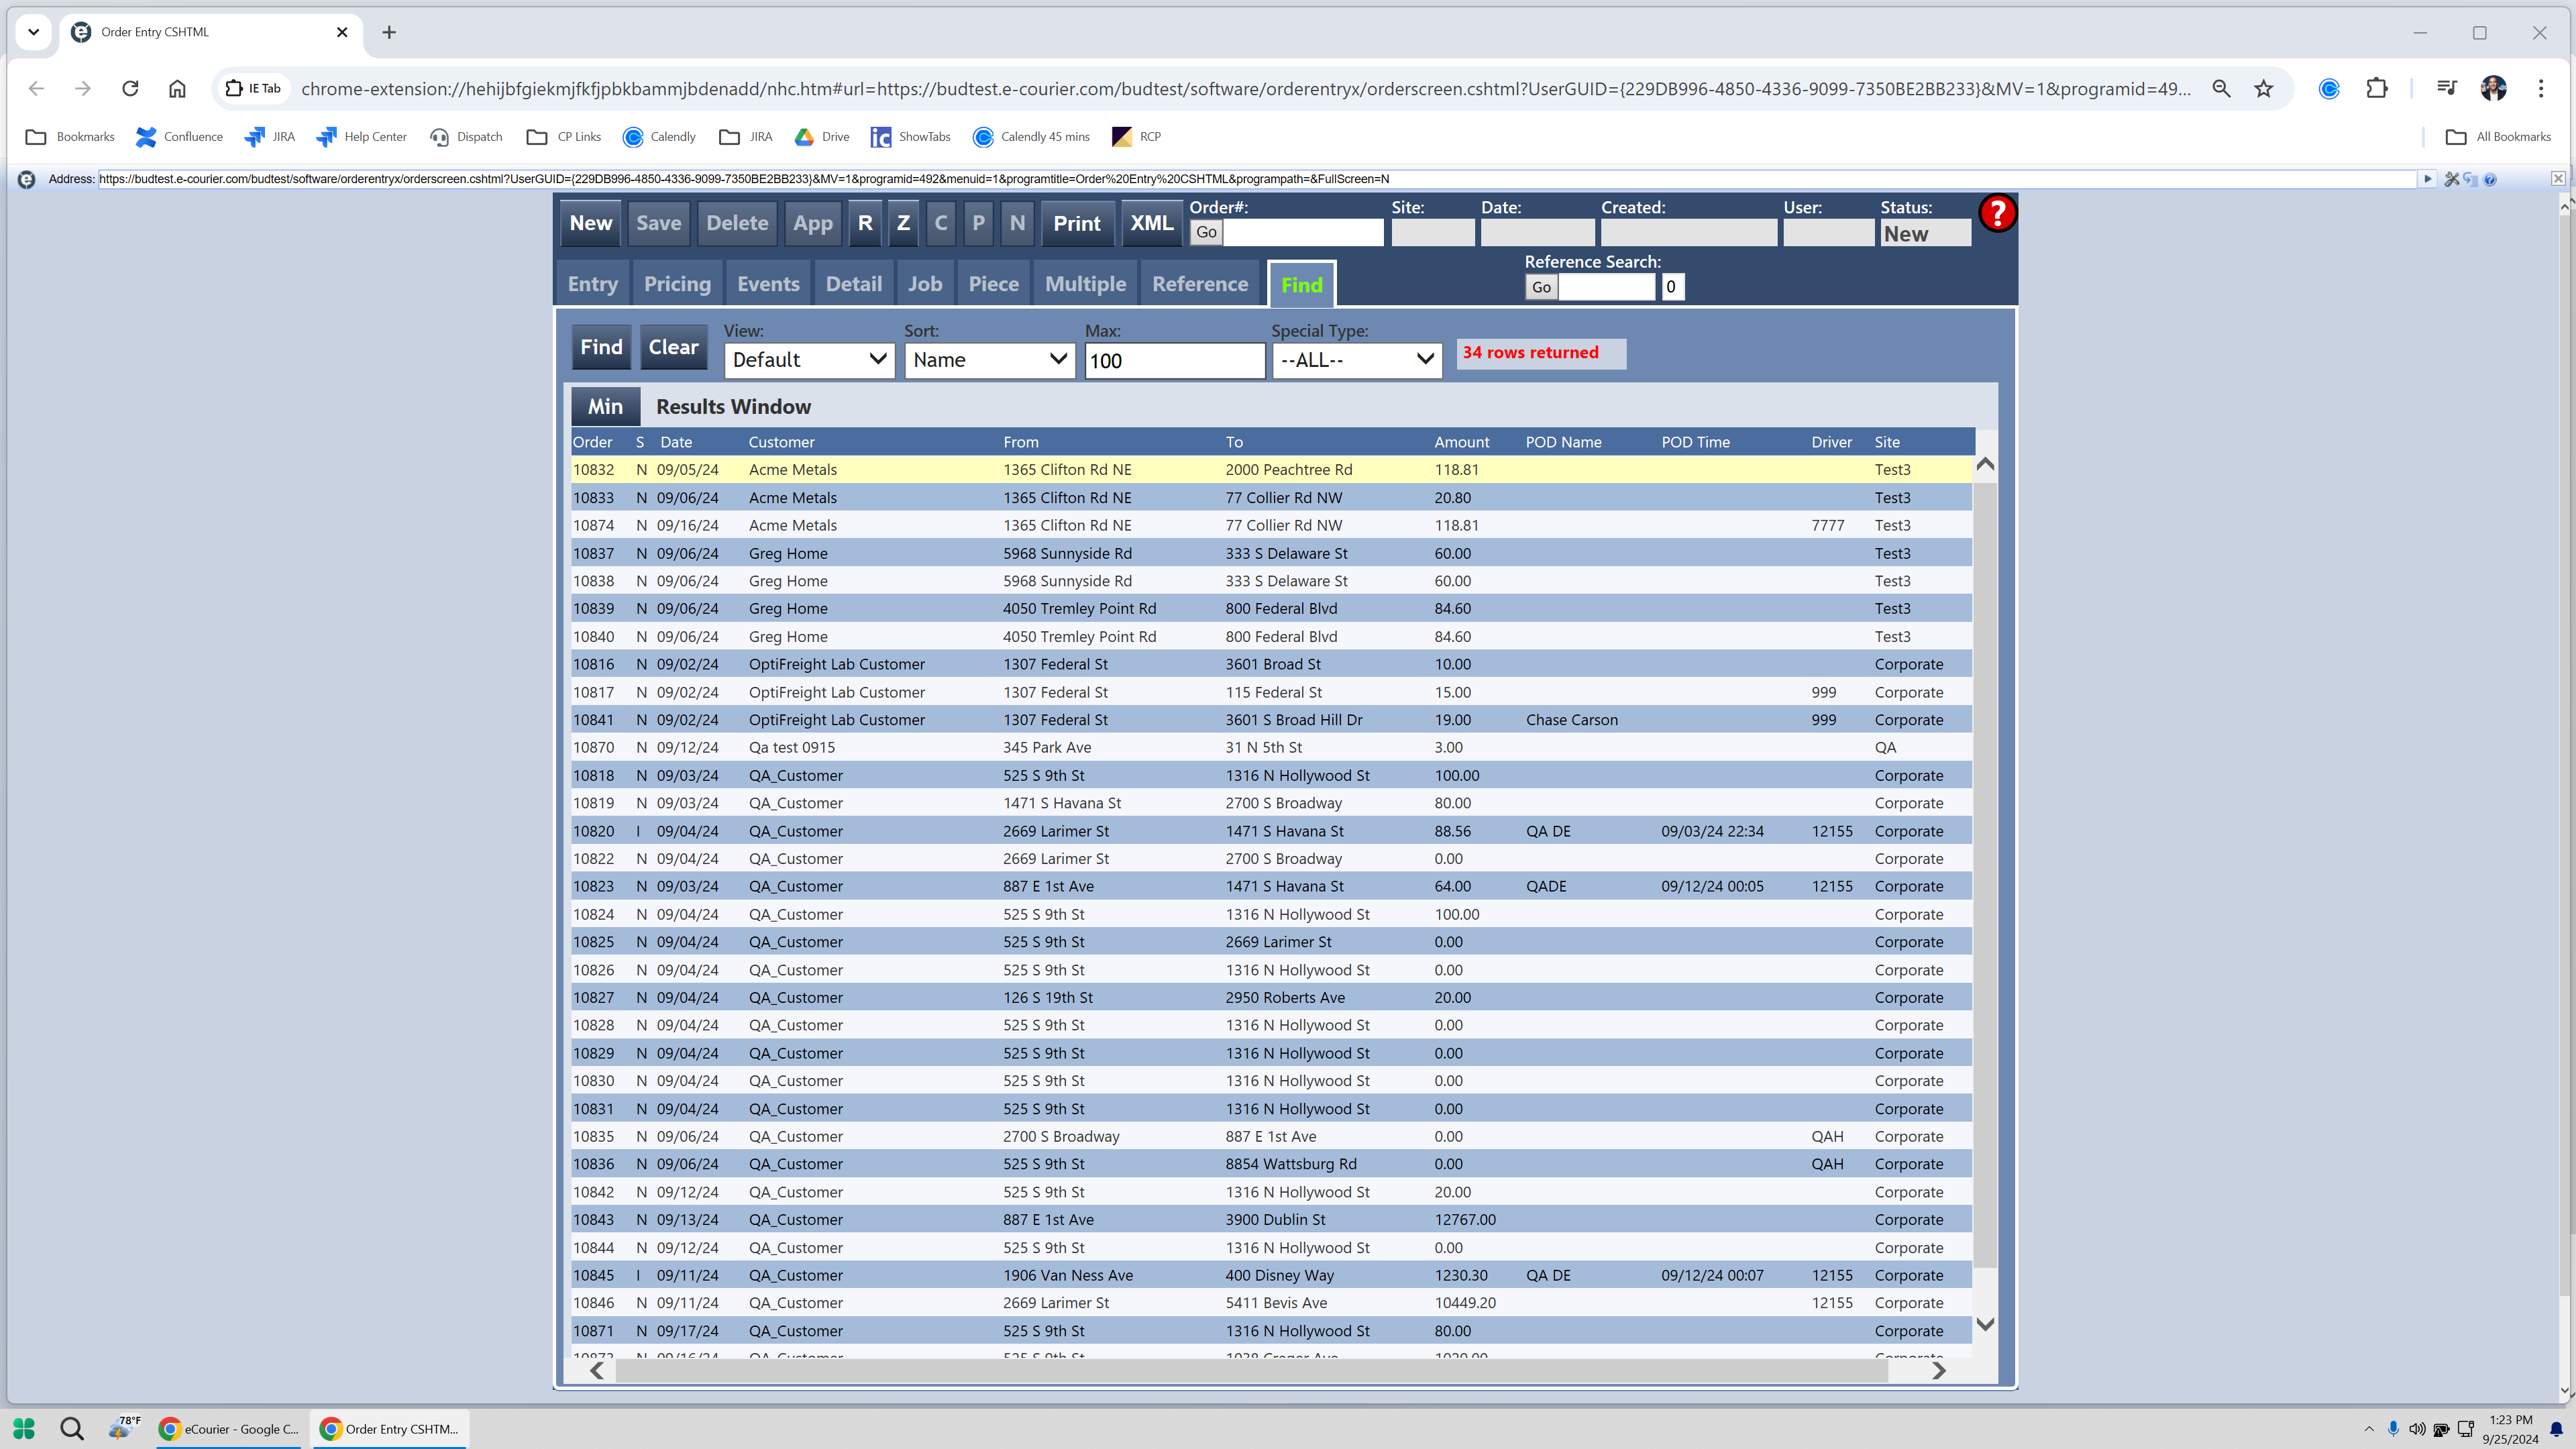
I see there are plenty of orders here. I'm going to click on this one order. Let's wait for it to load. You can see there's a name.
8
Click on "Acme Metals"
I will change this alias to alias.
9
Click here
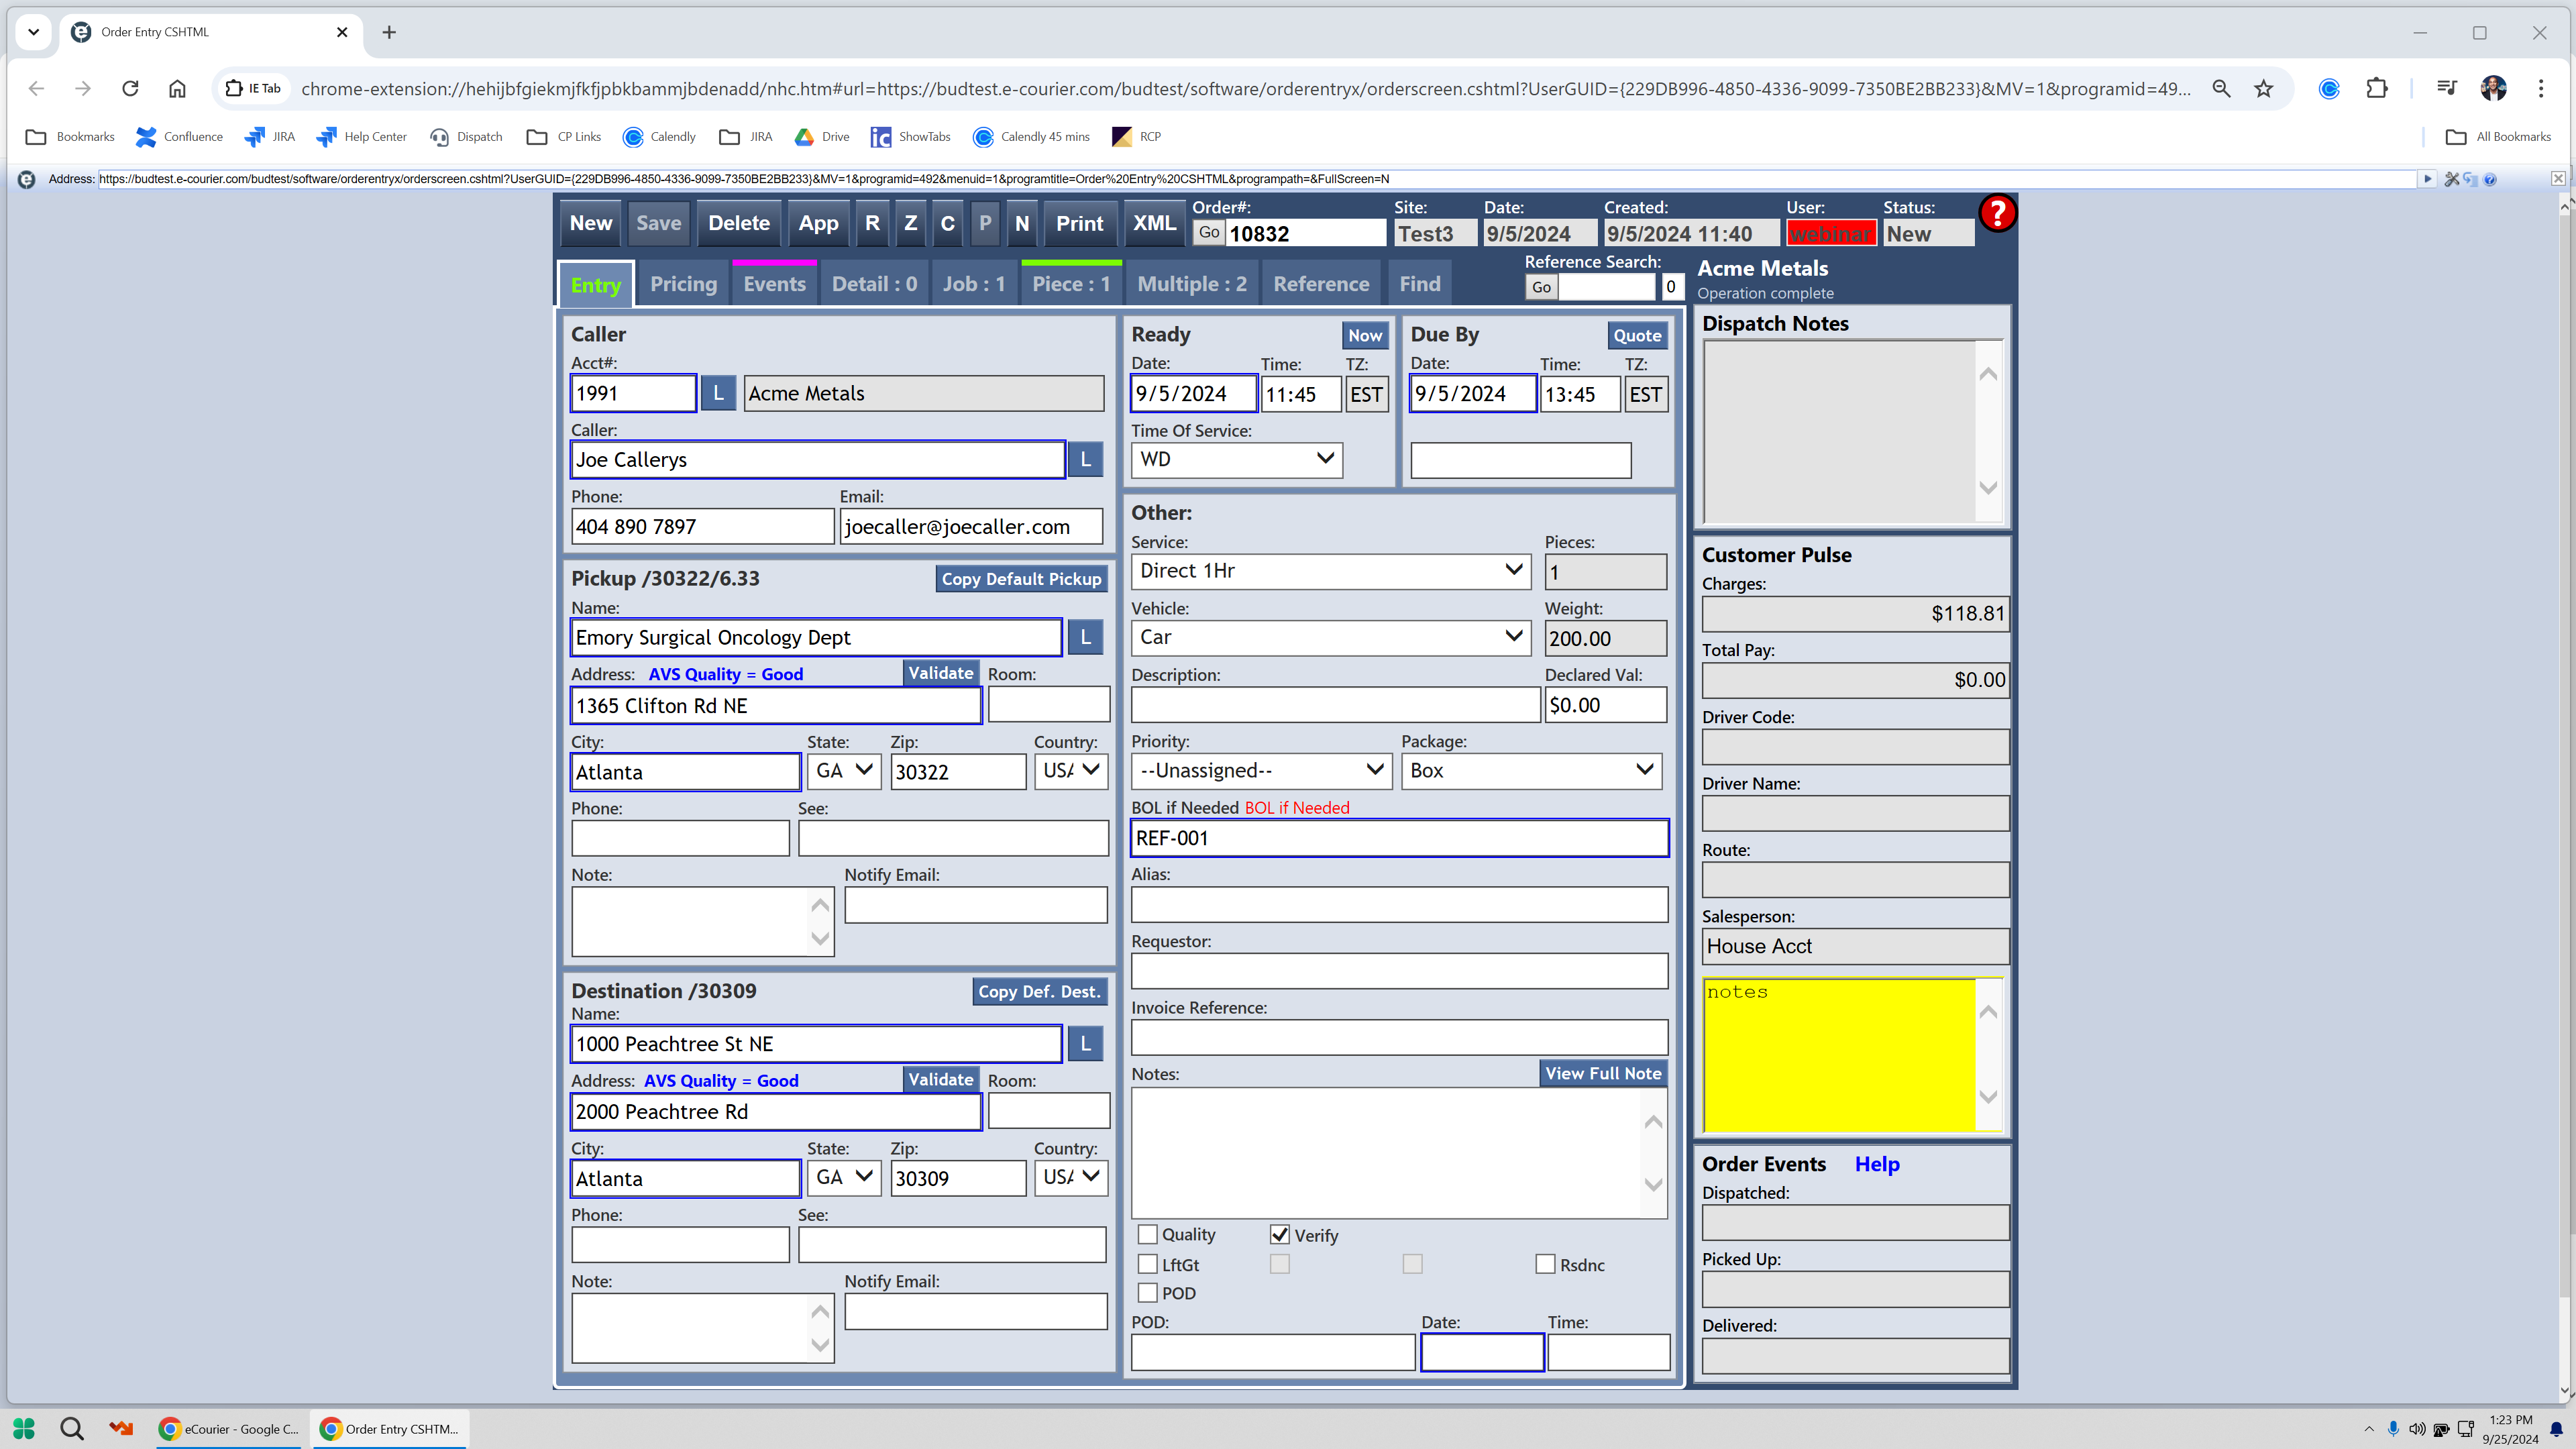
I am going to save the order.
10
Type "ALIAS-002"
11
Click on "New Save"