
How to Create and Manage User Accounts
Learn how to create, manage, and edit user accounts with ease. Follow the step-by-step guide to add, deactivate, and reactivate users efficiently.
By Chris Morris
In this guide, we'll learn how to manage user accounts effectively on WMCockpit. We'll cover the process of creating new accounts, including entering necessary details and activating users. Additionally, we'll explore how to deactivate and reactivate users, as well as edit their information. This guide will also explain the initial login process for new users and how they can set a new password for future access.
Creating a new account
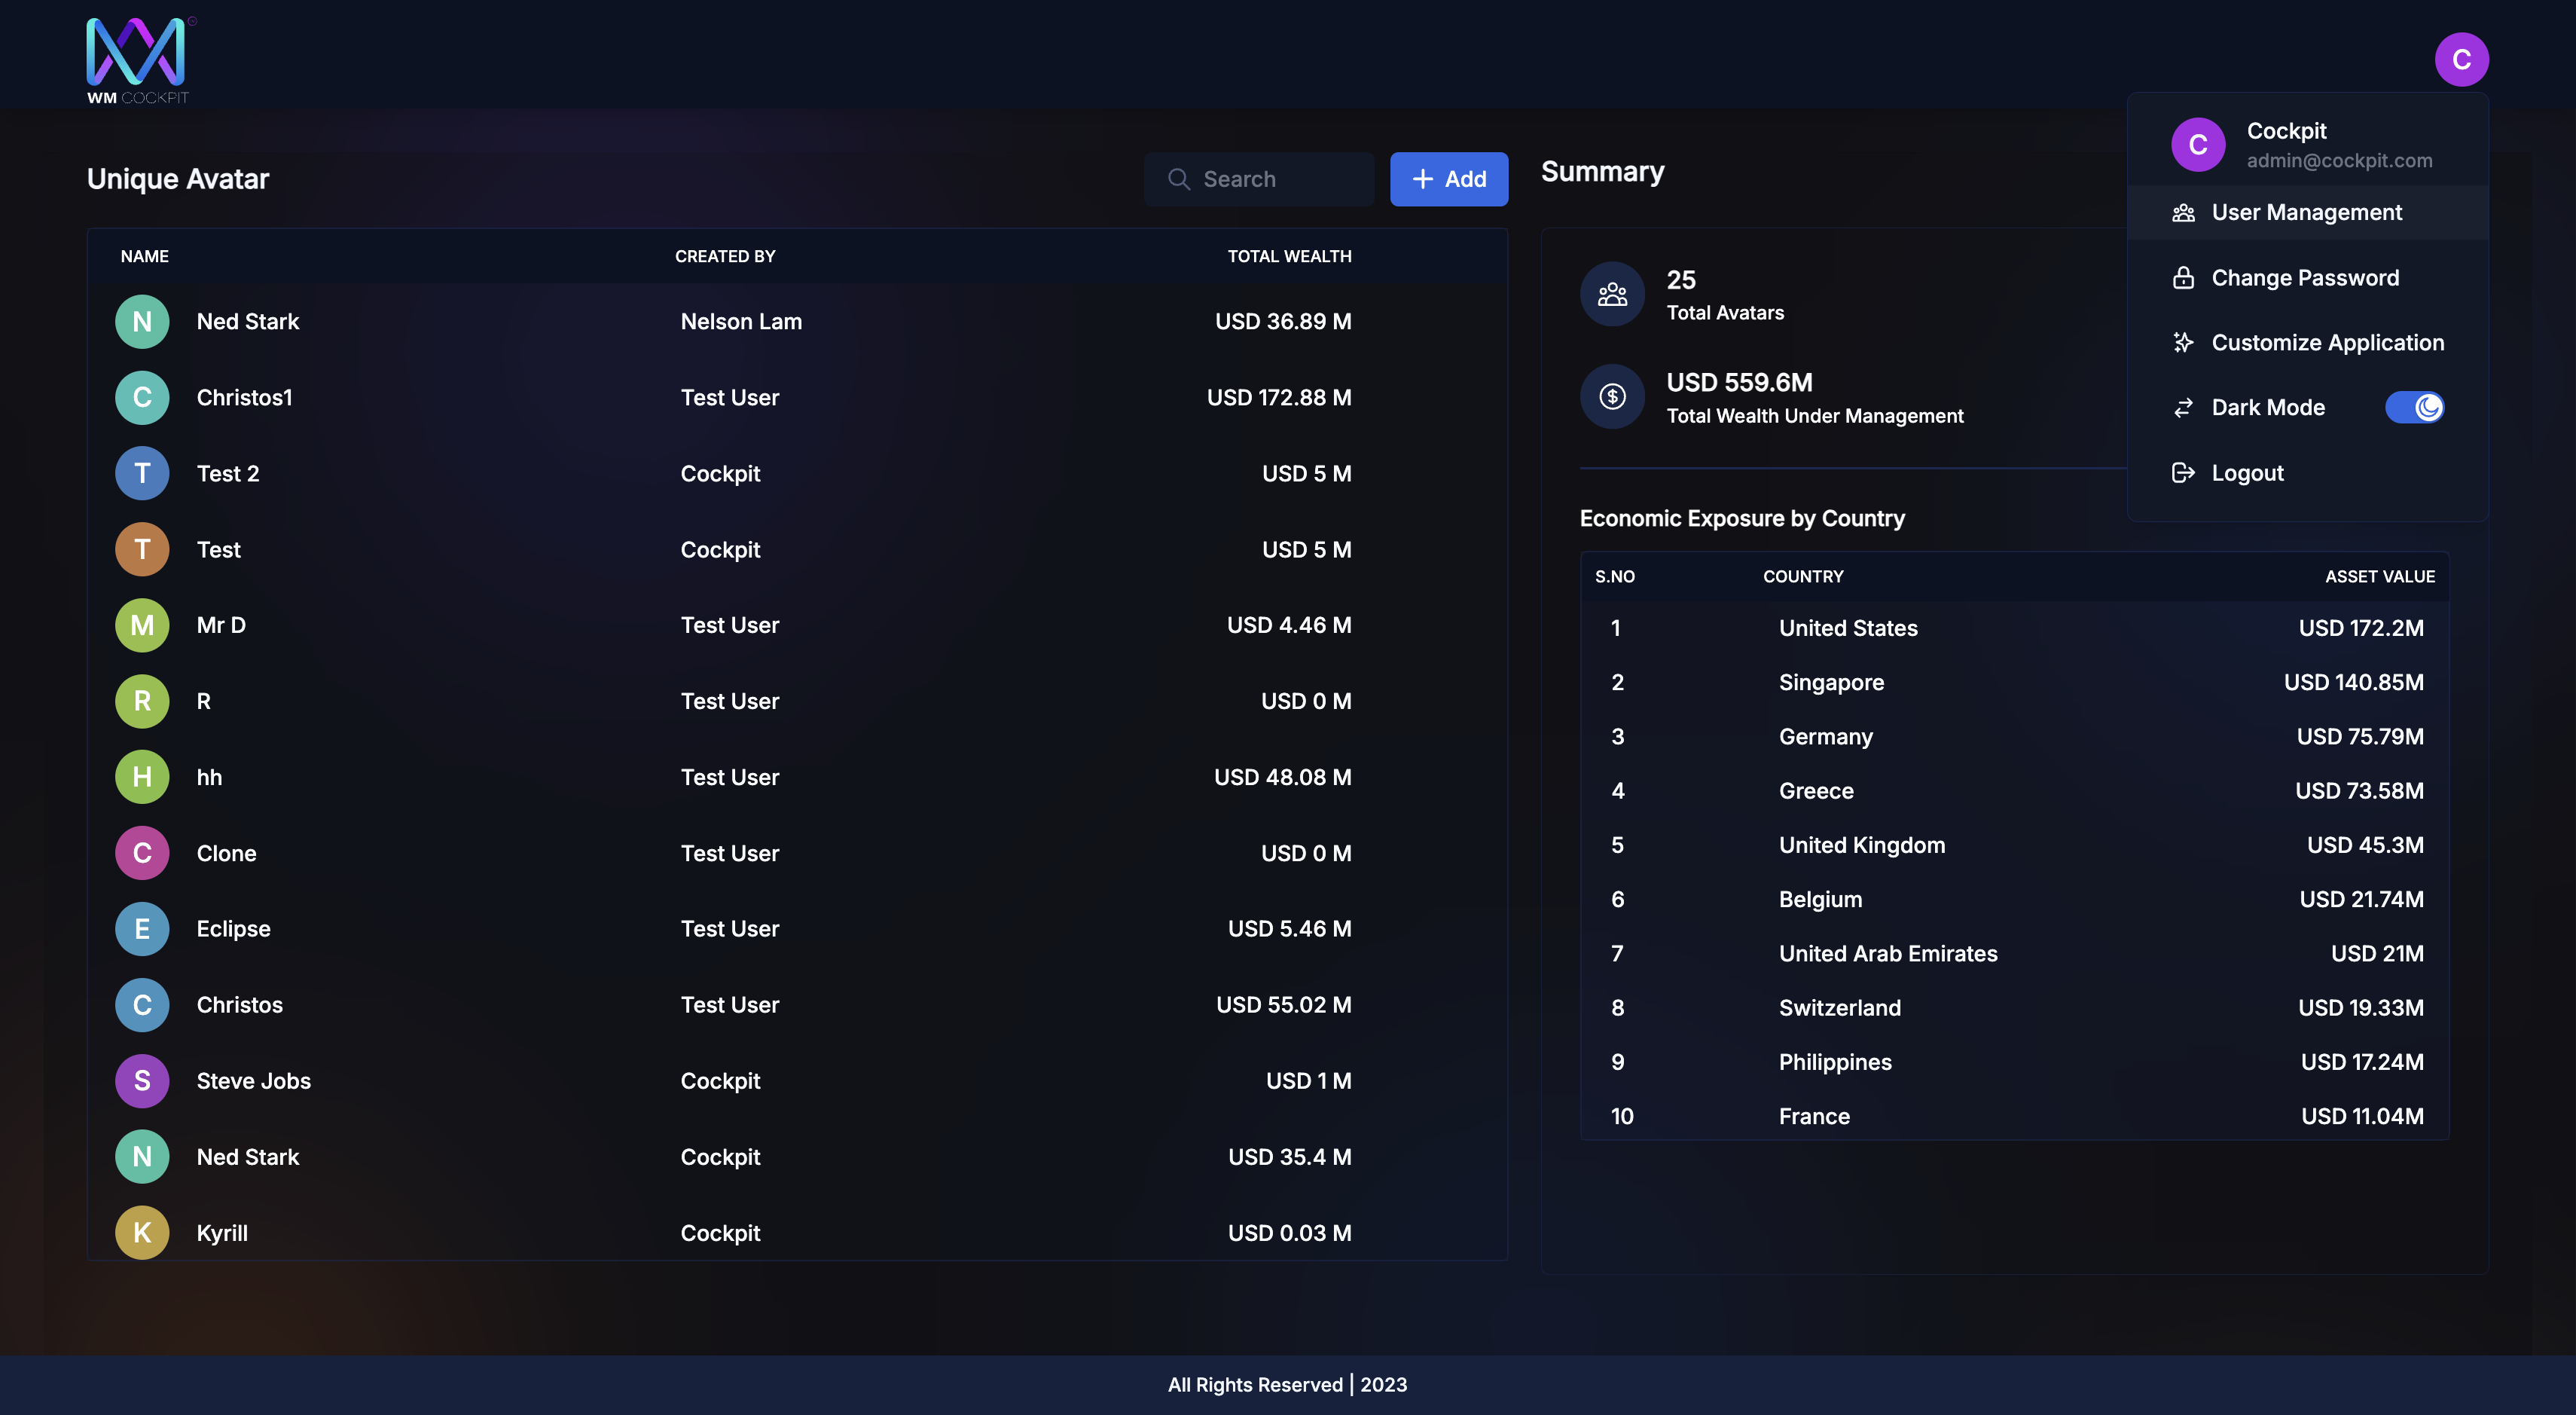
After logging in, go to the top right of the user panel.
1
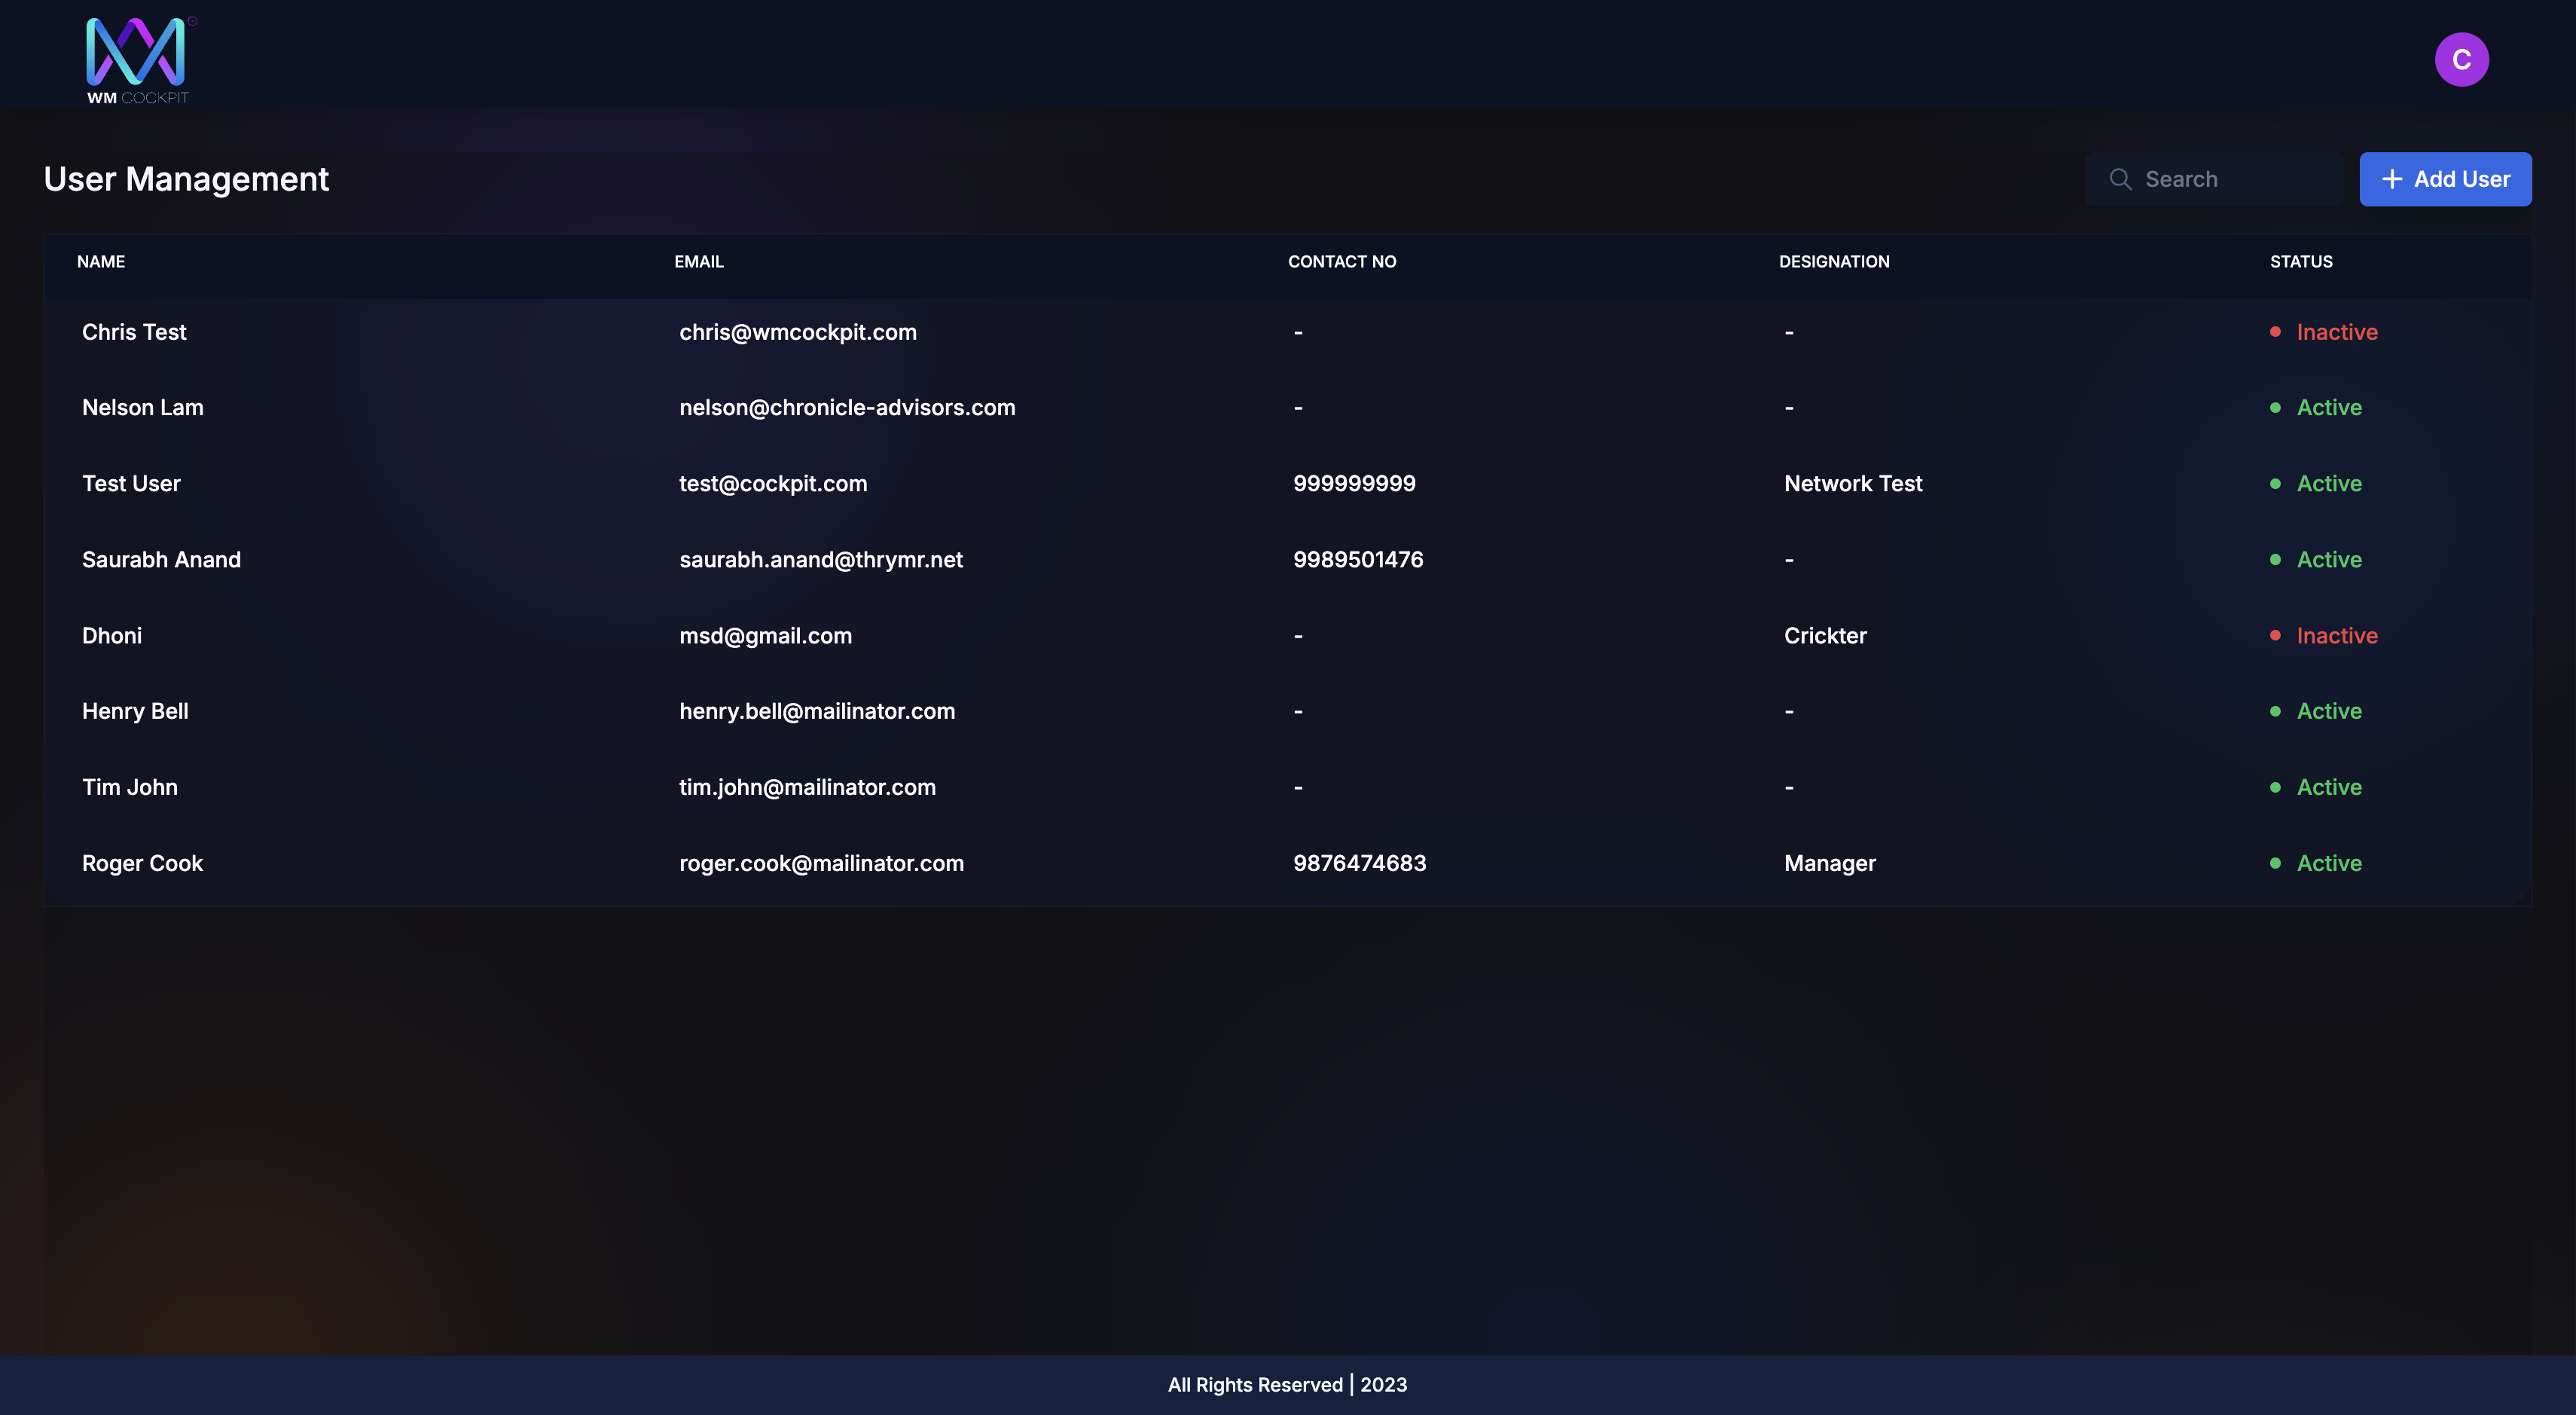
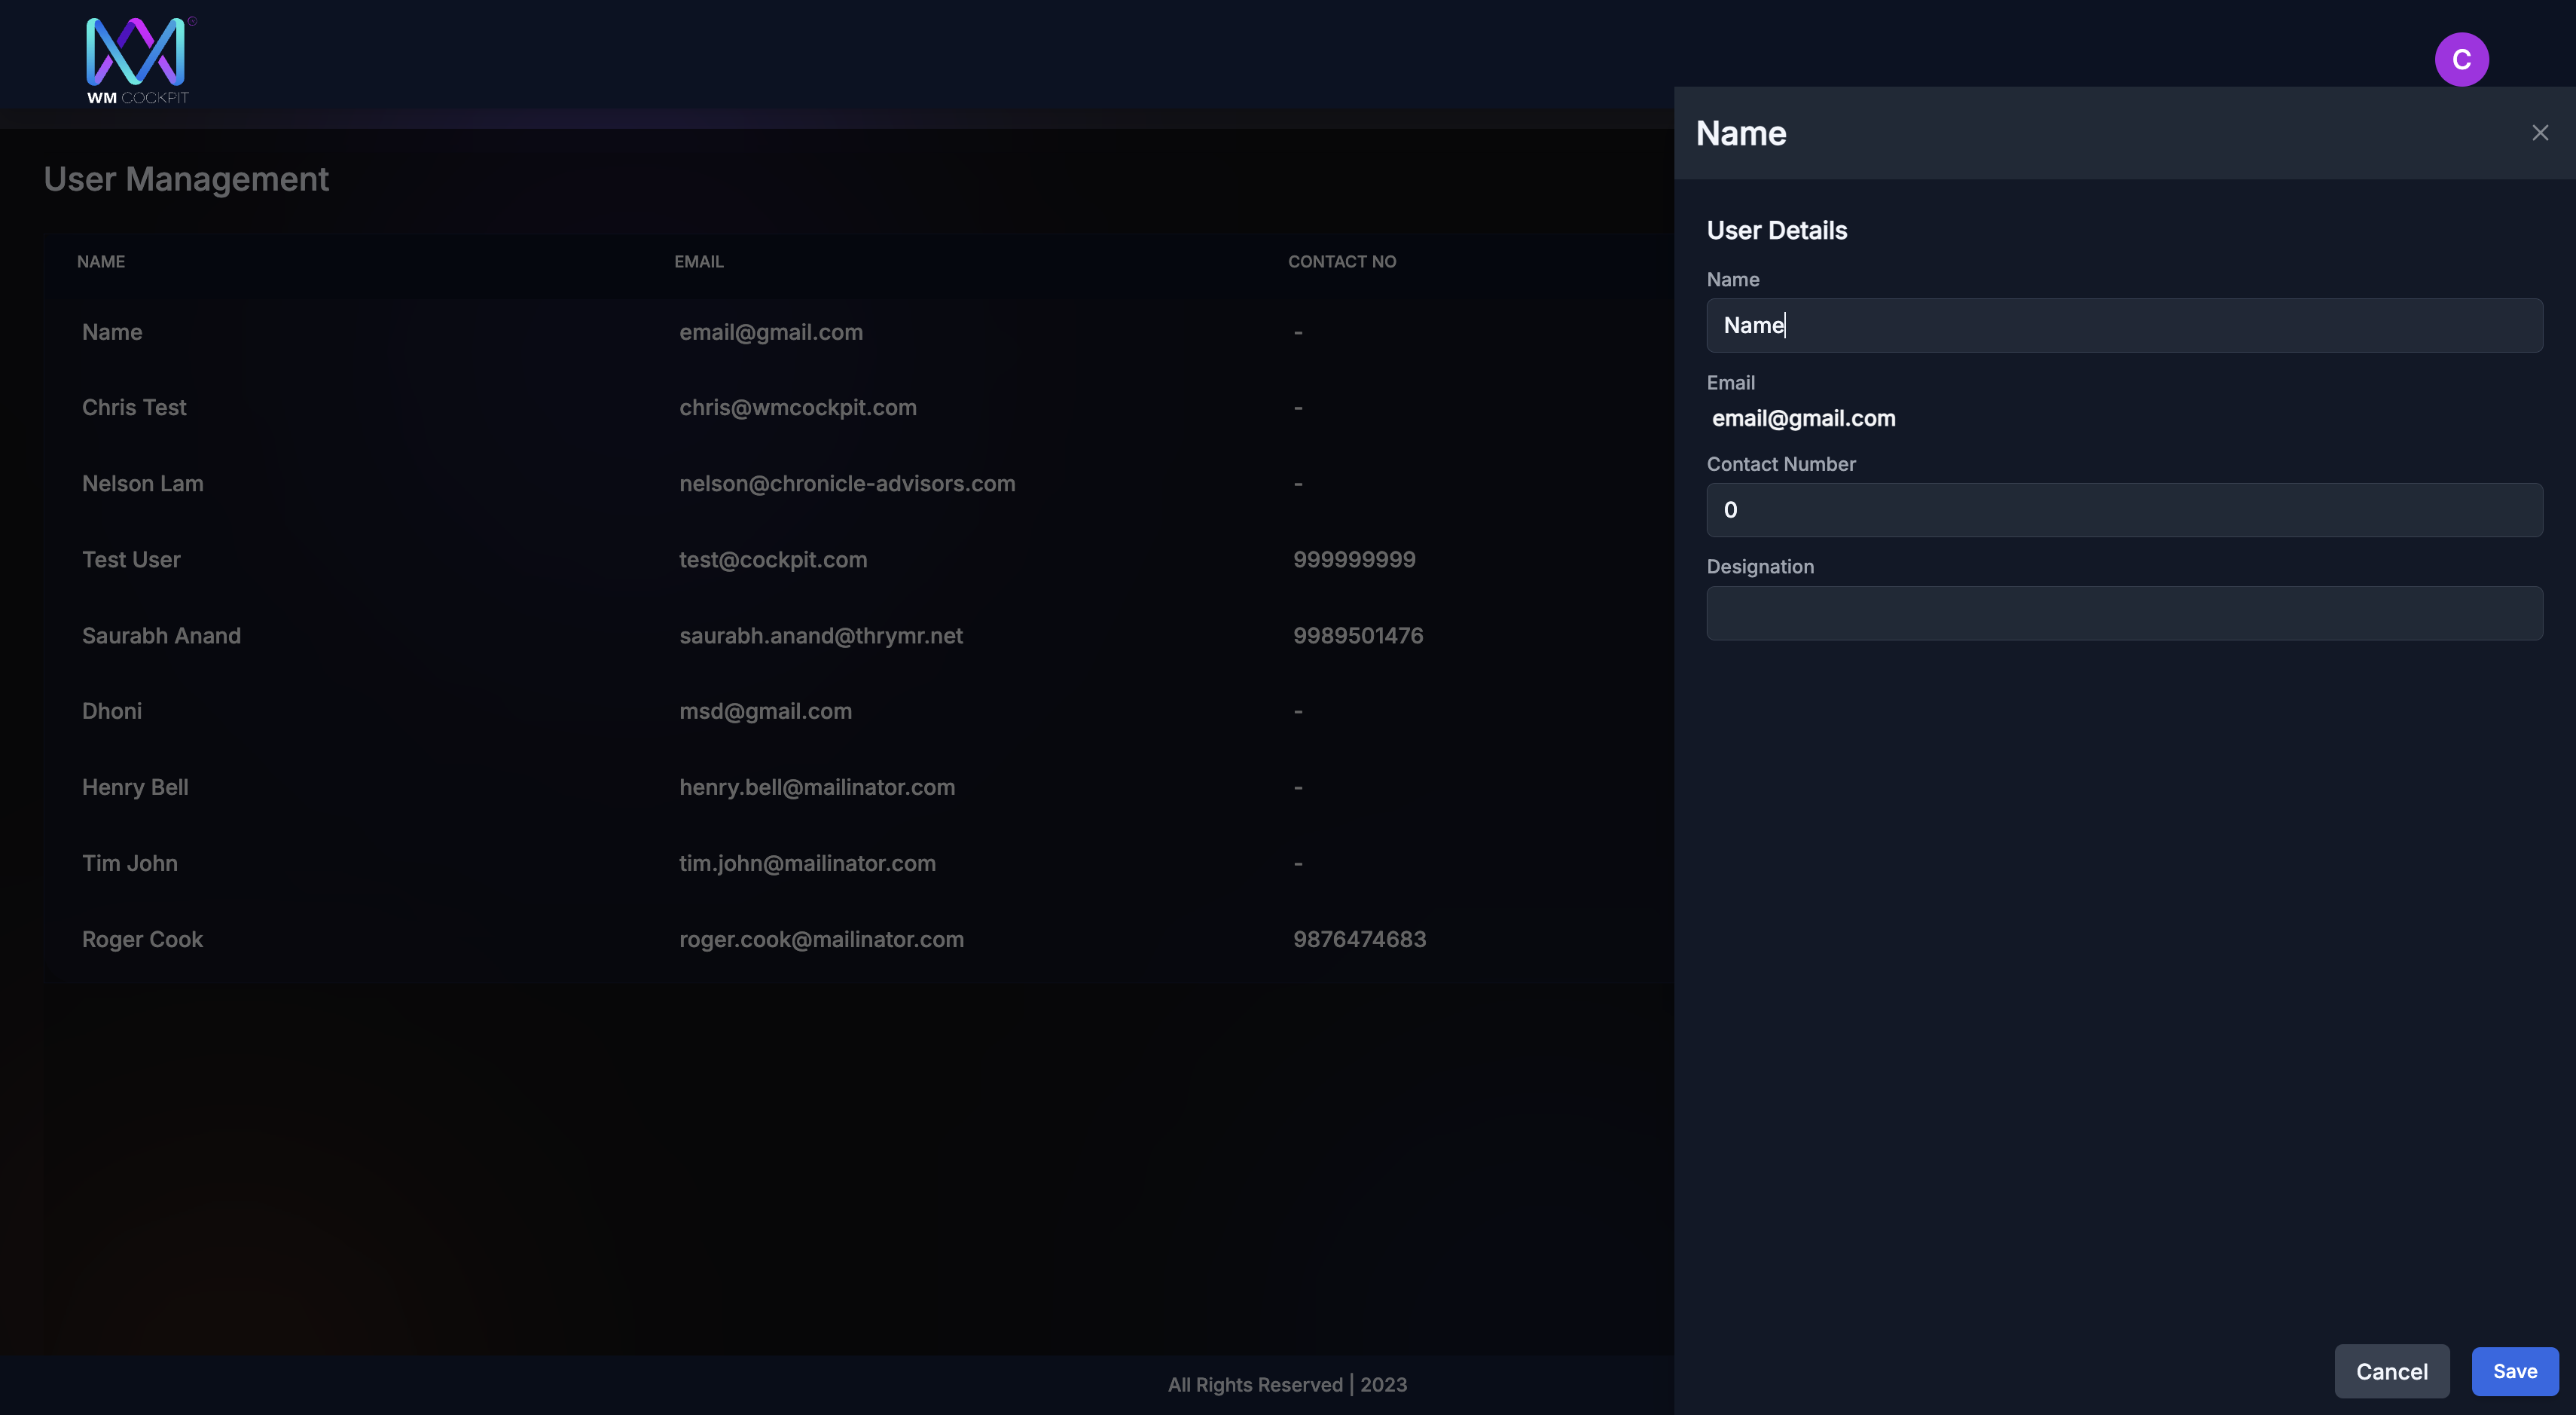
Select "User Management"
2
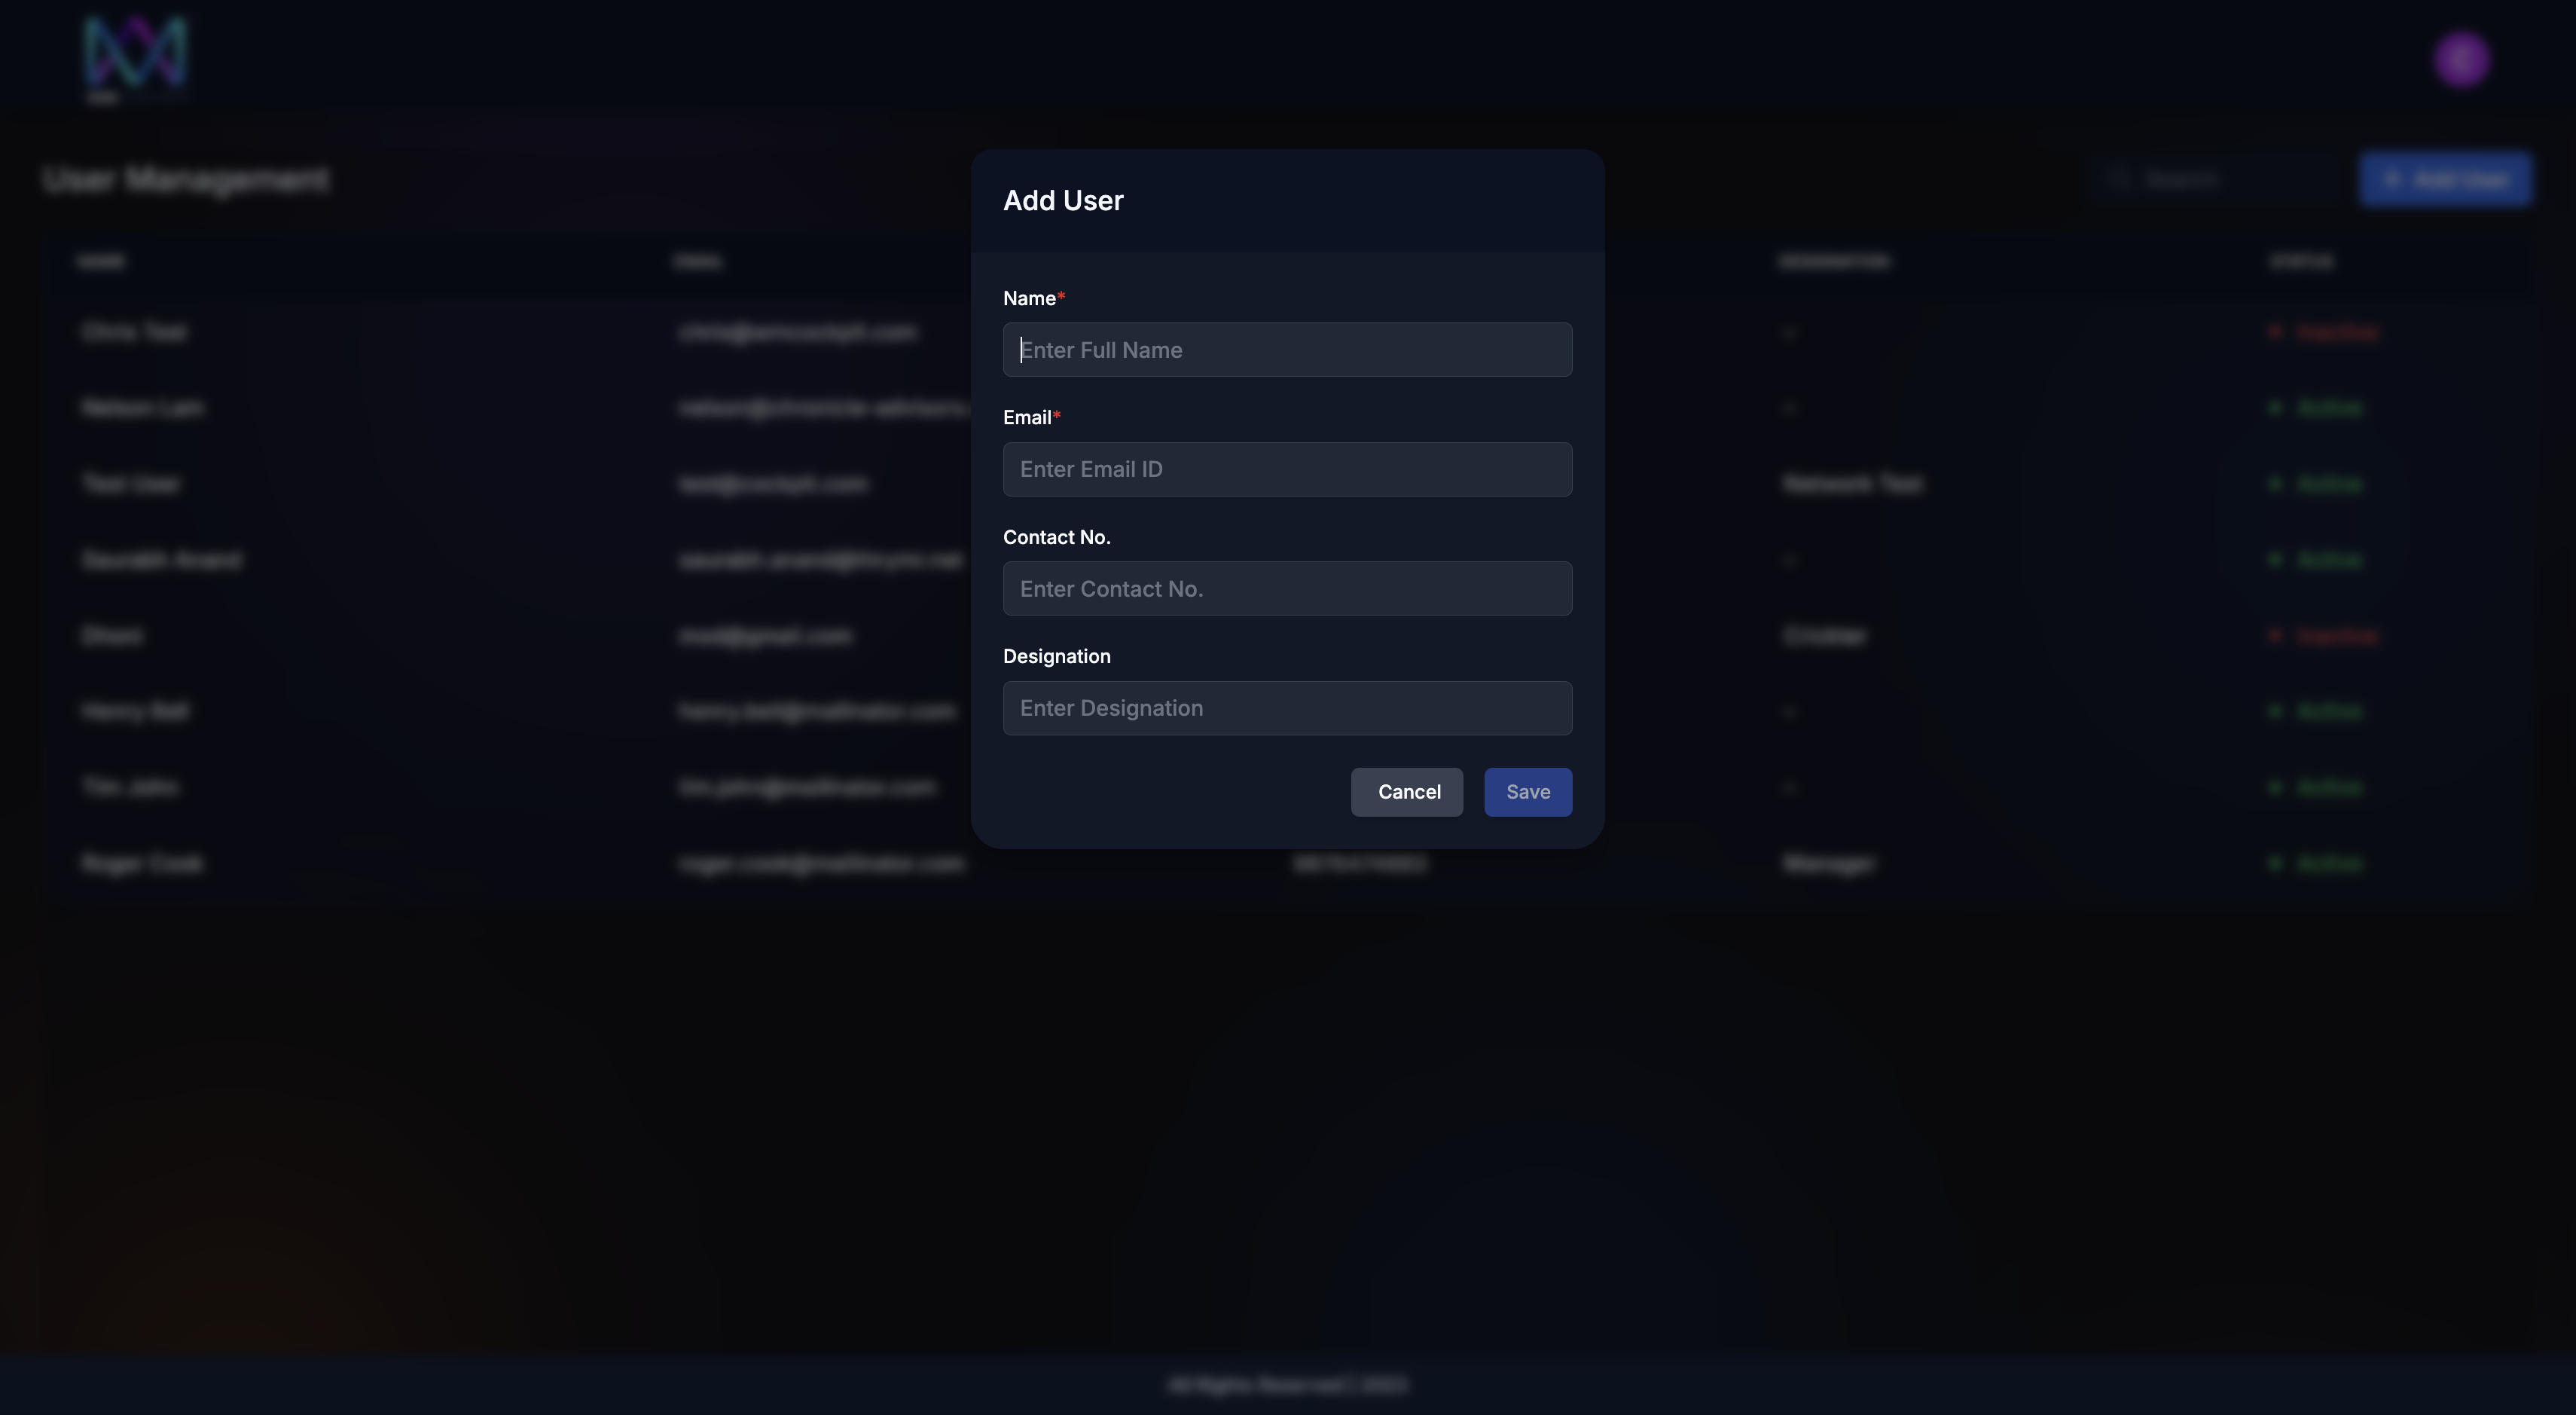
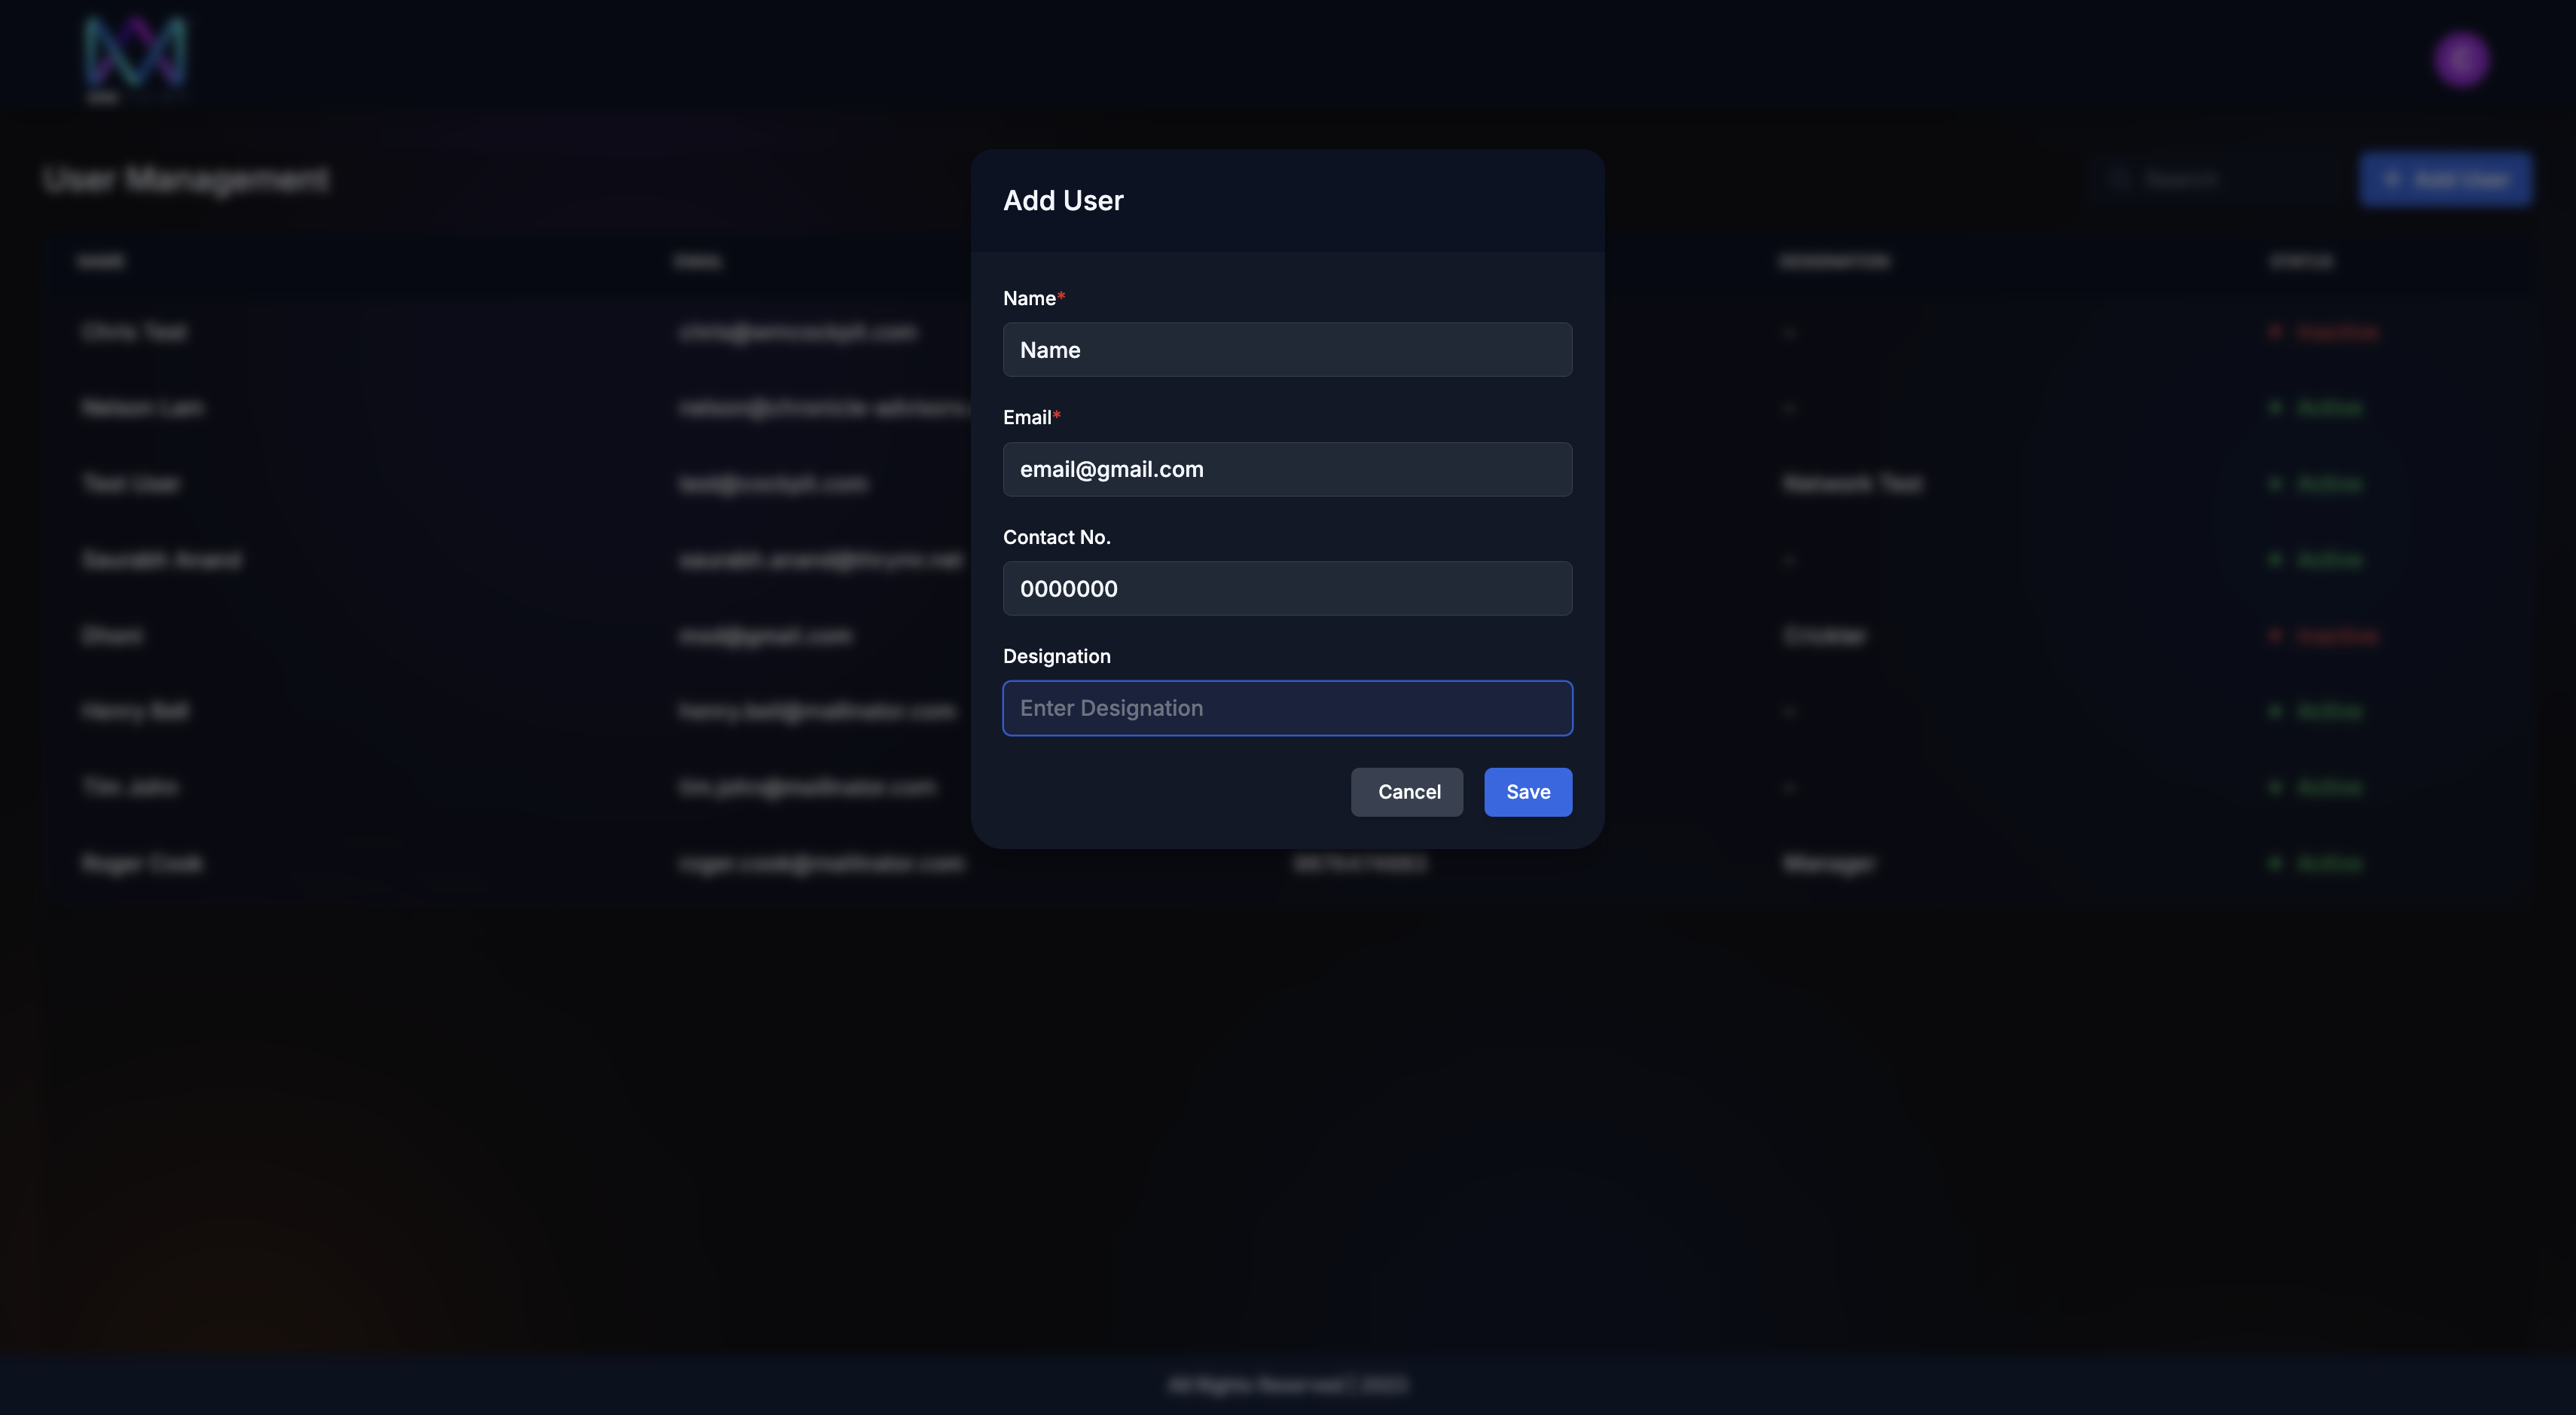
Choose "Add User."
3
Enter the name, email, contact number, and designation (designation = specific title, name, or status to a role or an individual)
4
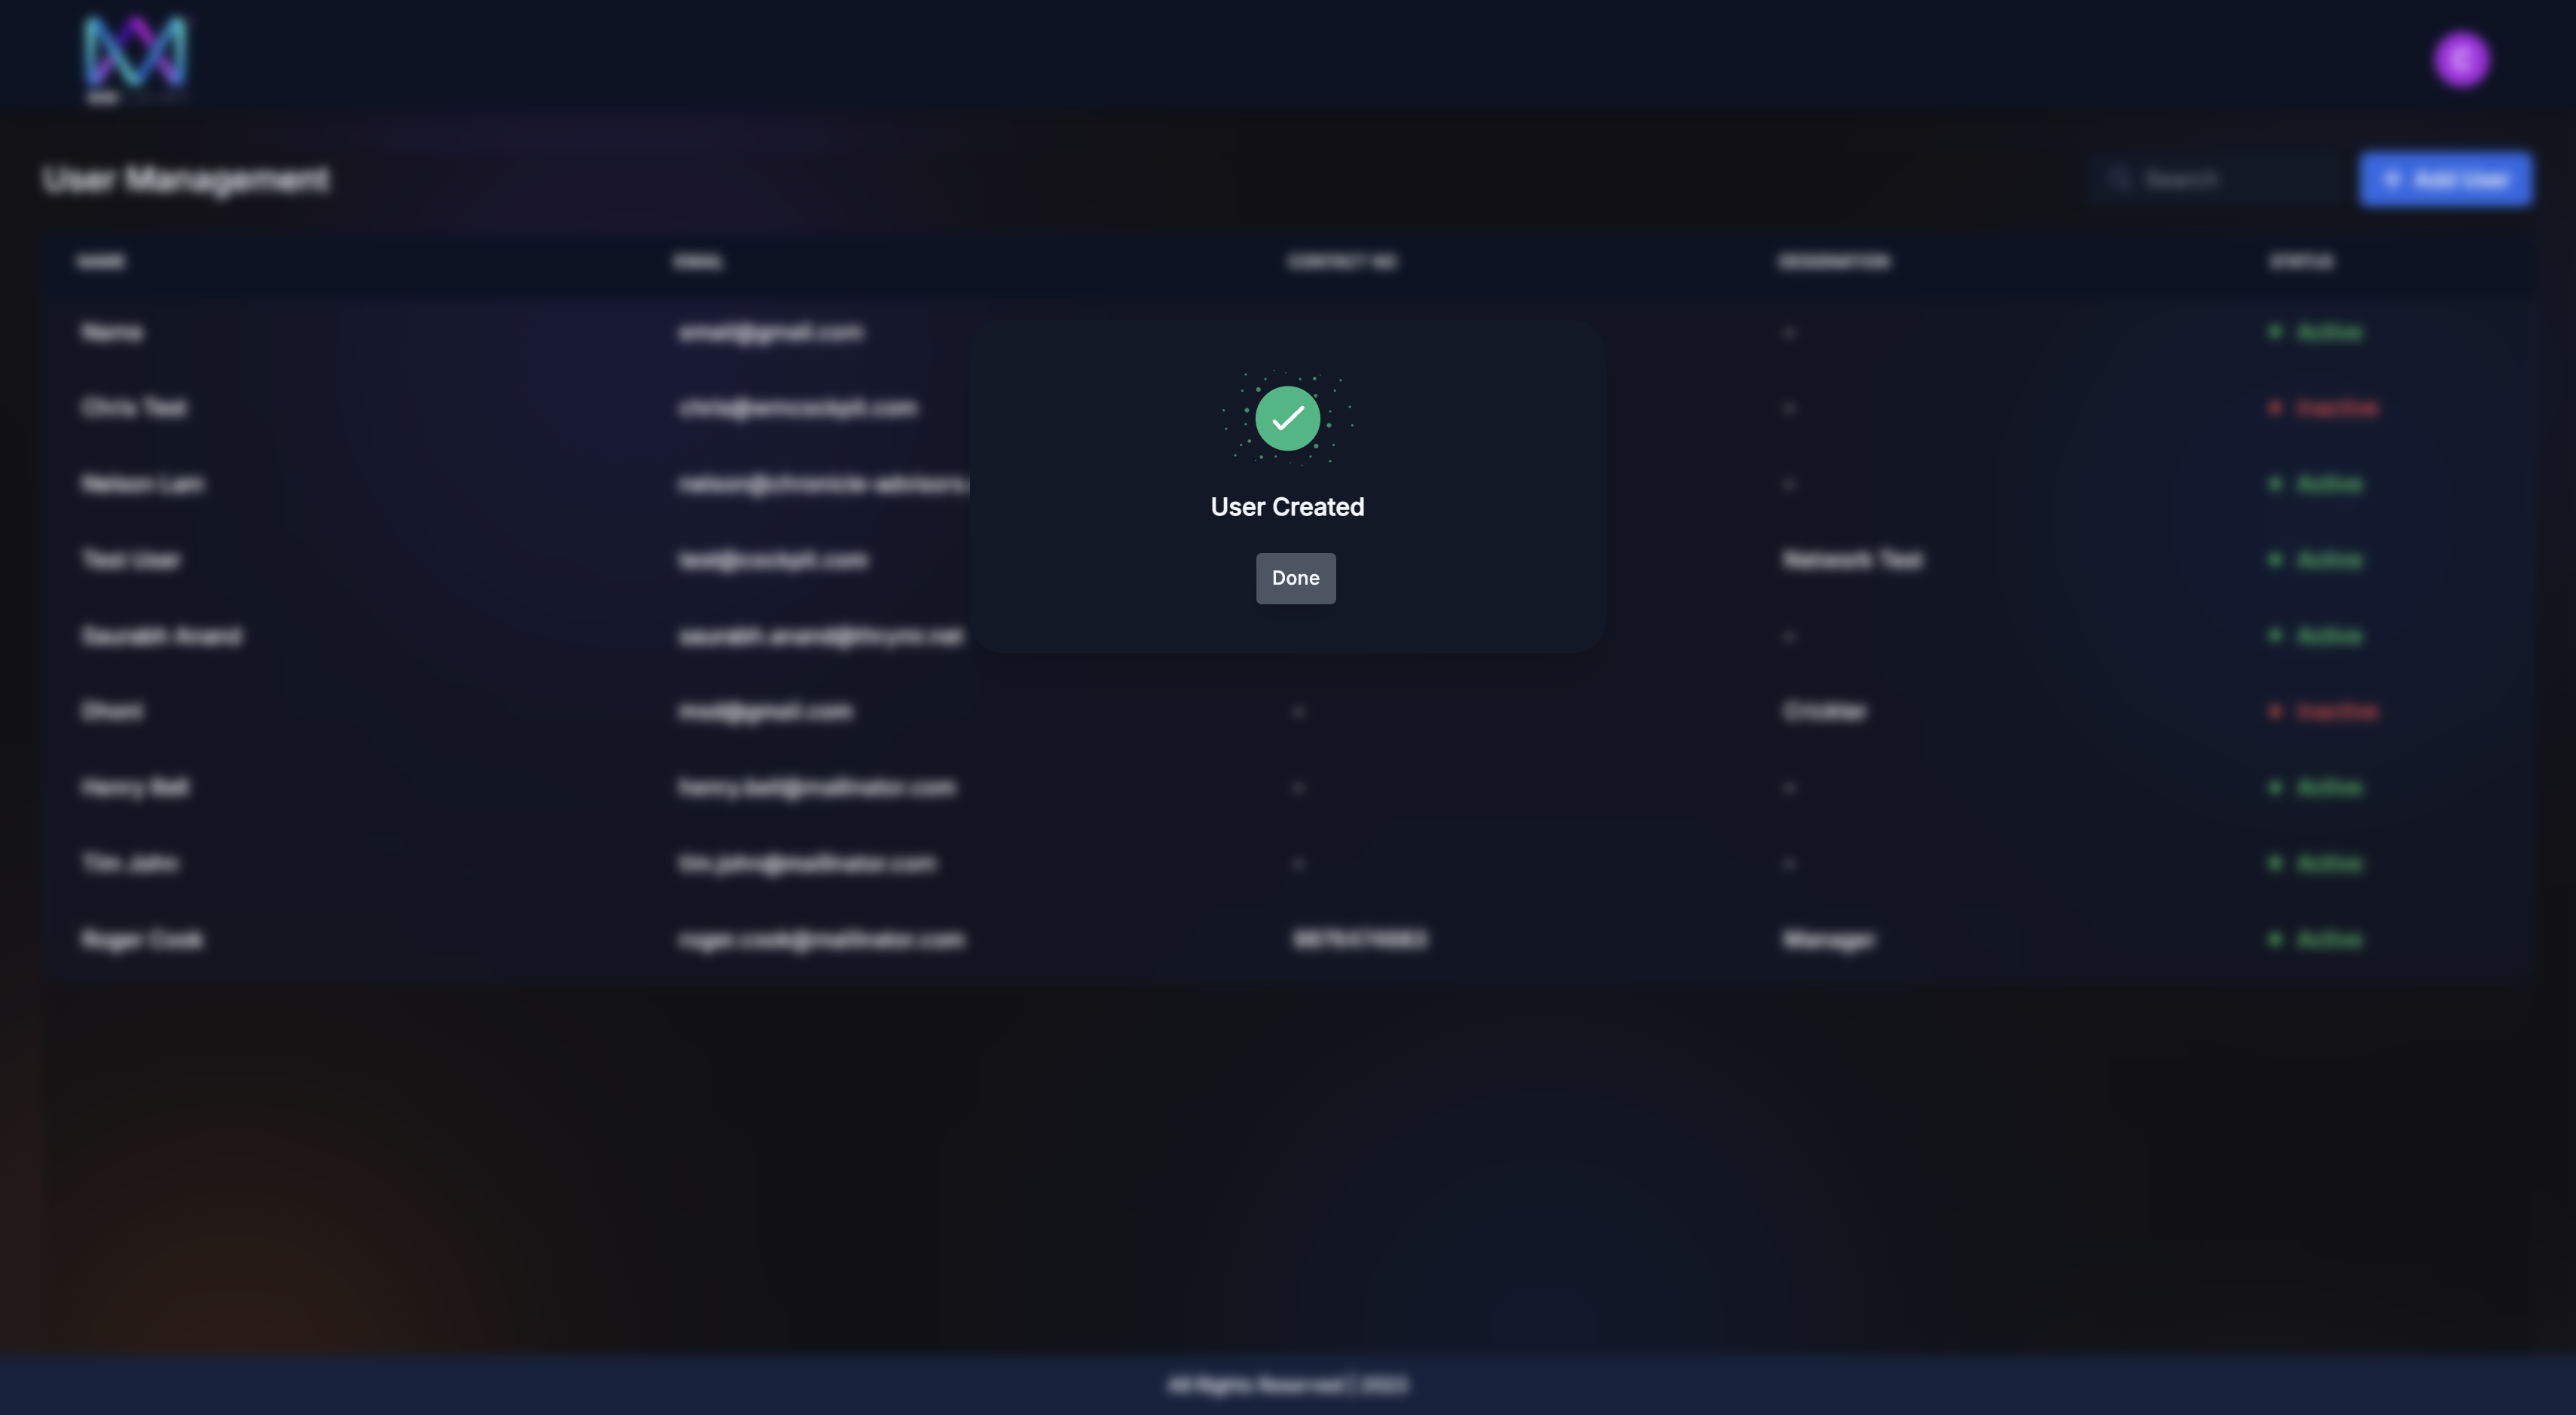
Click "Save."
5
6
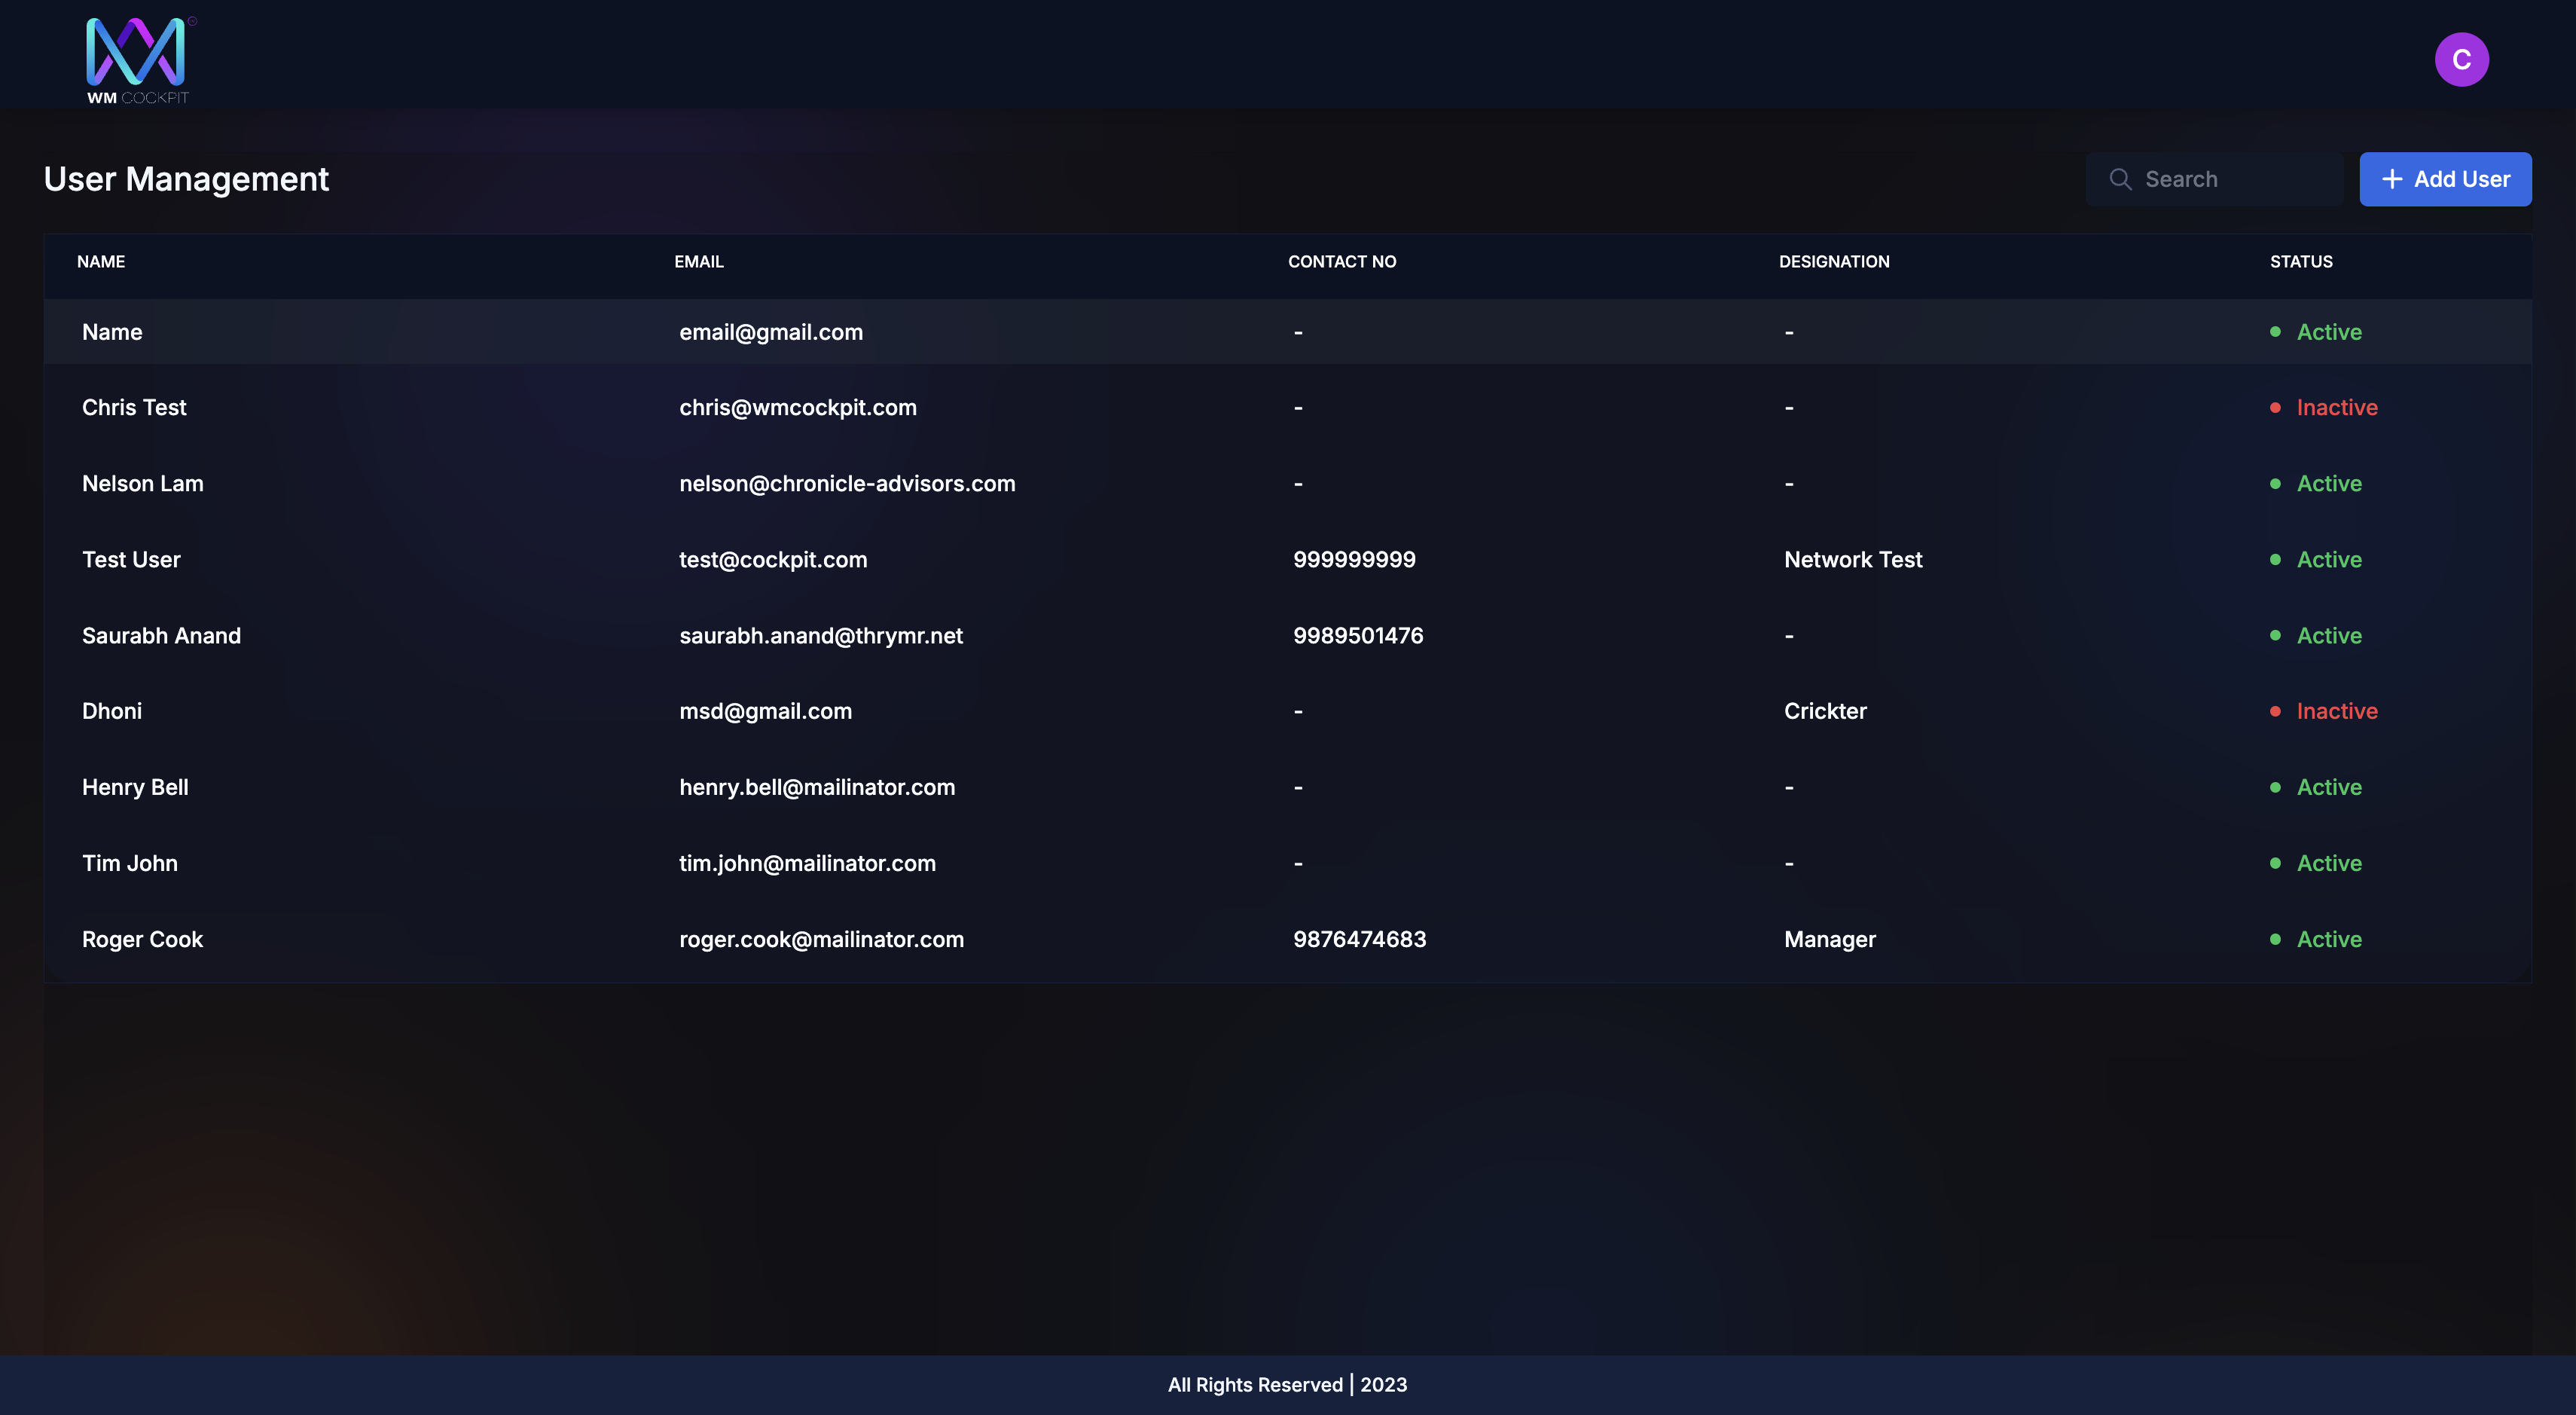
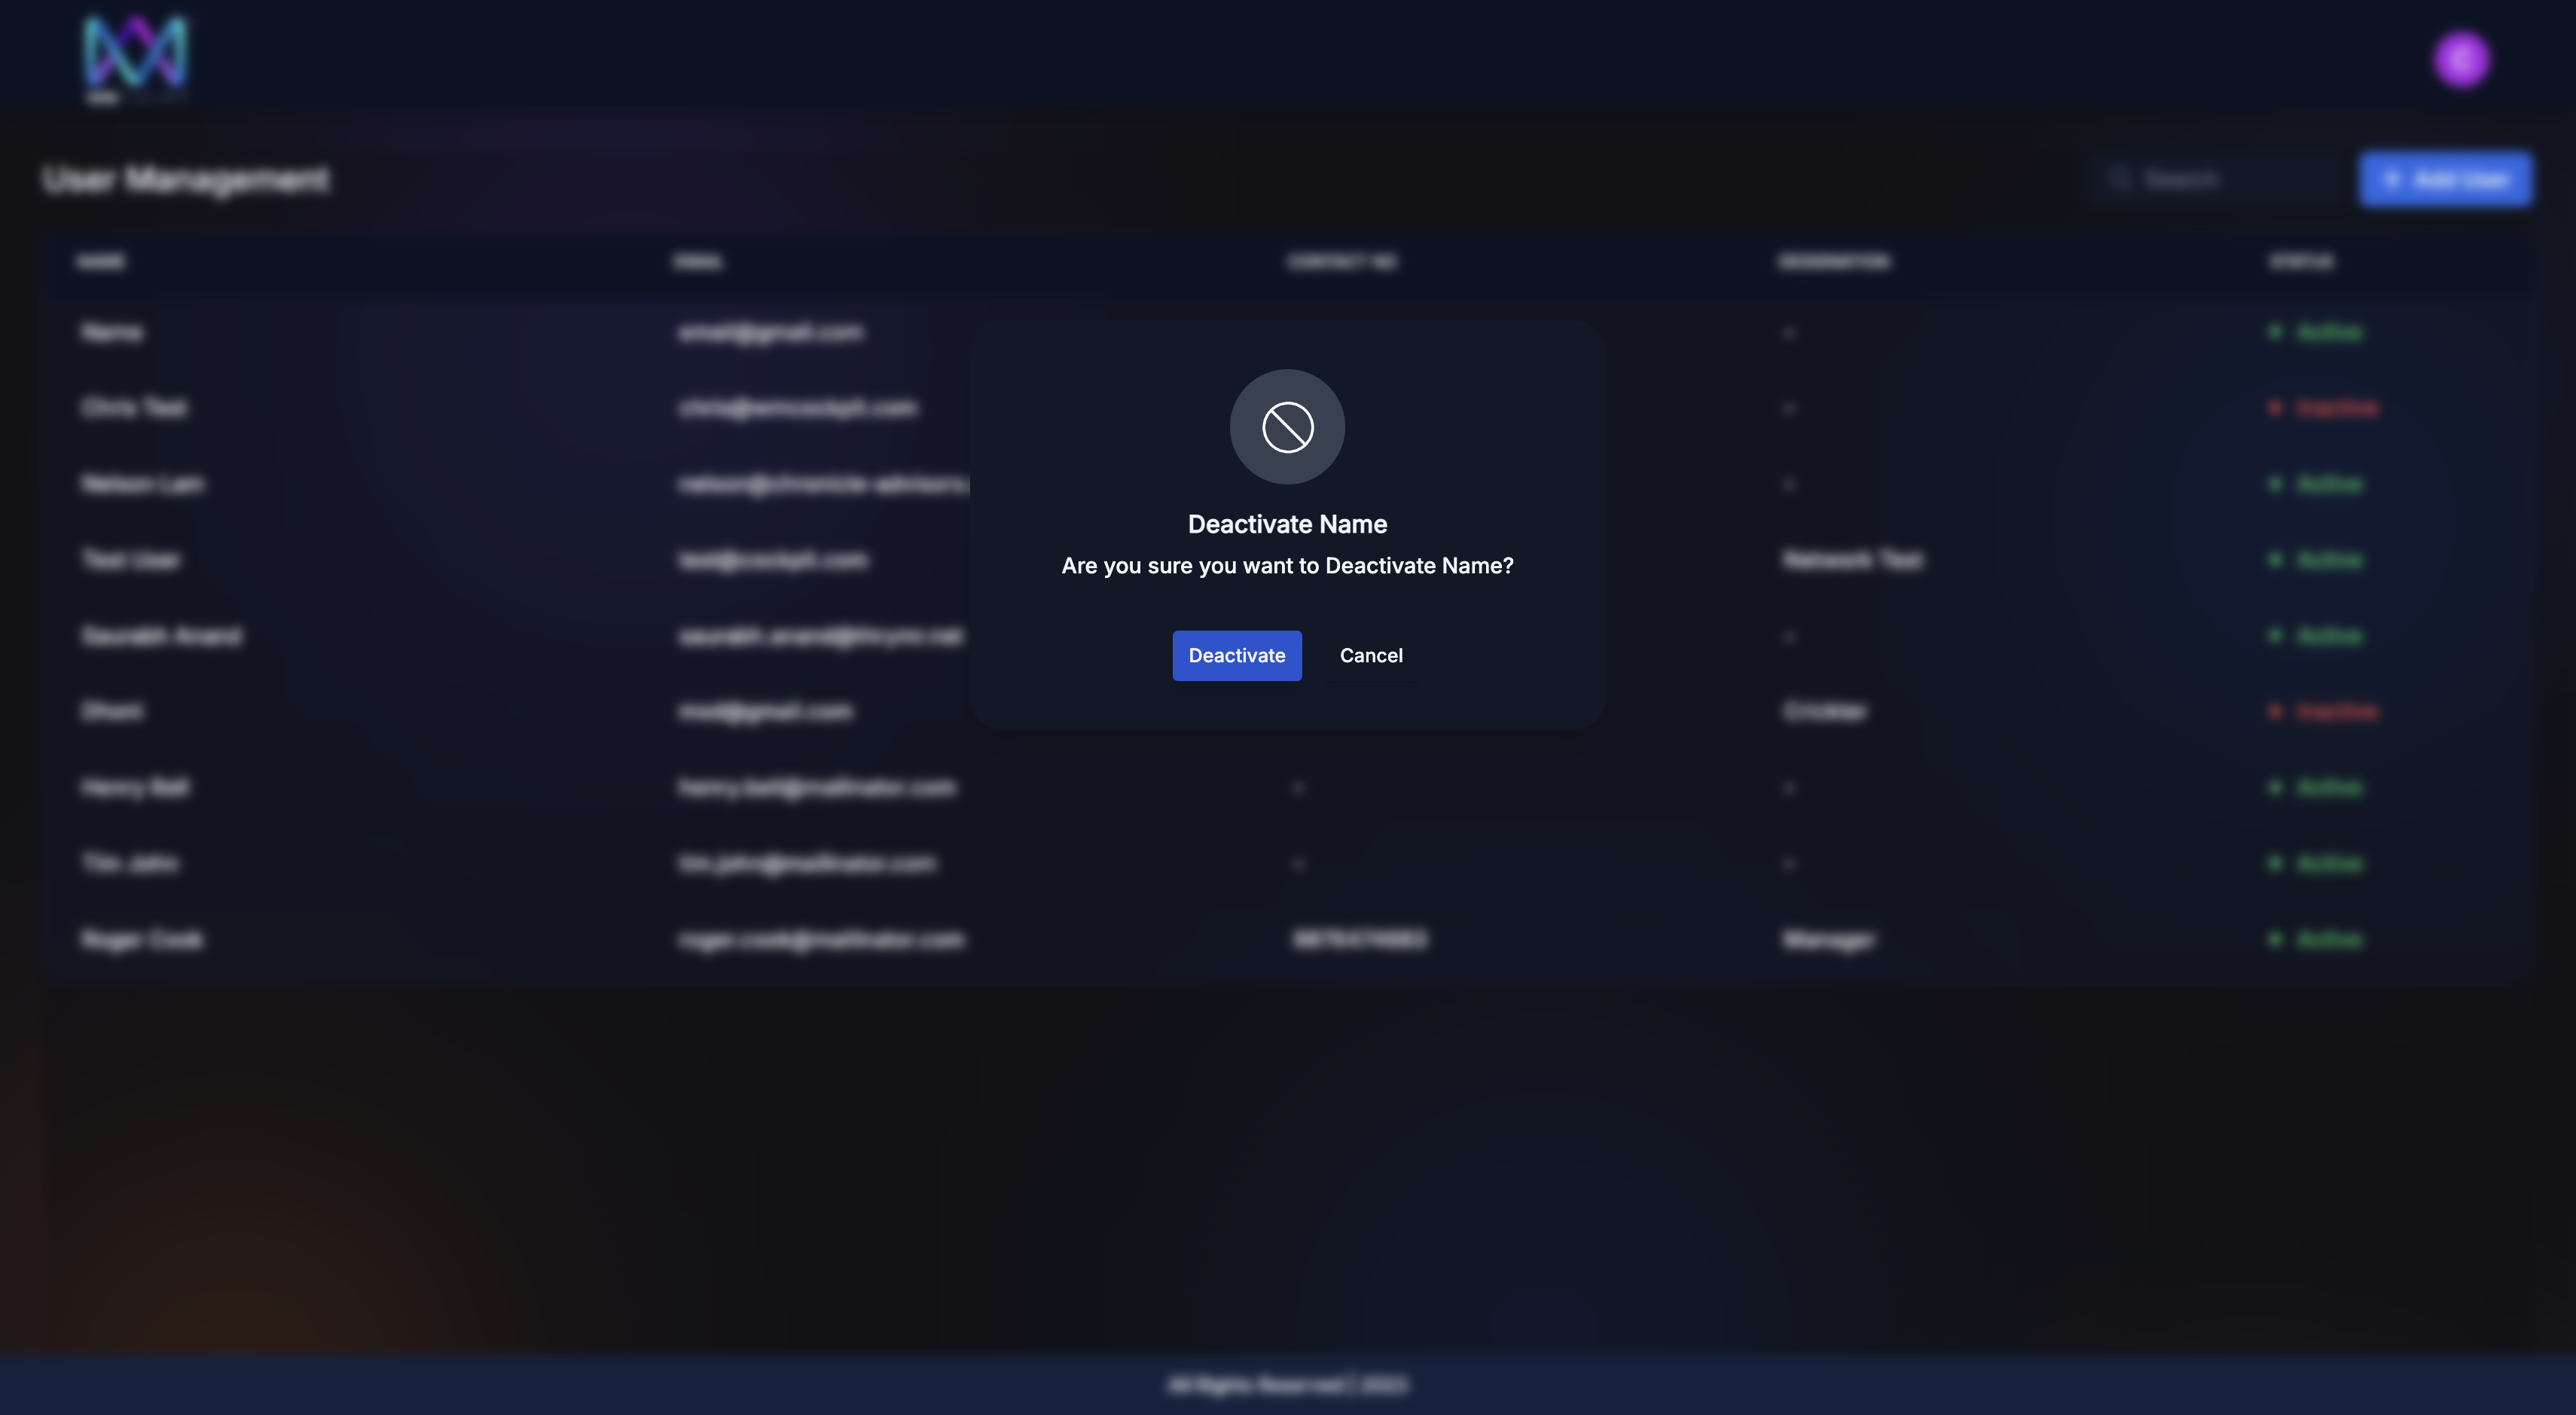
You can deactivate a user by setting them to inactive and reactivate them by setting them to active.
7

8
9

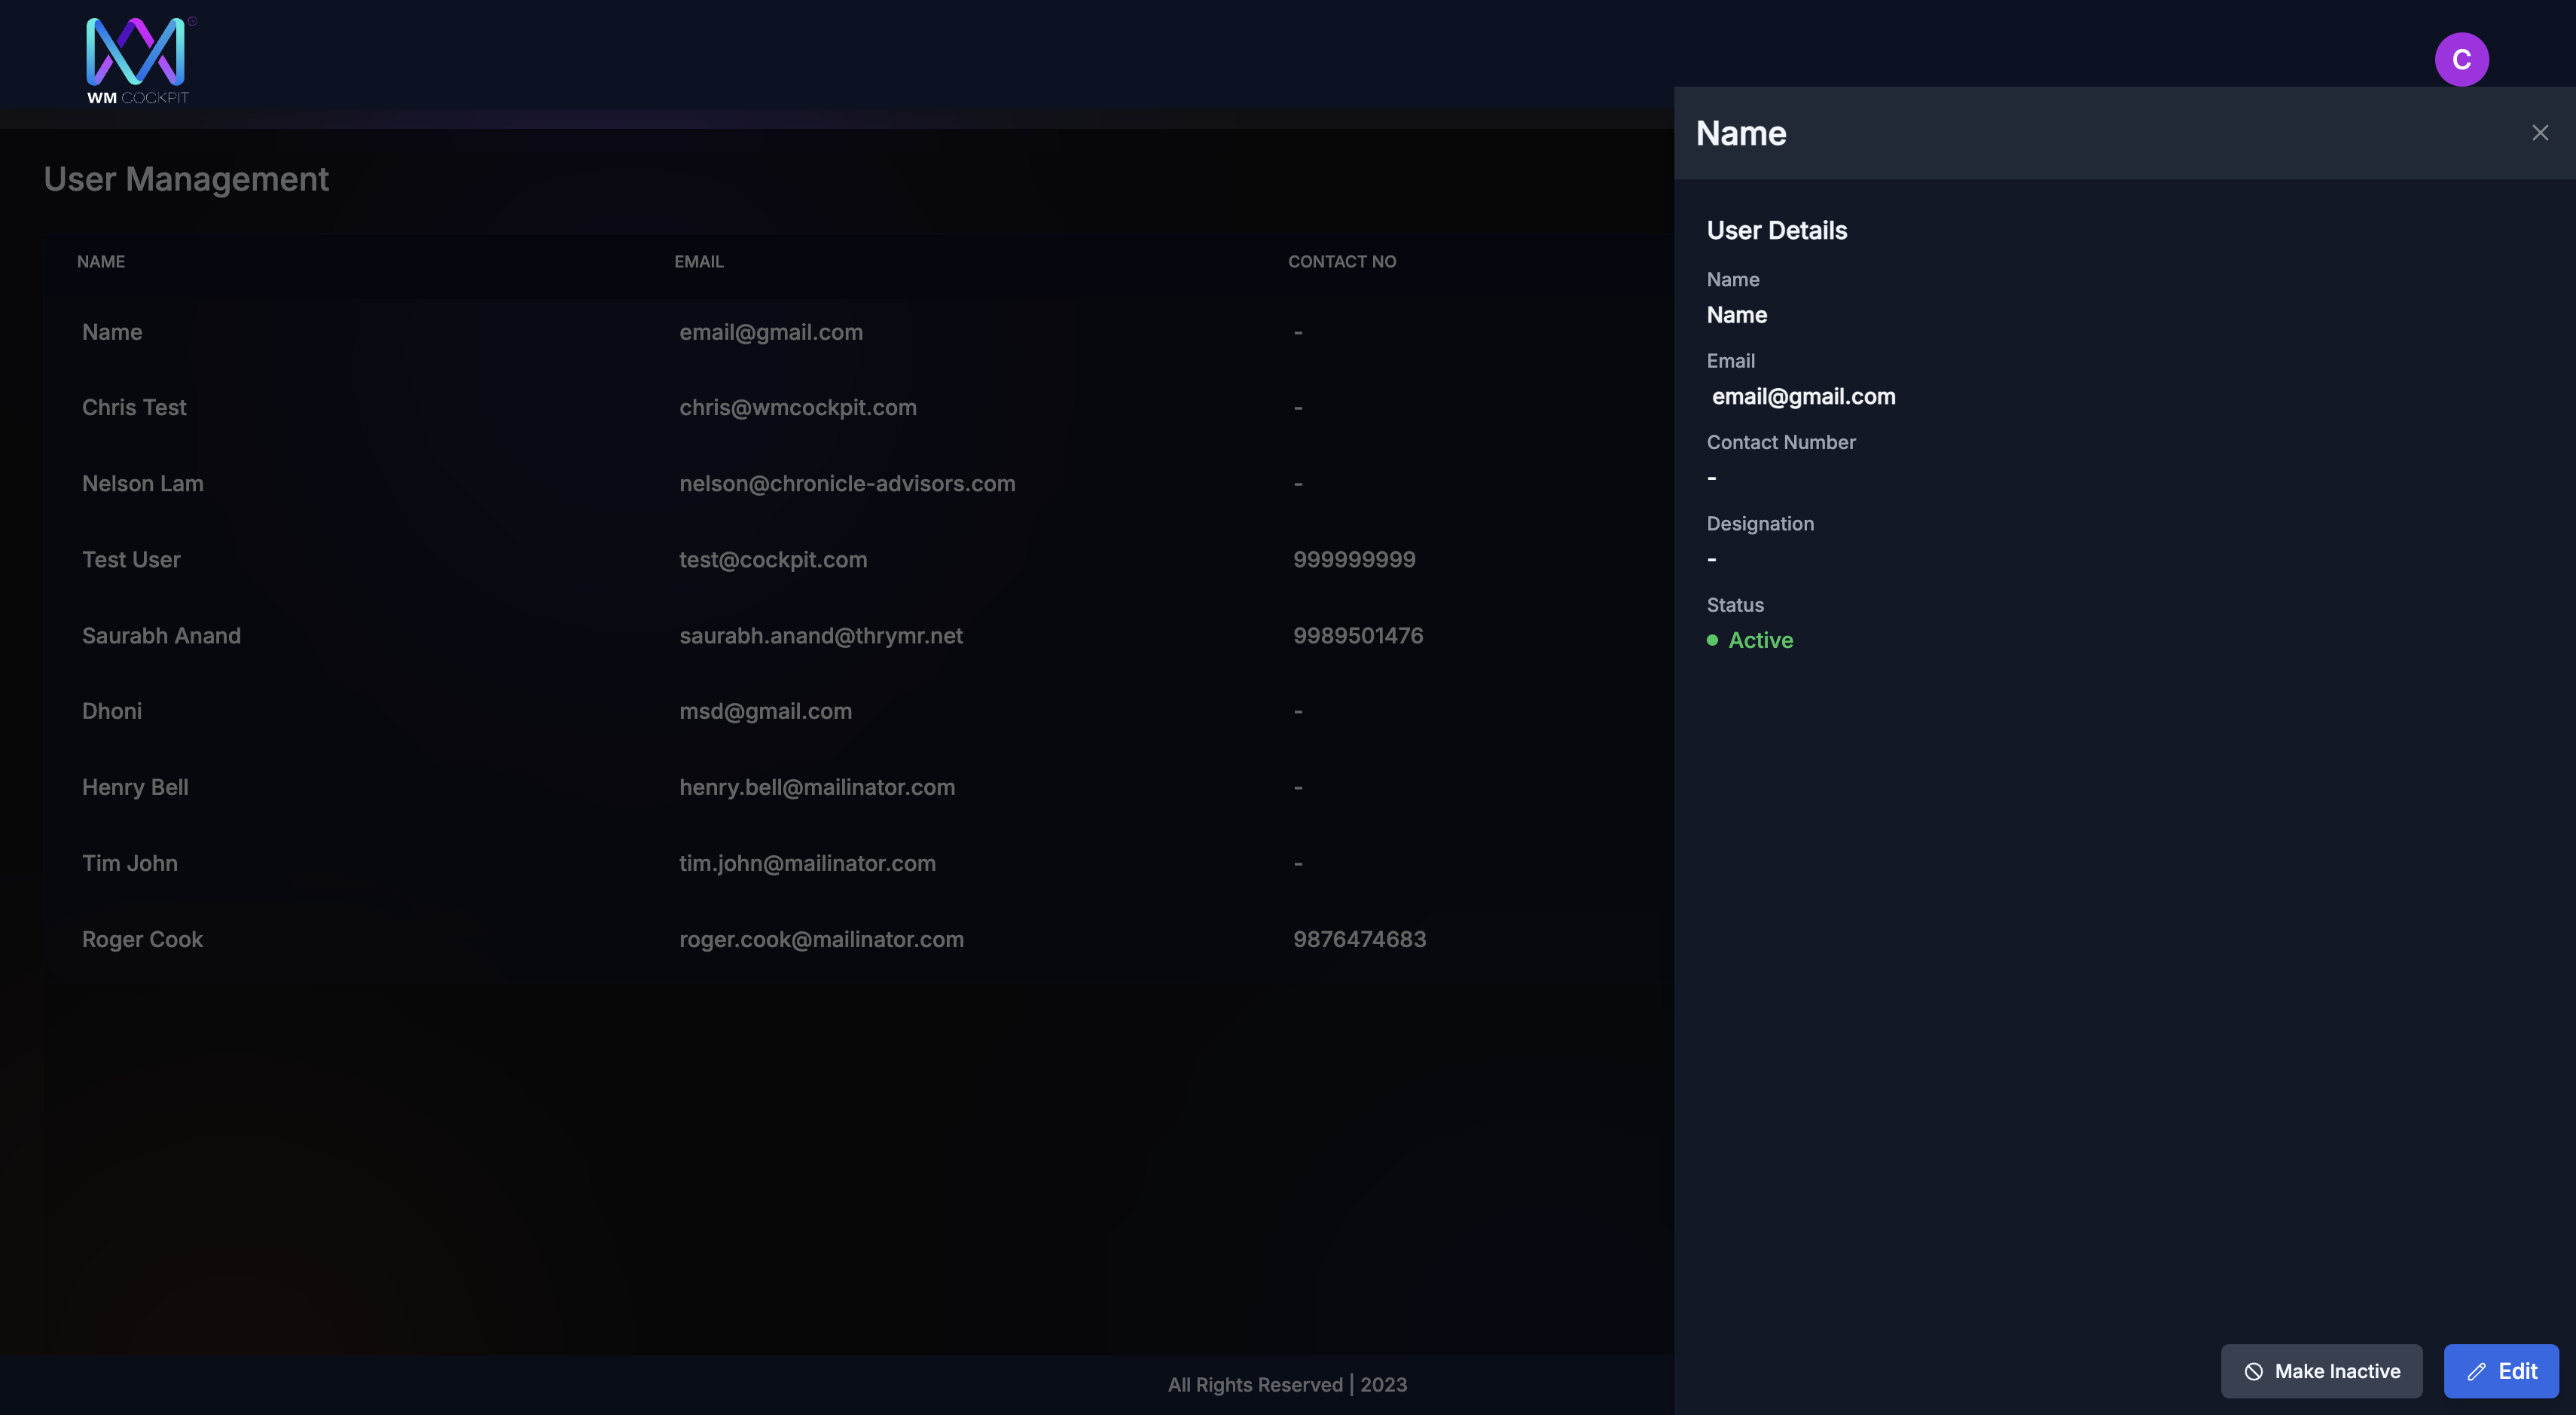
You can also edit the name and contact number.
10
Select the user to edit.

11
Press Edit
12
Edit the details
The individual can log in with their email. The default password is "Cockpit@123." They will then be prompted to create a new password for future logins.